

Frosty Morning in the Woods – Apatite & Sterling Silver Necklace
Frosty Morning in the Woods – Apatite & Sterling Silver Necklace
Please look carefully at the gorgeous Amoracast – “Woodland Drop” pendant and you will notice two sweet little birds sitting high in the trees… I like to think that they are enjoying sunshine on a frosty winter morning in the woods, can you hear them singing?
Materials Needed for Necklace:
- 2.5x4mm Apatite Faceted Rondels (1 strand) * This will be enough to complete 16” necklace & earrings that are part of this set
- 3mm Rondels Sterling Silver (10)
- Amoracast – Woodland Drop, Sterling Silver (1)
- 3.5x5.3mm Oval 22g, Sterling Silver Jump Rings (7)
- 4mm Round 21g Sterling Silver Closed Jump Rings (2)
- 1.5” 24g Sterling Silver Head Pins (3)
- 4.5mm Magnetic Clasp, Sterling Silver Plated (1) * Or clasp of your choice
- Soft Touch Beading Wire, Fine, Satin Silver Coat (20”)
- 2x2mm Crimps Sterling Silver (2)
Length 16” * Can be made to length of your choice
Tools Required
Flex Wire Cutter (for cutting beading wire)
Sharpie
Key Code for Beads: A = Apatite B = Sterling Silver Rondelles C = Woodland Drop Pendant, with oval jump ring and dangles attached
Instructions on Construction:
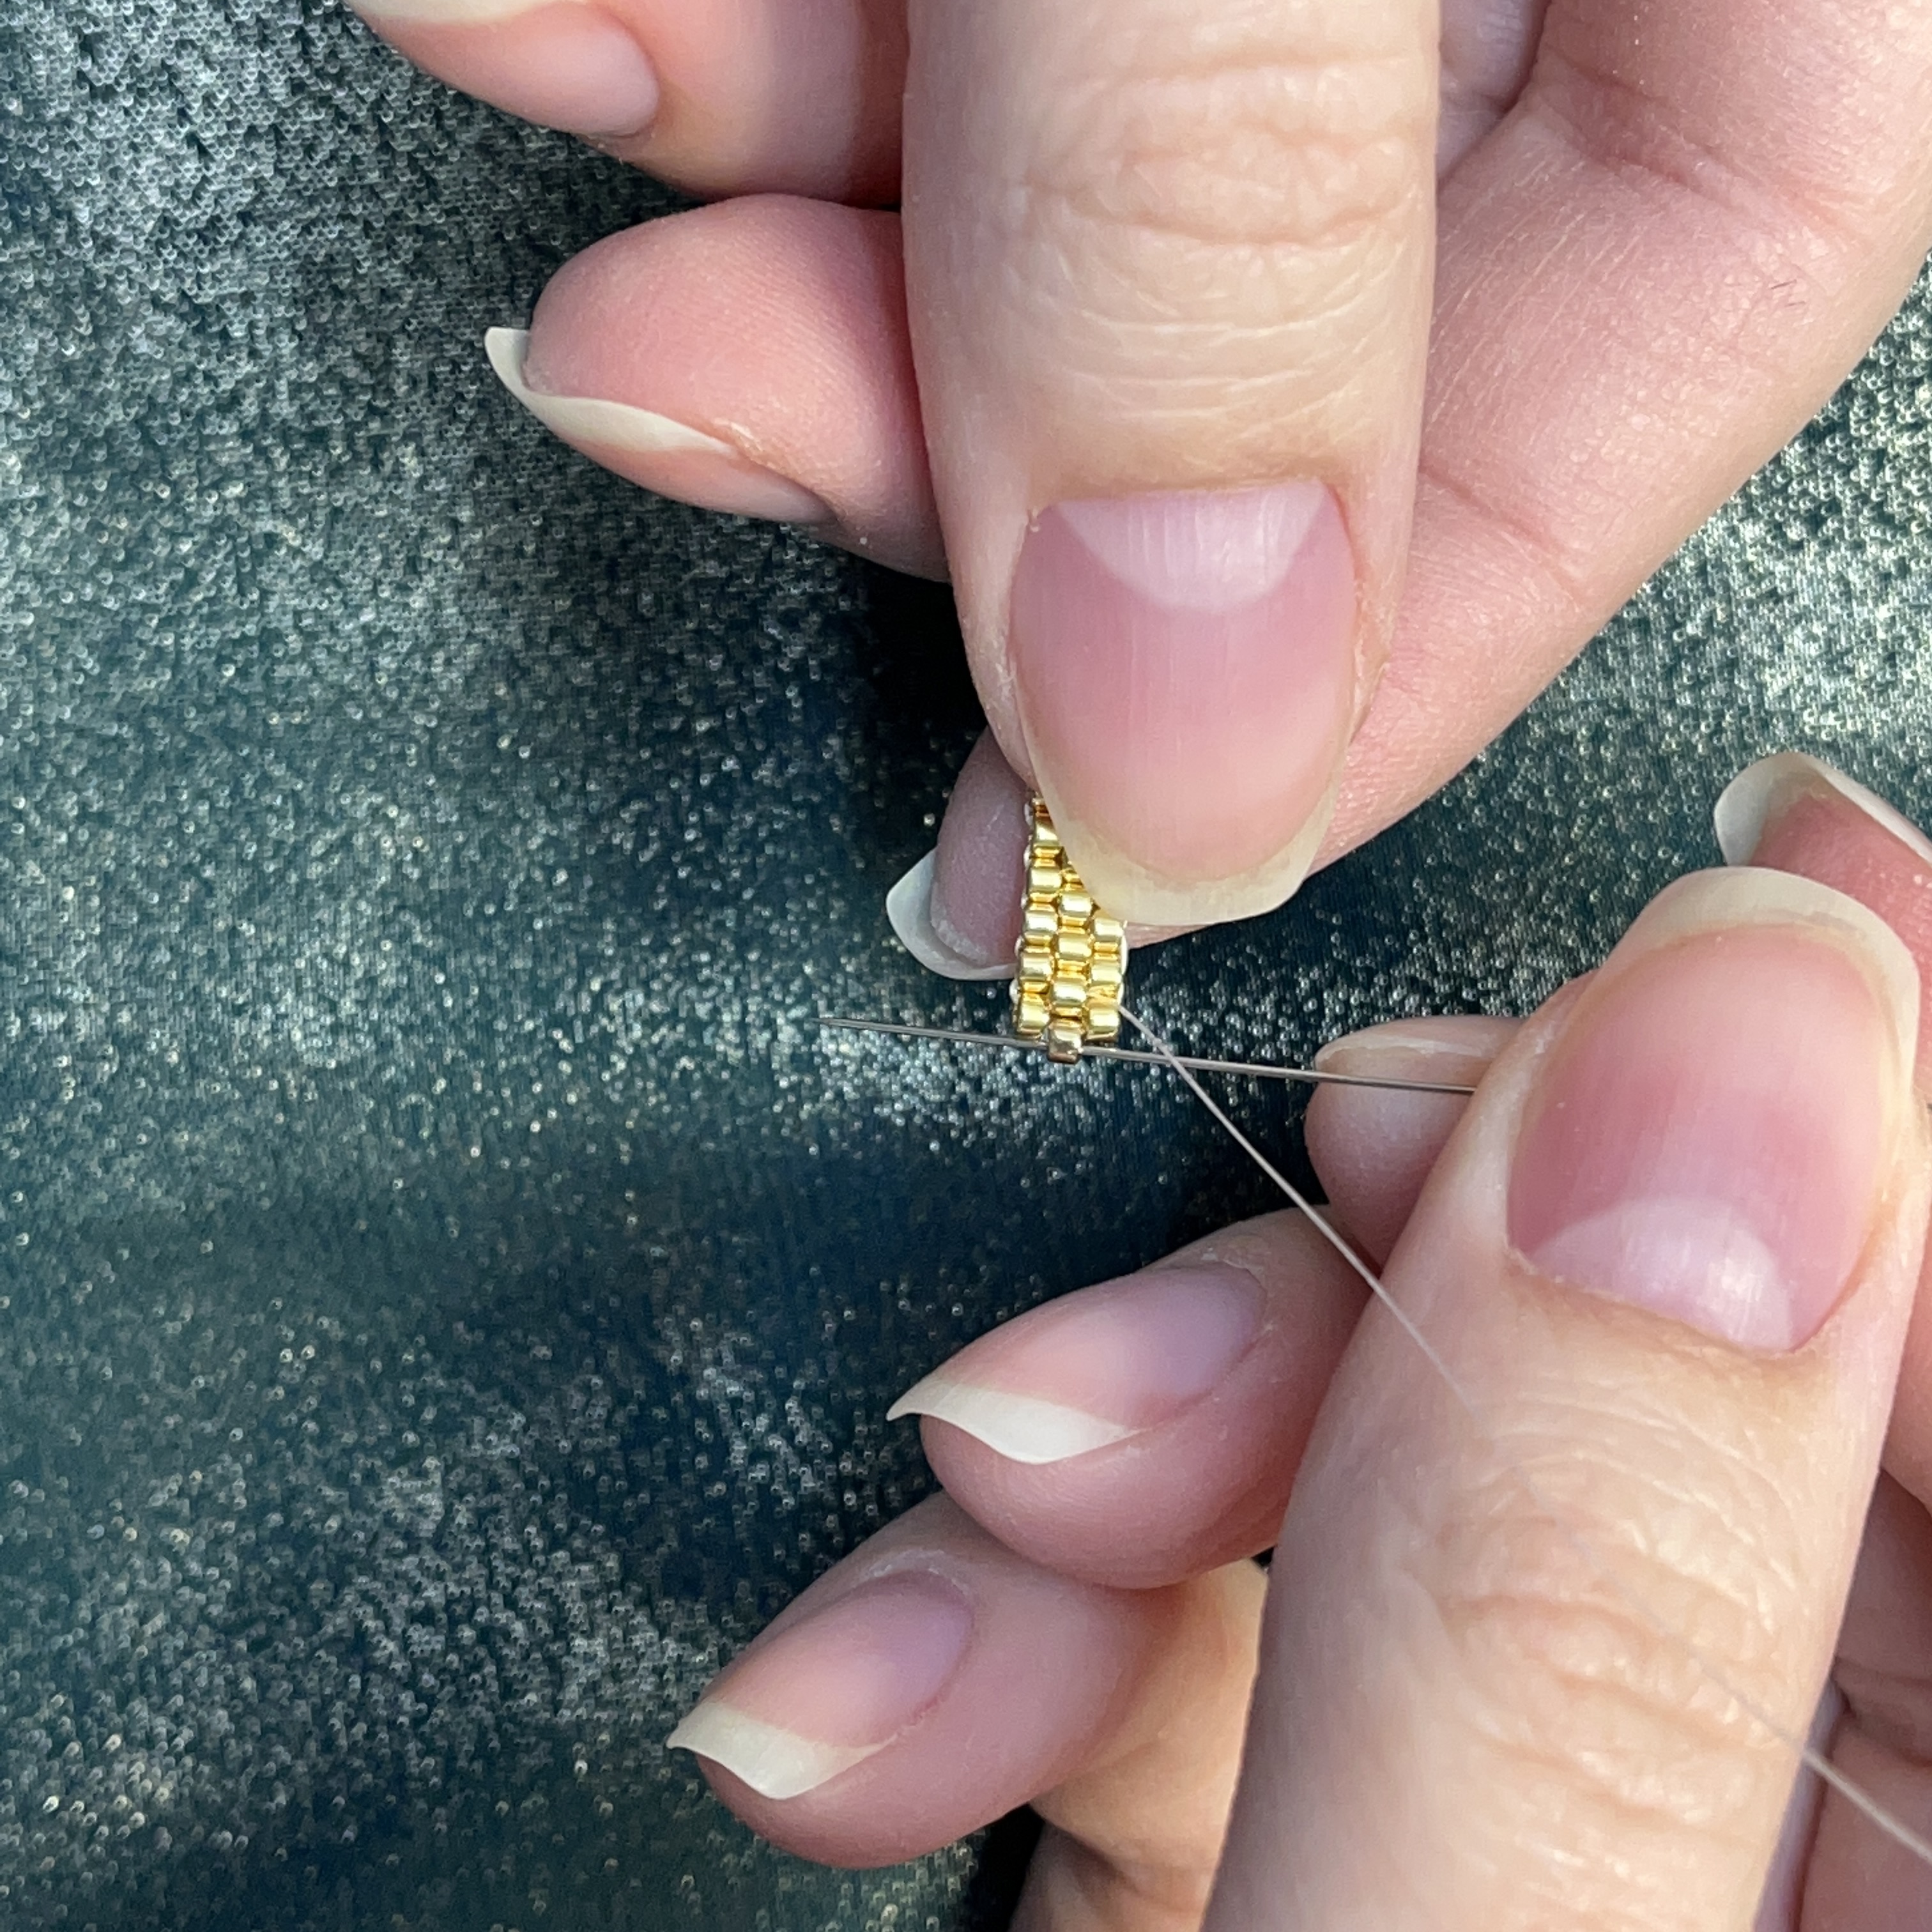
1. Start by creating the central dangle: Use flat nose and needle nose pliers to open oval jump ring, then attach to loop at the top of the Woodland Drop pendant and close carefully making sure that jump ring is fully closed with both sides lined up cleanly. Take headpin and thread A (2), make small loop (using round nose and needle nose pliers) now thread onto the bottom mid-section of the pendant (the side with the larger space between the two trees) then complete wire wraps, trim and tamp end. Take a second headpin add A (1), make a small loop, and attach on the outer side of the dangle just attached (between the same two trees), finish wire wraps and trim. Take the third headpin add A (1), create a small loop and thread into the space between the two trees to the left of the first dangle, finish wire wraps and trim.
2. Using your Flex wire cutters cut a 20” section of beading wire, thread on crimp tube & and attach to the 4mm closed jump ring, using a crimping plier and the two-part folded crimp method. * Option you could use a flat crimp & 4mm crimp cover if you prefer this look. Trim the excess wire (using flex cutter) ***Please remember to keep your wires parallel when crimping, this makes for a more secure attachment and it is also a good idea to give a test pull on your wire to make sure you have closed the crimp securely.
3. Using flat nose & needle nose pliers open an oval jump ring and connect to the closed jump ring making sure that the jump ring closes all the way. Attach two more oval jump rings, in the same manner, to make a chain of four jump rings. The final oval jump ring also attaches to the magnetic closure.
4. Threading sequence is as follows: B (1), A (15), * Repeat underlined so that you have 4 repeats in total, followed by B (1), A (9) * You are now at the mid-section of necklace, add C (1), the second side is a mirror image of the first side.
5. Thread on crimp tube and attach to a closed jump ring in the same way as you attached at beginning of necklace. Now add three oval jump rings, the final one attaches to the second part of the magnetic closure.
6. You are now ready to try on your necklace & to admire your handiwork.
7. Enjoy!
Jewelry designed by Steph Stirniman at https://magpiecollectives.etsy.com/
Recent Posts
-

"Gem Keeper" Chain Cage Pendant Necklace
"Gem Keeper" Chain Cage Pendant NecklaceNo hole no problem! Keep anything from gems with no holes, b …29th Mar 2024 -

Layered Beaded Charm Necklaces
Layered Beaded Charm NecklacesLayered necklaces are a fashion staple that adds depth and dimension t …26th Feb 2024 -

"Be Mine" Necklace and Stretch Bracelet Set
"Be Mine" Necklace and Stretch Bracelet SetValentine's jewelry, crafted with love and precision, ser …17th Jan 2024