

Golden Coin Pearl Bracelet
Golden Coin Pearl Bracelet
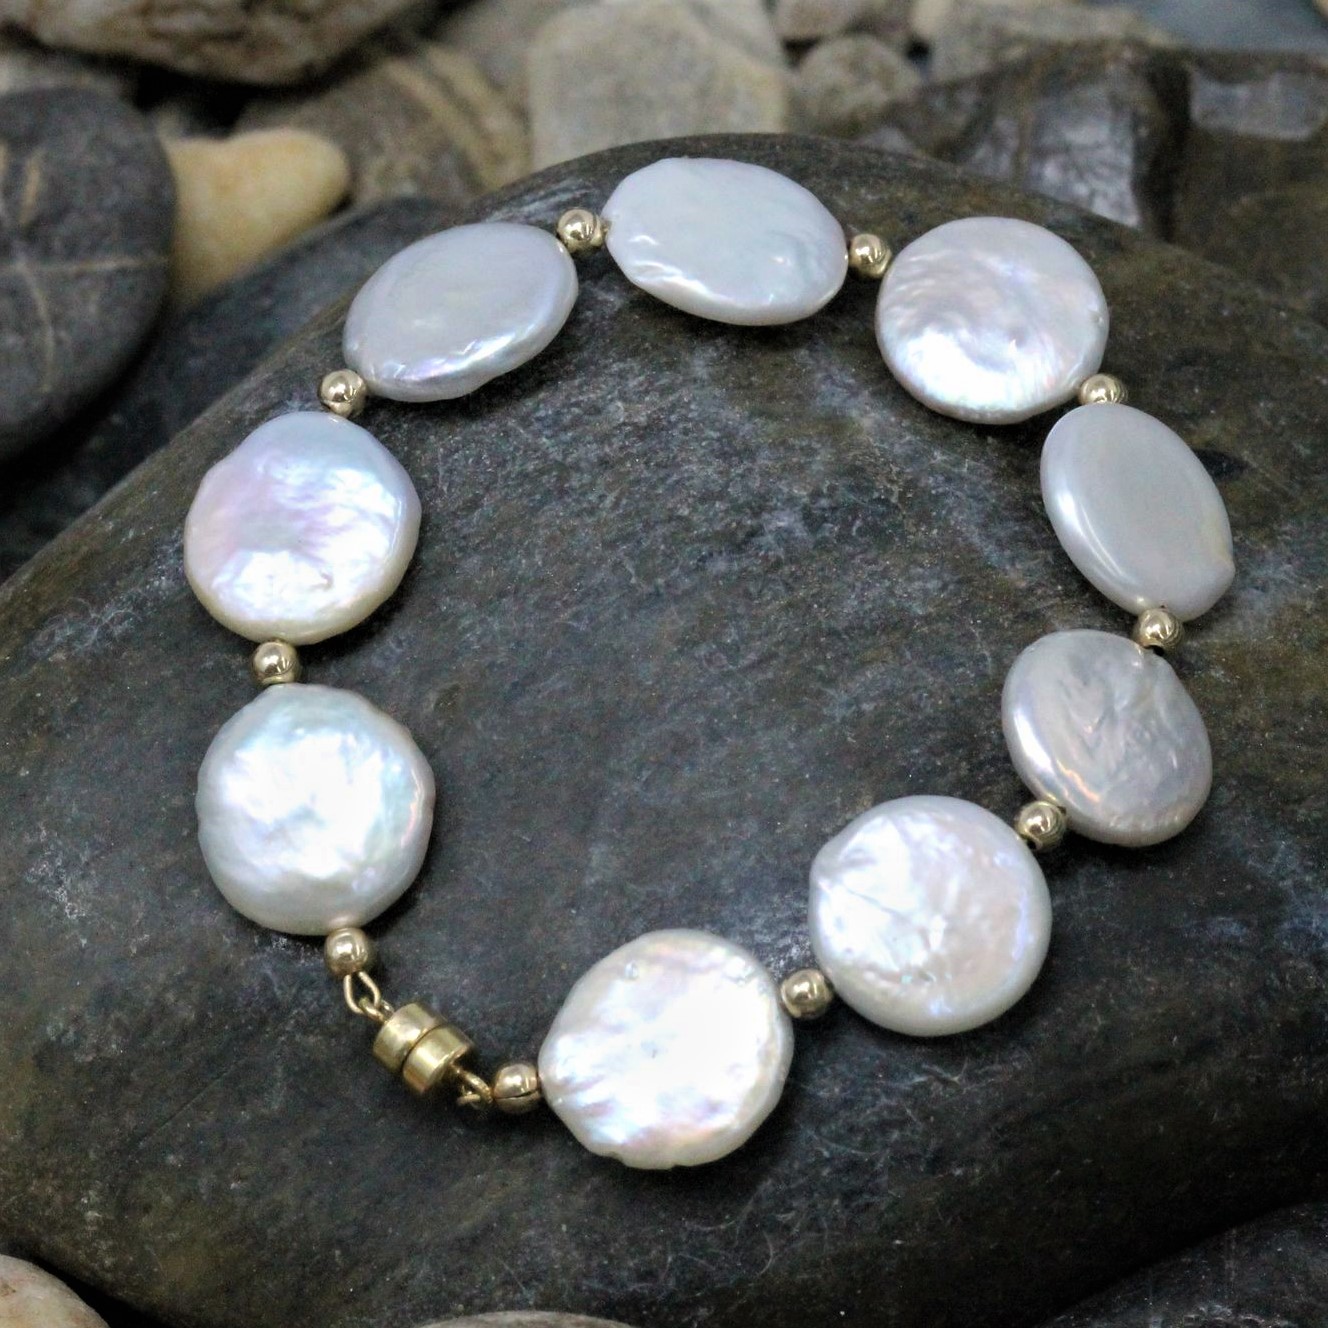
This classic pearl bracelet will make the perfect summer accessory! You will barely feel it on your wrist, as the coins lay flat against your skin. Mix and Match metal colors or even substitute the pearls for gemstones to create your perfect aesthetic.
Materials Needed:
- Freshwater Pearls 13-14mm Coin Ivory / White (9)
- 14K Gold Filled 3mm Round Beads (8)
- 14K Gold Filled 2x2mm Crimps (2)
- 14K Gold Filled 3mm Crimp Covers (2)
- 4.5mm 14K Gold Plated Magnetic Clasp (1)
- Extreme Flex - 24K Gold - Medium (10 inches - or more depending on wrist size)
Bracelet length approx. 6”
Tools Required
Instructions on Construction:
1. Cut a 10” section of beading wire using your soft flex cutter, thread on crimp tube, attach to clasp & then back through crimp tube. I used the two-part folded crimp method with this design, cut excess extreme flex, then covered with the 3mm crimp cover. Gently close crimp cover with your needle nose pliers.
***Please note whichever way you choose to crimp, keep your wires parallel when crimping, this makes for a more secure attachment & it’s also wise to give a test pull on your wire to make sure you have secured the crimp :)
2. The bead sequence on this bracelet is as follows: Pearl Coin - Gold Filled Bead - Pearl Coin - Gold Filled Bead - Pearl Coin - Gold Filled Bead -- continue pattern and end with a Pearl.
**If you choose to make this bracelet longer / shorter you can add or subtract the number of beads used.
3. Add your crimp tube & thread the beading wire through the other end of the magnetic clasp.
4. At this stage lay bracelet on your worktop in a circle & make sure you leave enough slack in the wire so that your beads have enough room to sit nicely. It is important to leave this slack because if you crimp your wire too tightly the necklace will be rigid with no flow & there is a strong chance that the beading wire may break! Use an EZ Bracelet Sizer to help with sizing.
5. Close the crimp using the two-part folded method, cut excess extreme flex, and add crimp cover.
6. Done! :)
Jewelry designed by Kiara Thompson
Recent Posts
-

Christmas Wine Charms - Mini Tutorial
Christmas Wine Charms - Mini TutorialThese wine charms are sure to be the center talking point at yo …25th Nov 2024 -

Christmas Bow Garland - Mini Tutorial
Christmas Bow Garland - Mini TutorialCreate your own holiday decor with a Christmas-colored bow garl …14th Nov 2024 -

Charm Necklace Tutorial
Charm Necklace TutorialEmbrace individuality with our Personalized Charm Necklace tutorial, a perfec …6th Nov 2024