

How to Wire Wrap a Drop: Simple Wire Wrap with Closed Loop
How to Wire Wrap a Drop: Simple Wire Wrap with Closed Loop
Step by step instructions with pictures
Materials:
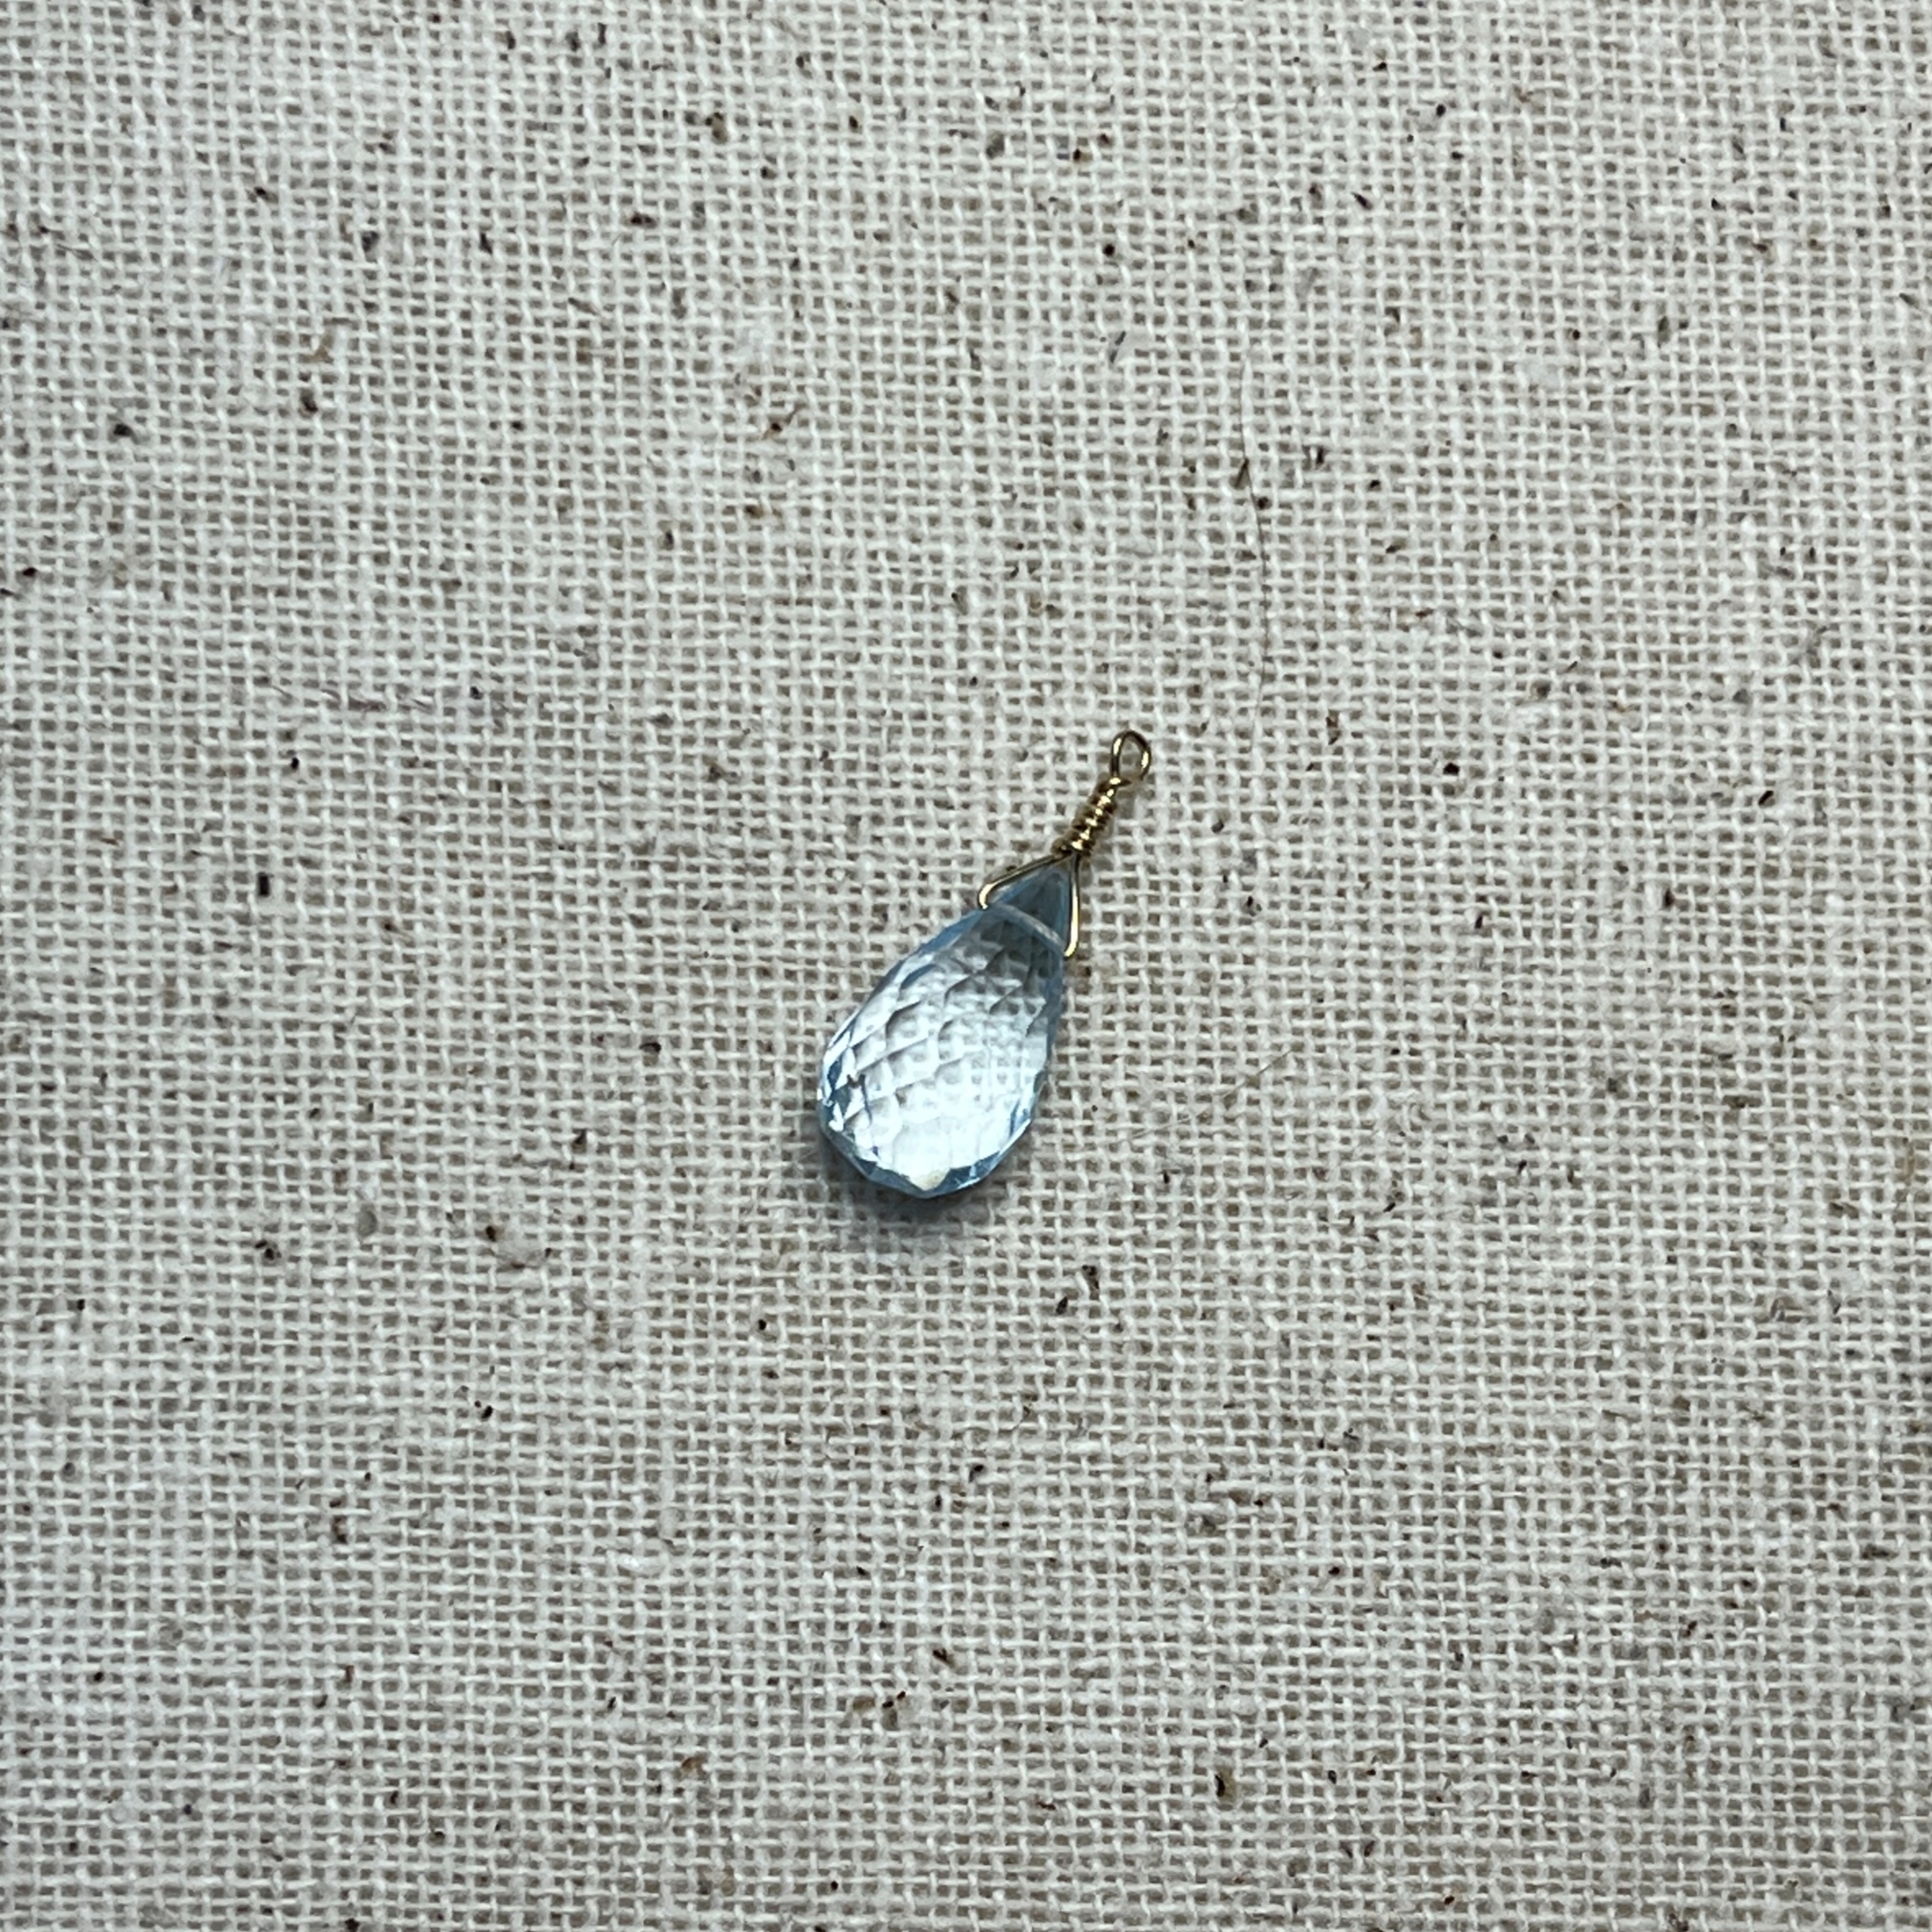
- Top-drilled drop bead of your choice (I used a Sky Blue Topaz 6x13mm Faceted Drop)
- 2-3" of appropriate gauge wire or head pin for the hole of your bead (as long as it permits, I personally prefer smaller gauges such as a 26 gauge)
Tools Needed:
Instructions:
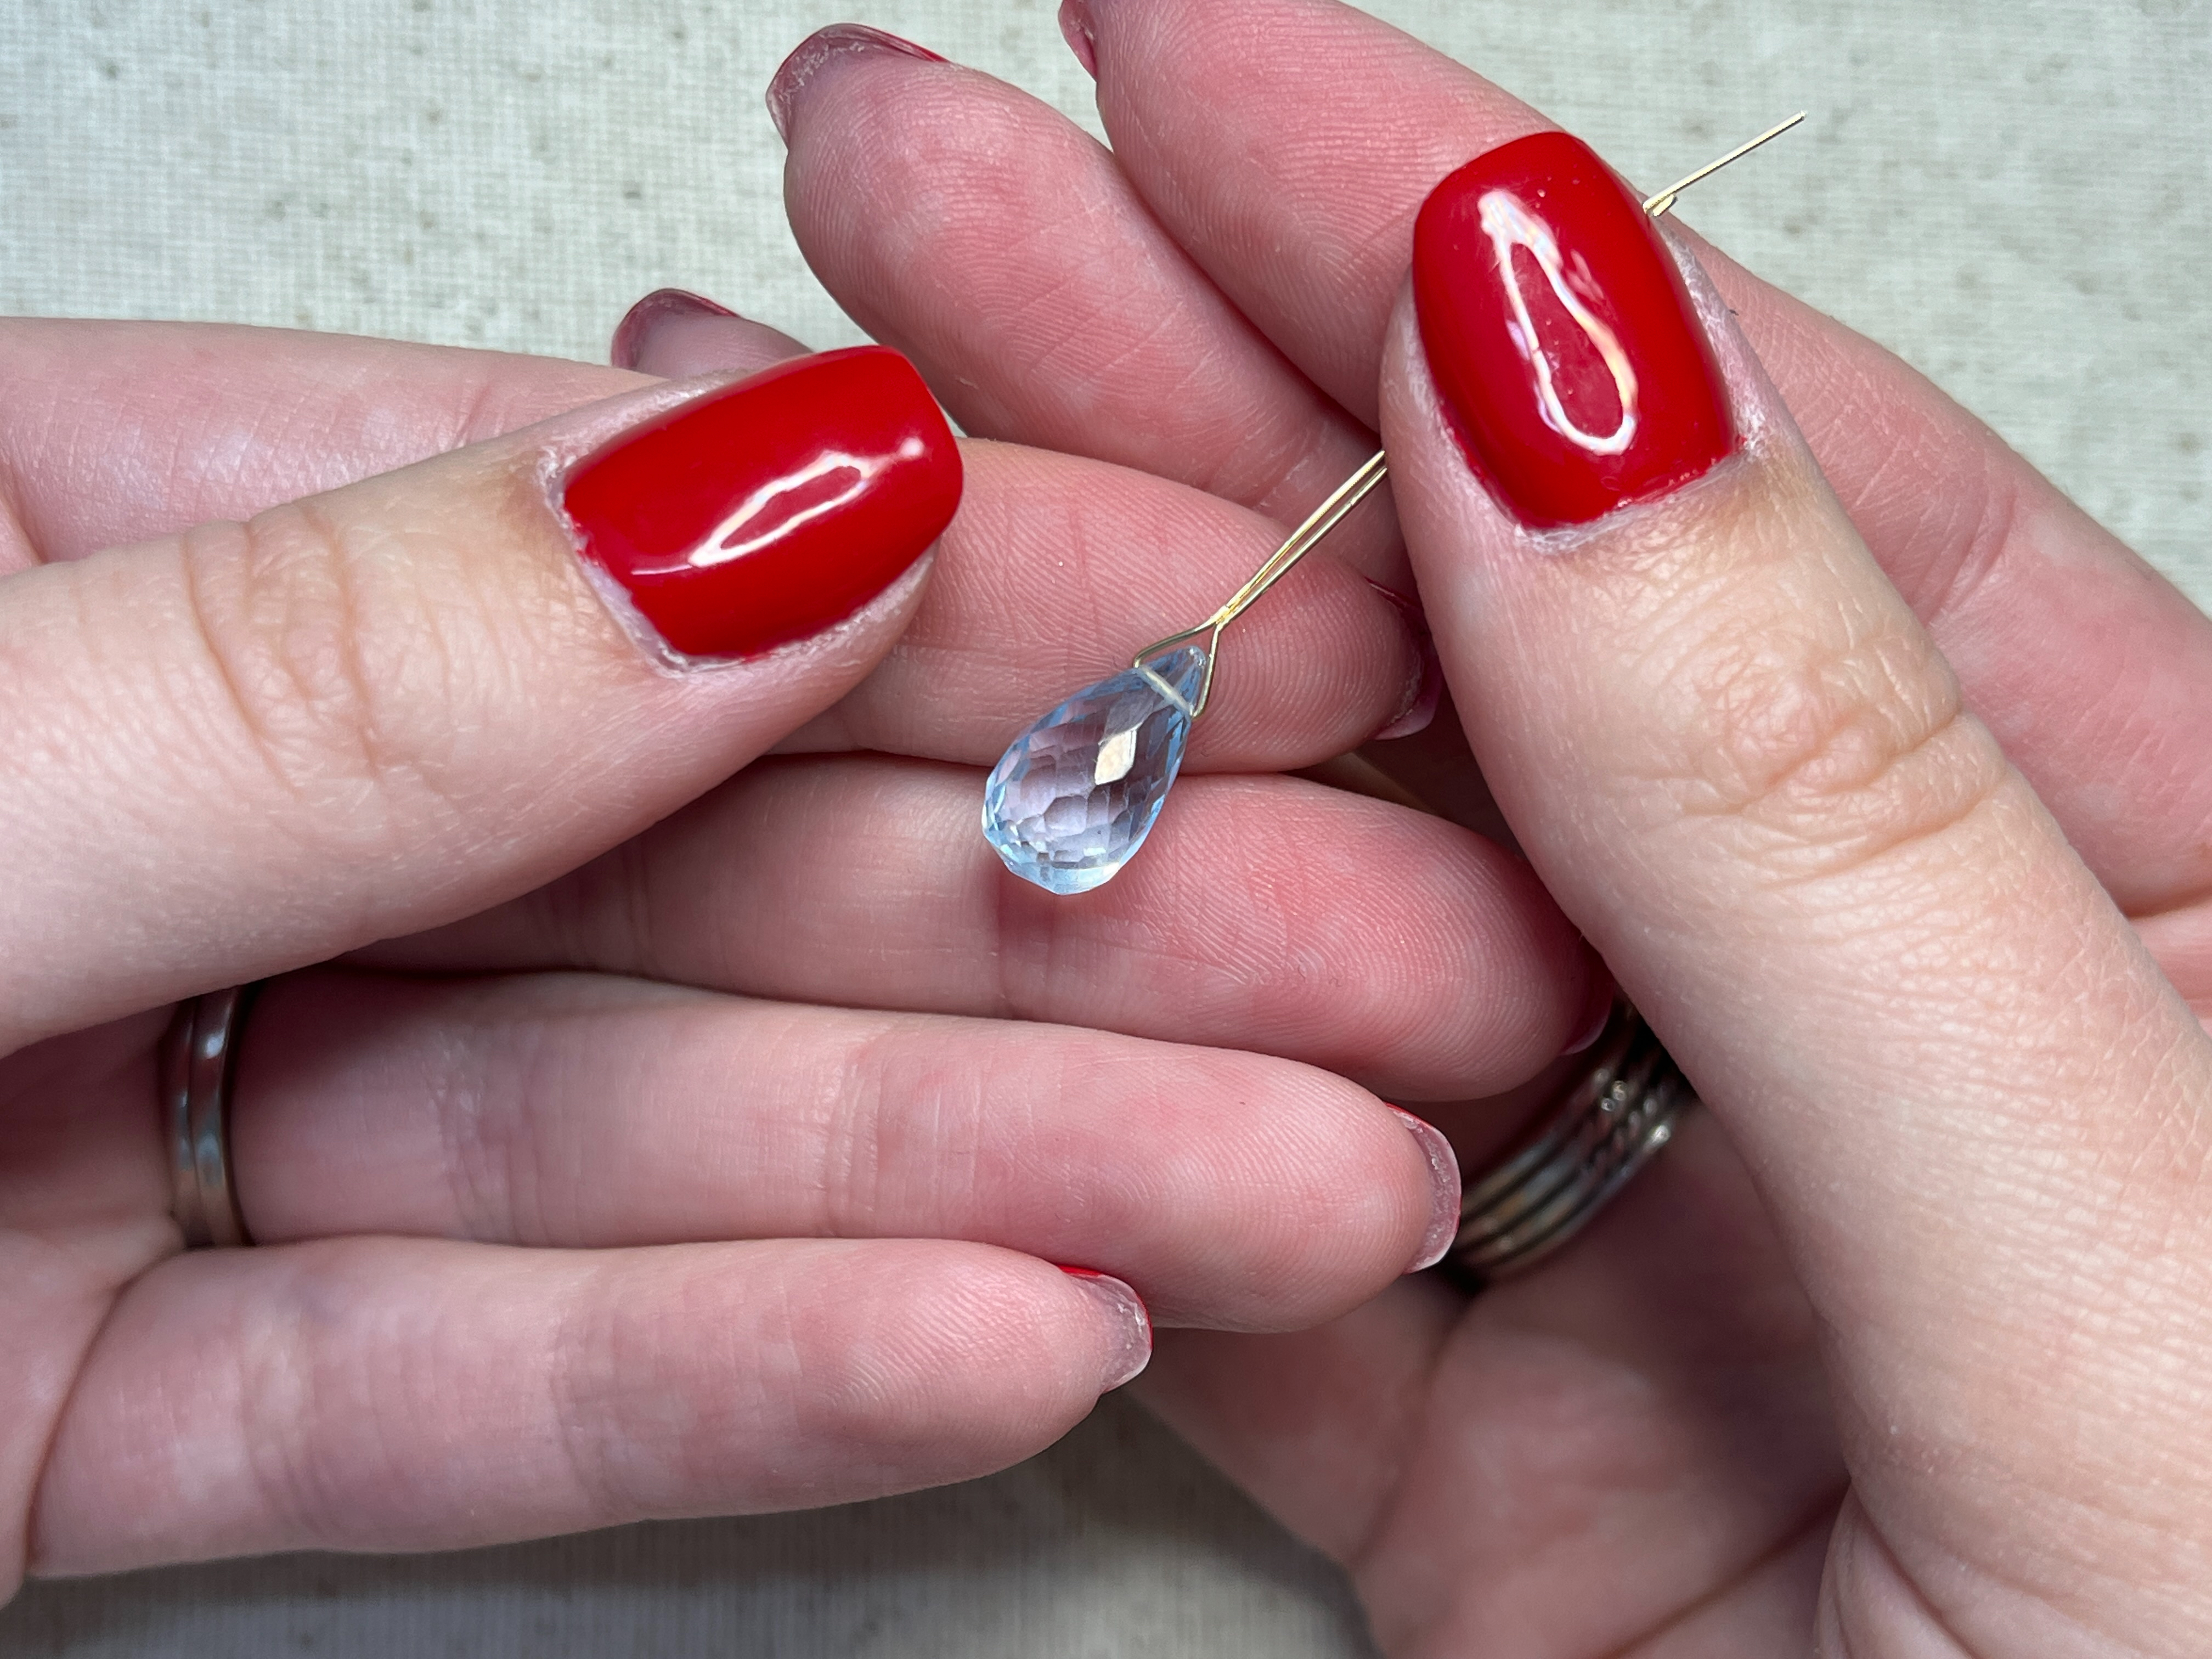
Step 1:
Thread your wire through your bead and place in middle (or 1/3 the way on the wire), when you are more advanced you can use smaller lengths of wire and move closer to the edge of the wire. This will help with not wasting as much wire.
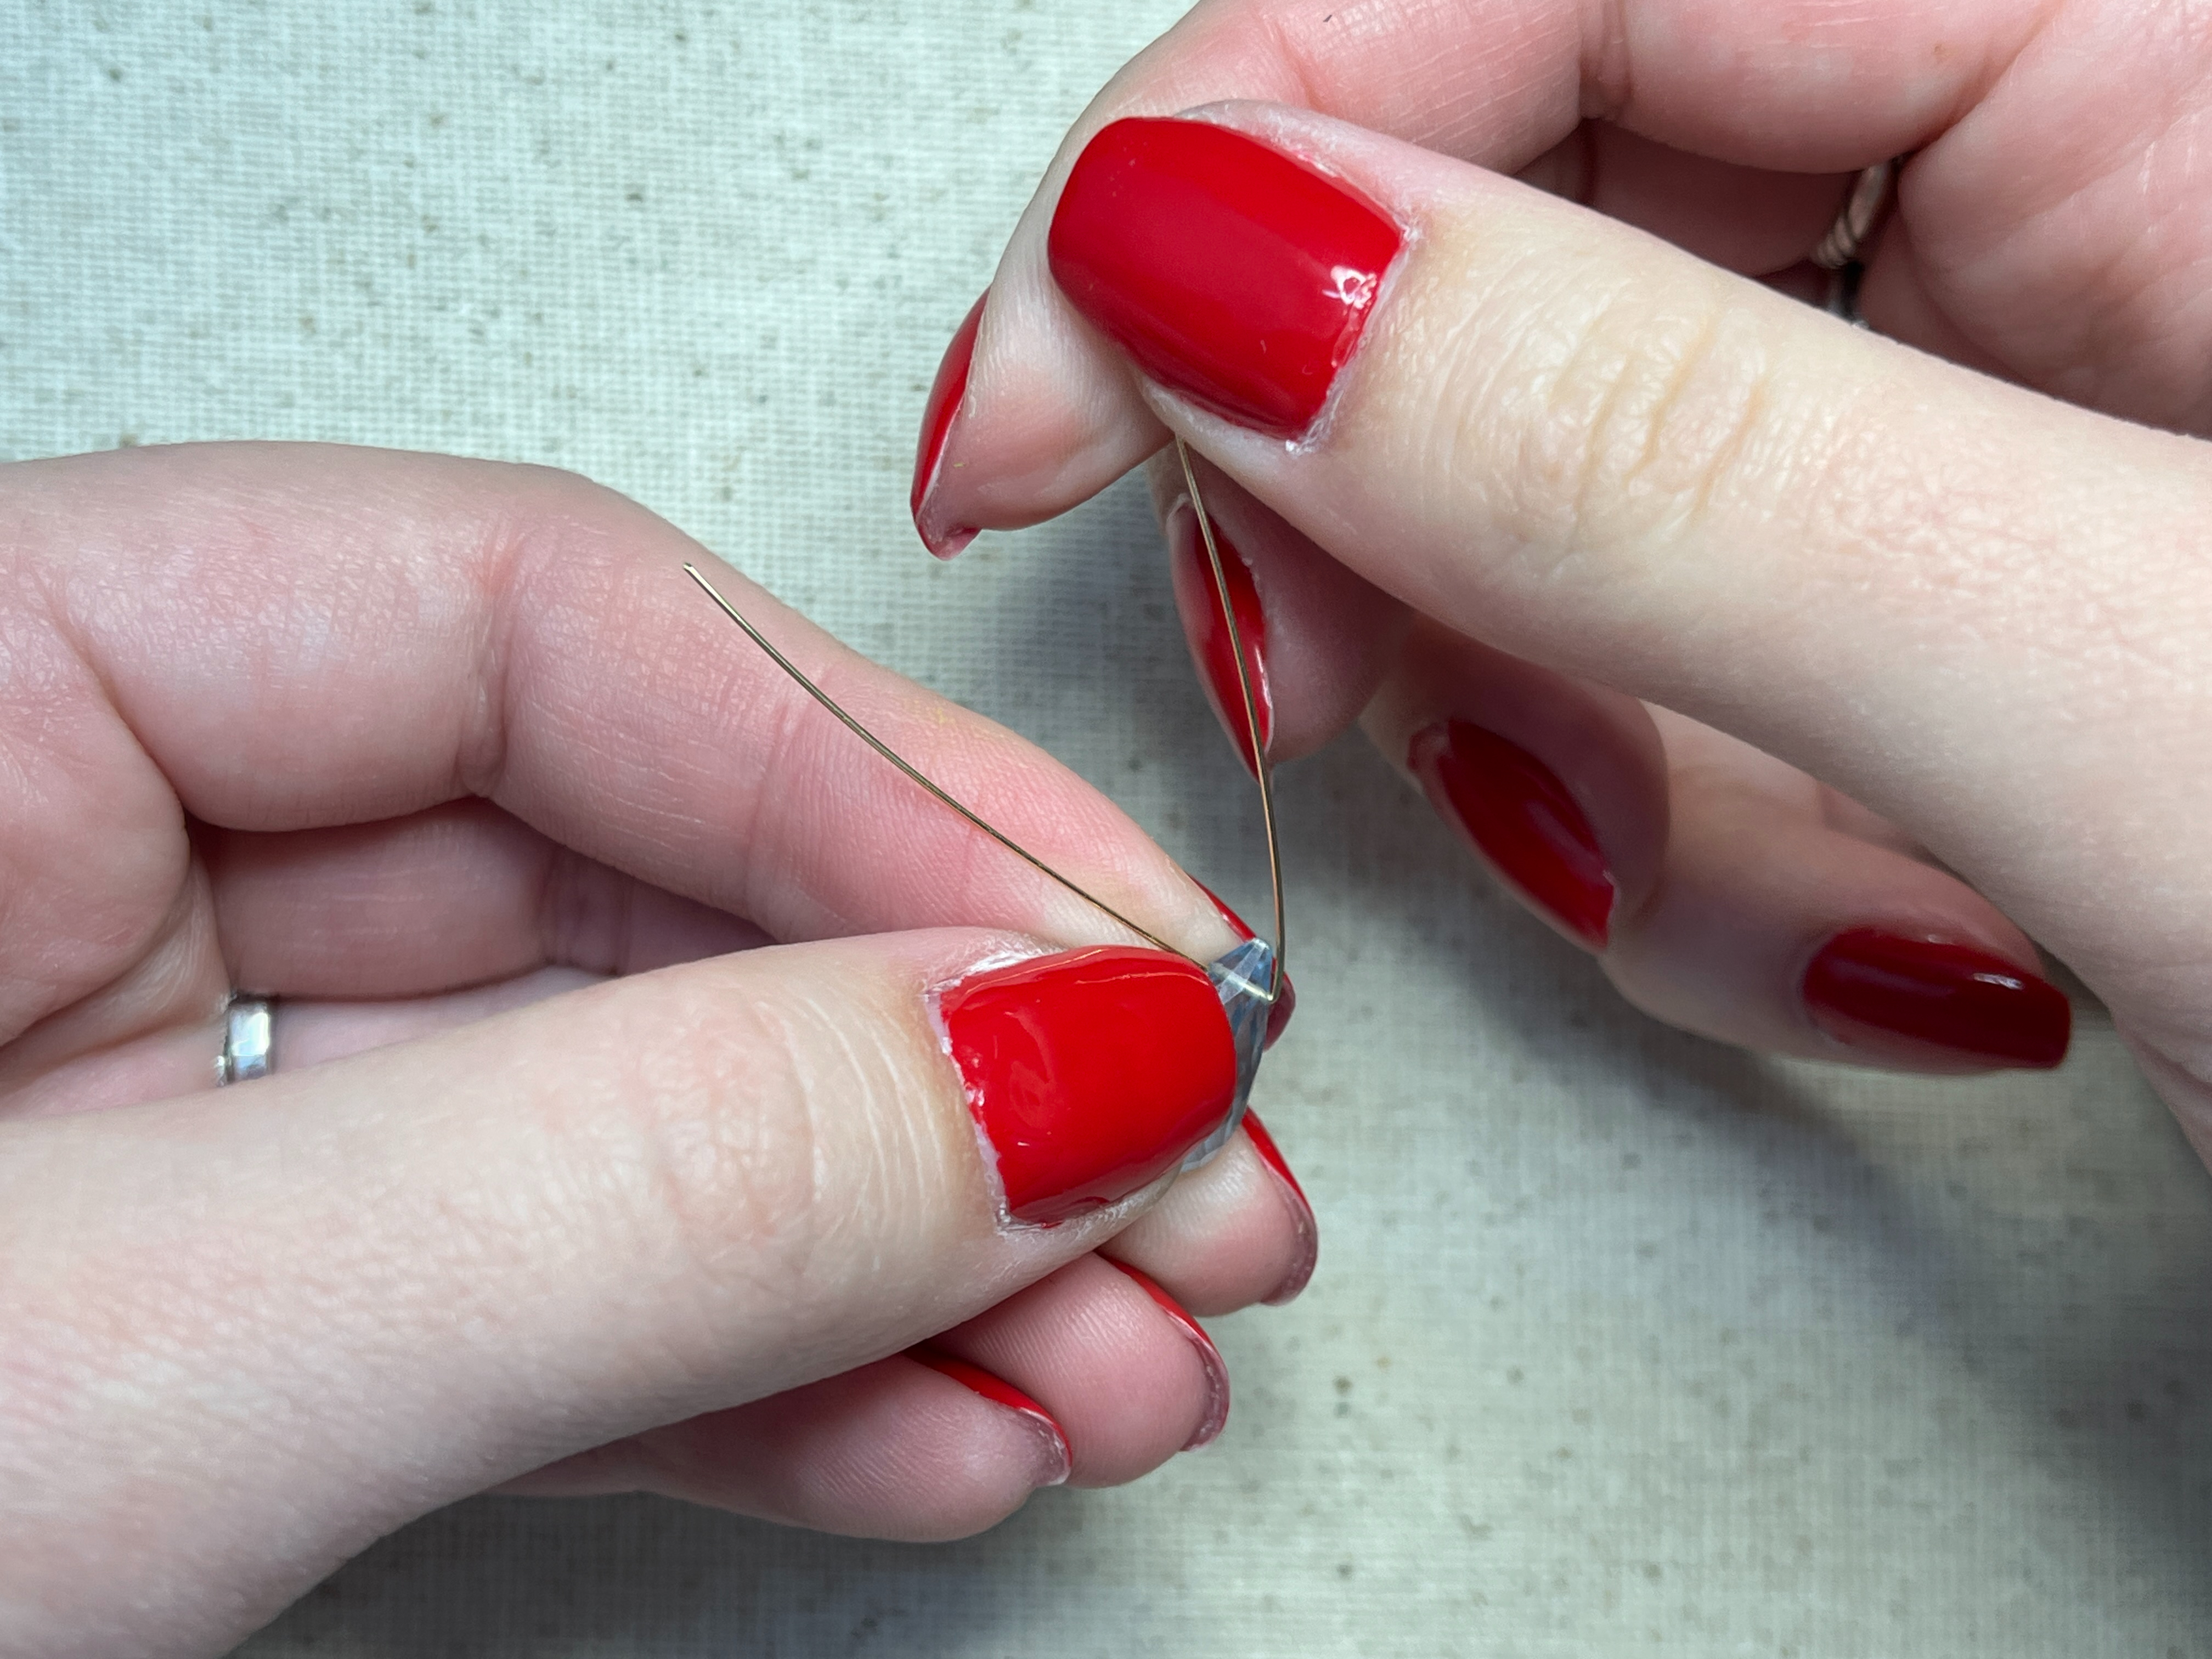
Step 2:
Bend up one end of the wire to create a 45 degree angle. Try your best to keep it uniform with the bead.
Step 3:
Repeat step 2 to the other end of the wire to create a triangle with the wire.
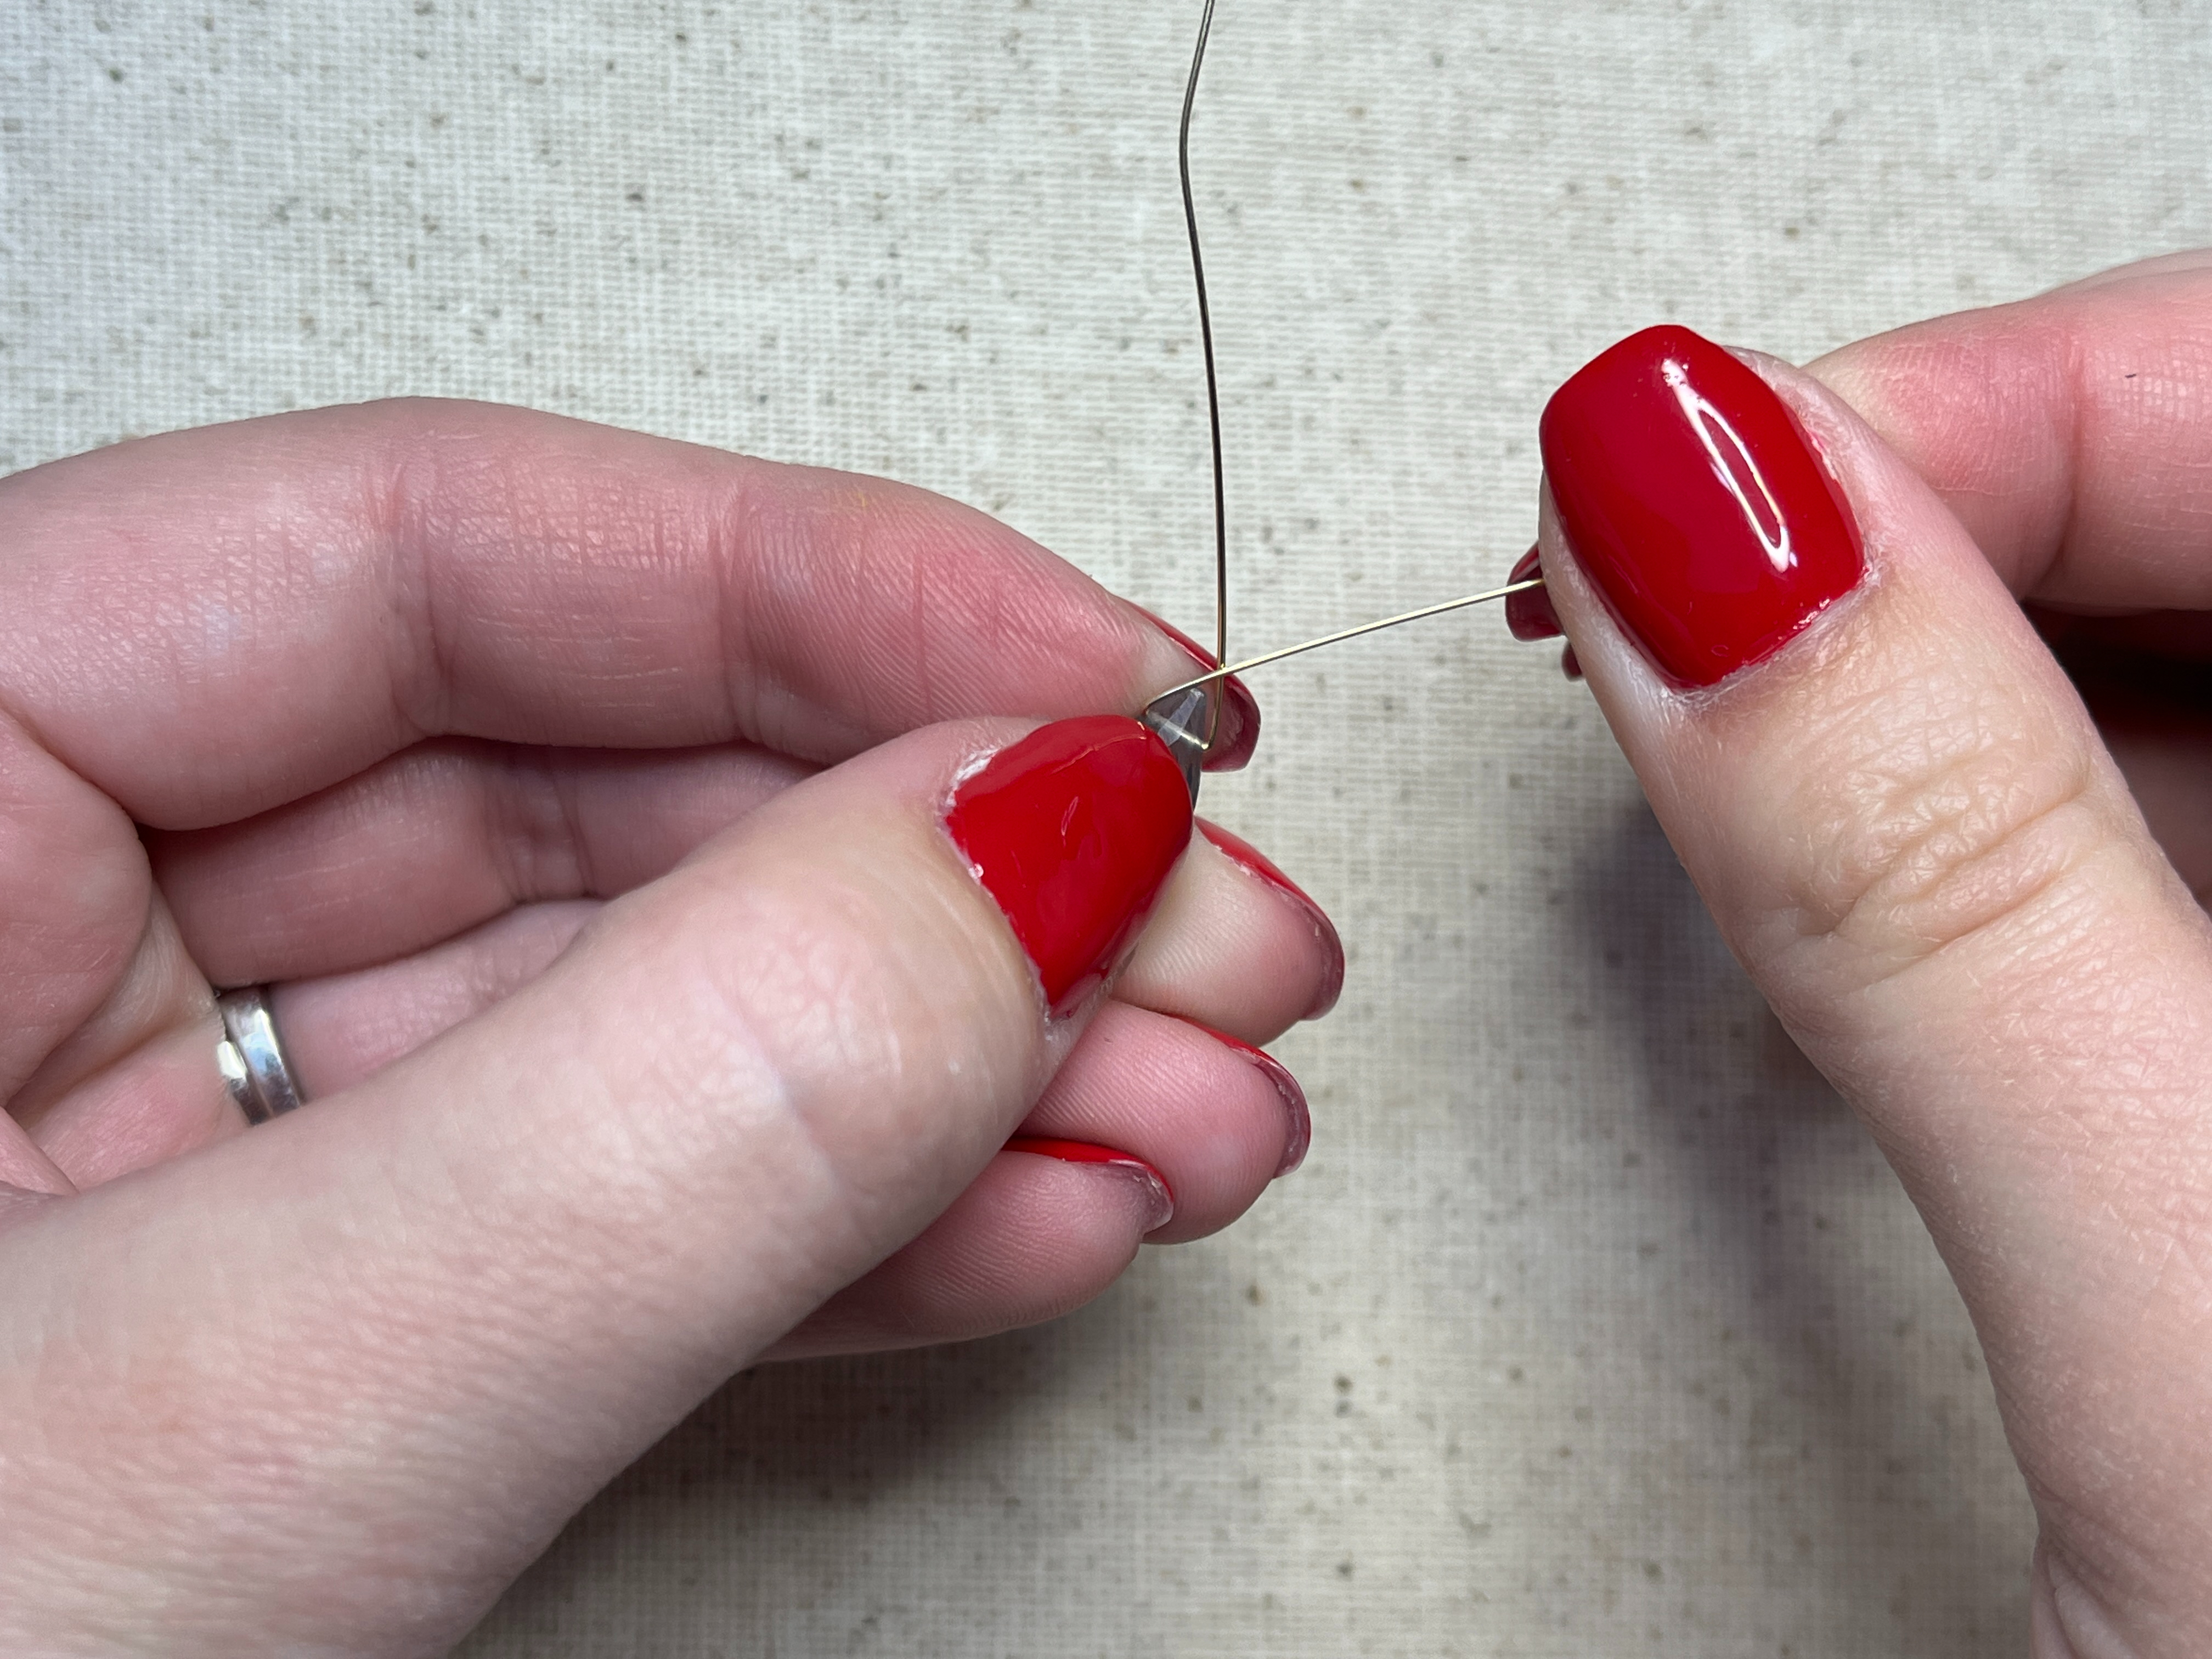
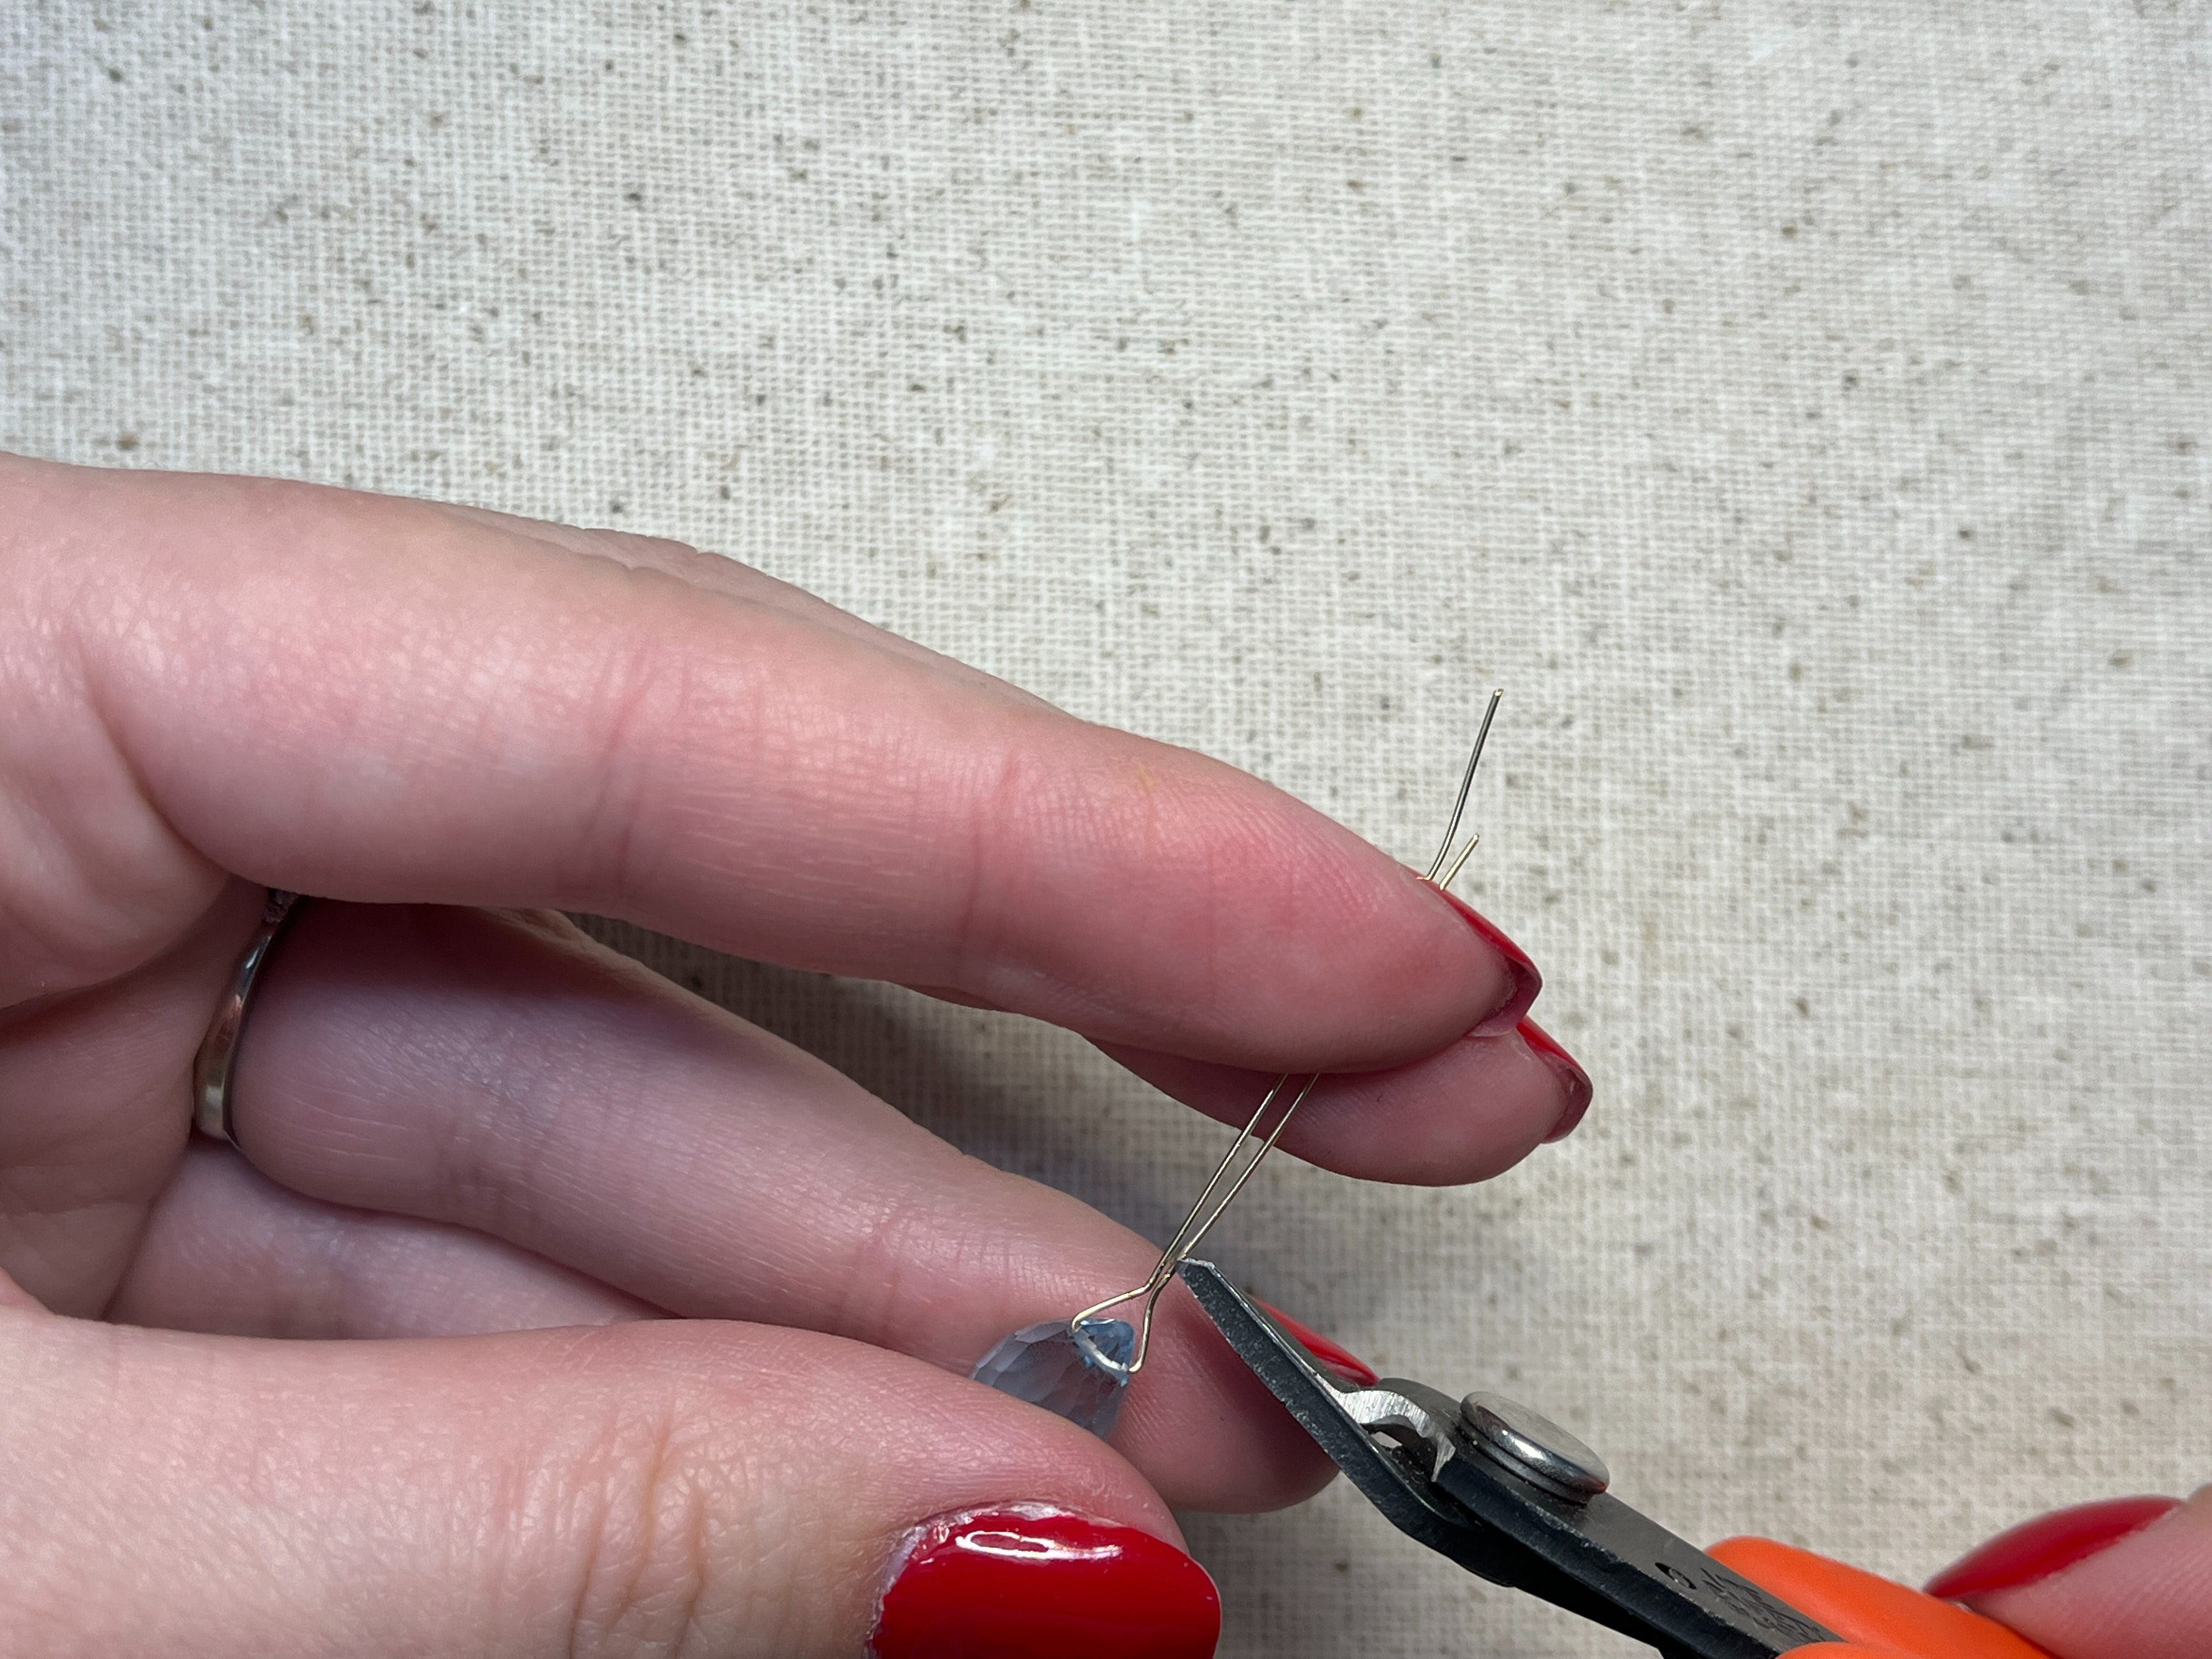
Step 4:
Take your needle nose pliers and make the two wires flush with each other while keeping the triangle intact. This in my opinion is the trickiest part of this wire wrap, so don't feel bad if you have to start over and try again a few times to get it right.
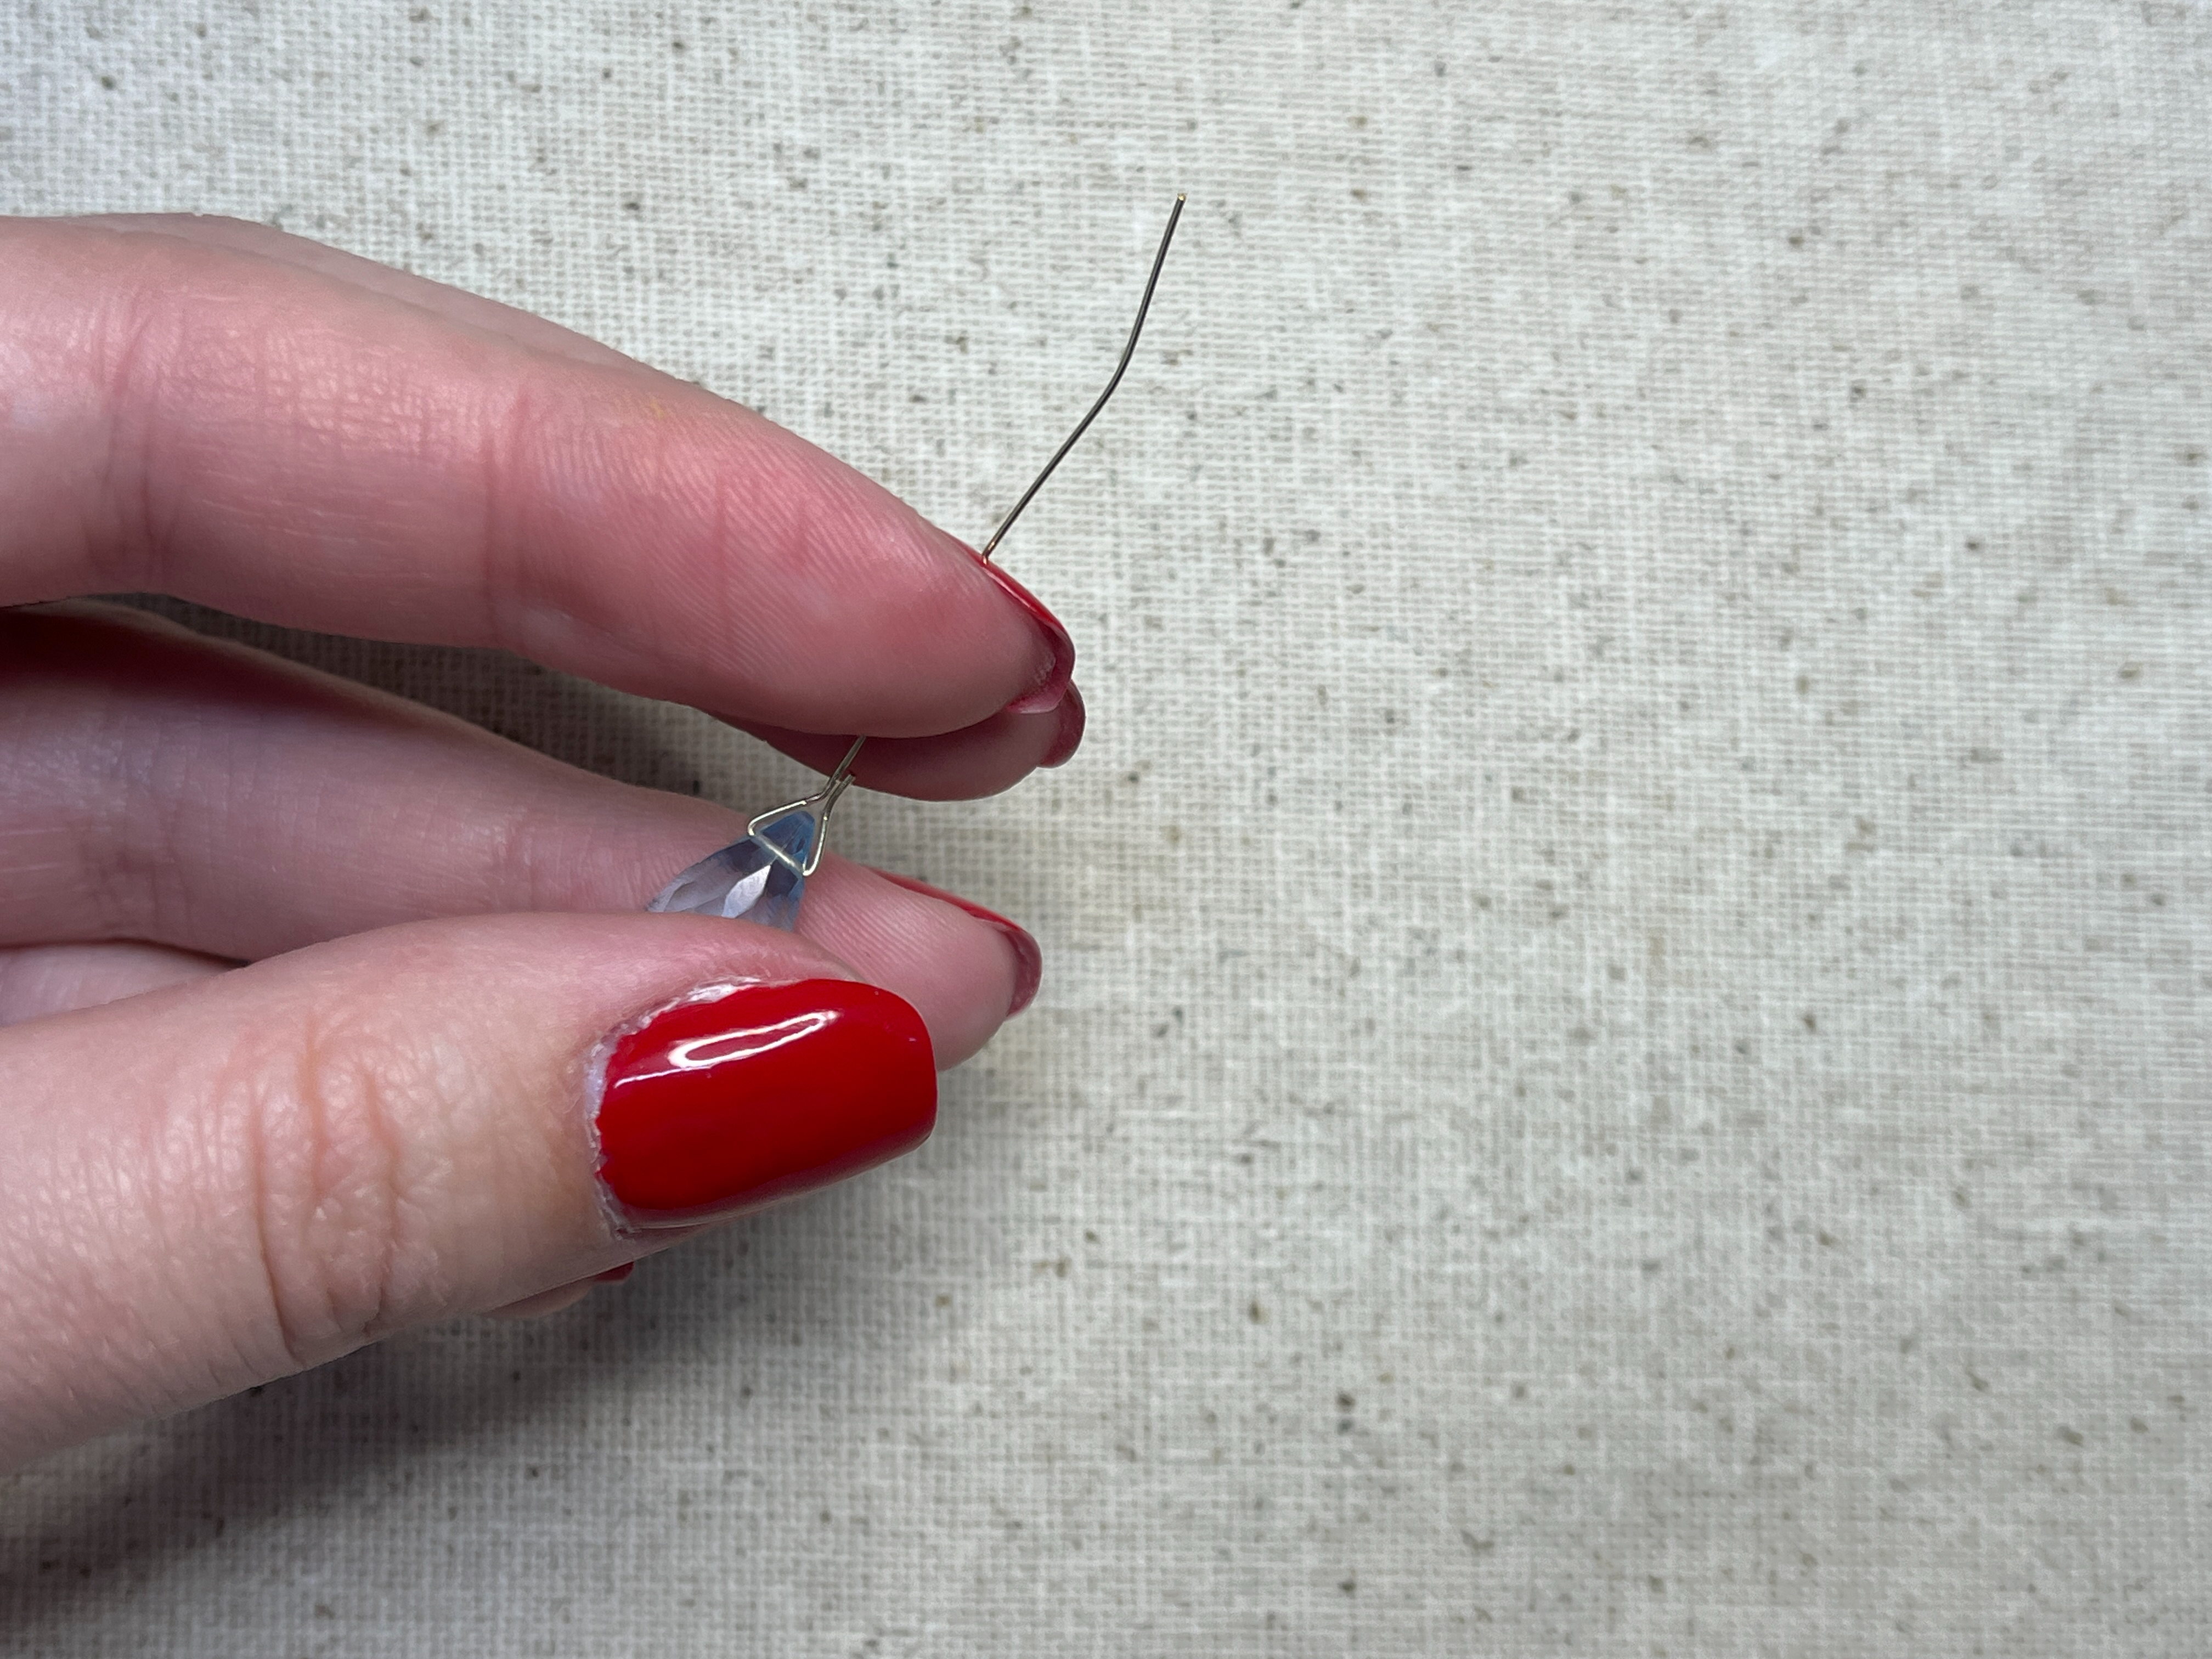
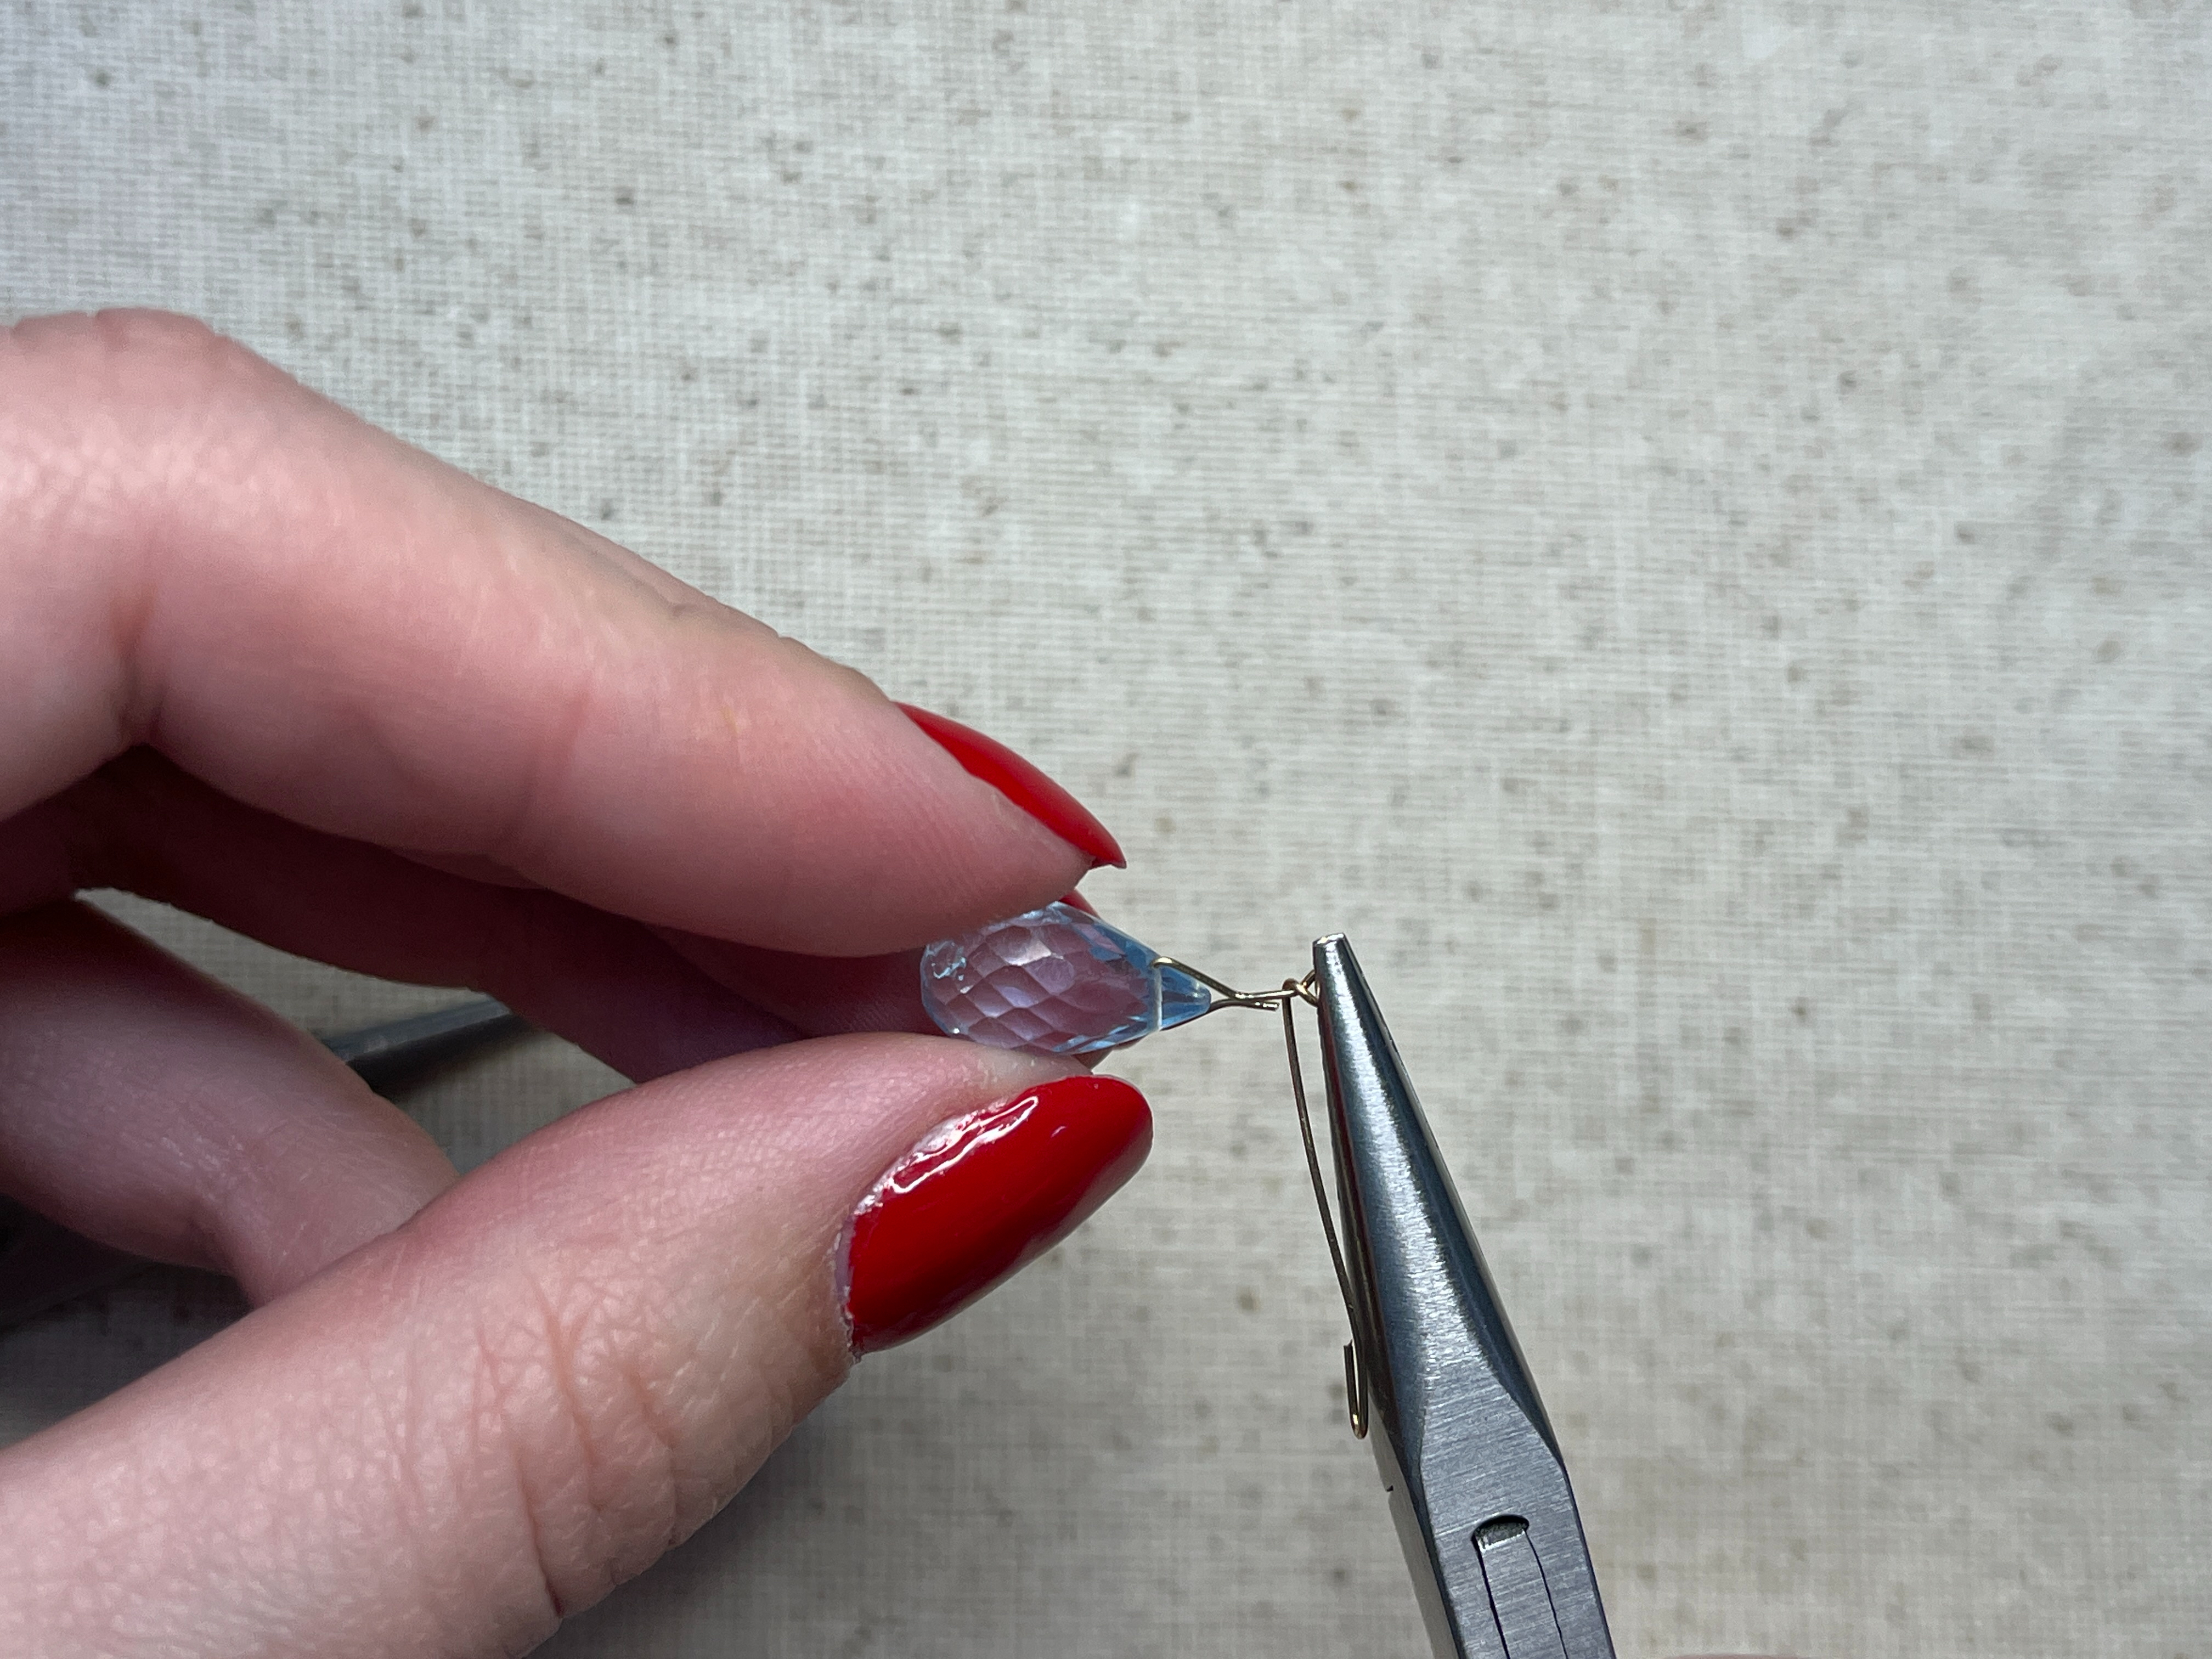
Step 5:
It should look like this after completing step 5.
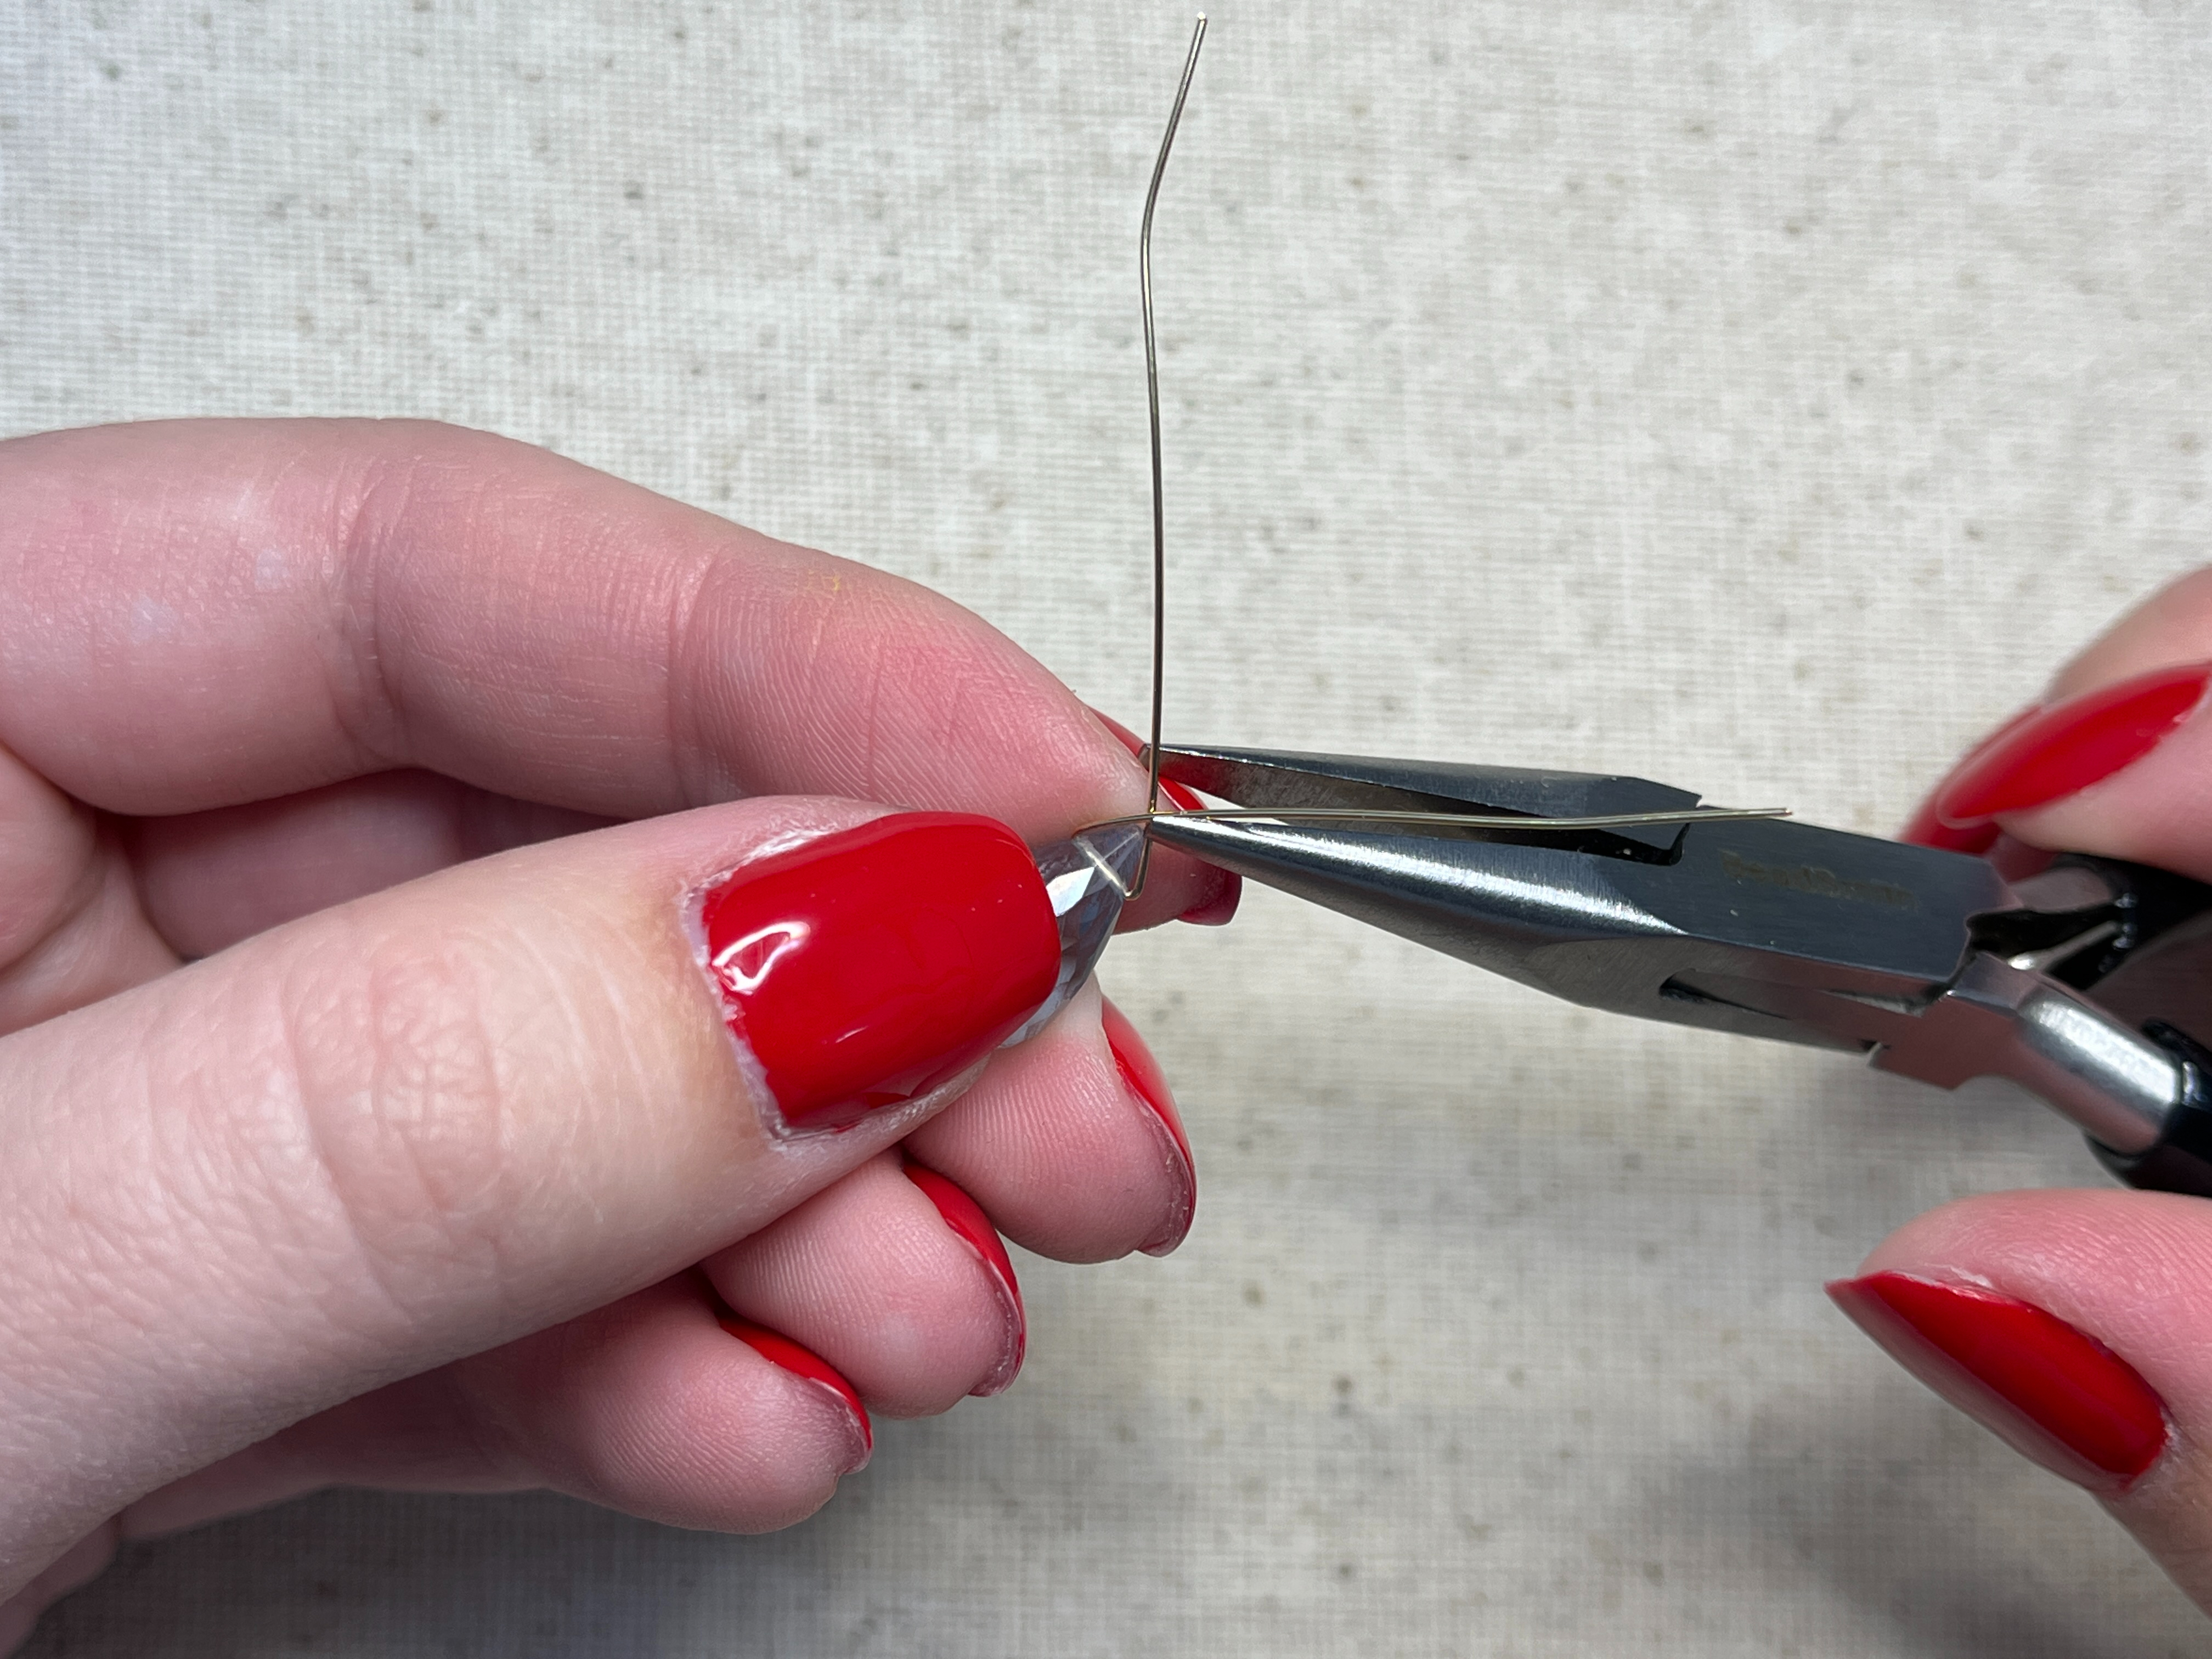
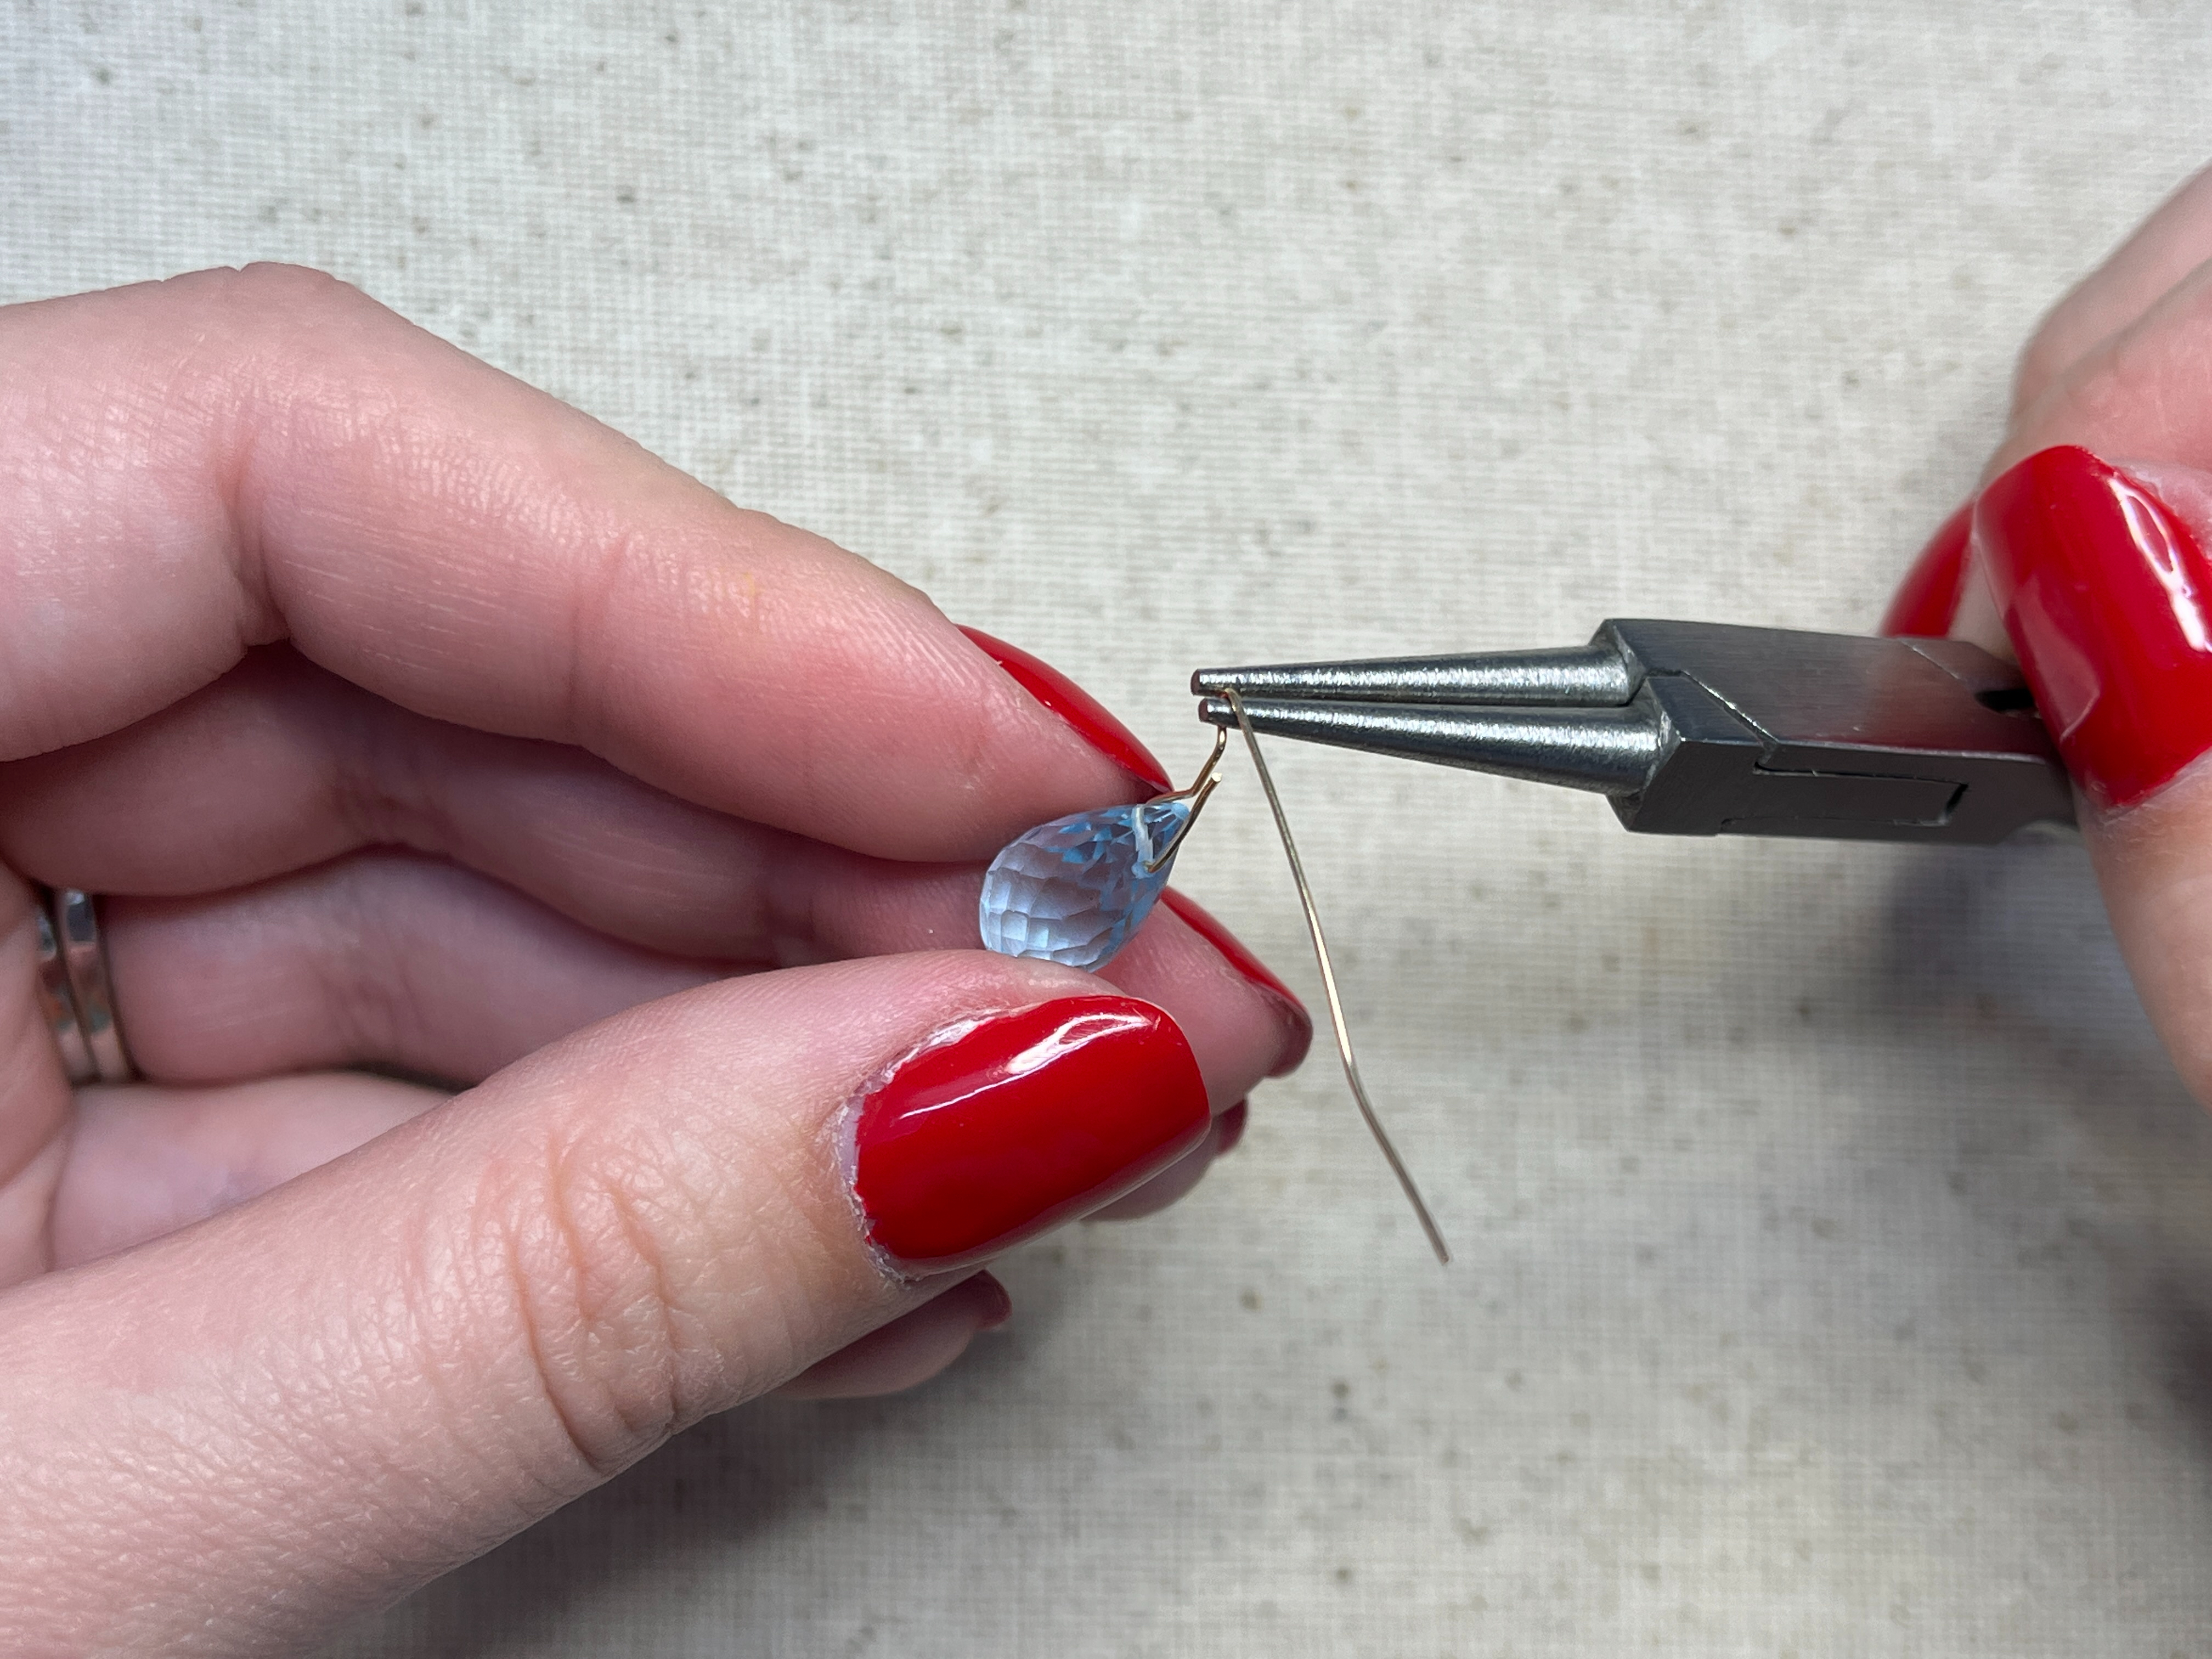
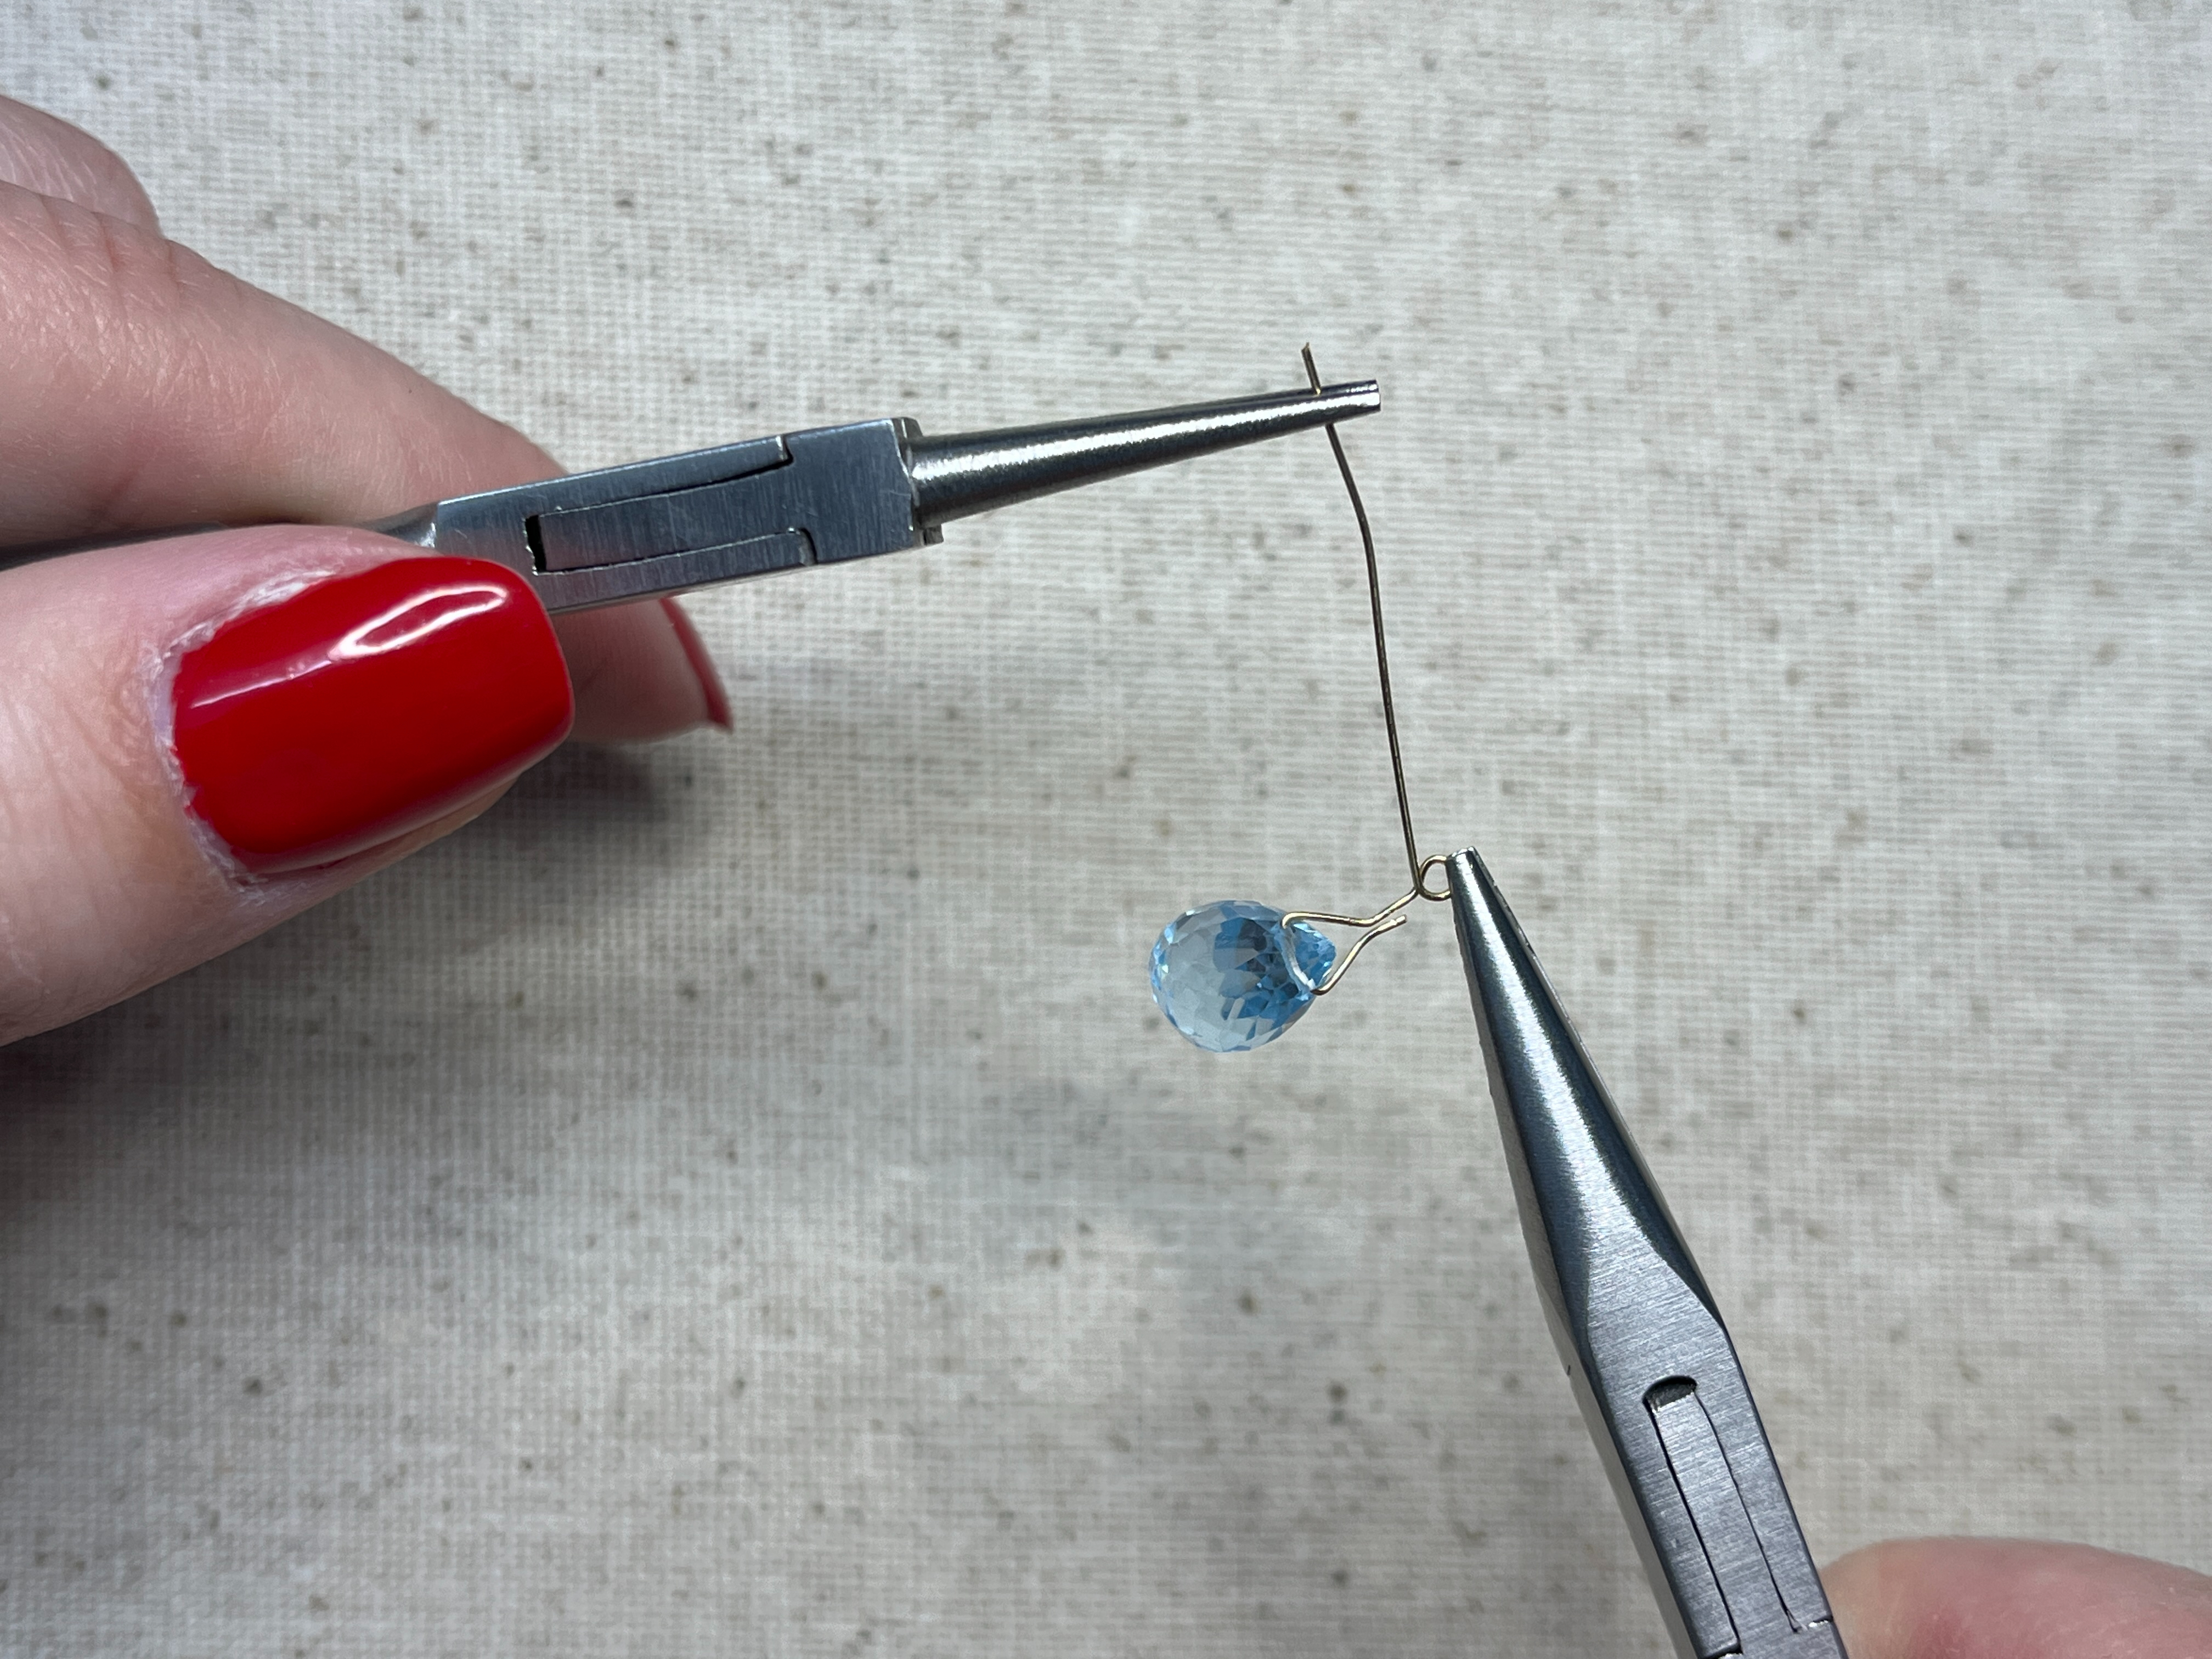
Step 6:
Cut one side of the loop for however long you want the wire wrap to be. Where you cut will be the base of your loop.
Once you get the hang of creating wire wraps like this, you won't need as much wire as the picture shows and you will end up cutting the shorter strand.
Step 7:
After cutting one of the wire strands, it will look like this.

Step 8:
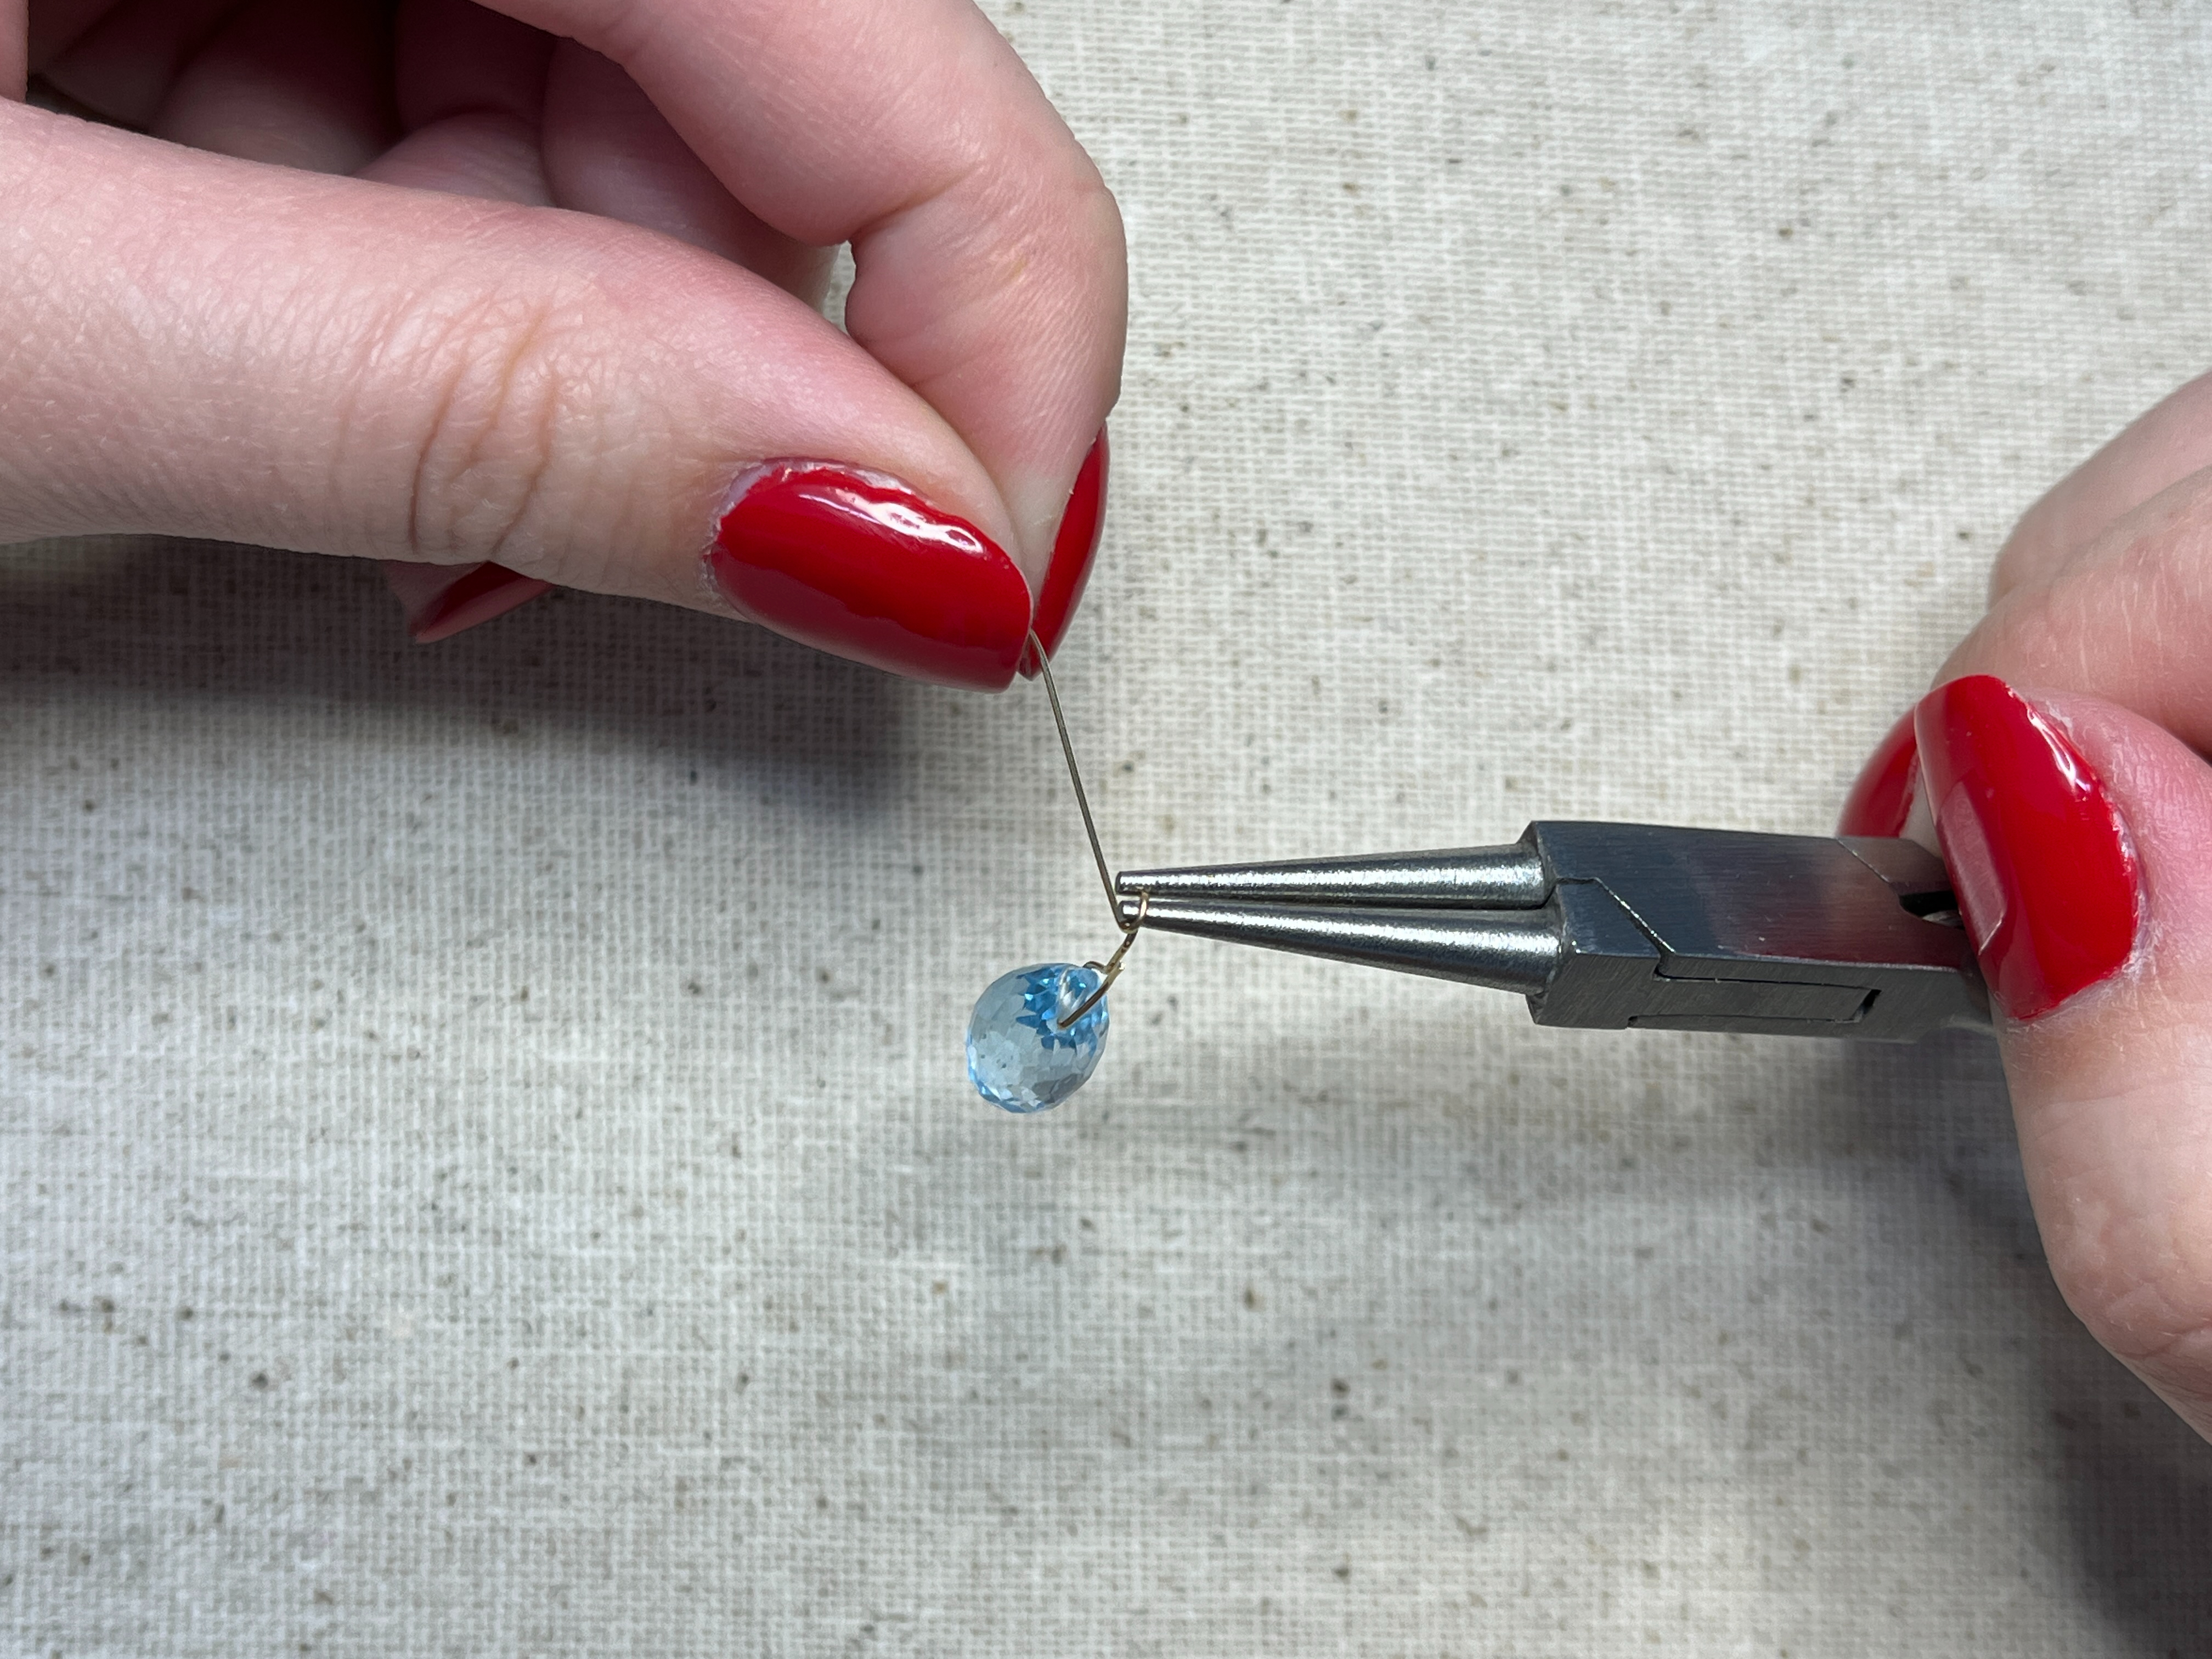
Take the longer wire and bend back over your round nose pliers. Keeping parallel with the bead's hole.
Step 9:
Holding on the other side, bend the loop back over the round nose pliers to create a hook.
Step 10:
Loop under the round nose pliers, creating the loop.
Step 11:
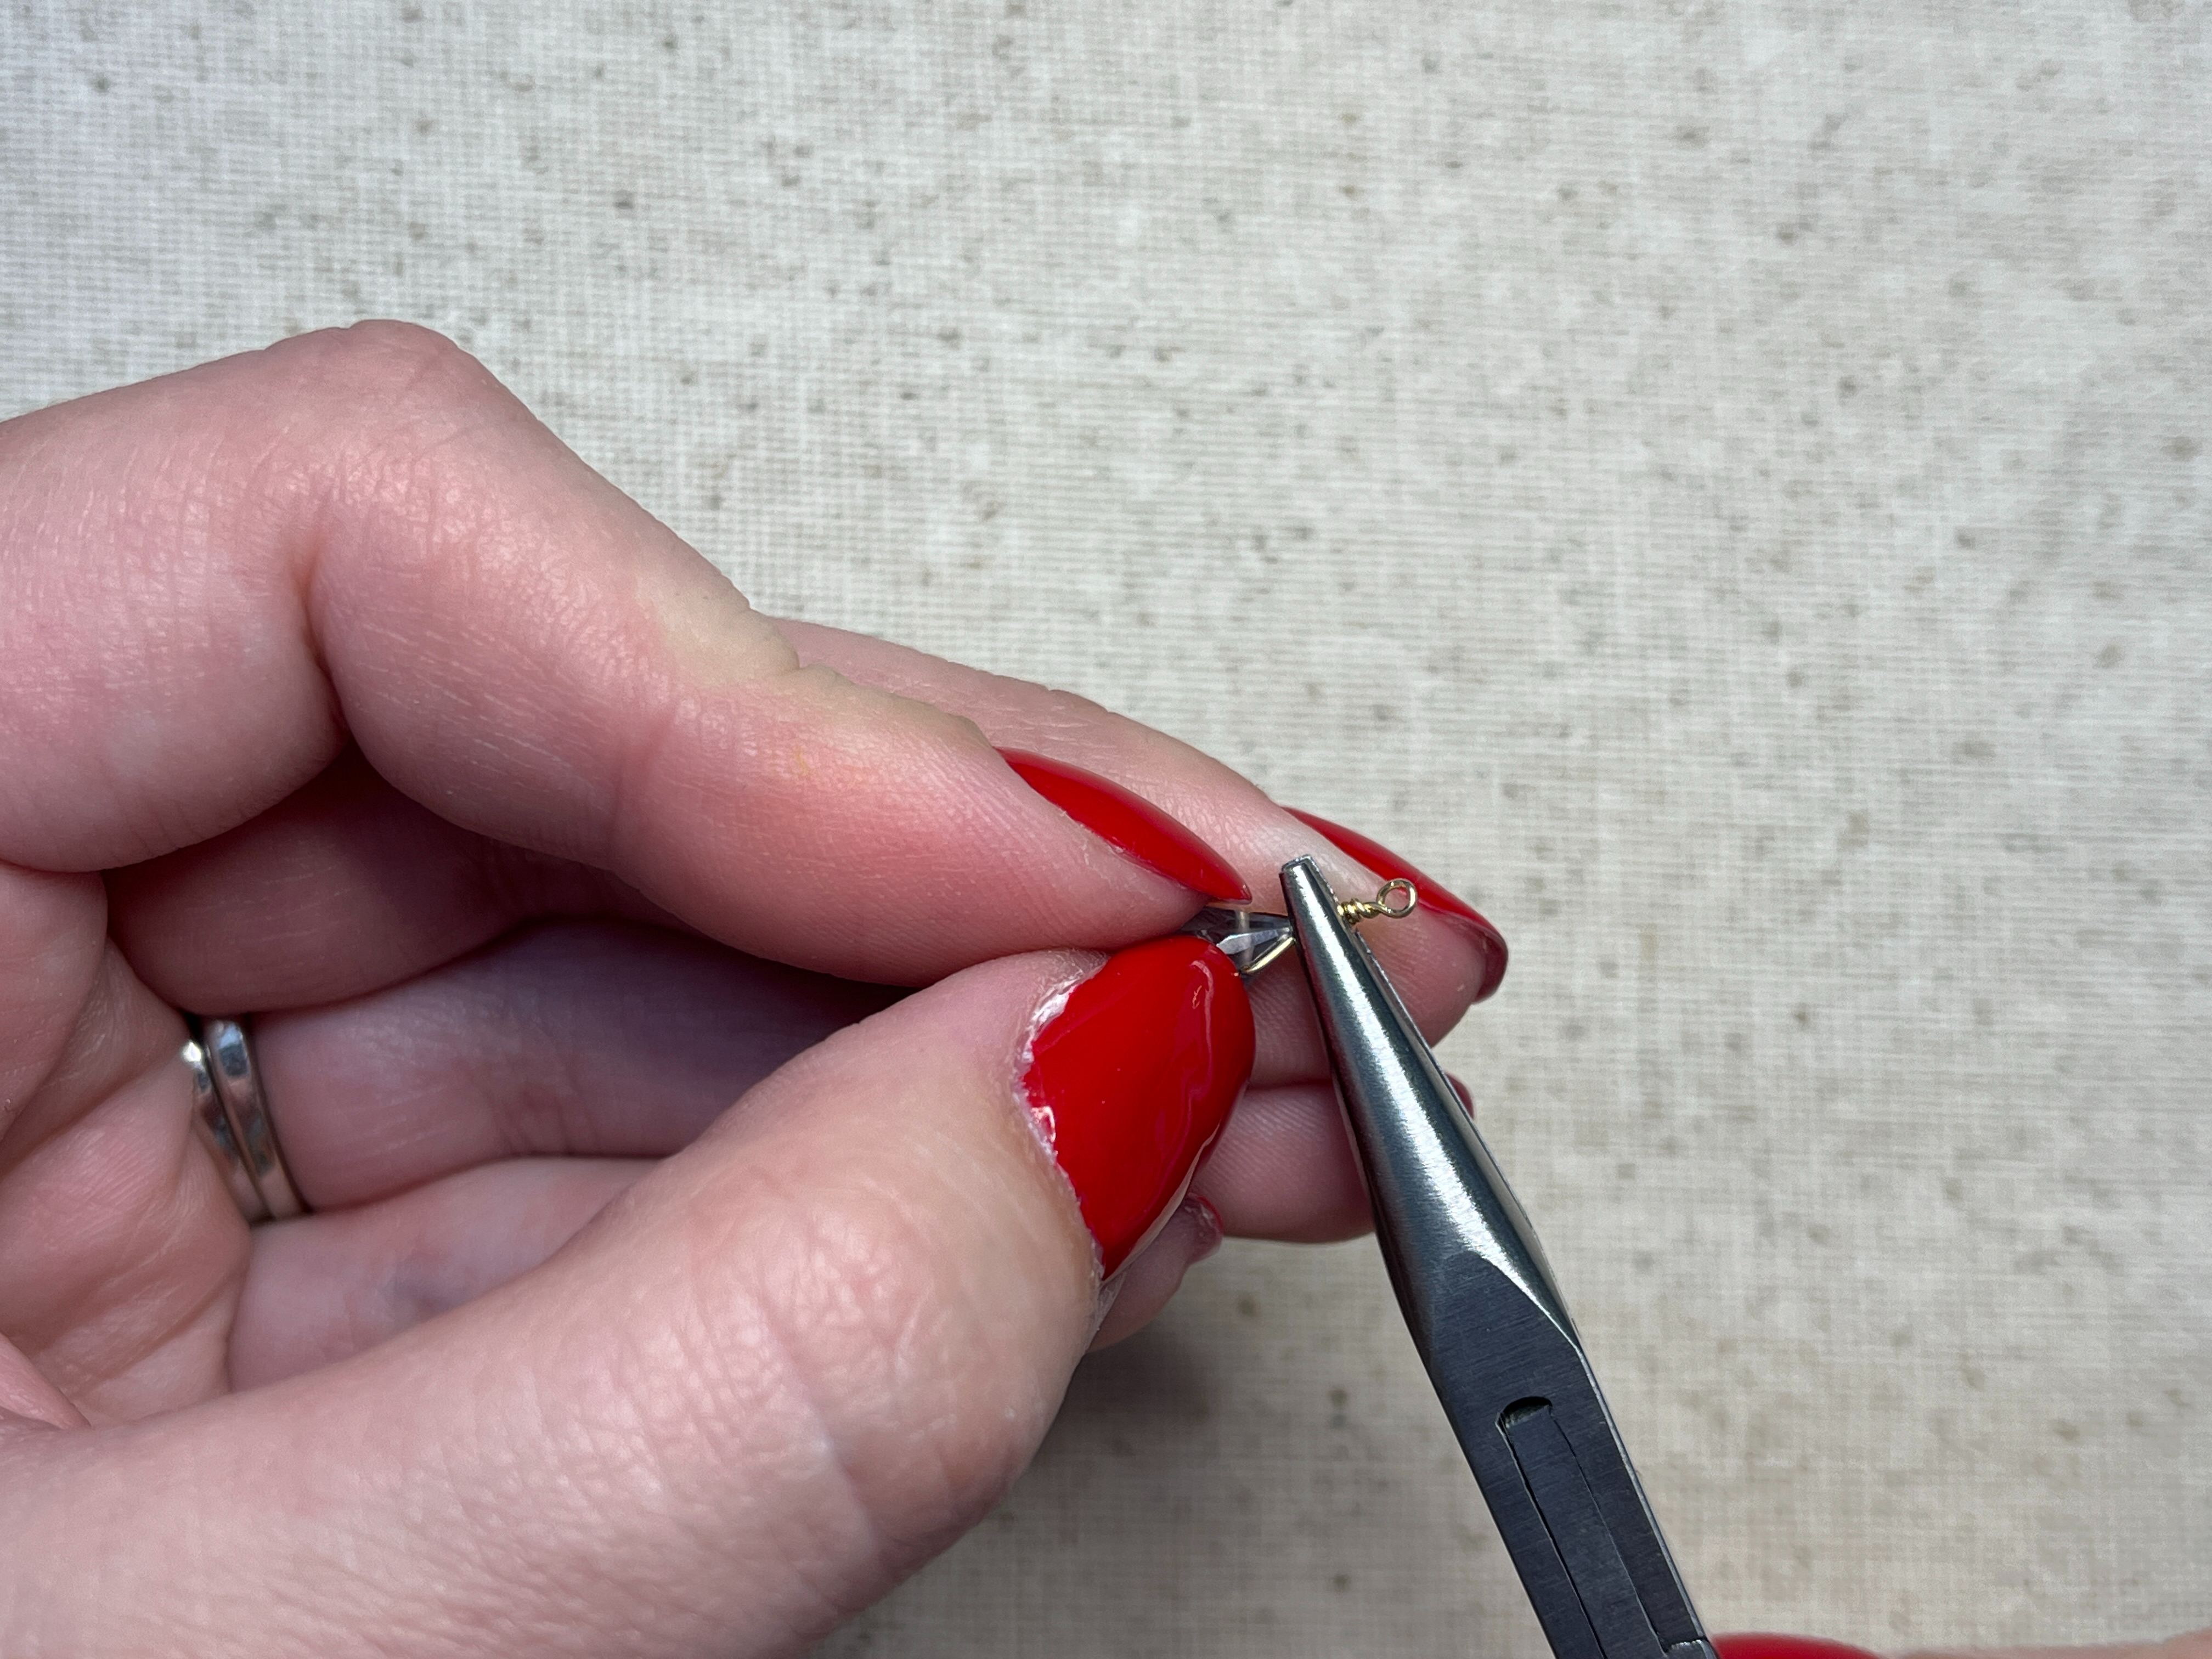
Straighten out your loop using the needle nose pliers. This is when you can adjust the size of the loop if you would like it just a tad smaller - you can do this by gently holding the loop with your needle nose pliers and then pulling gently with your round nose pliers.
Step 12:
Start wrapping! While holding the loop firmly with the chain nose pliers in your right hand, use your round nose pliers in your left hand to pull the wire around in 180 degree motions. Adjusting as you go to keep it tight.
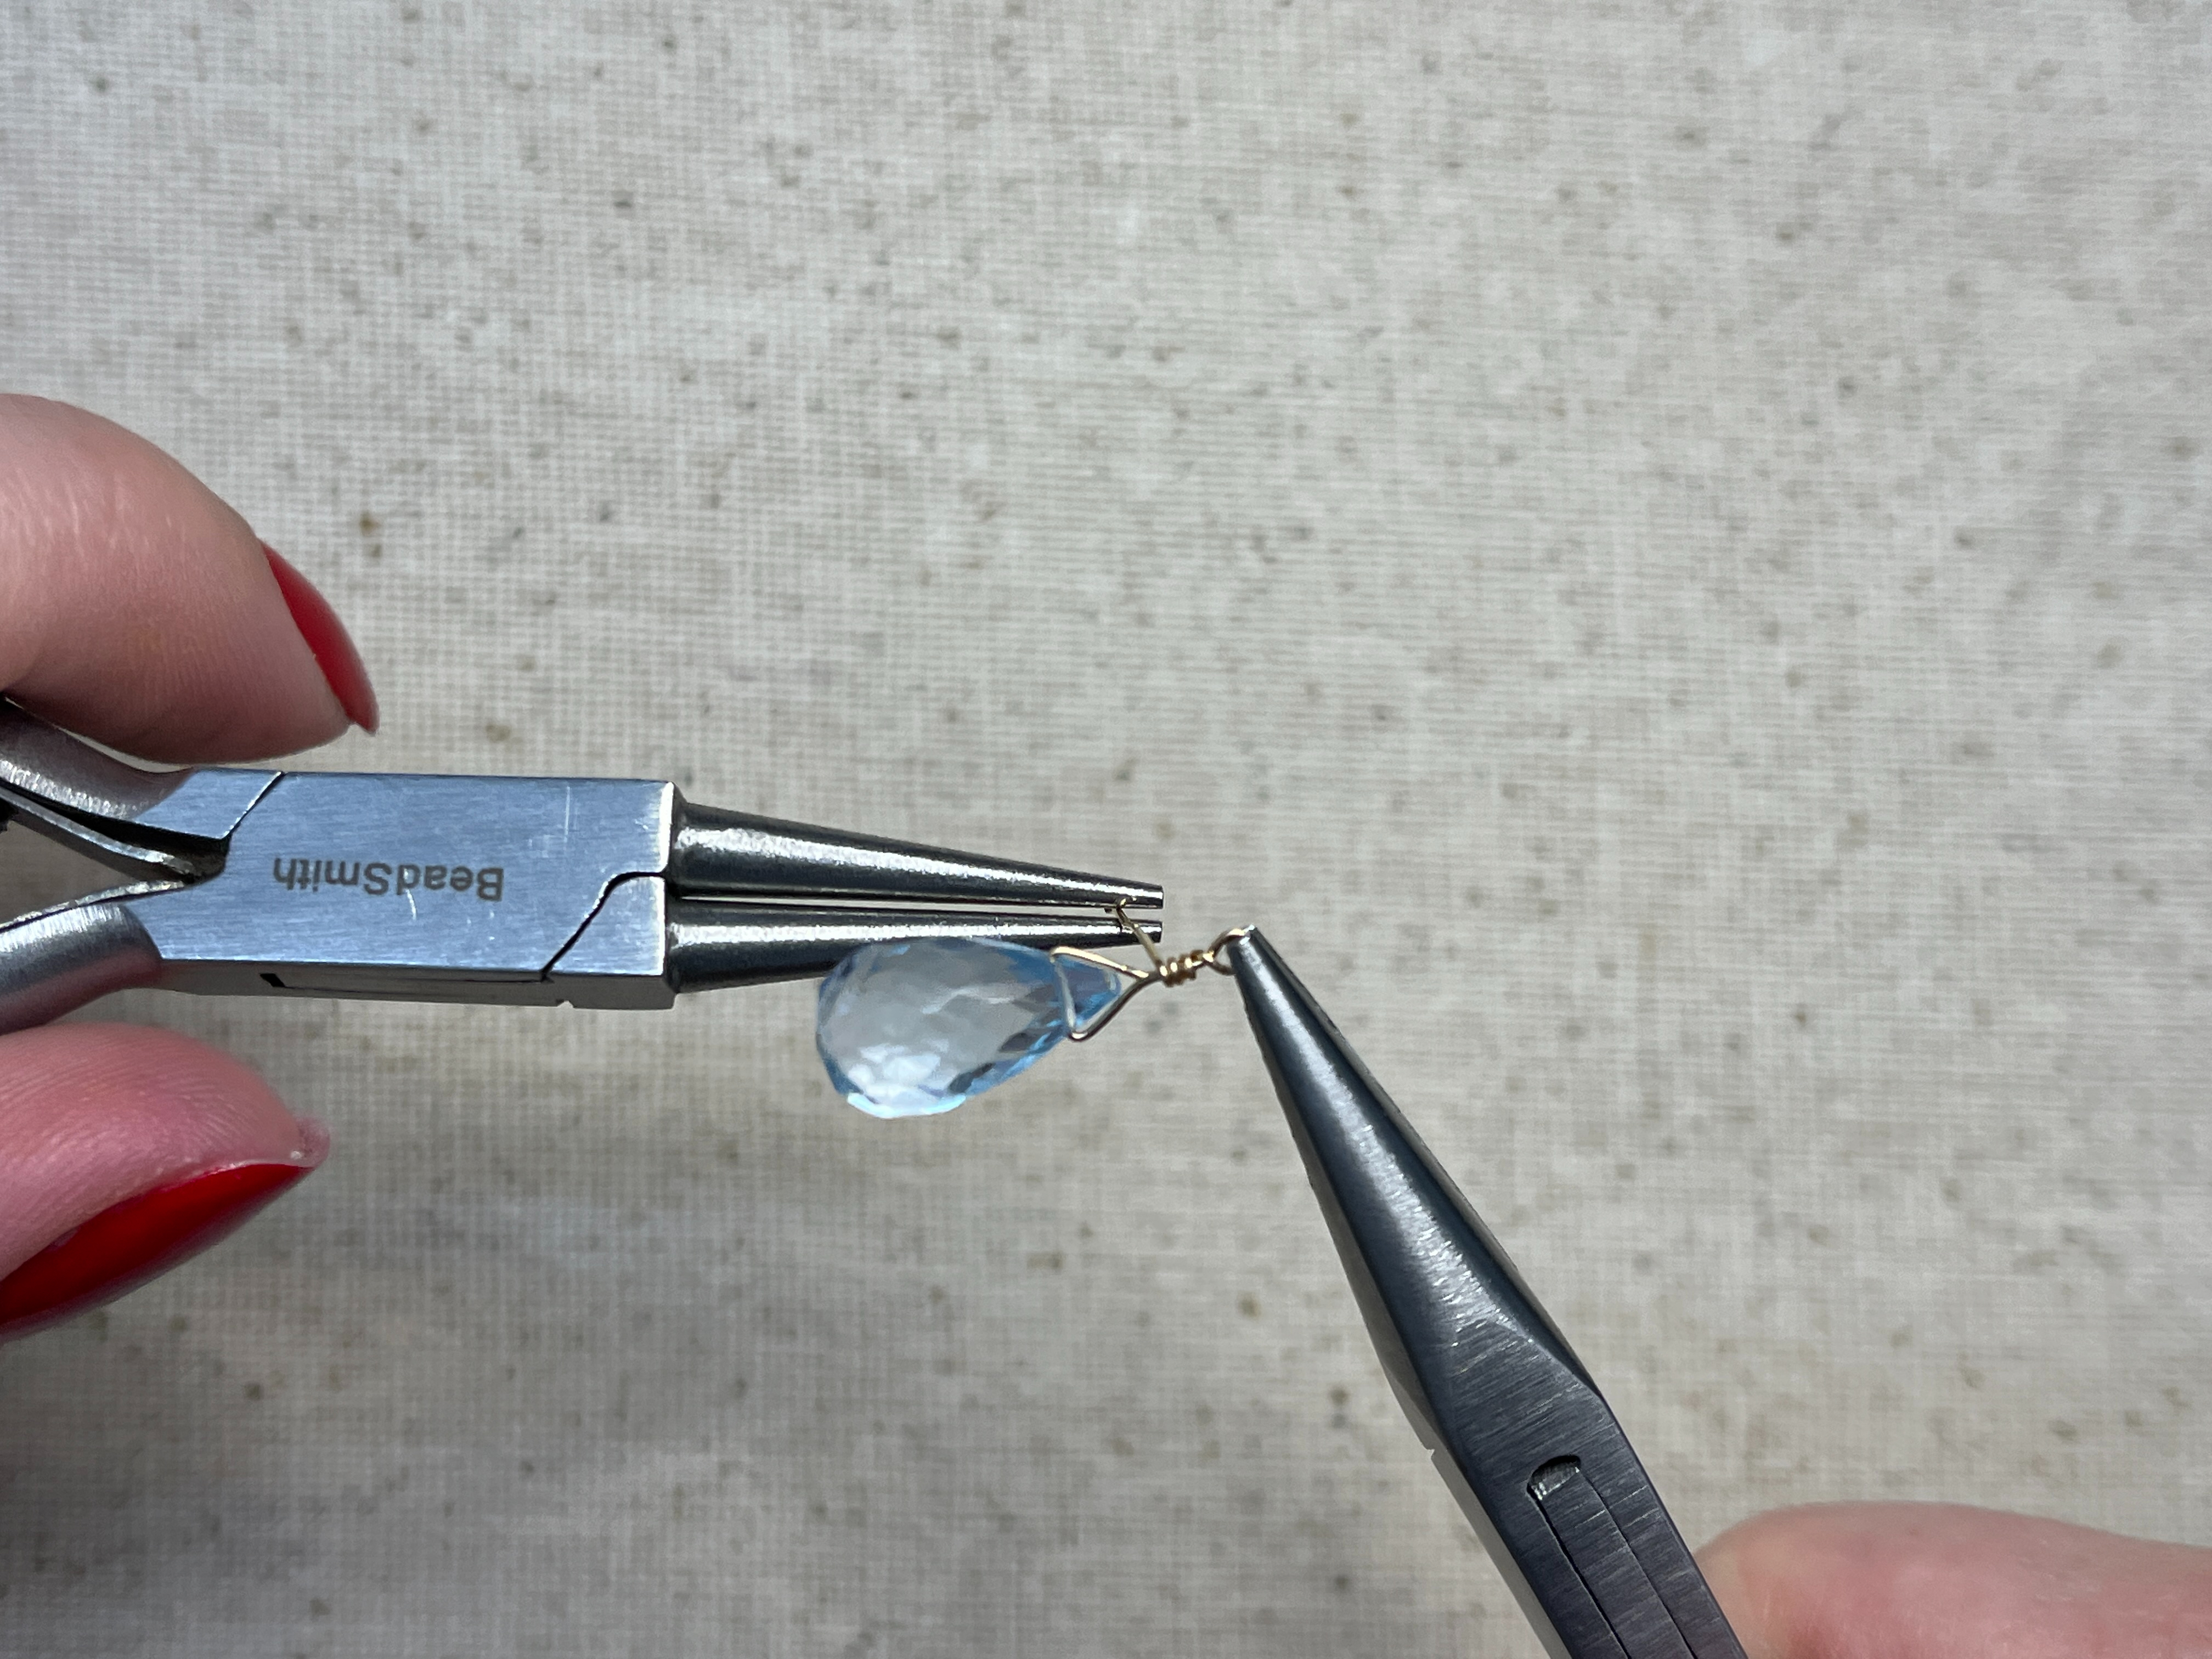
Step 13:
Finish wrapping.
Step 14:
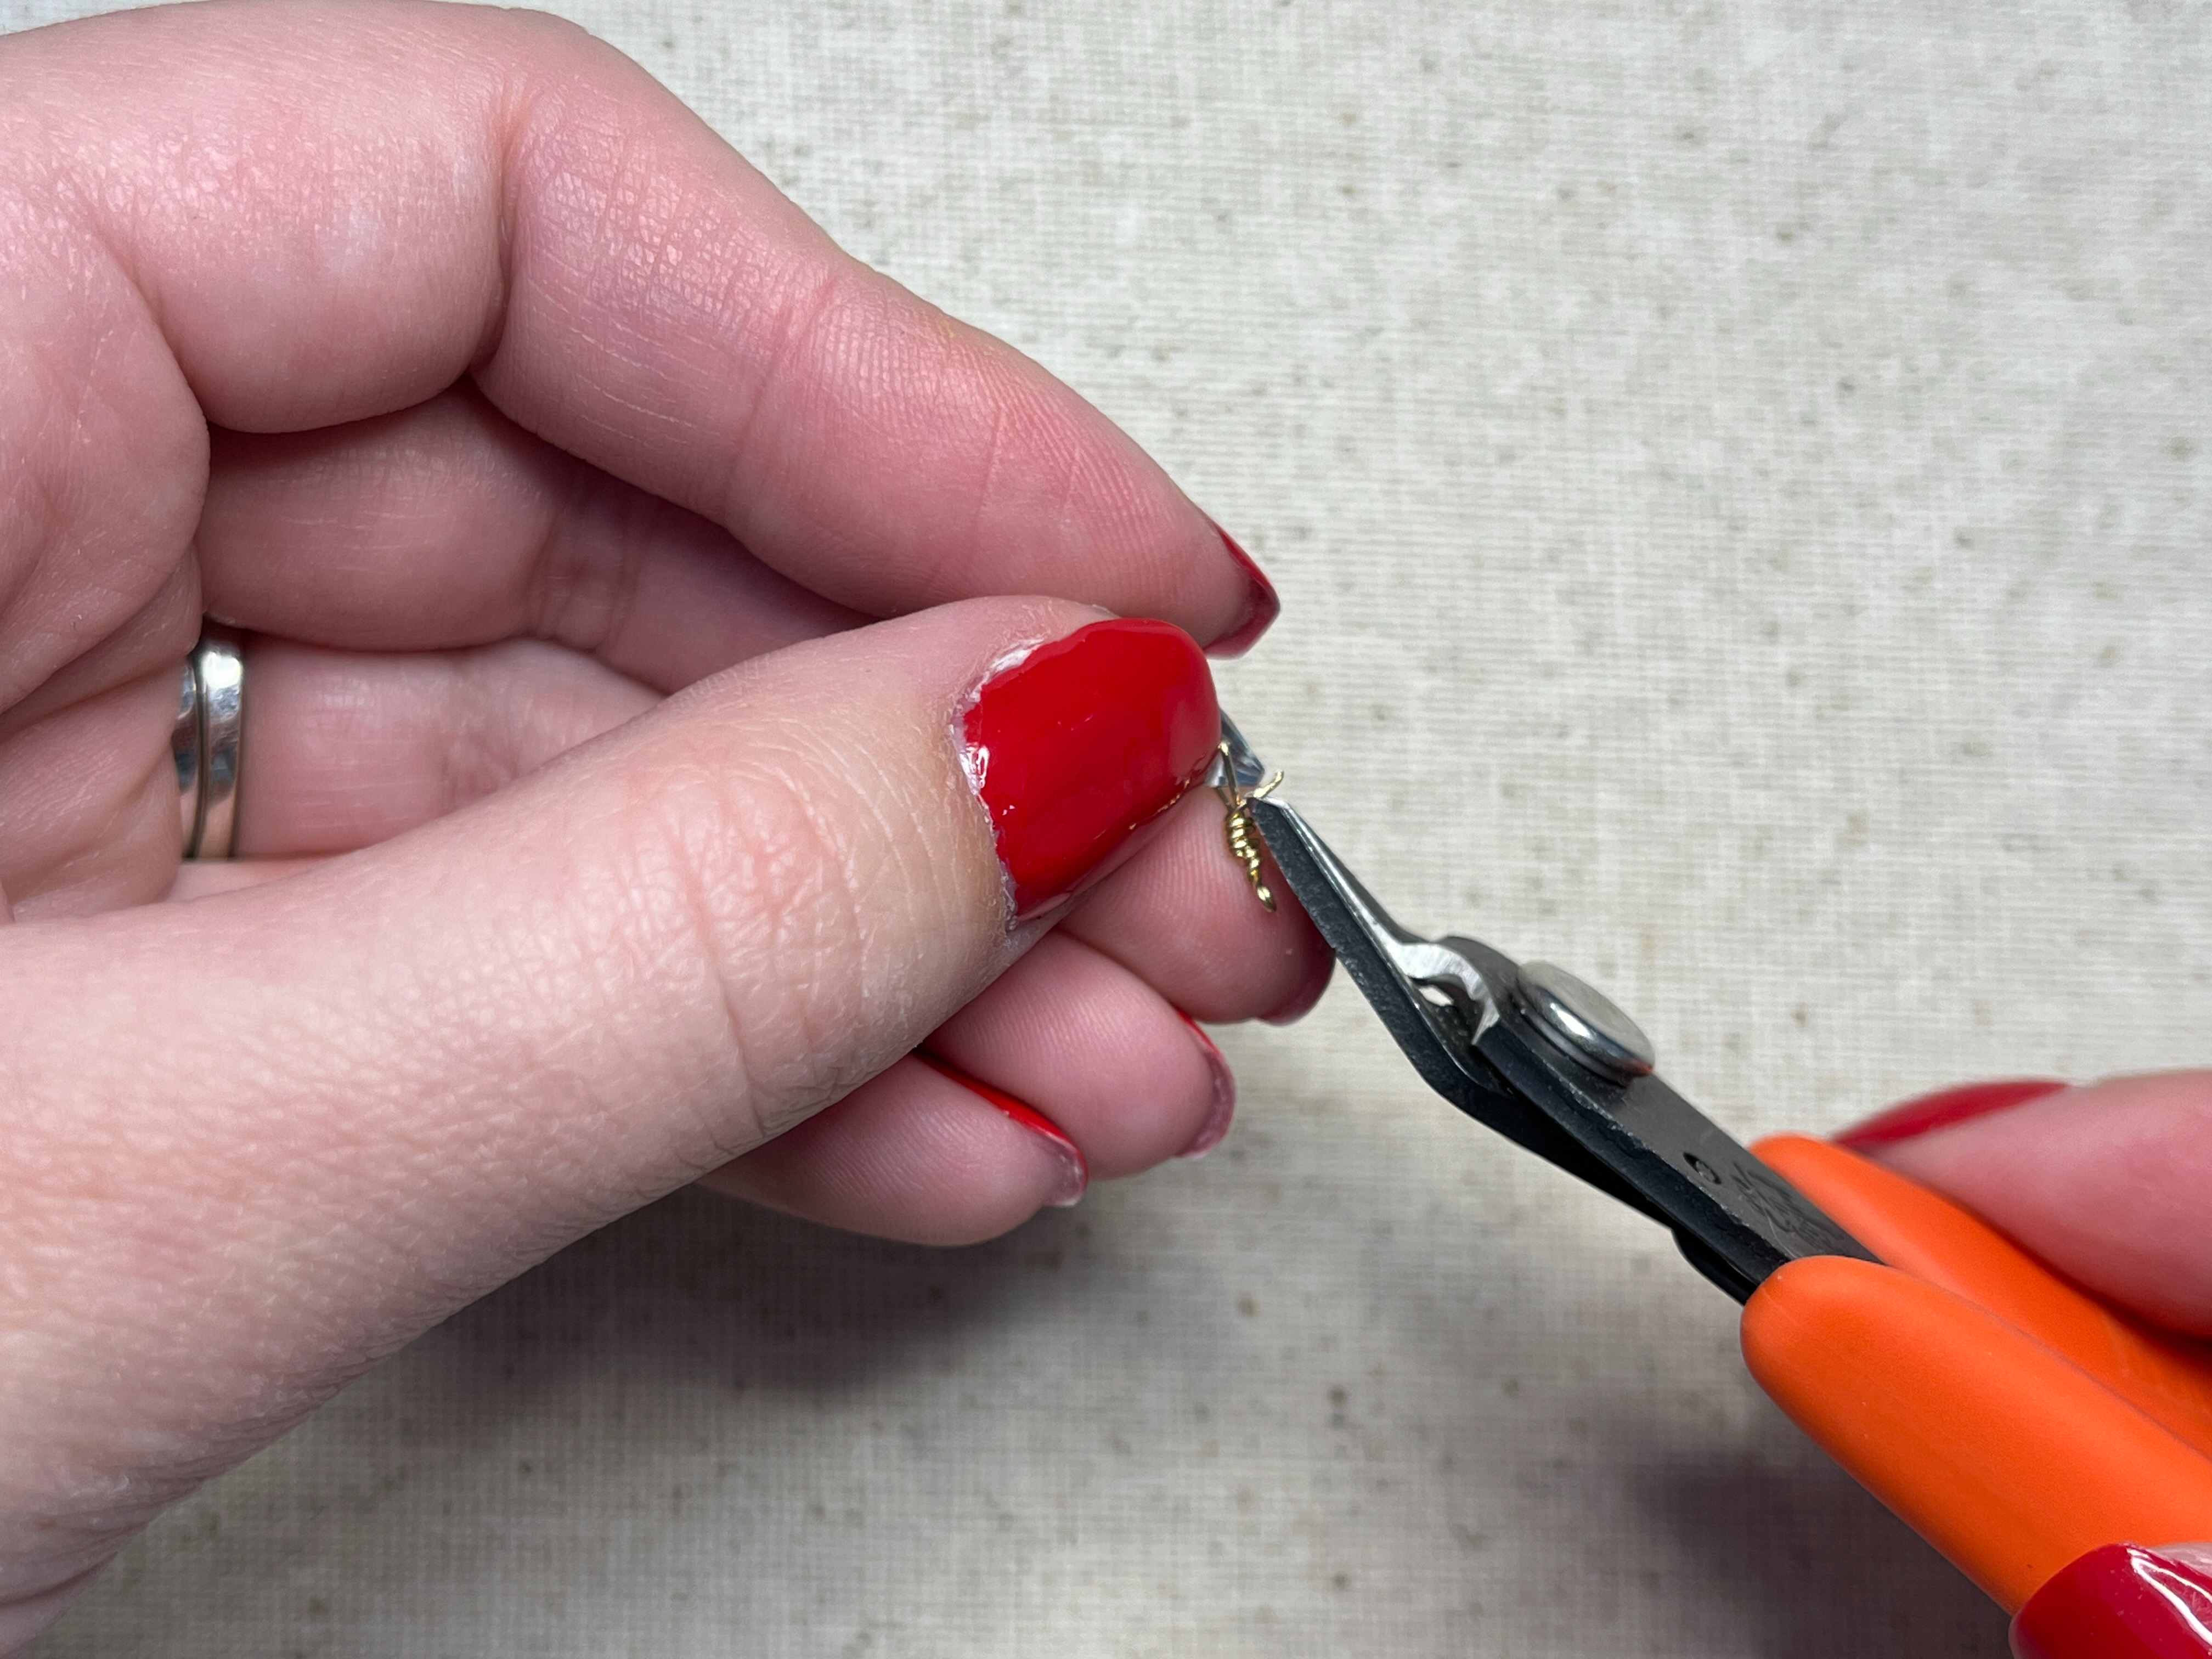
Cut any excess wire as close as you can.
Step 15:
Use your needle nose pliers to gently push in the cut end of the wire. You can also use the needle nose pliers to push in any imperfections of the wire wrap.

Done!
Recent Posts
-

"Gem Keeper" Chain Cage Pendant Necklace
"Gem Keeper" Chain Cage Pendant NecklaceNo hole no problem! Keep anything from gems with no holes, b …29th Mar 2024 -

Layered Beaded Charm Necklaces
Layered Beaded Charm NecklacesLayered necklaces are a fashion staple that adds depth and dimension t …26th Feb 2024 -

"Be Mine" Necklace and Stretch Bracelet Set
"Be Mine" Necklace and Stretch Bracelet SetValentine's jewelry, crafted with love and precision, ser …17th Jan 2024