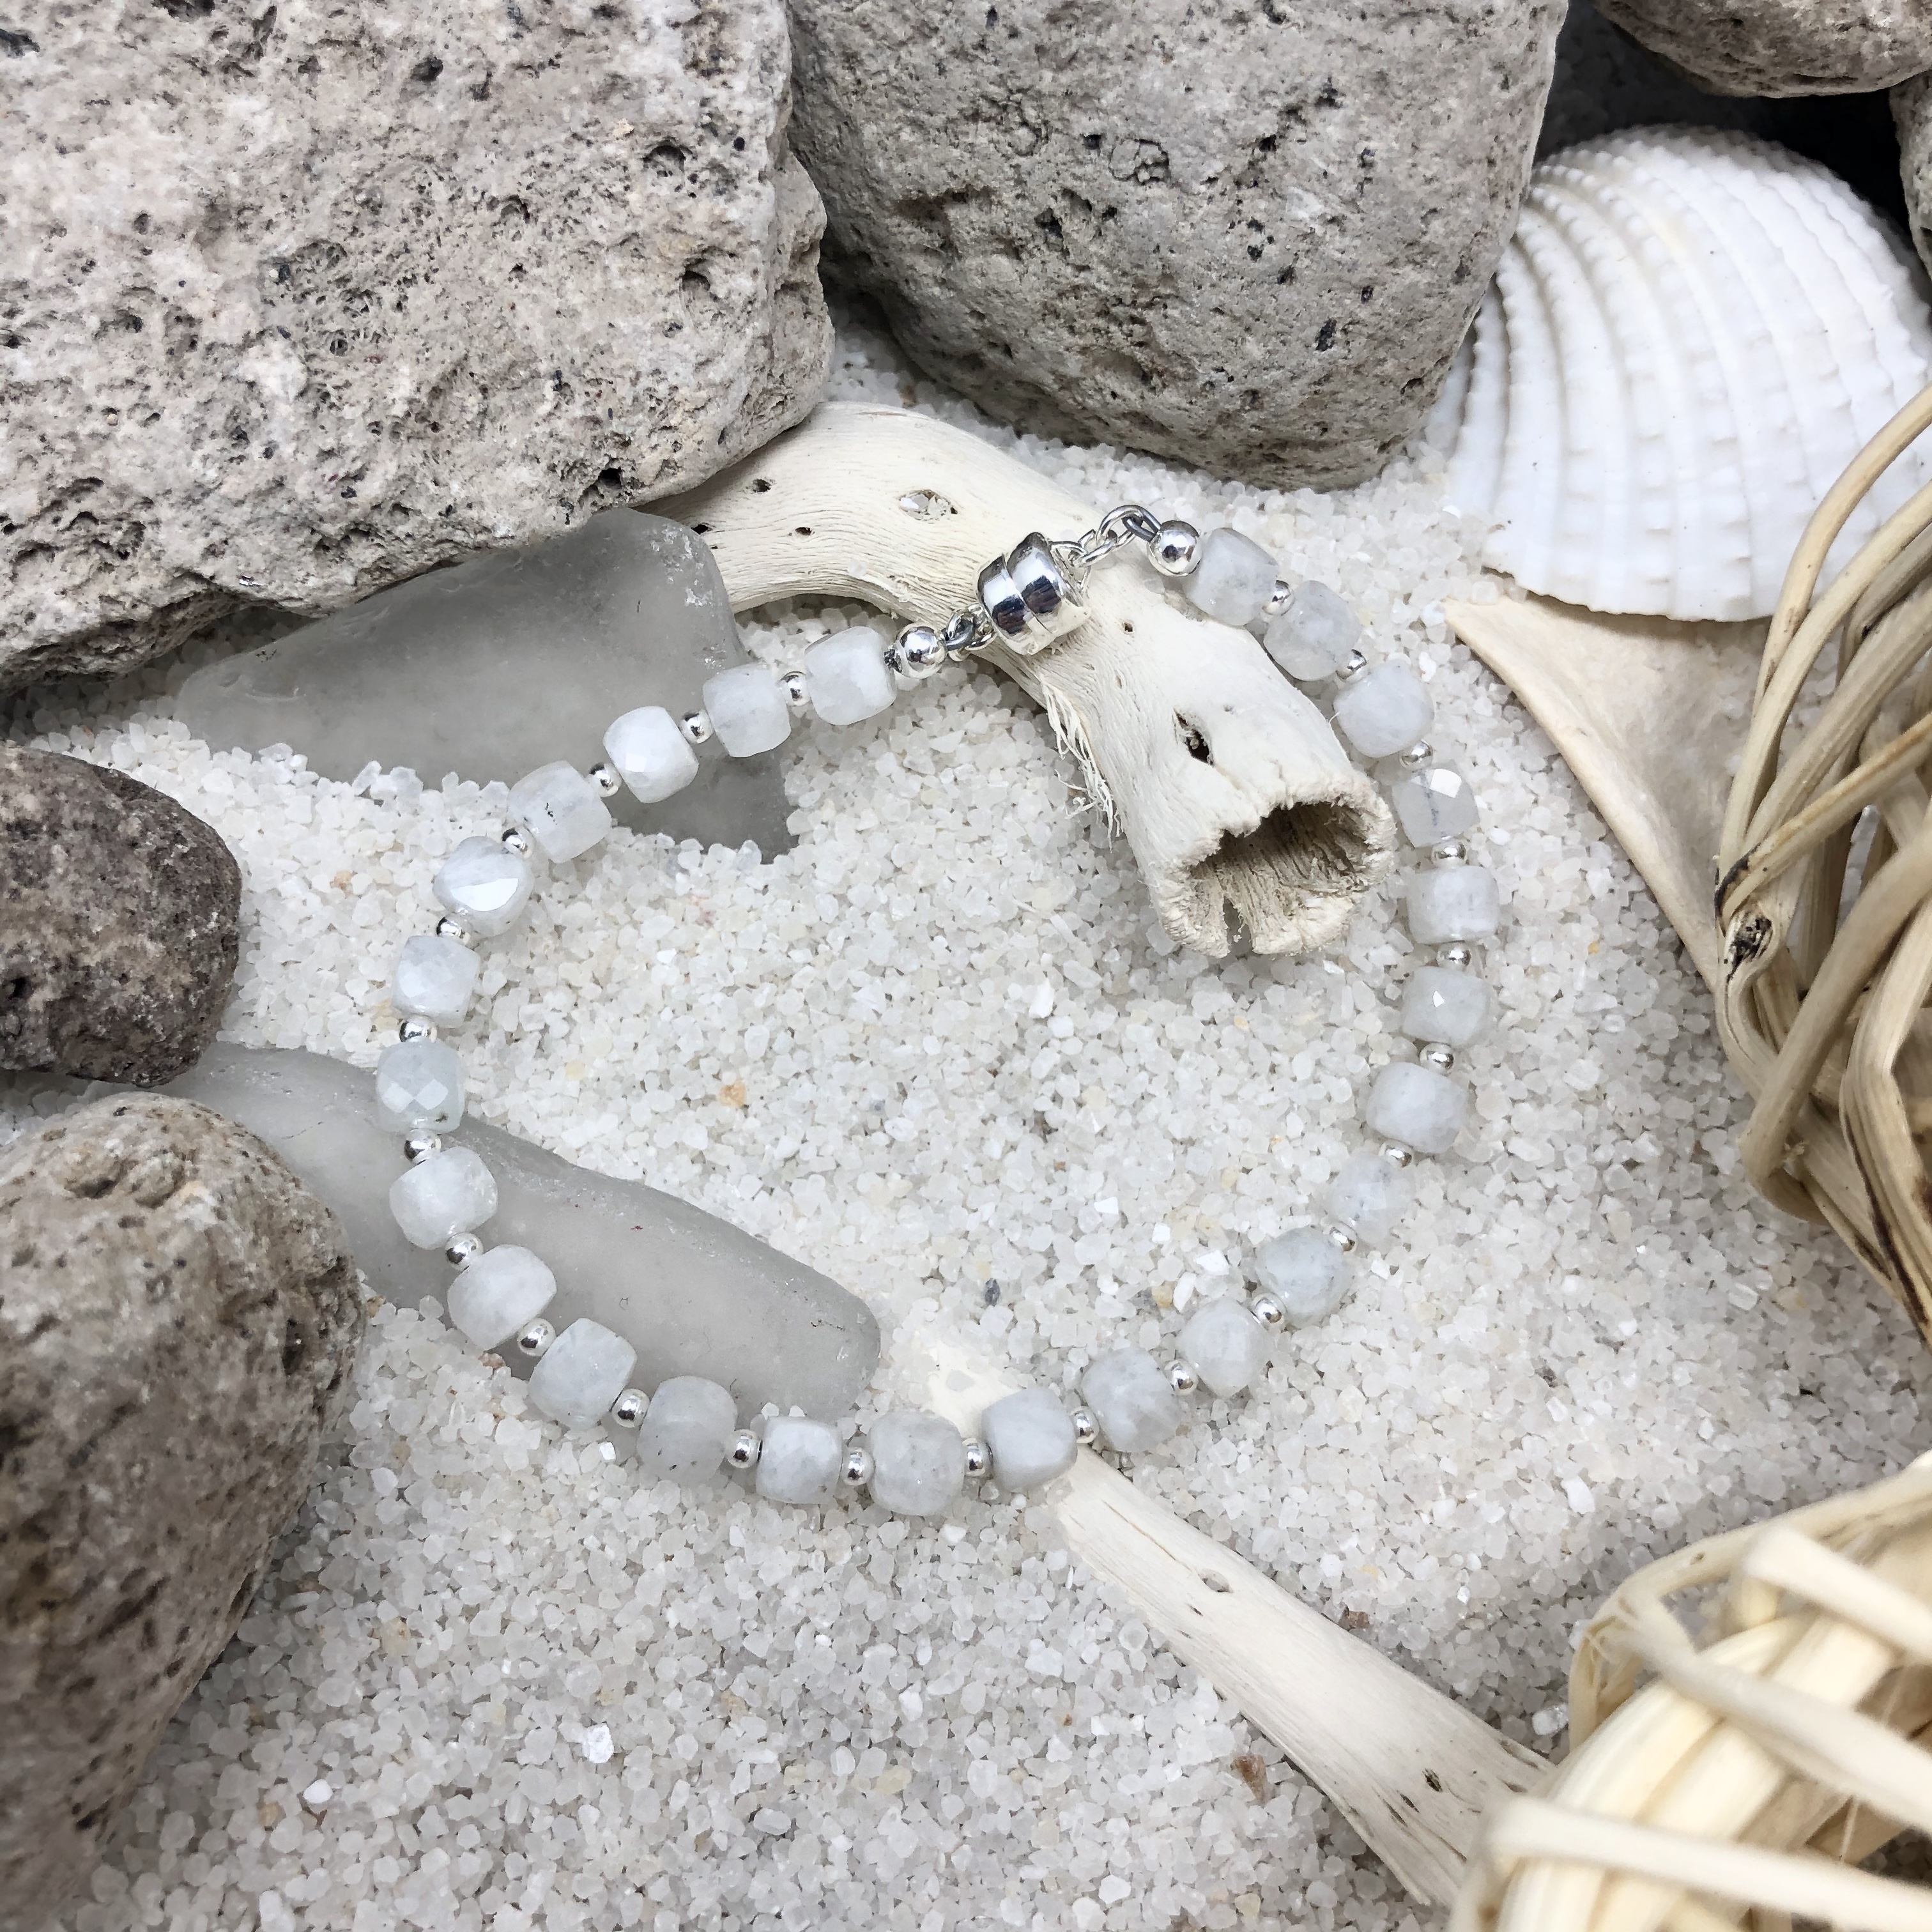
Moonlight Bracelet
Moonlight Bracelet Tutorial

Materials:
- Rainbow Moonstone Polished 6mm Faceted Cube (25 beads)
- Sterling Silver Plated Medium Magnetic Clasp (1)
- Sterling Silver Polished 2mm Round (24 beads)
- Sterling Silver 2x2mm Crimps (2)
- Sterling Silver 3mm Crimp Covers (2)
- Sterling Silver 3mm Round 22 gauge Jump Rings (4)
- Soft Flex - Medium - Satin Silver (12 inches)
Tools:
Finished Length Approx. 6.5" but can be made shorter (removing beads) or longer (adding beads)
Instructions on Construction:
1. Attach 3mm jump ring to magnetic clasp loop.
2. Attach second 3mm jump ring to the jump ring attached to magnetic clasp to create a 2 link chain.
3. Cut a 12” section of beading wire using your soft flex cutter, thread on crimp tube, attach to second 3mm jump ring connected to clasp & then back through crimp tube. I used the two-part folded crimp method with this design, cut excess soft flex, then covered with the 3mm crimp cover. Gently close crimp cover with your needle nose pliers.
***Please note whichever way you choose to crimp, keep your wires parallel when crimping, this makes for a more secure attachment & it’s also wise to give a test pull on your wire to make sure you have secured the crimp :)
4. The bead sequence on this bracelet is as follows: Moonstone - Sterling Silver Bead - Moonstone - Sterling Silver Bead - Moonstone - Sterling Silver Bead -- ending with a Moonstone Bead.
**If you choose to make this bracelet longer / shorter you can add or subtract the number of moonstone and sterling silver beads used.
6. Add your crimp tube & thread the beading wire through a 3mm jump ring.
7. At this stage lay bracelet on your worktop in a circle & make sure you leave enough slack in the wire so that your beads have enough room to sit nicely. It is important to leave this slack because if you crimp your wire too tightly the necklace will be rigid with no flow & there is a strong chance that the beading wire may break! Use an EZ Bracelet Sizer to help with sizing.
8. Close the crimp using the two-part folded method, cut excess soft flex, and add crimp cover.
9. The final part is to attach the 3mm jump ring to the other half of the magnetic clasp loop using a new 3mm jump ring.
10. You are now ready to admire your handiwork :)
11. Enjoy!
Jewelry designed by Kiara Thompson
Recent Posts
-
"Gem Keeper" Chain Cage Pendant Necklace
"Gem Keeper" Chain Cage Pendant NecklaceNo hole no problem! Keep anything from gems with no holes, b …29th Mar 2024 -
Layered Beaded Charm Necklaces
Layered Beaded Charm NecklacesLayered necklaces are a fashion staple that adds depth and dimension t …26th Feb 2024 -
"Be Mine" Necklace and Stretch Bracelet Set
"Be Mine" Necklace and Stretch Bracelet SetValentine's jewelry, crafted with love and precision, ser …17th Jan 2024


