

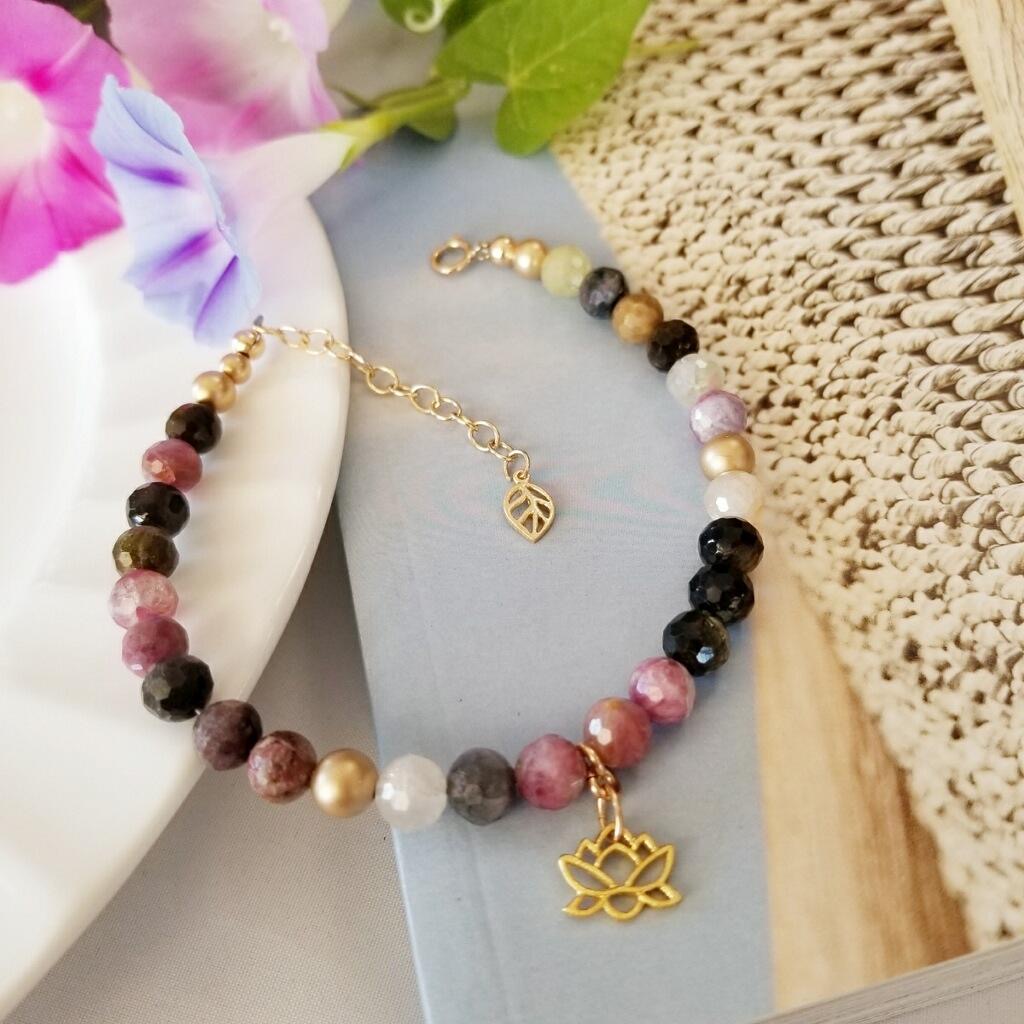
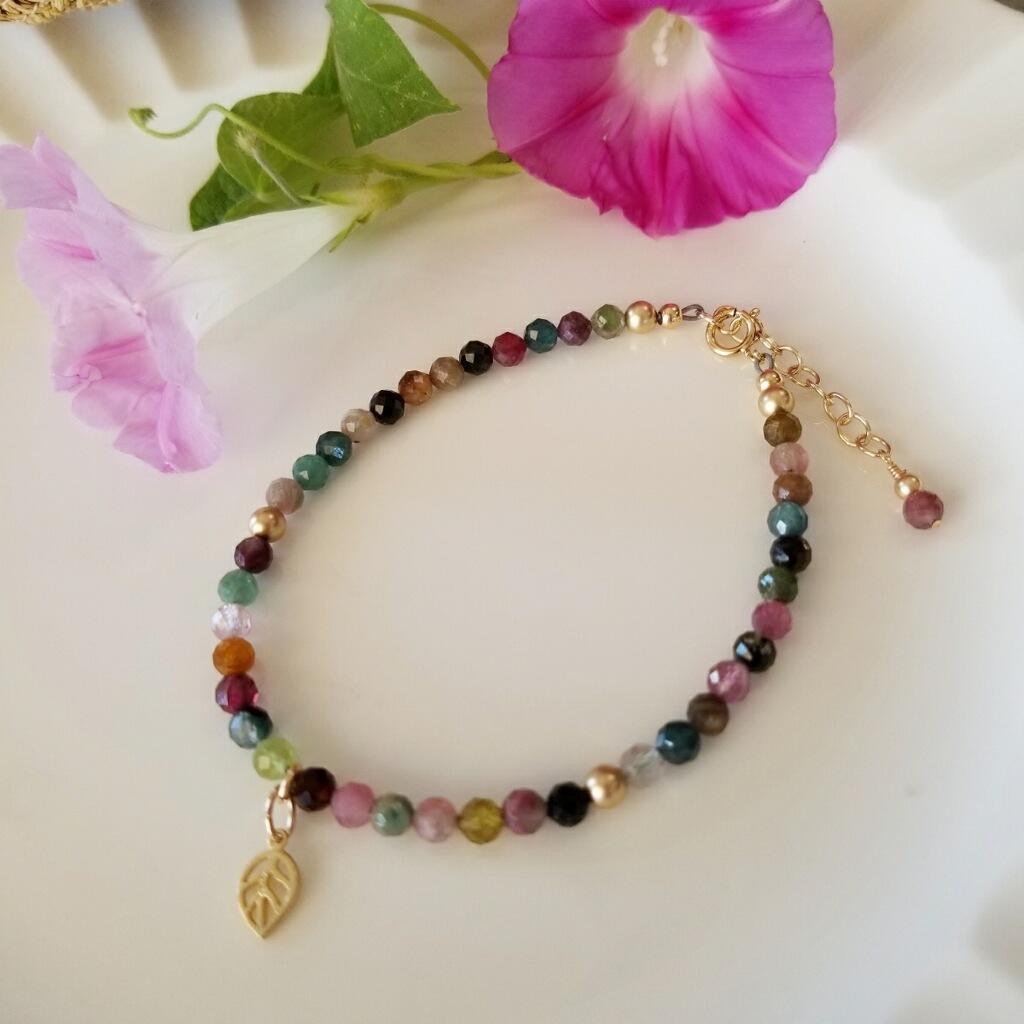
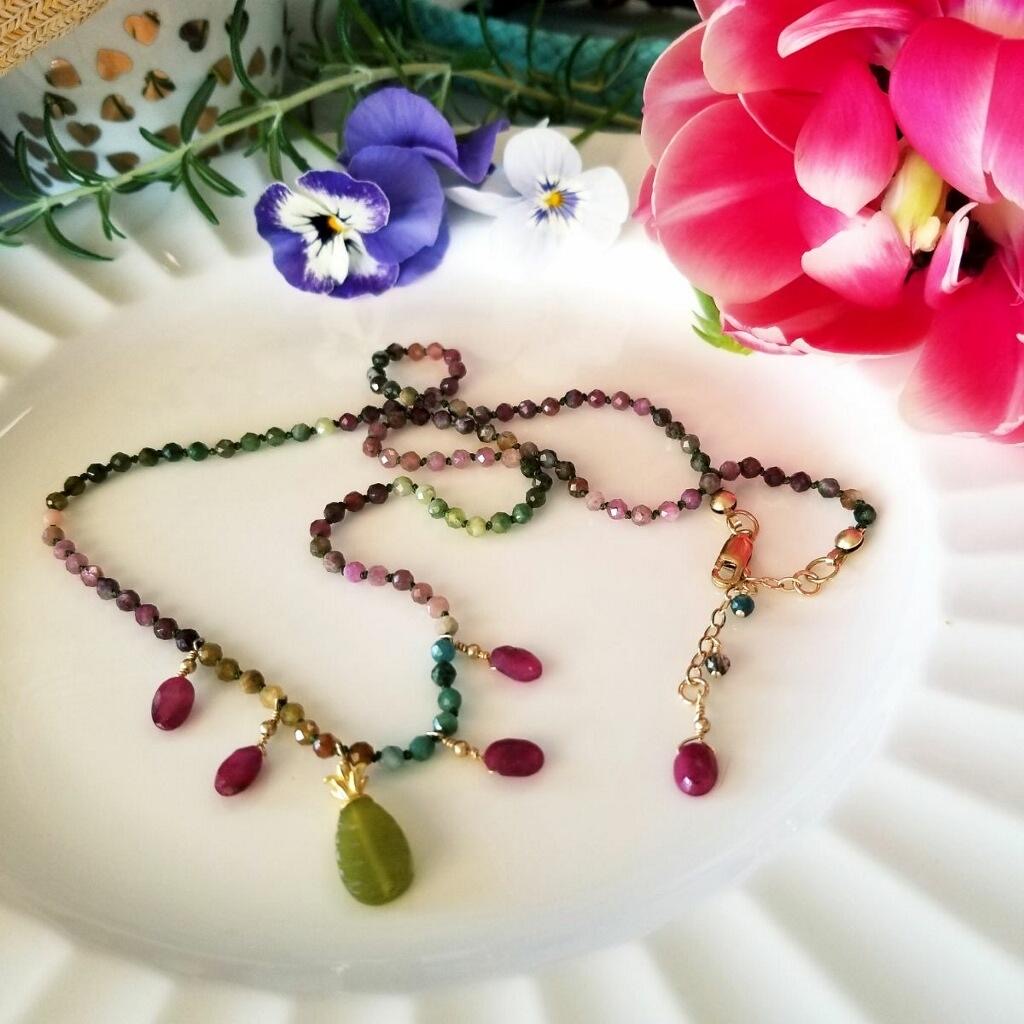
Rainforest & Rainbow 6mm Tourmaline Bracelet
Rainforest & Rainbow 6mm Tourmaline Bracelet
Materials Needed:
- 6mm Tourmaline – Faceted Round (24)
- 6mm Sandblast Beads – 14k Gold Filled (4)
- Optional 5mm Sandblast Bead - 14K Gold Filled (1)
- Optional 4mm Sandblast Bead – 14k Gold Filled (1)
- Amoracast – Lotus Pond Connector – Vermeille (1)
- Amoracast – Leaf Open - Vermeille (1)
- Small Spring Clasp – 14k Gold Filled (1)
- Soft Flex Beading Wire – Medium
- 2 x 2 Crimps – 14k Gold Filled (2)(or sterling silver as a crimp cover is used)
- 4mm Crimp Covers – 14k Gold Filled (2)
- 1 ½” Gold Chain (for extension chain)
- 4mm Jump Rings 19g – 14k Gold Filled (2)
- 3.5 x 5.3 Oval 22g, 14k Gold Filled Jump Rings (2)
Finished Length 7 – 8” (interior fit) ***
Tools Required
EZ Bracelet Sizer
An EZ Bracelet Sizer is a great addition to your tools if you don’t already have one. It gives you the ability to offer a custom fit to your bracelets as the flat finished length is different than the interior fit and the bigger your beads, the more difference this makes!
Instructions on Construction:
1. Cut a 12” section of beading wire using your soft flex cutter, thread on crimp tube, attach to loop on spring clasp & then back through crimp tube. I used the flat crimp method with this design & then covered with the 4mm crimp cover. Gently close crimp cover with your needle nose pliers.
*Please remember to keep your wires parallel when crimping, this makes for a more secure attachment & it’s also wise to give a test pull on your wire to make sure you have secured the crimp.
2. The bead sequence on this bracelet is as follows: 1 x 6mm sandblast gold, 6 x 6mm tourmaline, 1 x 6mm sandblast, 6 x tourmaline, you are now at mid-point and need to add jump rings to your lotus charm before you can thread onto bracelet.
3. Add an oval jump ring to the middle top section of the lotus connector (using flat nose & needle nose pliers to open/close jump ring), then add the 4mm round jump ring to the oval & then one more round jump ring to the last round jump ring (this allows the charm to hang at a pleasing depth when threaded).
4. **If you choose to make this bracelet longer/shorter you can add or detract the number of tourmaline used.
5. Continue threading beads as follows: 1 x lotus charm, 3 x tourmaline, 1 x 6mm sandblast, 9 x tourmaline, 1 x 5mm sandblast, 1 x 4mm sandblast.
6. Add your crimp tube & thread the beading wire through your extension chain & back through the crimp tube.
7. At this stage lay bracelet on your worktop in a circle & make sure you leave enough slack in the wire so that your beads have enough room to sit nicely. It is important to leave this slack because if you crimp your wire too tightly the necklace will be rigid with no flow & there is a strong chance that the beading wire may break! Use an EZ Bracelet Sizer to help with sizing.
8. Close the crimp using the flat crimp method (with needle nose plier) & add crimp cover.
9. The final part is to connect the open leaf charm to end of chain using the oval jump ring.
10. You are now ready to admire your handiwork :)
11. Enjoy!
Jewelry designed by Steph Stirniman
Check out how to make the rest of our Rainforest and Rainbow Collection
Recent Posts
-

"Gem Keeper" Chain Cage Pendant Necklace
"Gem Keeper" Chain Cage Pendant NecklaceNo hole no problem! Keep anything from gems with no holes, b …29th Mar 2024 -

Layered Beaded Charm Necklaces
Layered Beaded Charm NecklacesLayered necklaces are a fashion staple that adds depth and dimension t …26th Feb 2024 -

"Be Mine" Necklace and Stretch Bracelet Set
"Be Mine" Necklace and Stretch Bracelet SetValentine's jewelry, crafted with love and precision, ser …17th Jan 2024