

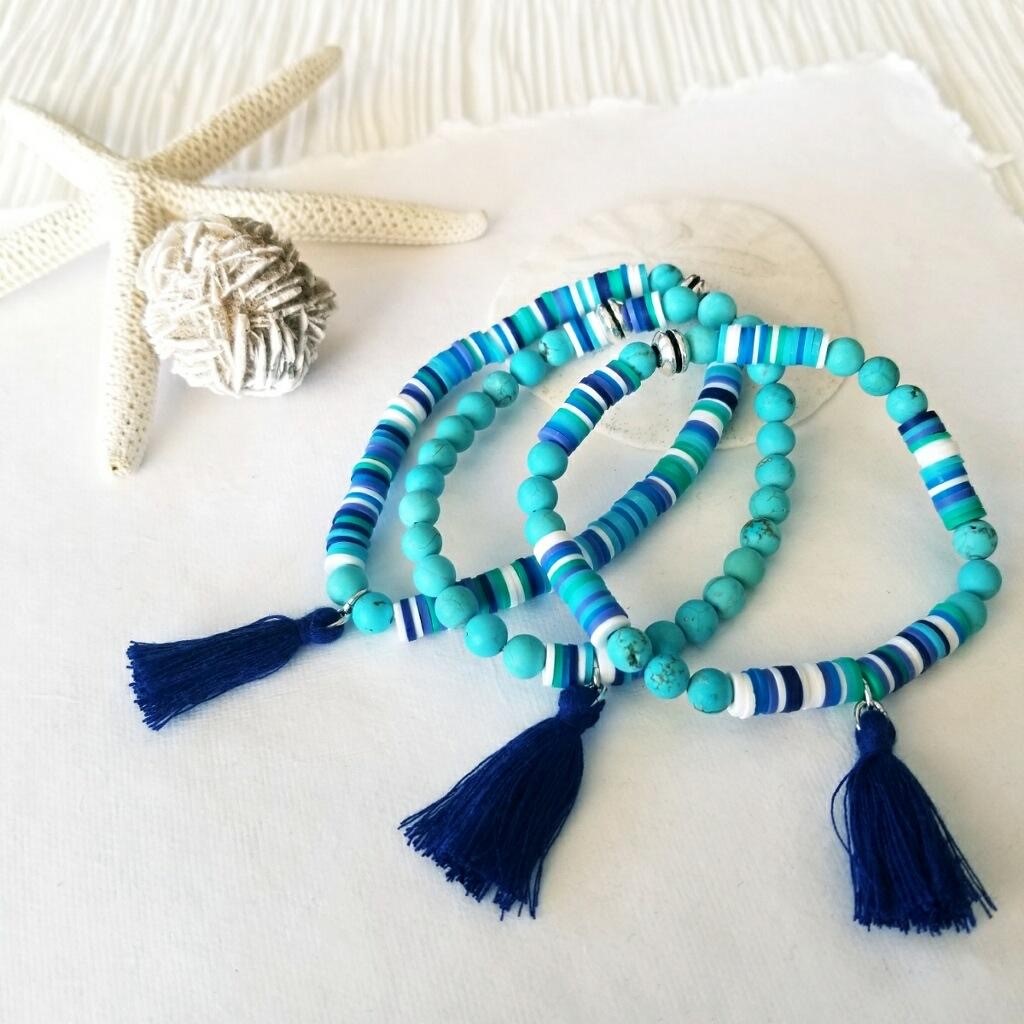
Set of Three Stretch Bracelets – Blue, White, Aqua Stripes with Navy Tassels
Set of Three Stretch Bracelets – Blue, White, Aqua Stripes with Navy Tassels
Materials Needed:
- 6mm Polymer Clay Slice Beads - Blue / White / Turquoise Mix
- 6mm Round Matte Blue Howlite
- TierraCast large Hole Bead * For Covering Knots Silver Plated (3)
- Medium Oval Jump Rings Silver Plated (6)
- 1” Navy Cotton Tassel (3)
- 1mm Stretch Magic, Crystal (36”)
- G-S Hypo Cement
Size Approx. 6 3/4”
Tools Required:
Optional: EZ Bracelet Sizer – Makes accurate sizing of bracelets an easy task
Key Code for Beads: You can lay your beads out on mat with labels next to them to make it easier for stringing in correct sequence. * If you have a bead board you can lay the beads in correct sequence before stringing, this may be the easiest option.
A = 6mm Fimo Slices Blue/White/Turquoise Mix B = 6mm Blue Howlite T = Navy Tassel with two jump rings attached TC = Large Hole Bead (for hiding knot)
Instructions on Construction:
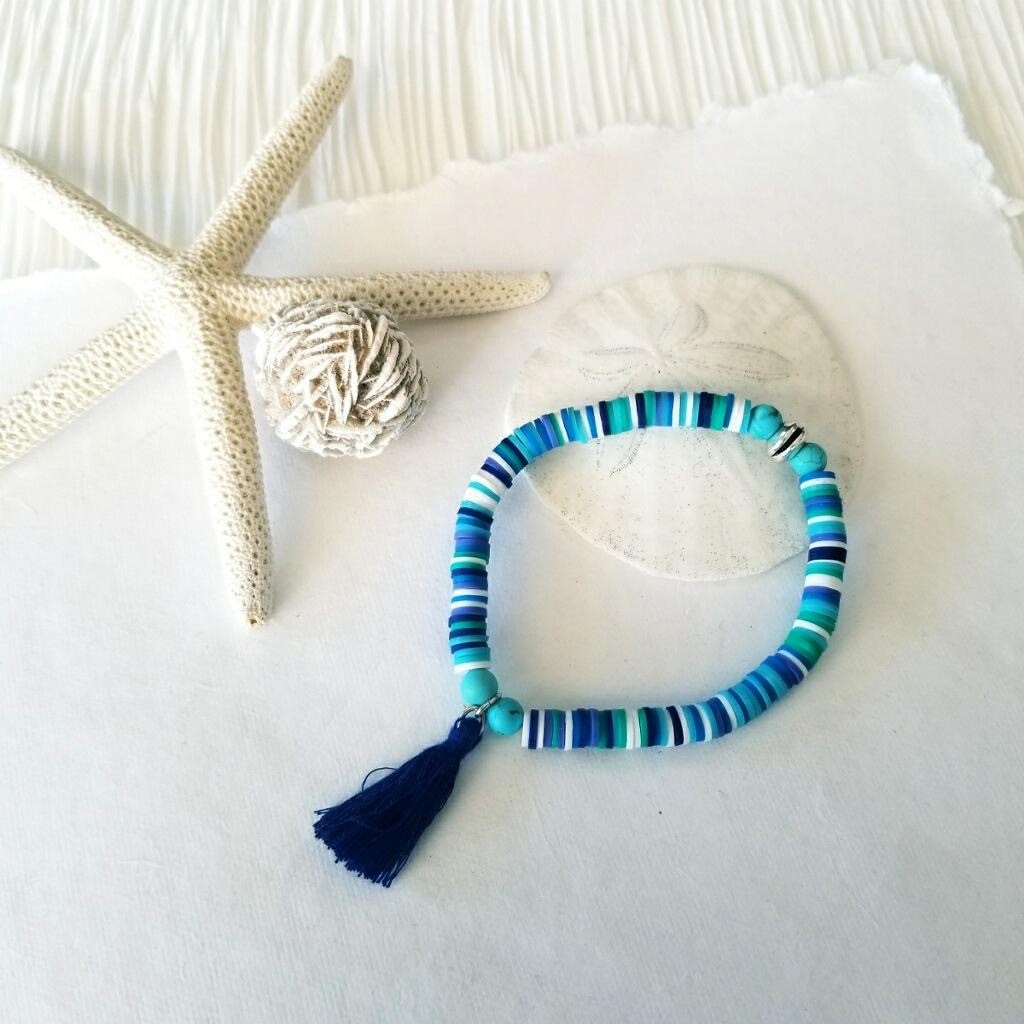
First Bracelet – Polymer Clay Bracelet
1. Cut 1 x 12” pieces of Stretch Magic, pre-stretch cord then attach bead stop to one end of stretch cord about 2 1/2” from end.
2. Open jump ring and thread through top of tassel, close jump ring then add a second jump ring to the first jump ring, this provides a good drop below beads.
* Use your flat nose and needle nose pliers to open jump rings being careful not to unround rings (this means opening to the side). Take care when closing jump rings making sure the two sides match up and you have no gaps.
** Add the jump rings to the tassels for the other two bracelets.
3. Add: TC (1), B (1), A (approx. 76 slices), B (1), T (1), B (1), A (approx. 76 slices), B (1)
4. Tie two square knots and tighten firmly between each knot.
5. Thread one of the tails back through the metal bead add a dab of hypo cement onto the knot (from all sides). Pull tail to center knot in the middle of the bead, you should have one tail sticking out either side of the bead.
6. Leave the bracelet for at least a couple of hours for the hypo cement to set up, then trim tails. You can hold onto one tail, pull the opposite tail & trim close as you can. The other side you just trim as close as you can as you have nothing to hold onto :)
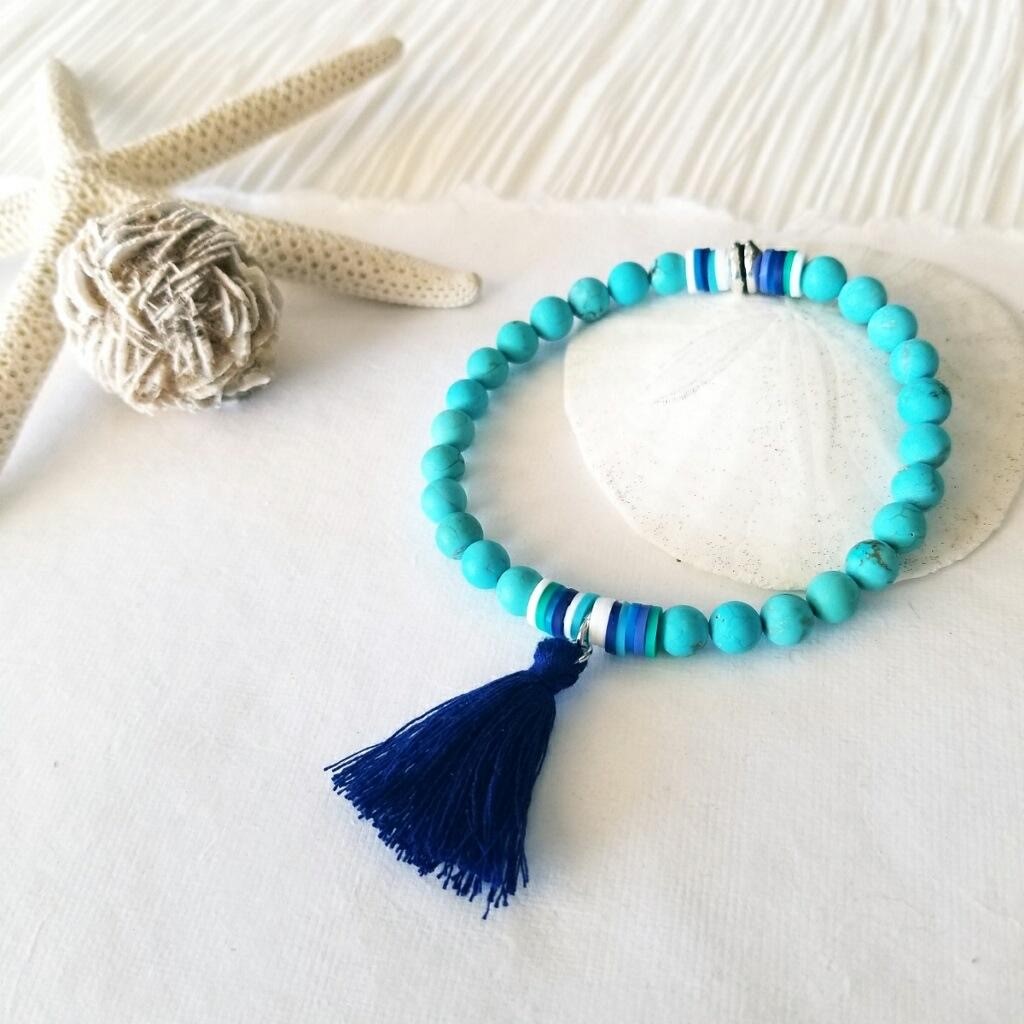
Second Bracelet – “Blue Howlite with Tassel” Bracelet
1. Cut 1 x 12” pieces of Stretch Magic, pre-stretch cord then attach bead stop to one end of stretch cord about 2 1/2” from end.
2. Add: TC (1), A (5 slices), B (13), A (7 slices), T (1), A (7 slices), B (13), A (5 slices)
3. Tie two square knots and tighten firmly between each knot.
4. Thread one of the tails back through the flag bead add a dab of hypo cement onto the knot (from all sides). Pull tail to center knot in the middle of the bead, you should have one tail sticking out either side of the bead.
5. Leave the bracelet for at least a couple of hours for the hypo cement to set up, then trim tails. You can hold onto one tail, pull the opposite tail & trim close as you can. The other side you just trim as close as you can as you have nothing to hold onto :)
Third Navy Tassel Bracelet
1. Cut 1 x 12” pieces of Stretch Magic, pre-stretch cord then attach bead stop to one end of stretch cord about 2 1/2” from end.
2. Add: TC (1) (used to hide knot), B (1), A (16 slices), B (3), A (16 slices), B (3), A (16 slices), T (1), A (16 slices), B (3), A (16 slices), B (3), A (16 slices), B (1)
3. Tie two square knots and tighten firmly between each knot.
4. Thread one of the tails back through the metal bead add a dab of hypo cement onto the knot (from all sides). Pull tail to center knot in the middle of the bead, you should have one tail sticking out either side of the bead.
5. Leave the bracelet for at least a couple of hours for the hypo cement to set up, then trim tails. You can hold onto one tail, pull the opposite tail & trim close as you can. The other side you just trim as close as you can as you have nothing to hold onto :)
6. Try on your new bracelets & admire your handiwork
7. Enjoy!
Designed by Steph Stirniman at magpiecollectives.com
Recent Posts
-

"Gem Keeper" Chain Cage Pendant Necklace
"Gem Keeper" Chain Cage Pendant NecklaceNo hole no problem! Keep anything from gems with no holes, b …29th Mar 2024 -

Layered Beaded Charm Necklaces
Layered Beaded Charm NecklacesLayered necklaces are a fashion staple that adds depth and dimension t …26th Feb 2024 -

"Be Mine" Necklace and Stretch Bracelet Set
"Be Mine" Necklace and Stretch Bracelet SetValentine's jewelry, crafted with love and precision, ser …17th Jan 2024