

Twisted Wire Crochet Tutorial
Twisted Wire Crochet Tutorial
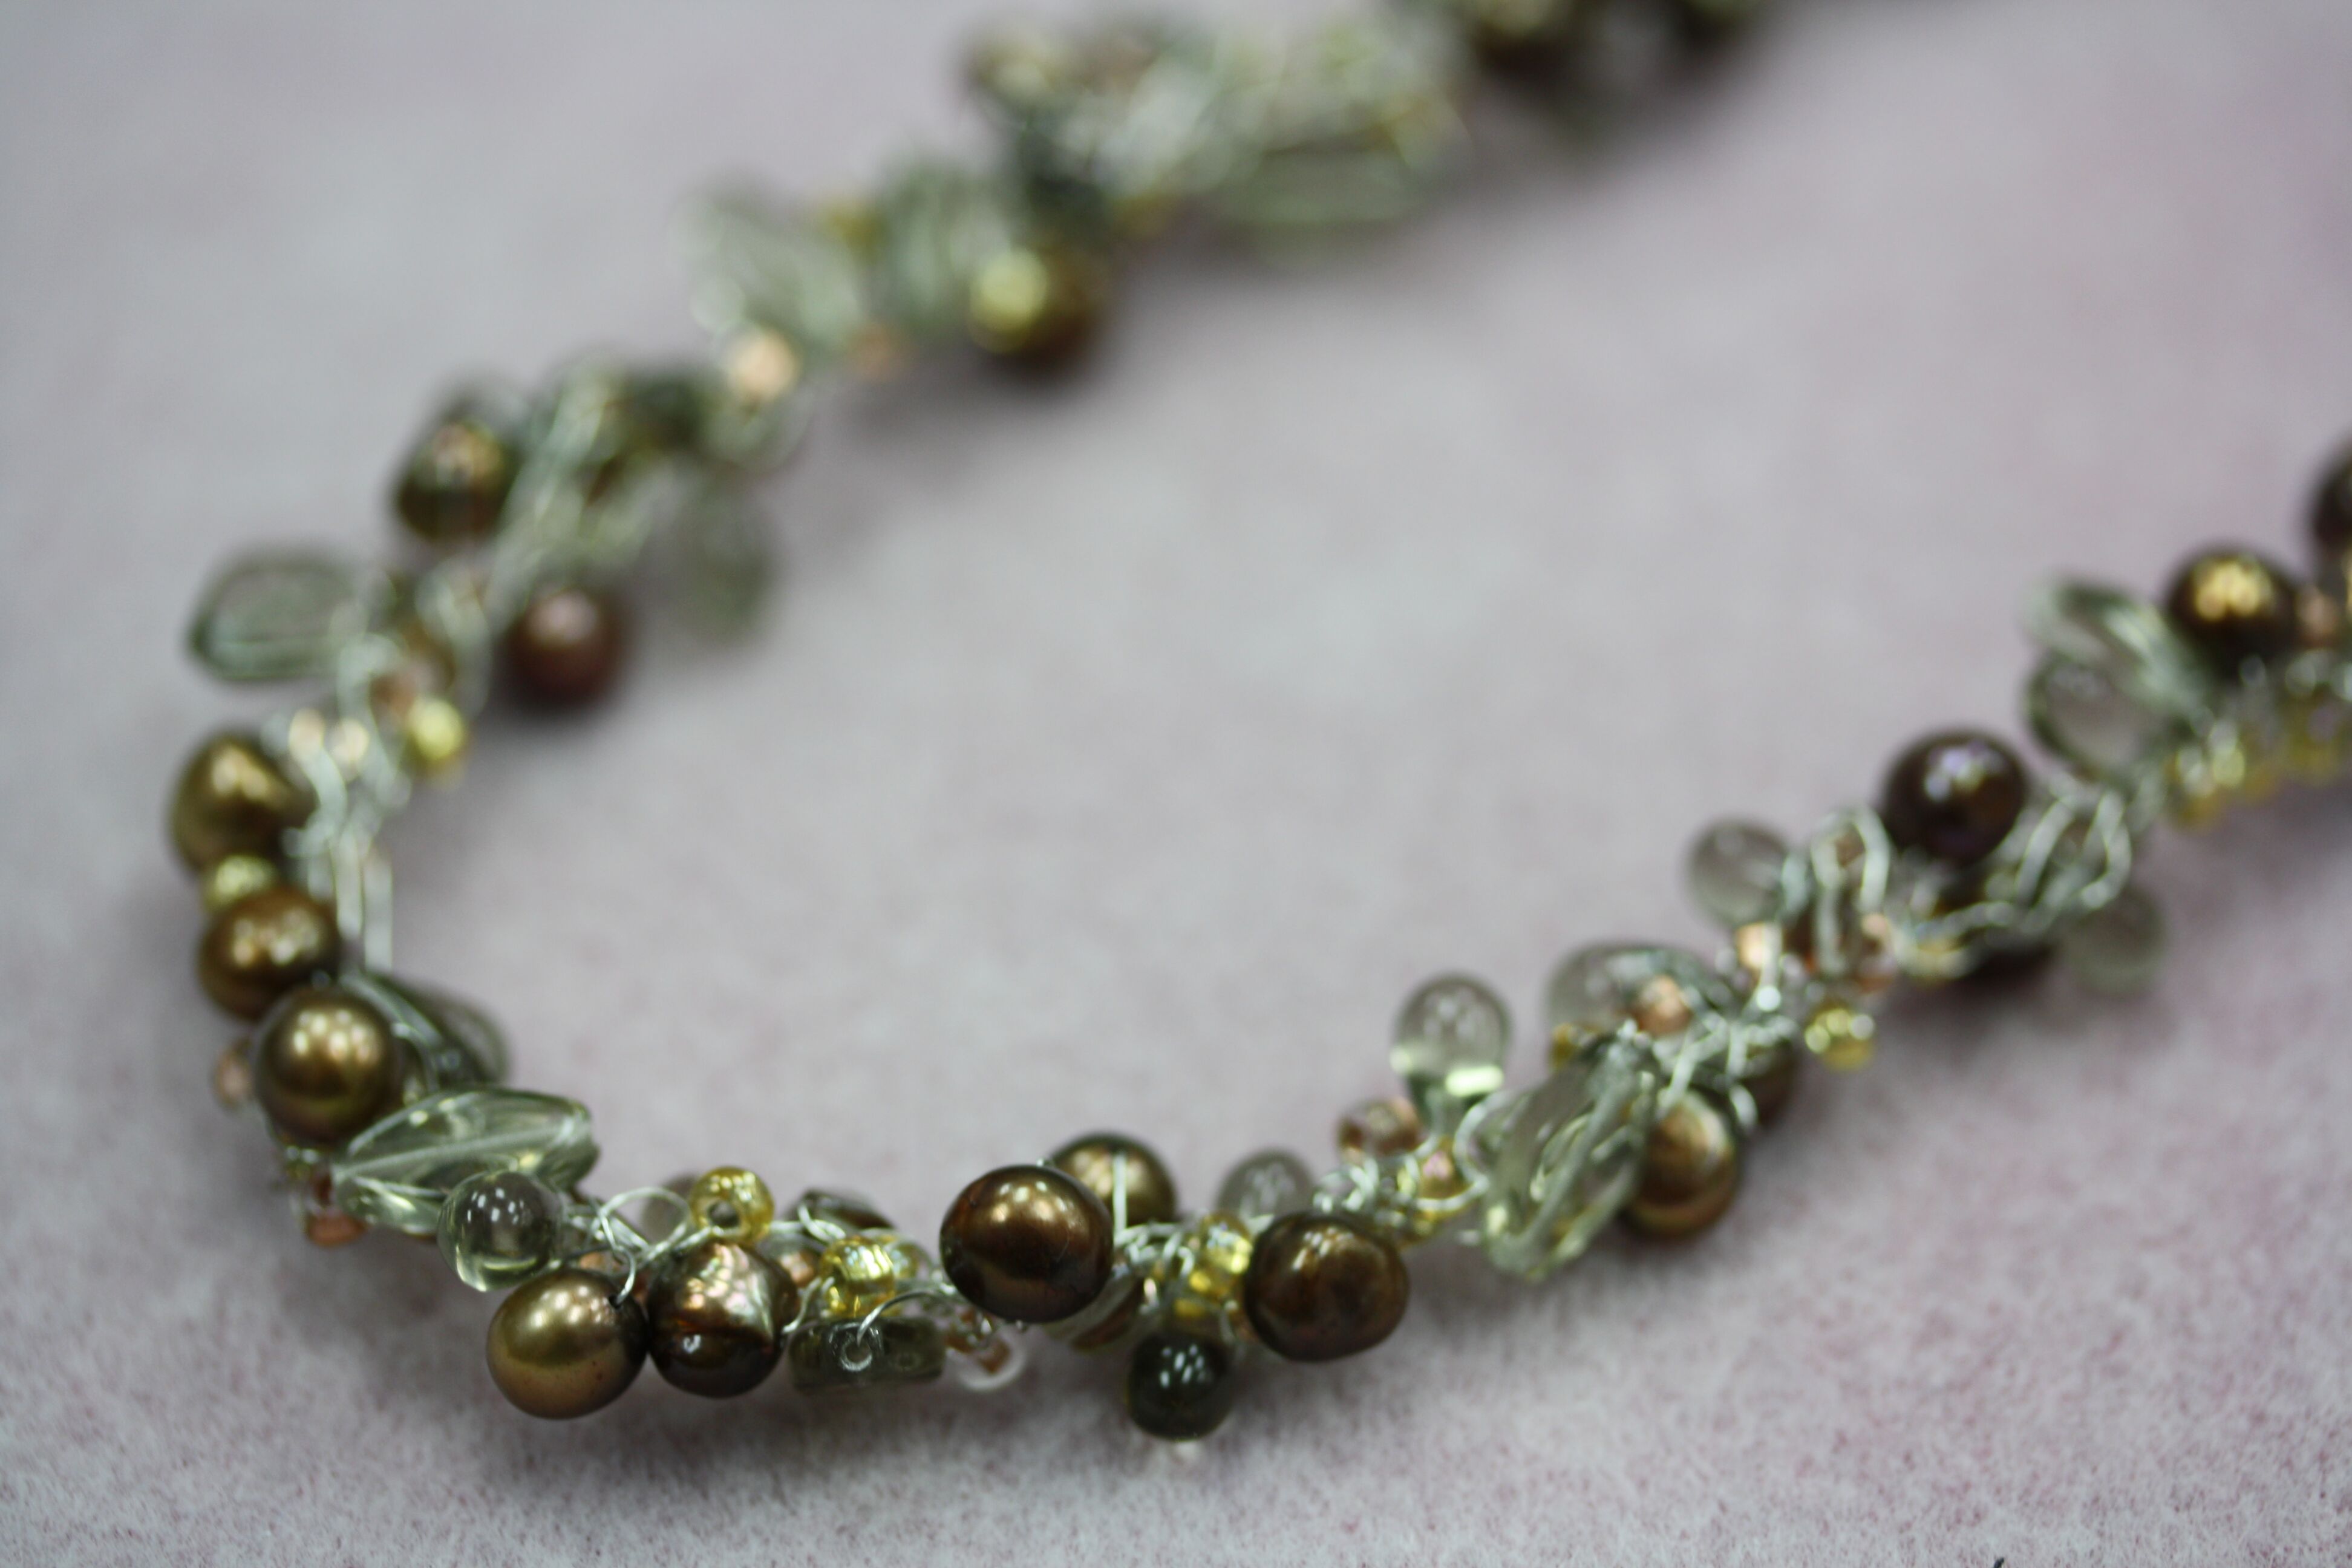
In honor of summer: we bring you one of our favorite summertime jewelry projects!! Wire crochet jewelry is such a simple project to take with you on your travels. You can string all of your beads before you go, leave the wire on the spool, and once you tie your first slip knot you are good to go! All the beads are trapped onto the wire so you don’t have to worry about losing any beads on your trip, making it the perfect travel project!!
.
.
You will need:
28 gauge wire – craft wire or a tarnish resistant wire is preferred
24 gauge wire (6 inches)
Assorted beads (approximately 450 depending on desired length)
Toggle Clasp (1)
Crochet hook – G or H is preferred
Round nose pliers
Needle nose pliers
Wire cutters
.
1. Lay out all of your beads in approximately equal piles.
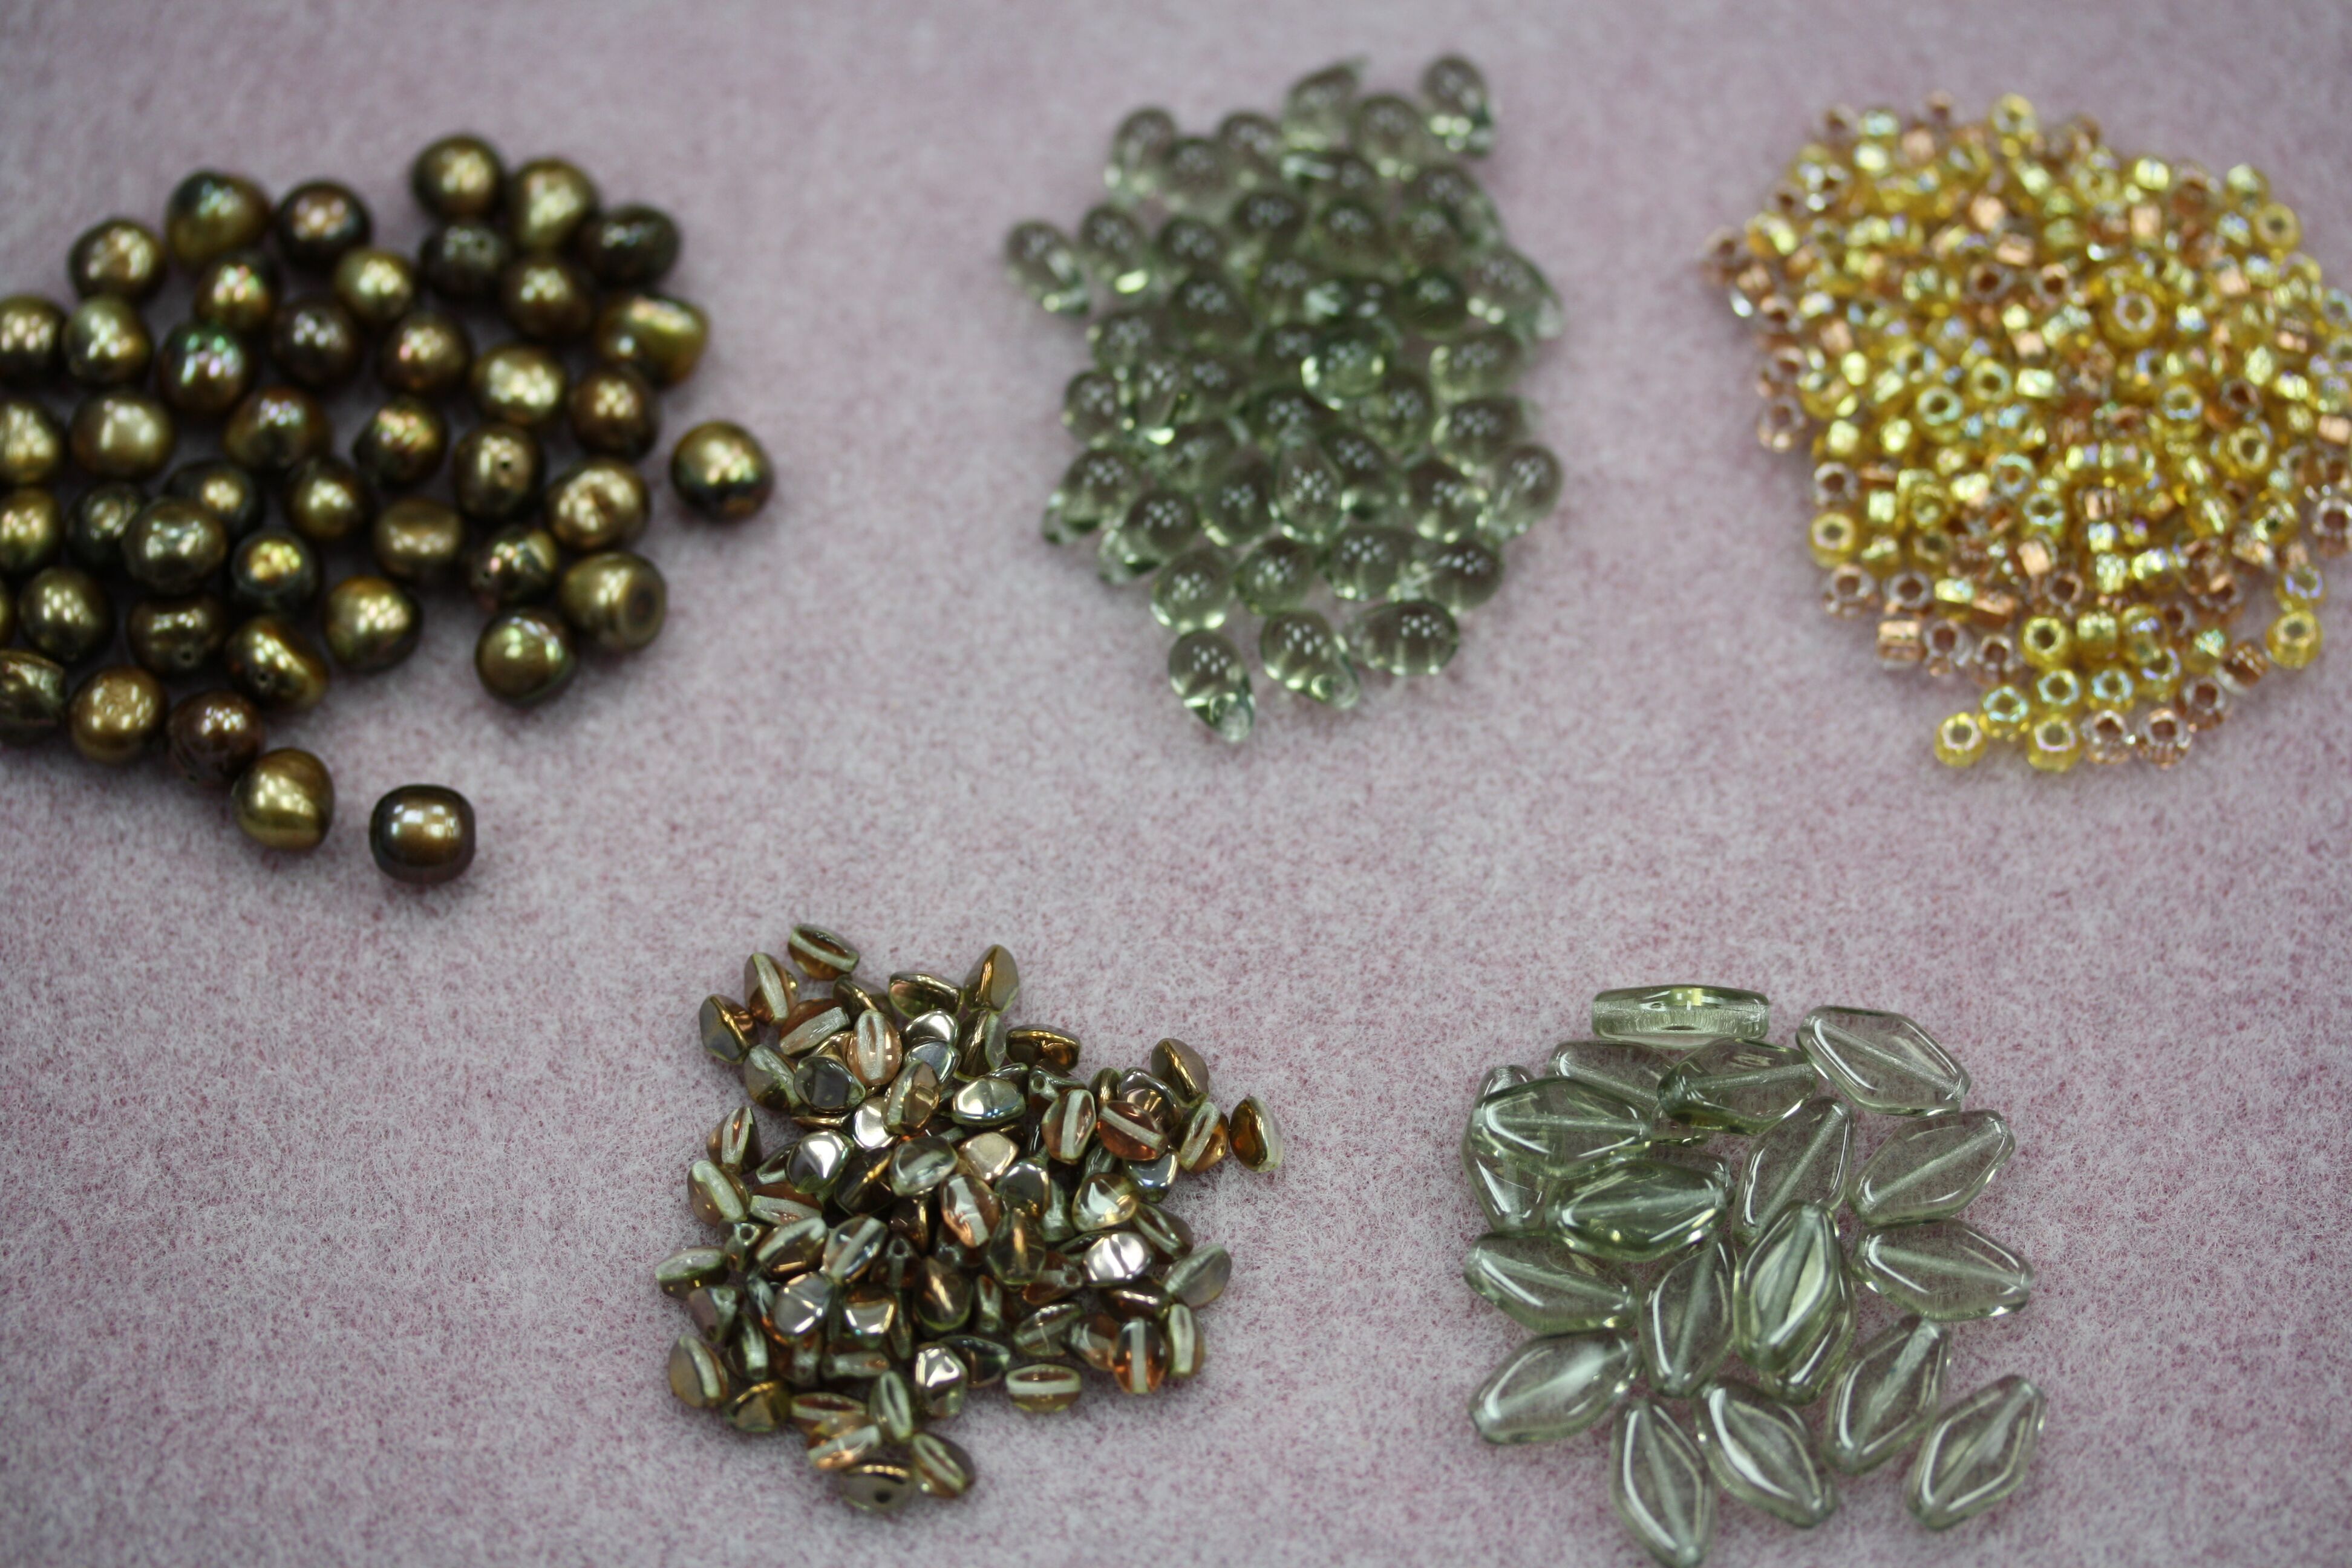
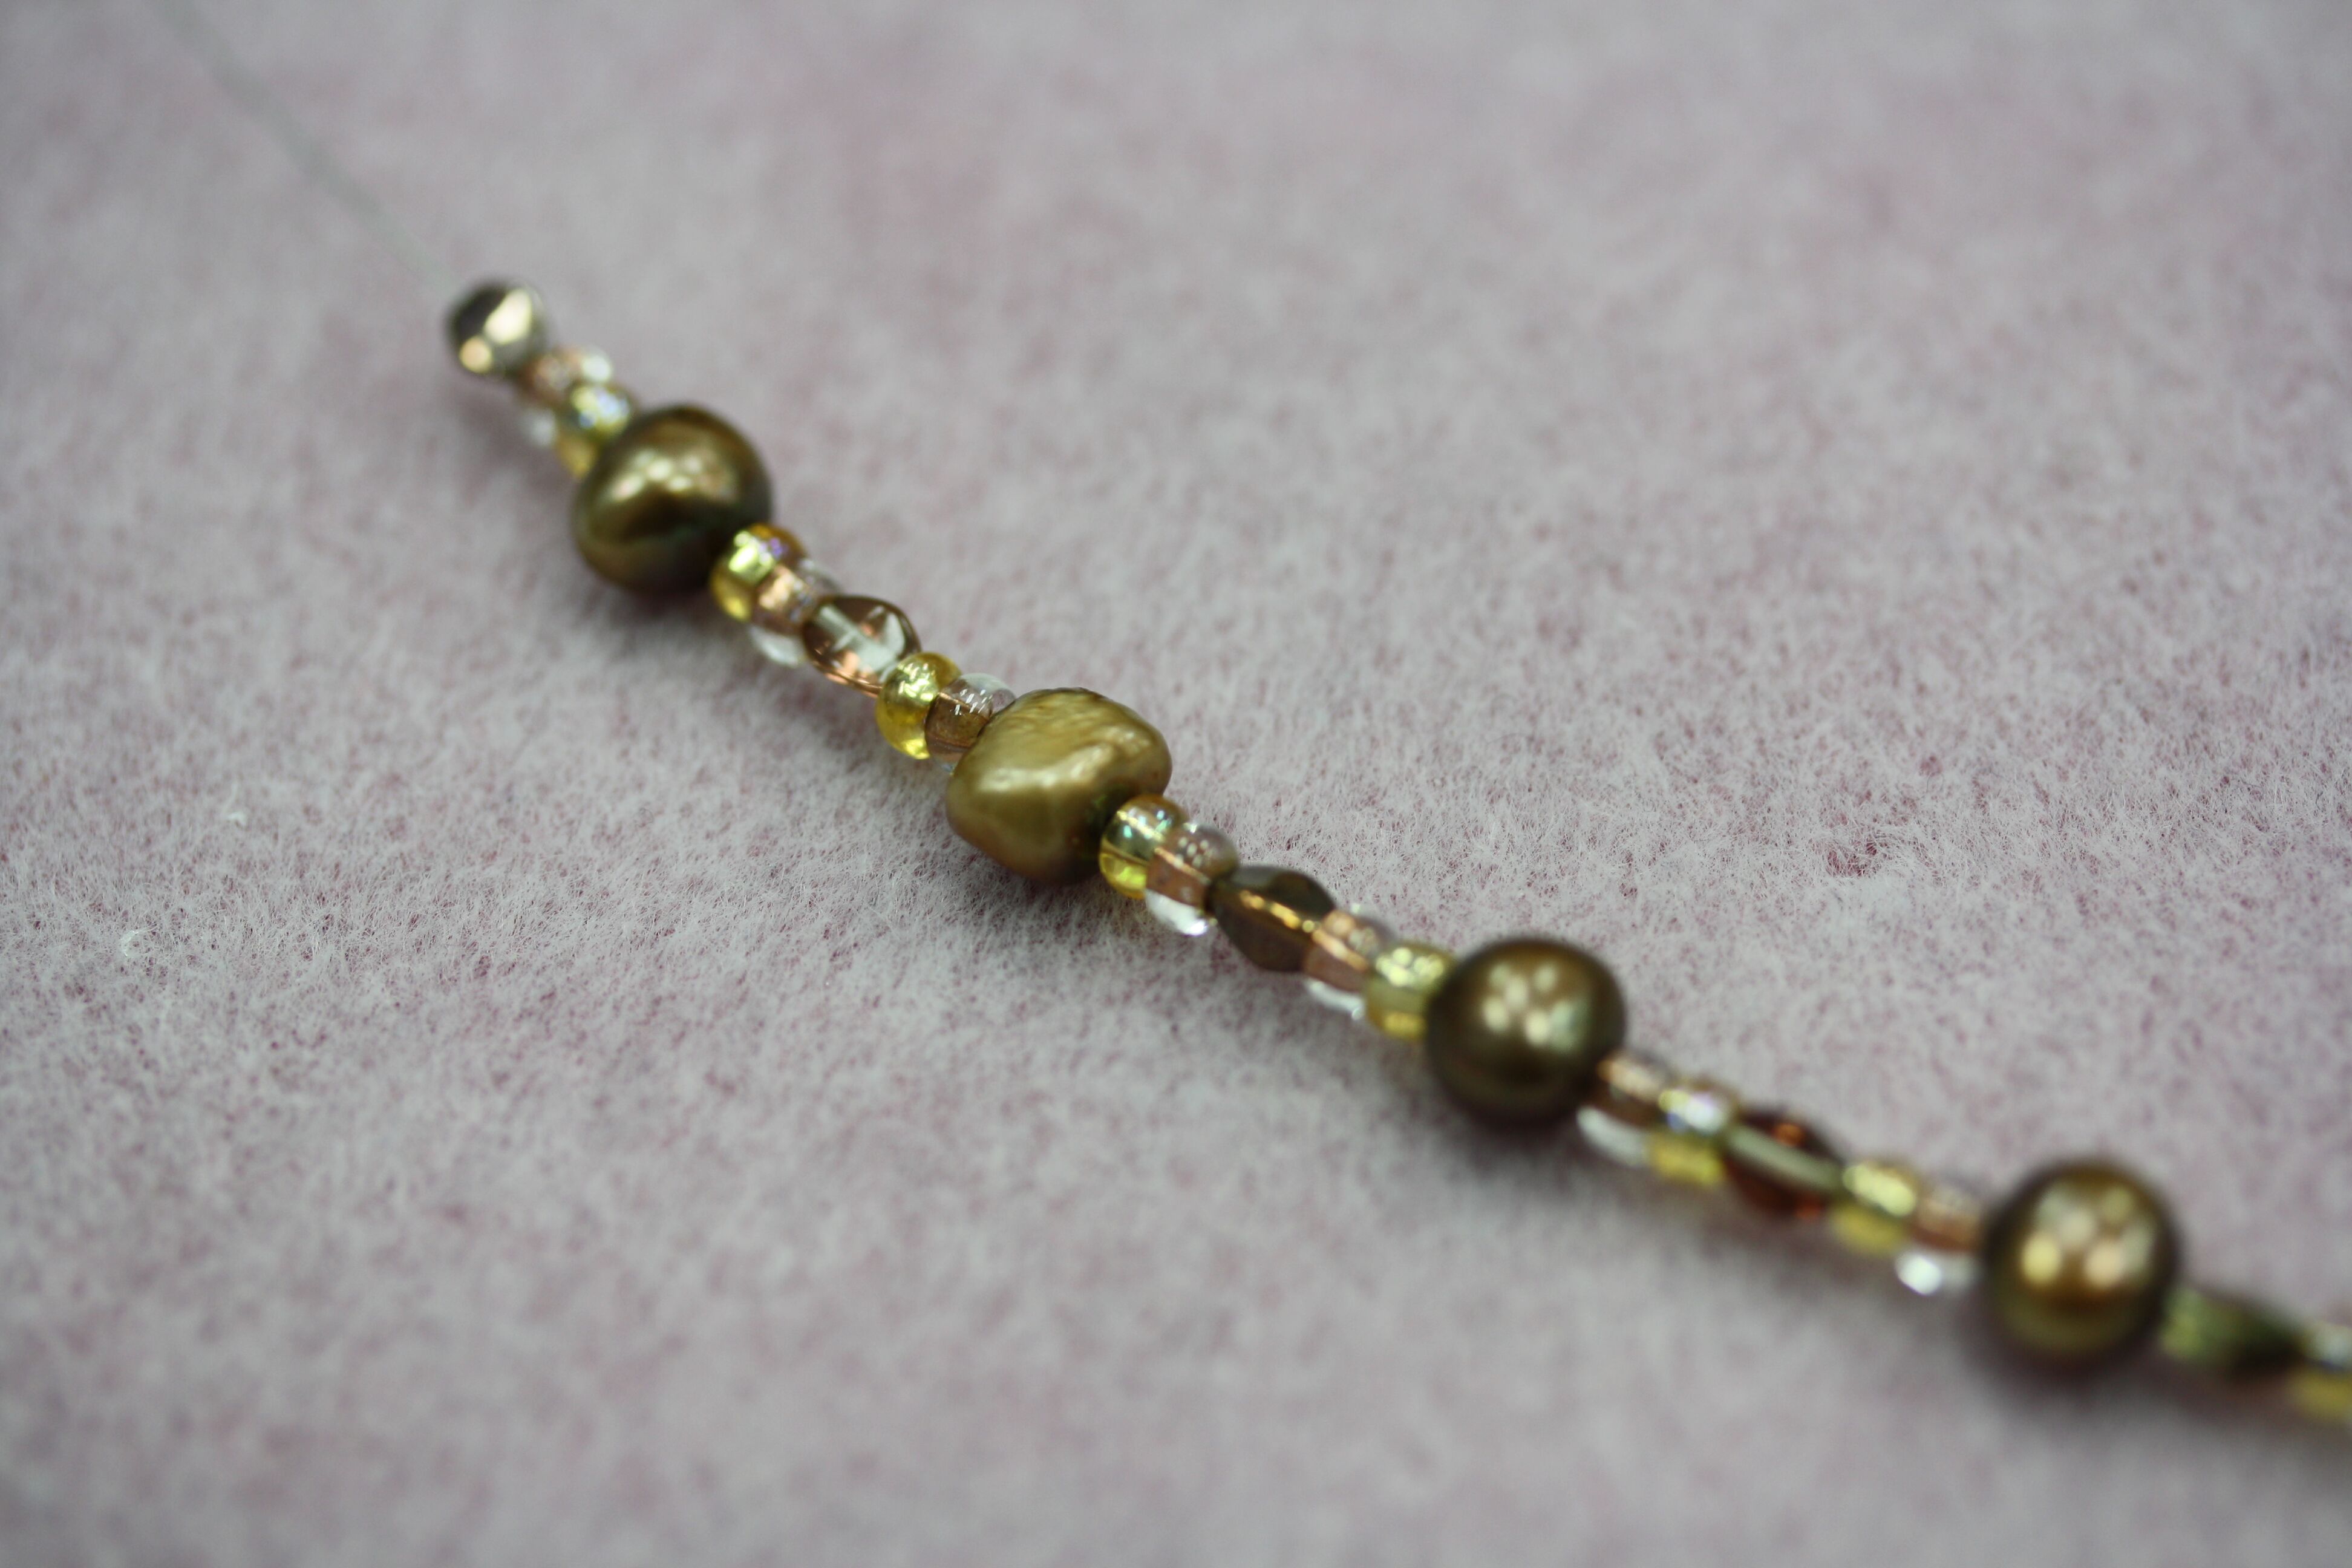
2. String all of the beads onto the 28 gauge wire in a random pattern. Keep the wire on the spool and DO NOT cut the wire off! This will take a while.
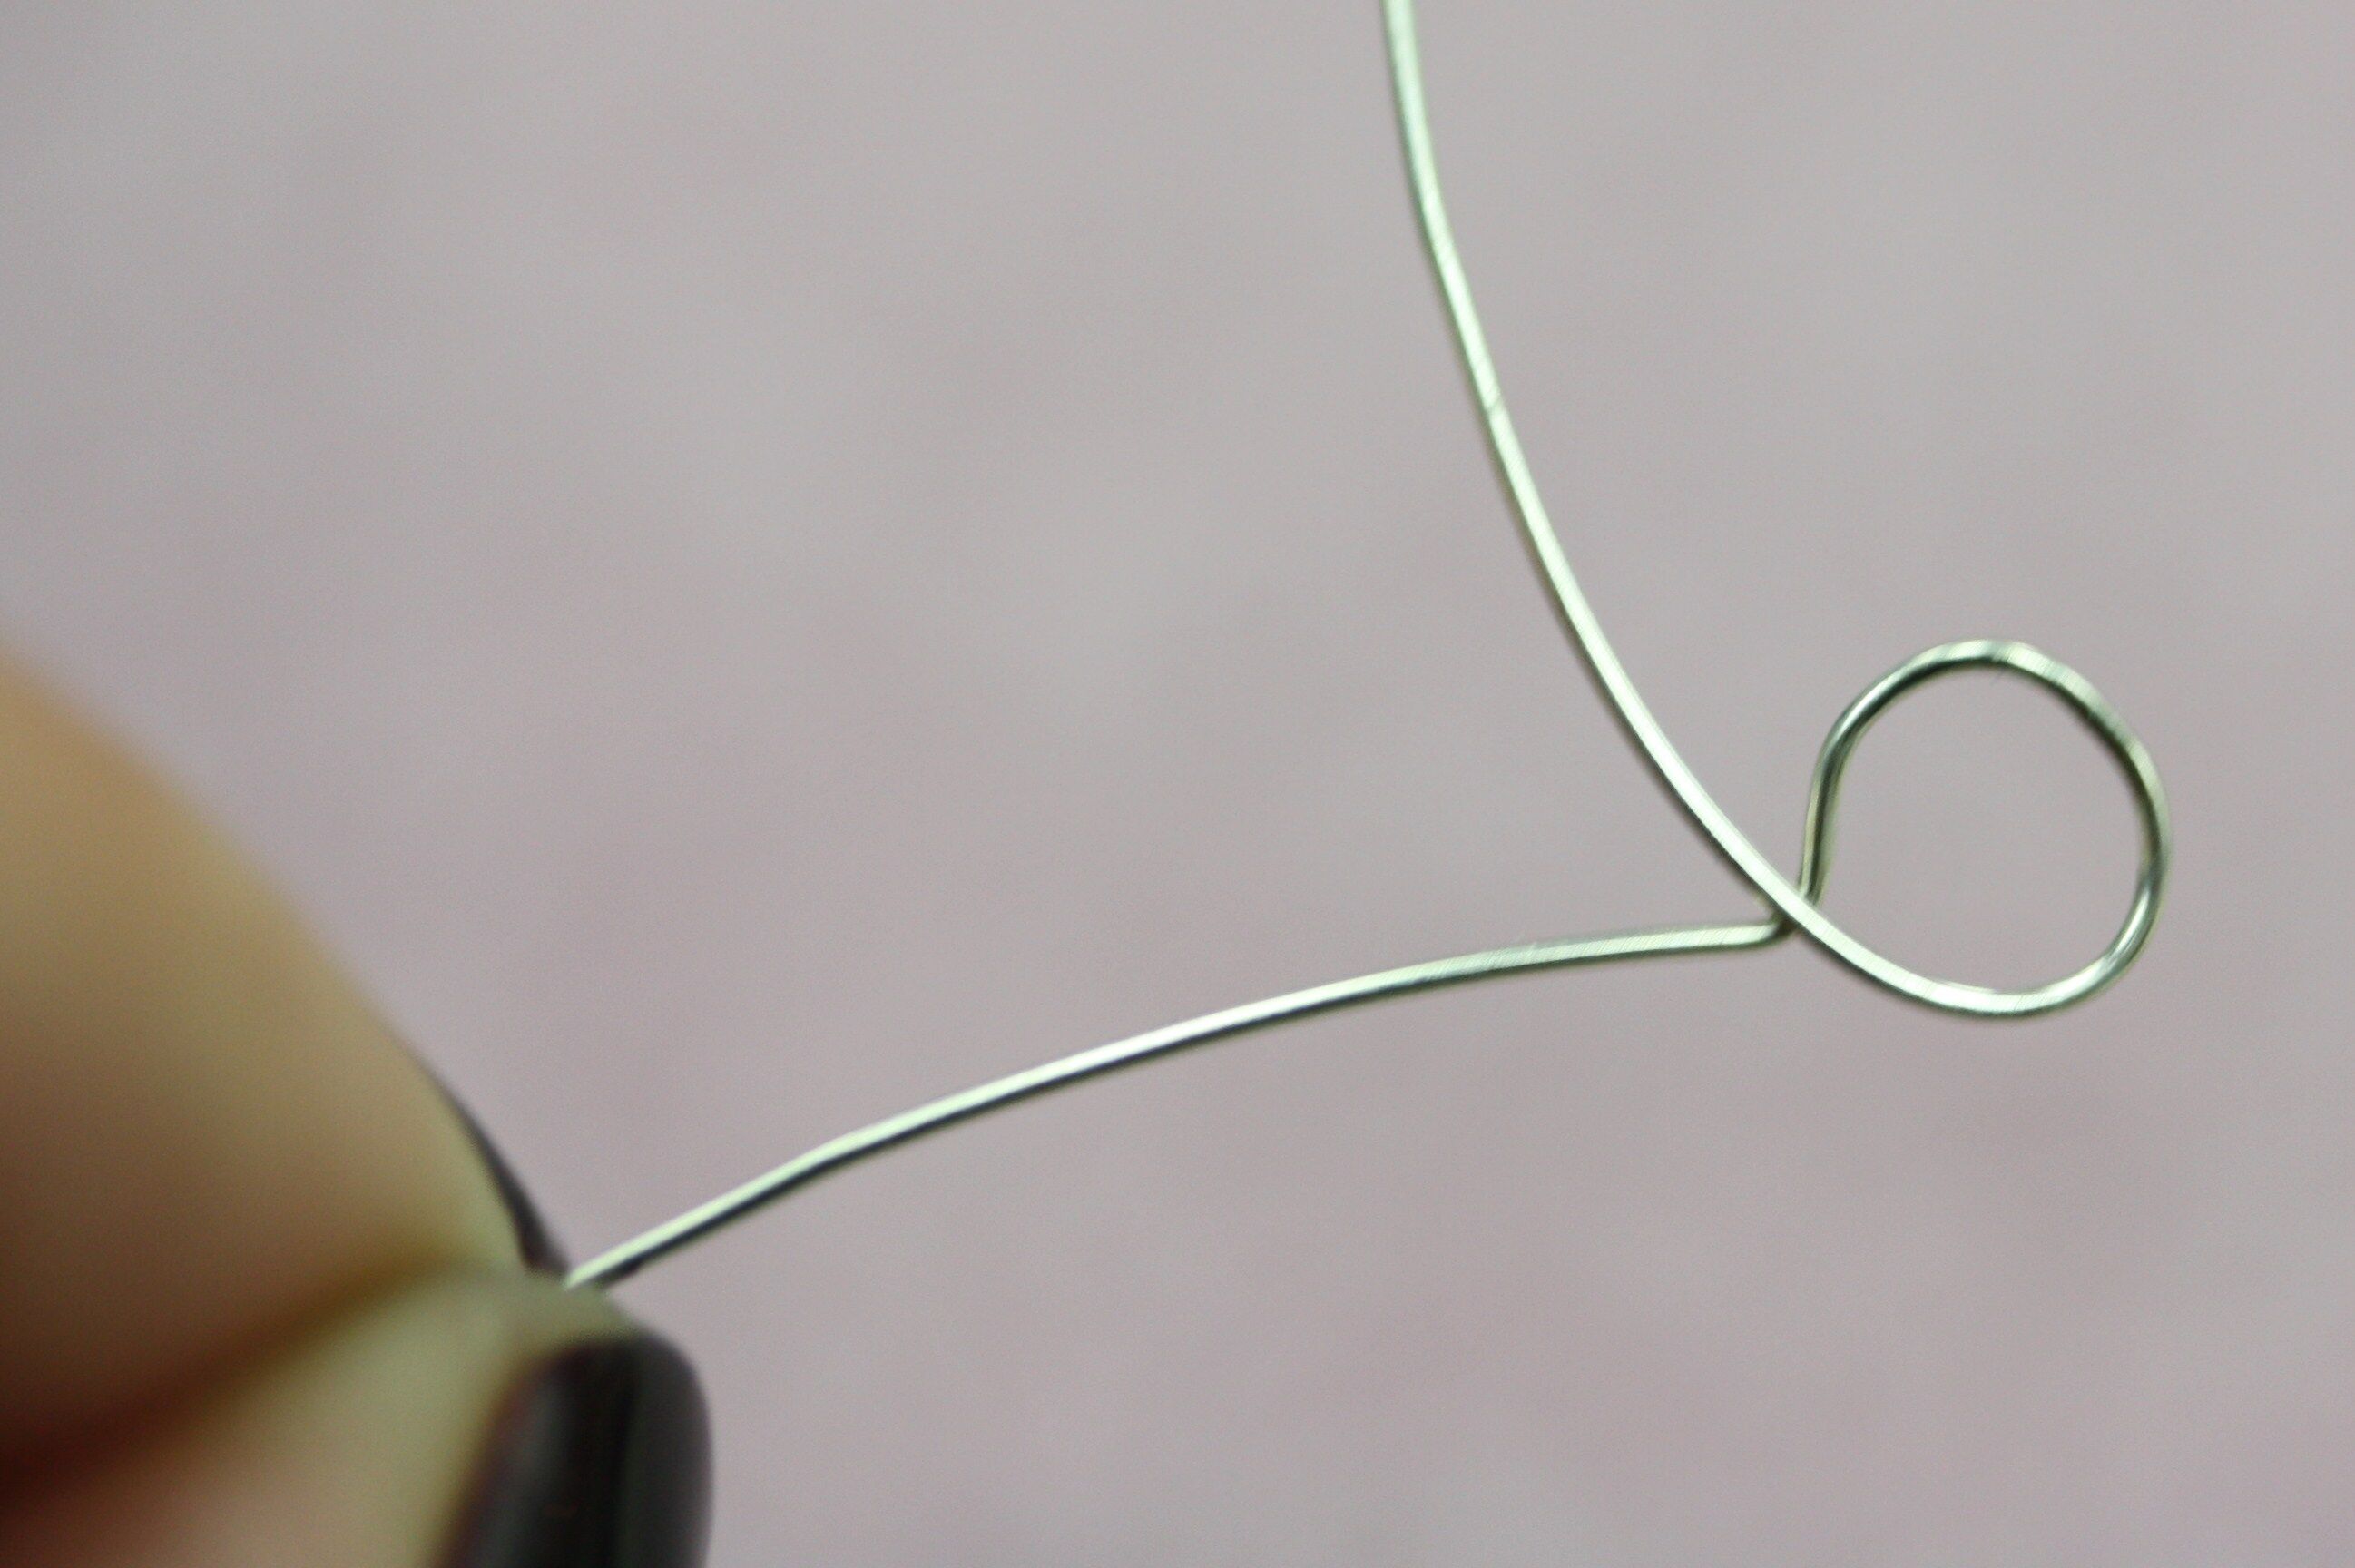
3. Leaving a three inch tail, form a slip knot at the end of the 28 gauge wire.
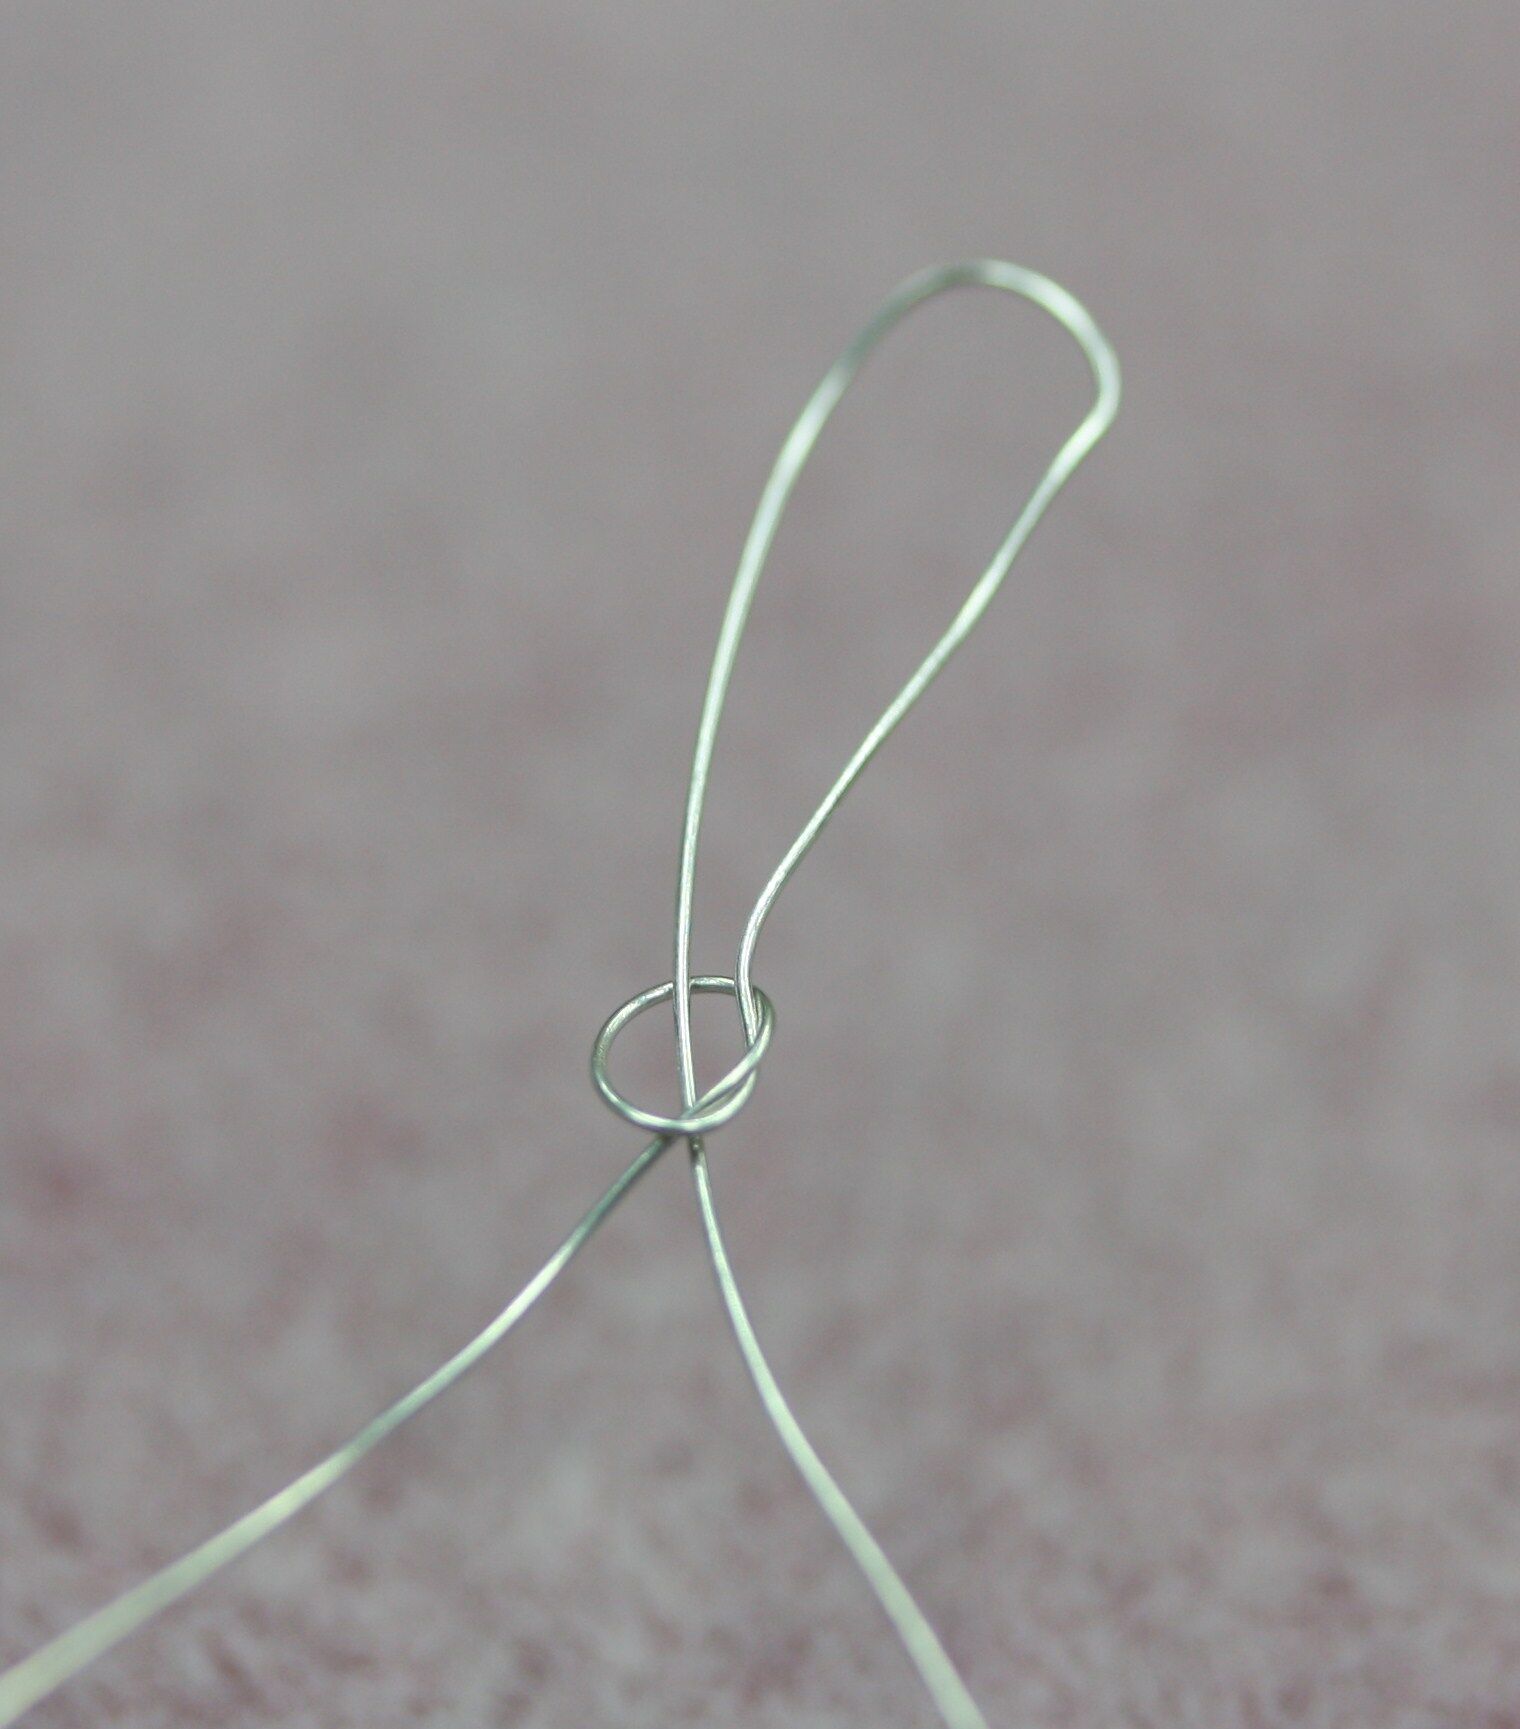
4. Slide one bead up the wire.
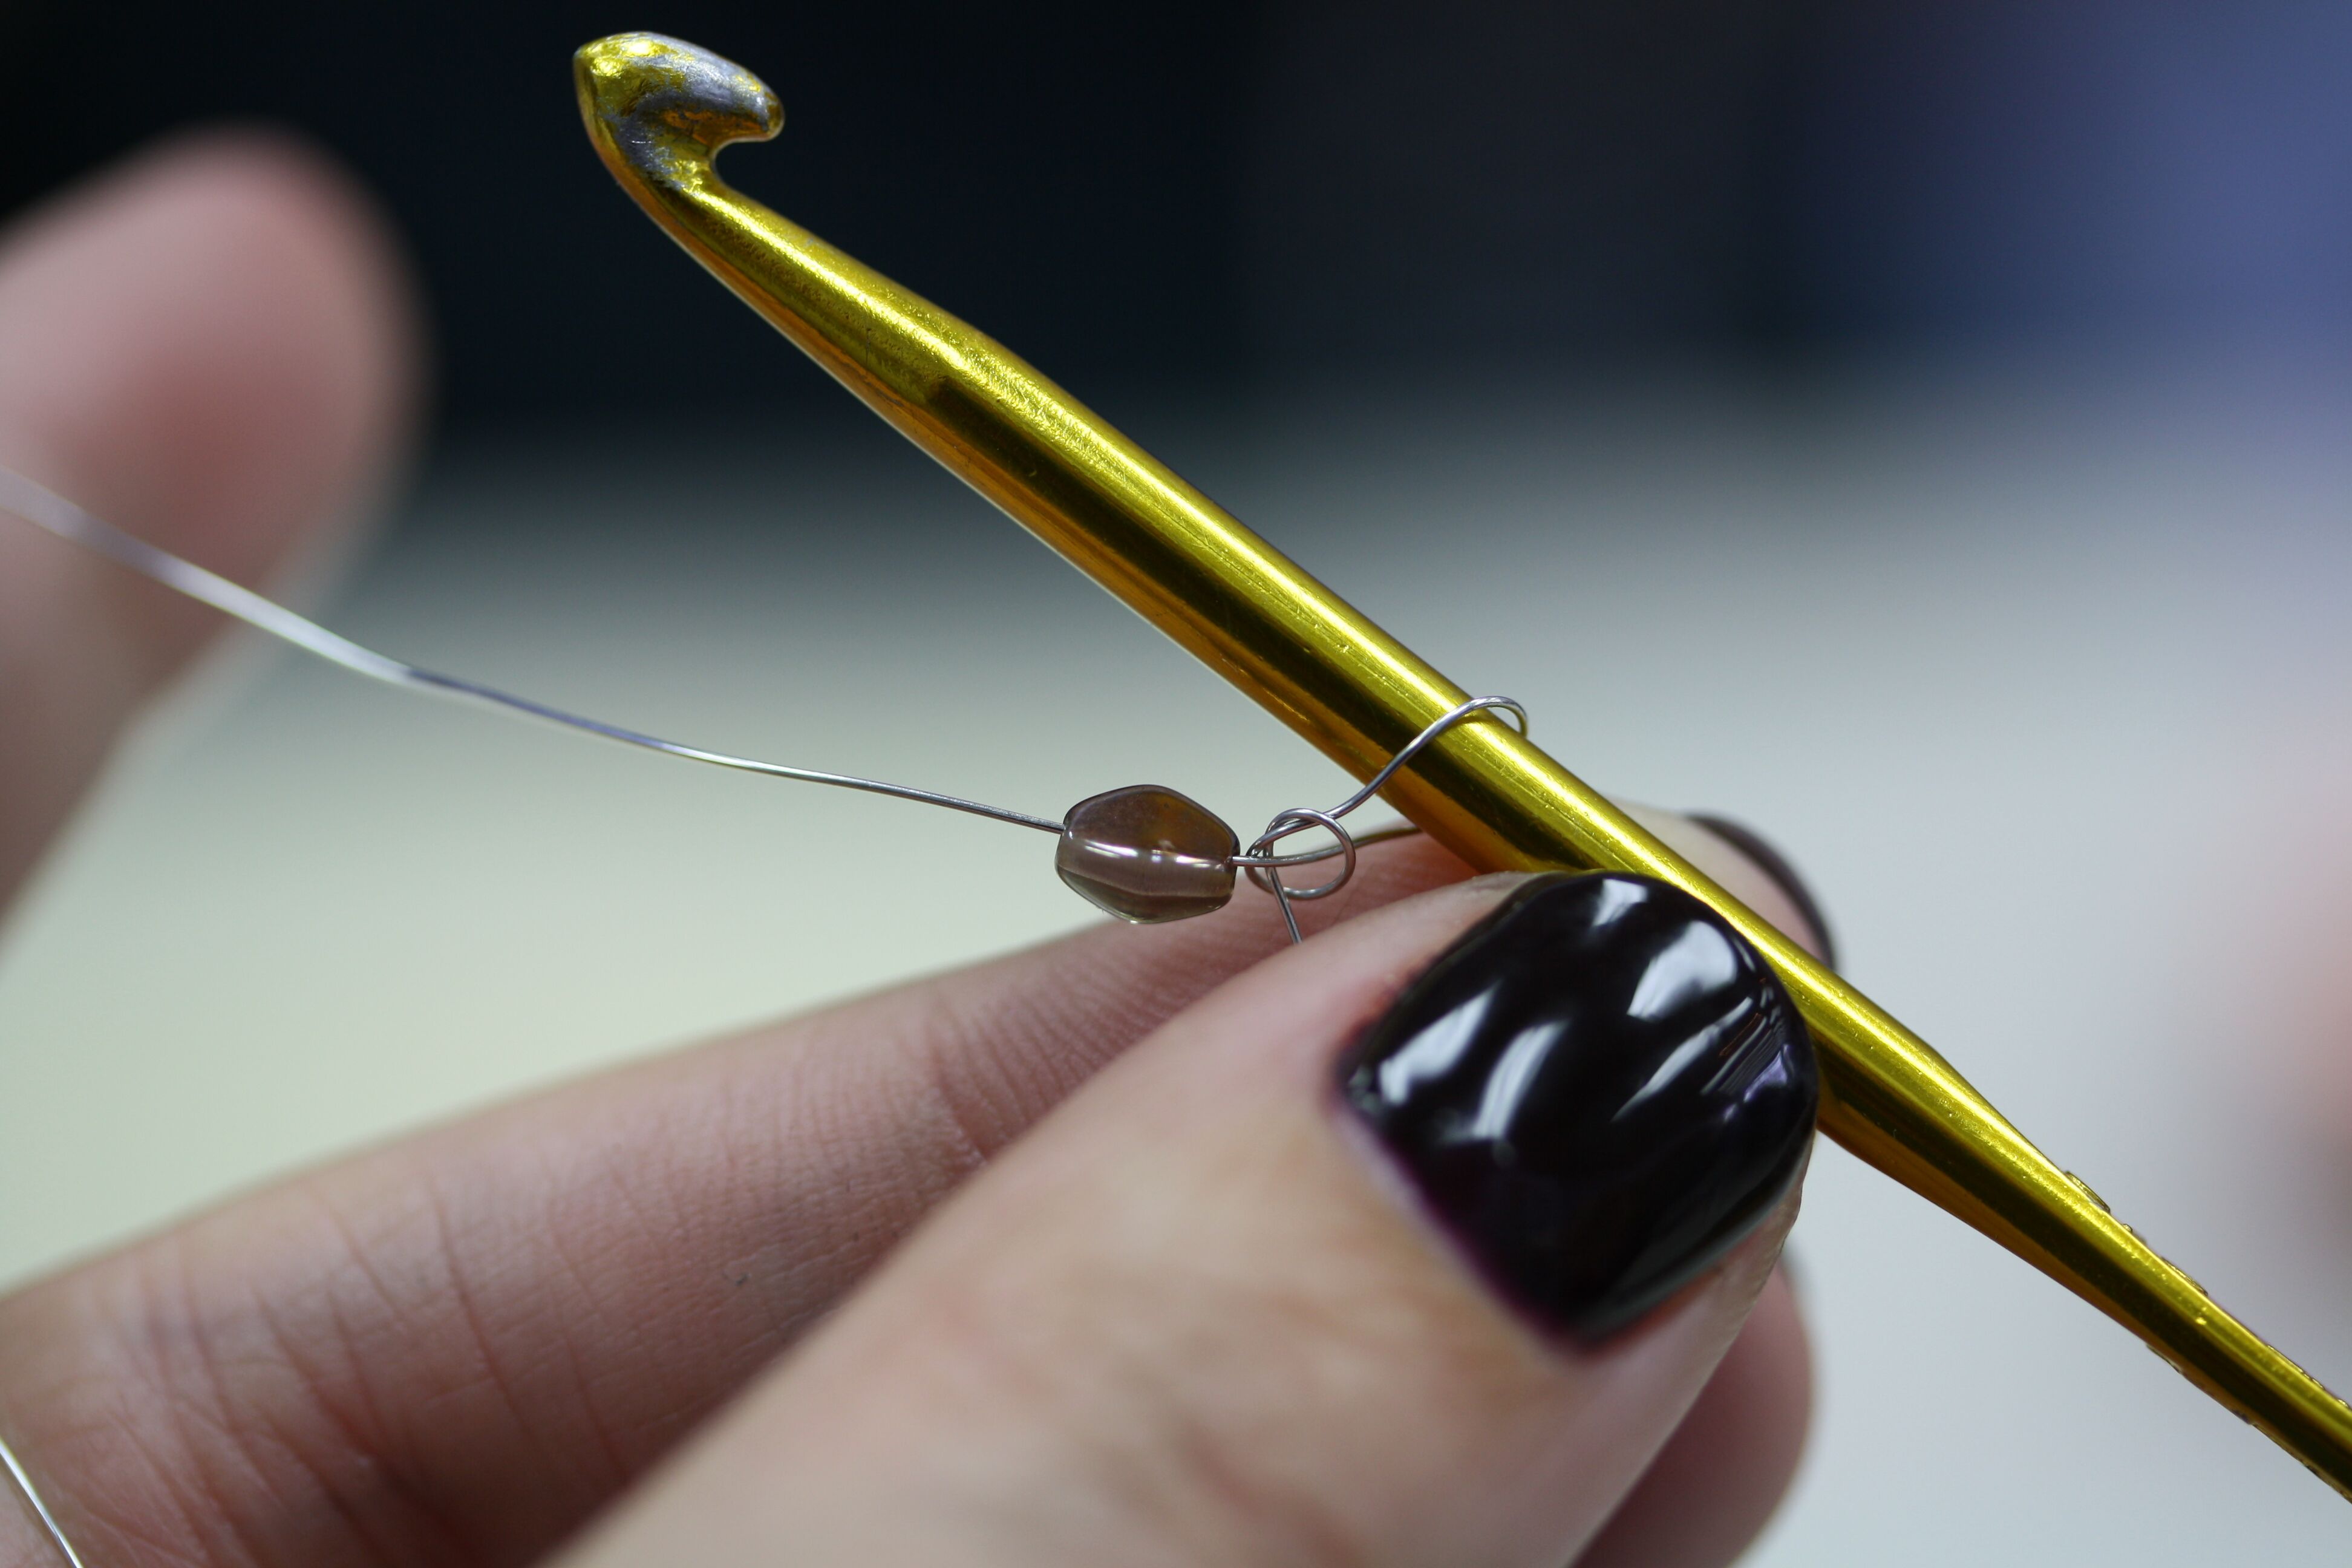
5. Crochet one stitch, passing directly over the bead.
 .
.
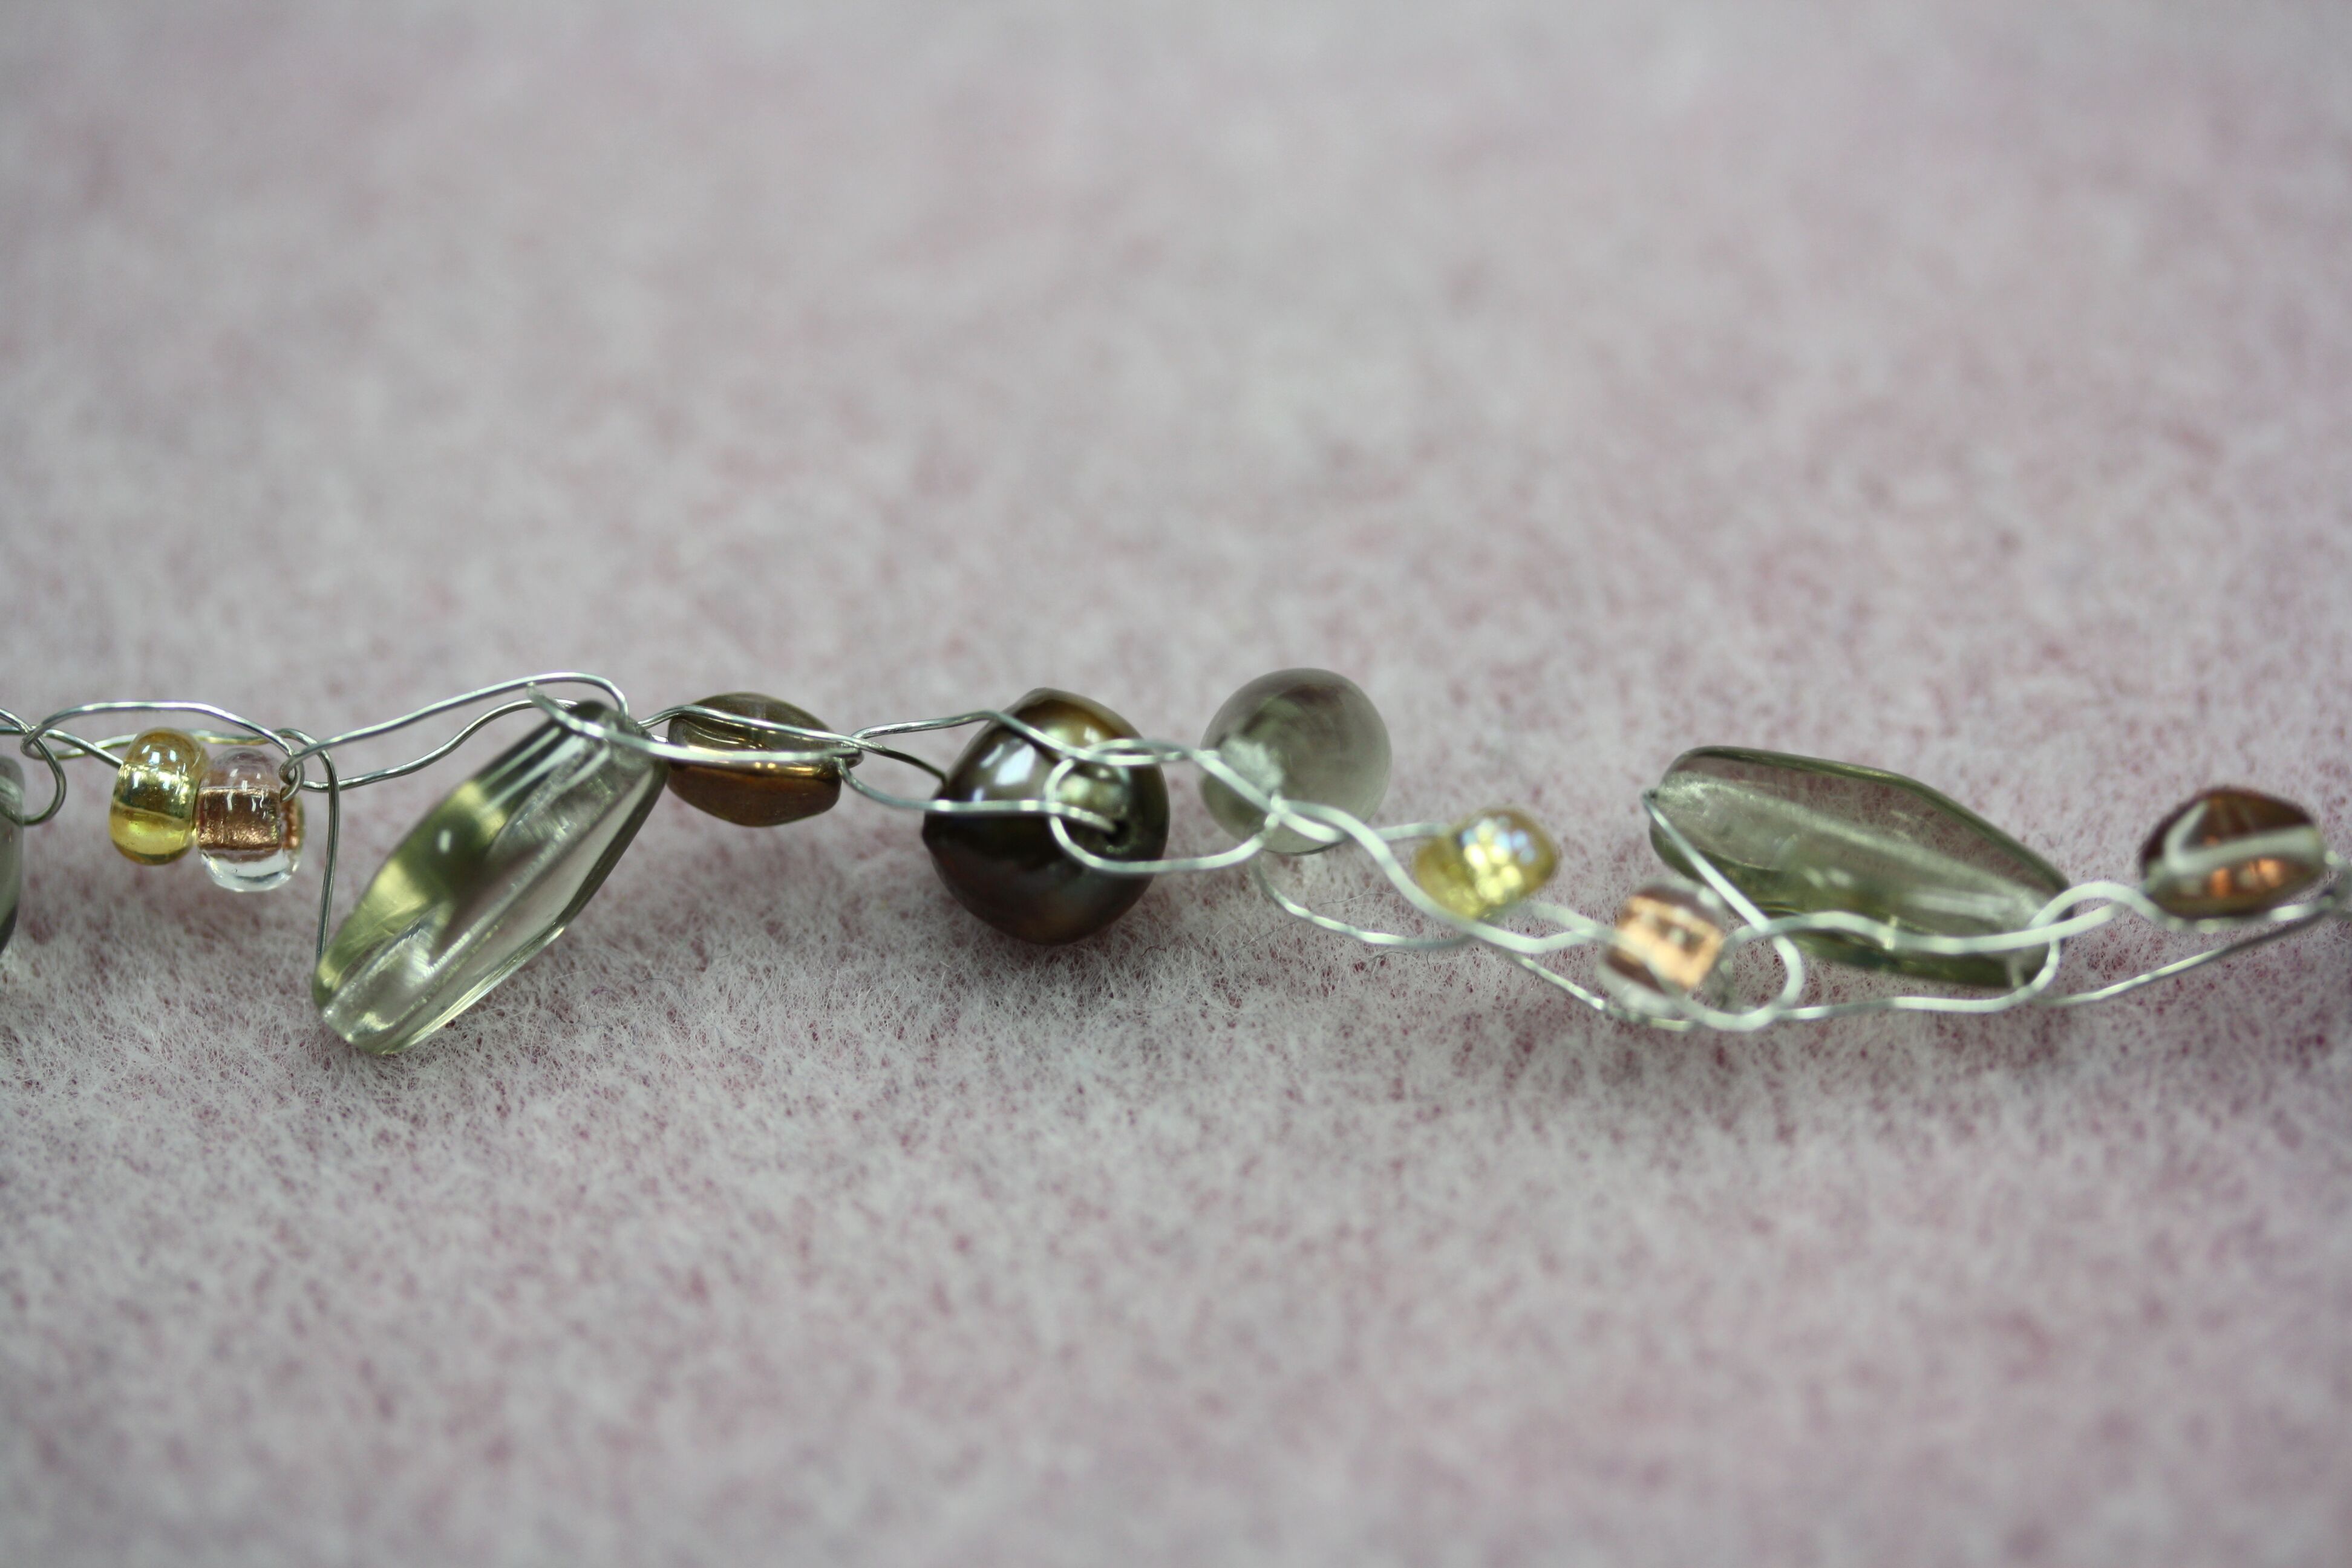
6. Keep the stitches loose enough to easily slide over the crochet hook. Remember, wire doesn’t stretch like yarn. Slide up another bead. Crochet a stitch, passing directly over the bead. Continue crocheting the chain, sliding one bead up for every stitch until all of your beads are crocheted. For a 16 inch necklace, you’ll need to crochet about 5-6 feet of chain. For an 18 inch necklace, you’ll need to crochet about 7 feet of chain. The tighter and fuller you prefer the necklace to be, the more chain you will need to crochet.

 .
.
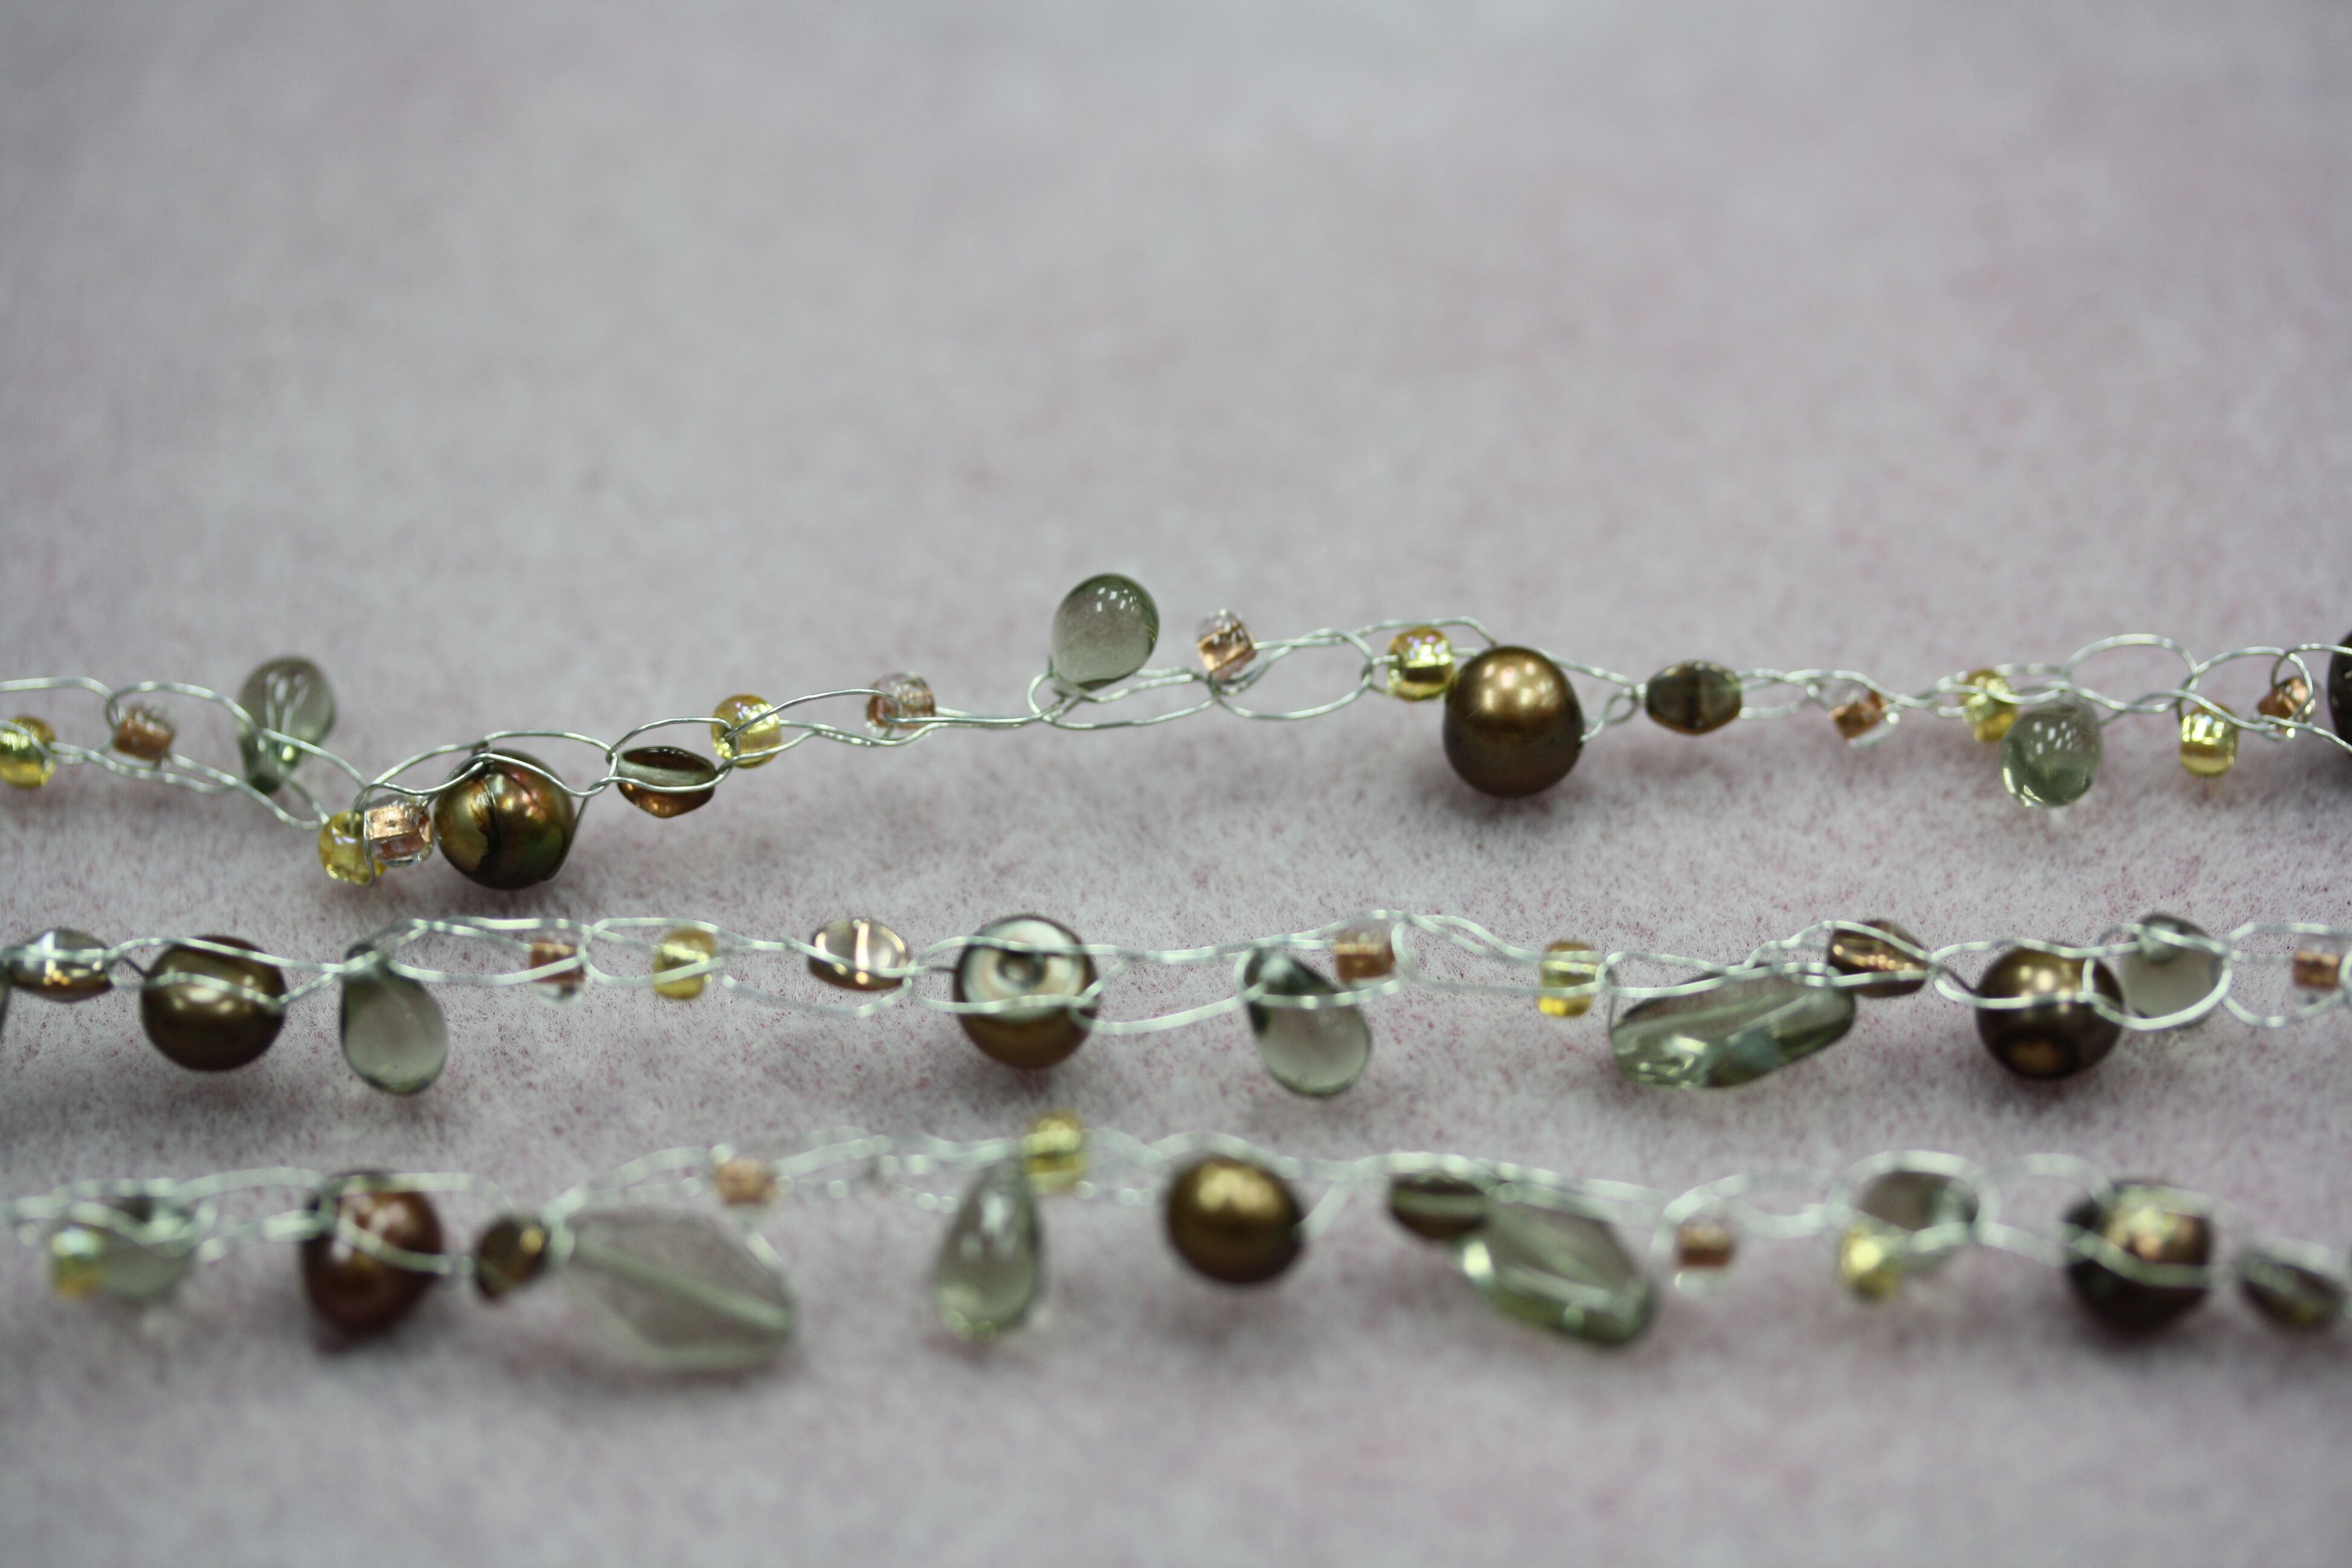
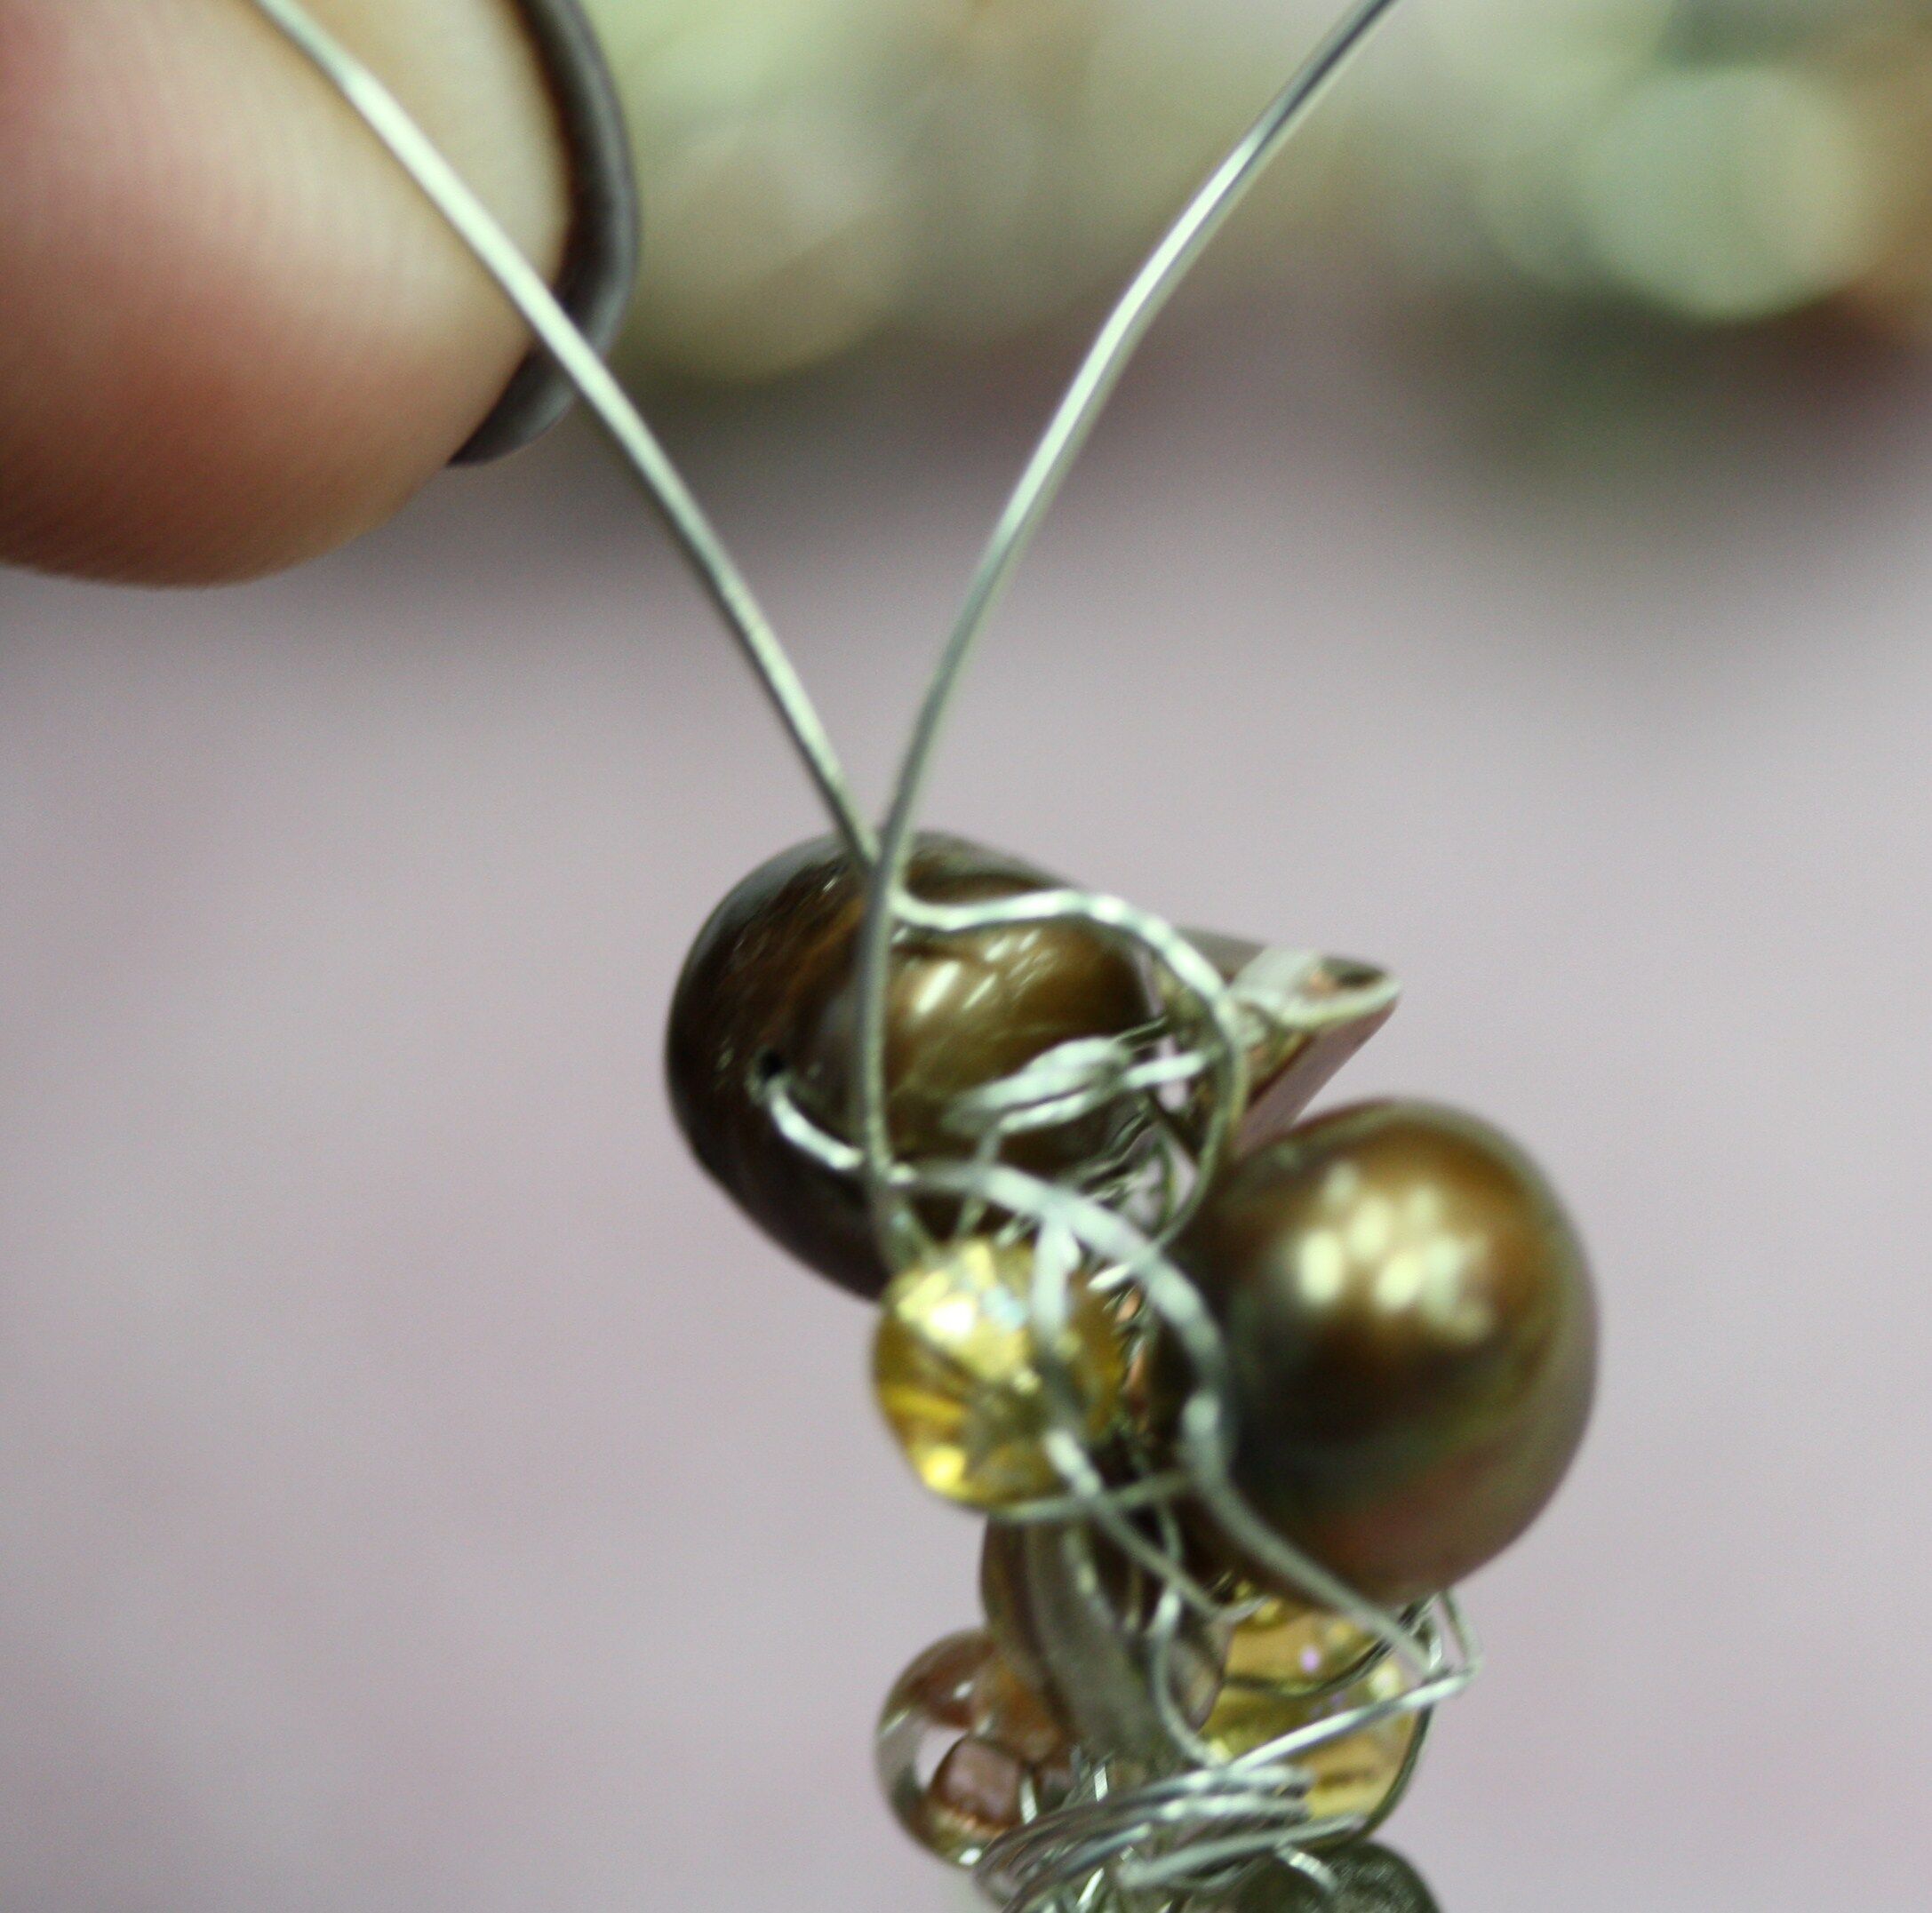
7. When the chain is the desired length, cut the wire off about 3 inches away from the chain. Pass the wire through the last stitch and pull it tight to secure. Fold the entire chain in thirds. Starting from the middle, twist the strands together very firmly.
 .
.
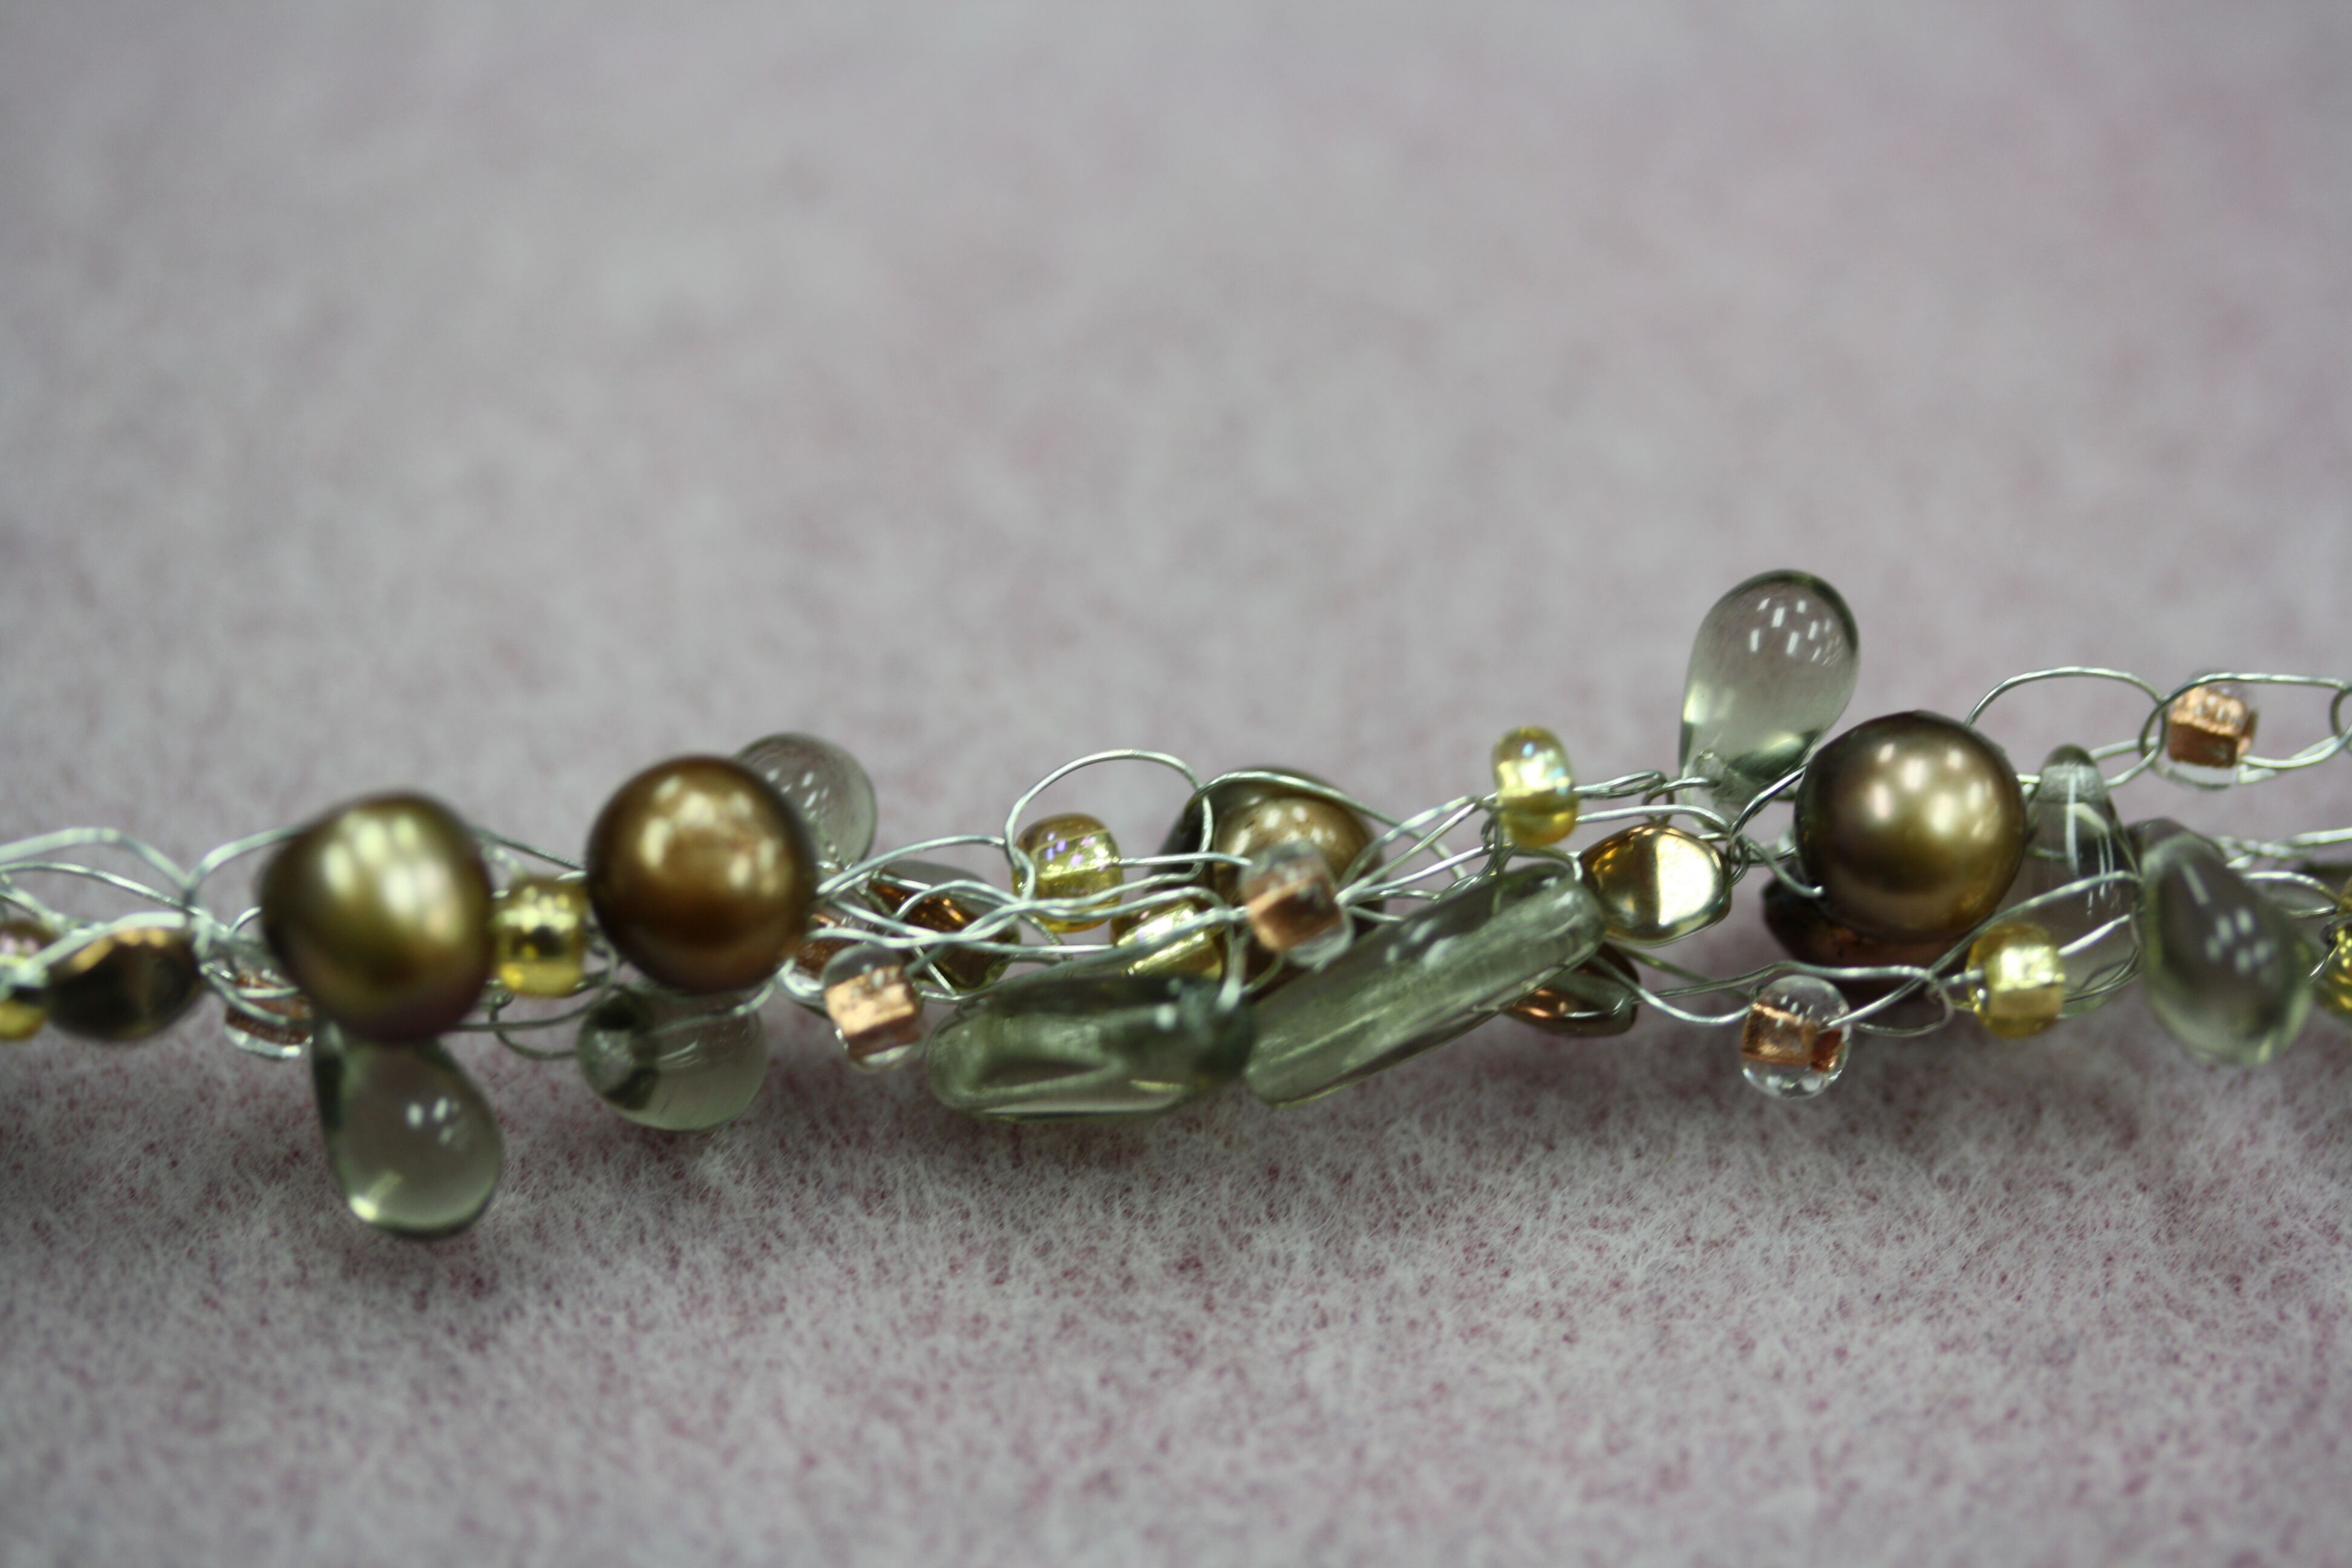
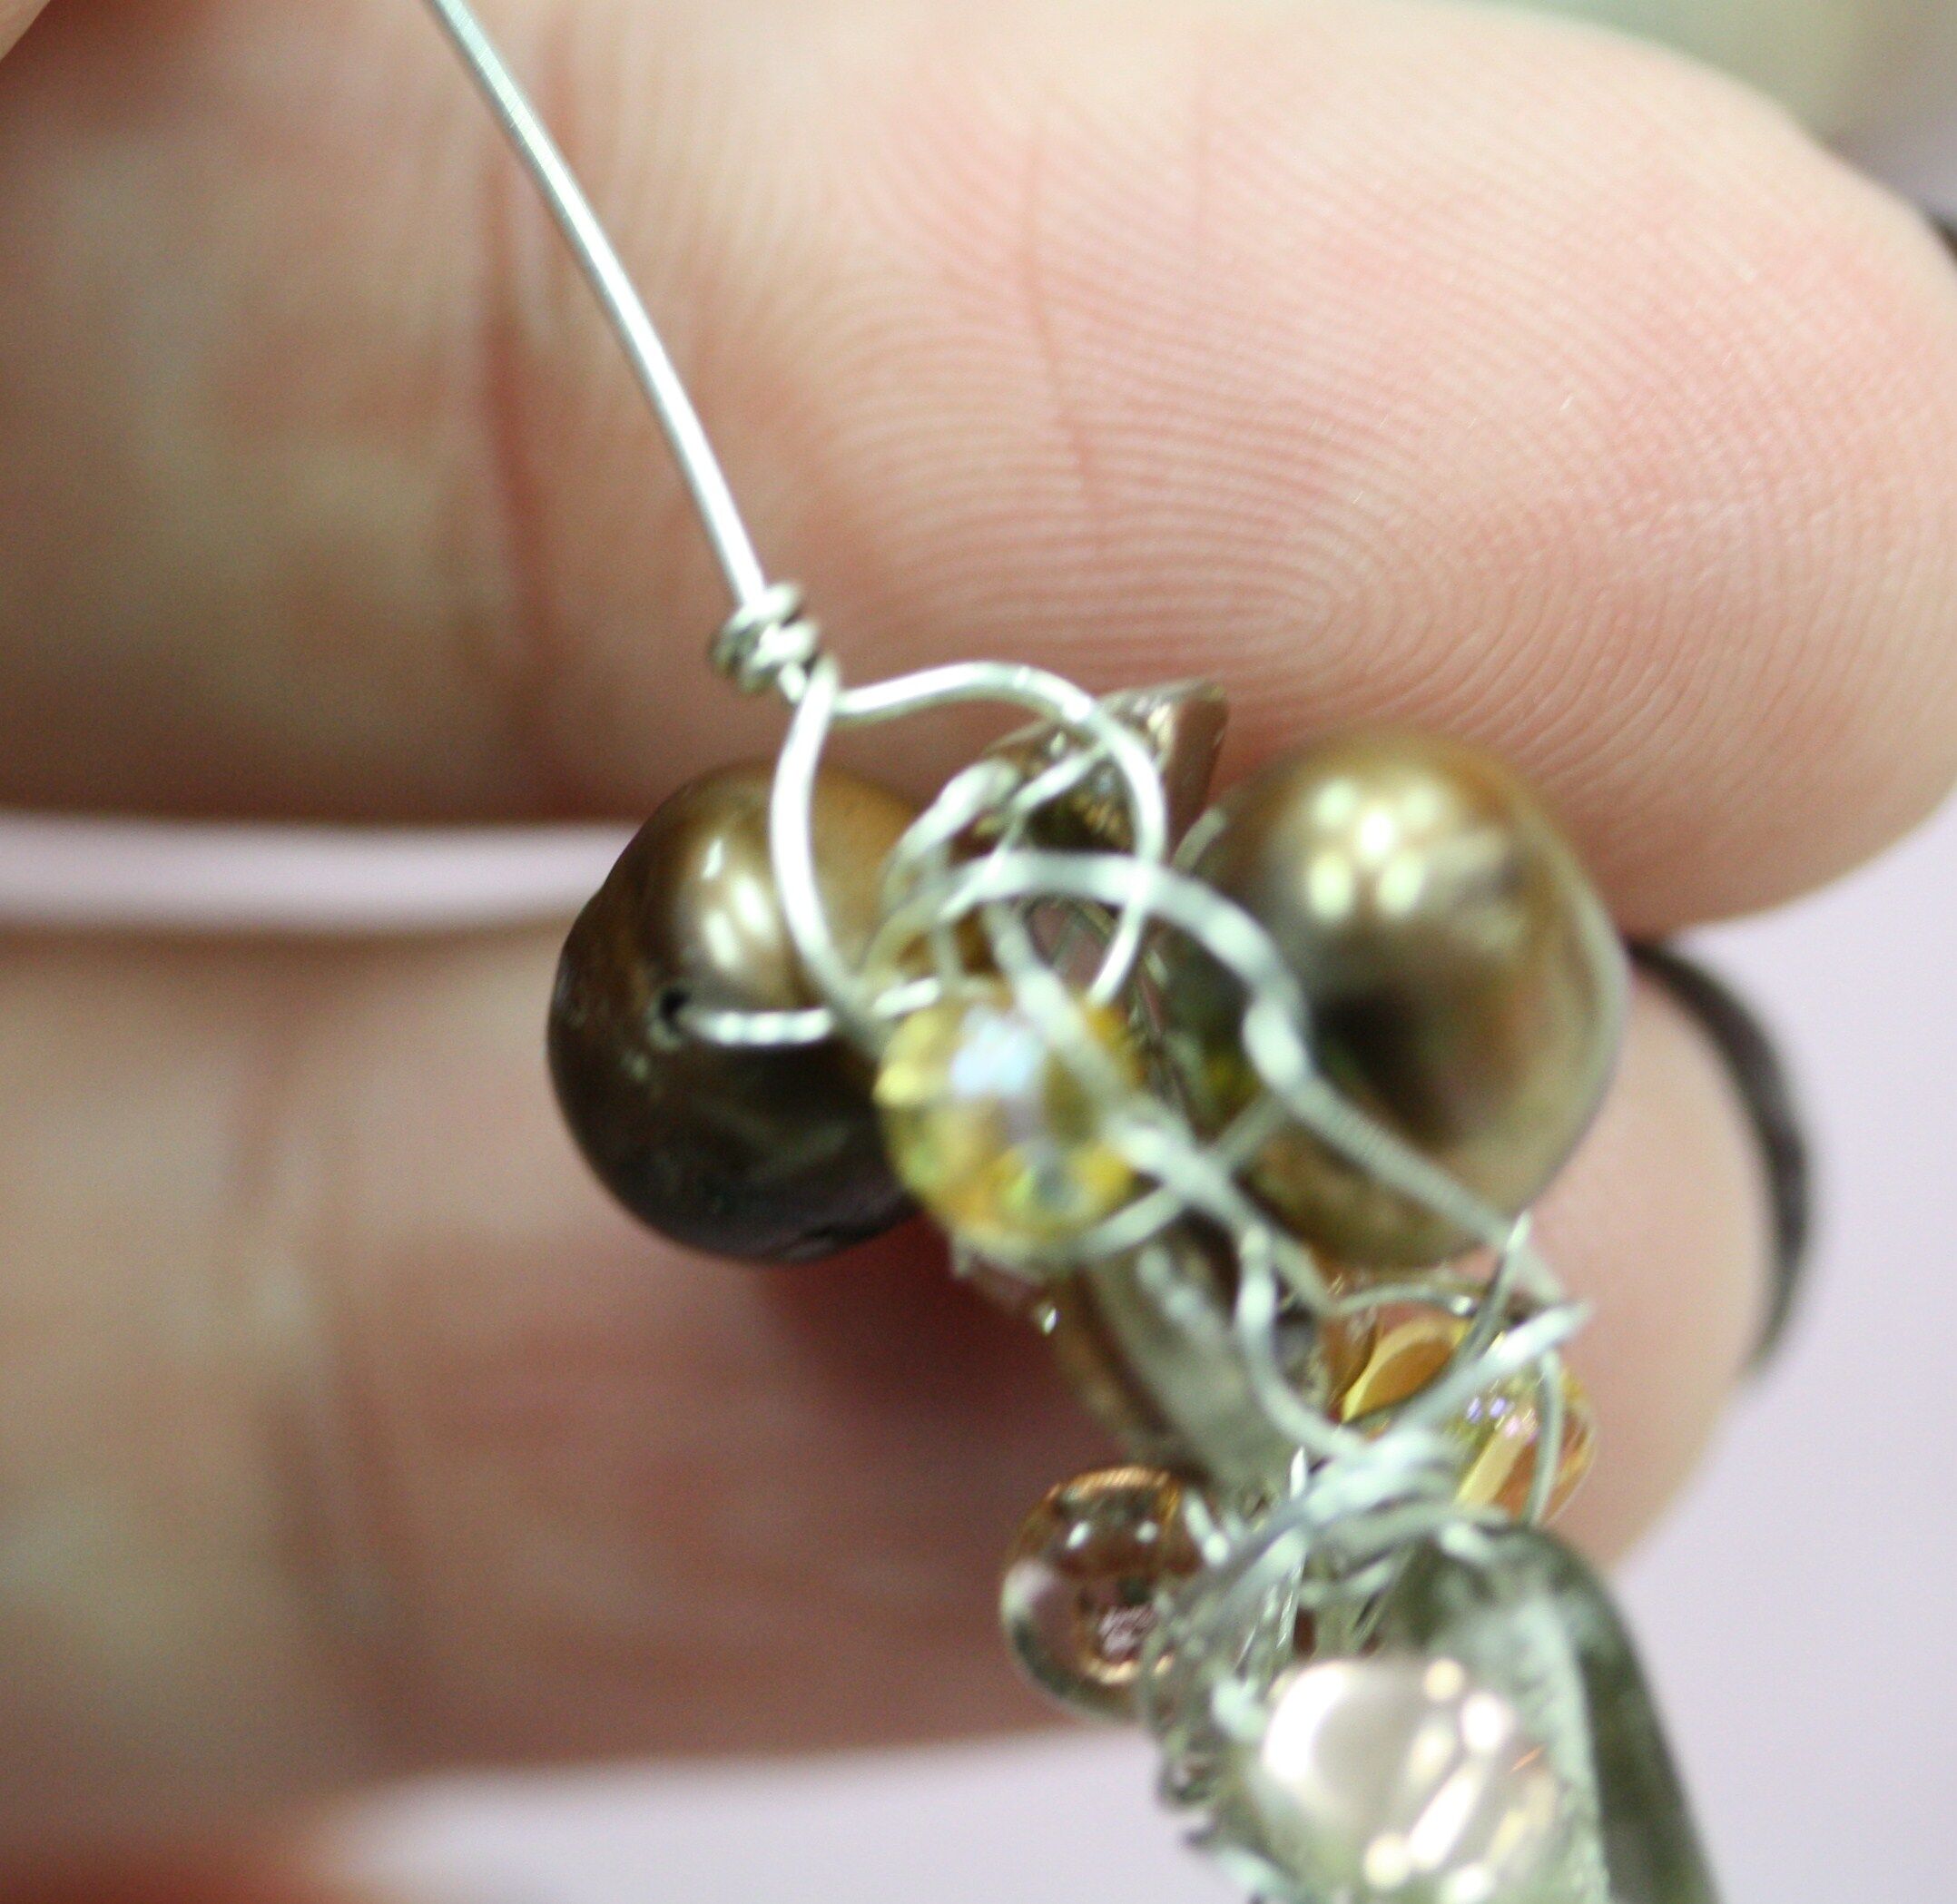
8. You want the strands to interlock so that they cannot unwrap. Keep twisting until you have worked your way to both ends, being careful not to break any strands.

 .
.
9. Use a three inch piece of 24 gauge wire to form an open wire loop.
10. Twist the end of the crochet chain tightly together to form one strand or unit of wire. Link this unit onto the wire loop.
 .
.
11. Wrap the wire loop closed.
.
12. String on a coordinated bead. Make a second wire loop.
 .
.
13. Connect the wire loop to the ring on the toggle and wrap the loop closed.
 .
.
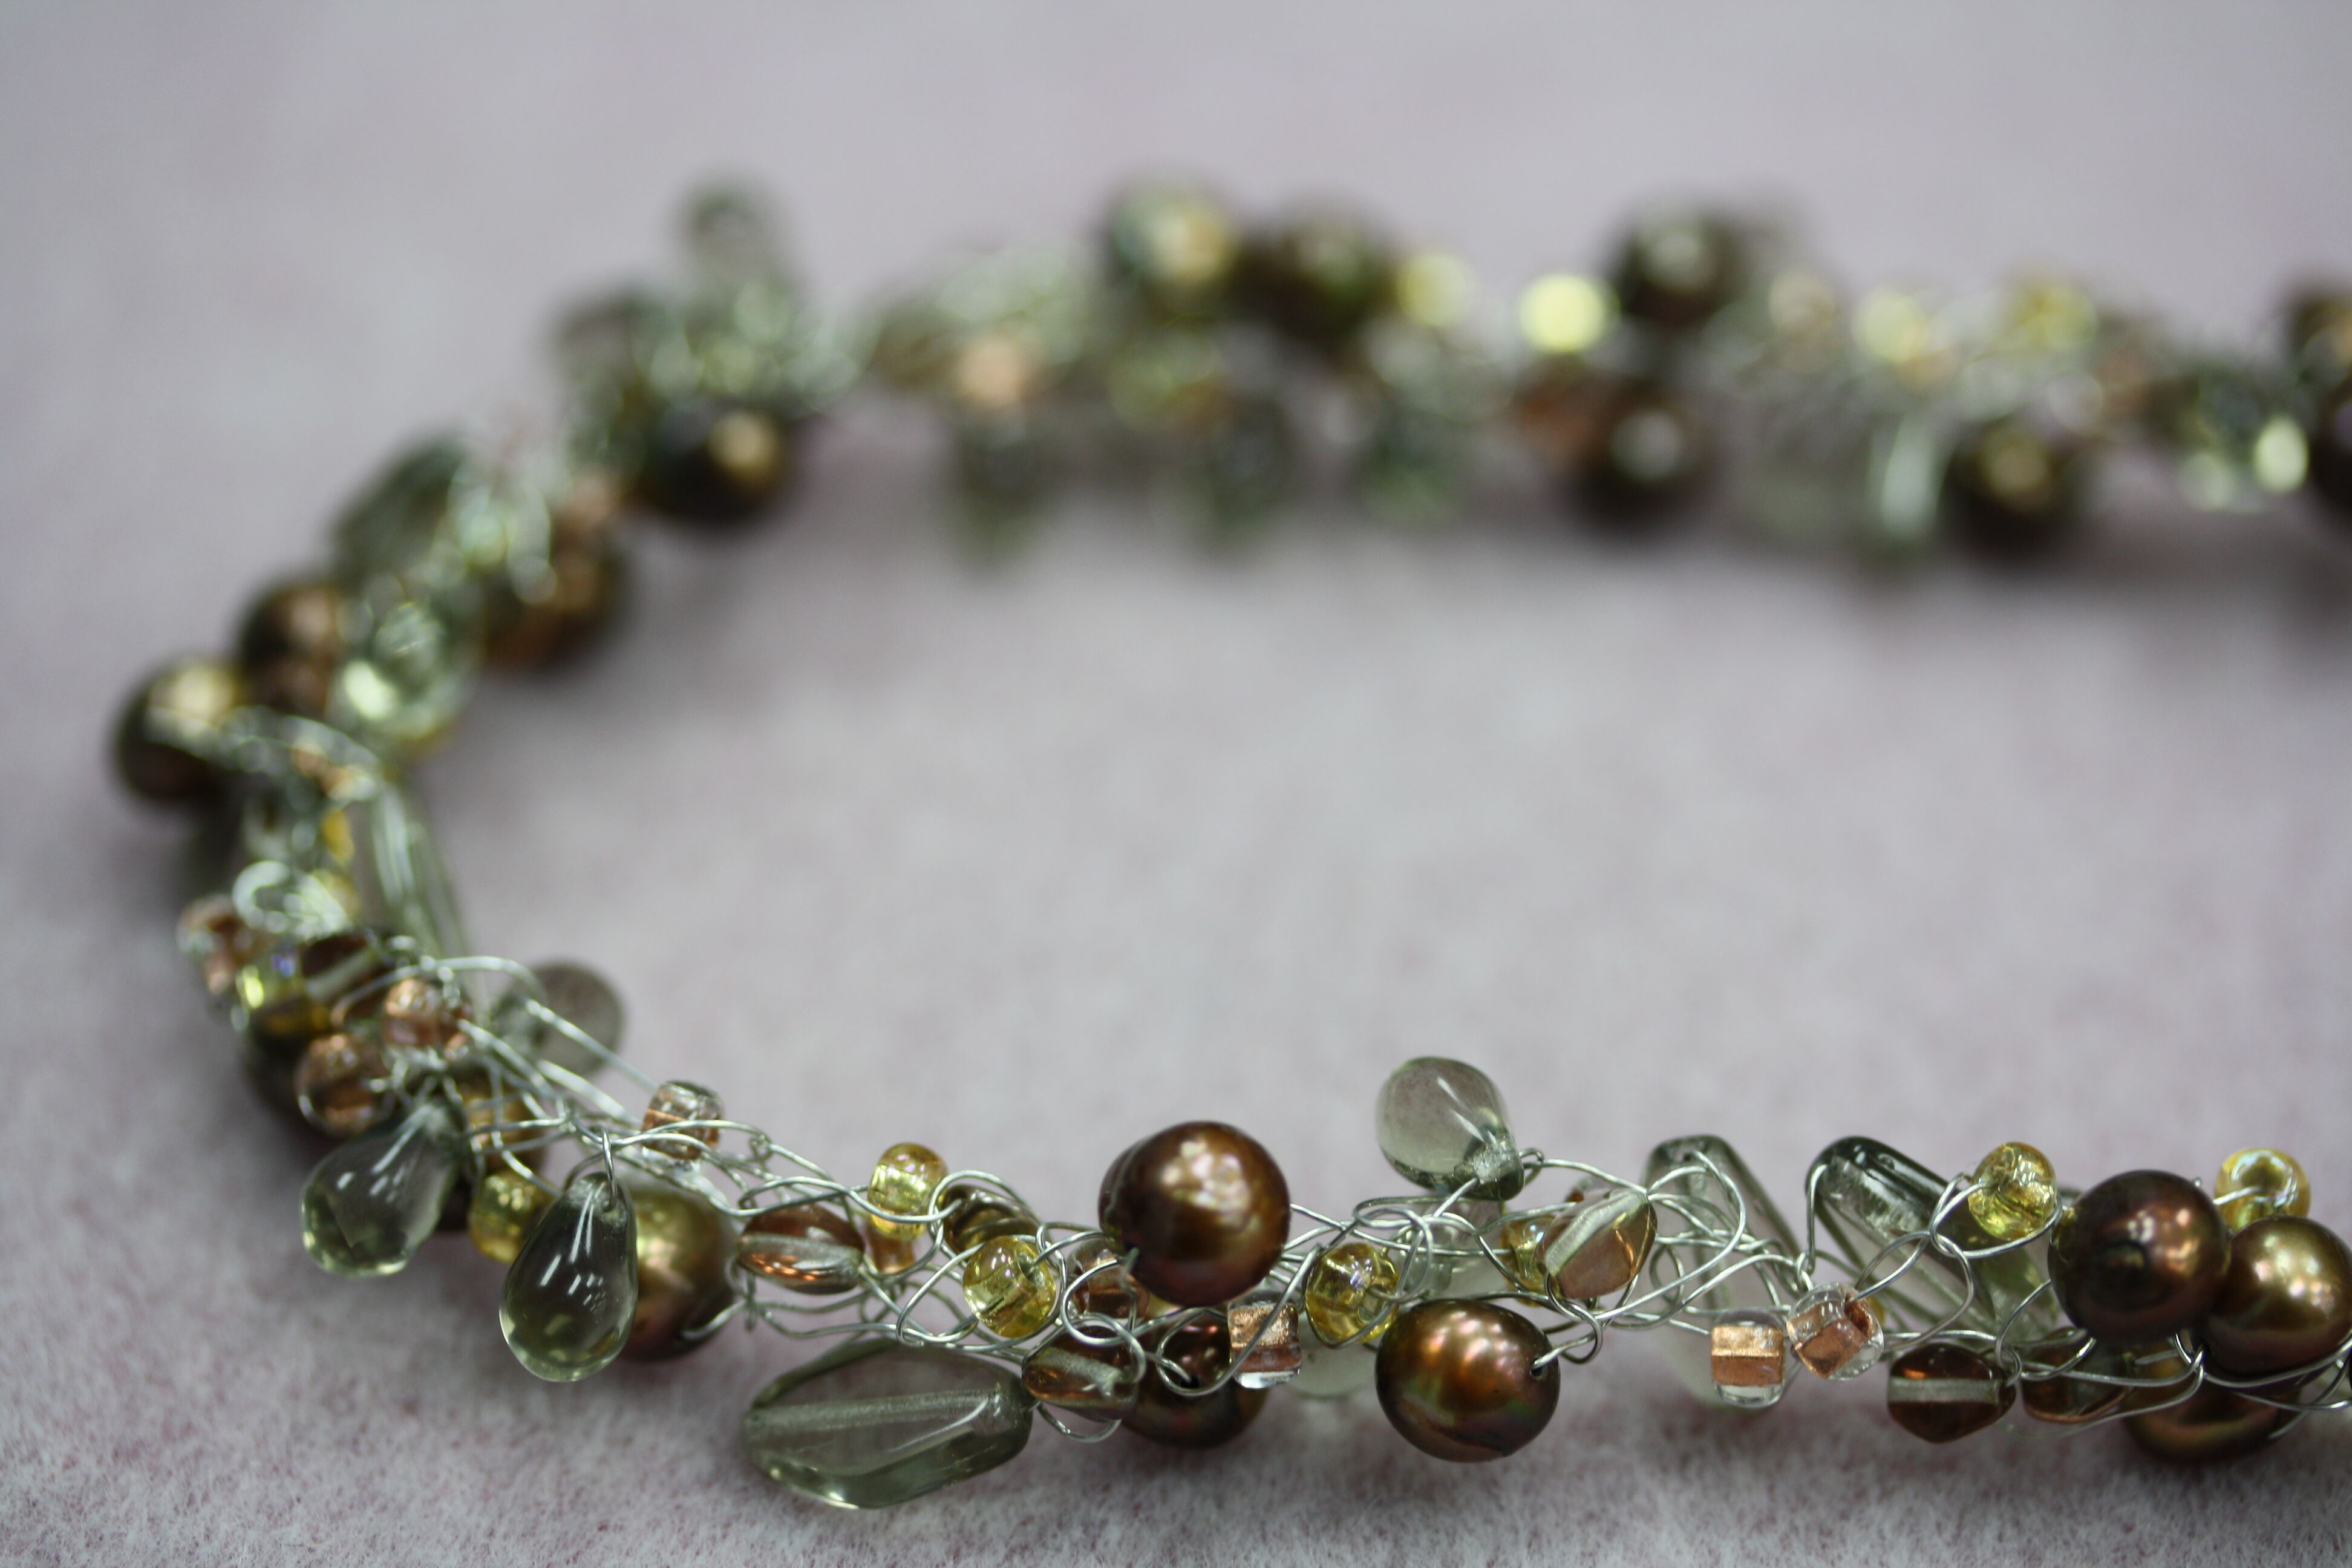
14. Repeat steps 5-7 on the other side of the necklace to secure the toggle bar. The finished necklace is shown below.
 We can’t wait to see the wire crochet jewelry you create on your summer trips this year!
Happy Beading!!
Recent Posts
-

"Abalone Sea" Dangle Earrings
"Abalone Sea" Dangle EarringsIn this tutorial, you'll blend delicate design with the luminescent bea …24th Apr 2024 -

"Gem Keeper" Chain Cage Pendant Necklace
"Gem Keeper" Chain Cage Pendant NecklaceNo hole no problem! Keep anything from gems with no holes, b …29th Mar 2024 -

Layered Beaded Charm Necklaces
Layered Beaded Charm NecklacesLayered necklaces are a fashion staple that adds depth and dimension t …26th Feb 2024