
Tutorials
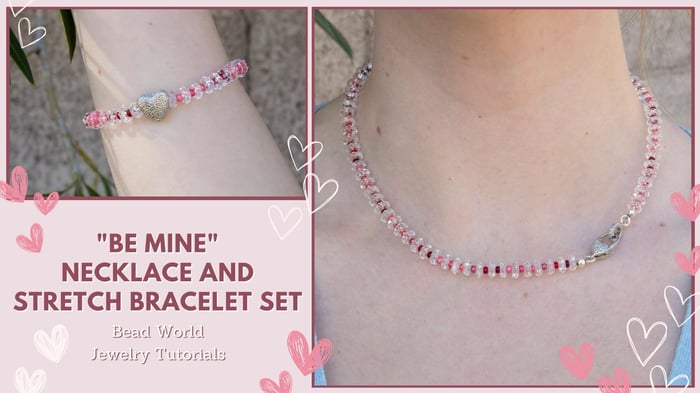
"Be Mine" Necklace and Stretch Bracelet Set
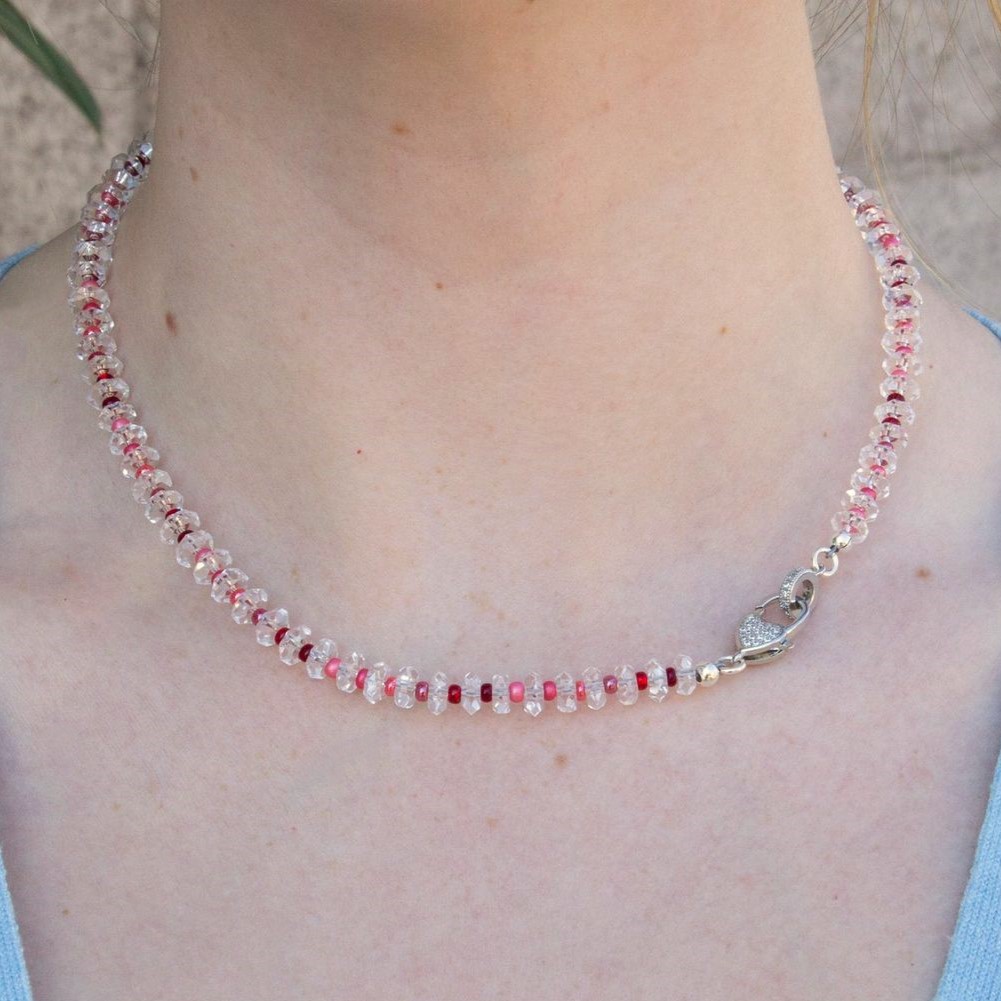
"Be Mine" Necklace and Stretch Bracelet Set
Valentine's jewelry, crafted with love and precision, serves as an embodiment of romantic sentiments and timeless expressions of affection. This set is wearable year-round, not just the 14th of February!
Materials Needed - Necklace:
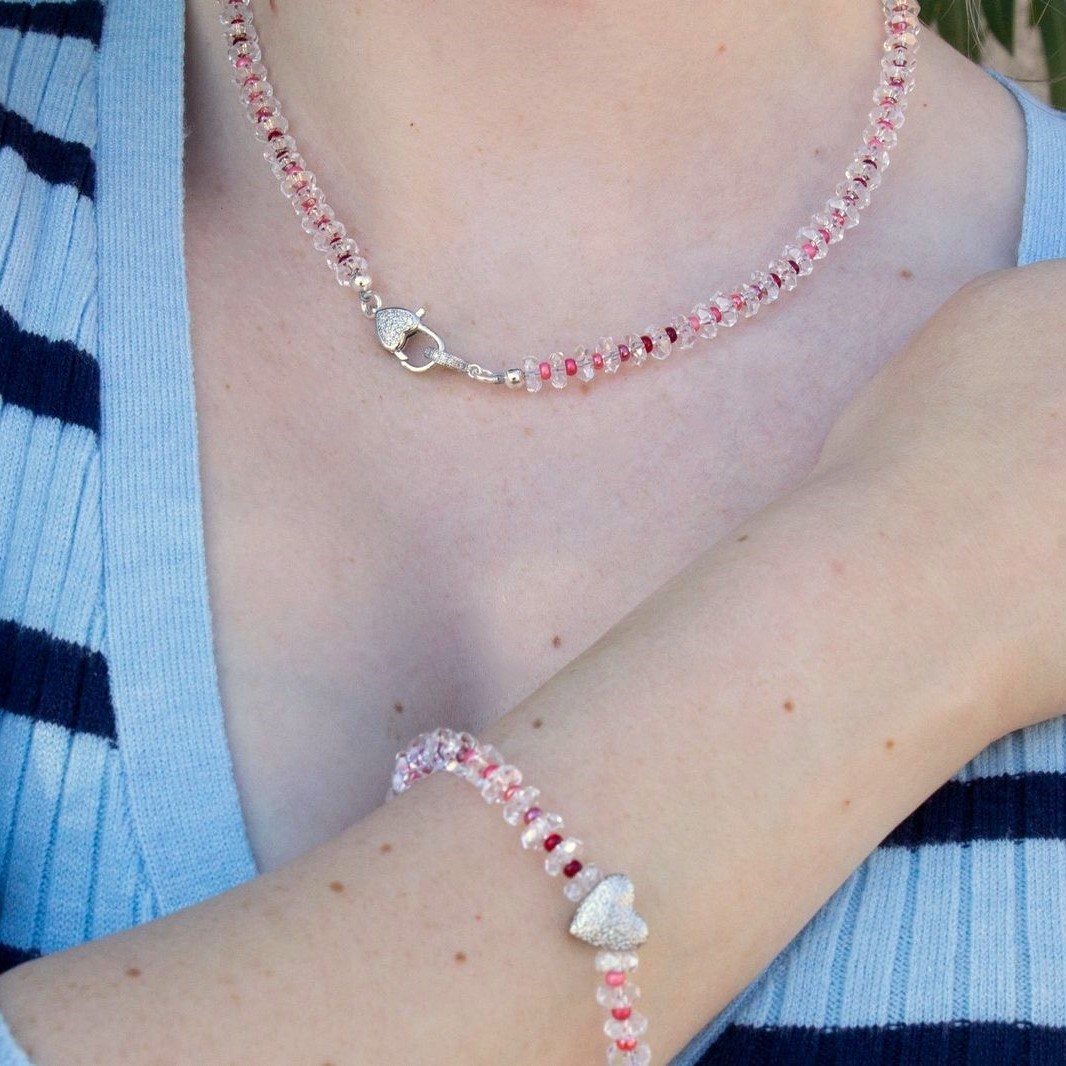
17" Necklace
- Crystal Quartz 3x7mm Faceted Rondel (uses 2/3 of strand for necklace, other third for bracelet) You can also use the2x5mm Faceted Rondel for a smaller necklace / bracelet
- Size 8 Czech Seed Beads - 1201 Cupid's Crush
- Soft Flex Satin Silver - Medium (24 inches)
- Silver Plated 4mm 18 Gauge Open Jump Rings (2)
- Silver 17x9mm Micro Pave Heart Clasp with Ring (1)
- Silver Plated 4mm Crimp Covers (2)
- 2x2mm Sterling Silver Crimps (2)
Materials Needed - Bracelet:
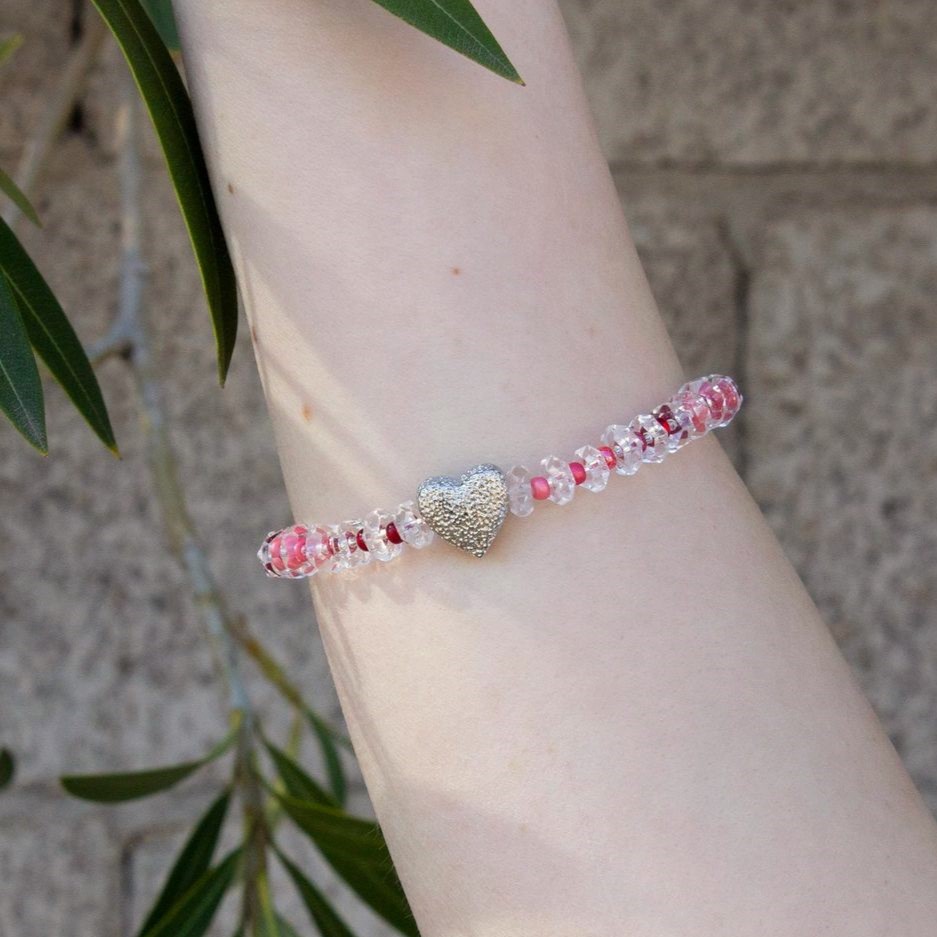
7.25" Bracelet
- Crystal Quartz 3x7mm Faceted Rondel (uses 2/3 of strand for necklace, other third for bracelet) You can also use the 2x5mm Faceted Rondel for a smaller necklace / bracelet
- Size 8 Czech Seed Beads - 1201 Cupid's Crush
- .8mm Clear Stretch Magic (12")
- Silver Plated 11mm Textured Heart Bead (1)
- GS-Hypo (Red Tube)
Tools Required
Instructions on Construction:
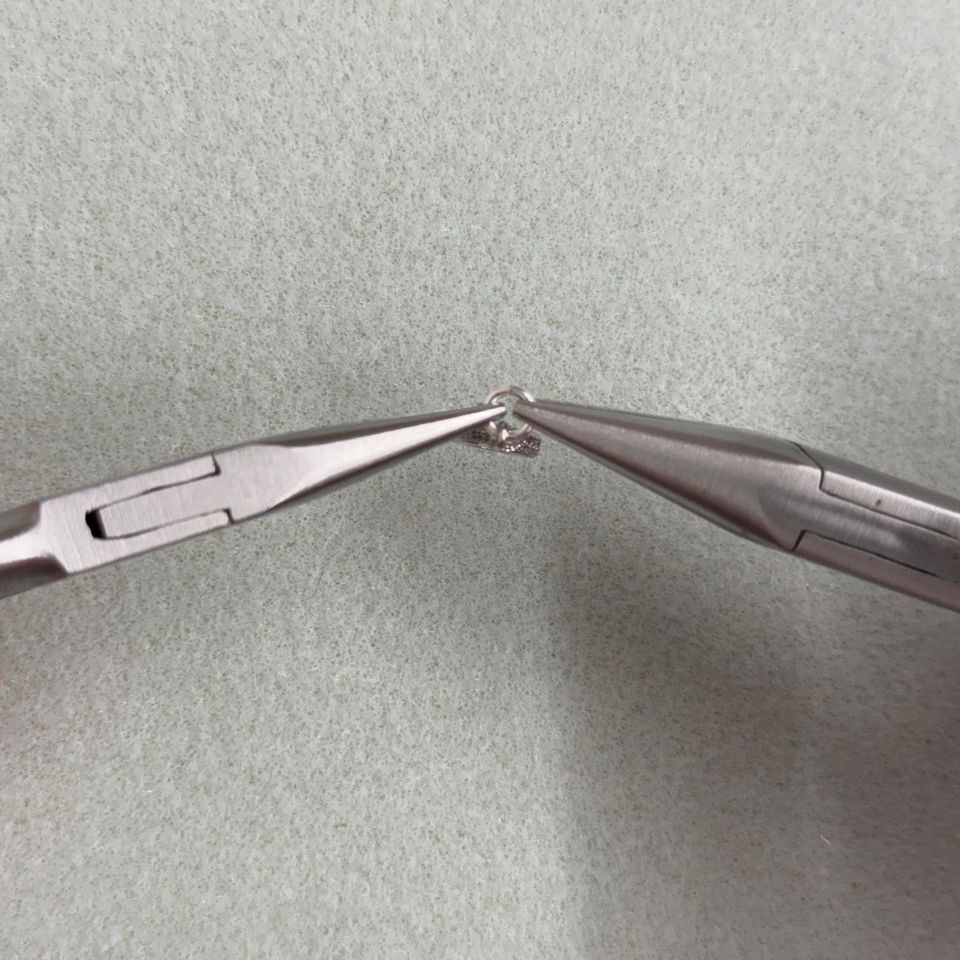
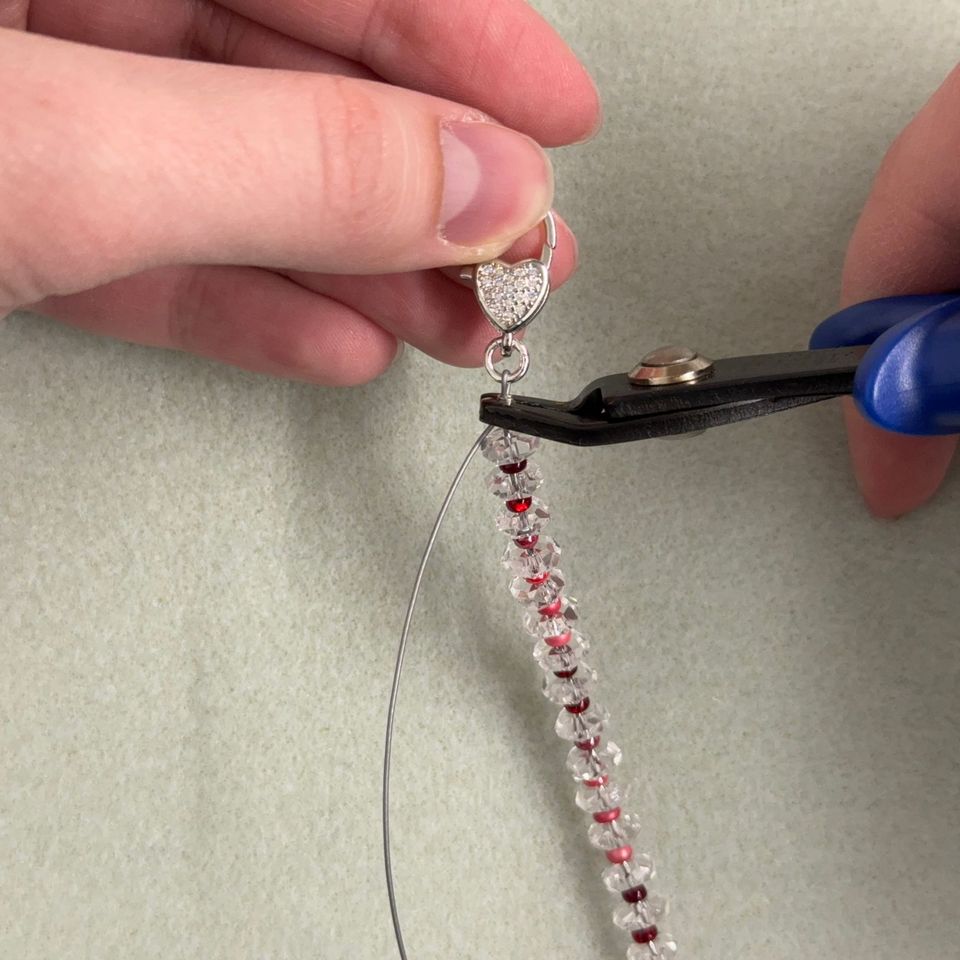
1. Take 2 needle nose pliers (or one needle nose and one flat nose) and attach a jump ring to the loop at the end of the micro pave clasp (the ring end)

2. Cut a 22” section of beading wire using your soft flex cutter, thread on crimp tube, attach to 4mm closed jump ring & then back through crimp tube. I used the two-part folded crimp method with this design, cut excess soft flex, then covered with the 4mm crimp cover. Gently close crimp cover with your needle nose pliers.
***Please note whichever way you choose to crimp, keep your wires parallel when crimping, this makes for a more secure attachment & it’s also wise to give a test pull on your wire to make sure you have secured the crimp :)
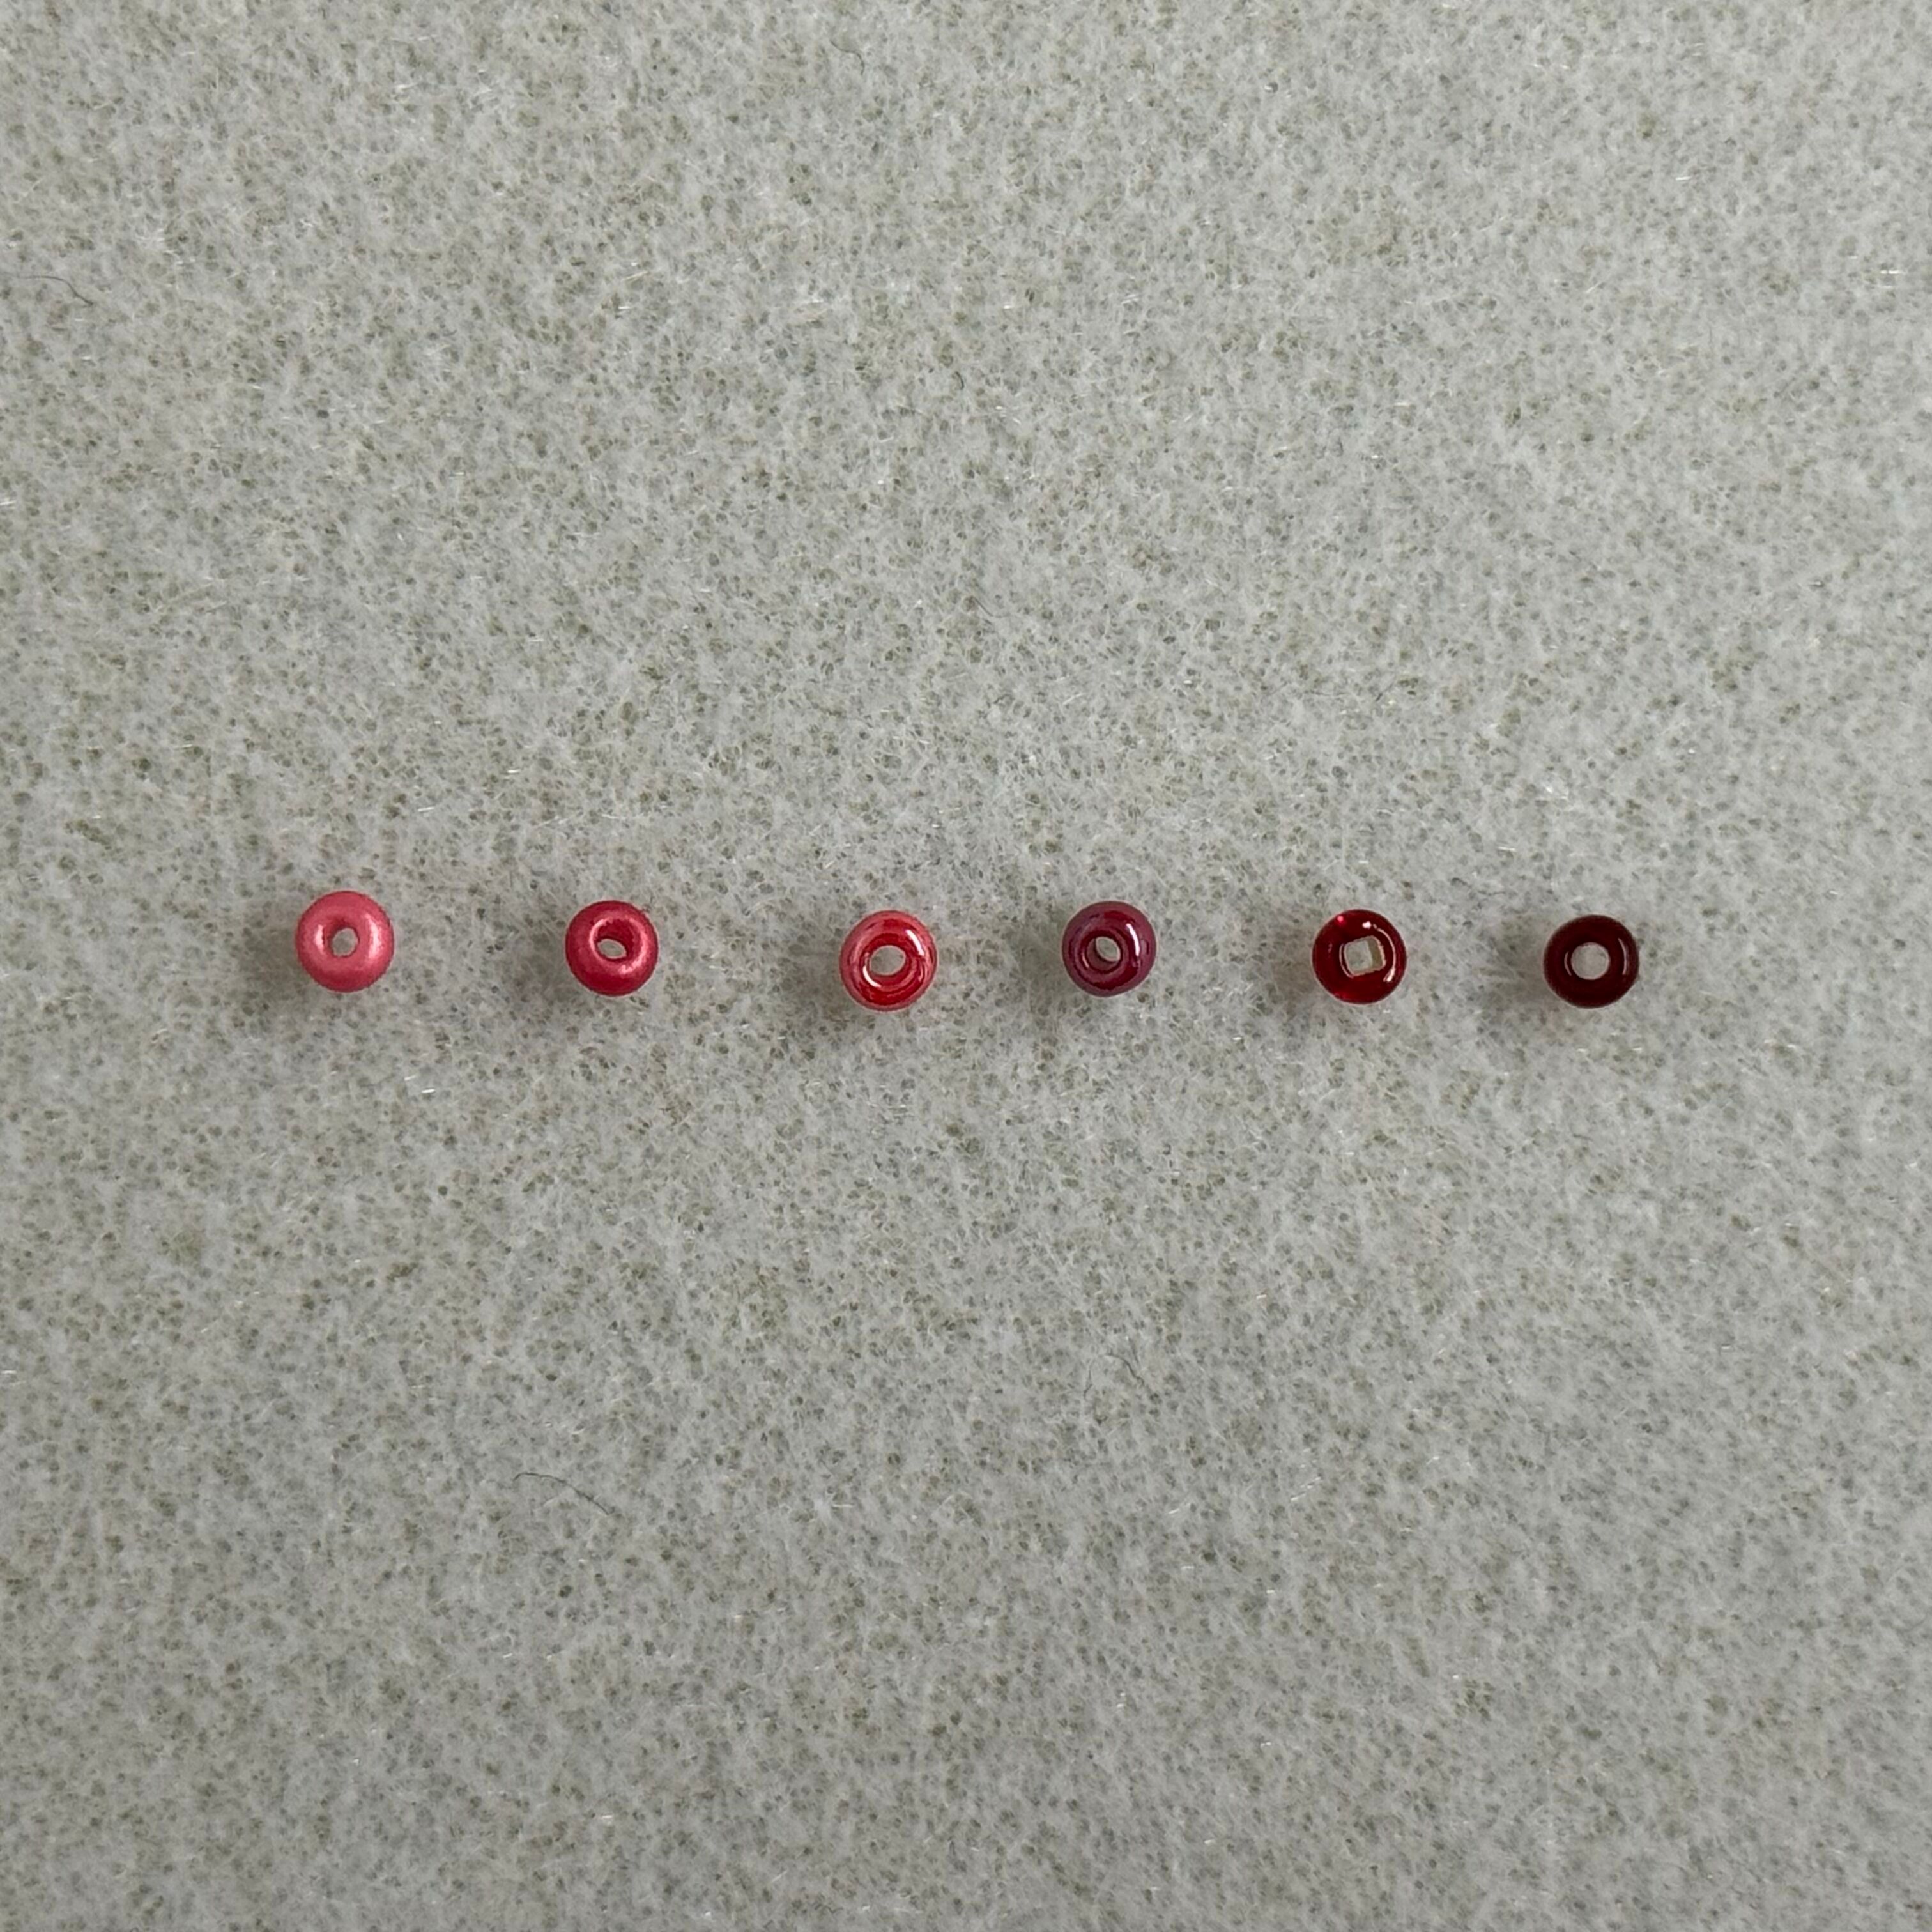
3. Make a little pile of each color you'll be using and put it in the order above. *There are some similar shades in this tube of seed beads so if you compare them before stringing, you will avoid adding a darker or lighter color than you want.
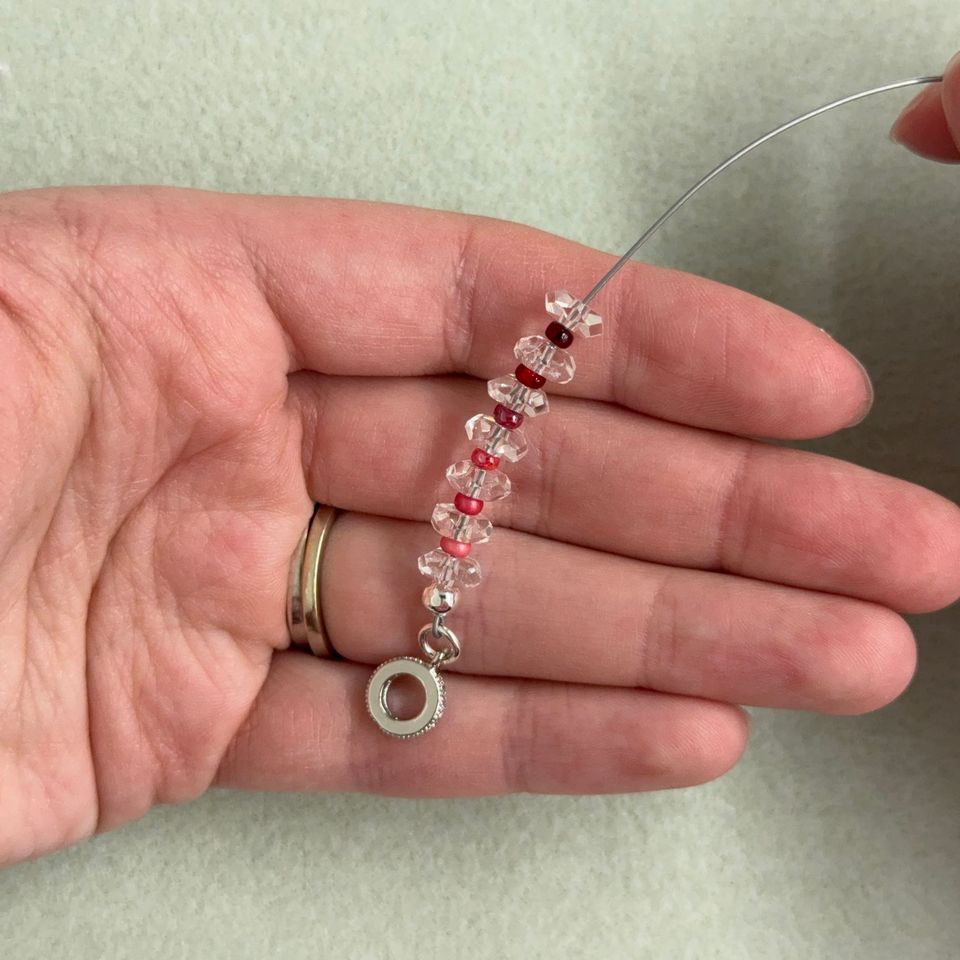
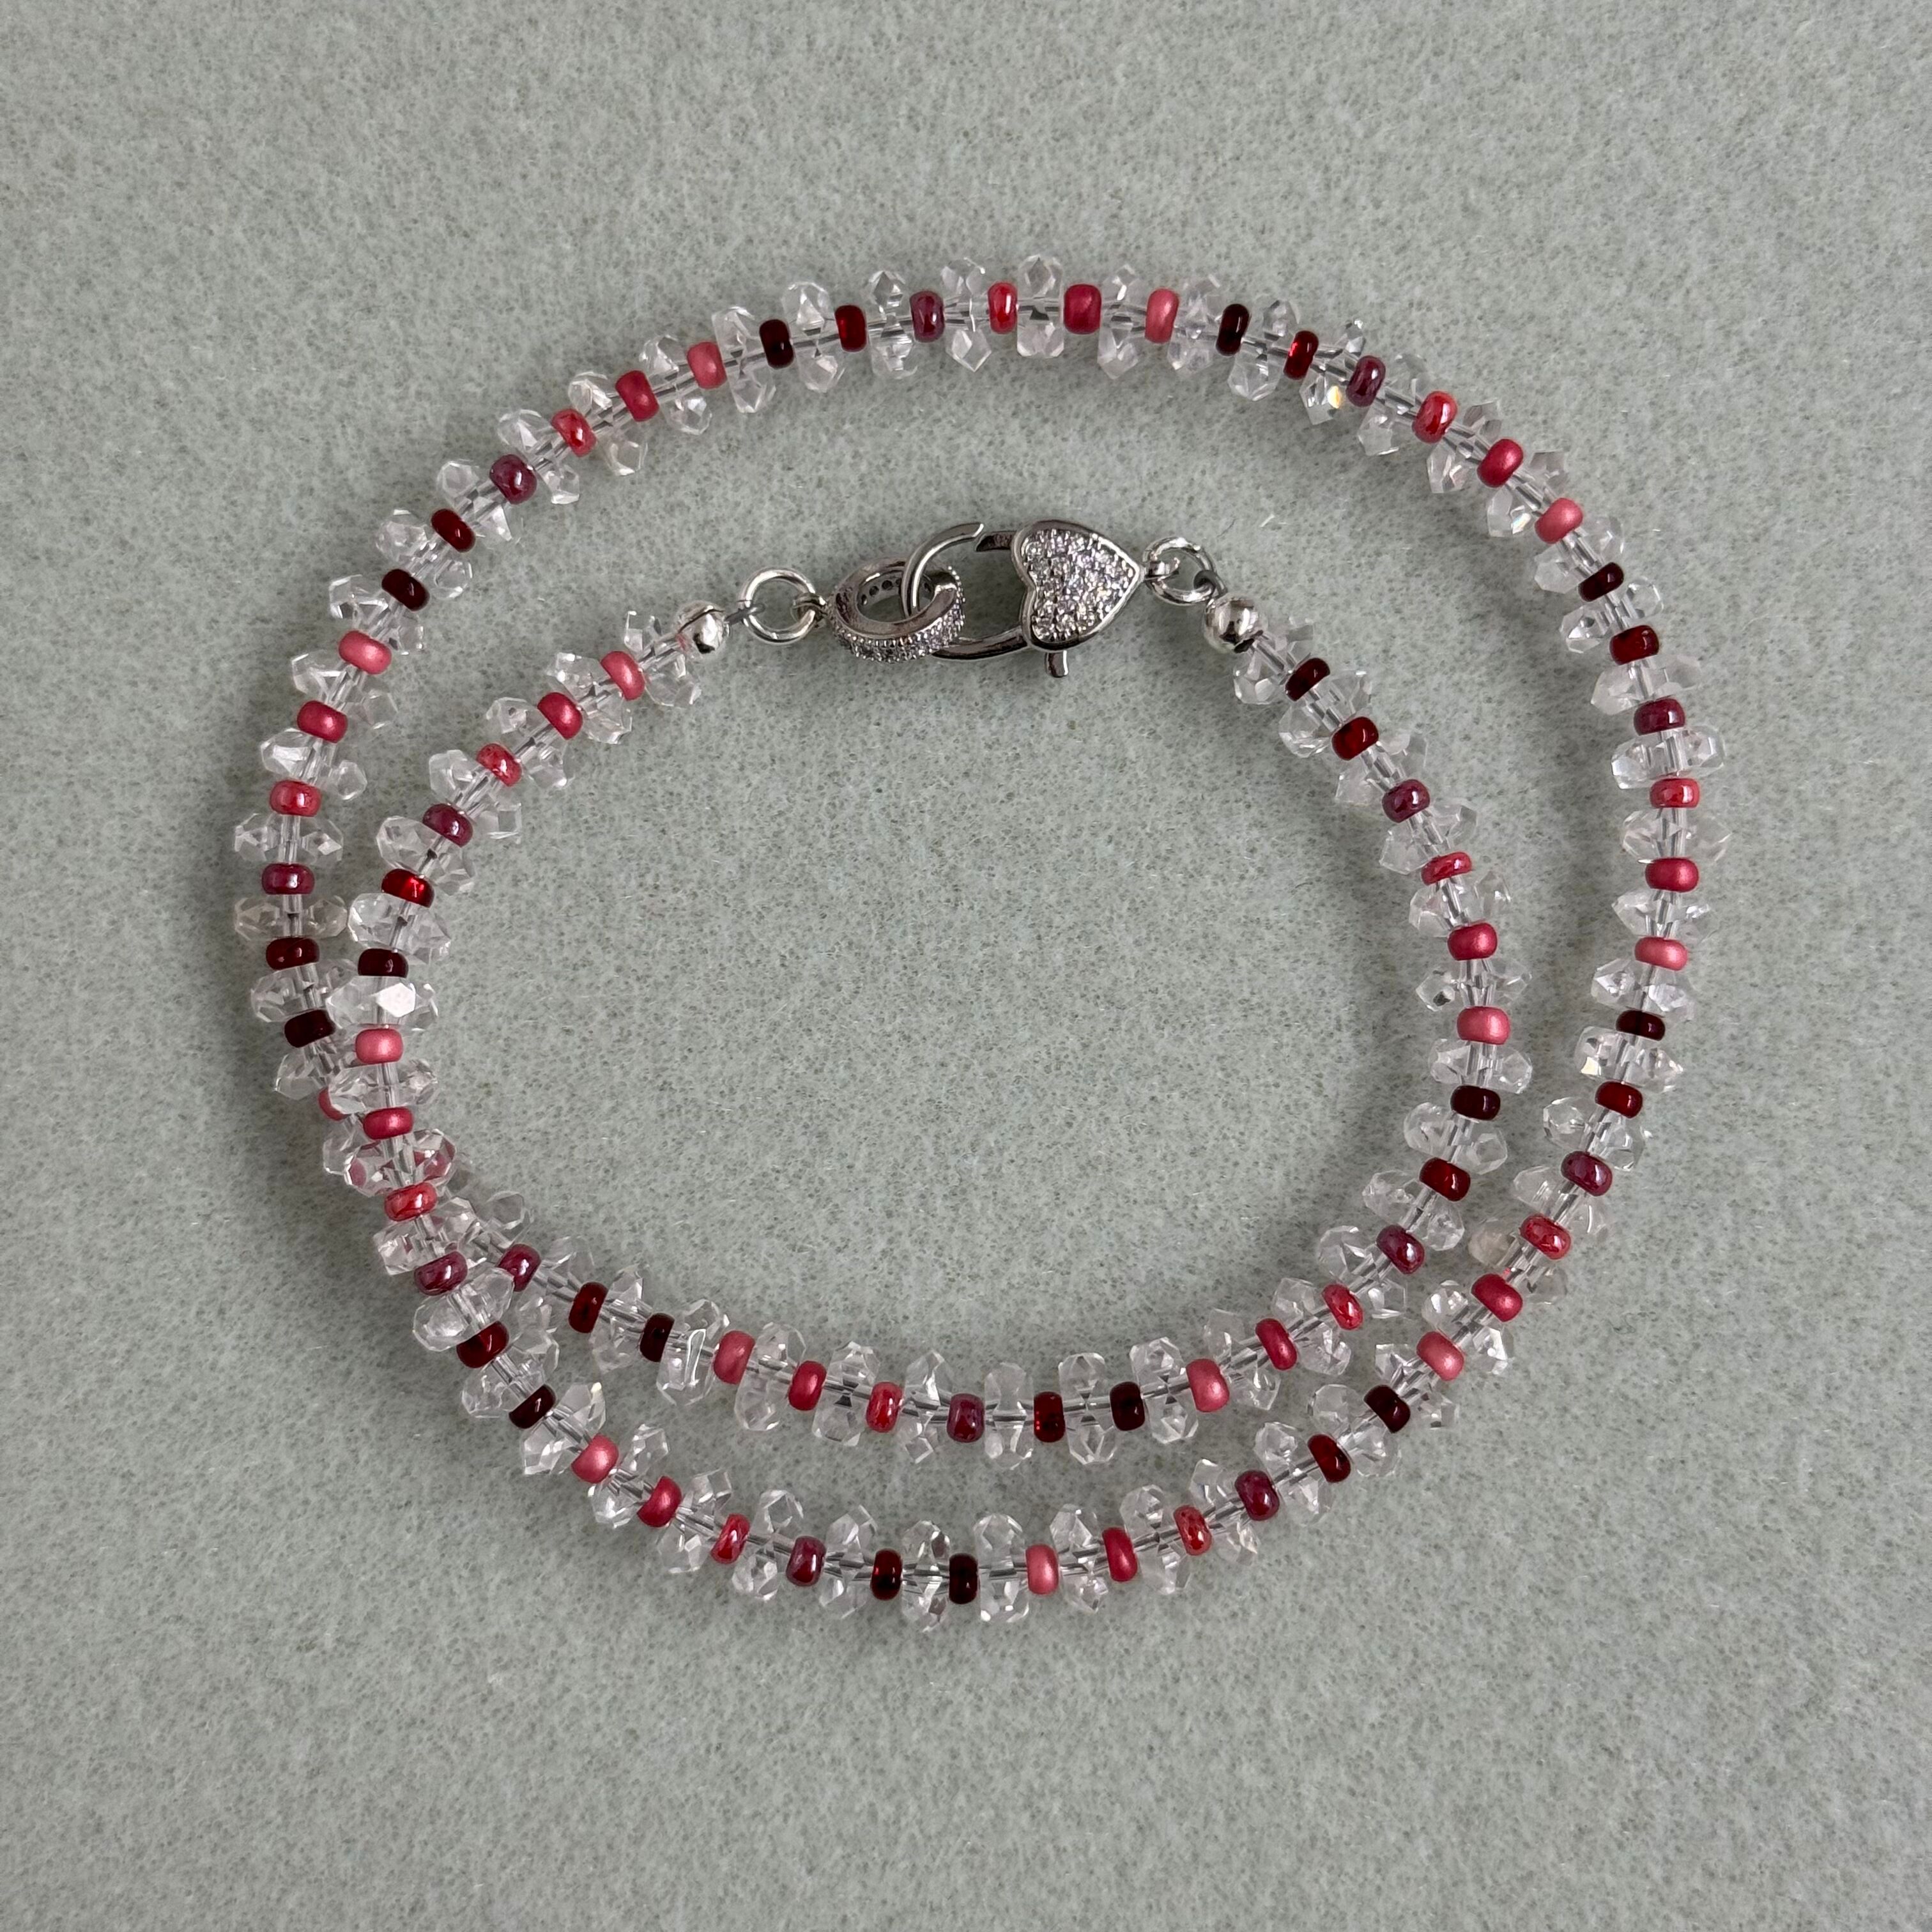
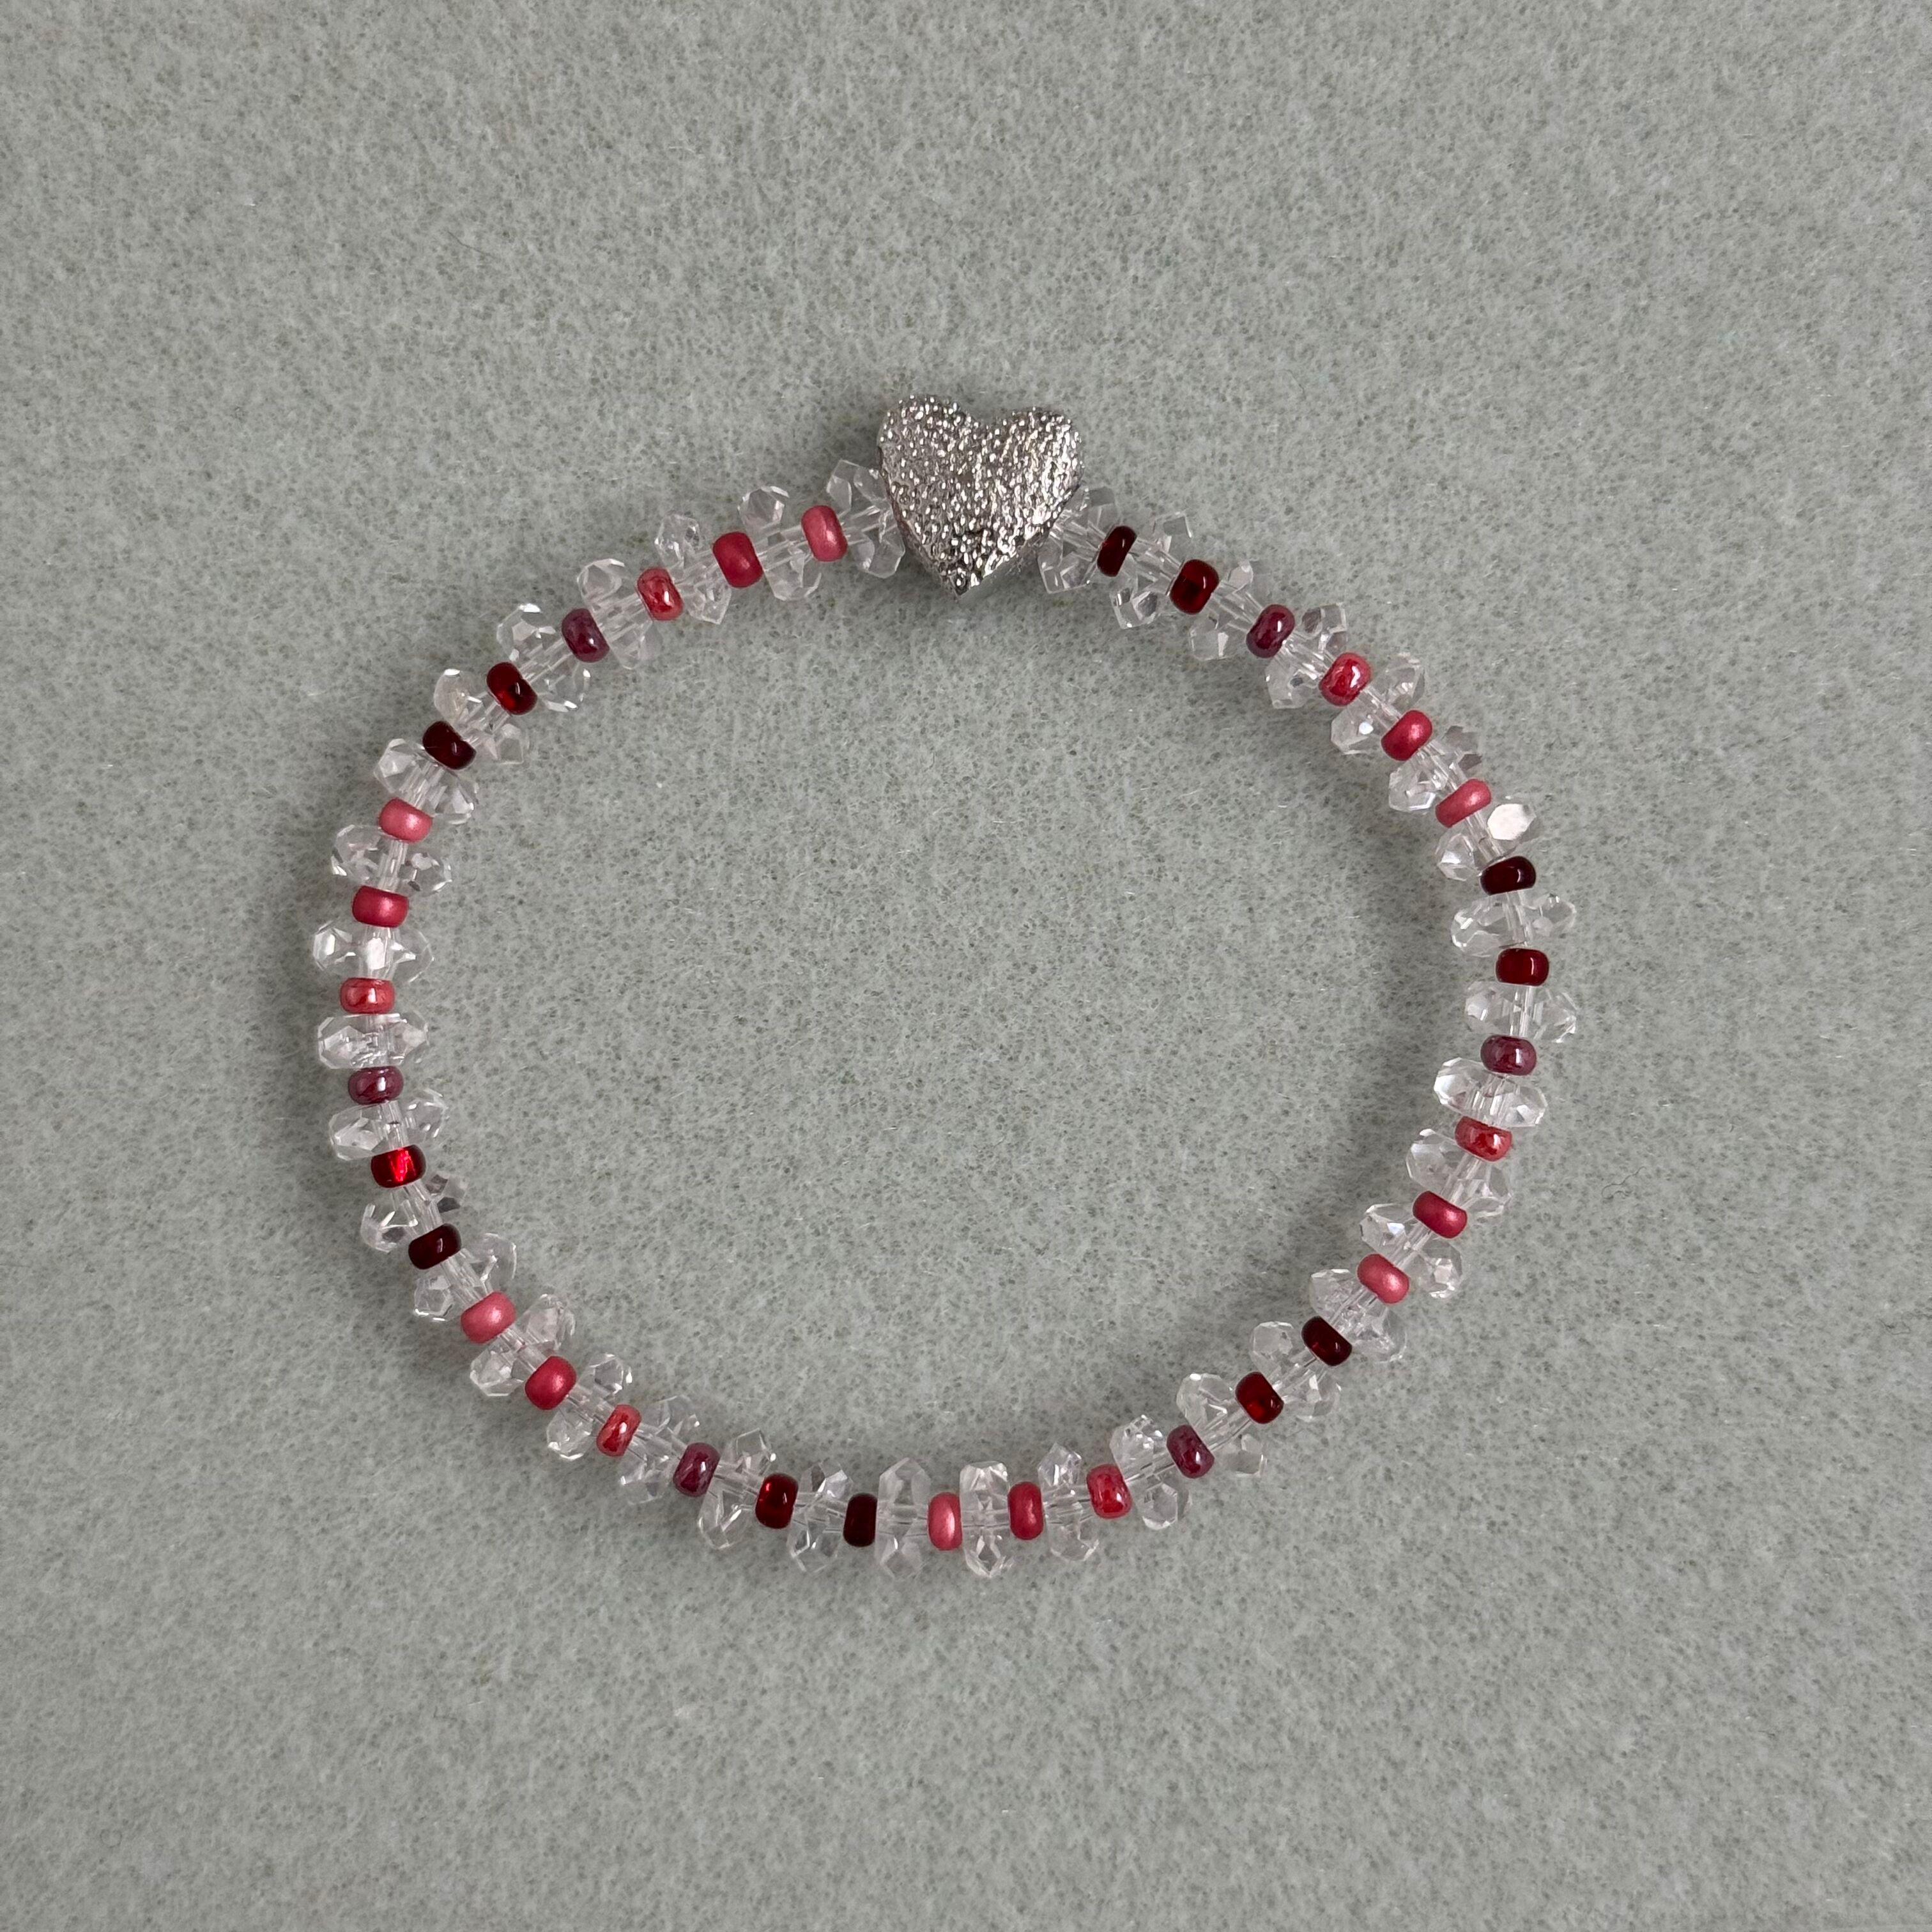
4. The bead sequence on this necklace is as follows: Crystal - Light Matte Pink - Crystal - Dark Matte Pink - Crystal - Red Luster - Crystal - Dark Red Luster - Crystal - Red Silver Lined - Crystal - Dark Red Transparent. Repeat pattern 14 times till you get to about 16 inches.
*You can continue with the pattern if you would like to make it longer
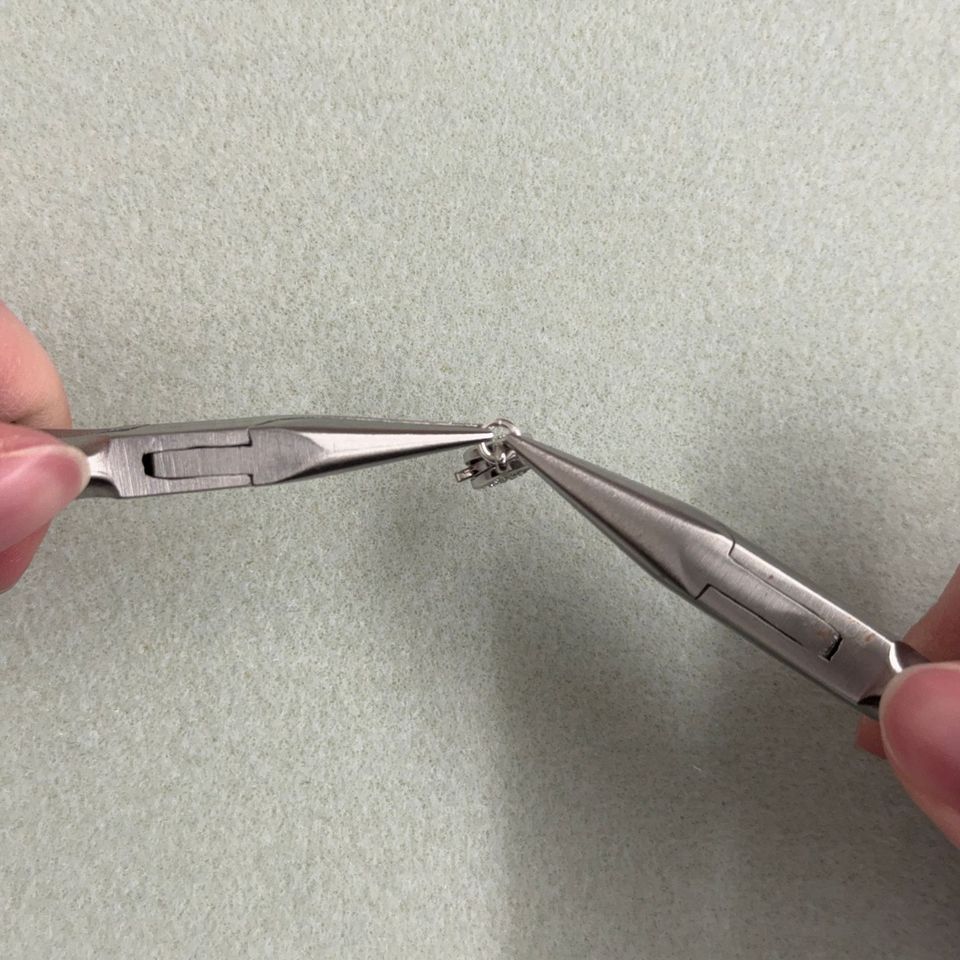
5. Take 2 needle nose pliers (or one needle nose and one flat nose) and attach a jump ring to the loop at the end of the micro pave clasp (the clasp end)
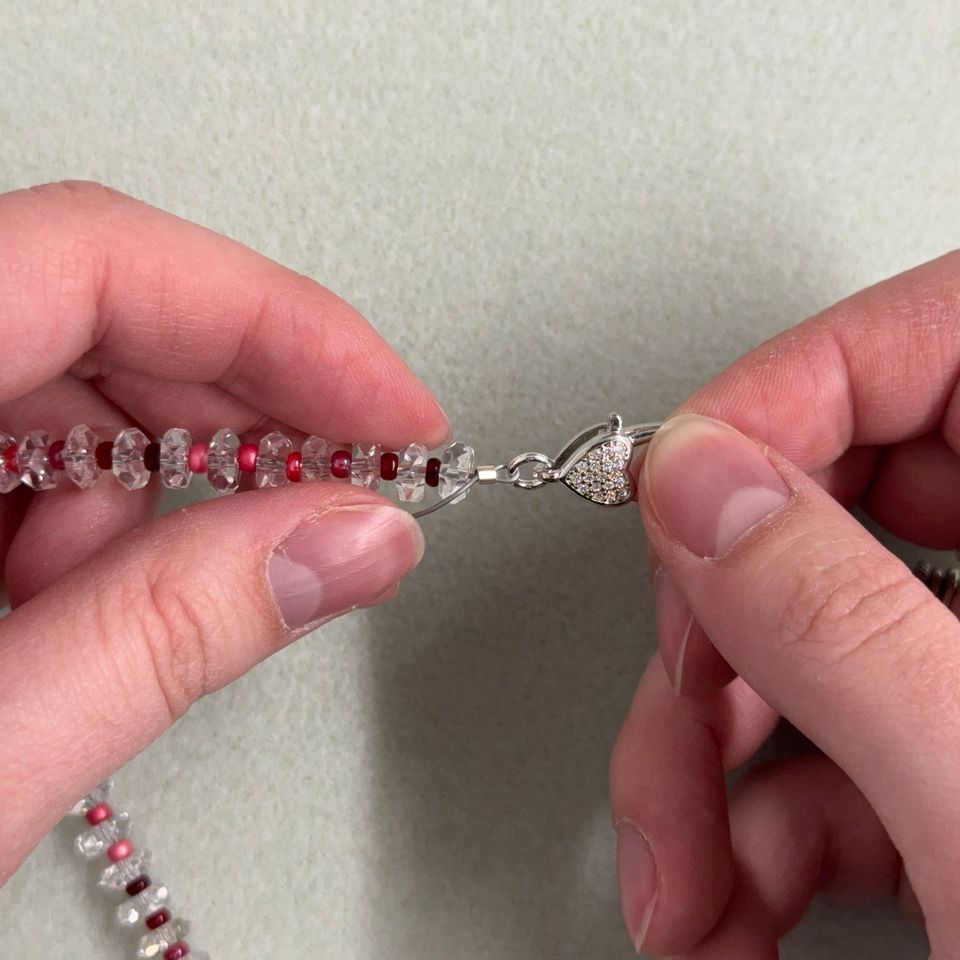
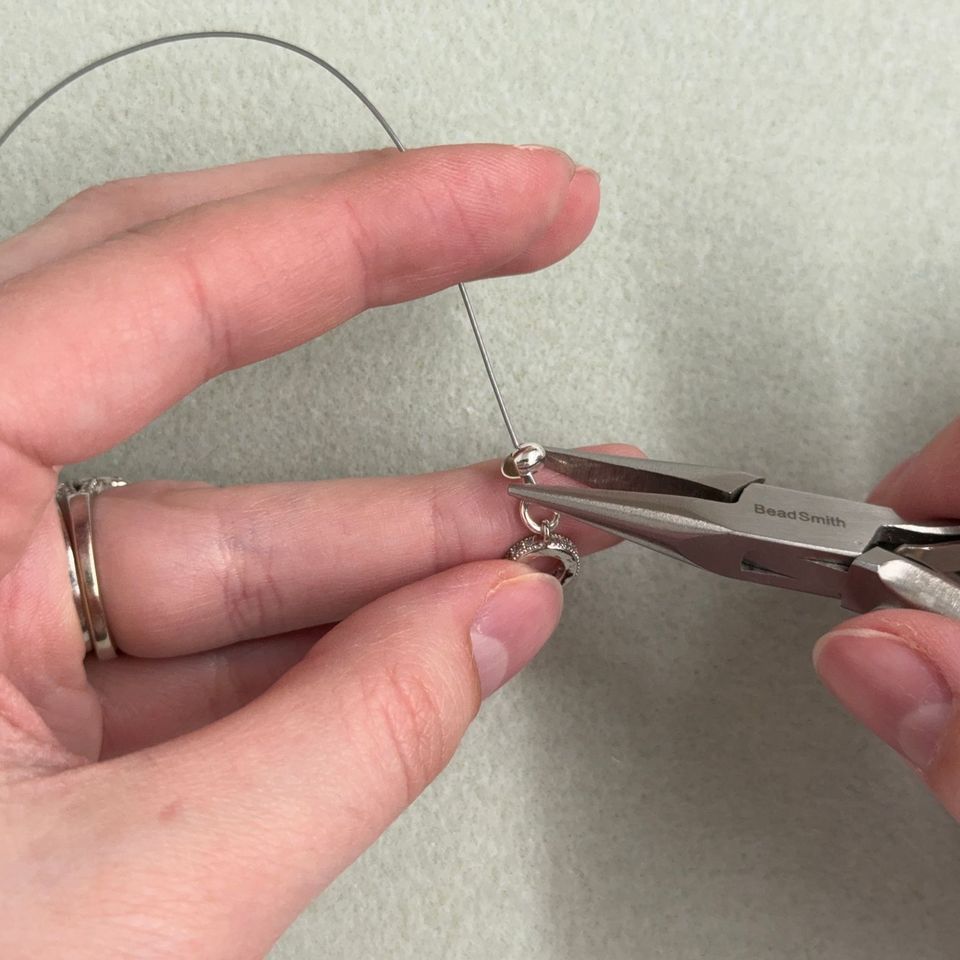
6. Add your crimp tube & thread the beading wire through the other 4mm jump ring.
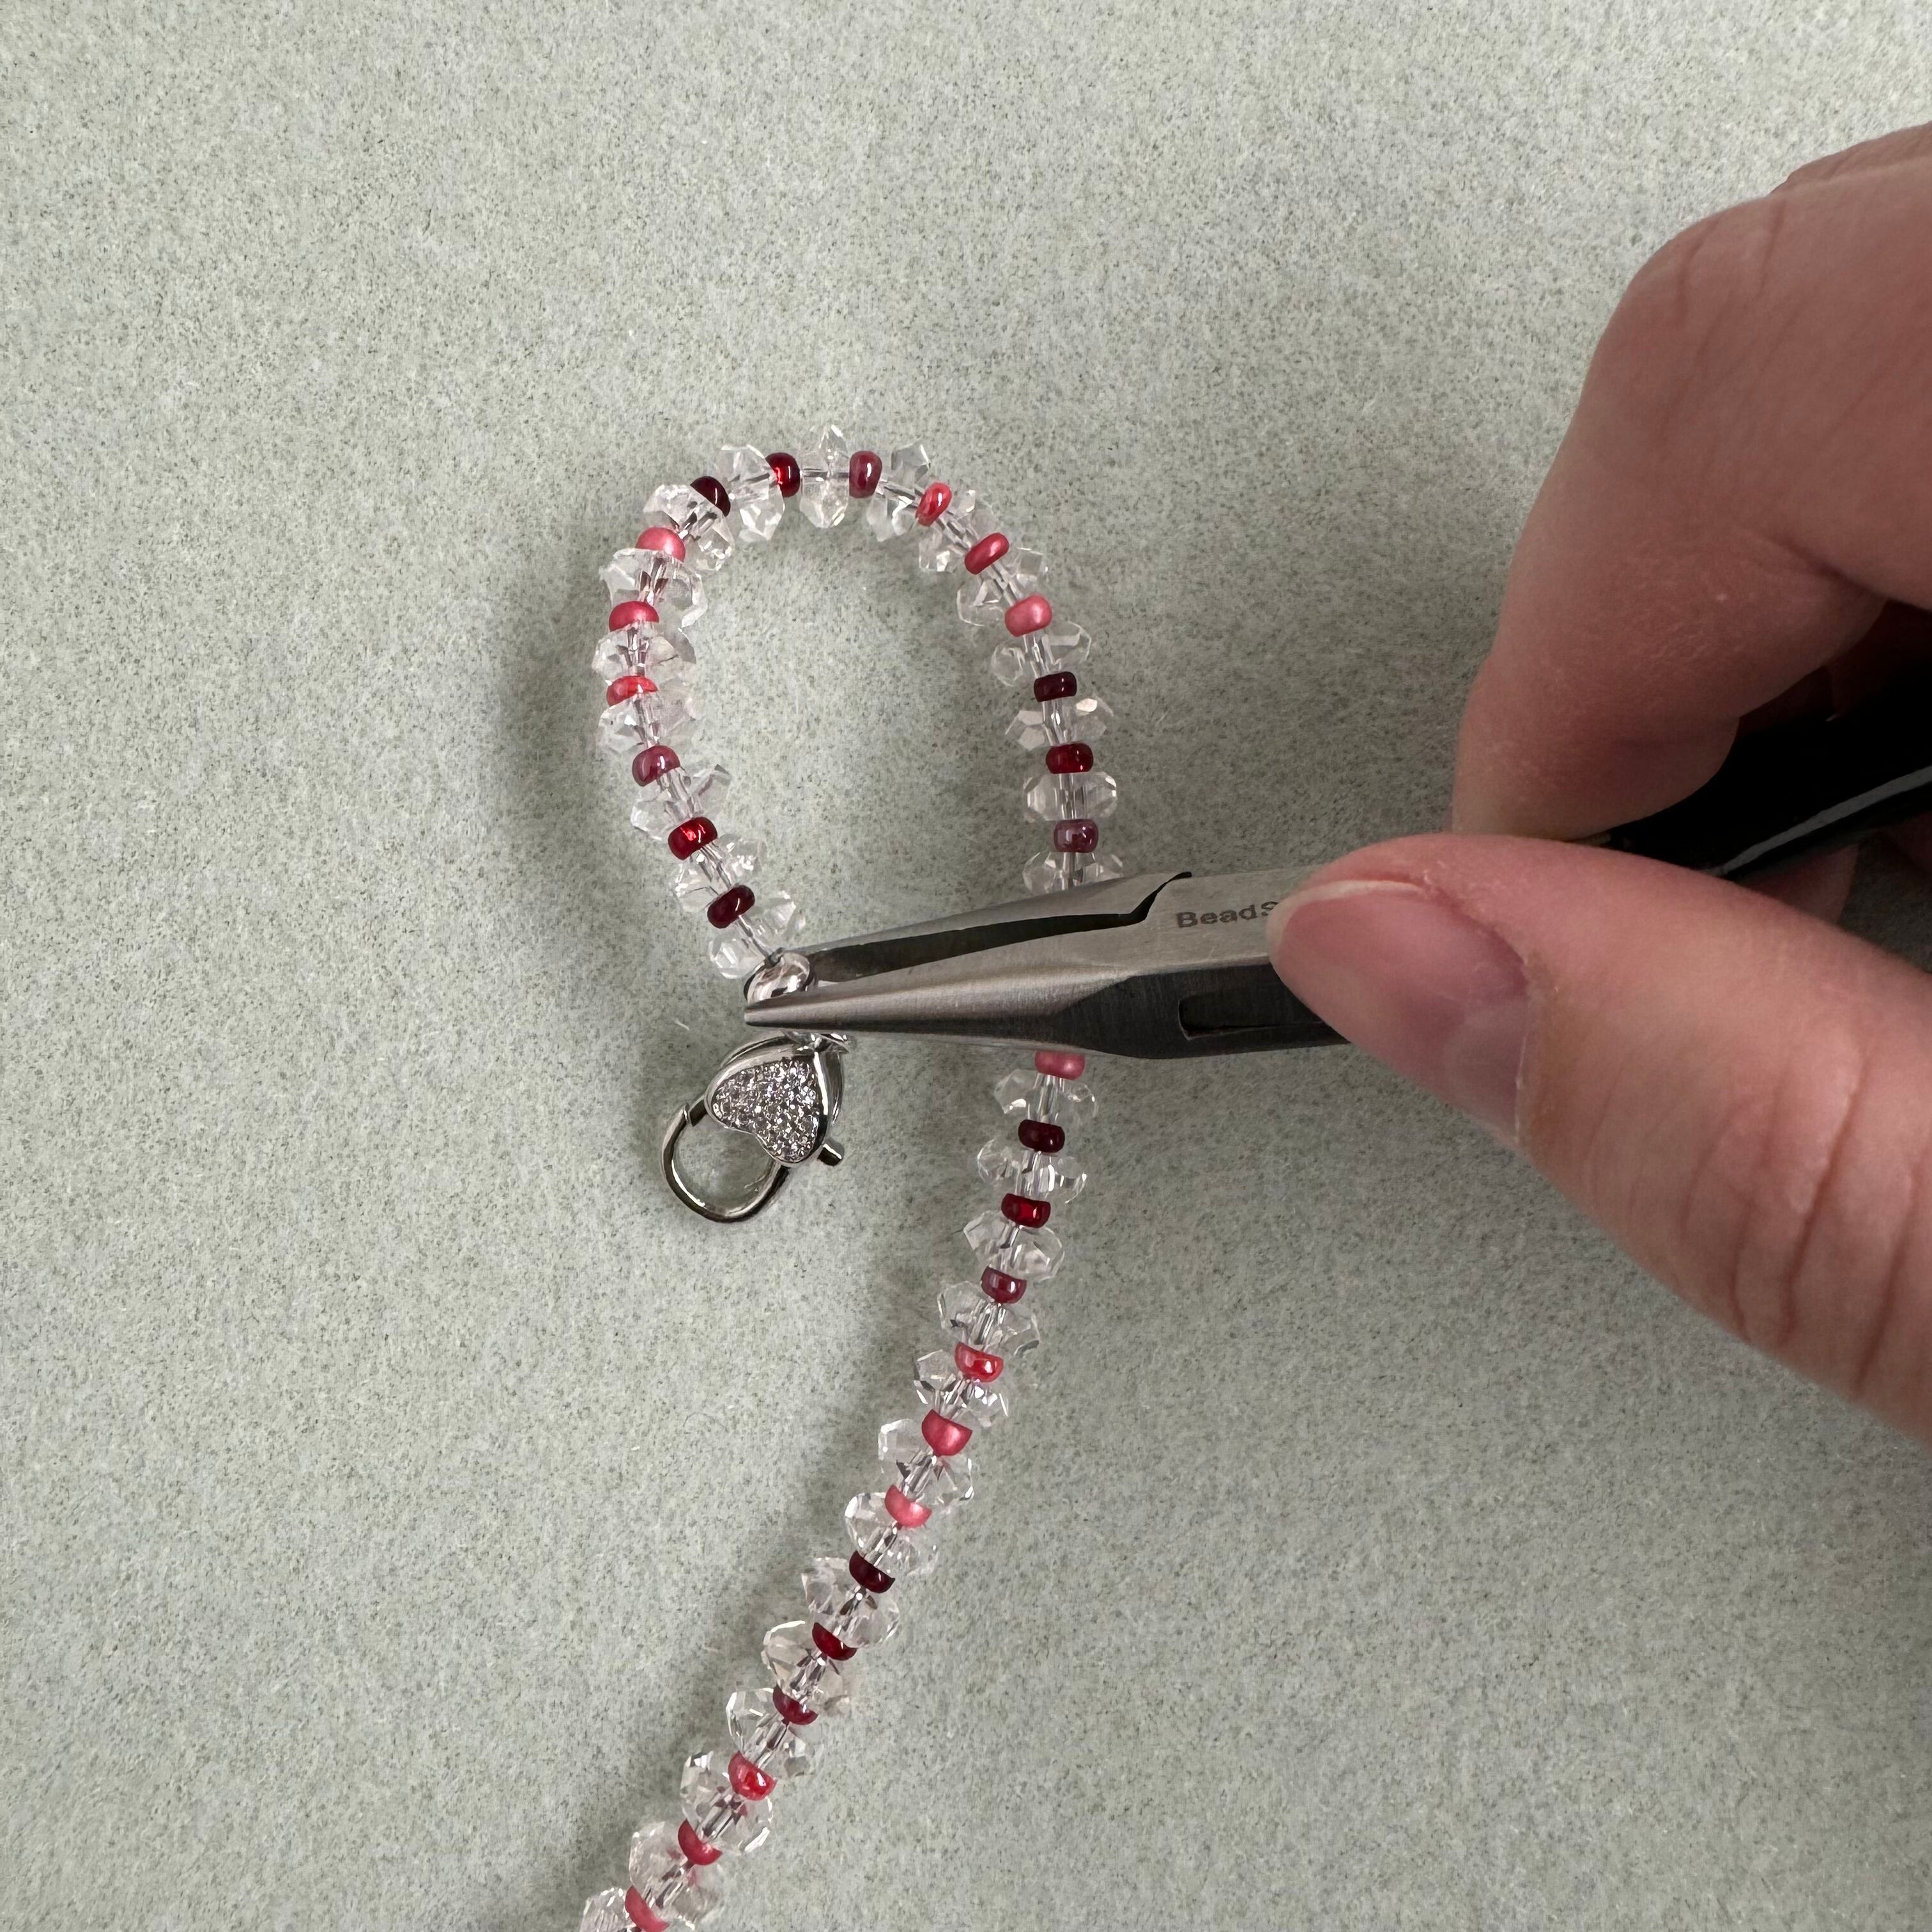
** At this stage lay the necklace on your worktop in a circle & make sure you leave enough slack in the wire so that your beads have enough room to sit nicely. It is important to leave this slack because if you crimp your wire too tightly the necklace will be rigid with no flow & there is a strong chance that the beading wire may break!
7. Close the crimp using the two-part folded method, cut excess soft flex
8. Add crimp cover gently with chain nose pliers
9. Done with necklace! :)
Bracelet Instructions
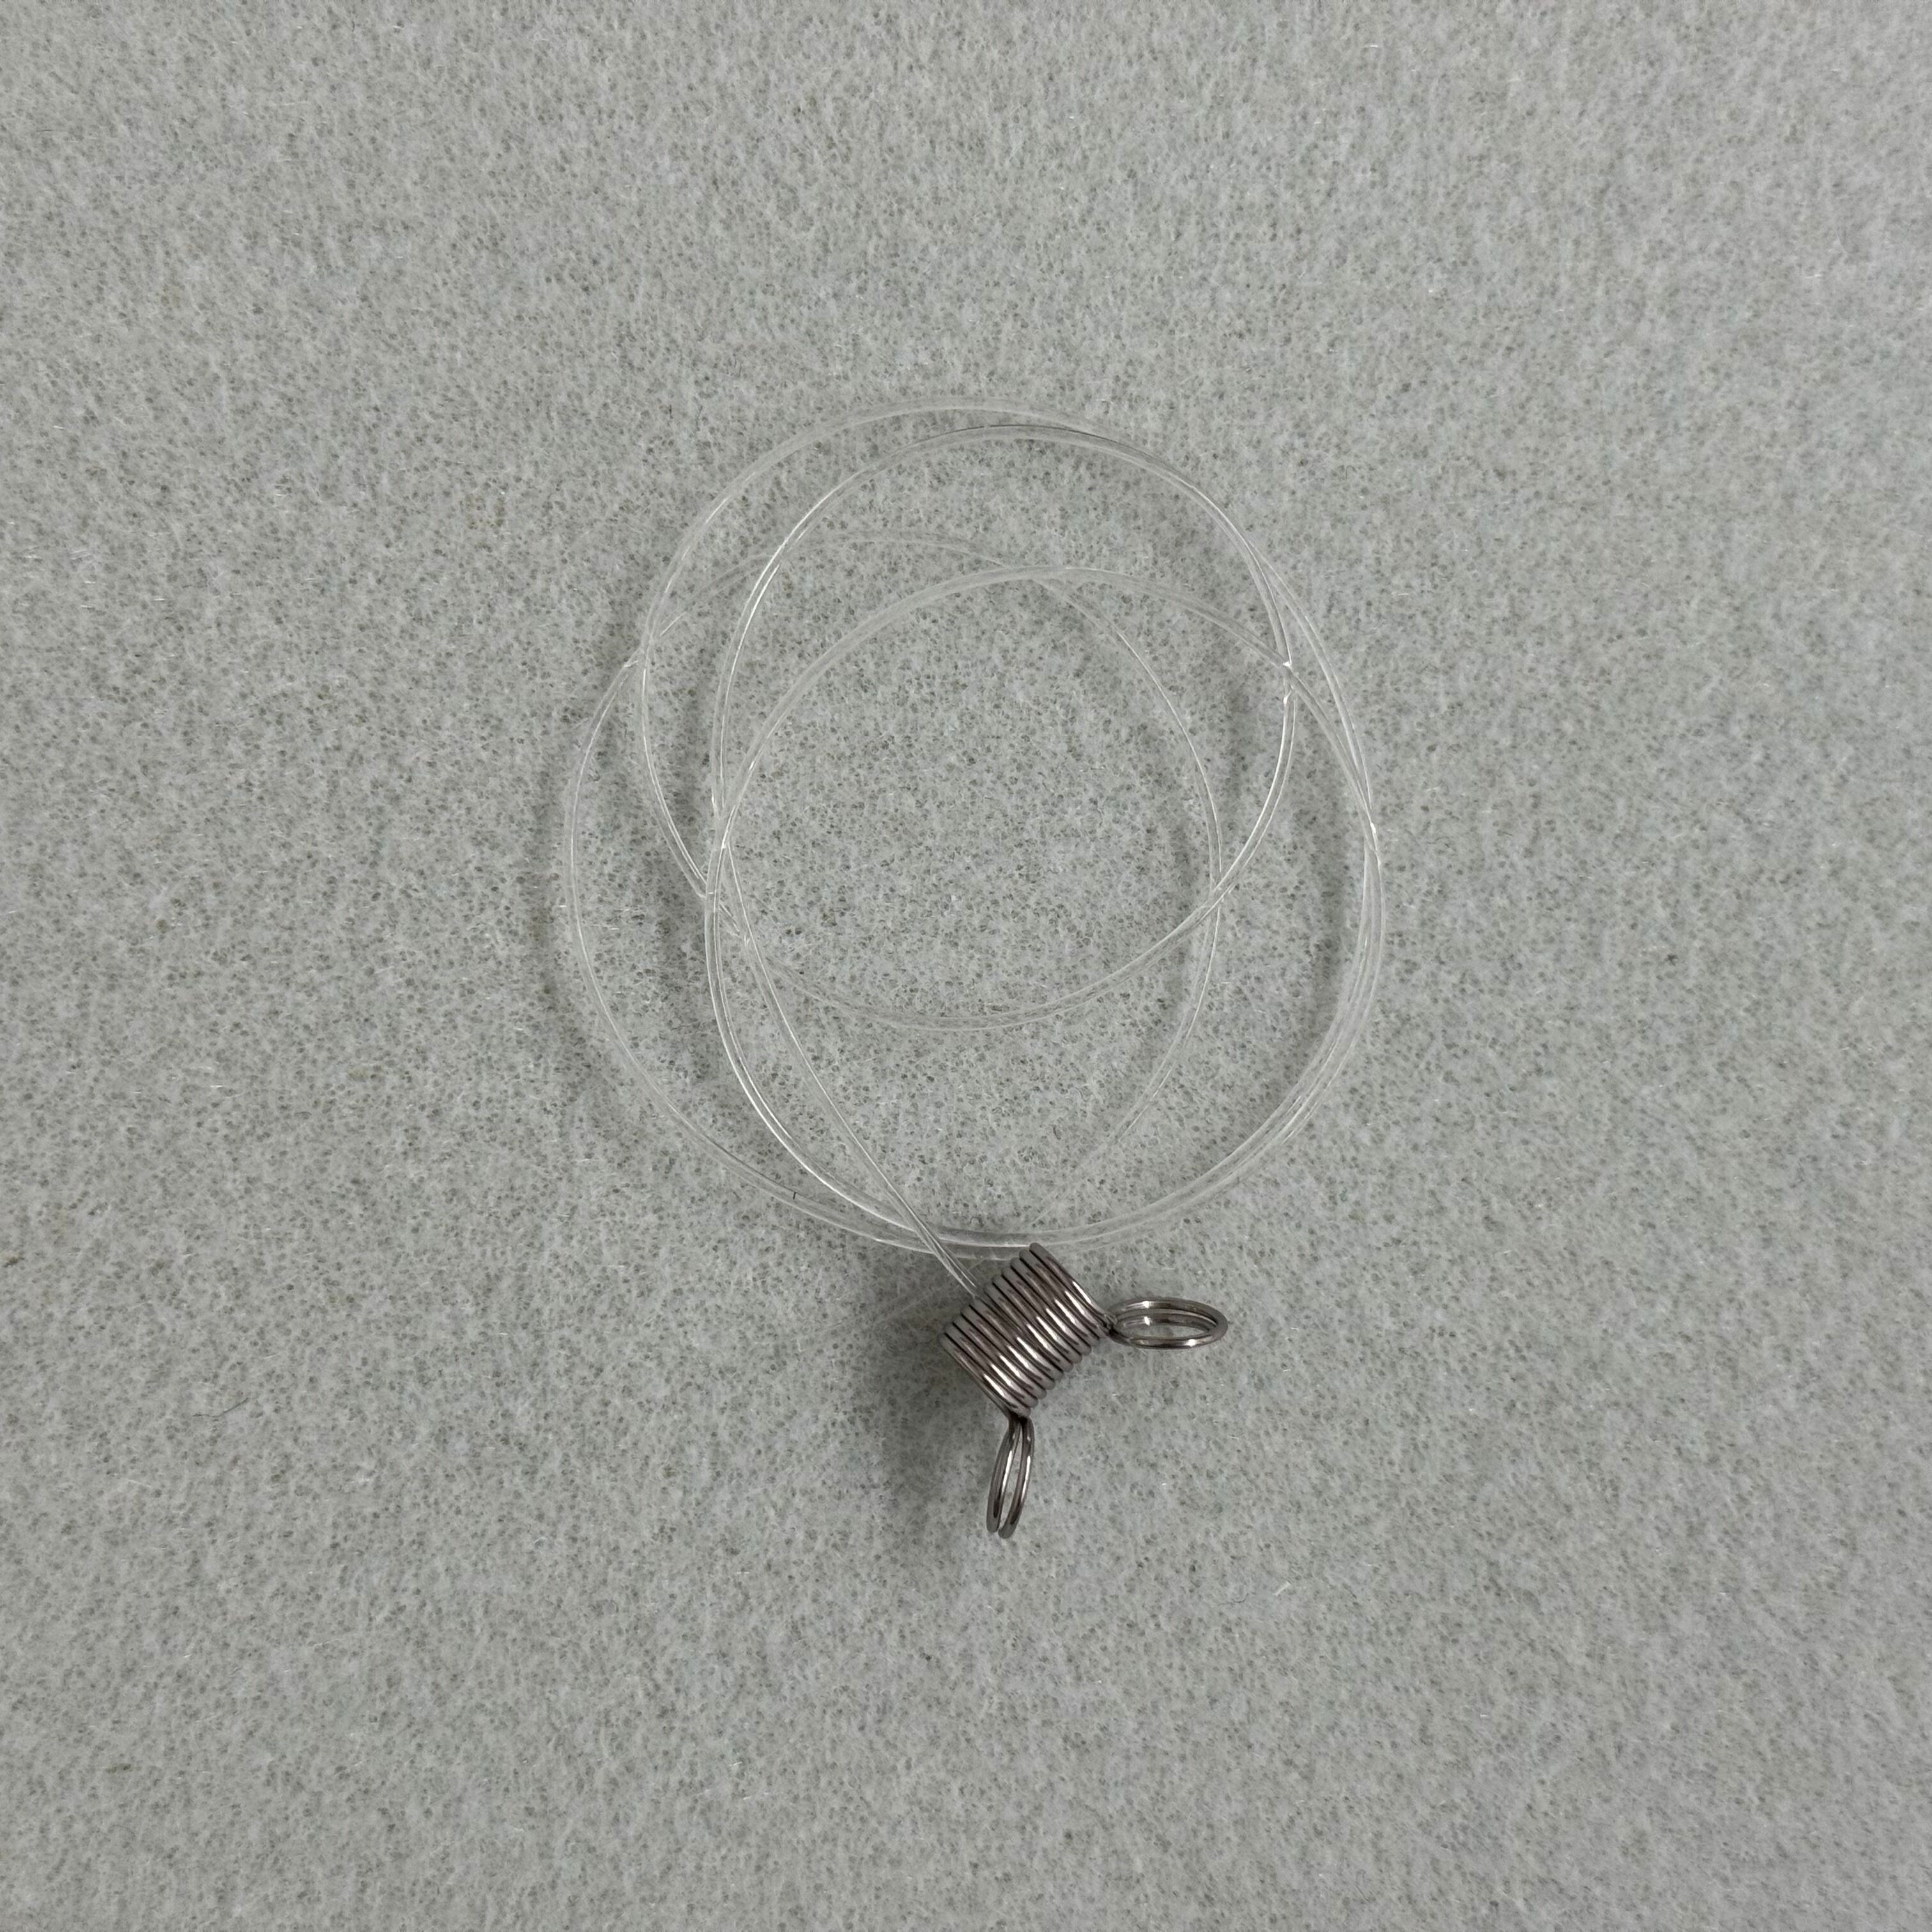
1. Cut and stretch 12" of elastic cord and attach a bead stop to the end
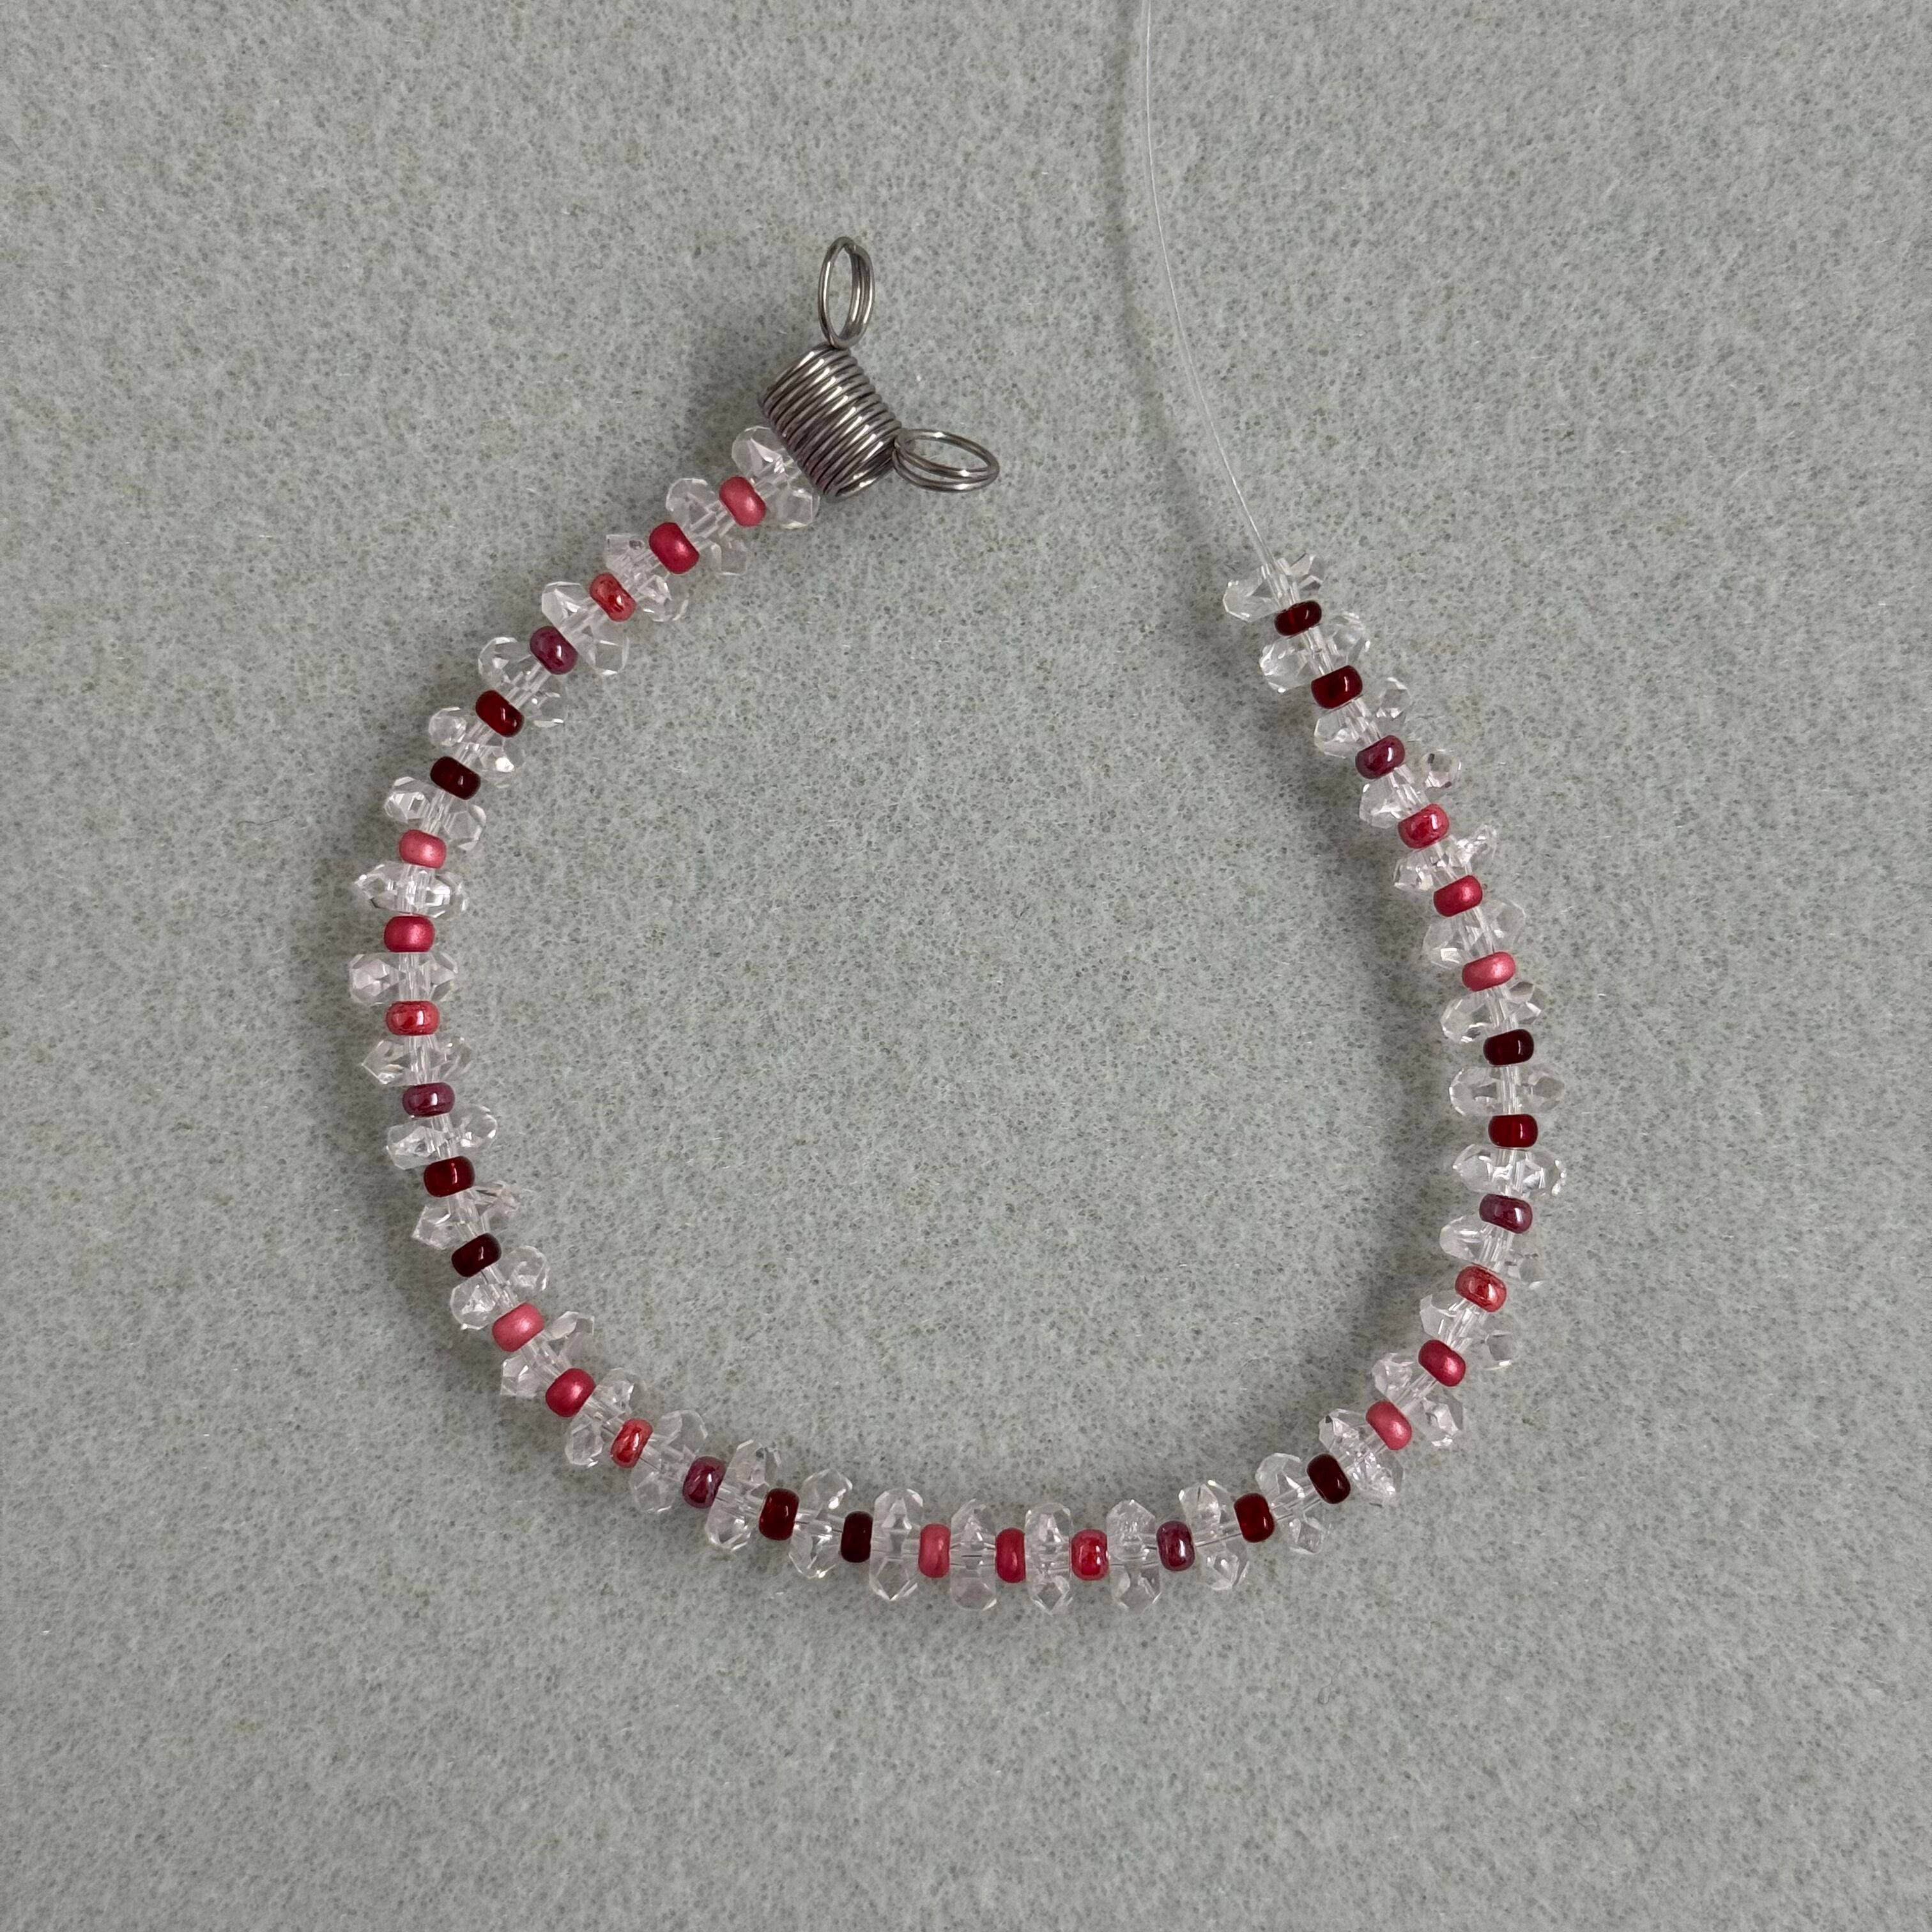
2. Repeat the same pattern in the necklace 6 times (or to whatever length you desire)
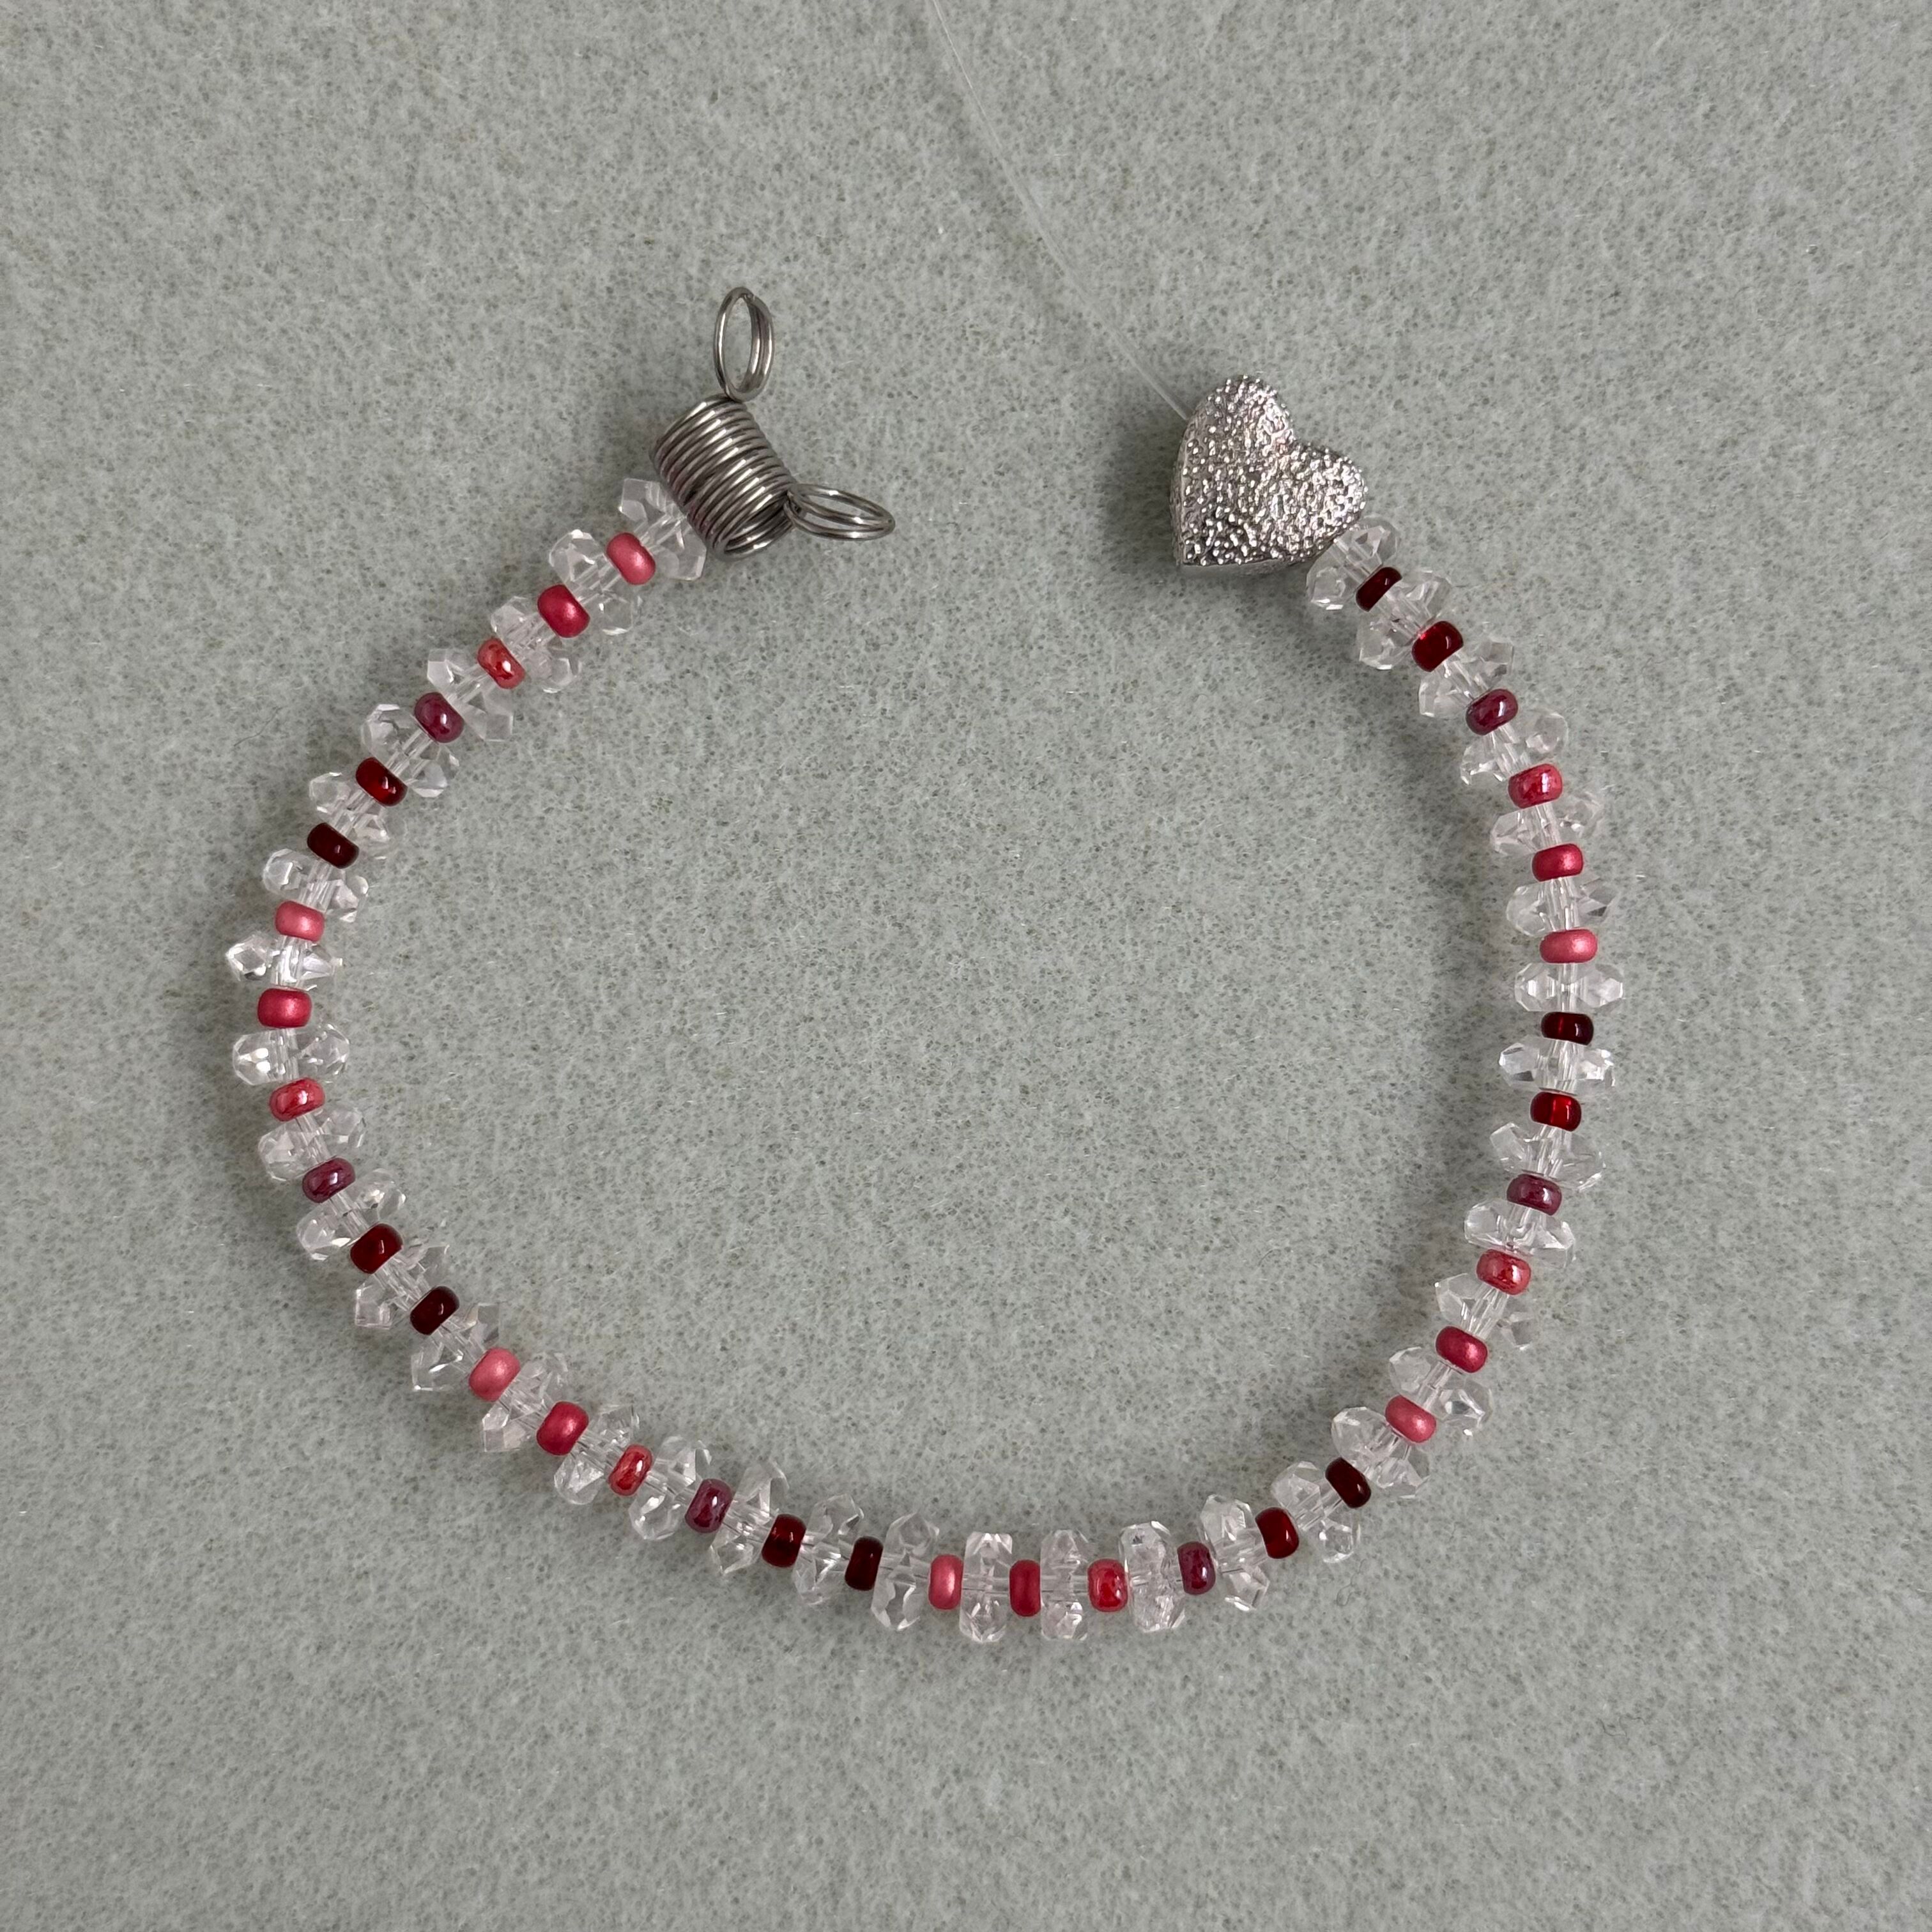
3. Thread on a textured heart bead
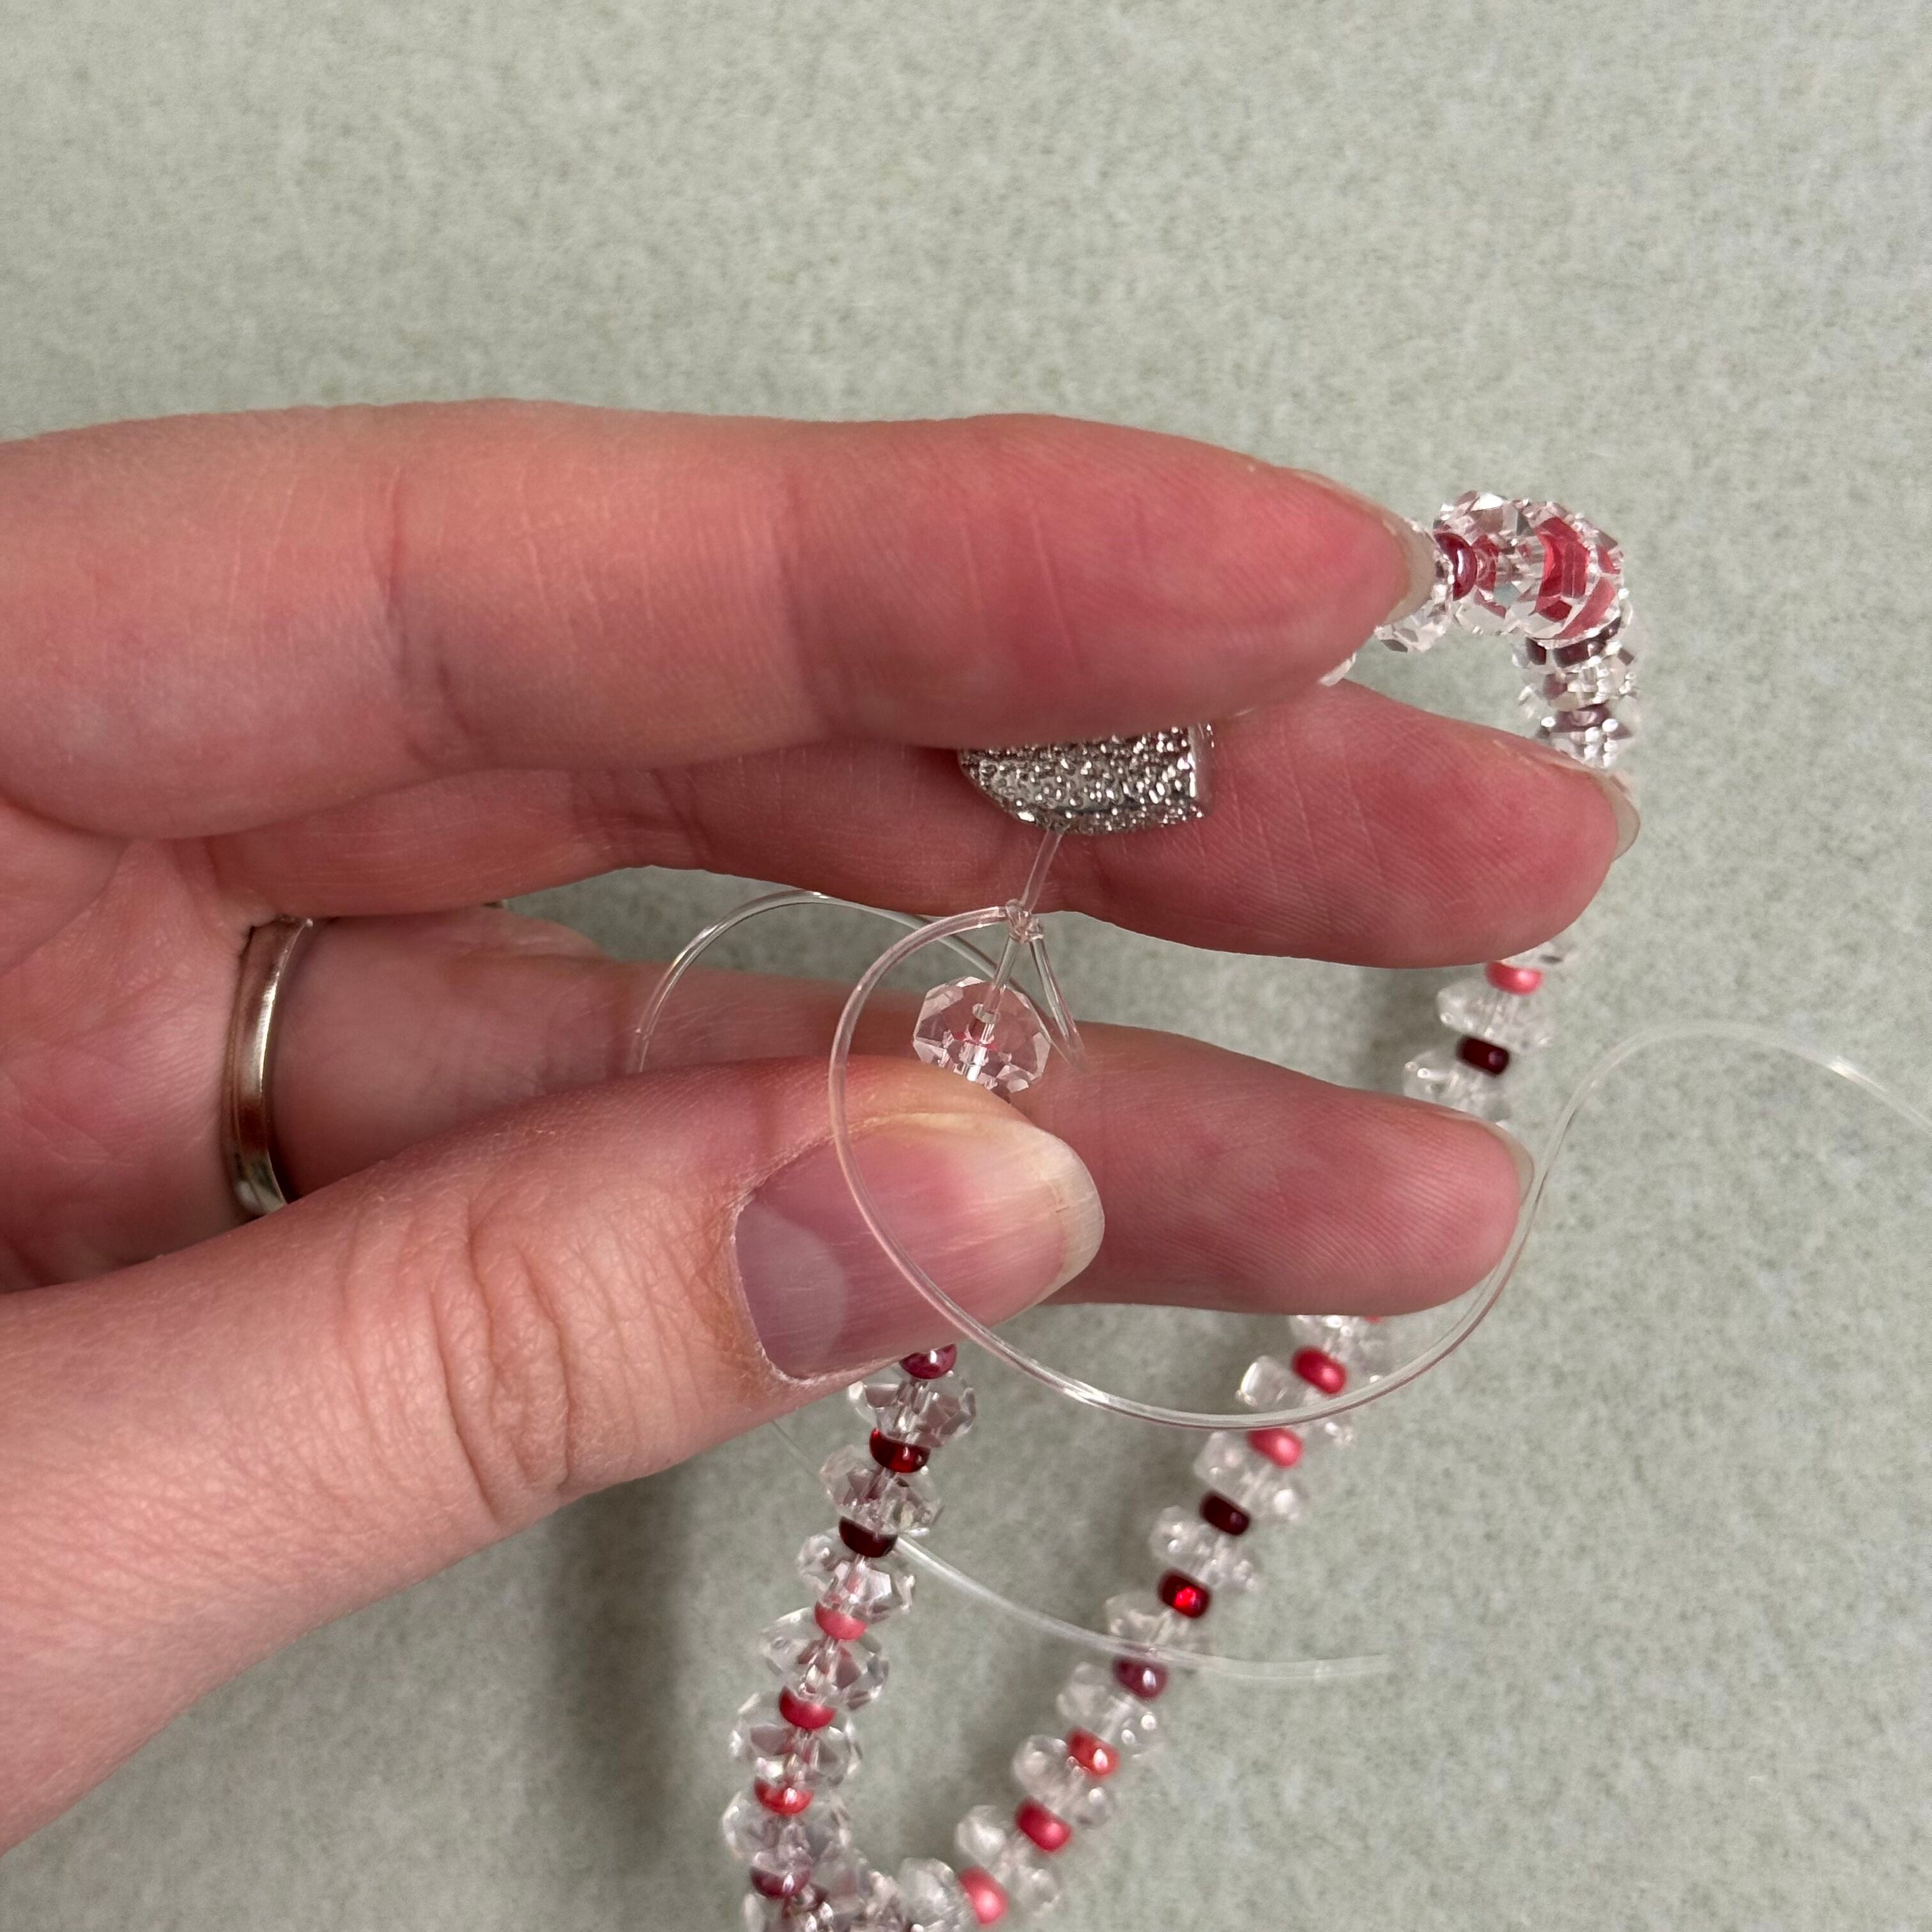
4. Tie a surgeon's knot
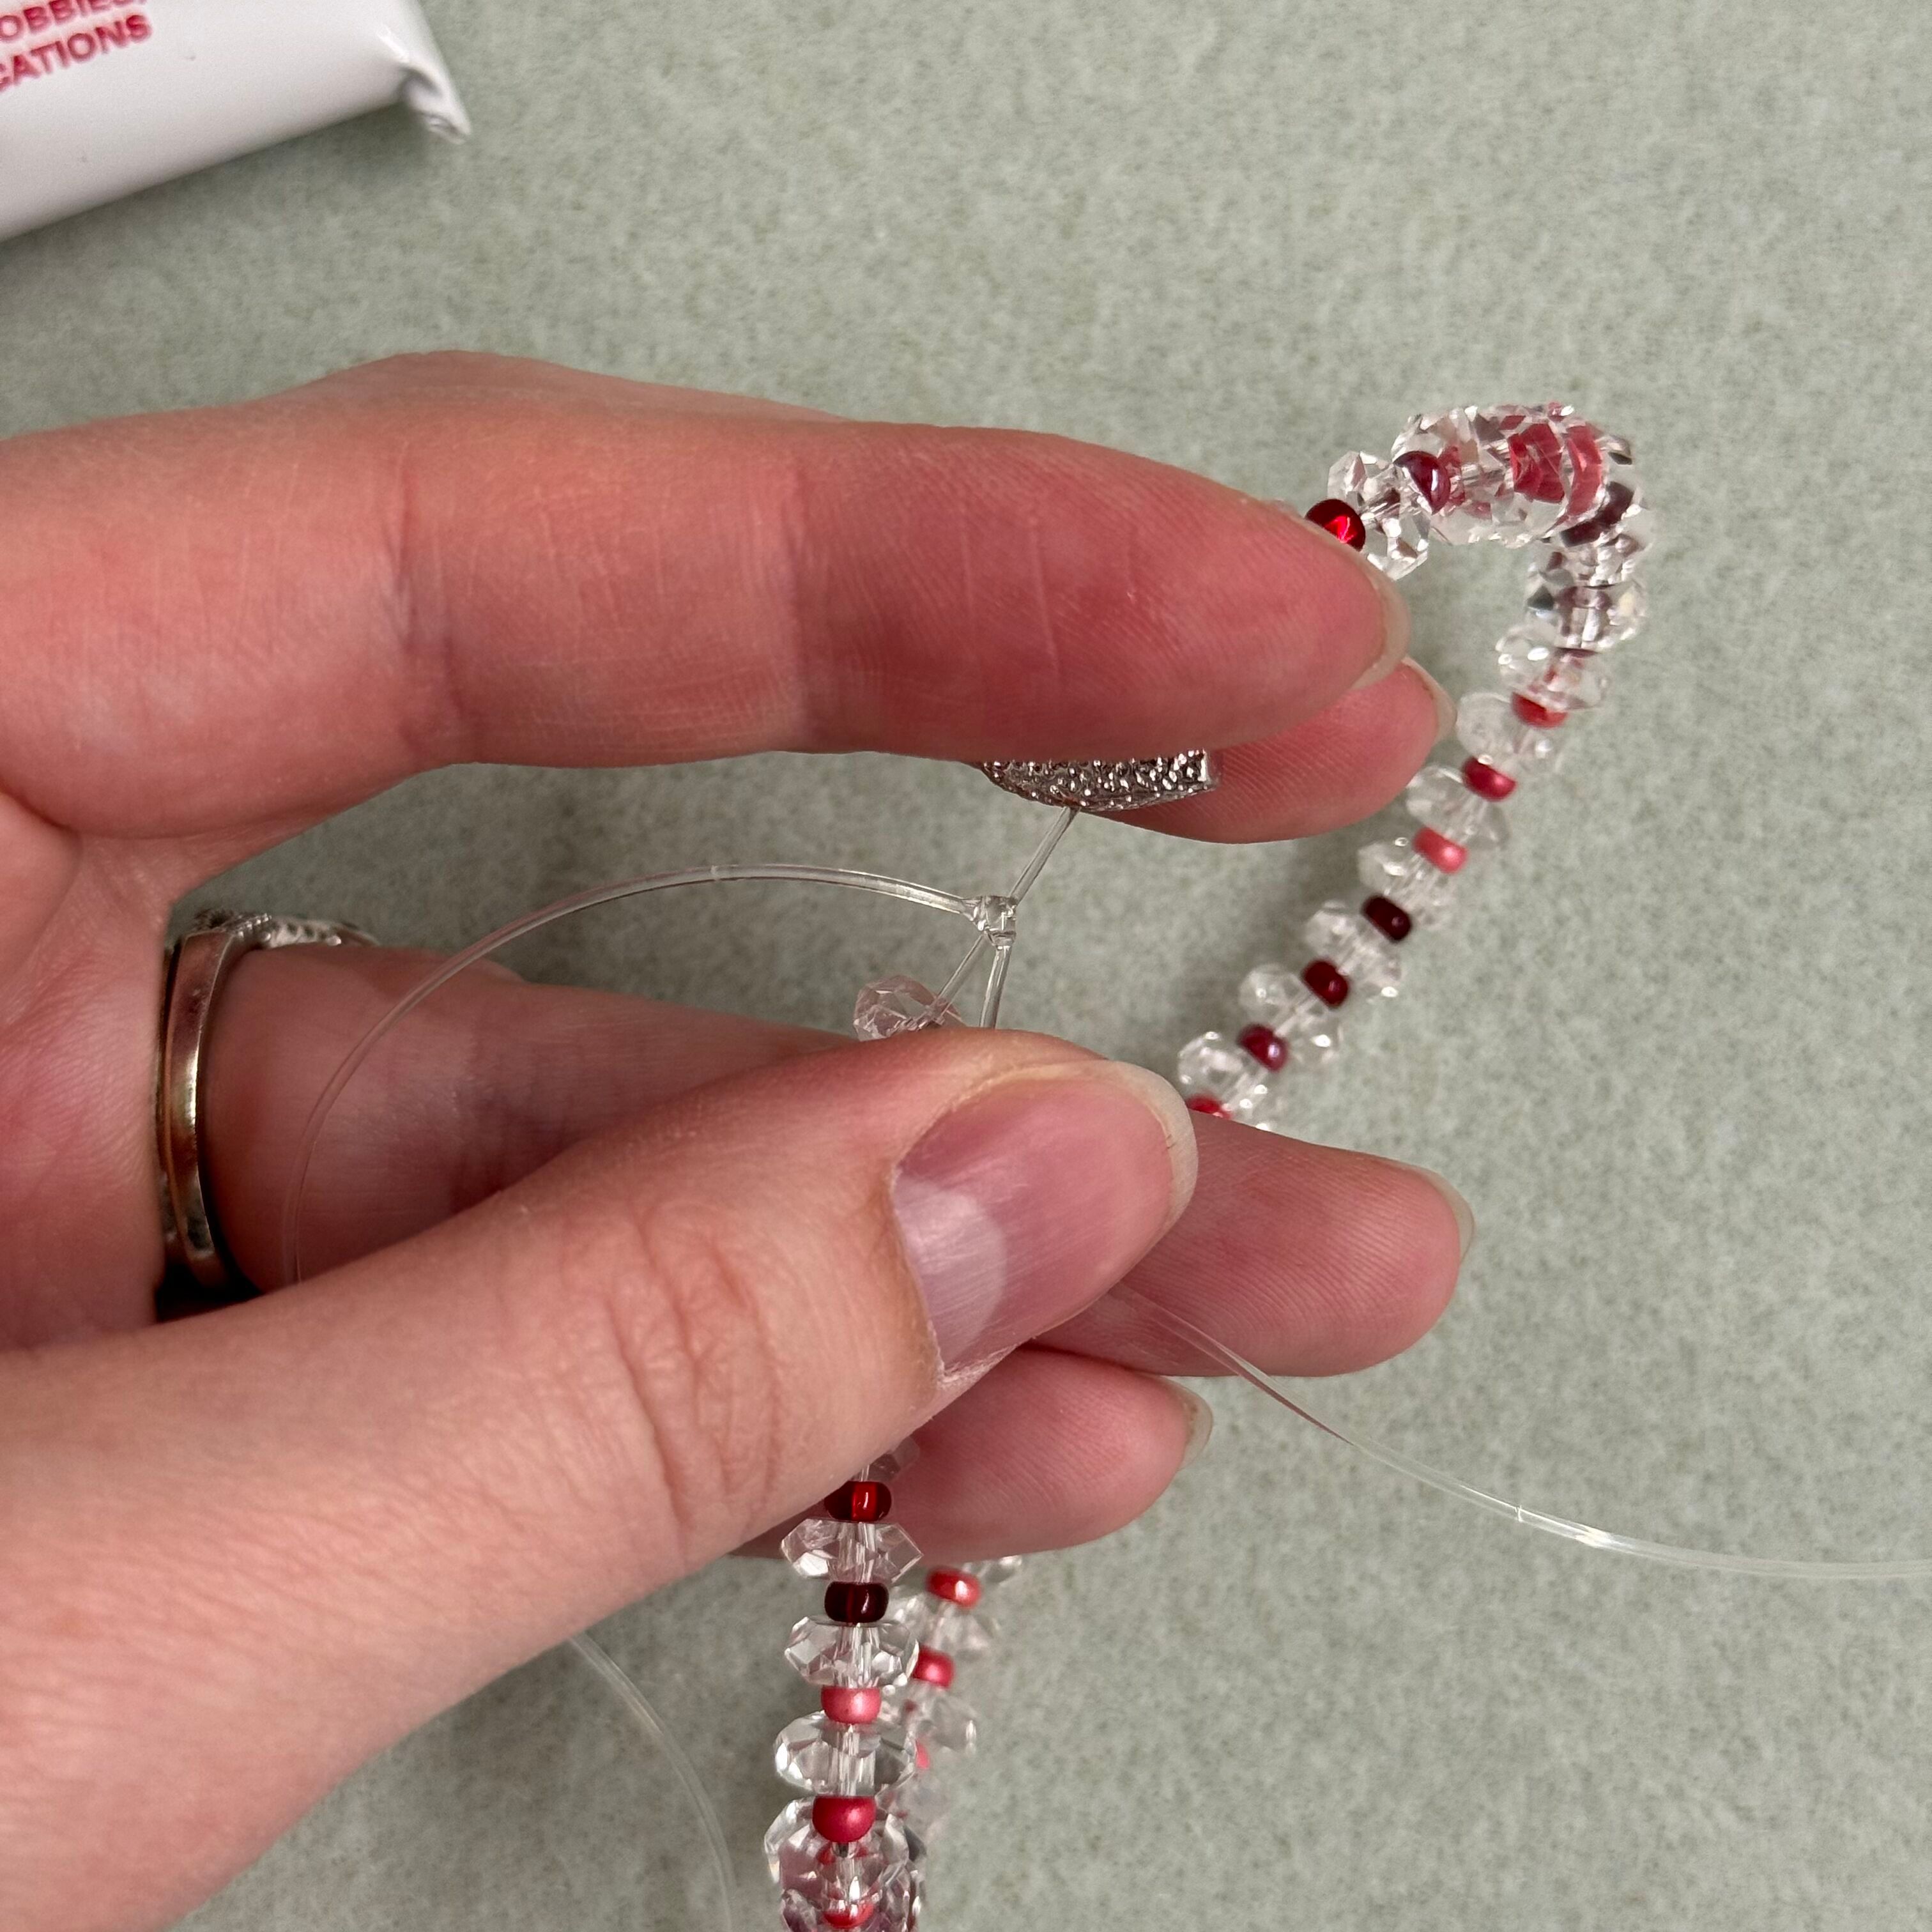
5. Add a dab of GS-HYPO cement glue and snip ends of knot off. Gently pull the knot into the center of the heart bead
6. Done with bracelet!
Related Articles

Jade Interchangeable Statement Necklace
Jade Interchangeable Statement Necklace This tutorial walks you through creating a Valentine’s...

Layered Beaded Charm Necklaces
Layered Beaded Charm Necklaces Layered necklaces are a fashion staple that adds depth and dimension to any...
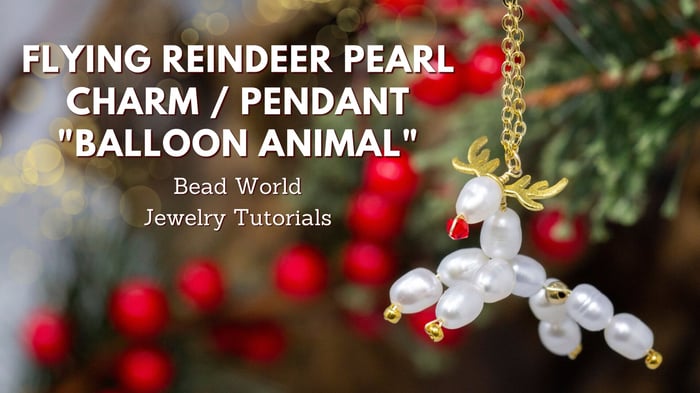
Flying Reindeer Pearl Charm / Pendant "Balloon Animal"
Flying Reindeer Charm / Pendant "Balloon Animal" This flying reindeer can be used as a statement...