Tutorials

Citrus Slice Brick Stitch Earrings
Citrus Slice Brick Stitch Earrings
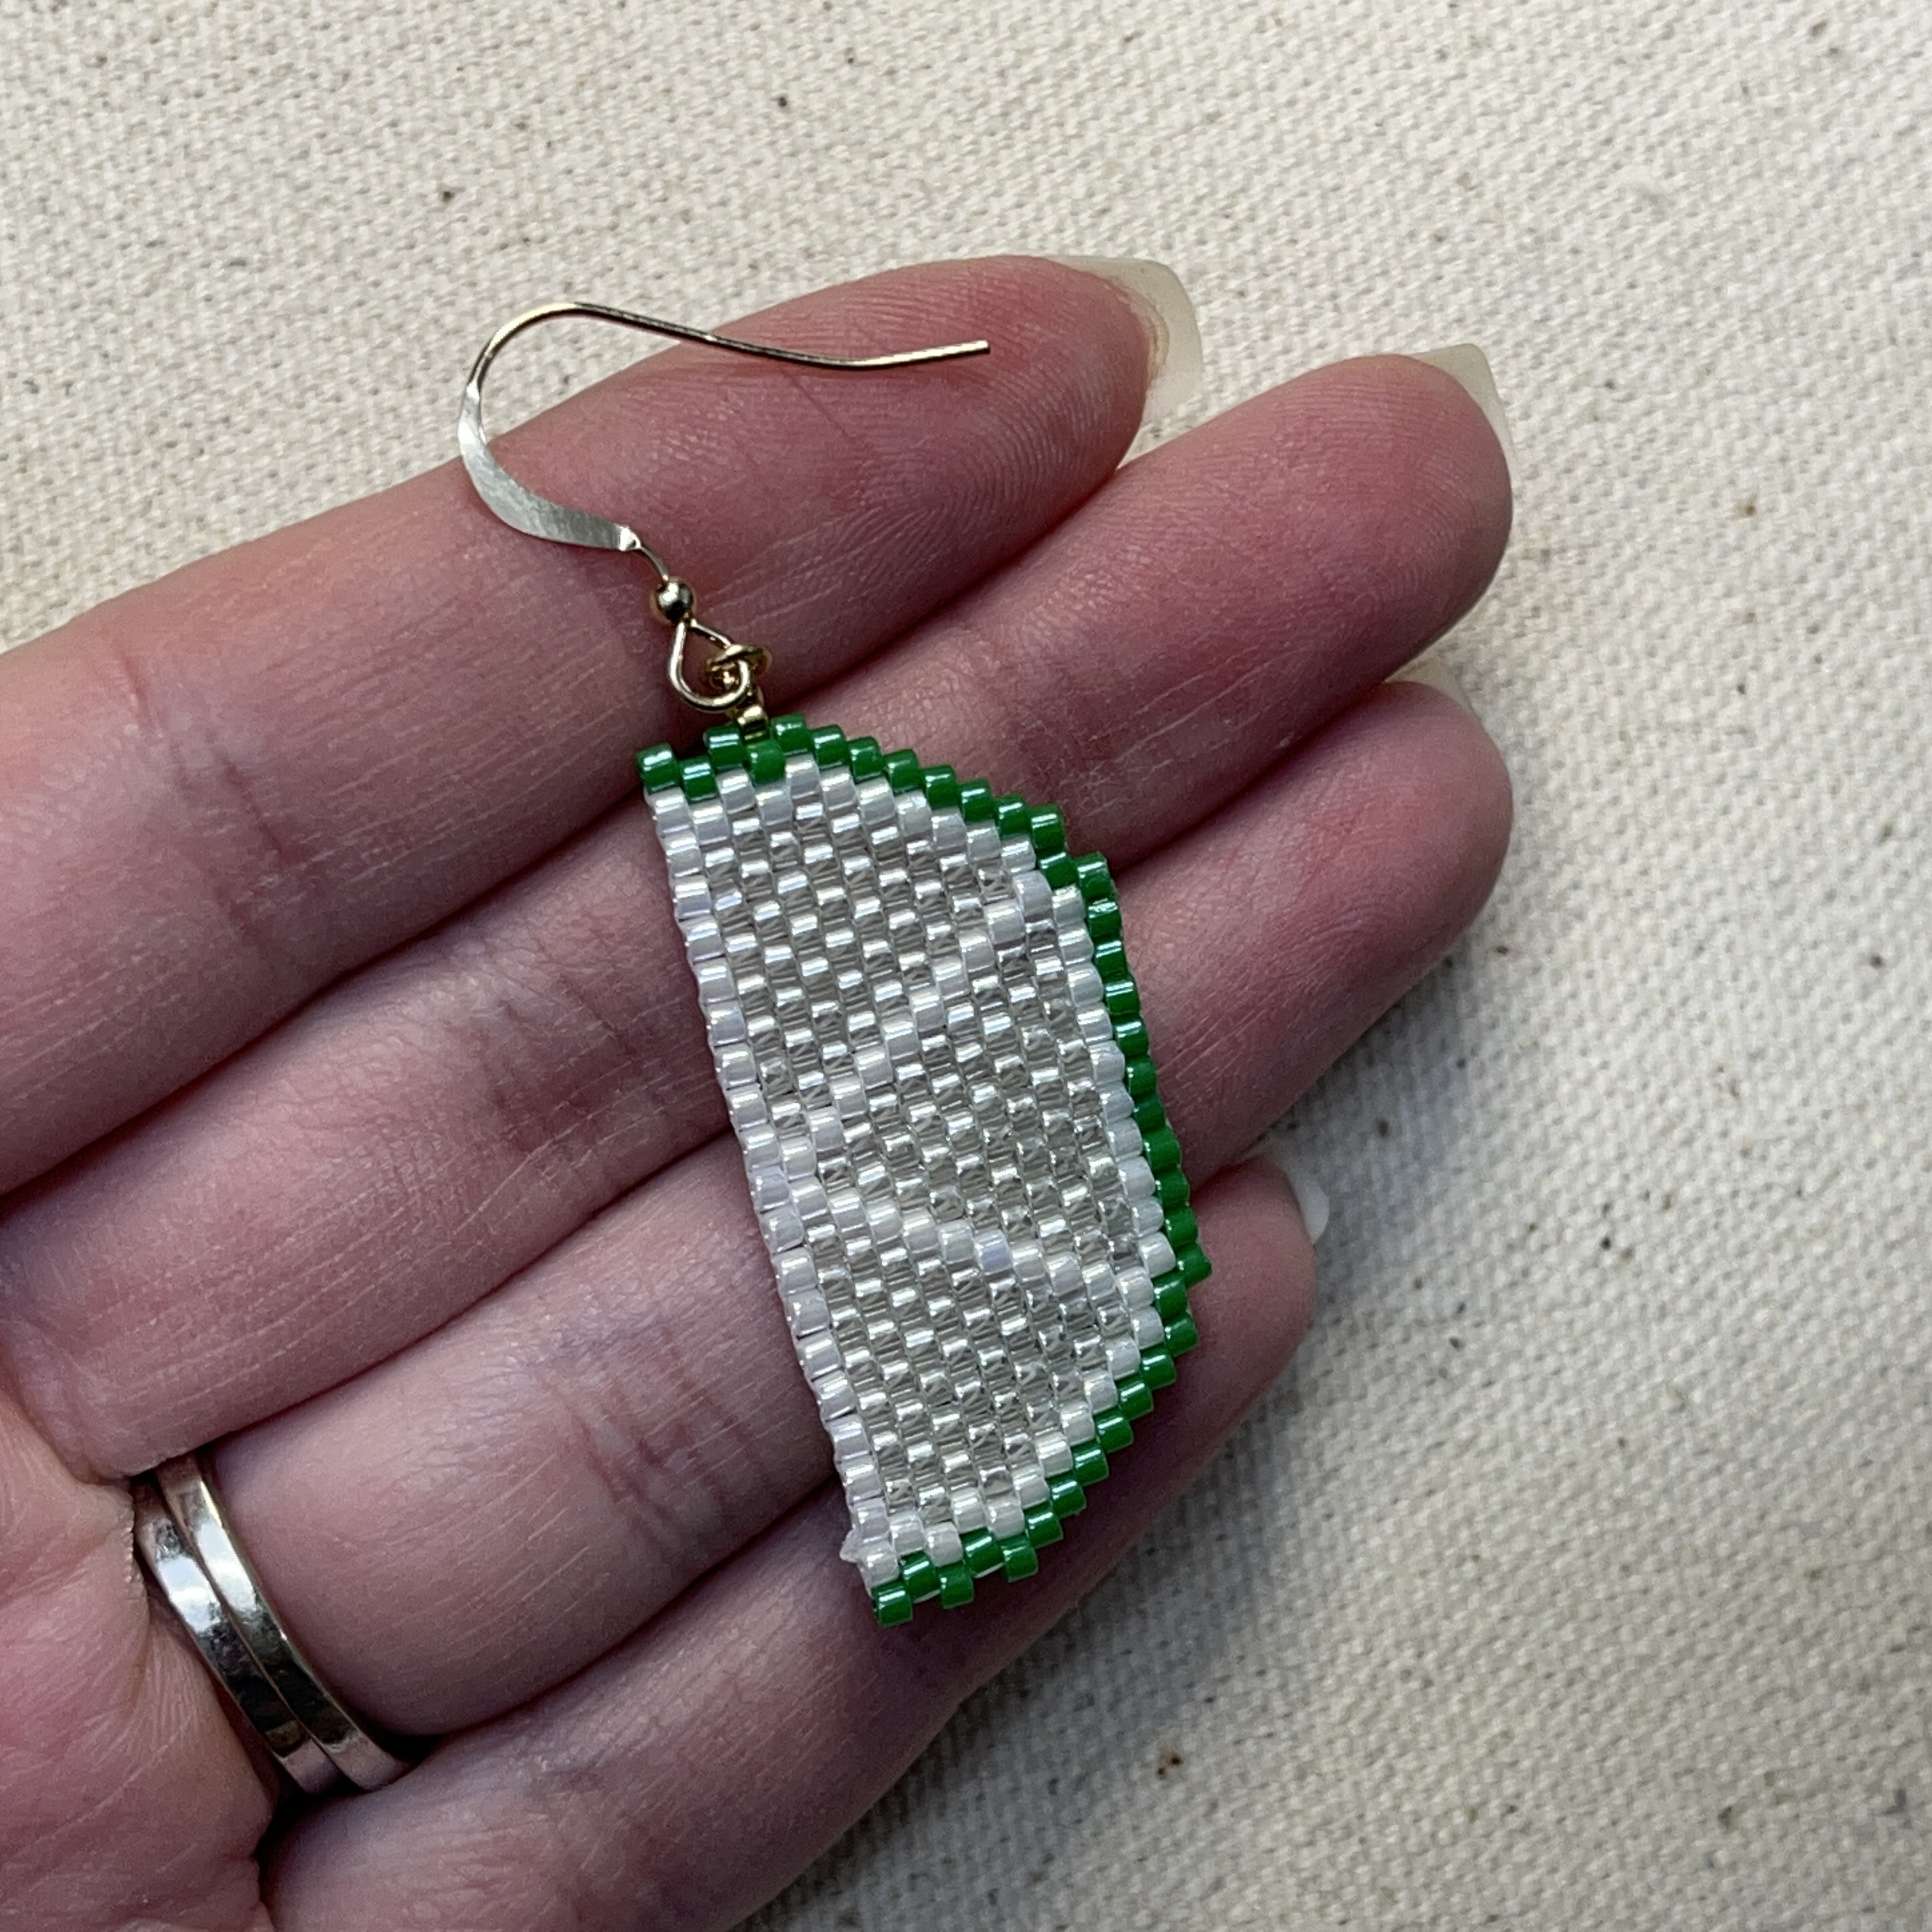
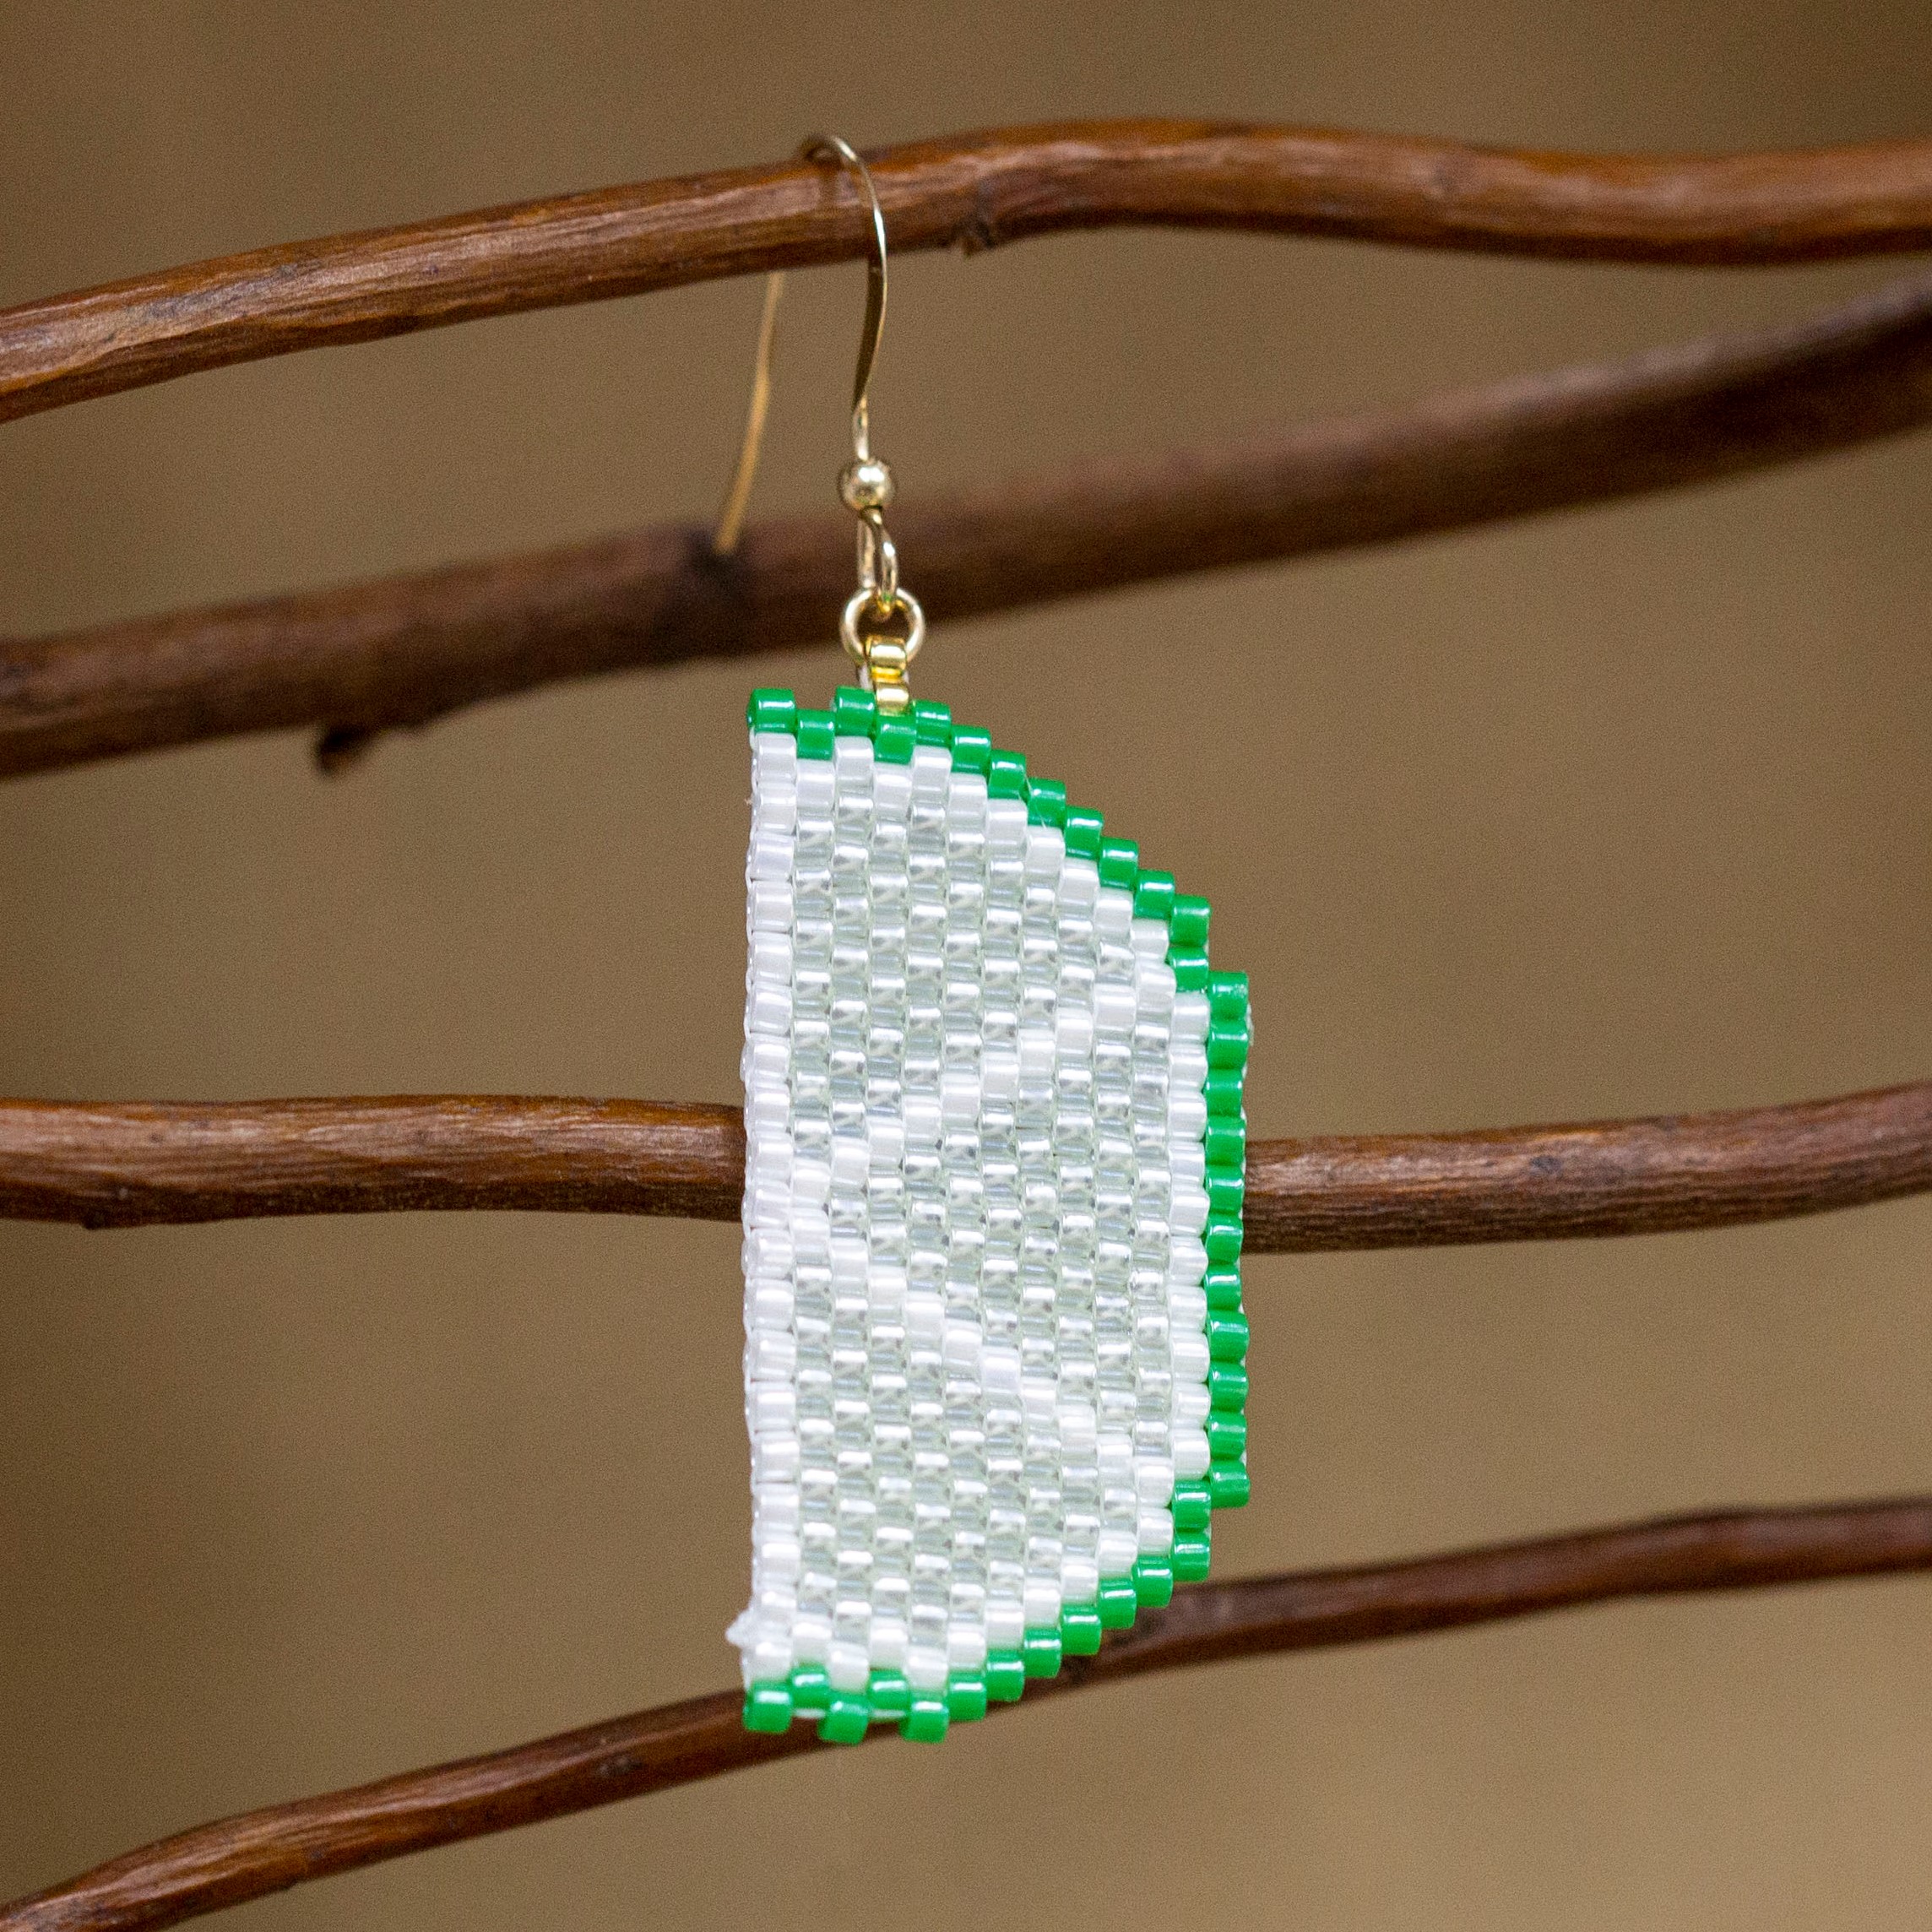
Citrus fruits are known for their vibrant and bright colors, which can add a pop of color to your outfit. Lemons, Limes, and Oranges are often associated with freshness, health, and vitality, and wearing citrus earrings can be a way to express a love of healthy living and a zest for life. Overall, wearing citrus earrings can be a fun and unique way to express your personal style while adding a touch of color and playfulness to your outfit. These citrus slice earrings are a great way to learn how to brick stitch.
Drop Length: 1 7/16th inches or 36mm
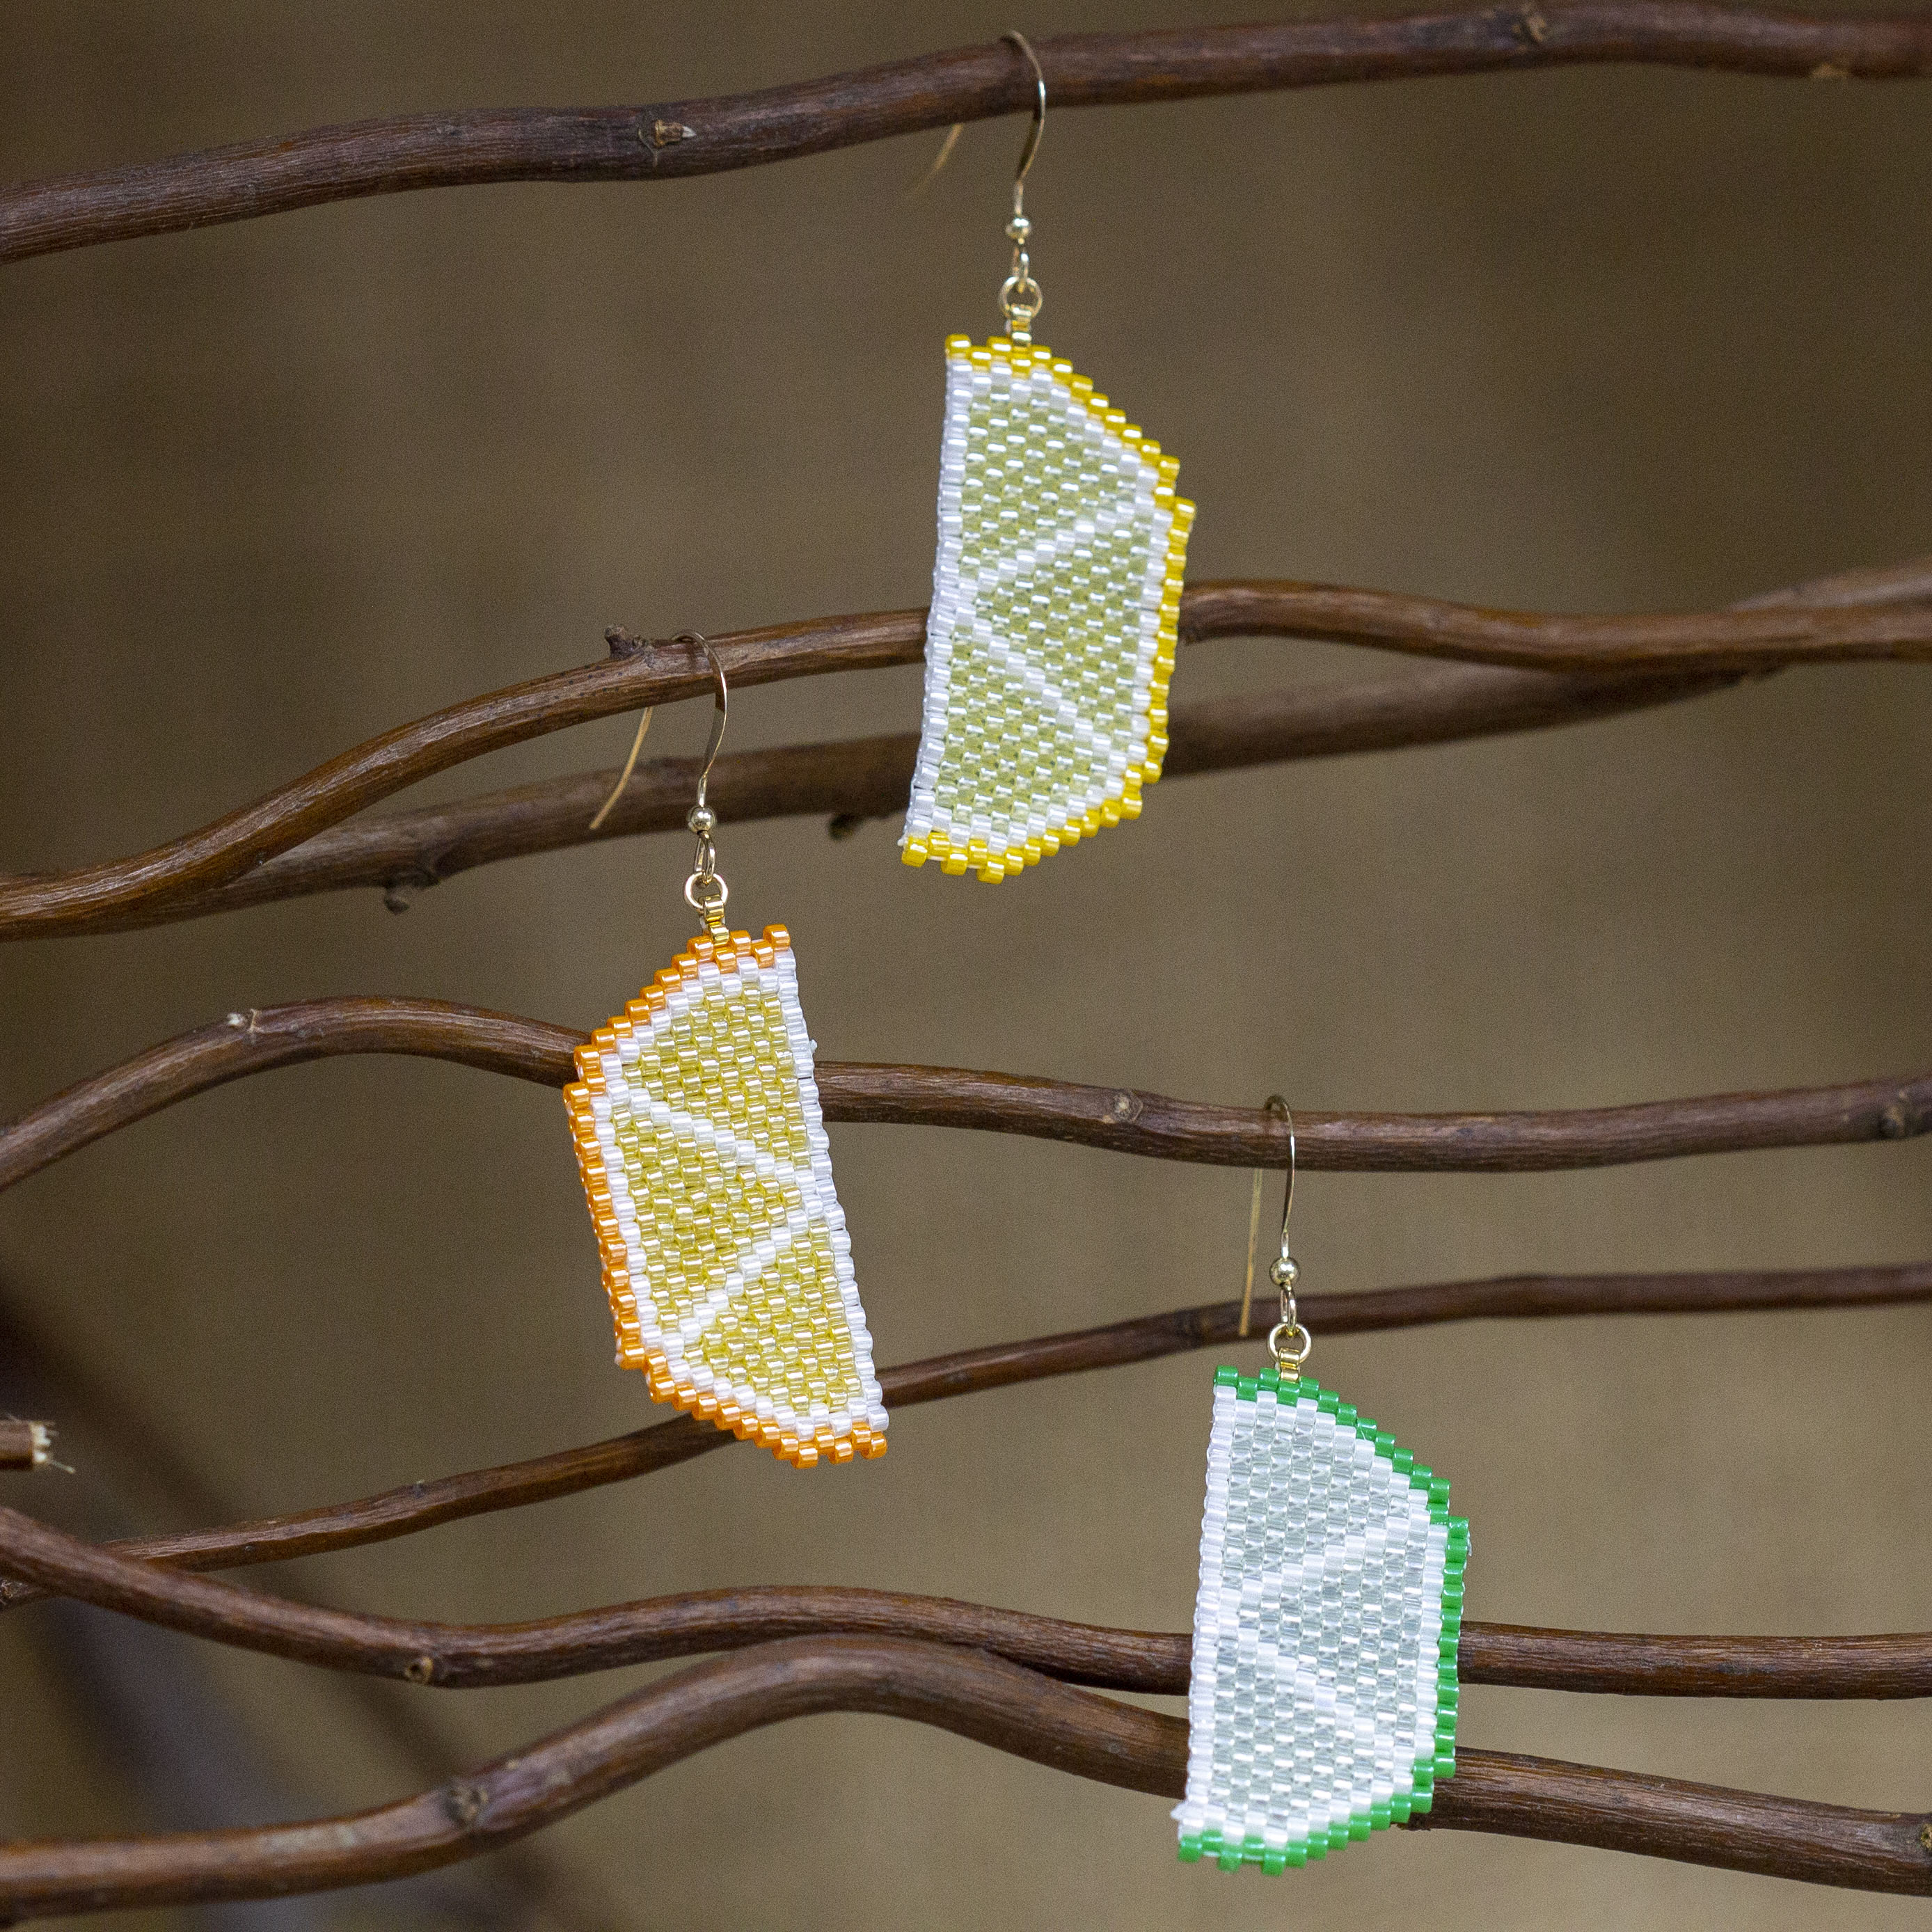 Citrus Slice Brick Stitch Earrings
Materials Needed for a pair of the Lime slice earrings (Delica colors for the lemon and orange listed below tools):
- Delica Size 11 655 Dyed Opaque Kelly Green (for the rind / peel)
- Delica Size 11 1474 Transparent Pale Green Mist Luster (for the fruit segment / pulp)
- Delica Size 11 201 White Pearl (for the wall)
- Delica Size 11 034 Light 24K Gold Plated (or color of your choice)
- Fireline Crystal 4lb (6 feet total, about 3 feet per citrus slice, but you will end up using less)
- John James Needle Size 12 (1)
- 14K Gold Filled 3mm 22 Gauge Jump Rings (2)
- 14K Gold Filled Flat Ear Wire with 2mm Bead Pair (1) or ear wires of your choice
Tools Required:
Needle Nose Pliers (also known as chain nose)
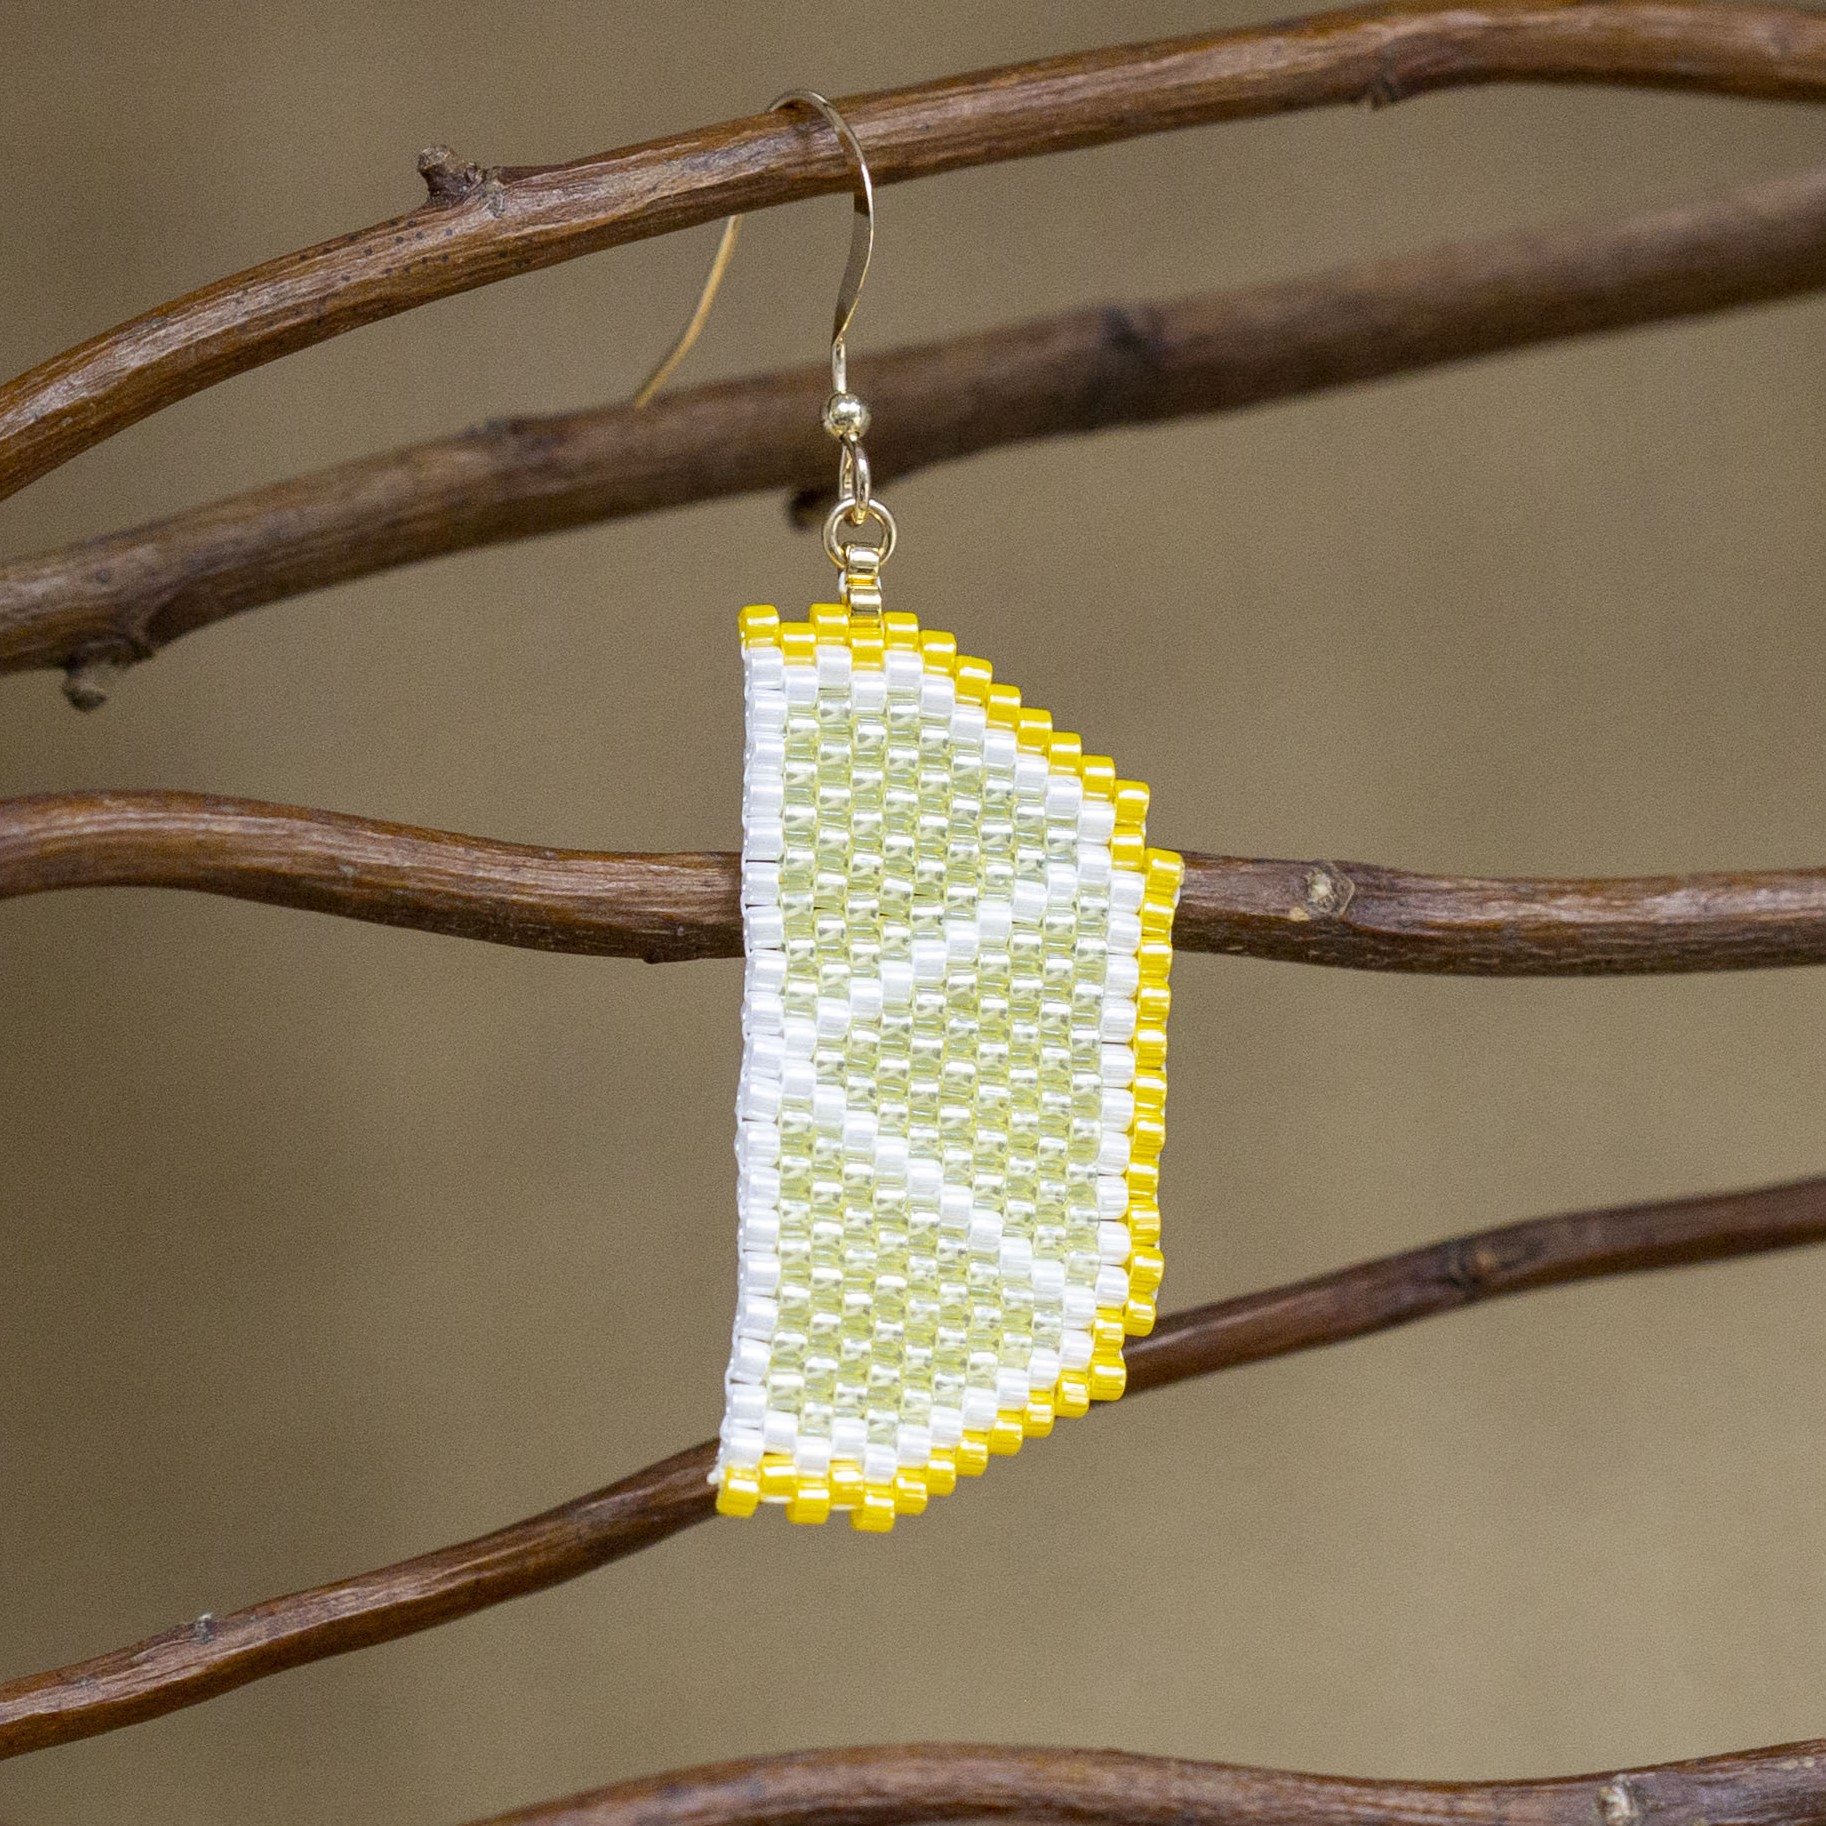
Lemon Slice Colors
- Delica Size 11 1562 Opaque Canary Luster (for the rind / peel)
- Delica Size 11 1471 Transparent Pale Yellow Luster (for the fruit segment / pulp)
- Delica Size 11 201 White Pearl (for the wall)
- Delica Size 11 034 Light 24K Gold Plated (or color of your choice)
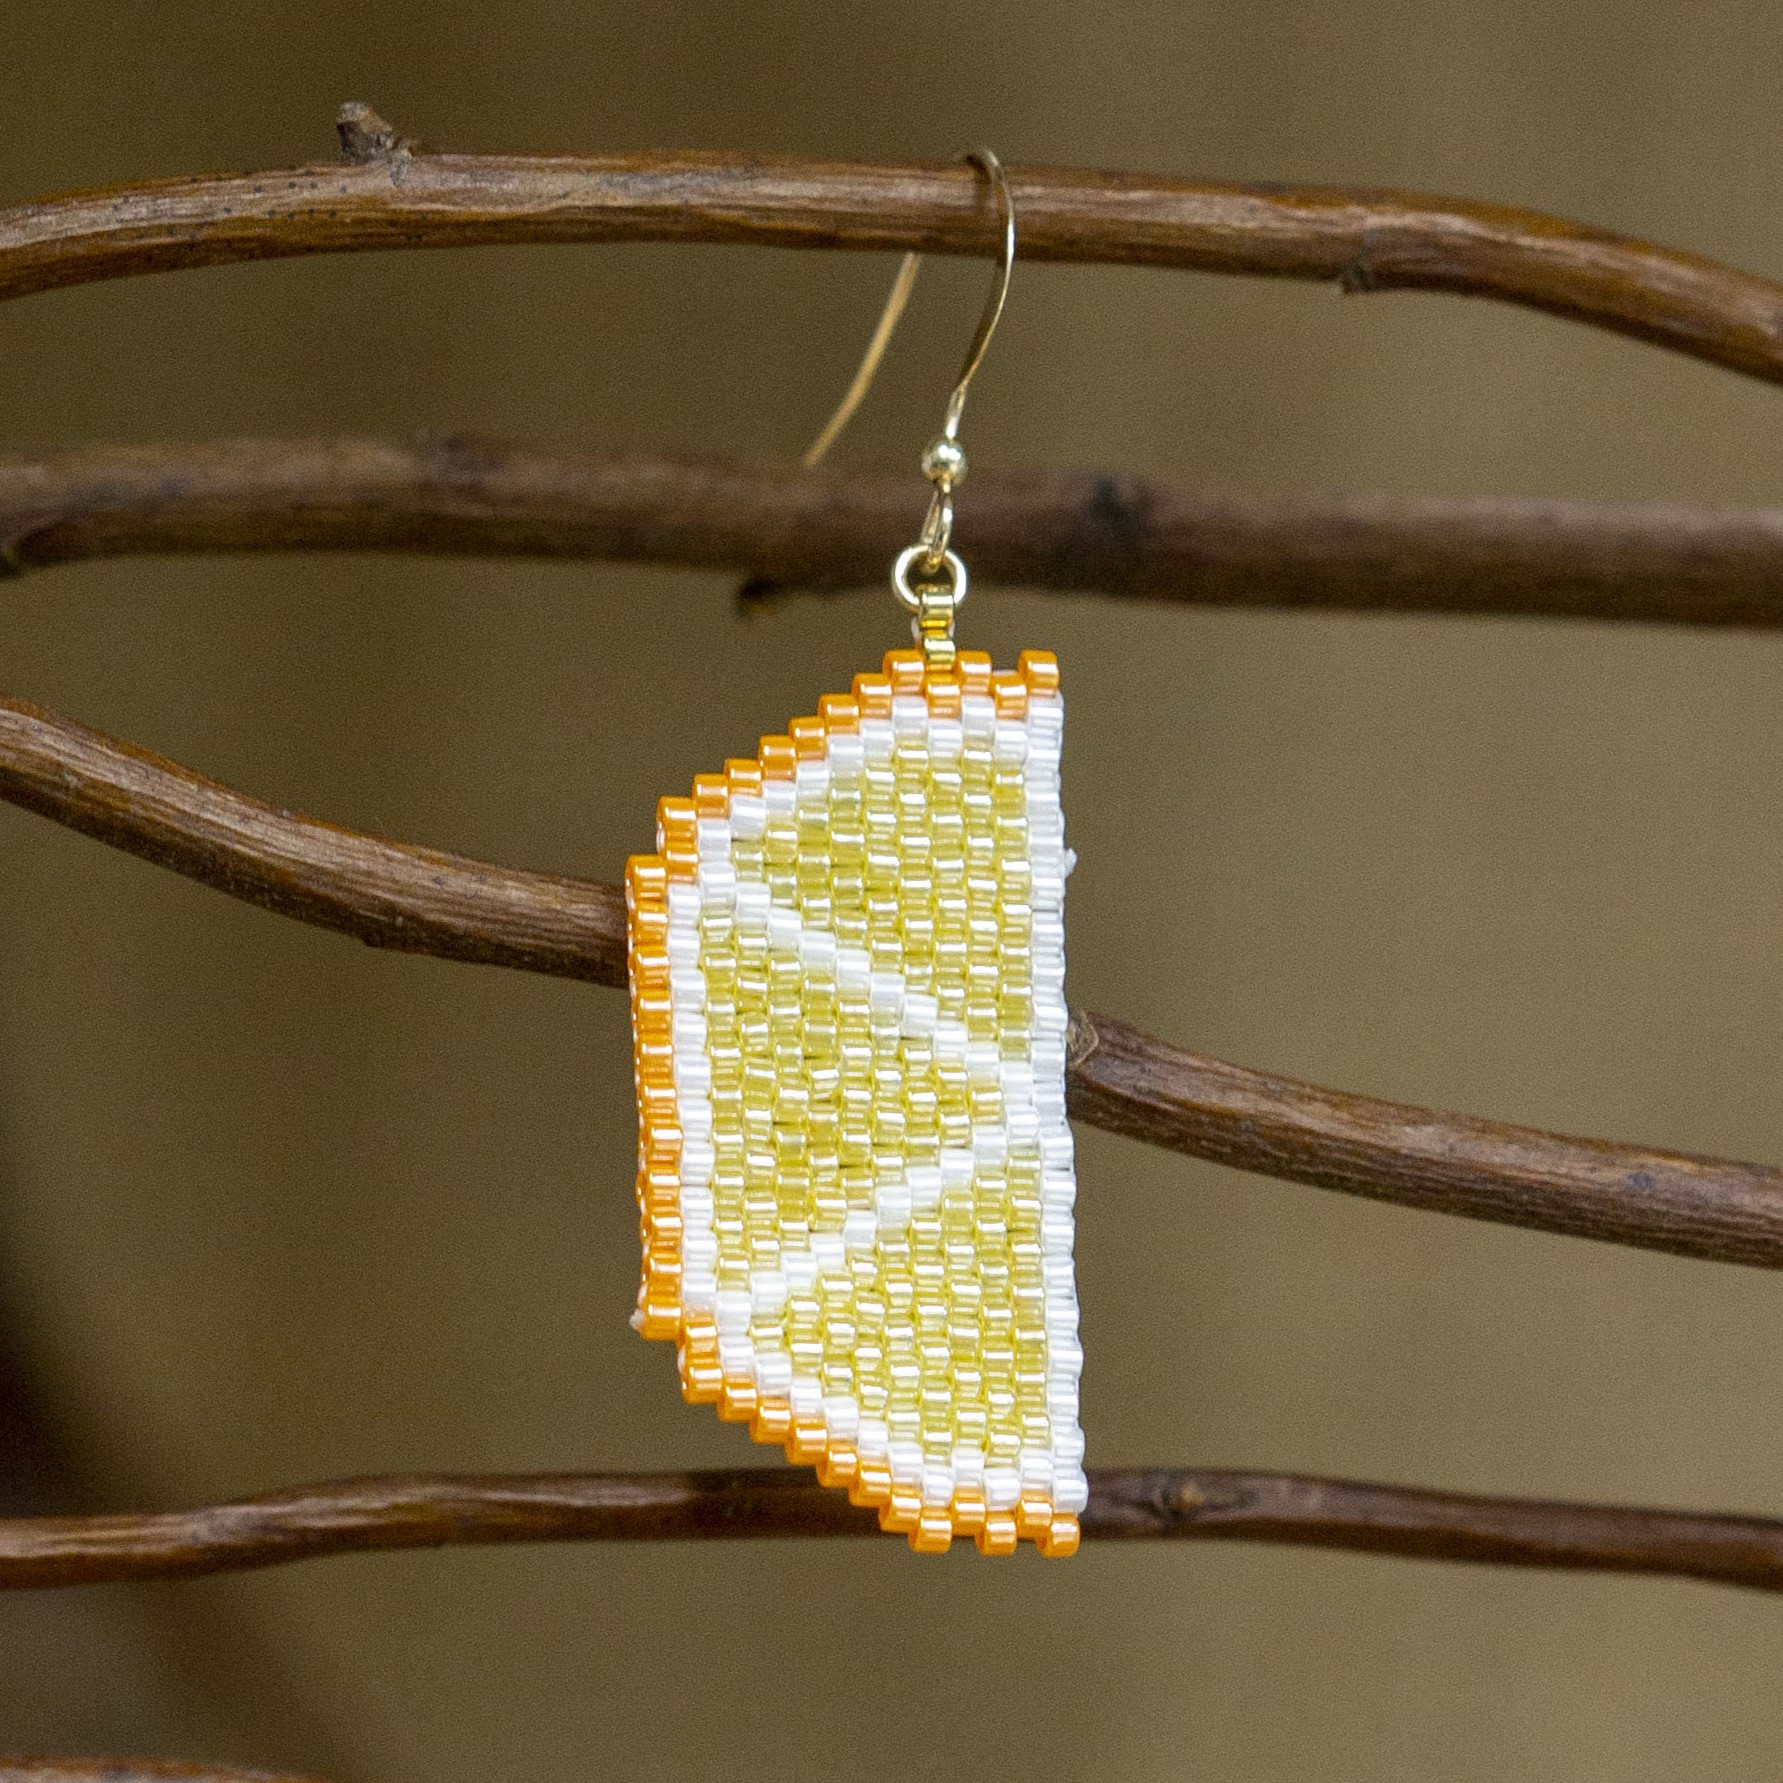
Orange Slice Colors
- Delica Size 11 1563 Opaque Mandarin Luster (for the rind / peel)
- Delica Size 11 233 Crystal Luster / Yellow Lined (for the fruit segment / pulp)
- Delica Size 11 201 White Pearl (for the wall)
- Delica Size 11 034 Light 24K Gold Plated (or color of your choice)
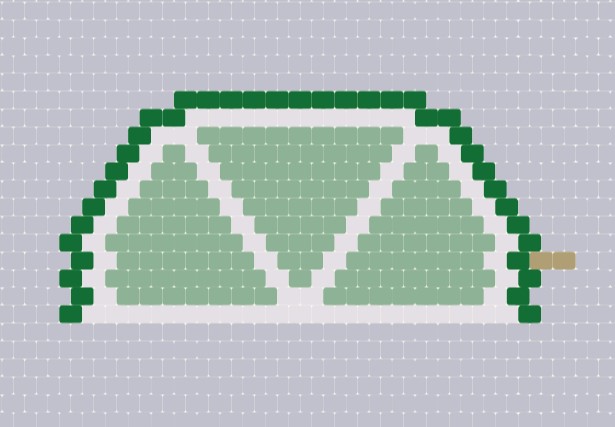
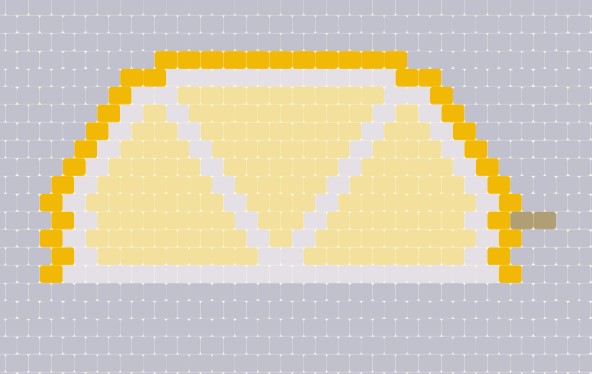
Lime Slice Pattern:
(lemon and orange at end of tutorial)
Instructions on Construction:
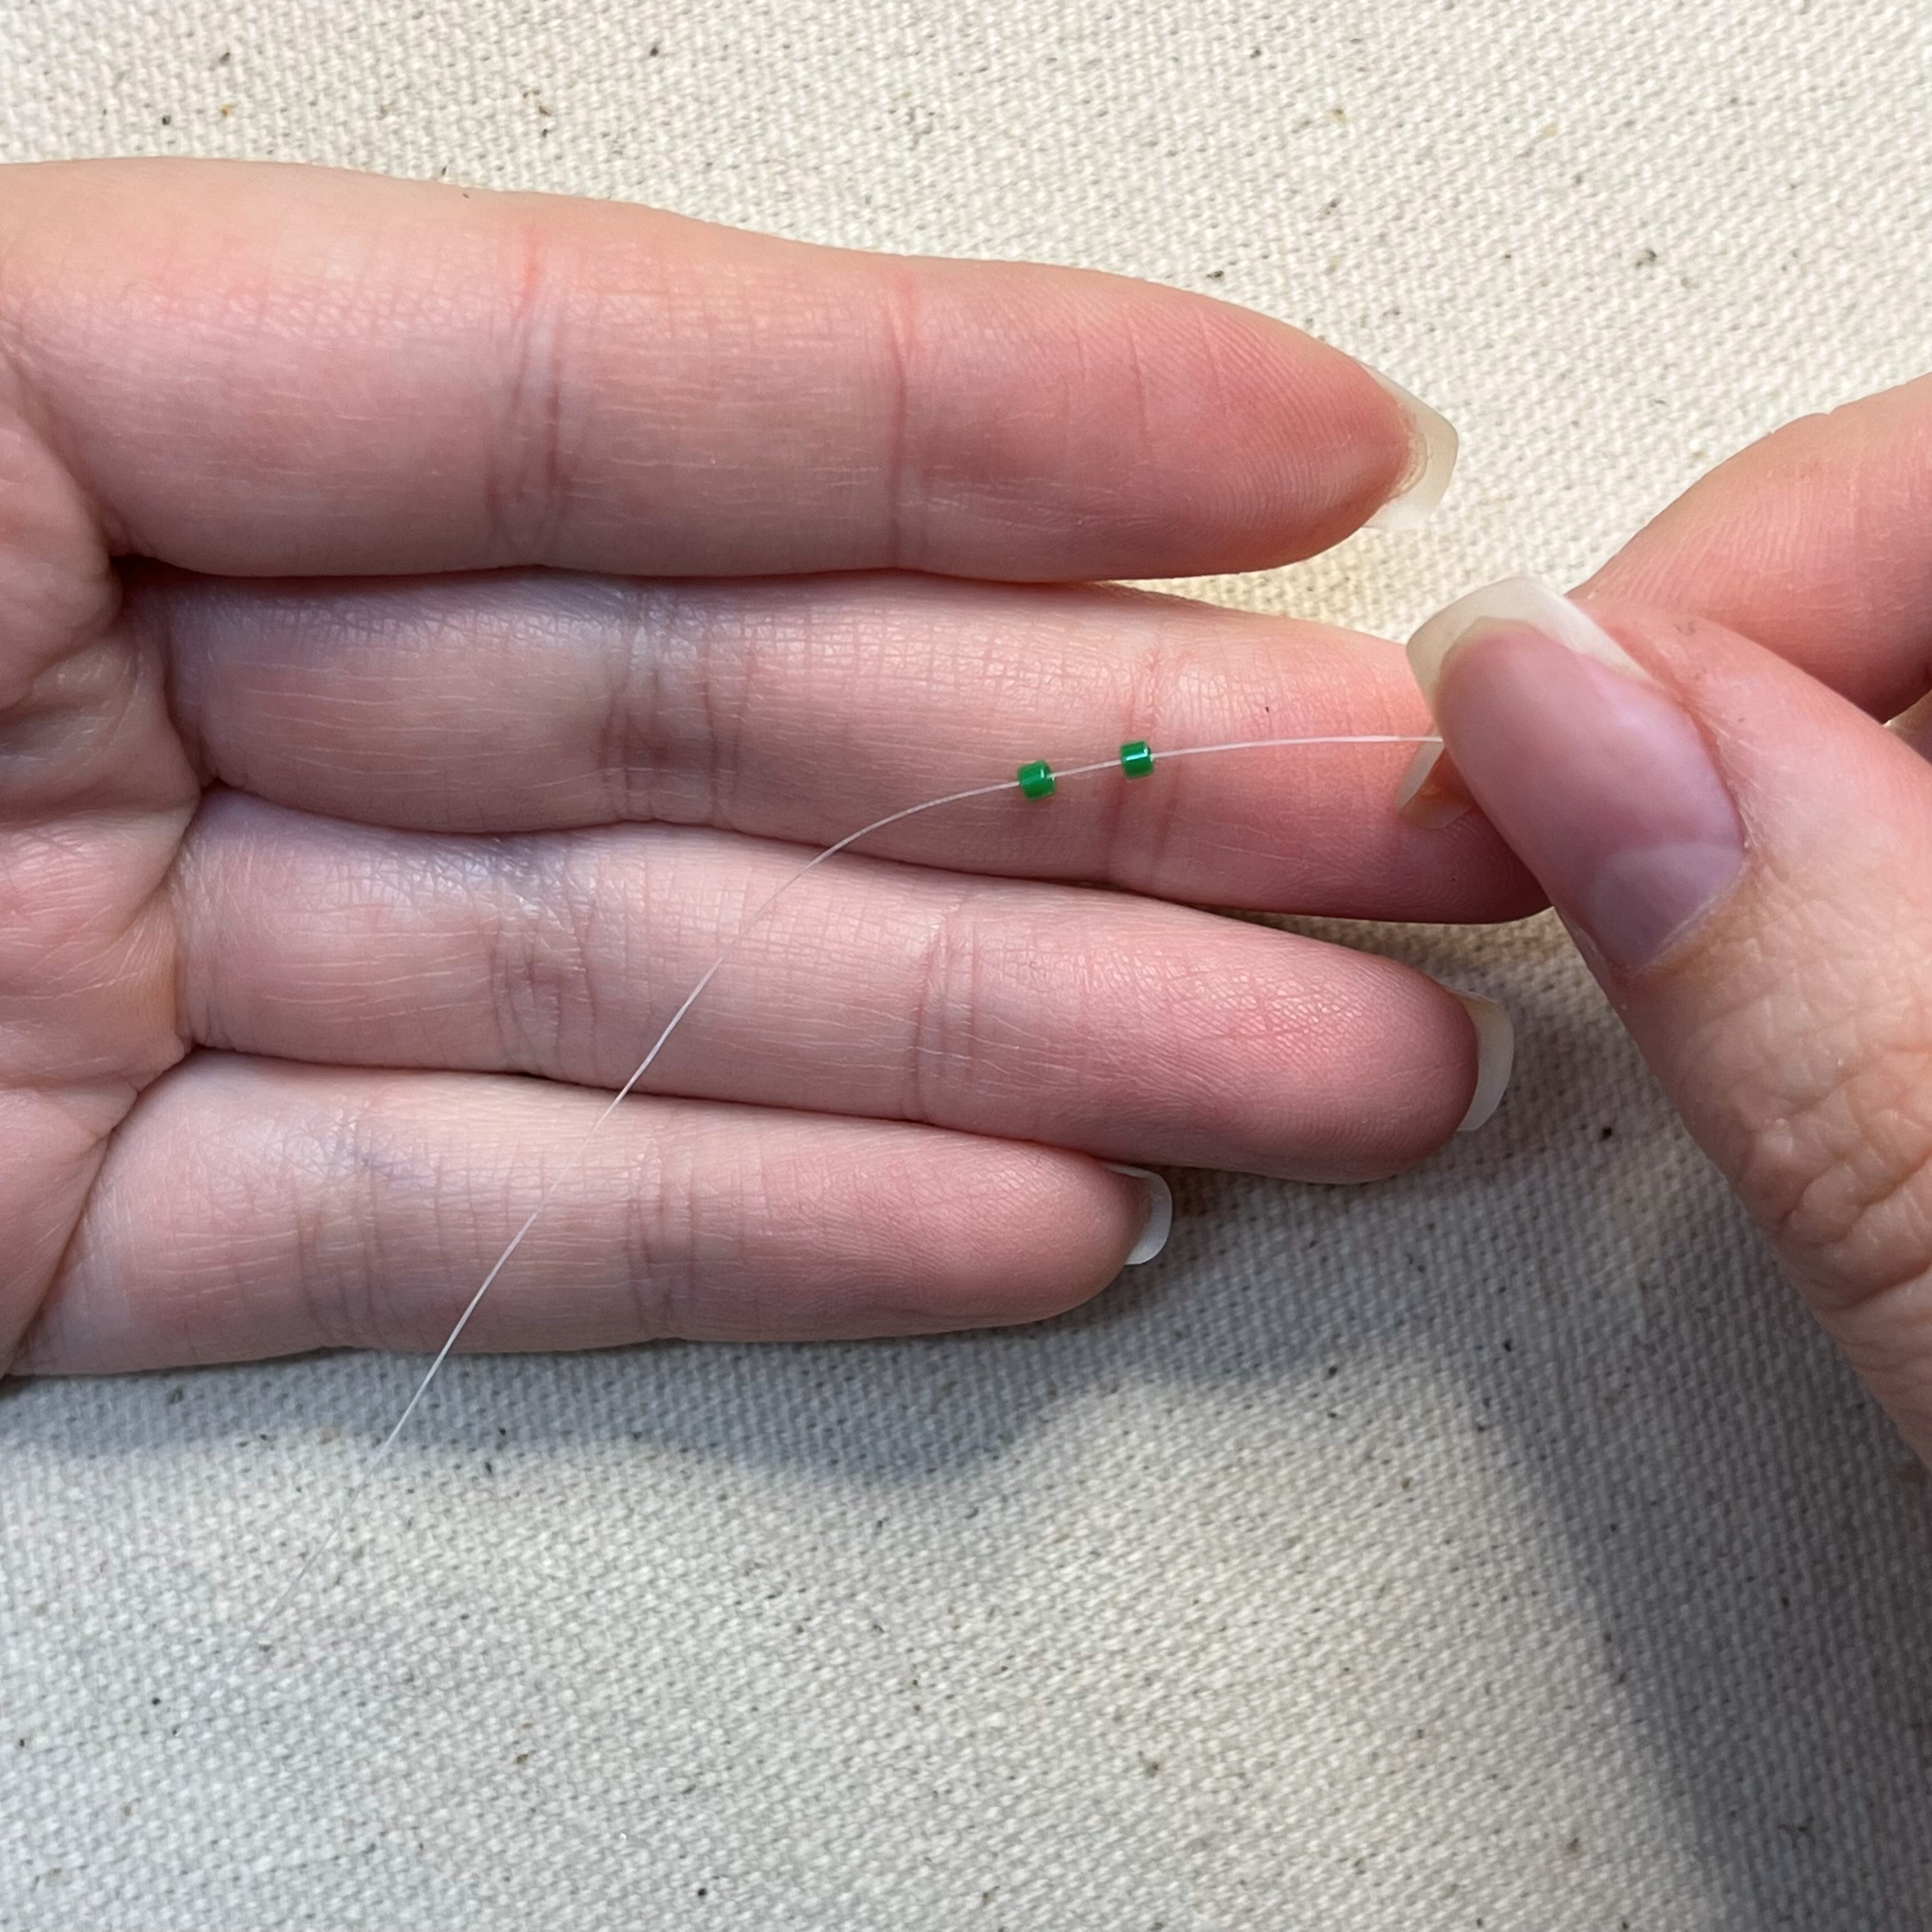
1. Thread your fireline onto the needle and pick up 2 kelly green delica beads with the needle
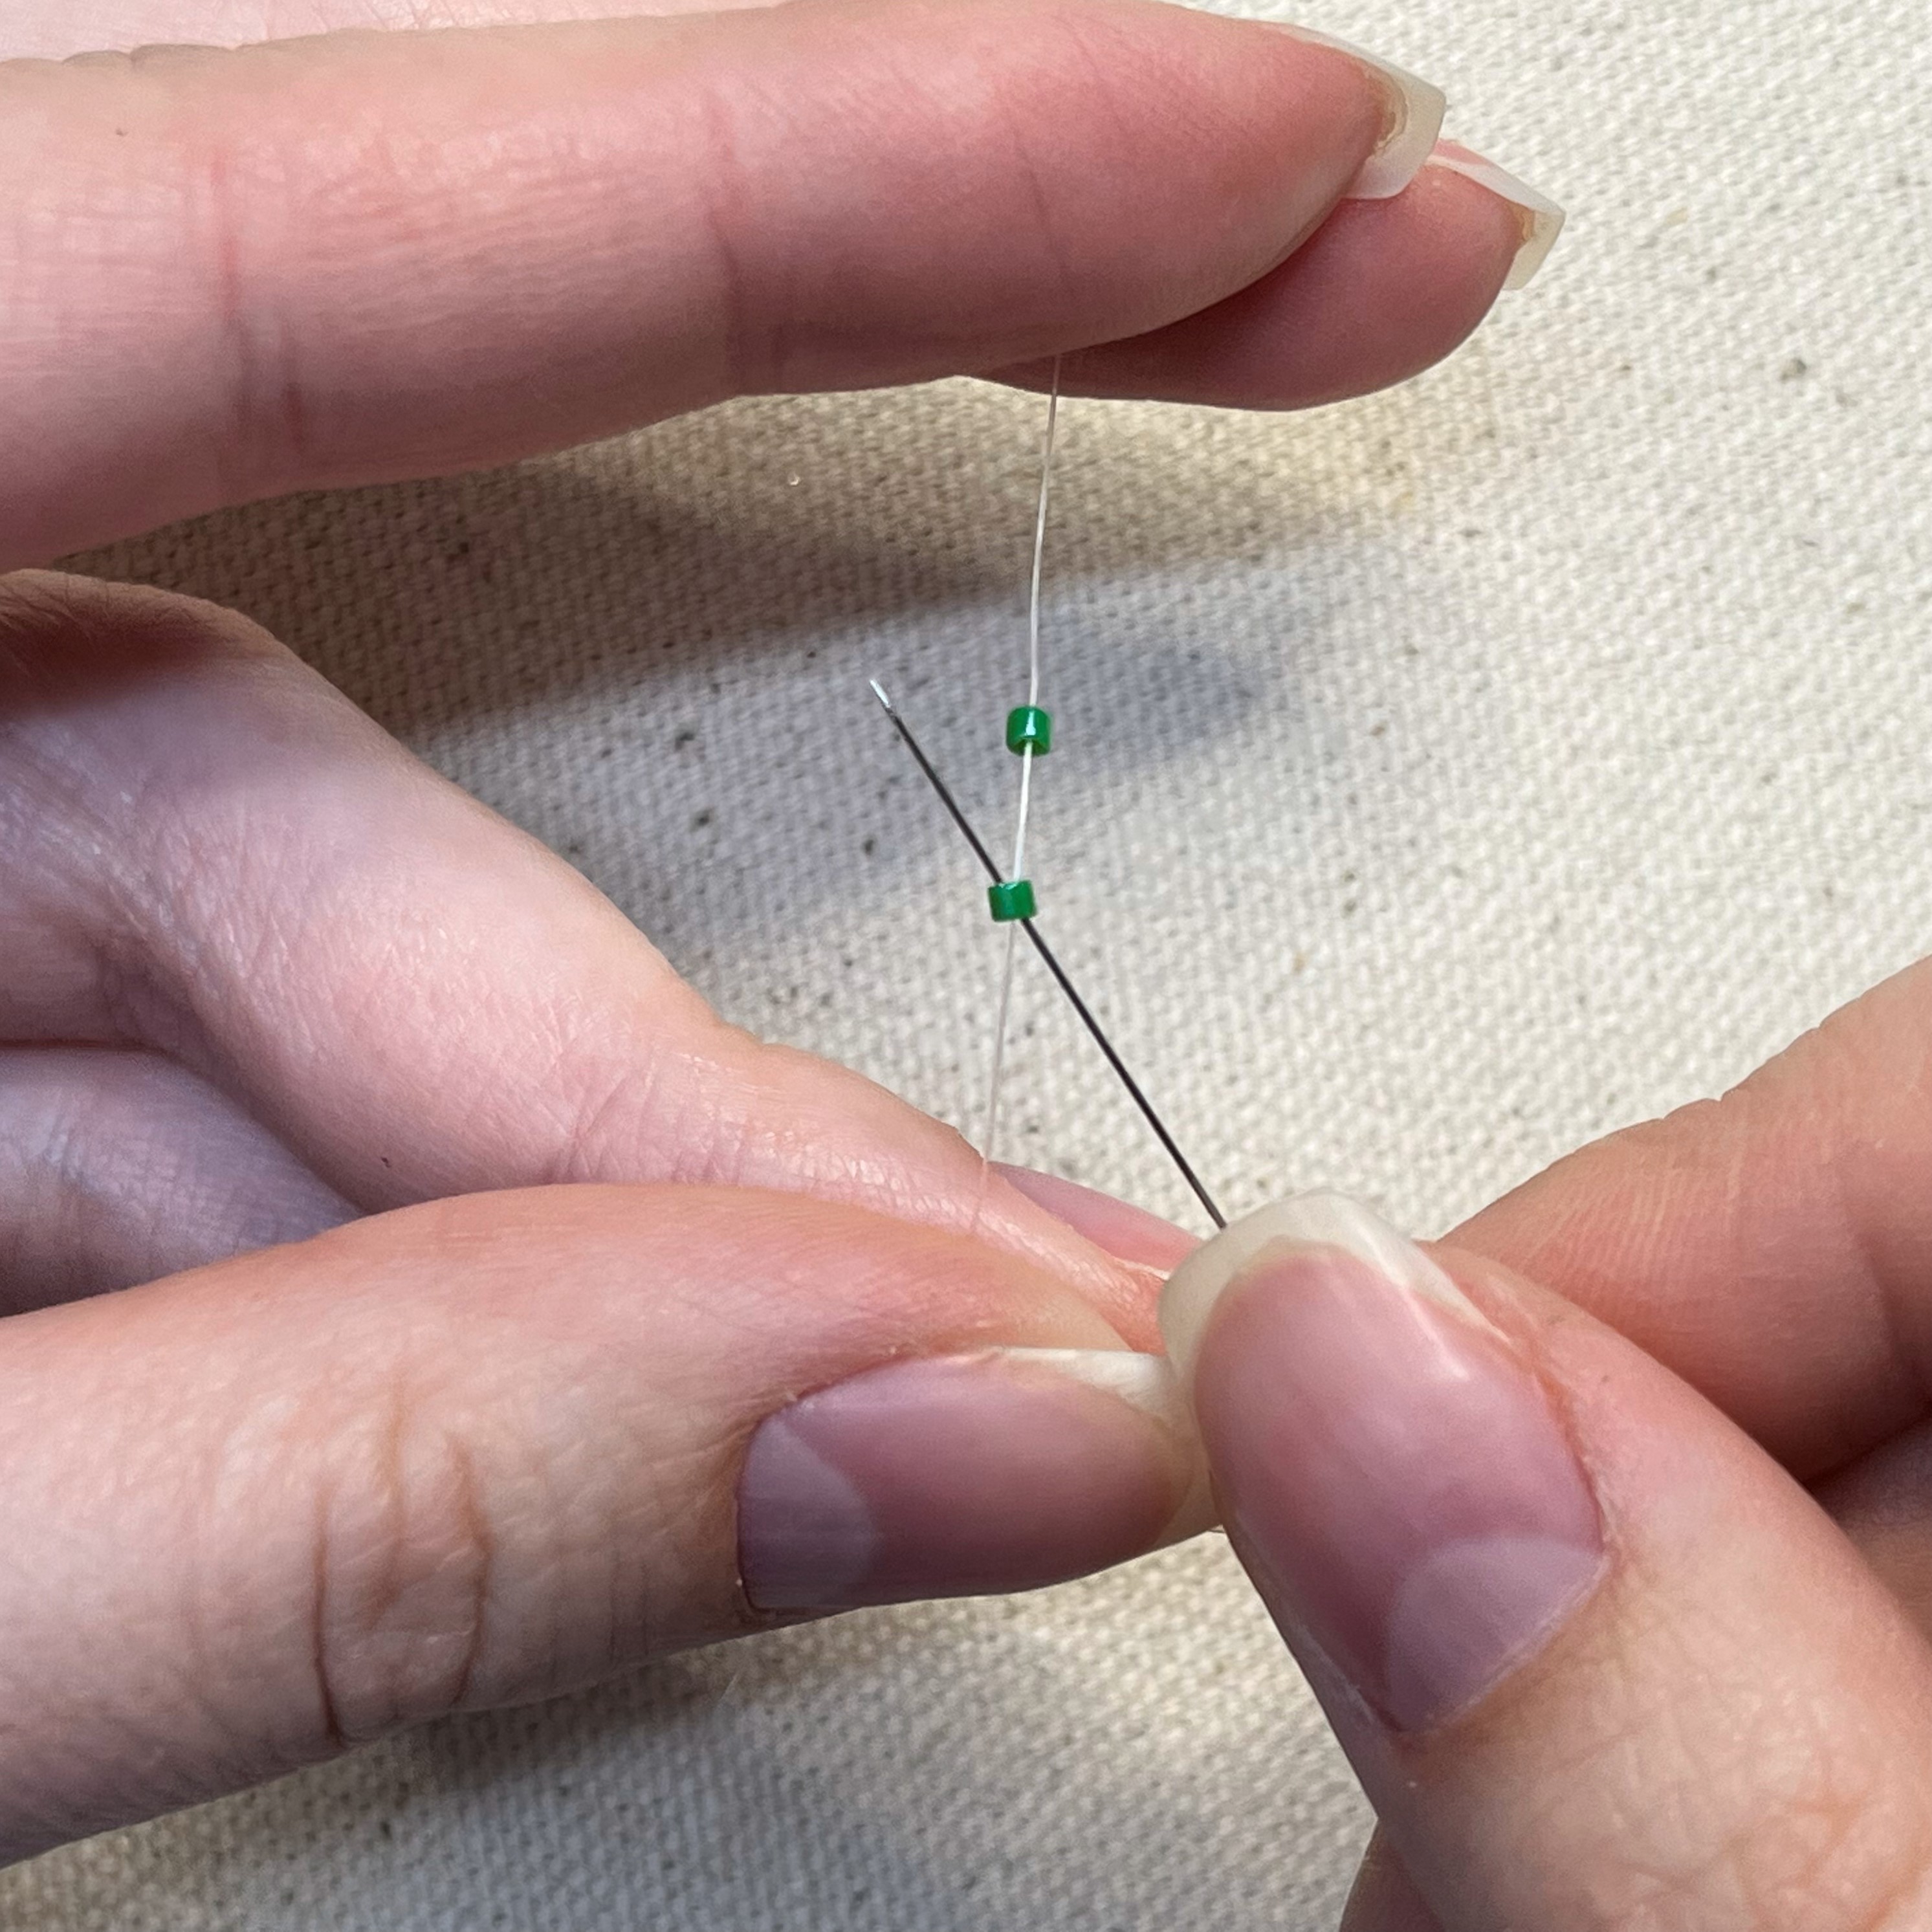
2. Thread your needle through the first delica bead, leave a tail of the fireline, approx 3 inches. The tail helps as something to hold onto
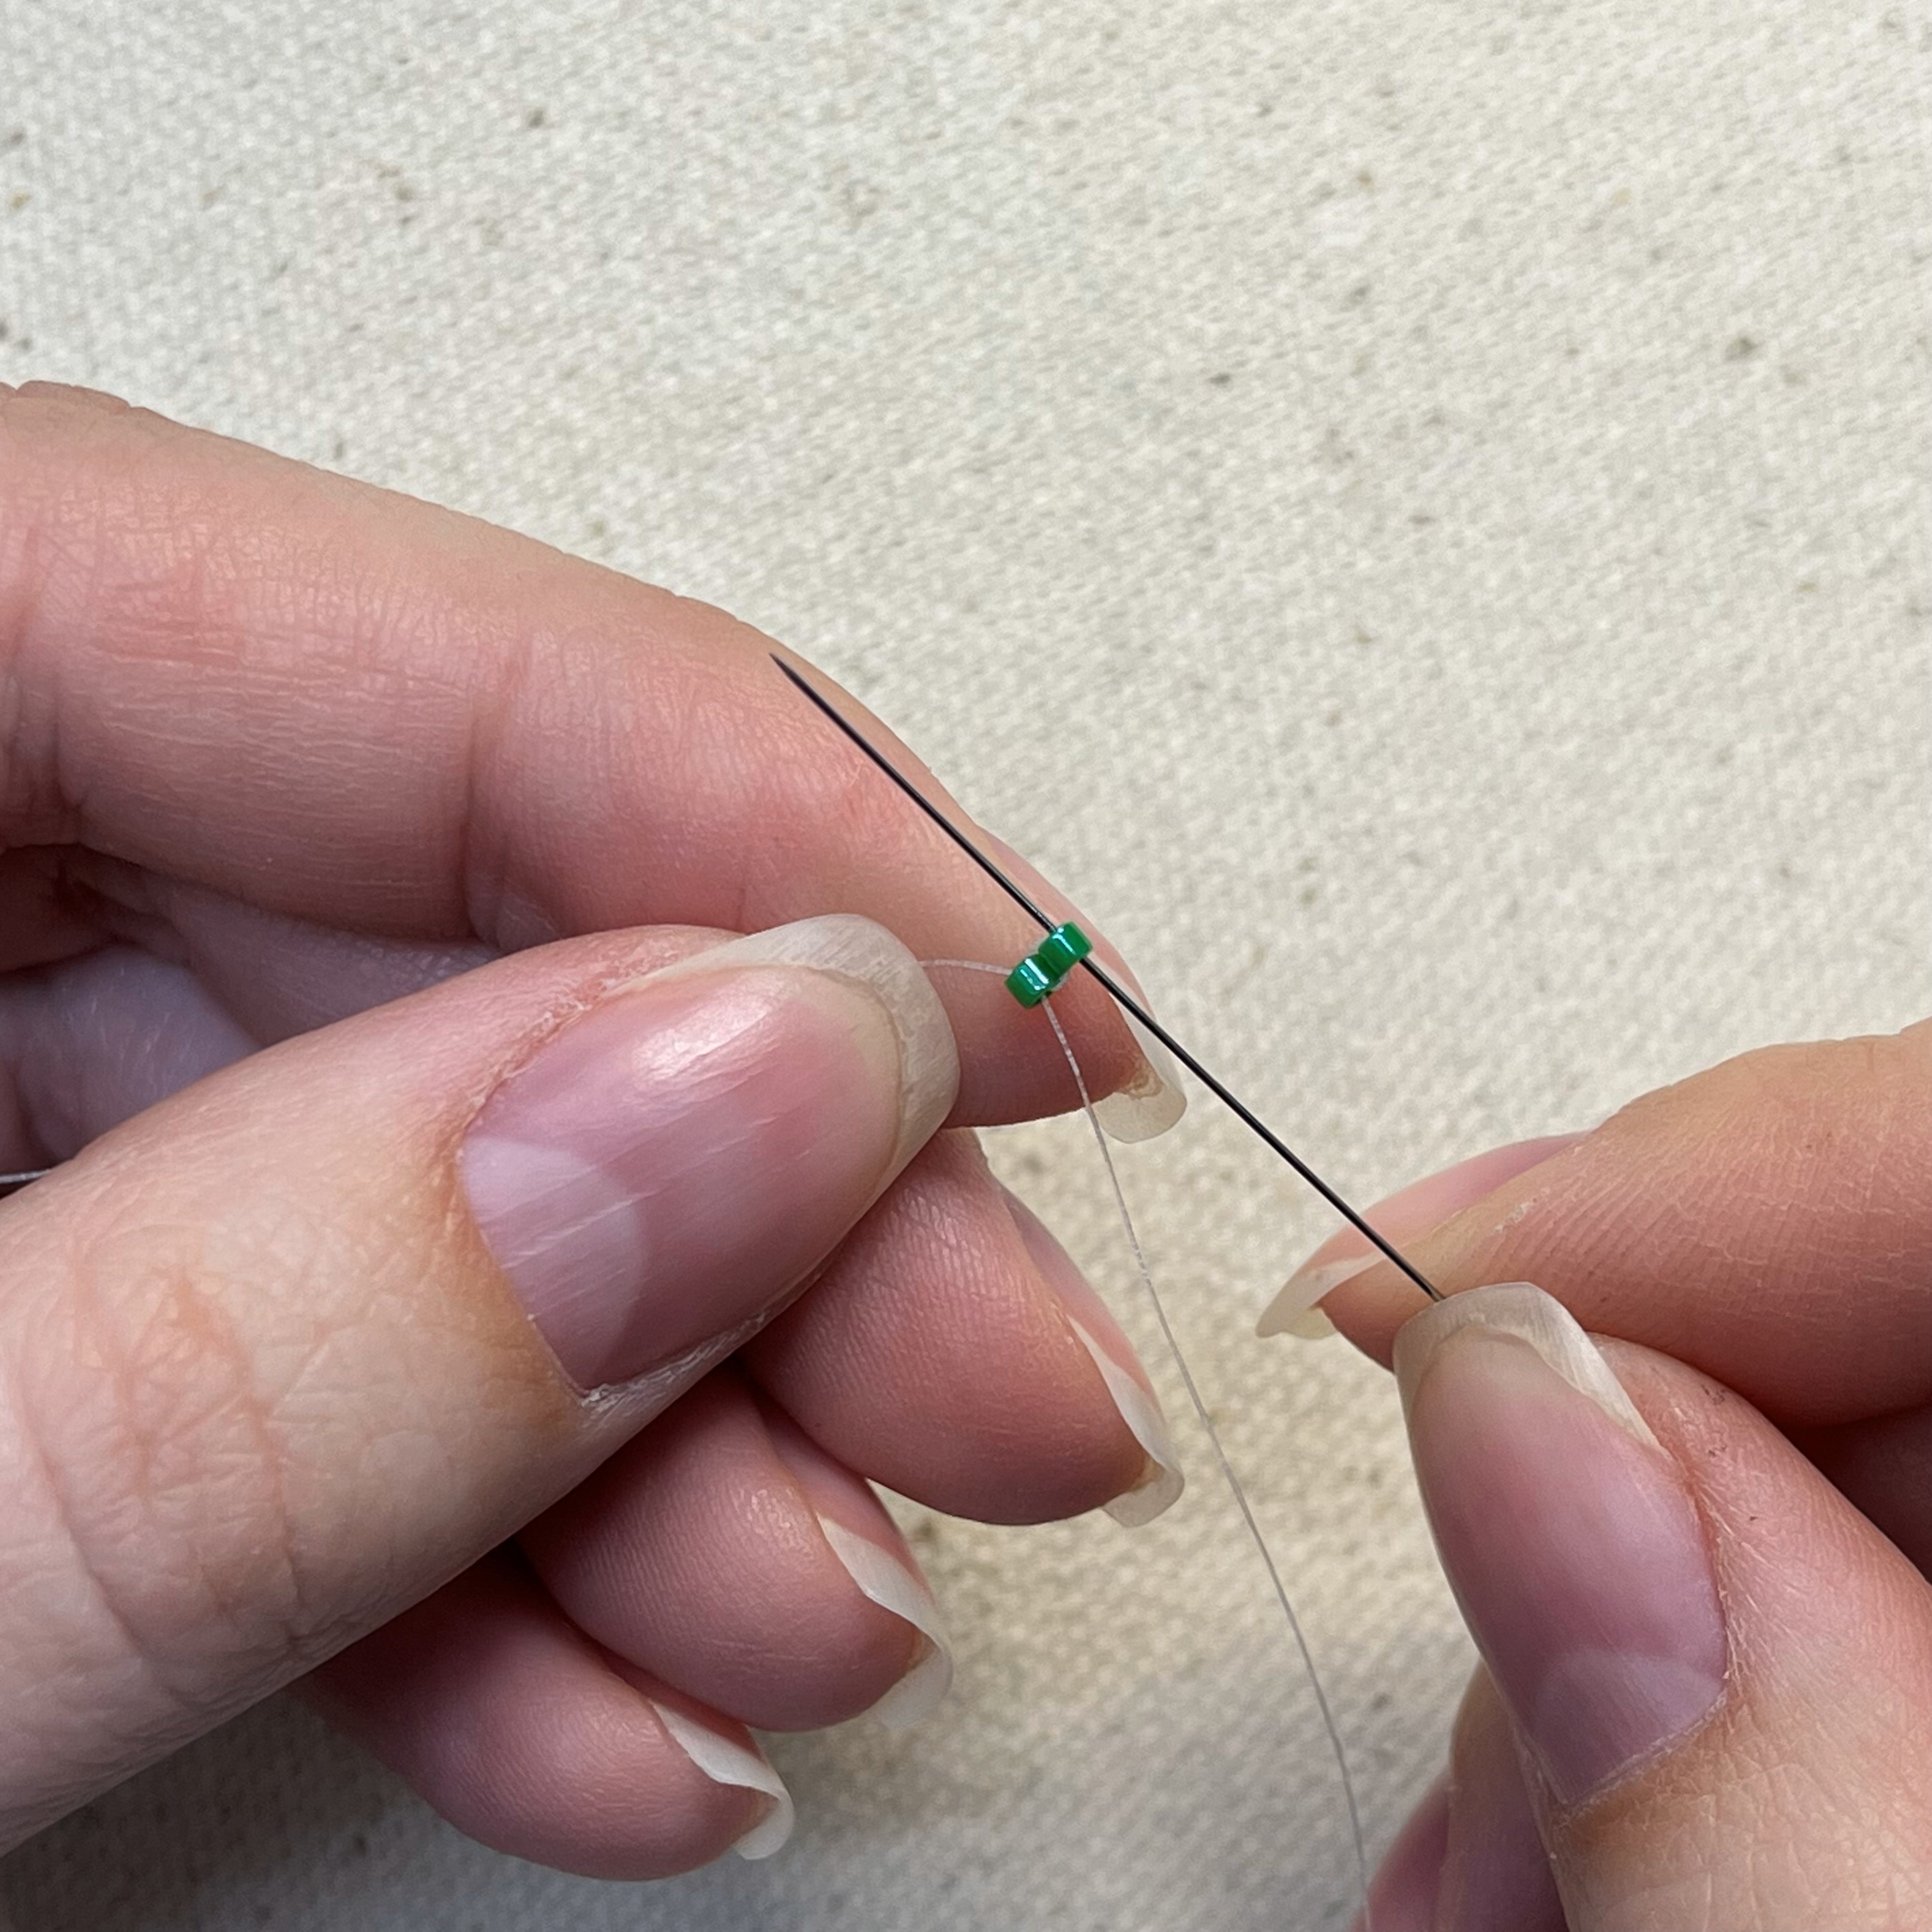
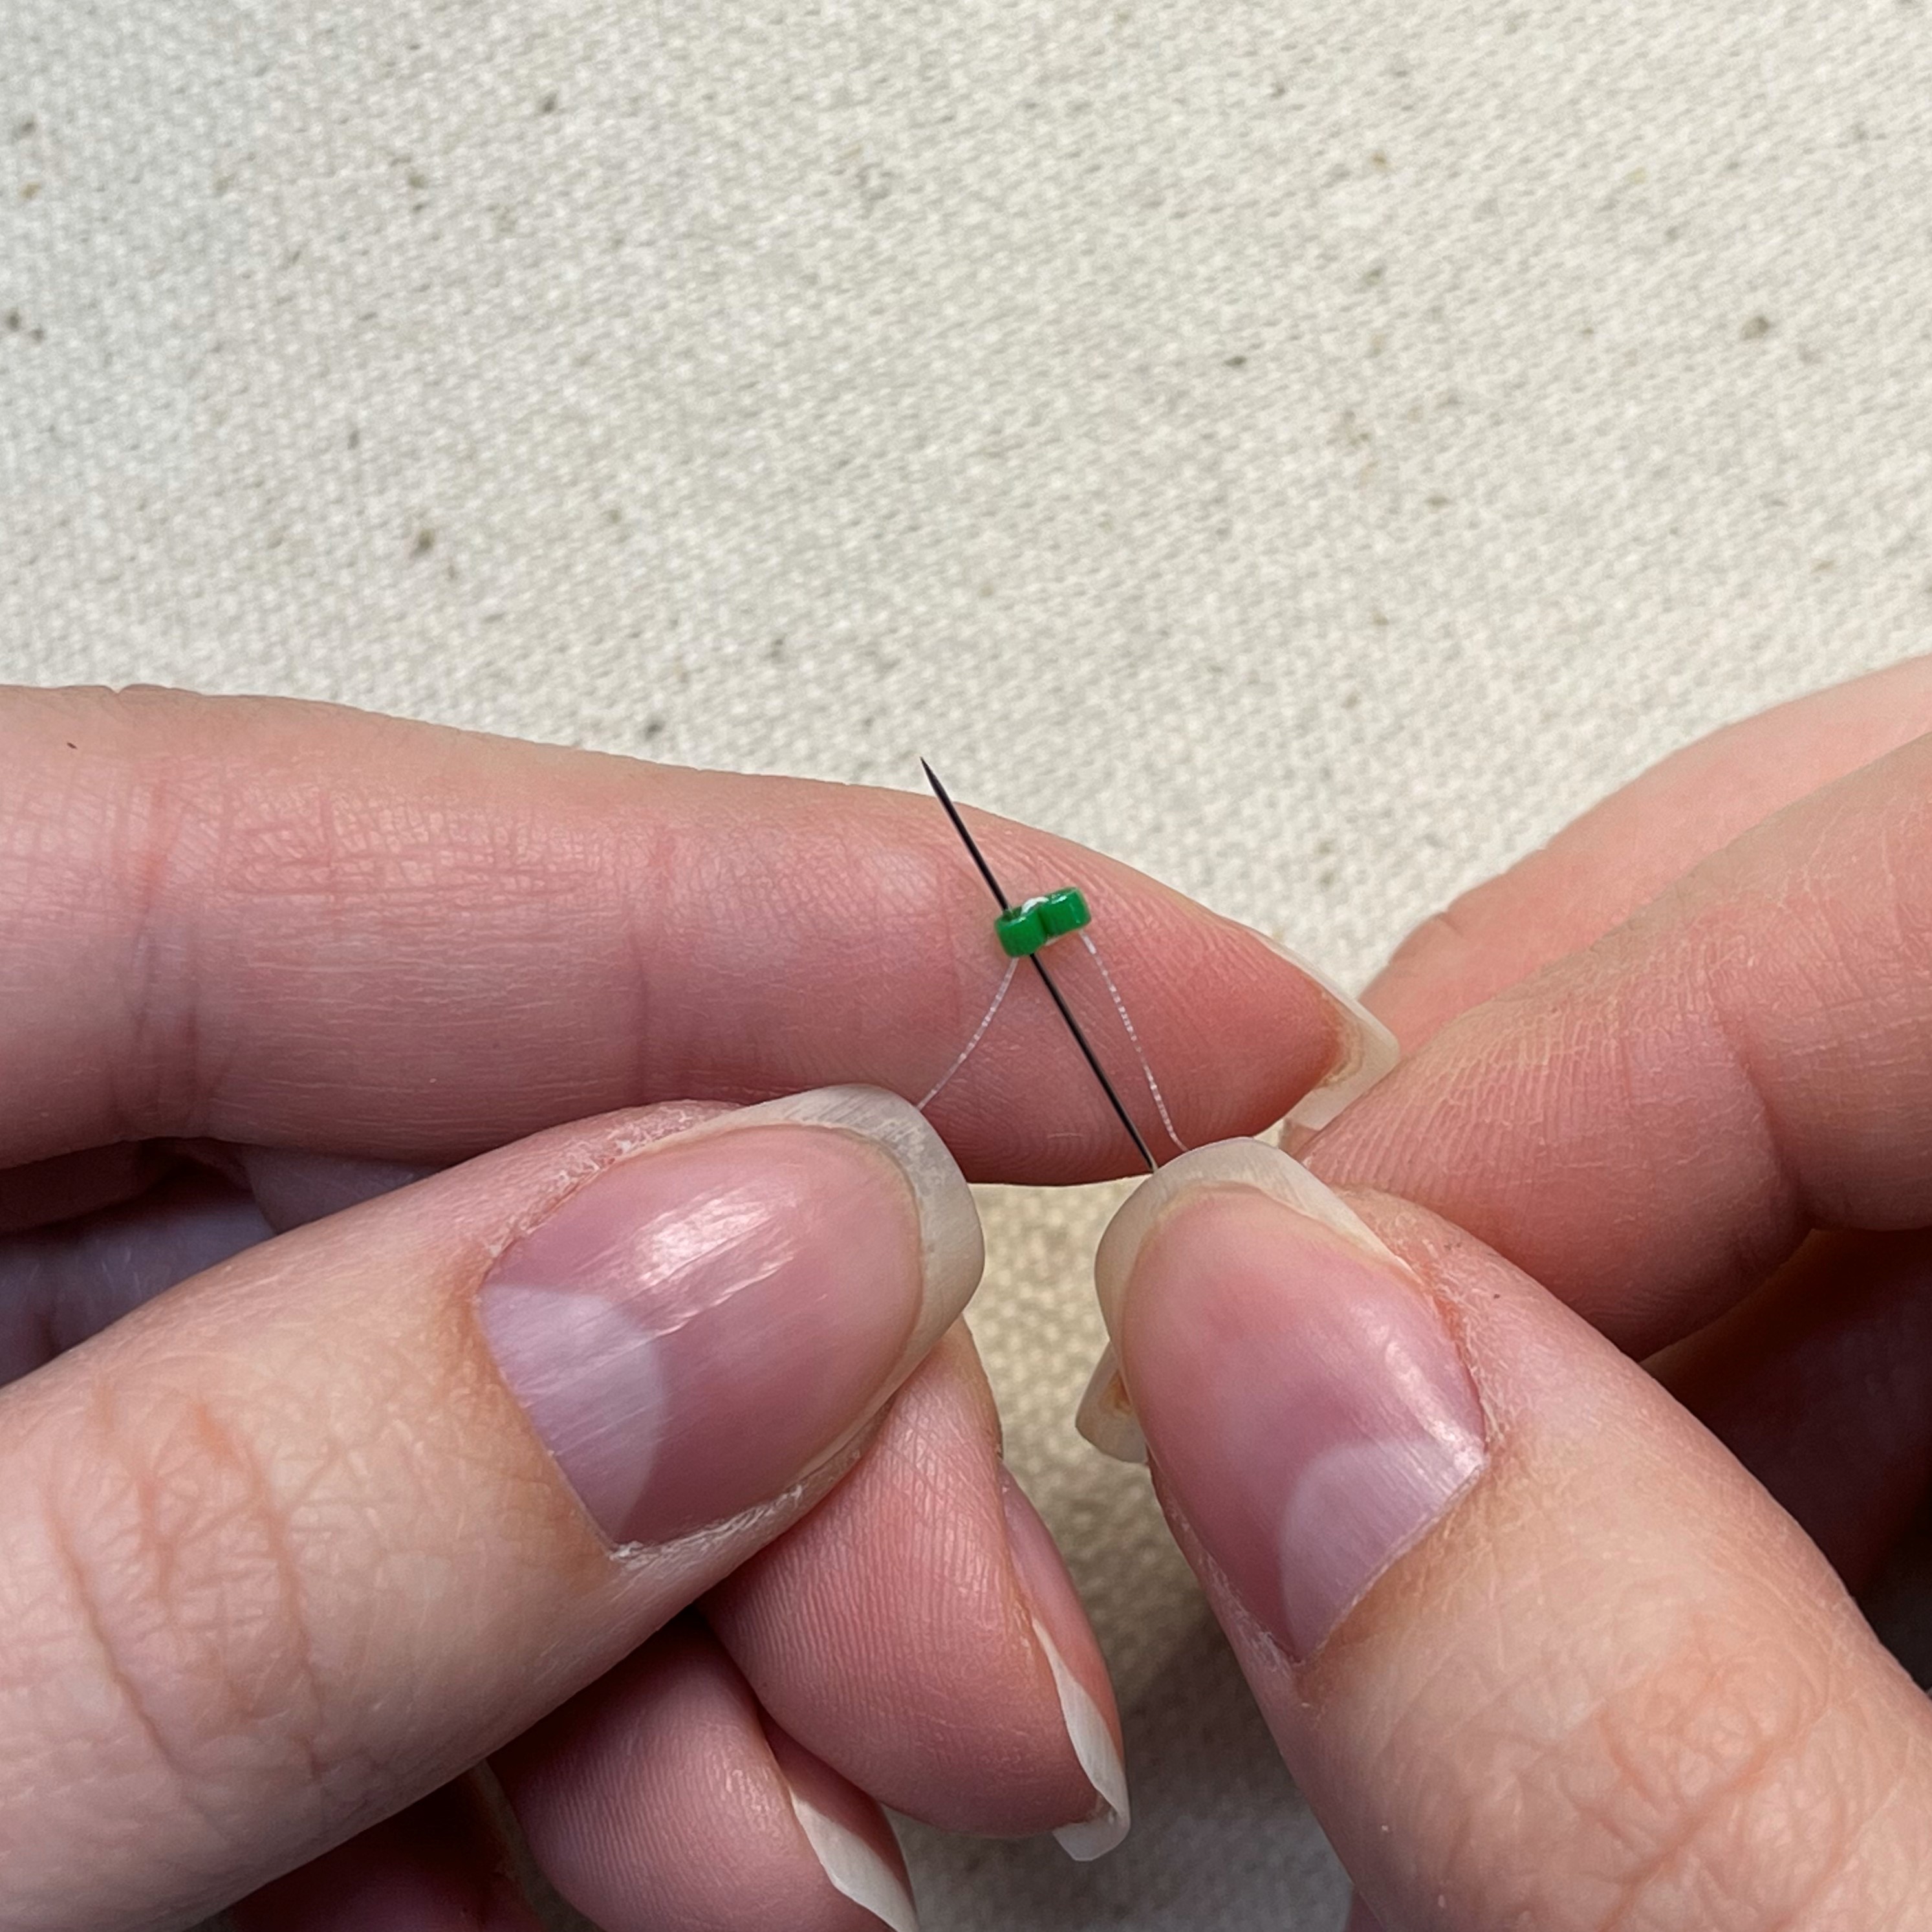
3. Pull the thread tight, then thread the needle through the bead shown above. You will want to pull tight after every stitch throughout the project as you go.
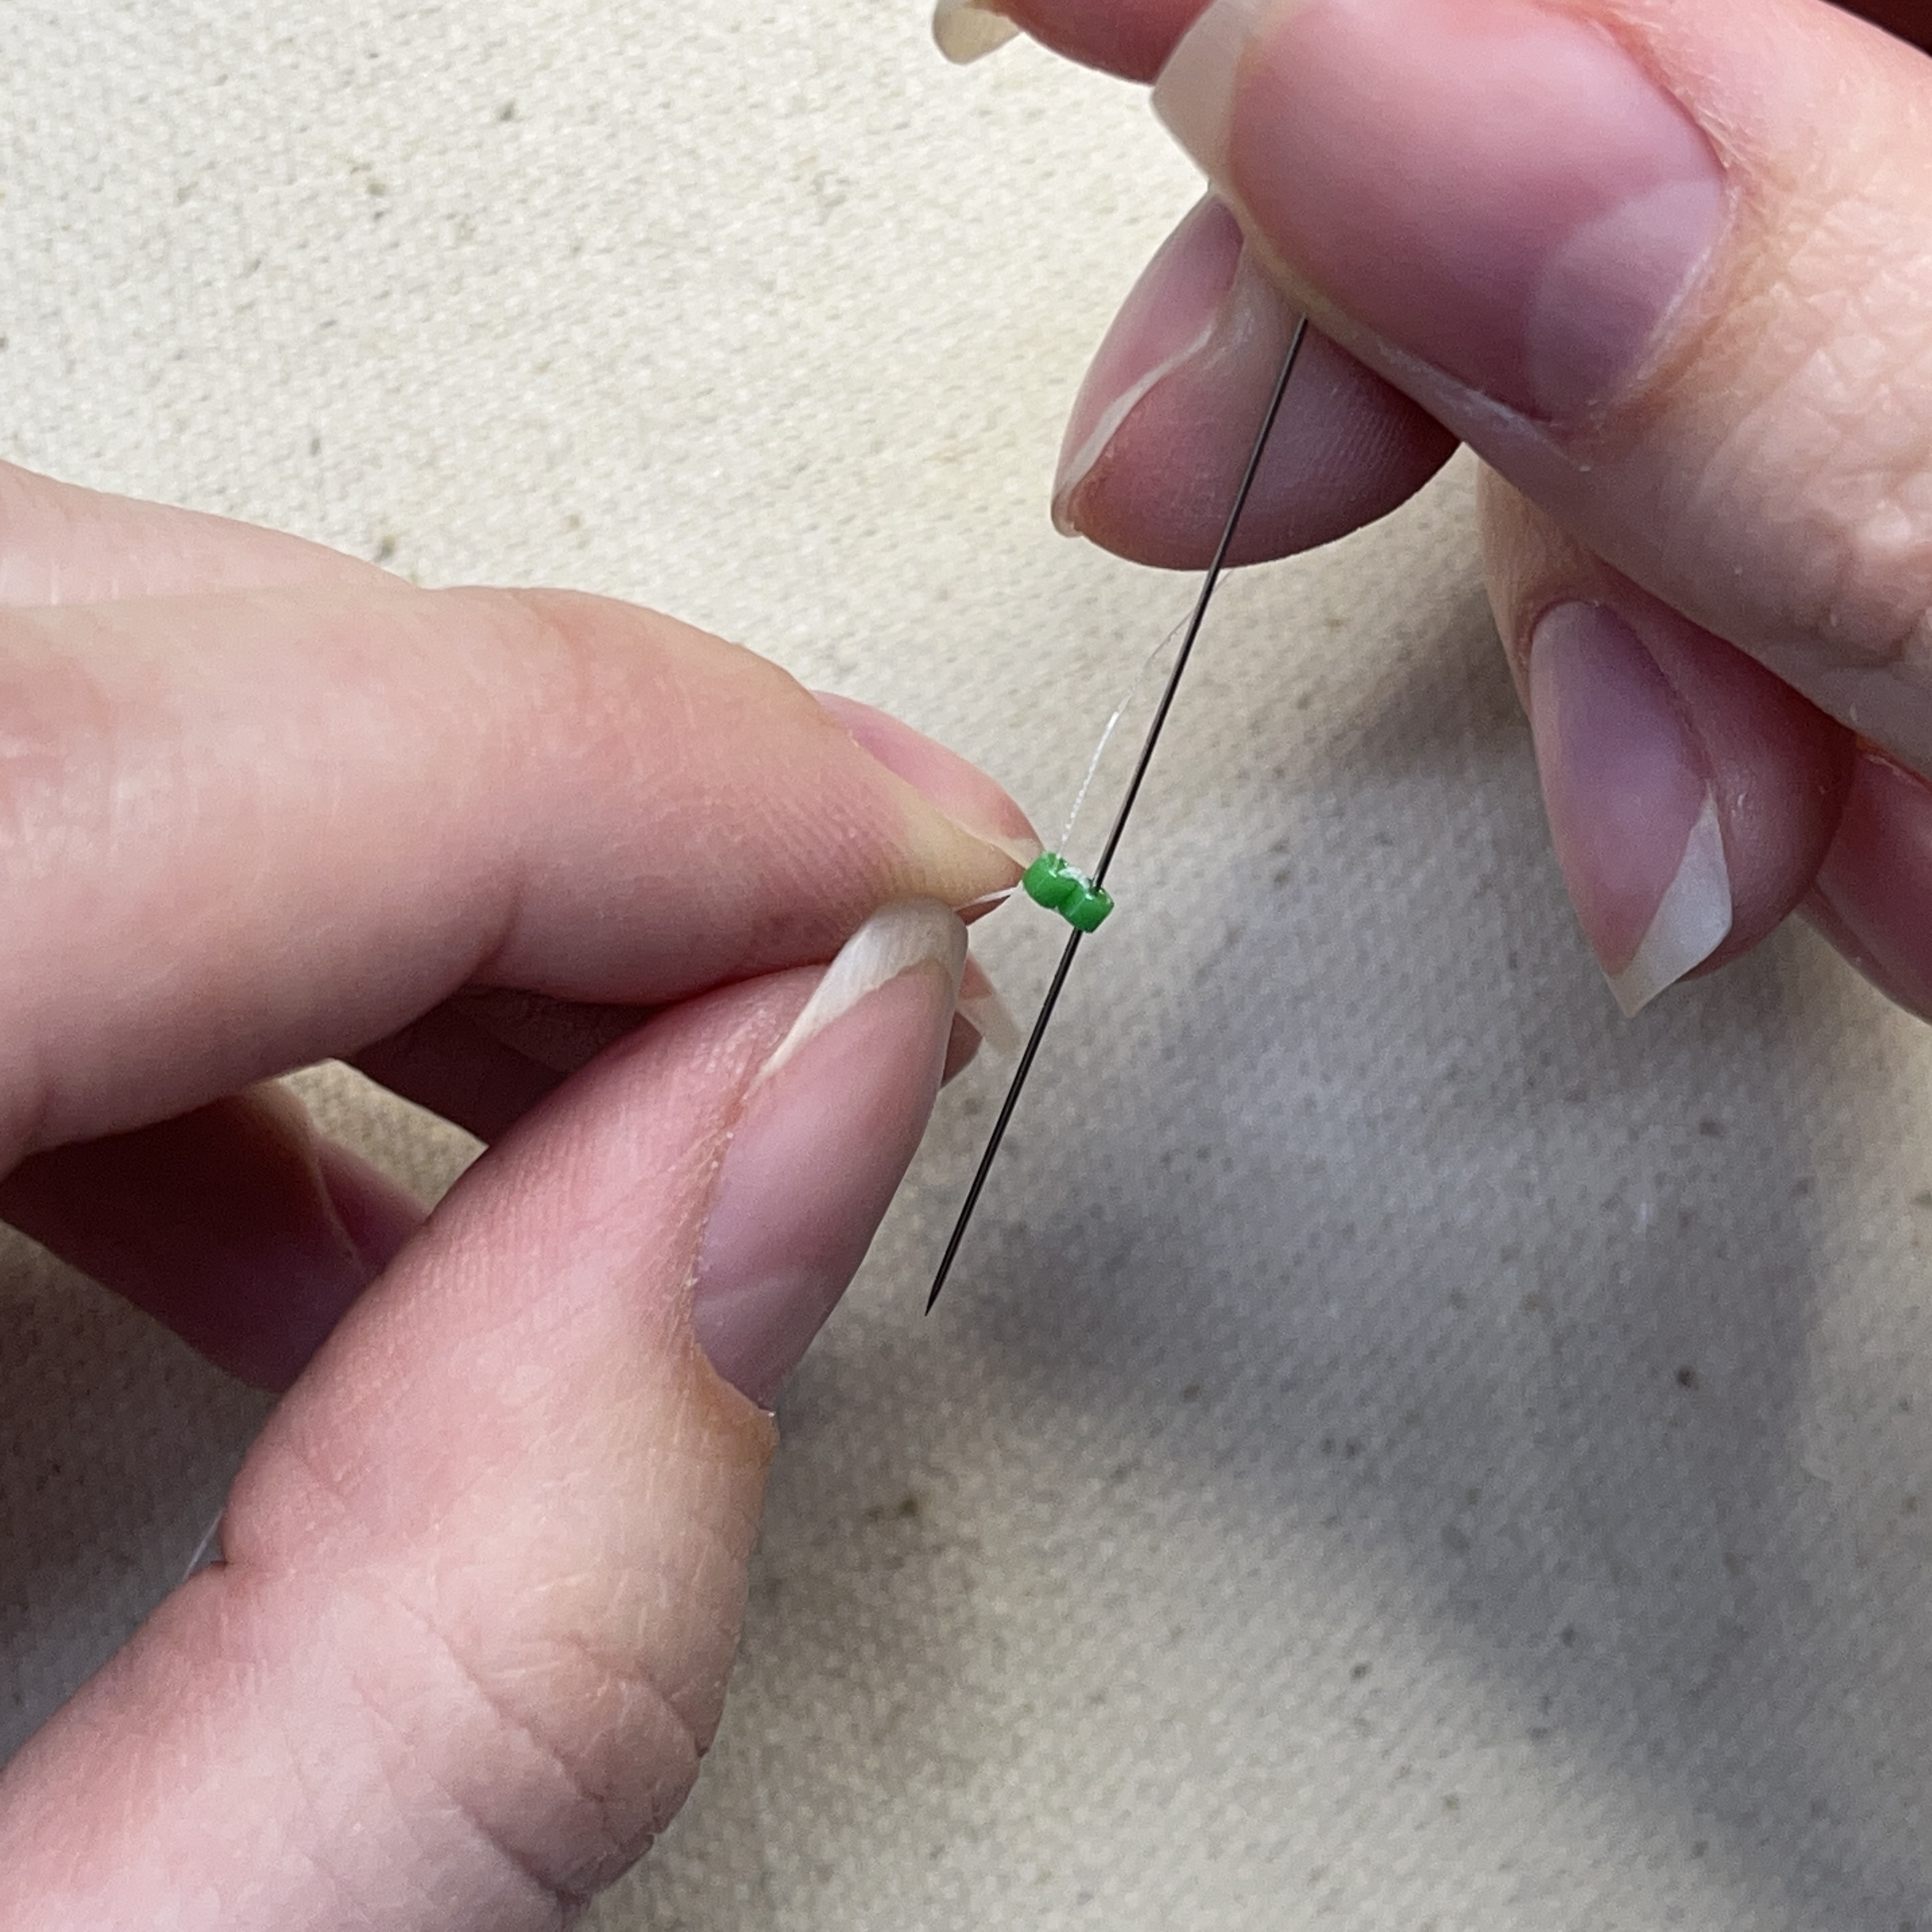
4. Flip your project 180 degrees and thread the needle through the bead shown above
5. We'll finish securing the two beads by threading the needle through the bead shown above
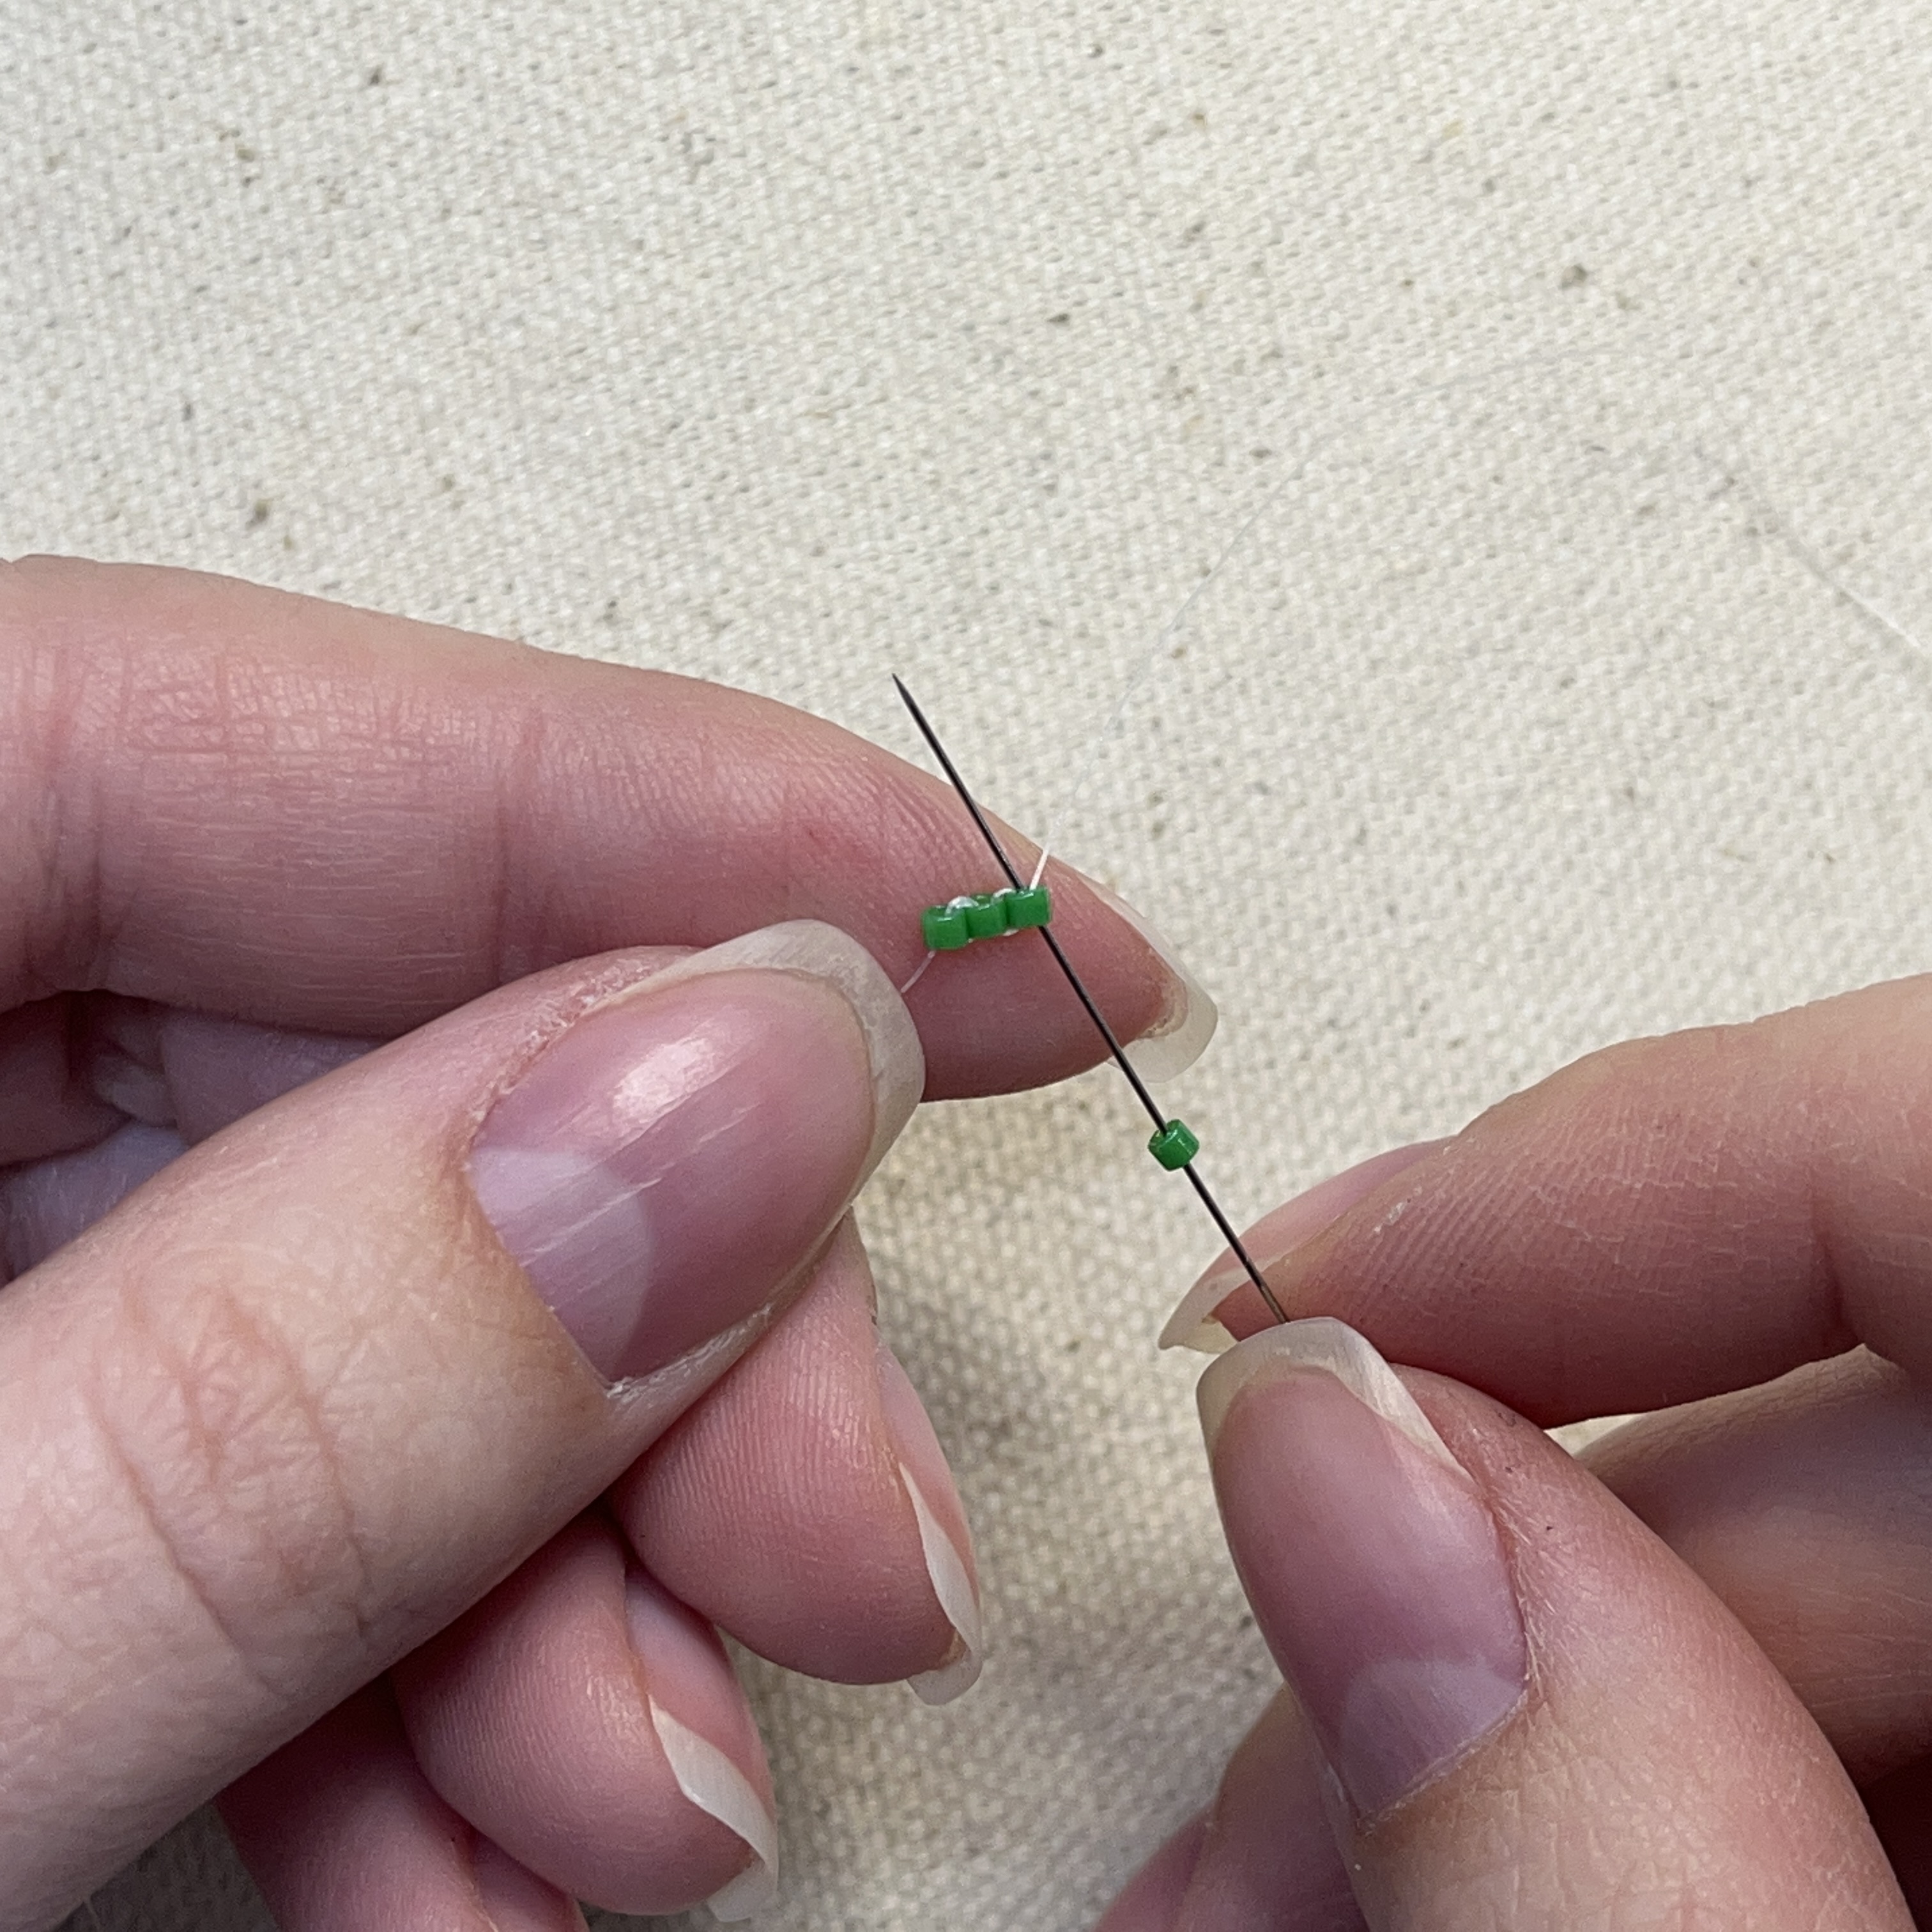
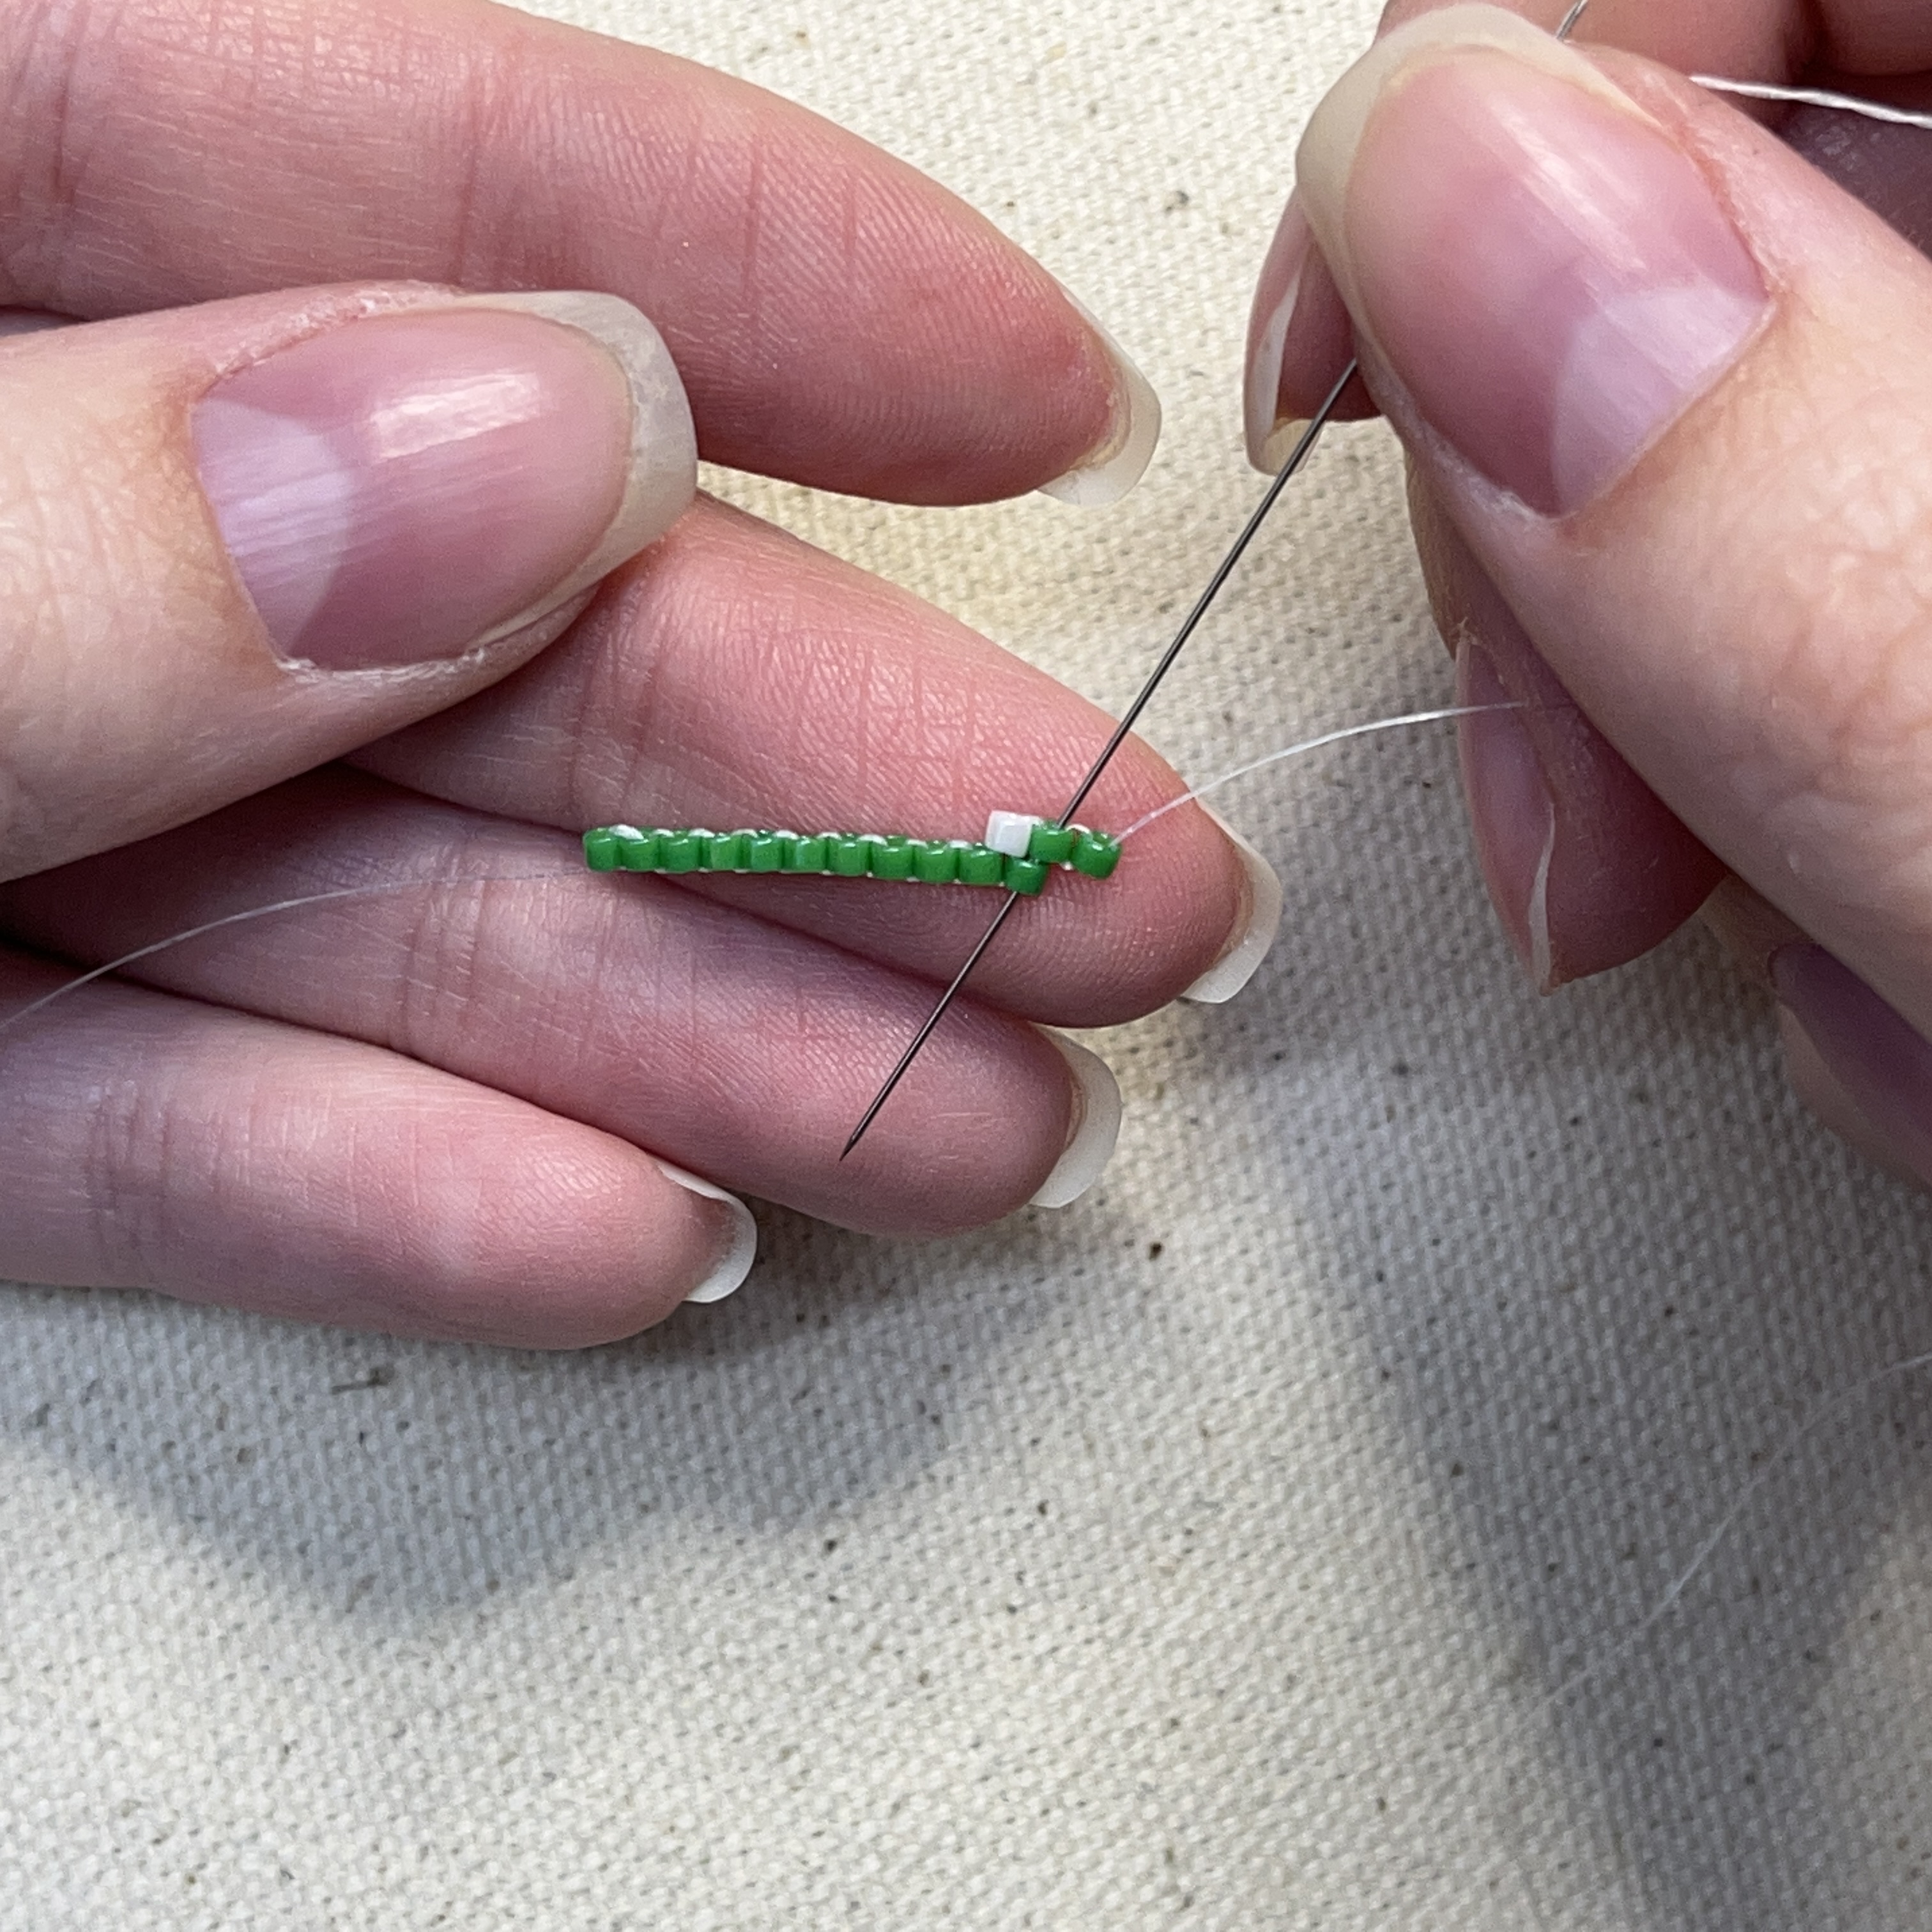
6. Holding the fireline tail in one hand, add a green bead to the needle and thread it through the the bead shown above (the bead on the right)
7. Thread the needle up through the bead you just added and pull tight
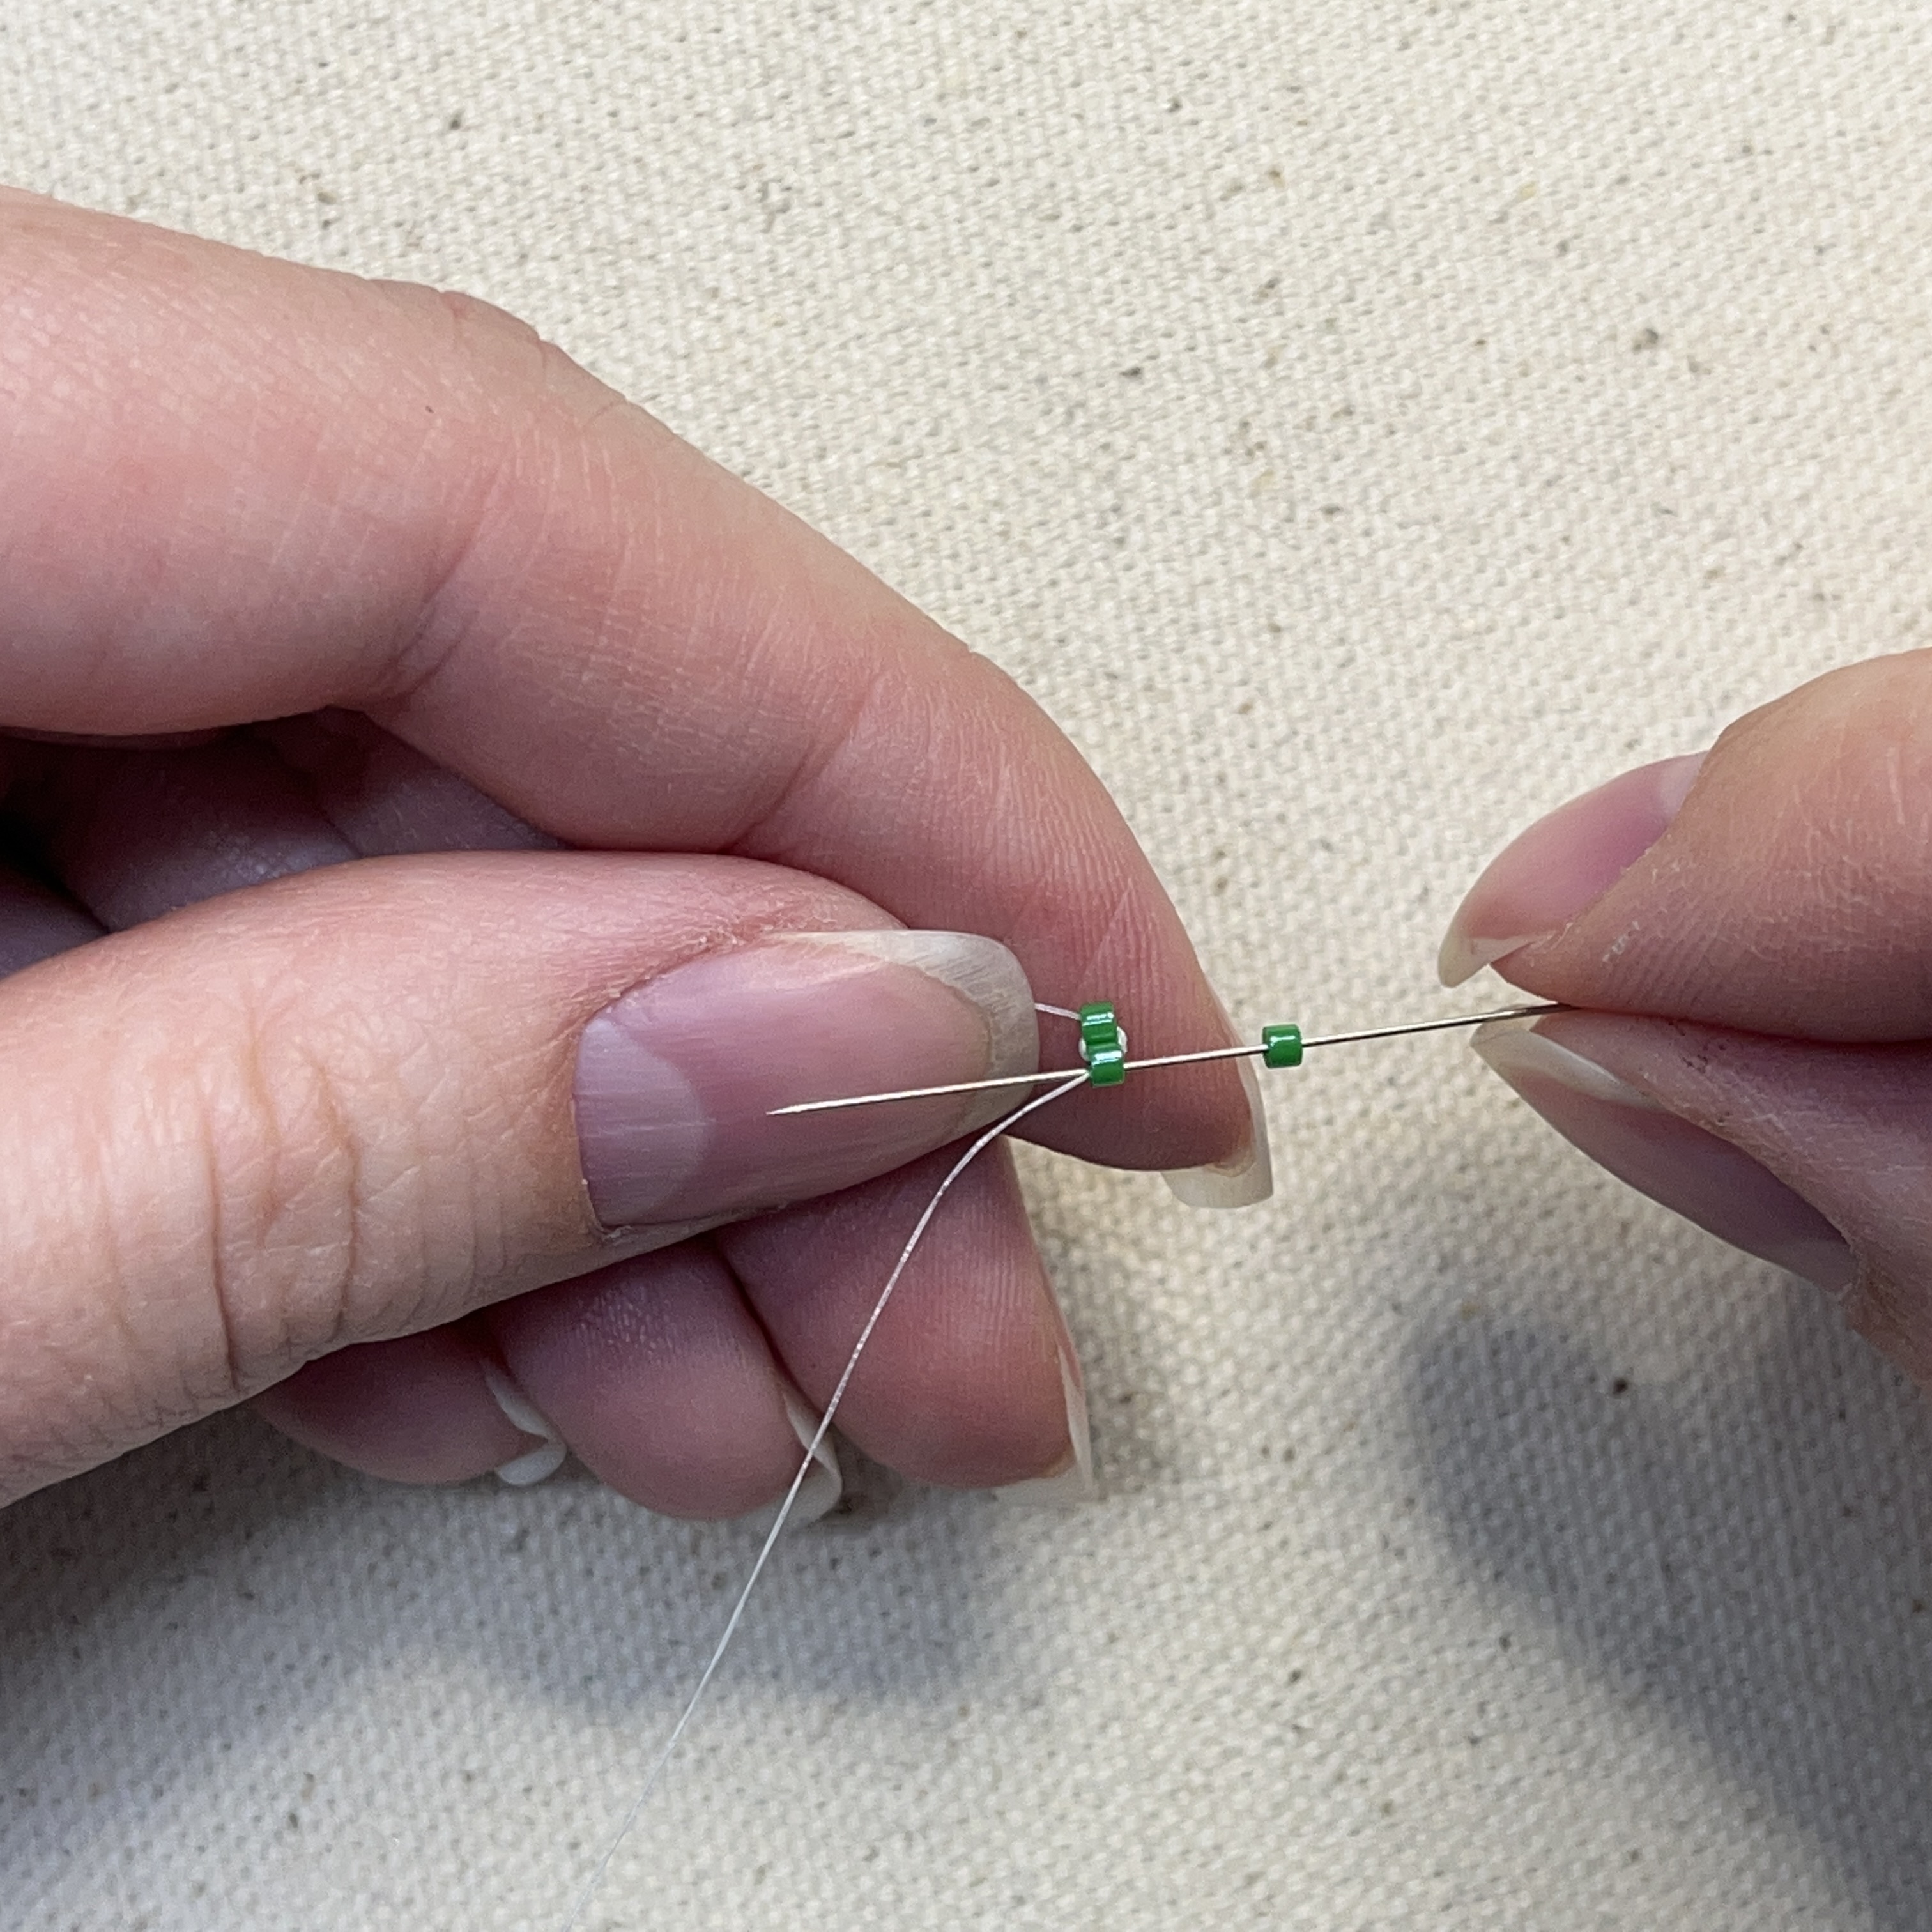
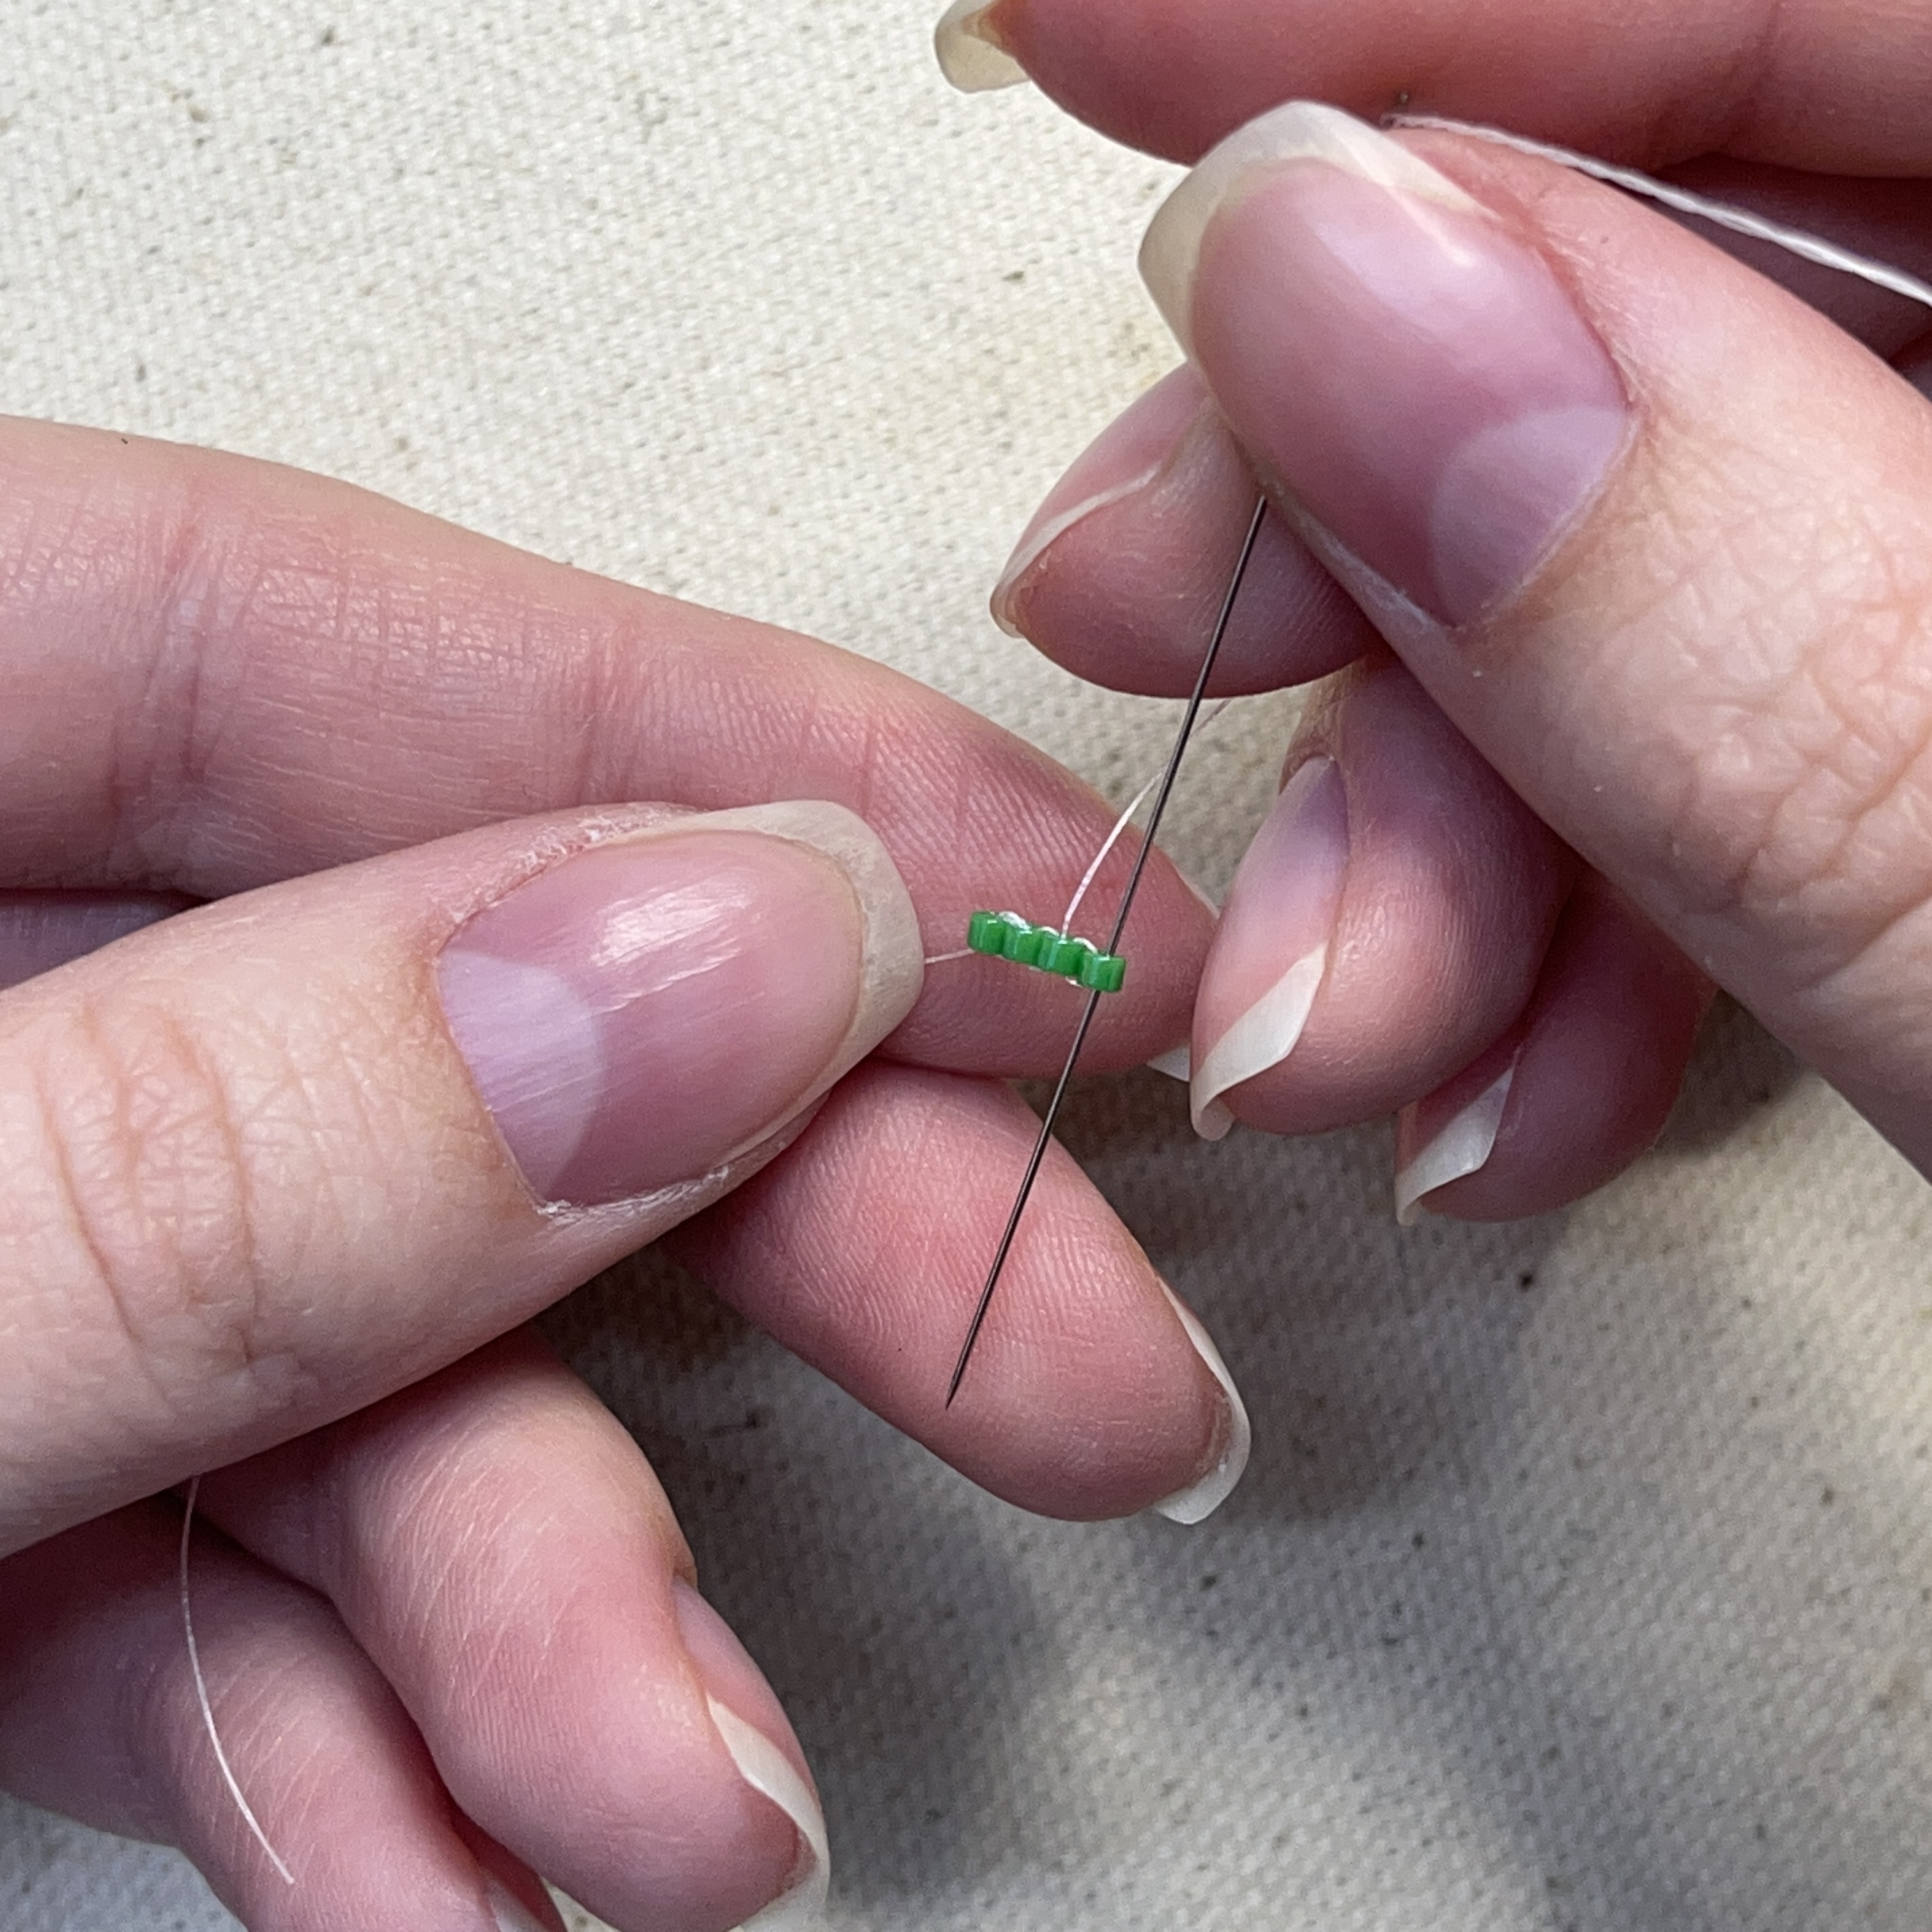
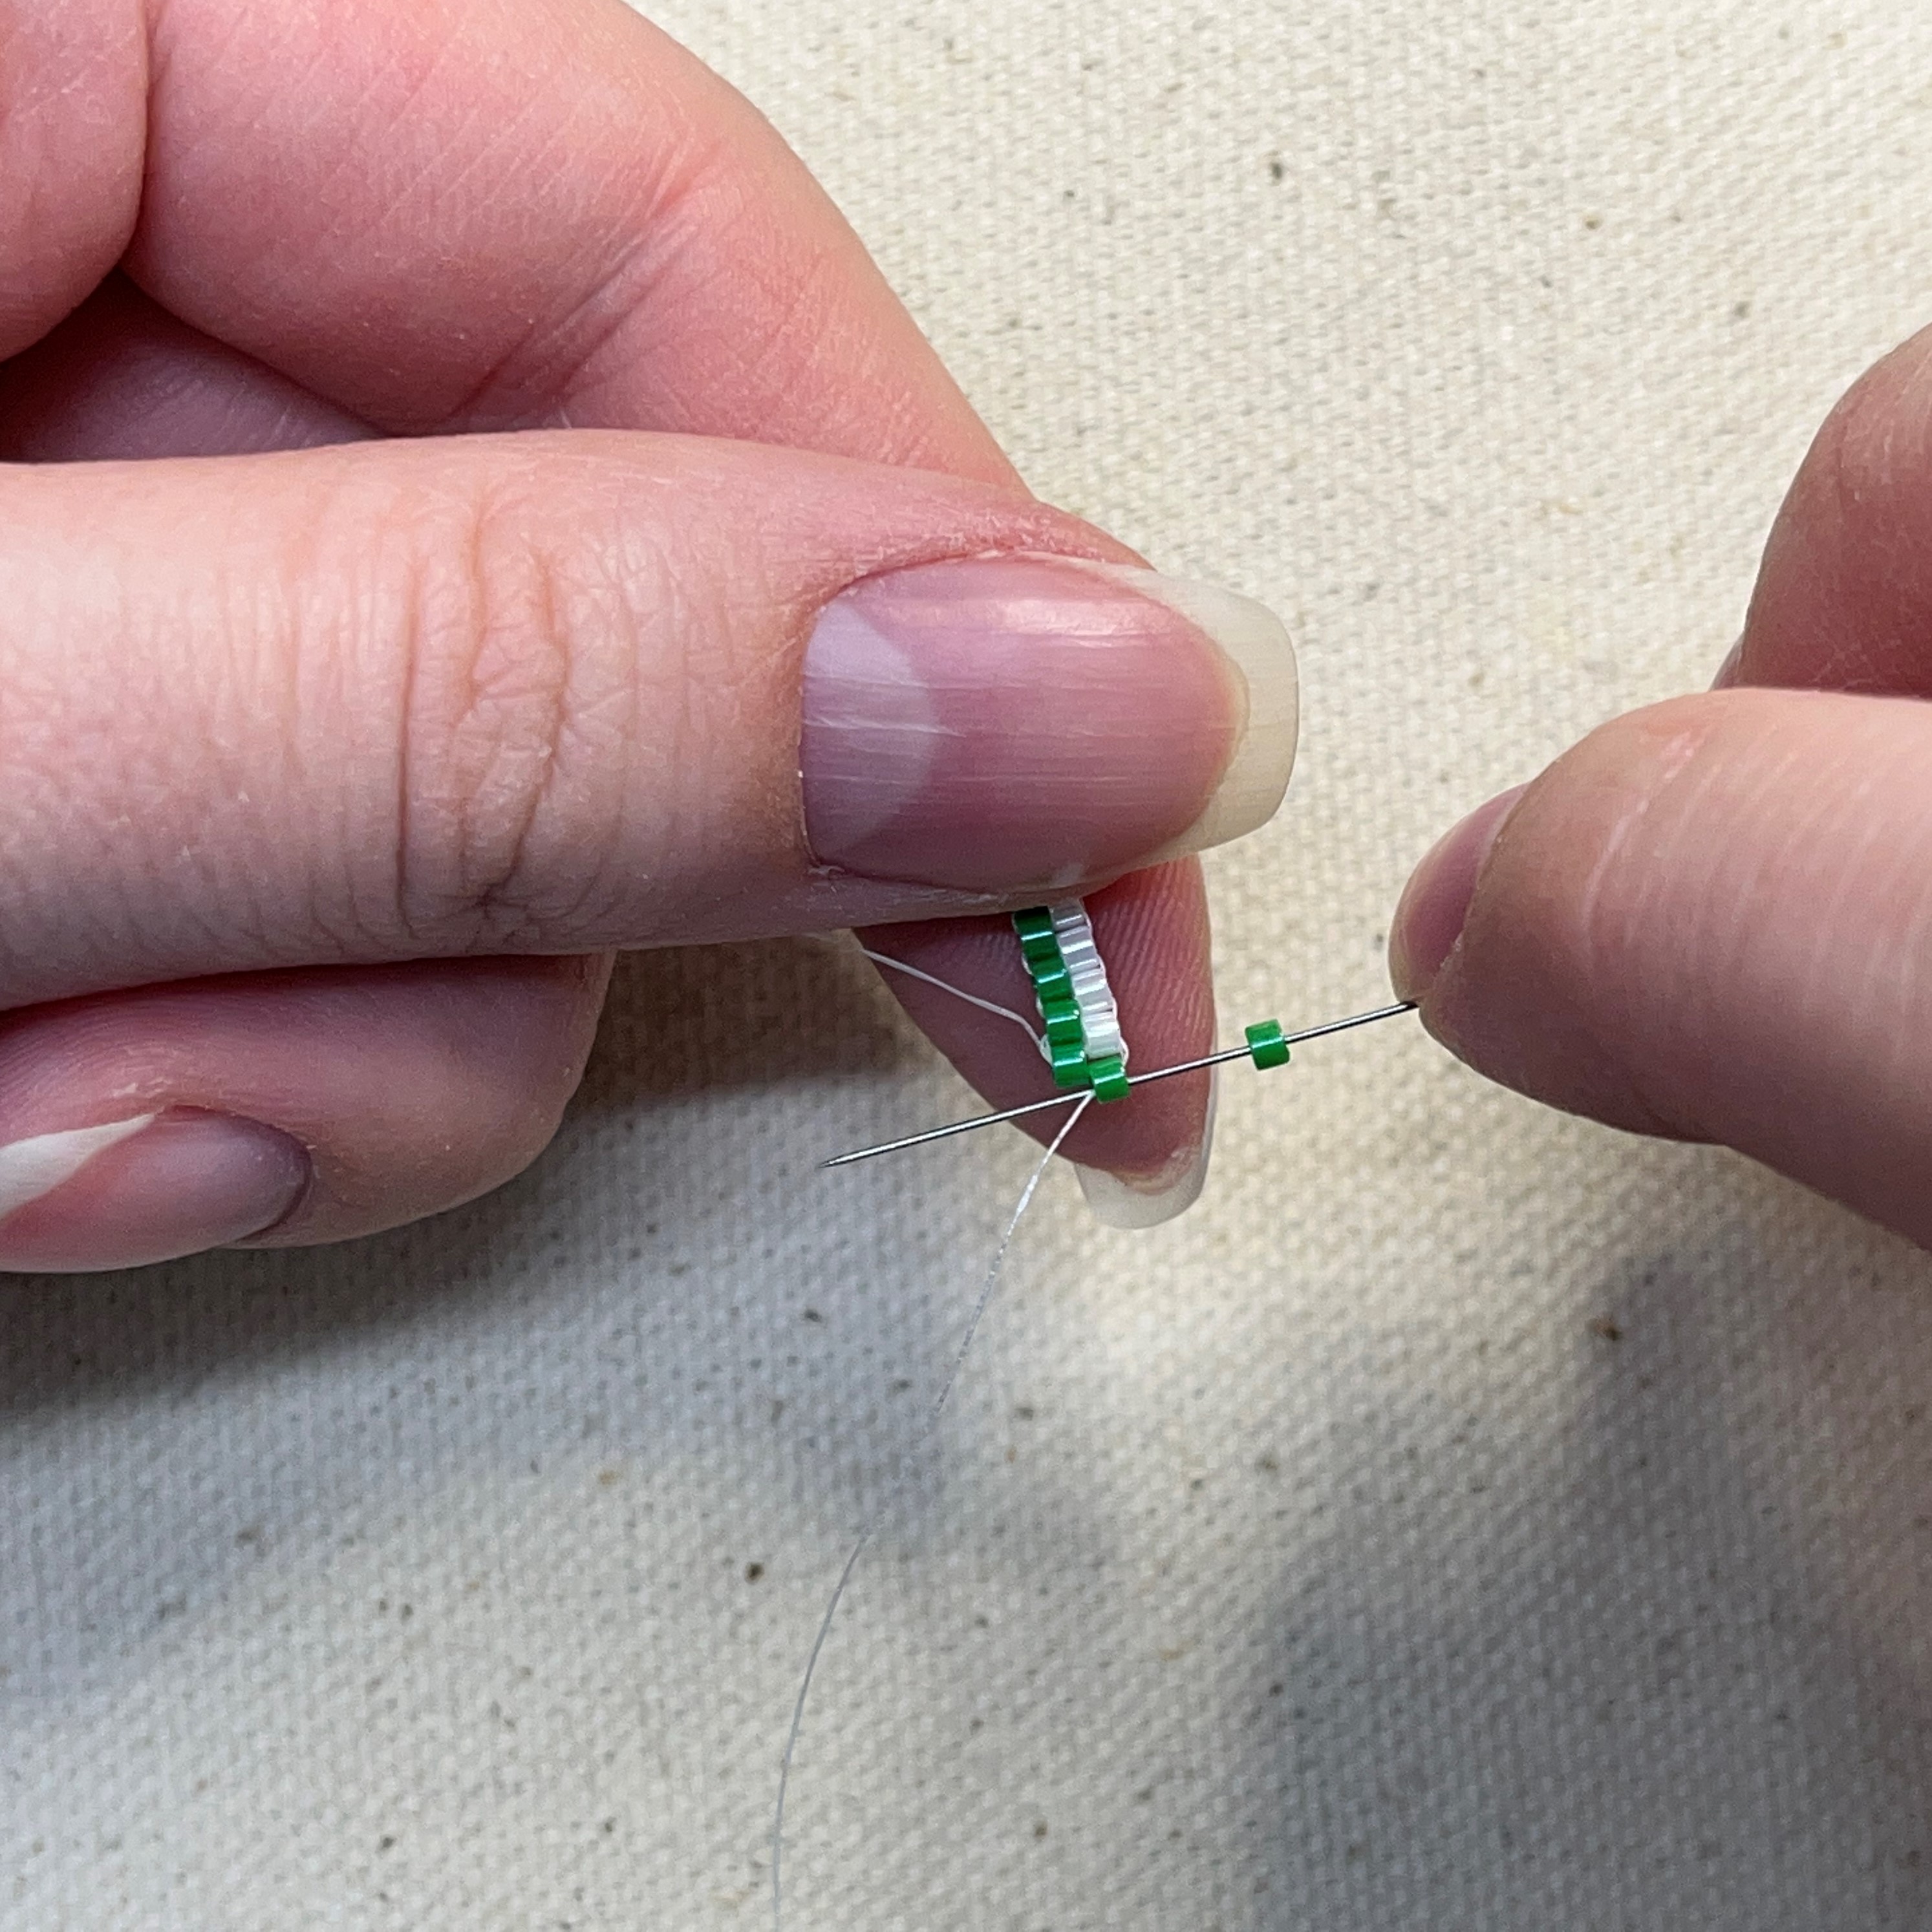
8. Add another green bead to your needle and thread up just as shown in the picture above
9. Thread the needle down through the bead you just added
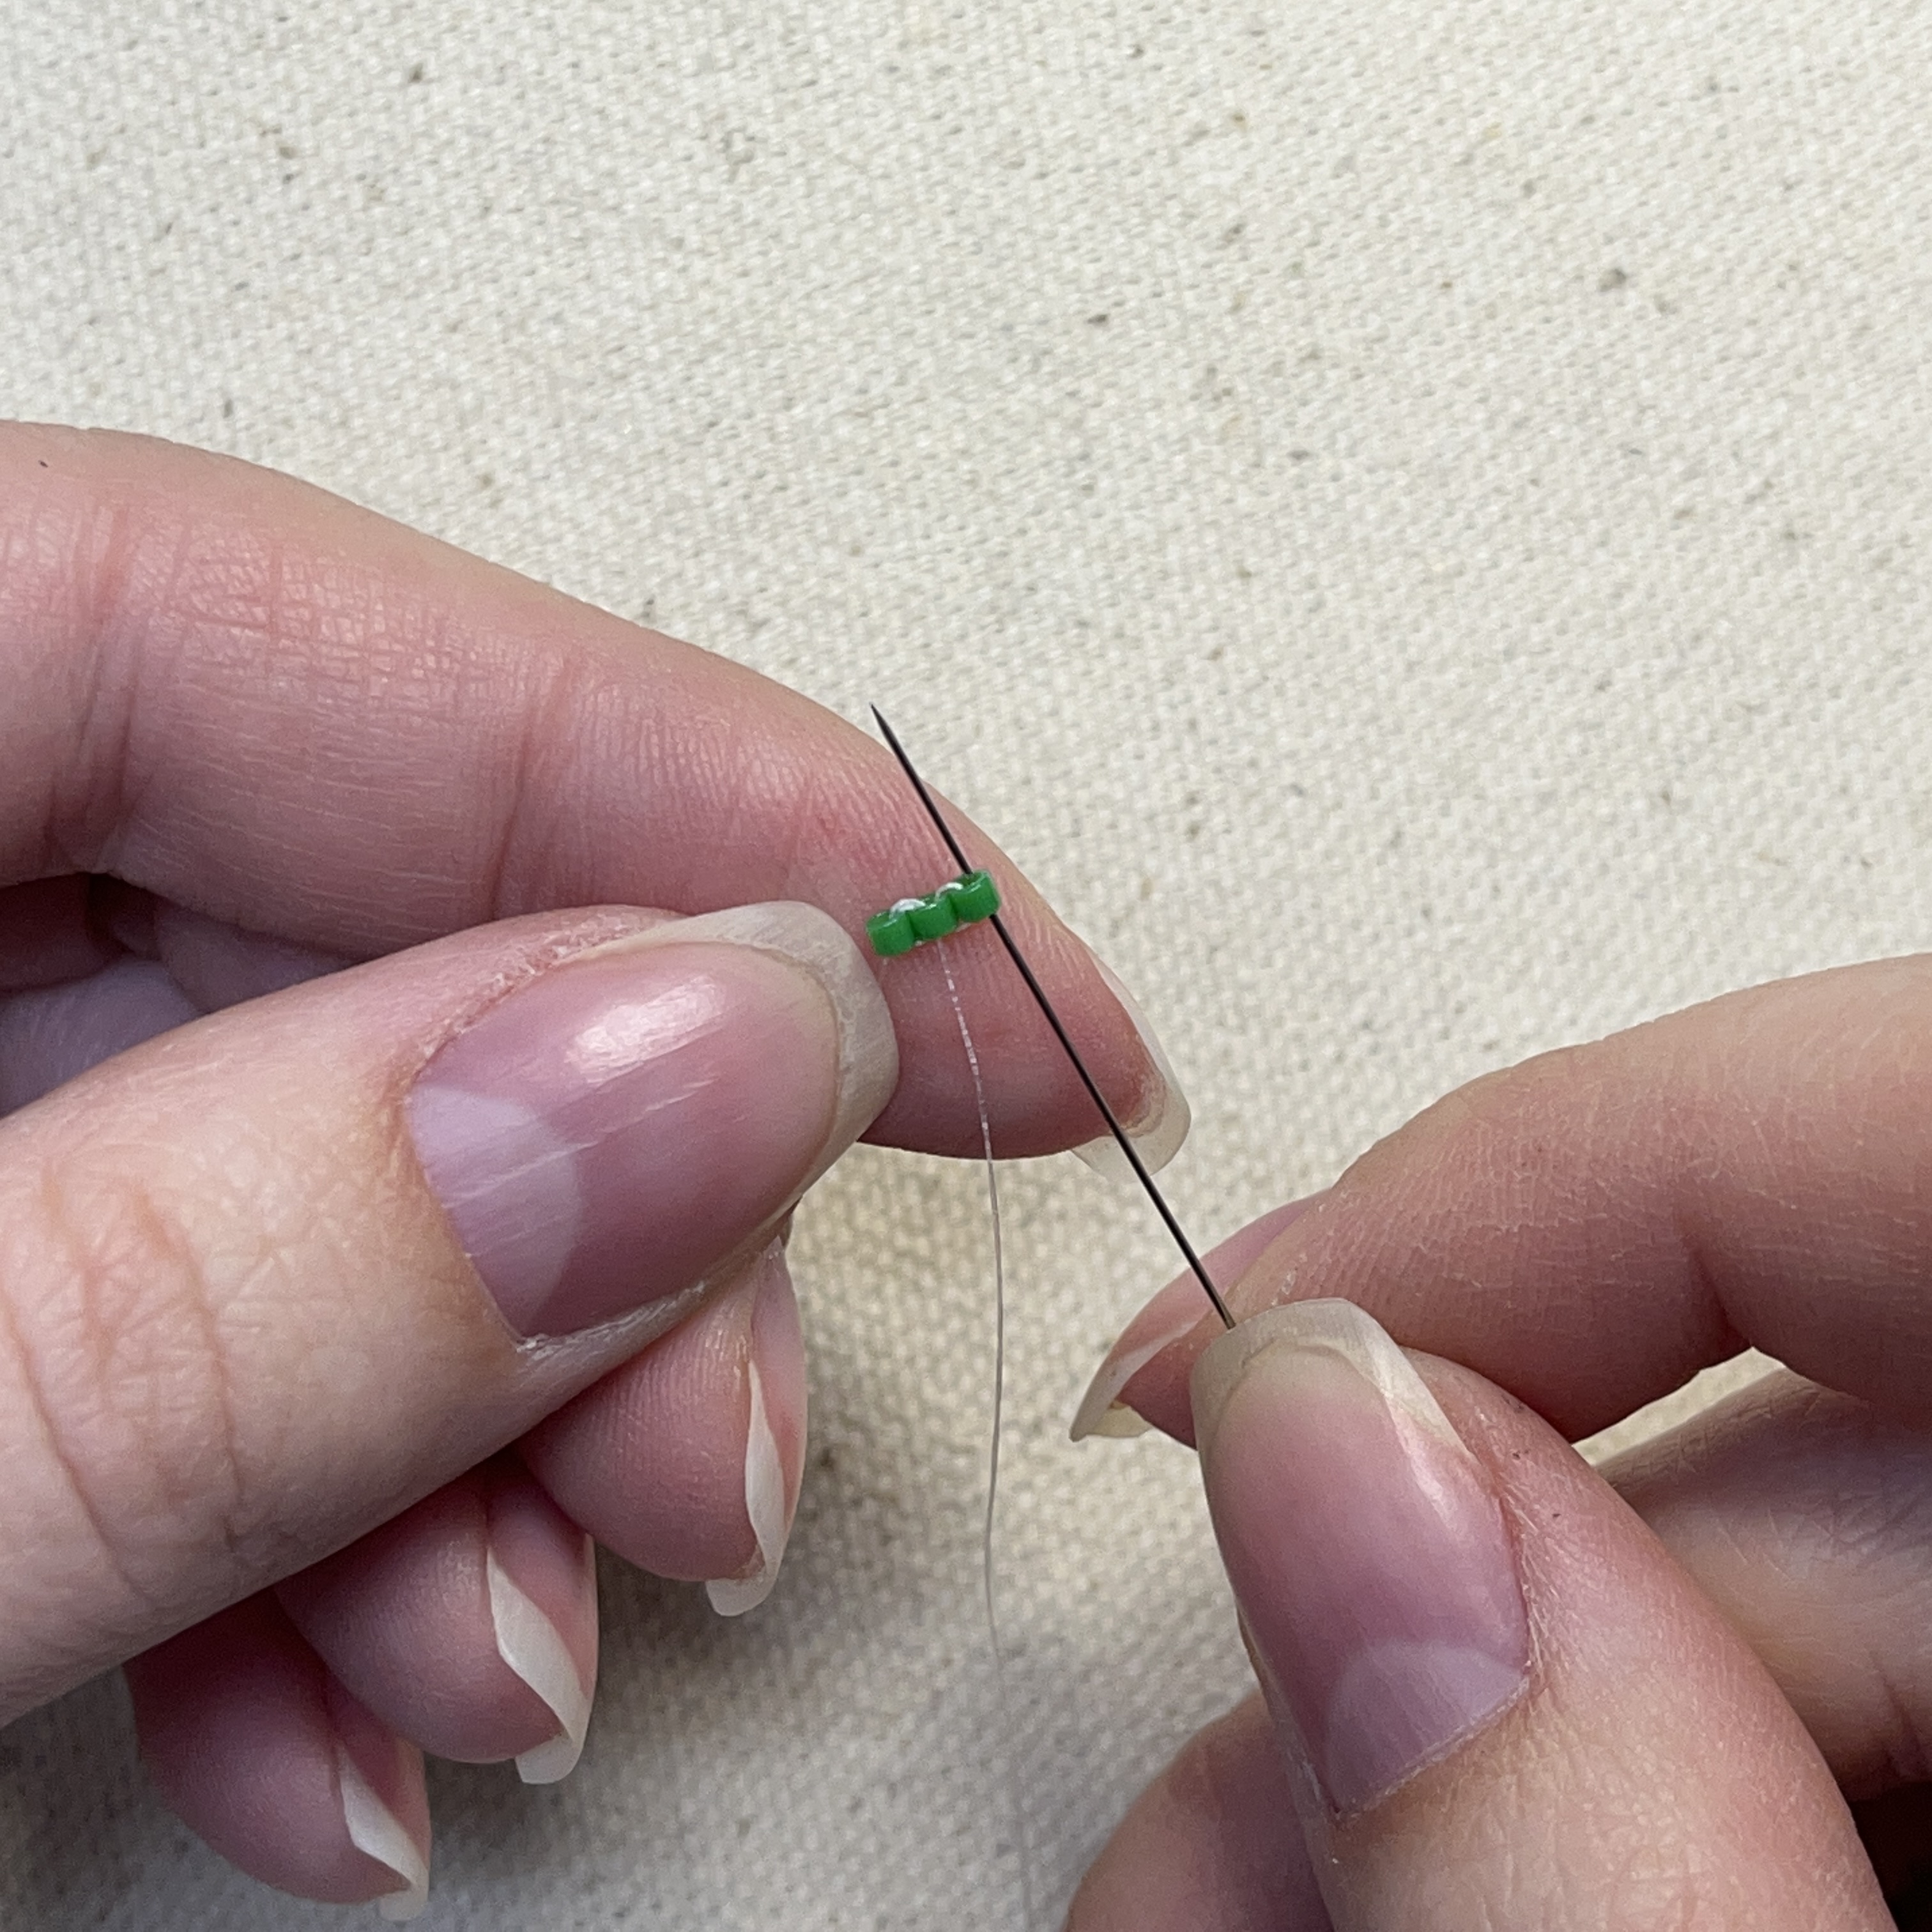
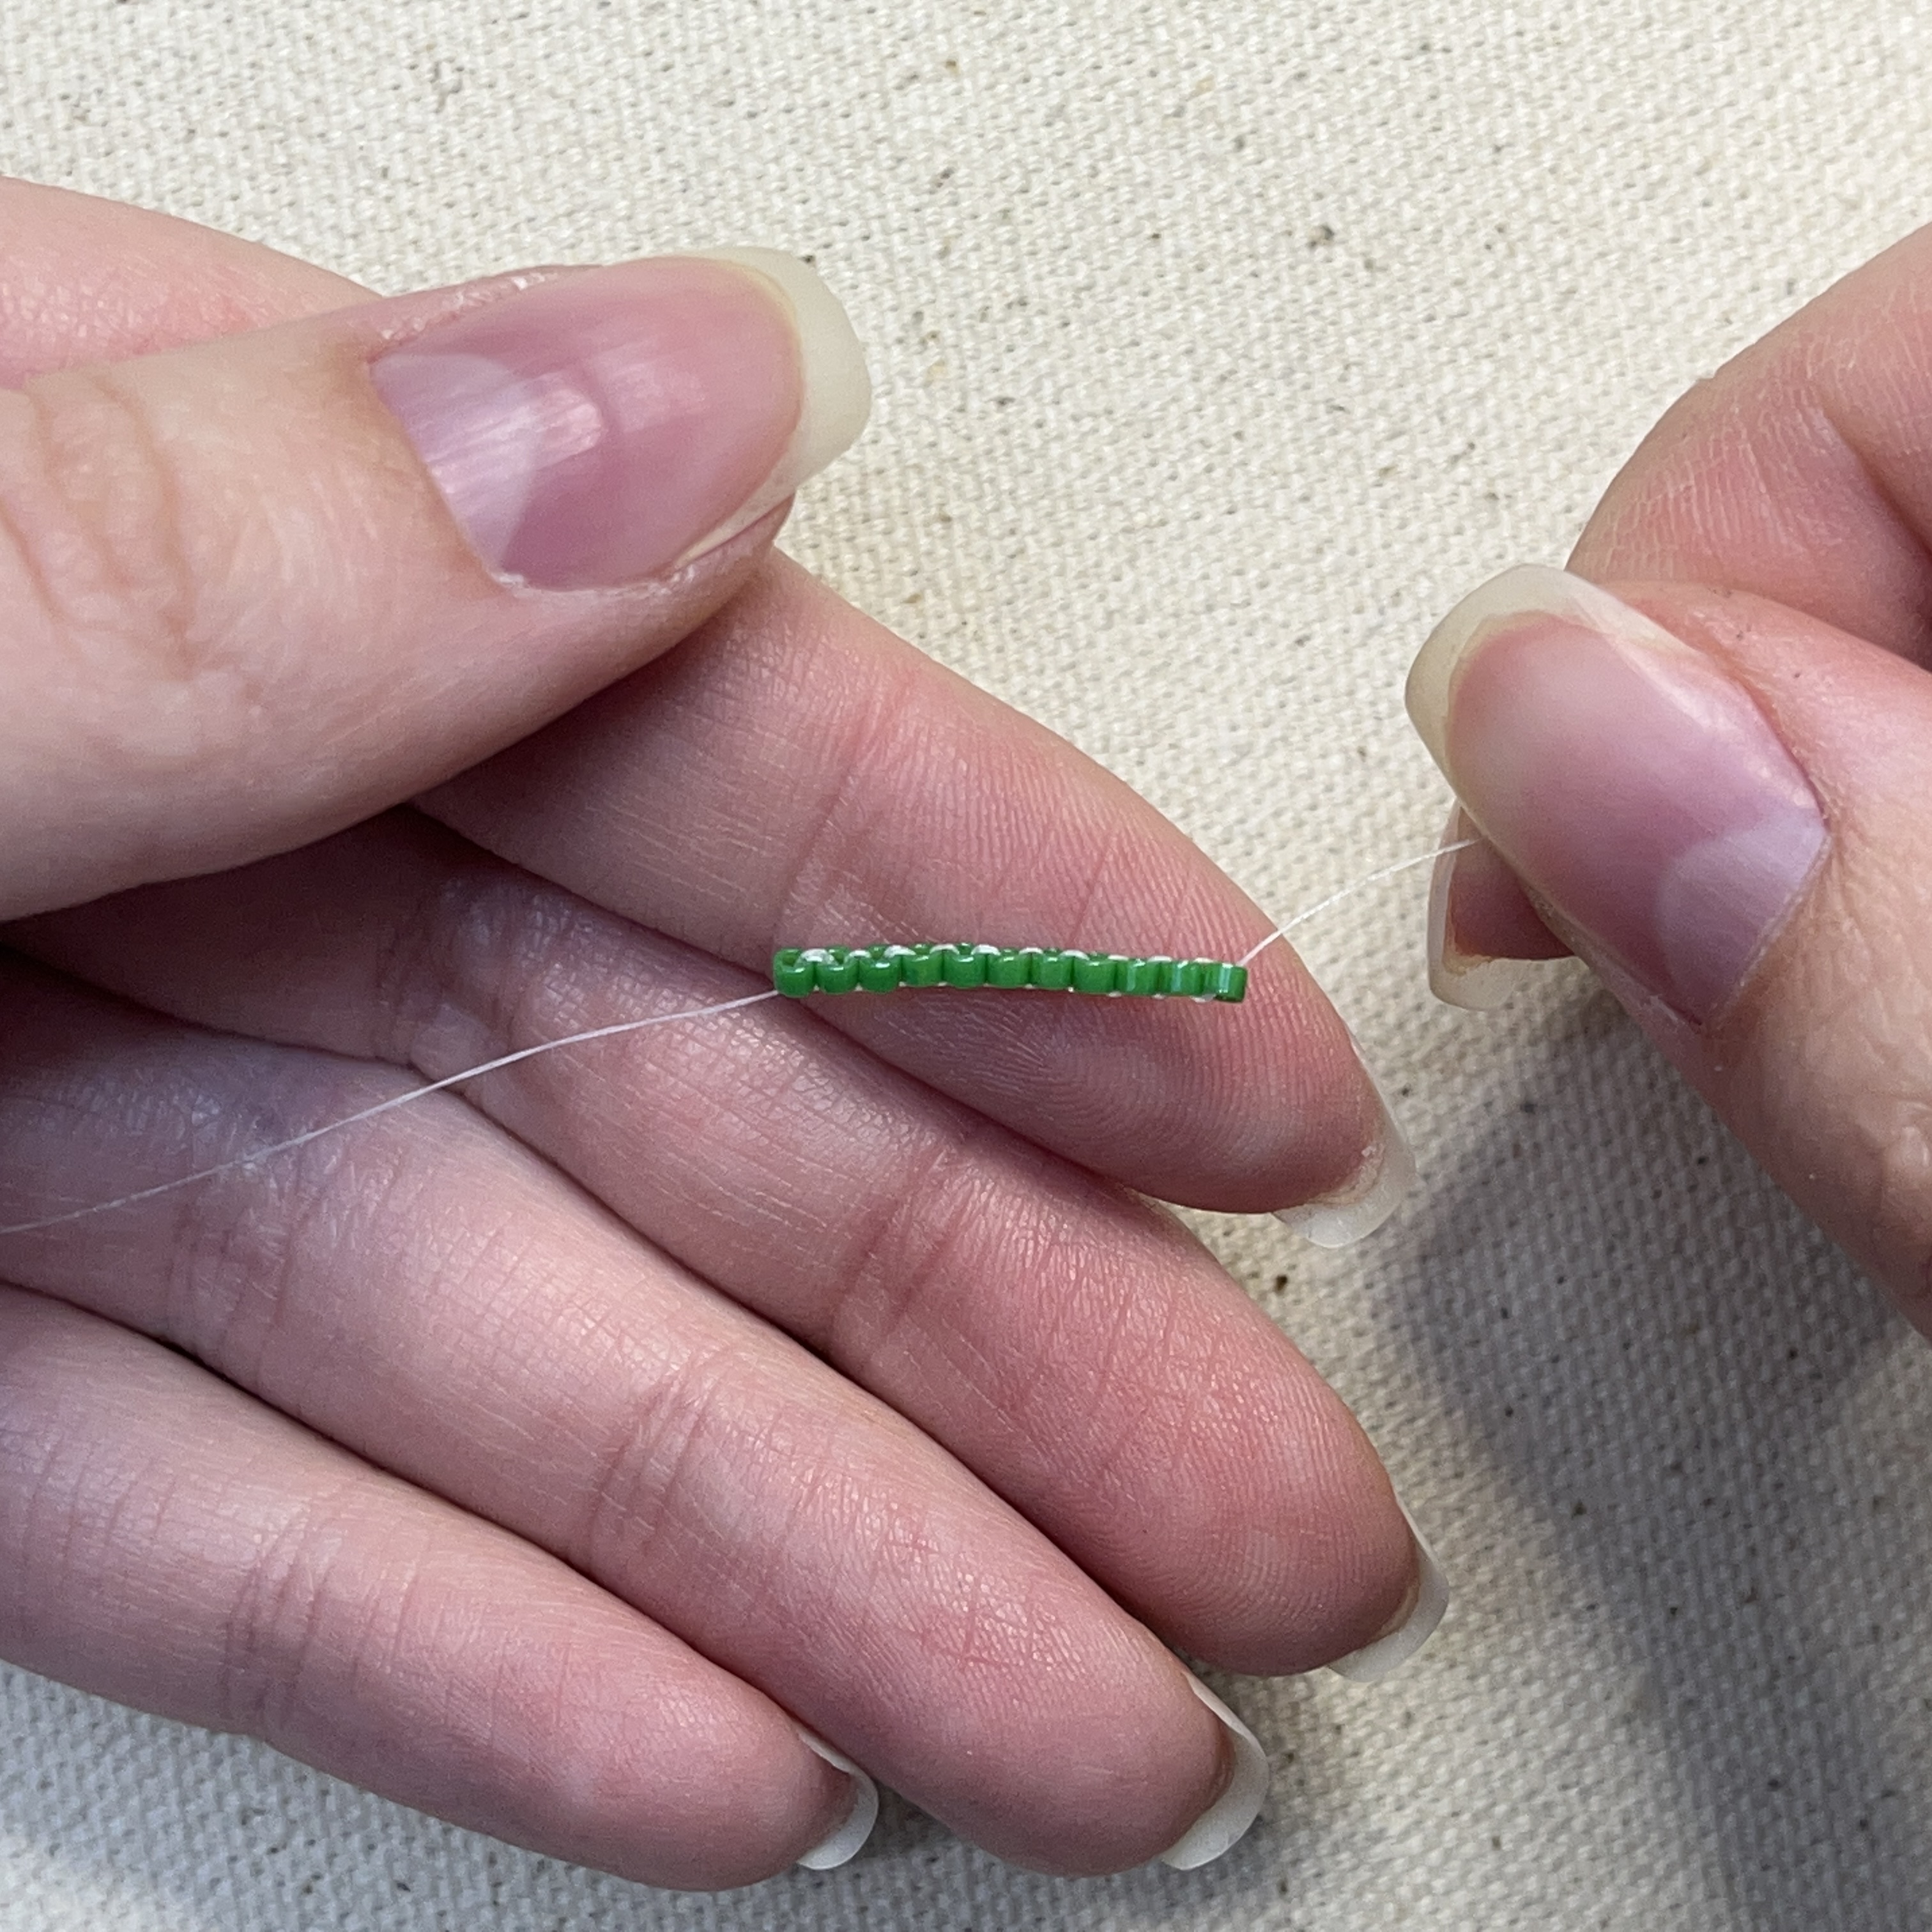
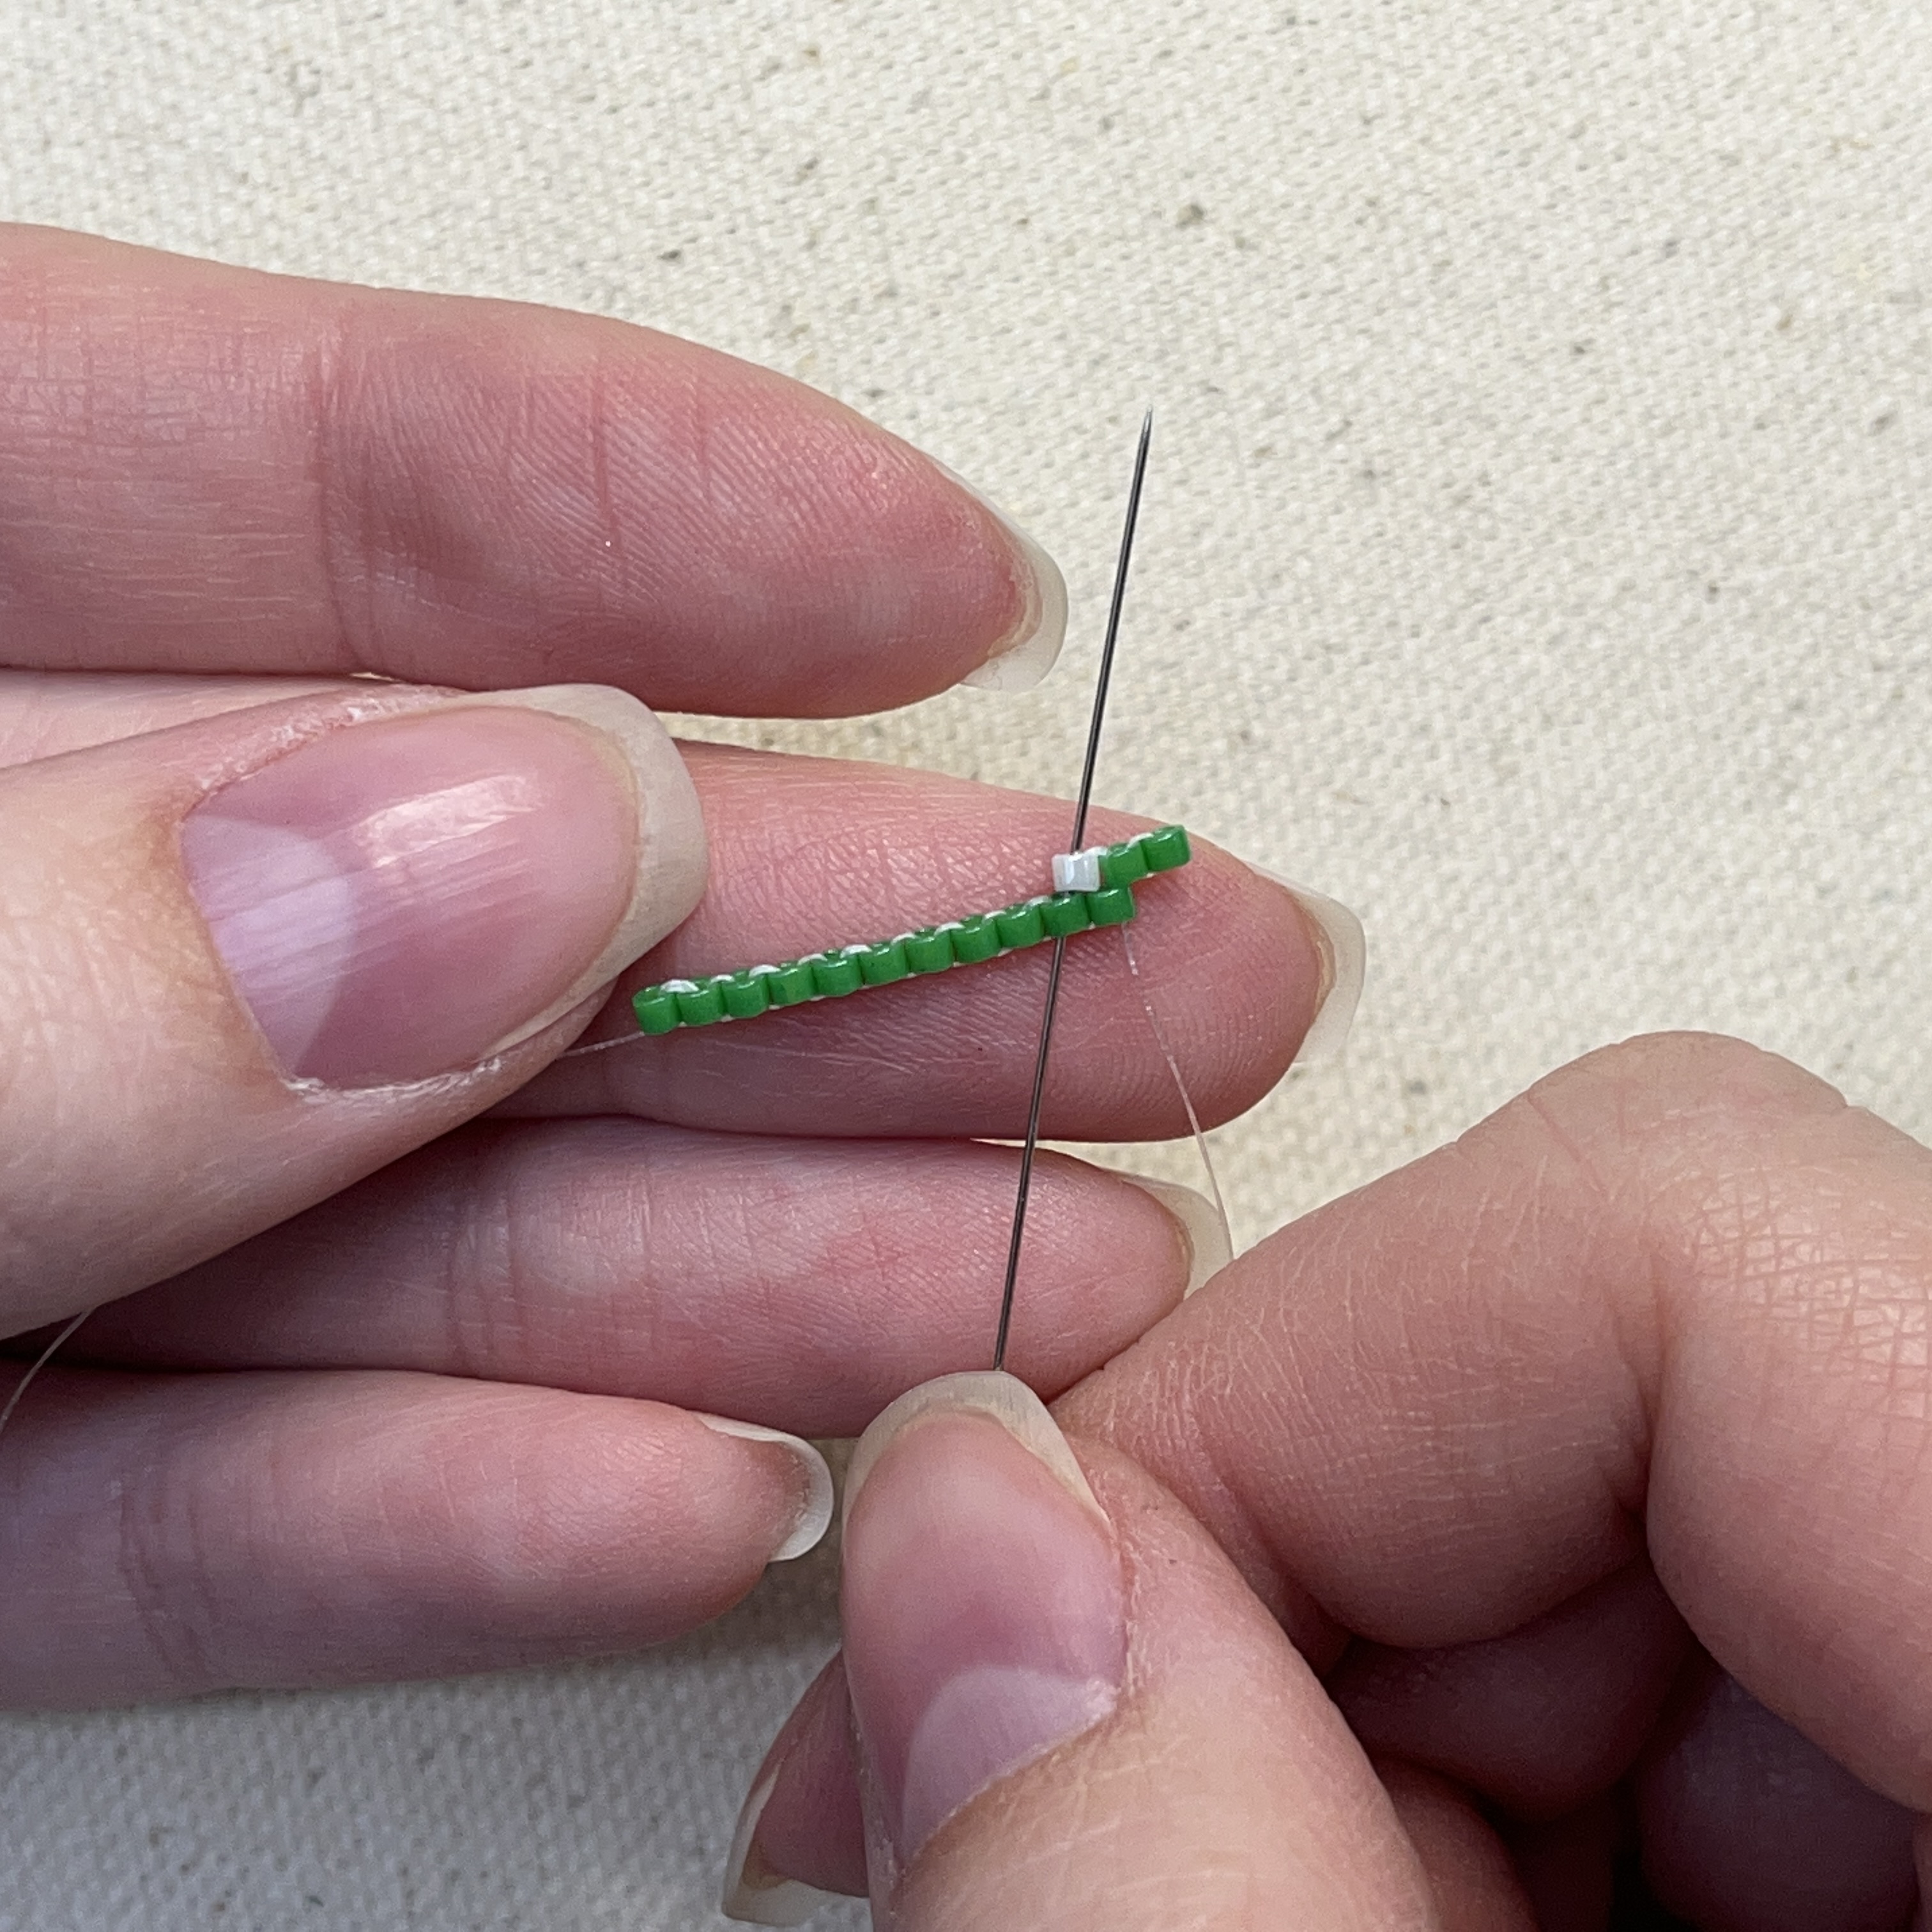
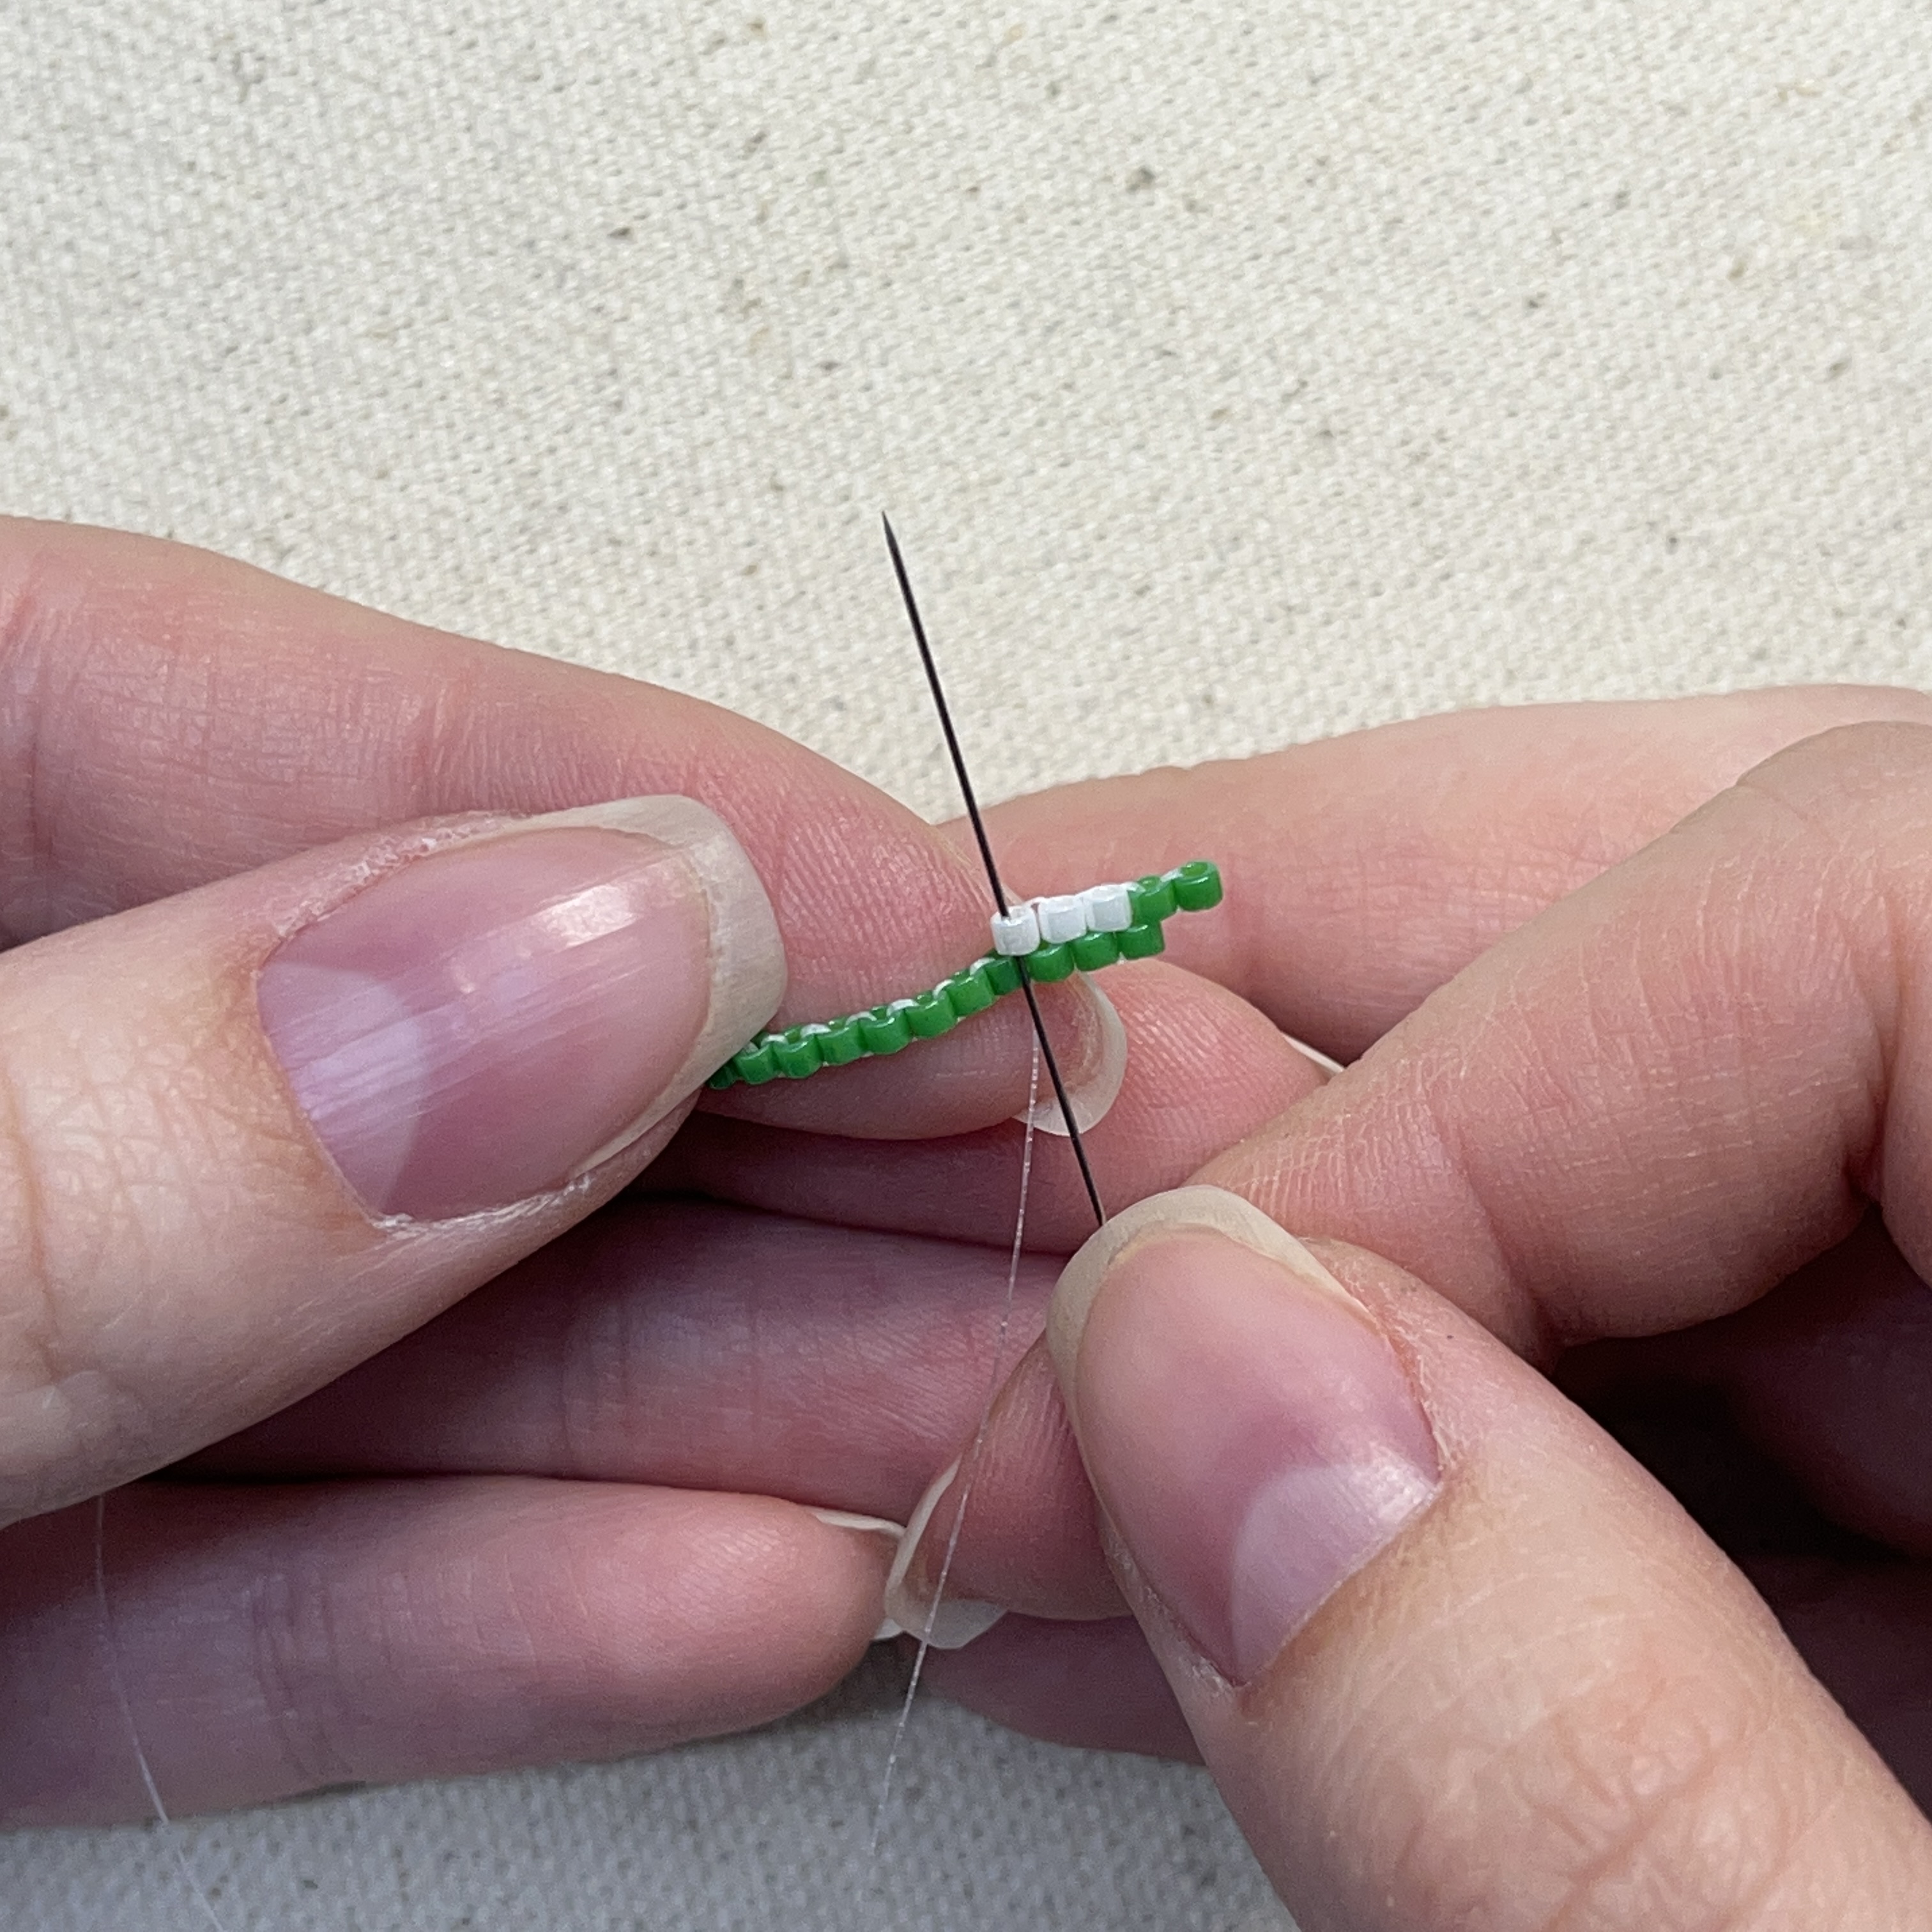
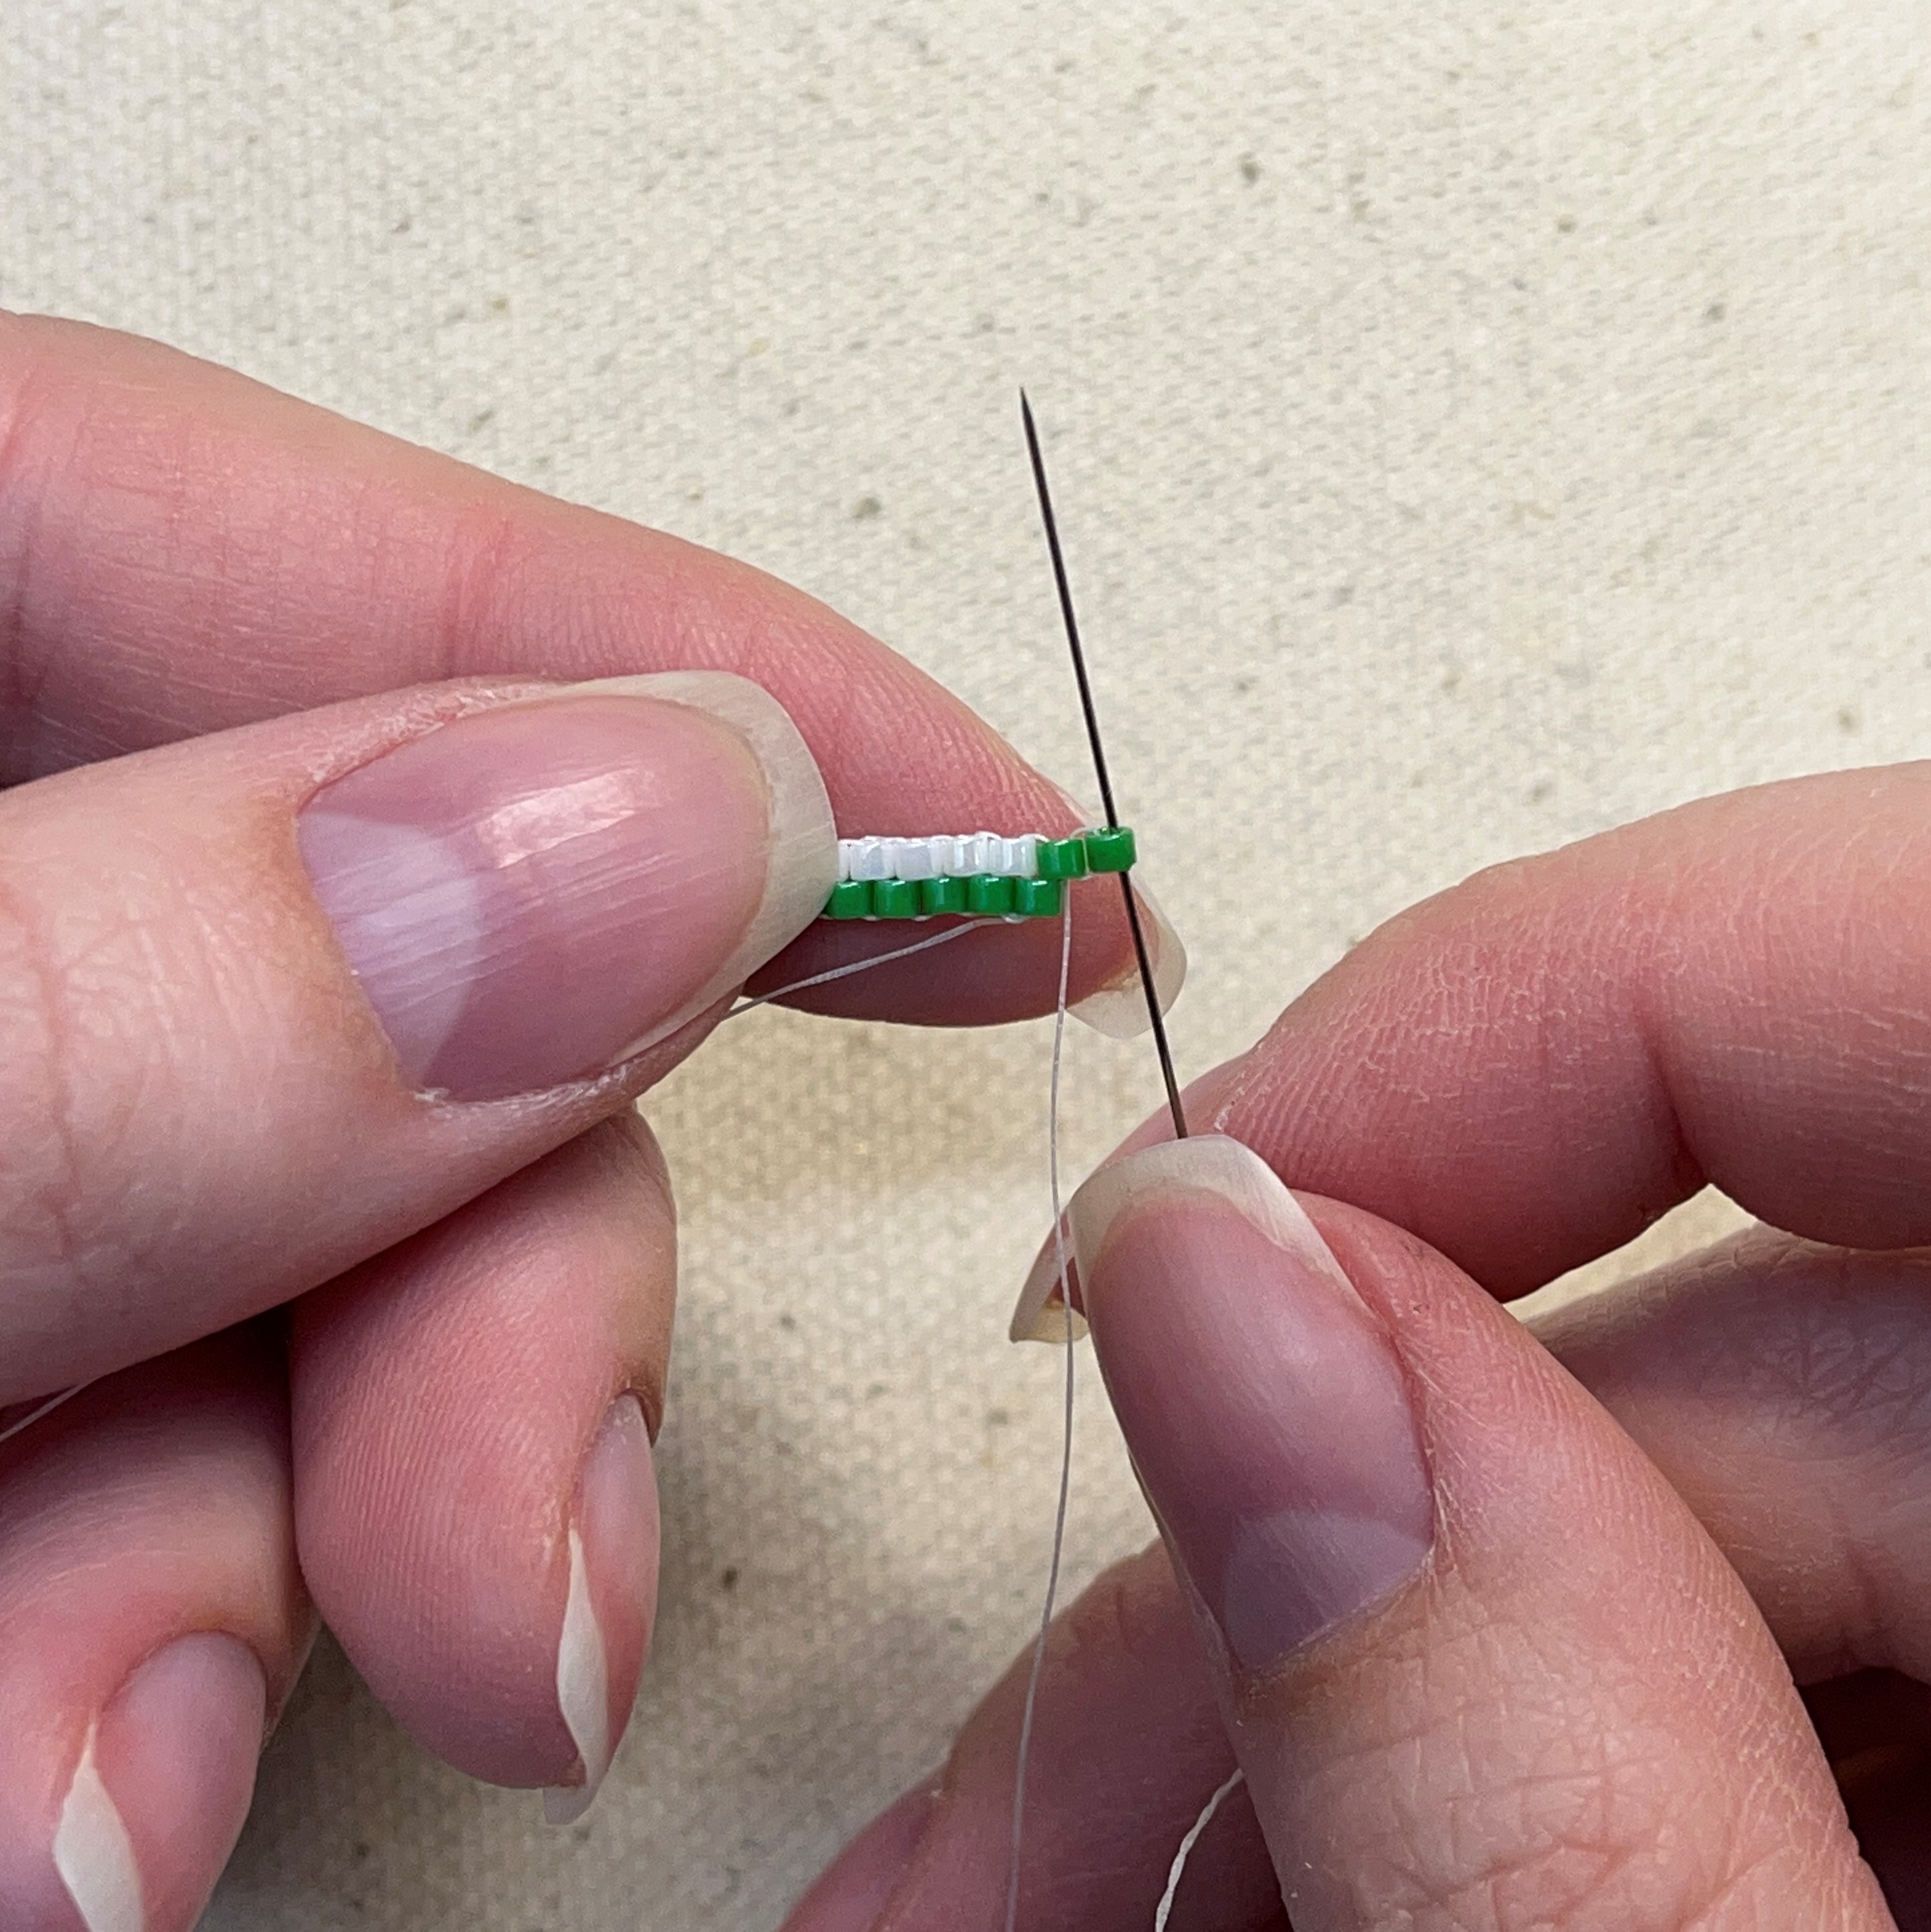
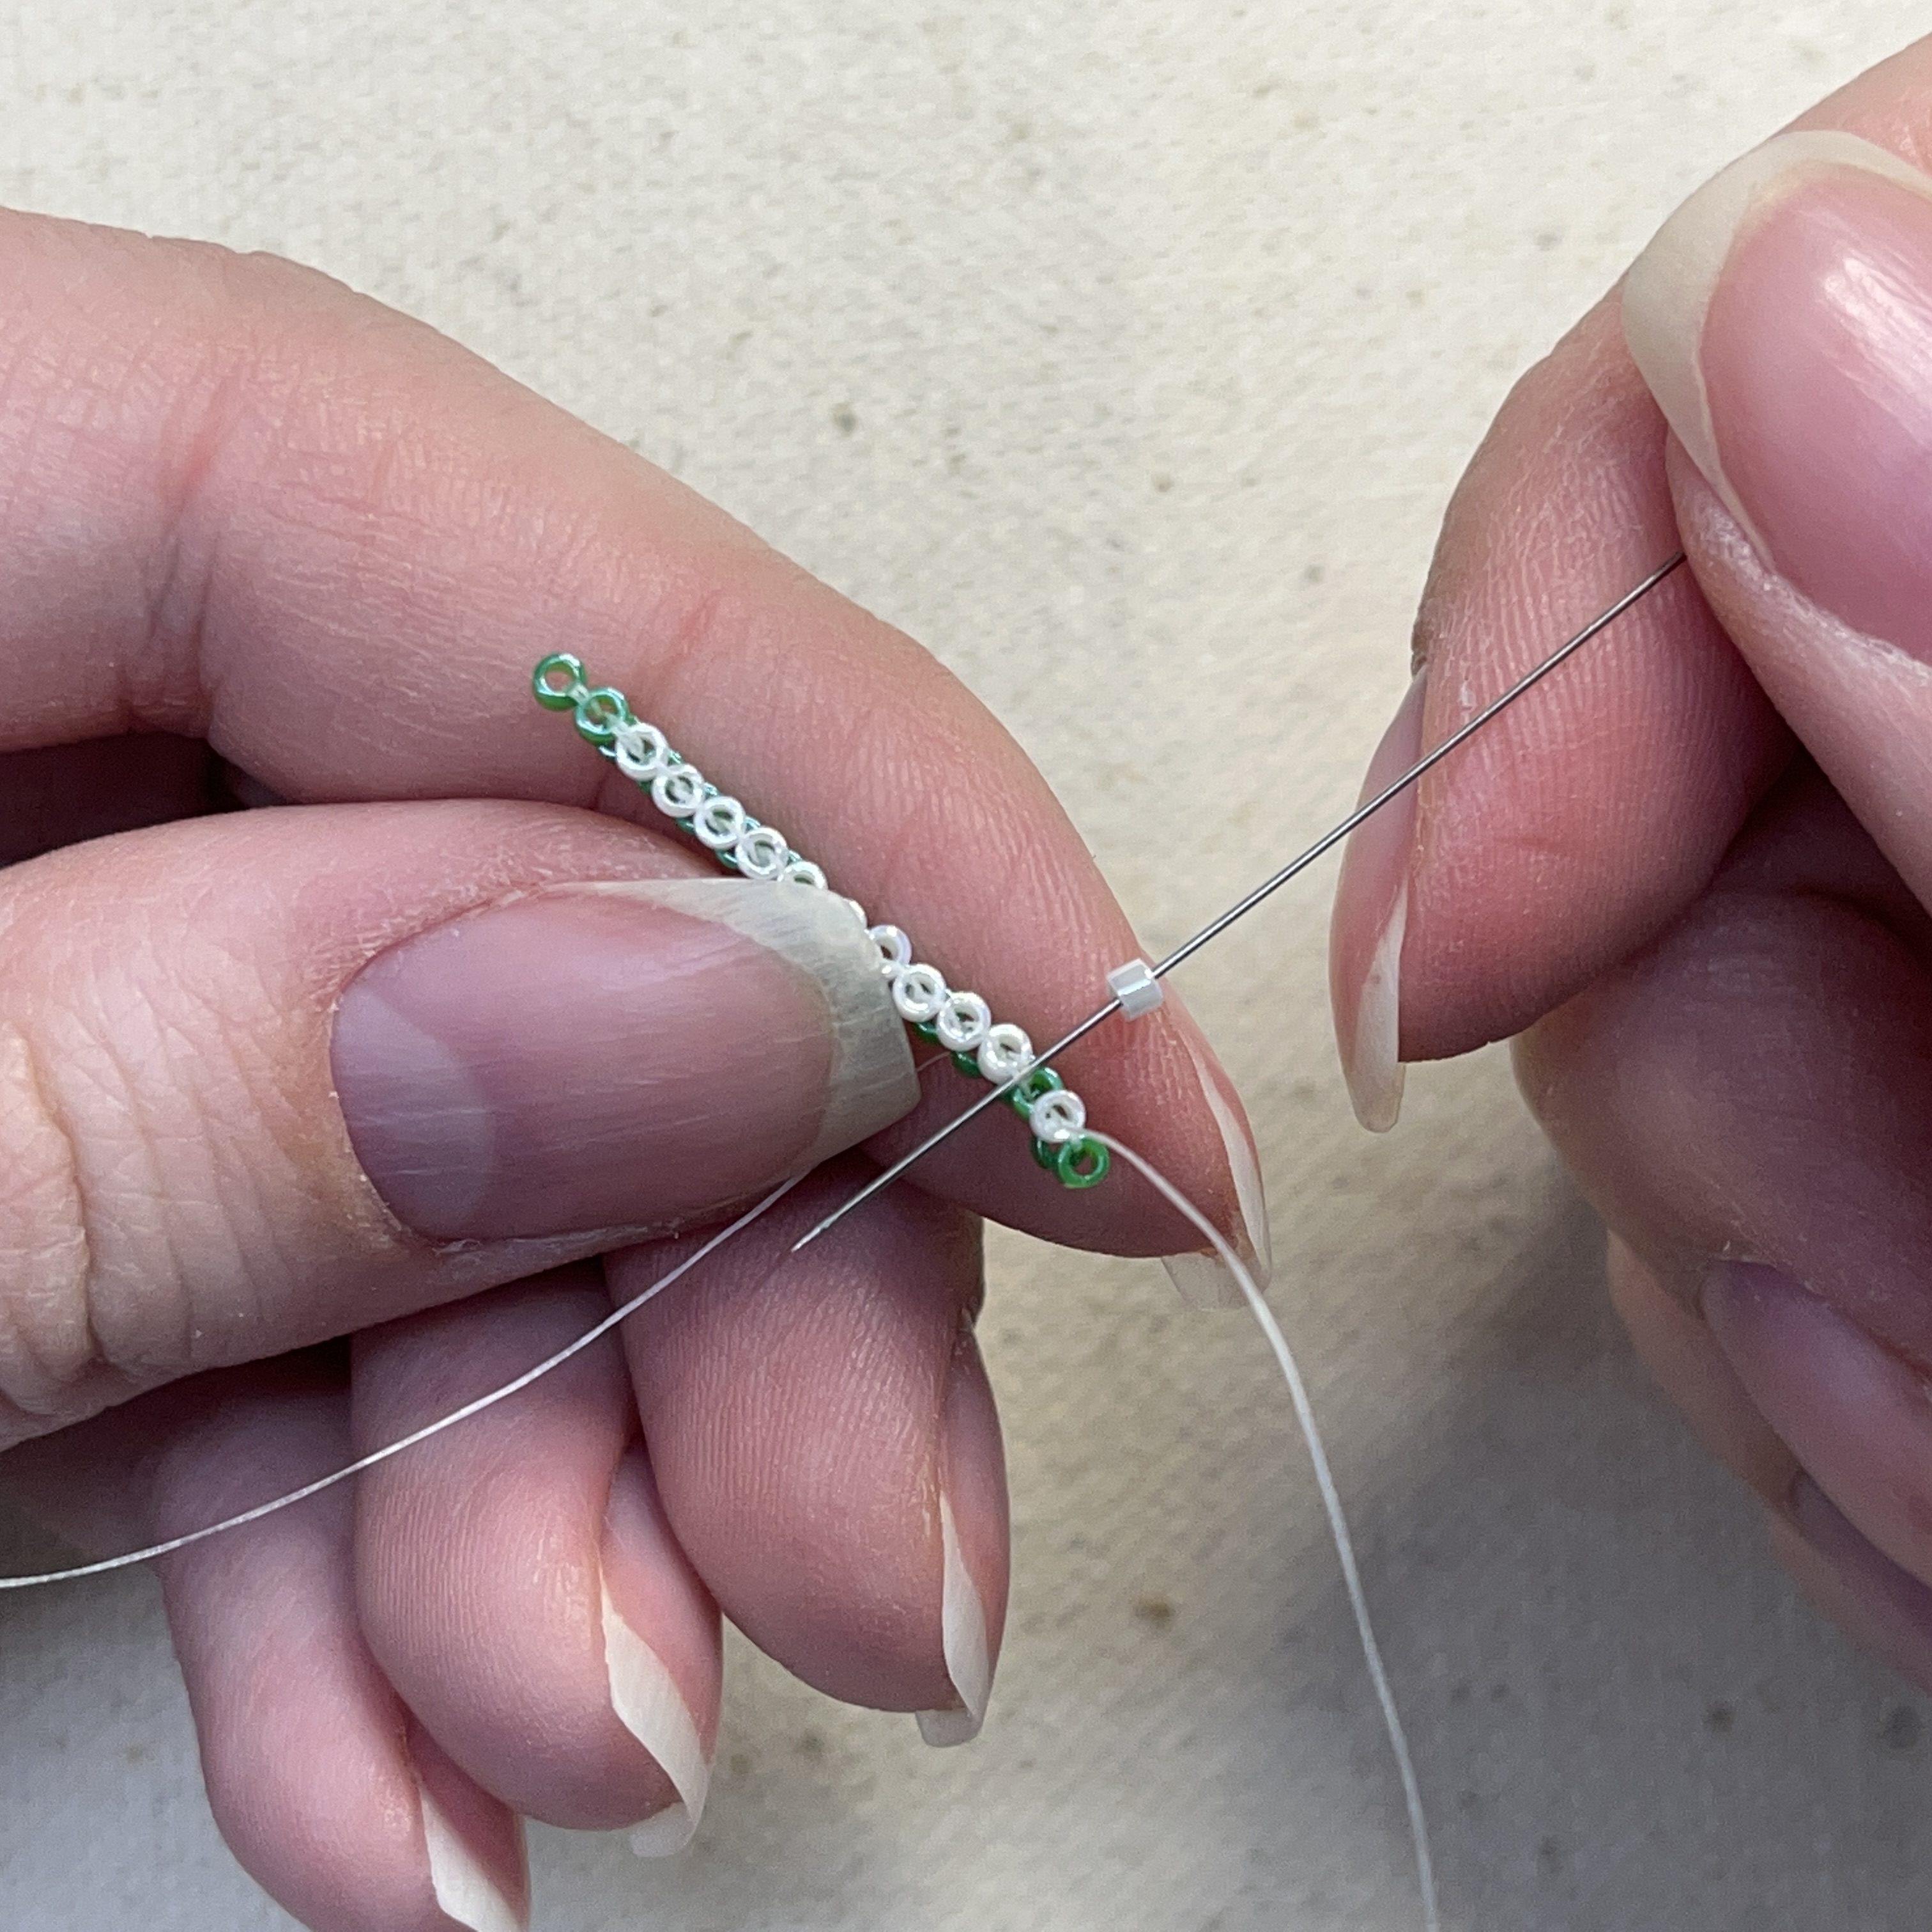
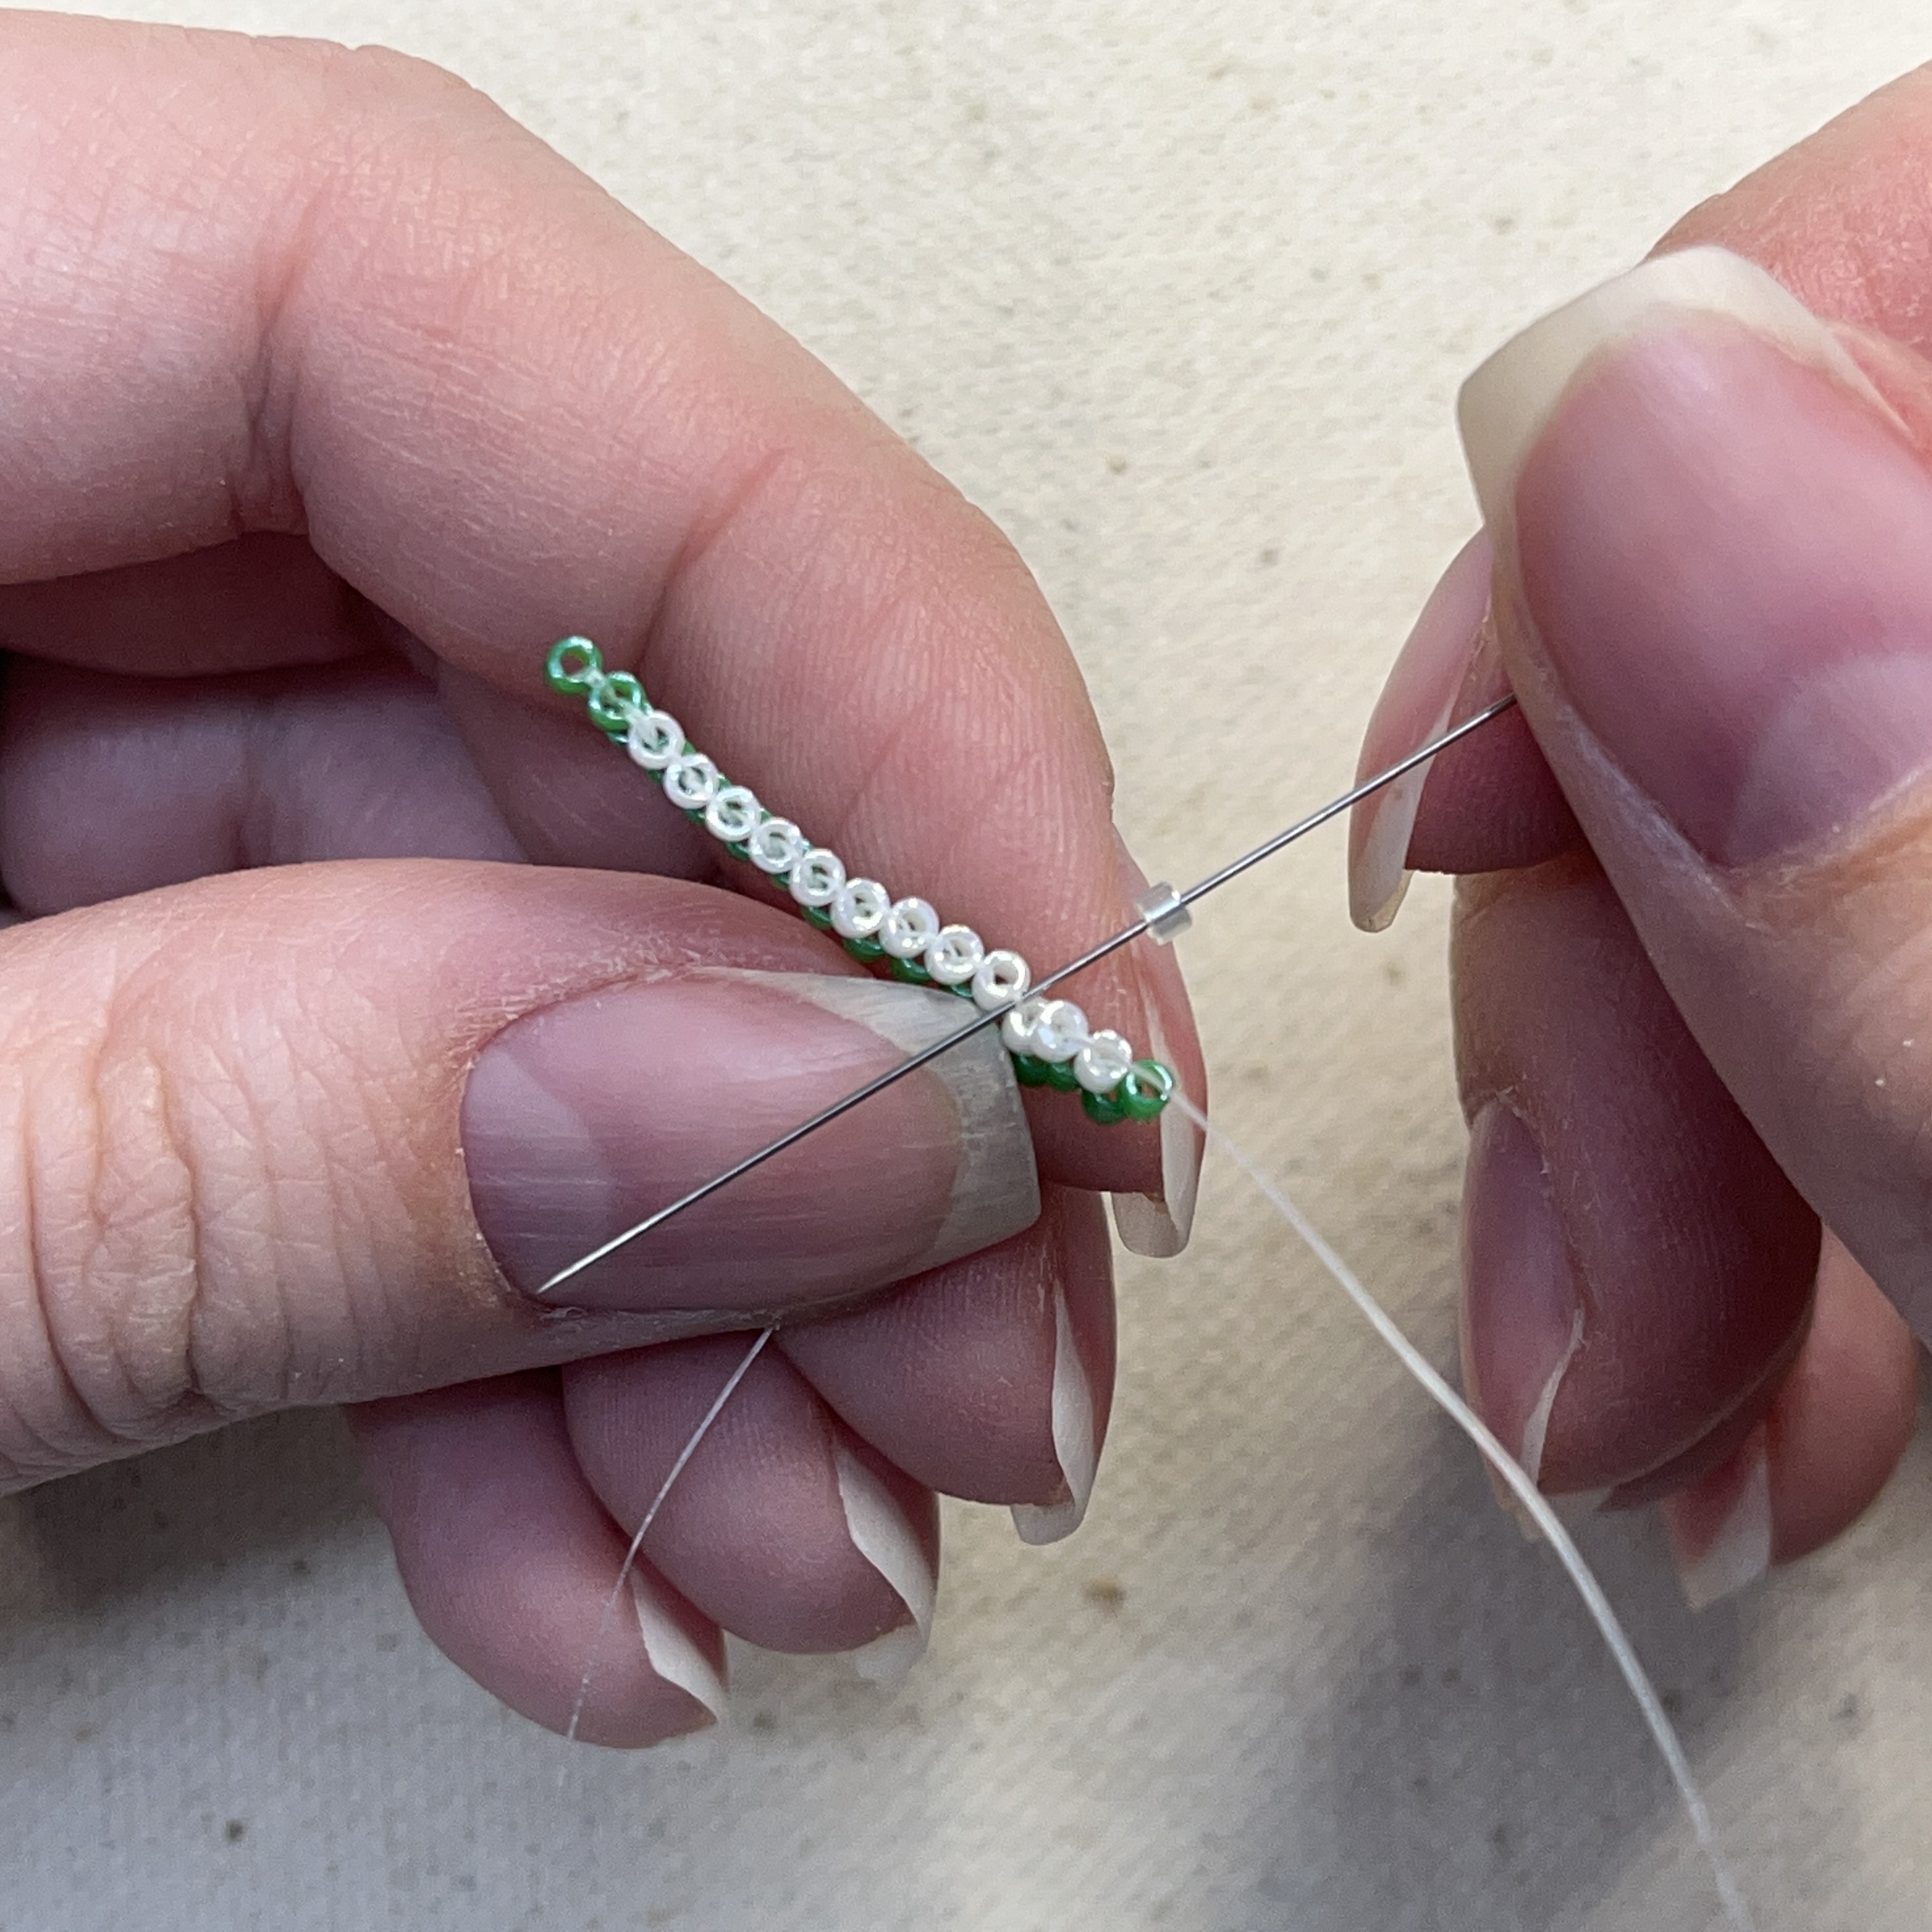
10. Continue by repeating steps 8 and 9 until you have a row of 11 beads and it looks like the picture above
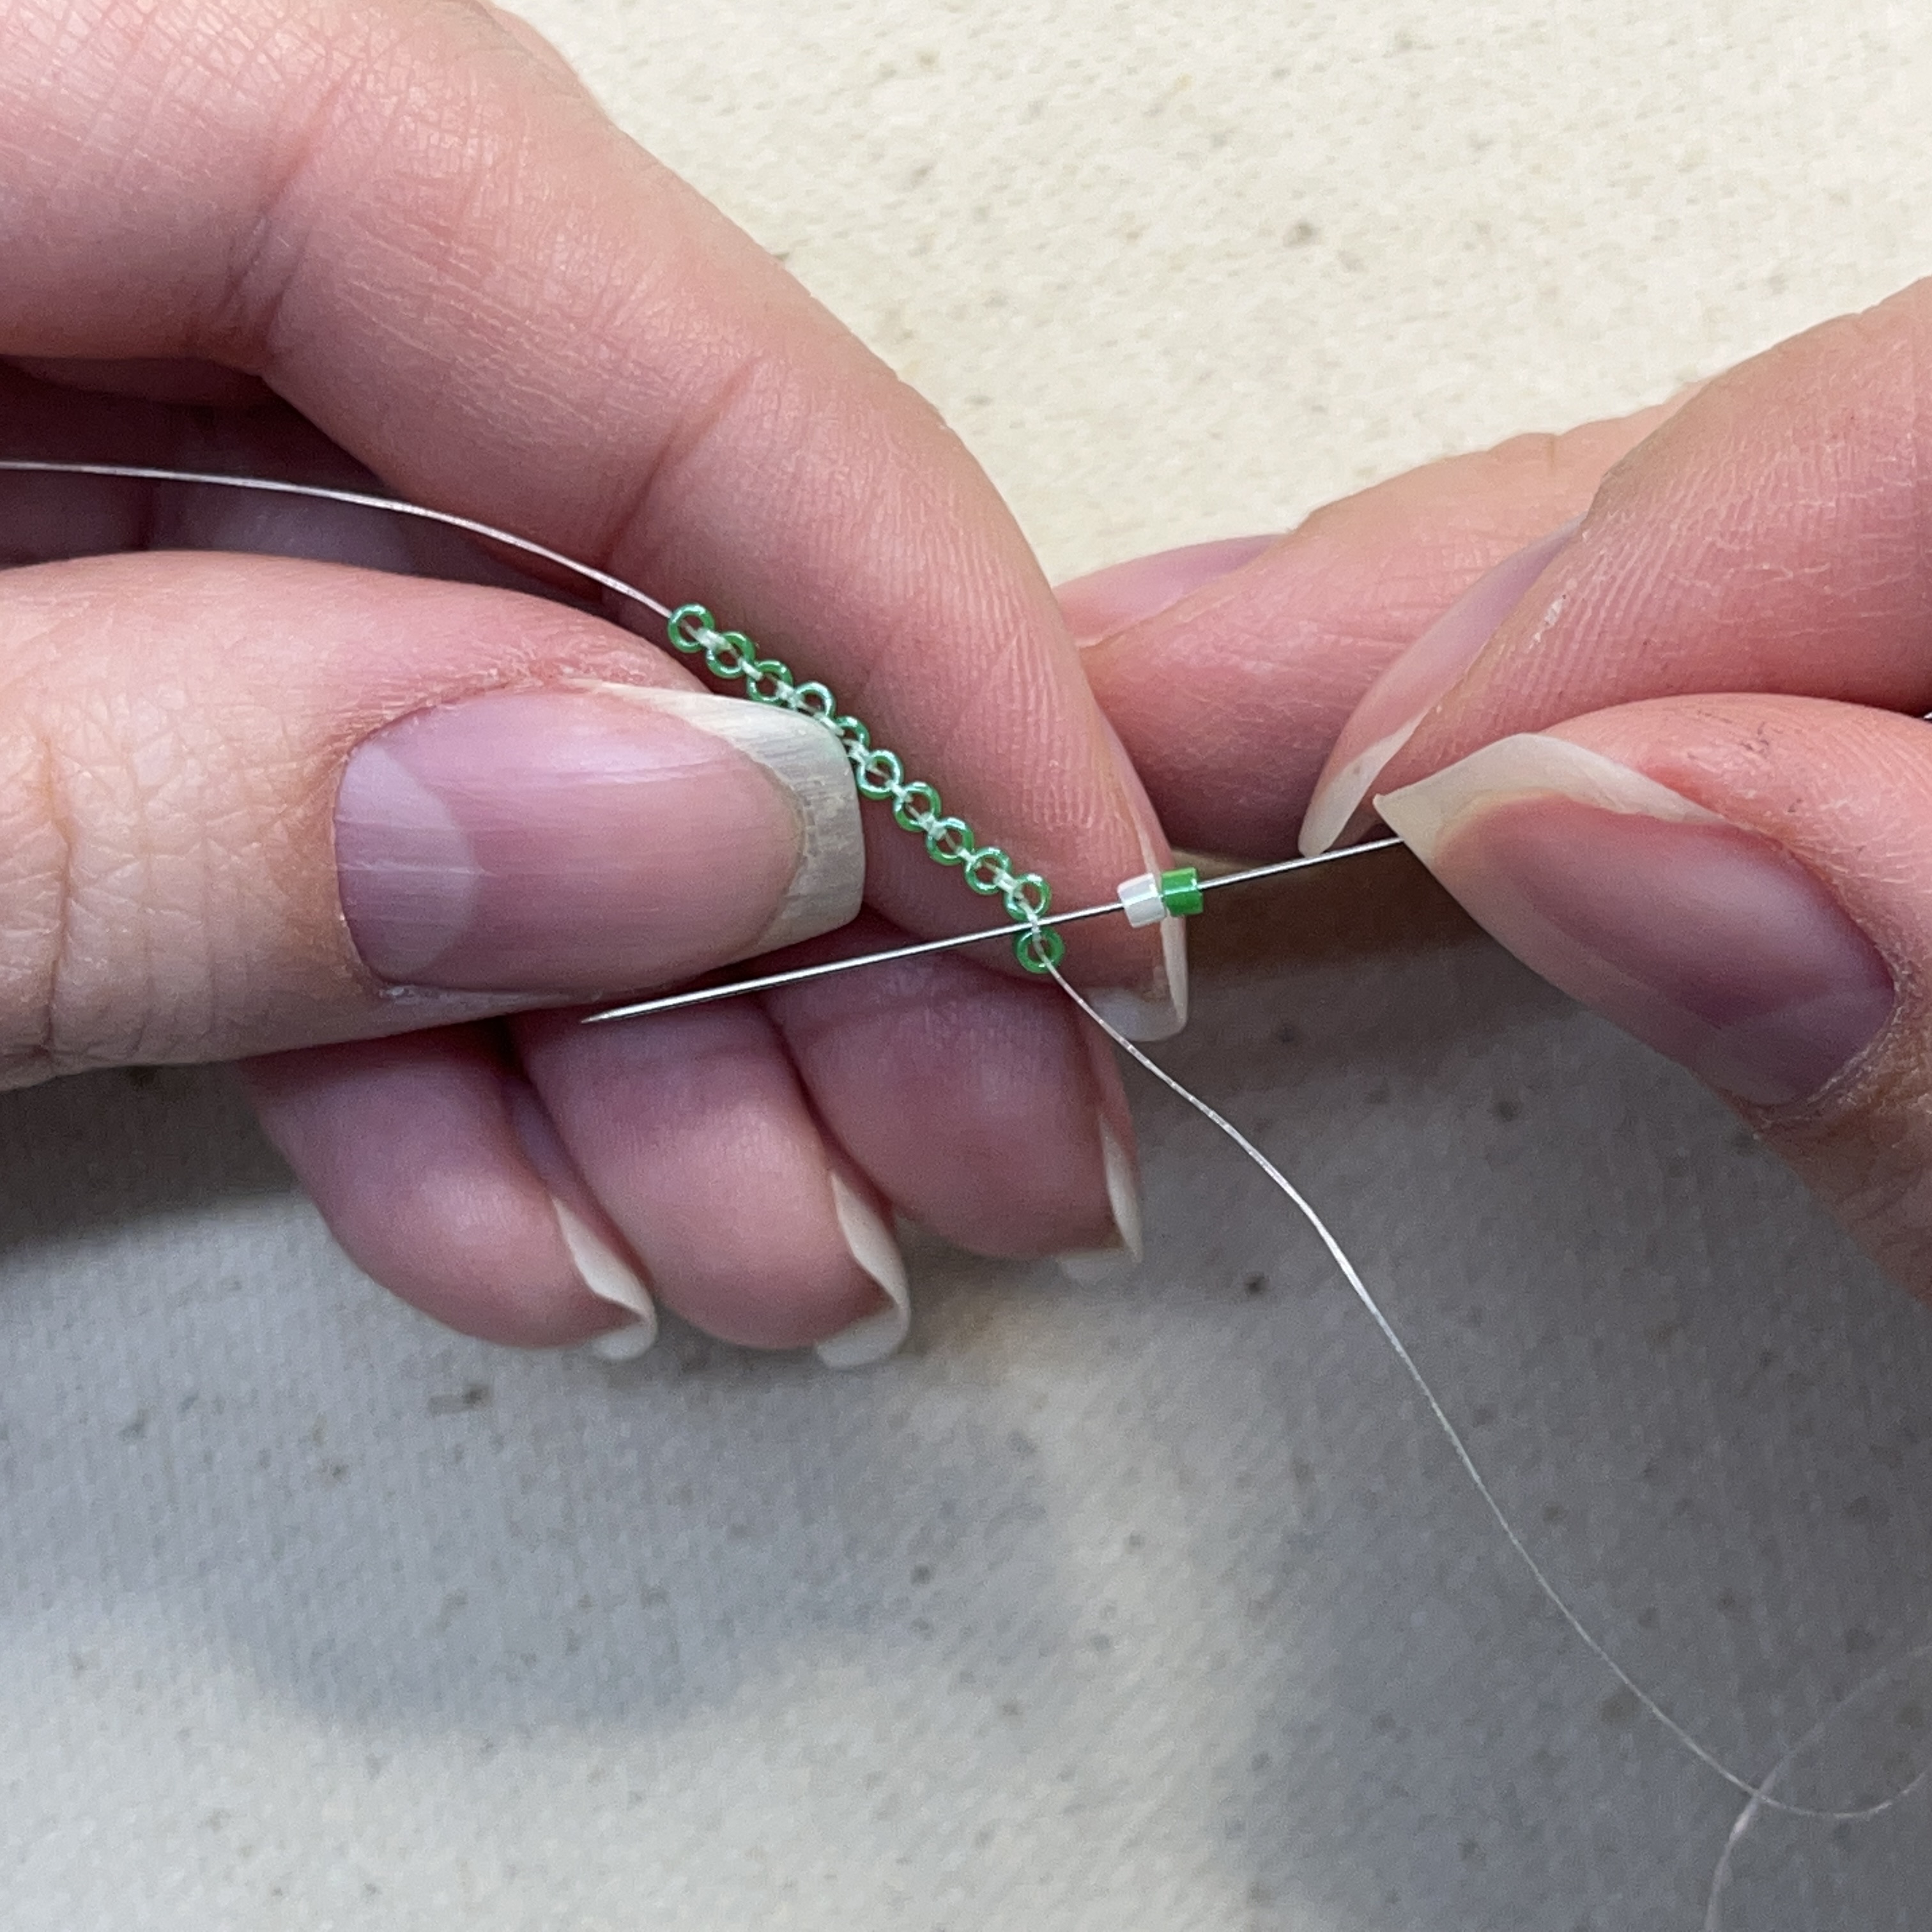
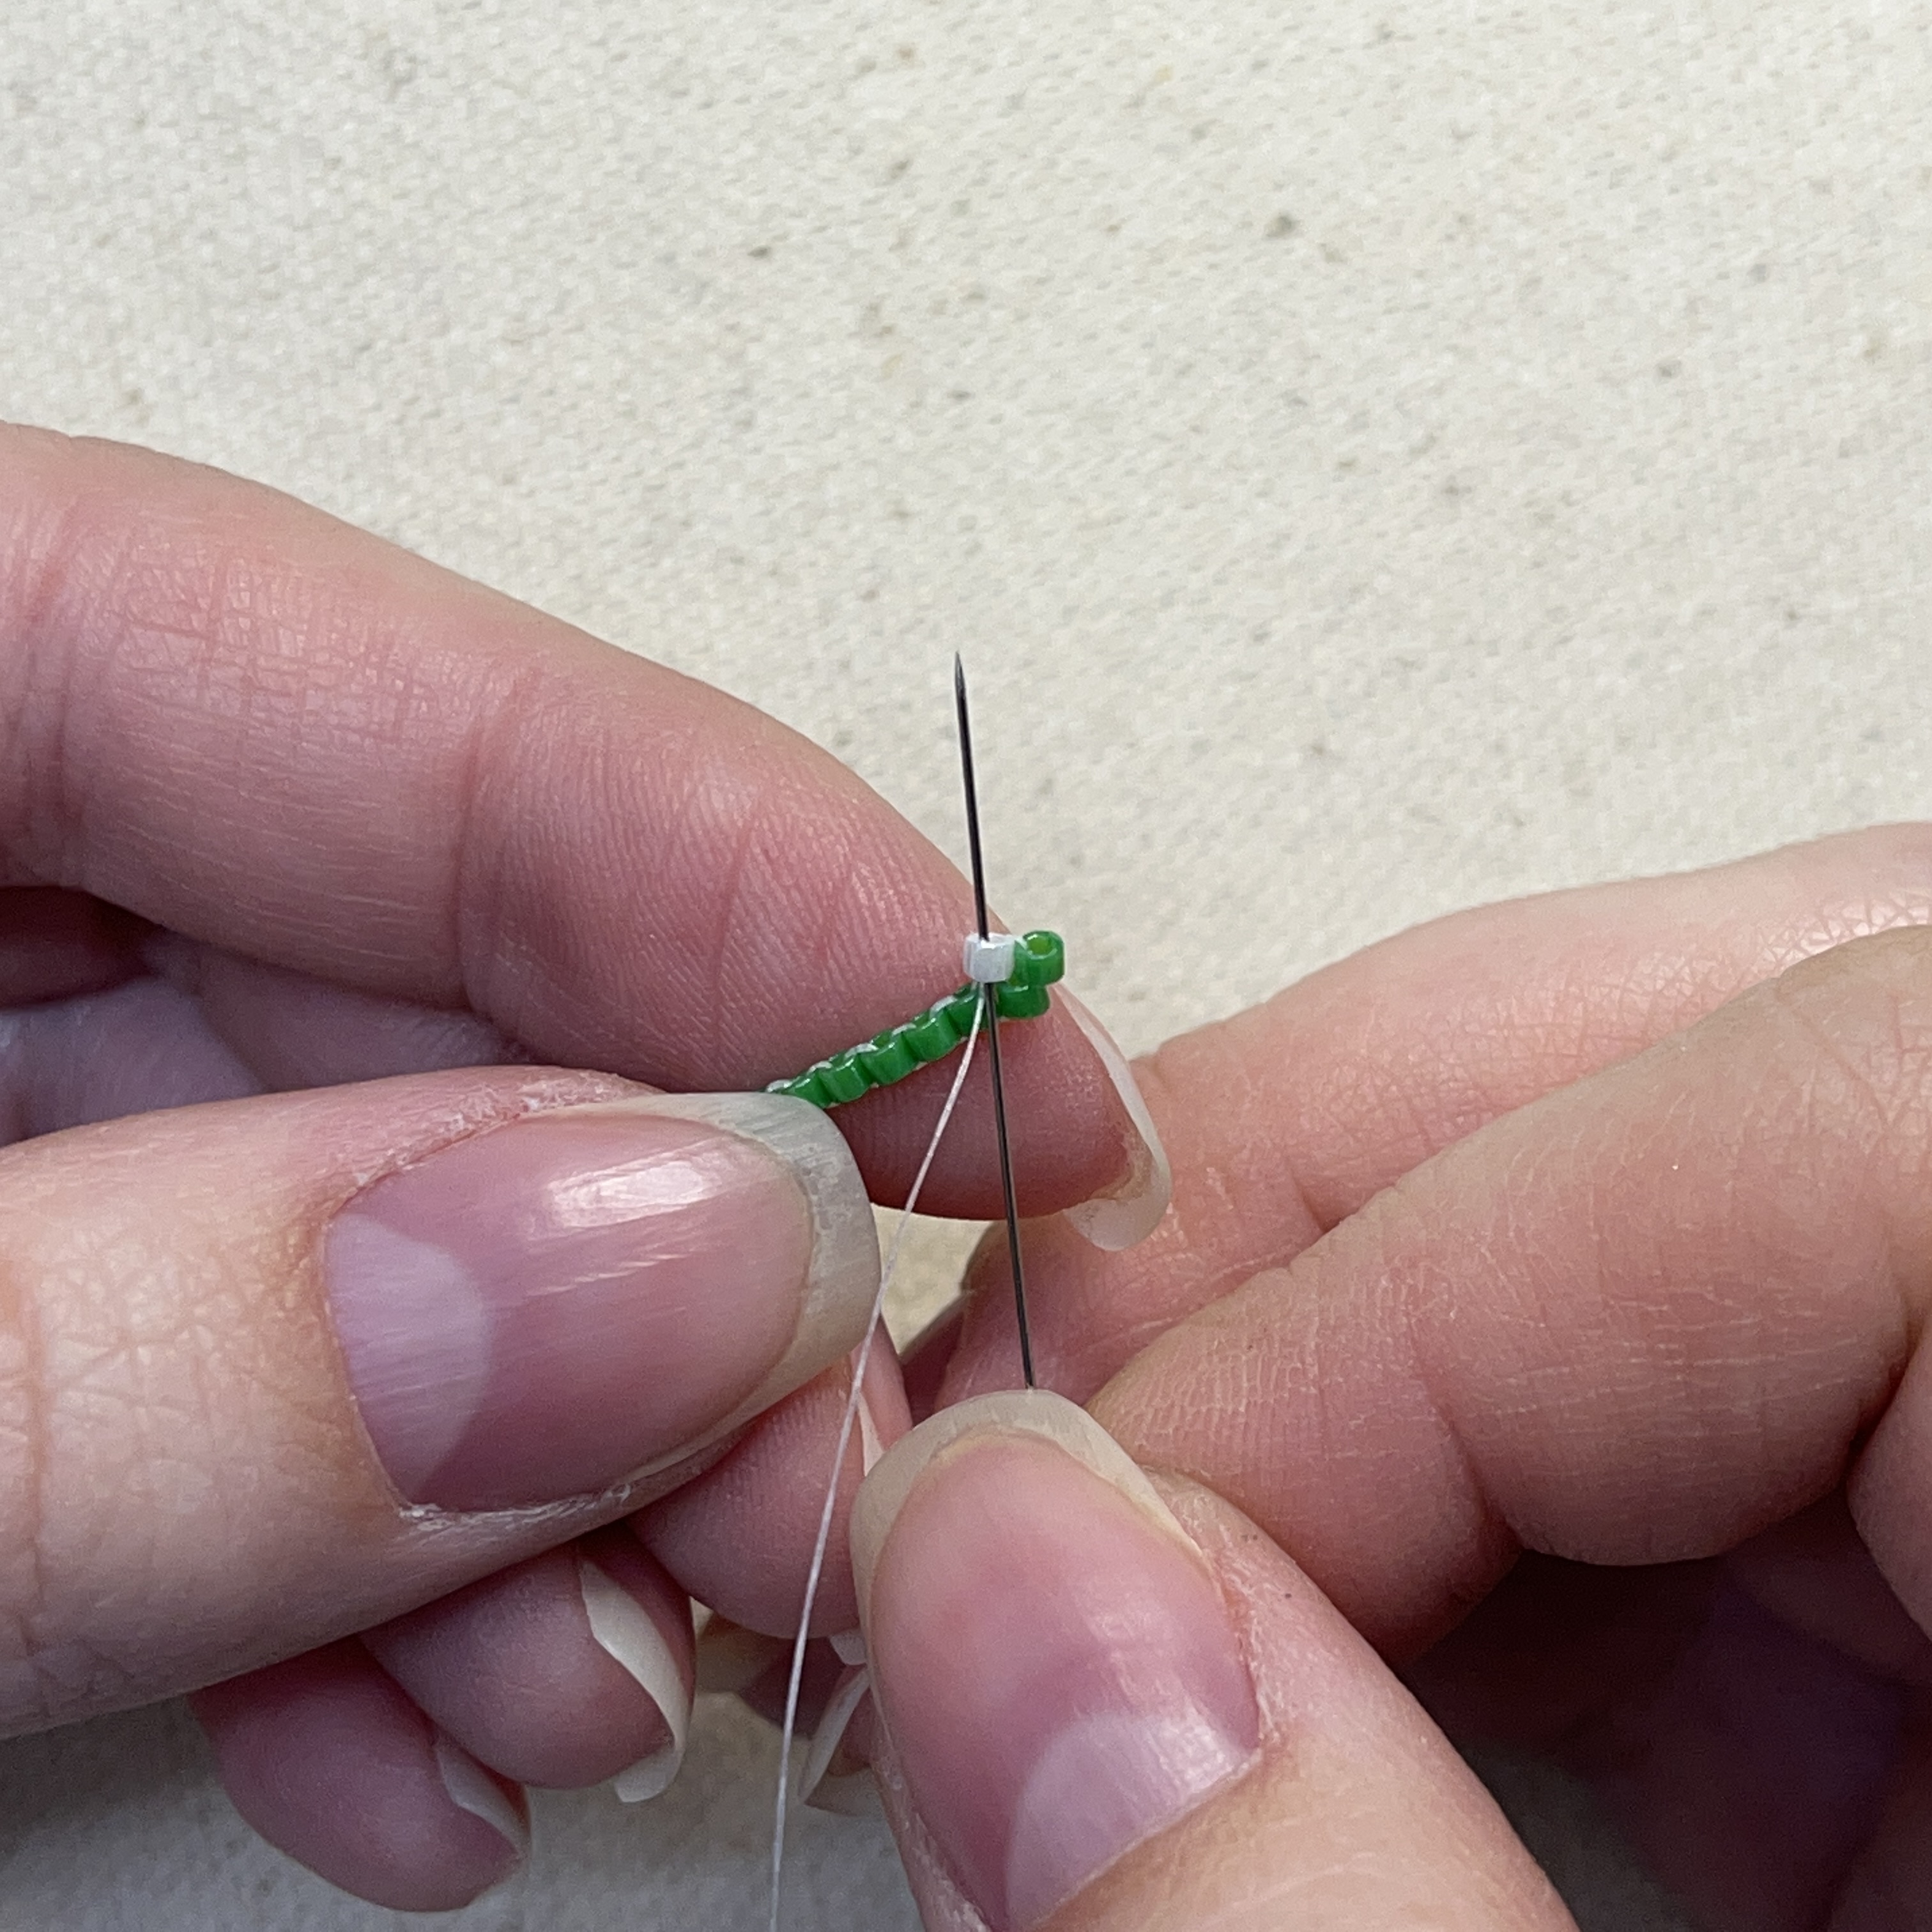
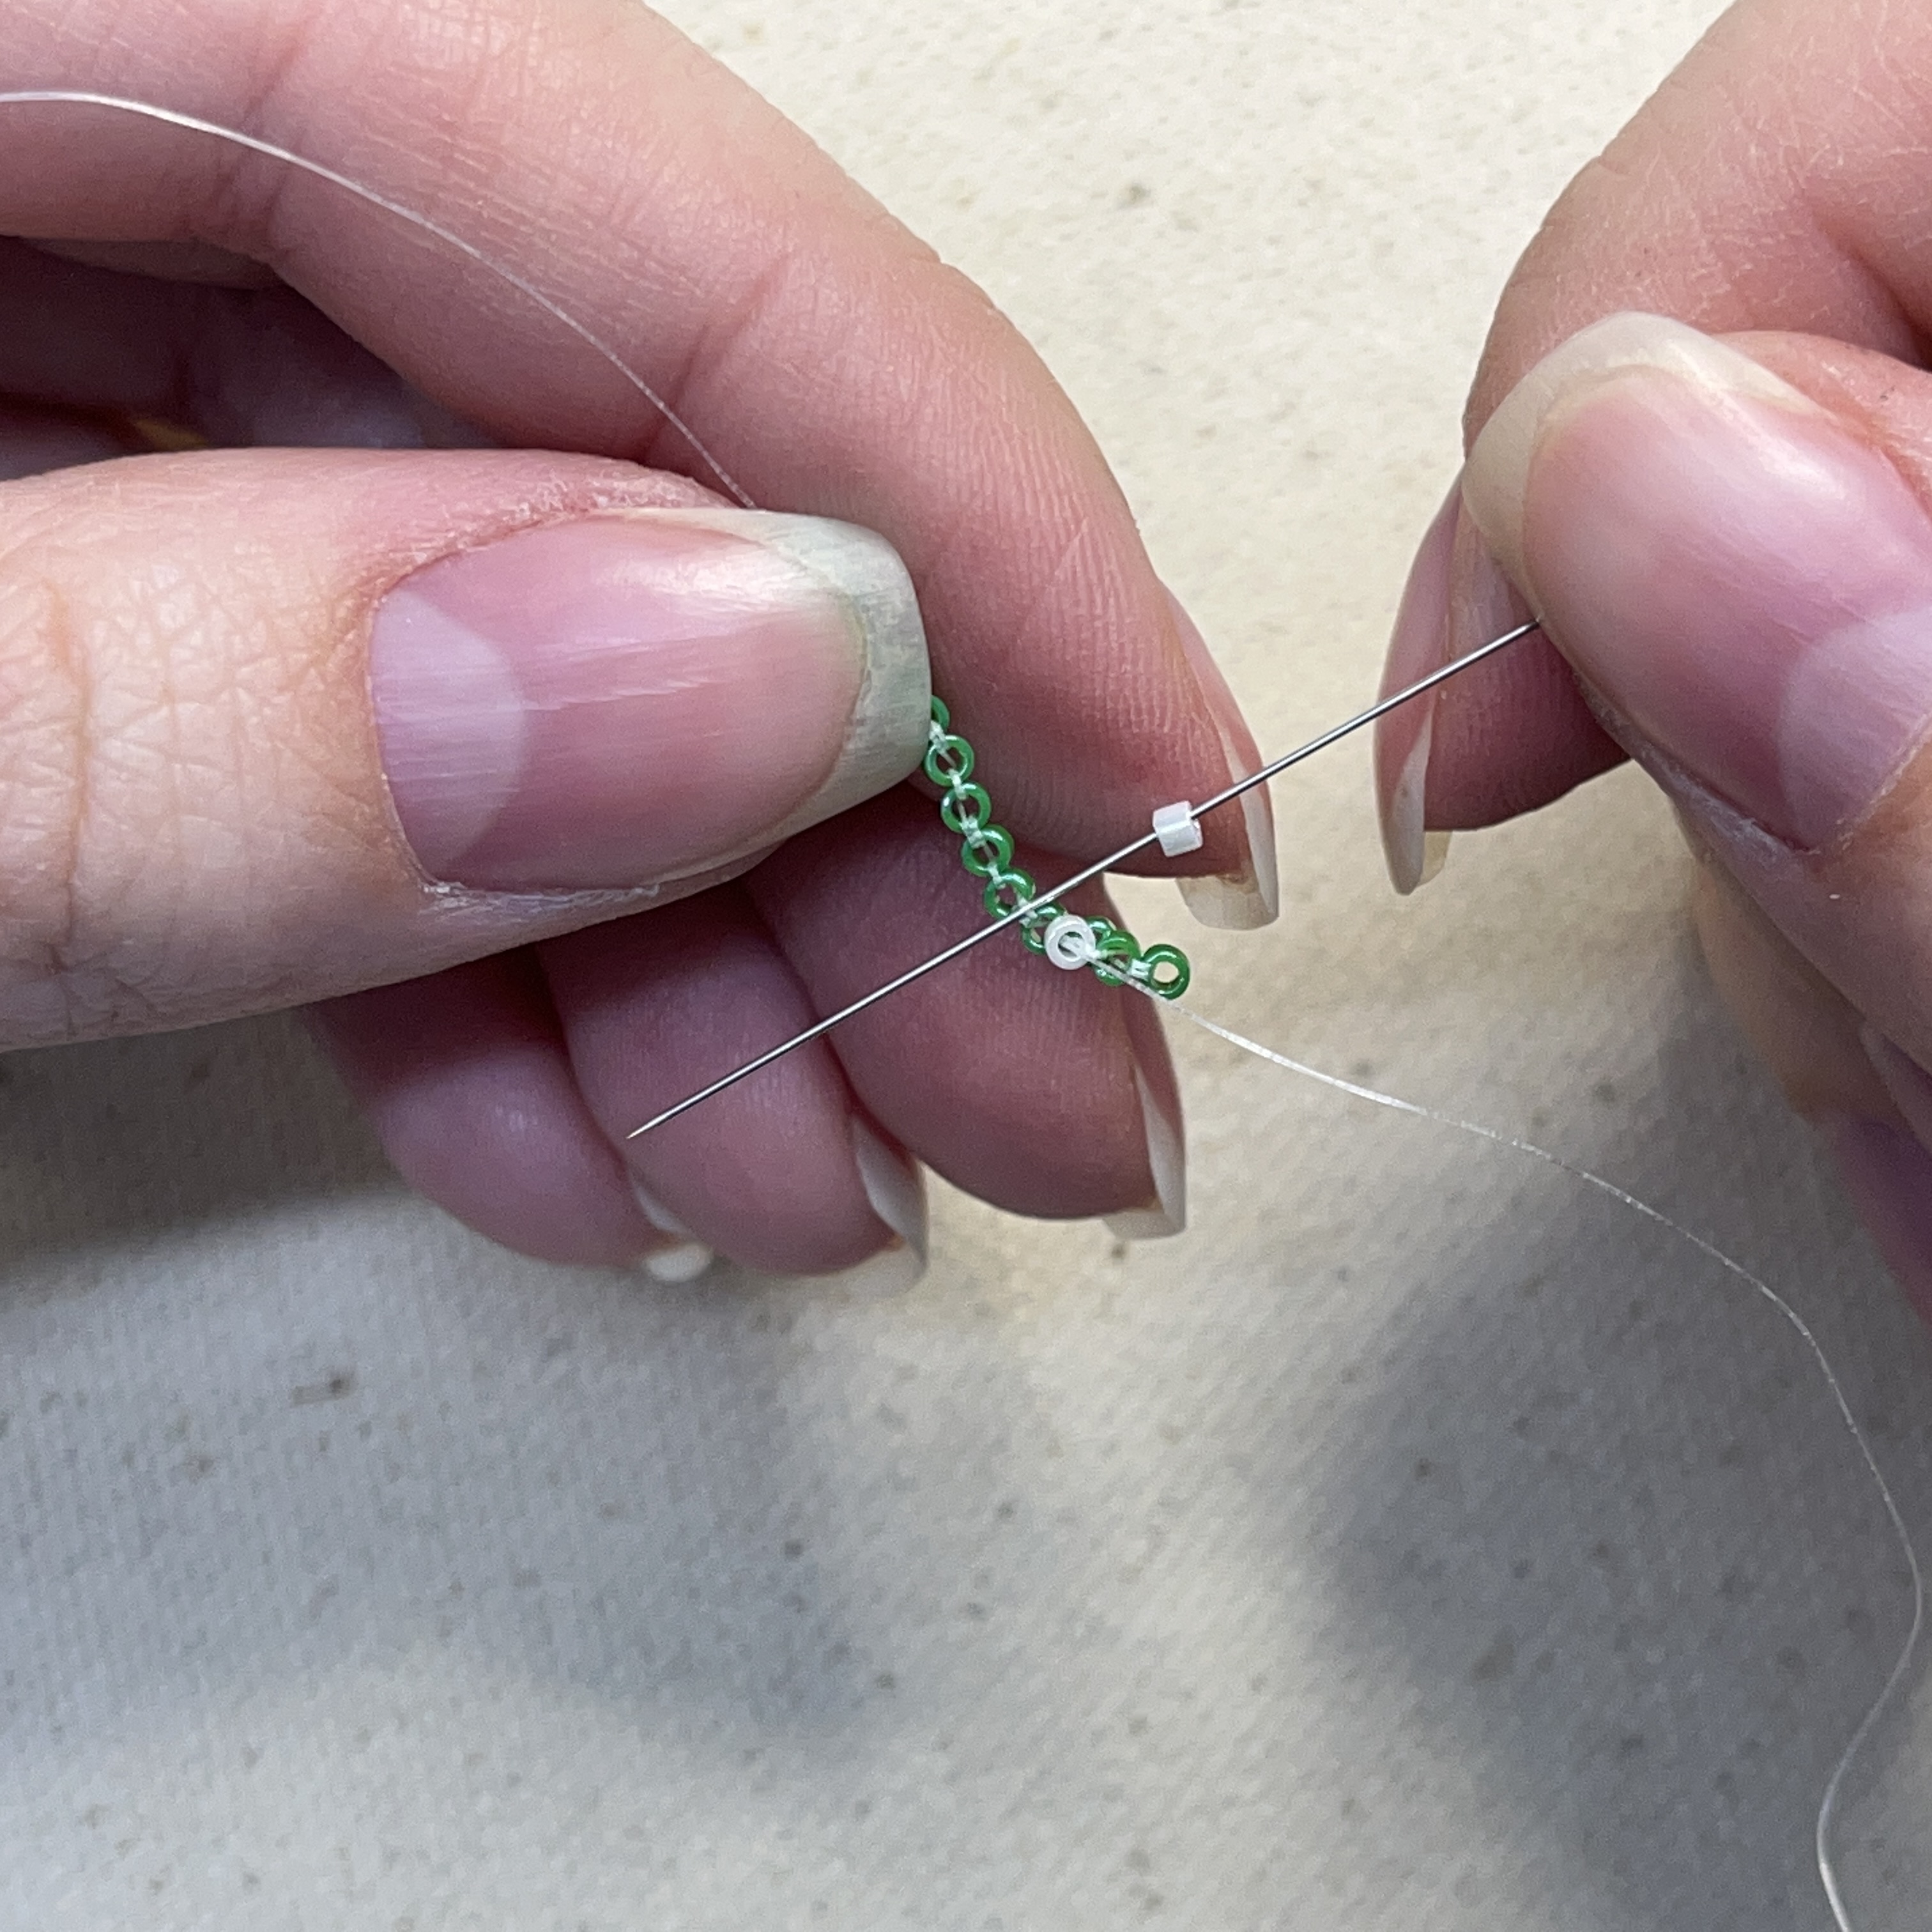
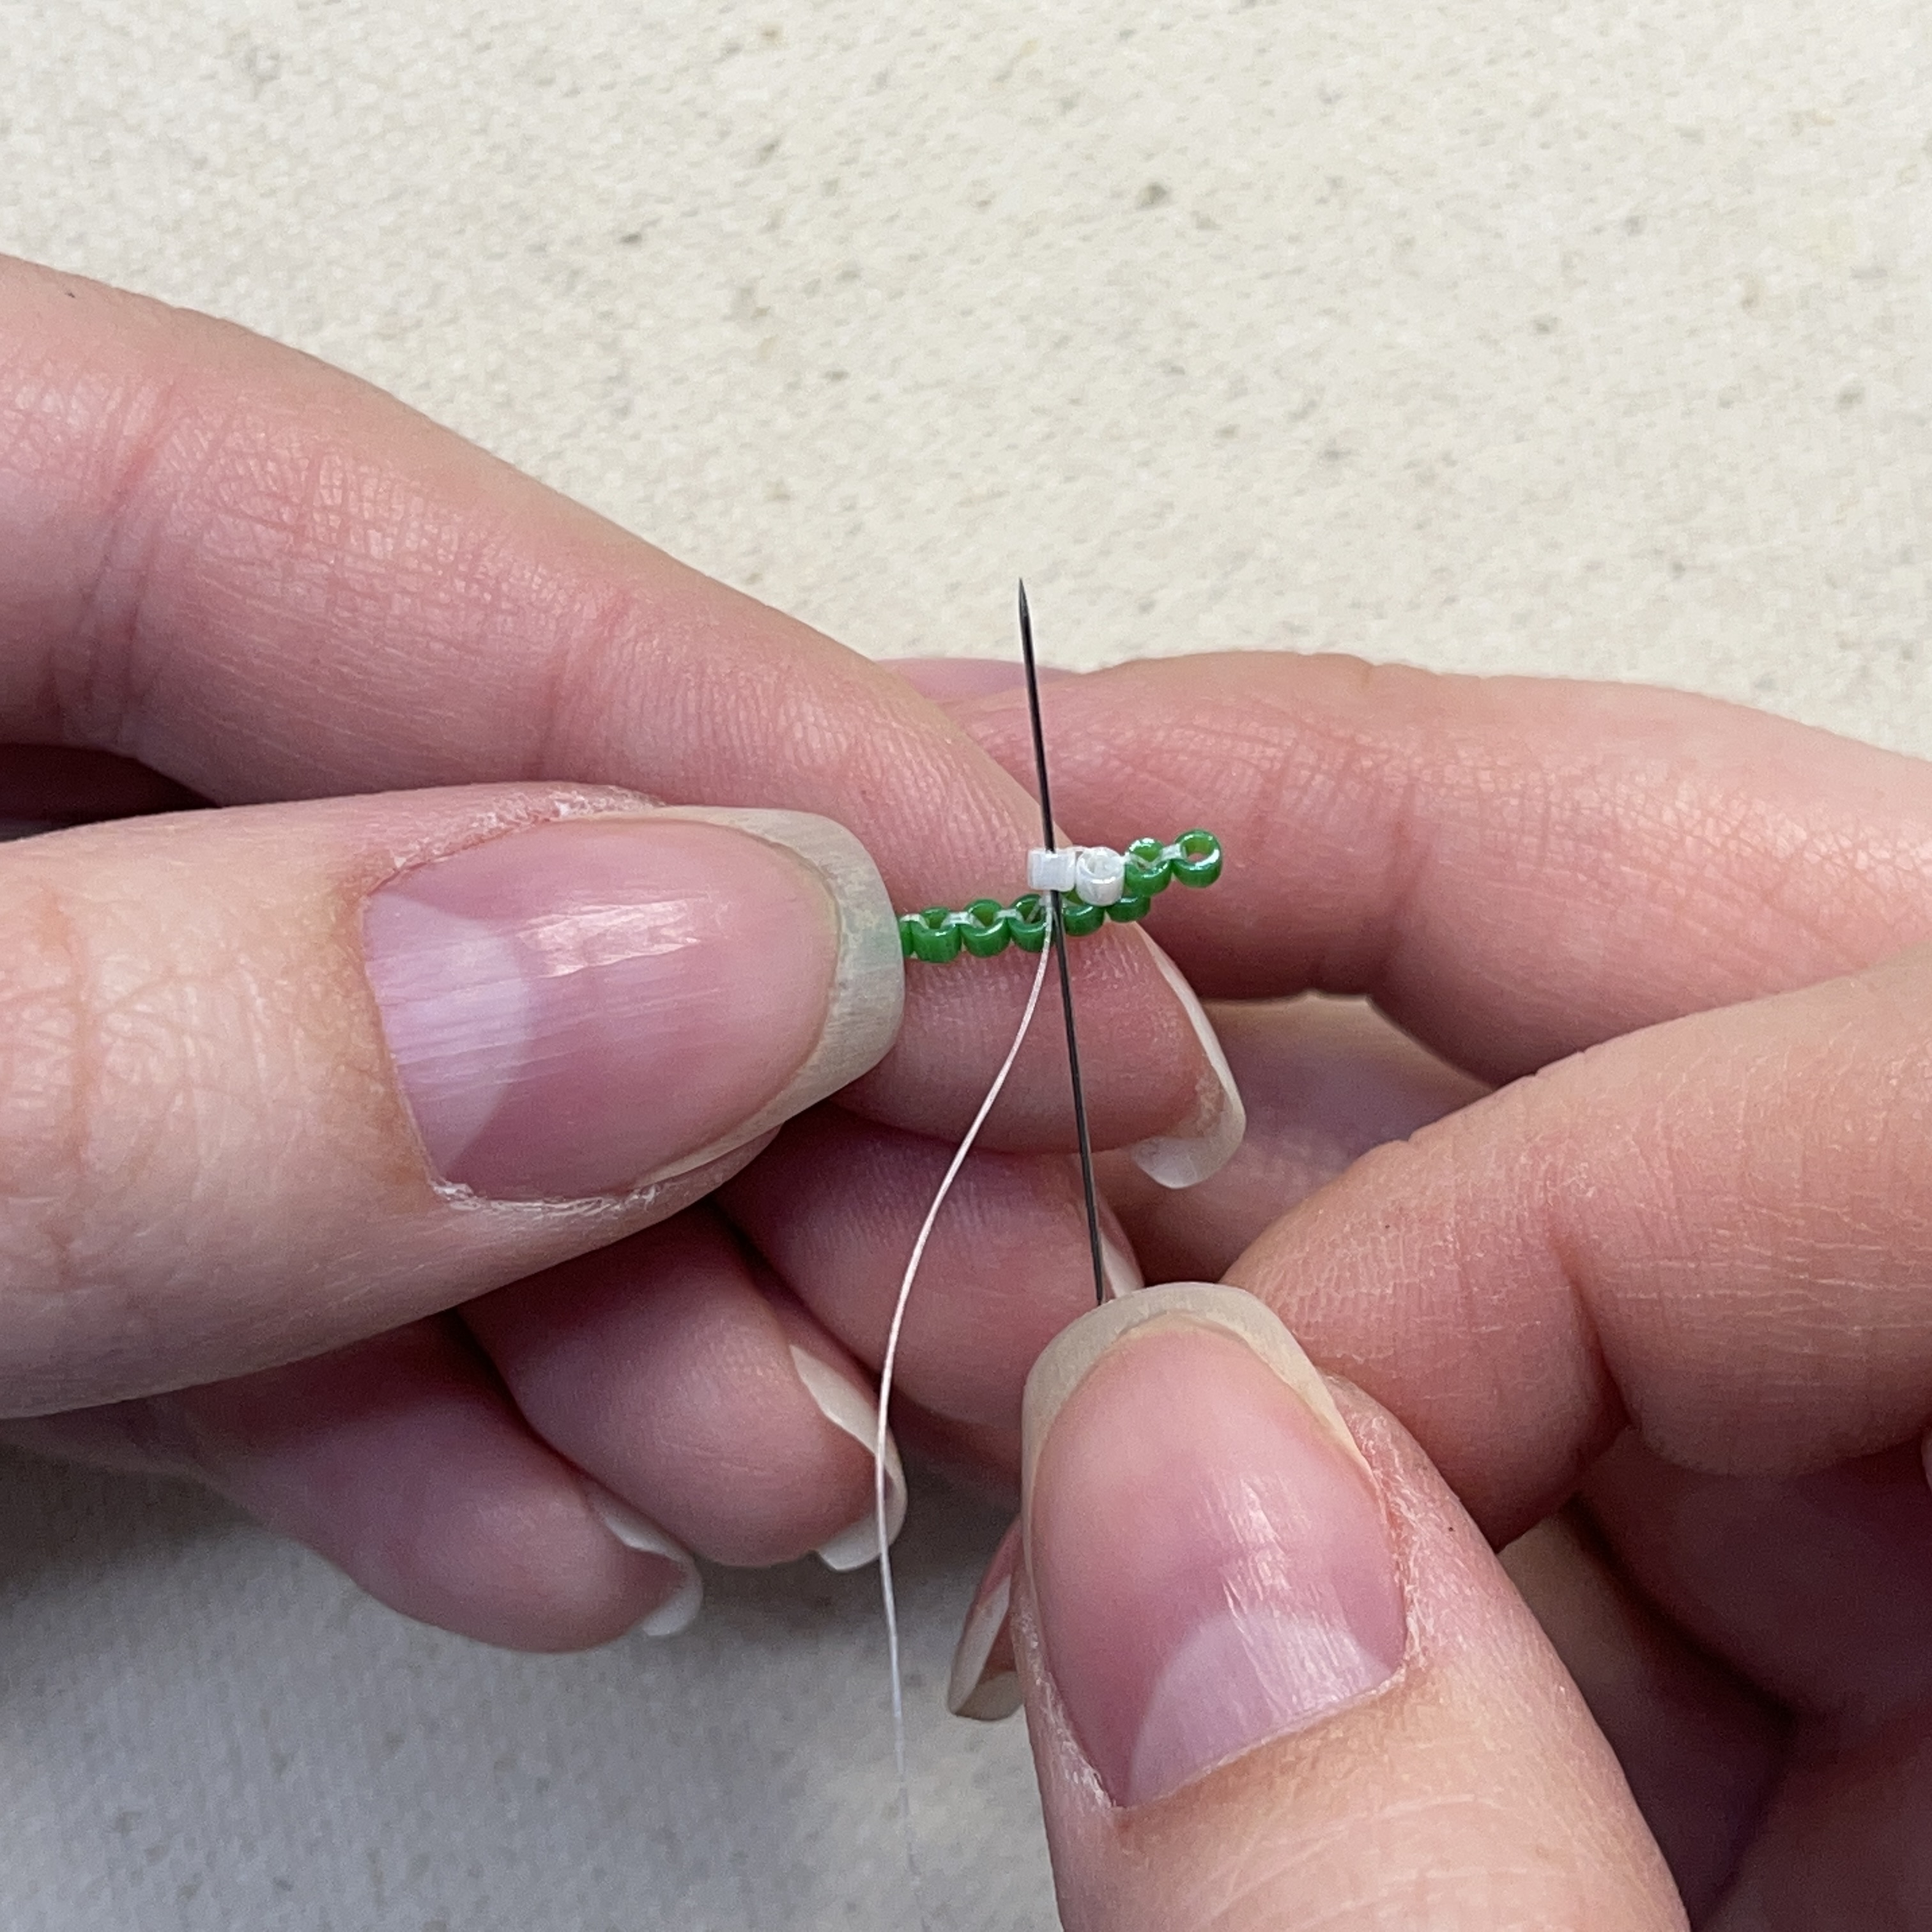
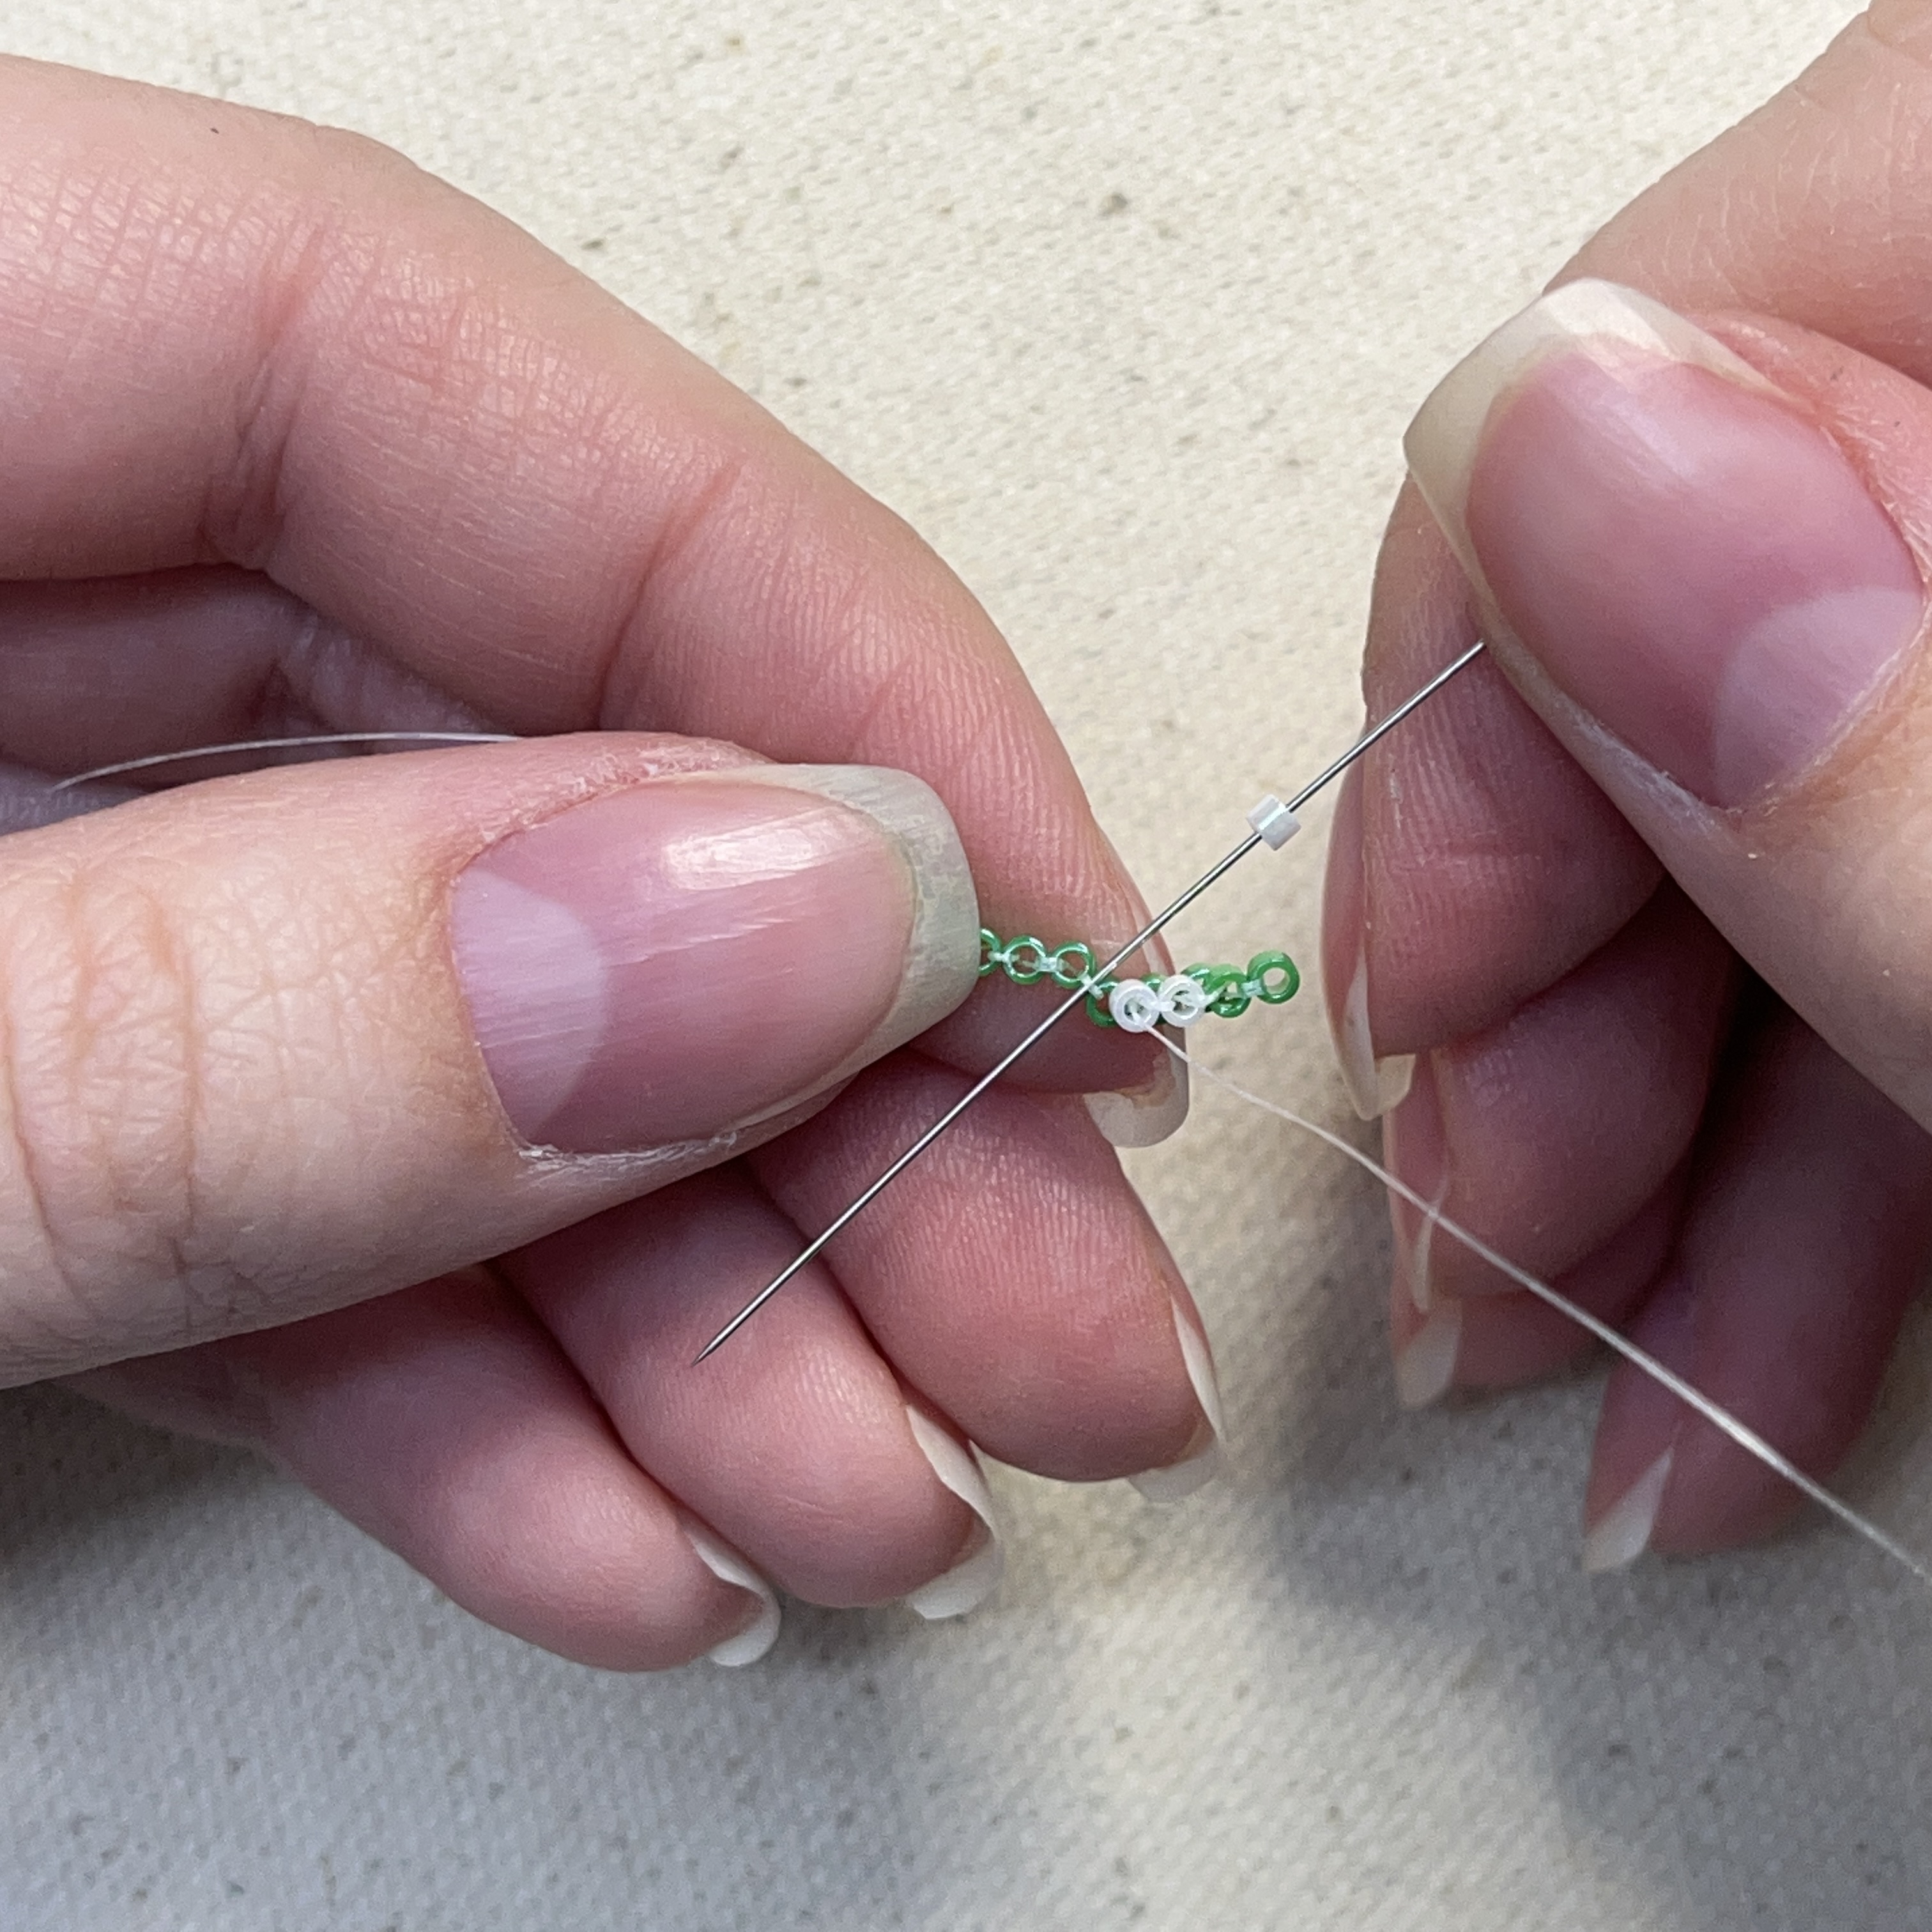
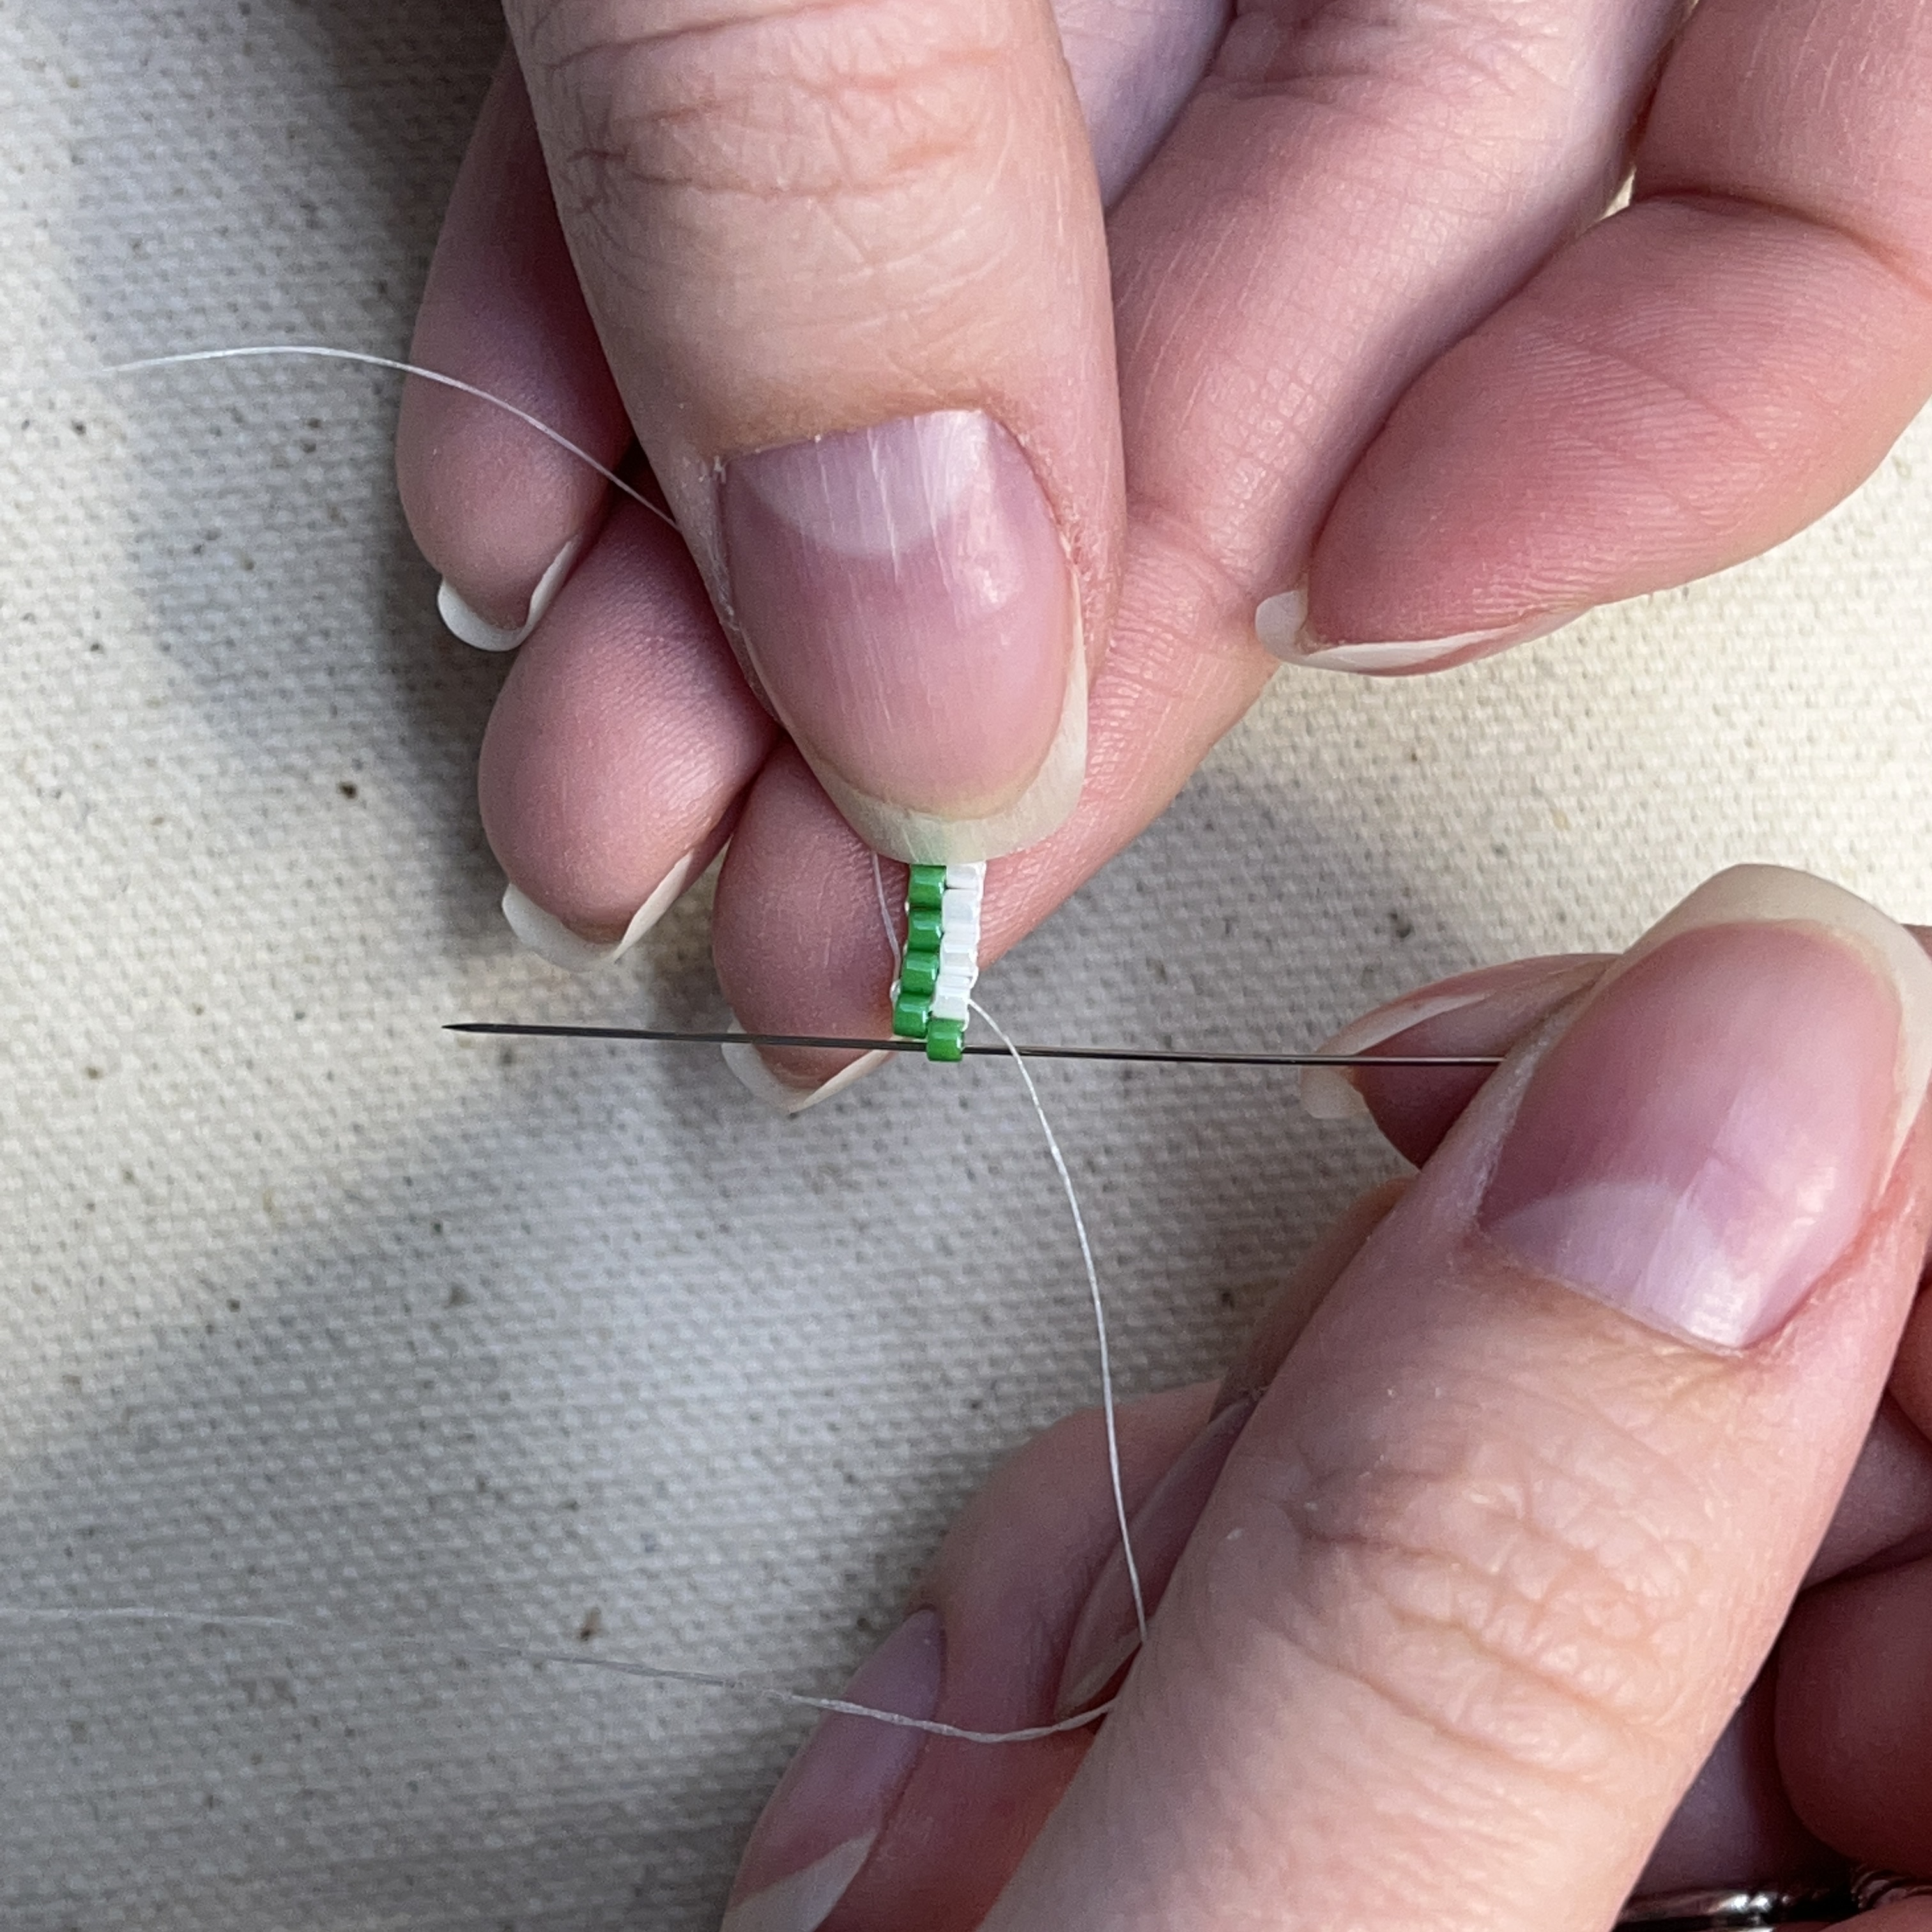
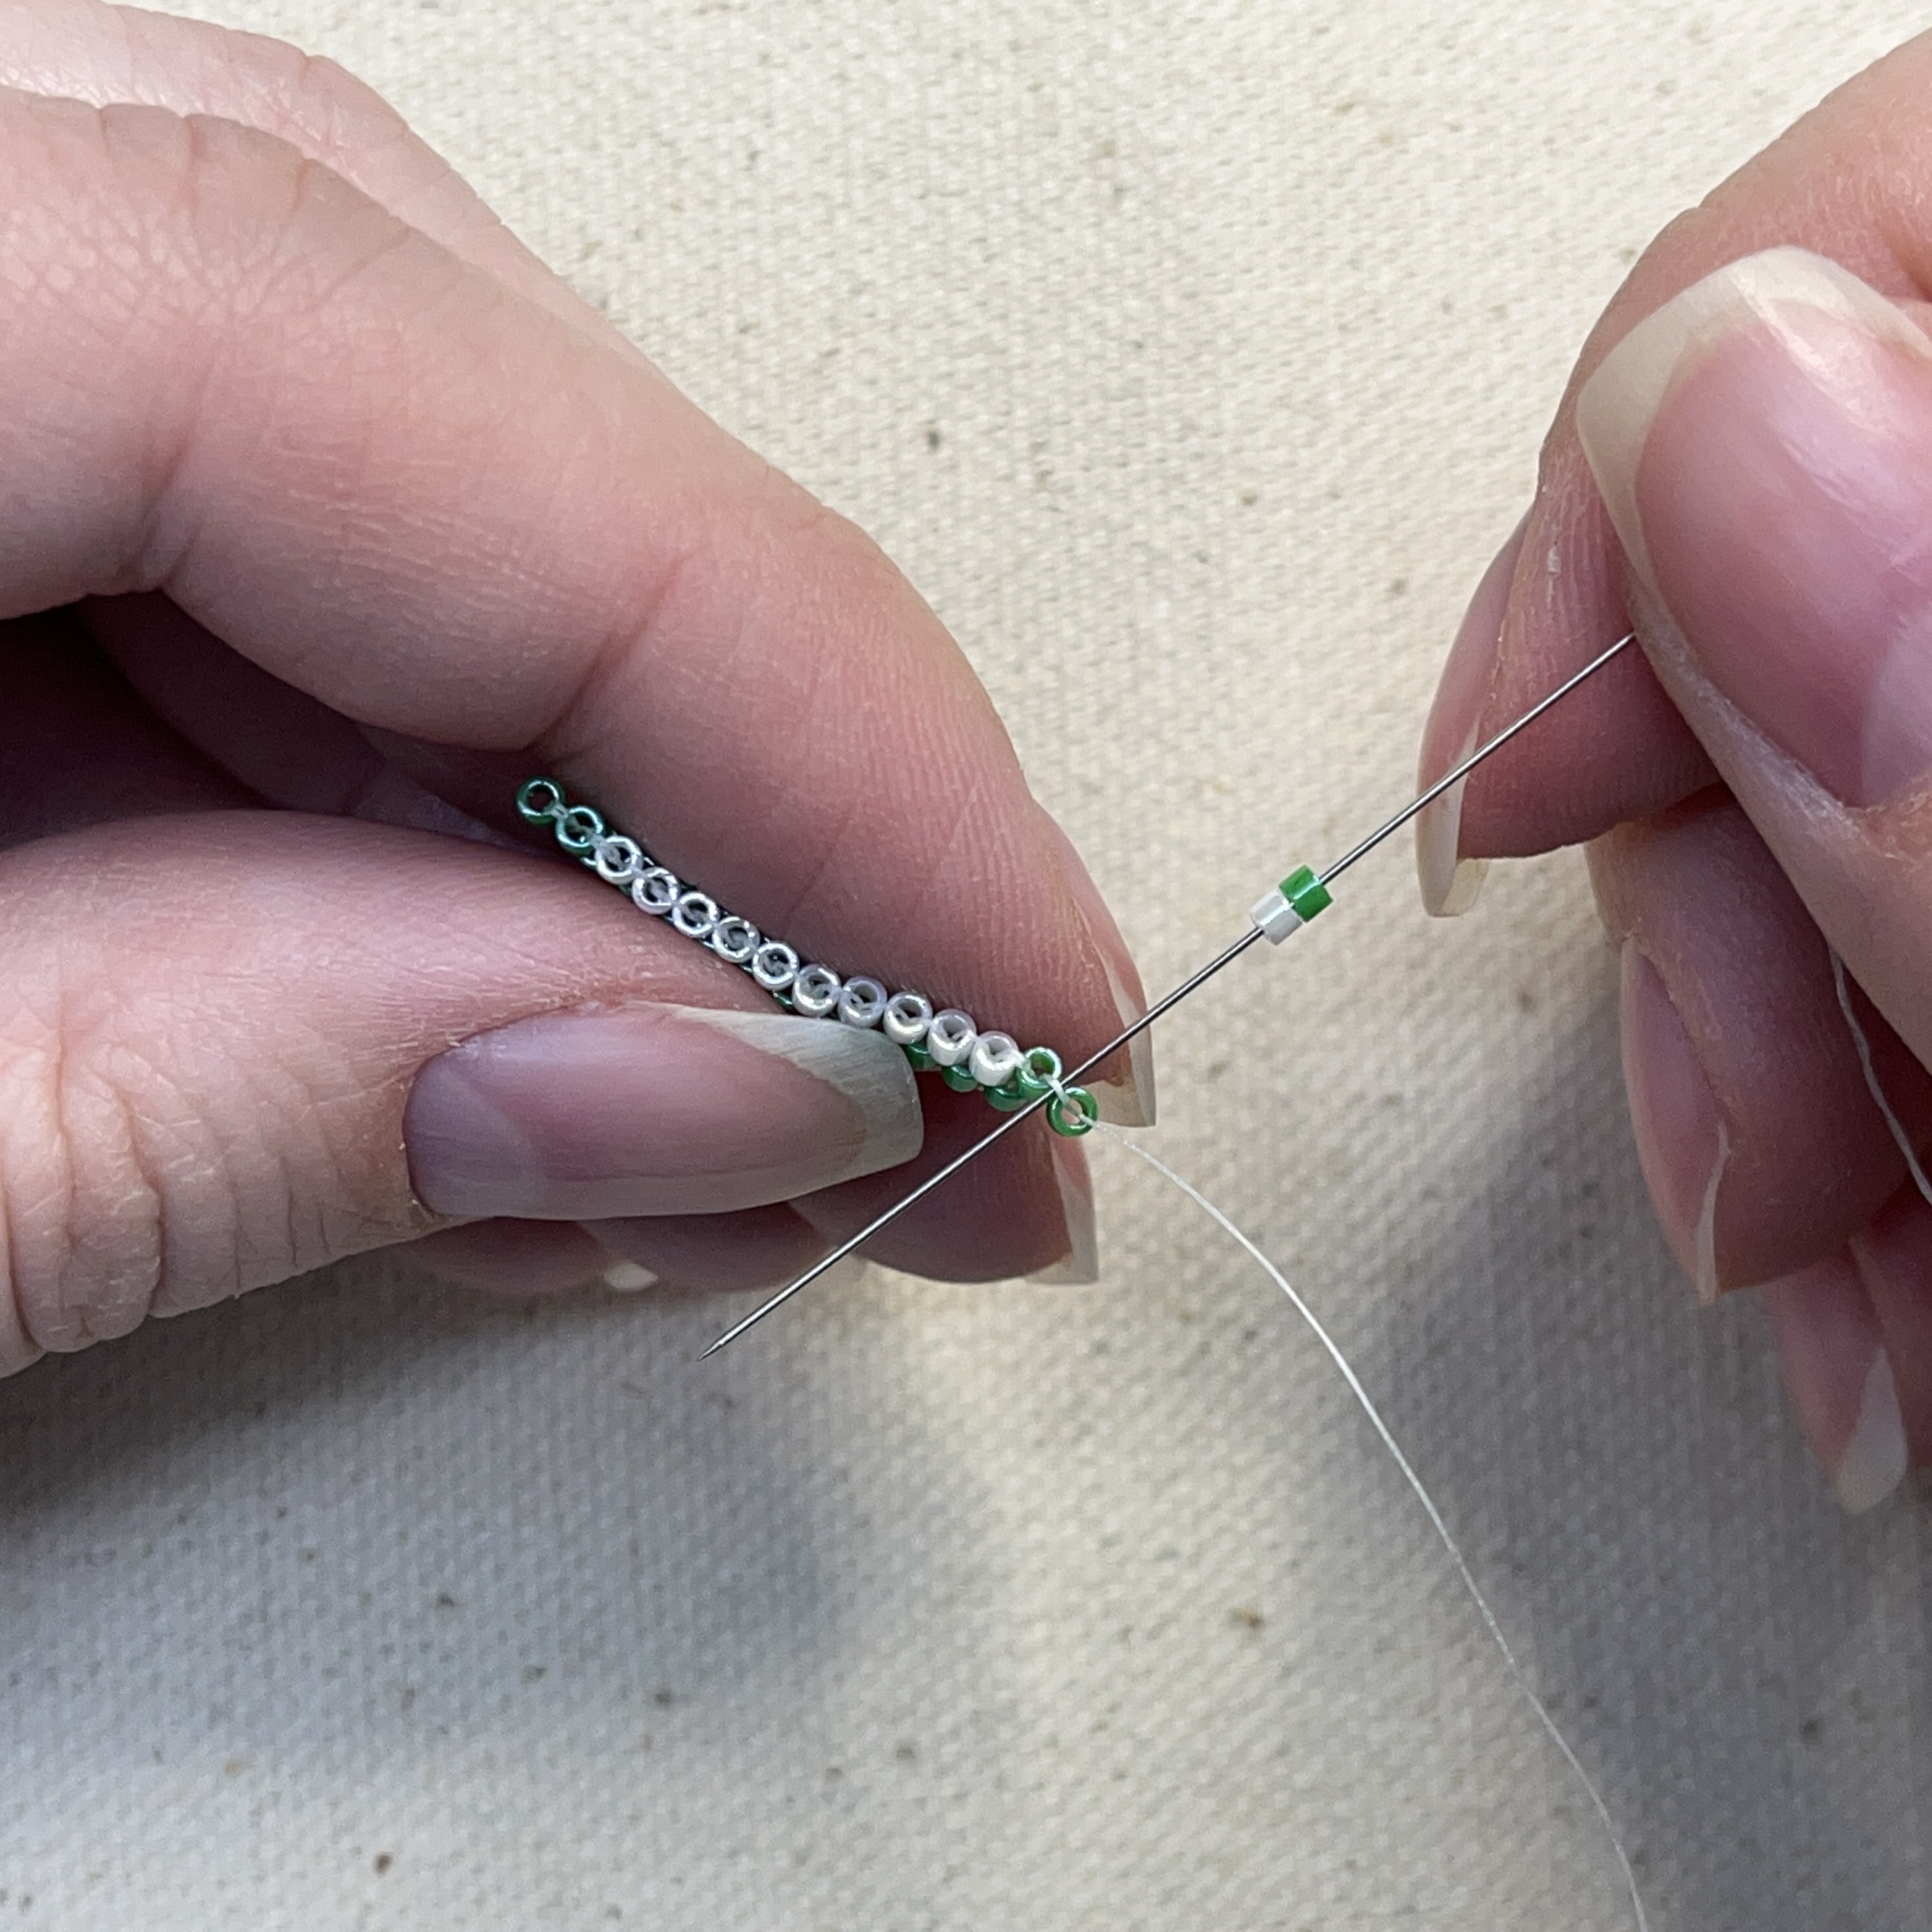
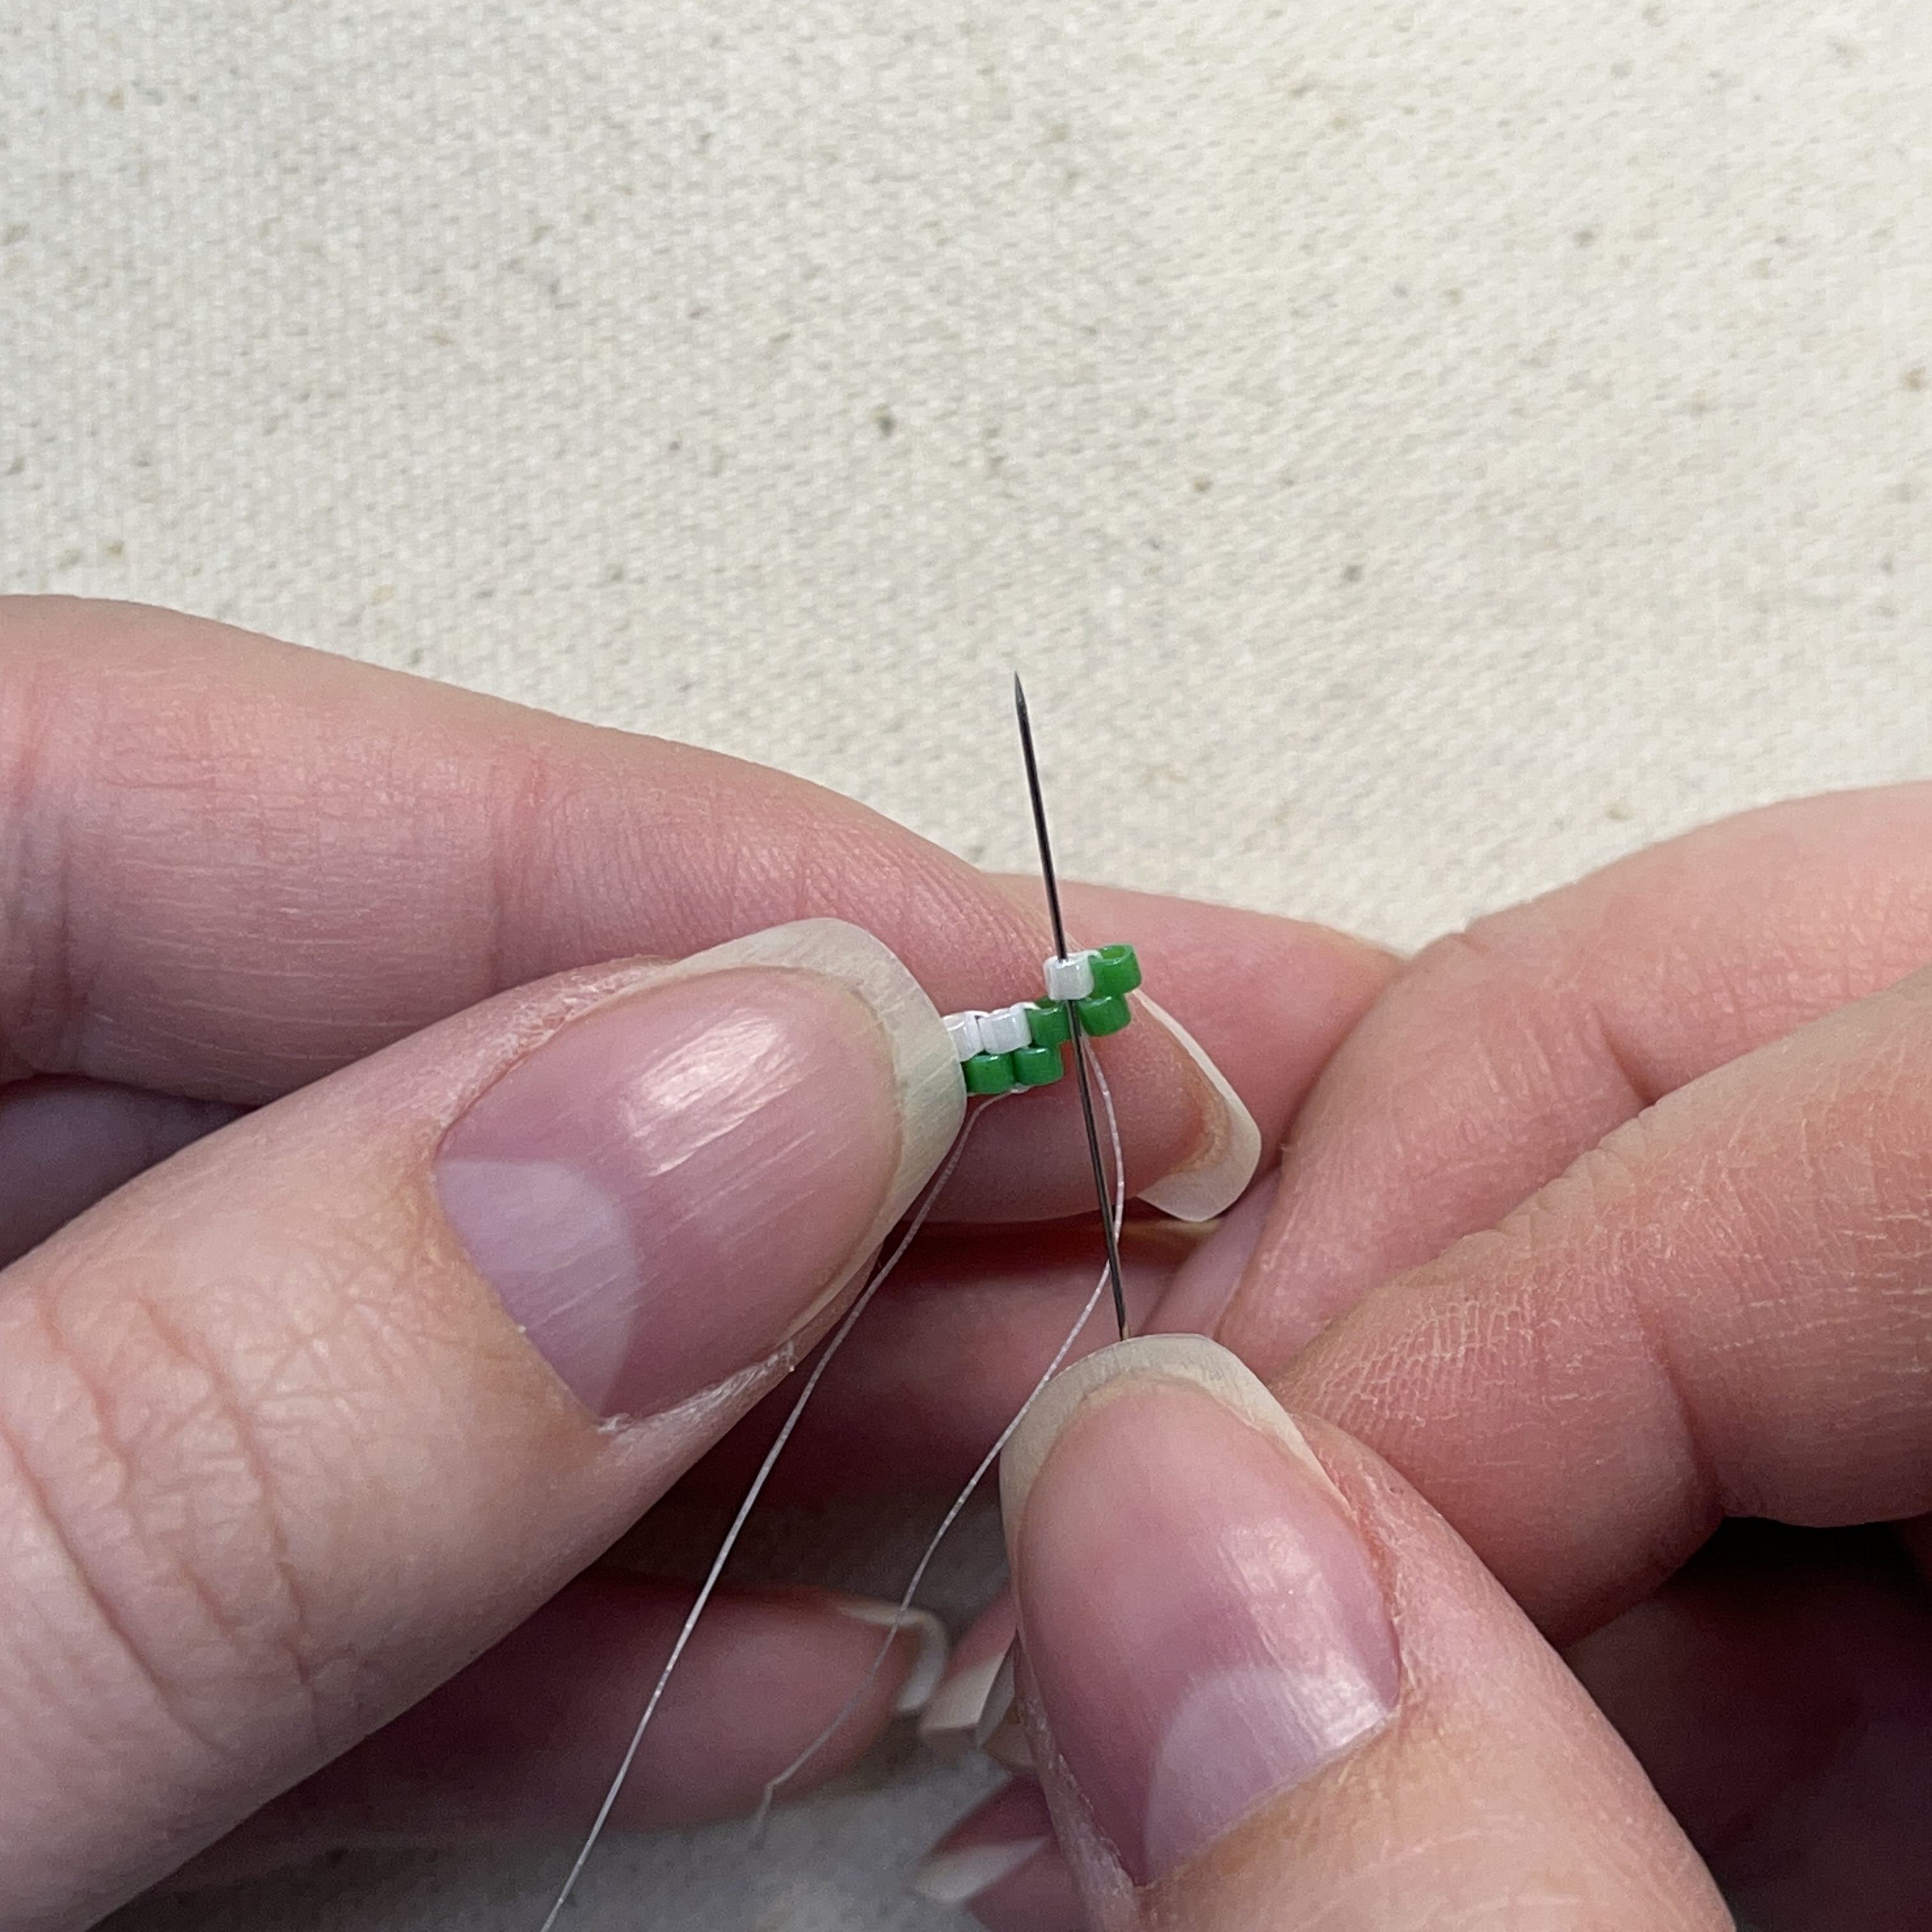
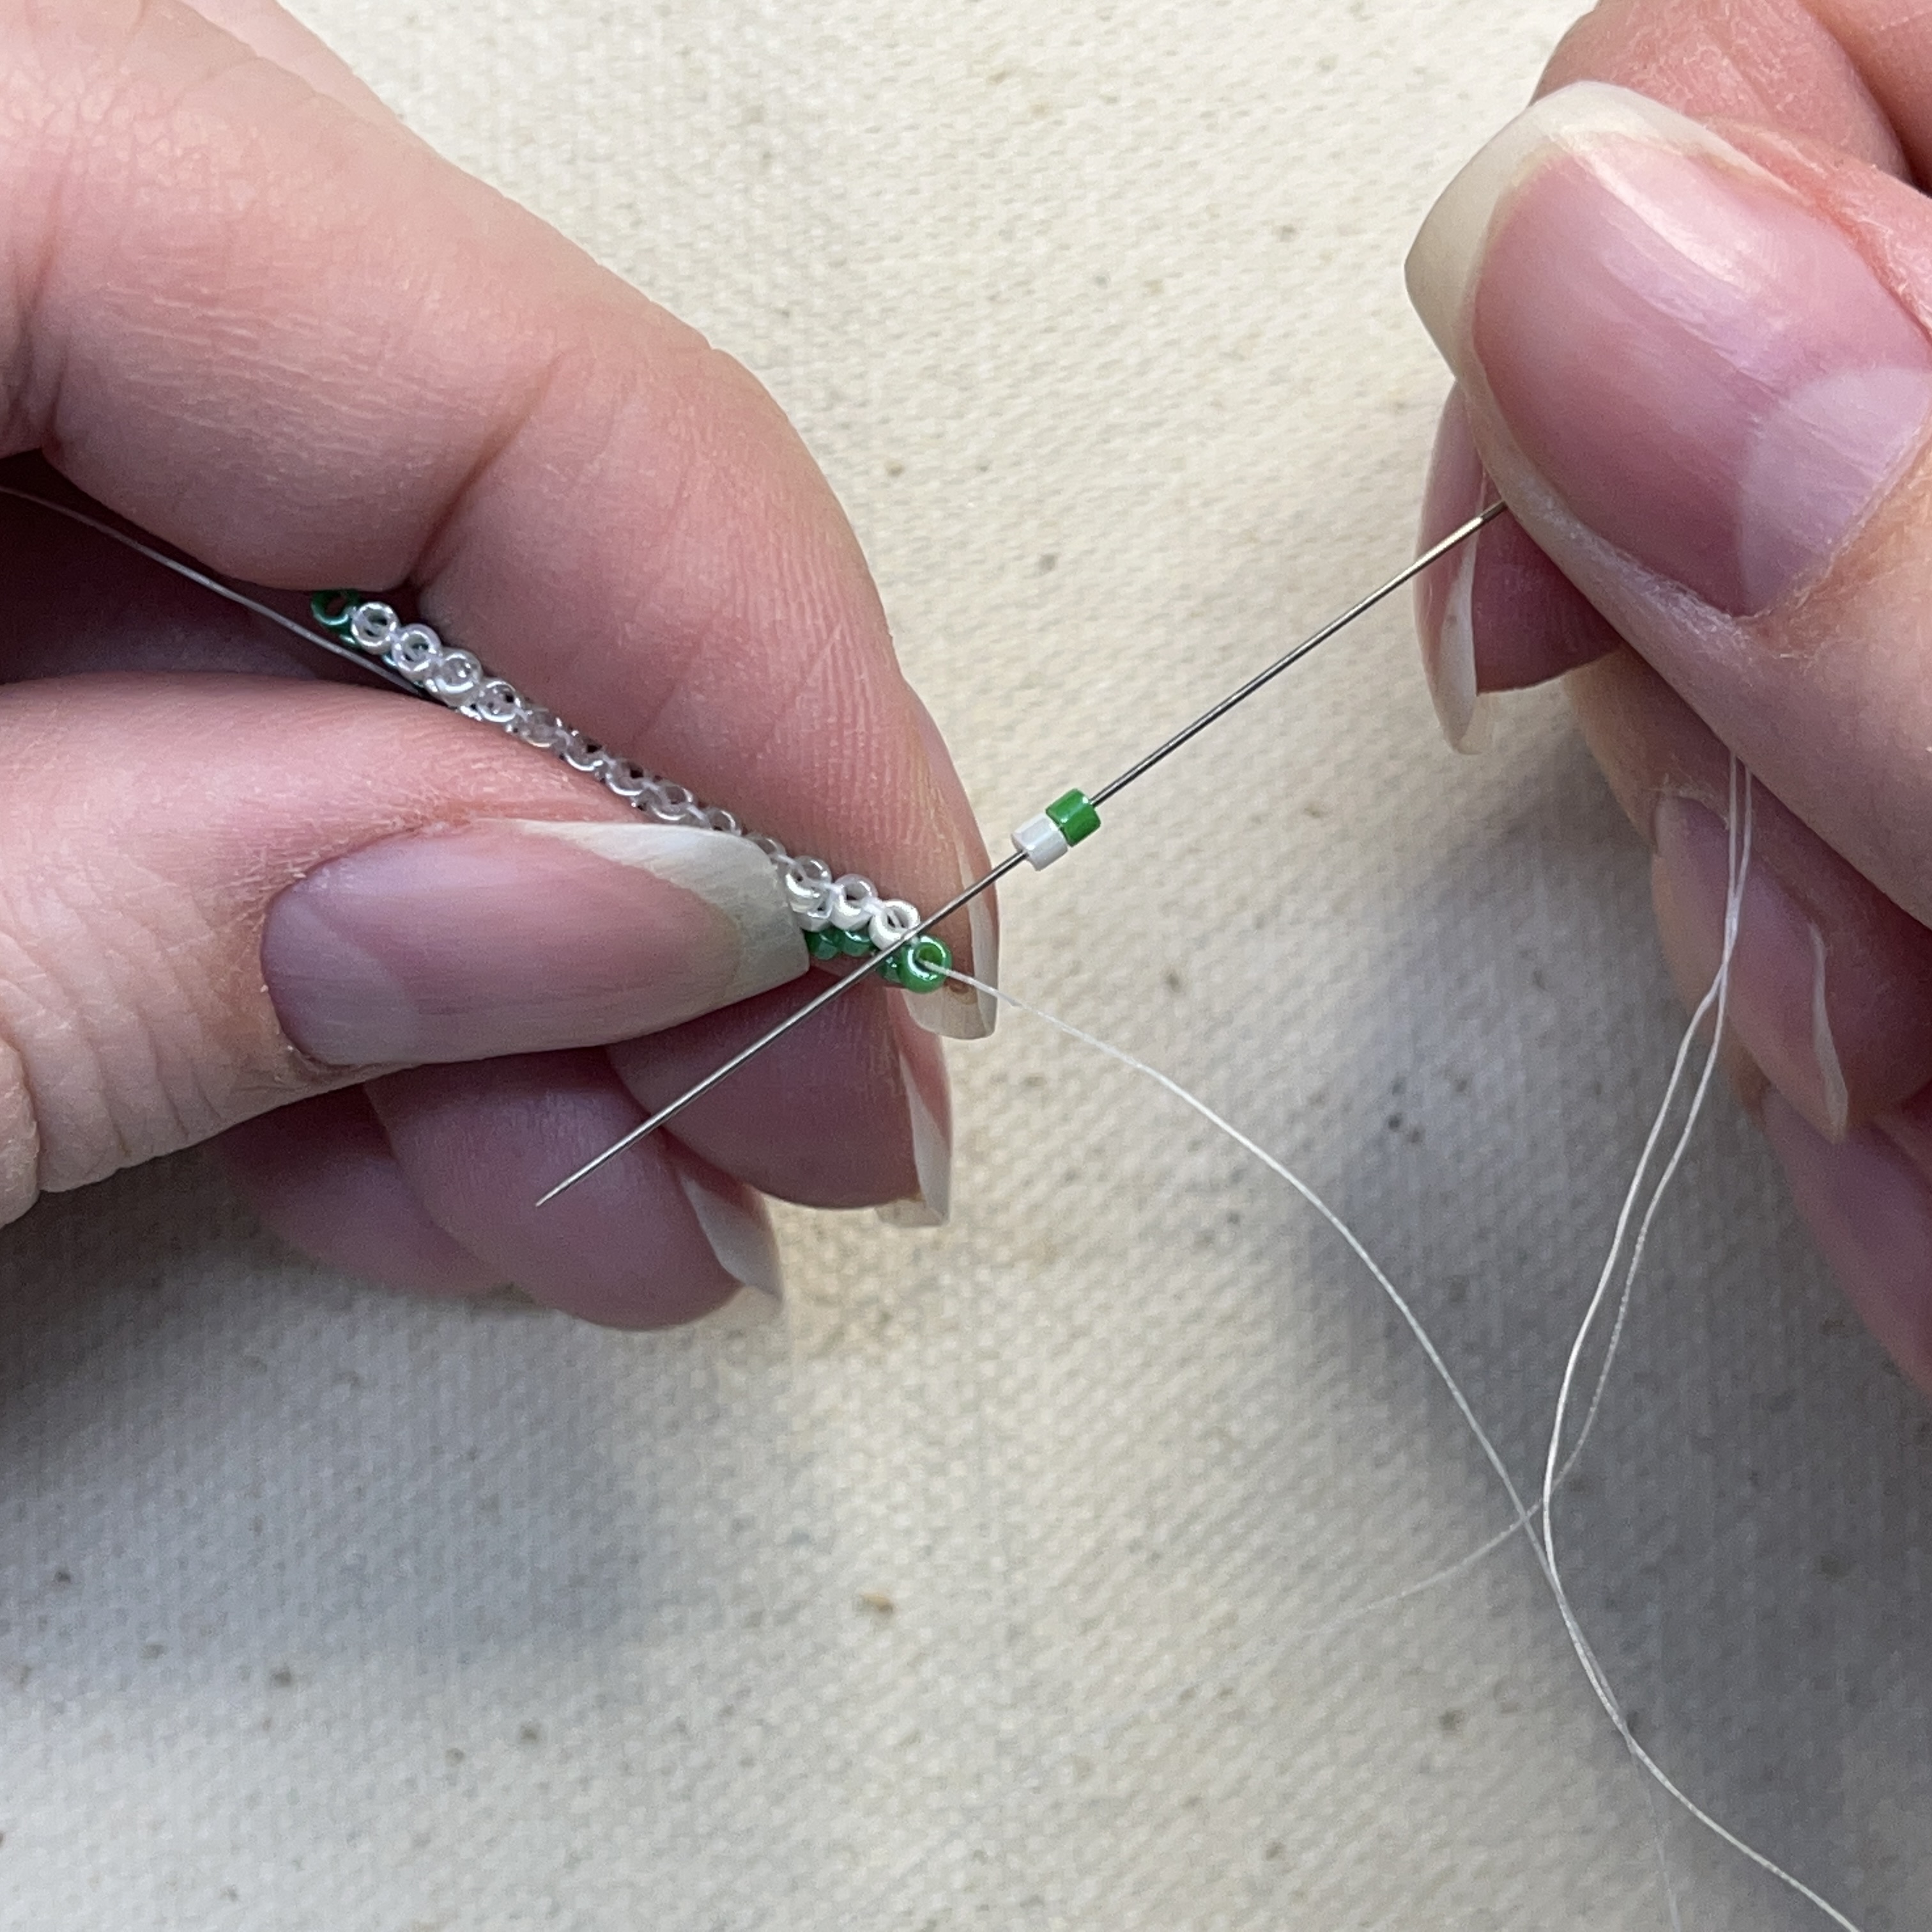
11. Holding the row like the picture above with the tail on the left, add a green and then a white bead onto your needle and then poke the needle through the thread holding the 2 beads on the far left together. Pull tight
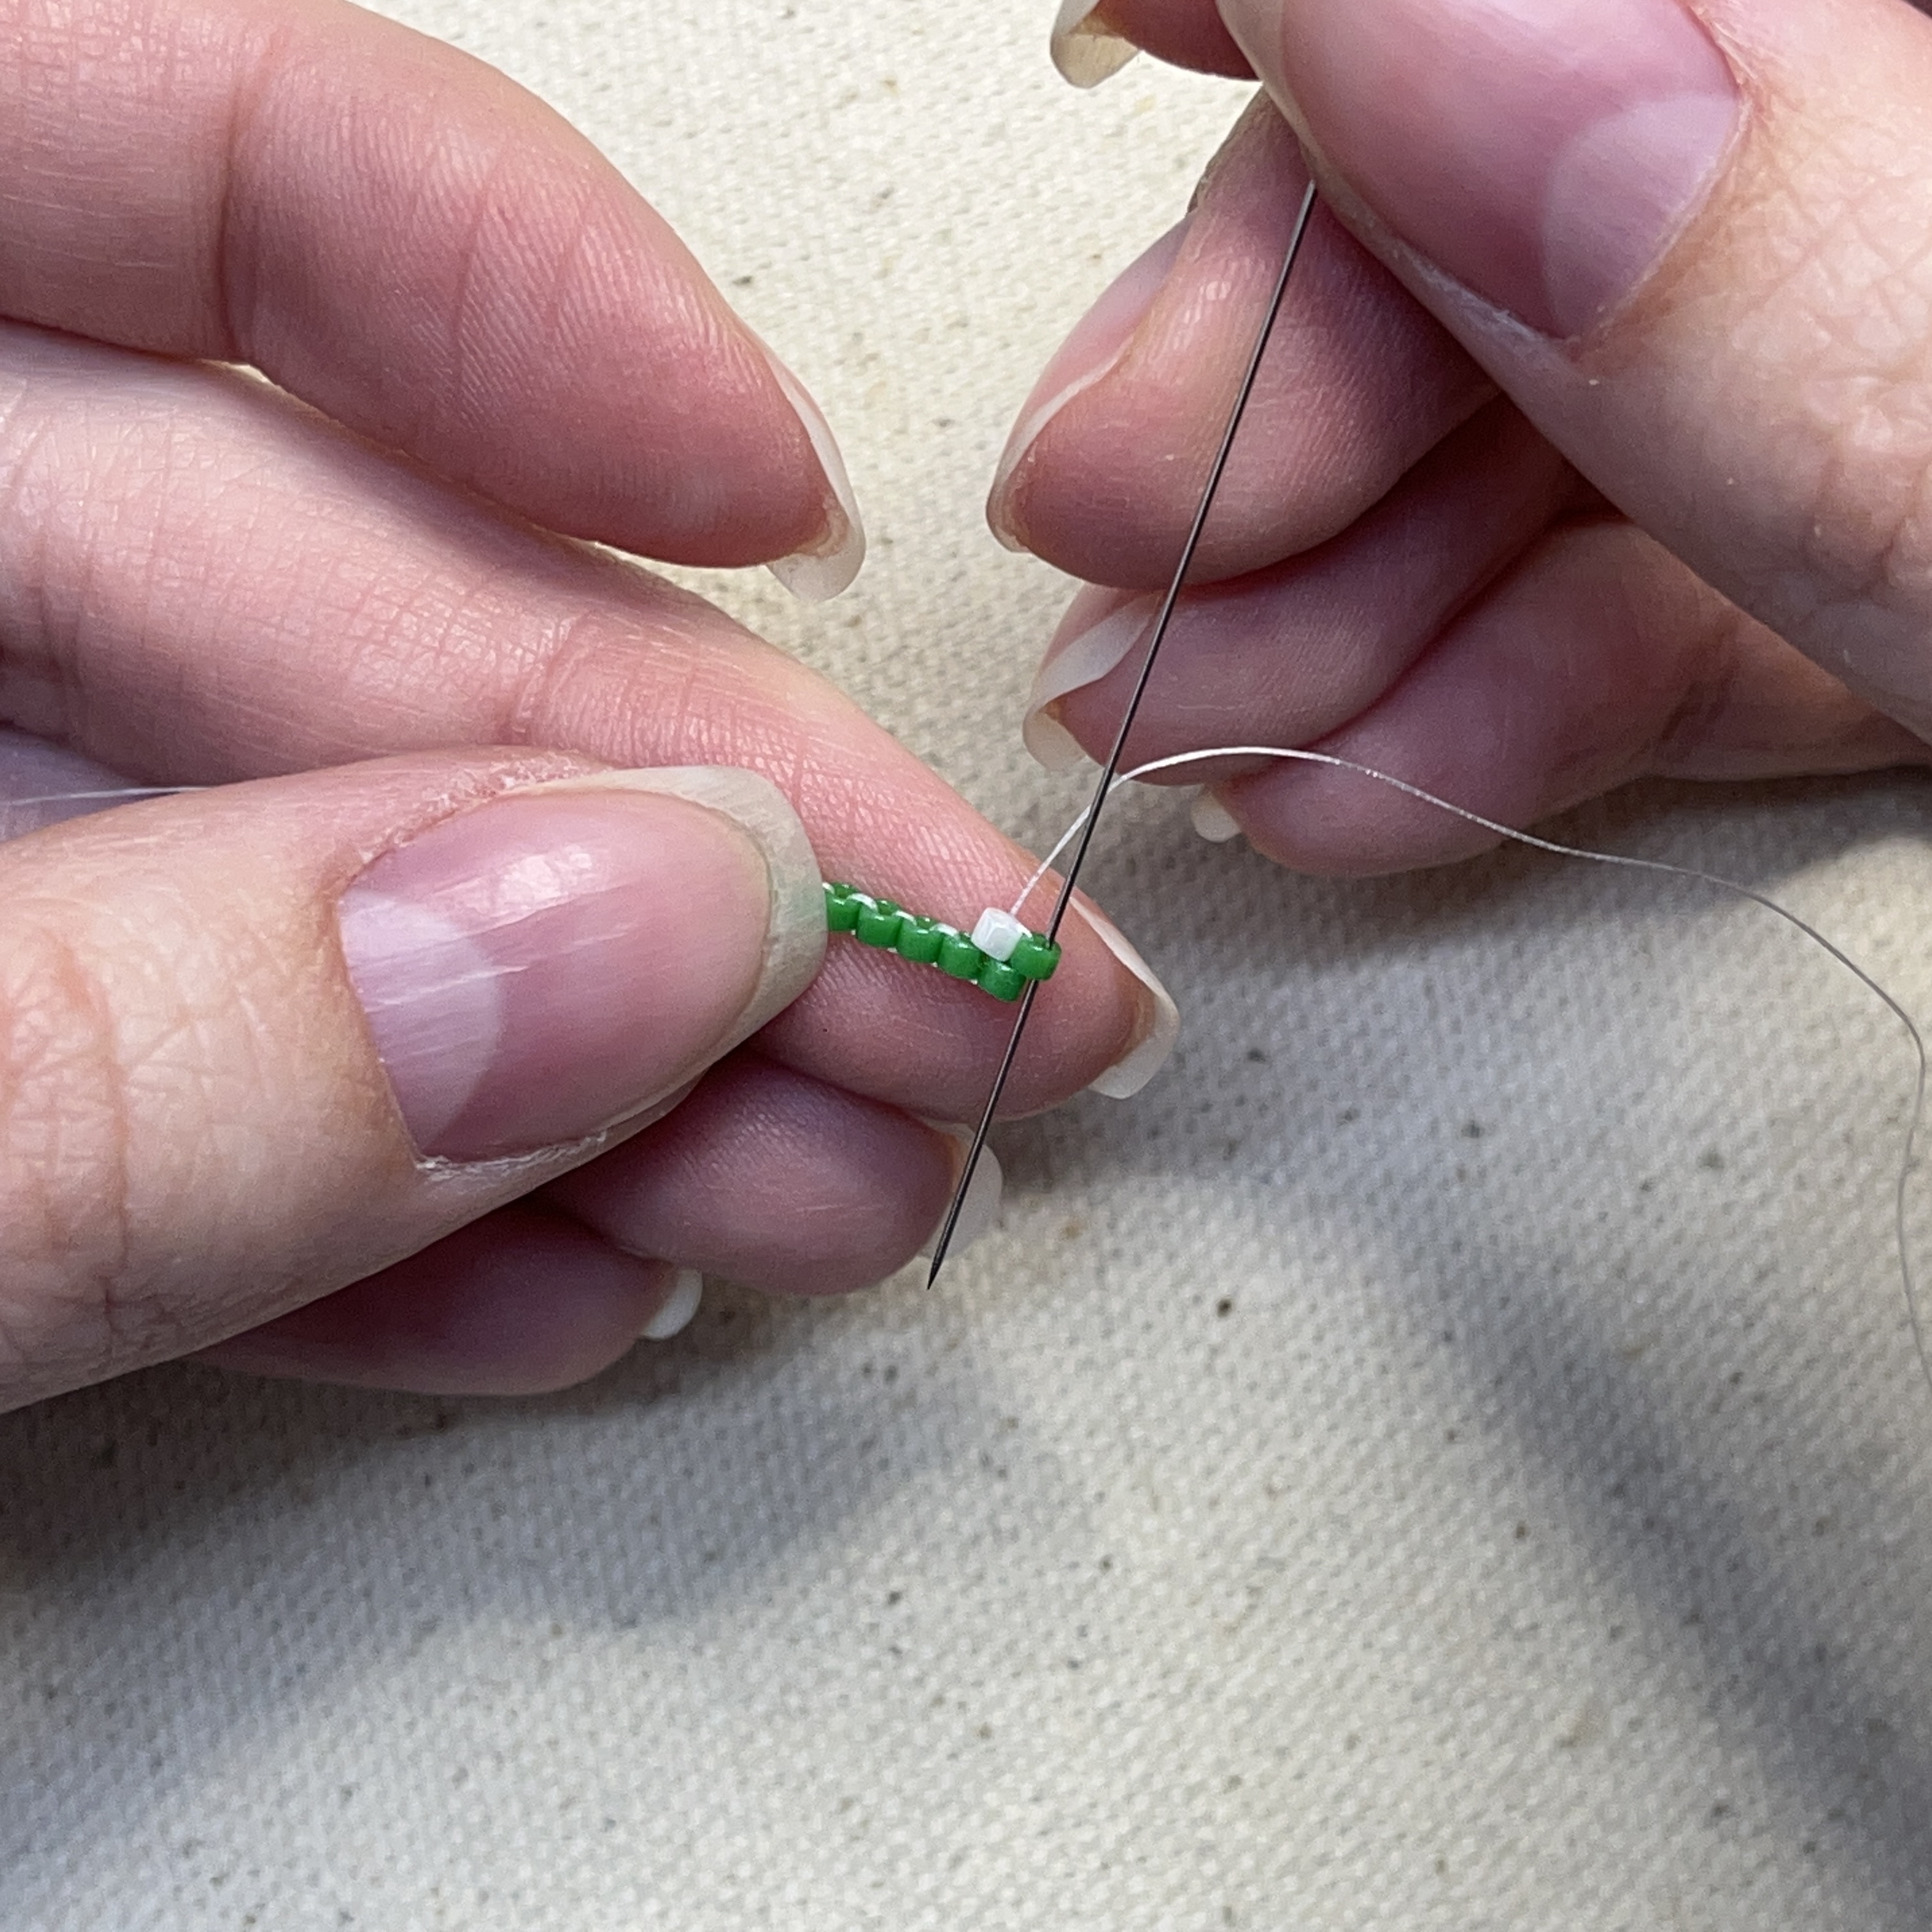
12. Thread the needle up through the white bead and pull tight
13. Thread the needle through the green bead shown above
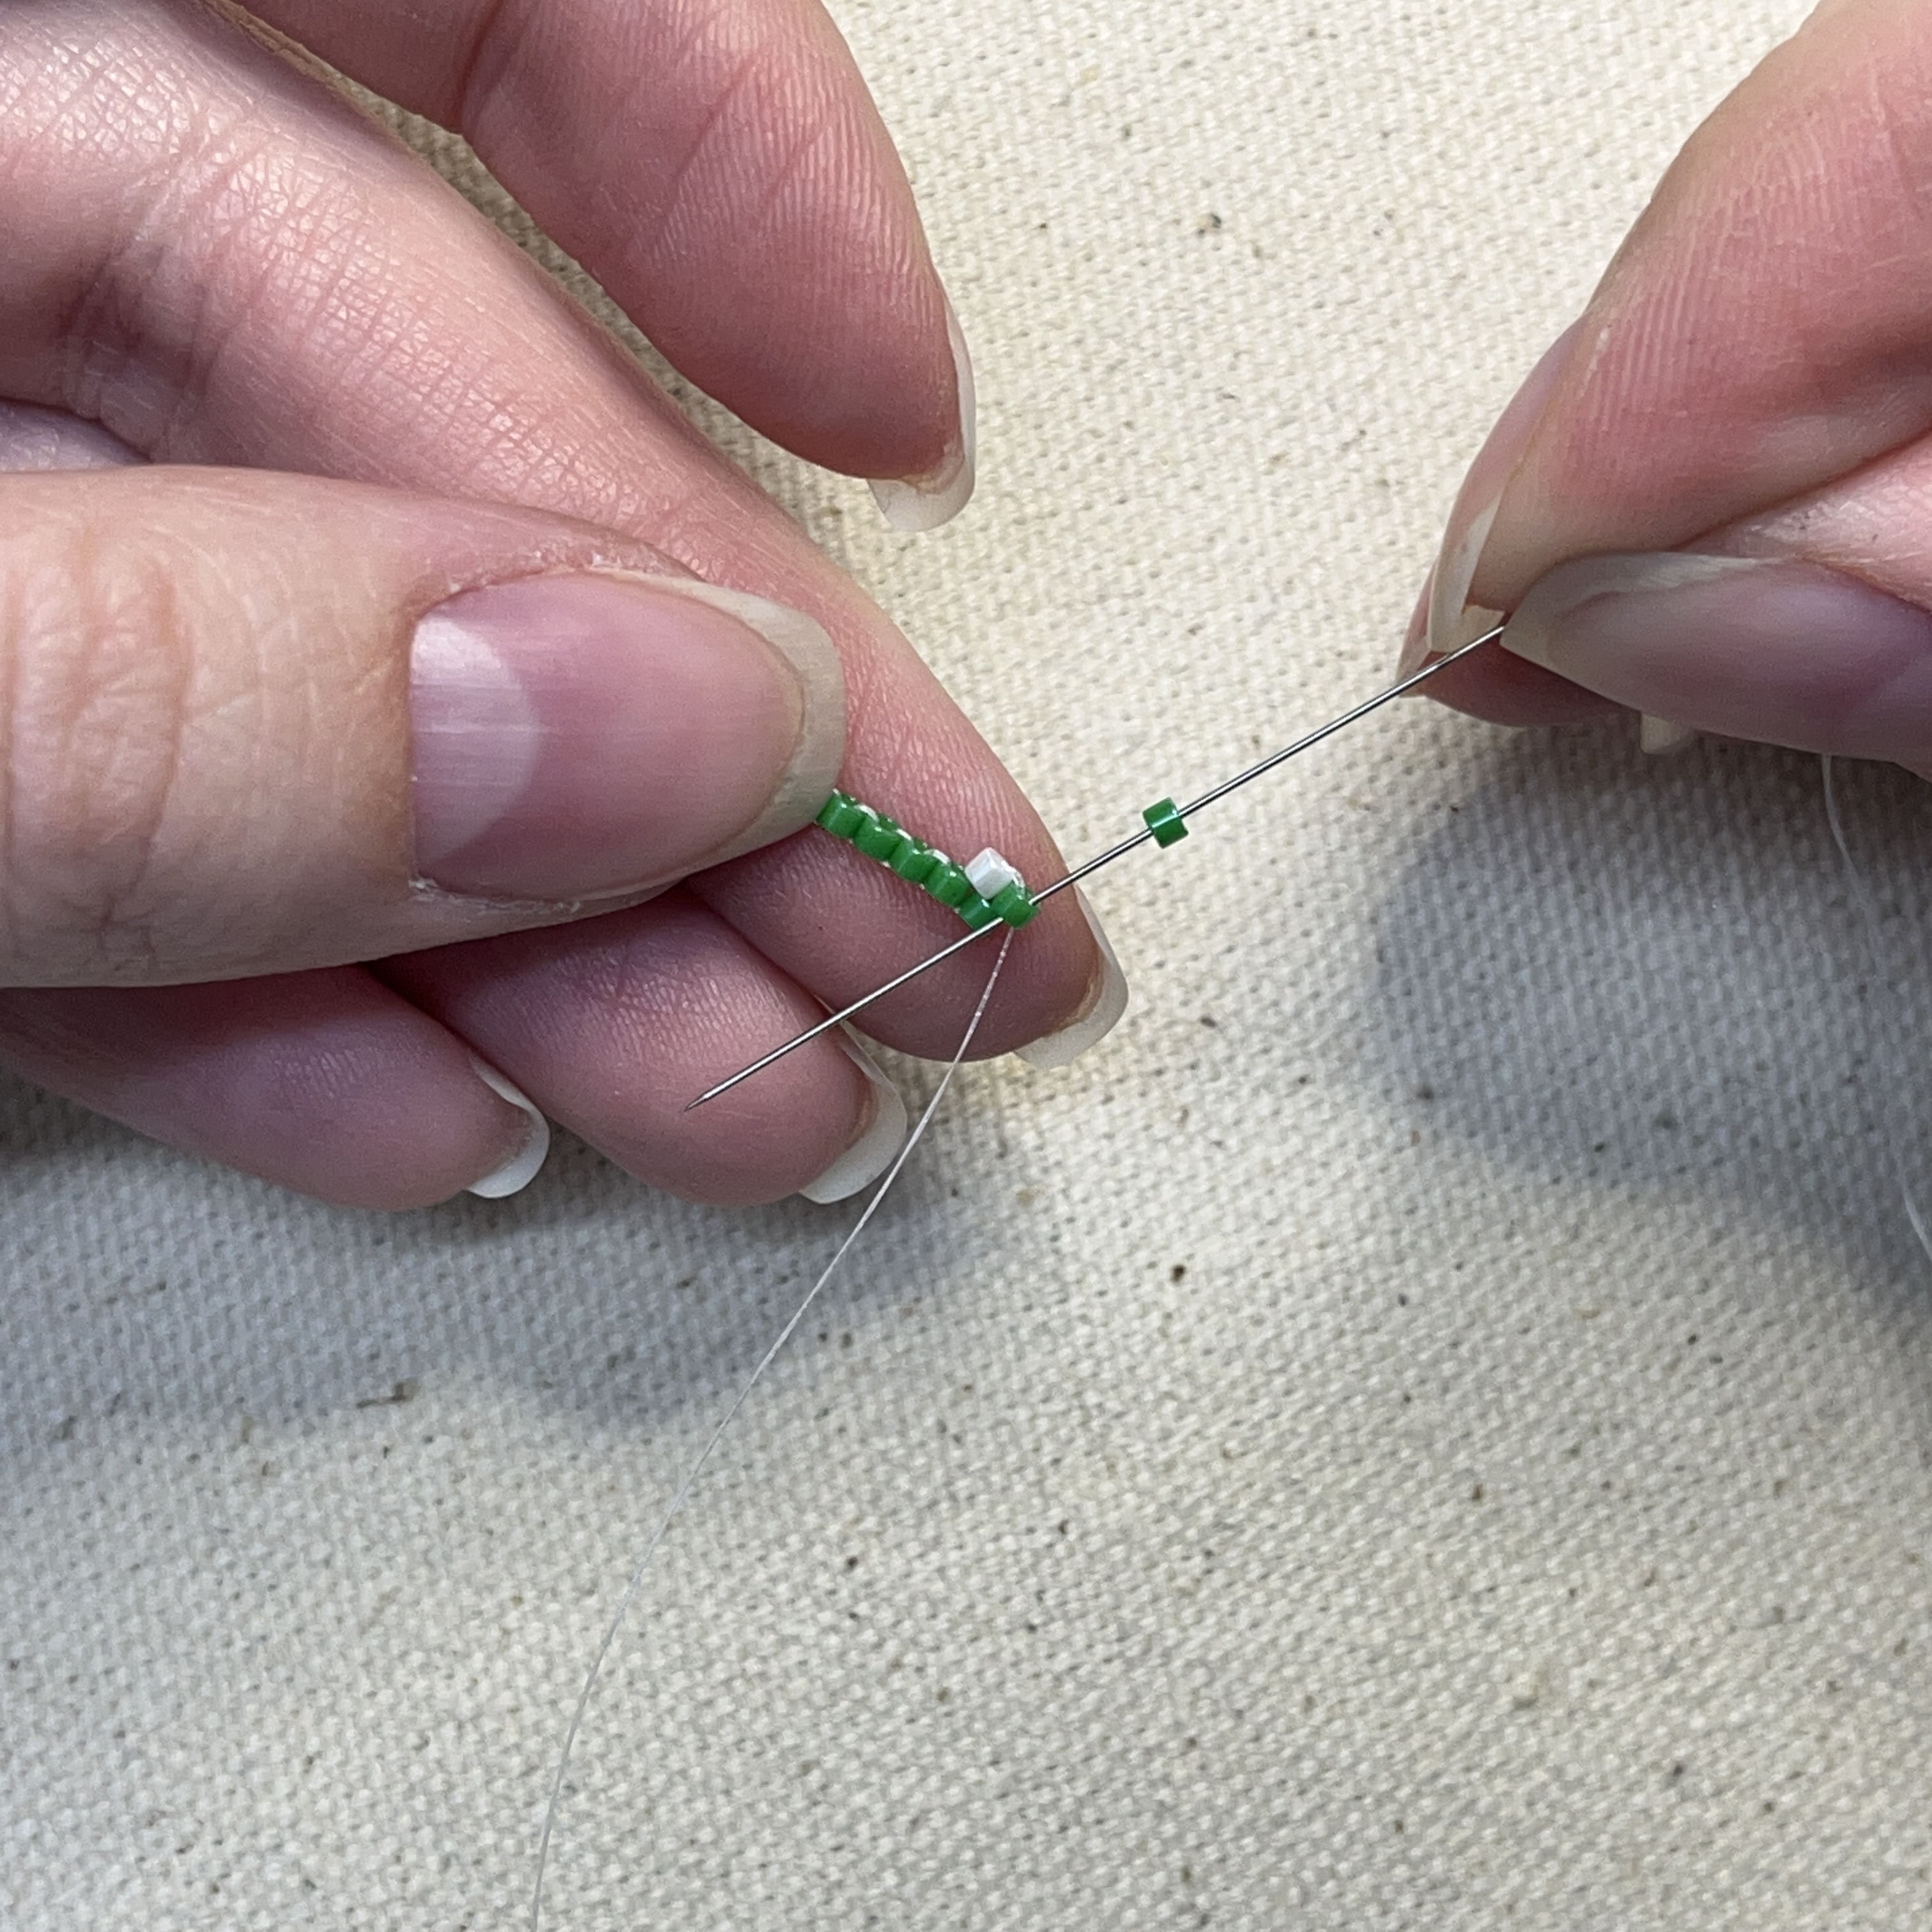
14. Add a green bead and thread the needle down through the bead shown above
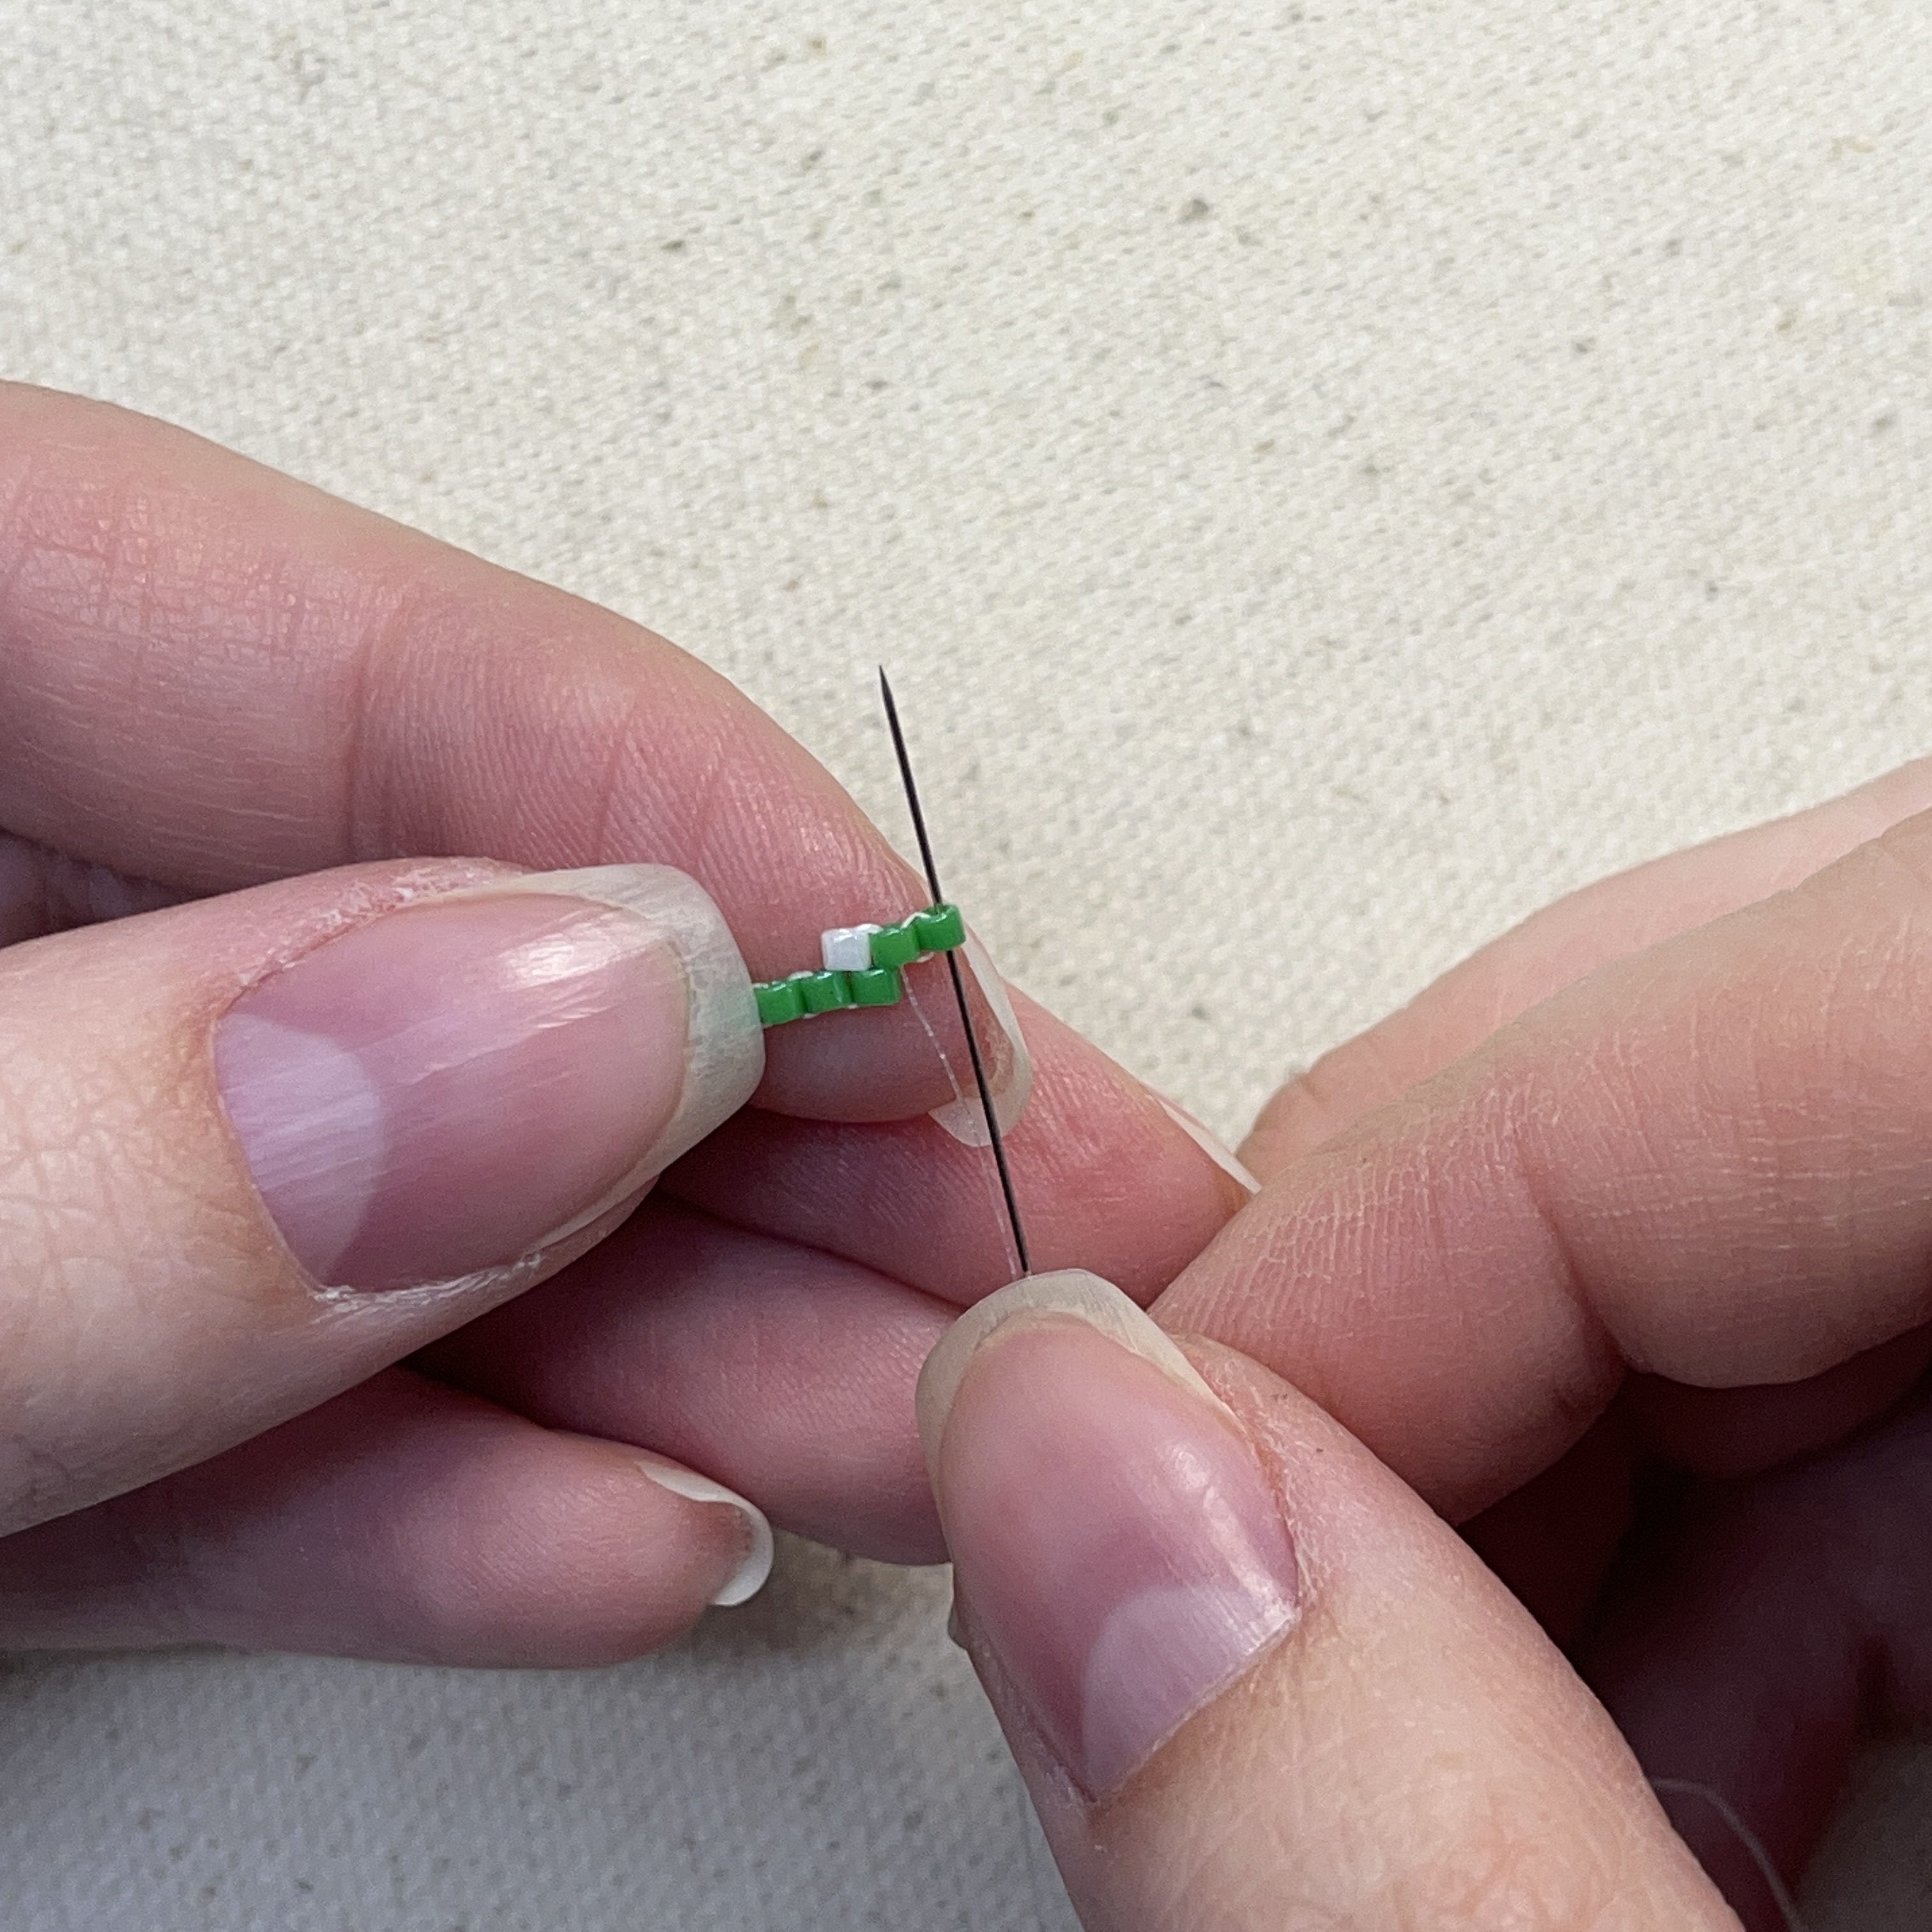
15. We'll secure the bead you just added by threading up through it
16. Then thread through the two beads diagonally shown above
17. Thread the needle up diagonally through the bead directly to the left and up through the white bead, now we are back on track for the brick stitch
18. Add a white bead to your needle and through the thread shown above
19. Thread the needle up through the bead you just added
20. Repeat by adding a white bead to your needle and through the thread shown above
21. Thread the needle up through the bead you just added and pull tight
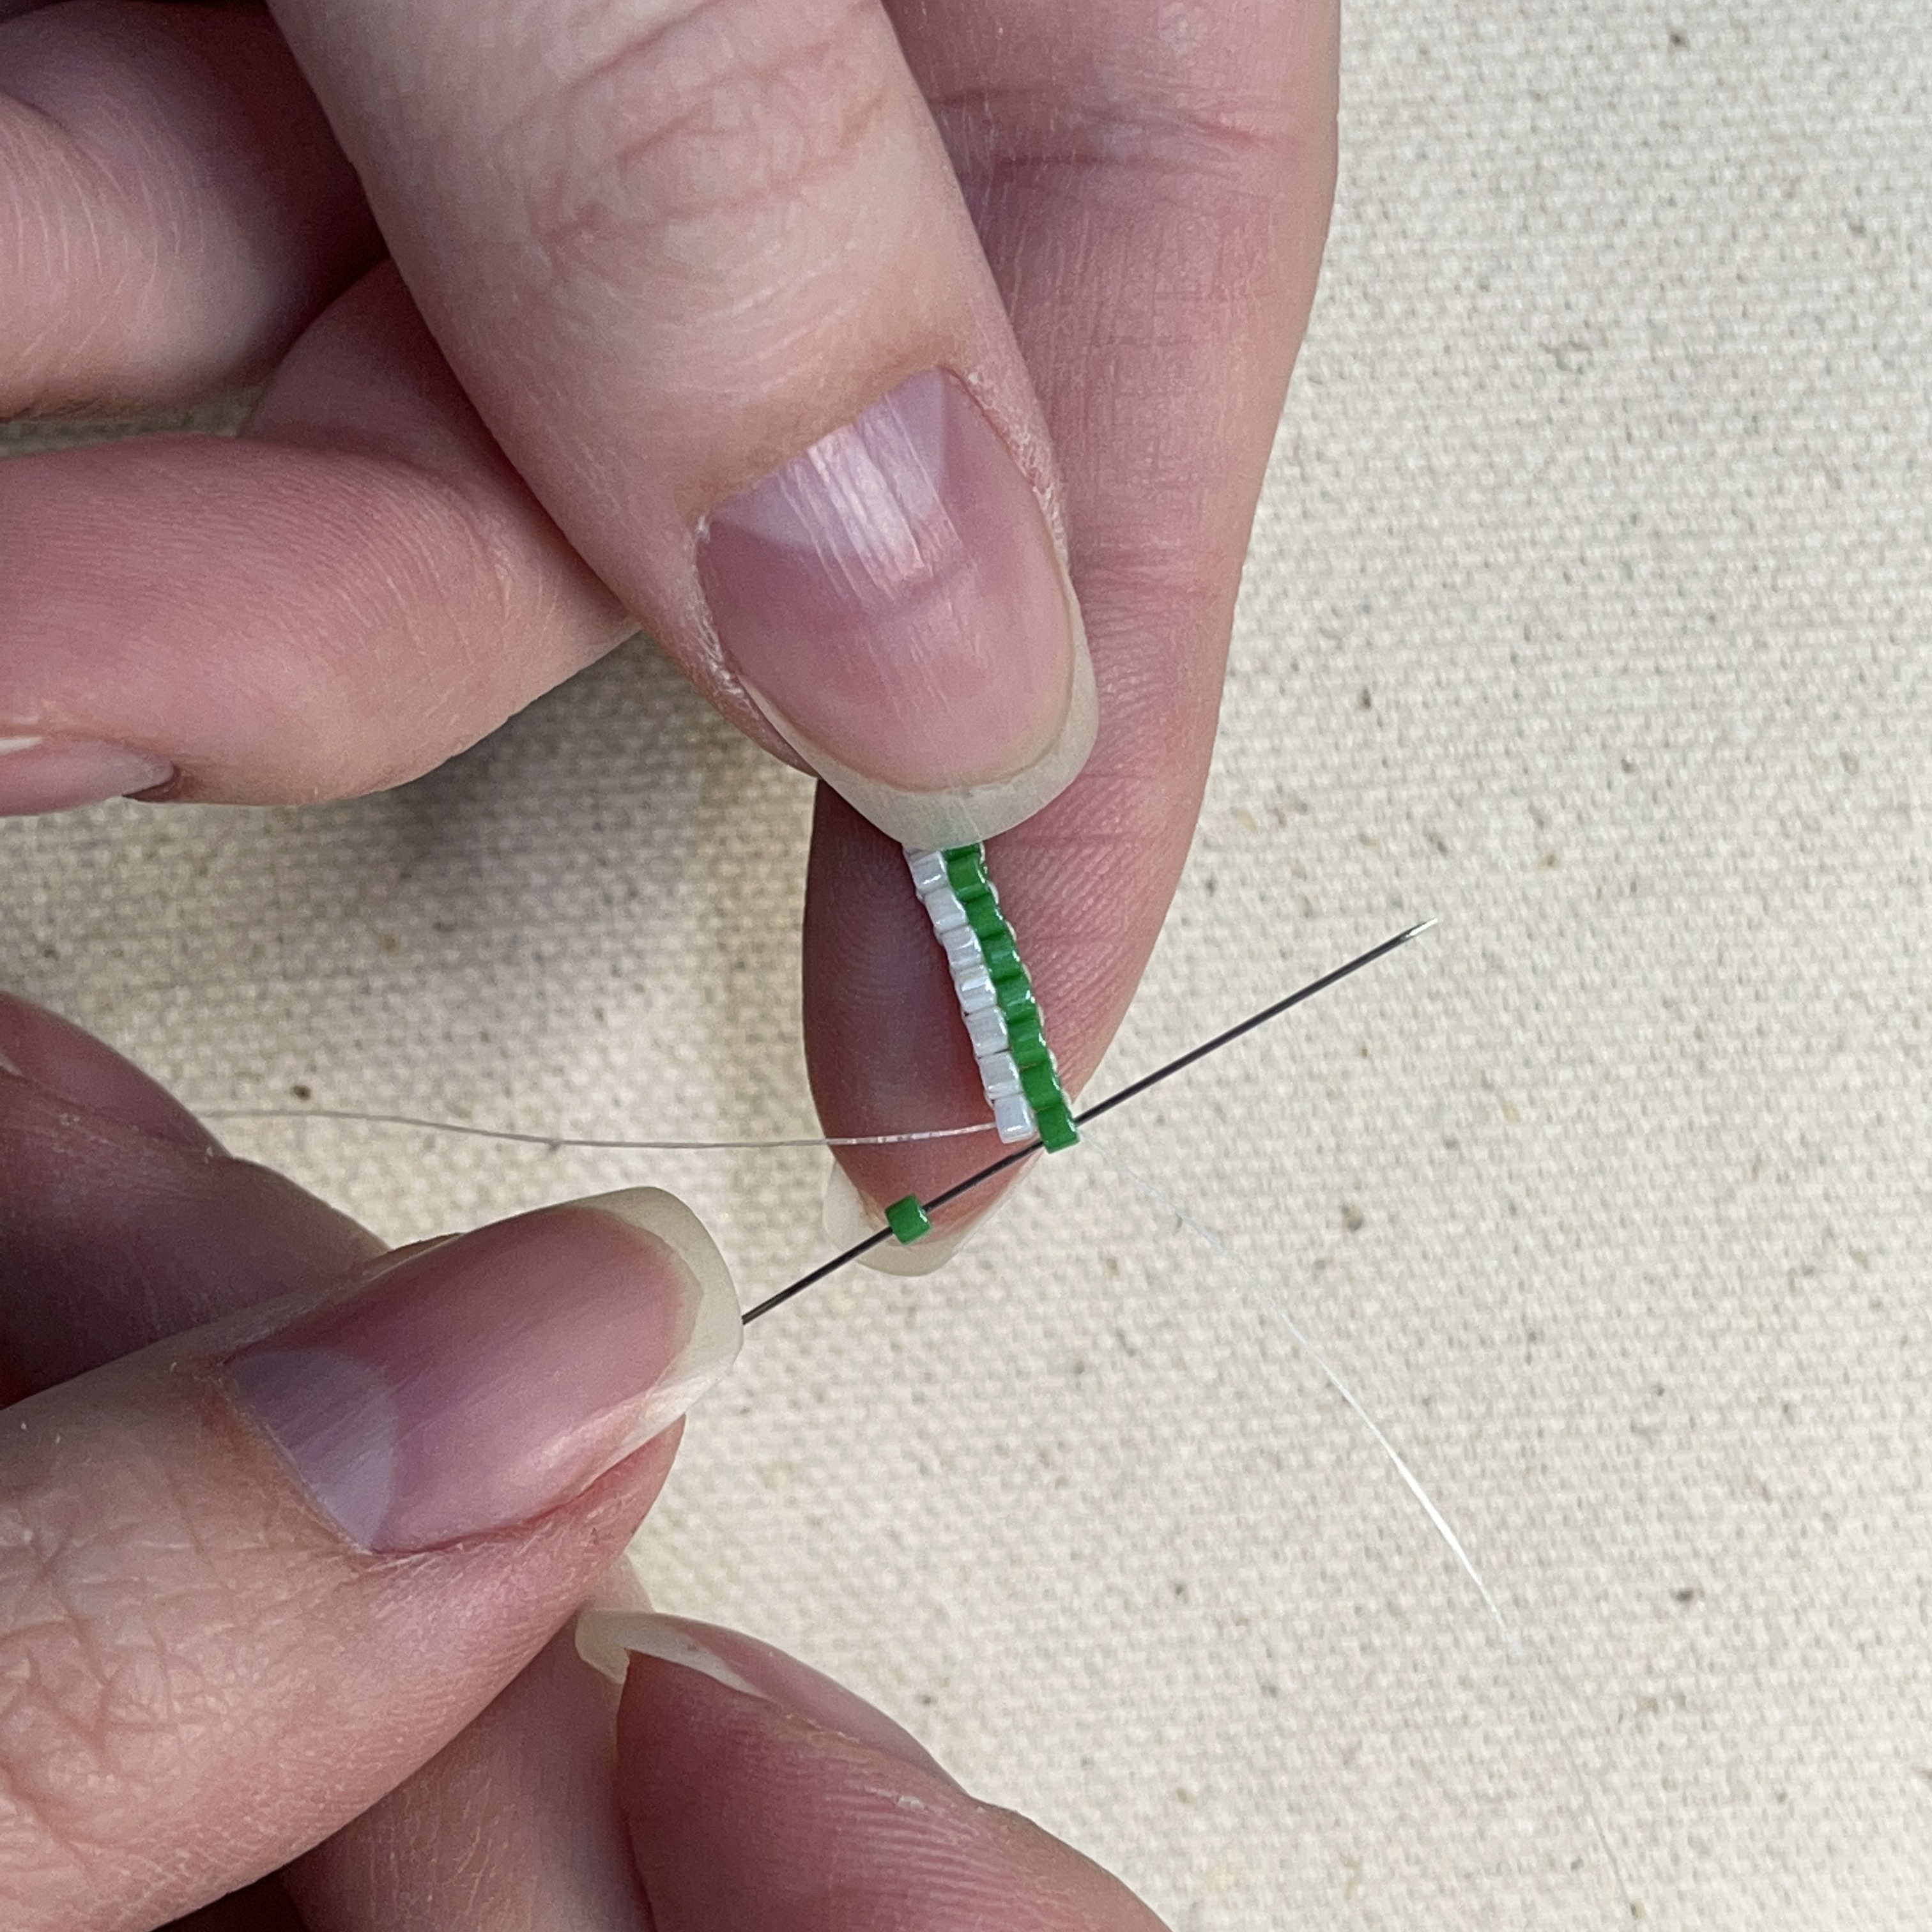
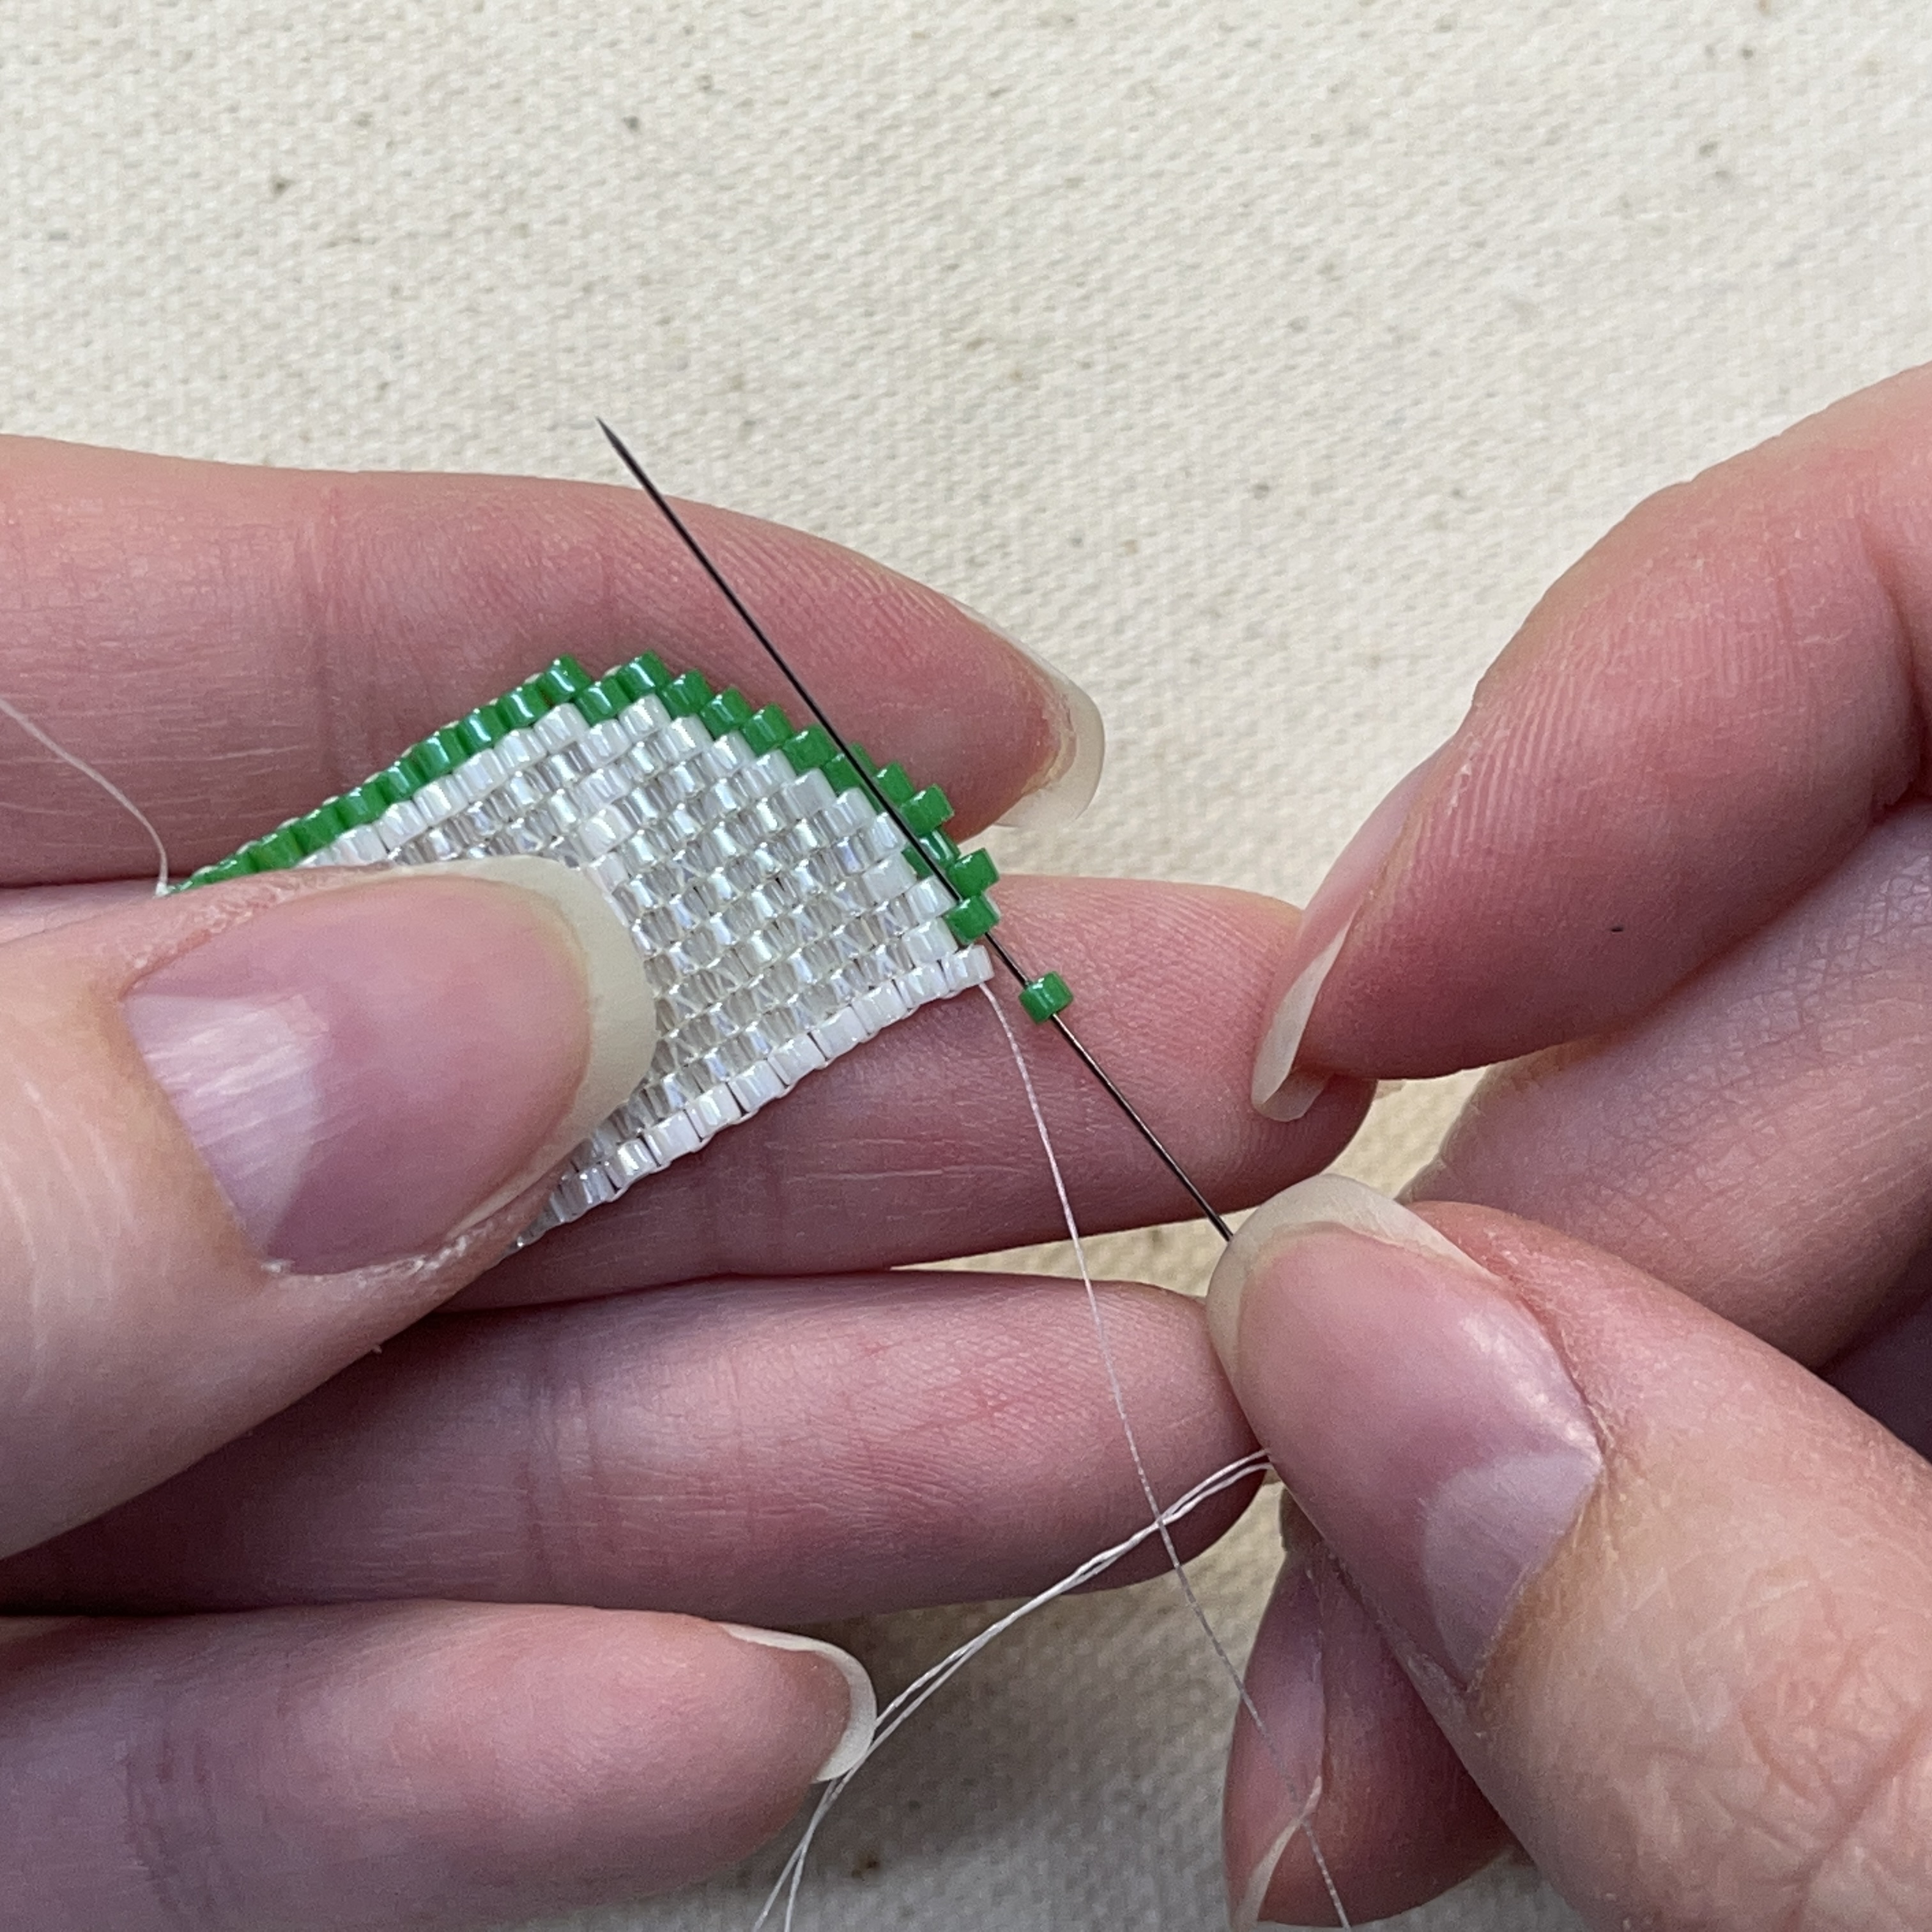
22. Keep repeating the steps 18 and 19 until 10 white beads are on your project. For step 22, add a green bead and thread the needle through the bead shown above
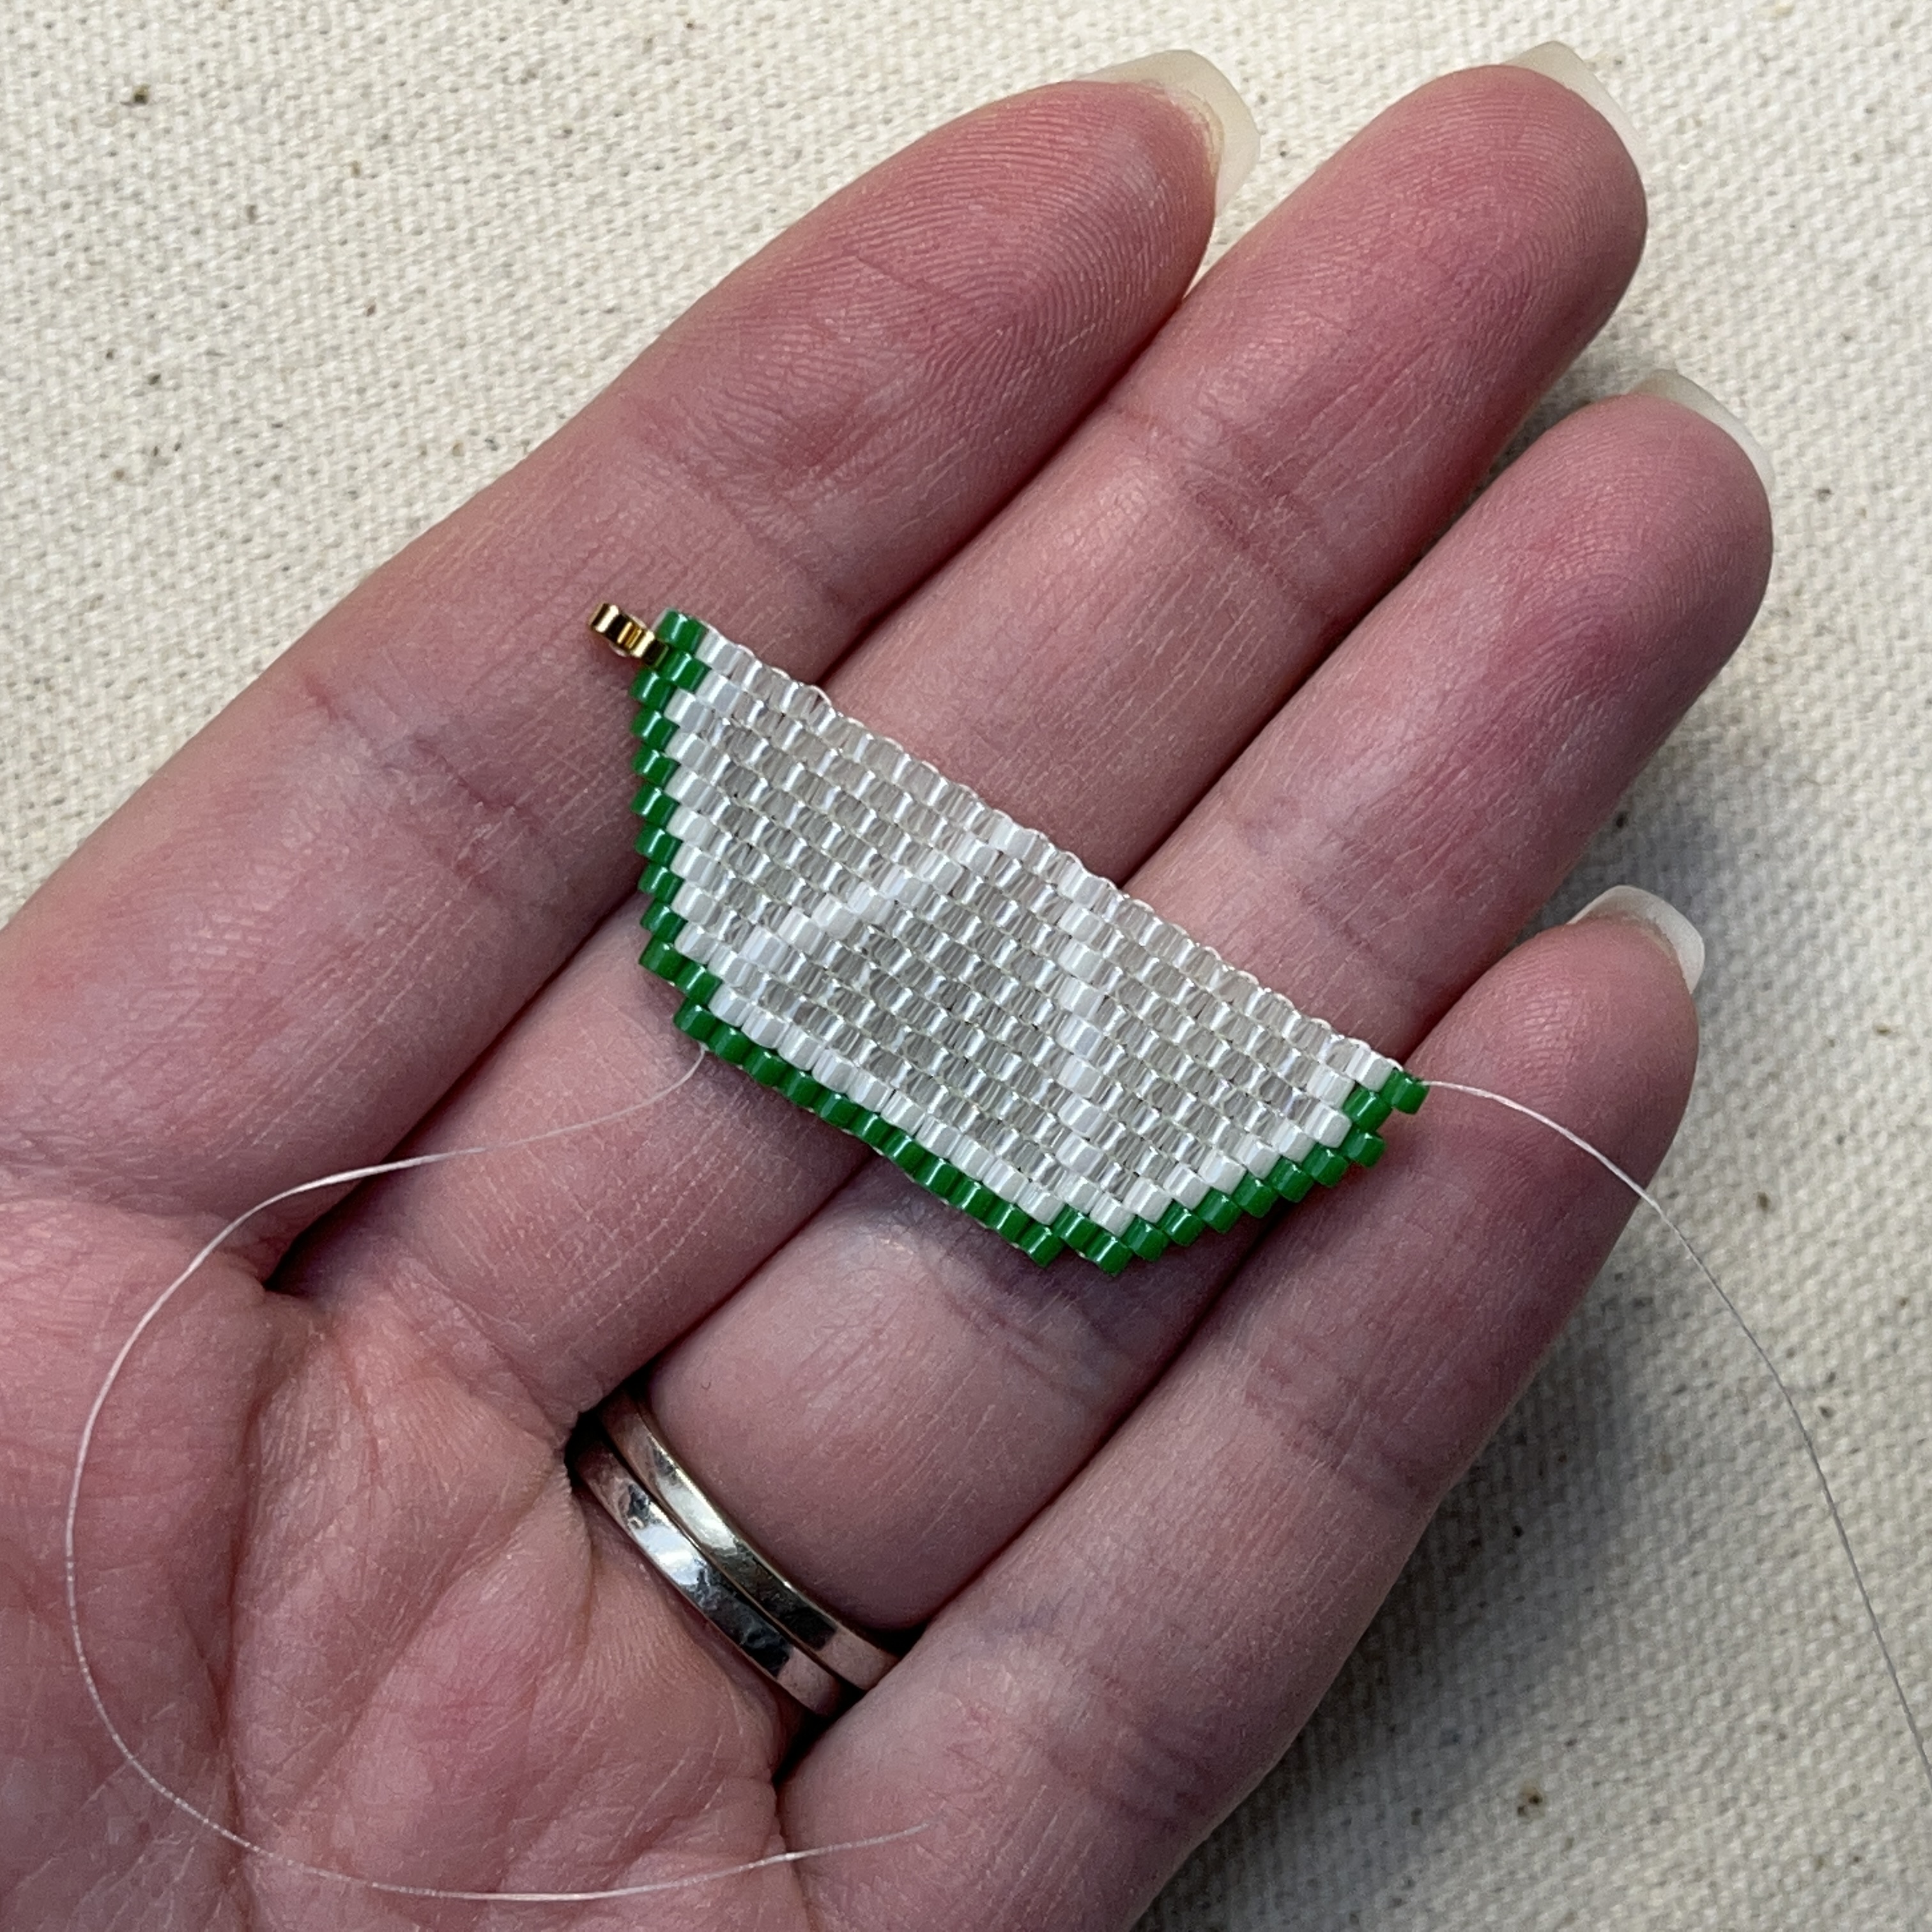
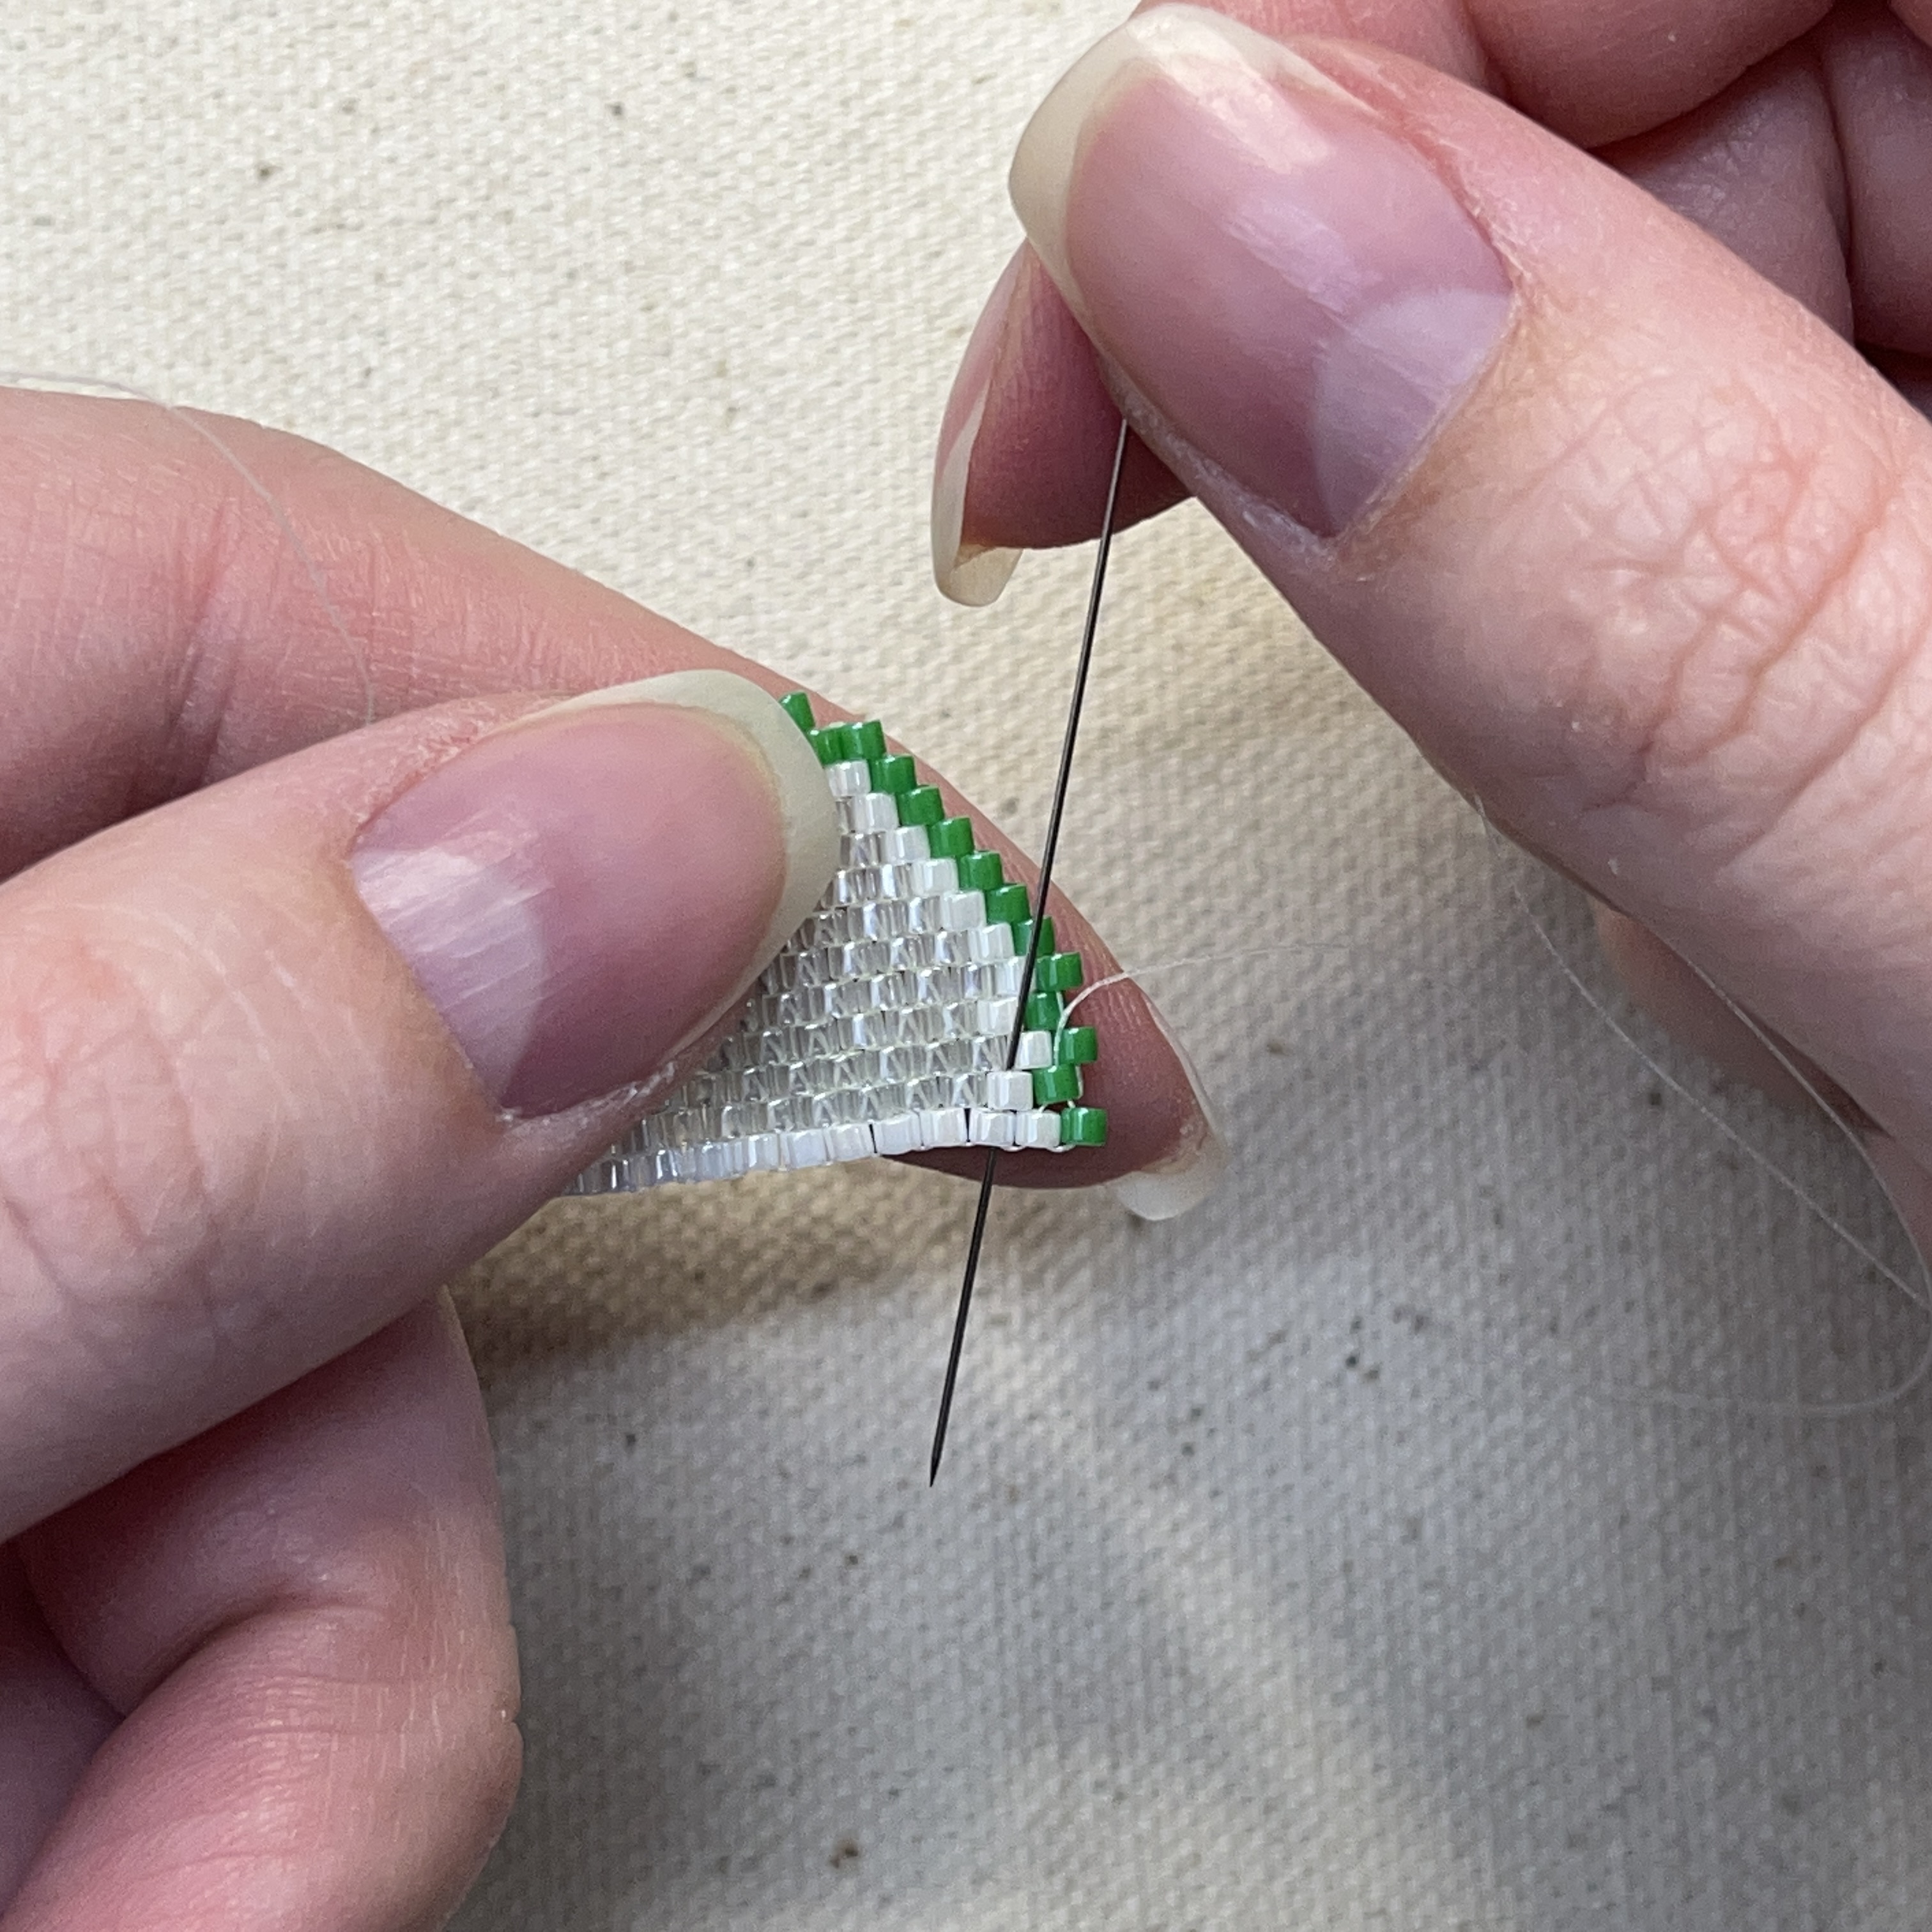
23. Flip your project around and thread your needle diagonally through the two beads shown above
24. Thread the needle down through the bead shown above
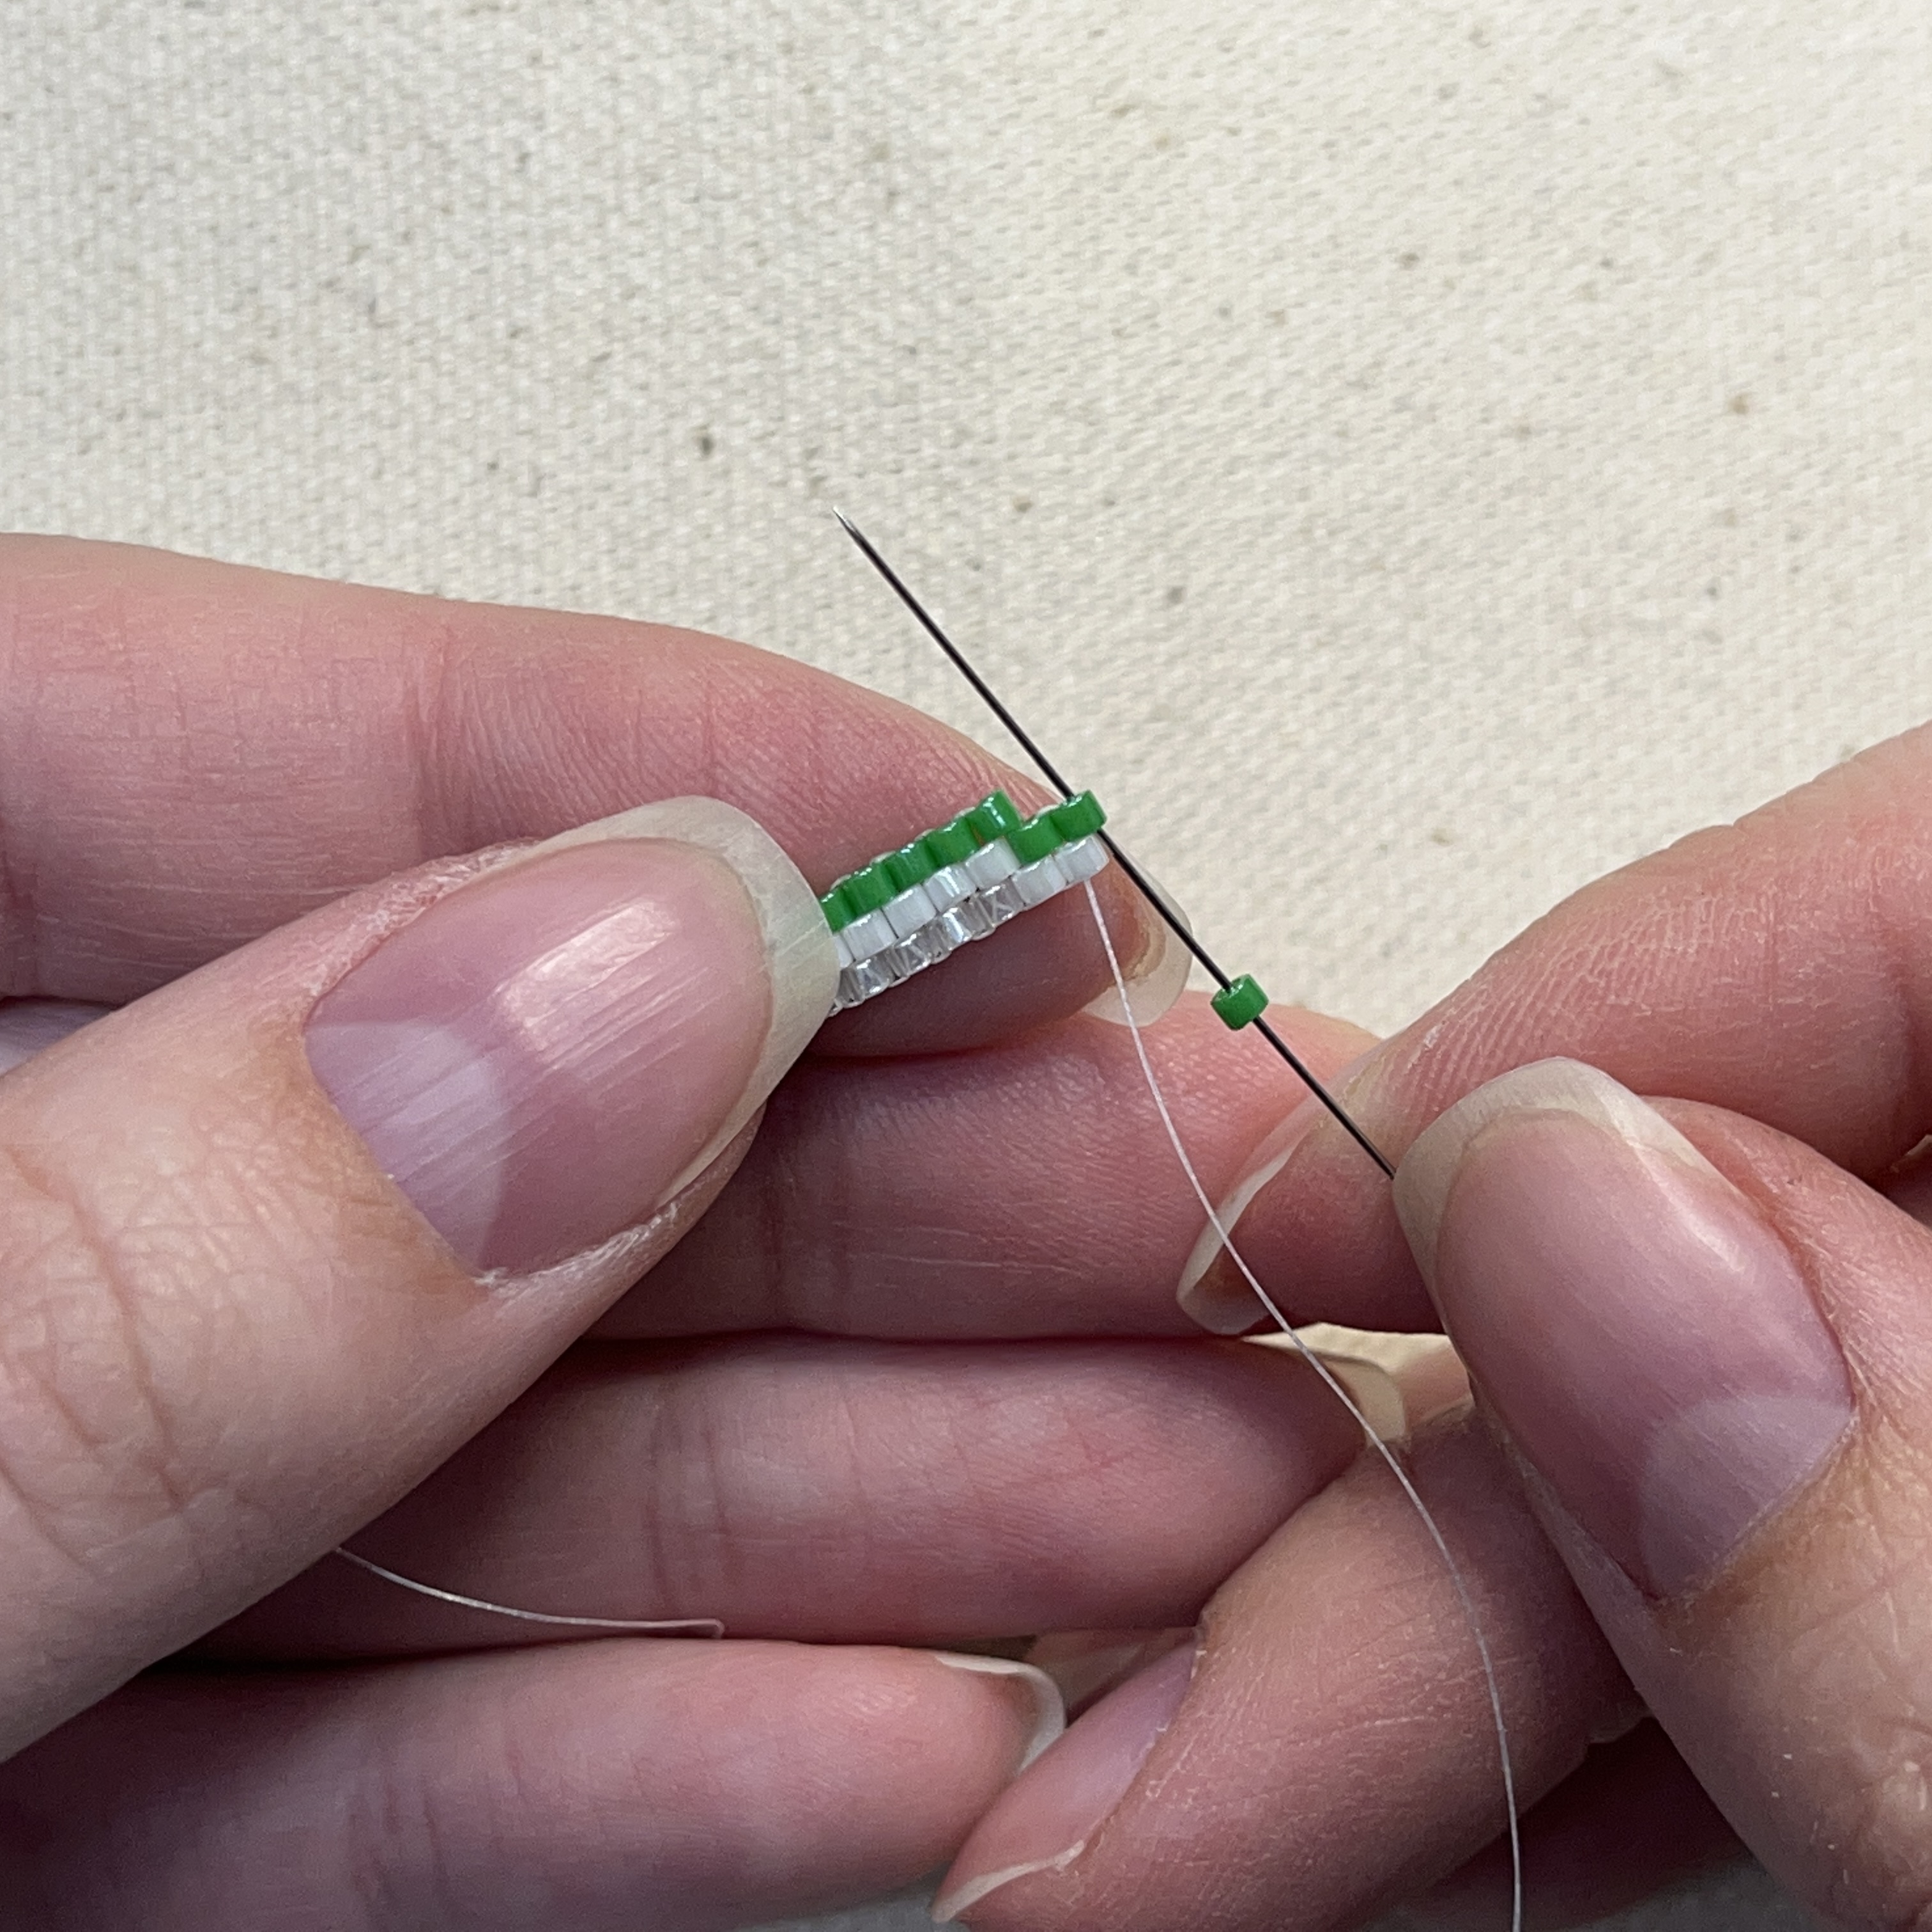
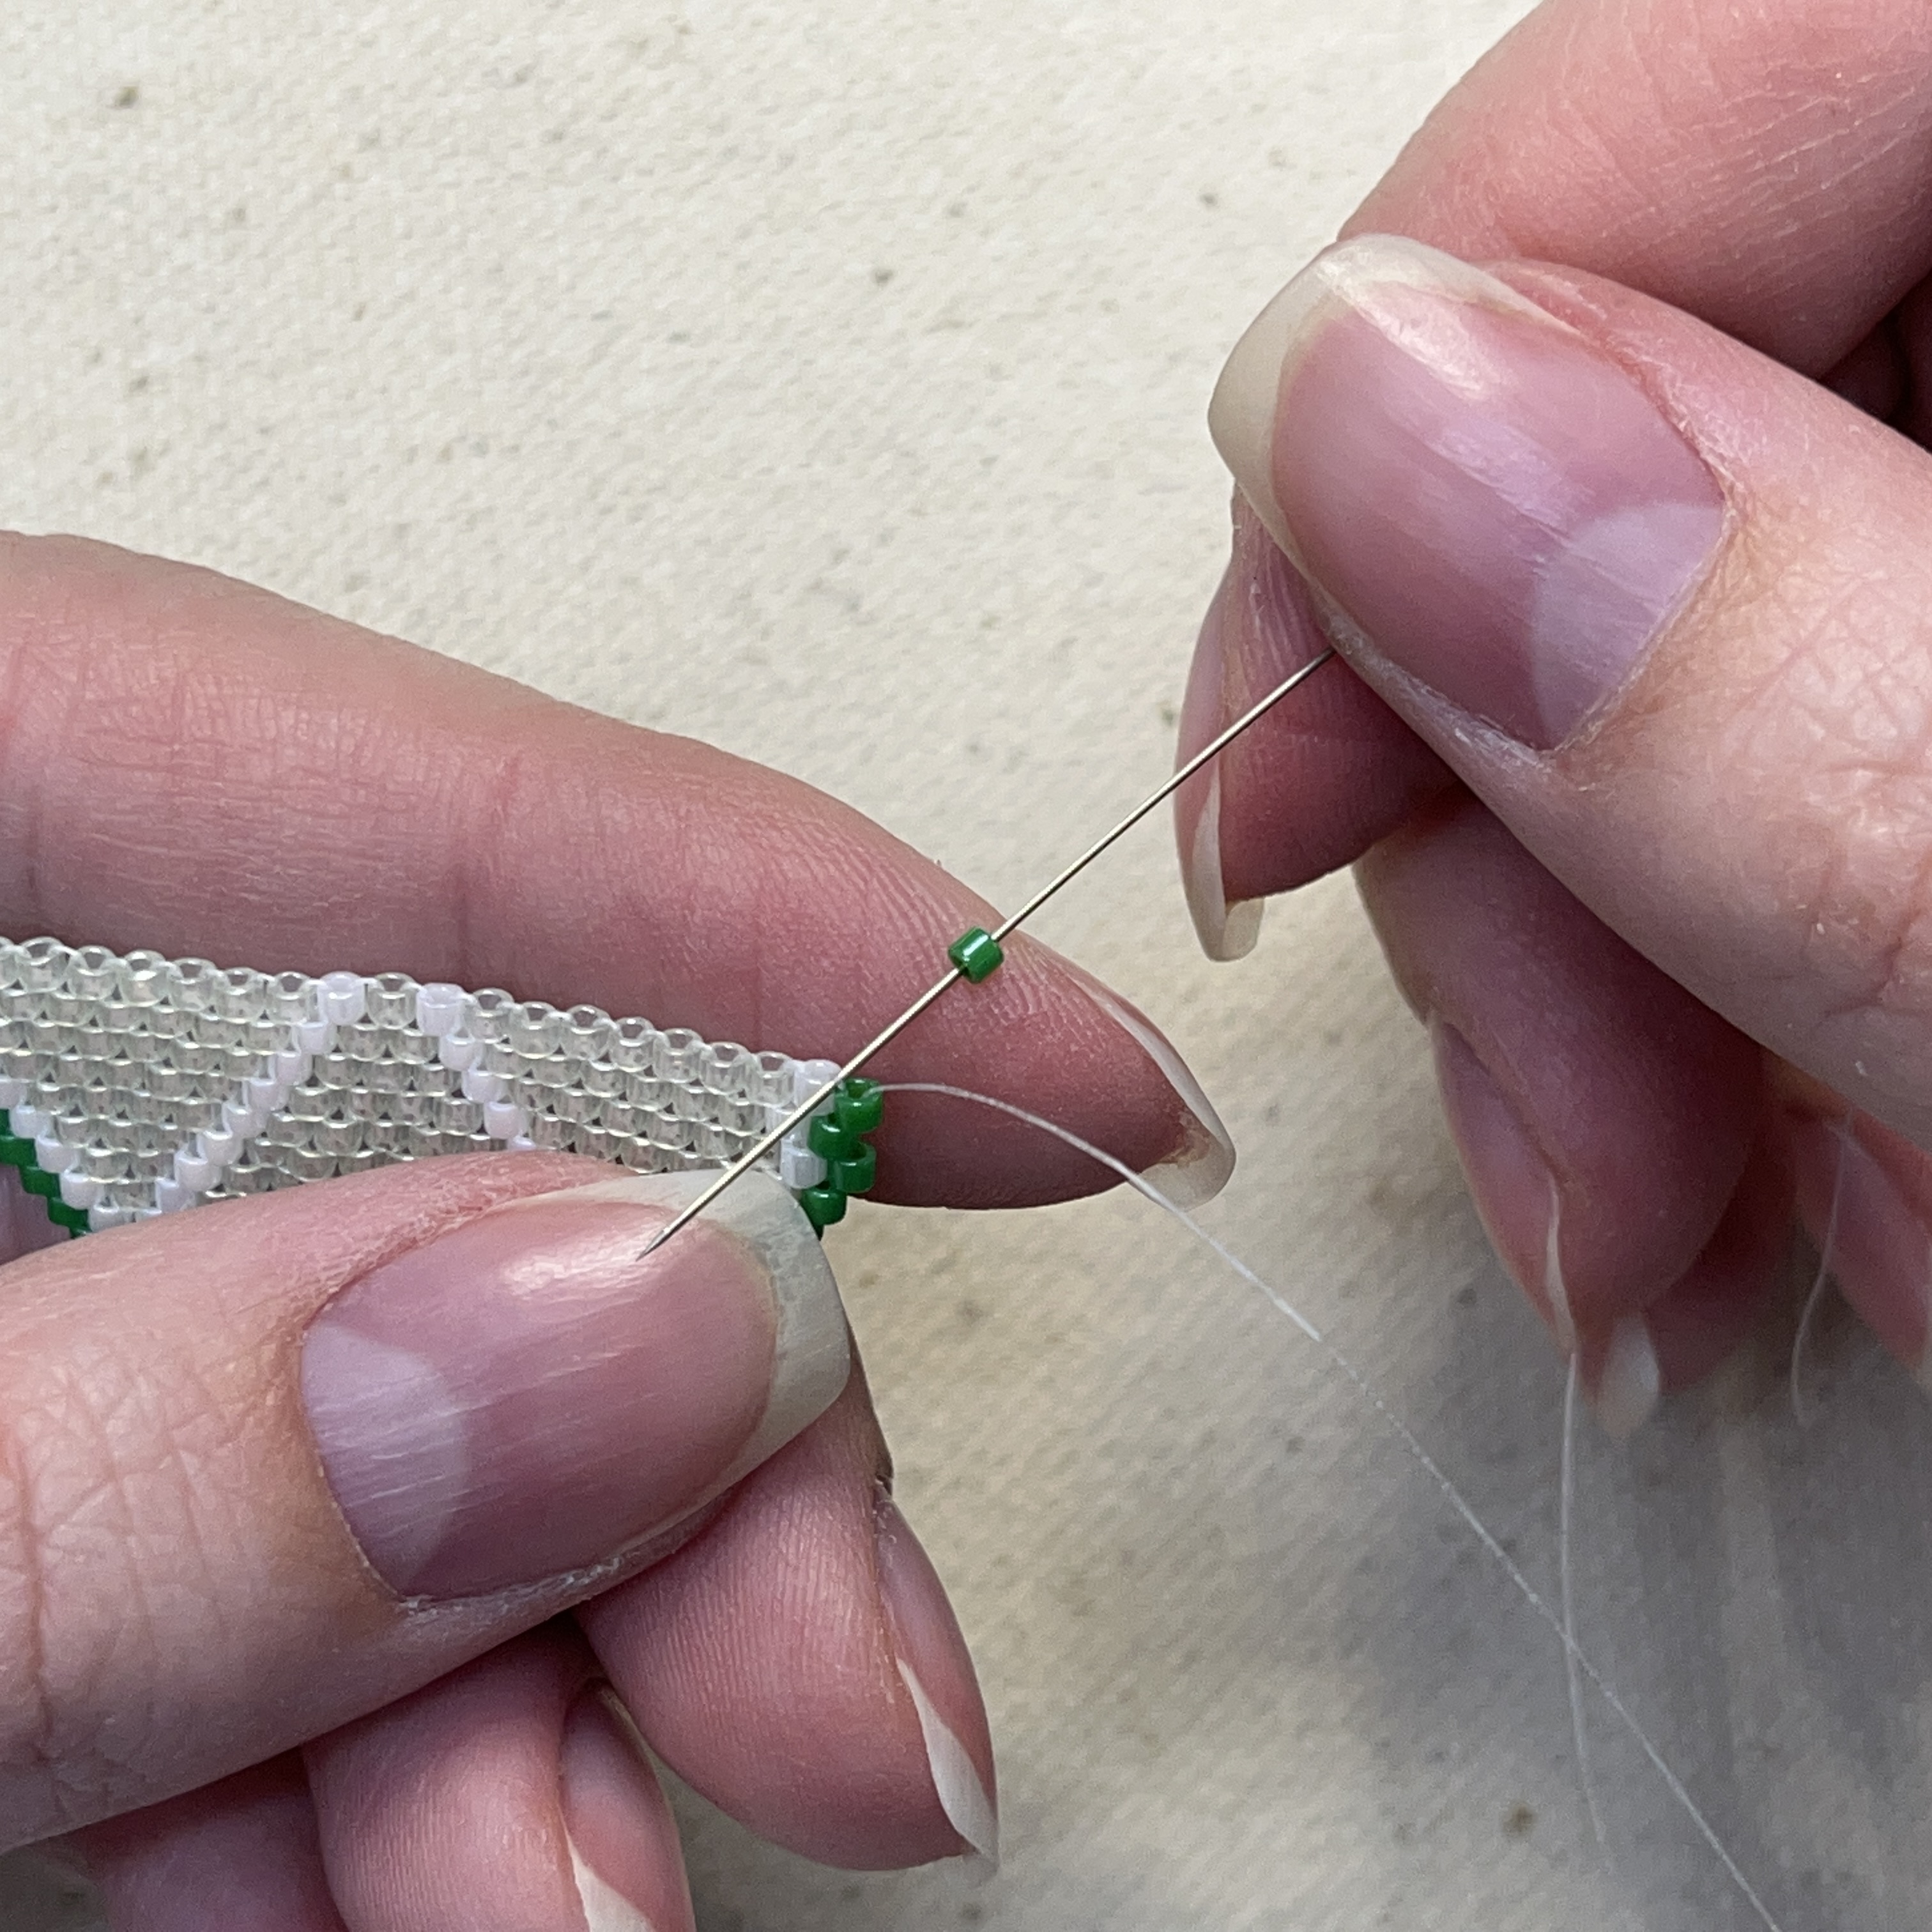
25. Add a green bead to your needle
26. Thread your needle up through the bead you just added to secure it
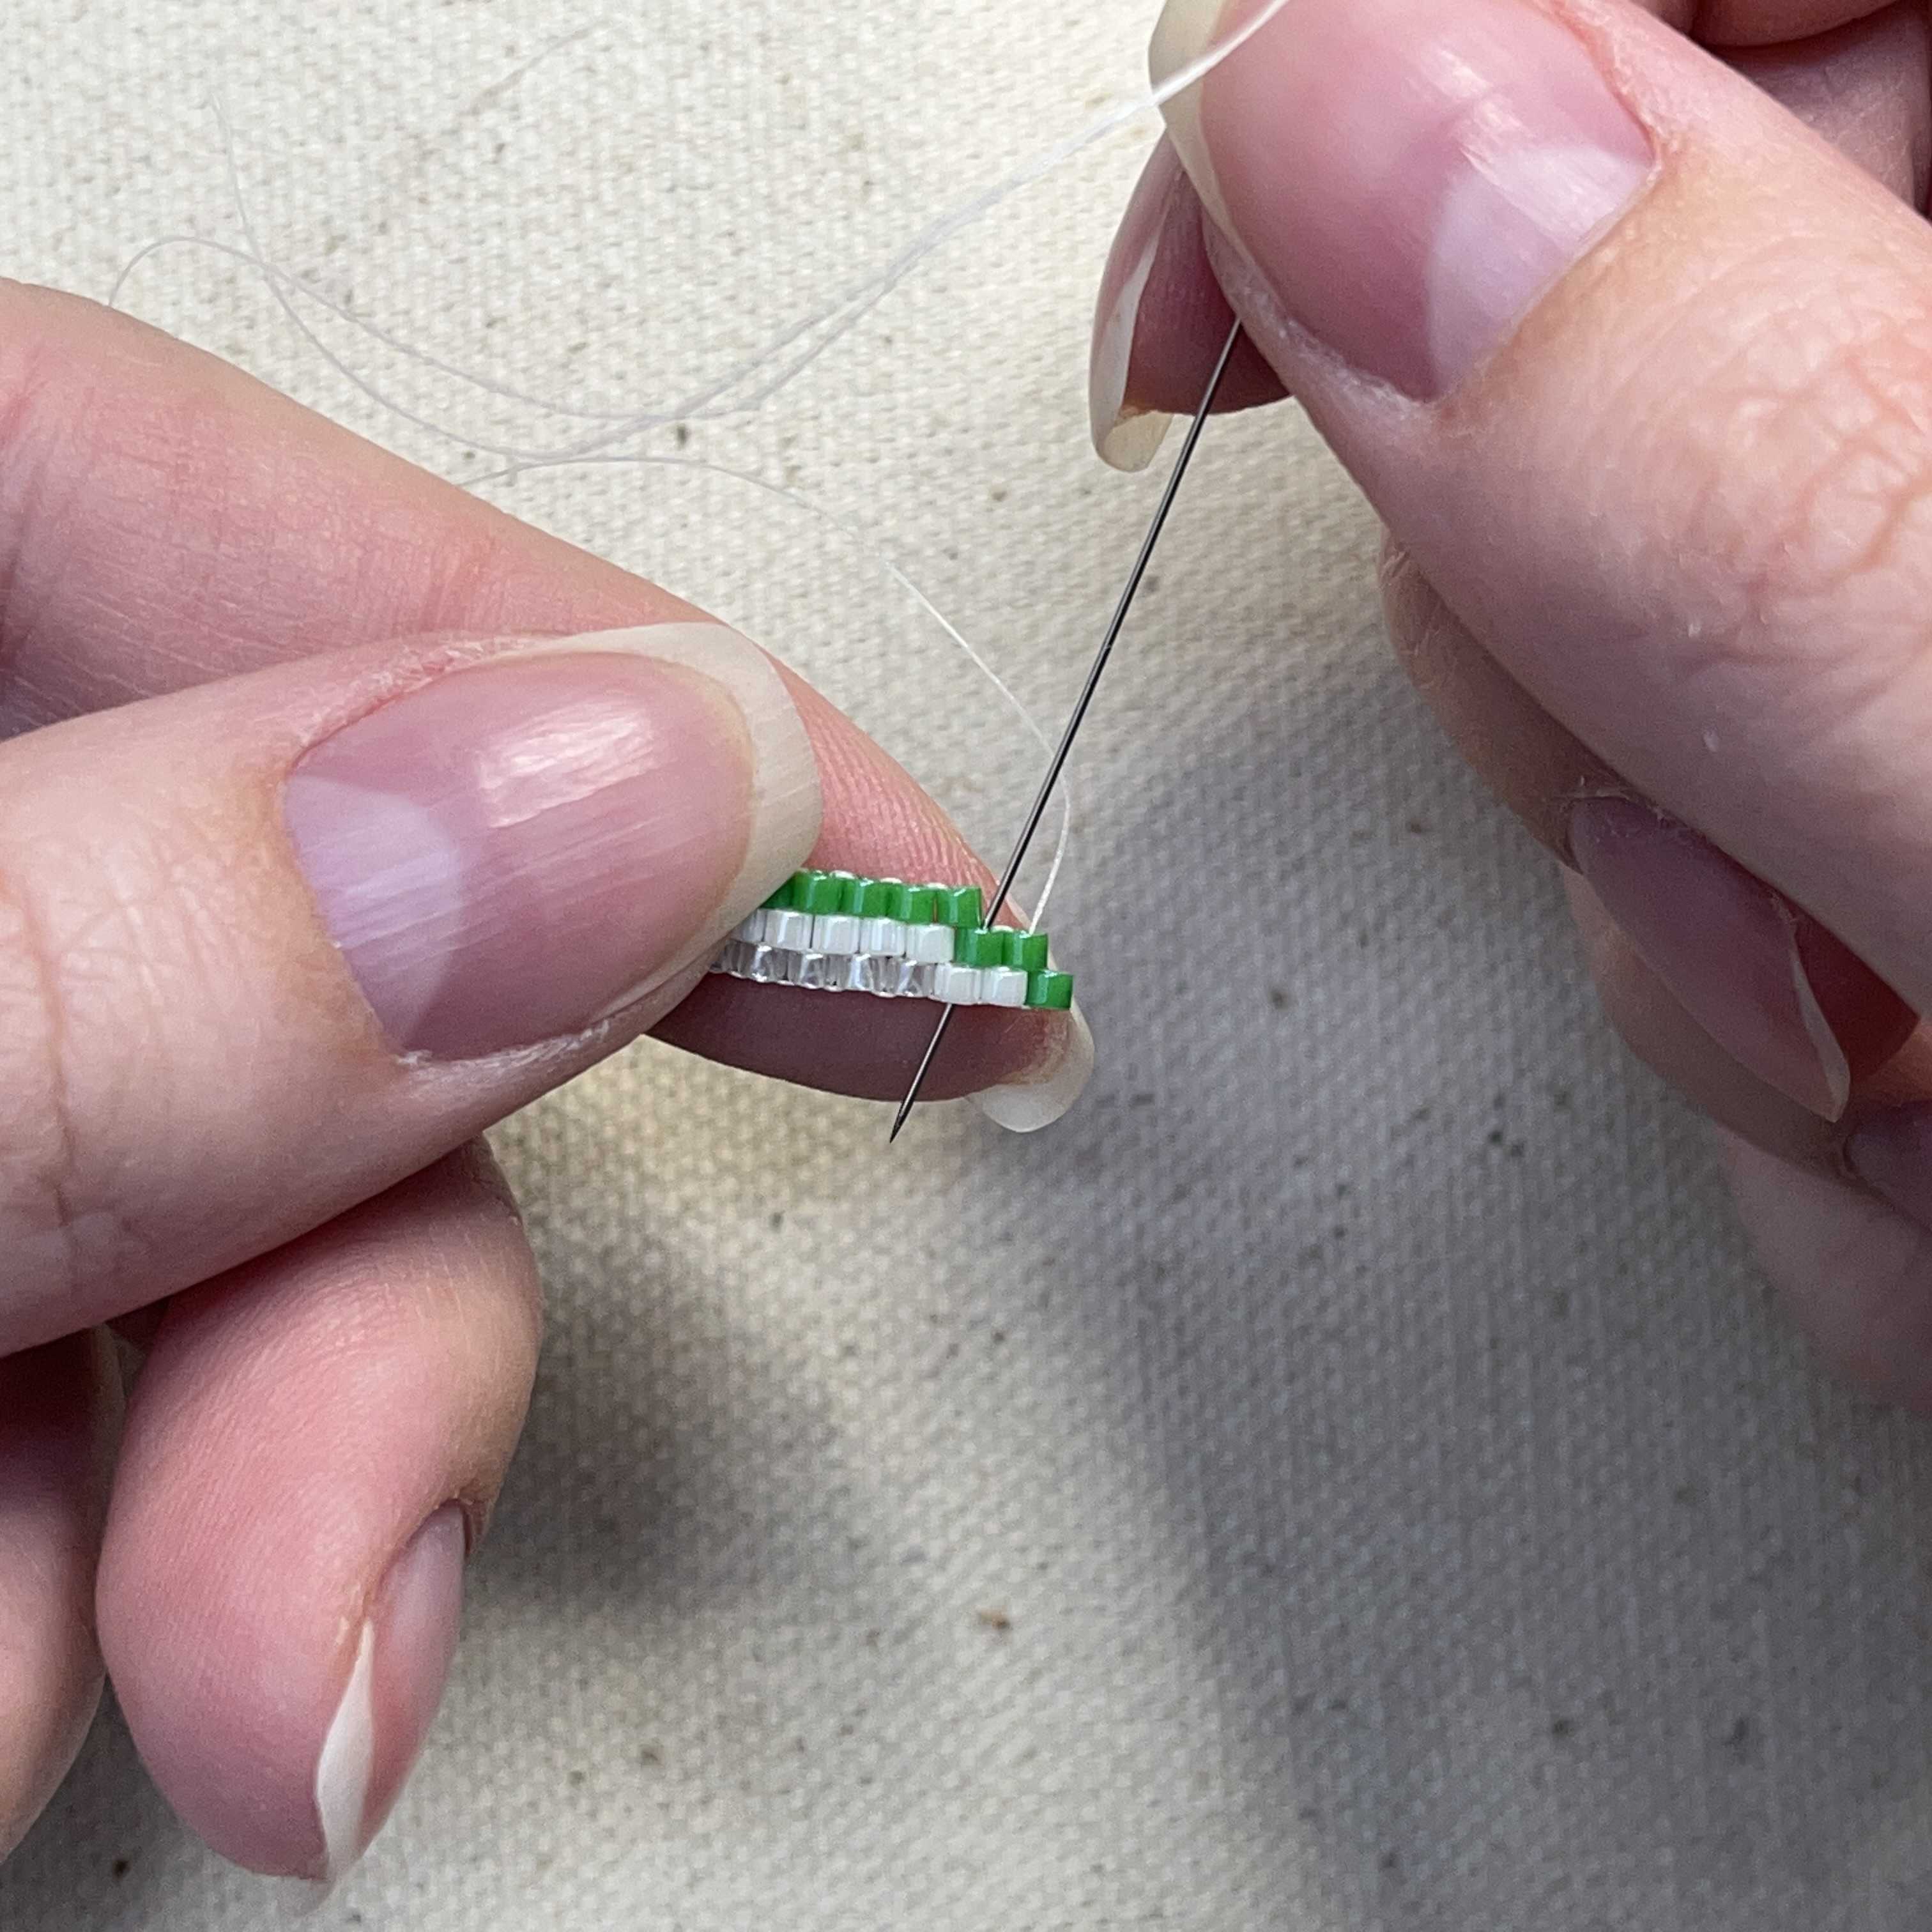
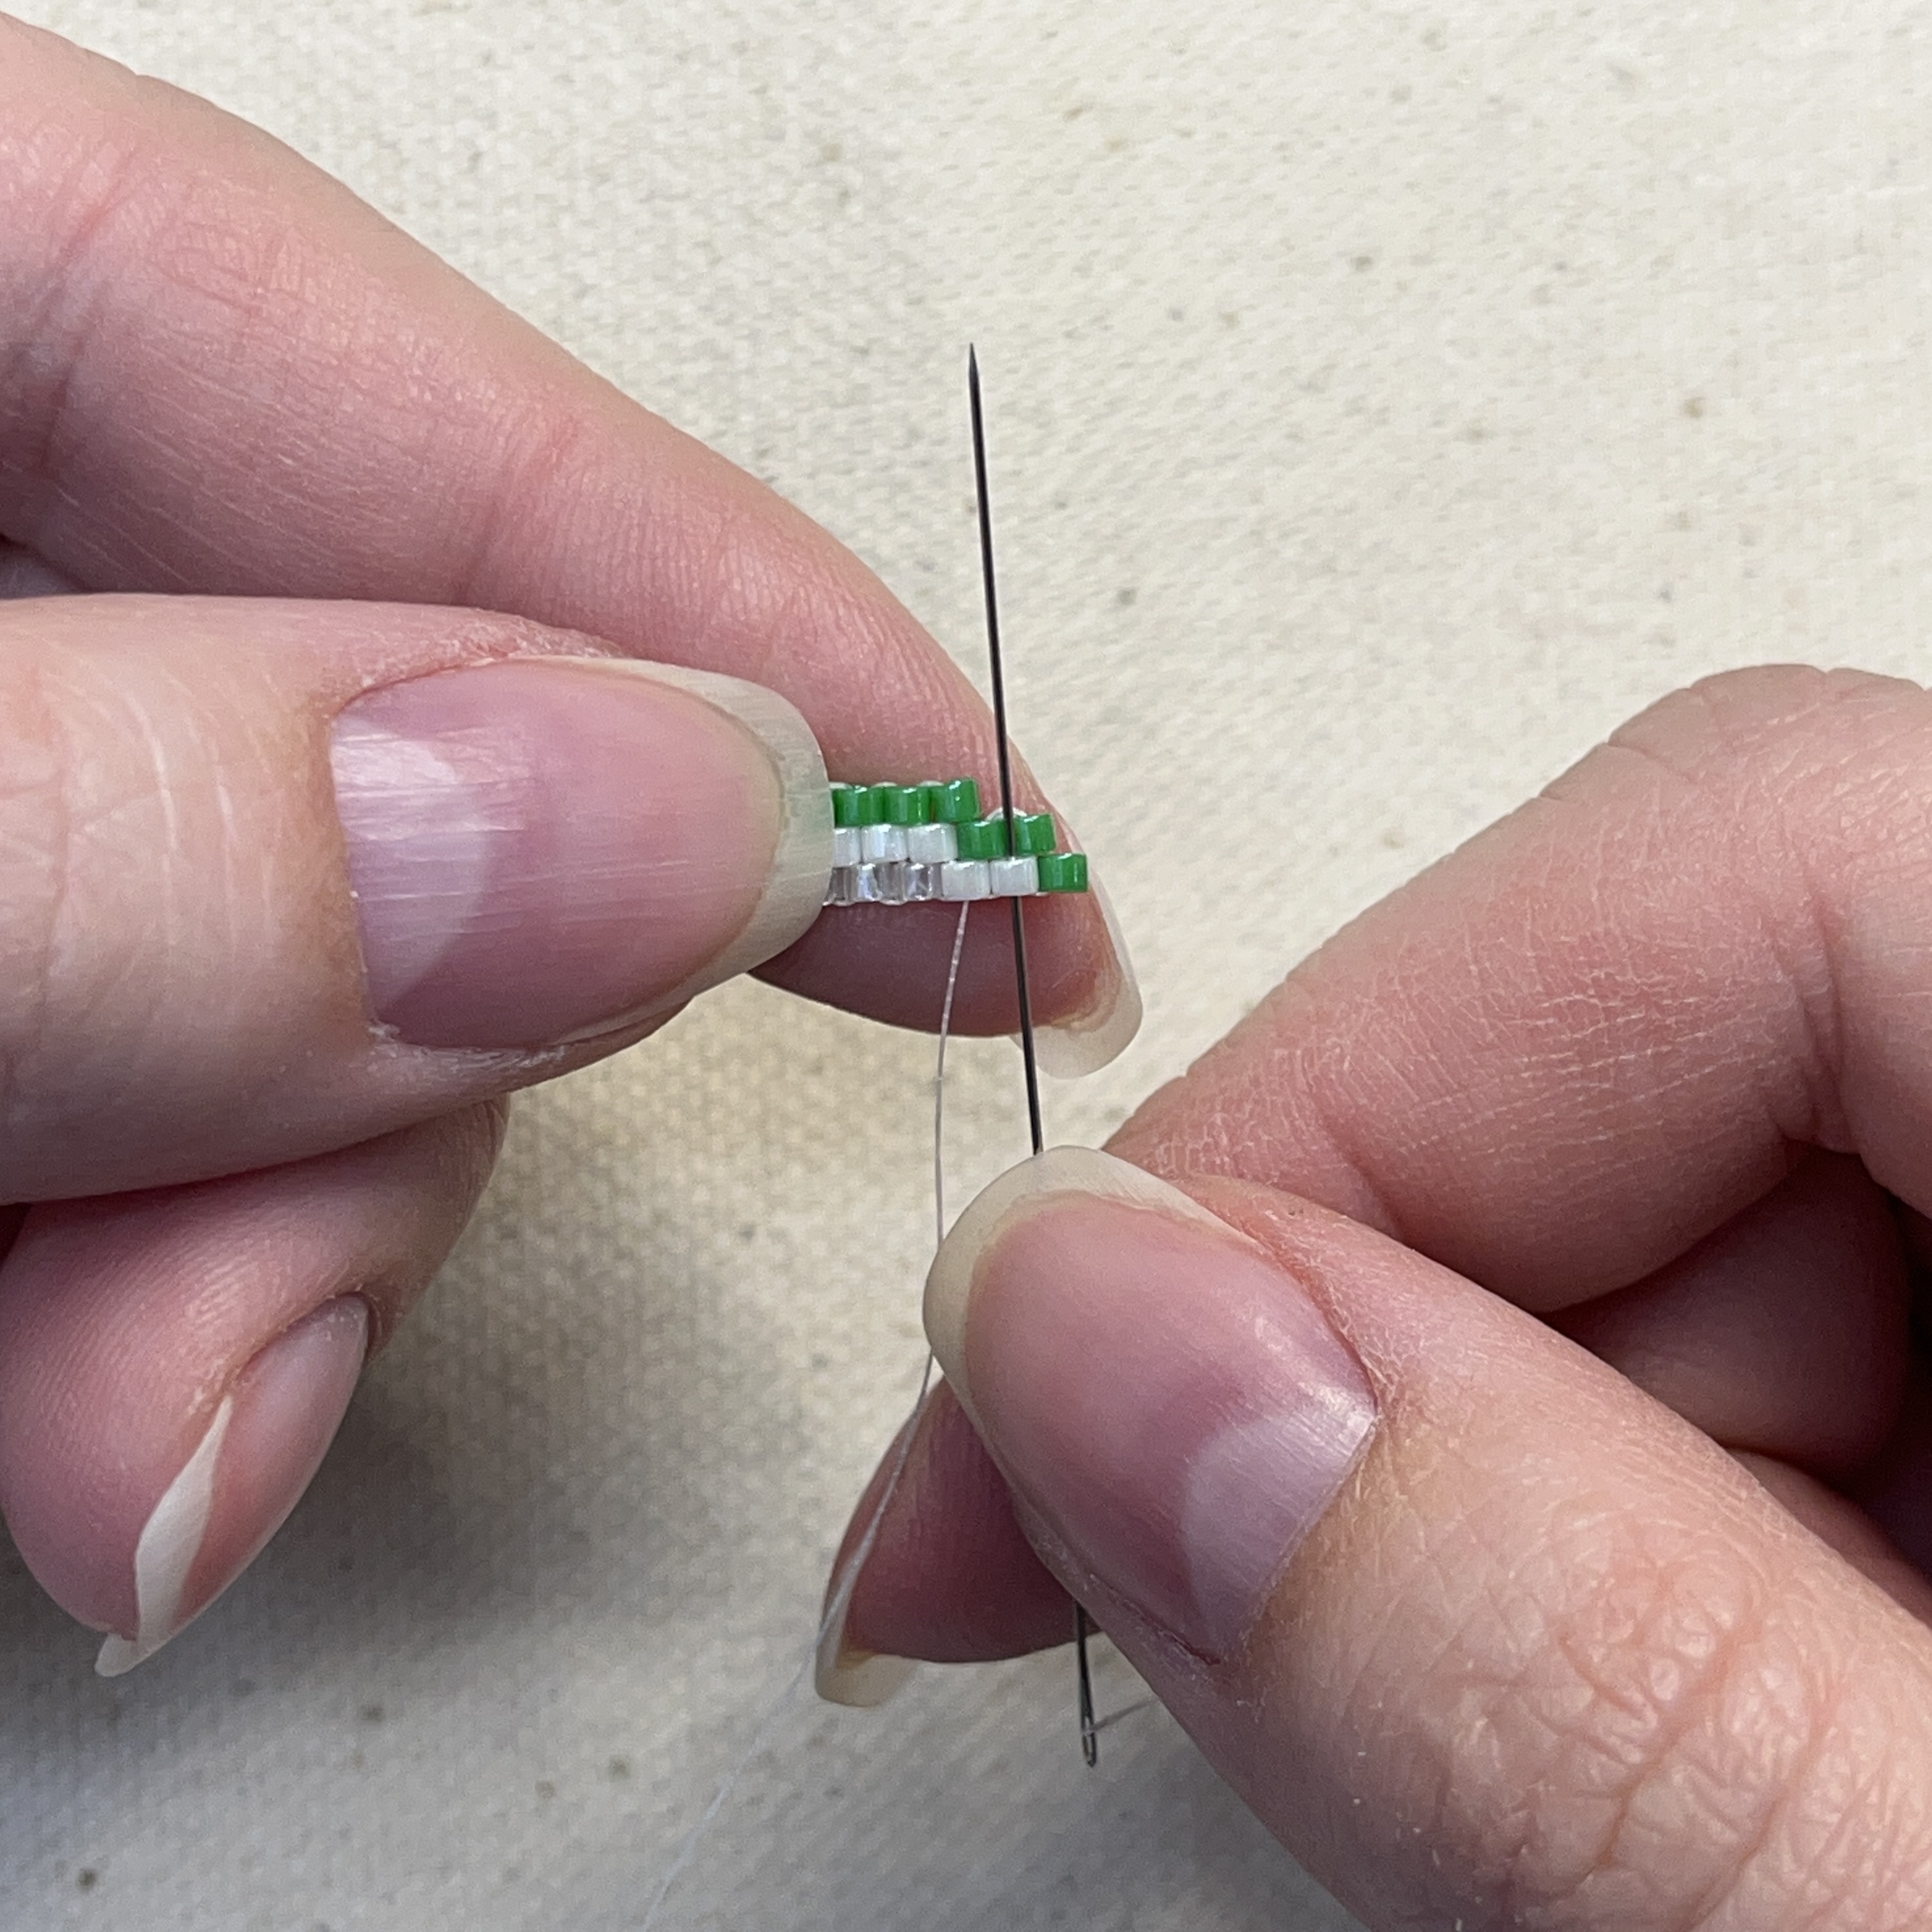
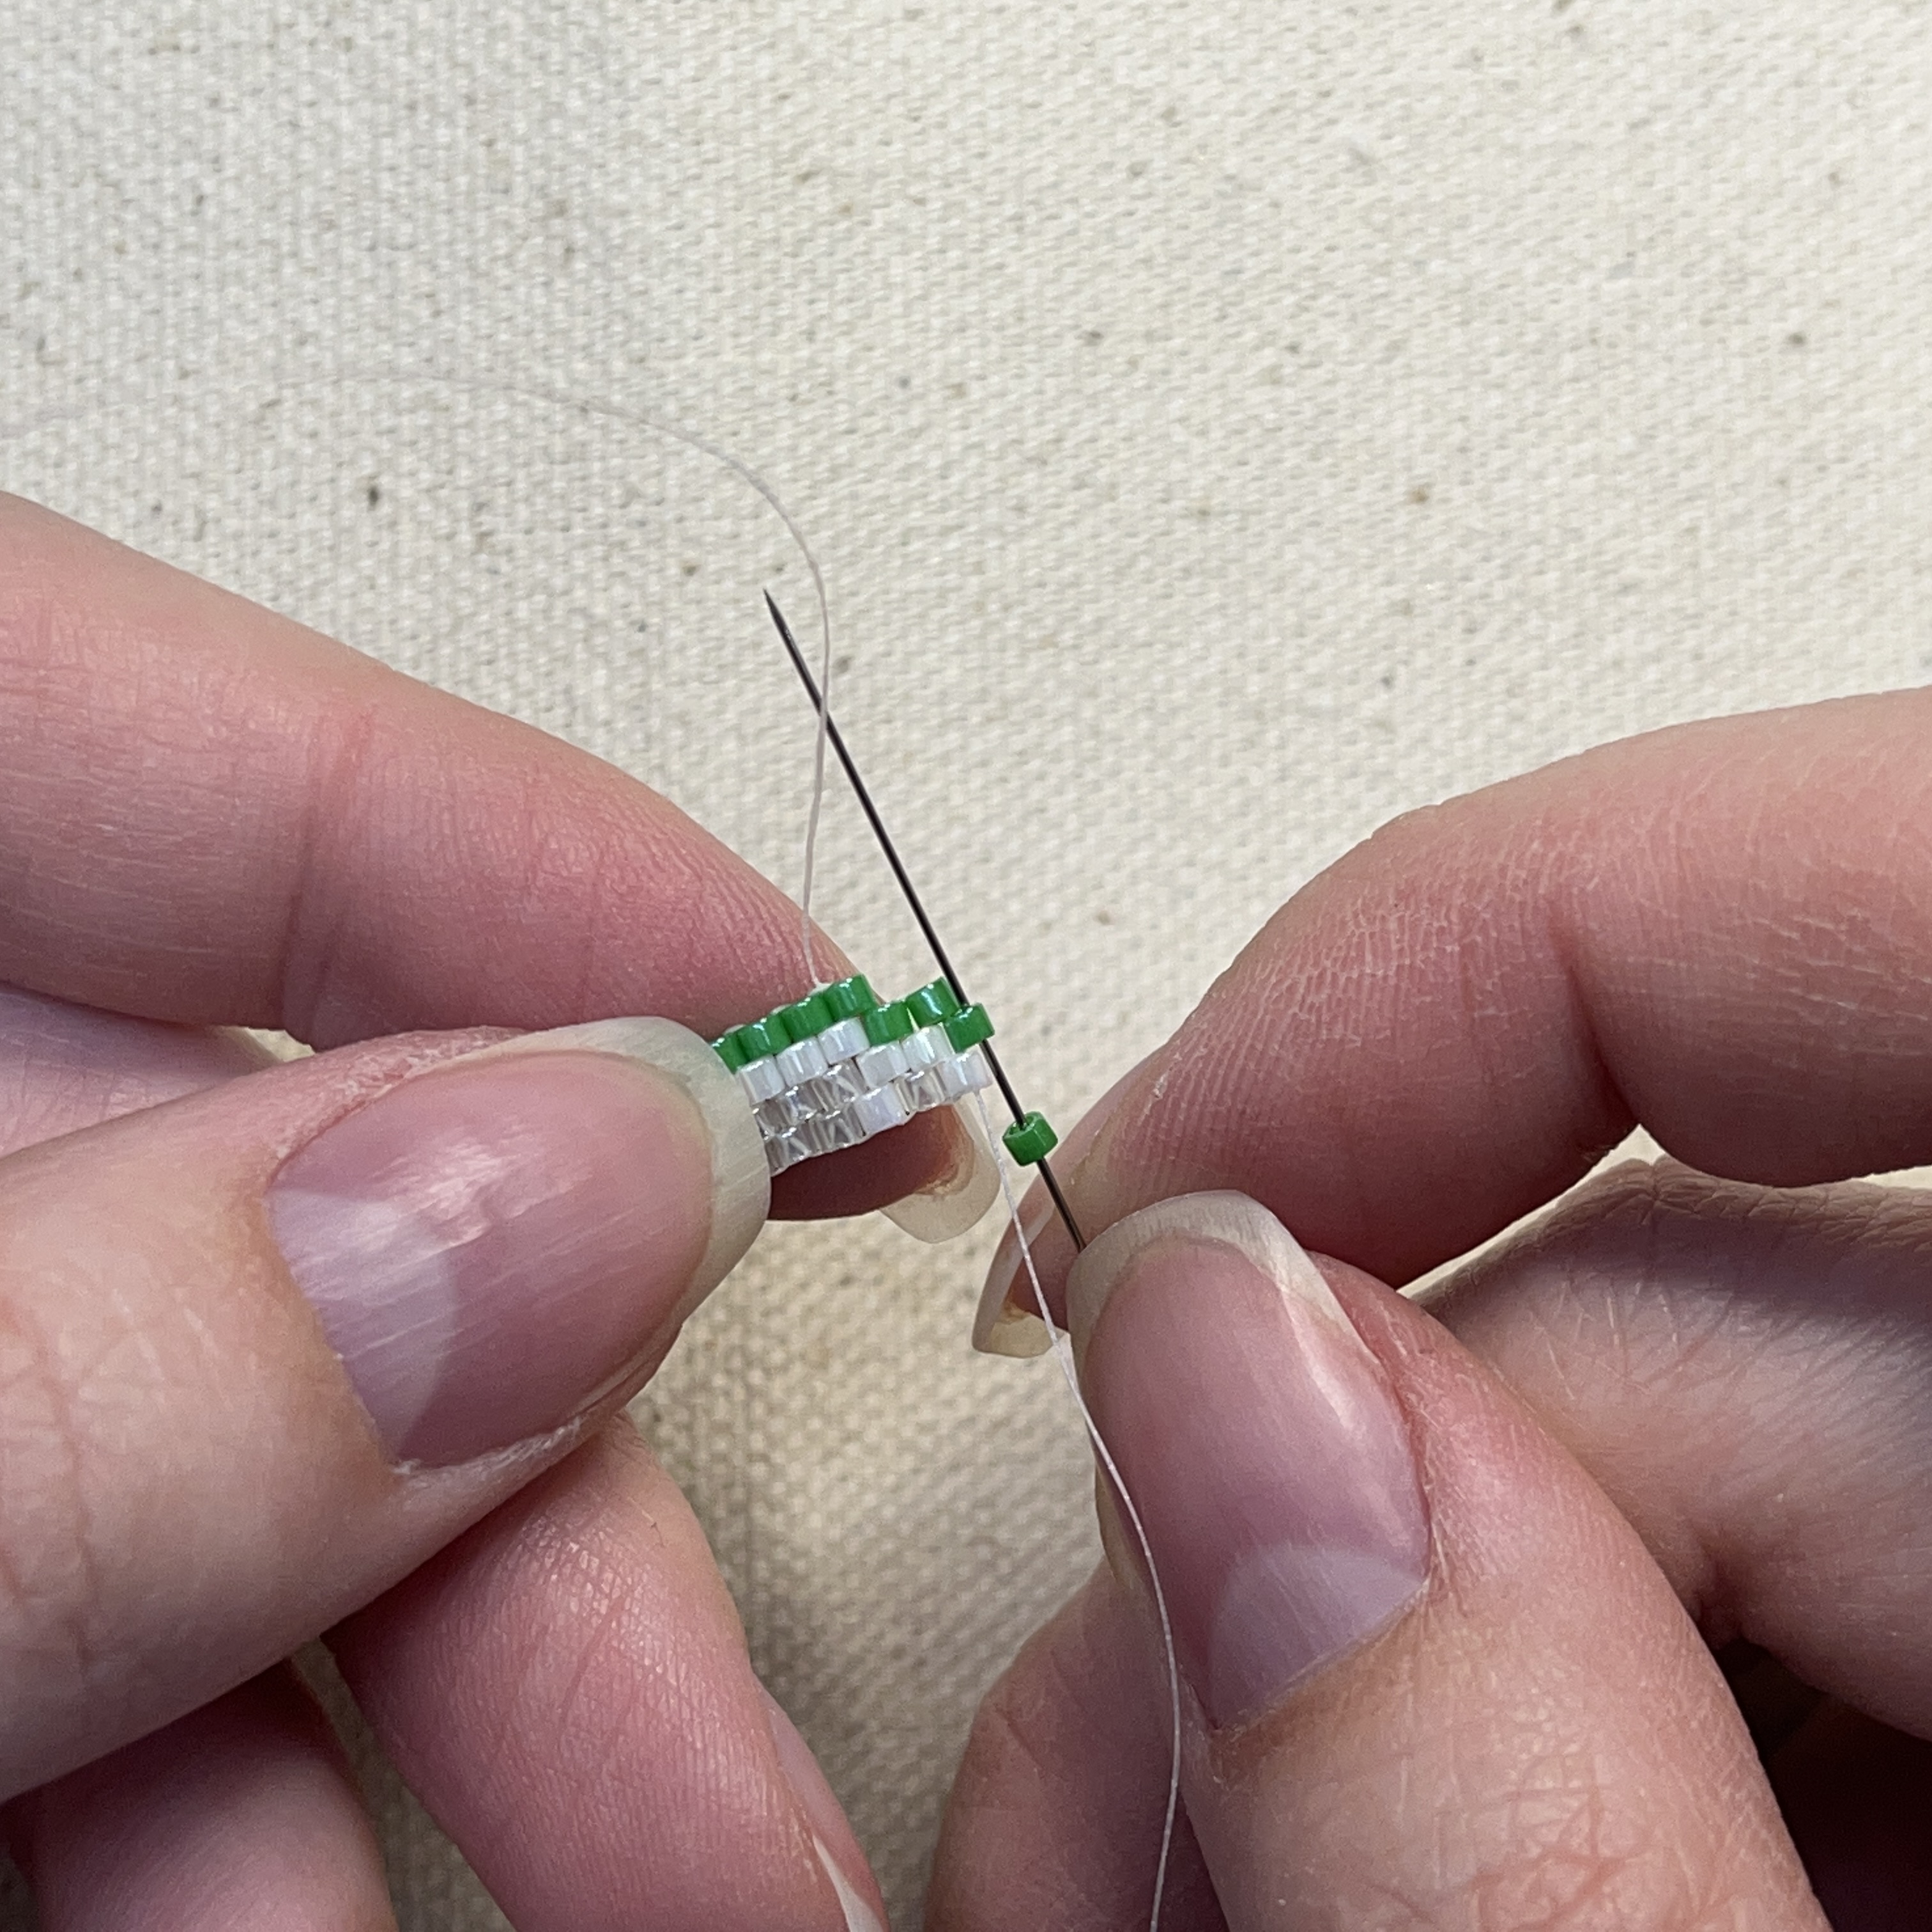
27. Add a green and a white bead on your needle and push the needle through the thread shown above
28. Pull the thread tight so your beads sit like pictured above and thread the needle up through the white bead of the two you just added
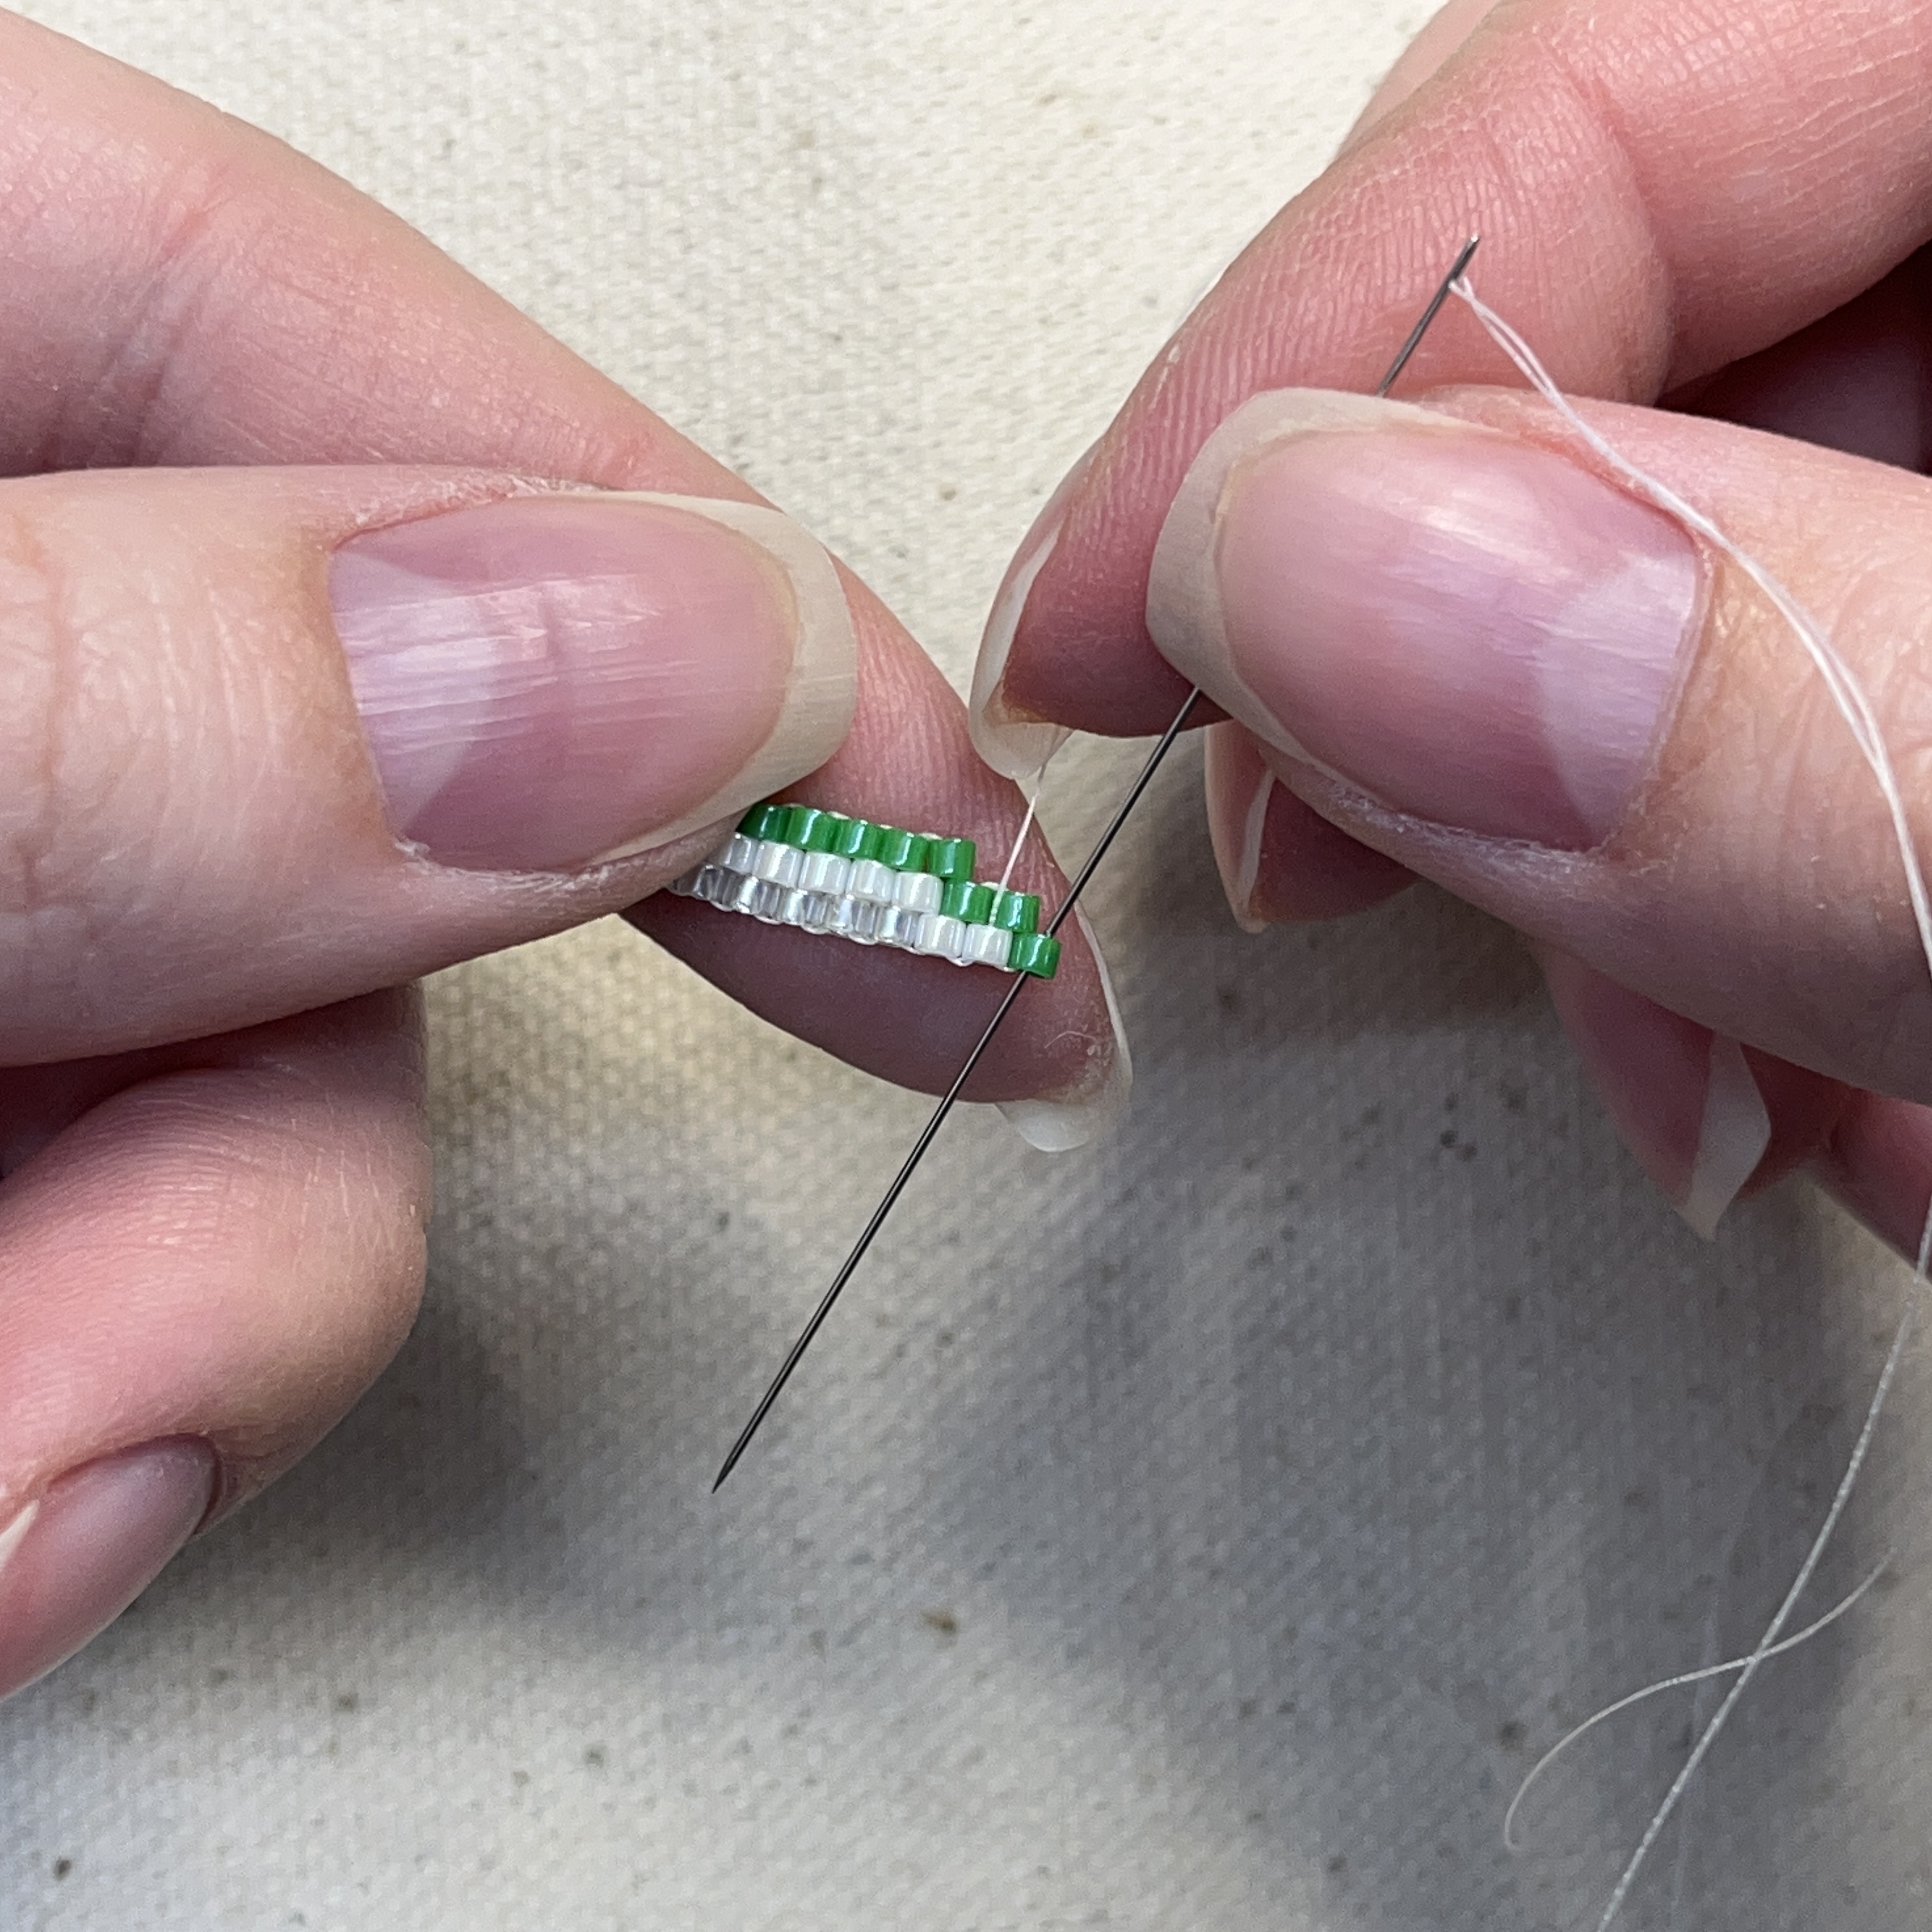
29. Add a white delica bead to your needle and poke it through the thread shown above then back up through
30. Add a light green delica bead (#1474) to your needle and poke it through the thread shown above then back up through. Continue stitching, adding until you have completed the pattern of the row.
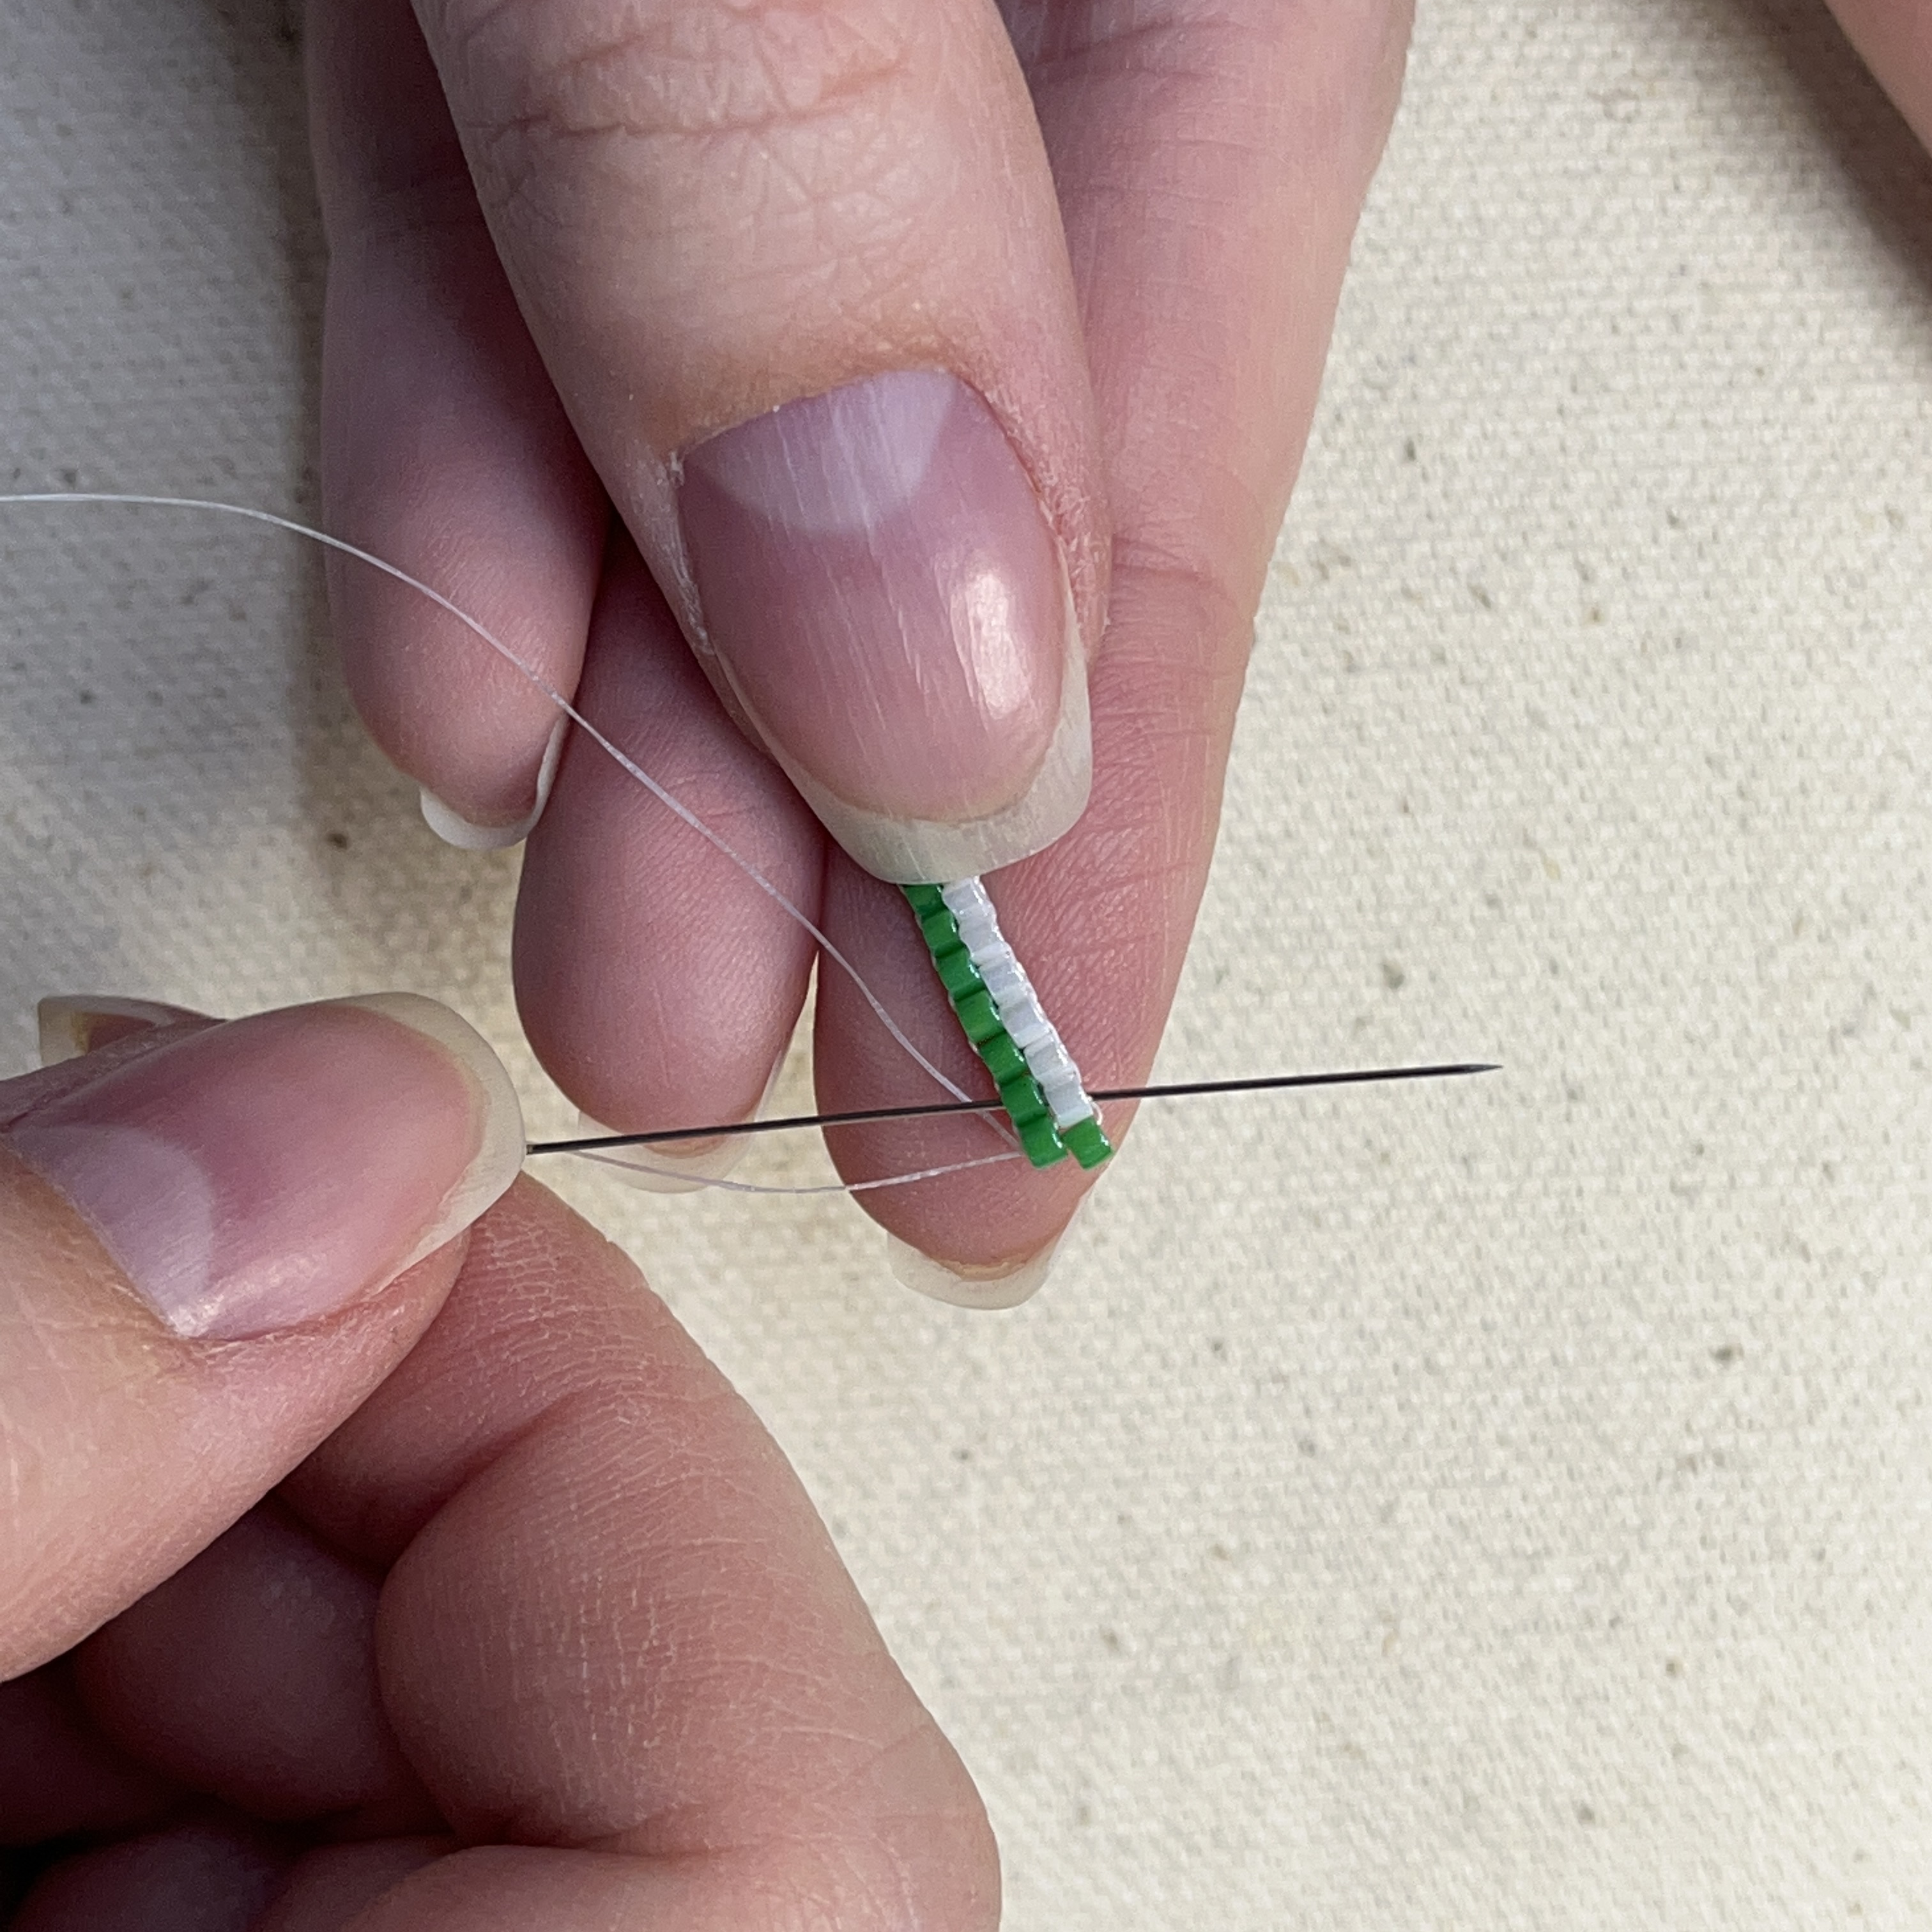
31. To finish off the row, add a green bead to your needle and thread it through the green bead shown above, pull tight
32. Now we'll secure the last bead you just added by threading diagonally down through the green and white bead shown above
33. Pull tight and poke the needle through the white bead shown above
34. Thread the needle through the end green bead shown above
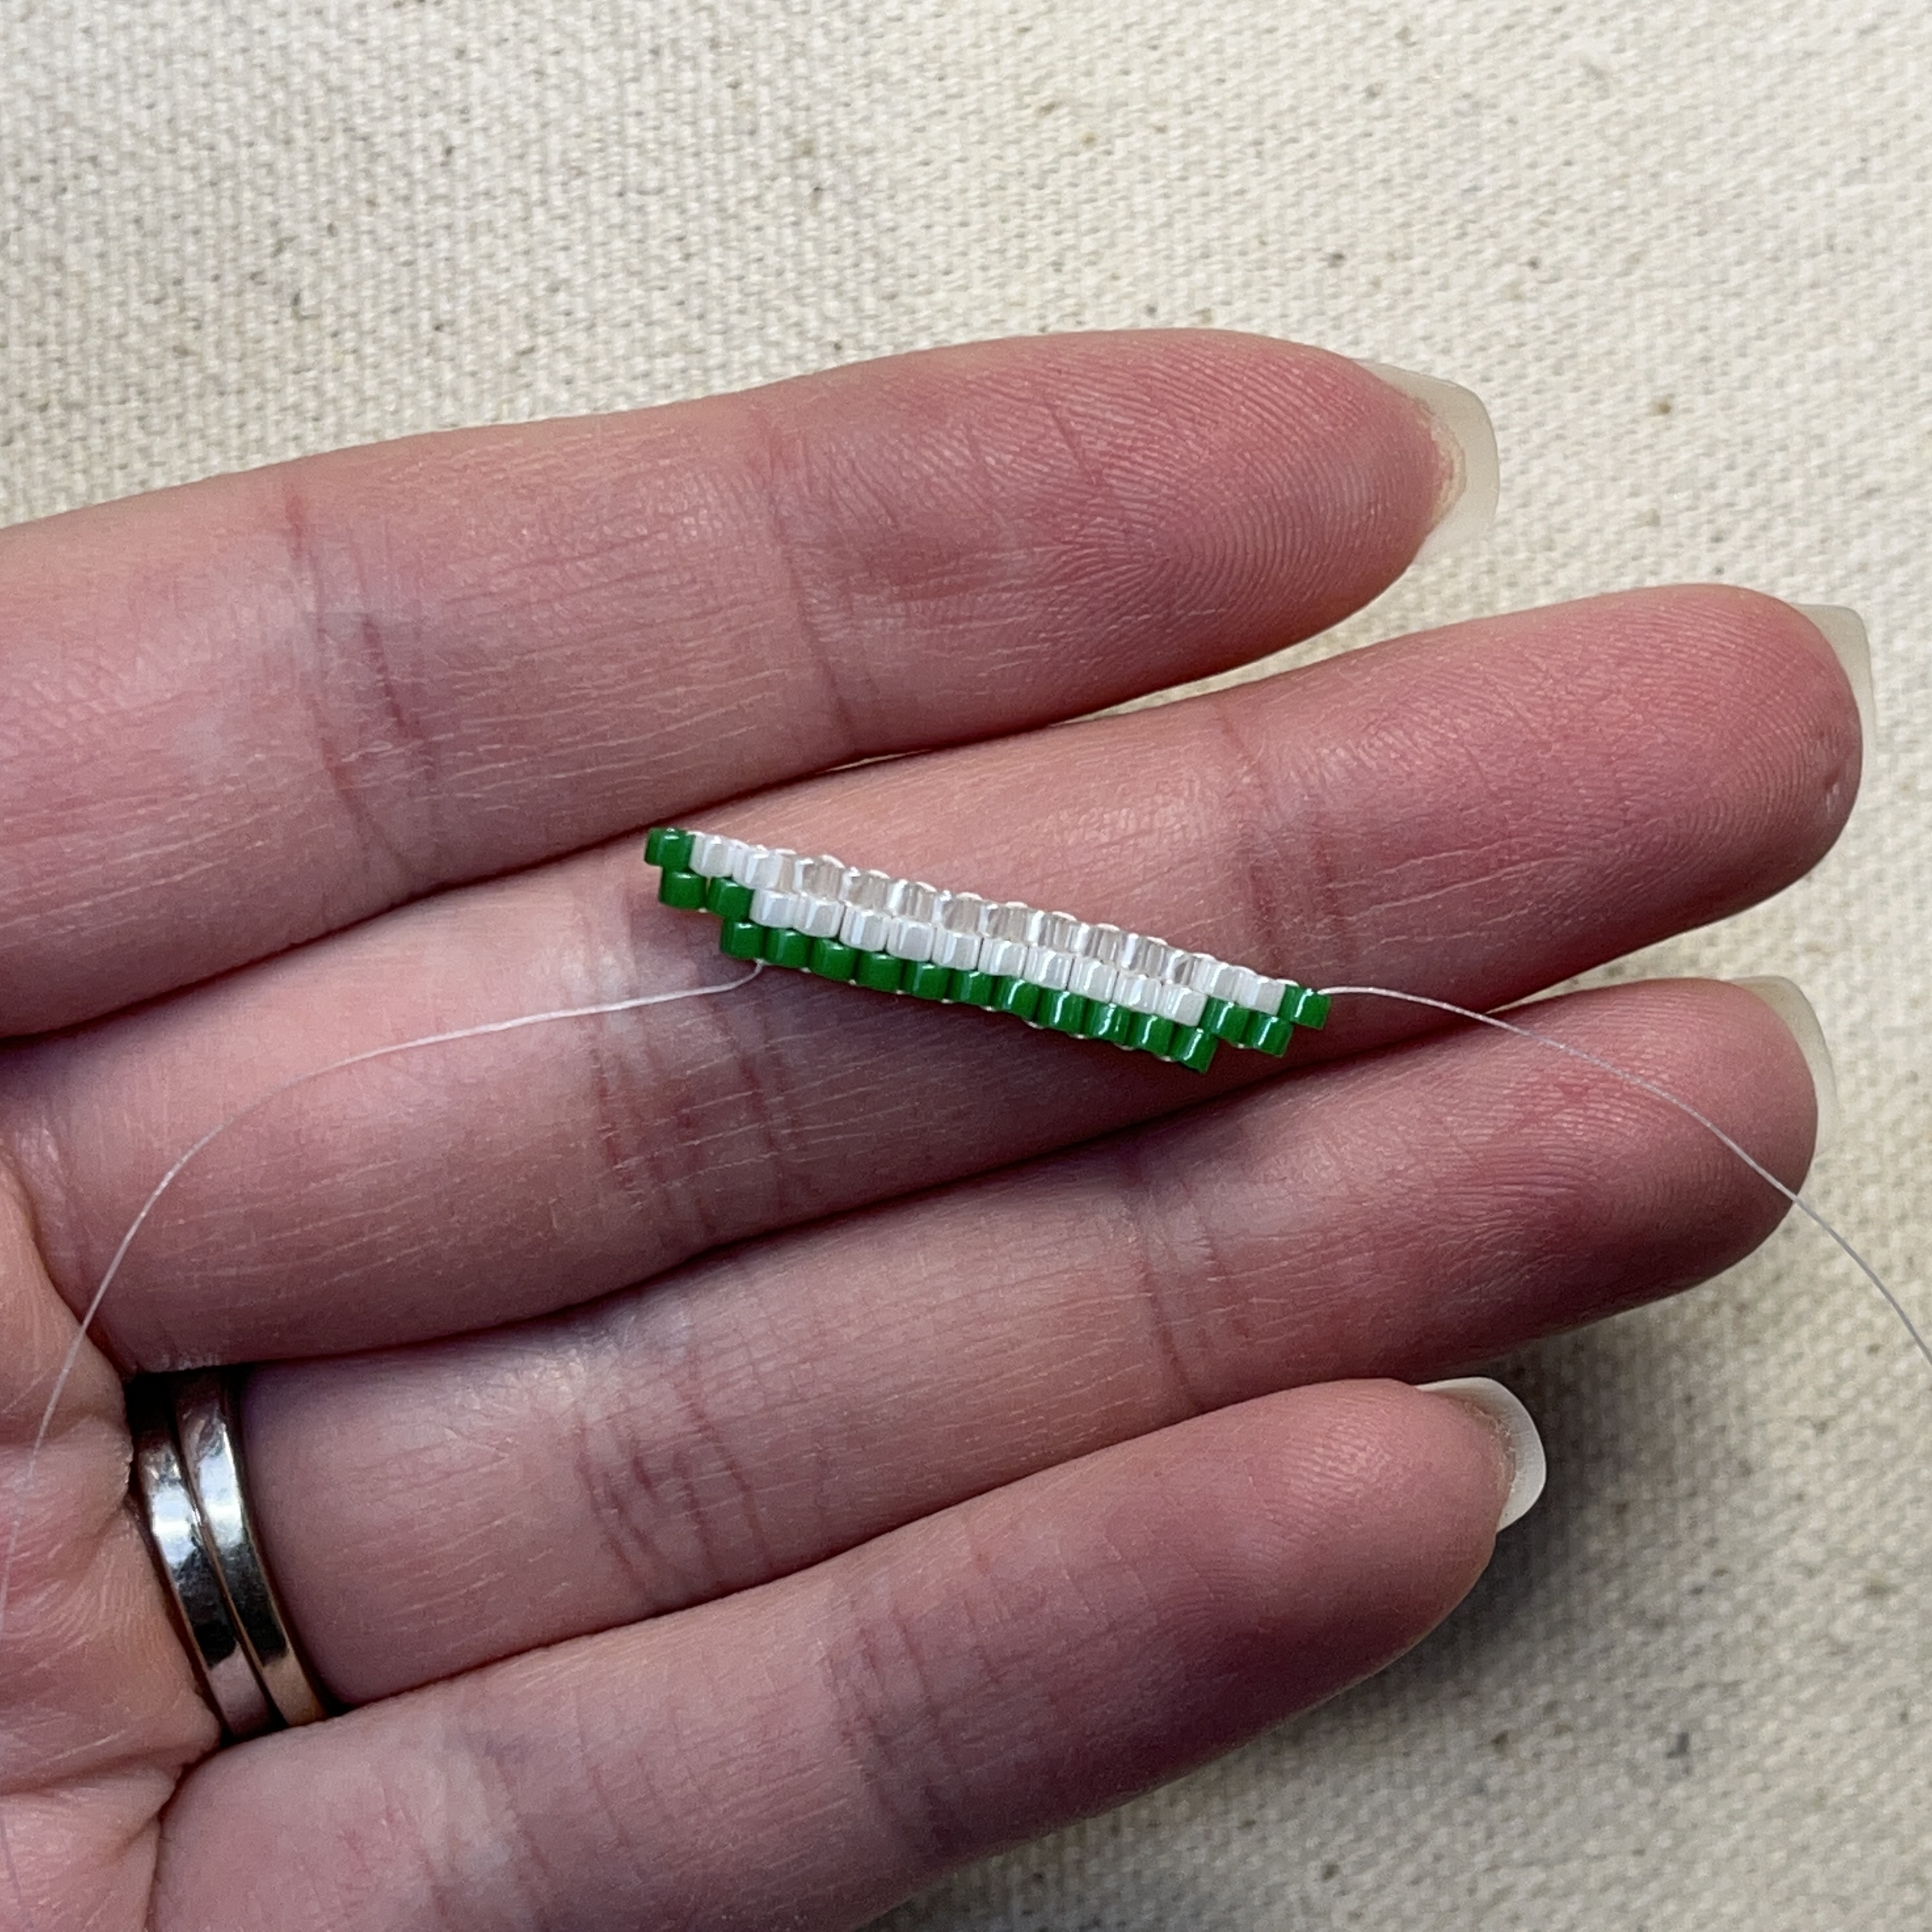
35. Your first three rows should look like this
36. Repeat step 27 to start a new row
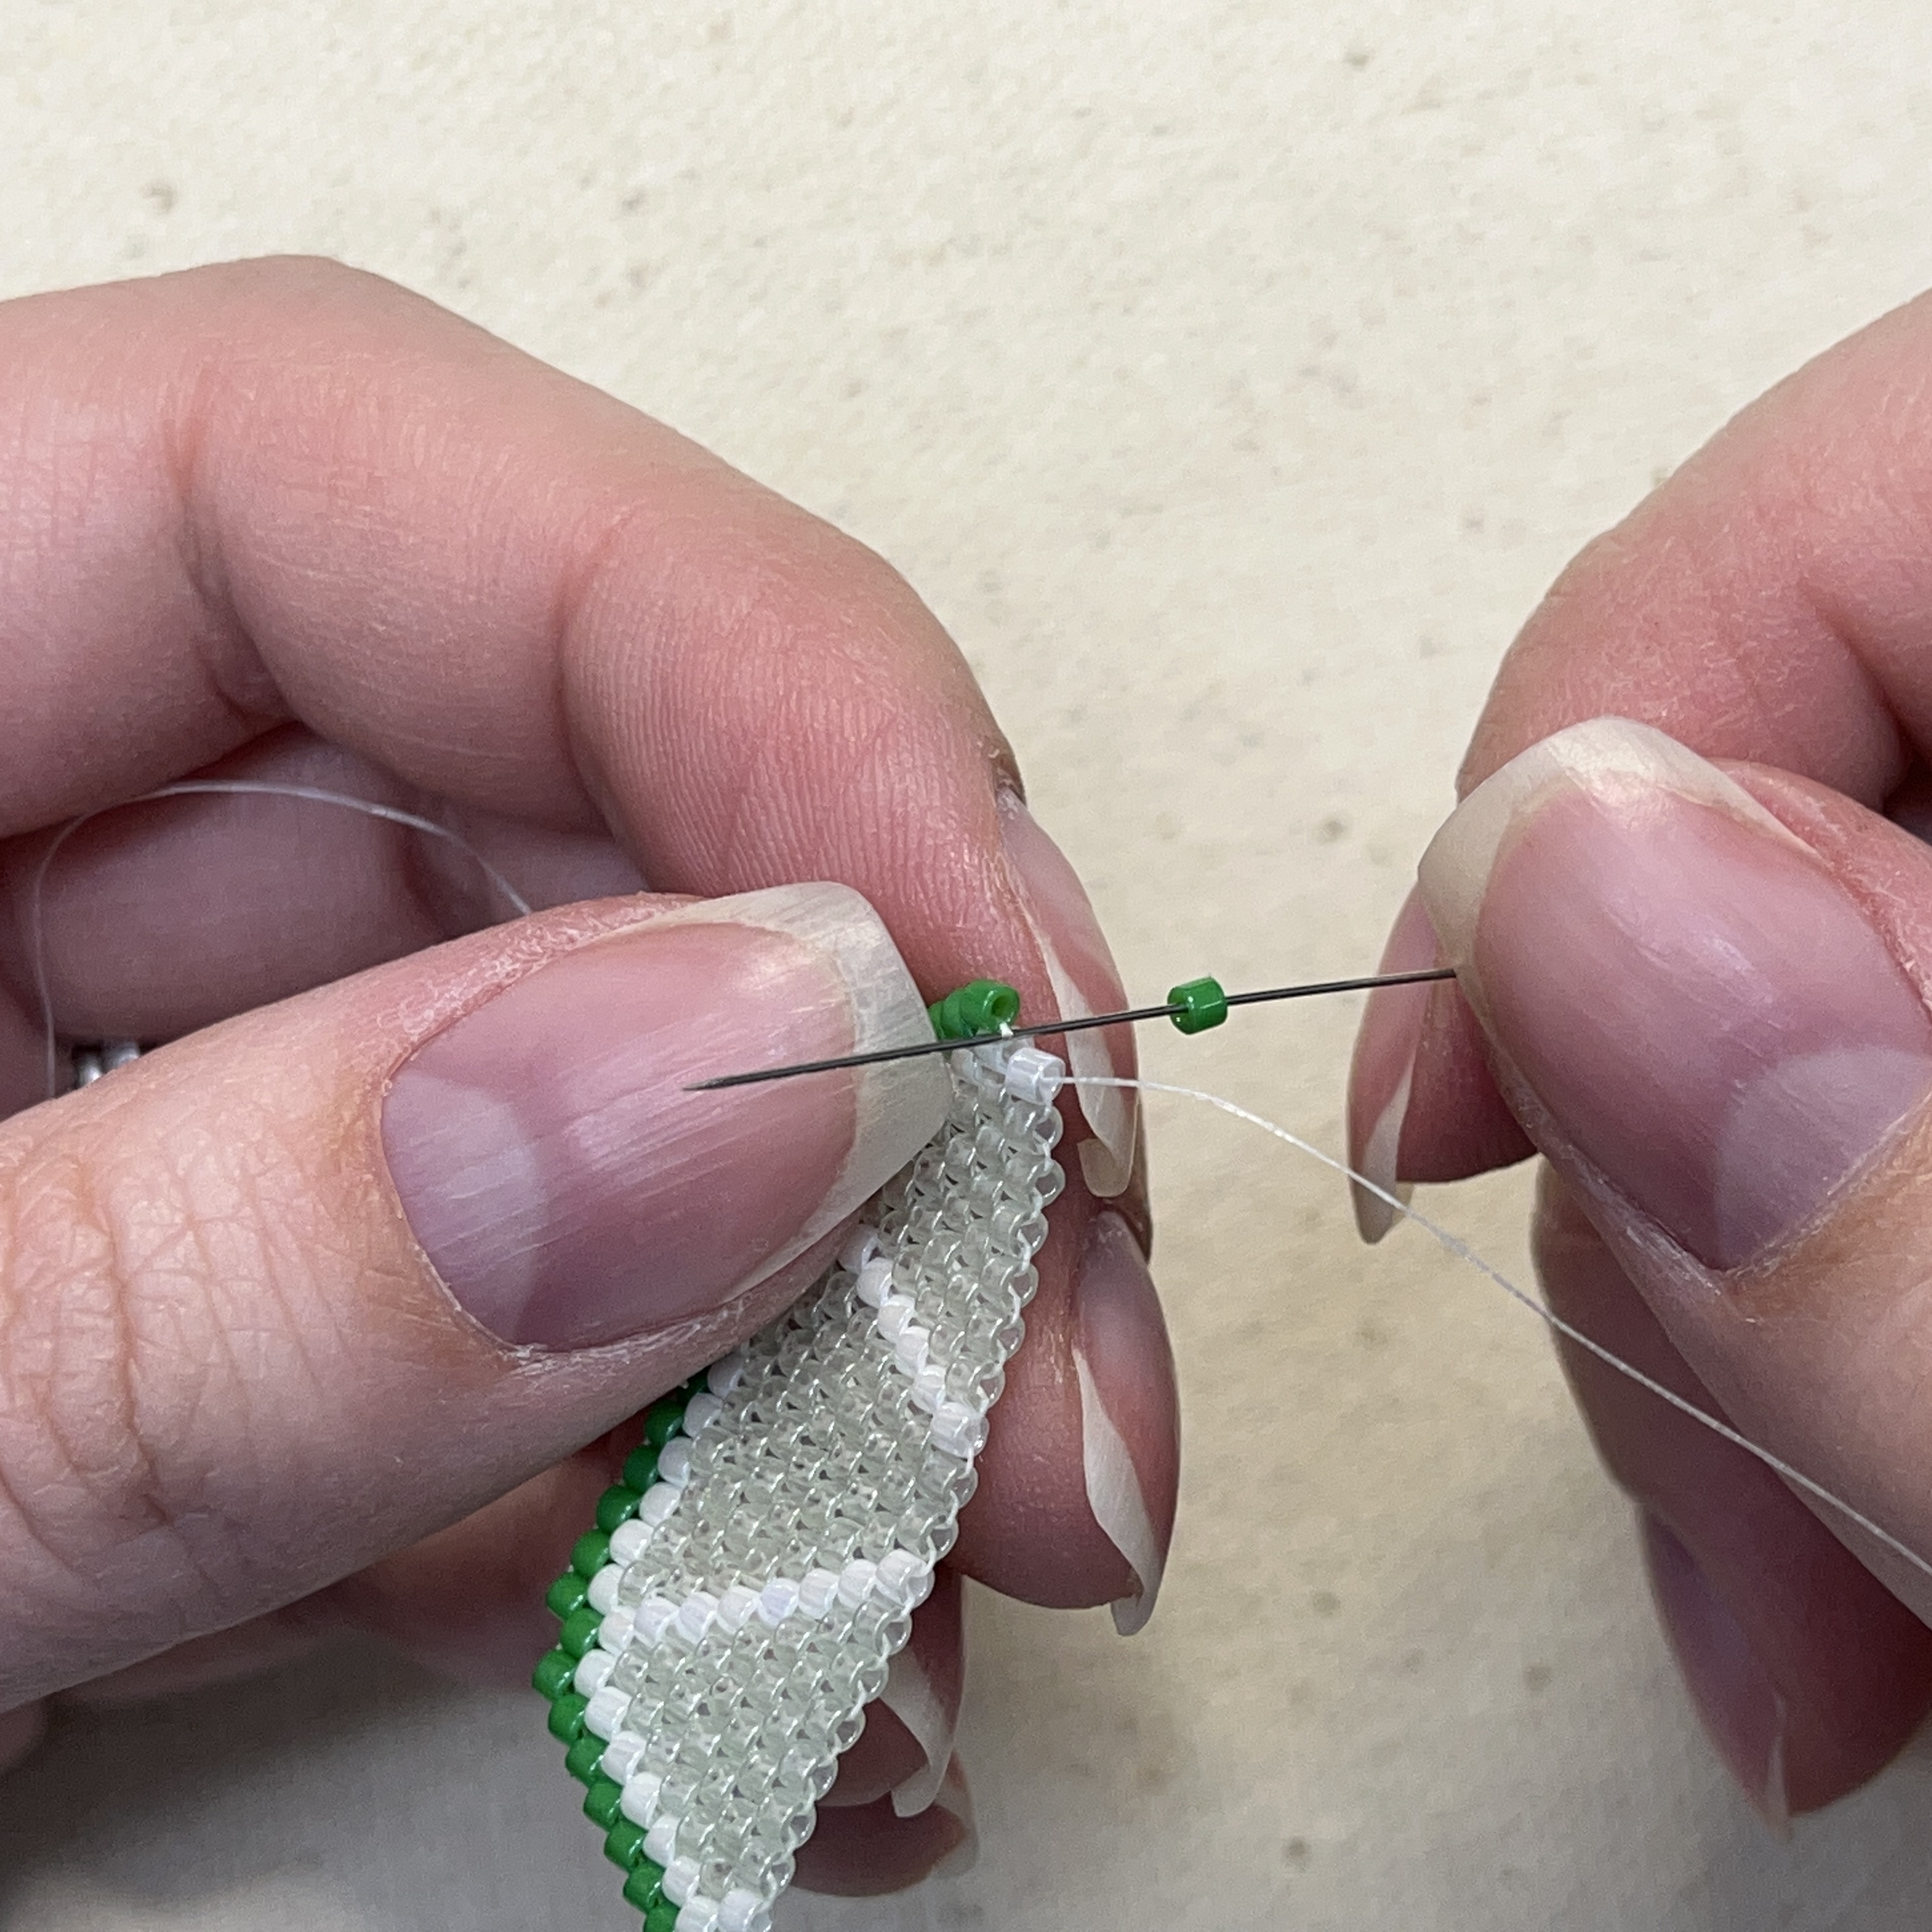
37. Continue with the pattern to complete the fourth row. Repeat the previous steps to complete the pattern until you reach the 9th row.
38. When you go to start the 10th row, add just one green bead to your needle and poke it through the thread between the white and green bead shown above. Thread the needle back up through the green bead to secure it.
39. Add a white bead to the needle and poke it through the thread shown above
40. Continue with the 10th row's pattern, adding the green delica at the end
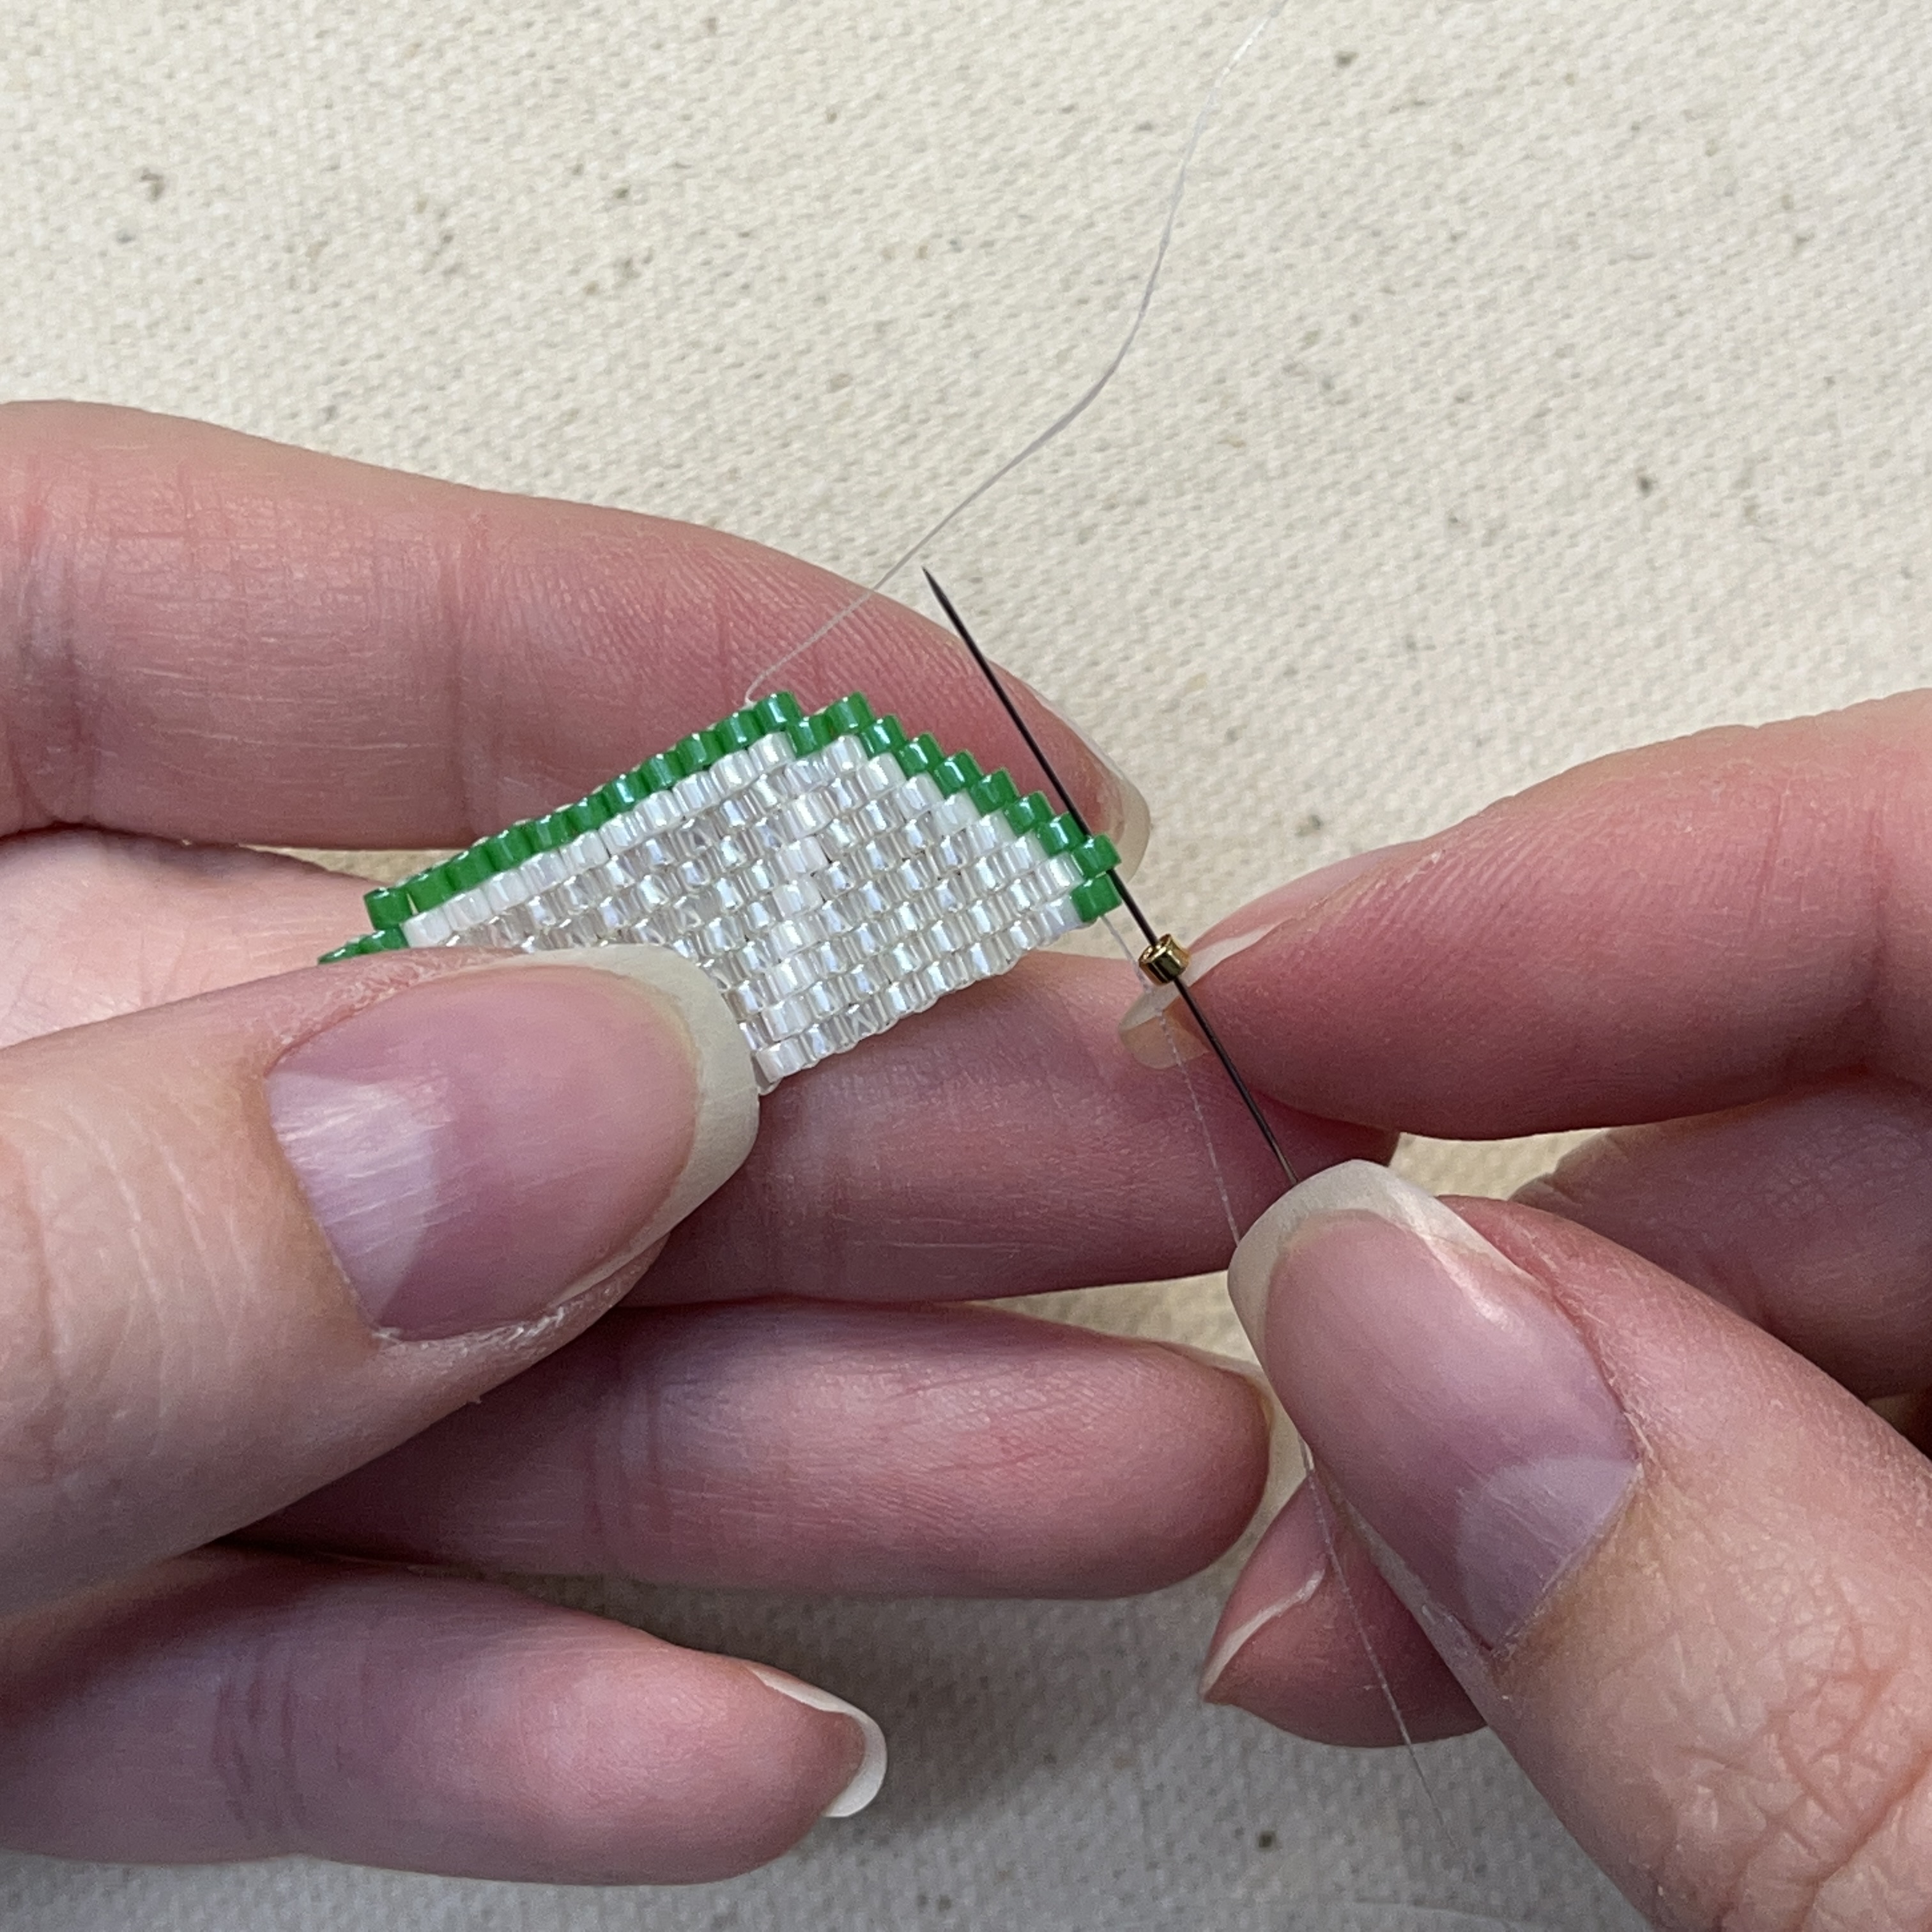
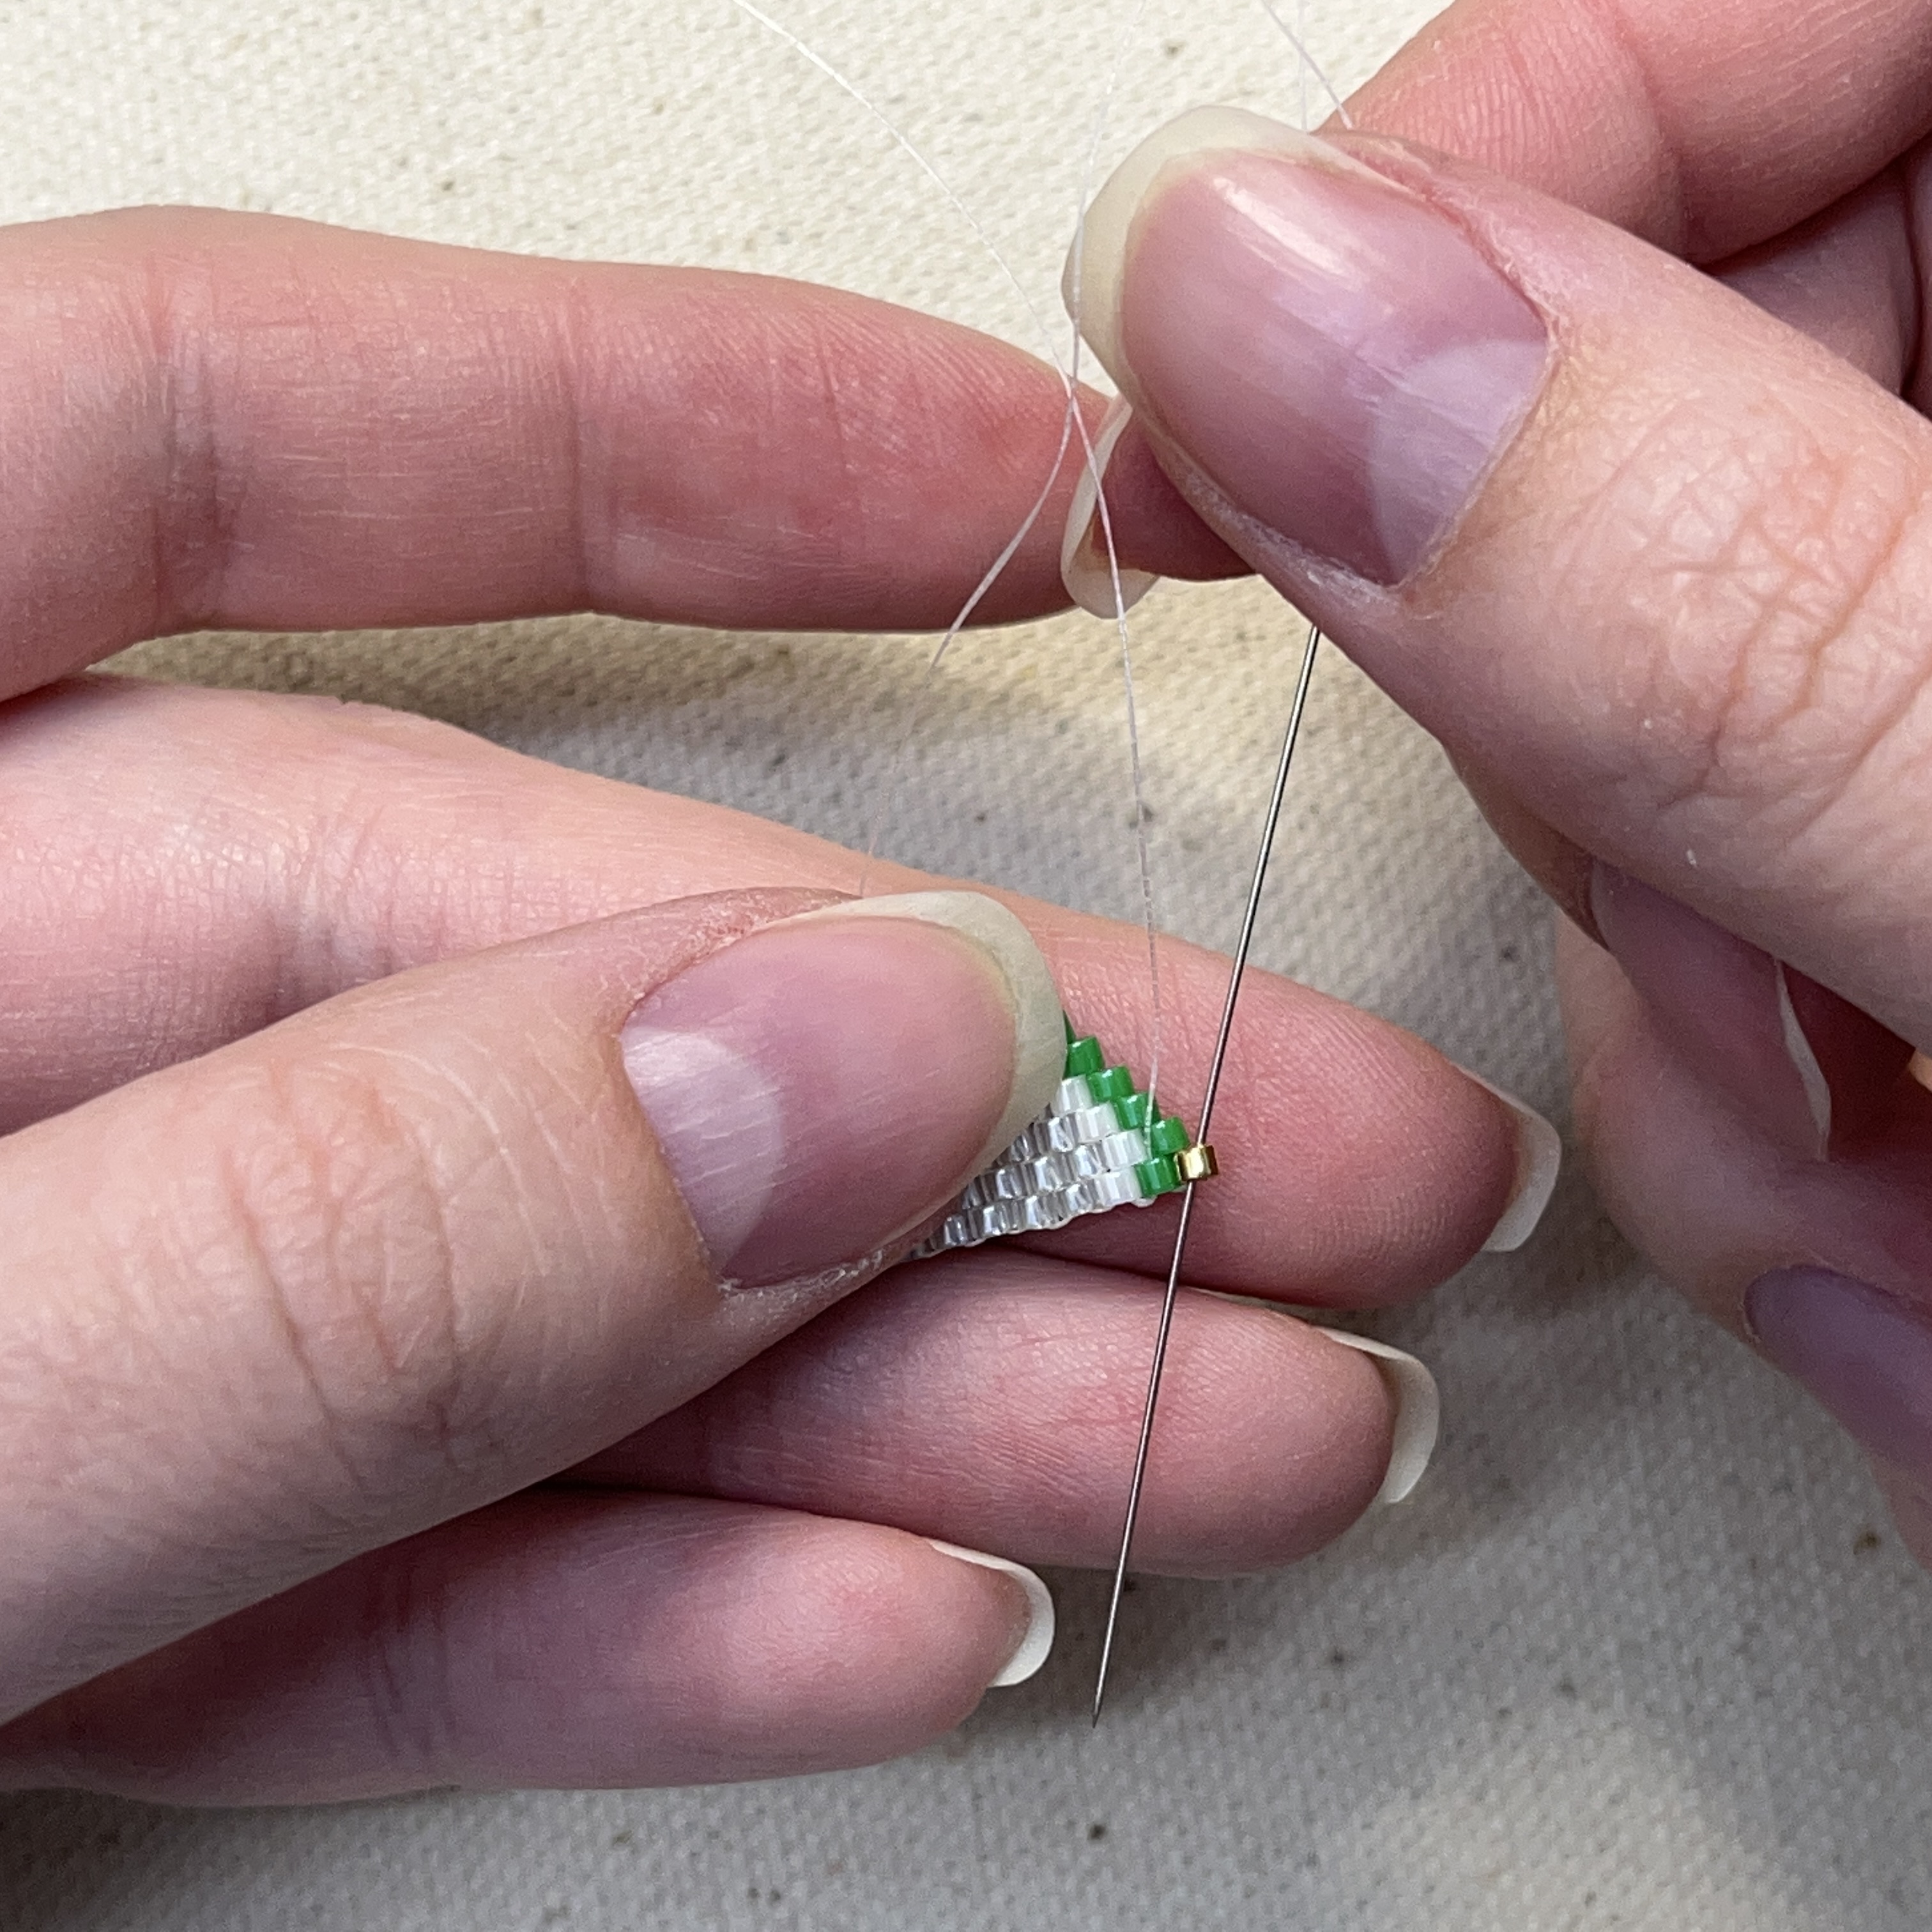
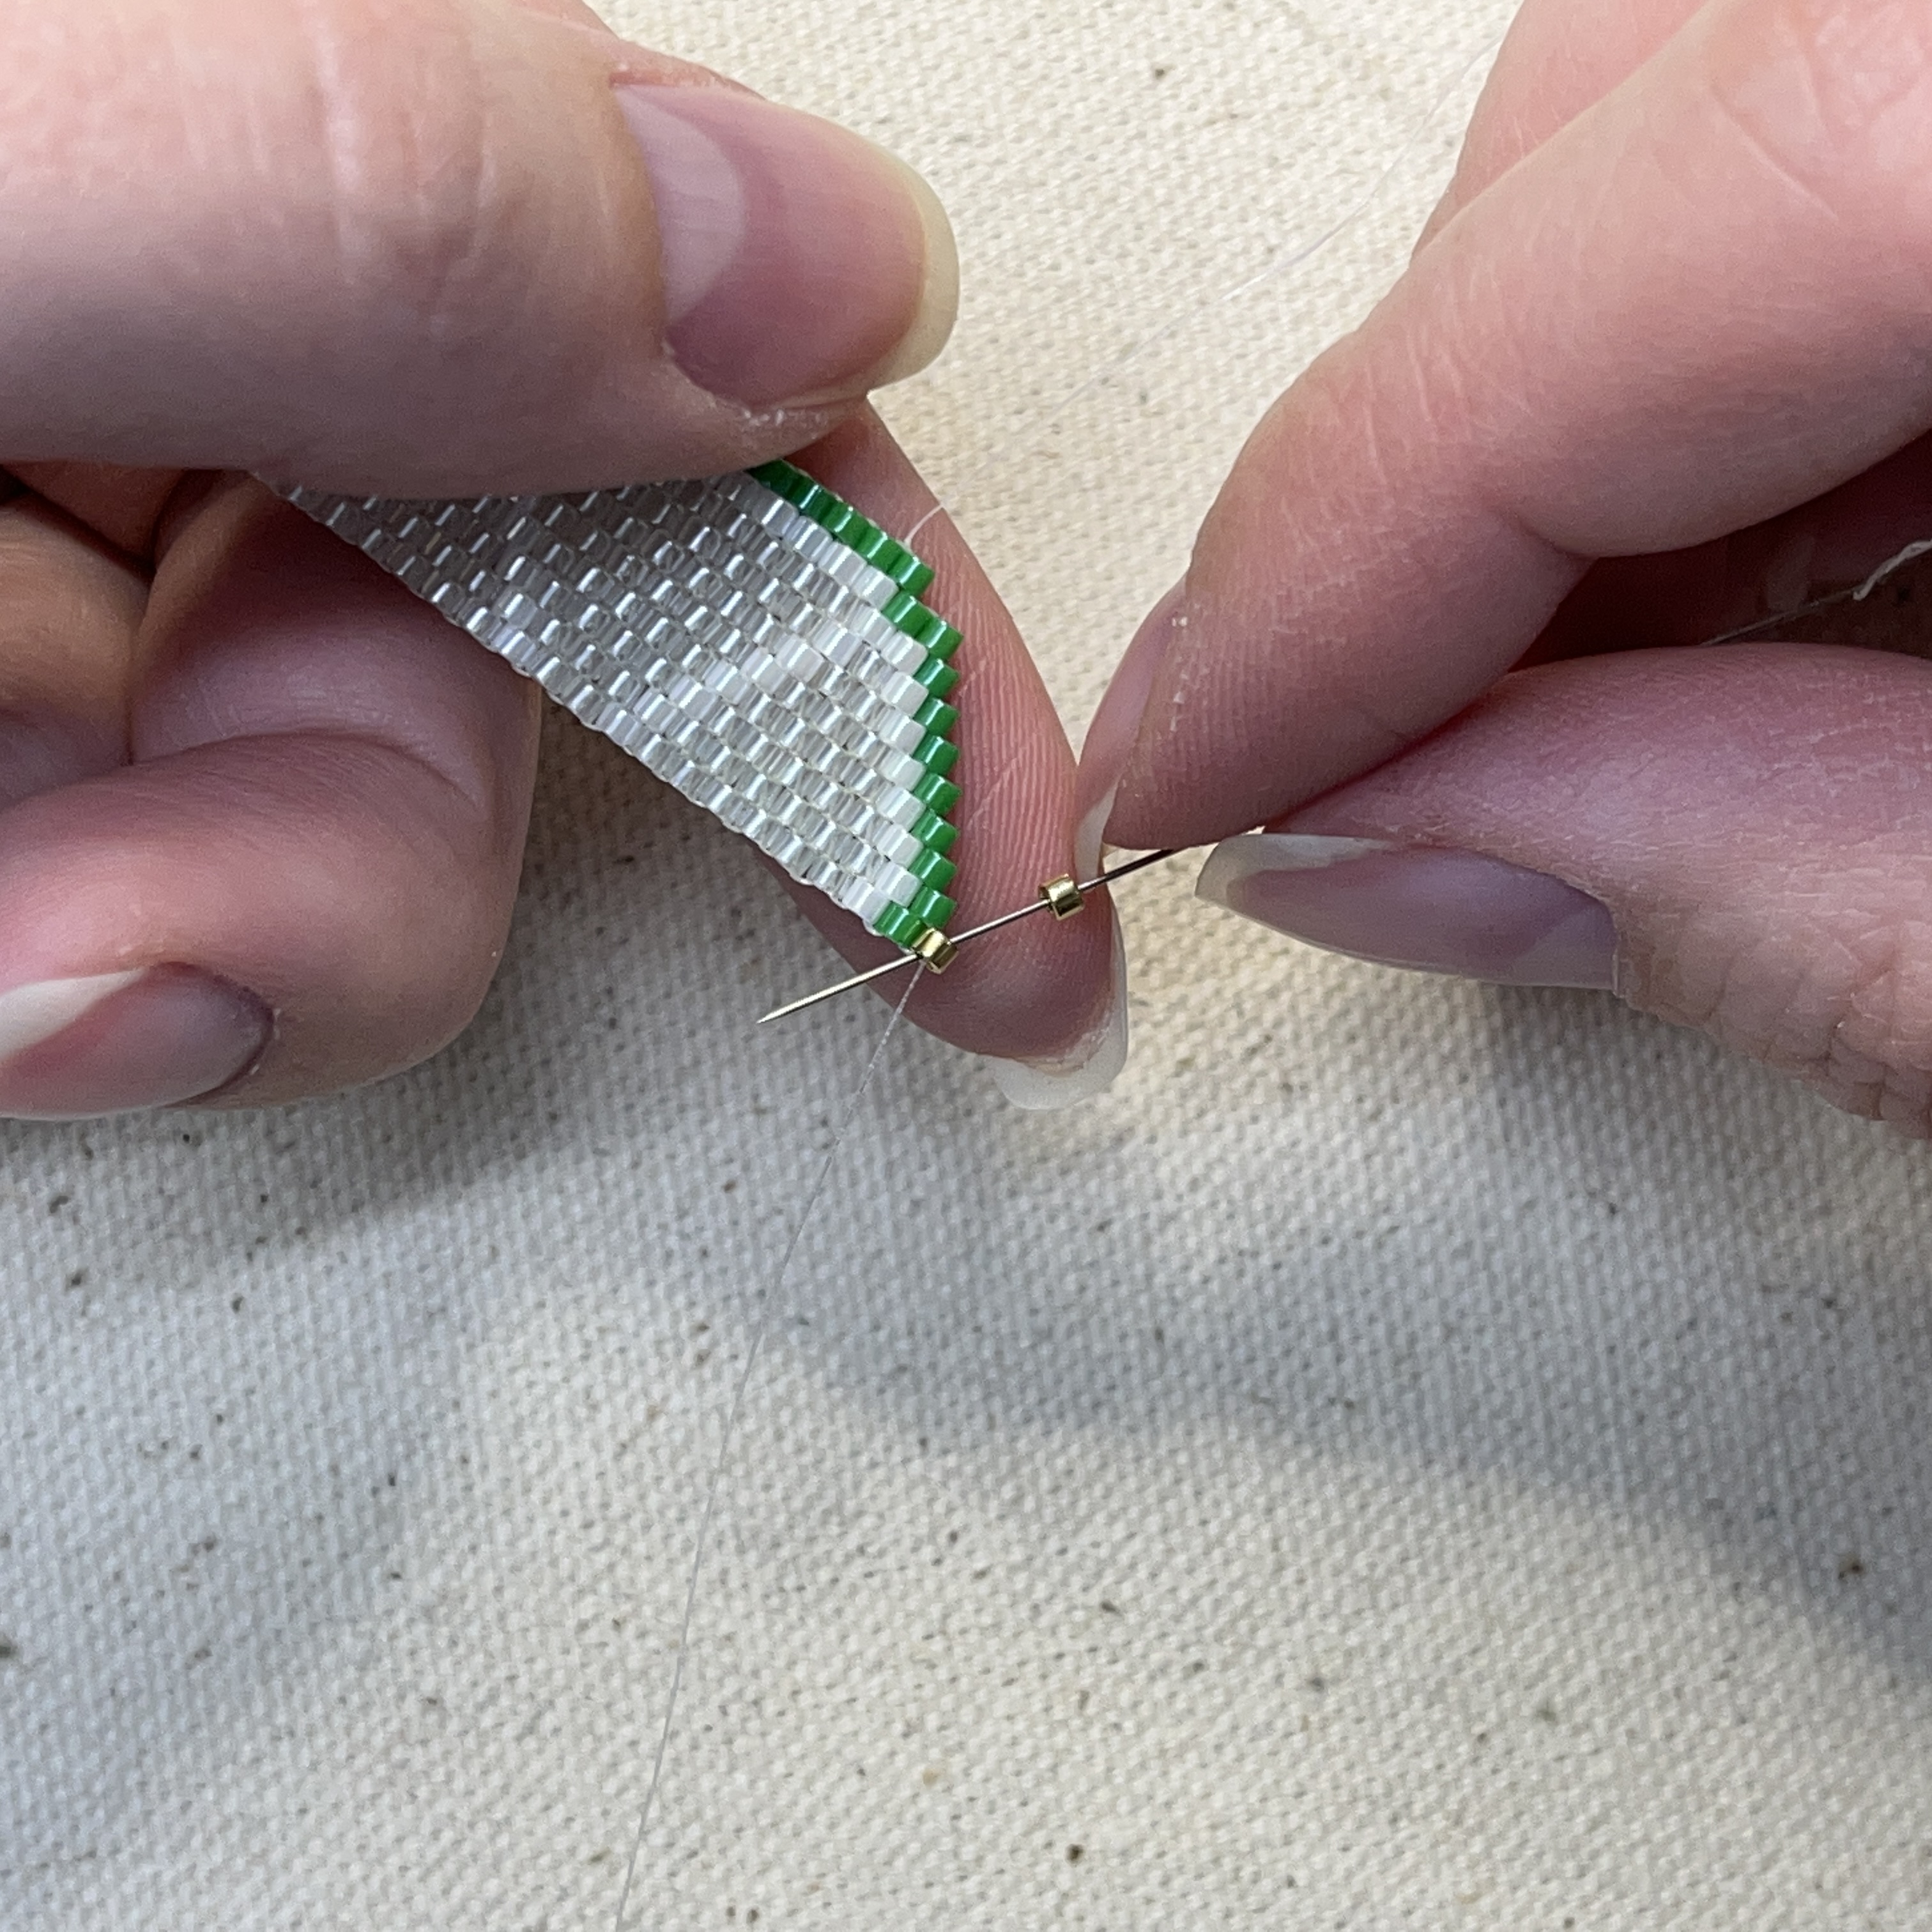
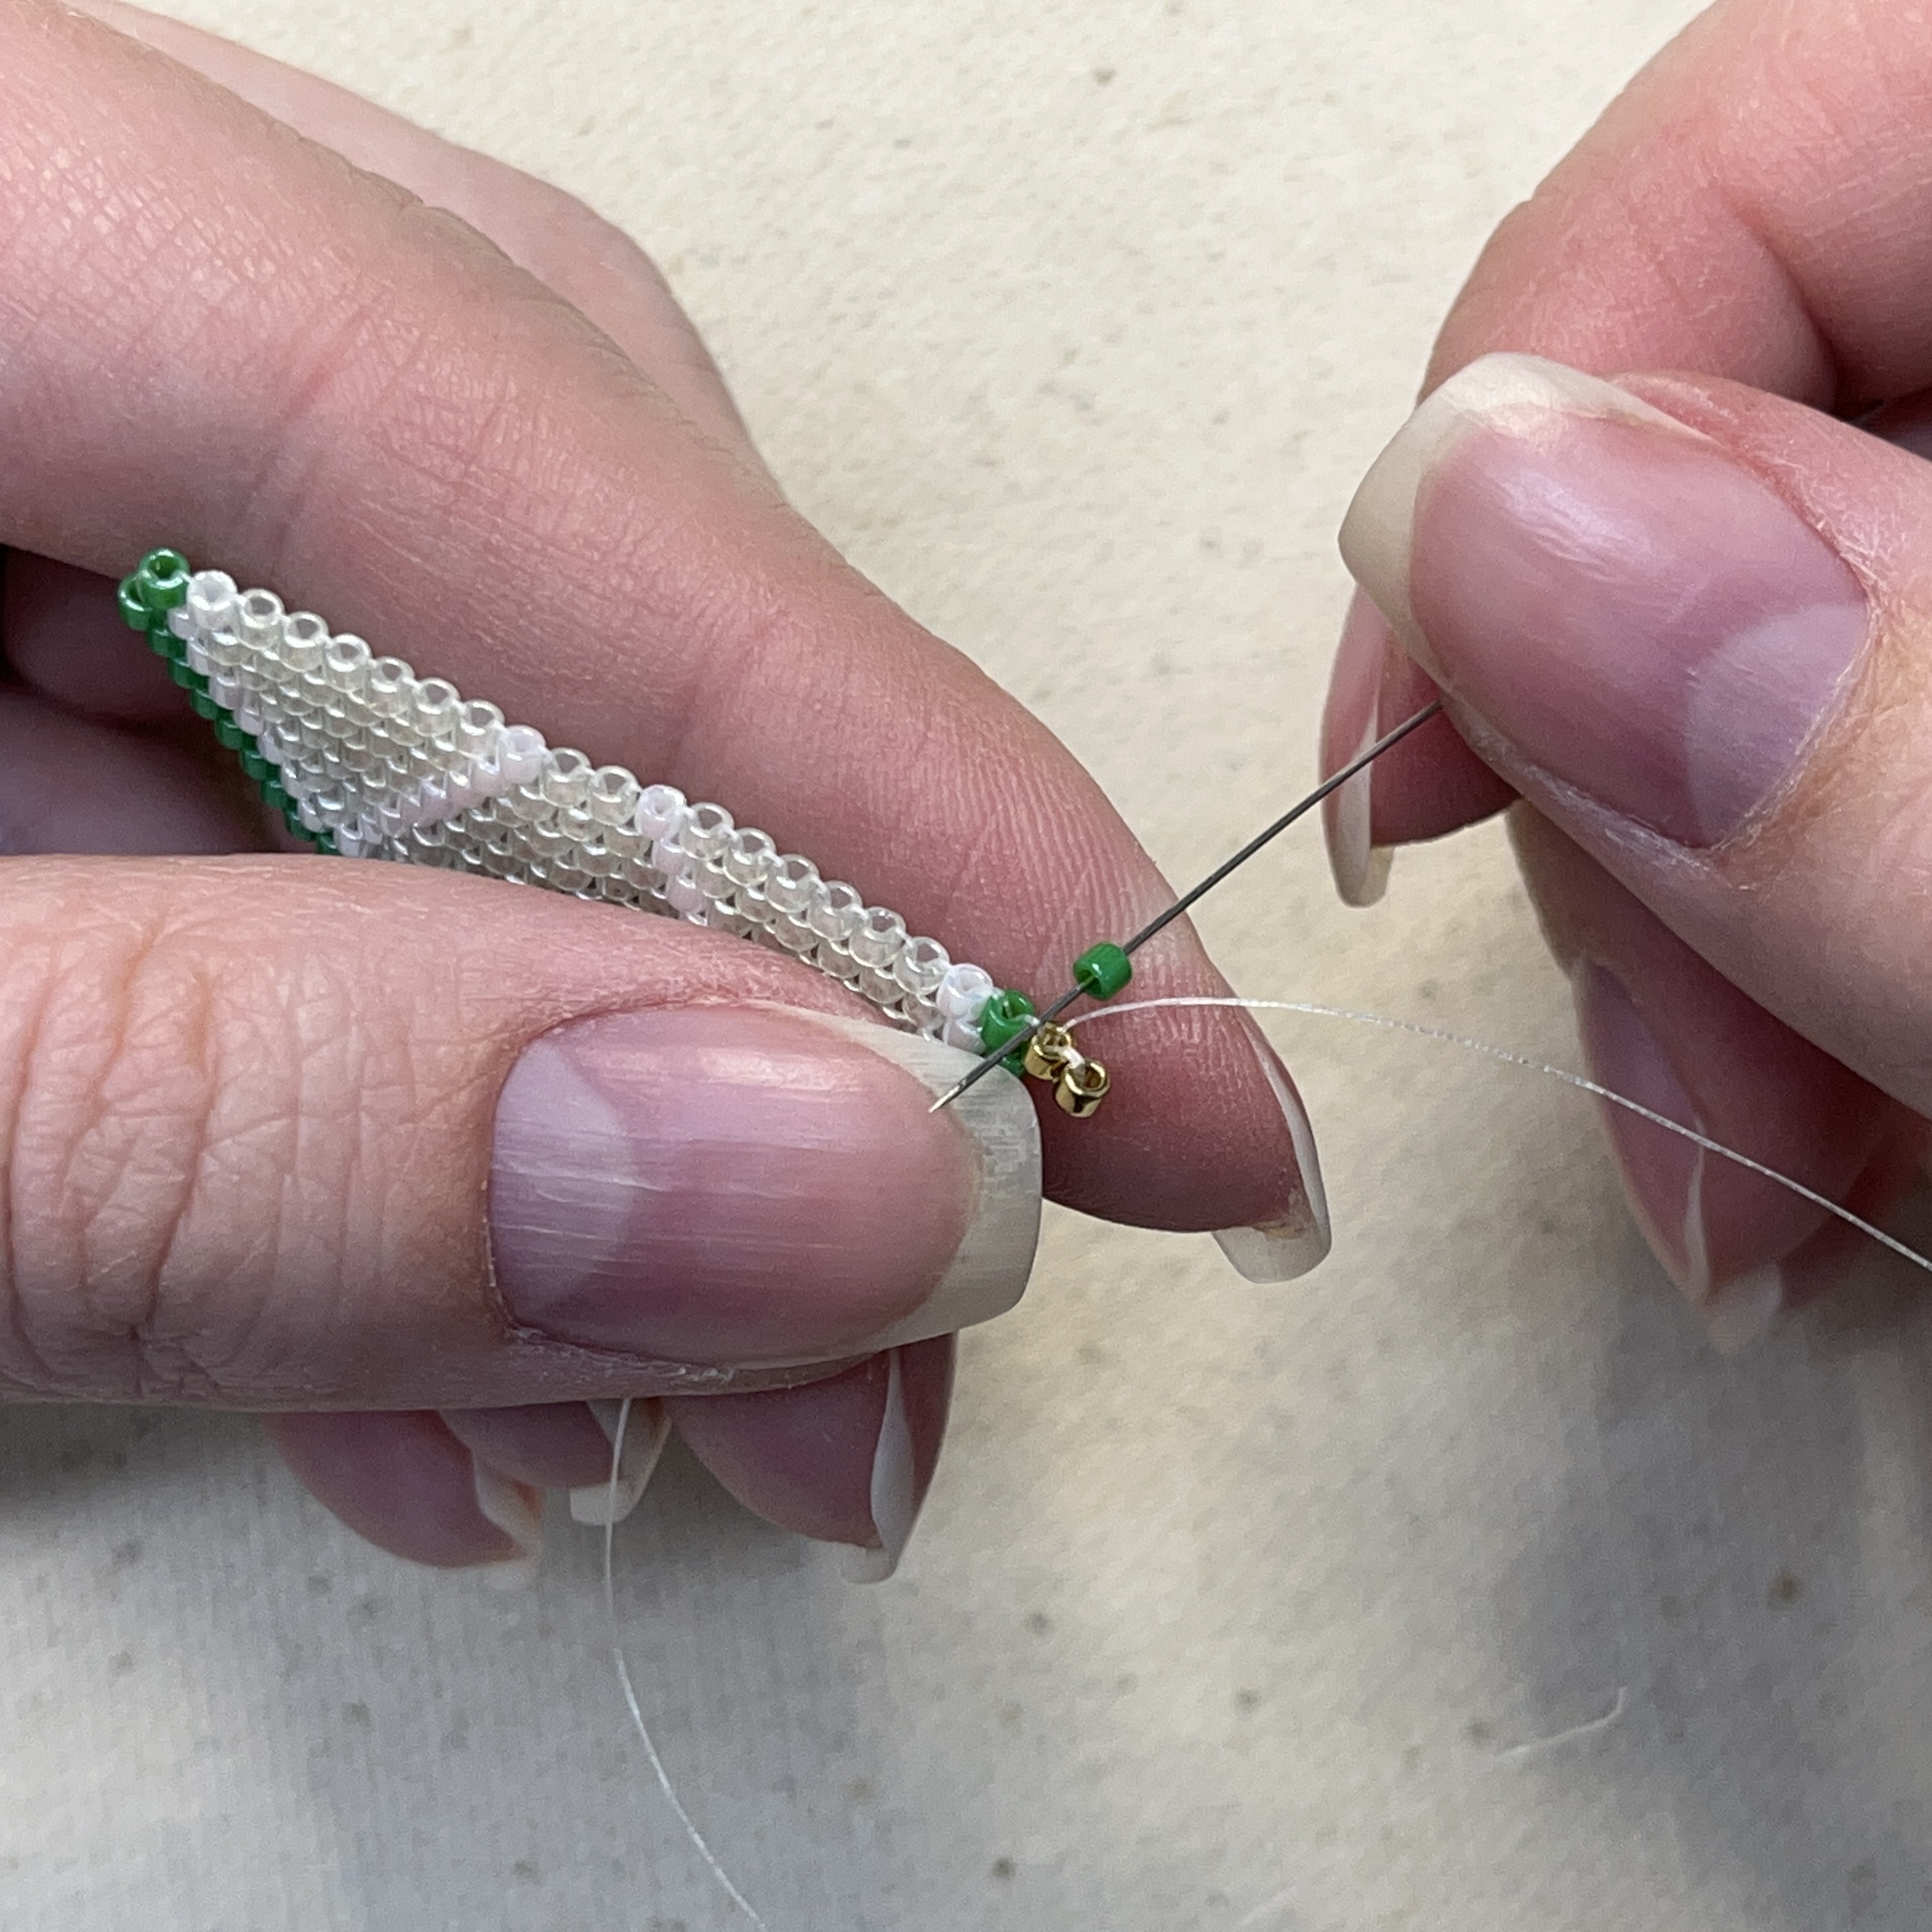
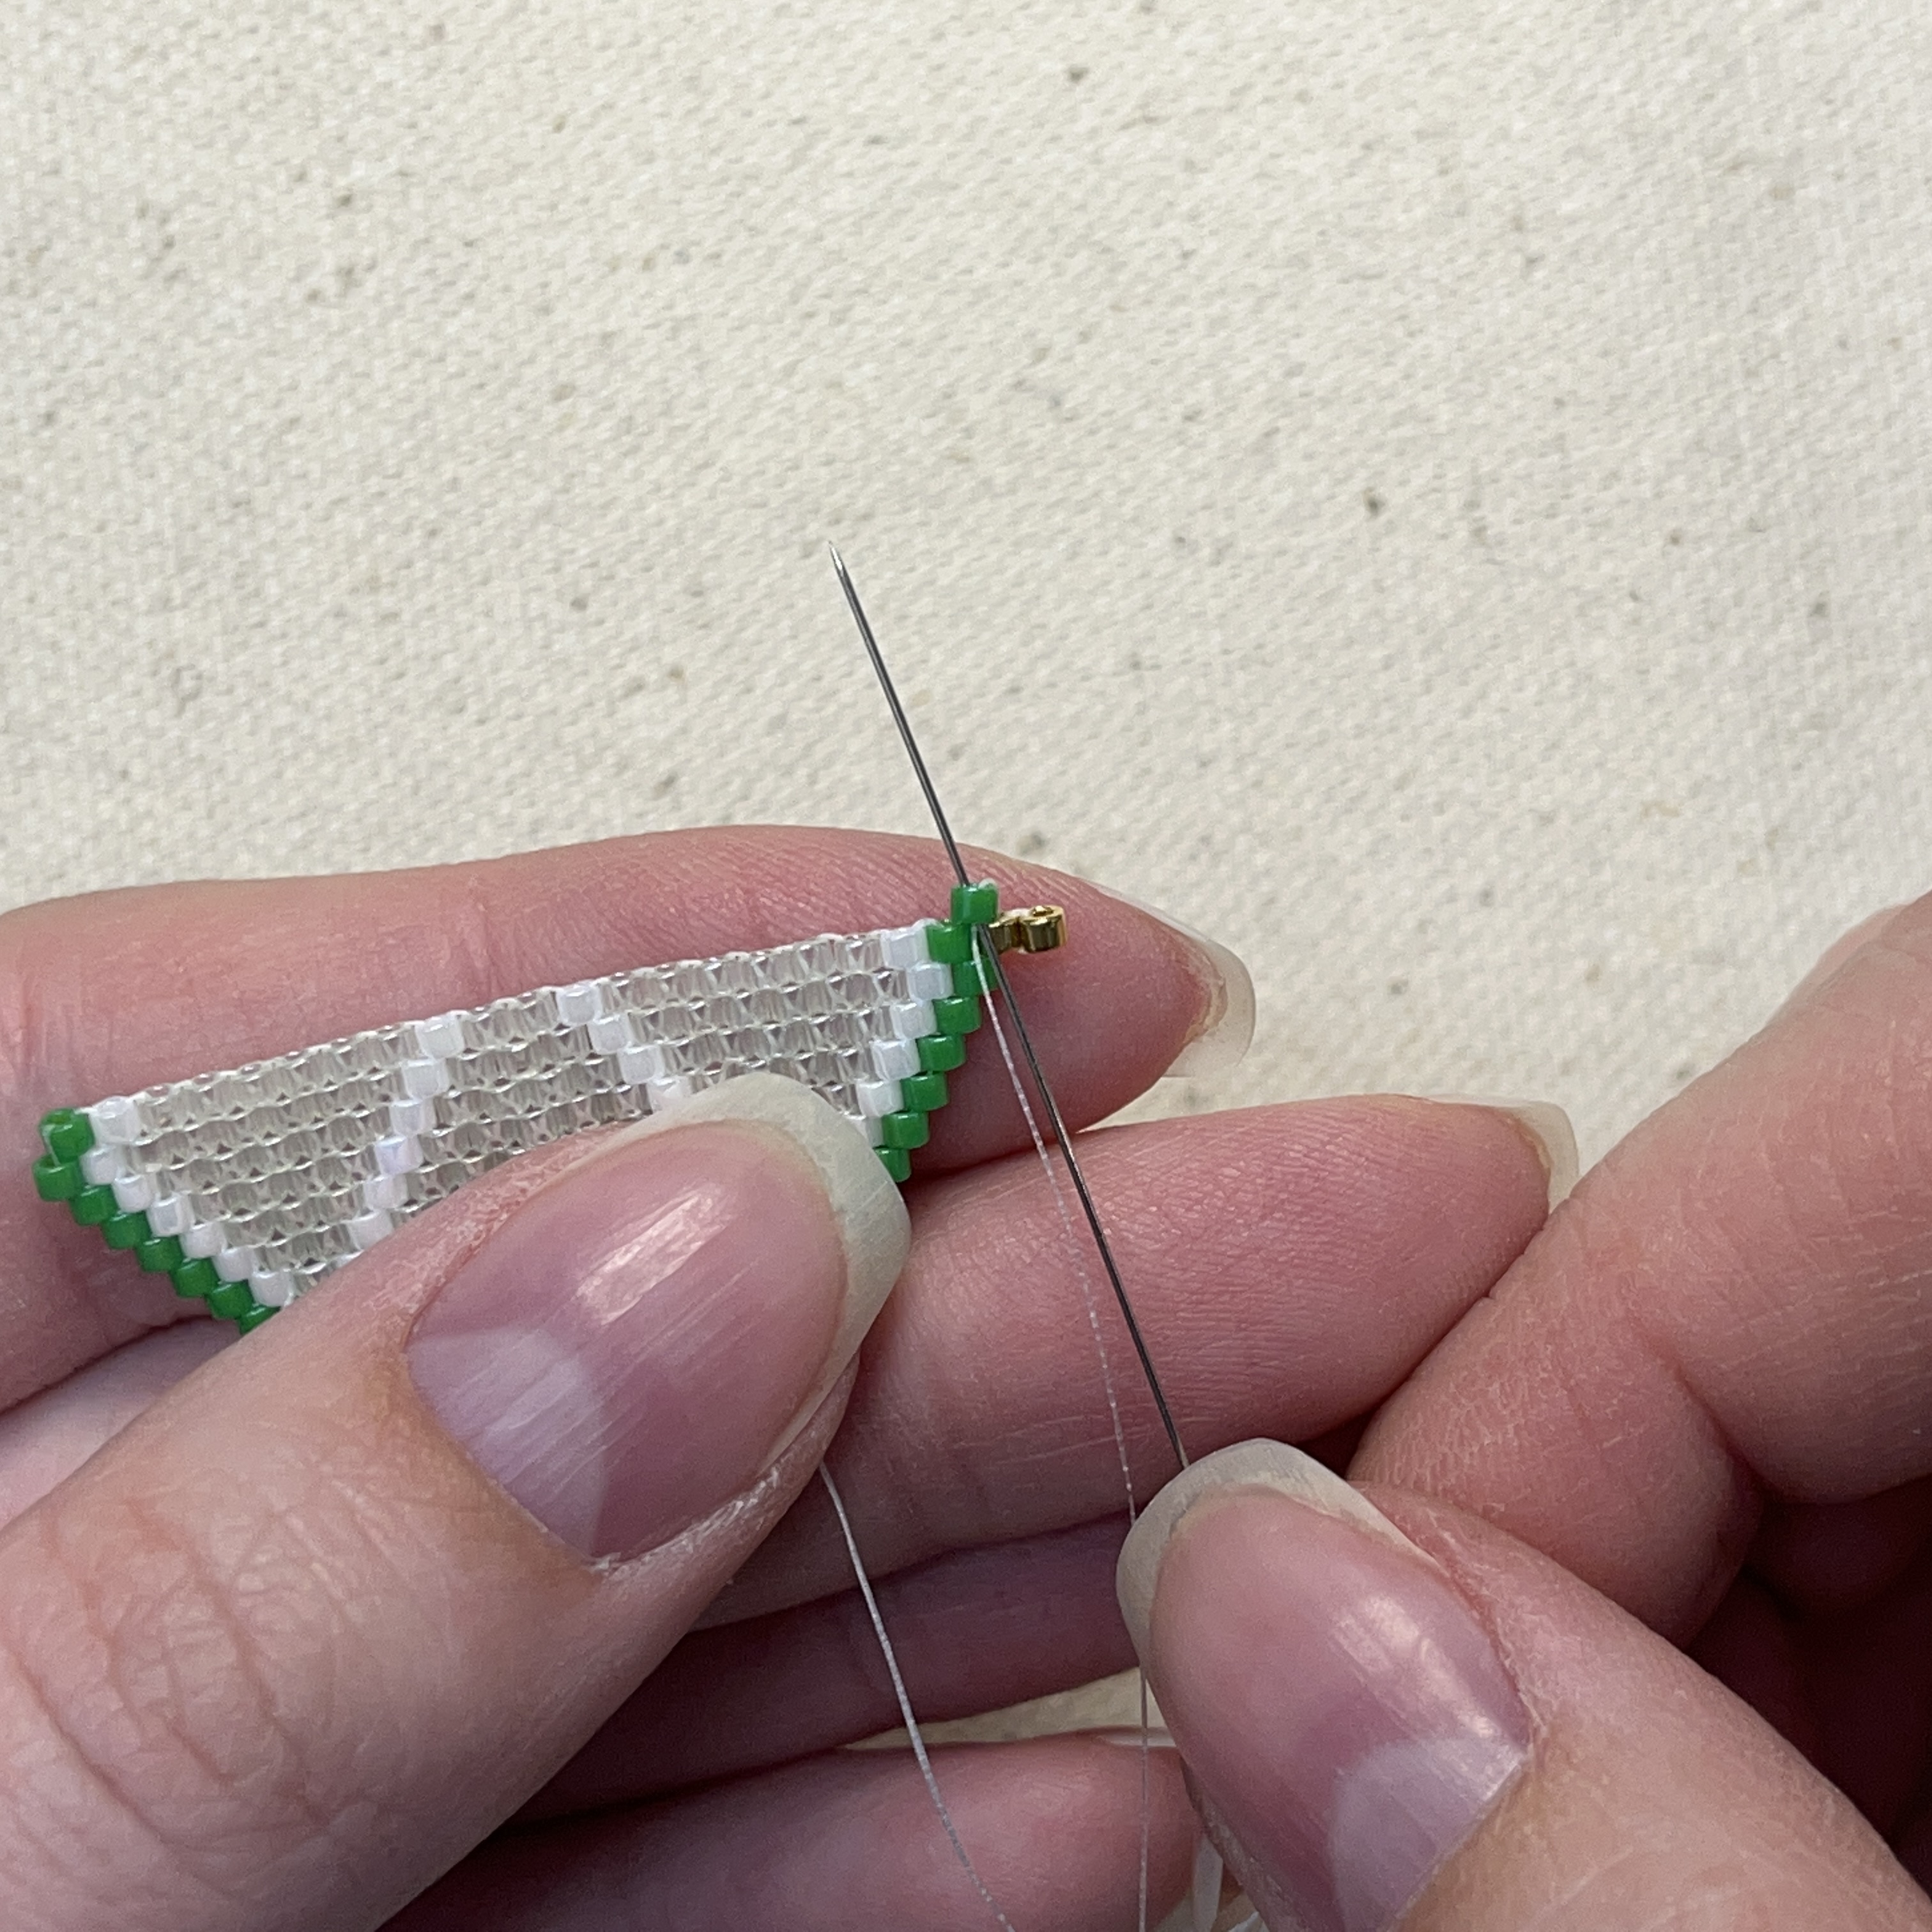
41. Add a gold bead to your needle and add it just like you have finished each row before
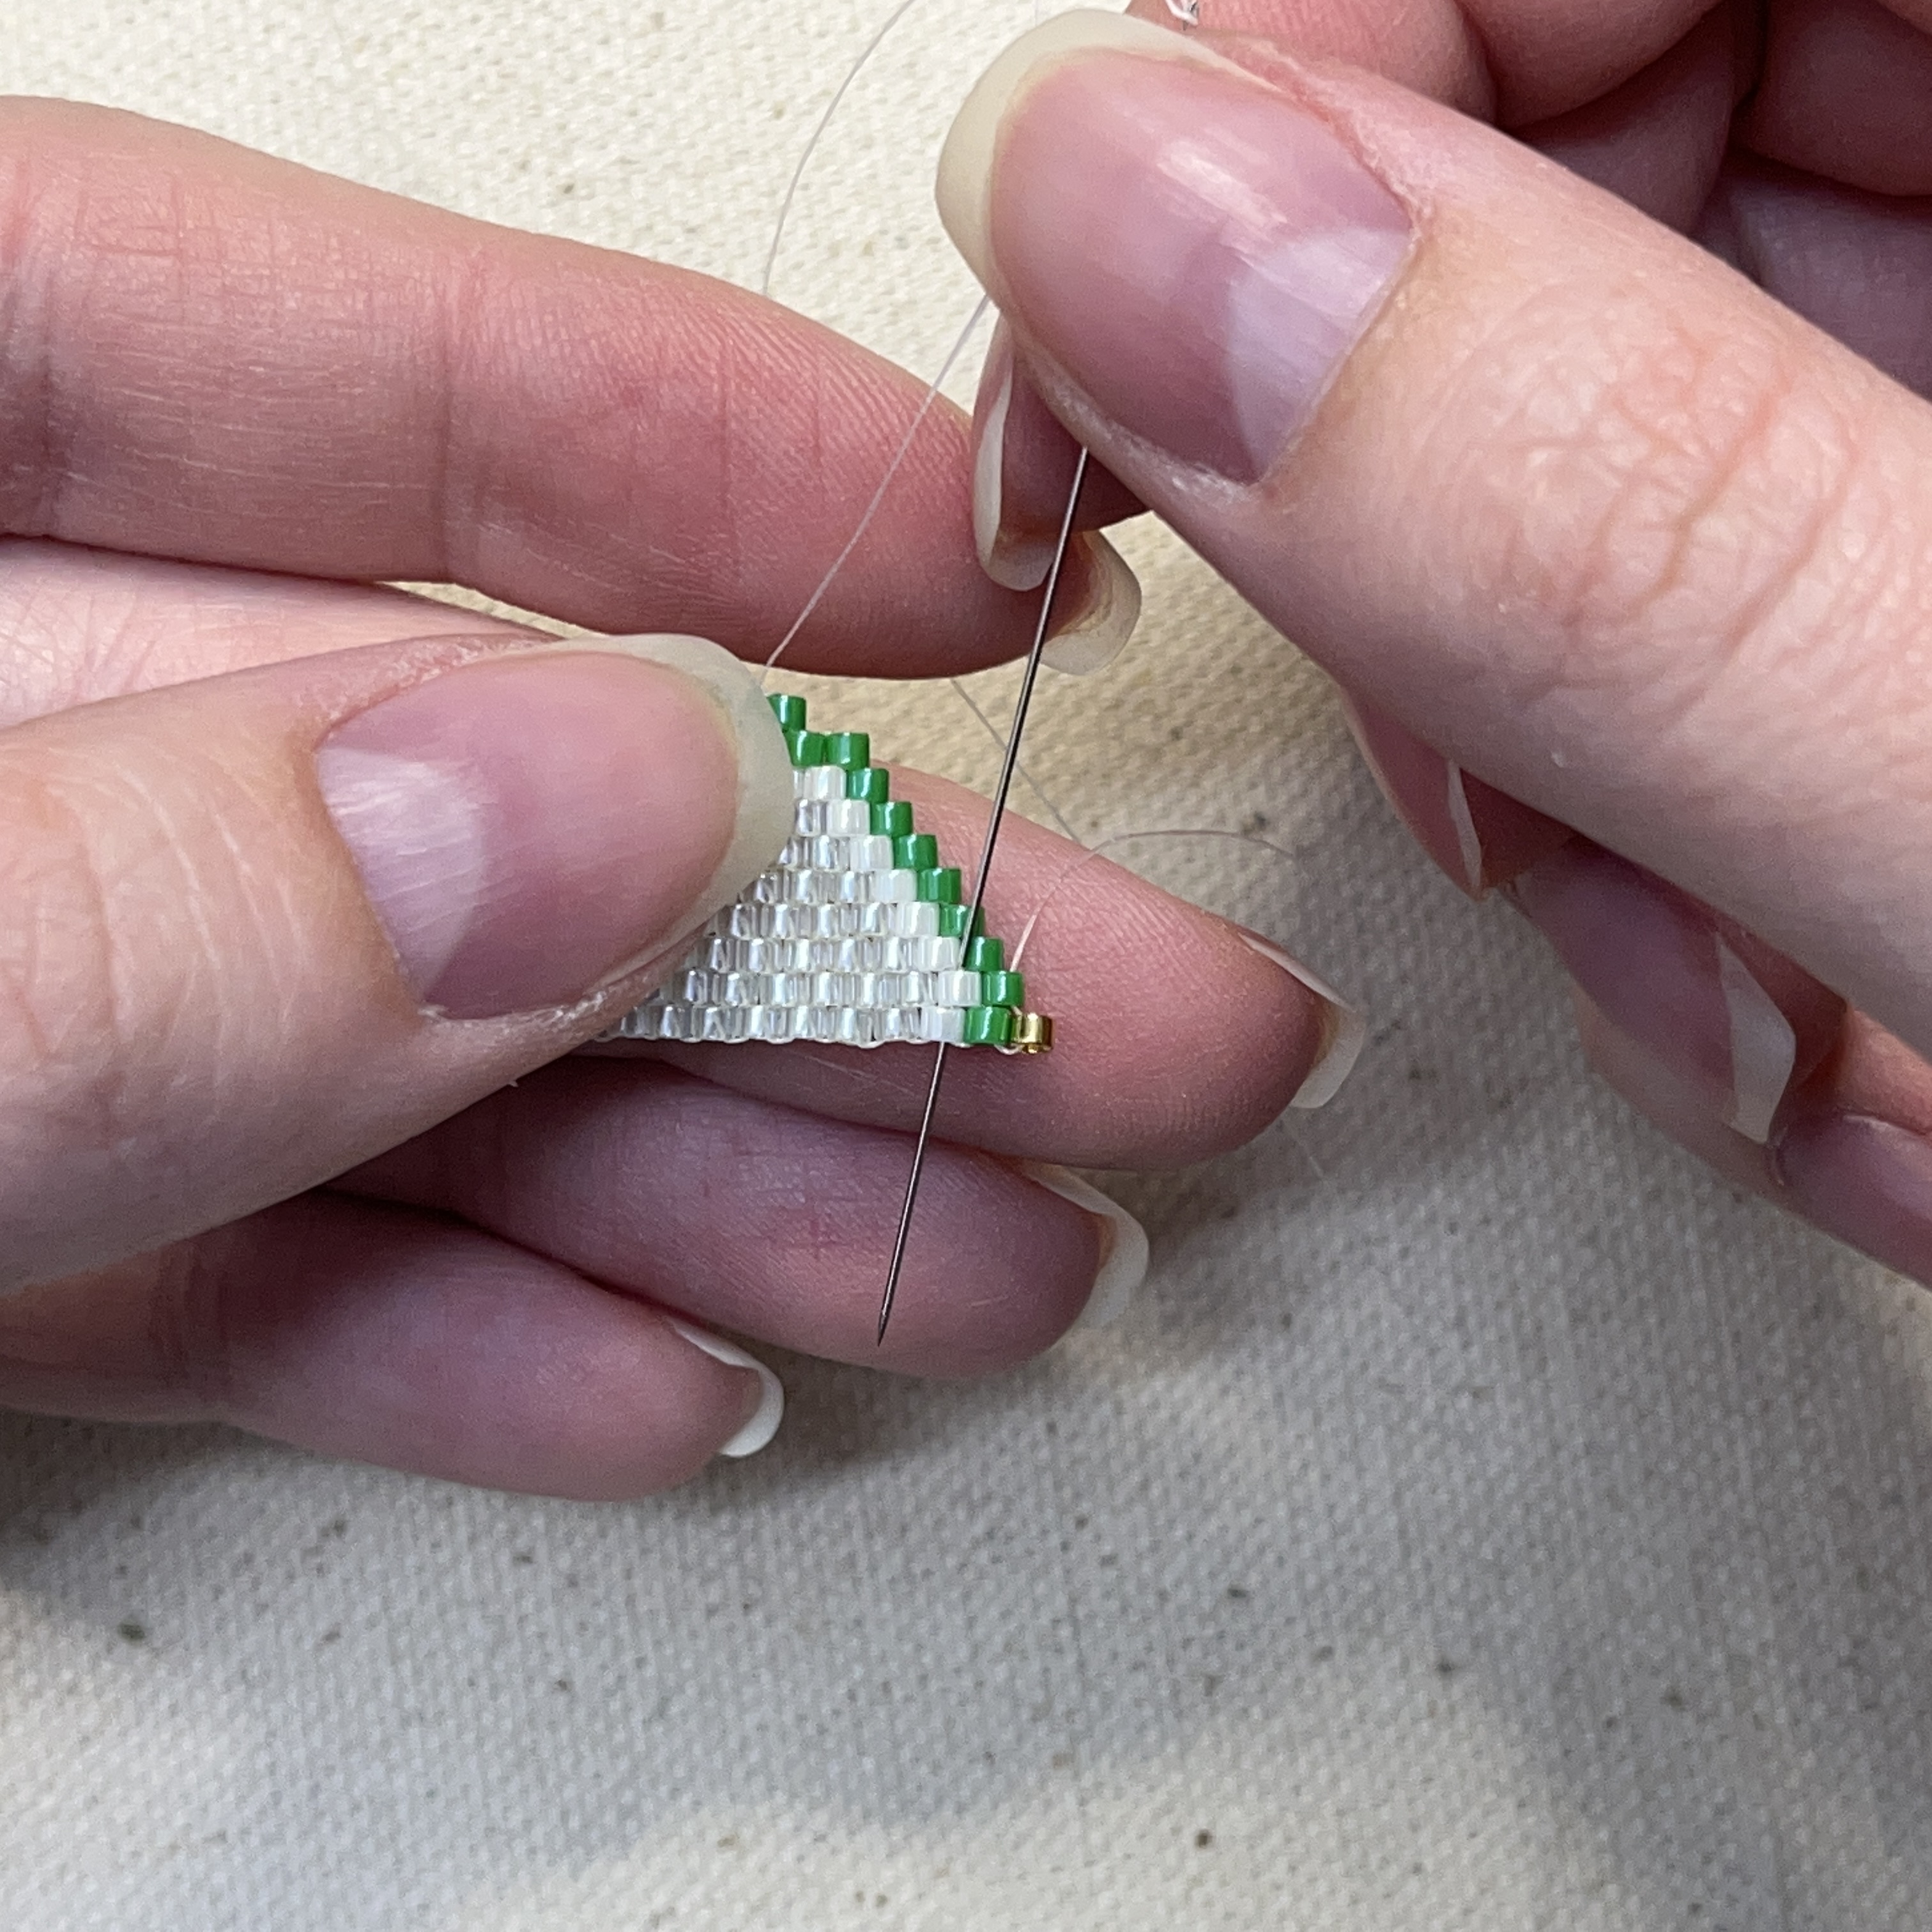
42. Secure gold bead by threading diagonally through the beads shown above
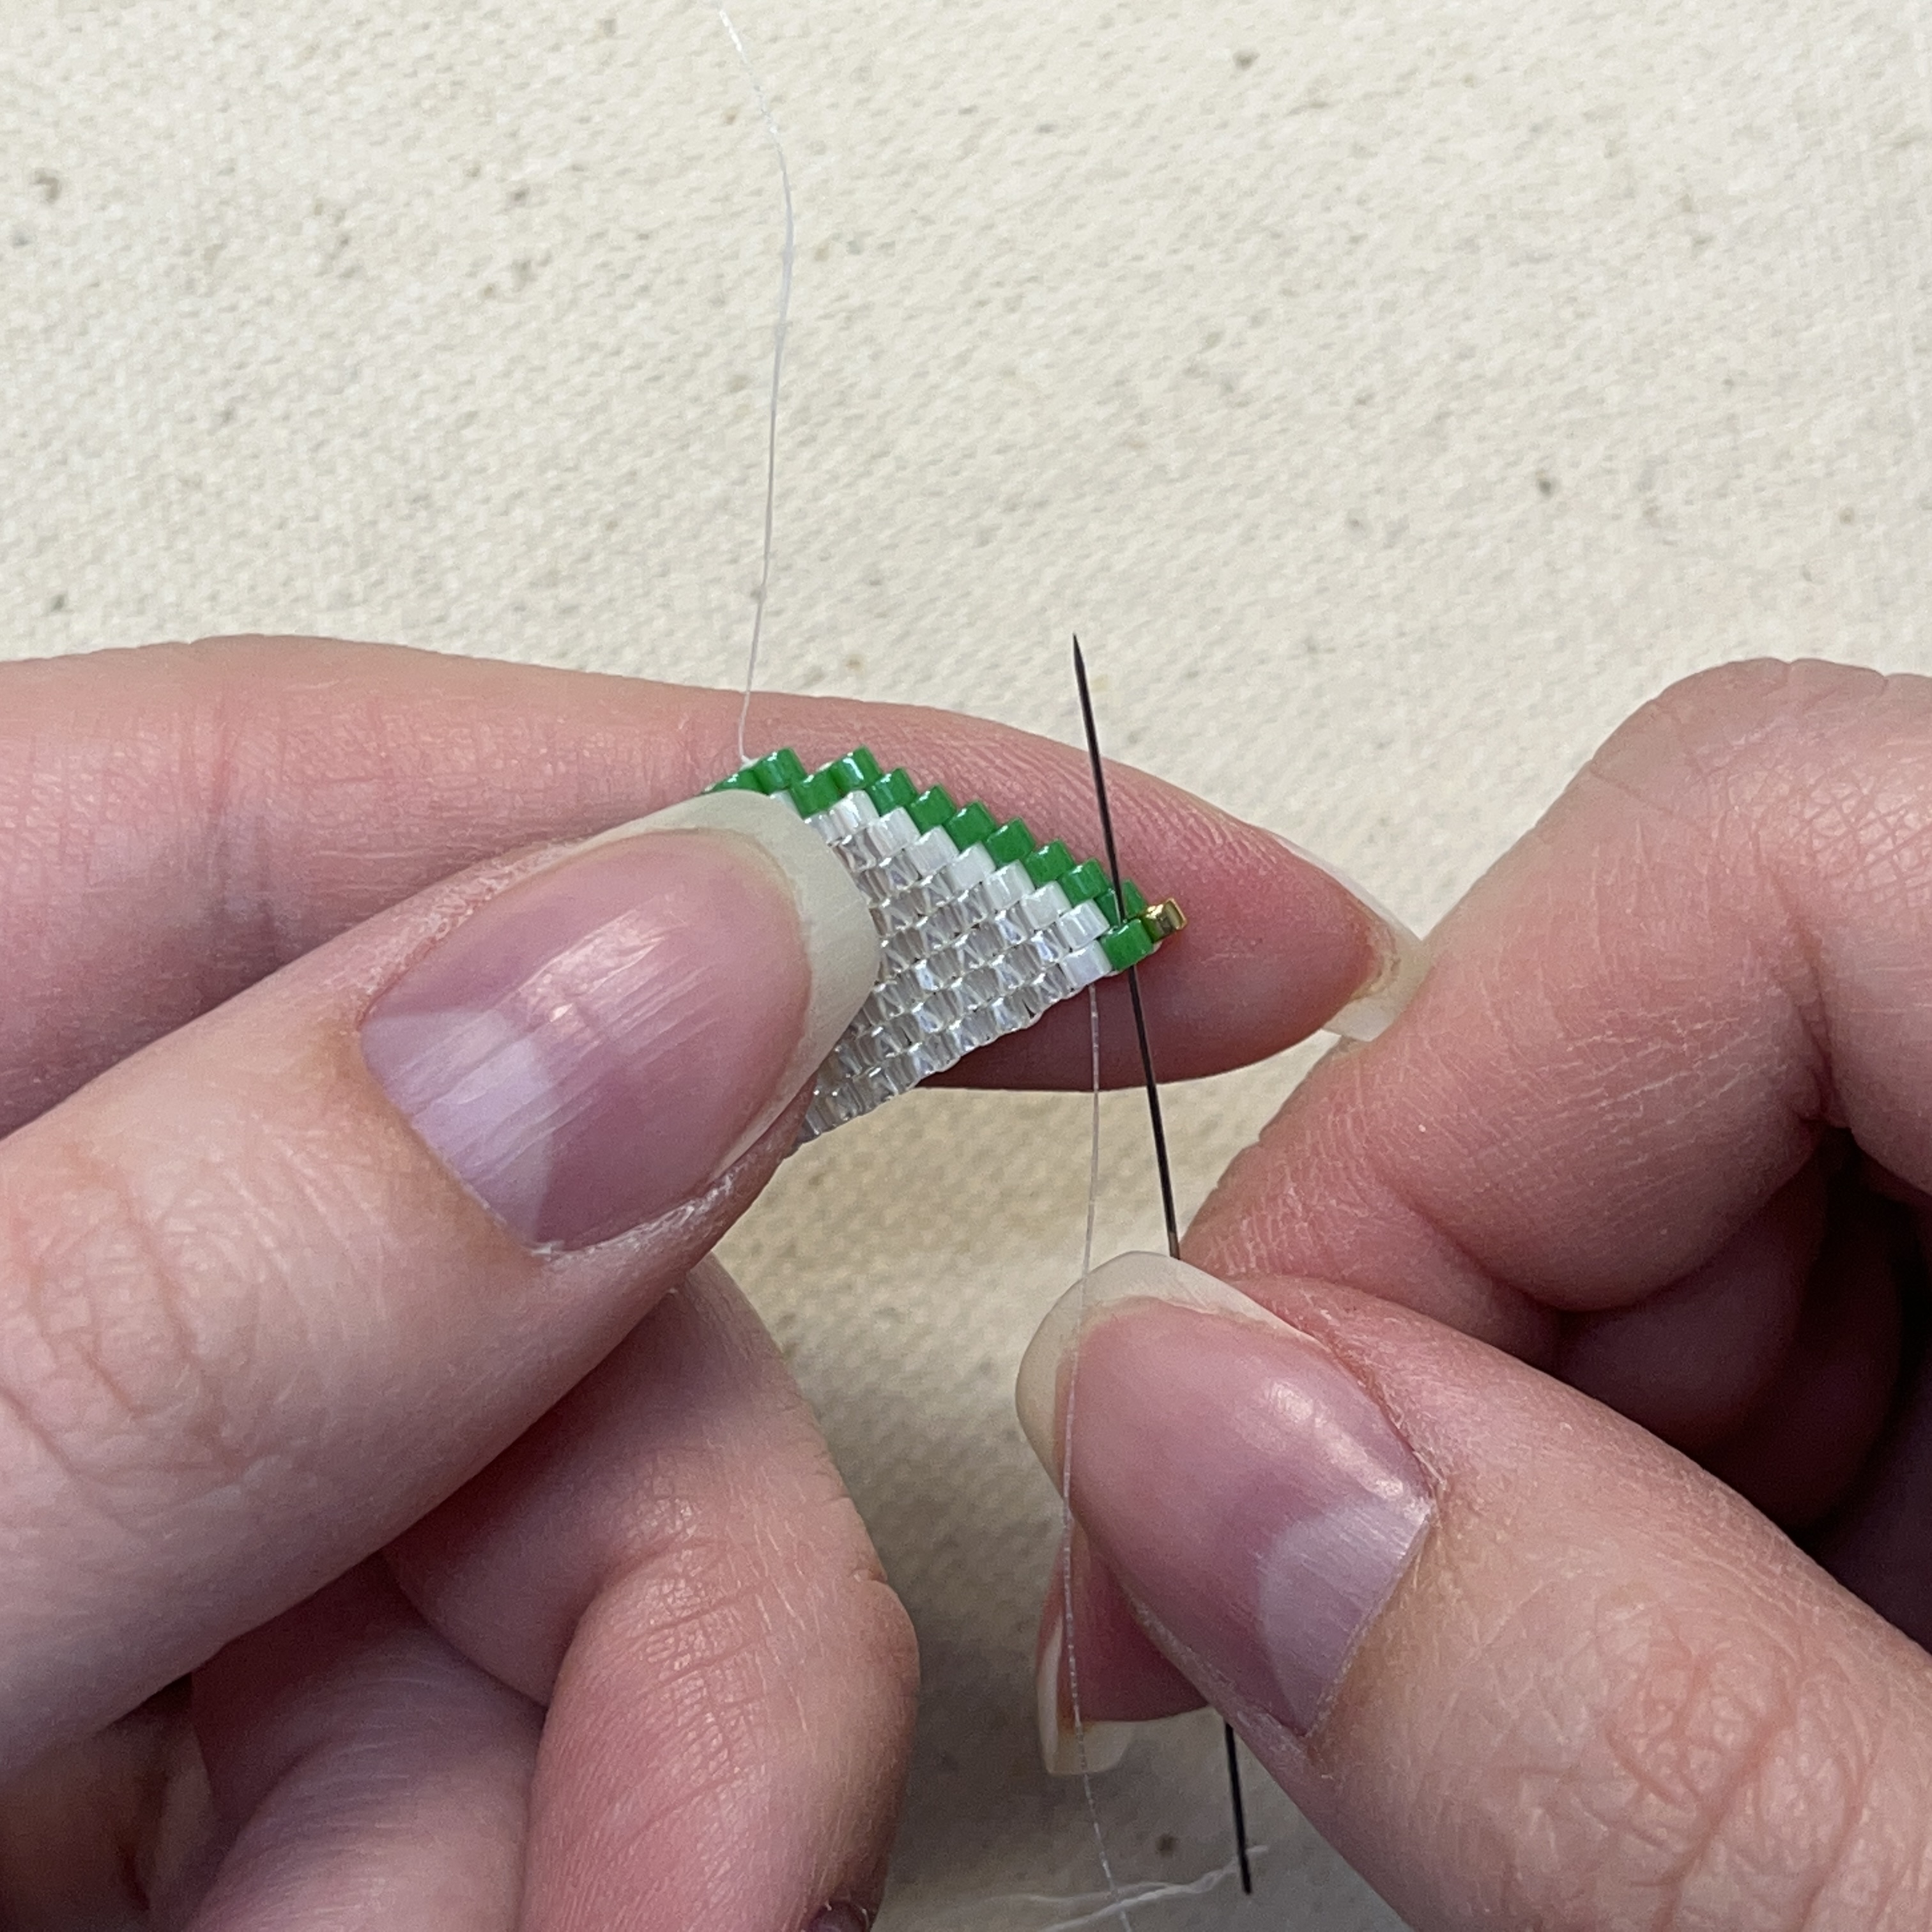
43. Thread the needle up through the bead shown
44. Thread the needle down through the gold bead
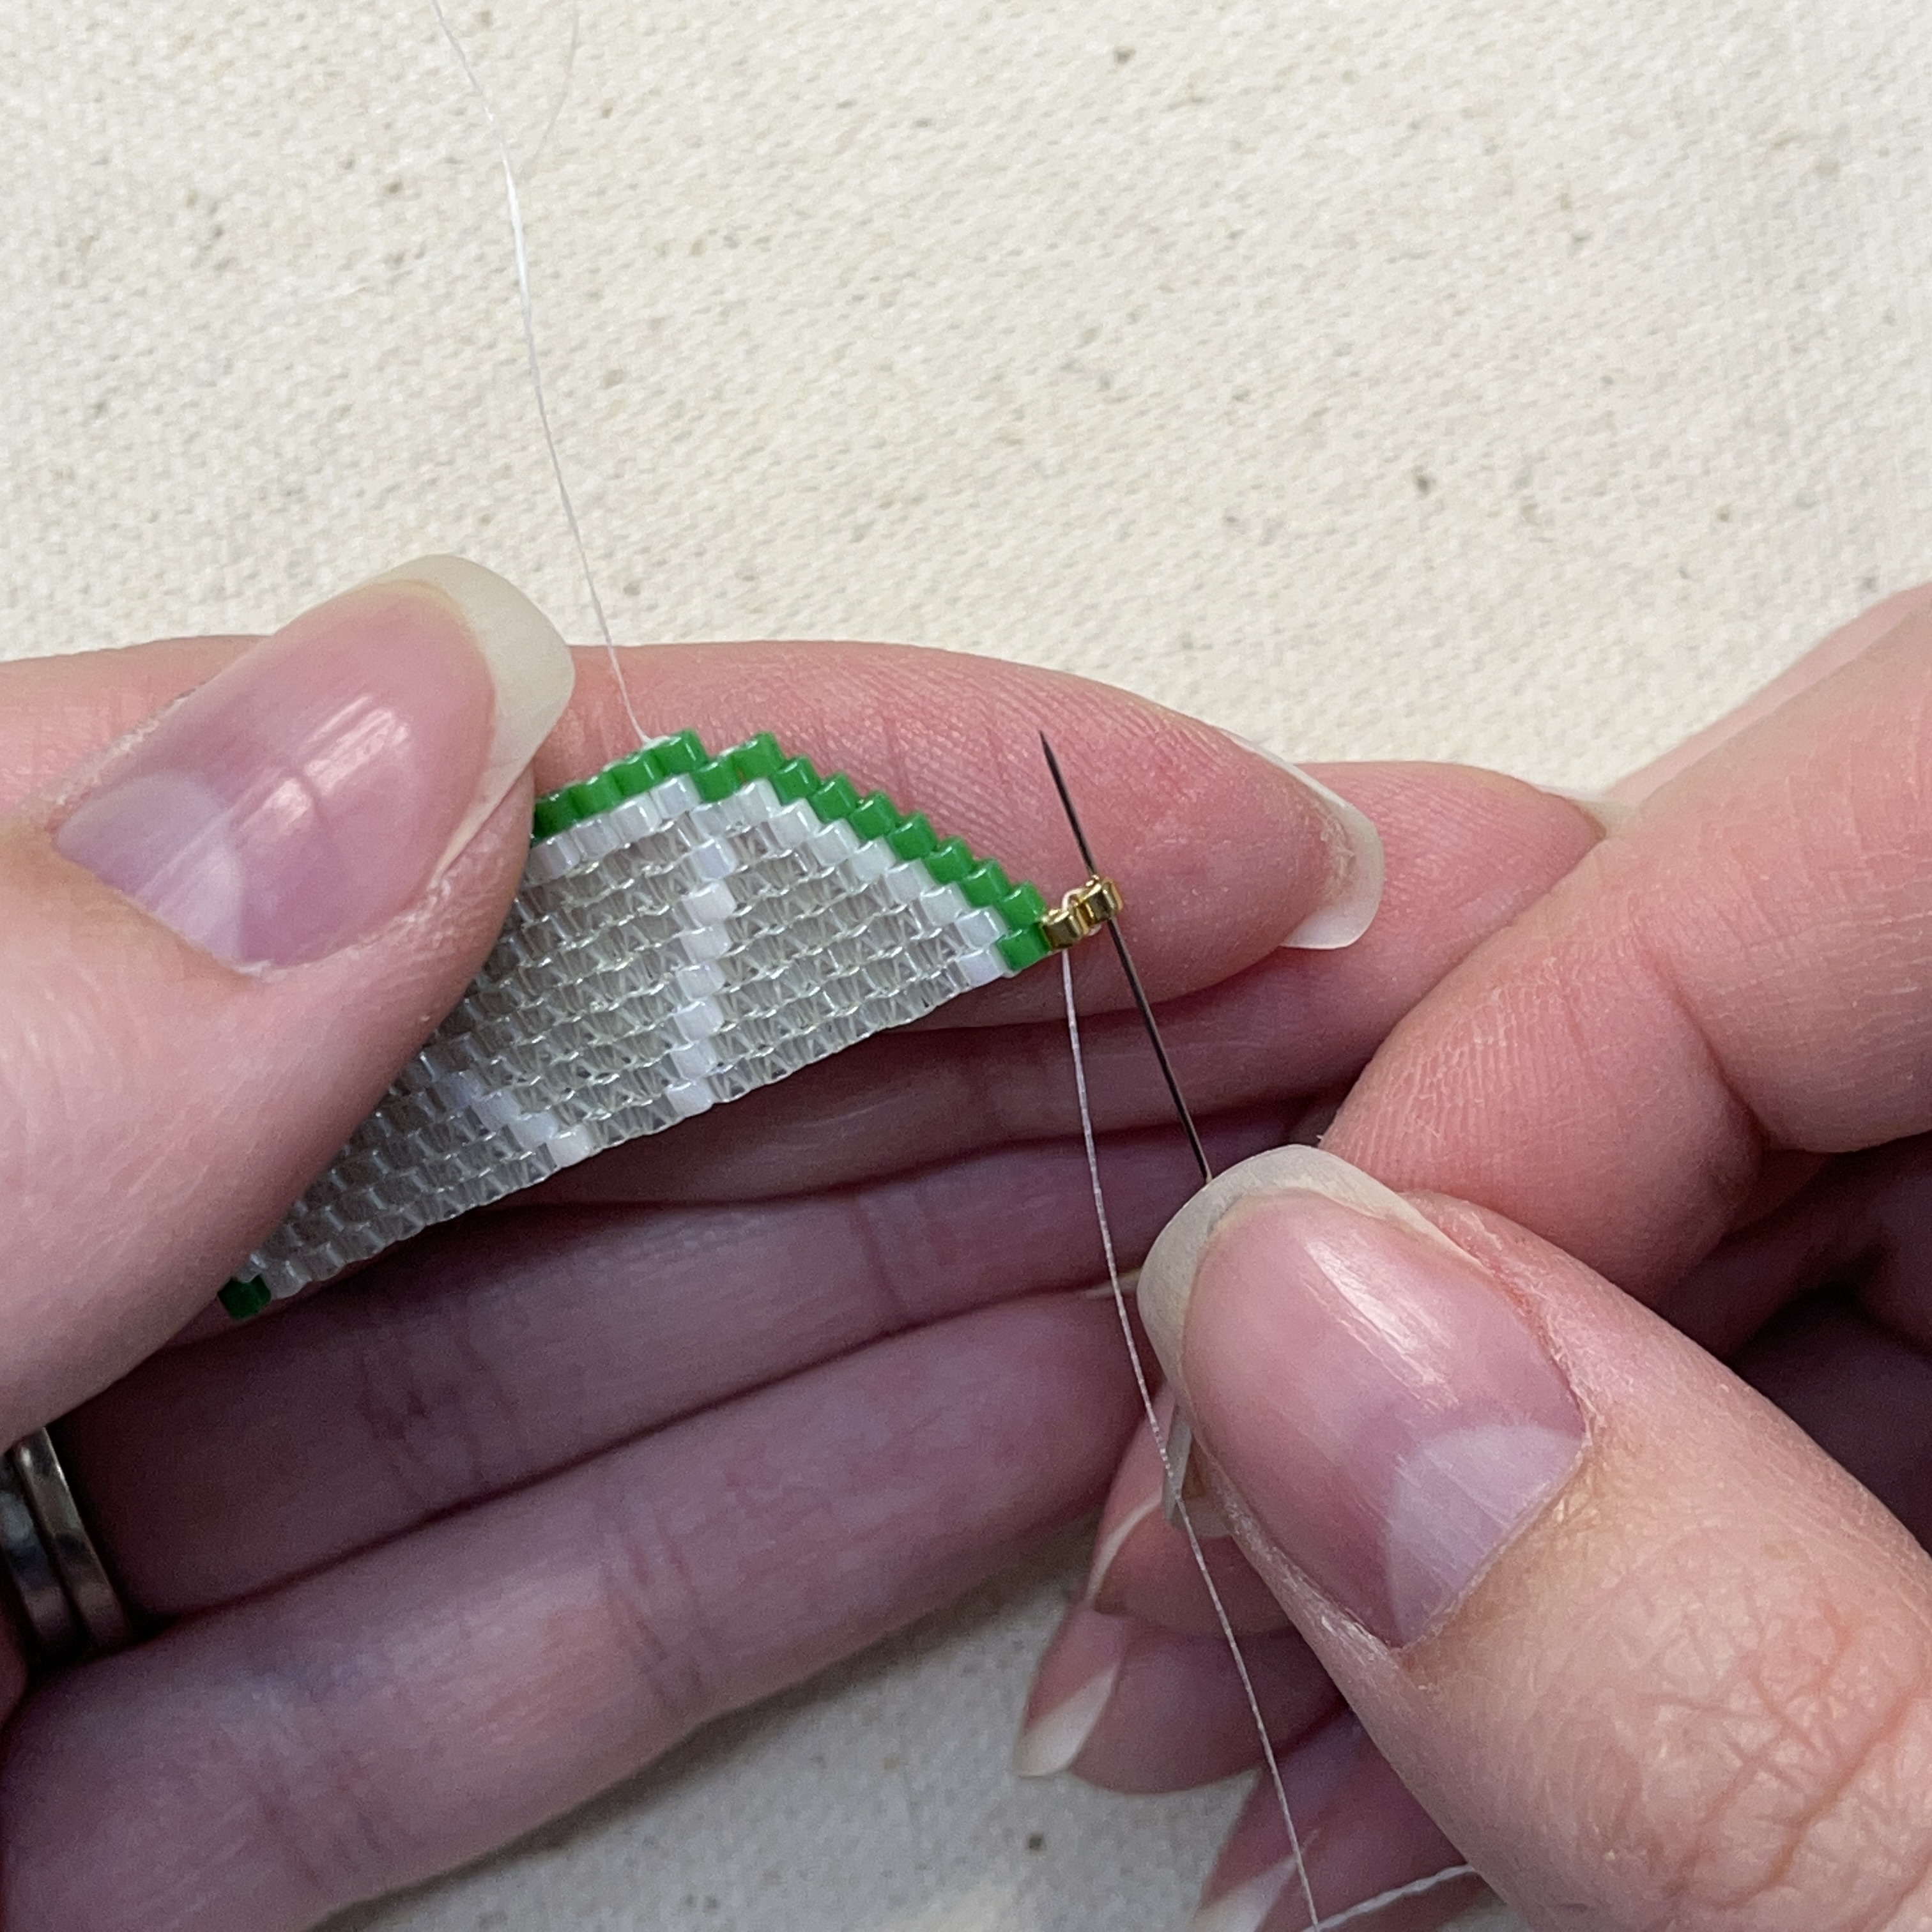
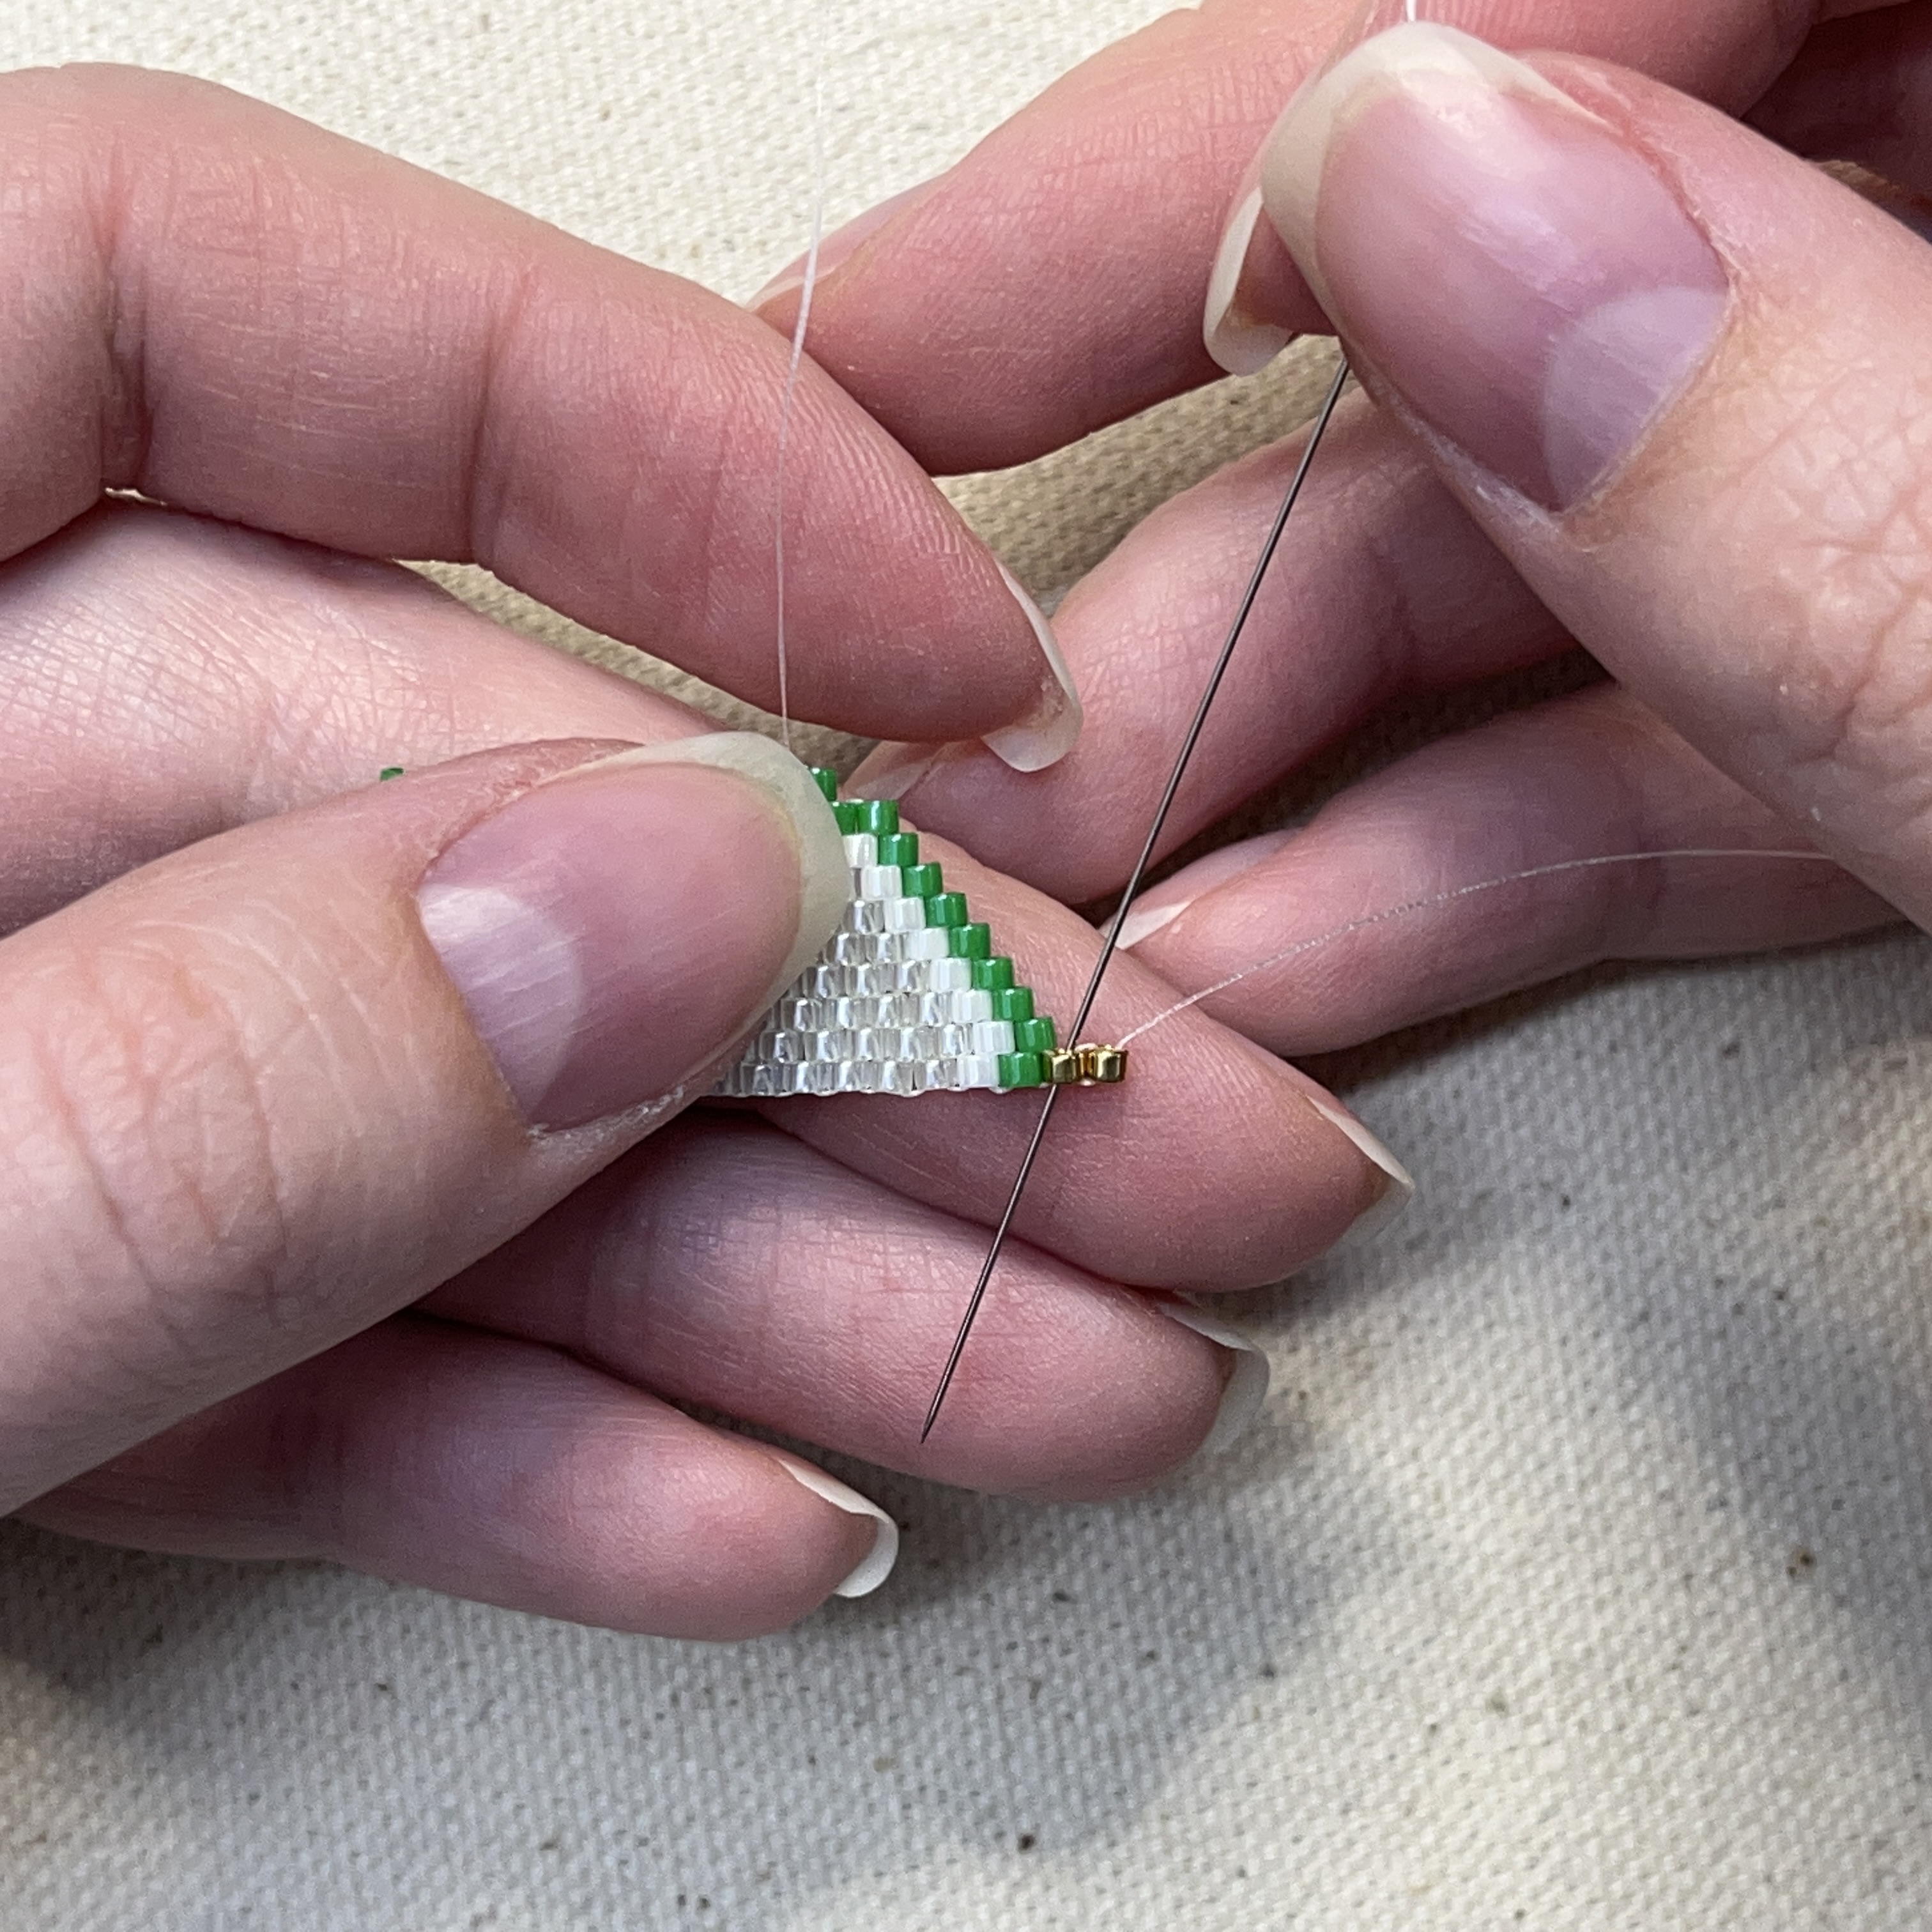
45. Add one more gold bead onto your needle and thread it through the gold bead from the other side
46. Secure that bead by threading up through it
47. Then back down the left gold bead
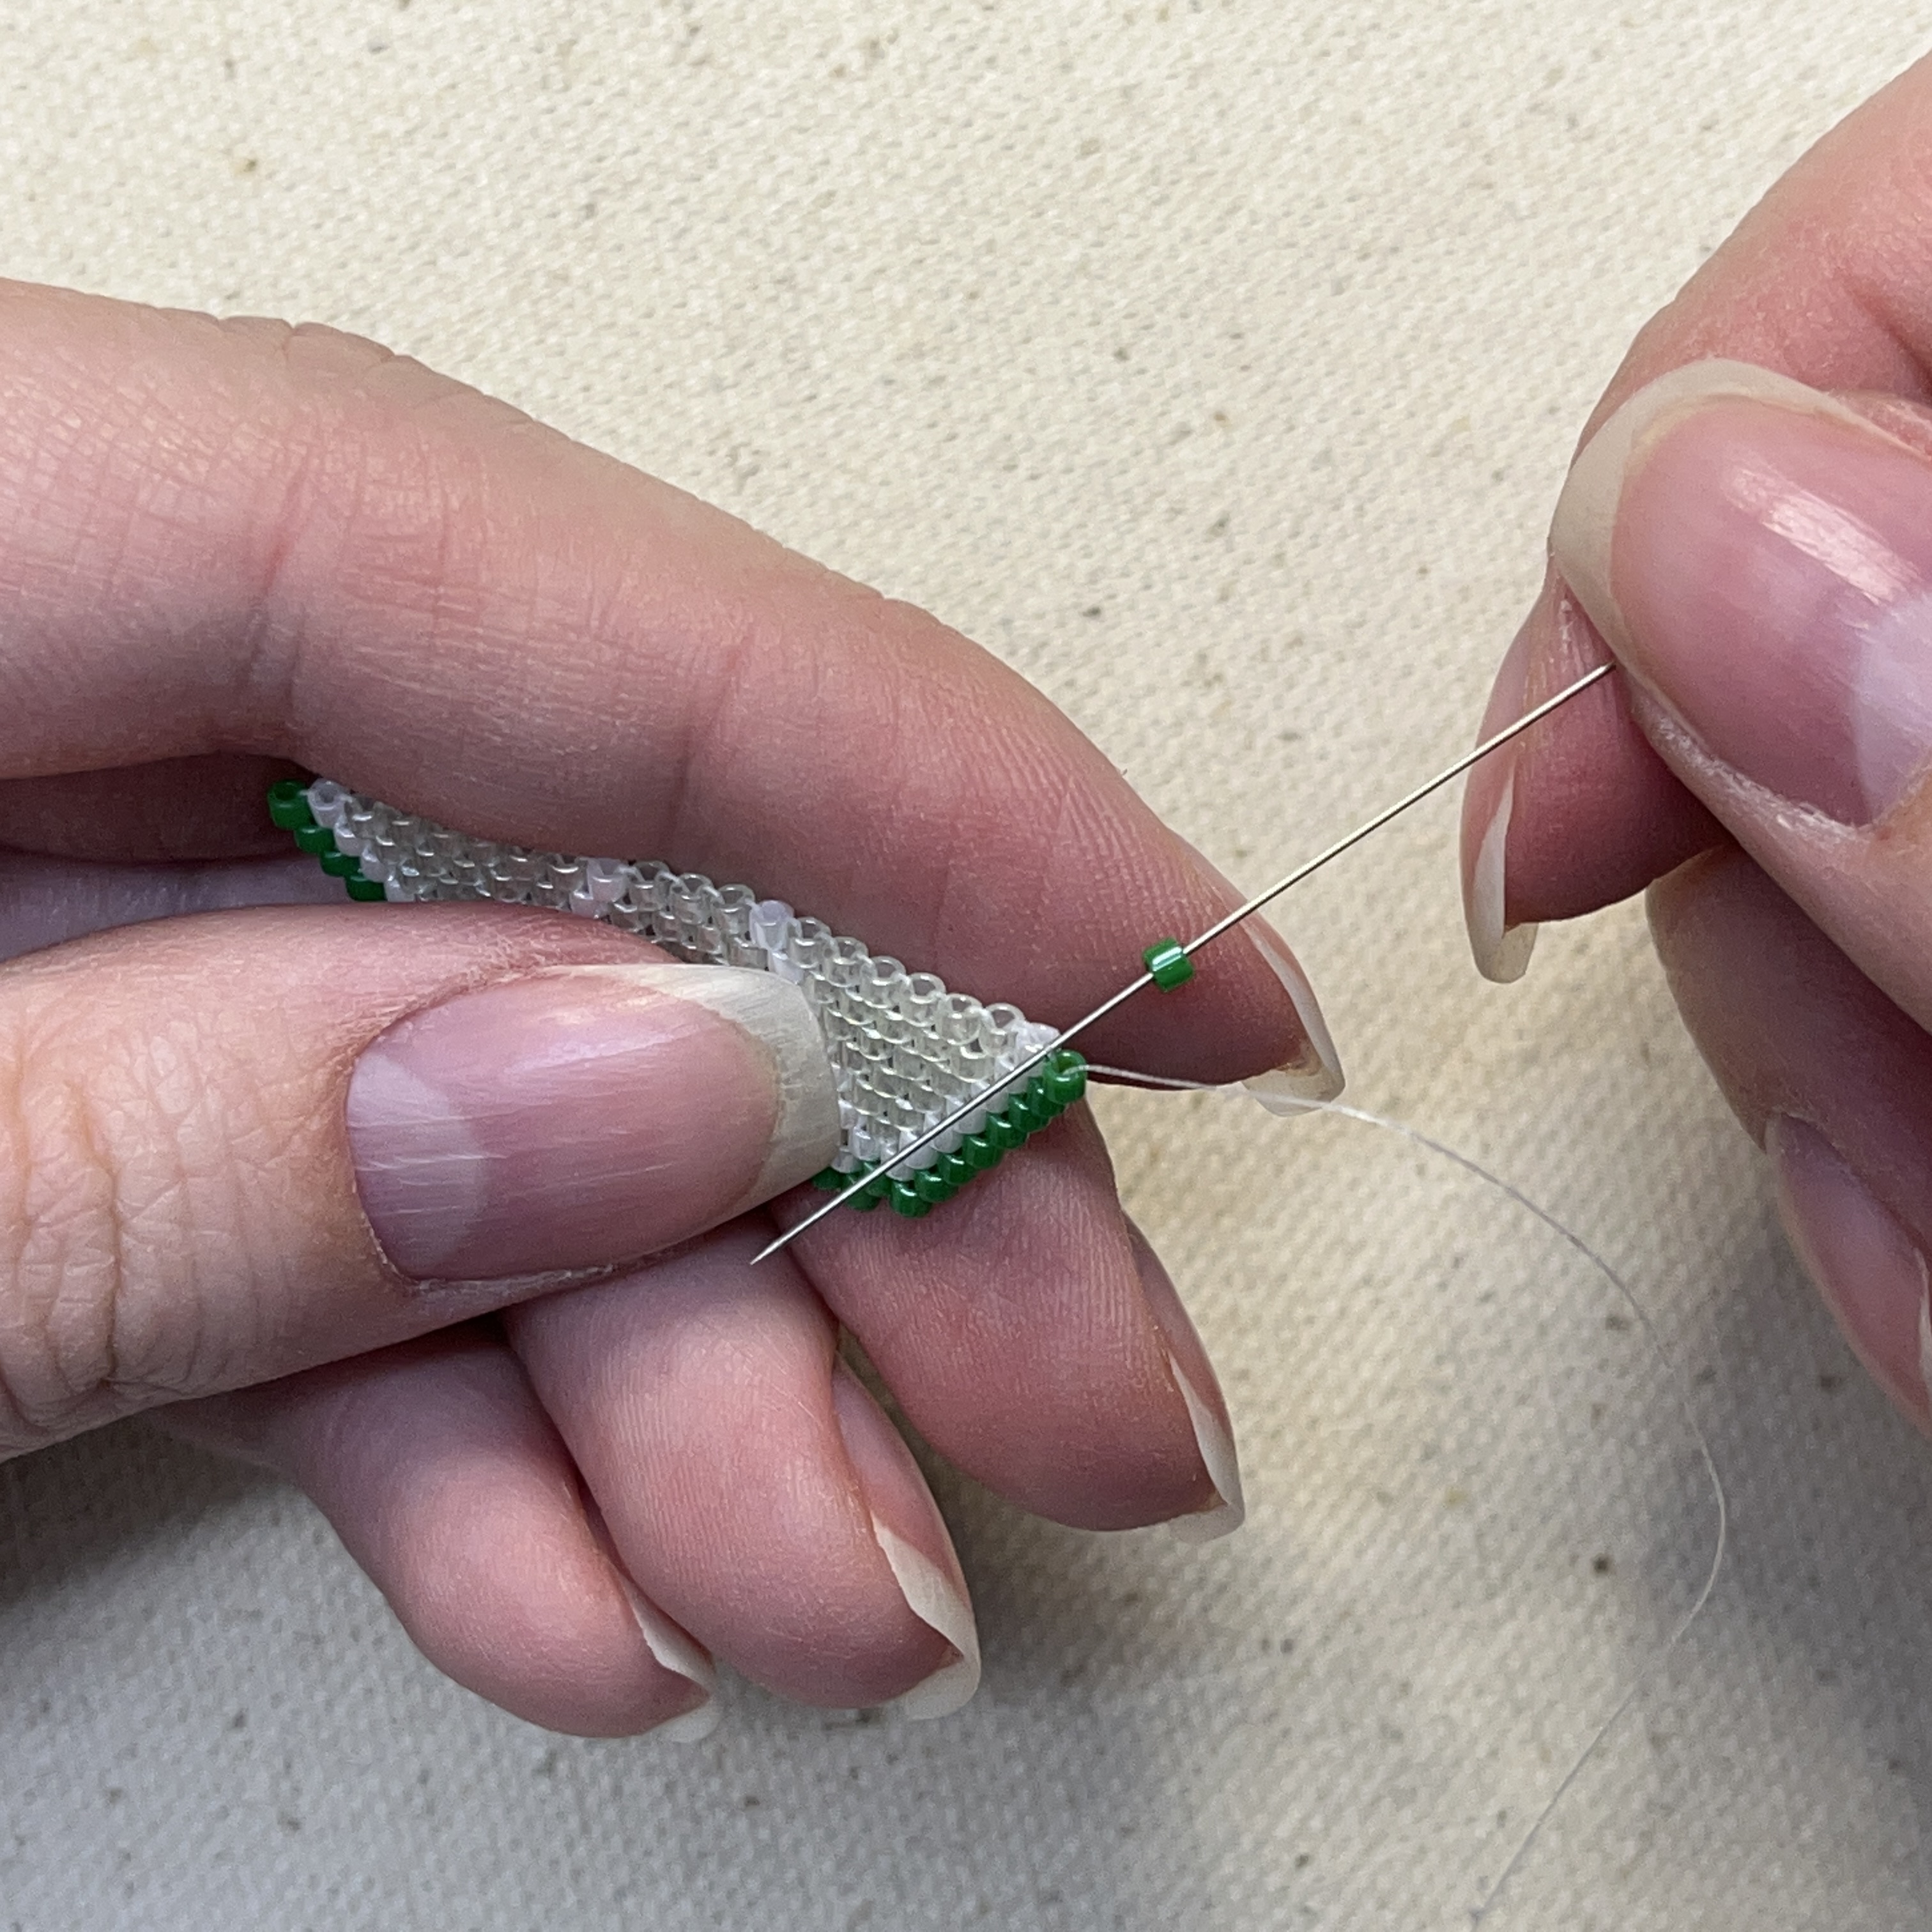
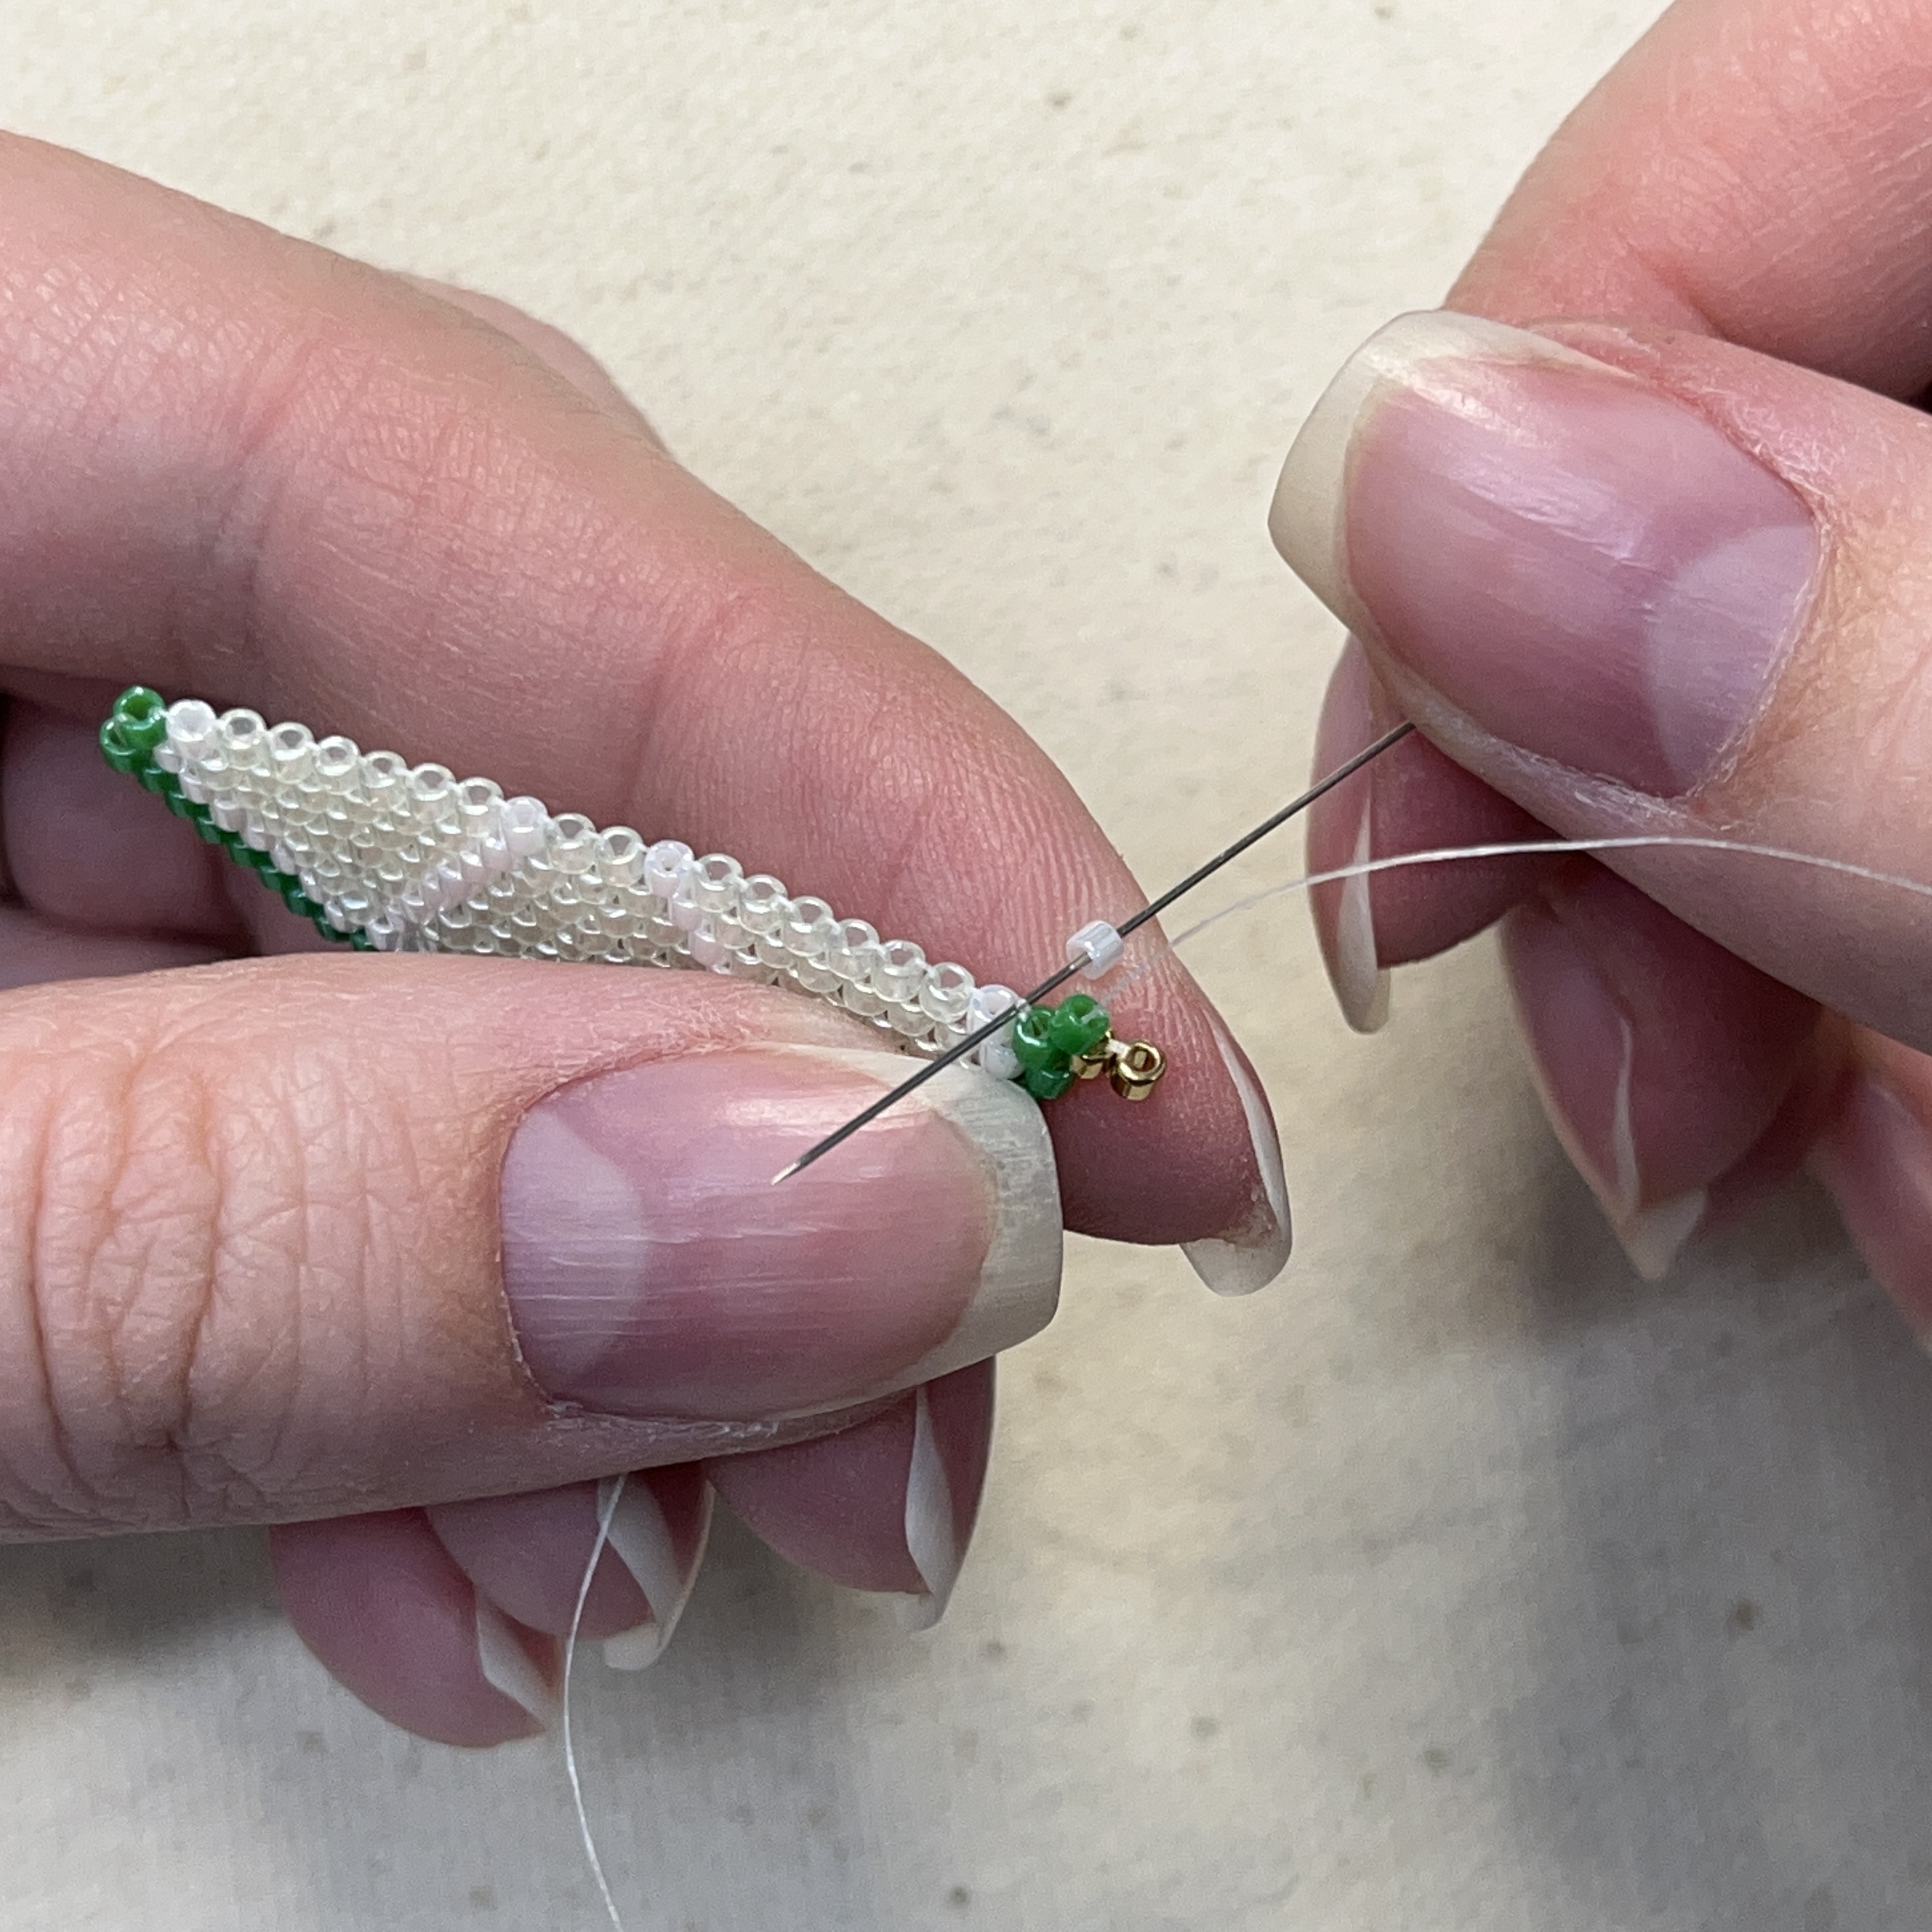
48. Let's start the 11th row, add a green bead to your needle and poke it through the thread between the green and gold beads shown above
49. Thread the needle up through the green bead you just added to secure it, pull tight!
50. Continue with the pattern of the 11th row
51. Finish the 11th row
52. Your project should look like this so far
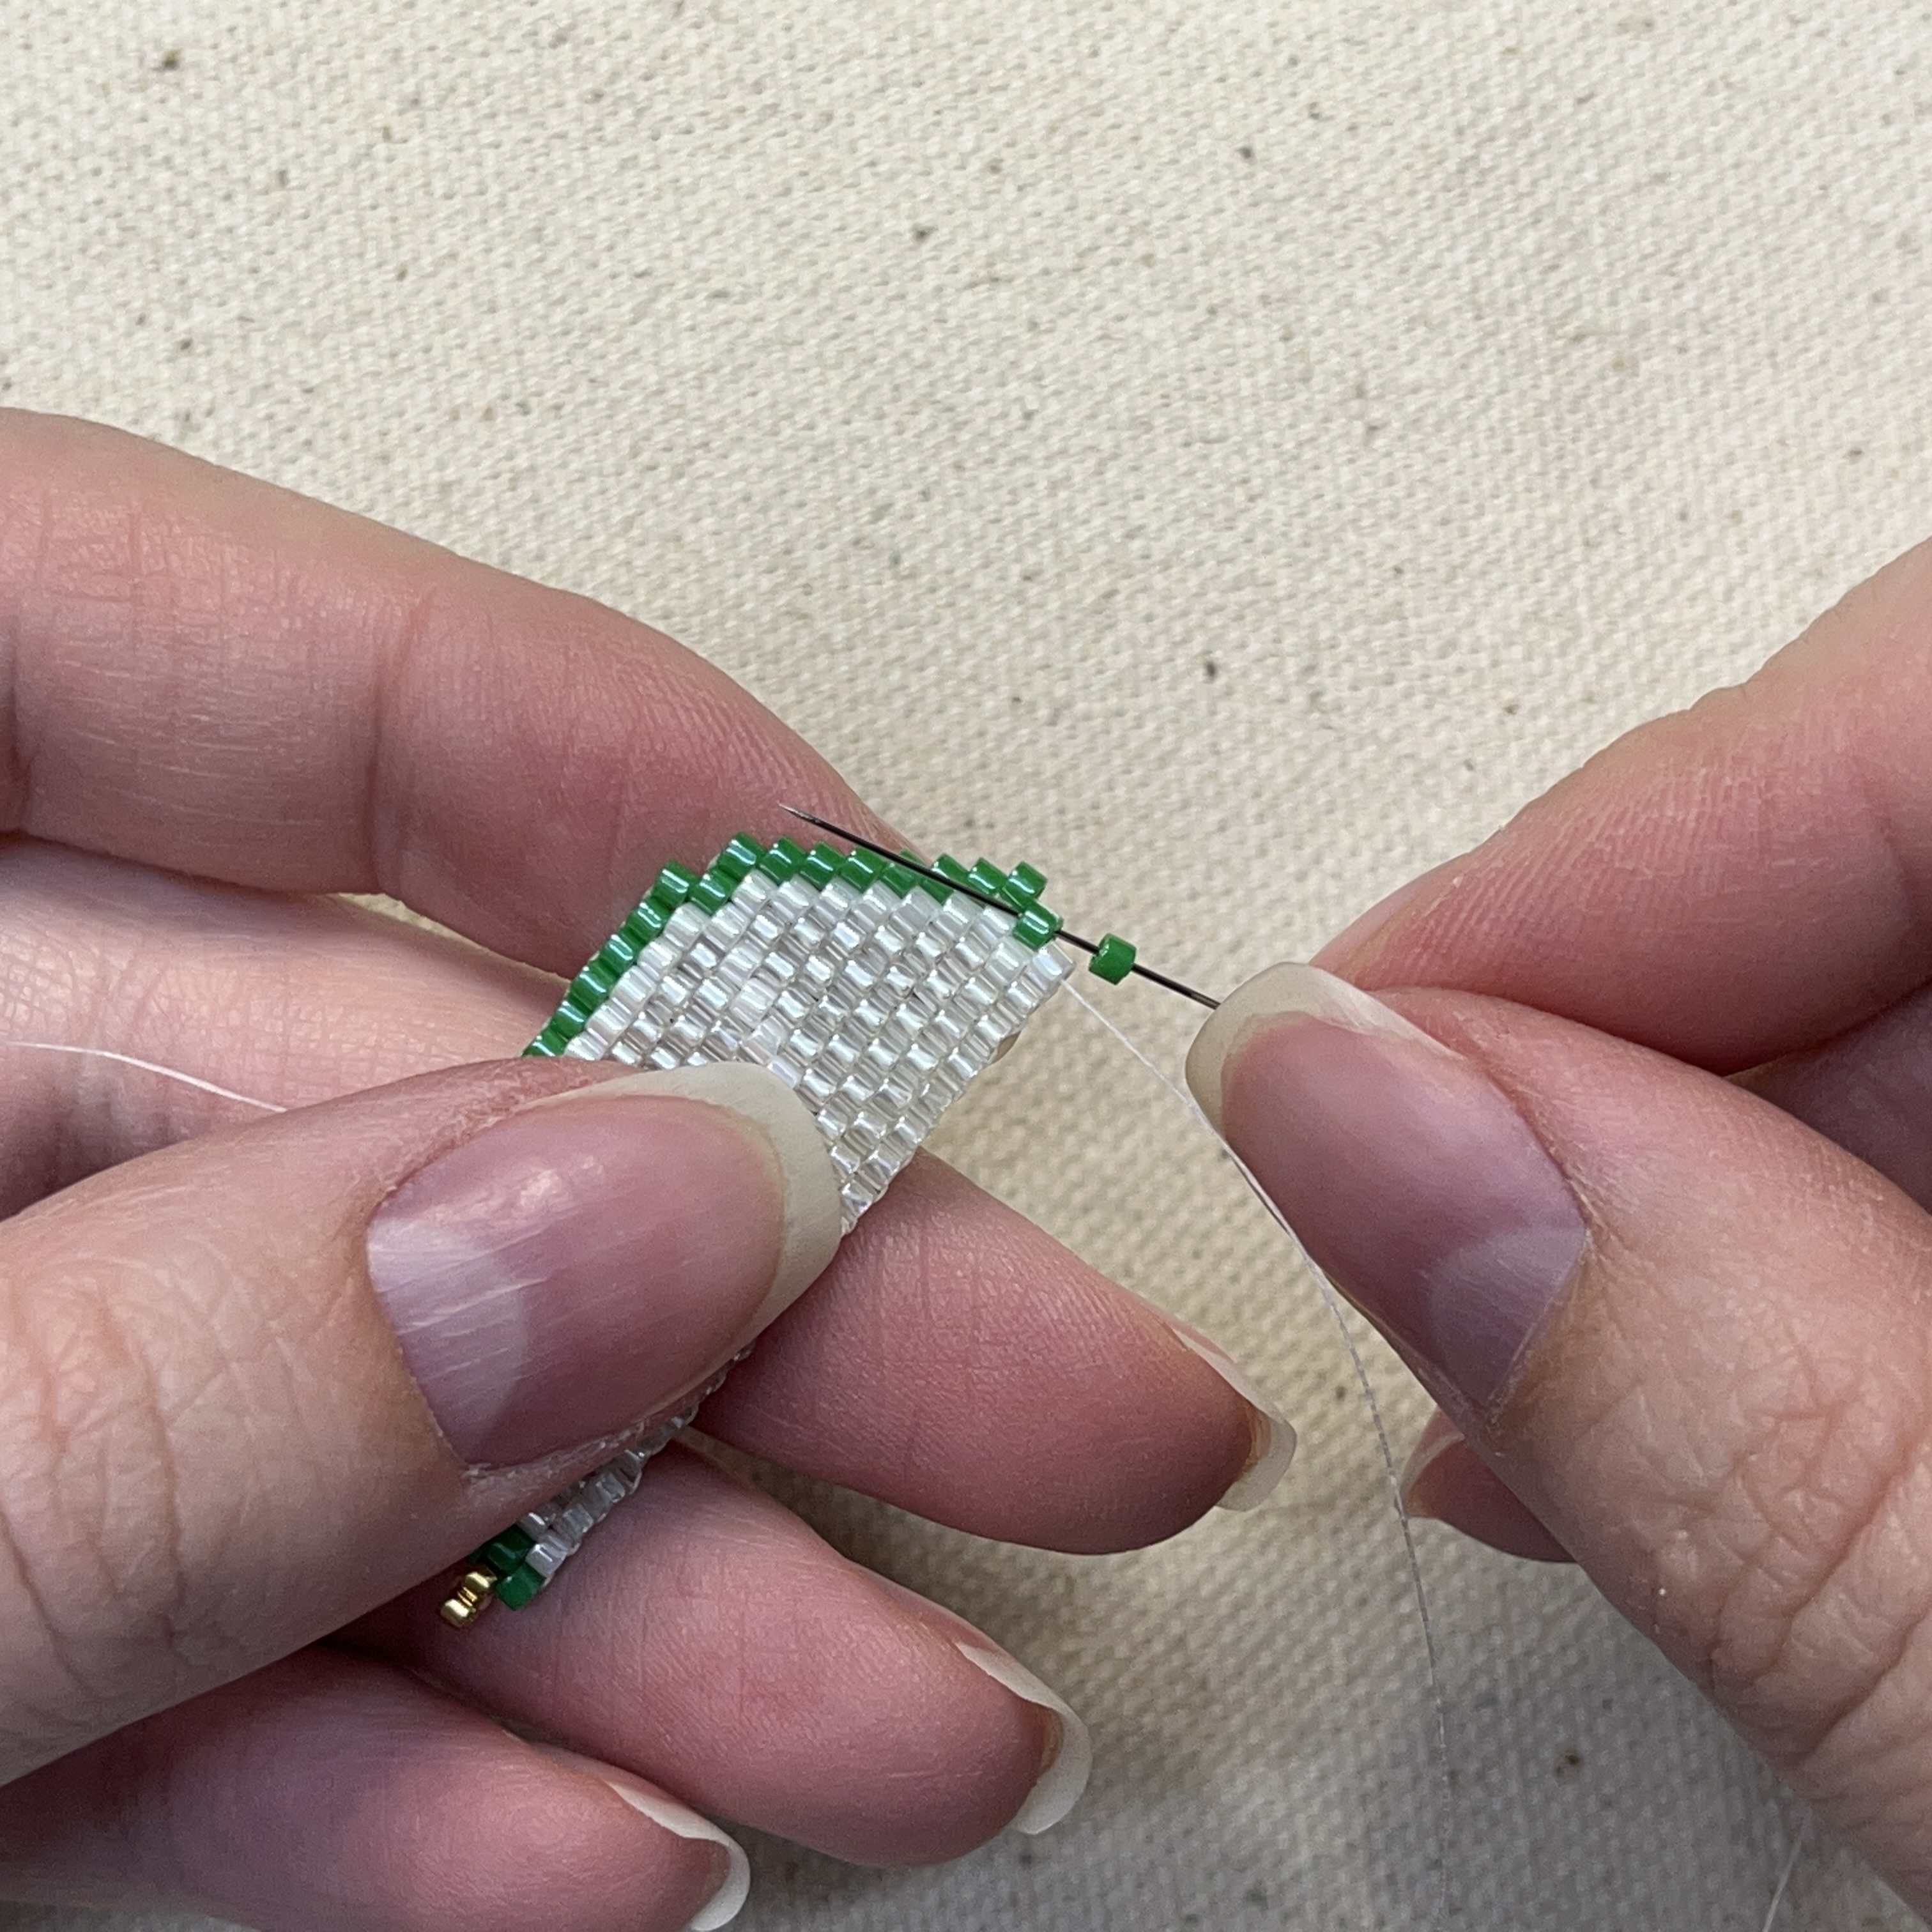
53. Lets start the 12th row with only one green bead
54. Thread the needle back up the bead you just added then continue with the pattern of the 12th row
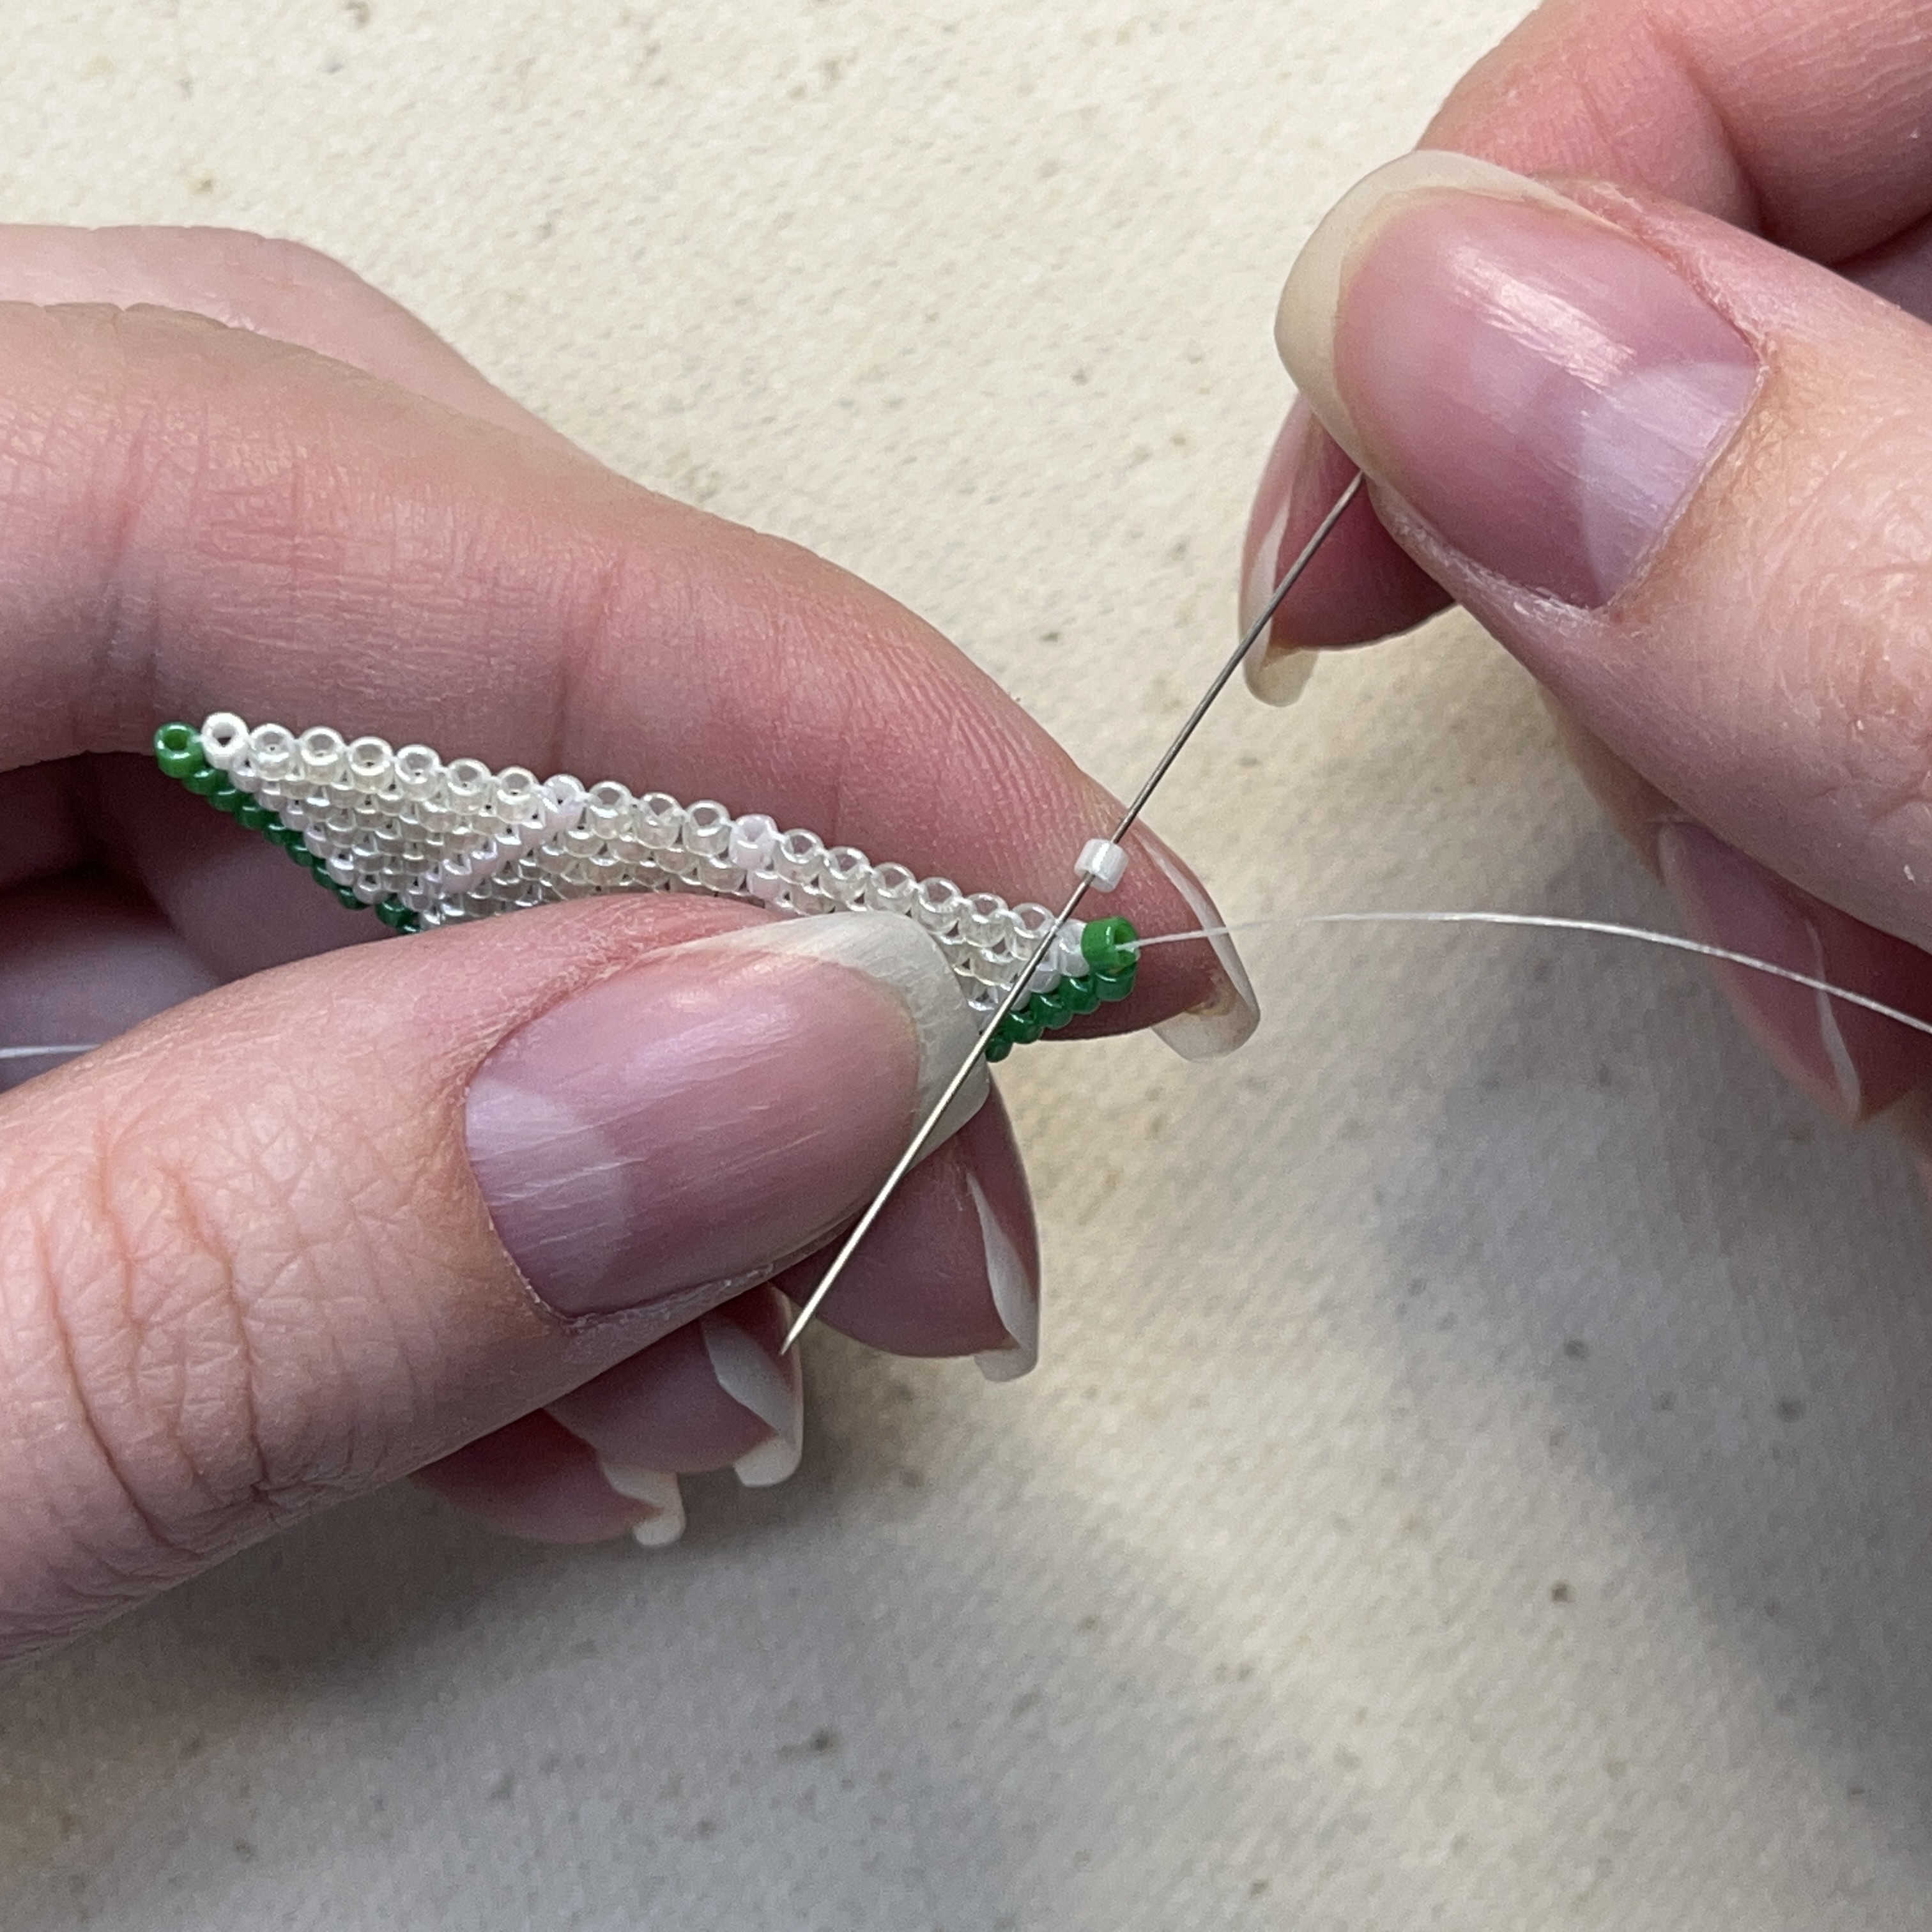
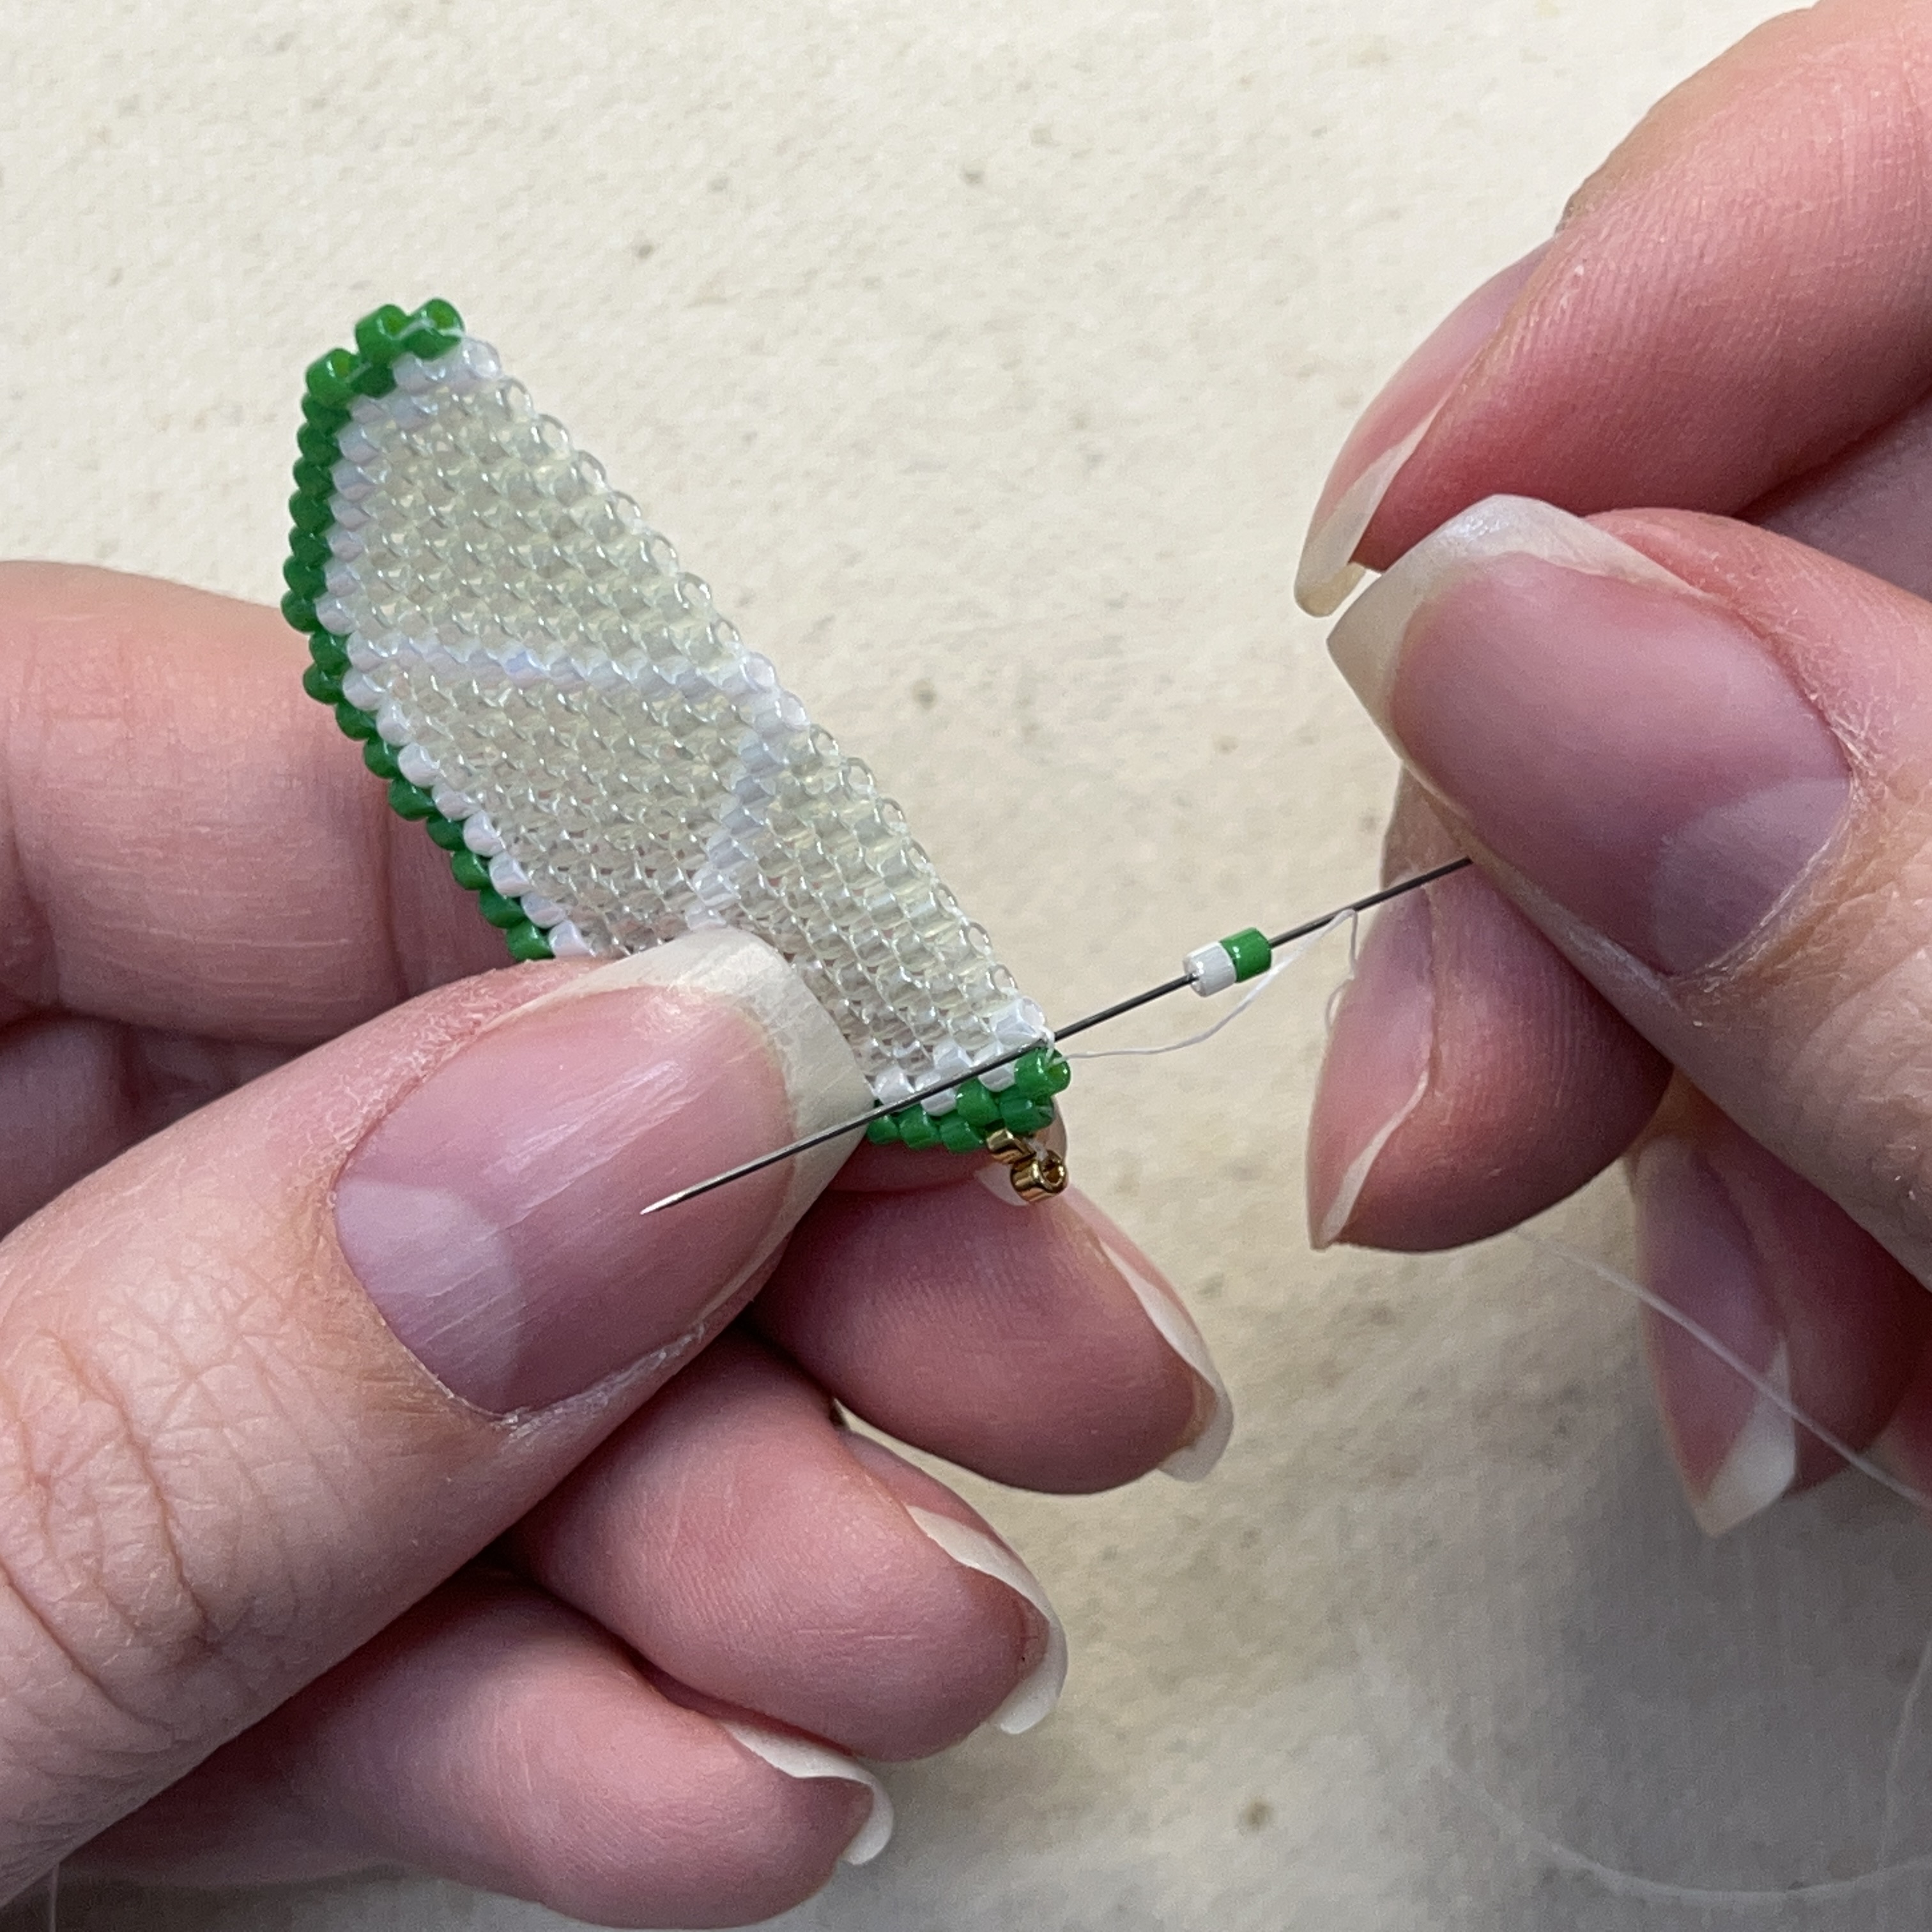
55. Now we will finish the last row, add a green and a white bead and poke it through the thread shown above
56. Thread your needle back up through the white bead to secure it and continue with the pattern
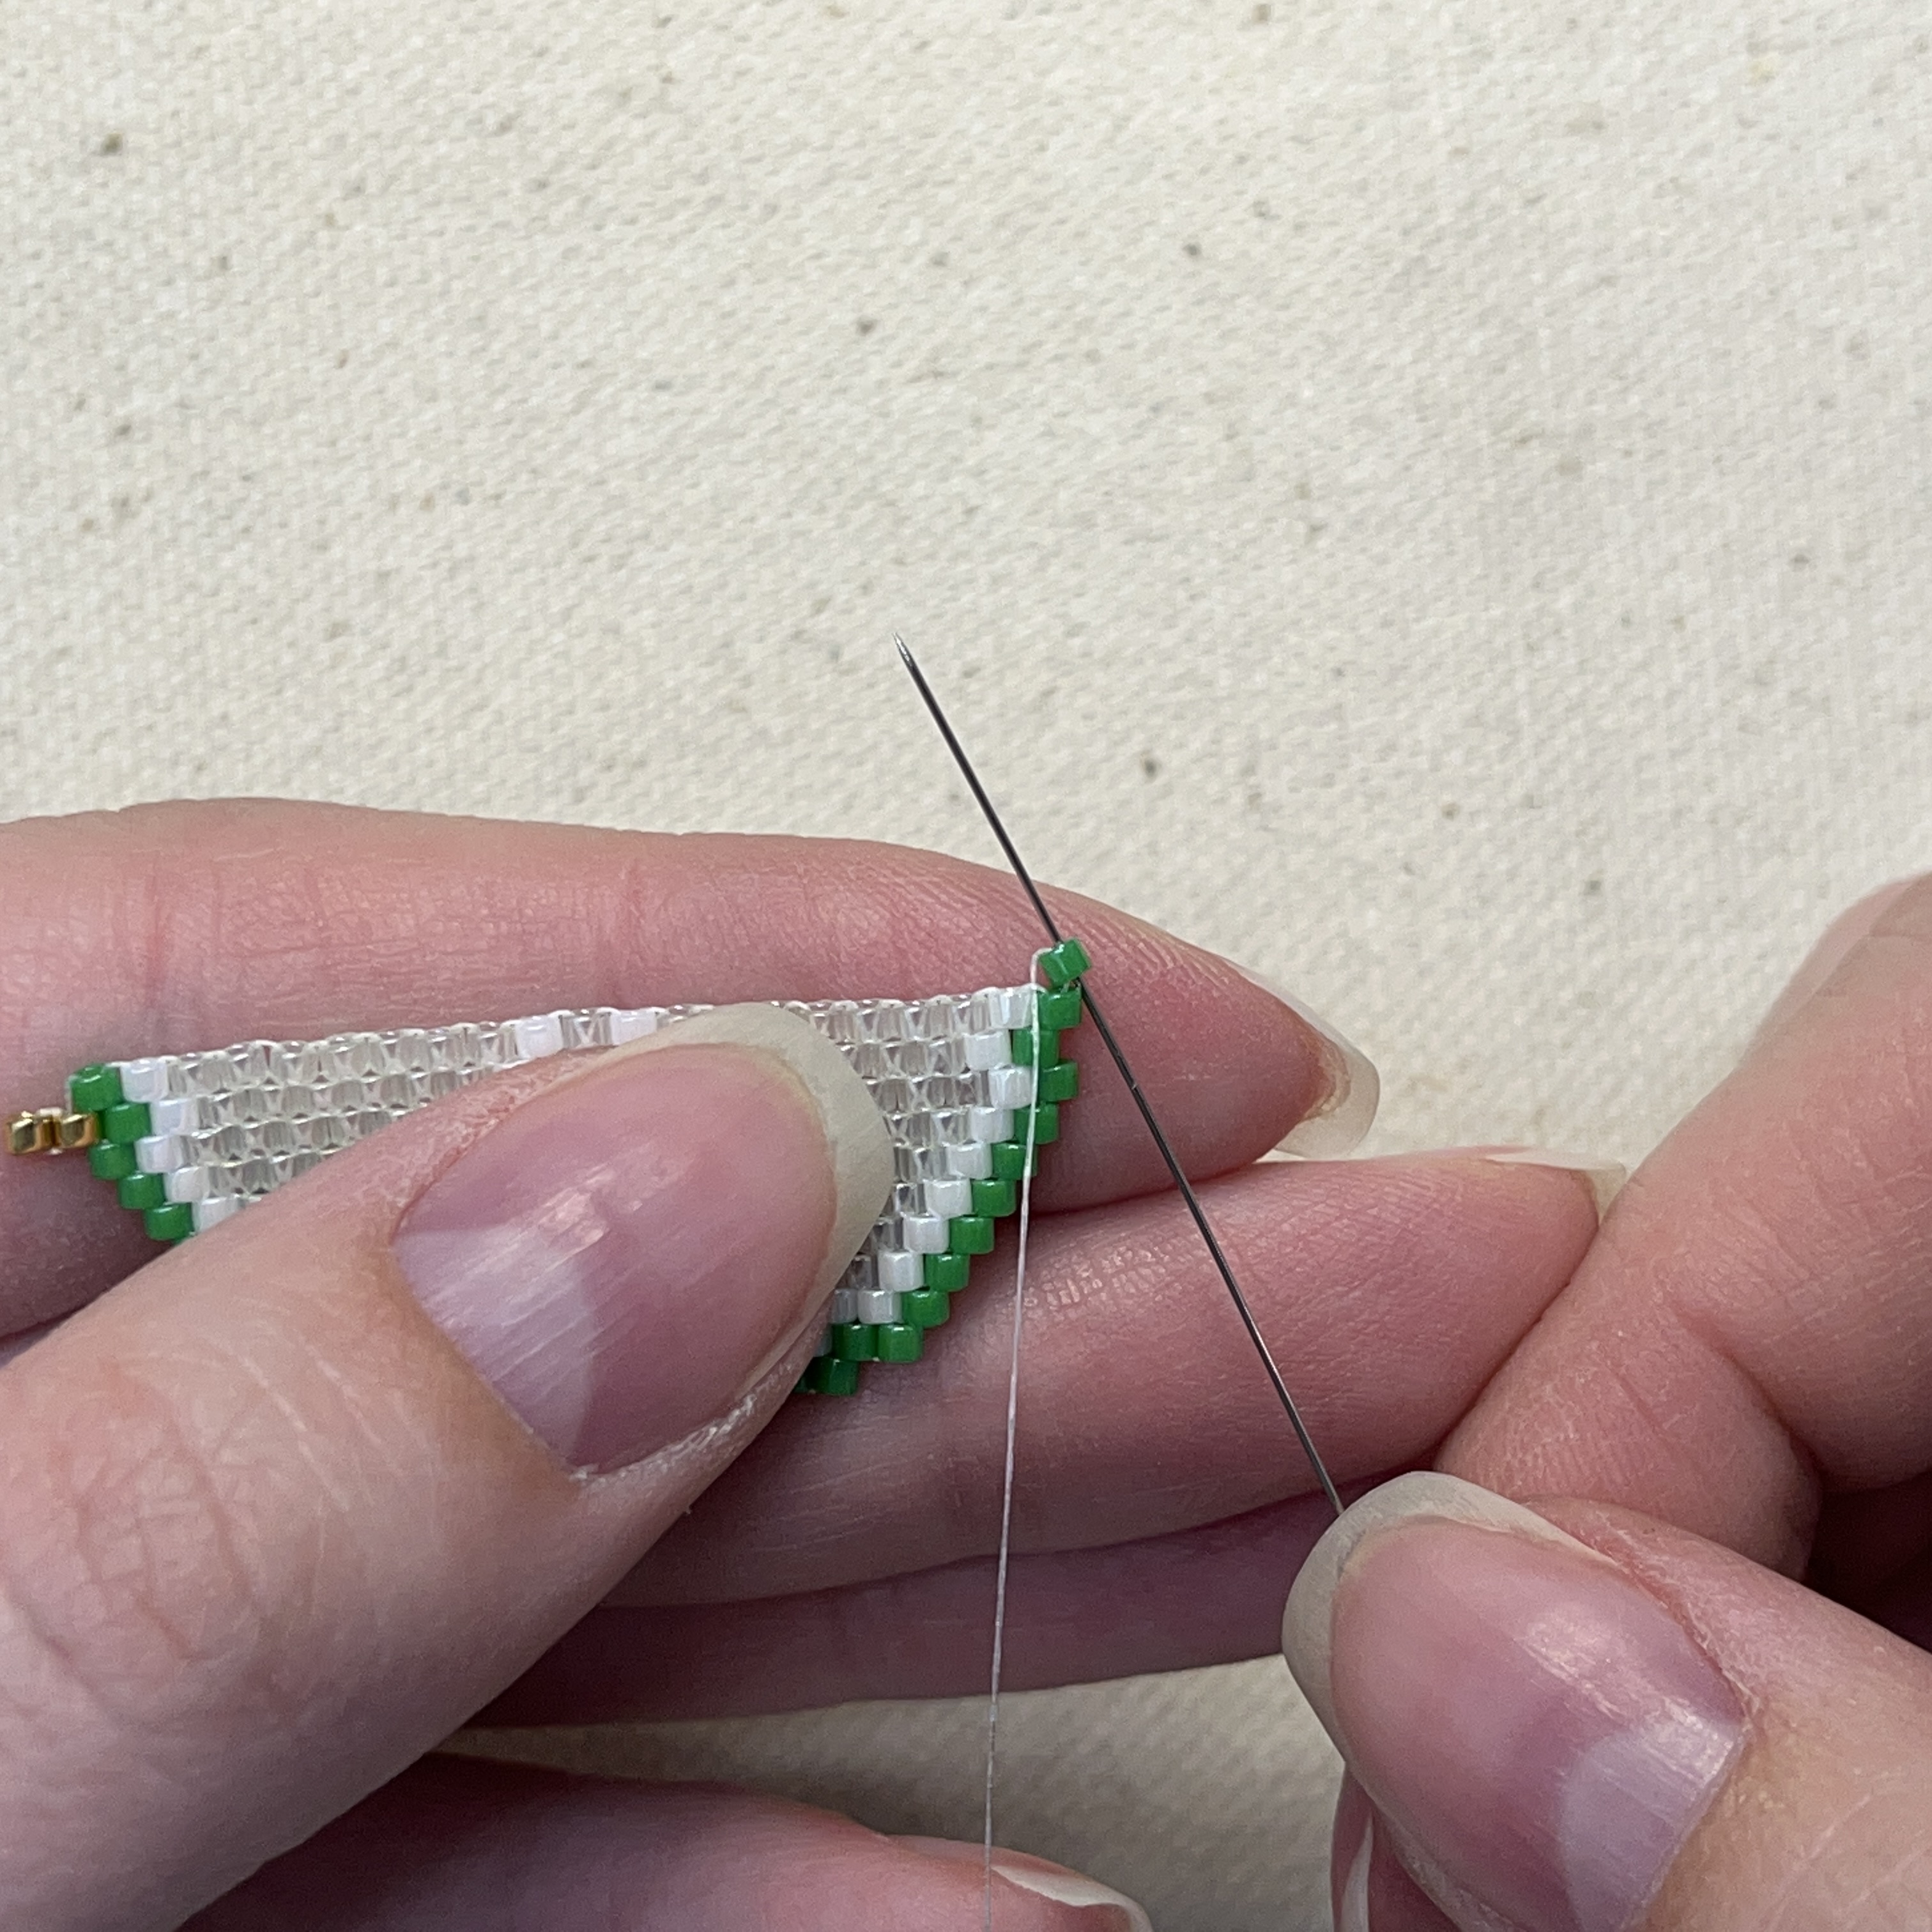
57. Finish the last row with a green bead
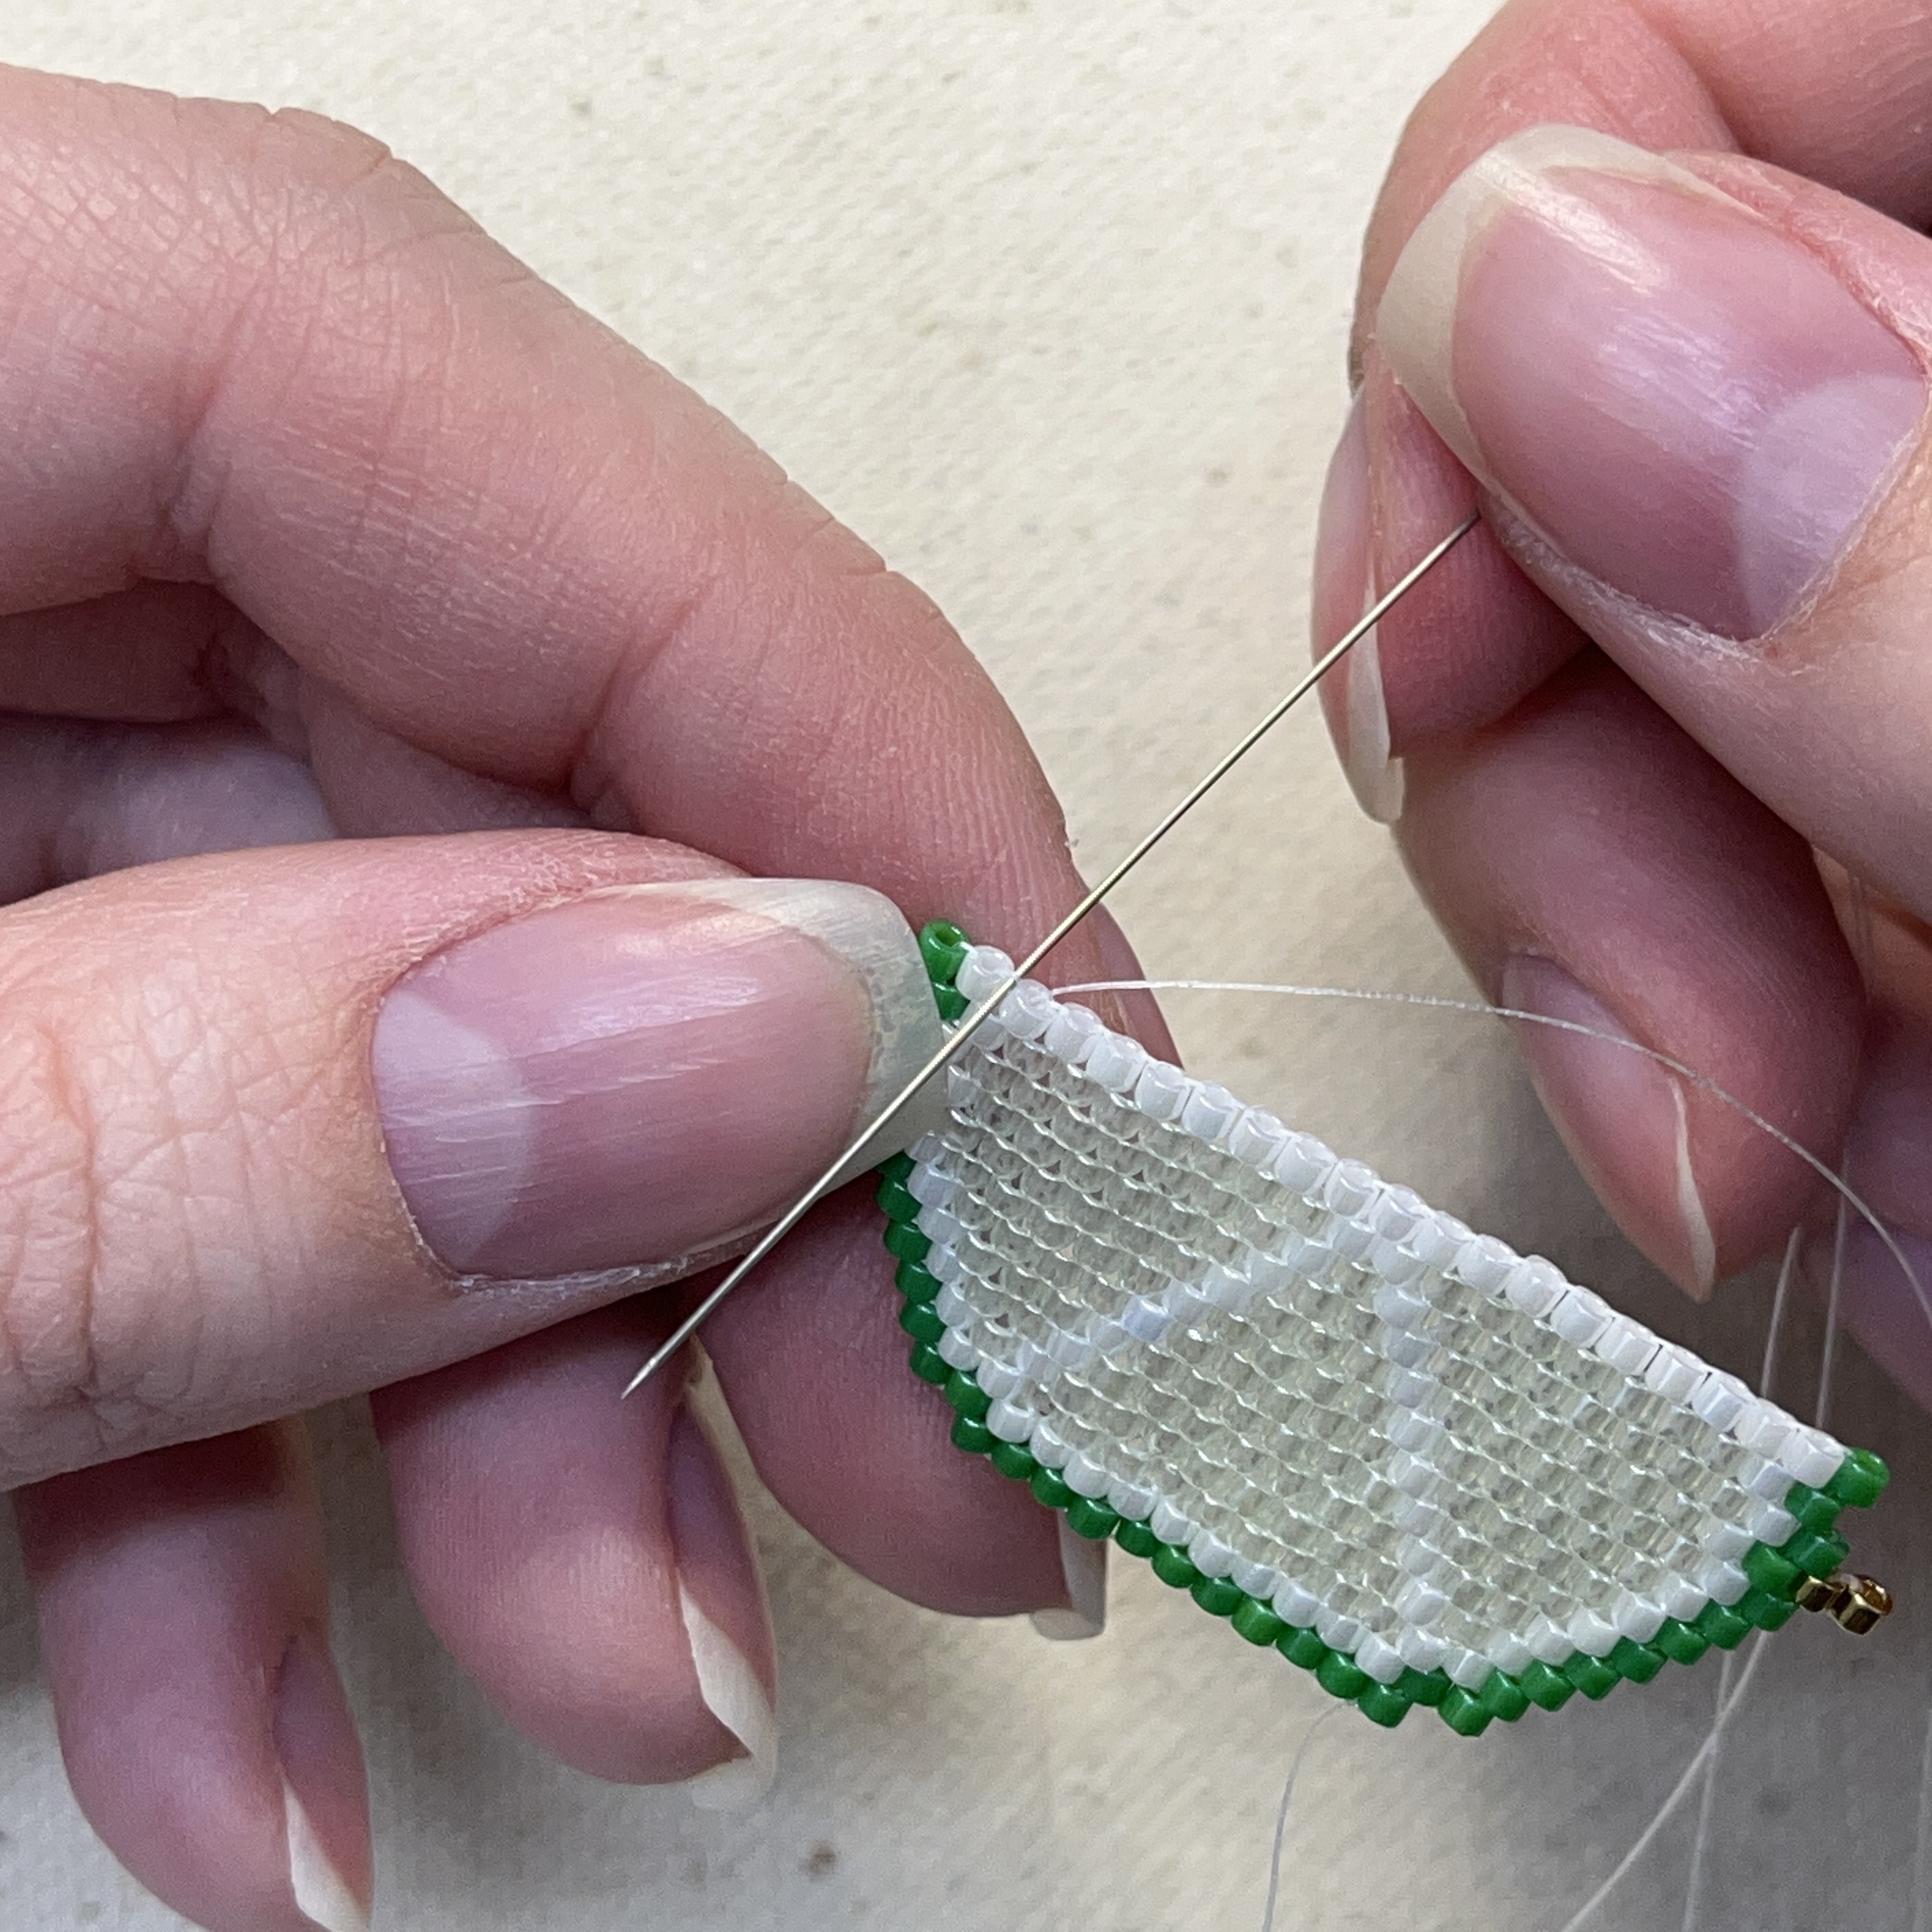
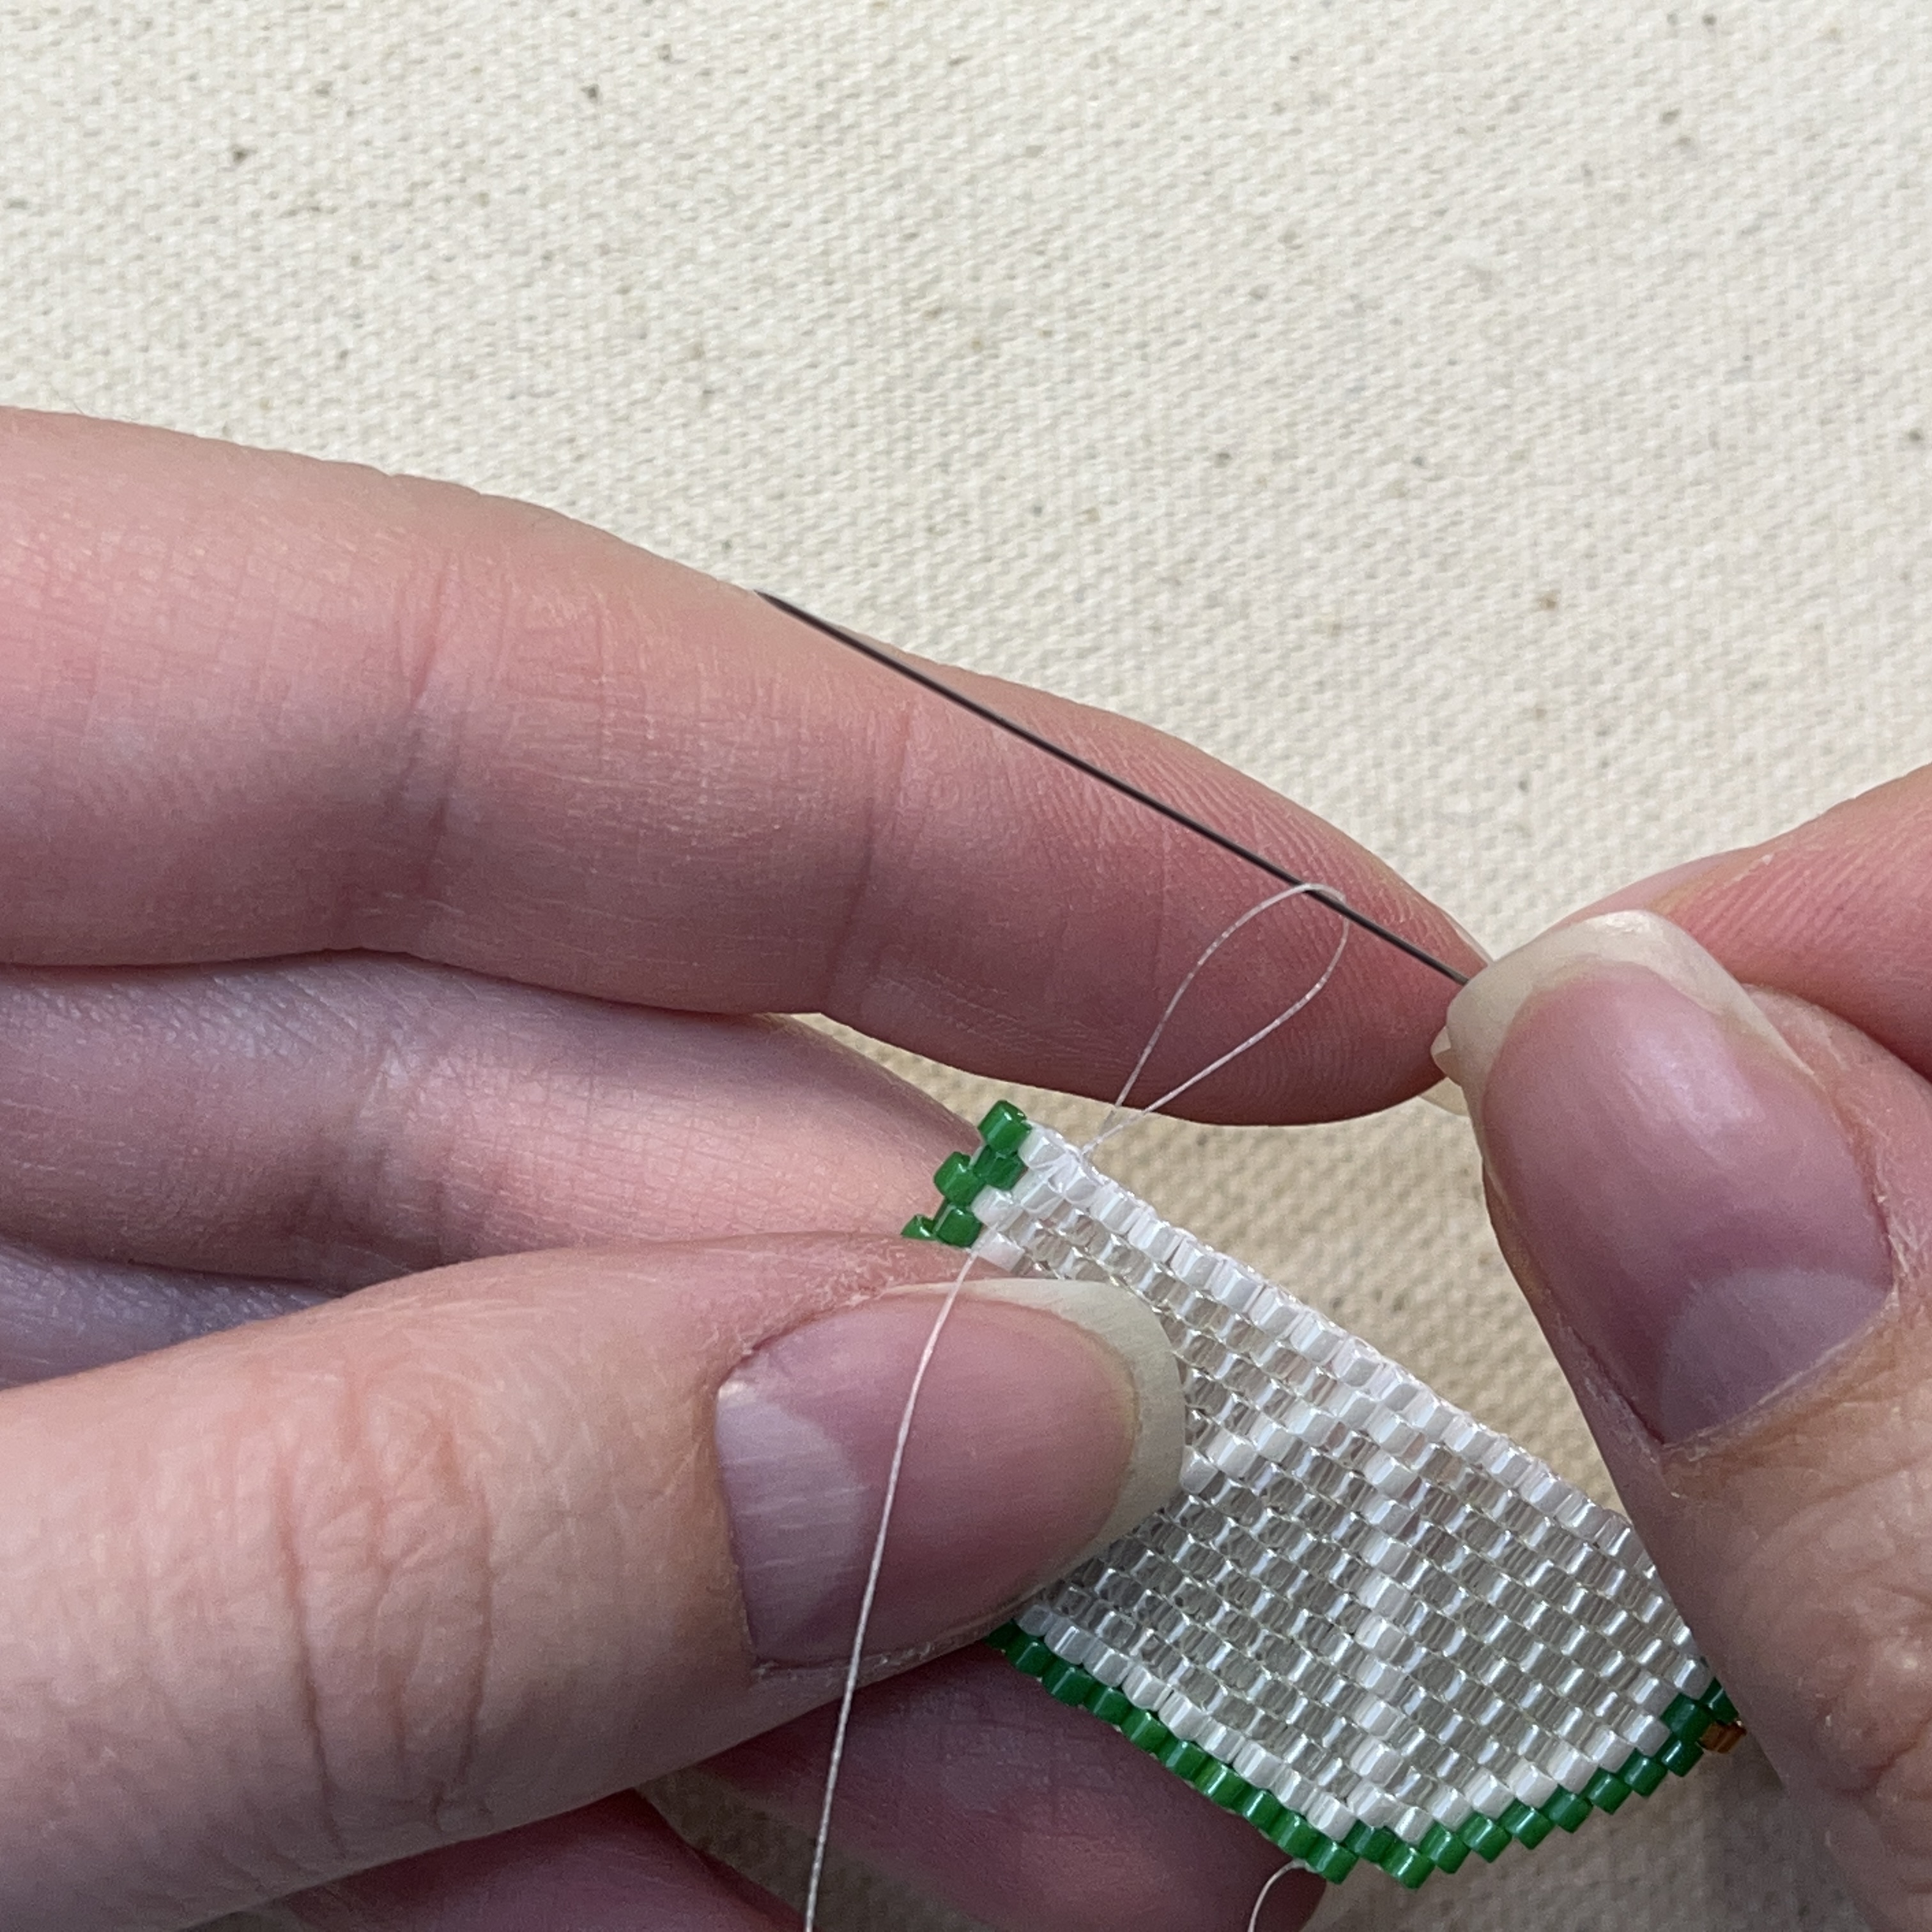
58. Thread the needle diagonally through the two beads shown above
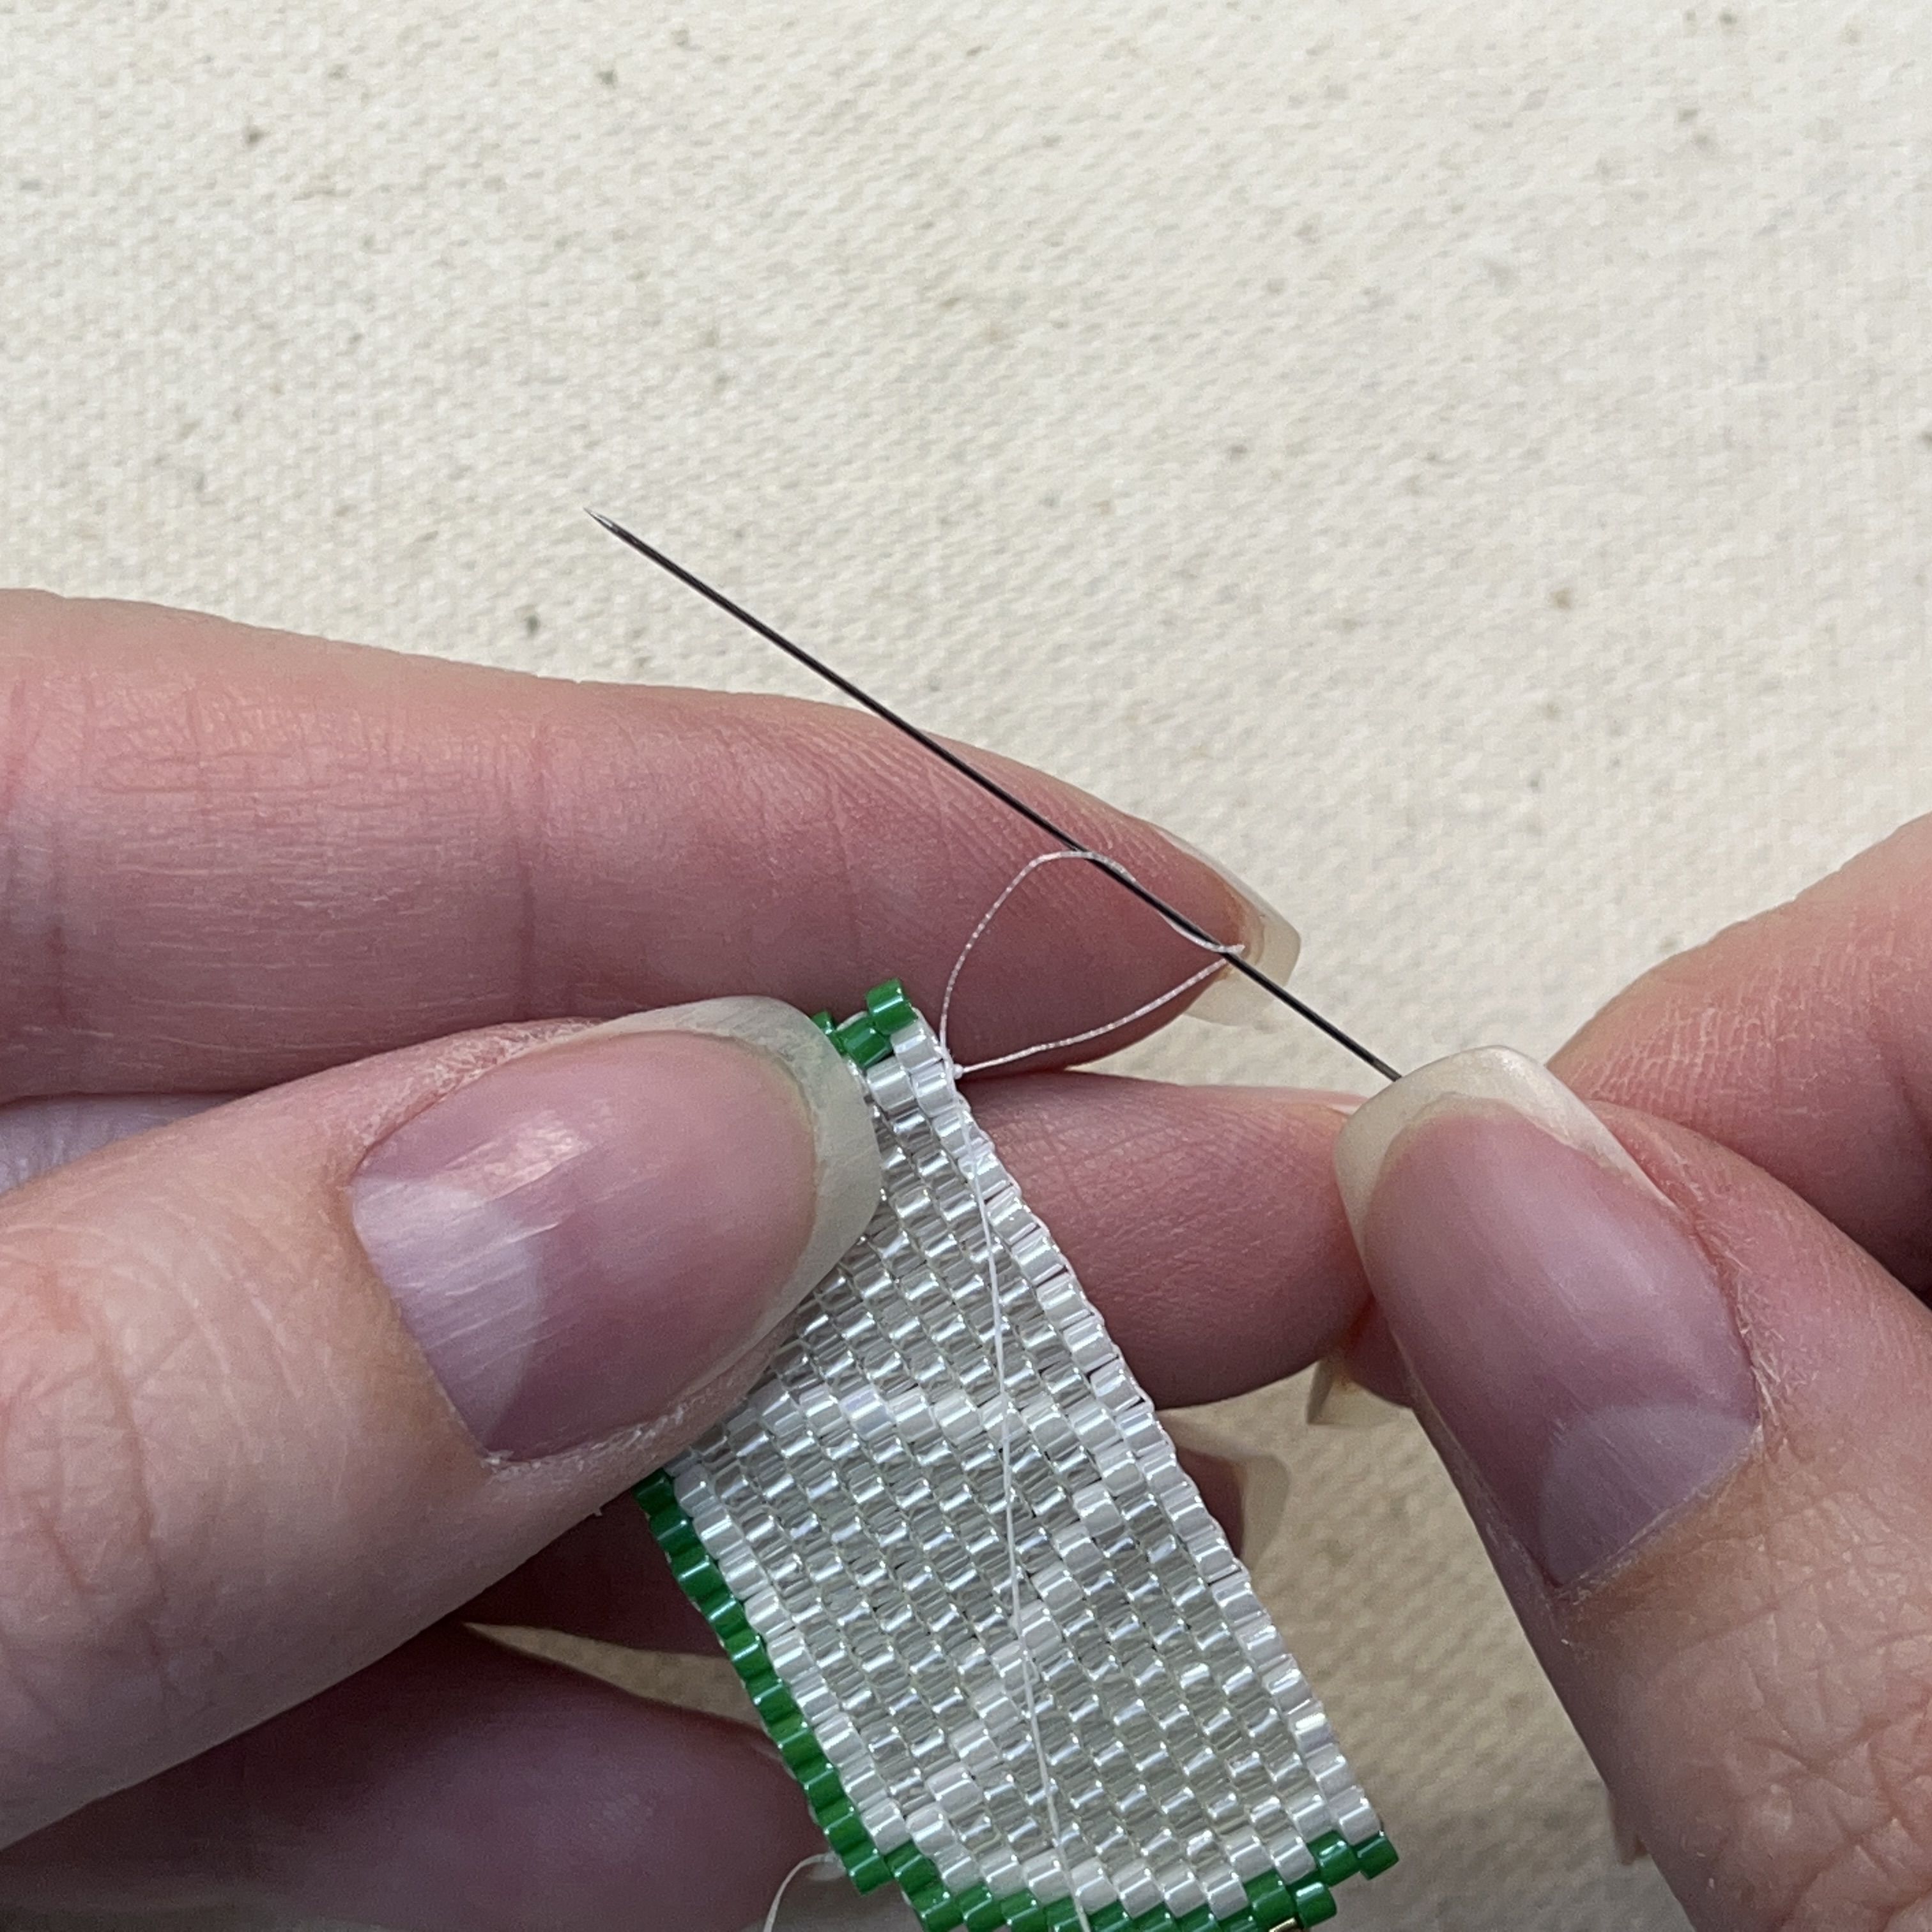
59. Poke the needle through the thread shown above and pull, leave a little loop like shown below
60. Pull the needle through the thread to make a knot and pull the knot tight
61. Repeat but loop the needle through the thread twice to make a double knot
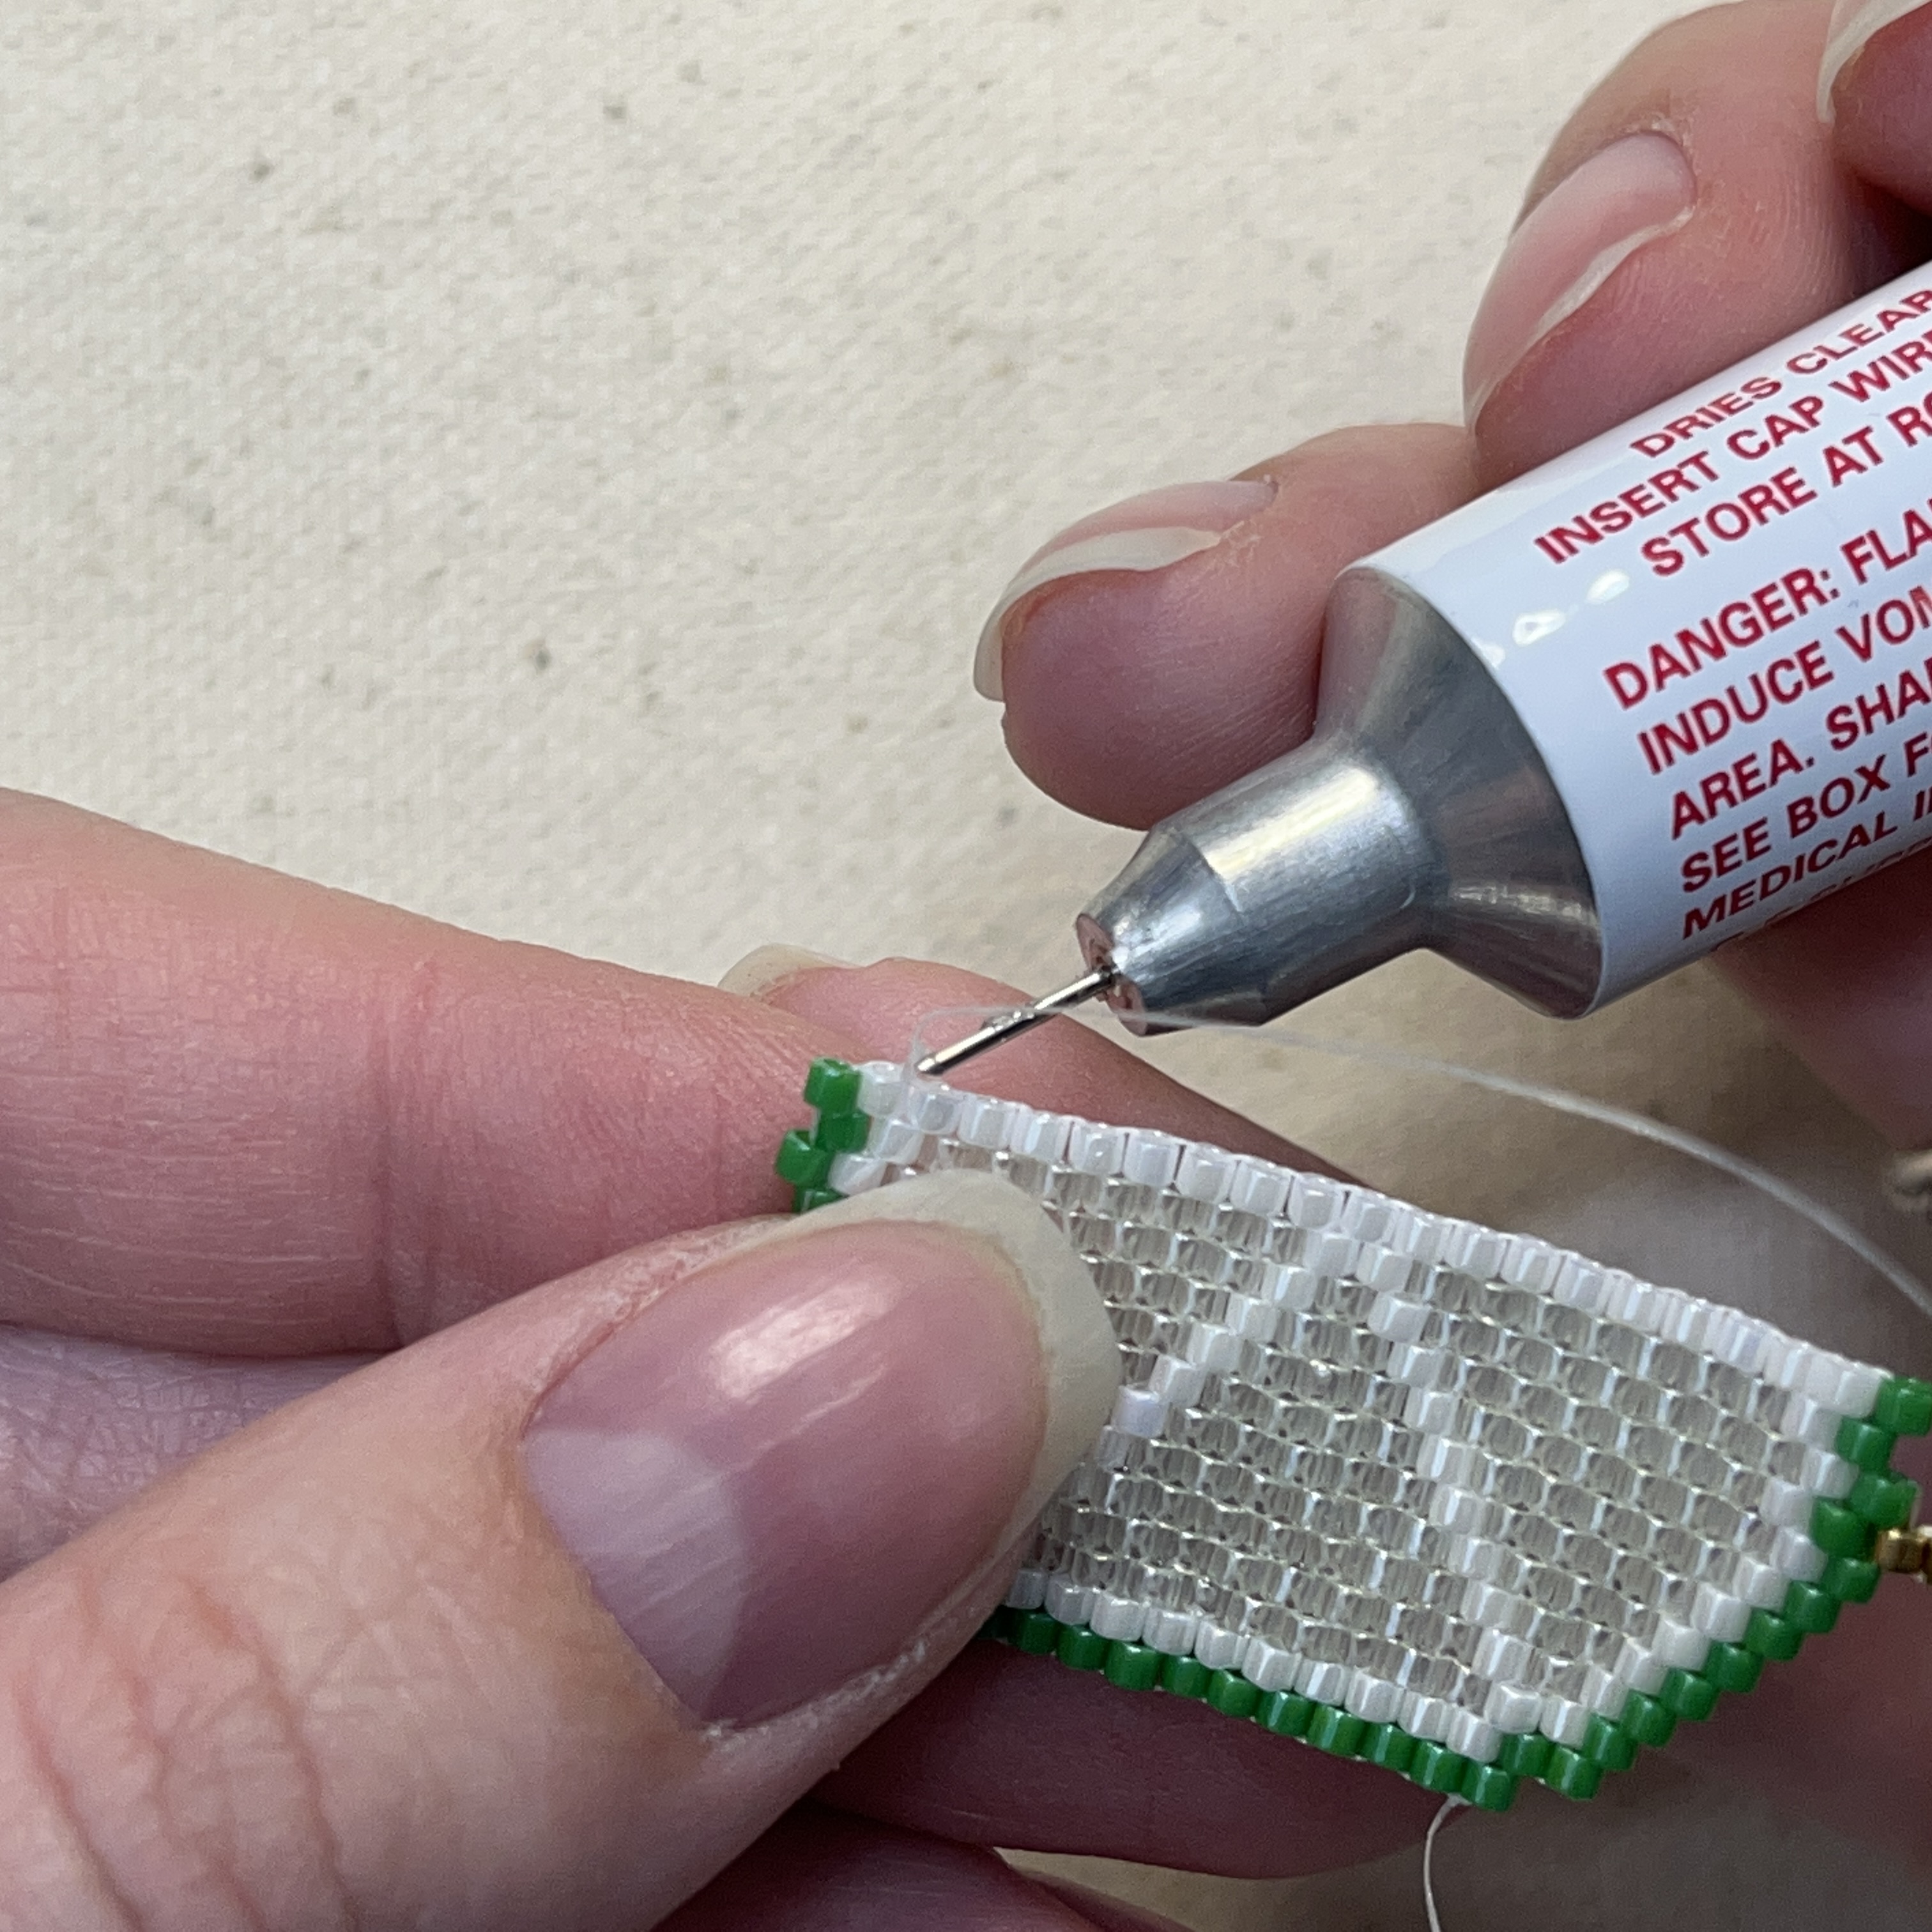
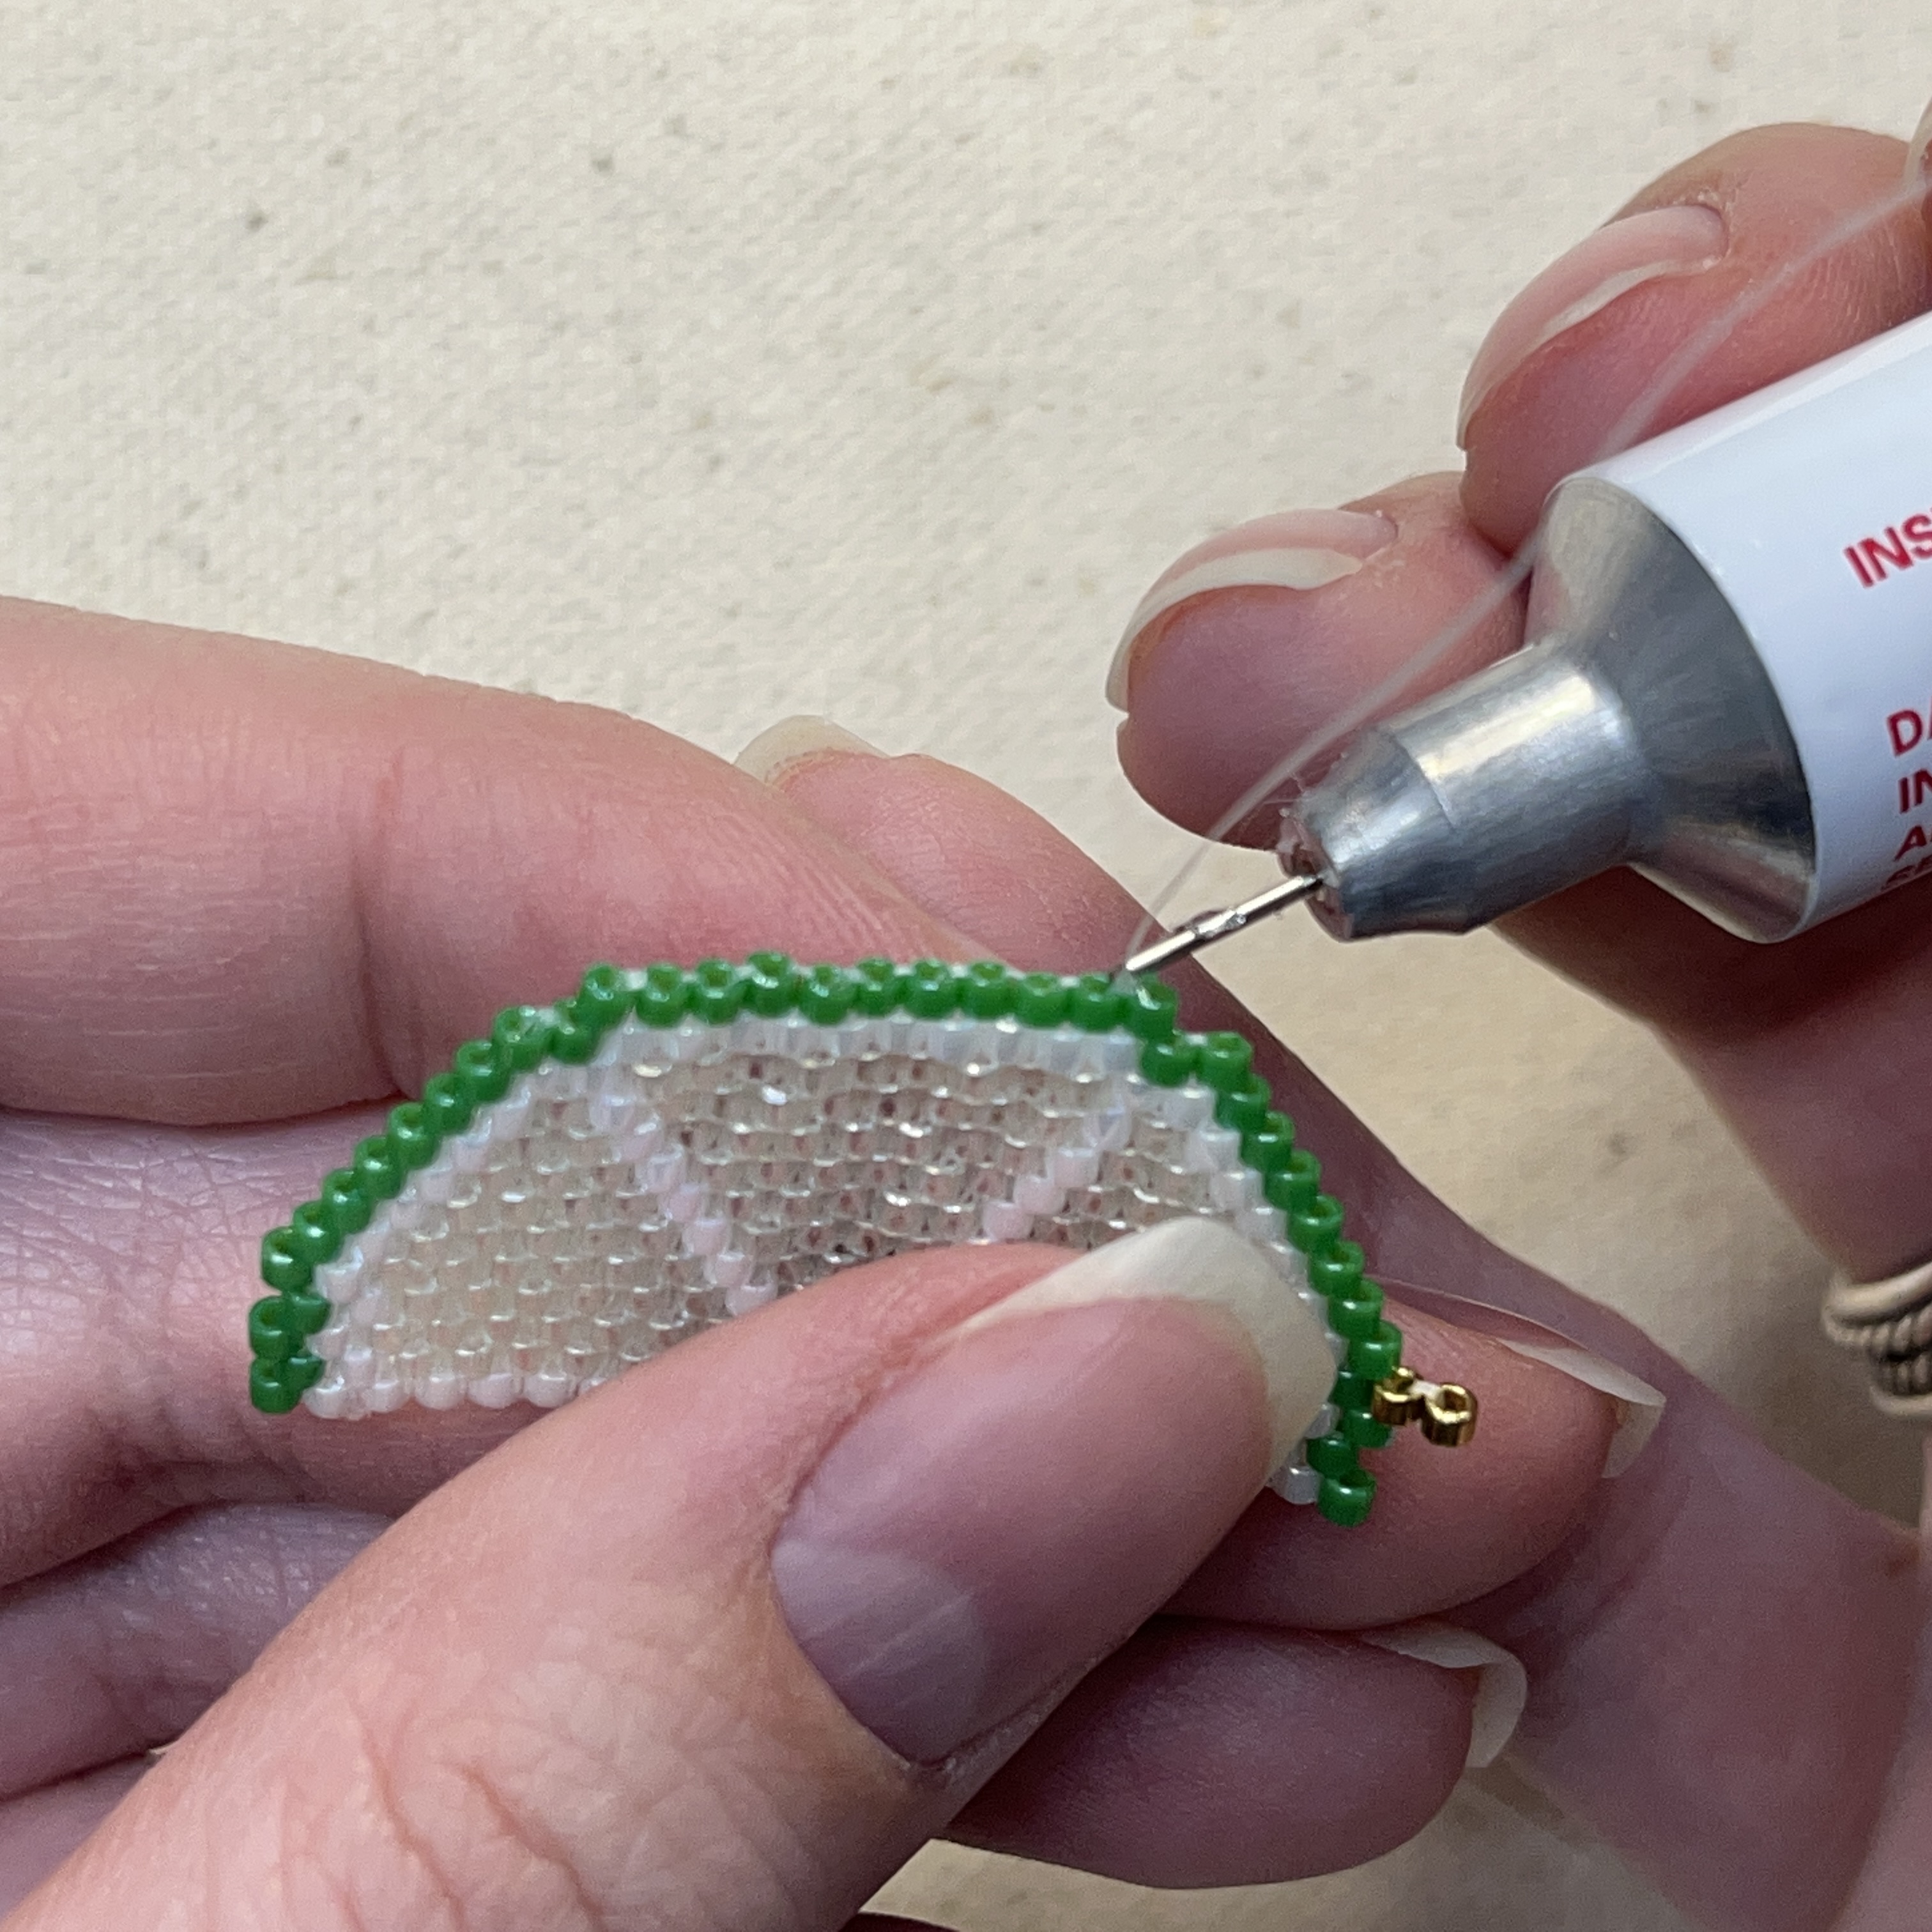
62. Add a little bit of gs-hypo cement and cut the excess
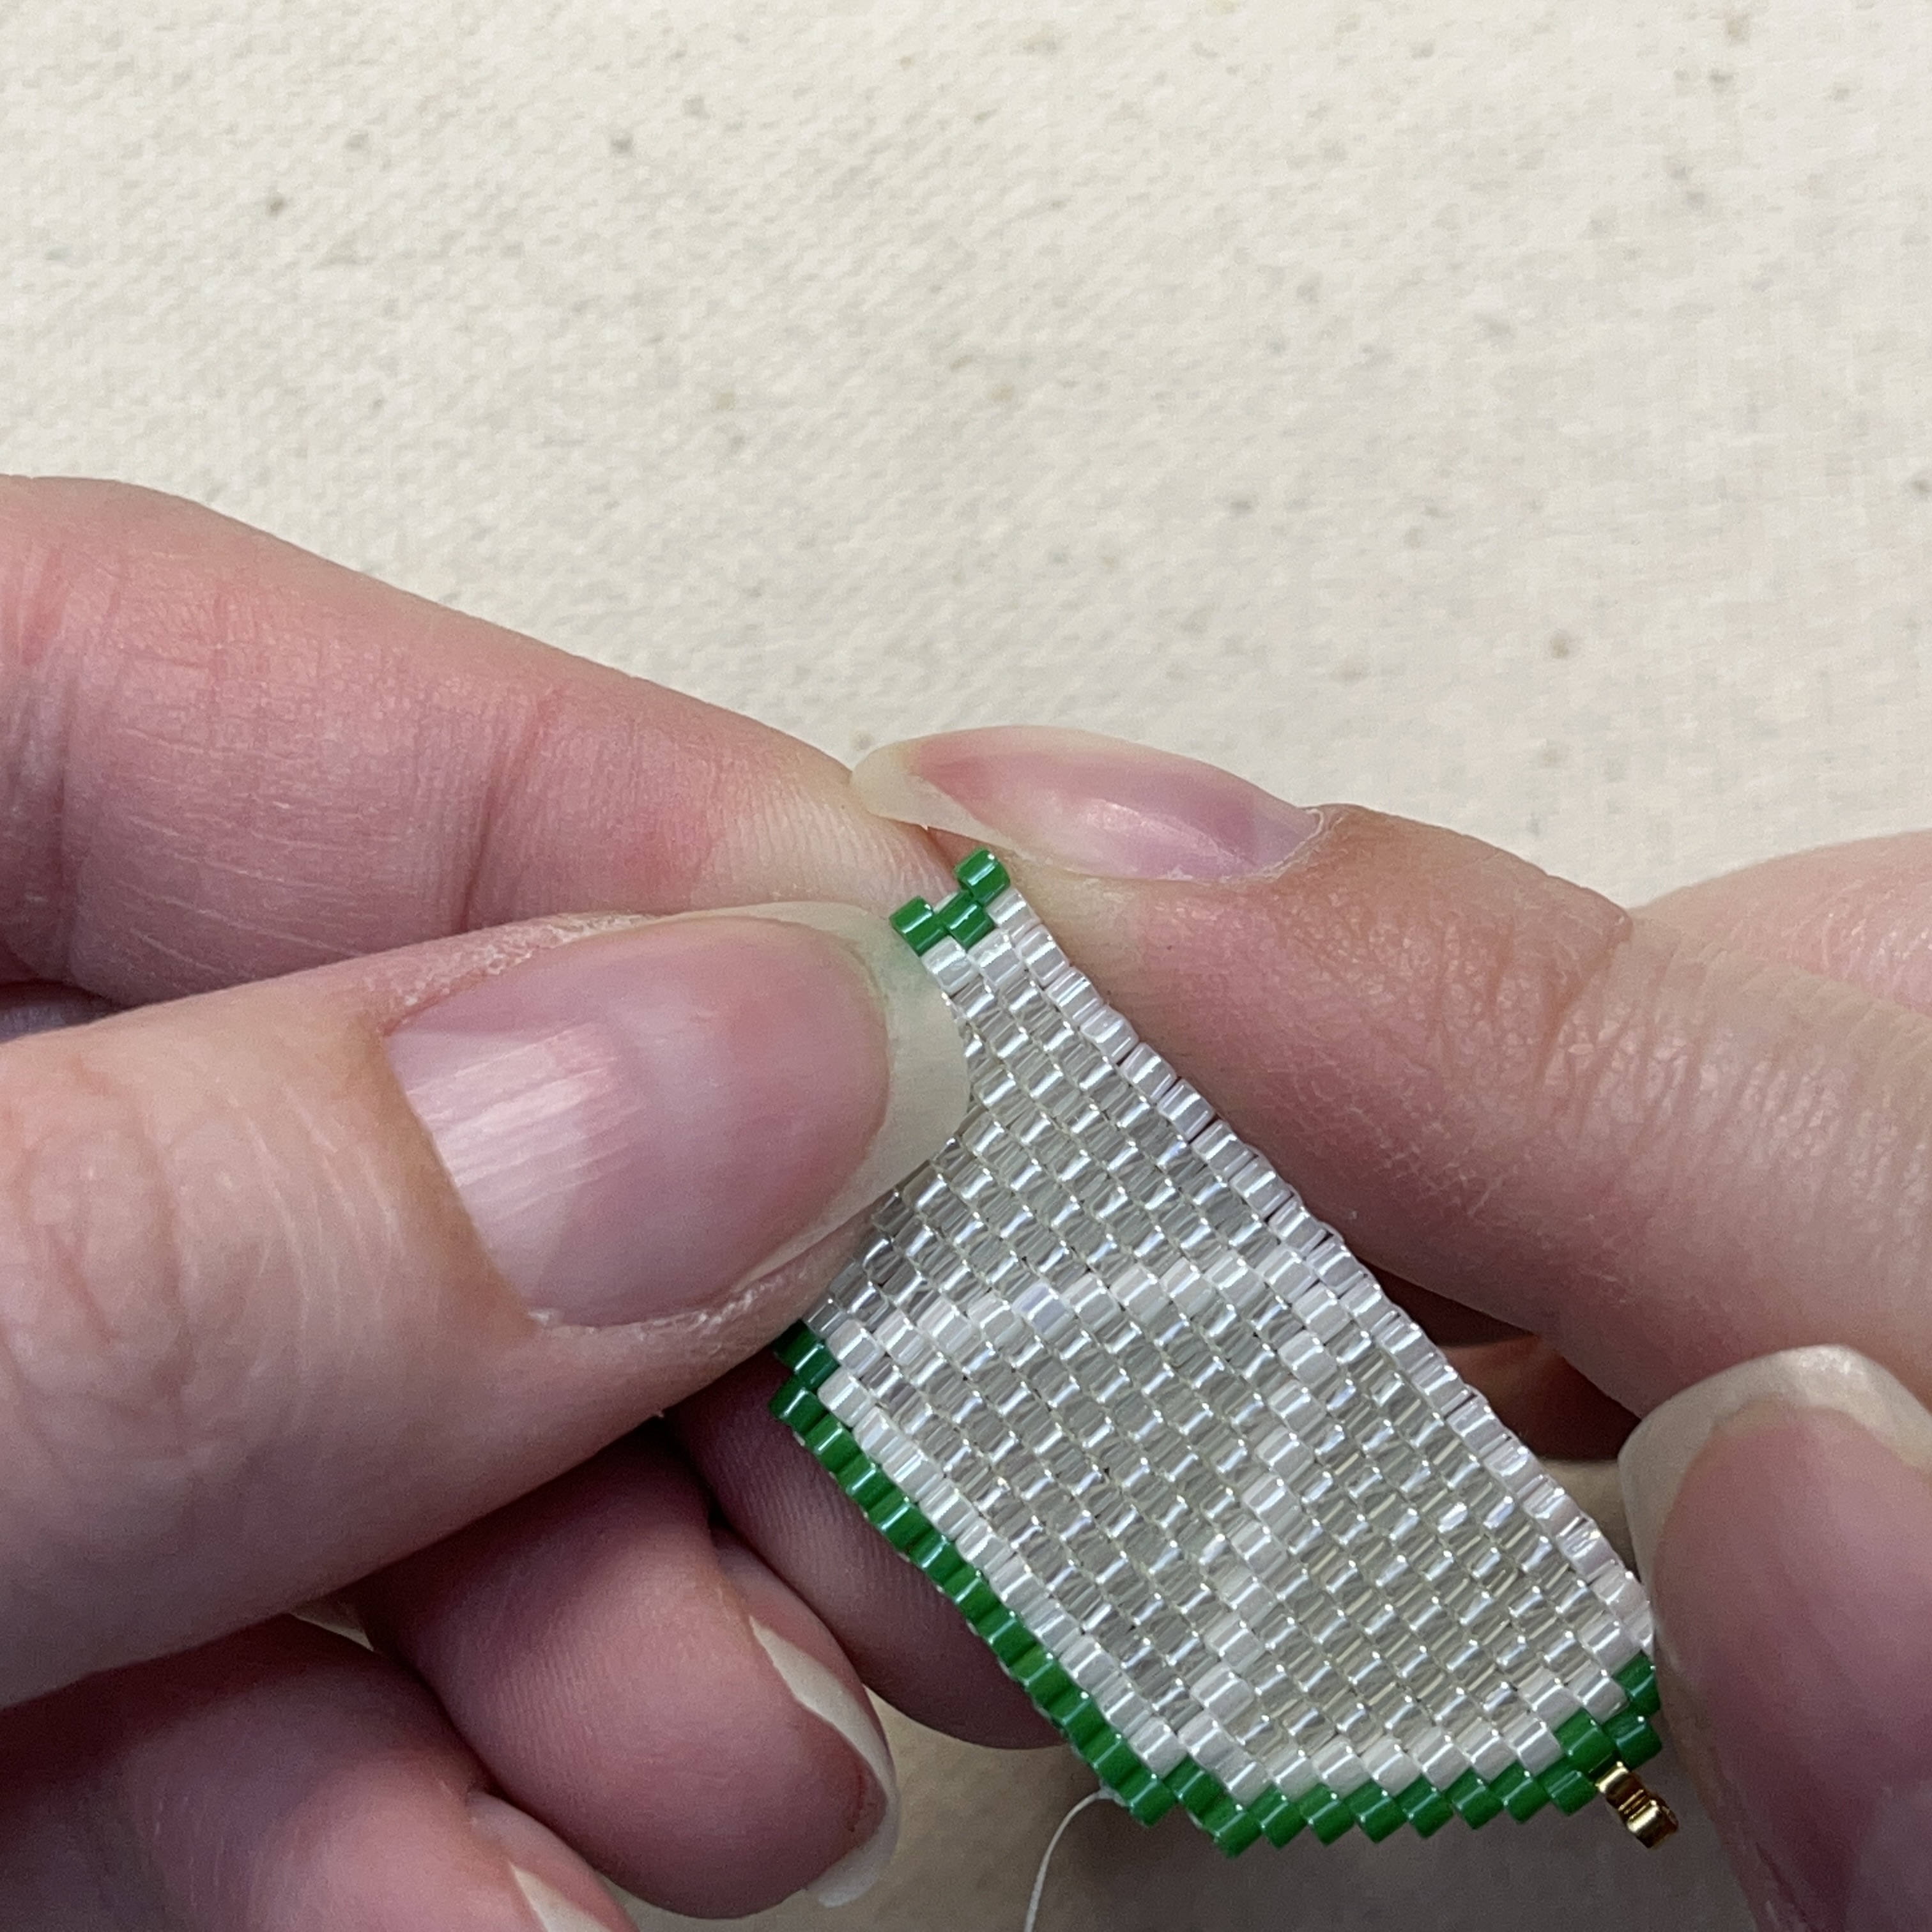
63. Press the tacky glued knot to flatten it
64. Turn your project around and glue the tail then cut it off. Press the glue like in step 63.
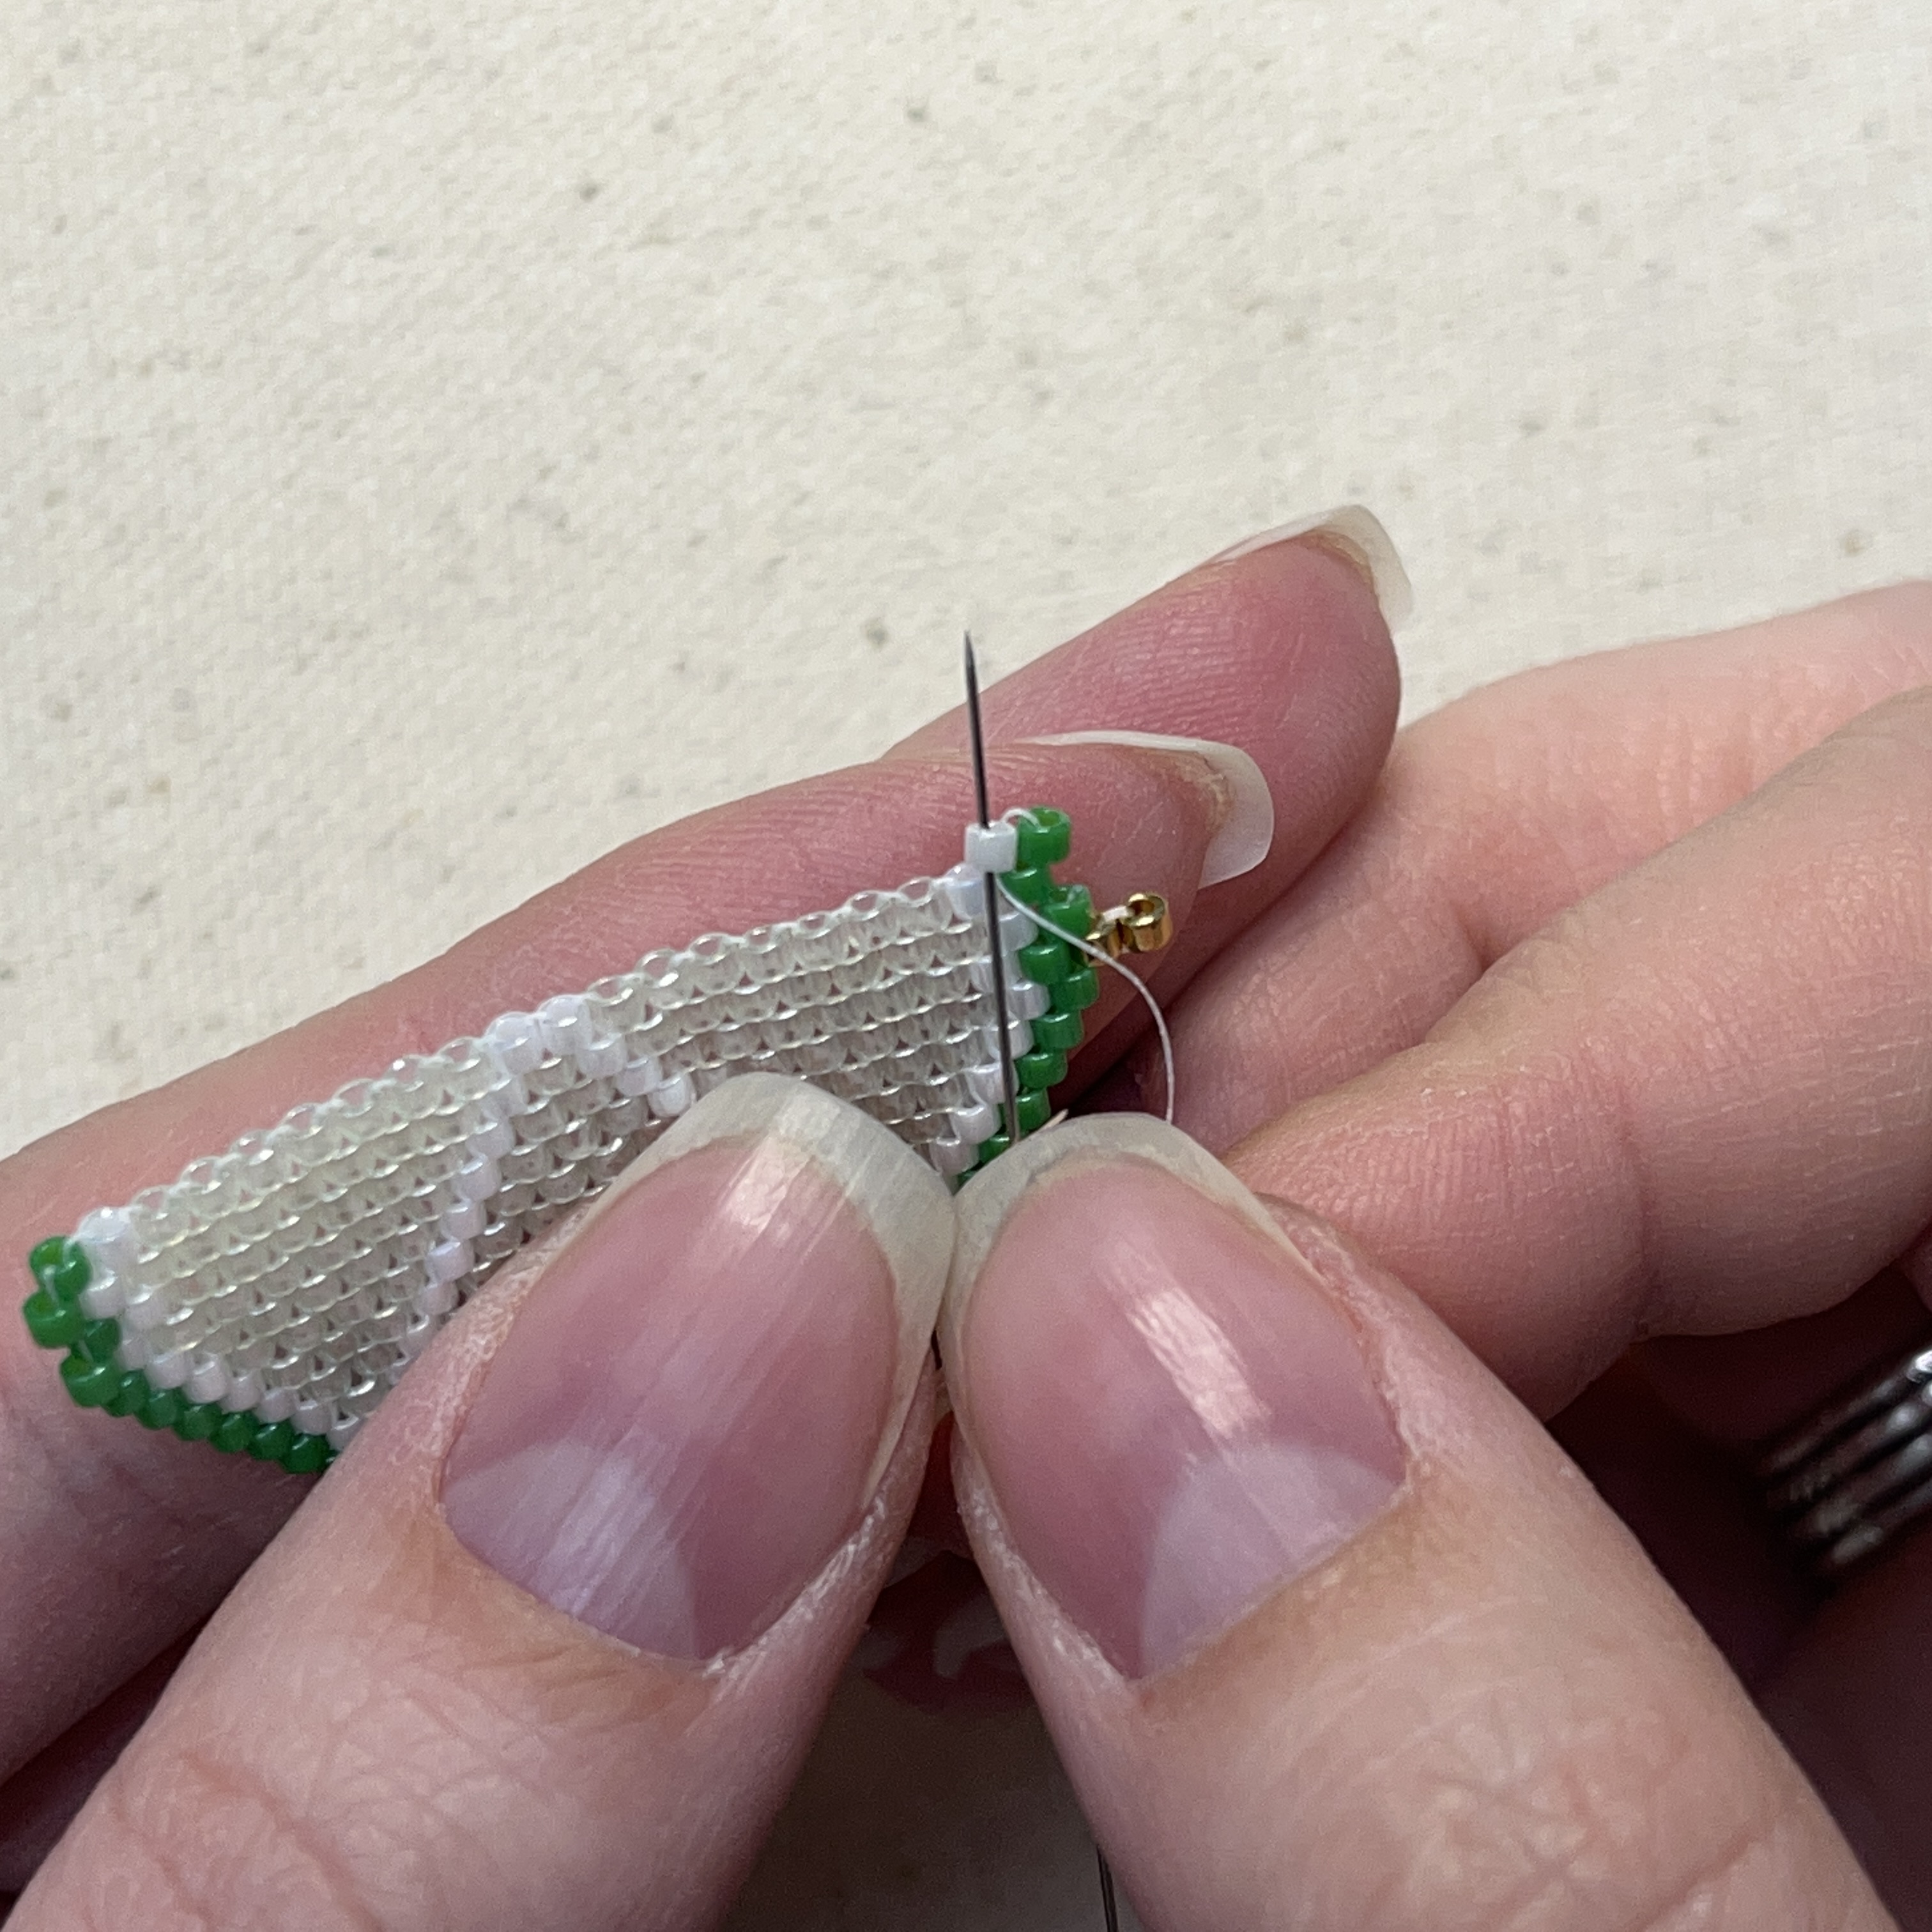
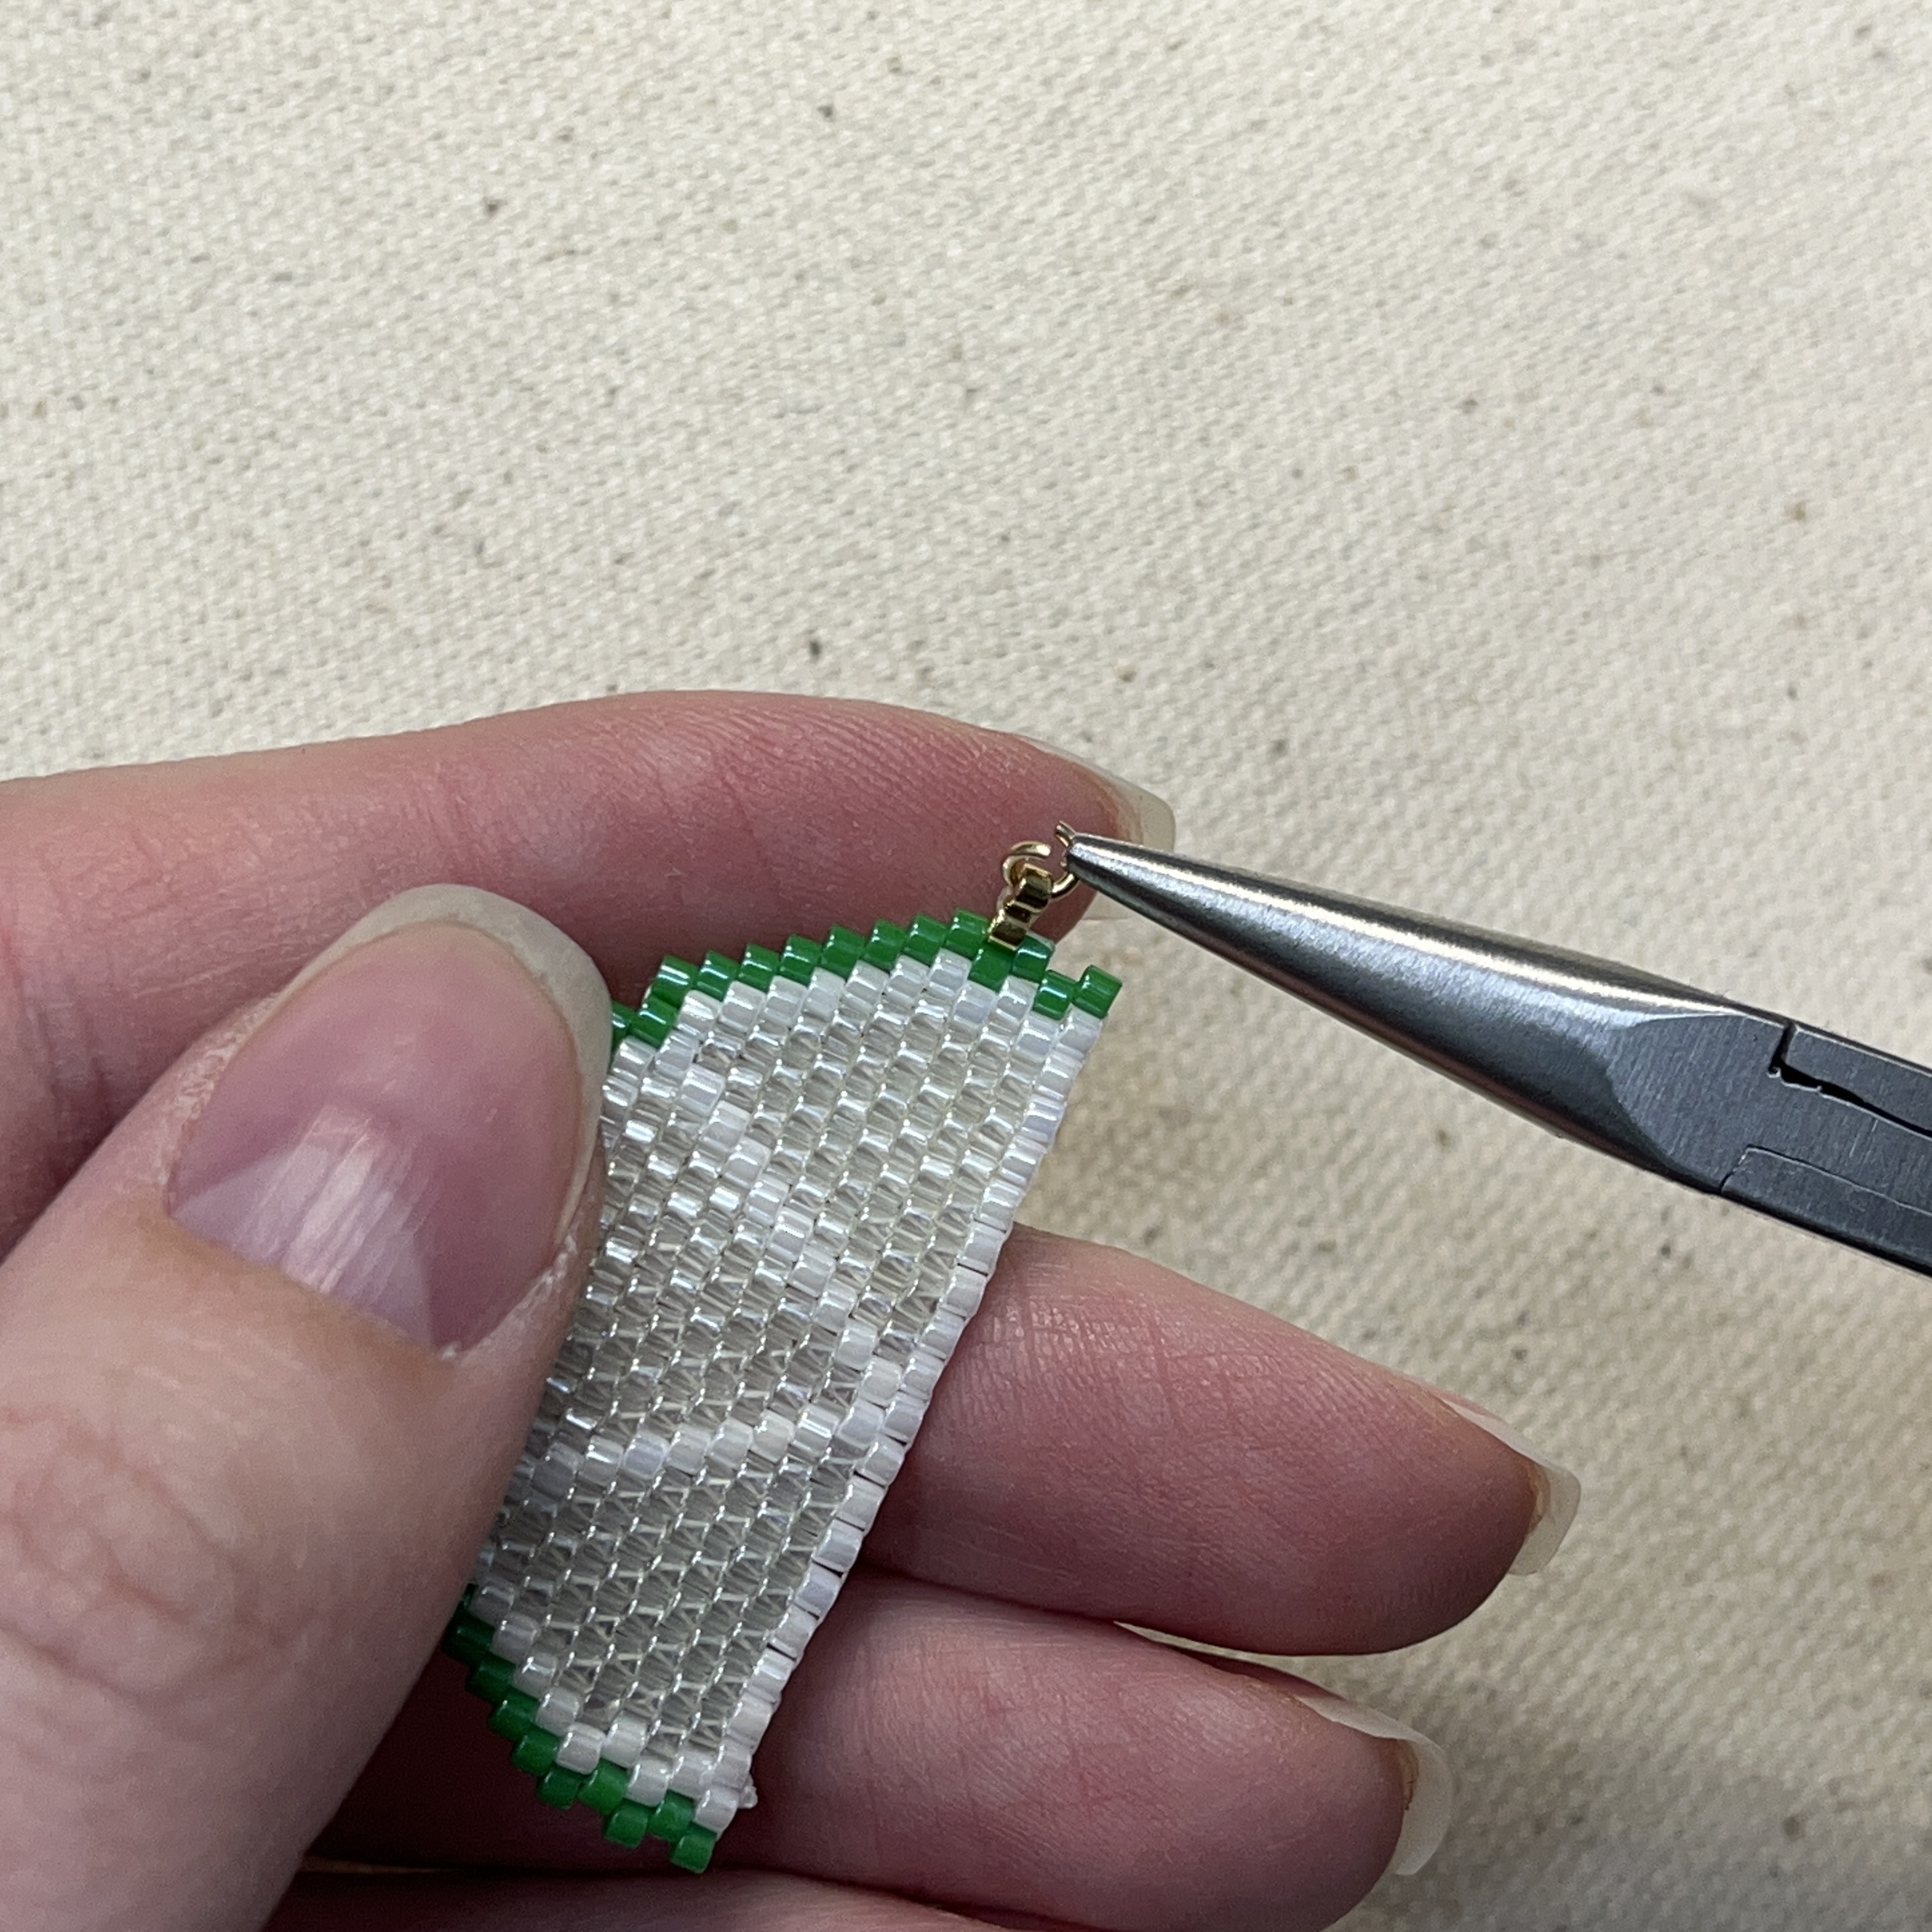
65. Carefully thread an opened jumpring through the top gold delica bead
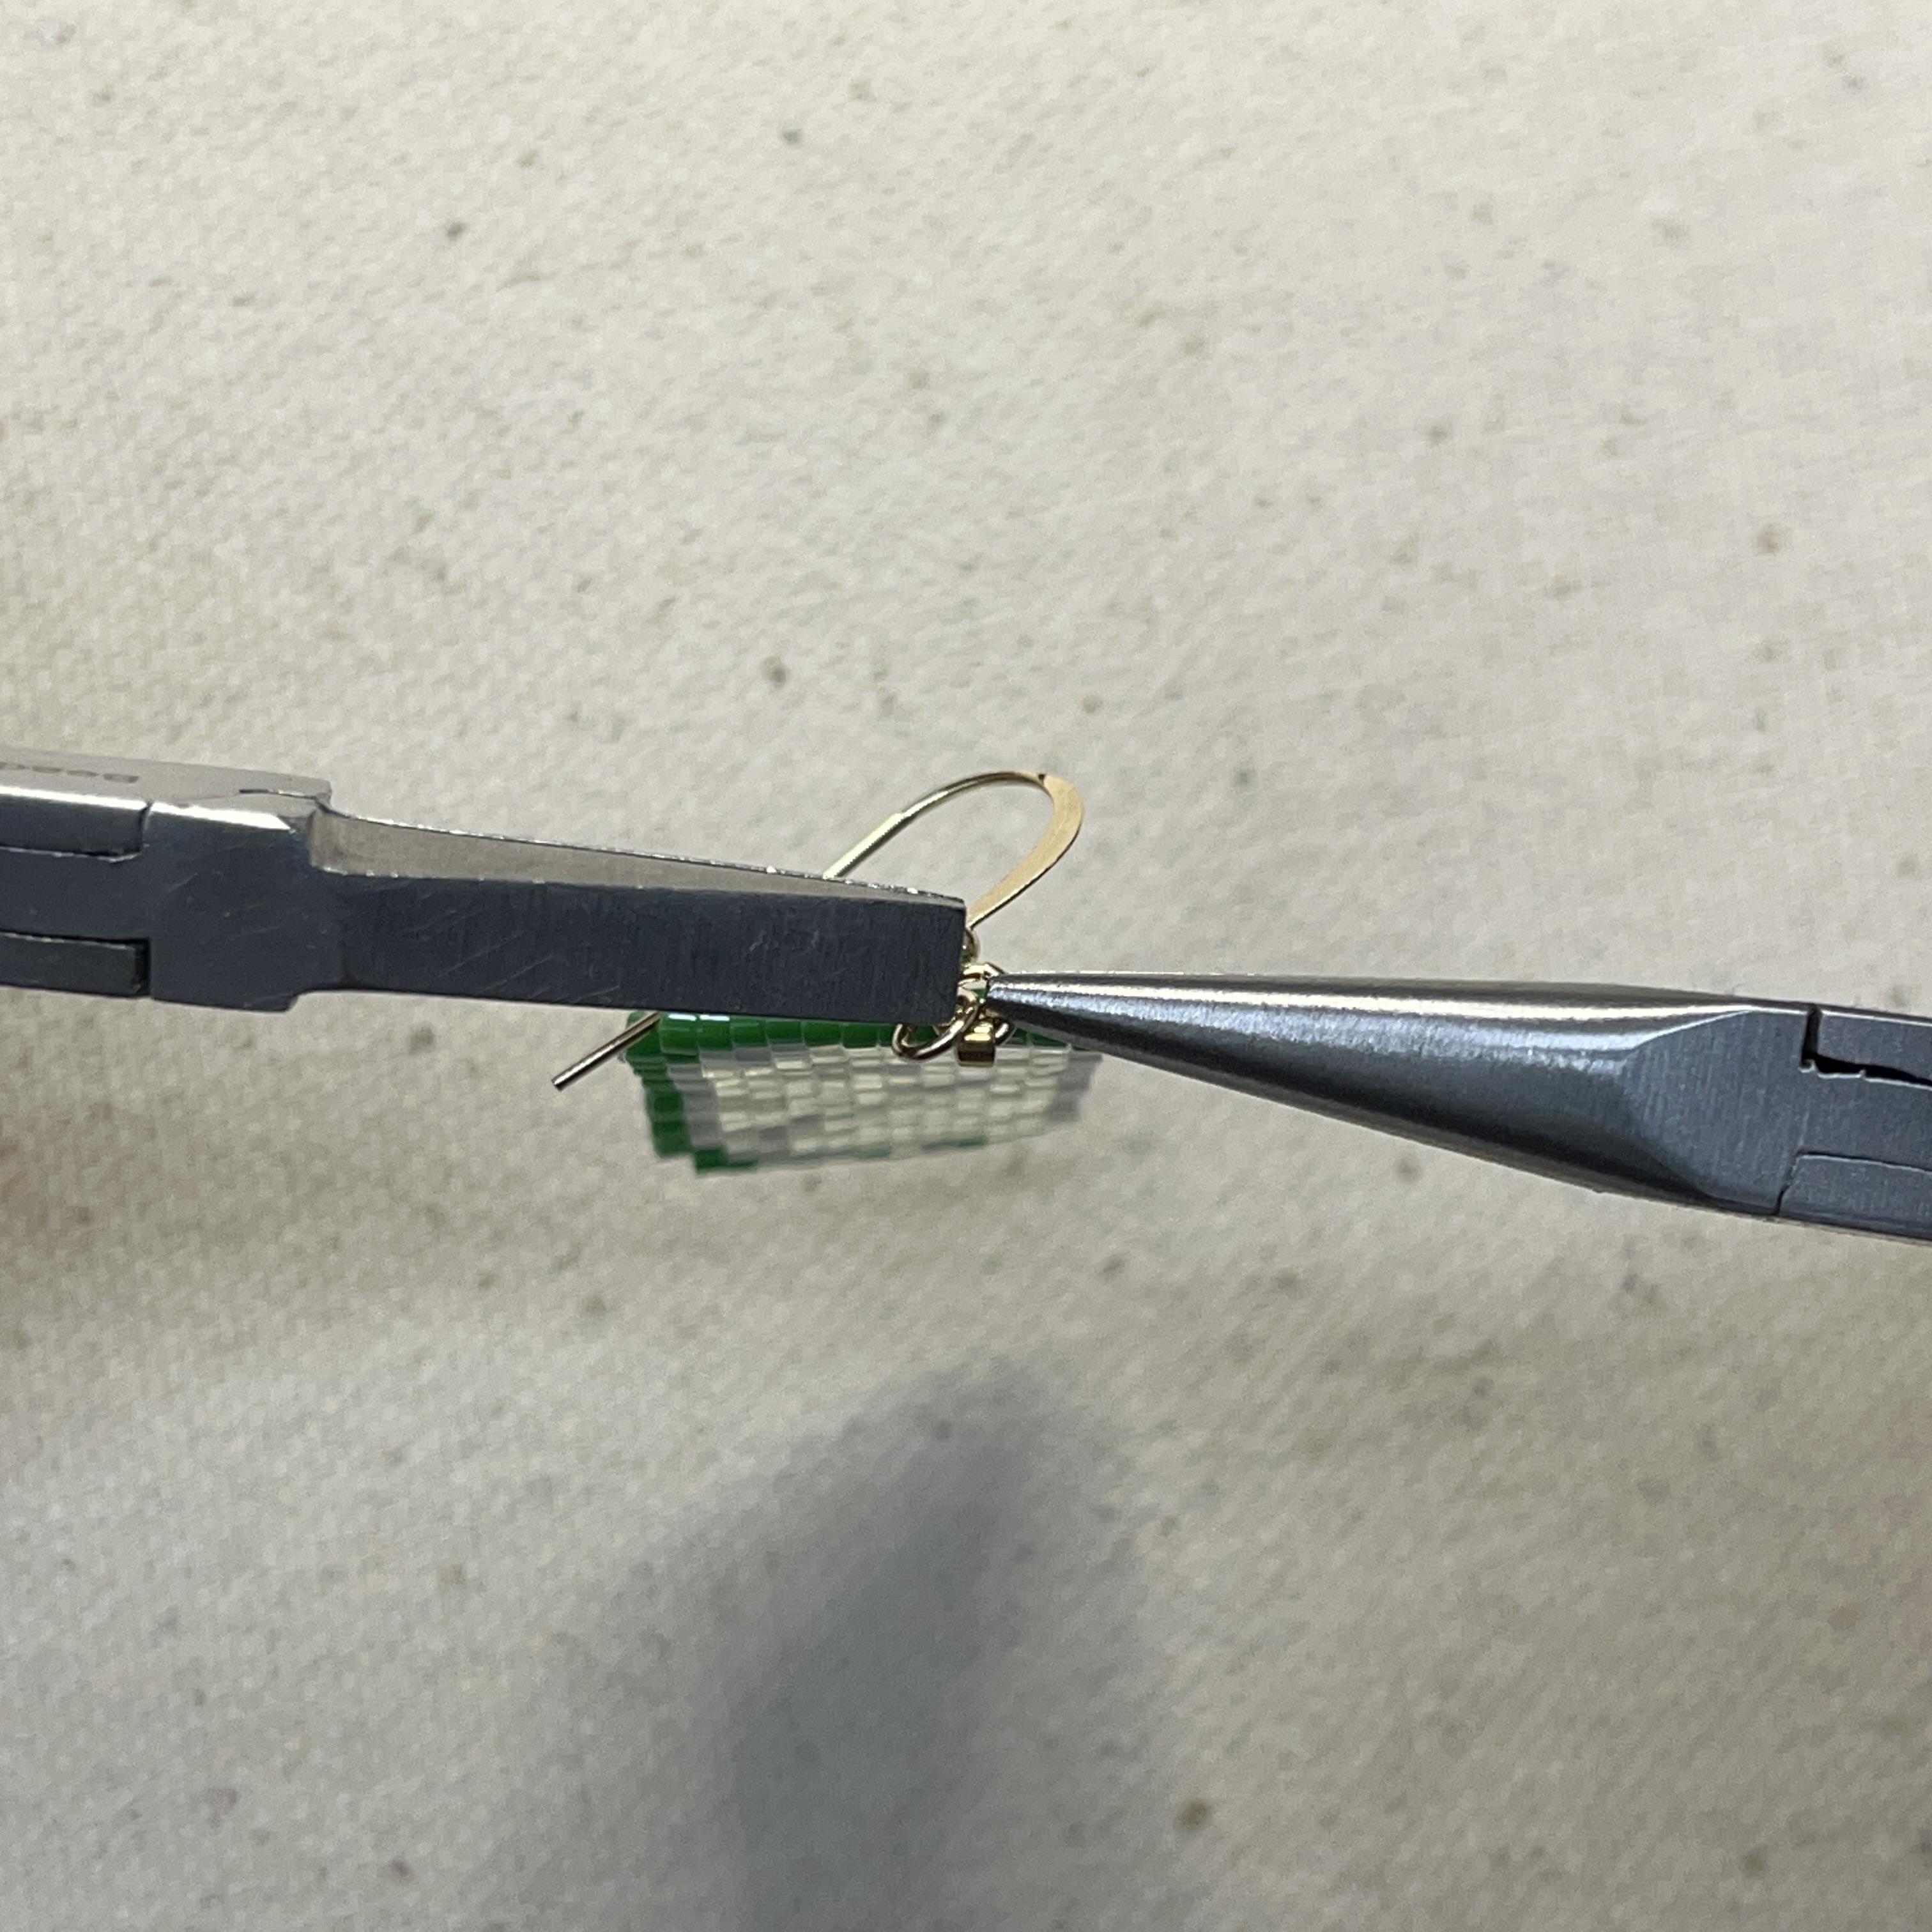
66. Add the ear wire and close the jumpring
*If you would like your earrings to have the slices facing towards you on each side (like a mirror image), when you go to add the ear wire on your second slice, flip the ear wire around
67. Done! Repeat steps to make your second slice
Lemon Slice
Orange Slice

