
Tutorials
Embellished Right Angle Weave Earring Tutorial
Embellished Right Angle Weave Earring Tutorial
This month our right angle weave tutorial series takes us to our Embellished Right Angle Weave Earring. In this tutorial we’ll build upon our right angle weave skills by adding an embellished edge. We made earrings in this tutorial, but you could also make a bracelet, necklace, etc. using the same techniques.
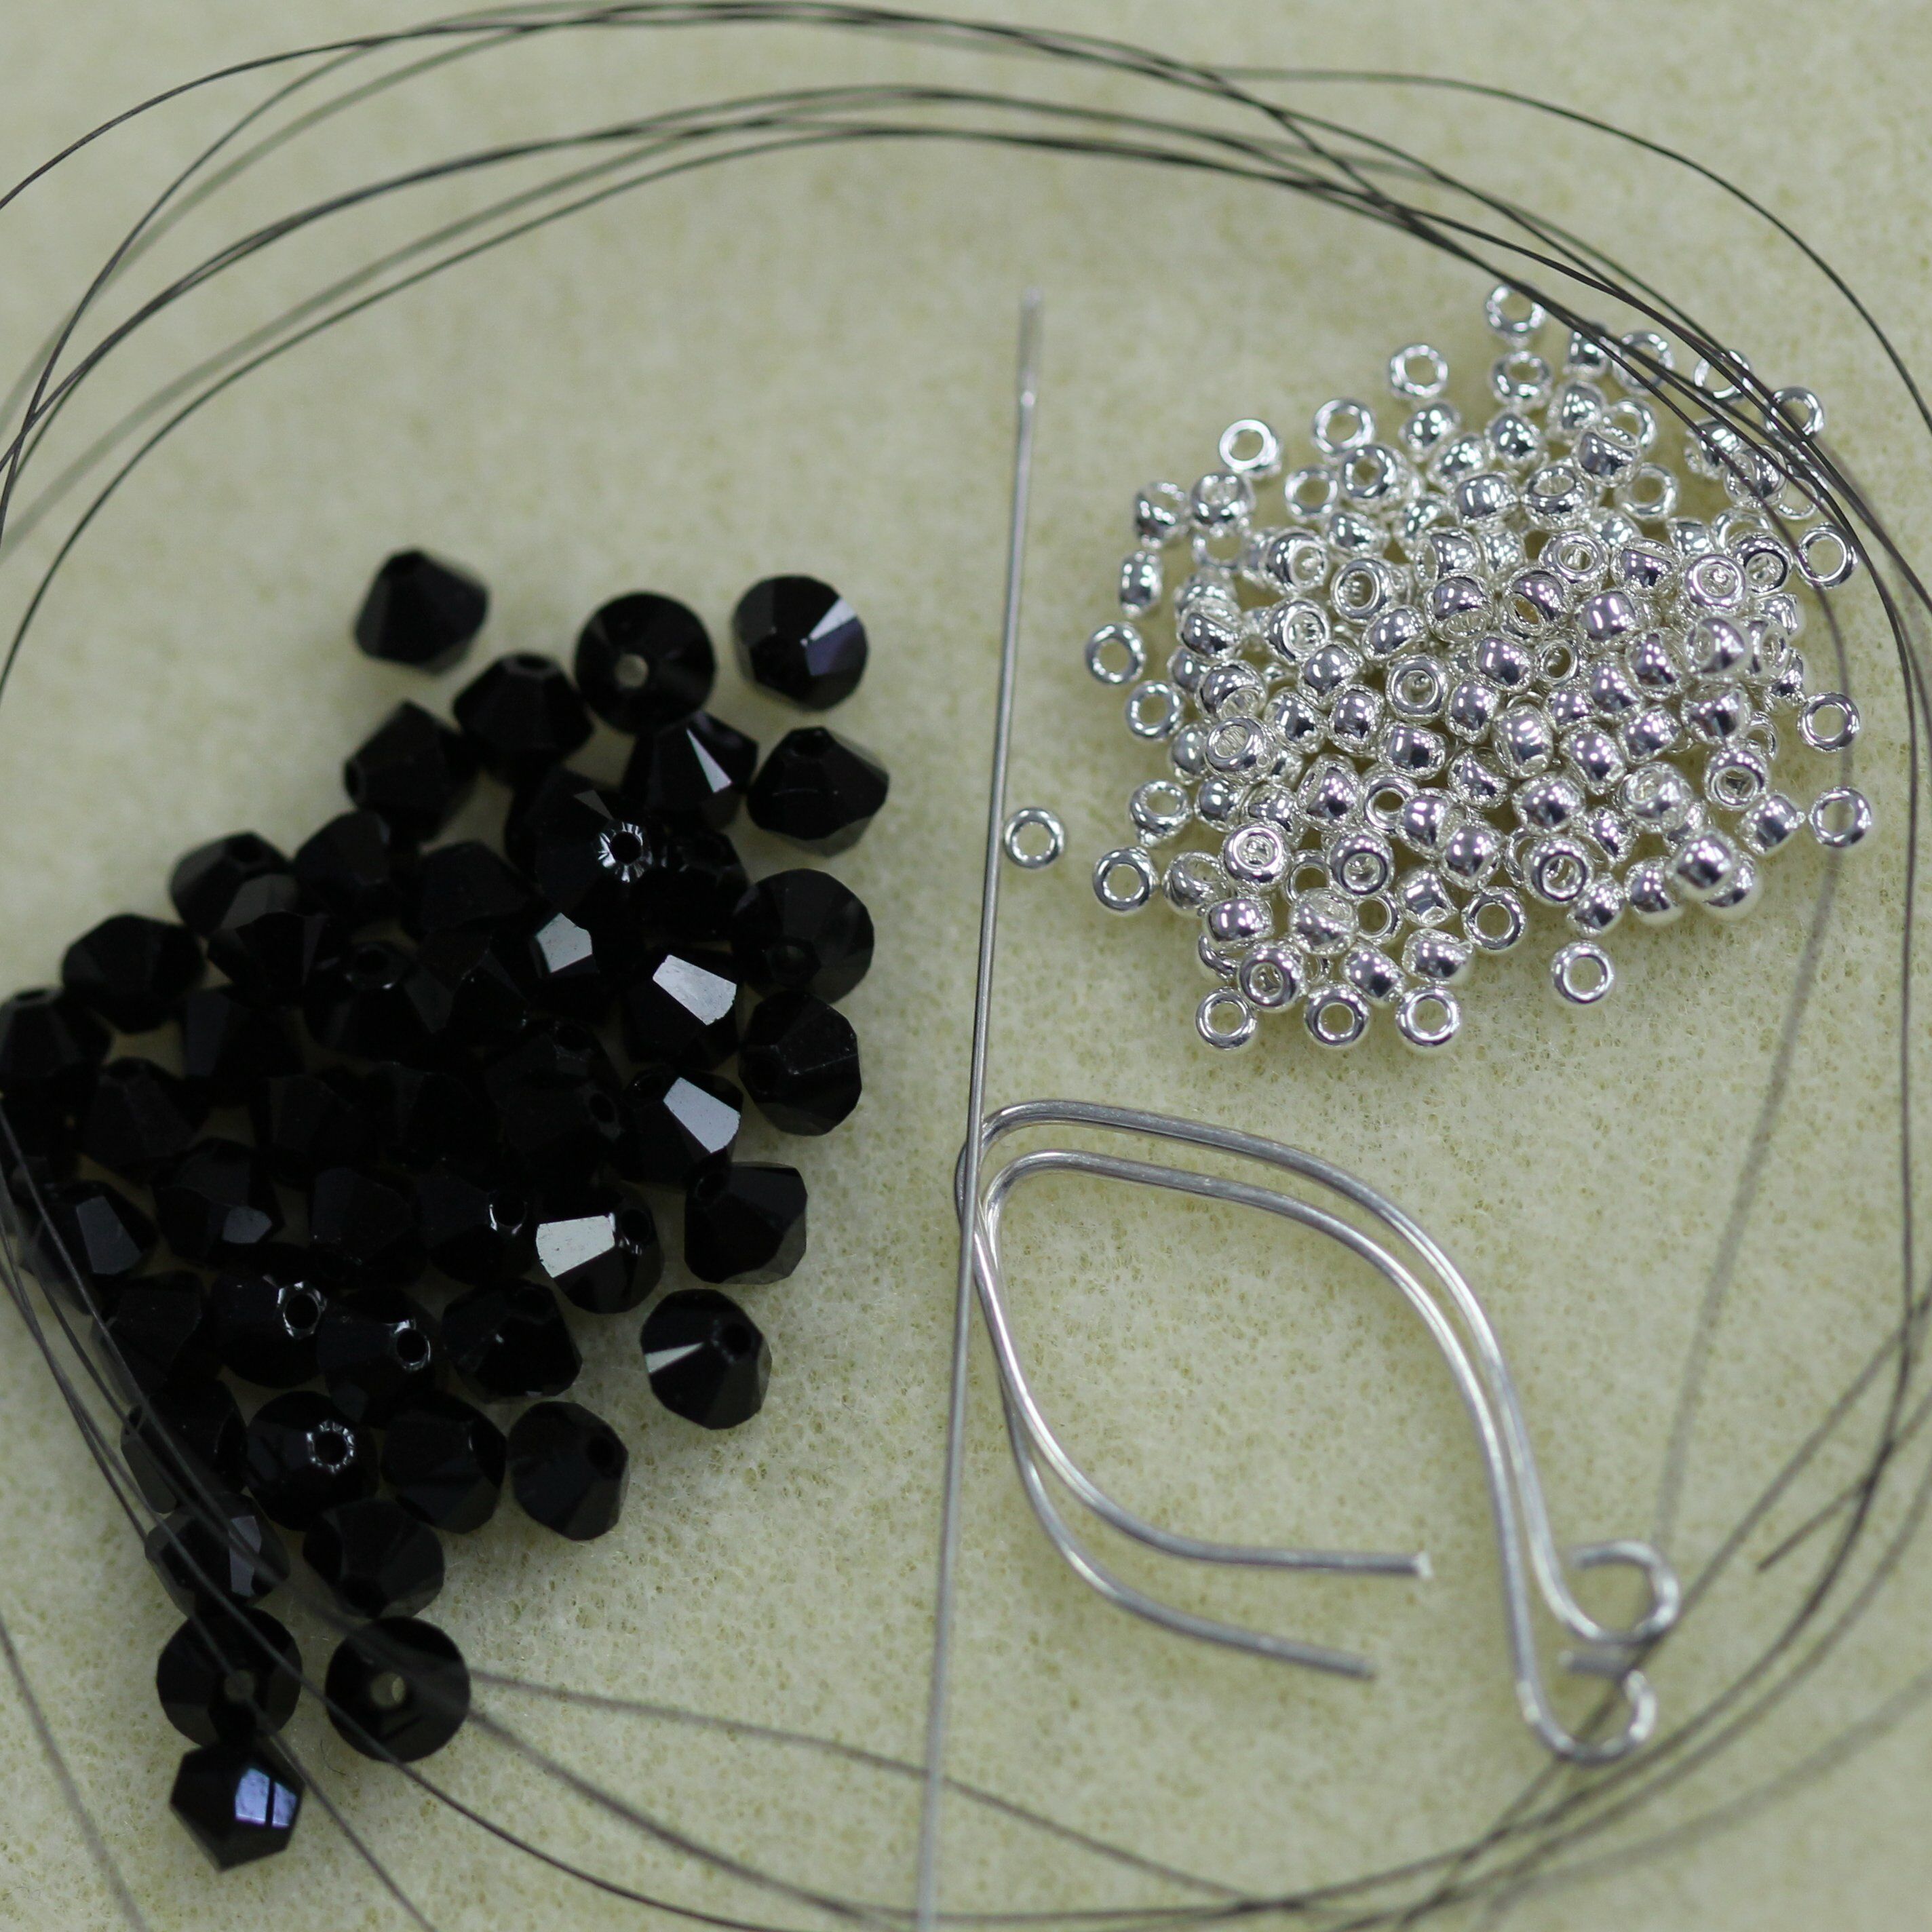
You will need:
4mm Swarovski crystal bicones (50)
Size 11 seed beads (1.2 grams)
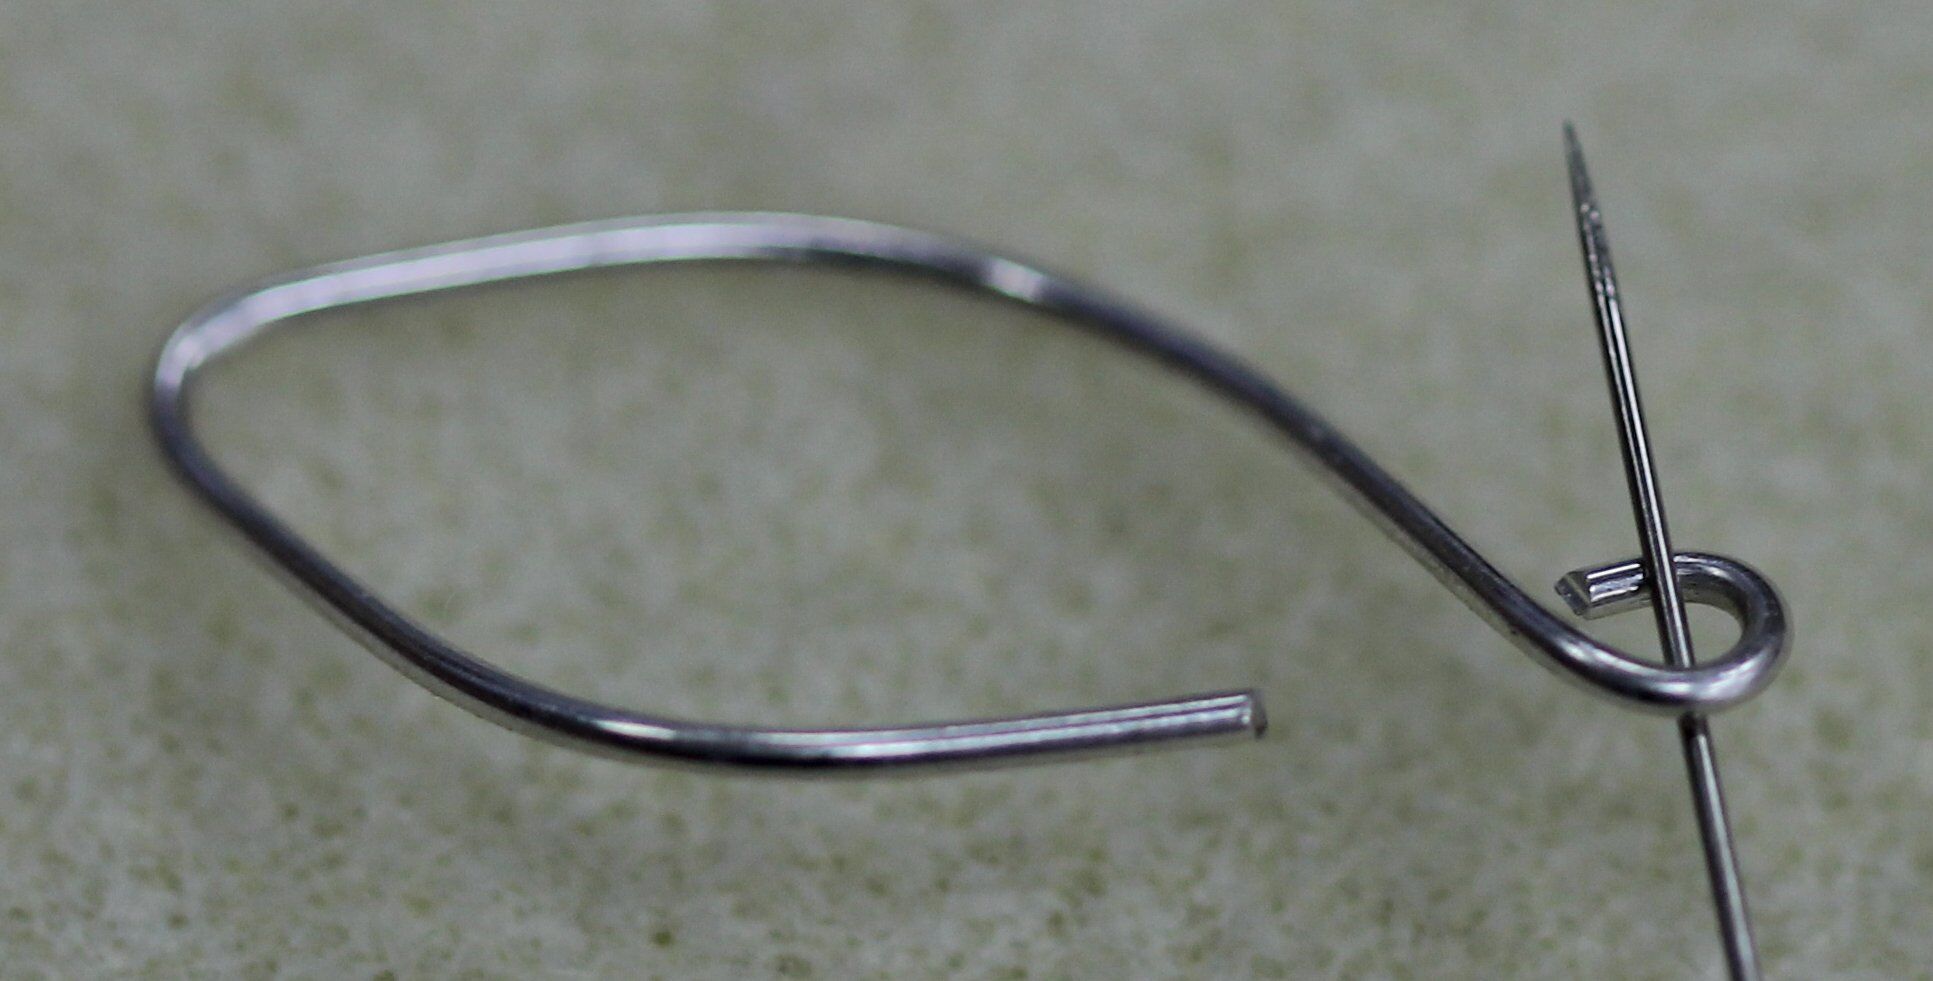
Sterling silver small curved ear wires (2)
6lb Fireline (8 feet)
Scissors
Size 10 beading needle.
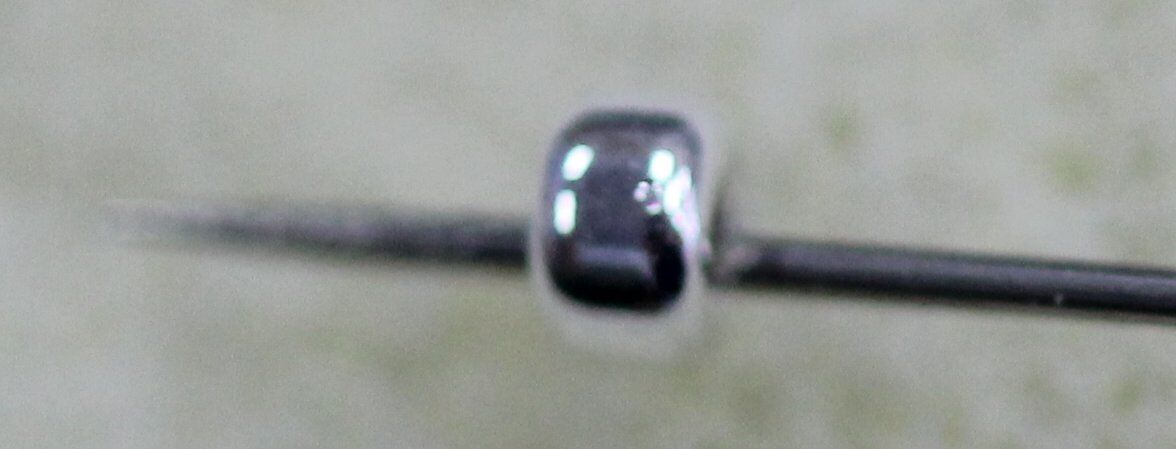
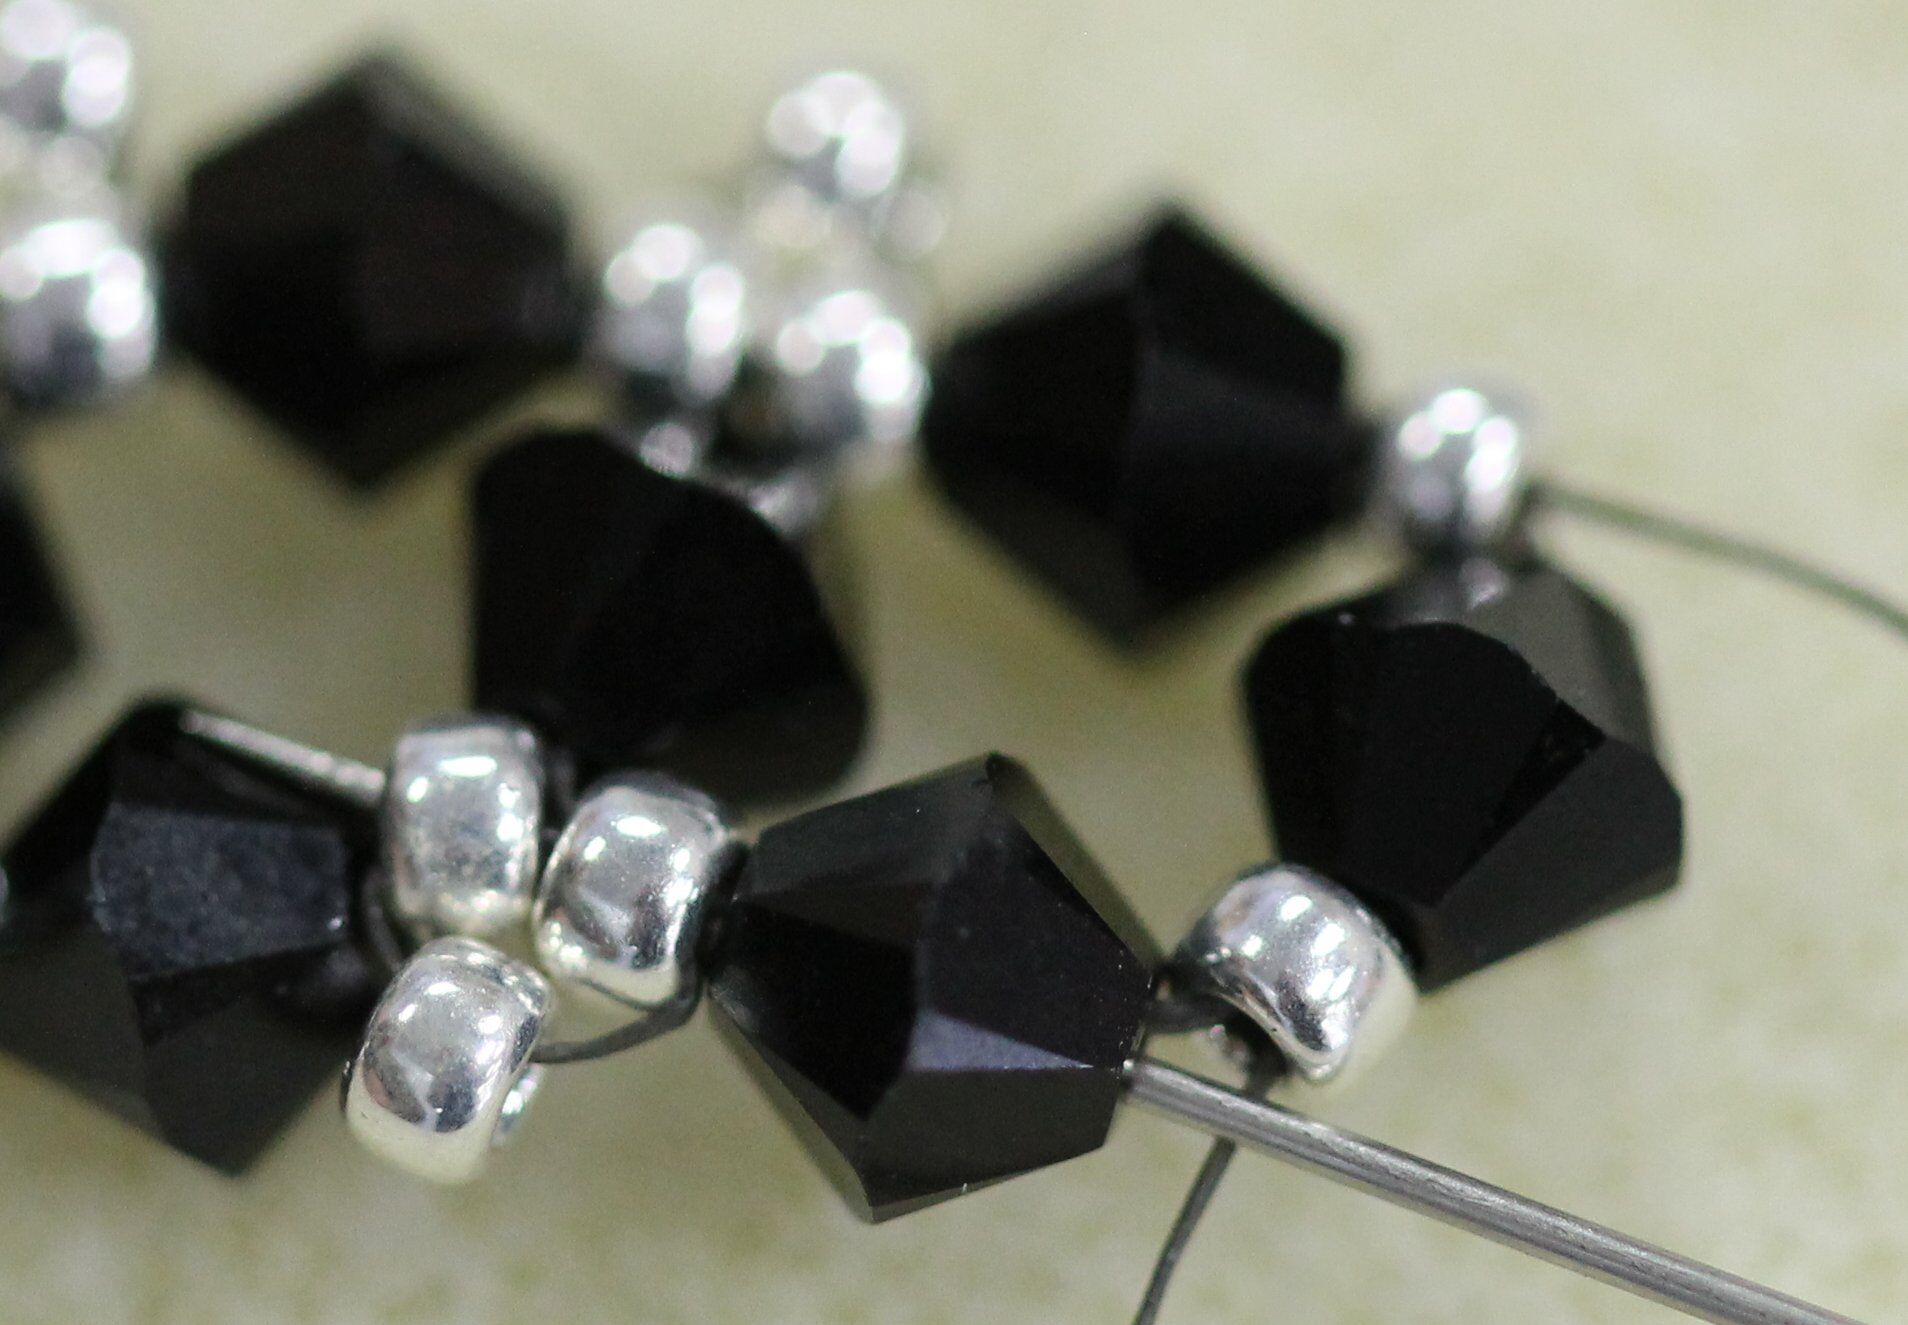
1. Begin with approximately 4 feet of Fireline thread. String on one seed bead, one crystal, one seed bead, one crystal, one seed bead, one crystal, one seed bead and one crystal. Slide them down the thread, leaving a 6 inch tail. You will need this thread to finish the project later.
 .
.
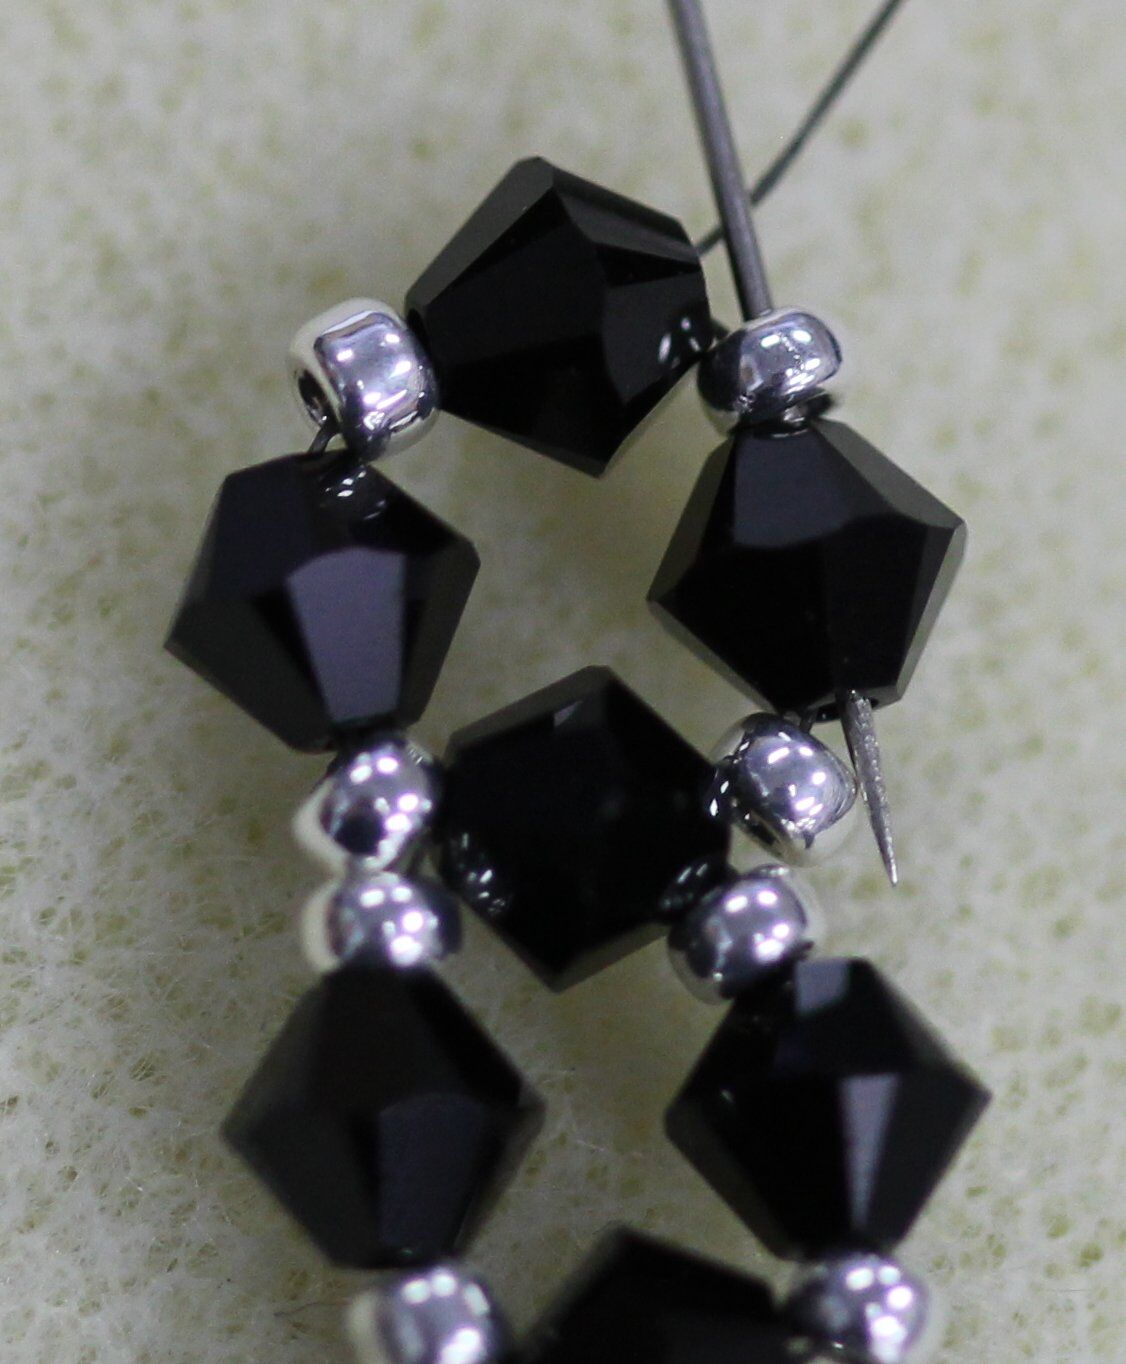
2. Circling around, pass the needle back through the first seed bead and first crystal, starting from the tail end.
 .
.
3. Pull the thread tight, forming a loop. Orient this “loop” to form a diamond shape, with the tail thread coming out the right side.
 .
.
4. Rotate the diamond shape so the tail is coming out the bottom right side. Pass the needle through the next seed bead and crystal.

5. Pull the thread tight.
 .
.
6. String on one seed bead, one crystal, one seed bead, one crystal, one seed bead, one crystal and one seed bead.
 .
.
7. Pass the needle back through the top crystal of the diamond formation.
 .
.
8. Pull the thread tight, and it will form a new diamond.
 .
.
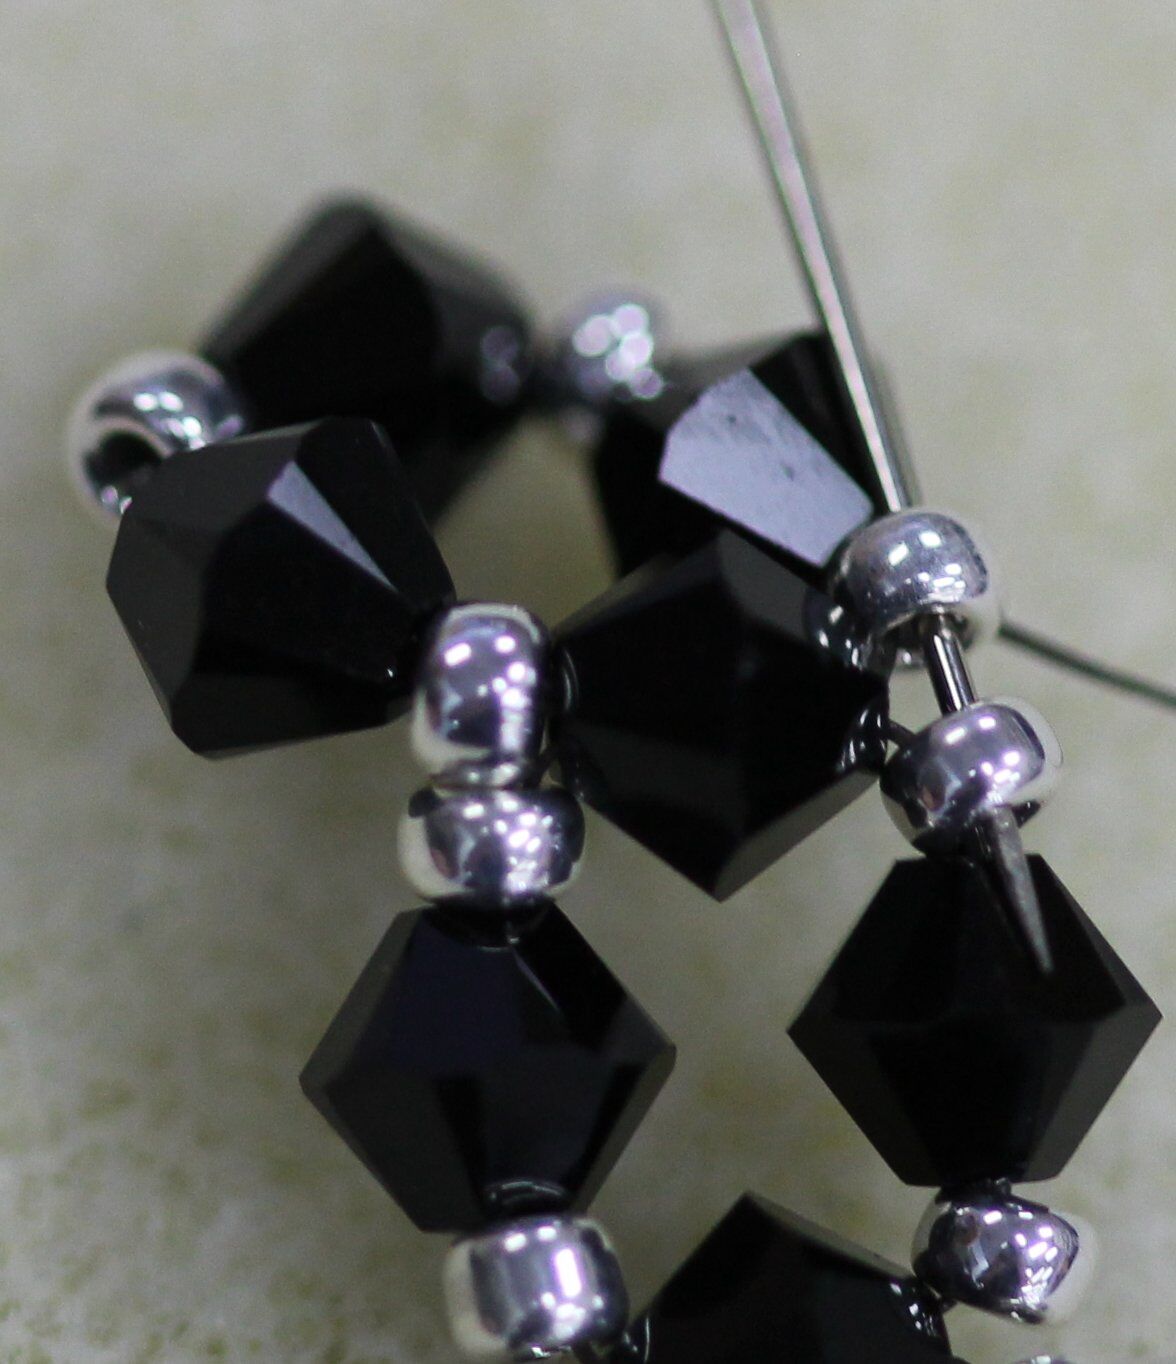
9. Pass the needle through the seed bead and the crystal on the left side of the new diamond formation.

.
10. Pass the needle through the seed bead and the crystal on the top of the diamond formation and pull the thread tight. You are now ready to add another diamond formation.
.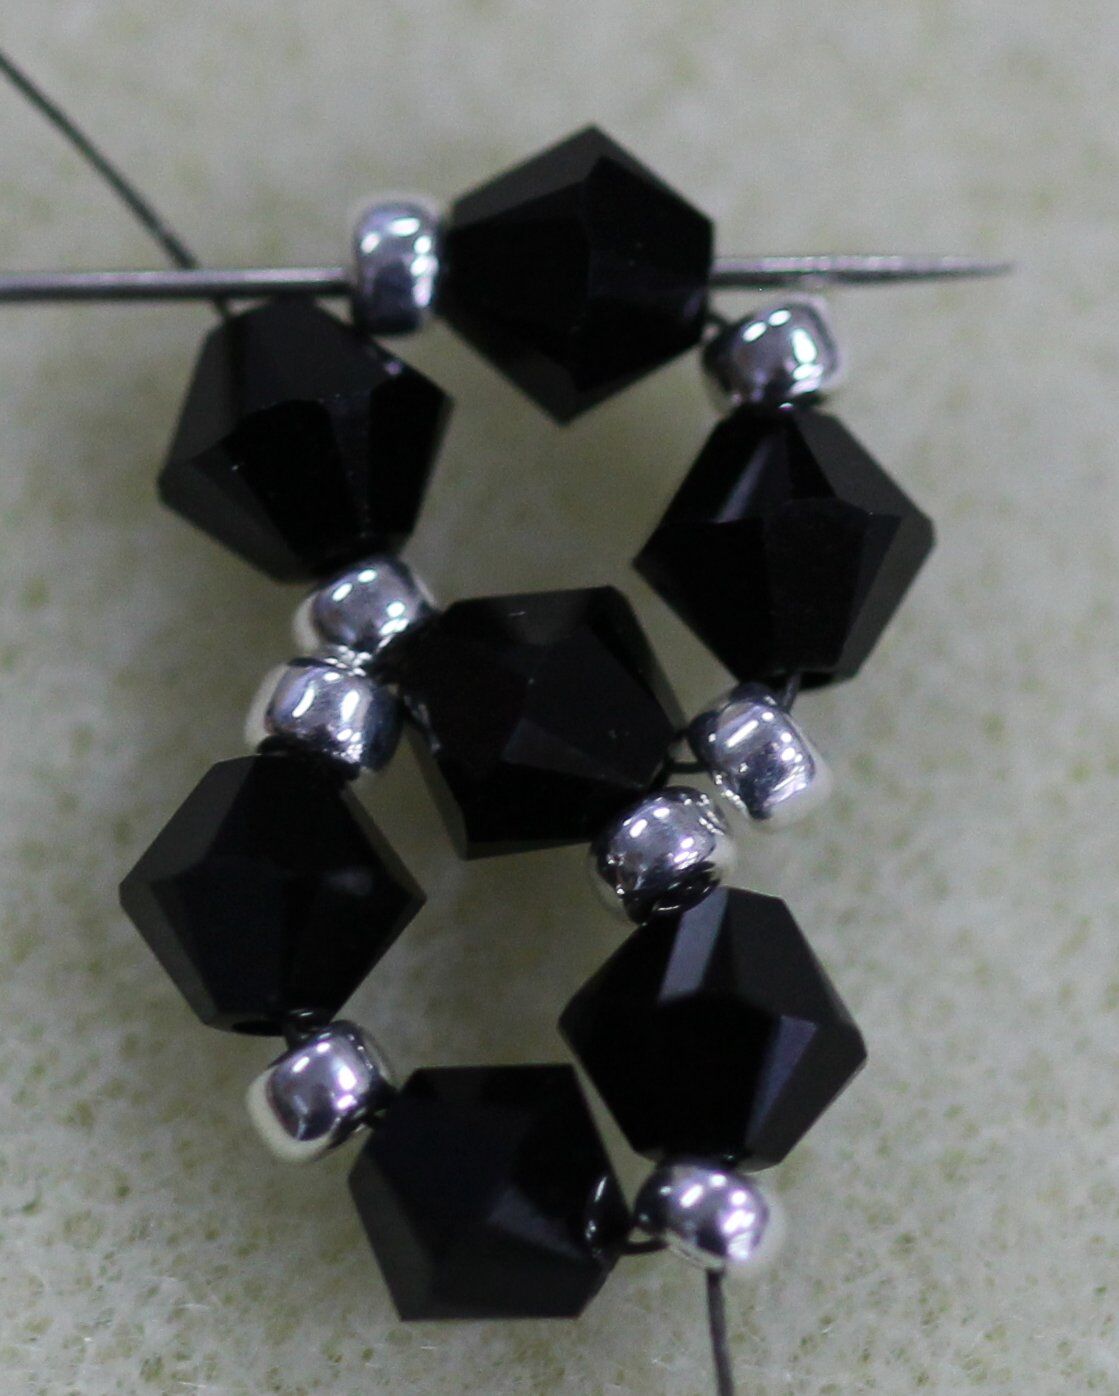
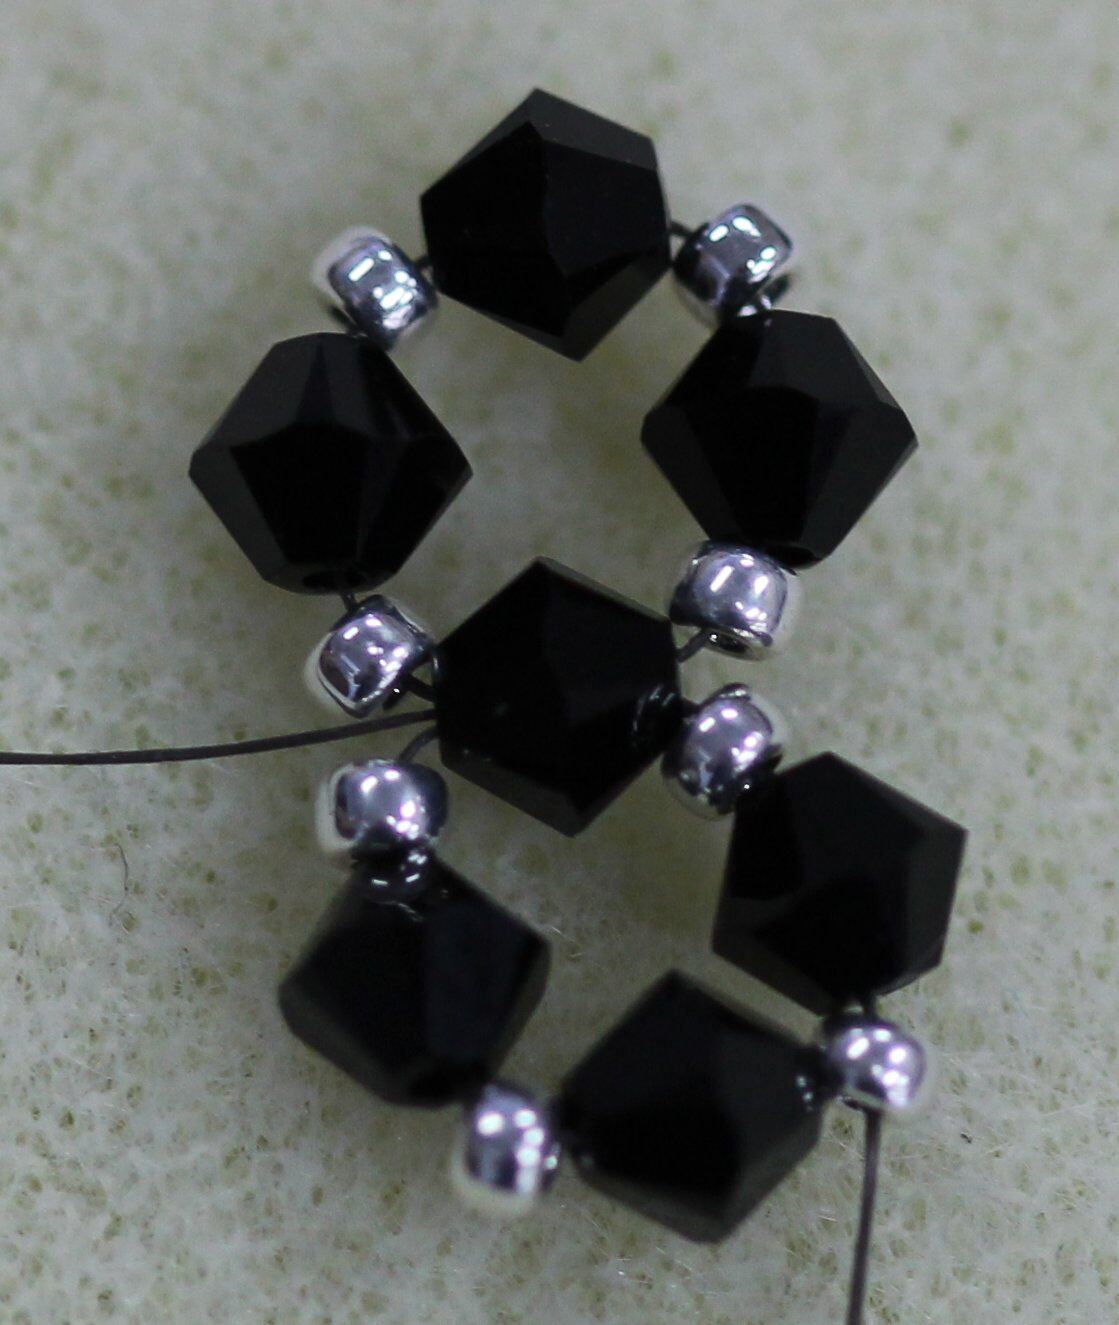
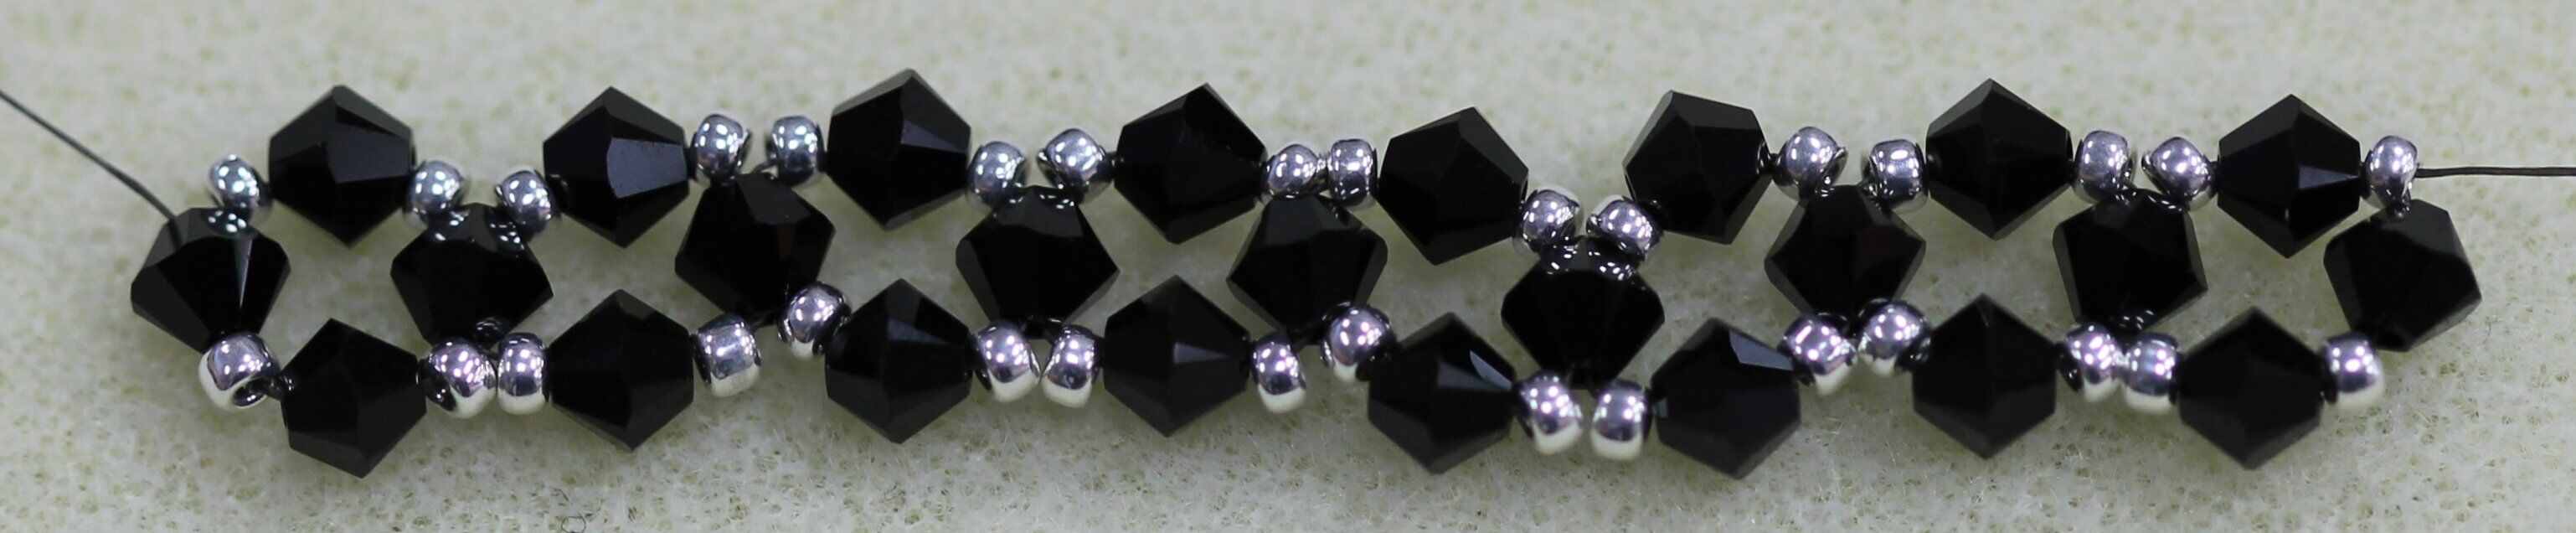
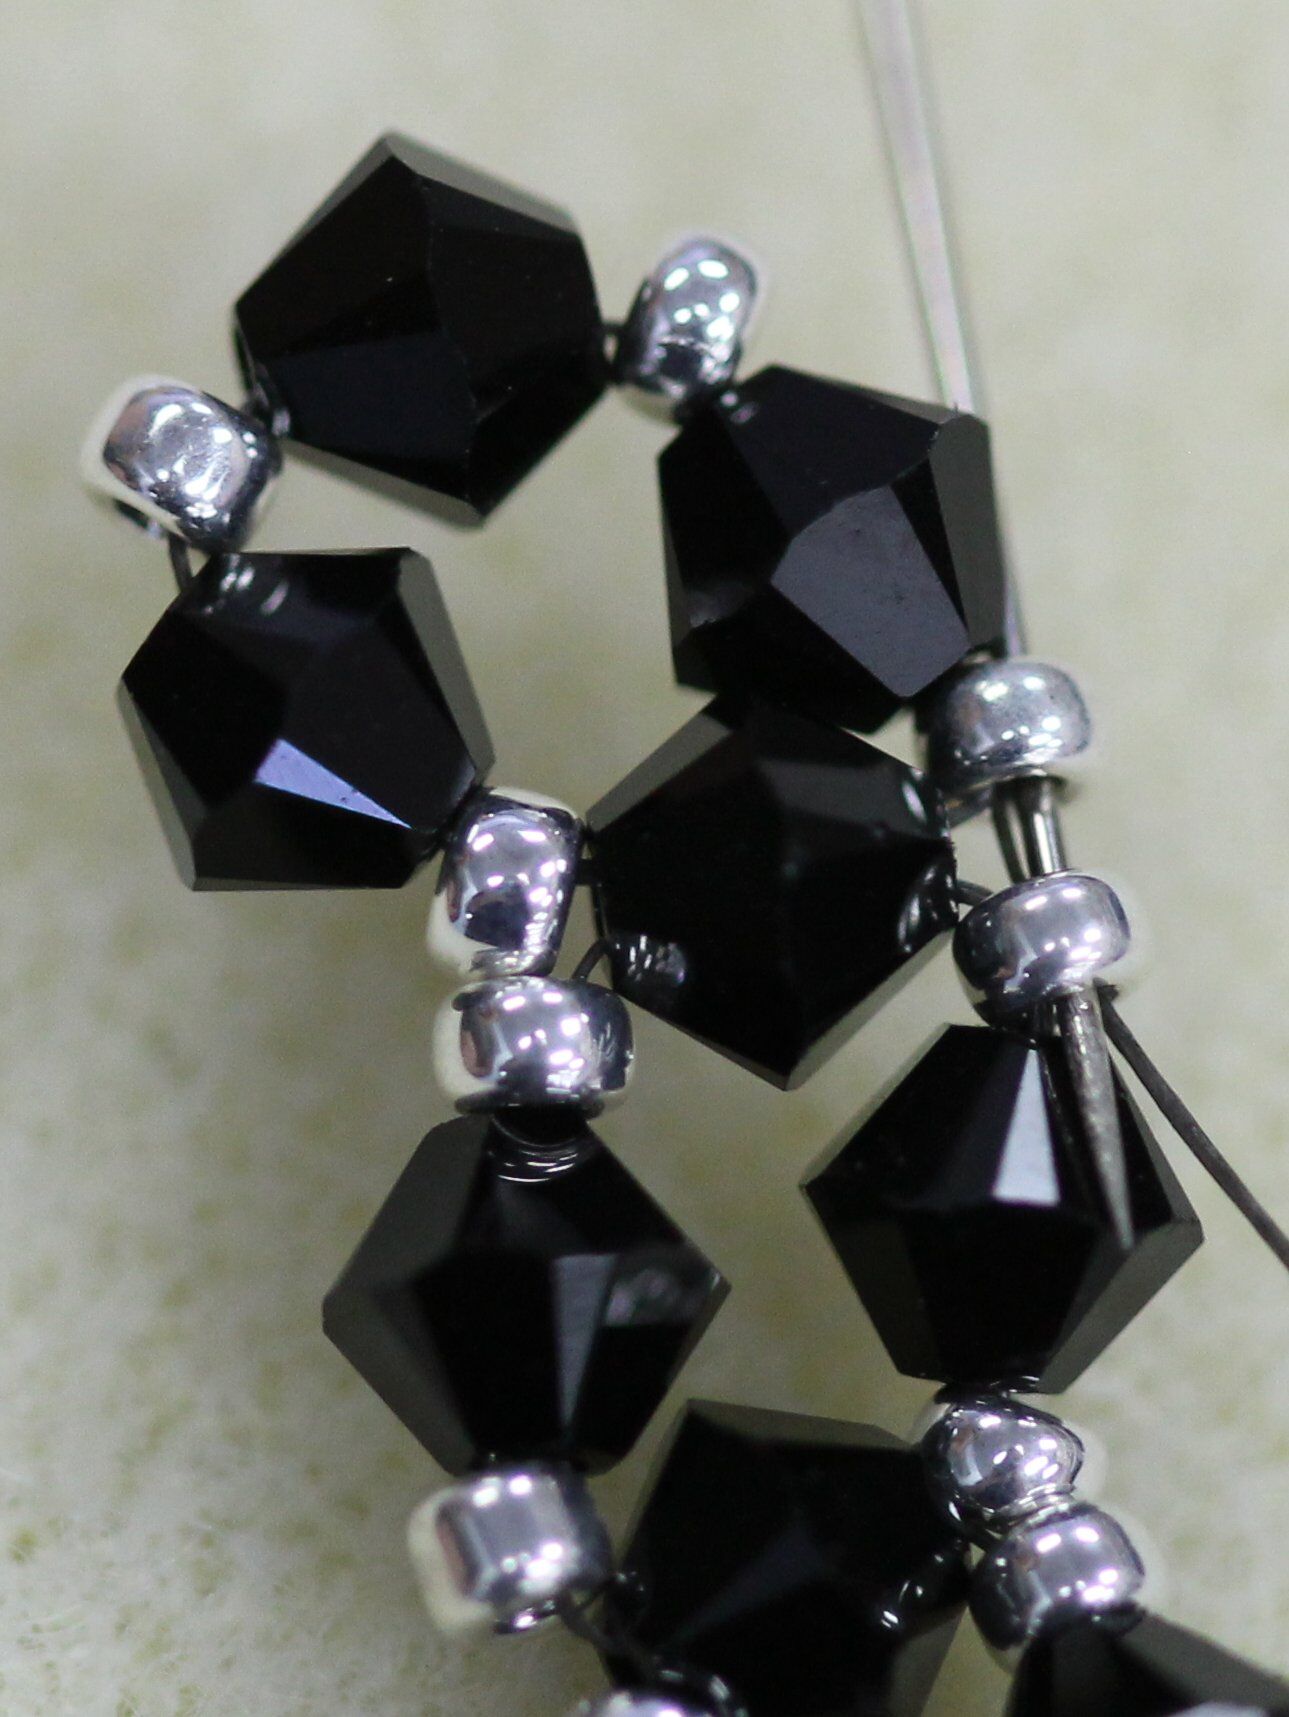
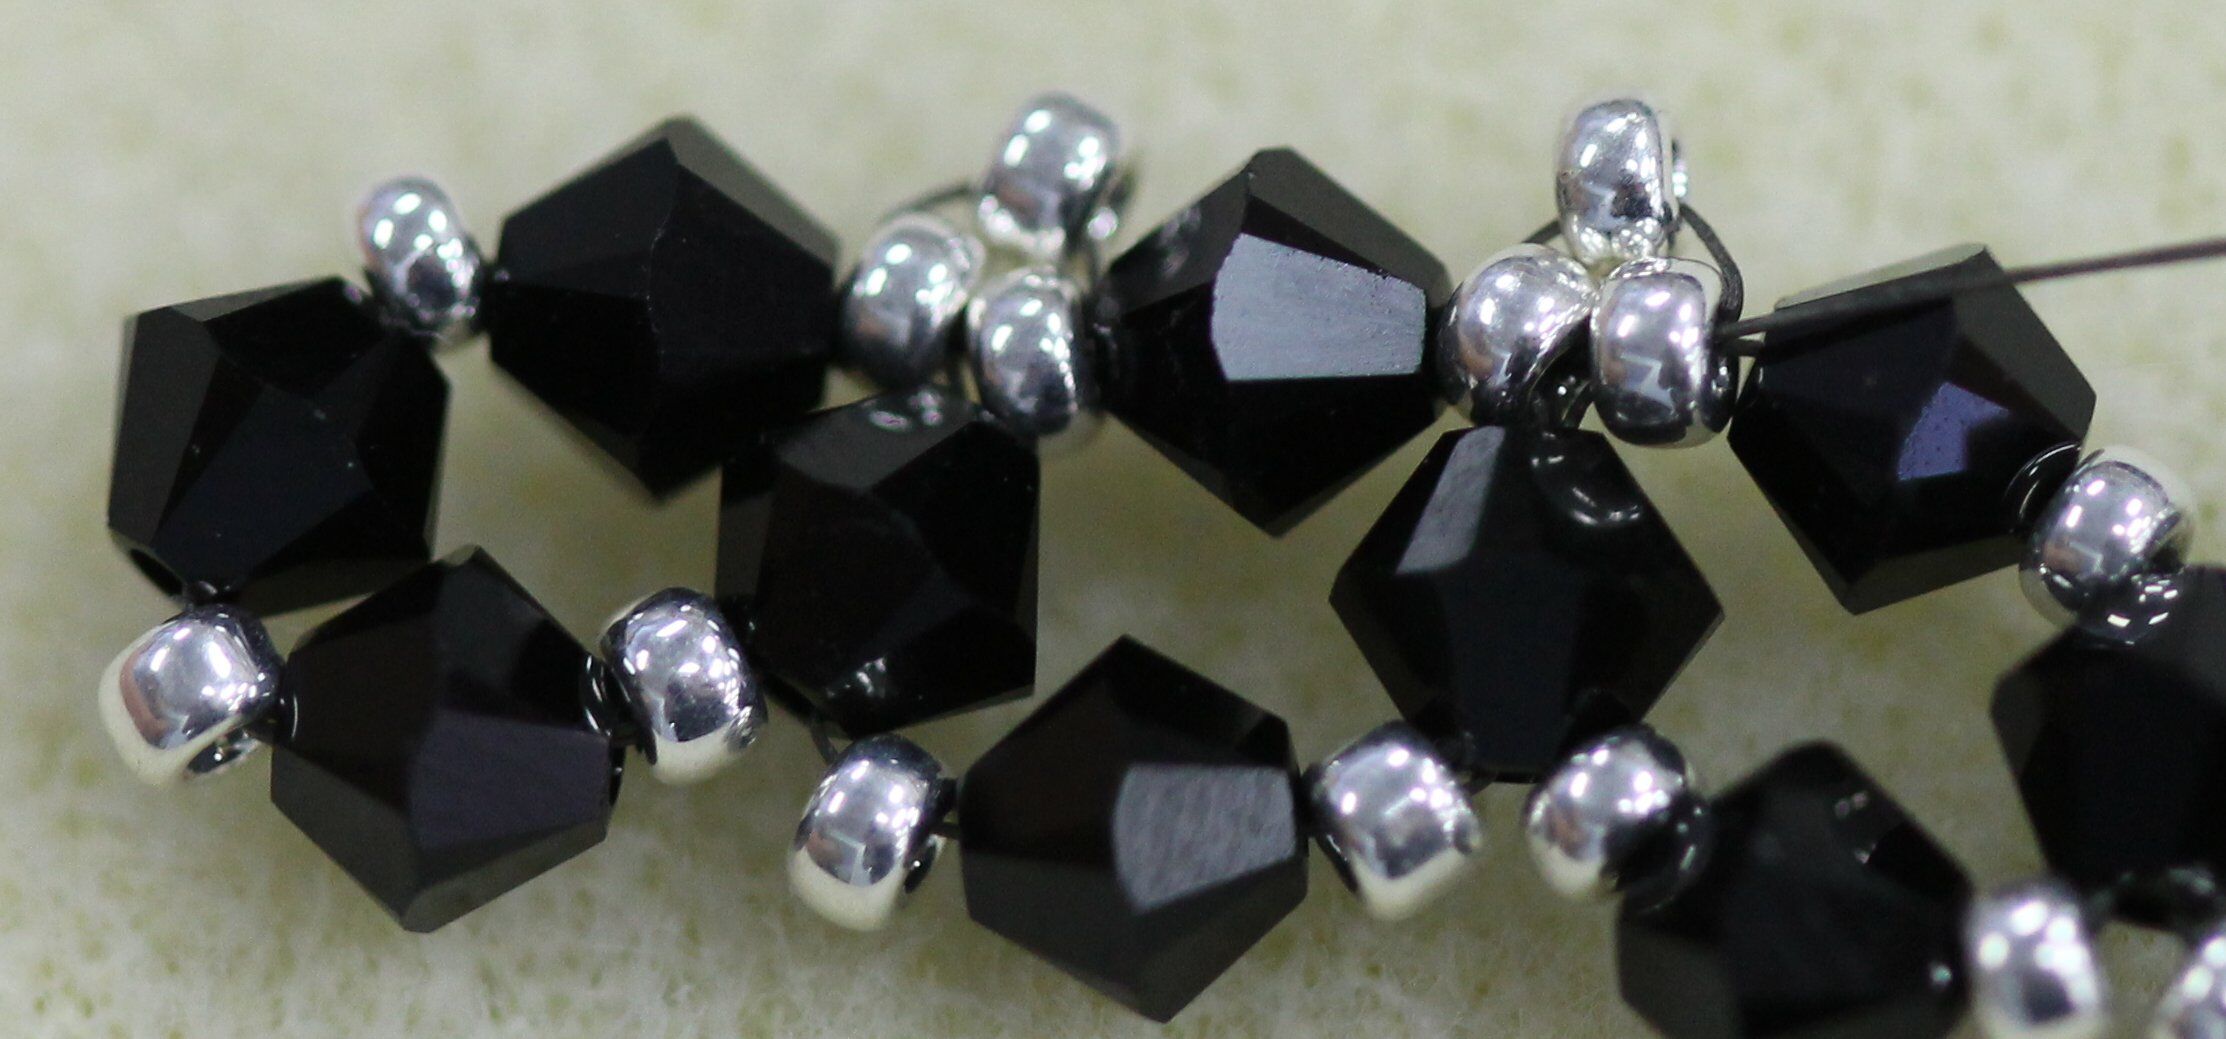
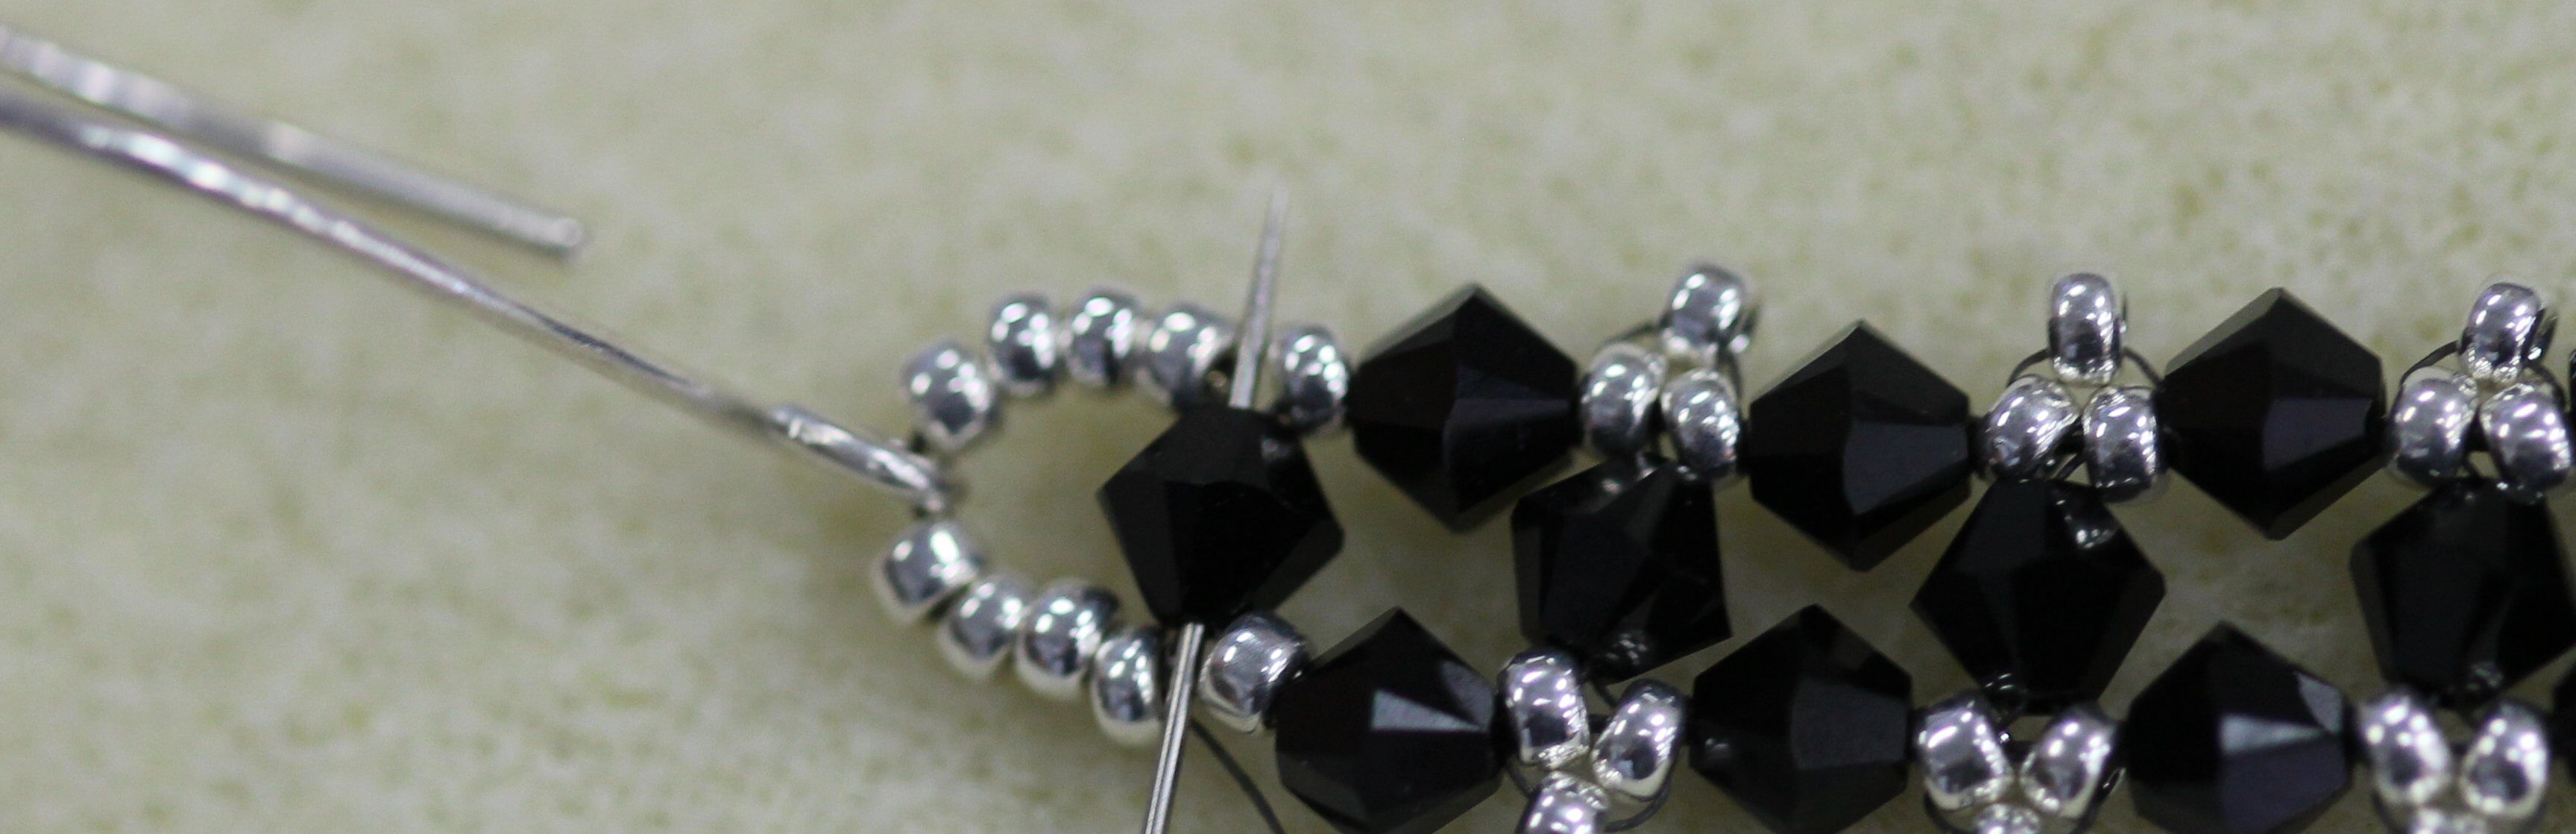
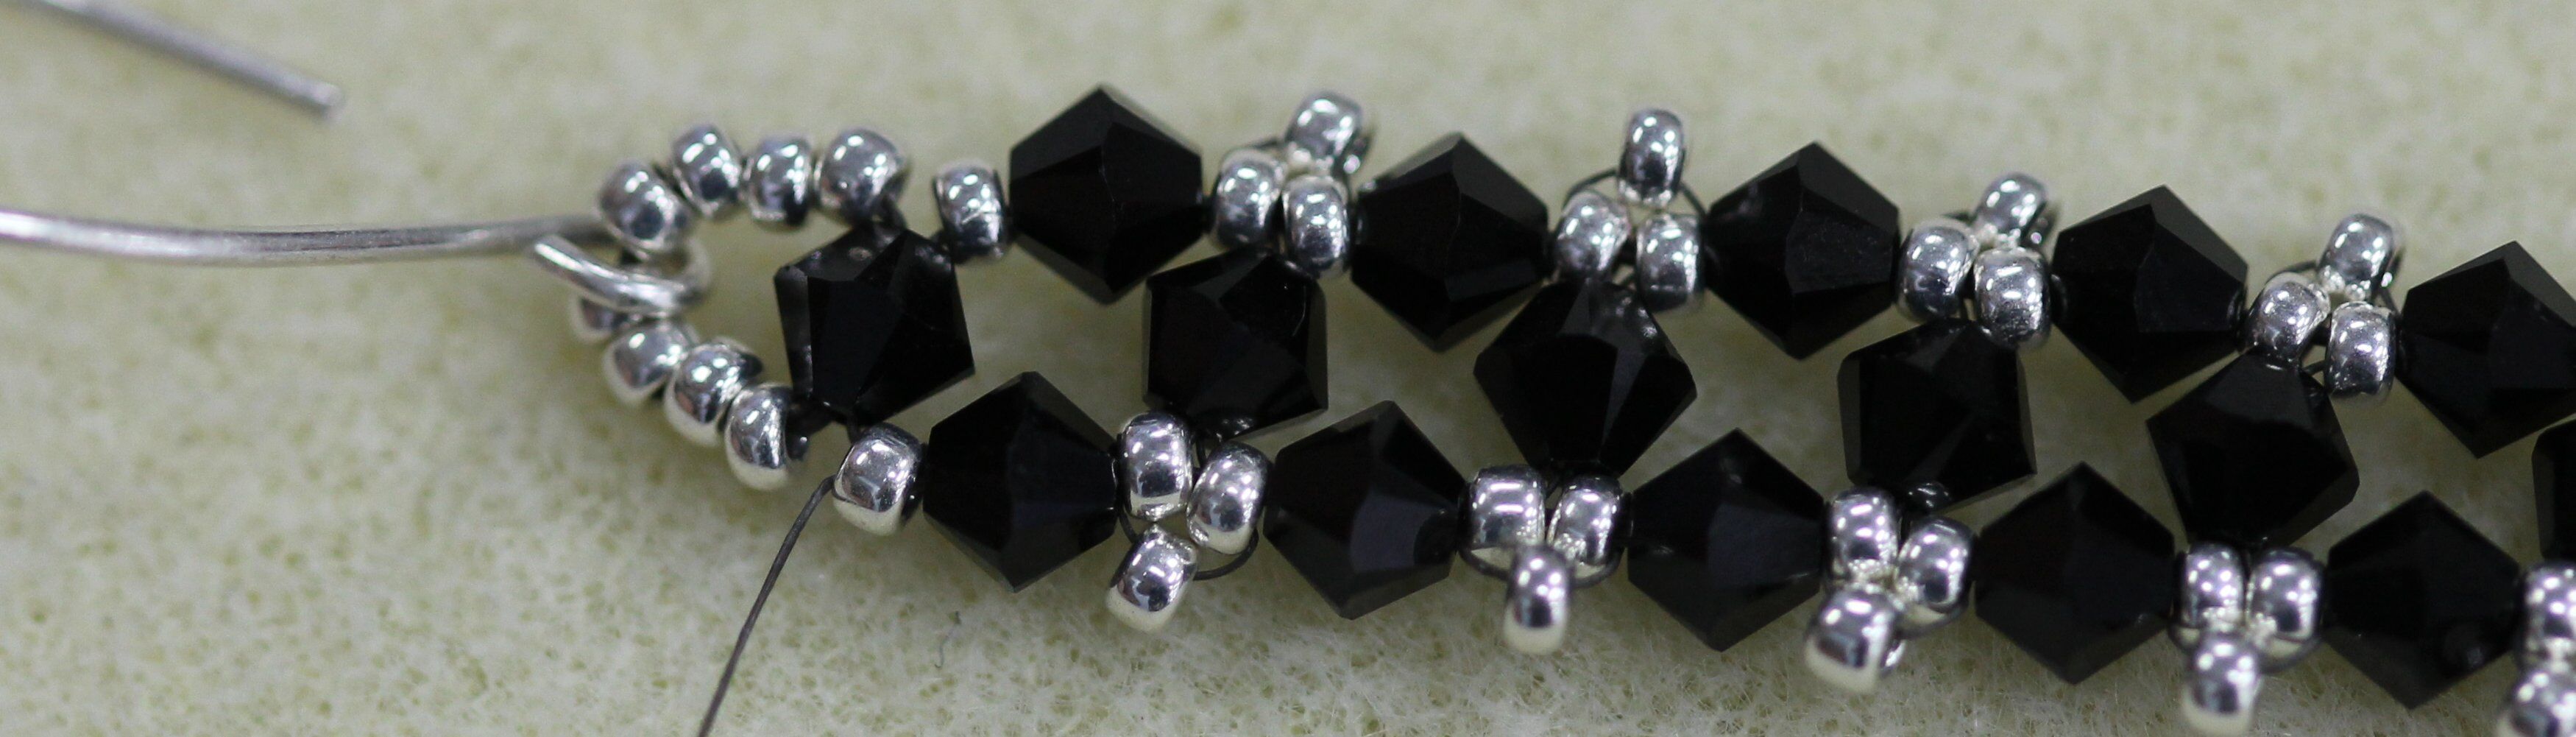
11. Continue adding diamond formations in this manner (repeating steps 6-10). You’ll repeat this 4-6 times depending on the desired length for your earrings. Keep in mind that the direction of the diamond will alternate. The completed right angle portion of the earring will look like this:
12. Pass the needle through the seed bead and the crystal on the right side of the last diamond formation.
.
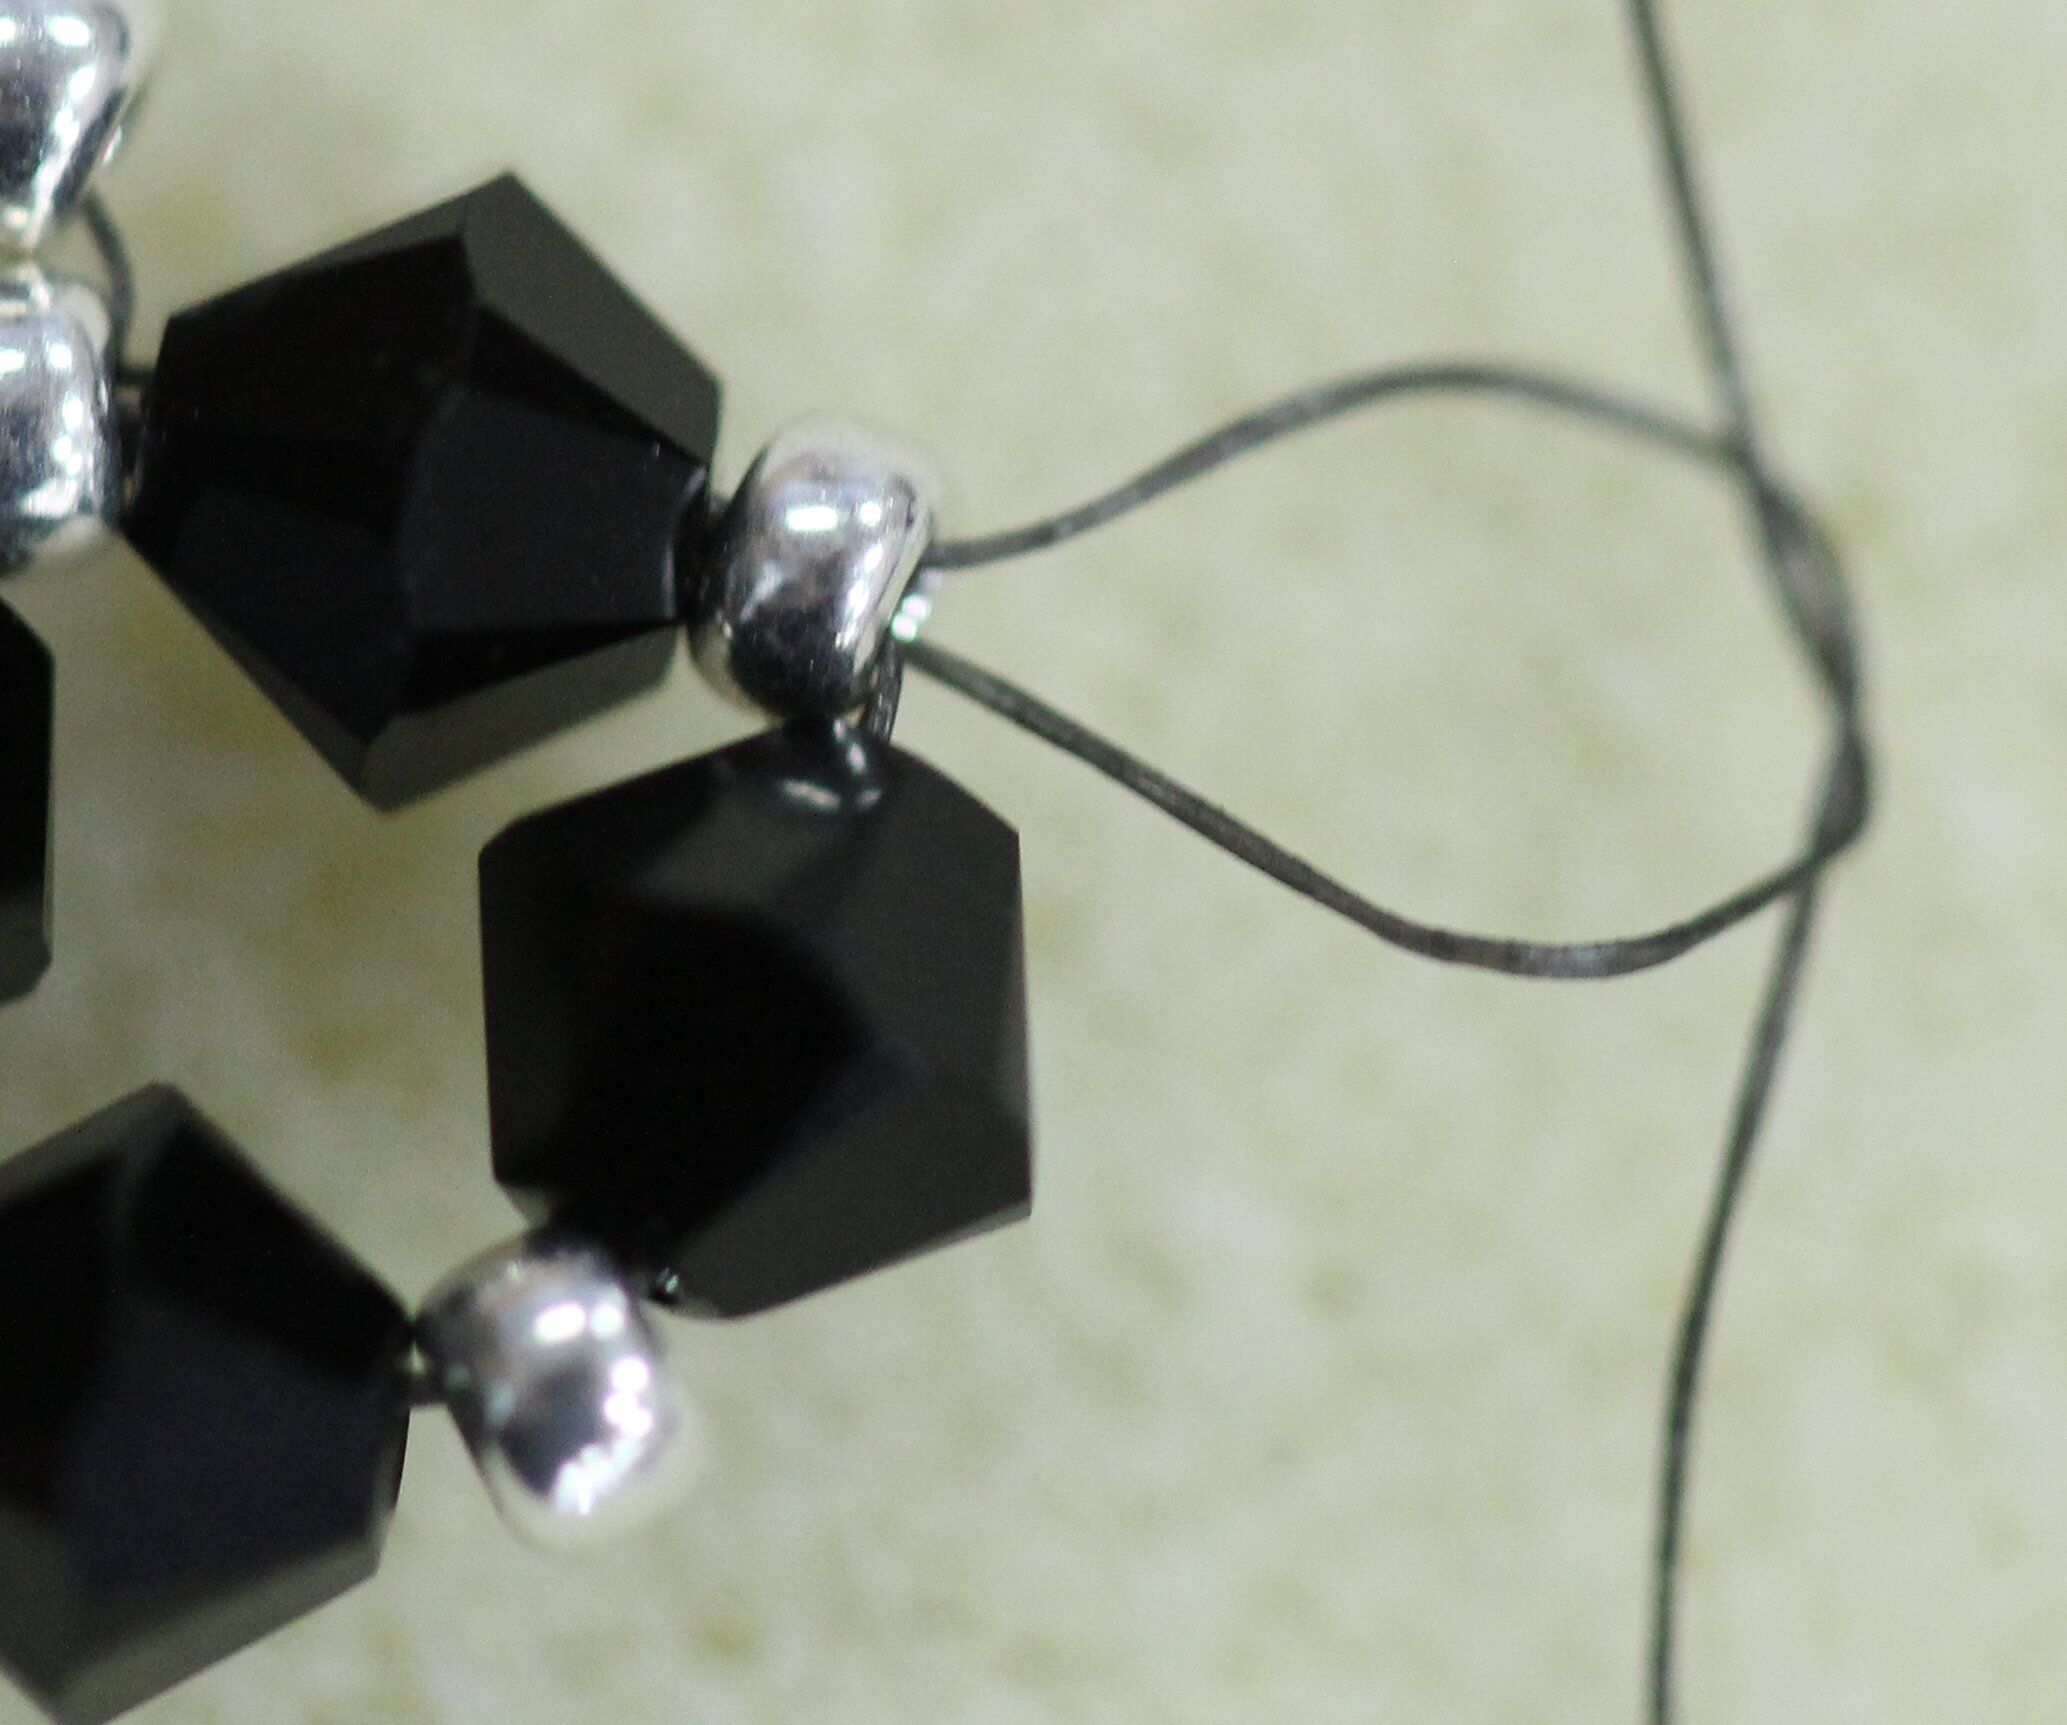
13. Pass the needle through the next two seed beads on the right edge of the earring.
14. String one seed bead.
15. Circling around, pass the needle back through the two seed beads on the right edge of the earring (the same two you just exited out of).
16. Pull the thread tight to form a loop, creating your embellishment. Rotate your earring so that the embellished edge is on the top and the thread is going to the right.

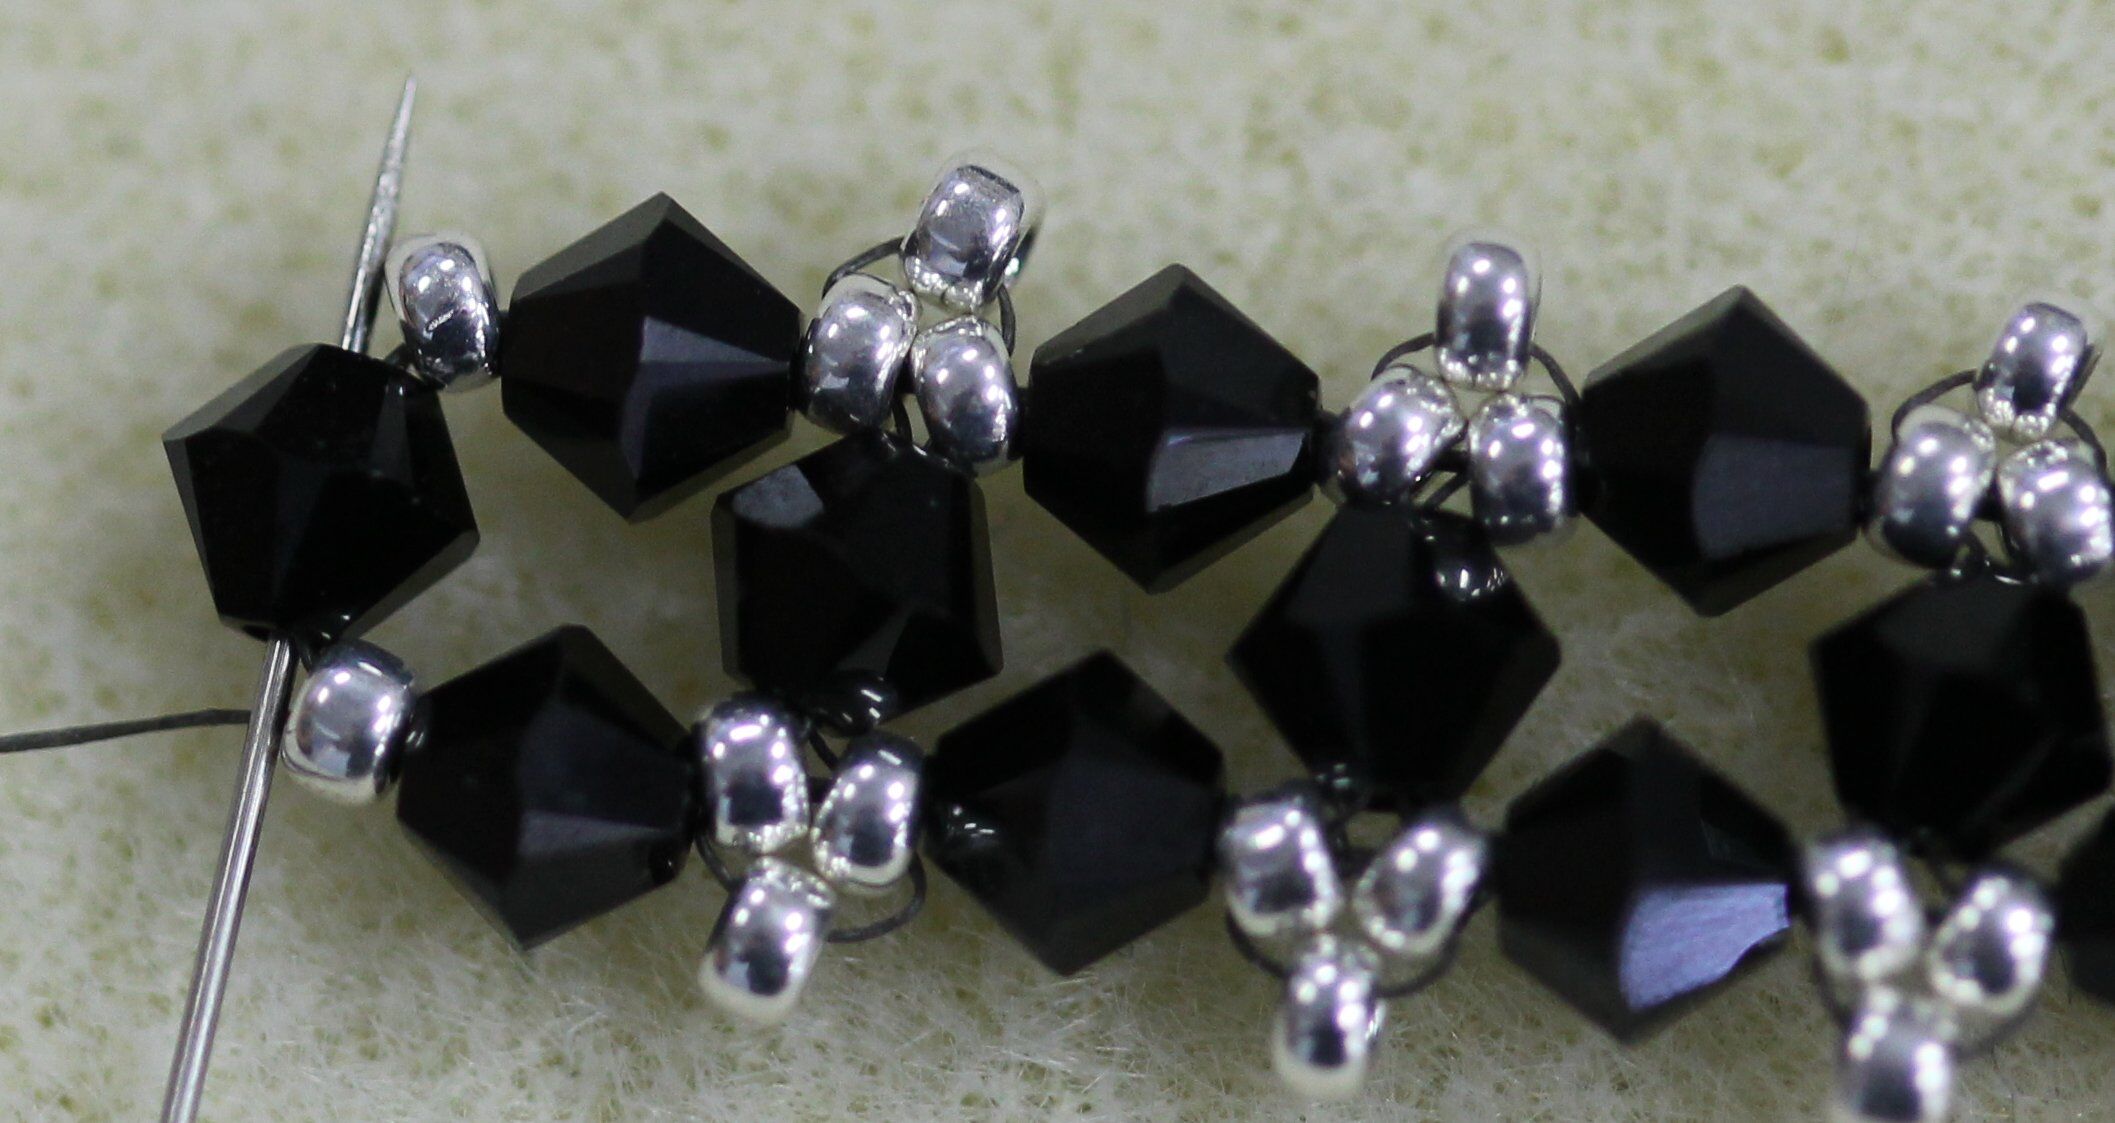
17. Pass the needle through the next crystal on the top edge of the earring.
18. Pass the needle through the next two seed beads on the top edge of the earring and pull the thread tight.
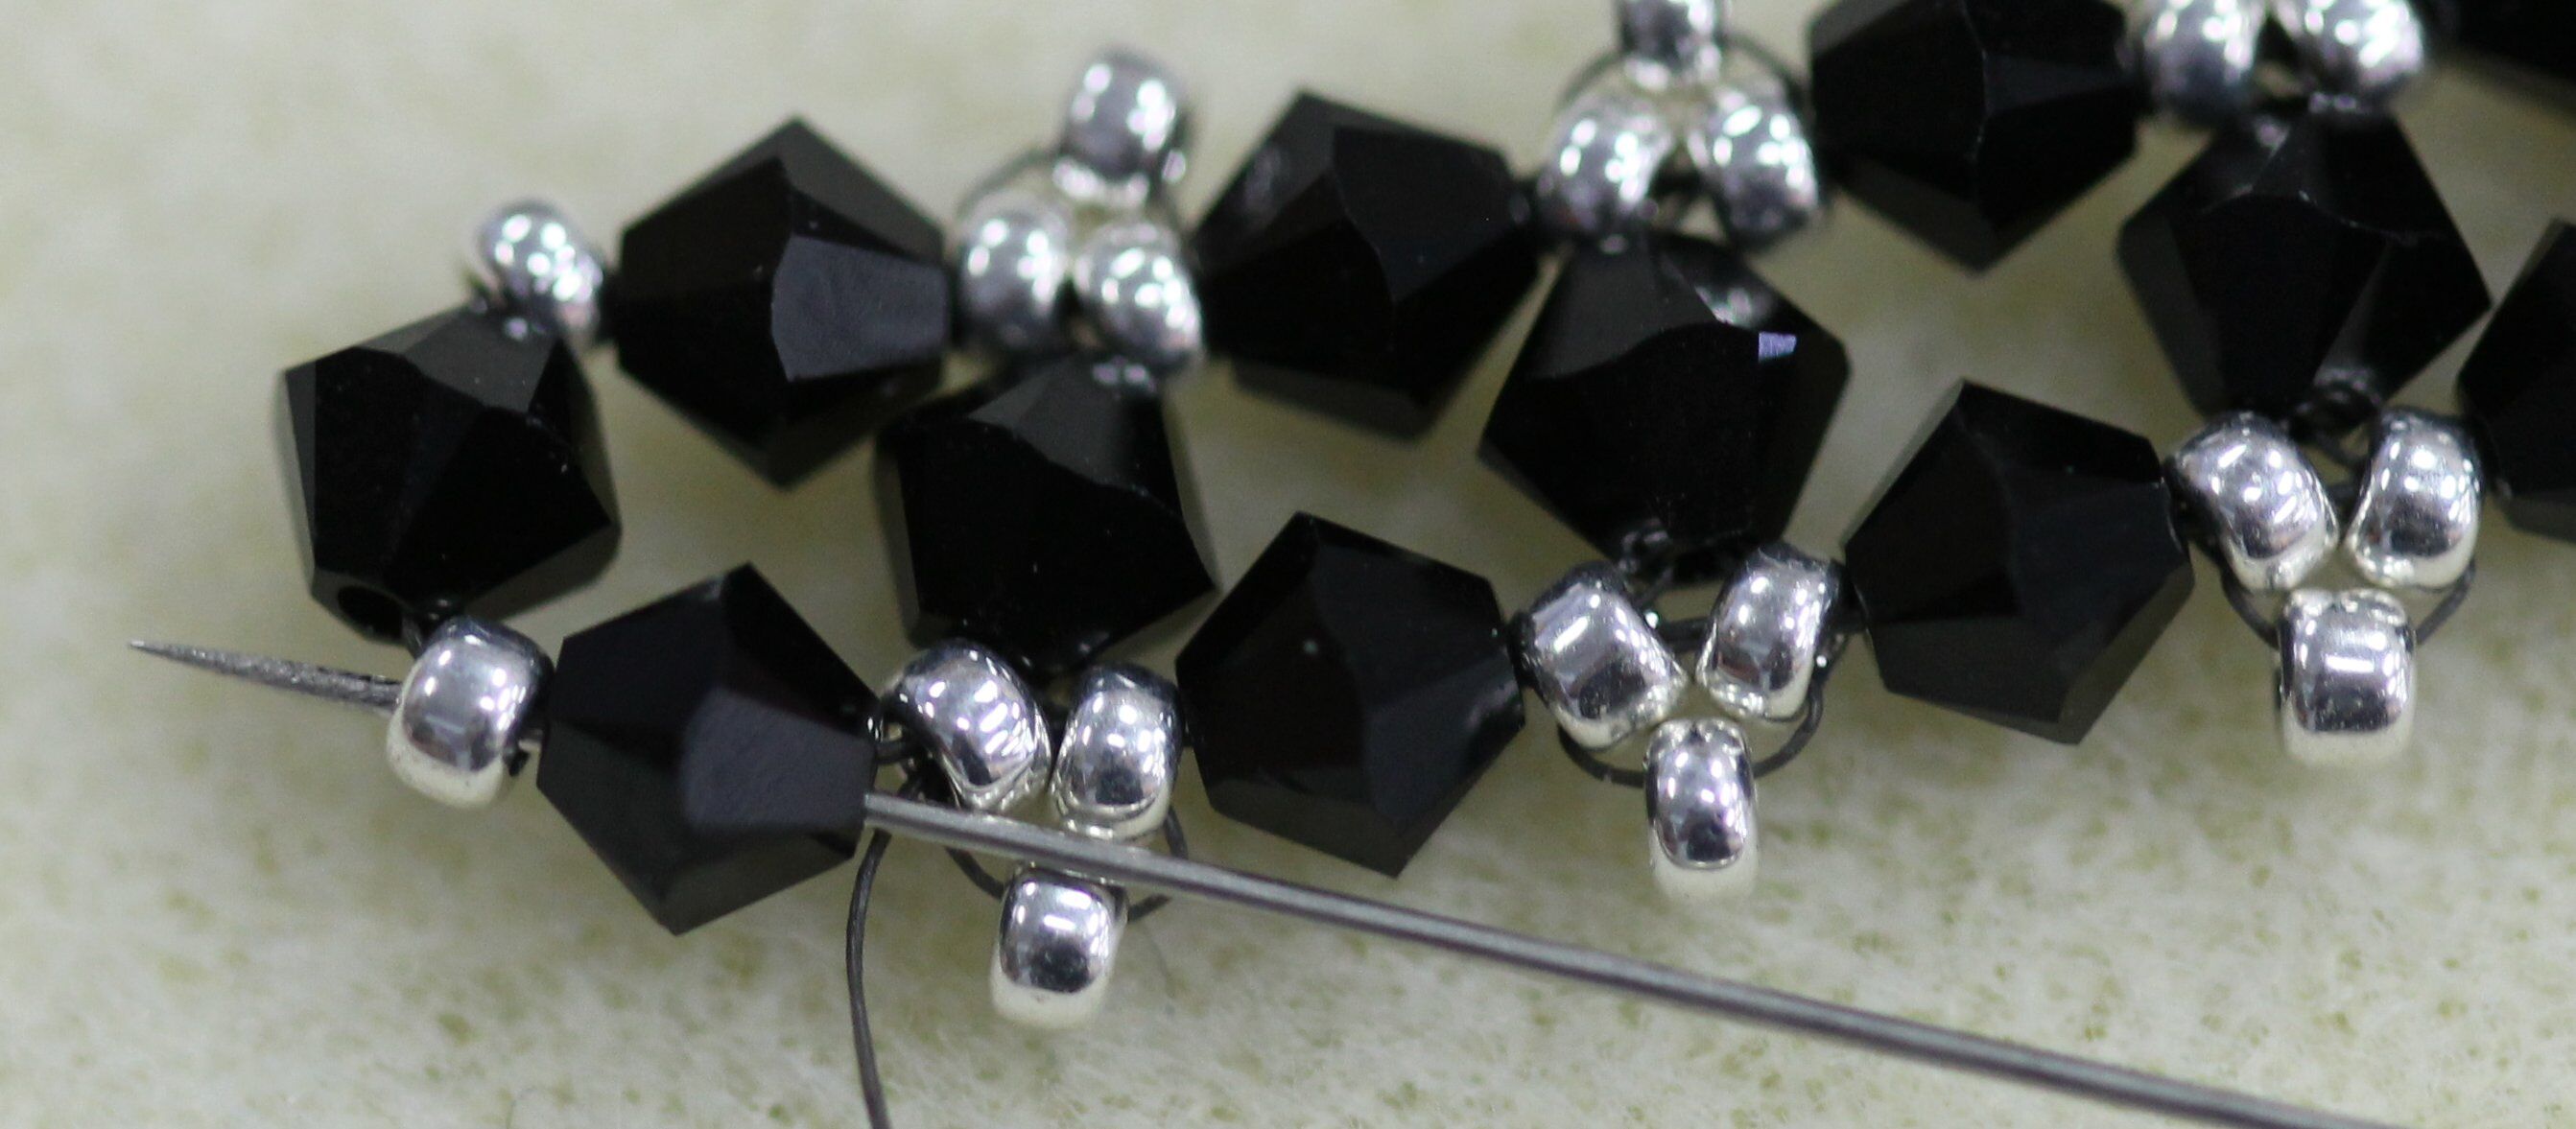
19. String one seed bead.

20. Circling around, pass the needle back through the two seed beads on the top edge of the earring (the same two you just exited out of).
21. Pull the thread tight to form a loop, creating your second embellishment.
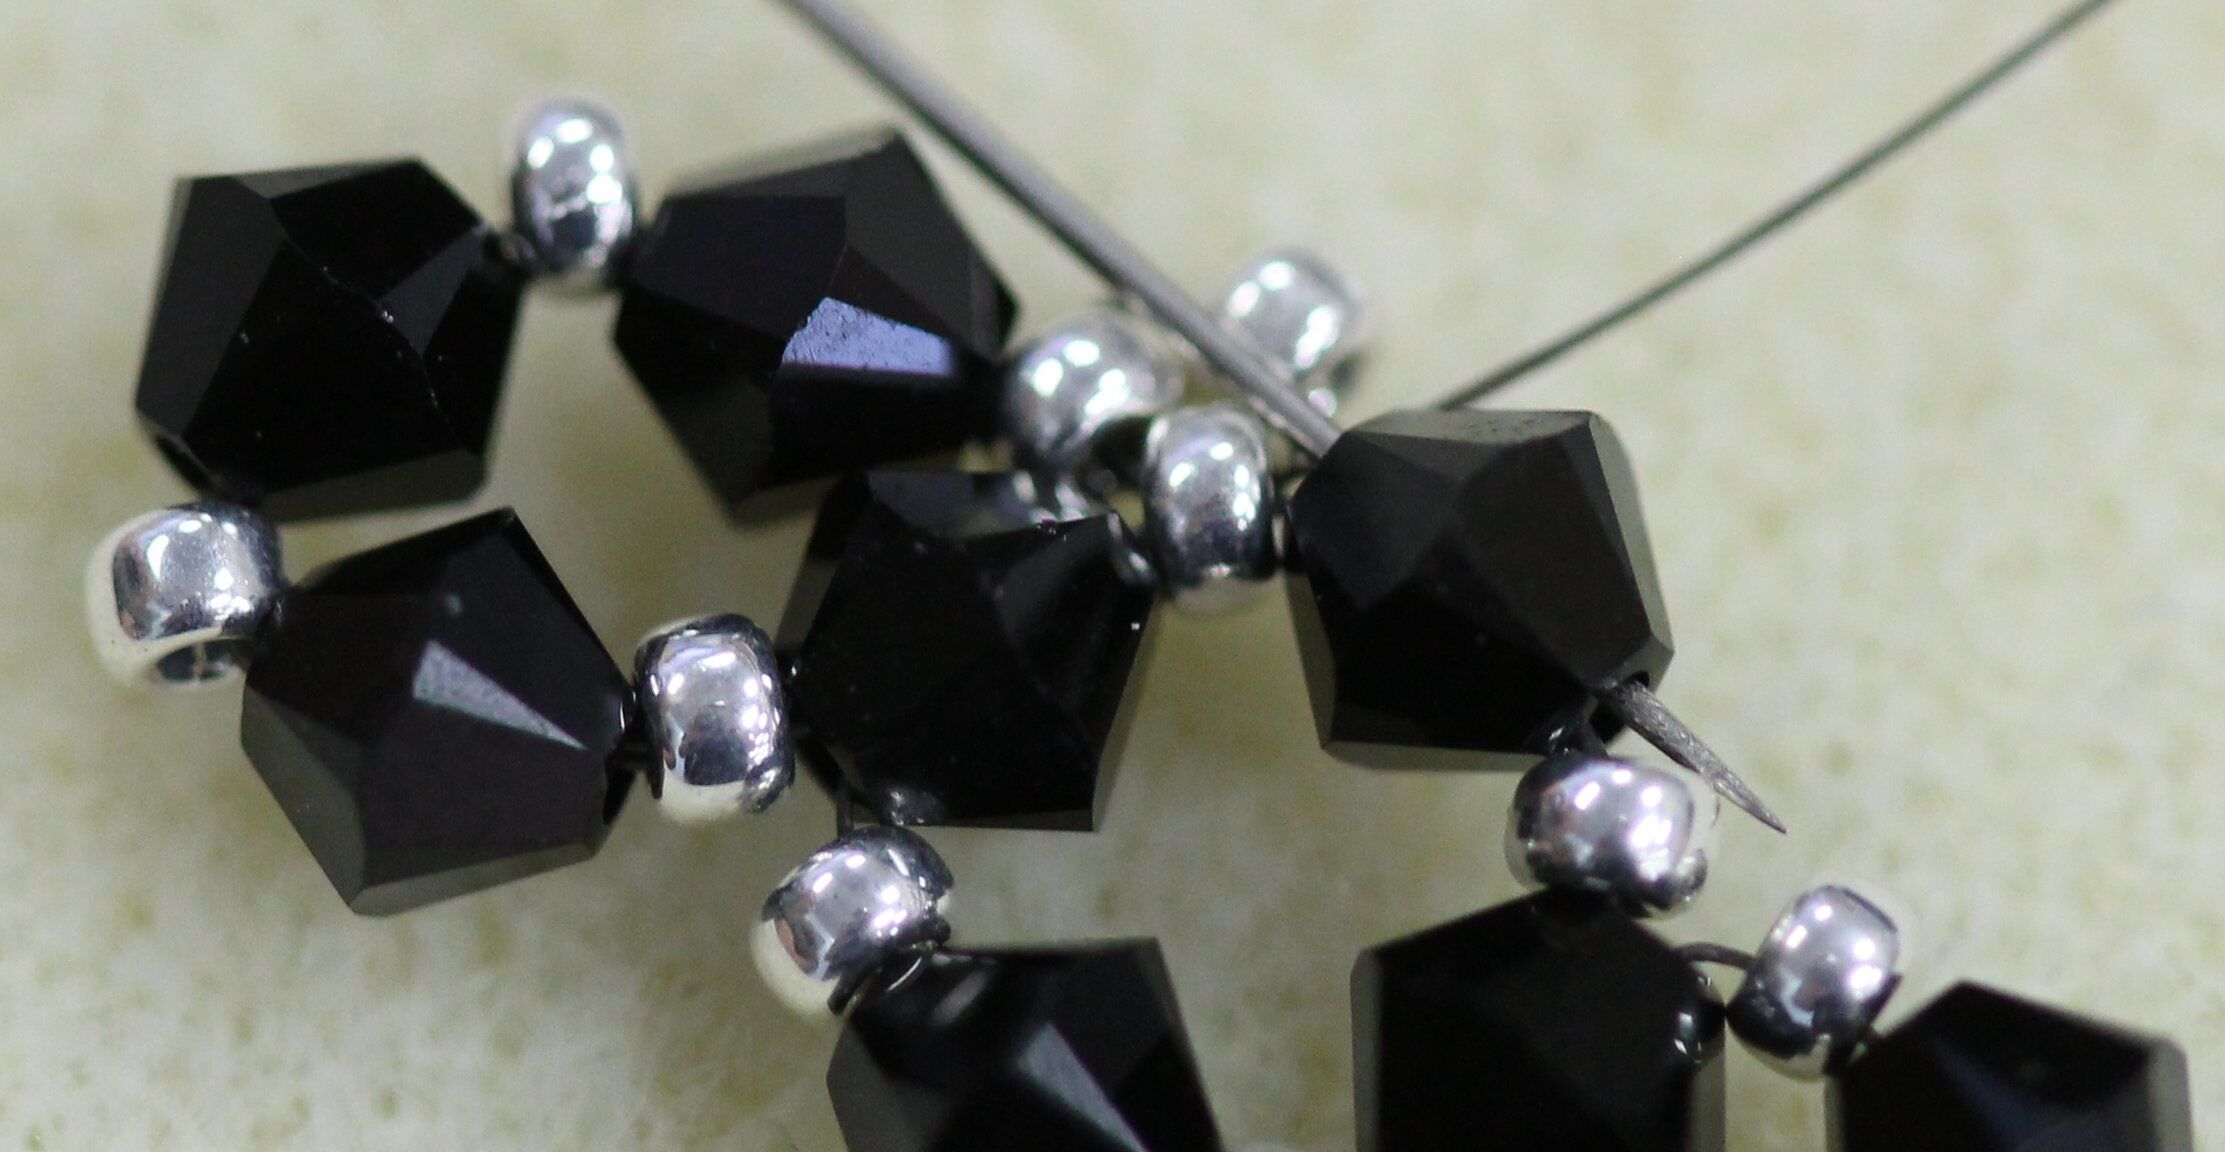
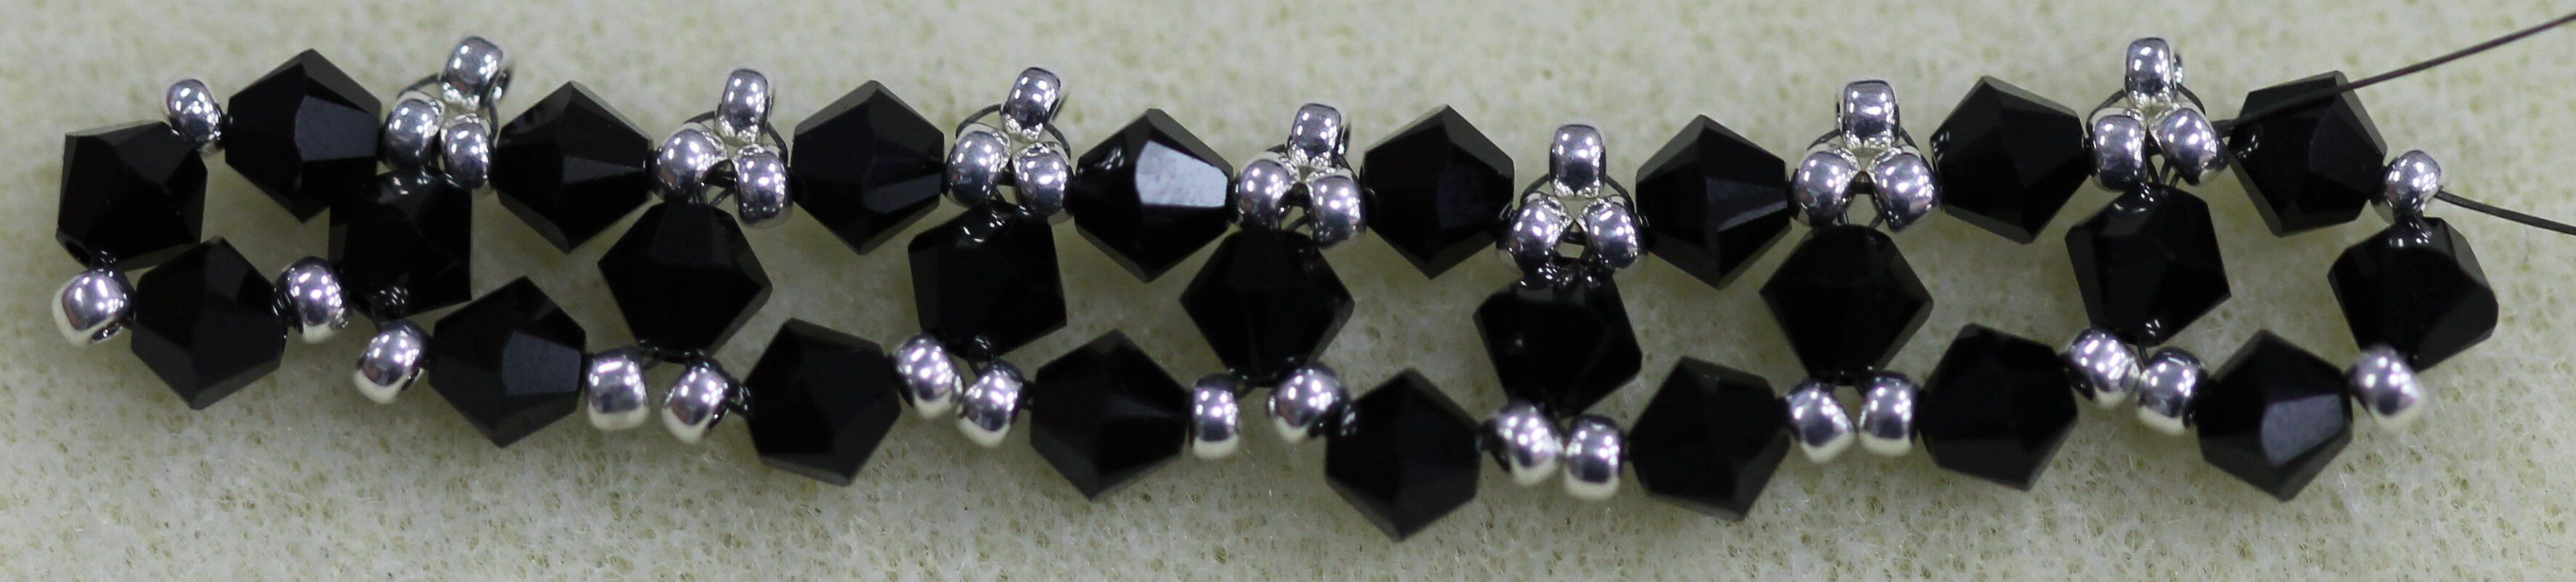
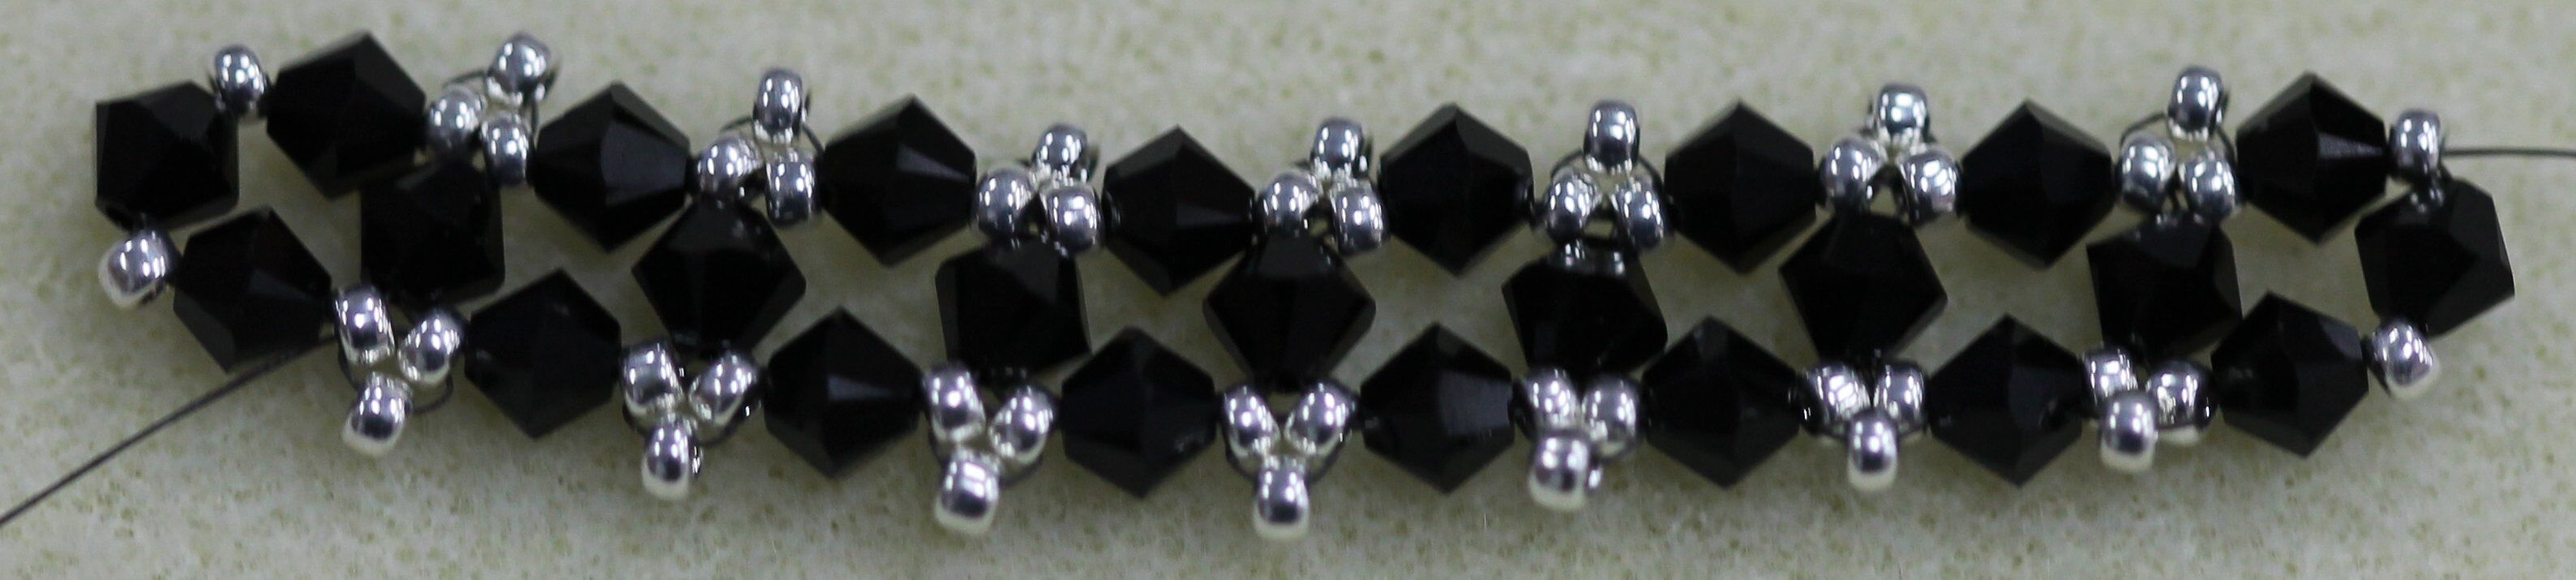
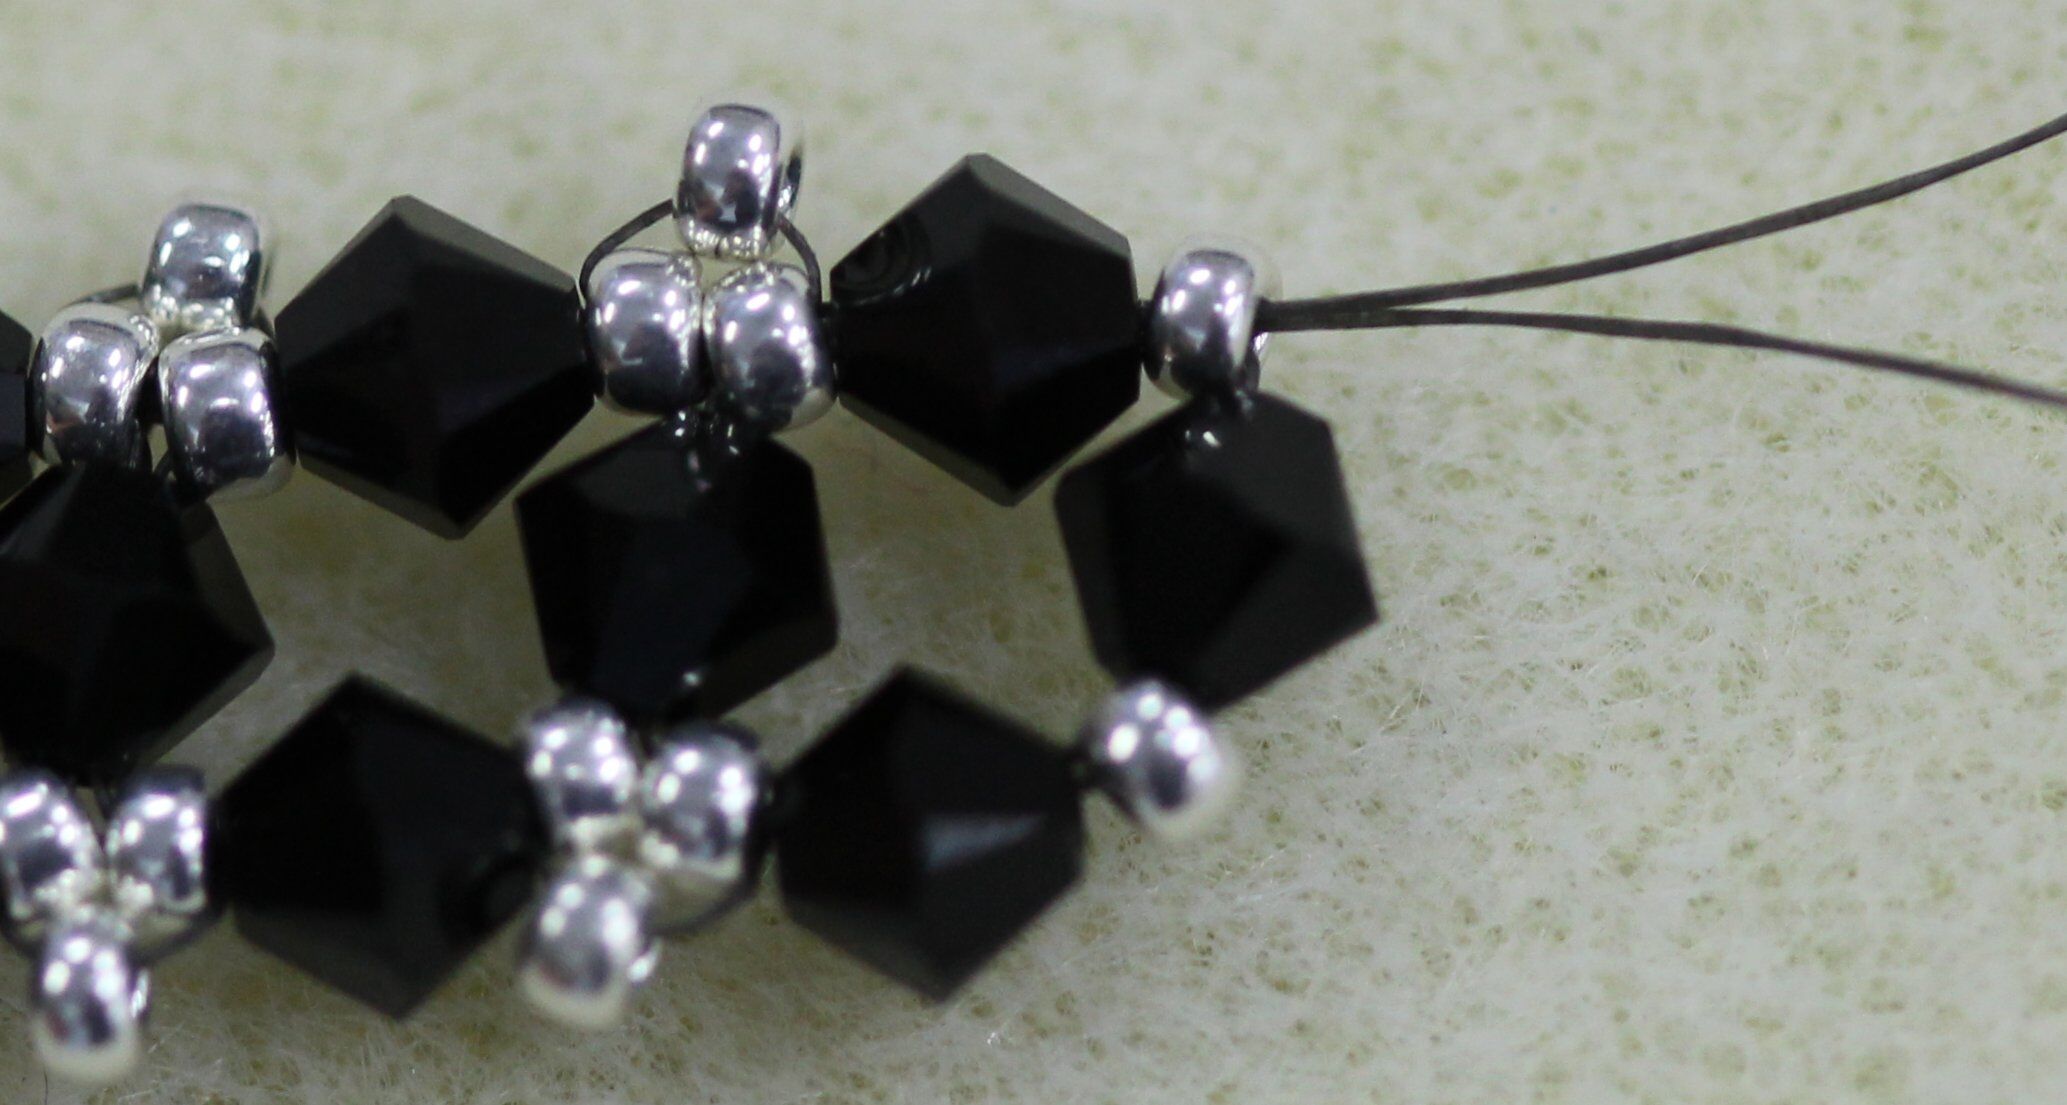
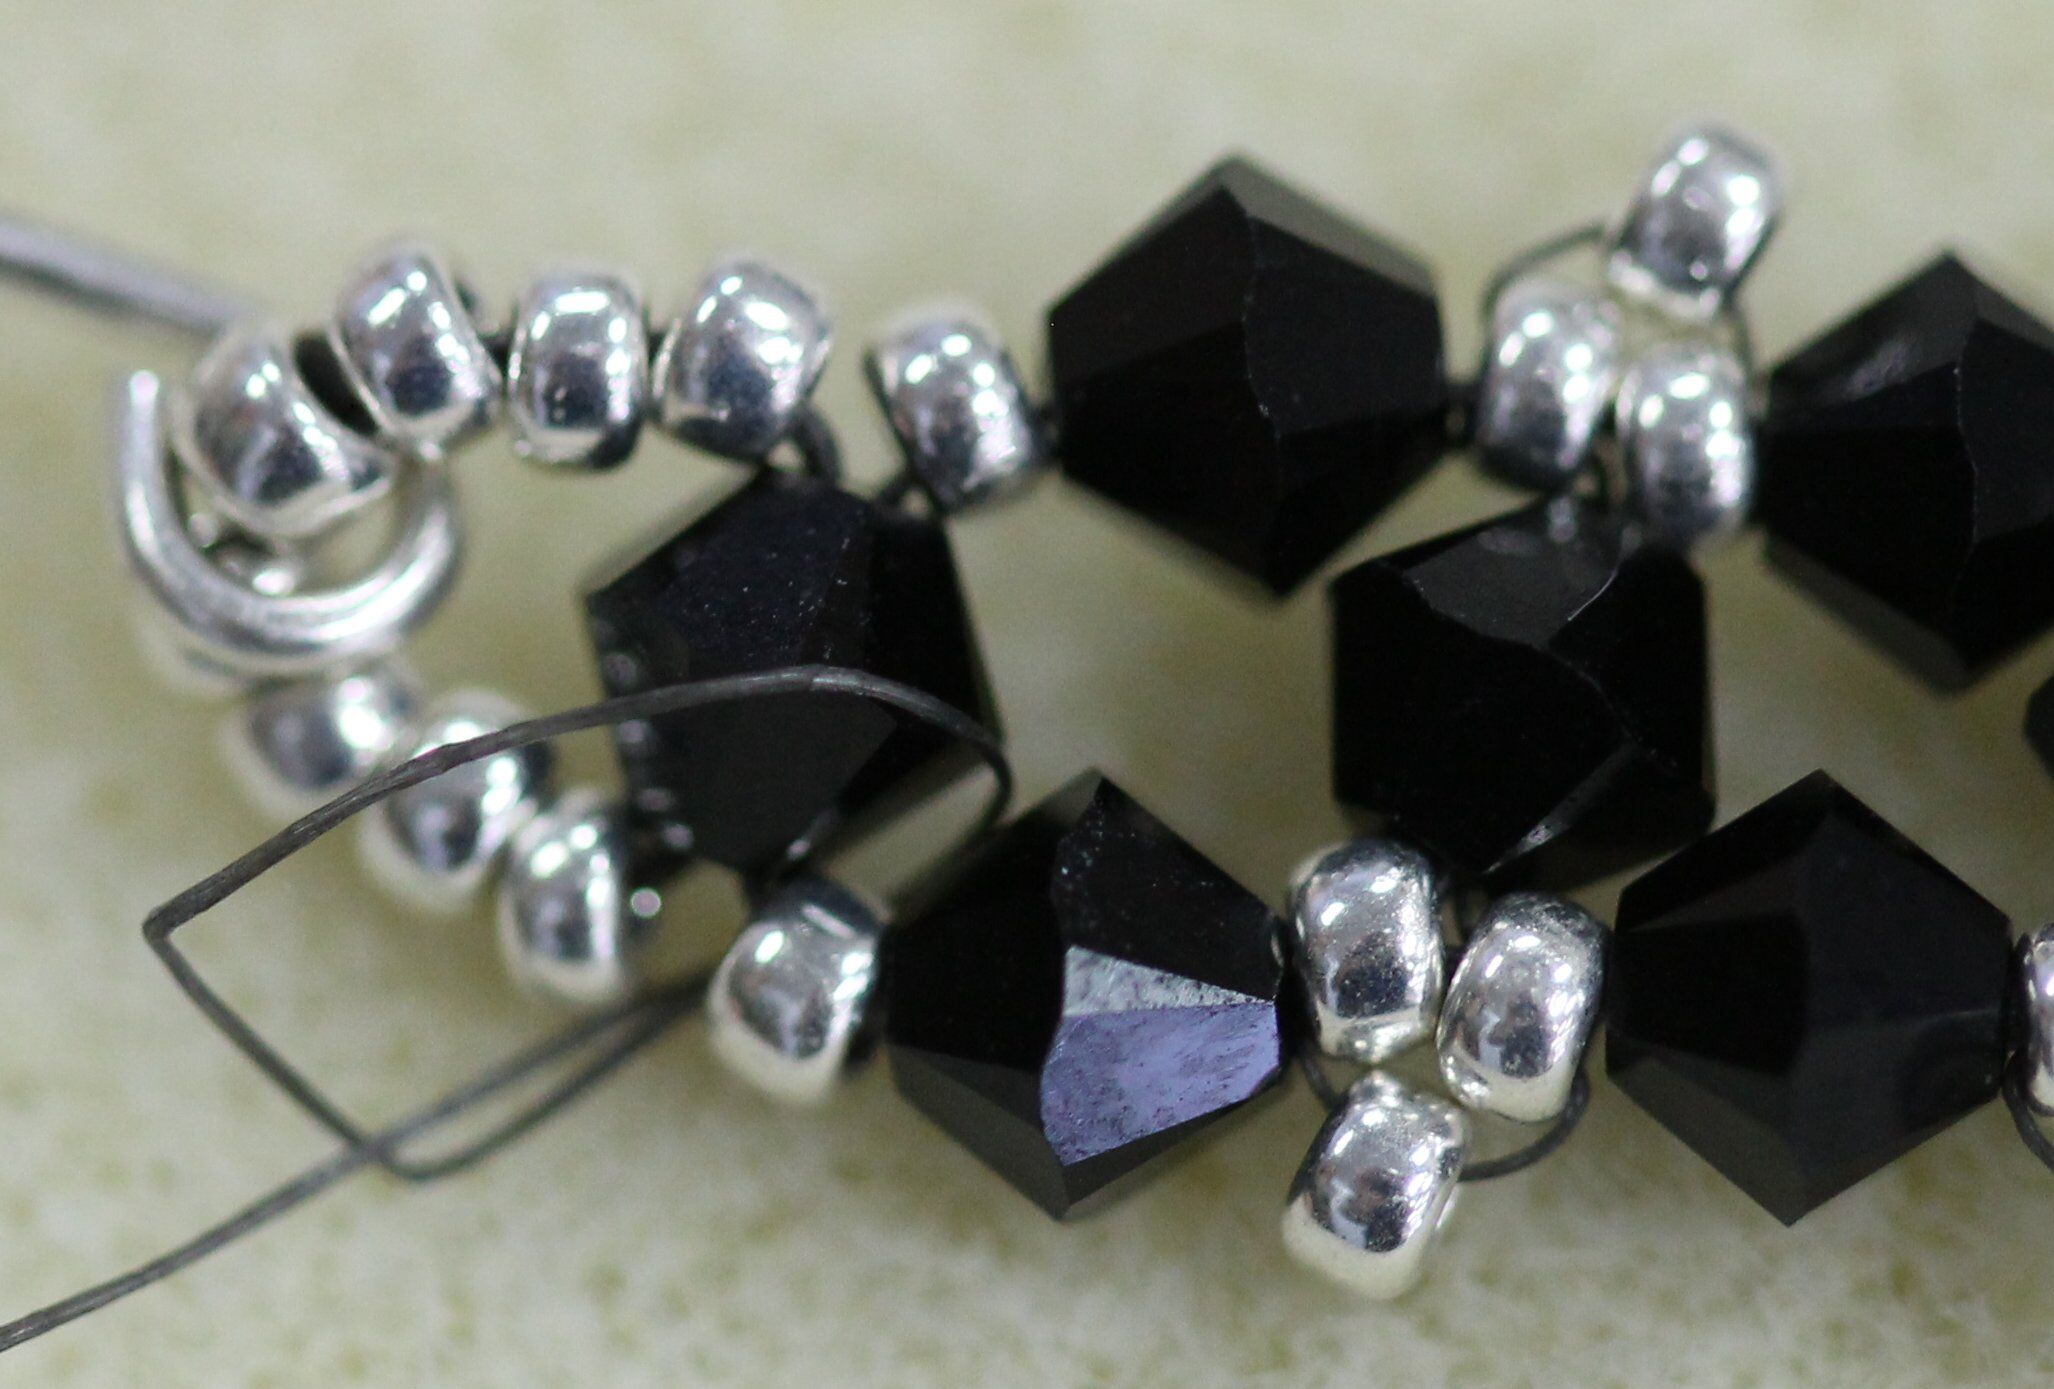
22. Continue adding embellishments to the top edge in this manner (repeating steps 17-21). You’ll repeat this 3-5 times depending on the length of your earrings. The completed embellishment on the top edge of the earring will look like this:
23. Pass the needle through the last crystal and seed bead on the top edge of the earring.
24. Pass the need through the crystal and the seed bead on the right edge (the end) of the earring.
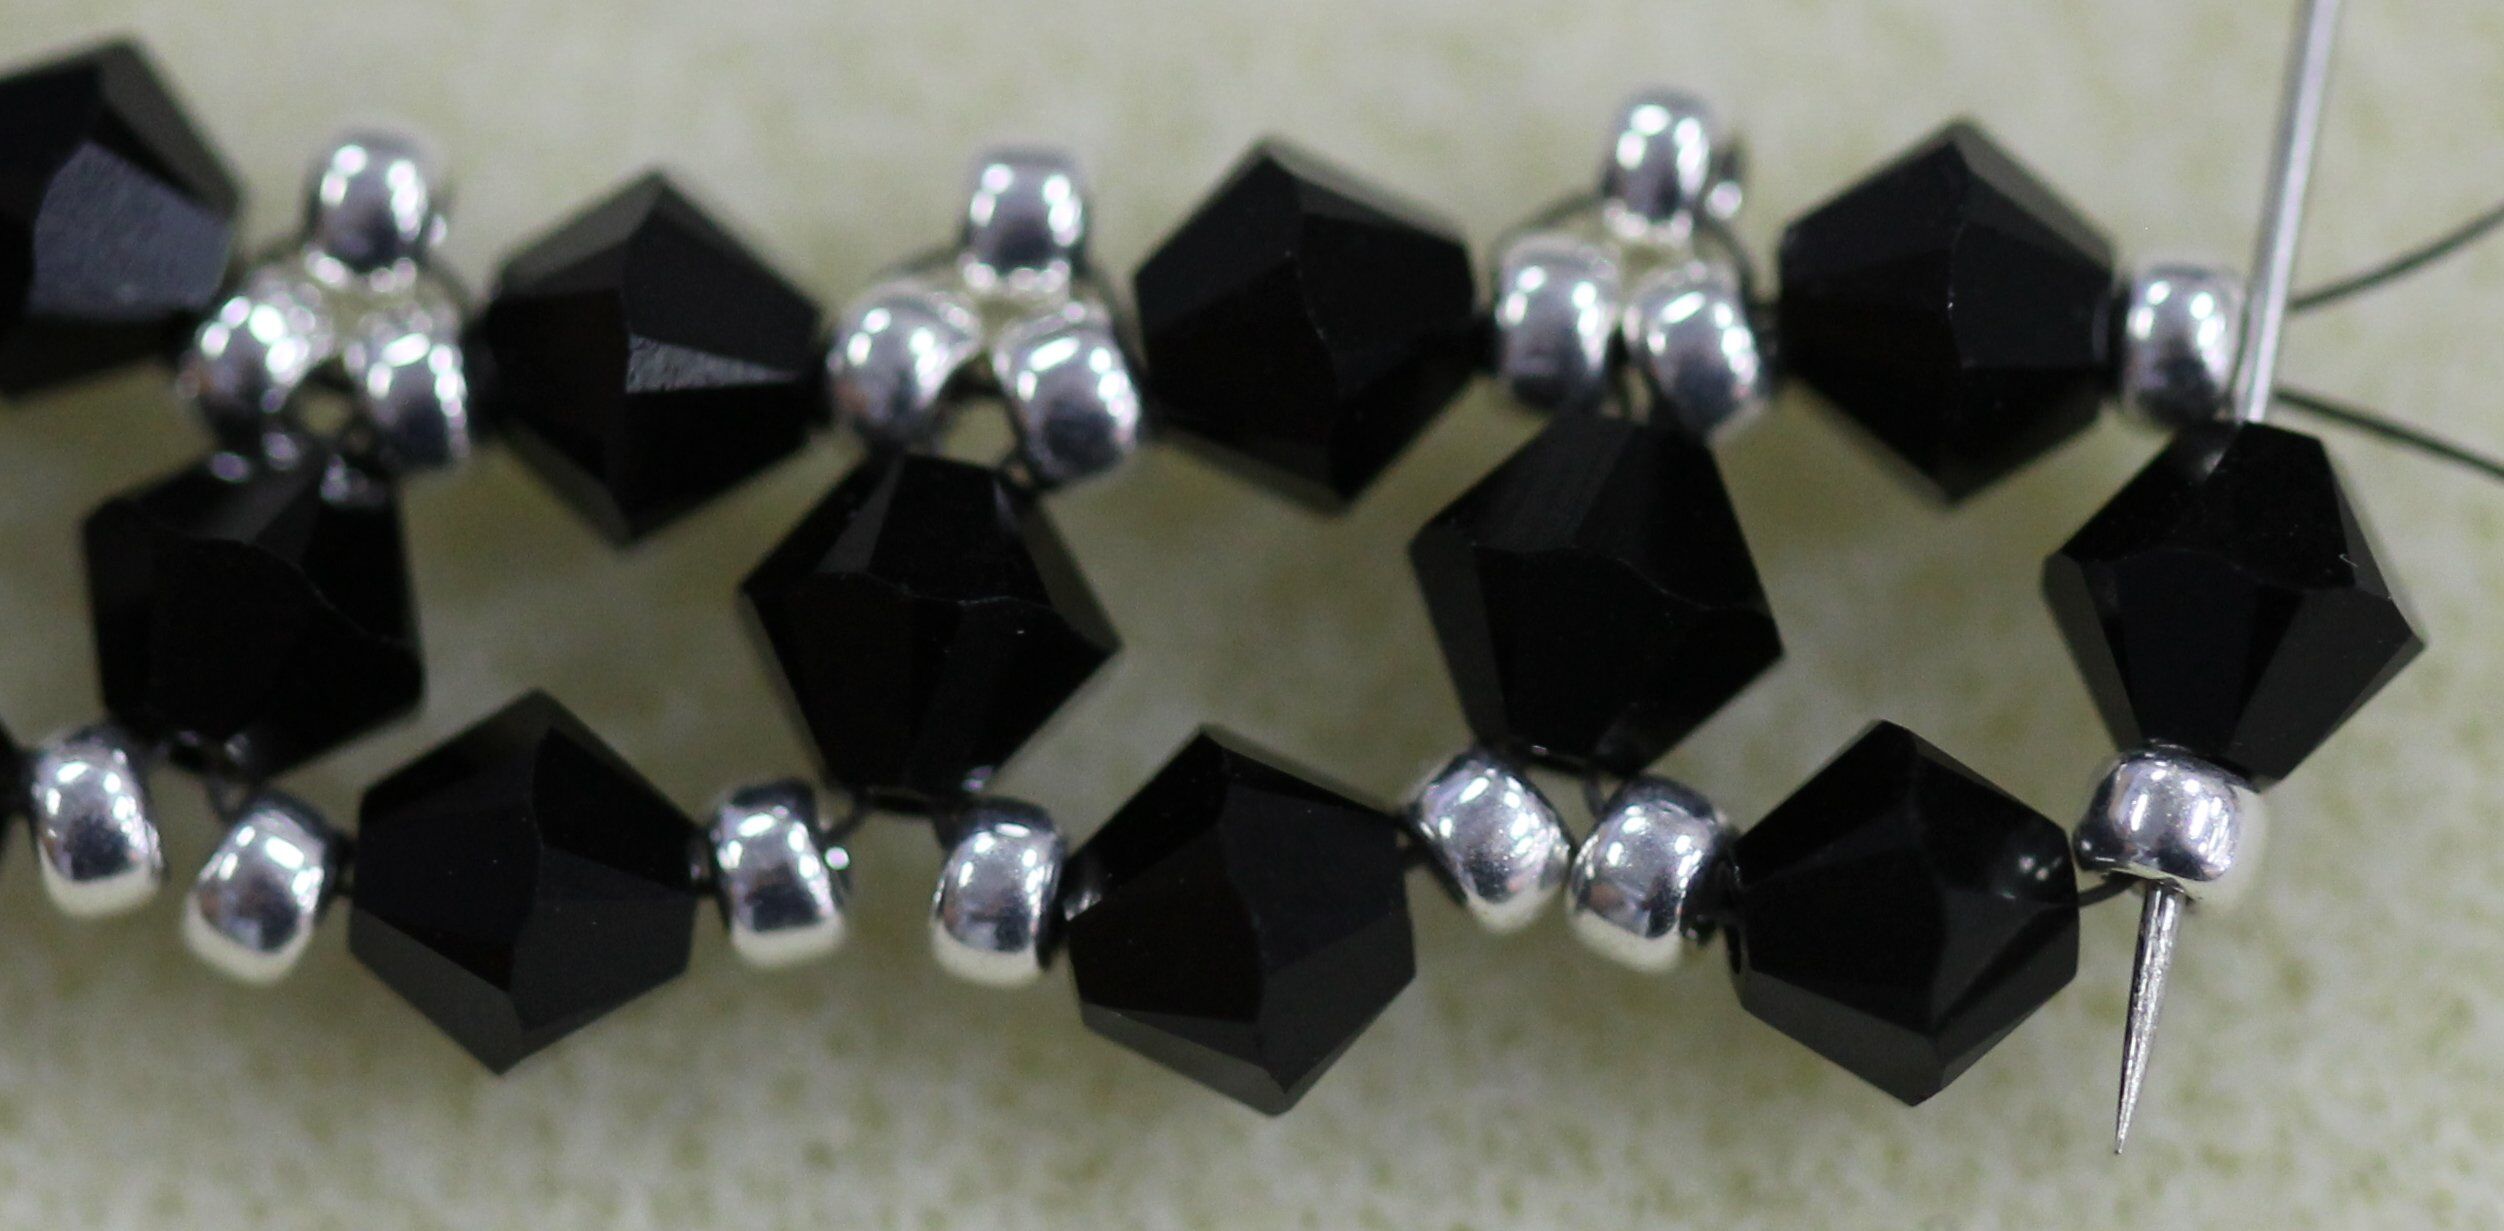
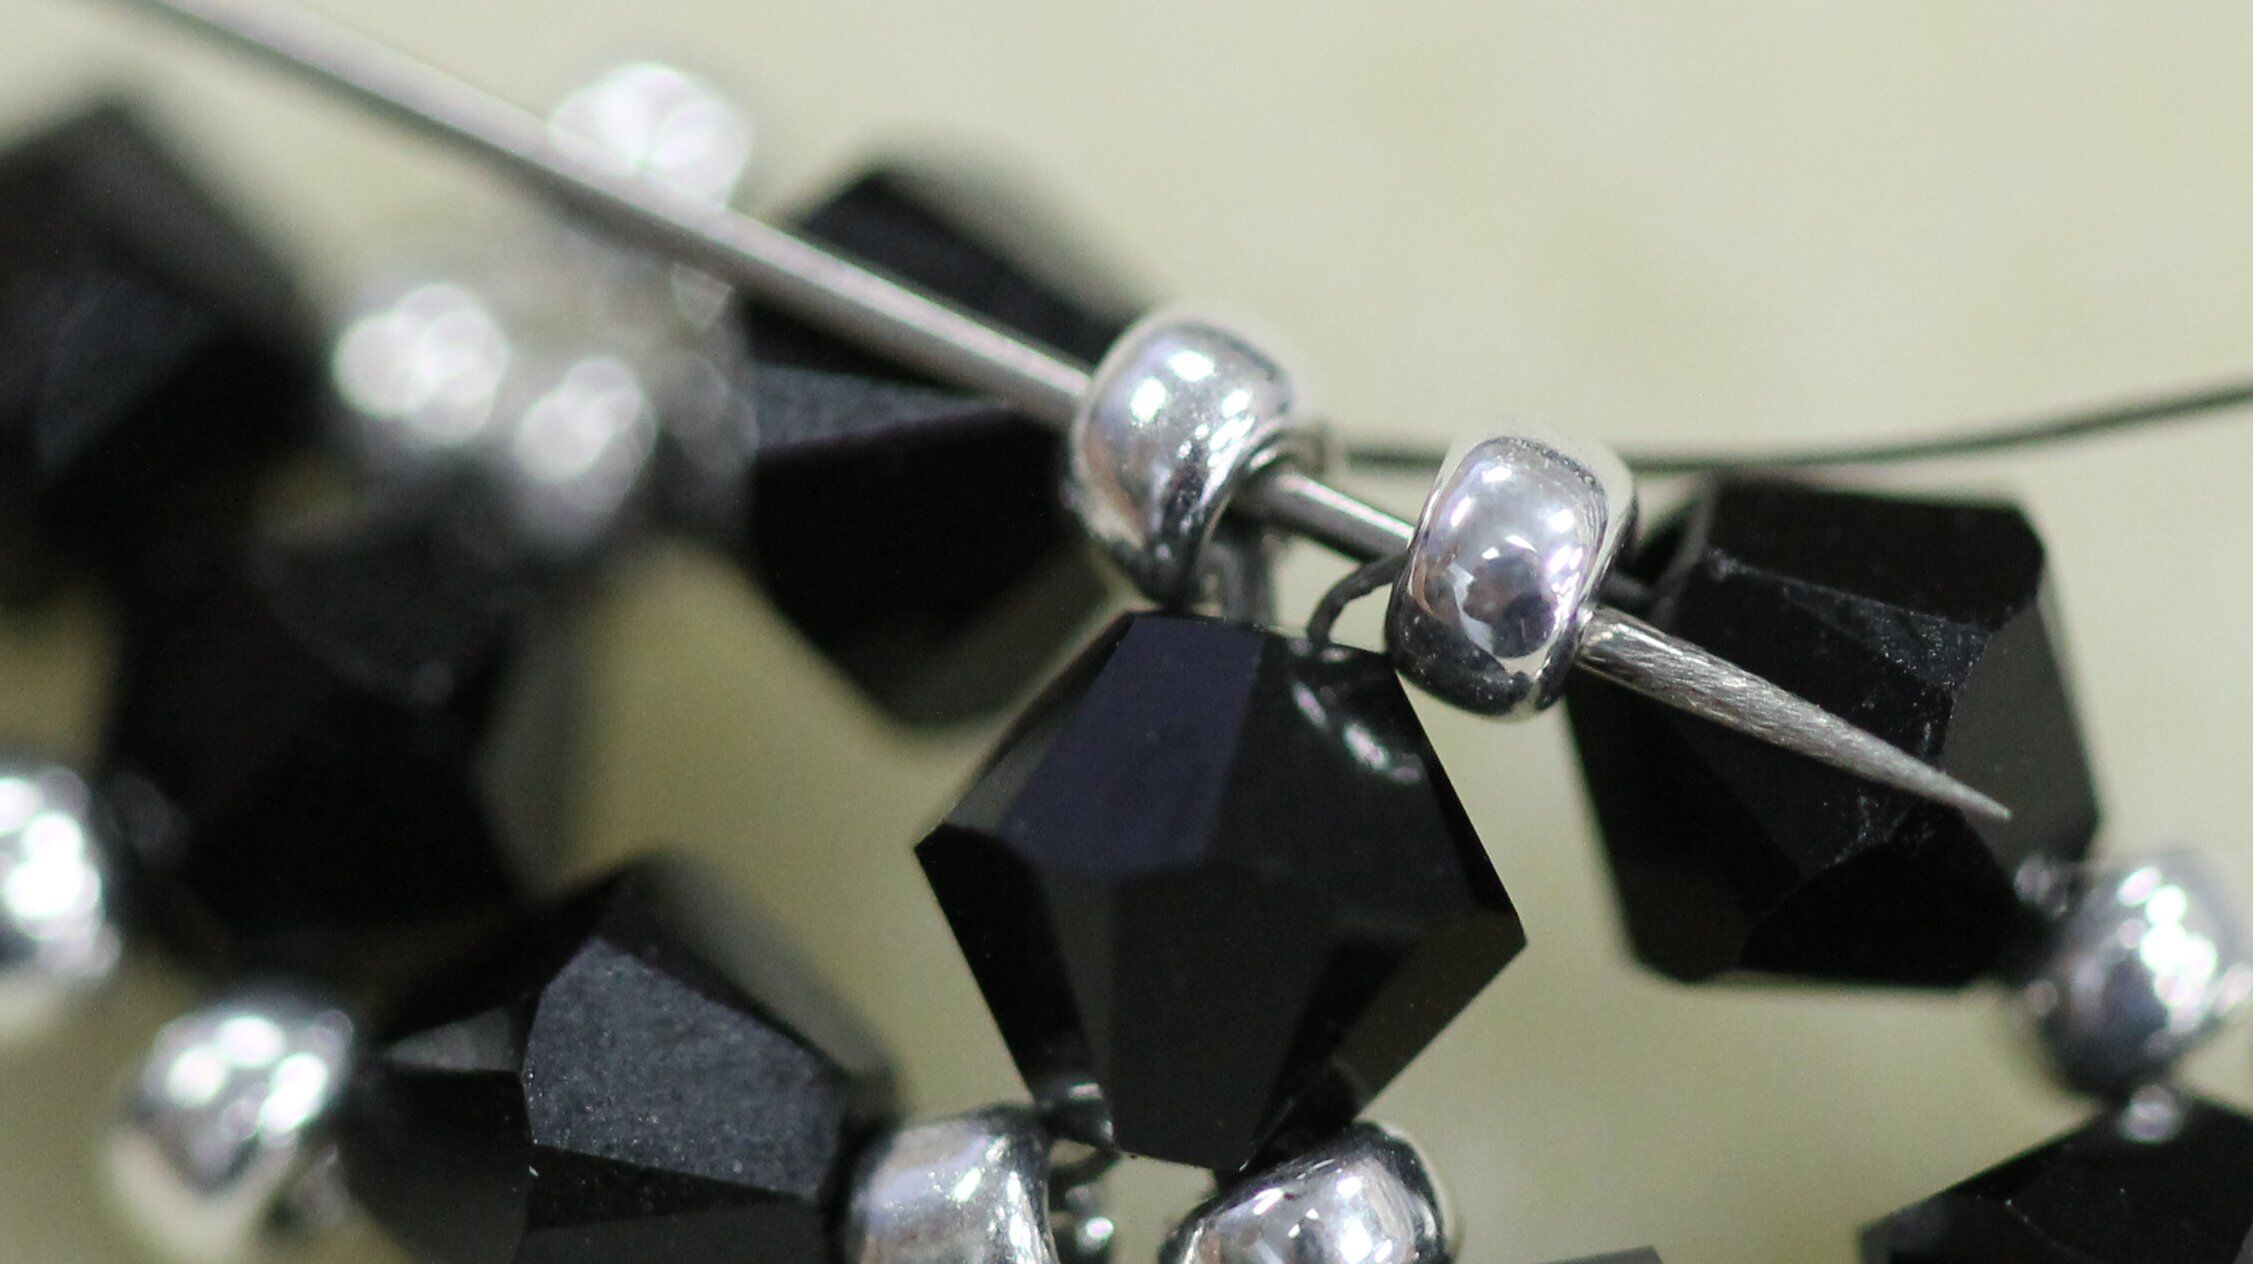
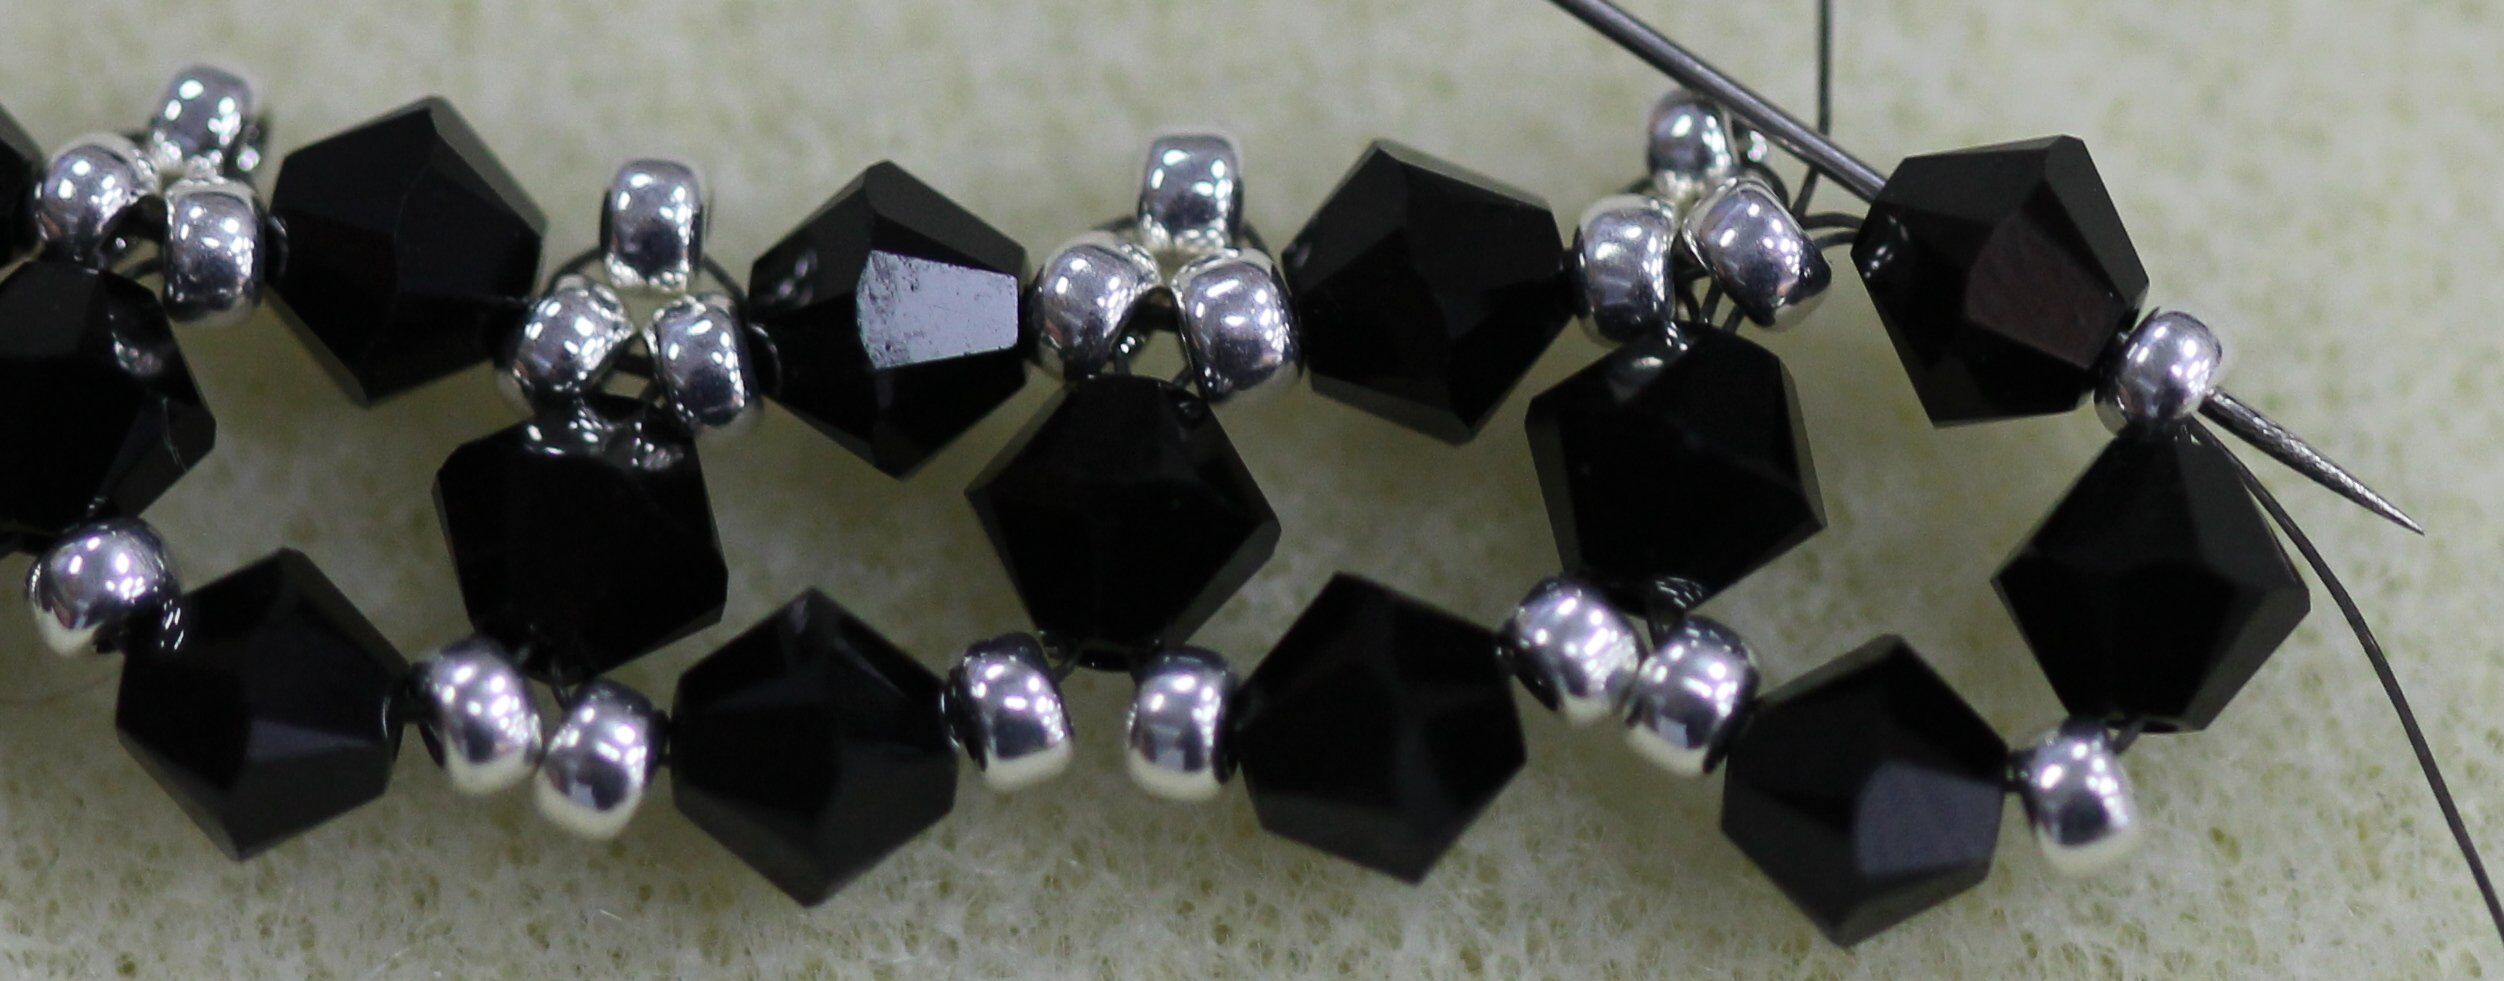
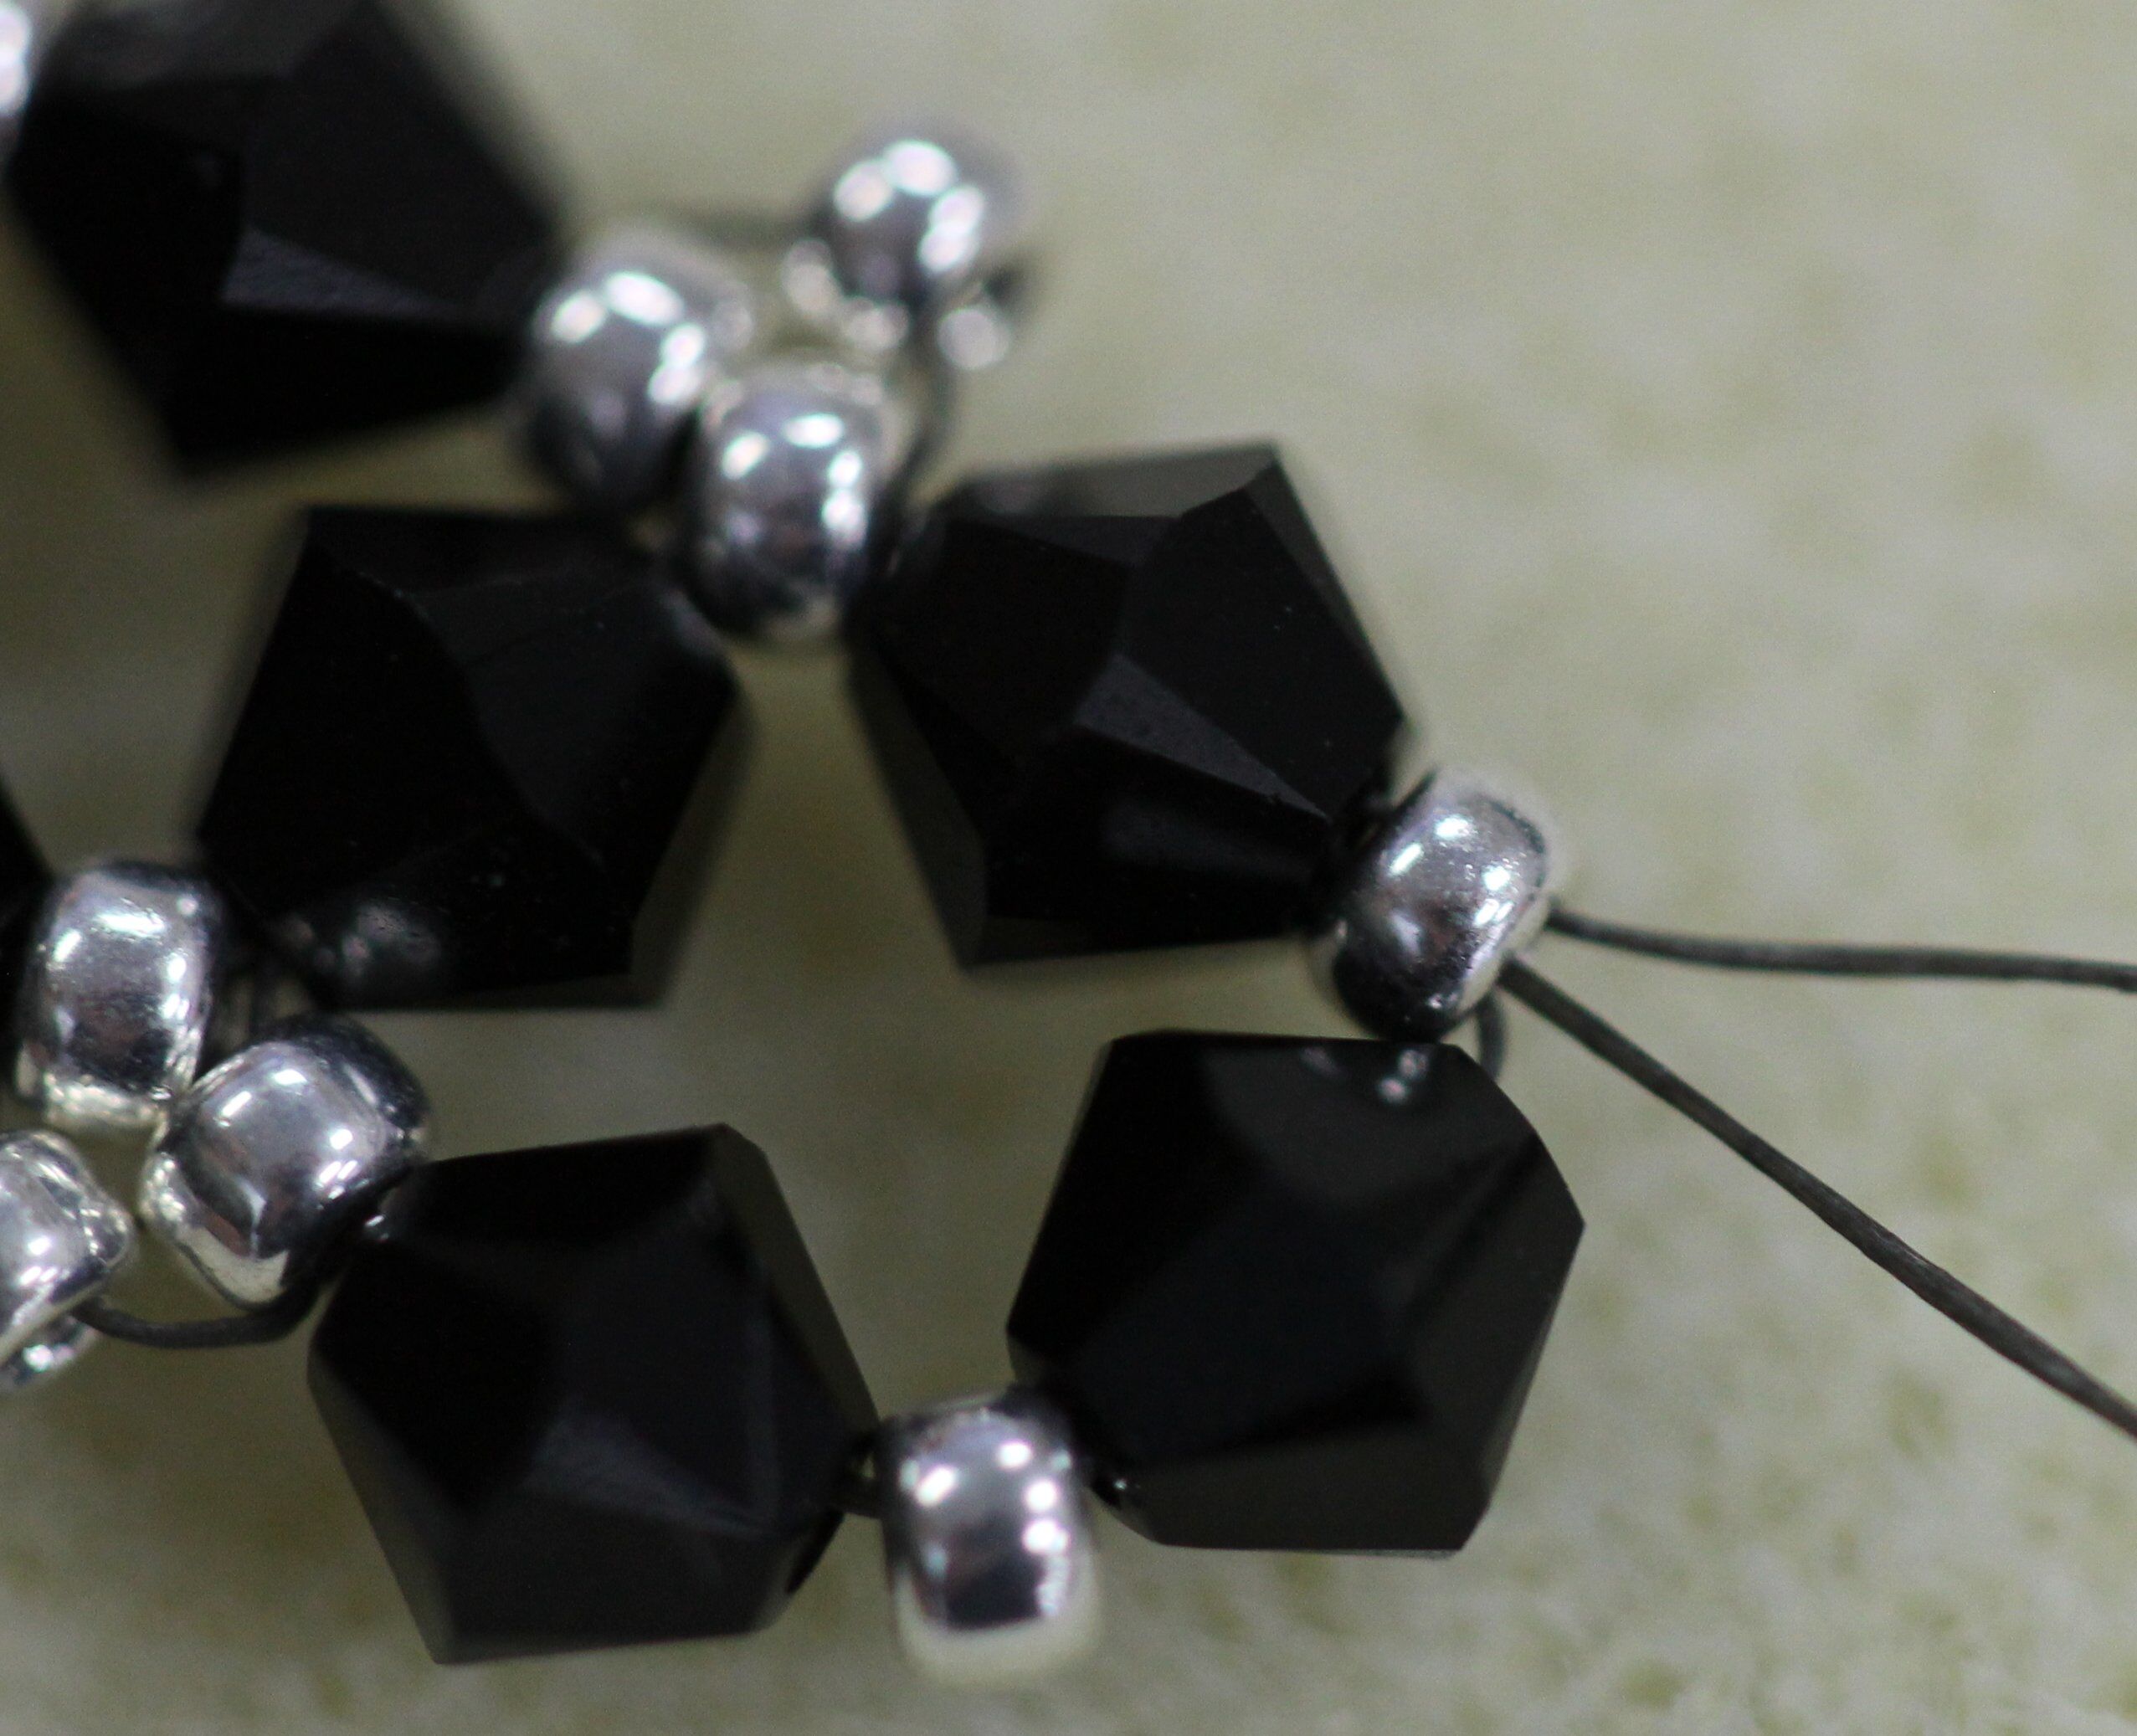
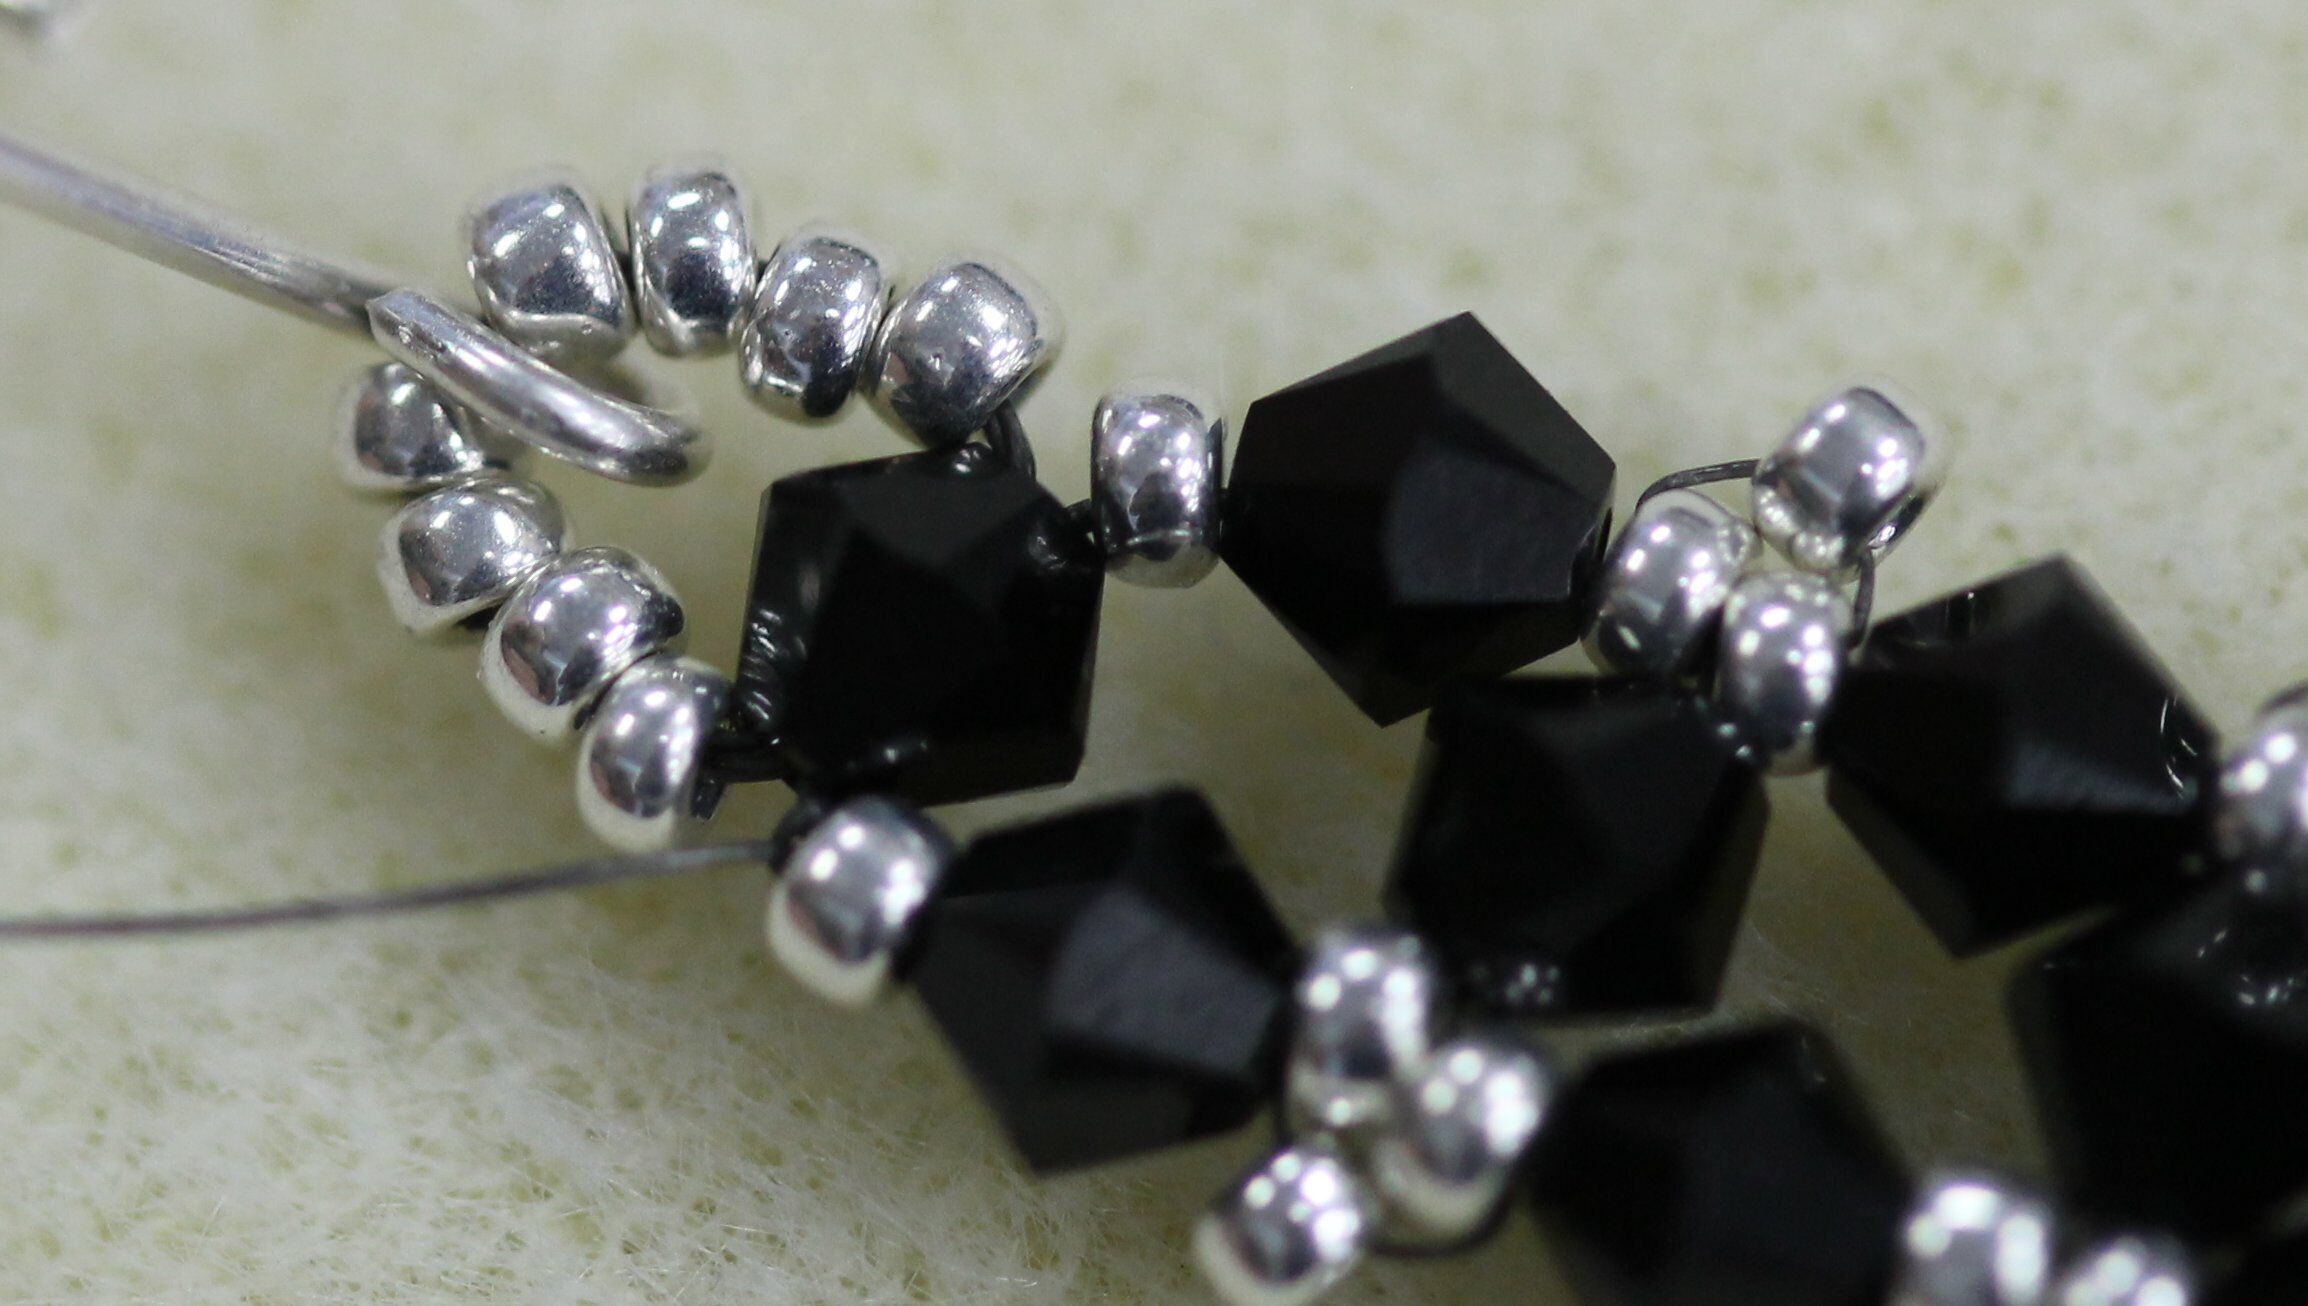
25. Continue adding embellishments to the bottom edge in this manner (repeating steps 17-21). You’ll repeat this 5-7 times depending on the length of your earrings. The completed embellishment on the bottom edge of the earring will look like this.
26. Pass the needle through the last crystal and seed bead on the bottom edge.
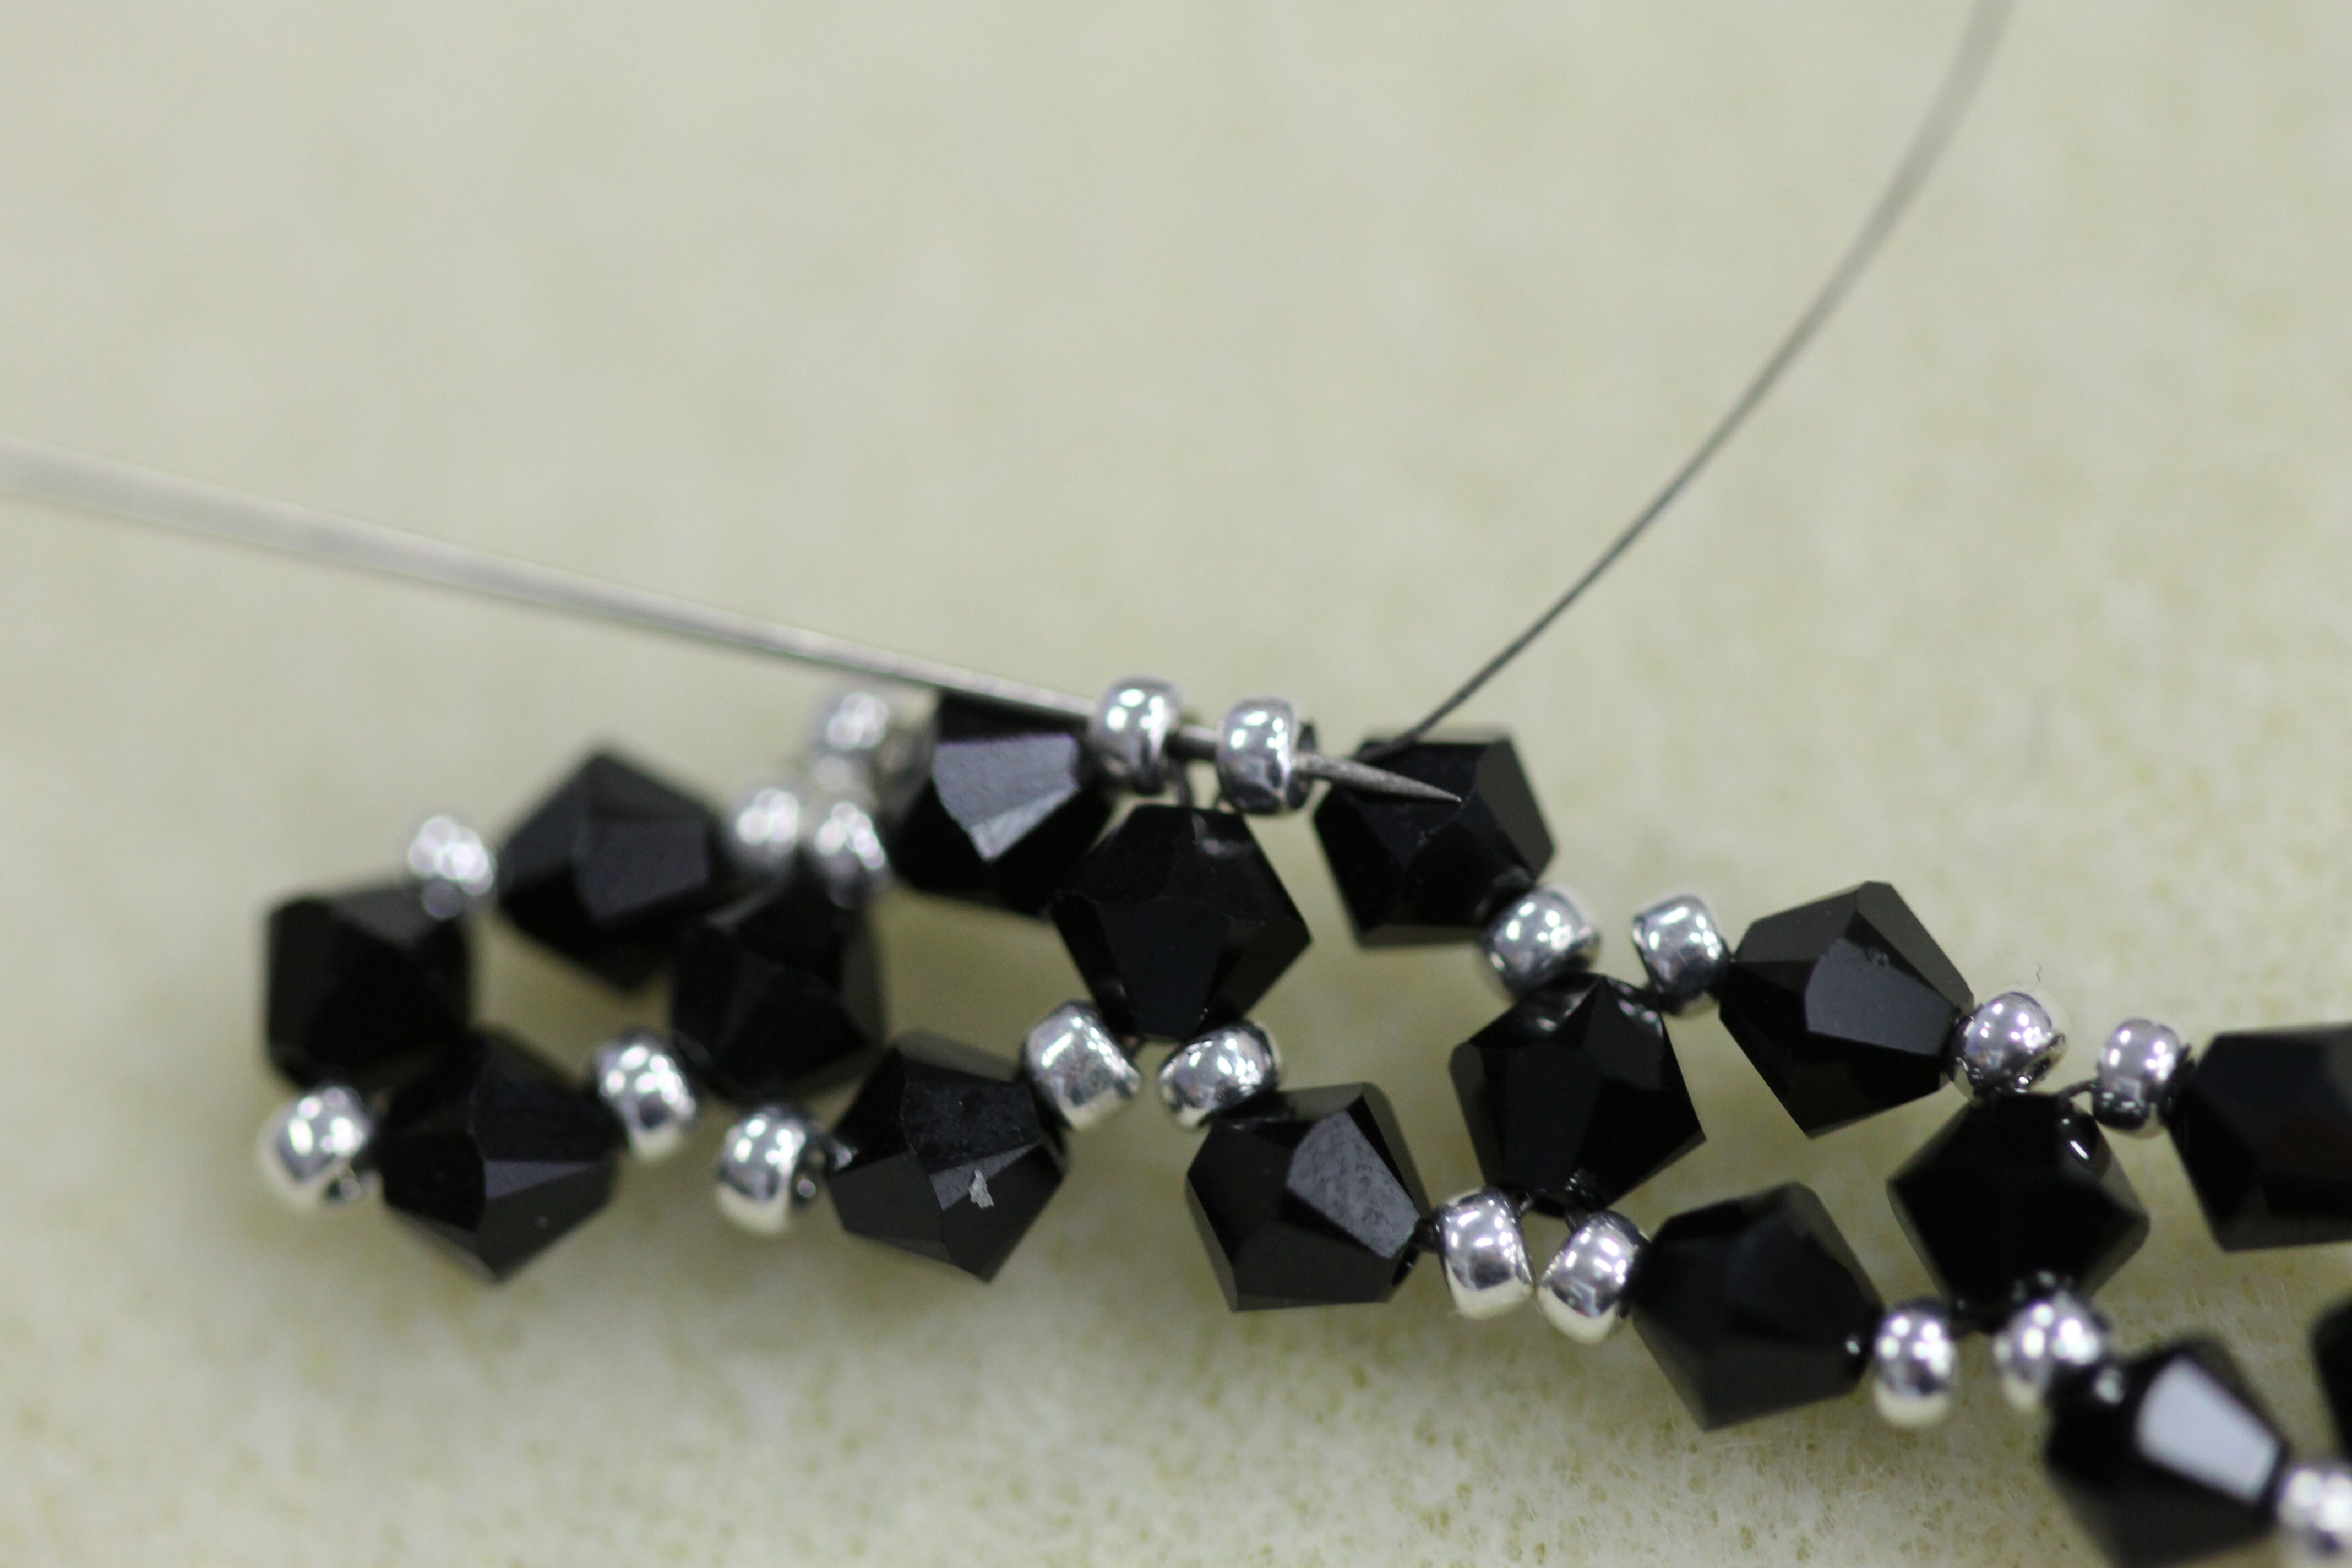
27. Pass the needle through the crystal on the left edge (the end) of the earring. The embellished sides are now finished!
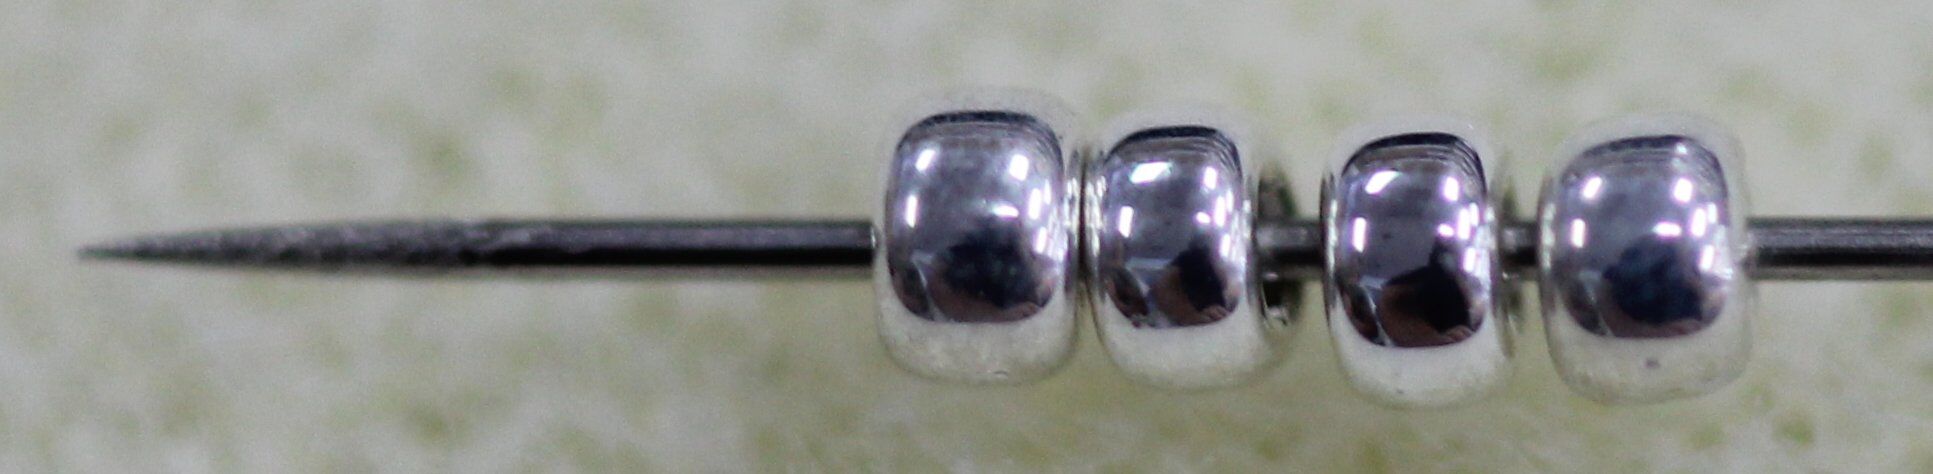
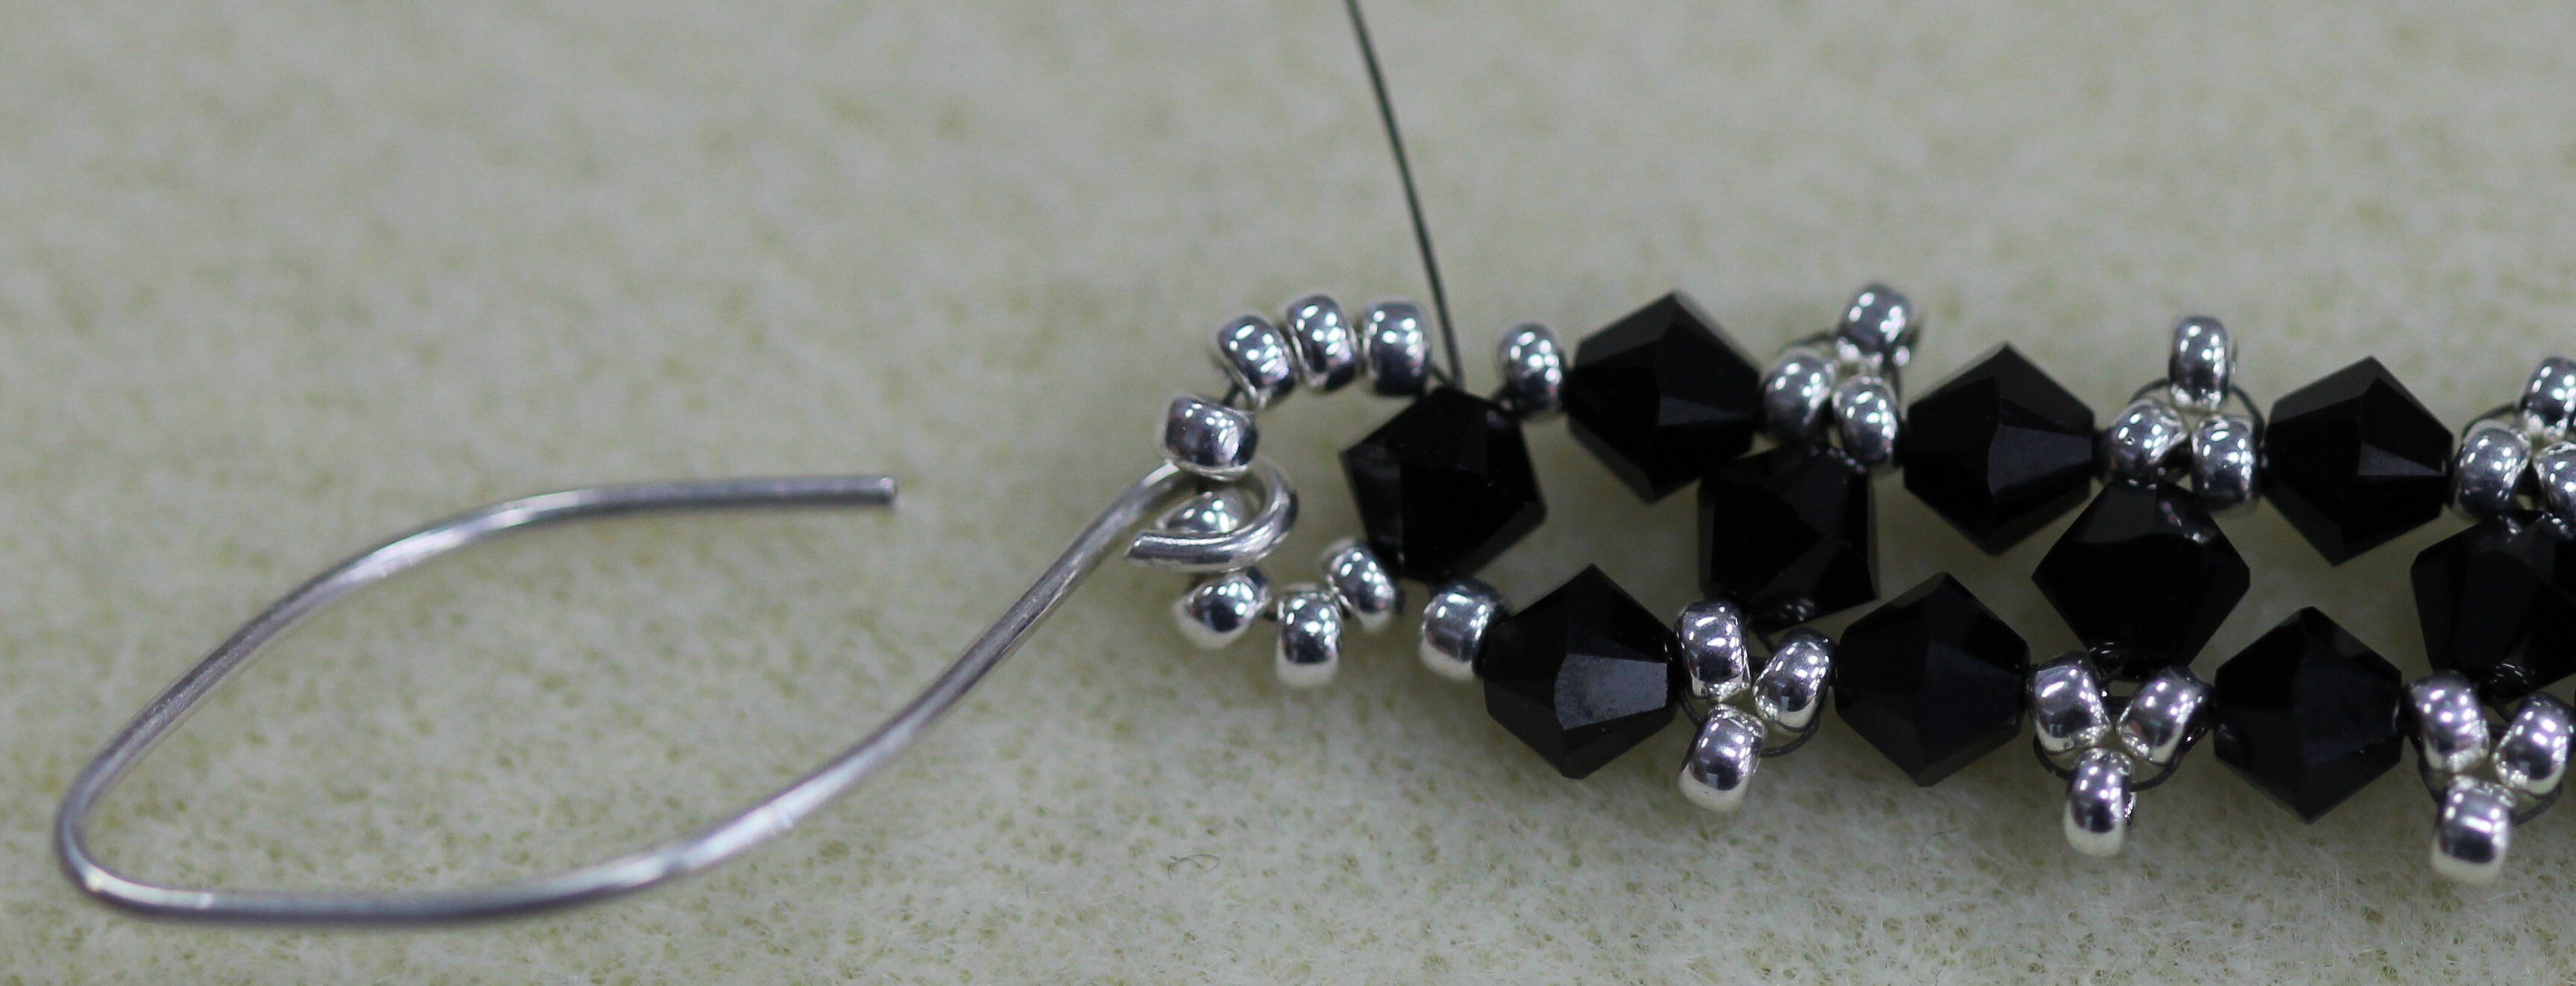
28. String four seed beads.
29. Pass the needle through the loop in the ear wire.
30. String four more seed beads and circle around to pass the needle back through the crystal on the left edge of the earring.
31. Pass the needle back through the first set of four seed beads.
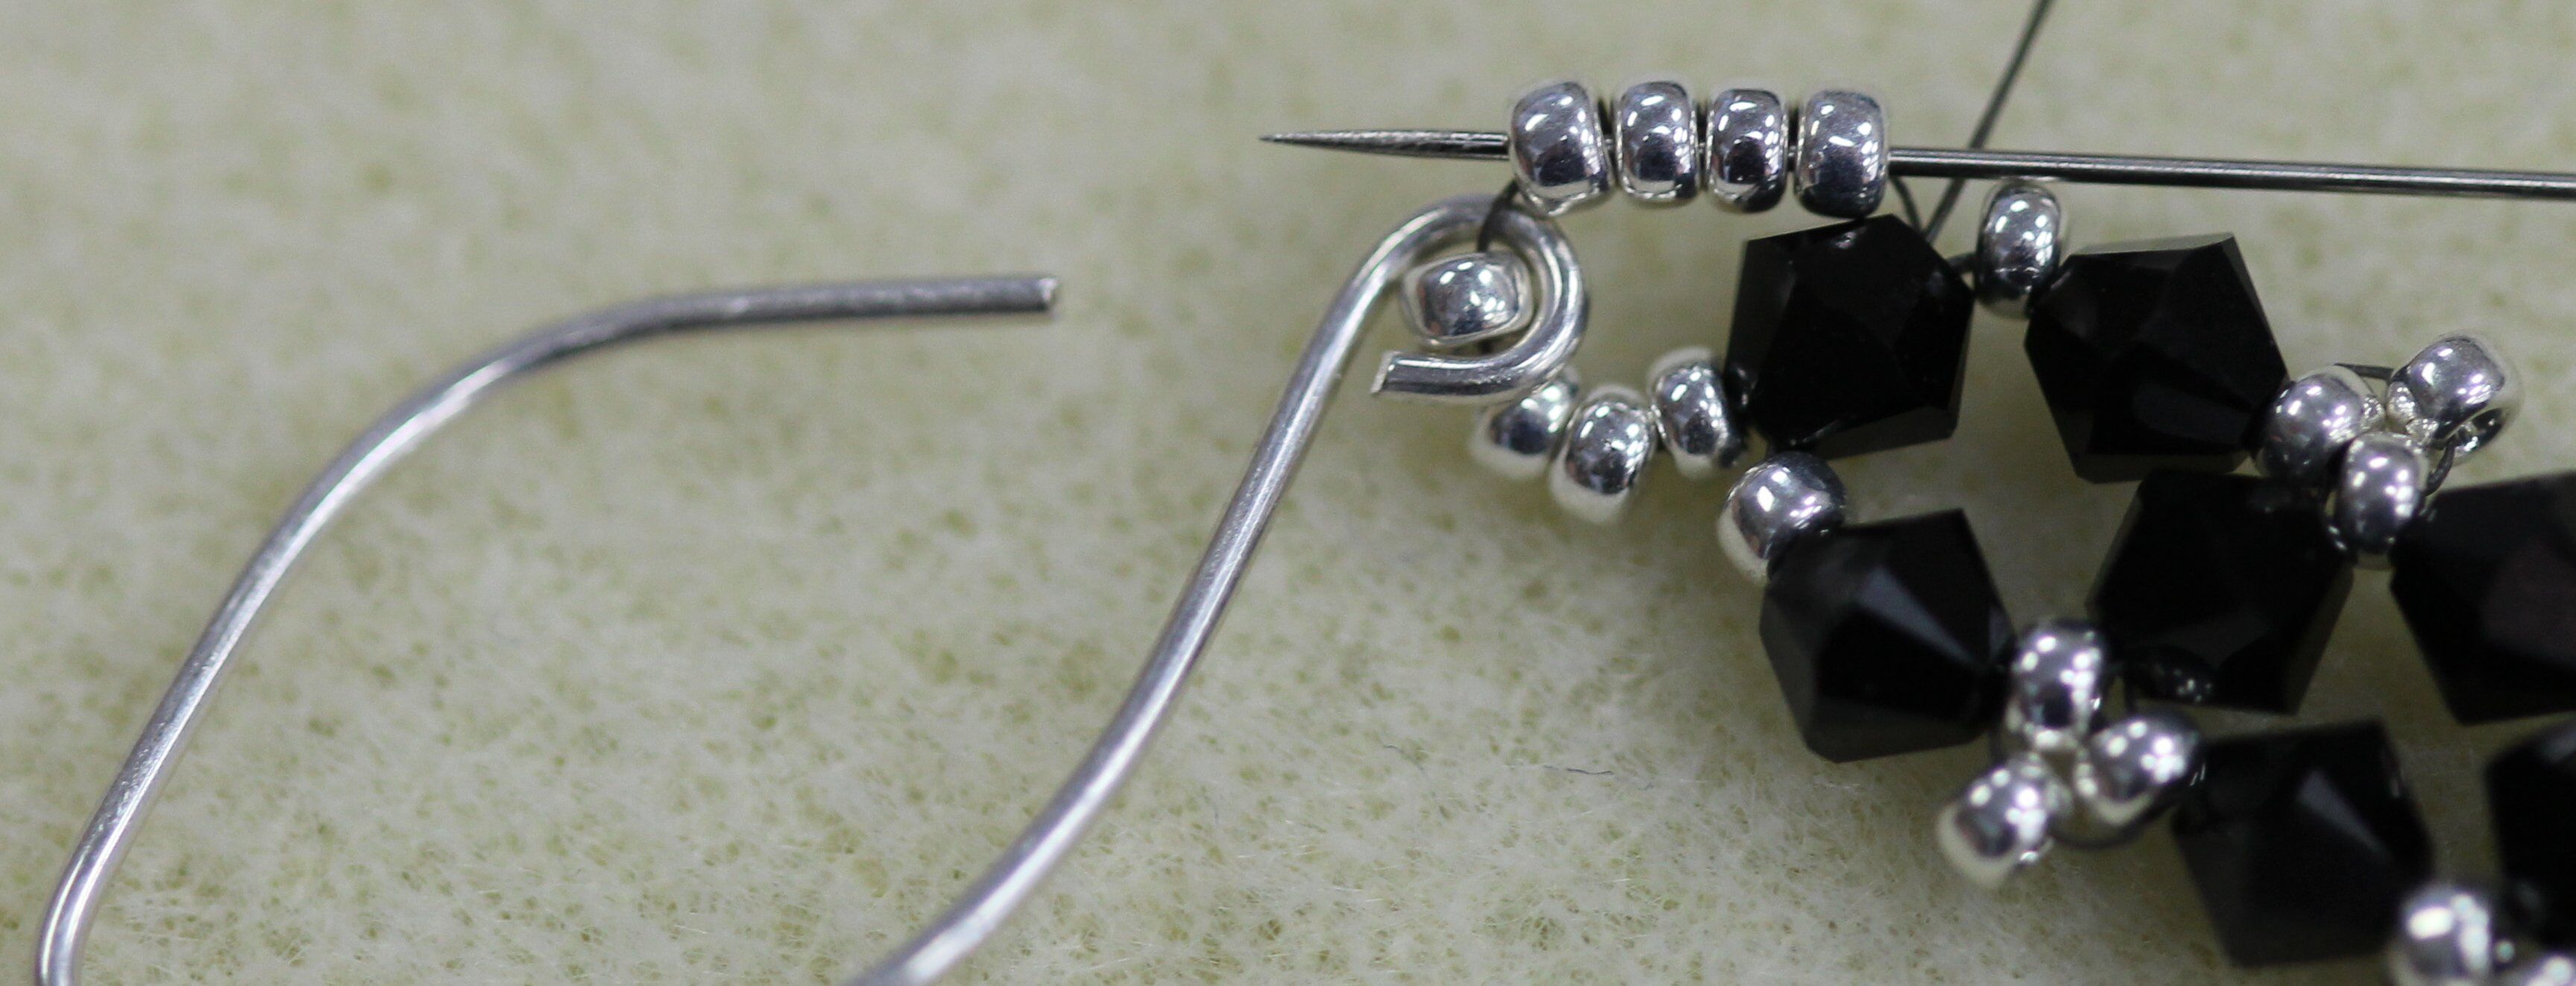
32. Pass the needle through the loop on the earring and the second set of four seed beads again.
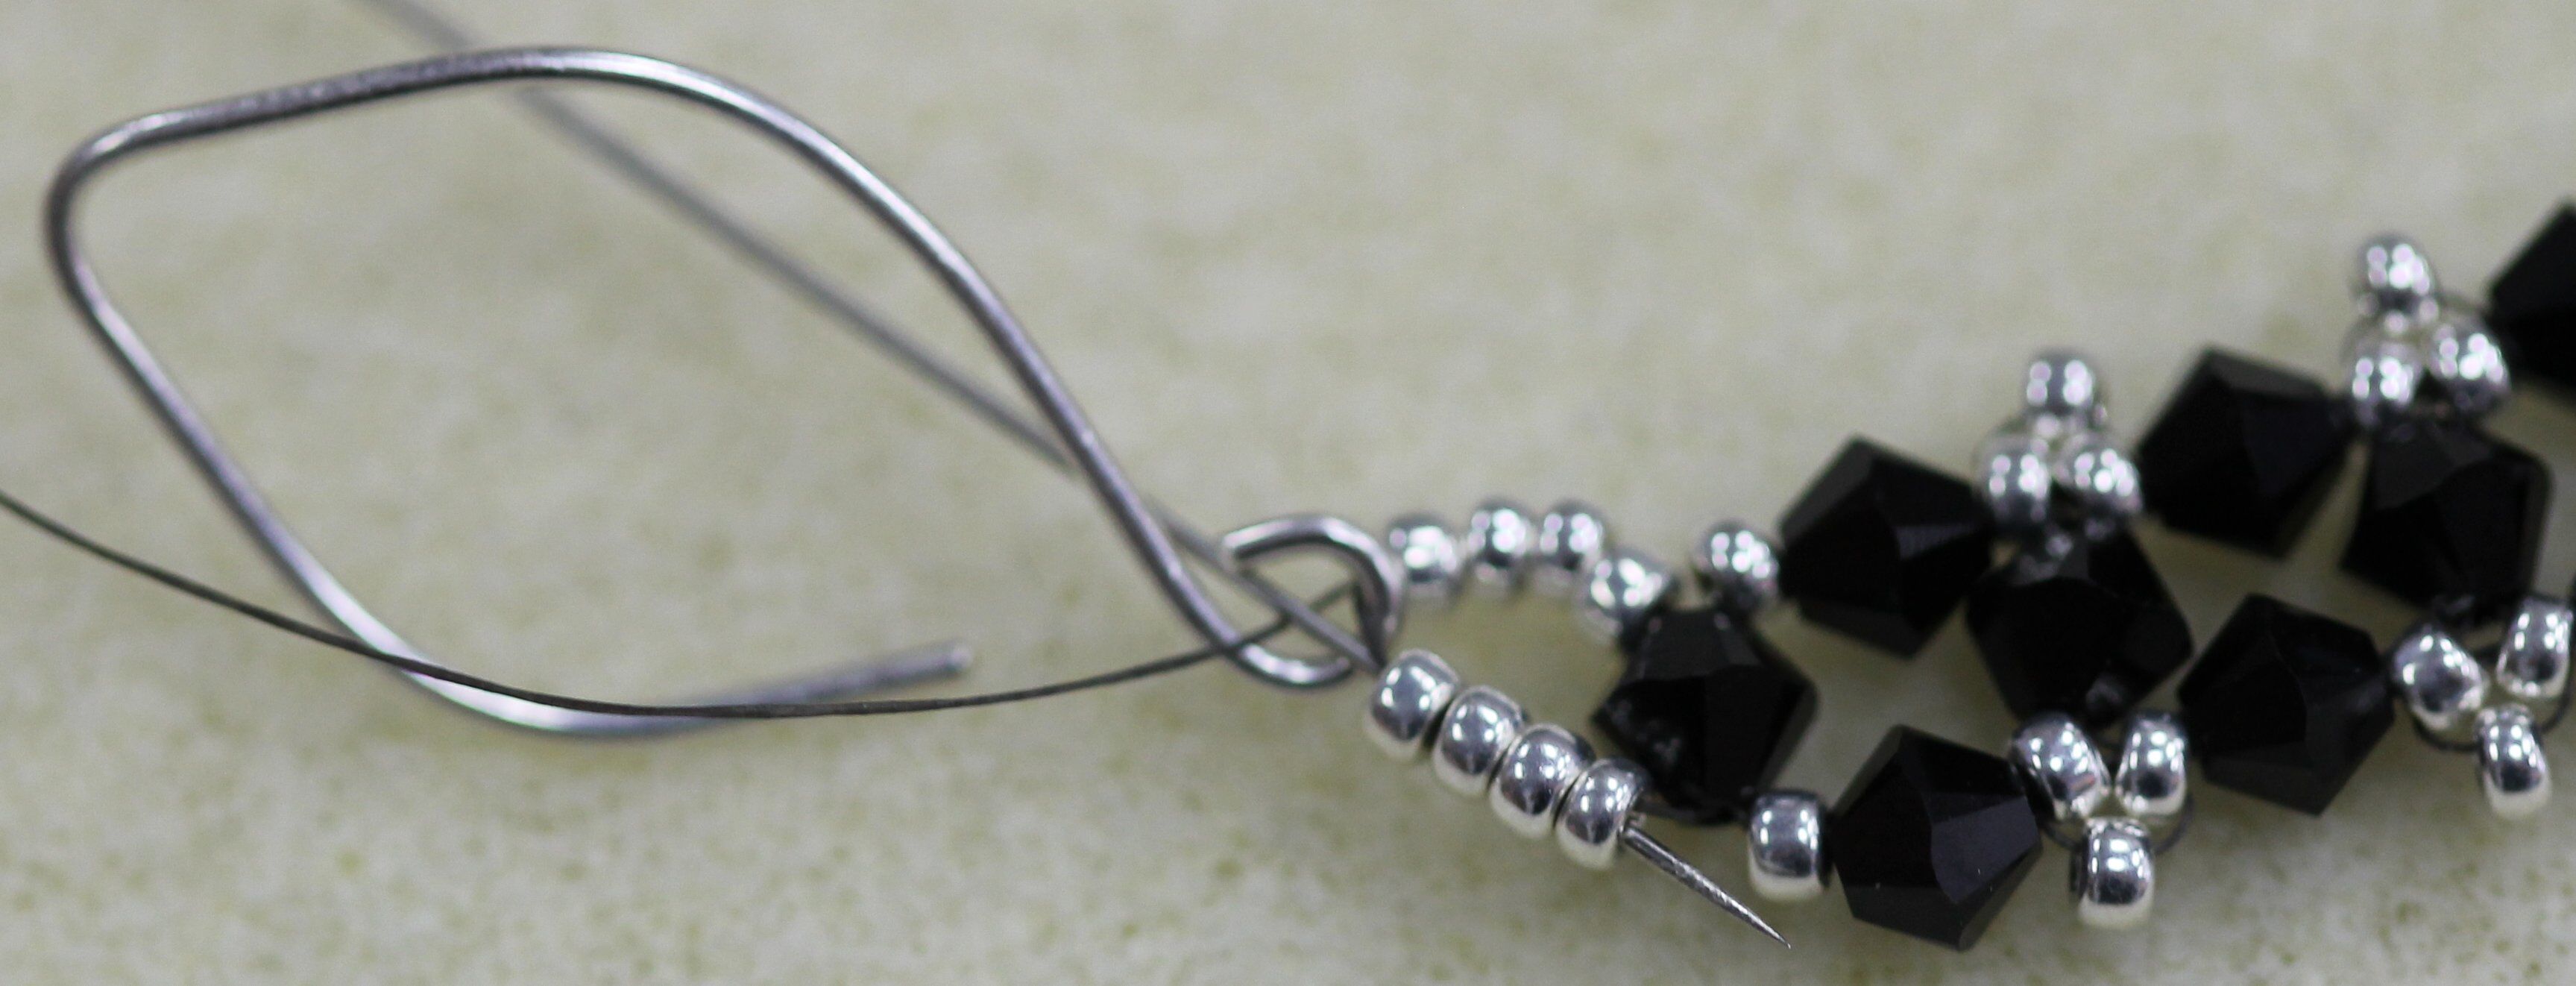
33. Pass the needle through the crystal on the left edge of the earring again.
34. Repeat steps 31-33 two more times to reinforce the connection. Pass the needle back down the top edge of the earring by going through one seed bead, one crystal, 2 seed beads, one crystal, etc. until you reach the starting point with the 6” tail of thread.

35. Once you have reached the end, both threads should be coming out of the same seed bead like this:
36. Tie the threads together in two knots to secure them.
37. The knots will be so small that they should disappear right inside the seed bead.
38. Pass the needle through the crystal and the seed bead on the right (end) edge of the earring.

39. Pass the needle through the bottom edge of the earring by going through one crystal, 2 seed beads, one crystal, 2 seed beads, etc.
40. Keep passing the needle through the bottom edge of the earring until you have reached the end of the bottom edge.
41. Tie off the thread carefully, making at least three sets of three knots.
42. The knots should disappear between the seed bead and the crystal.
43. Cut off the excess thread from both this thread and the tail thread.
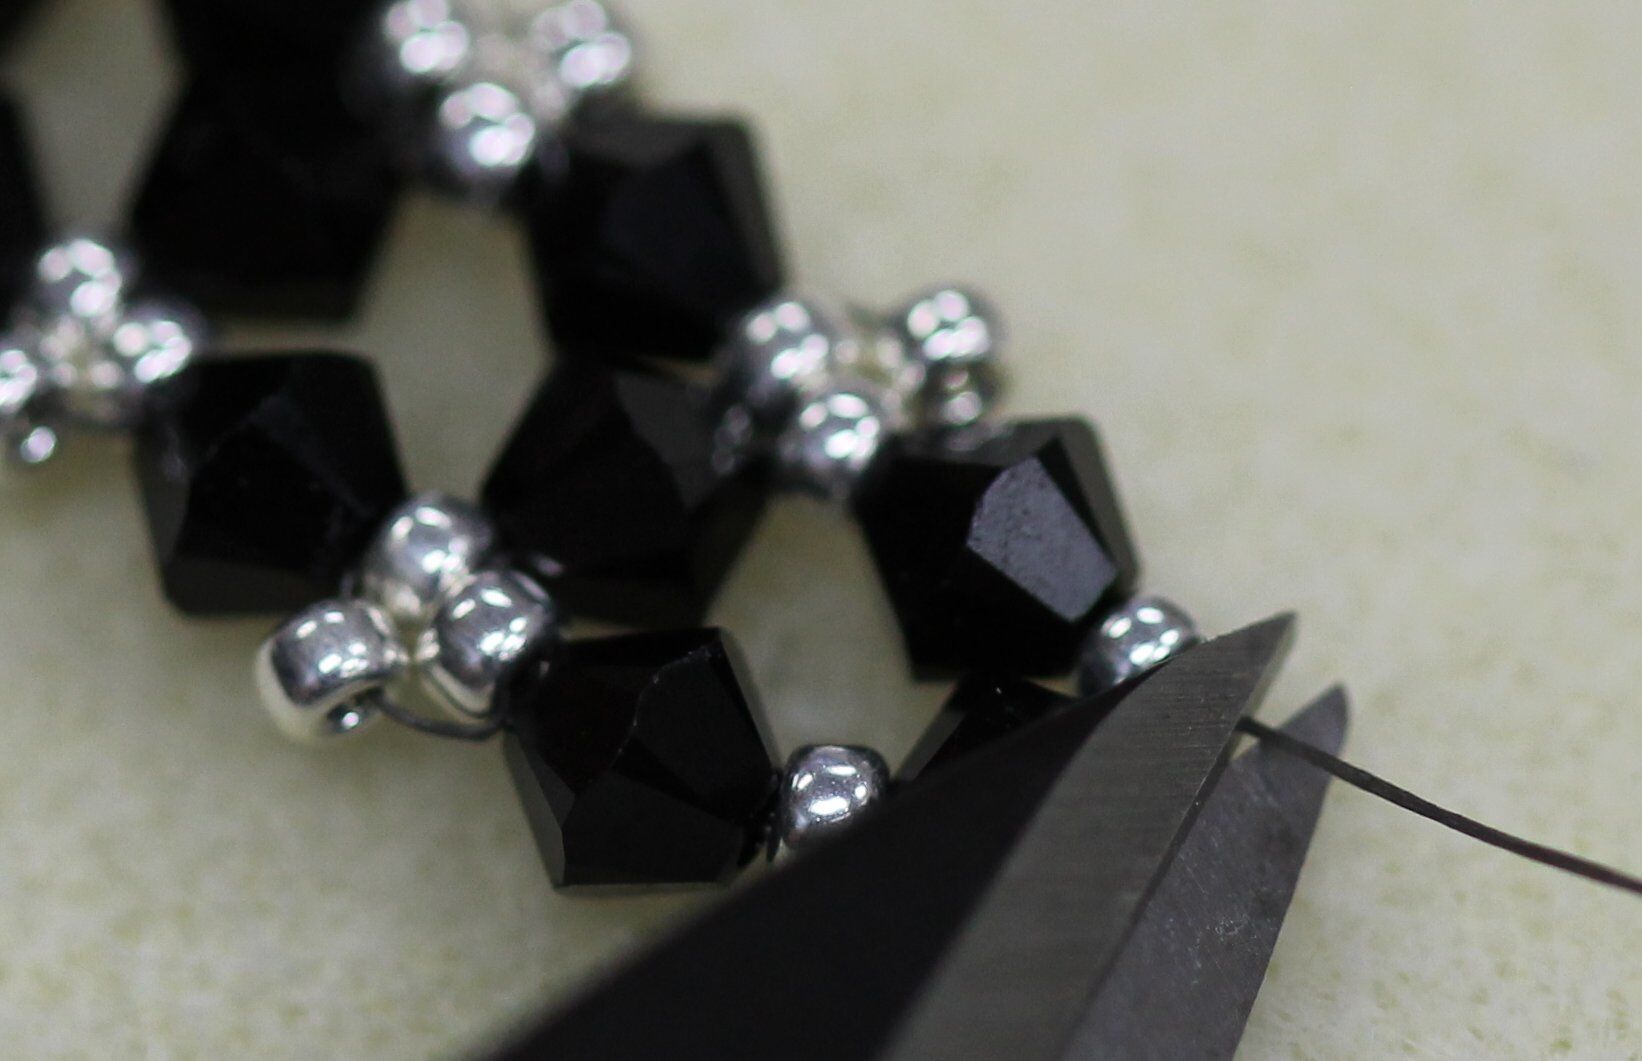
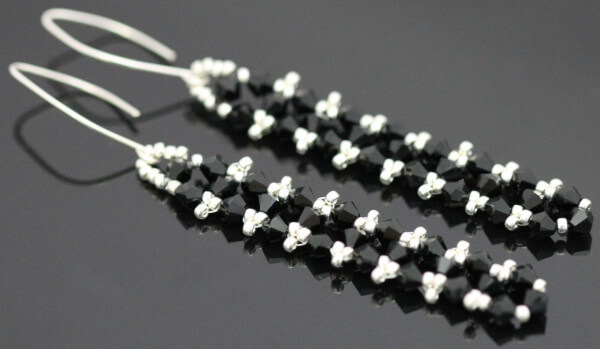
One earring is now finished! Repeat these steps to create your second earring. The finished earrings are shown below:
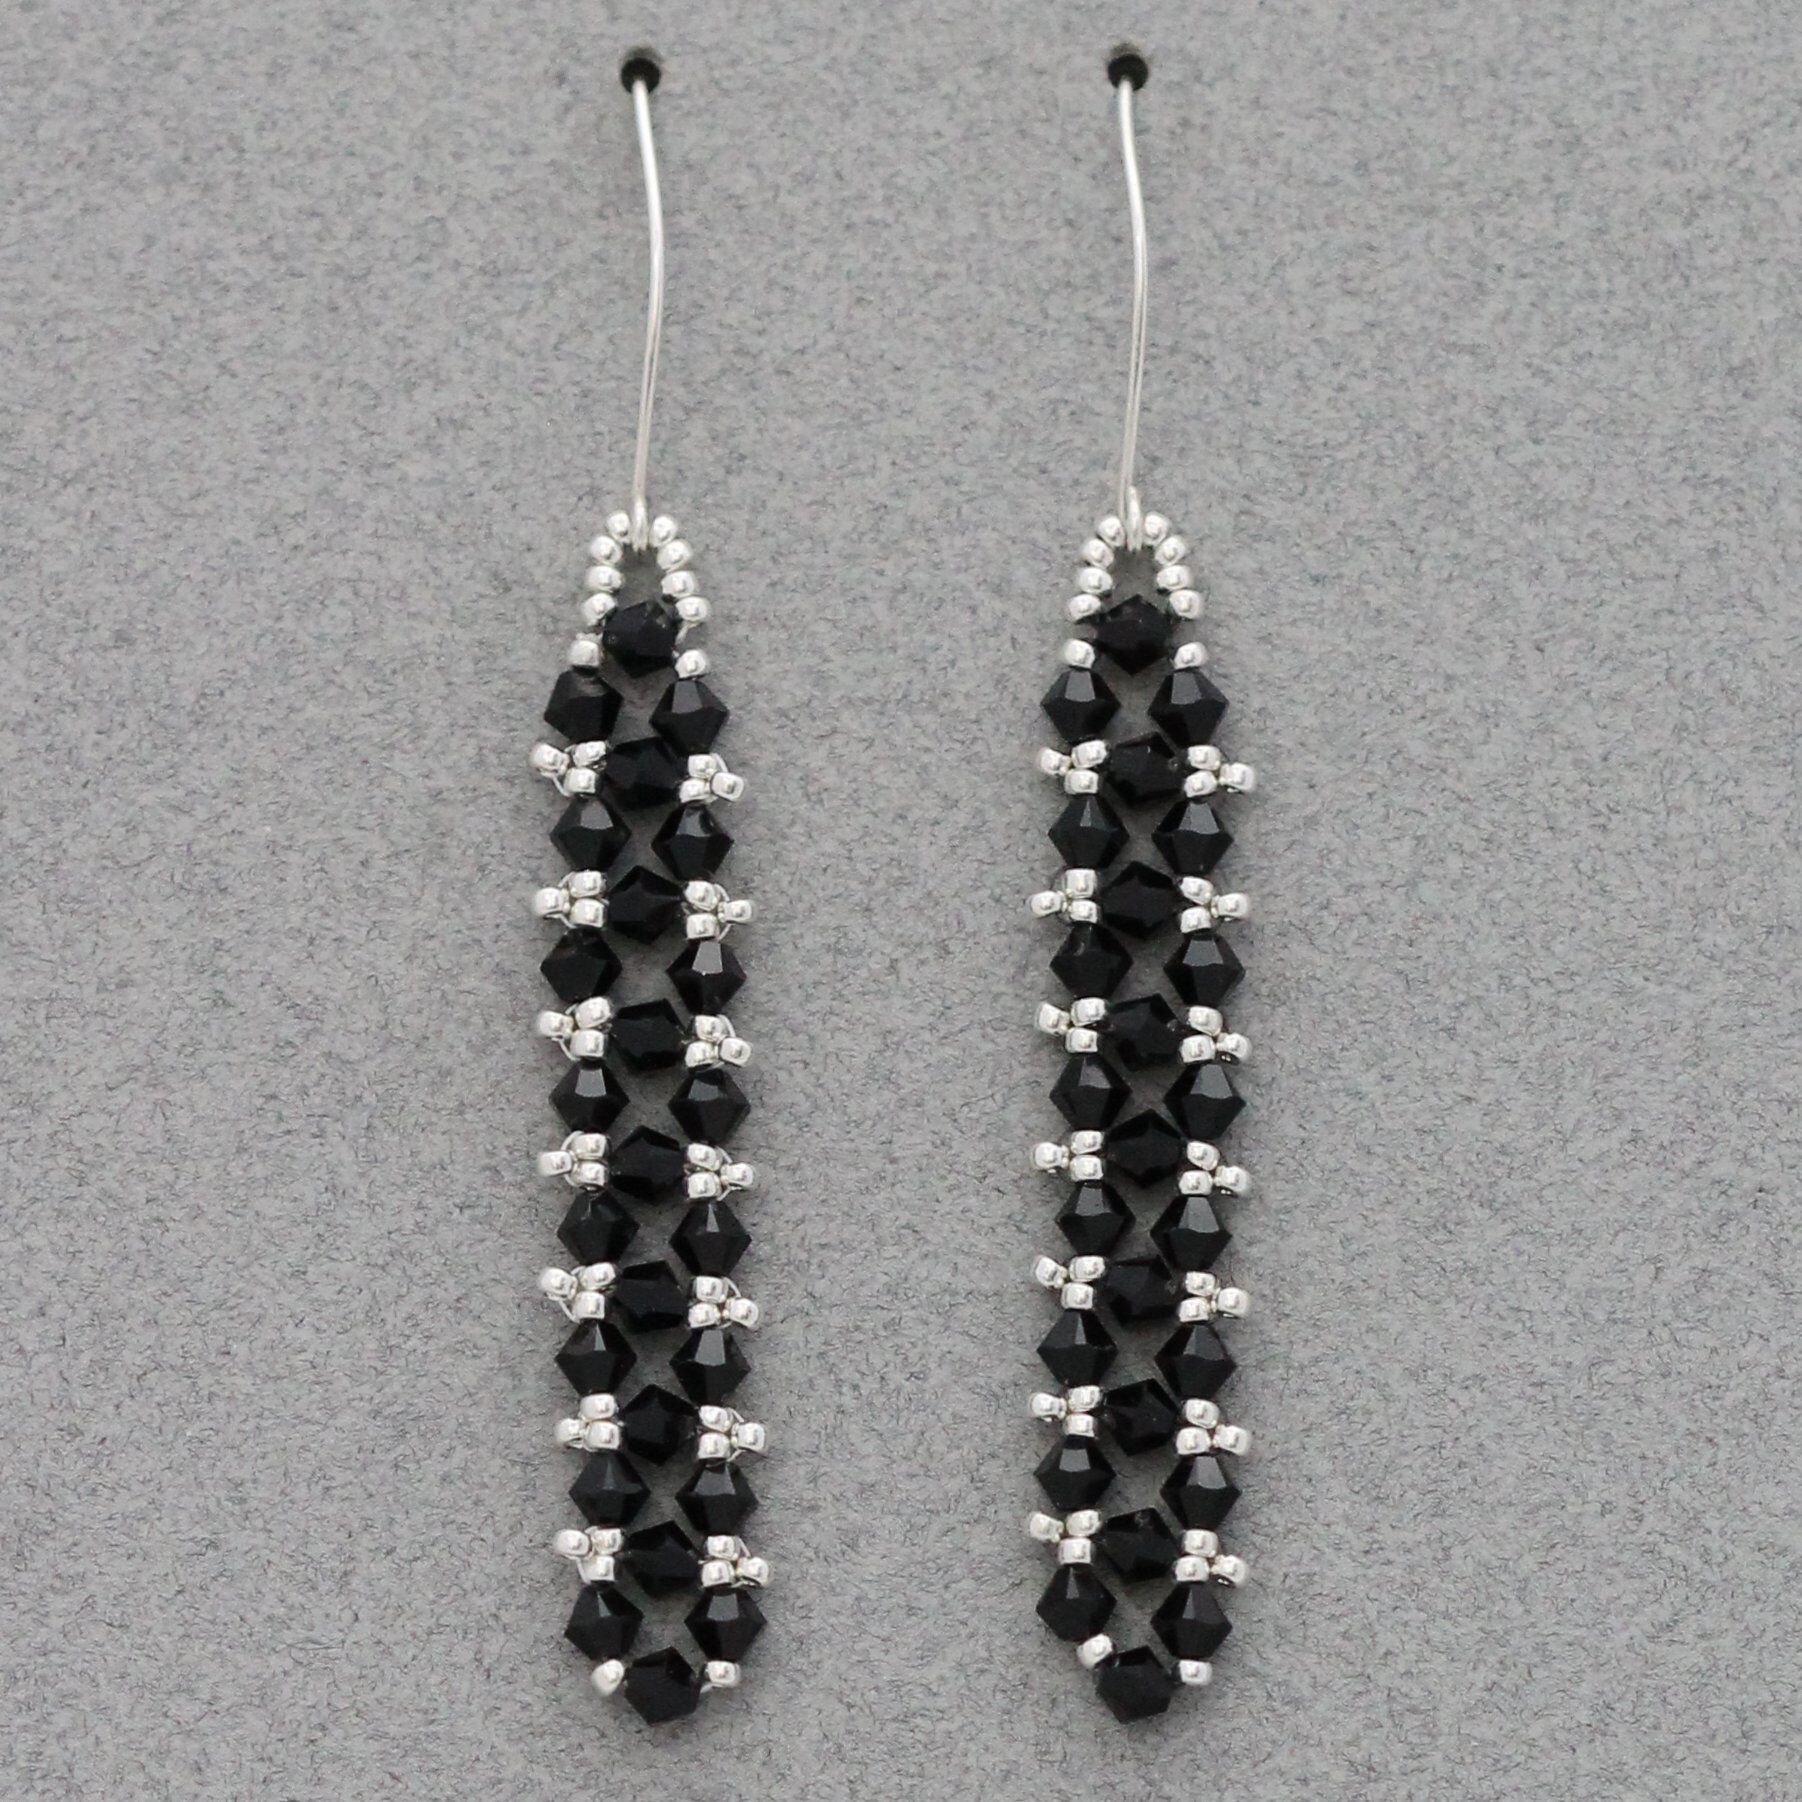
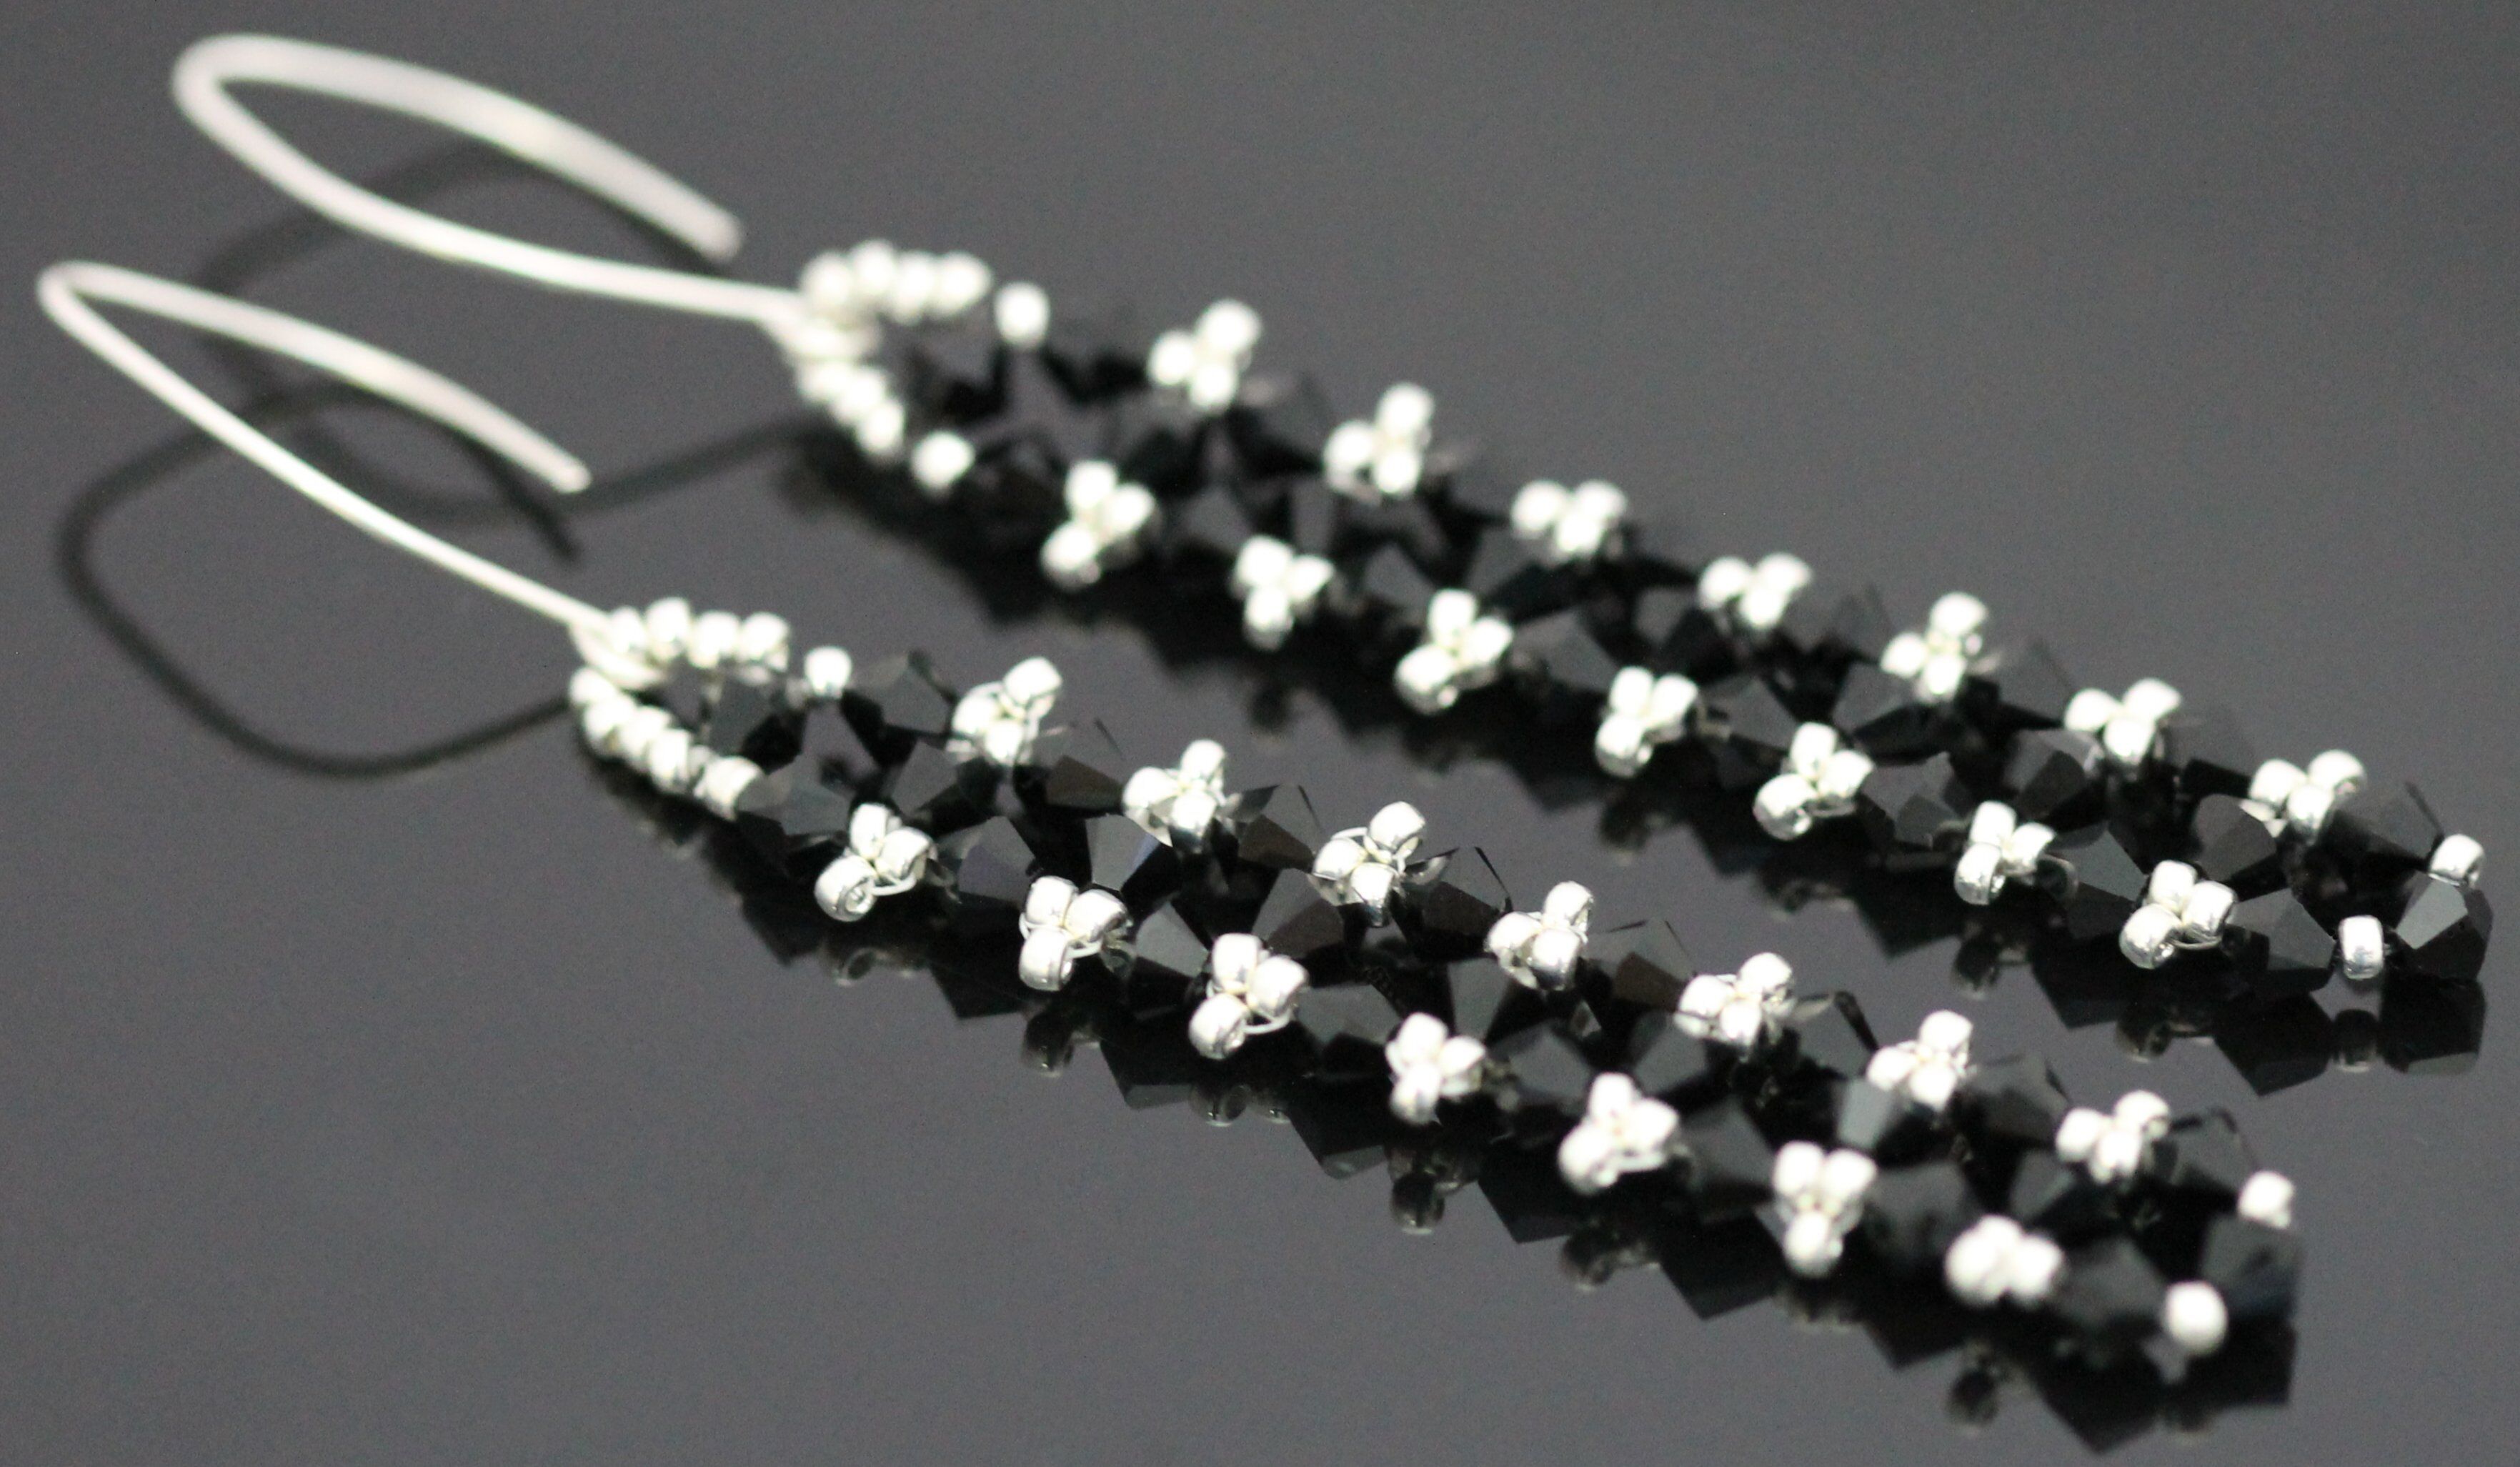
Ta-Da!!! Join us next month for our last tutorial in our right angle weave series where we’ll learn a two-strand variation of the right angle weave stitch. We’ll teach you the two-strand right angle weave variation and show you how to make multiple rows using two strands to make a Banded Right Angle Weave Ring. Until then…
Happy Beading!!
Related Articles

Bead World Scottsdale has a New Home!!
Bead World Scottsdale has a New Home!! As most of you know, Bead World Scottsdale moved into it’s new...
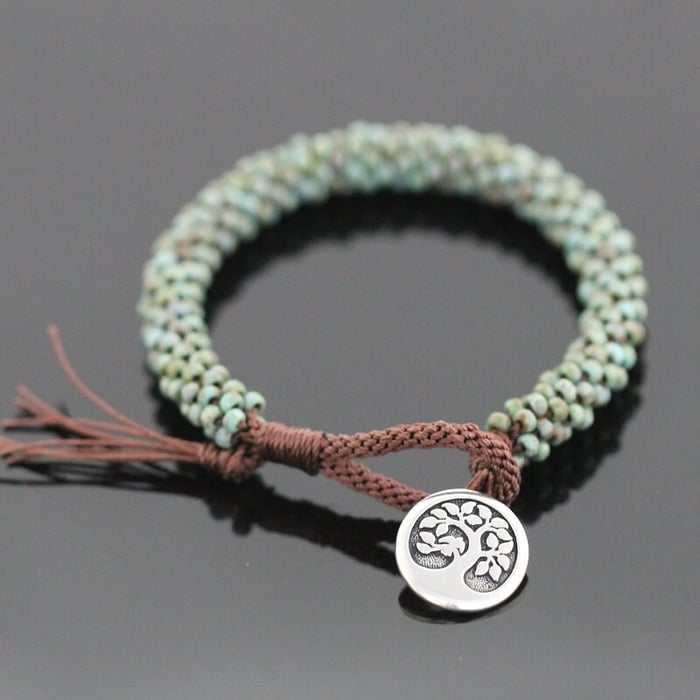
Beaded Kumihimo Bracelet Tutorial
I hope you all had fun with last month’s introduction to kumihimo in our Kumihimo Necklace Tutorial!...
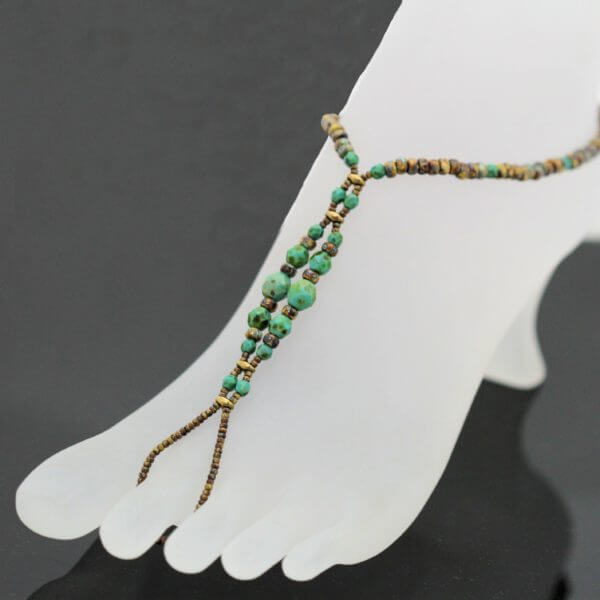
Barefoot Sandals Tutorial
Barefoot Sandals Tutorial It’s summertime and the living is easy…especially in these chic beaded Barefoot...