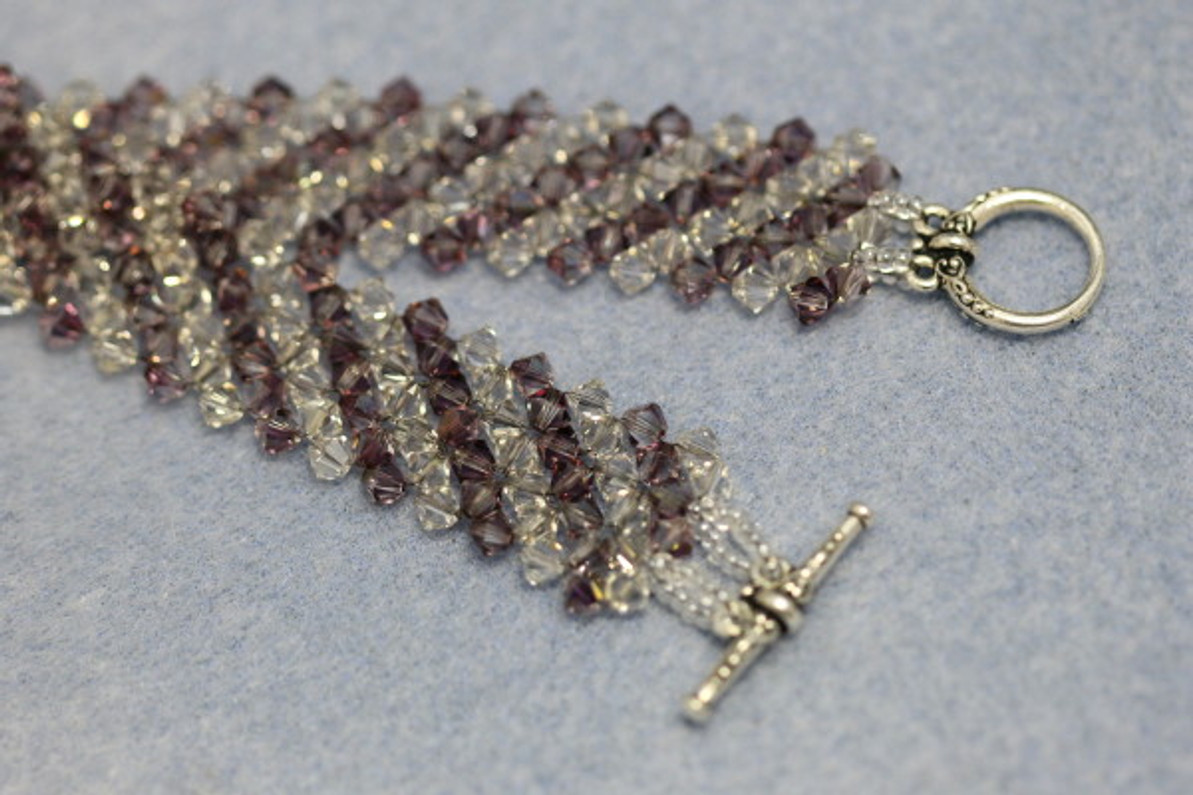
Multi Row Right Angle Weave Bracelet Tutorial
Multi Row Right Angle Weave Bracelet Tutorial
You will need:
4mm Swarovski crystal bicones, color A (117)
4mm Swarovski crystal bicones, color B (117)
Size 11 seed beads (2 grams)
Two-strand toggle clasp
Fireline (18 feet)
Scissors
Size 10 beading needle
.
1. Thread your needle onto a ten foot length of Fireline. (You can use a shorter length if you prefer, but you will need to tie on more thread mid-bracelet.) Pick up two color A crystals and then two color B crystals.
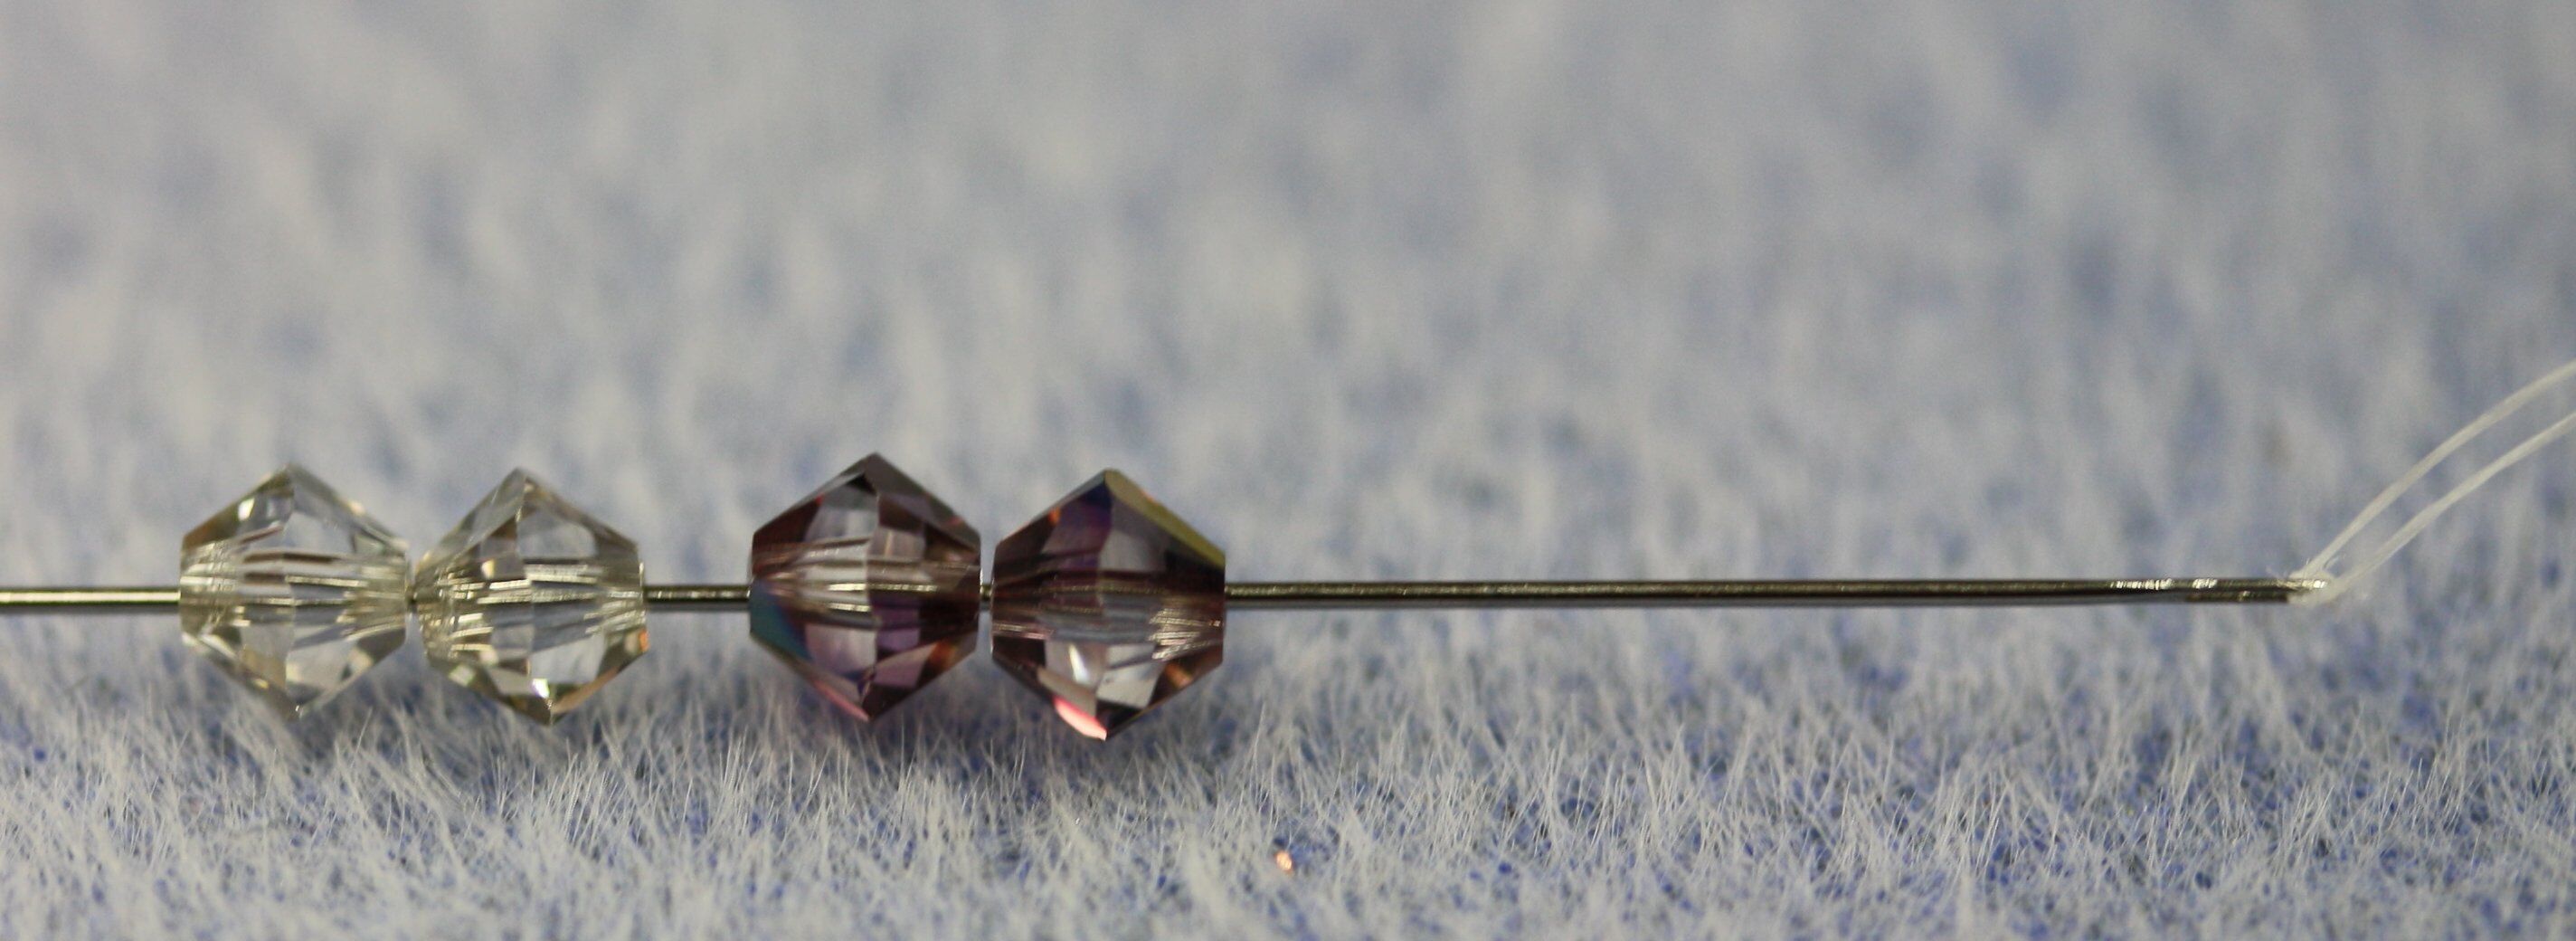
2. Leaving an 18 inch tail, pass the needle back through all four crystals, forming a loop.
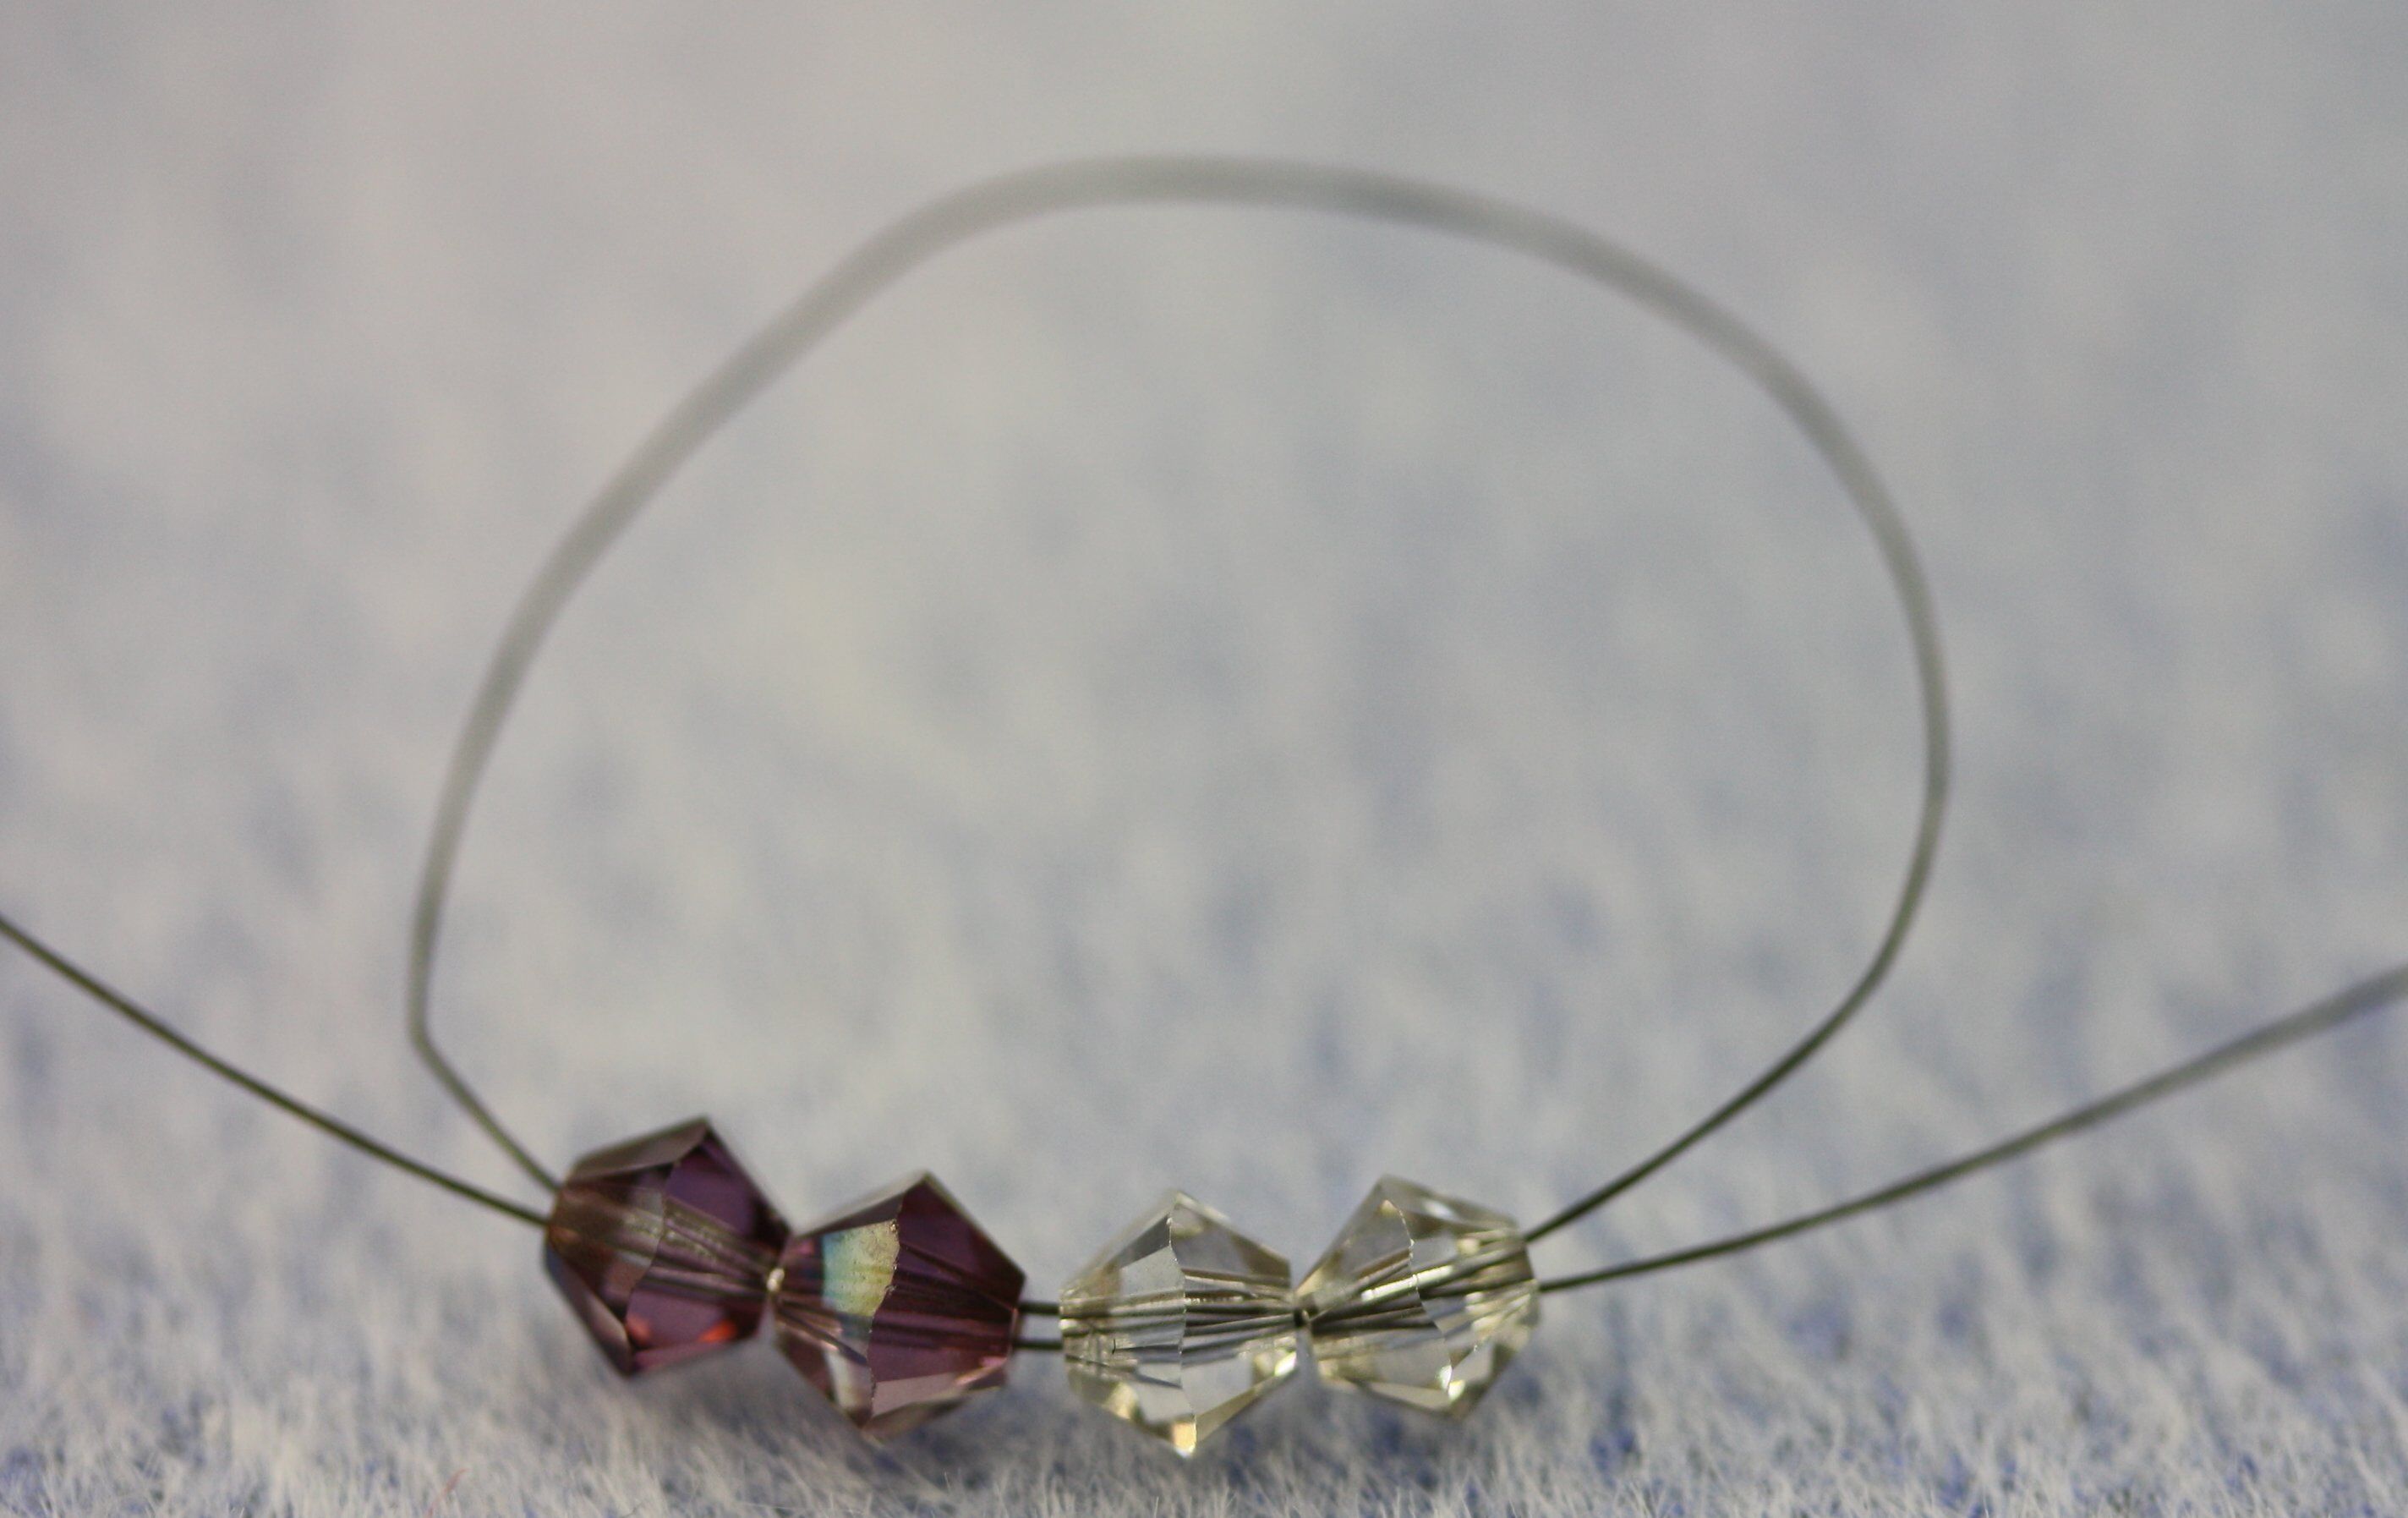
3. Pull the thread tight to form a tight loop of beads.
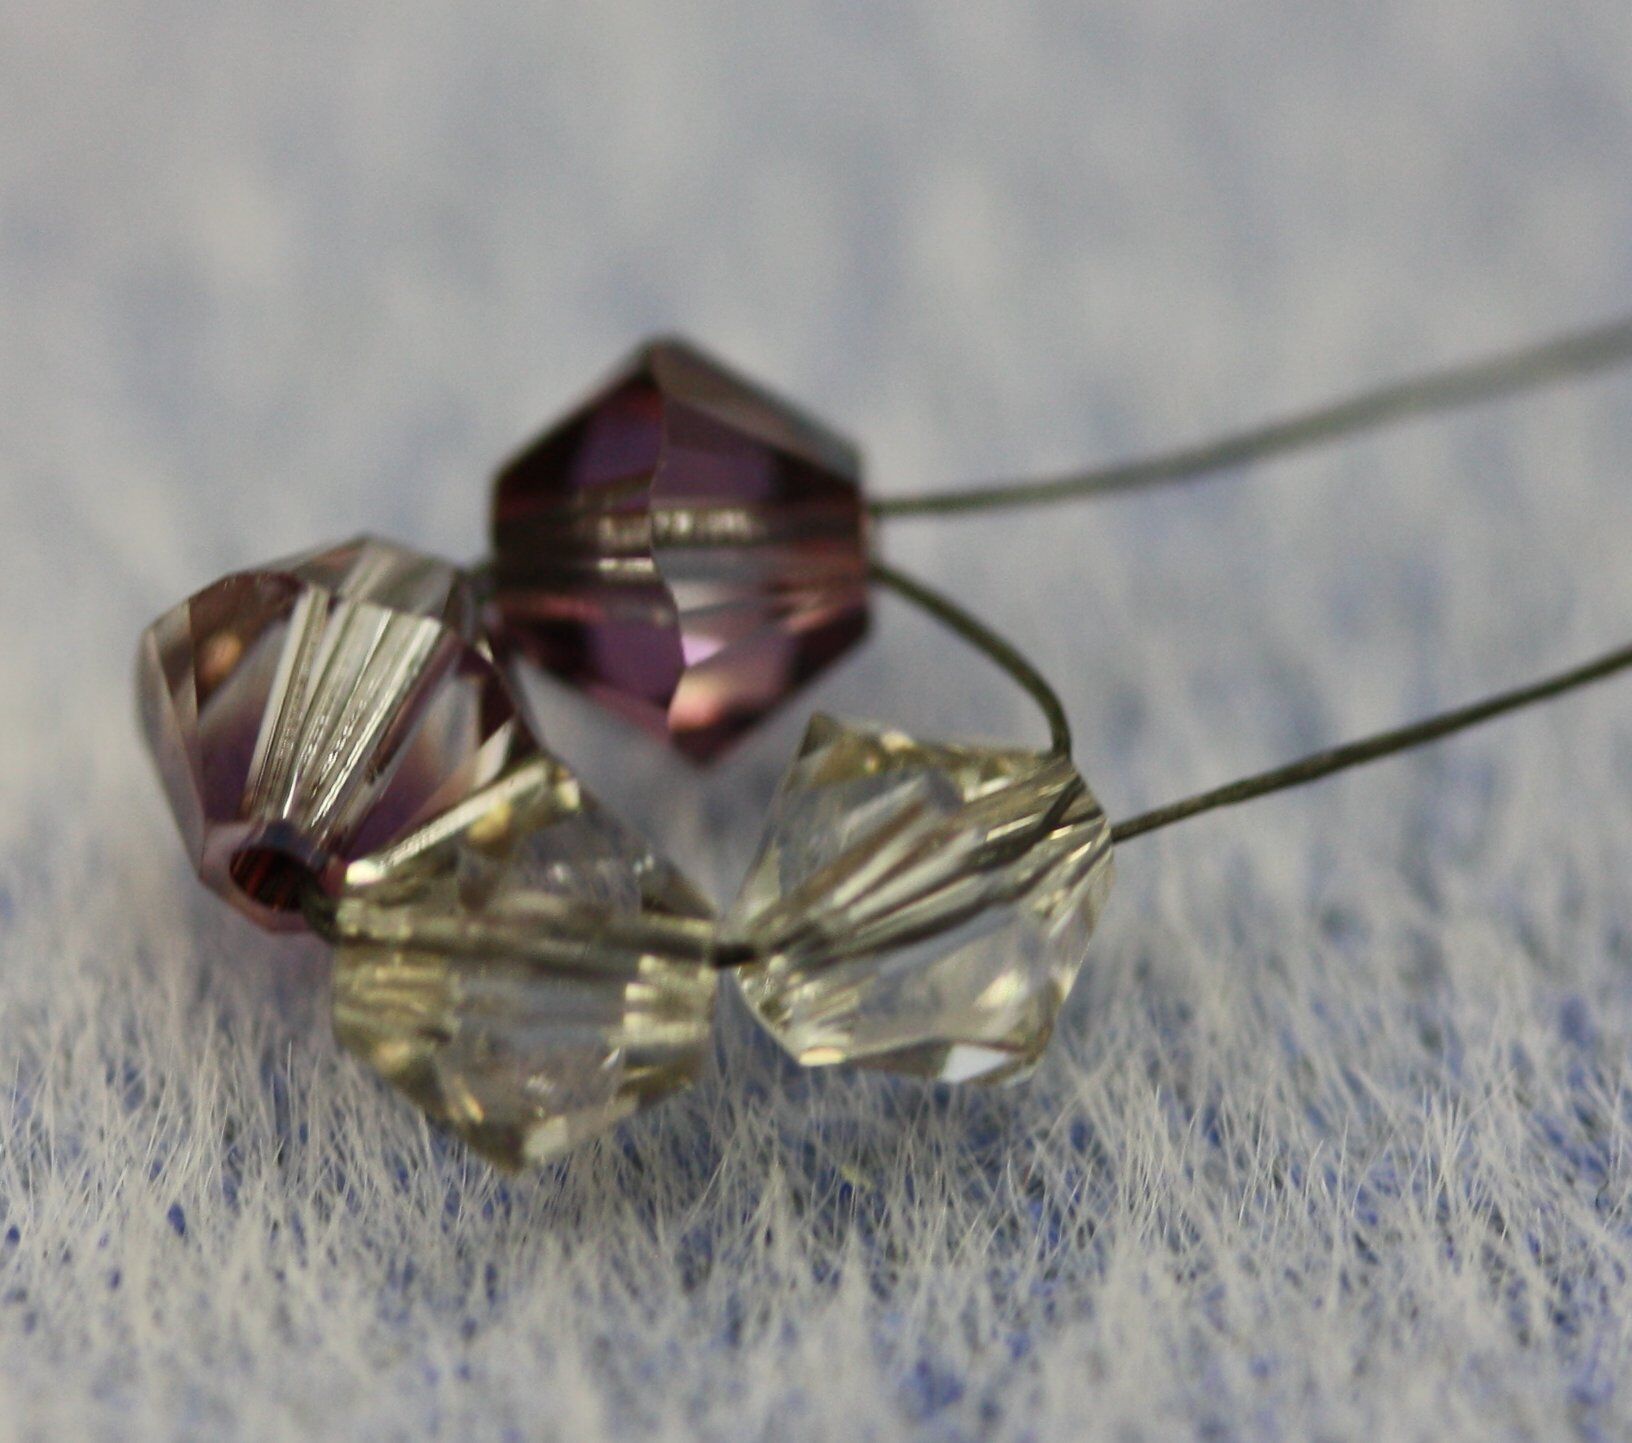
4. Continuing the circle, pass the needle through the color A bead on the side.
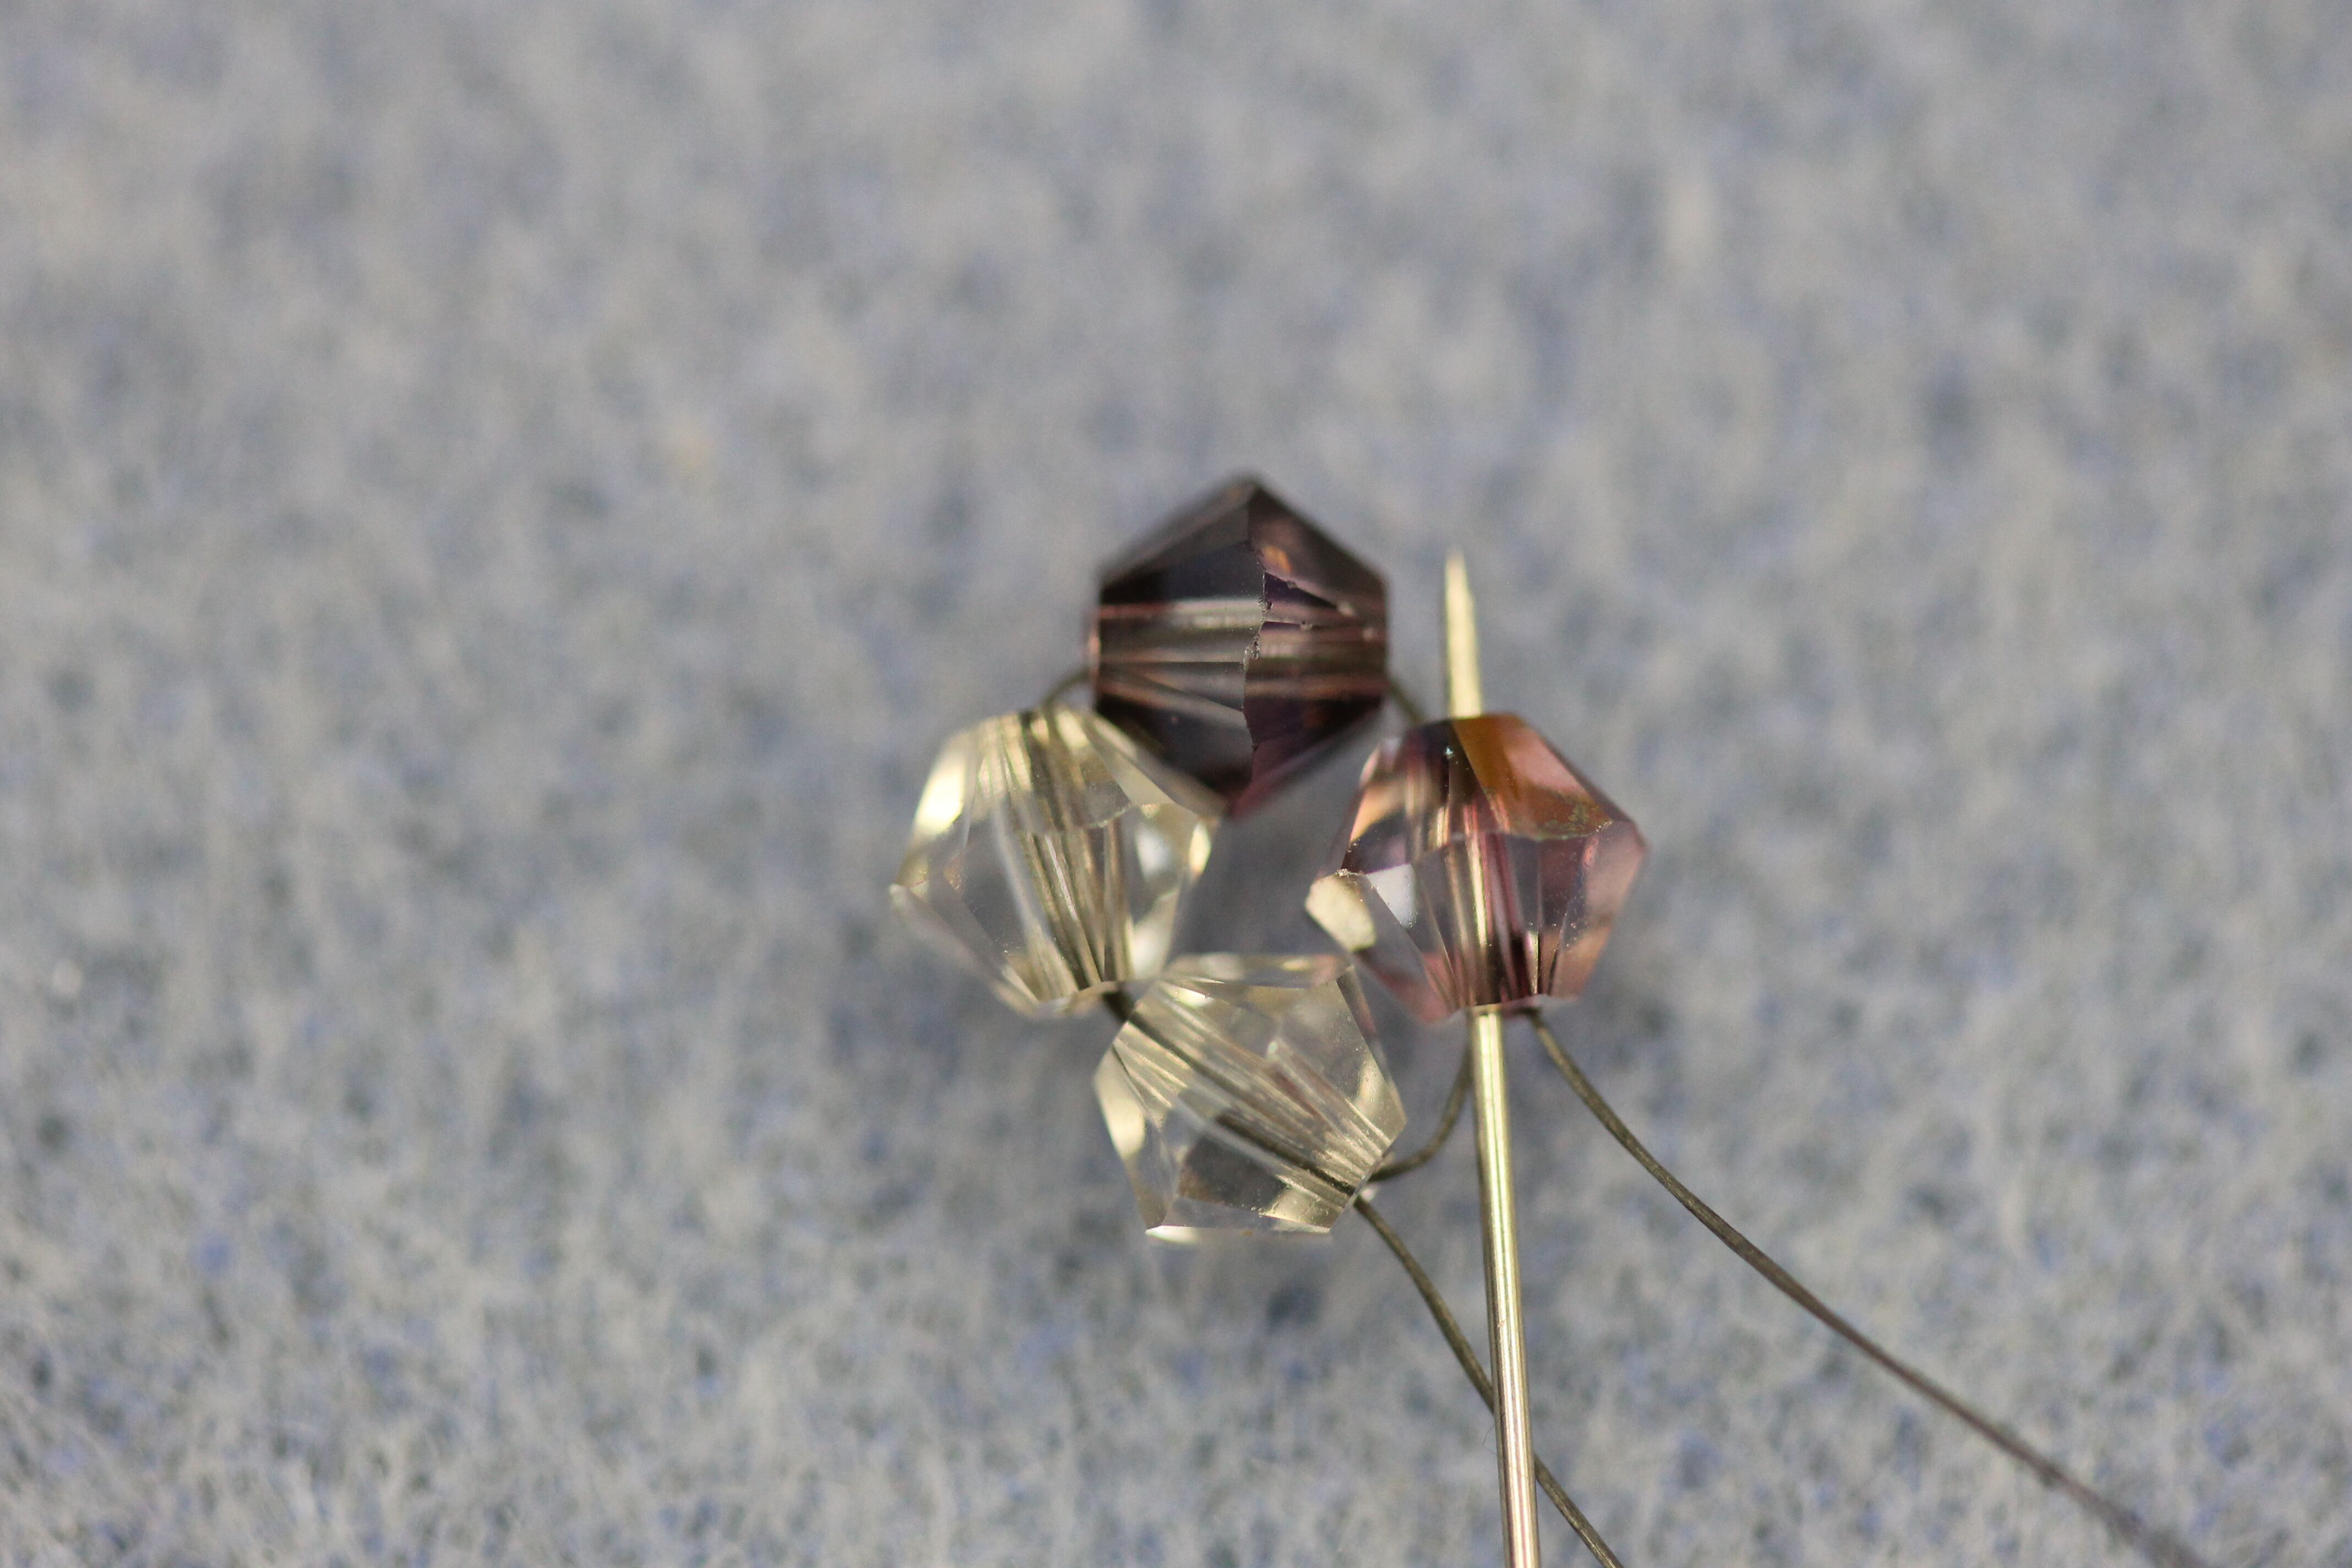
5. Pass the needle through the top color A crystal.
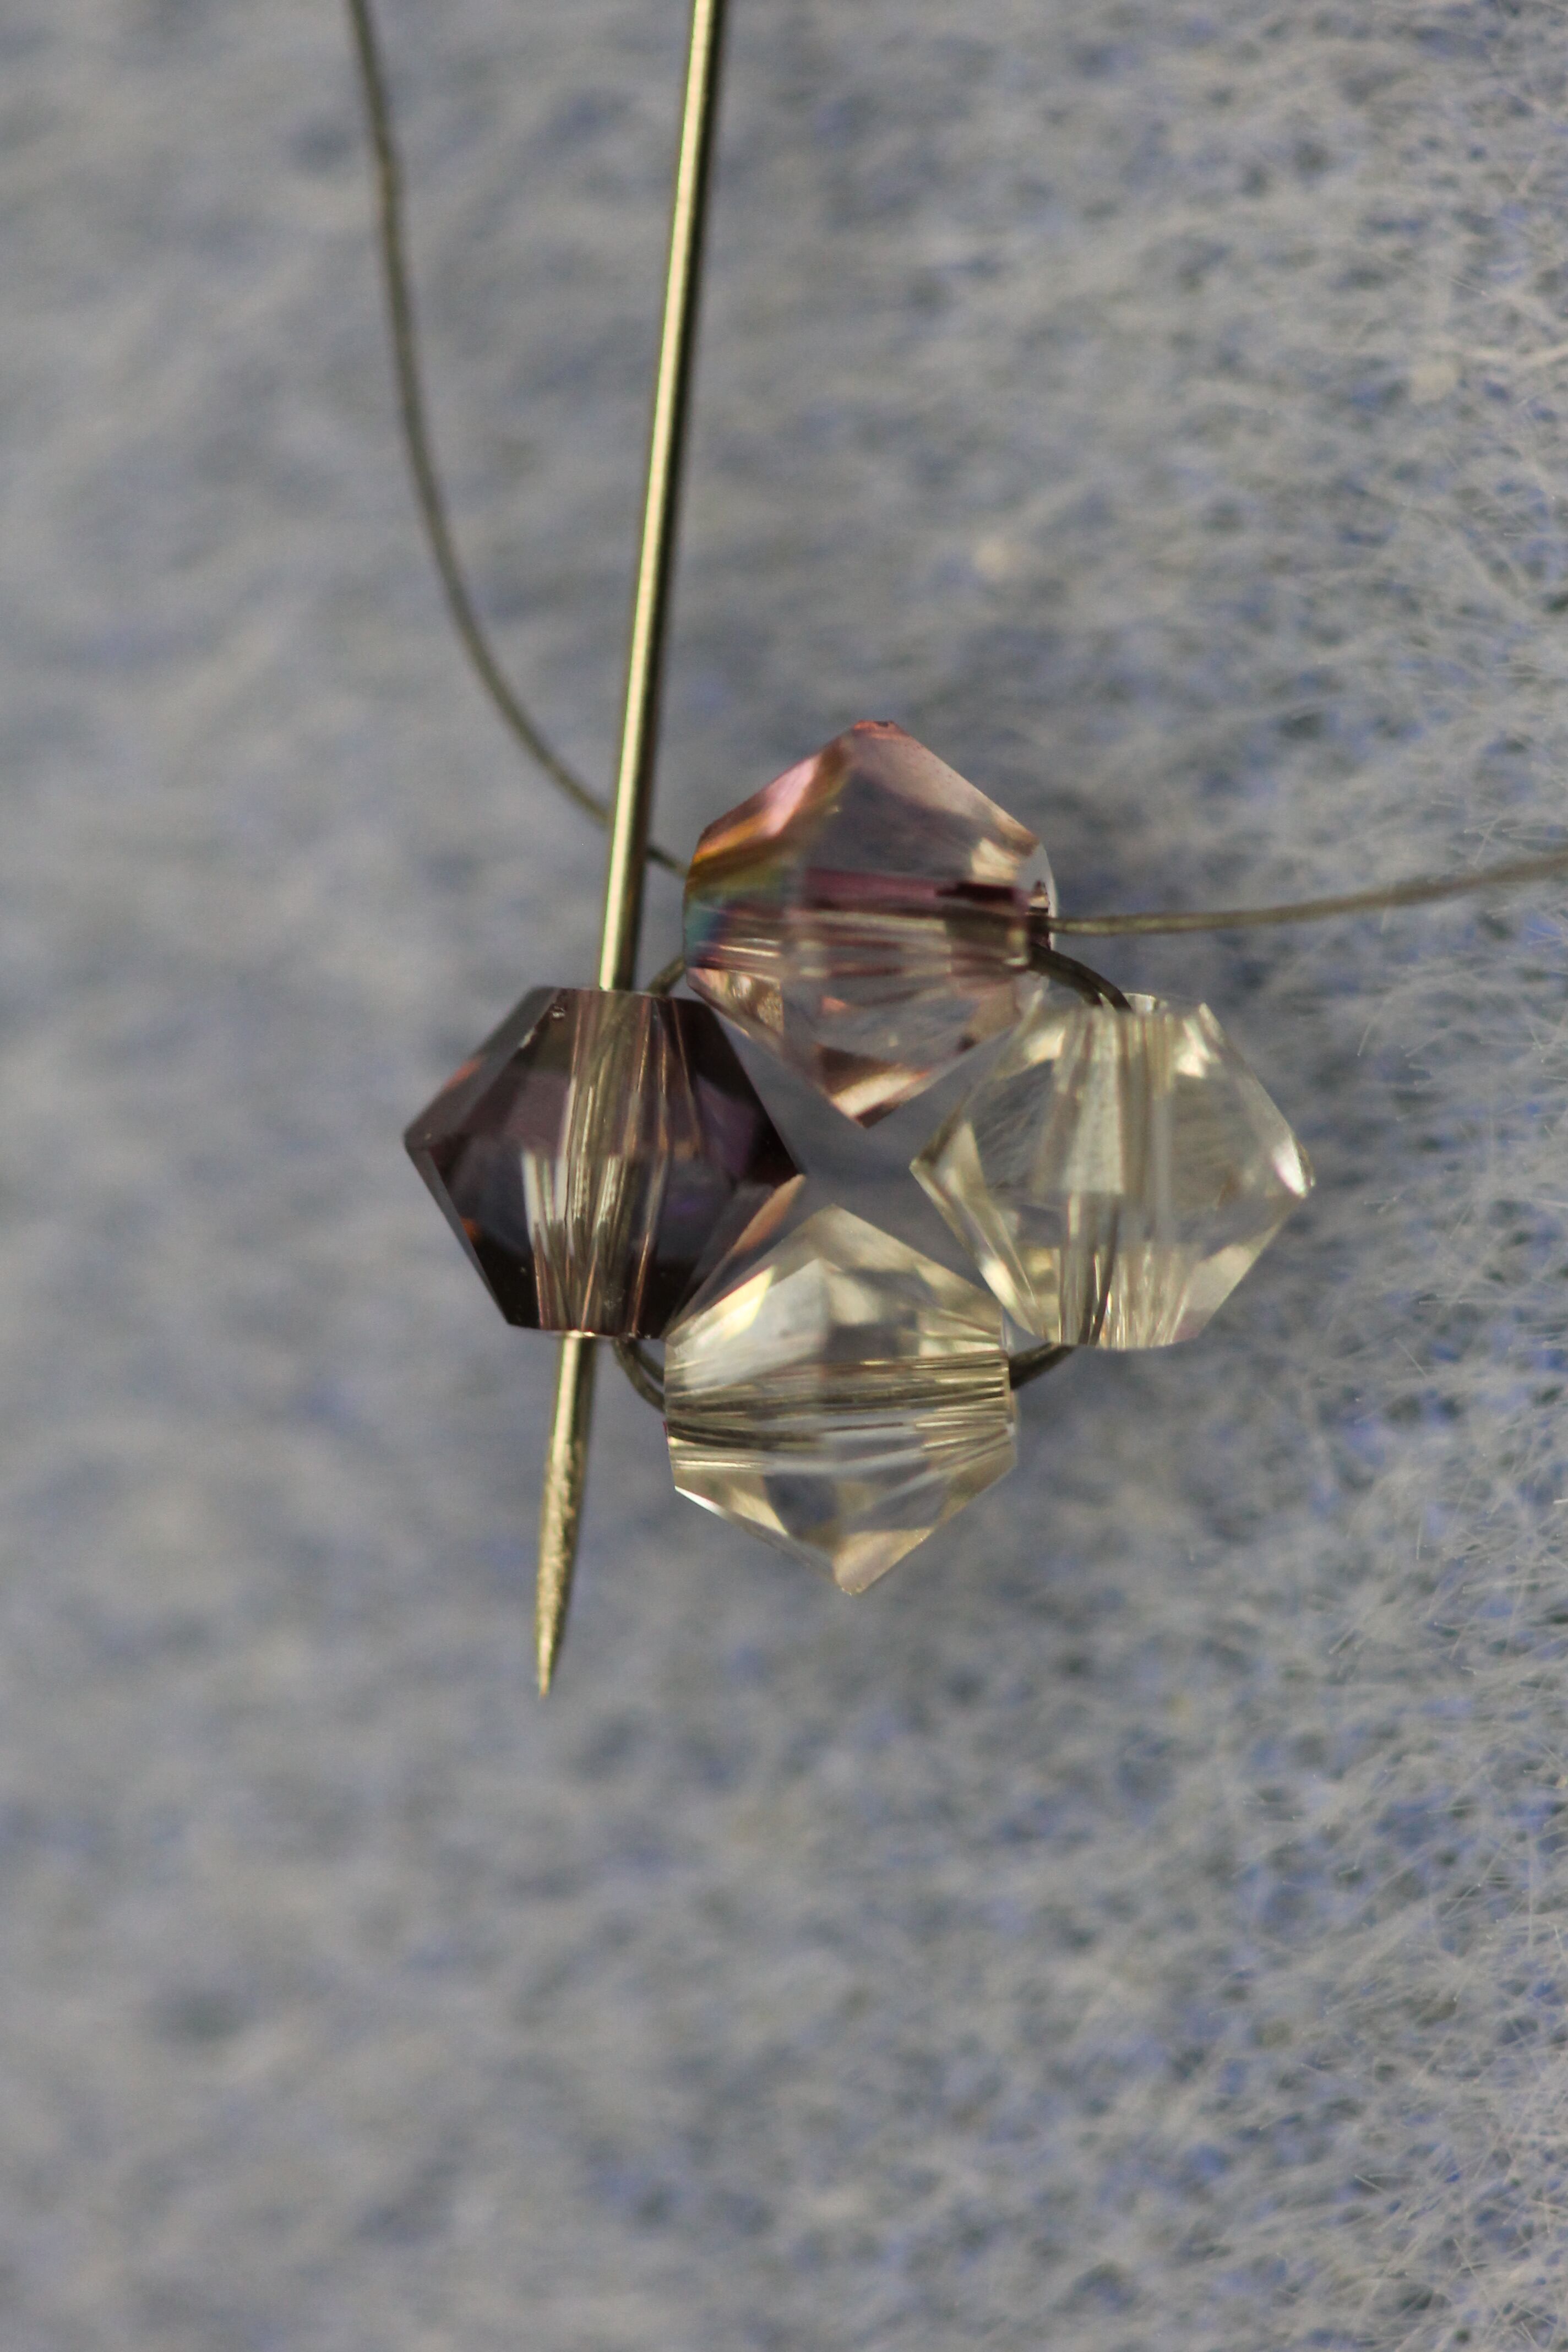
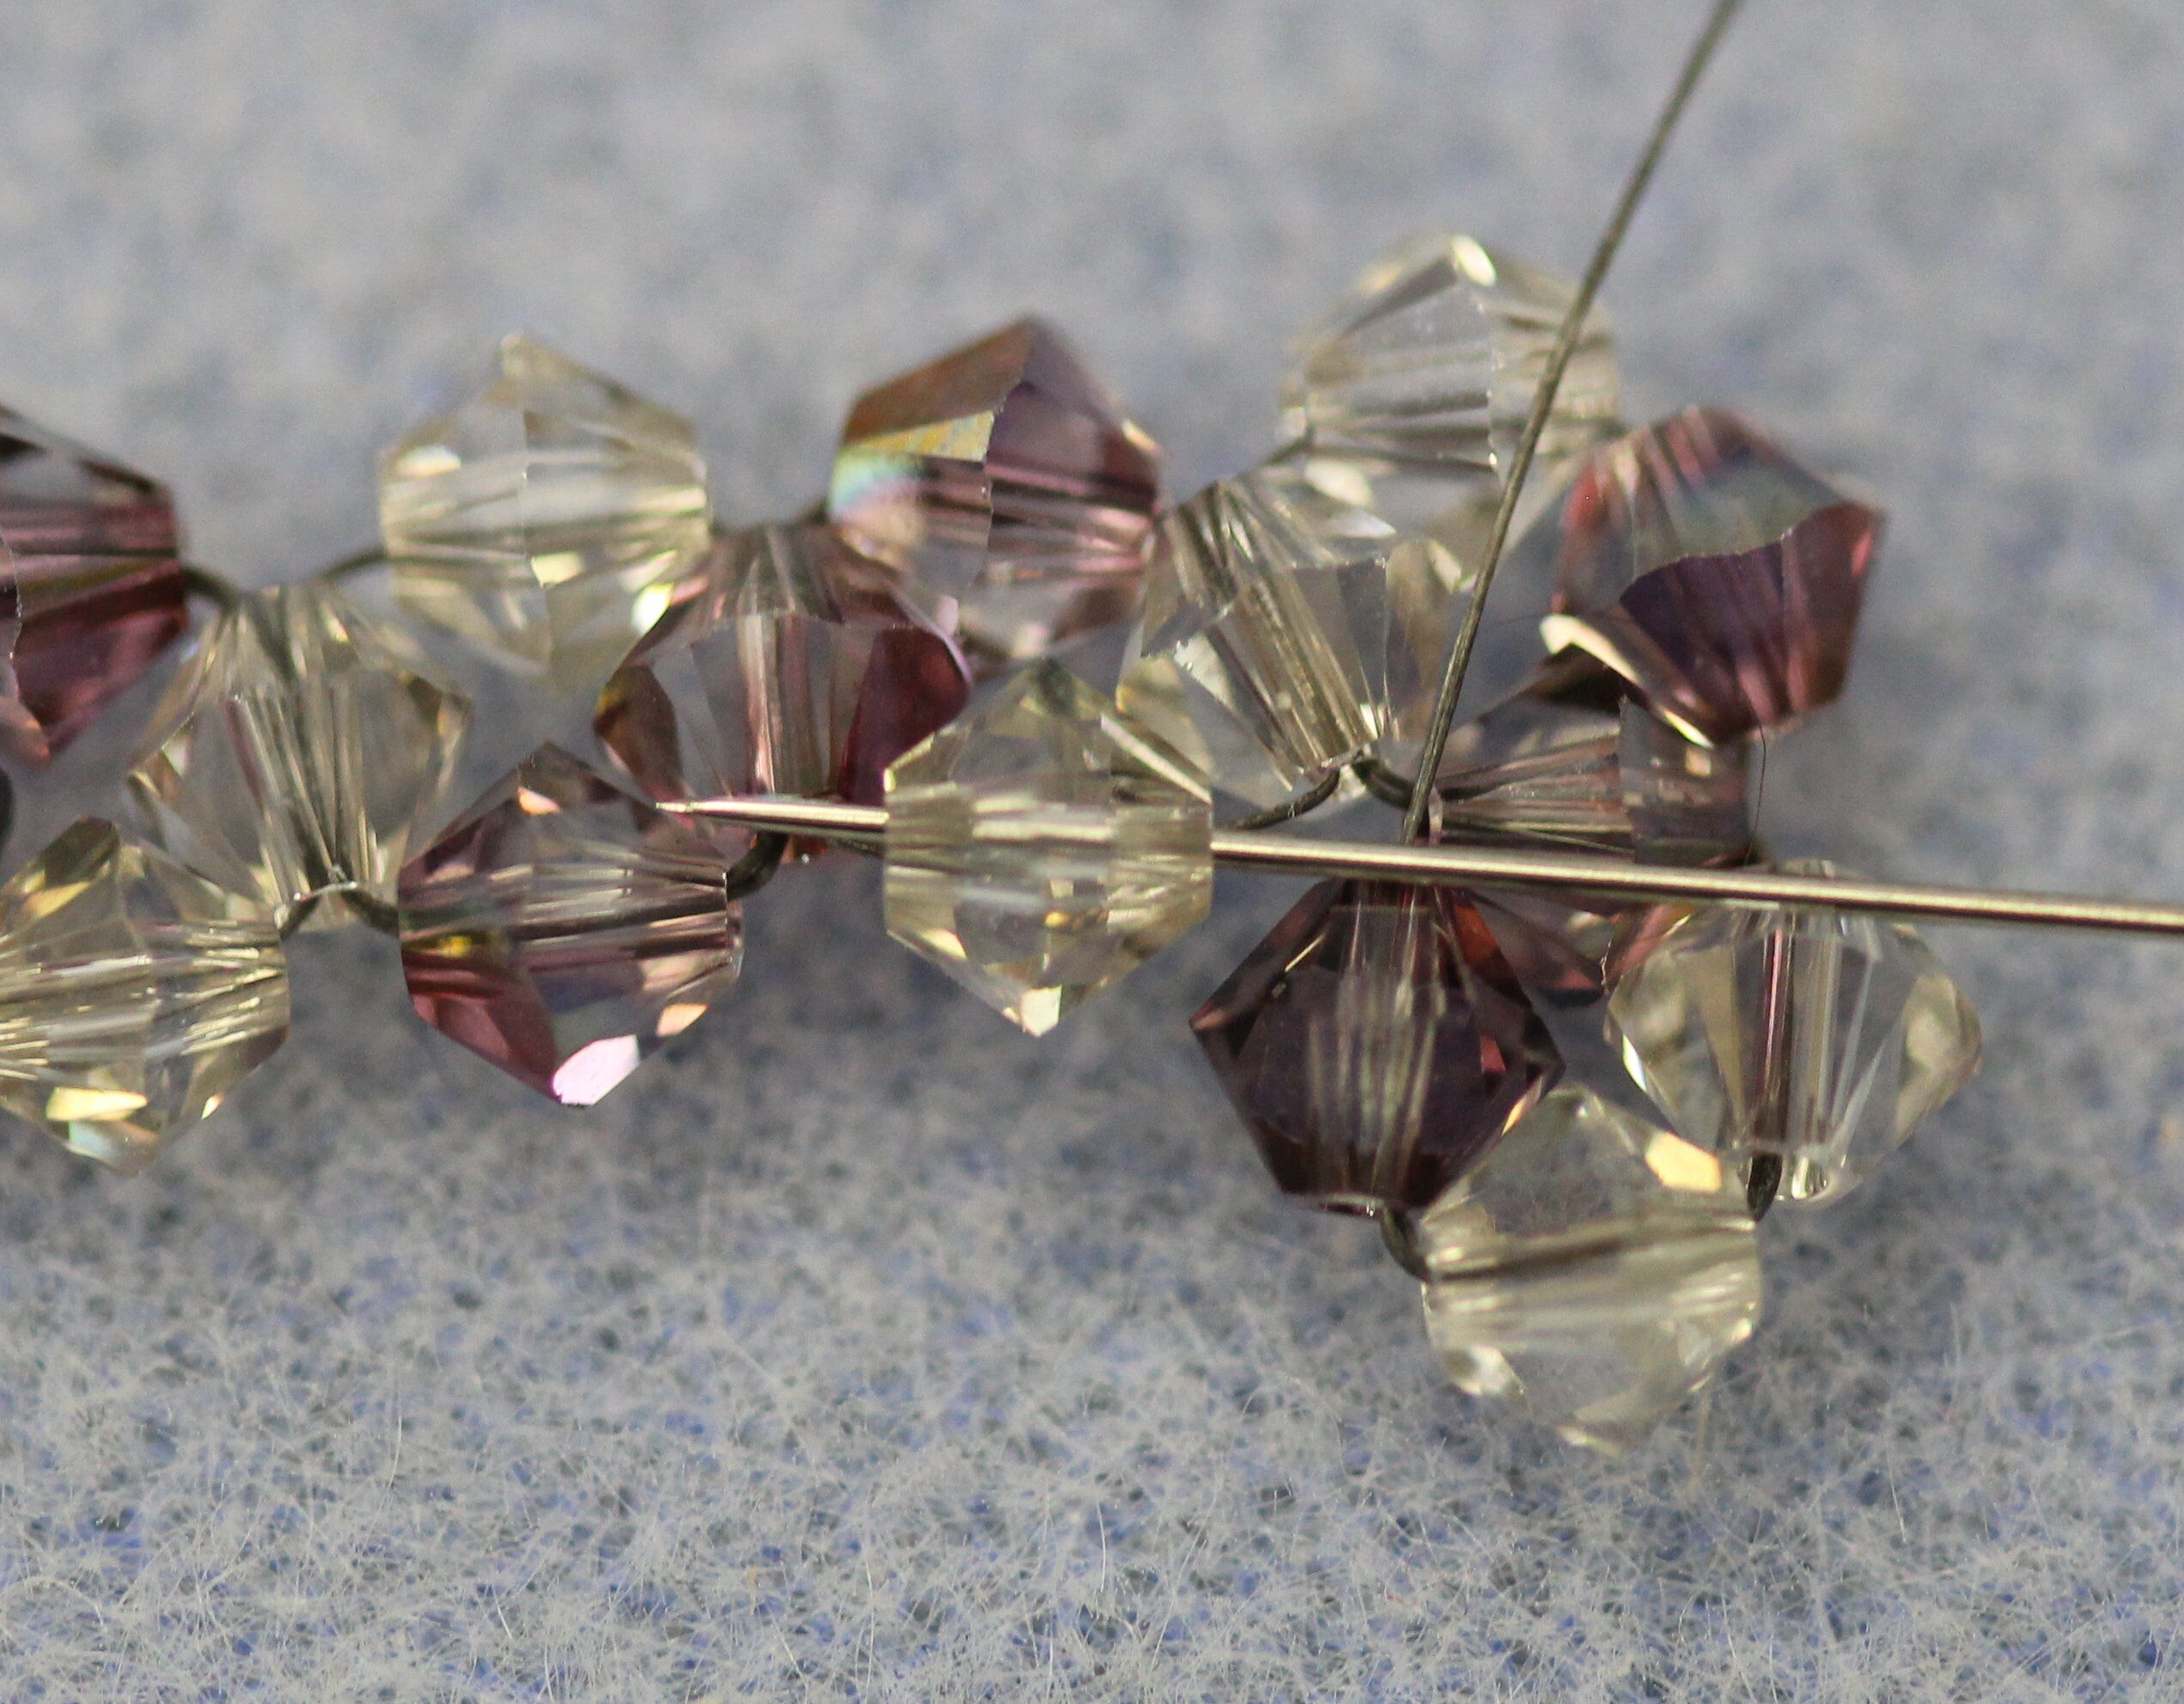
6. Pull the thread tight. This is your basic right angle weave unit.
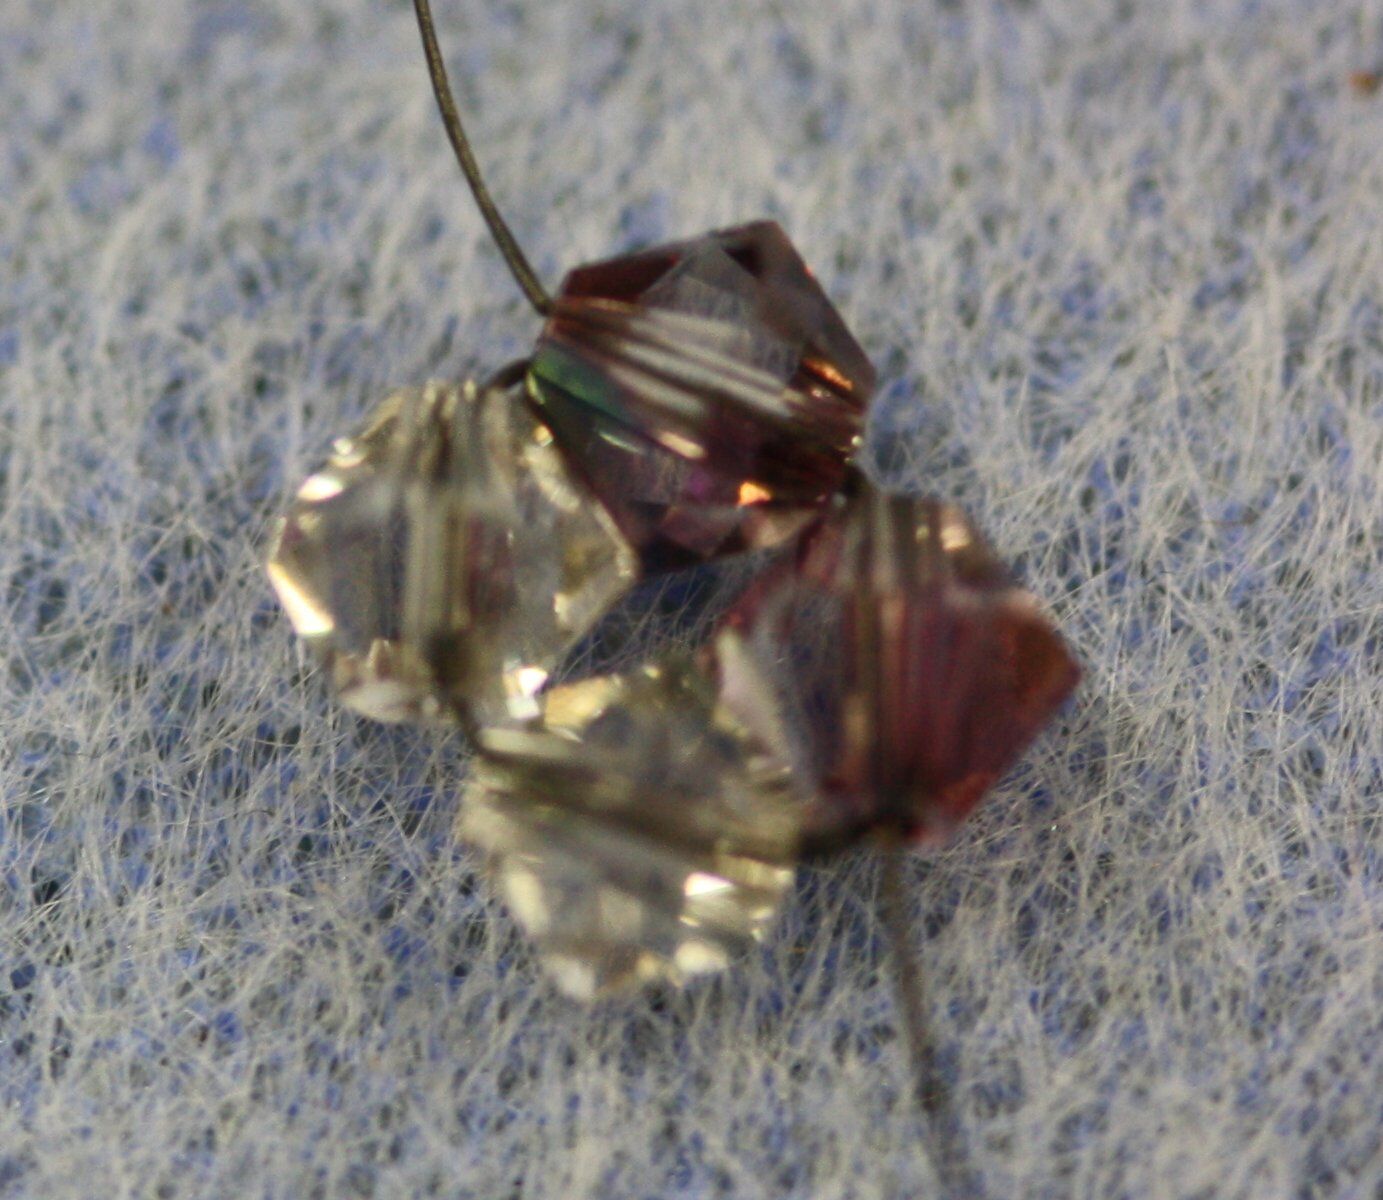
7. Our thread is exiting a color A bead, so we will pick up one color A bead and two color B beads.
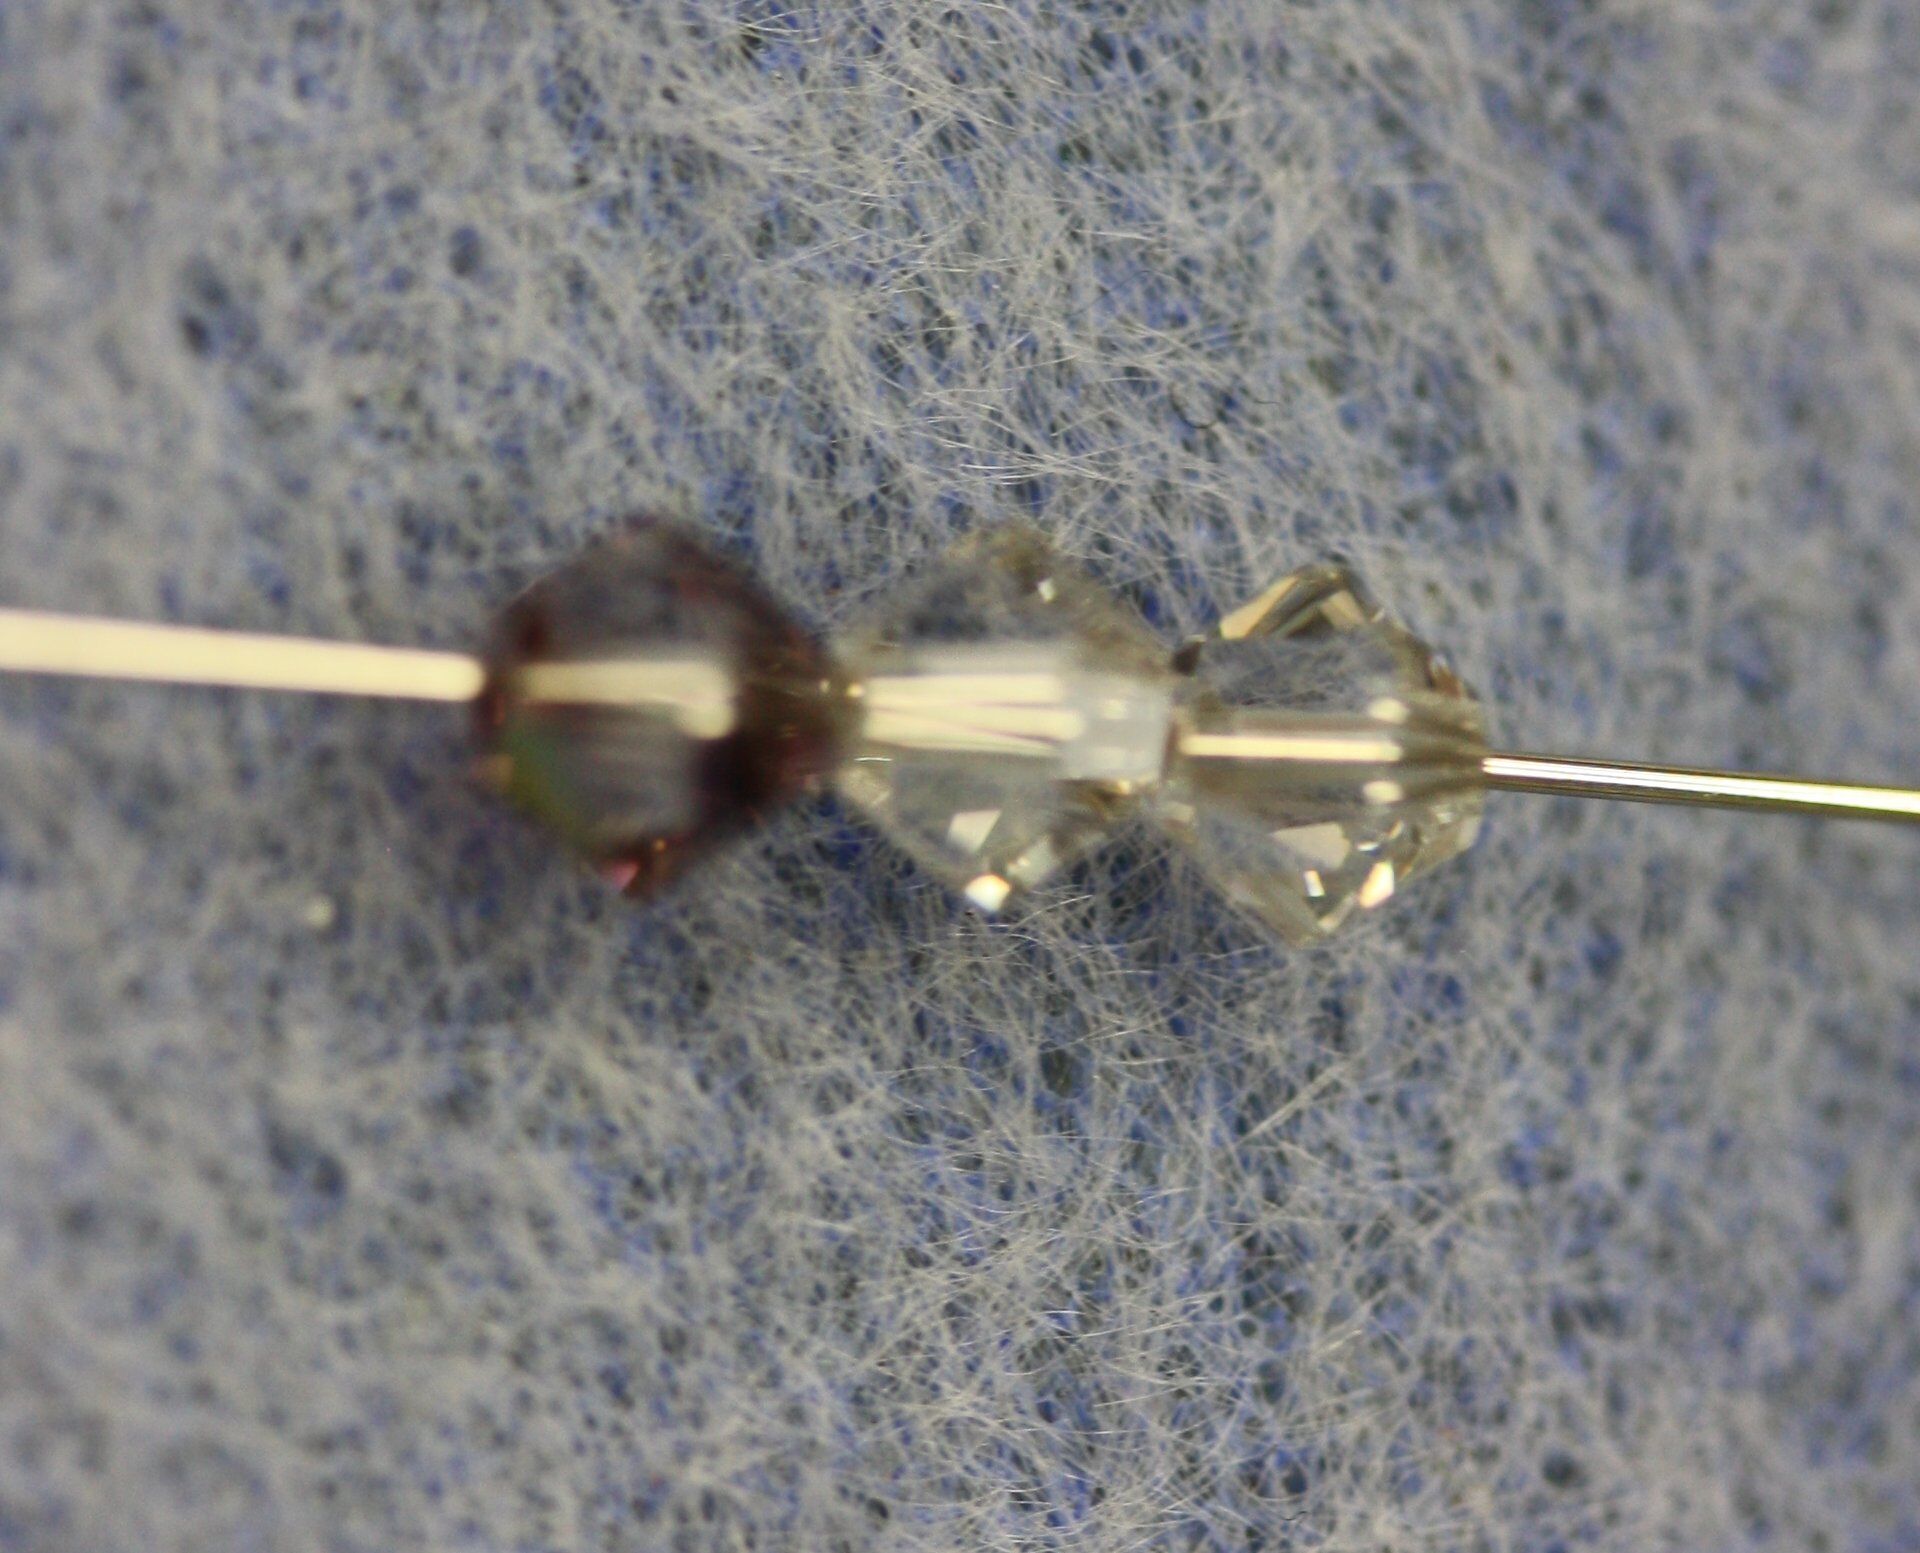
8. Pass the needle through the top color A bead again, forming a loop.
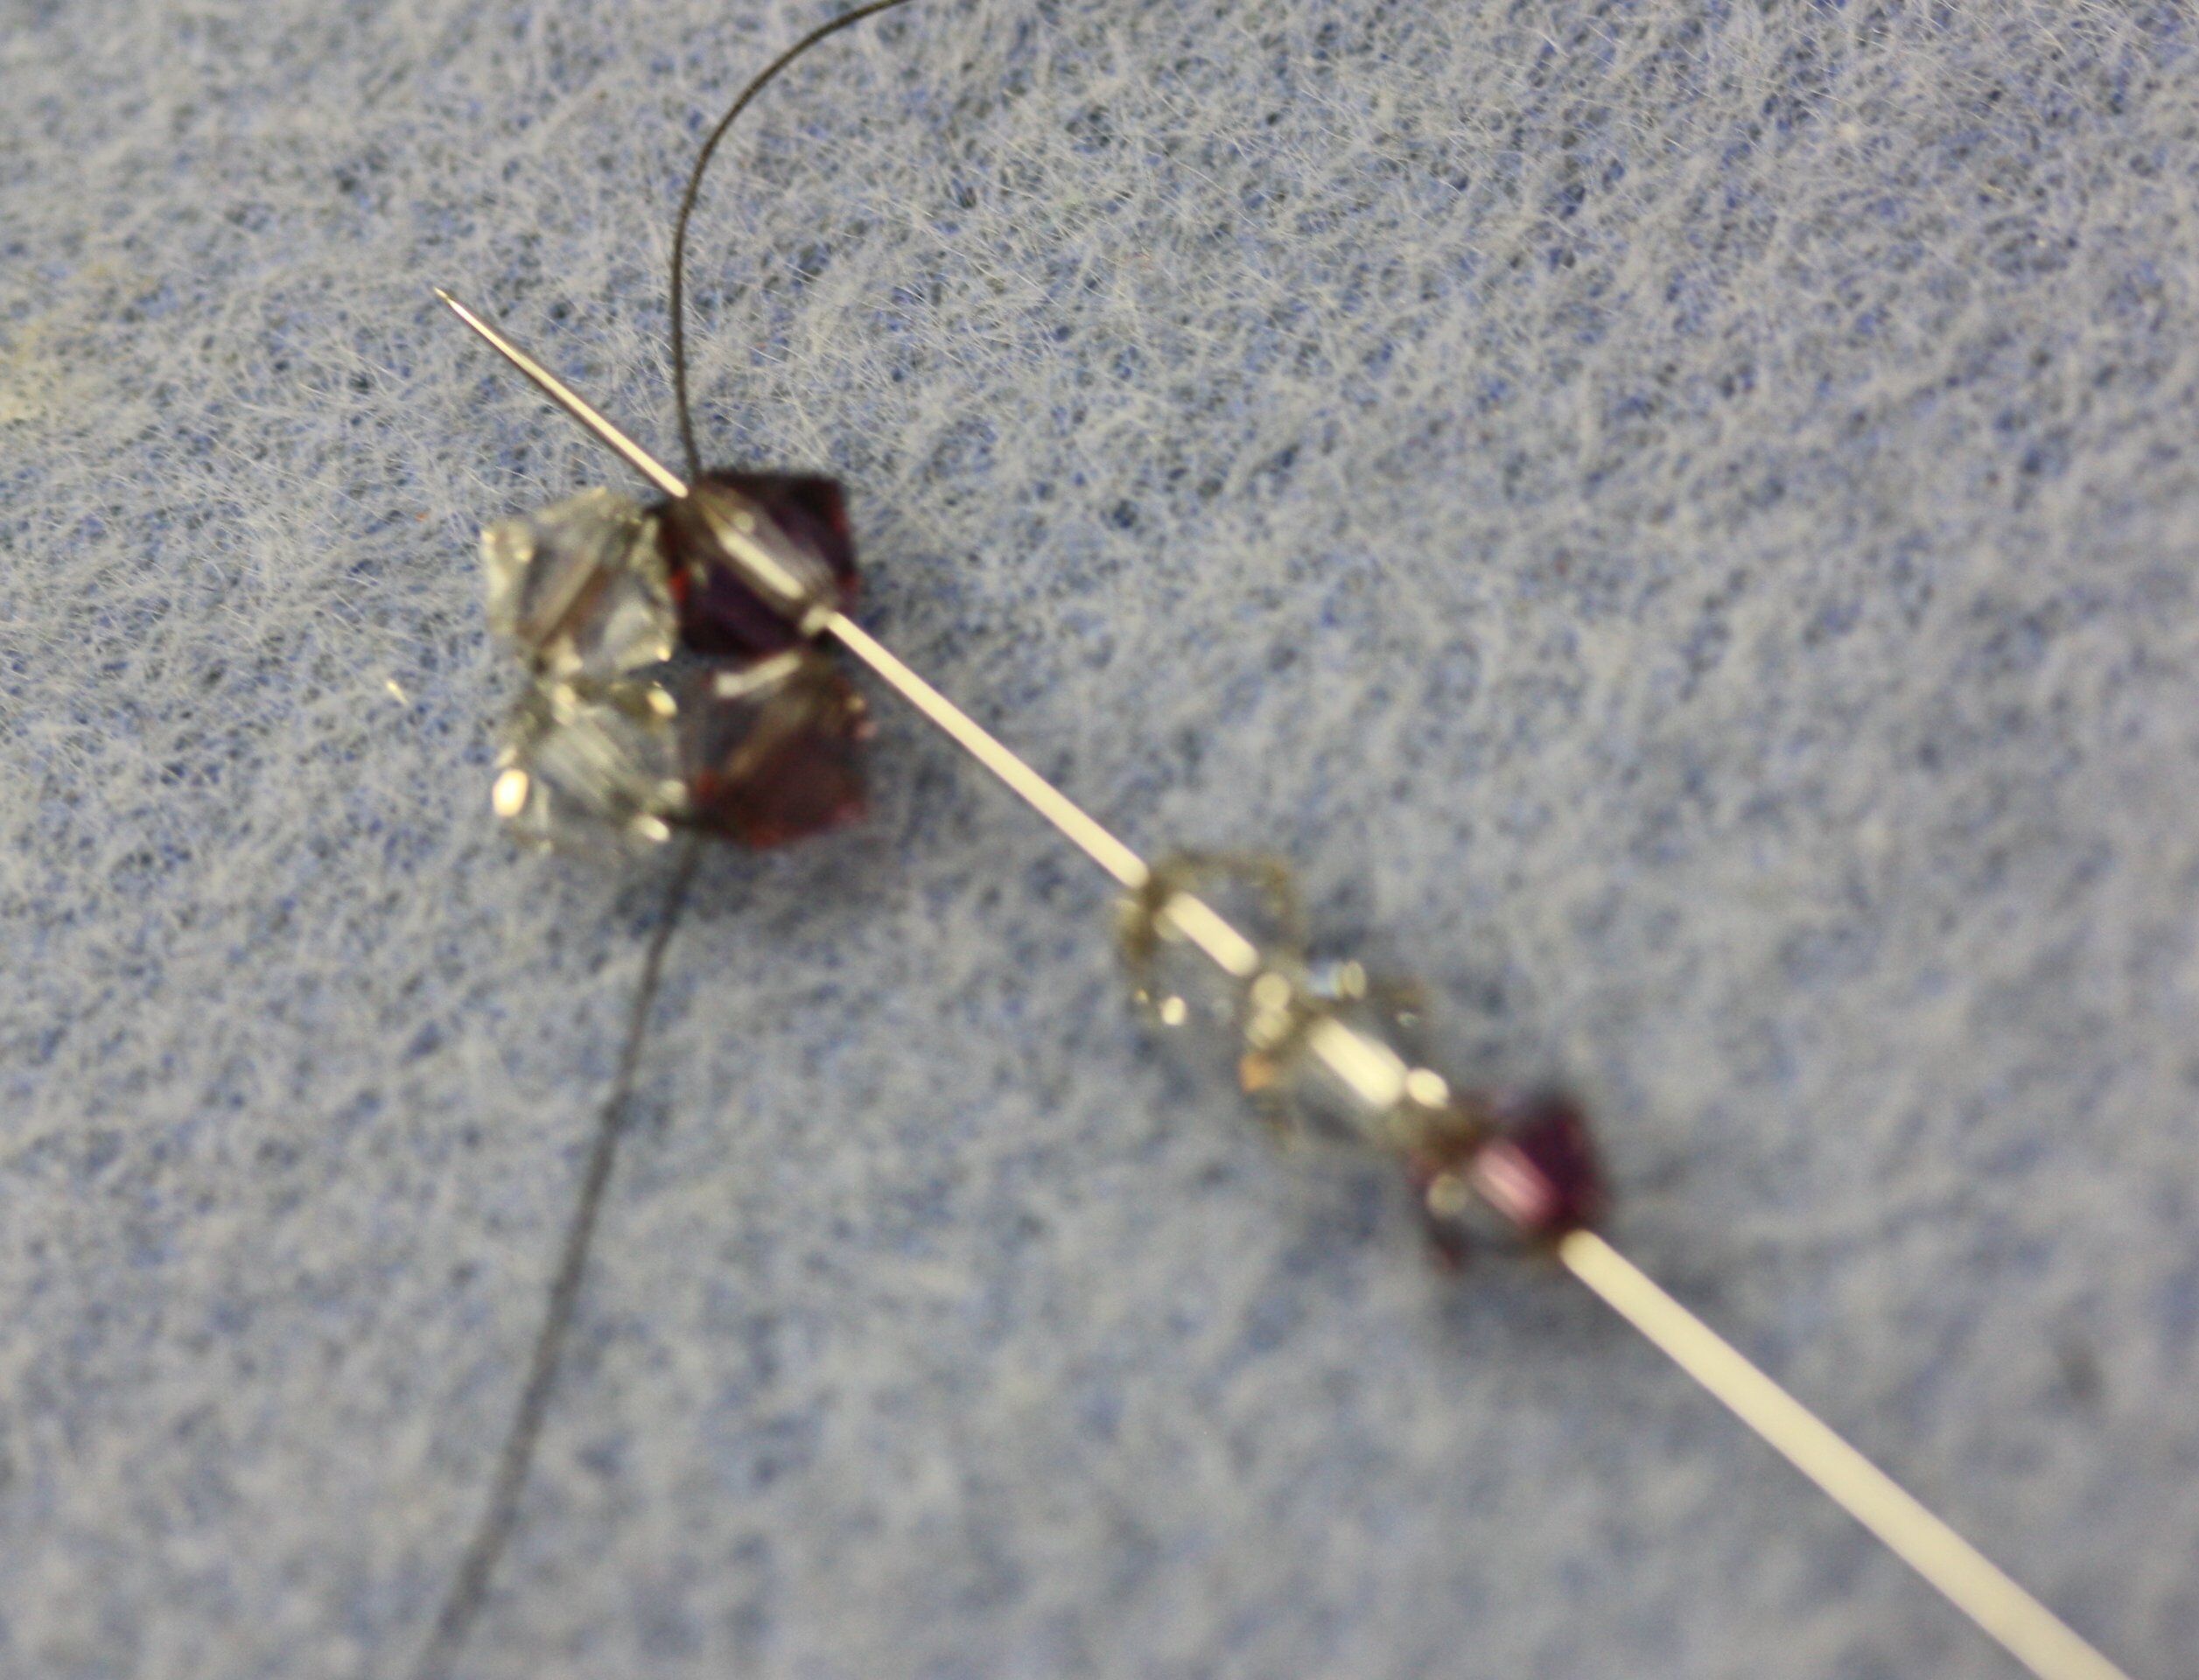
9. Pull the thread tight to form a new loop of beads.
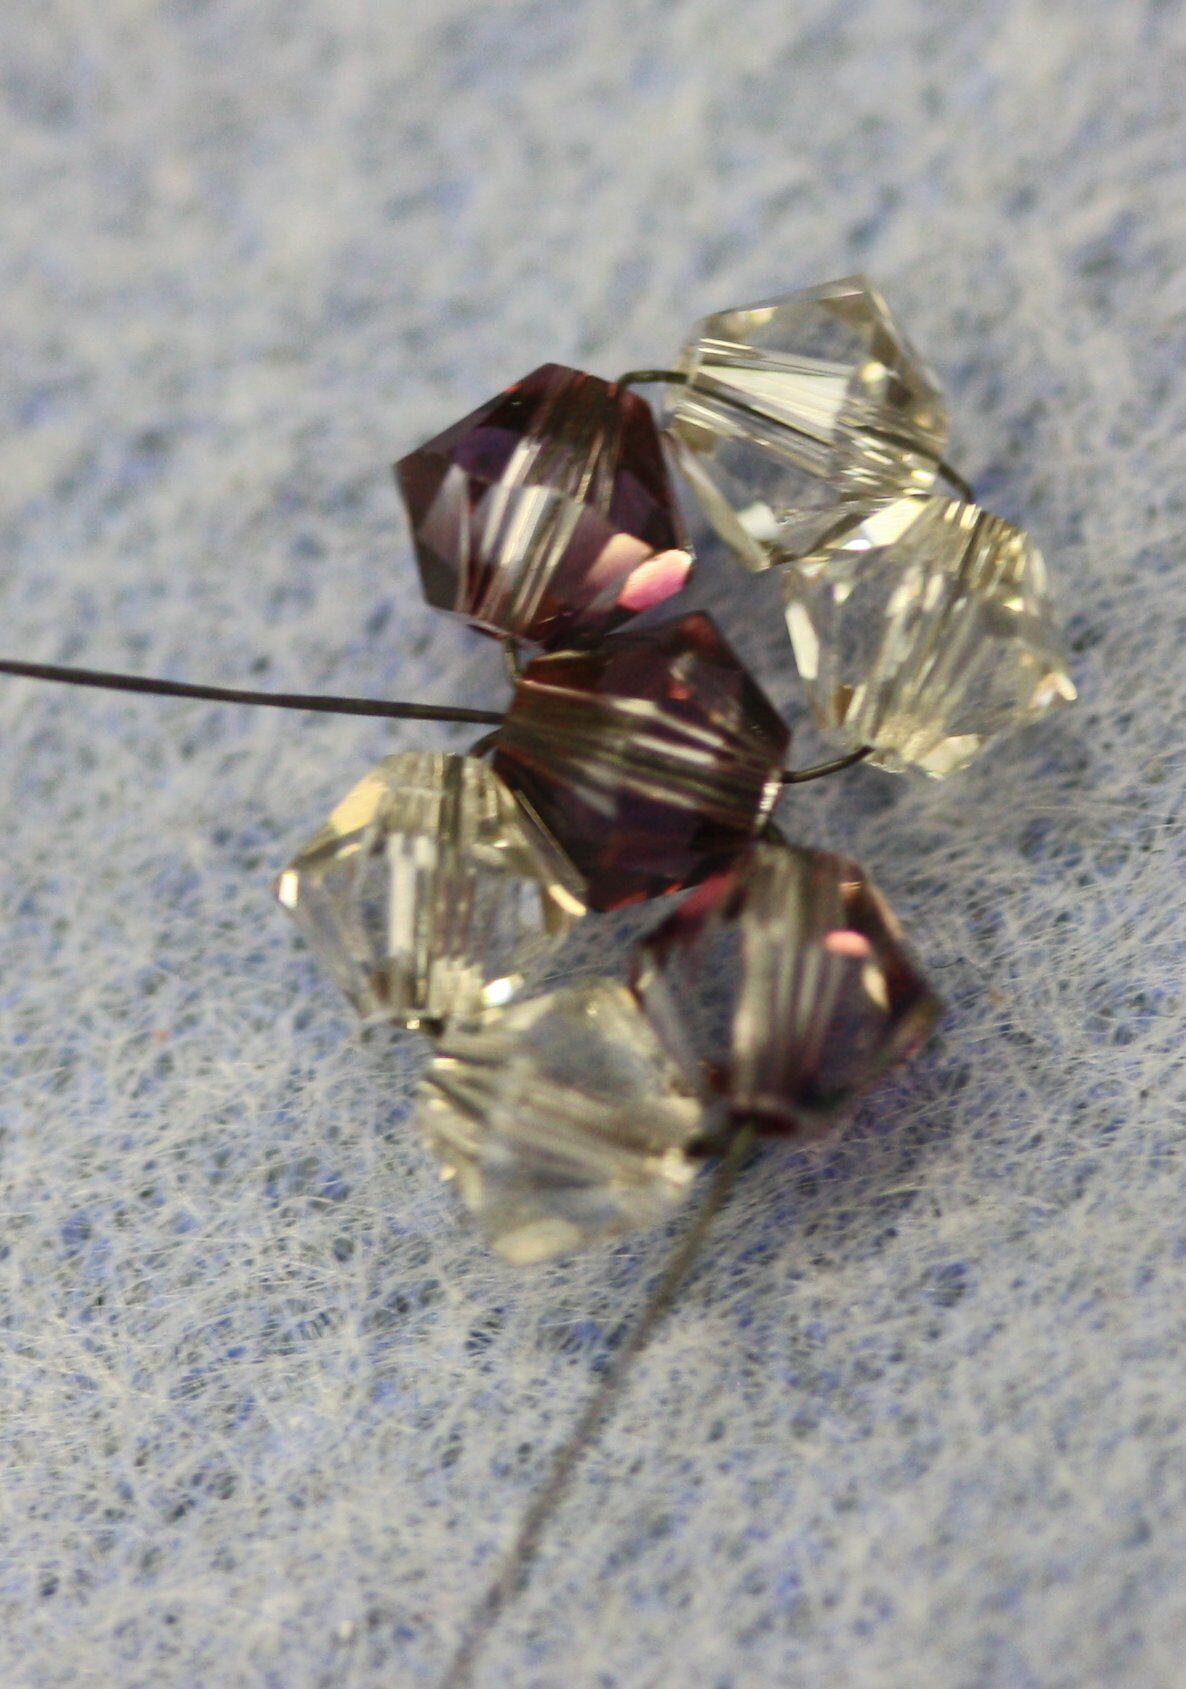
10. Now we will begin working our needle to the top of the new loop. Pass the needle through the color A bead on the side. Pull the thread tight.
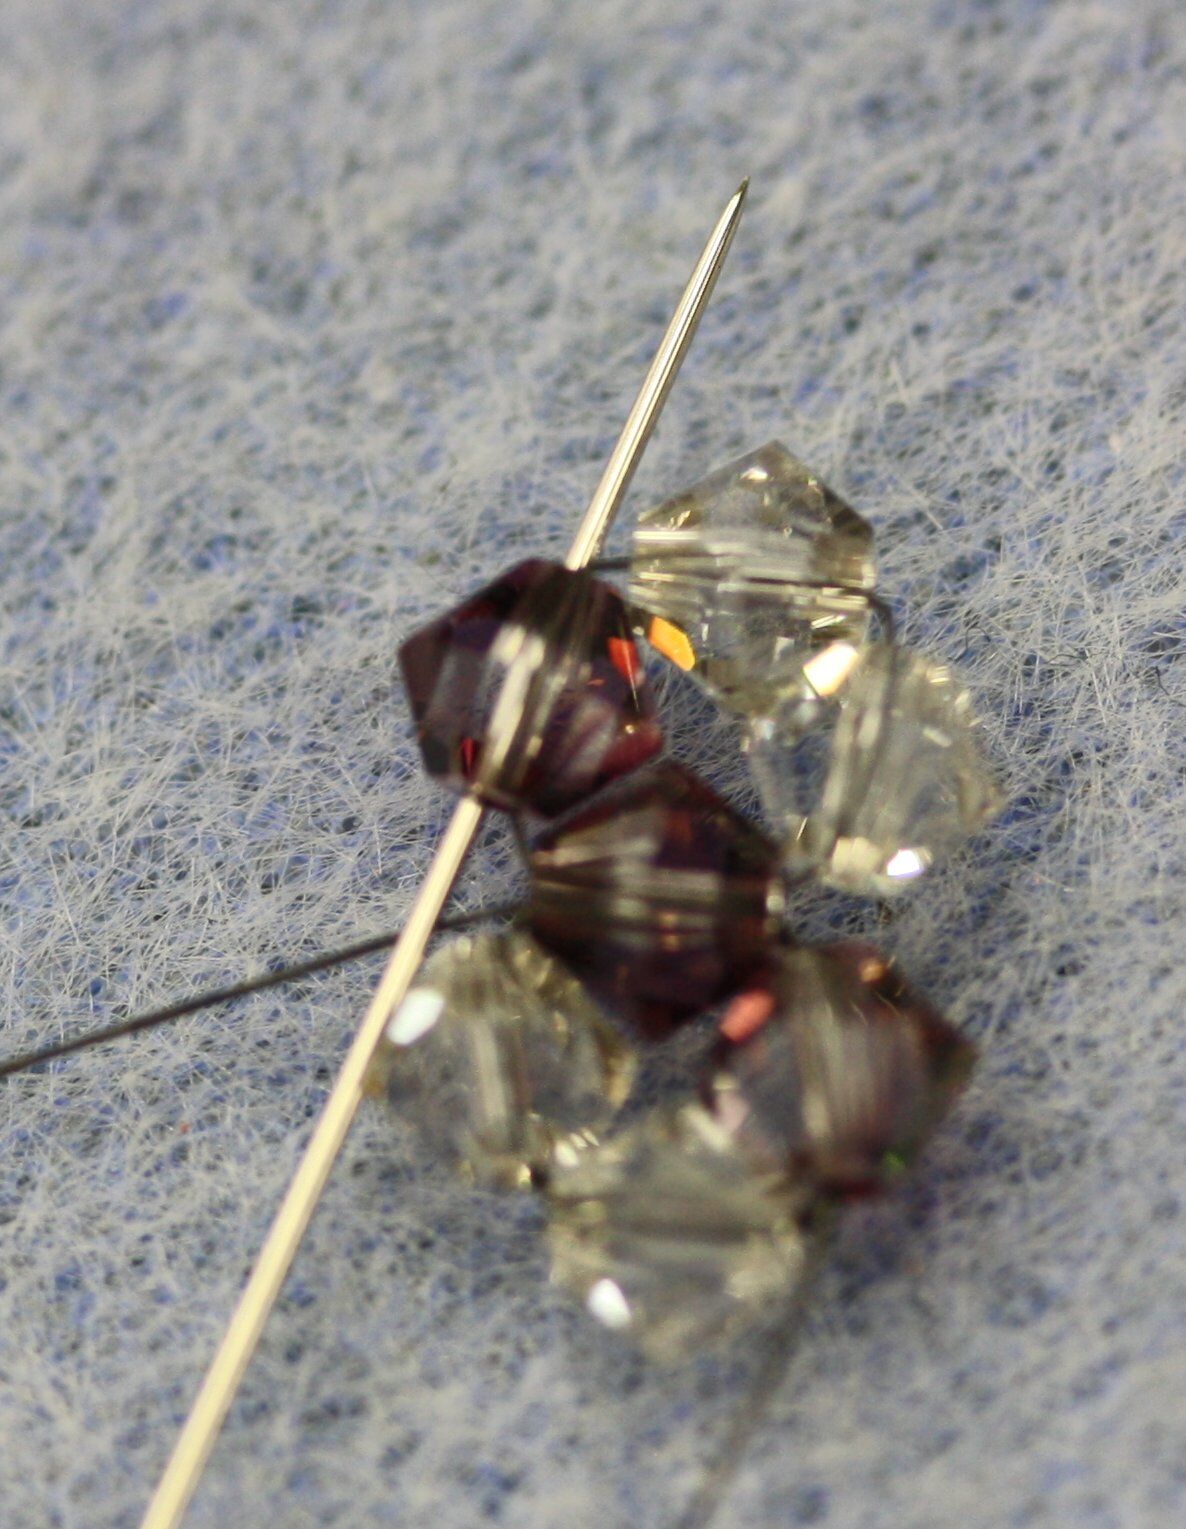
11. Pass the needle through the top color B bead to complete the right angle weave unit.
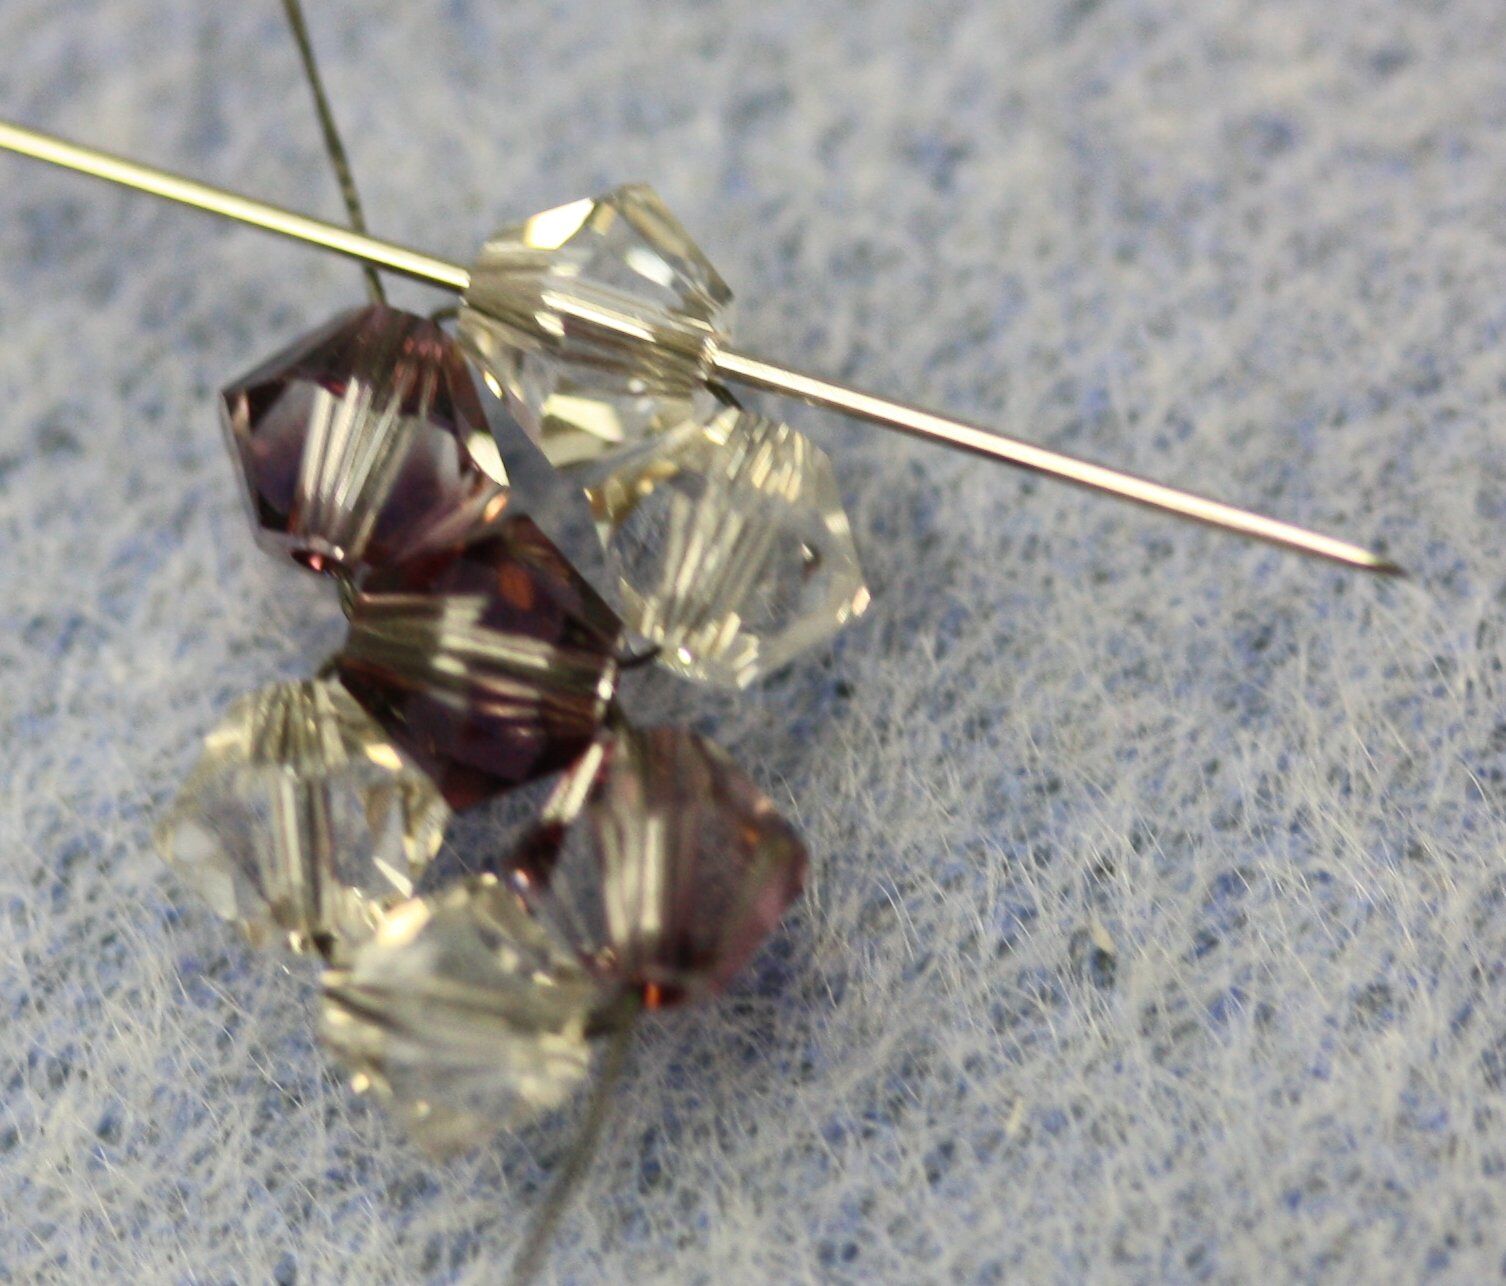
12. Our thread is exiting a color B bead, so pick up two color A beads and one color B bead.
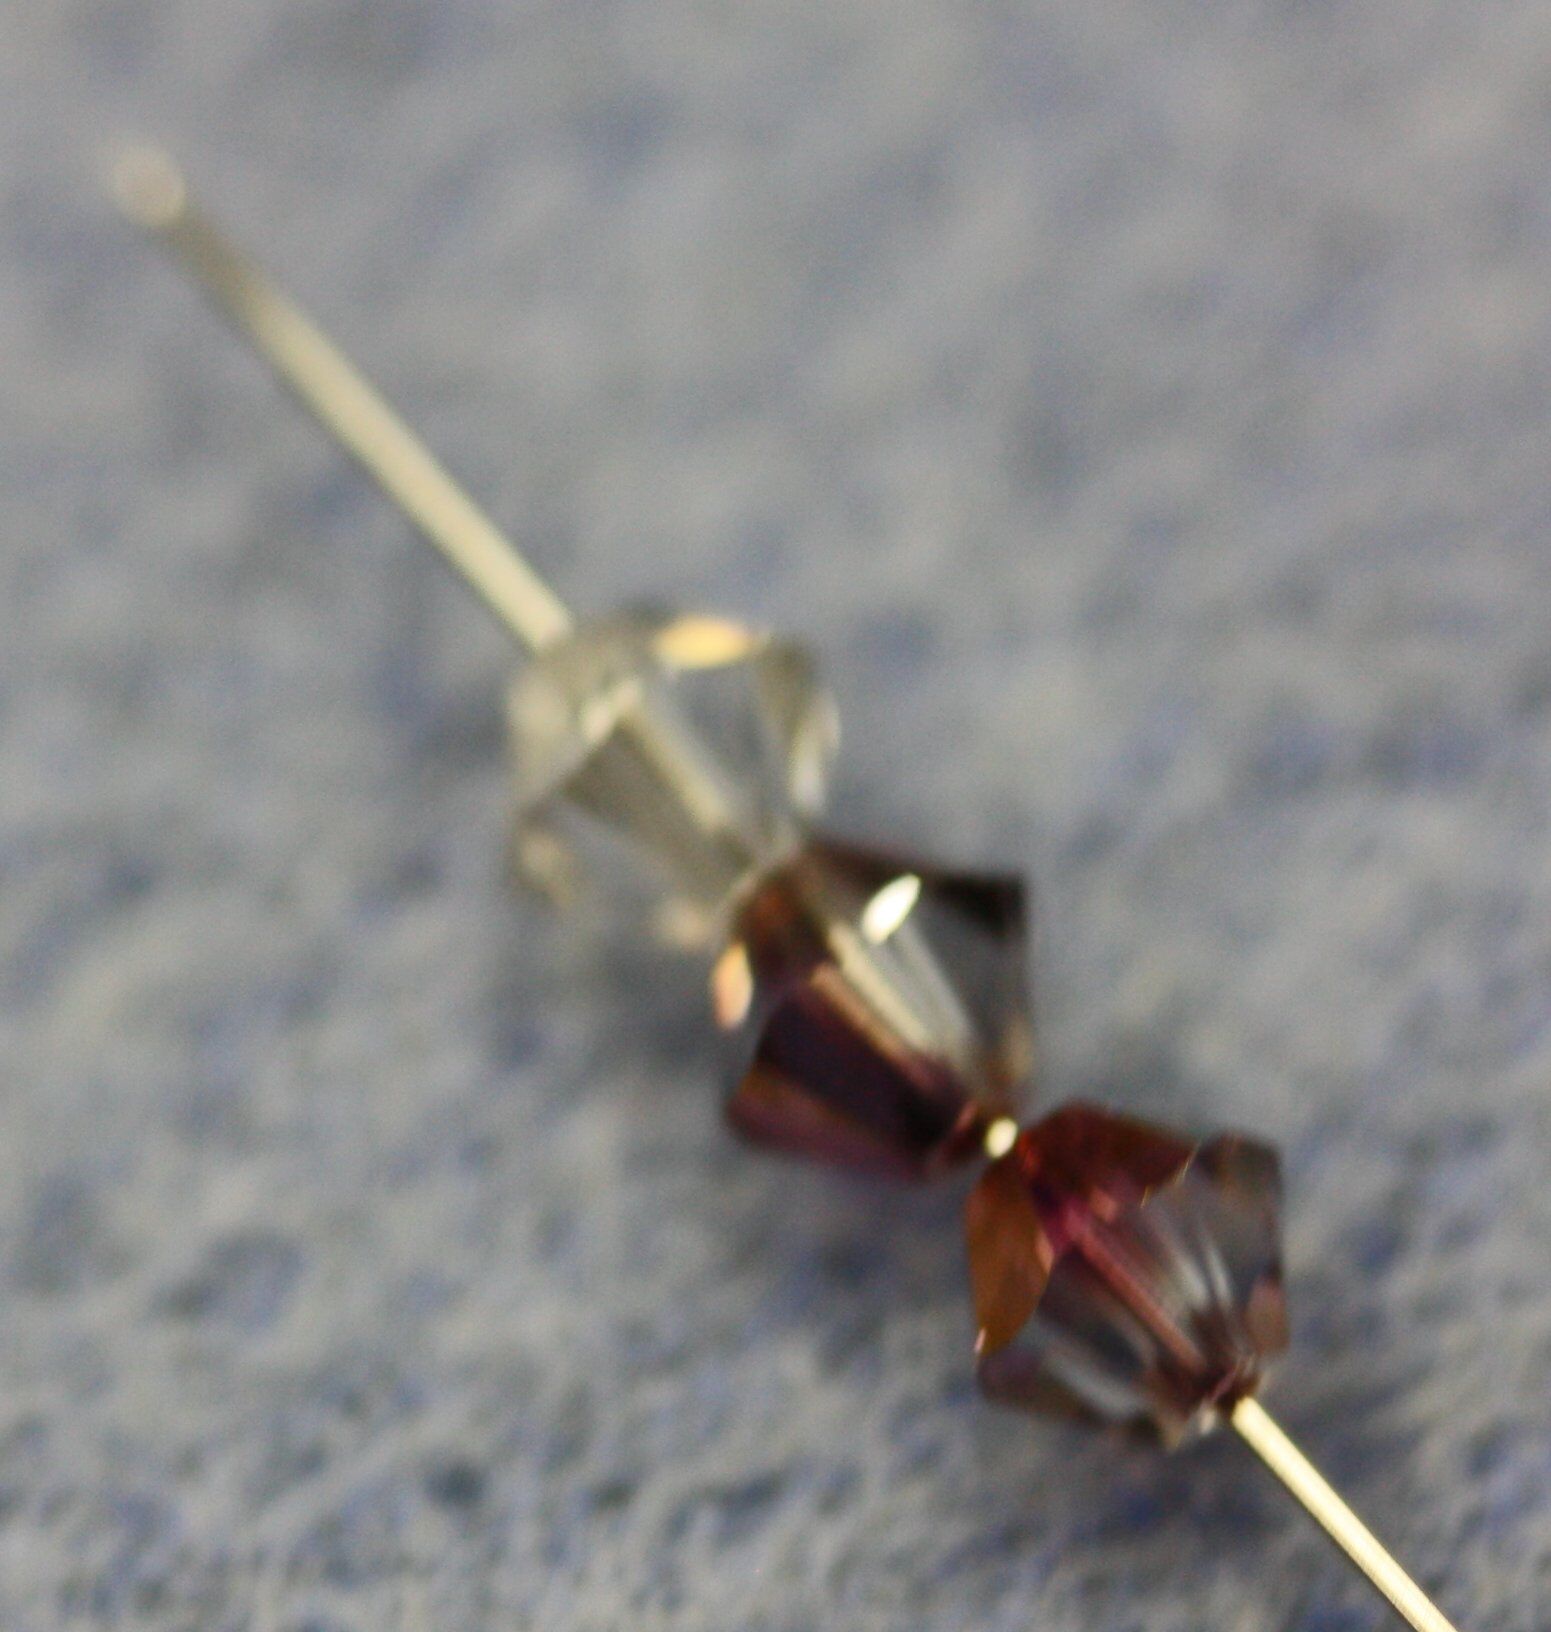
13. Pass the needle back through the top color B bead, forming a loop.
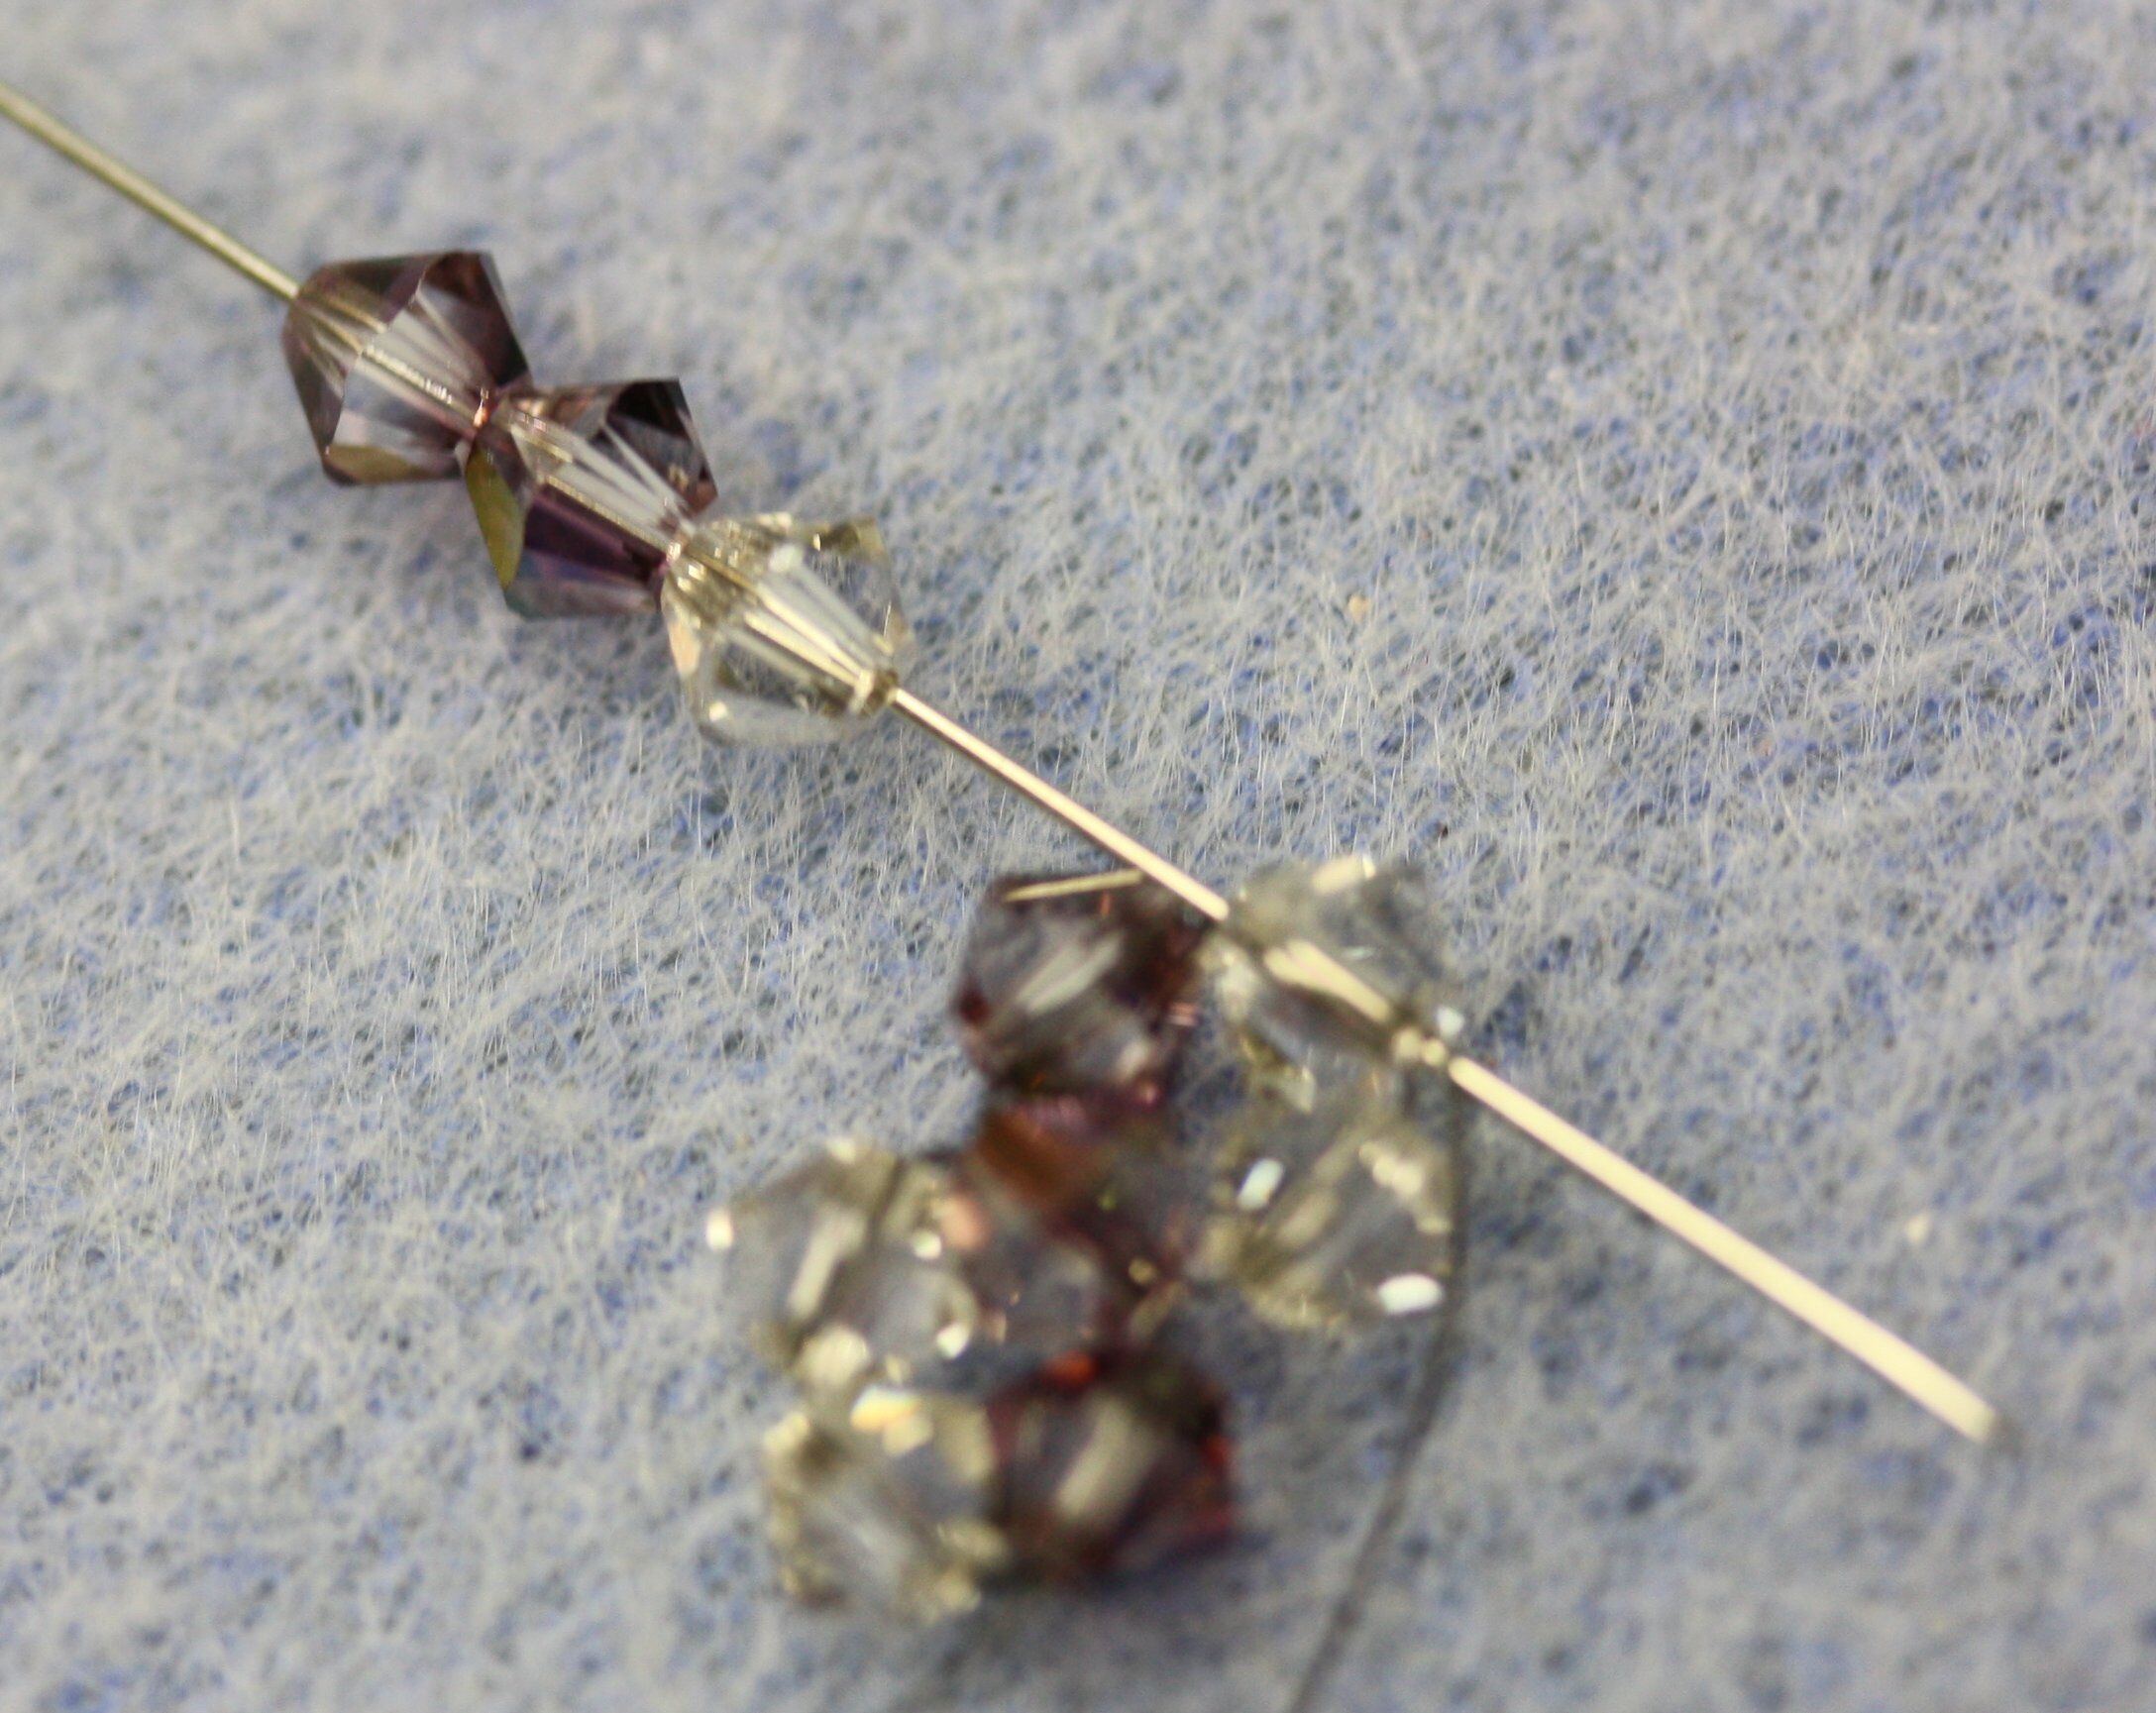
14. Pull the thread tight, forming a tight loop of beads. You should see stripes beginning to form.
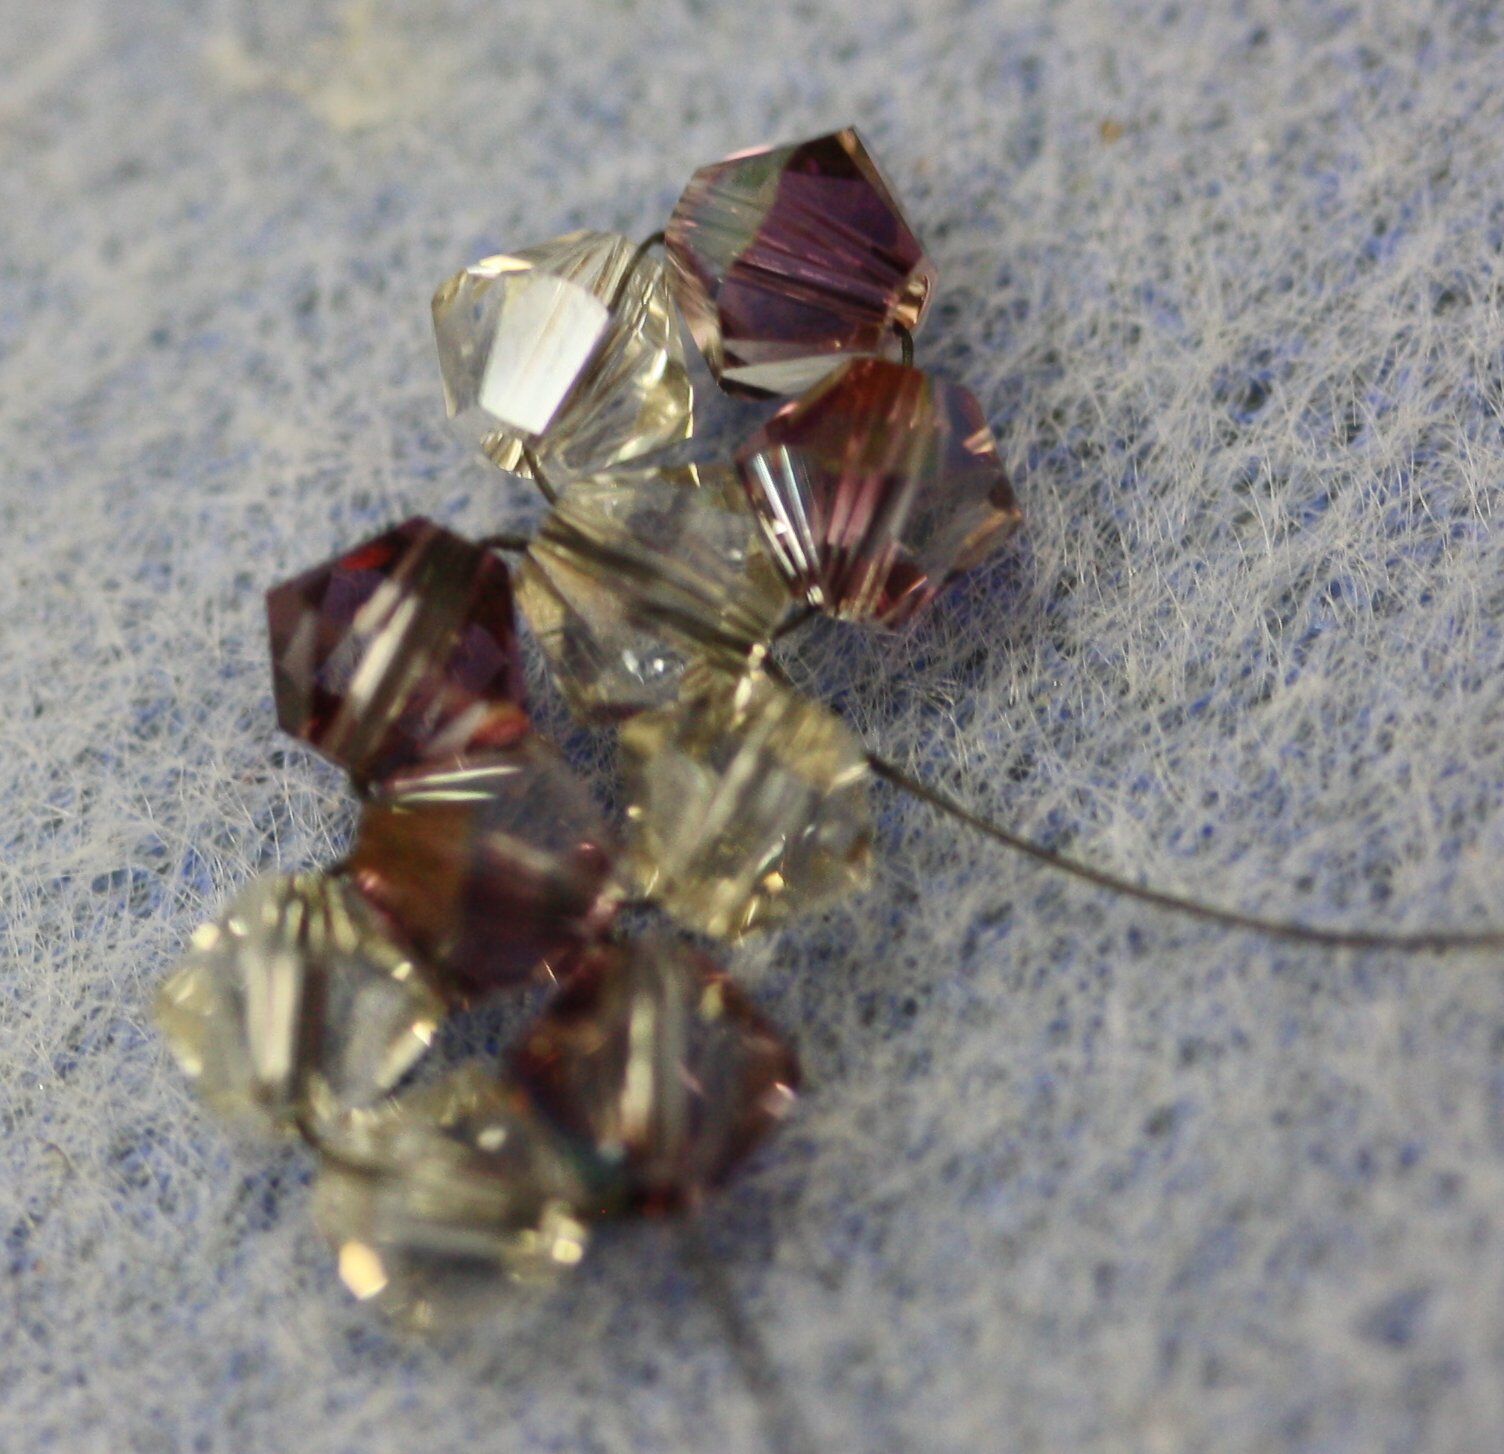
15. Work your needle to the top of the right angle weave unit by passing through the color A bead on the side.
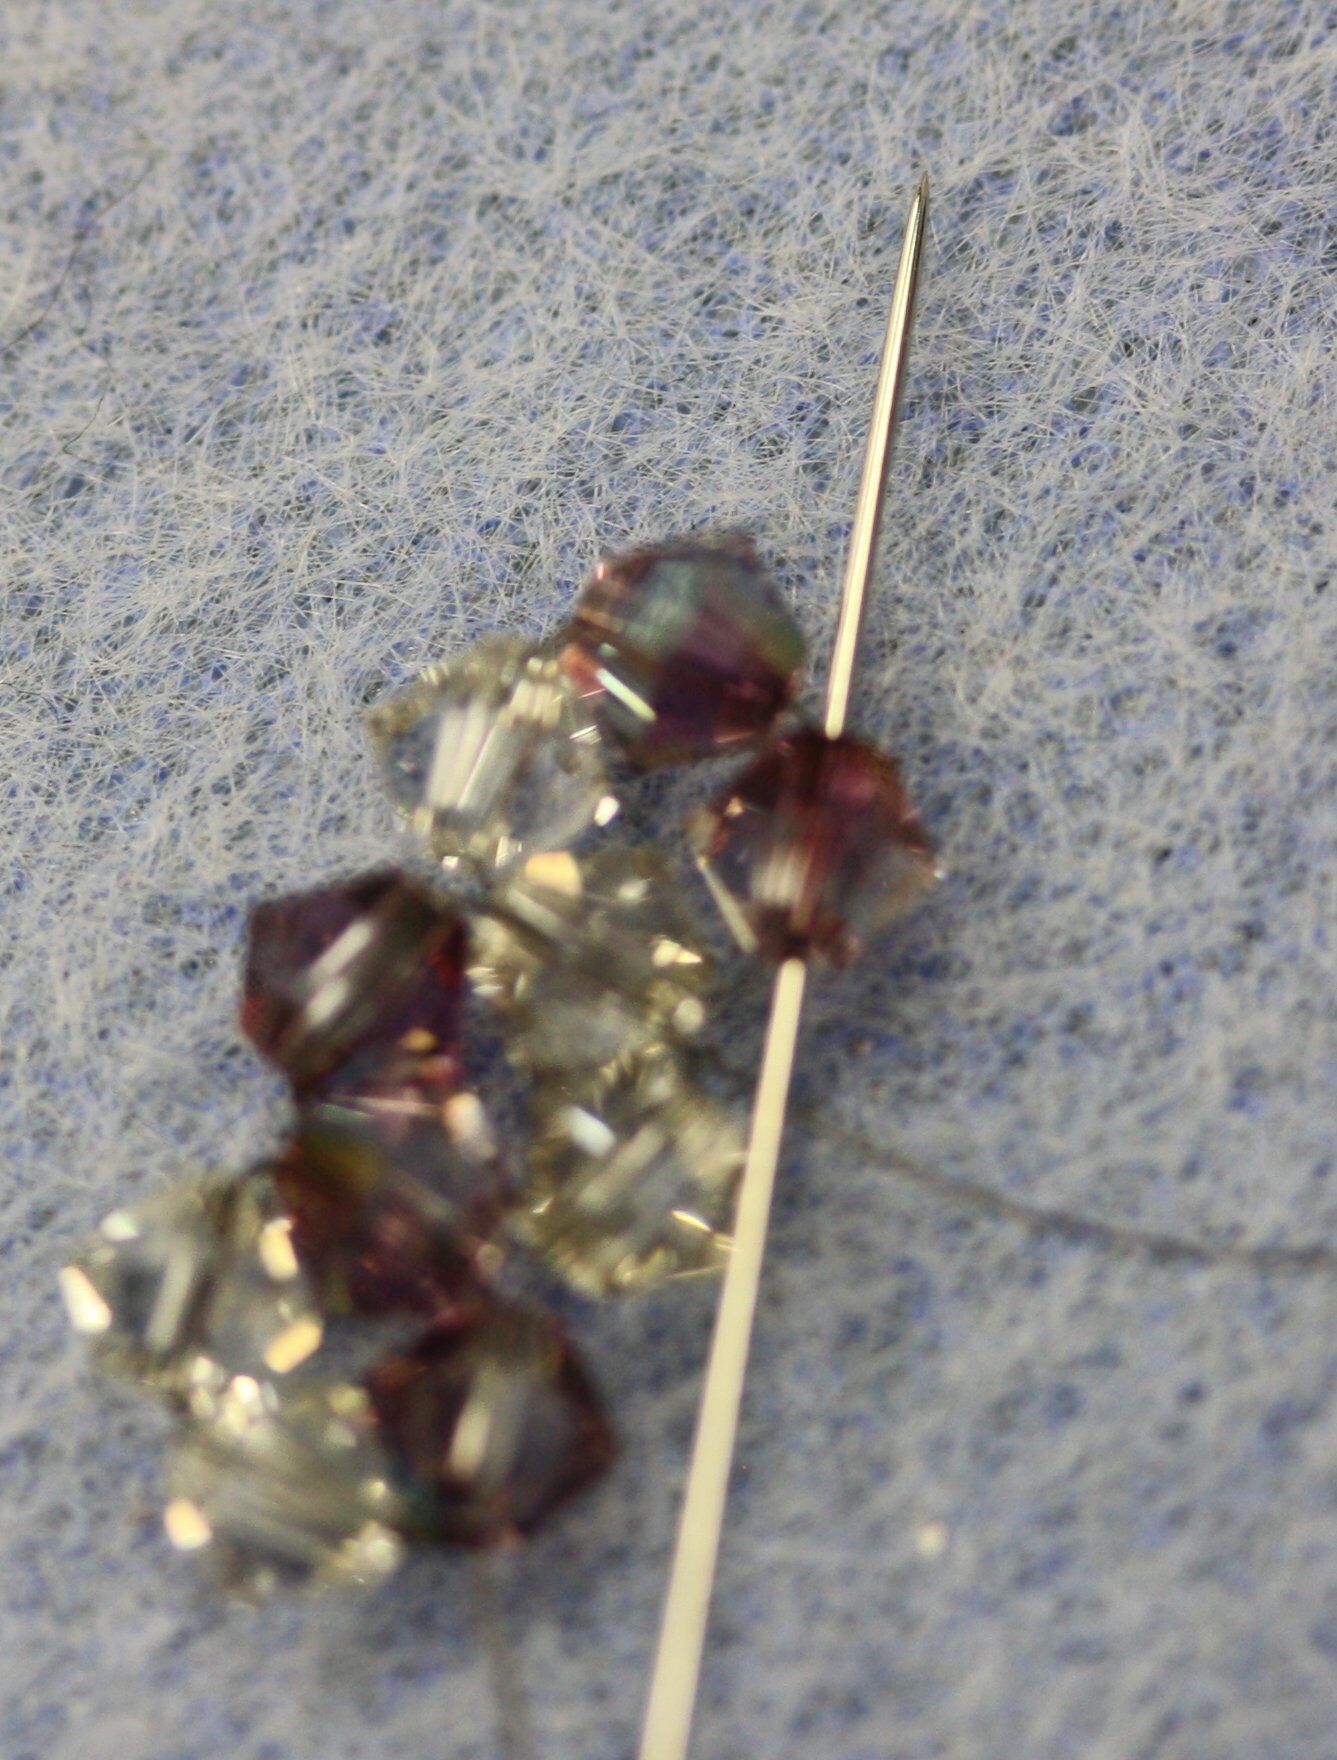
16. Then pass through the bead on the top. Pull the thread tight.
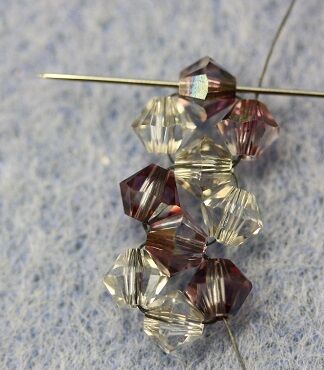
17. Continue adding right angle weave units until your bracelet reaches the desired length. Be sure to stop on an odd number of right angle weave units (like 23 or 27). Remember, your clasp will add ¾ of an inch. Make sure you end your row with the thread exiting the SIDE bead to the right, rather than the TOP bead, to prepare for the next row.
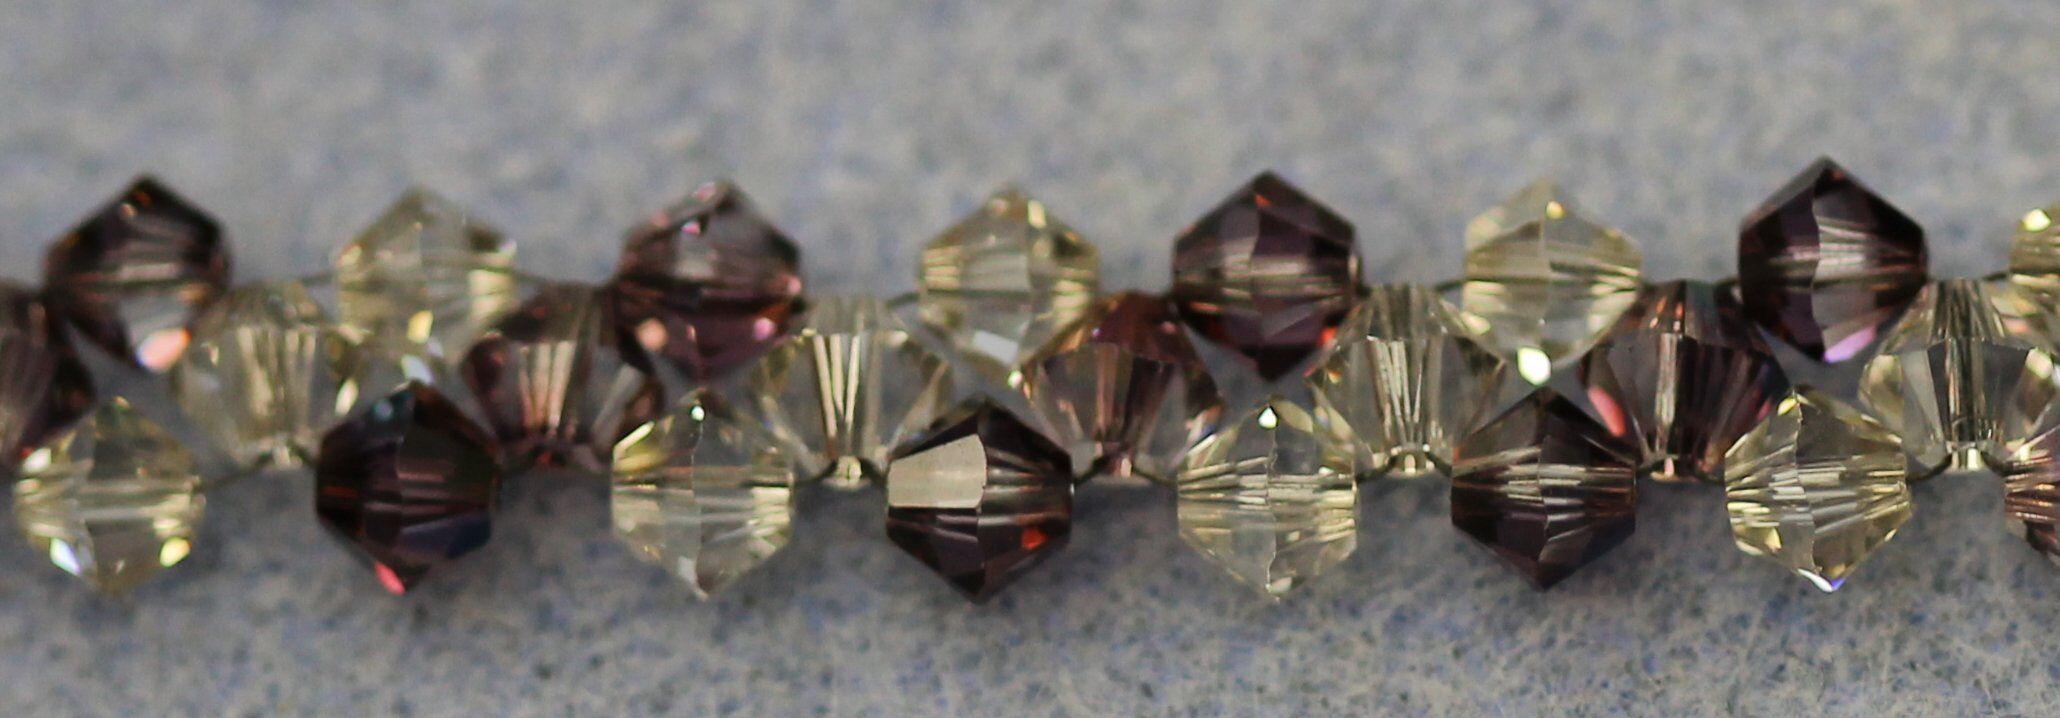
18. Now it’s time to start a new row! We are exiting a color A bead, so pick up two color B beads and one color A bead. Pass back through the side bead to form a loop.
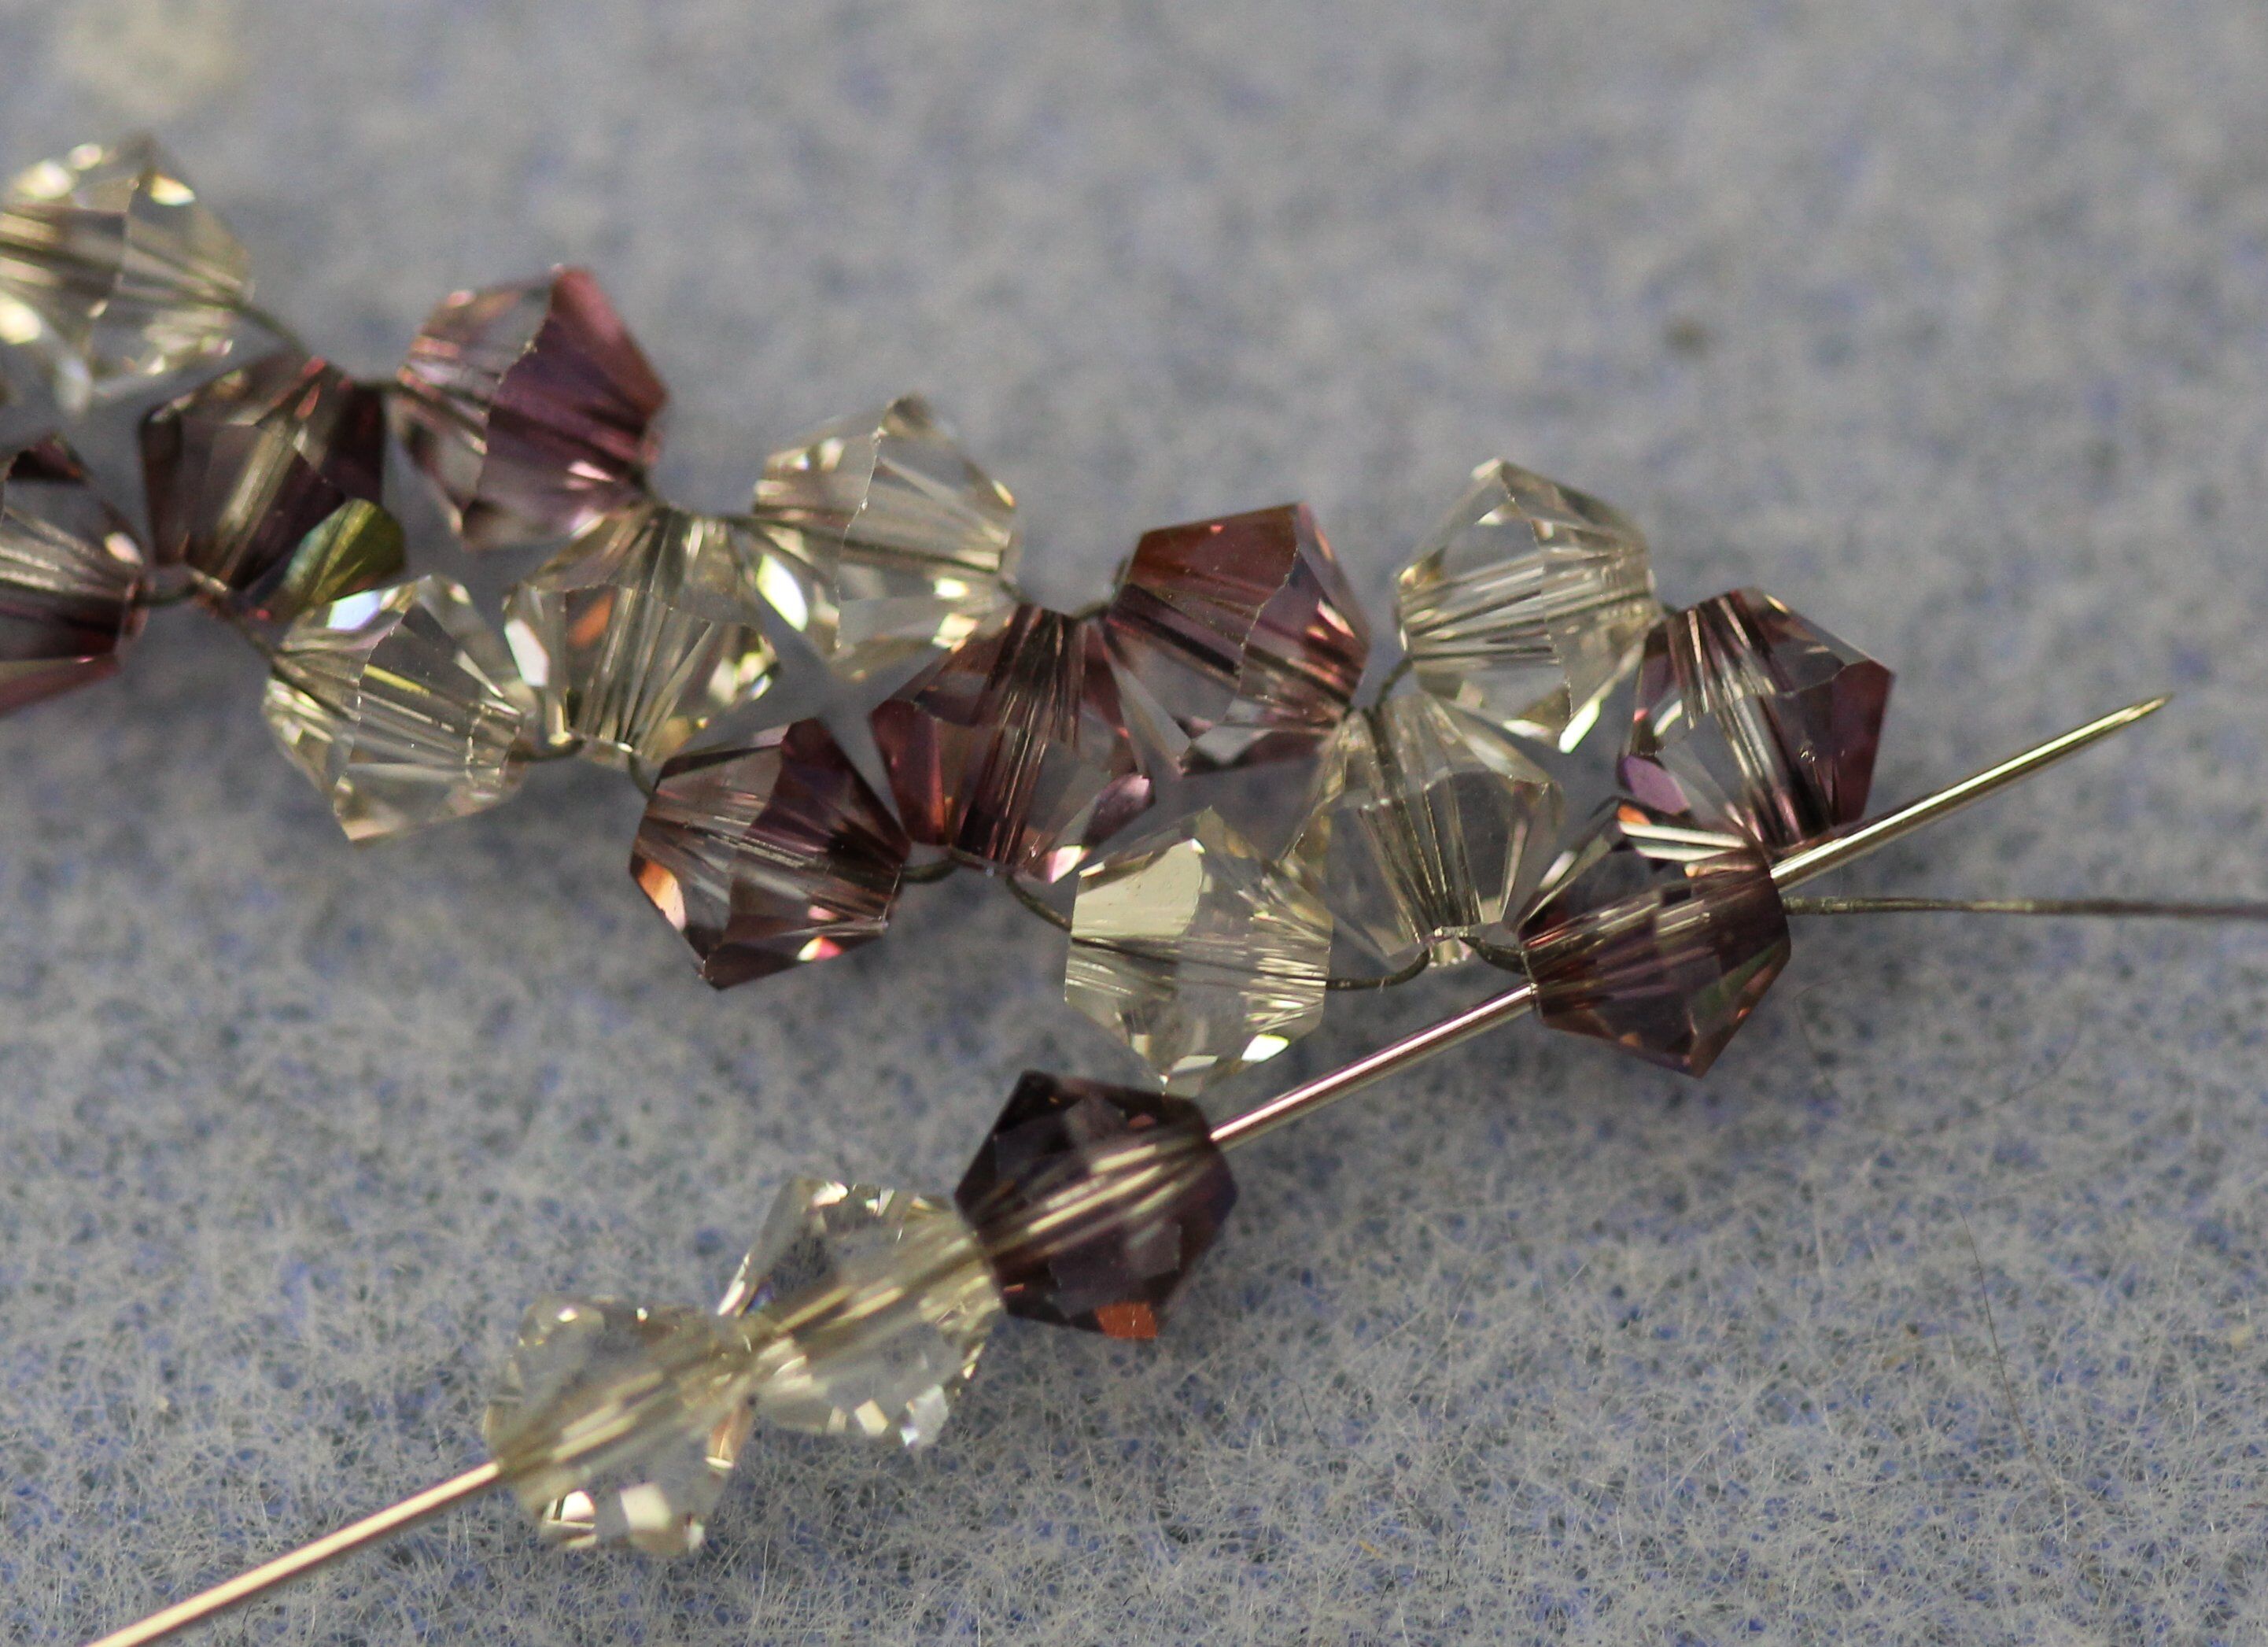
19. Pull the thread tight to form a loop of beads. Make sure the stripes match up.
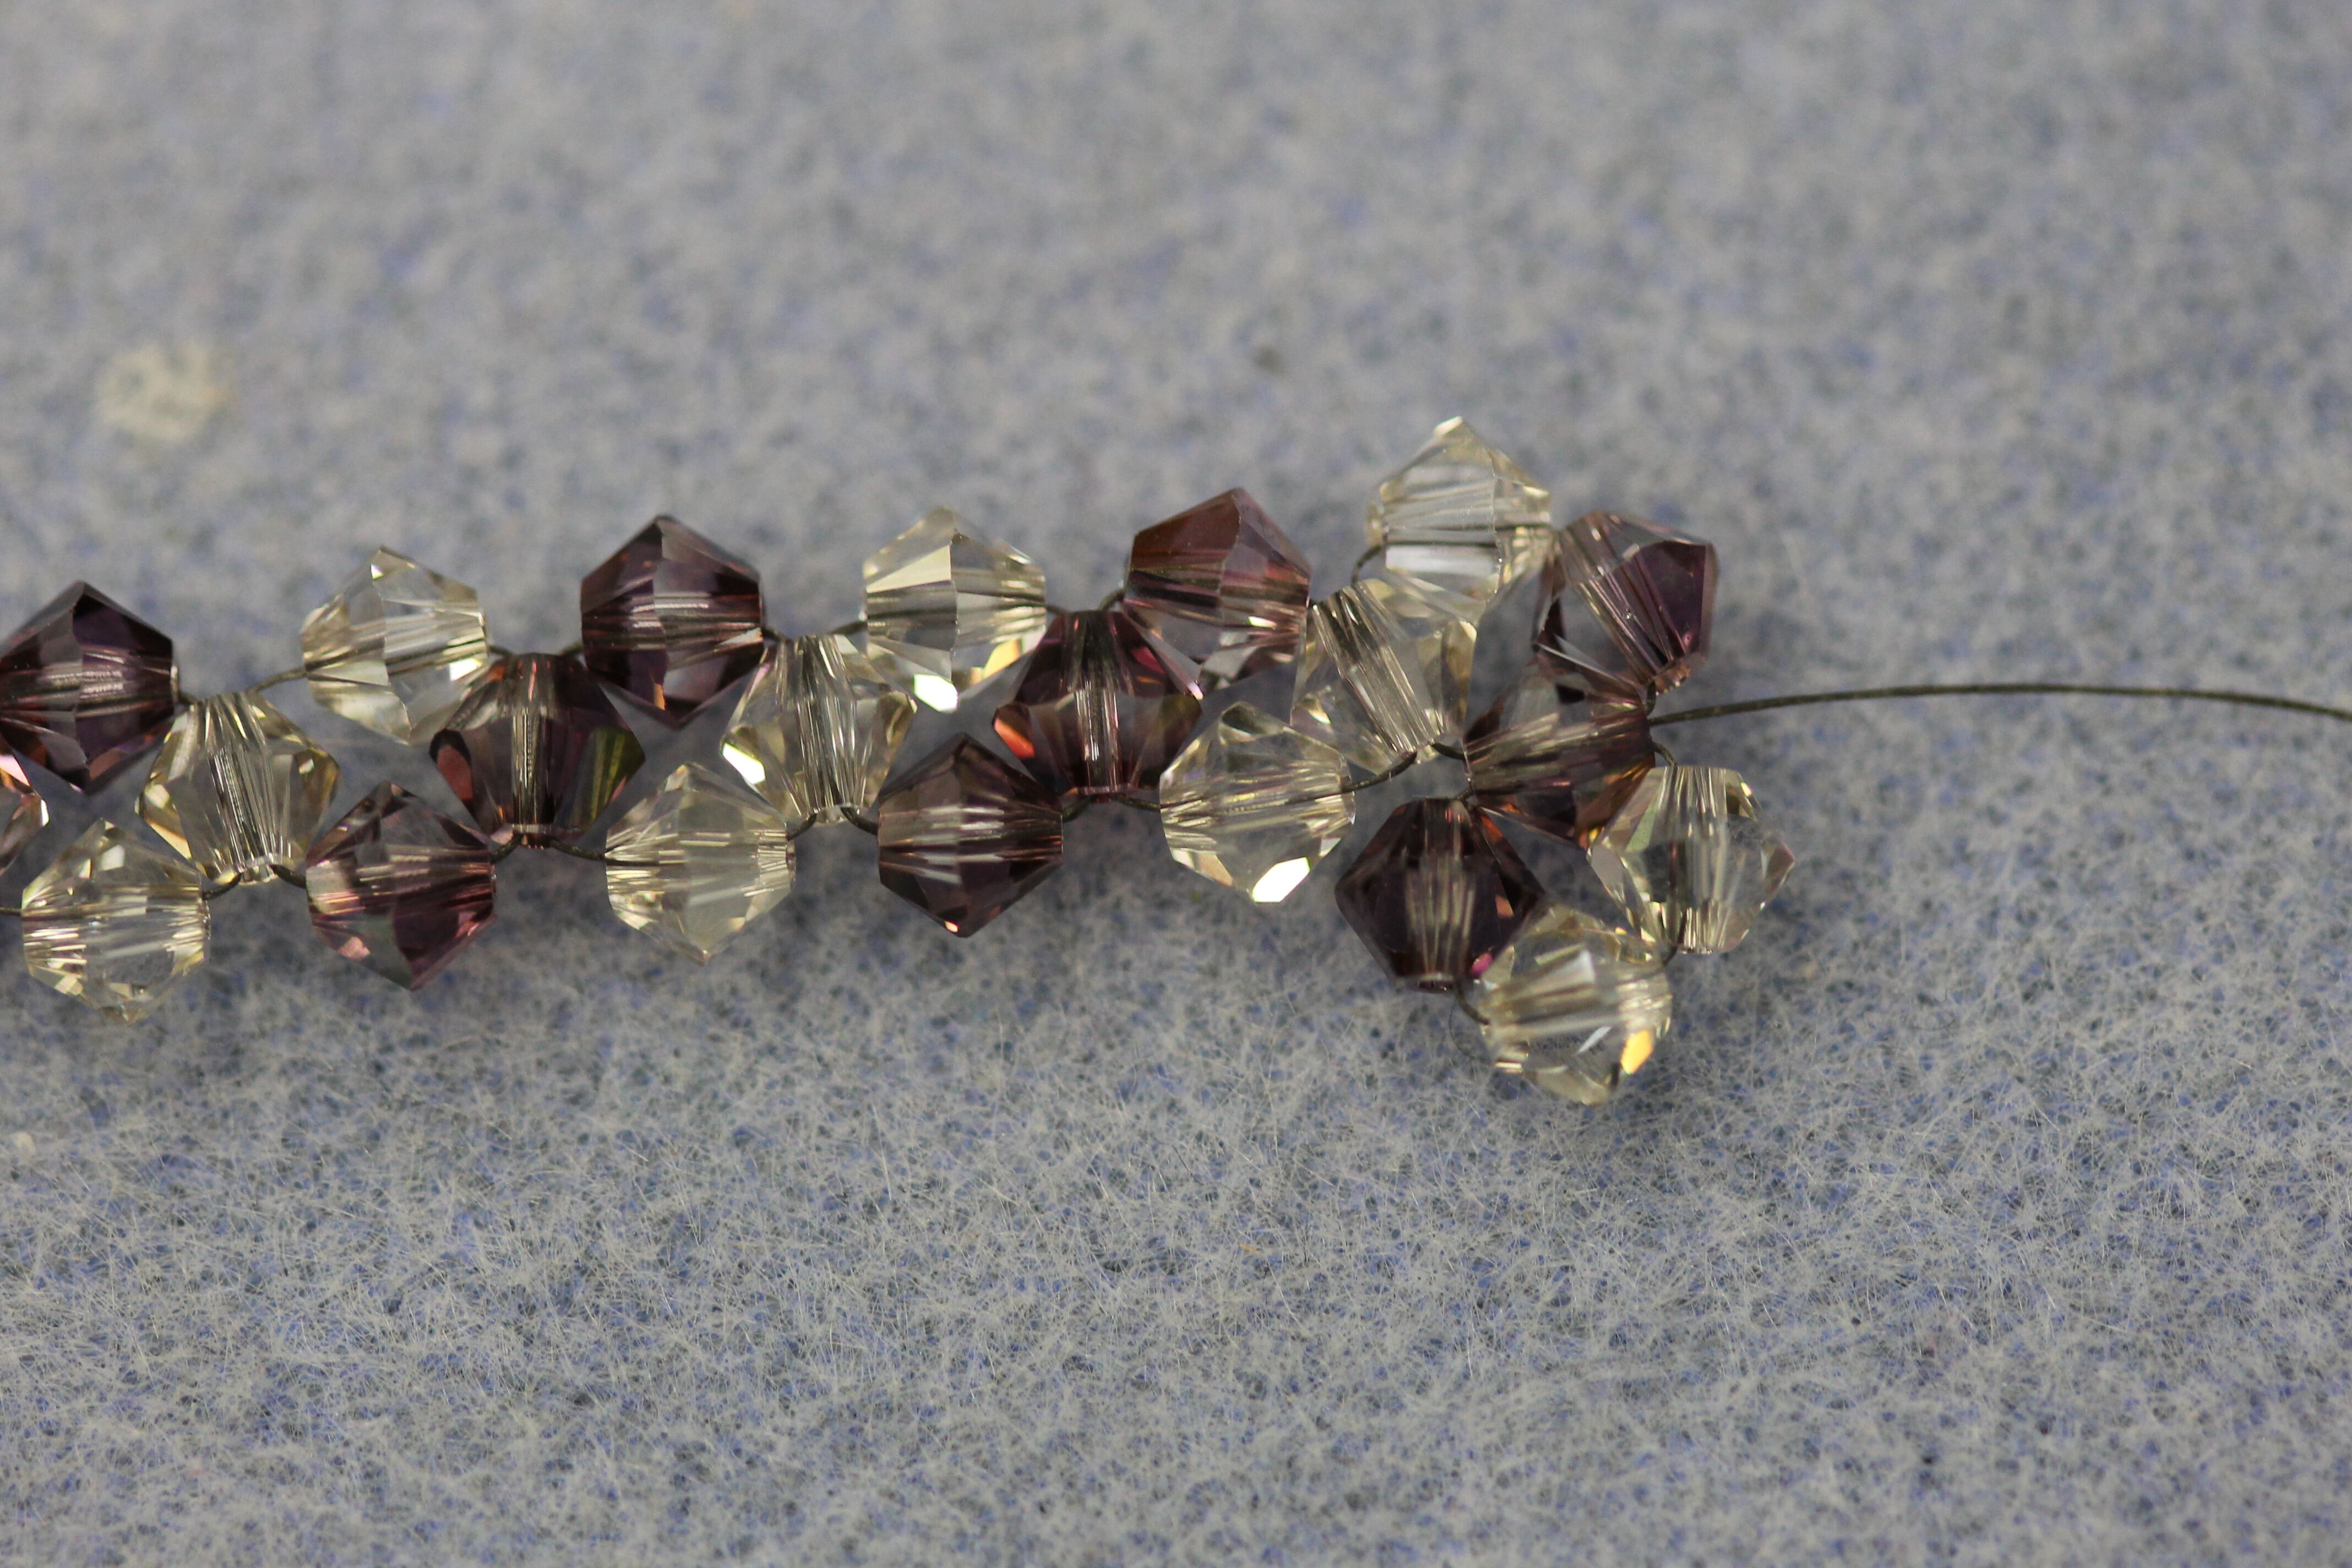
20. Work your needle around by passing through the beads we just added.
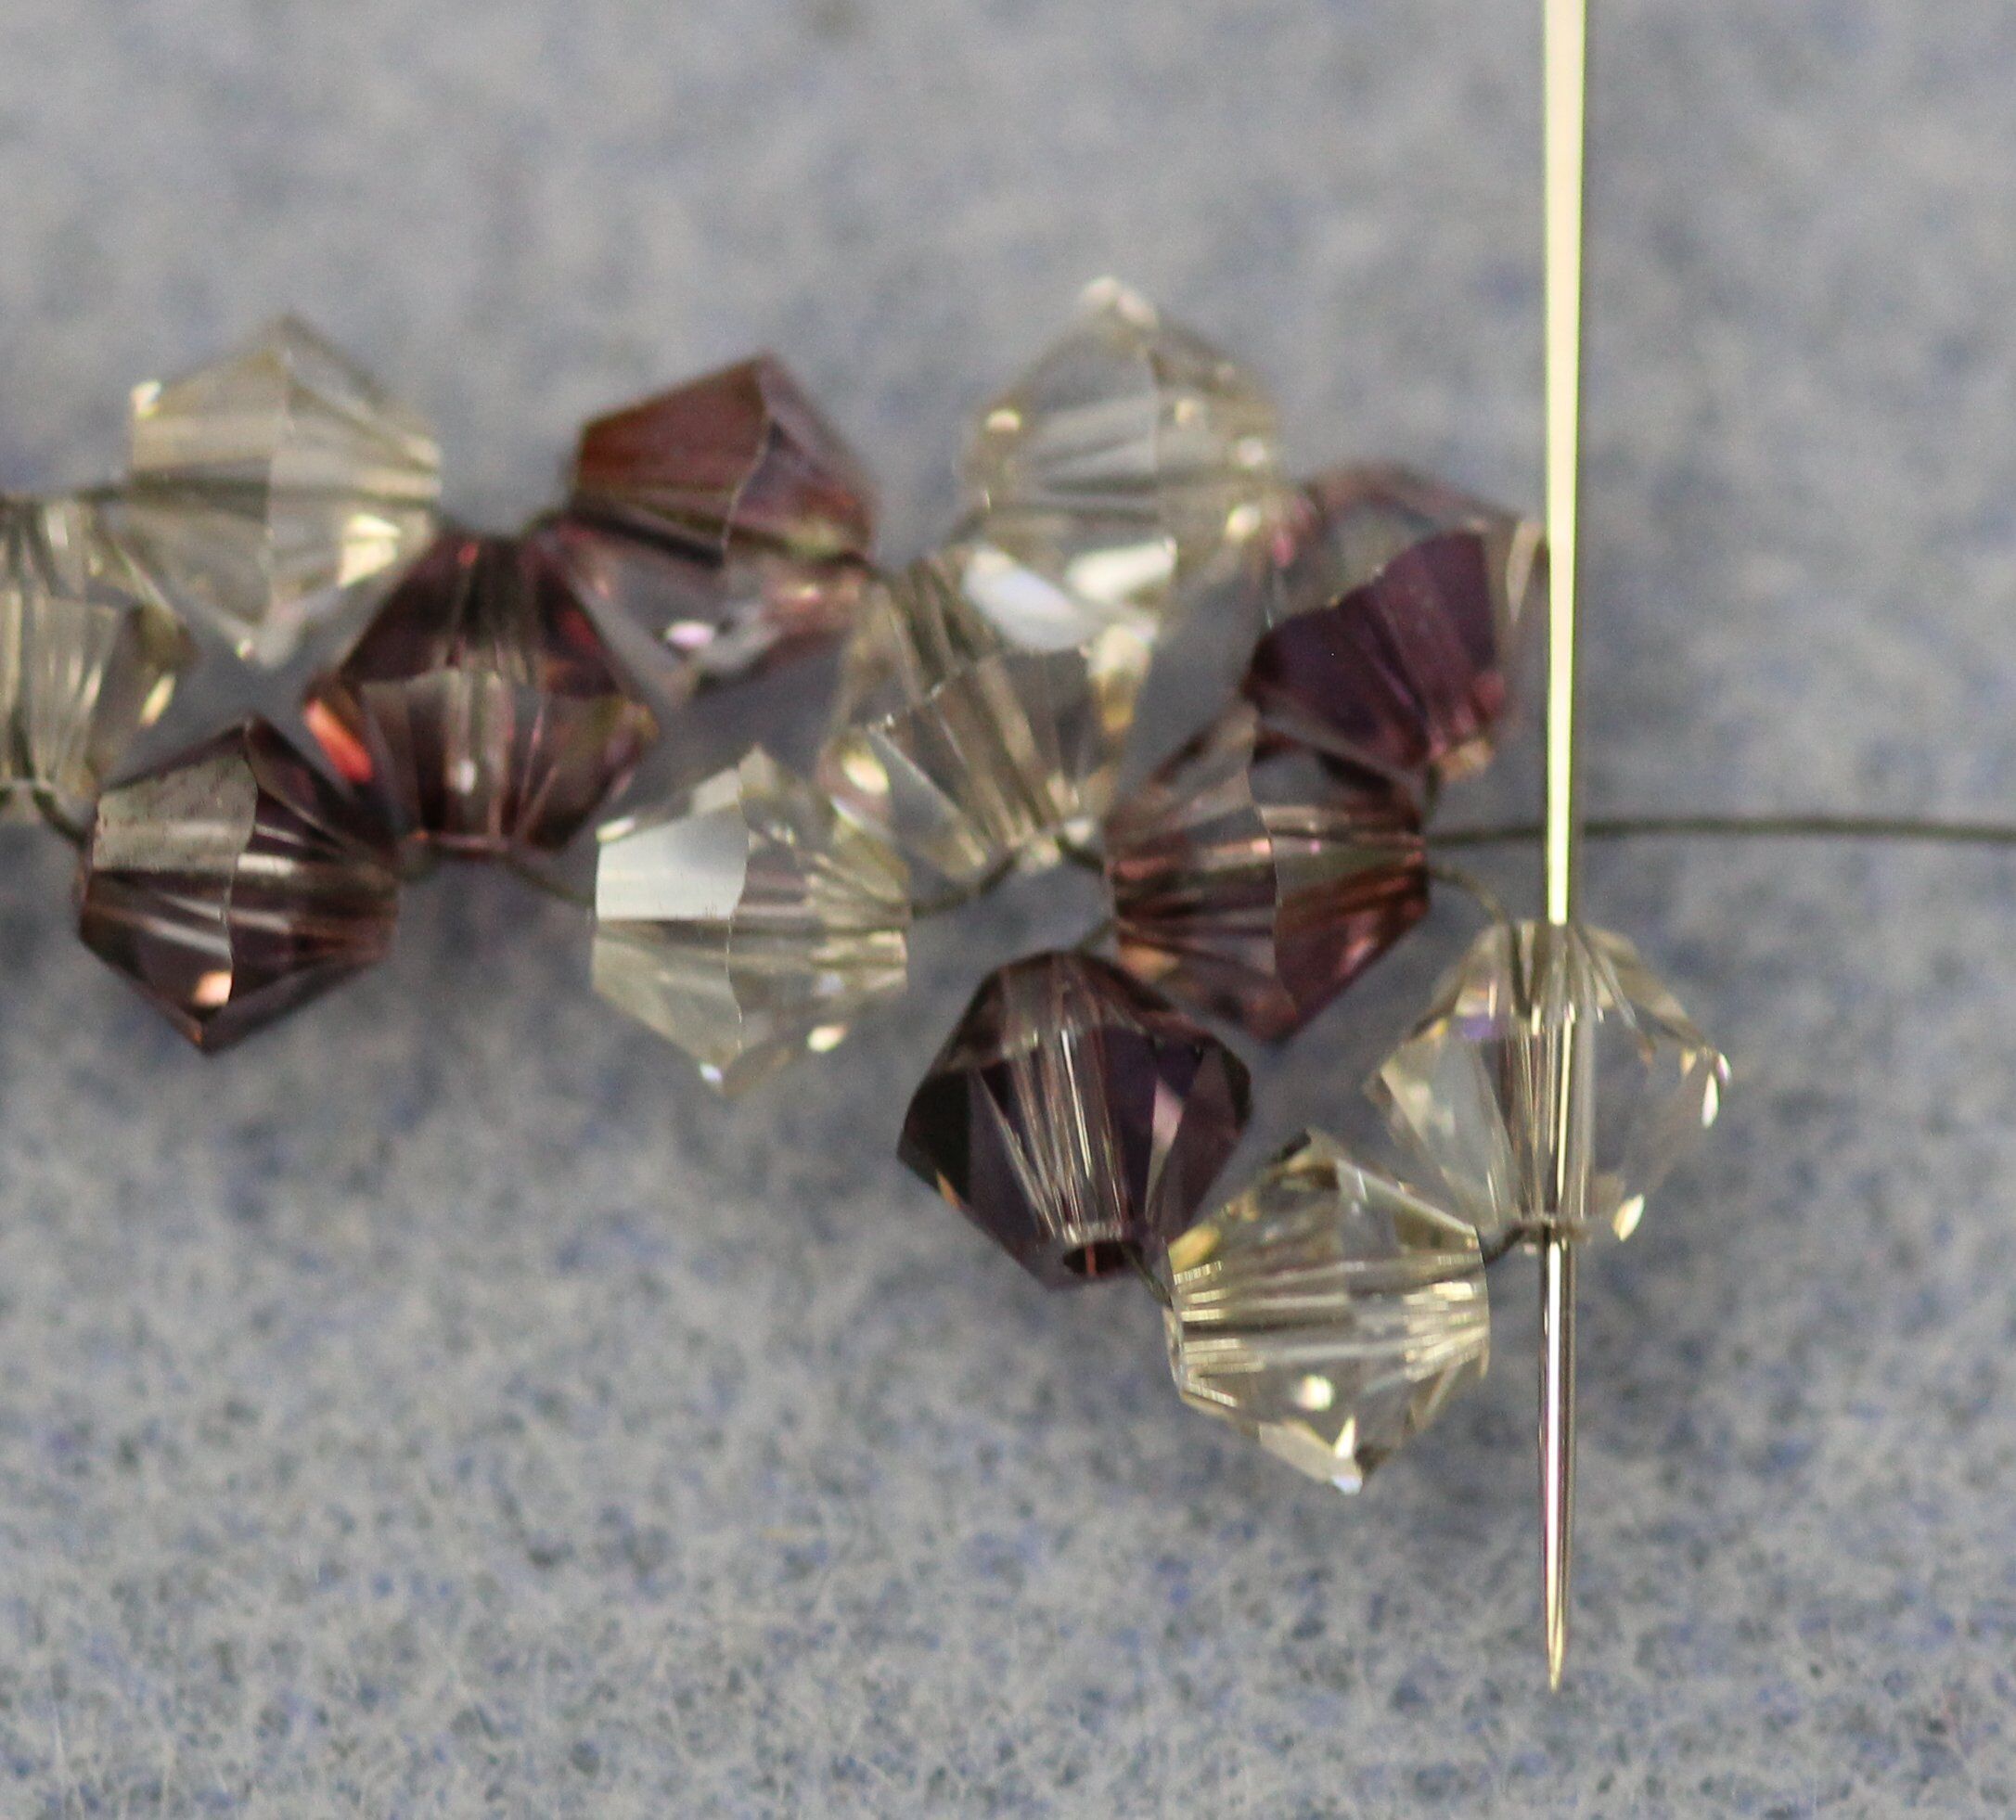
21. Continue working the needle around.
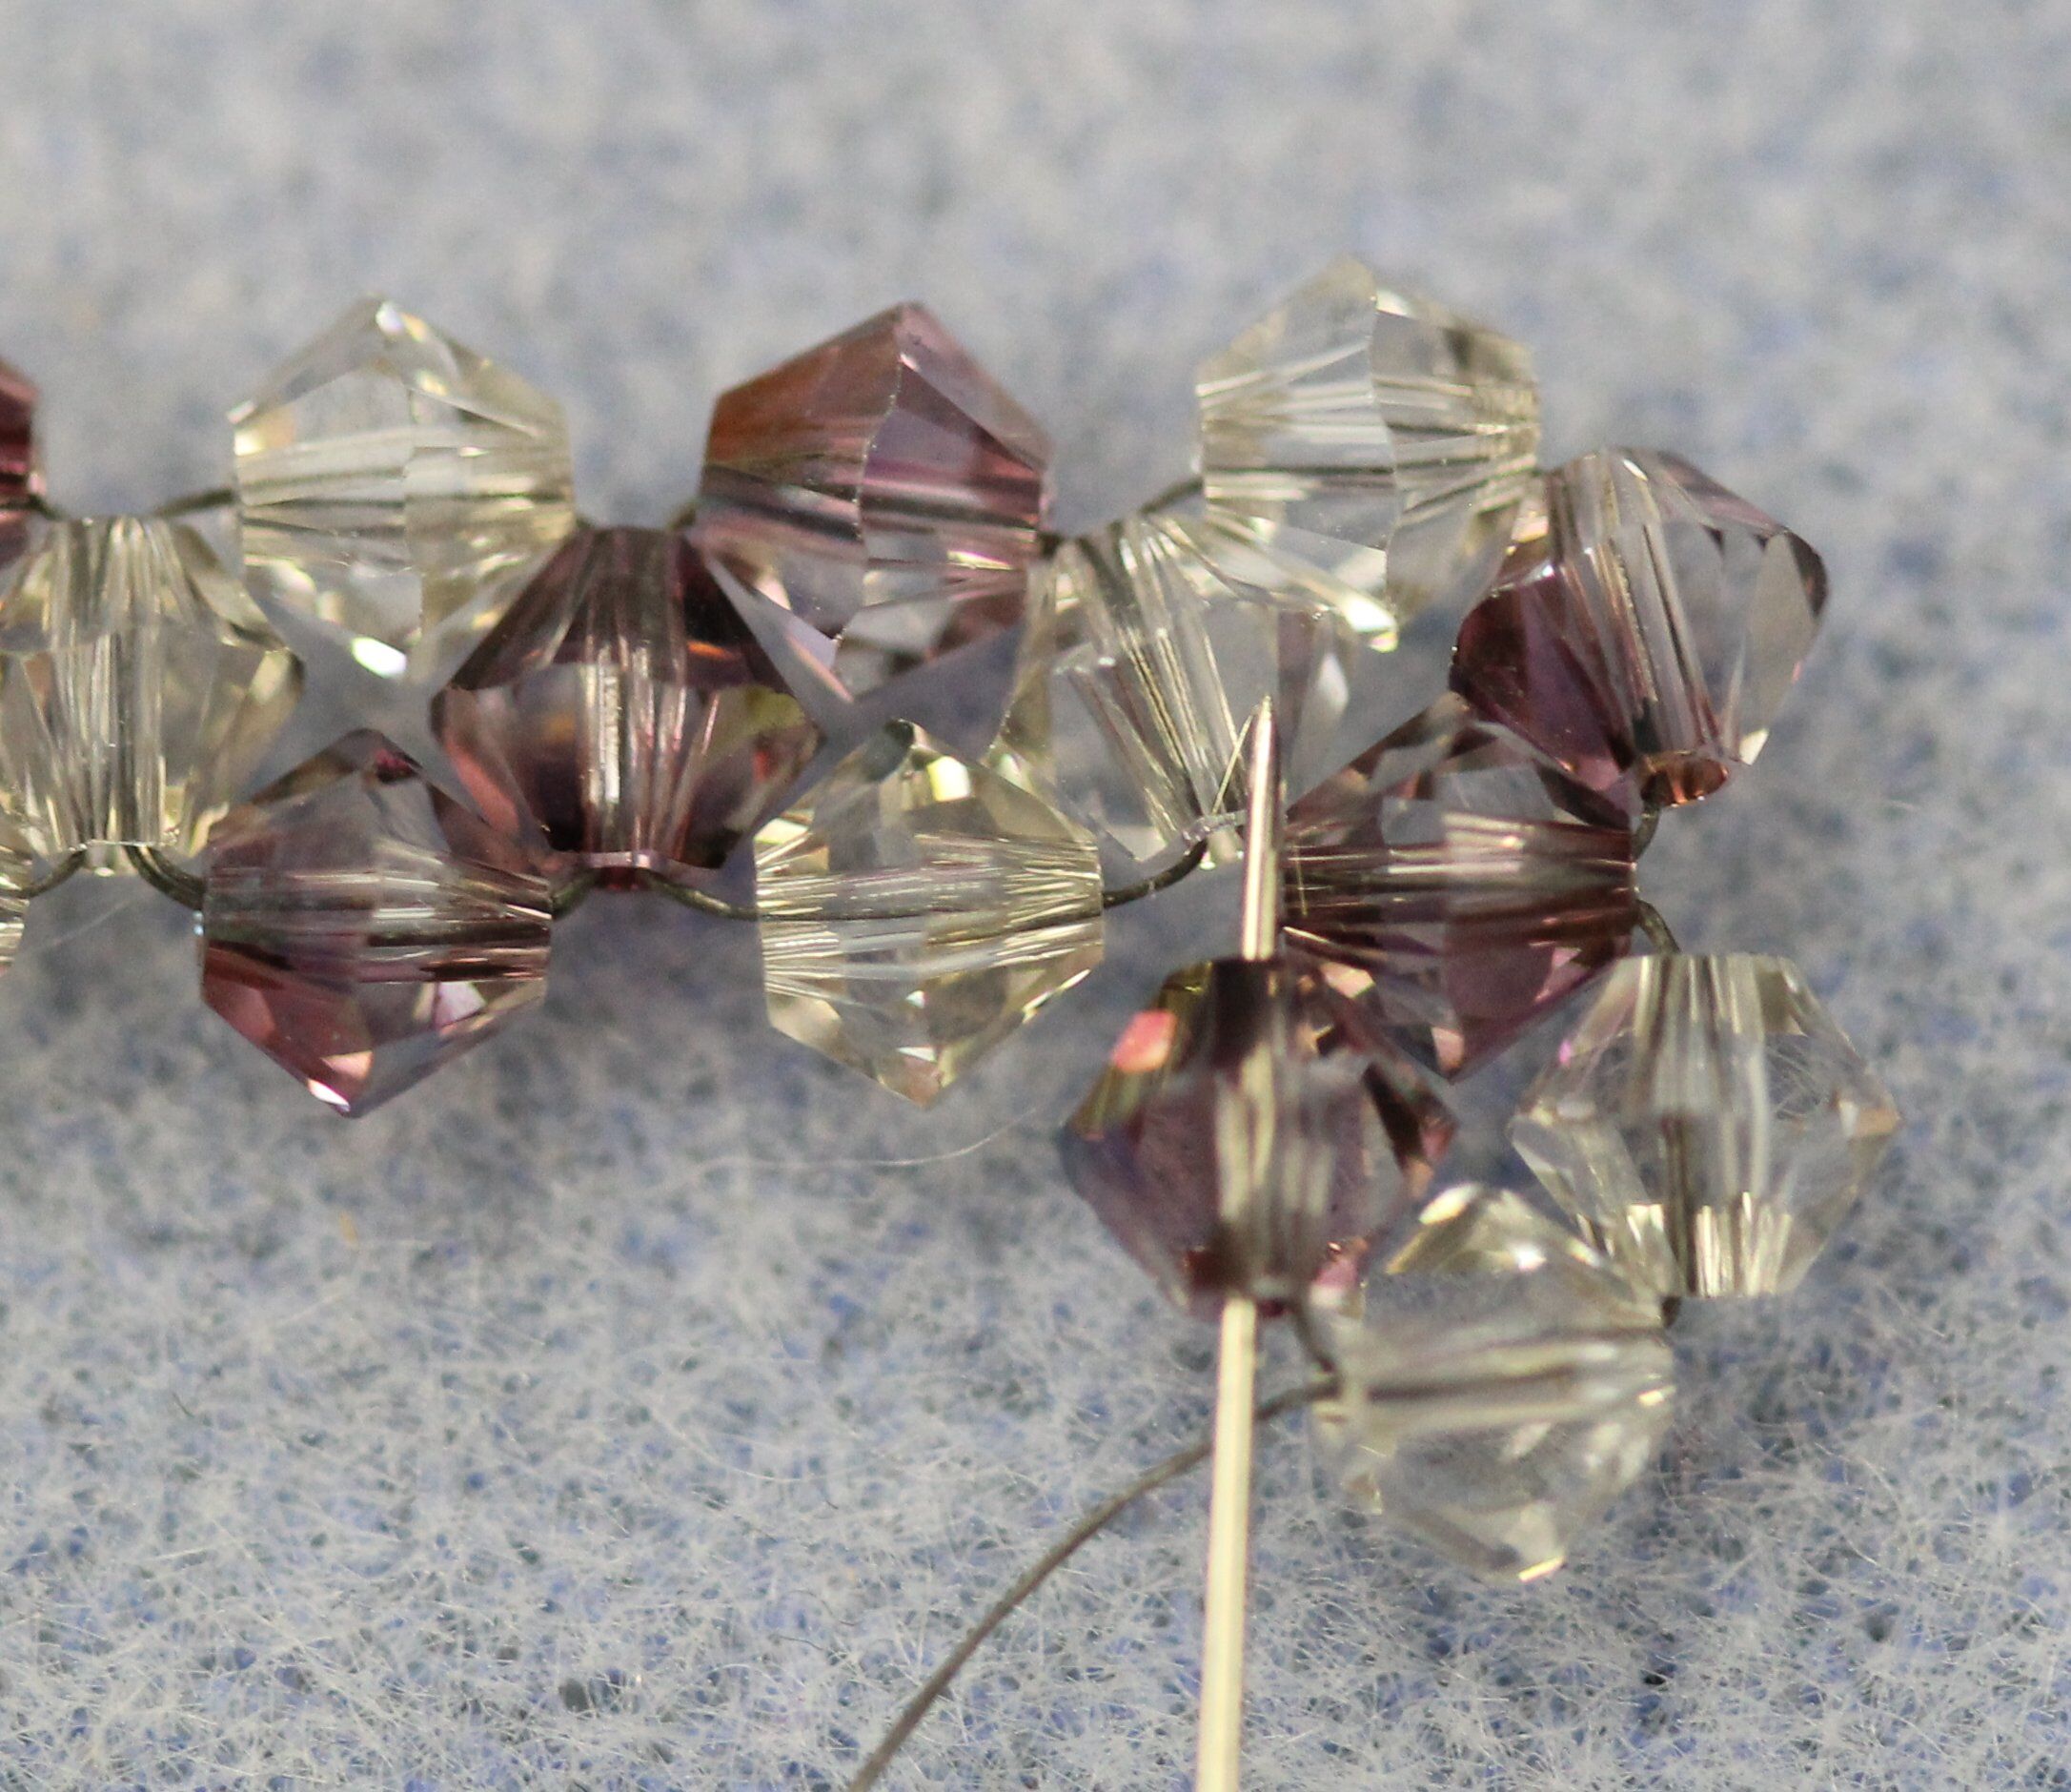
22. To get into position for the next right angle weave unit, pass through the side bead from row 1.
23. We are exiting a color B bead, so pick up one B bead and one A bead, and pass your needle through the color A bead from the previous loop. Then pull the thread tight to form a bead loop.
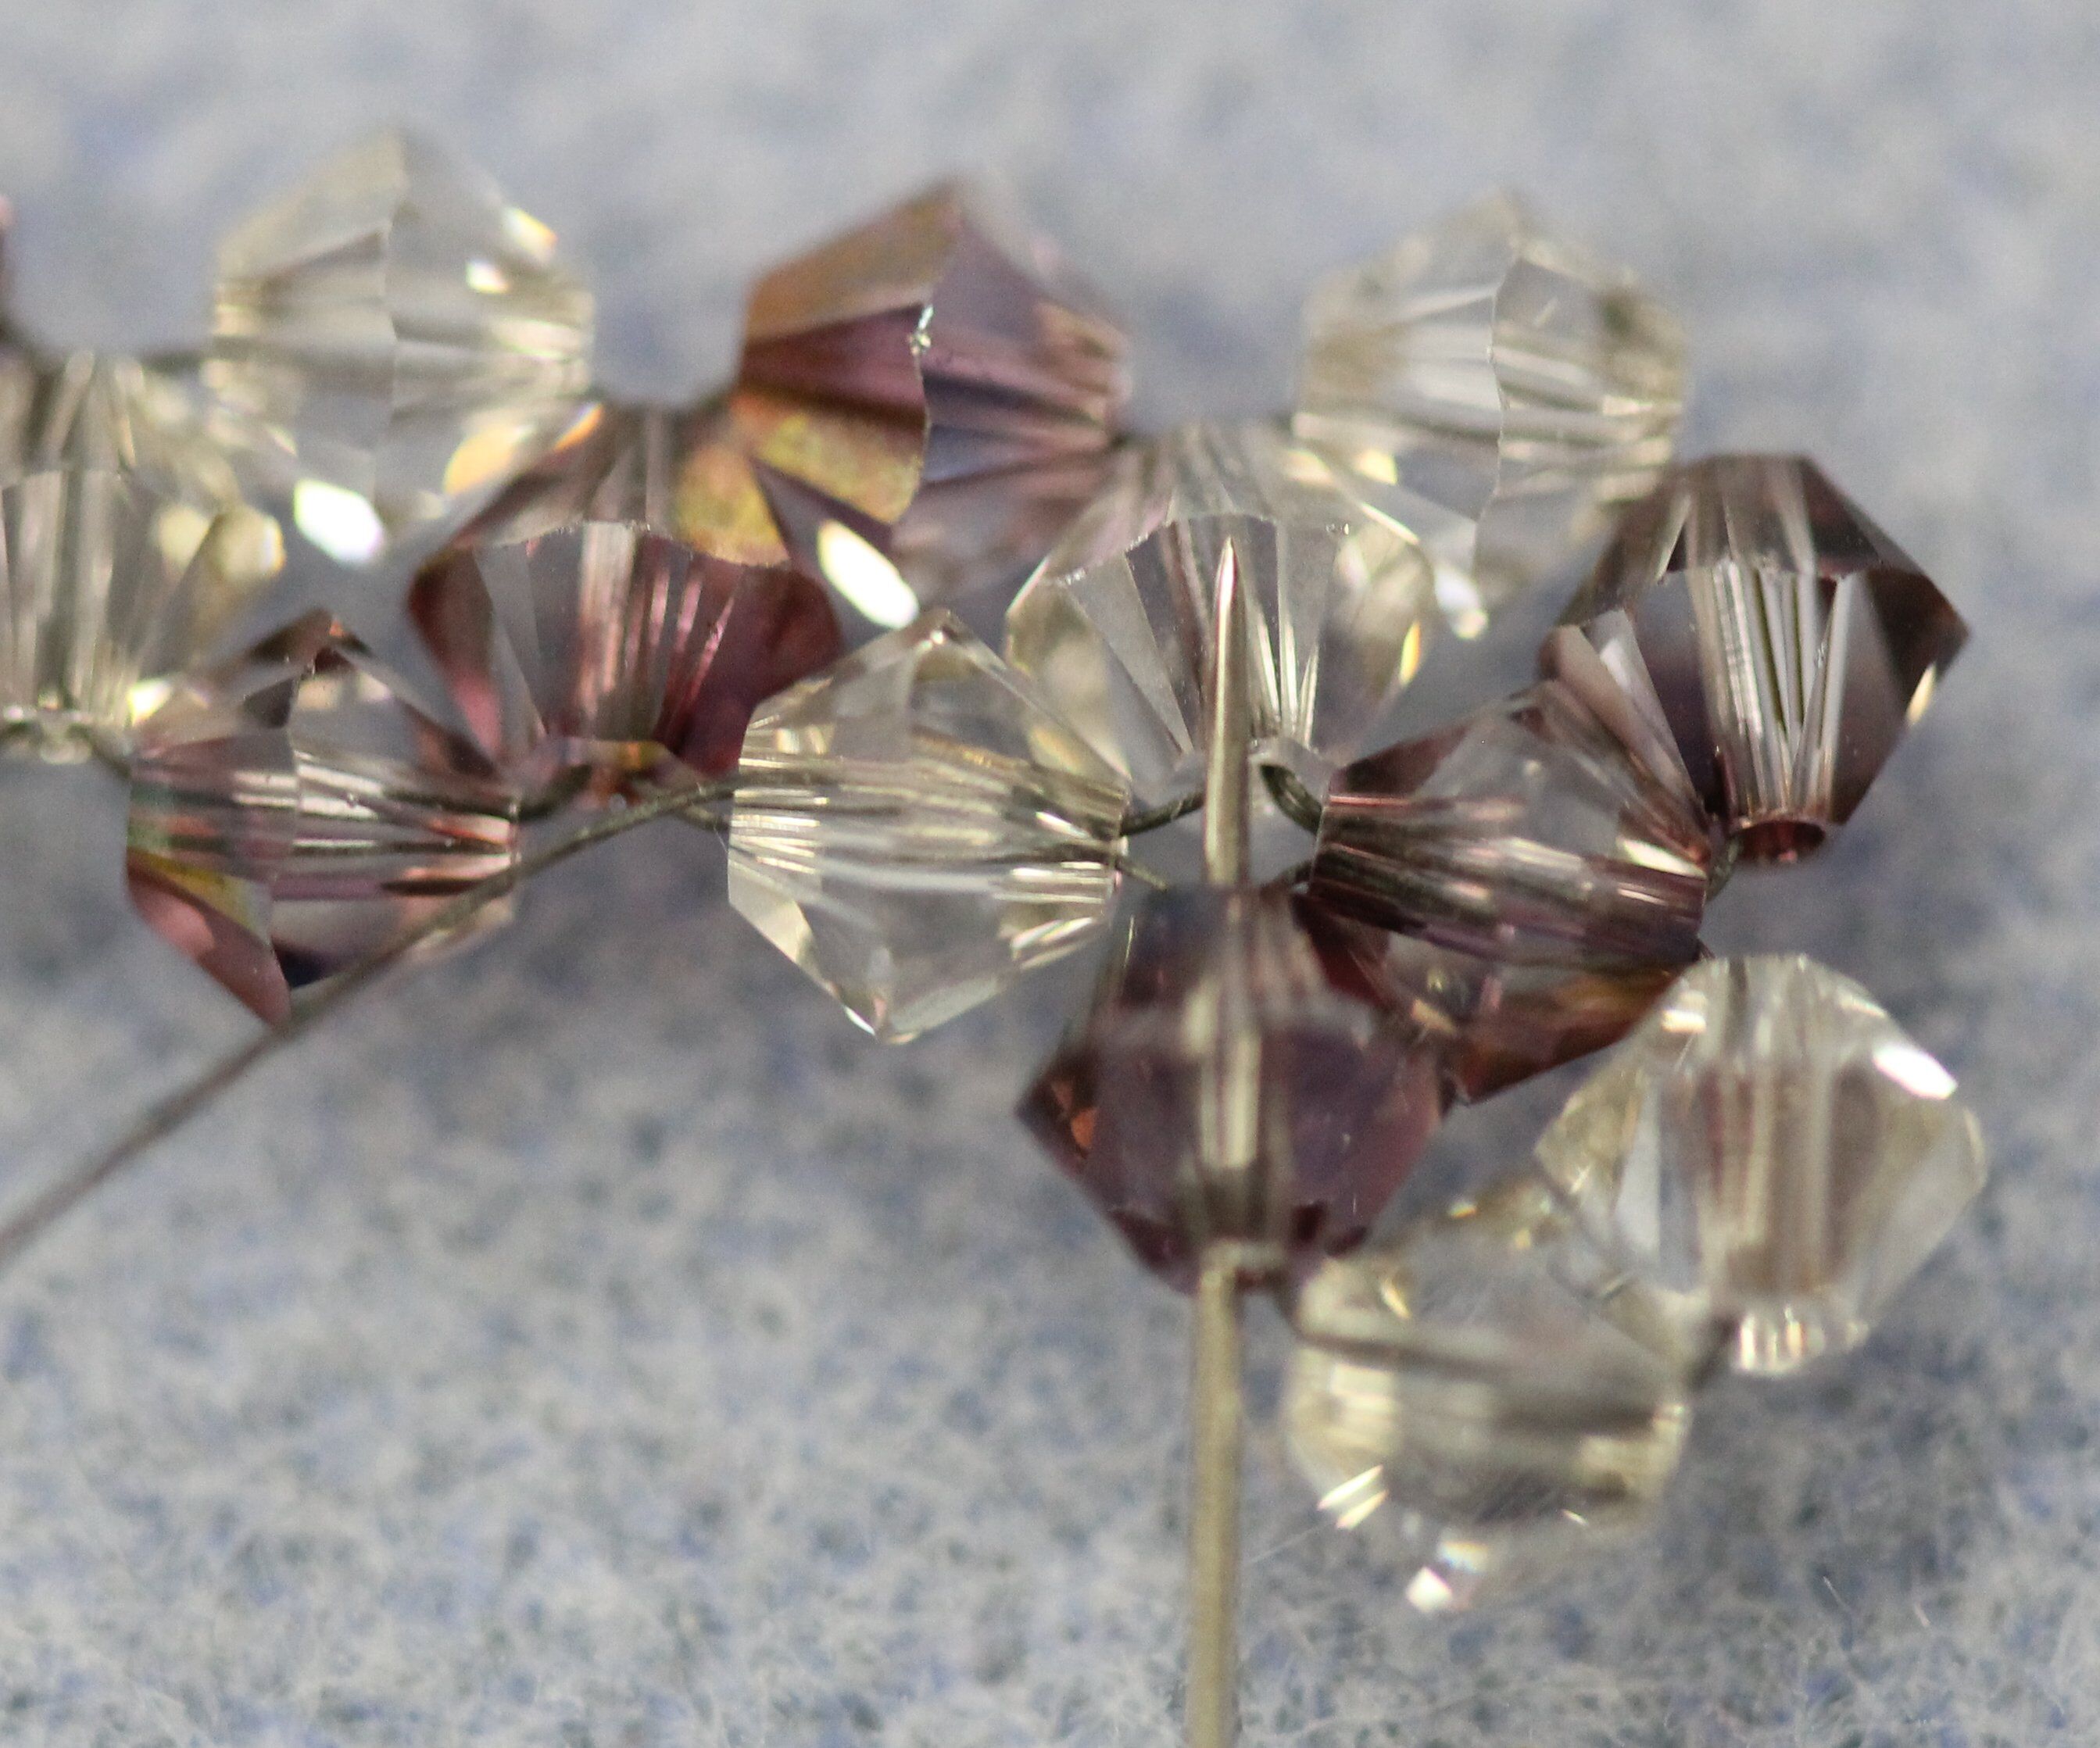
24. Pass through the color B bead from row 1 to complete the loop.
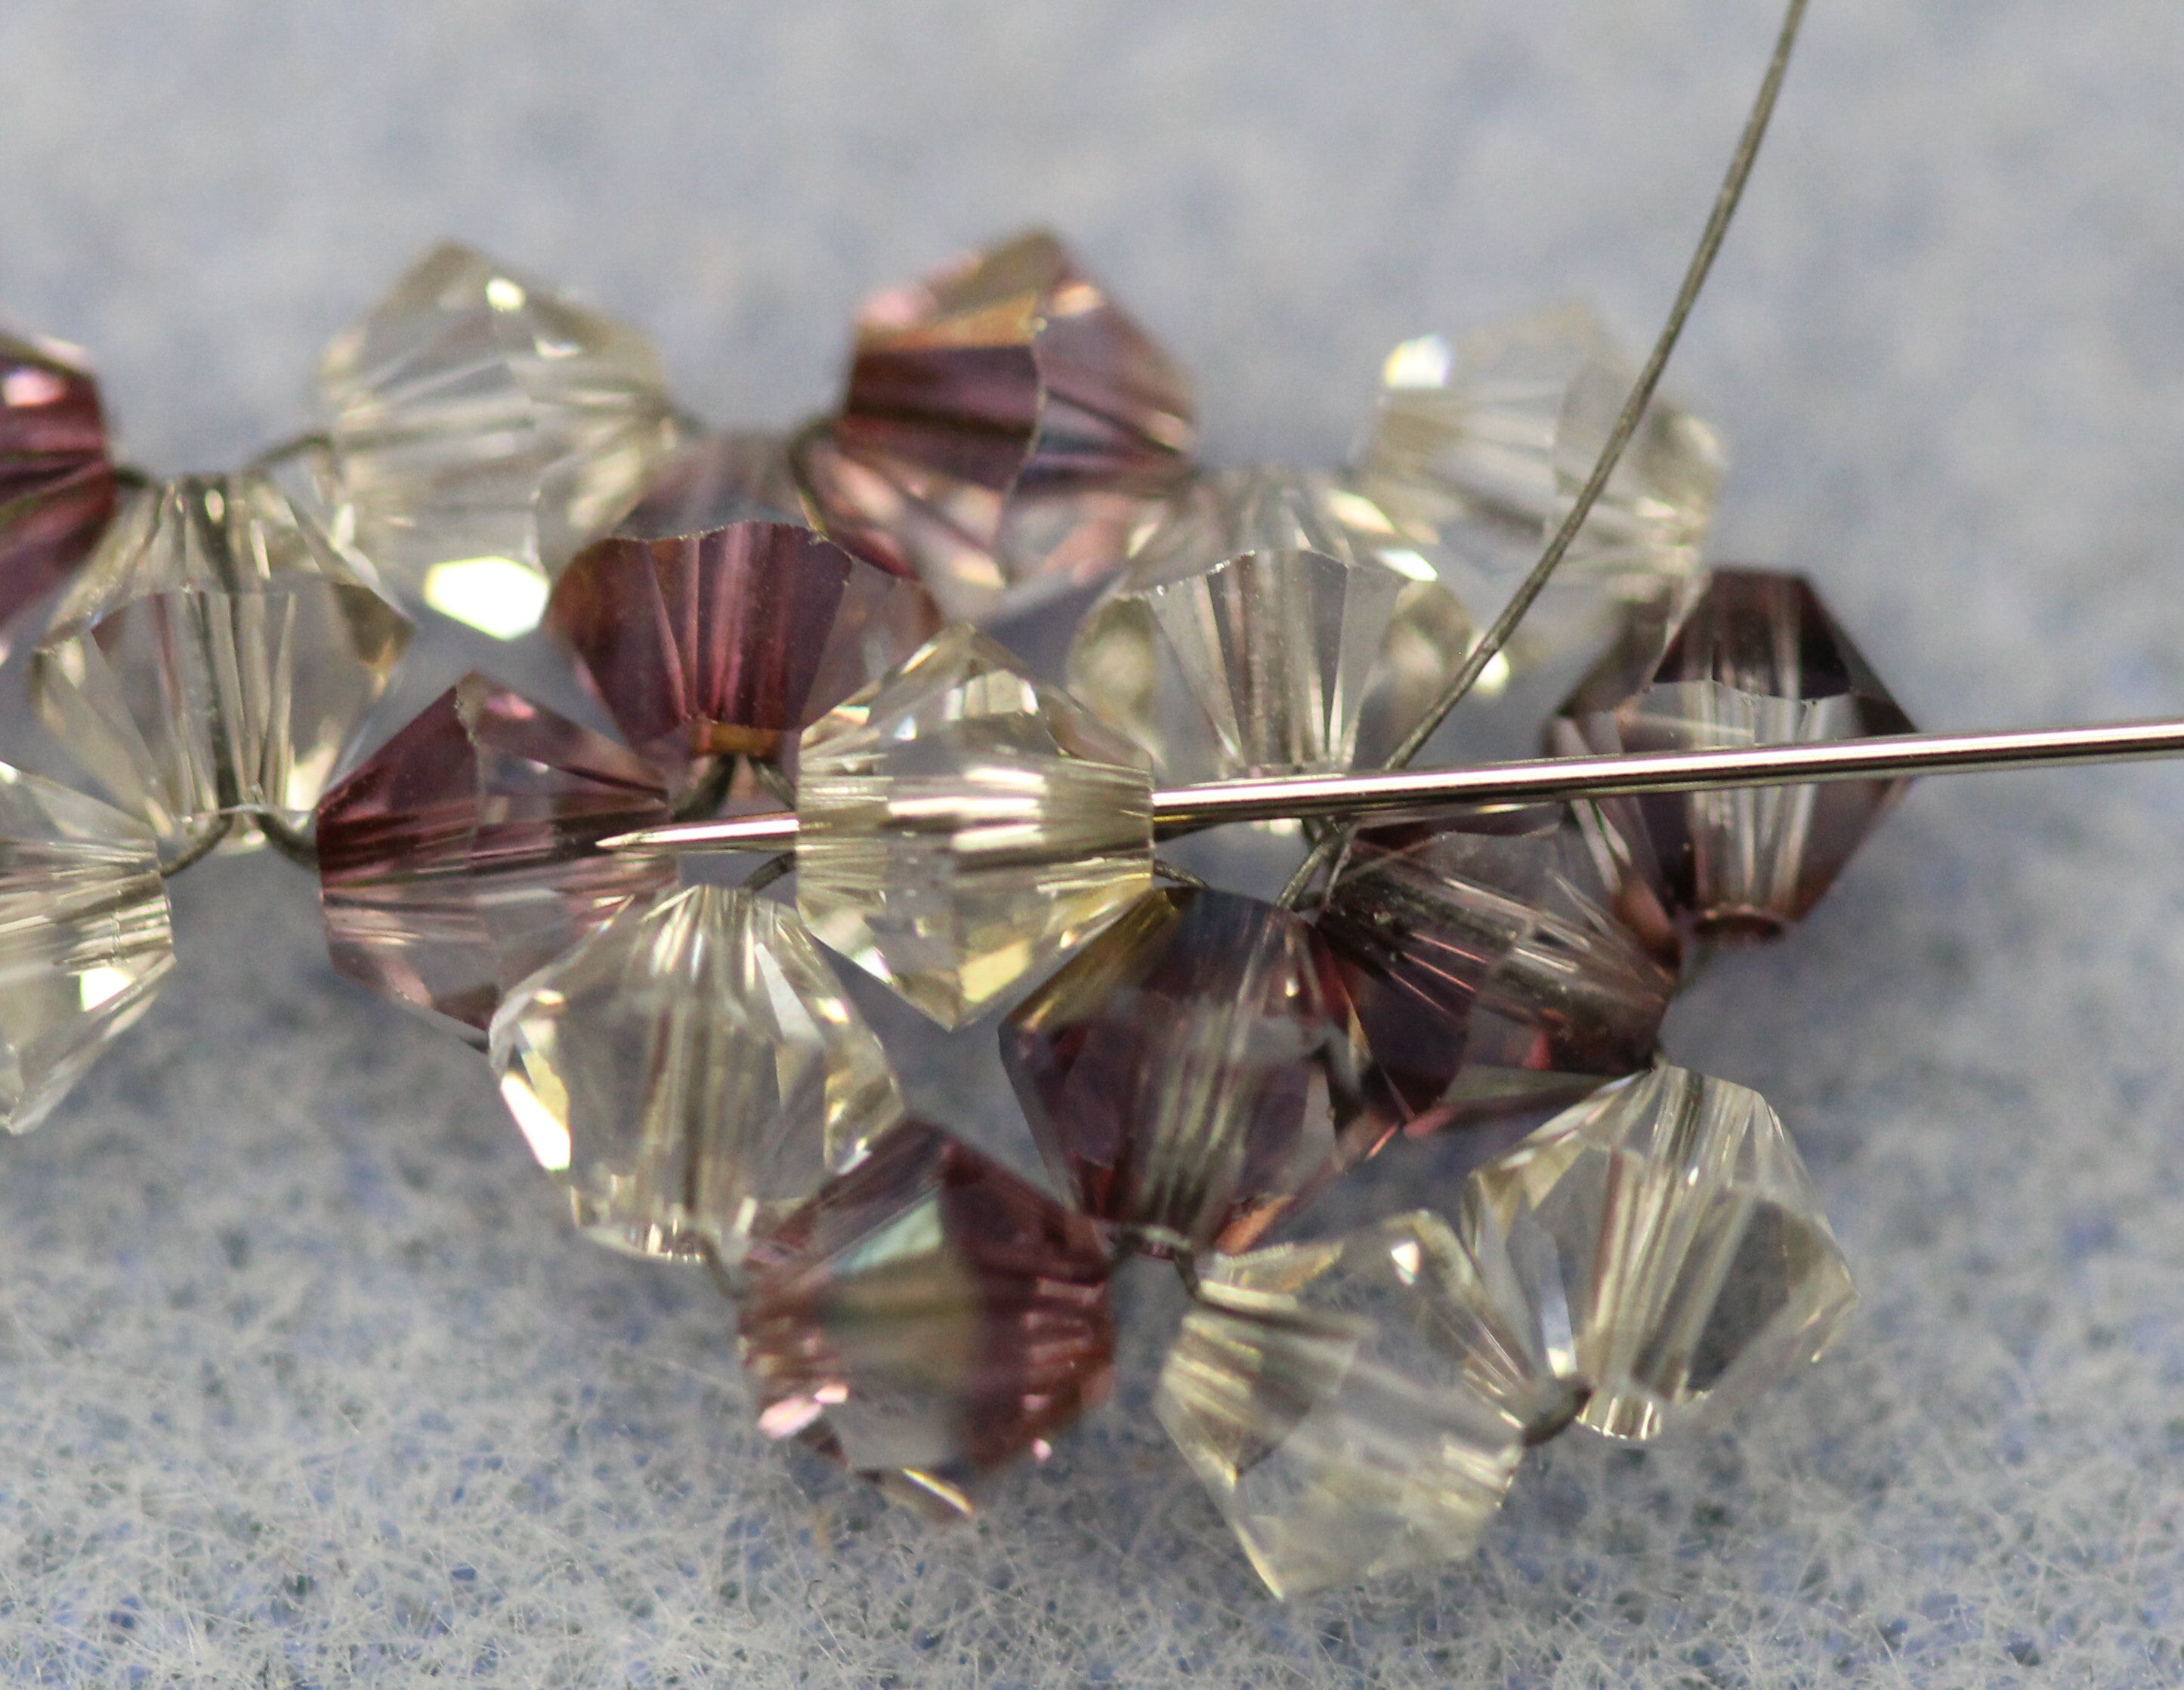
25. Pass your needle through the final color B bead to get into position for the next right angle weave unit. Continue adding units until you finish the row. Each time you add beads, you’ll add one of the color you are exiting and then one of the other color.
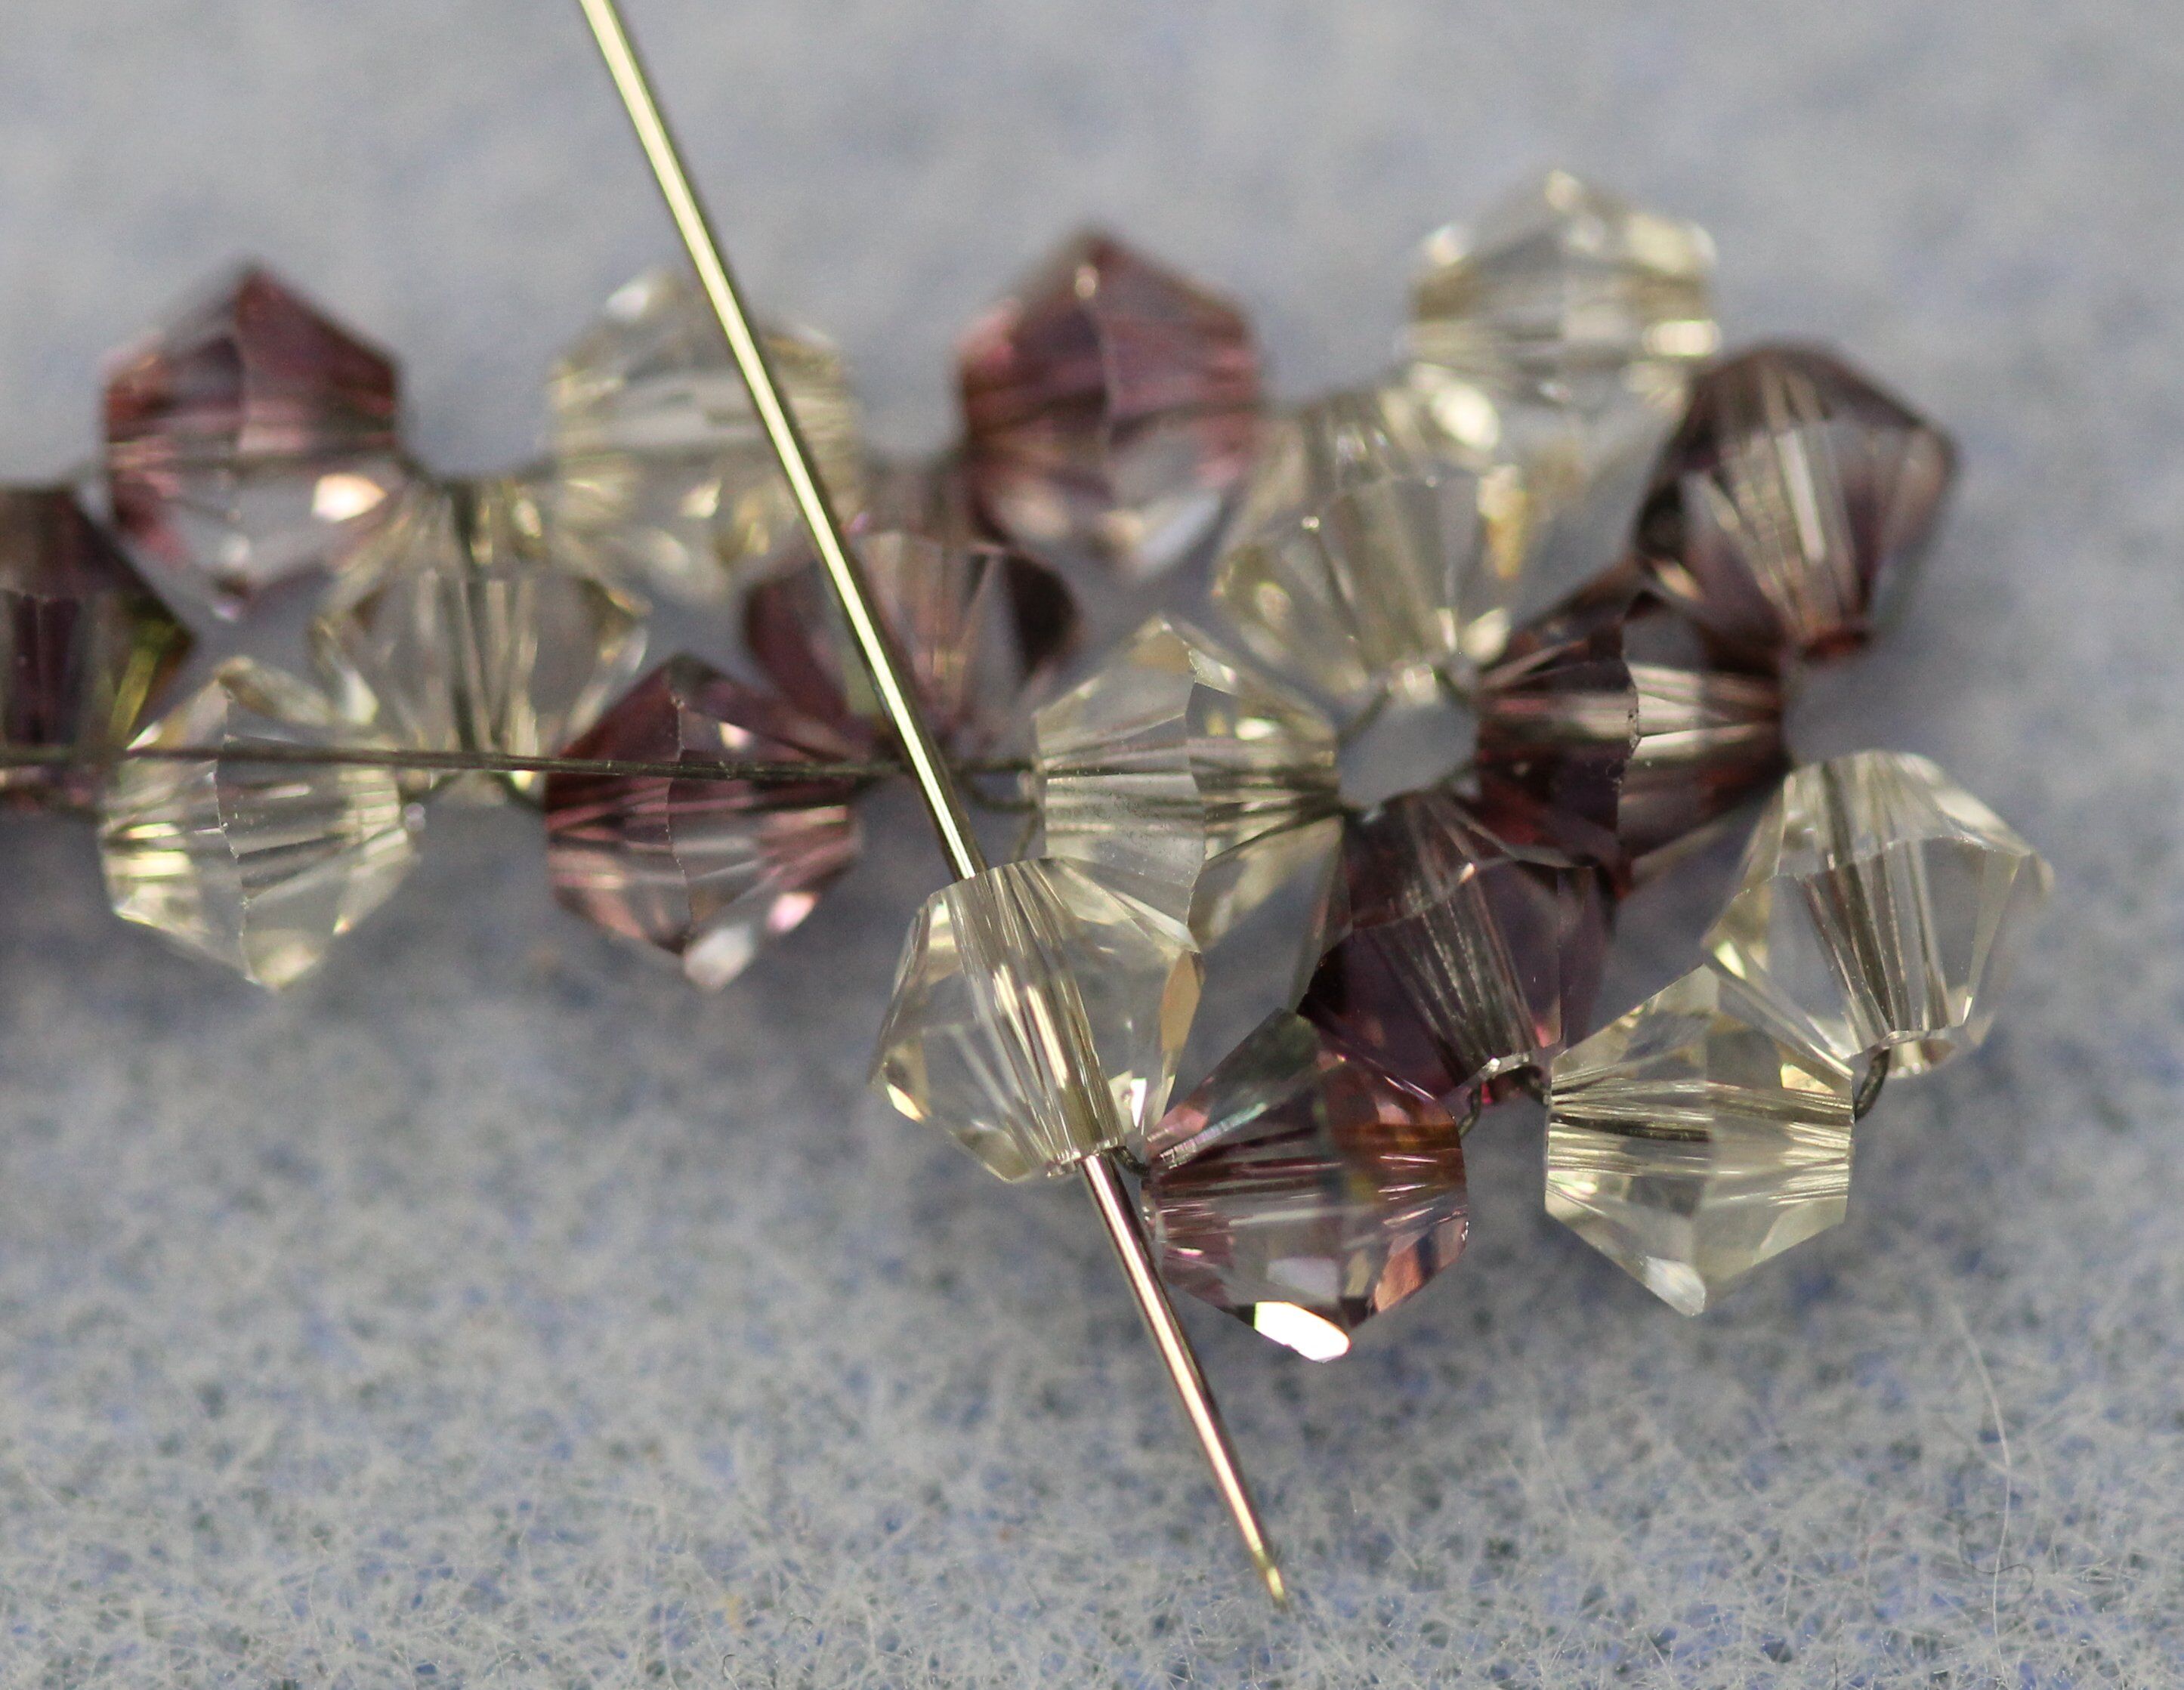
26. When you finish the second row, it will look like this:
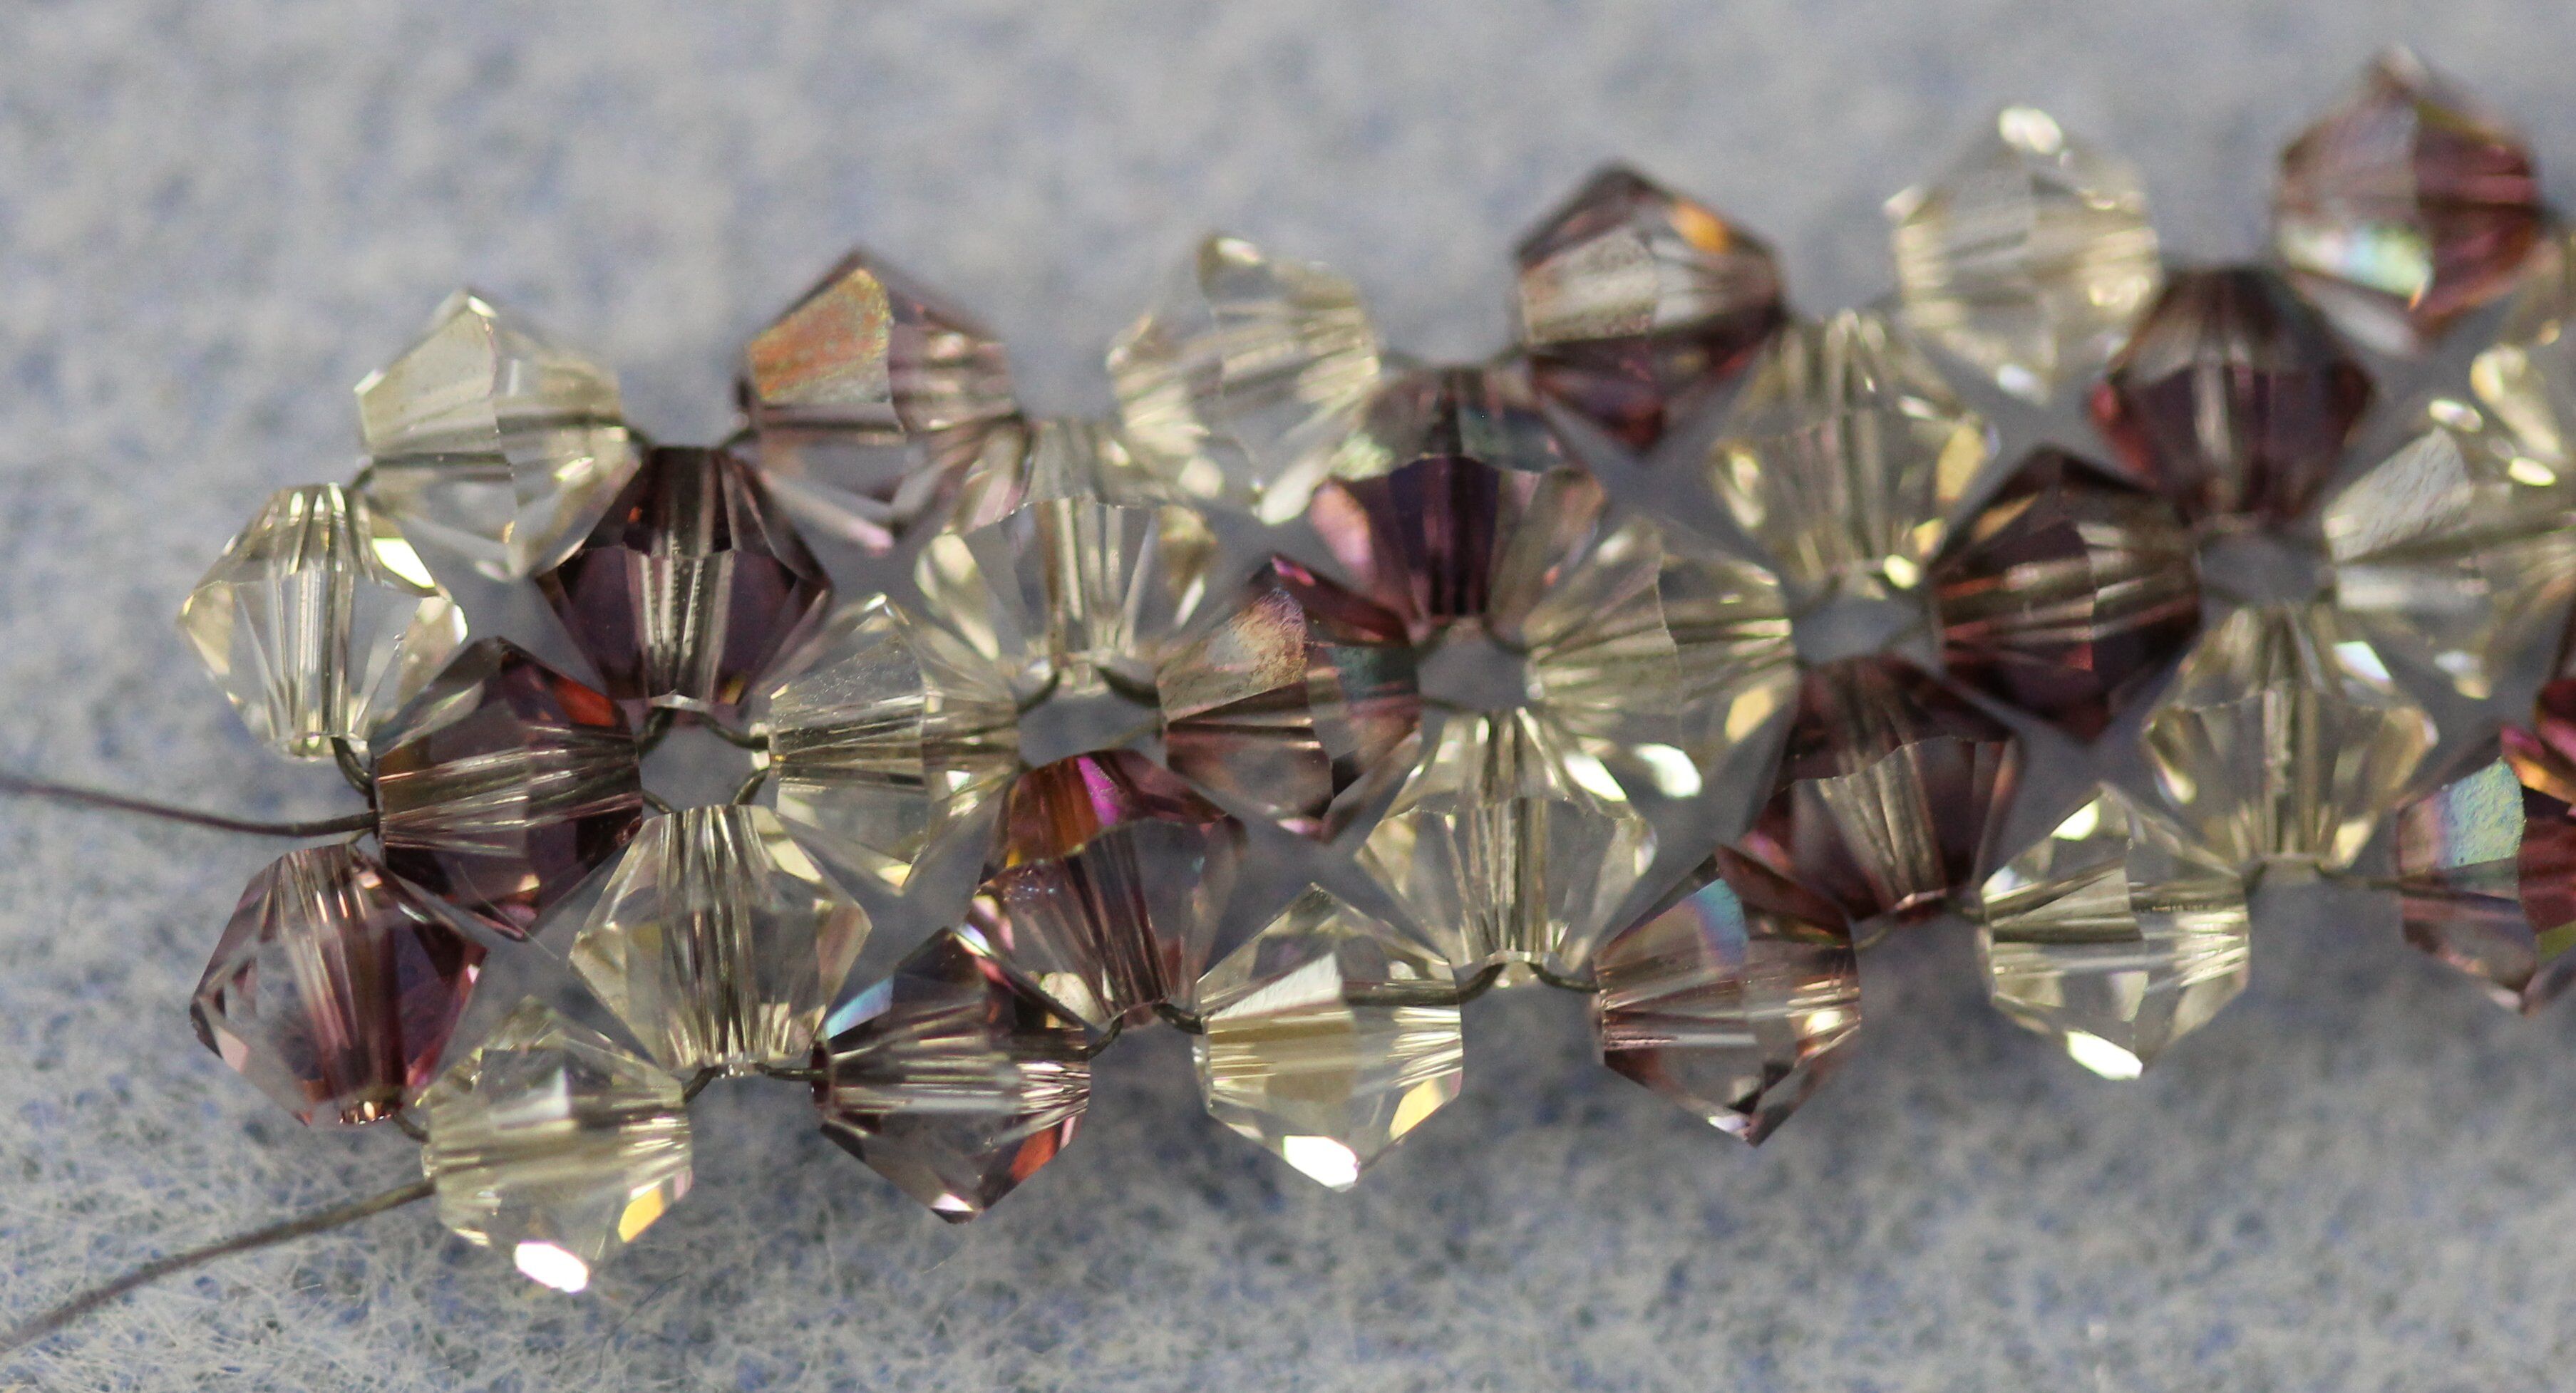
27. Now it’s time to start row 3! We are exiting a color B side bead, so pick up one color B bead and two color A beads. Pass your needle back through the color B bead to form a loop.
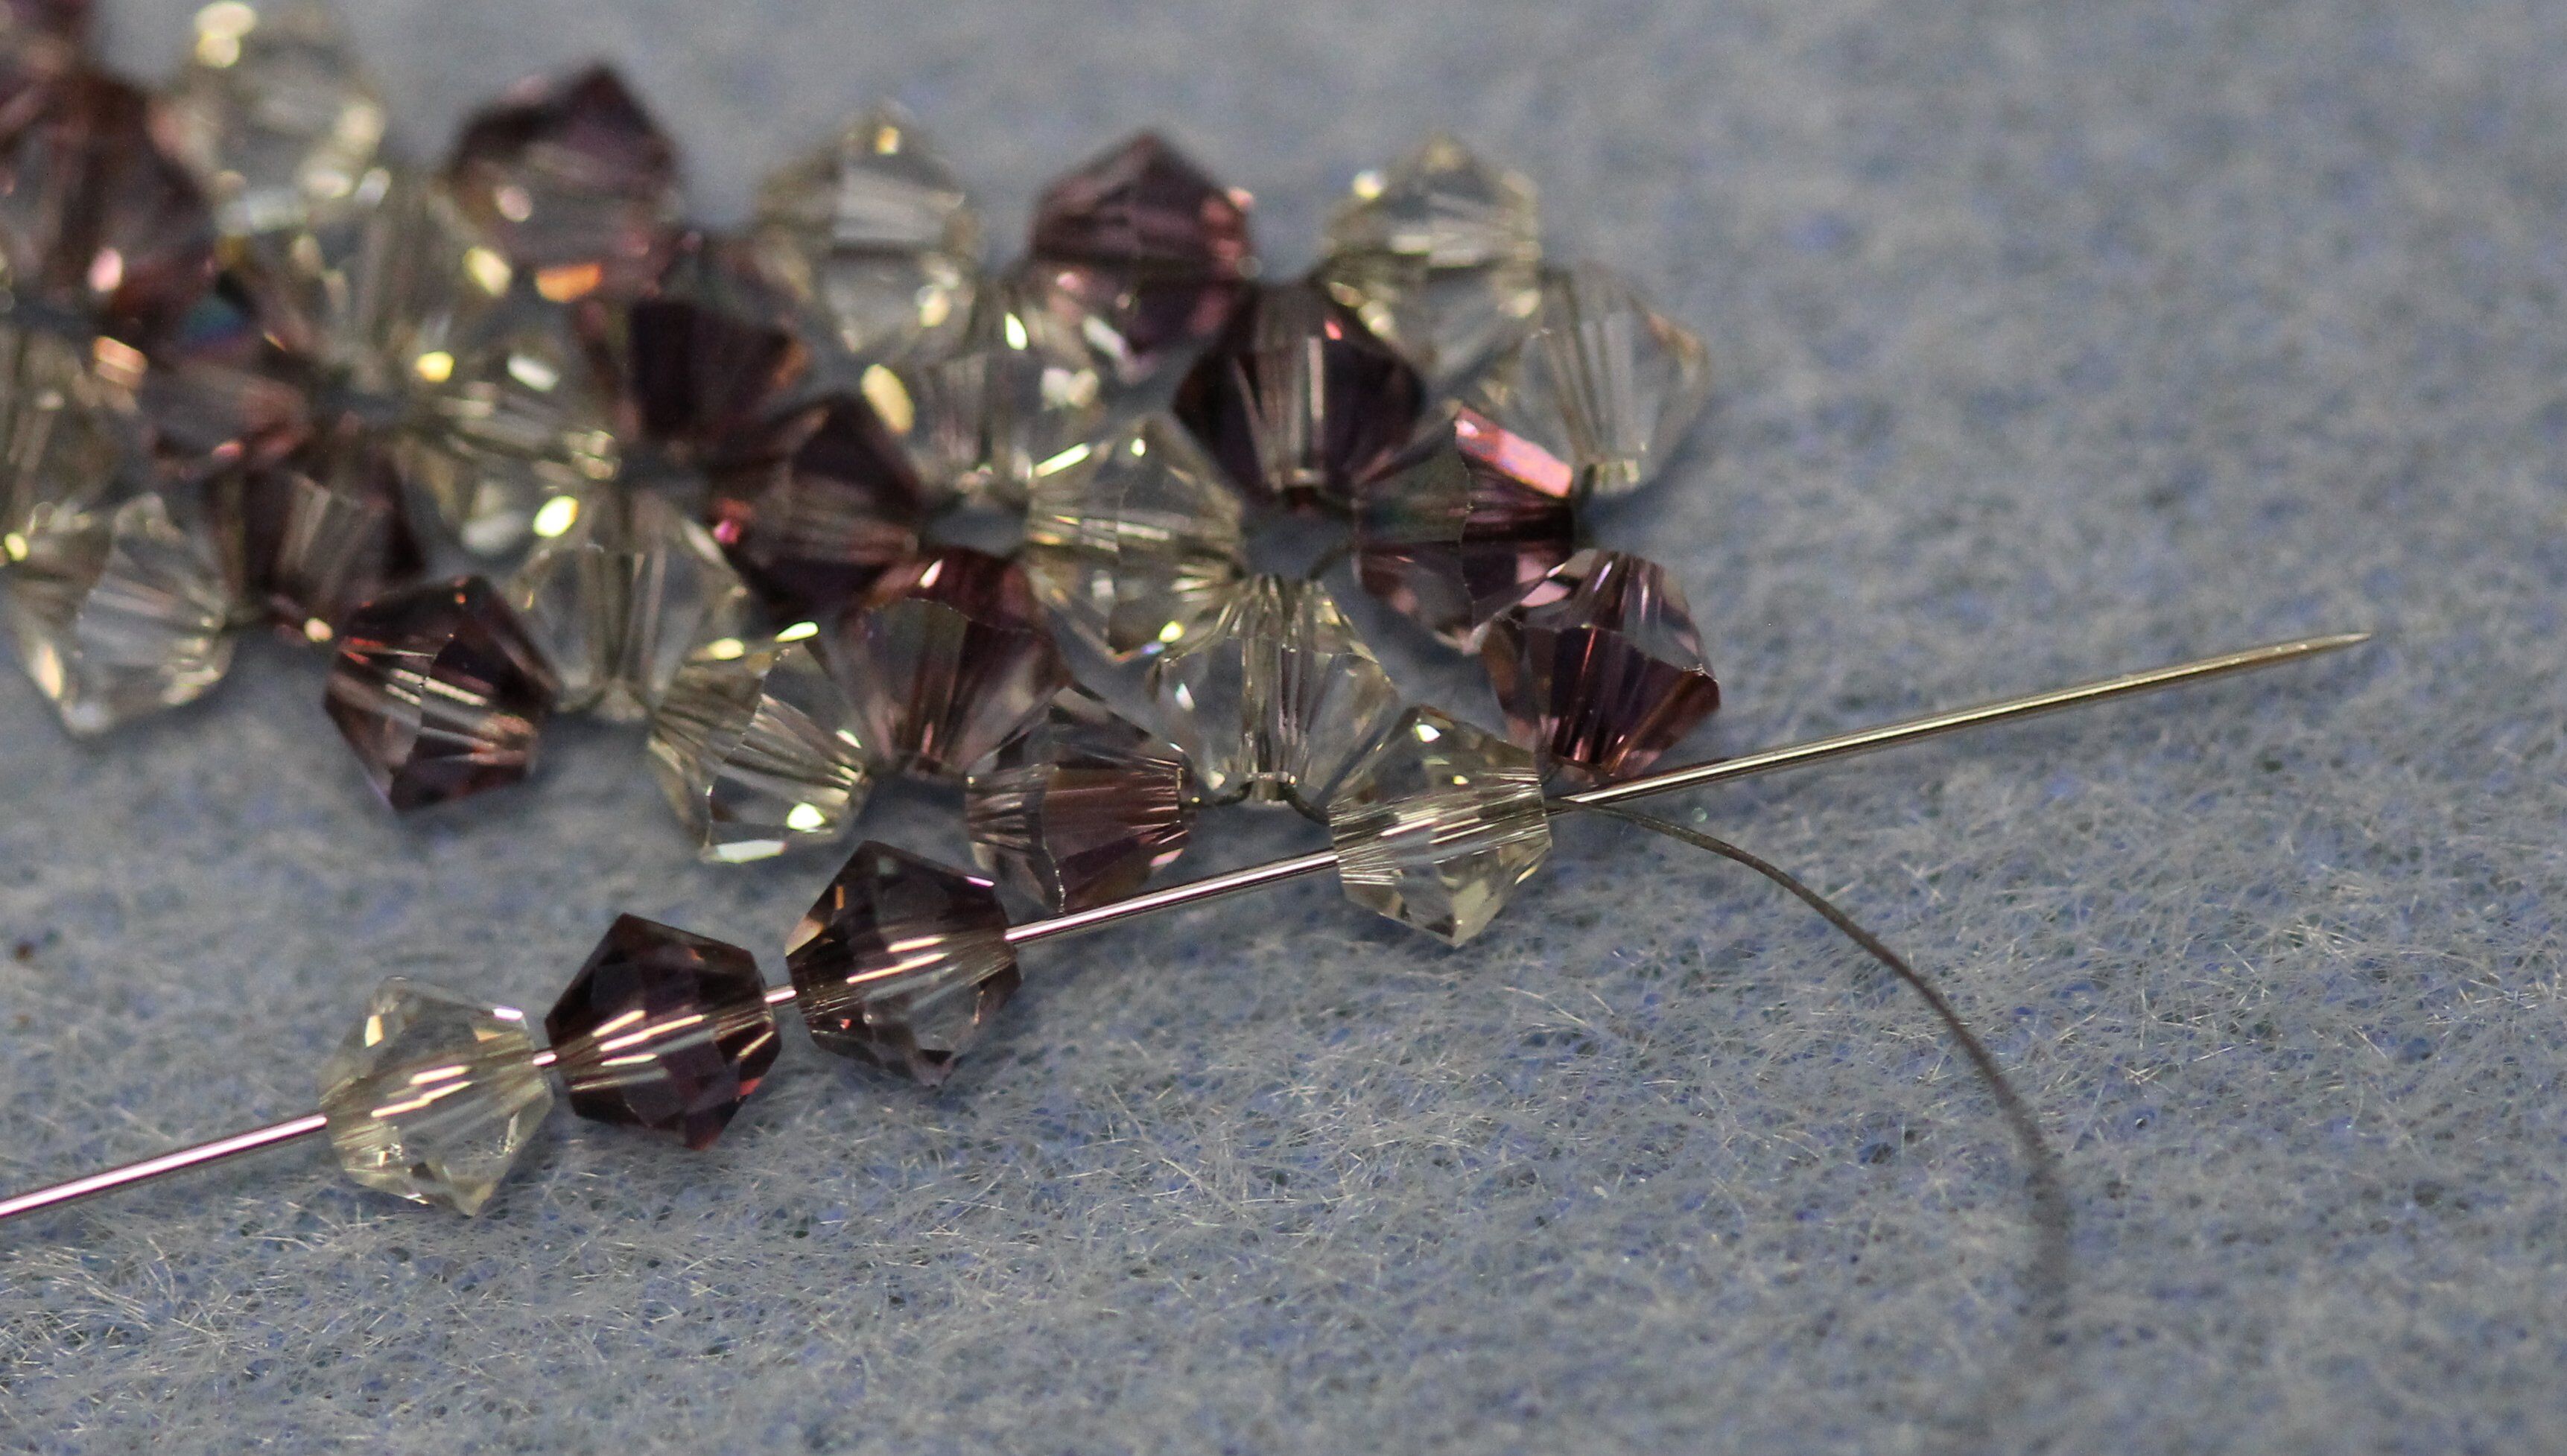
28. Pull the thread tight to form a right angle weave unit. Work your needle into position for the next right angle weave unit.
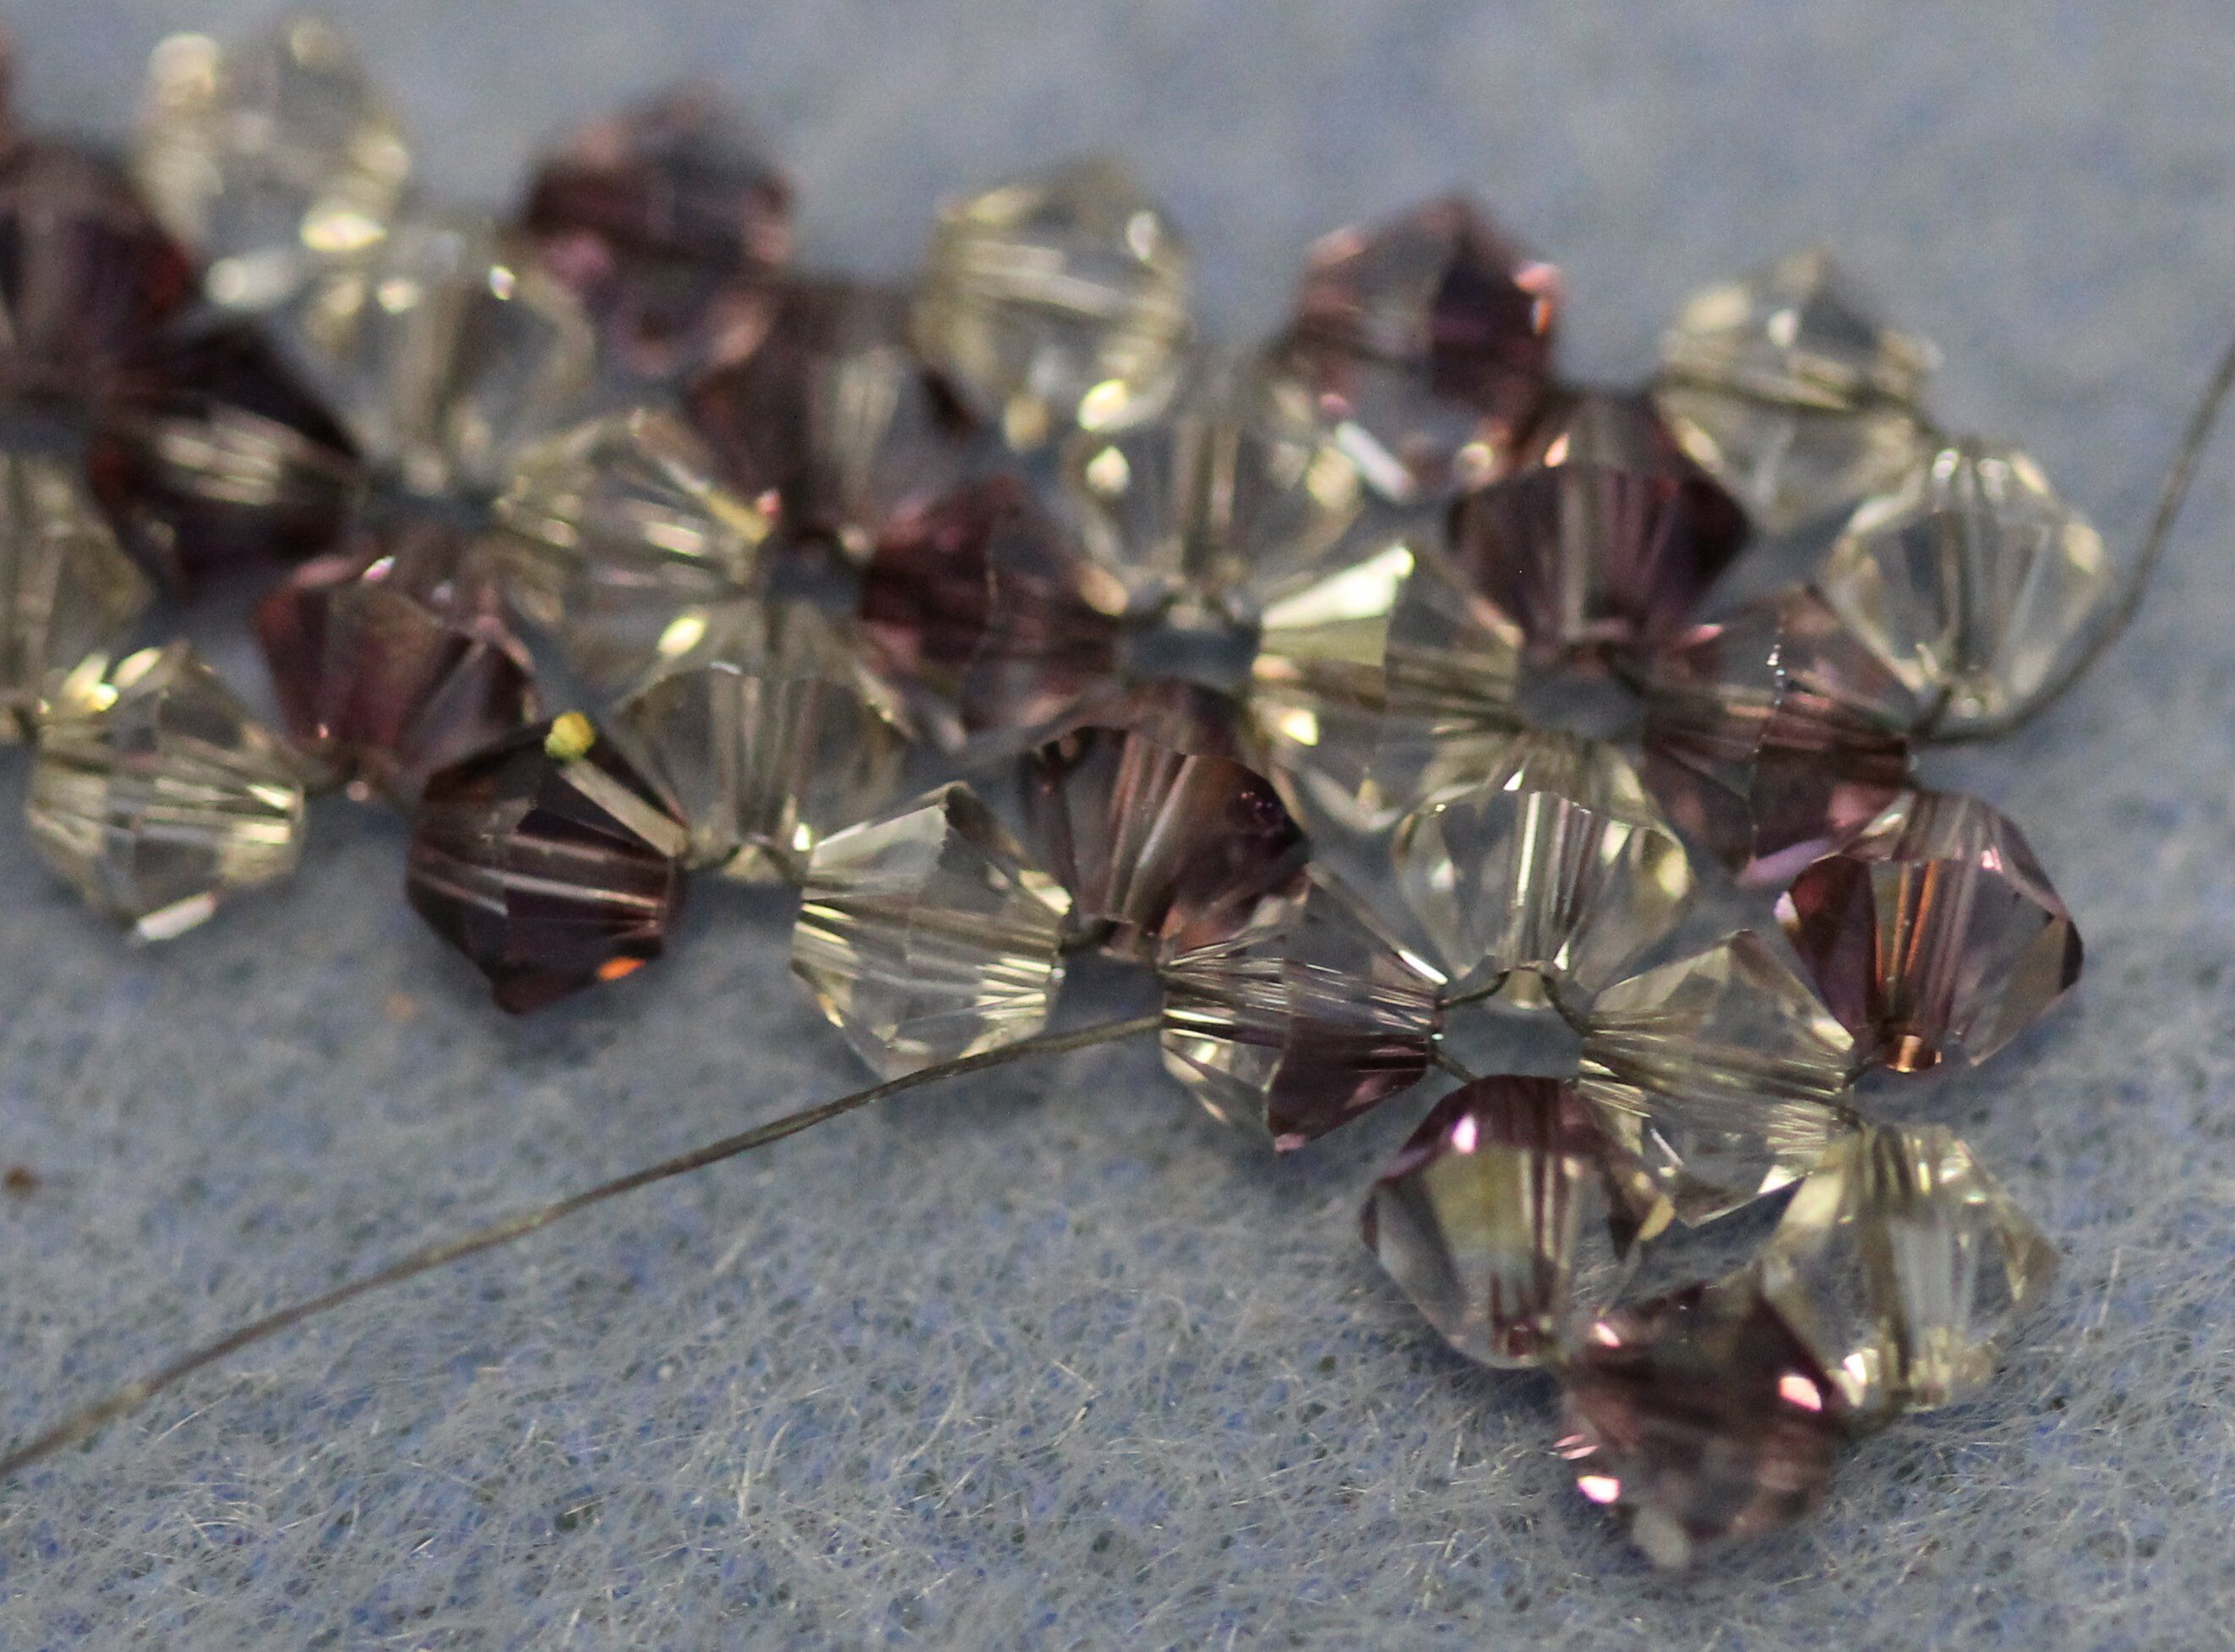
29. For Row 3, the pick up pattern is different. We begin this unit by exiting a color A bead. So we pick up two color B beads and complete the right angle weave unit.
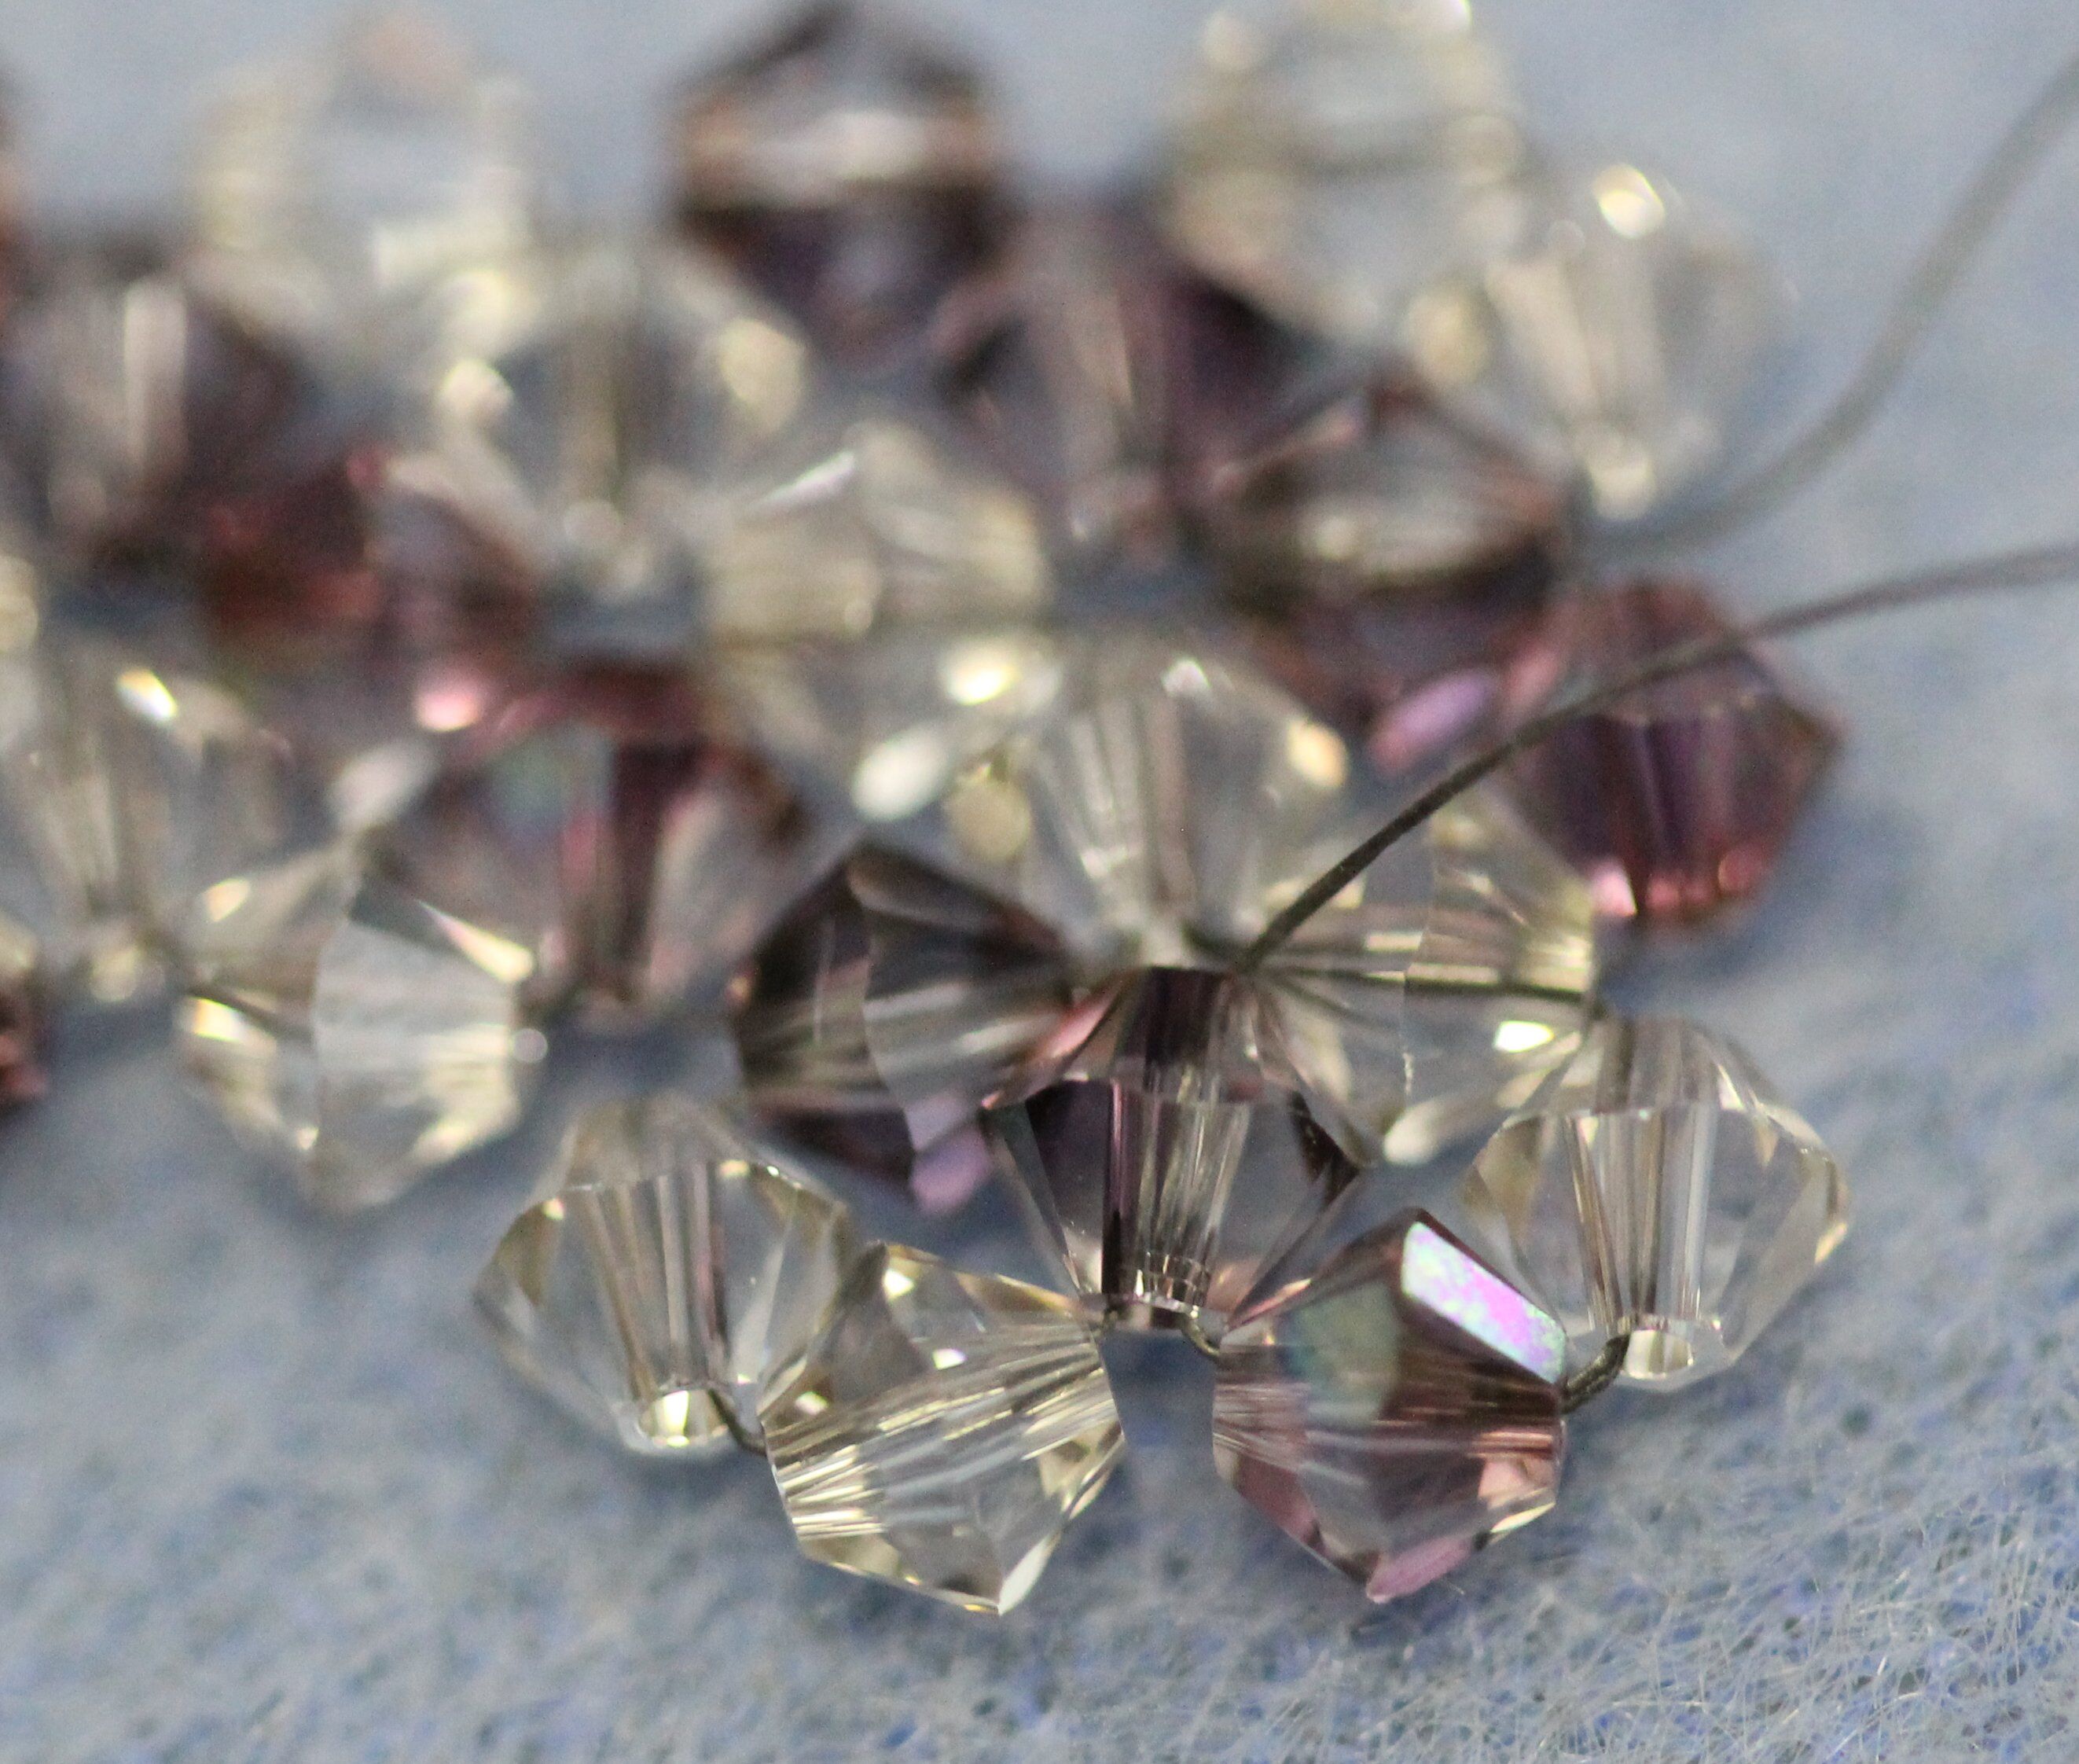
30. When we begin the unit exiting a color B bead, we will pick up two color A beads. As always, pay attention to the stripes to make sure they are forming correctly. Continue the row until you reach your desired length. Then work your needle around until you are exiting one of the two interior beads with holes that face the edge.
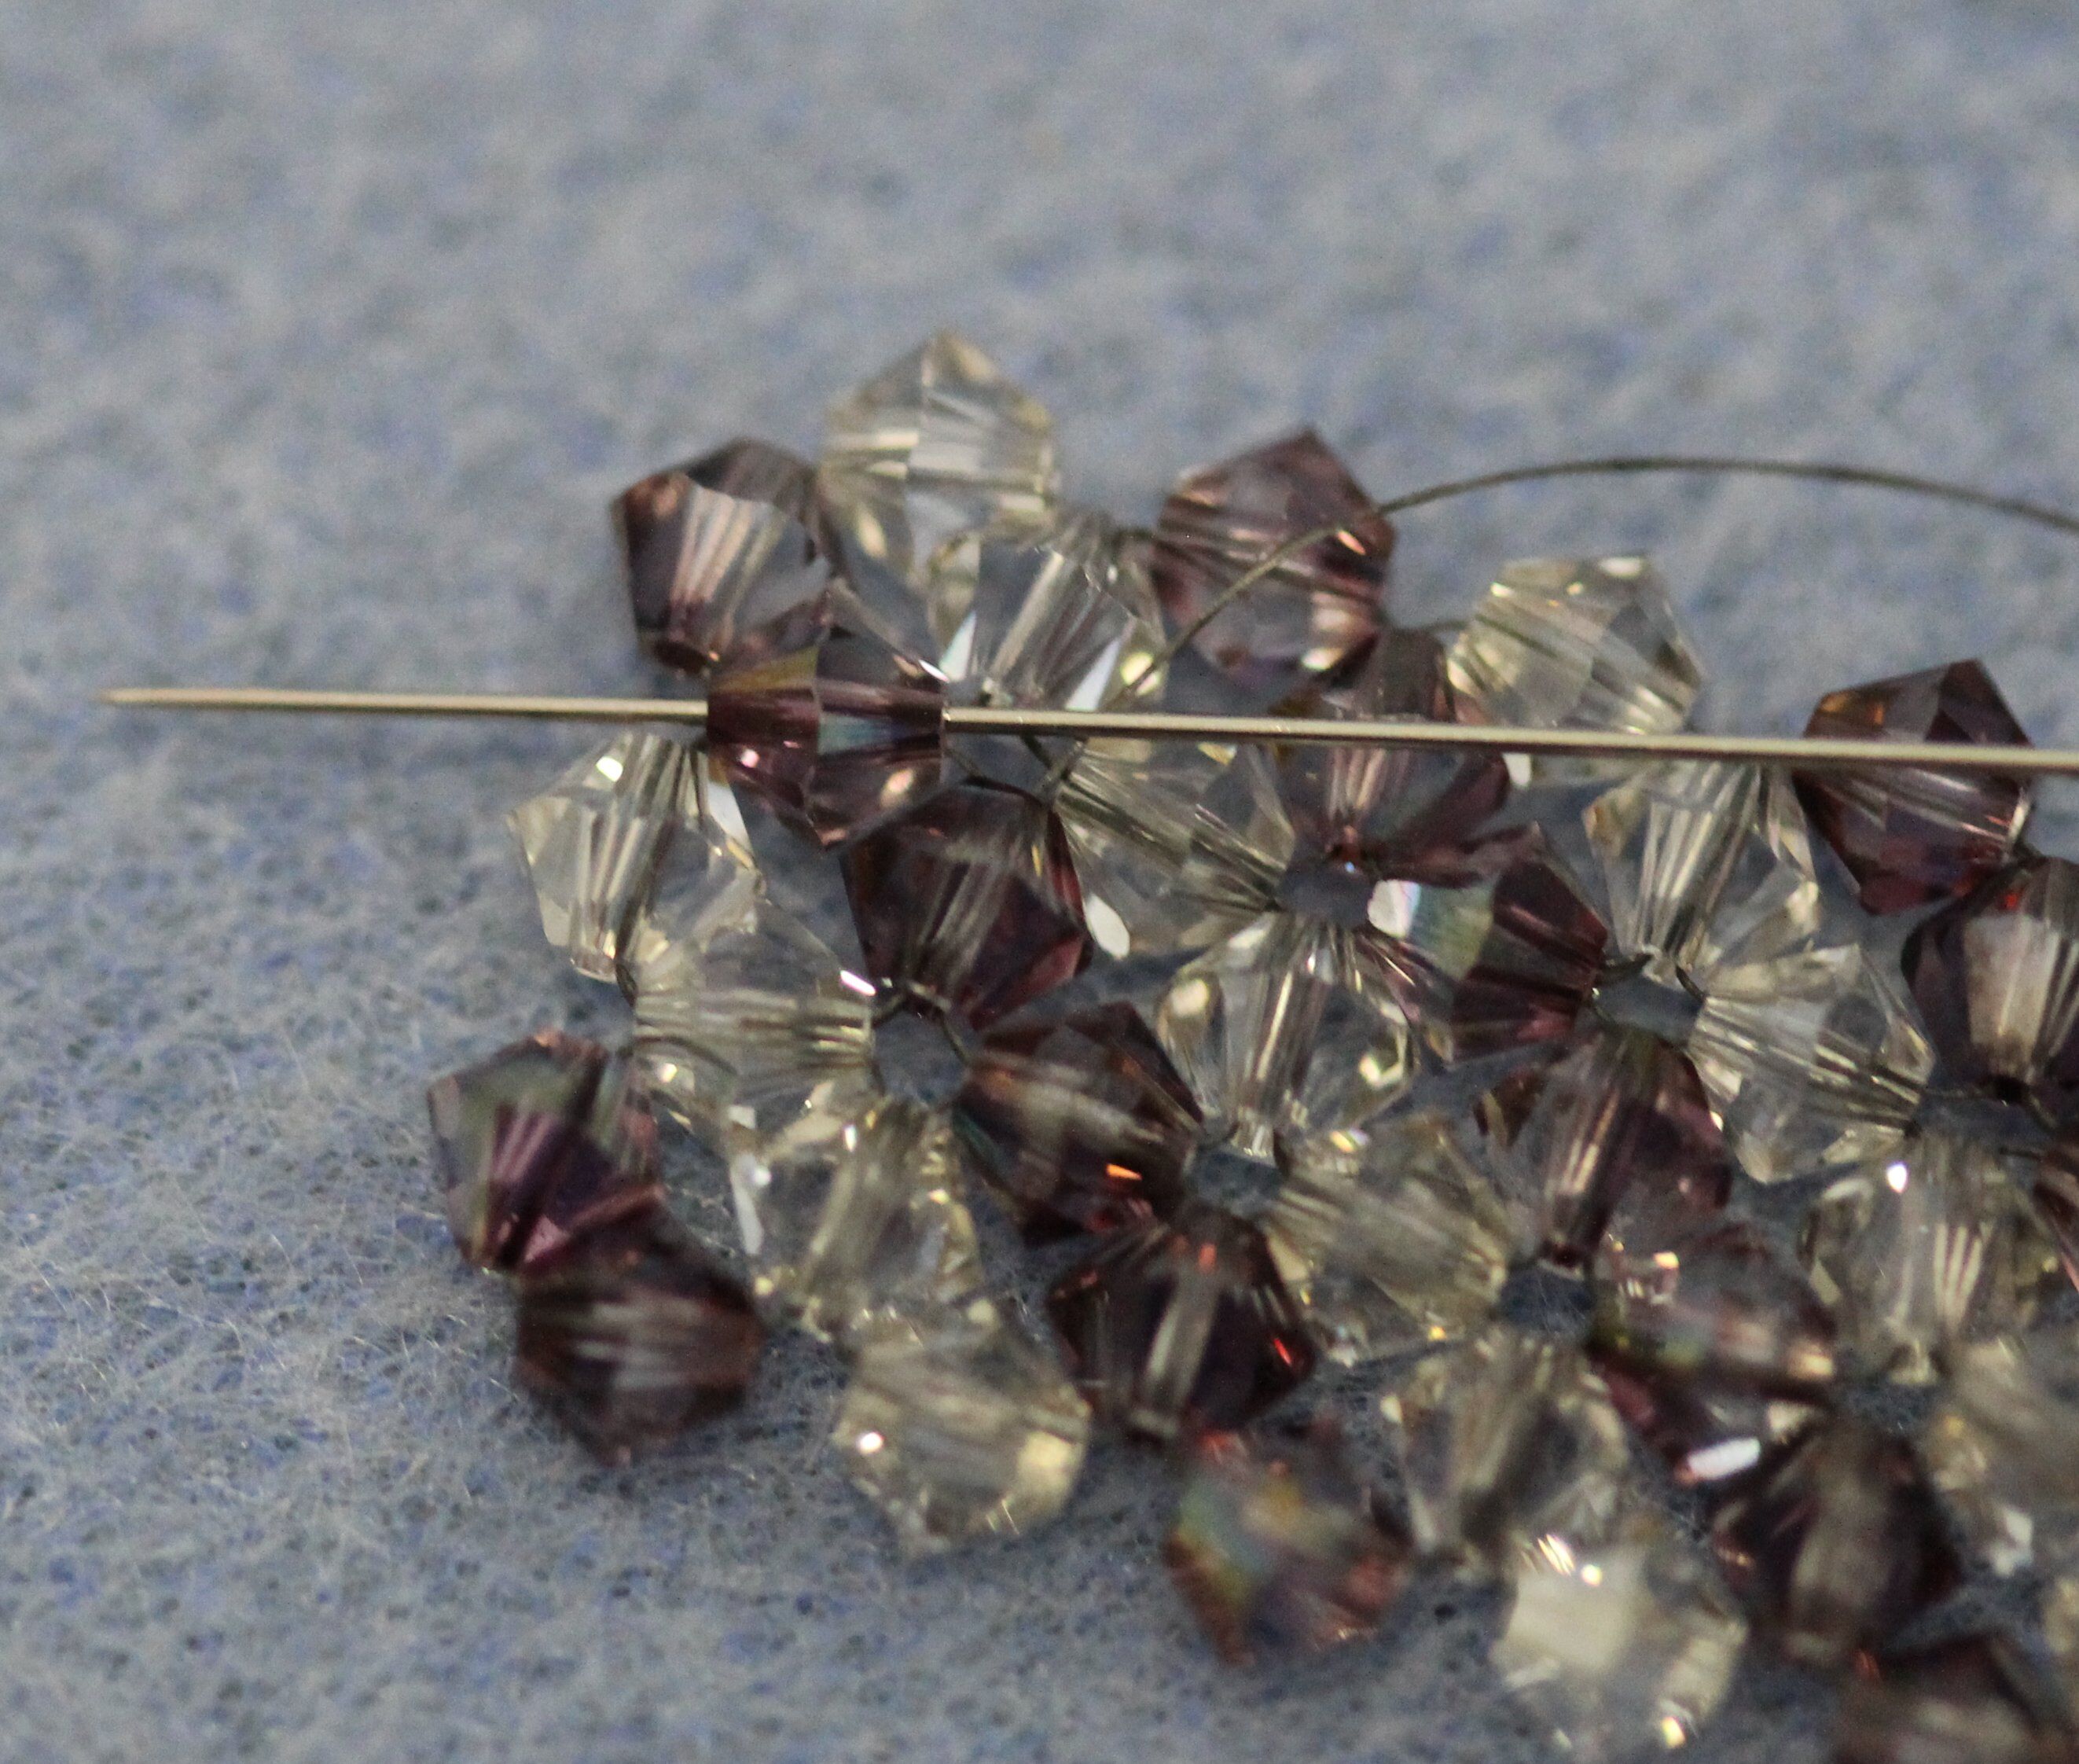
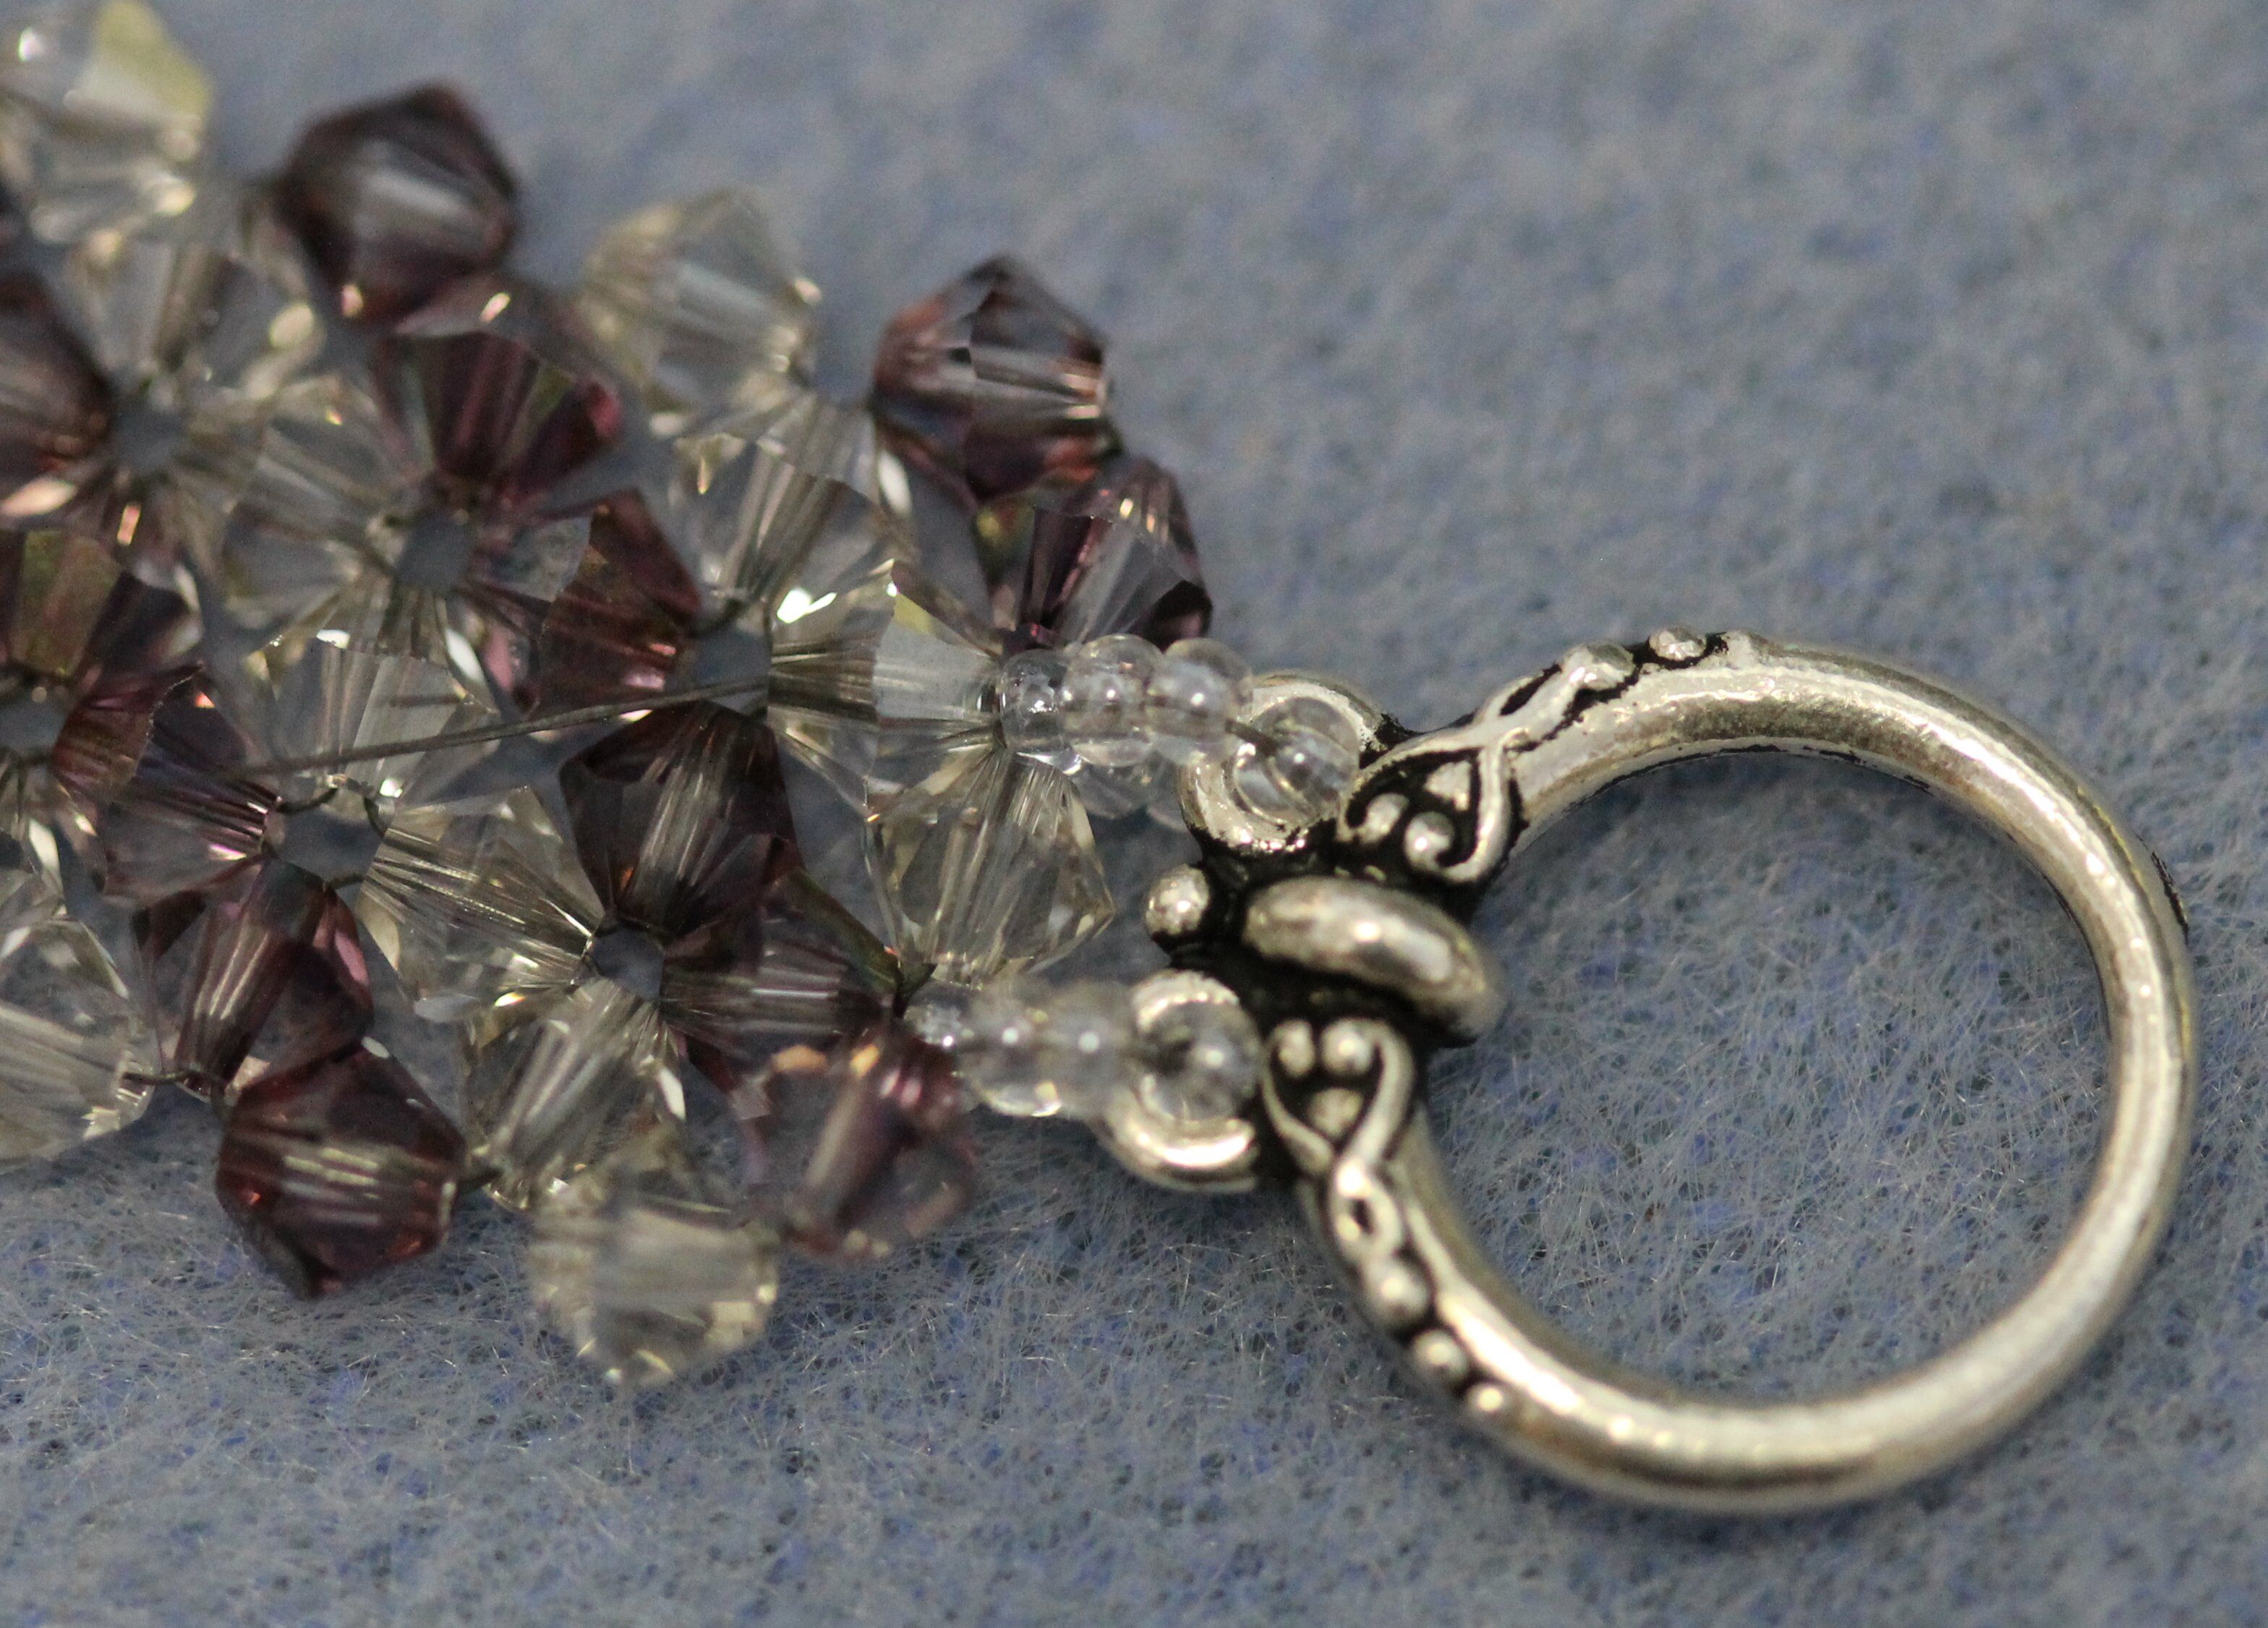
31. Pick up four size 11 seed beads, one loop from your toggle ring and three more size 11 seed beads. Pass the needle through the fourth seed bead, working toward the bracelet.
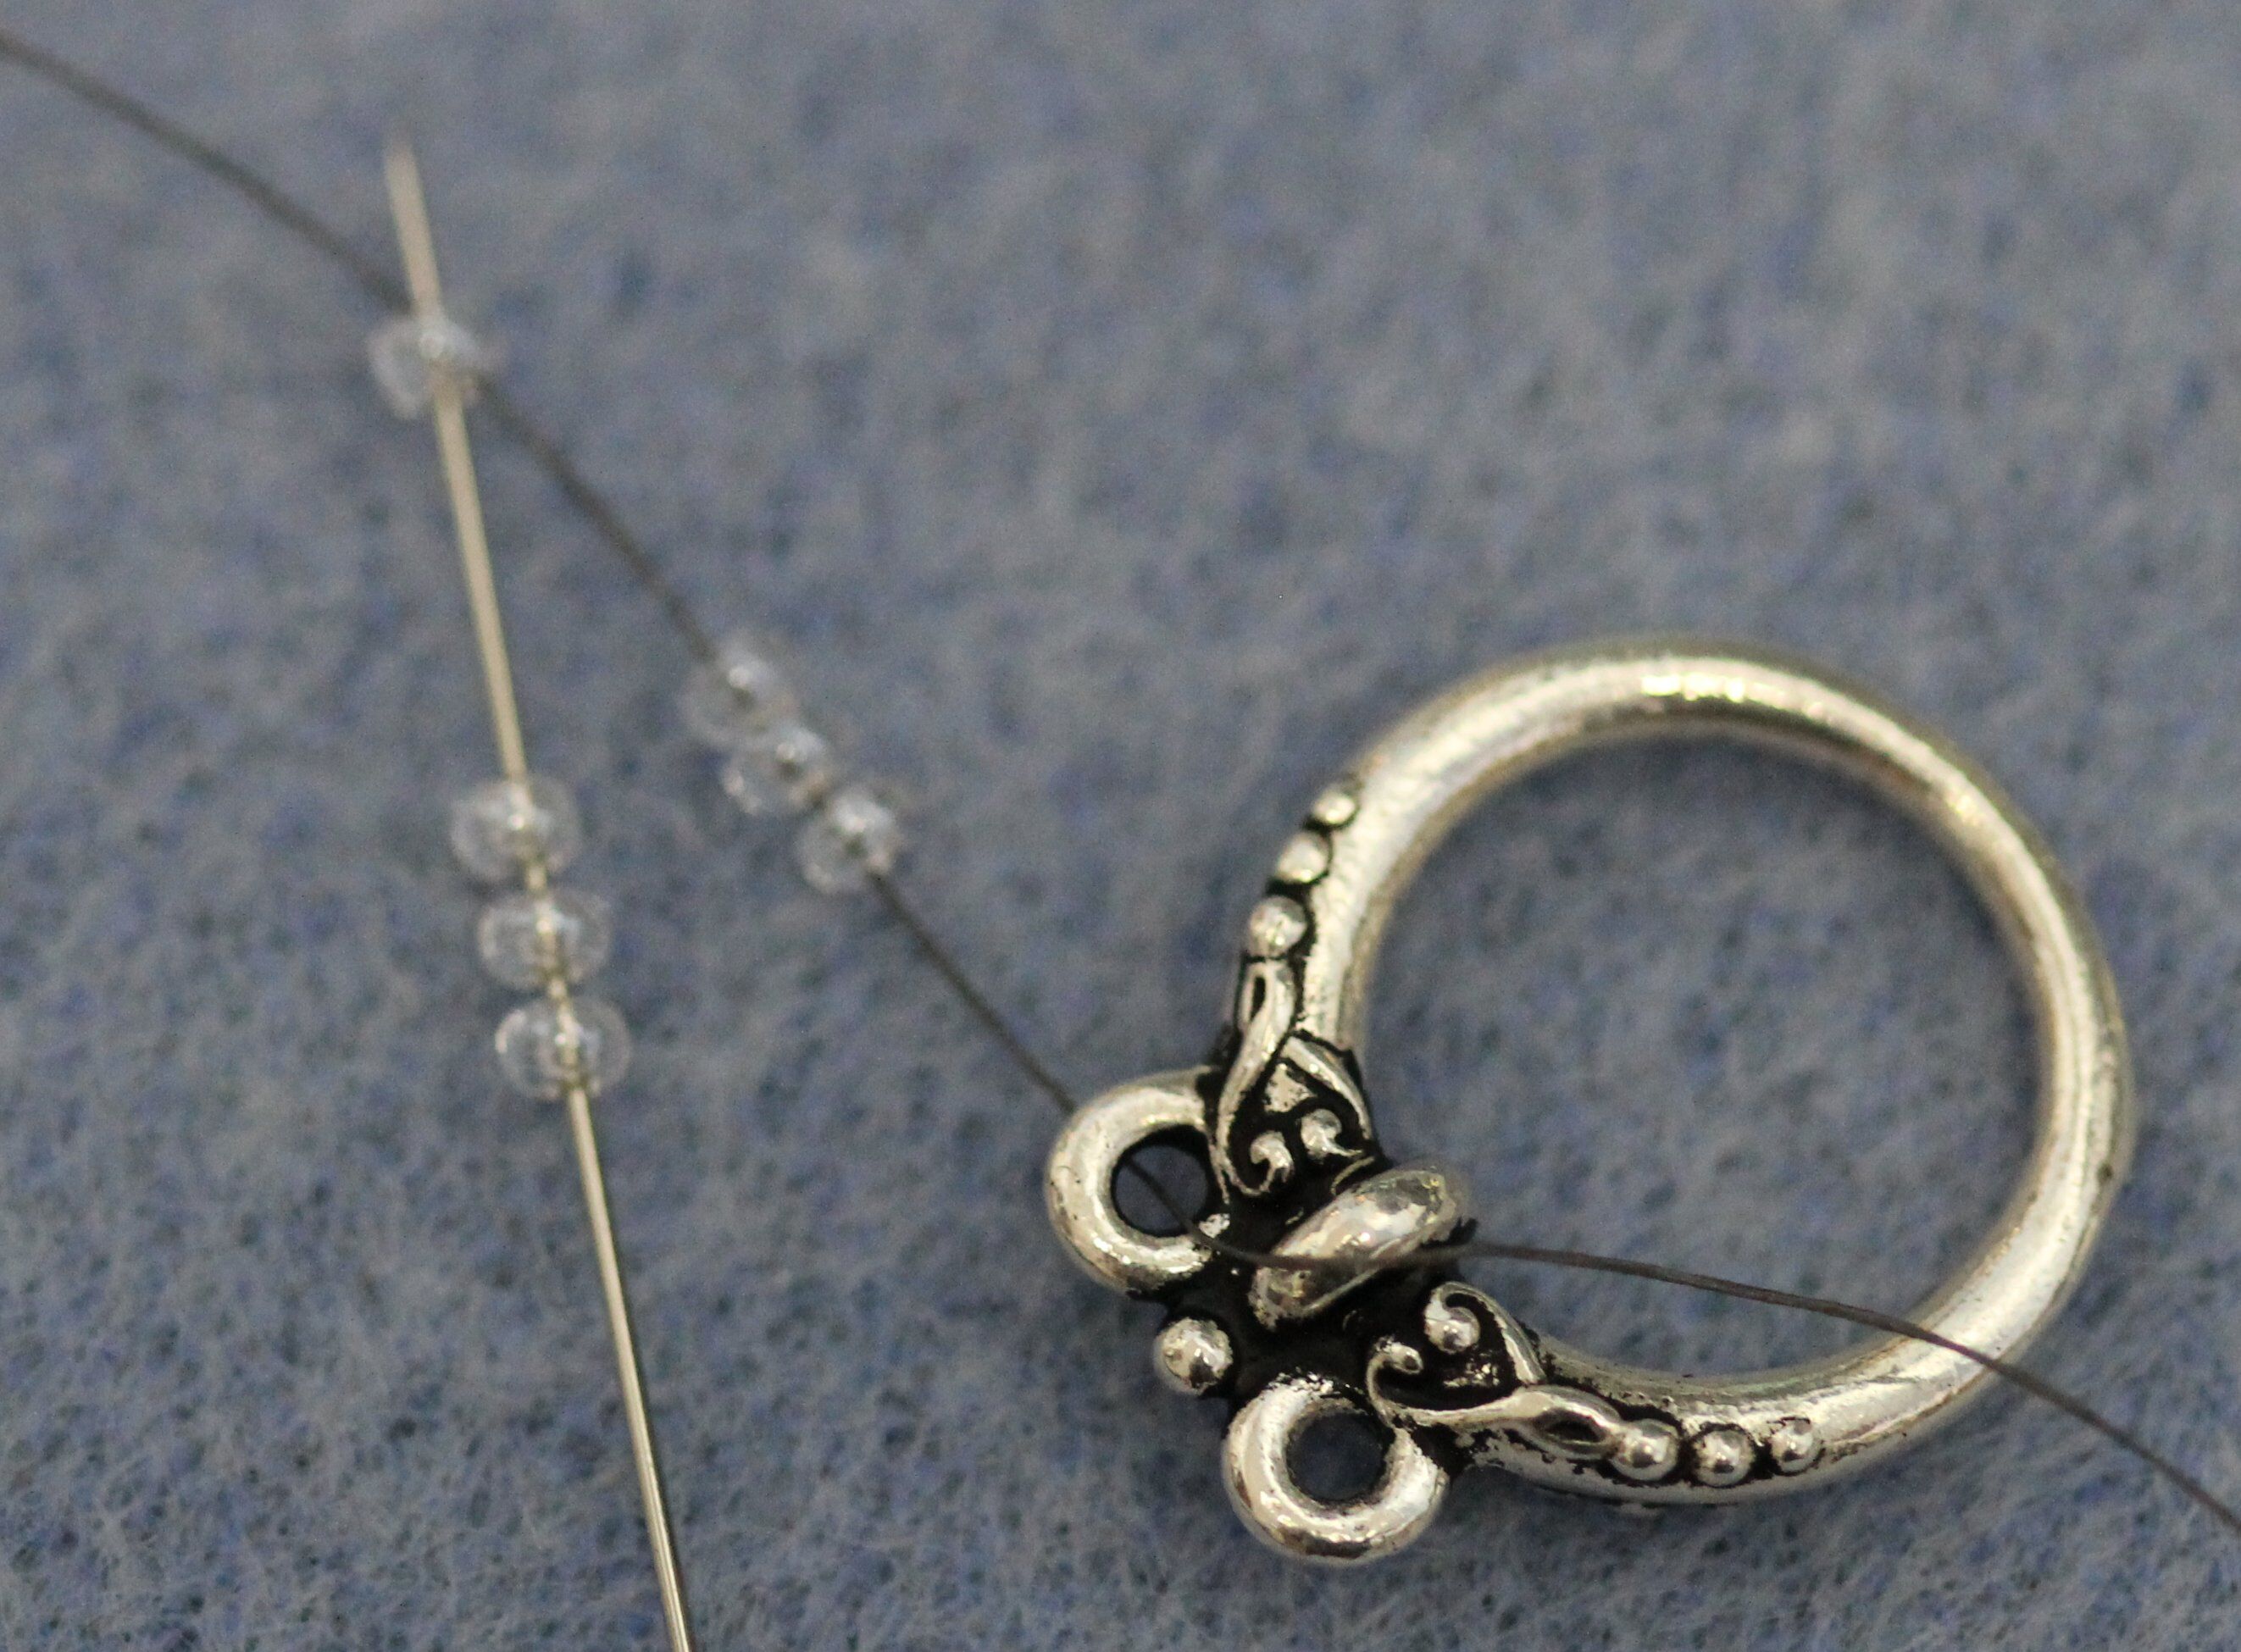
32. Then pass back through the crystal you exited from. Pull the thread tight.
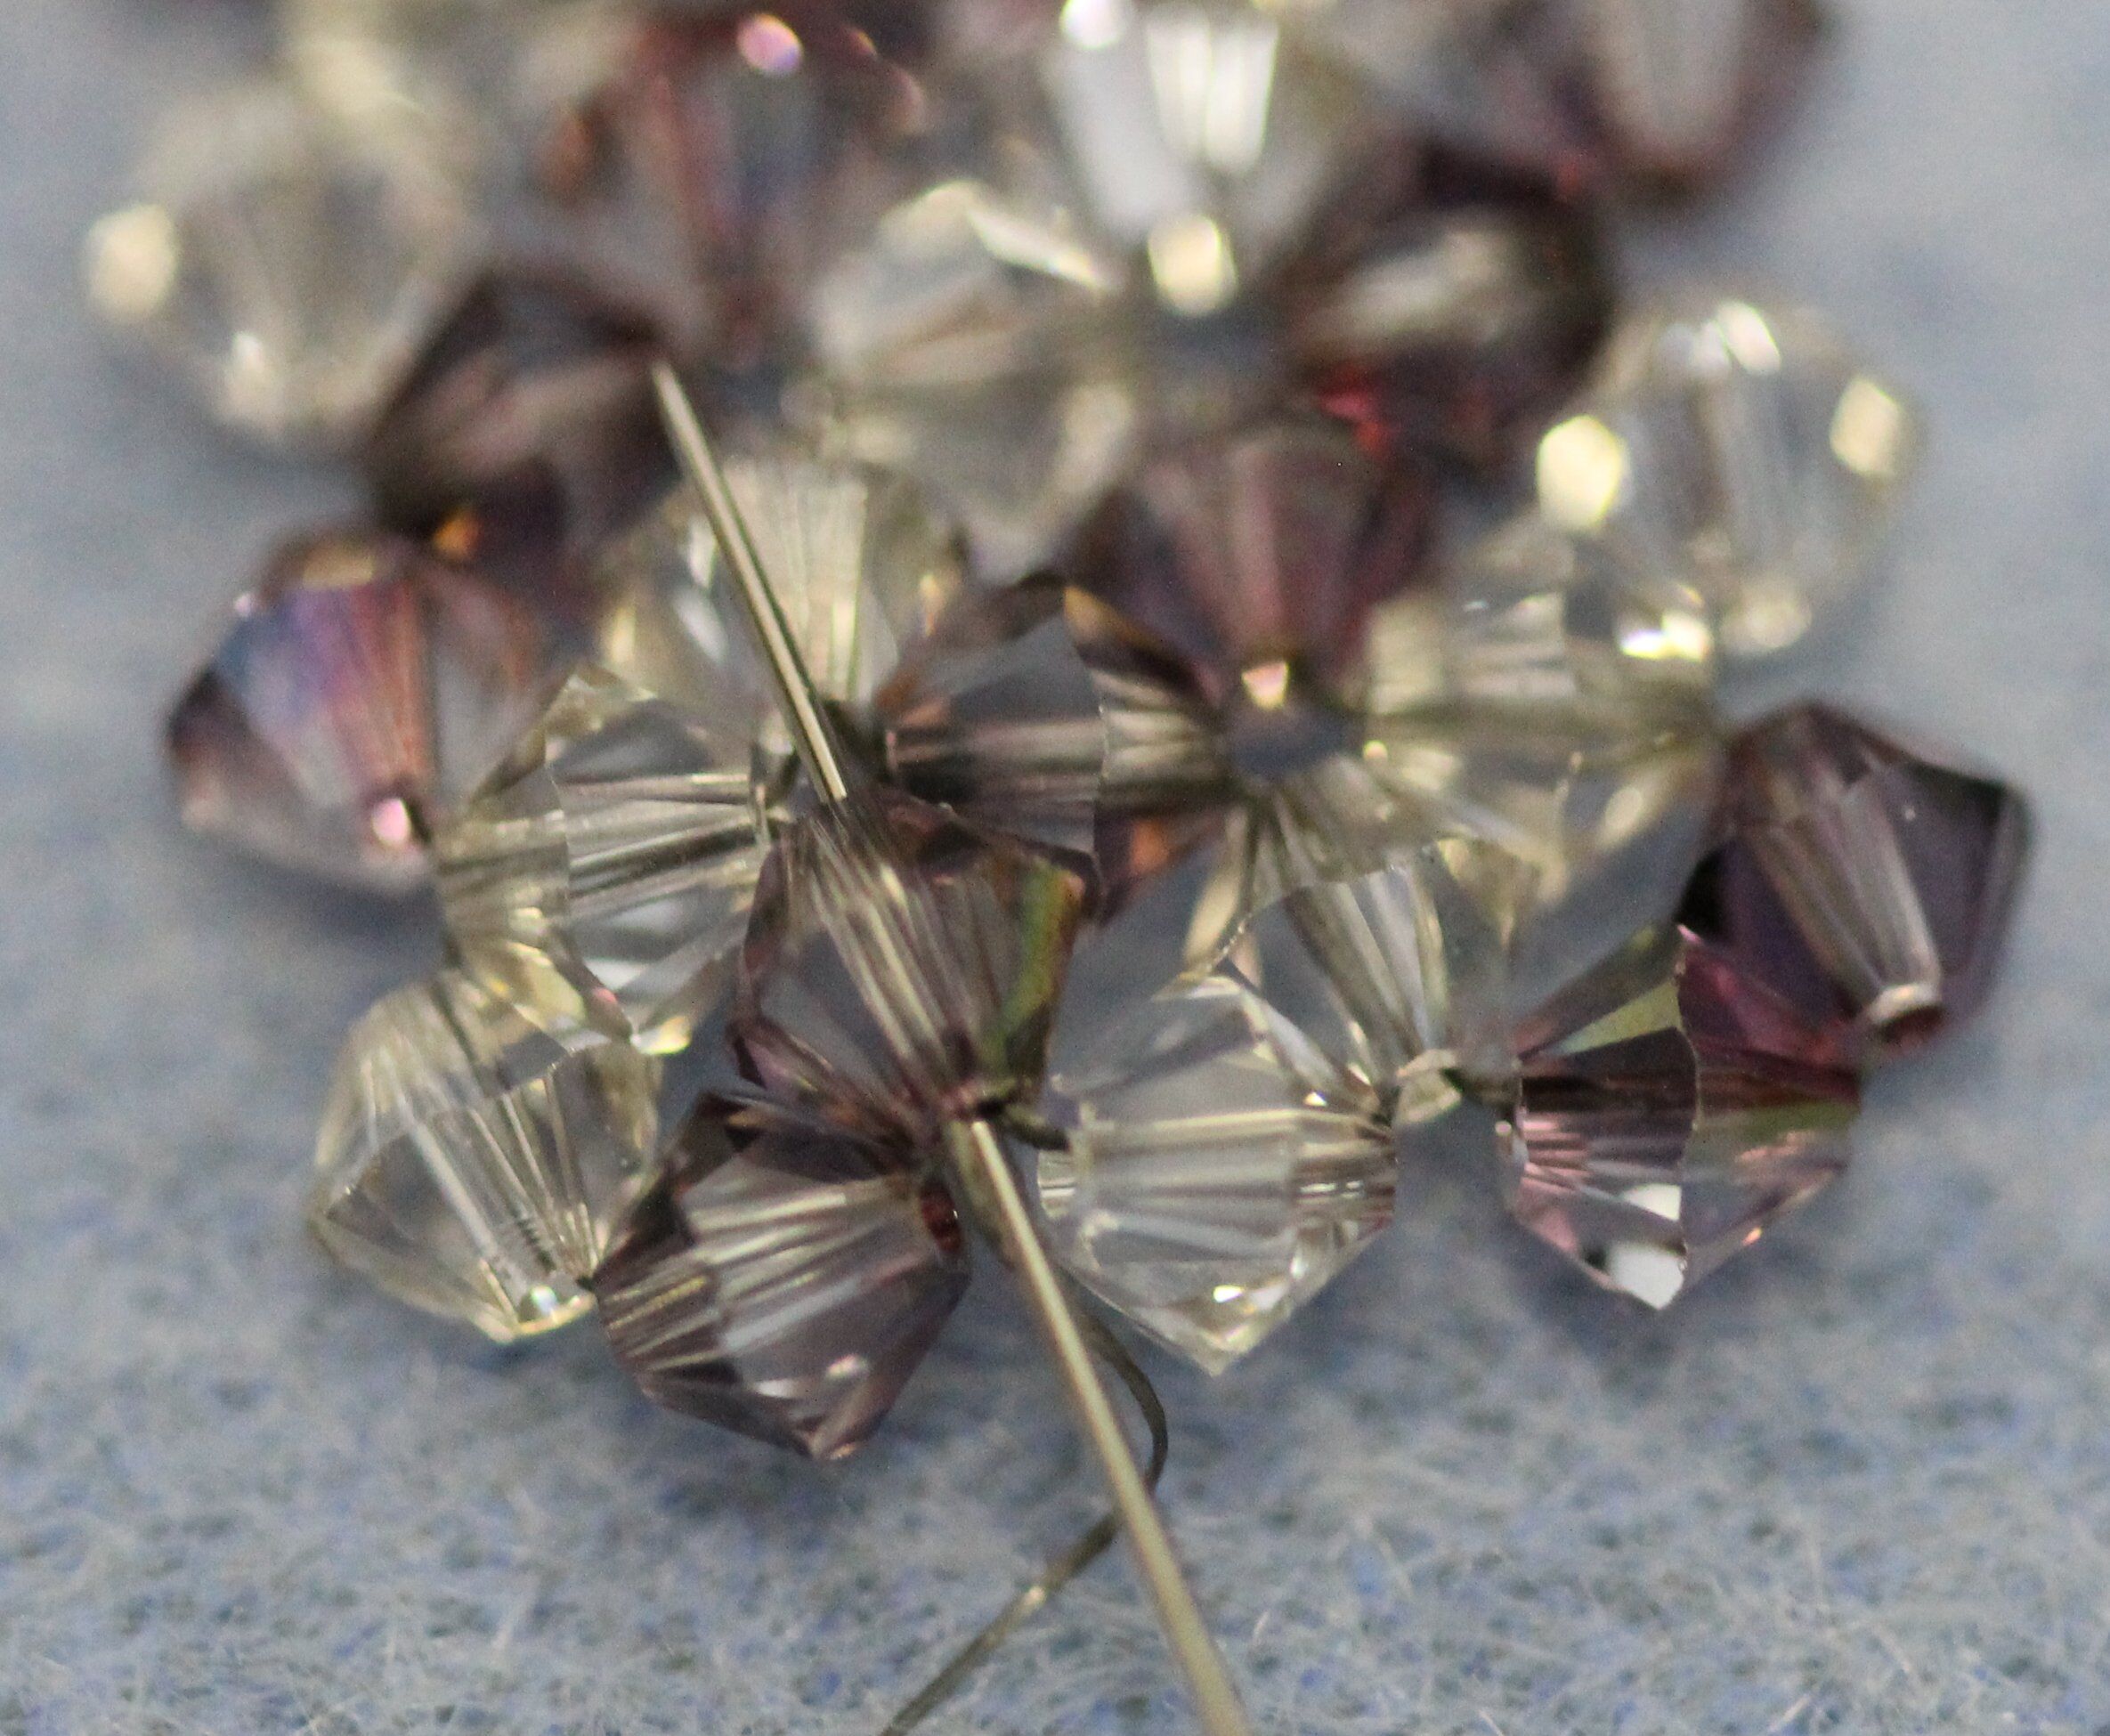
33. Pass the needle through the side facing bead in the center of the bracelet.
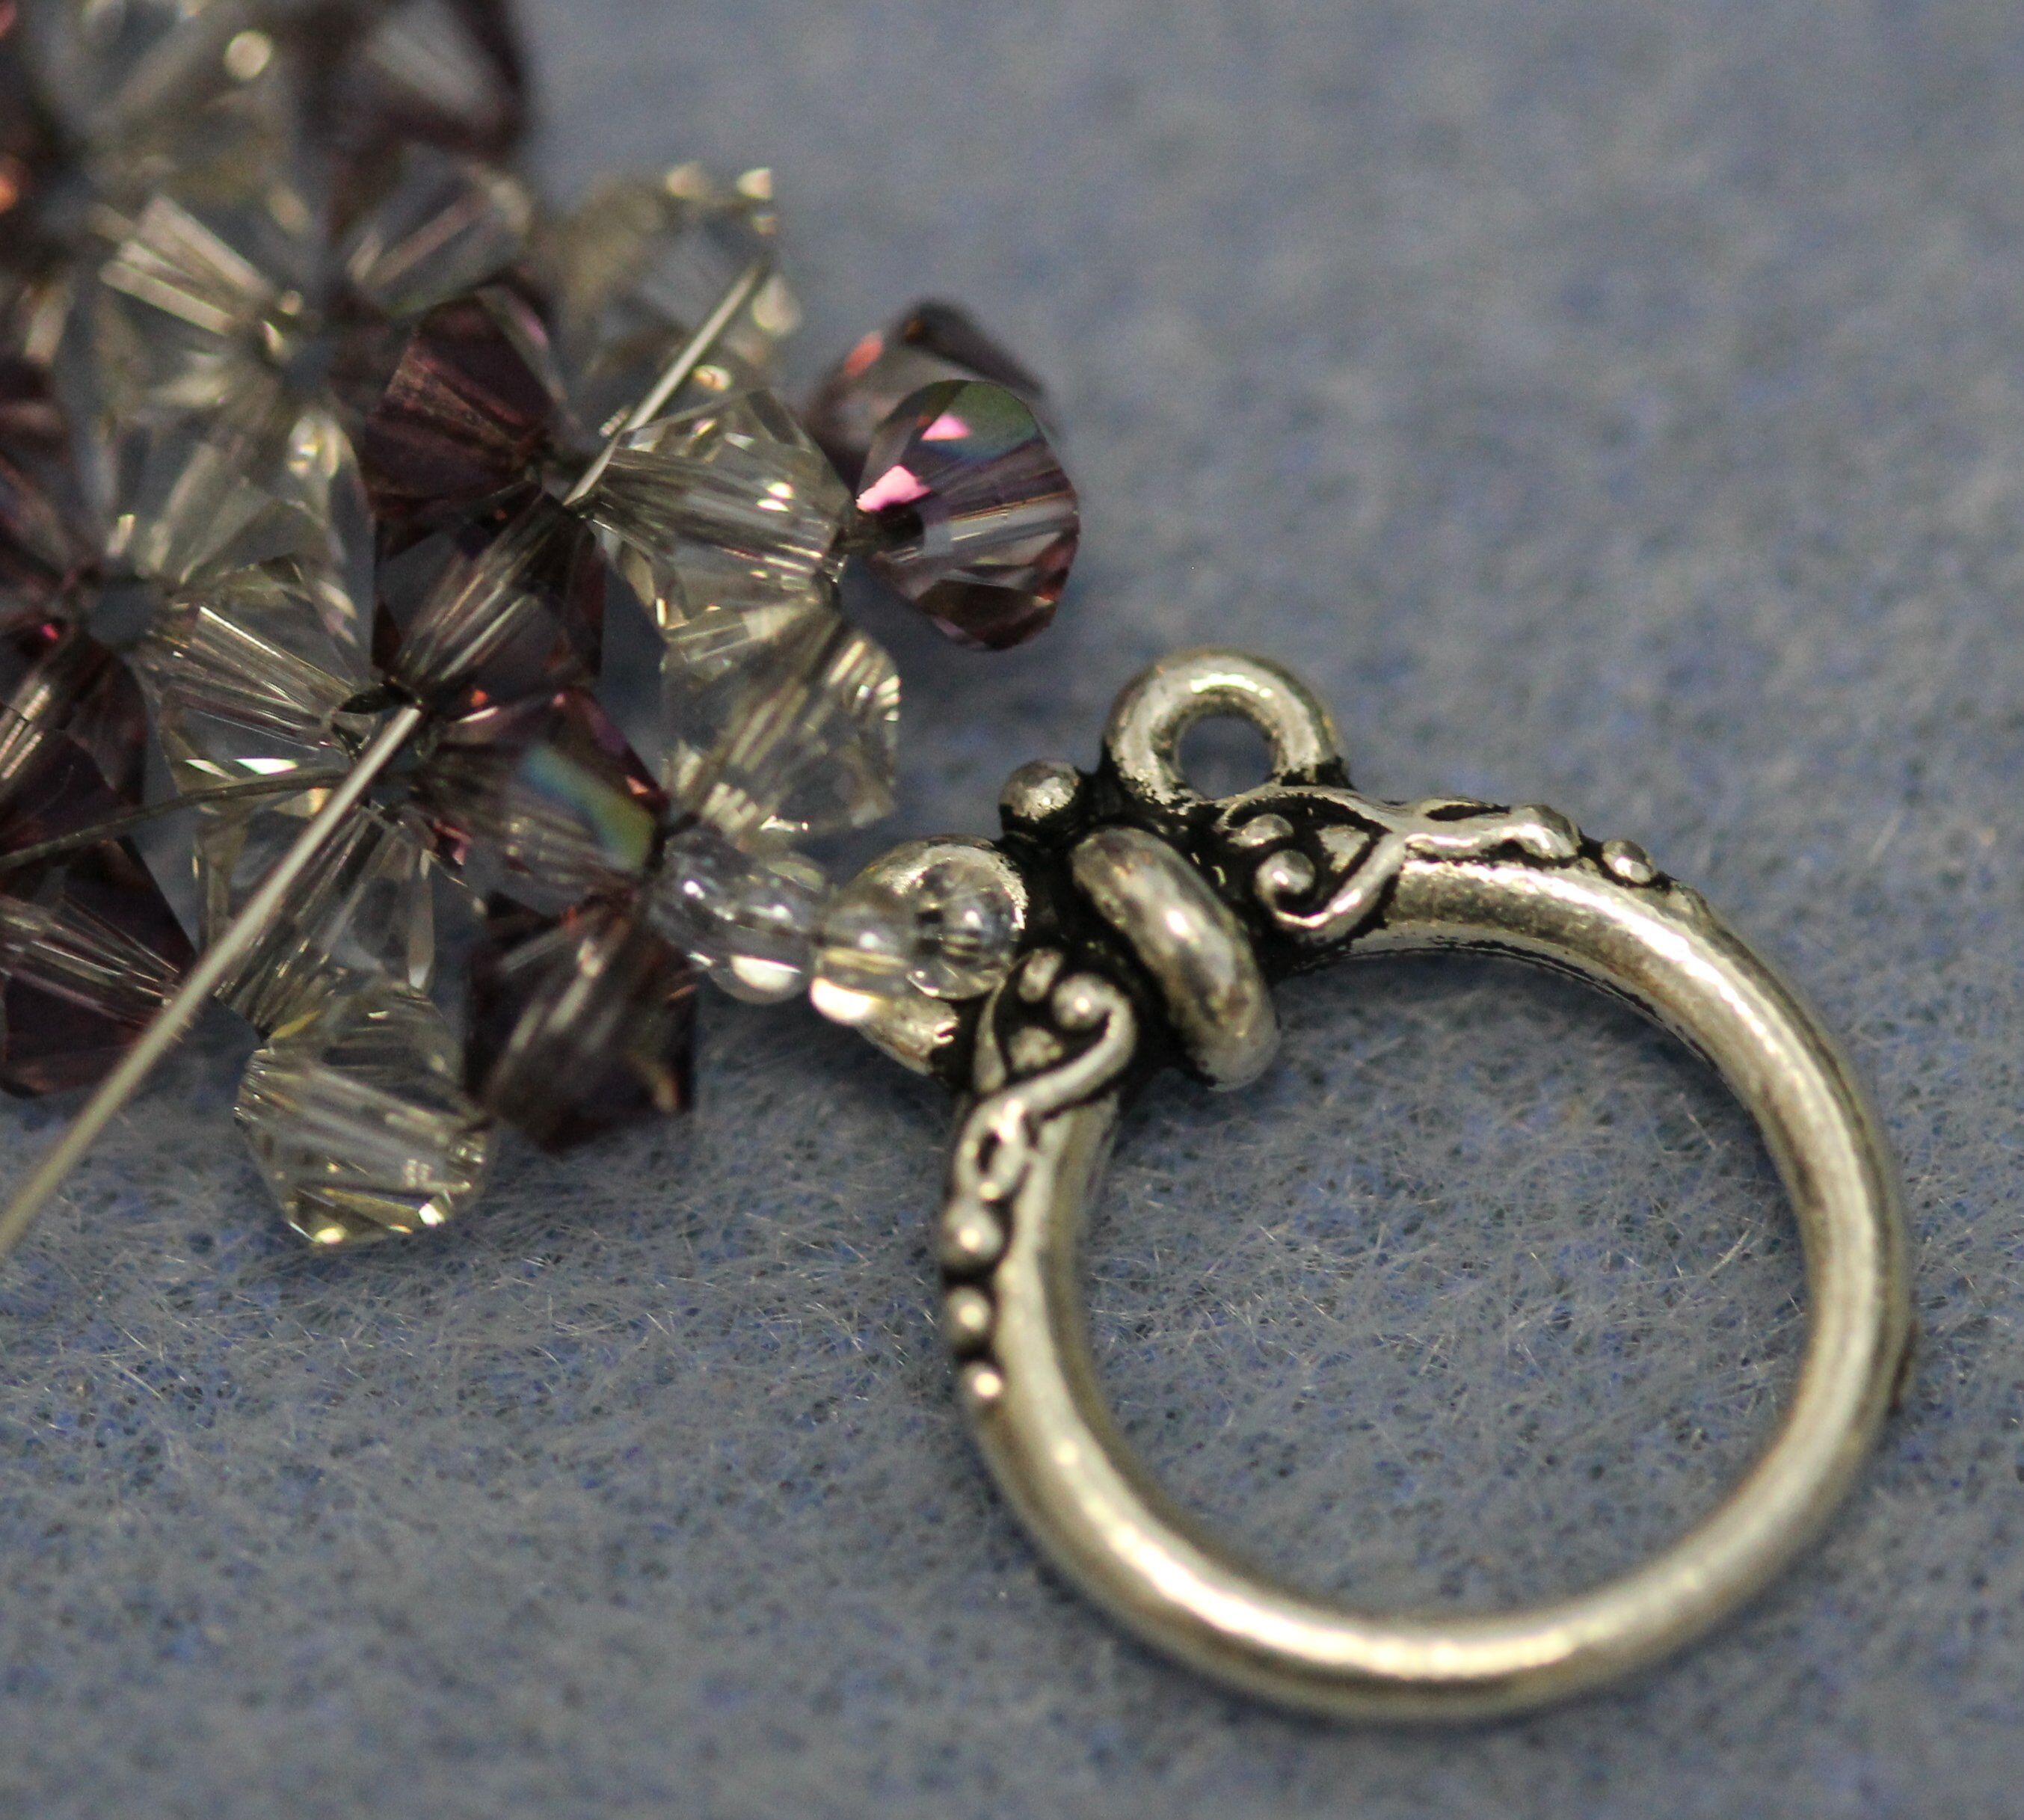
34. Then exit through the other interior beads with a hole that faces the edge.
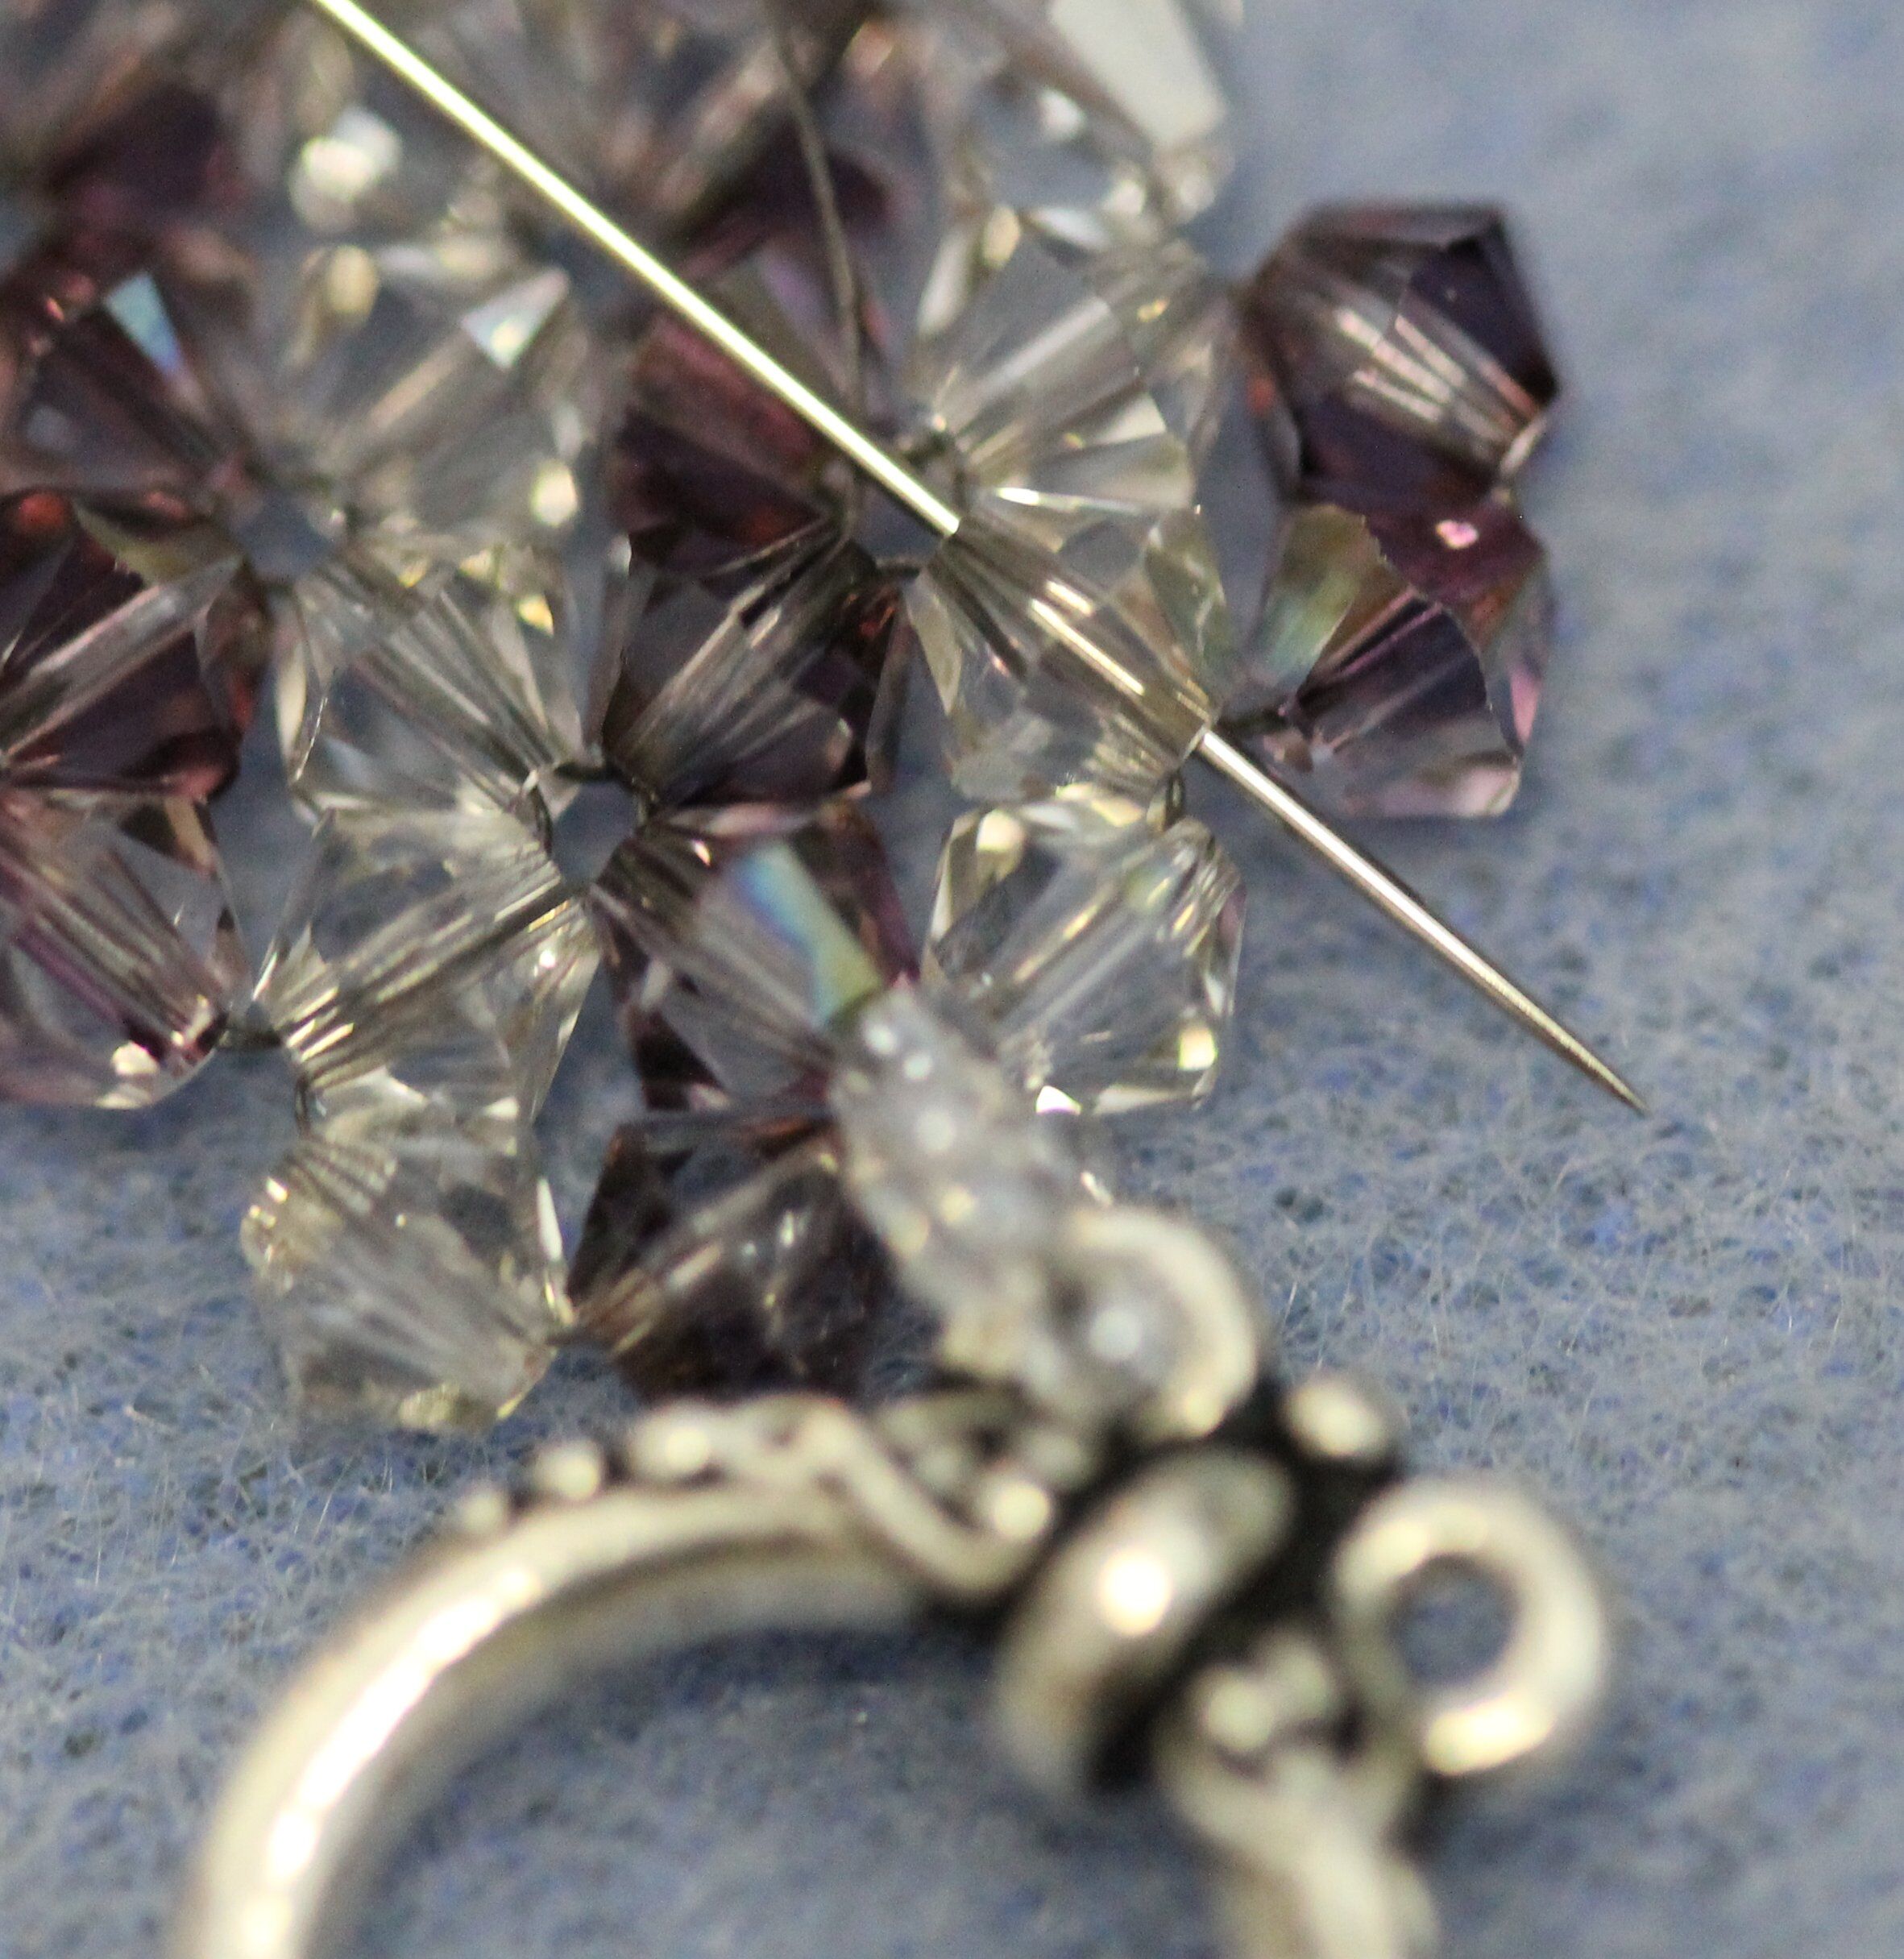
35. Repeat steps 31-34 to attach the other side of the clasp. Then continue repeating steps 31-34 to reinforce the clasp. When the clasp is secure, tie off the thread.
36. On the other side of the bracelet, thread your needle onto the 18 inch tail. Pick up eight size 11 seed beads, one loop from your toggle bar and seven more size 11 seed beads. Pass the needle through the eighth seed bead, working toward the bracelet.
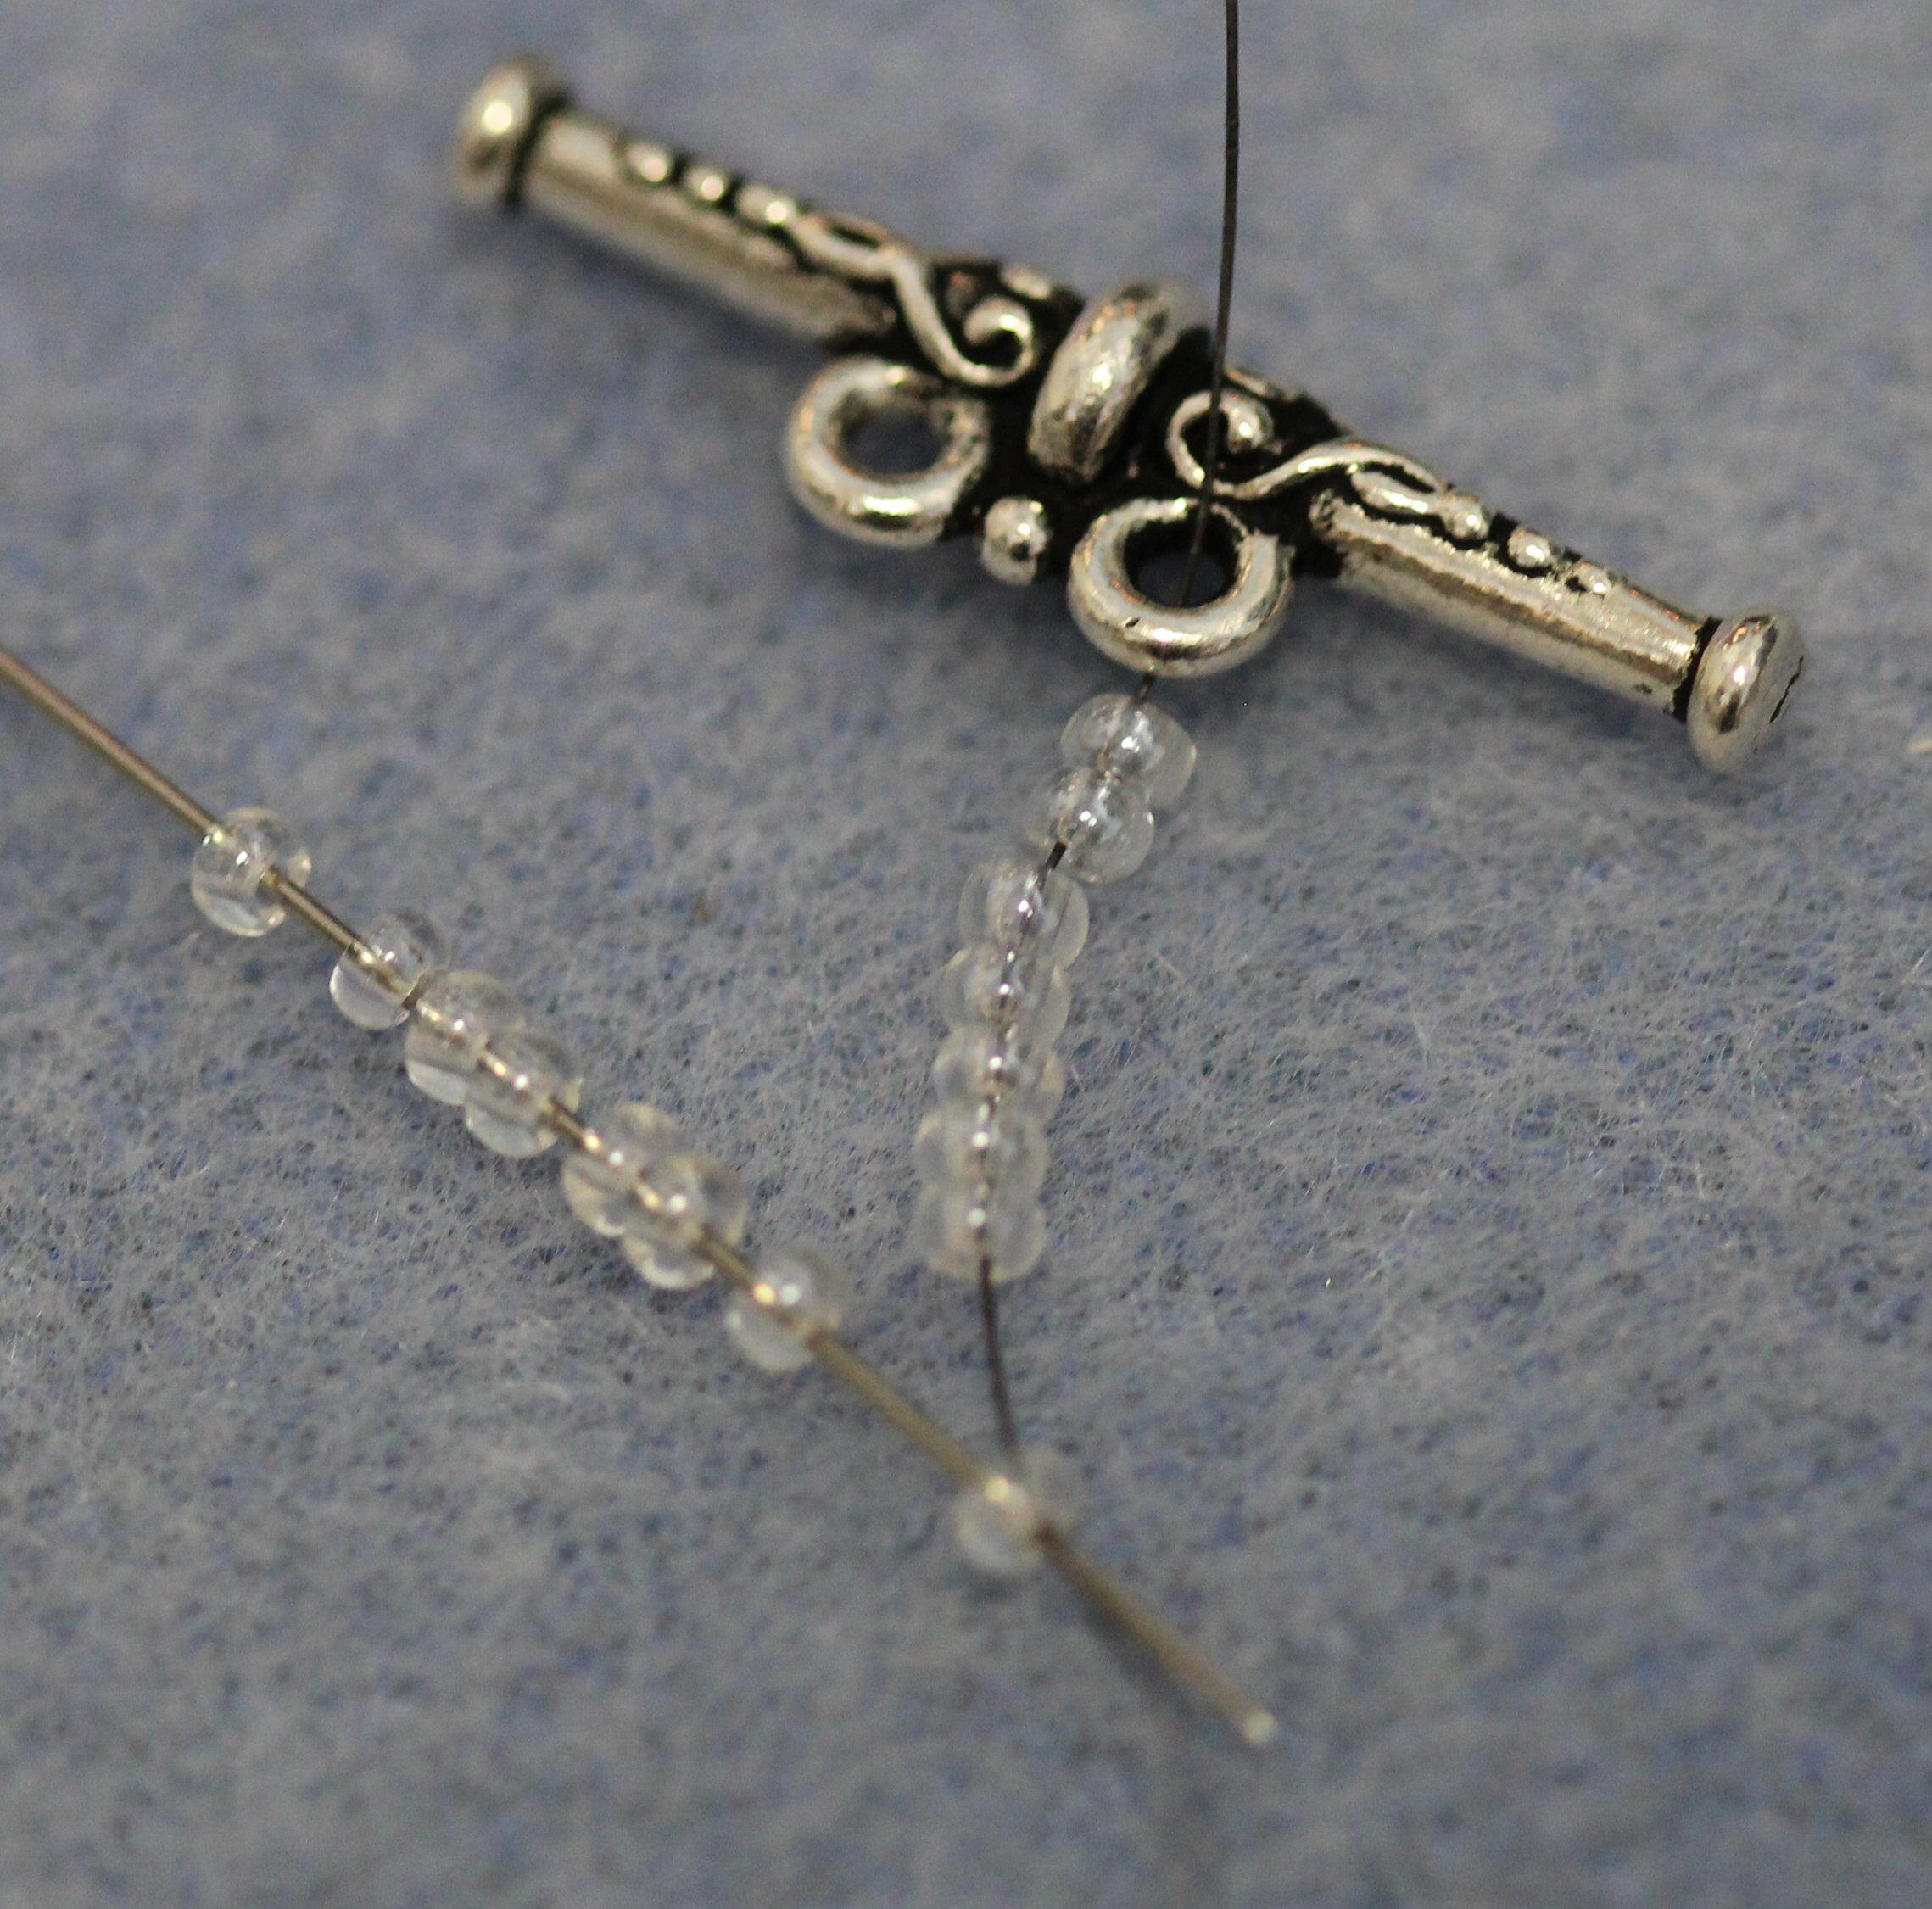
37. Then pass back through the crystal you exited from. Pull the thread tight. Pass the needle through the side facing bead in the center of the bracelet. Then exit through the other interior beads with a hole that faces the edge. Repeat steps 36-37 to attach the other side of the toggle bar. Continue repeating to reinforce the clasp. When the clasp is secure, tie off the thread.
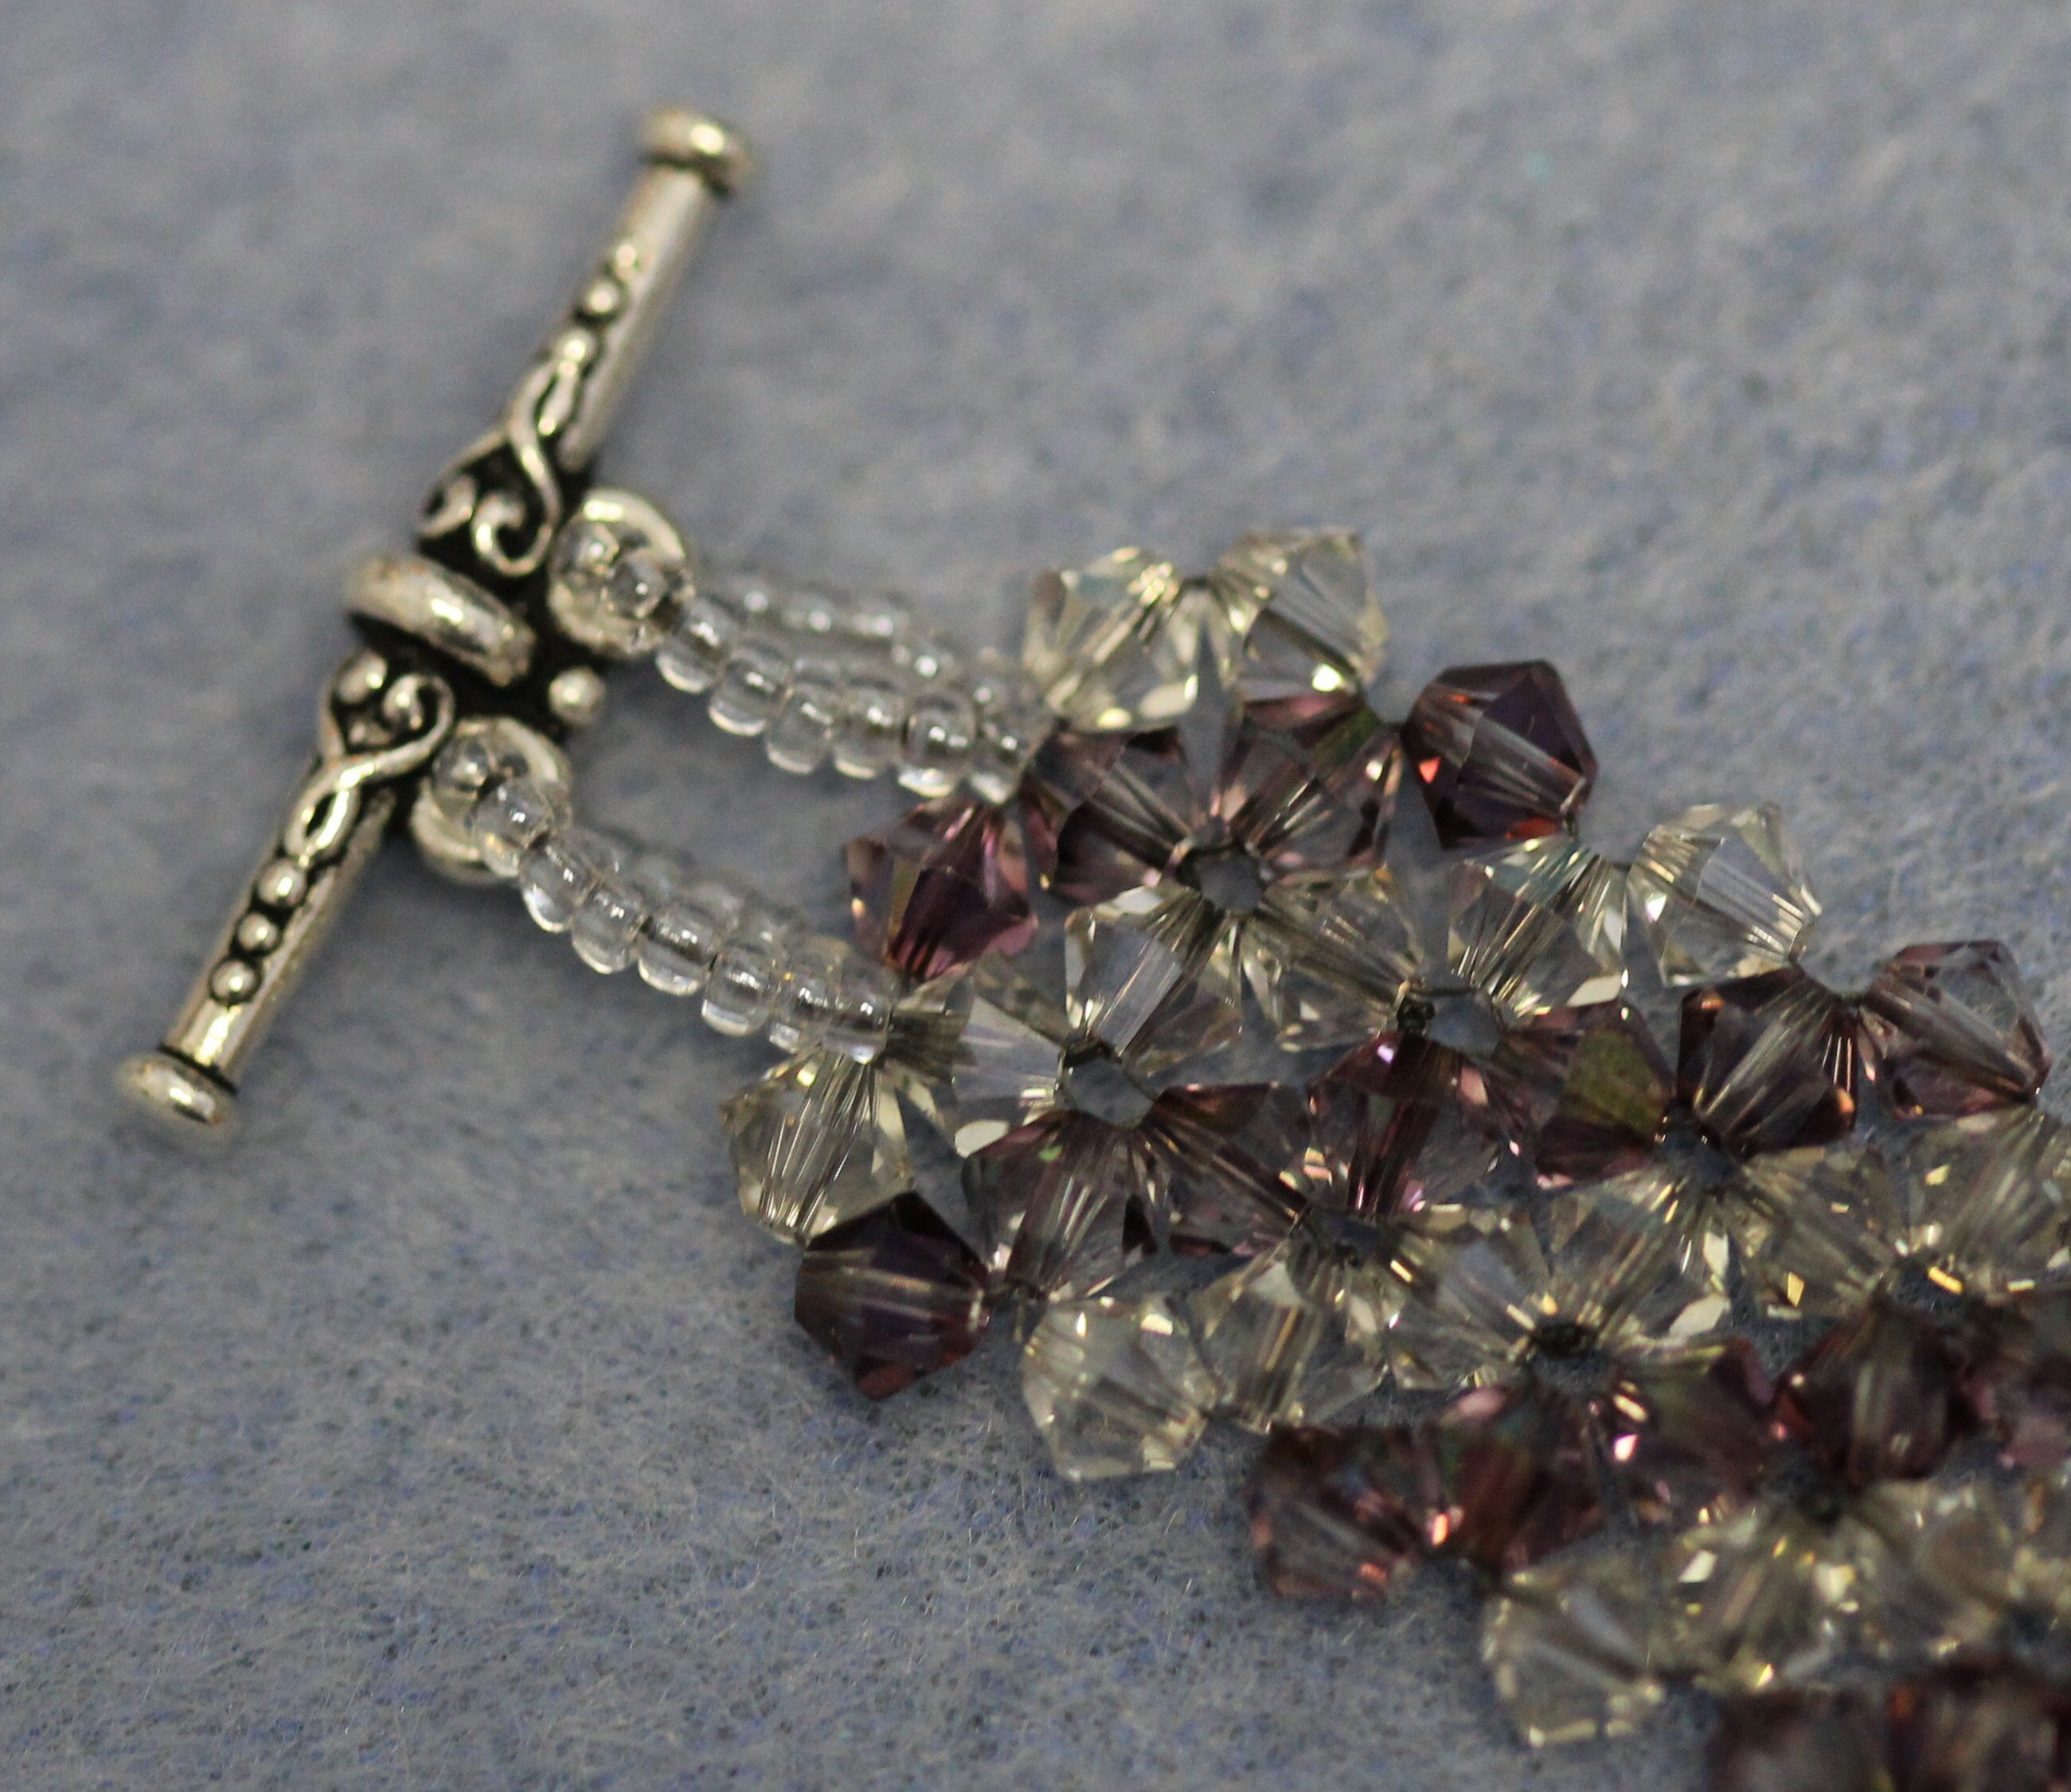
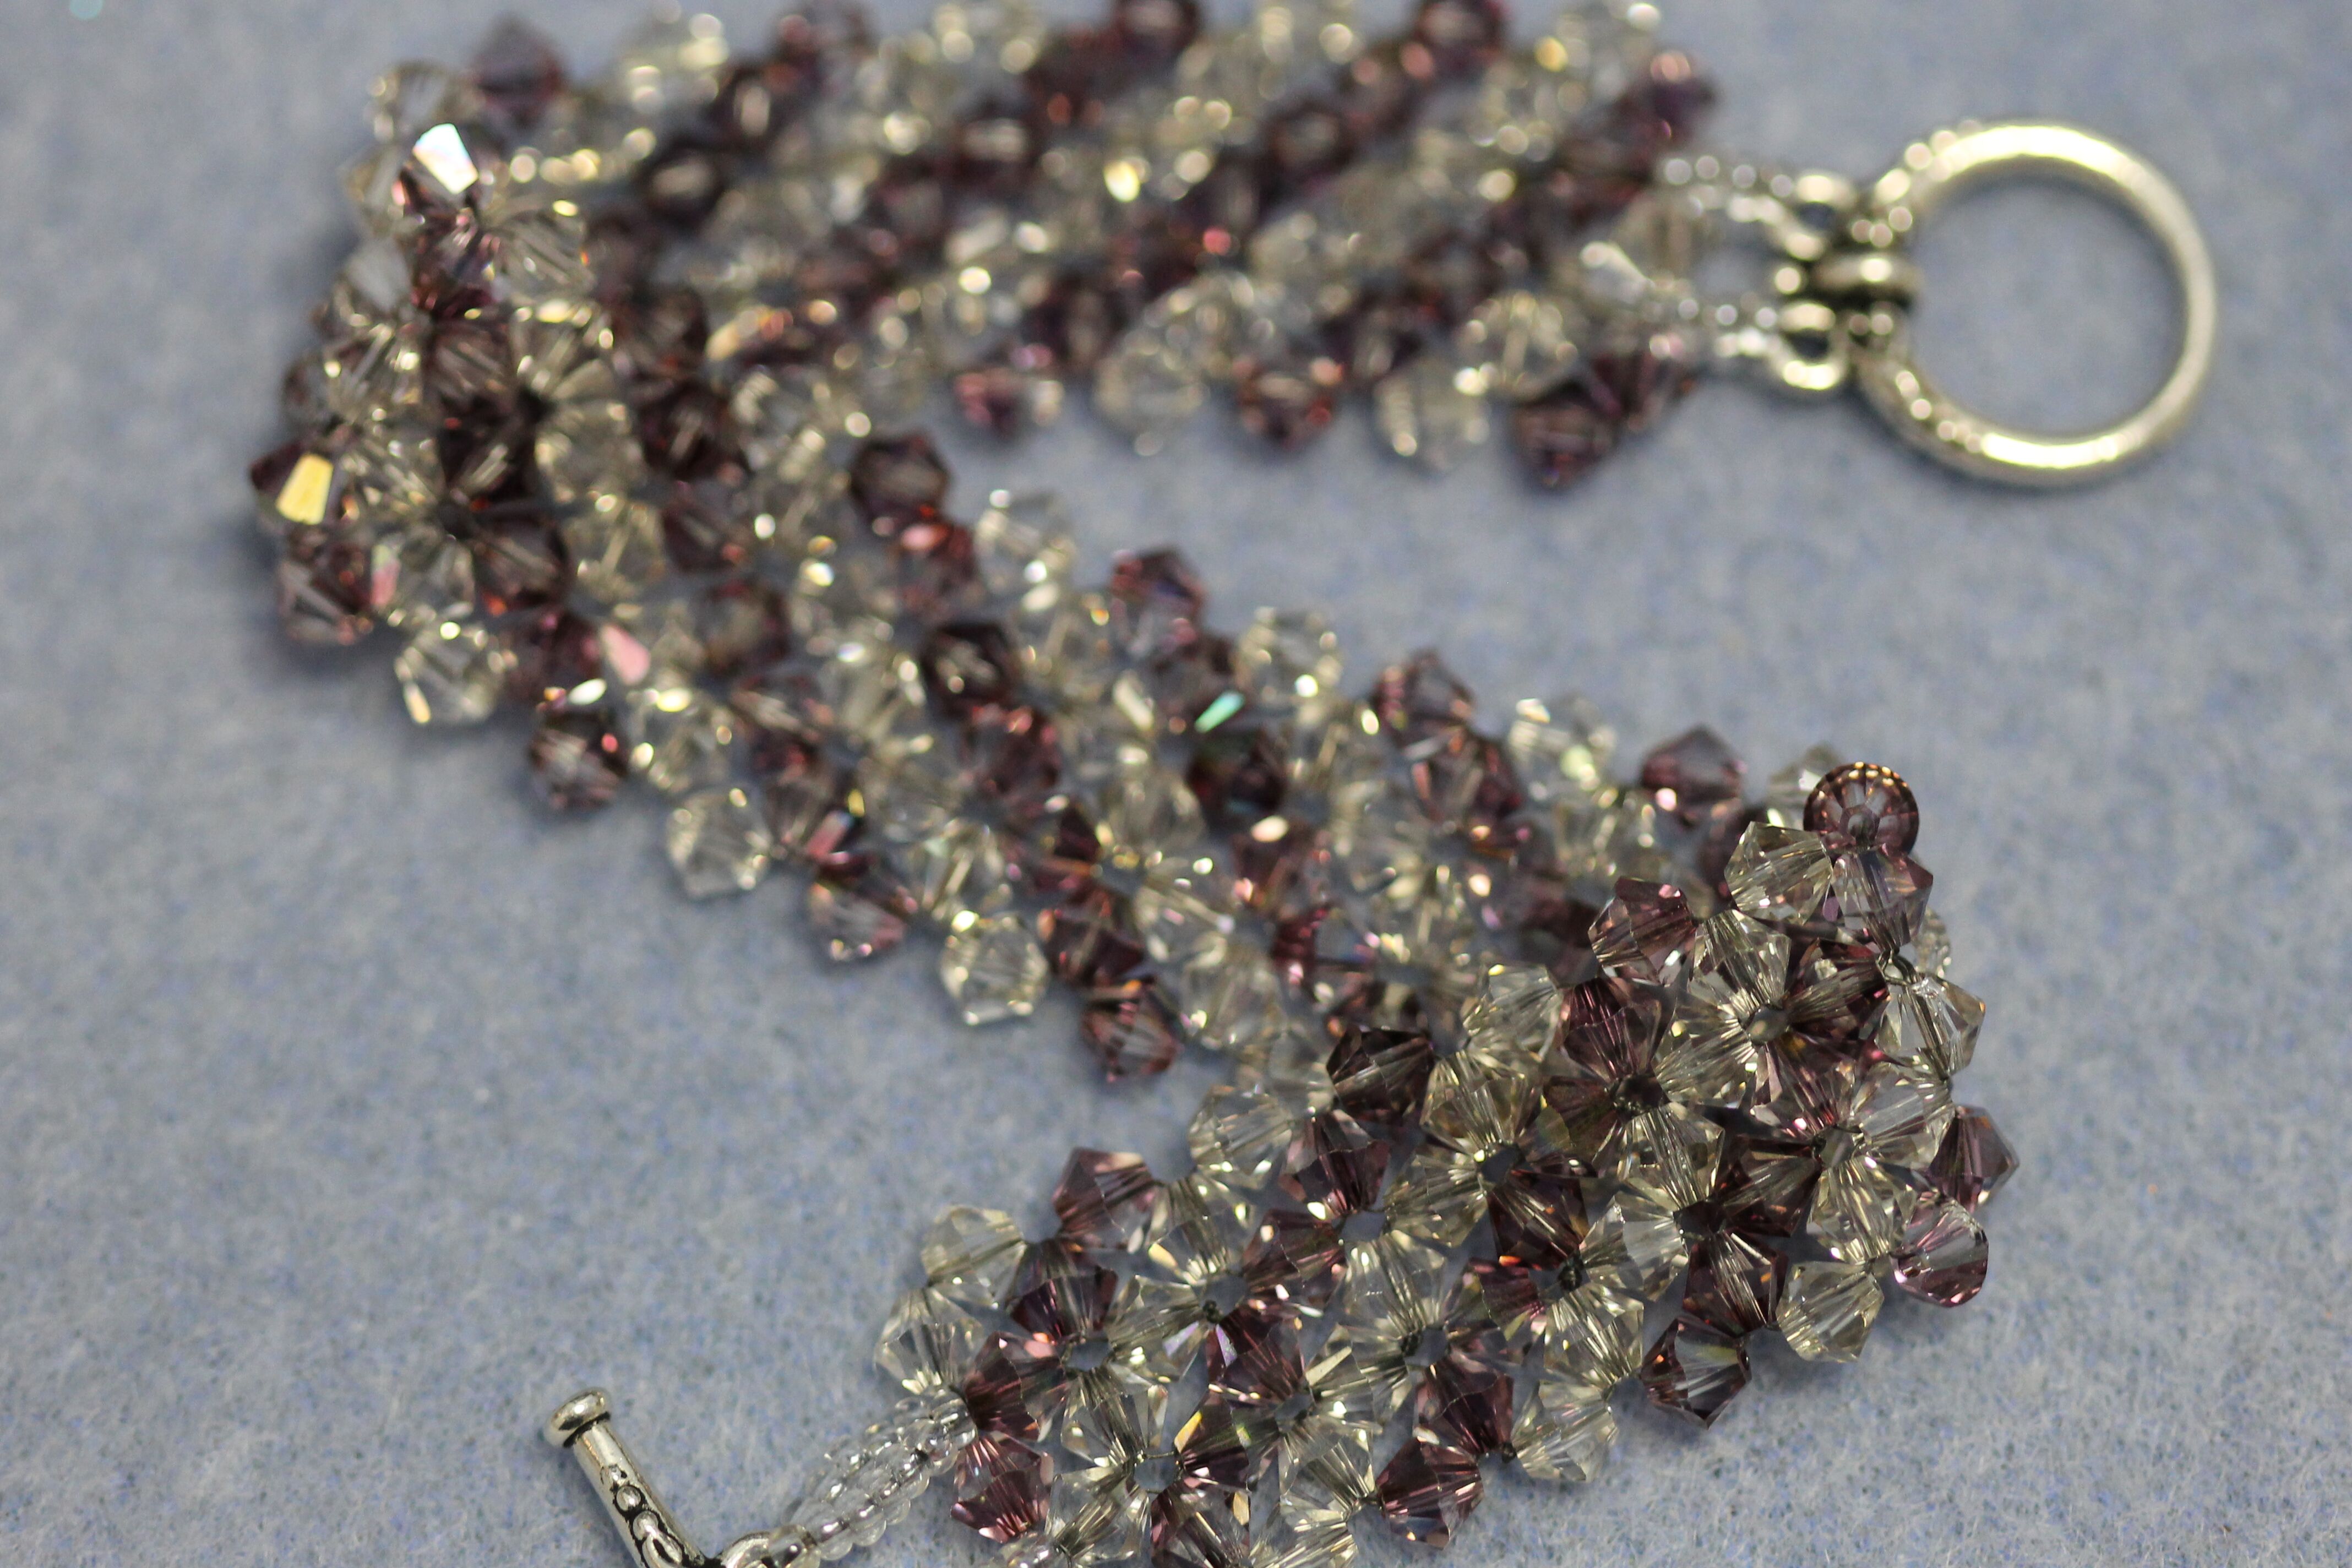
Your finished bracelet is shown below:
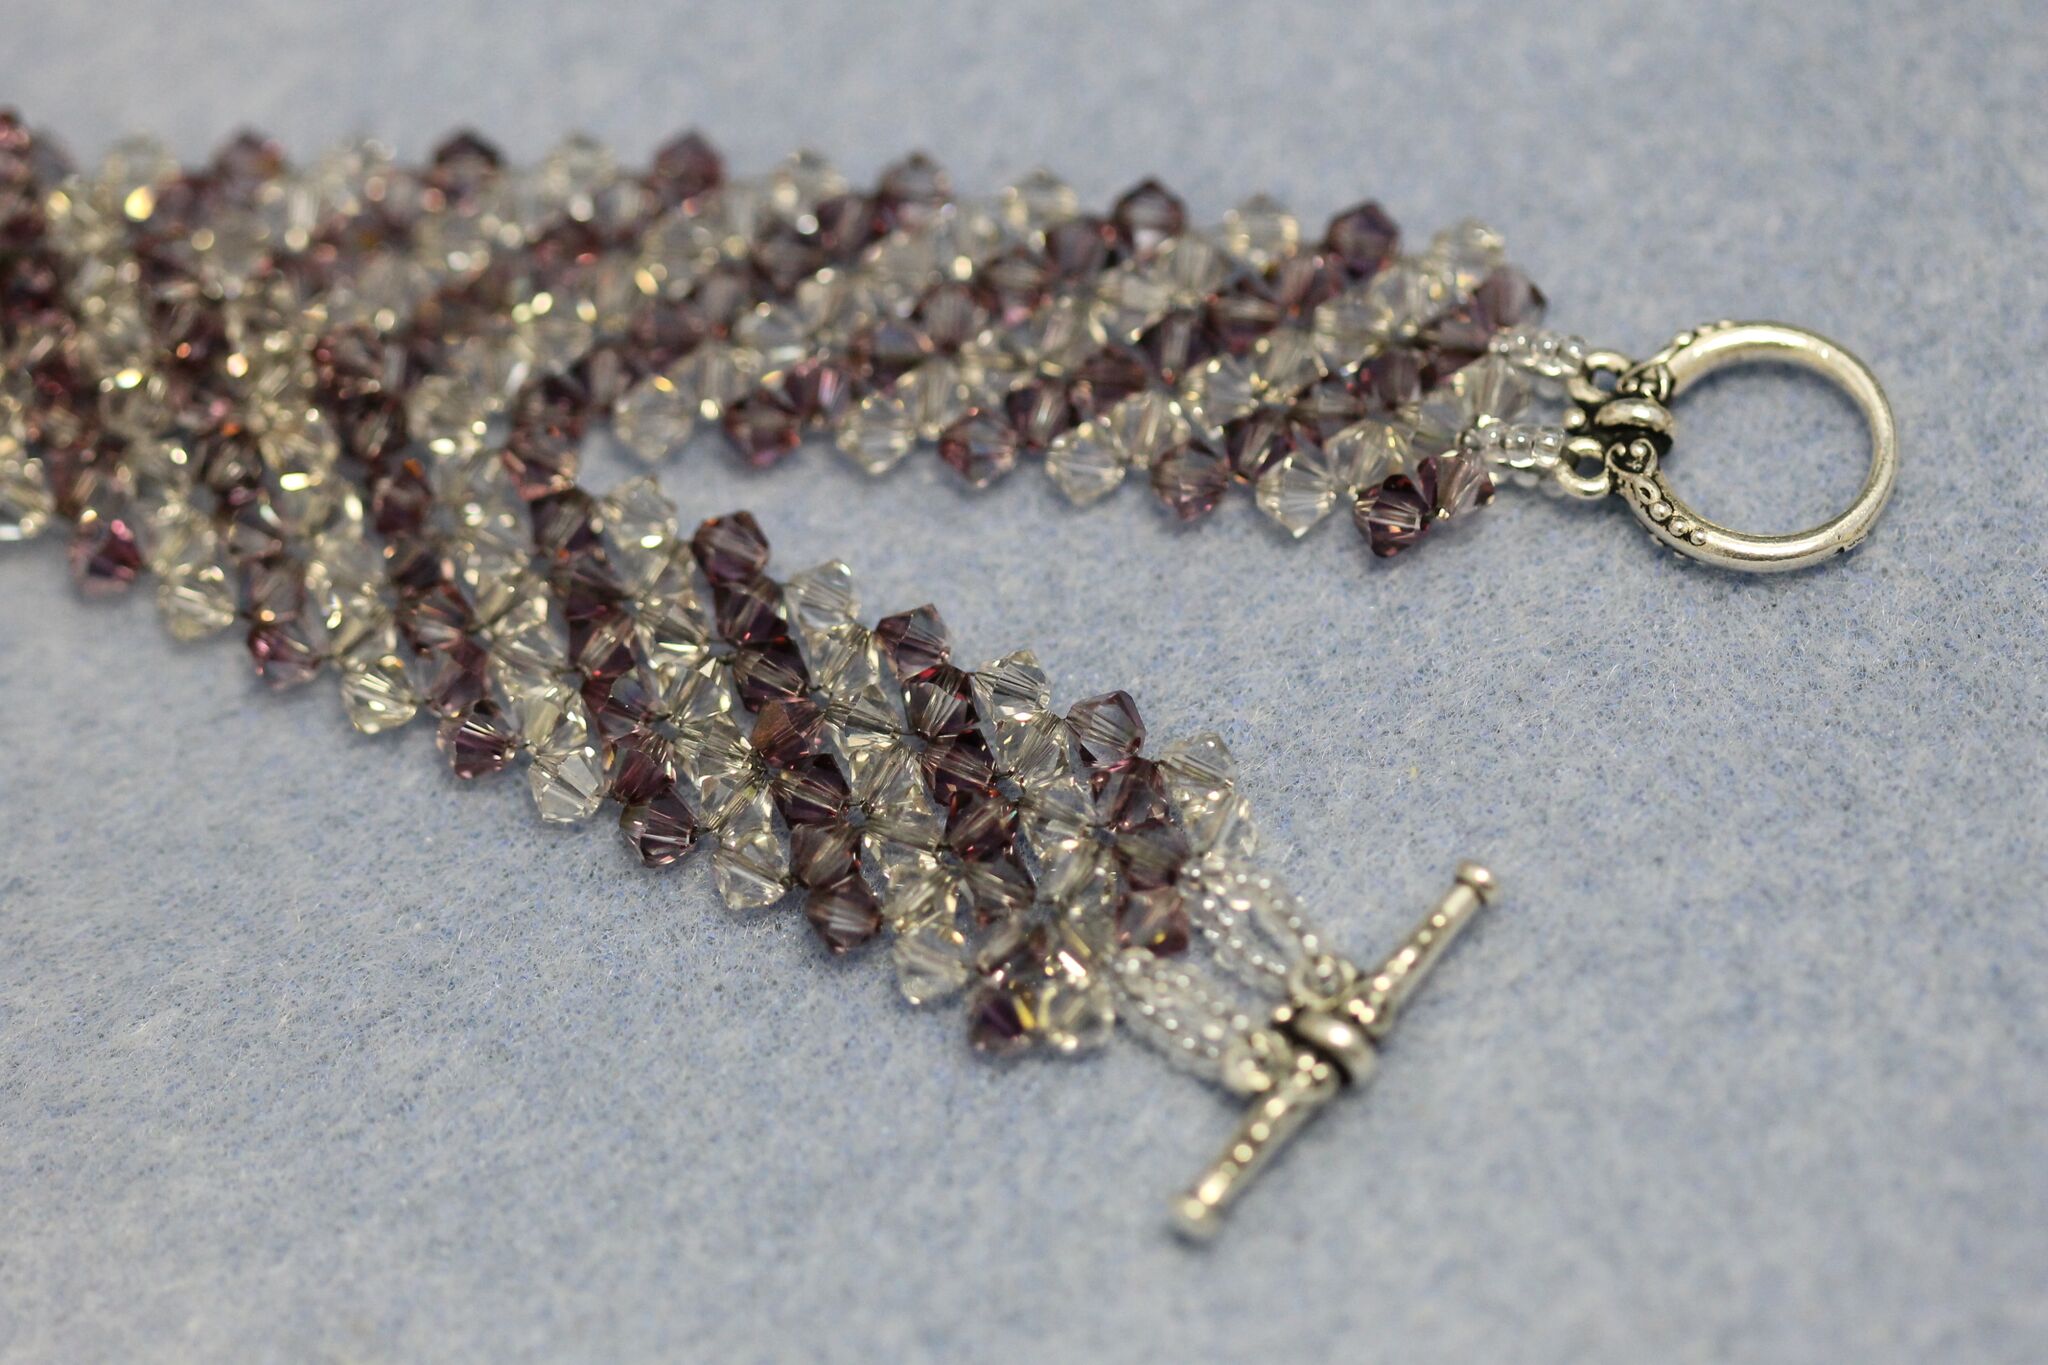
So cool, right?? You can use this technique to continue adding as many rows as you’d like. Stay tuned next month for another edition of our right angle weave tutorial series.
Happy Beading!!
Recent Posts
-
Charm Necklace Tutorial
Charm Necklace TutorialEmbrace individuality with our Personalized Charm Necklace tutorial, a perfec …6th Nov 2024 -
Double Loop Peyote Earrings
Double Loop Peyote EarringsLearn all about creating a seed bead circle using the peyote stitch techn …21st Oct 2024 -
Skeleton Hand Beaded Earrings
Skeleton Hand Beaded EarringsThese earrings are crafted from white seed beads, intricately assembled …18th Sep 2024

