
Tutorials
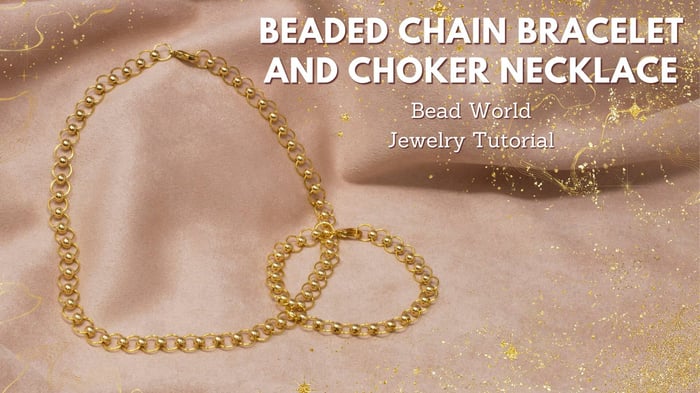
Beaded Chain Bracelet and Choker Necklace
Beaded Chain Bracelet and Choker Necklace
Learn about jump rings in this quick and easy tutorial which will help you nail your jump ring skills. In between each jump ring is a 4mm bead to create a unique chain that can really be worn at any length. Read Below to create your own beaded chain bracelet and chocker necklace.
Materials Needed:
- 18K Gold Plated Stainless Steel 7mm Round 20 Gauge OPEN Jump Rings - 20 Pieces - (about 4 links for every inch - Bracelet has 26 jump rings (7") and the Choker Necklace has 56 jump rings (14.25")
- 18K Gold Plated 4mm Round Anti Tarnish Coating - 100 Beads (7" Bracelet has 25 beads - 55 beads
- Gold Plated 12x7mm Lobster Clasp (2 one for bracelet one for necklace)
Tools Needed:
Instructions on Construction (Bracelet):
1. (assuming you are right hand dominant for the tutorial, if you are lefthanded, please switch for your preference)
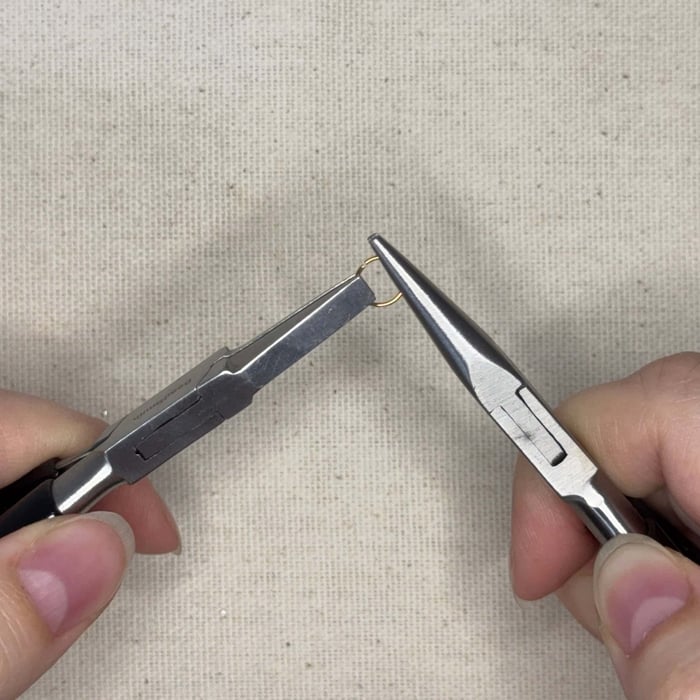
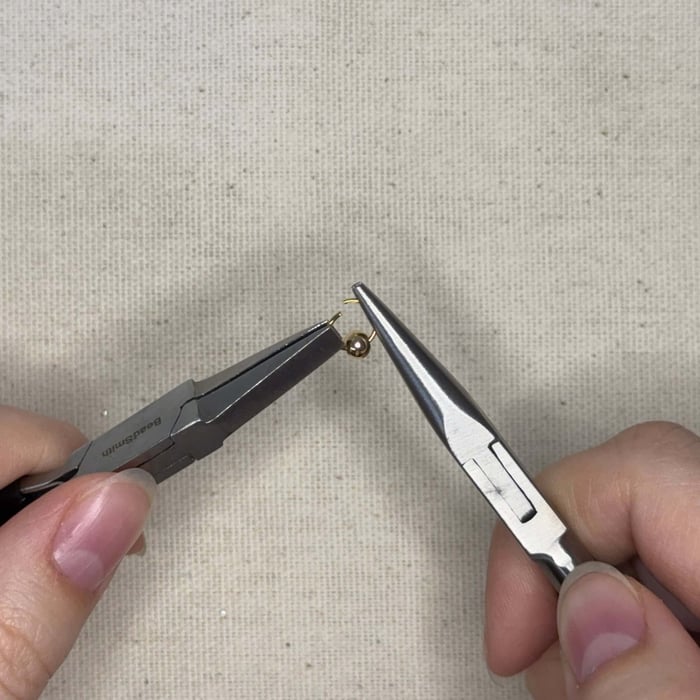
Lets open our first jump ring - In your left hand, hold the flat nose pliers, and in your right, hold the chain nose pliers. Pick up one jump ring and place it in the flat nose plier's jaws. You want to be sure that the opening of the jump ring is at 12 o'clock to your pliers at 9 o'clock. Take your chain nose pliers and clasp the long end to the 3 o'clock position (you can also use two flat nose pliers if it makes it easier for you)
2. Gently twist your left wrist towards you while keeping your right hand in place. You'll want to make an opening large enough for a bead to slide on.
***The trick is to keep both hands in-place while only twisting your left wrist about 45 degrees. If you pull or use your right hand, the opening might shift and it will be harder to close or make the jump ring no longer circular.
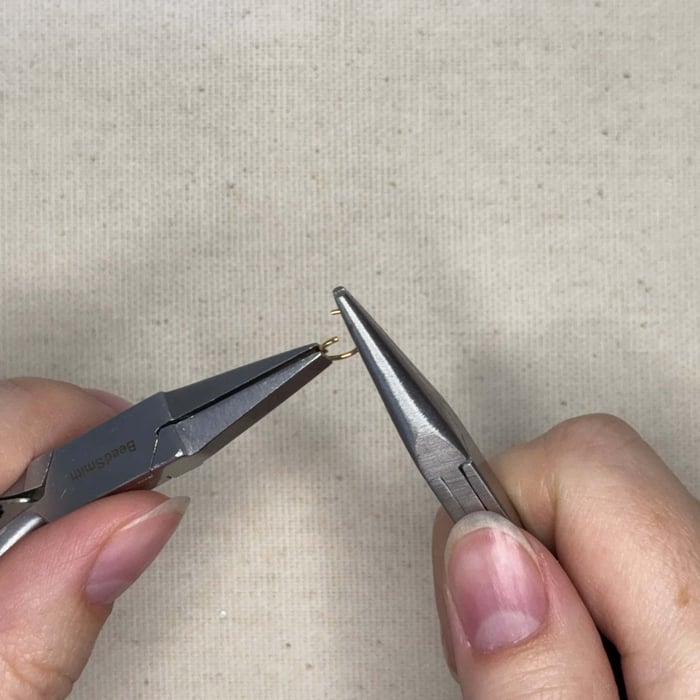
3. Slide on your 4mm bead and close your jump ring. You do this by repeating the previous steps, however, you will twist your wrist back and forth until you hear an audible *click* of the jump ring openings brushing against each other. When the openings click, they are close enough to stay together once you line them up.
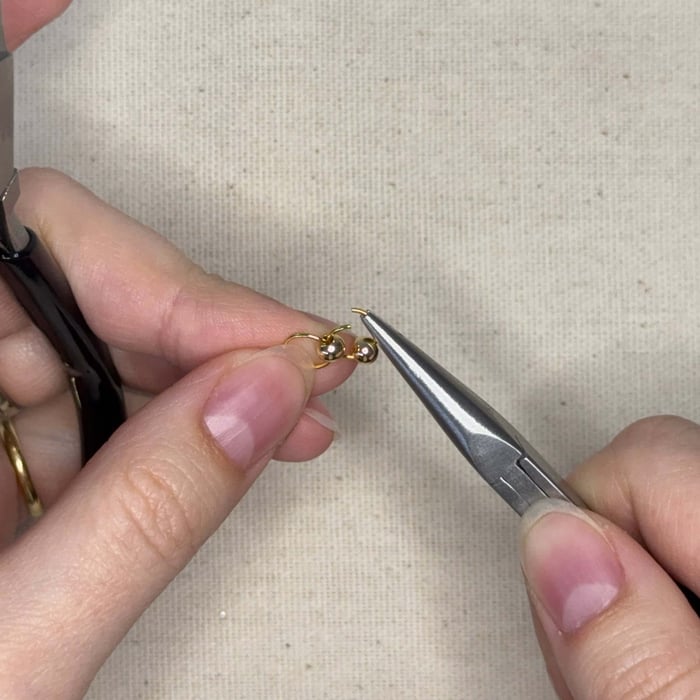
4. Repeat steps 1-3 but before closing the jump ring you will thread the left end of the jump ring through the first bead. ***Before closing jump ring please read step 5***
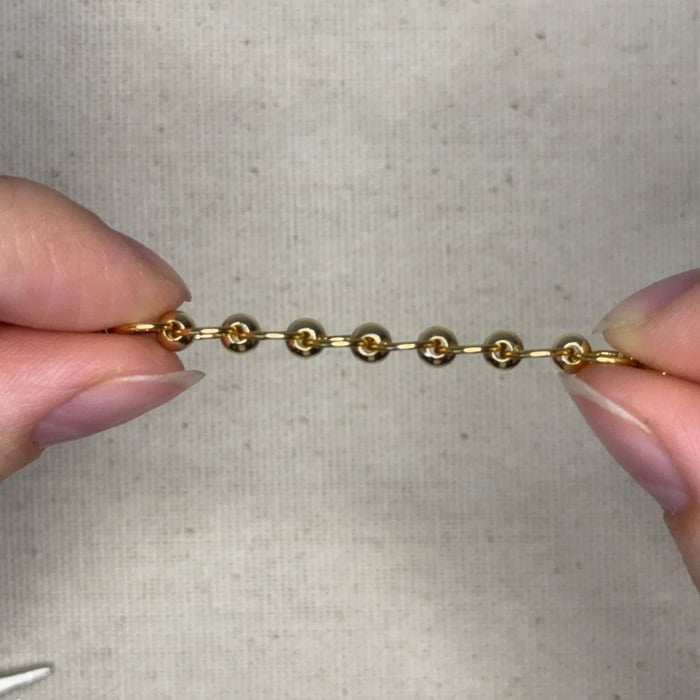
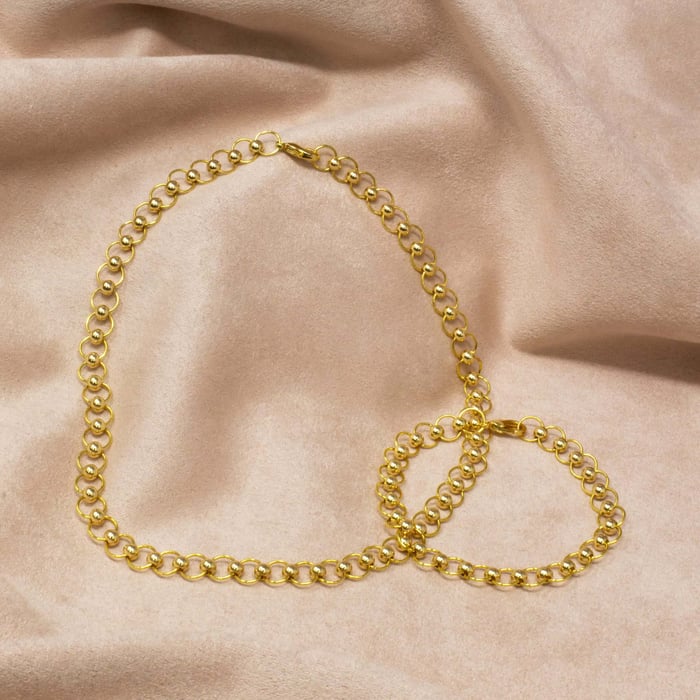
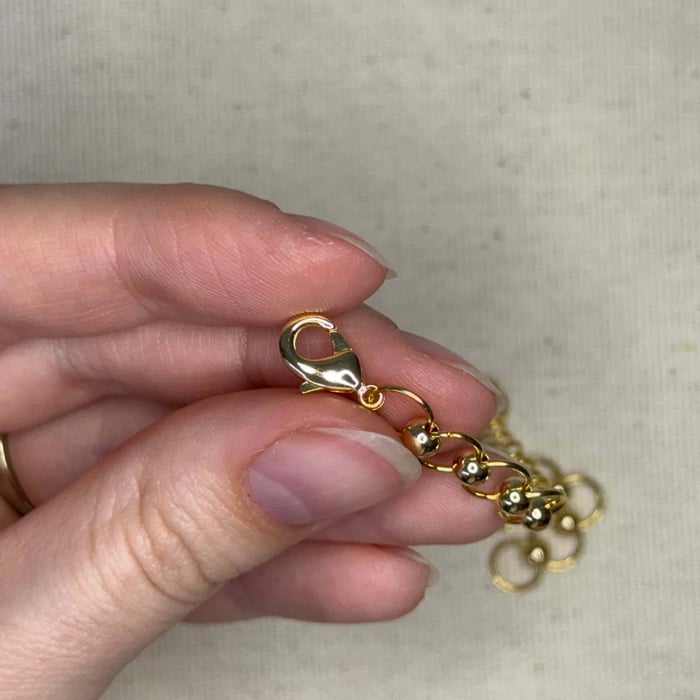
5. To make sure that your bracelet (and necklace) sits smoothly on your wrist (or neck) you will want to make sure each jump ring lines up just like its shown in the picture above. You achieve this when you are completing step 4.
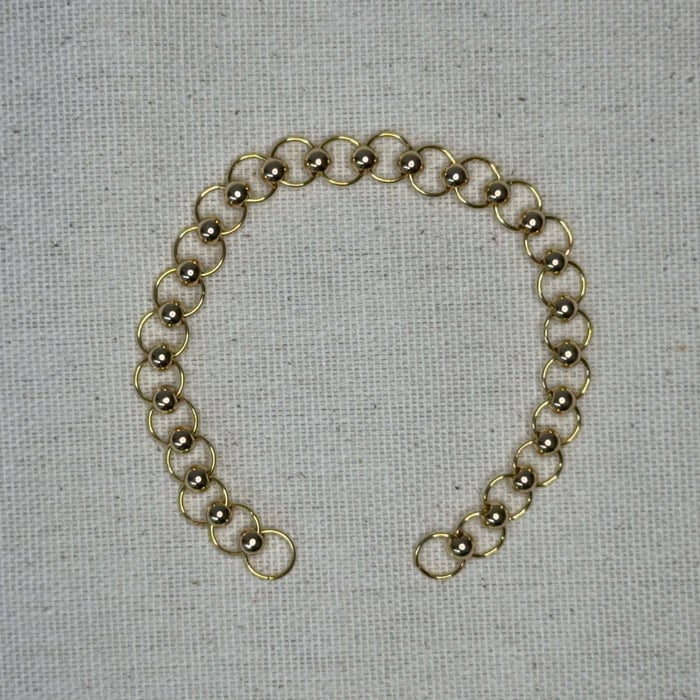
6. Keep repeating until you have achieved your desired length, on your last jump ring you will not add a bead
7. Before closing the last jump ring, add on your clasp.
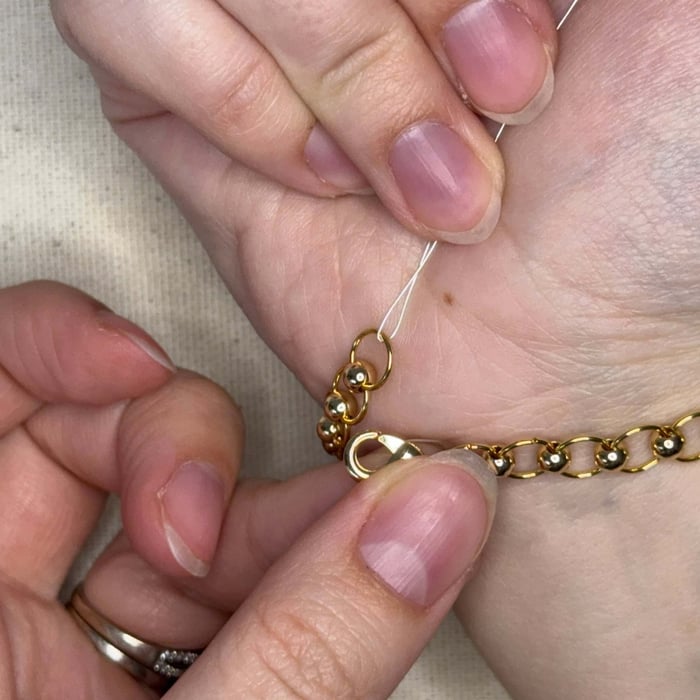
8. ***Bonus Jewelry hack!*** When you are putting on your jewelry and have no one to help put on a bracelet, grab a long scrap piece of wire or thread and thread it through the end of your bracelet, fold it in half and hold the two ends of the scrap wire in your palm with your fingers. Wrap the bracelet around your wrist and connect the clasp to the end of the bracelet using your other hand.
You're now done with the bracelet and can now make the necklace! Remember the choker necklace needs 56 jump rings and 55 beads (but maybe more or less if you need it longer or shorter)
Related Articles

Jade Interchangeable Statement Necklace
Jade Interchangeable Statement Necklace This tutorial walks you through creating a Valentine’s...
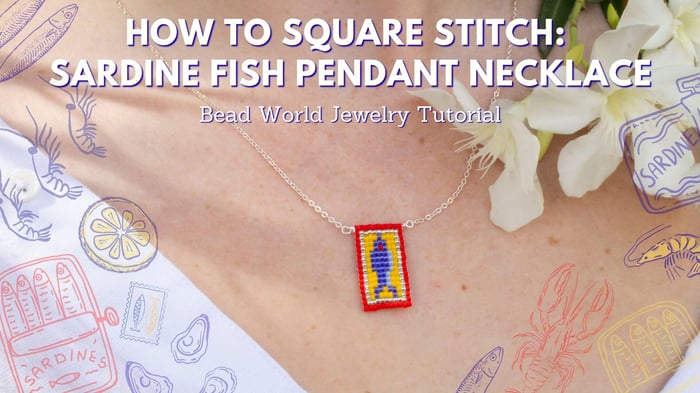
How to Square Stitch: Sardine Fish Pendant Necklace
How to Square Stitch: Sardine Fish Pendant Necklace Learn how to square stitch with this step-by-step...
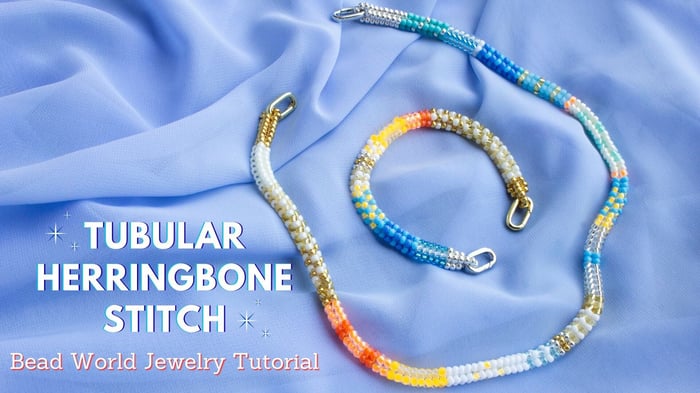
How to: Tubular Herringbone Stitch Bracelet and Necklace
How to: Tubular Herringbone Stitch Bracelet and Necklace Learn to create these flowing, color-blocked...