

Beaded Kumihimo Bracelet Tutorial
Beaded Kumihimo Bracelet Tutorial

I hope you all had fun with last month’s introduction to kumihimo in our Kumihimo Necklace Tutorial! This month we’re going to step it up a notch by adding seed beads and showing you a different type of clasp – a button closure with a silk wrap. Adding beads to your kumihimo jewelry opens up a whole new world of design options. Enjoy!! We also carry this as a bead world kit! It includes all instructions and everything you would need to create this bracelet! (does not include: Kumihimo disc, Kumihimo bobbins, kumihimo weight, scissors, or beading mat)
.
You will need:
25′ Length of Medium Weight Macramé Cord (1)
Size 8 Miyuki or Toho Seed Beads (10 grams)
Button (1)
Small Kumihimo Bobbins (8)
GS Hypo Glue Red OR Thread Zapper
.
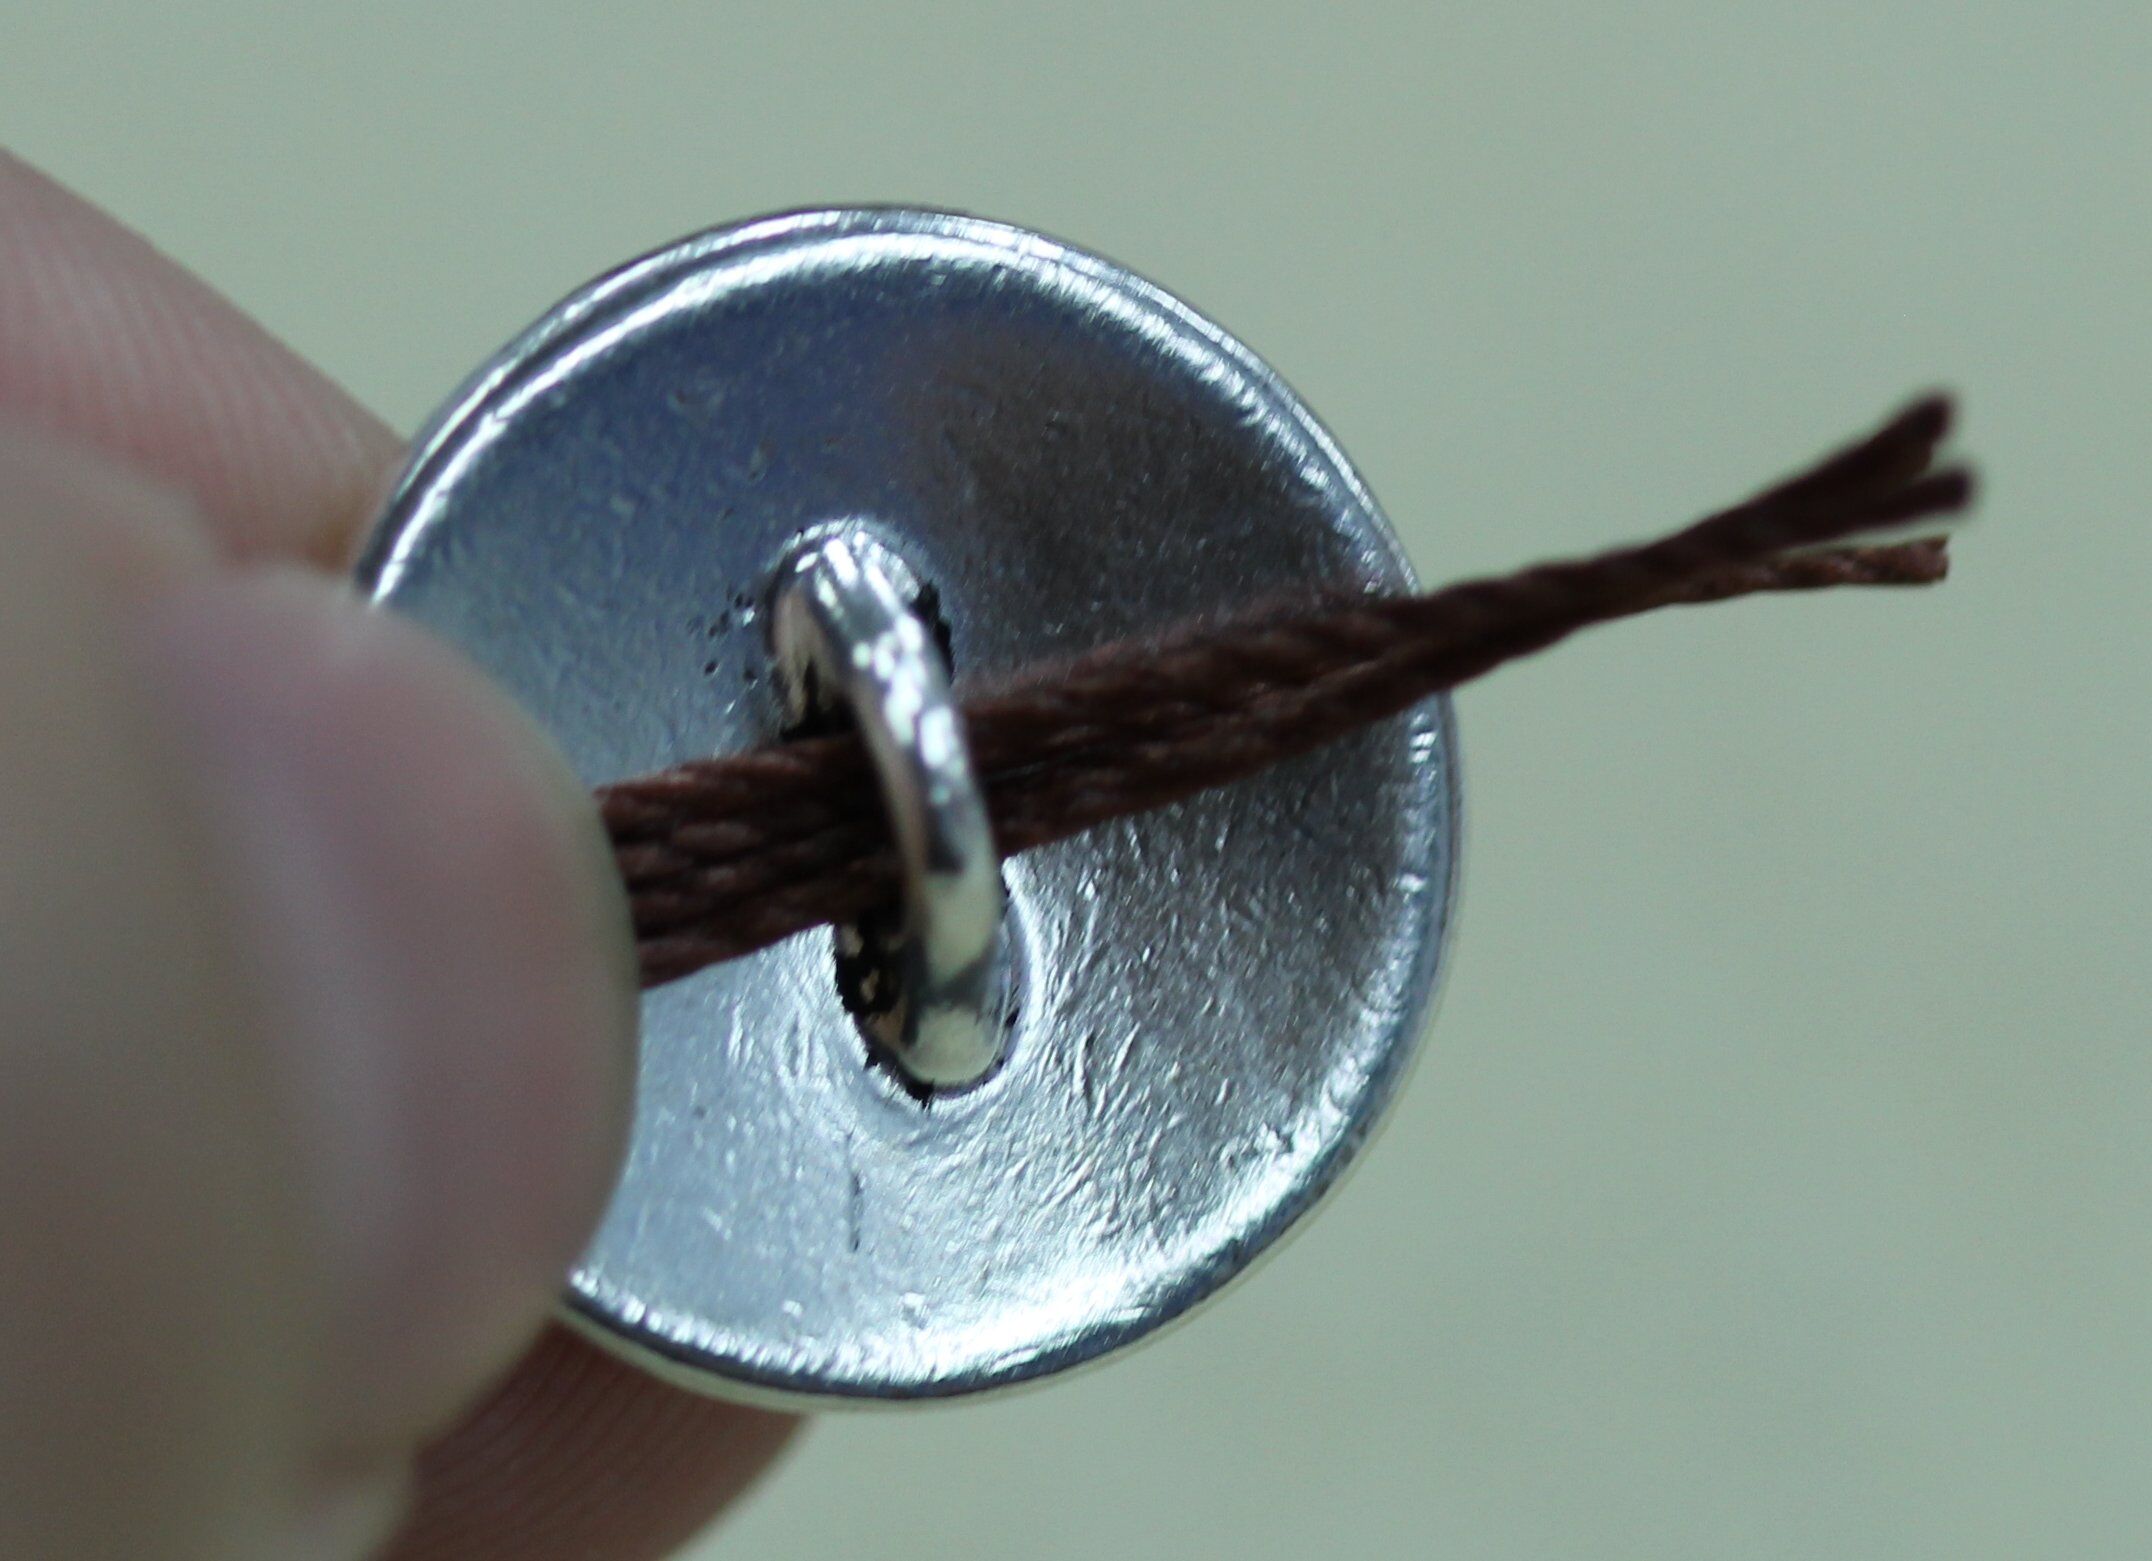
1. Begin with four pieces of macramé cord cut into 6 foot pieces. String all four cords through the button.
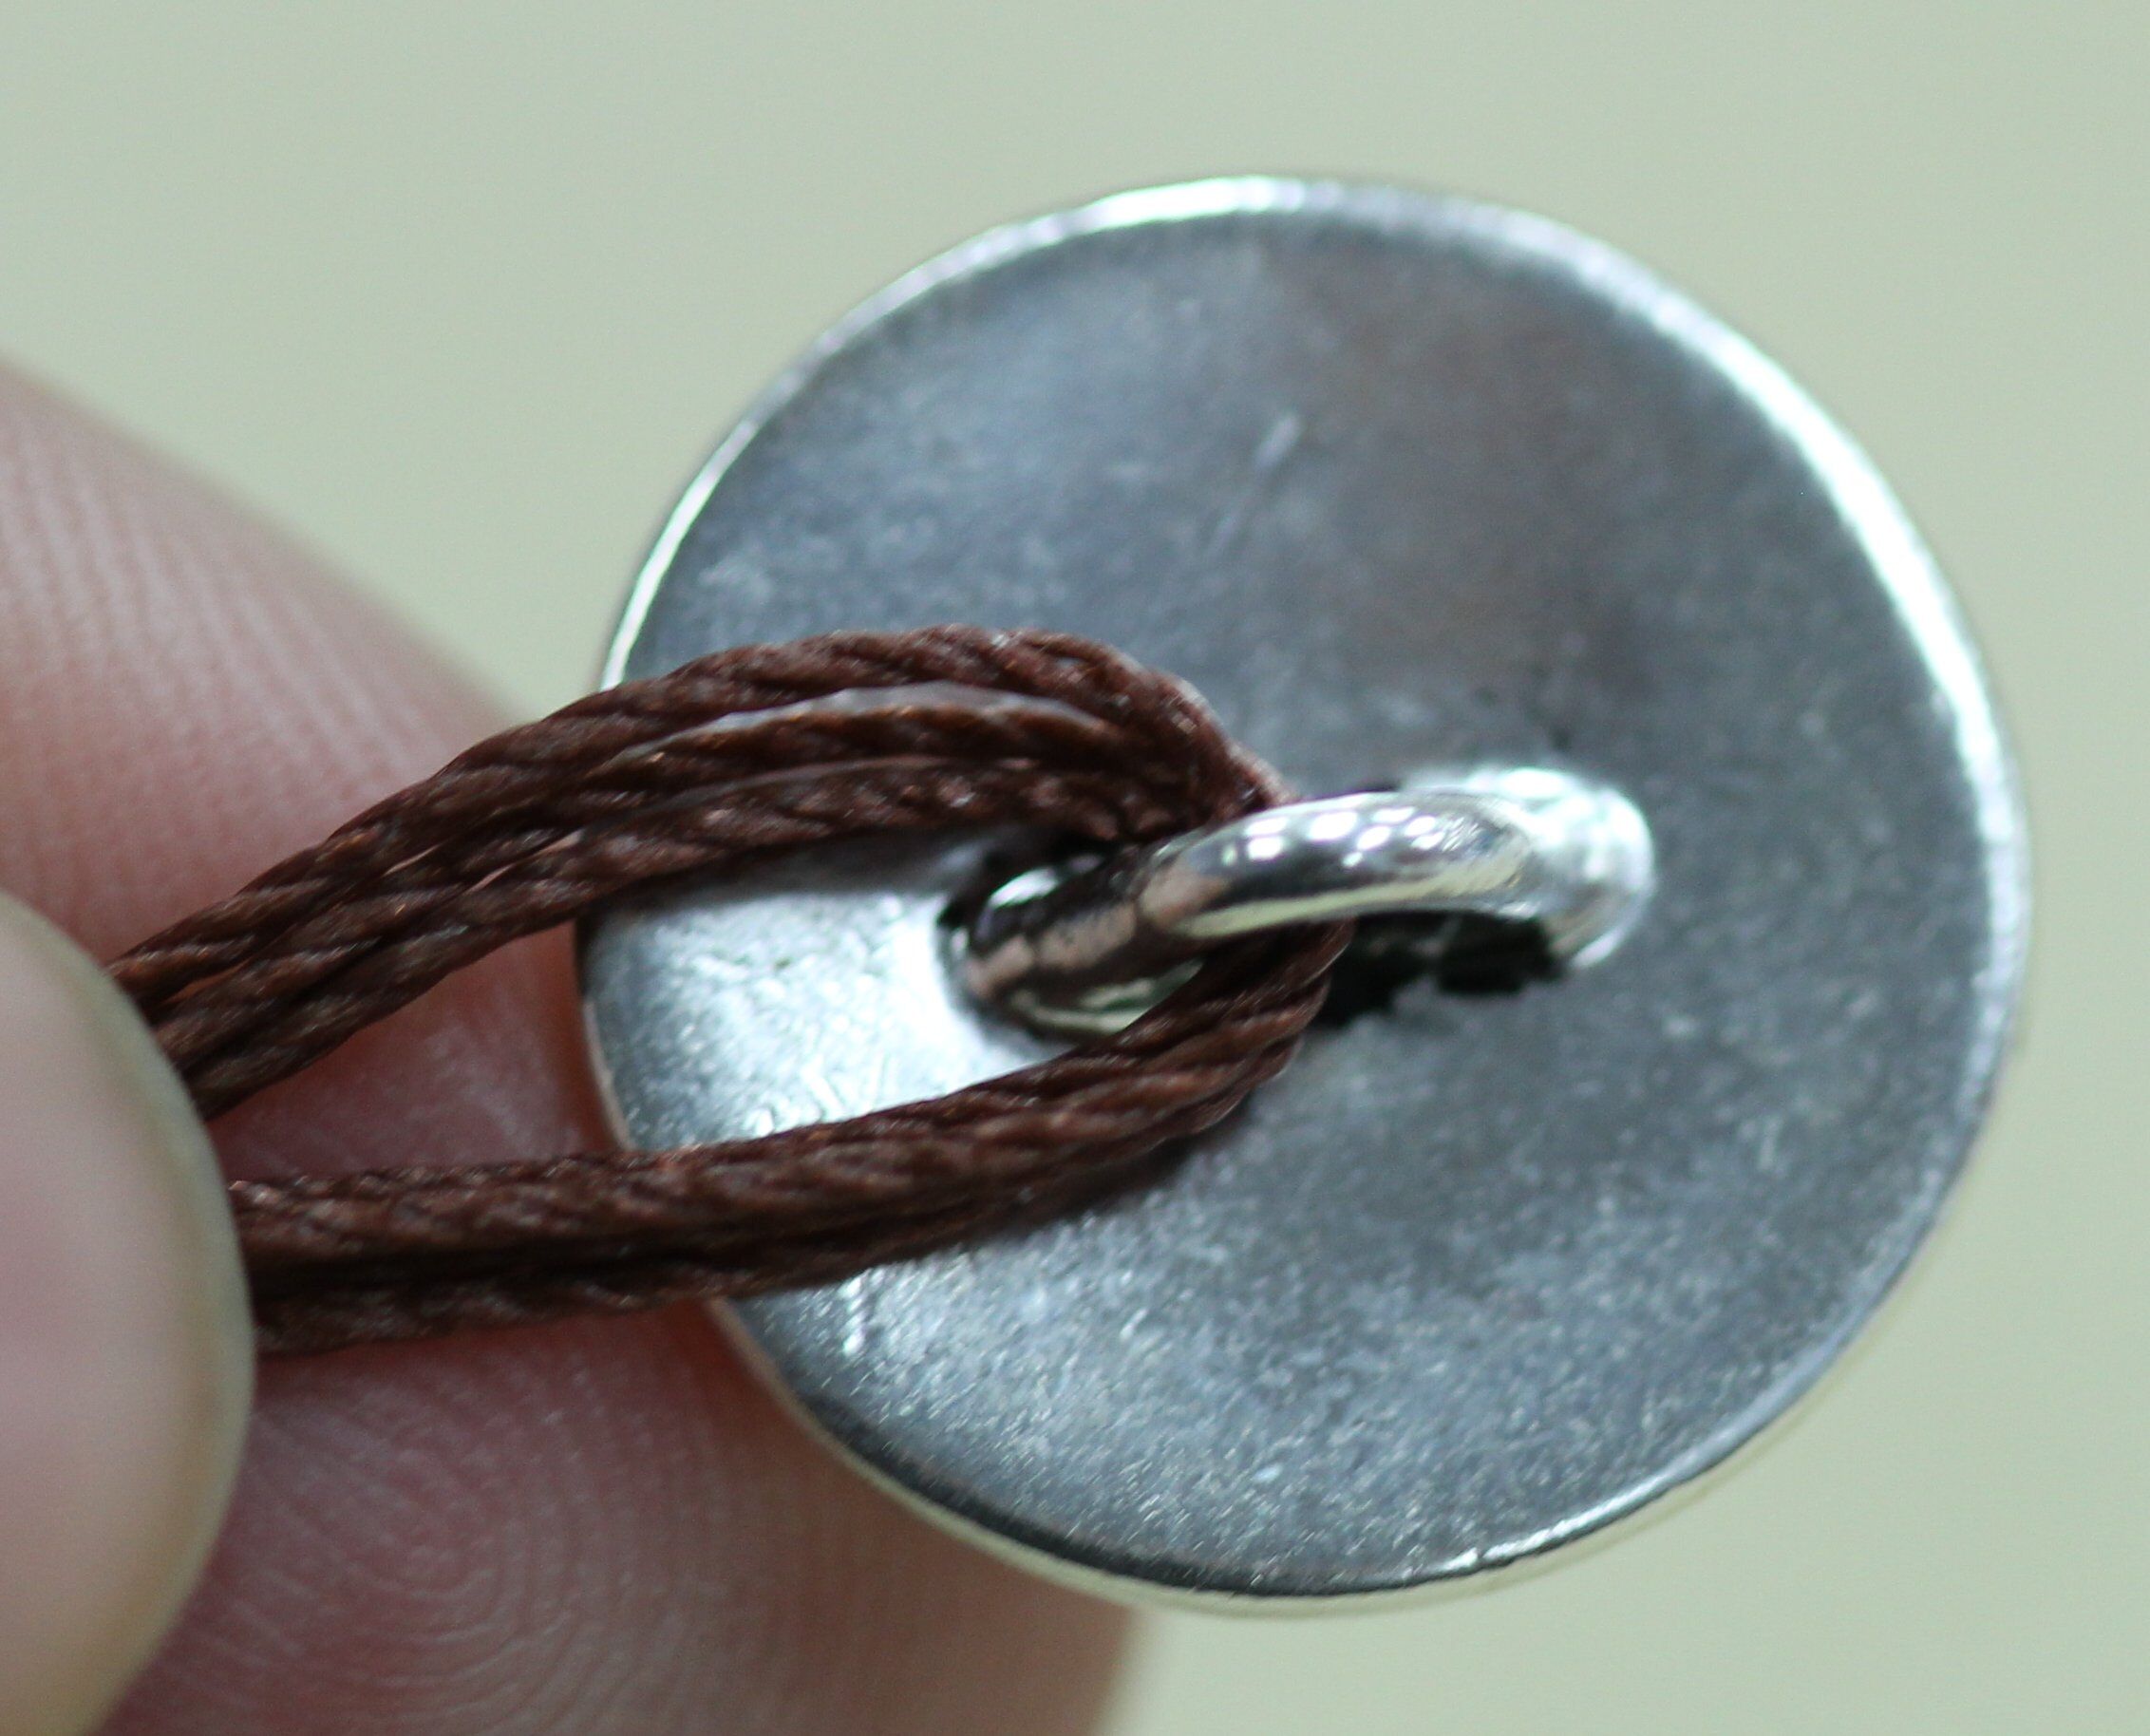
2. Slide the button down to the middle of the cords and then fold the cords in half.
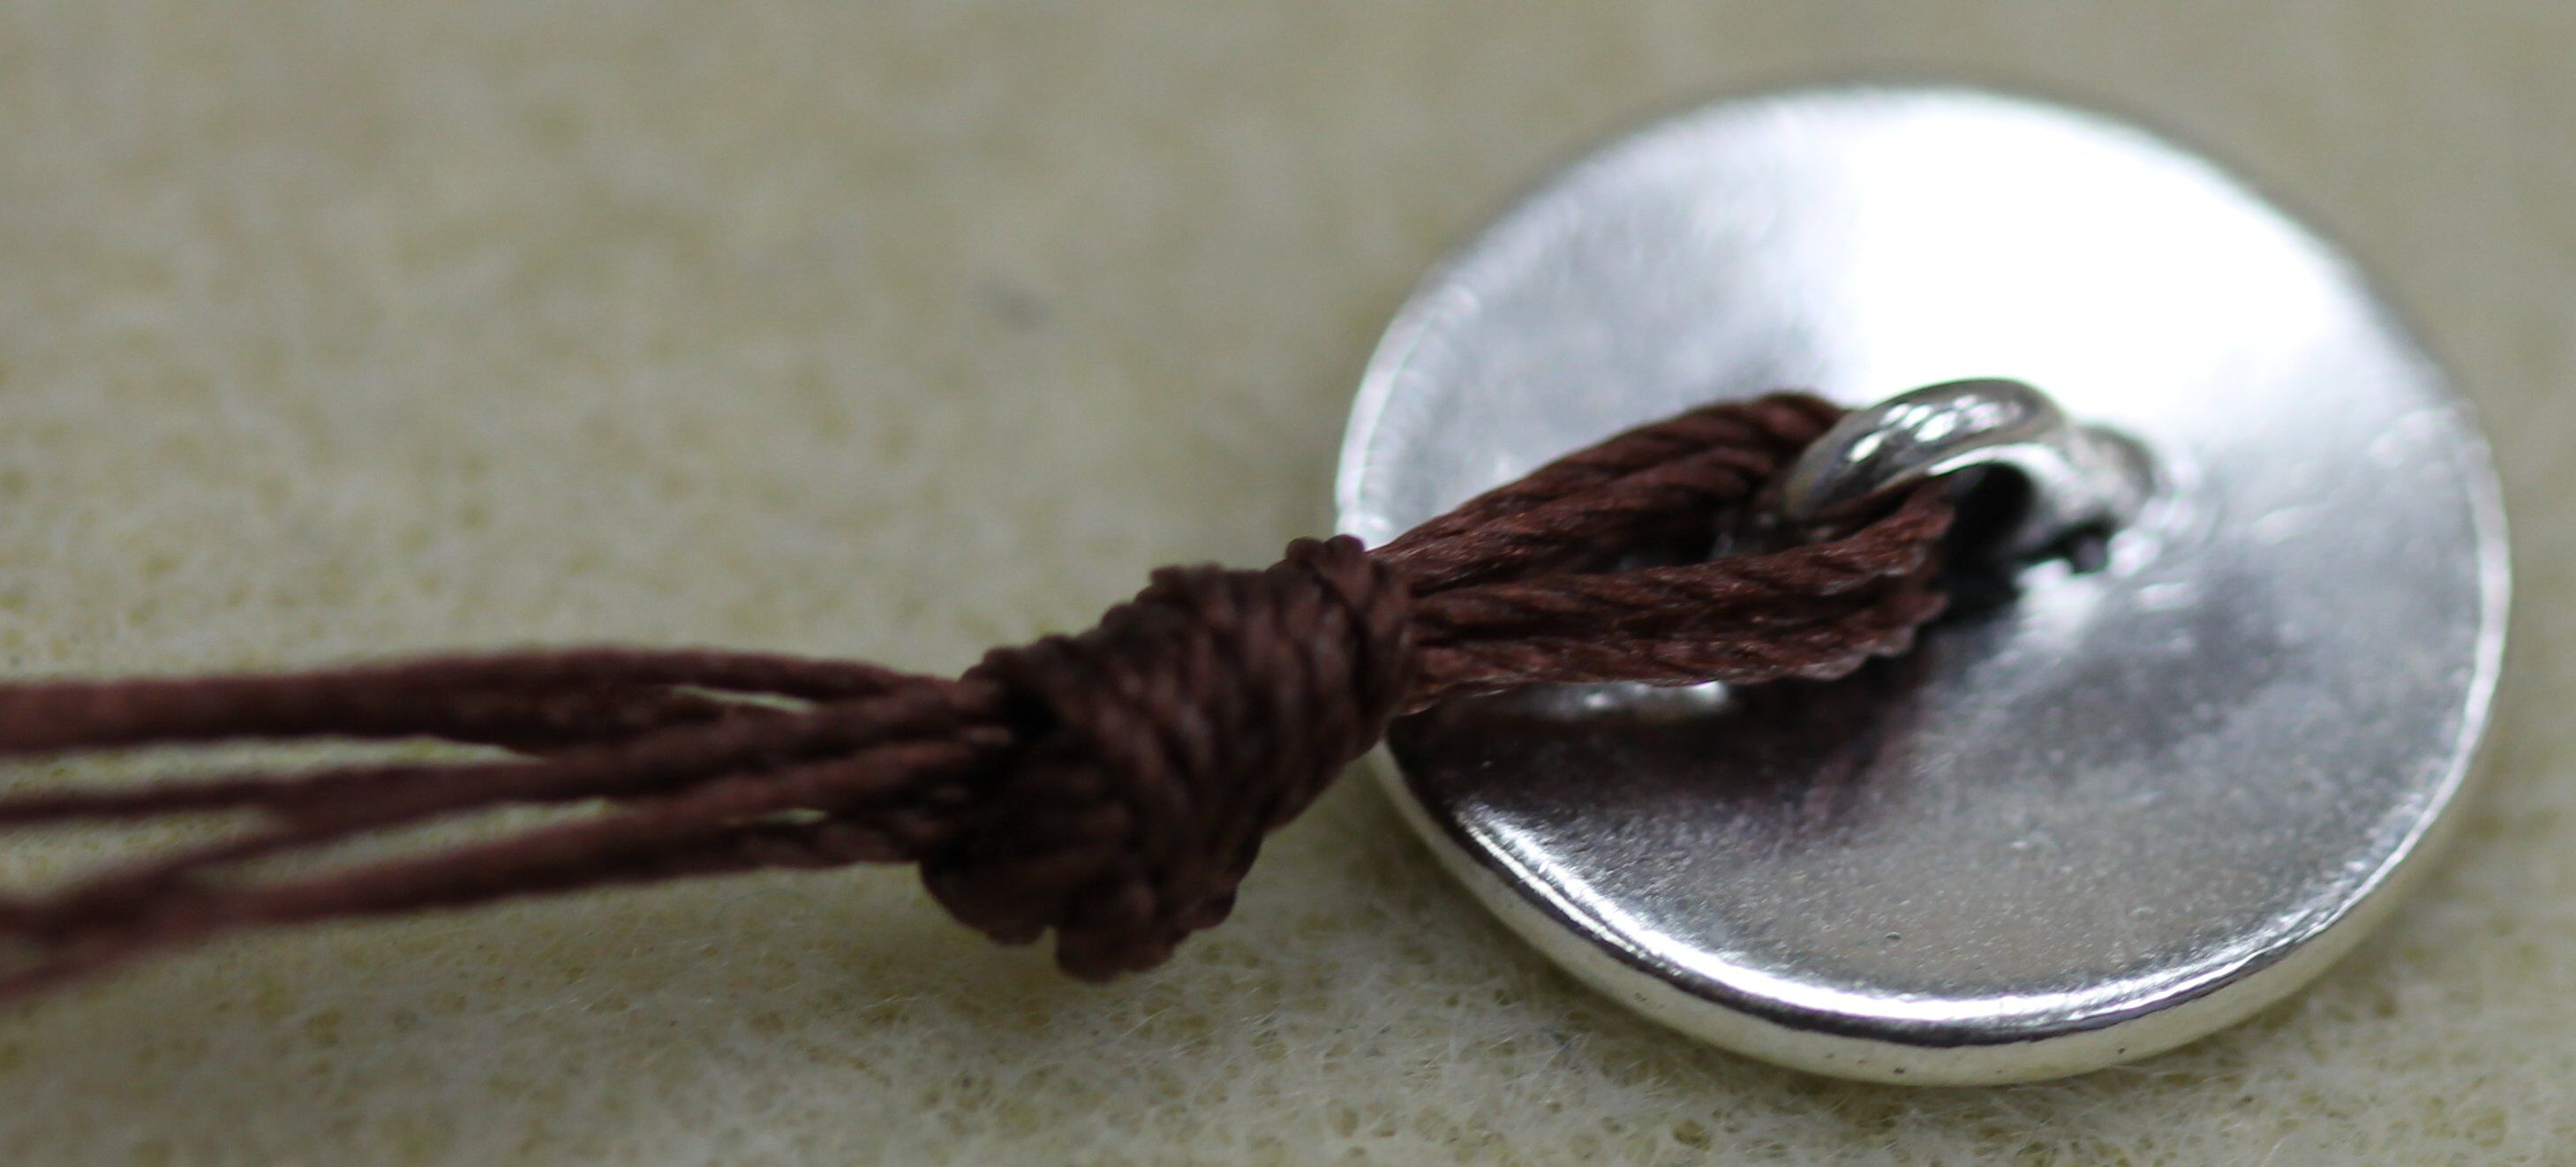
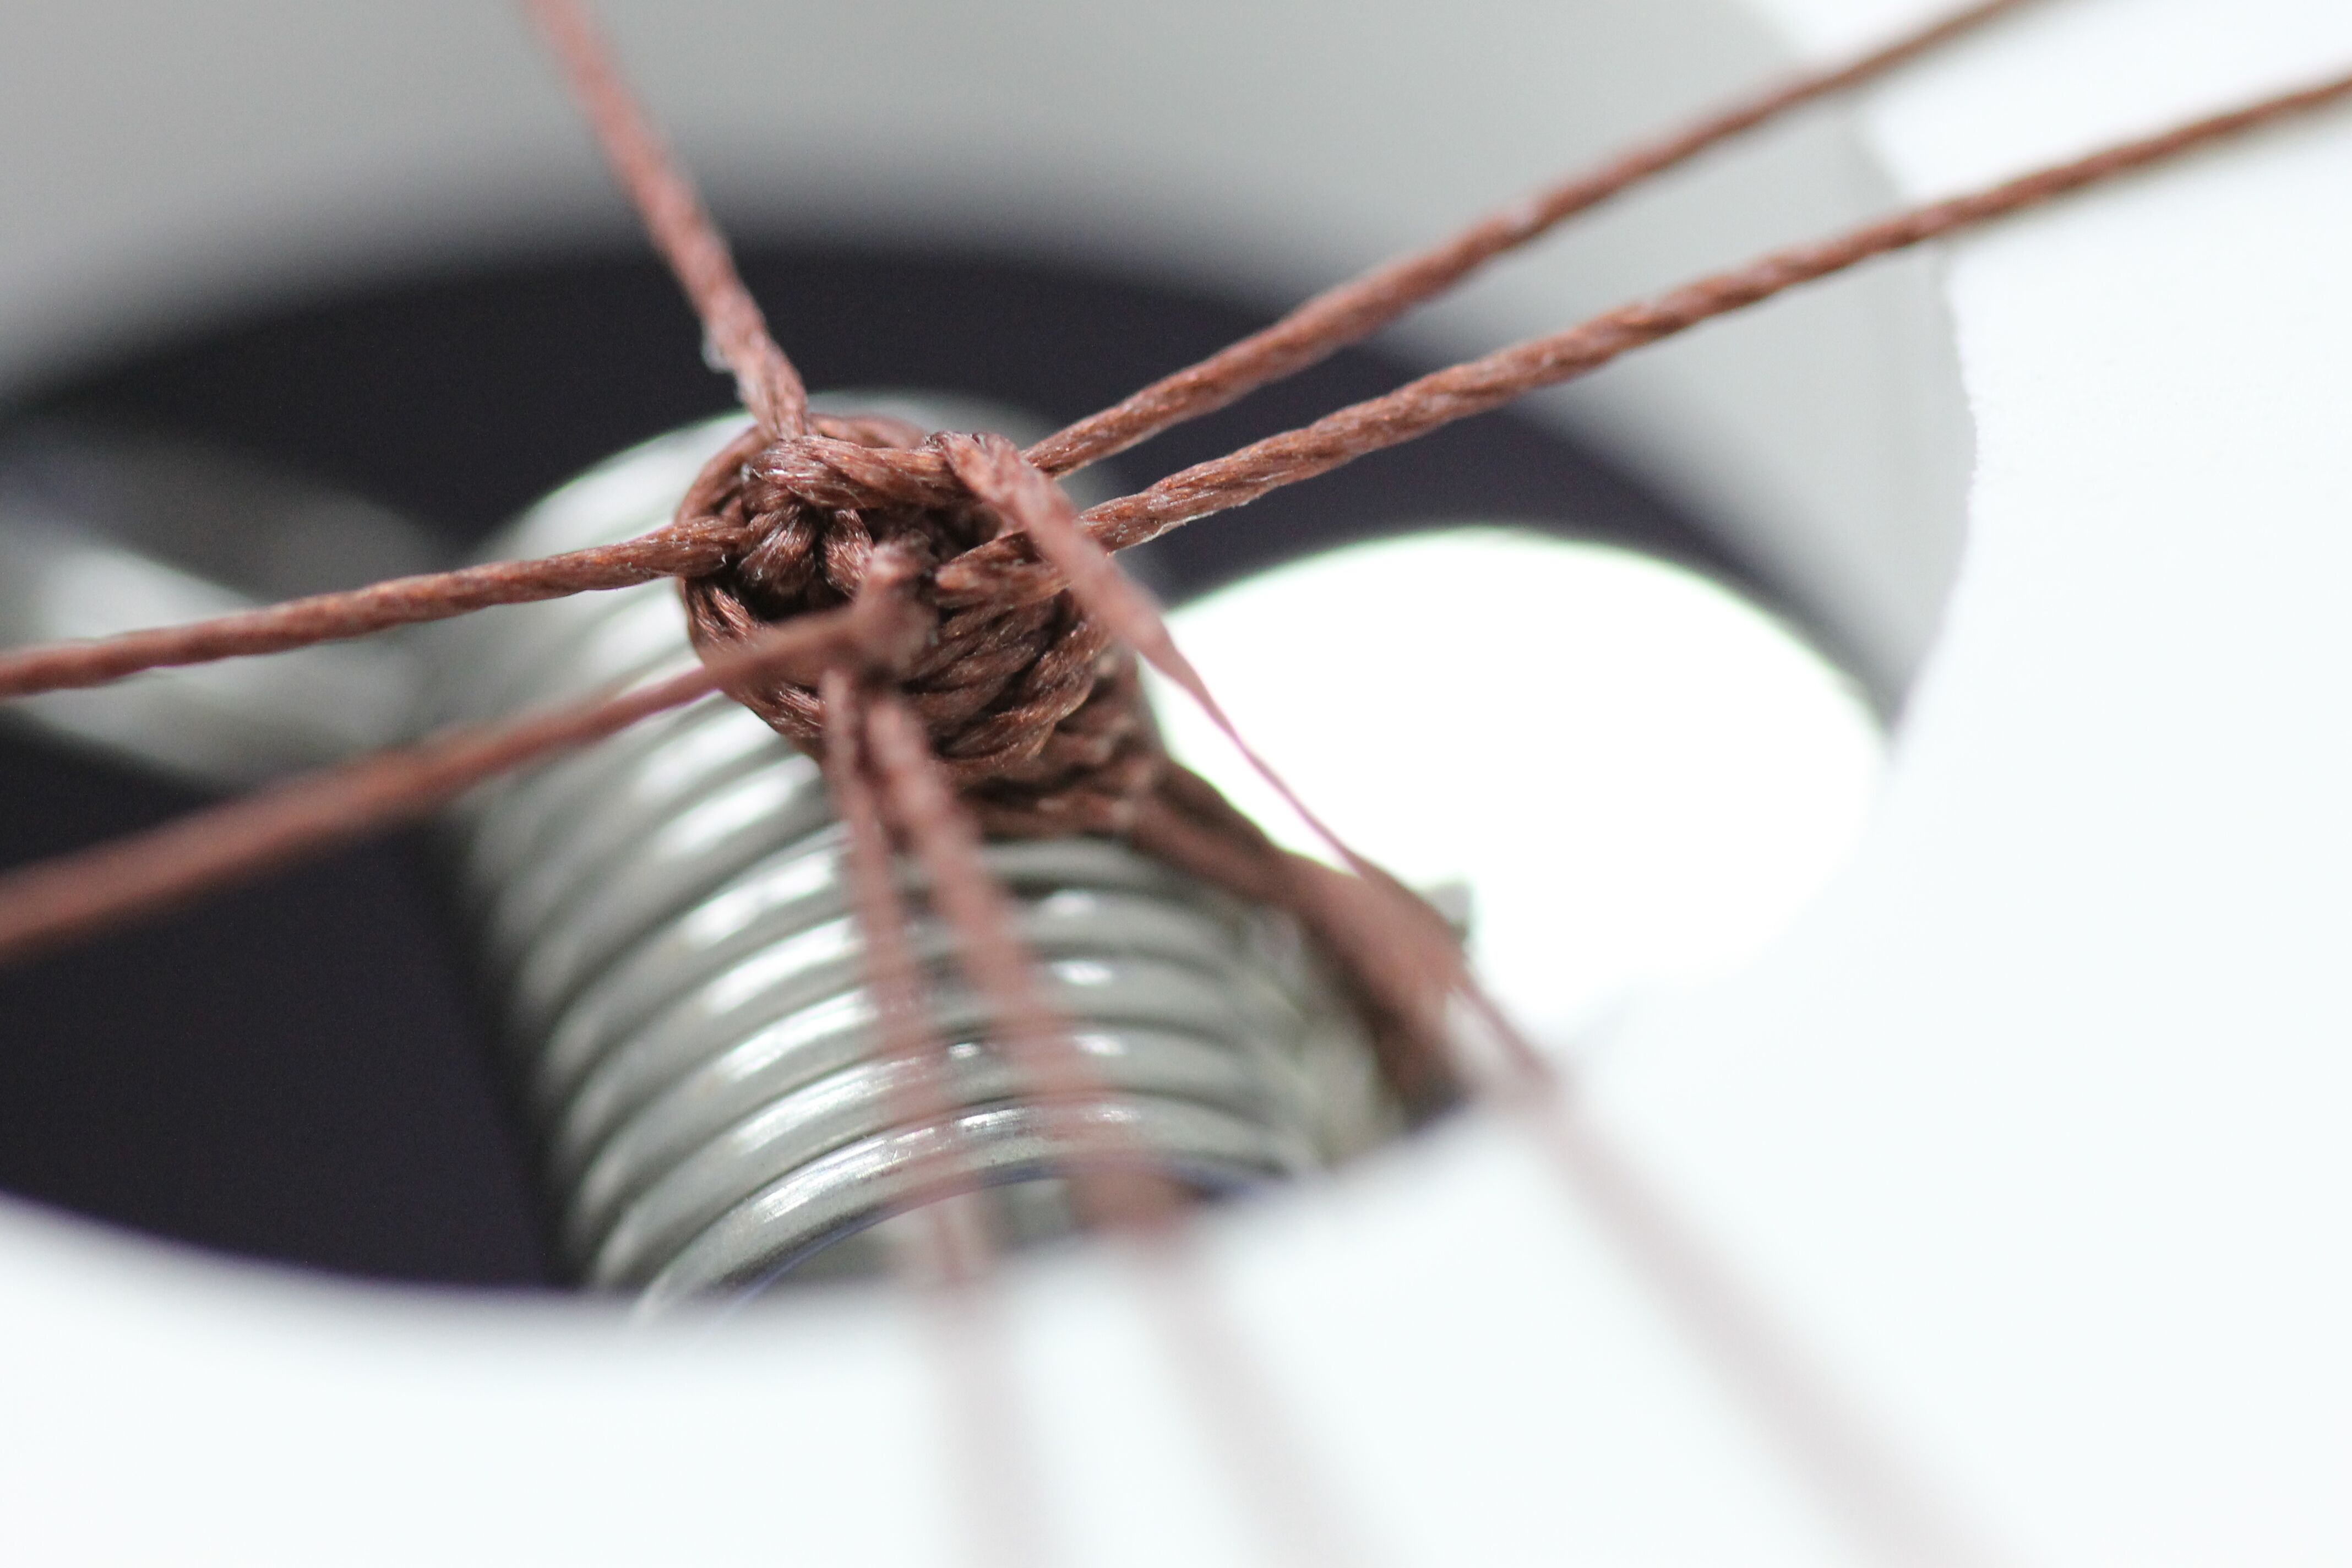
3. Tie all the cords in an overhand knot, about ¼ inch below the button.
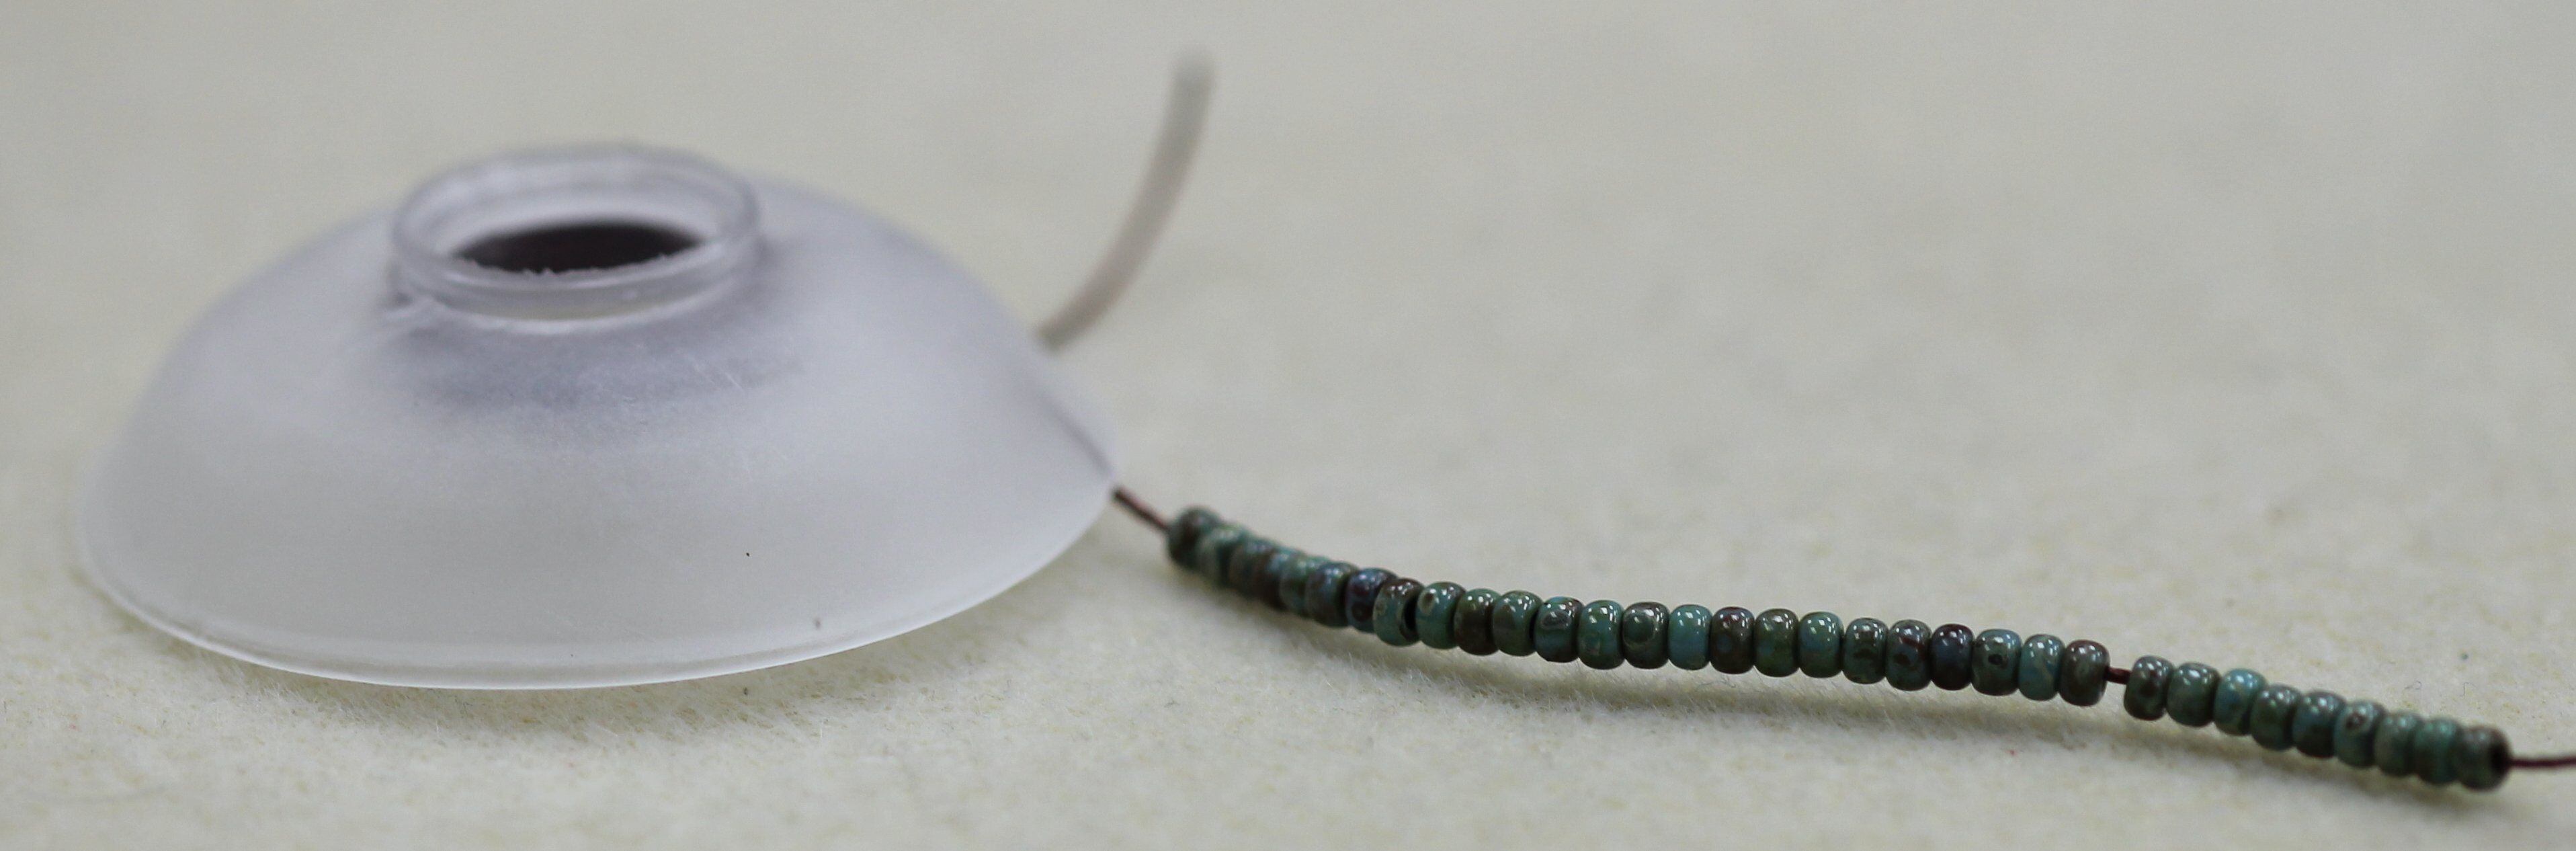
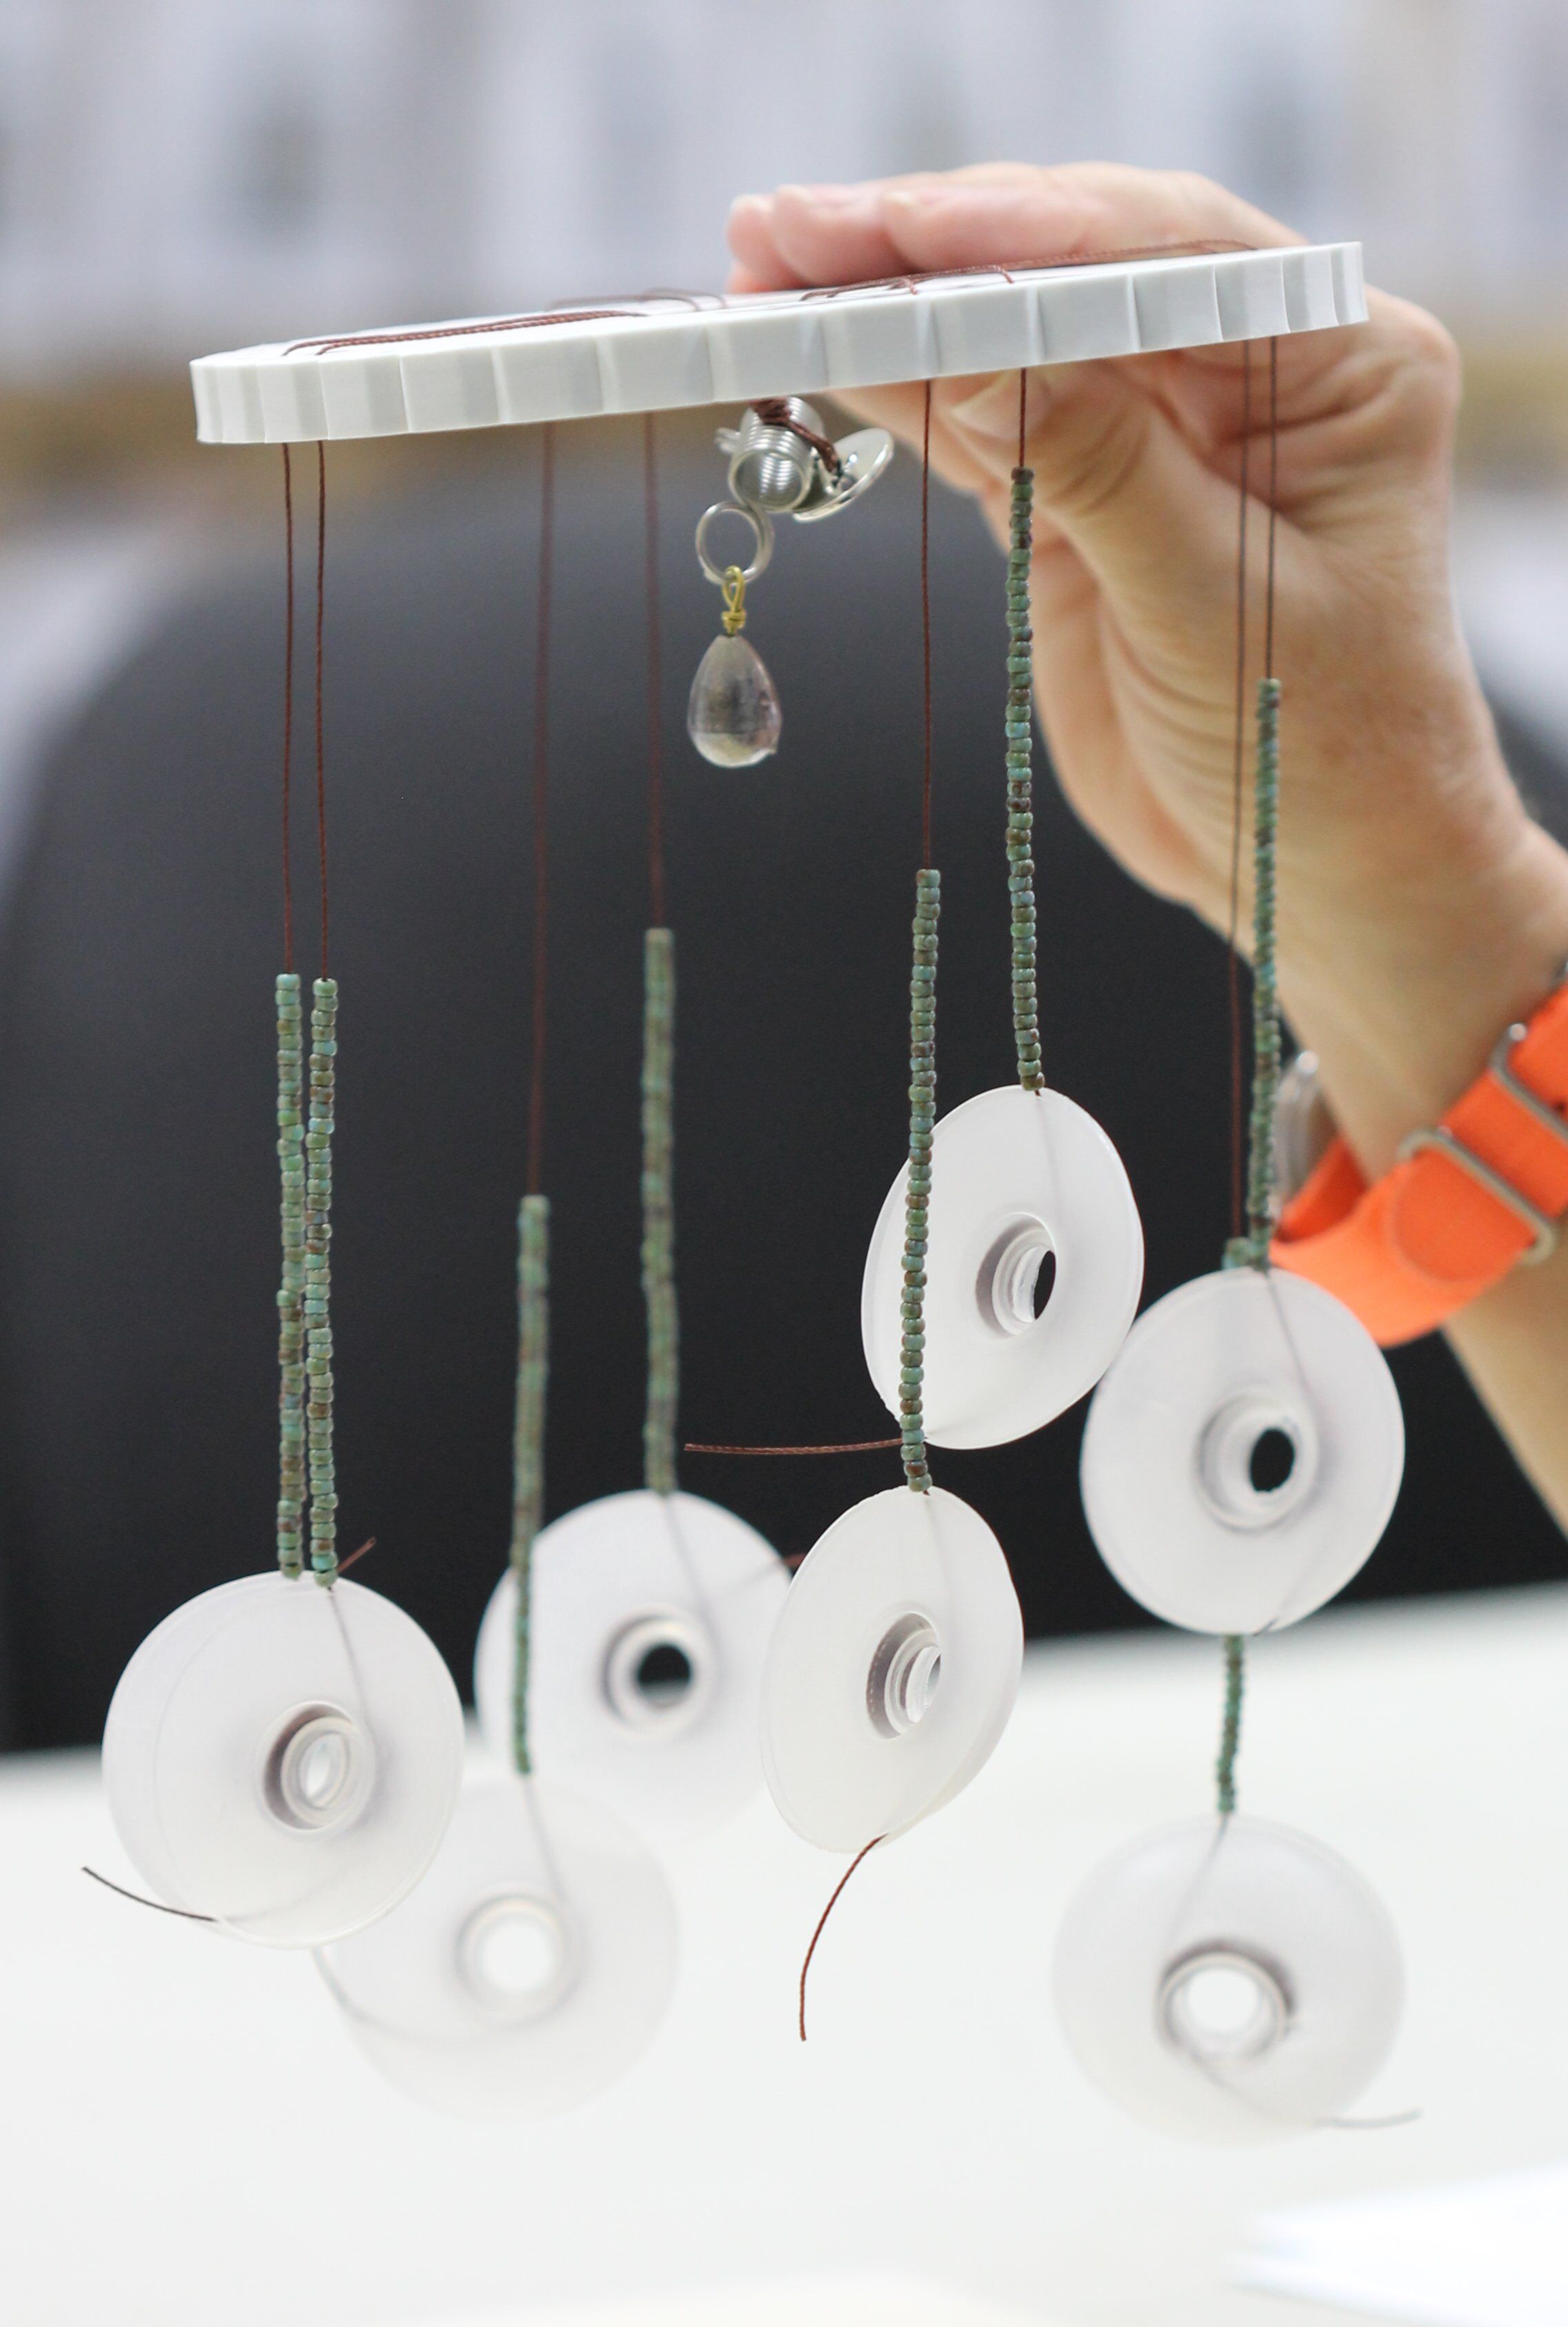
4. String 40 beads onto each of the eight macramé cords. Push the beads up toward the button (leaving 8-10 inches) and wind the rest of the cord onto a bobbin.
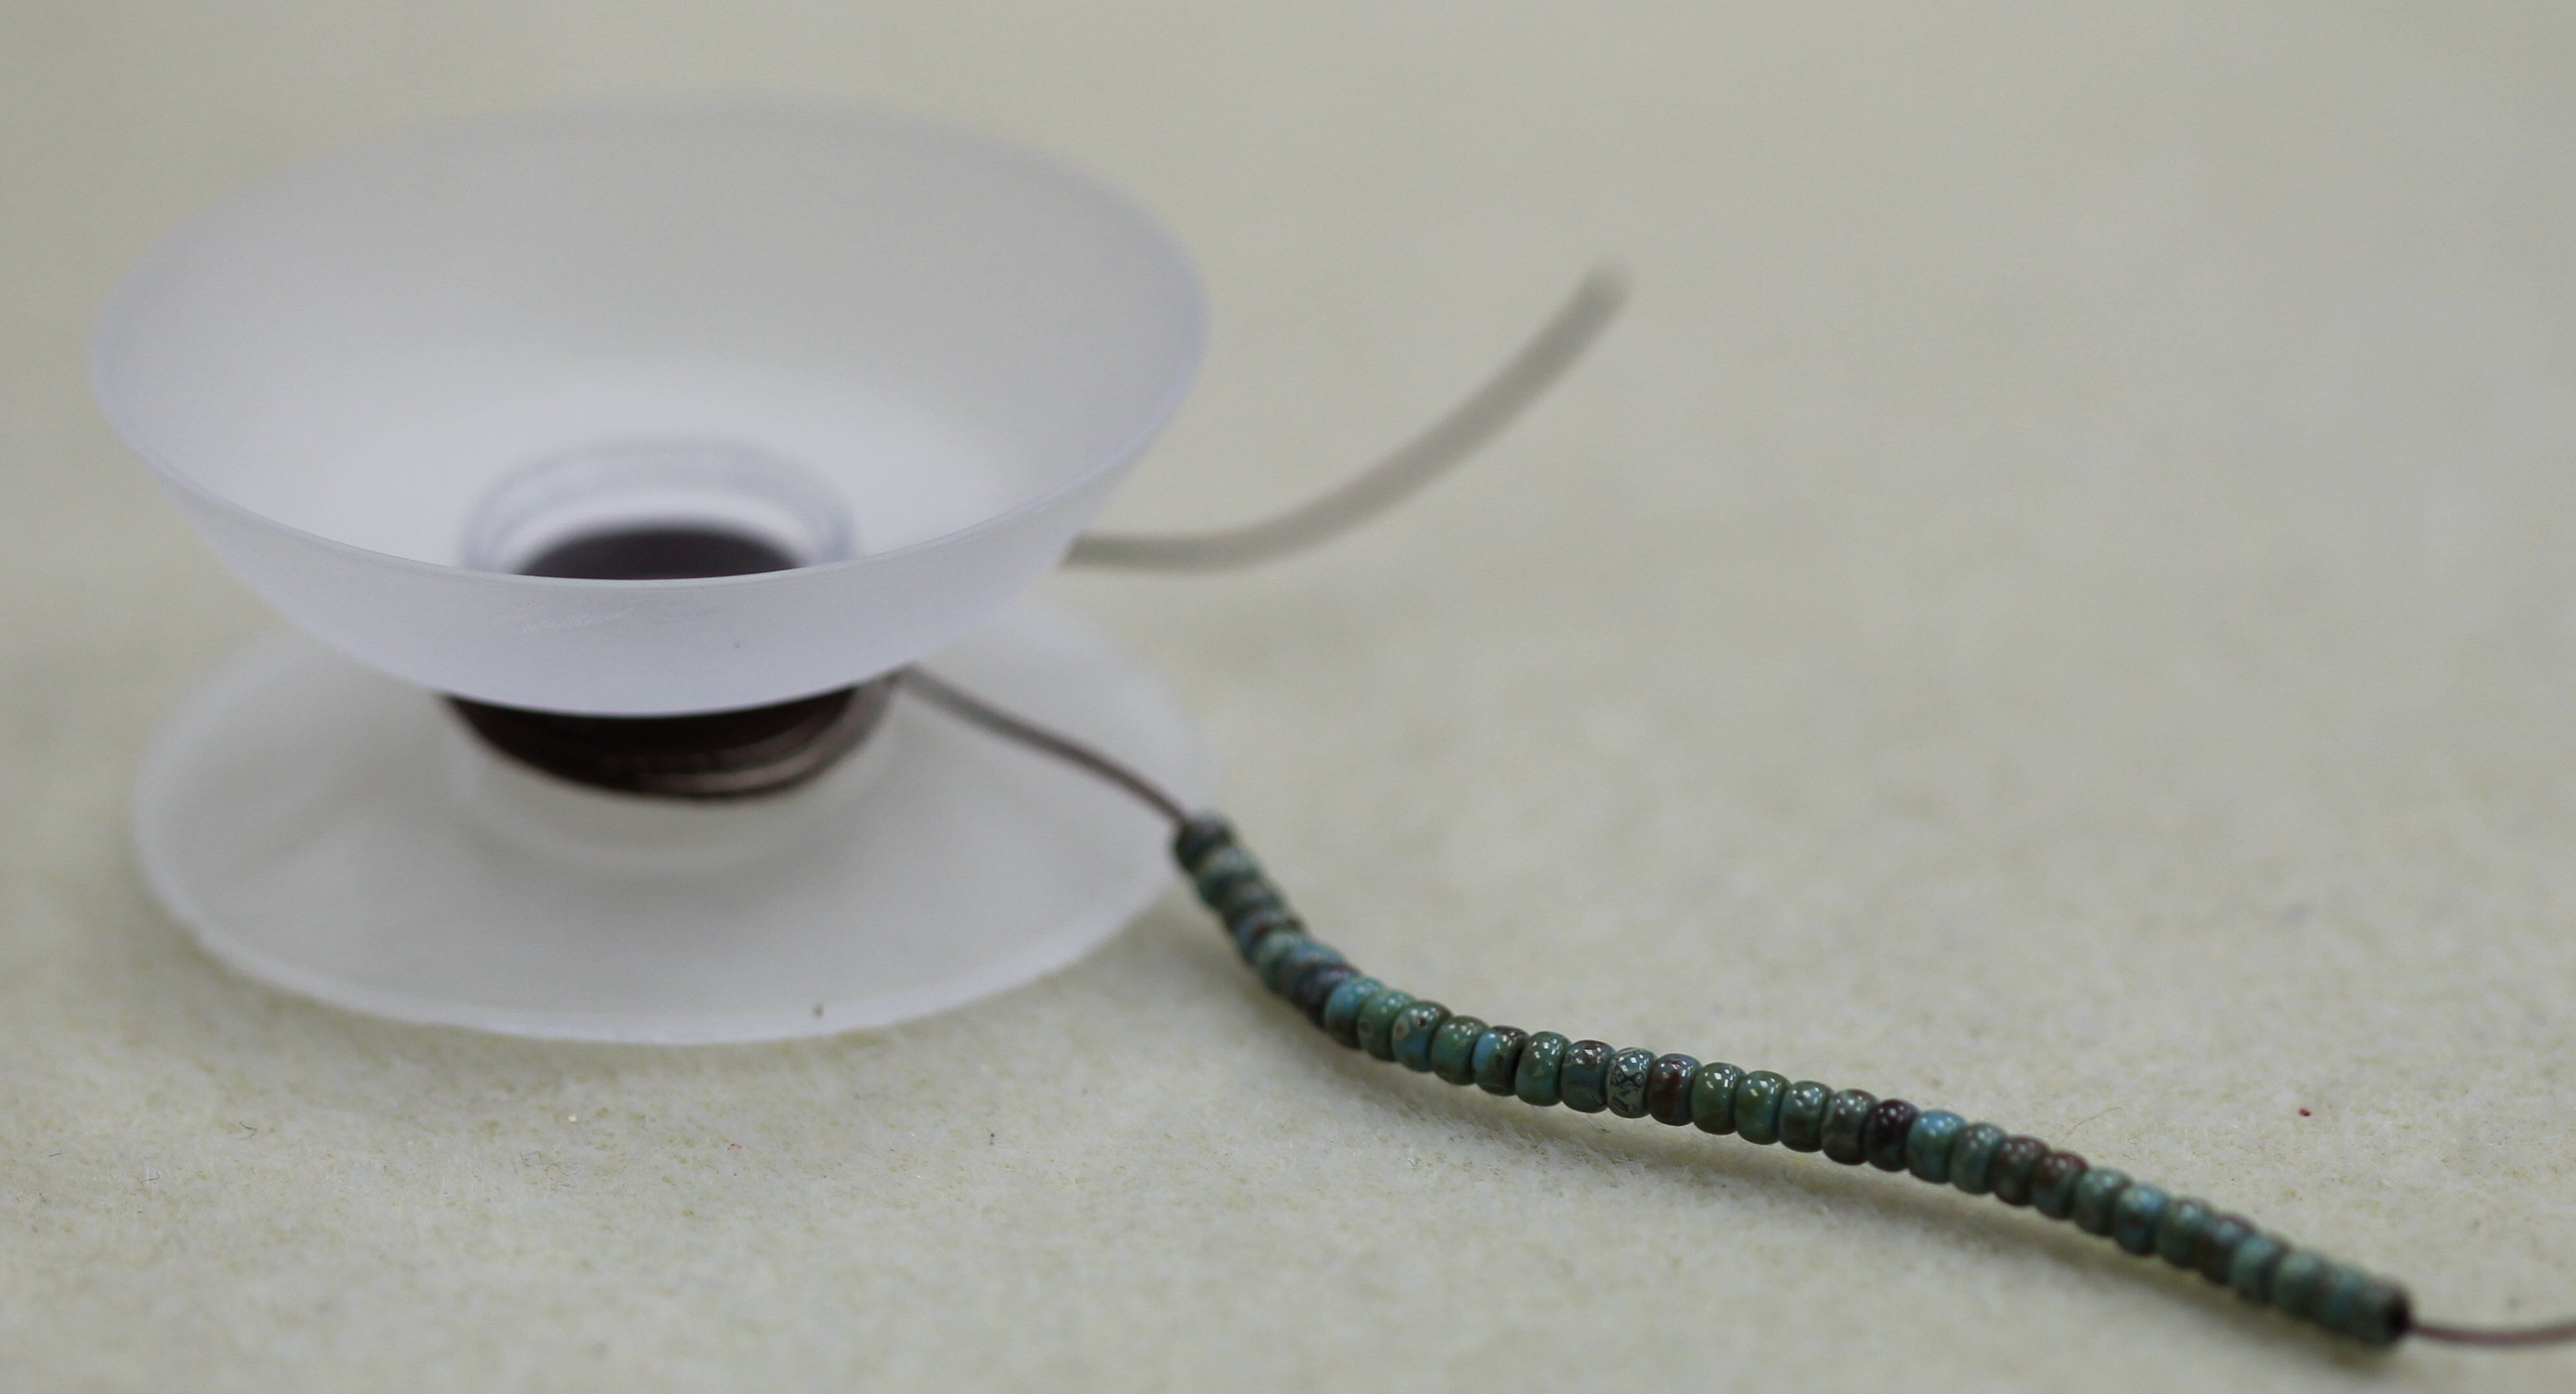
5. Close the bobbin to keep the thread from unraveling.
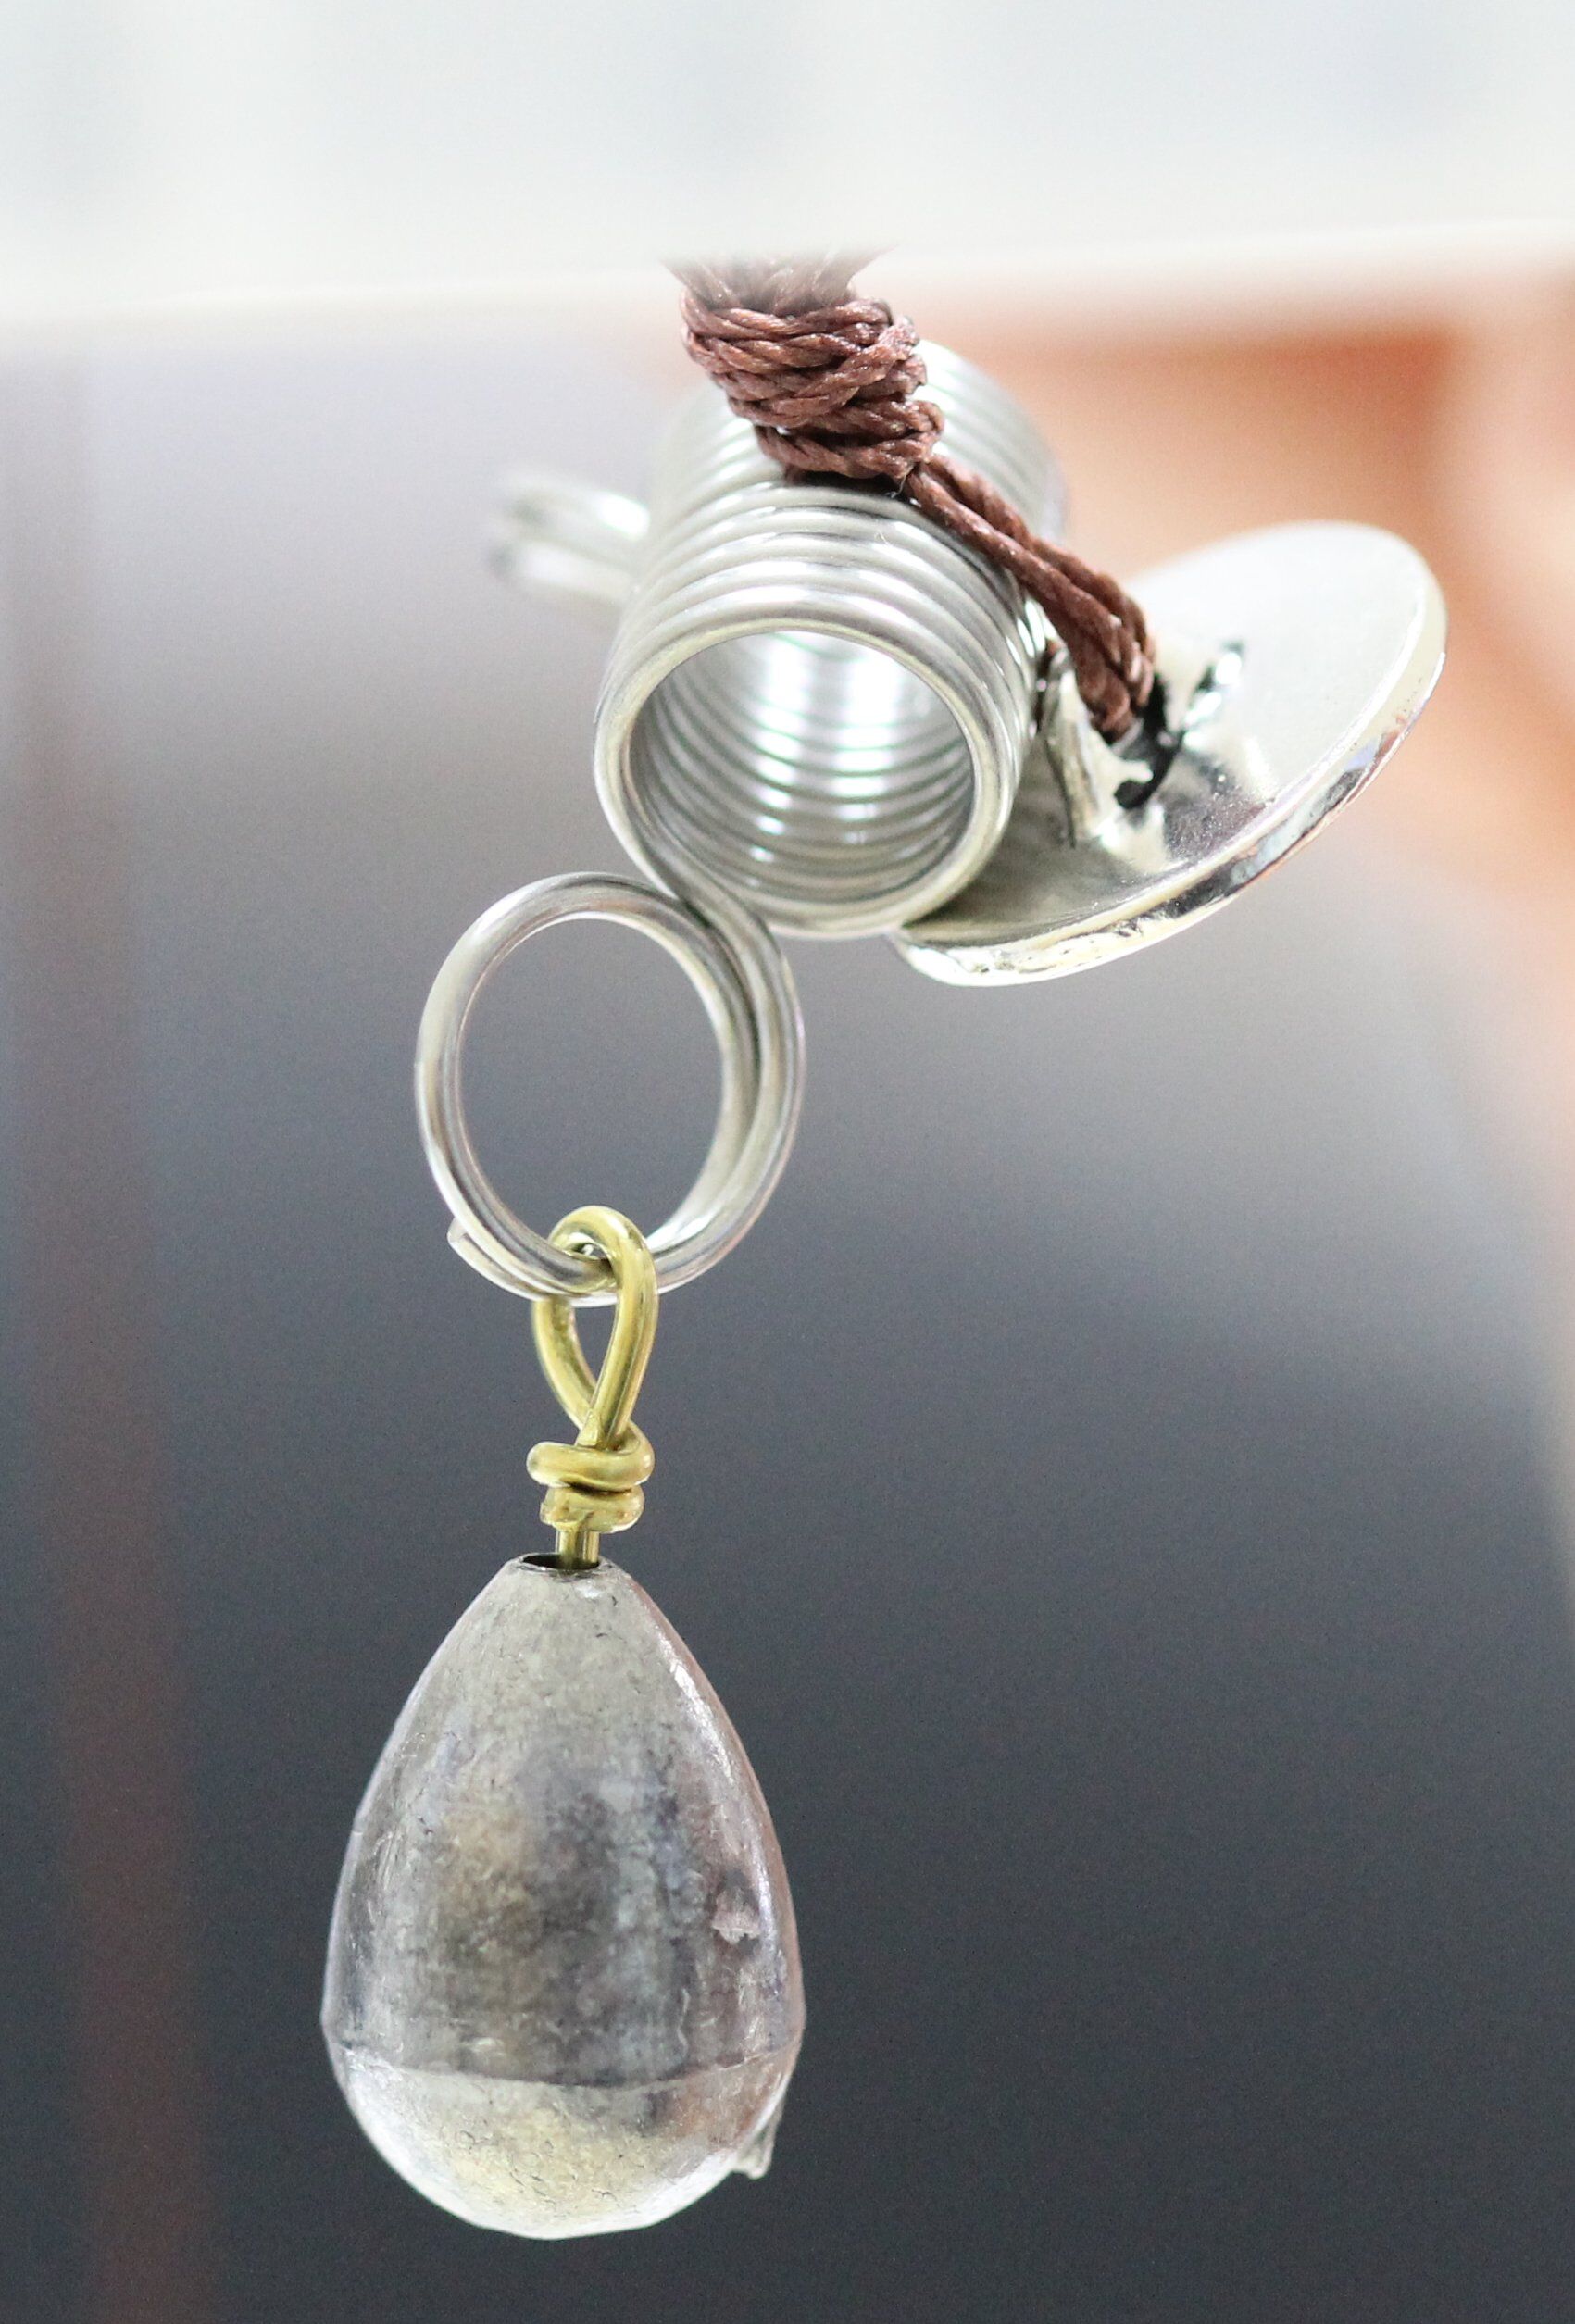
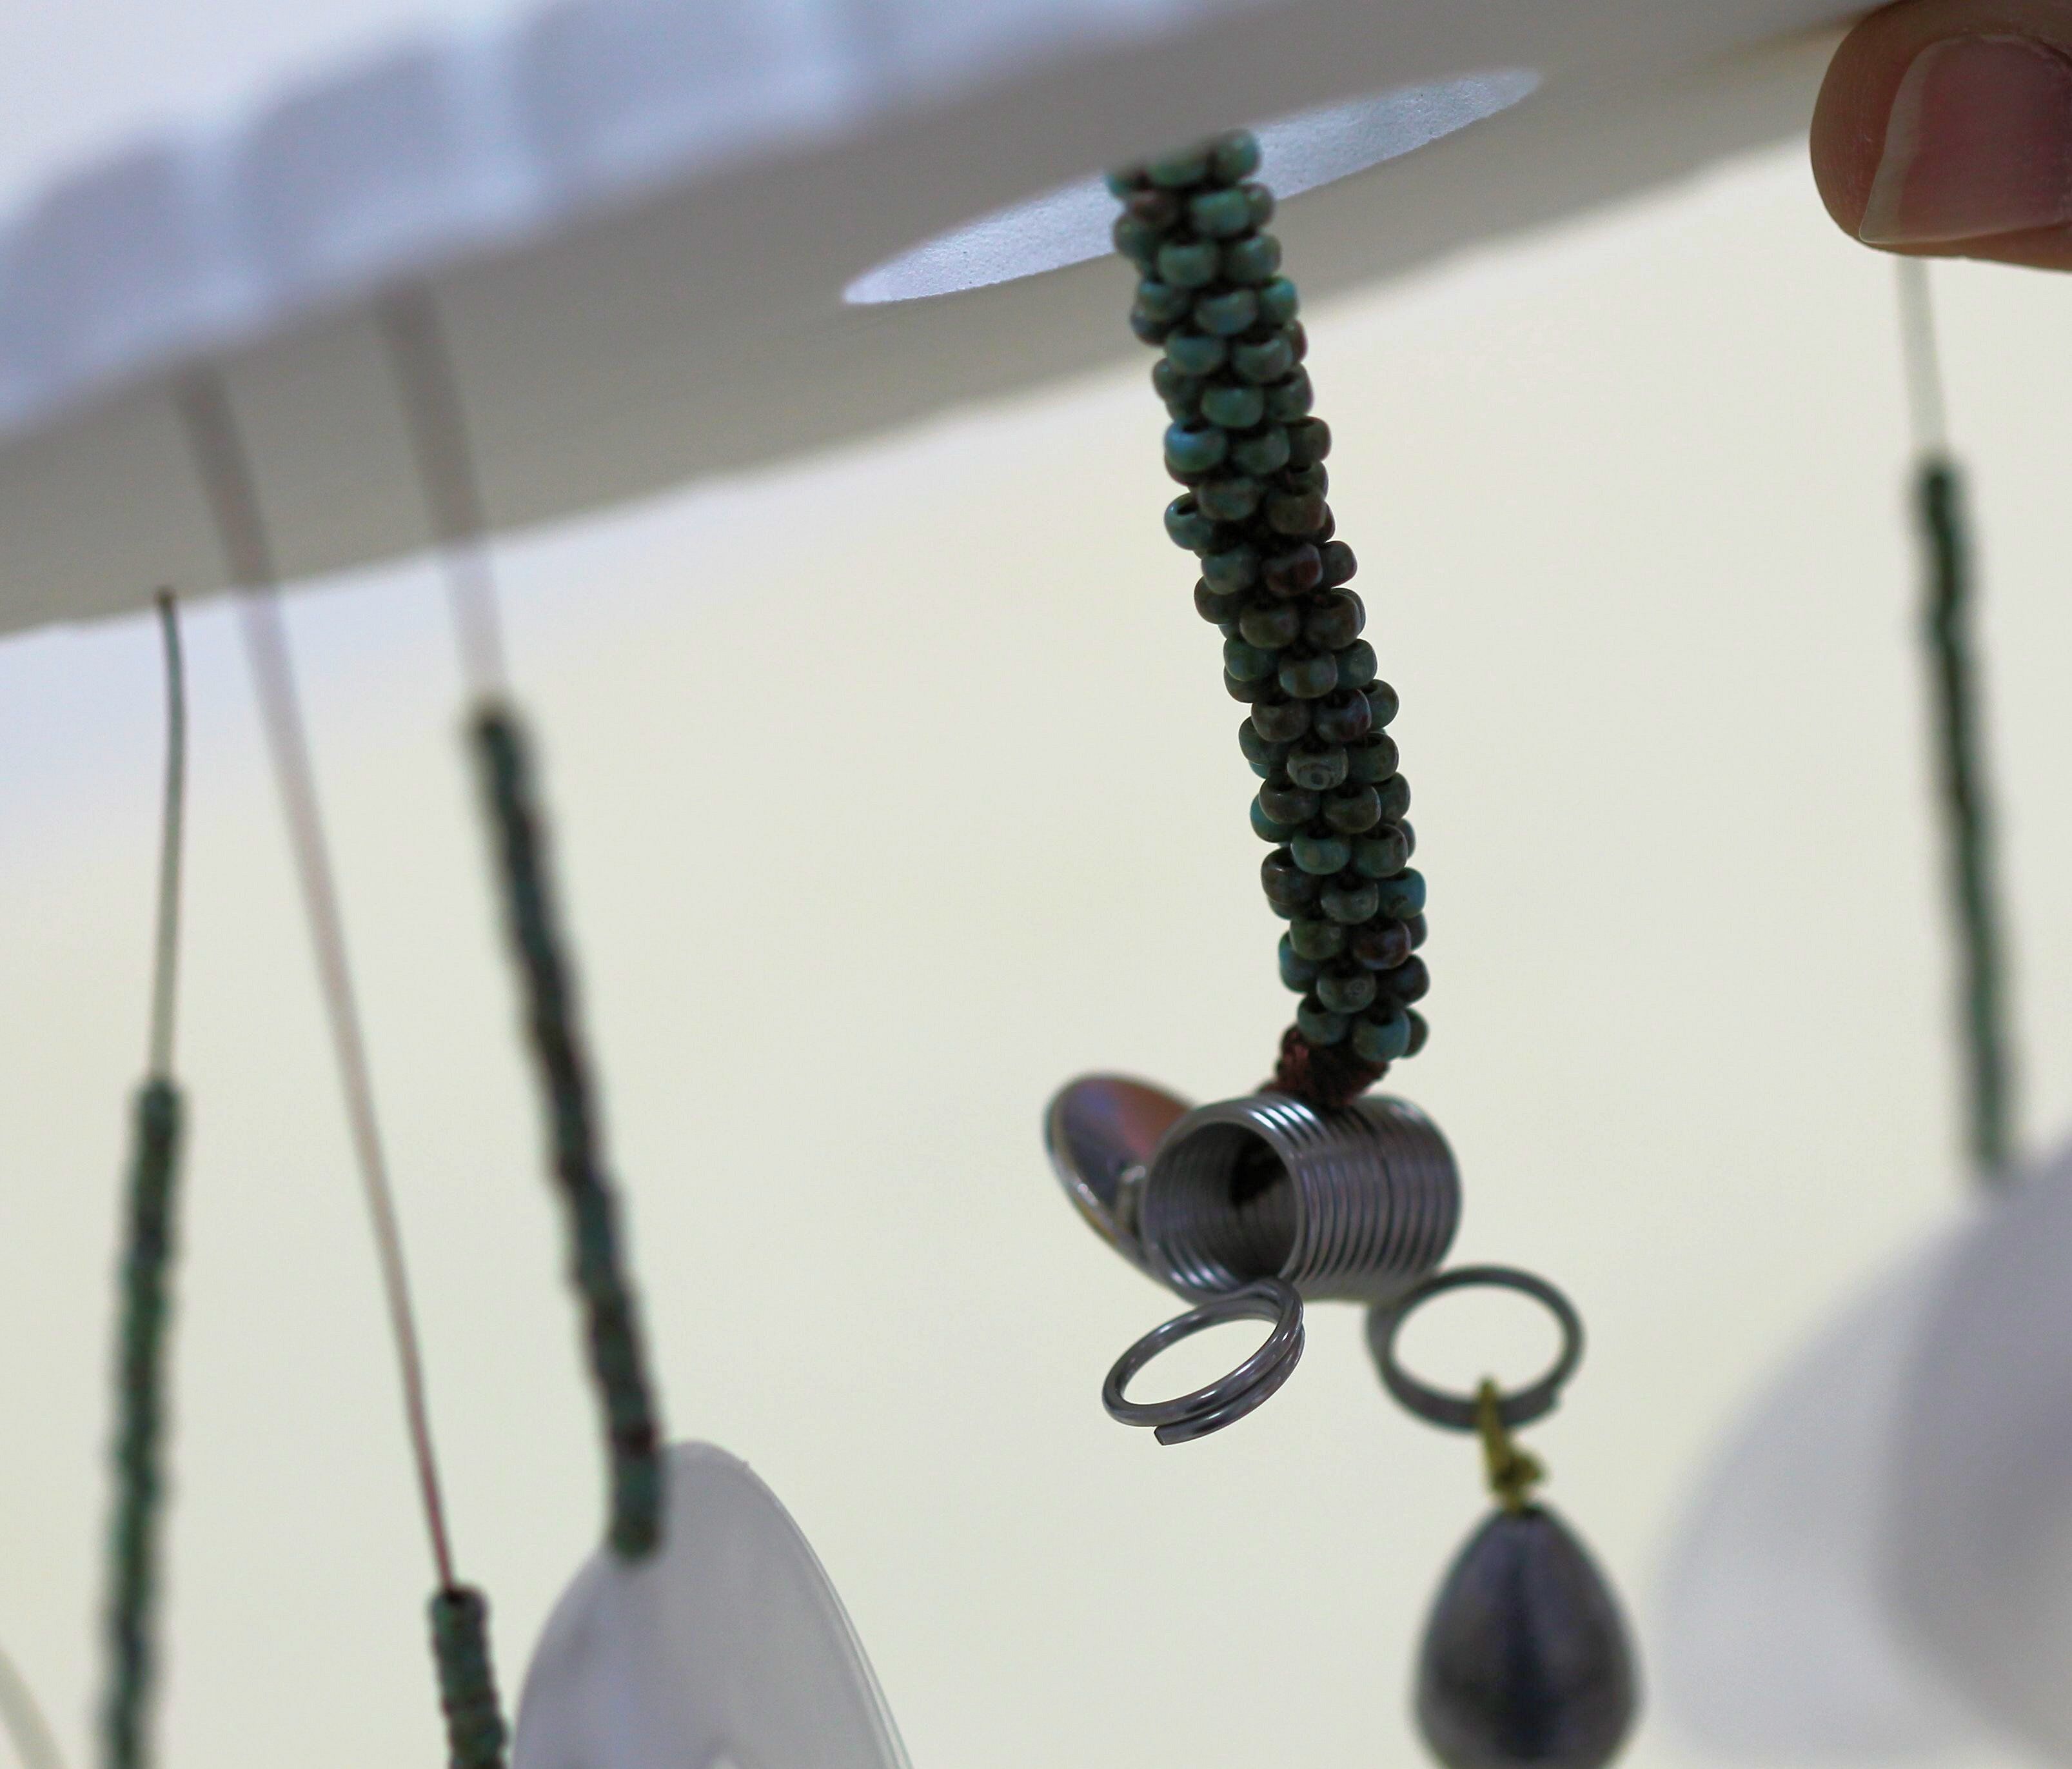
6. Clip a kumihimo weight to your string just below the button. Pass the weight and button through the center hole of the Kumihimo disc.
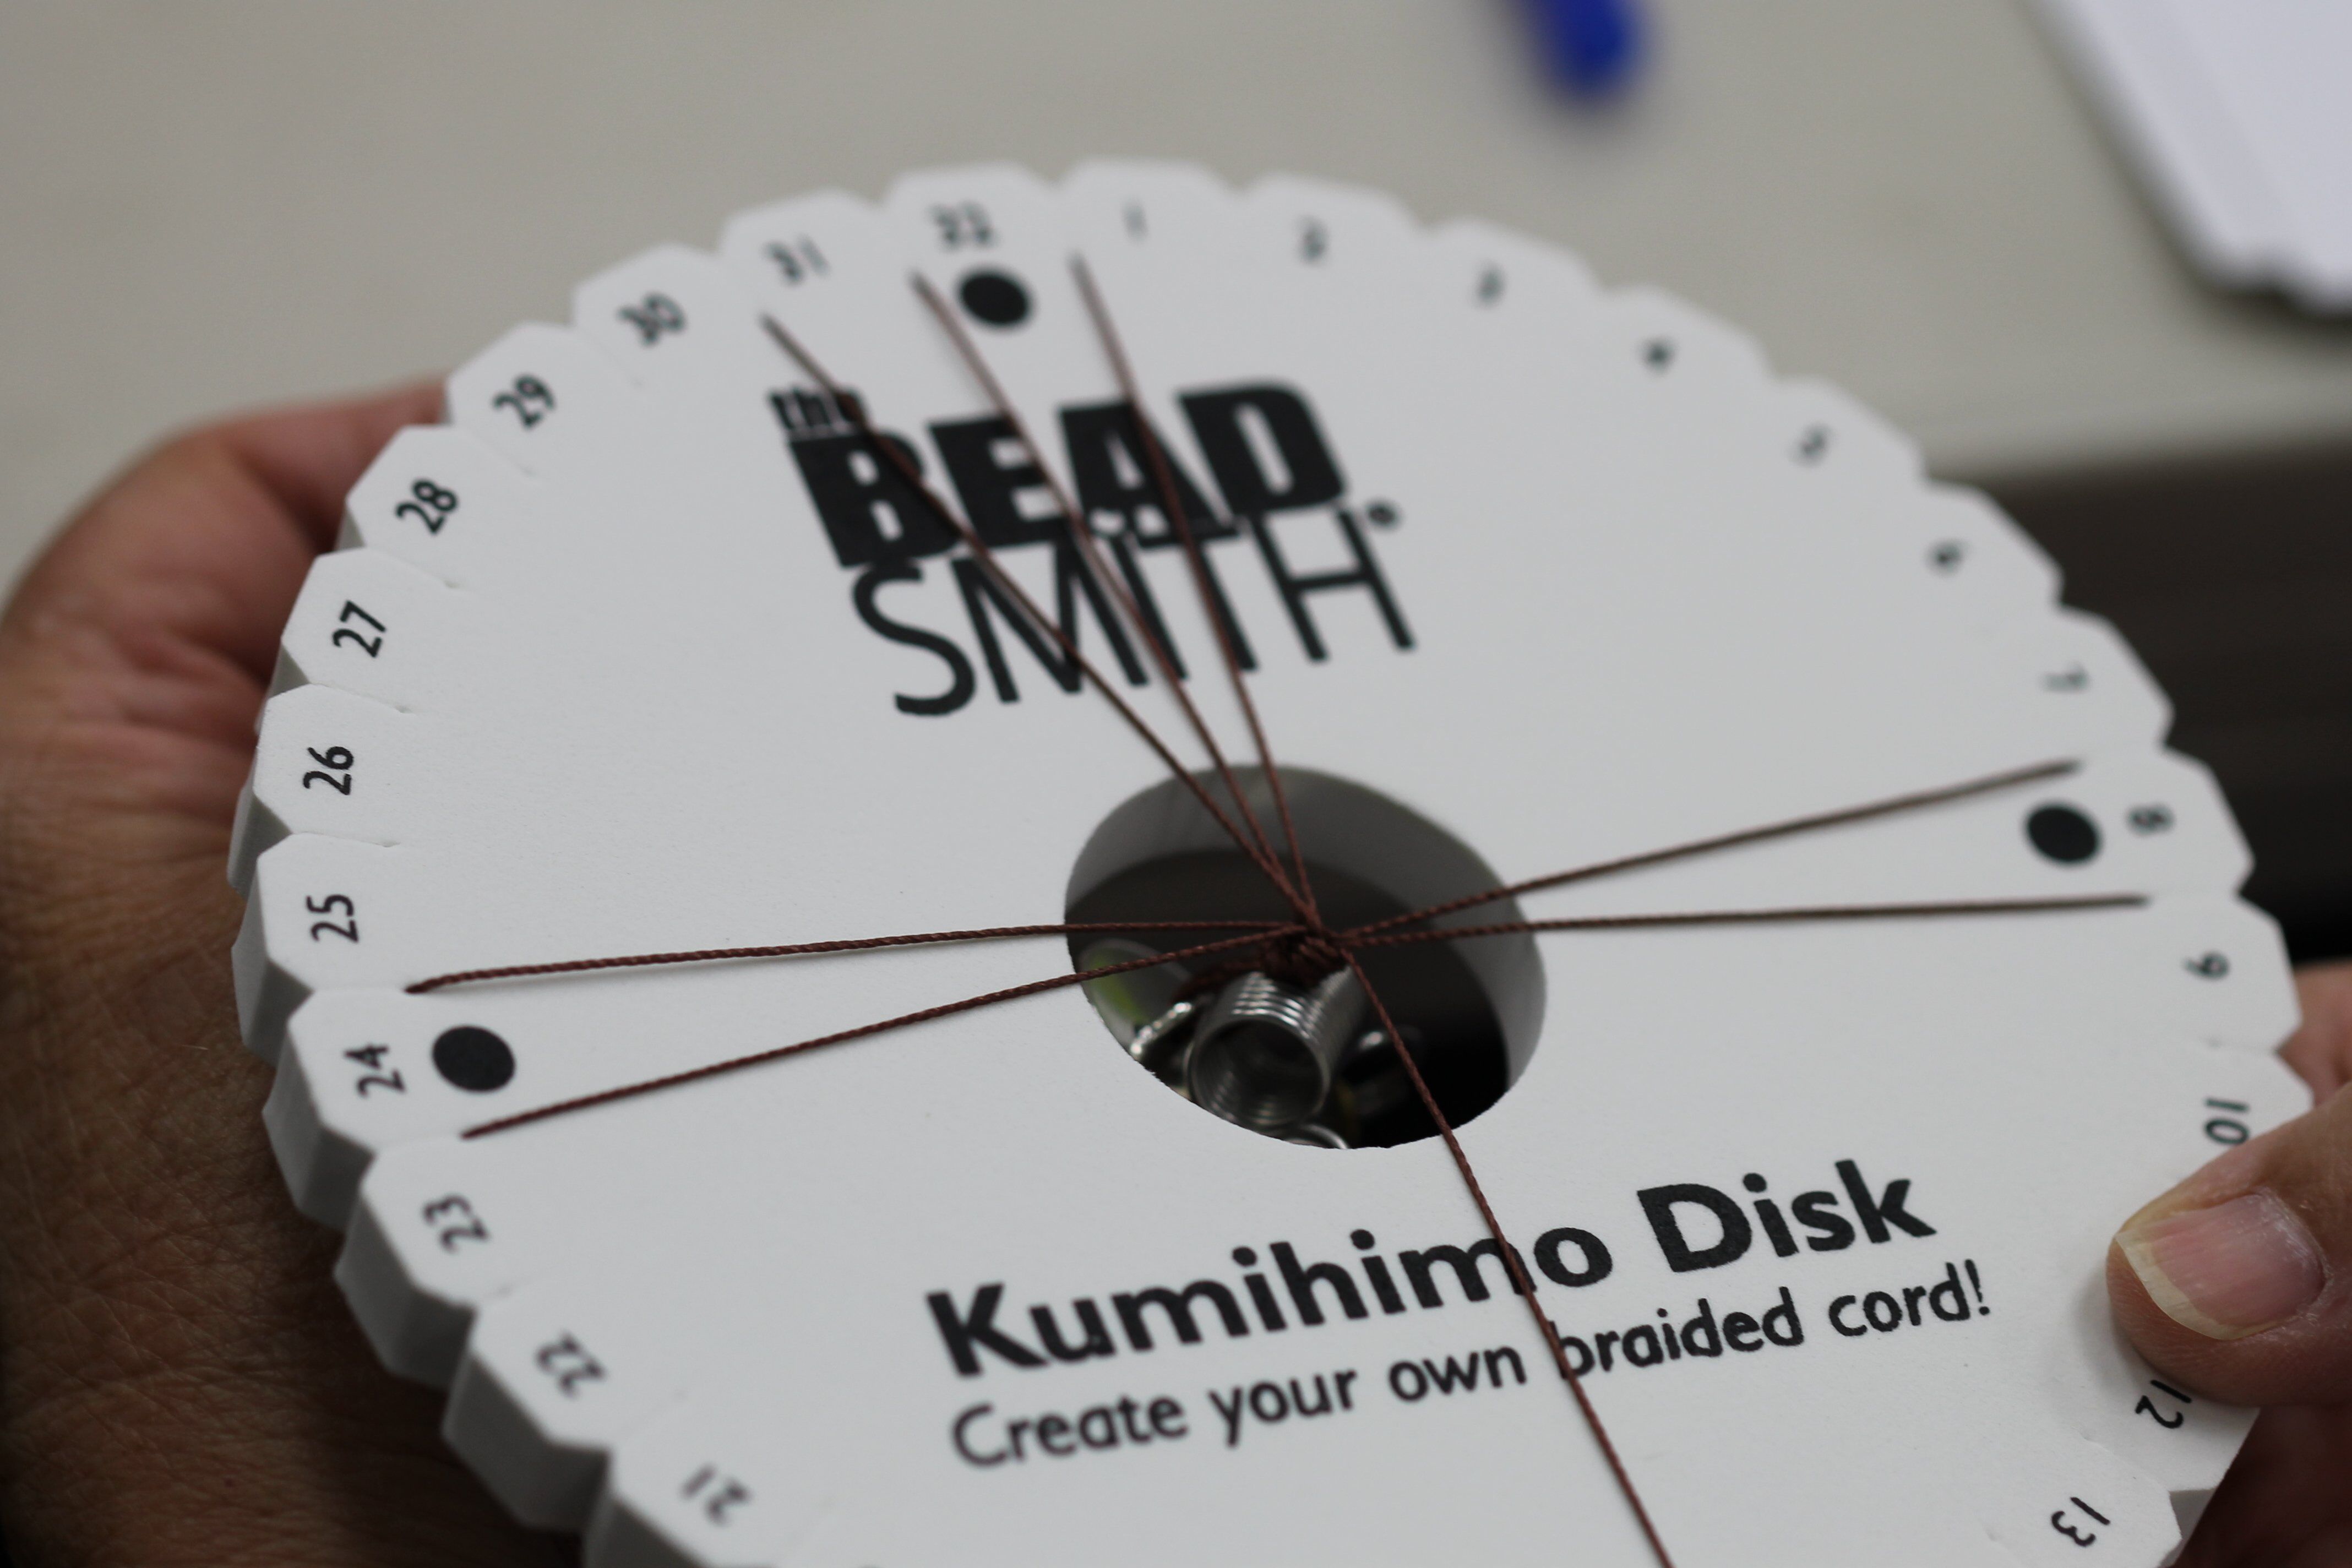
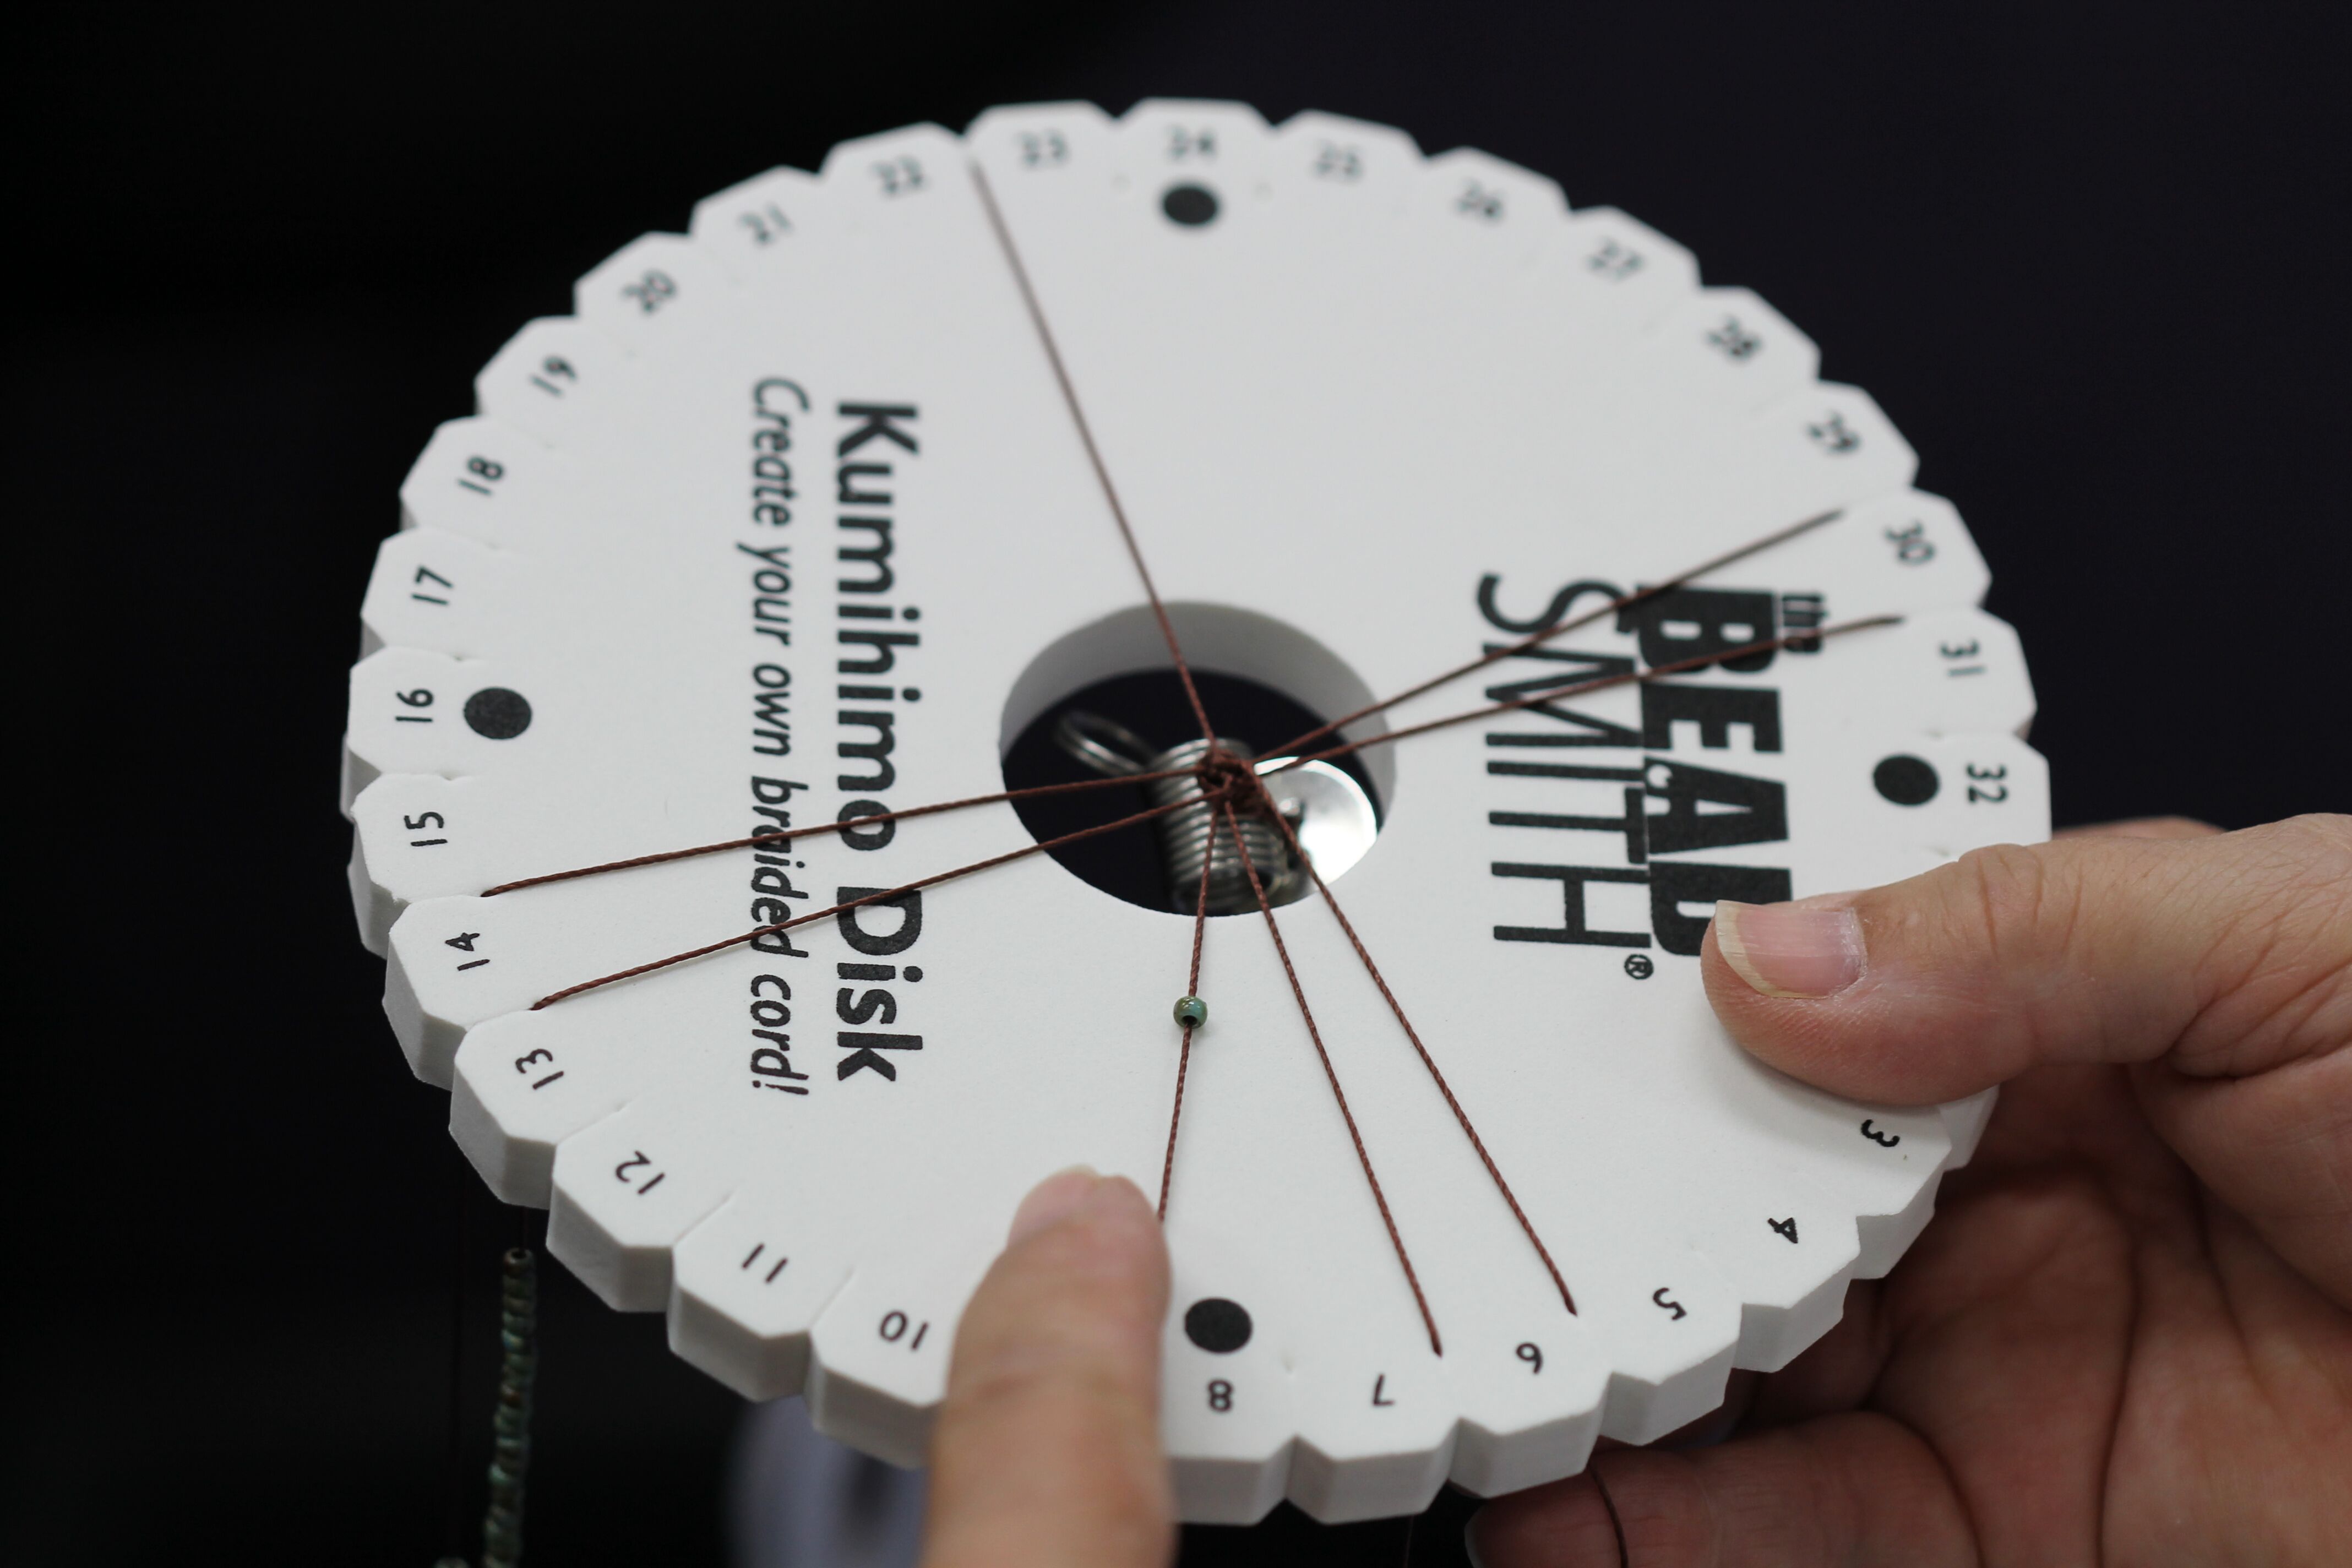
7. You will notice that the Kumihimo disc has notches around the perimeter, as well as four dots. Take one cord and pass it through the notch to the left of the top dot. Take a second cord and pass it through the notch to the right of the top dot. Continue around the disc, placing a cord on both sides of each dot. Take care to pull the cords tight and to keep the weighted button in the center of the round opening. Success in Kumihimo weaving is highly dependent on consistent tension.
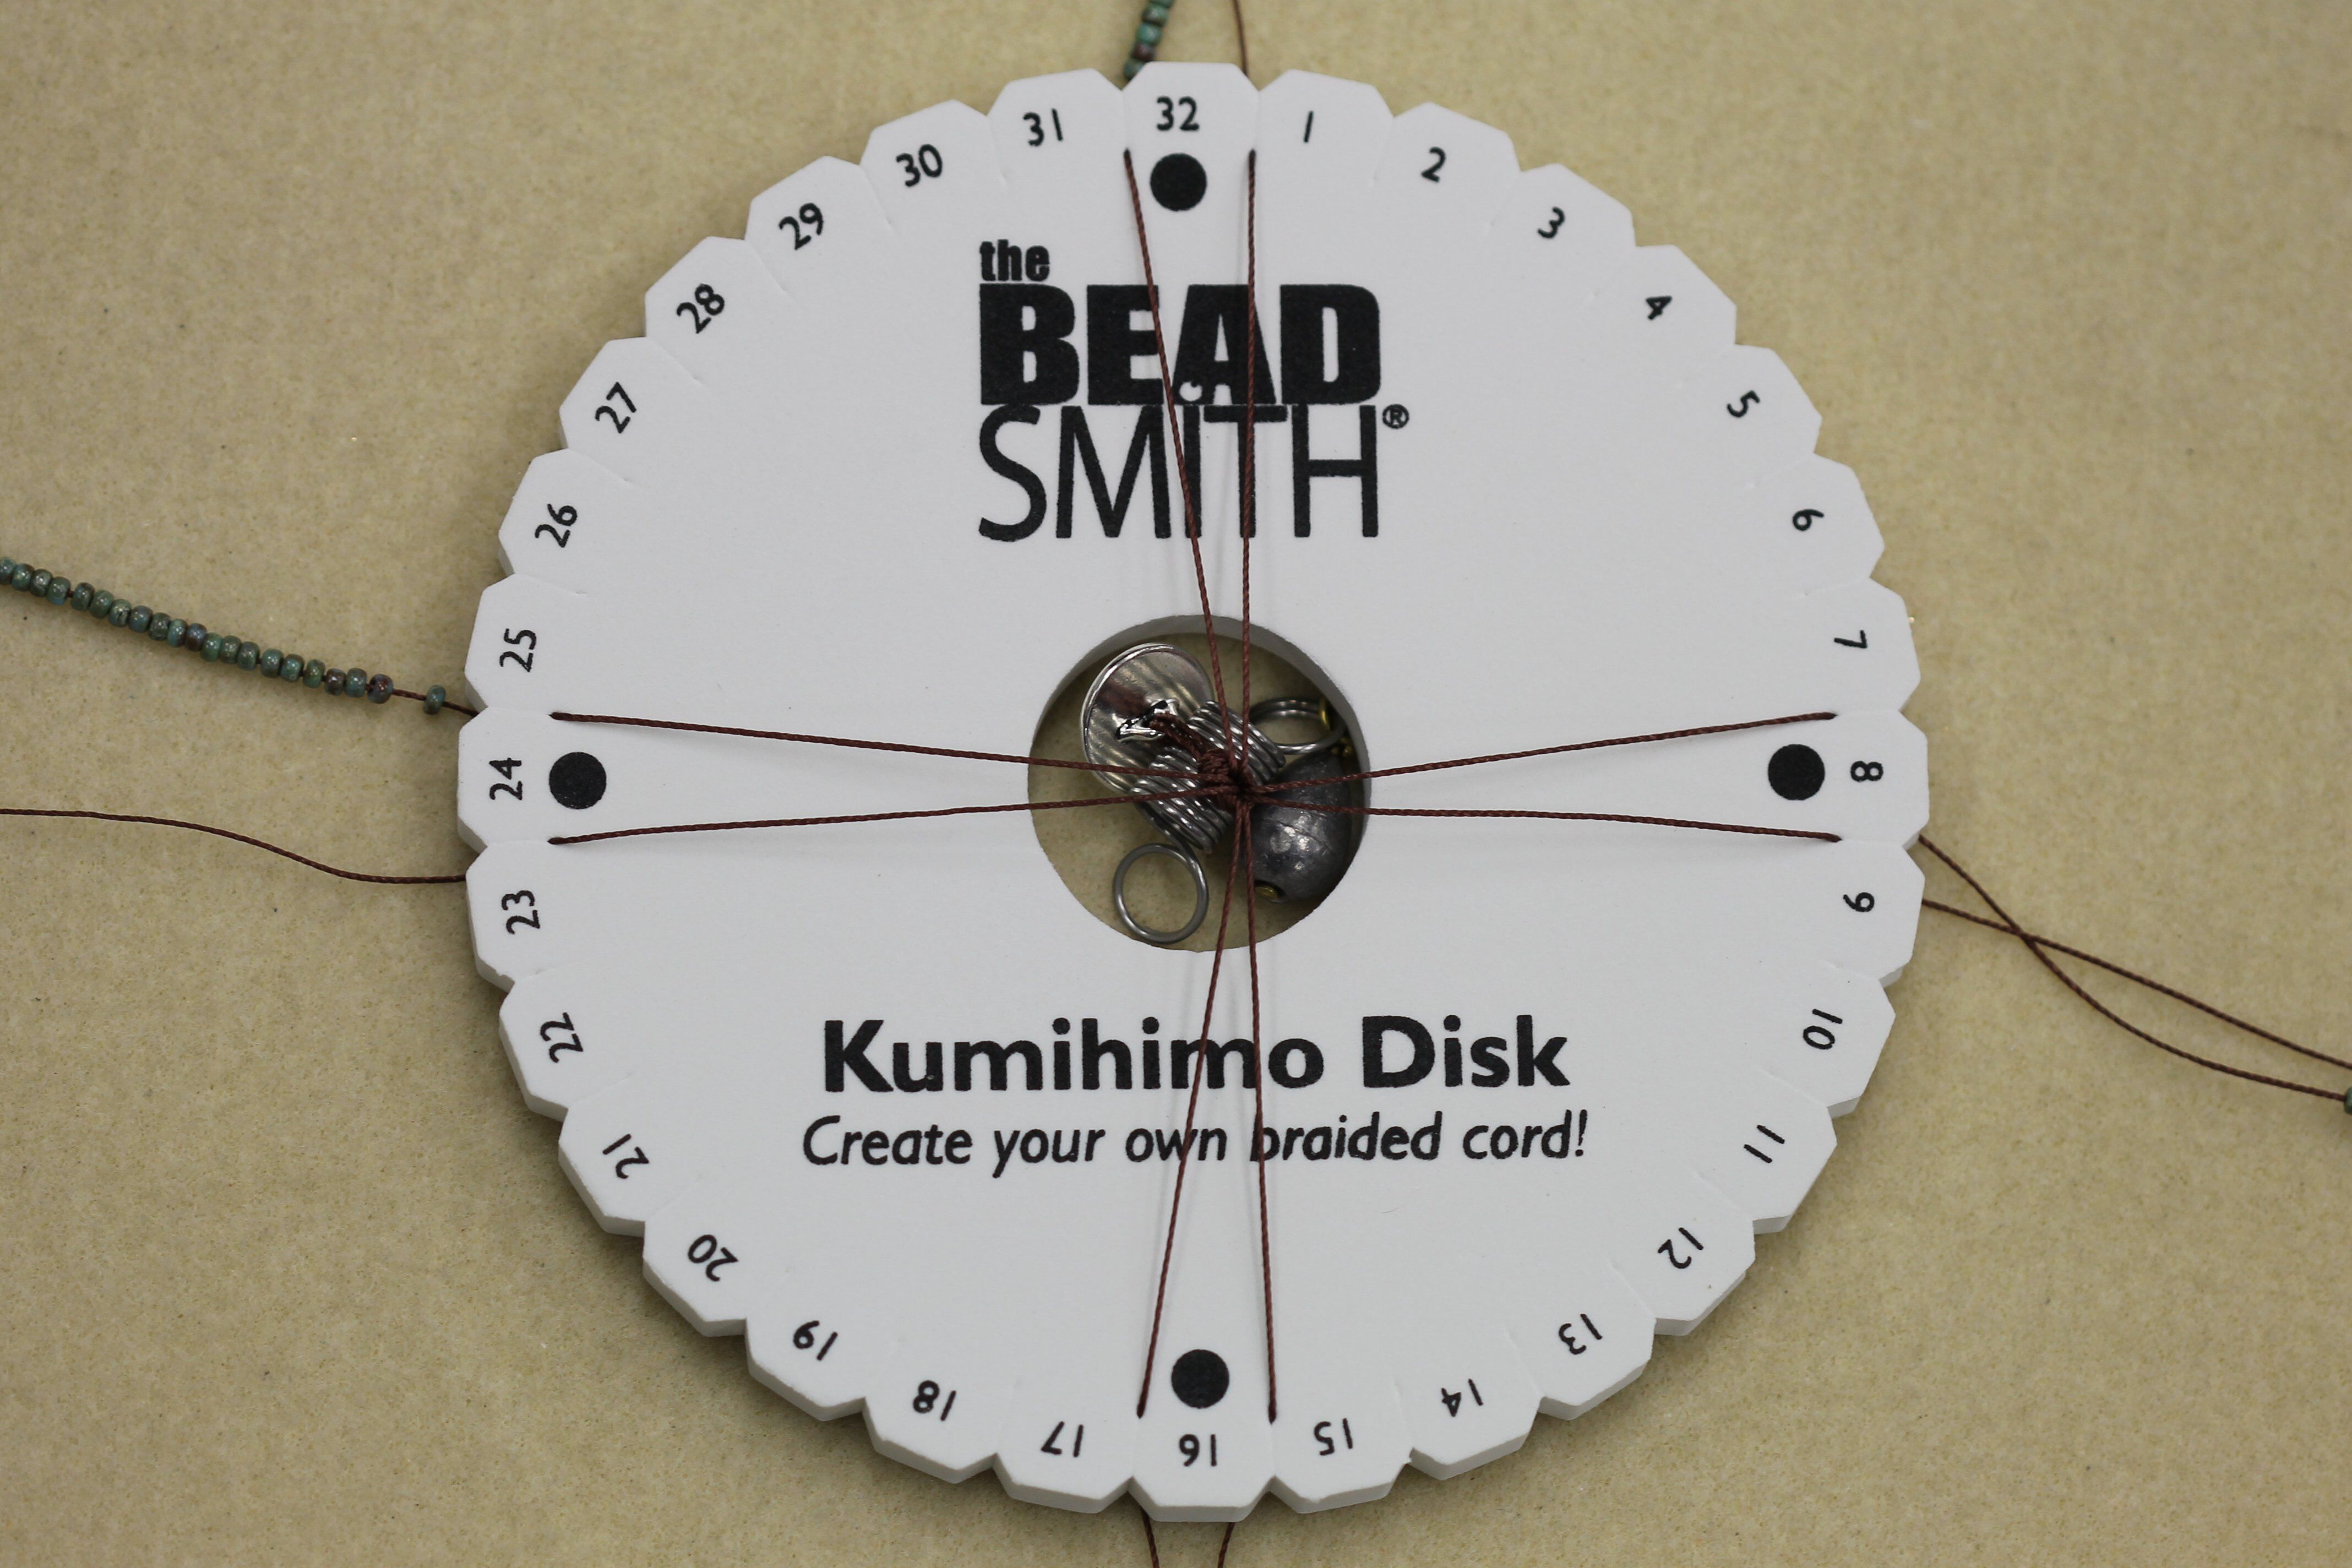
8. When you are ready to begin weaving, your Kumihimo disc will look like this:
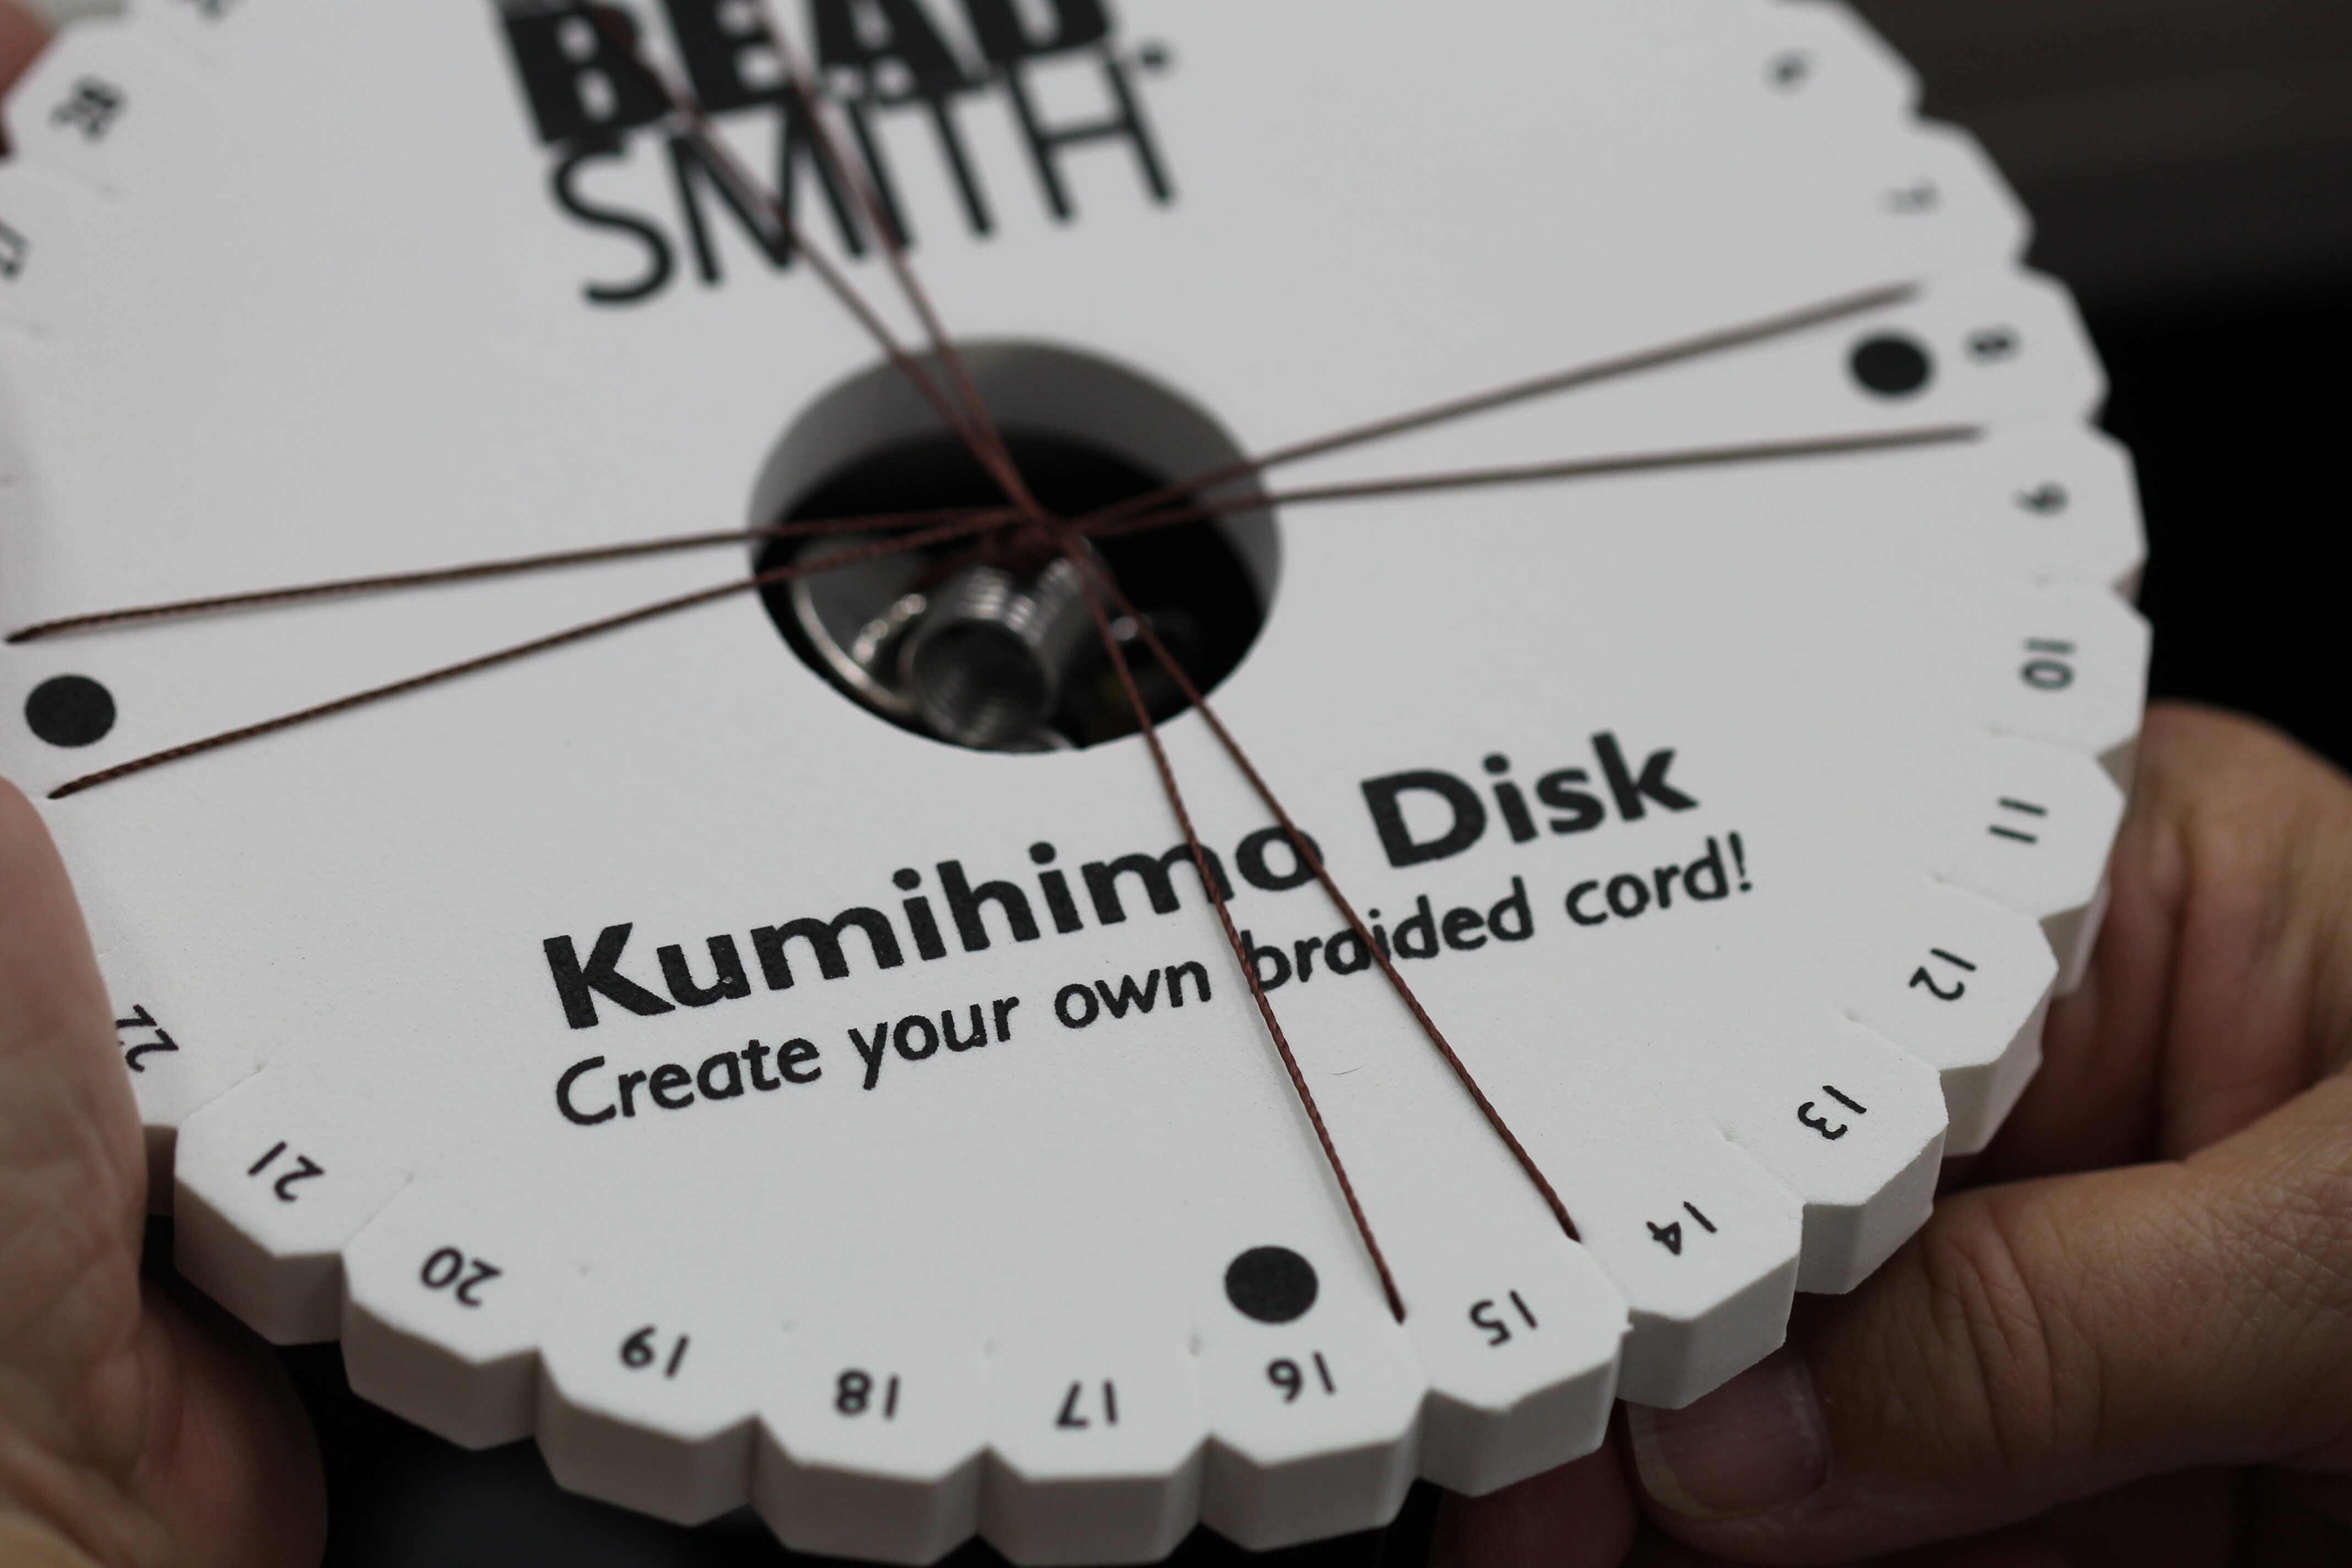
9. Begin simple Kumihimo by moving the cord at the bottom left (between number 16 and 17) to the top left (between number 30 and 31).
10. Move the cord at the top right (between number 32 and 1) to the bottom right (between number 14 and 15). Pull all four cords very tight.
11. Rotate the entire Kumihimo disc counterclockwise ¼ turn (as shown below left). Move the cord at the bottom left (between number 24 and 25) to the top left (between number 6 and 7).
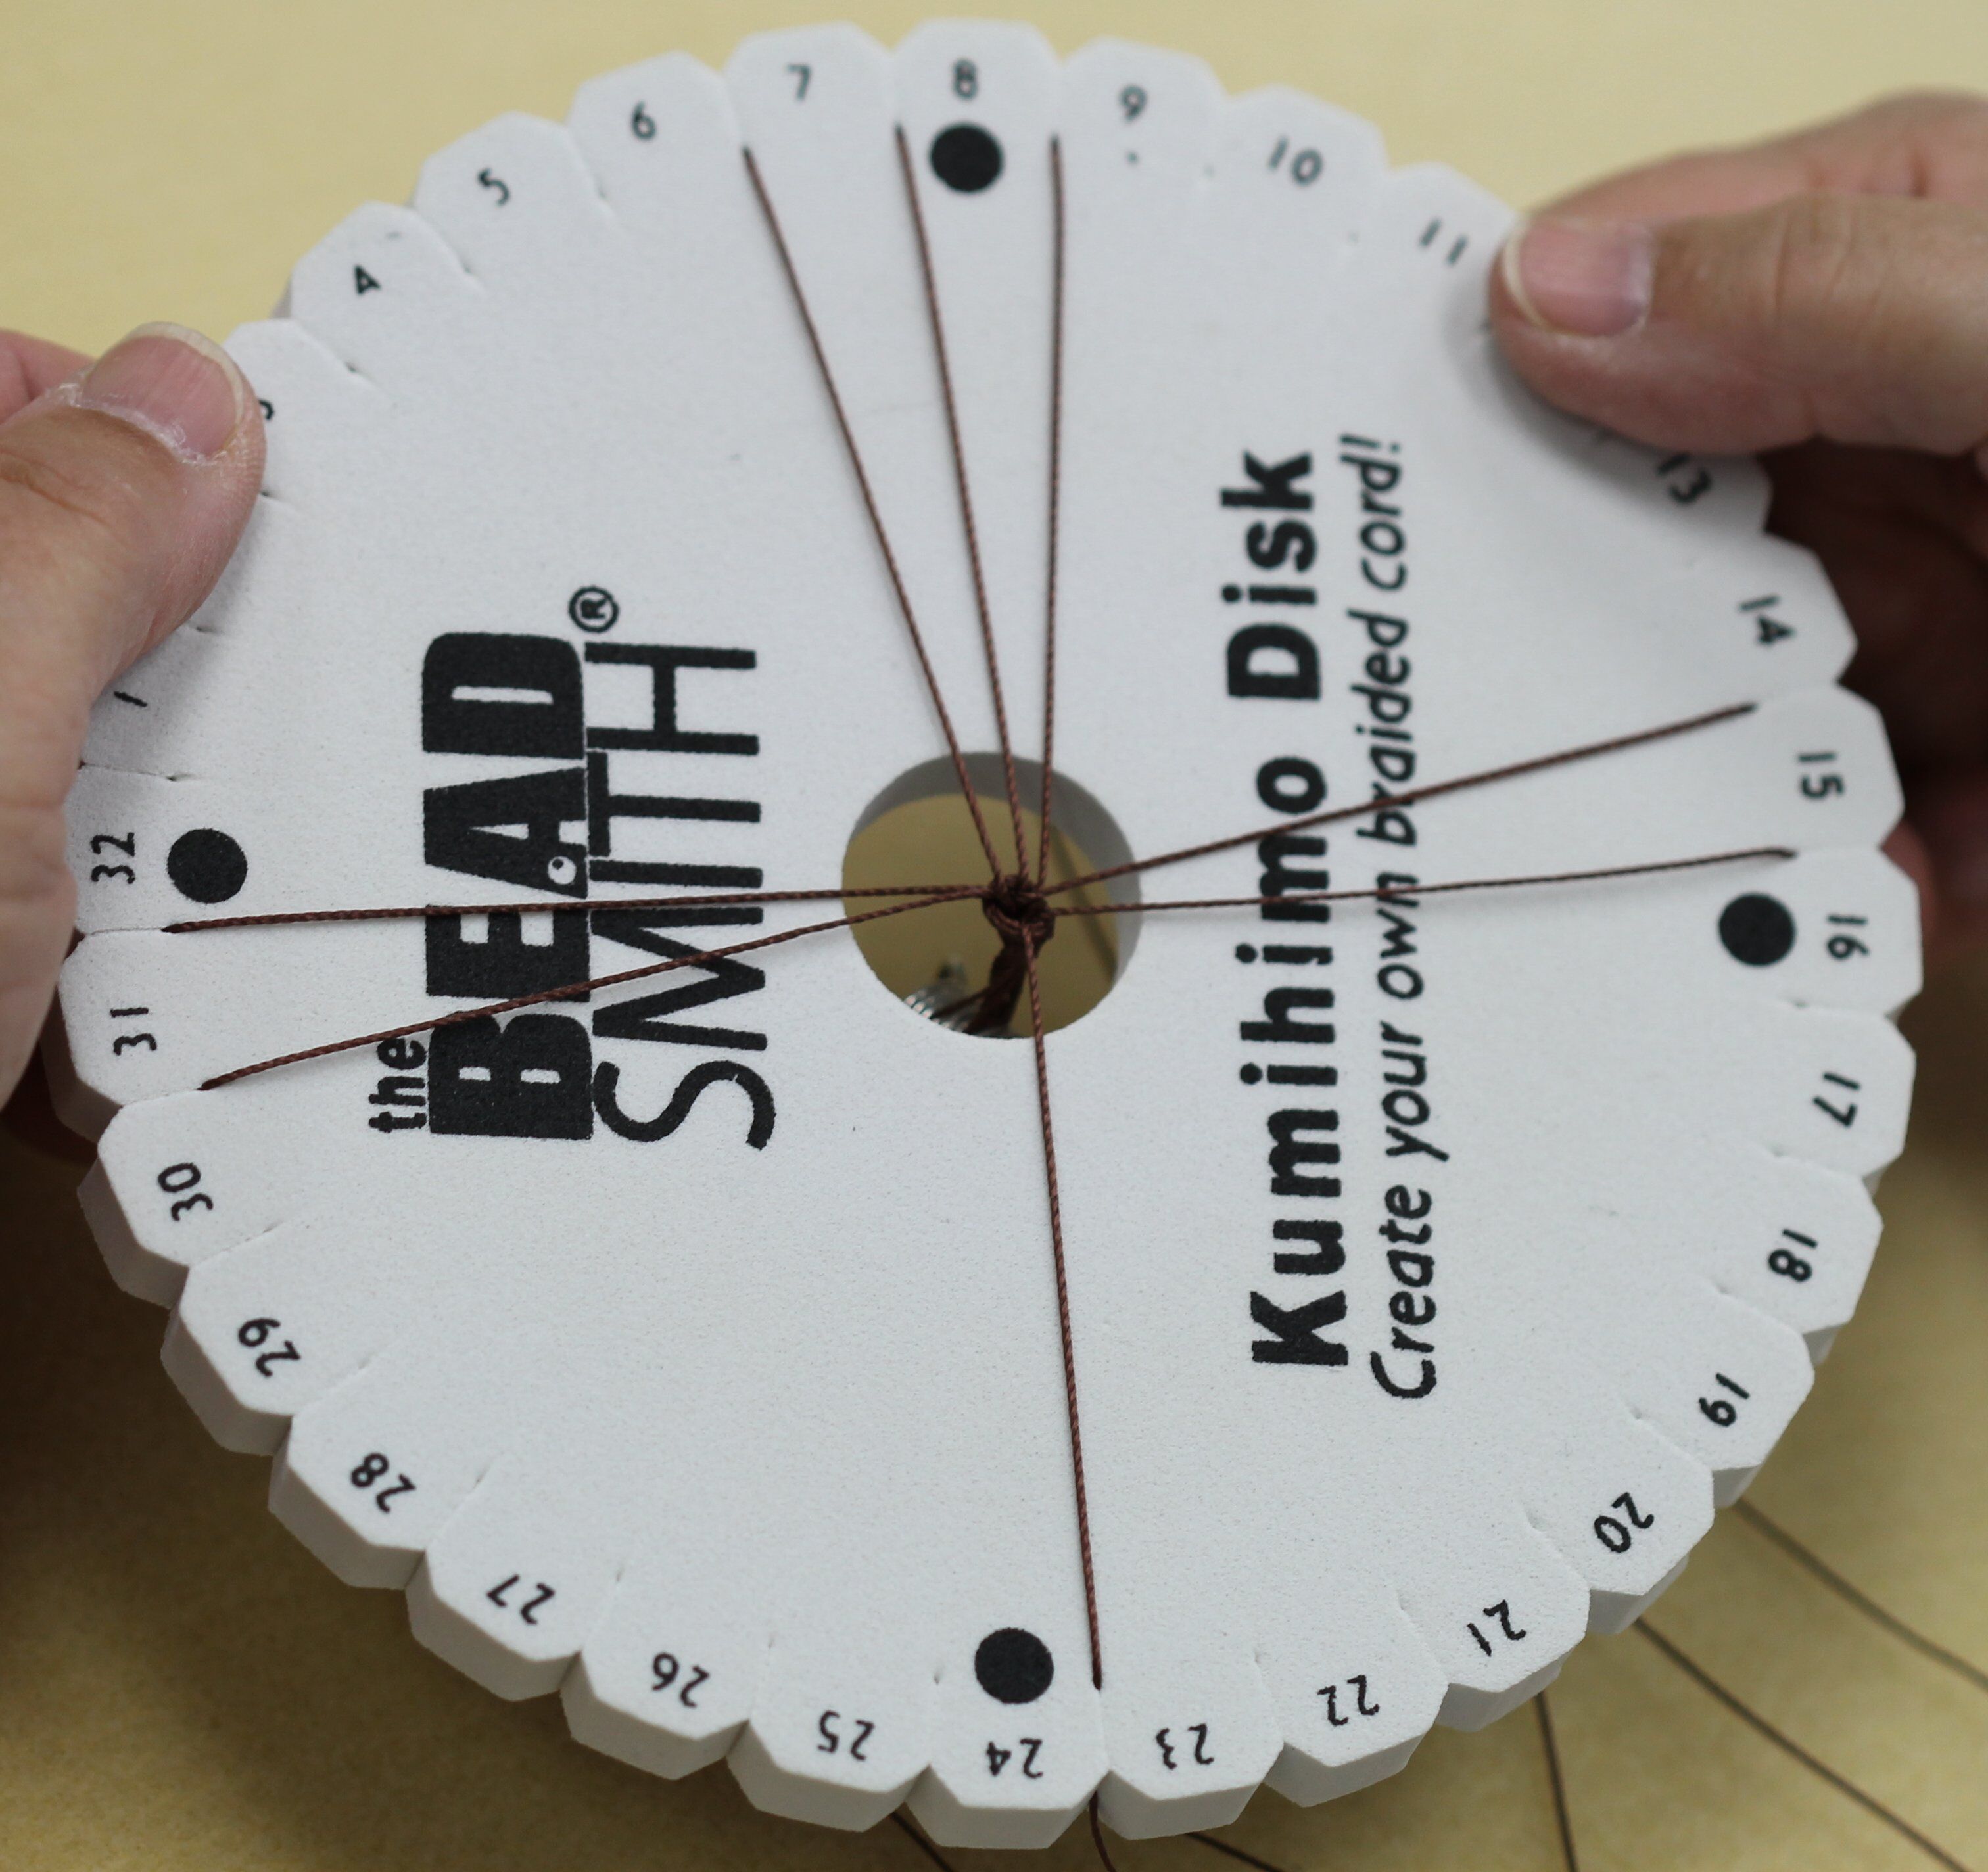
12. Move the cord at the top right (between number 8 and 9) to the bottom right (between number 22 and 23). Pull all four cords very tight.
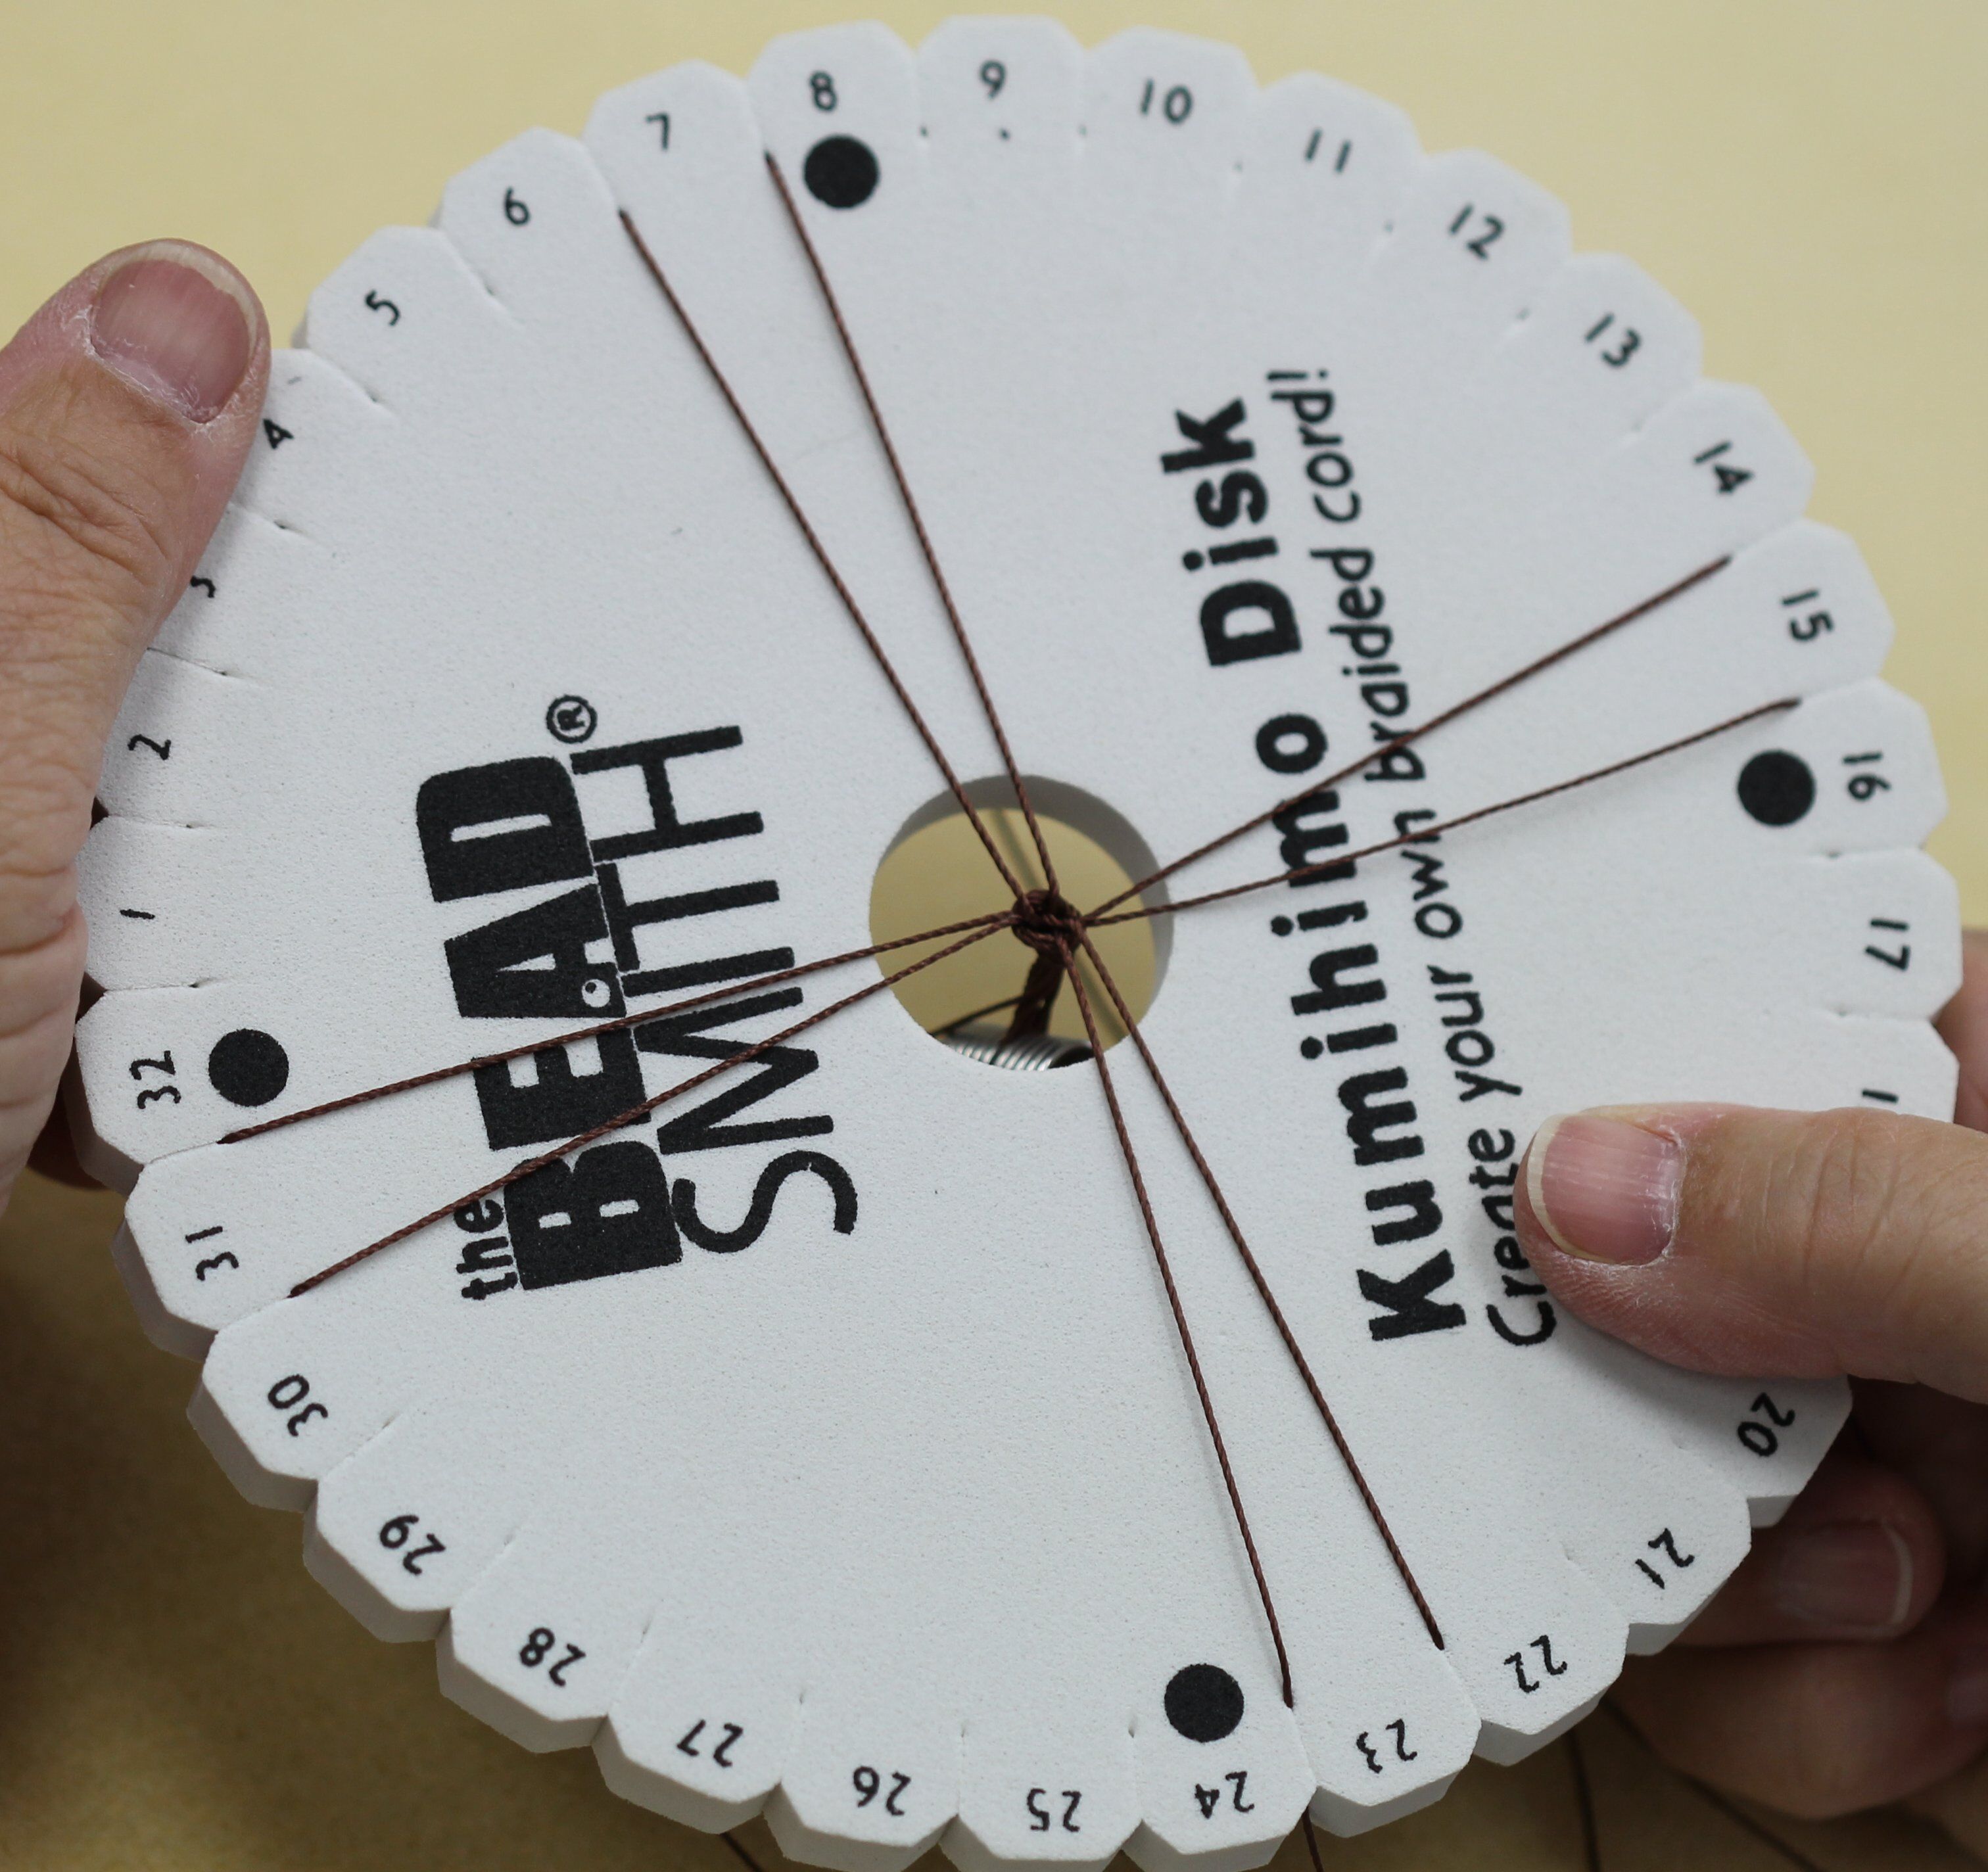
13. Rotate the Kumihimo disc counterclockwise ¼ turn and repeat steps 11-12 until you have about ¼ inch of weave. The cords will slowly move away from the dots, and the numbers will change with each rotation. If you need to put your Kumihimo disc down, stop with three cords together (as shown in step 11). This will help you find your place easily when you return to your project.
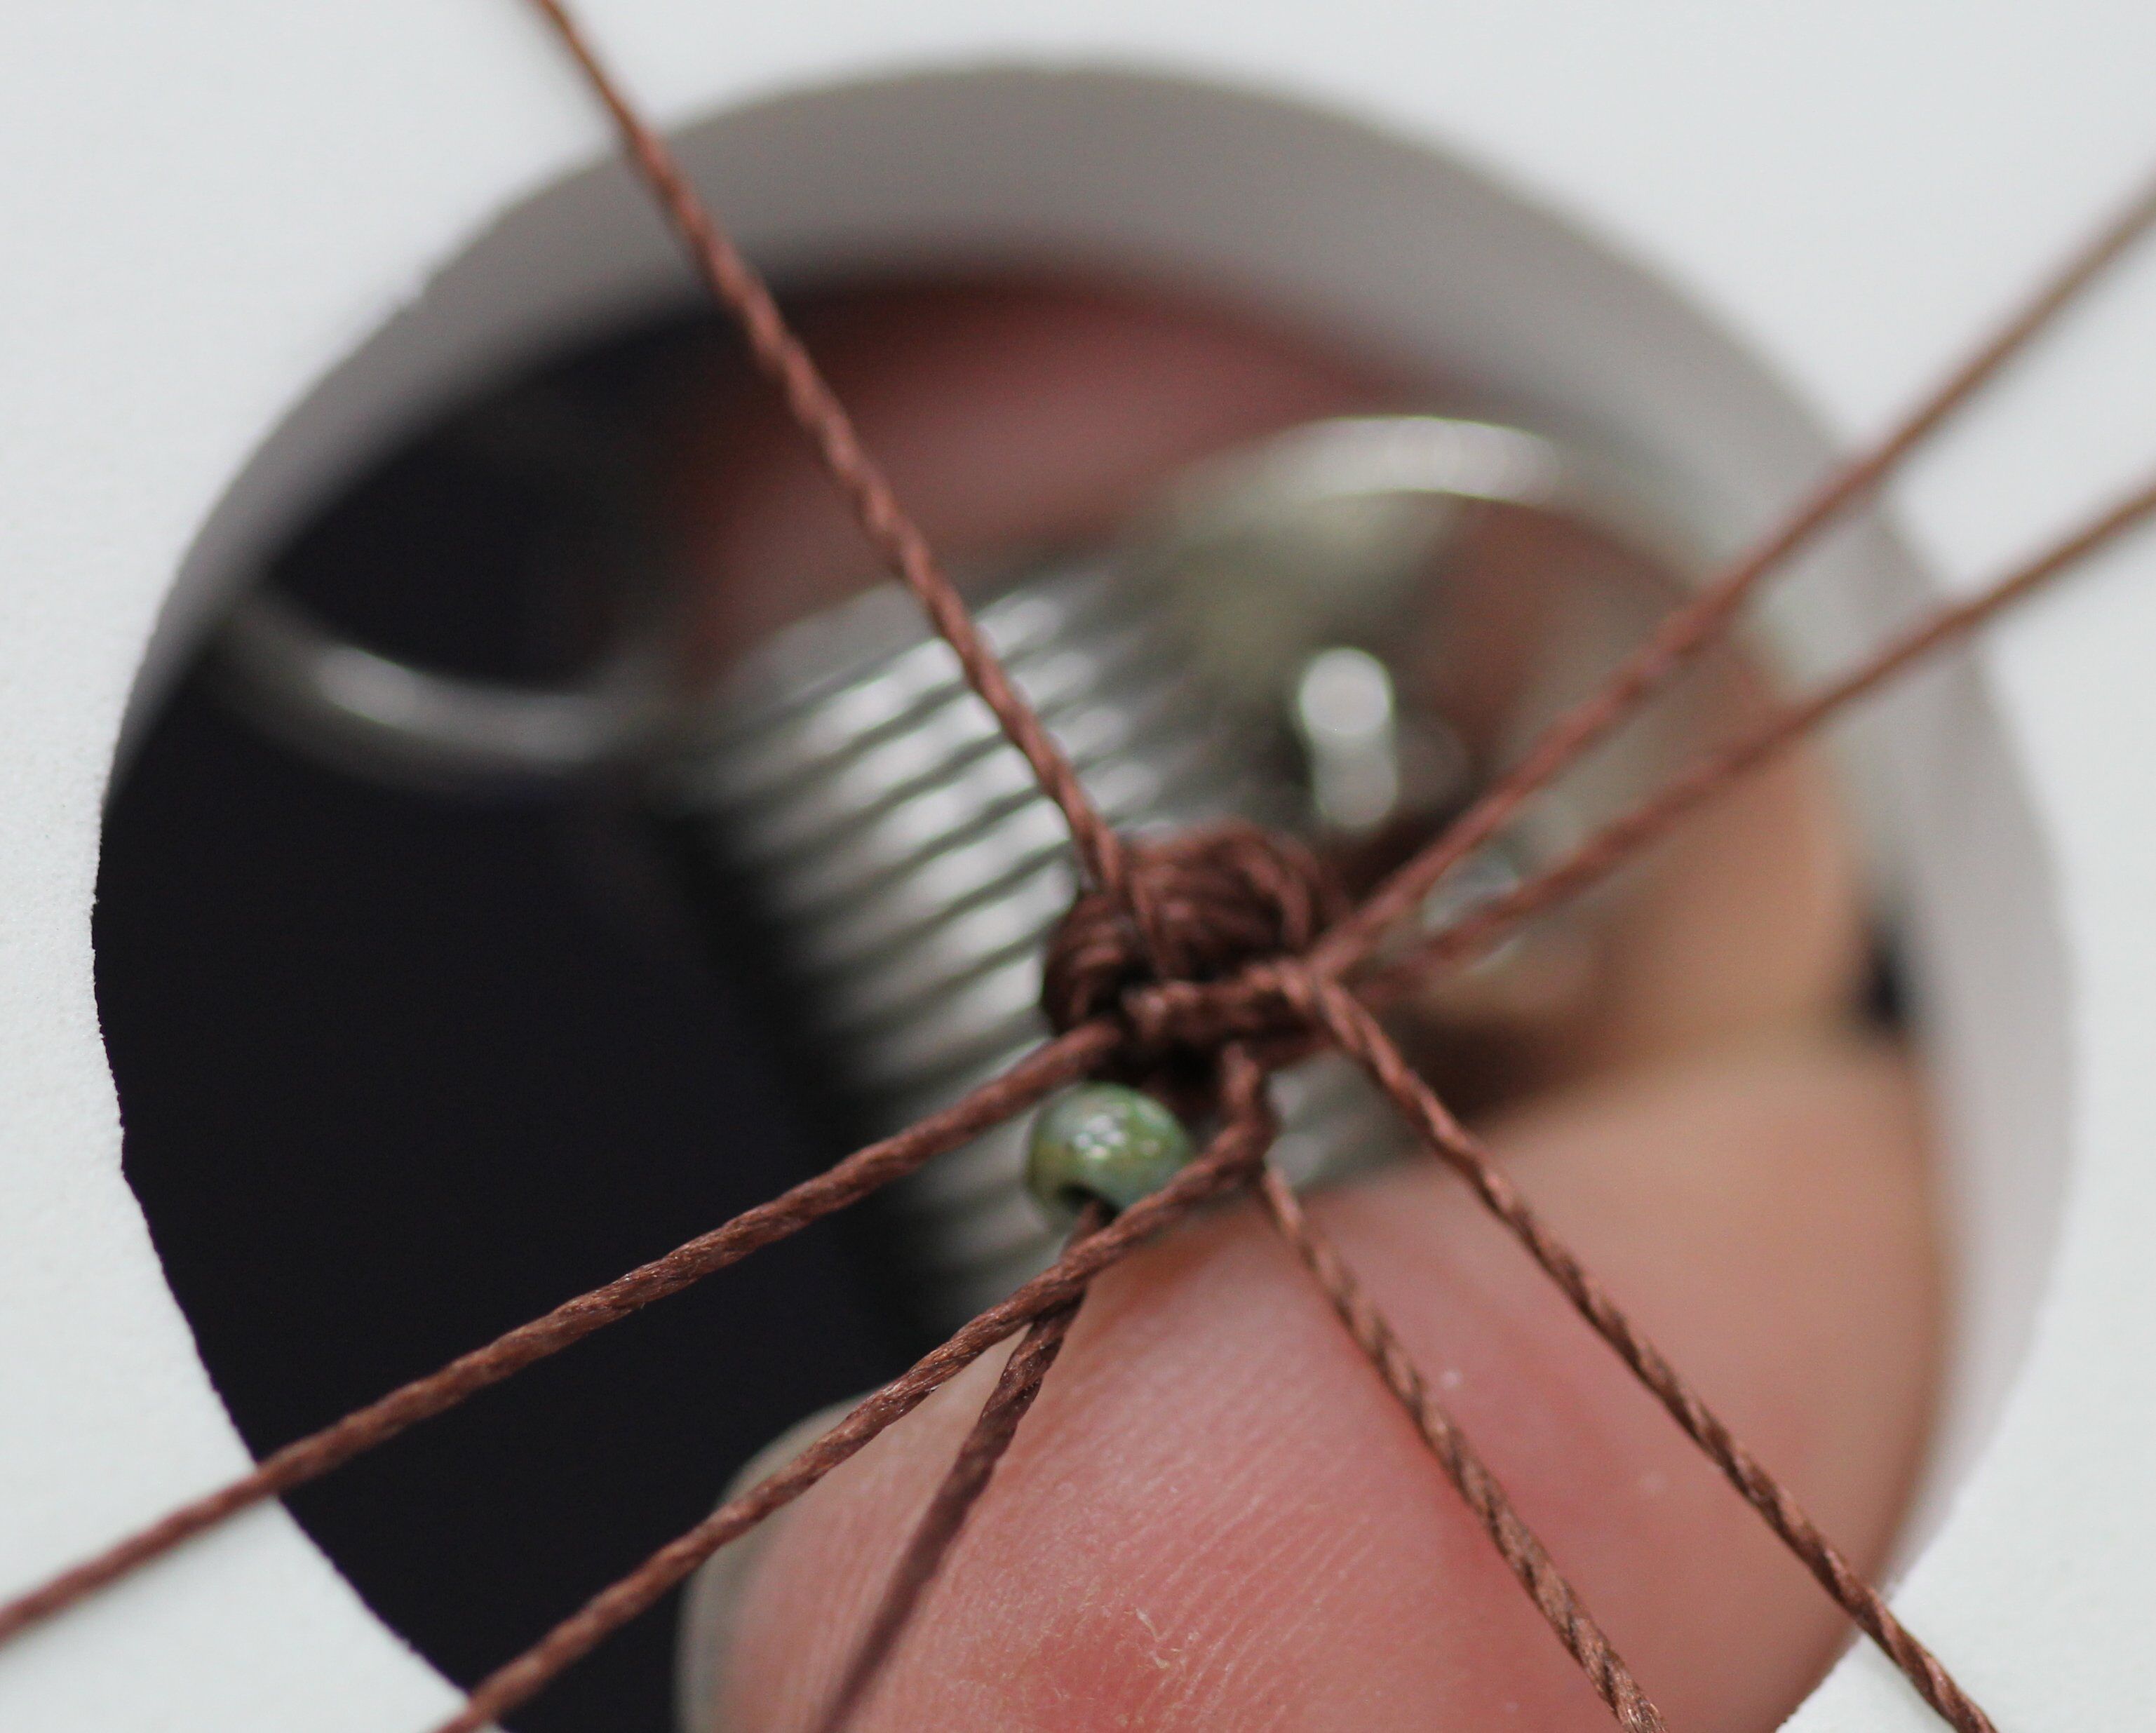
14. Now you are ready to start adding beads! Continue repeating steps 11-12 with the following addition: Release the cord at the bottom left and slide up one bead.
15. Slide the bead underneath the cord in the center of the disc.
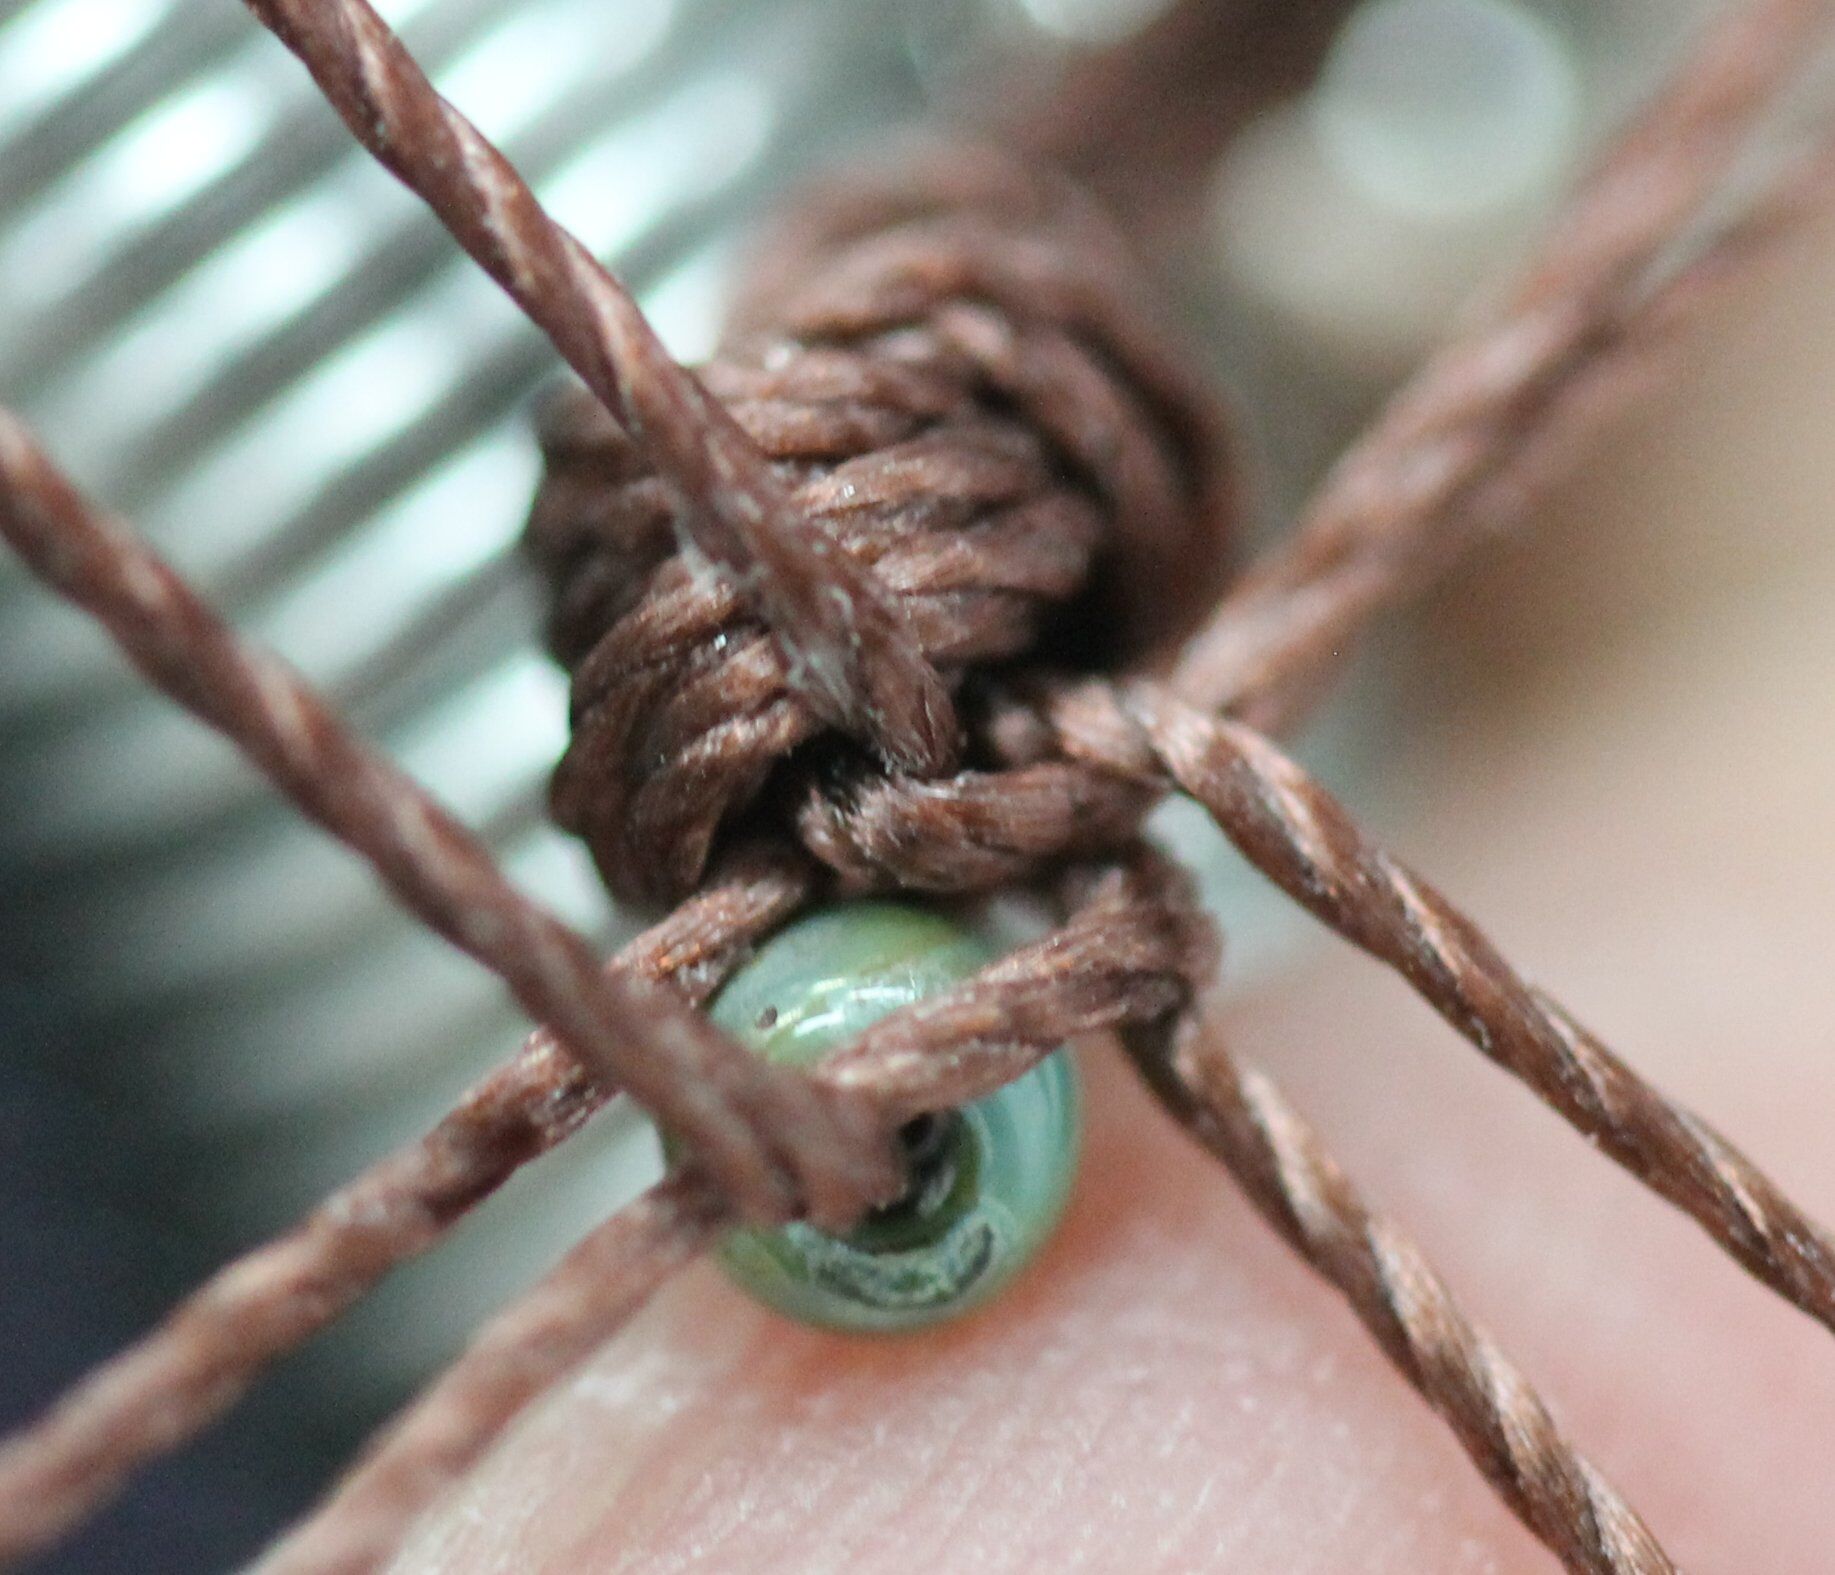
16. Then, move the cord up to the top left position as normal.

17. The bead will stay tucked in the cords like this:
18. Continue repeating steps 11-12, adding a bead each time you move a cord. Continue weaving until you reach the desired length, keeping in mind that the clasp will add 1 ½ inches to the bracelet length. (For example, for a 7 ½ inch bracelet, weave 6 inches of beads.)
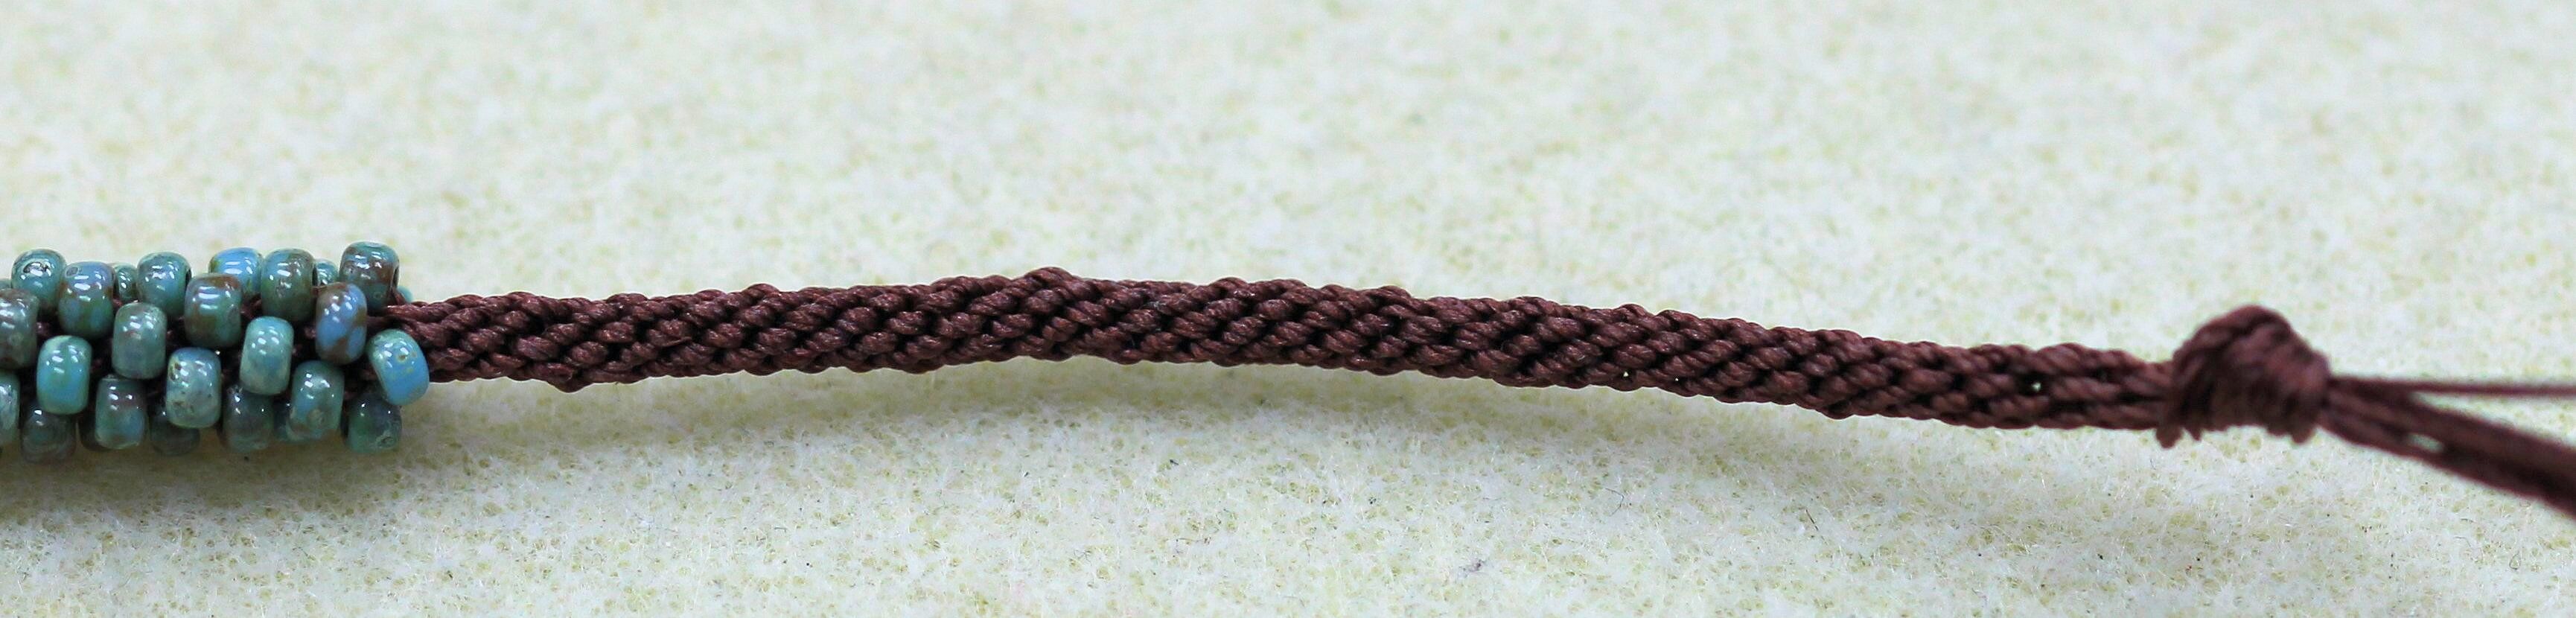
19. Then weave another 3 inches with no beads. This part of the weave will be used to make the silk wrapped loop. Take the Kumihimo off the disc and tie an overhand knot at the end of the weave. Be sure to leave enough string for a tassel.
20. To make the buttonhole, fold the non-beaded weave over to form a loop, making sure the button will fit through the loop.

21. To create a knot using the silk wrap technique, take a foot of macramé cord and form a ½ inch folded loop.

22. Hold the folded cord loop from Step 21 against the looped kumihimo cording from Step 20, with the folded portion facing the beads.
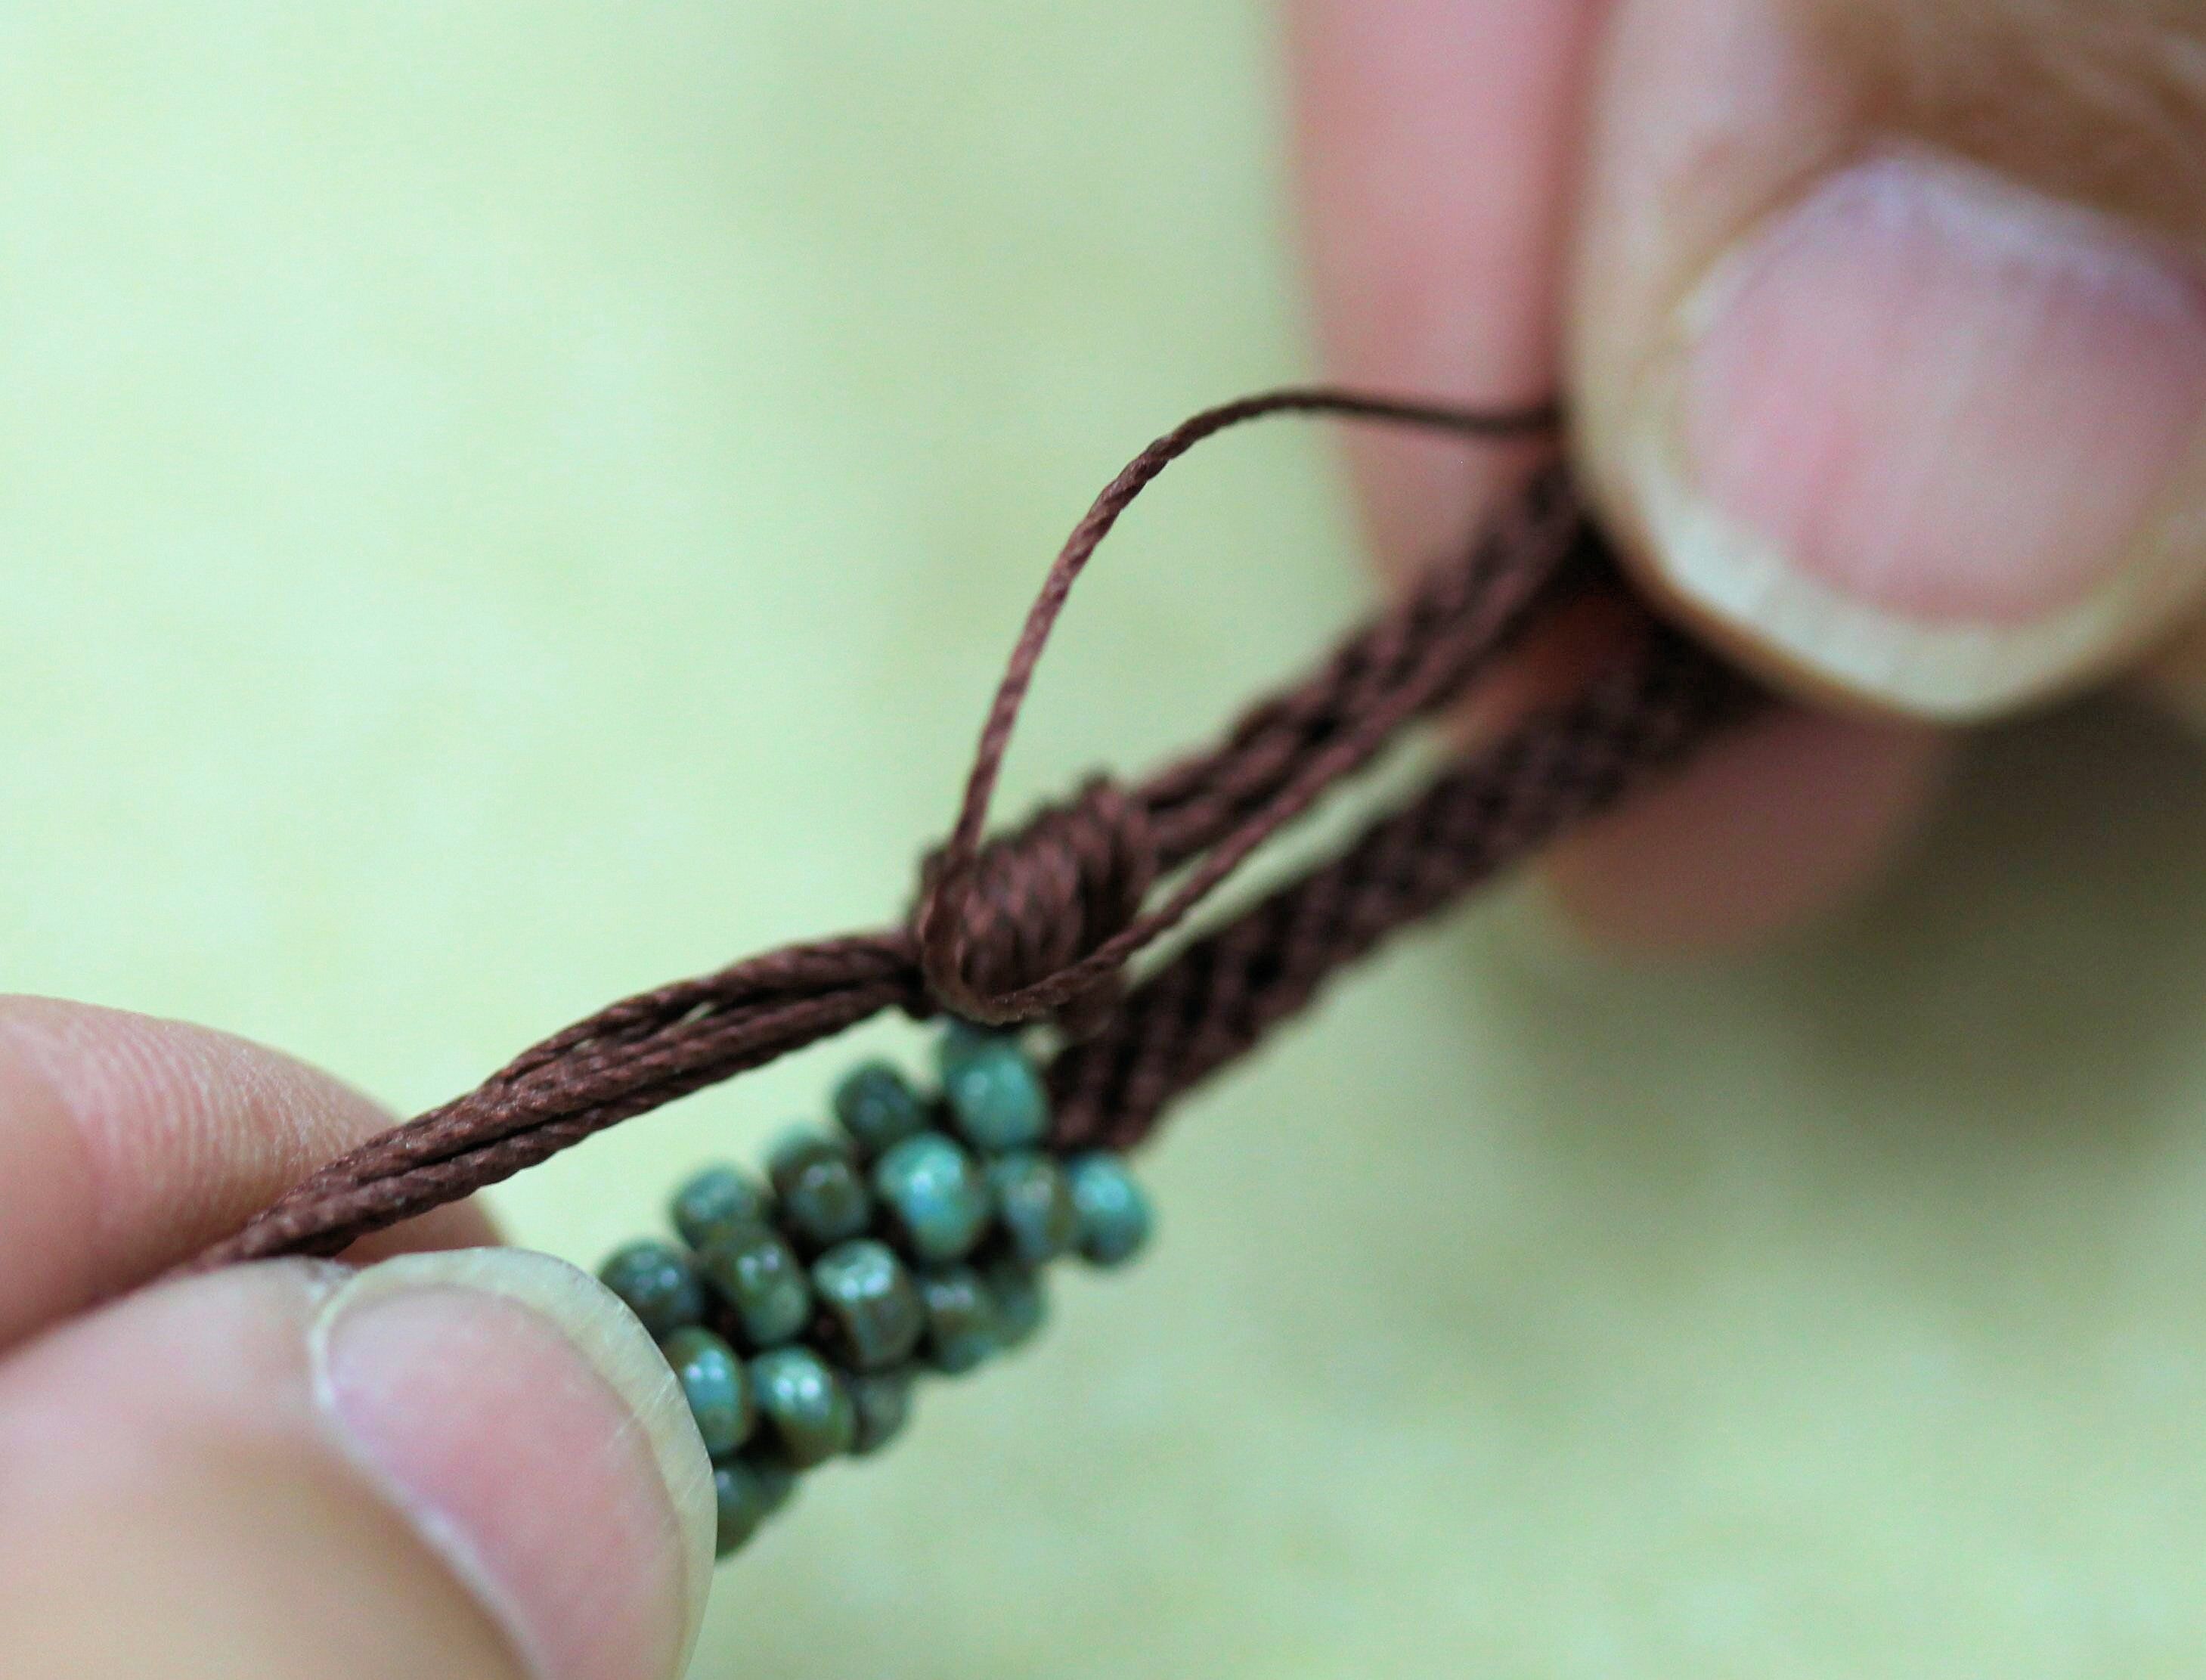
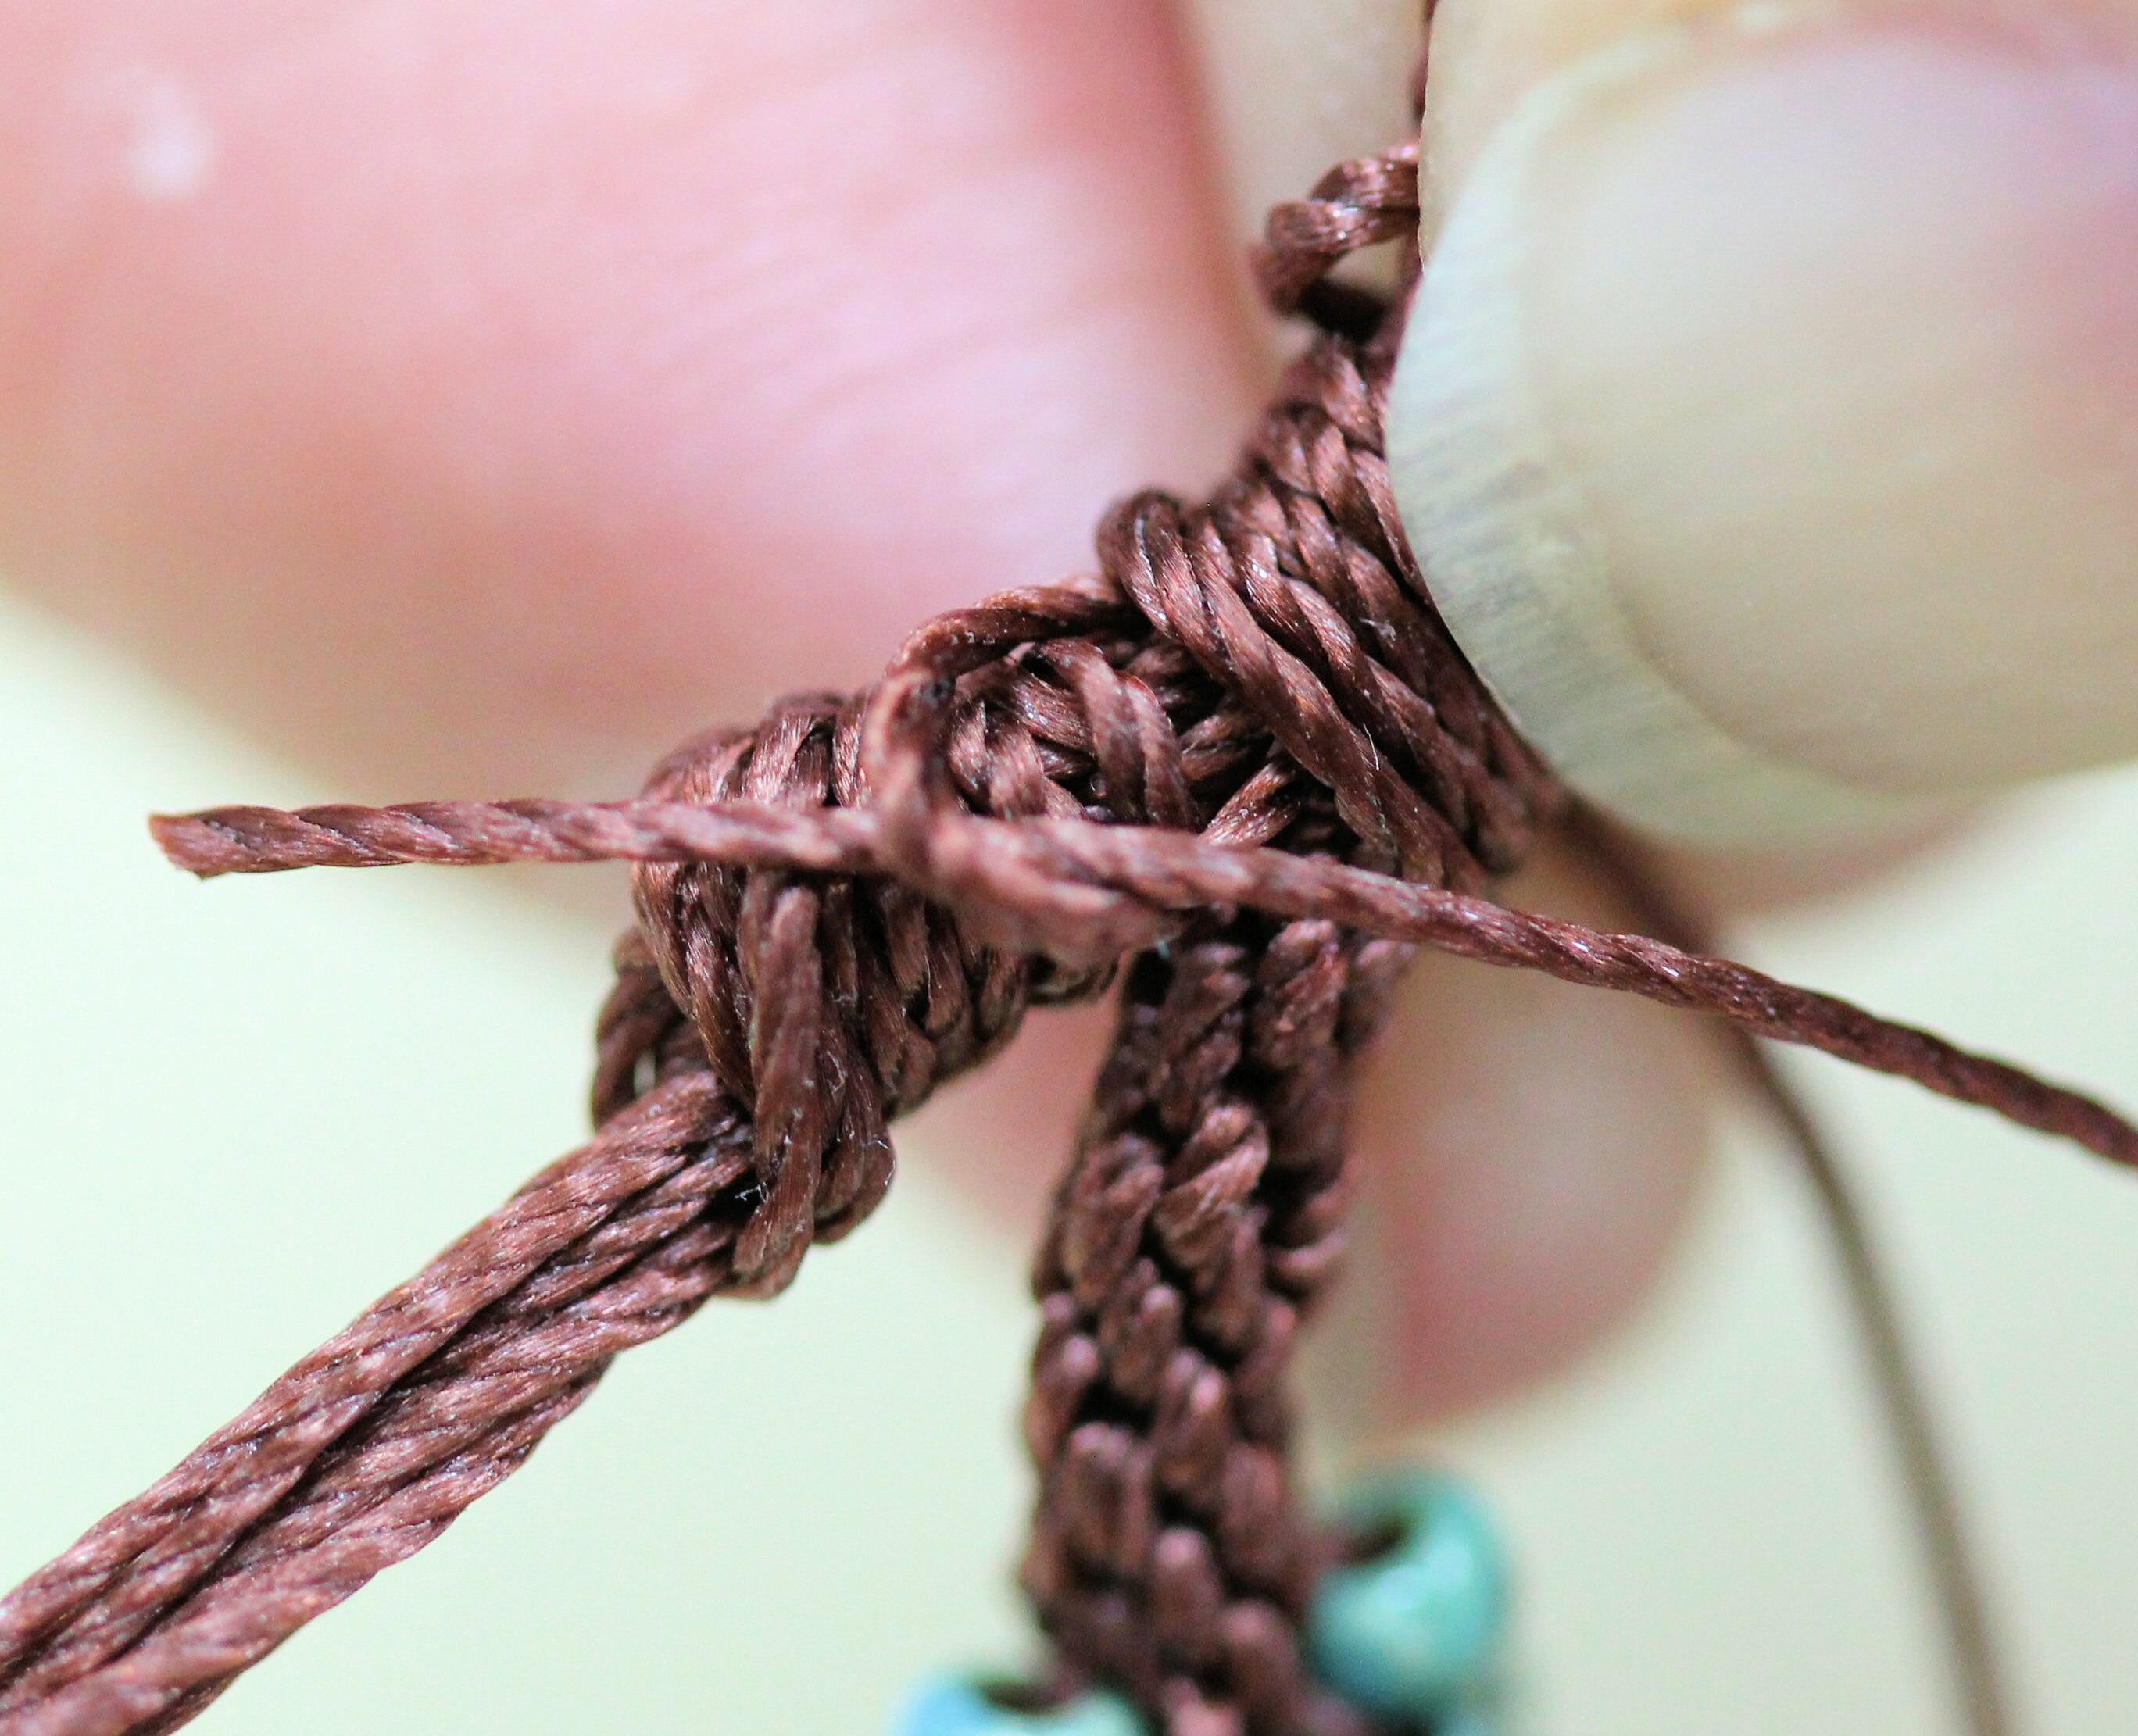
23. Wrap the long tail of the folded cord around both the folded portion of the cord and both pieces of the non-beaded kumihimo cording loop, starting behind the knot. Wrap it at least five or six times. Pull the cord very tight as you wrap.
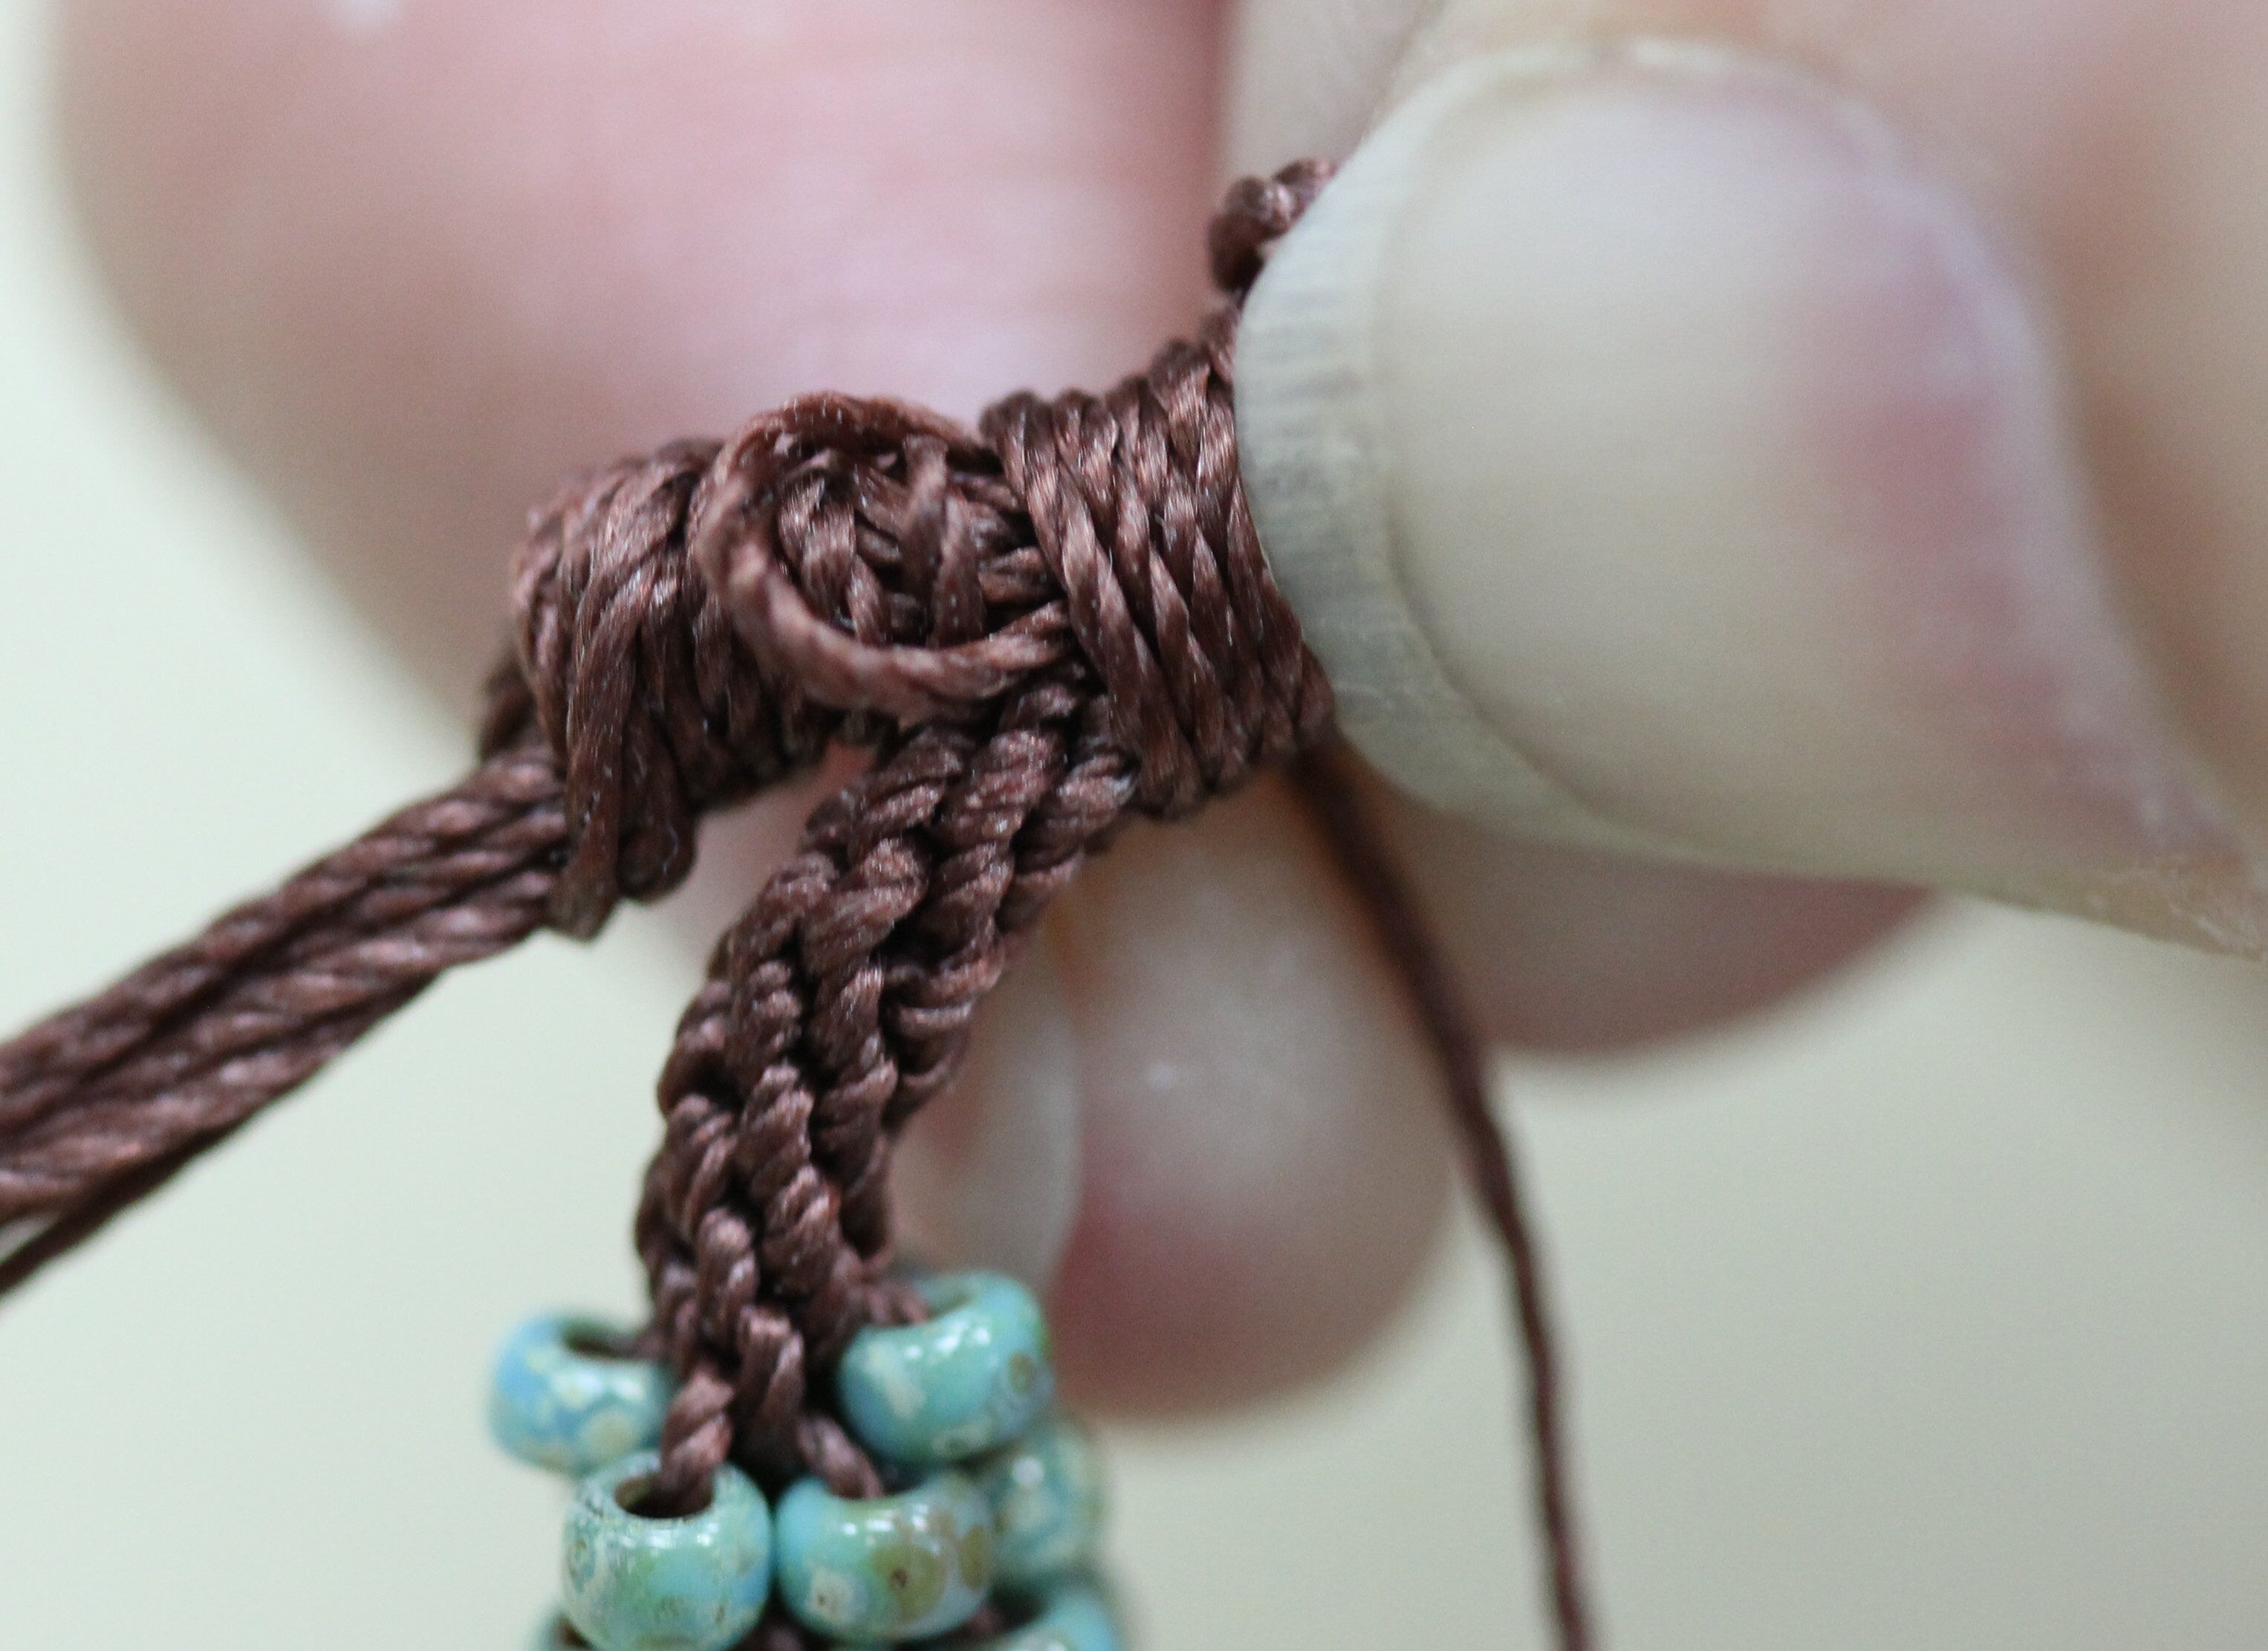
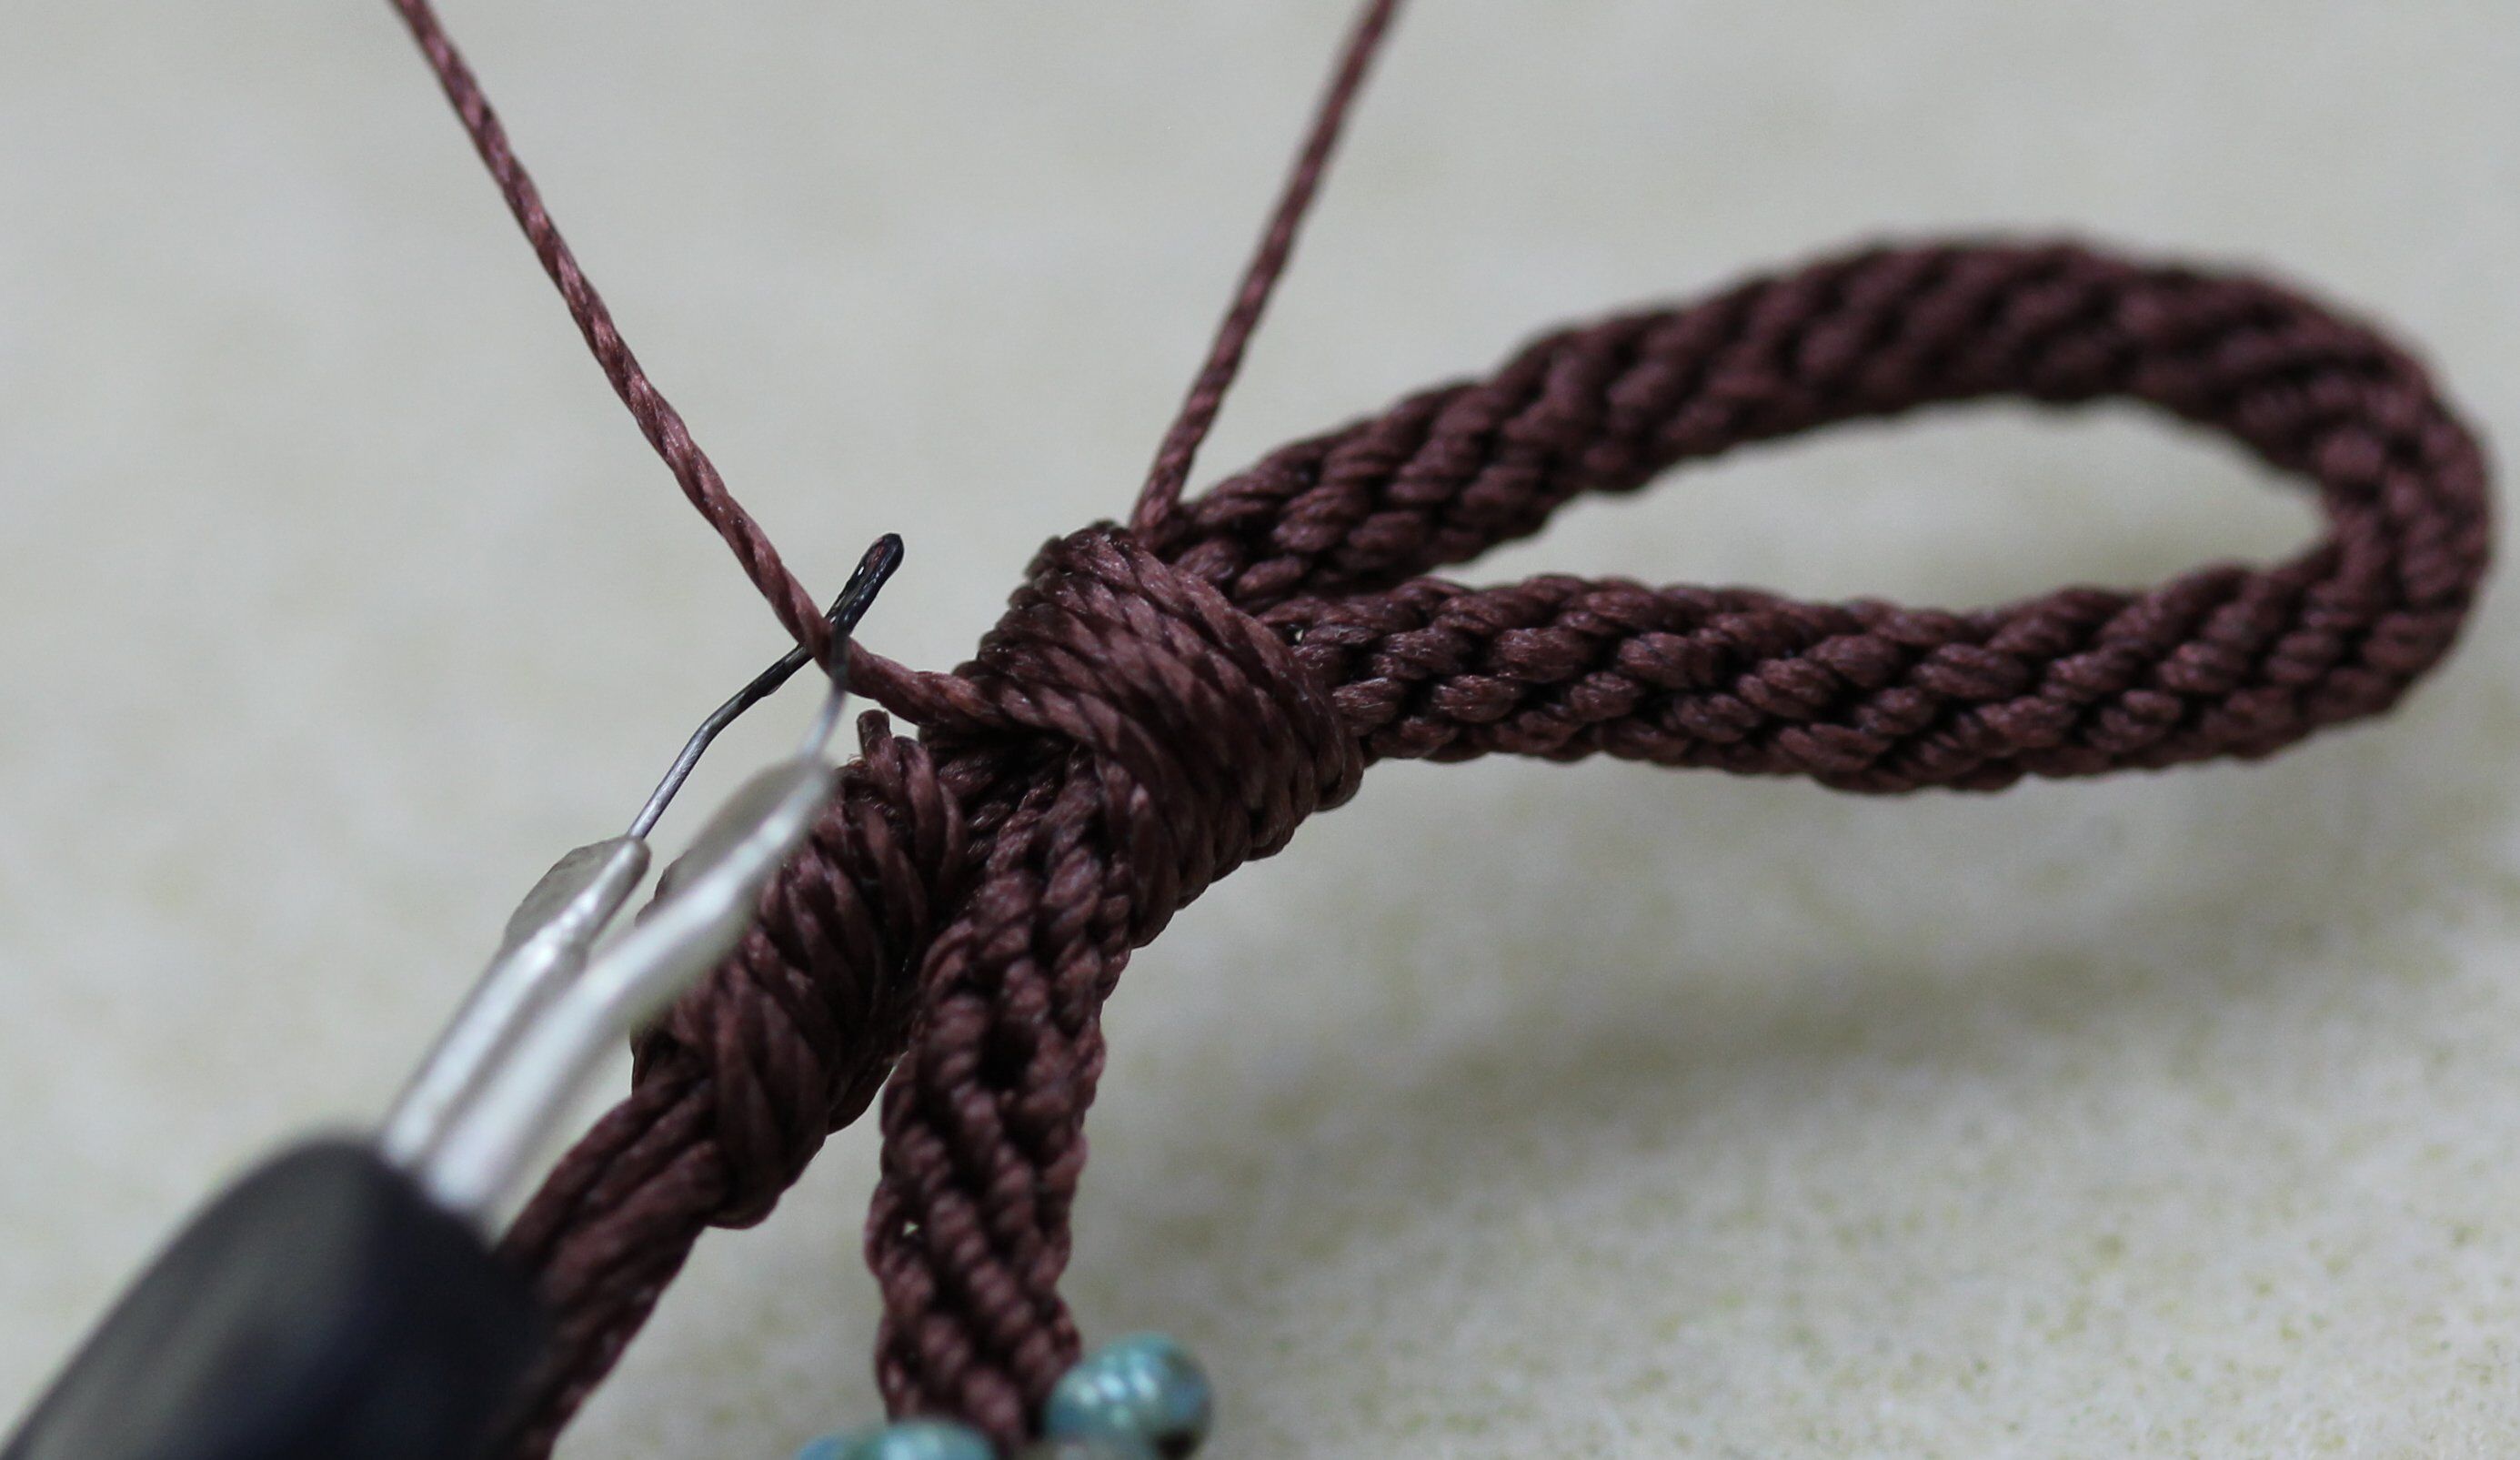
24. Pass the end of the cord through the loop.
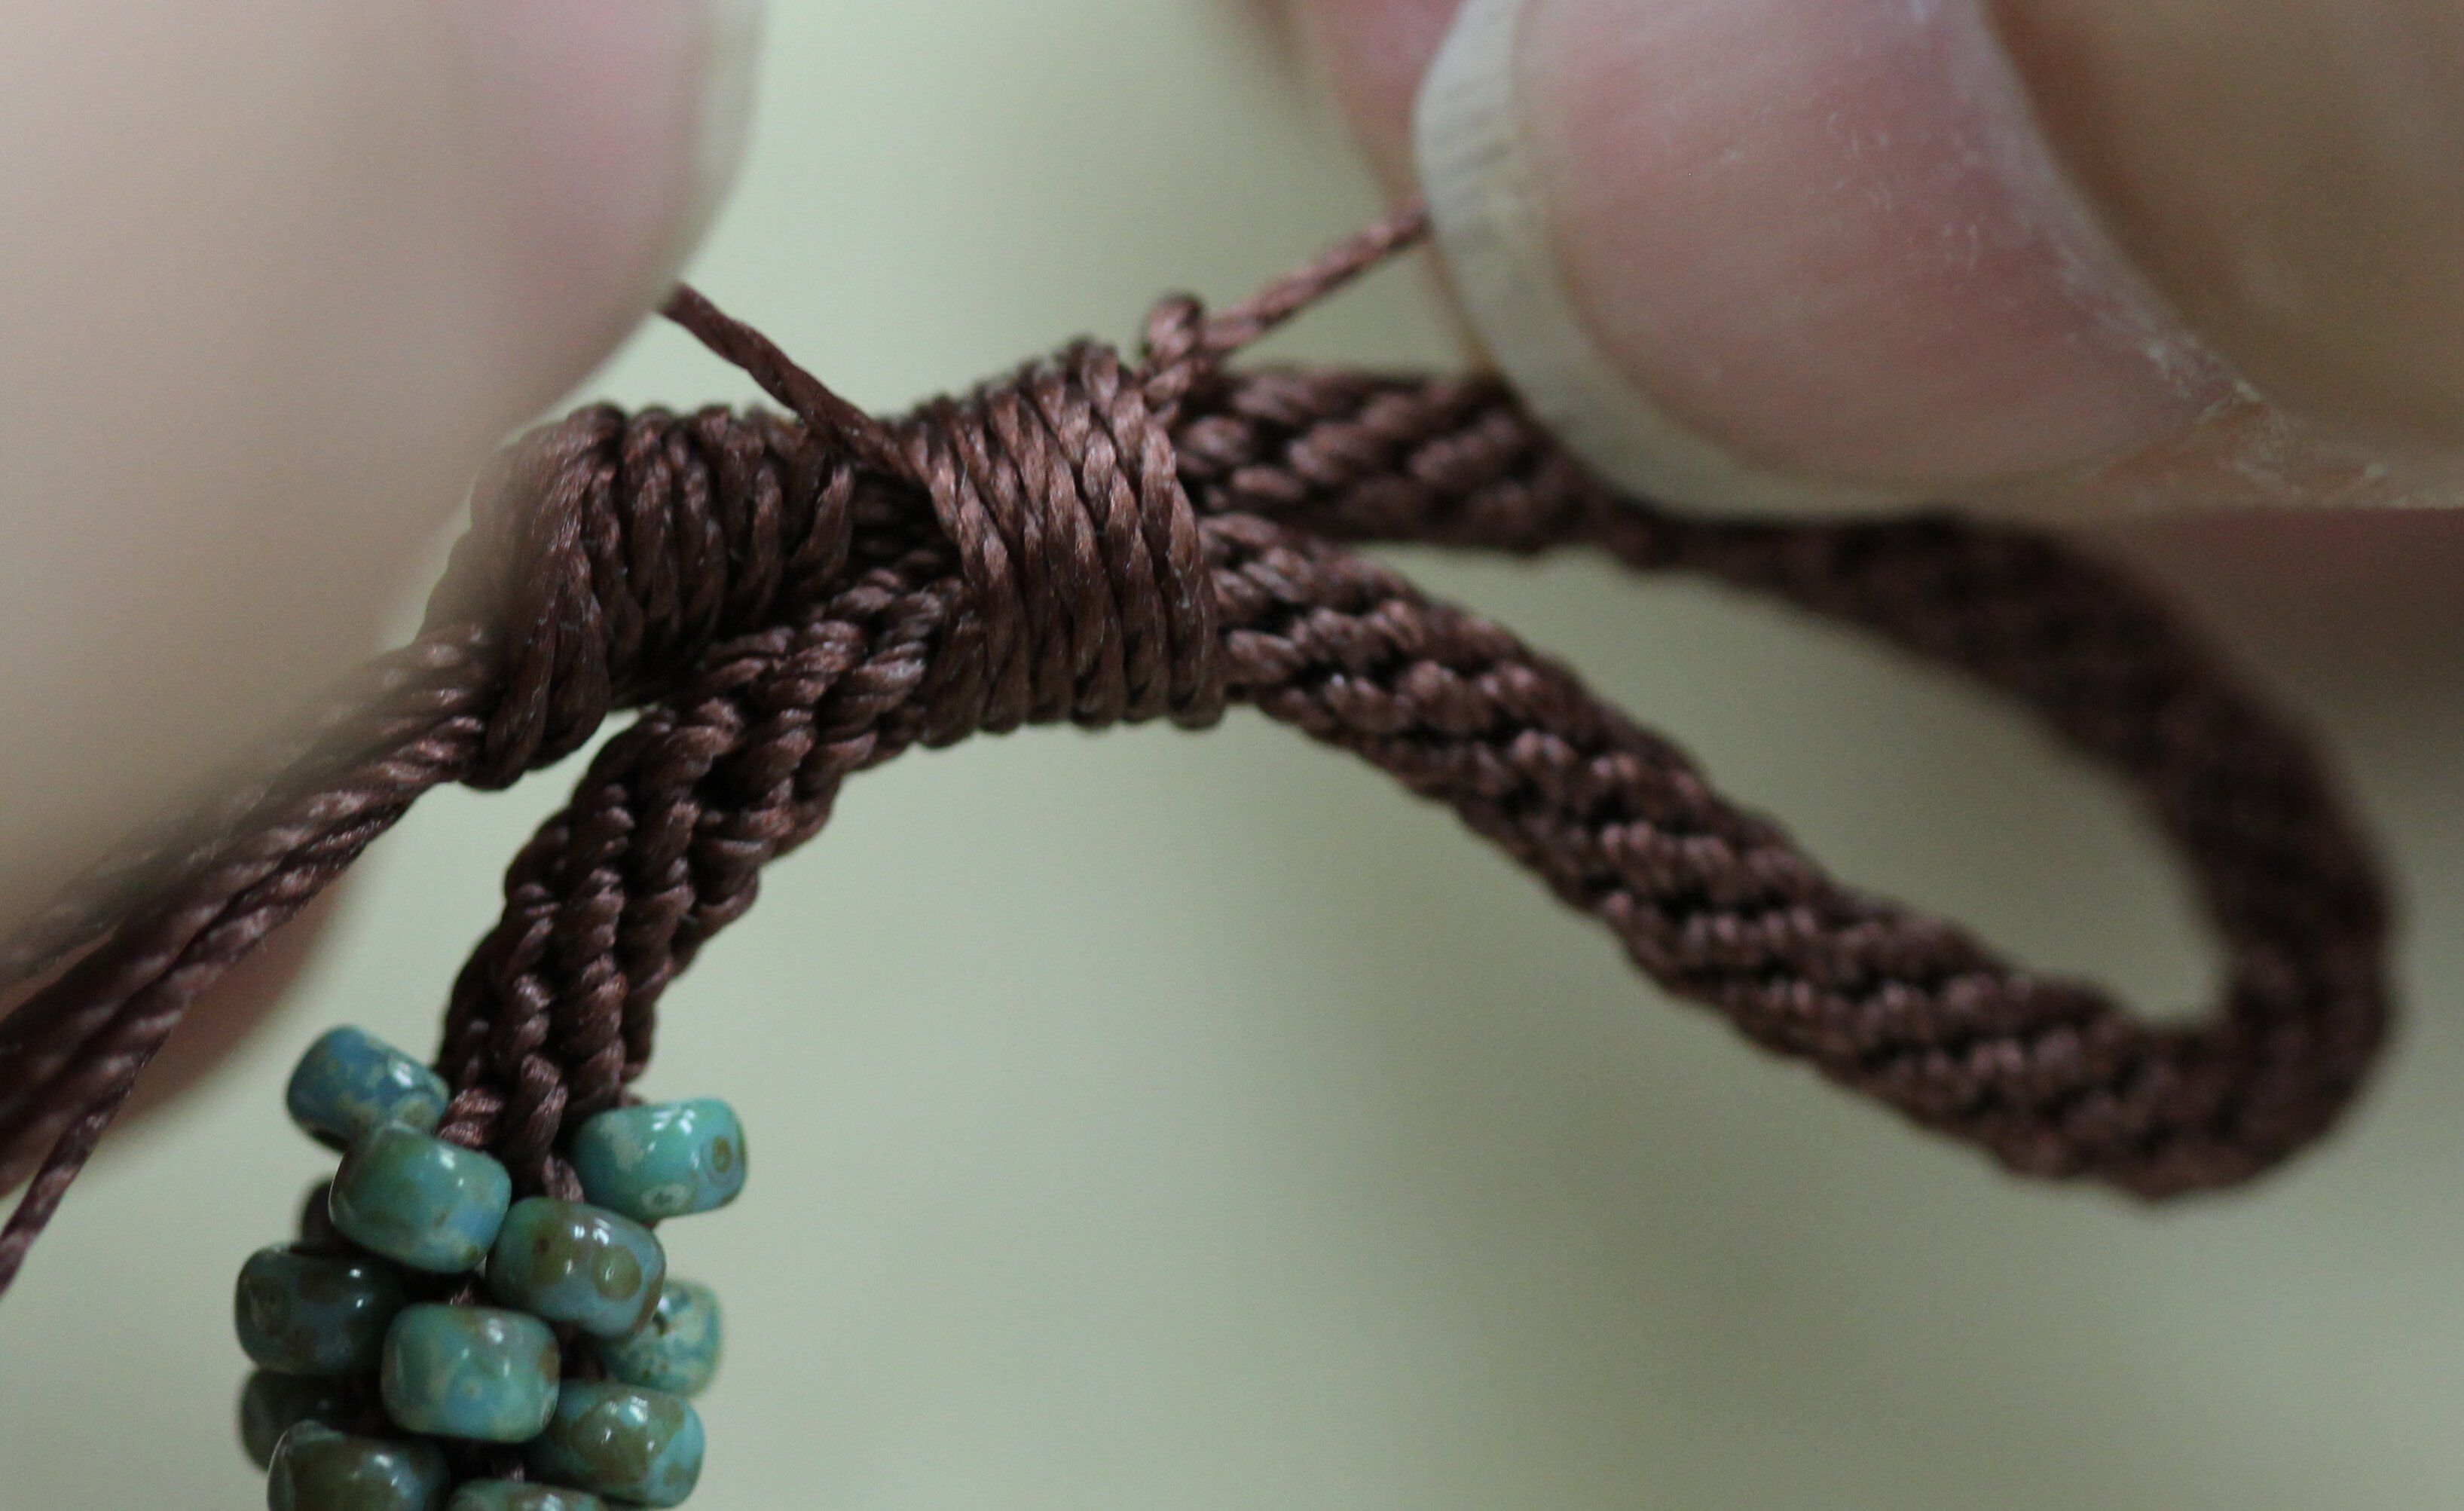
25. Pull carefully on both ends of the cord until the cord is taut and the looped knot is hidden under the silk wrap.
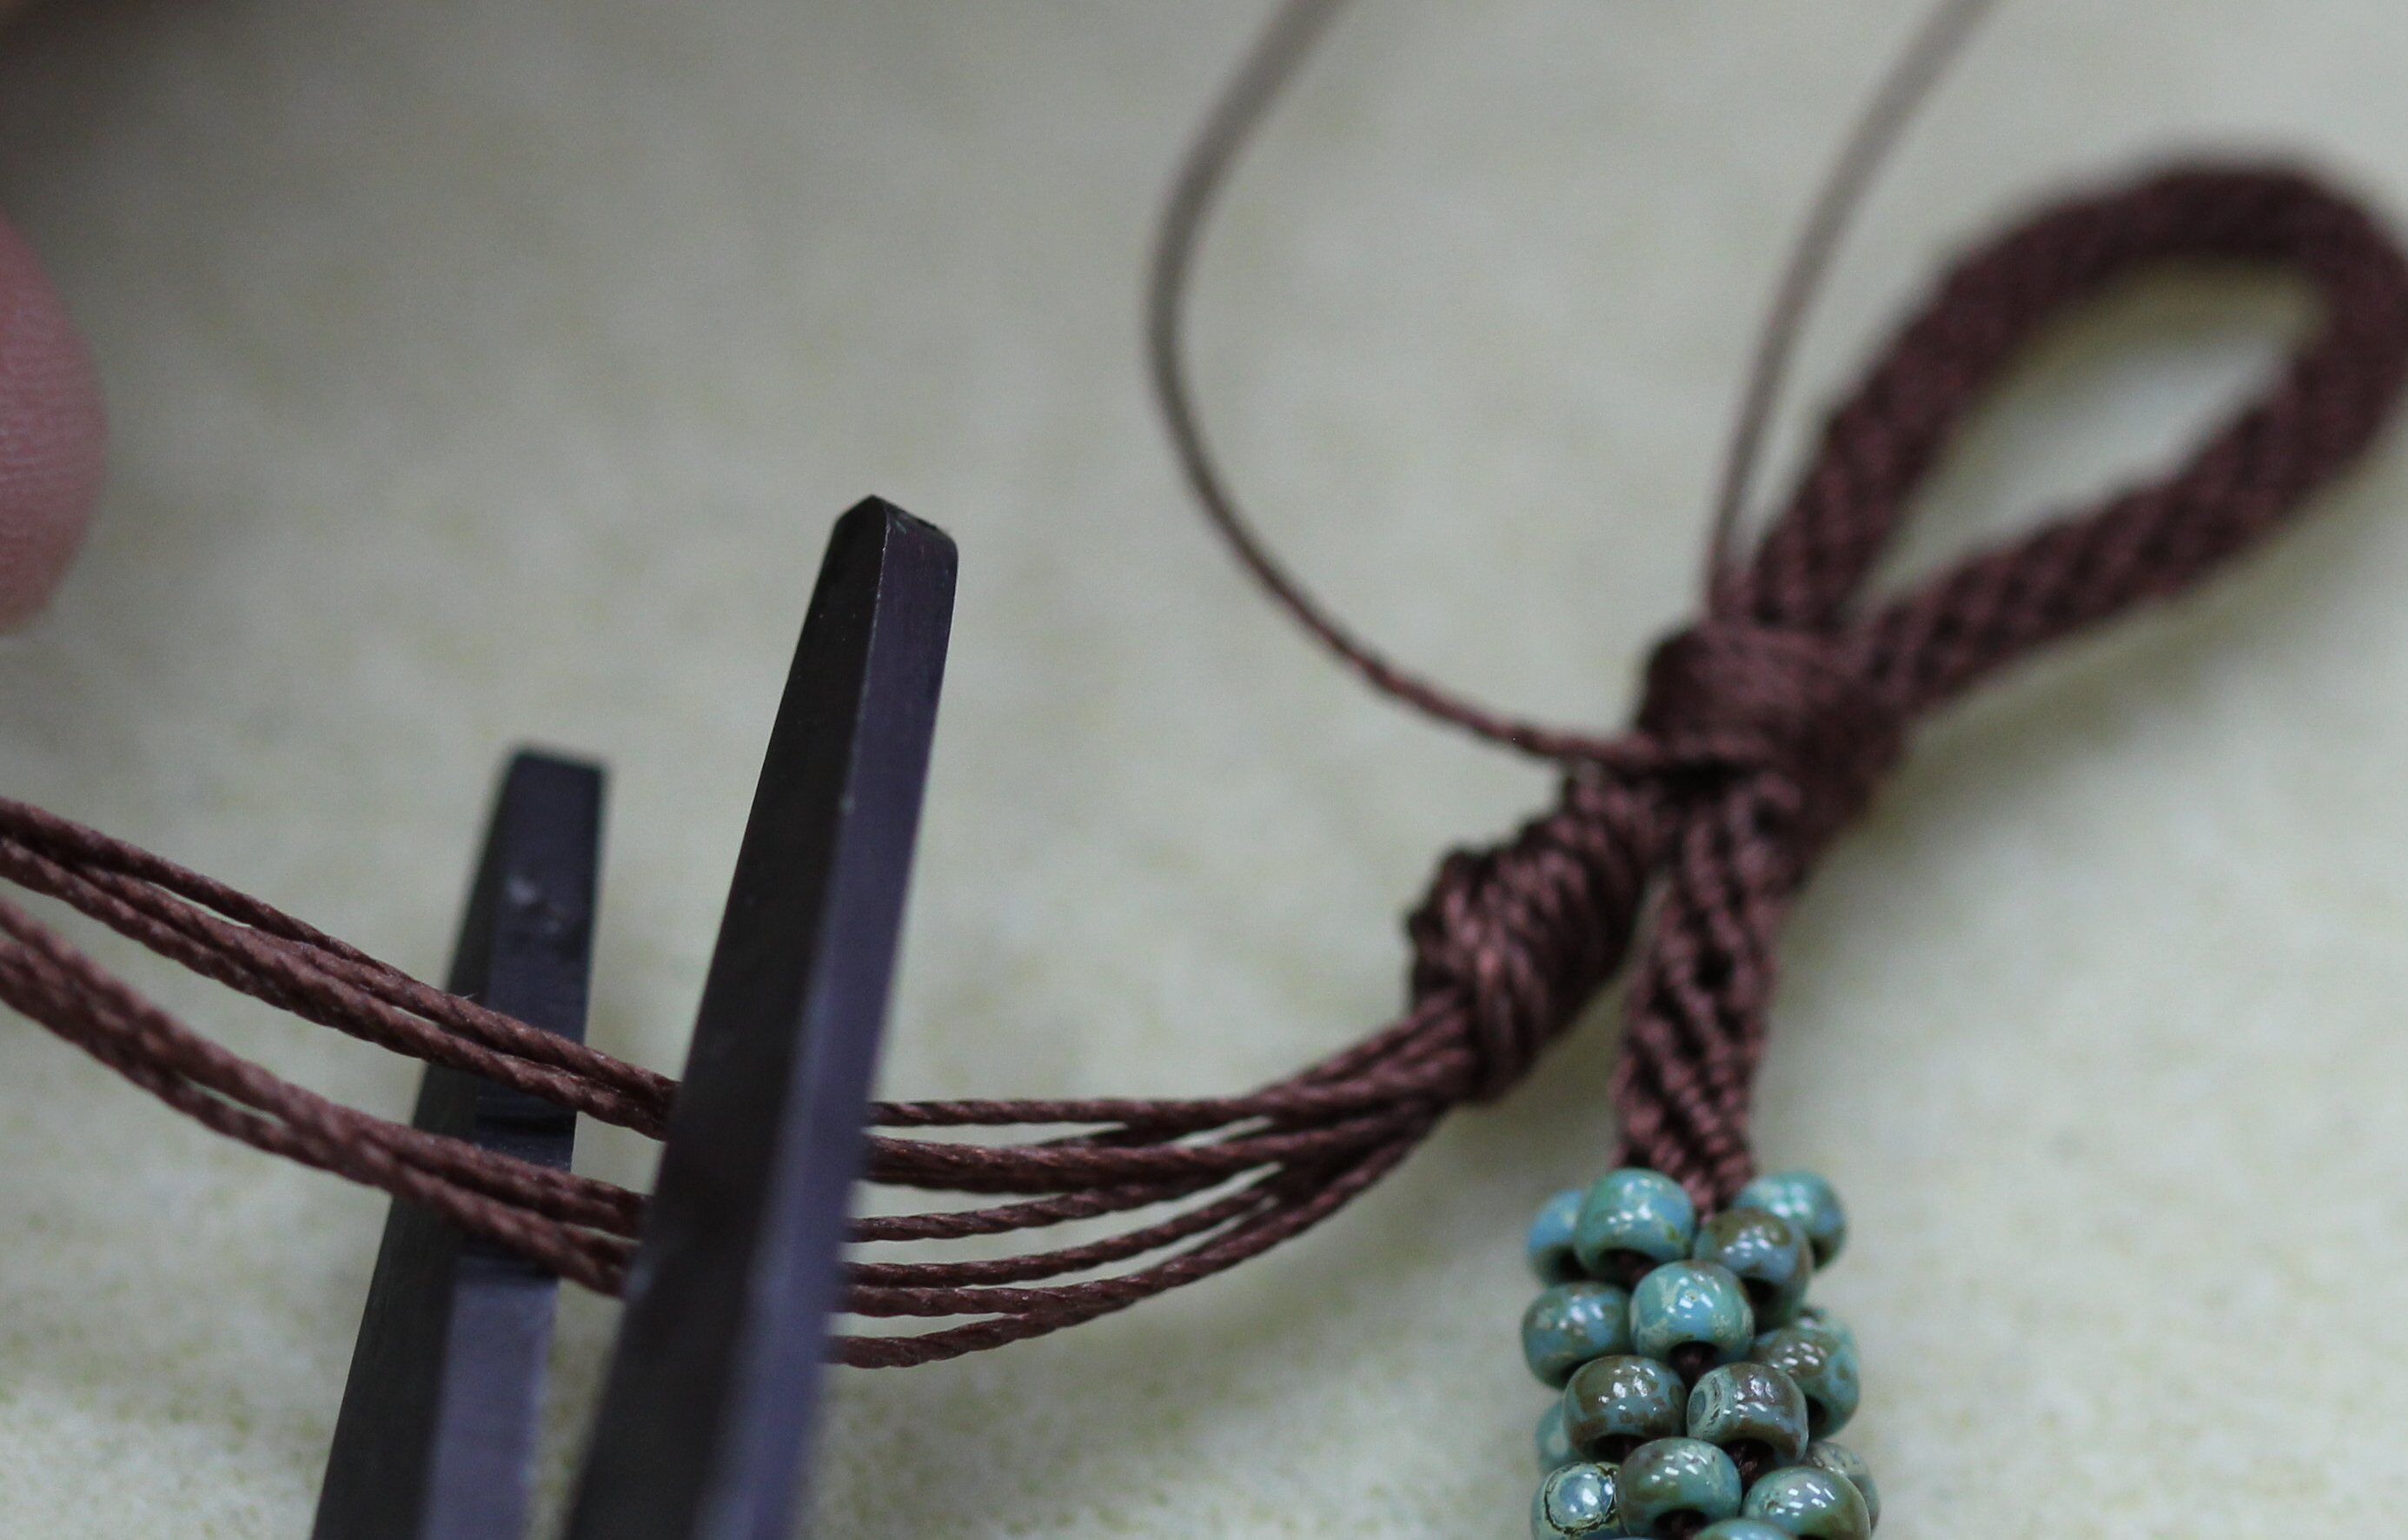
26. Use a Thread Zapper to burn off the excess macramé cord and secure the ends by melting the cord to the silk wrap. If you choose, you can use GS Hypo Glue Red instead. Repeat with the other cord.
27. Trim the ends of the Kumihimo cords to make a decorative tassel. (Optional: add beads to each strand of the tassel, securing with an overhand knot at the end of each strand.)
28. The finished bracelet is shown below!

Obviously this project is for a tutorial, but you can use these same techniques to make a beaded necklace – just make it longer. Stay tuned next month for another fun twist!
Recent Posts
-

Valentine Fringe Earrings
Valentine Fringe EarringsLearn how to make fringe earrings with a heart pattern that pops! The …13th Jan 2025 -

Dancing Pearl Cowboy Charm Leather Bracelet
Dancing Pearl Cowboy Charm Leather BraceletThis tutorial is a spin of our Dancing Gemstone Brac …17th Dec 2024 -

Christmas Wine Charms - Mini Tutorial
Christmas Wine Charms - Mini TutorialThese wine charms are sure to be the center talking point at yo …25th Nov 2024