

Cascade Necklace Tutorial
Cascade Necklace Tutorial

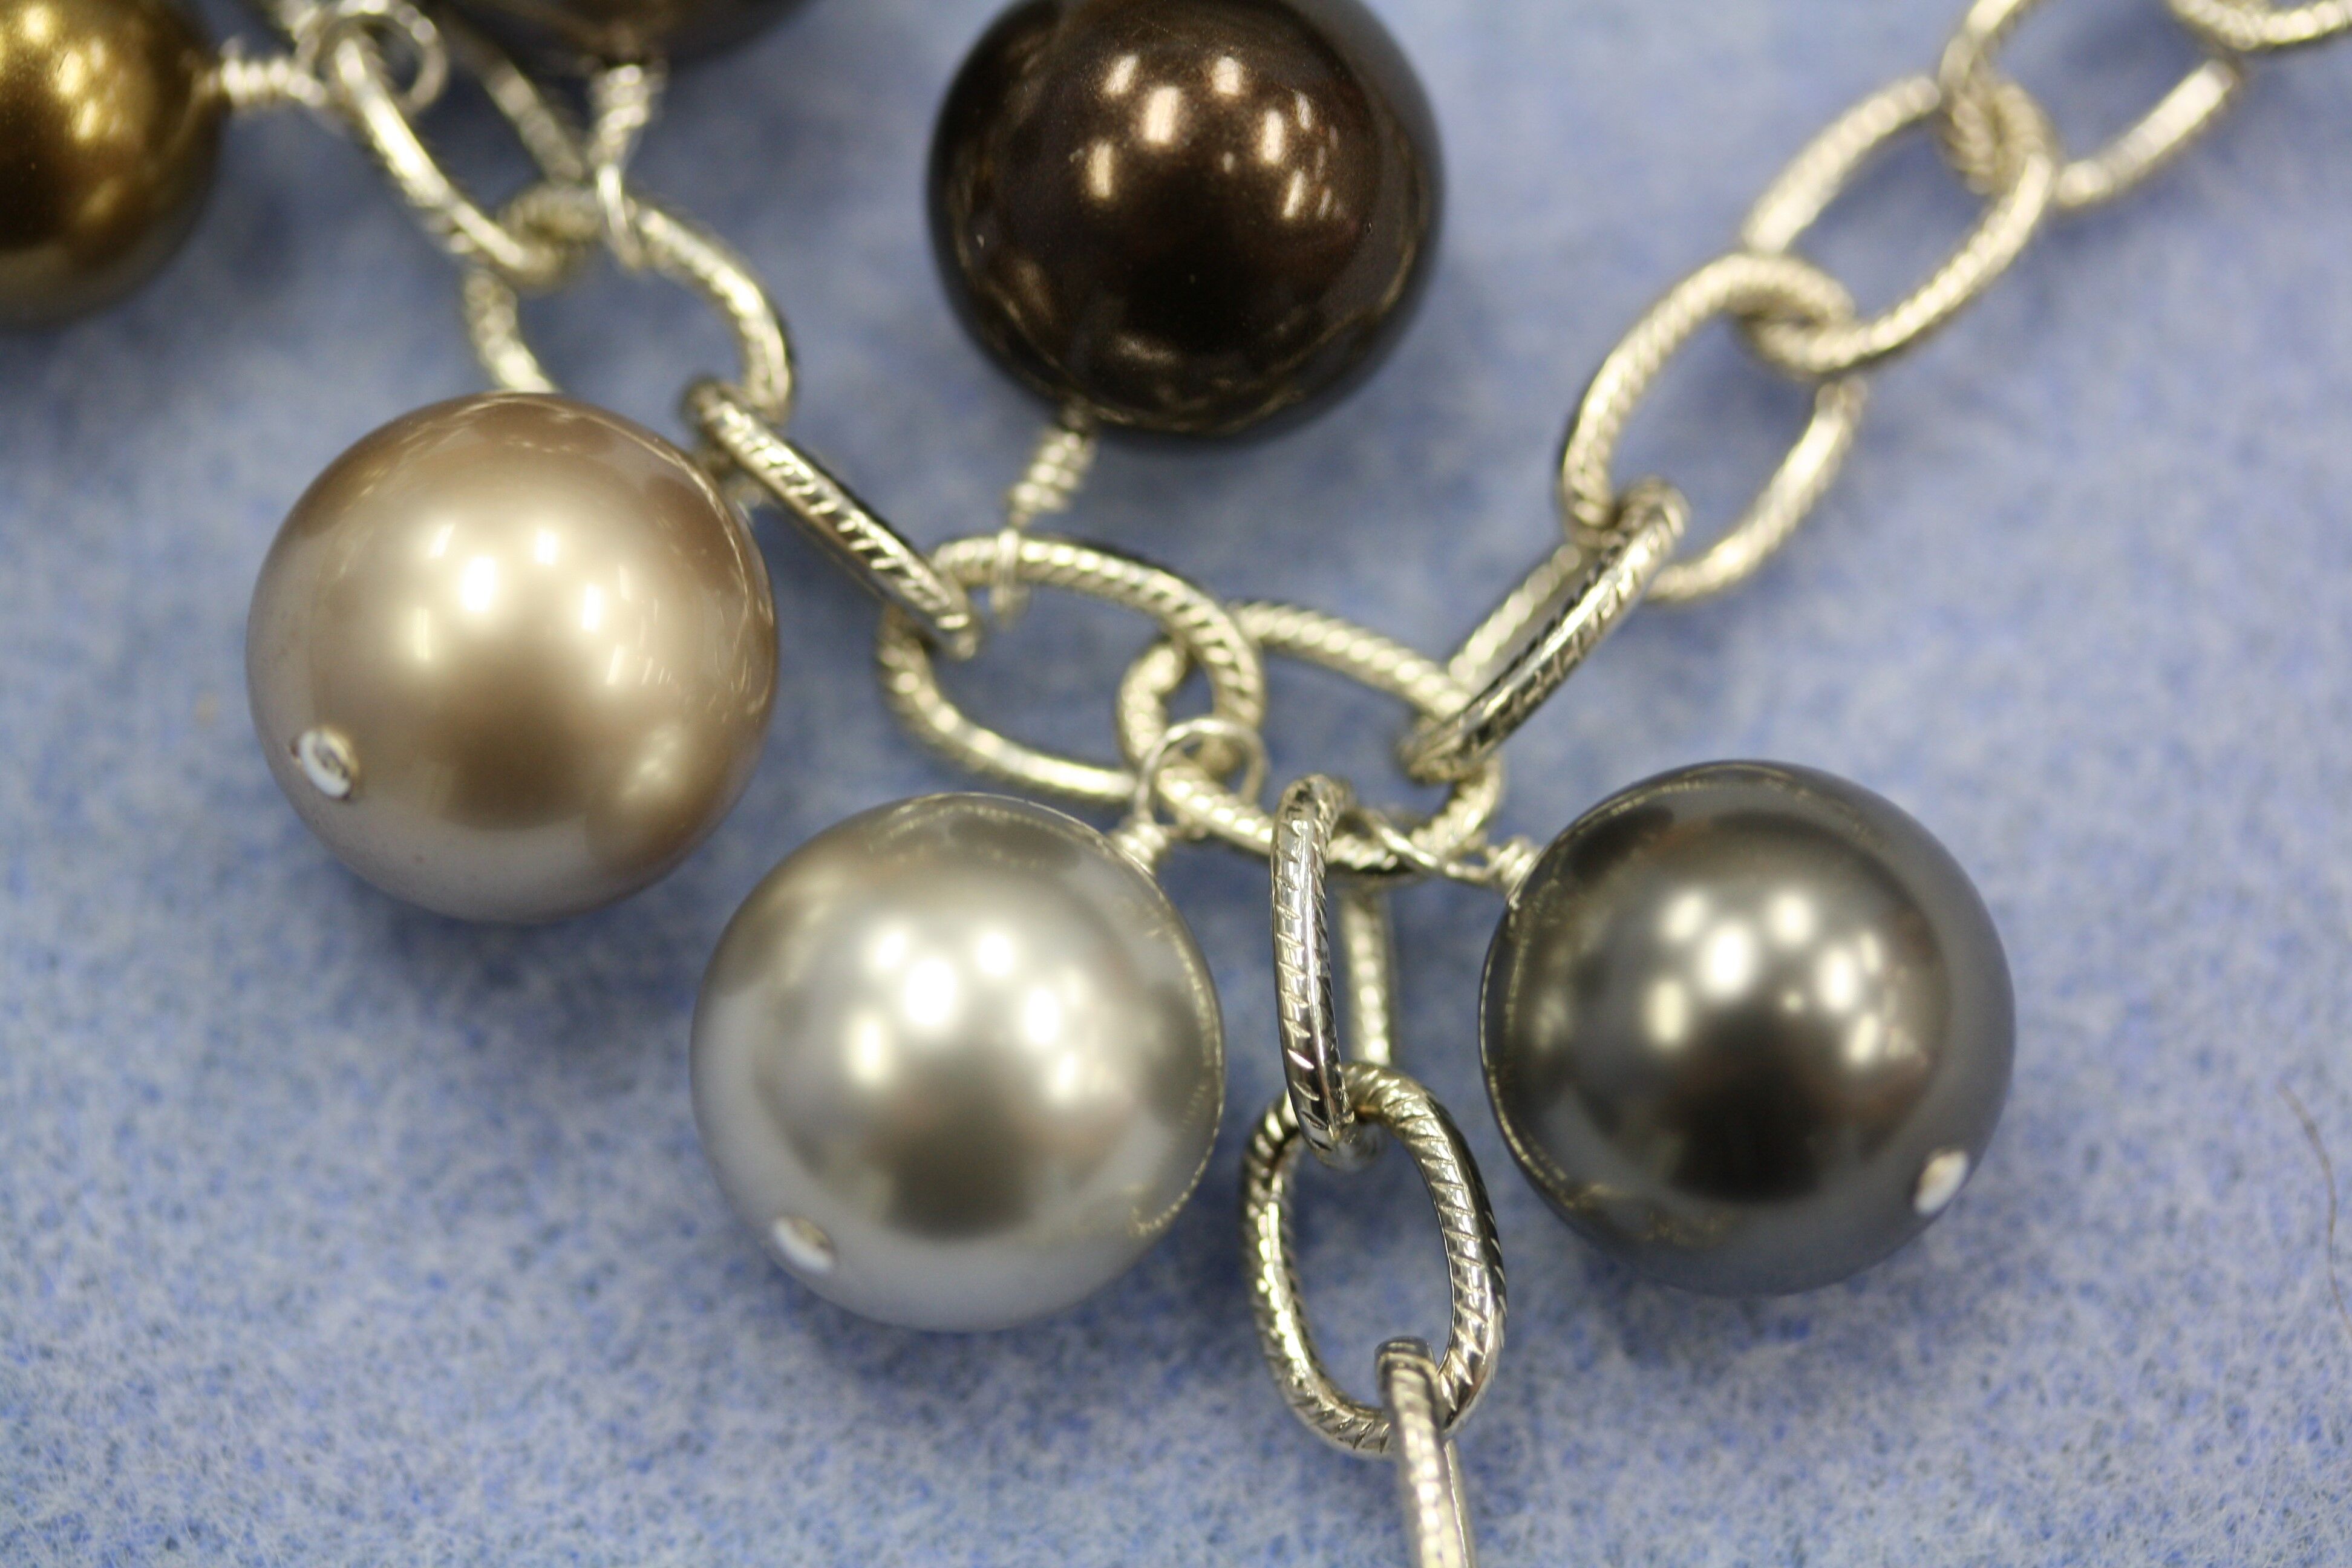
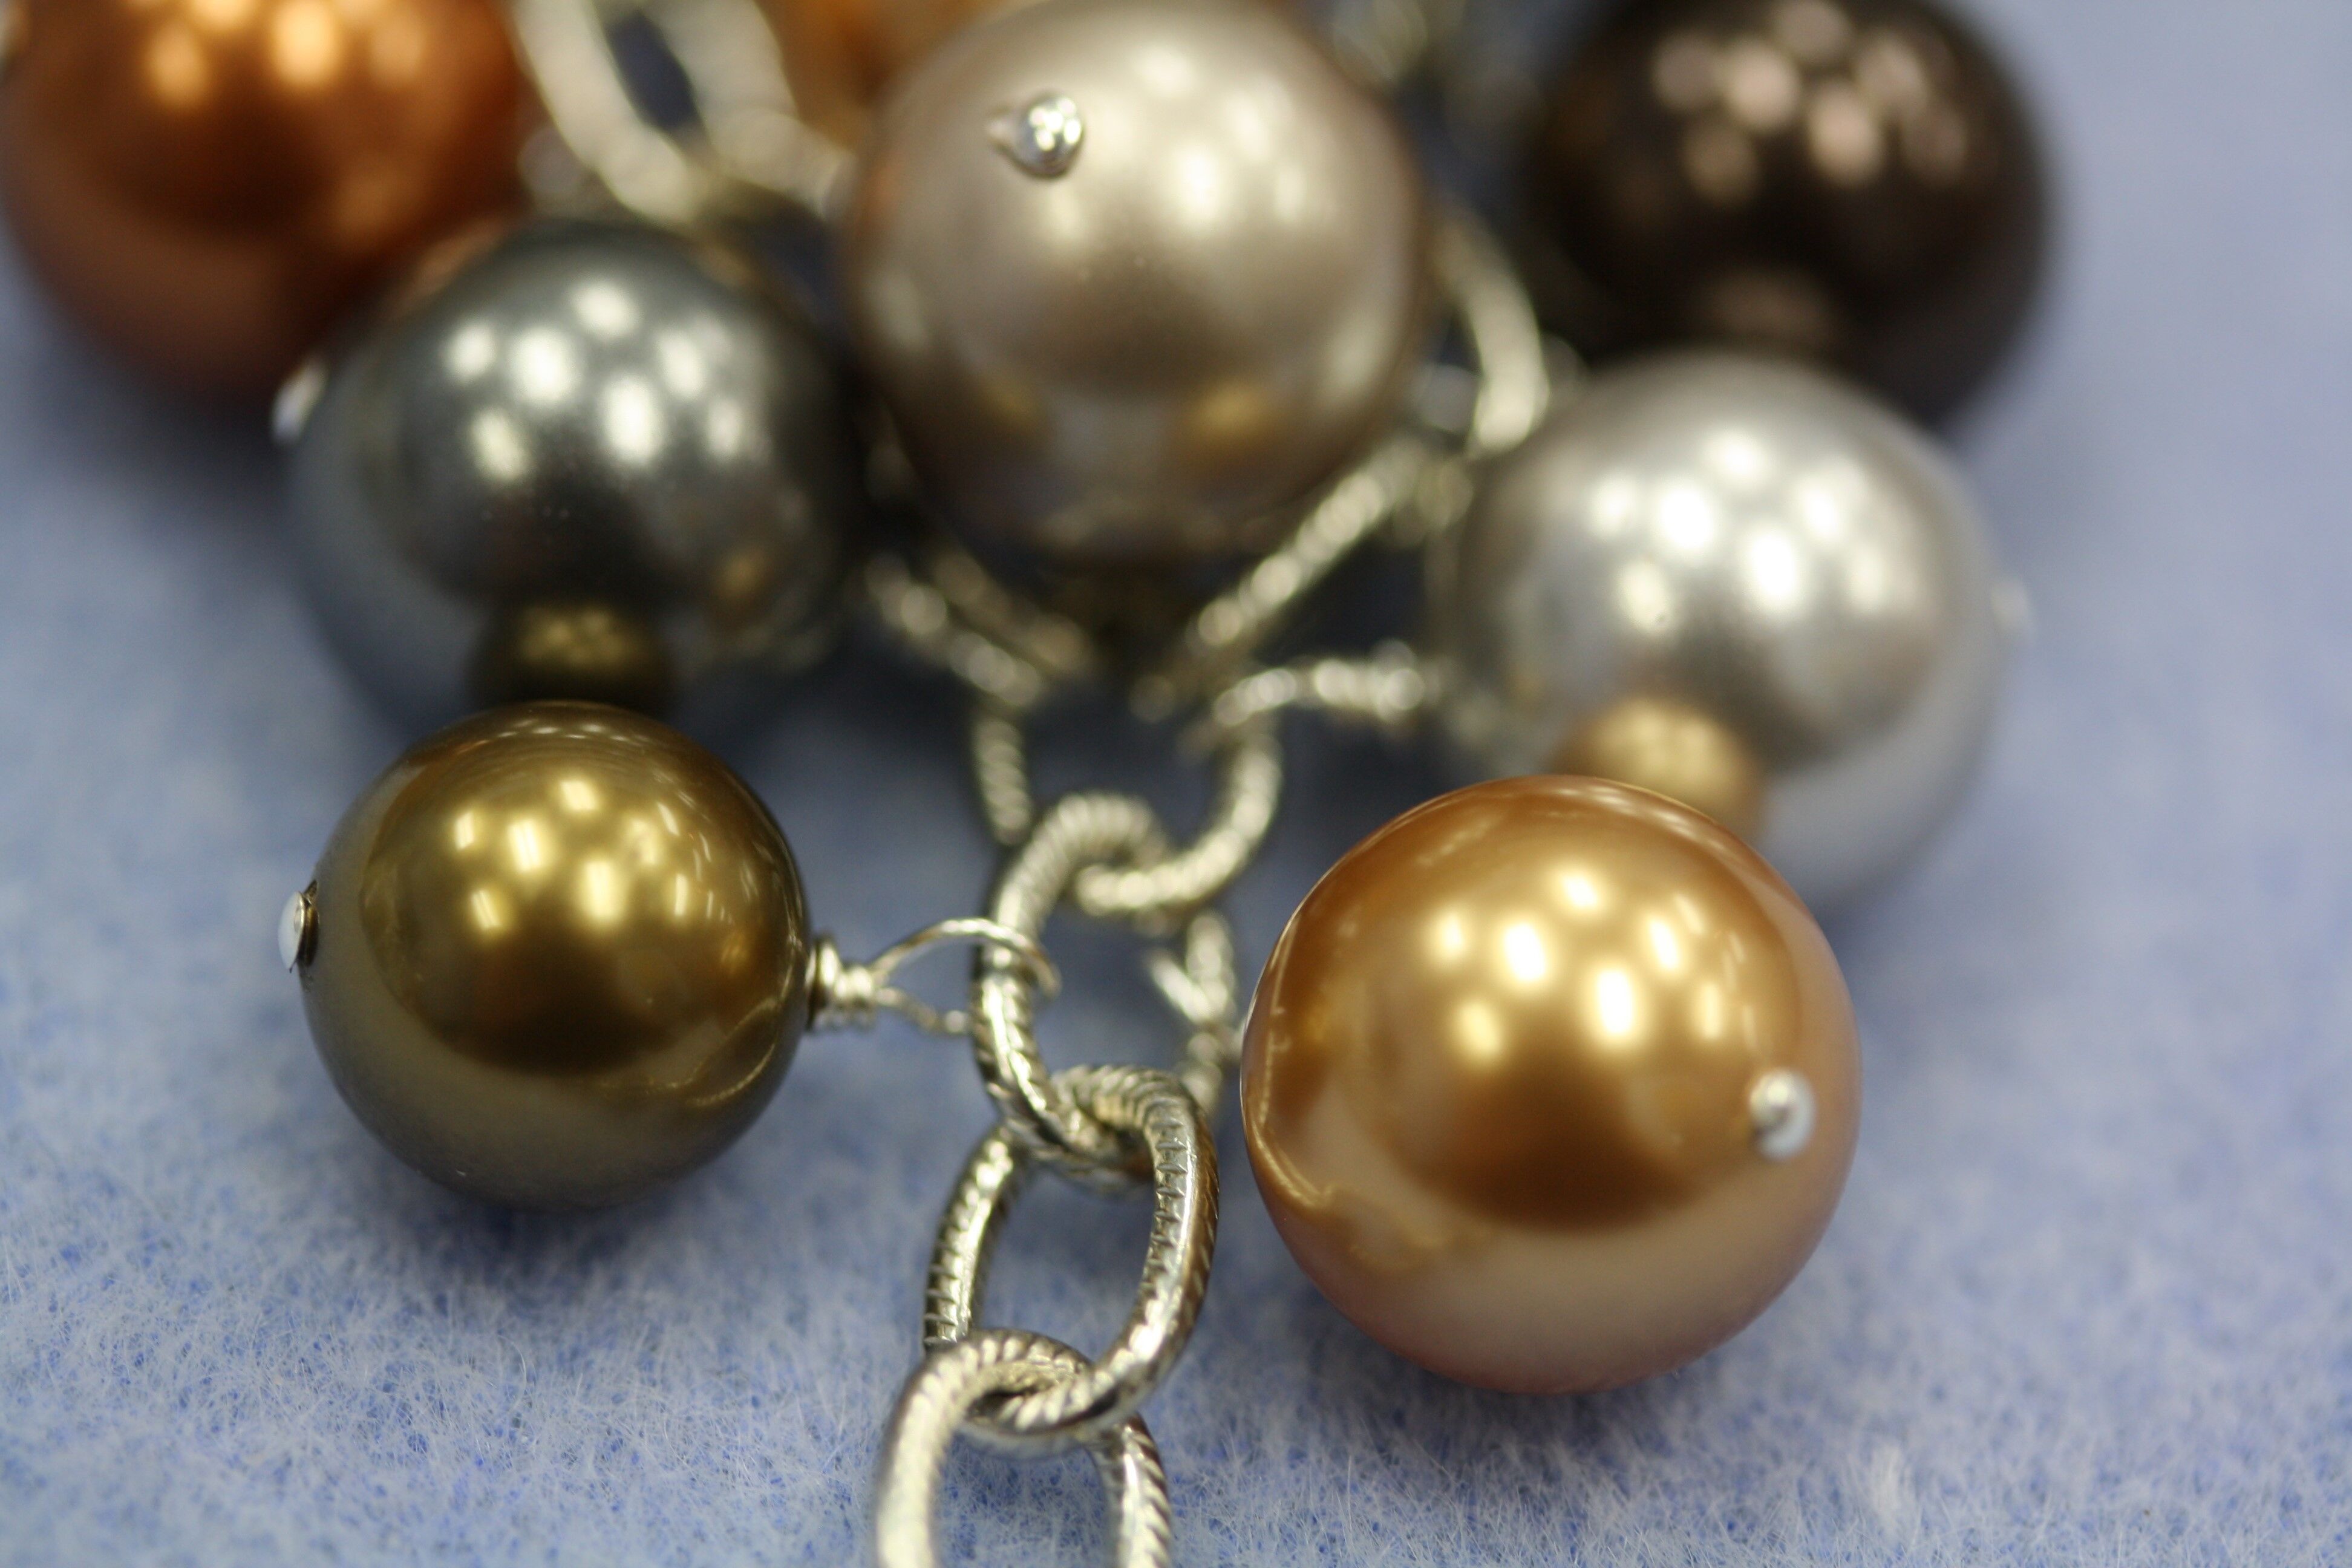
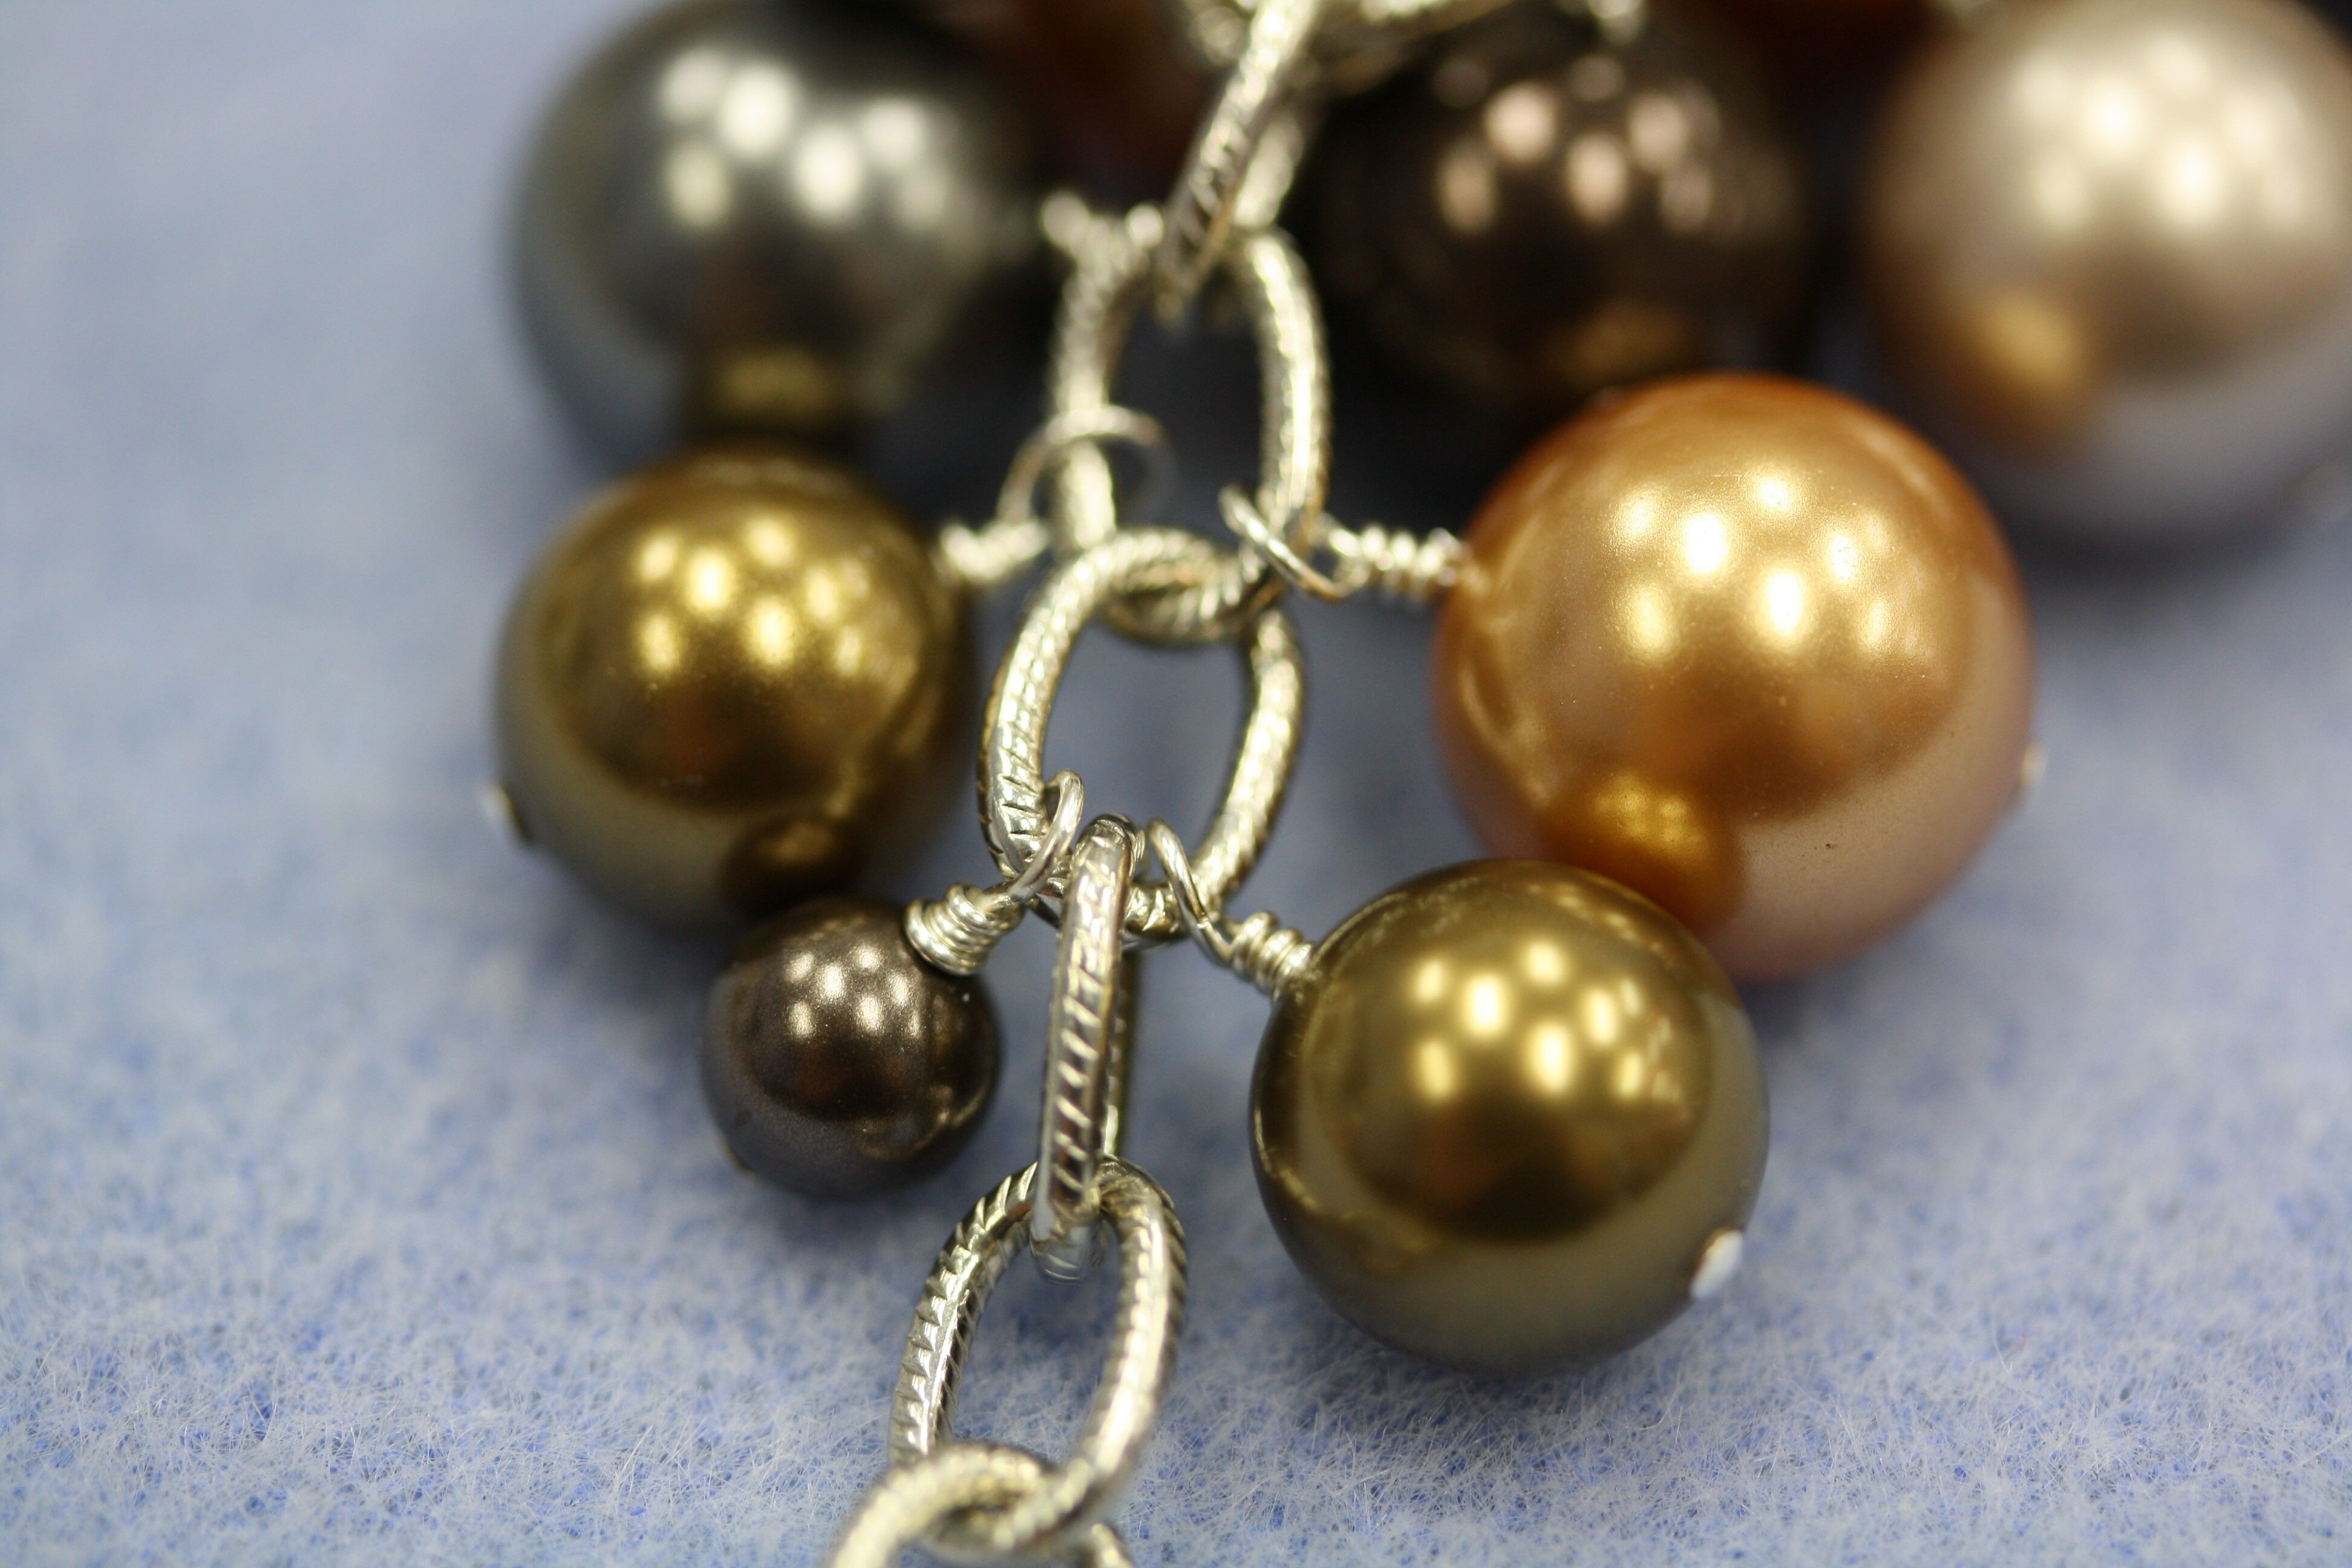
I think we should start this year off with a little drama! Dainty, minimalistic necklaces have been so popular the last few years, but I’m ready to break that up with a bold statement necklace. Our Cascade Necklace uses Swarovski Pearls, but you can use any beads you like. Bonus design tip: if you want this to have a simpler look you can use smaller beads for a chic, subtle vibe.
.
You will need:
12mm Swarovski Pearls (9 – we used 7 different colors for these)
10mm Swarovski Pearls (4)
8mm Swarovski Pearls (3)
6mm Swarovski Pearls (4)
5mm Swarovski Pearls (14 – we used 4 different colors for these)
24 gauge Sterling Silver Head Pins (34)
Oval Chain with Links that Open (18 inches + 2 inches)
Hook Clasp (1)
Needle Nose Pliers (2)
Round Nose Pliers
Wire Cutters
Fuzzy Mat
.
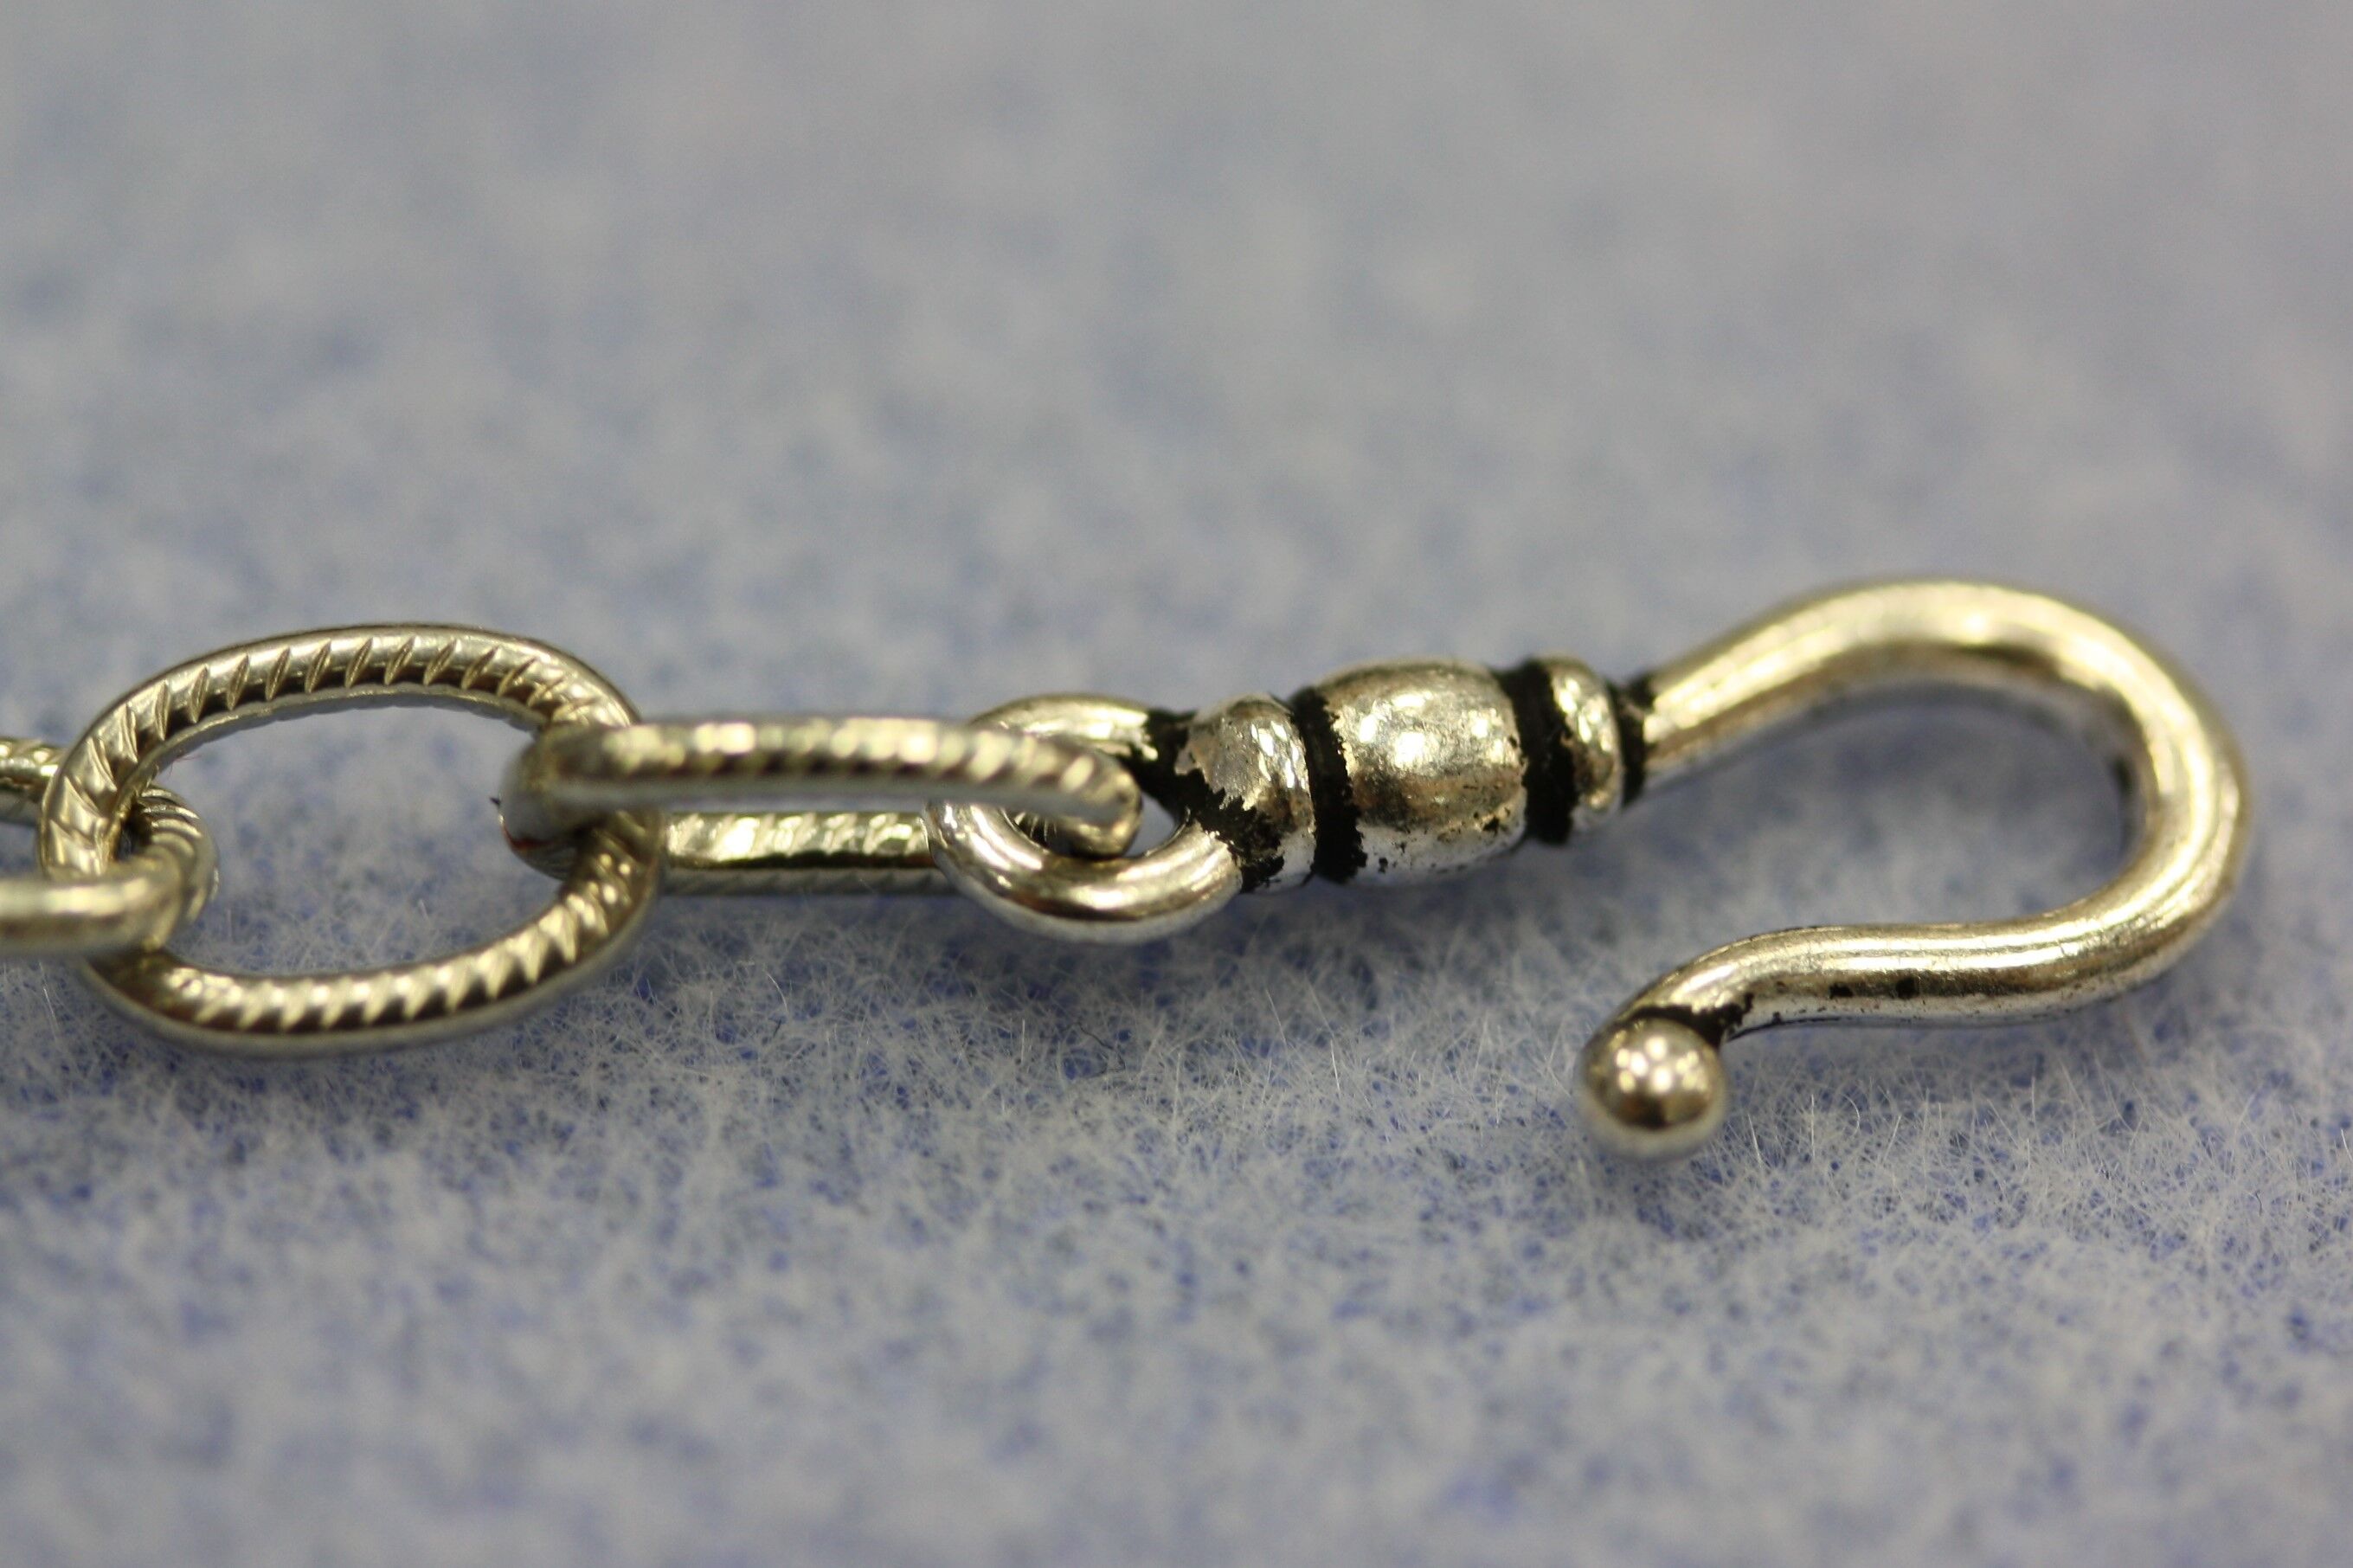
1. Use your needle nose pliers to open the last link on the 18 inch chain. String the hook onto the link.
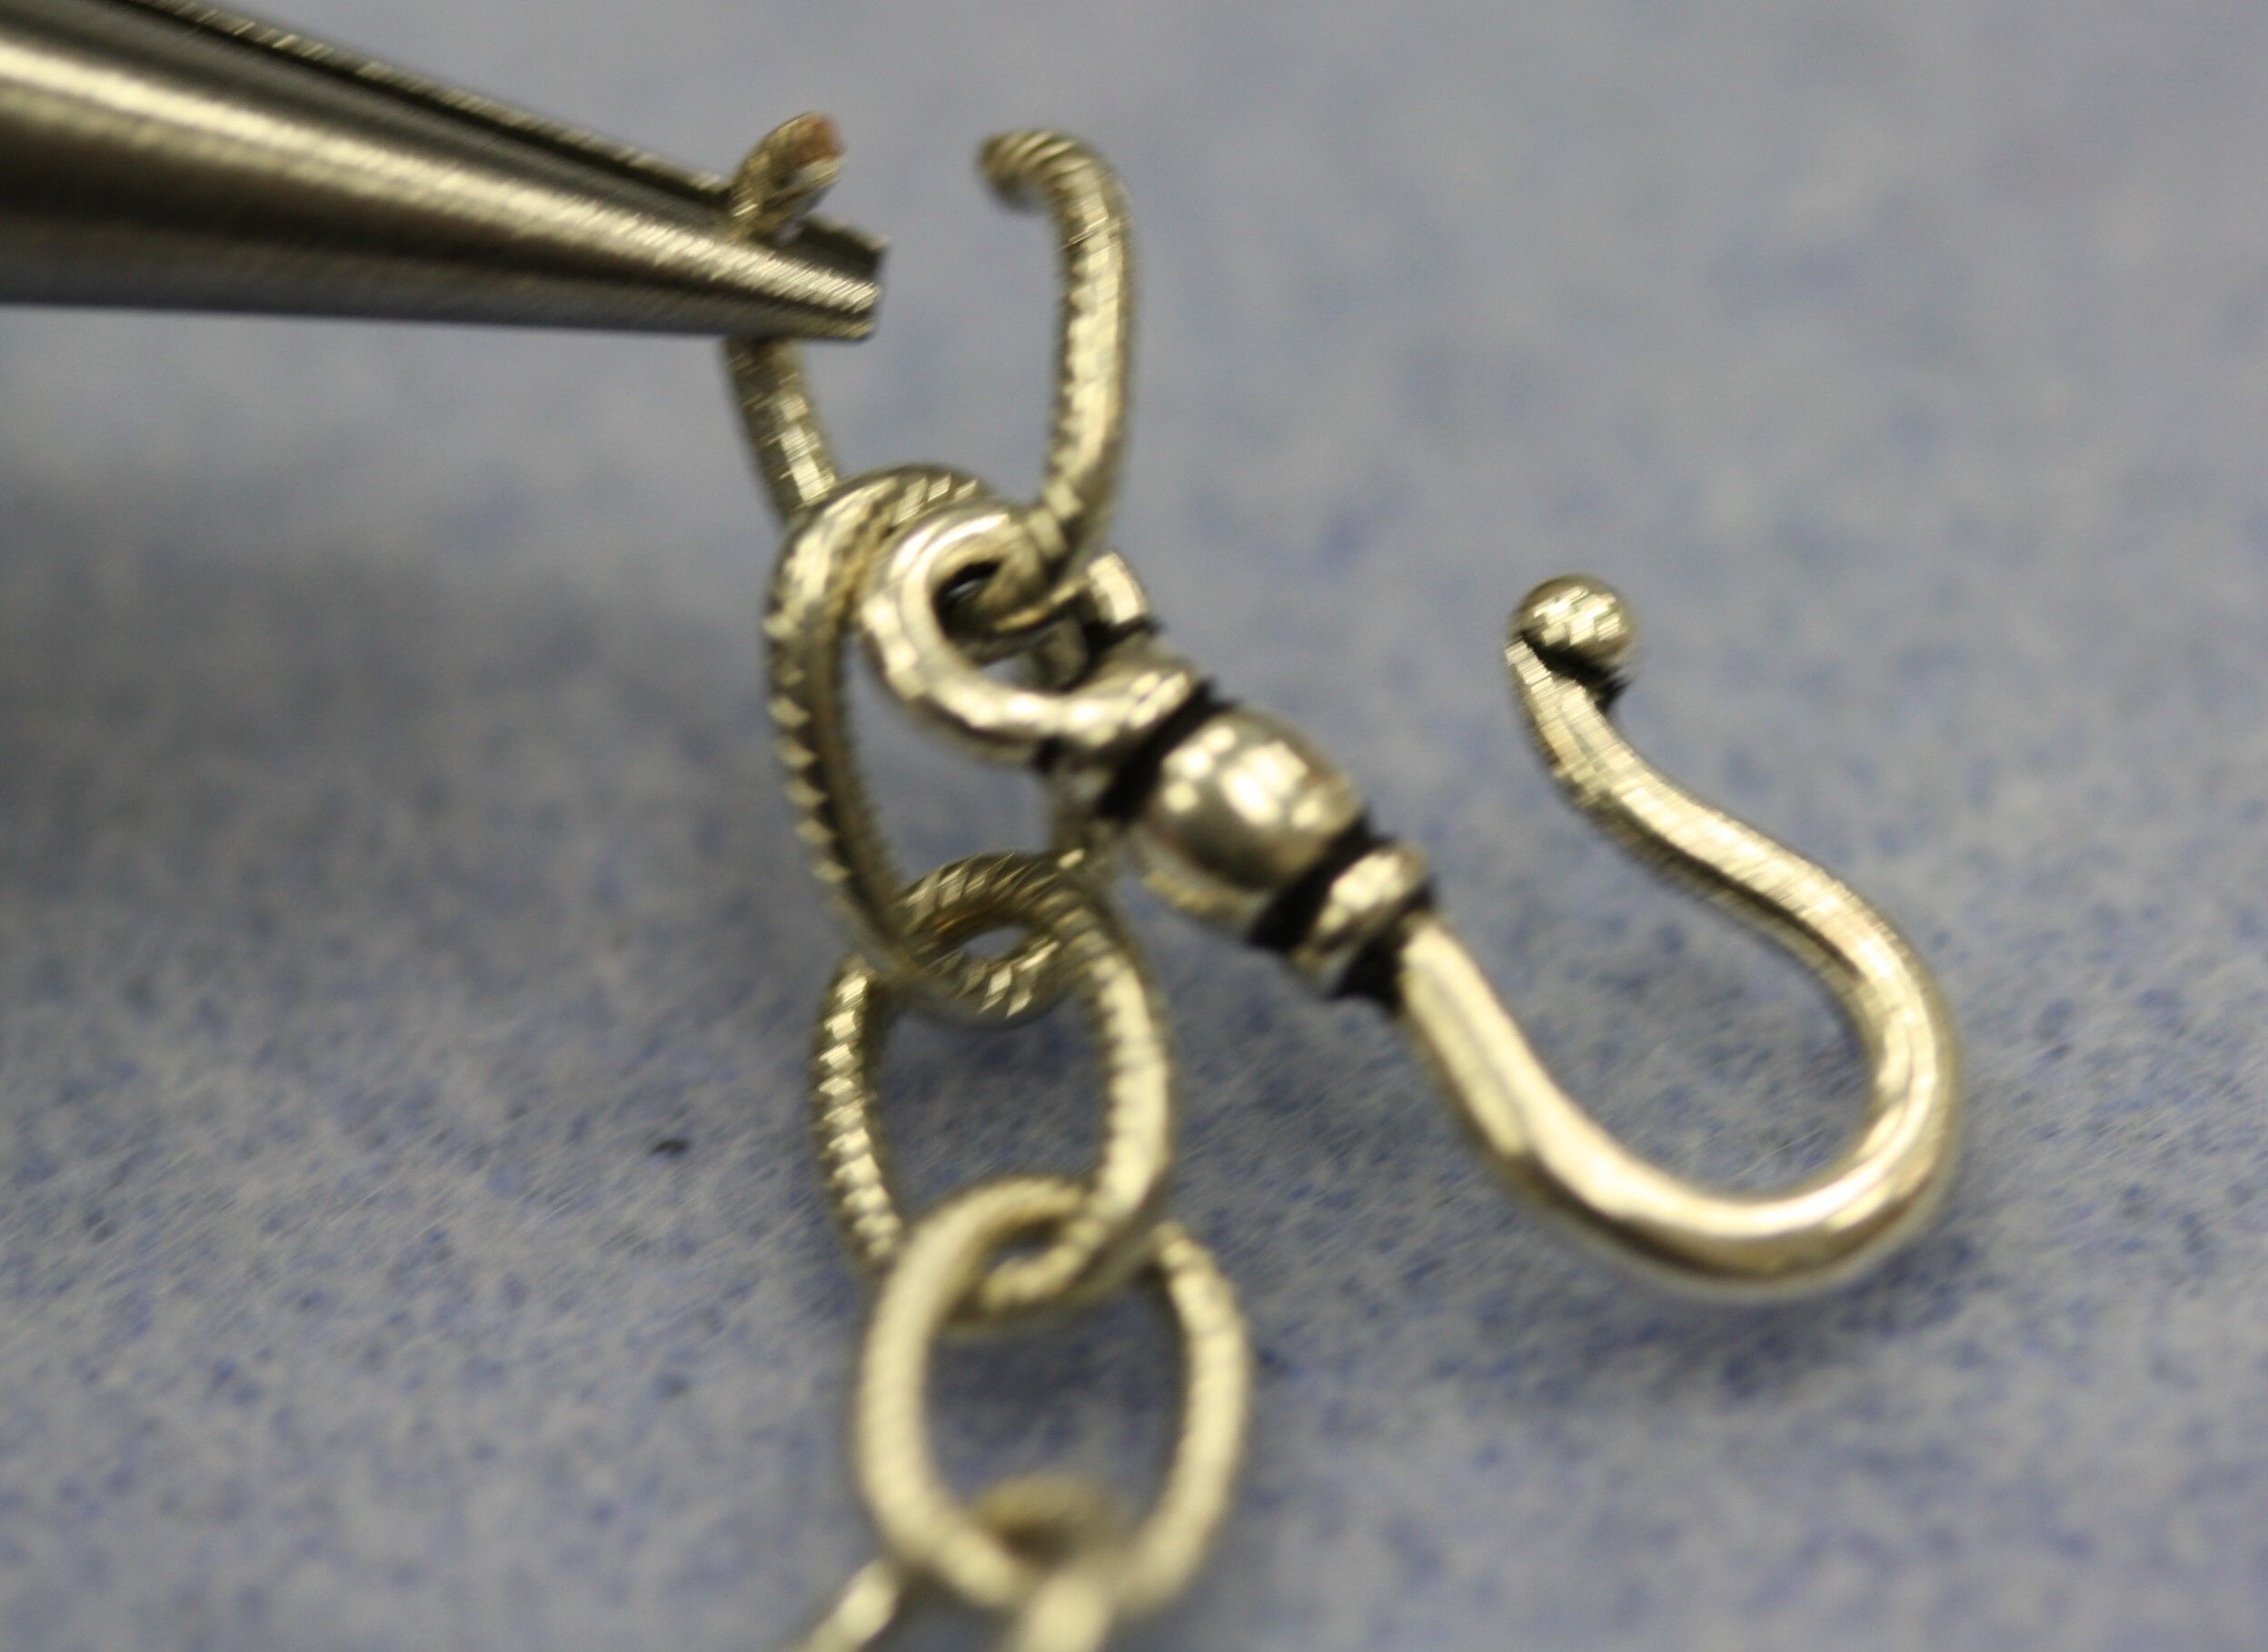
2. Close the link to attach clasp.
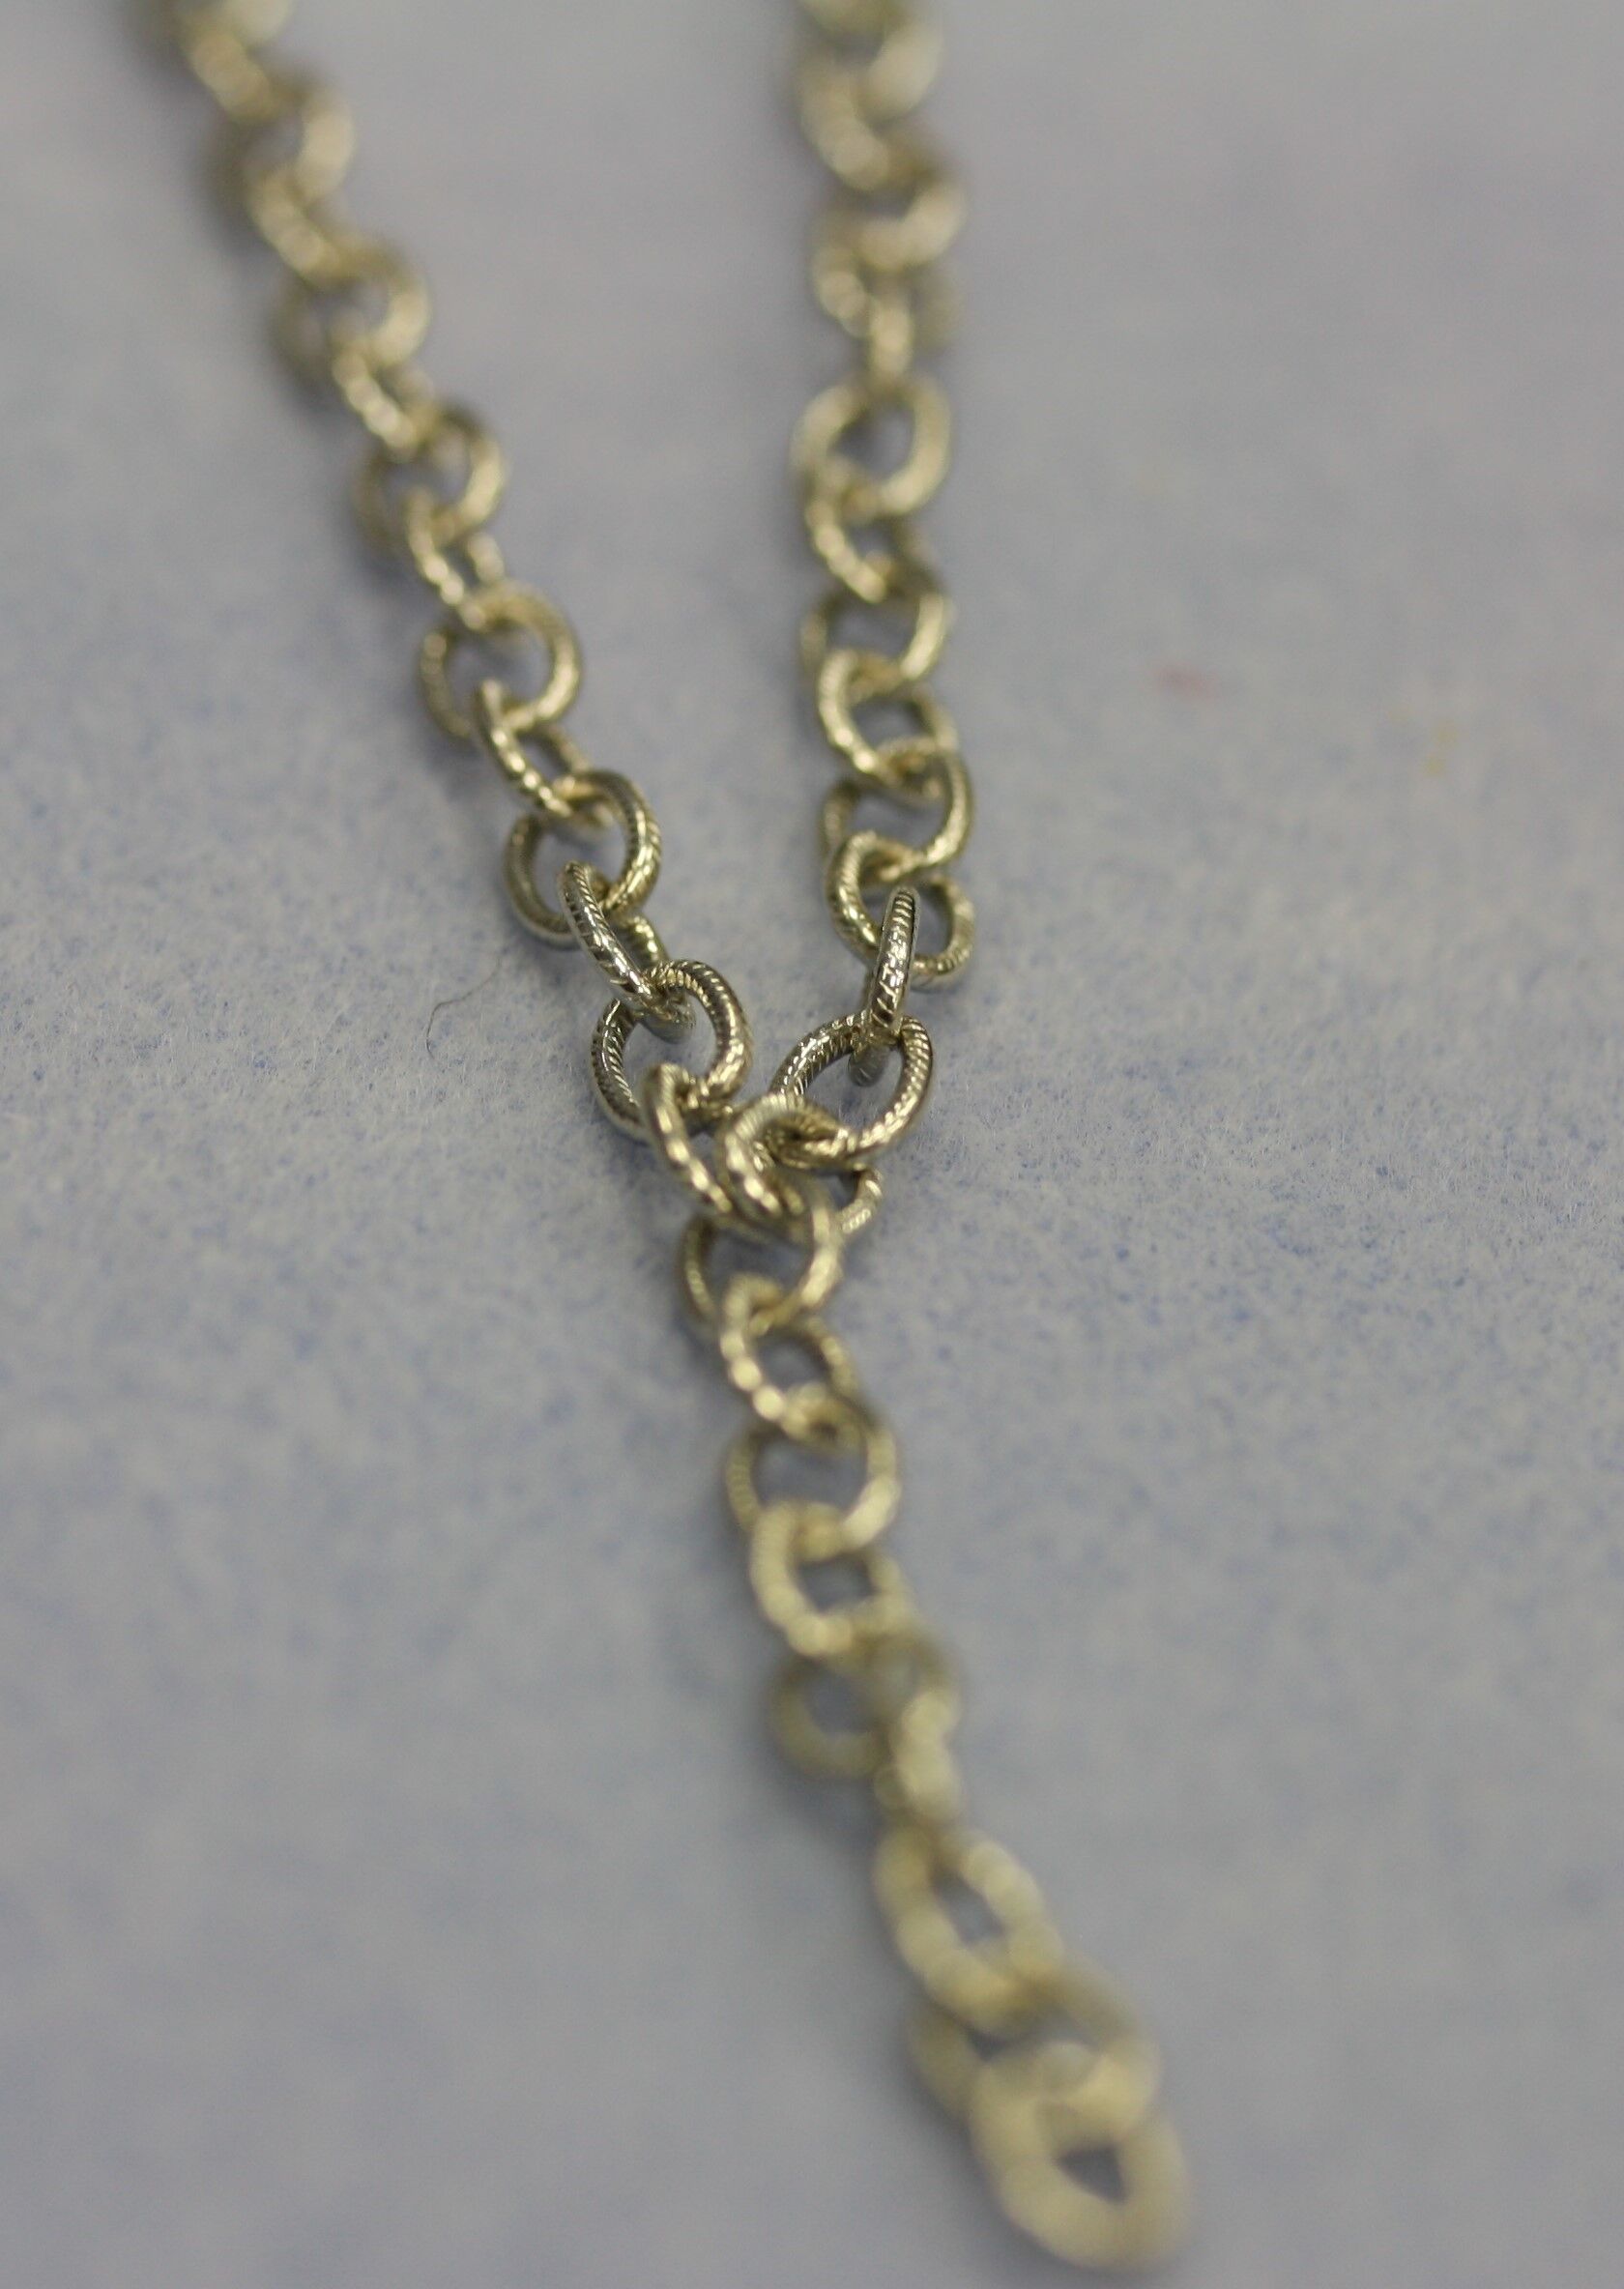
3. Count 34 links from the hook end of the 18 inch chain. Open the last link on the 2 inch piece of chain and pass it through the 34th link of the 18 inch chain.
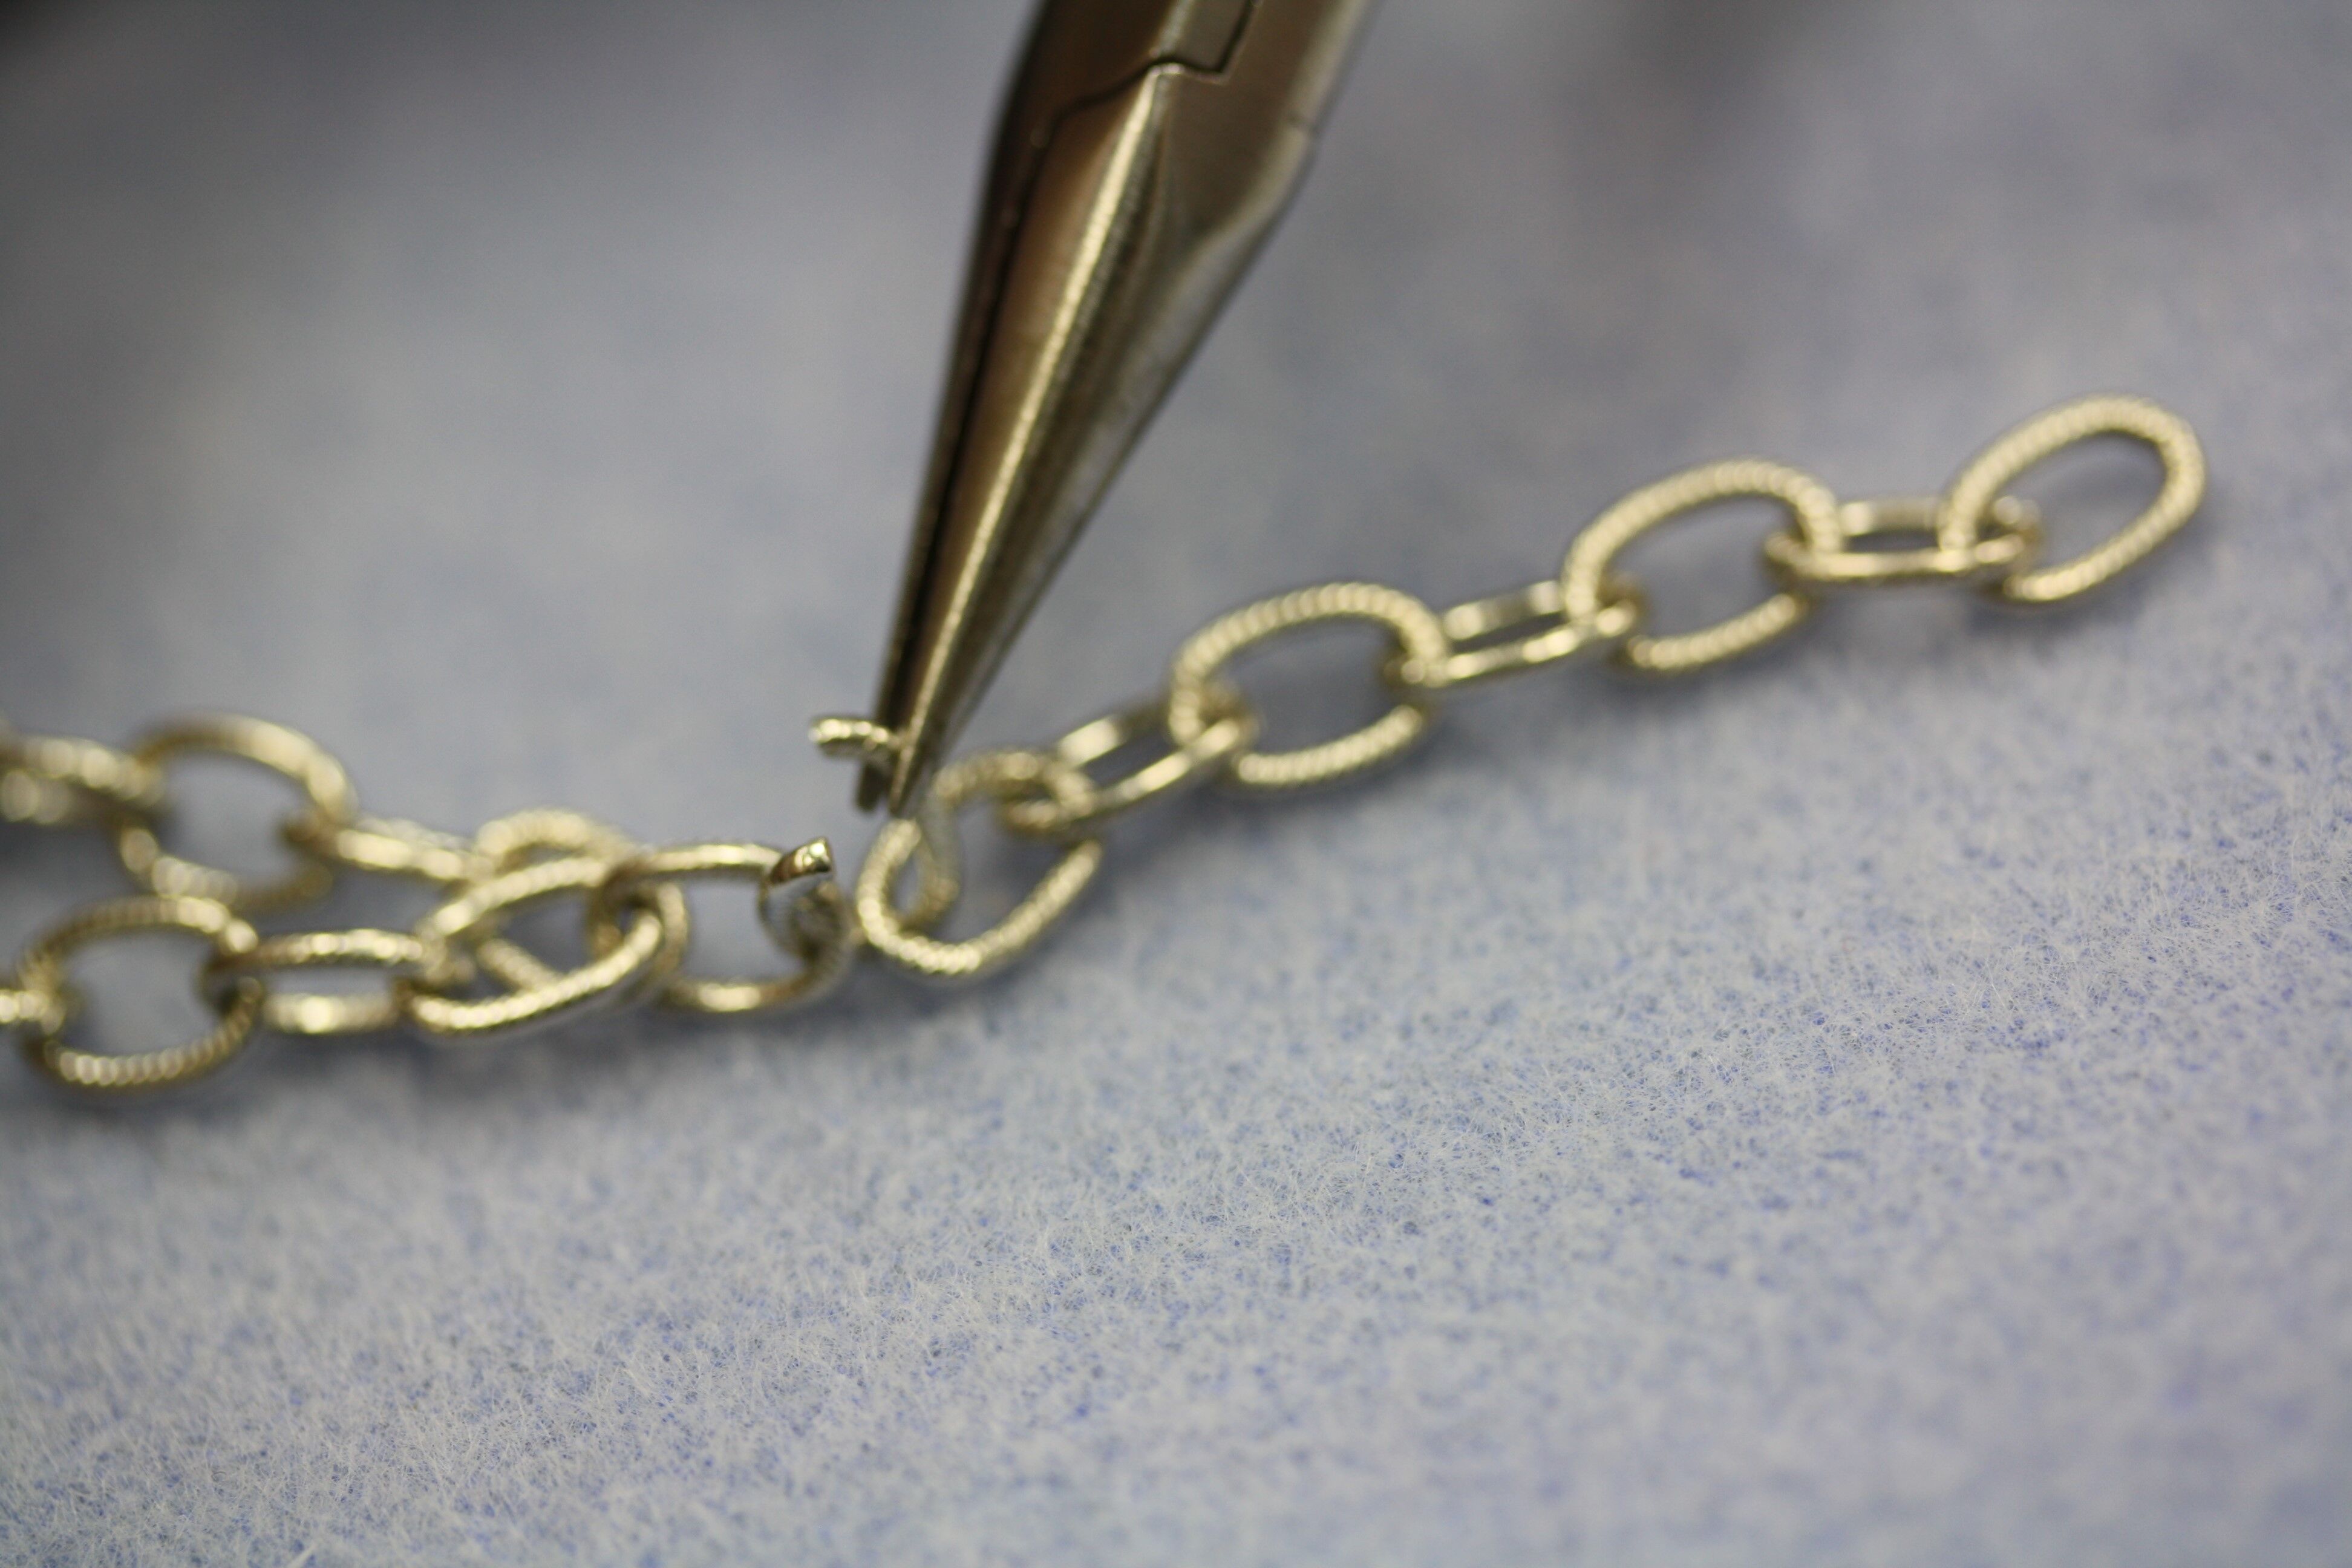
4. This creates a Y shaped chain.
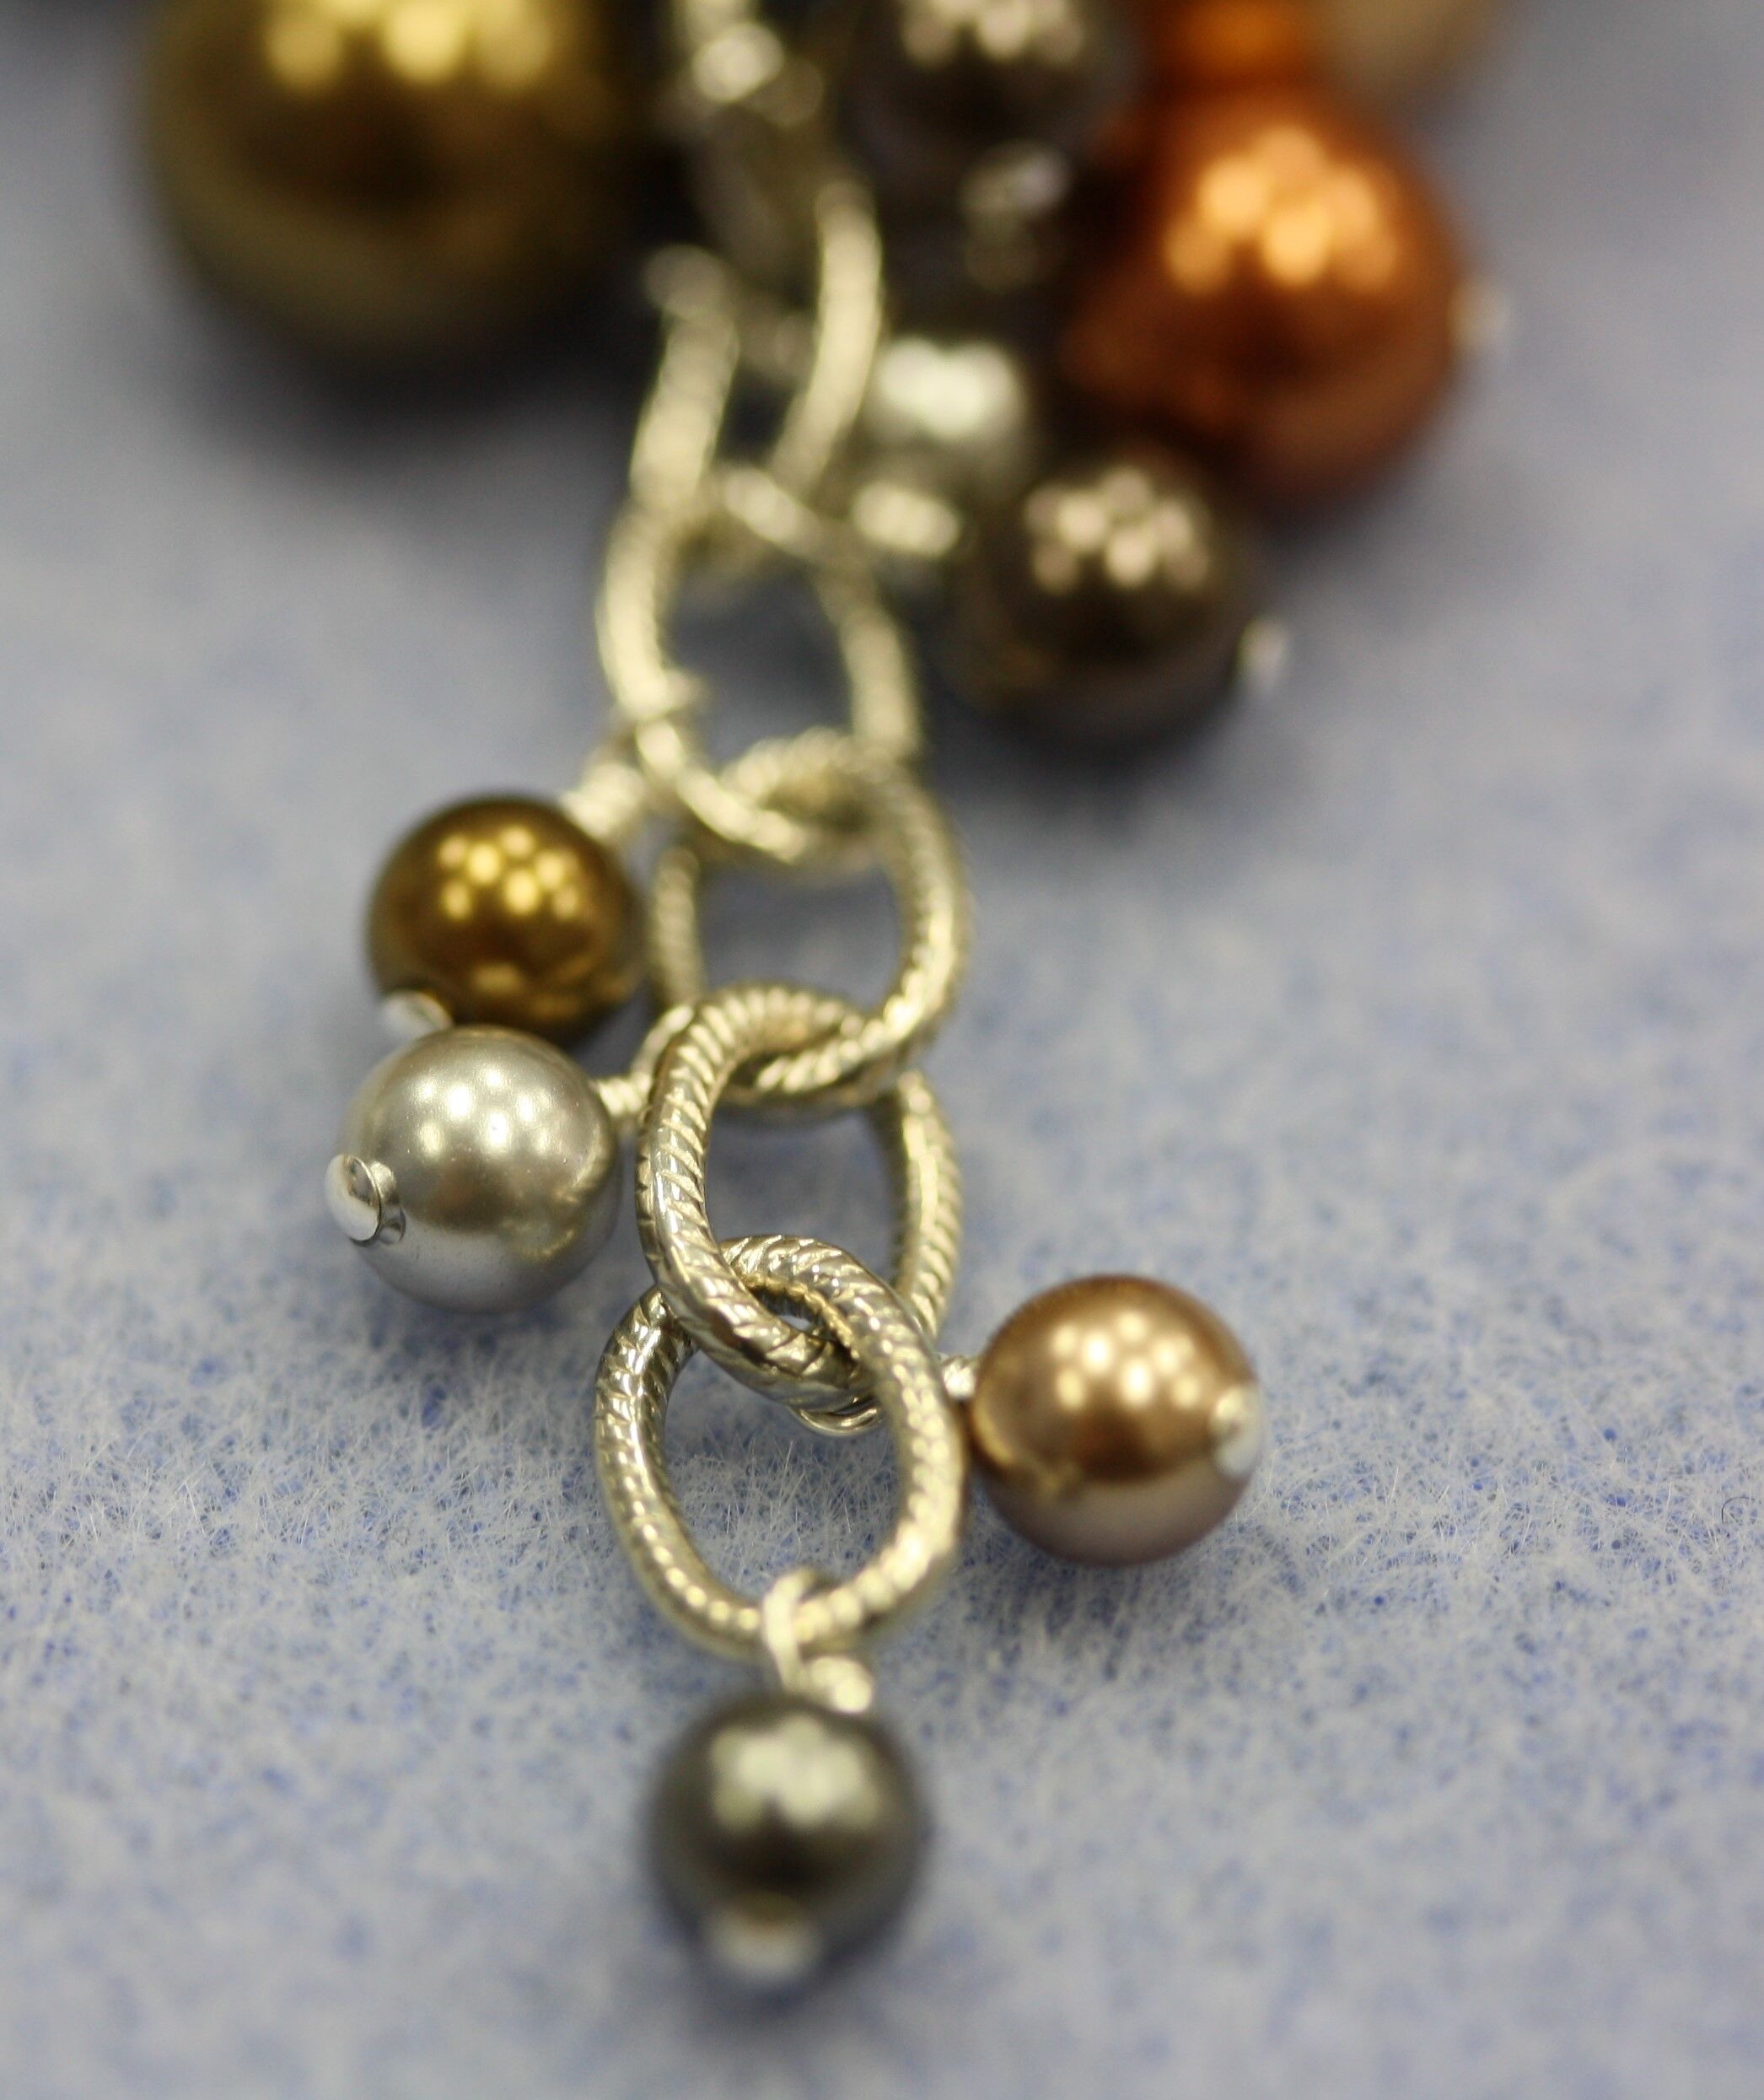
5. String one 5mm dark gray pearl onto a headpin and make a bend above the bead with your needle nose pliers.
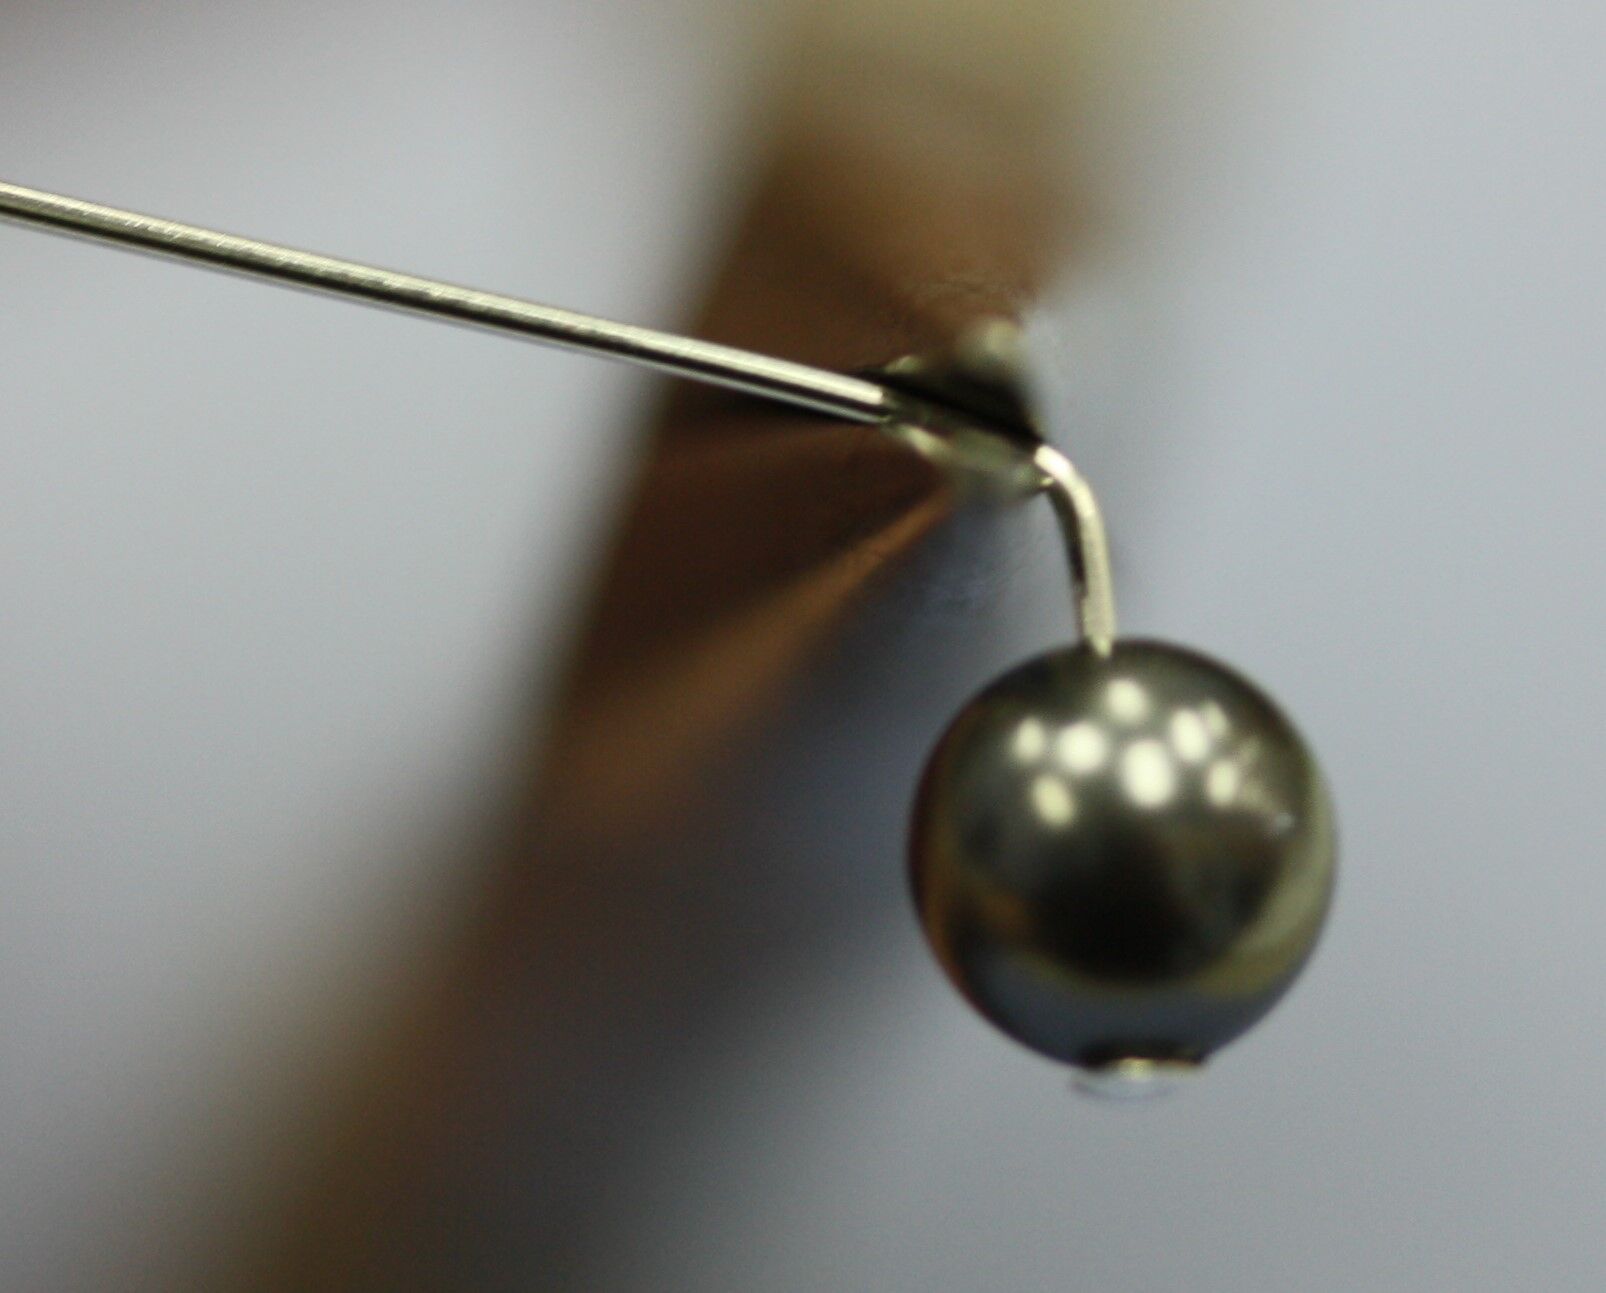
6. Using your round nose pliers, form a loop in the wire.

7. Count 24 links from the hook end of the chain. Slide the formed wire loop through the 24th link, so they become interlinked. The loops should be able to swing freely.
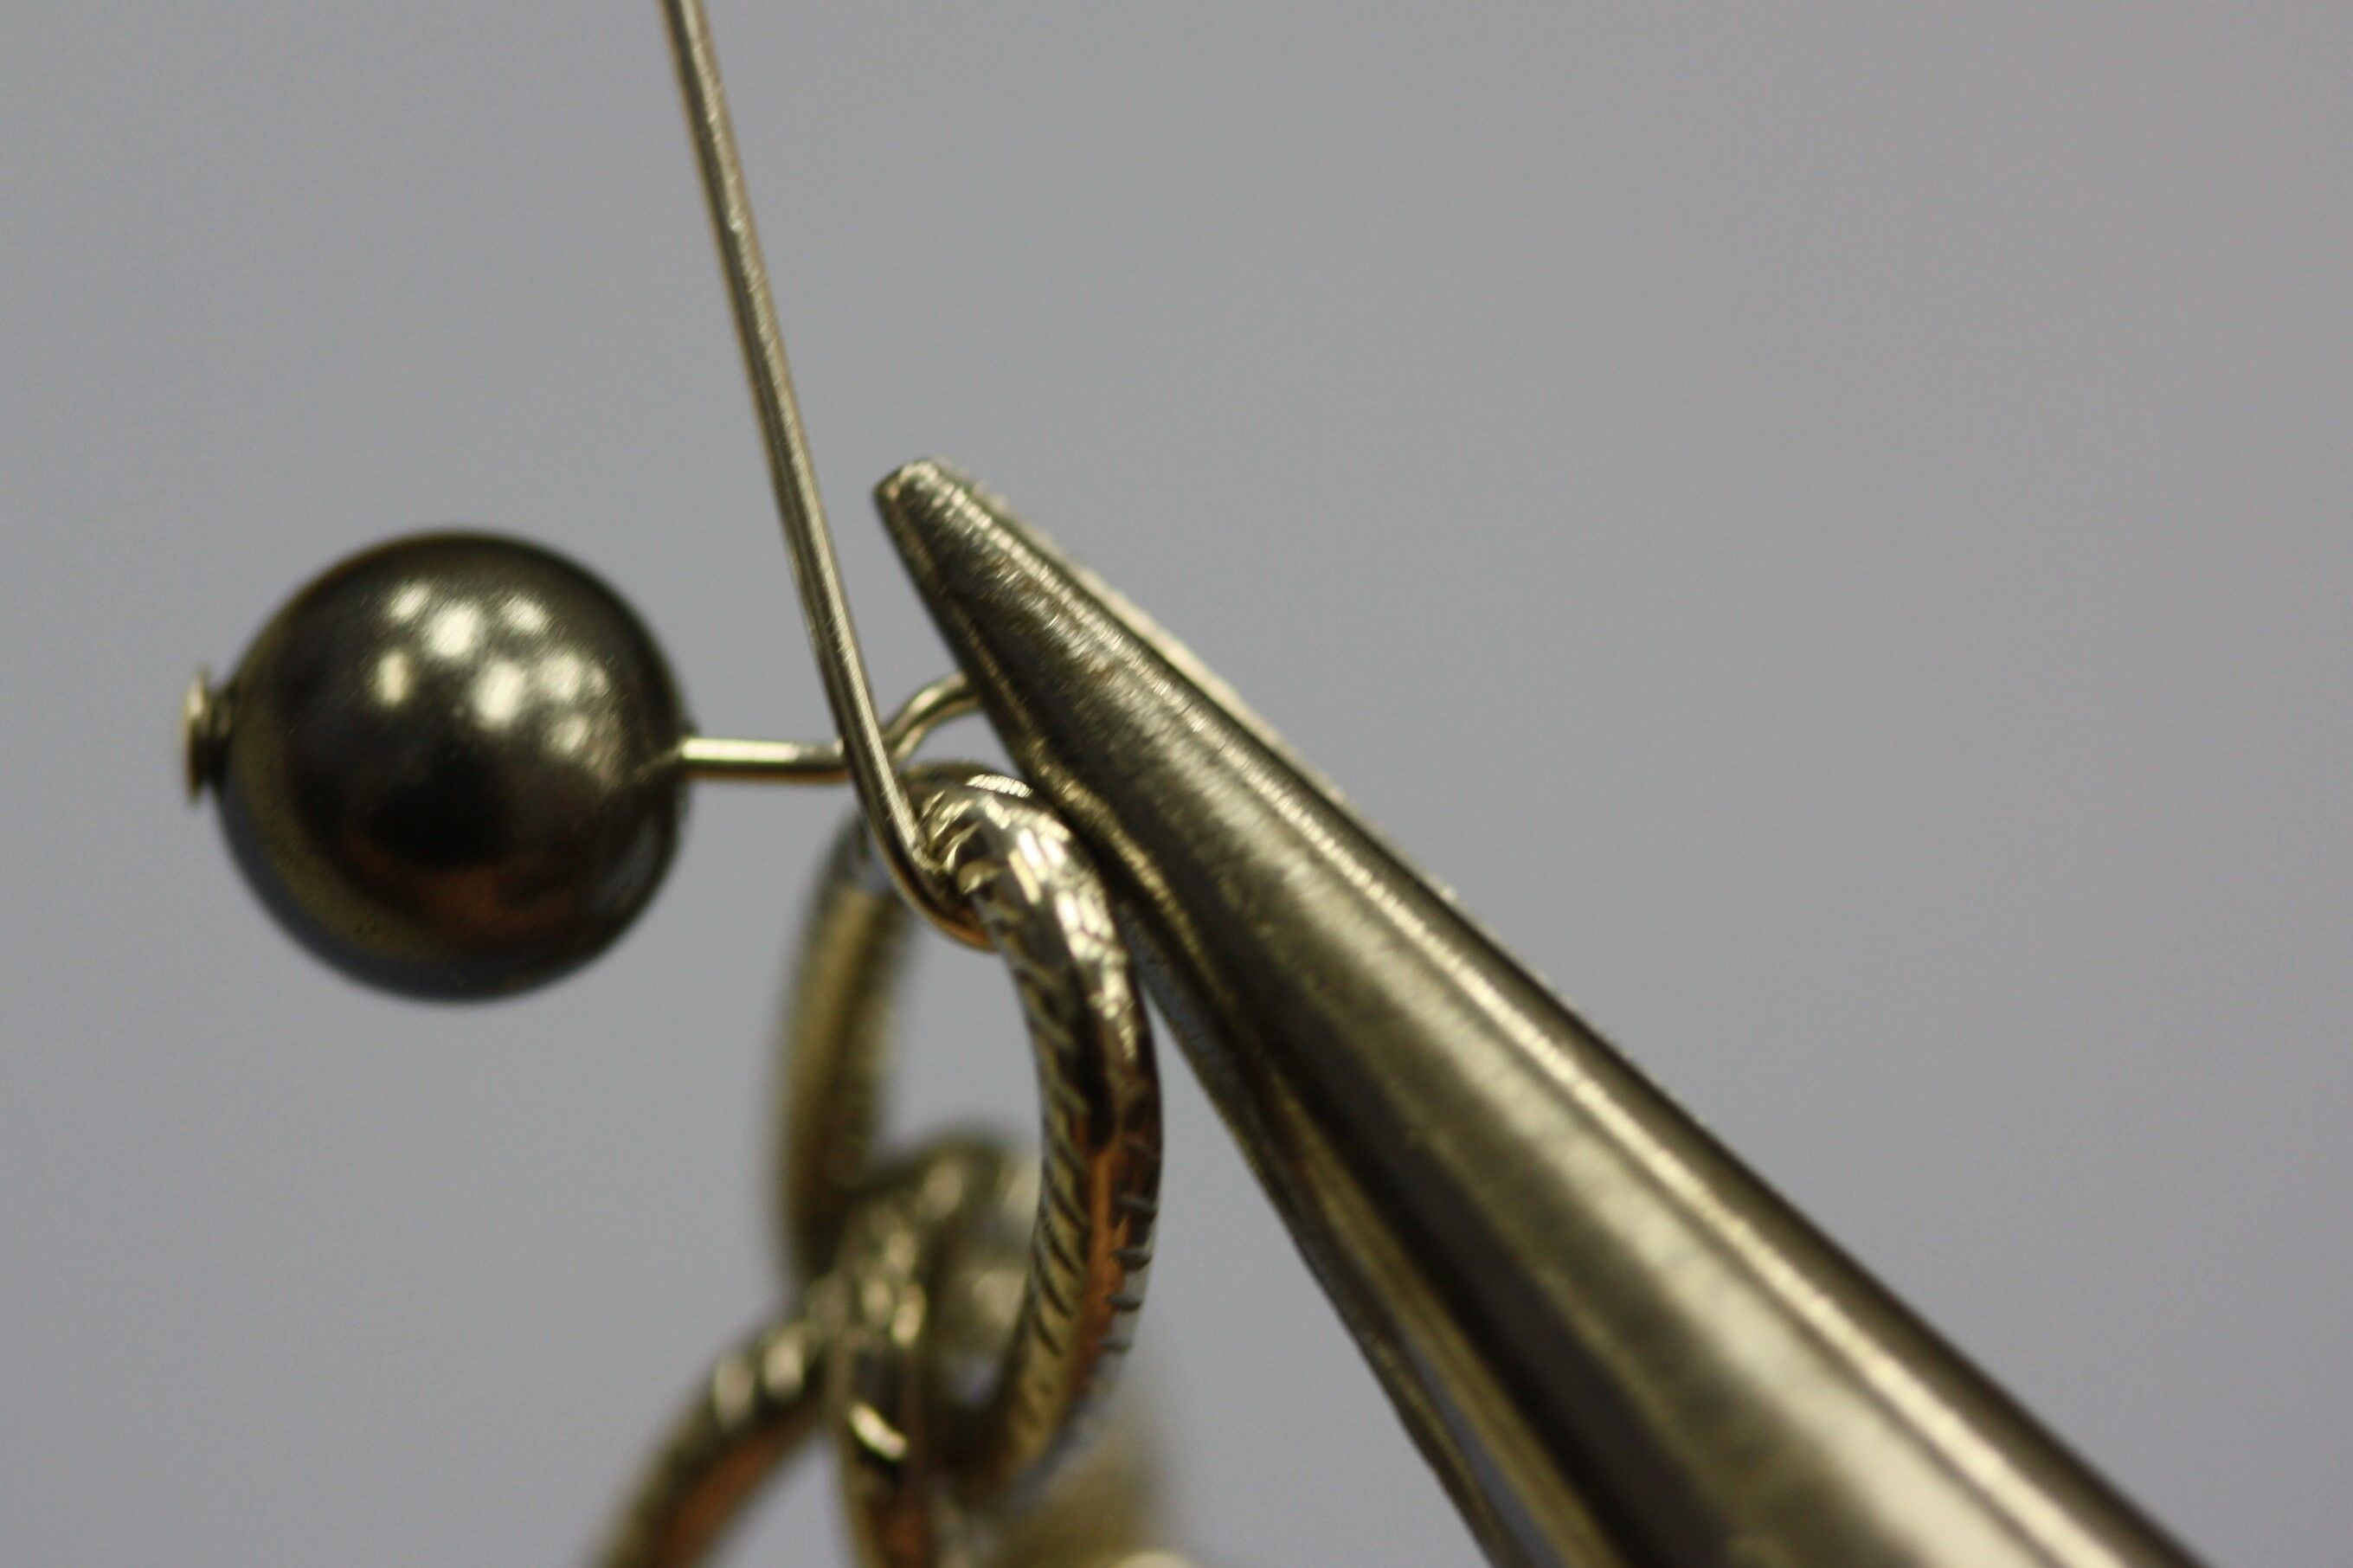
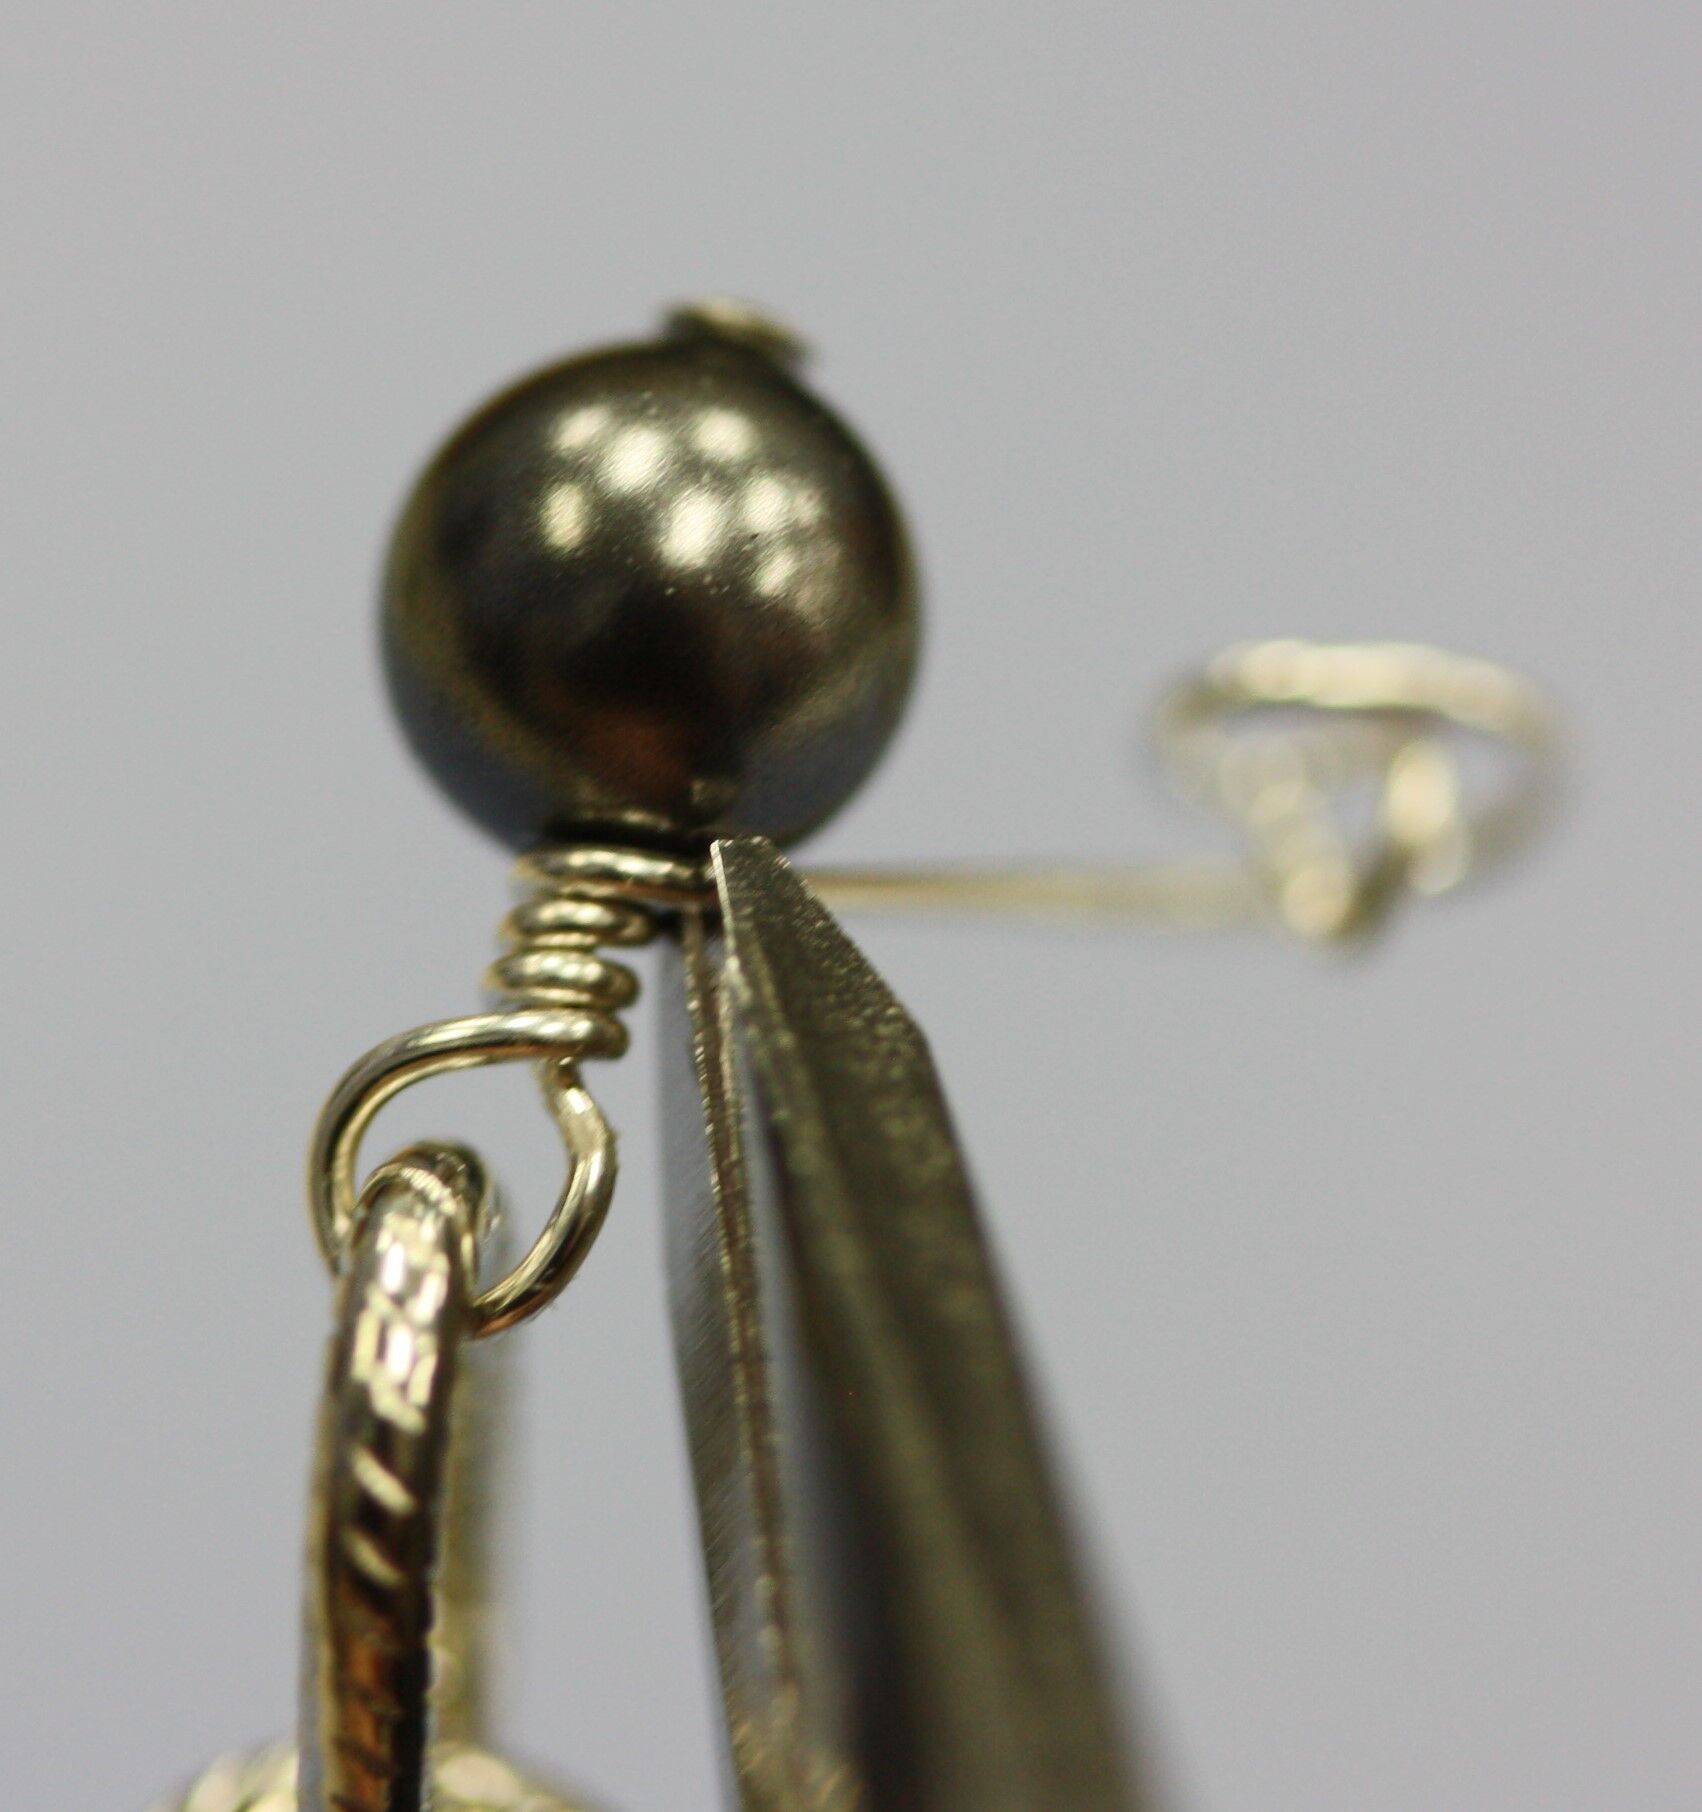
8. Use your wire wrapping technique to wrap the wire loop closed and cut off any excess wire. The bead should now be securely attached to the chain.
9. Repeat steps 5-8 to add the following beads: 5mm bronze to Link 25 (L25), 5mm light gray to L26, 5mm antique brass to L27, 6mm deep brown to L28, 8mm copper to L29, 10mm antique brass to L30.

10. Repeat steps 5-8 to add the following beads: 12mm brown to L31, 12mm platinum to L32, 12mm deep brown to L33, 12mm light gray to L34, to the left of the added 2 inch chain.
11. Repeat steps 5-8 to add the following beads: 12mm dark gray to L34, to the right of the added 2 inch chain.
12. Repeat steps 5-8 to add the following beads: 12mm bronze to L35, 12mm copper to L36, 12mm brown to L37.

13. Repeat steps 5-8 to add the following beads: 10mm antique brass to L38, 8mm copper to L39, 6mm deep brown to L40, 5mm antique brass to L41, 5mm light gray to L42, 5mm bronze to L43, 5mm dark gray to L44.
14. Now, focus on the 2 inch section of chain. Repeat steps 5-8 to add the following beads: 12mm bronze on one side of L1 of the added 2 inch chain and 10mm antique brass on the other side of L1.
15. Repeat steps 5-8 to add the following beads: 10mm antique brass on one side of L2 and 6mm deep brown on the other side of L2.
16. Repeat steps 5-8 to add the following beads: 8mm copper on one side of L3 and 5mm antique brass on the other side of L3, 6mm deep brown on one side of L4 and 5mm light gray on the other side of L4, 5mm antique brass to L5, 5mm light gray to L6, 5mm bronze to L7, 5mm dark gray to L8.
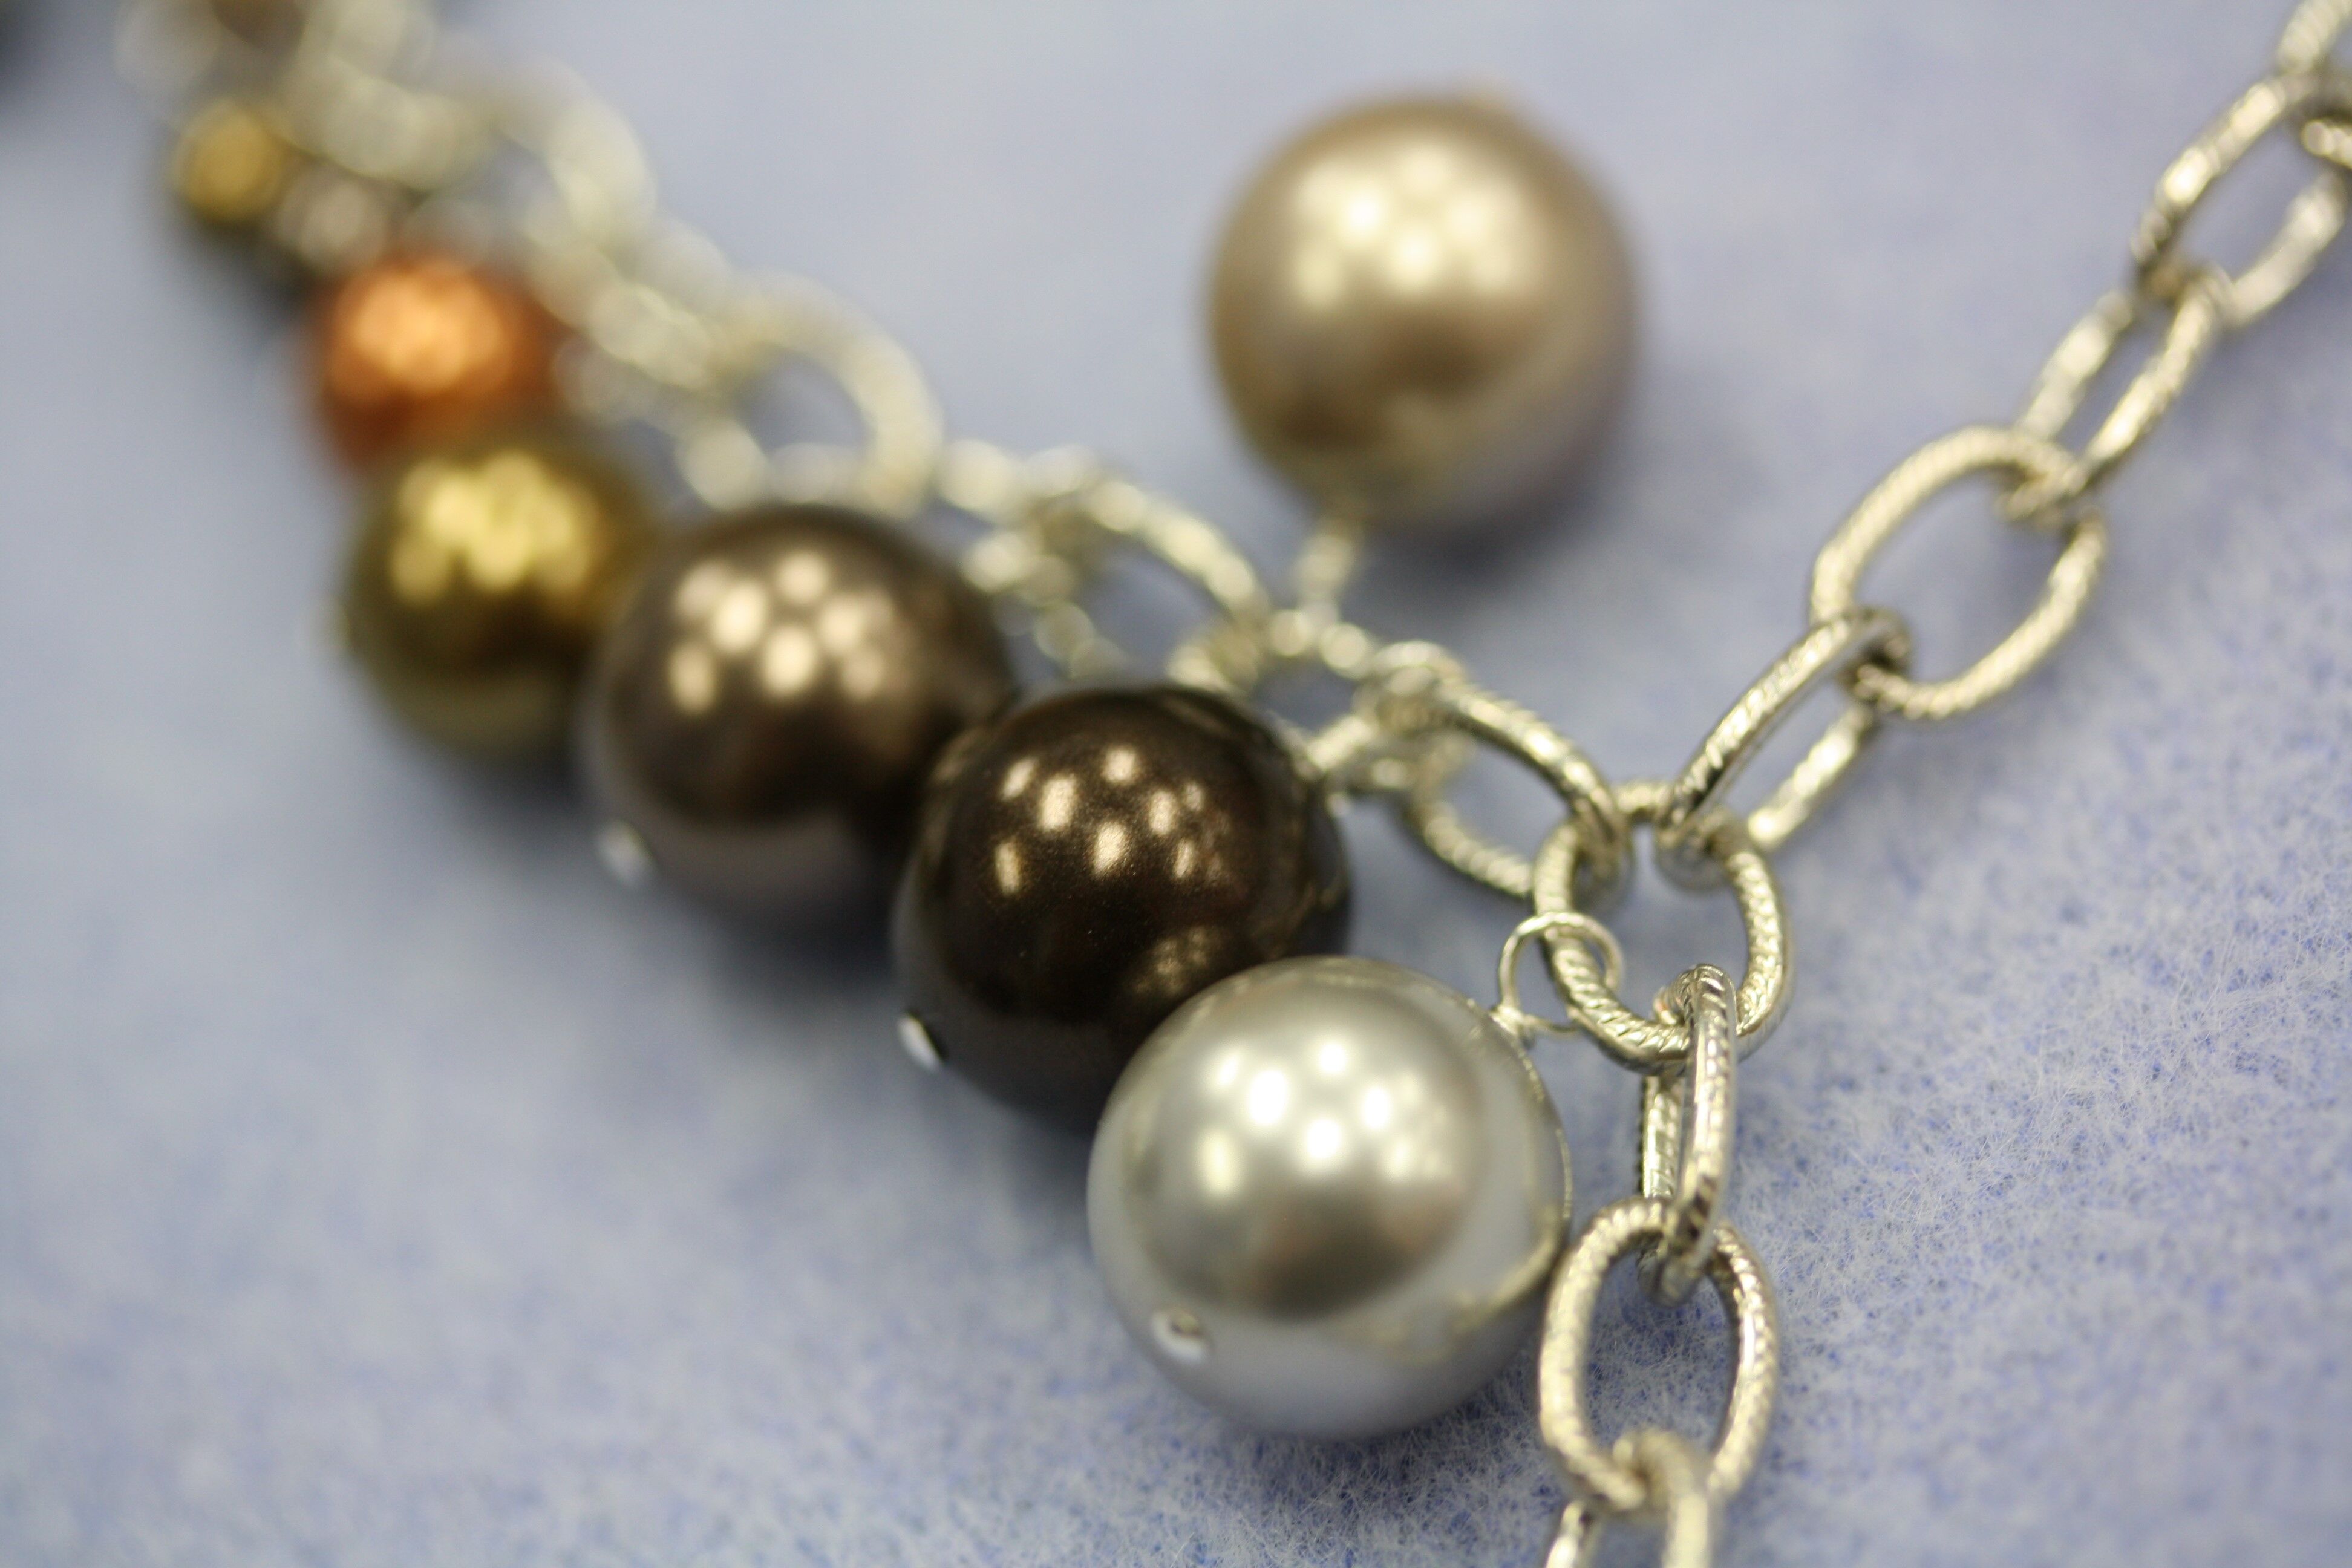
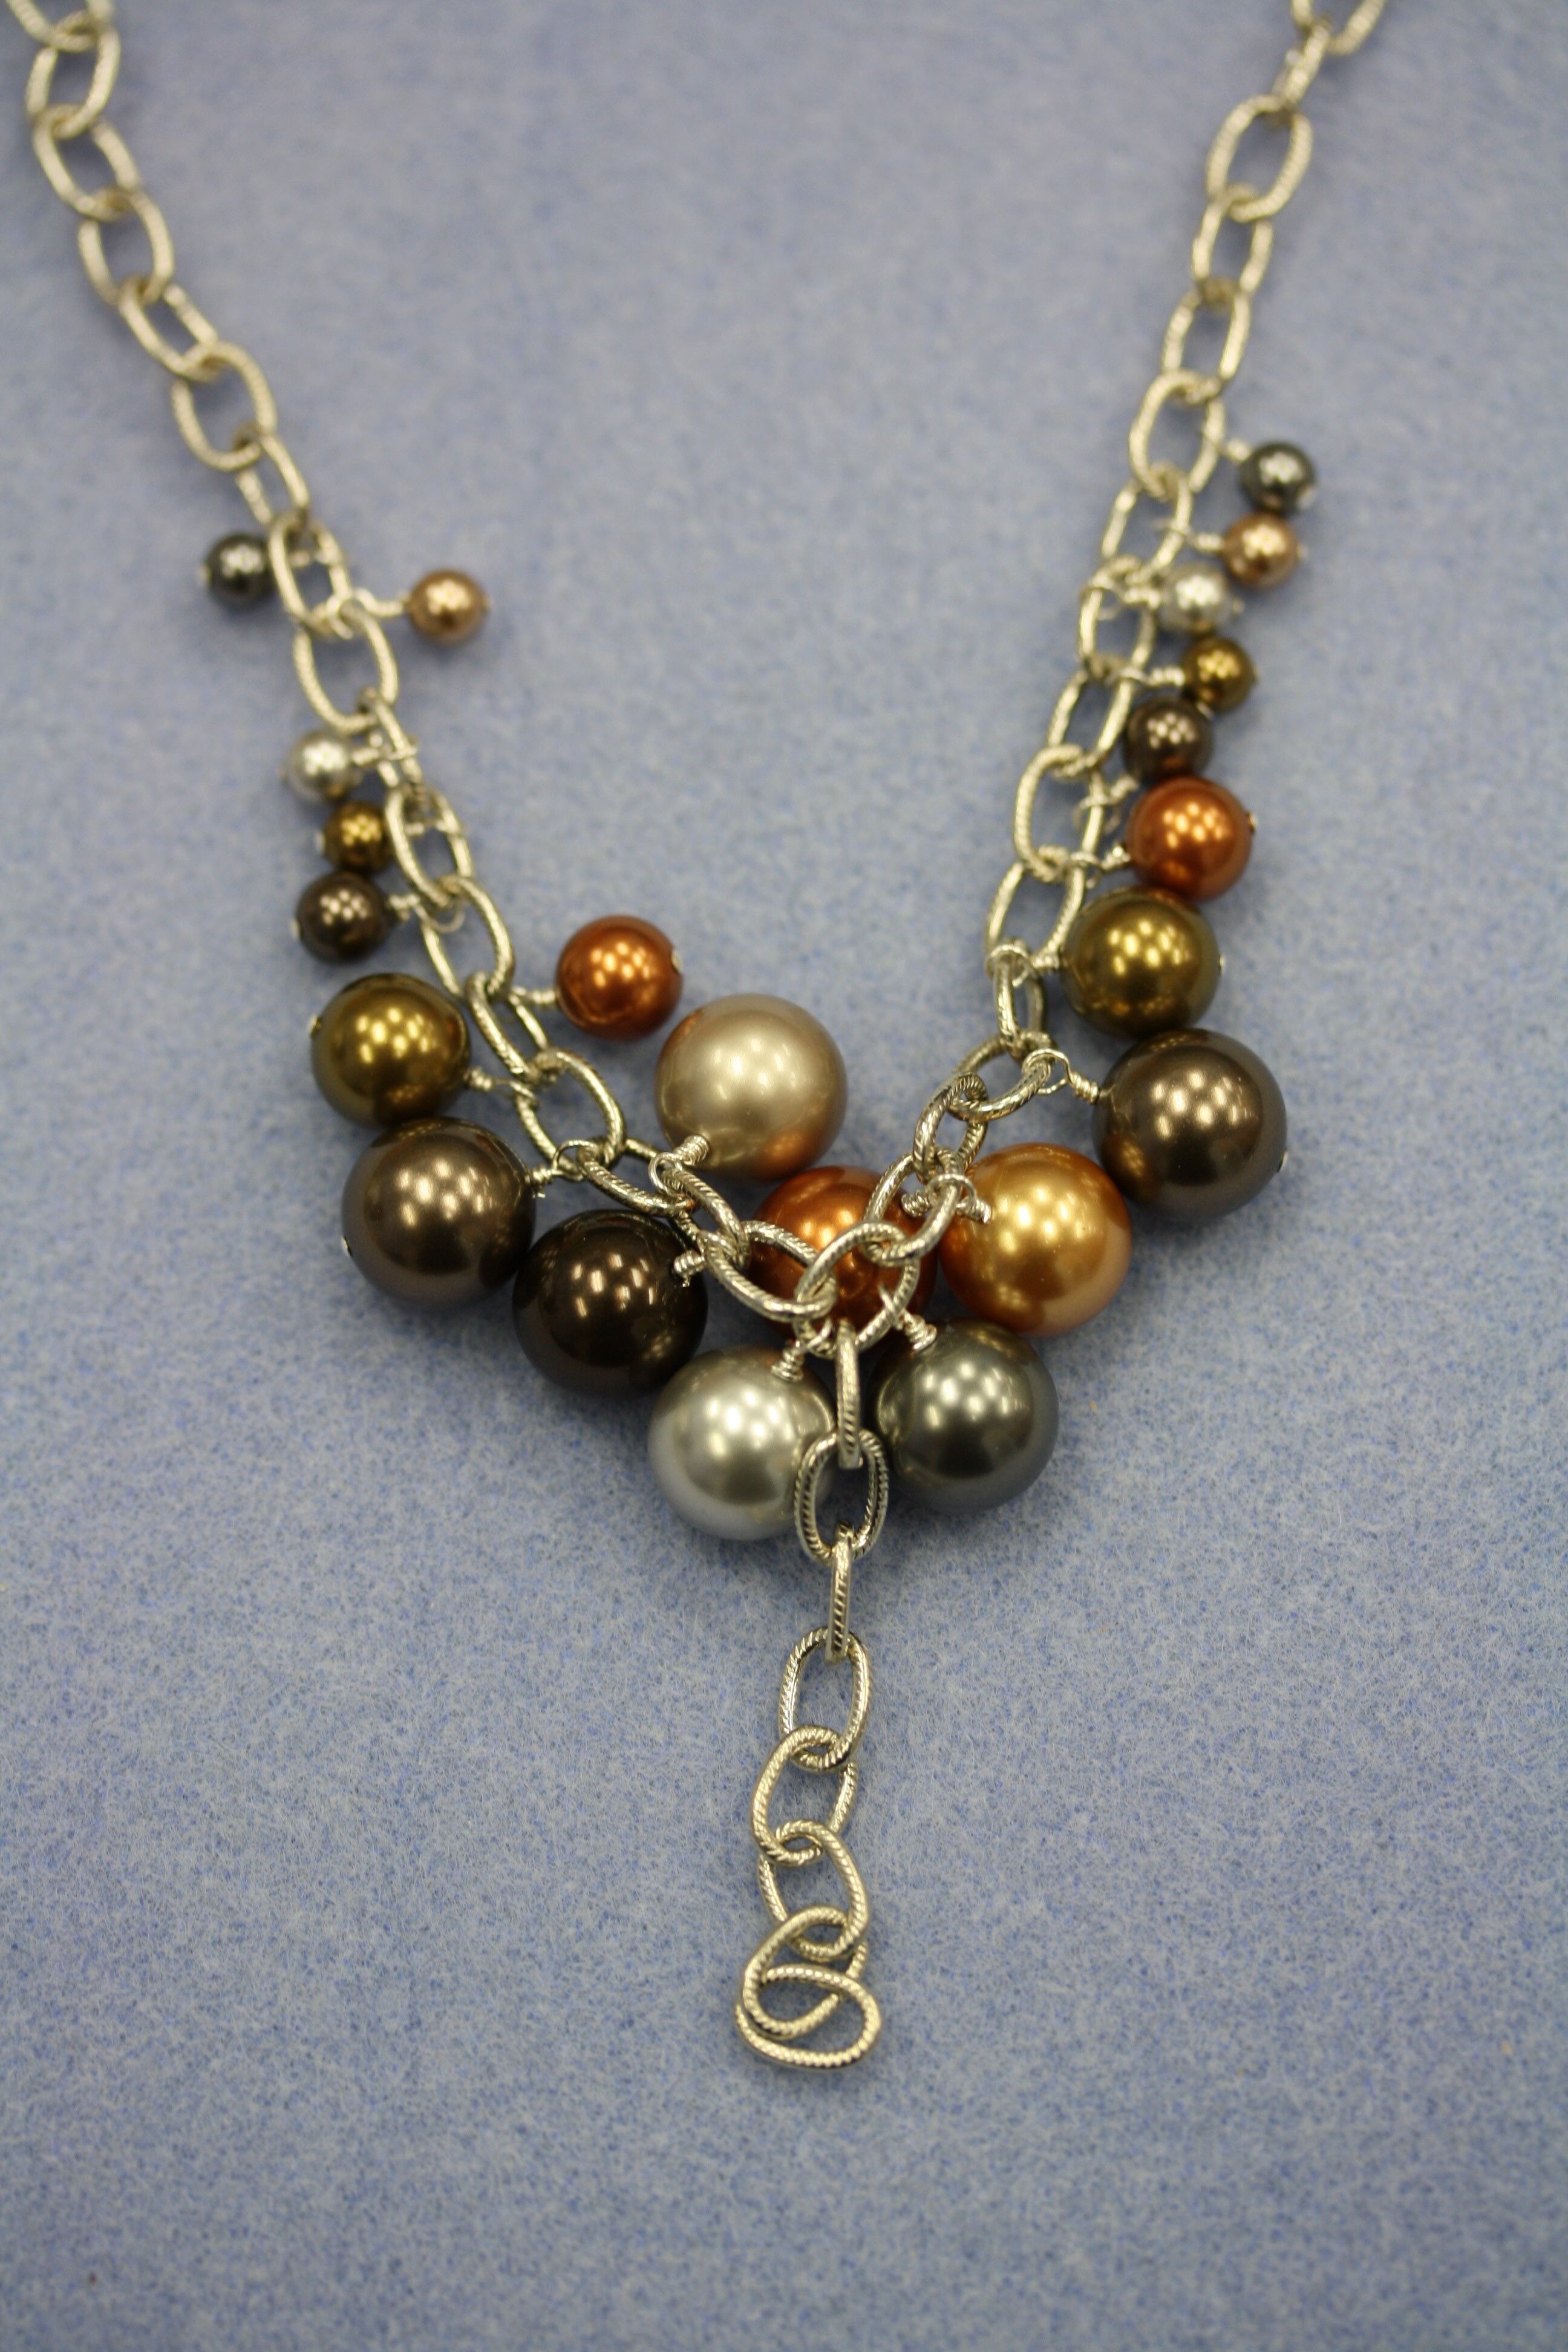
17. Your finished necklace looks like this:
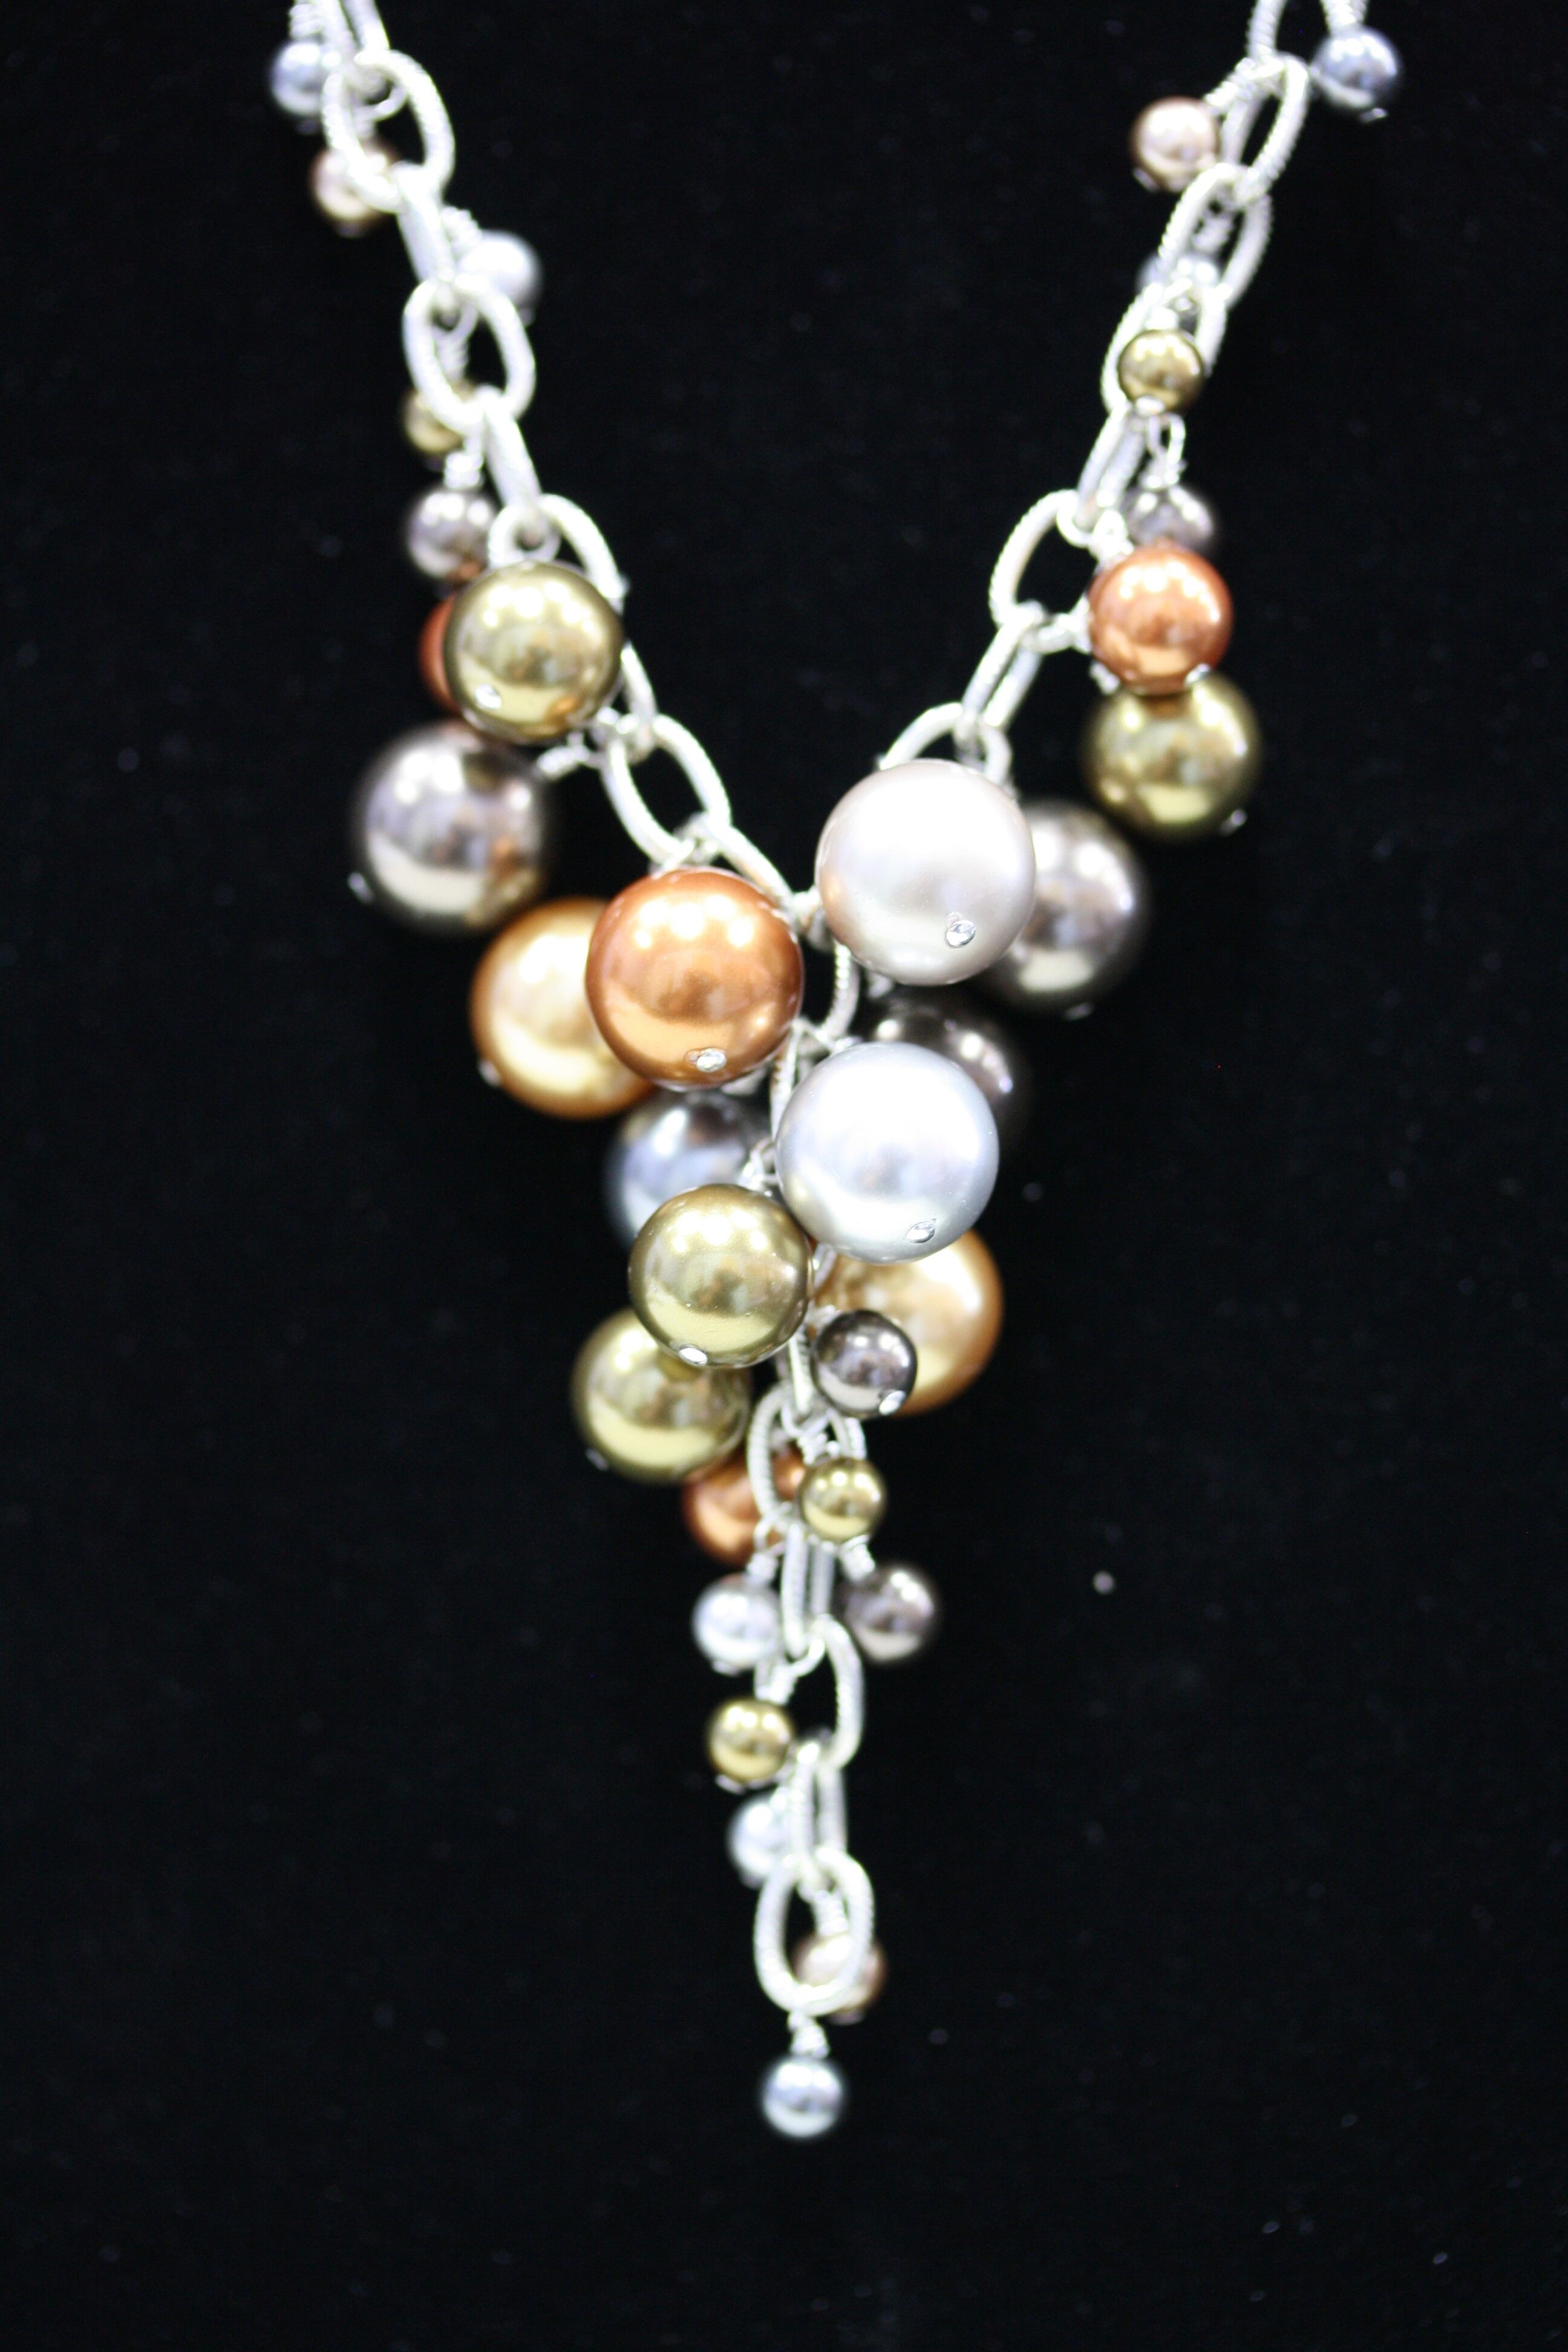
Now you have a gorgeous, statement necklace that will jazz up any outfit!
Happy Beading!!
Recent Posts
-

Pearly White Heart Earrings – Four Drop
Pearly White Heart Earrings – Four DropThese earrings are made from beautiful white shell in flat he …30th Jan 2025 -

Valentine Fringe Earrings
Valentine Fringe EarringsLearn how to make fringe earrings with a heart pattern that pops! The …13th Jan 2025 -

Dancing Pearl Cowboy Charm Leather Bracelet
Dancing Pearl Cowboy Charm Leather BraceletThis tutorial is a spin of our Dancing Gemstone Brac …17th Dec 2024