Charm Necklace Tutorial
Charm Necklace Tutorial
Embrace individuality with our Personalized Charm Necklace tutorial, a perfect blend of elegance and self-expression. Select each charm to reflect different aspects of your personality. Whether you’re adventurous, artistic, or sentimental, this necklace allows you to curate a collection of charms that tell your unique story. Choose from a wide variety of charms, each representing different traits and passions.
 Materials Needed:
Necklace (approx. 18"):
- Gold Plated 3x4mm Classic Cable Chain (18 inches)
- Gold Plated 3mm 22 Gauge Jump Rings (1)
- Gold Plated 4mm 21 Gauge Jump Rings (8)
- Gold Plated 9x5mm Trigger Clasp (1)
- Charms of your choice, all our charms can be found here (7) We used the first 7 letters of the alphabet for instructional purposes, for charm ideas, please scroll to the bottom of this tutorial to view some examples
Tools Required:
Needle Nose Pliers (also known as chain nose)
Instructions on Construction:
1. Cut 18 inches of chain. If you wish for your necklace to be slightly longer or shorter, now is the time to hold the chain to your neck and decide.
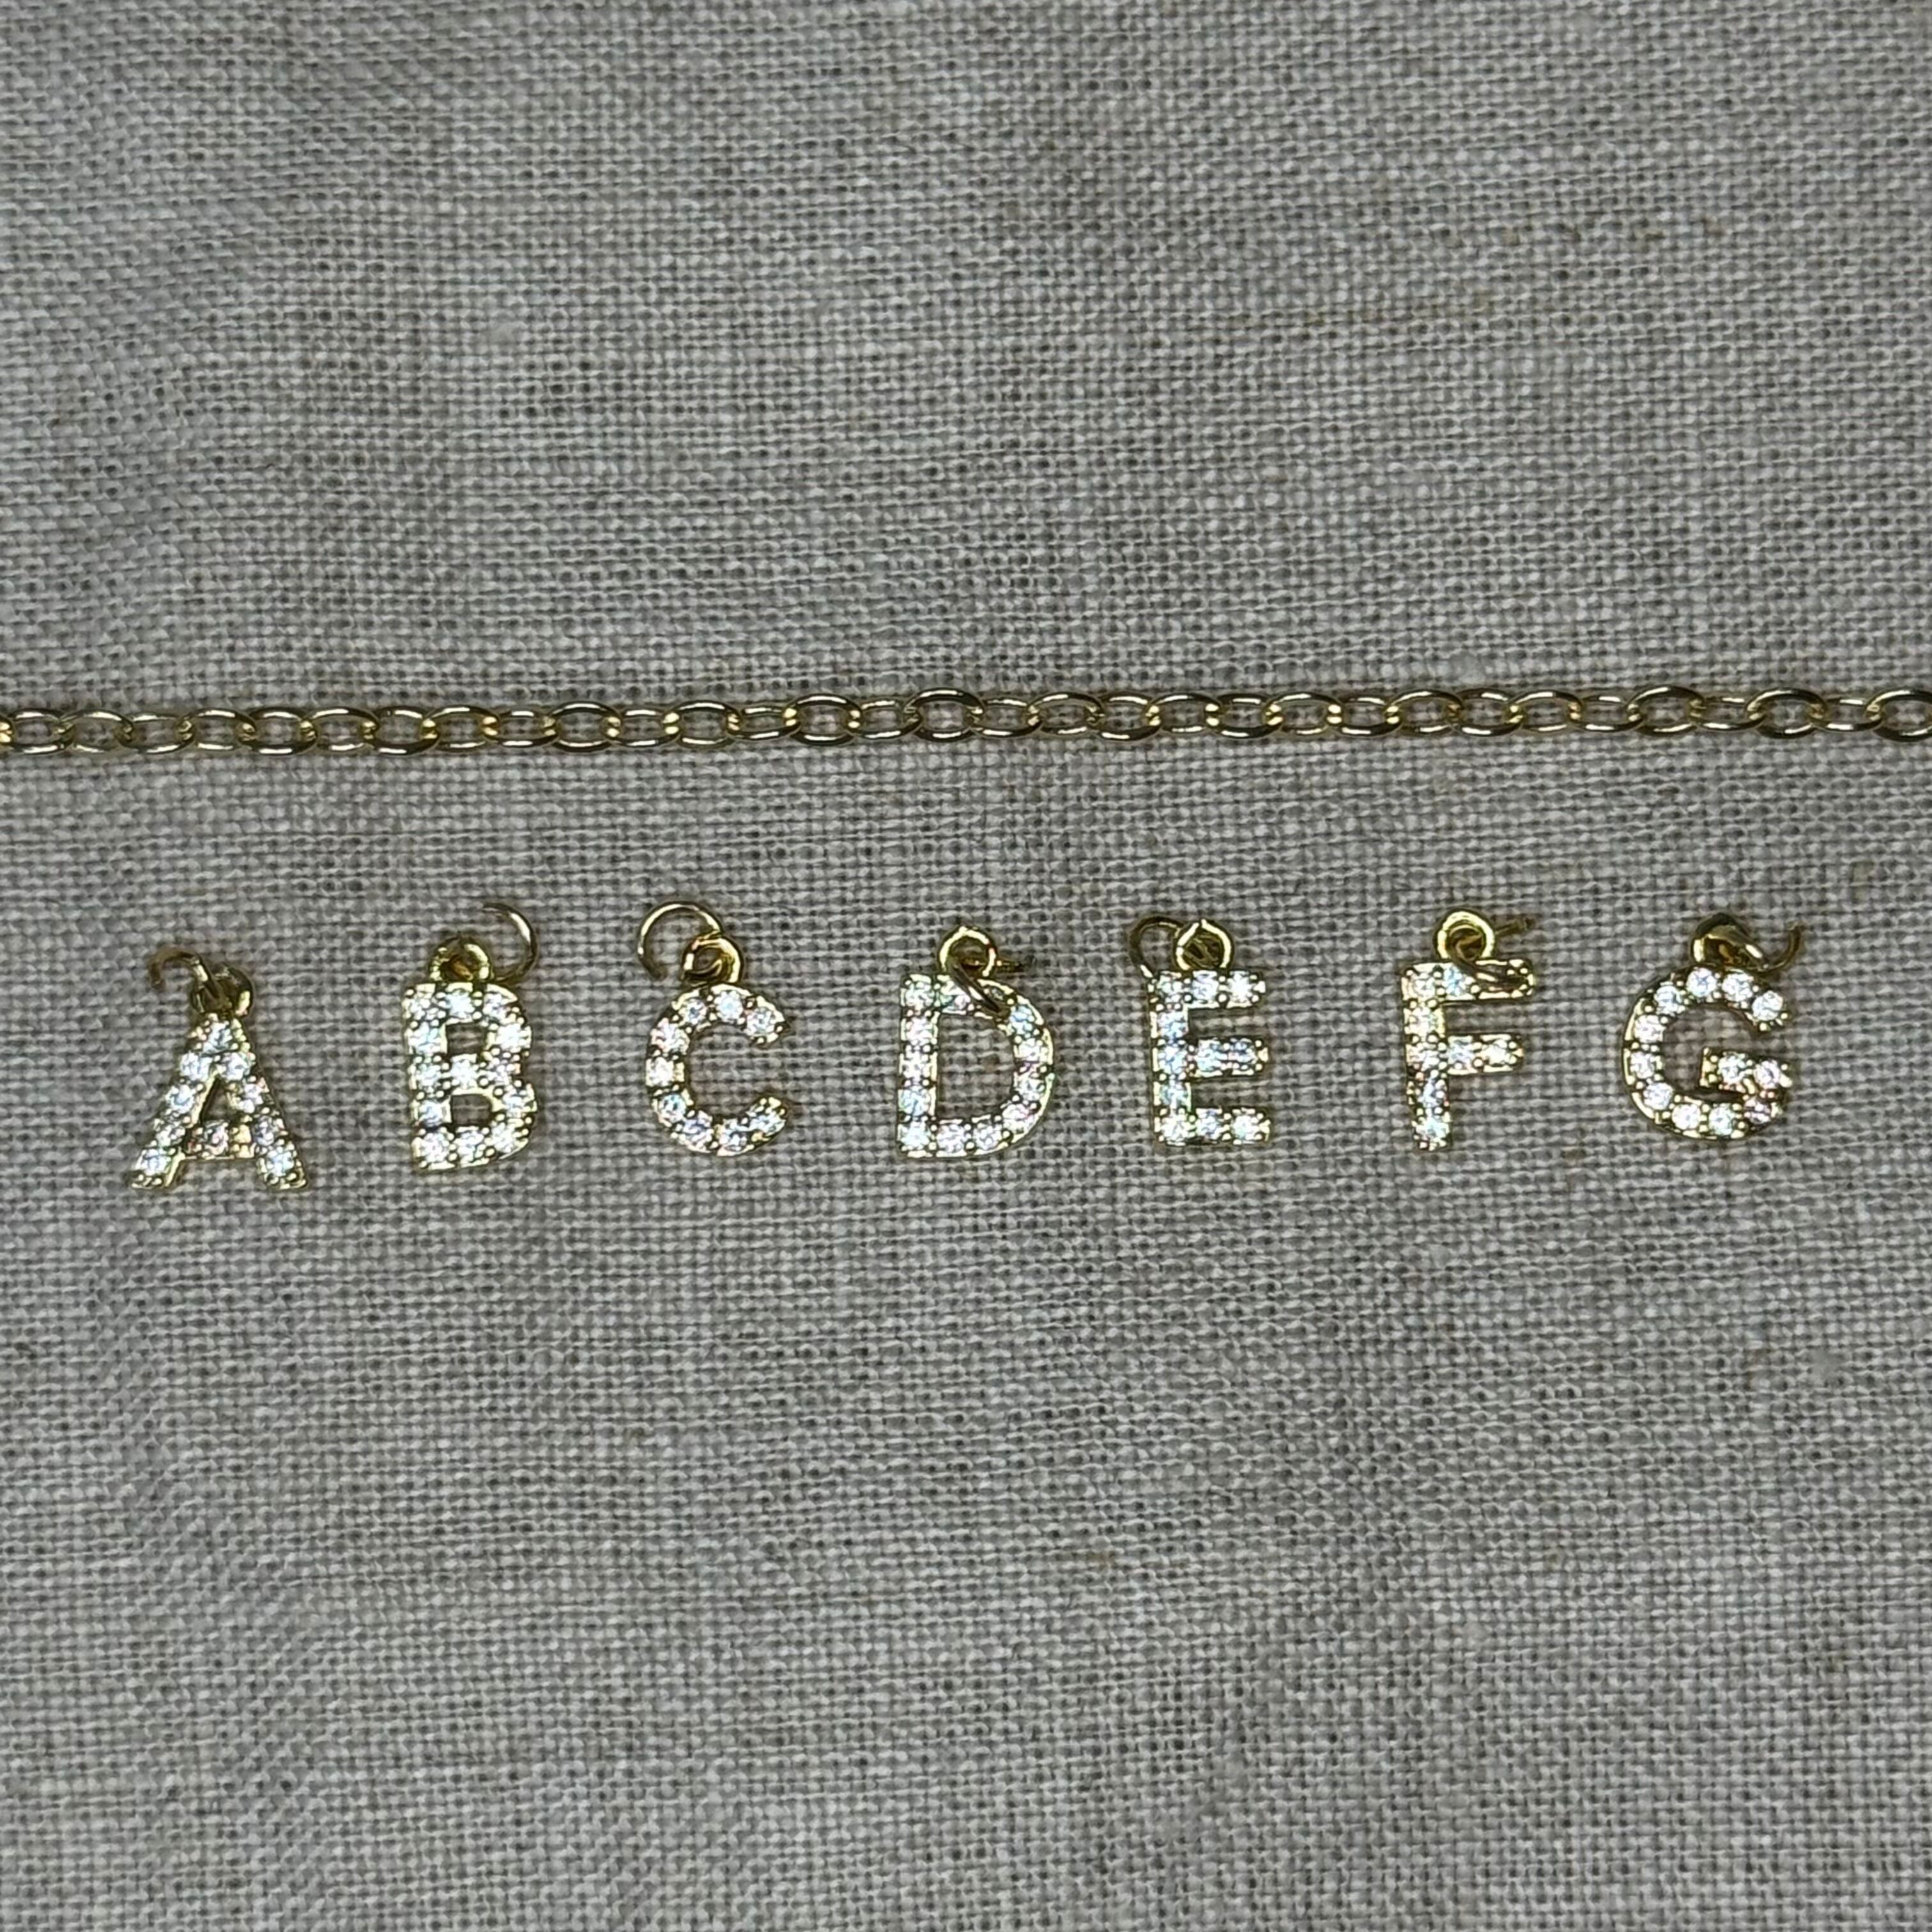
2. Determine the order you would like your charms to go in. Please note, if you have a large or heavy charm - it is best that it is placed in the center so it balances your necklace and prevents it laying unevenly.
***For instructions, we will be using the first 7 letters of the alphabet in order to explain placement.
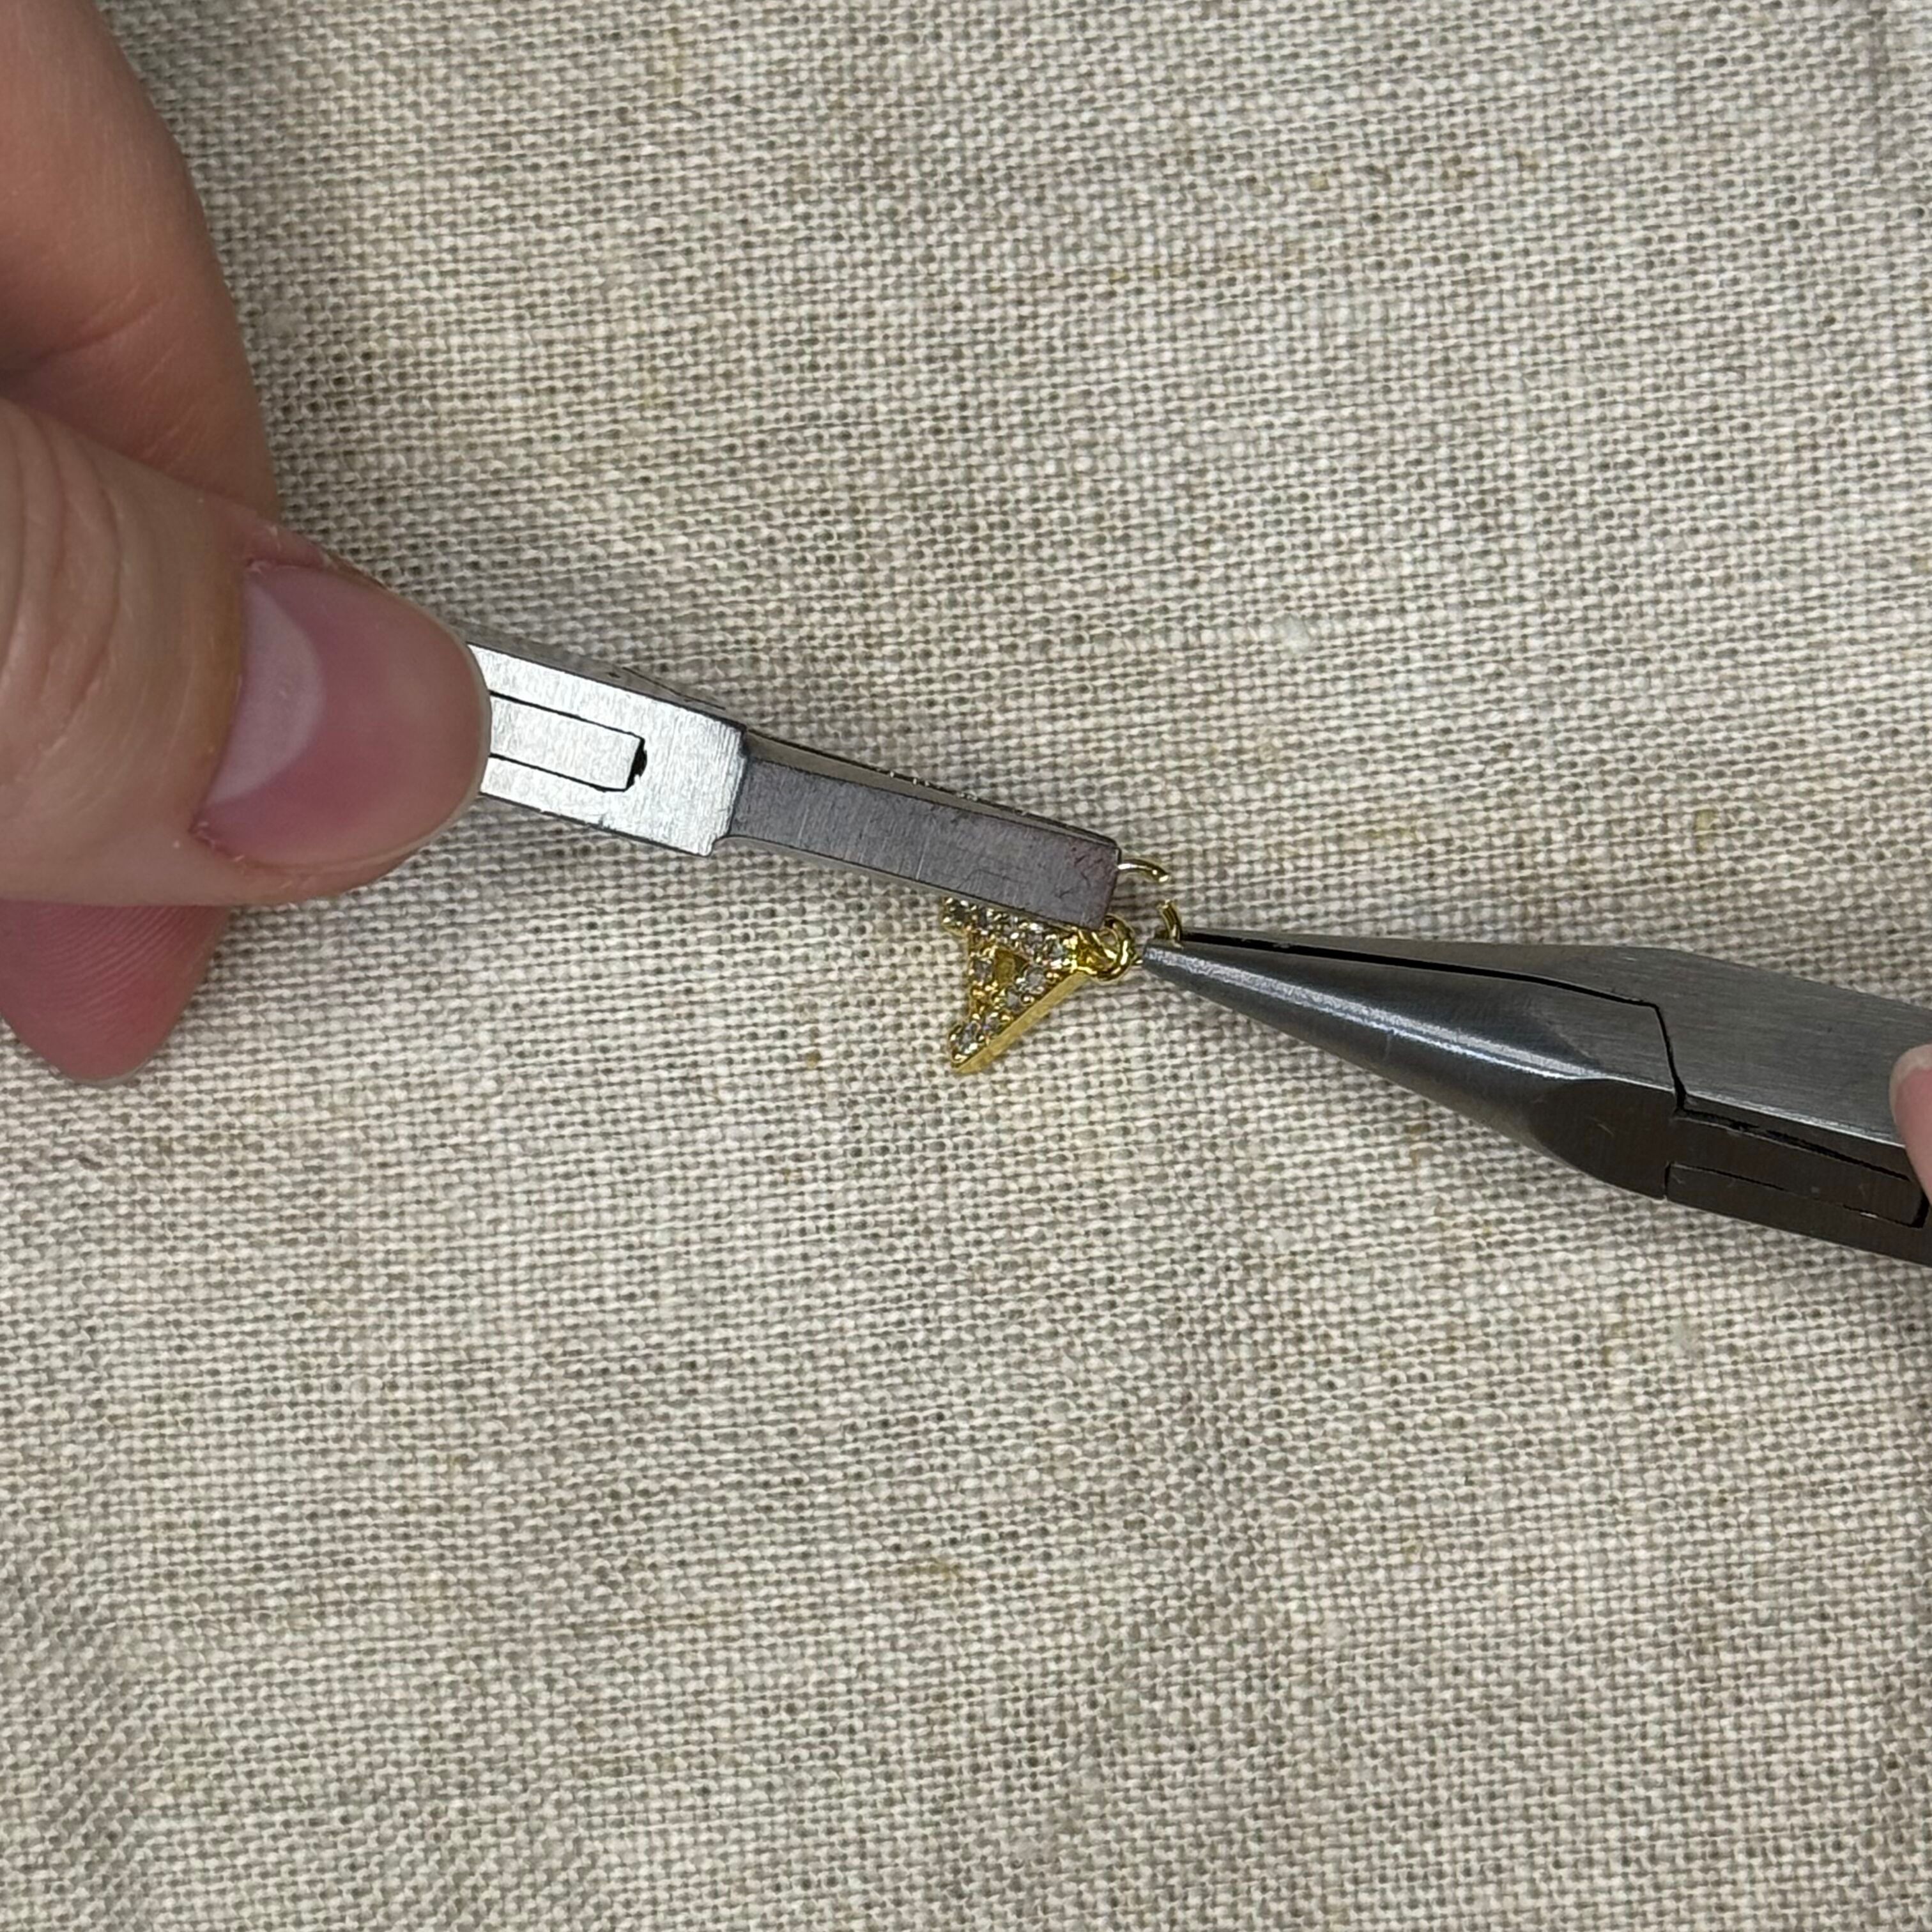
3. After selecting your charms, remove the jump rings from each charm you chose (if there is a jump ring). If you are right handed, you do this by holding the chain nose pliers in your right hand and flat nose pliers in your left. The chain nose pliers are to hold the jump ring steady, while the flat nose pliers are used to move the jump ring, allowing it to open. Gently open the jump ring, moving your left hand while keeping your right steady.
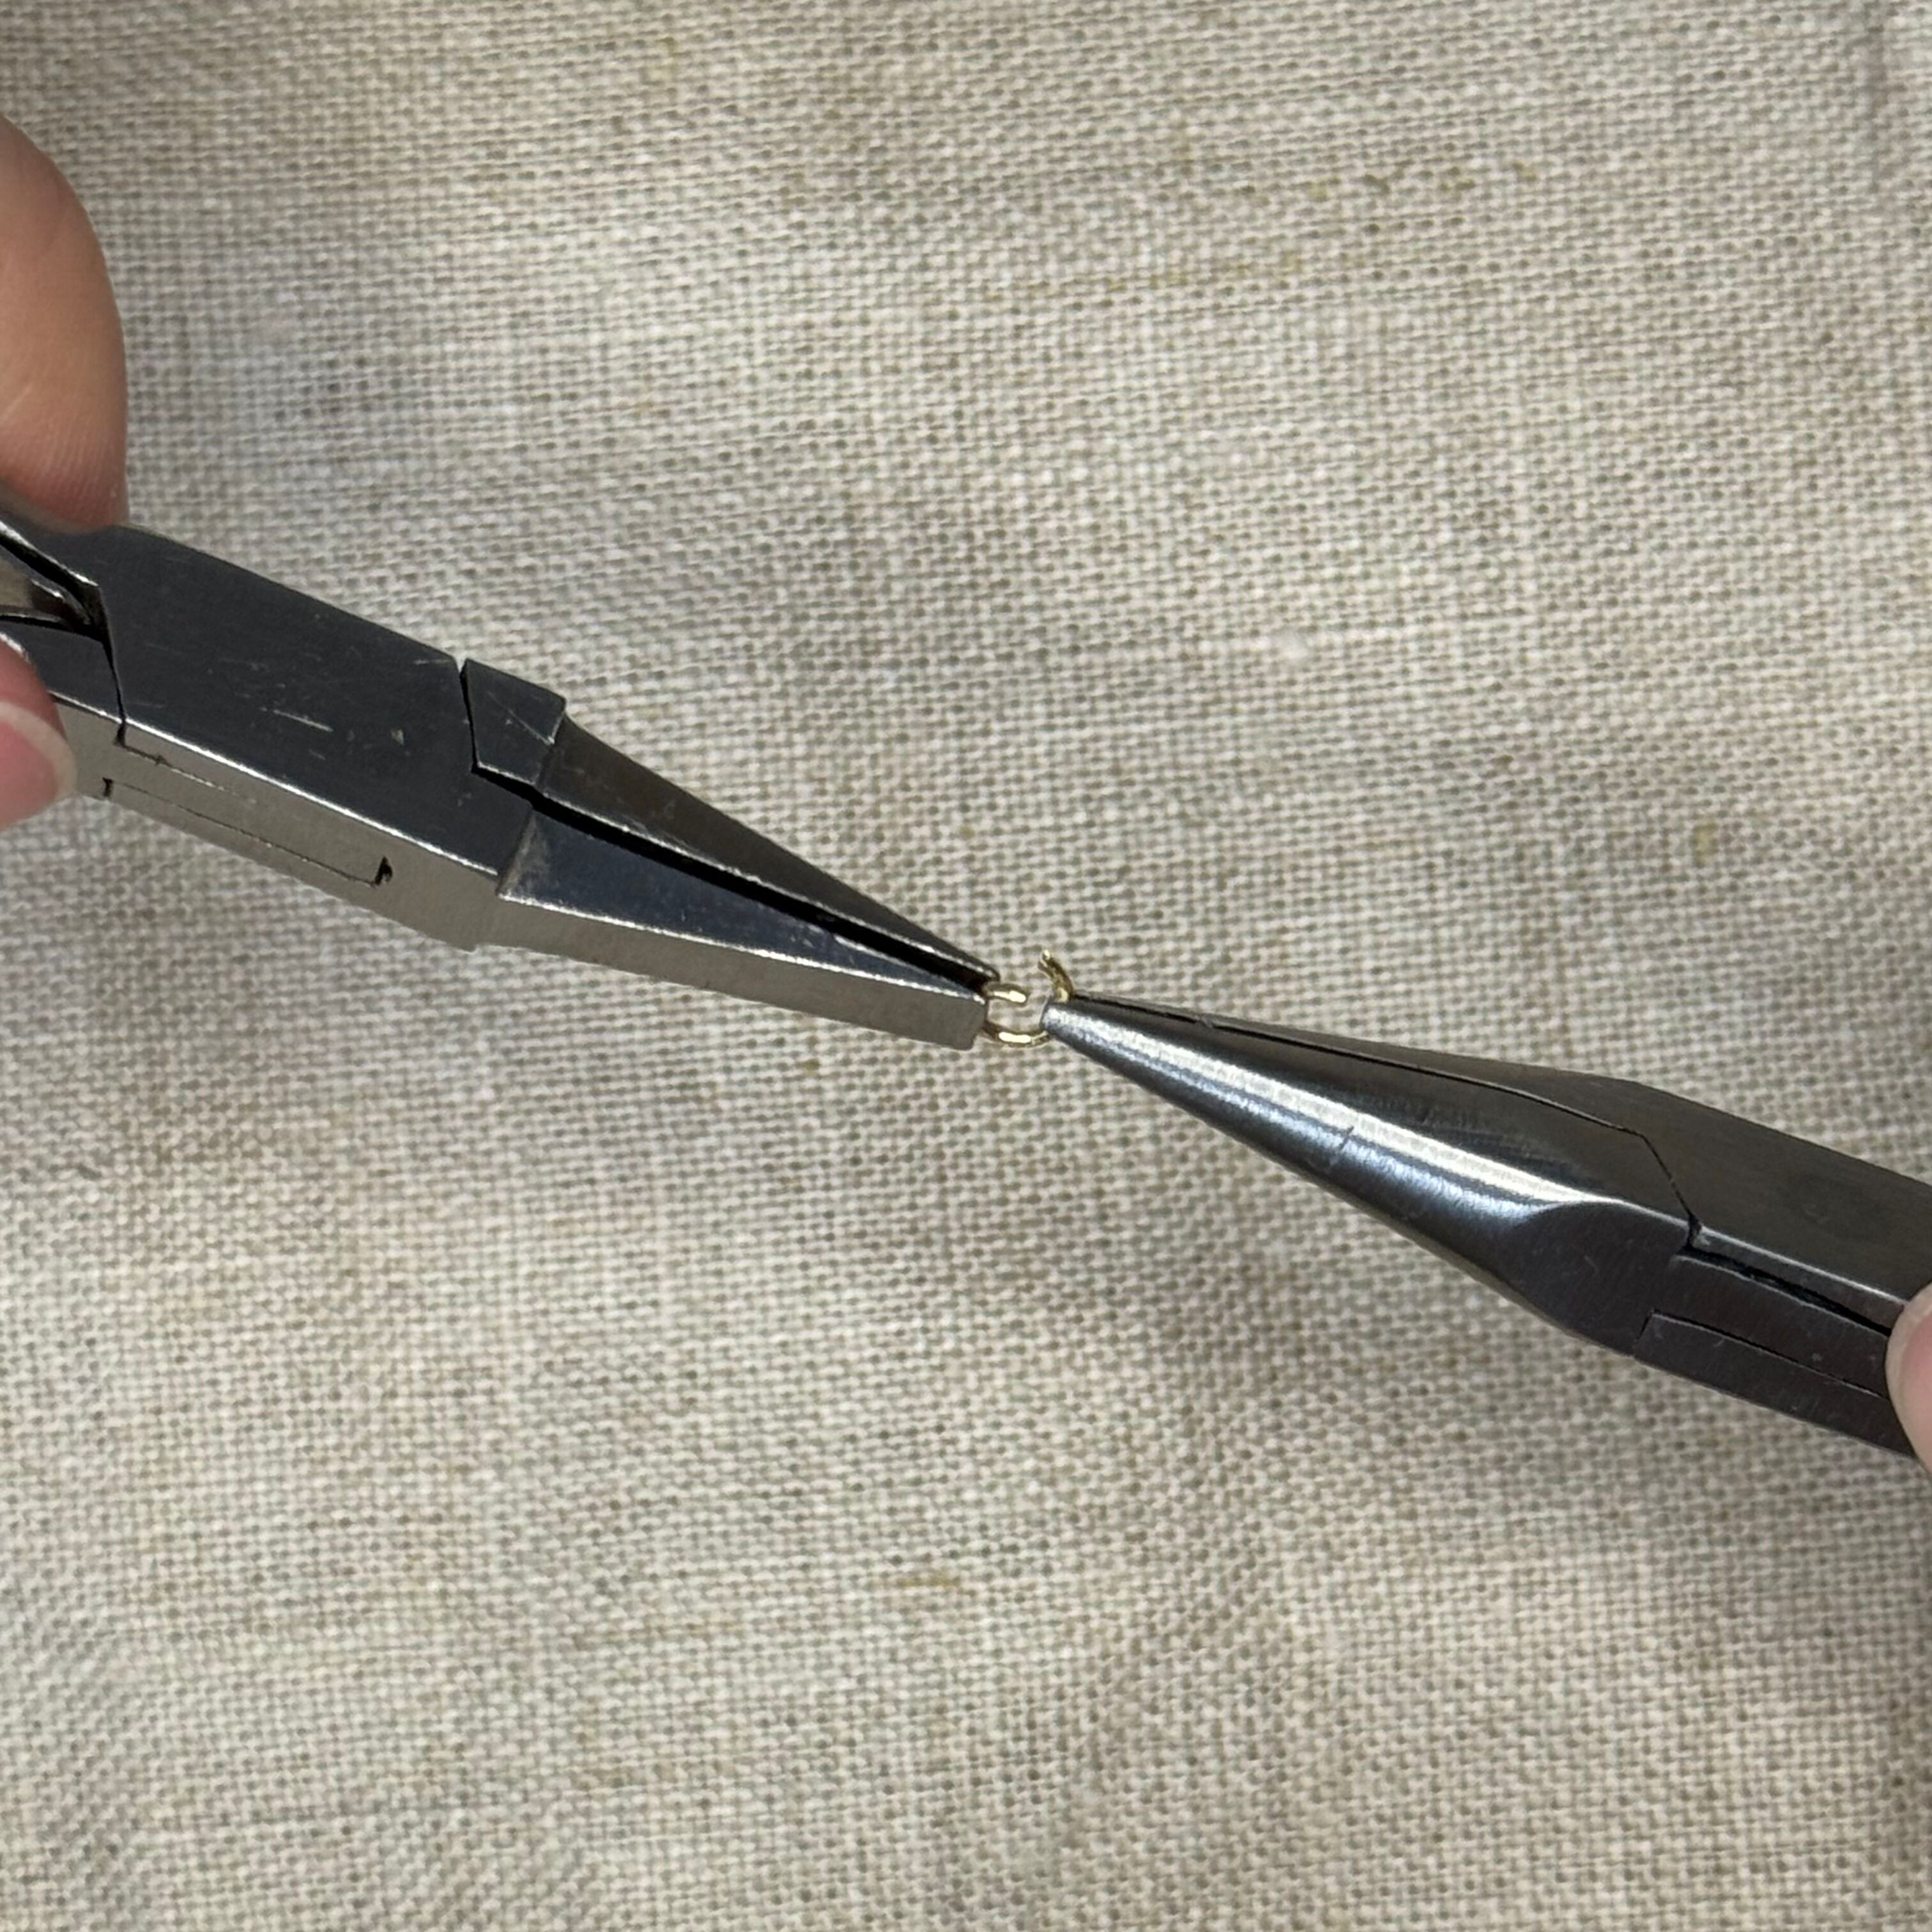
4. Pre open your 4mm 21 gauge jump rings and set them to the side
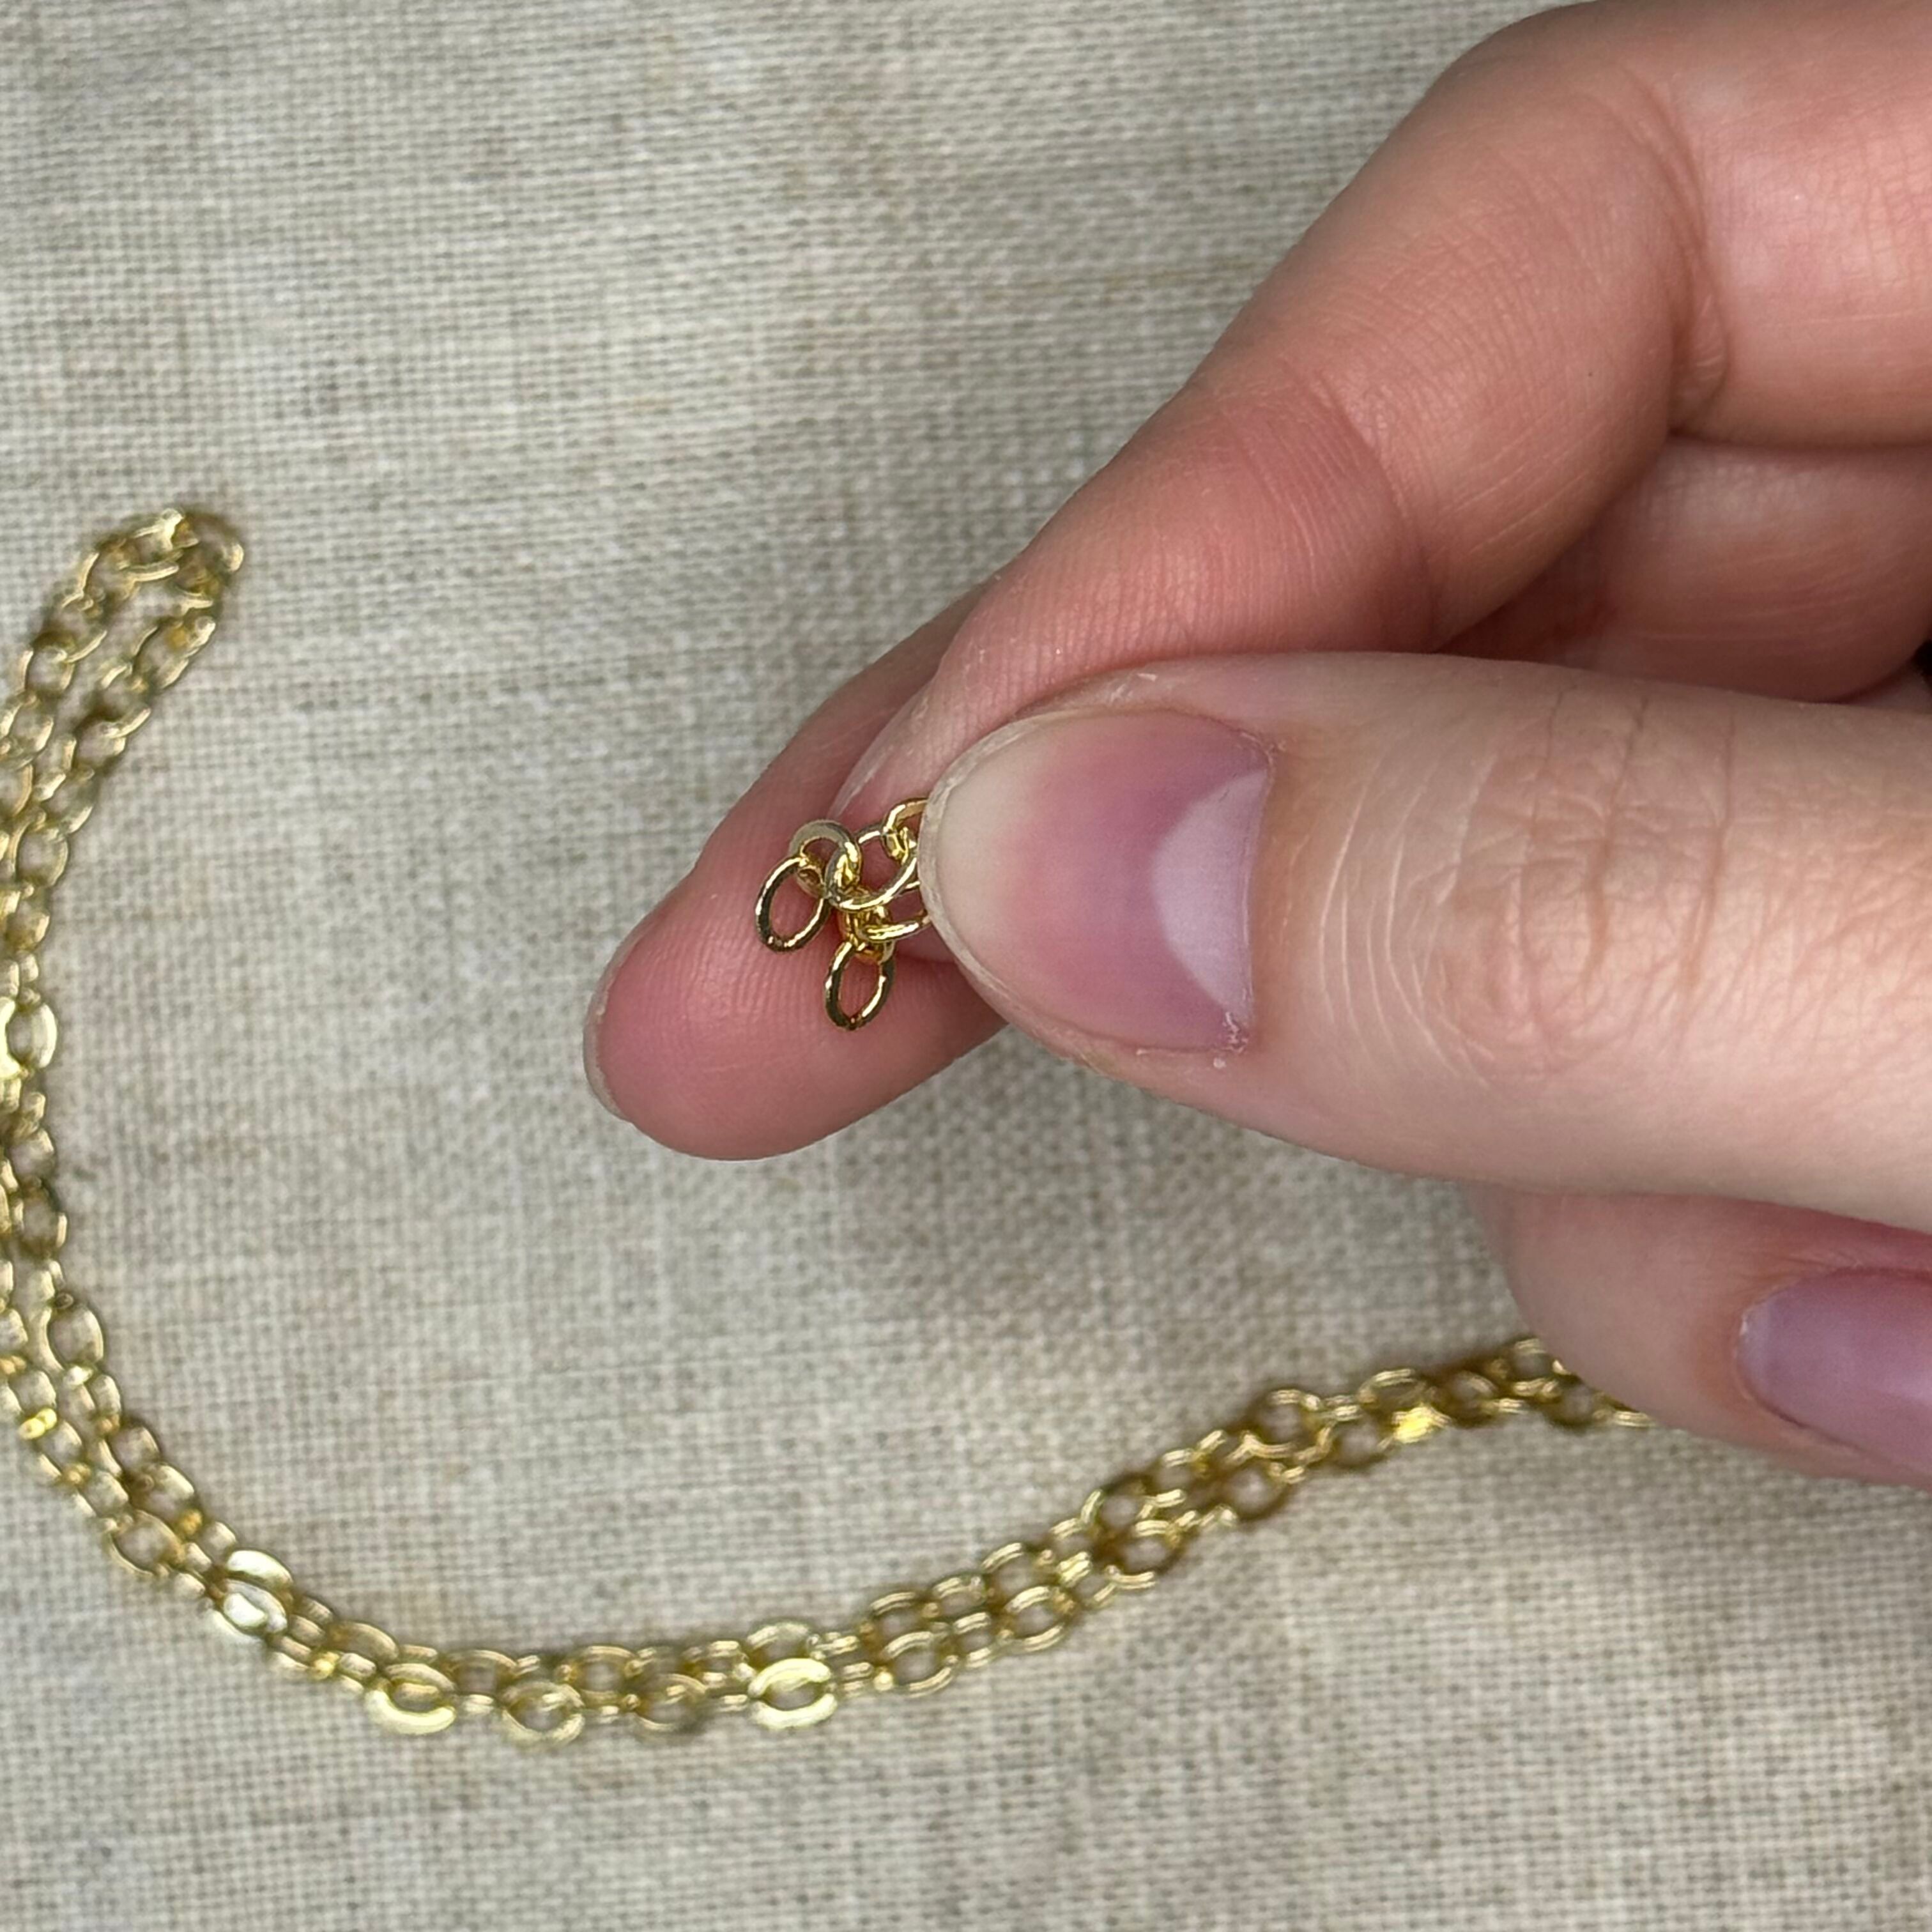
5. Now we will find the center of our chain to place our charm that will sit at the center. Hold the ends of the chain so they sit evenly
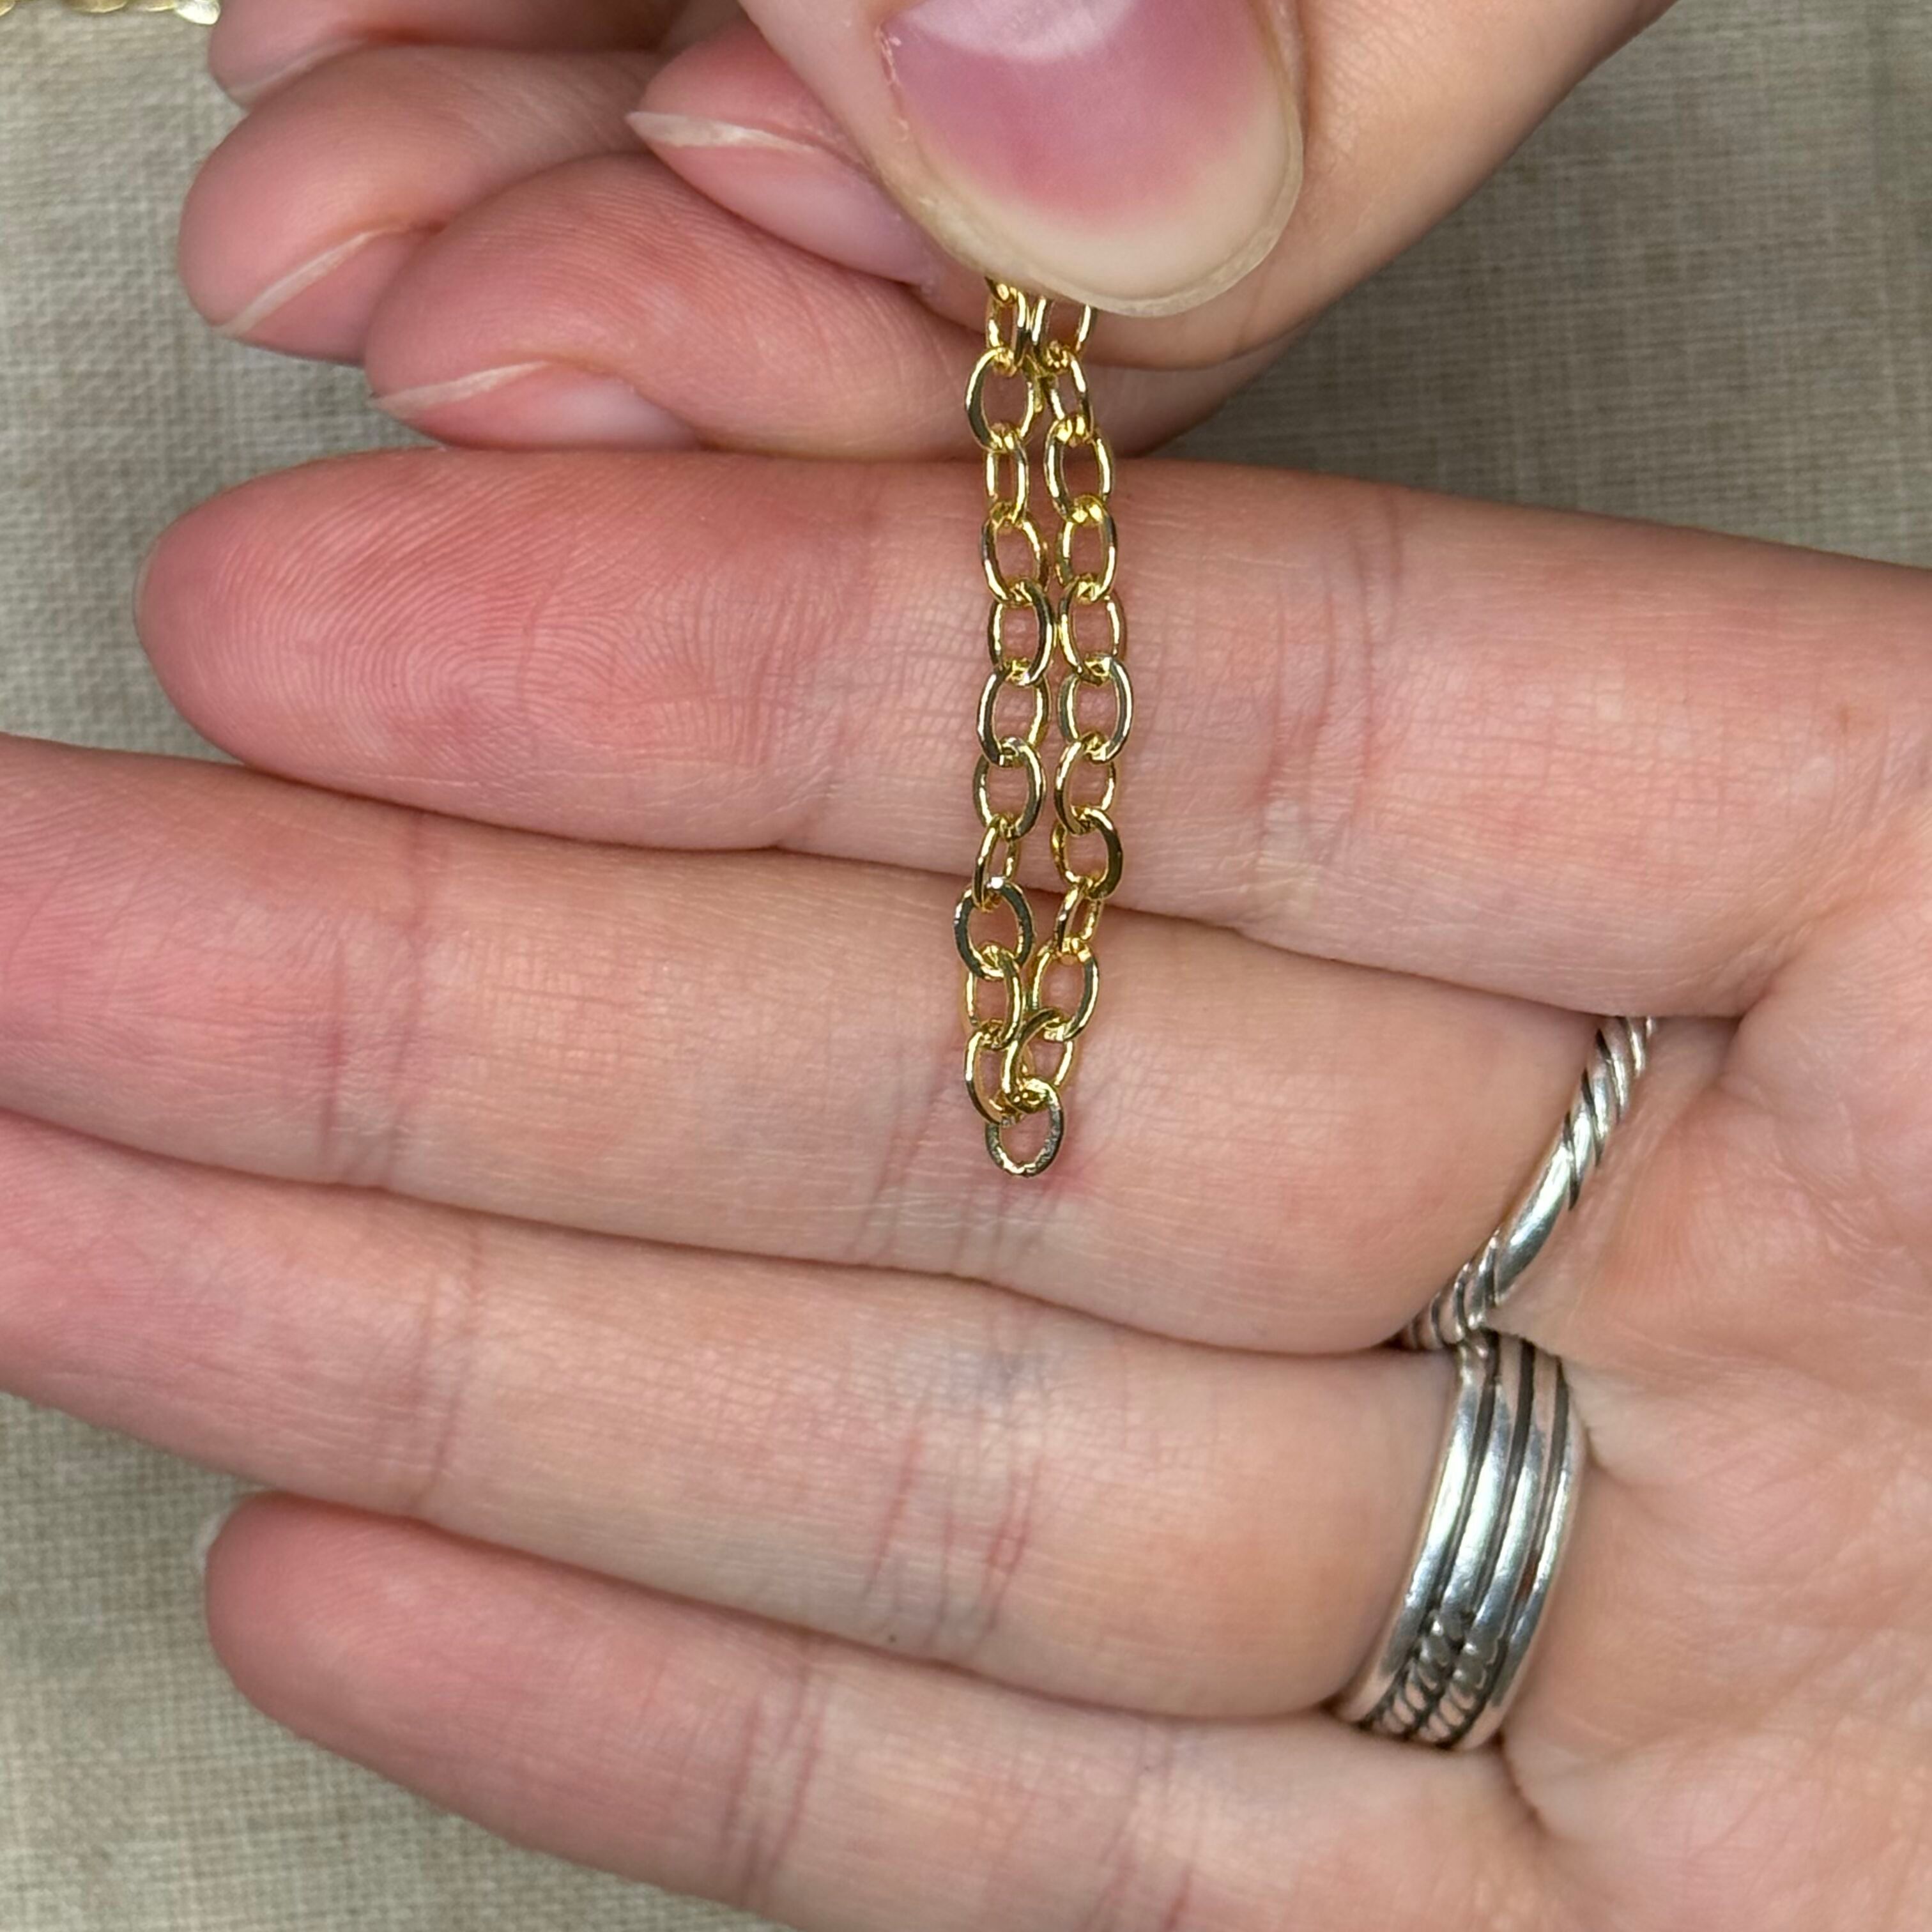
6. Let the chain dangle while holding onto the even ends of the chain. You will find the center link of your chain. If you do not have a center link that hangs down as shown and there are two links that sit evenly - go back to the end of one of the chains and cut off one link - this will give you an odd amount of links so you will have one center link.
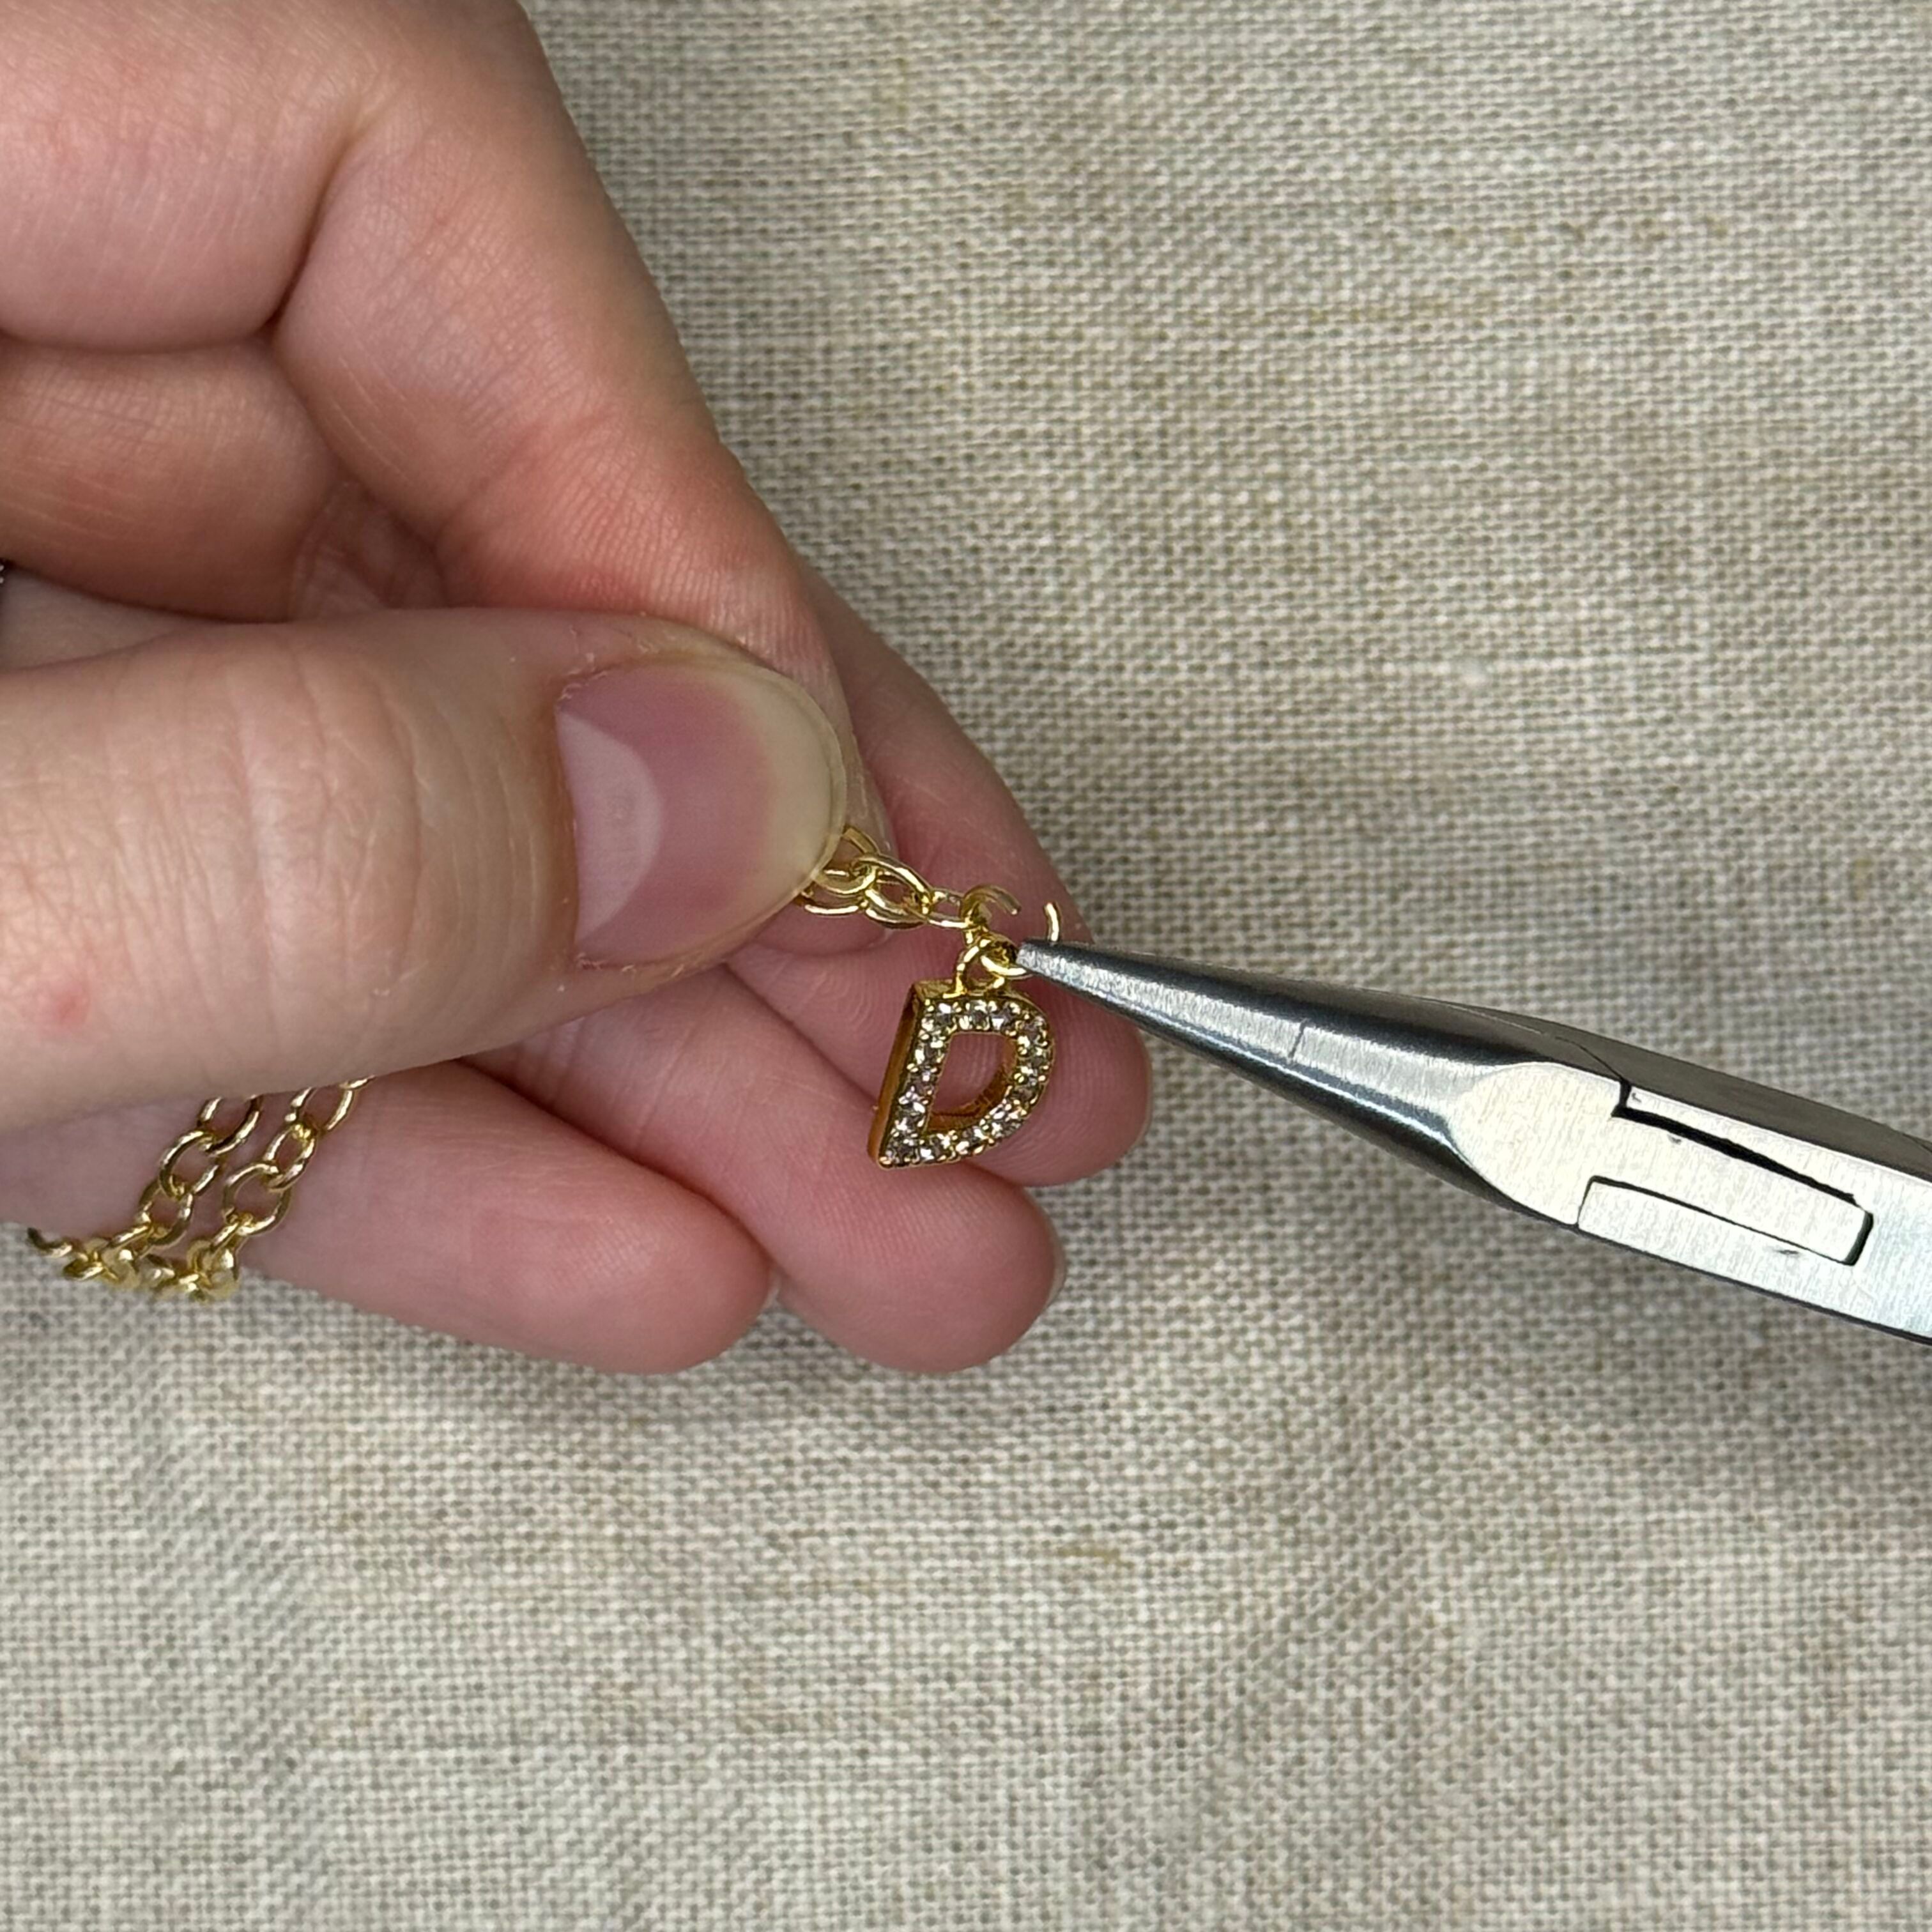
7. Thread the charm you have chosen to be your centerpiece onto a 4mm 21 gauge jump ring. Hold onto the front (right side / front of charm) of the jump ring using your chain nose pliers and thread the left side of the jump ring through the center link of your chain.
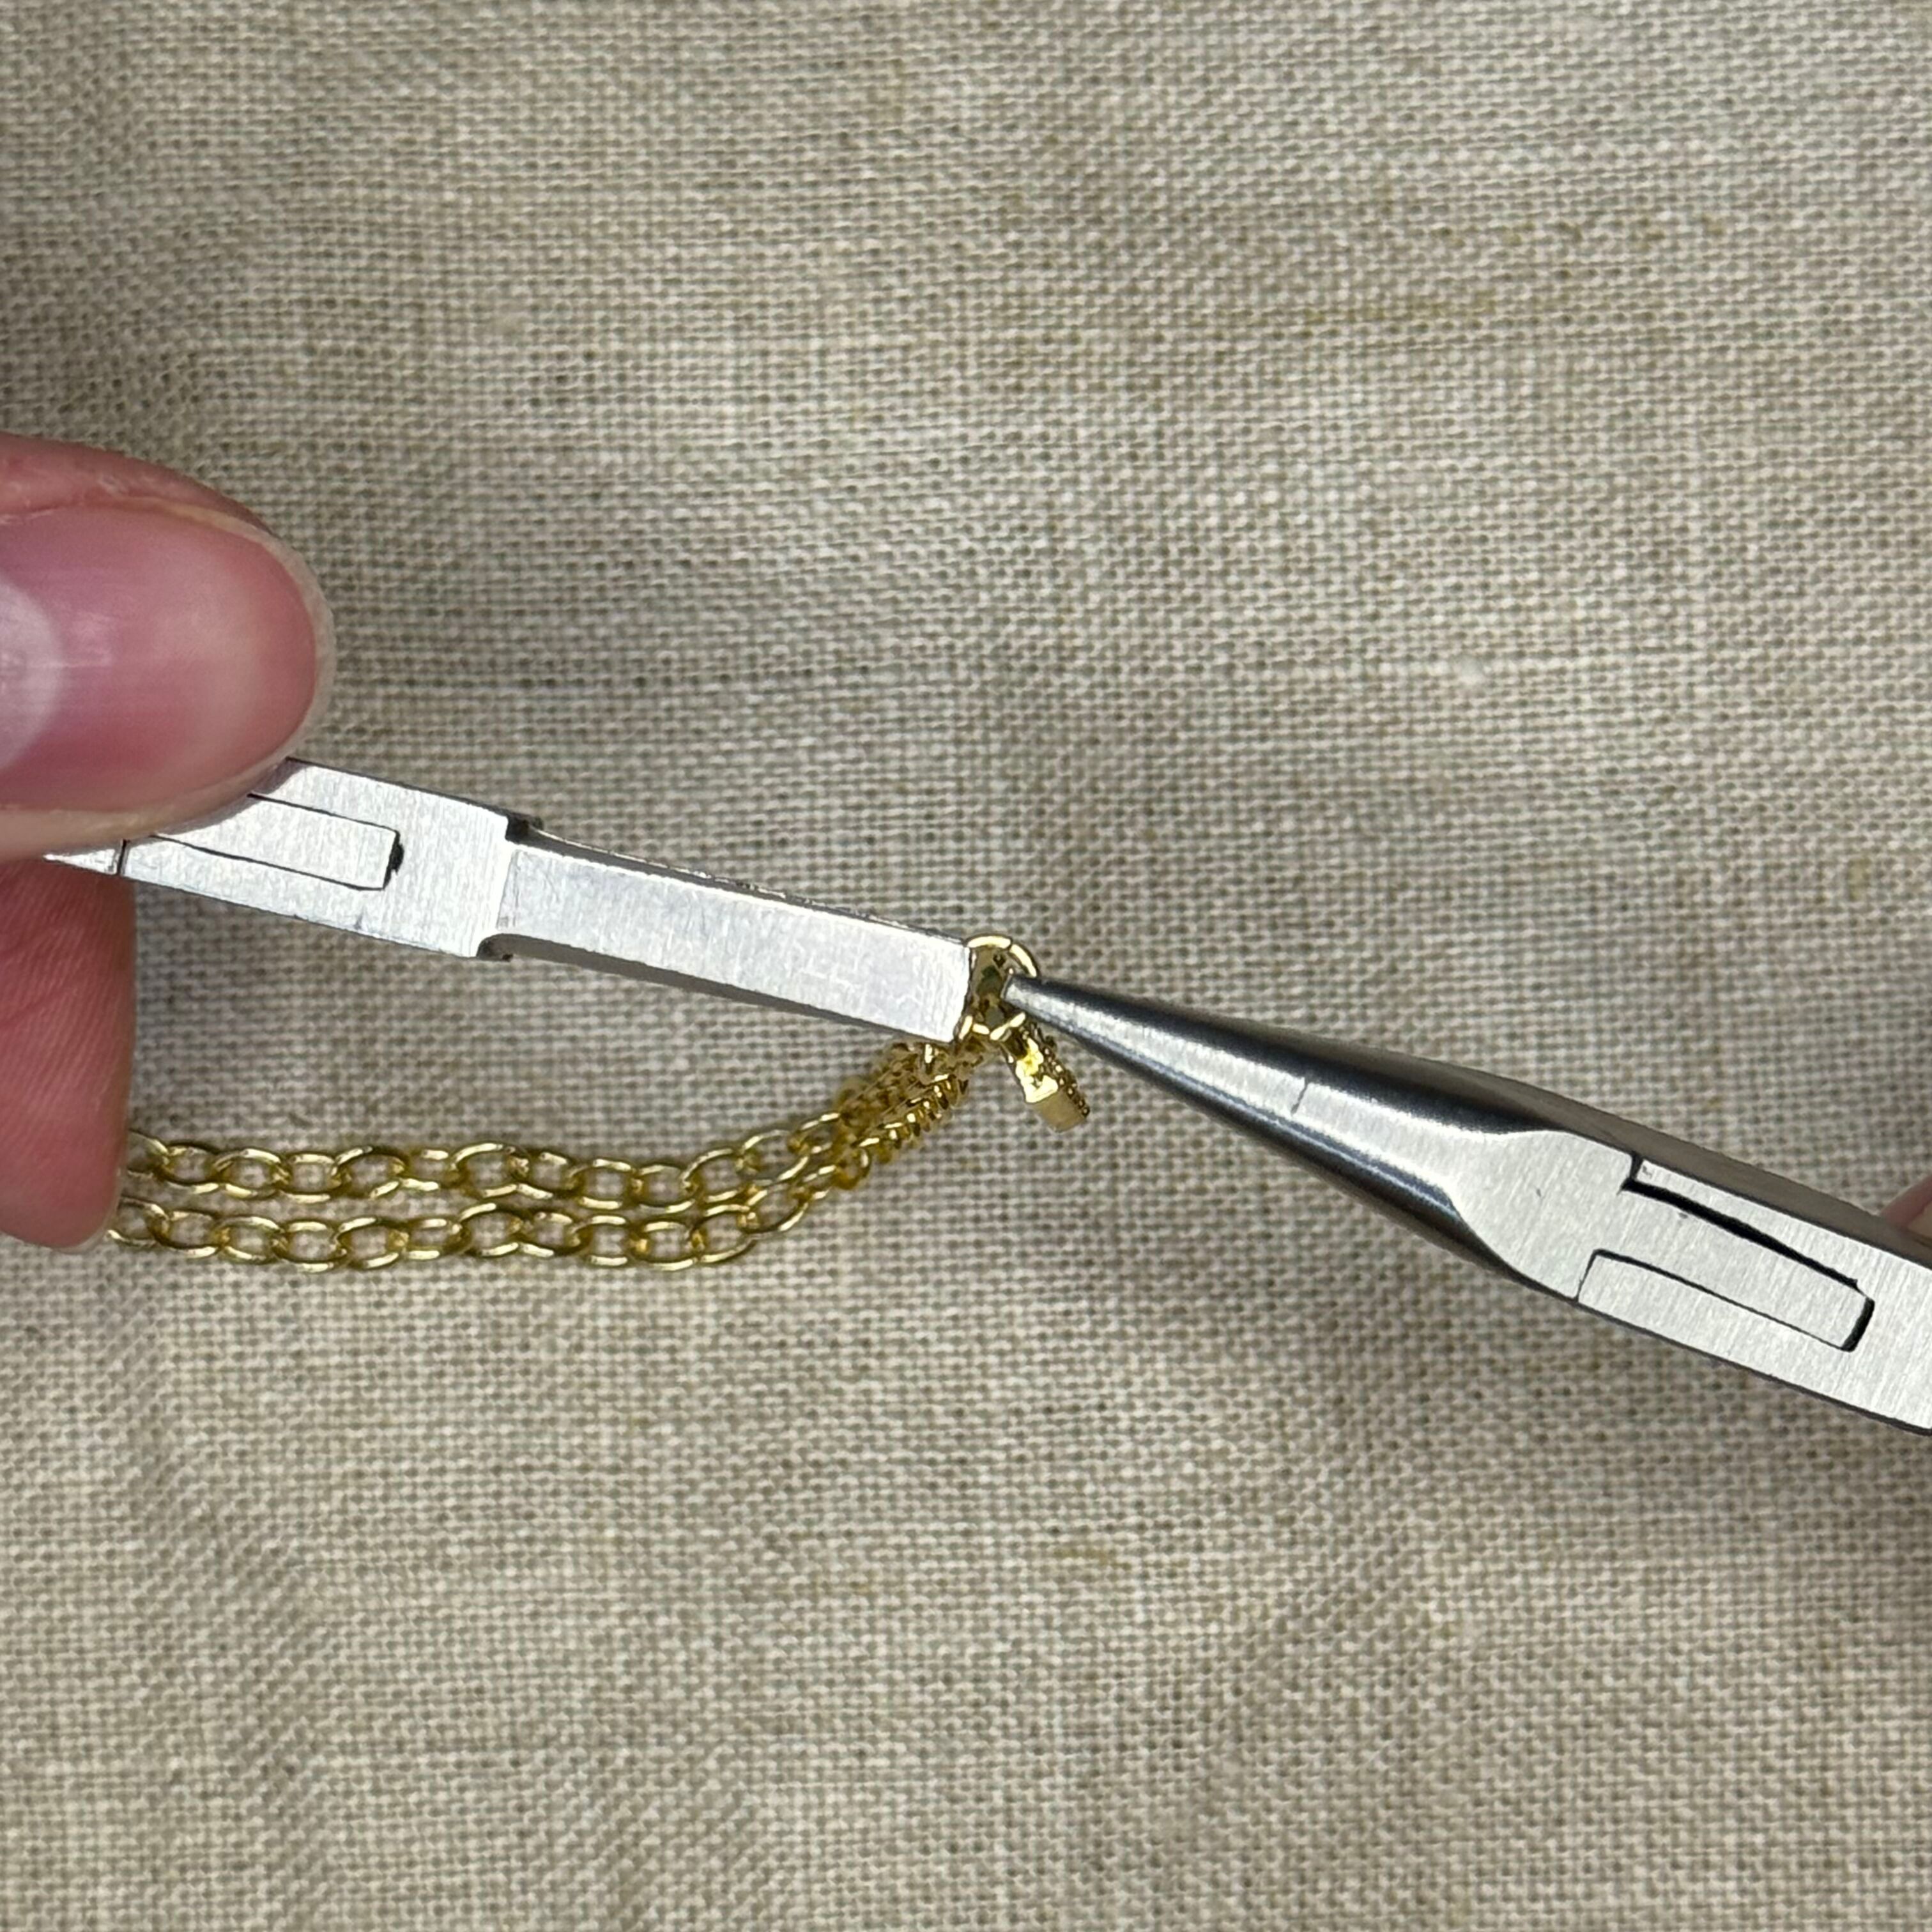
8. Take your flat nose pliers and grasp the left side of the jump ring, wiggle the jump rings back and forth inching them closer together until both ends are aligned.
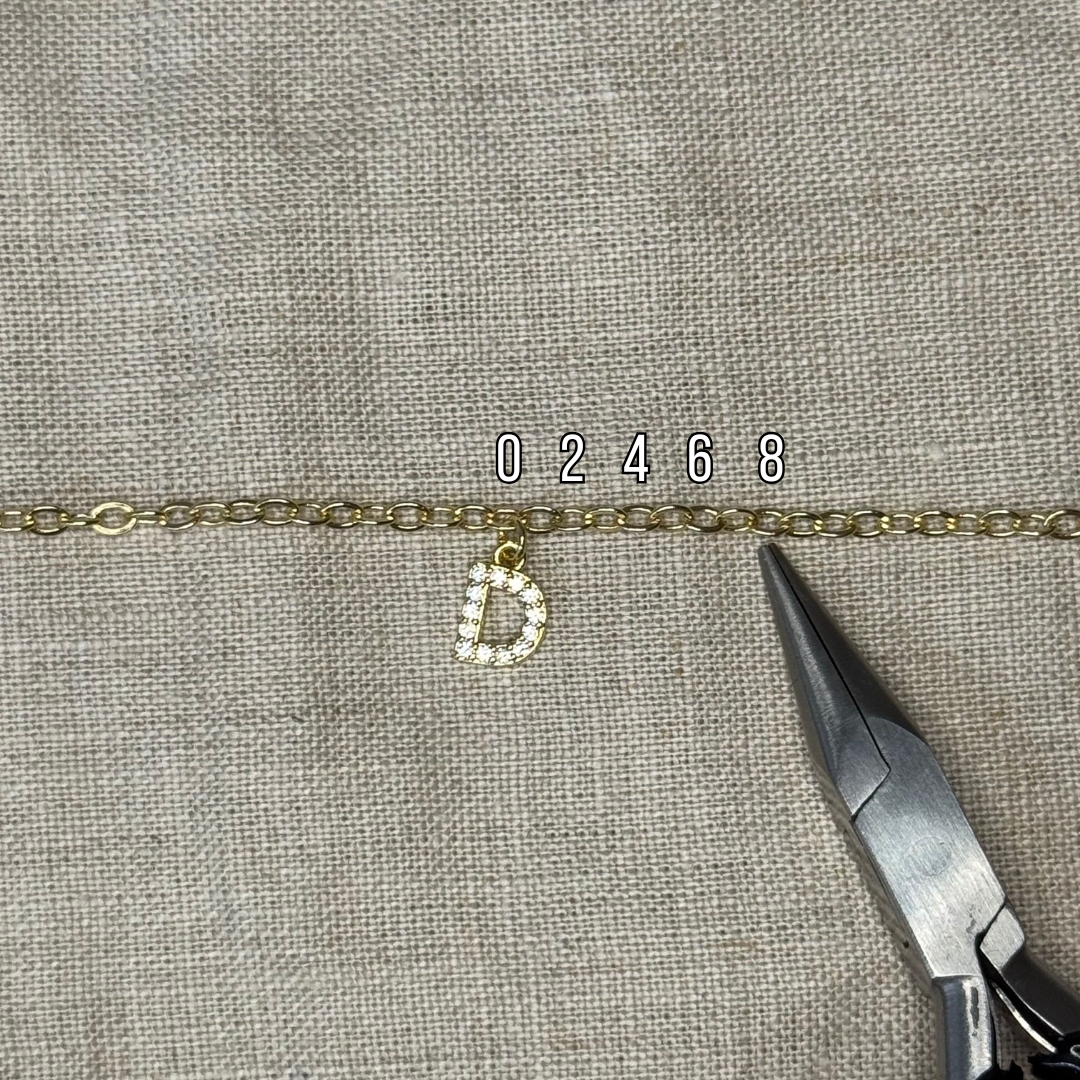
9. Place the chain flat and pull the chain slightly taught. Count 8 links over, center charm is counted as zero. The 8th link will be where you will place the 5th charm in your line up (the charm directly to the right of the center charm)
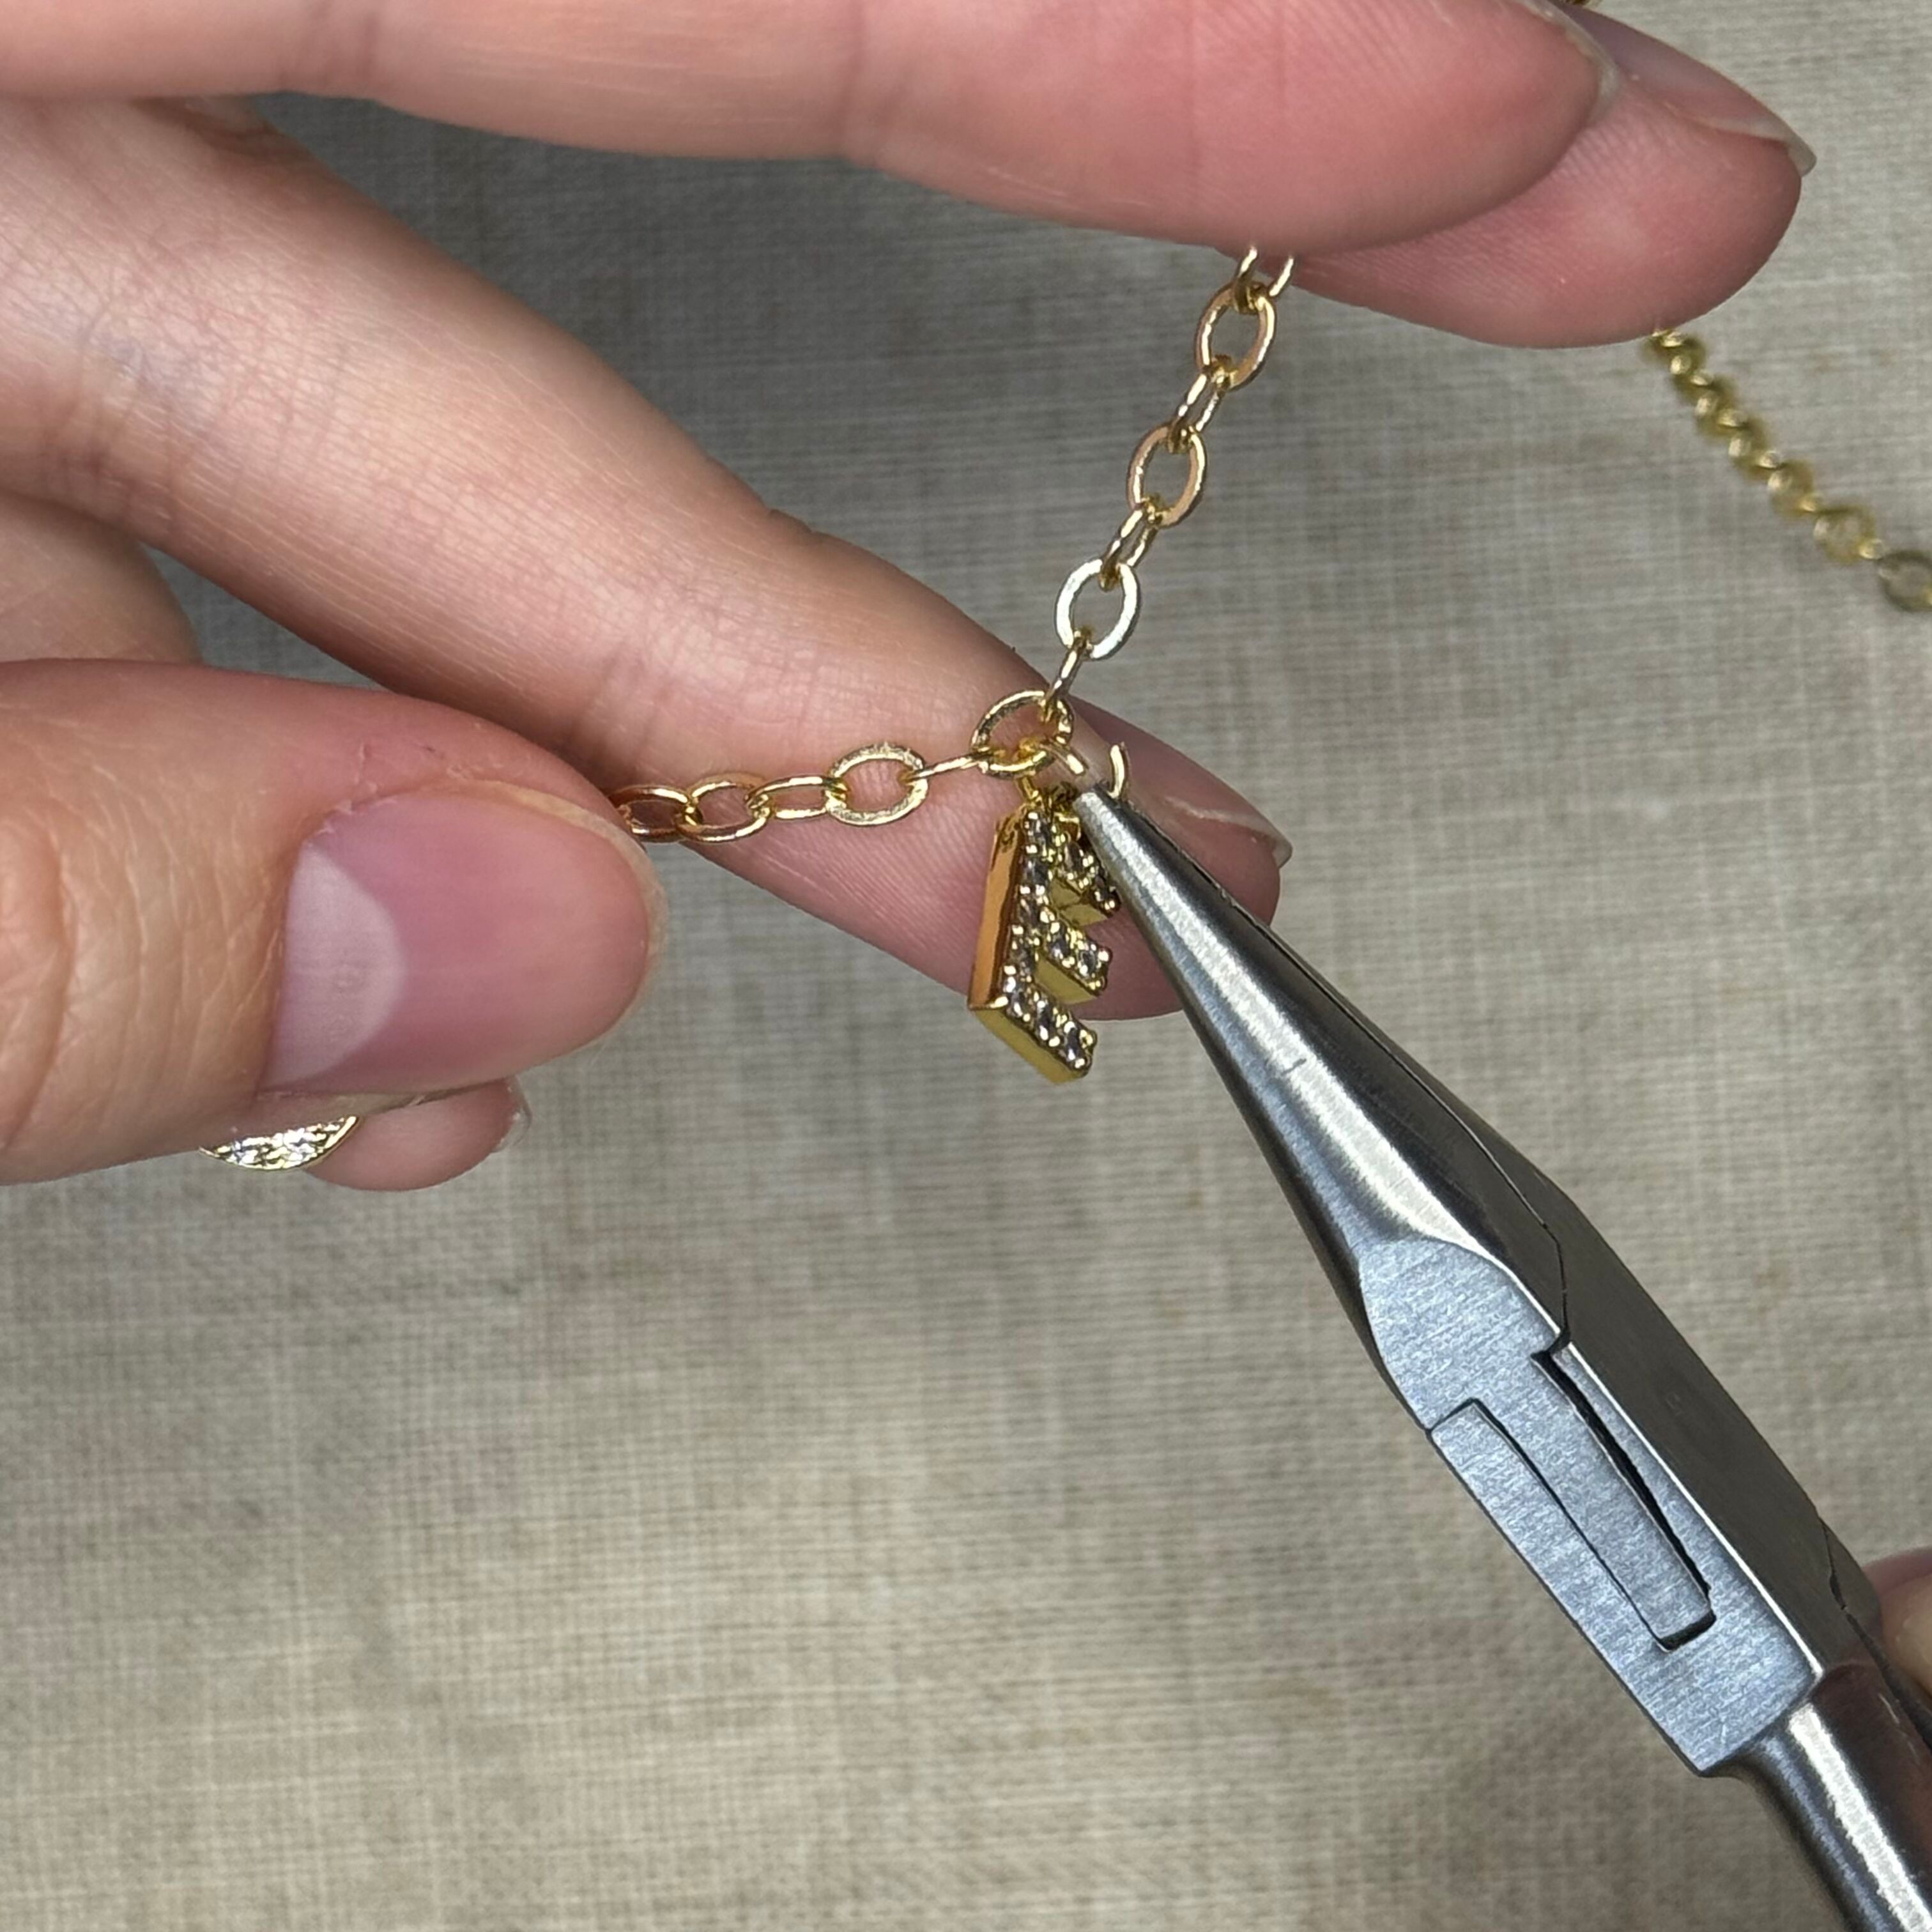
10. Thread your charm onto a 4mm 21 gauge jump ring. Keep the chain taught so it does not twist! Holding the right side of the jump ring (charm facing towards you), thread the left end onto the bottom side of the 8th chain link.
***We attach all our charms onto the bottom of the chain link so they all sit in line
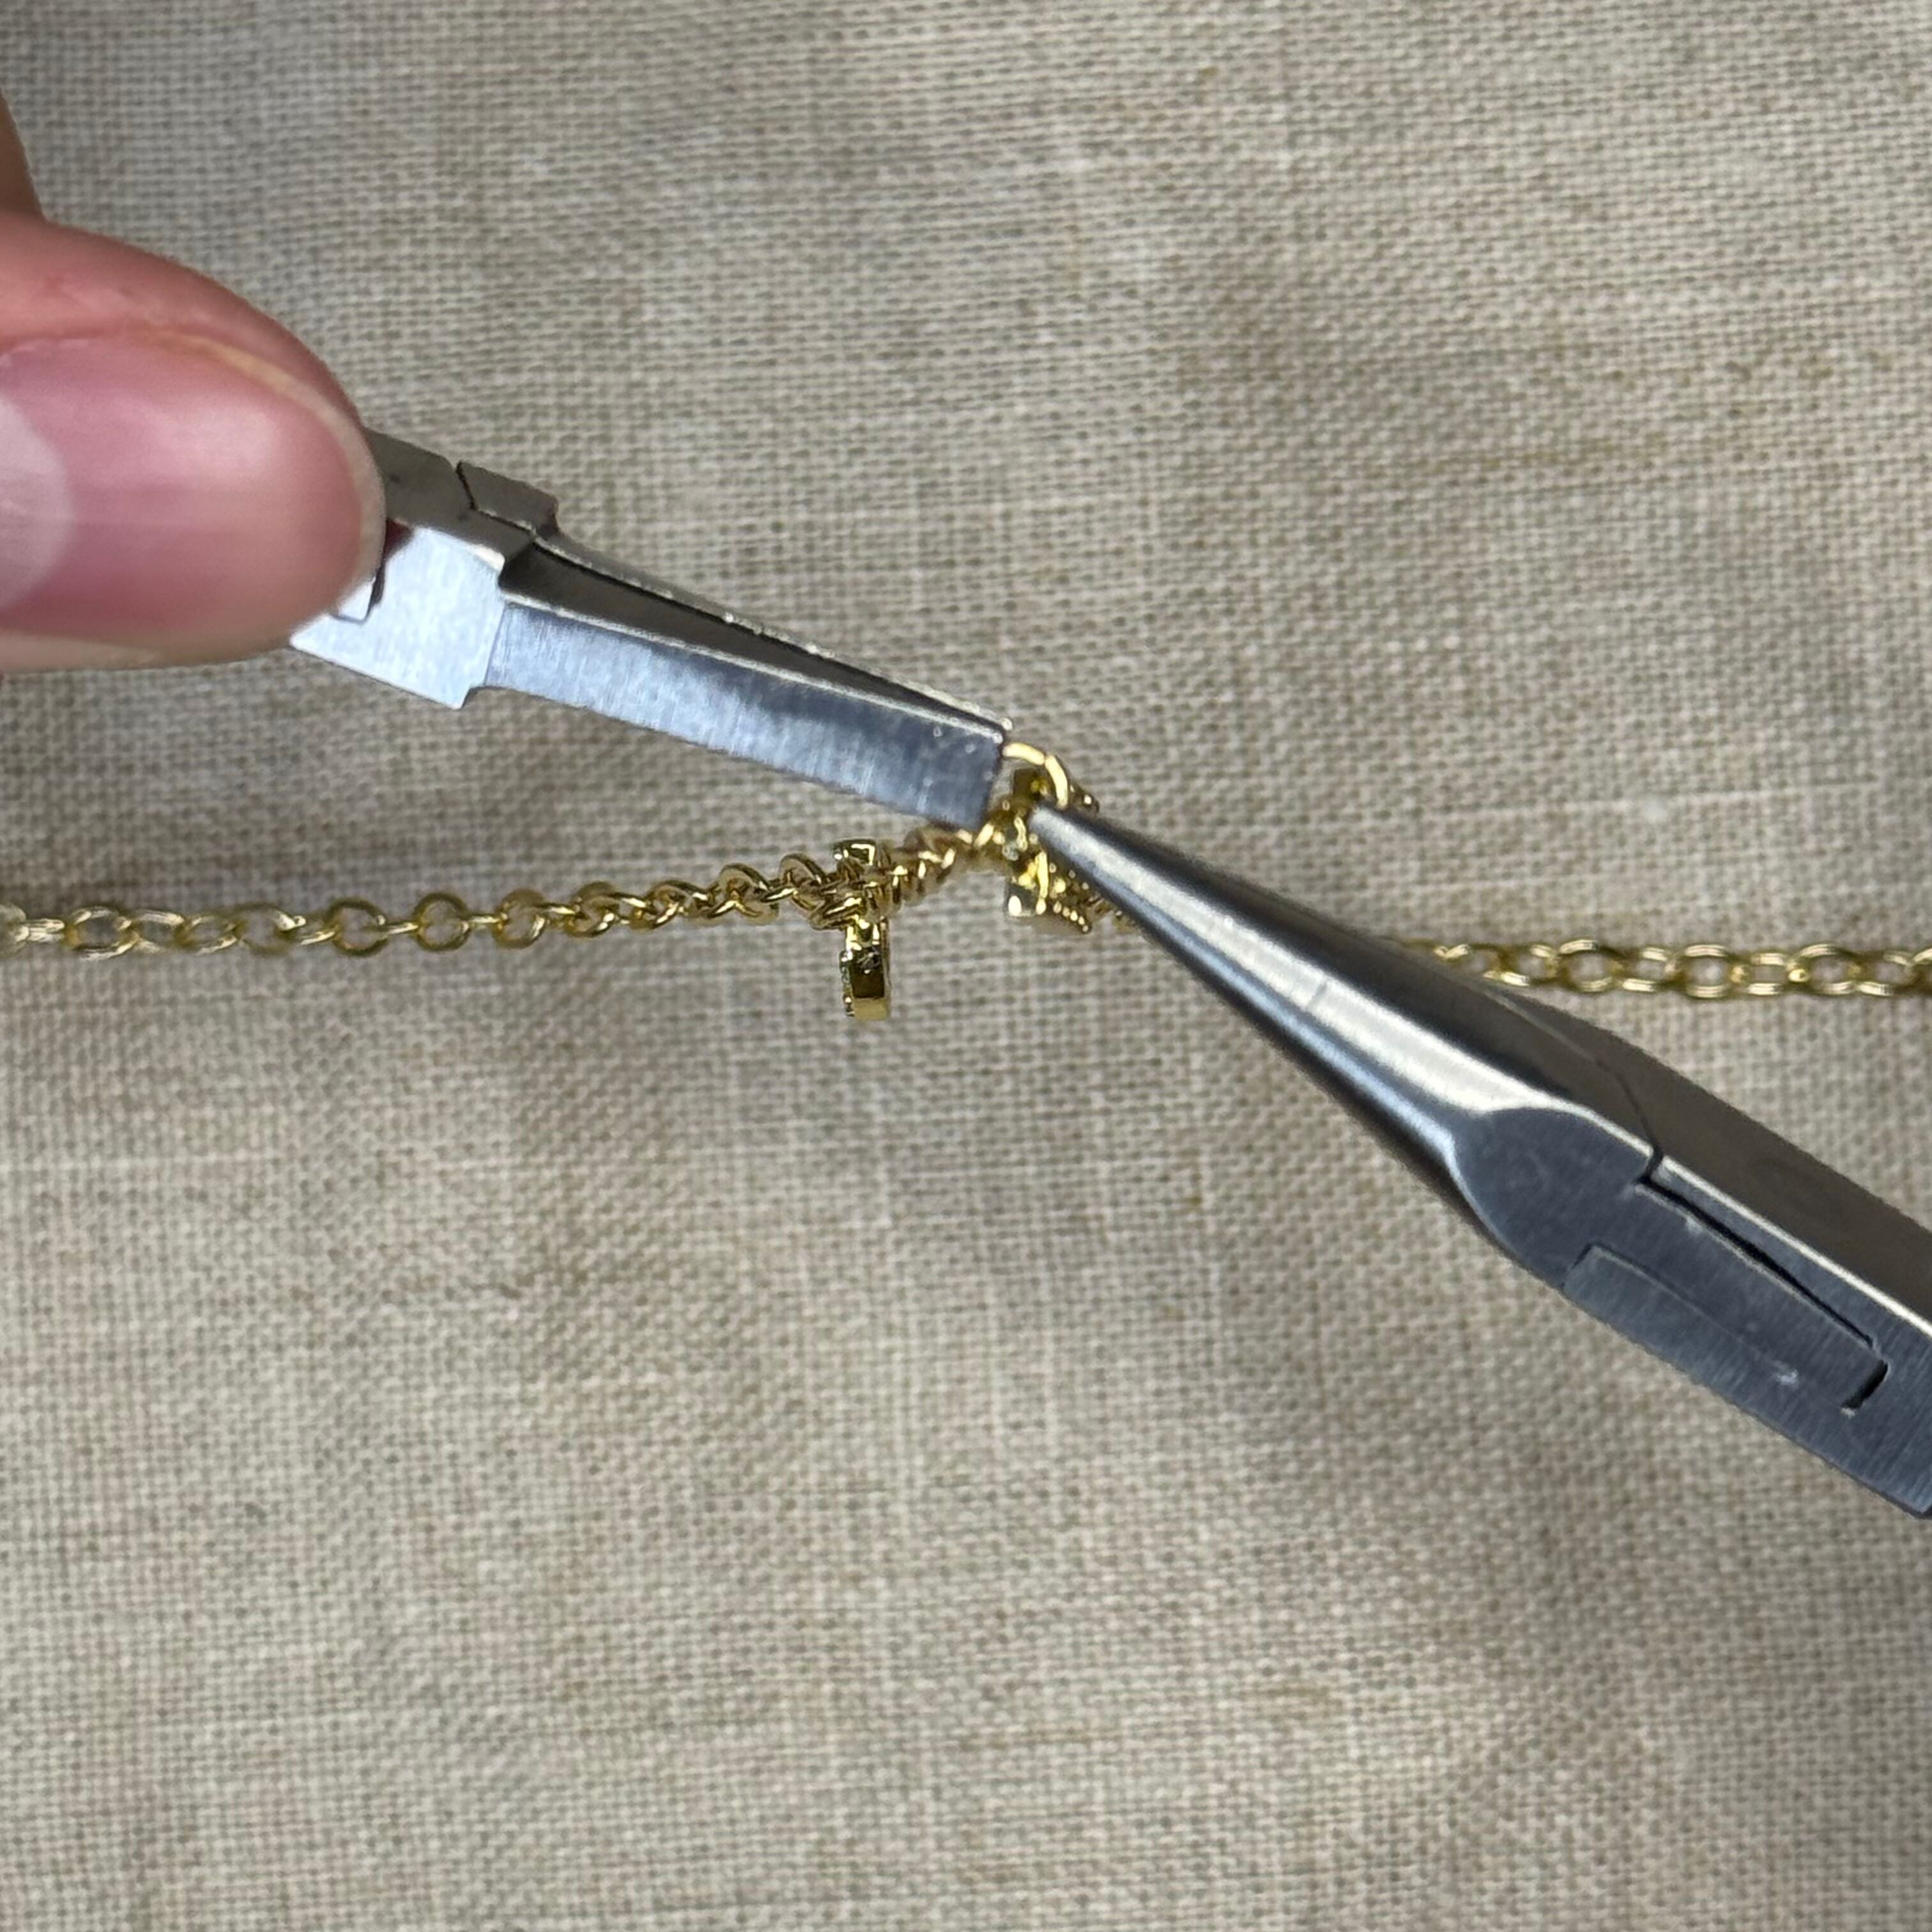
11. Close the link using your flat nose pliers
12. Repeat the previous steps for the charm sitting to the left of the center charm. You will count 8 links over to the left to find your position.
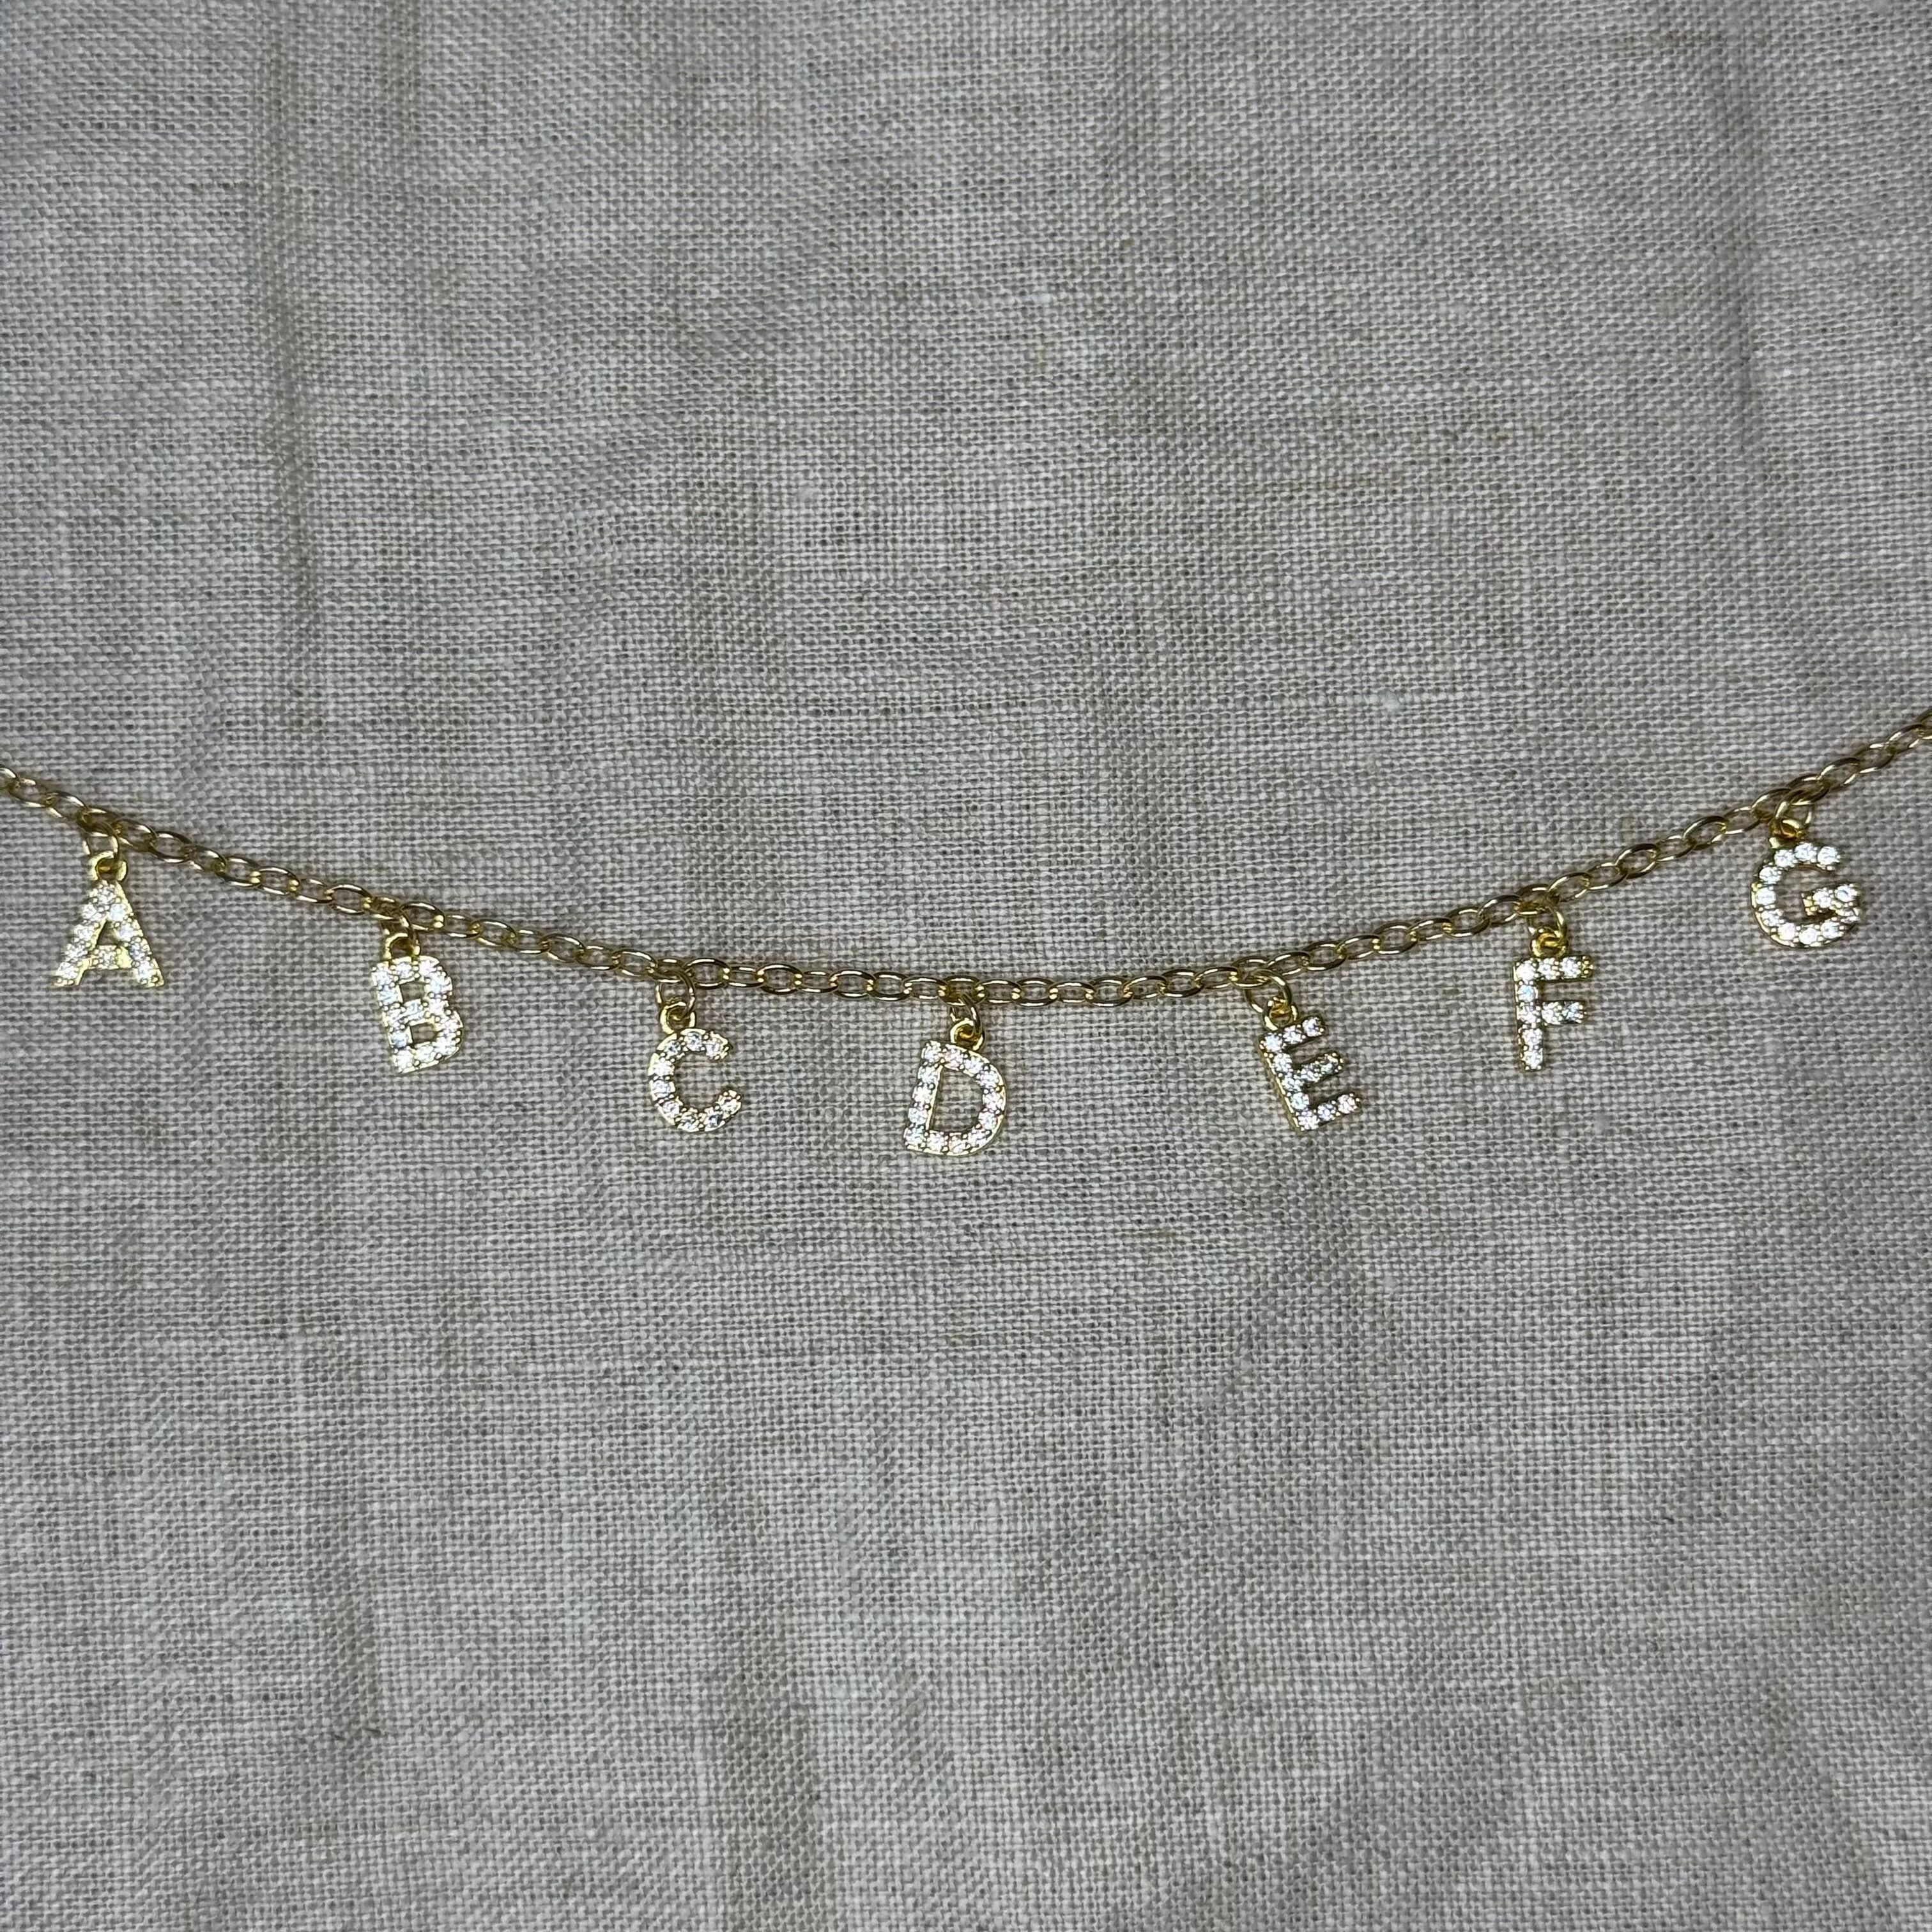
13. Continue attaching the rest of your charms.
***Remember to add a charm 8 links over, counting the charm you are referencing as zero and to keep the chain taught so the charms stay in line
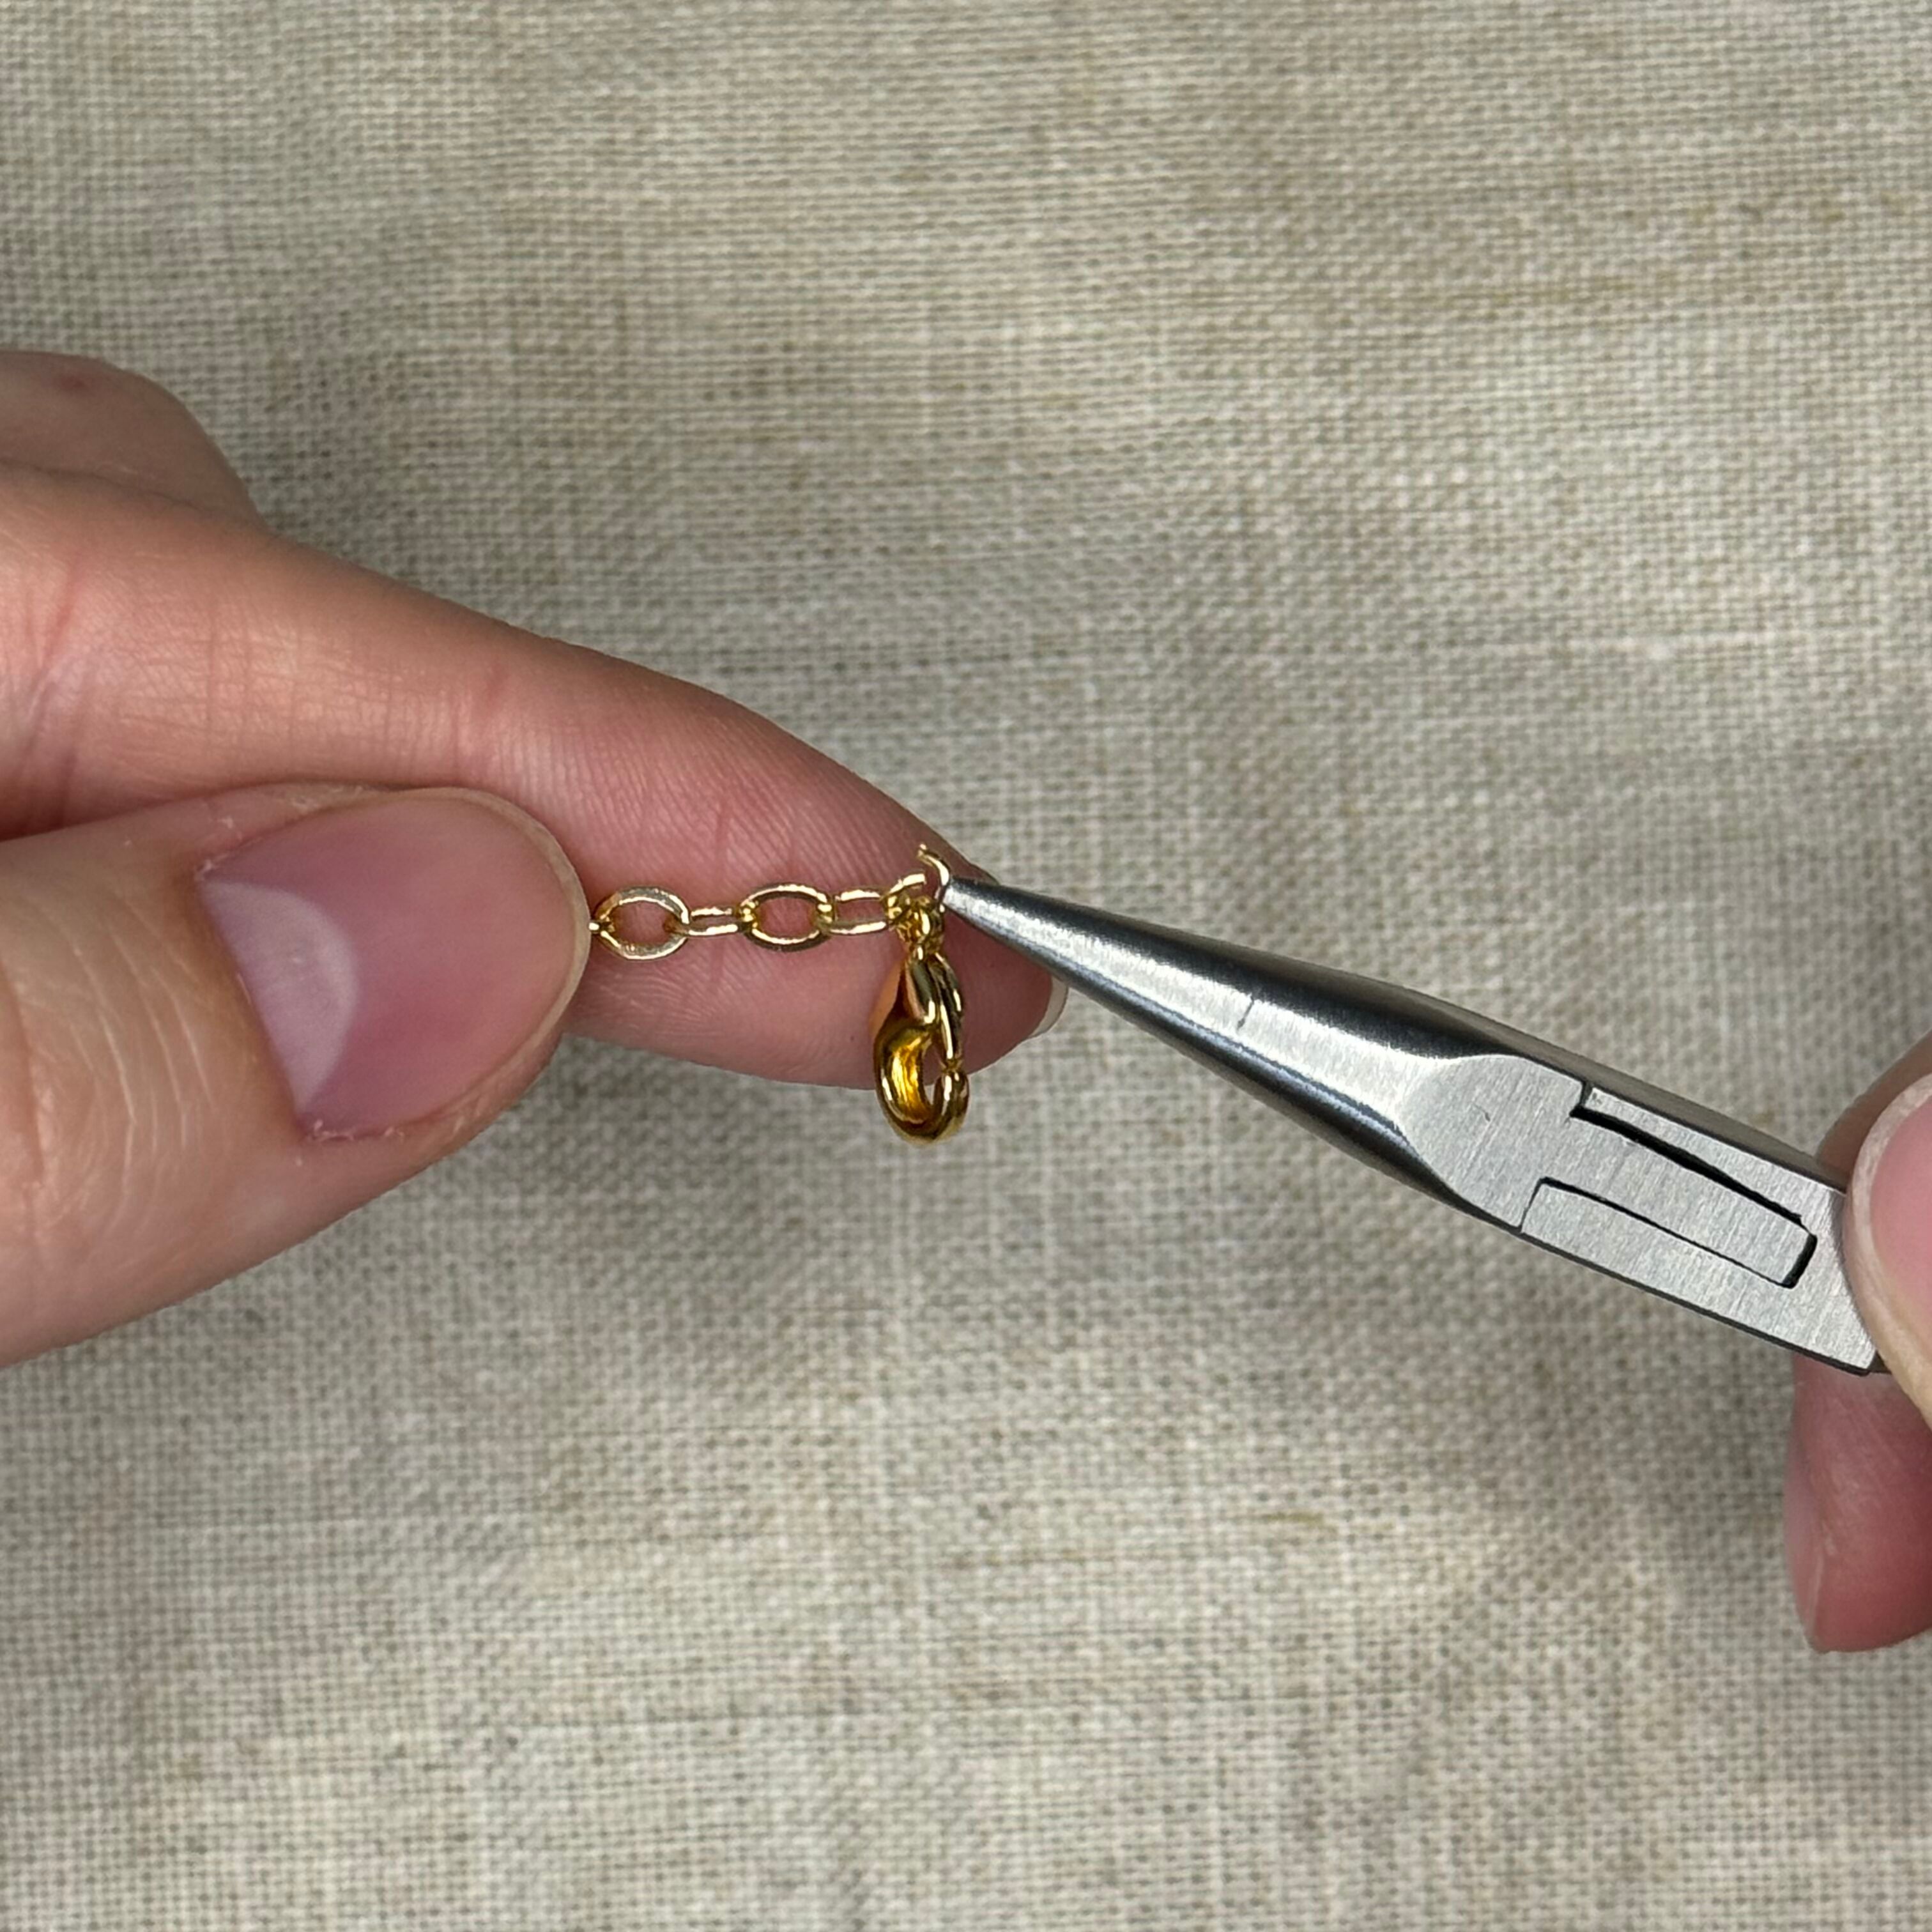
14. Hold up your nearly finished necklace with the charms facing away from you, locate the right end of the chain. This is where you will attach your clasp. Open a 3mm 22 gauge jump ring and thread on the clasp and the final link of the chain. Close the jump ring.
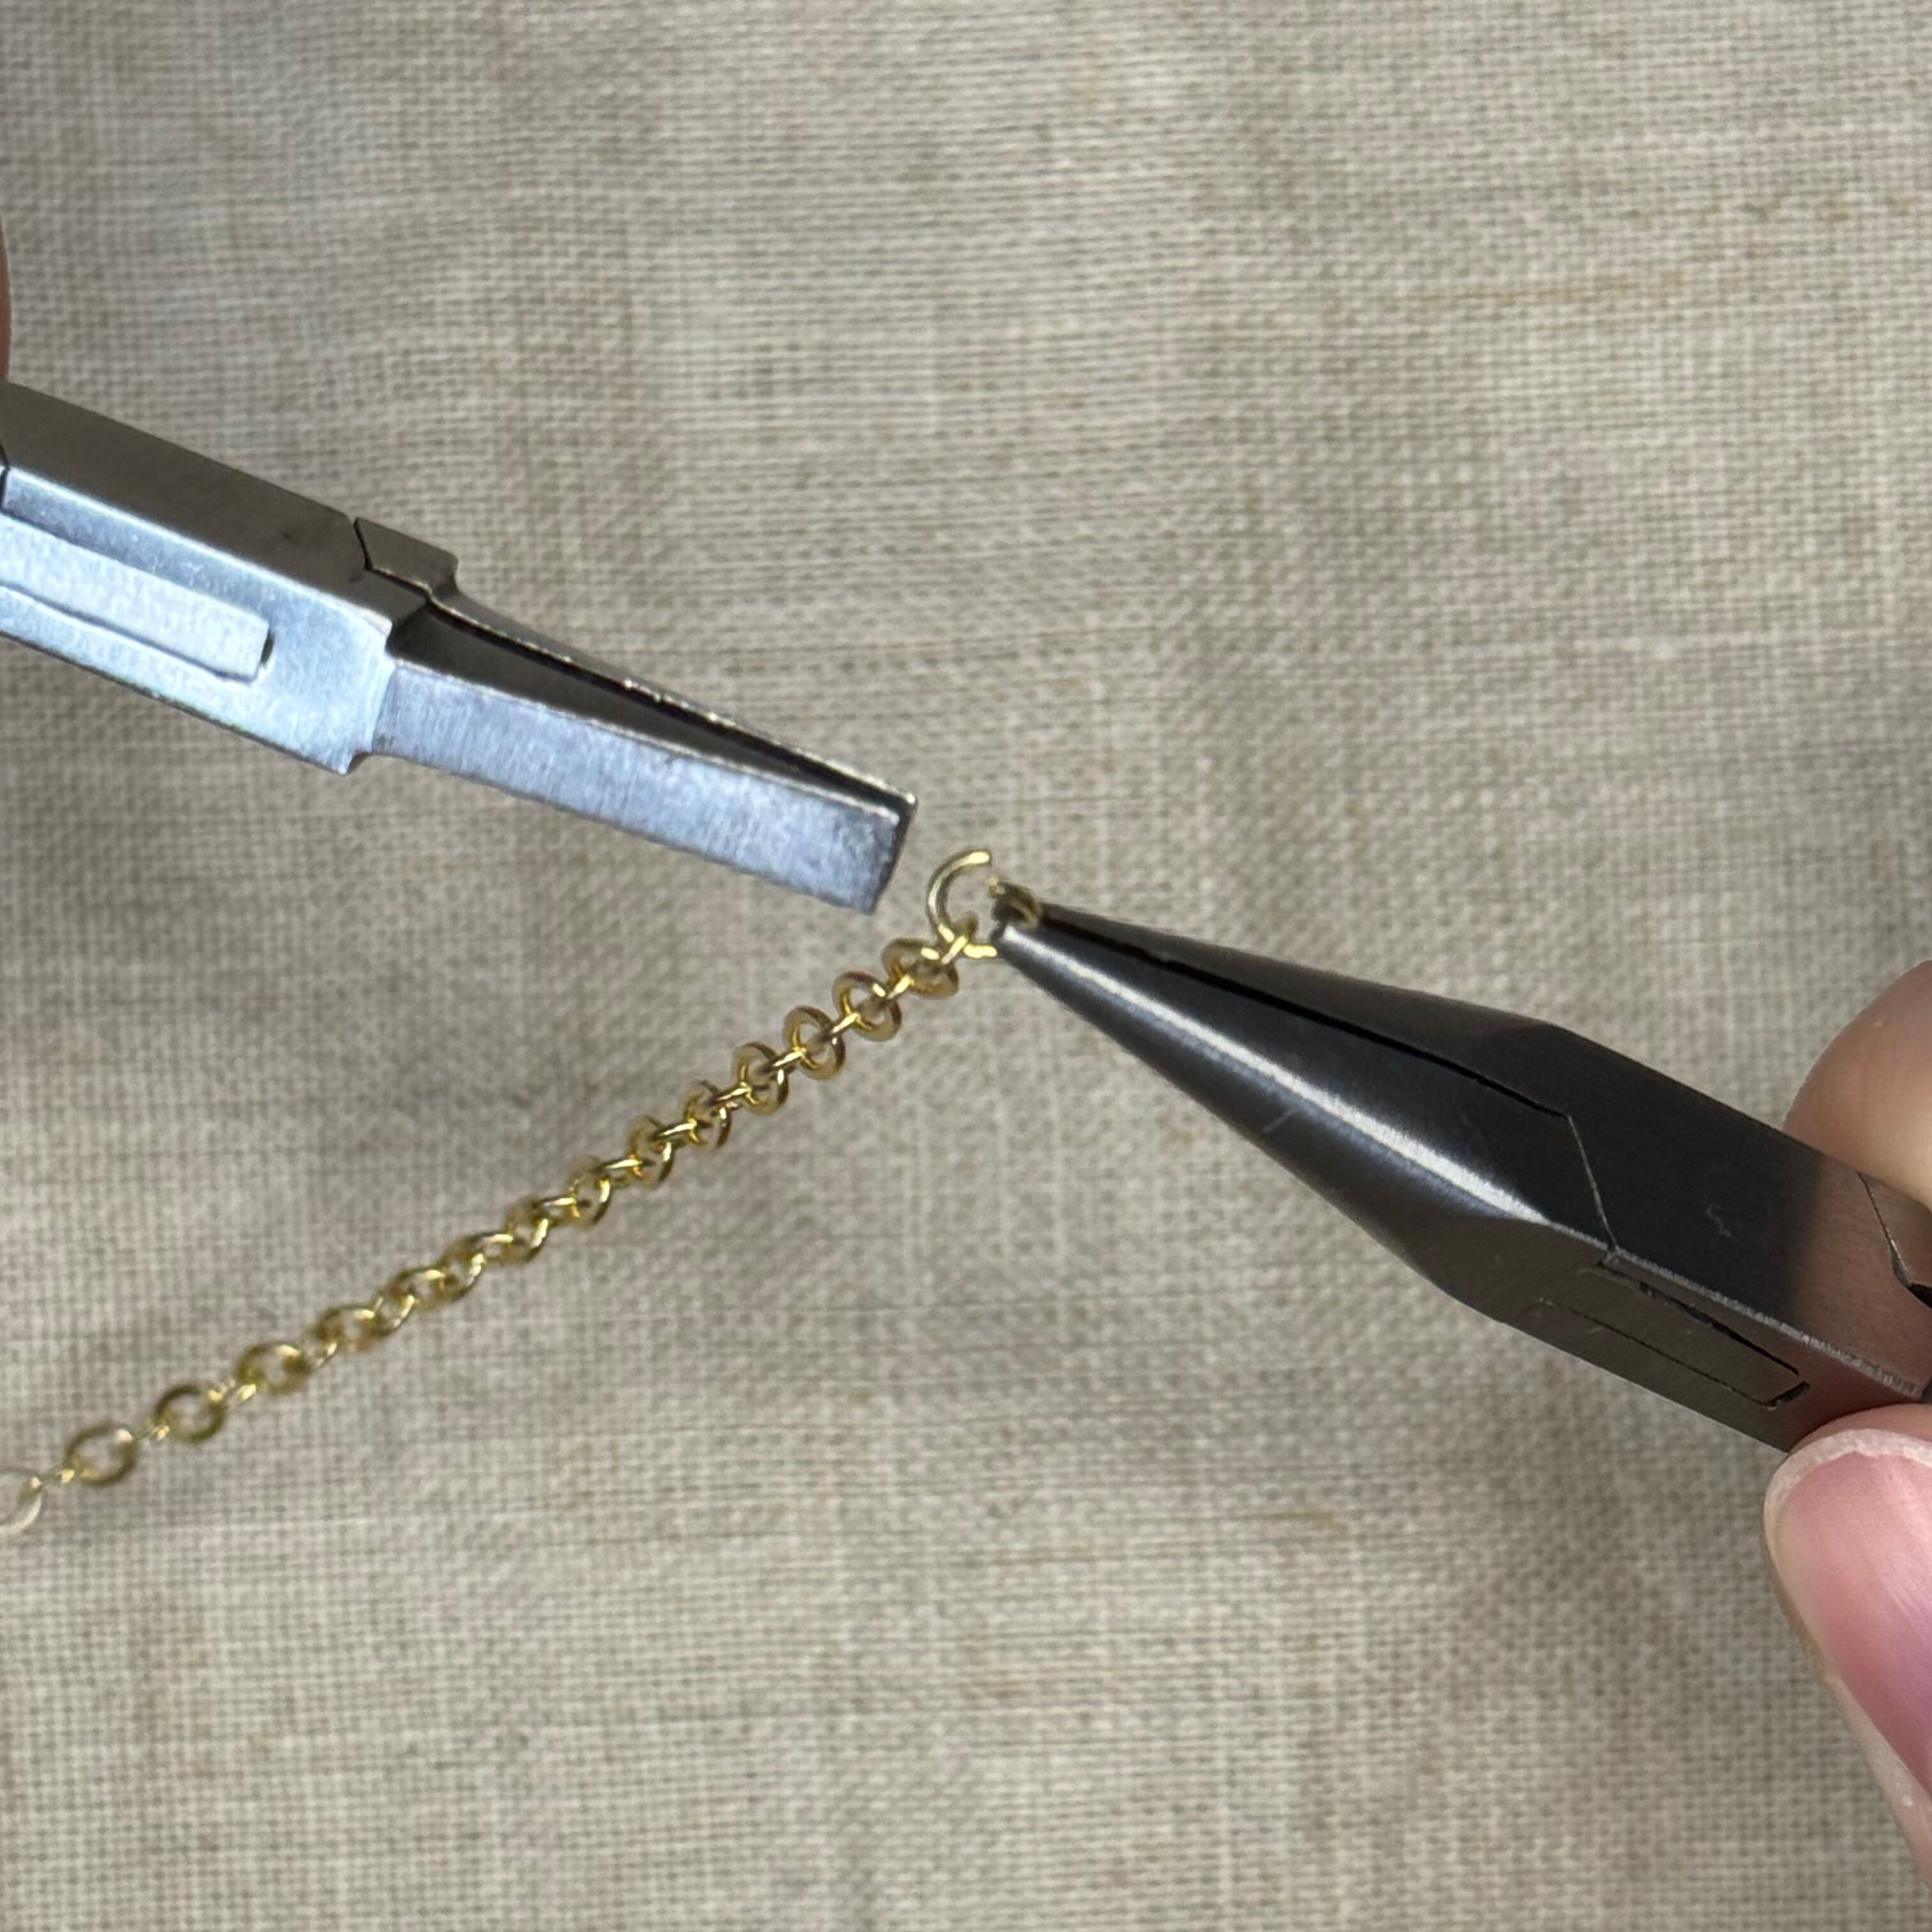
15. Now locate the opposite, left, end of the necklace and attach the last 4mm 21 gauge jump ring to the last chain link and close it. This jump ring will be what you hook your clasp onto while wearing.
16. You are now done with your necklace!
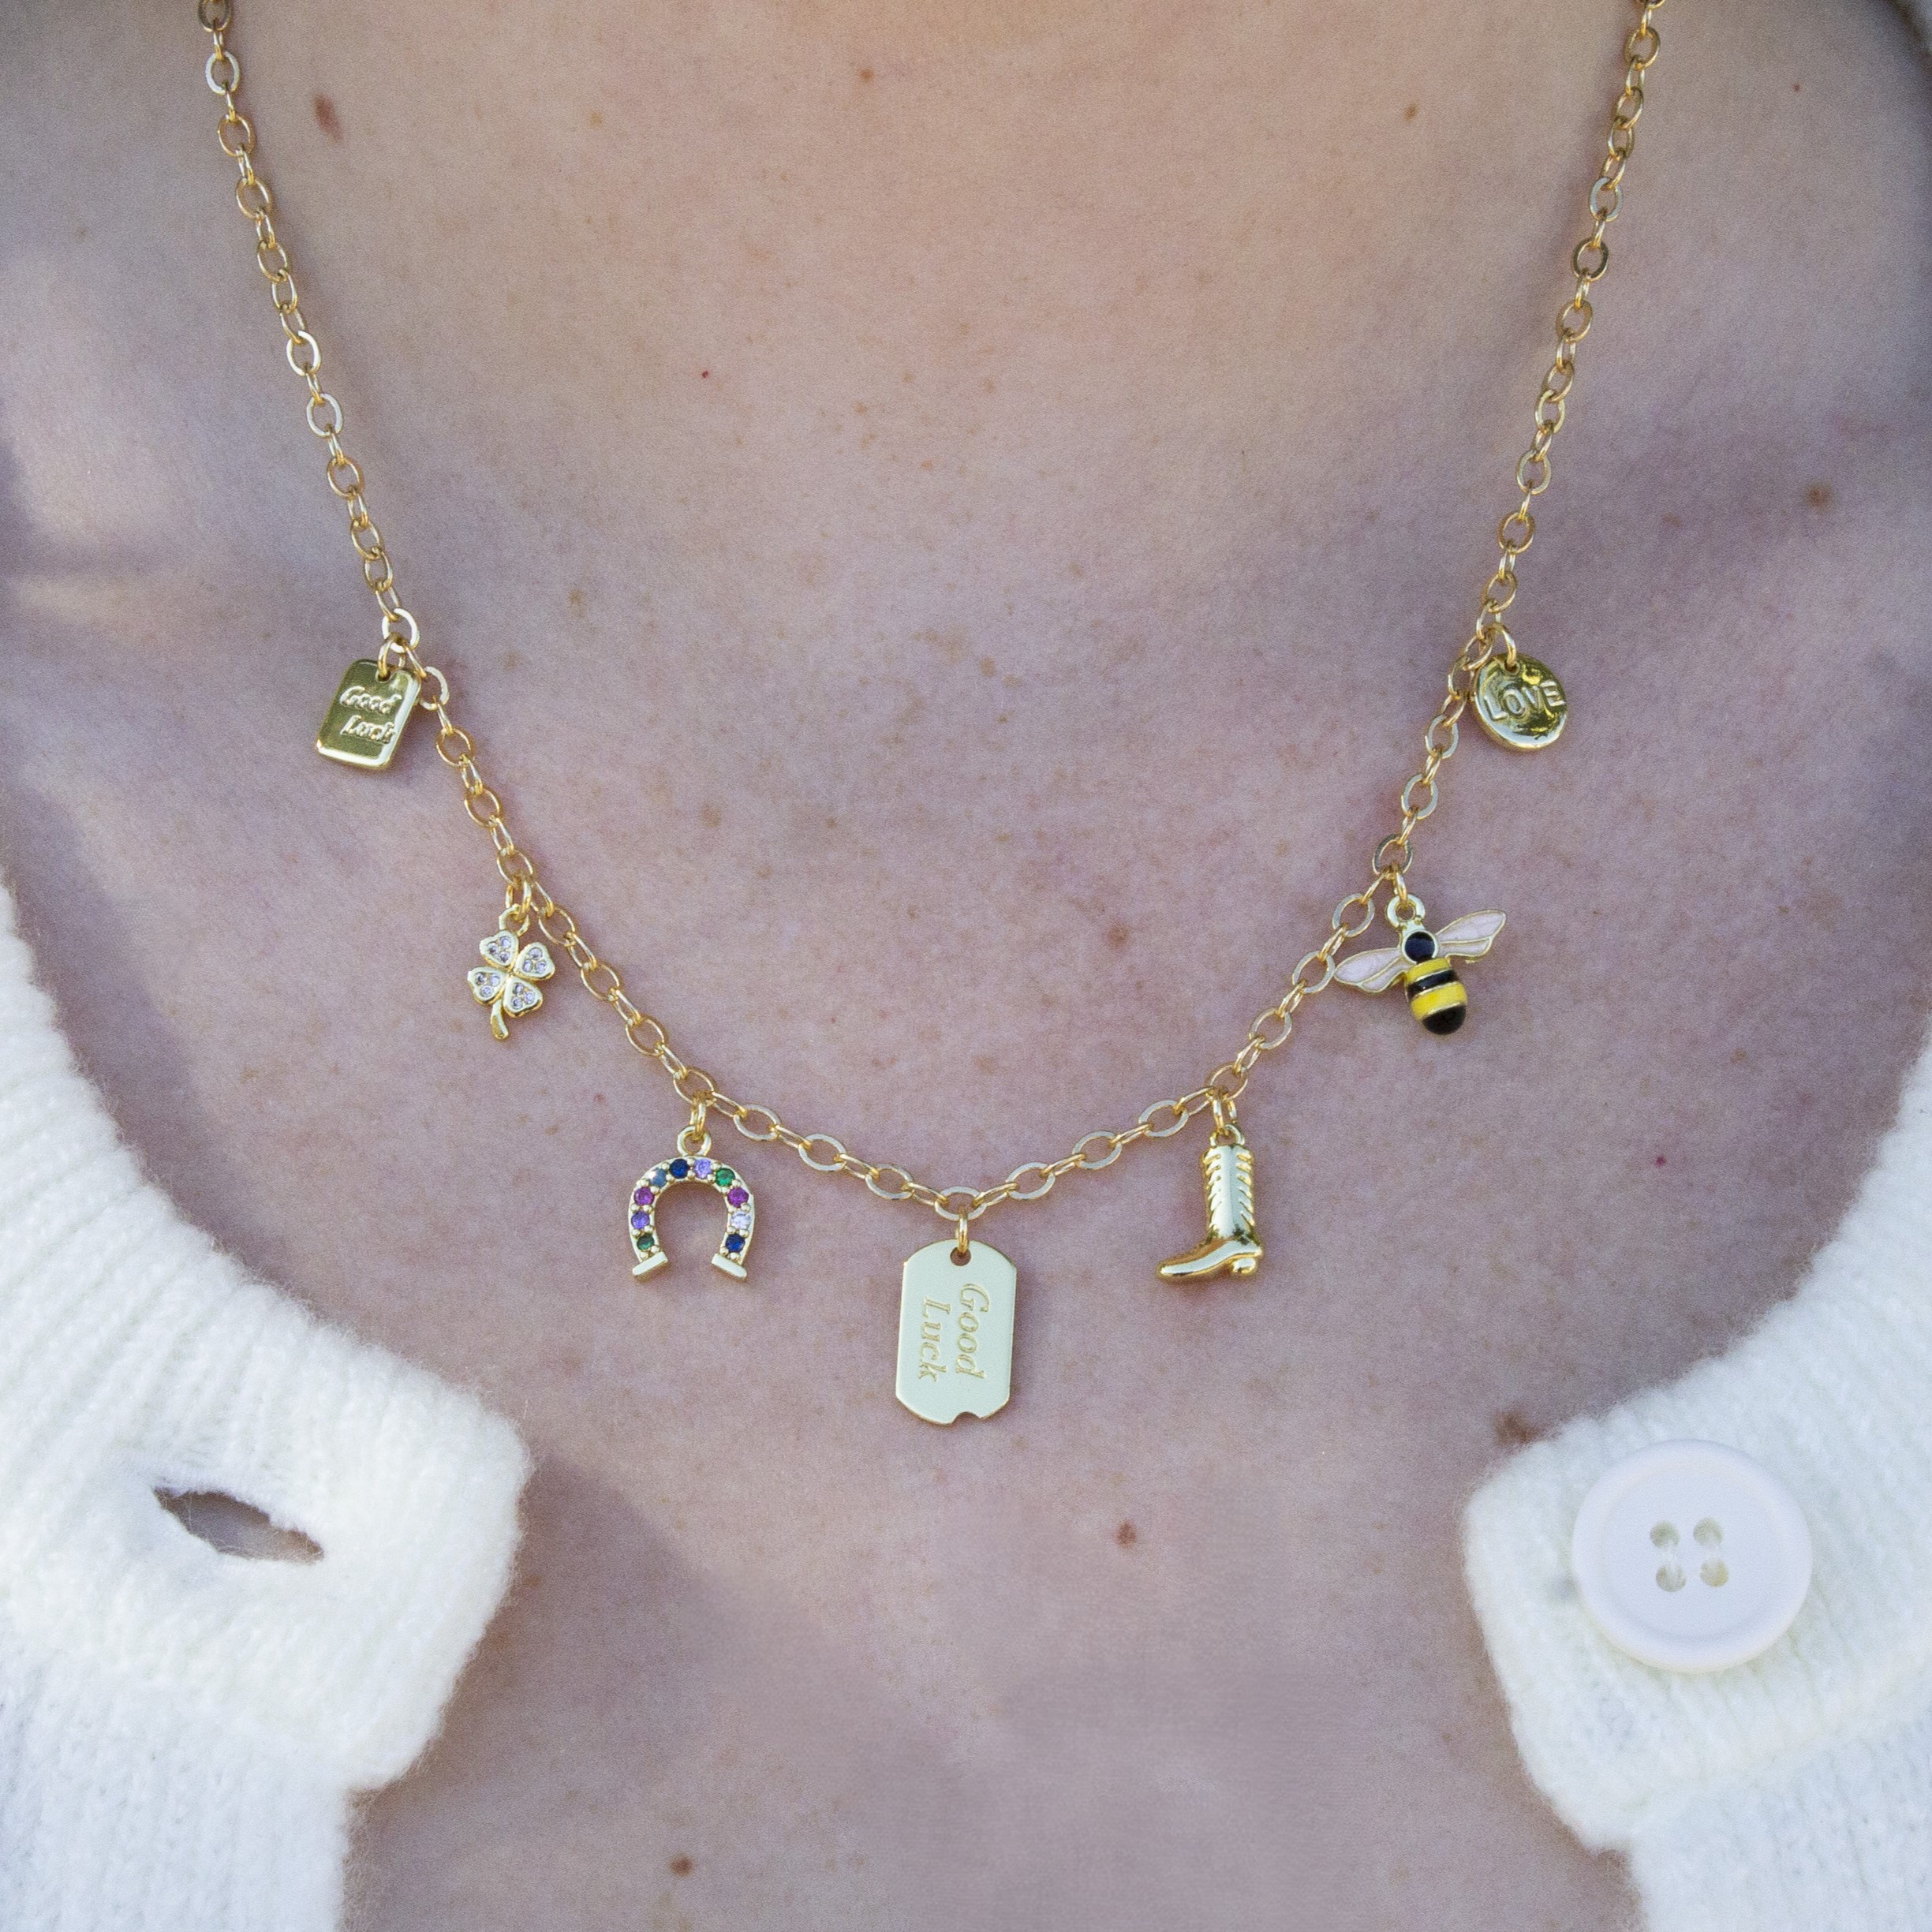
Charms from left to right: Good Luck Charm - Four Leaf Clover - Horse Shoe - Good Luck Tag Charm - Boot - Bee - Love Coin Charm
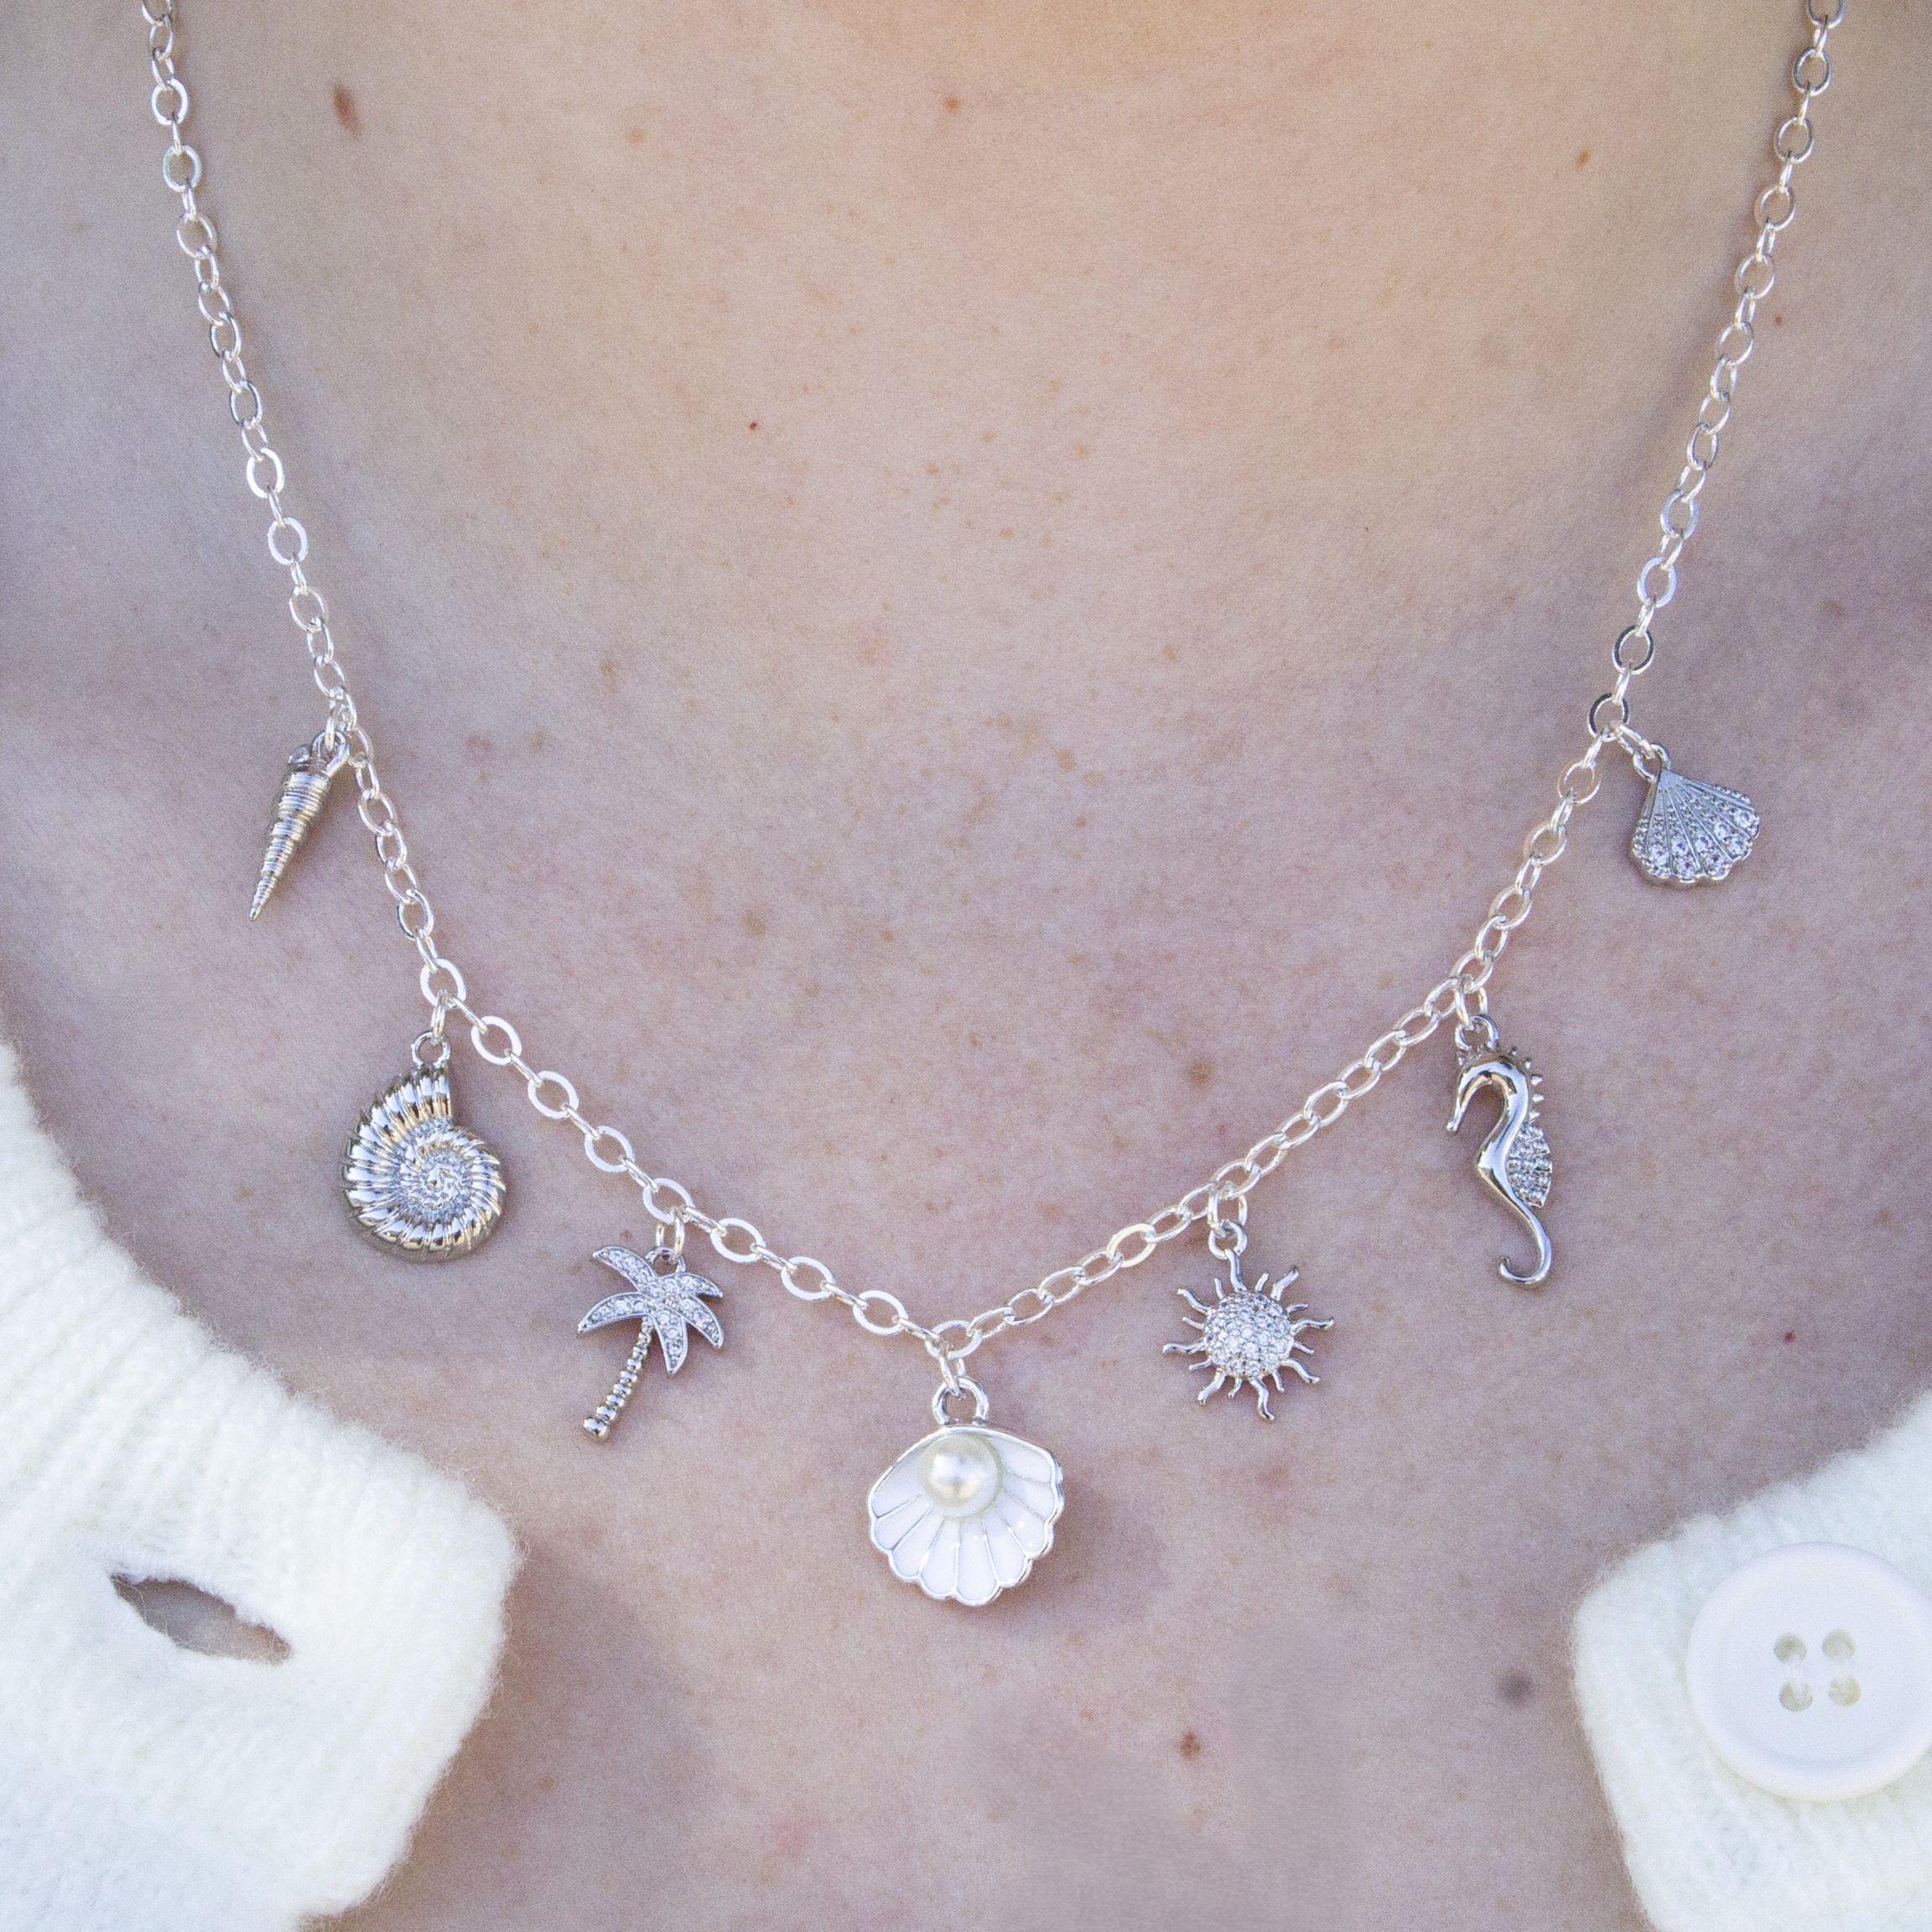
Charms from left to right: Spiral Shell - Nautilus Charm - Palm Tree - Enamel Pearl Shell Charm - Sun Charm - Seahorse Charm - Shell Charm
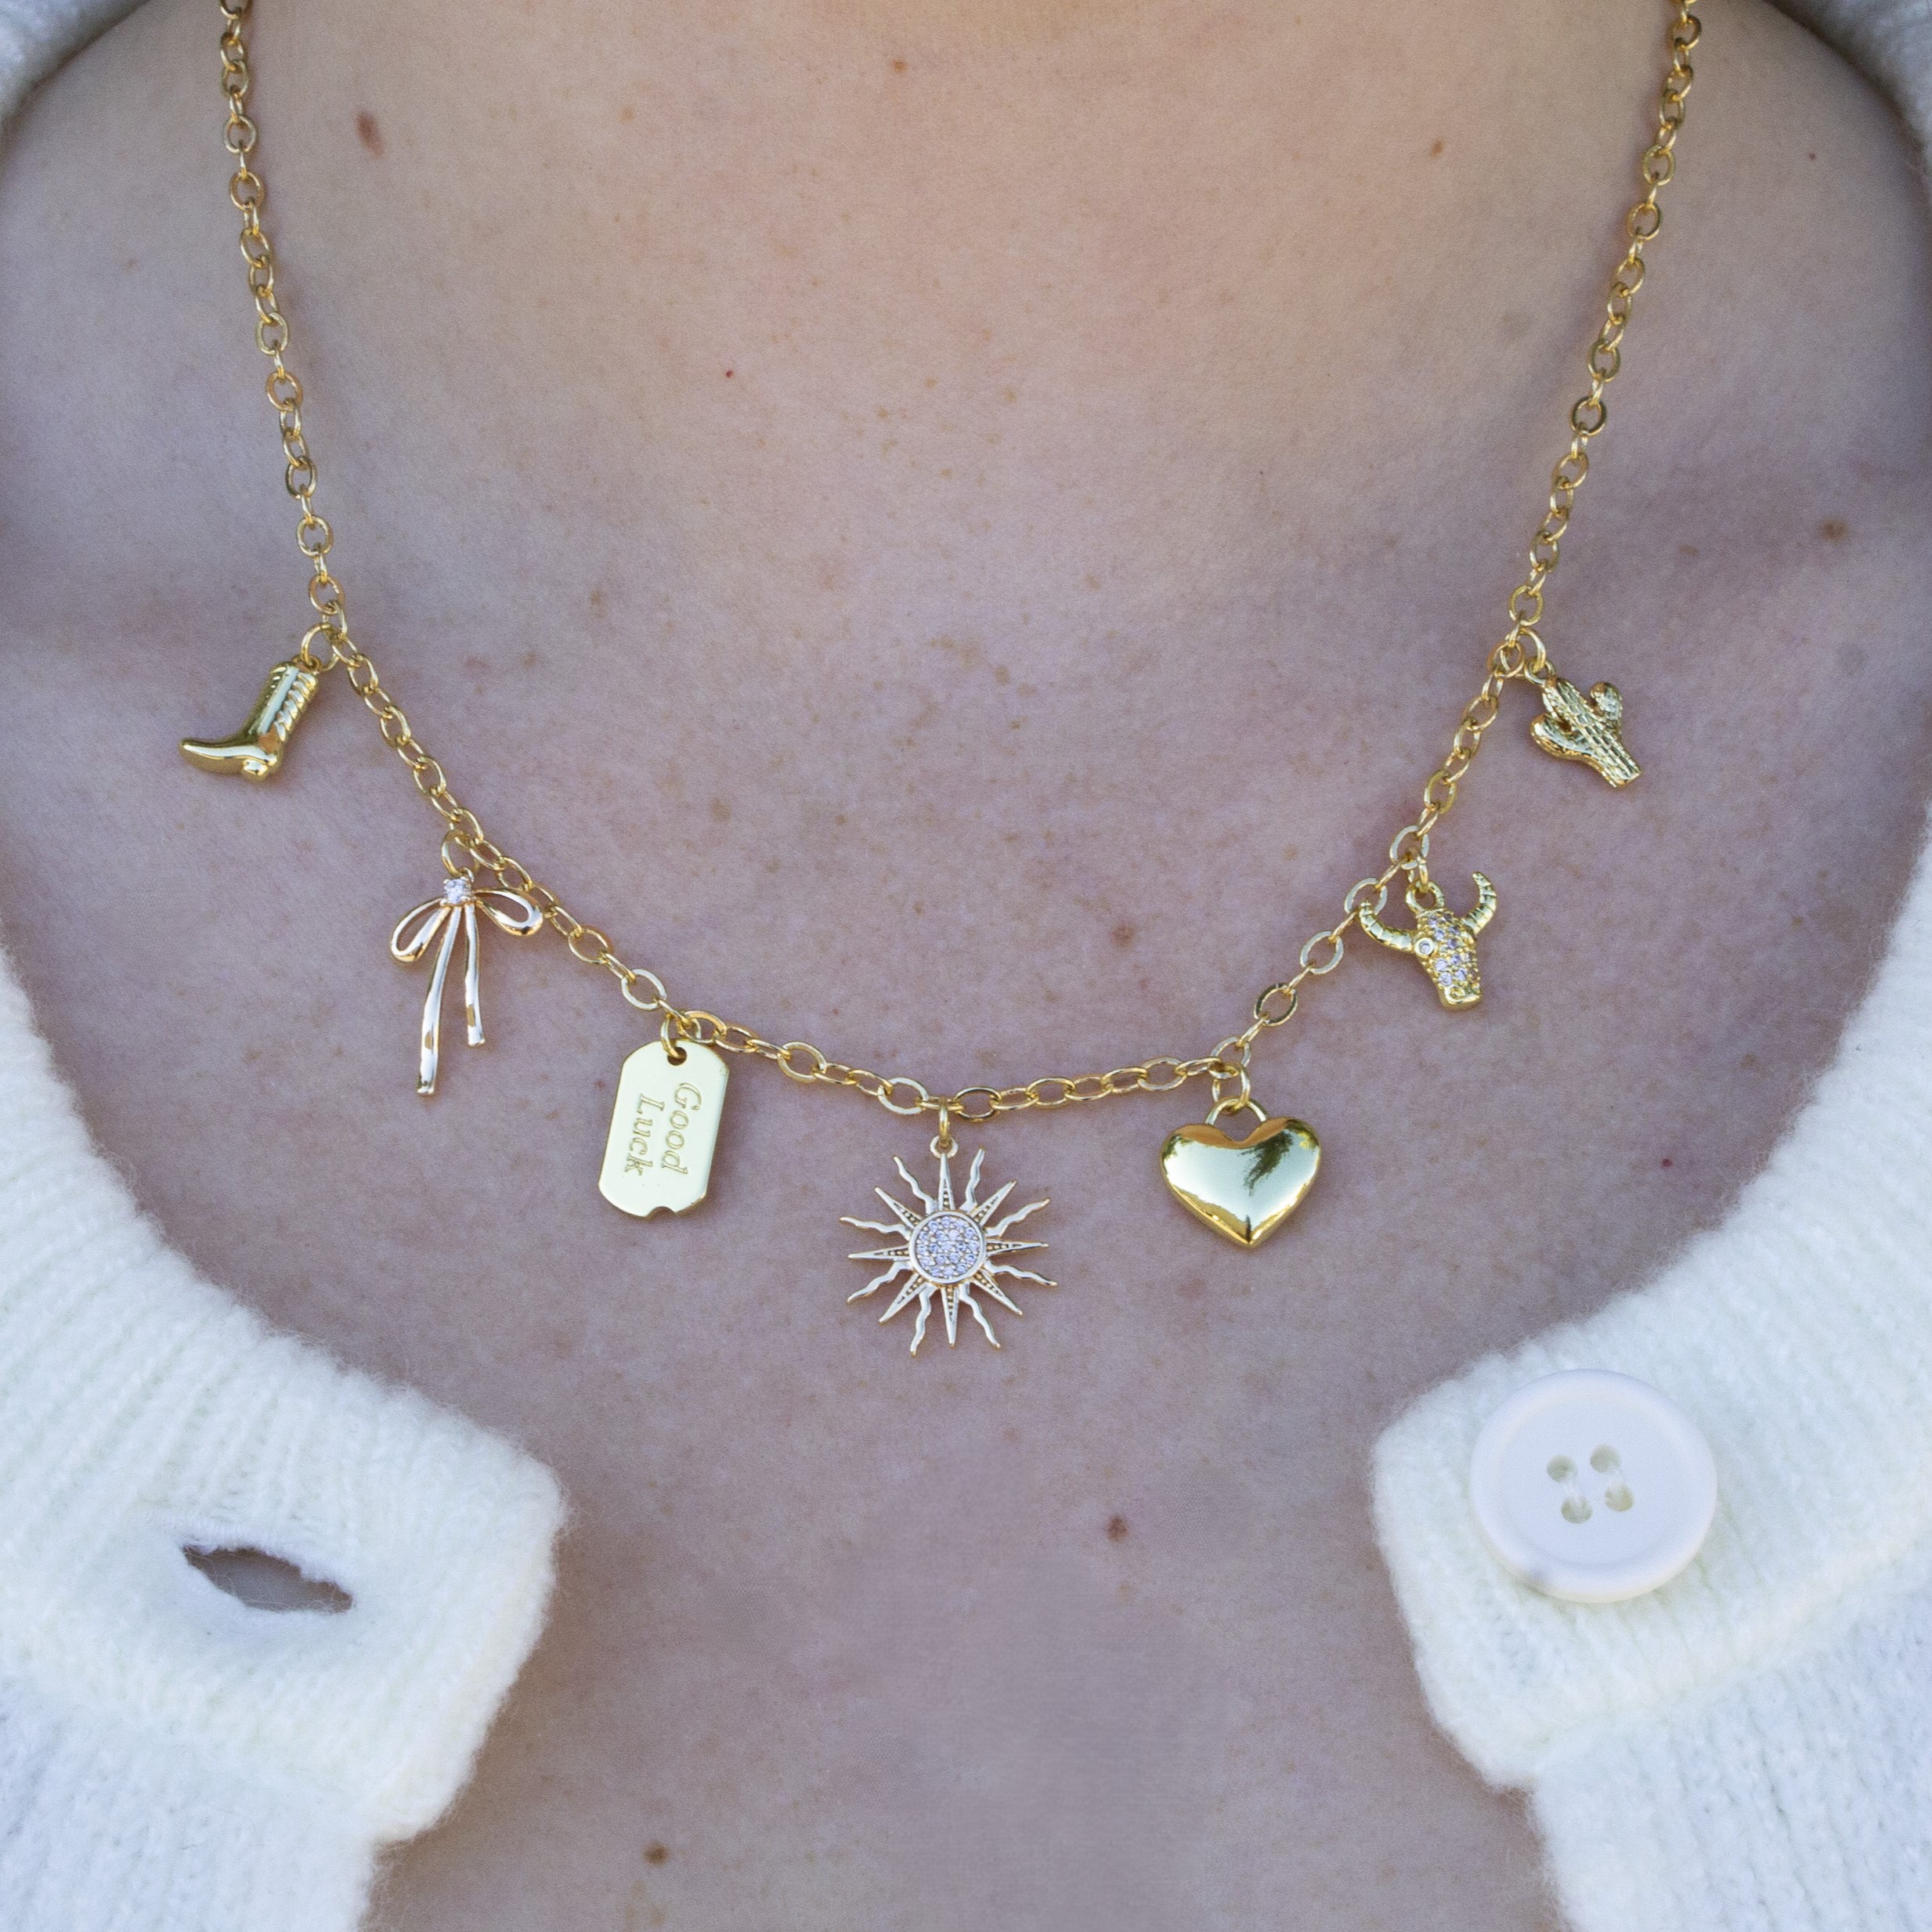
Charms from left to right: Boot - Bow Charm - Good Luck Tag Charm - Eclipse Charm - Heart Charm - Bull Charm - Cactus Charm

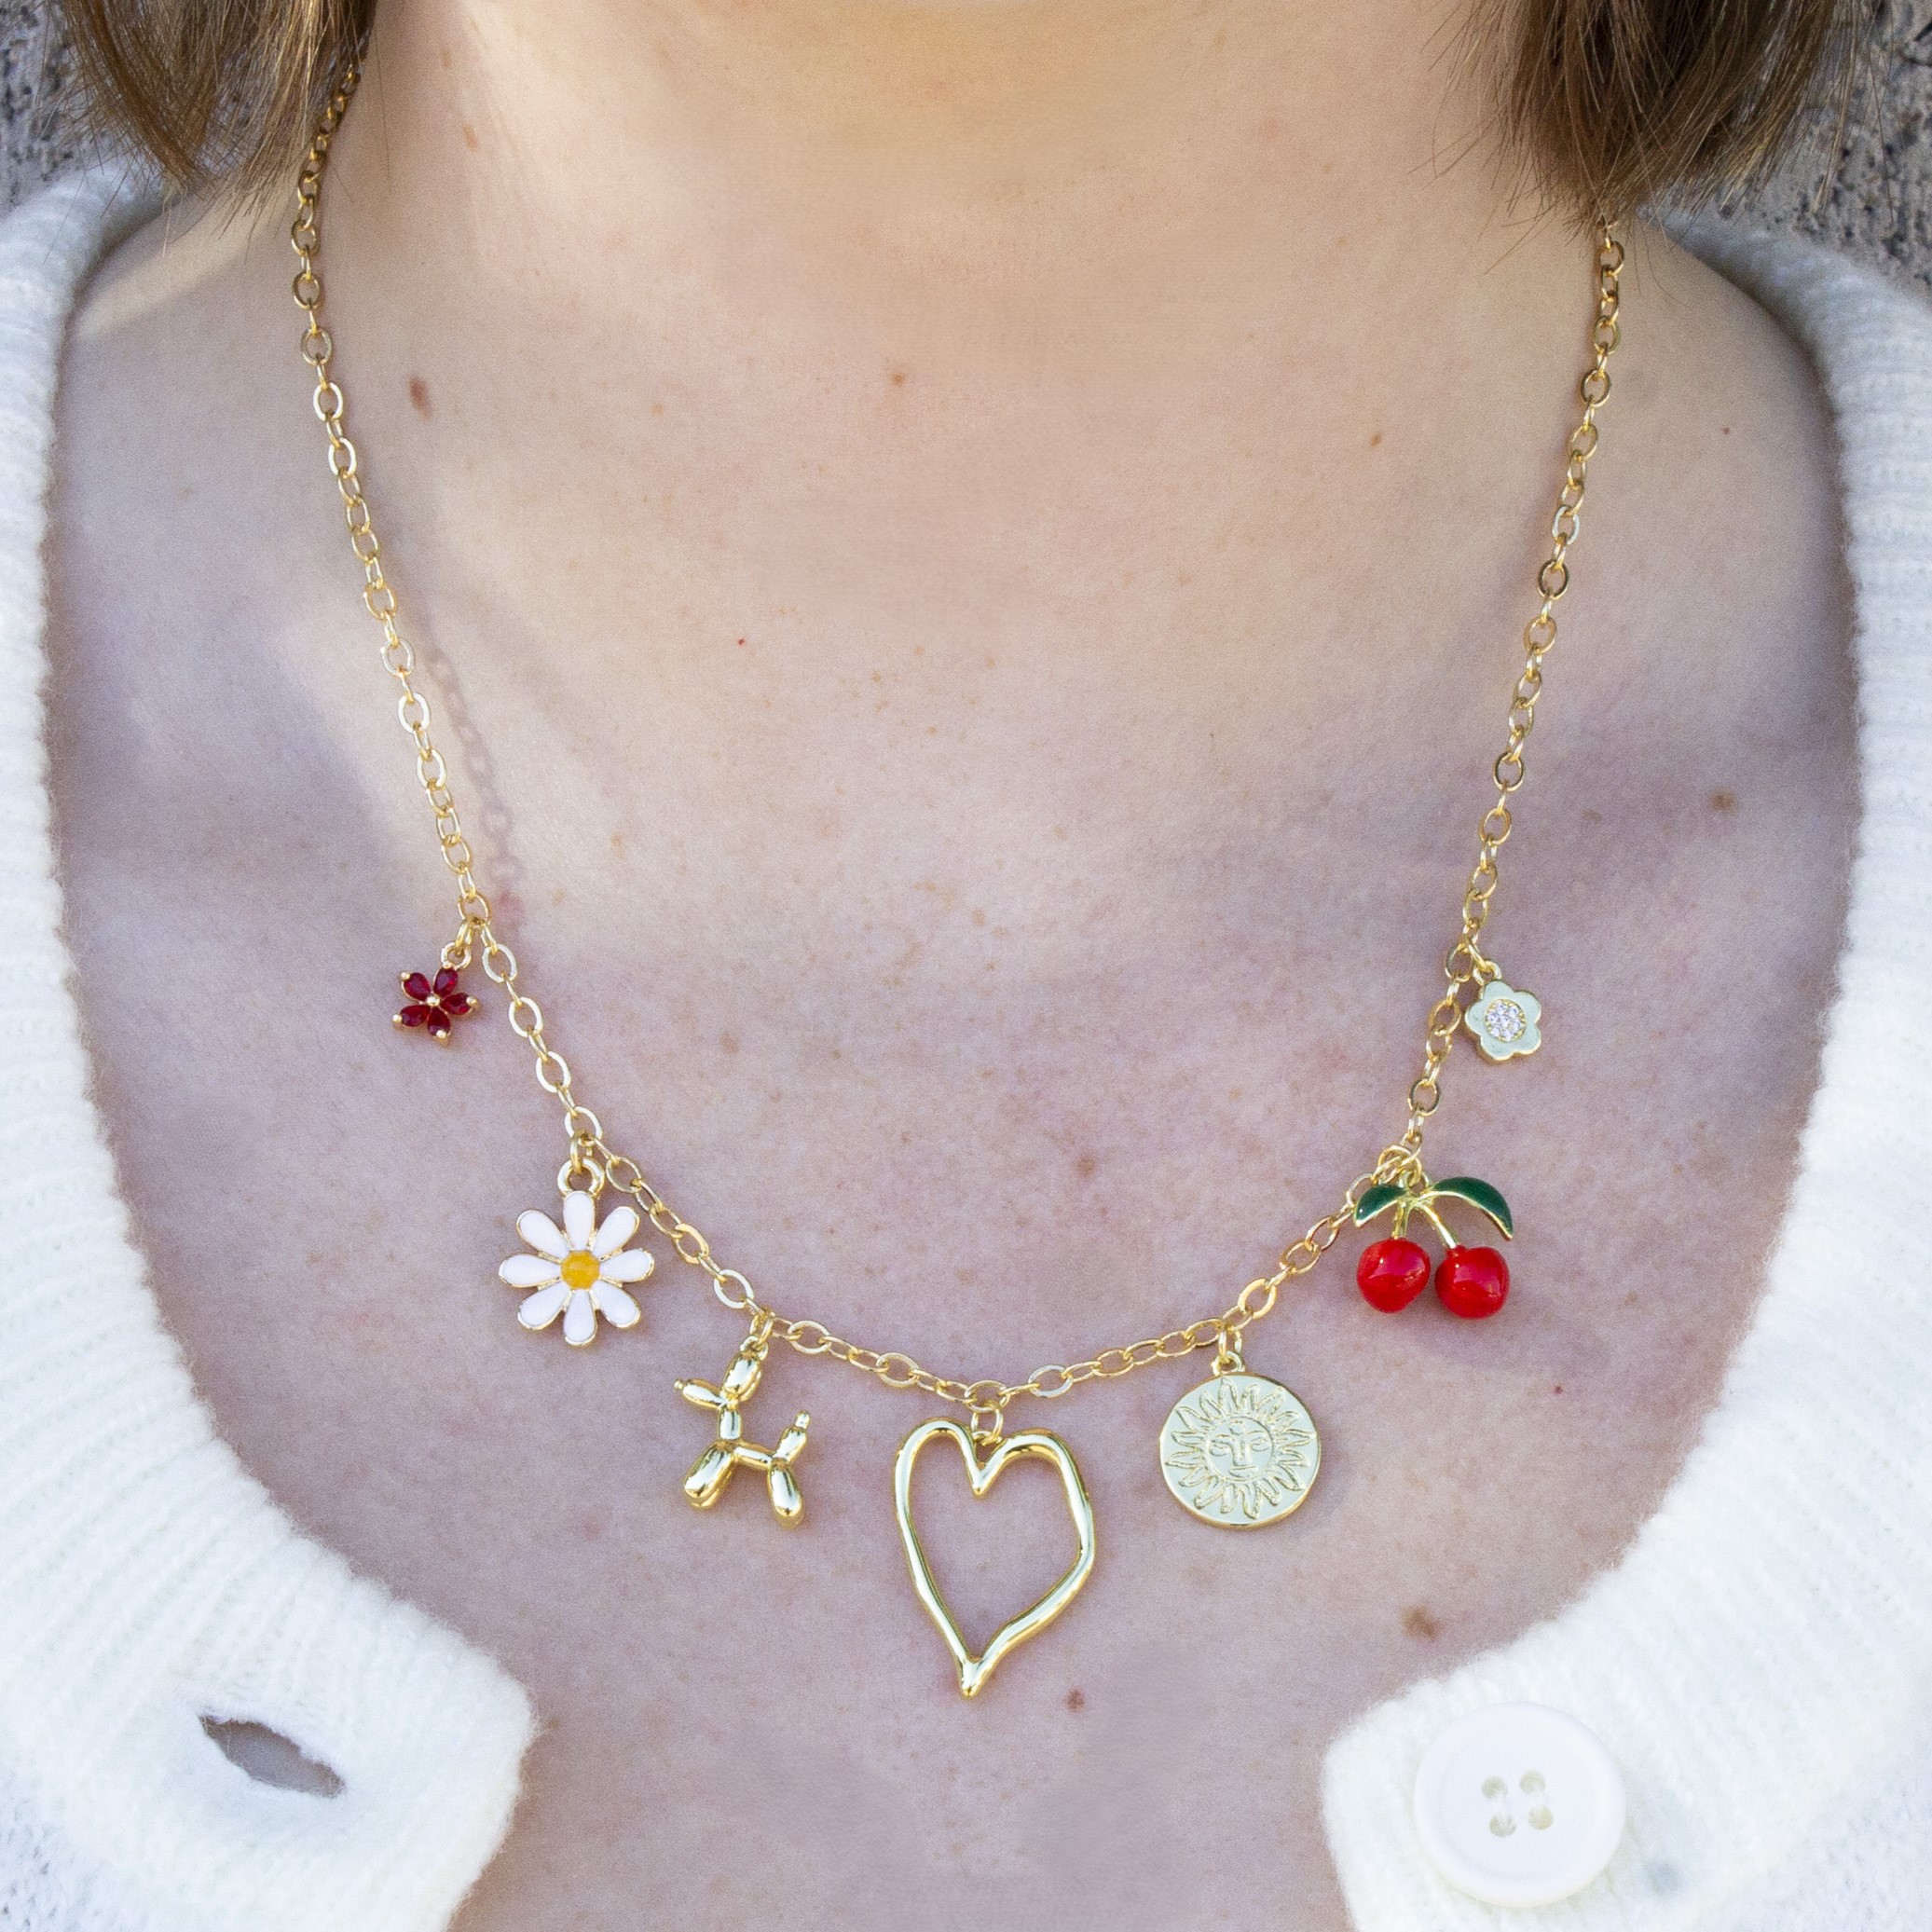
Charms from left to right: Tiny Flower - Enamel Flower - Balloon Dog - Heart Pendant - Sun Coin - Enamel Cherries - Flower Charm
Recent Posts
-
Valentine Fringe Earrings
Valentine Fringe EarringsLearn how to make fringe earrings with a heart pattern that pops! The …13th Jan 2025 -
Dancing Pearl Cowboy Charm Leather Bracelet
Dancing Pearl Cowboy Charm Leather BraceletThis tutorial is a spin of our Dancing Gemstone Brac …17th Dec 2024 -
Christmas Wine Charms - Mini Tutorial
Christmas Wine Charms - Mini TutorialThese wine charms are sure to be the center talking point at yo …25th Nov 2024


