

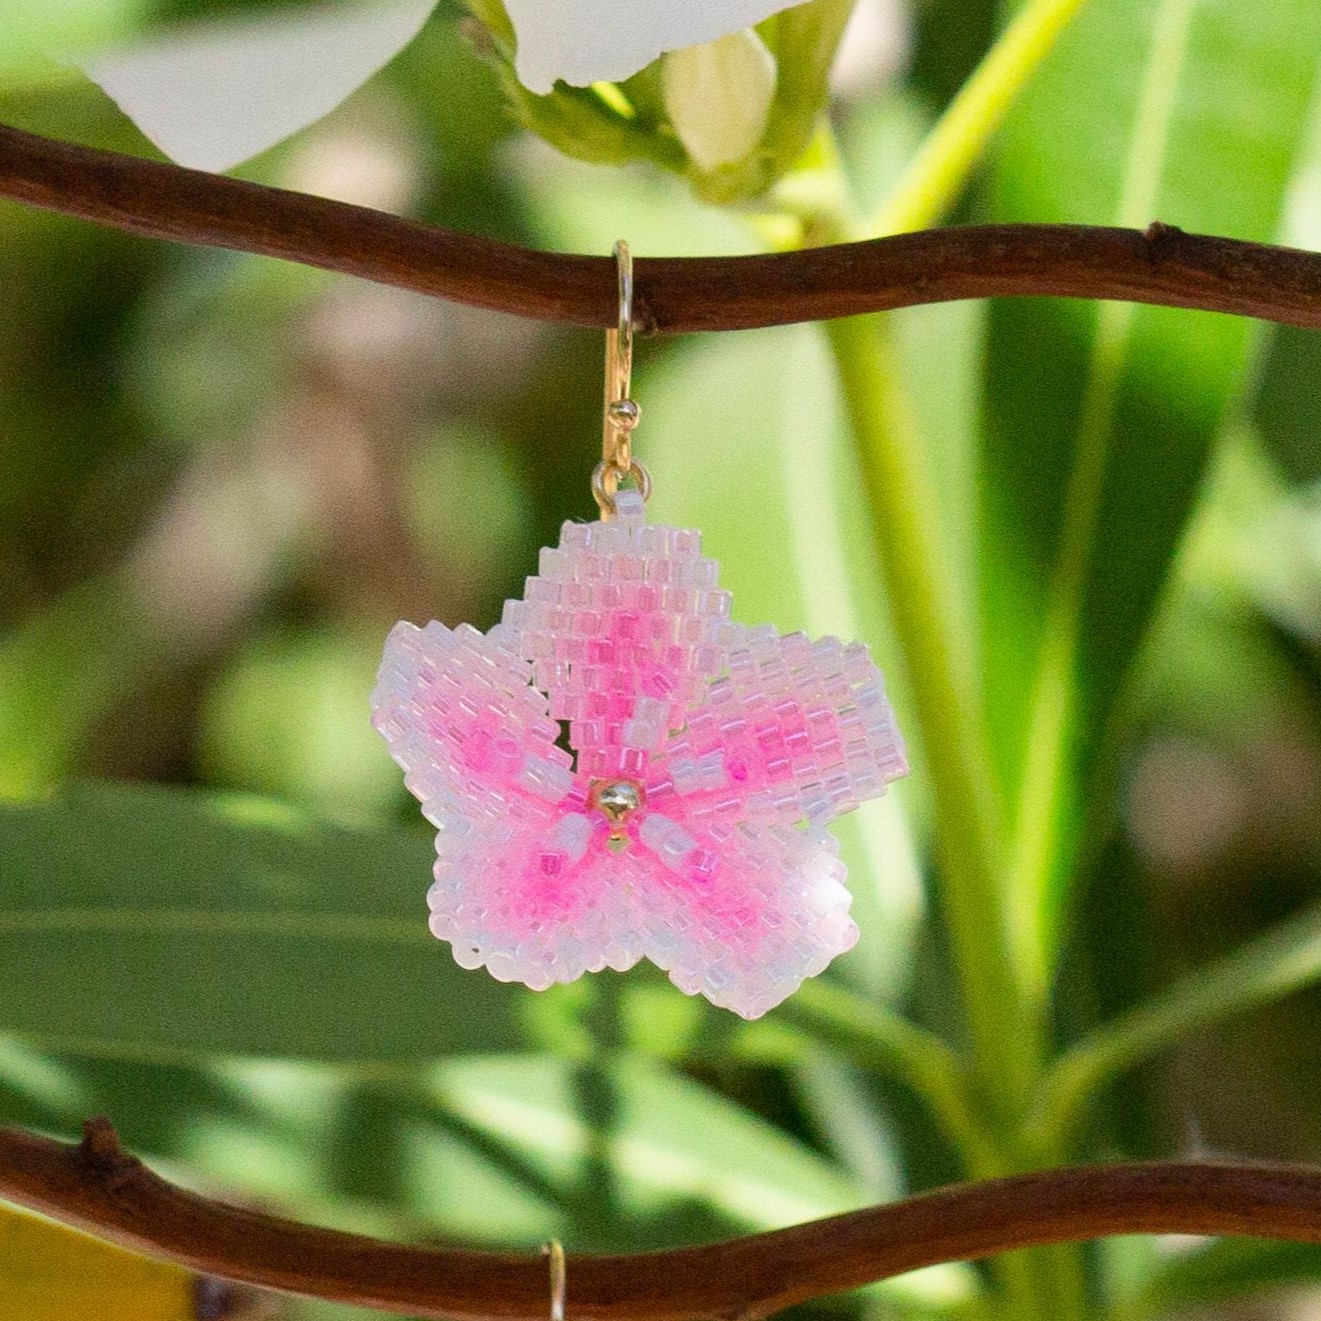
Cherry Blossom Flower 3D Brick Stitch Earrings
Cherry Blossom Flower 3D Brick Stitch Earrings
These earrings use size 11 Delica beads arranged in the brick stitch technique, creating a sturdy yet flexible structure. The brick stitch method involves weaving beads in staggered rows, resulting in a visually appealing pattern that resembles the overlapping bricks of a wall.
At the center of the flower a cluster of beads forms the intricate stamen, adding depth and dimension to the design. Petals delicately curve outward, creating a lifelike appearance that captures the essence of a blossoming flower.
These earrings are very lightweight and comfortable to wear, making them perfect for everyday wear or special occasions. We hope you have so much fun creating these earrings! Feel free to change colors
*Please use caution while creating these earrings, it is very easy to poke yourself with the needle*
 Materials Needed:
- Delica Size 11 202 White Pearl AB
- Delica Size 11 055 Crystal AB / Pale Pink Lined
- Delica Size 11 245 Crystal Luster / Medium Pink Lined
- Delica Size 11 246 Crystal Luster / Dark Pink Lined
- Fireline Crystal 4lb (11 feet total, but you will use less)
- John James Needle Size 12 (1)
- 14K Gold Filled 3mm 22 Gauge Jump Rings (2)
- 14K Gold Filled 3mm Round Bead(2)
- 14K Gold Filled Ball End Ear Wires (1 Pair) or ear wires of your choice
Tools Required:
Needle Nose Pliers (also known as chain nose)
Thread Snips or Scissors
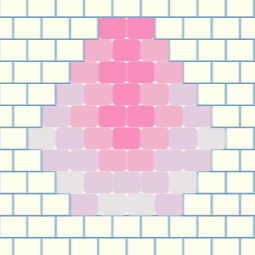
Petal Pattern:

Instructions on Construction:
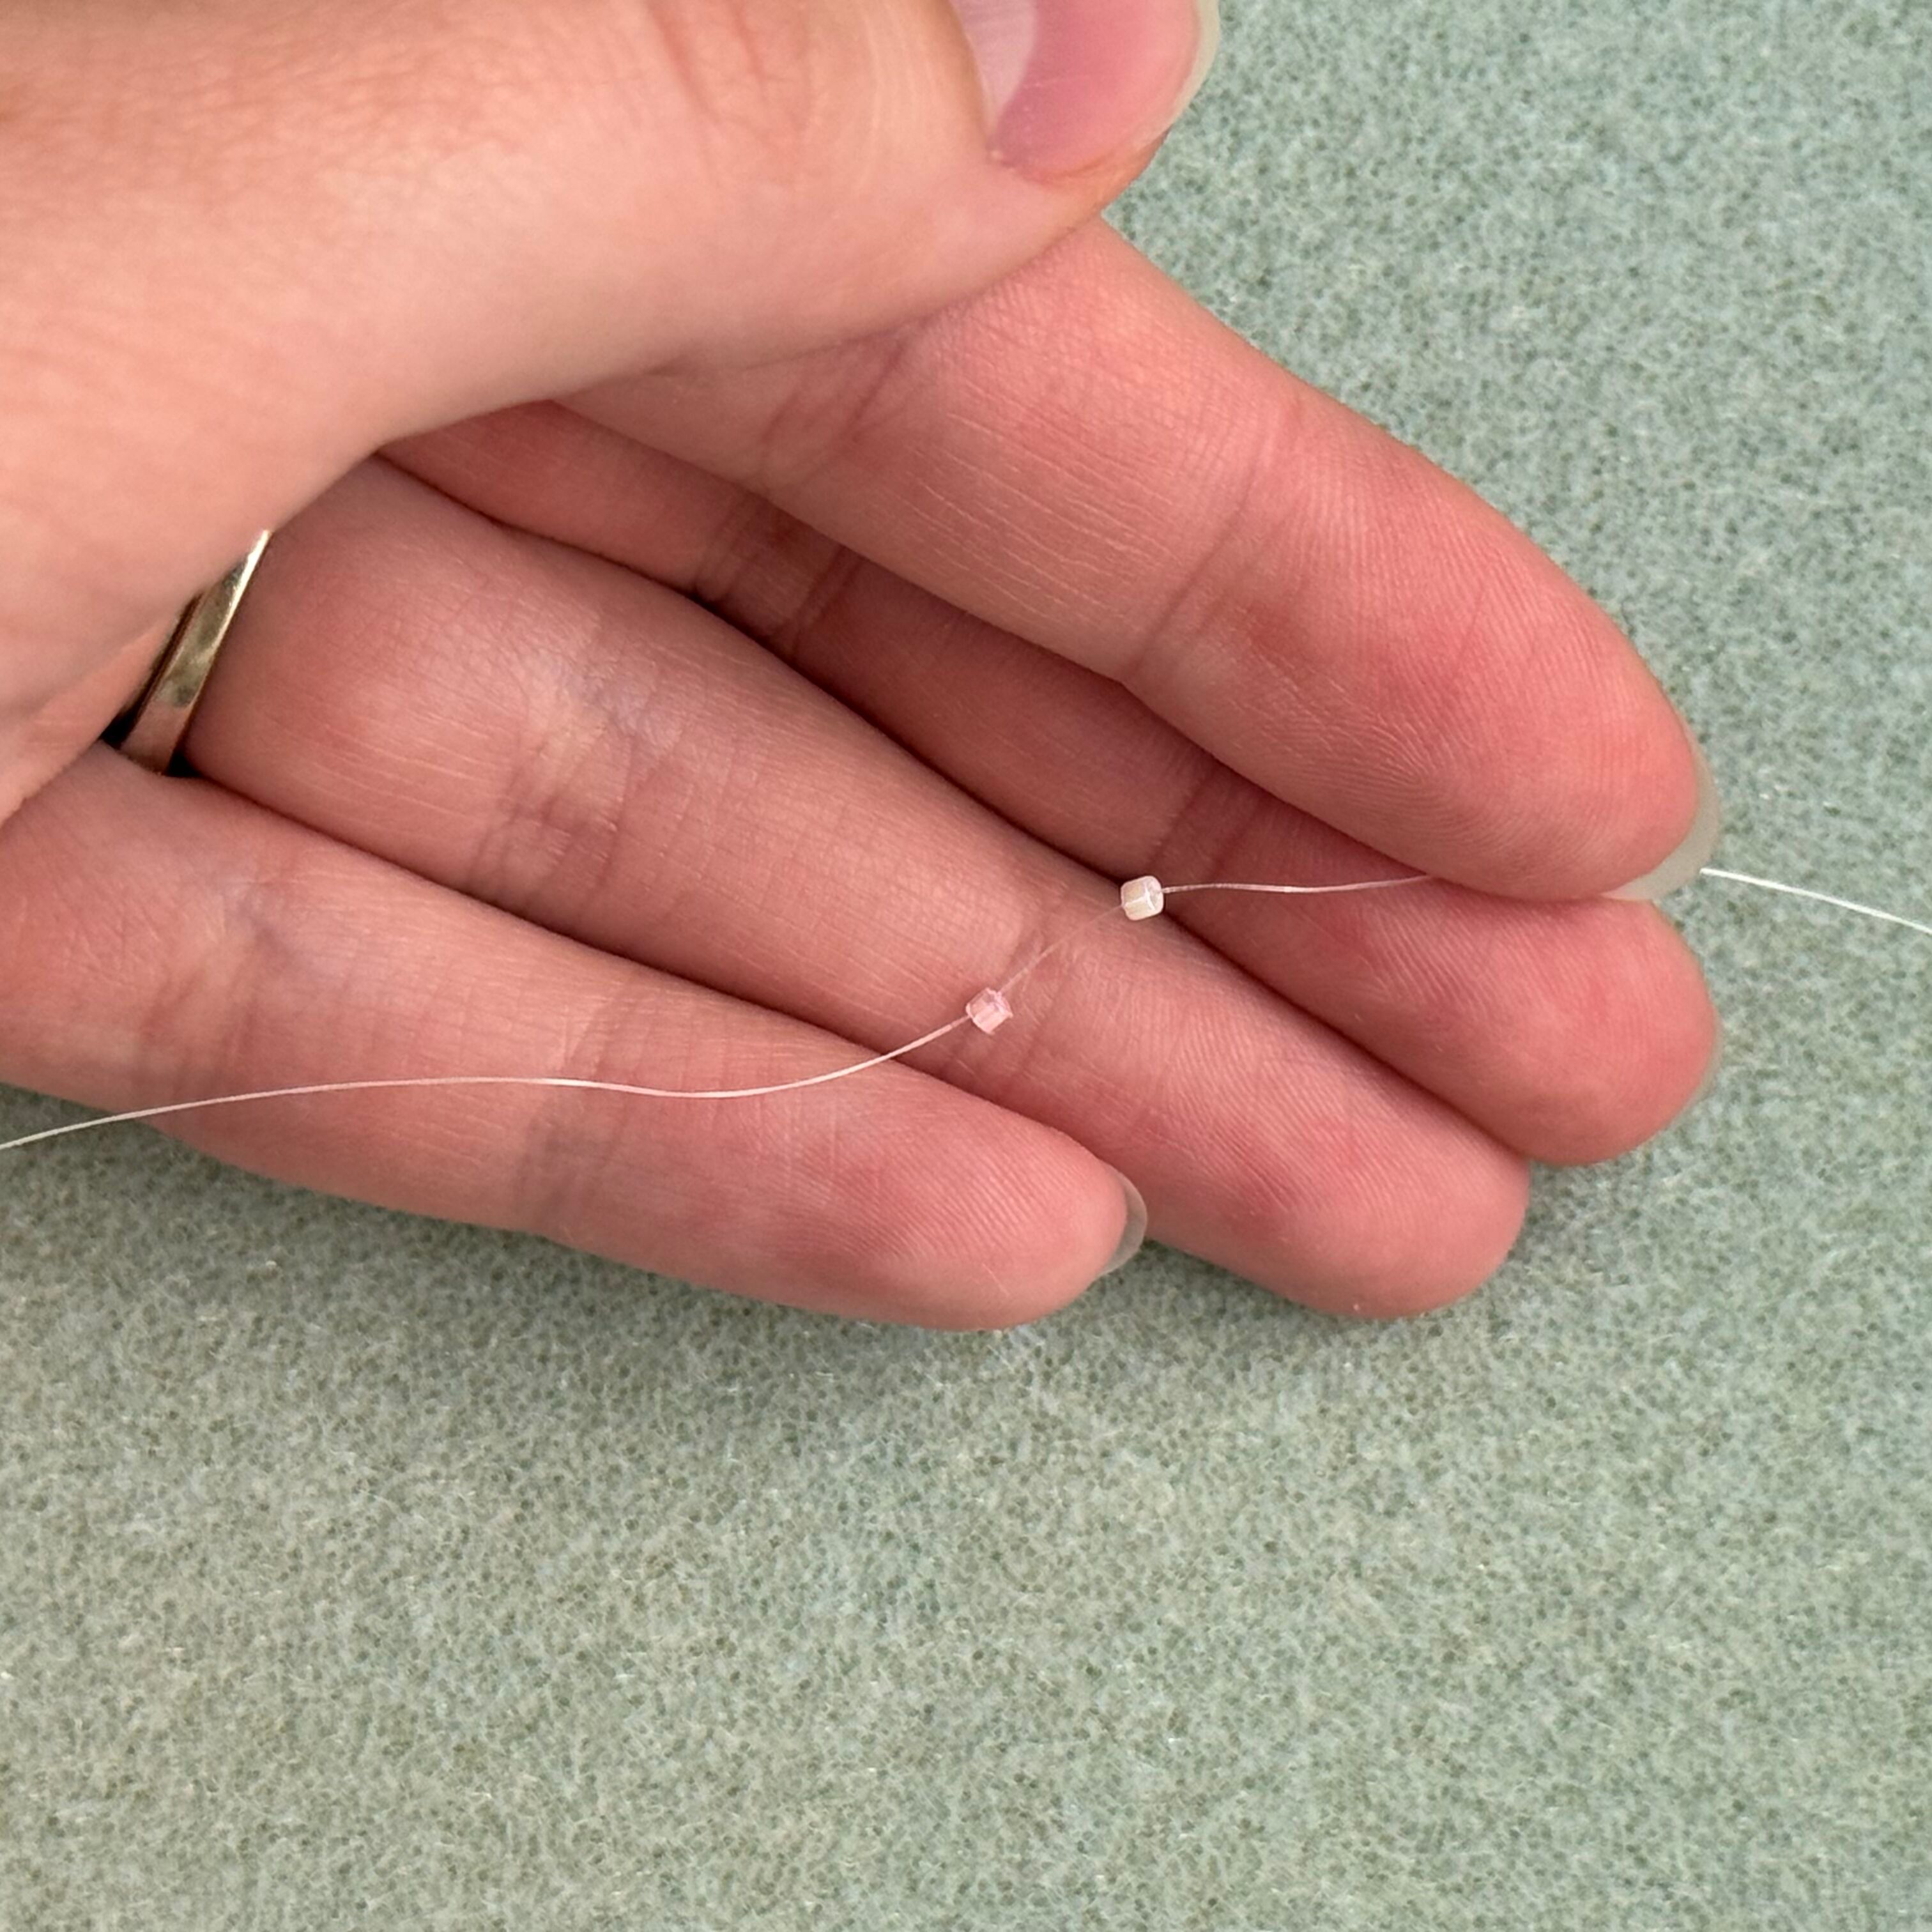
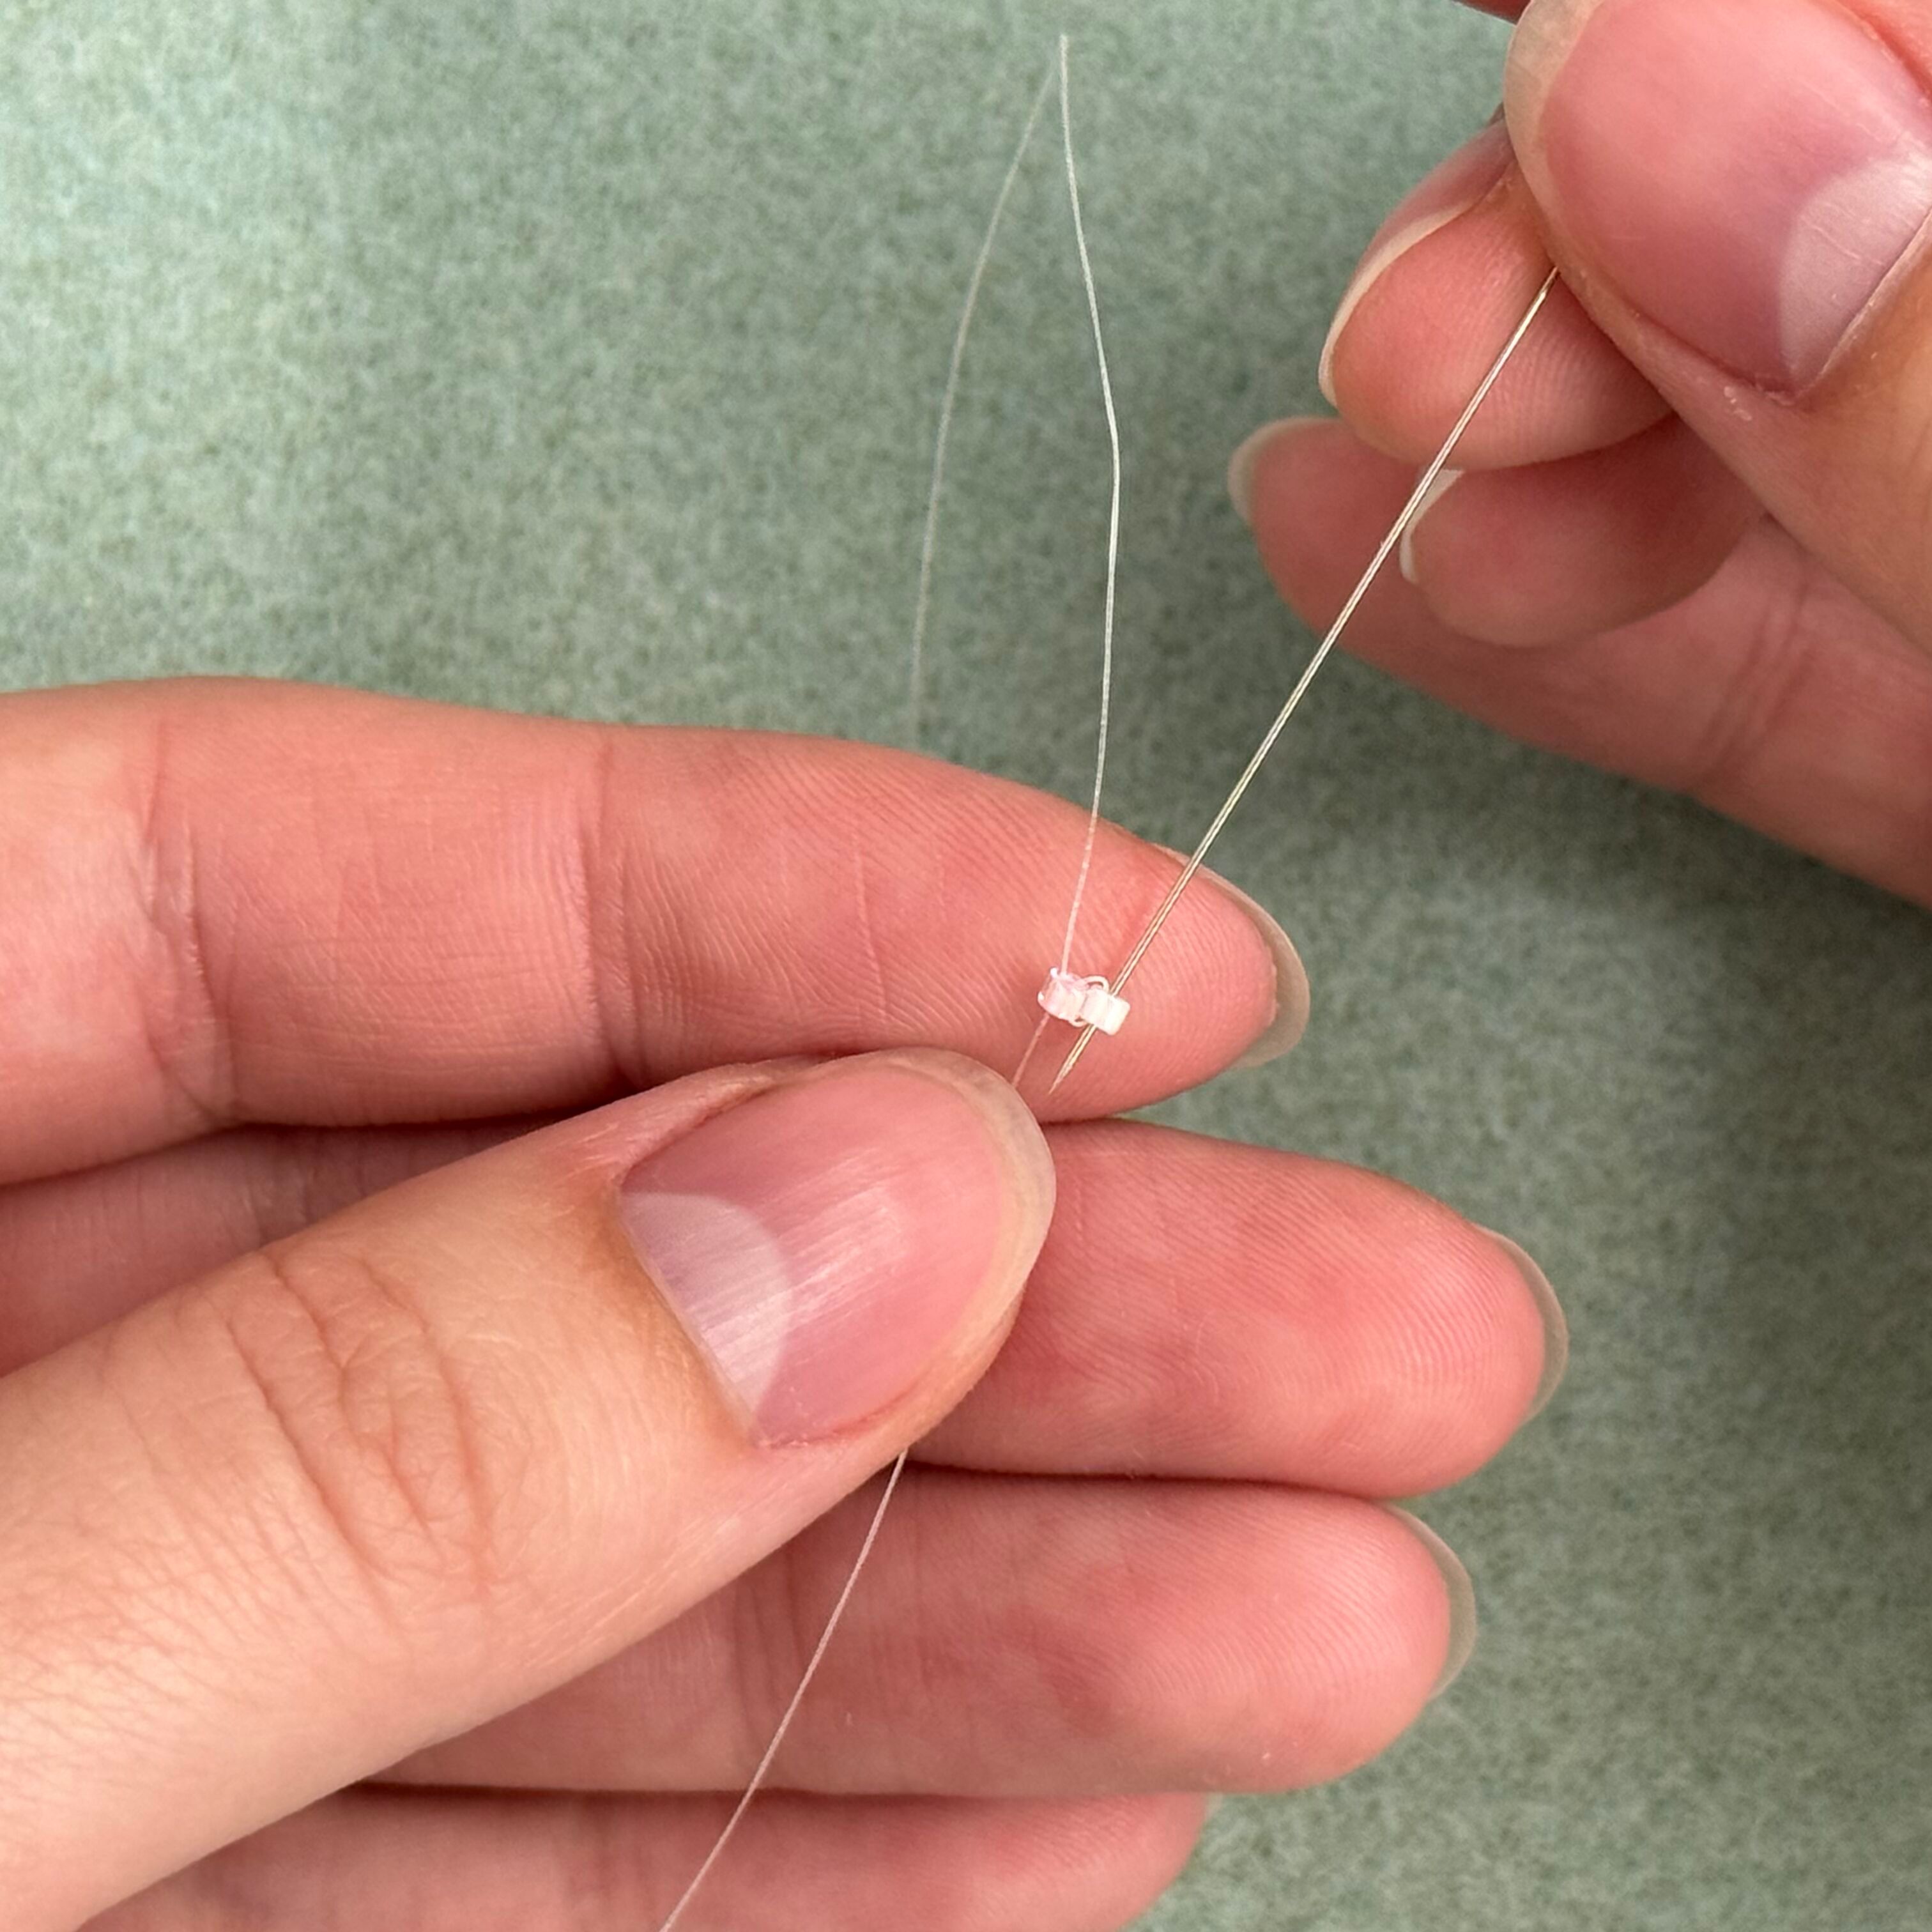
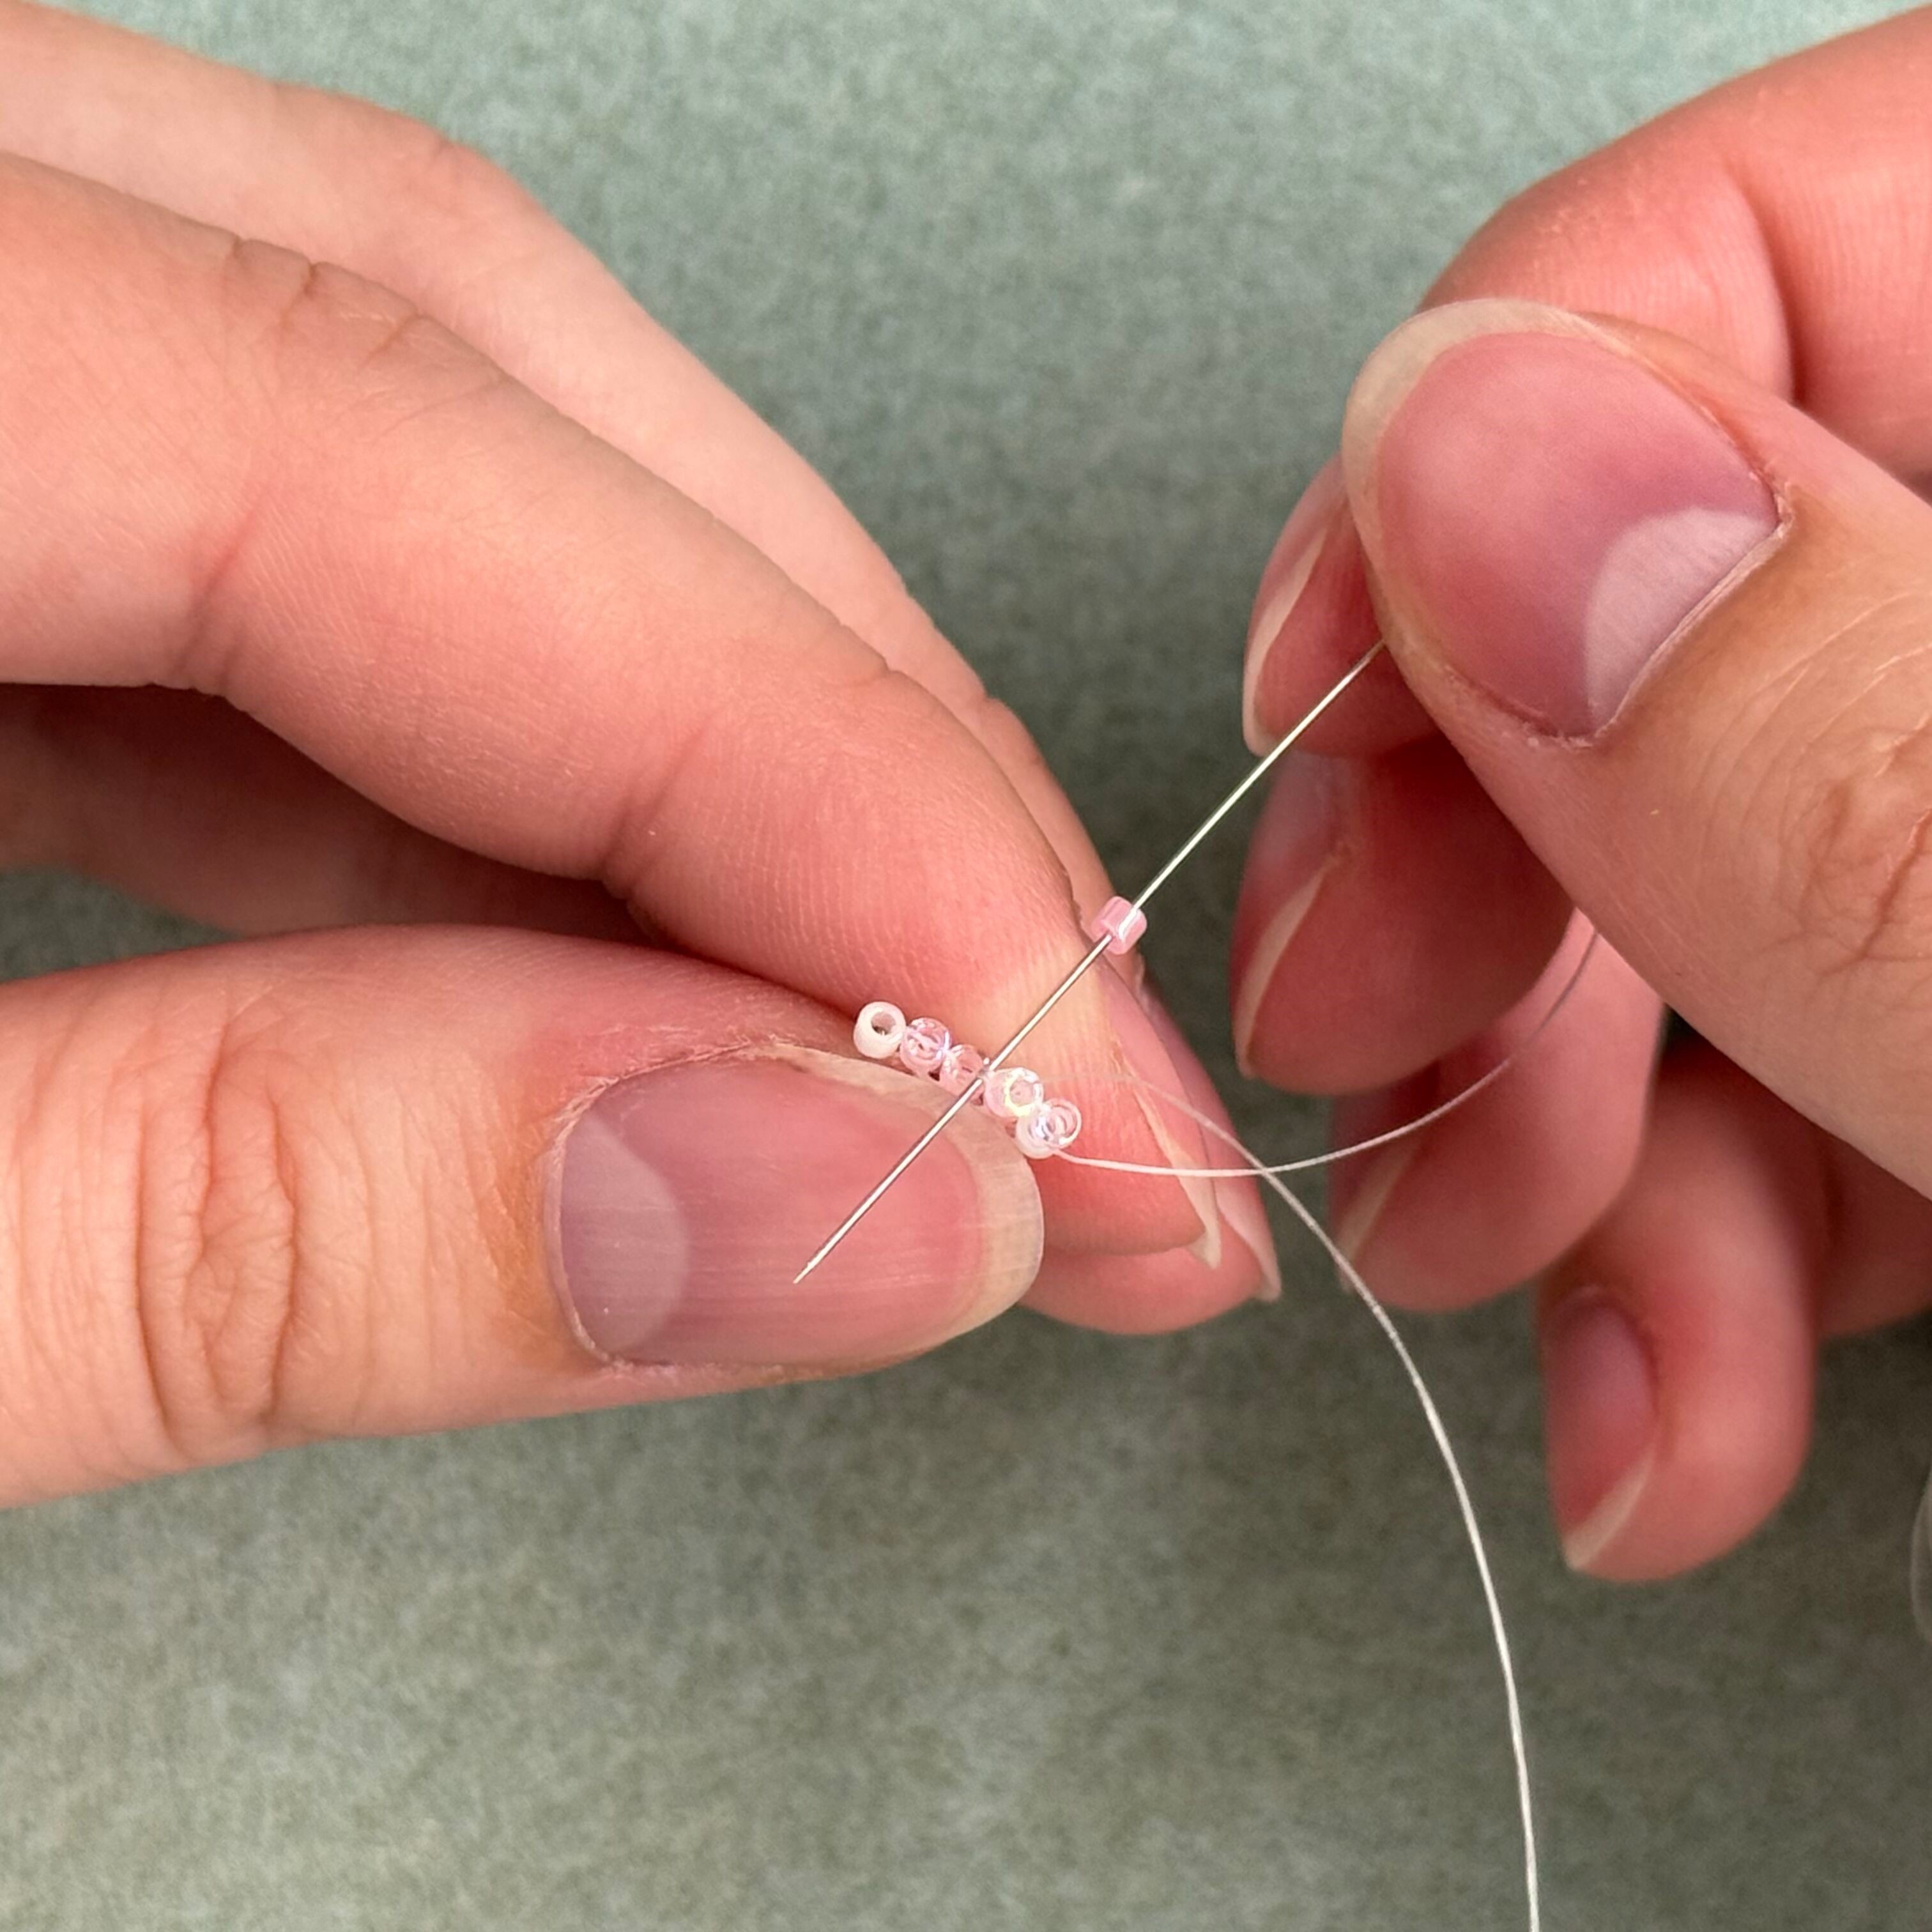
1. *We will be following the pattern from bottom to top.* Cut 2 feet of fireline and string onto a needle. Thread on one 055 delica bead and one 202 delica bead and pull the two beads down to the end of the thread, leave a tail of a couple inches
***Cut one strand of fireline measuring 3 feet long, we will be using this strand at the very end***
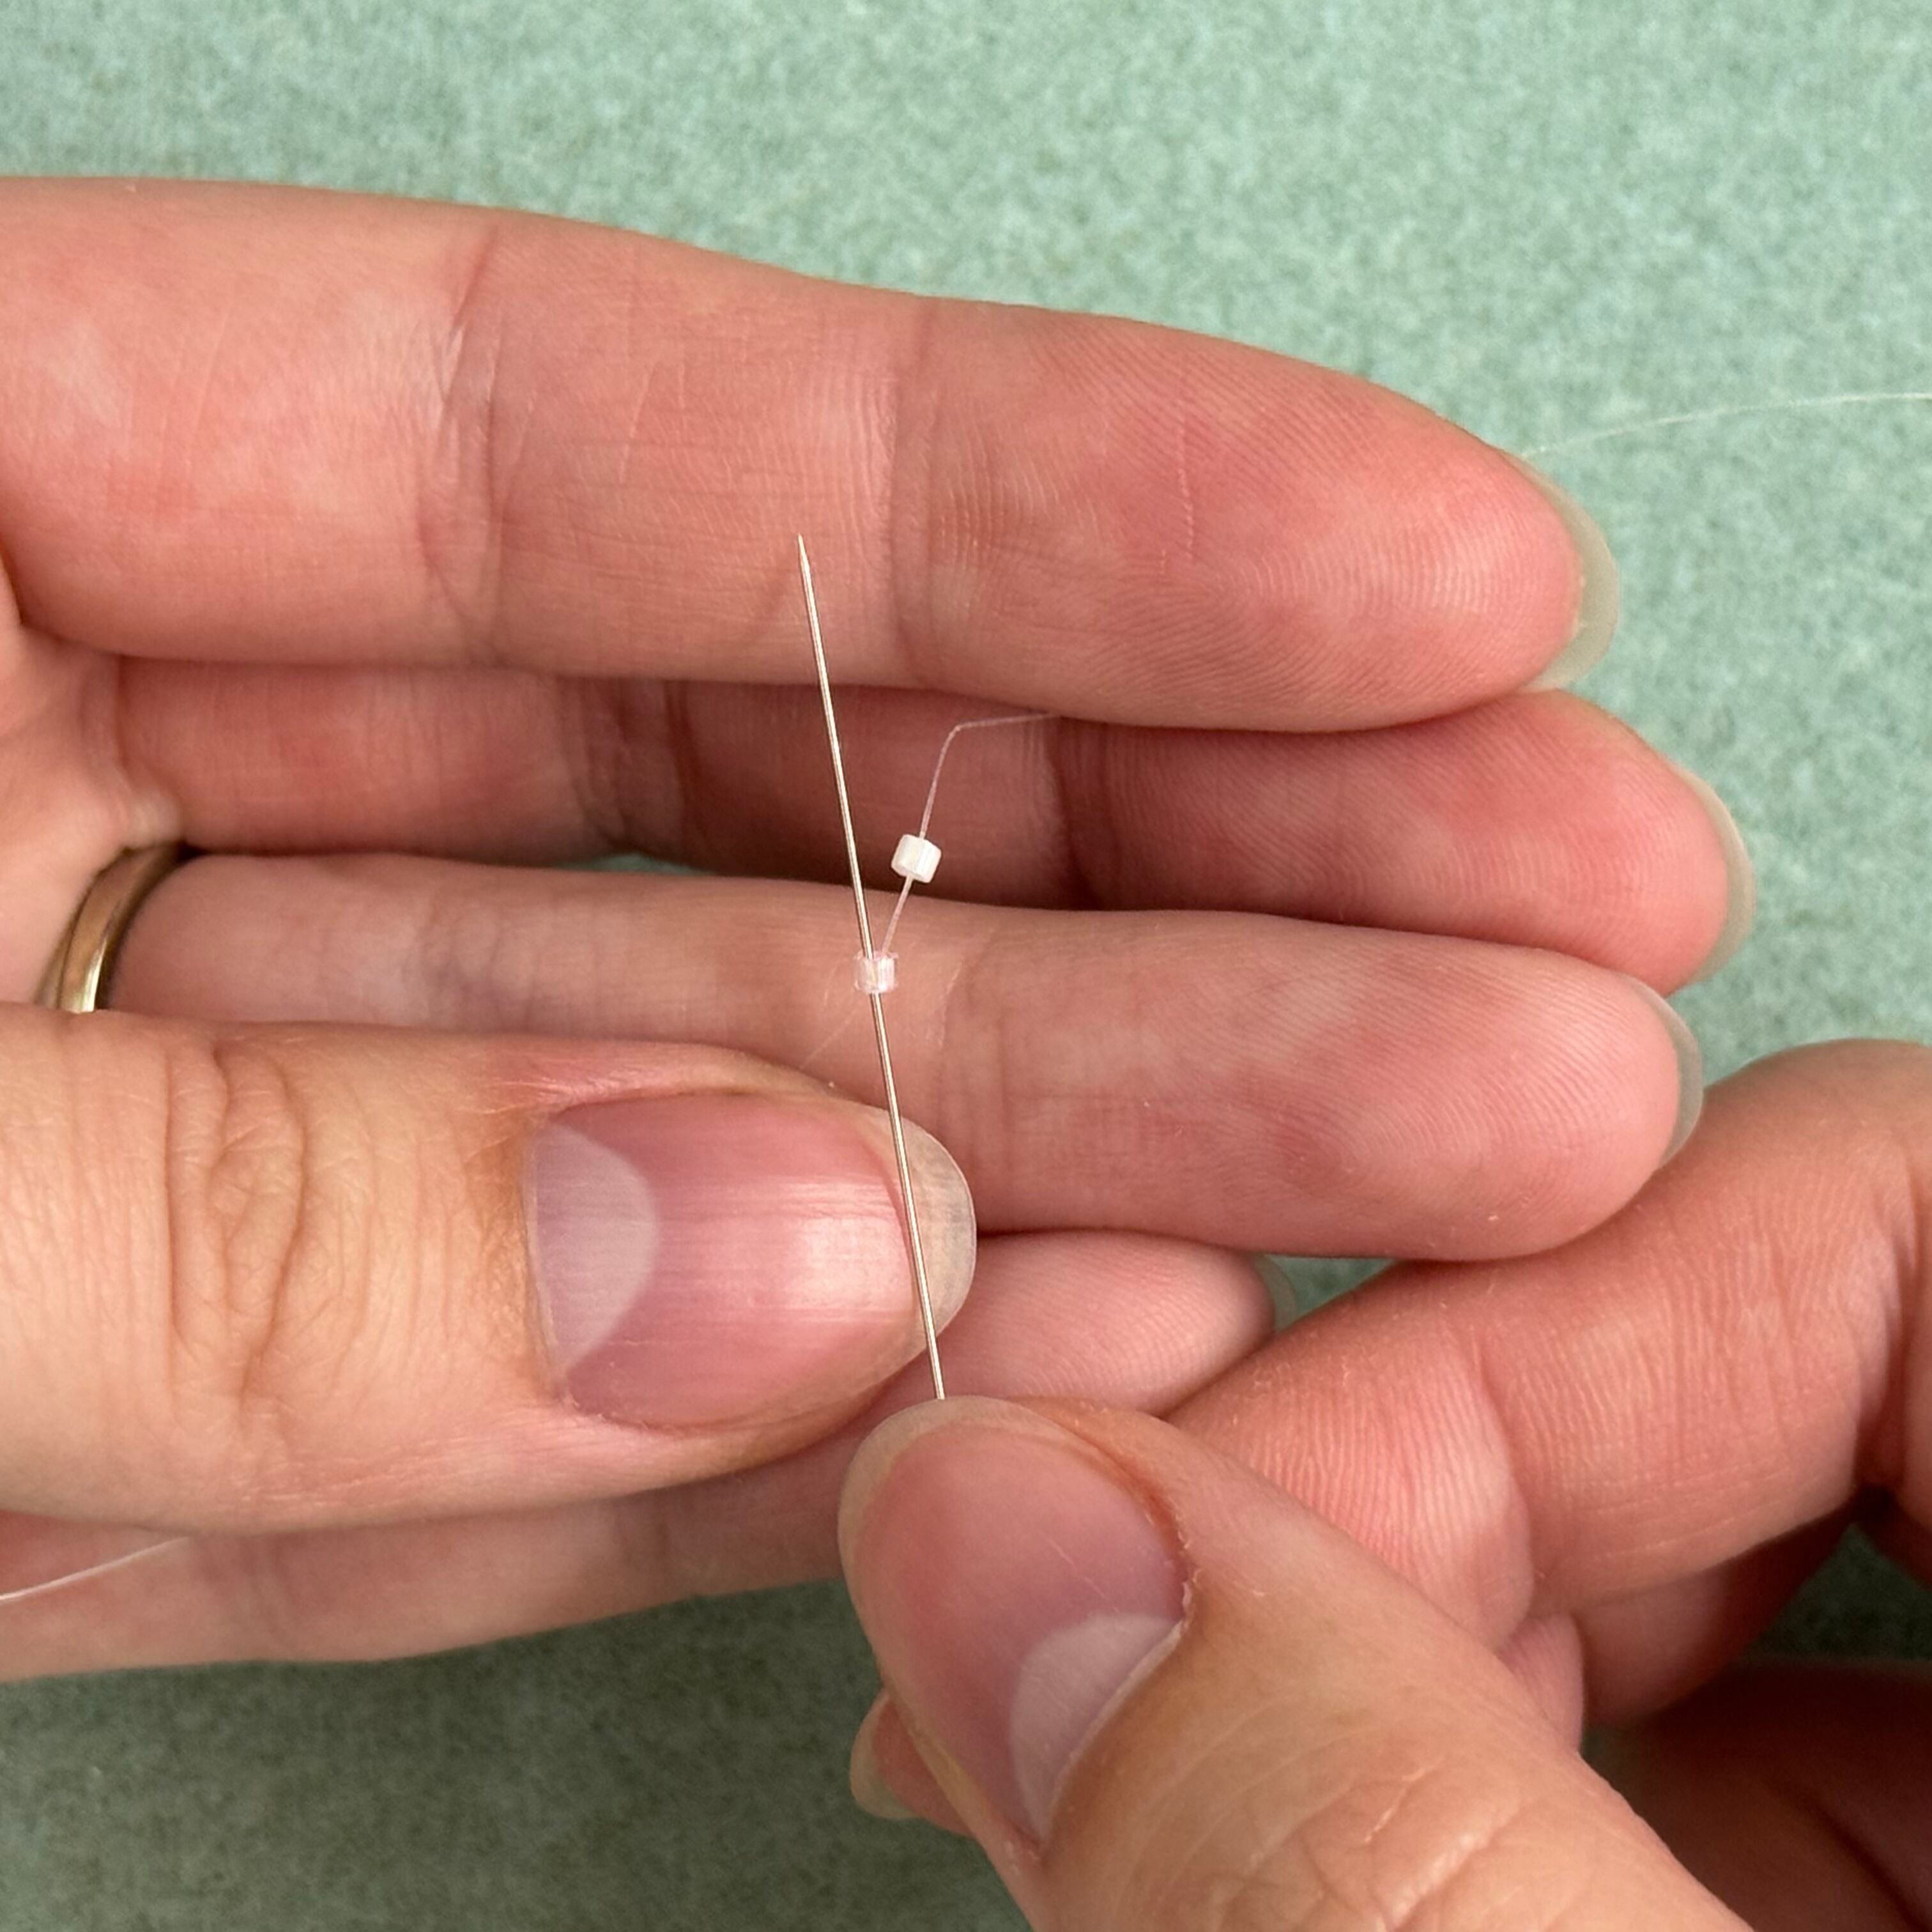
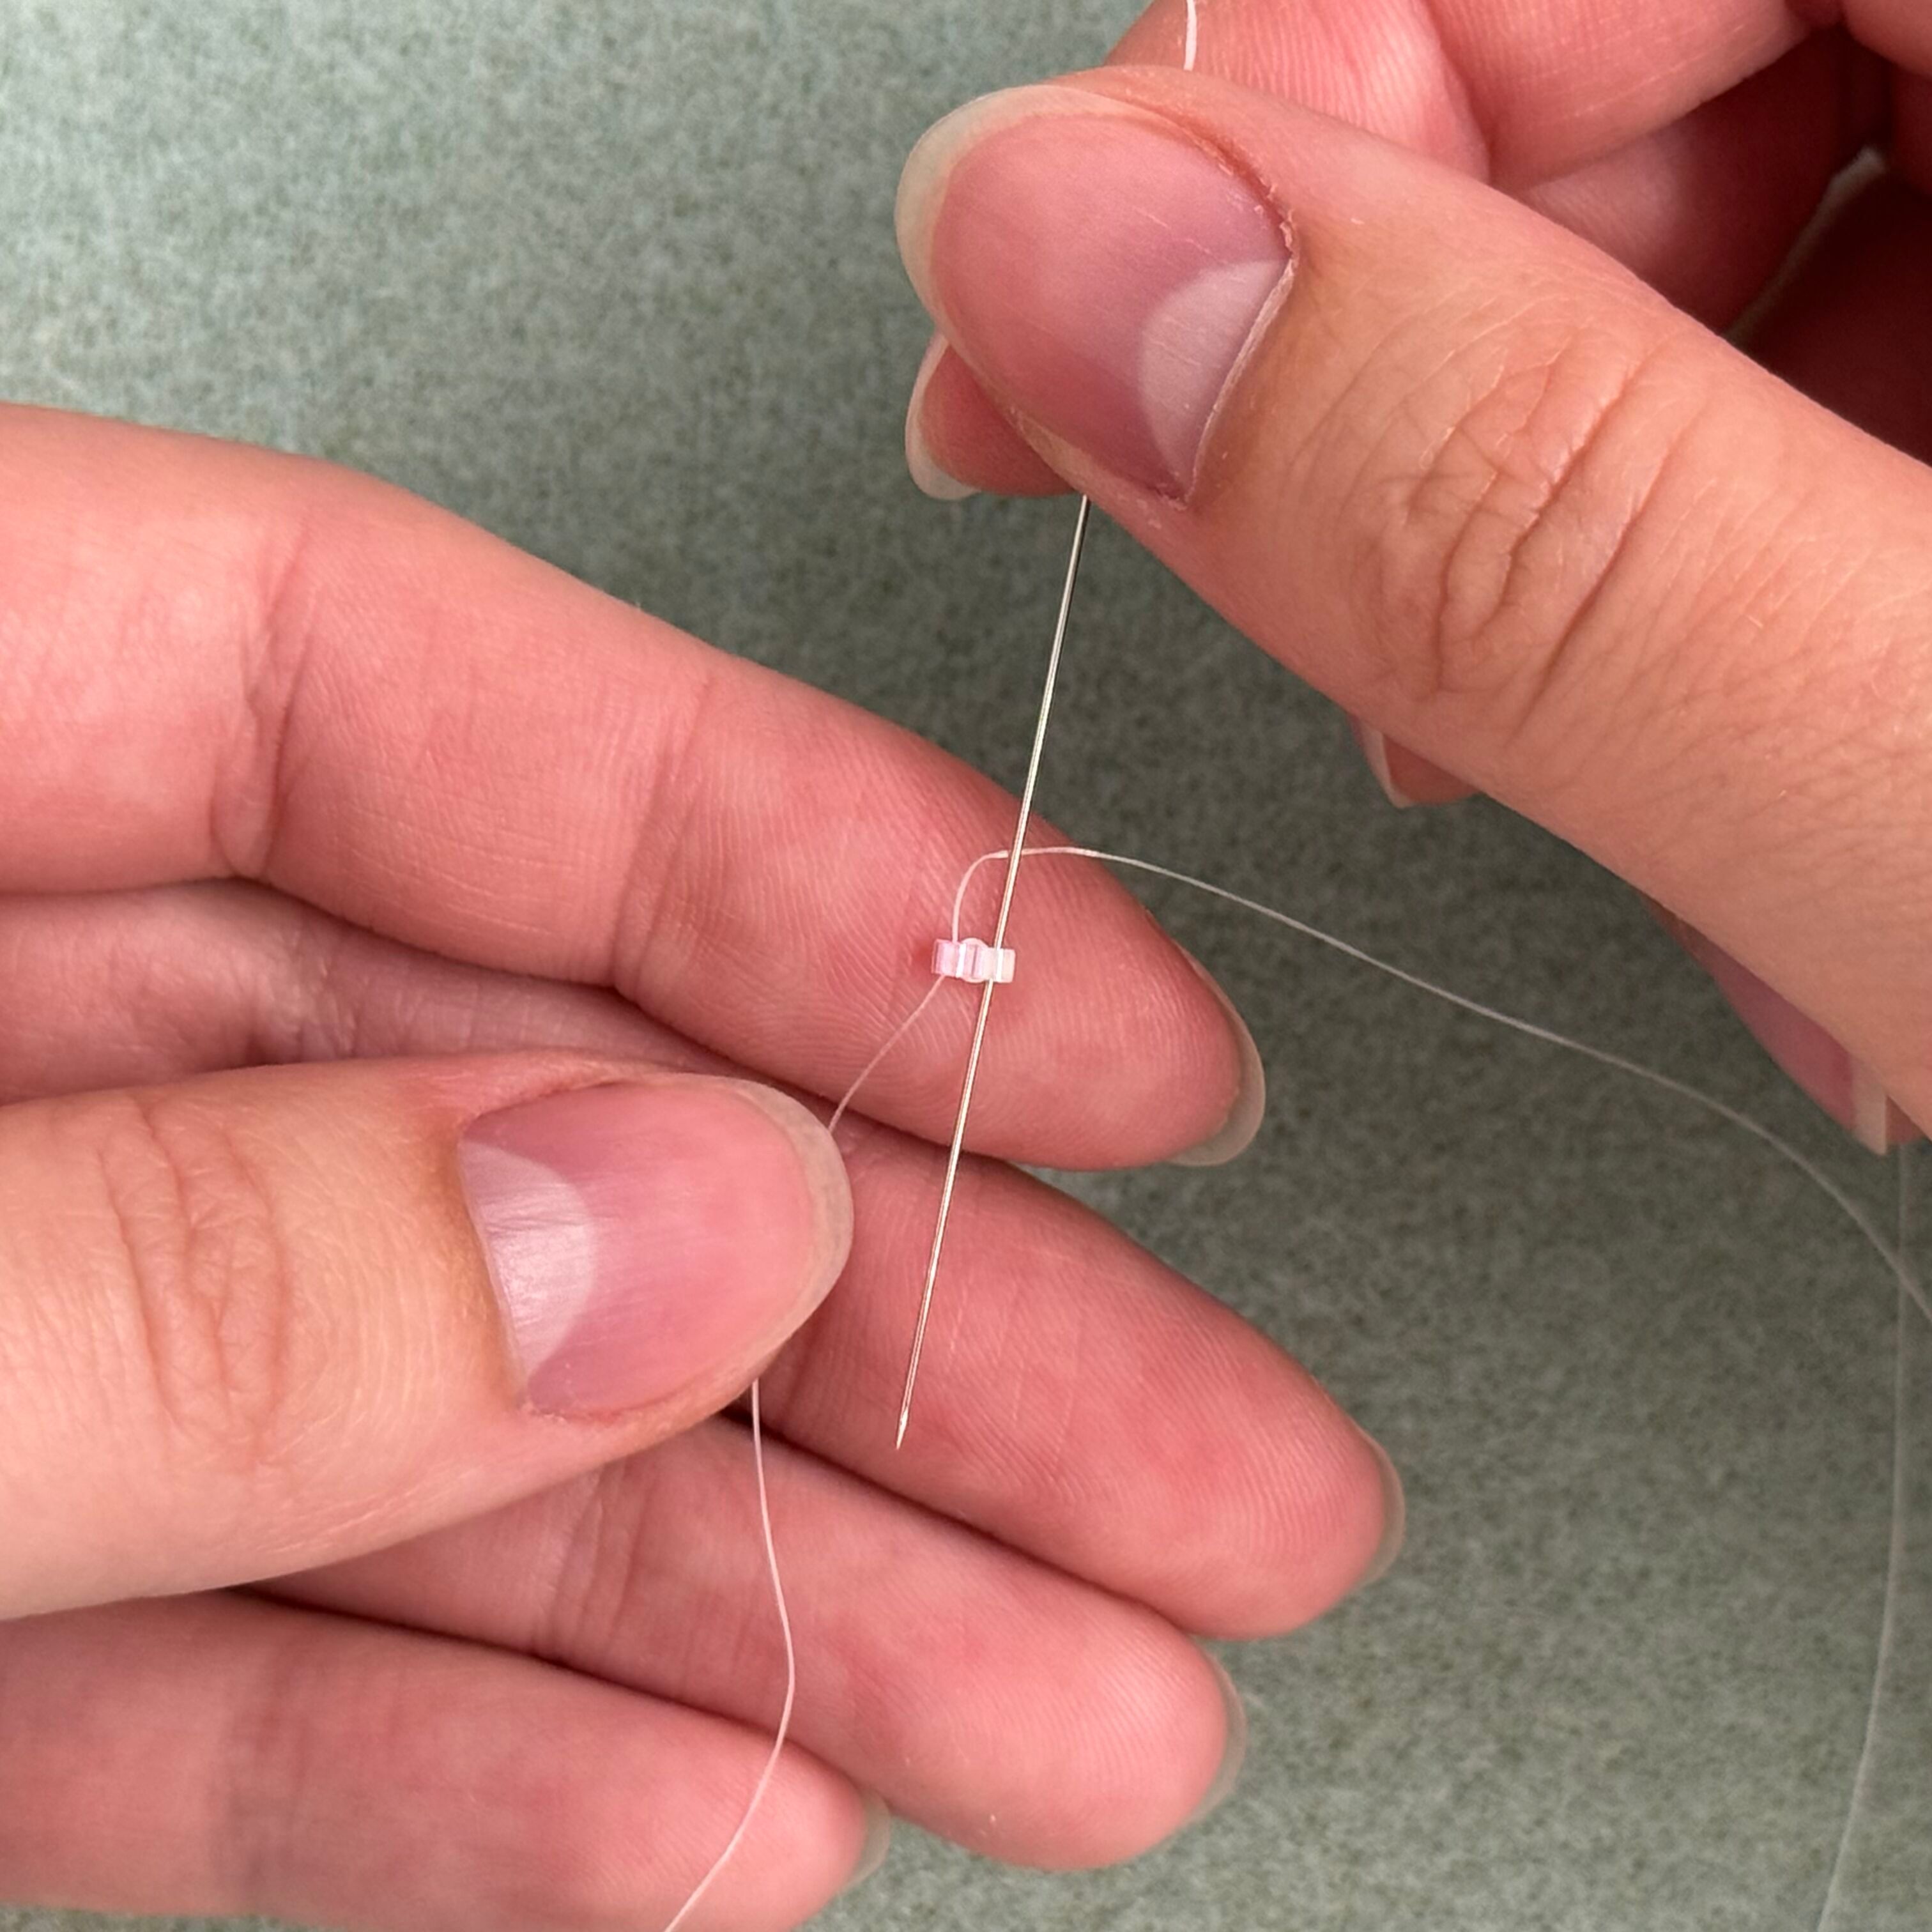
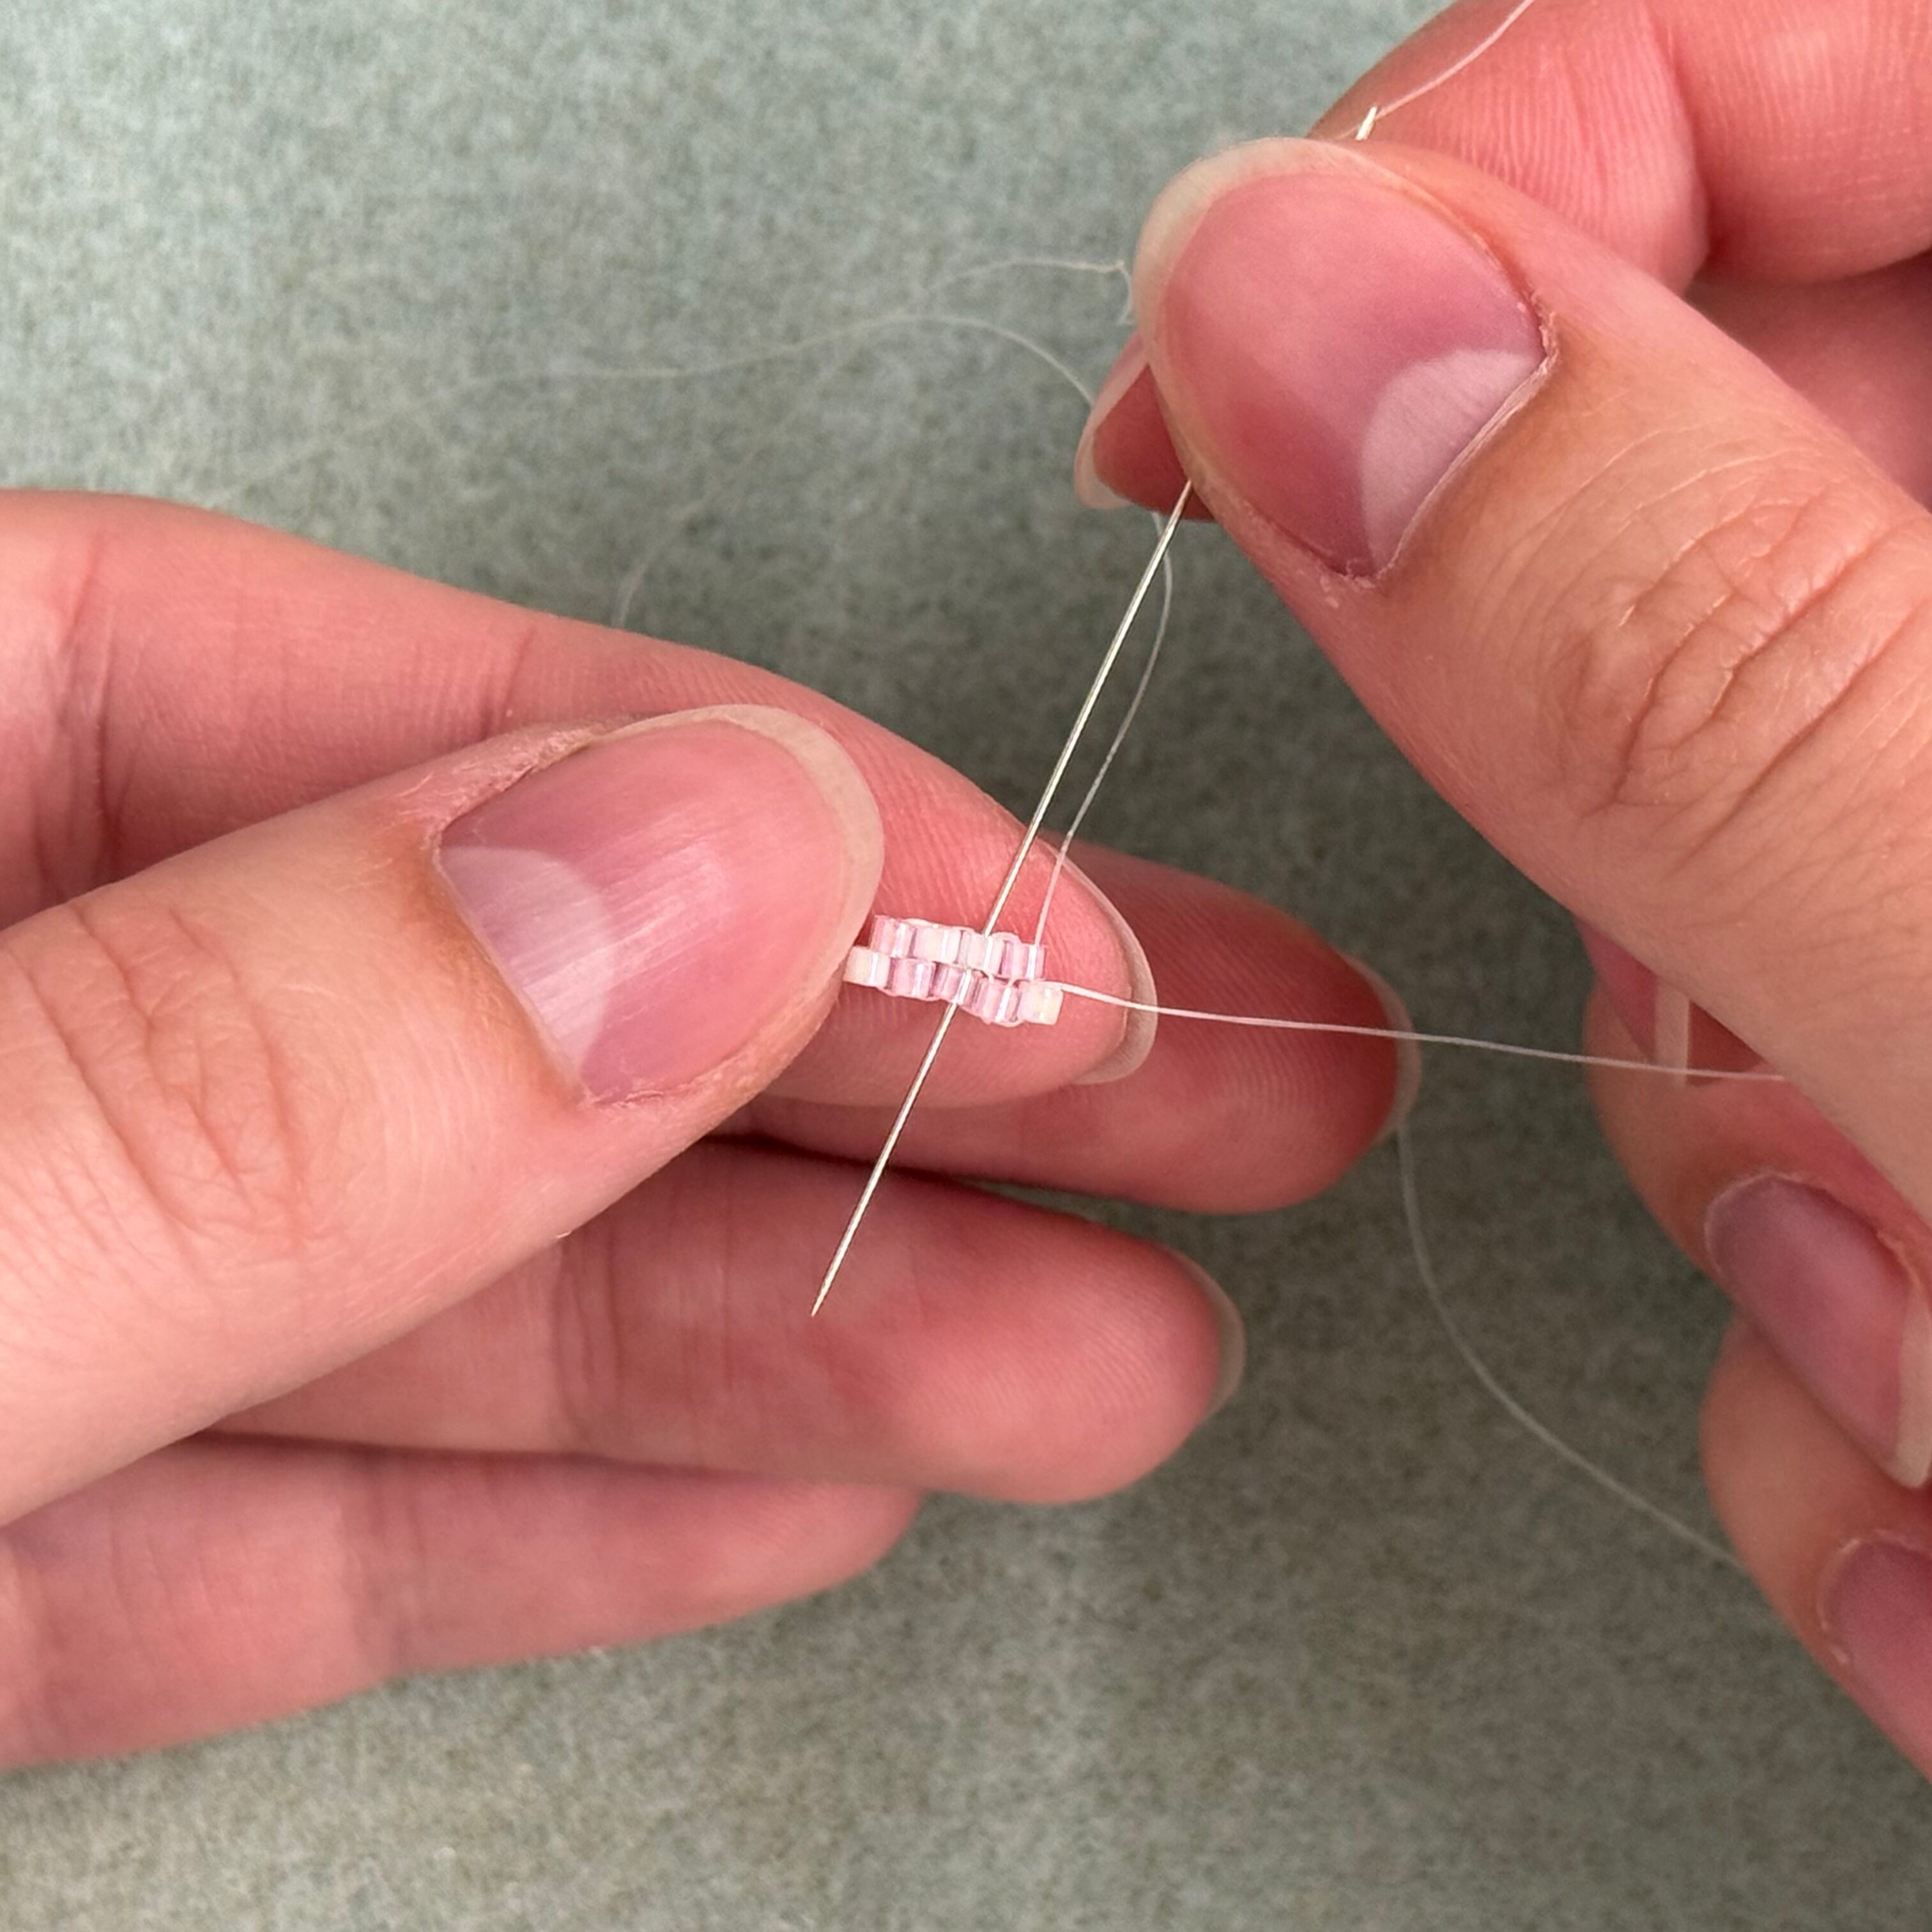
2. Thread the needle through only the 055 bead from the left hand side and away from you
3. Pull thread tight so both beads sit side by side. Thread the needle through the 202 bead going down (towards you). Pull tight.

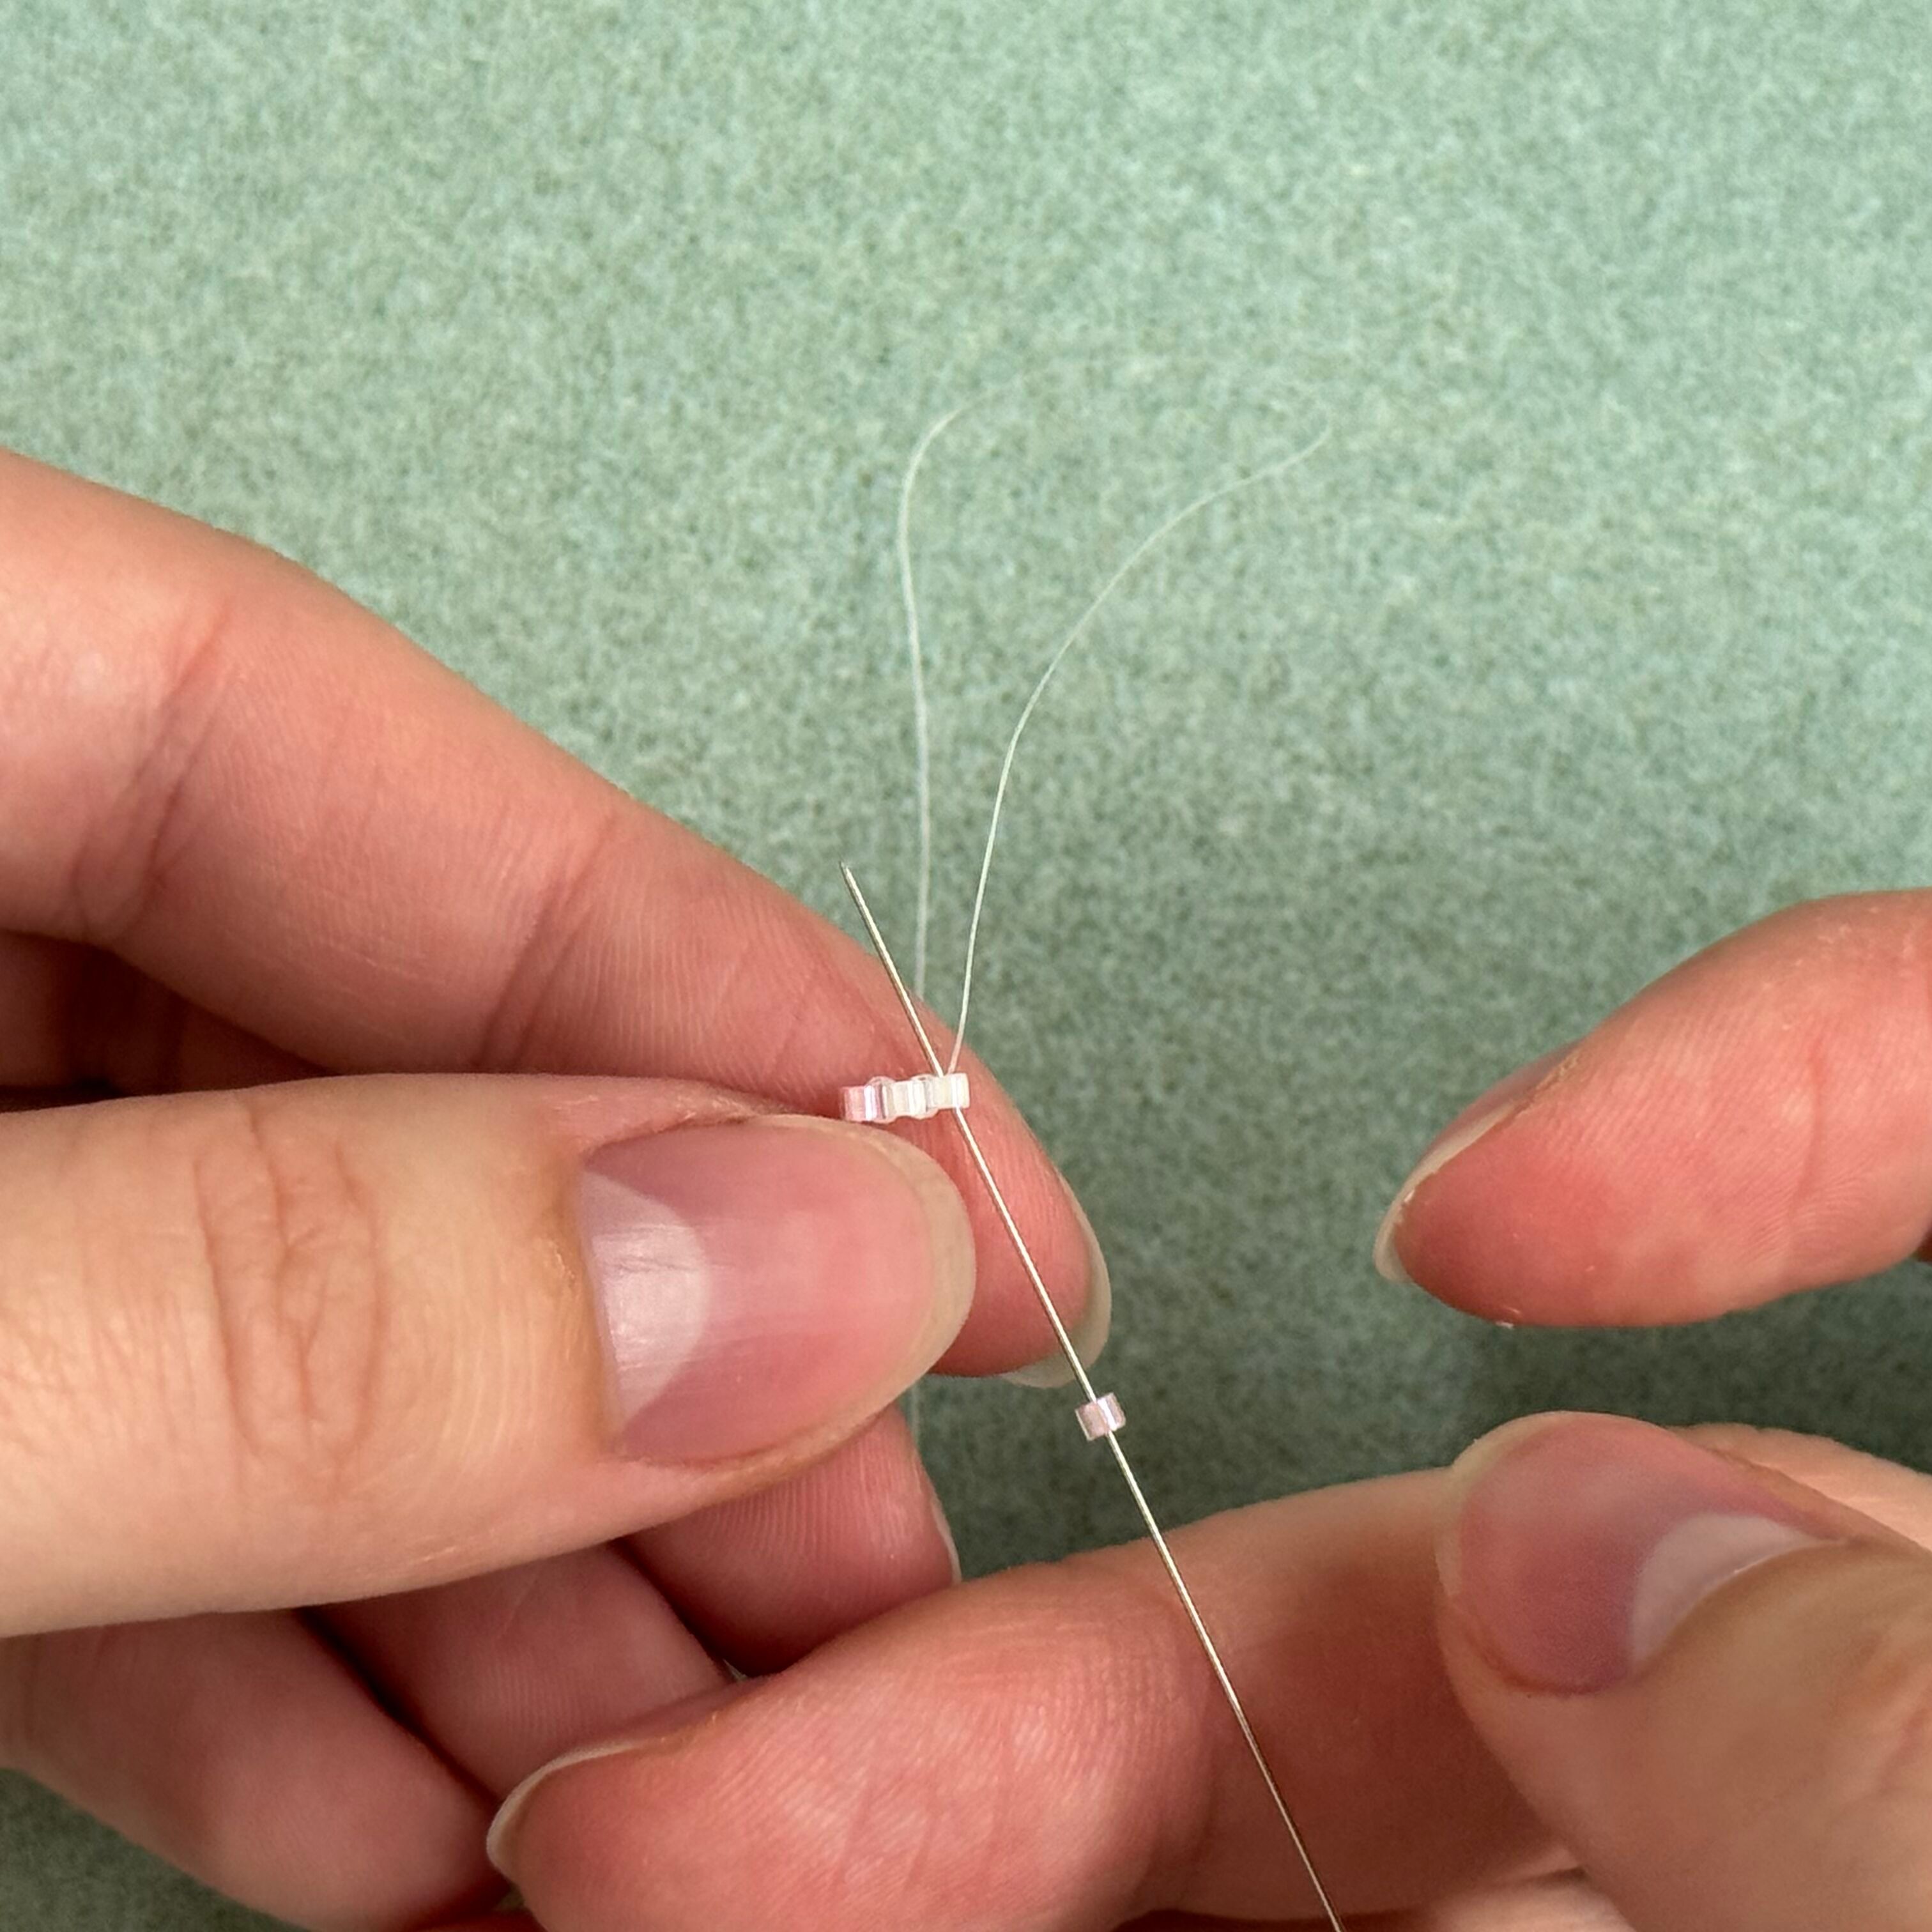
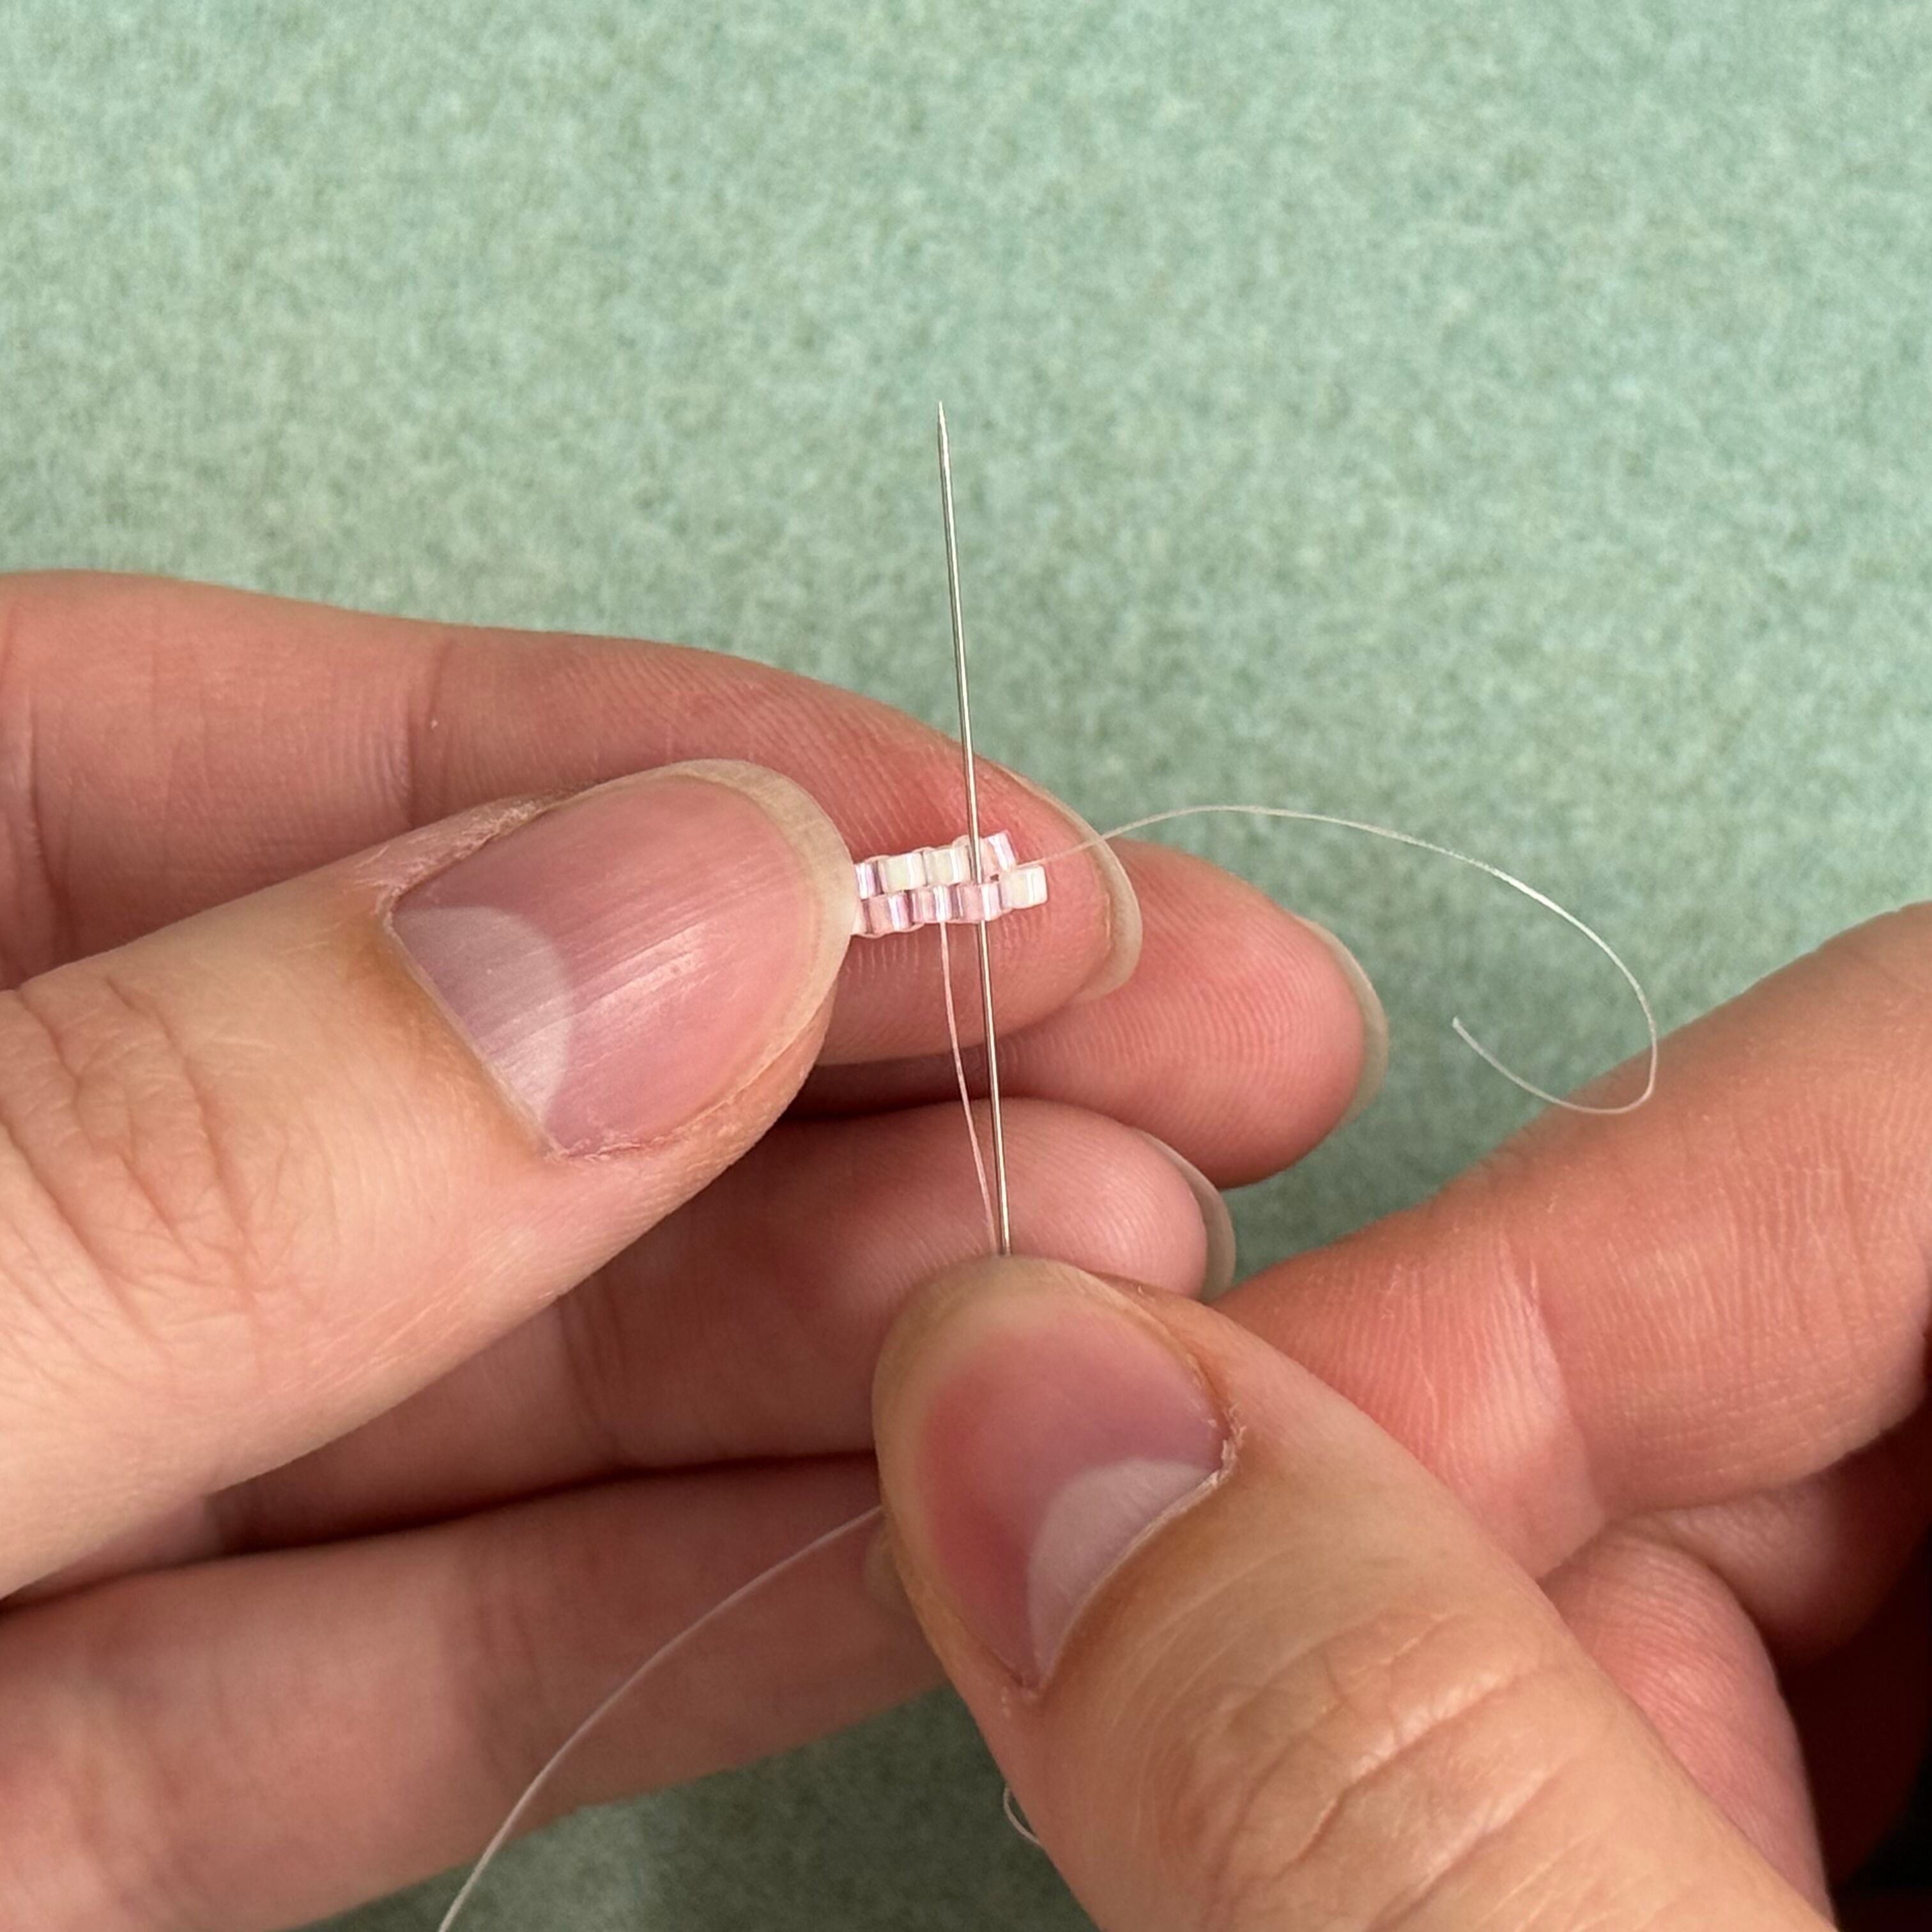
4. Thread the needle up through the 055 bead (away from you) and pull tight
5. Thread the needle down through the 202 bead (towards you) and pull tight

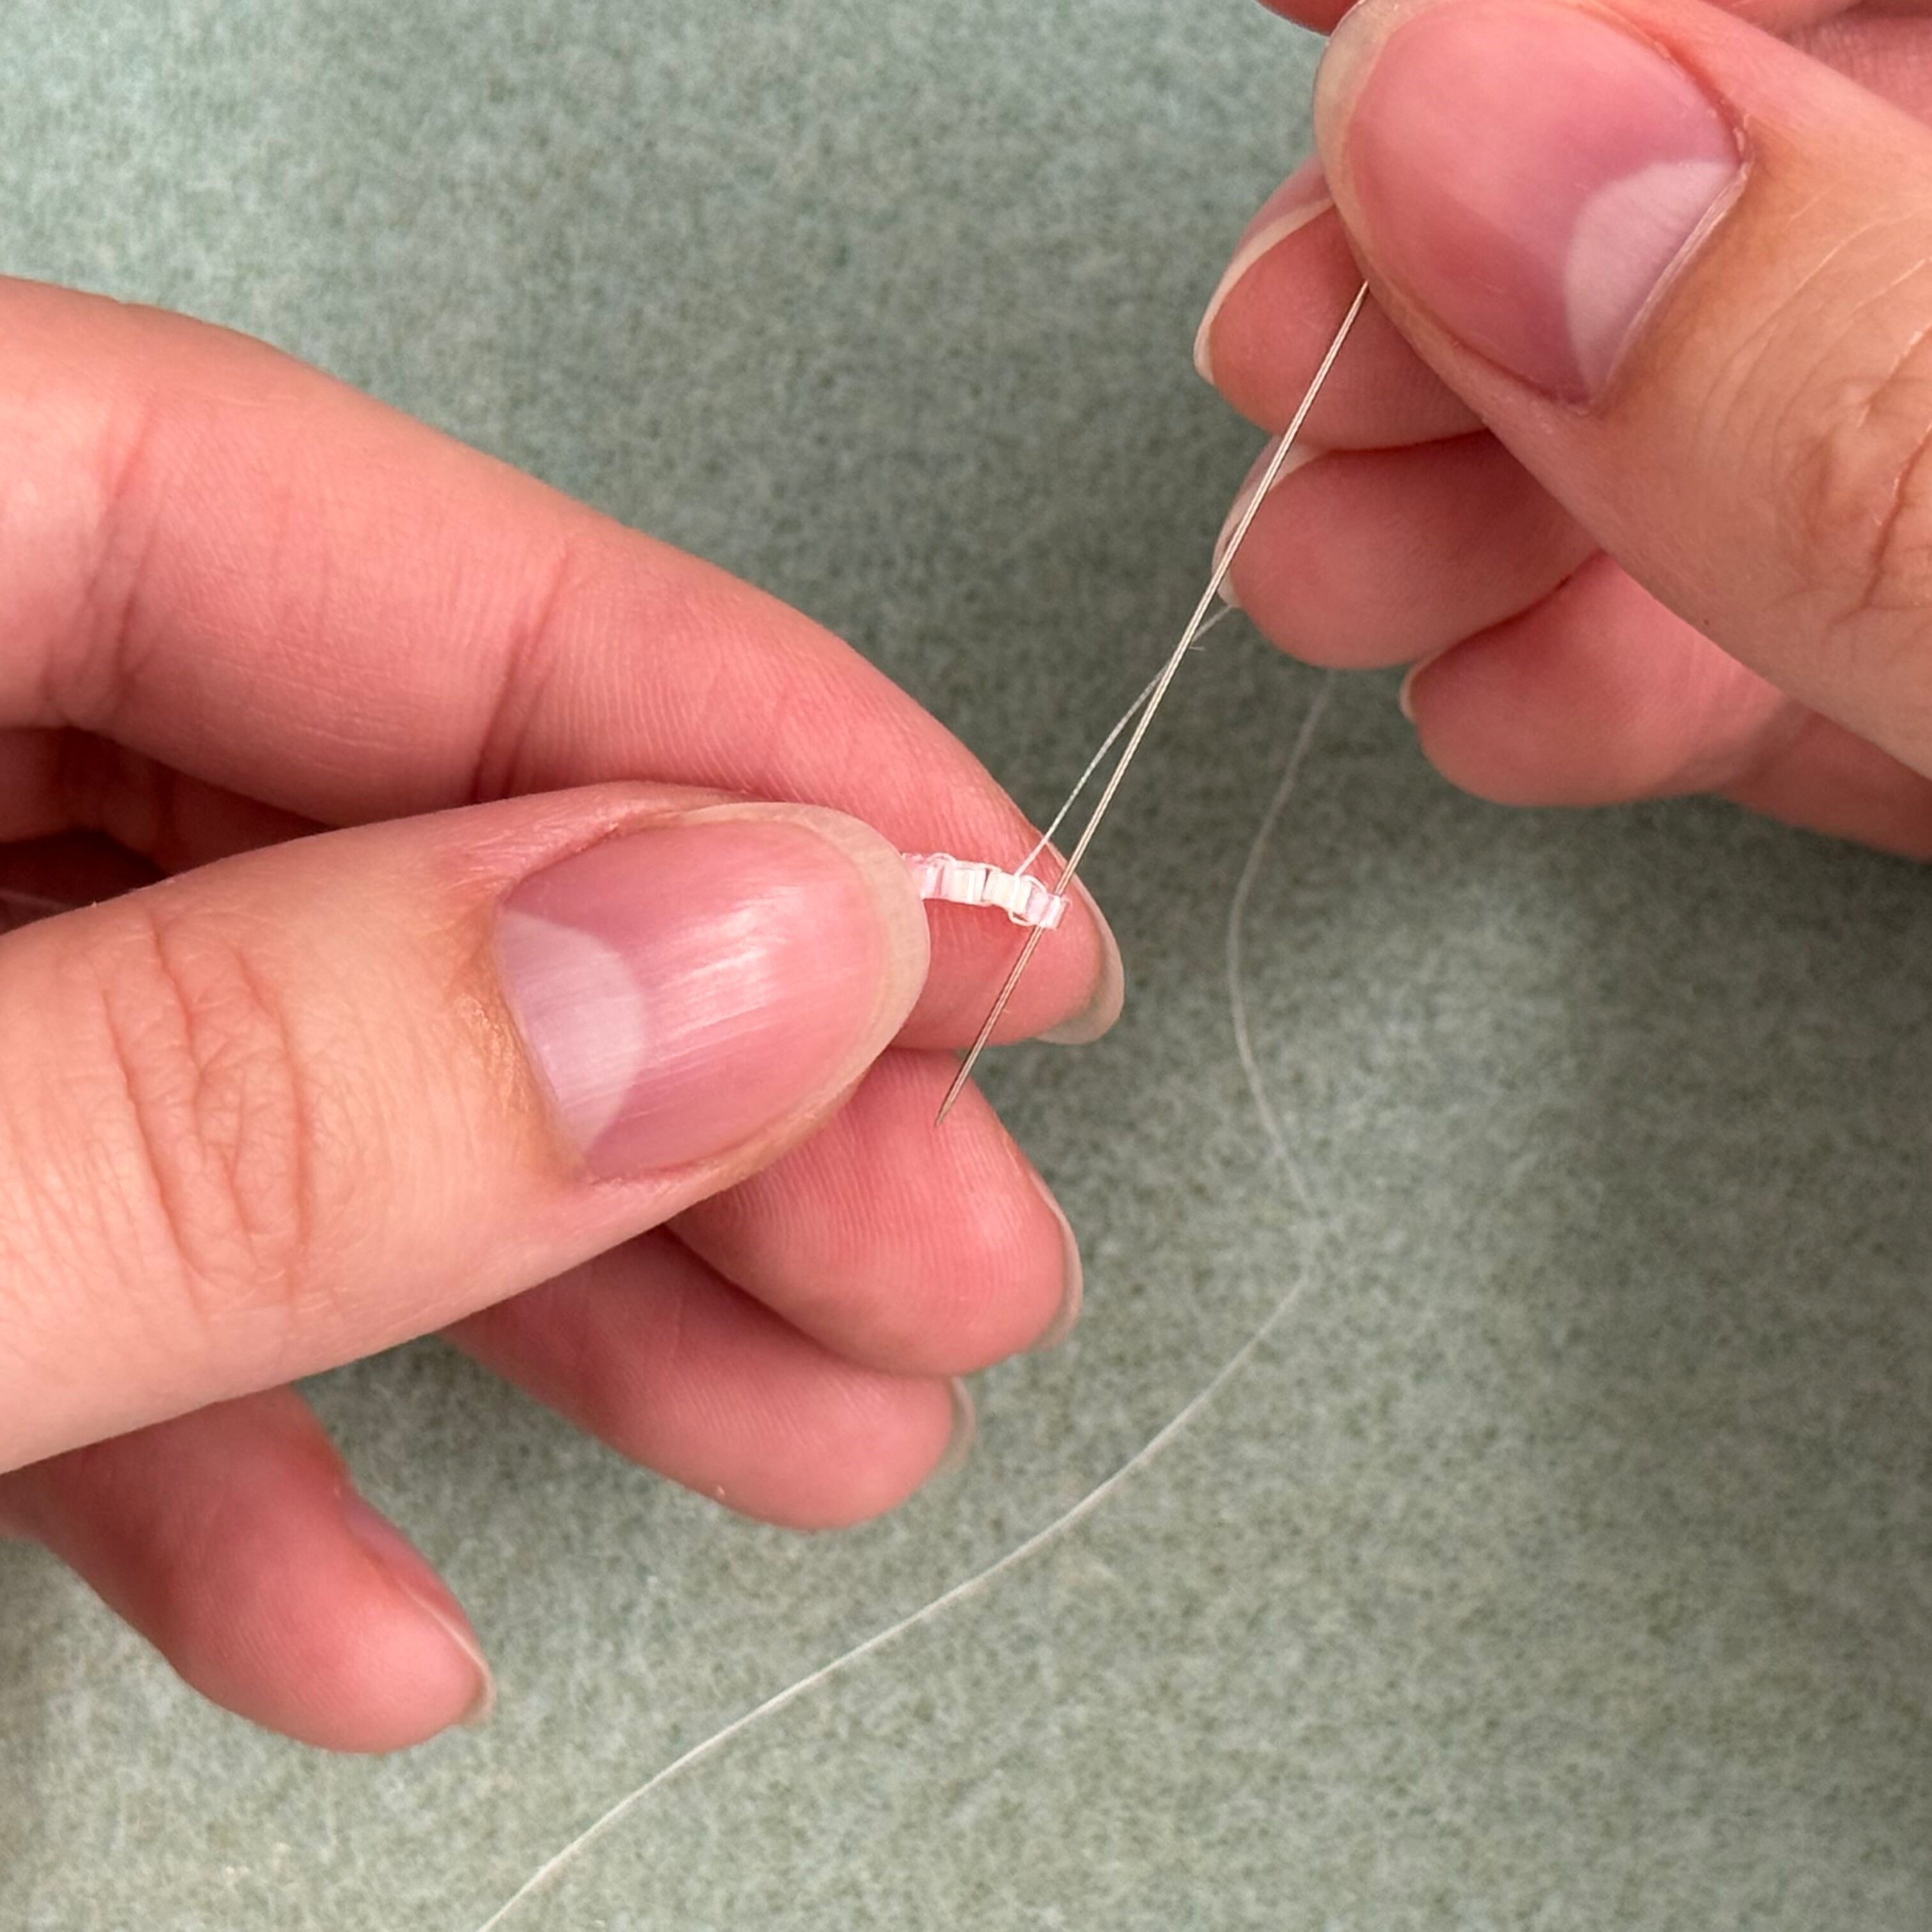
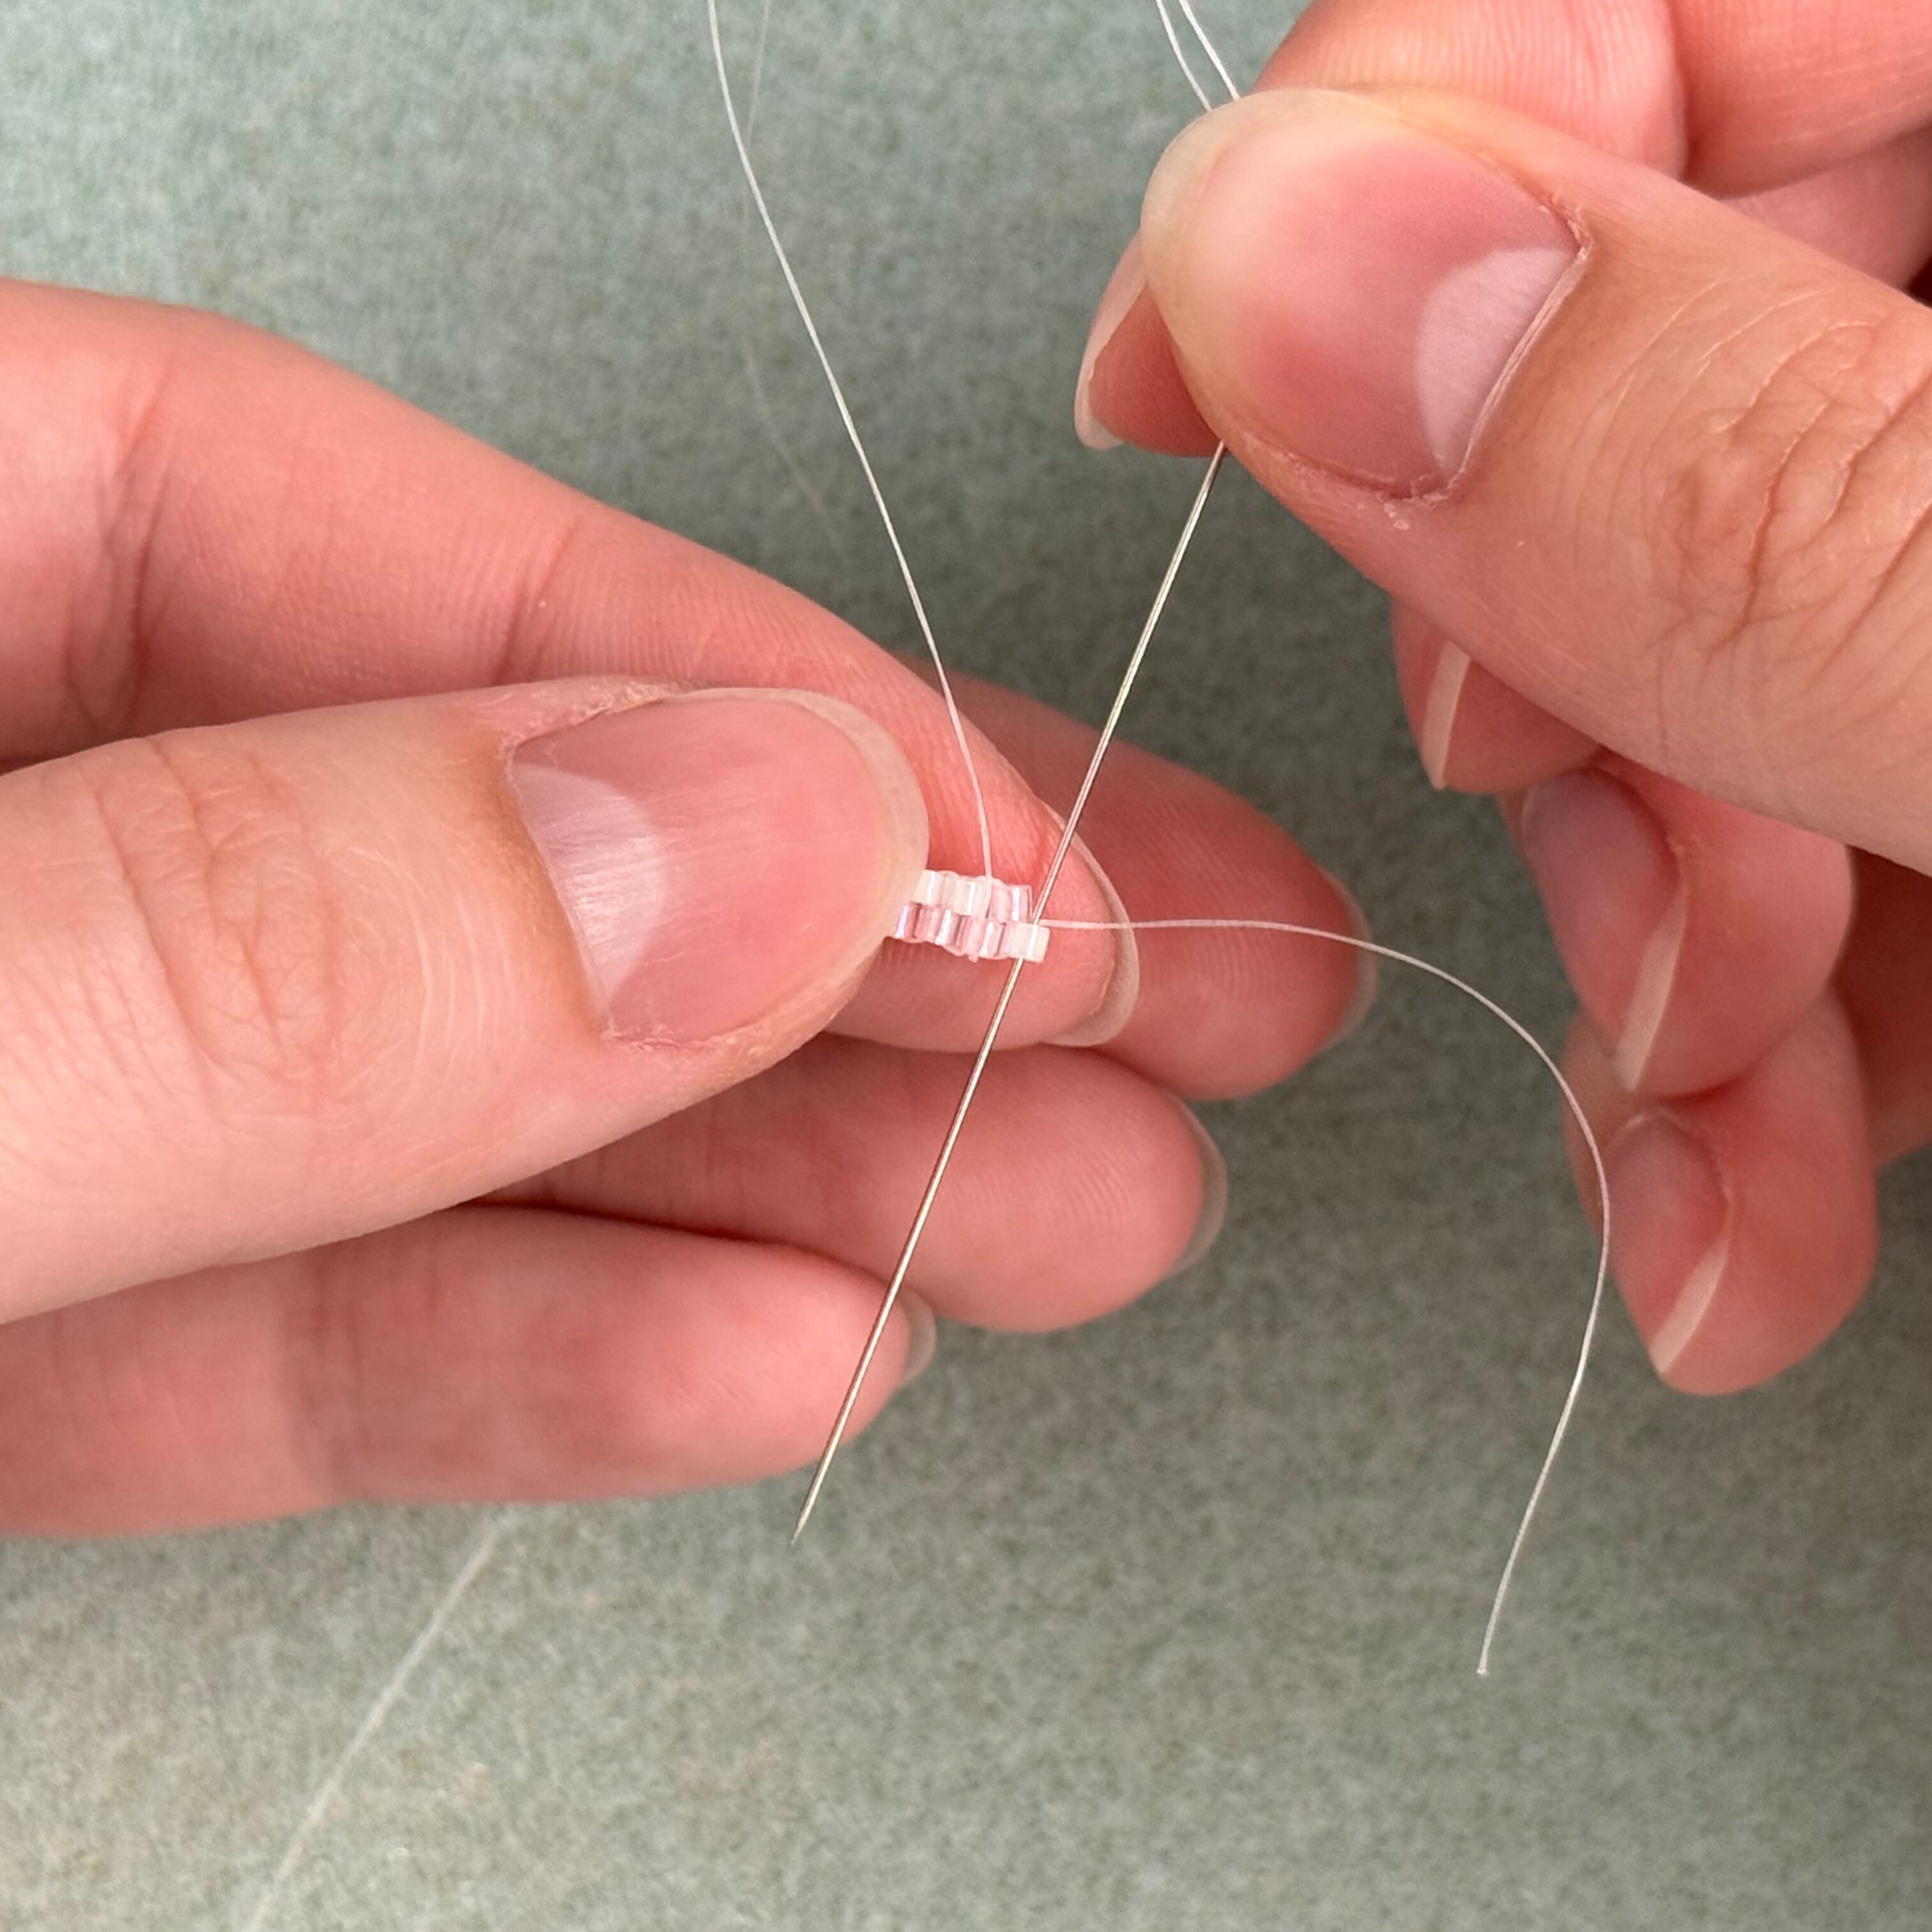
6. Add a 202 (white) delica bead onto your needle and thread it through the opposite side the thread is coming out (towards you) and pull tight so the two beads are sitting side by side

7. Thread the needle up through the second 202 bead (away from you) and pull tight
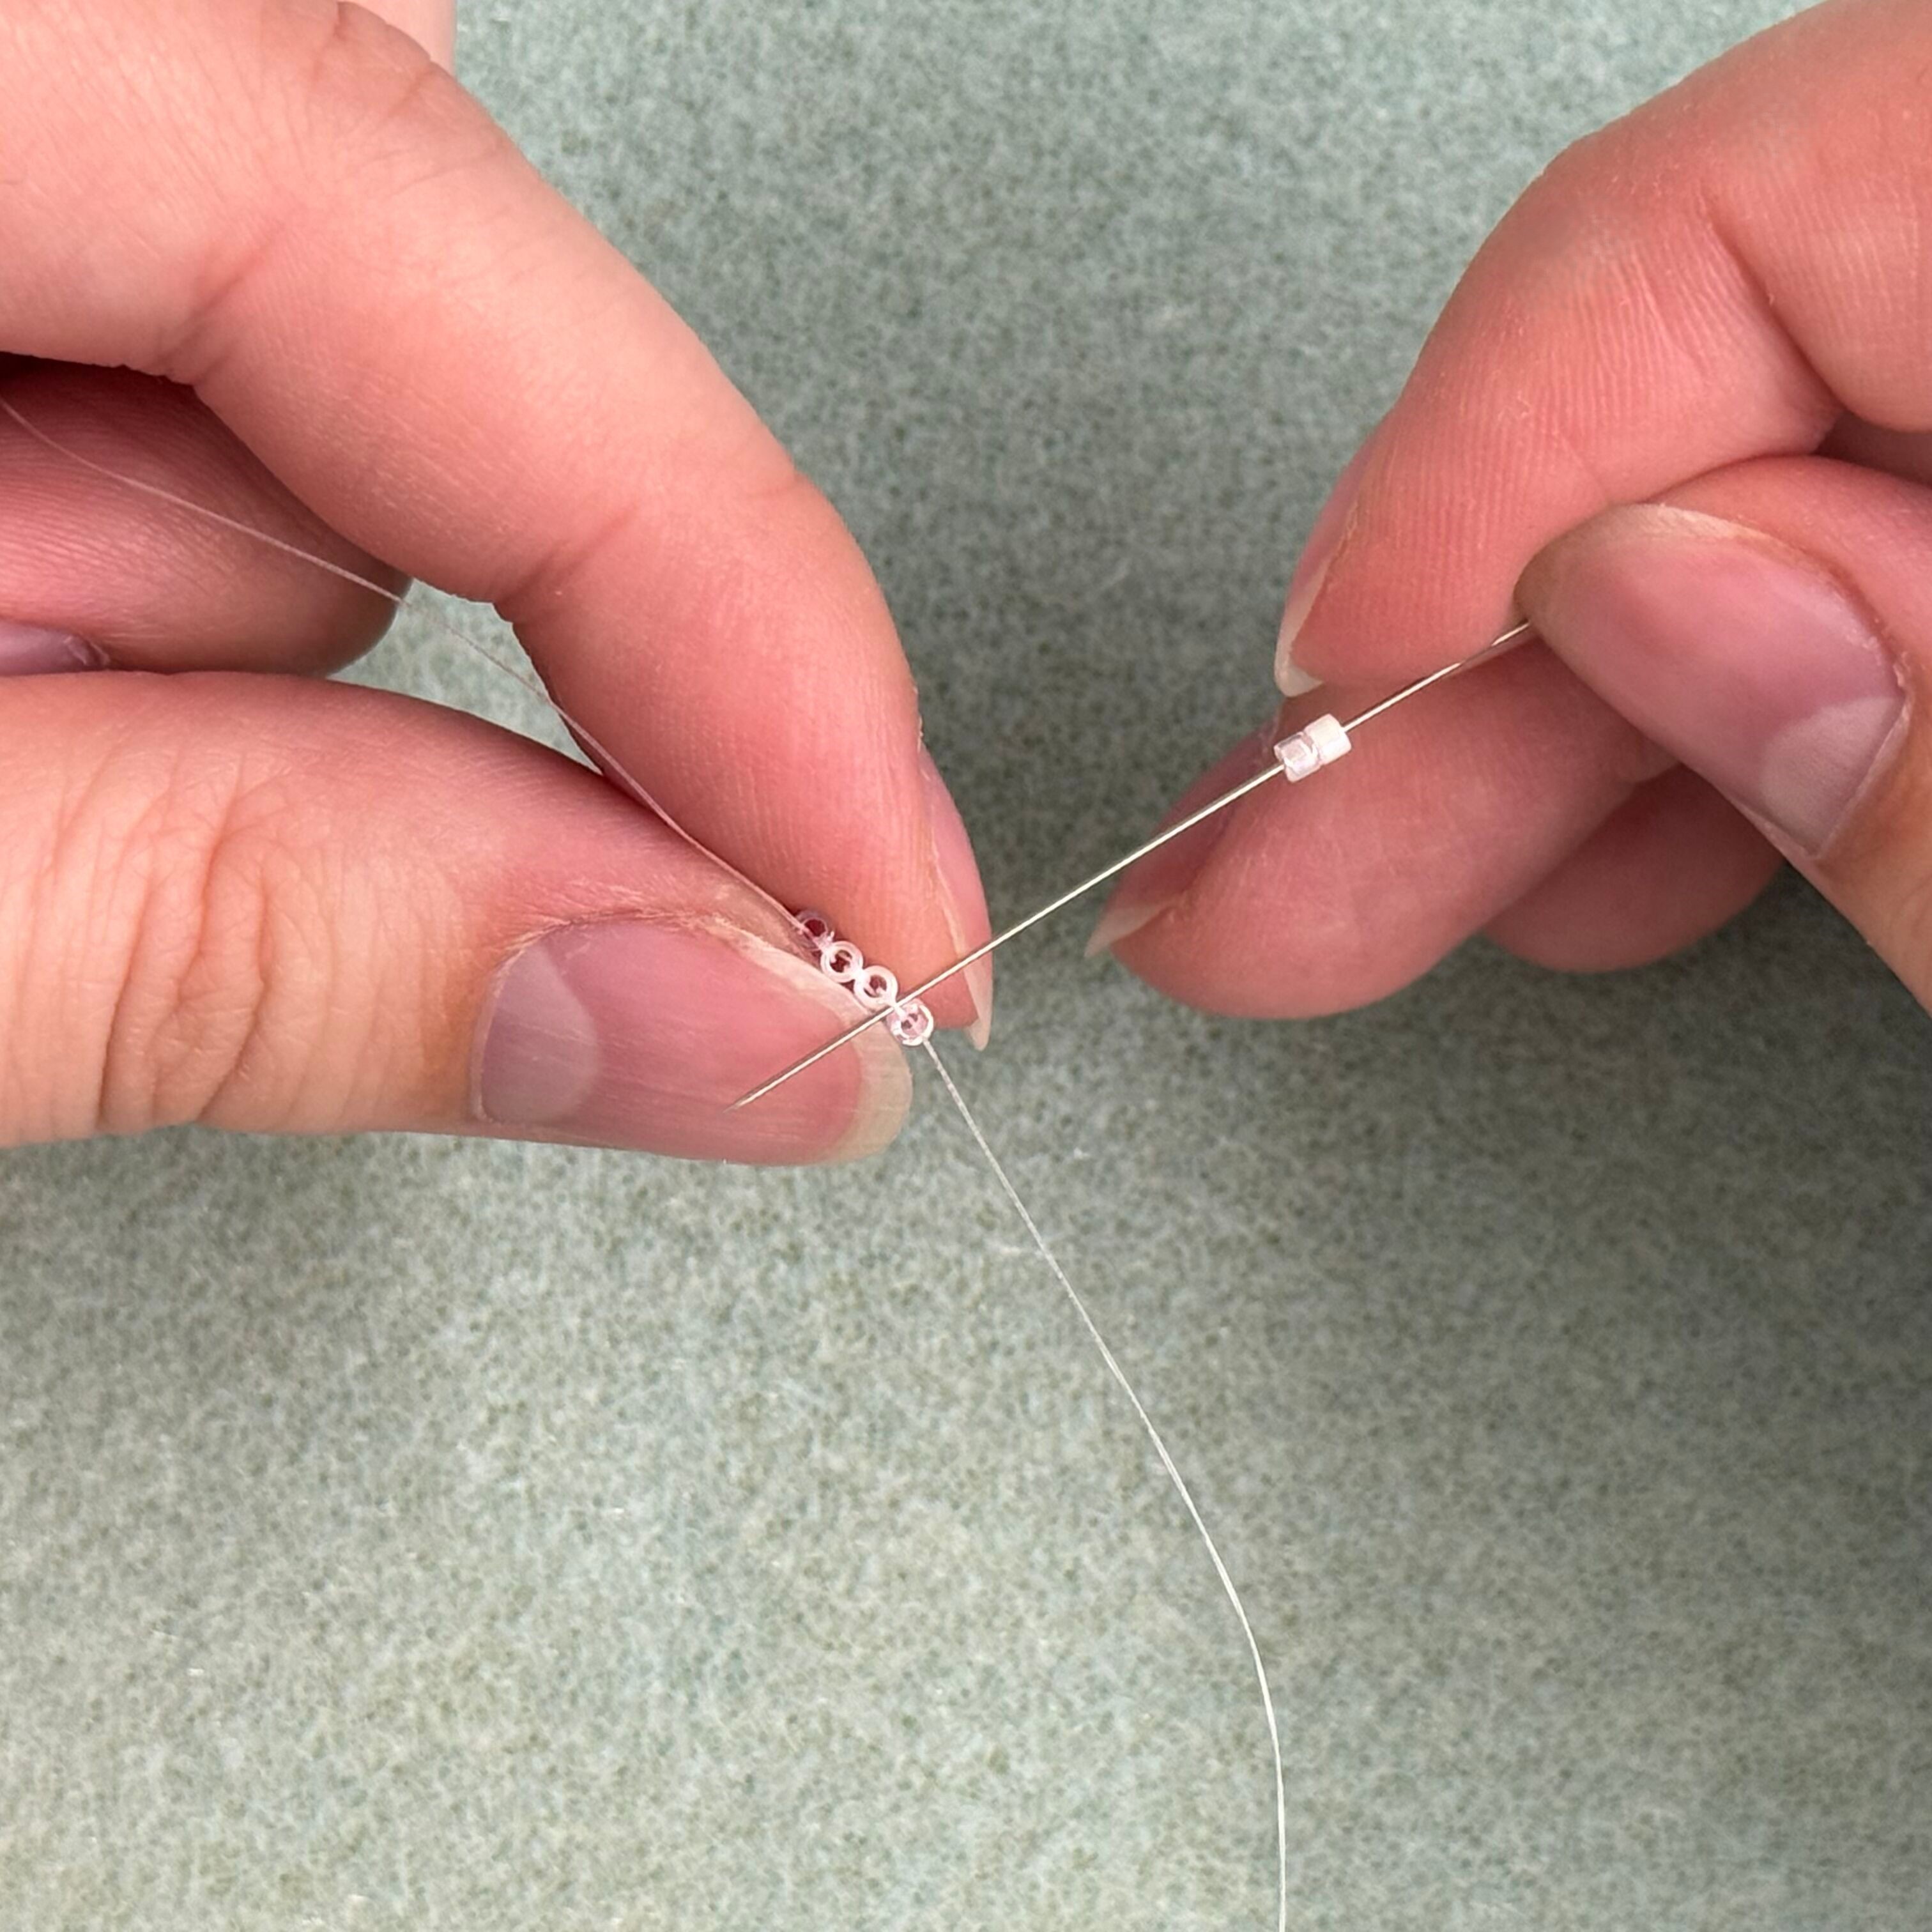
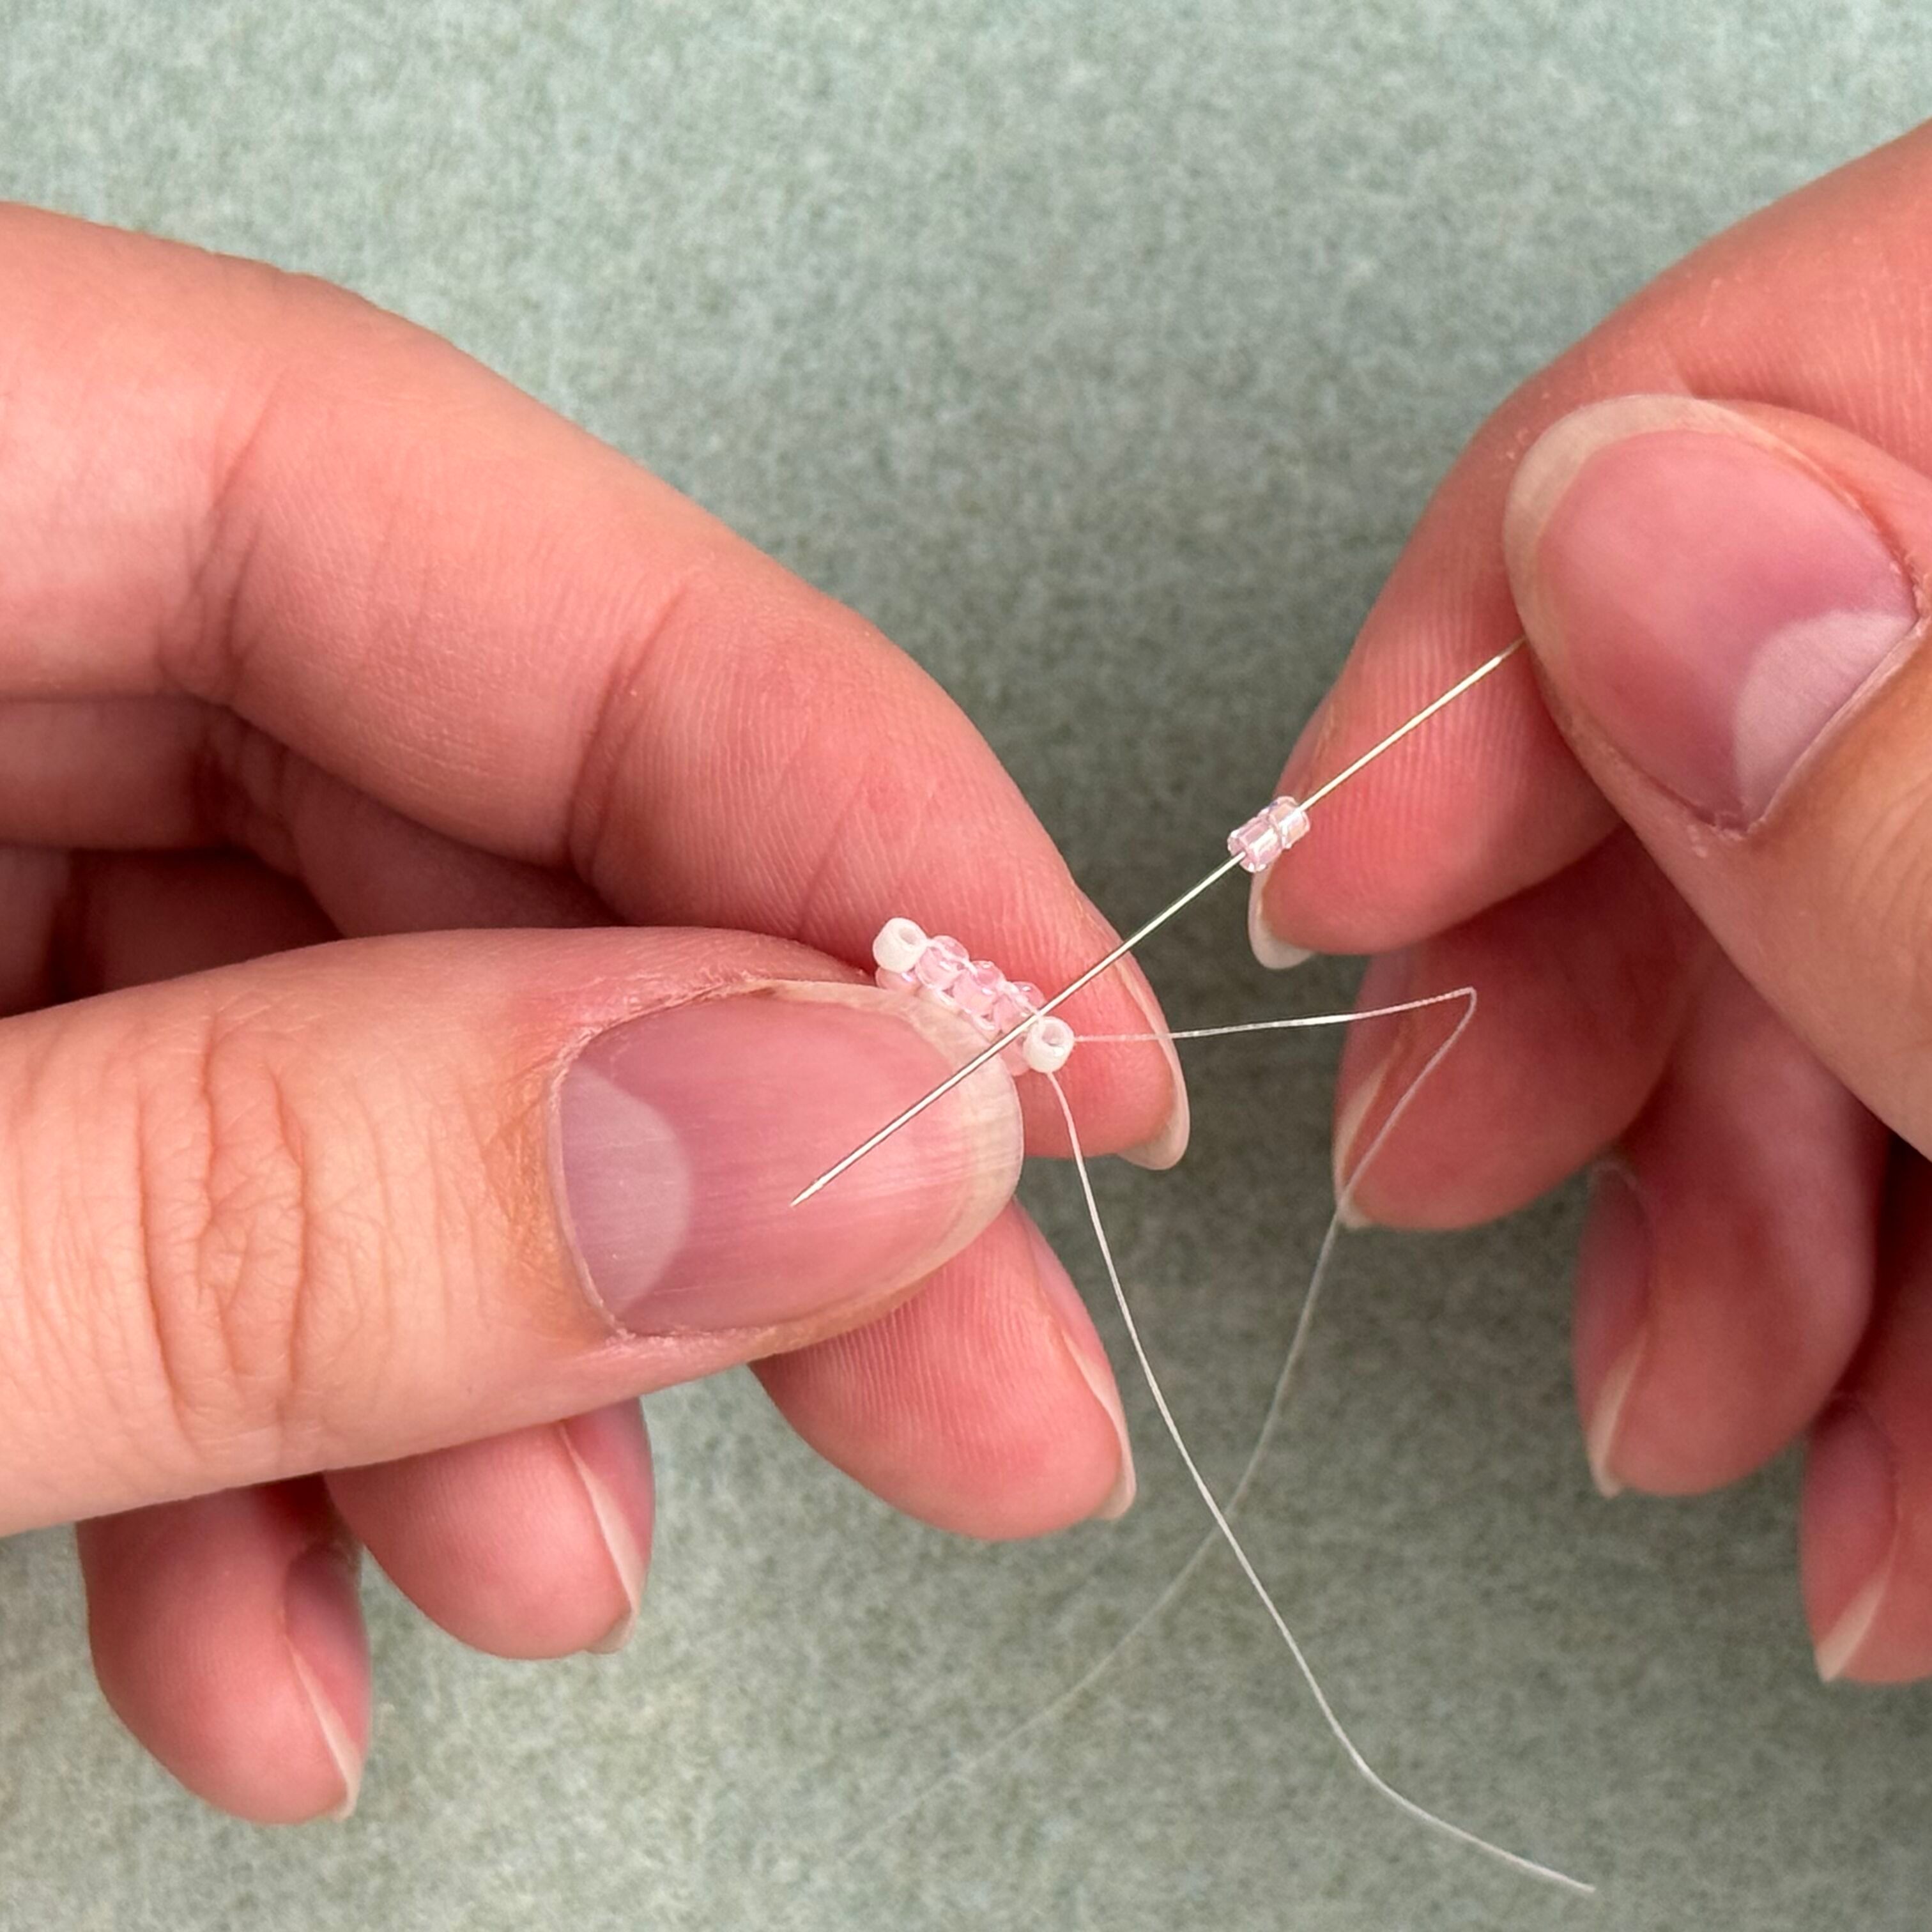
8. Add a 055 delica bead onto your needle and thread it through the opposite side the thread is coming out (away from you) and pull tight so the two beads are sitting side by side
9. Thread the needle back down the 055 bead you just added and pull tight - first layer is done!

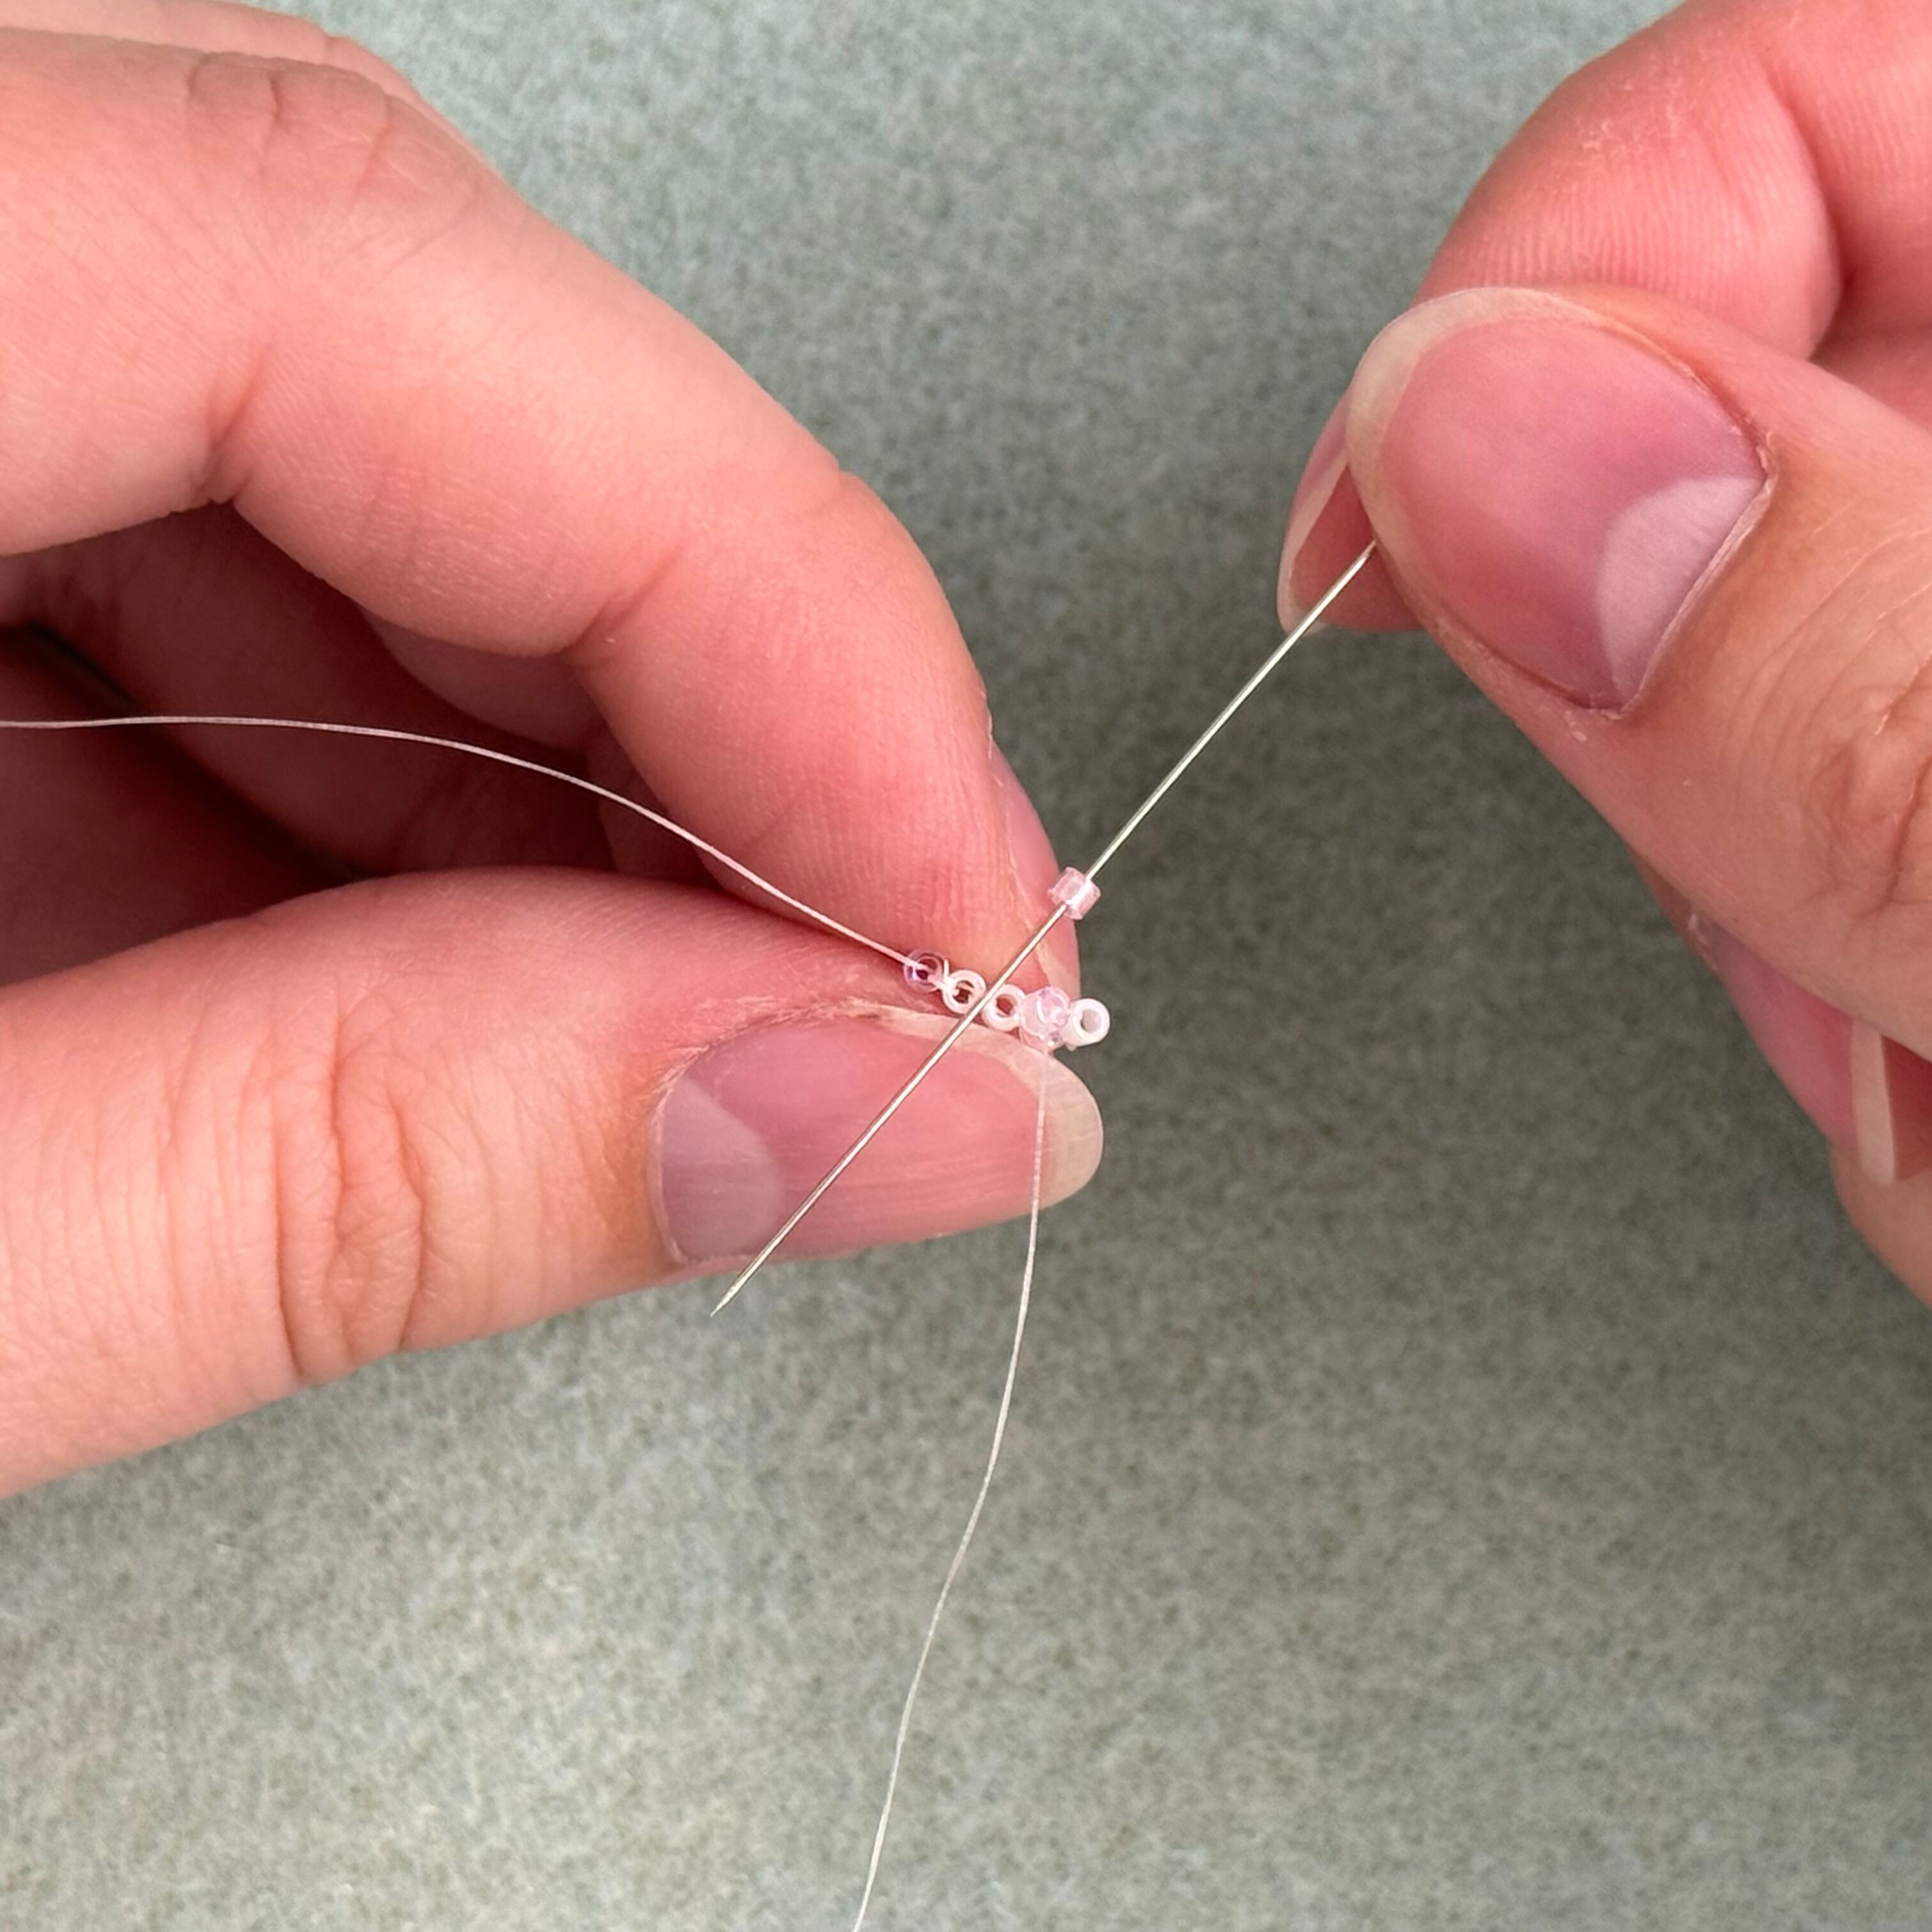
10. Add a 202 and then a 055 bead to your needle, this will start the next row
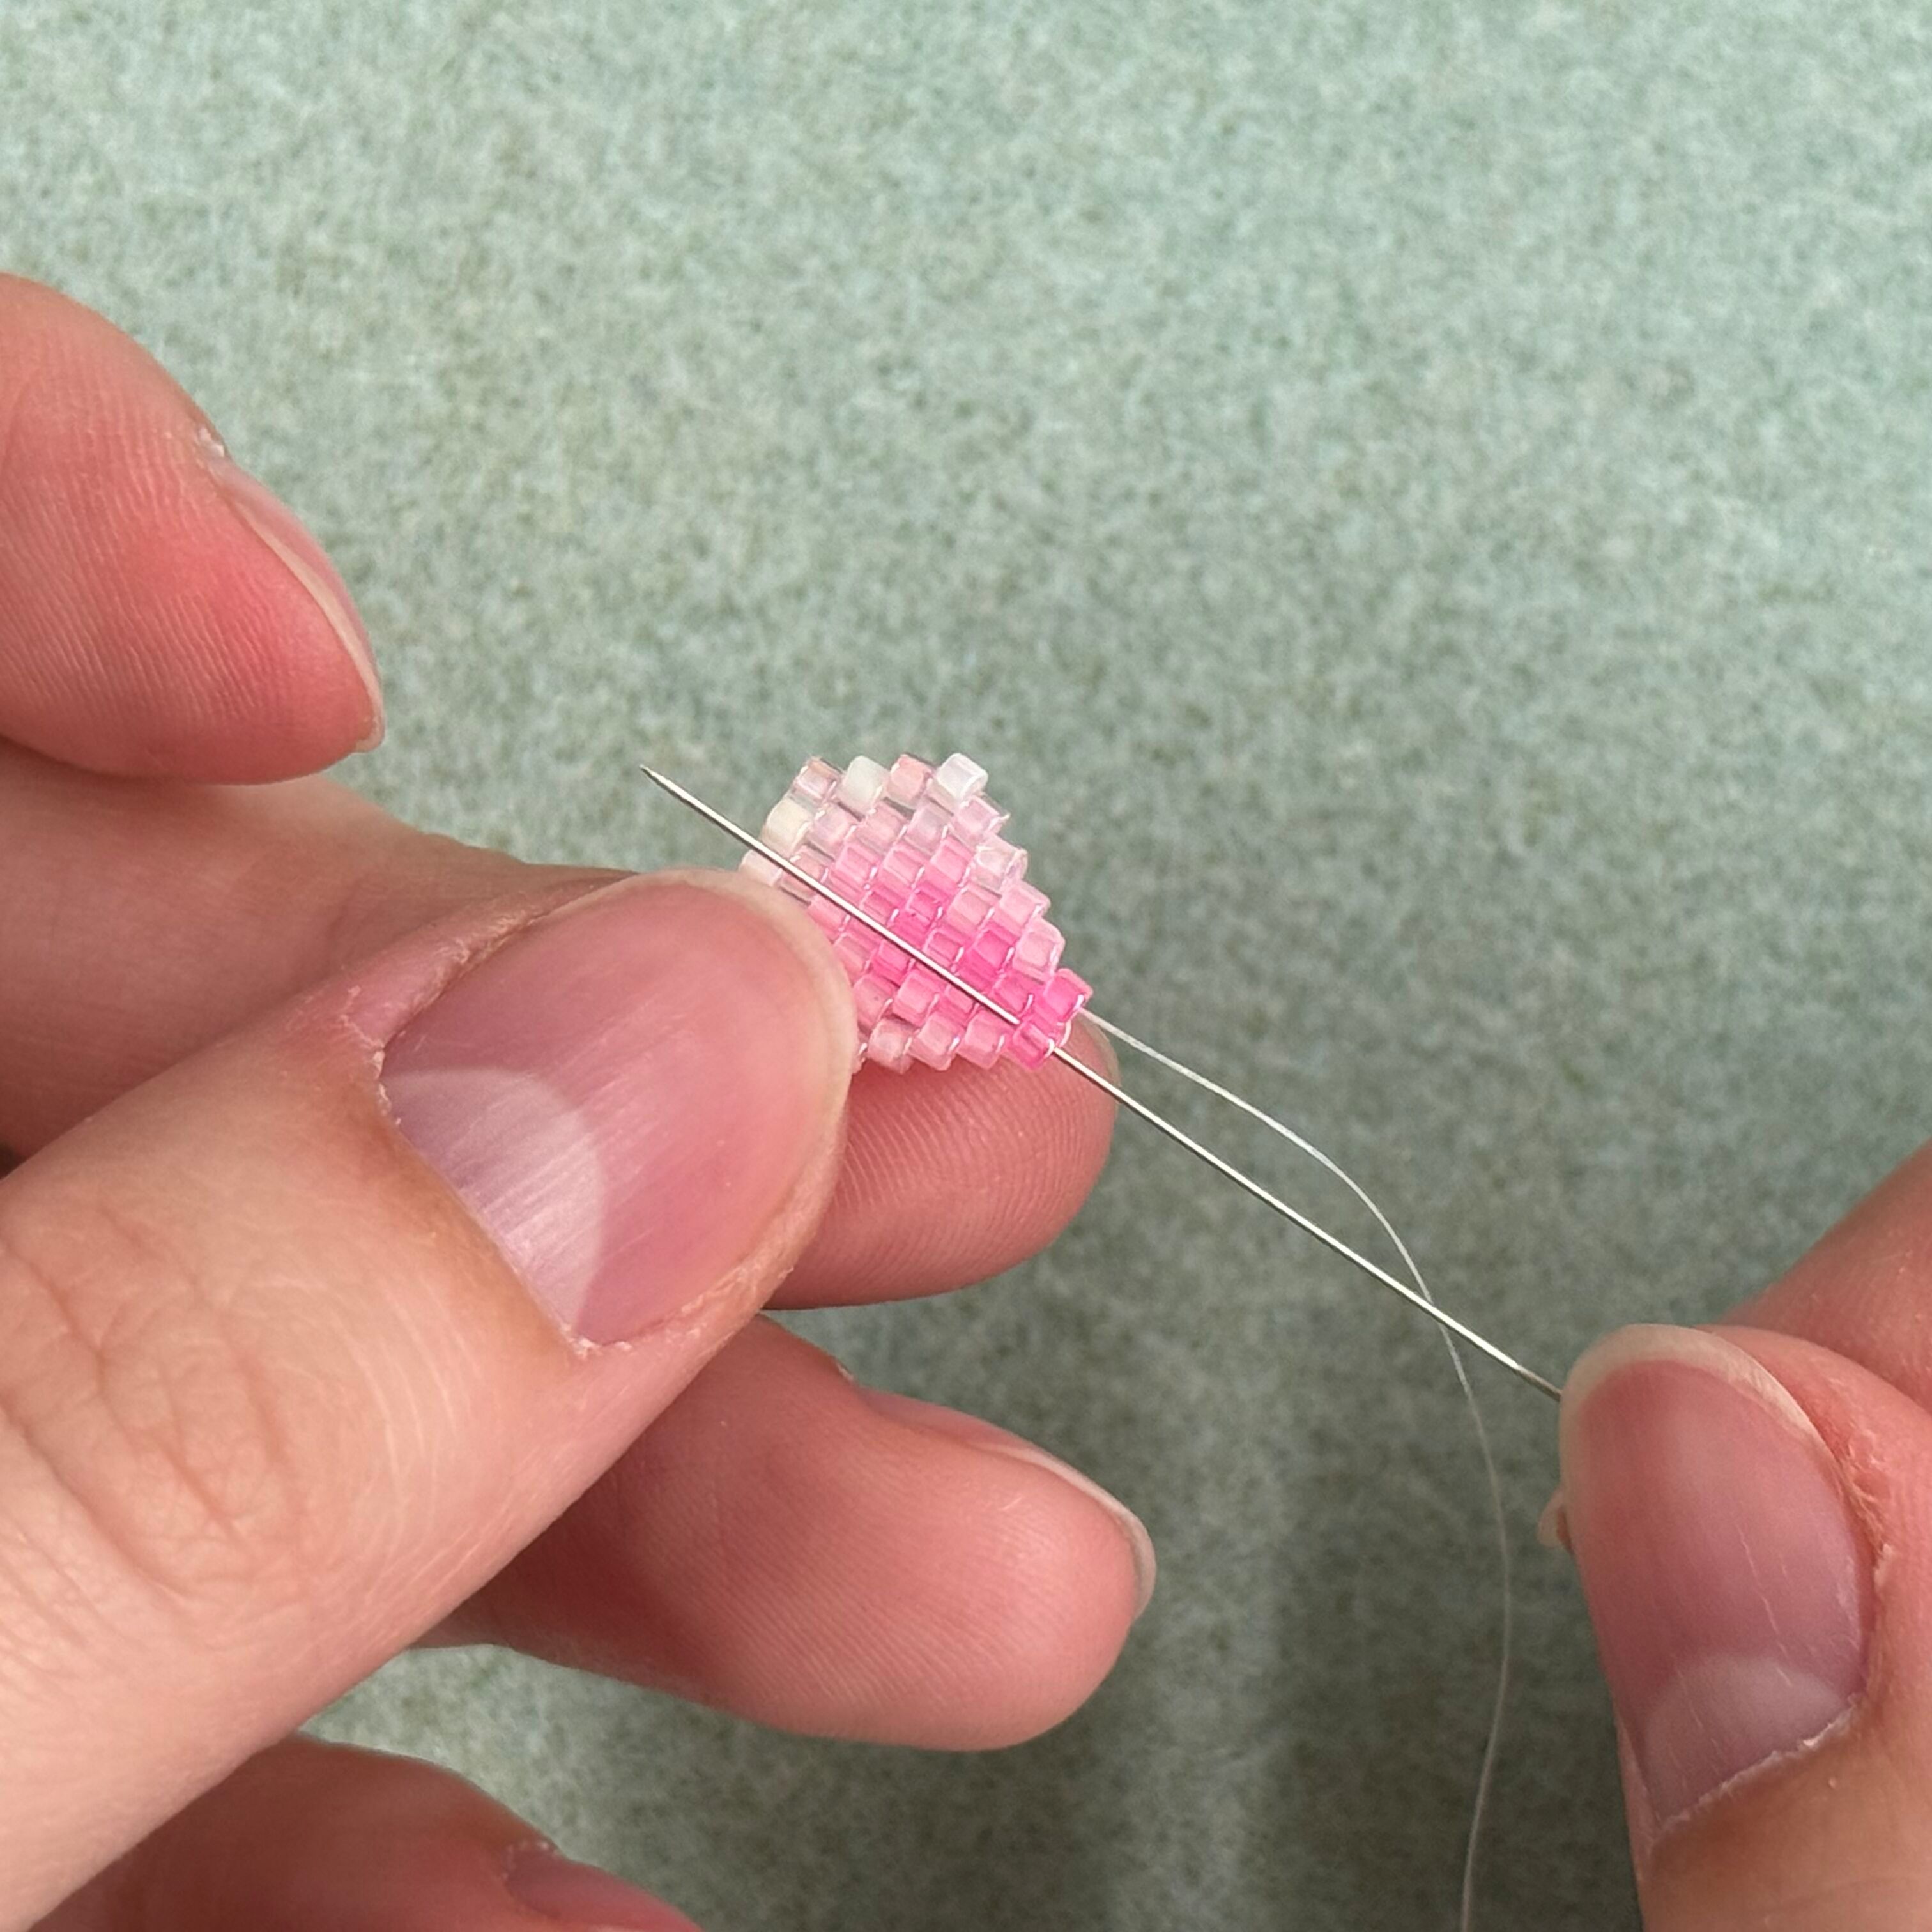
11. There will be a total of 5 beads on the second row so we will be threading through the first thread which holds bead 3 and 4 together on the first row. *I find it easiest to continuously go from right to left through the thread for each stitch.
*If we wanted to make a smaller second row and only have 3 beads in it, we would go through the second thread between the beads 2 and 3.

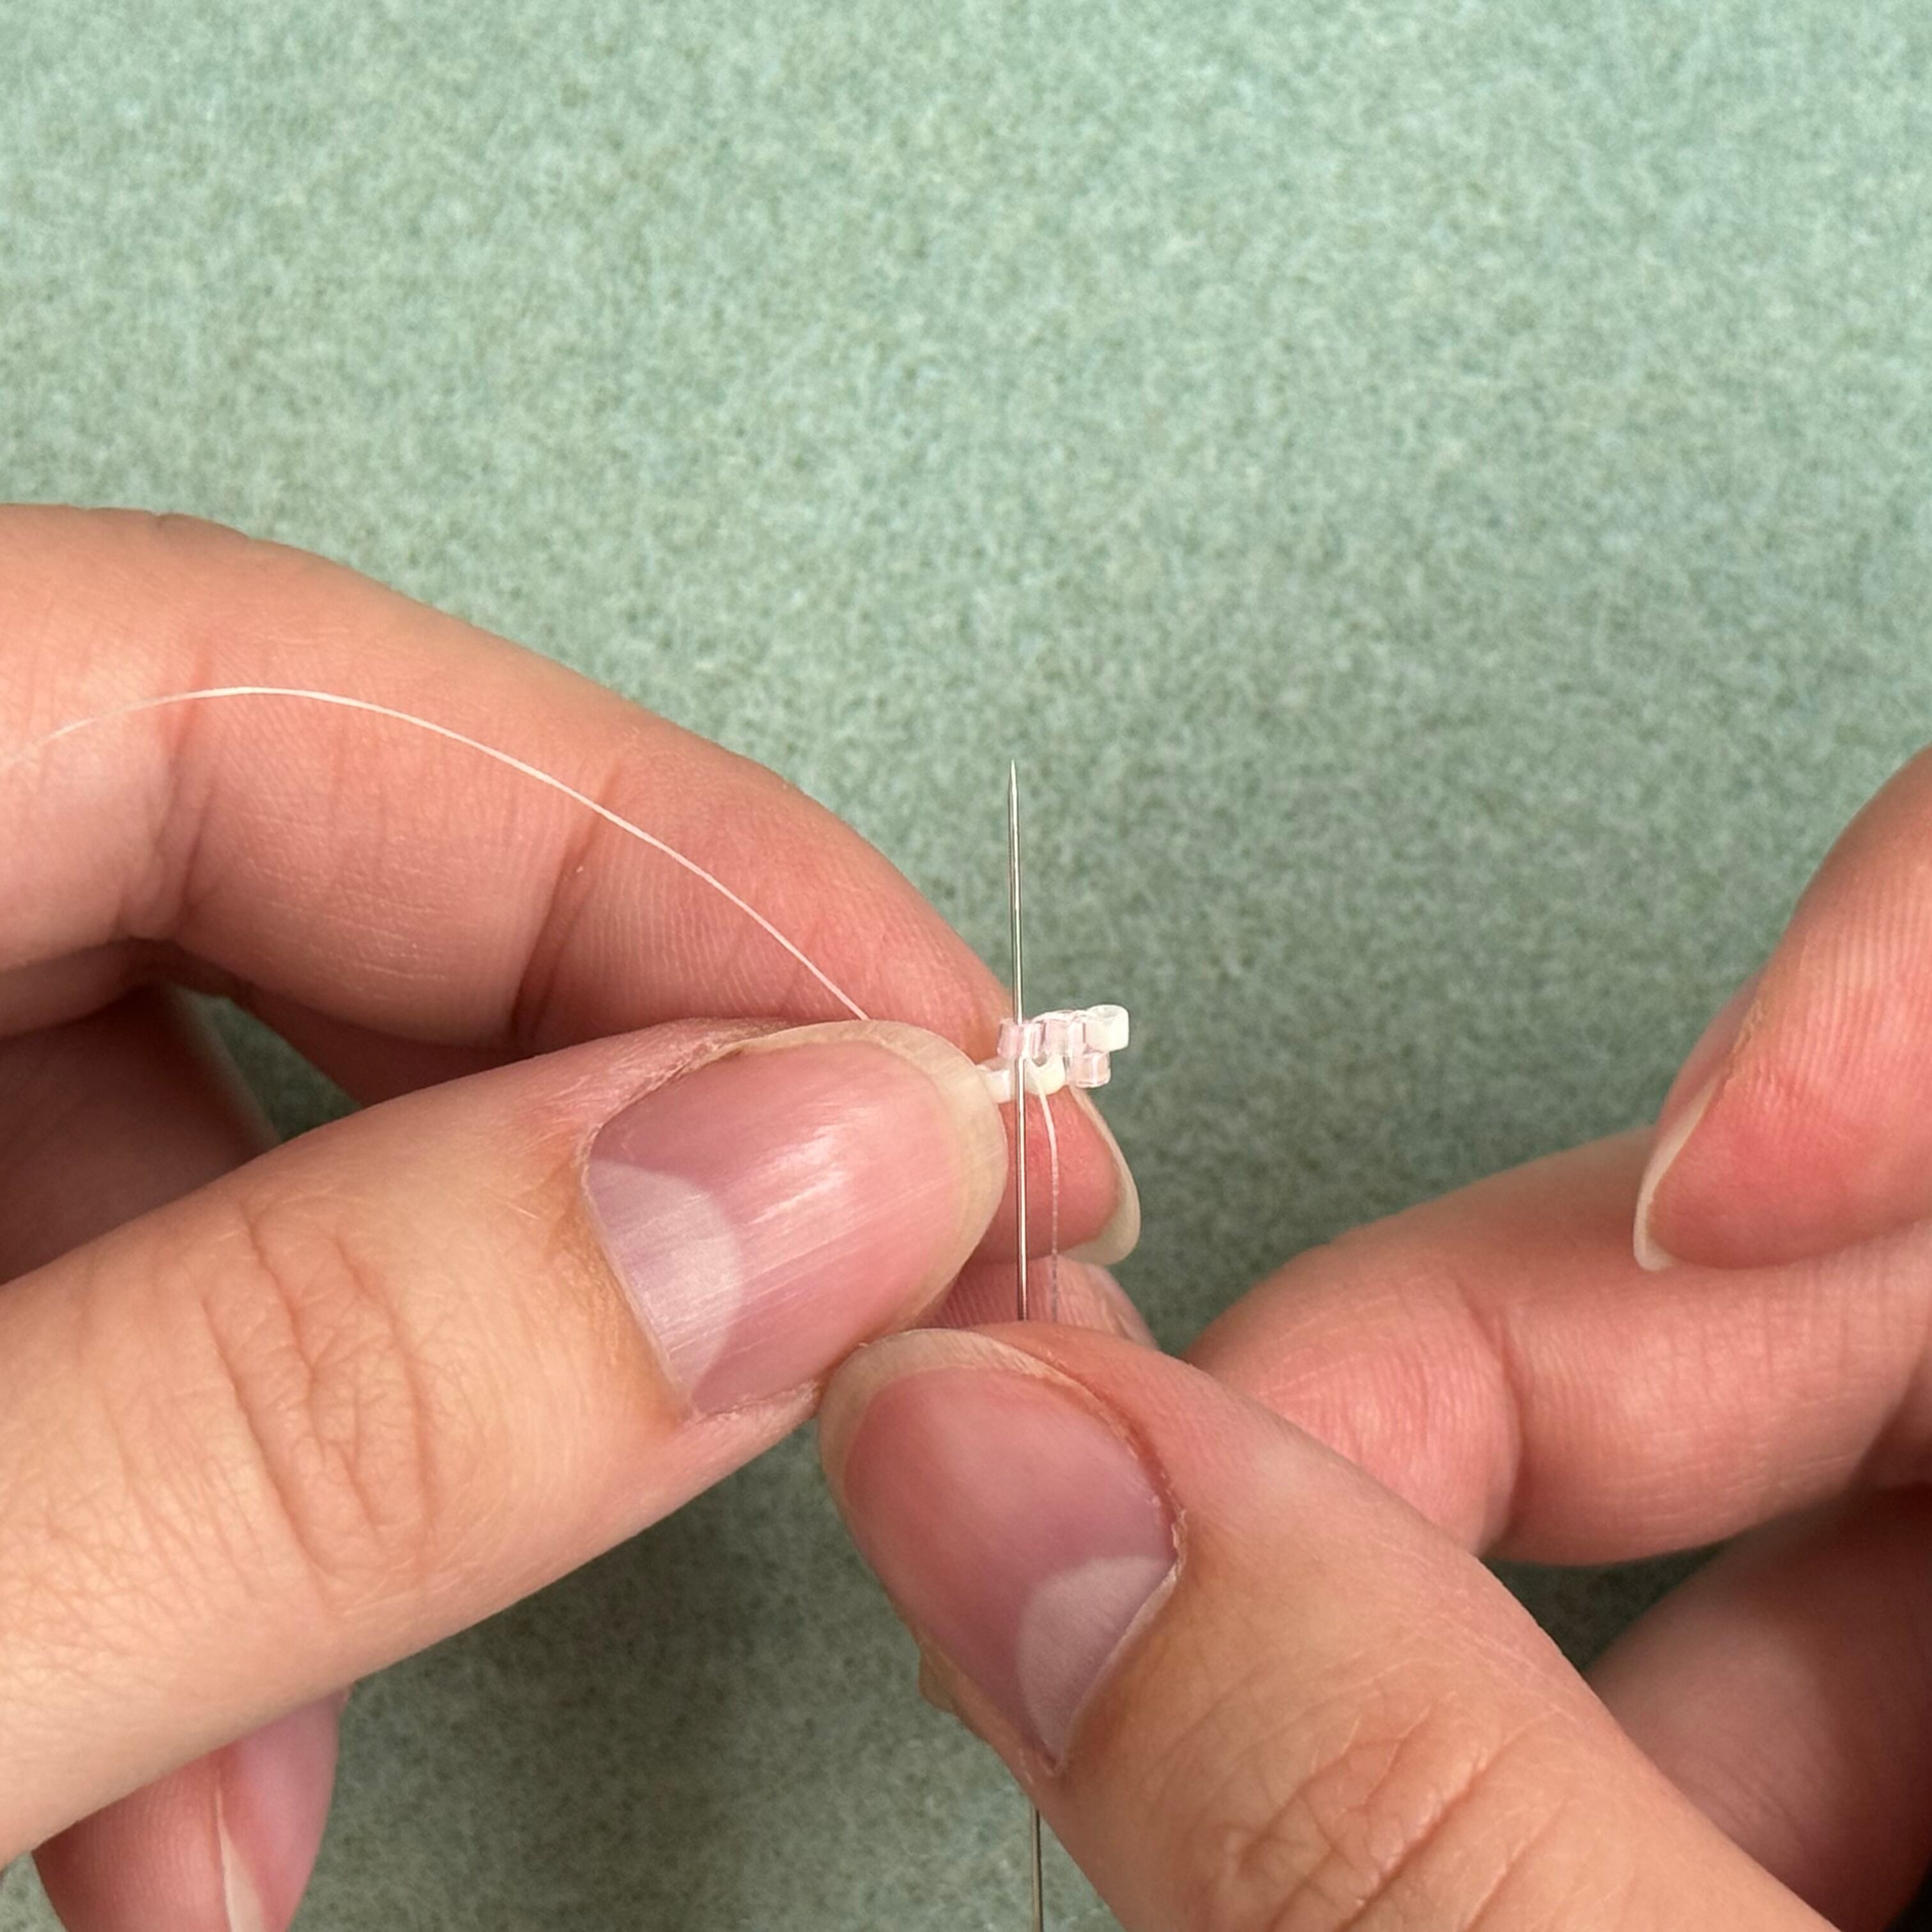
12. Thread the needle back up through the pink 055 bead and pull tight
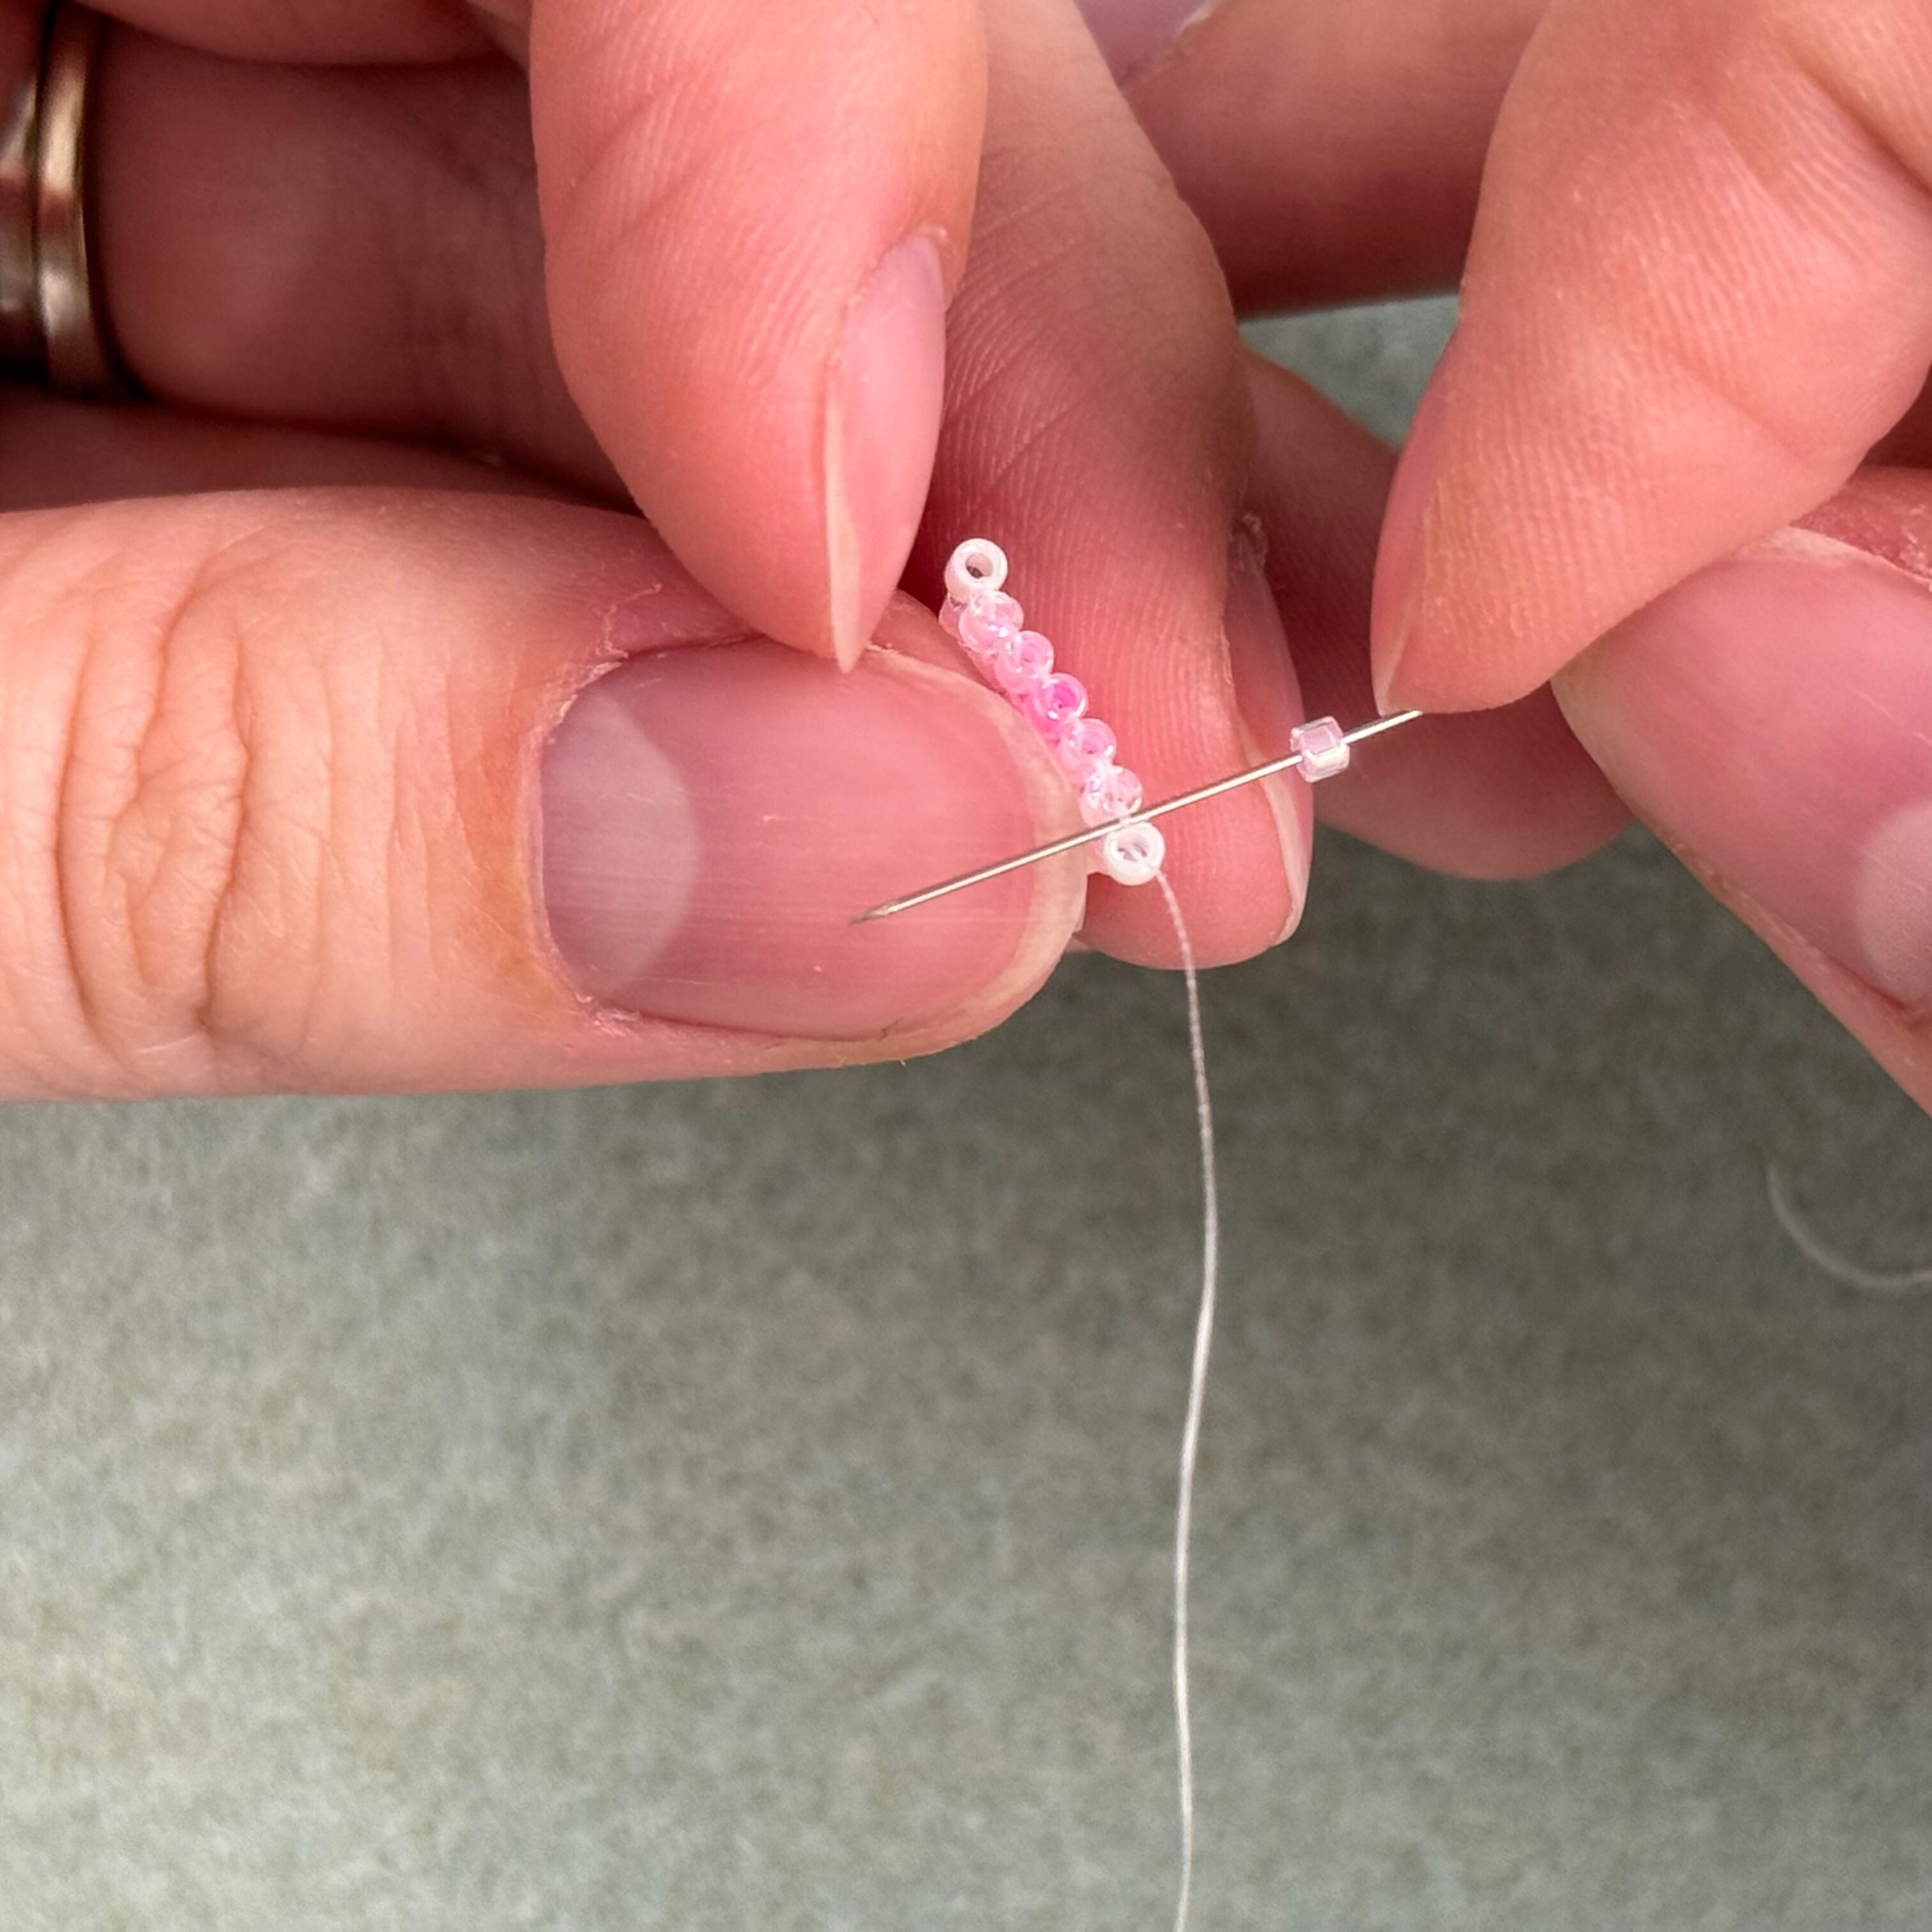
13. Lets continue the row but this time, only add one bead (055) to the needle. Thread the needle through the next stitch (holding beads 2 and 3 together).
14. Thread the needle back up through the 055 bead and pull tight
15. Repeat steps 13 and 14 with a 055 bead

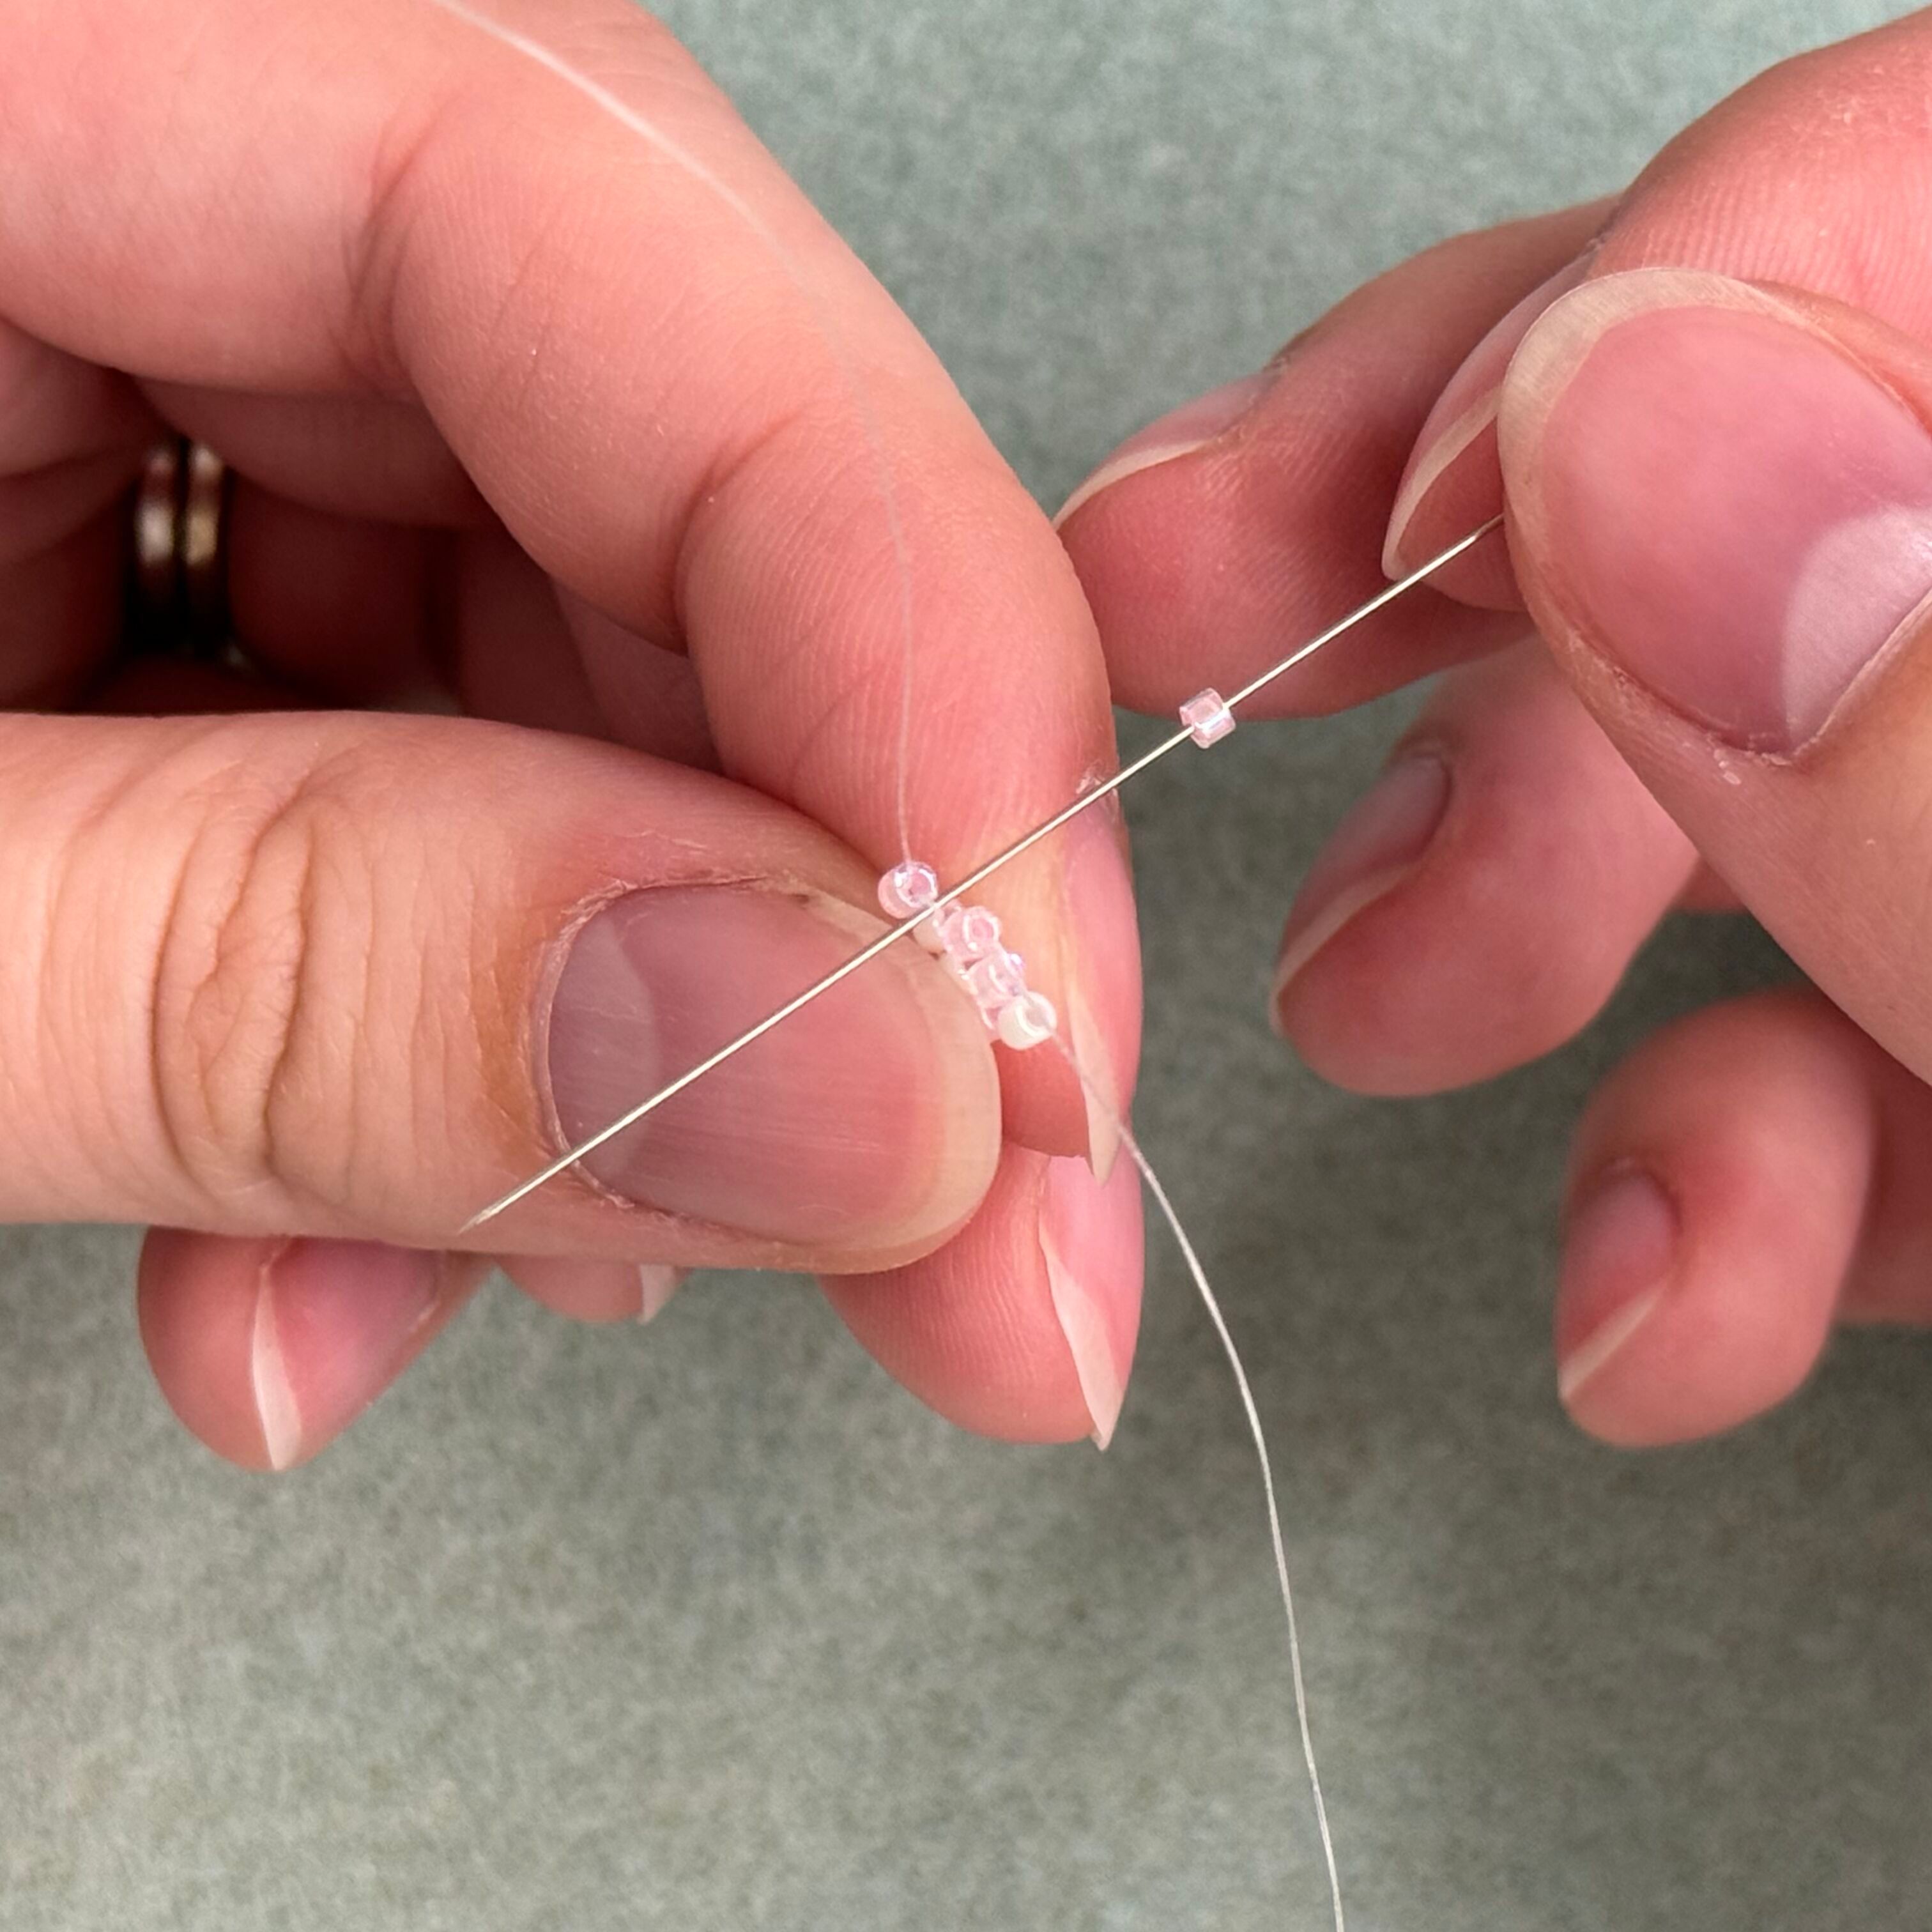
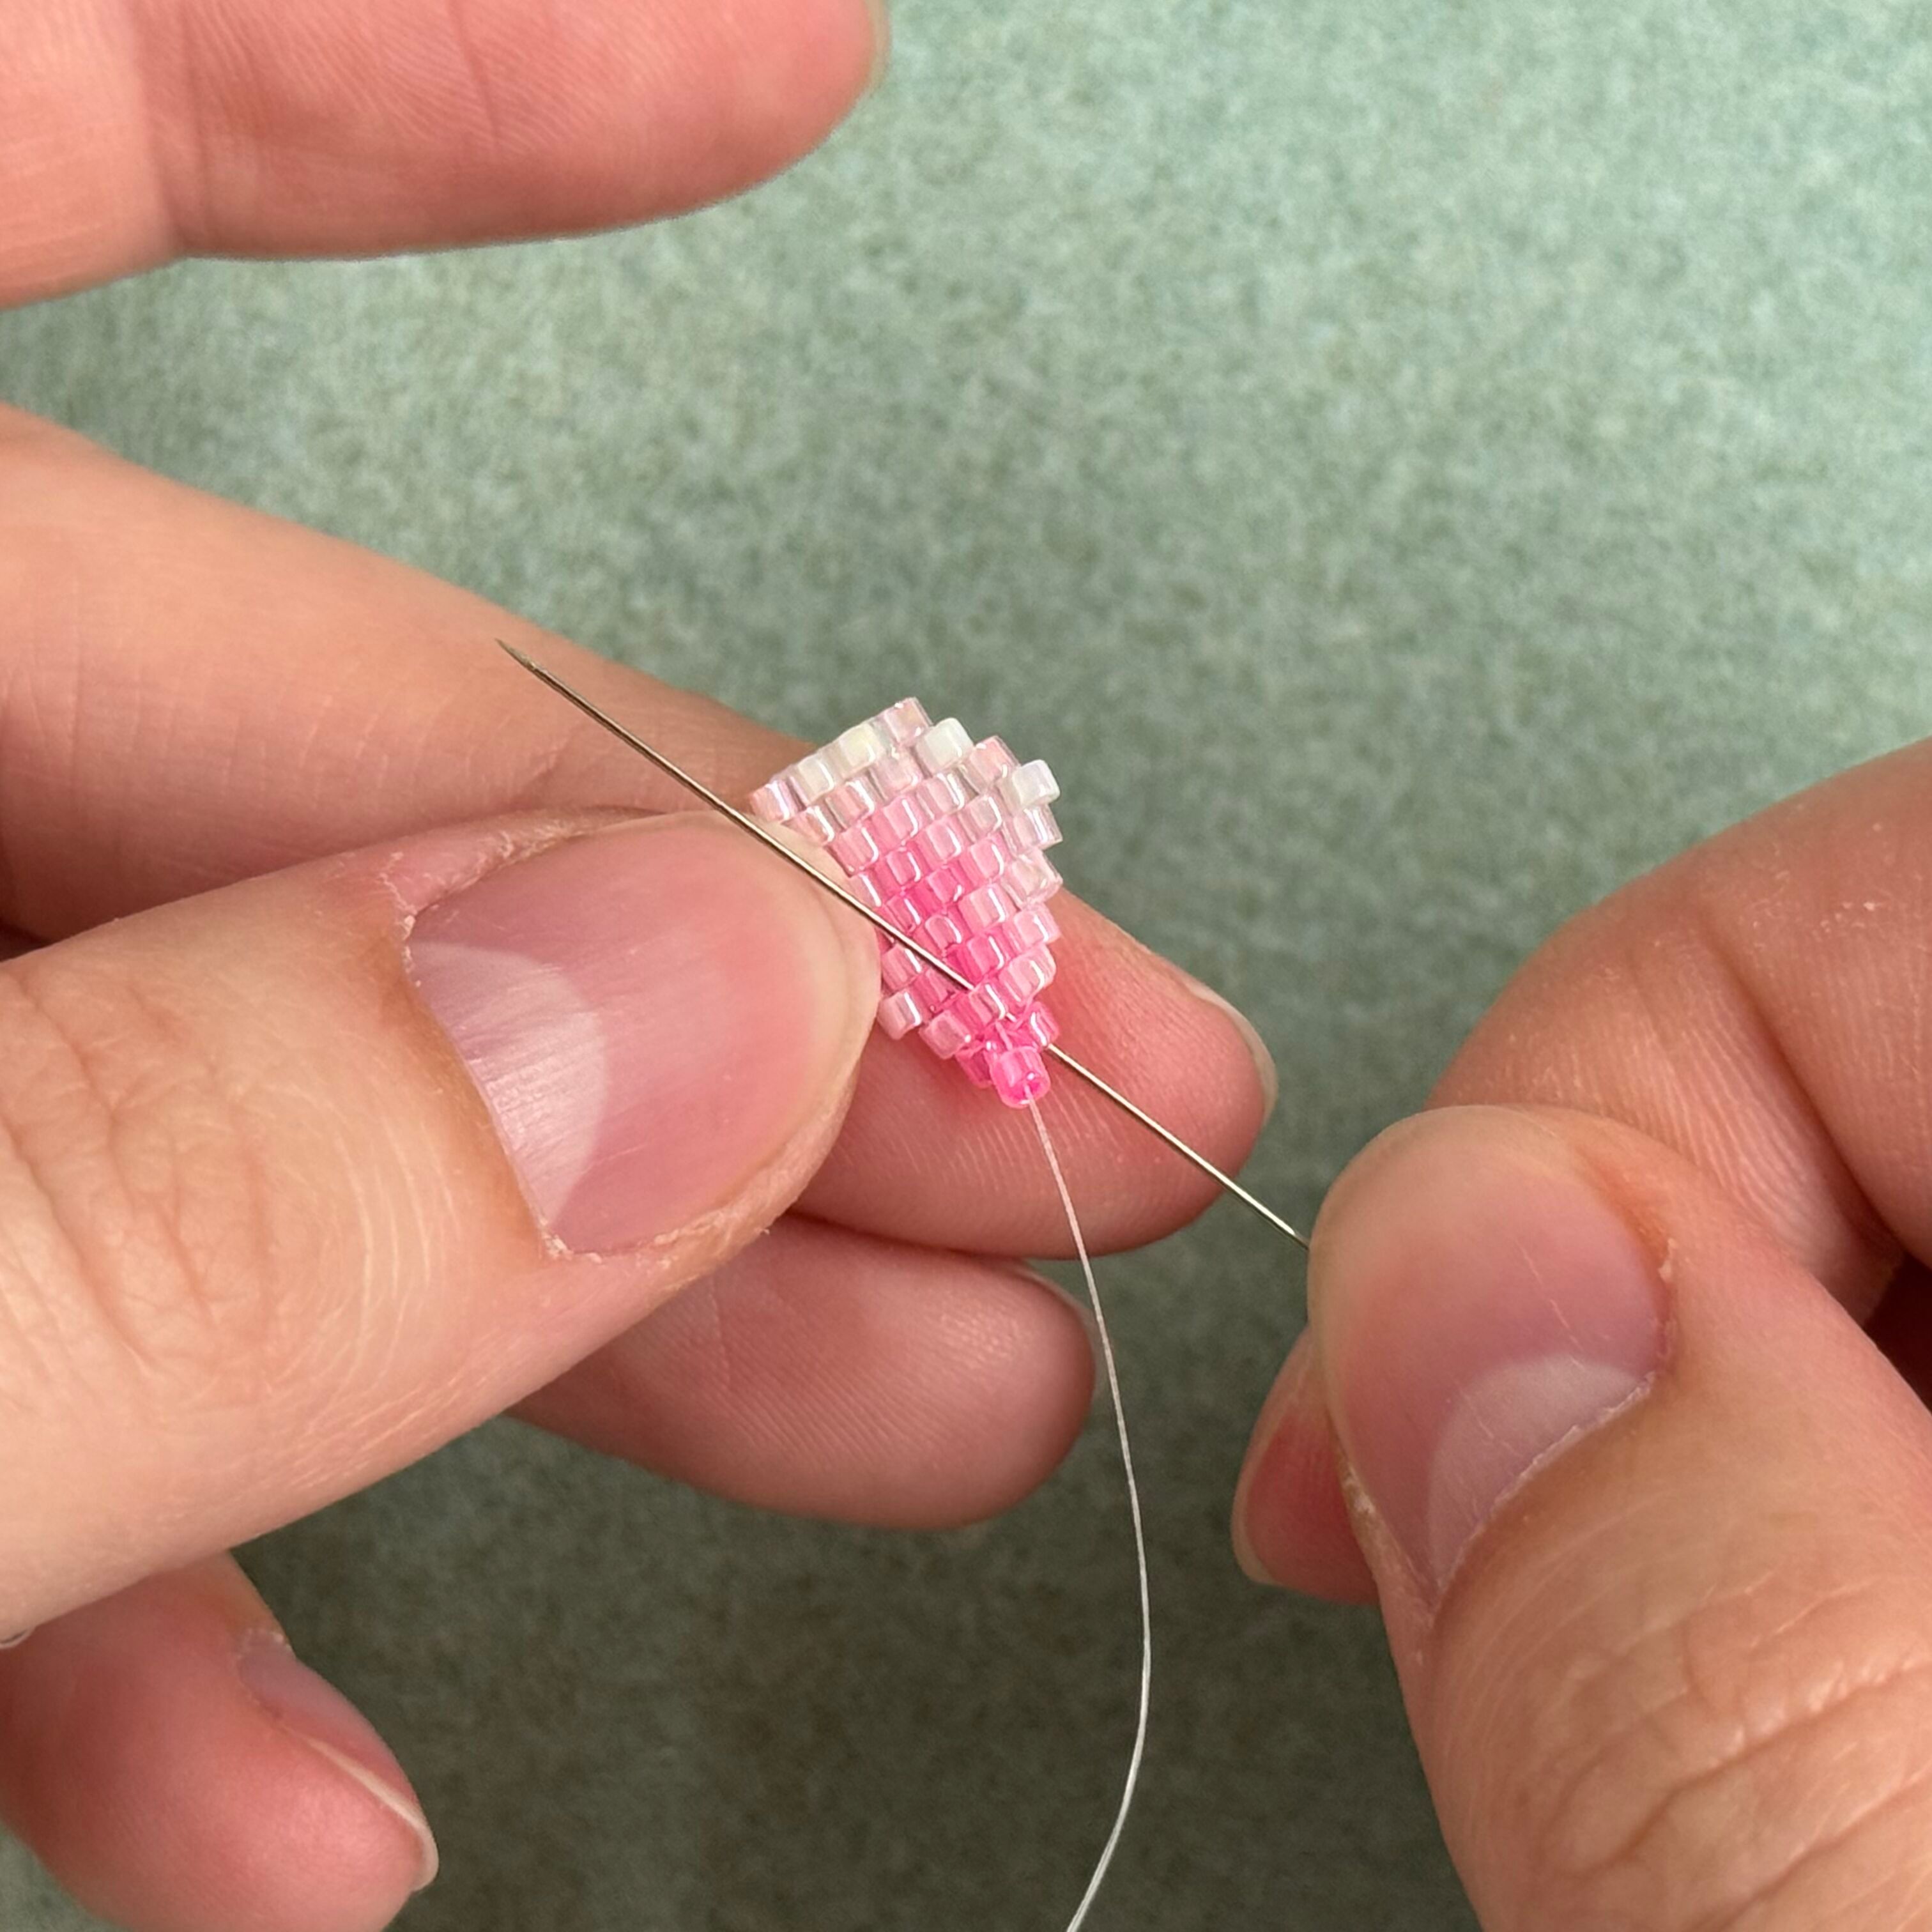
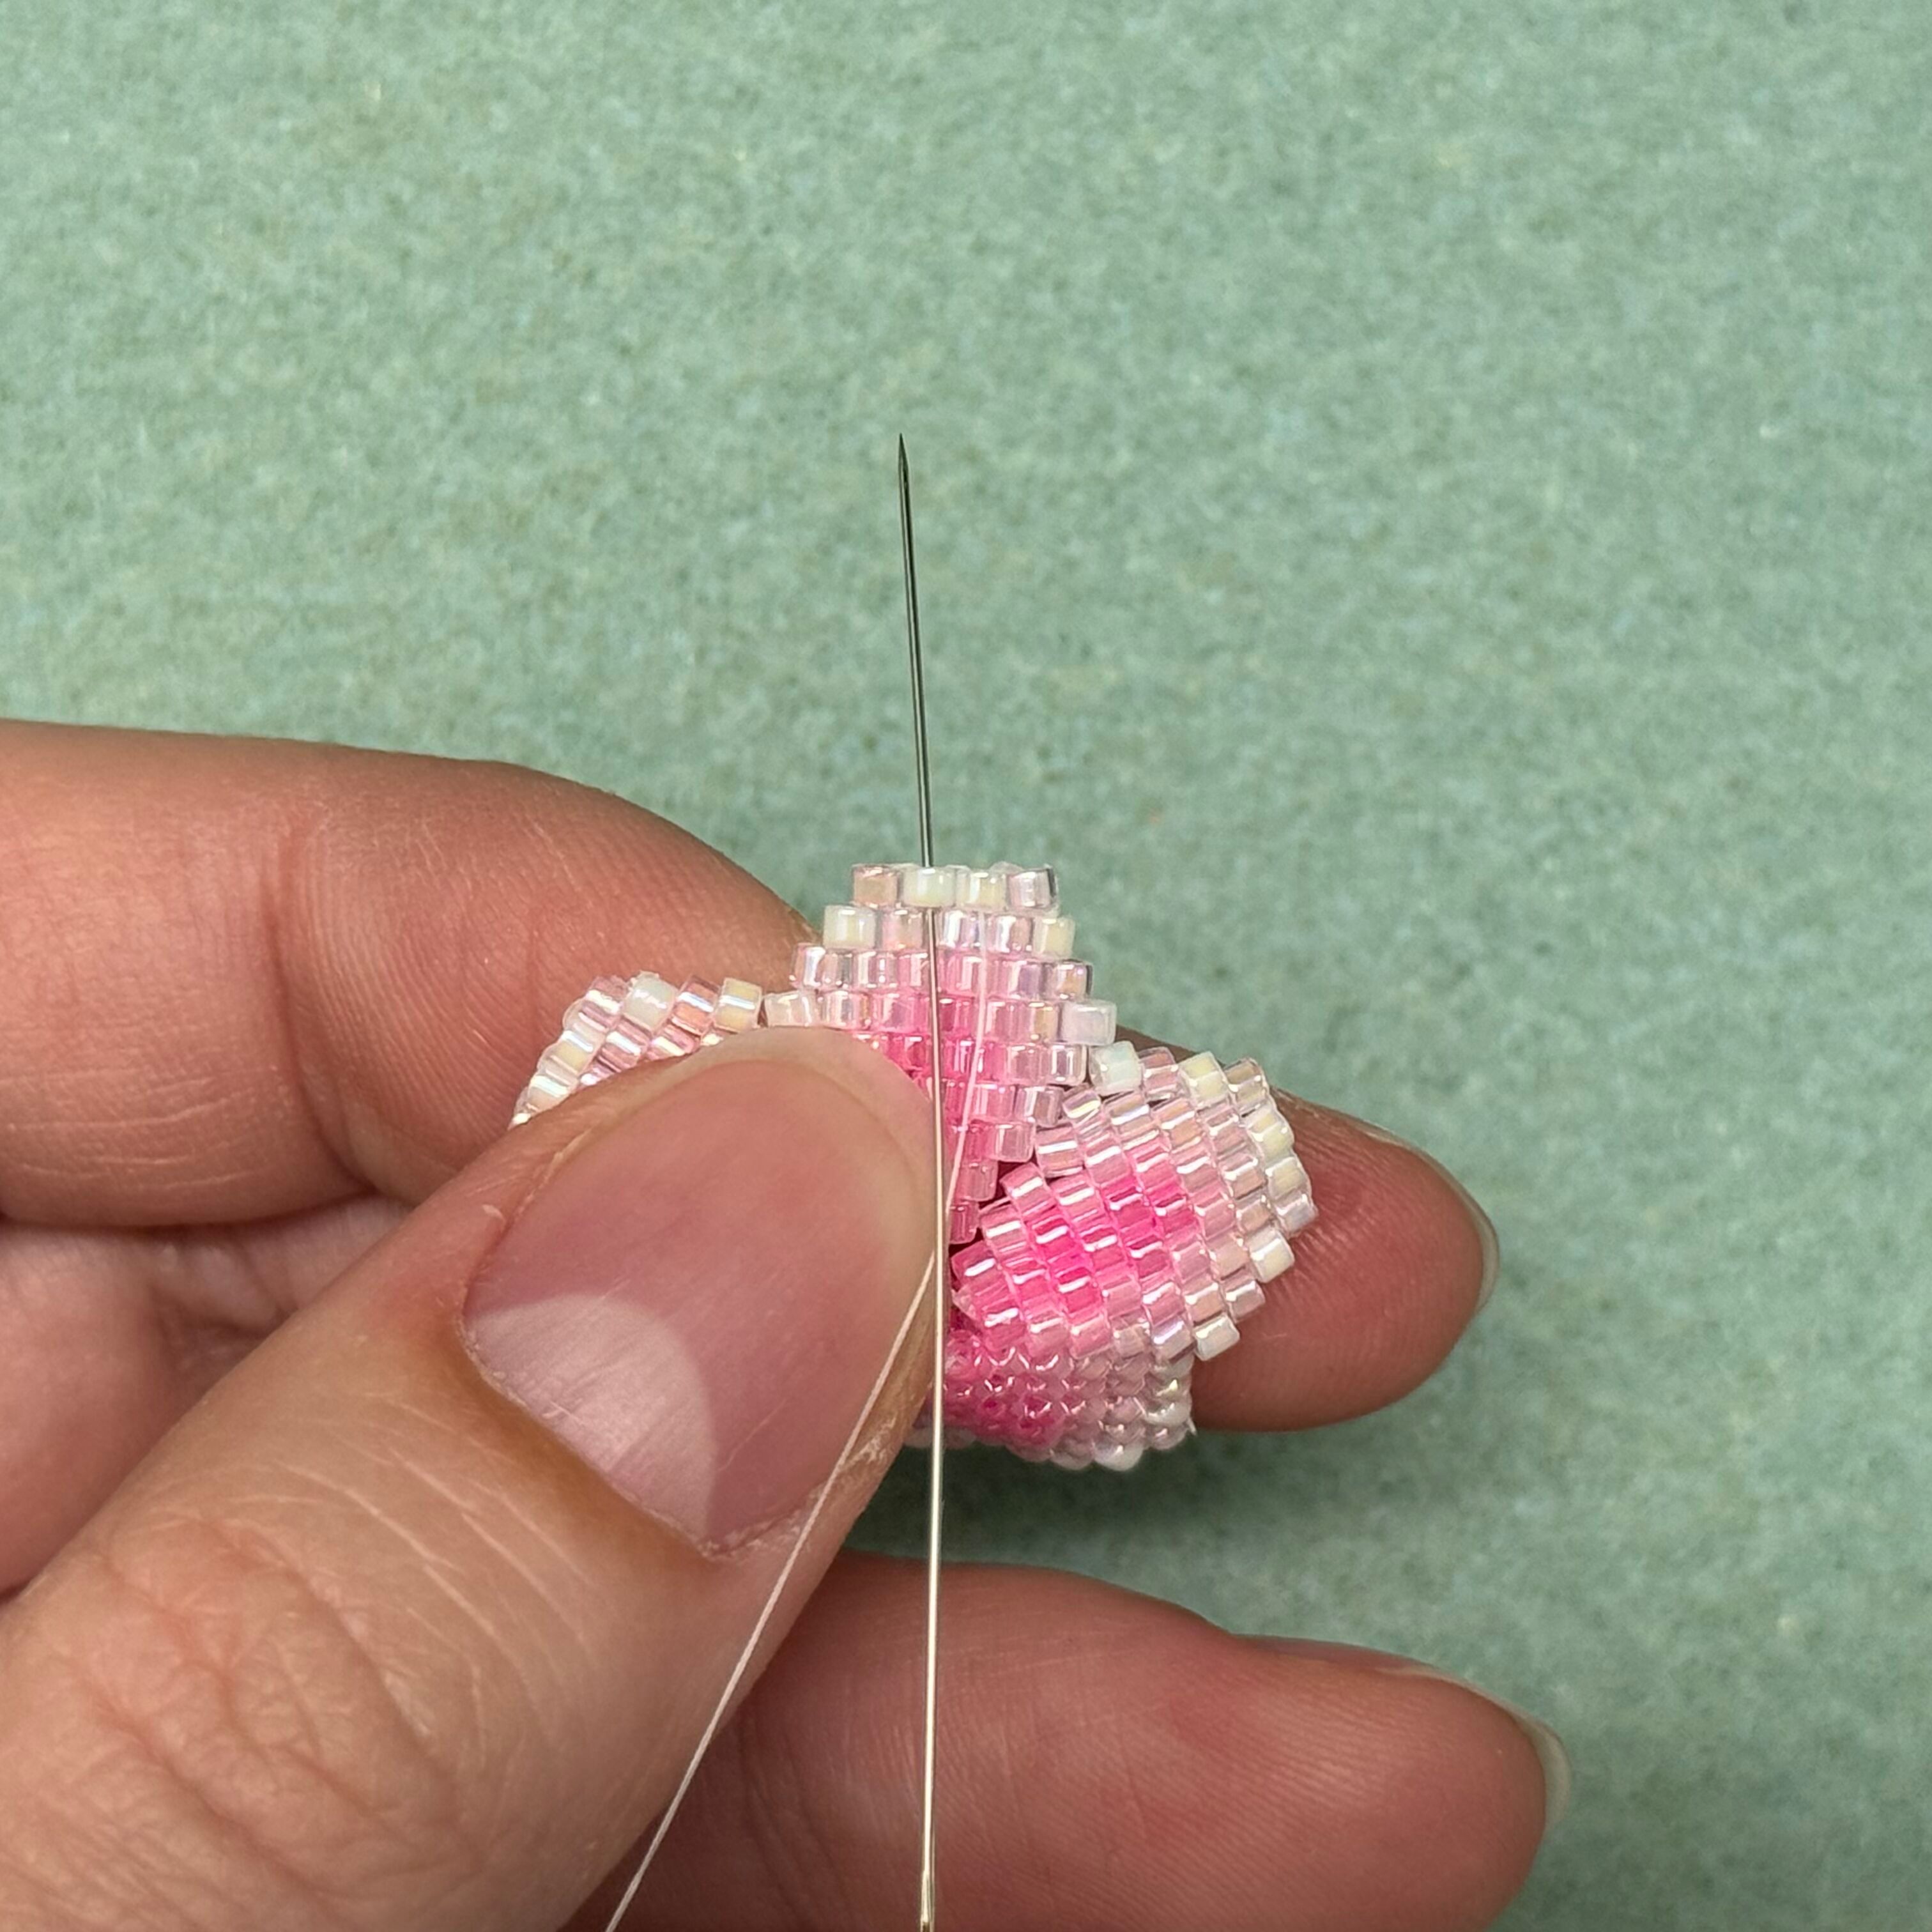
16. Now you're probably thinking, how am I going to get the 5th bead on? Well, add the 5th bead onto your needle and thread it through the very last bead on the first row. Pull tight!
17. Thread the needle through the 202 bead to the left of the one you just strung through, and if possible, thread through the third bead from the right (don't worry if you can't, you can thread through one by one)
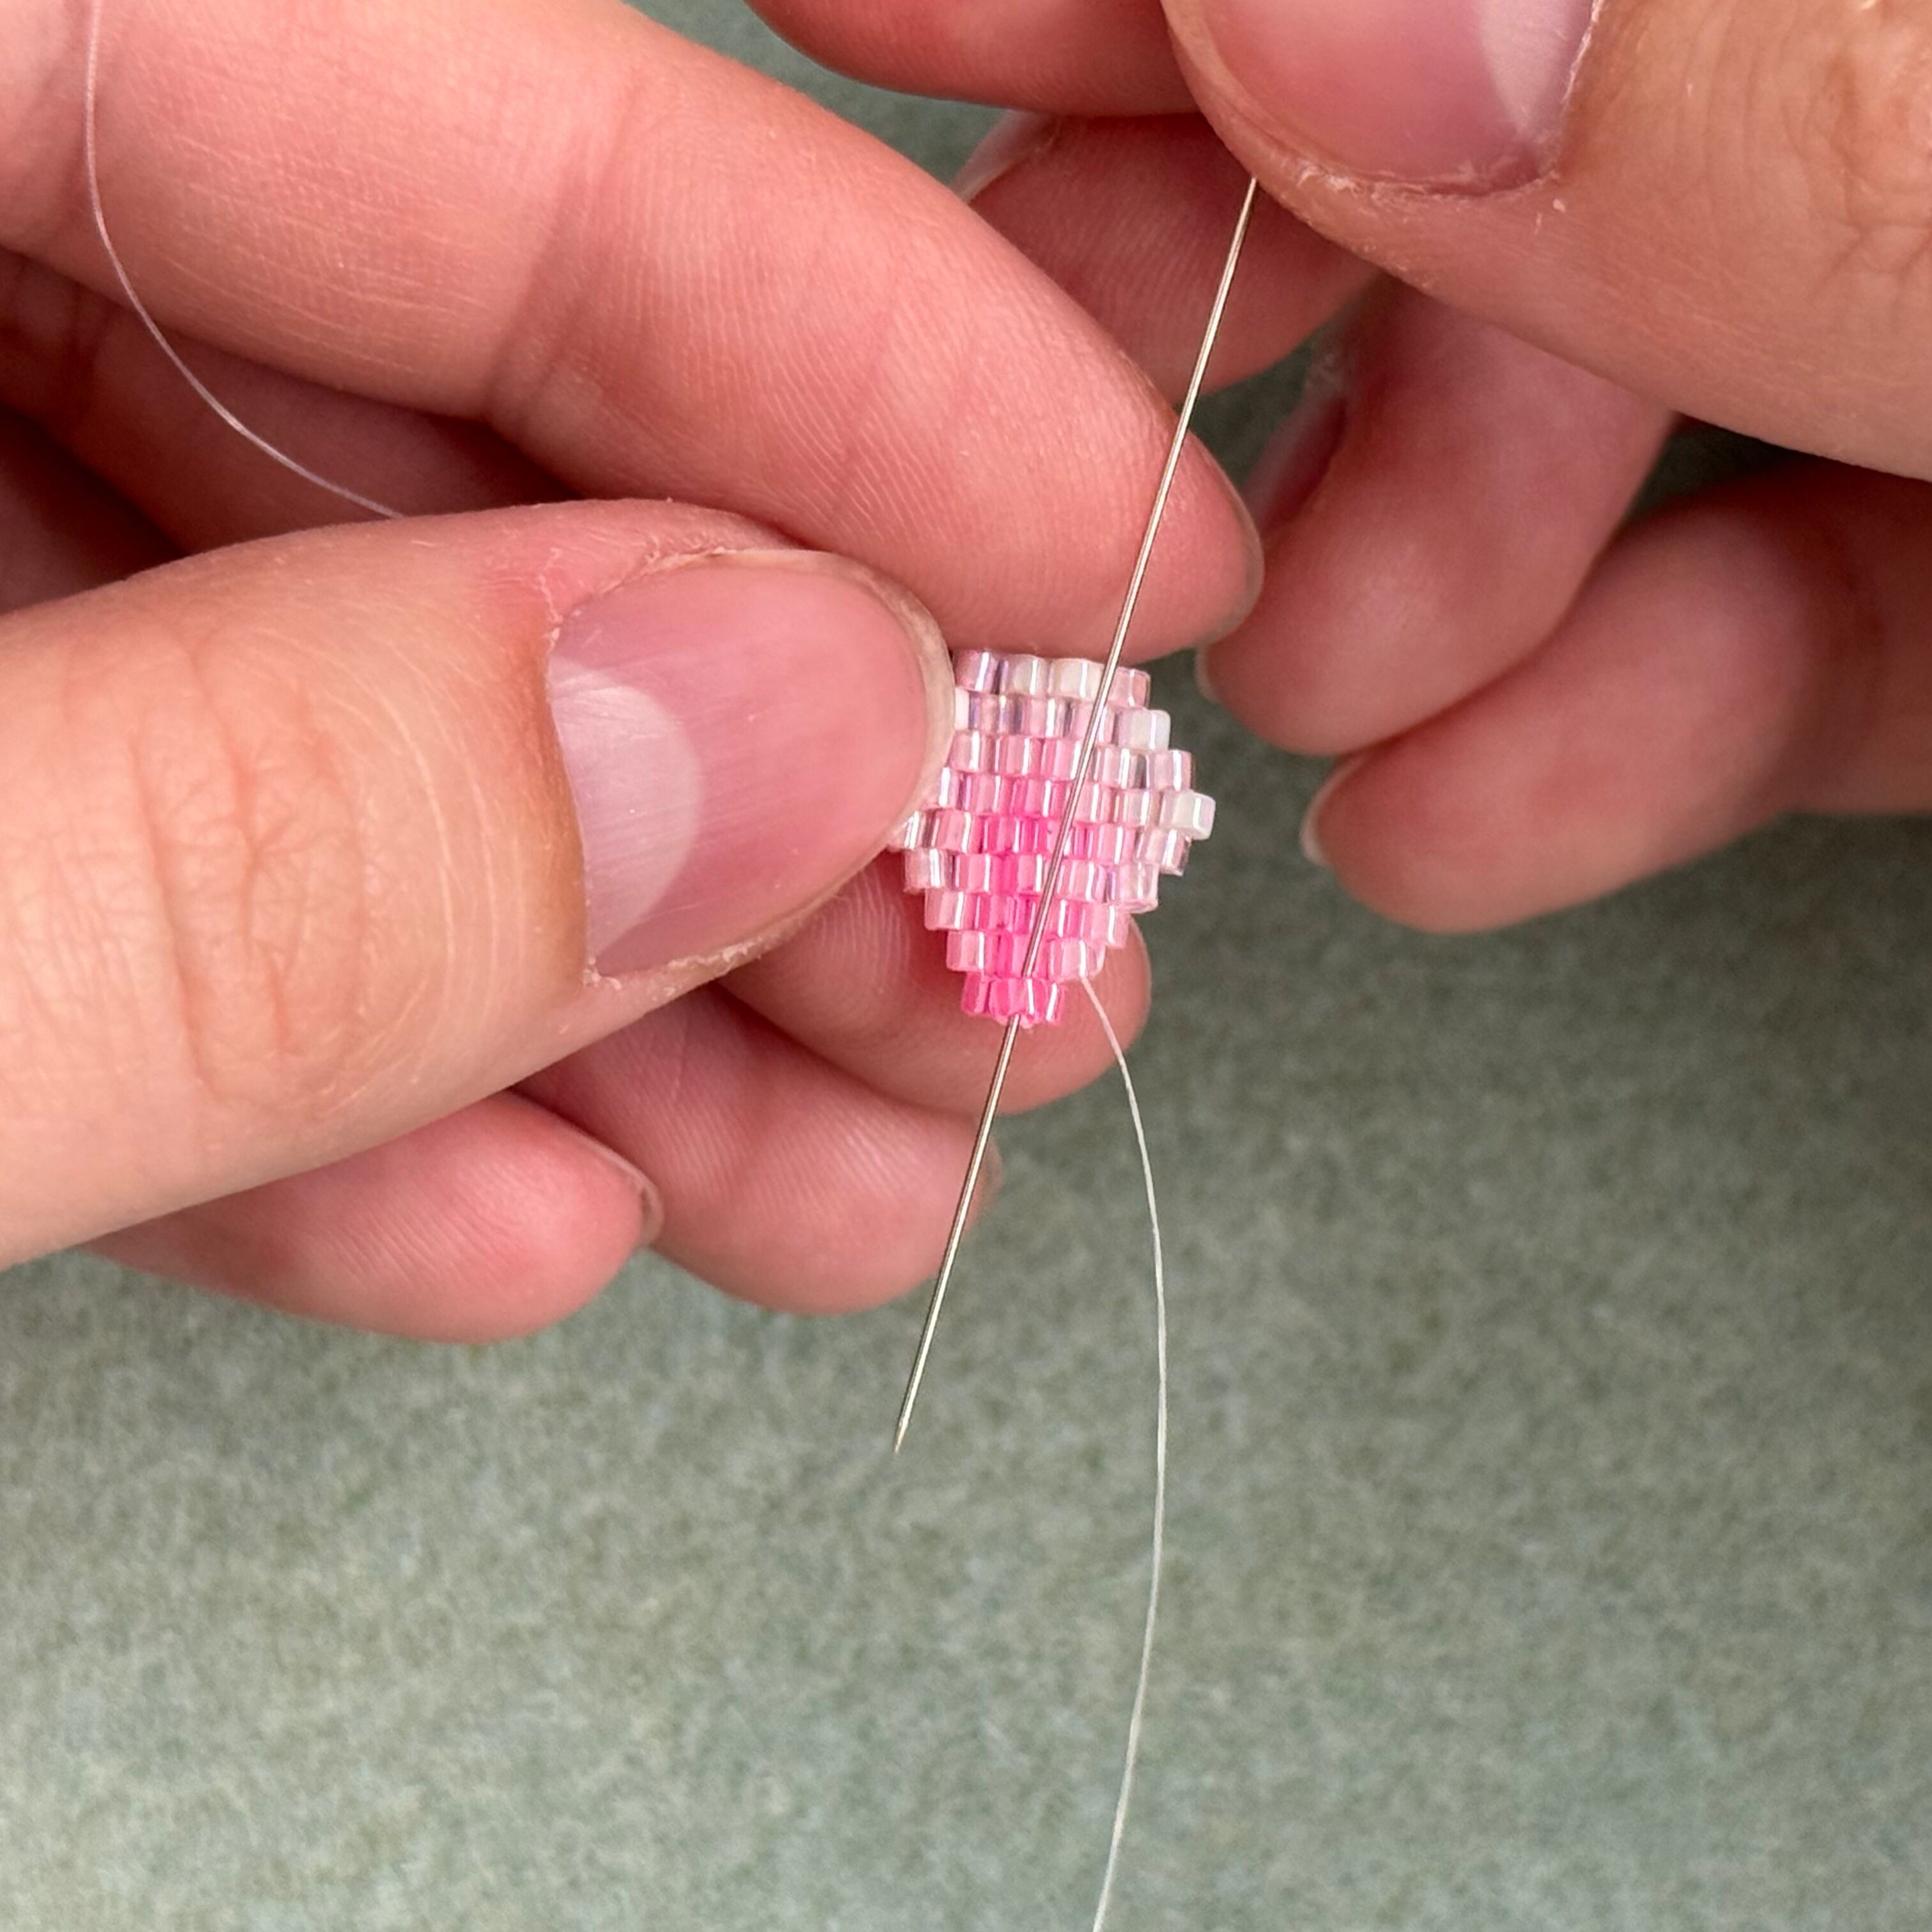
18. Pull tight and thread the needle up (away from you) through just the second bead from the right
19. Pull tight and thread the needle down (towards you) through the far right bead
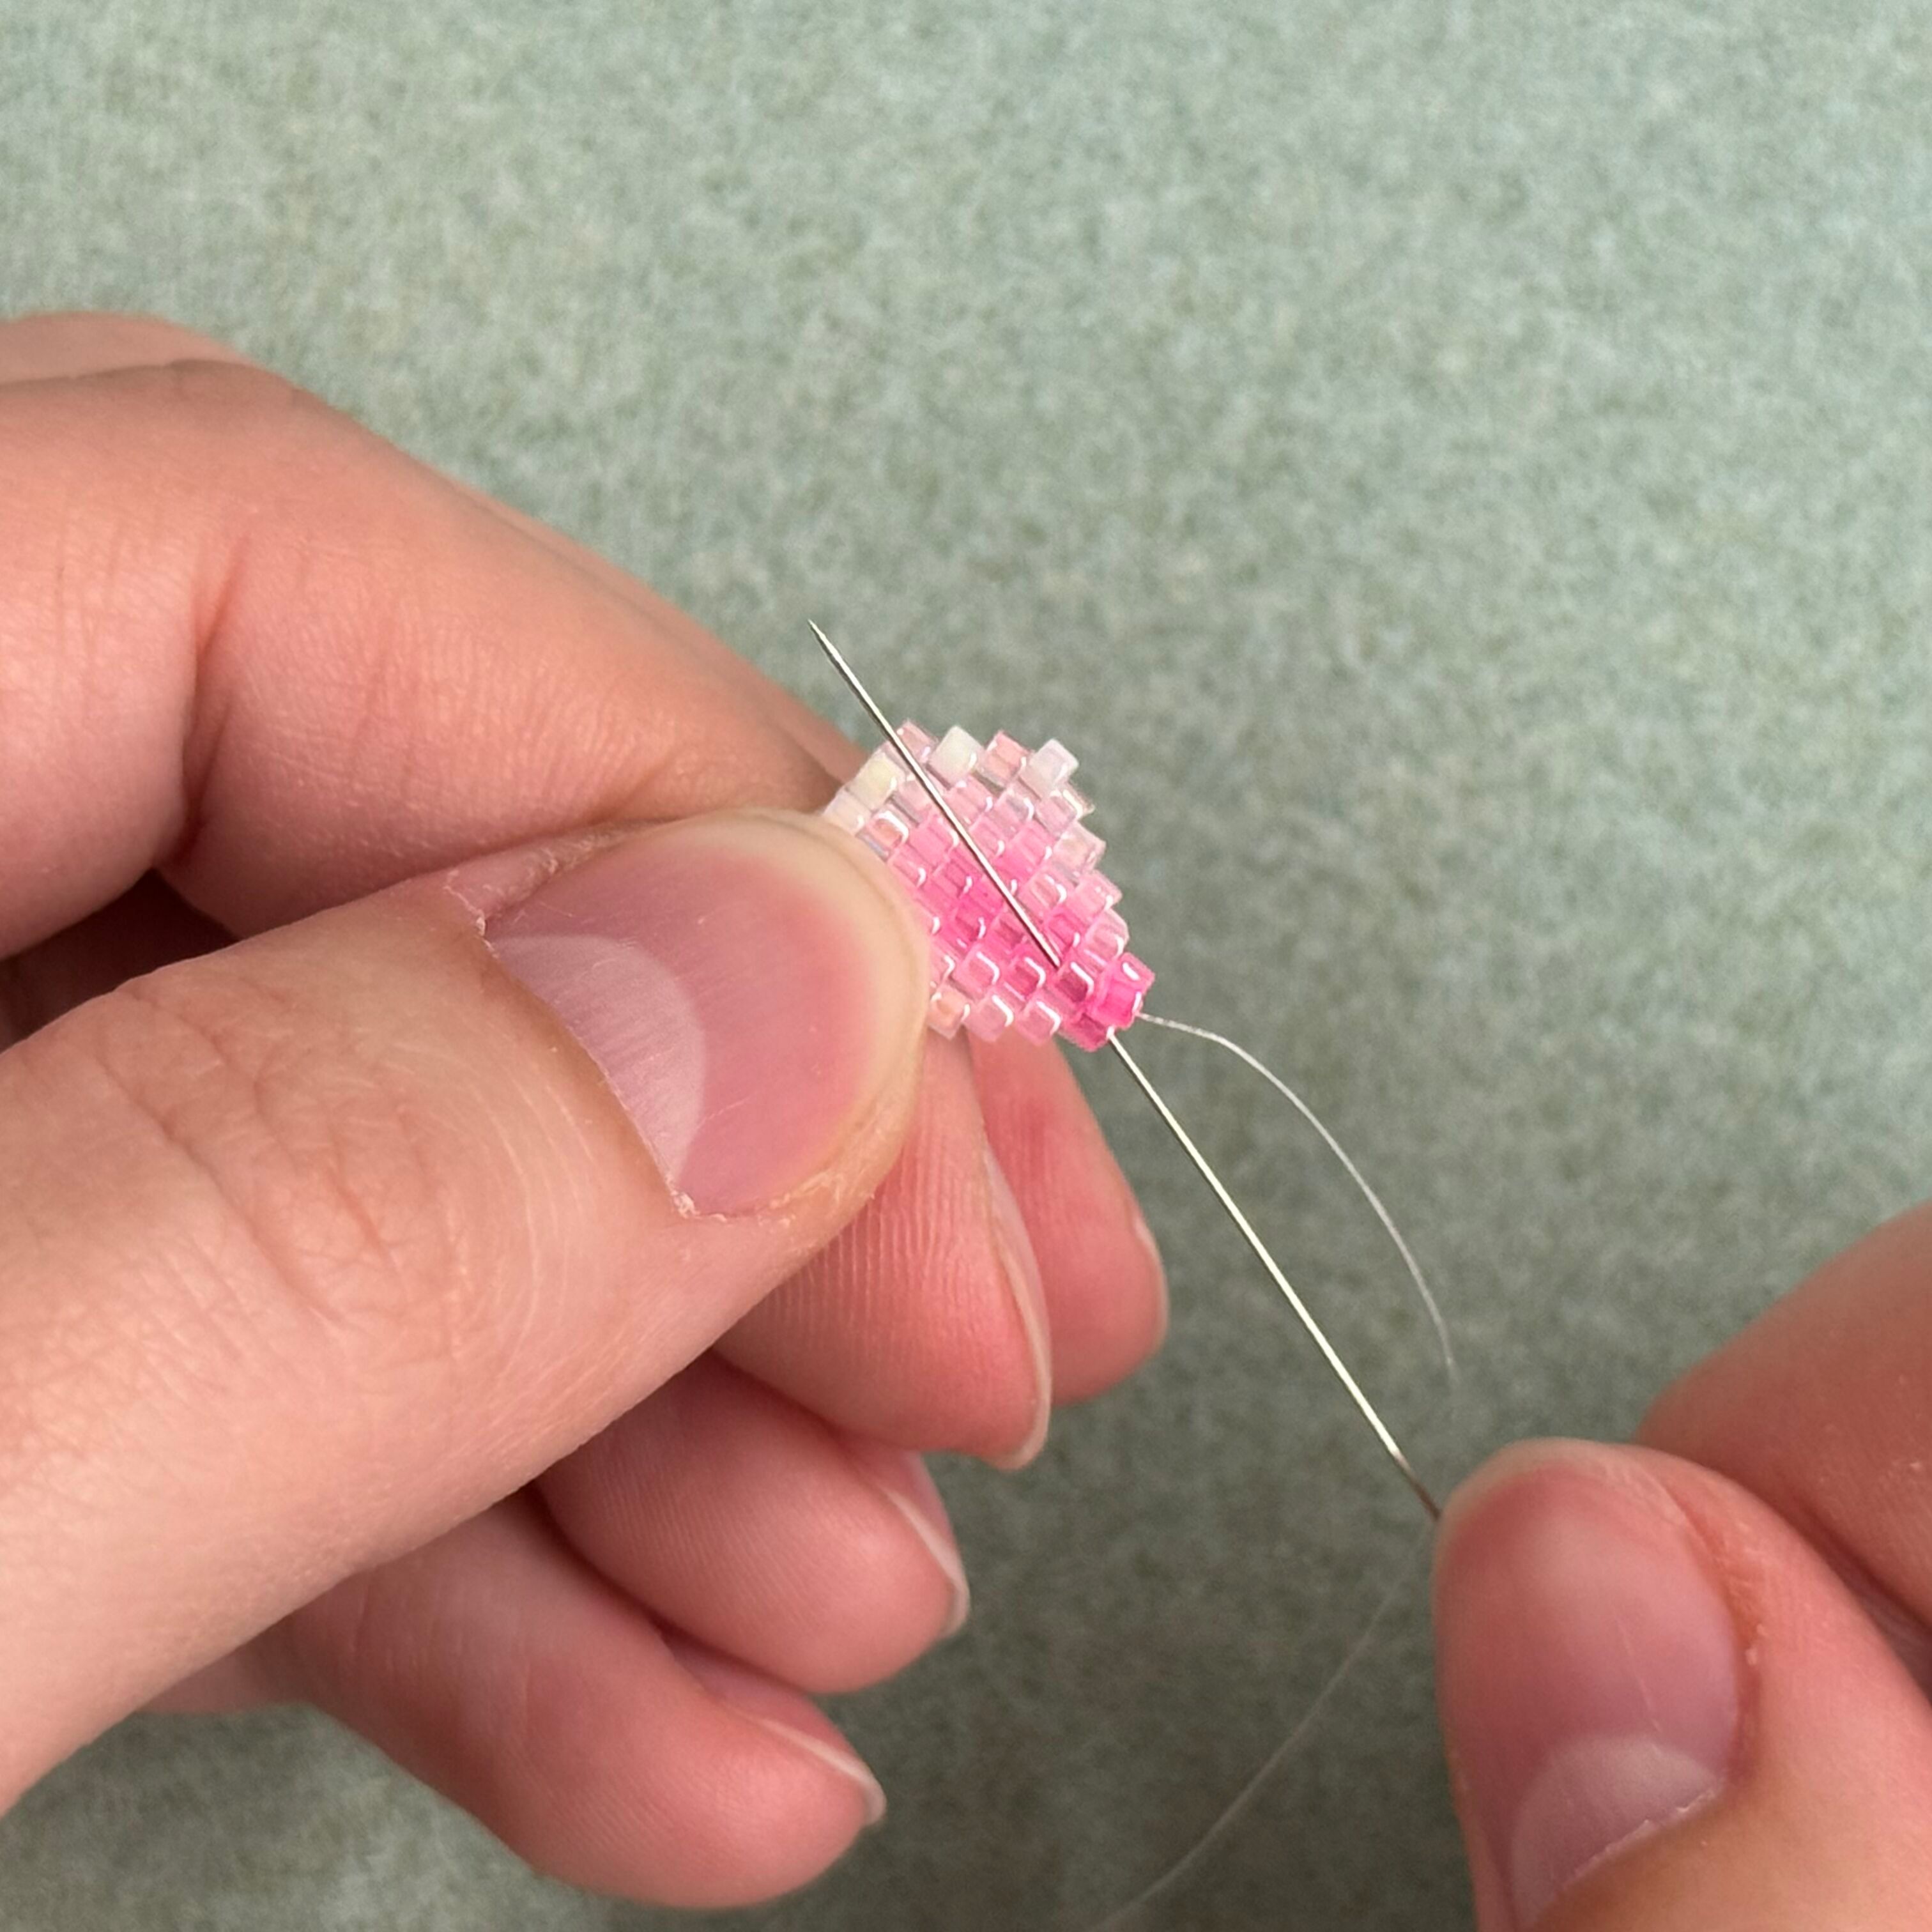
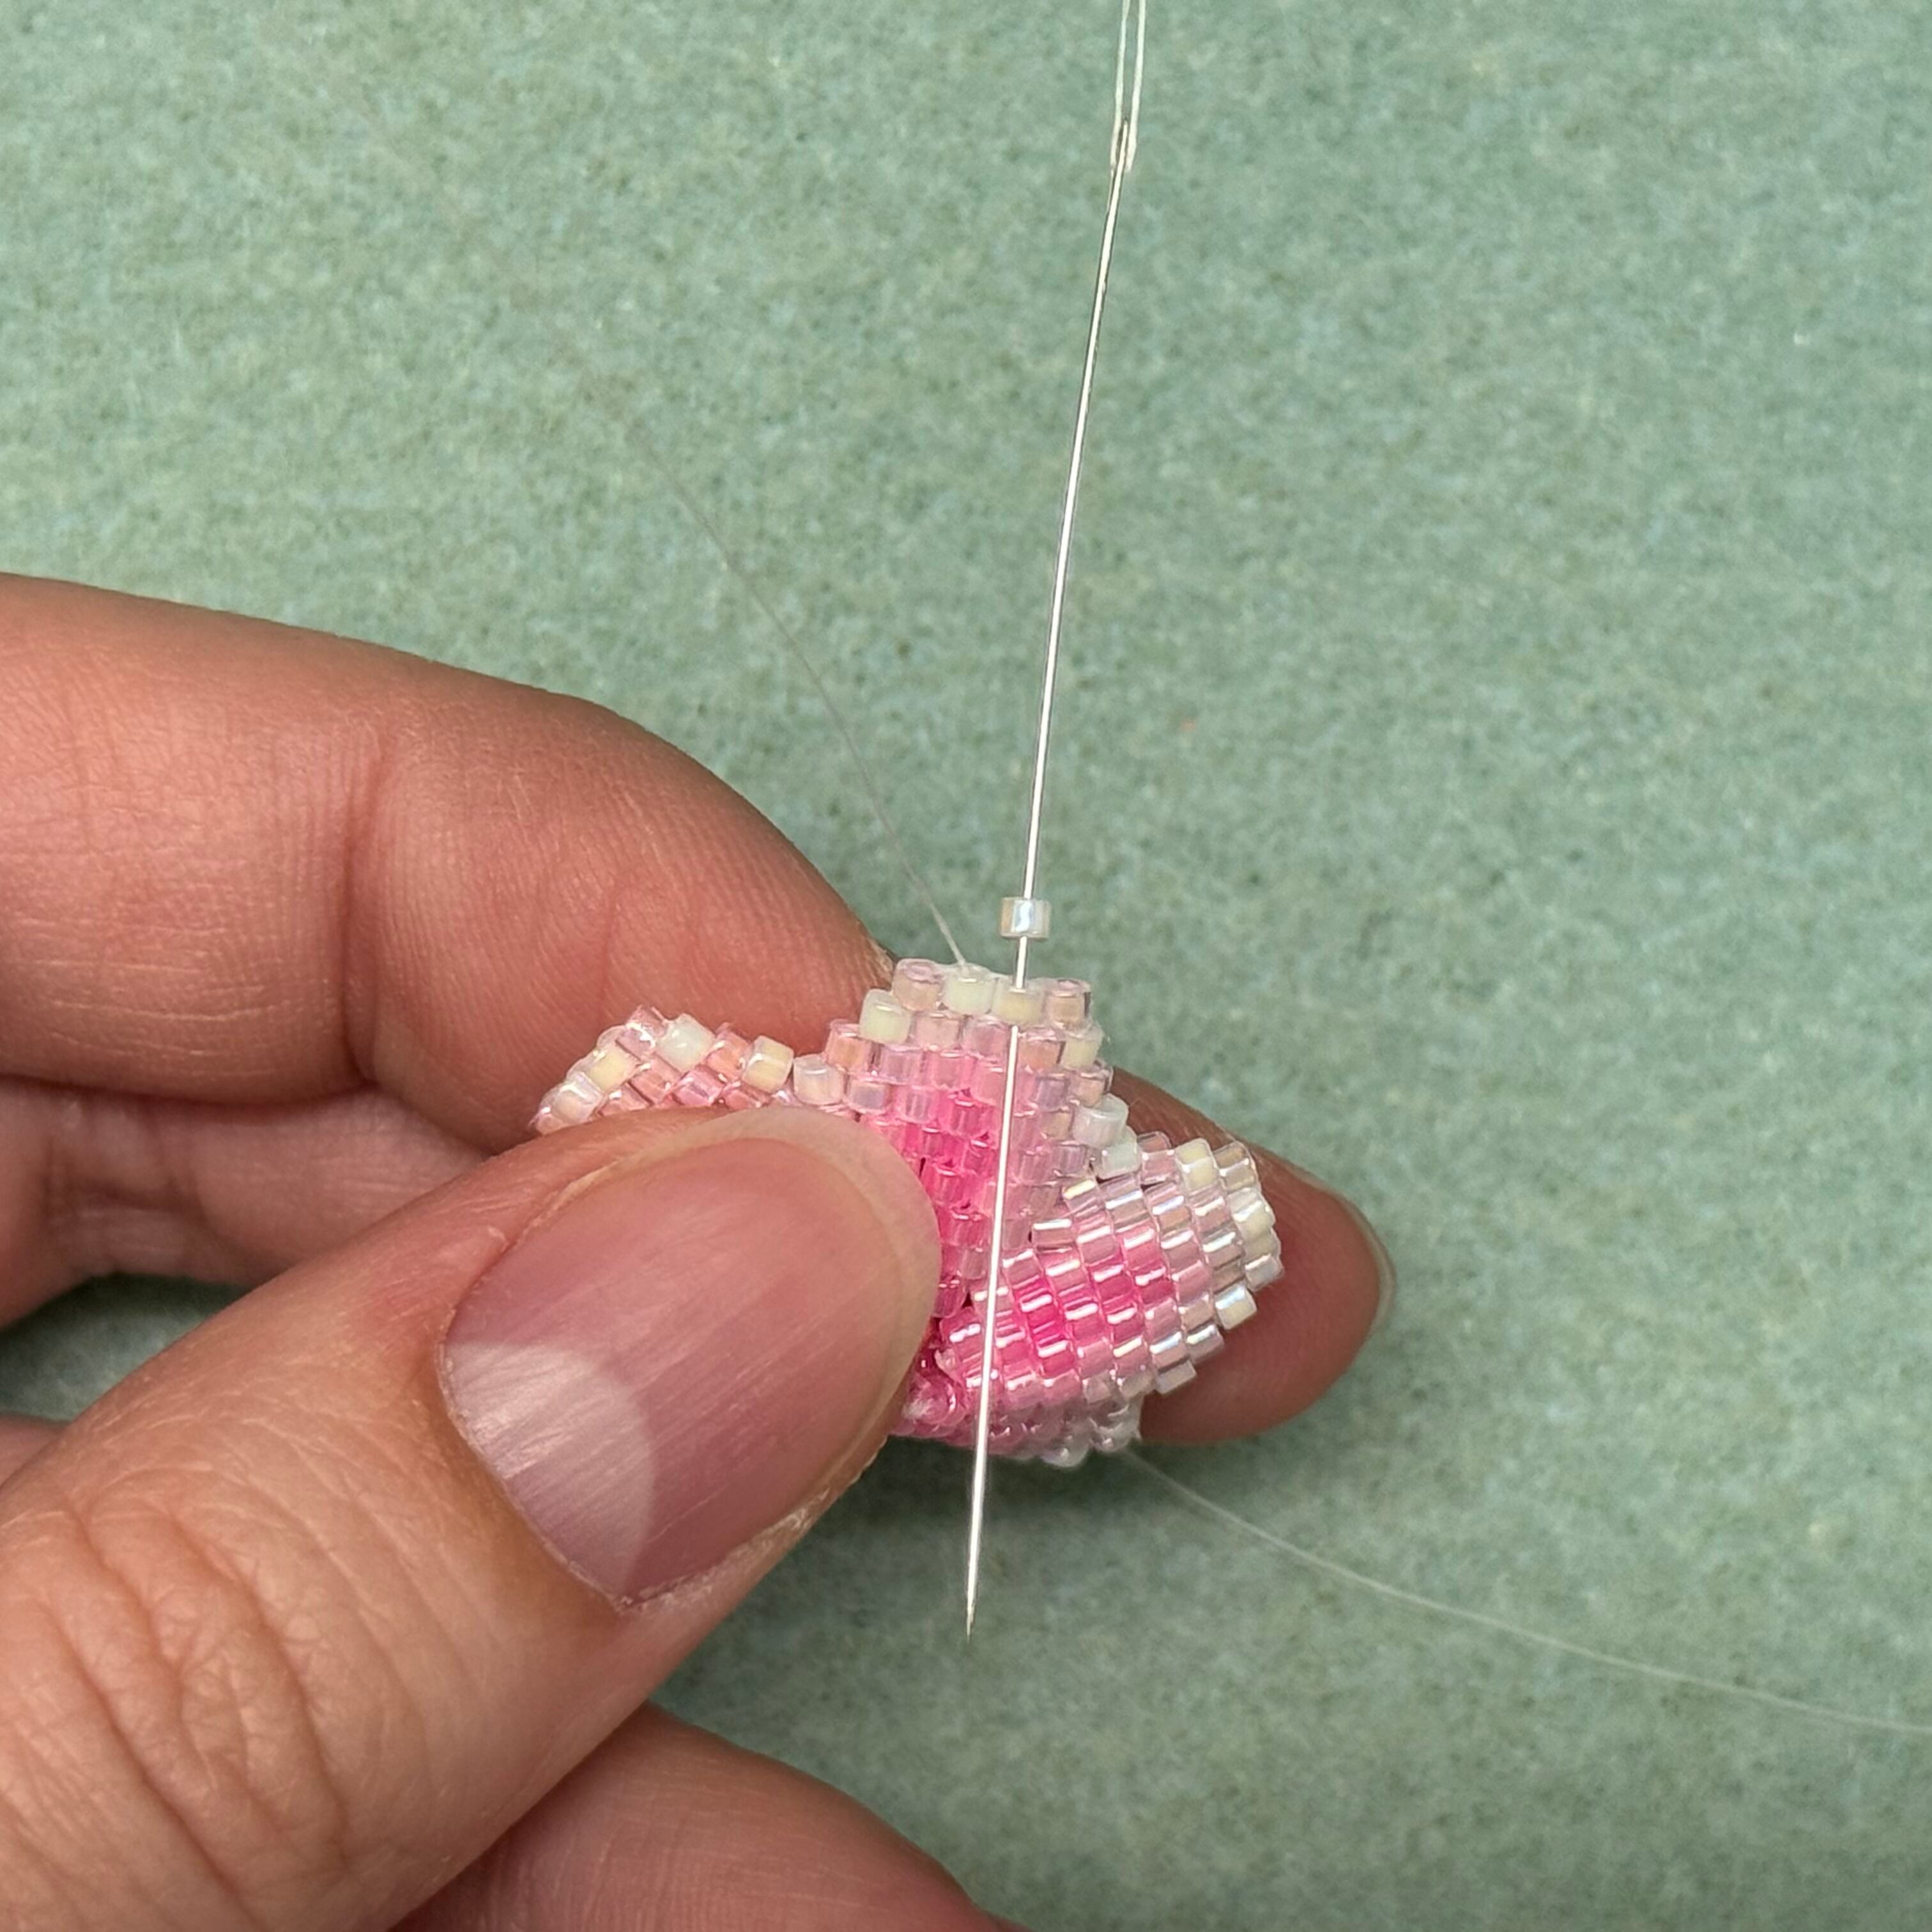
20. Now to start the third row! Follow the pattern and string on two 055 delica beads and thread the needle through the first stitch connecting the first two beads

21. Thread the needle back up through the 055 bead, pull tight
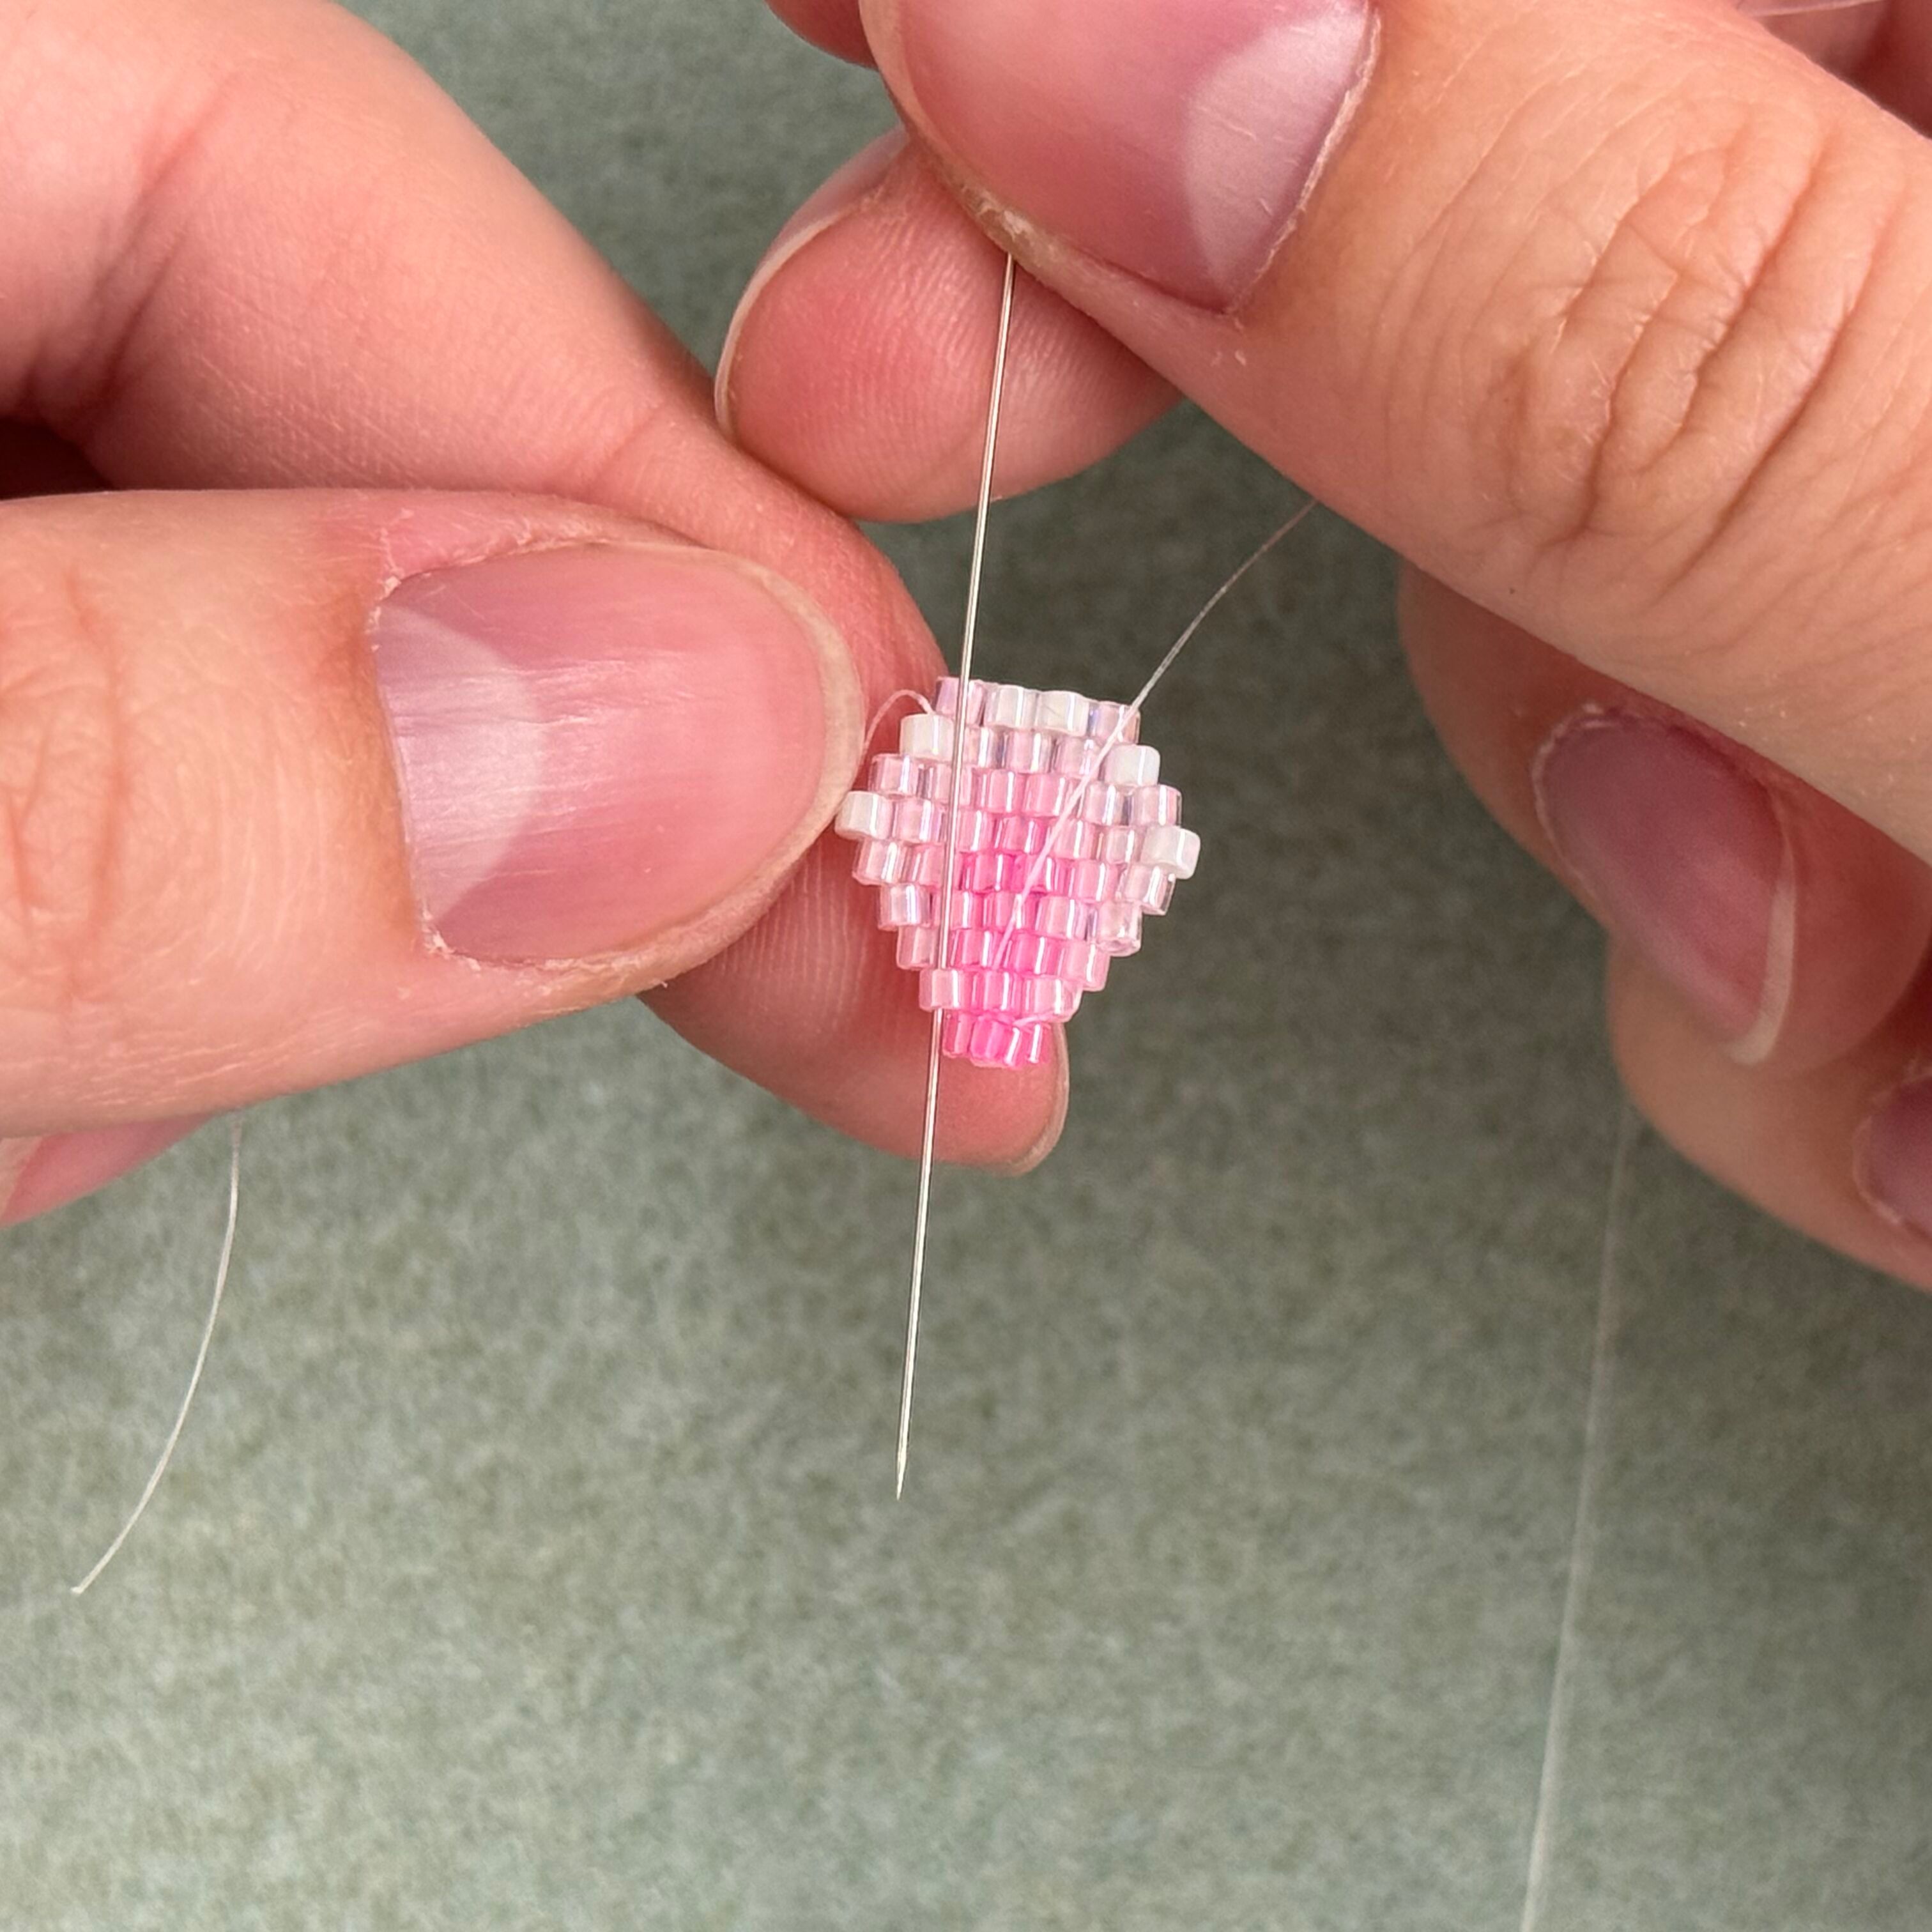
22. Follow the pattern and add a 245 delica bead and keep going, following the pattern. Don't forget to pull tight after every bead!
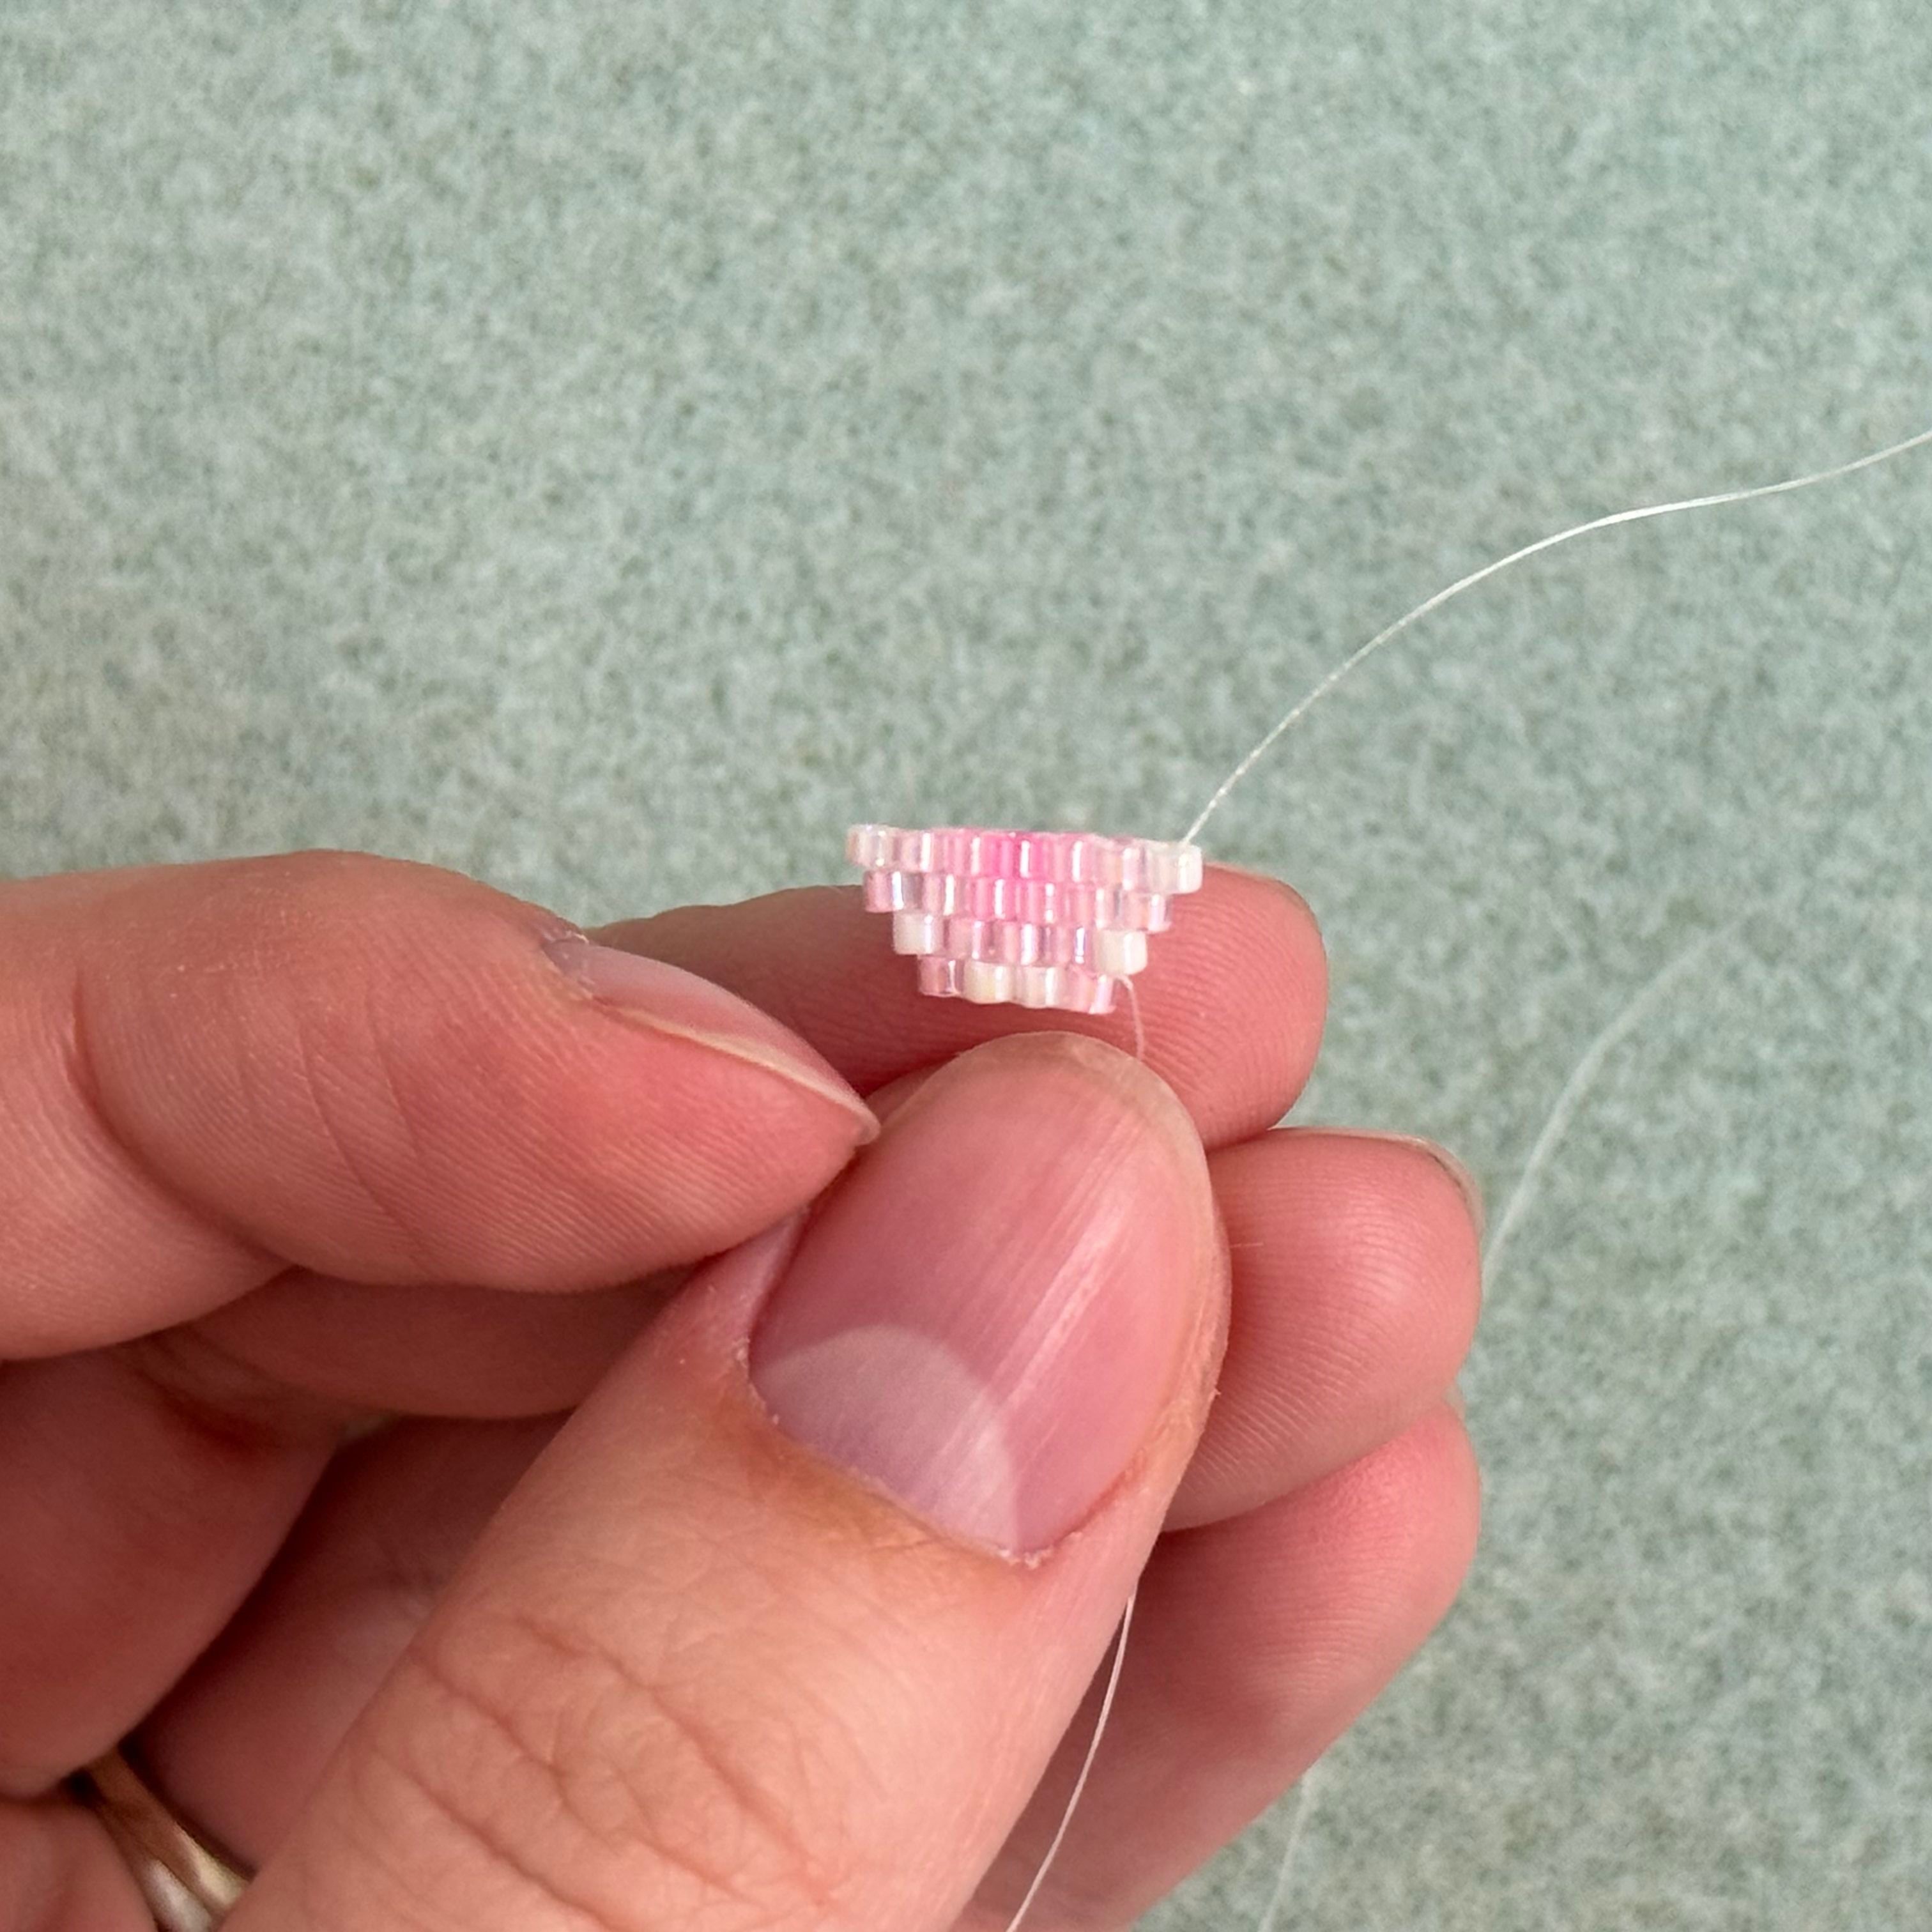
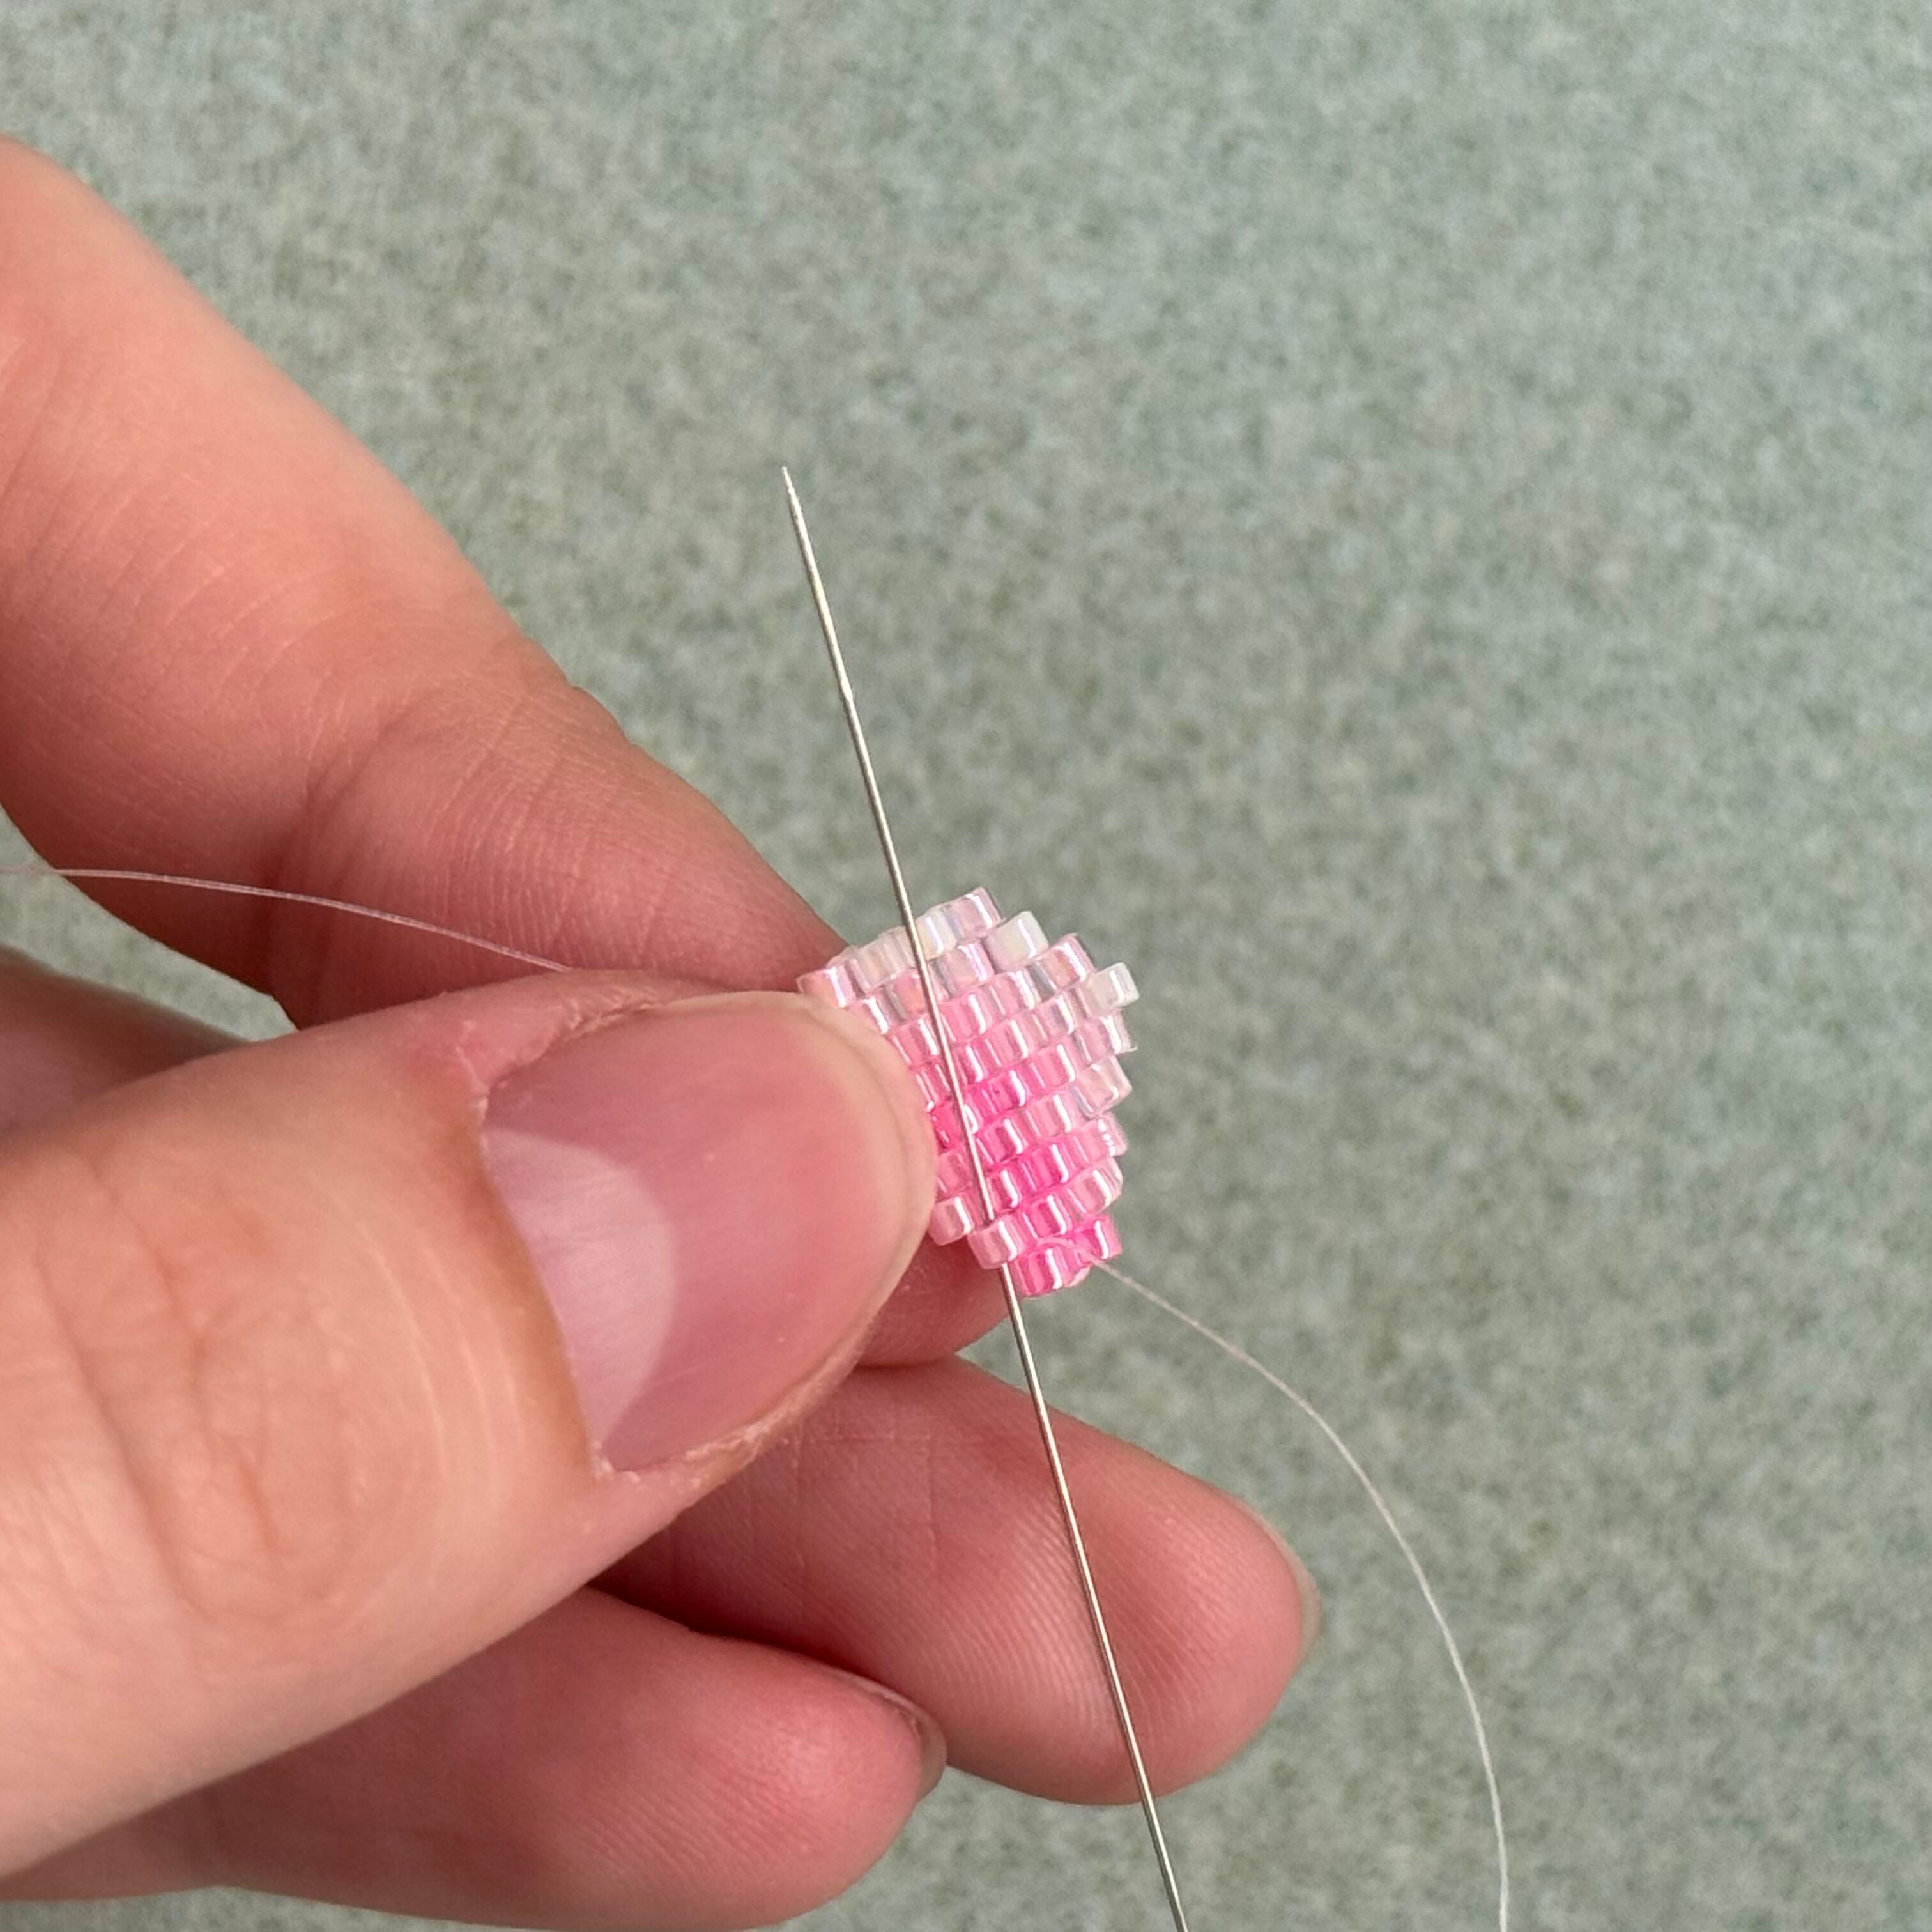
23. Your project will look like this after 4 rows.
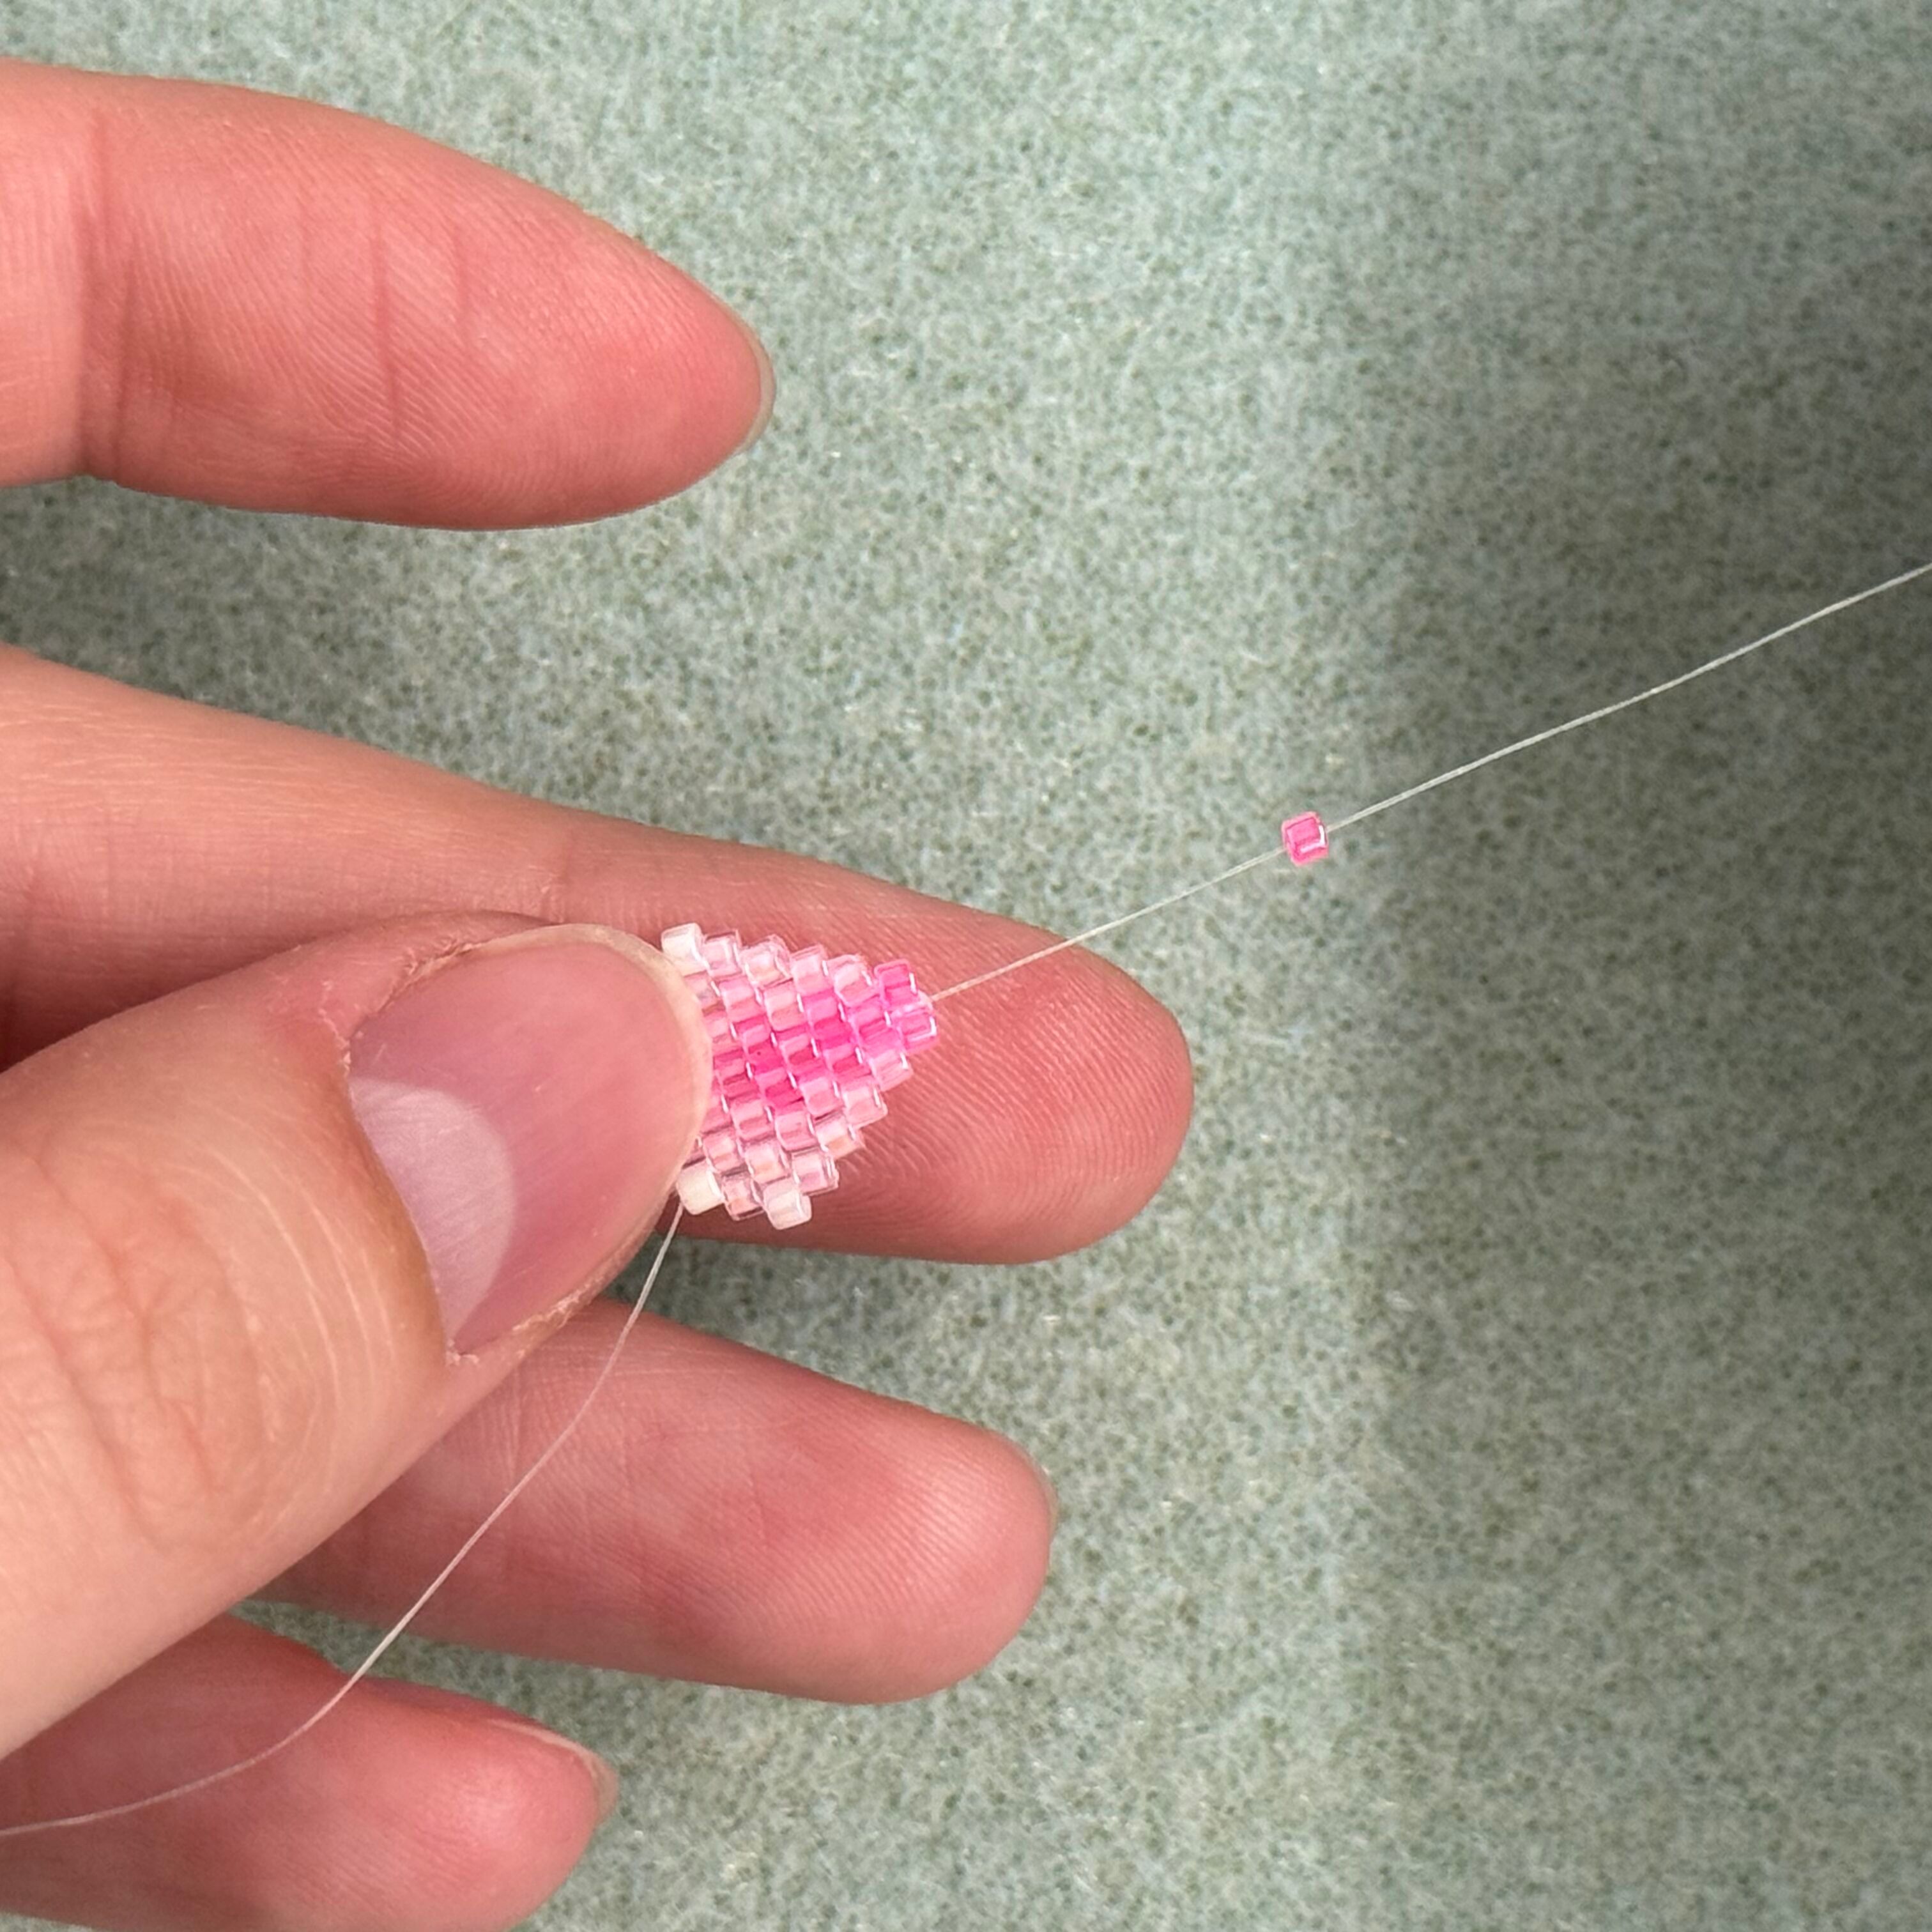
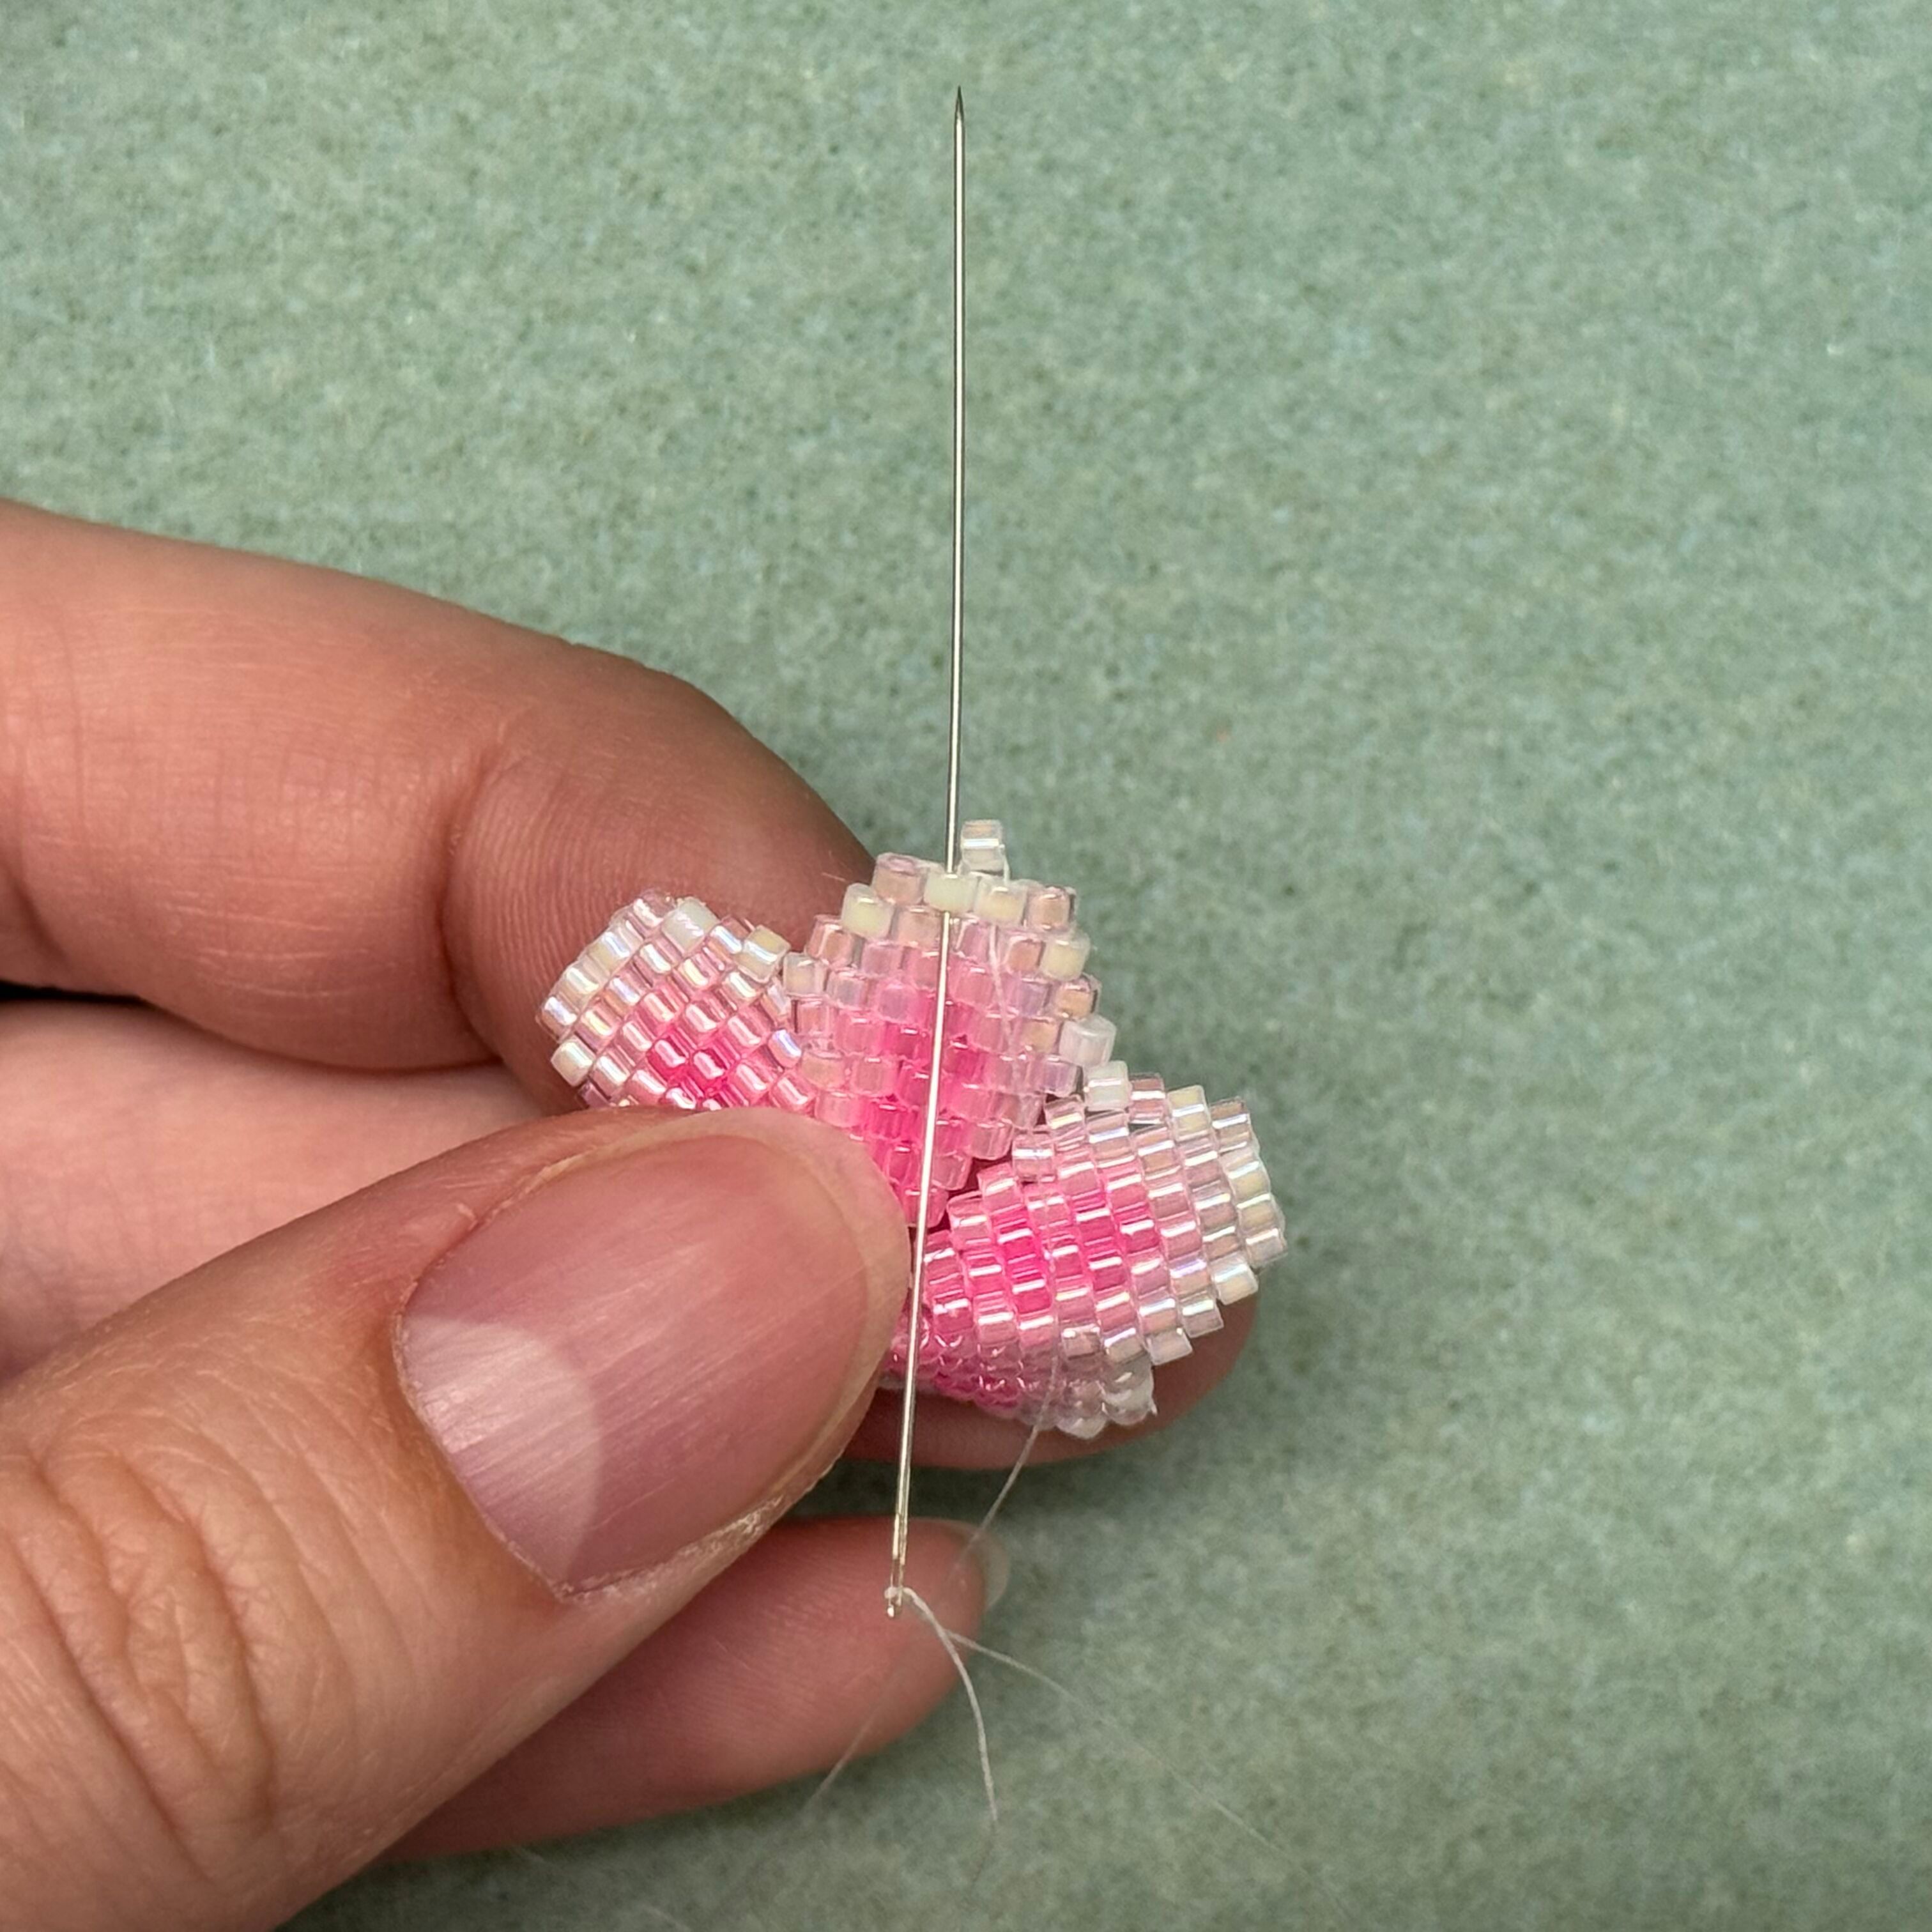
24. To start the fifth row, we will only add one 055 bead, as each row from now on will be getting smaller

25. Follow the pattern. Once you get to the last bead, you start the next row as you did in the previous step.

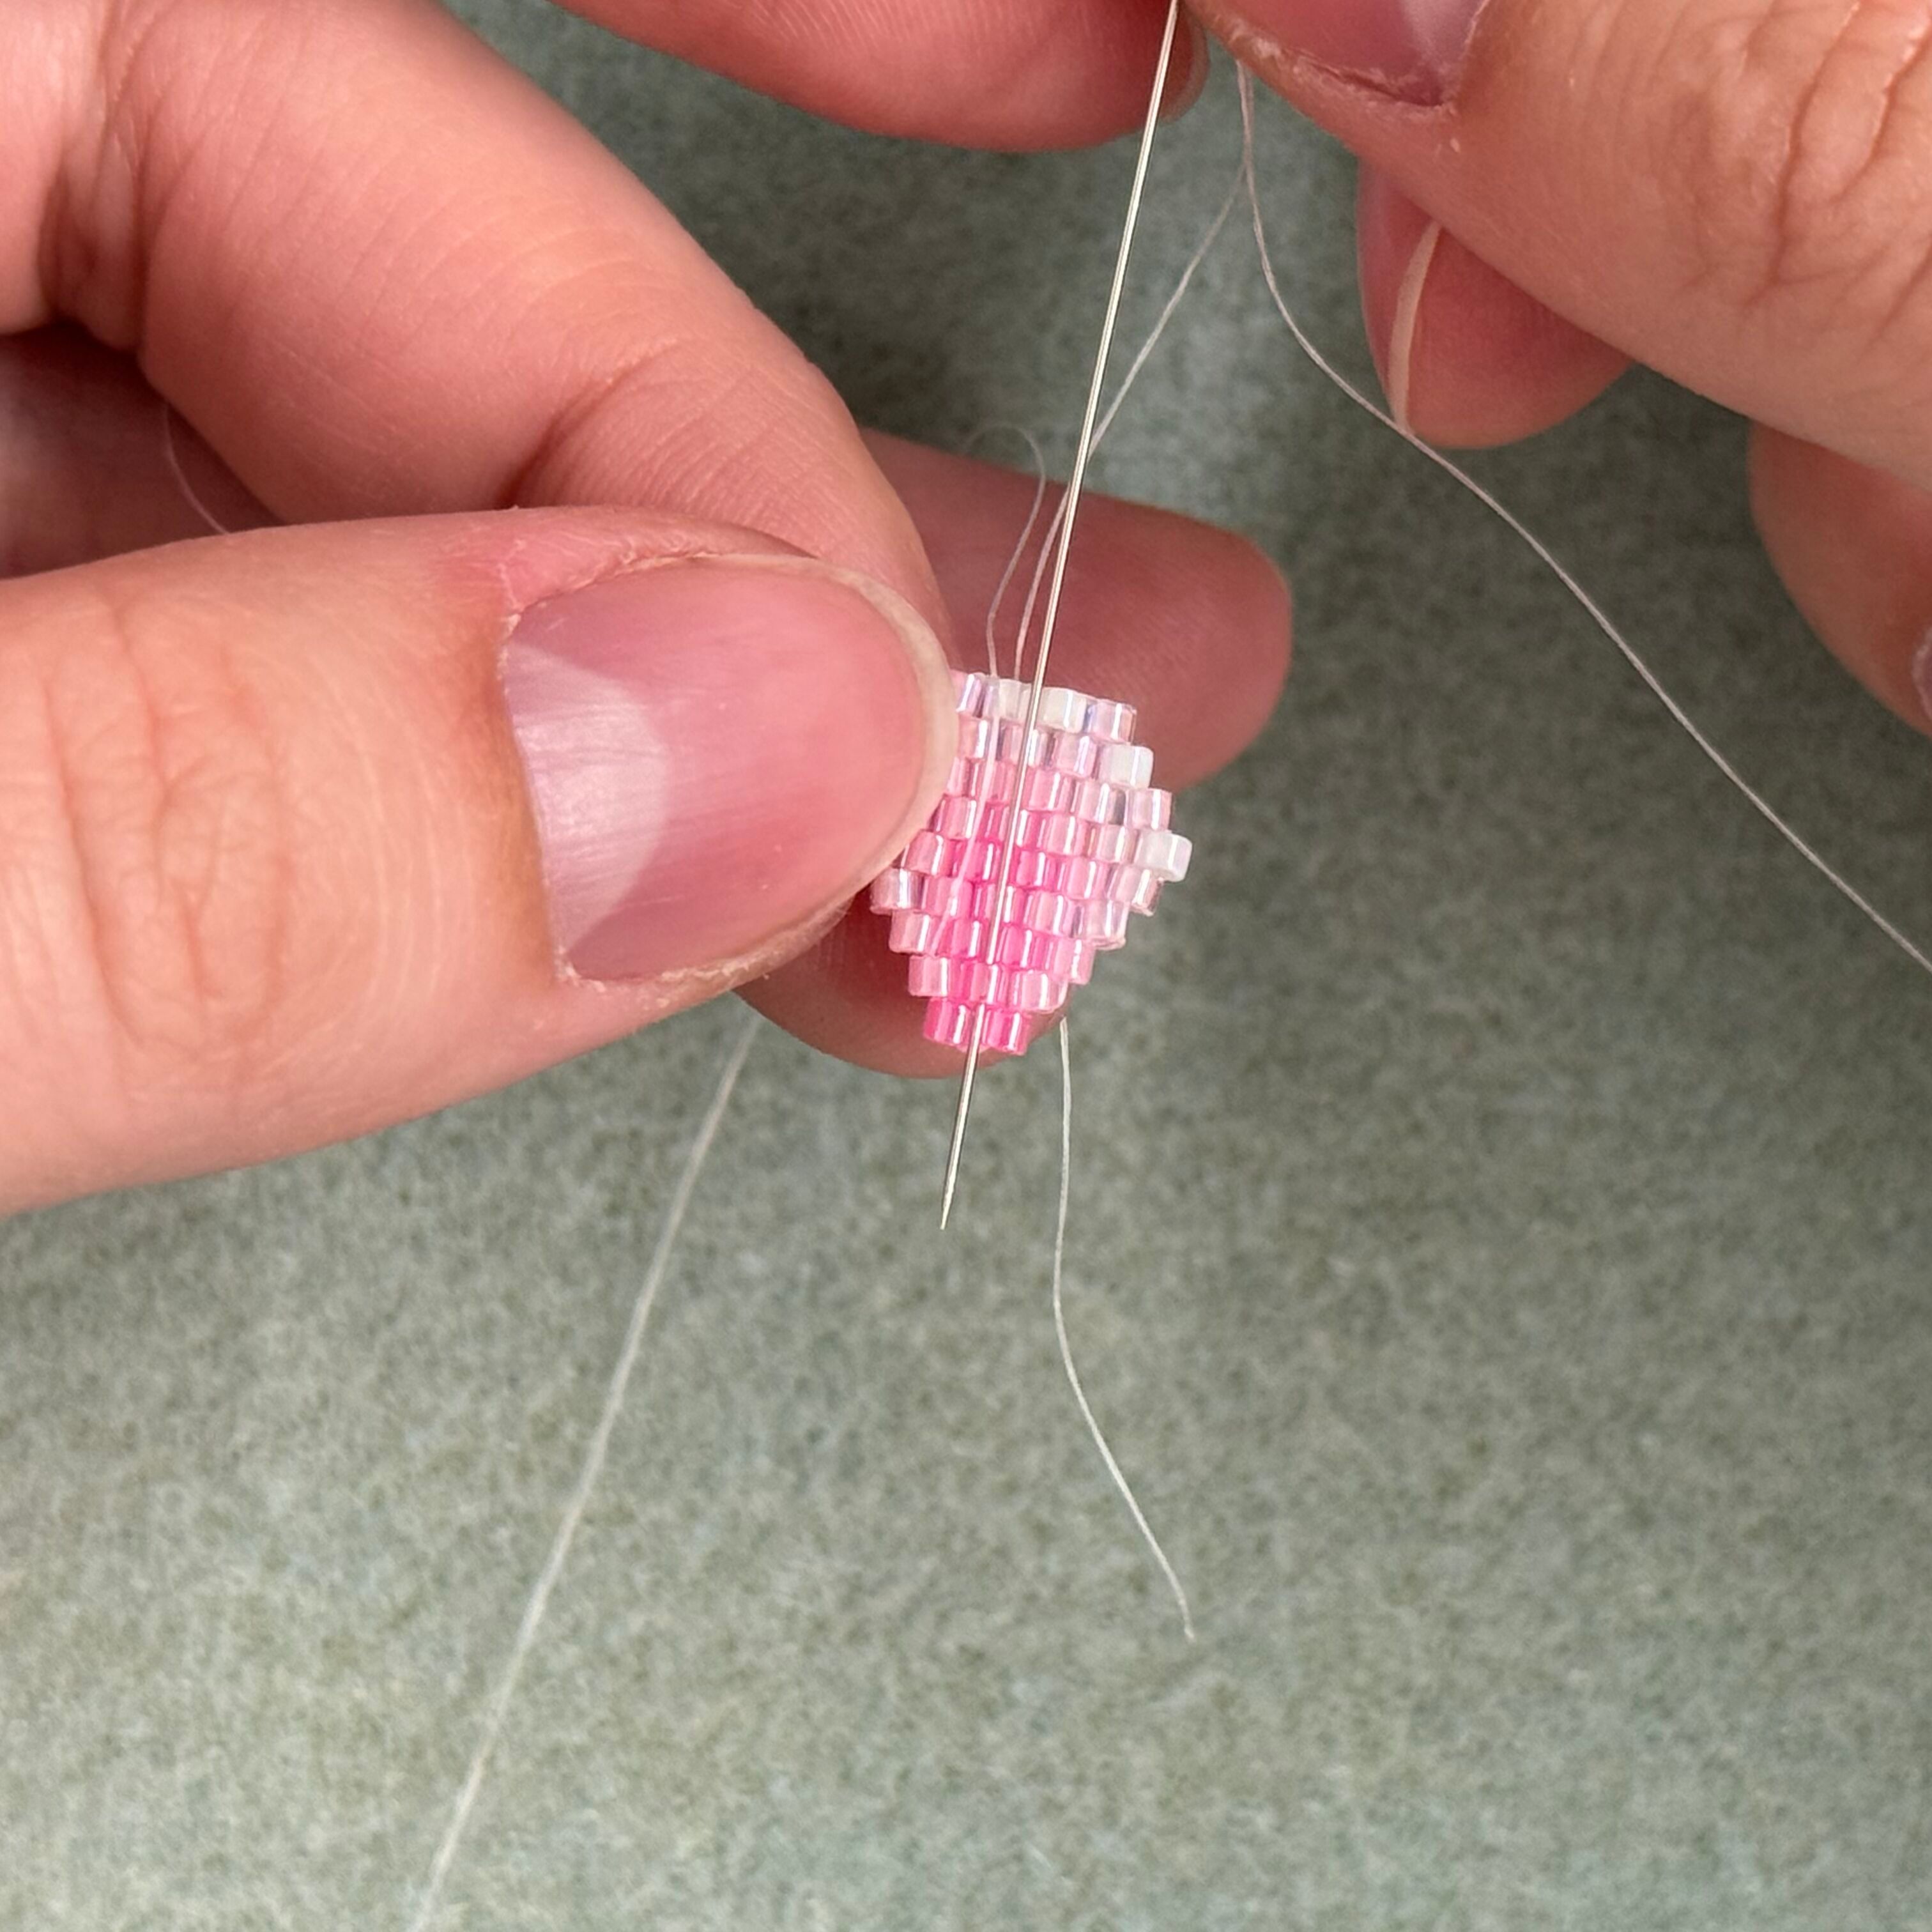
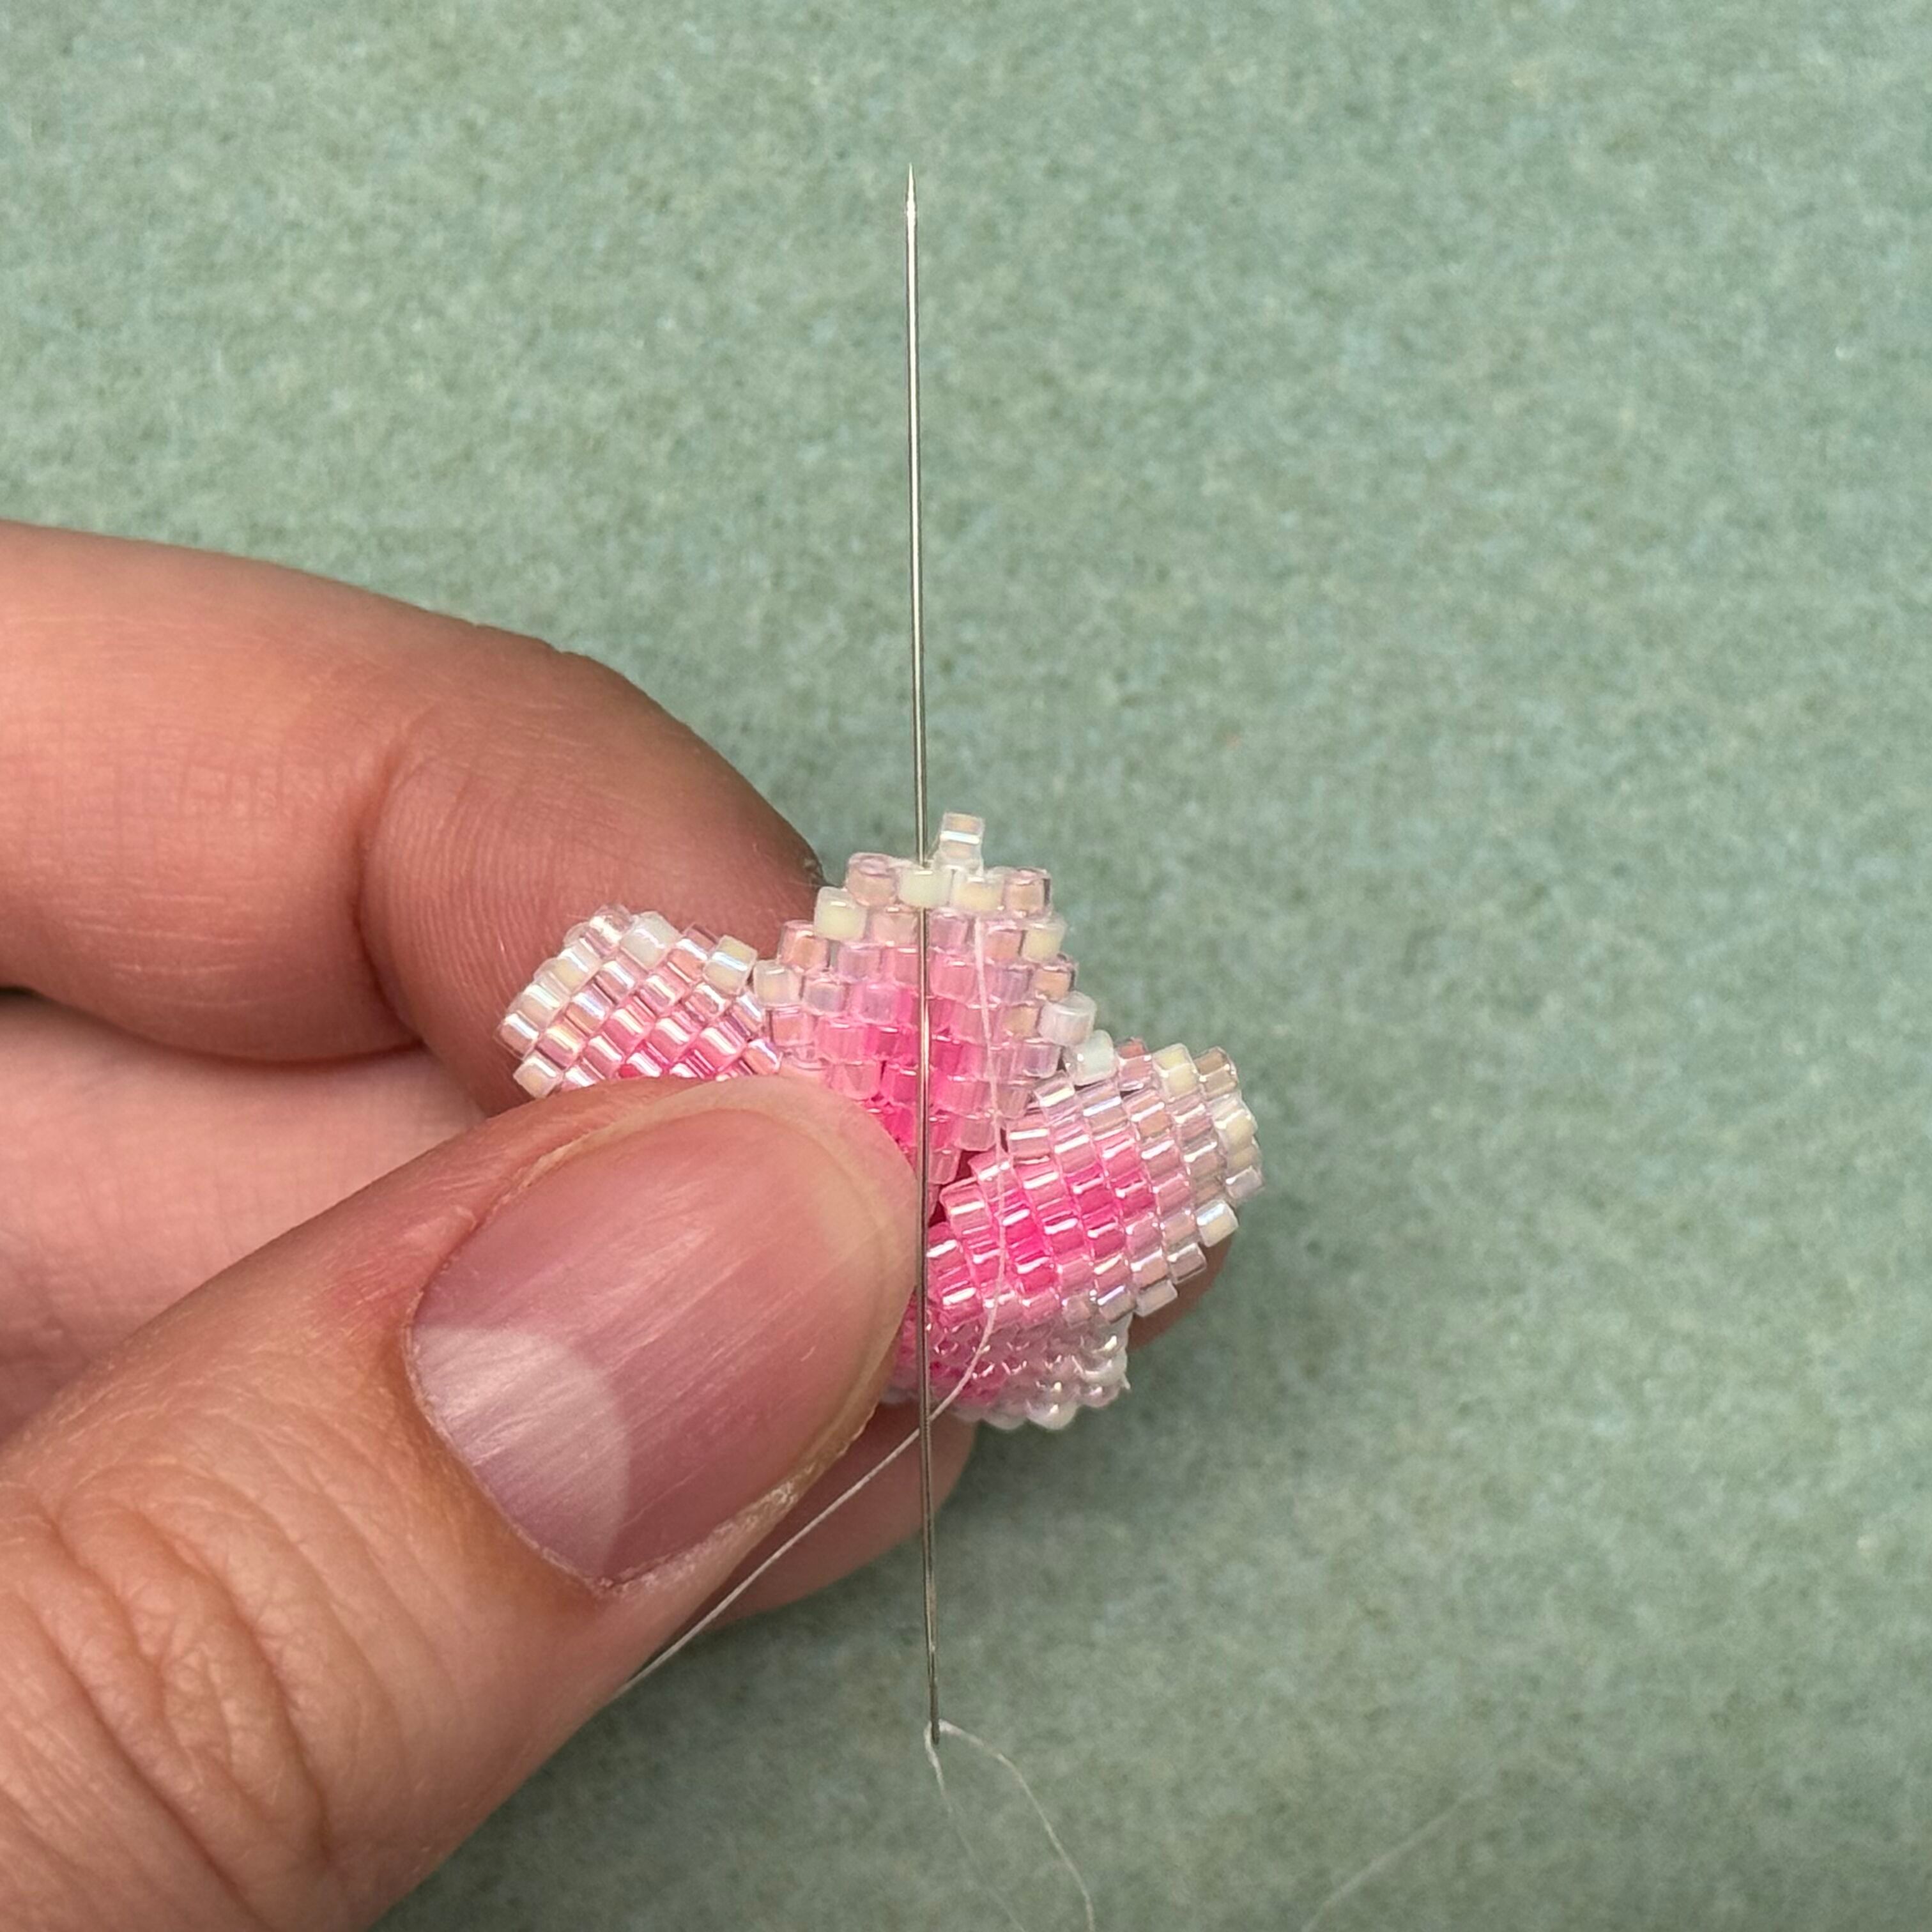
26. Finish the pattern to (almost) complete your first petal.
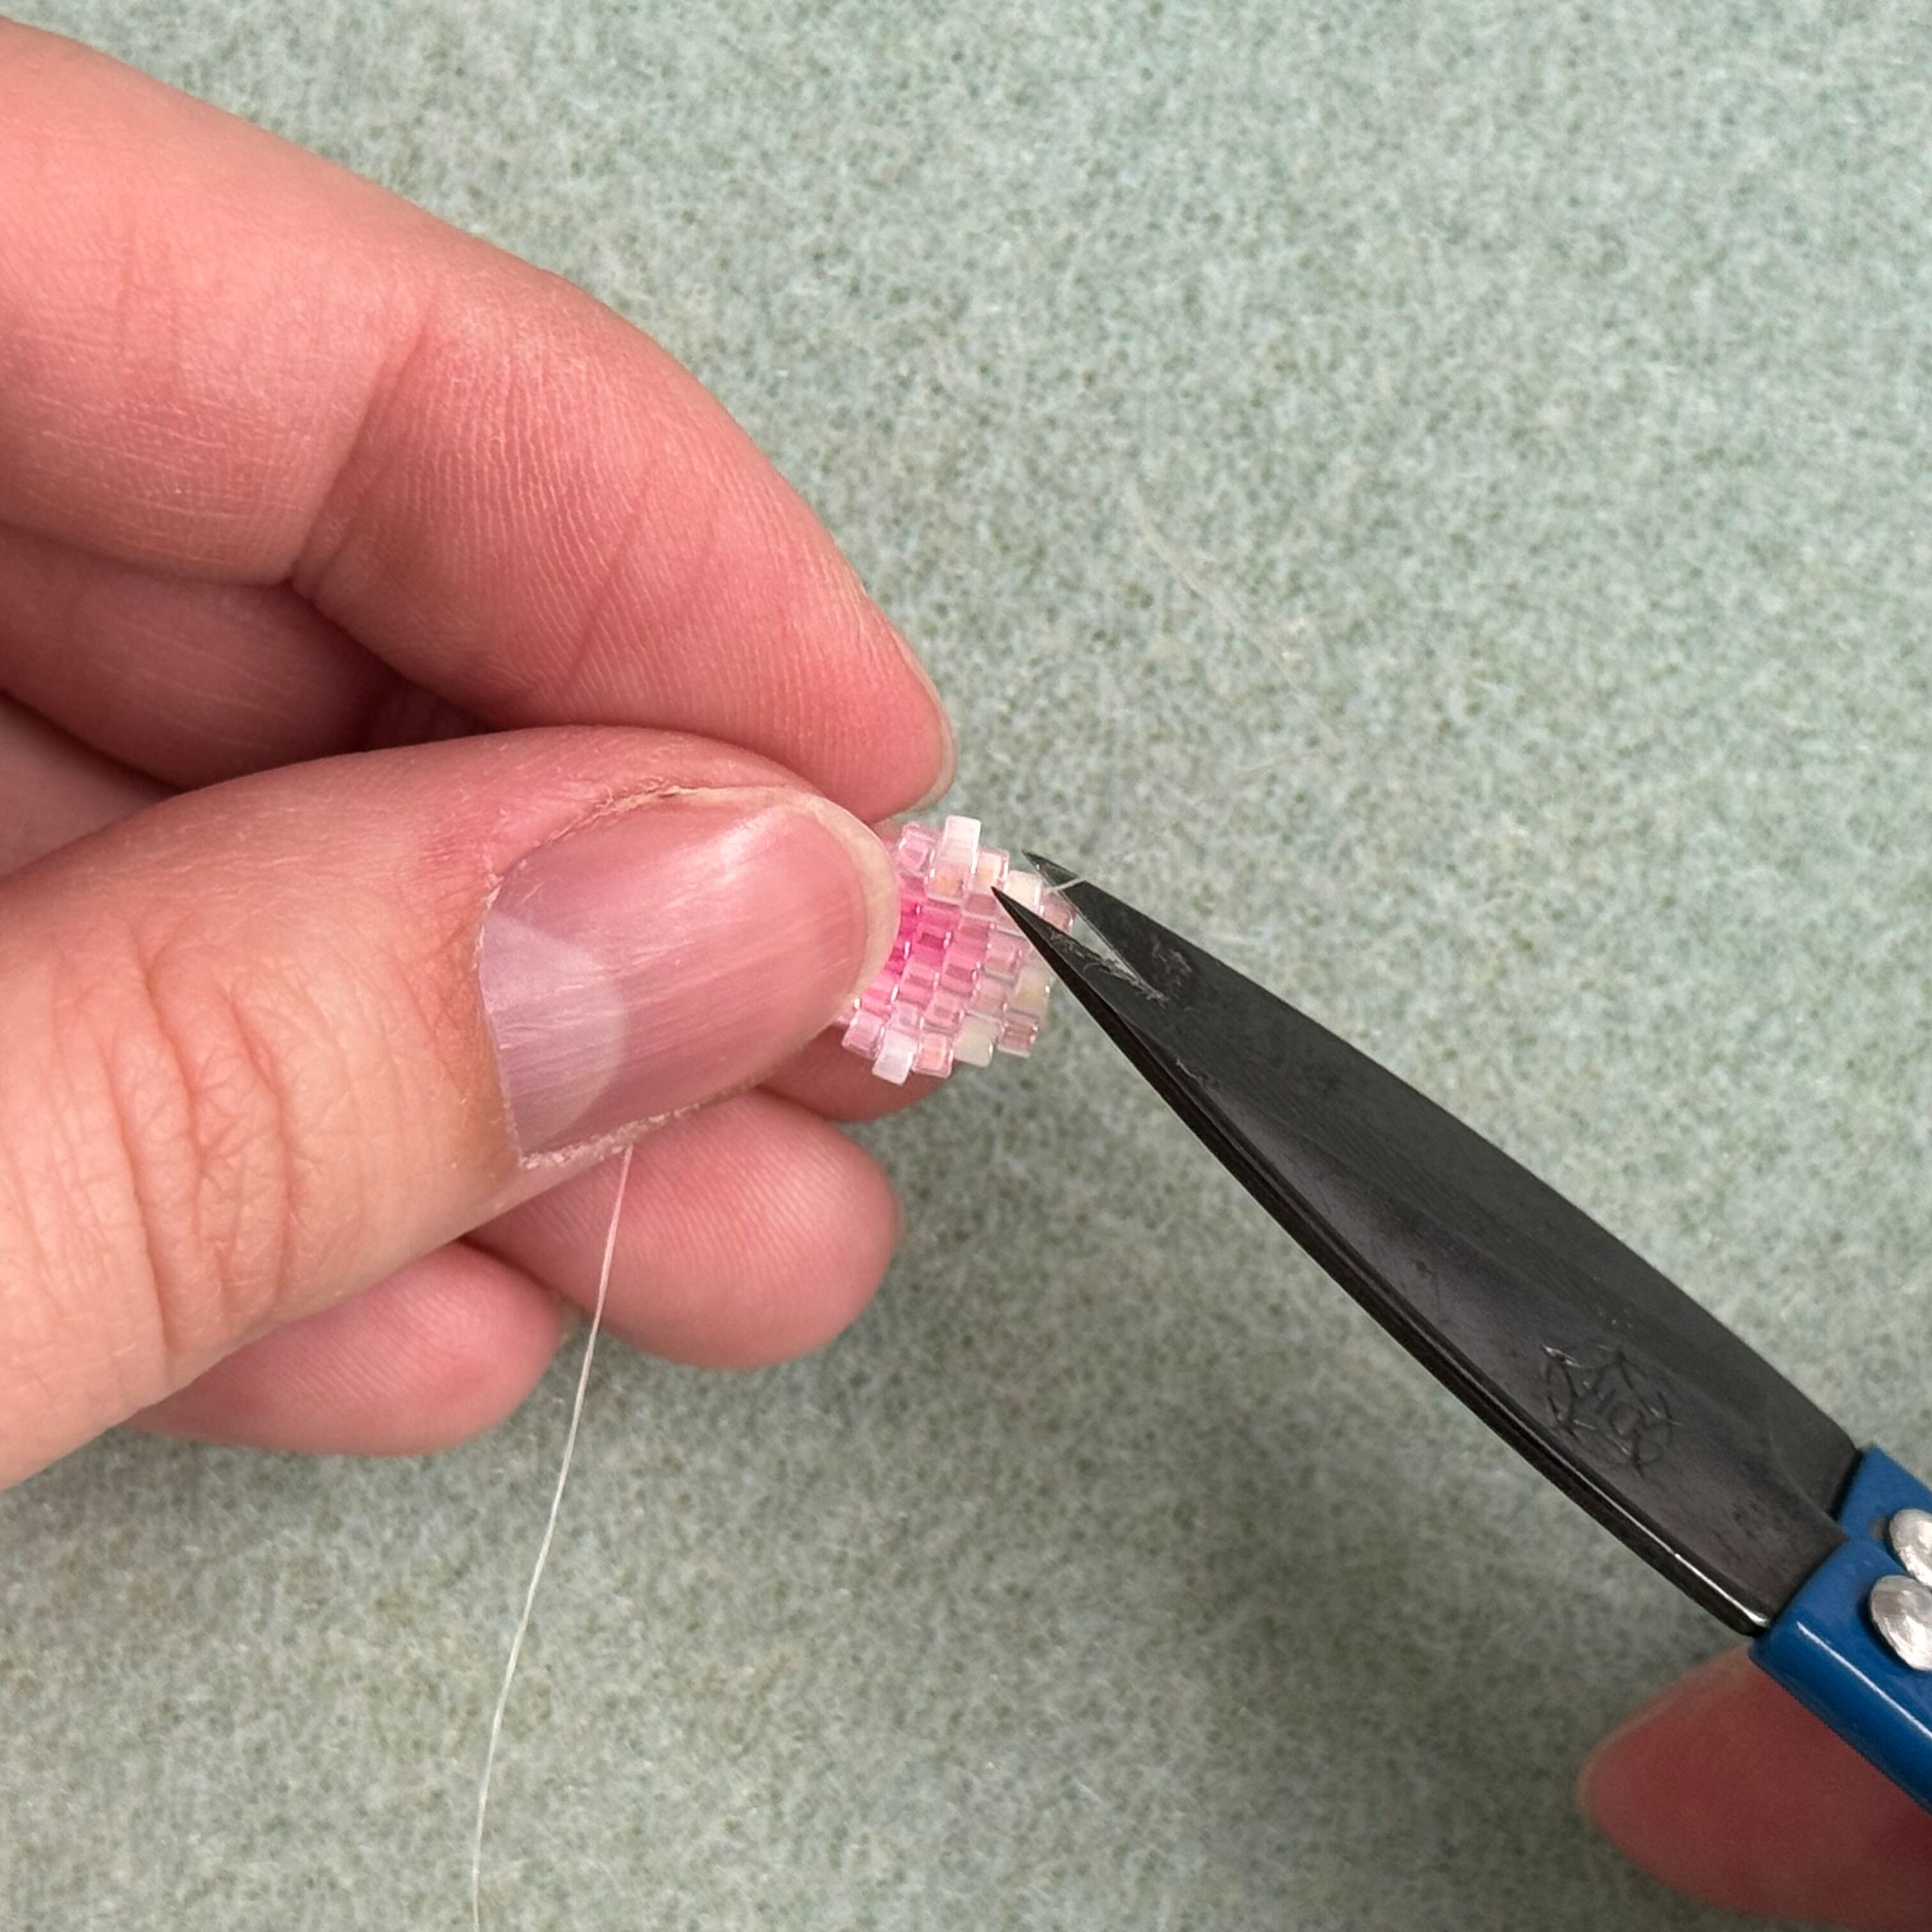
26A. At this point, you can add a dab of glue to the base of the tail and cut it off (Do not cut off the tail at the tip of the petal)
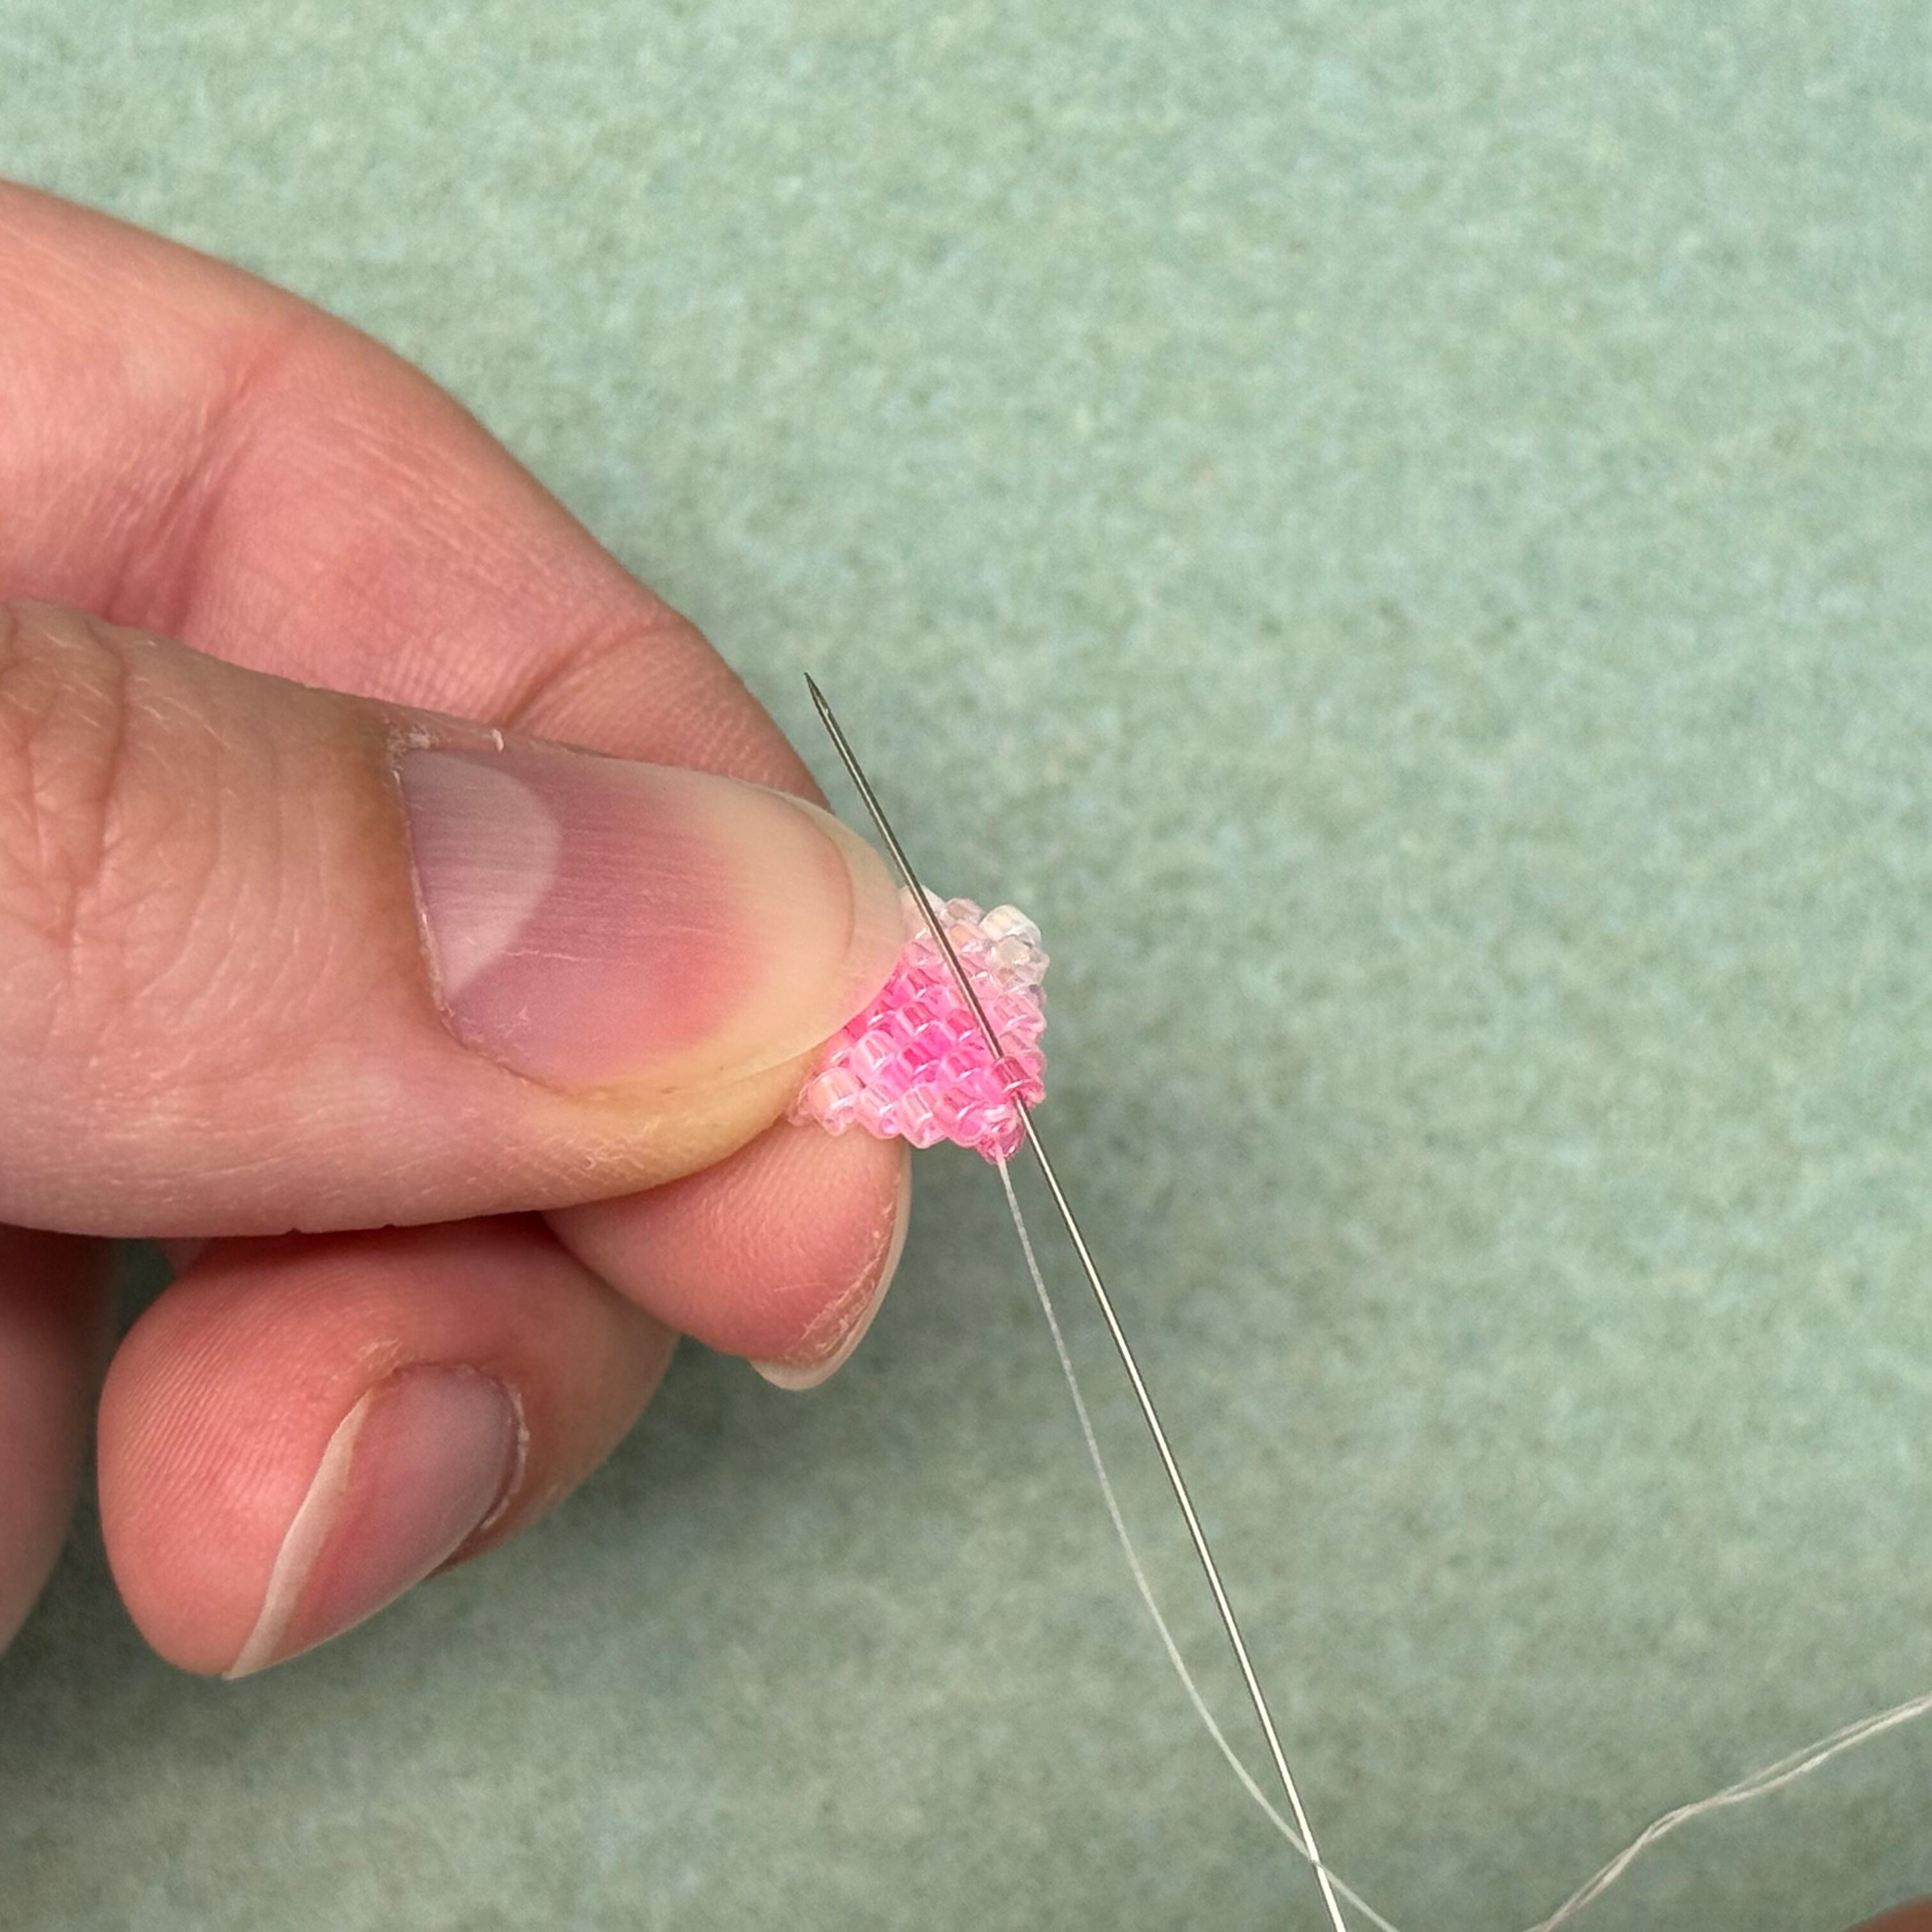
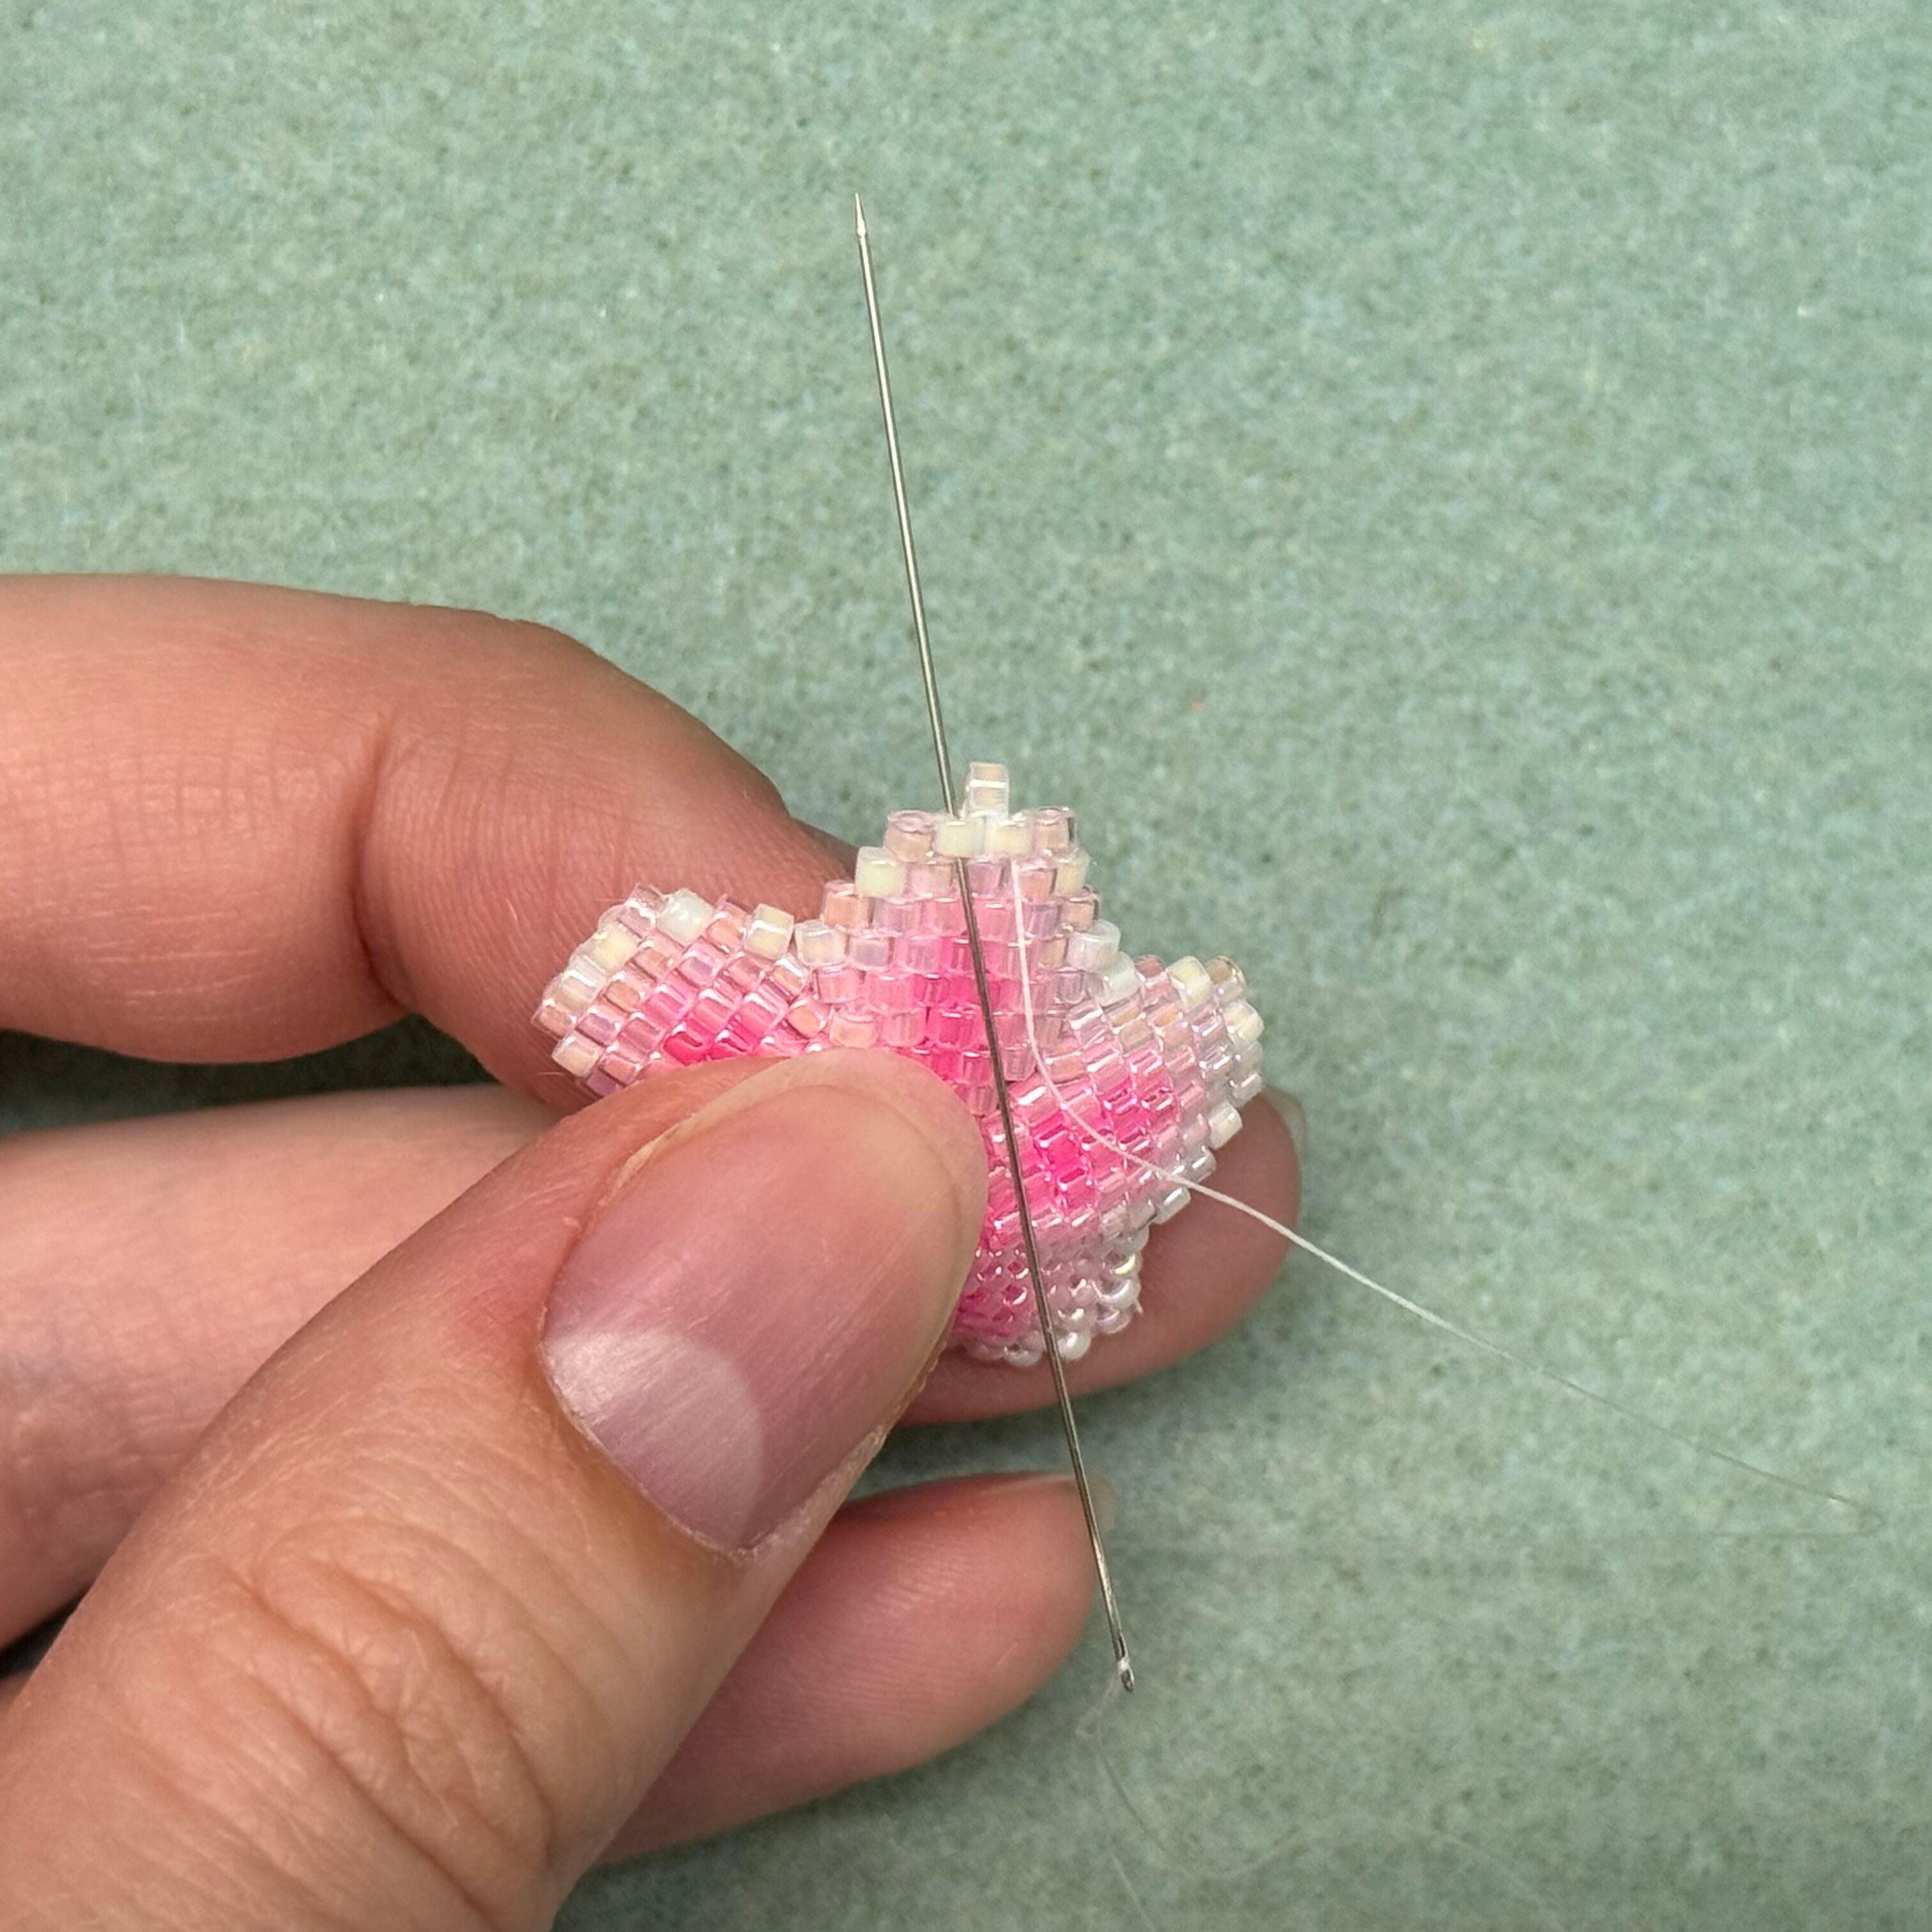
27. Now here's were things get "3D." Thread the needle up through the left bead
28. Then up through the far left bead on the second row
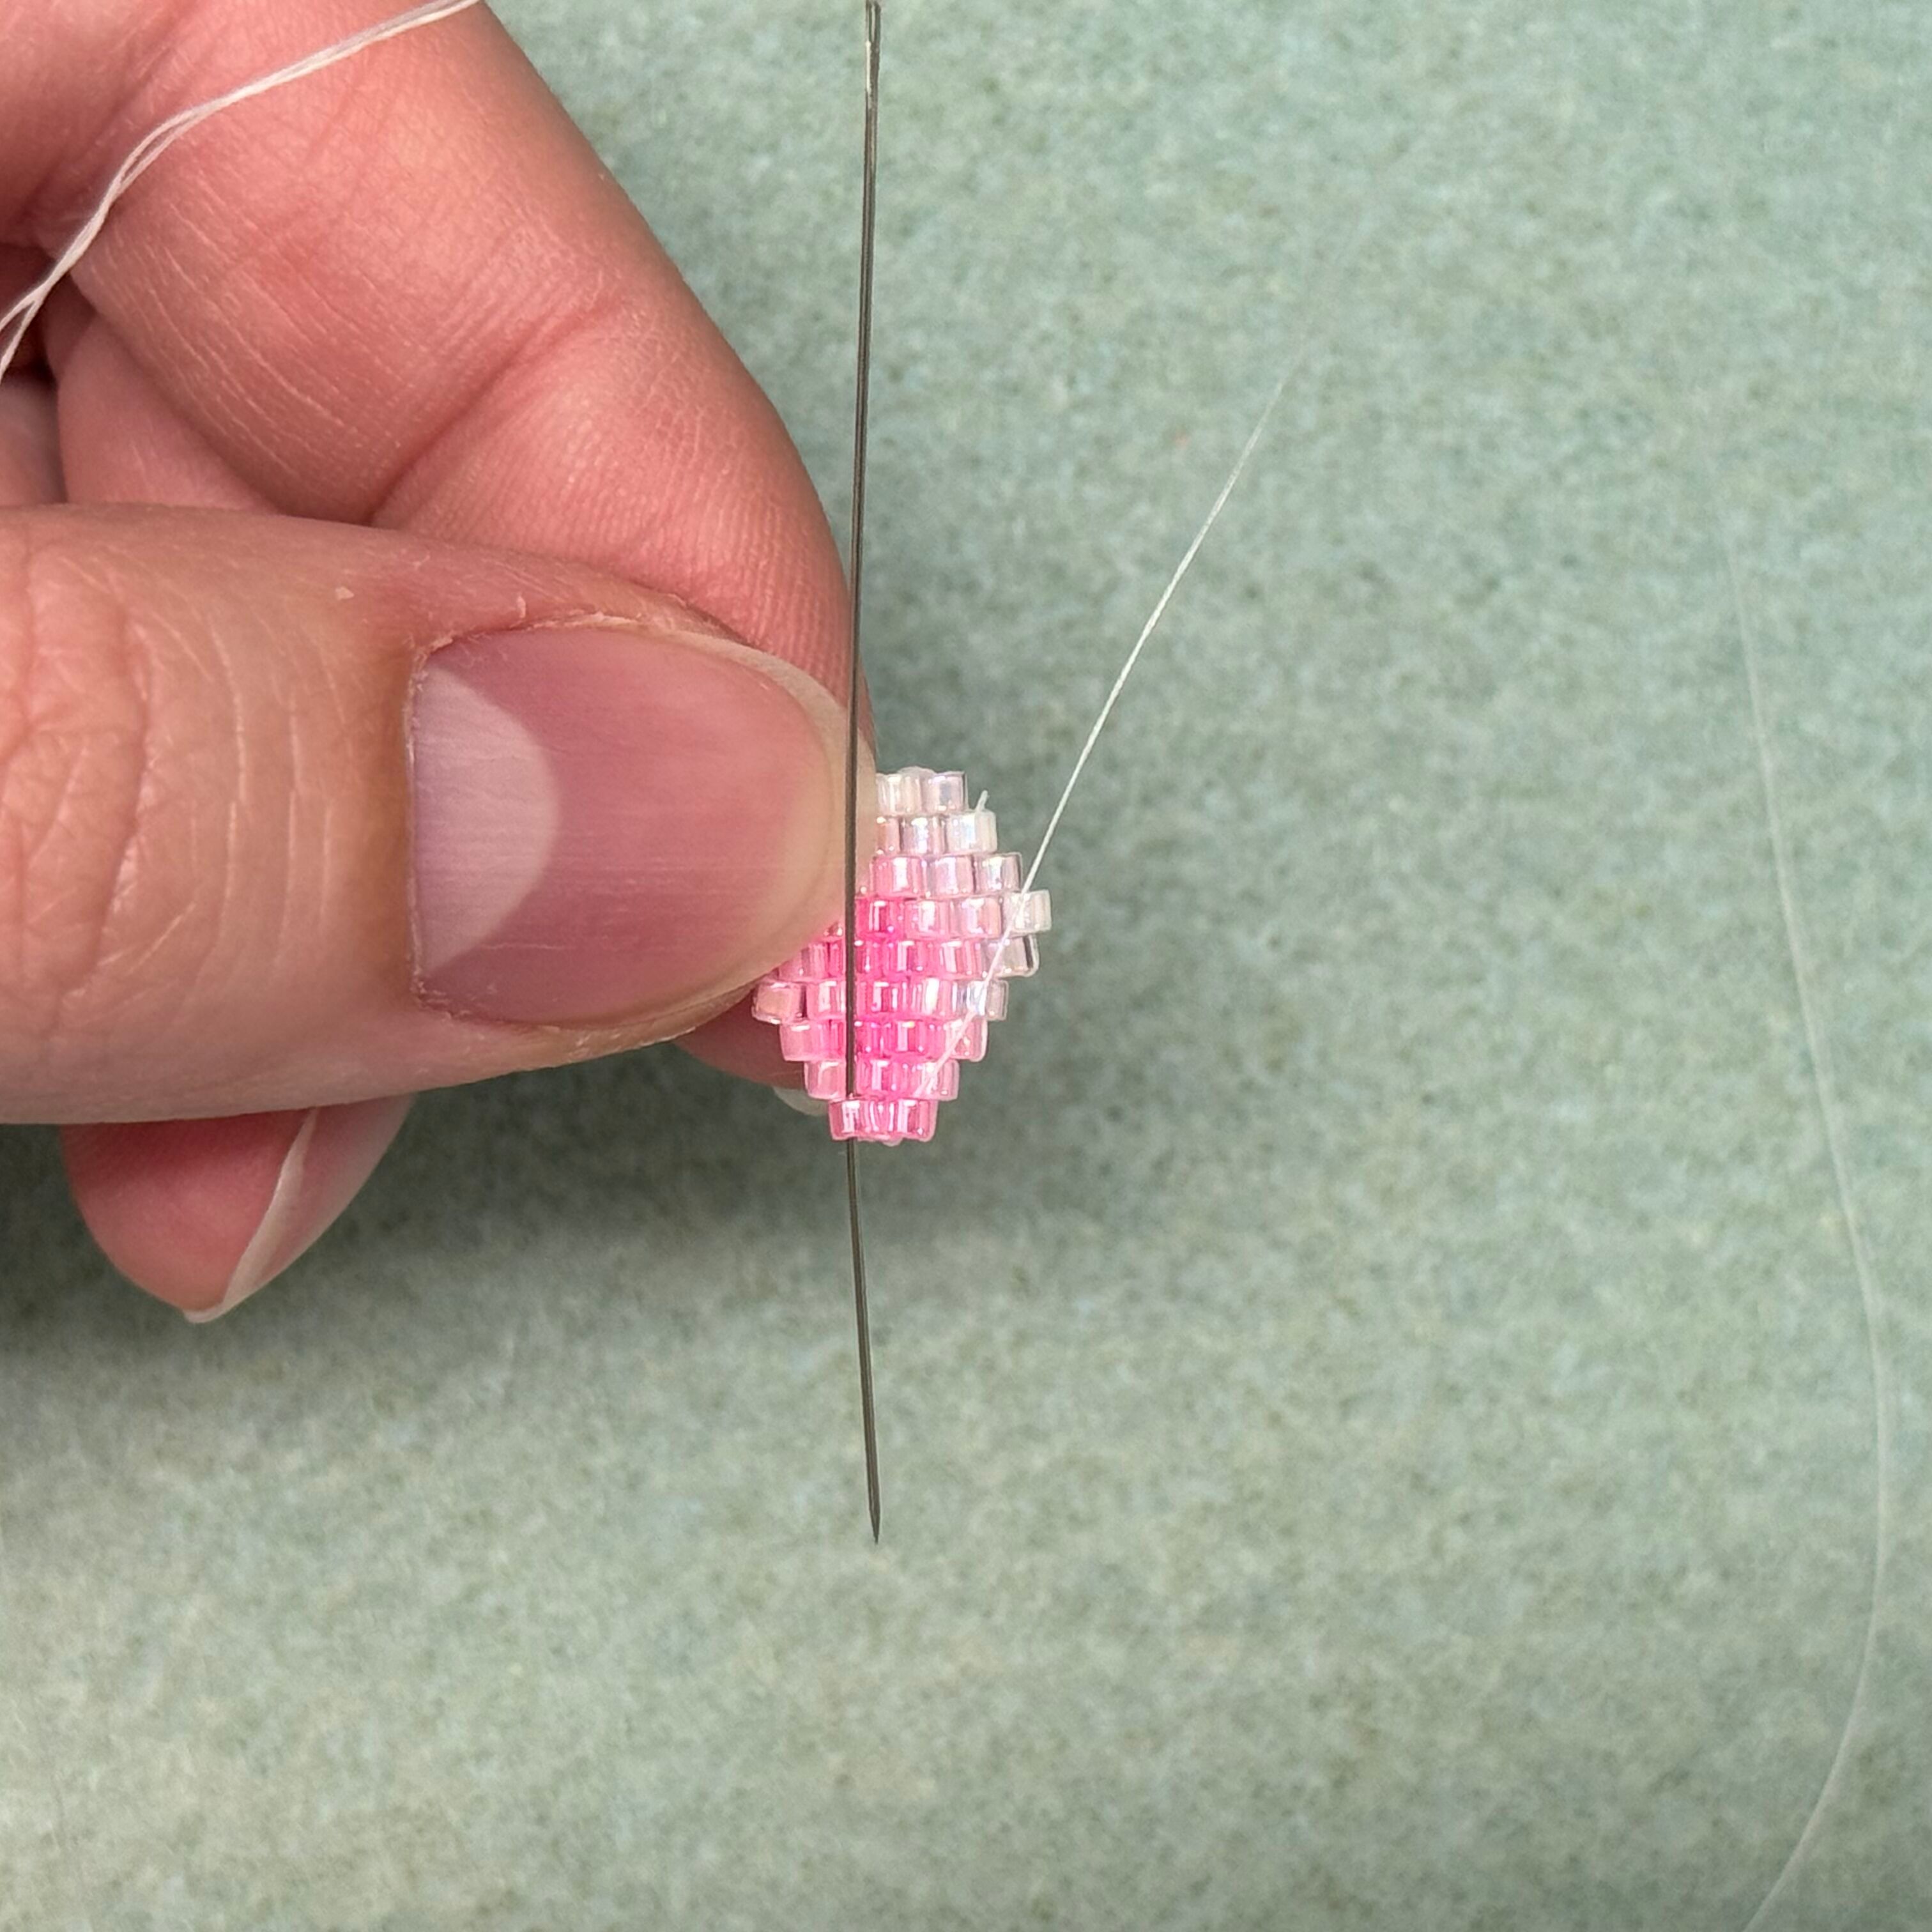
29. Then down through just the center bead on the second row
30. String on a 246 delica bead
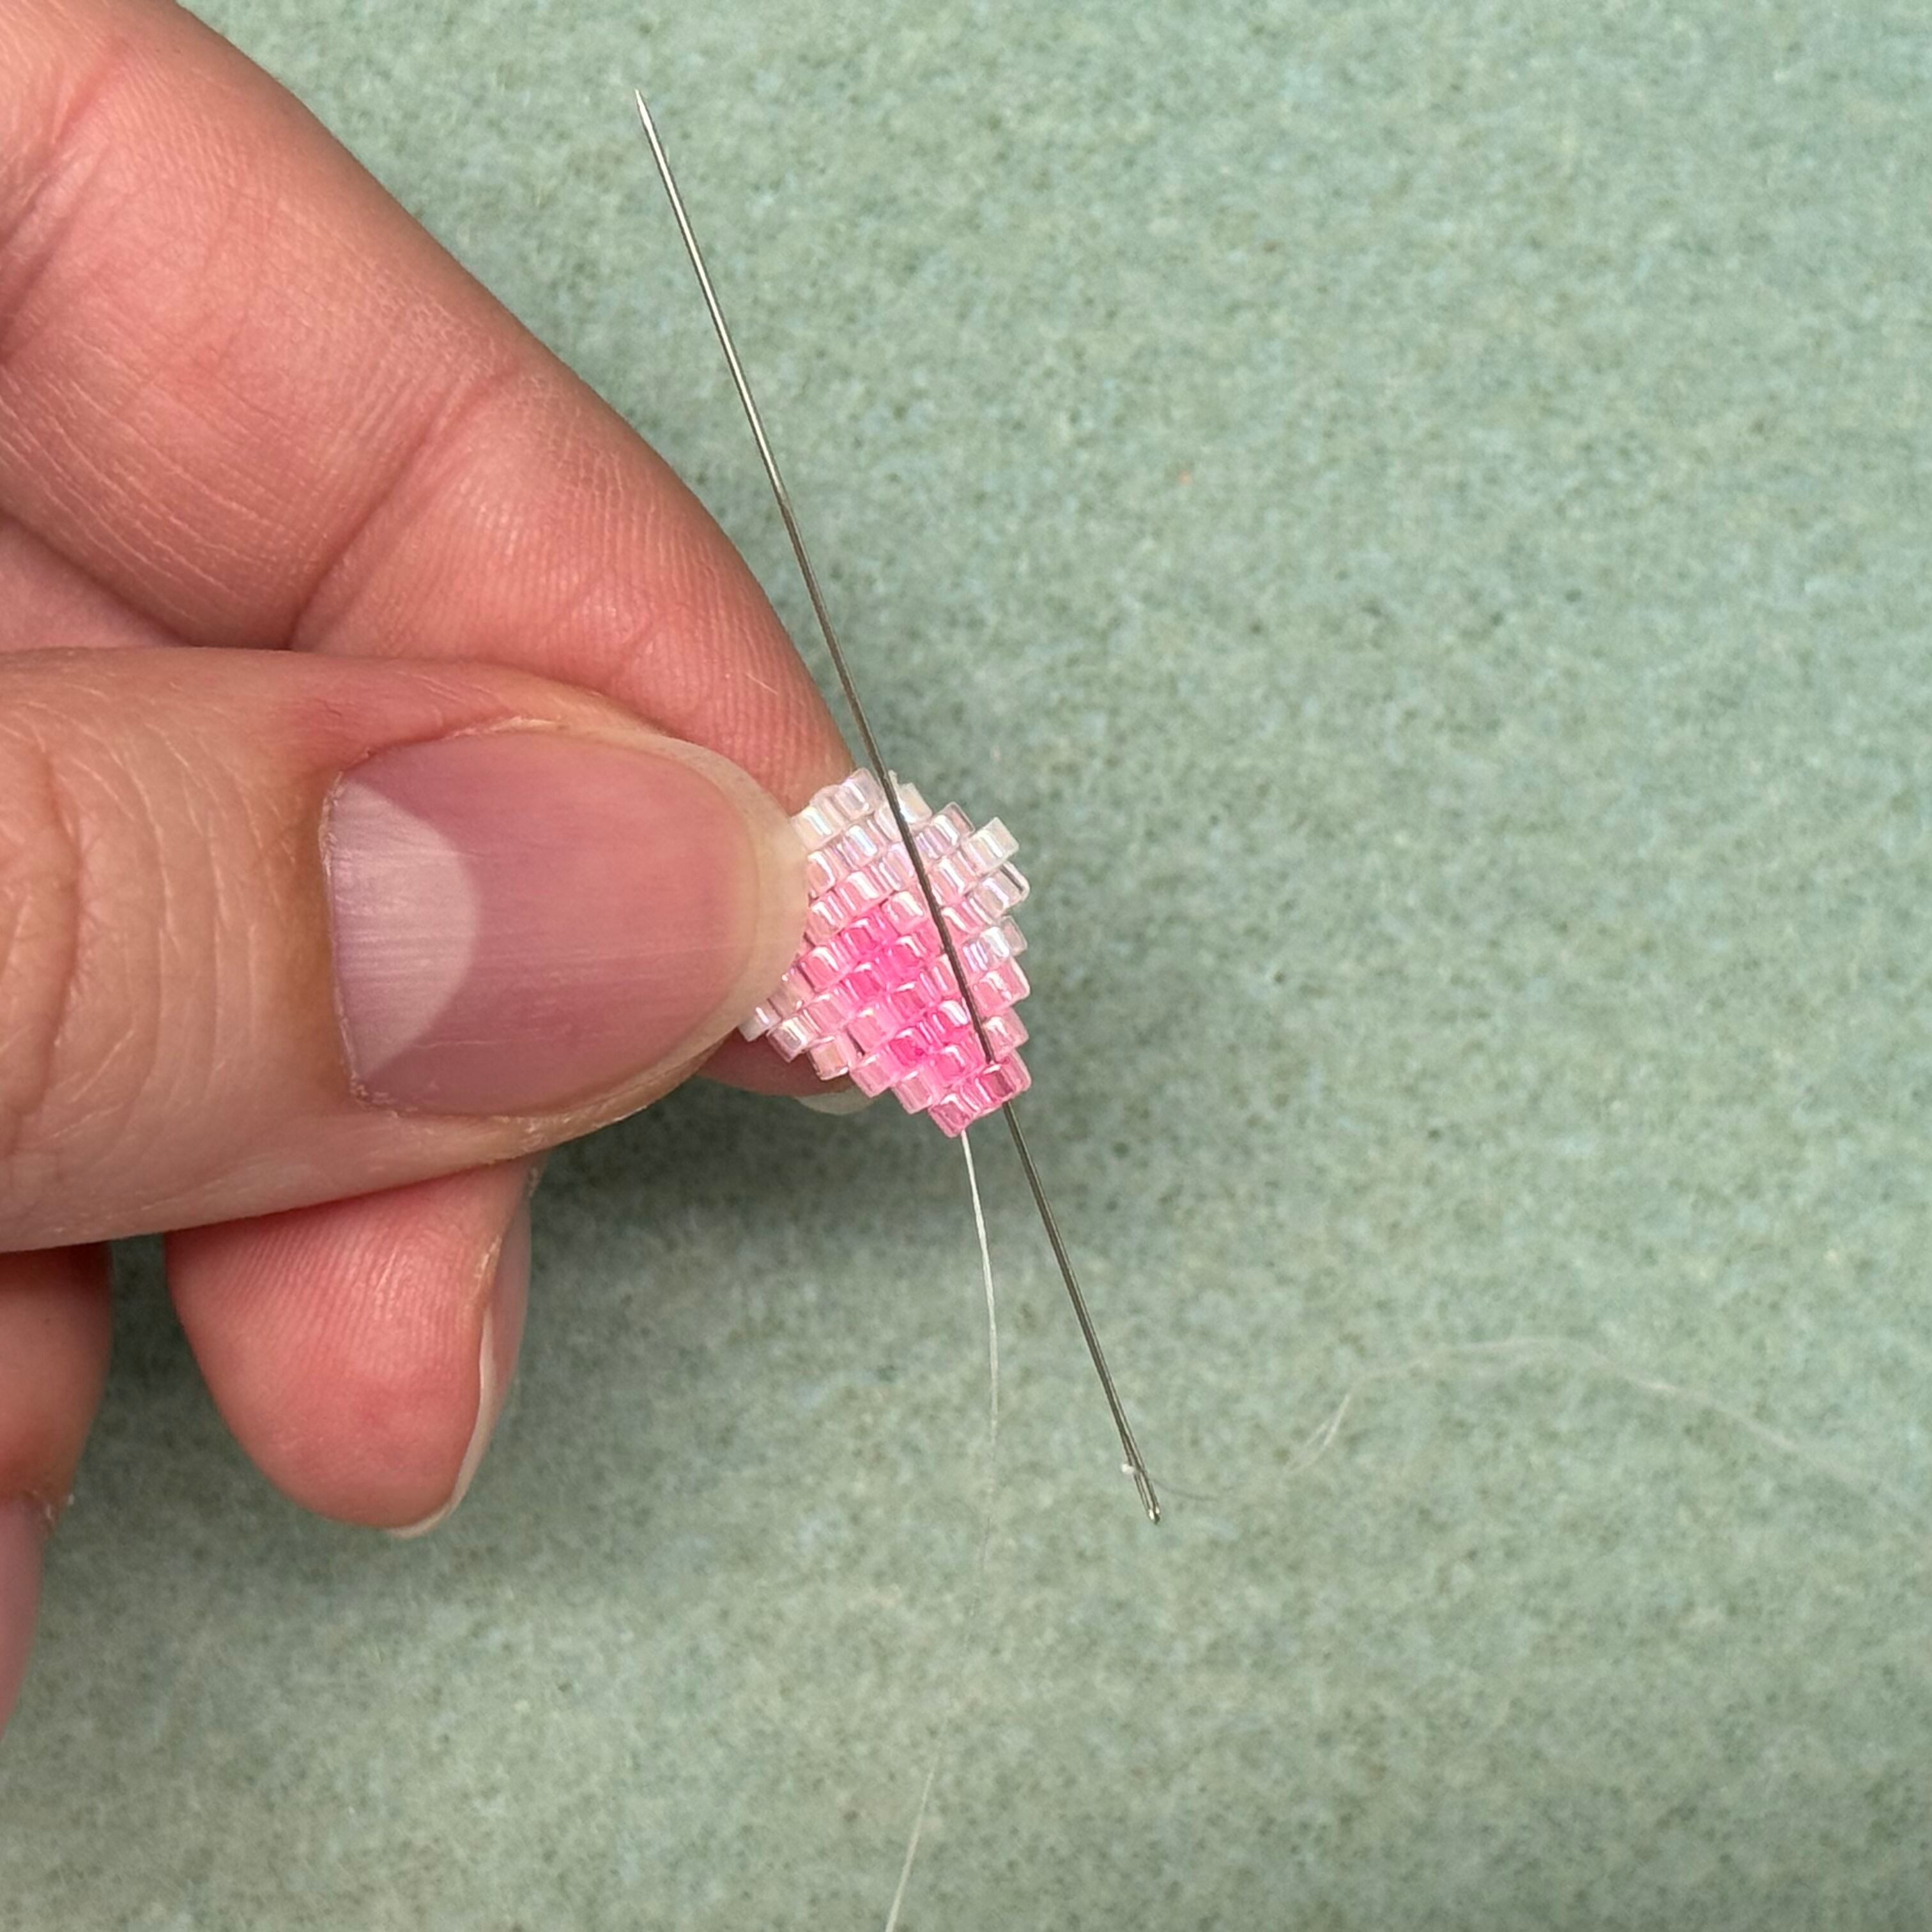
31. Thread the needle through the bottom right bead and up through the center bead on the second row

32. Thread the needle down through the delica to the right
33. And then down through the 246 "3D" bead
34. Now to secure on the opposite side, Thread the needle up through the left bead and the center bead on the second row
35. Down through the bead to the left

36. Then down through the 246 "3D" bead
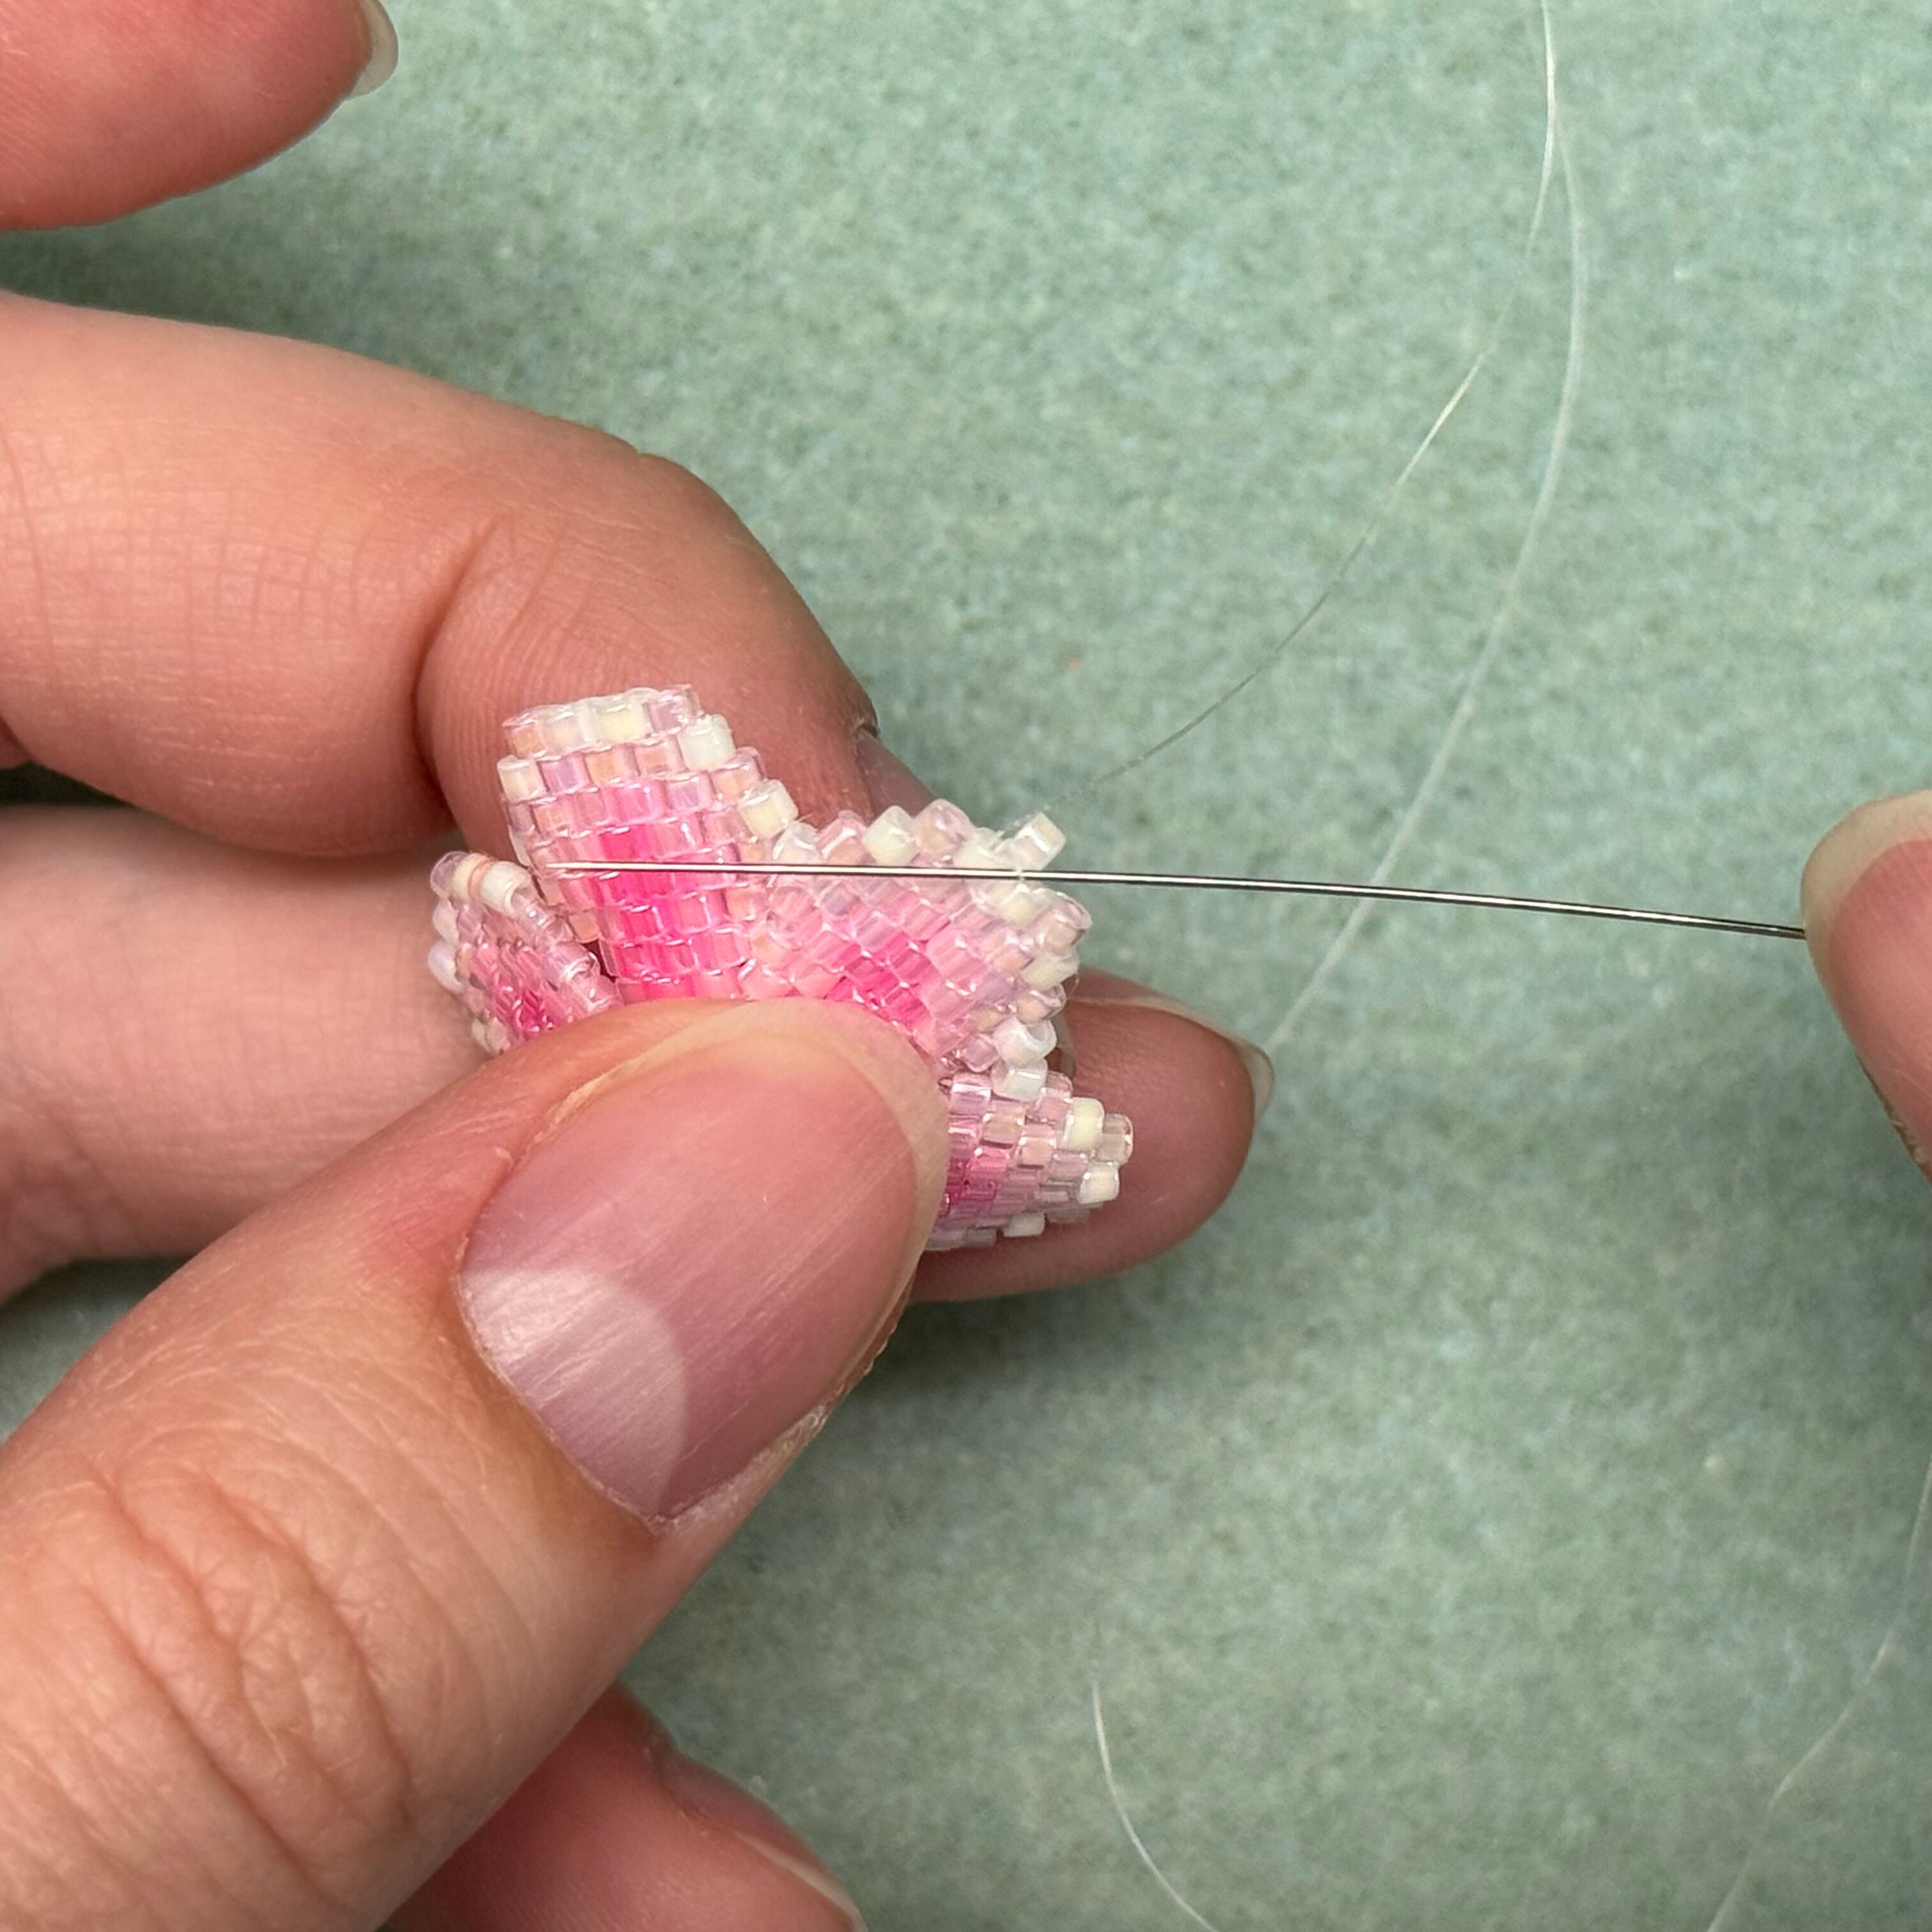
37. Now to secure the thread. Turn the petal over and thread the needle up through the right delica bead
38. Then down through the bead to the left
39. Then up through the right. ***Repeat this at least twice.***

40. Once you have repeated the previous steps, carefully thread your needle through one of the stitches holding the bottom two beads together
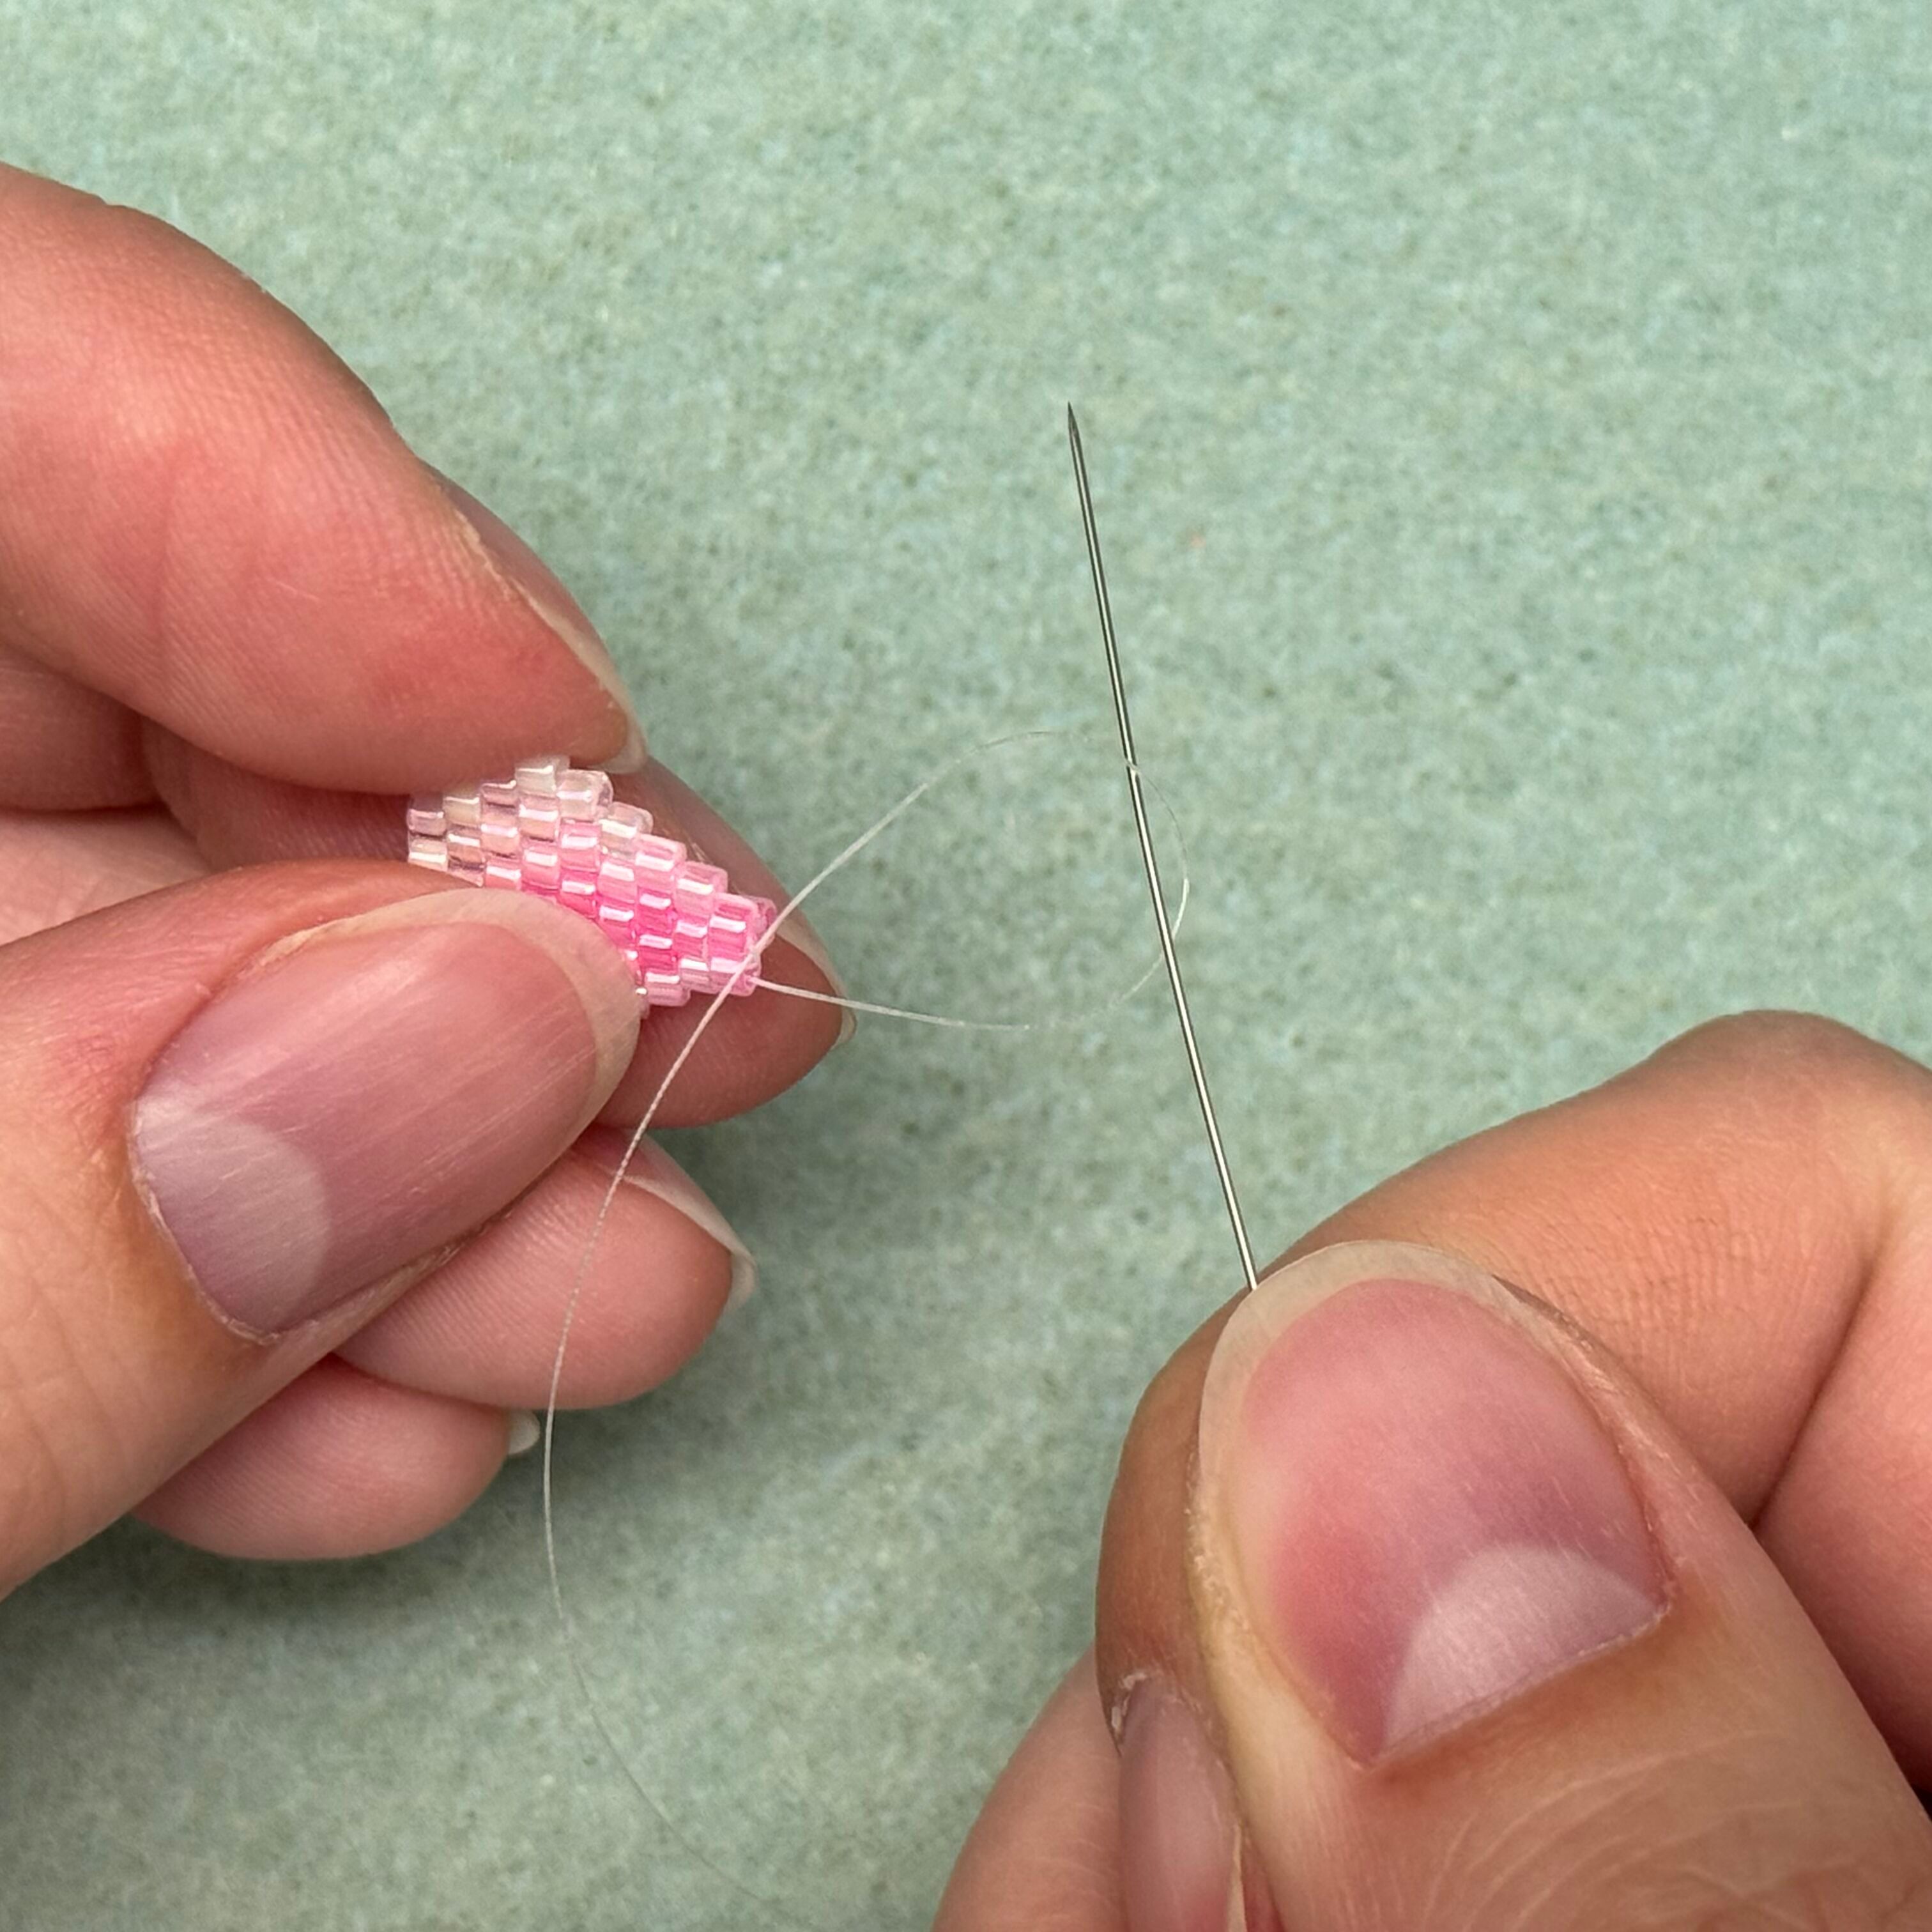
41. Before pulling the fireline tight, thread the needle through the loop to create a knot. Repeat this knot twice. Dab with glue and cut off tail. Repeat steps above until you have a total of 5 petals (one petal with a tail - see below)
***With four of the petals (2ft of fireline used) you will dab a bit of glue at the knot and cut off the tail. With the last petal, you will use 3ft of fireline and you will not cut the tail. The tail on this petal will be used to secure all of the petals together.***
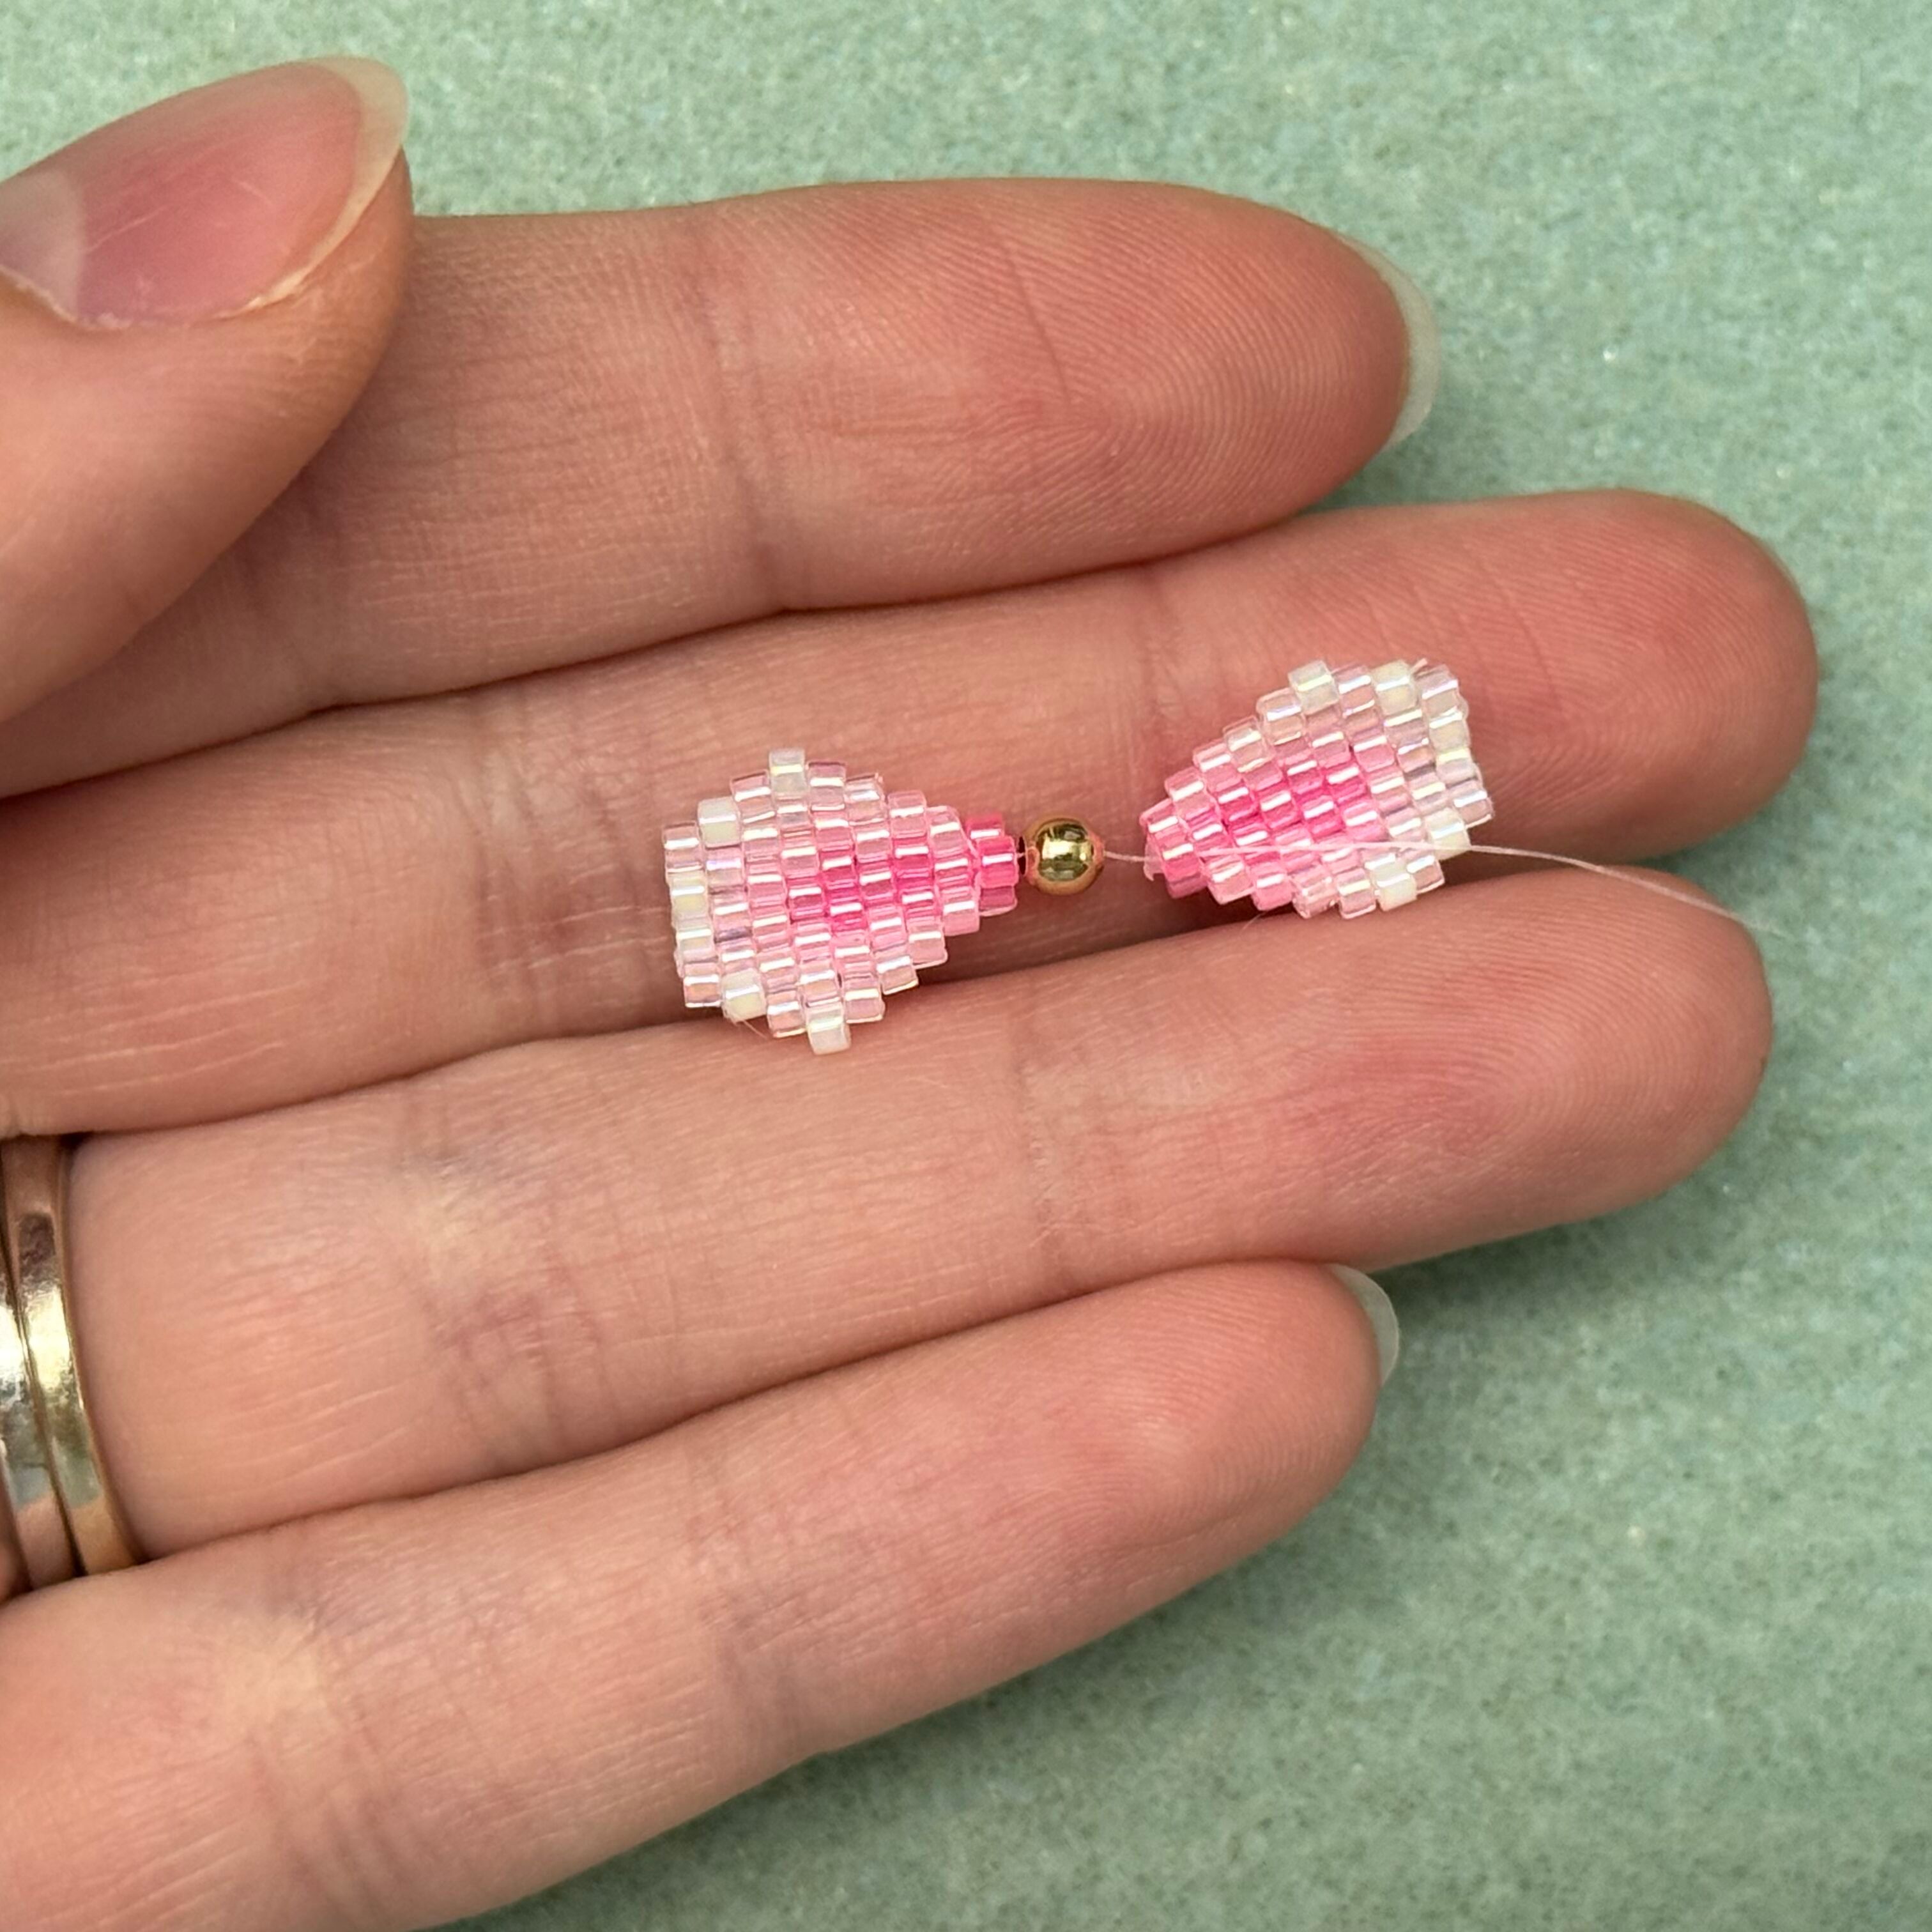
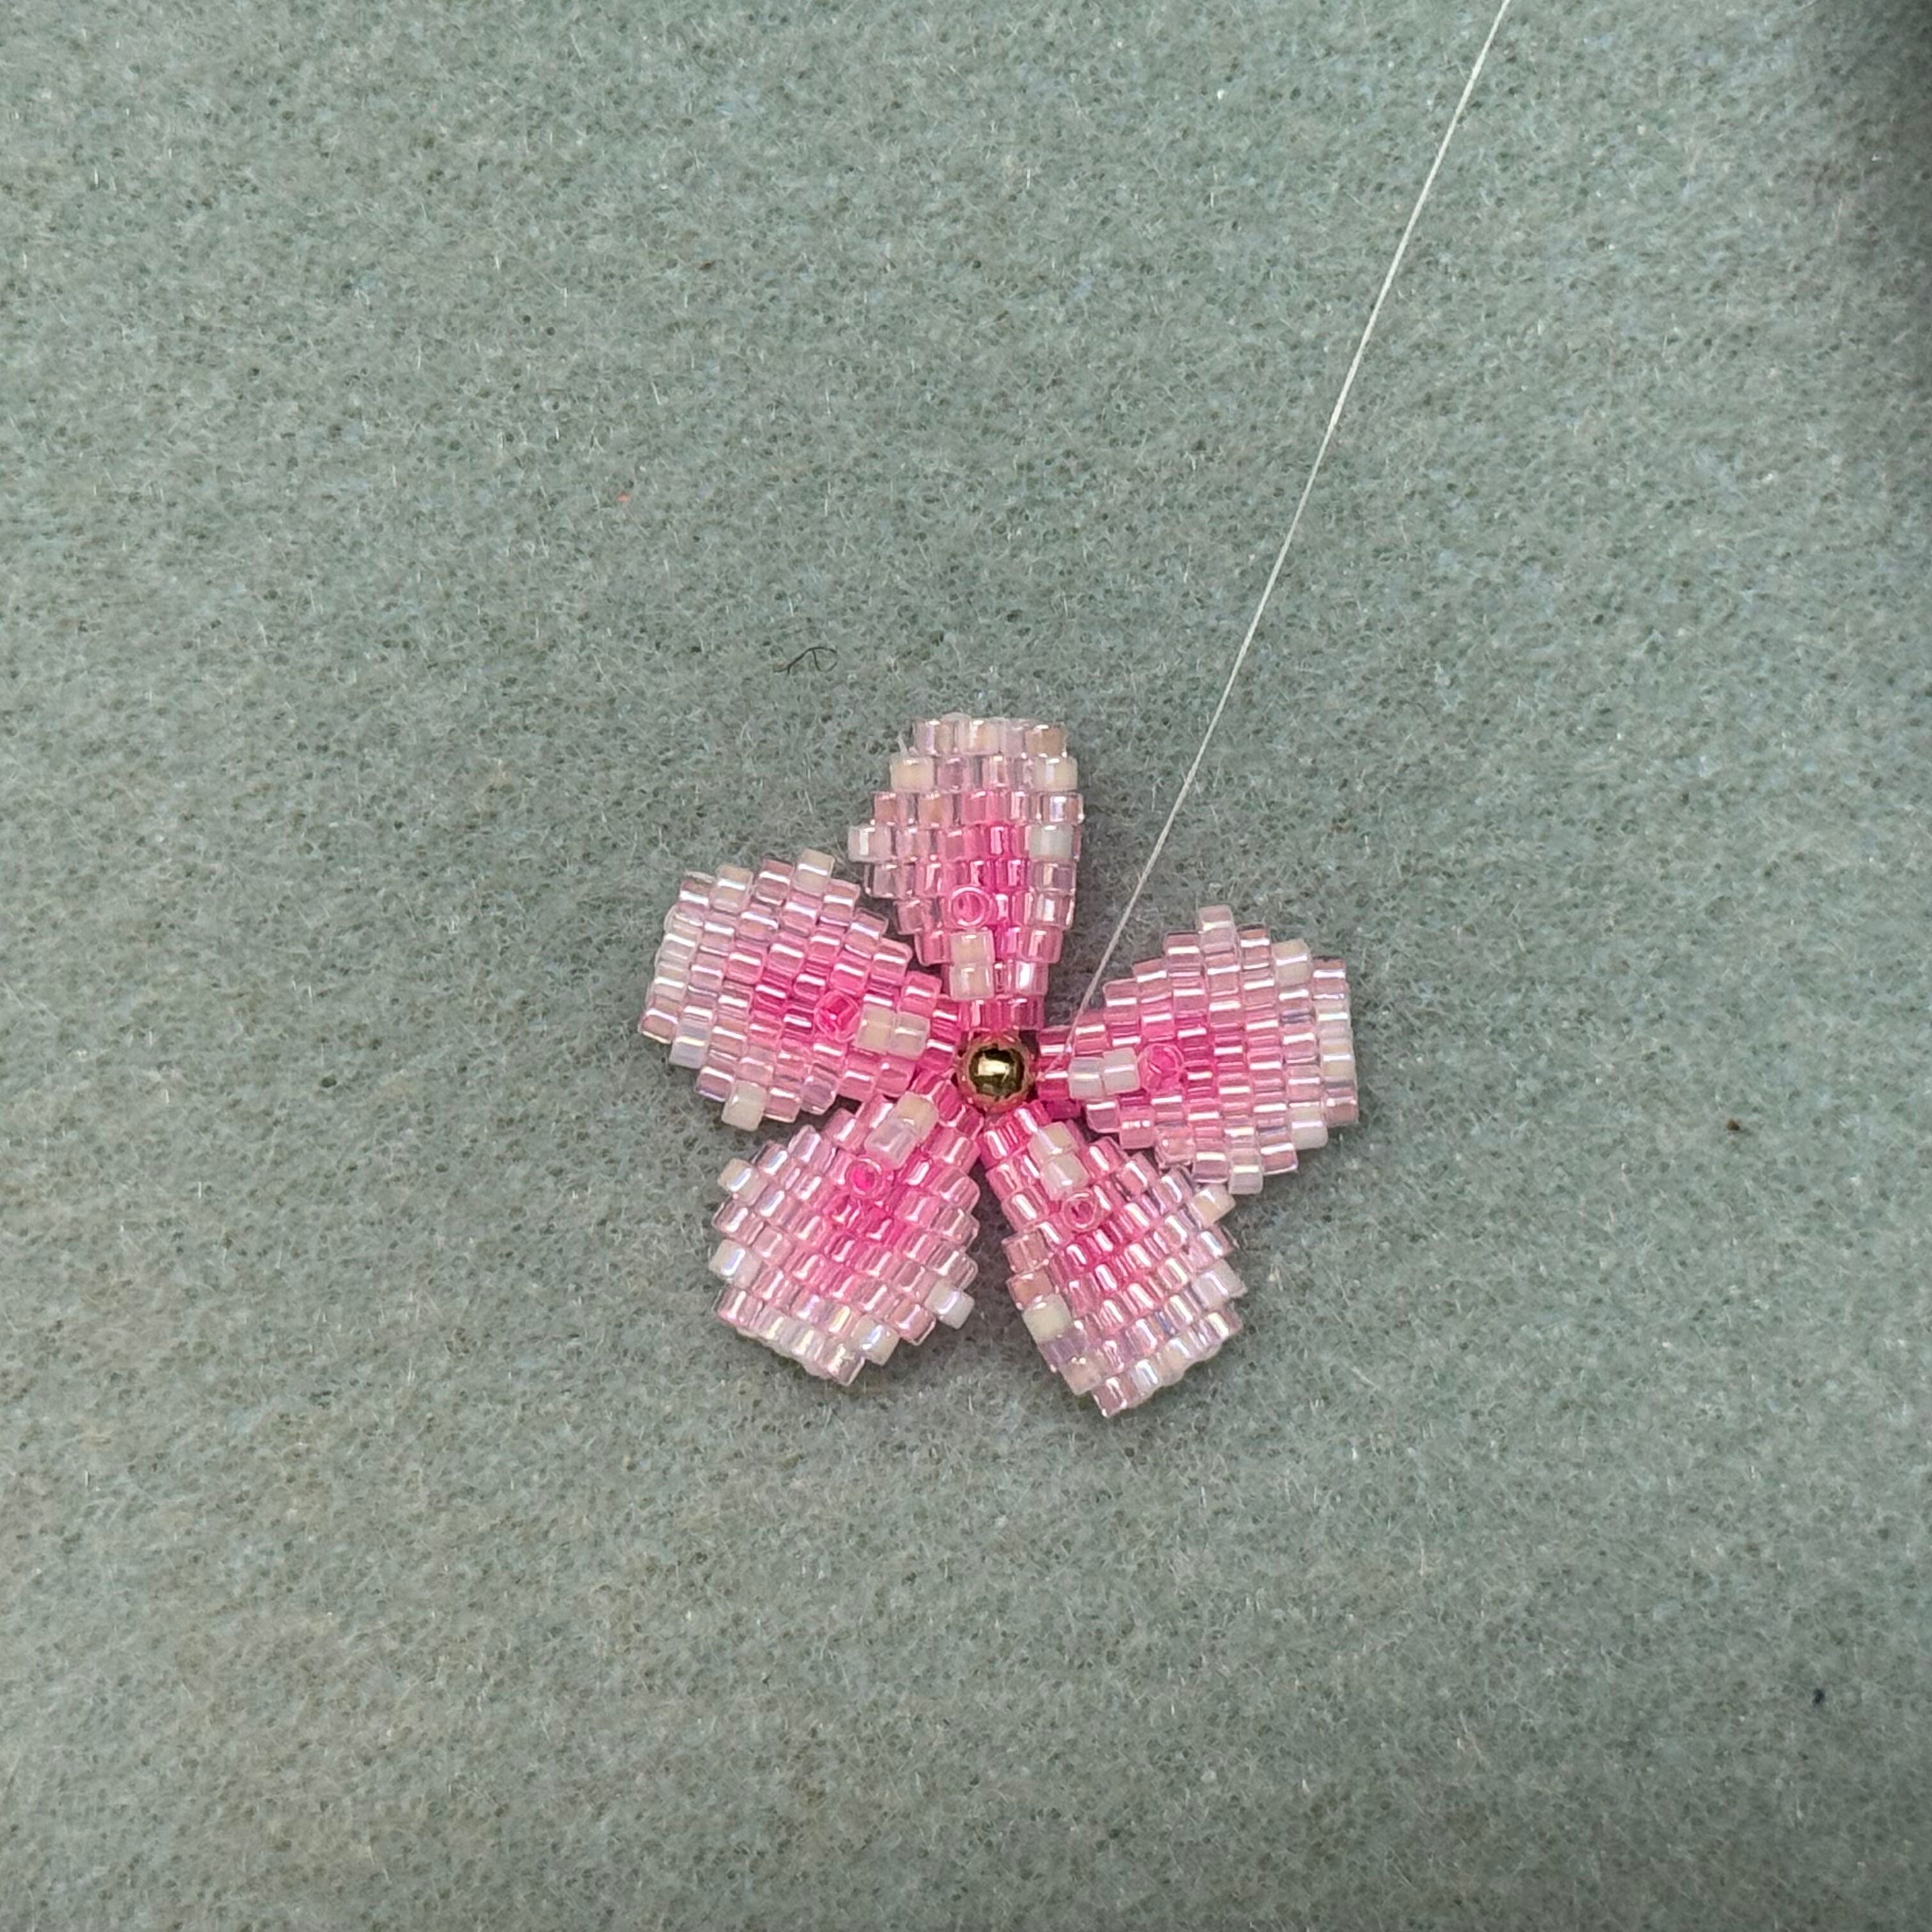
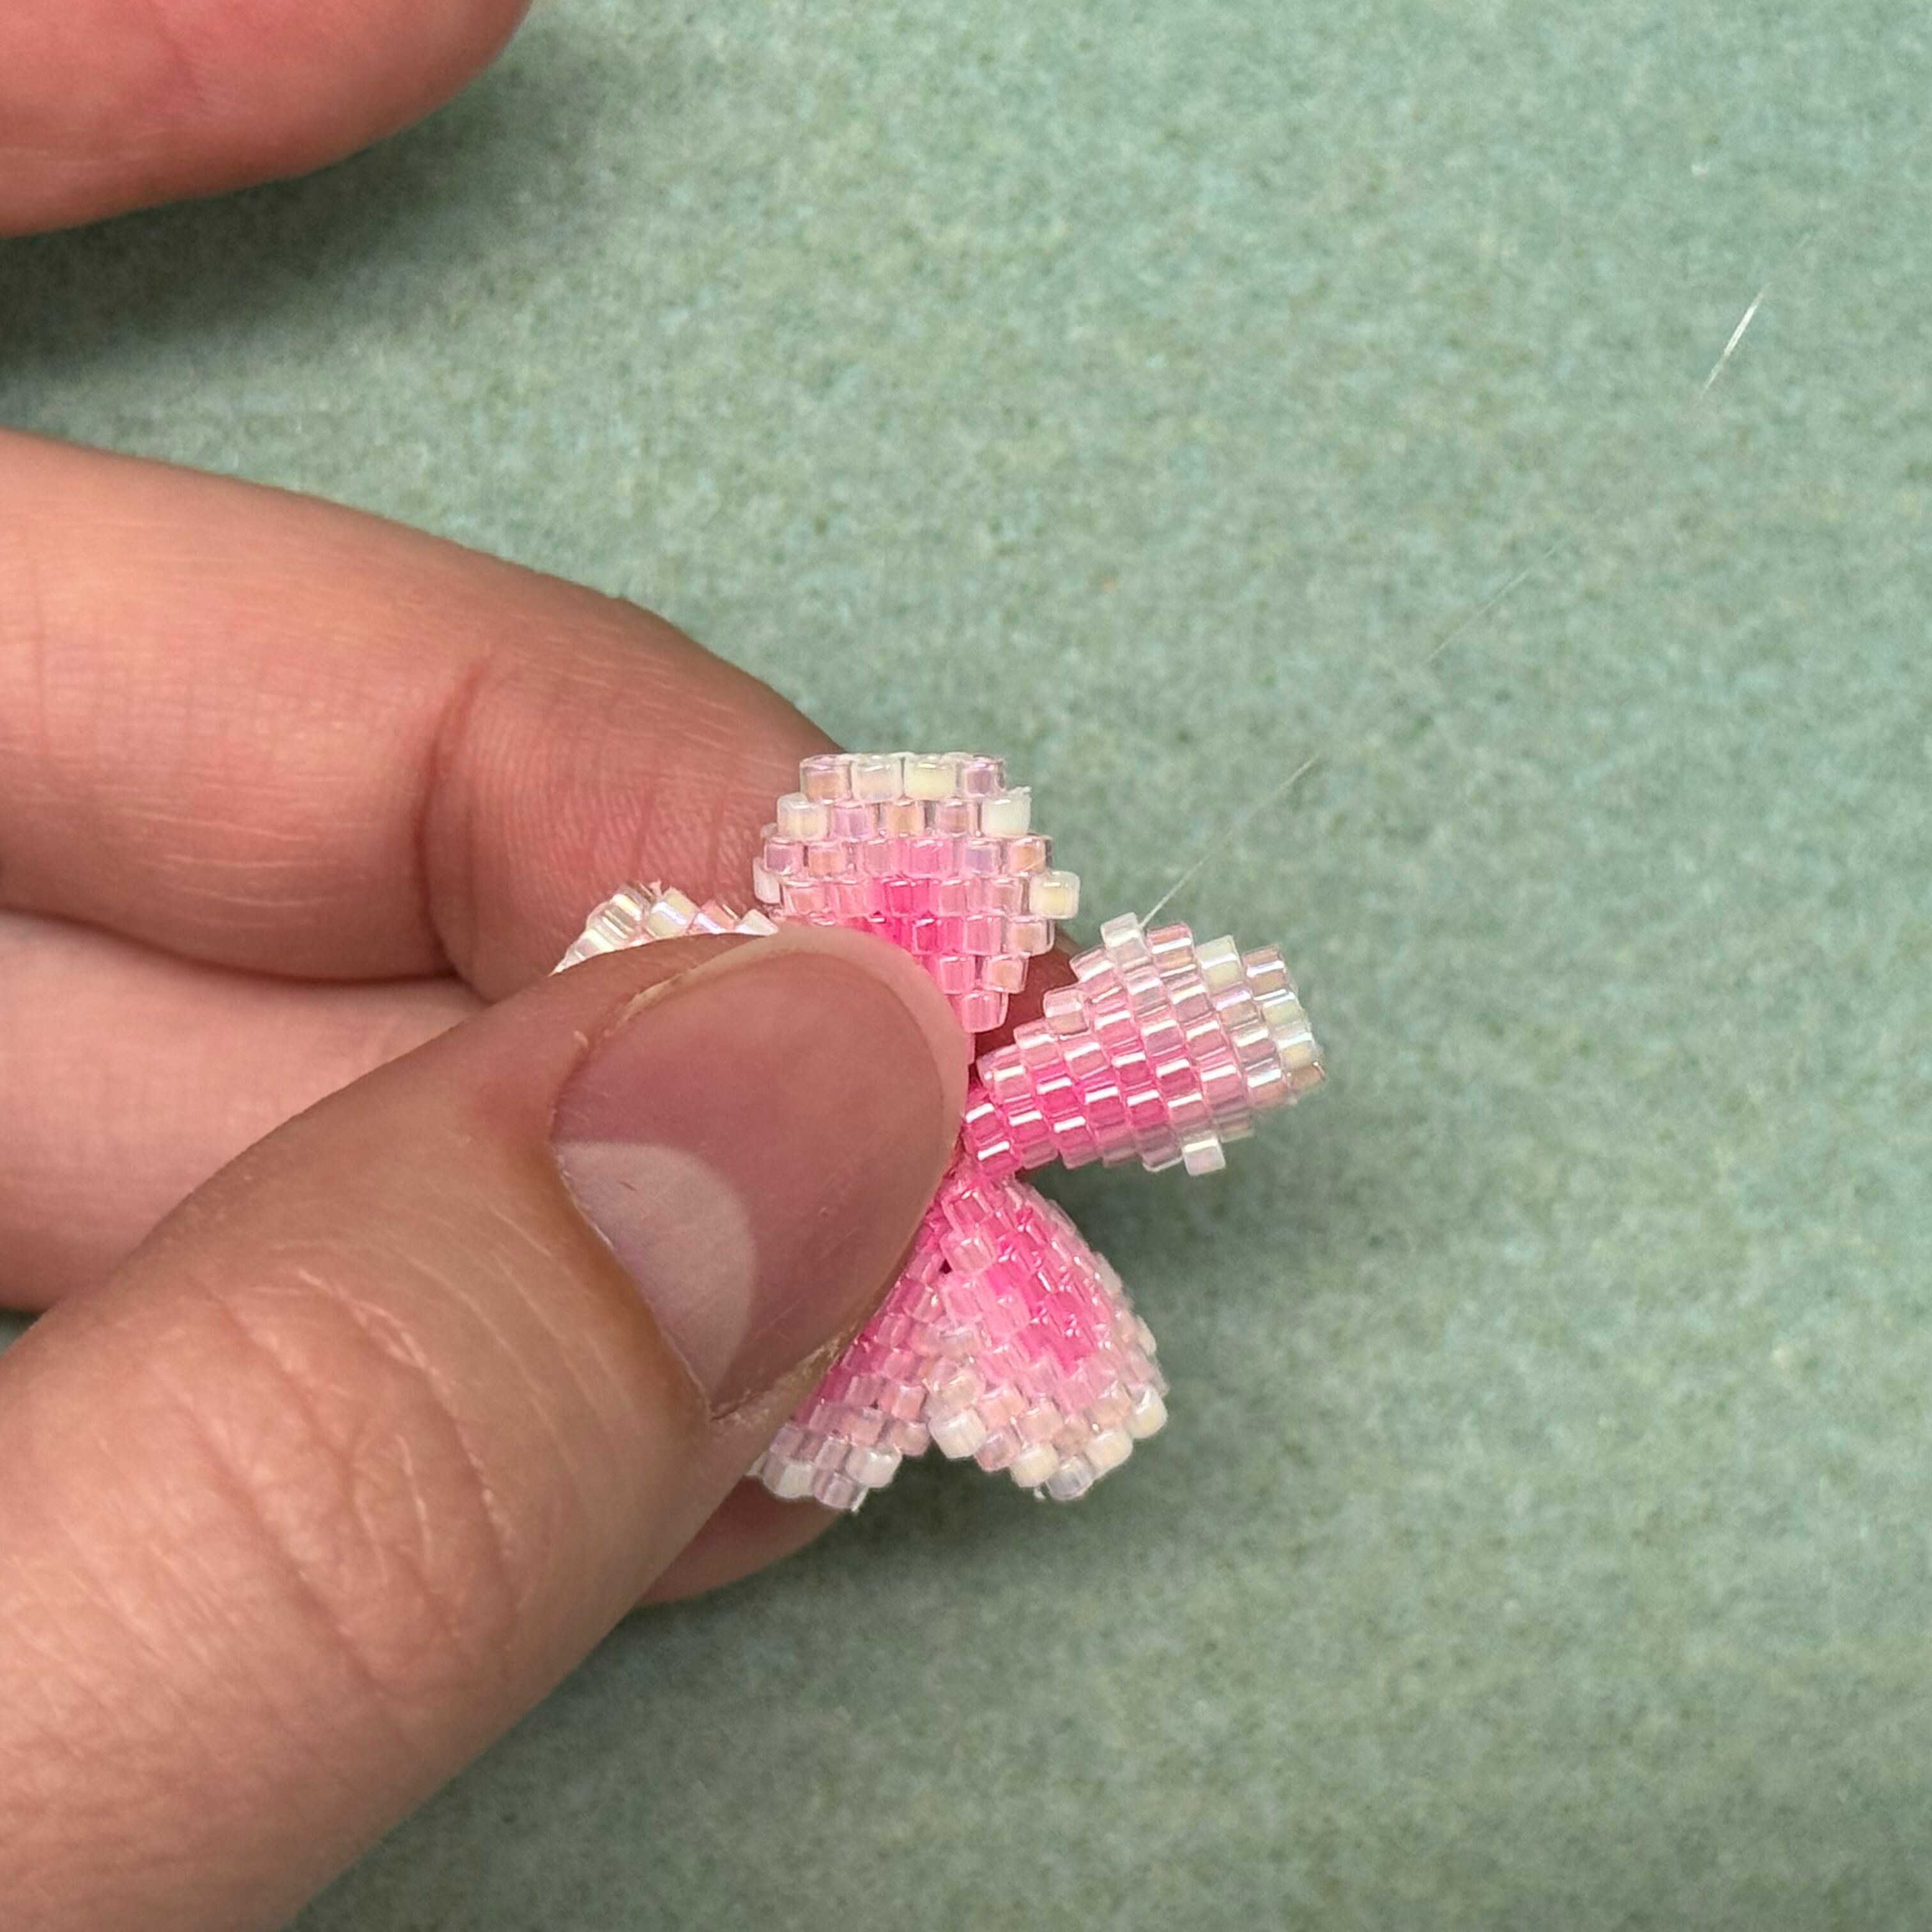
42. Now to attach the petals together! Using the last petal created with the 3 ft of fireline, thread the needle through the gold bead and through a second petal's "3D" bead

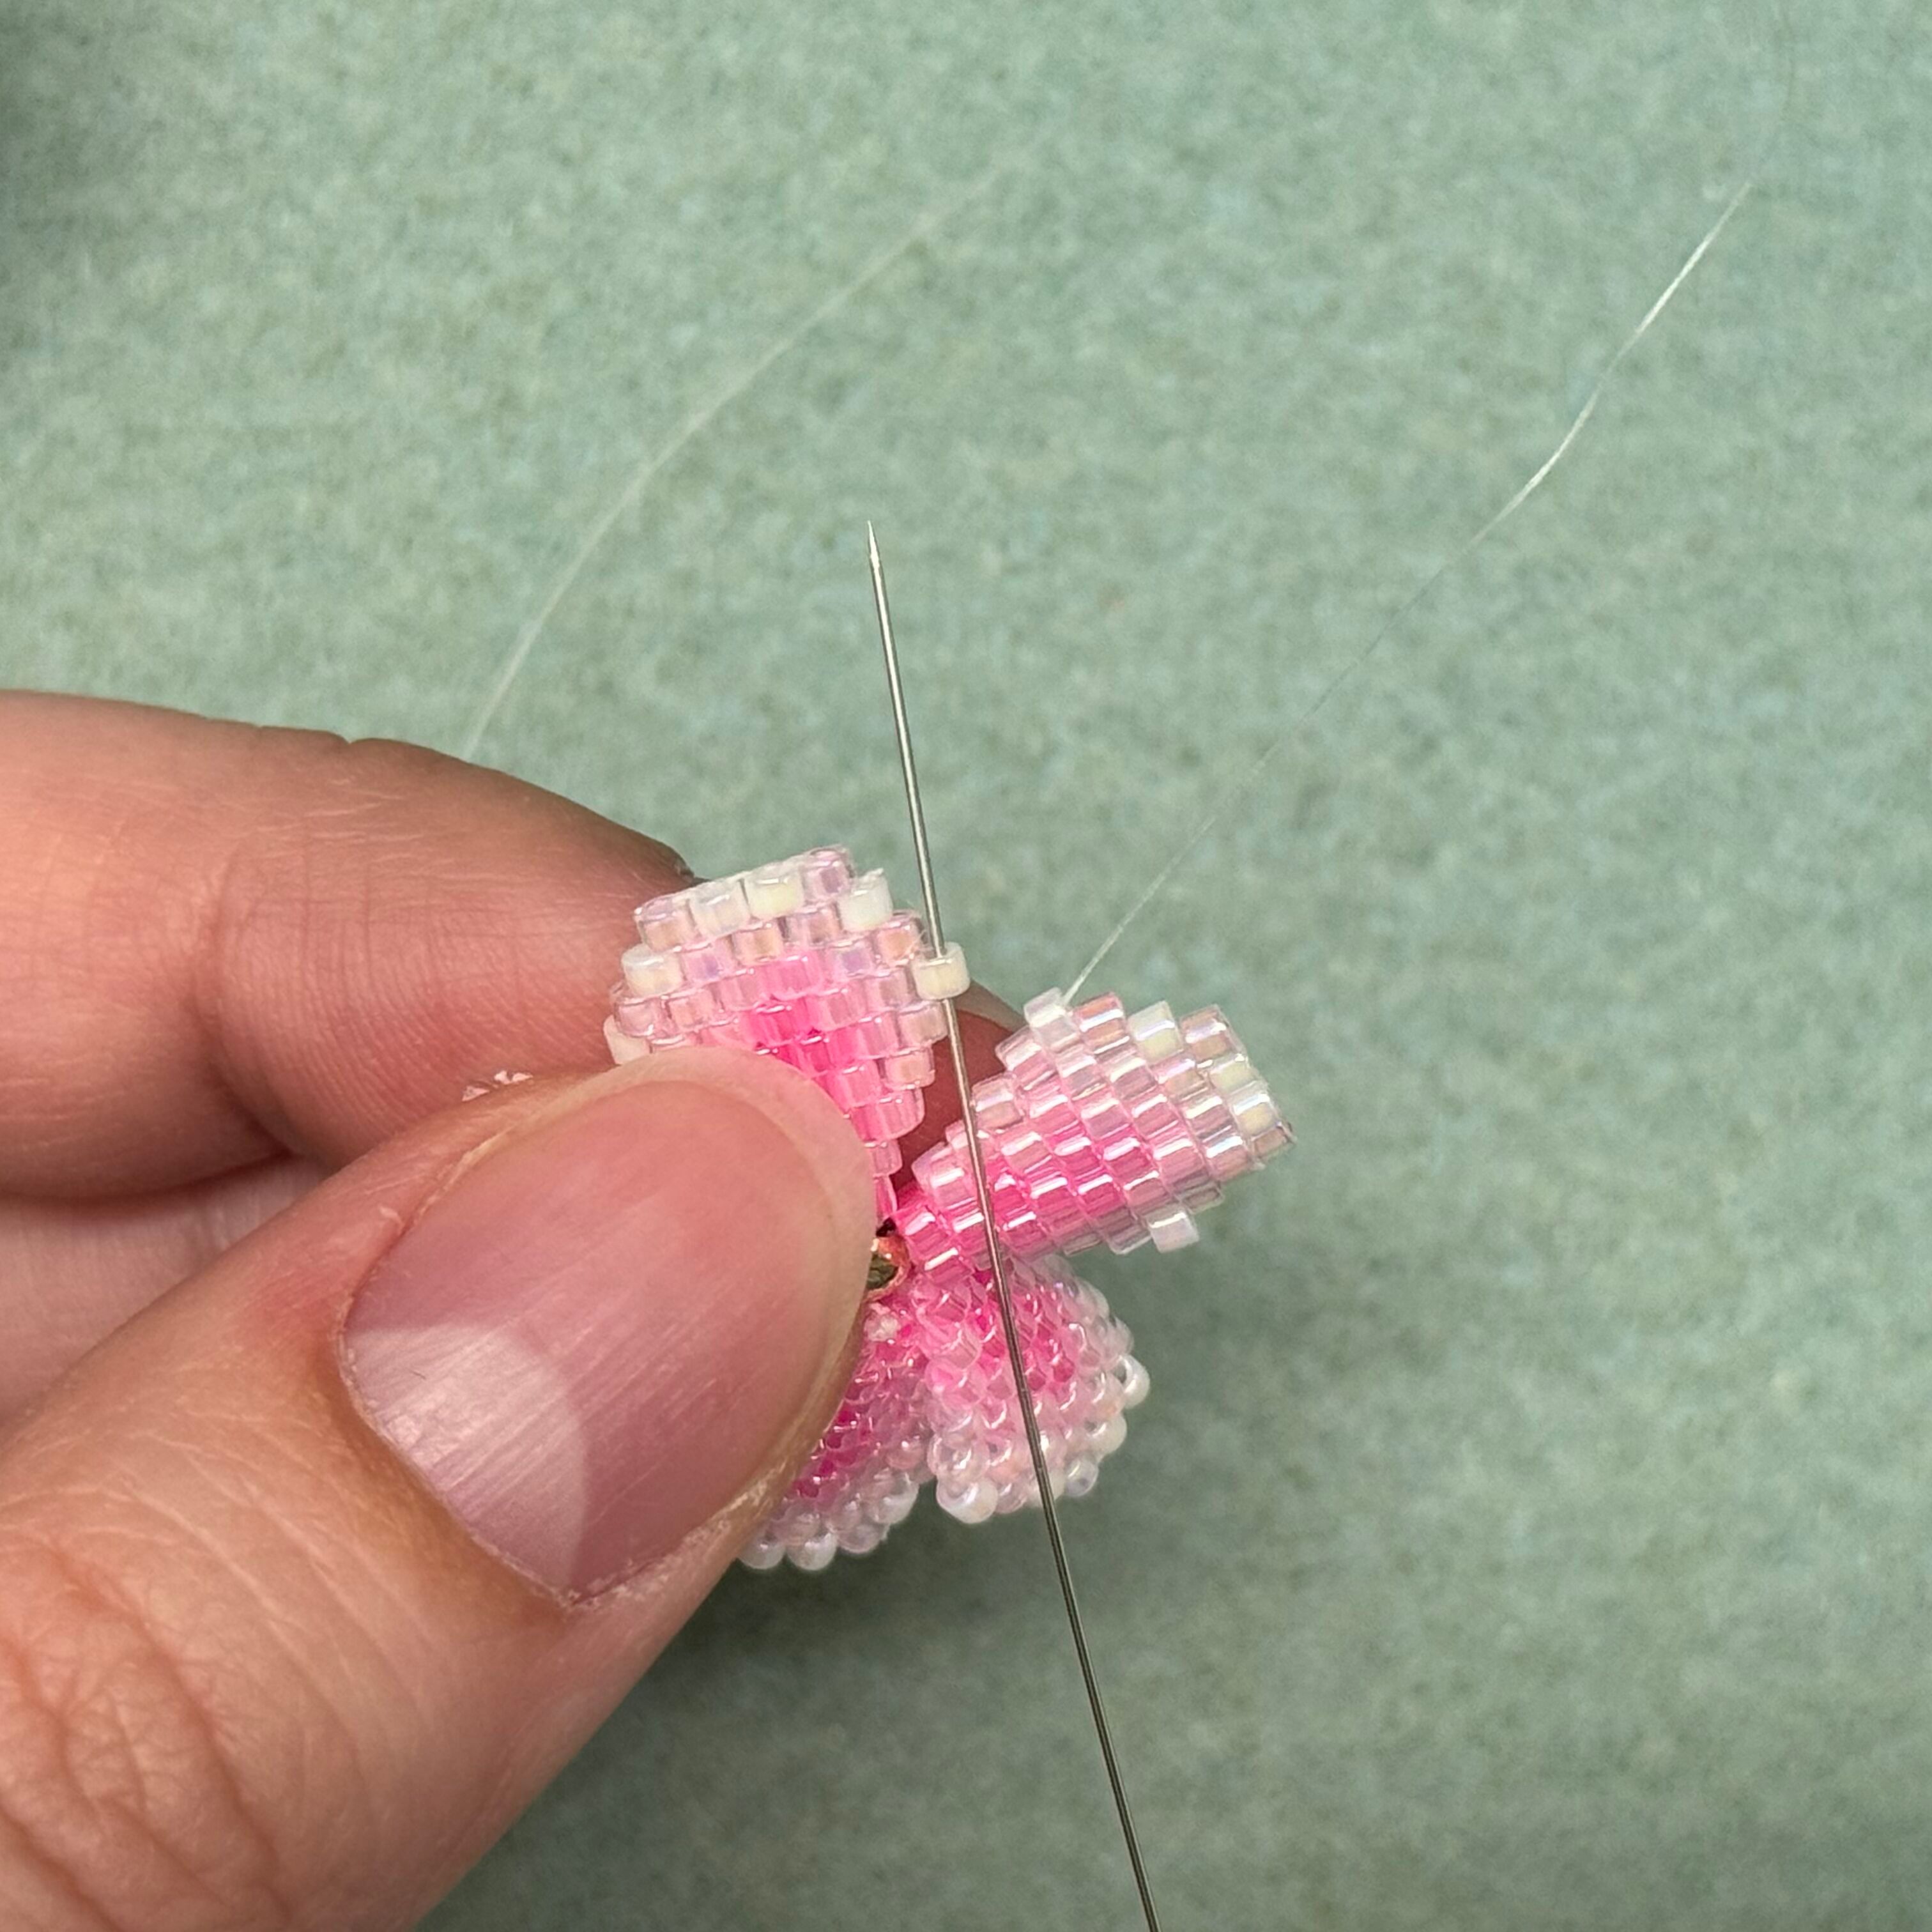
43. String two 202 bead and then one 246 bead onto the thread. Take the needle back through the two 202 beads, "3D" petal bead, gold bead, and "3D" petal bead, but not the first 246 bead

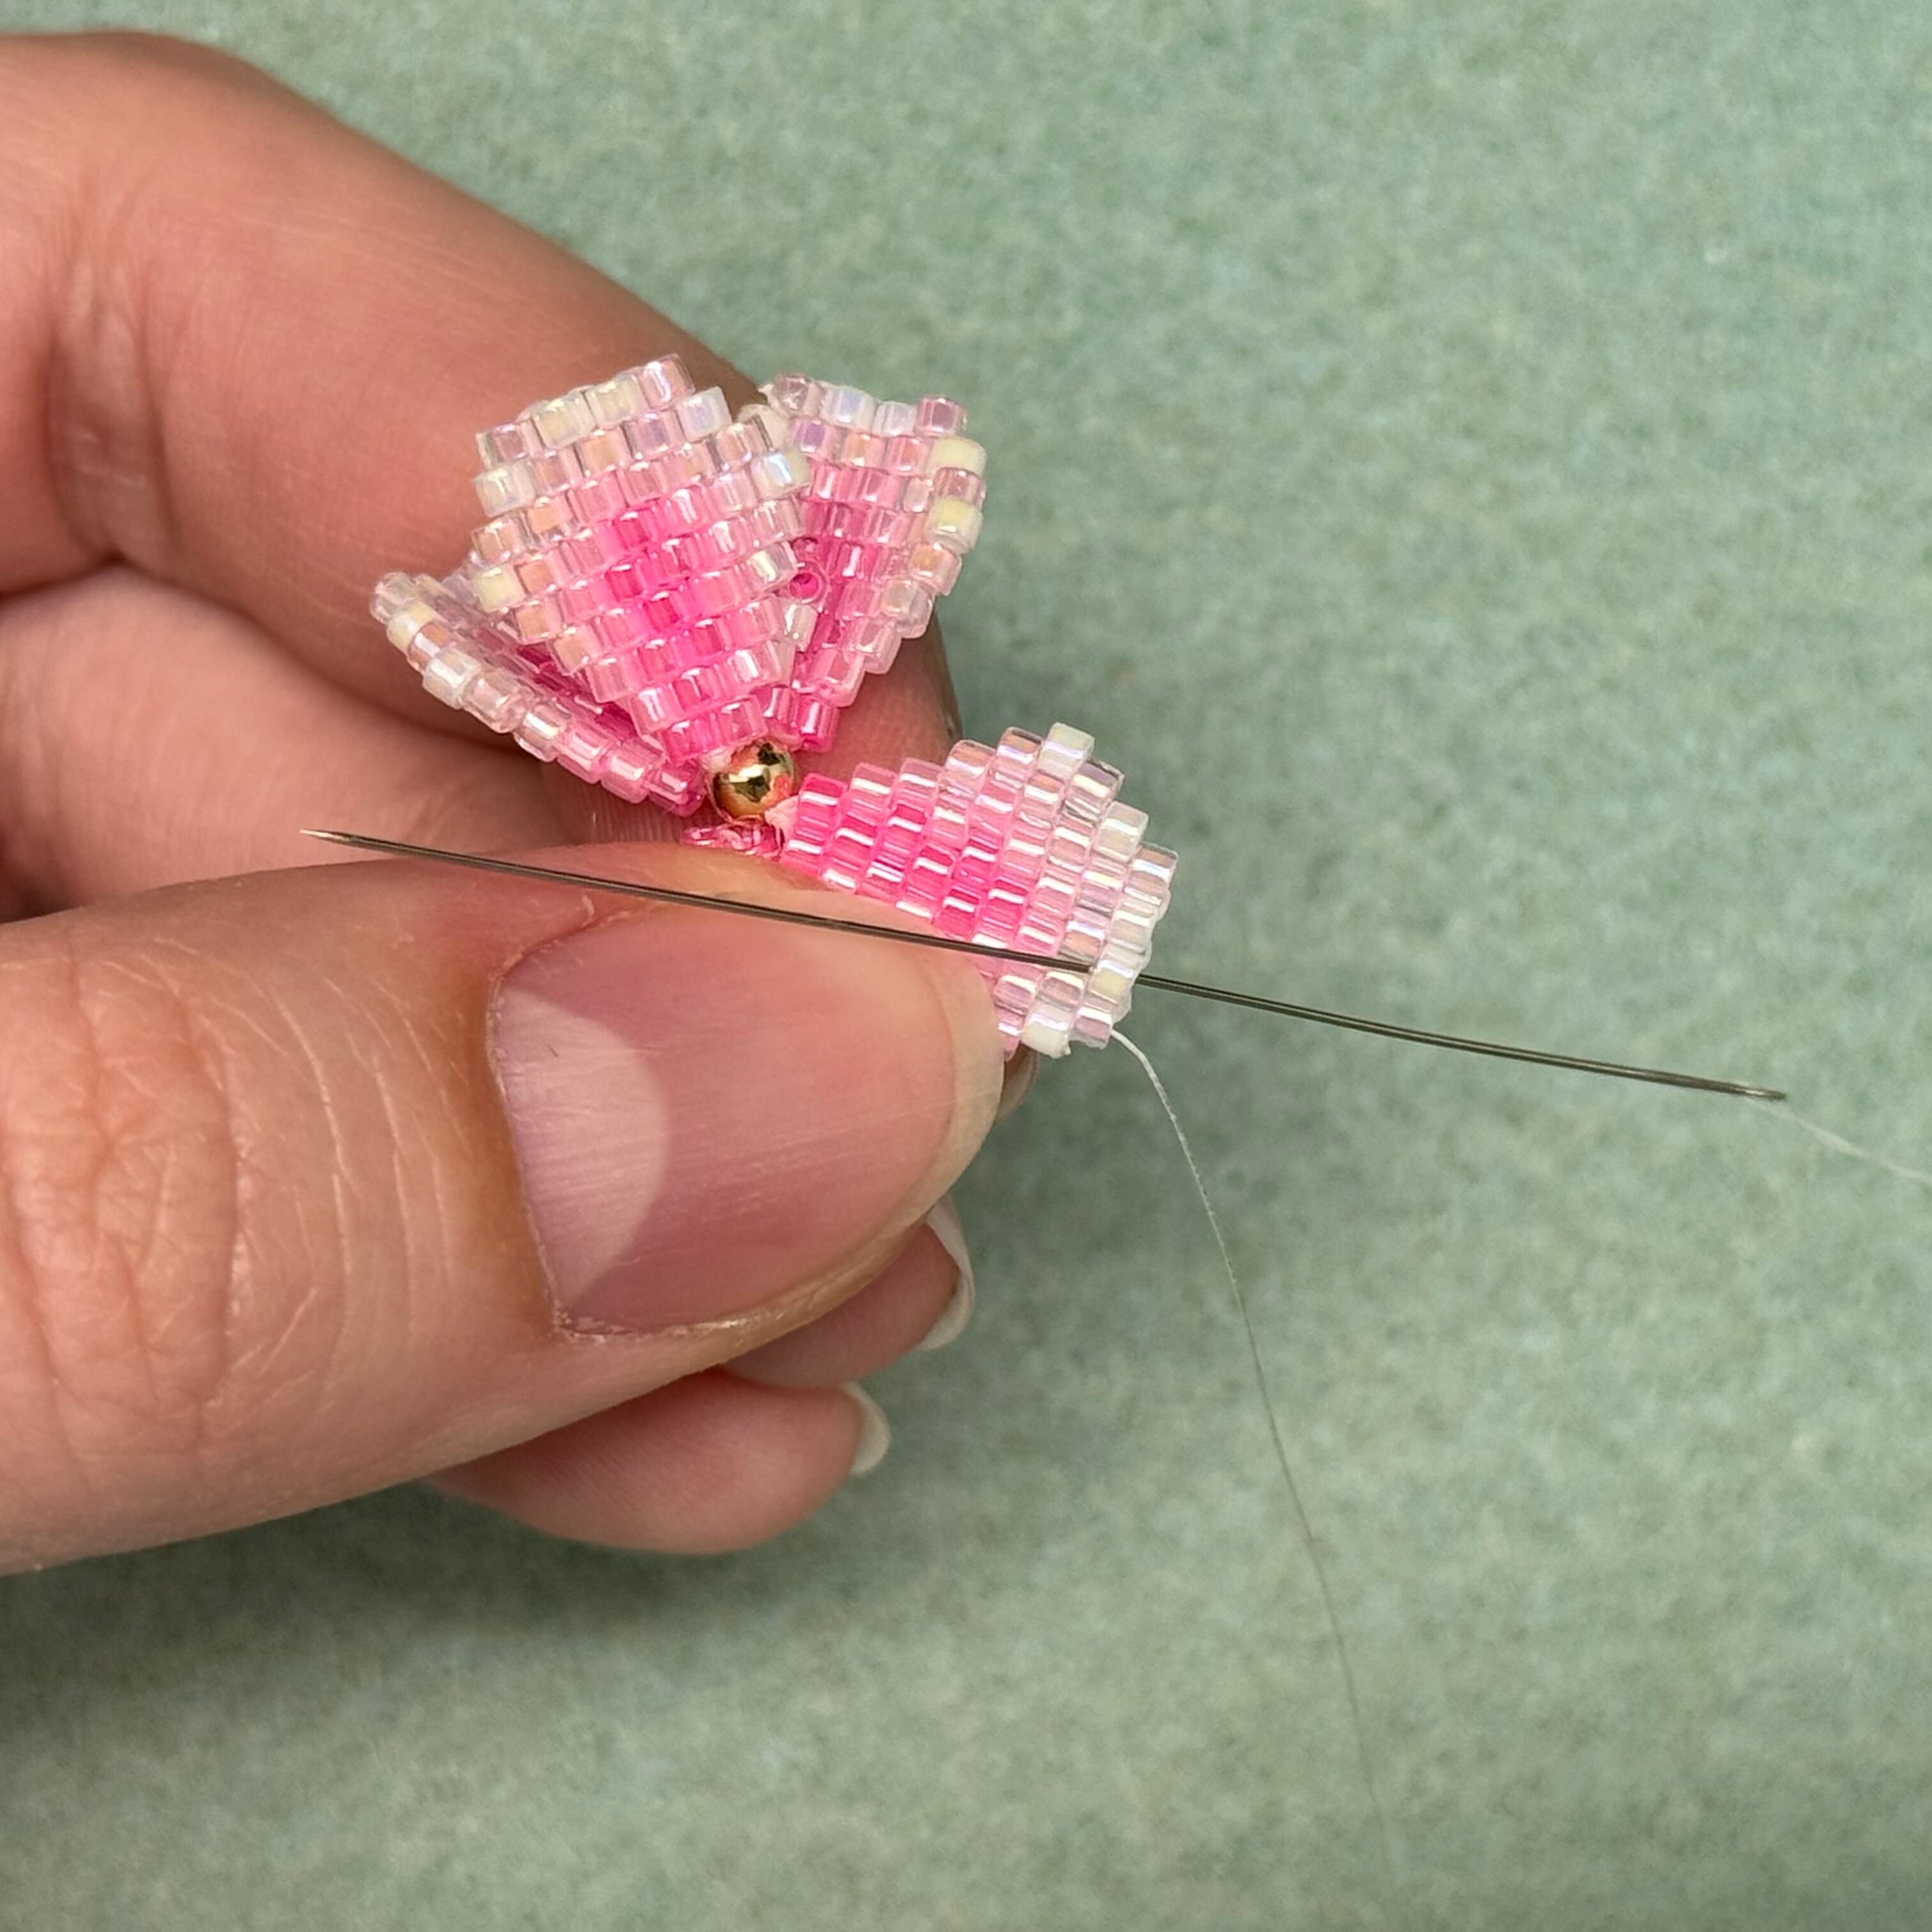
44. Repeat, two 202 beads and a 246 bead - thread back through just the 202 beads, "3D" petal bead, and the gold bead
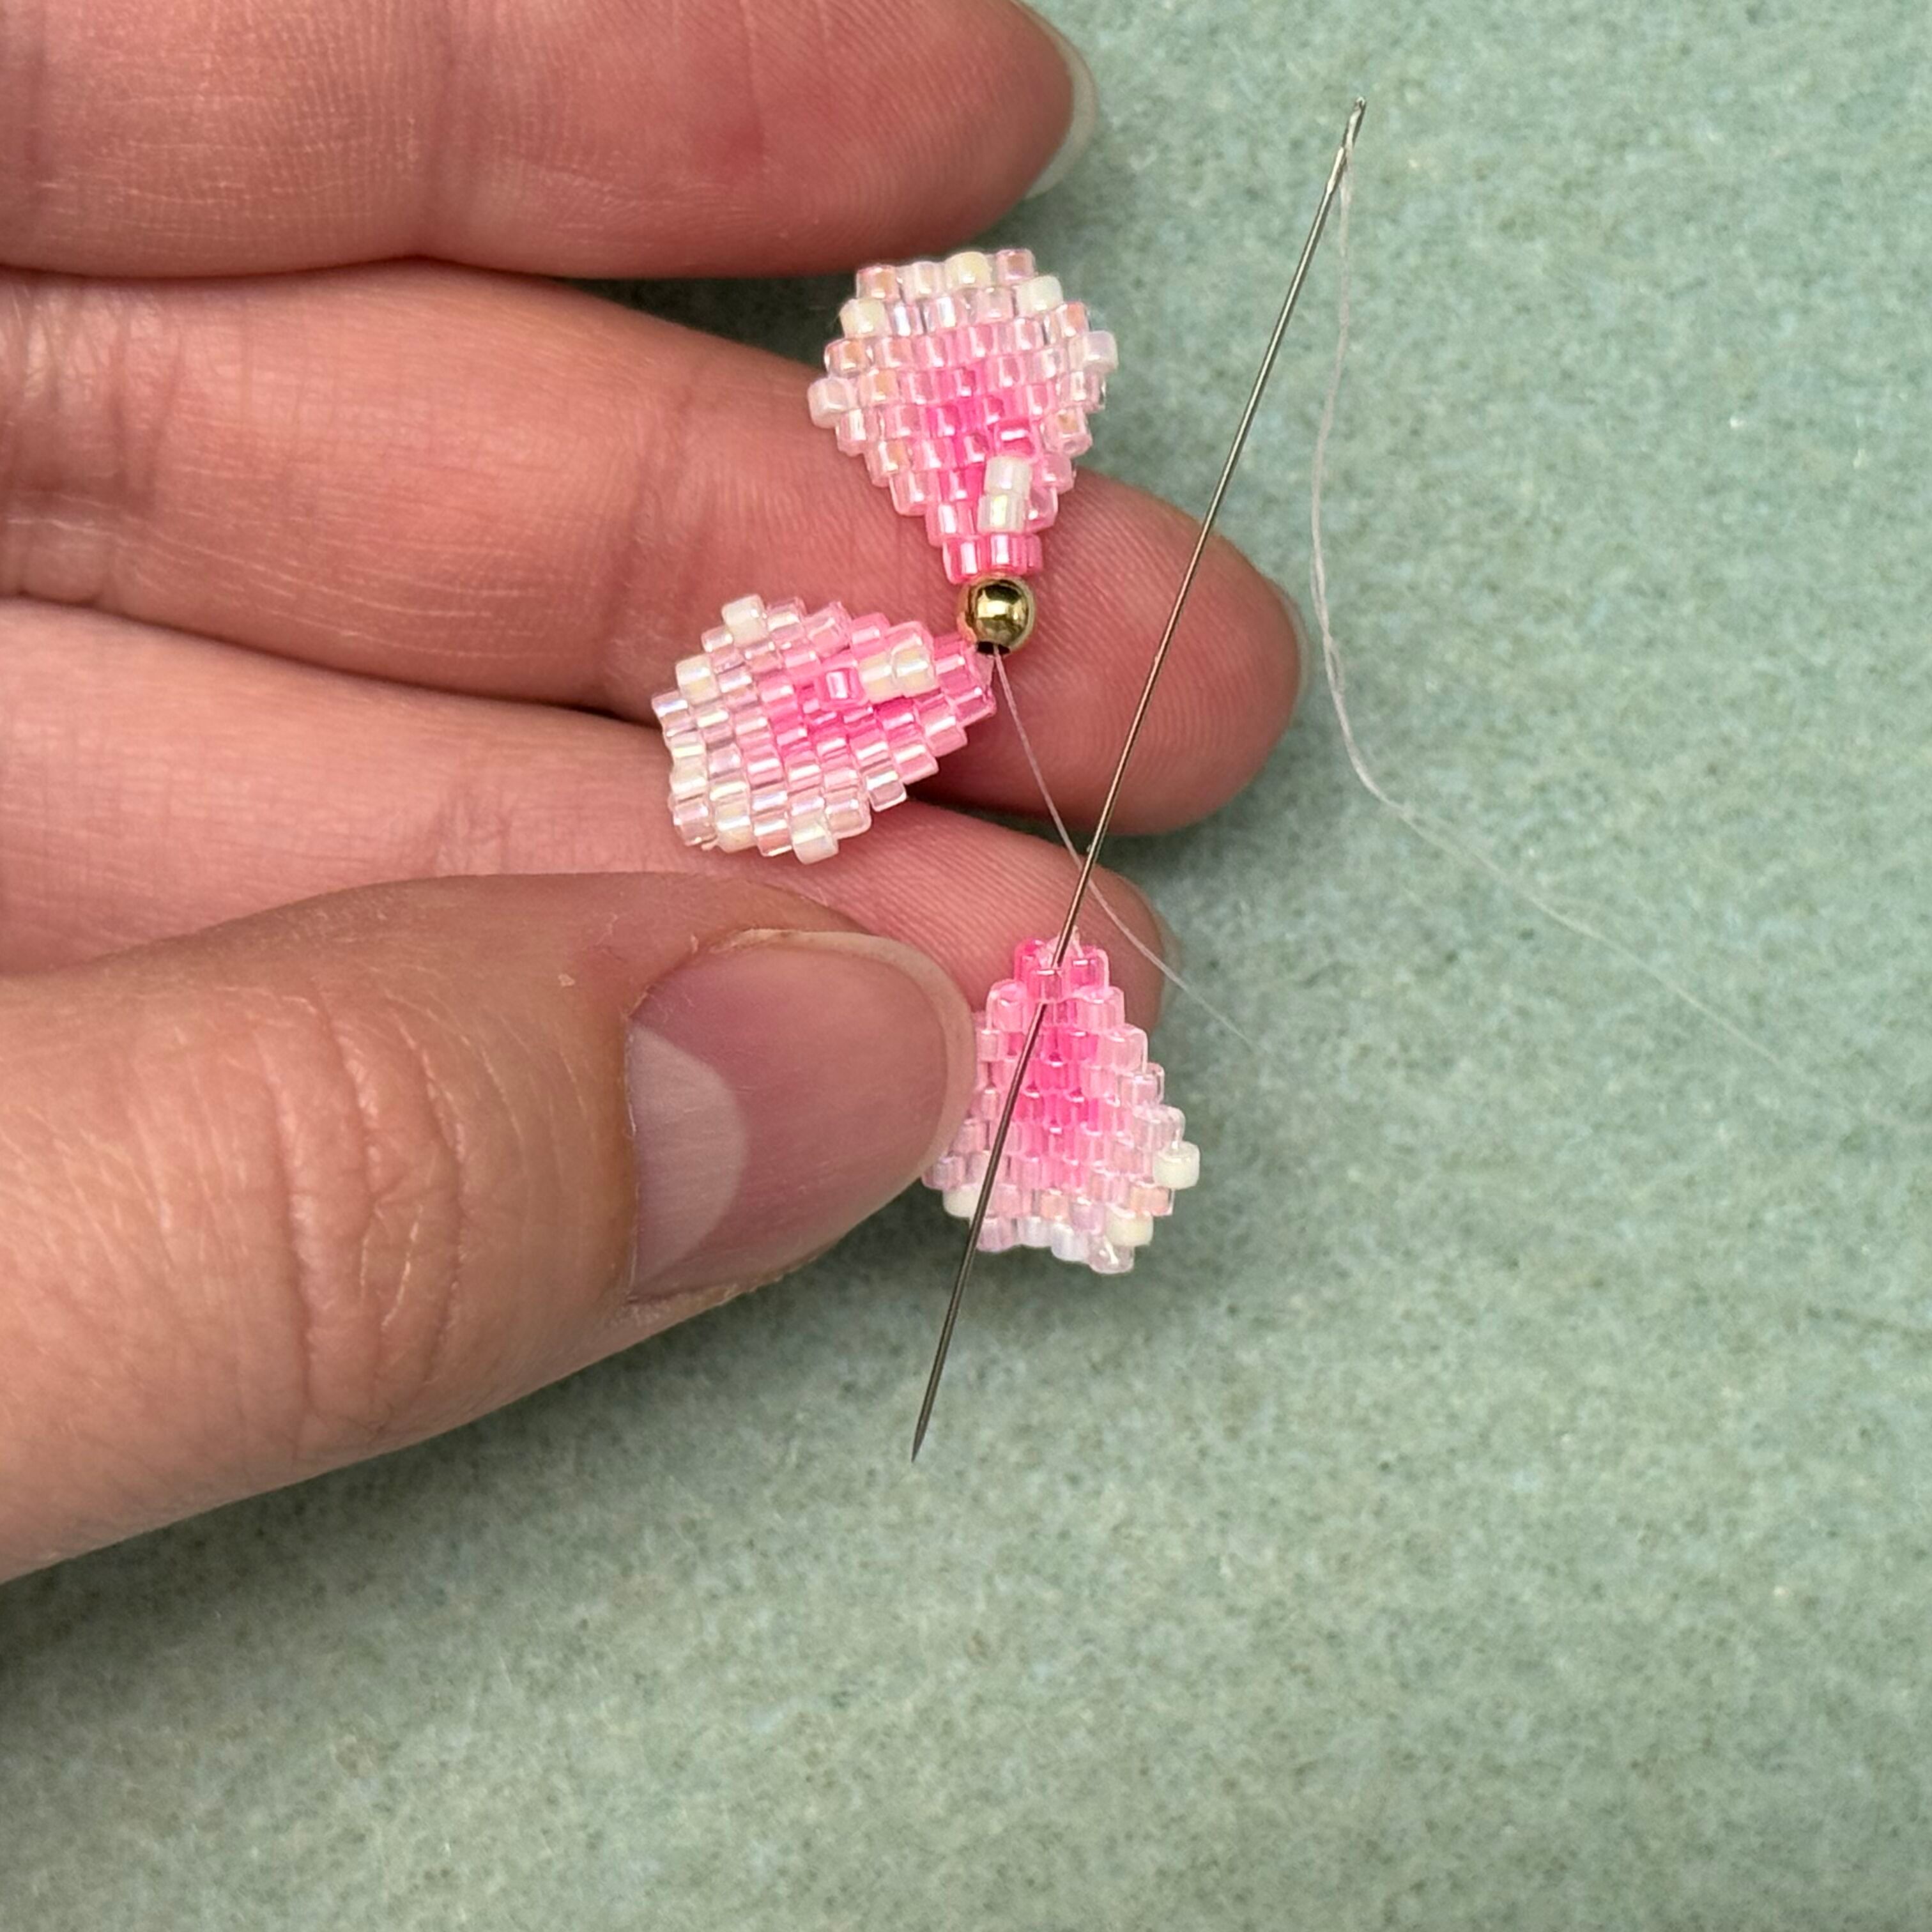
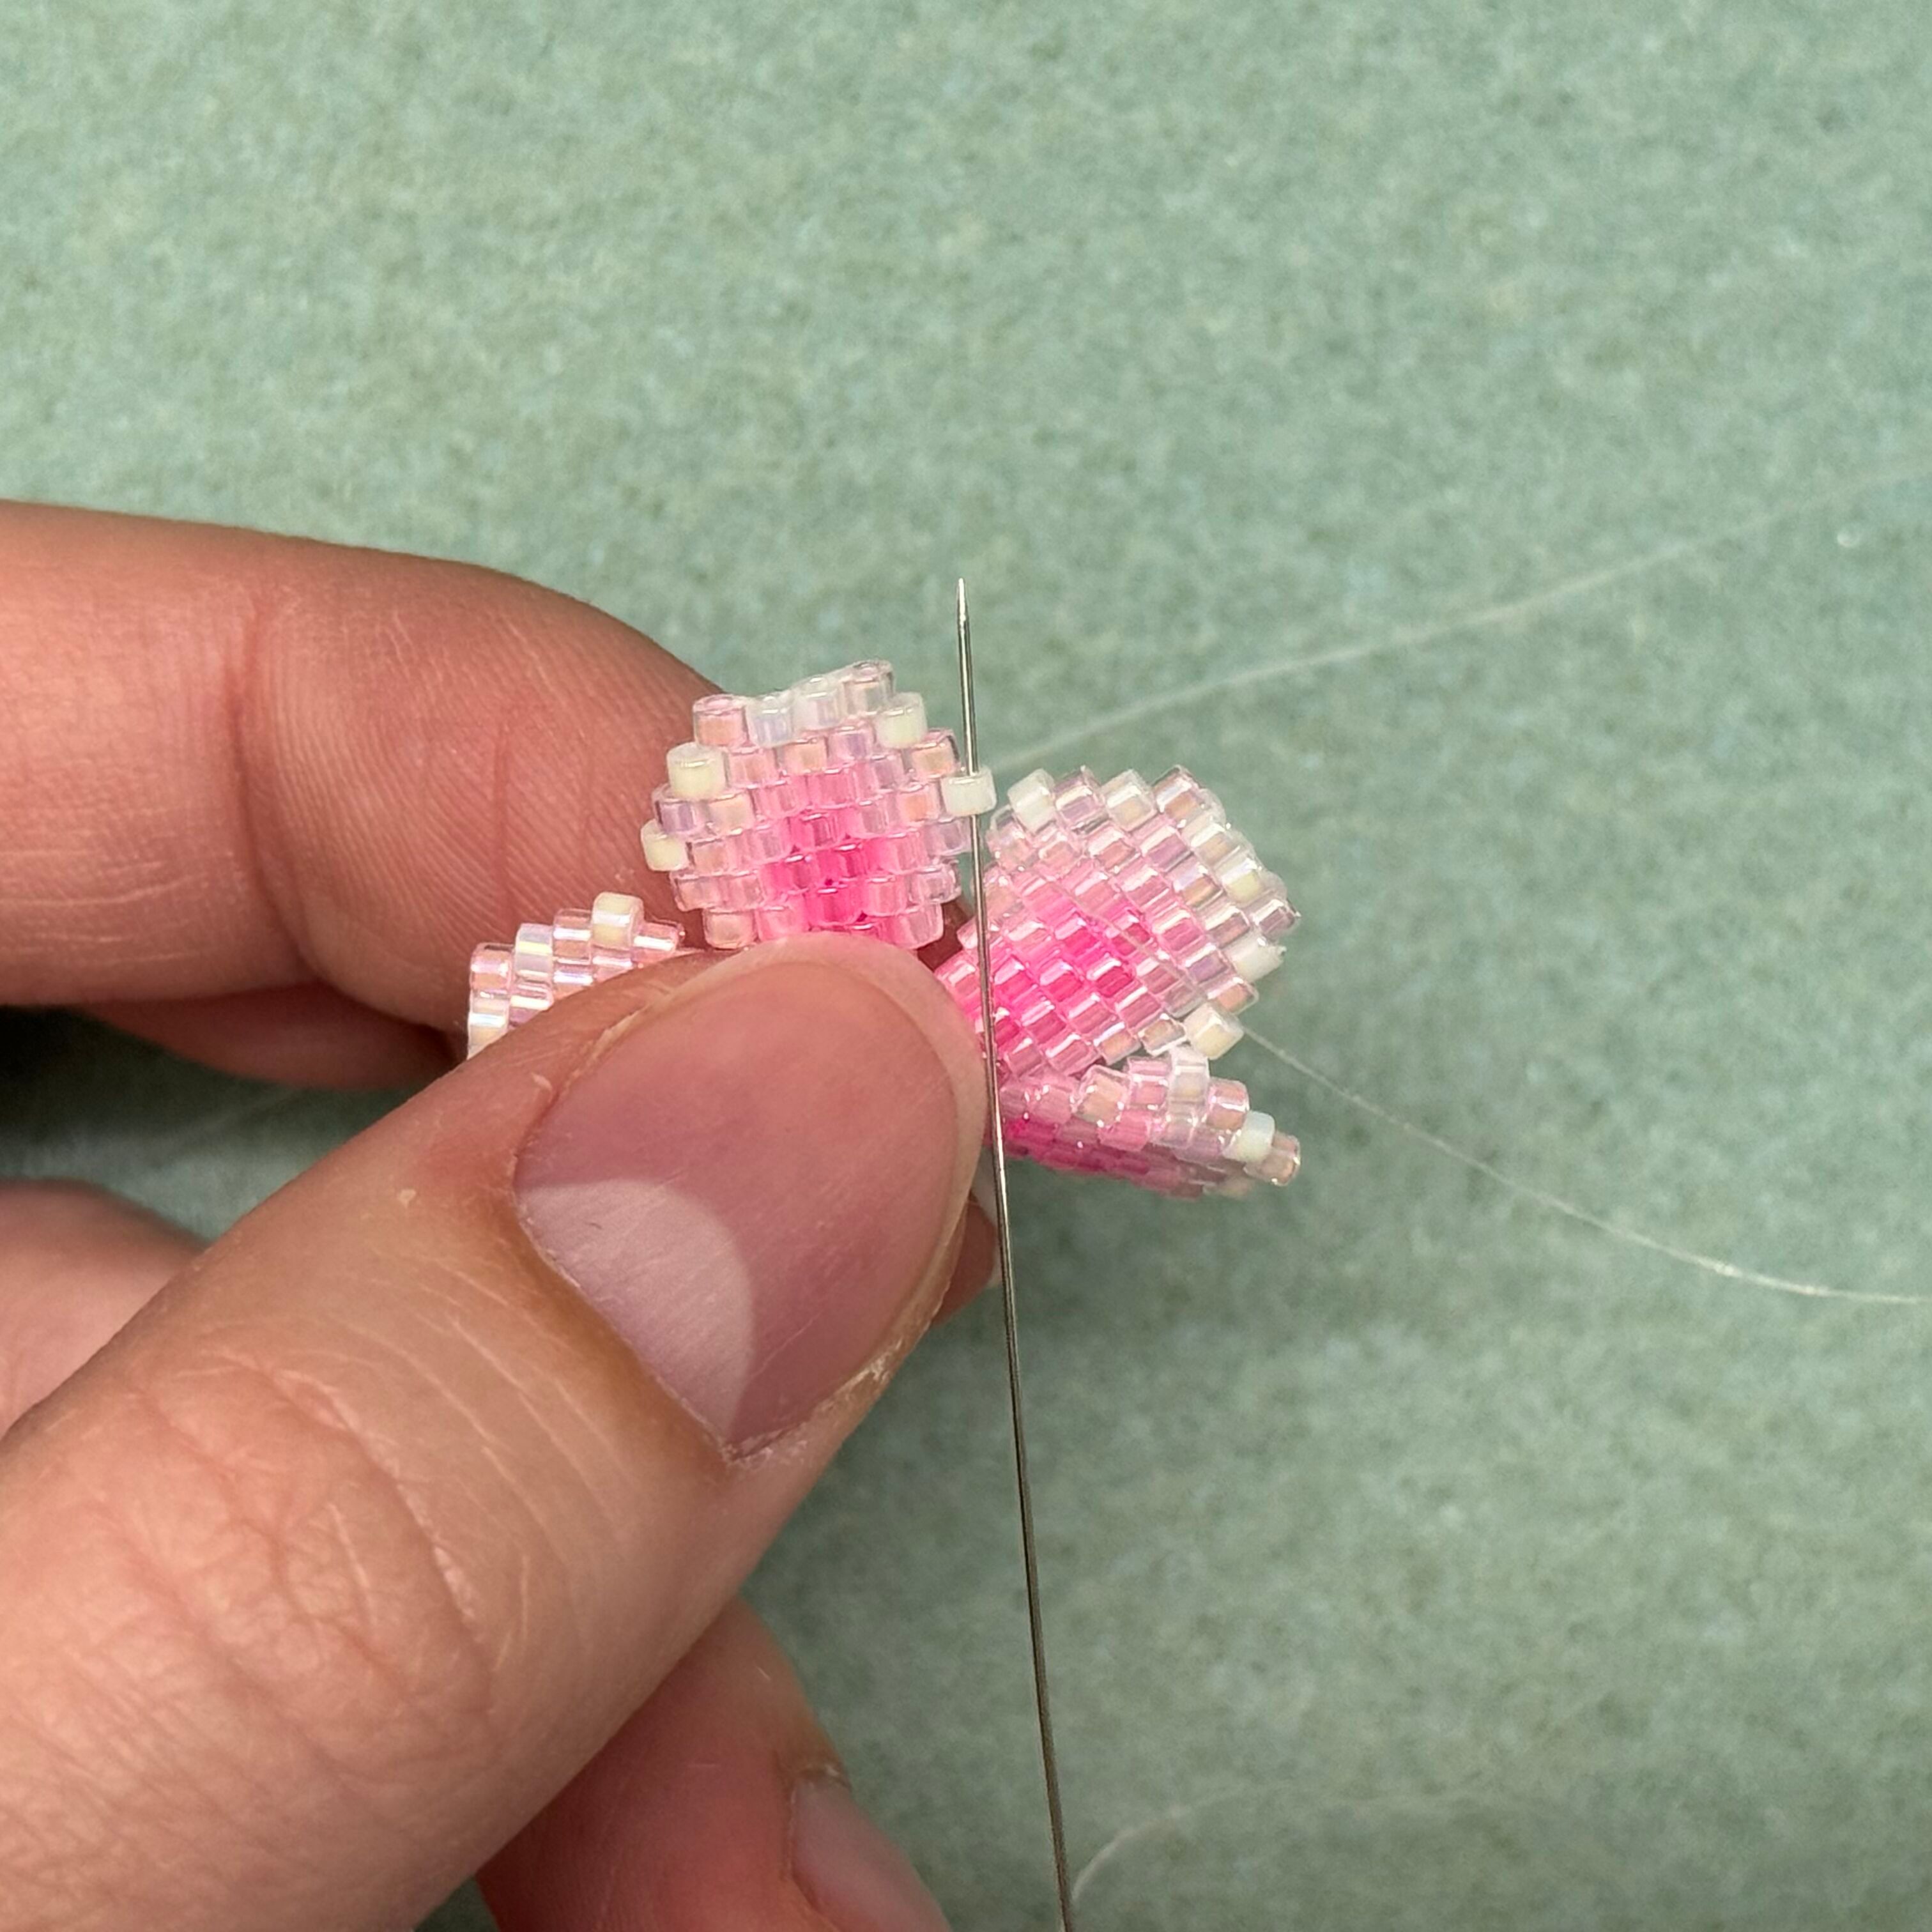
45. Grab a third petal and thread the needle through the "3D" bead
46. Repeat, two 202 beads and a 246 bead - thread back through just the 202 beads, "3D" petal bead, and the gold bead
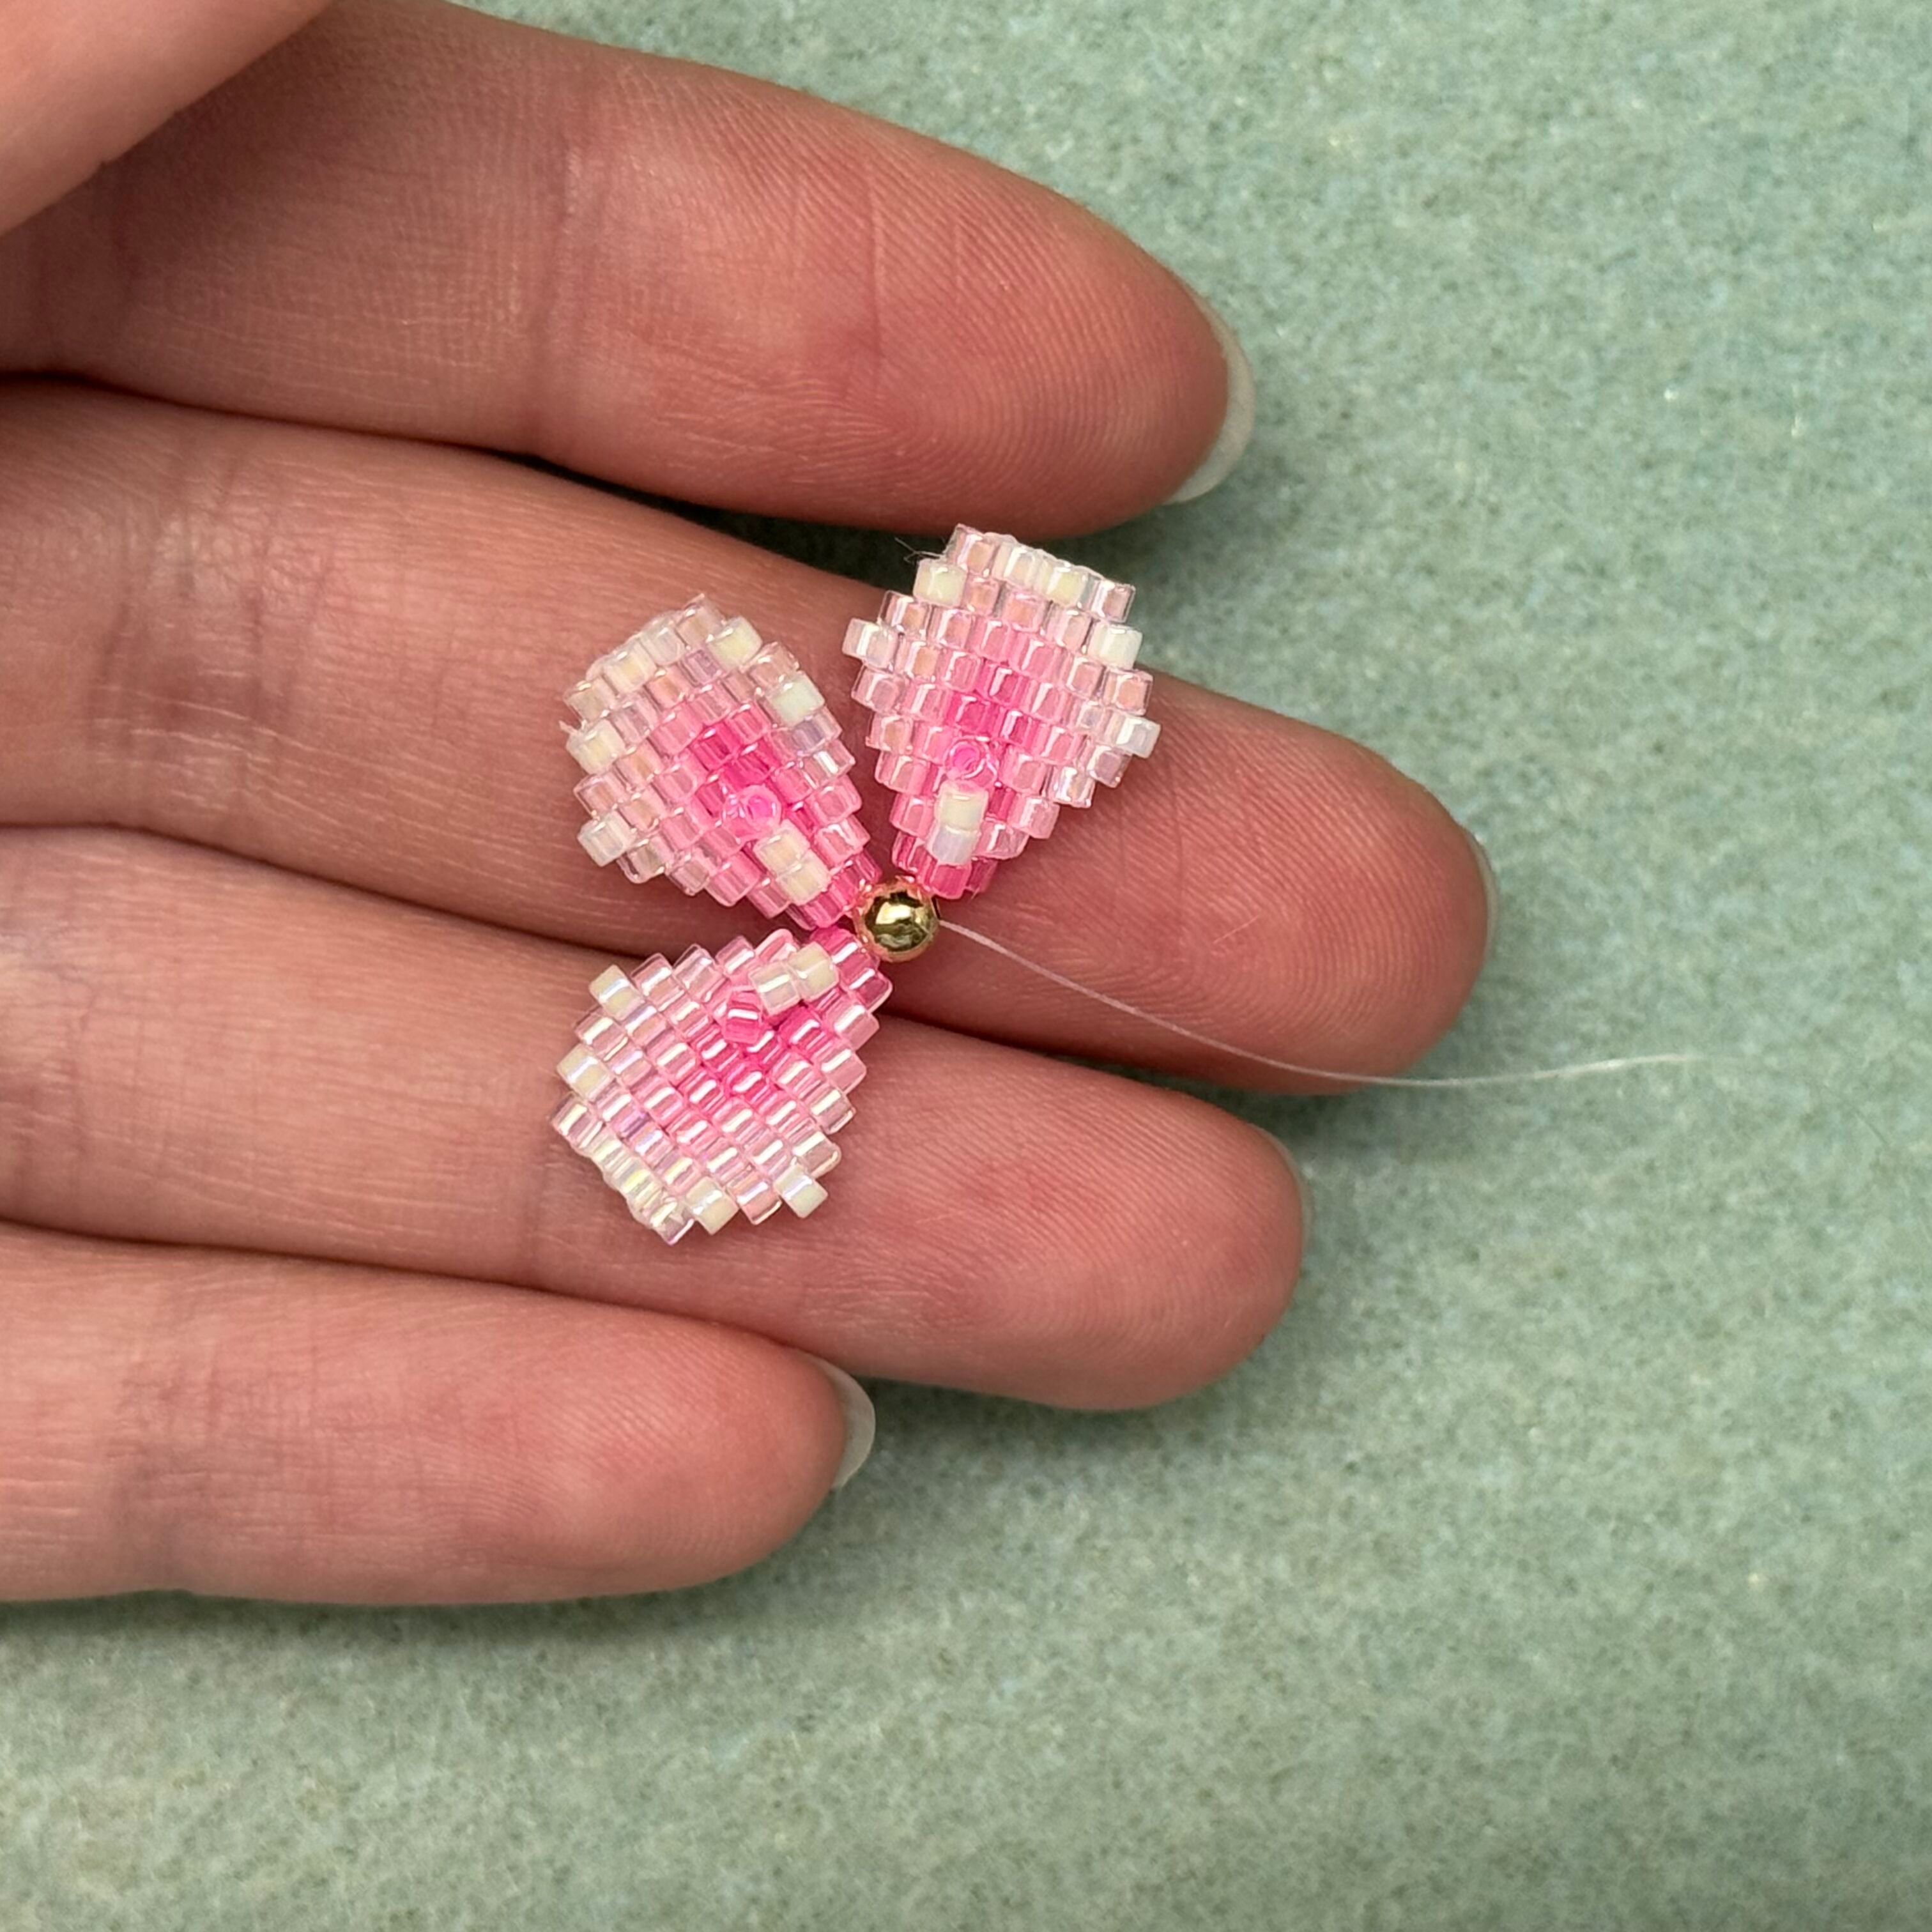
47. Repeat with a 4th petal - two 202 beads and a 246 bead - thread back through just the 202 beads, "3D" petal bead, and the gold bead
48. Repeat with the 5th and last petal, two 202 beads and a 246 bead - thread back through just the 202 beads, "3D" petal bead, and the gold bead
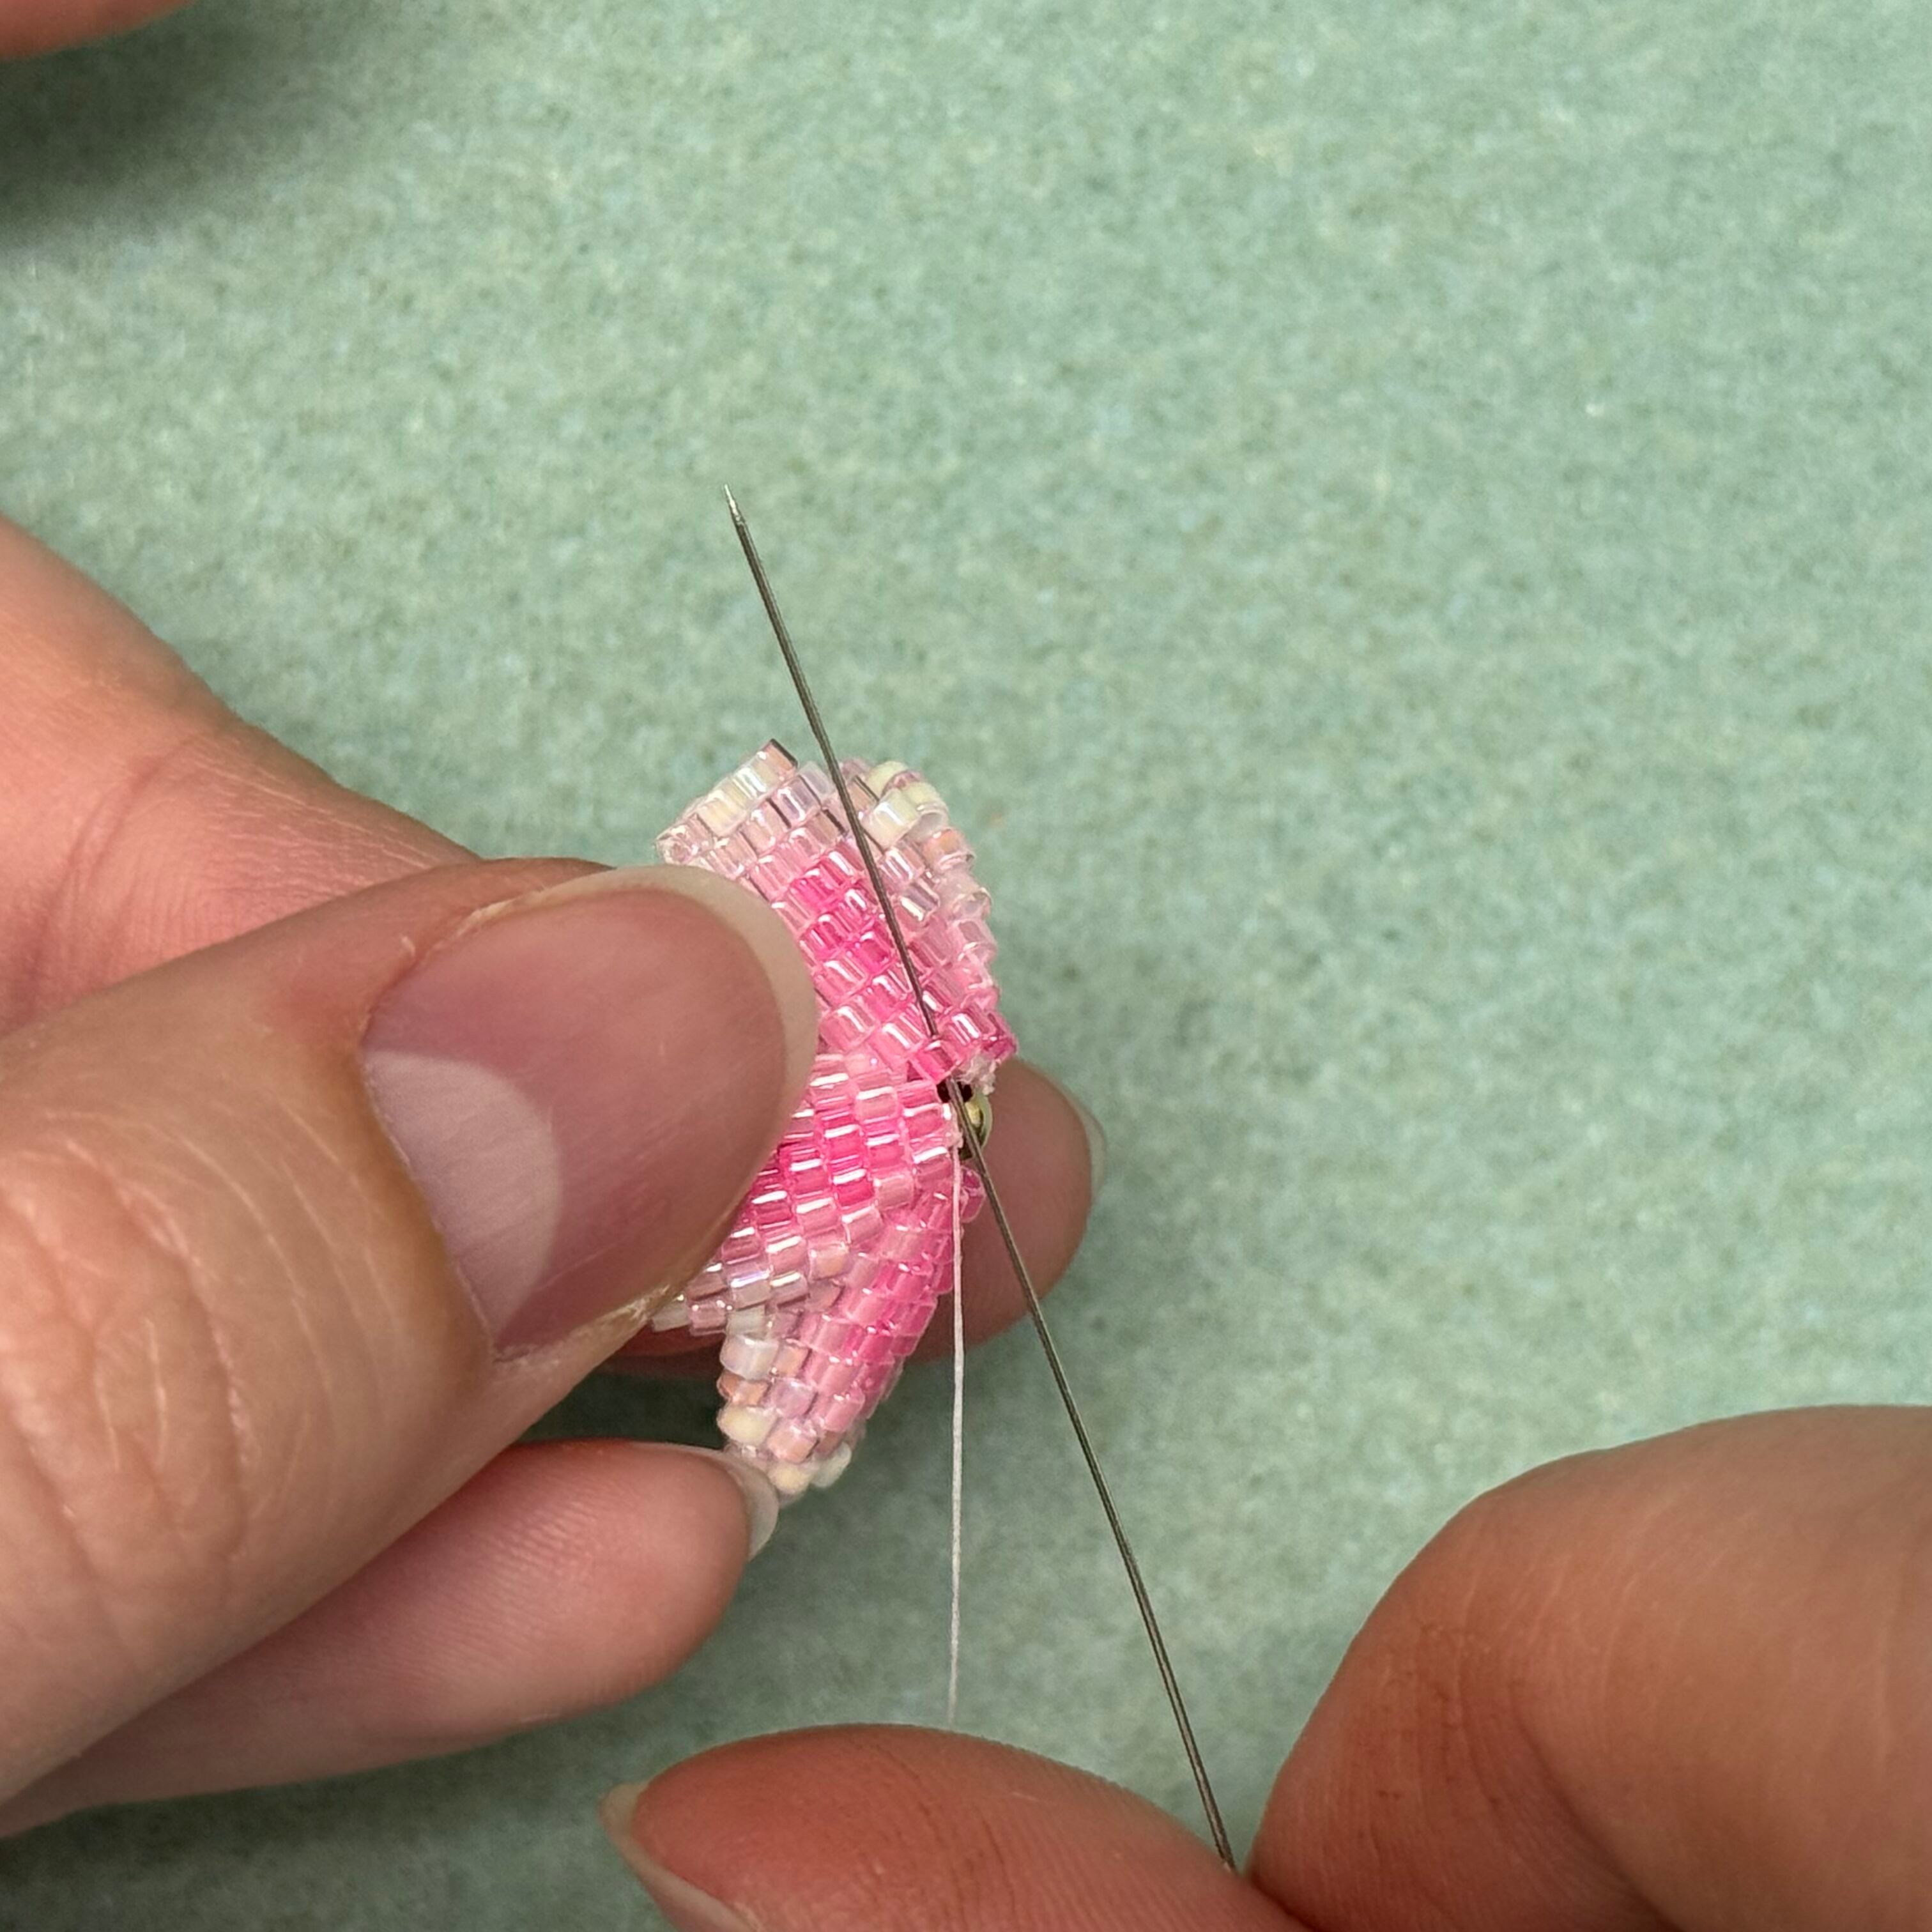
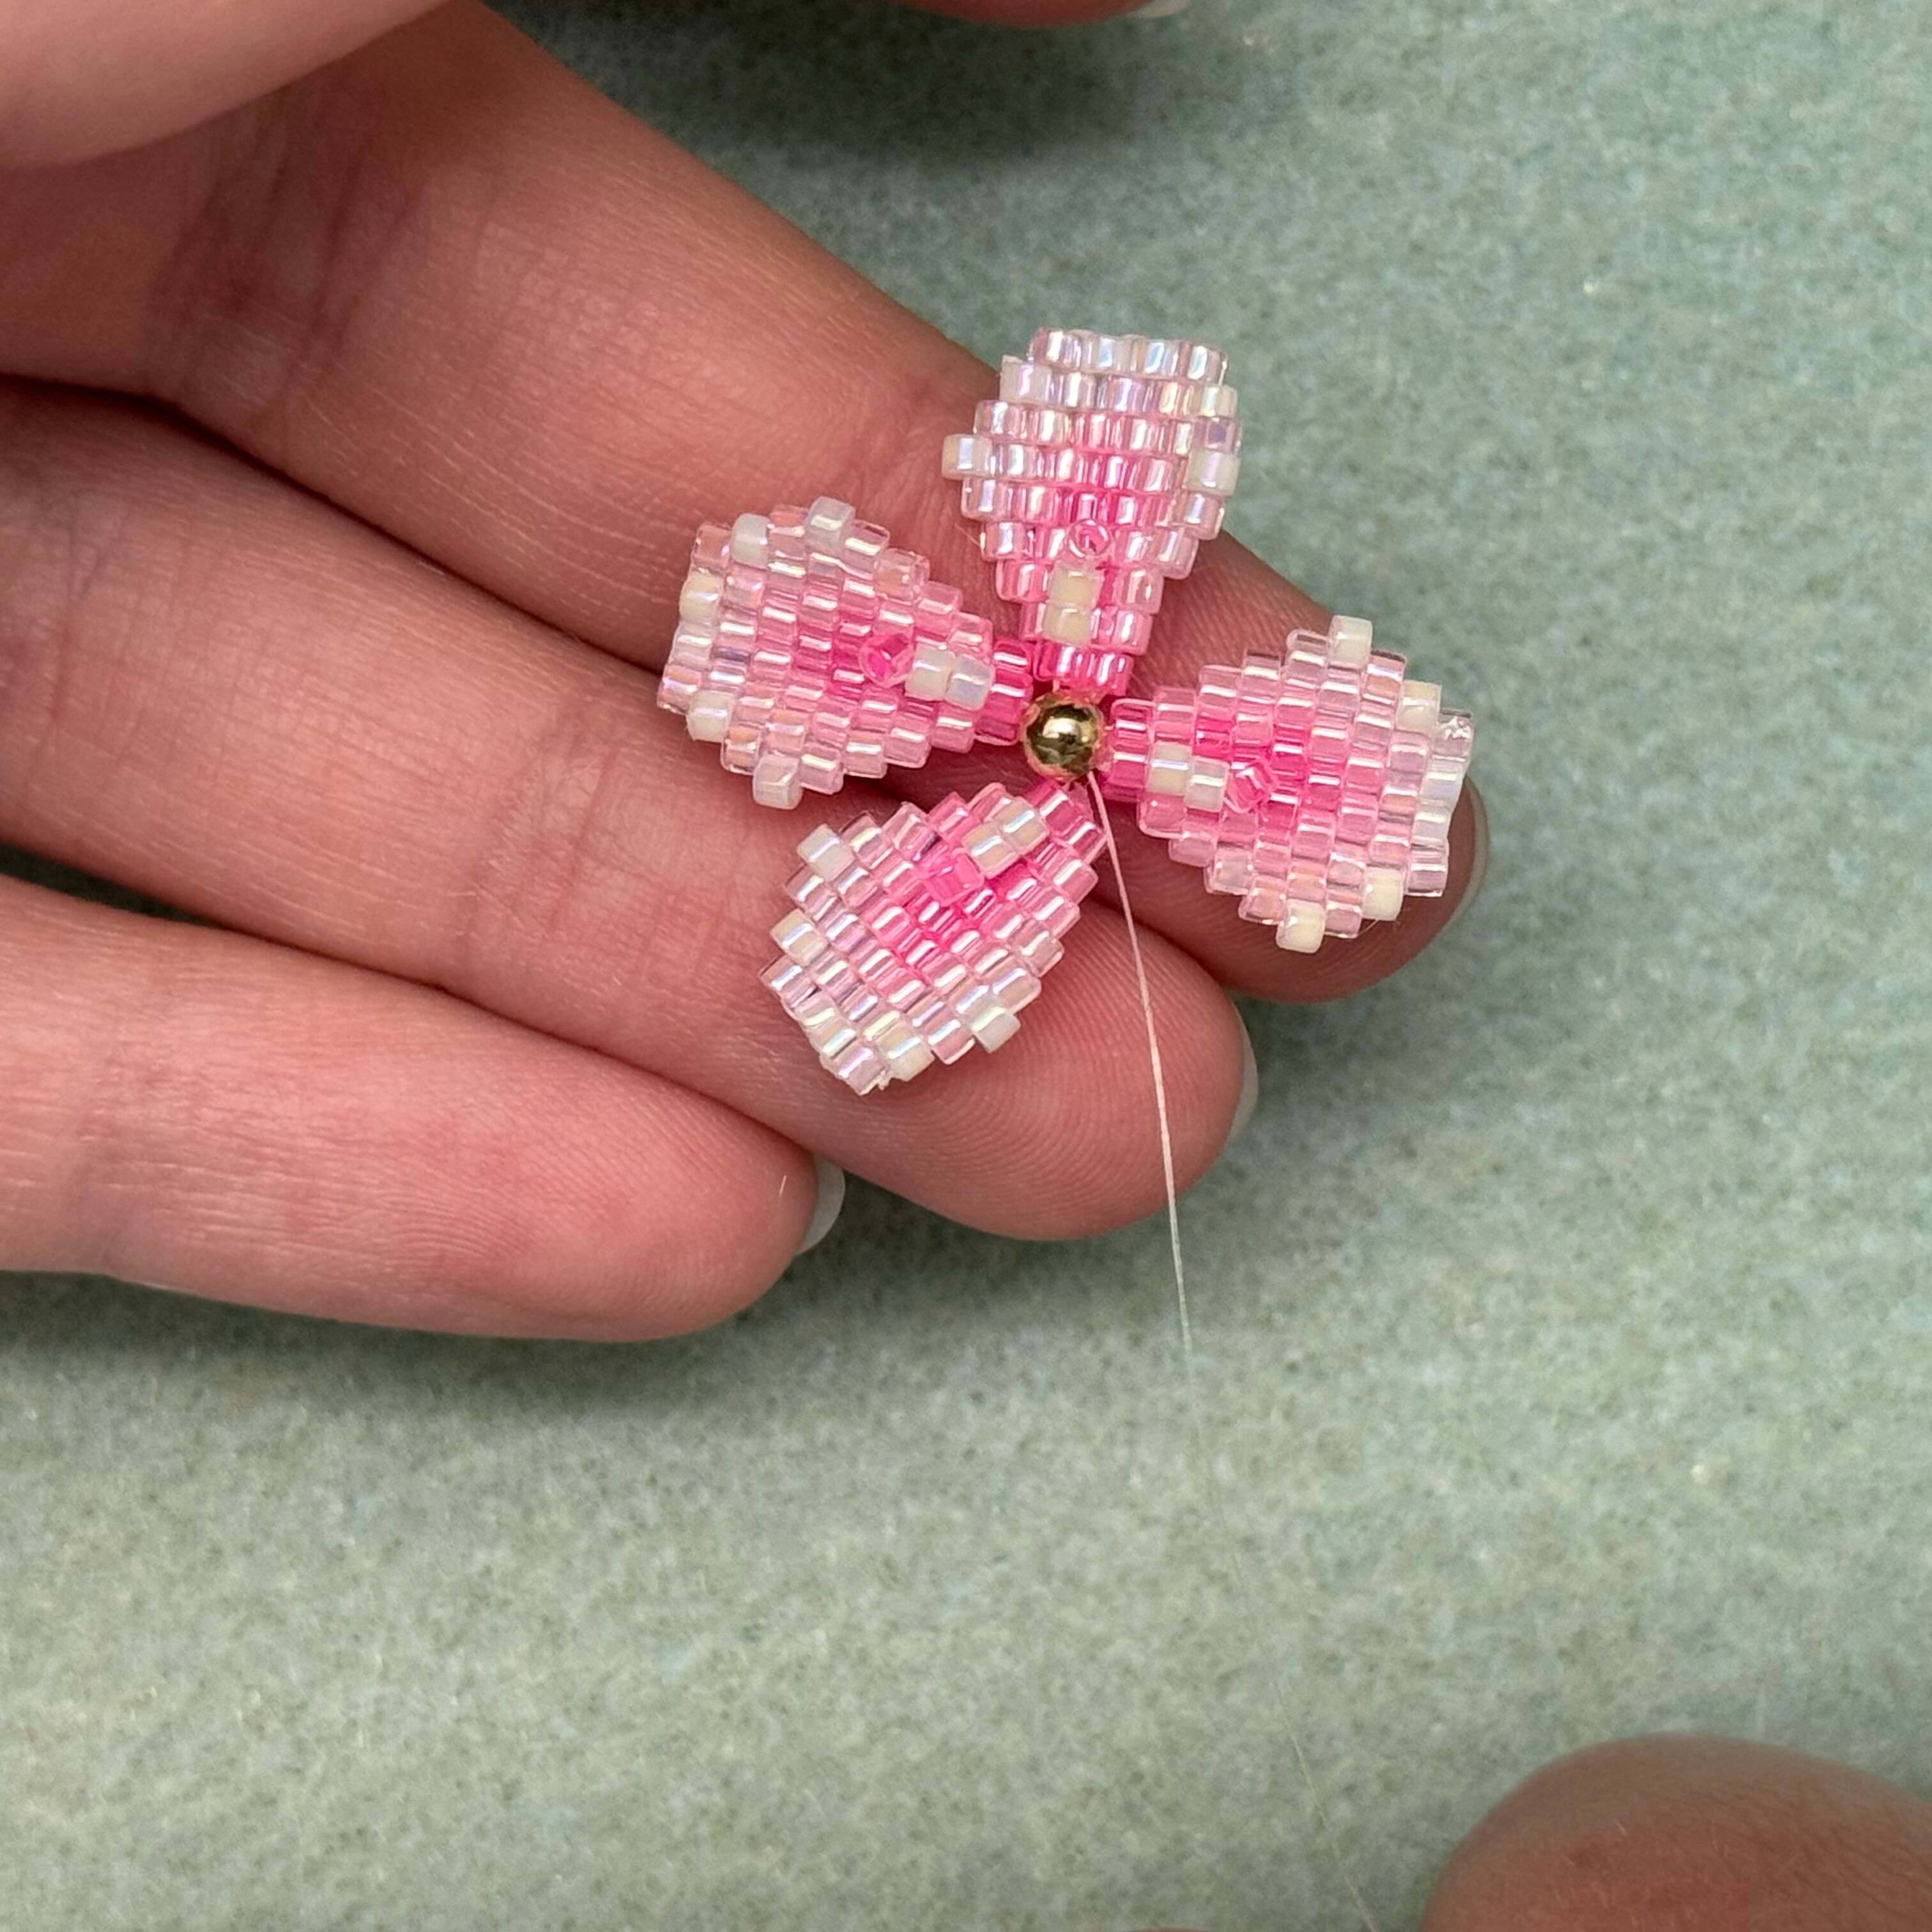
49. Turn your project over and thread the needle up through the left bead of one petal (select the closest petal to the hole of the gold bead your thread was going through)

50. Thread the needle down the bead just to the right, keep pulling tight after every stitch
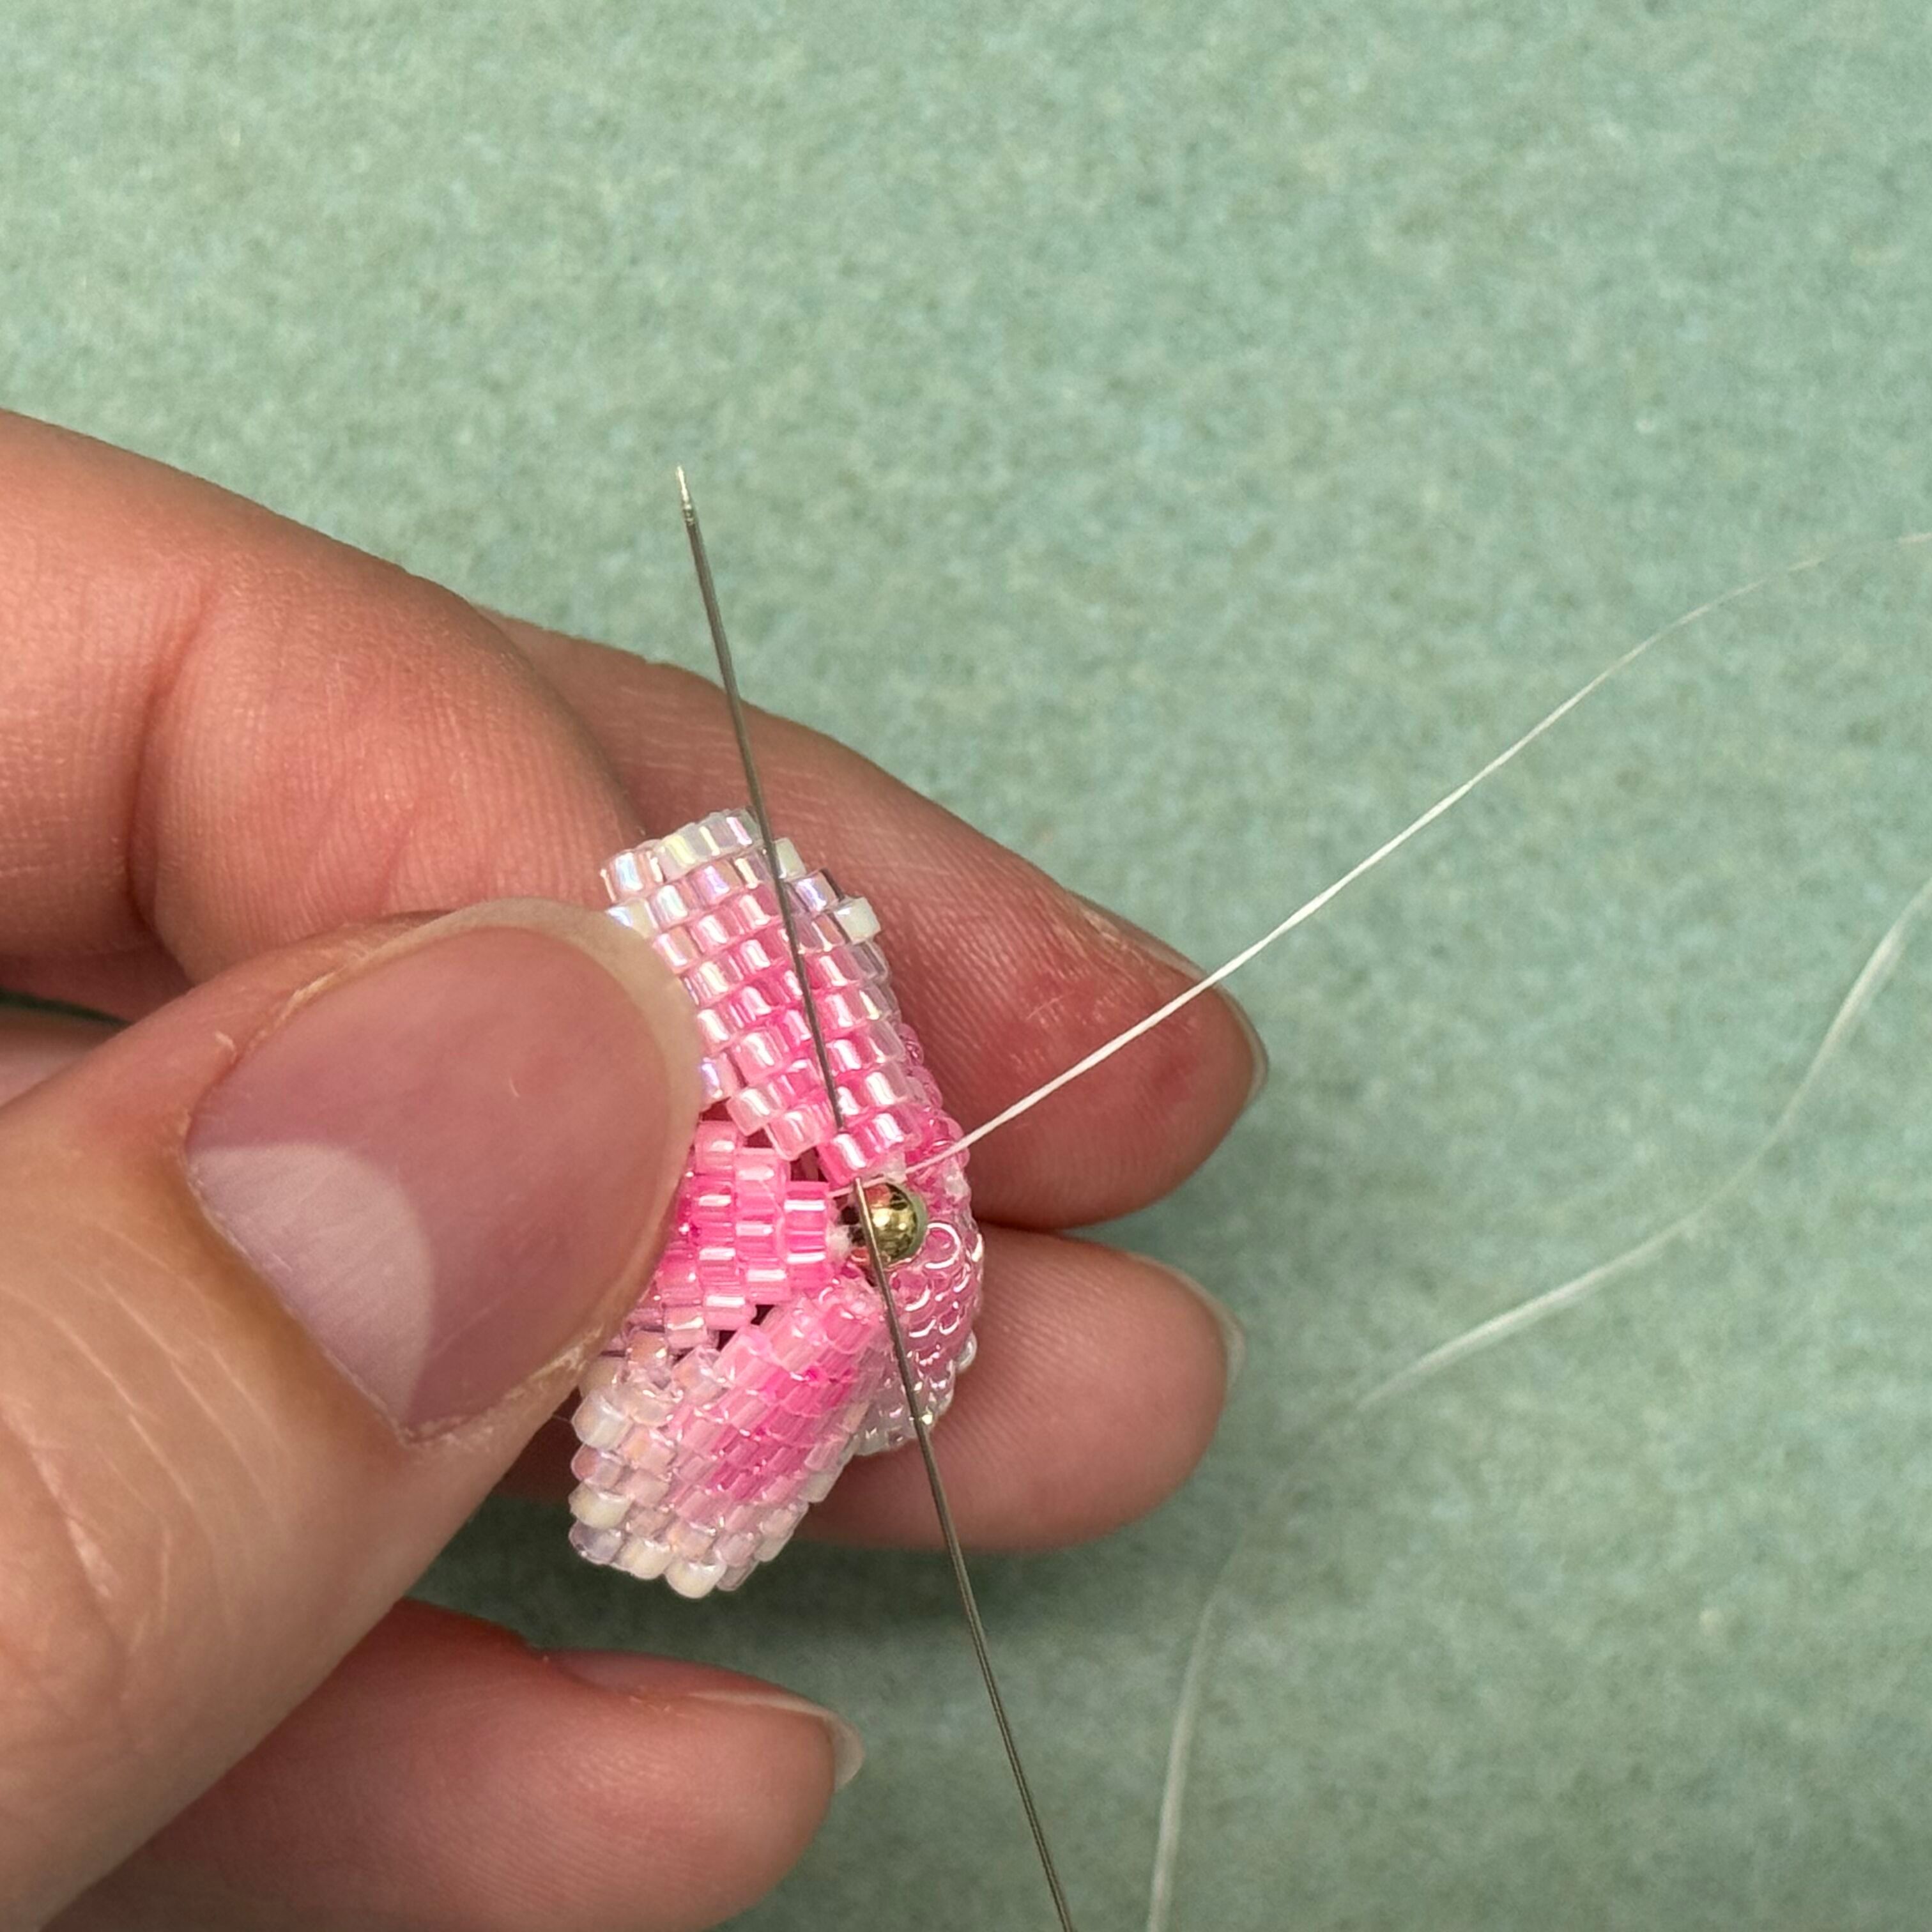
51. Onto the next petal - thread the needle up through the left delica. Keep going around, up and down, until you have completed a full circle
52. After completing the circle, thread the needle up through a left delica bead
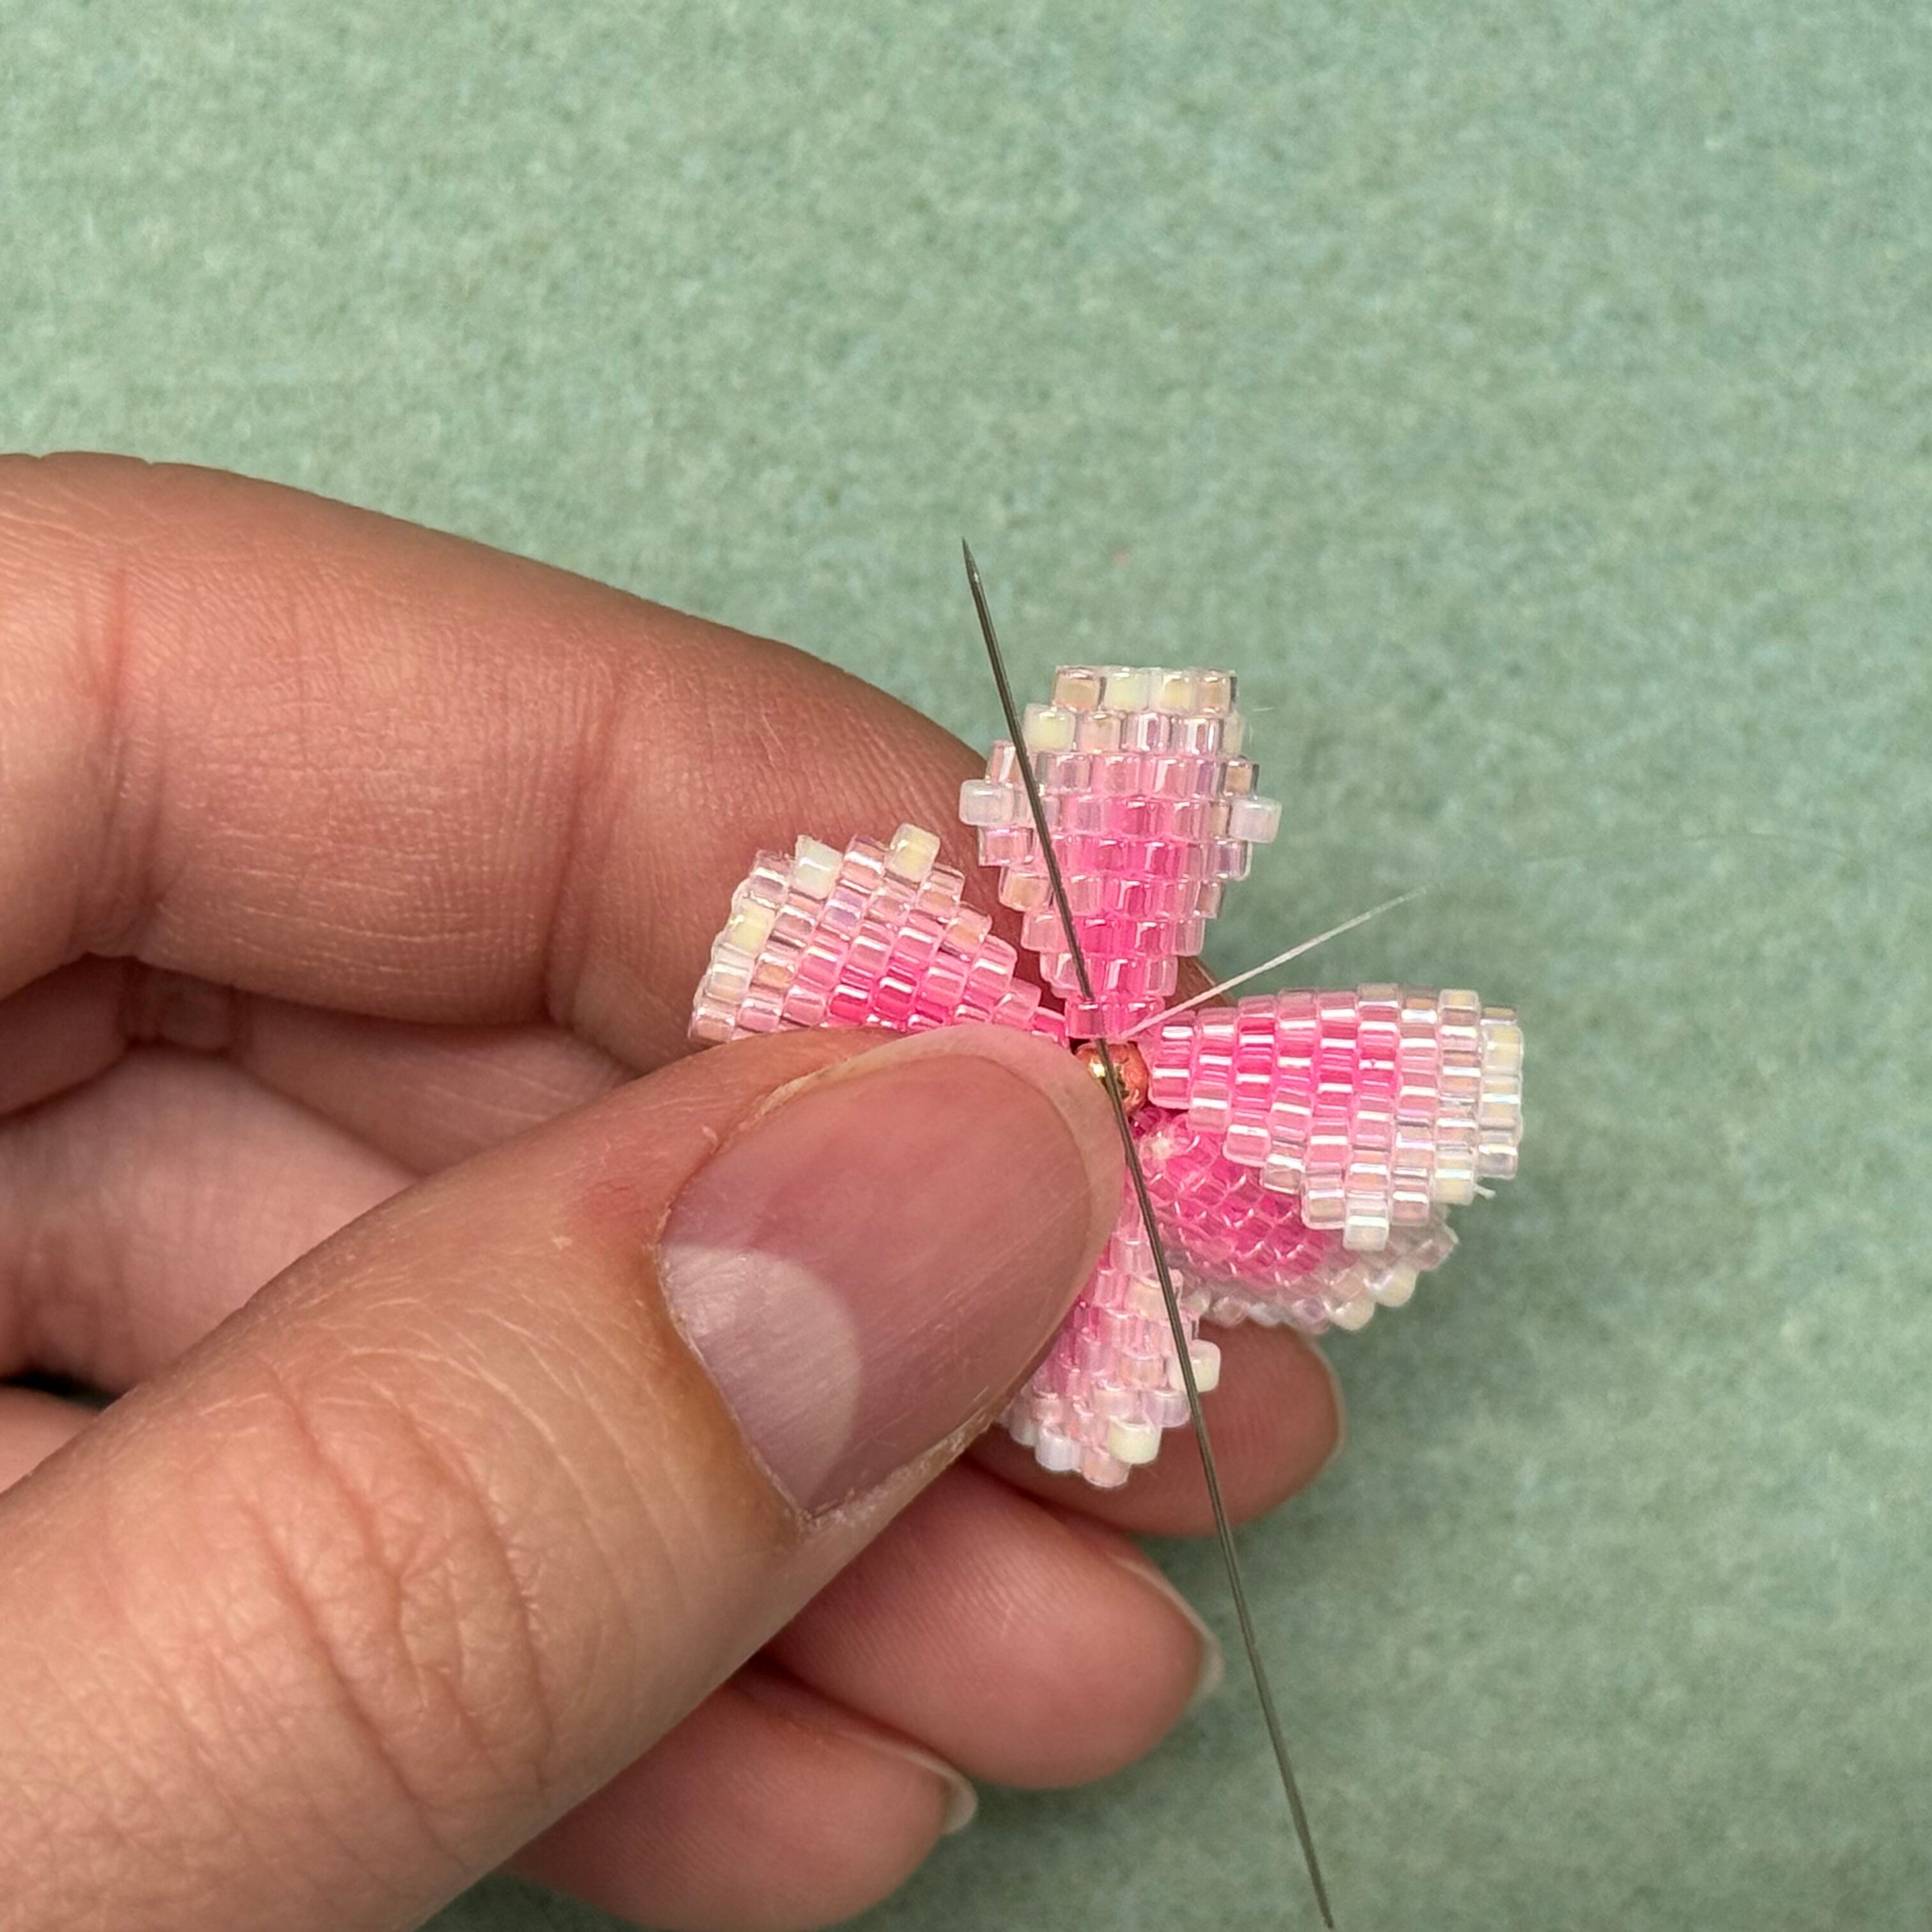
53. Keep going up each bead at the end of each row until you have reached the 202 delica bead
54. Grab the petal to the left and thread the needle up through the 202 delica bead shown in the photo

55. Thread the needle up through the delicas at the end of the row, you can do one, two, three, or more at a time. Keep threading up until you go through the 055 bead at the top right of the petal
56. Thread the needle down through the 202 bead to the left, then up through the next 202 bead, and then down the last 055 bead

57. Thread the needle down the 202, 055, and 202 beads
58. And then up the 202 bead on the next petal

59. Keep going around, connecting the last two petals

60. Thread your needle up through the 055, 202, and 055 beads - remember to pull tight!
61. Thread the needle down the 202 bead to the left and then up the next 202 bead
62. String on a 202 bead and thread the needle down the 202 bead to the right
63. Thread the needle up through the 202 bead to the left

64. Through the 202 bead at the top and then back down the 202 bead on the right
65. Up through the 202 bead on the right

66. Skipping the top 202 bead, thread the needle down the 202 bead to the right
67. And back up the 202 bead to the left
68. Find that stitch you just made and thread your needle through it

69. Pull the thread until you have a small loop and then thread your needle through the loop and pull tight. Repeat this 2 to 3 times. Add a dab of glue to the knot and cut the thread tail.

70. Attach a 3mm 22 gauge jump ring through the top delica bead and close

71. Attach cherry blossom to earring wire of your choice. Repeat previous steps for a pair of earrings. Done!
Recent Posts
-

Pearly White Heart Earrings – Four Drop
Pearly White Heart Earrings – Four DropThese earrings are made from beautiful white shell in flat he …30th Jan 2025 -

Valentine Fringe Earrings
Valentine Fringe EarringsLearn how to make fringe earrings with a heart pattern that pops! The …13th Jan 2025 -

Dancing Pearl Cowboy Charm Leather Bracelet
Dancing Pearl Cowboy Charm Leather BraceletThis tutorial is a spin of our Dancing Gemstone Brac …17th Dec 2024