

Chimera Bracelet Tutorial
Chimera Bracelet Tutorial
Just like the mythical hybrid of multiple animals whose name we used for this stunner, our Chimera bracelet magically combines multiple jewelry techniques into one fantastic bracelet. The chimera bracelet is an advanced level project, seamlessly bringing together leather wrap & spanish knot techniques.
.
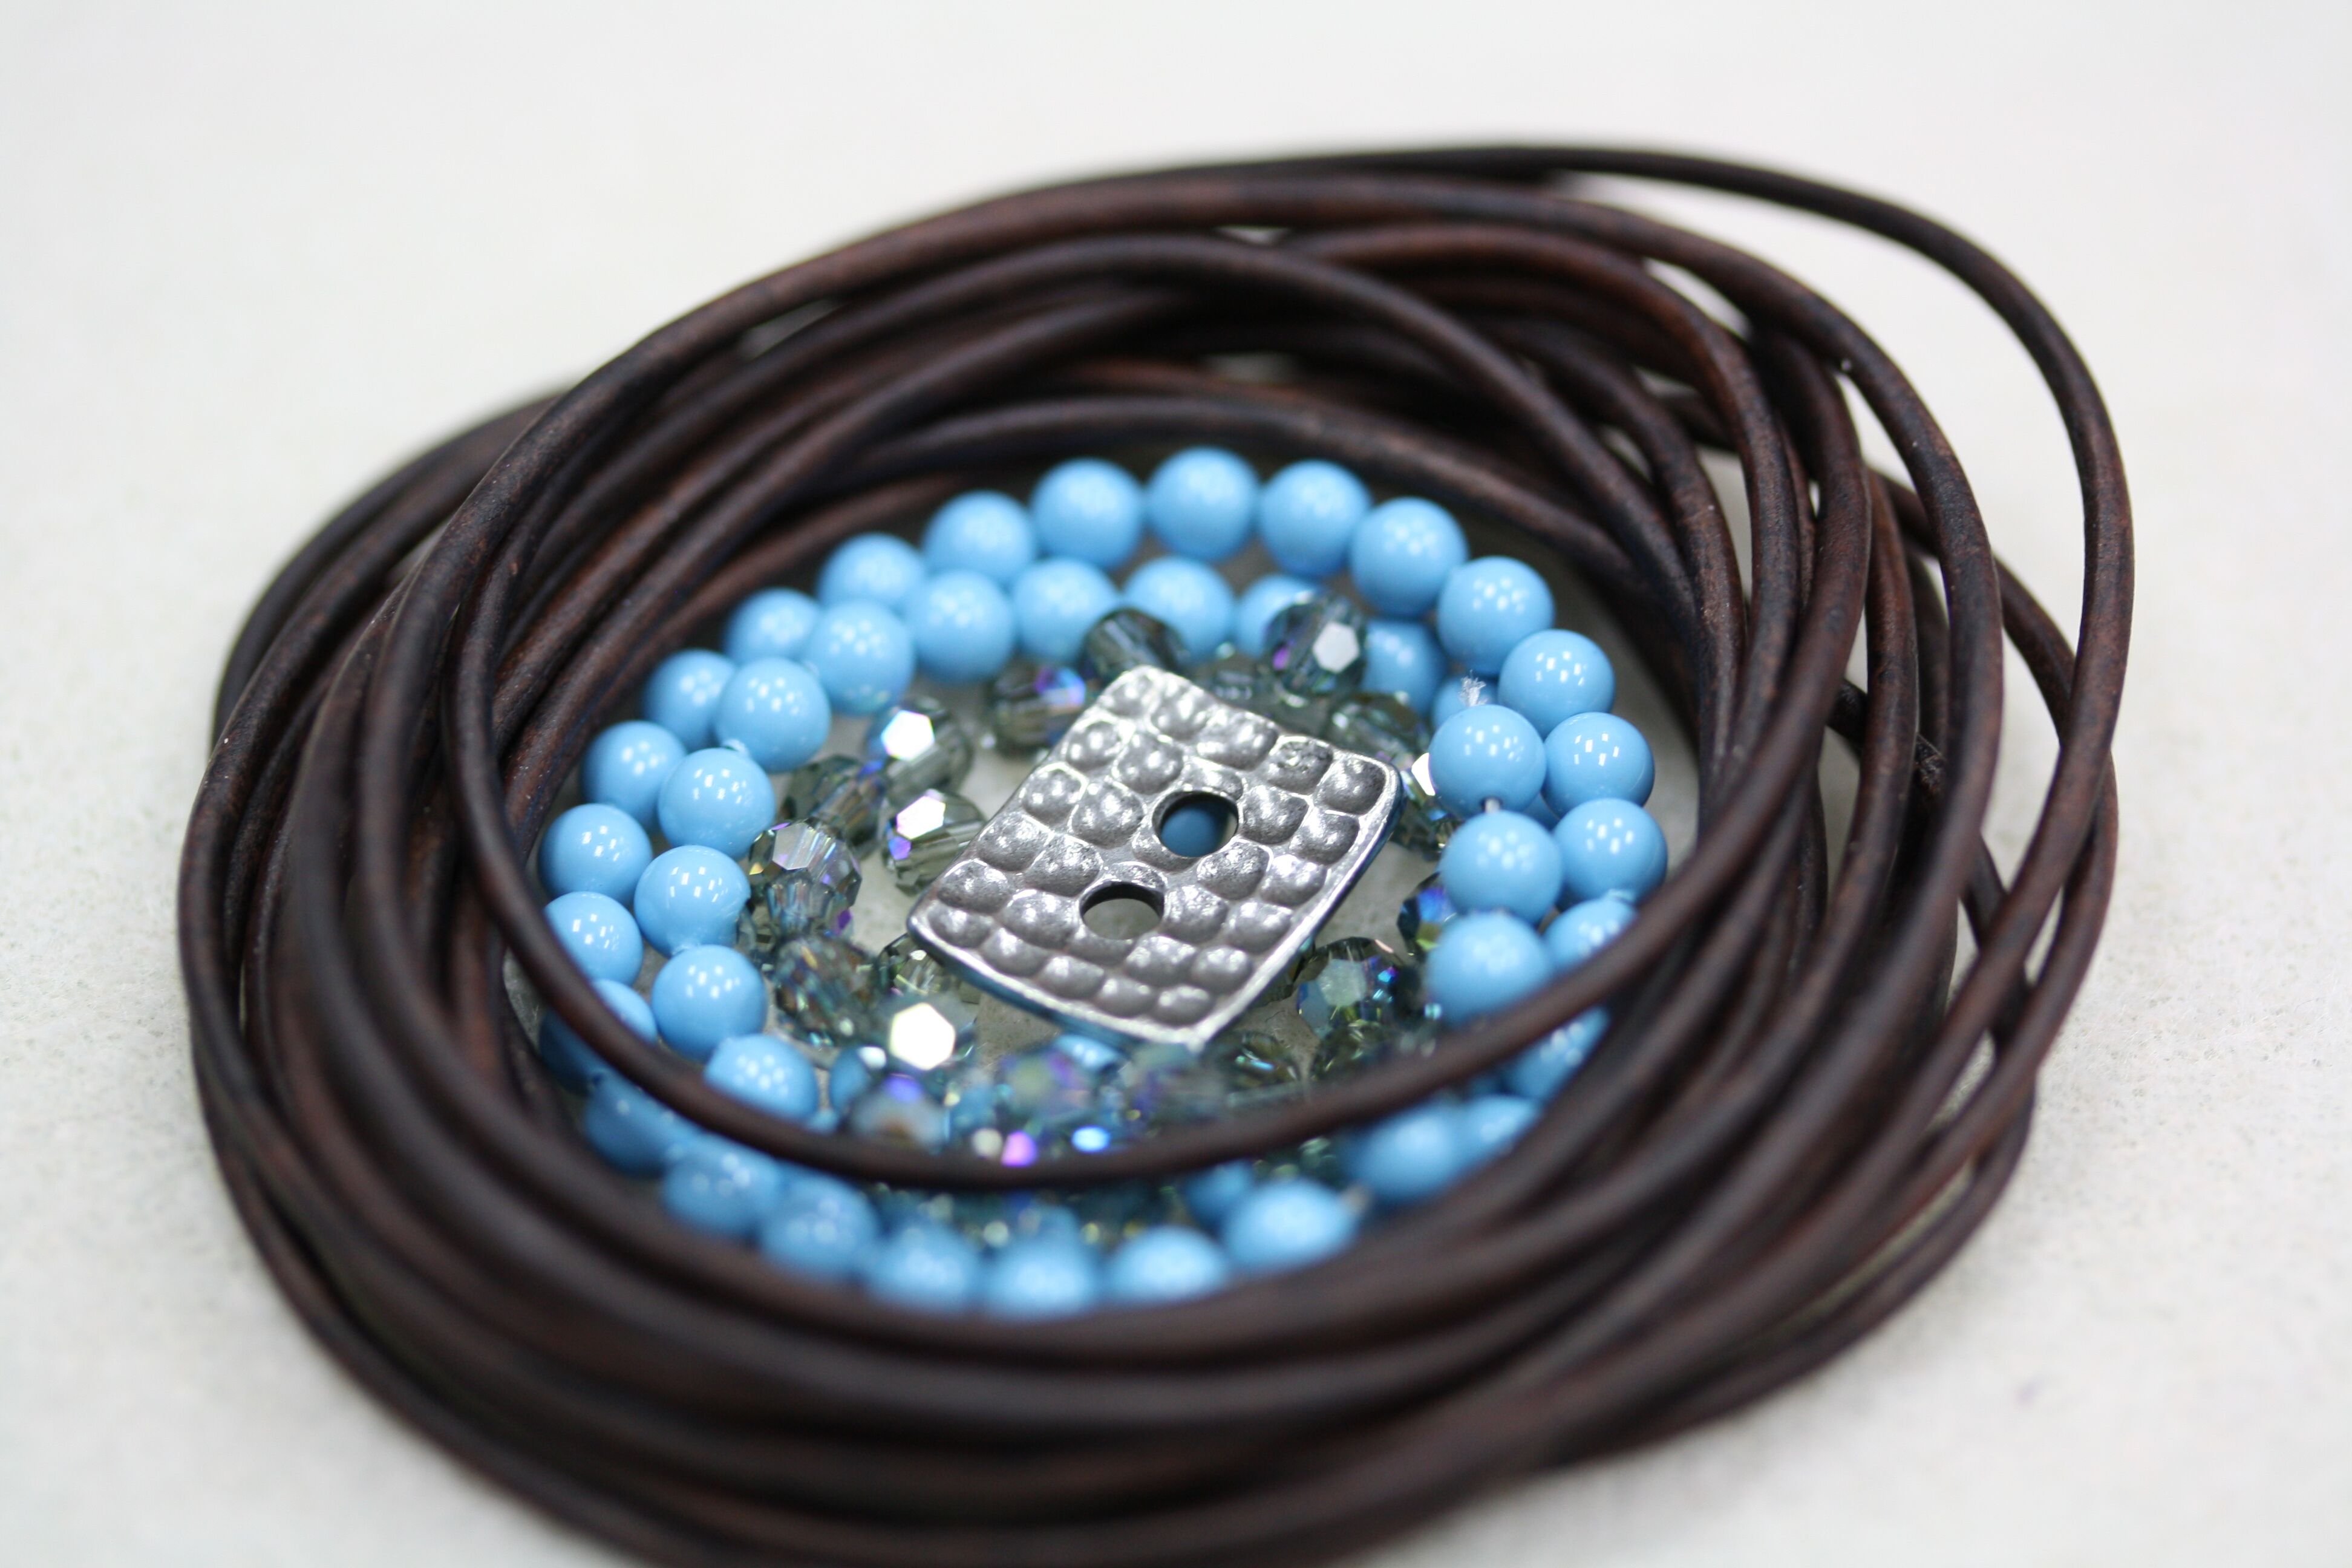
You will need:
1.5mm leather (2 x 3 feet)
4mm round swarovski crystals (28)
4mm round Swarovski pearls or gemstones (56)
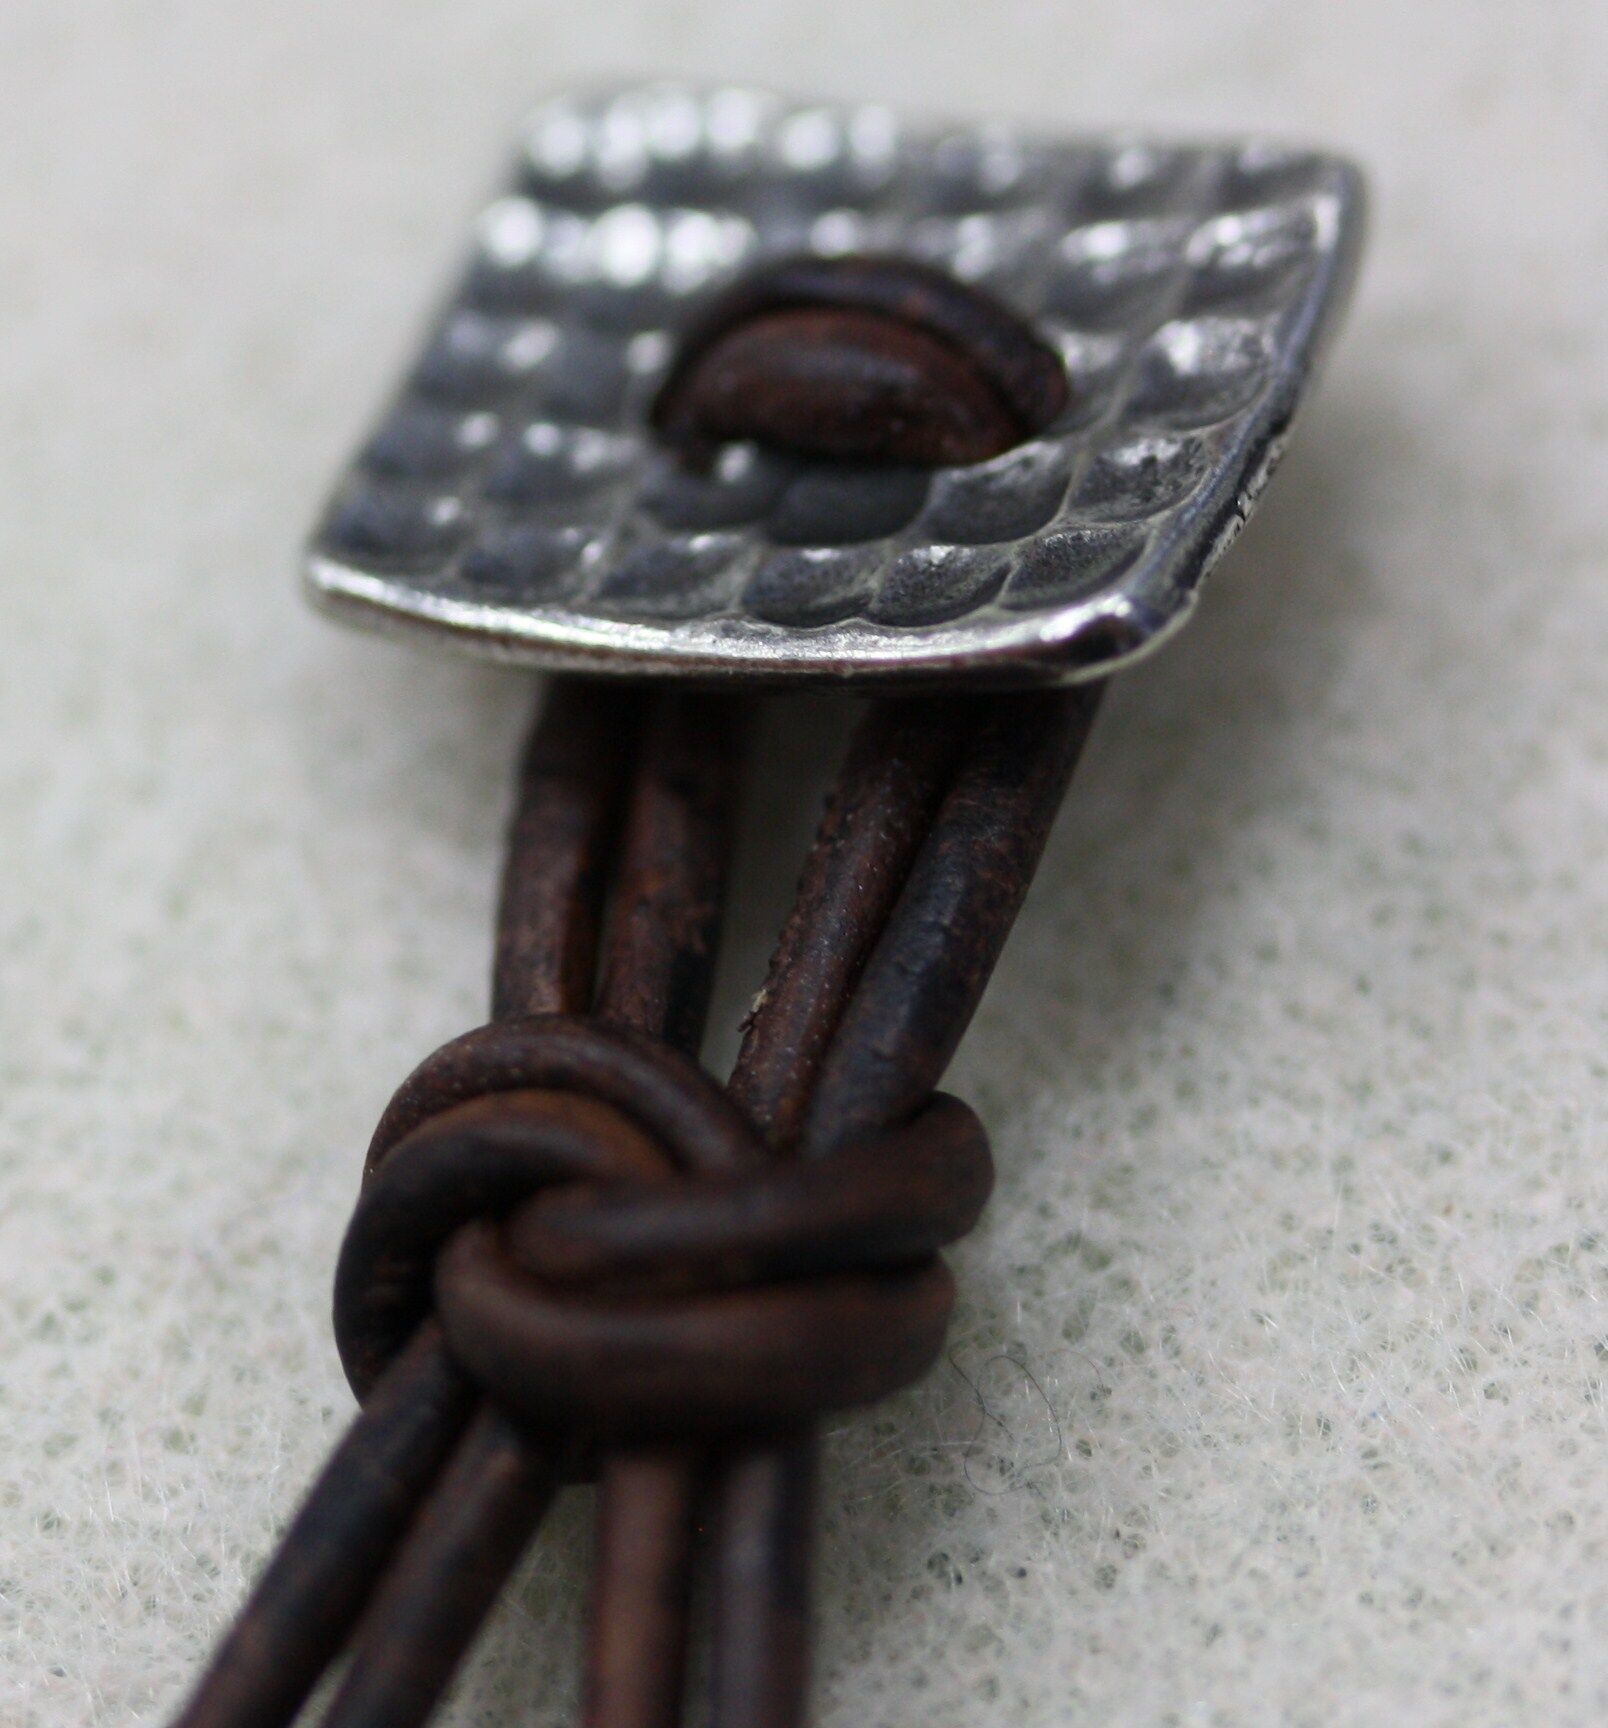
Large hole button that fits 2 strands of leather (1)
Nymo or Silamide thread (2 x 6 feet)
.
1. Gather all of your materials on a roll-proof work surface.
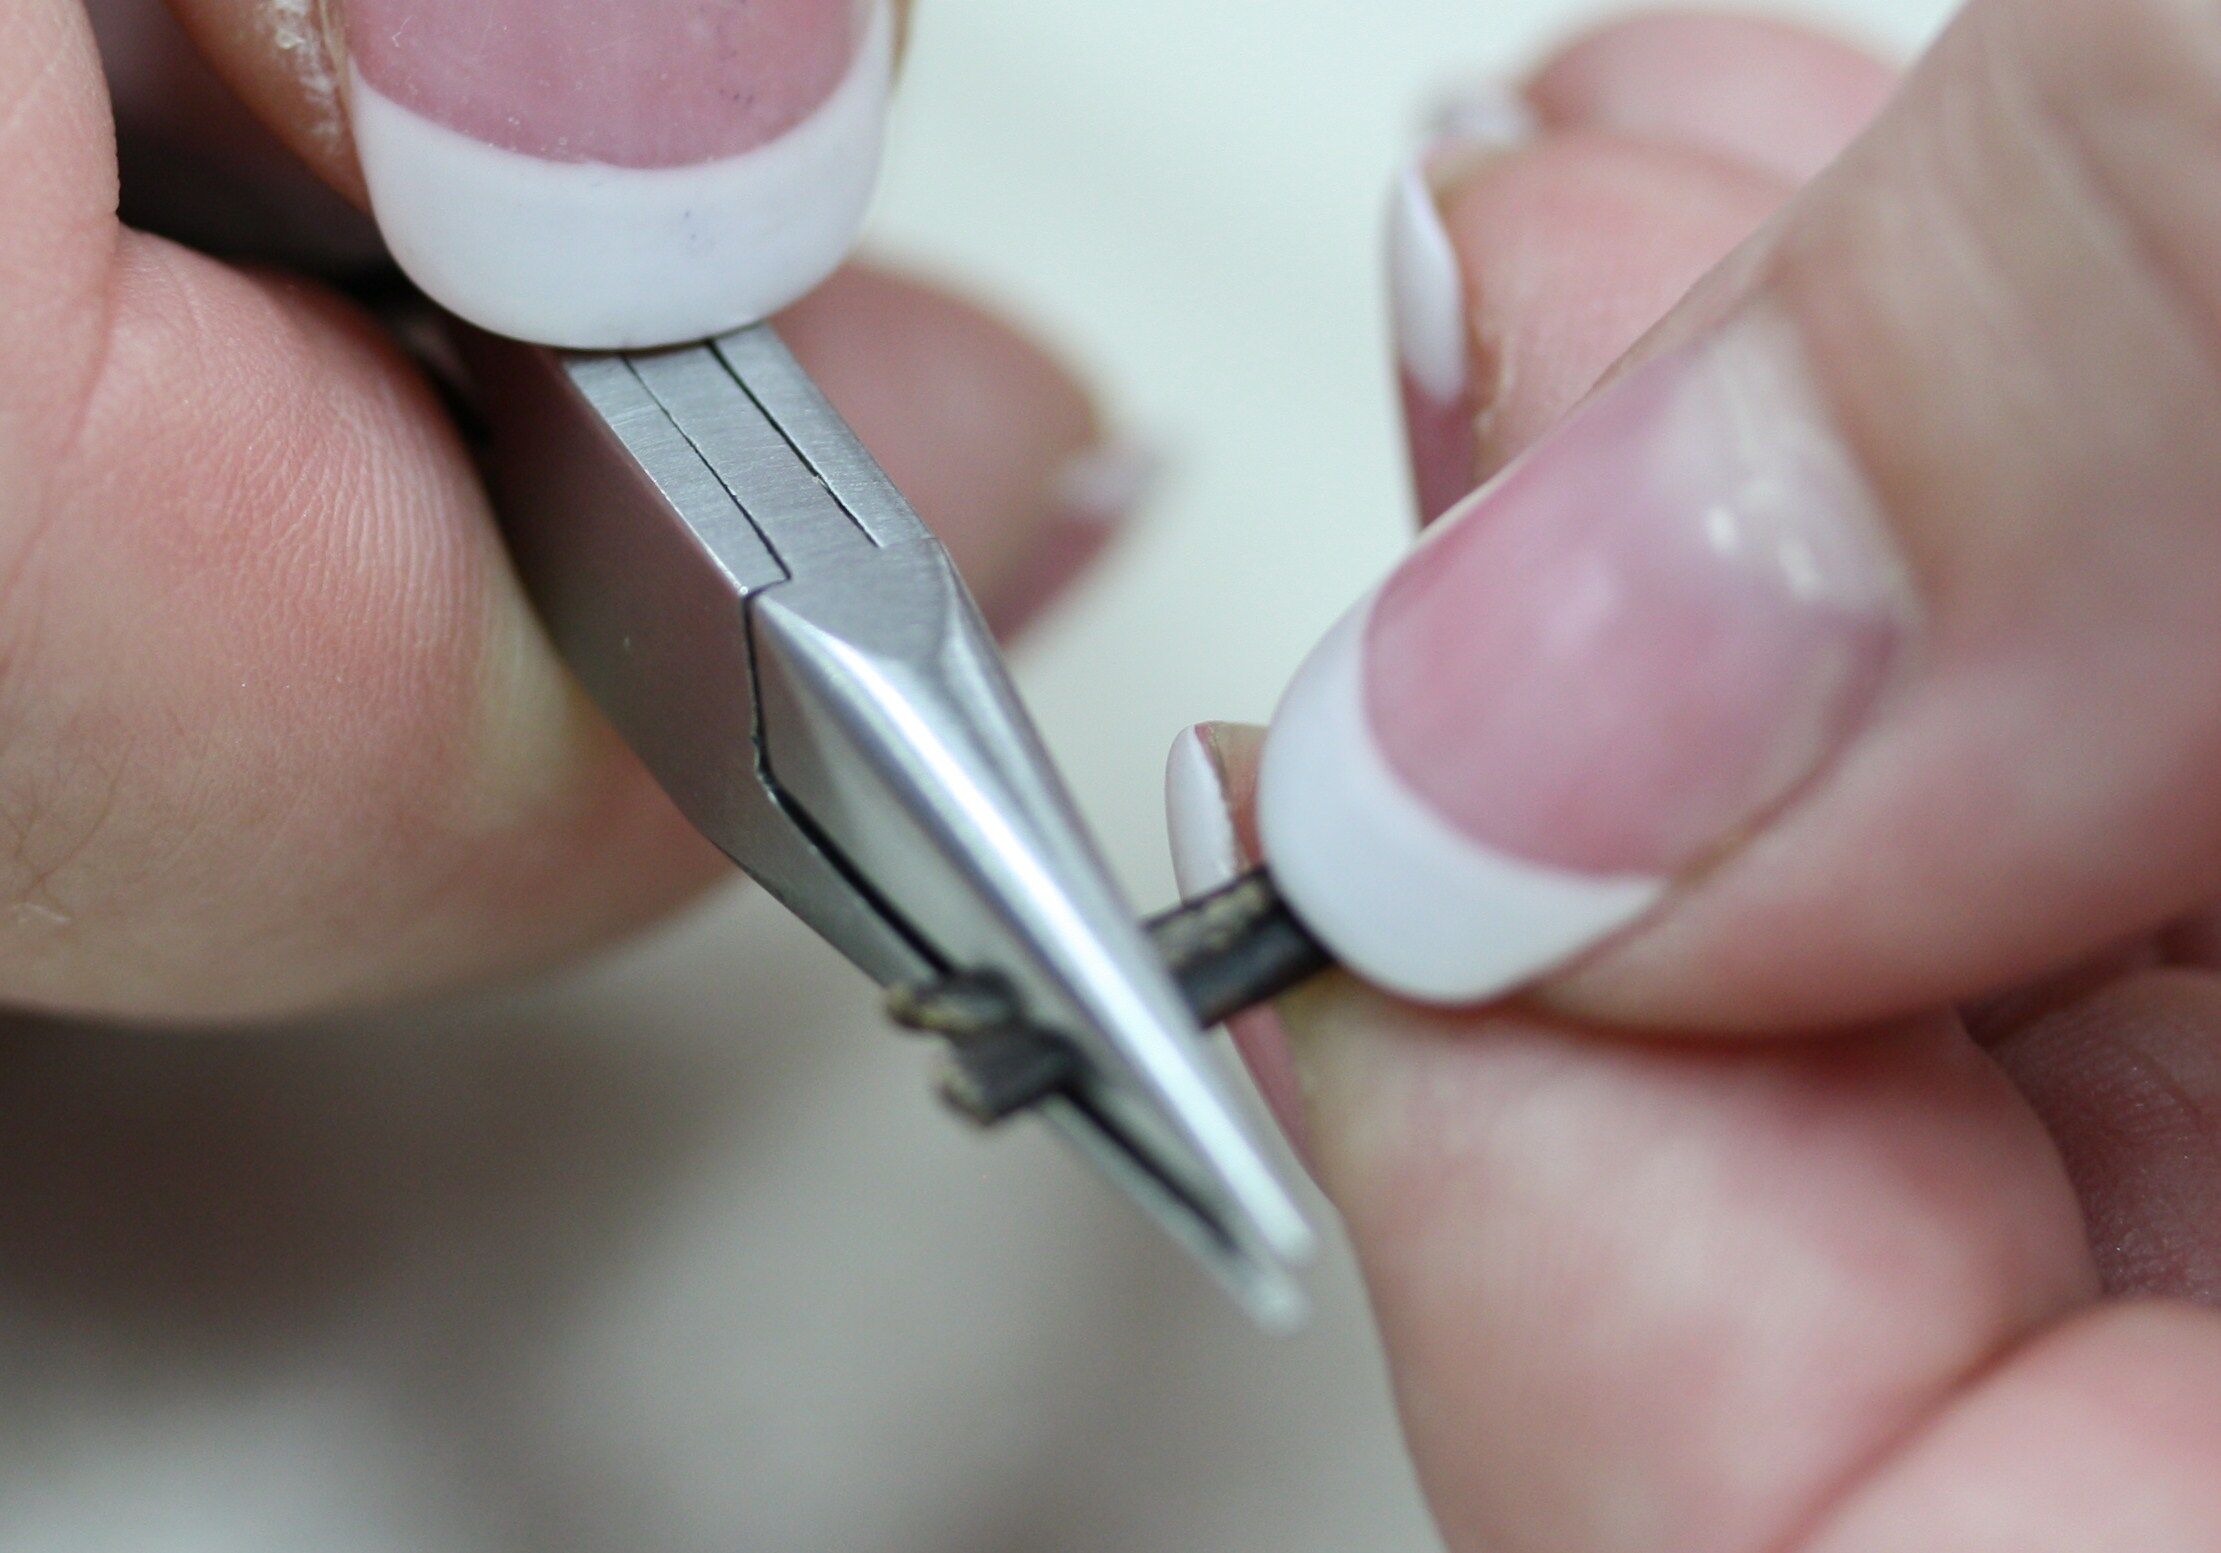
2. Smash the end of the leather with your needle nose pliers so it will fit through the button.
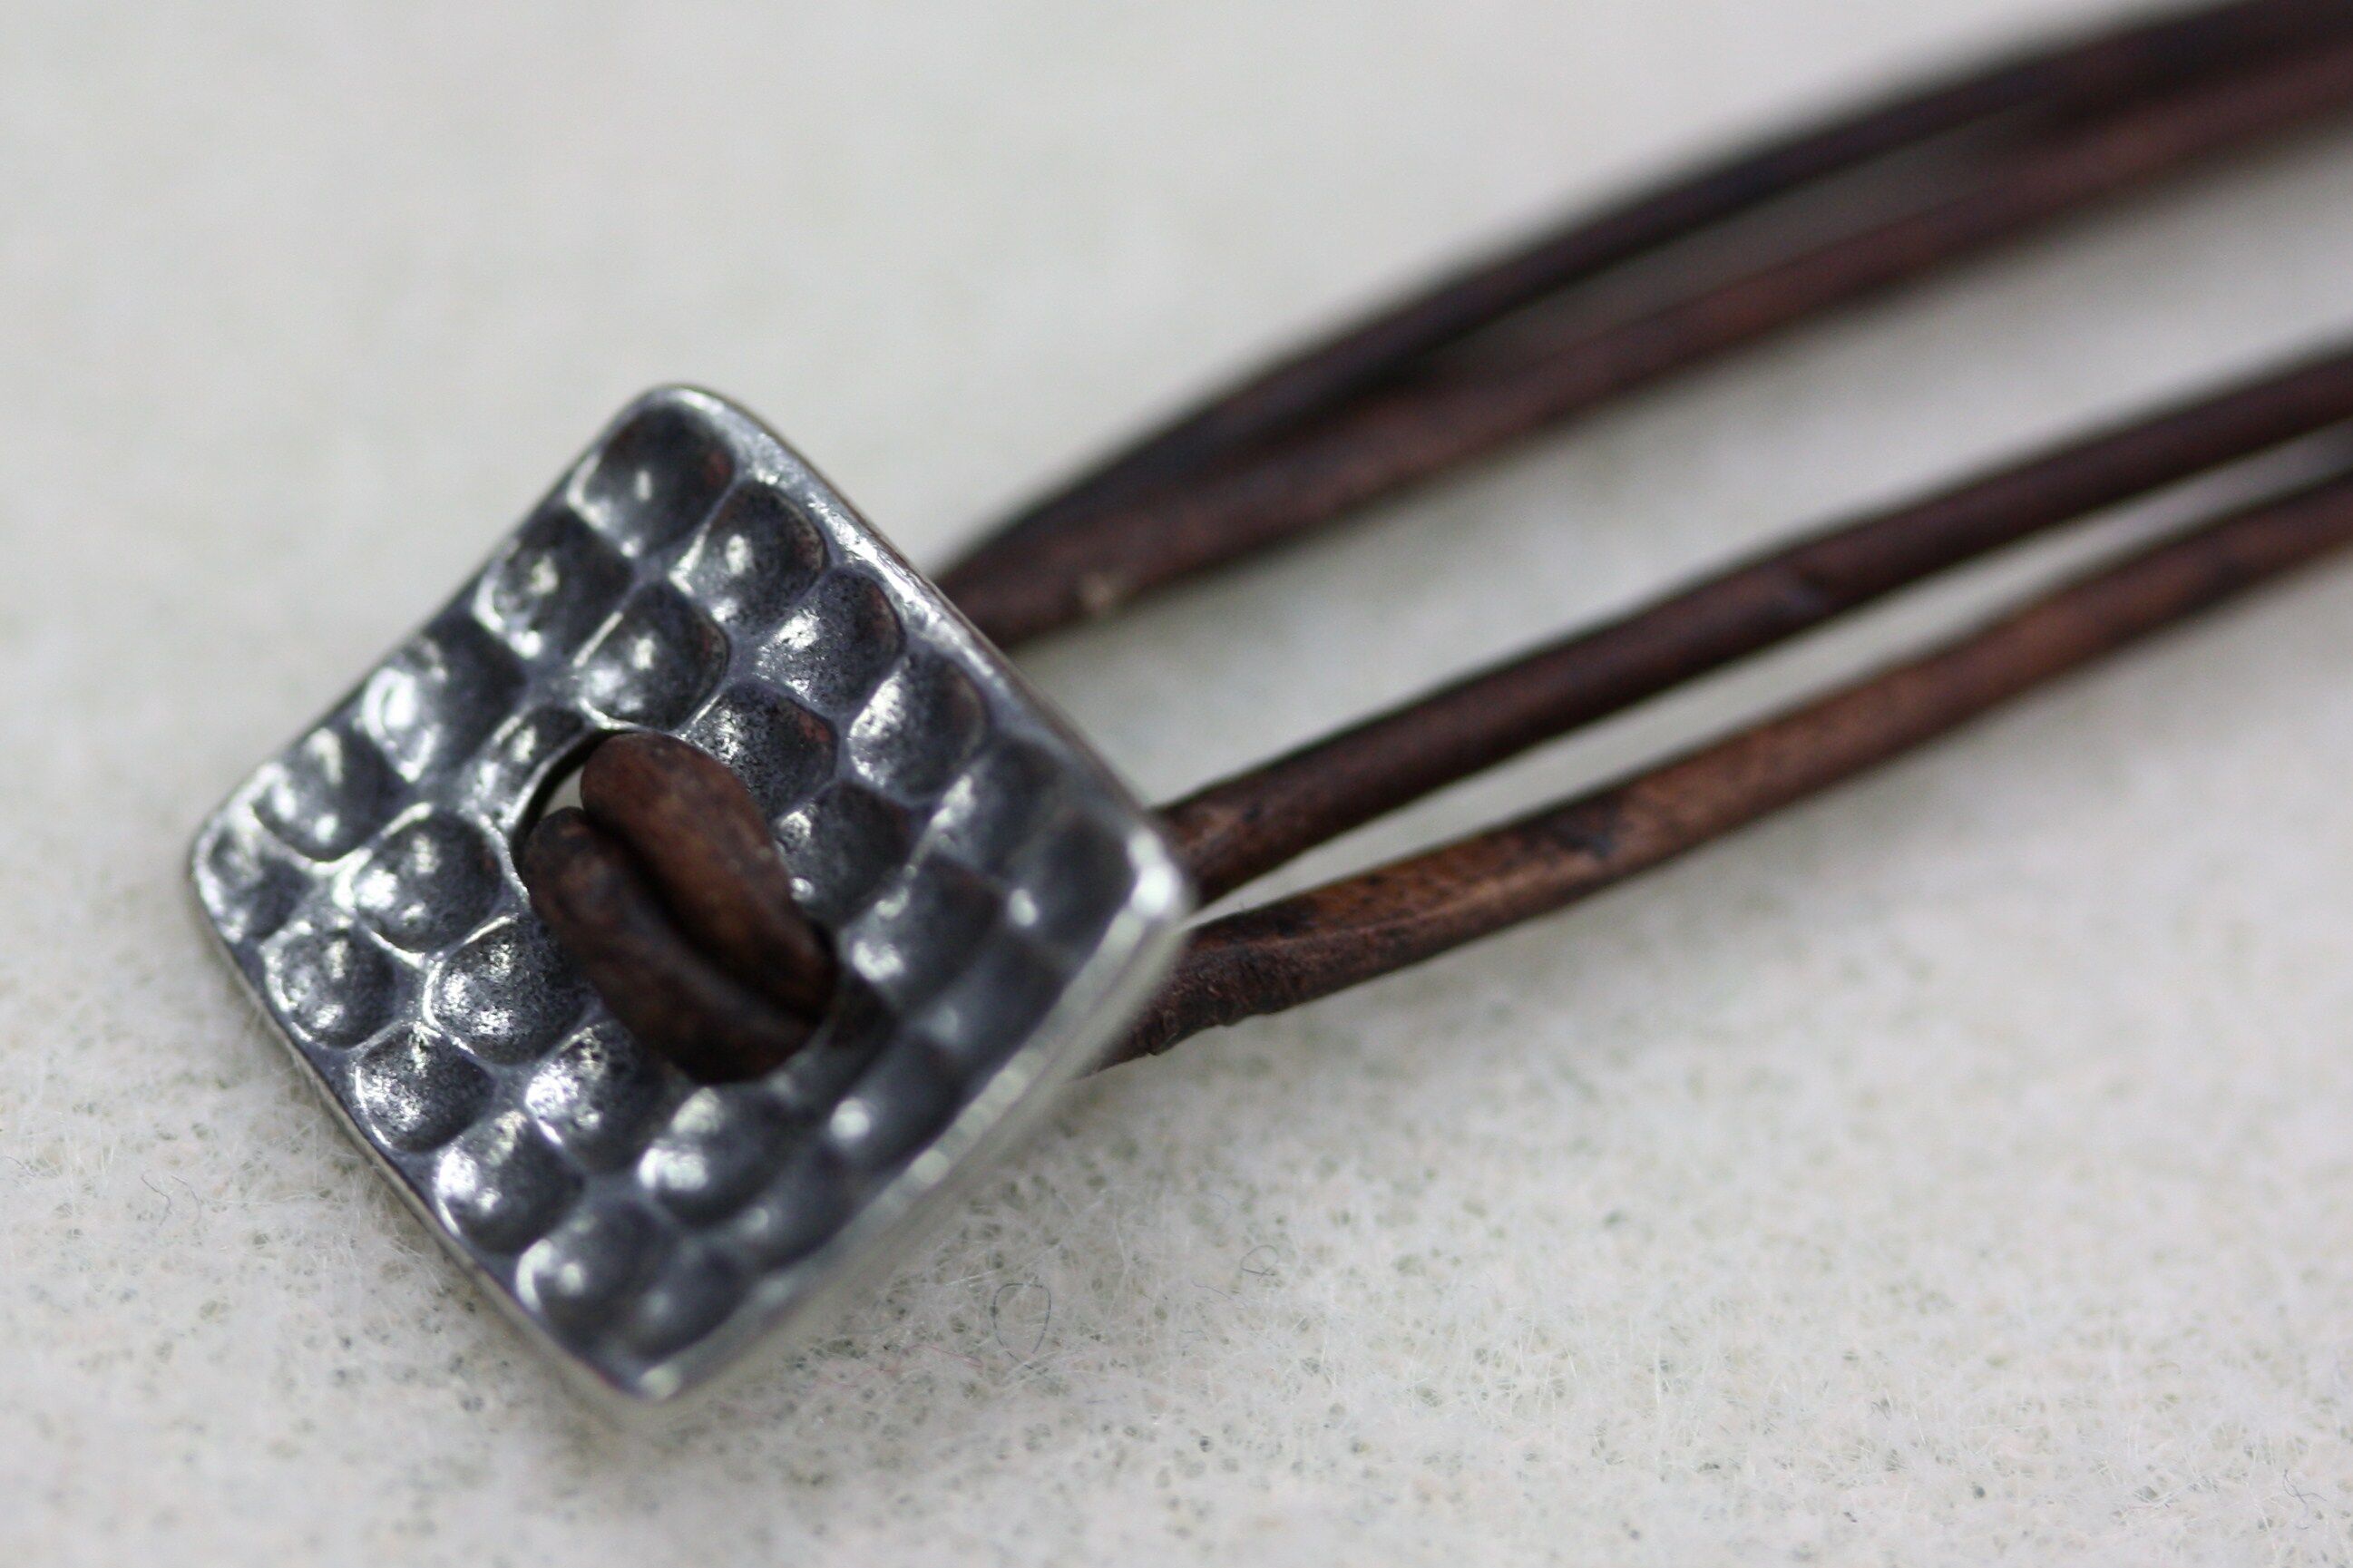
3. Put both pieces of leather through the button holes. You may need to use your needle nose pliers to pull the leather through.
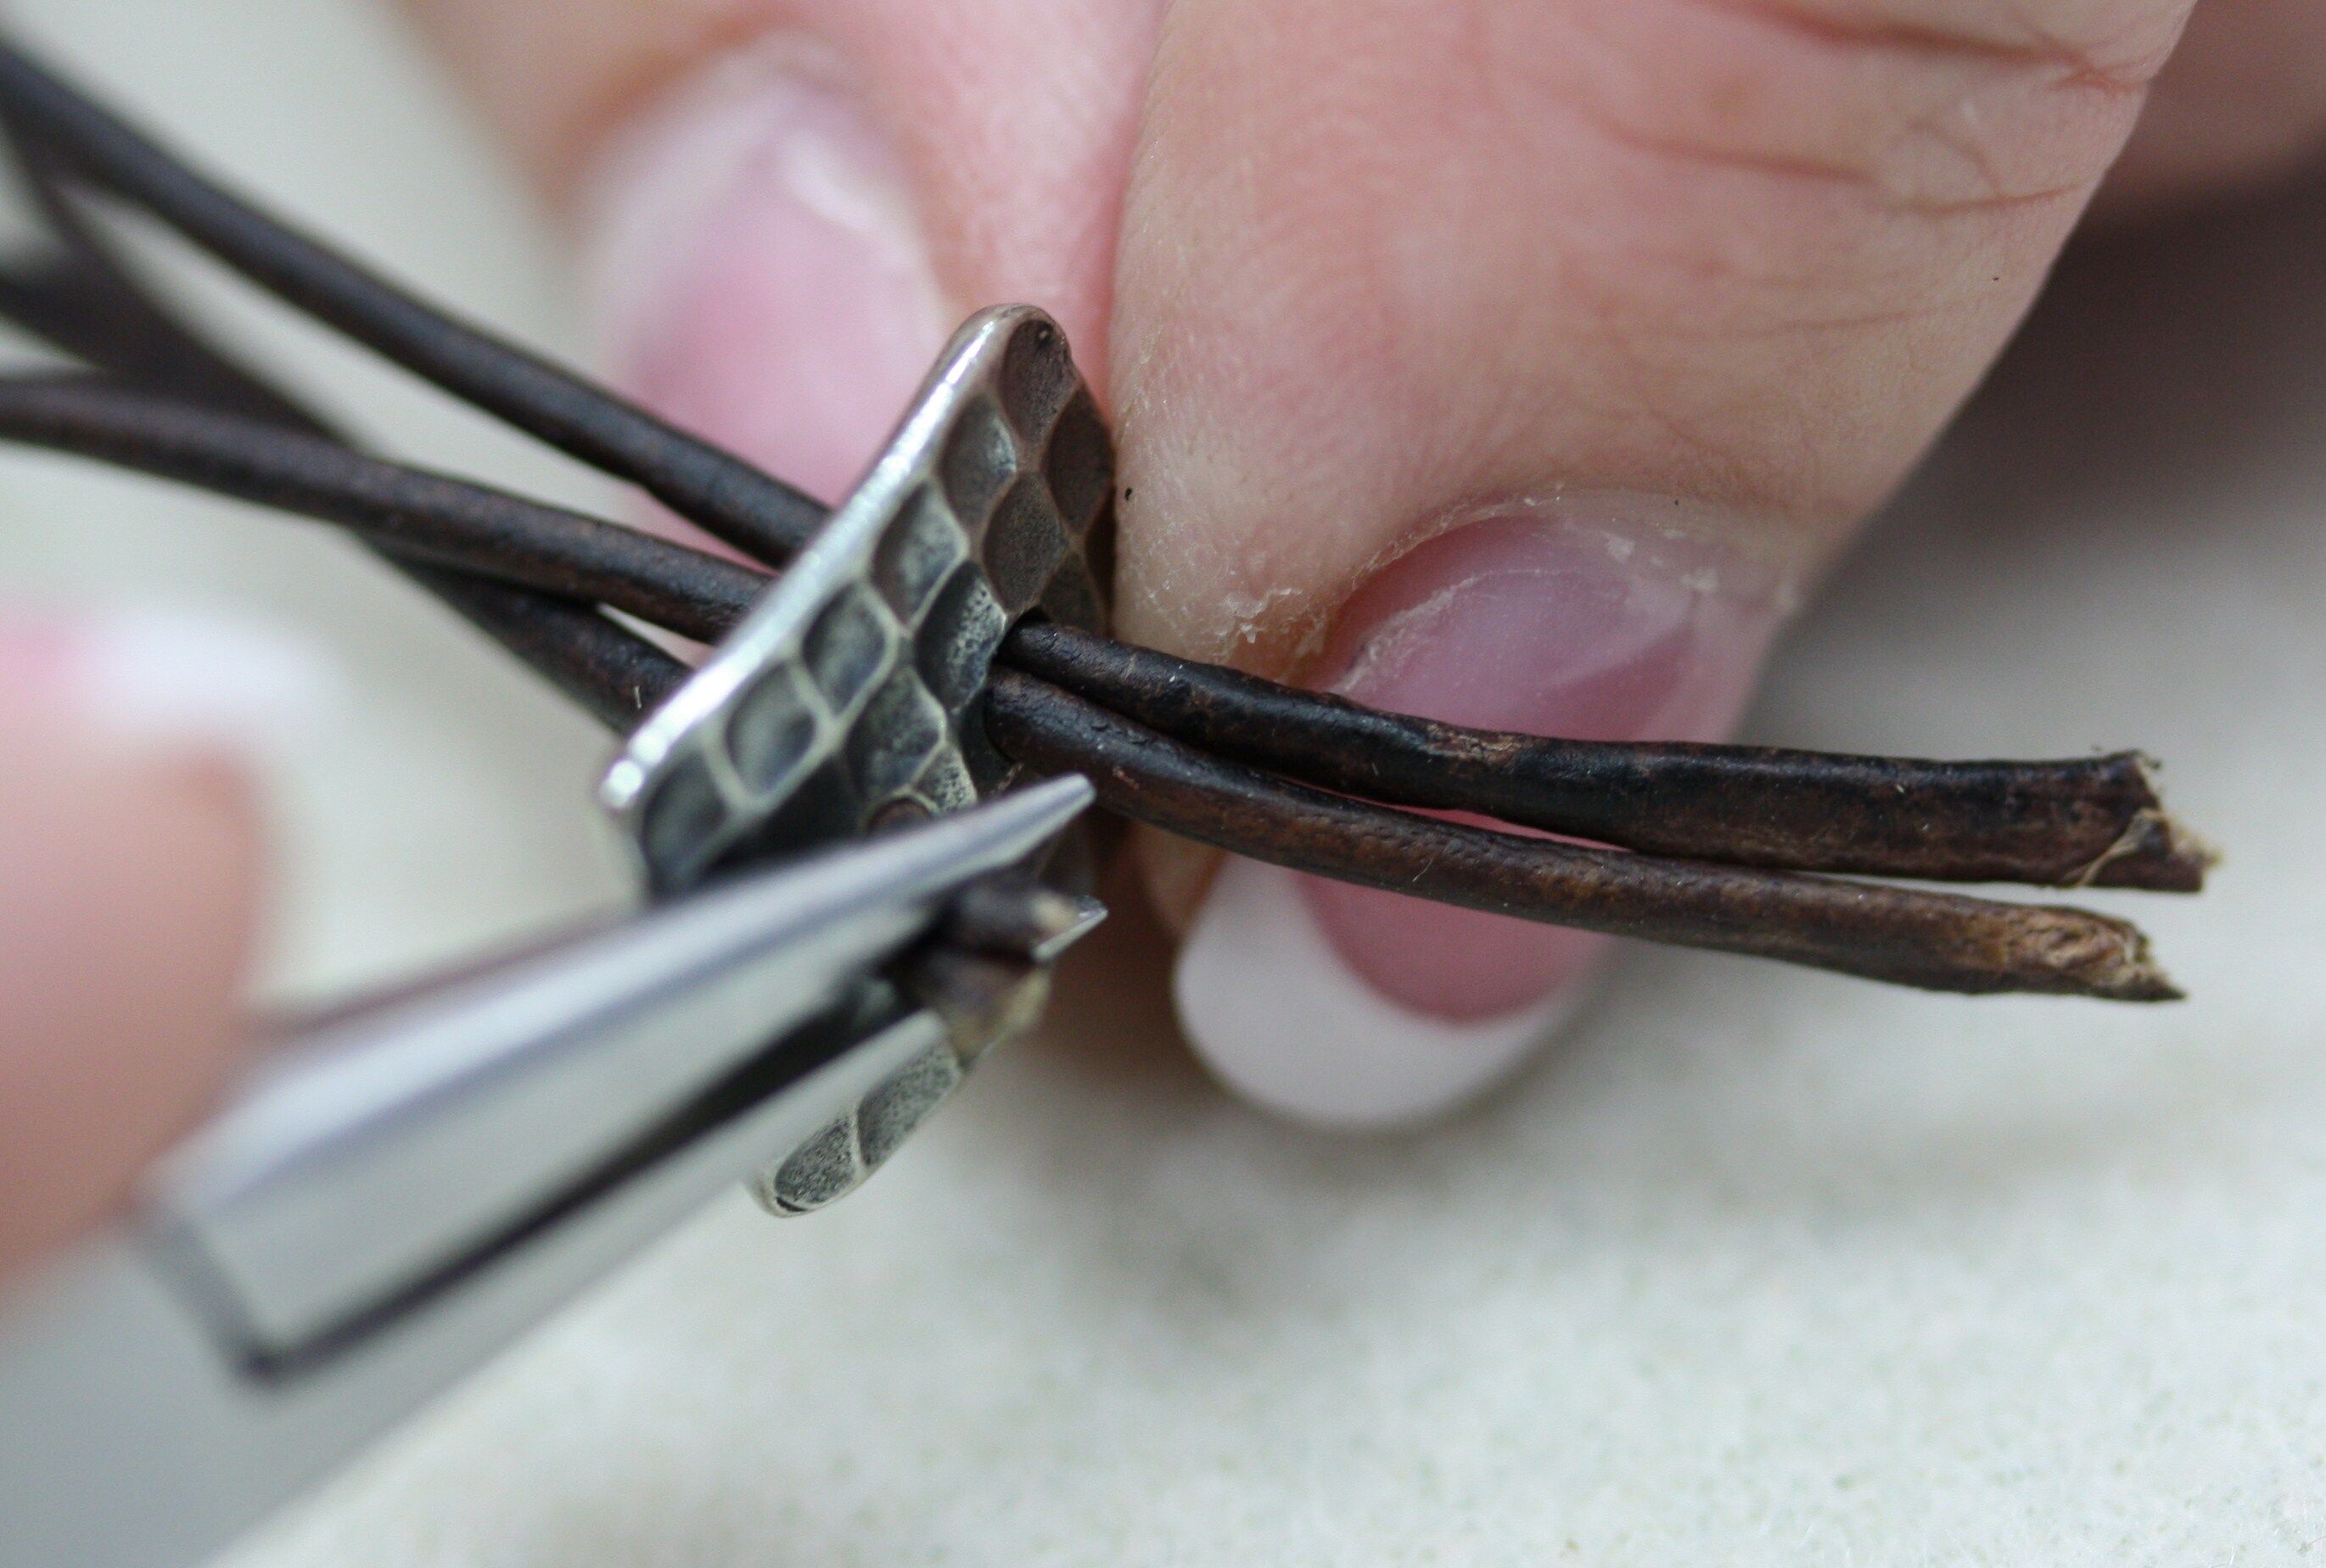
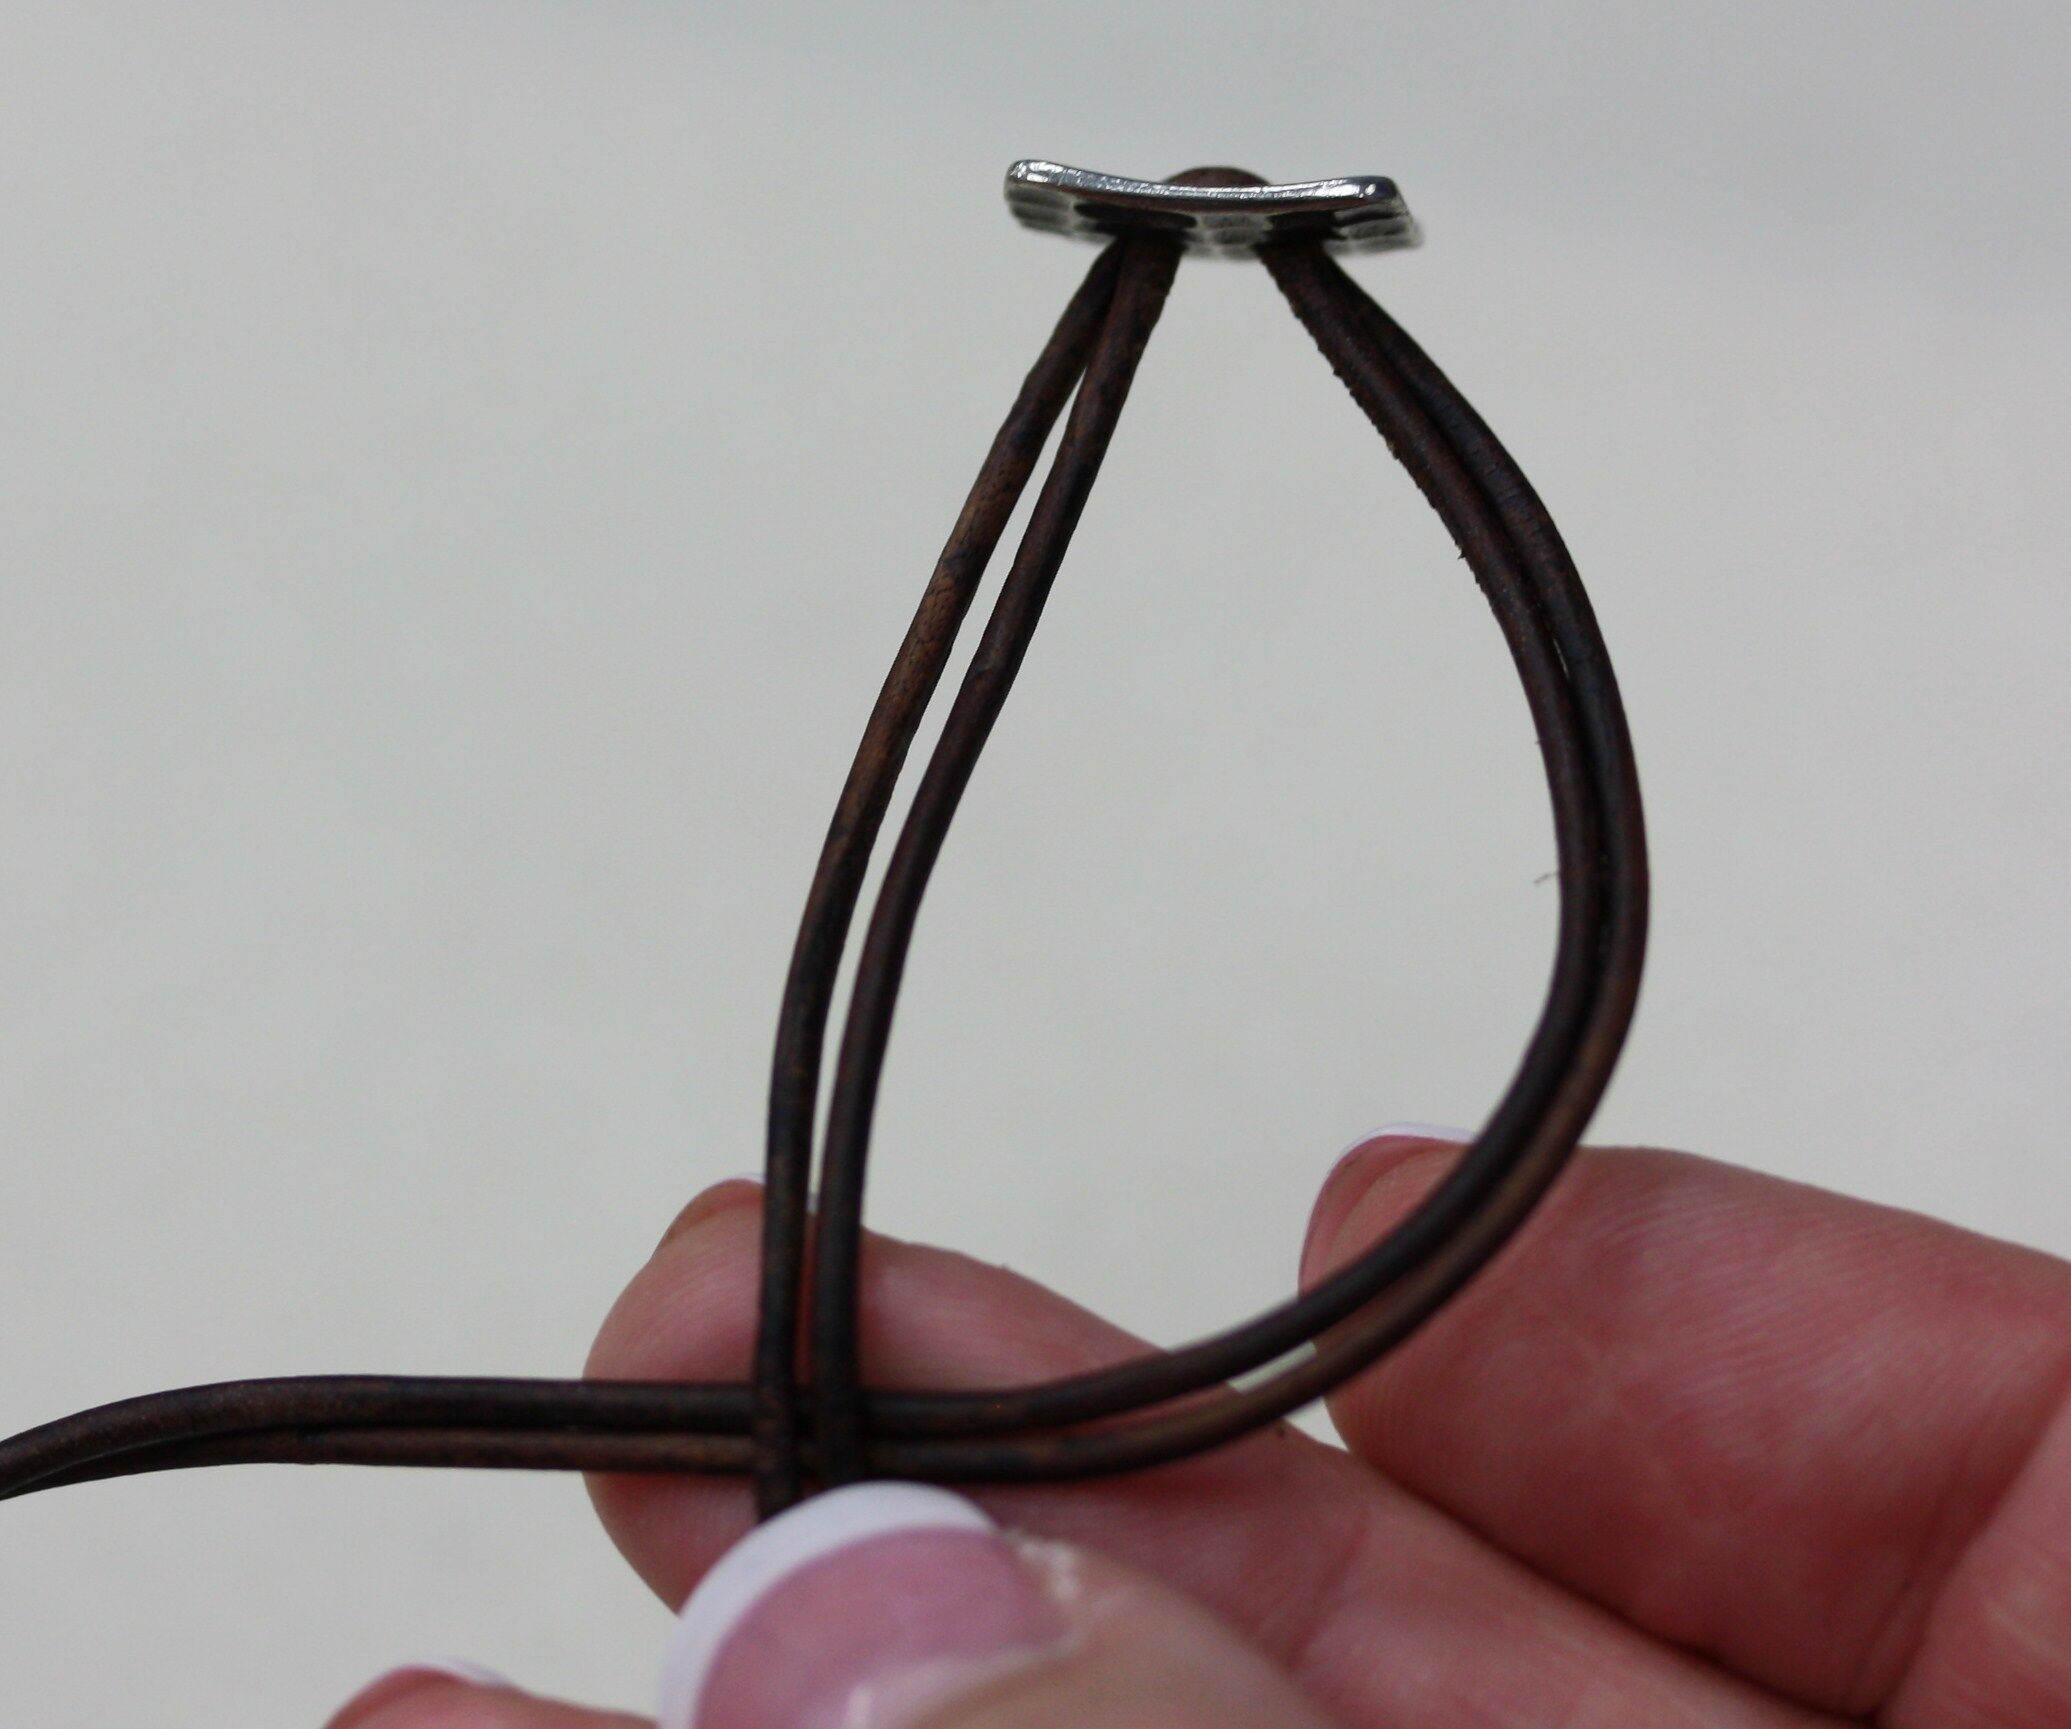
4. Place your button half way down on the leather.
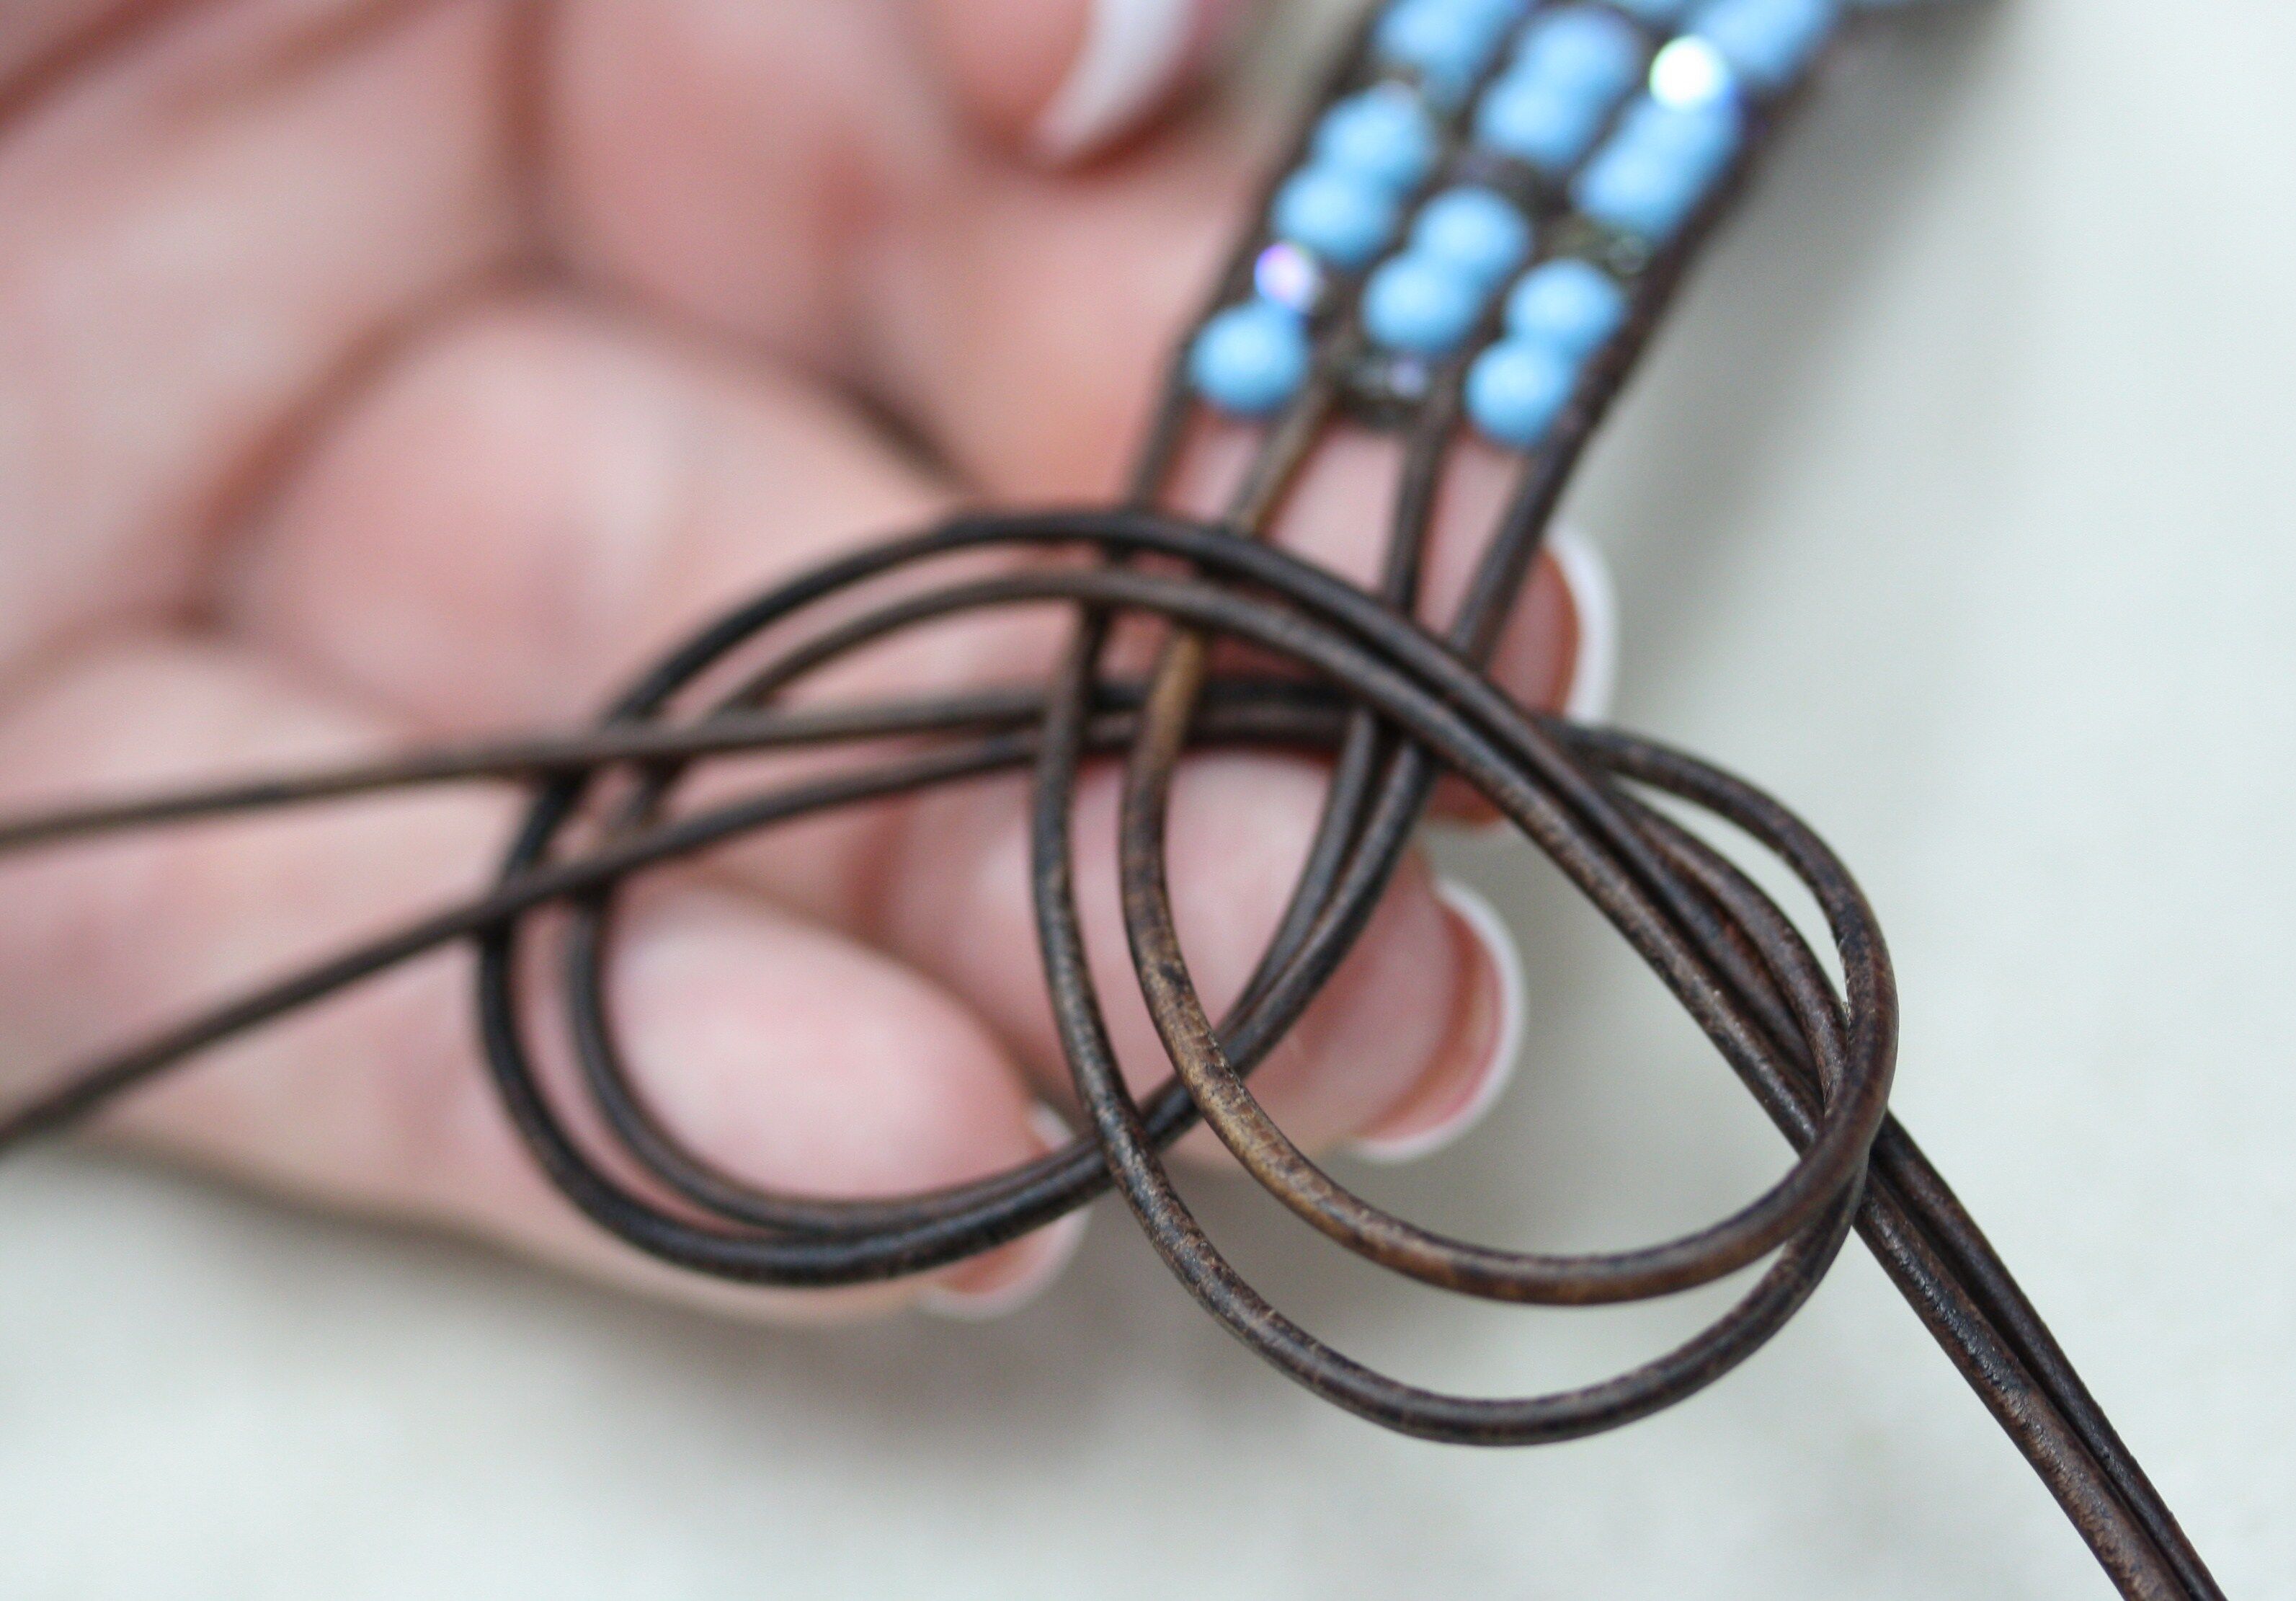
5. Start by tying a double Spanish Knot. Hold the leather under the button with your left thumb and finger. Take right strands of leather and place it under the left strands. Hold it with your right hand where it crosses, forming a 1 inch “D”.
6. Let go of the button for a second, while you flip the same strand of leather over the top of the center strand. Again, hold it where it crosses under the button. Make sure the two strands remain uncrossed.
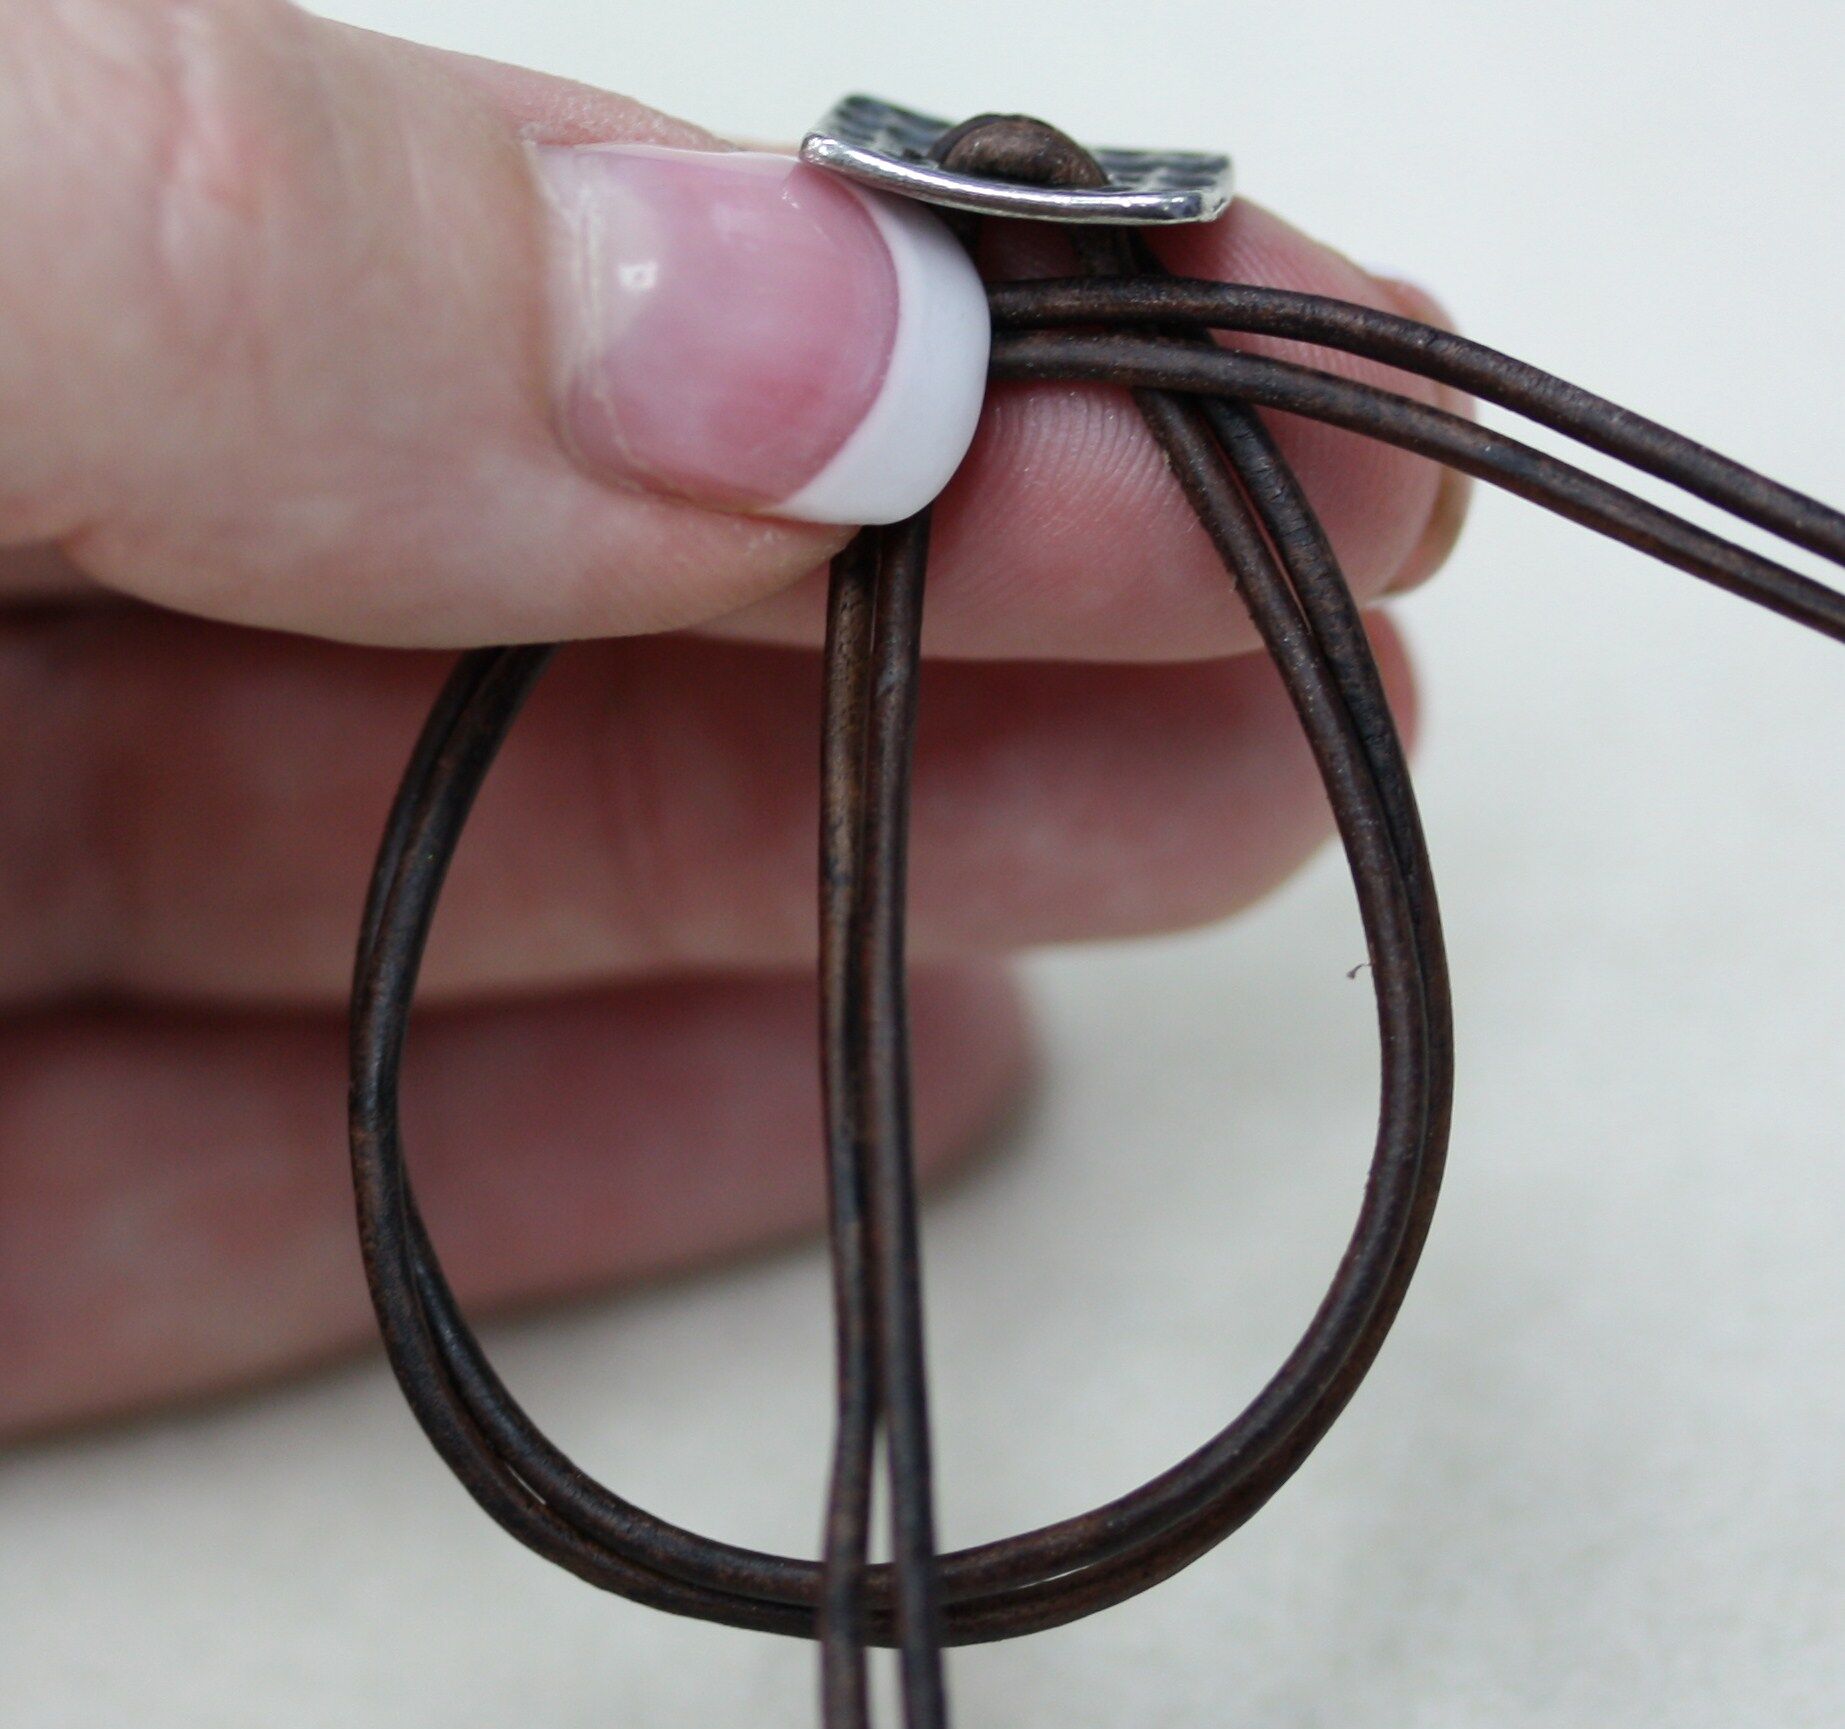
7. Next, take the left strands of leather (still holding under the button with your left hand) and place them over the strand going out to the right.
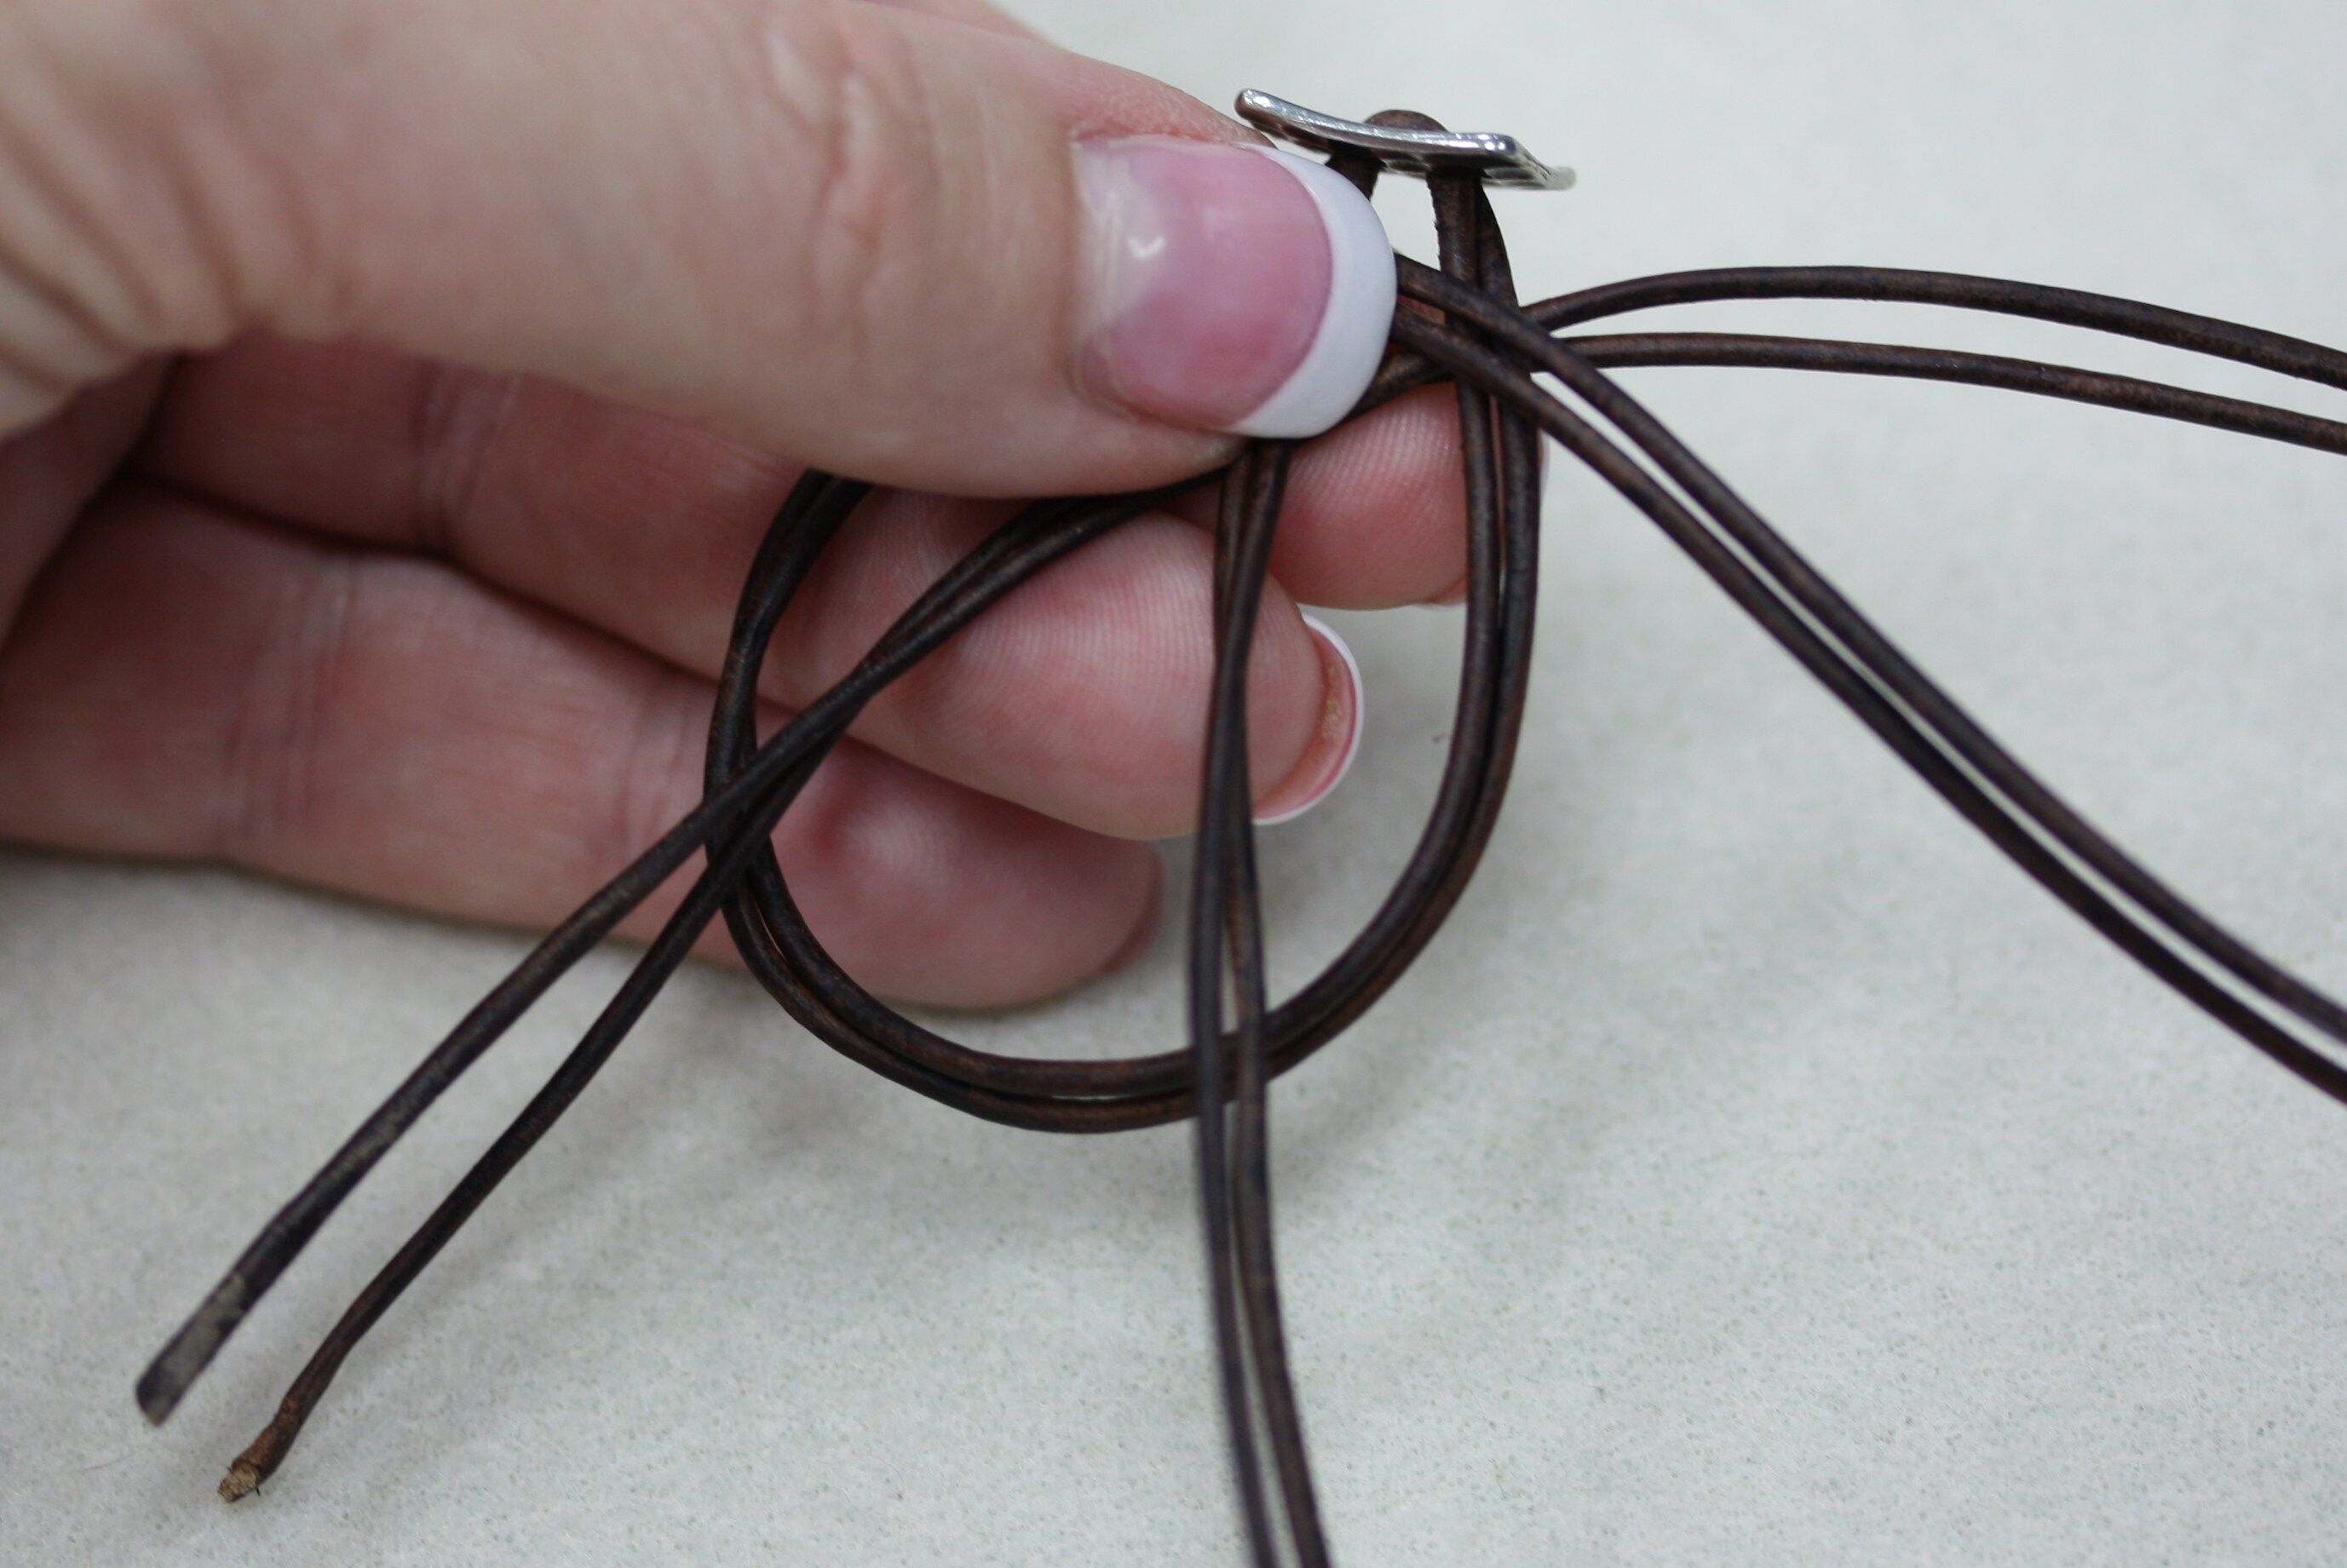
8. Then go under and pass through the loop to the left, towards you. Pull until you have formed two small loops that look like a pretzel.
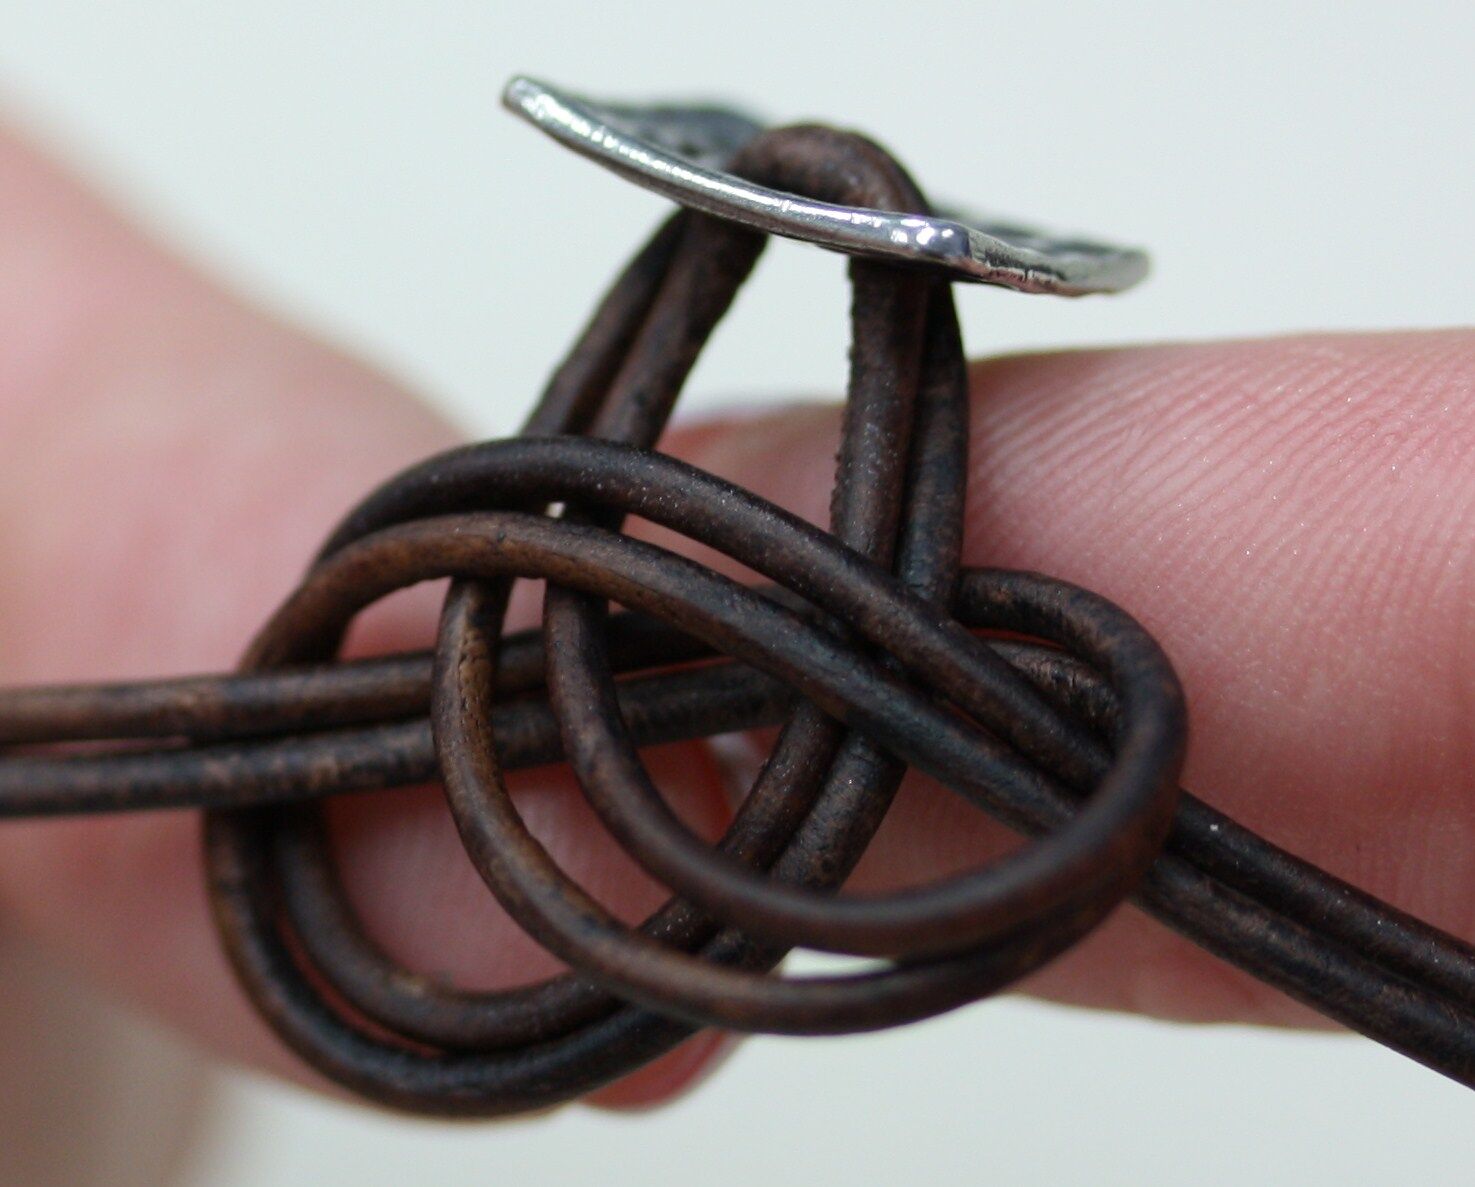
9. Still holding under the button pull each strand (left, then right) gradually reducing the size of the loops. Make sure the strands don’t cross! When the loops get to ¼ inch in size, pull on both strands at the same. Push up on knot with right finger and thumb. To make the knot tight, turn button to face you. Make sure you leave ¼ inch between the button and the double Spanish knot. (If you’d like your bracelet to be larger than 7 ½ inches, you can add additional space here to lengthen your bracelet).
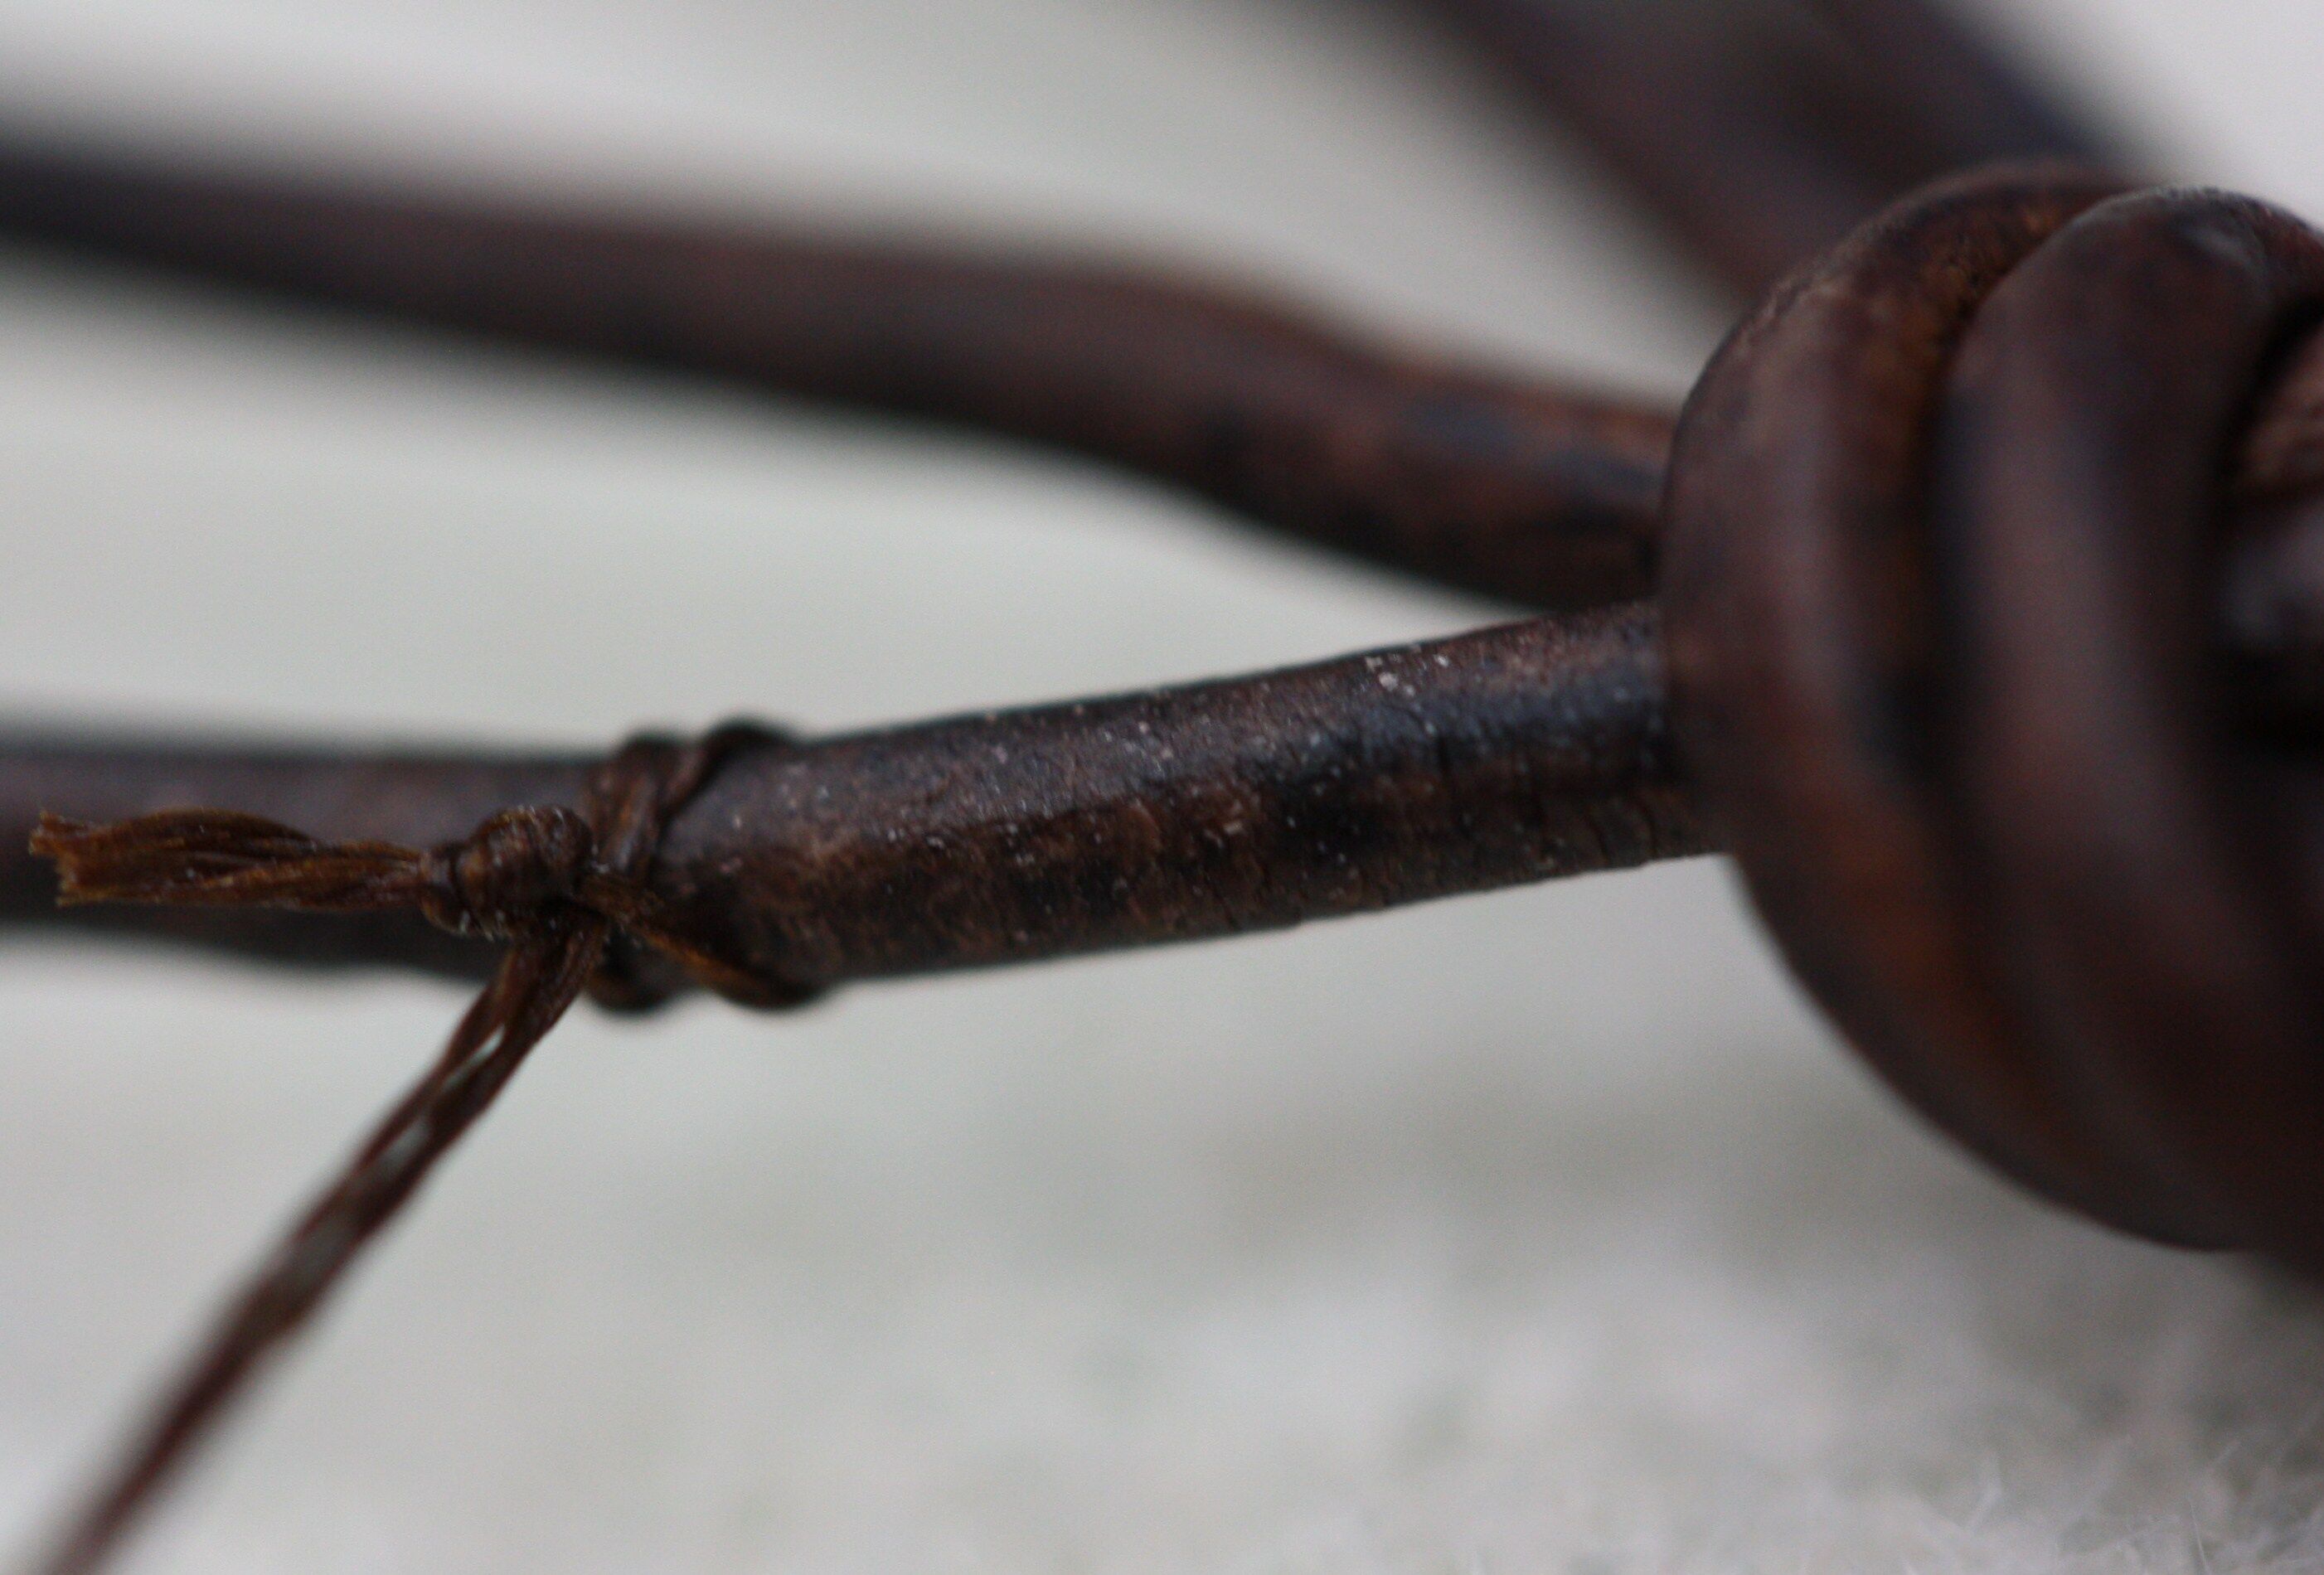
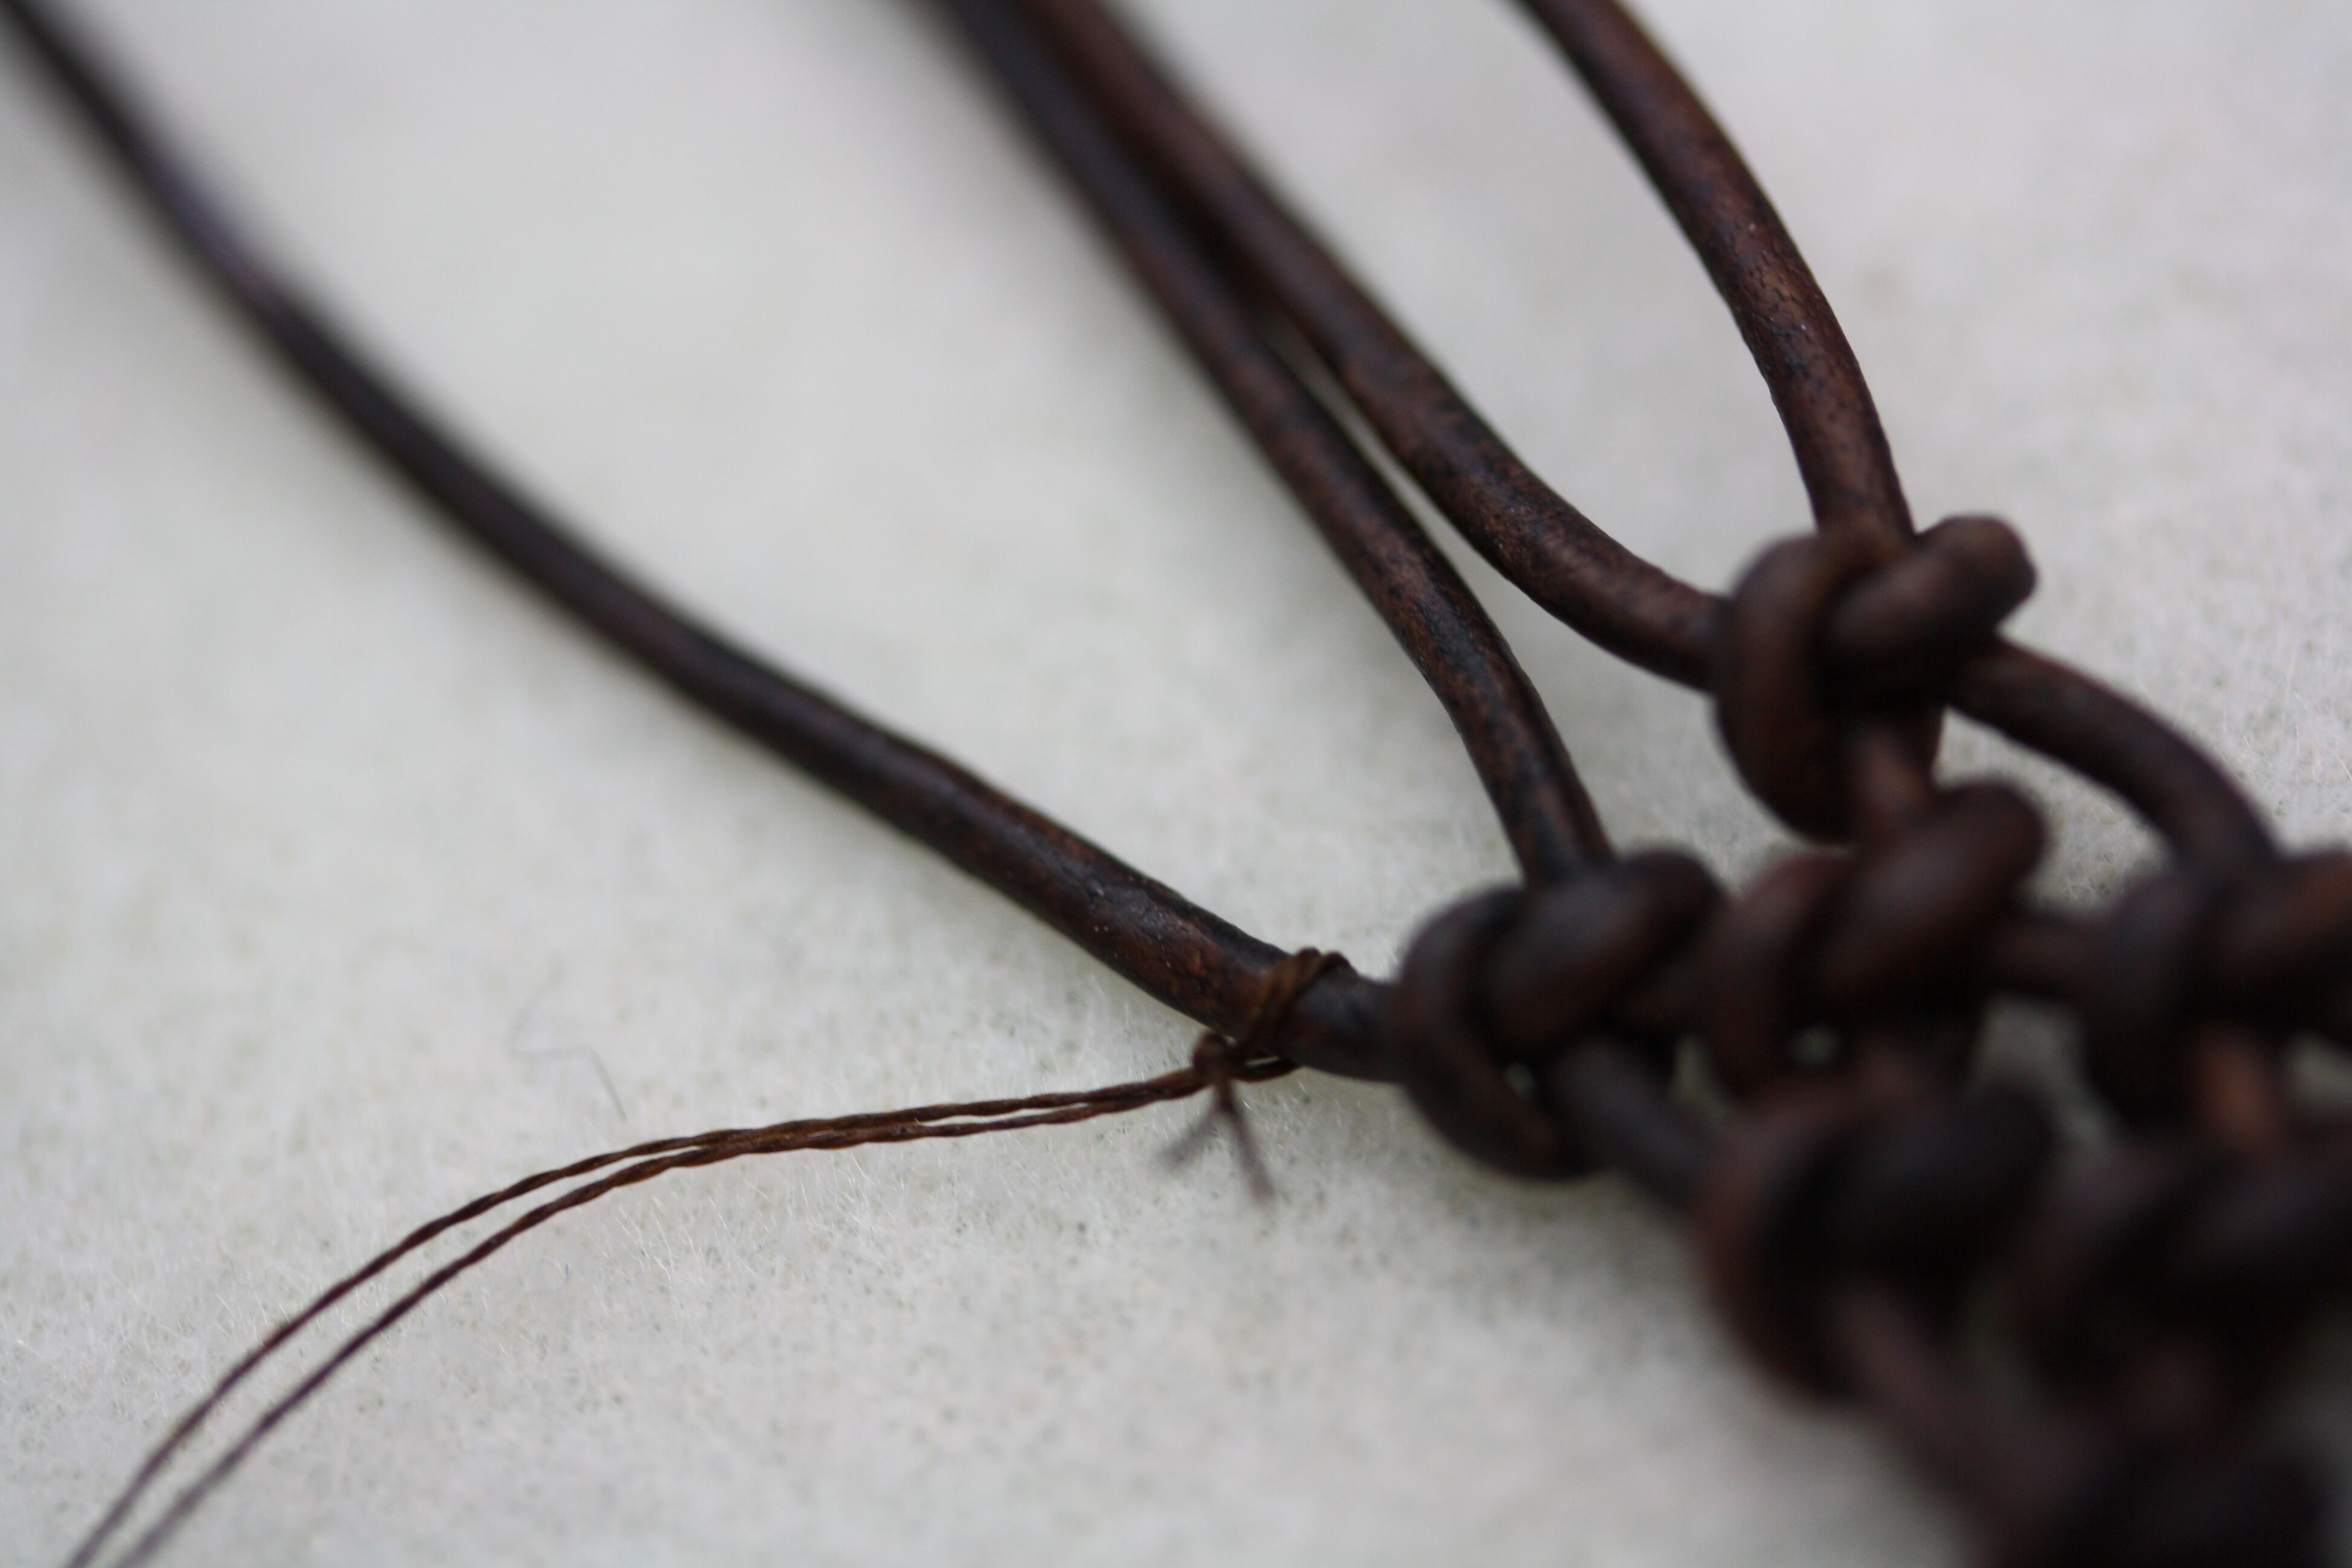
10. Next, thread 5 feet of Silamide or Nymo onto a size 10 needle, double the thread and knot it at the end. Tie a larkshead knot onto the bottom strand of leather a bit less than ½ inch away from the double Spanish knot.
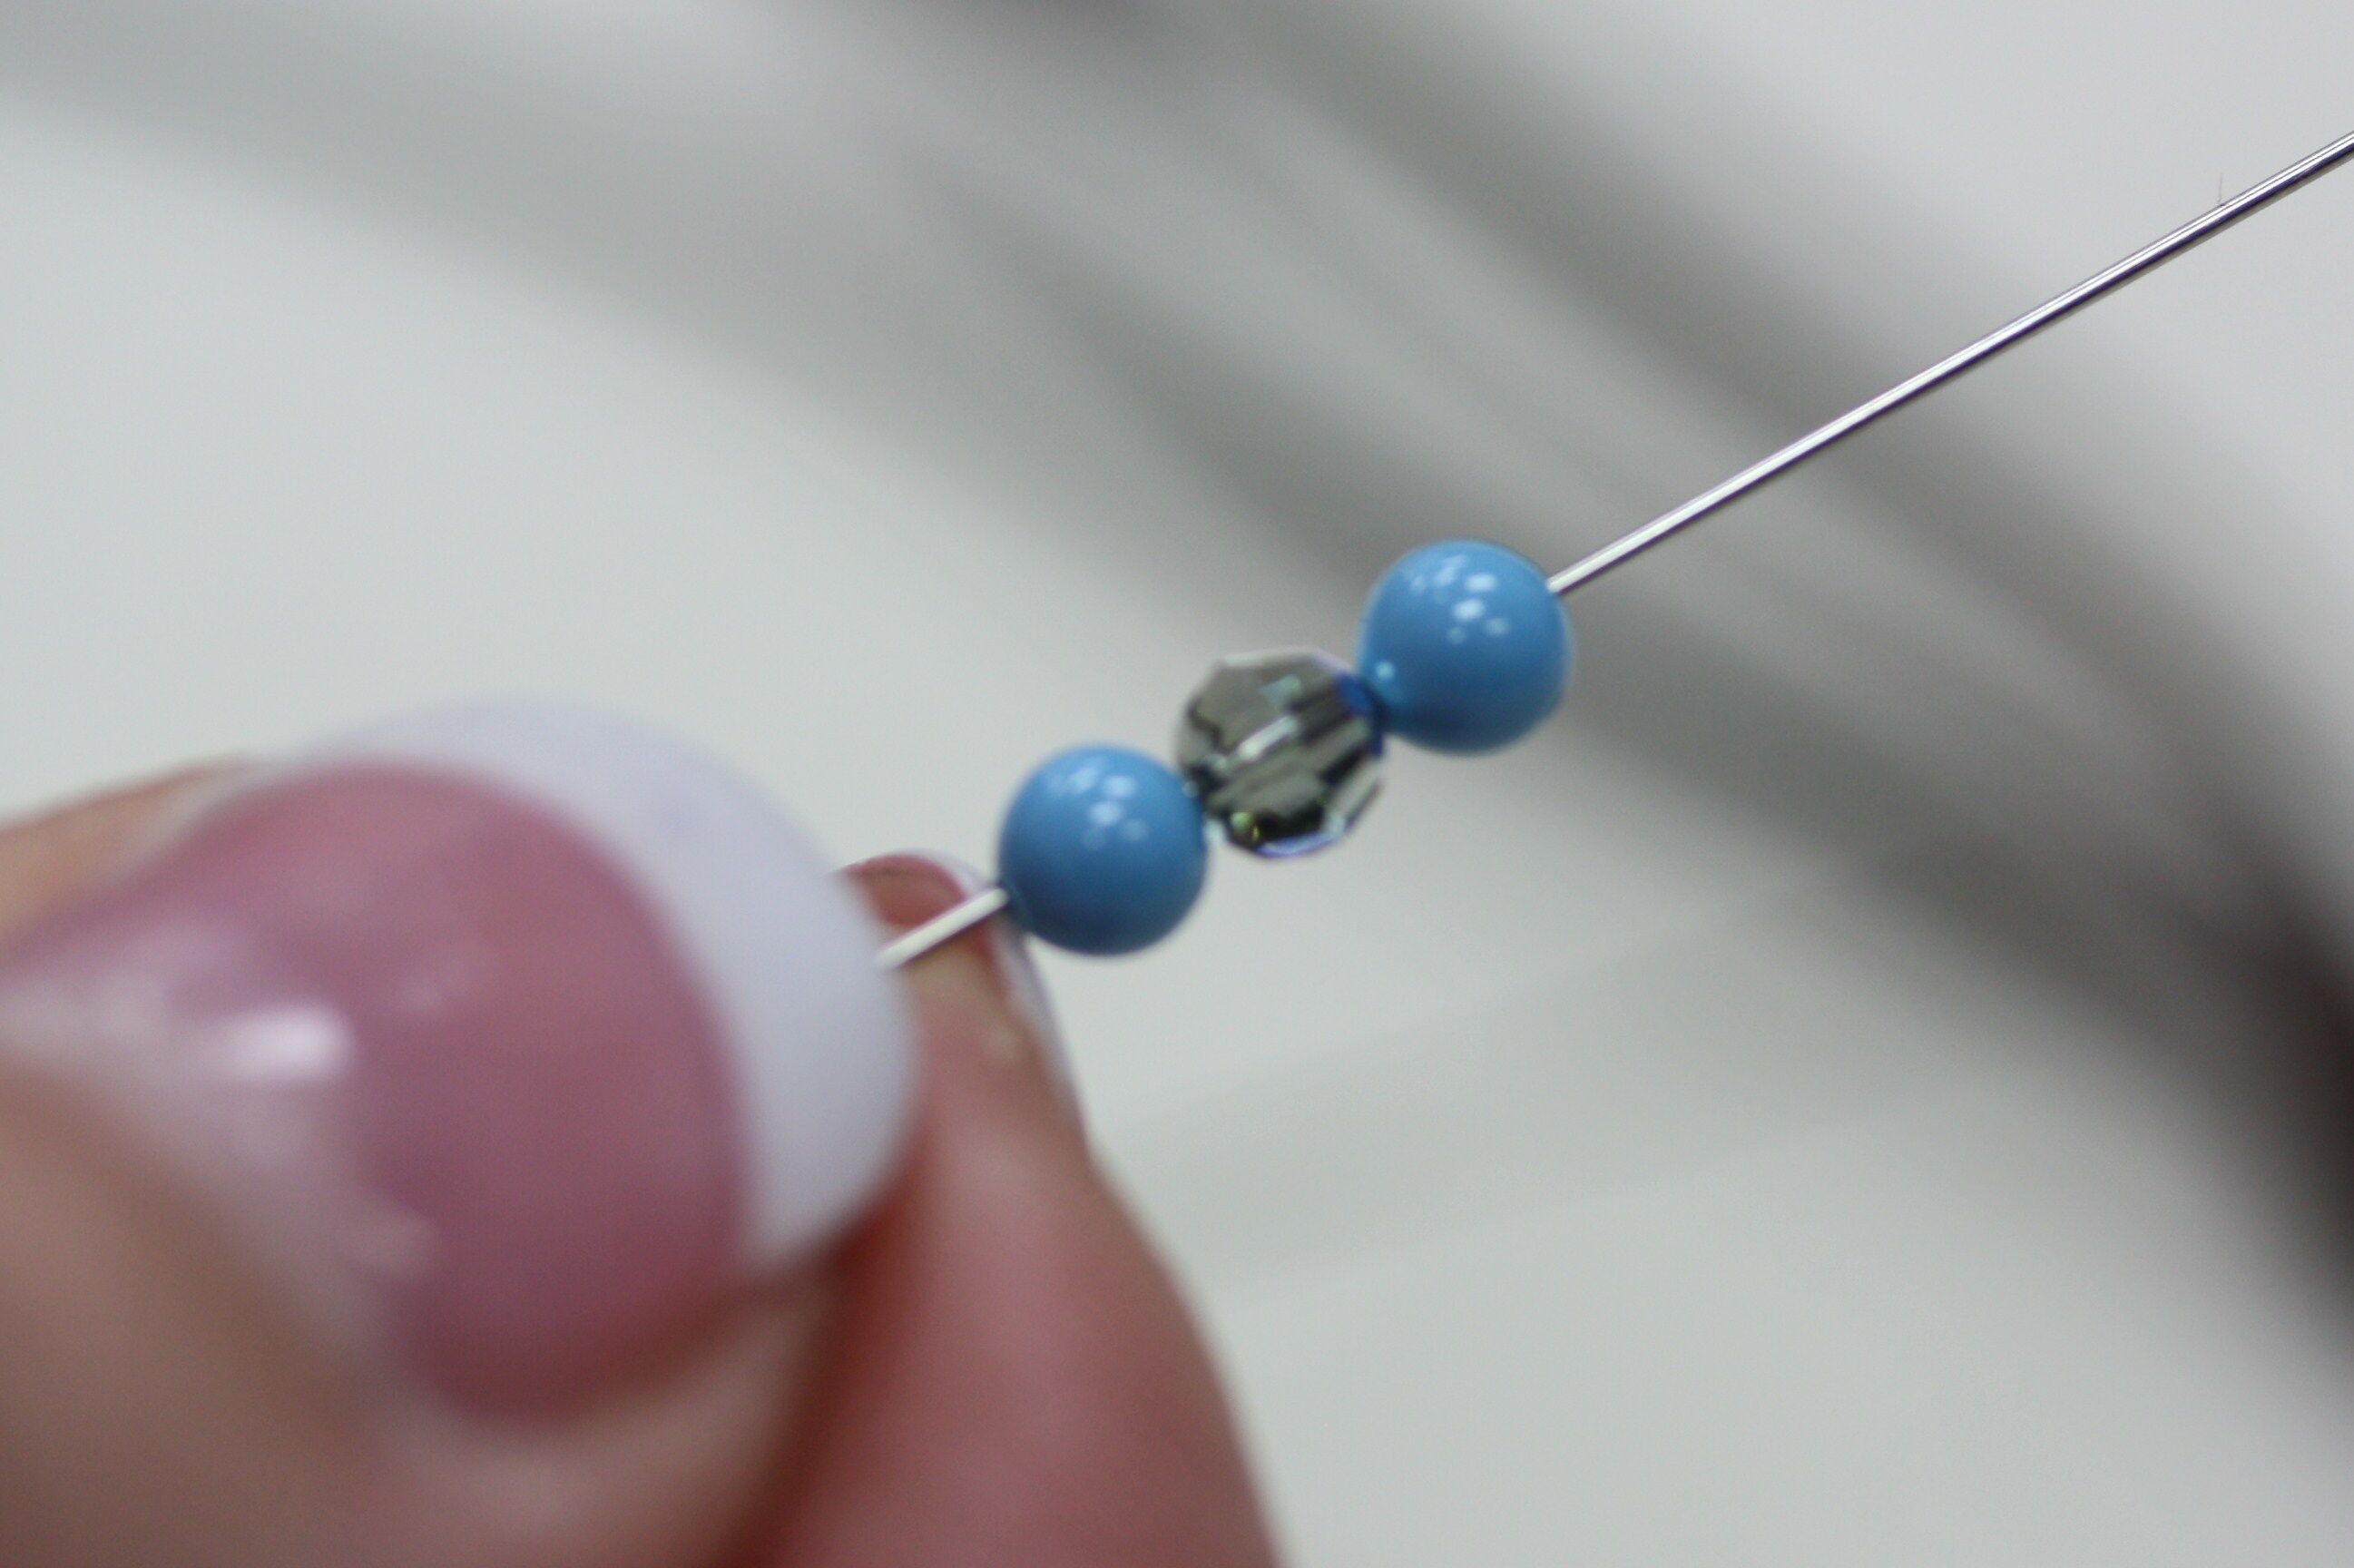
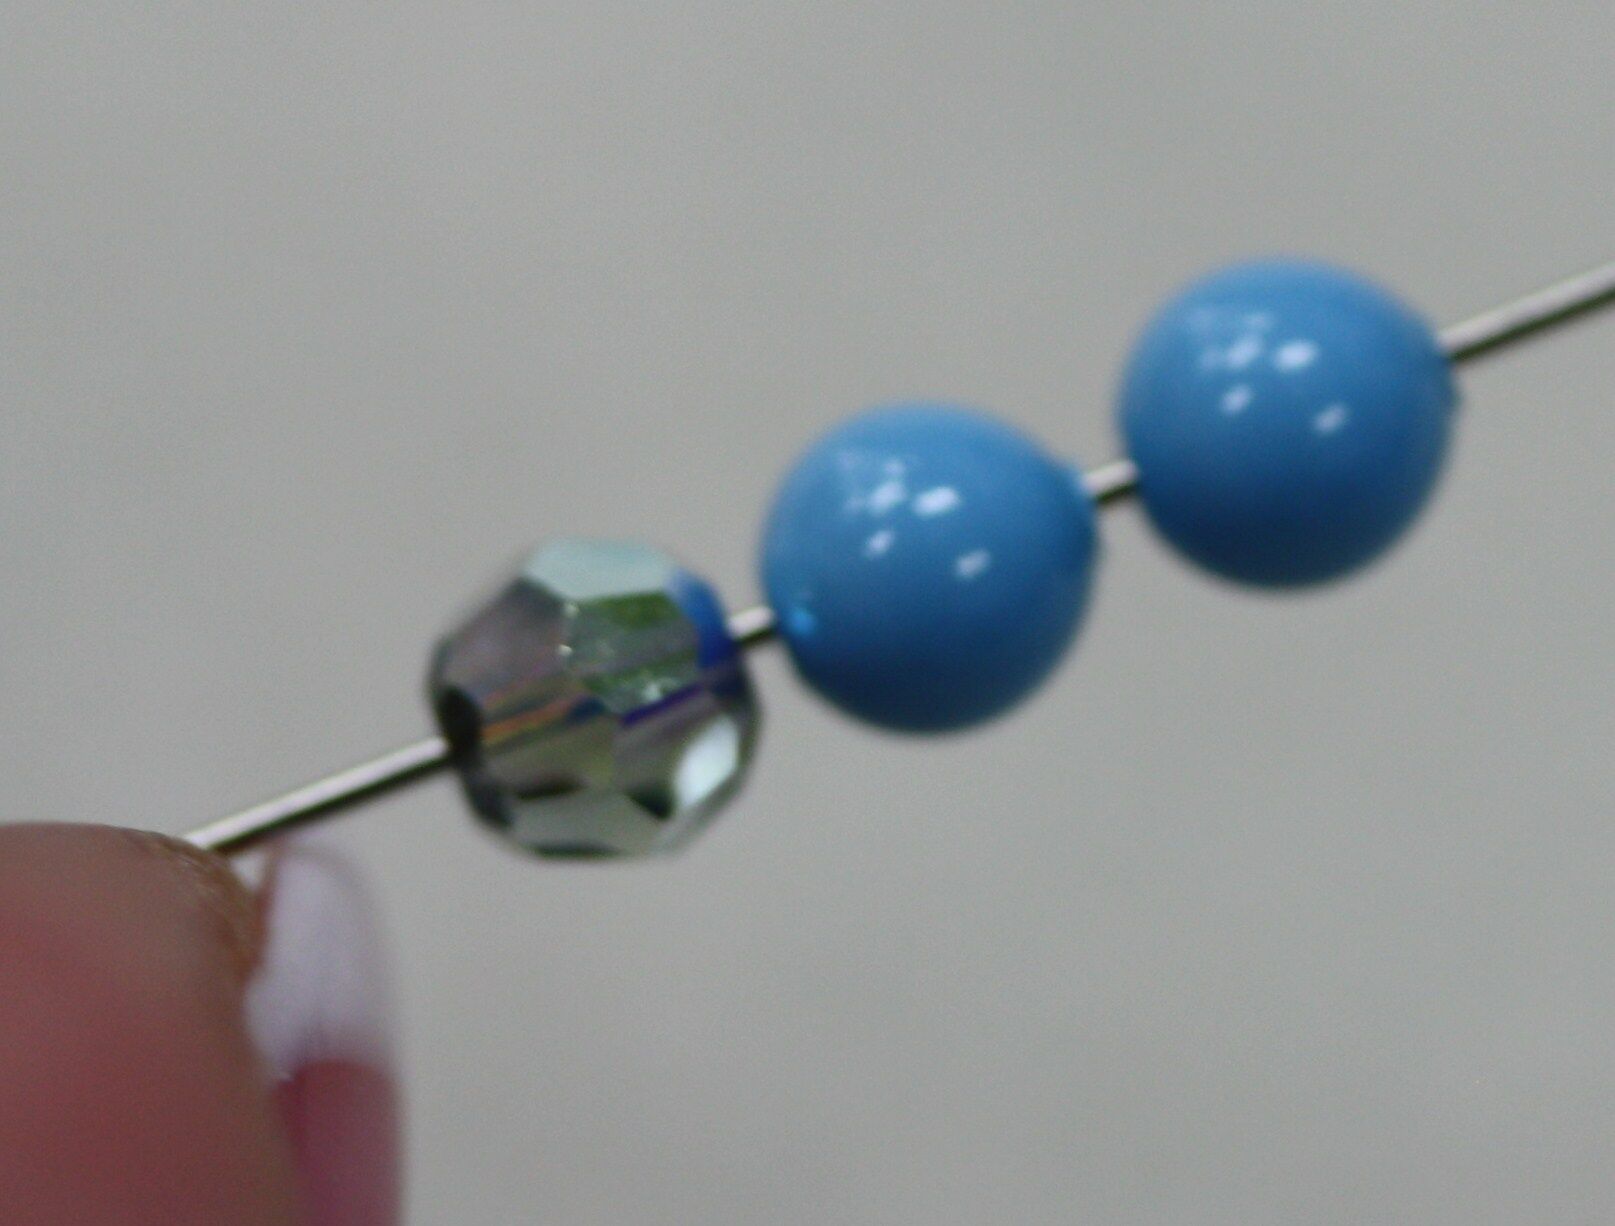
11. Place a pearl, crystal and pearl on your needle.
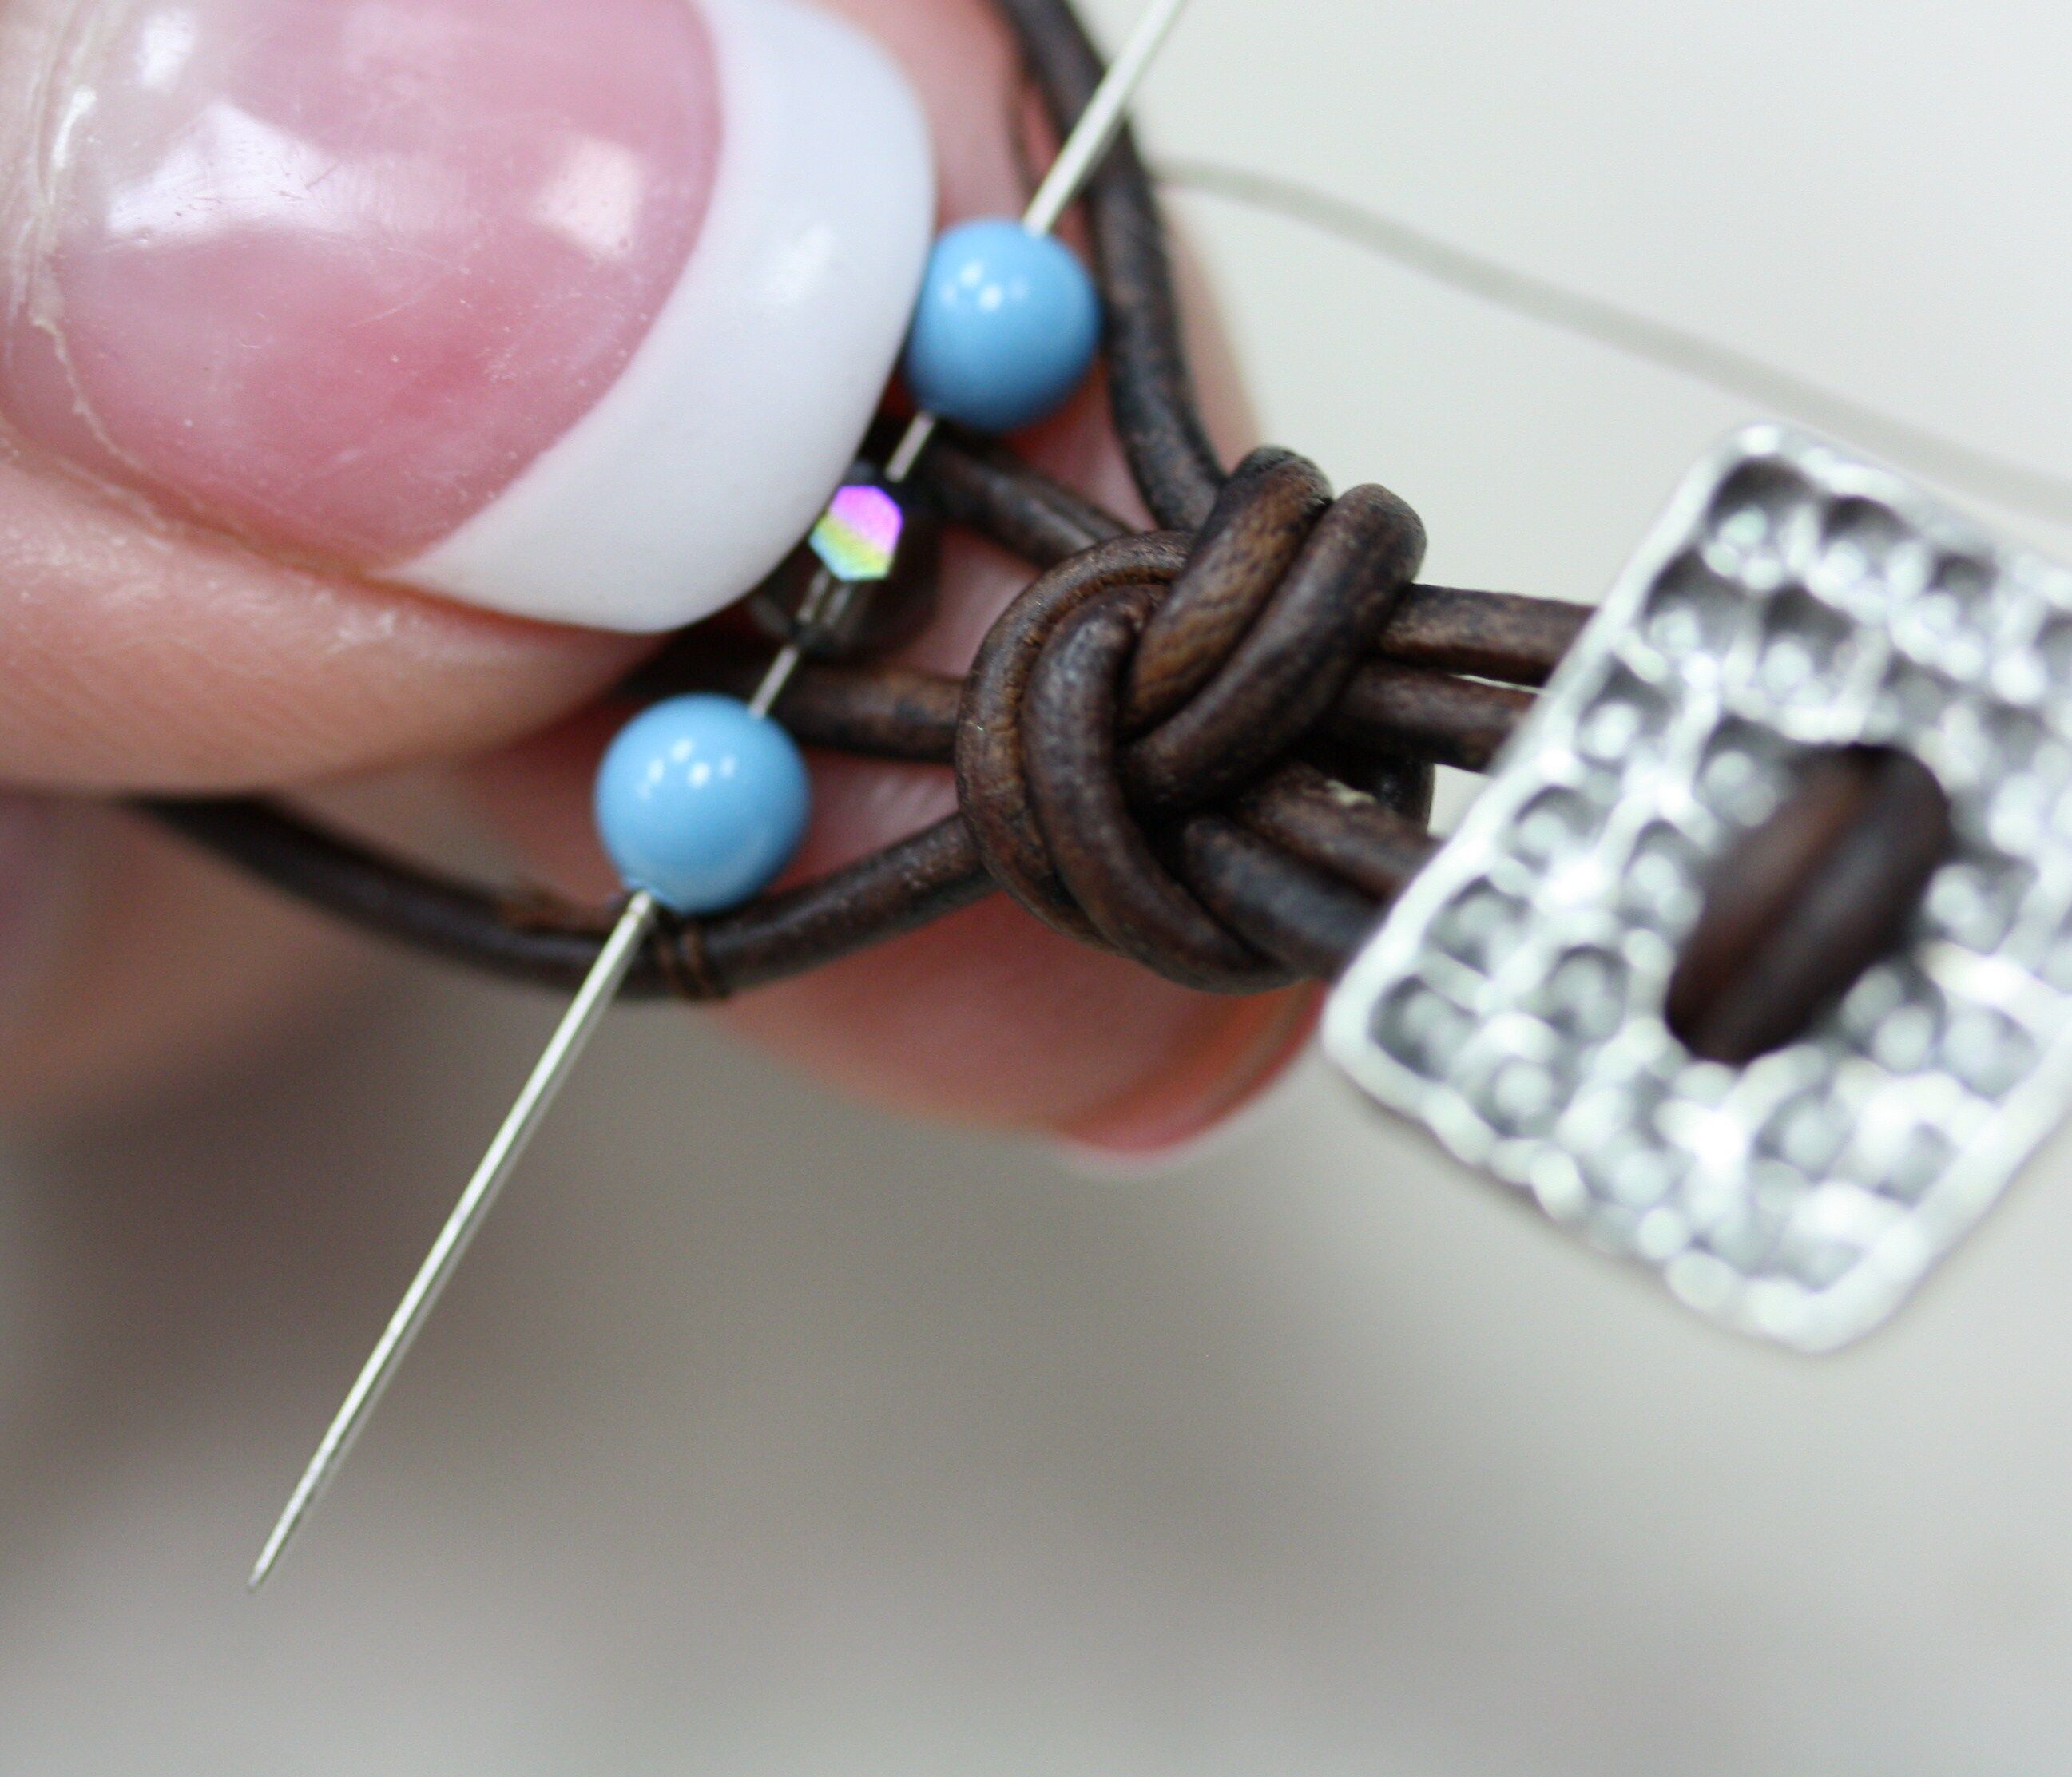
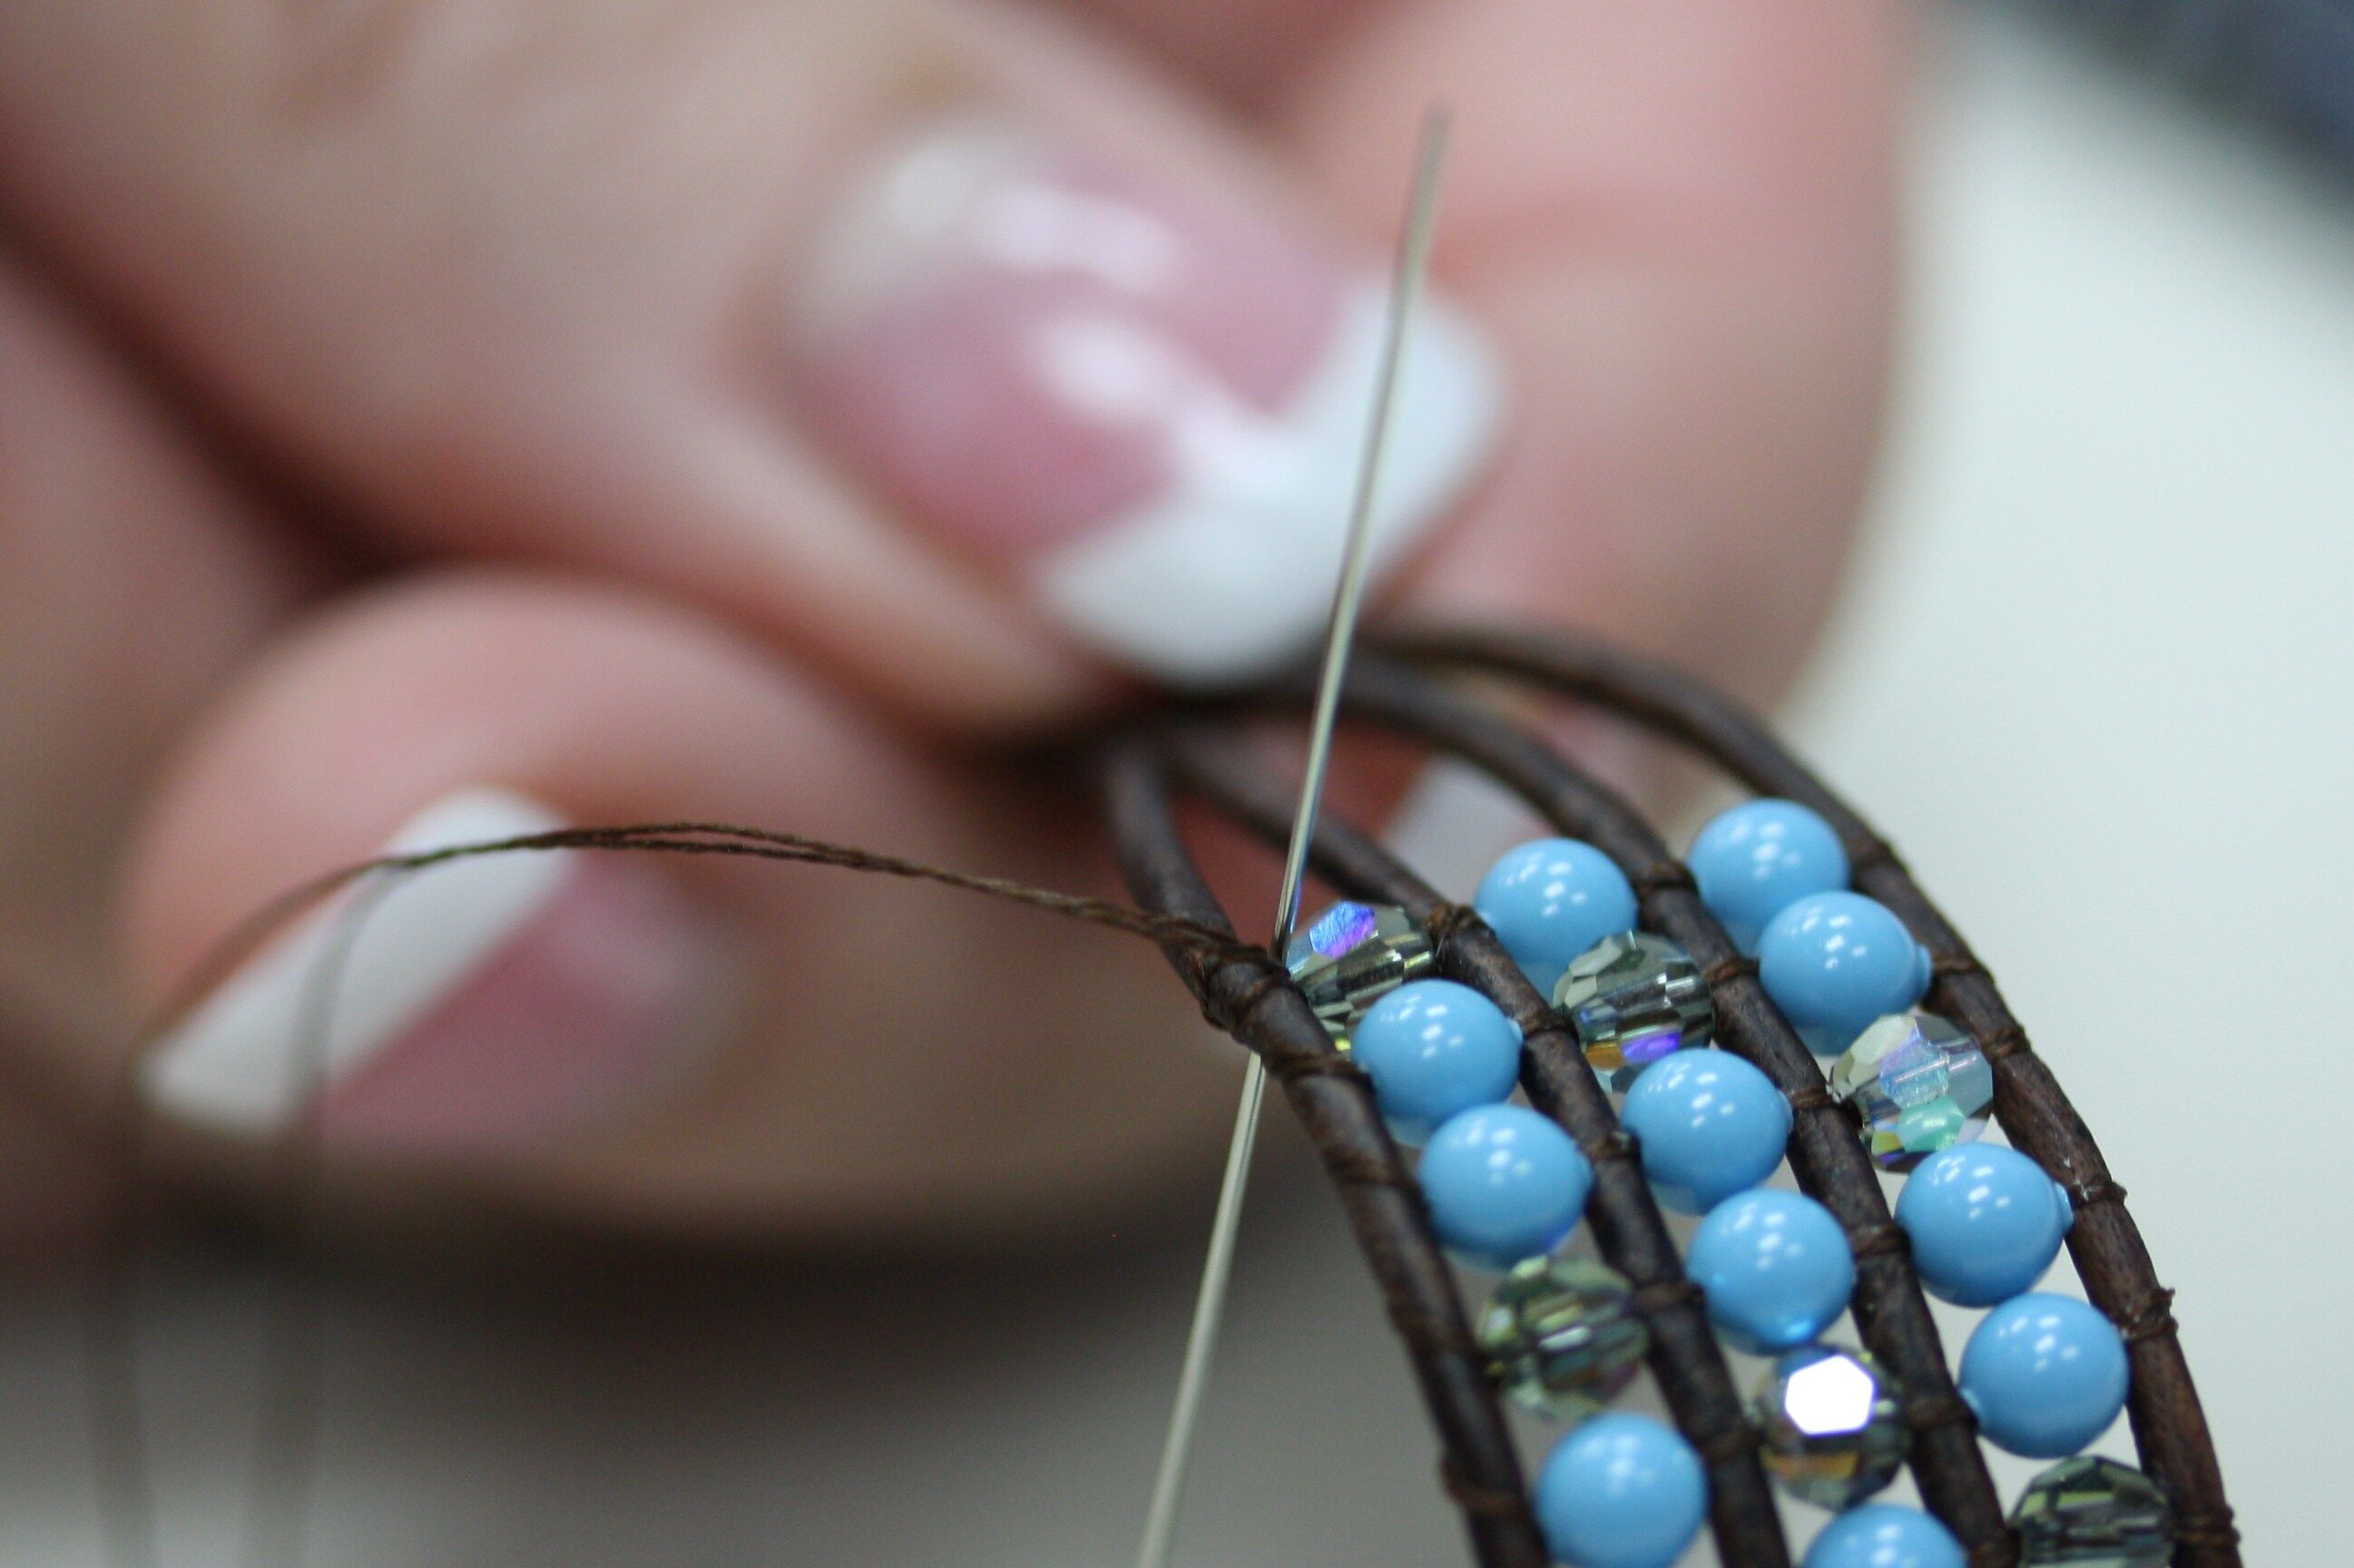
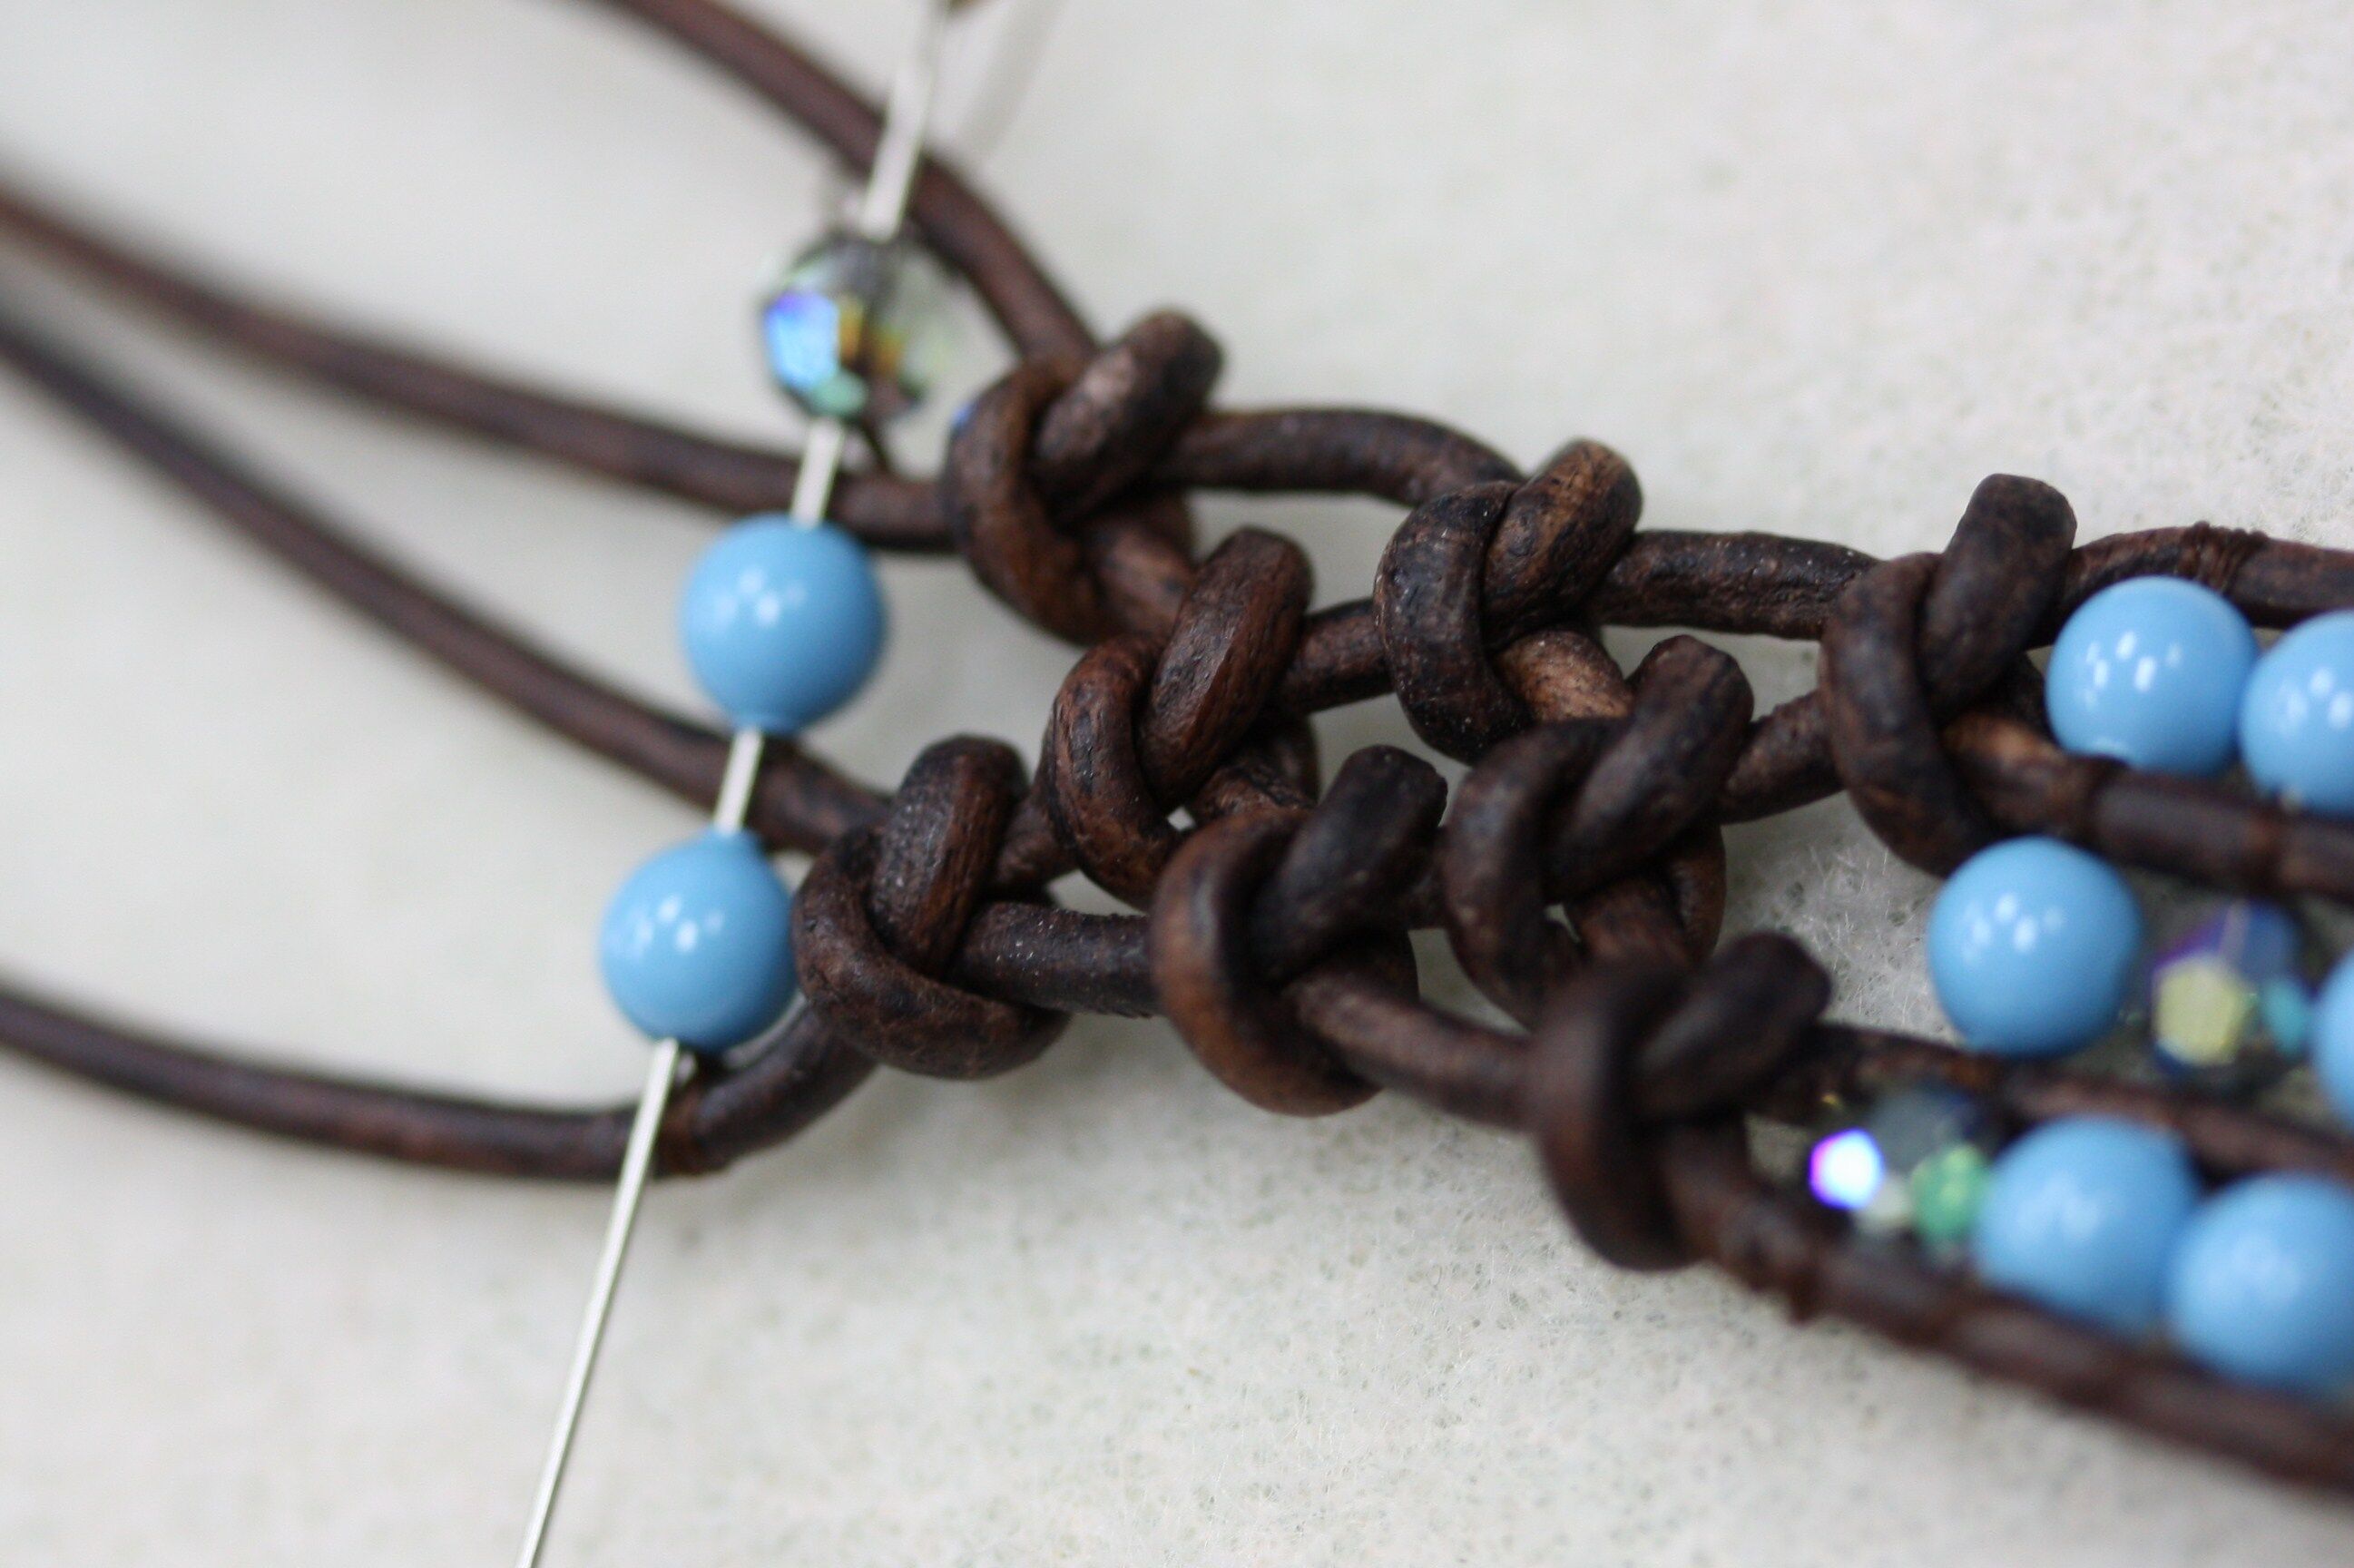
12. Keeping the beads on the needle, place the needle and beads behind the four strands of leather. Push the beads up between the strands of leather.
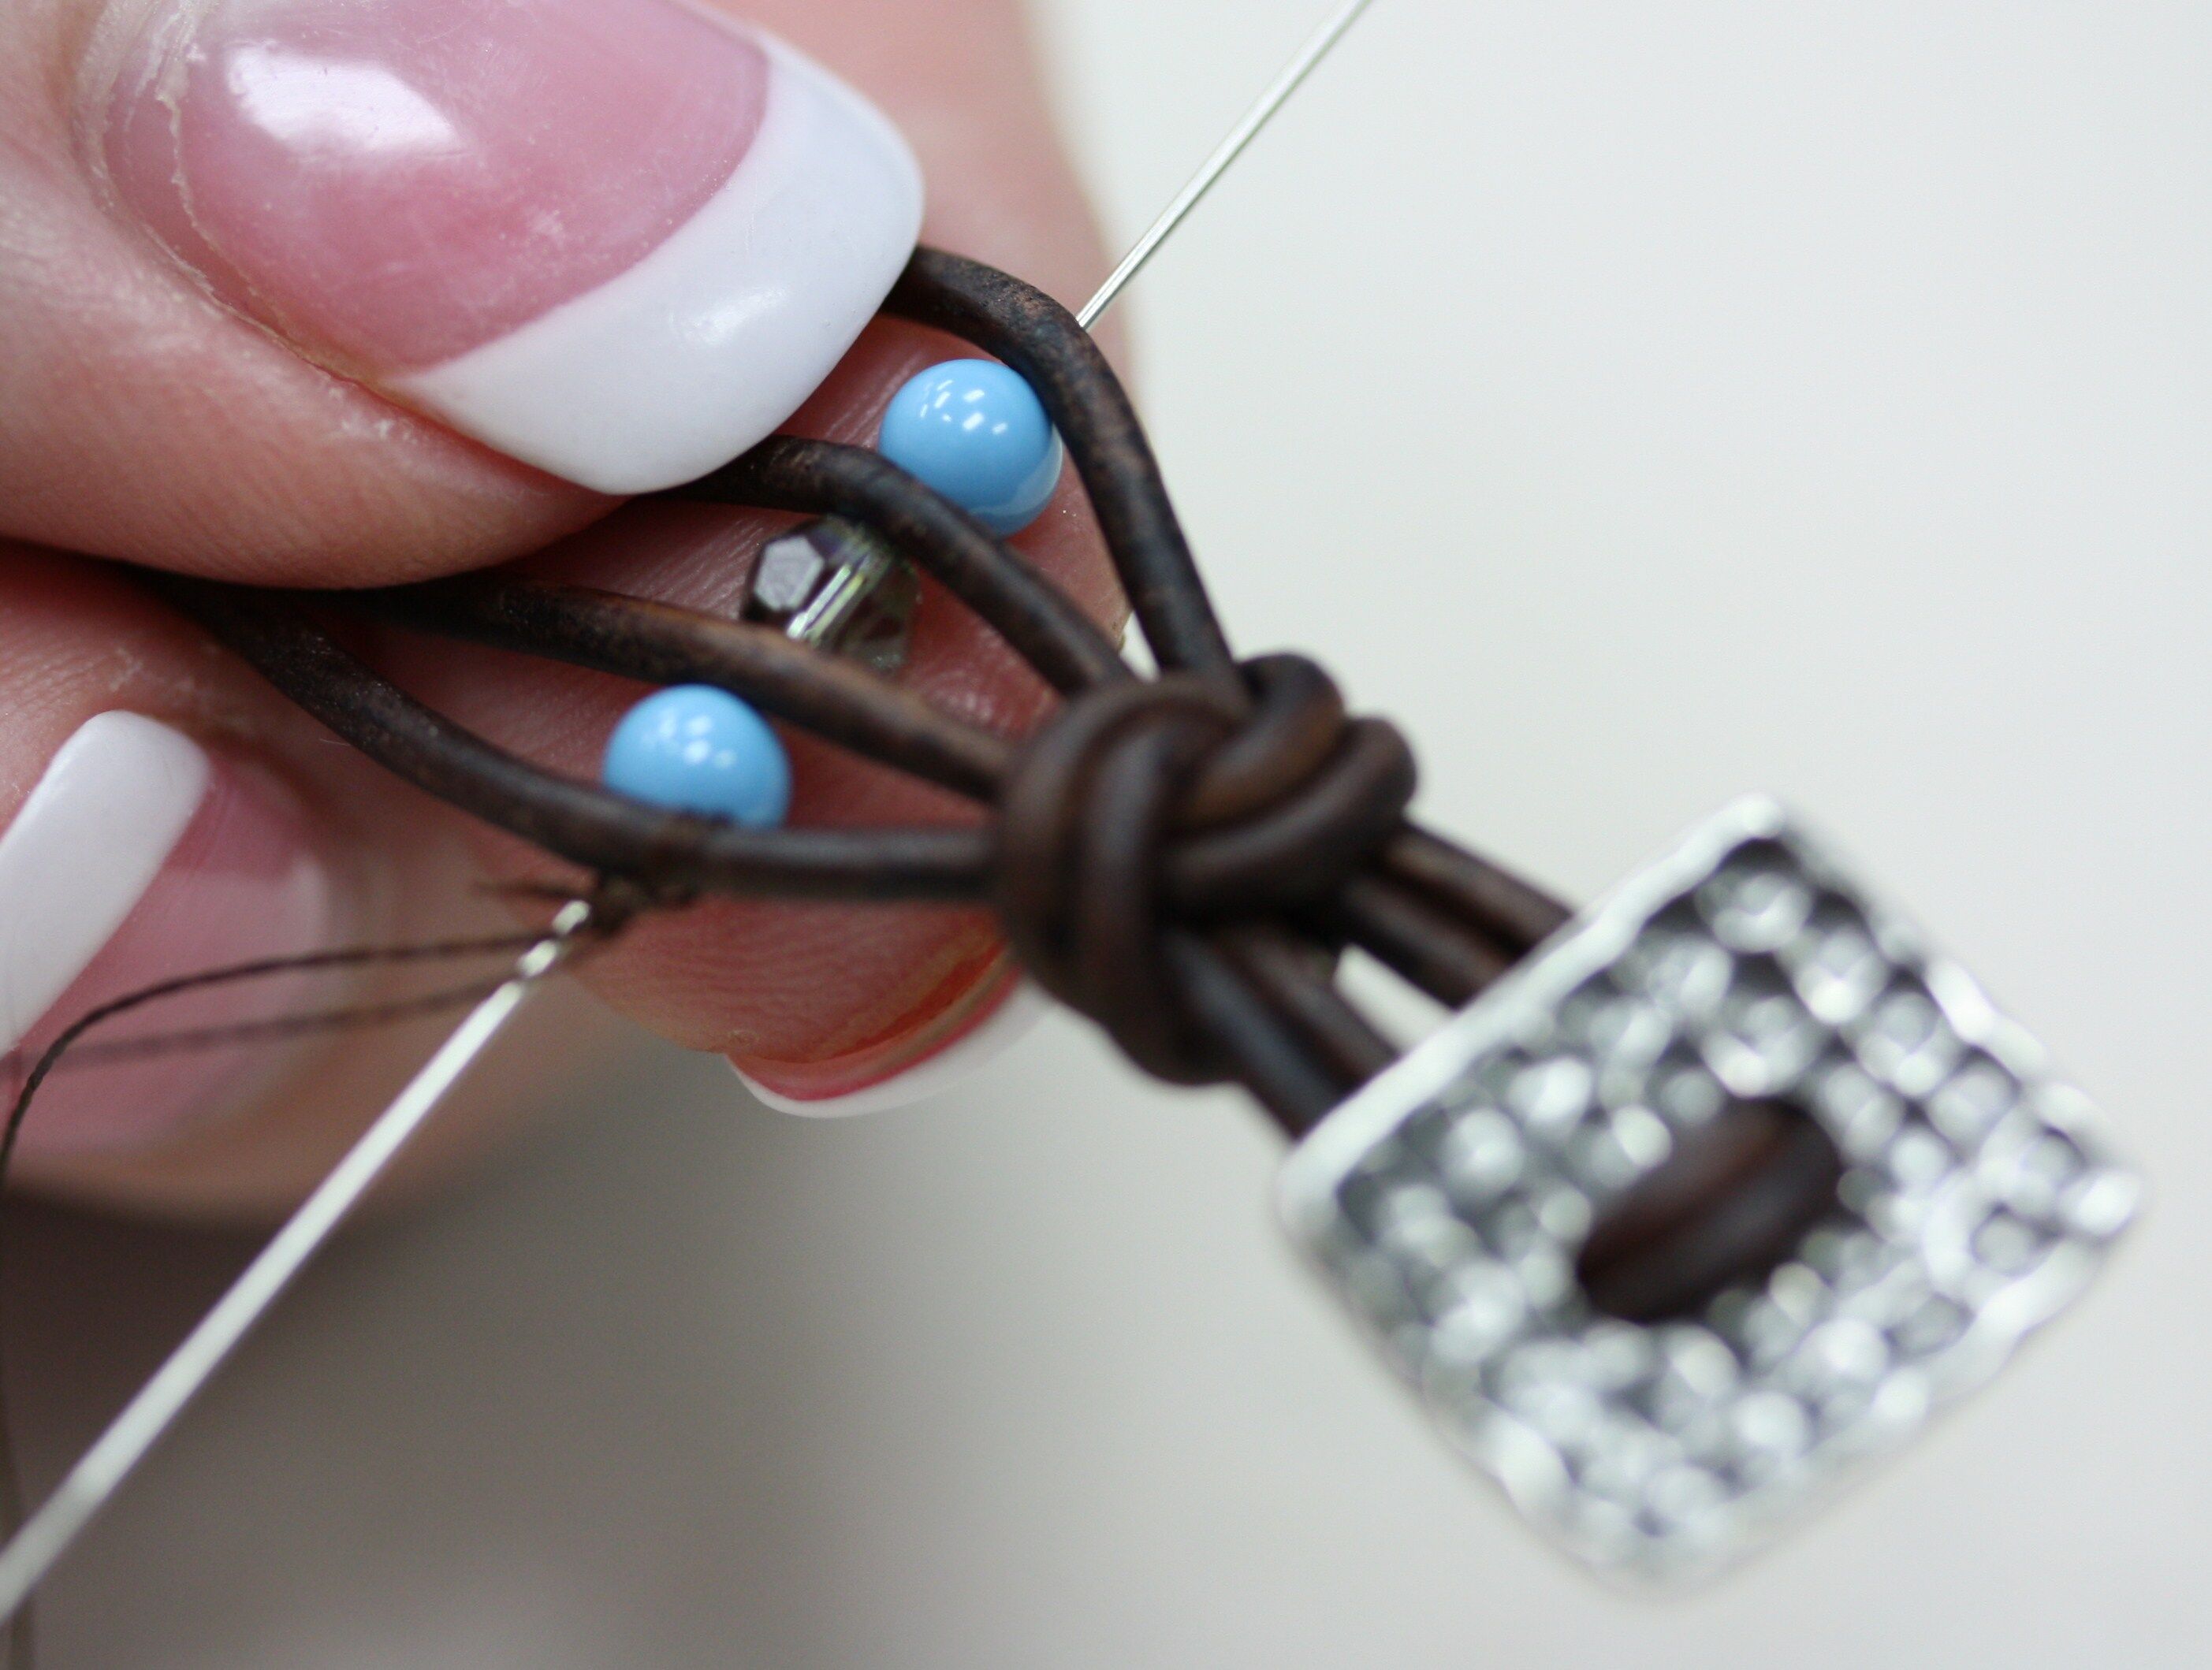
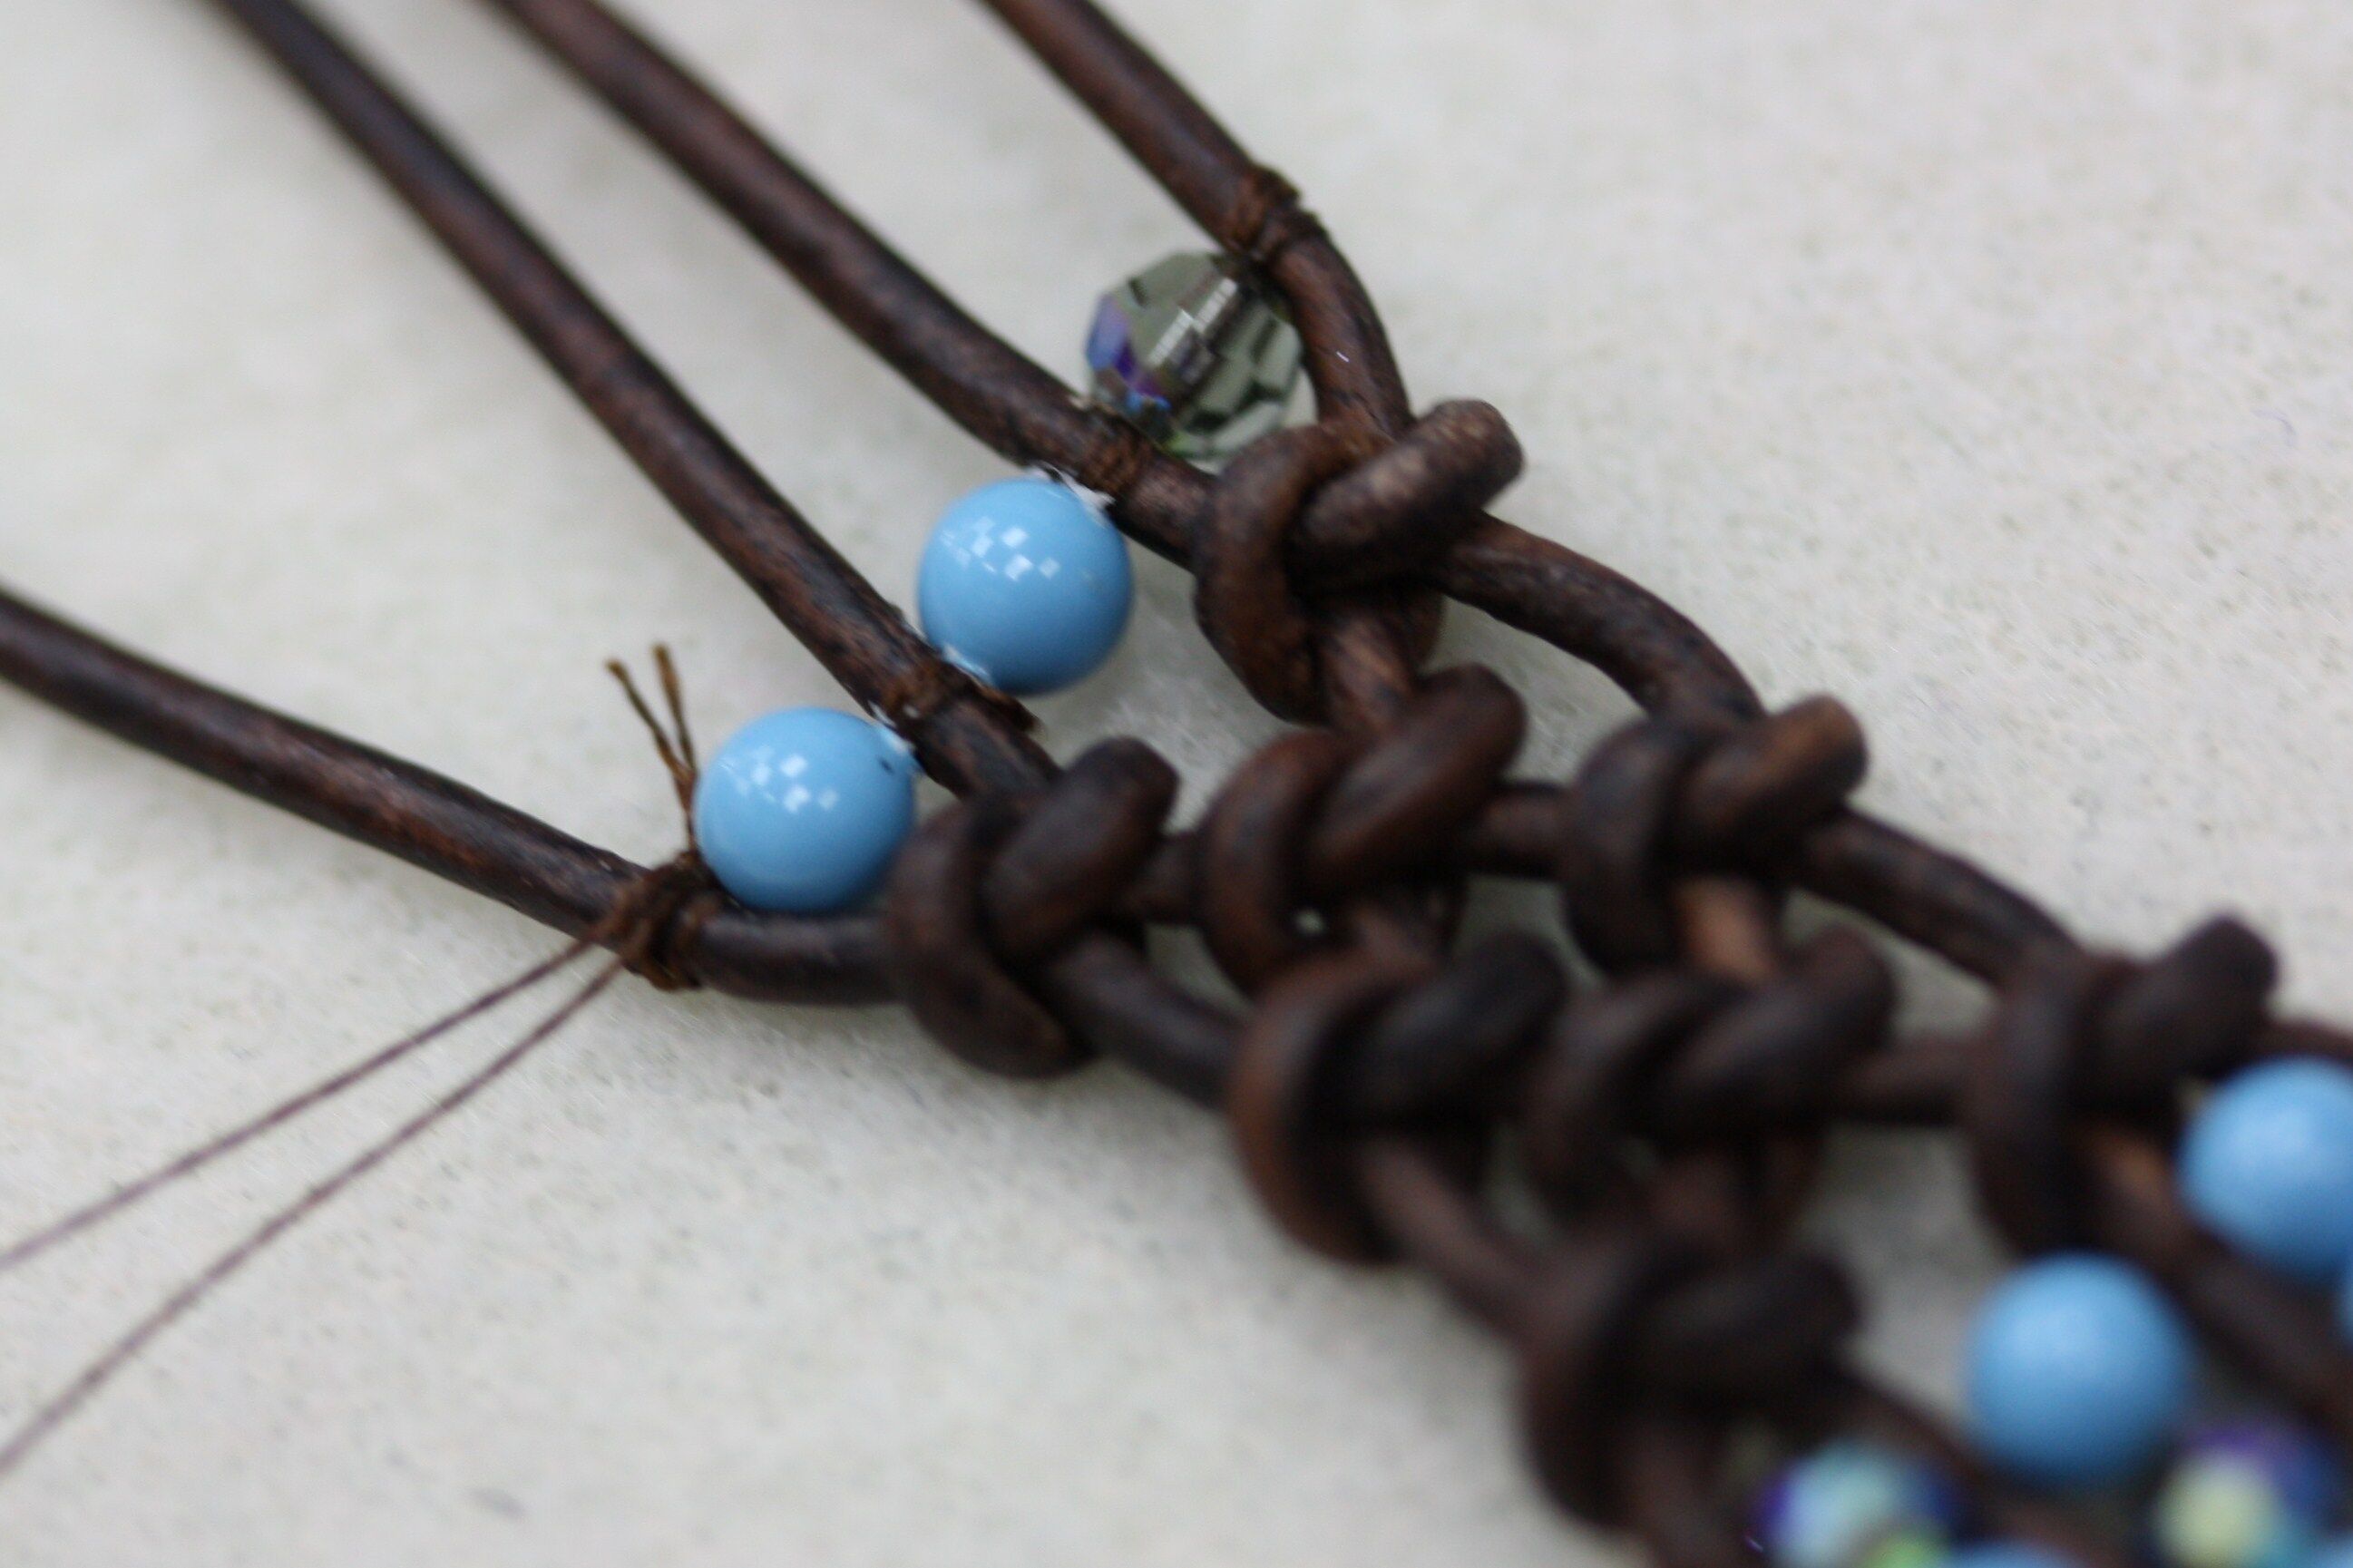
13. Take needle and pass it over the top of the leather cord and through the top bead, over leather through the middle bead, over leather, through the bottom bead, over leather. Pull the thread through and give it a tug to tighten the thread around the leather.
14. Secure these first 3 beads by sewing up through the back of the leather through the beads and down the front of the leather and through the beads.

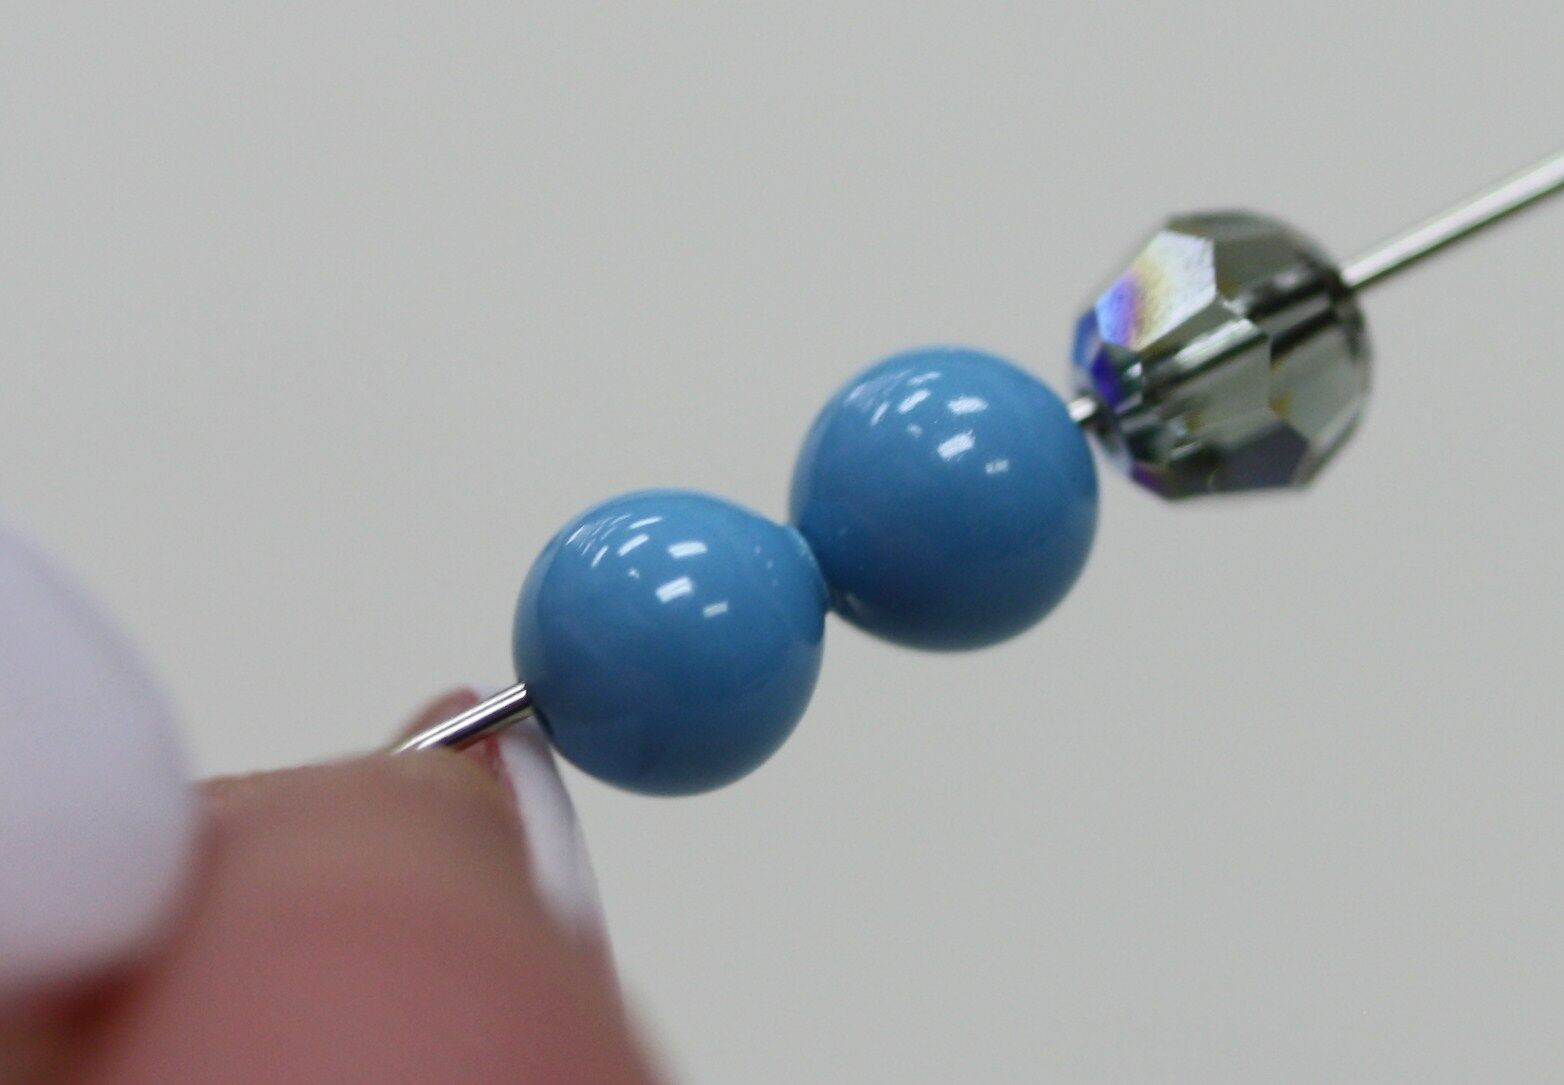
15. Place a crystal, a pearl and a pearl on your needle.
16. Repeat steps 12-13 to stitch in beads.
17. Place a pearl, a pearl and a crystal on your needle.
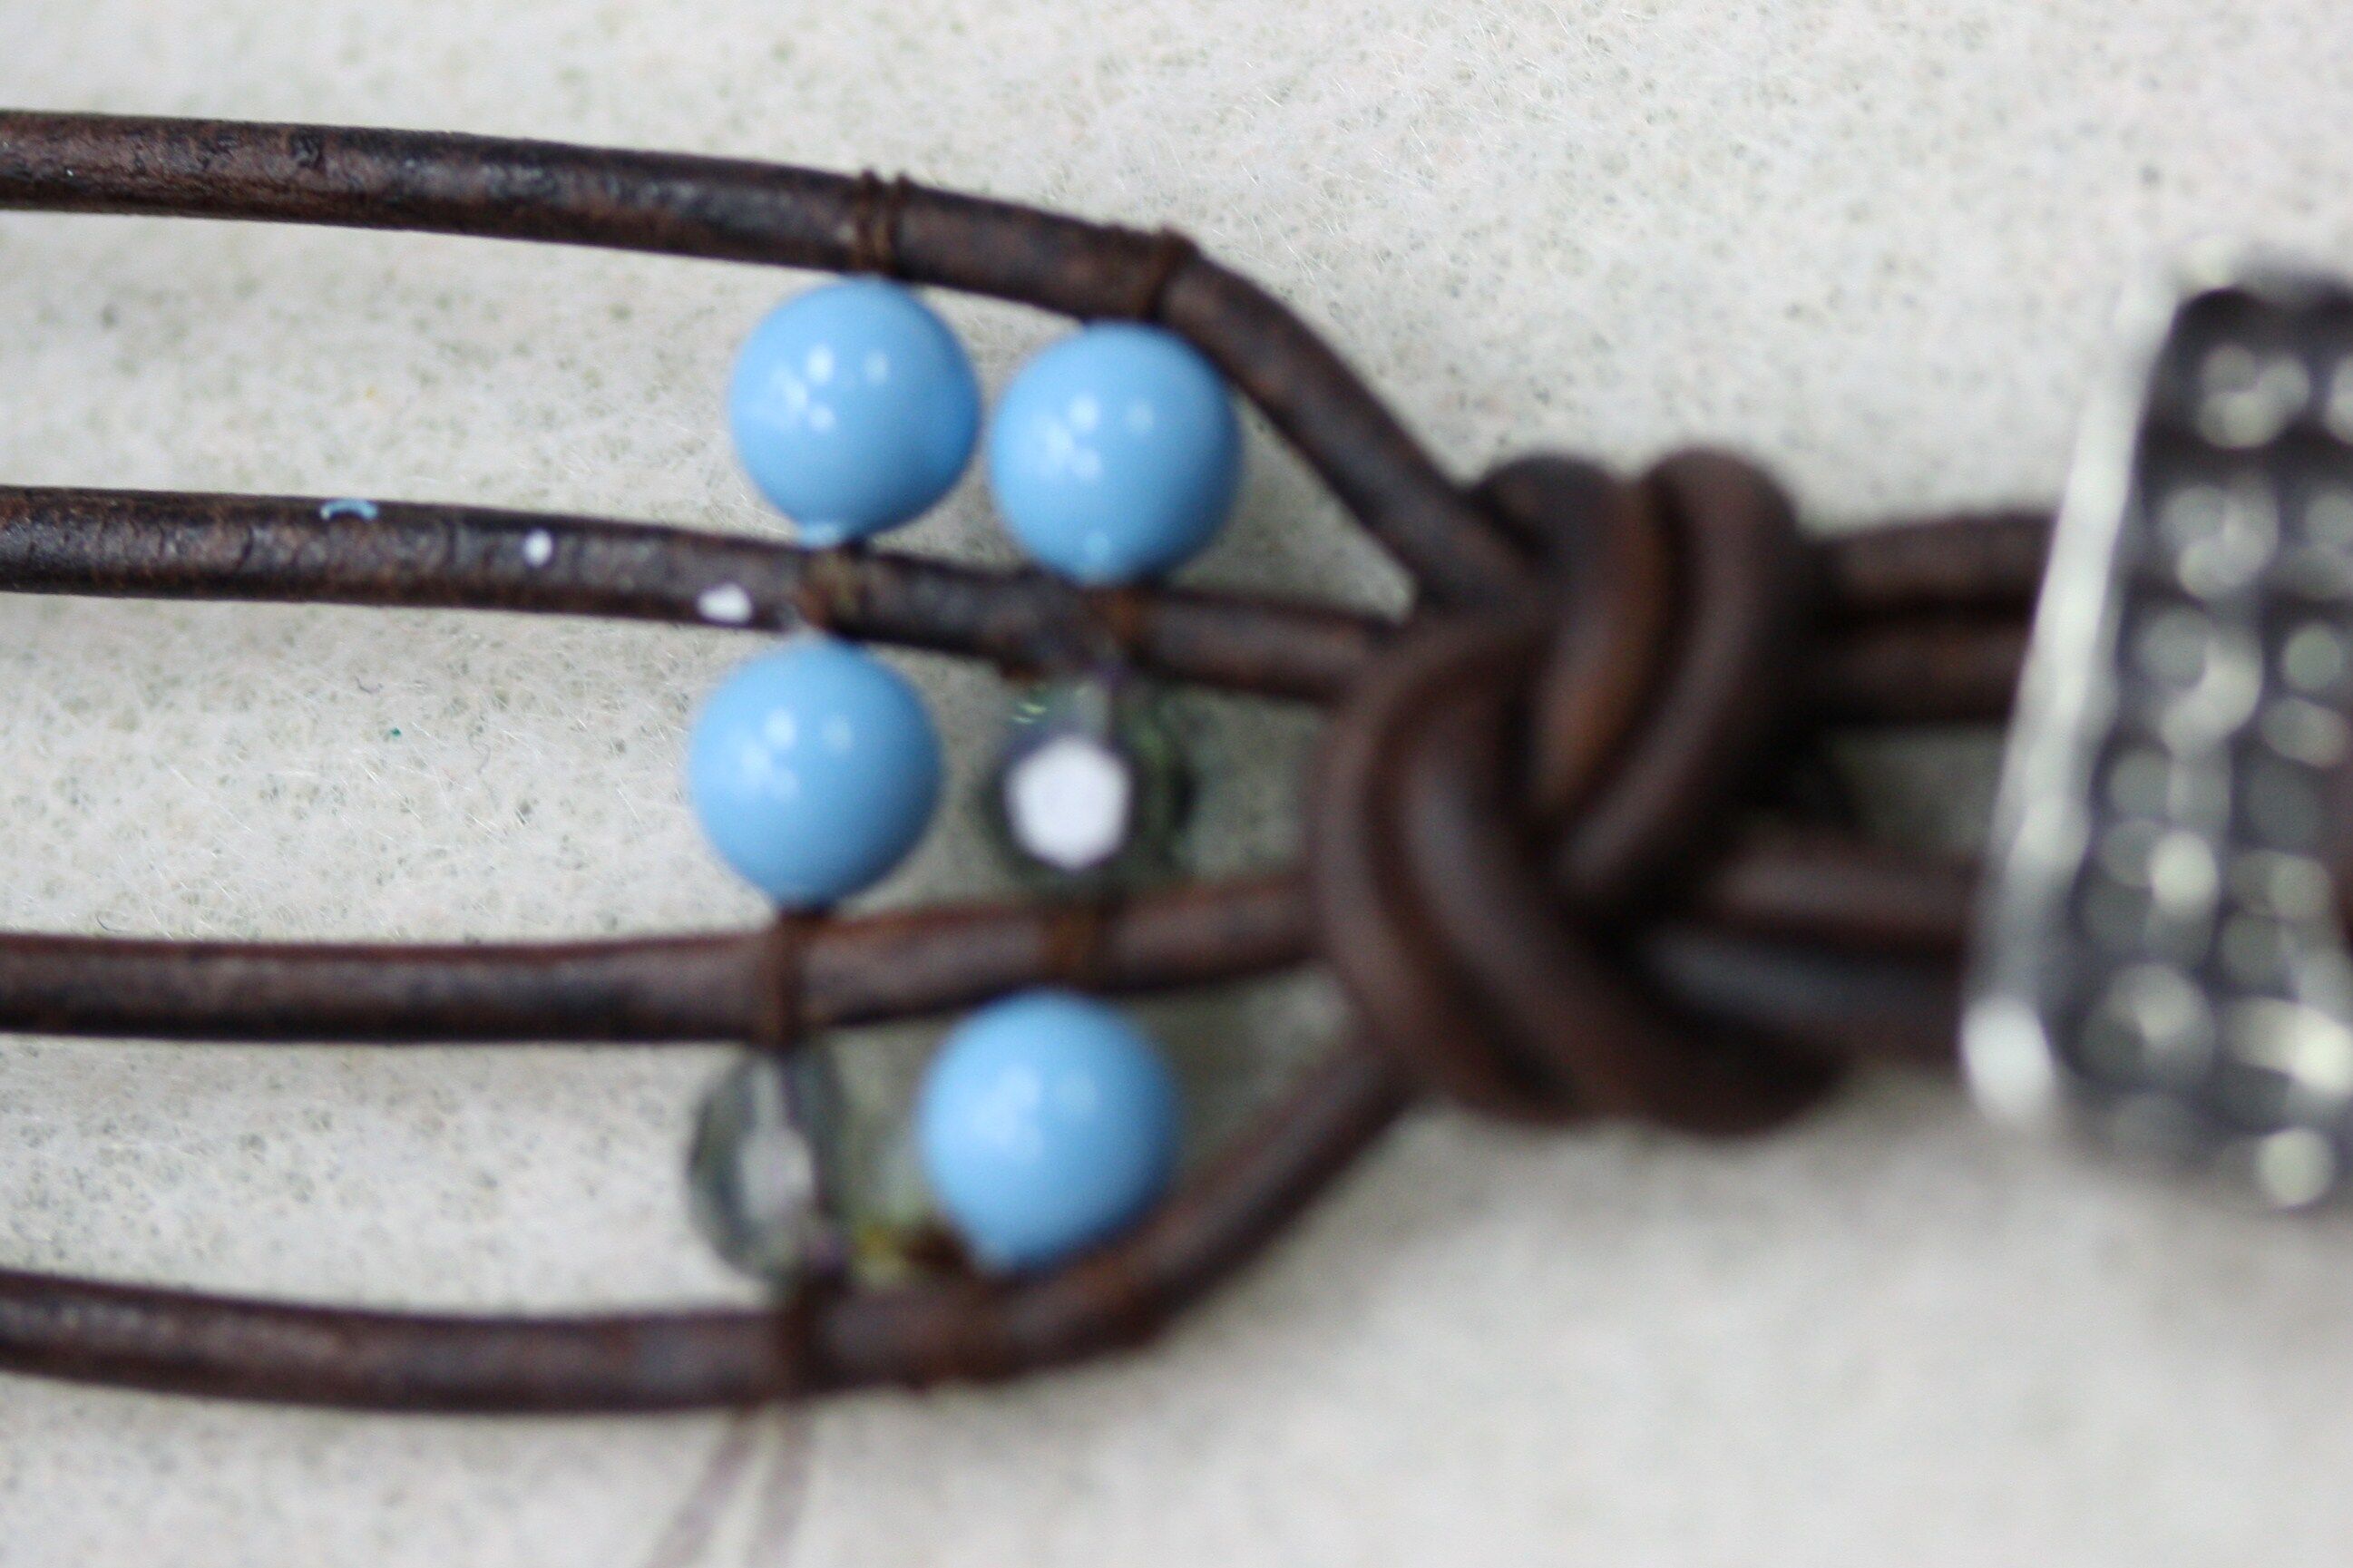
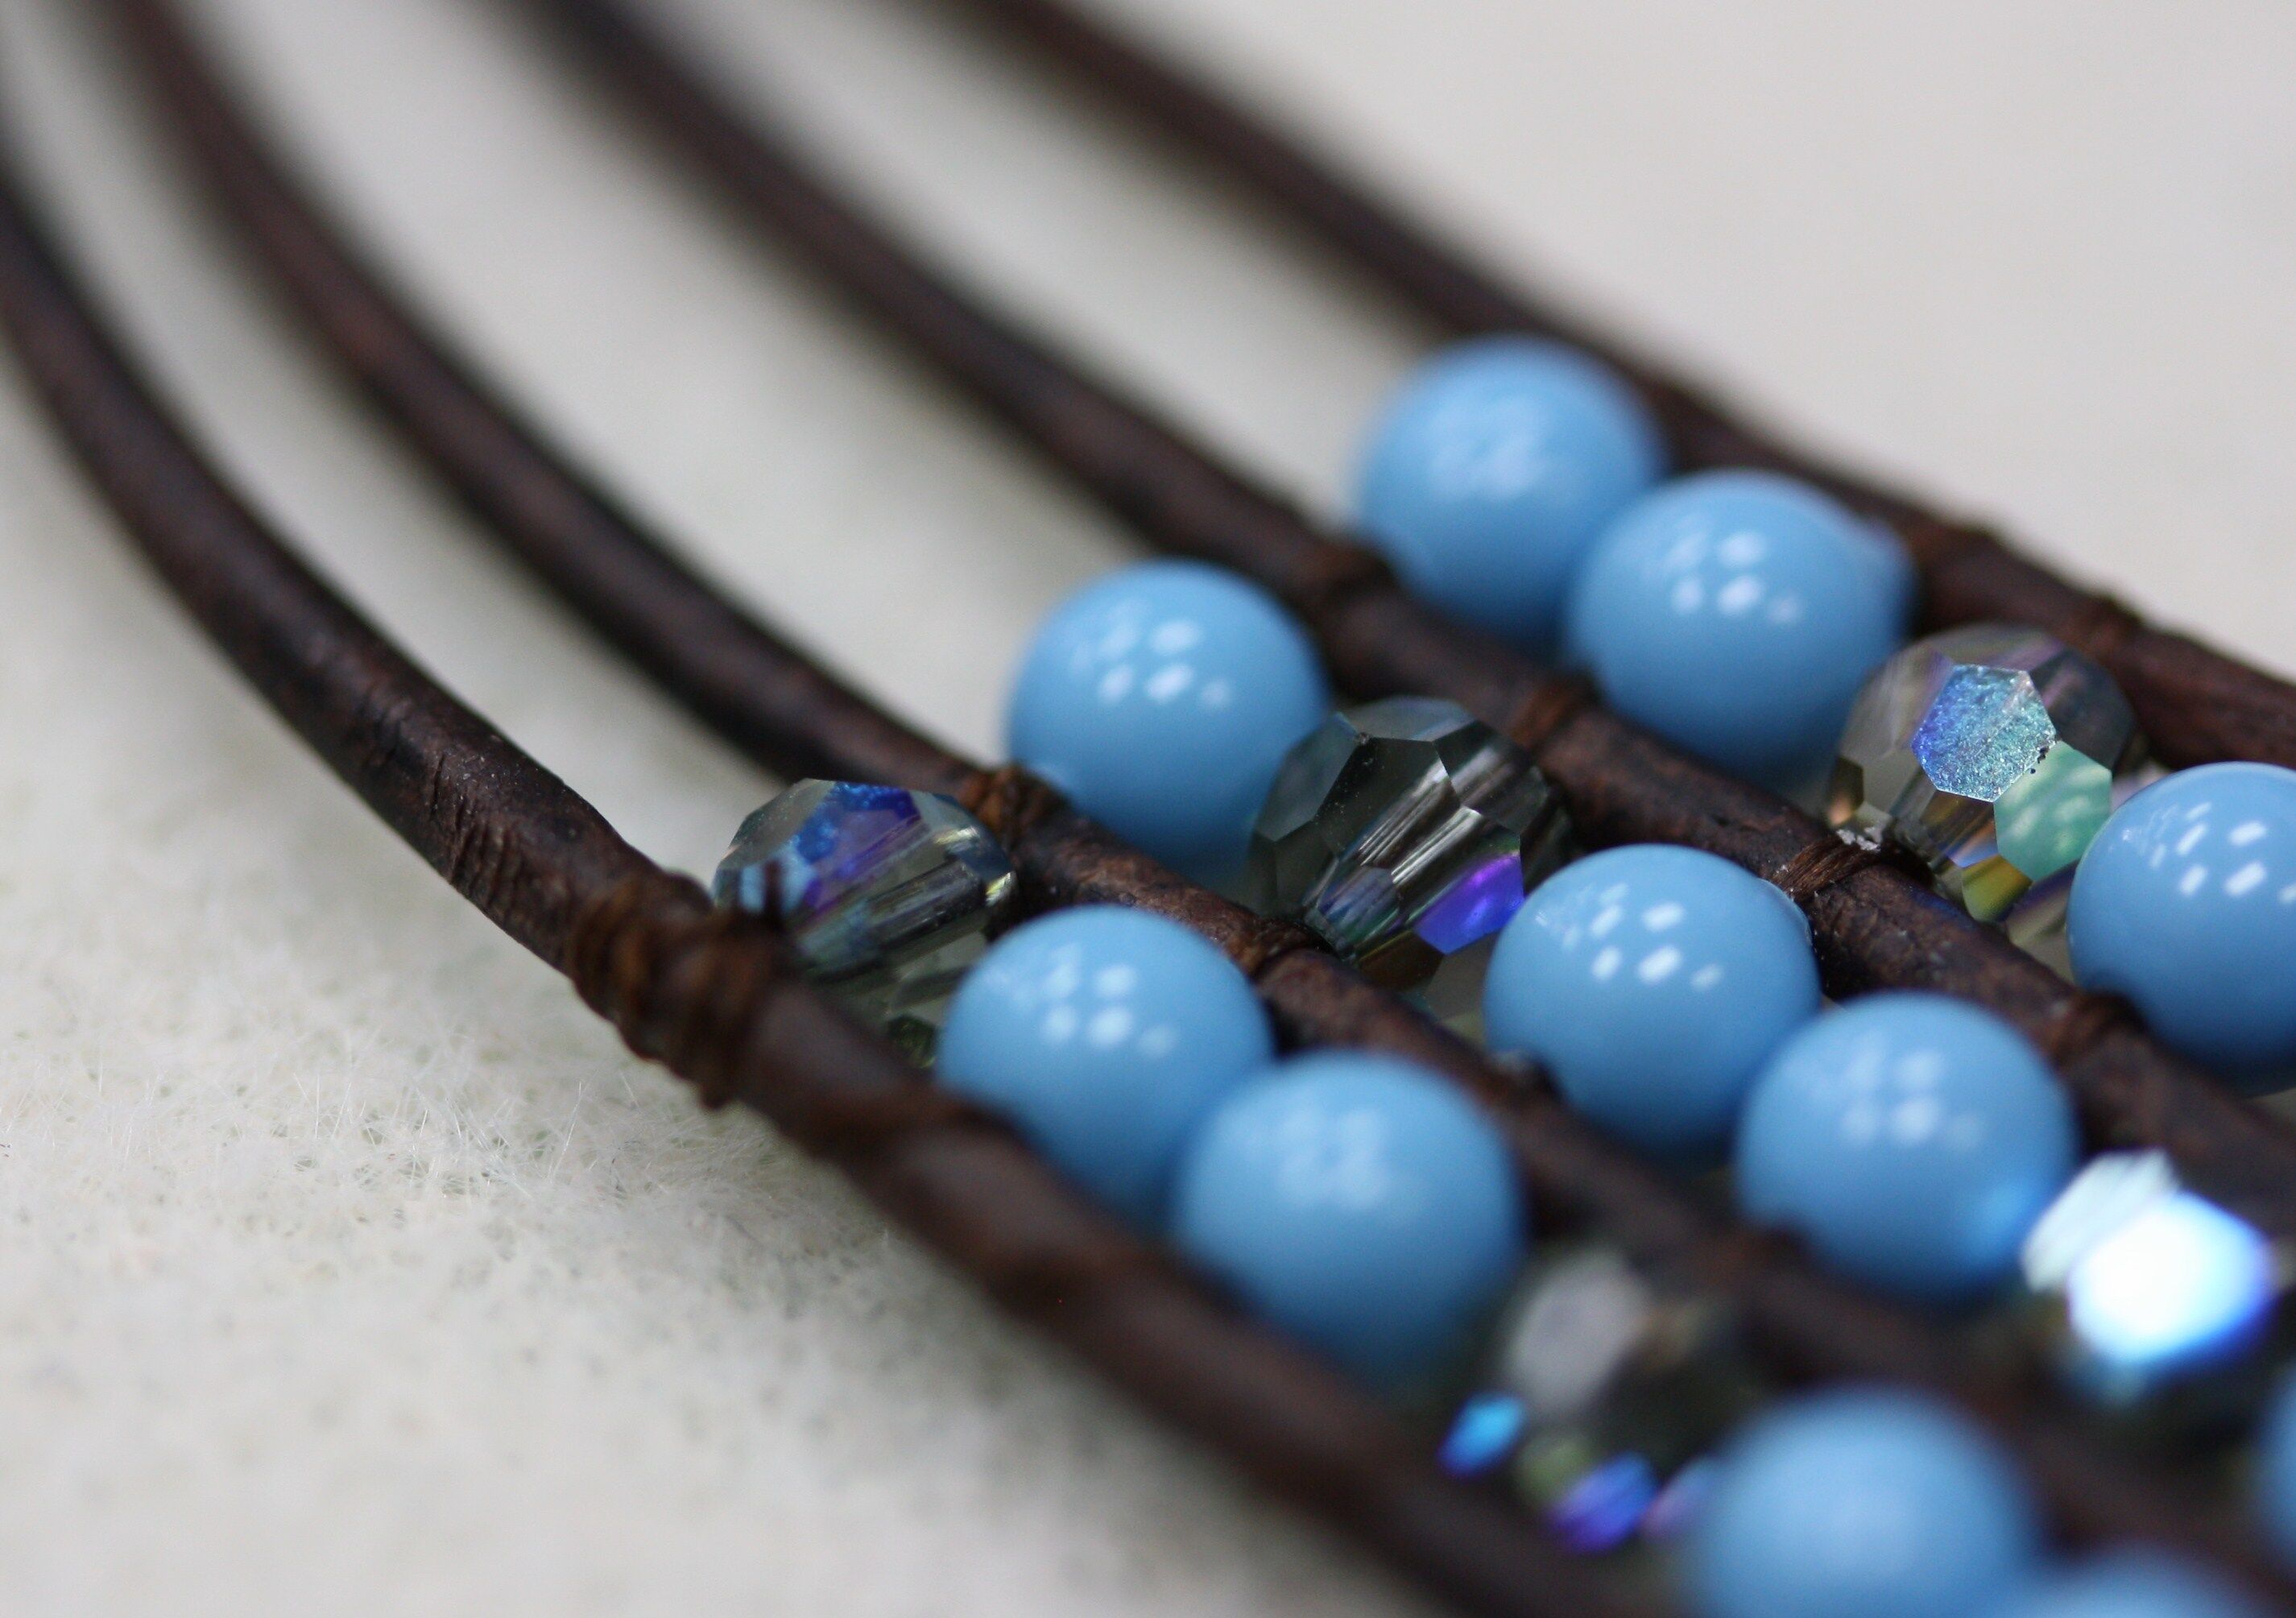
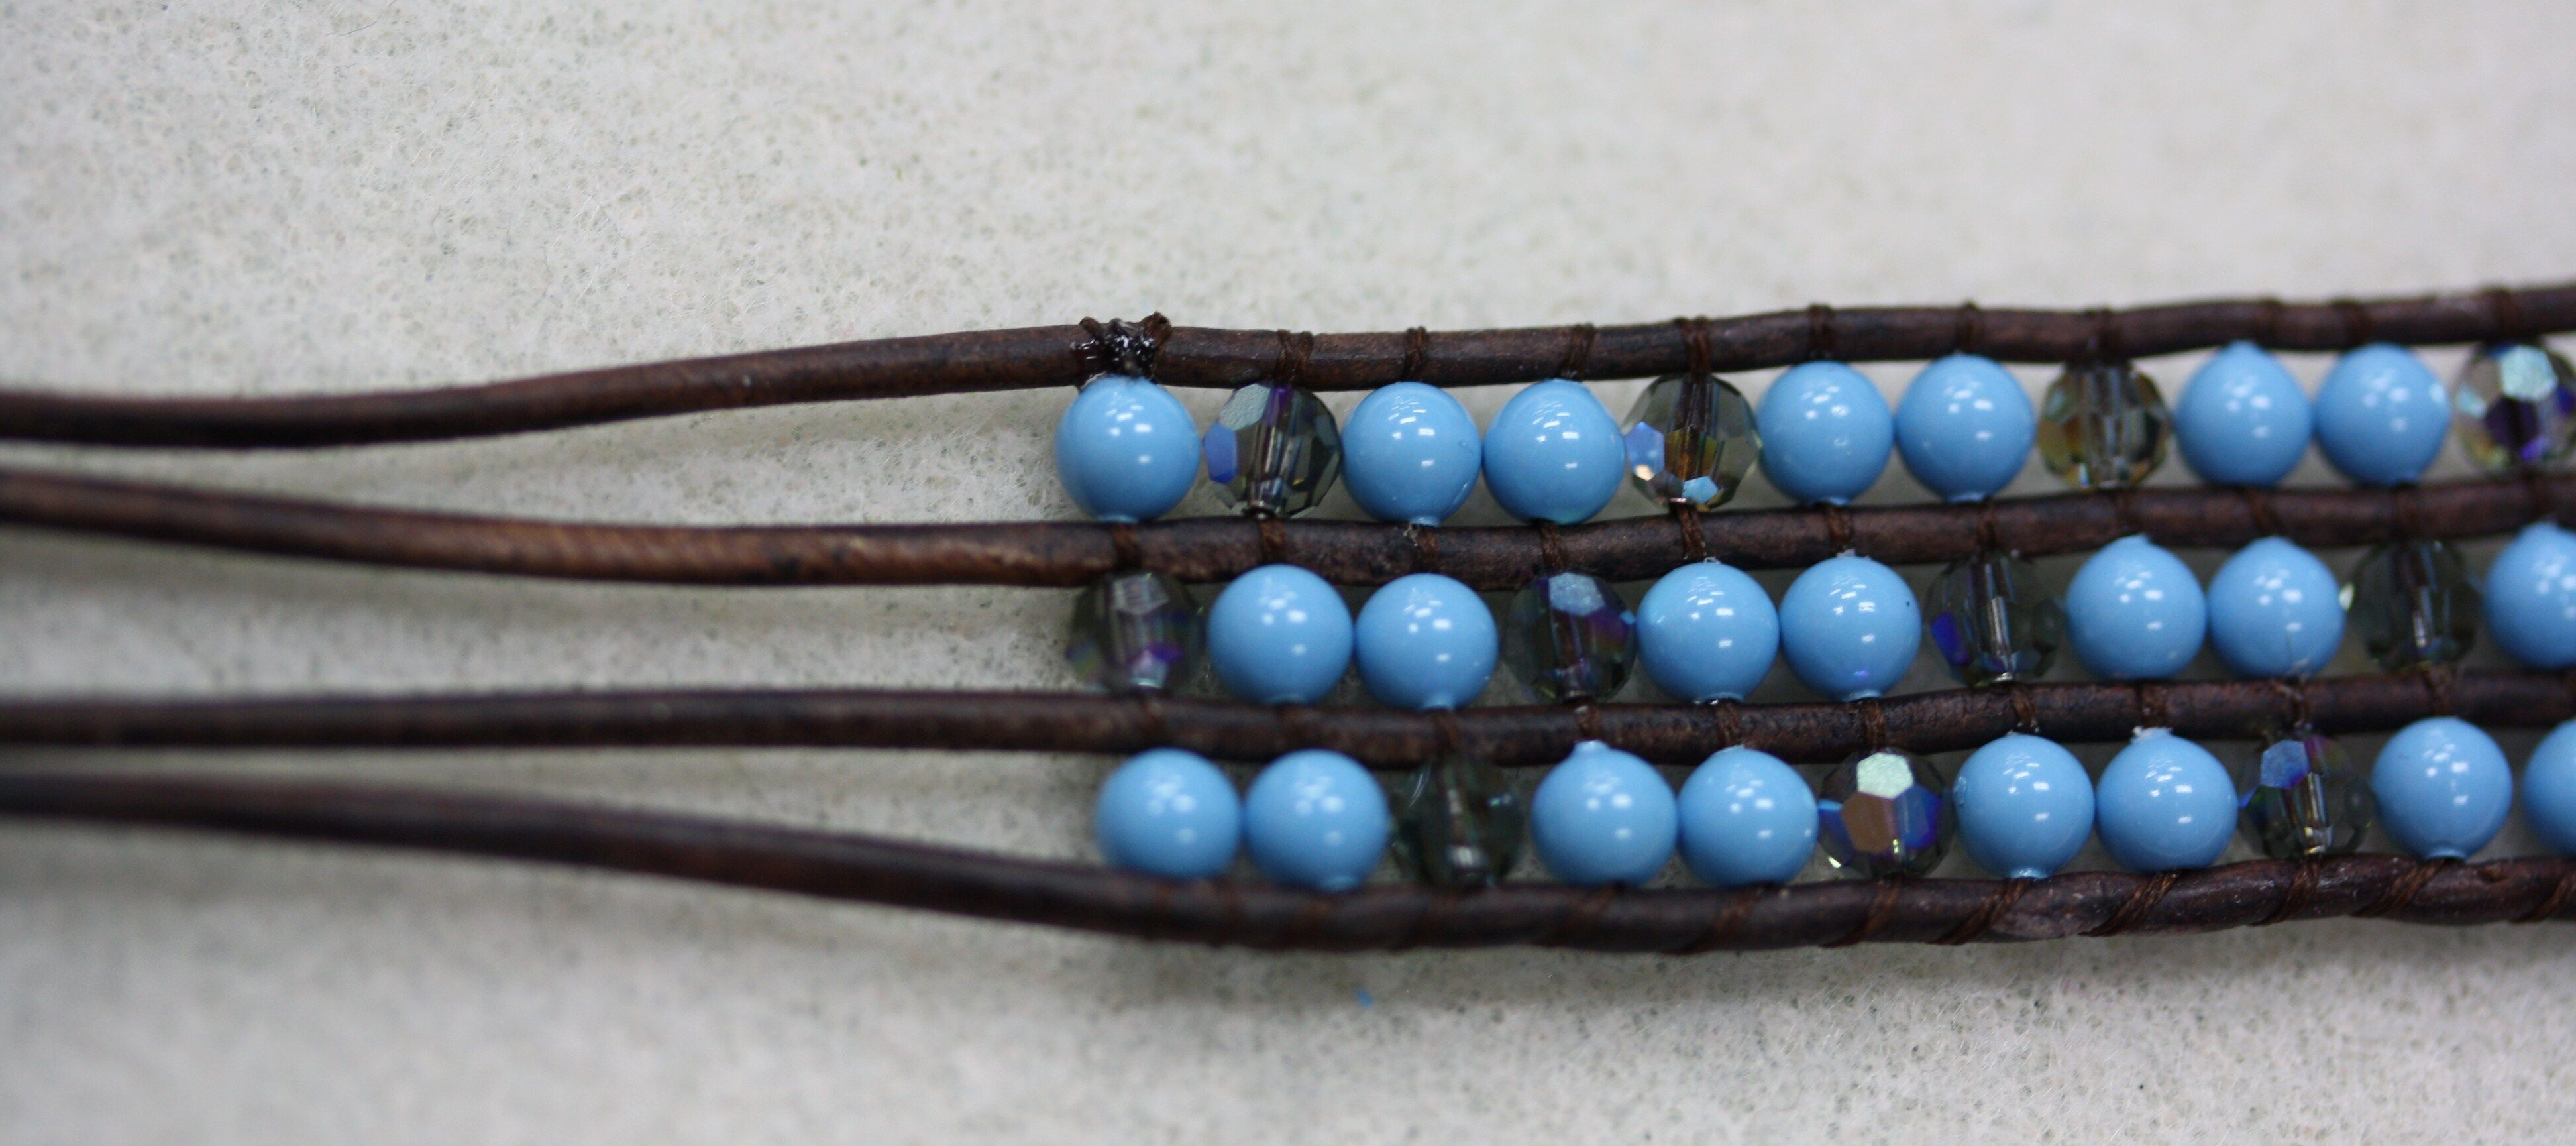
18. Repeat steps 12-13 to stitch in beads. You will notice a pattern starting to form with the pearls and crystals.
19. Repeat pattern until you have completed 14 rows of 3 beads. (You can decrease the number of rows to make your bracelet smaller, if desired). To complete the first section of sewing, thread through the final row twice, like in step 14.
20. Secure the end by passing the needle through the thread under the bottom of the bead and around leather.
21. Repeat stitch twice, then trim the thread close to the leather.
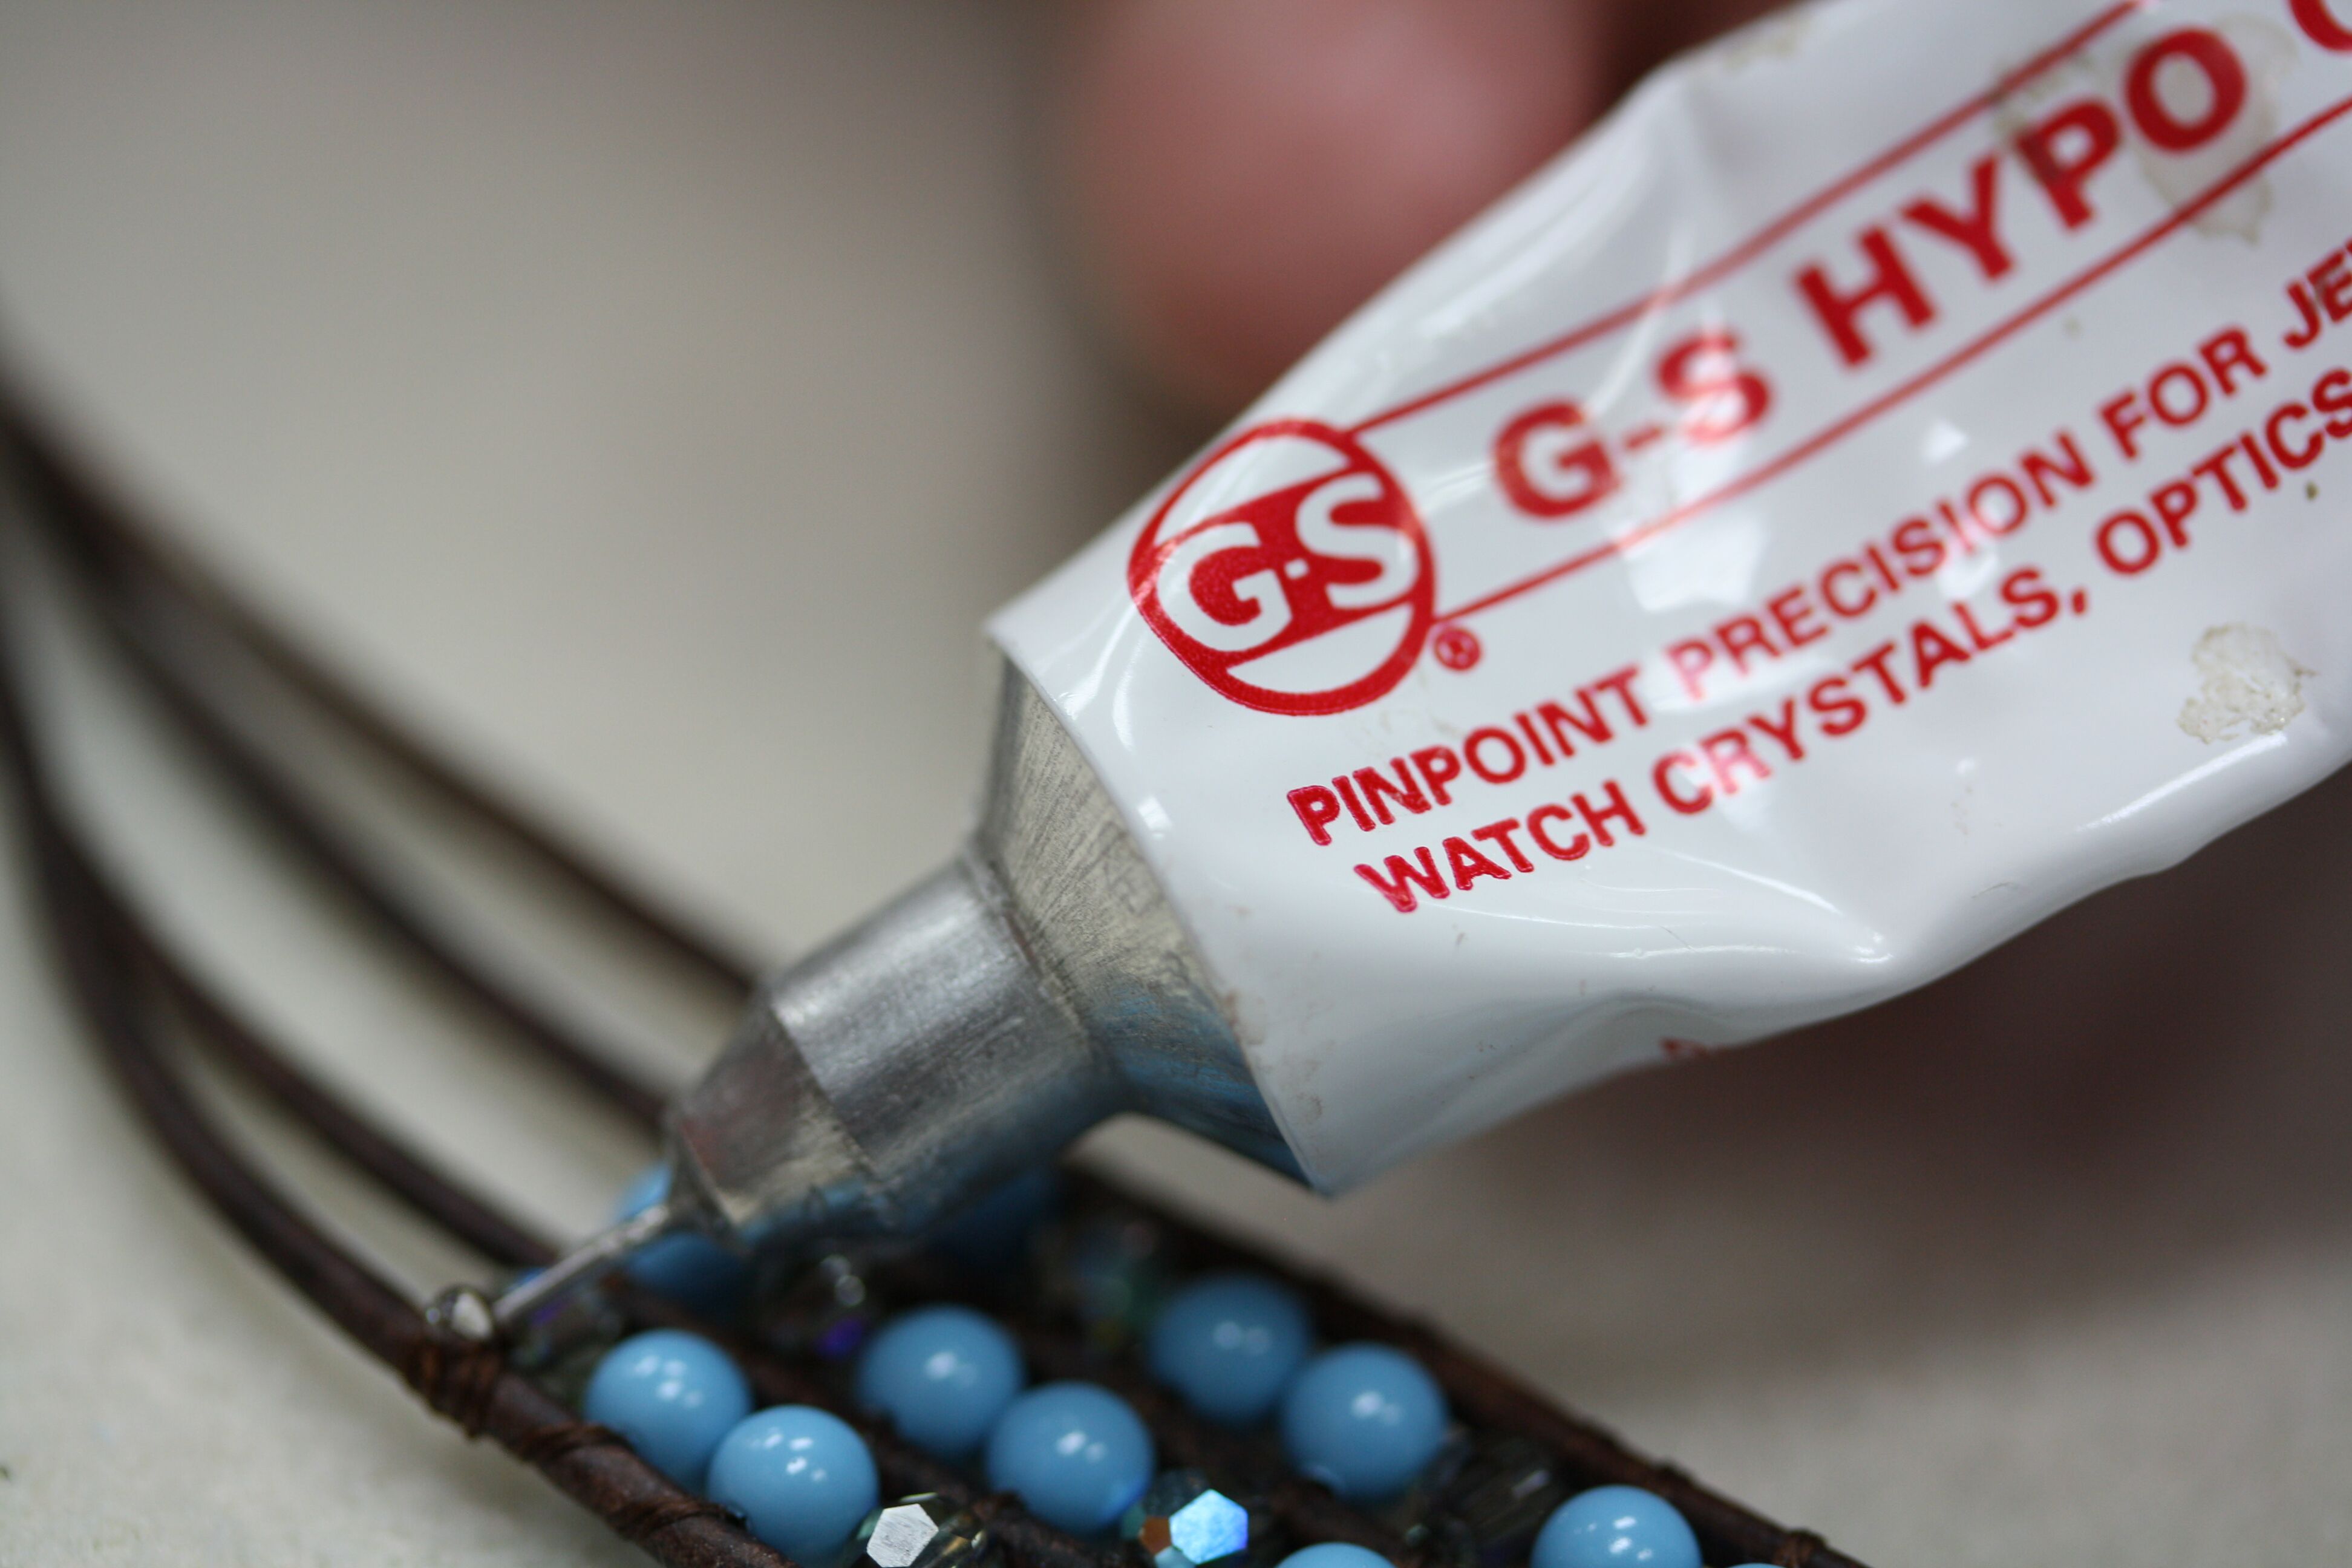
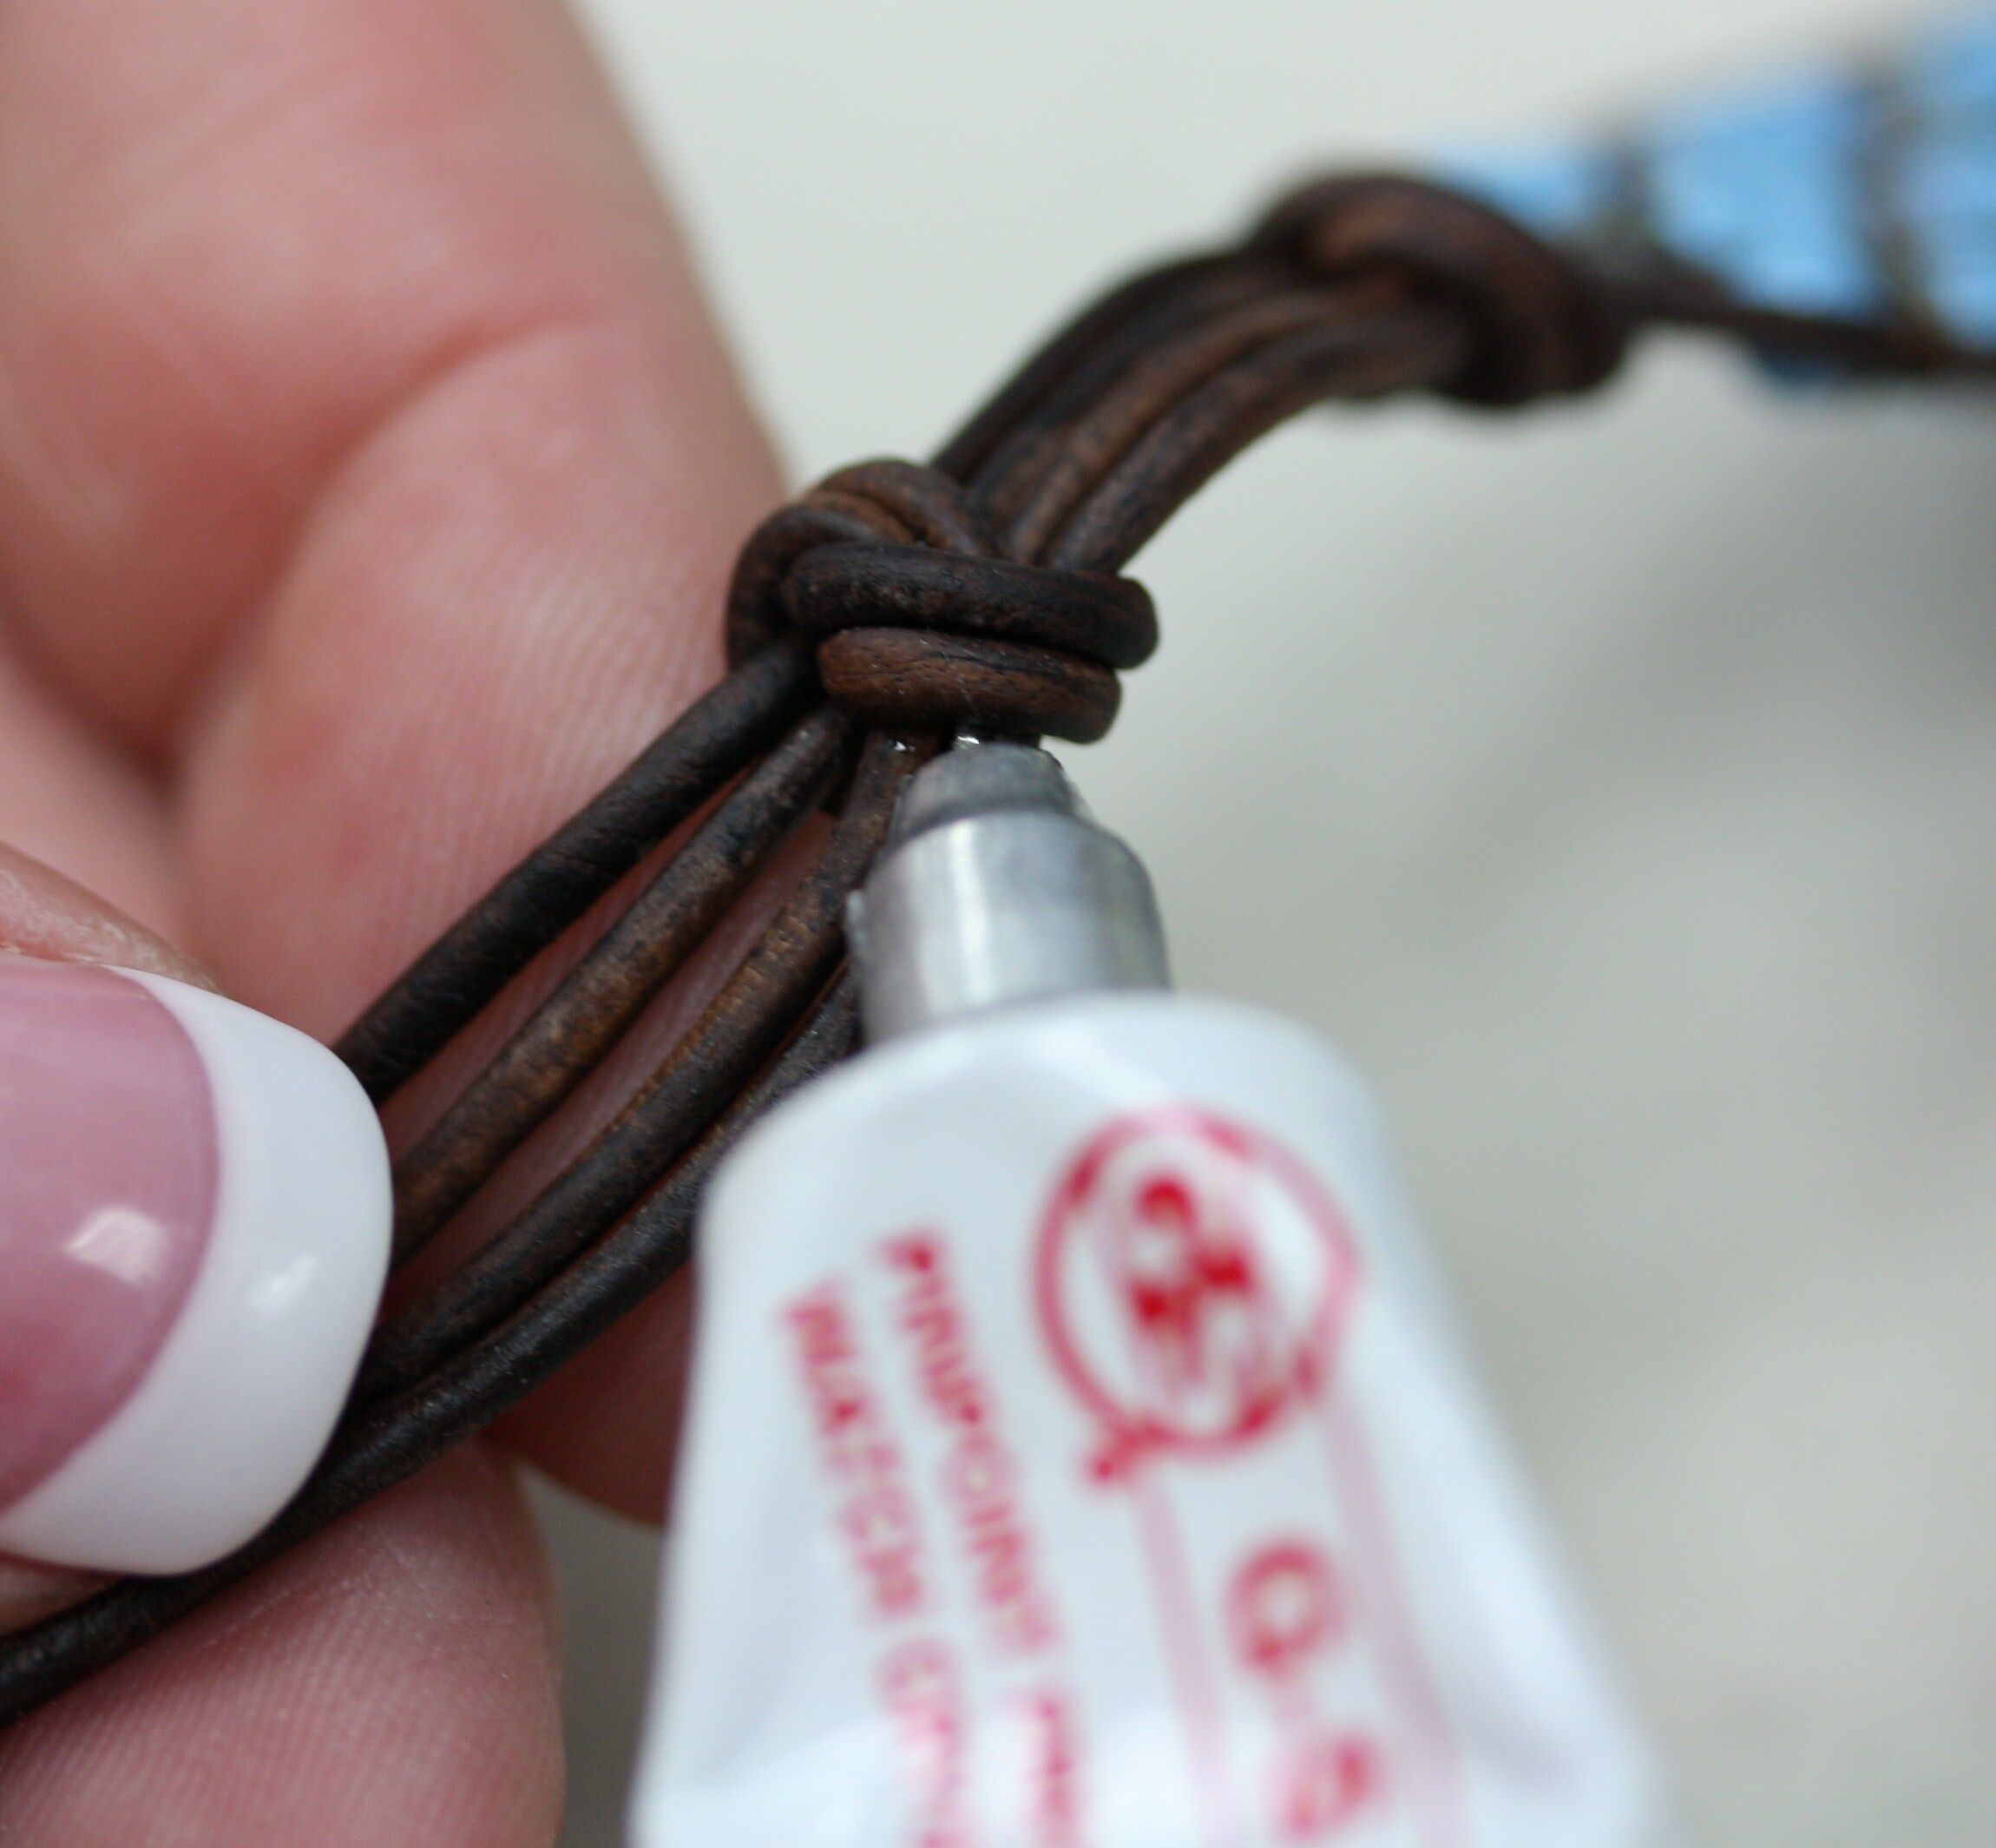
22. Place a small pin-sized drop of GS Hypo Glue (red) on the area where you cut the thread.
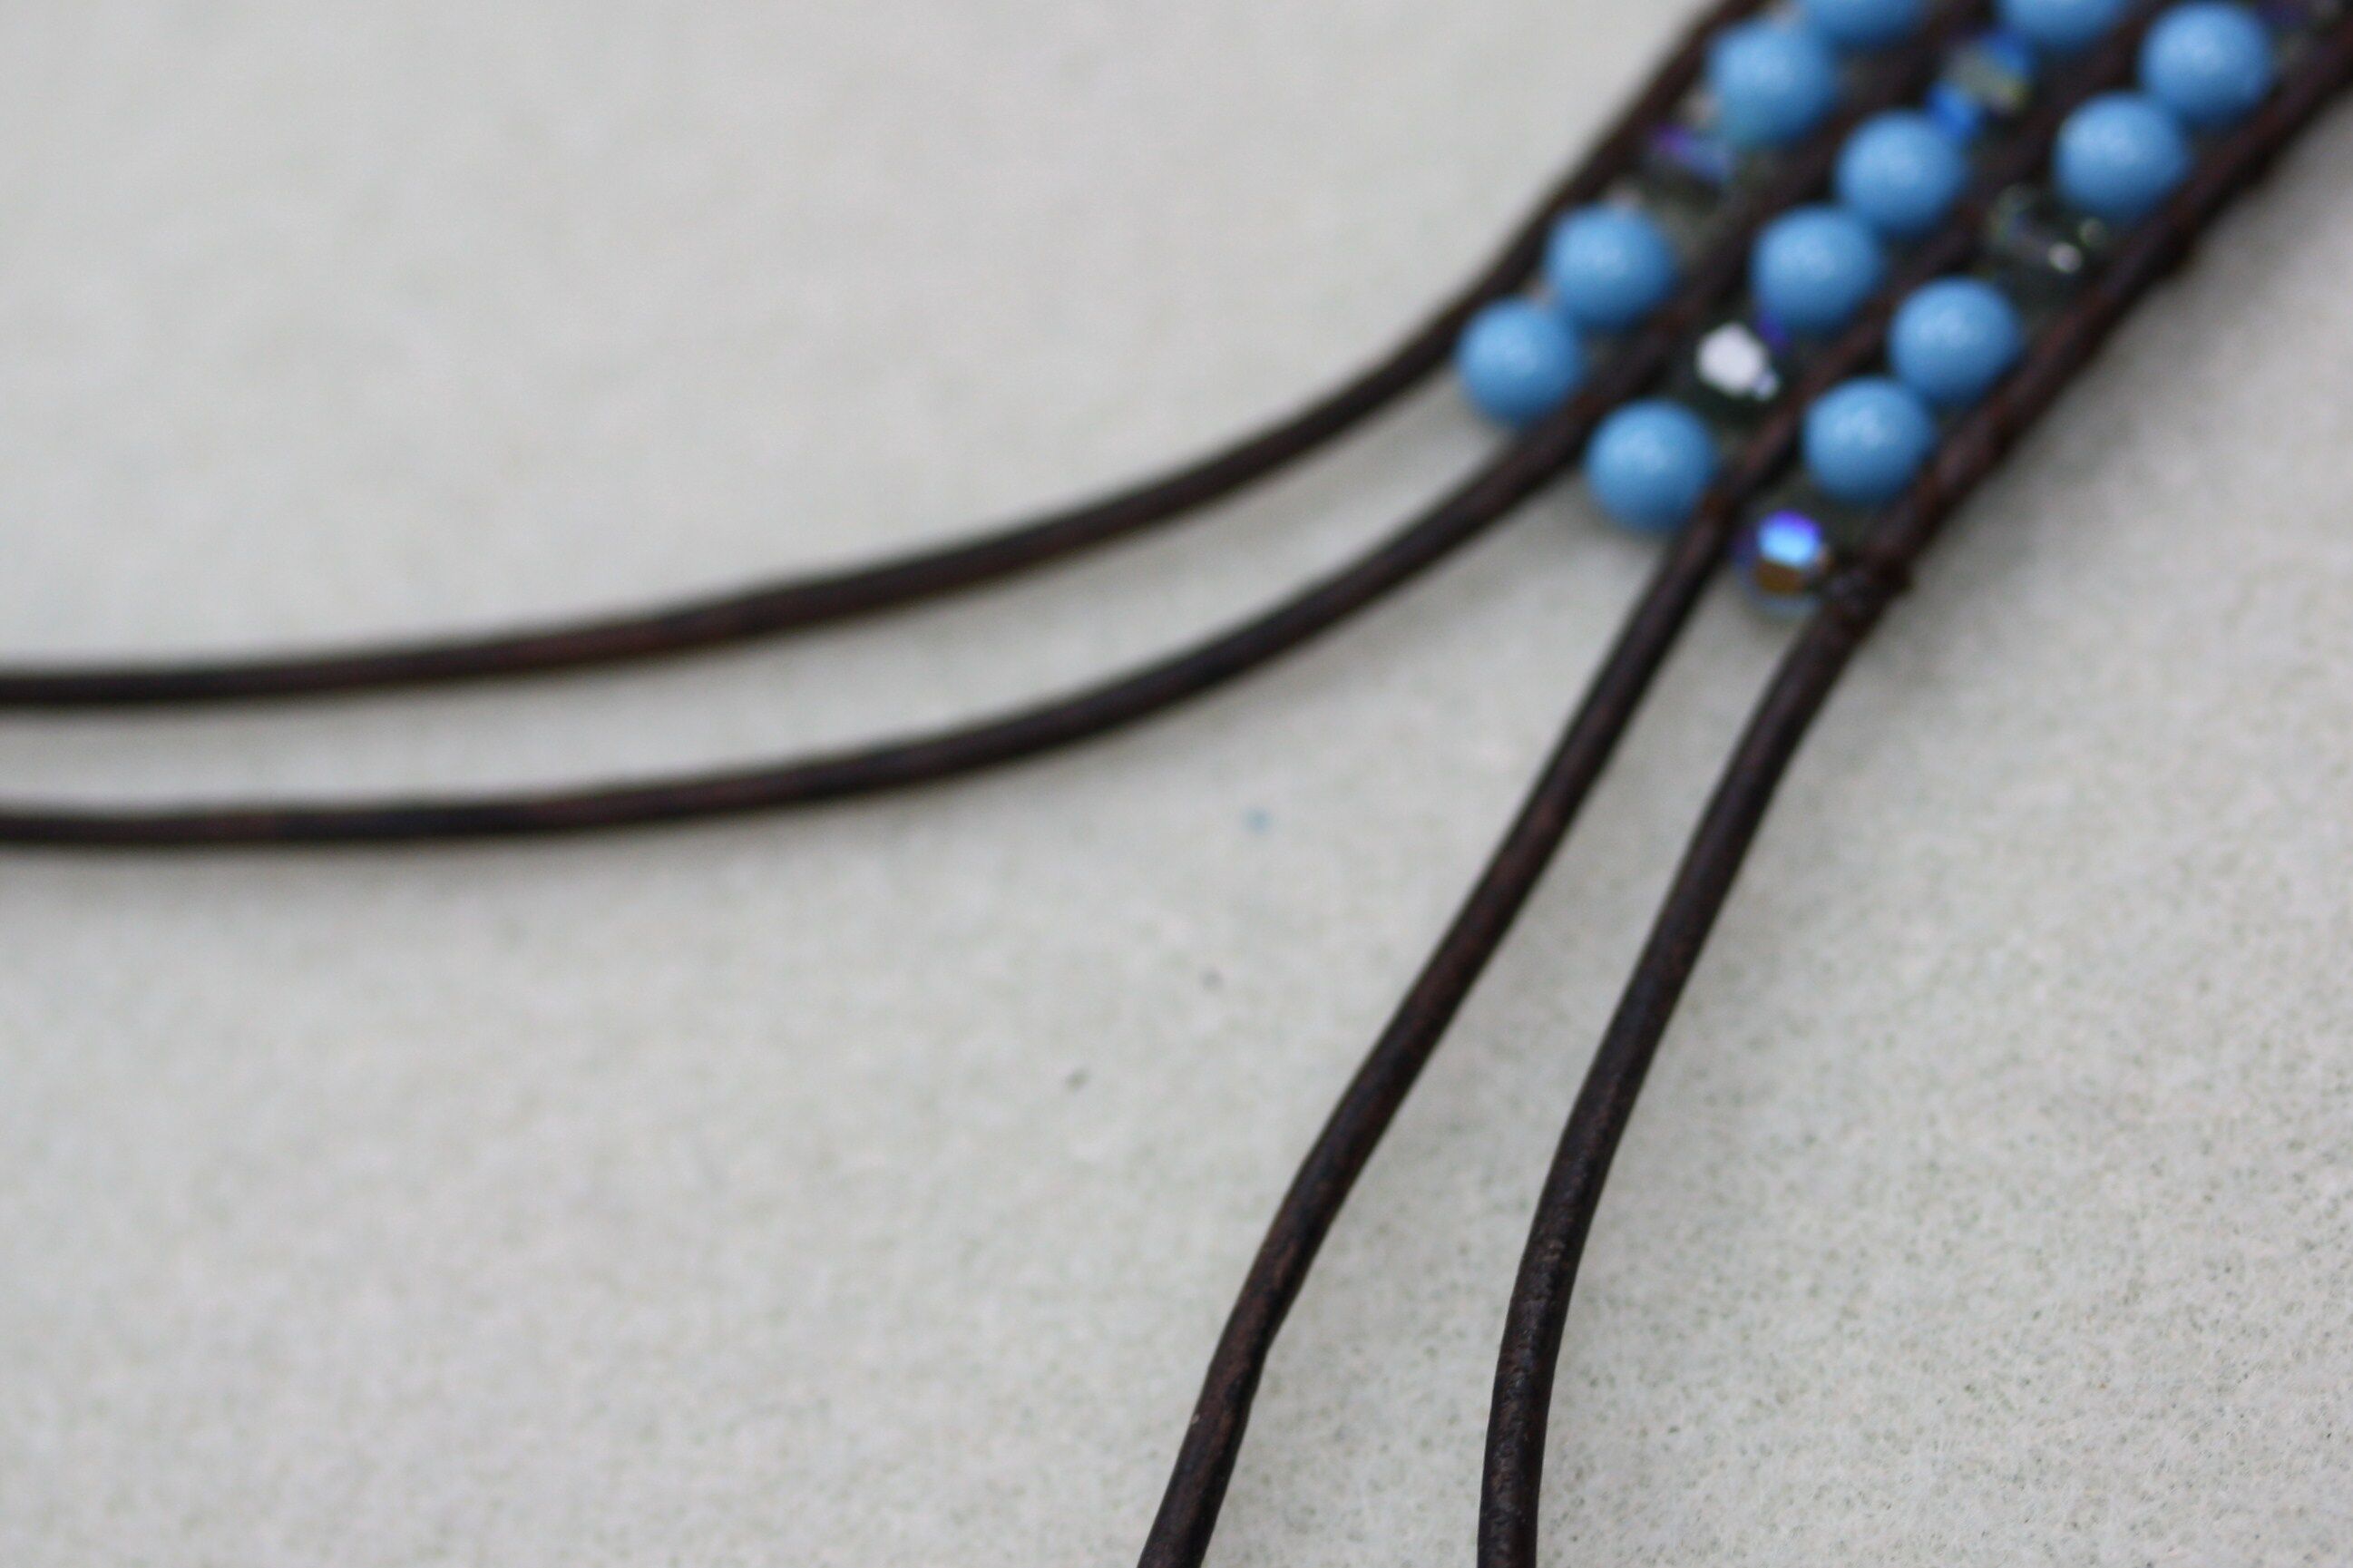
23. Turn the bracelet so that the 4 strands of leather are coming down toward you. Separate the strands into the two right hand strands and the two left hand strands.
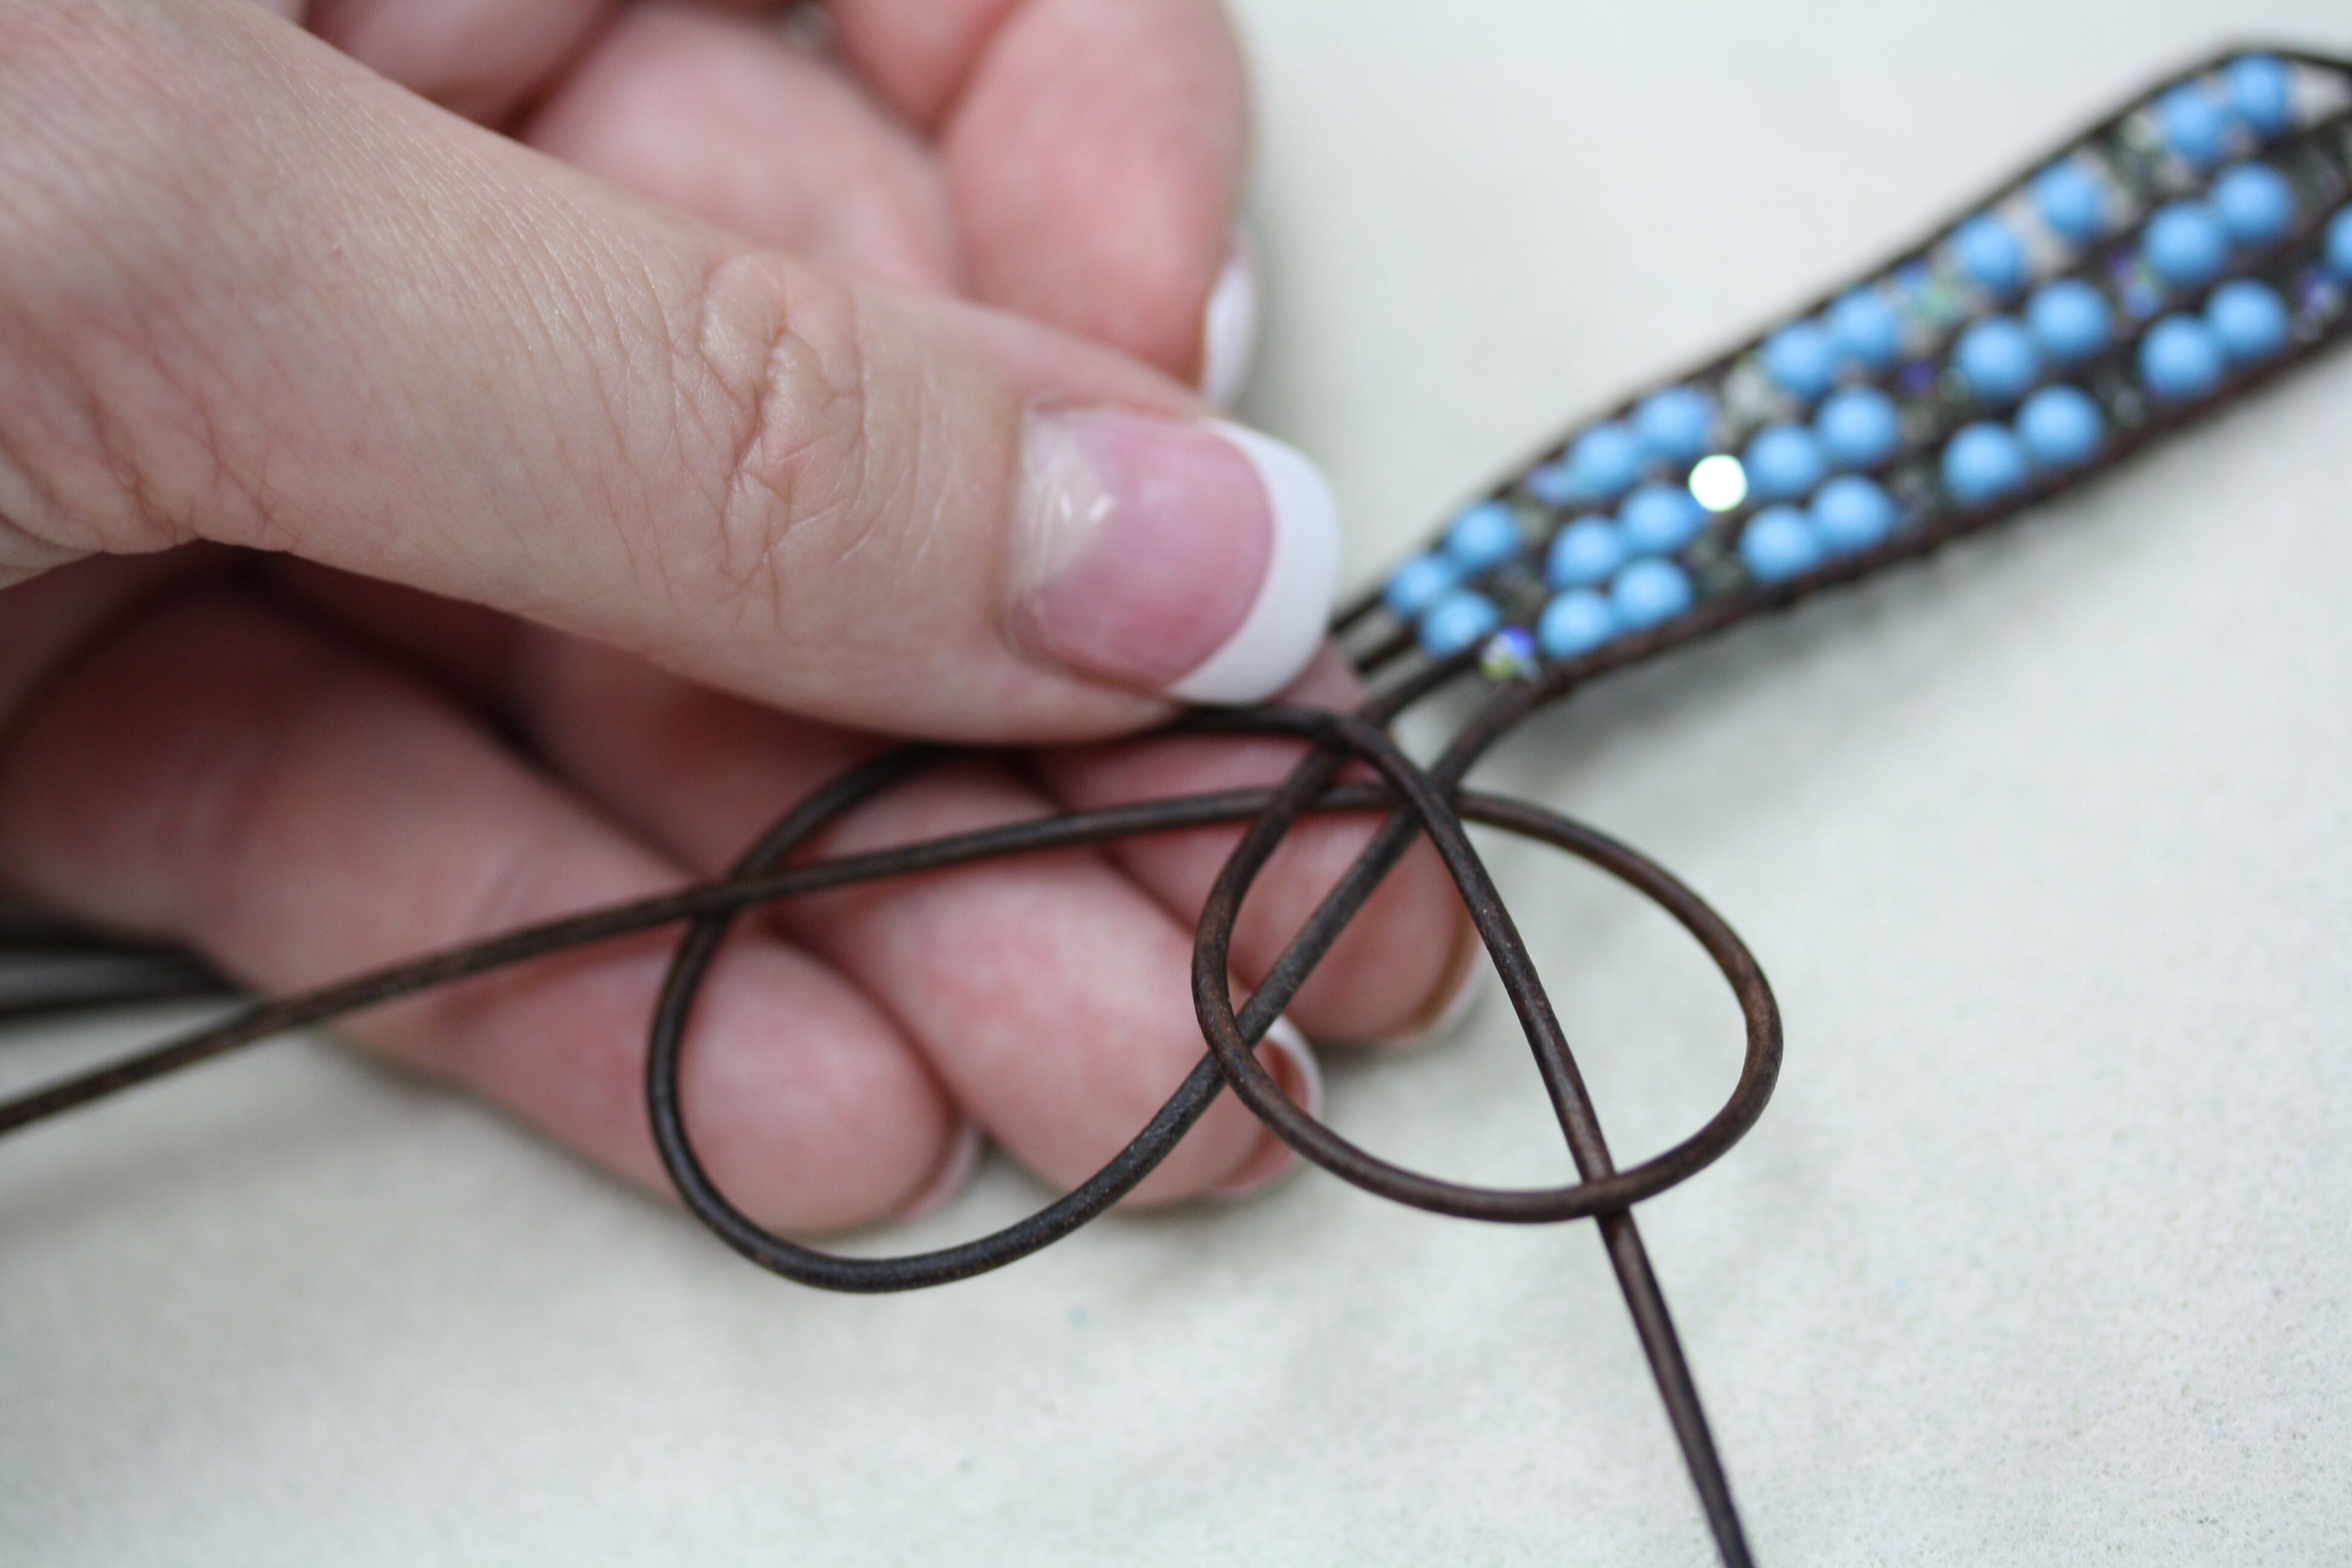
24. Tie a regular Spanish knot using the two right hand strands: take the right strand and place it under the left strand creating a 1 inch “D”. Flip the same strand over the top of the center strand. Take the left strand and place it over the strand going out to the right. Then pass it through the loop, to the left, towards you.
25. Pull the knot tight.

.
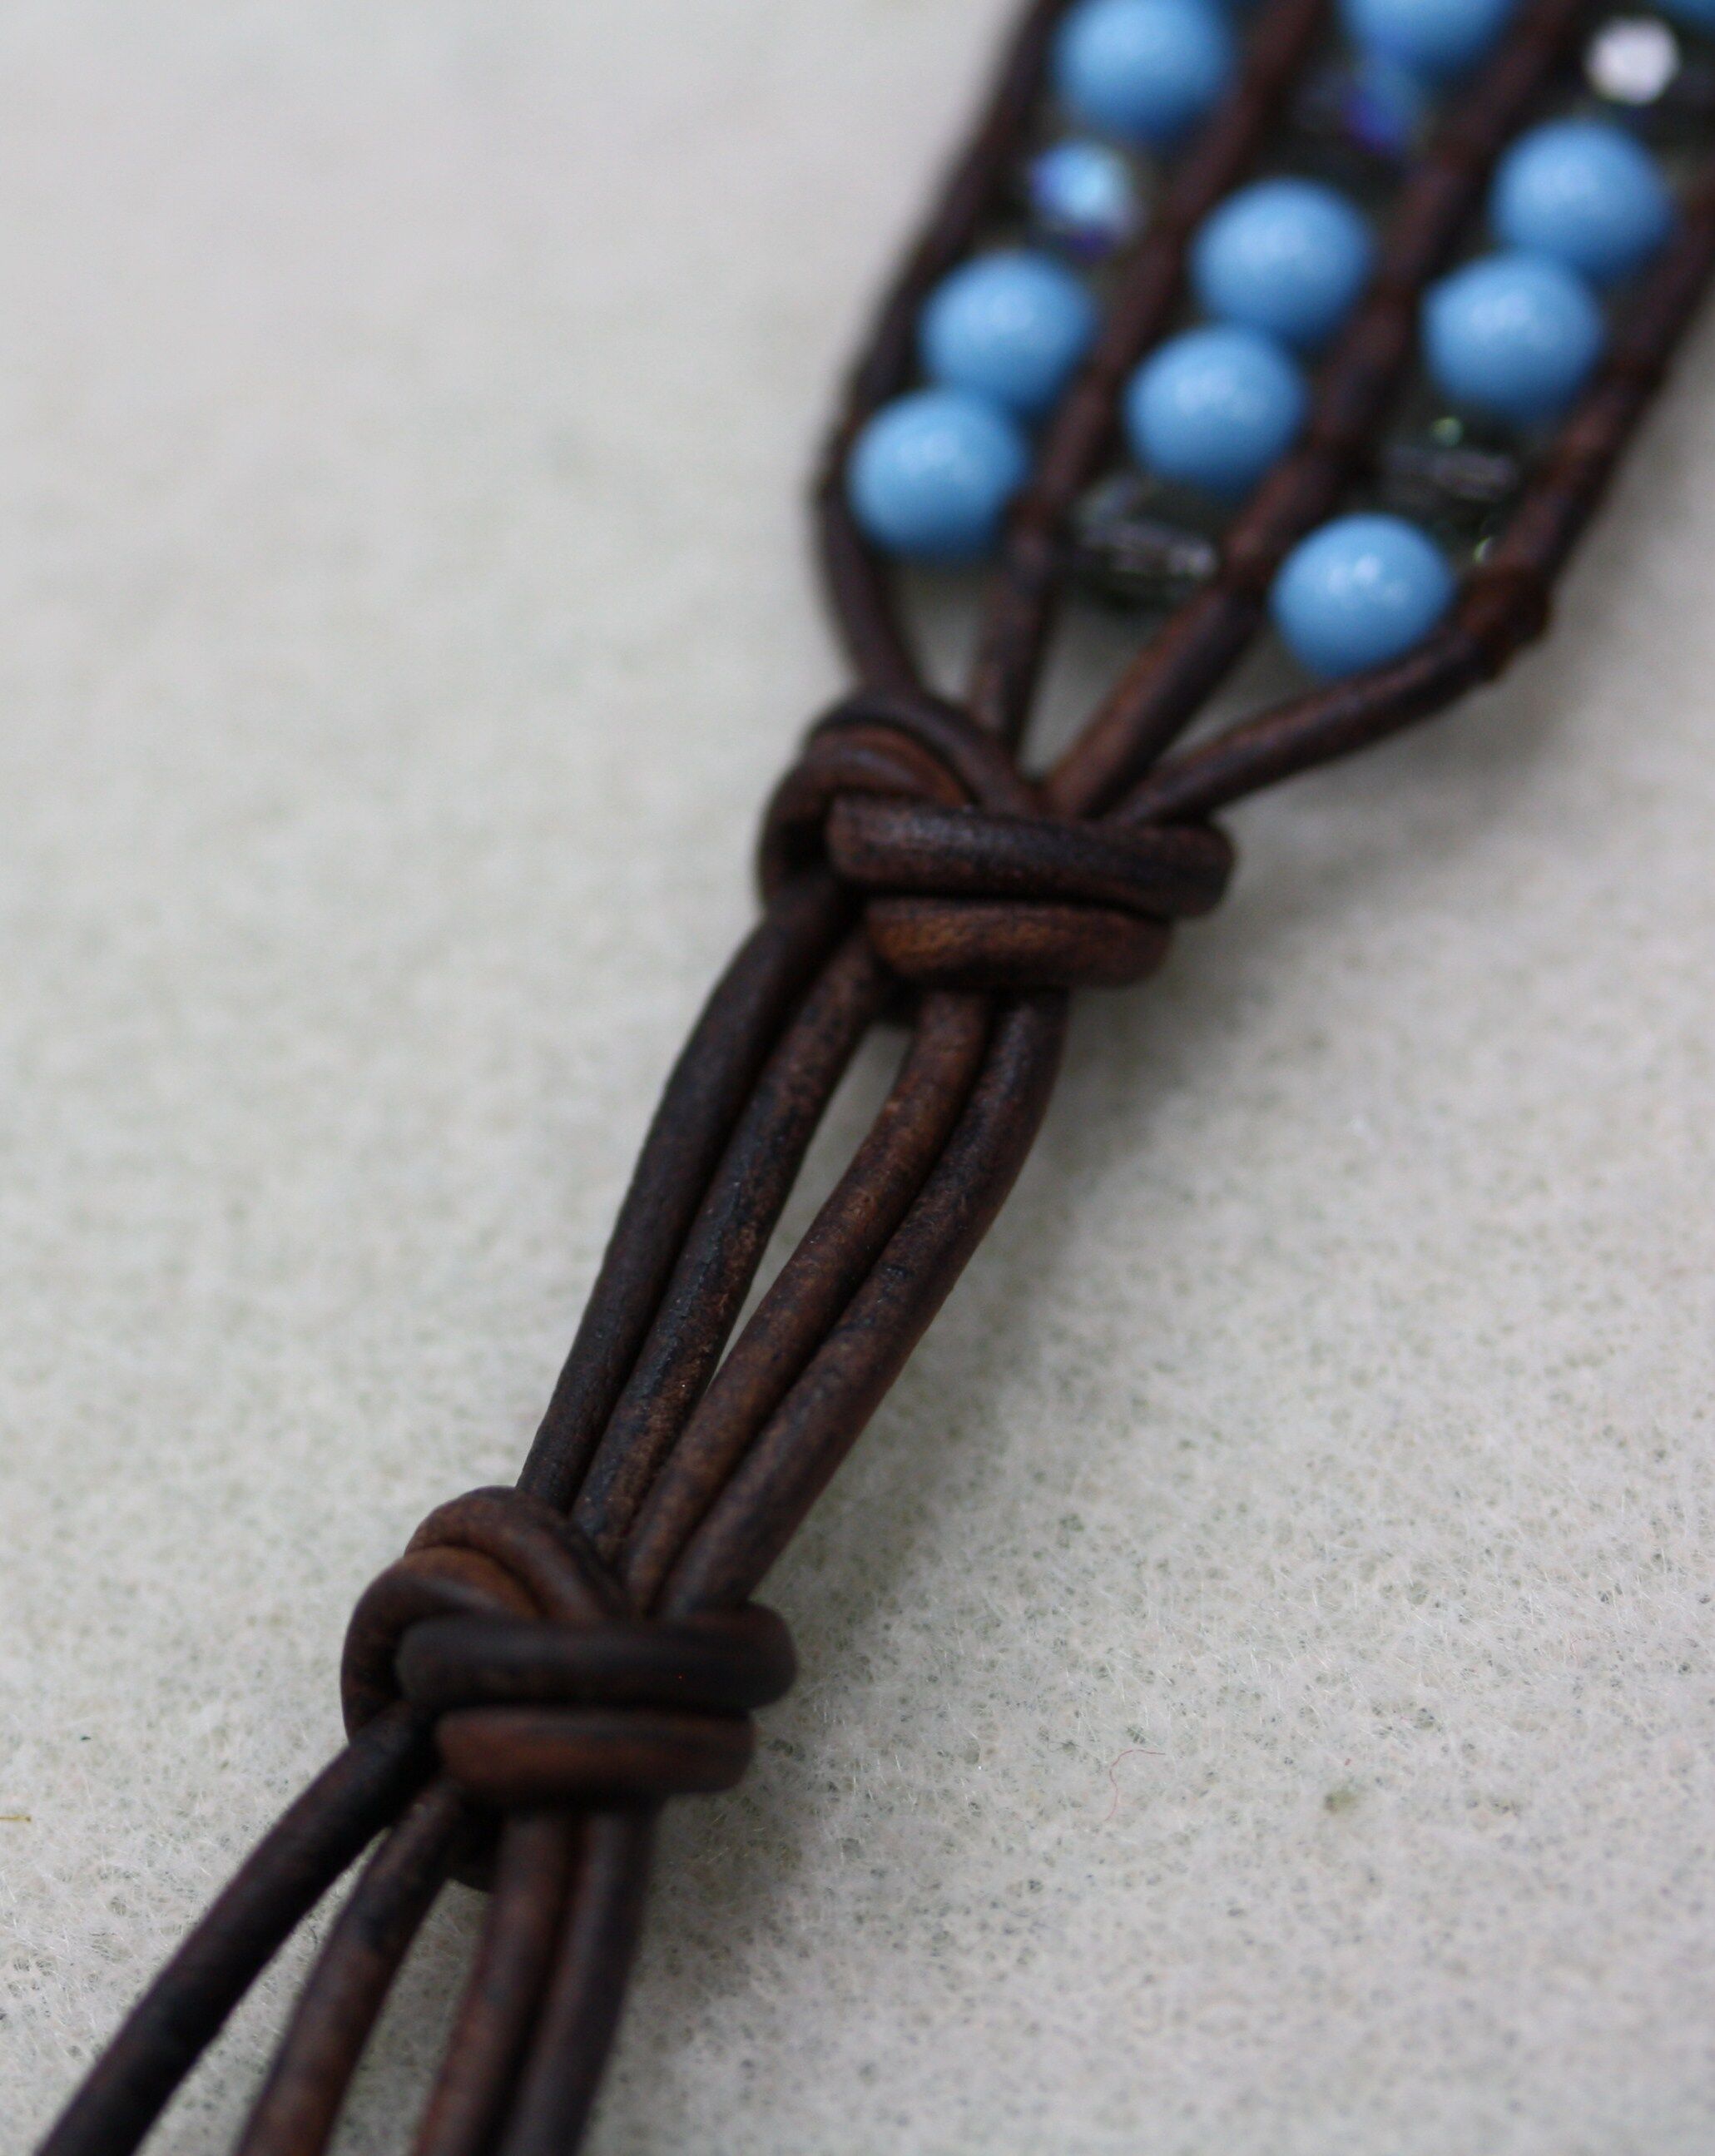
26. Make another Spanish knot using the two left hand strands.
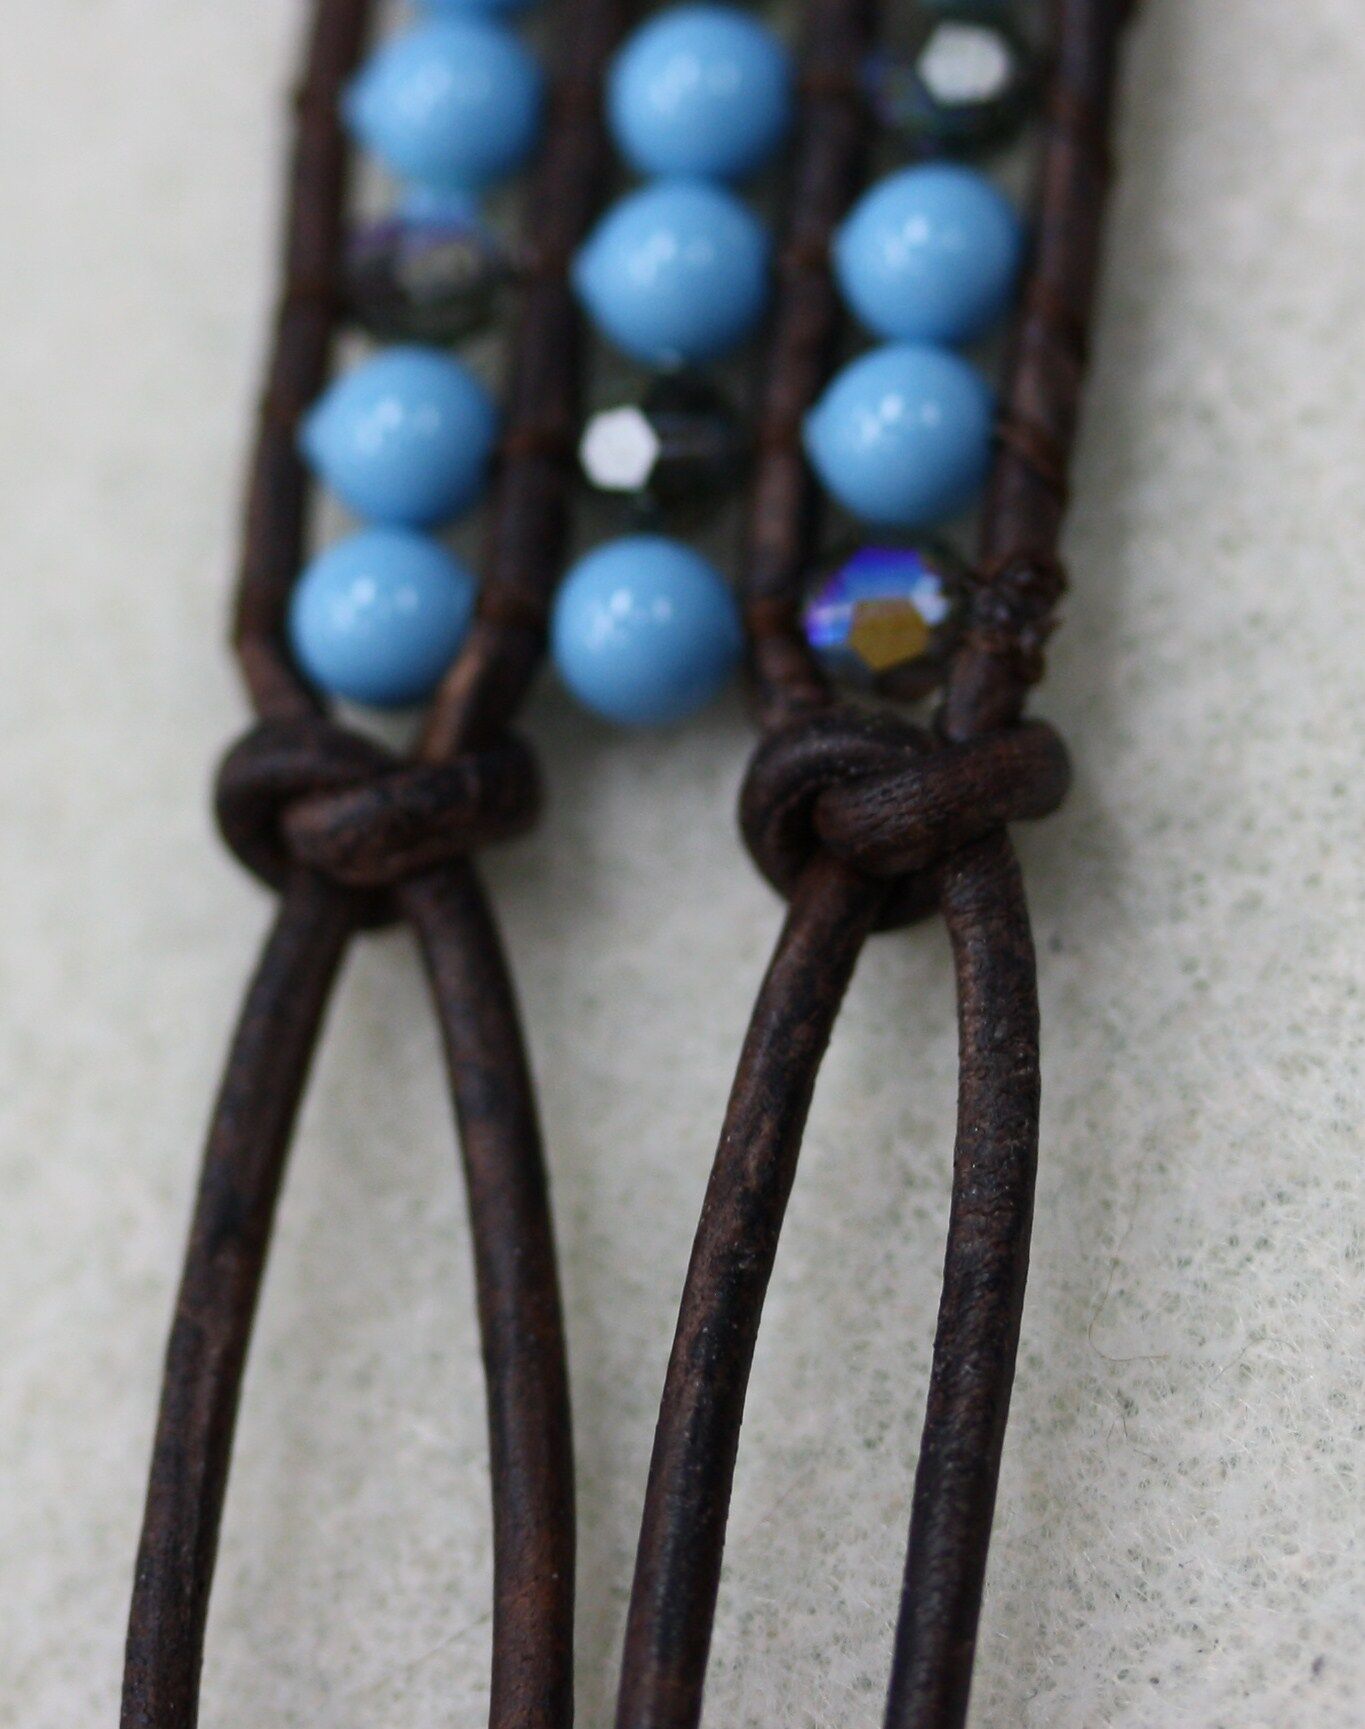
27. Make a Spanish knot using the two center strands.

.
28. Continue the Spanish knot pattern until you have tied eight Spanish knots in total. (If you want to add length to your bracelet, you can add 3 more knots in this section.) Next, thread 5 feet of Silamide or Nymo onto a size 10 needle, double the thread and knot it at the end. Tie a larkshead knot onto the bottom strand of leather.
29. Repeat steps 11-14 to stitch in beads to begin the next stitched section.
30. Tug on the thread to tighten it around the leather.
31. Continue the pattern until you have 14 rows of 3 beads in the second stitched section. Finish the section by repeating steps 19-22.
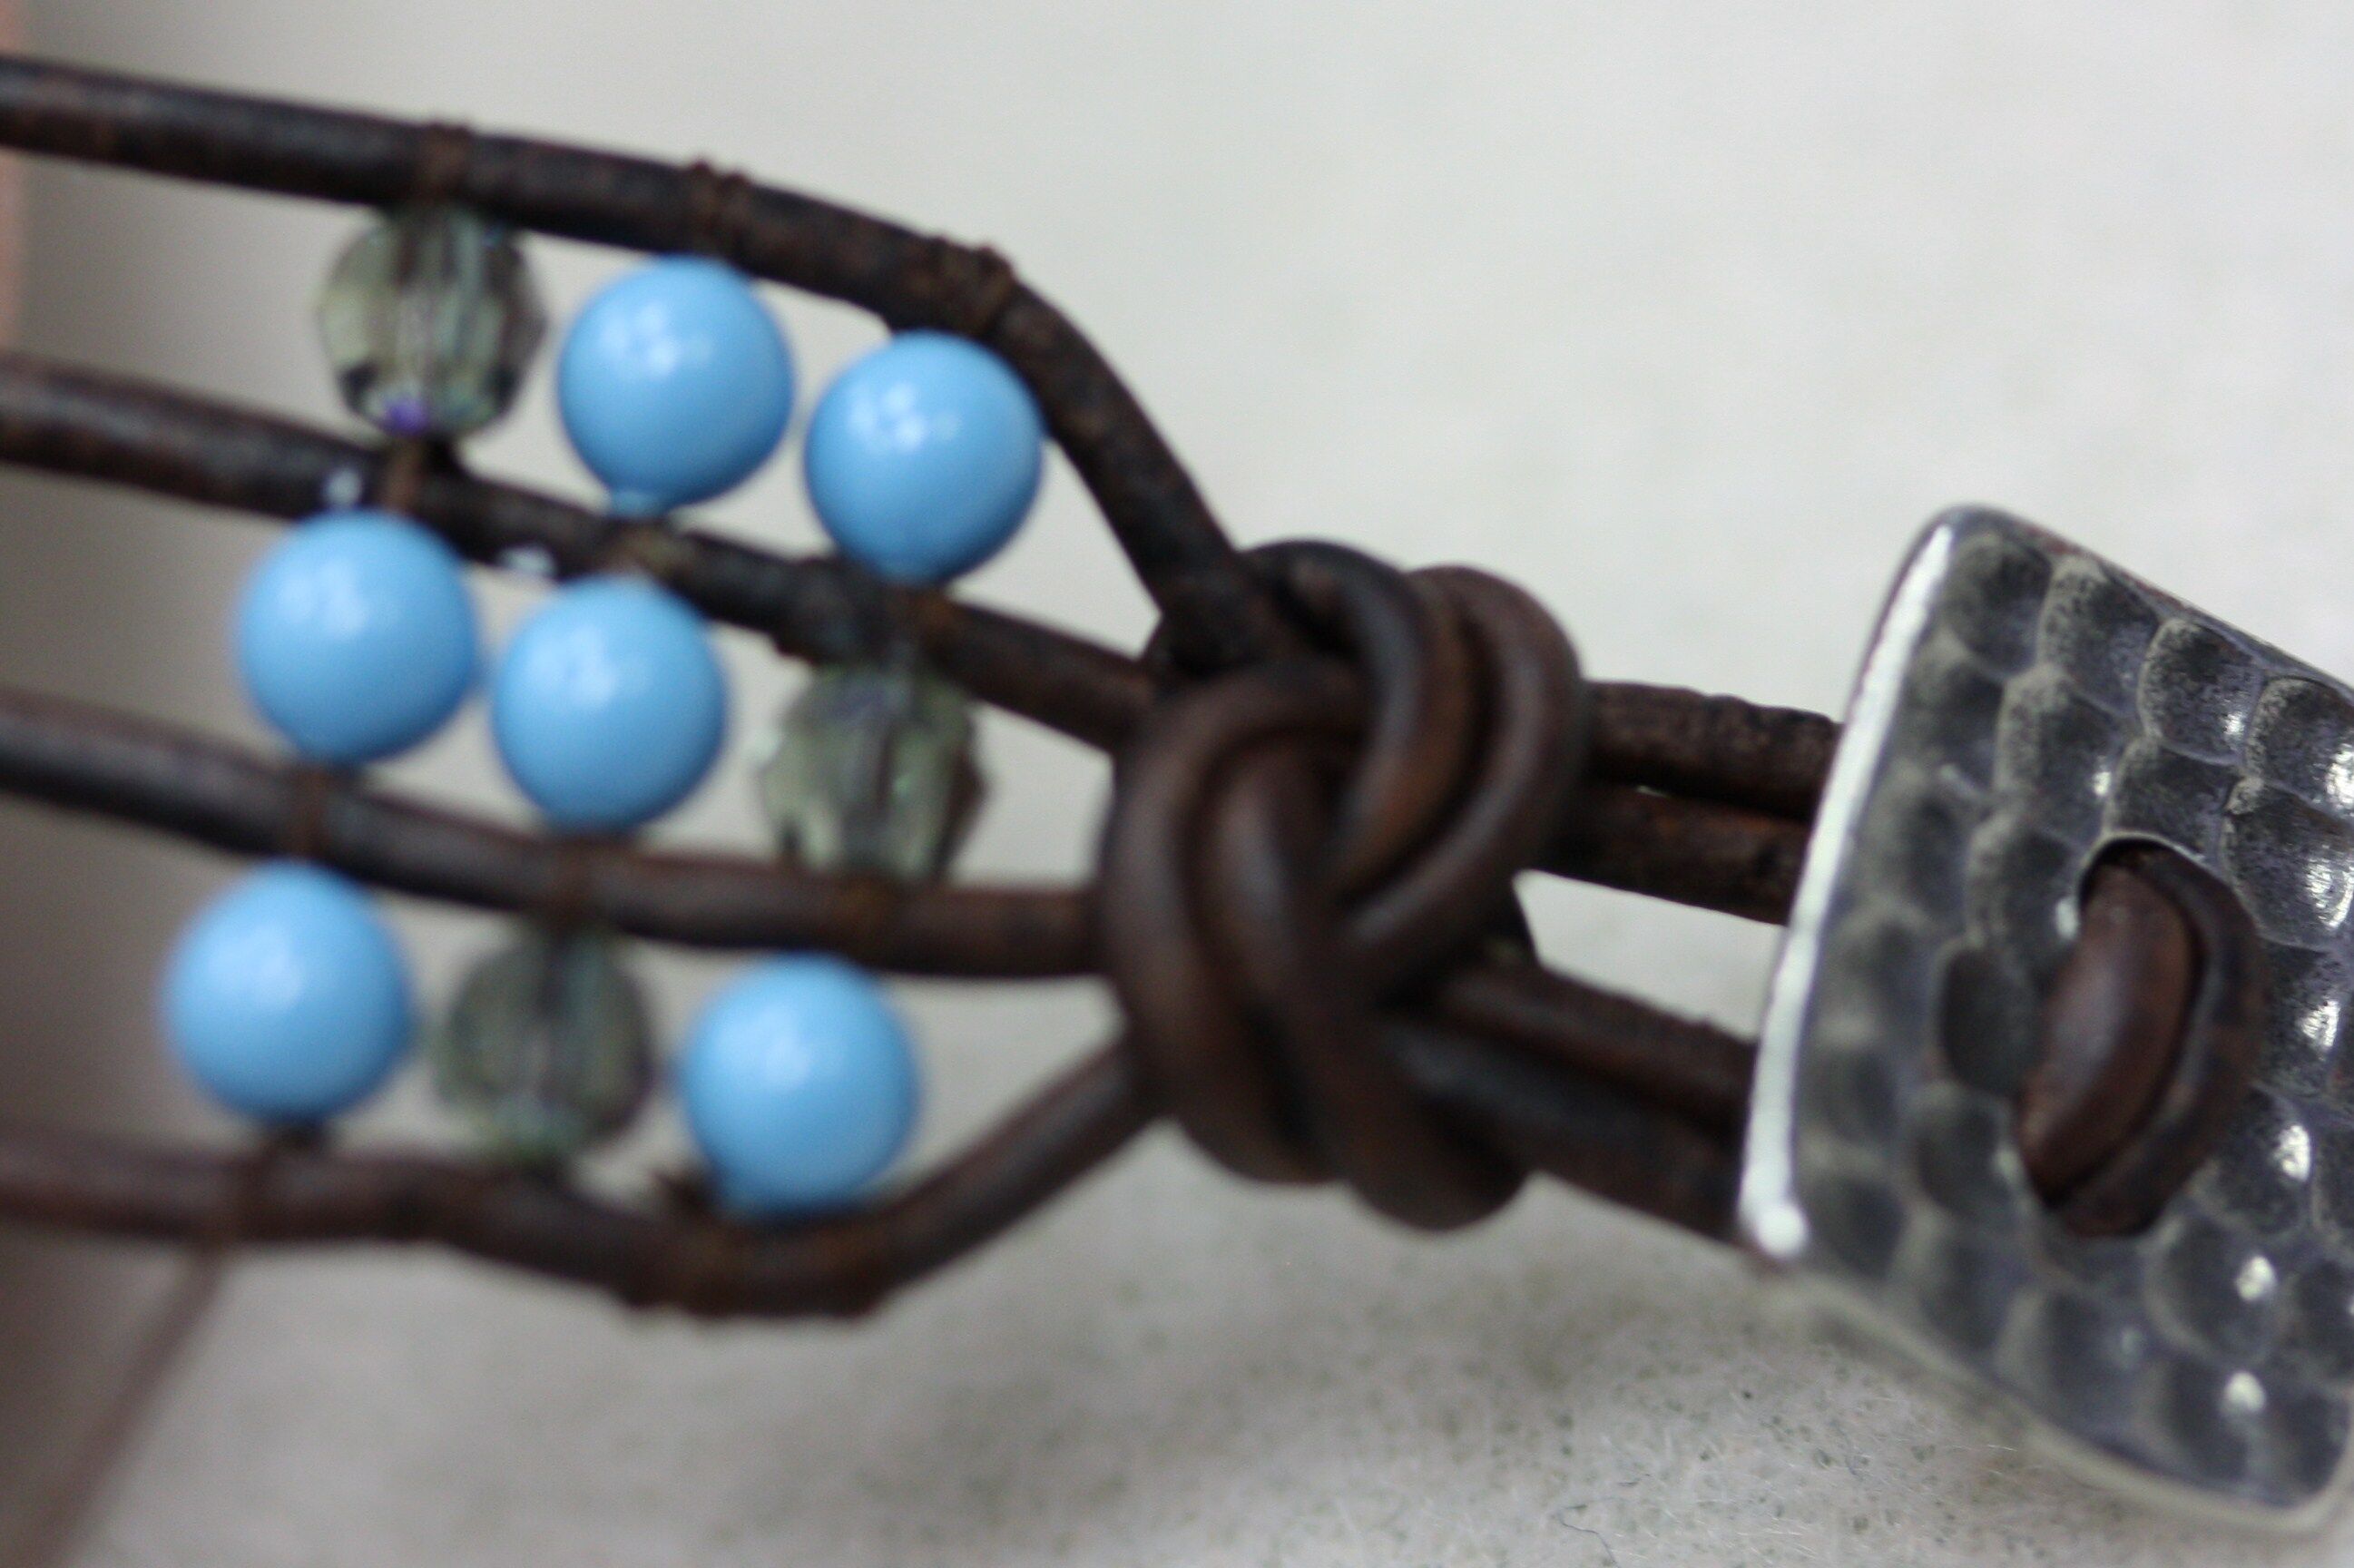
32. Repeat steps 5-9 to tie a double Spanish knot.
33. Tug firmly to tighten the knot. Make sure to leave a bit less than ½ inch between the beads and the knot.

.
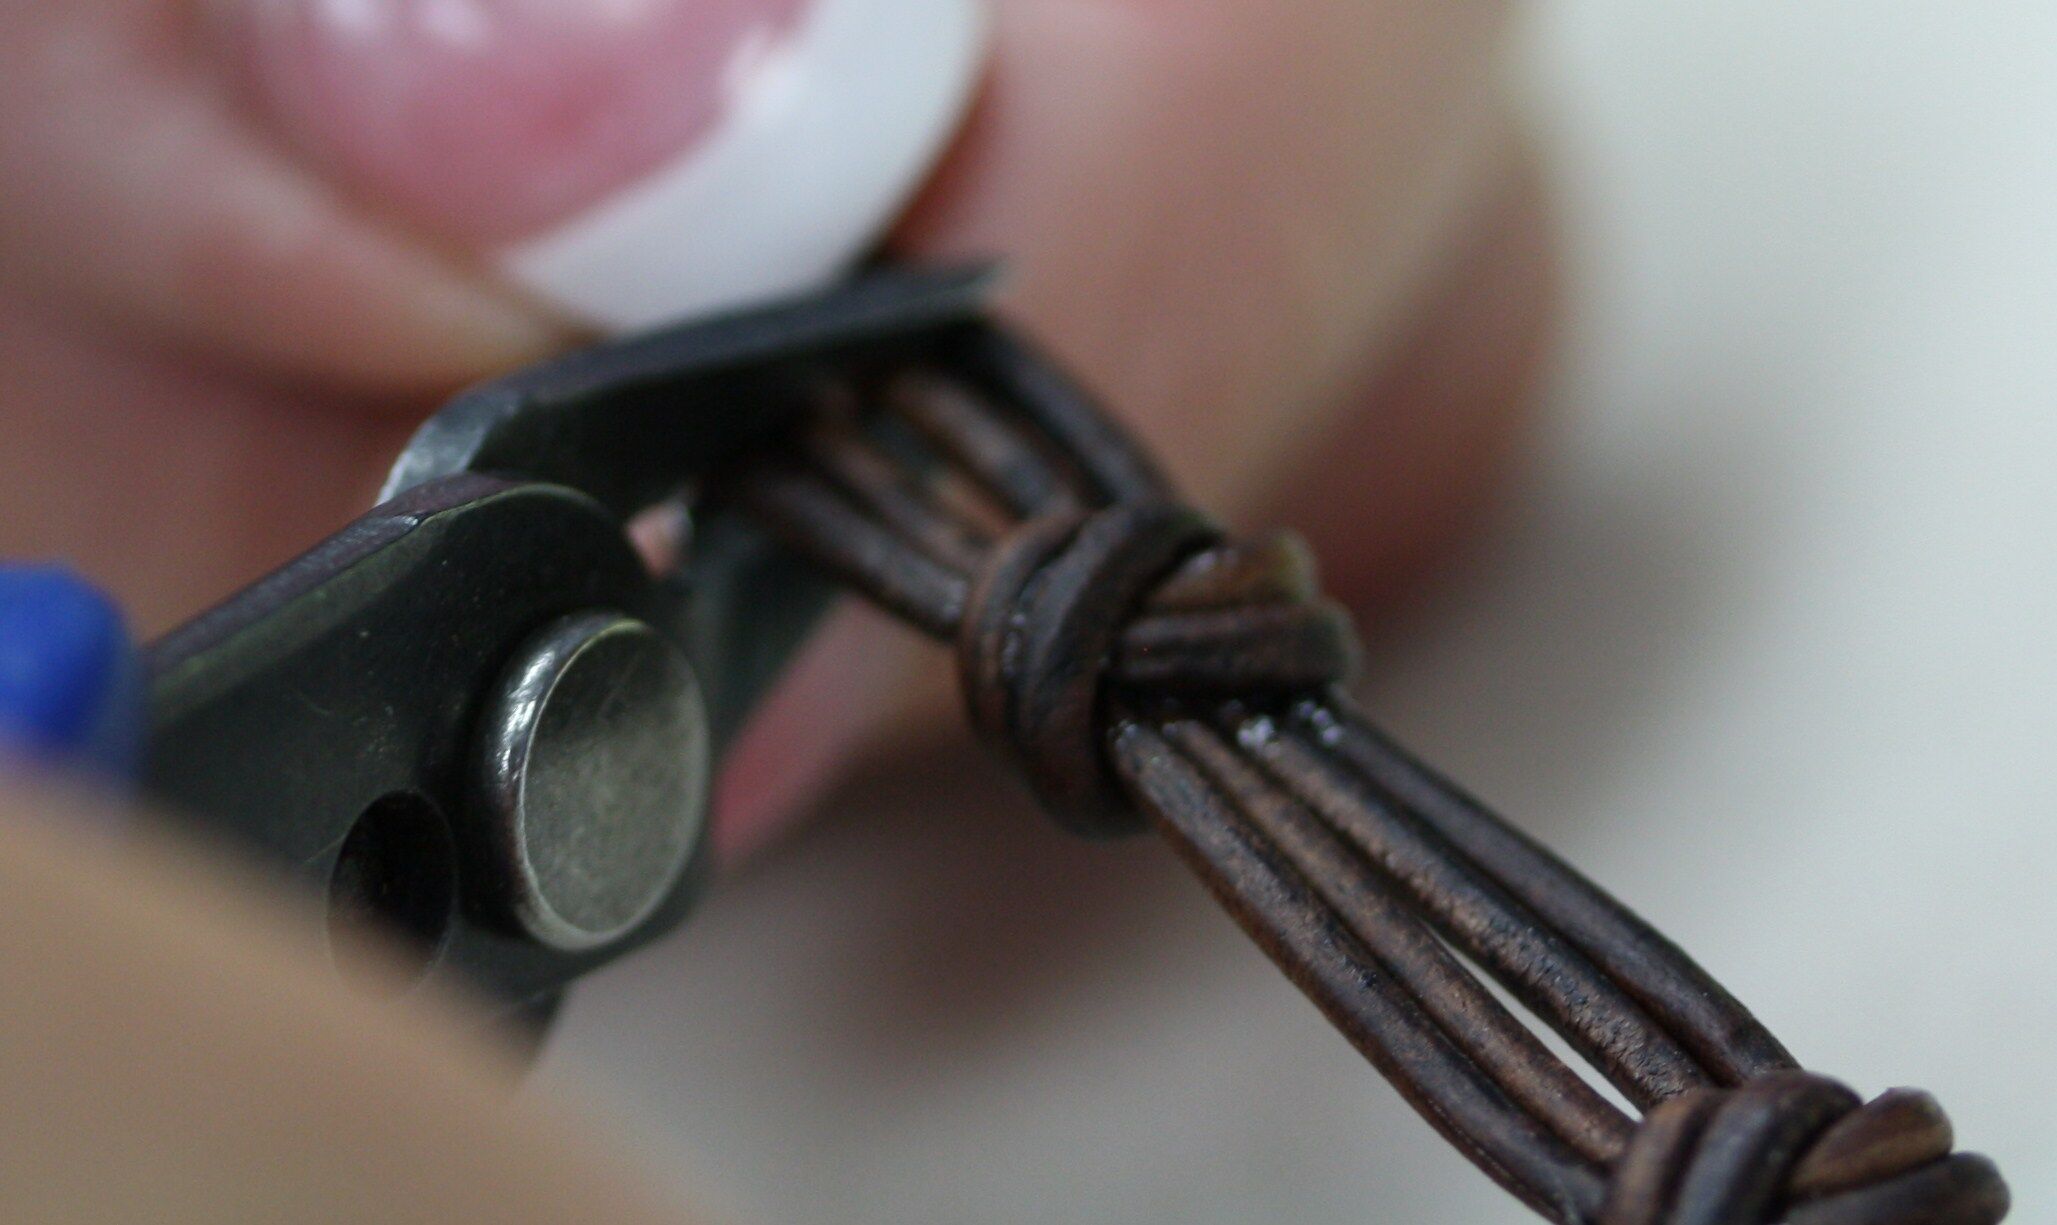
34. Leaving plenty of room for your button, make another double Spanish knot.
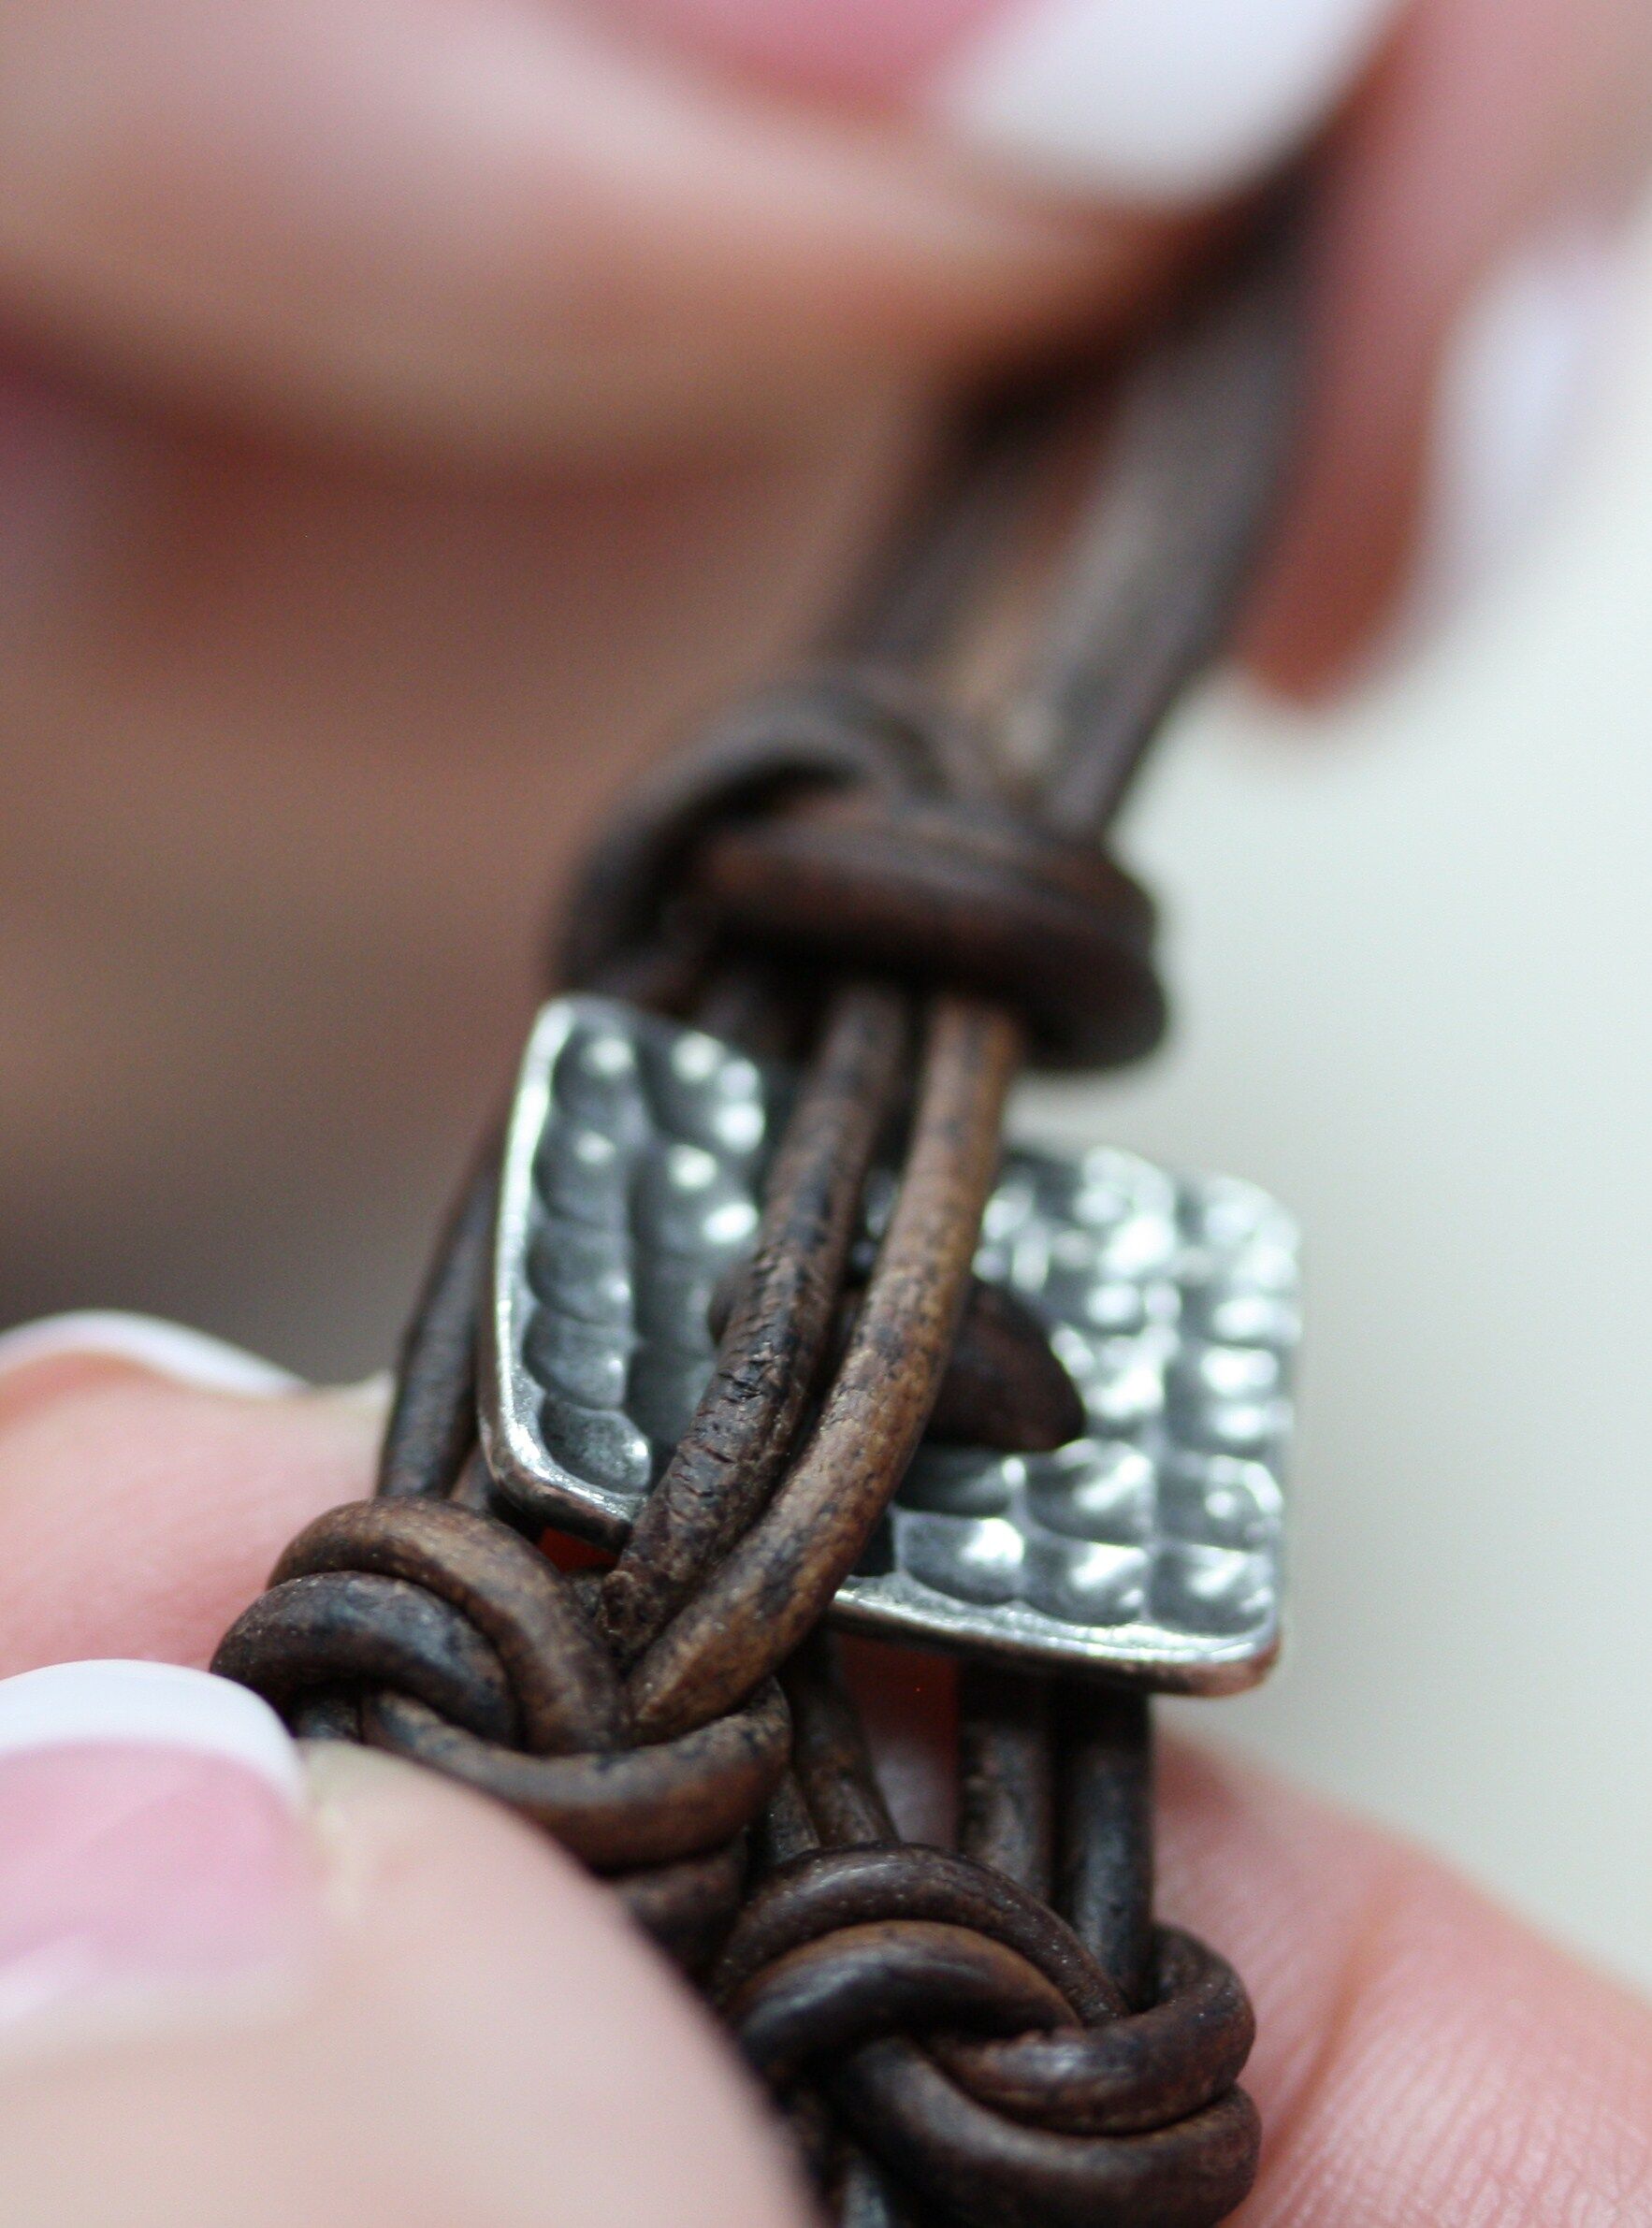
35. Your end knots should look like this.
36. Using the GS Hypo glue (red), place the needle into both double Spanish knots from both sides. Once glued, pull knots securely.
37. Leave to dry for 5 minutes, then cut the ends of the leather about ¼ inch away from the knot.
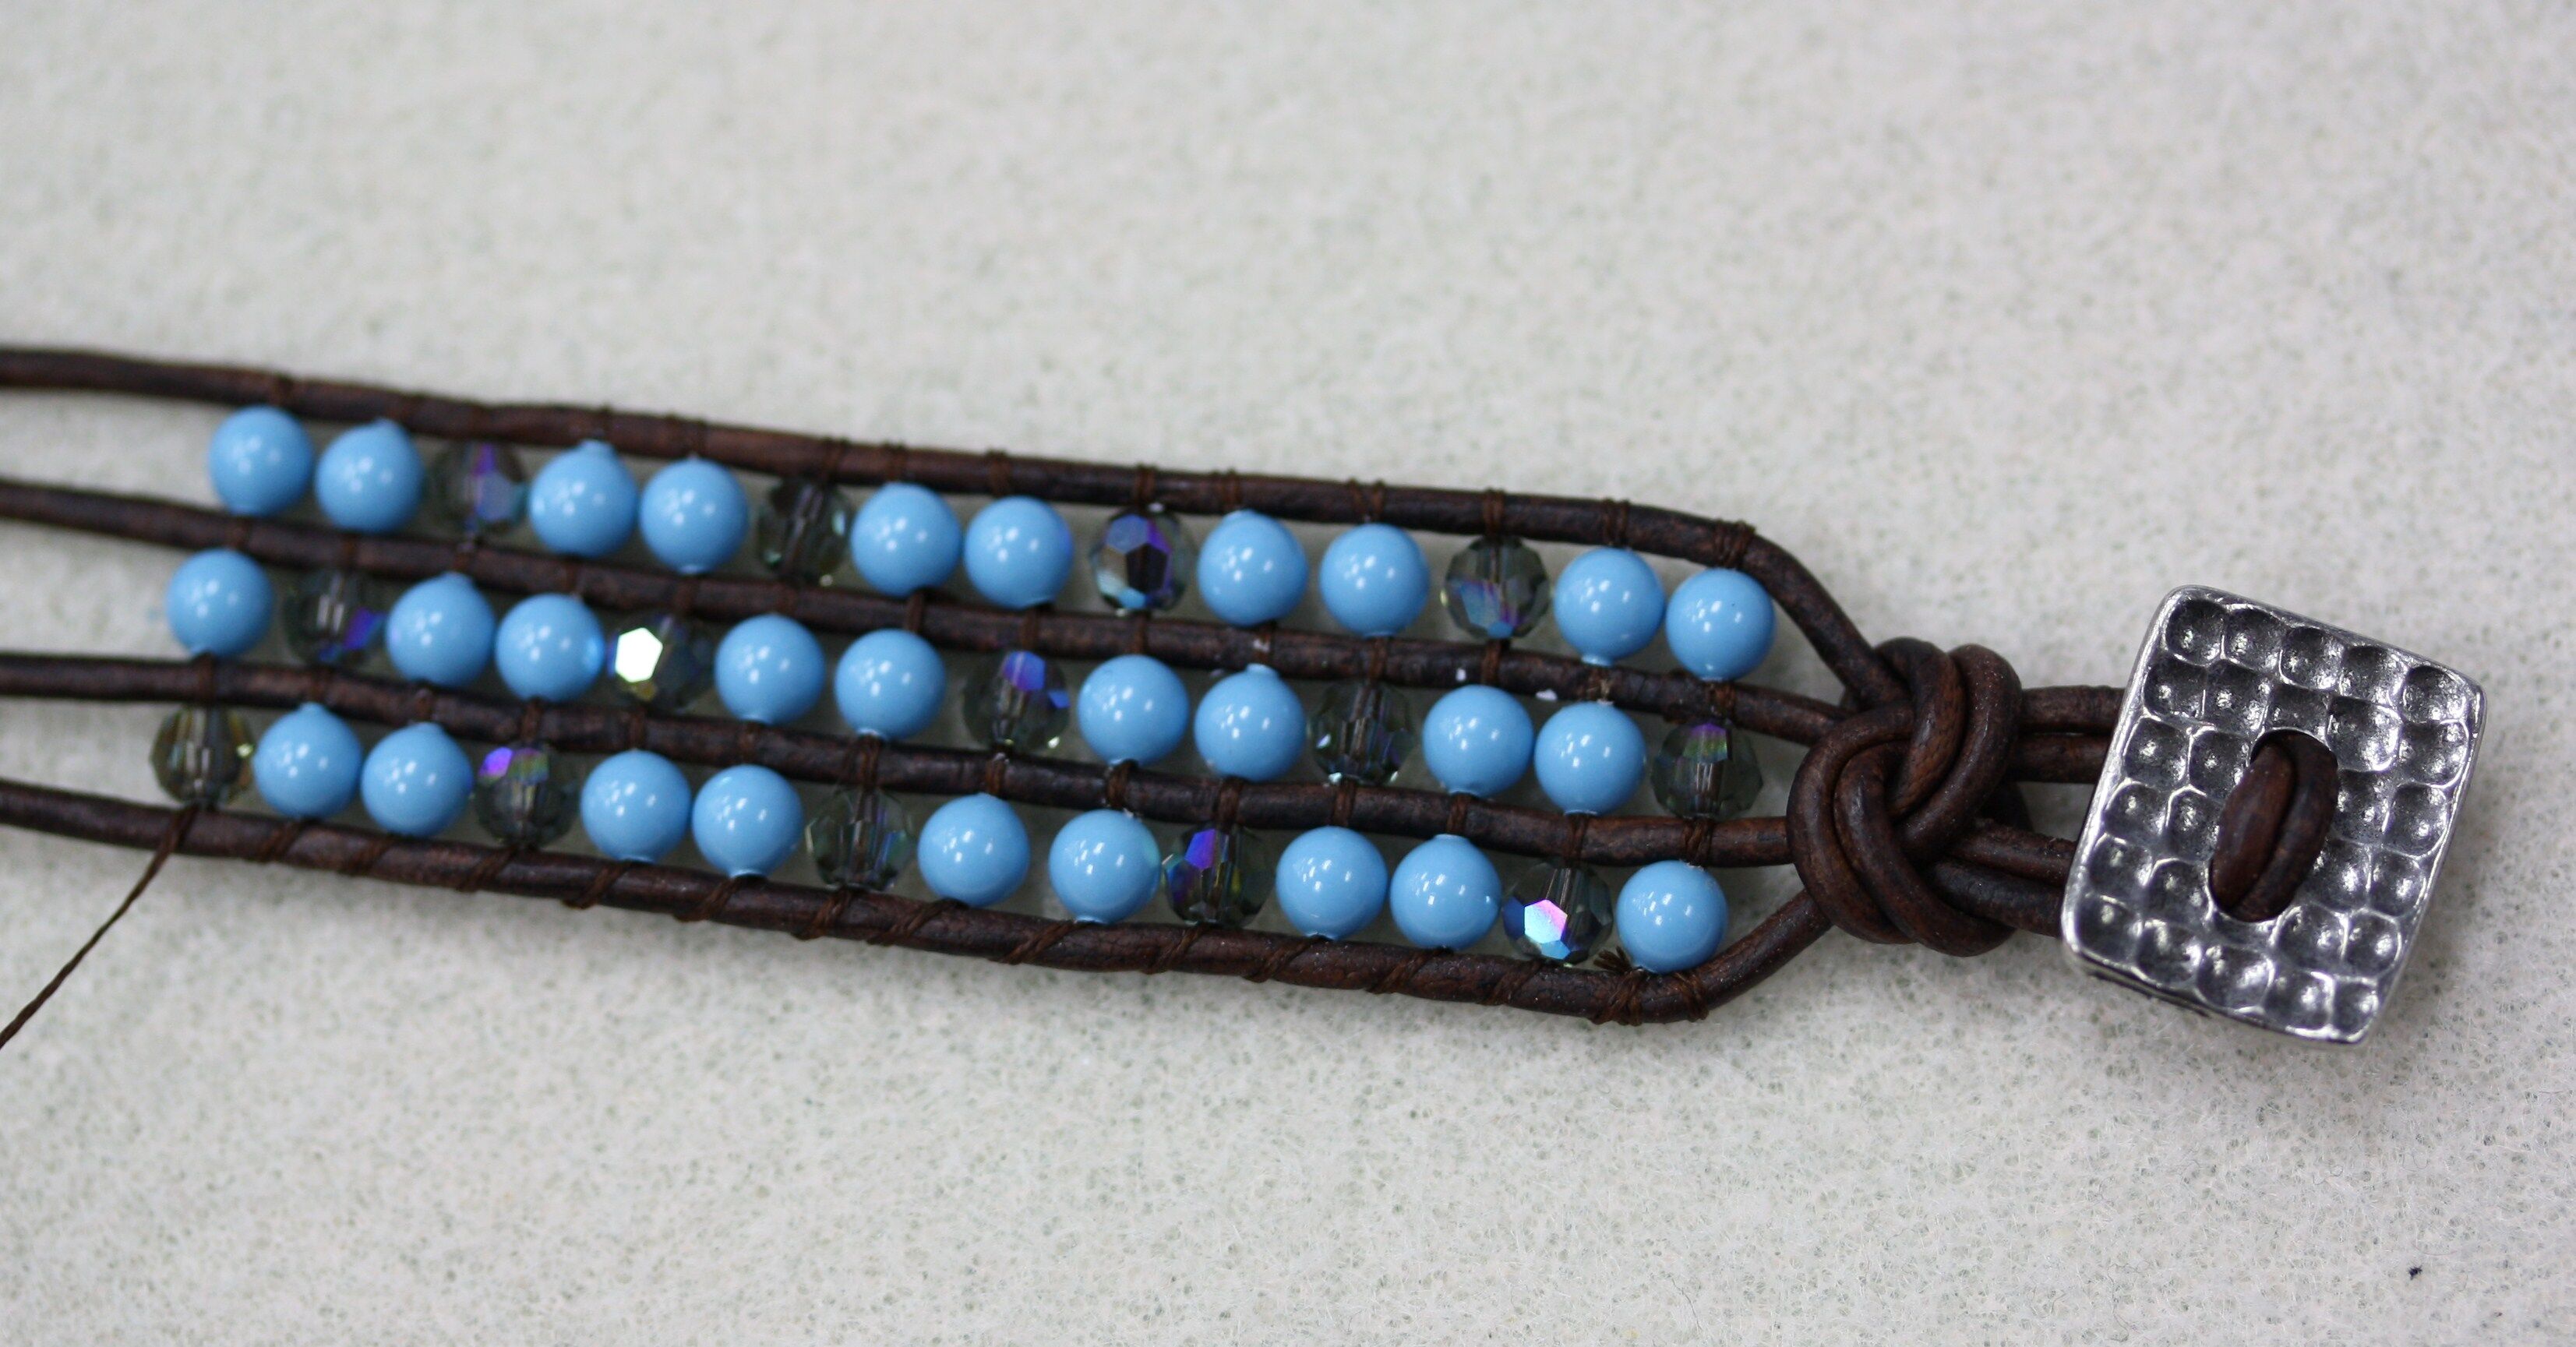
The finished bracelet is shown below.
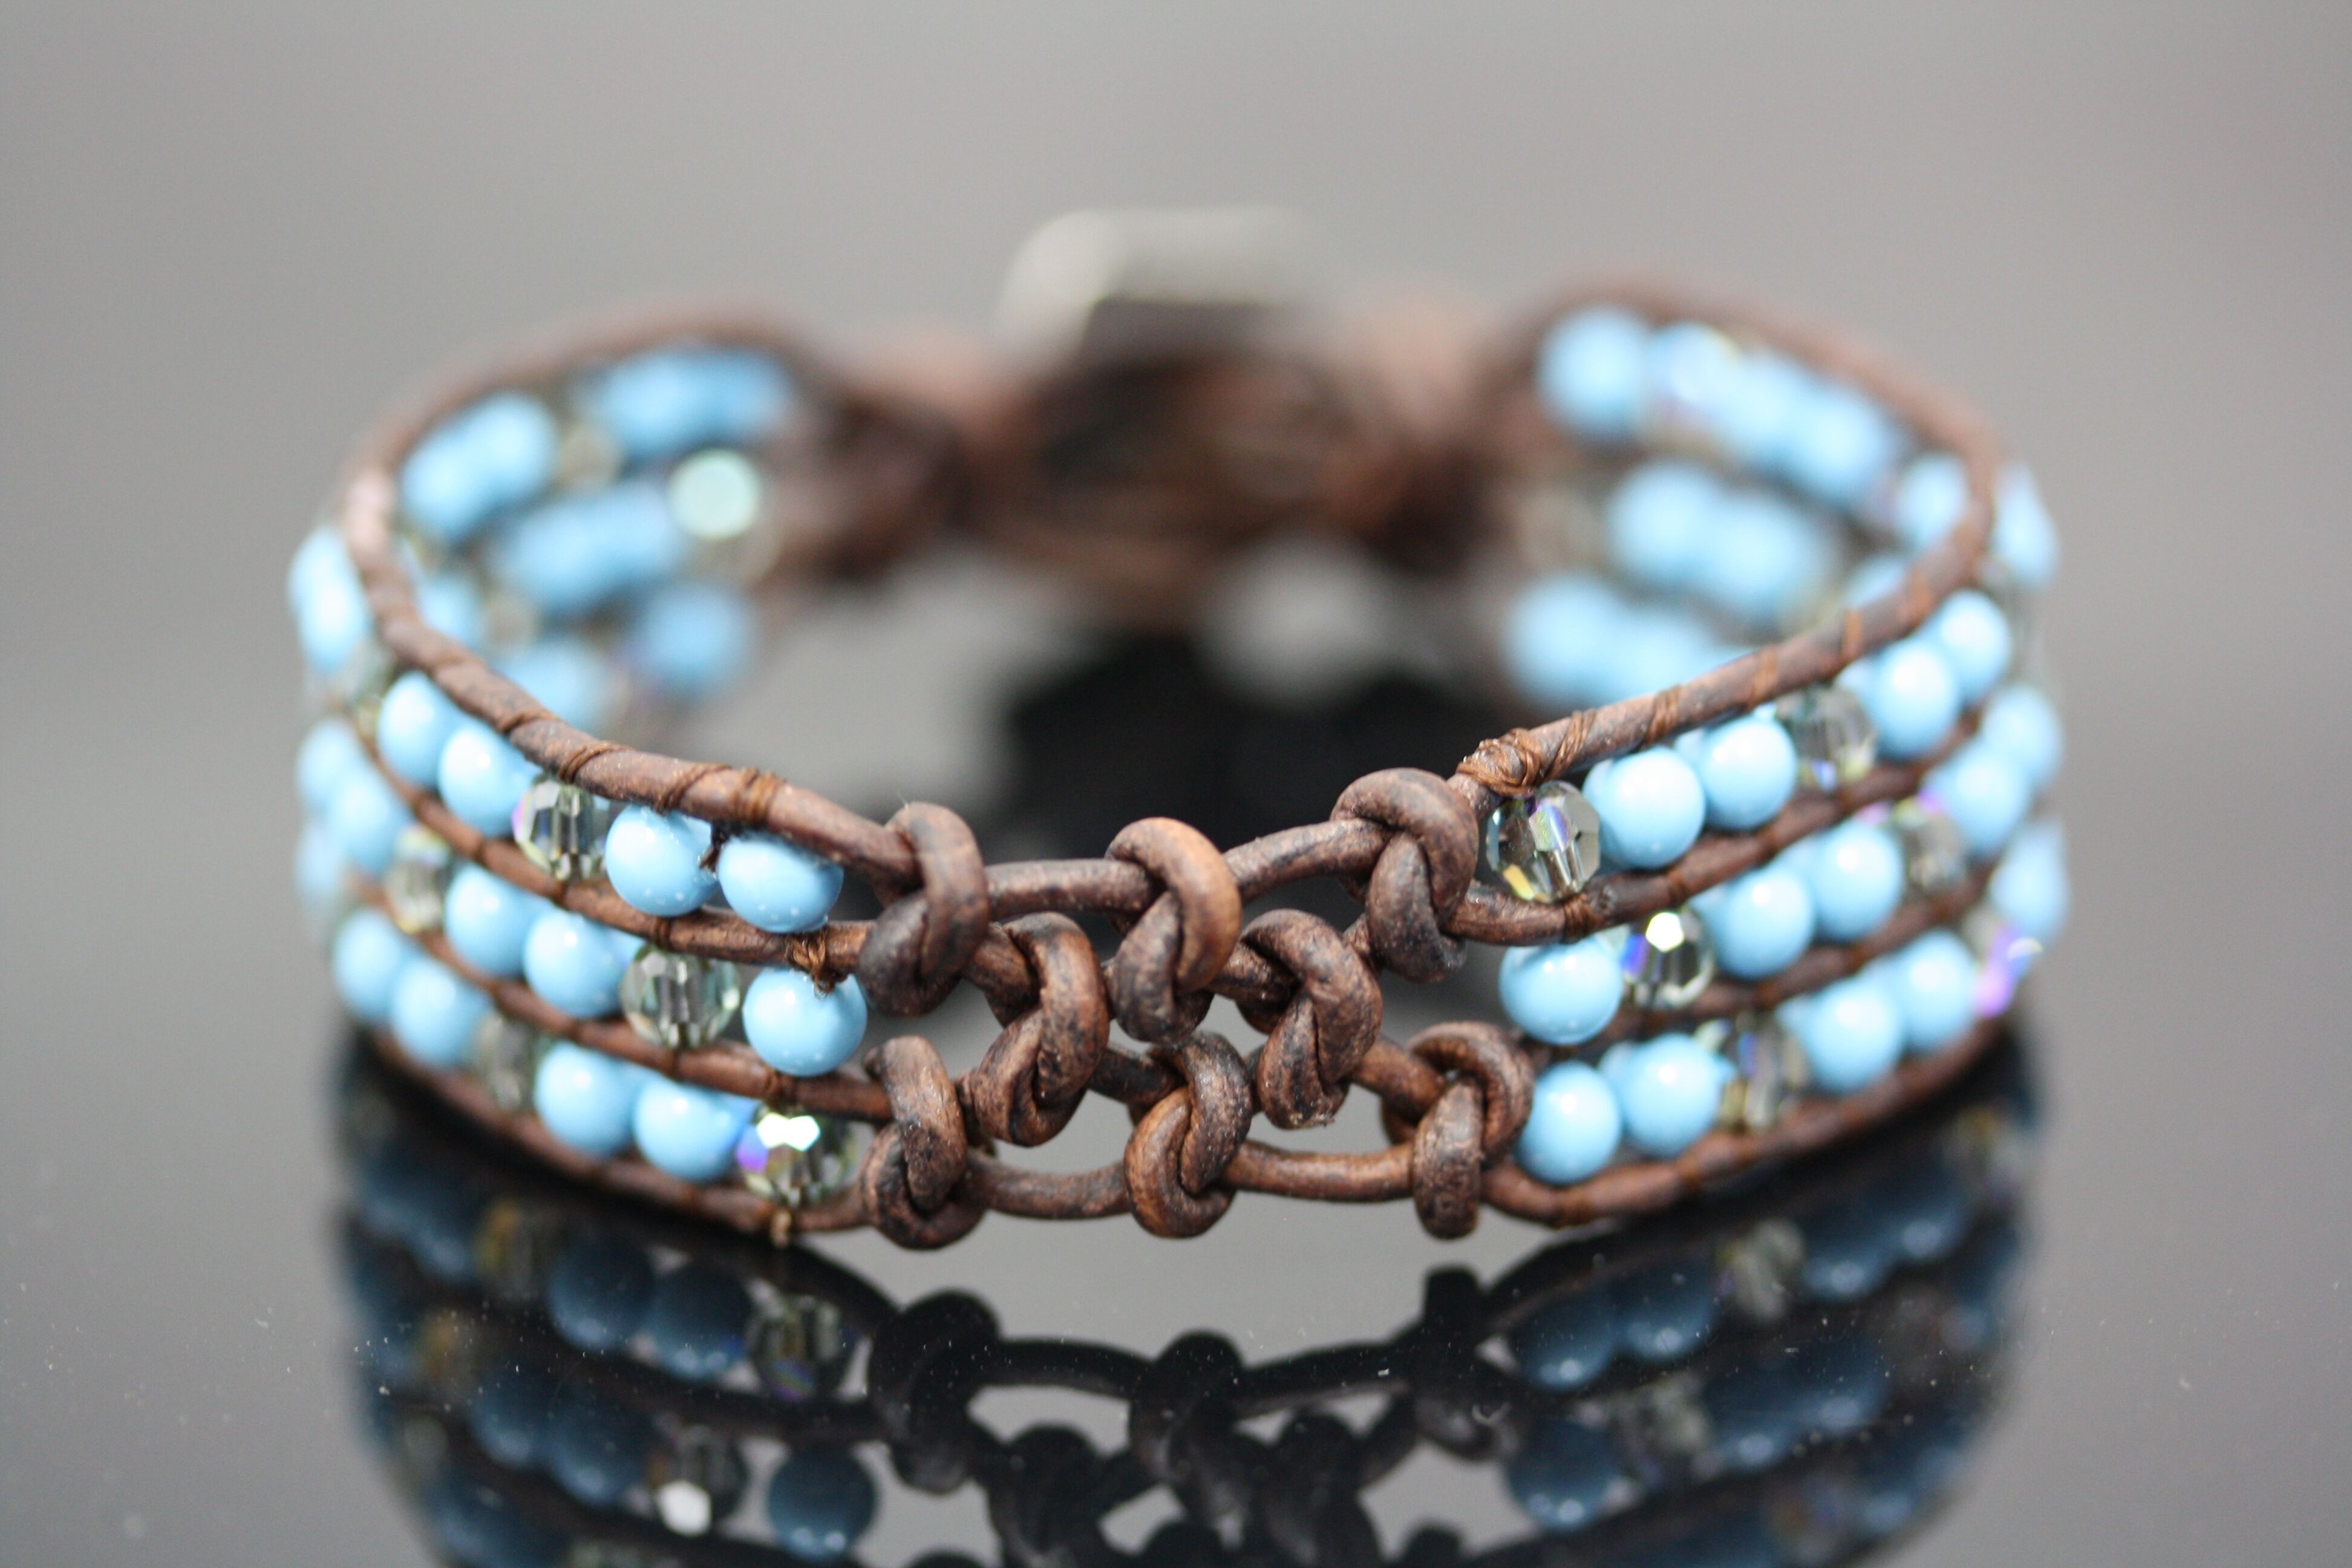
We hope you enjoy this fun fusion of techniques!
Happy Beading!!
Recent Posts
-

Pearly White Heart Earrings – Four Drop
Pearly White Heart Earrings – Four DropThese earrings are made from beautiful white shell in flat he …30th Jan 2025 -

Valentine Fringe Earrings
Valentine Fringe EarringsLearn how to make fringe earrings with a heart pattern that pops! The …13th Jan 2025 -

Dancing Pearl Cowboy Charm Leather Bracelet
Dancing Pearl Cowboy Charm Leather BraceletThis tutorial is a spin of our Dancing Gemstone Brac …17th Dec 2024