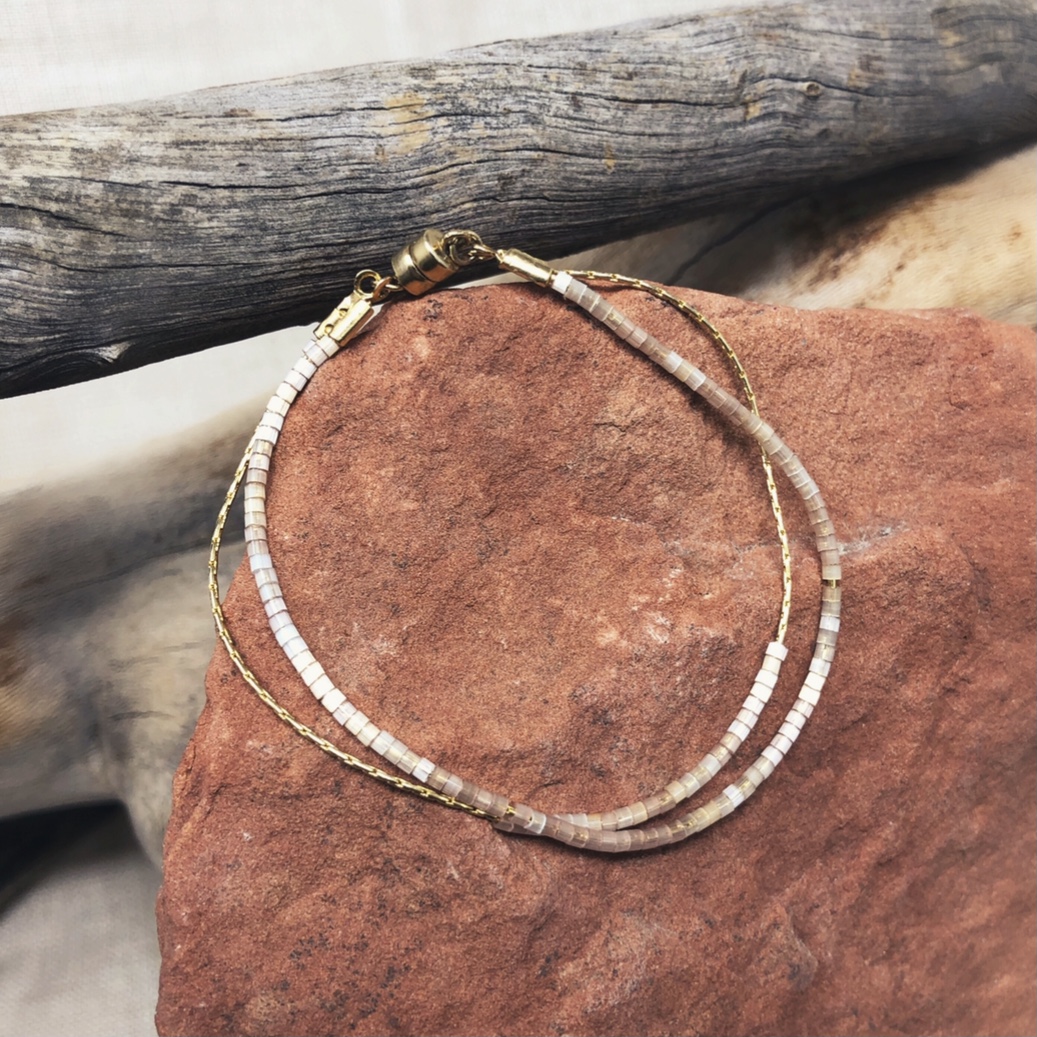
"Delicate Motion" Dual Beading Chain Bracelet
"Delicate Motion" Dual Beading Chain Bracelet
This bracelet is made with 4 different delica colors to create a mixed ombre effect. Mix and match metals and delica colors to create your own unique look. If you wish to change the colors but keep the same silk ombre effect, we recommend using any of our silk satin colors.
 Materials Needed:
- 0.7mm Gold Beading Chain (16”) * Or whatever length you wish to make bracelet
- Delicas Size 11 635 Crystal Silk Satin (20-25)
- Delicas Size 11 673 Light Cream Silk Satin (20-25)
- Delicas Size 11 674 Cream Silk Satin (20-25)
- Delicas Size 11 826 Sandstone Silk Satin (20-25)
- 1mm Crimp Ends Gold Plated (4)
- 4.5mm 14K Gold Plated Magnetic Clasp
- Gold Plated 3mm 22 Gauge Jump Rings (2)
- Super New Glue
- Mini Bead Stop
Finished Approx. 6.5” * Size can be easily altered for a custom fit.
Tools Required:
Knot Cutter (for cutting chain)
Instructions on Construction:
1. Cut chain into 2 equal lengths, attach bead stops, thread the delica beads in a random pattern (not using more than 4 of the same color in a row) onto the first chain. until you reach your desired length for your bracelet (keep in mind length of crimp ends and clasp).
2. Repeat random pattern (does not need to be exactly the same as first strand) with the second strand of chain but only string about 1/4 to 1/3 the beads - this will create the motion effect in the bracelet. As your wrist twists, beads will move around on this strand.
3. Add a small amount of glue onto surface of crimp, lay the end of chain in the glue making sure that the chain lines up nicely in the crimp with no raw edges sticking out. When the glue has set up and it is holding the chain in place, carefully fold the two sides of the crimp over the top of the chain. You do this one side at a time, with the needle nose or flat nose plier. The finished result has the chain sandwiched inside the crimp which makes for a tidy finish.
* Repeat with chain at opposite end of bracelet.
* Repeat with second chain - match one end to the right and one to the left of the jump ring so your strands don't overlap
4. Now it is time to attach the clasp. Open the jump ring, using flat and needle nose pliers, thread on magnetic clasp and close carefully making sure that the two sides of jump ring come together neatly.
* Repeat on other end
5. You are now ready to try on your bracelet & to admire your handiwork.
6. Enjoy!
Jewelry designed by Kiara Thompson
Recent Posts
-
Christmas Bow Garland - Mini Tutorial
Christmas Bow Garland - Mini TutorialCreate your own holiday decor with a Christmas-colored bow garl …14th Nov 2024 -
Charm Necklace Tutorial
Charm Necklace TutorialEmbrace individuality with our Personalized Charm Necklace tutorial, a perfec …6th Nov 2024 -
Double Loop Peyote Earrings
Double Loop Peyote EarringsLearn all about creating a seed bead circle using the peyote stitch techn …21st Oct 2024


