

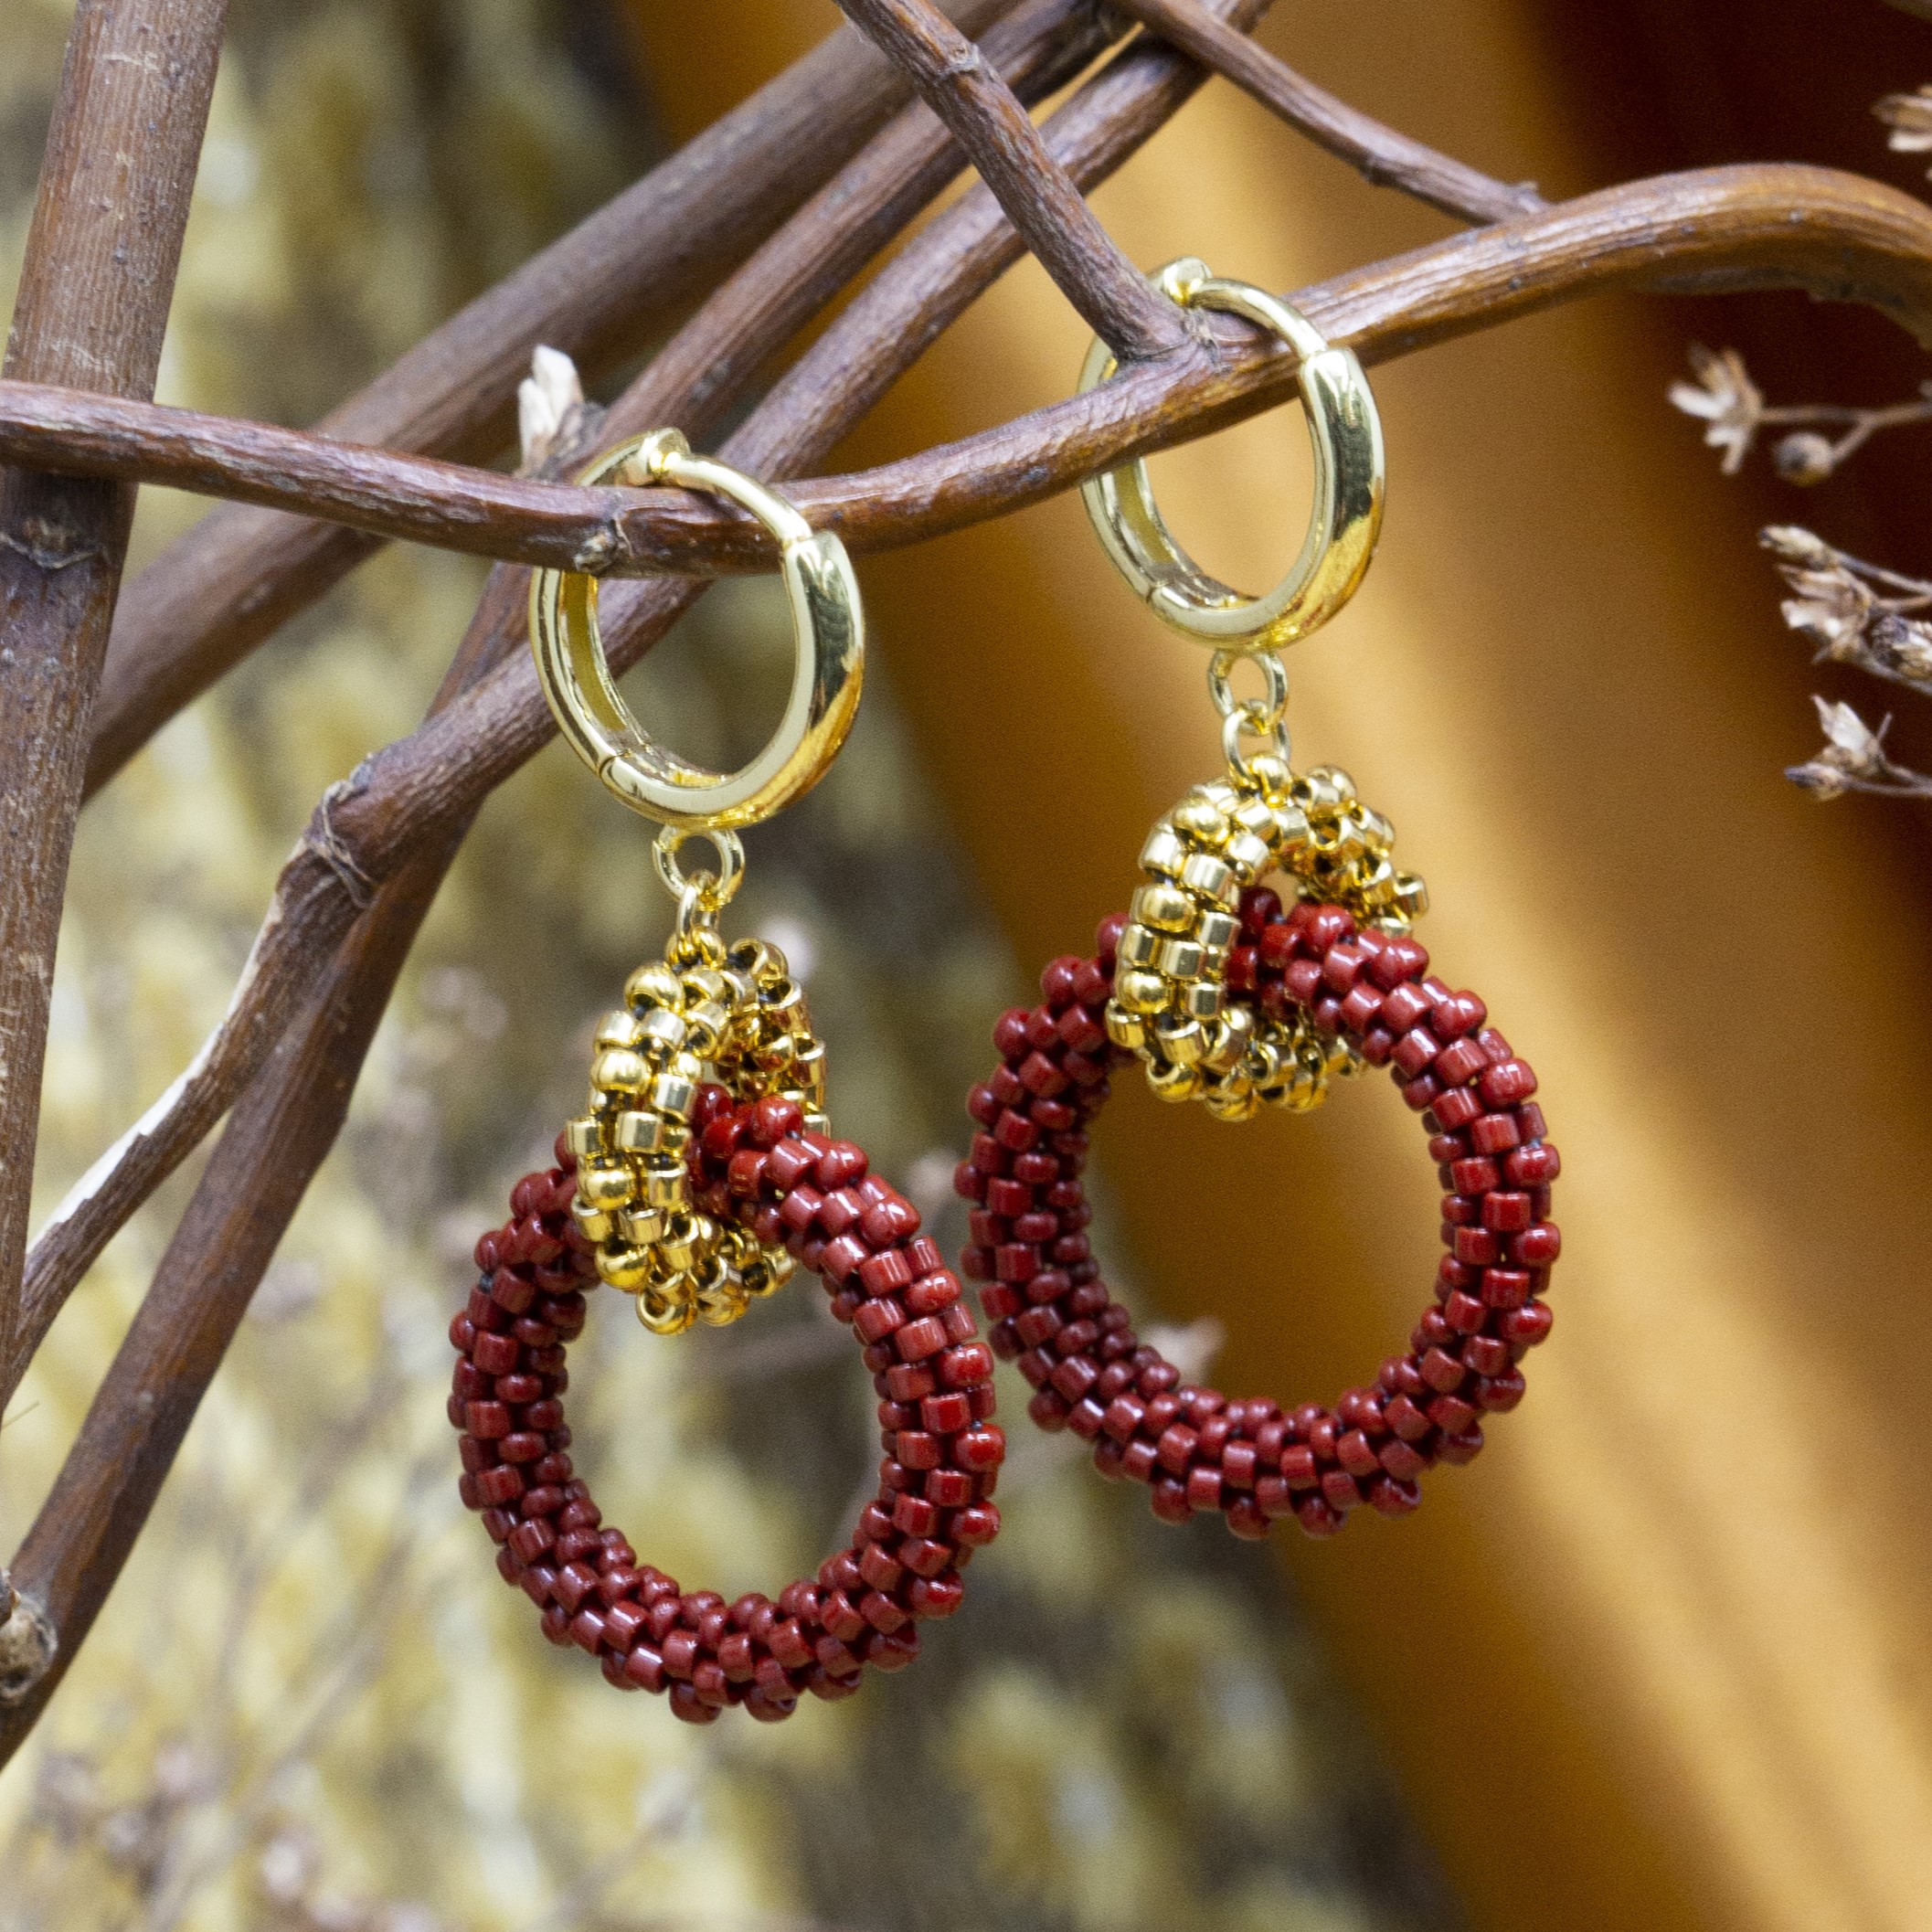
Double Loop Peyote Earrings
Double Loop Peyote Earrings
Learn all about creating a seed bead circle using the peyote stitch technique to craft a seamless, tubular ring - times two! Creating these peyote hoop earrings by following a tutorial offers a rewarding experience for both beginners and experienced jewelry makers. It allows you to practice and master the peyote stitch, enhancing your precision, and pattern-following skills. This project also encourages your own creativity, as you can customize bead colors and patterns to match your personal style or seasonal trends, like the warm autumnal tones in the original design. The result is high-quality, professional-looking earrings that are perfect for yourself or as a gift!
*Please use caution while creating these earrings, it is very easy to poke yourself with the needle*
 Materials Needed:
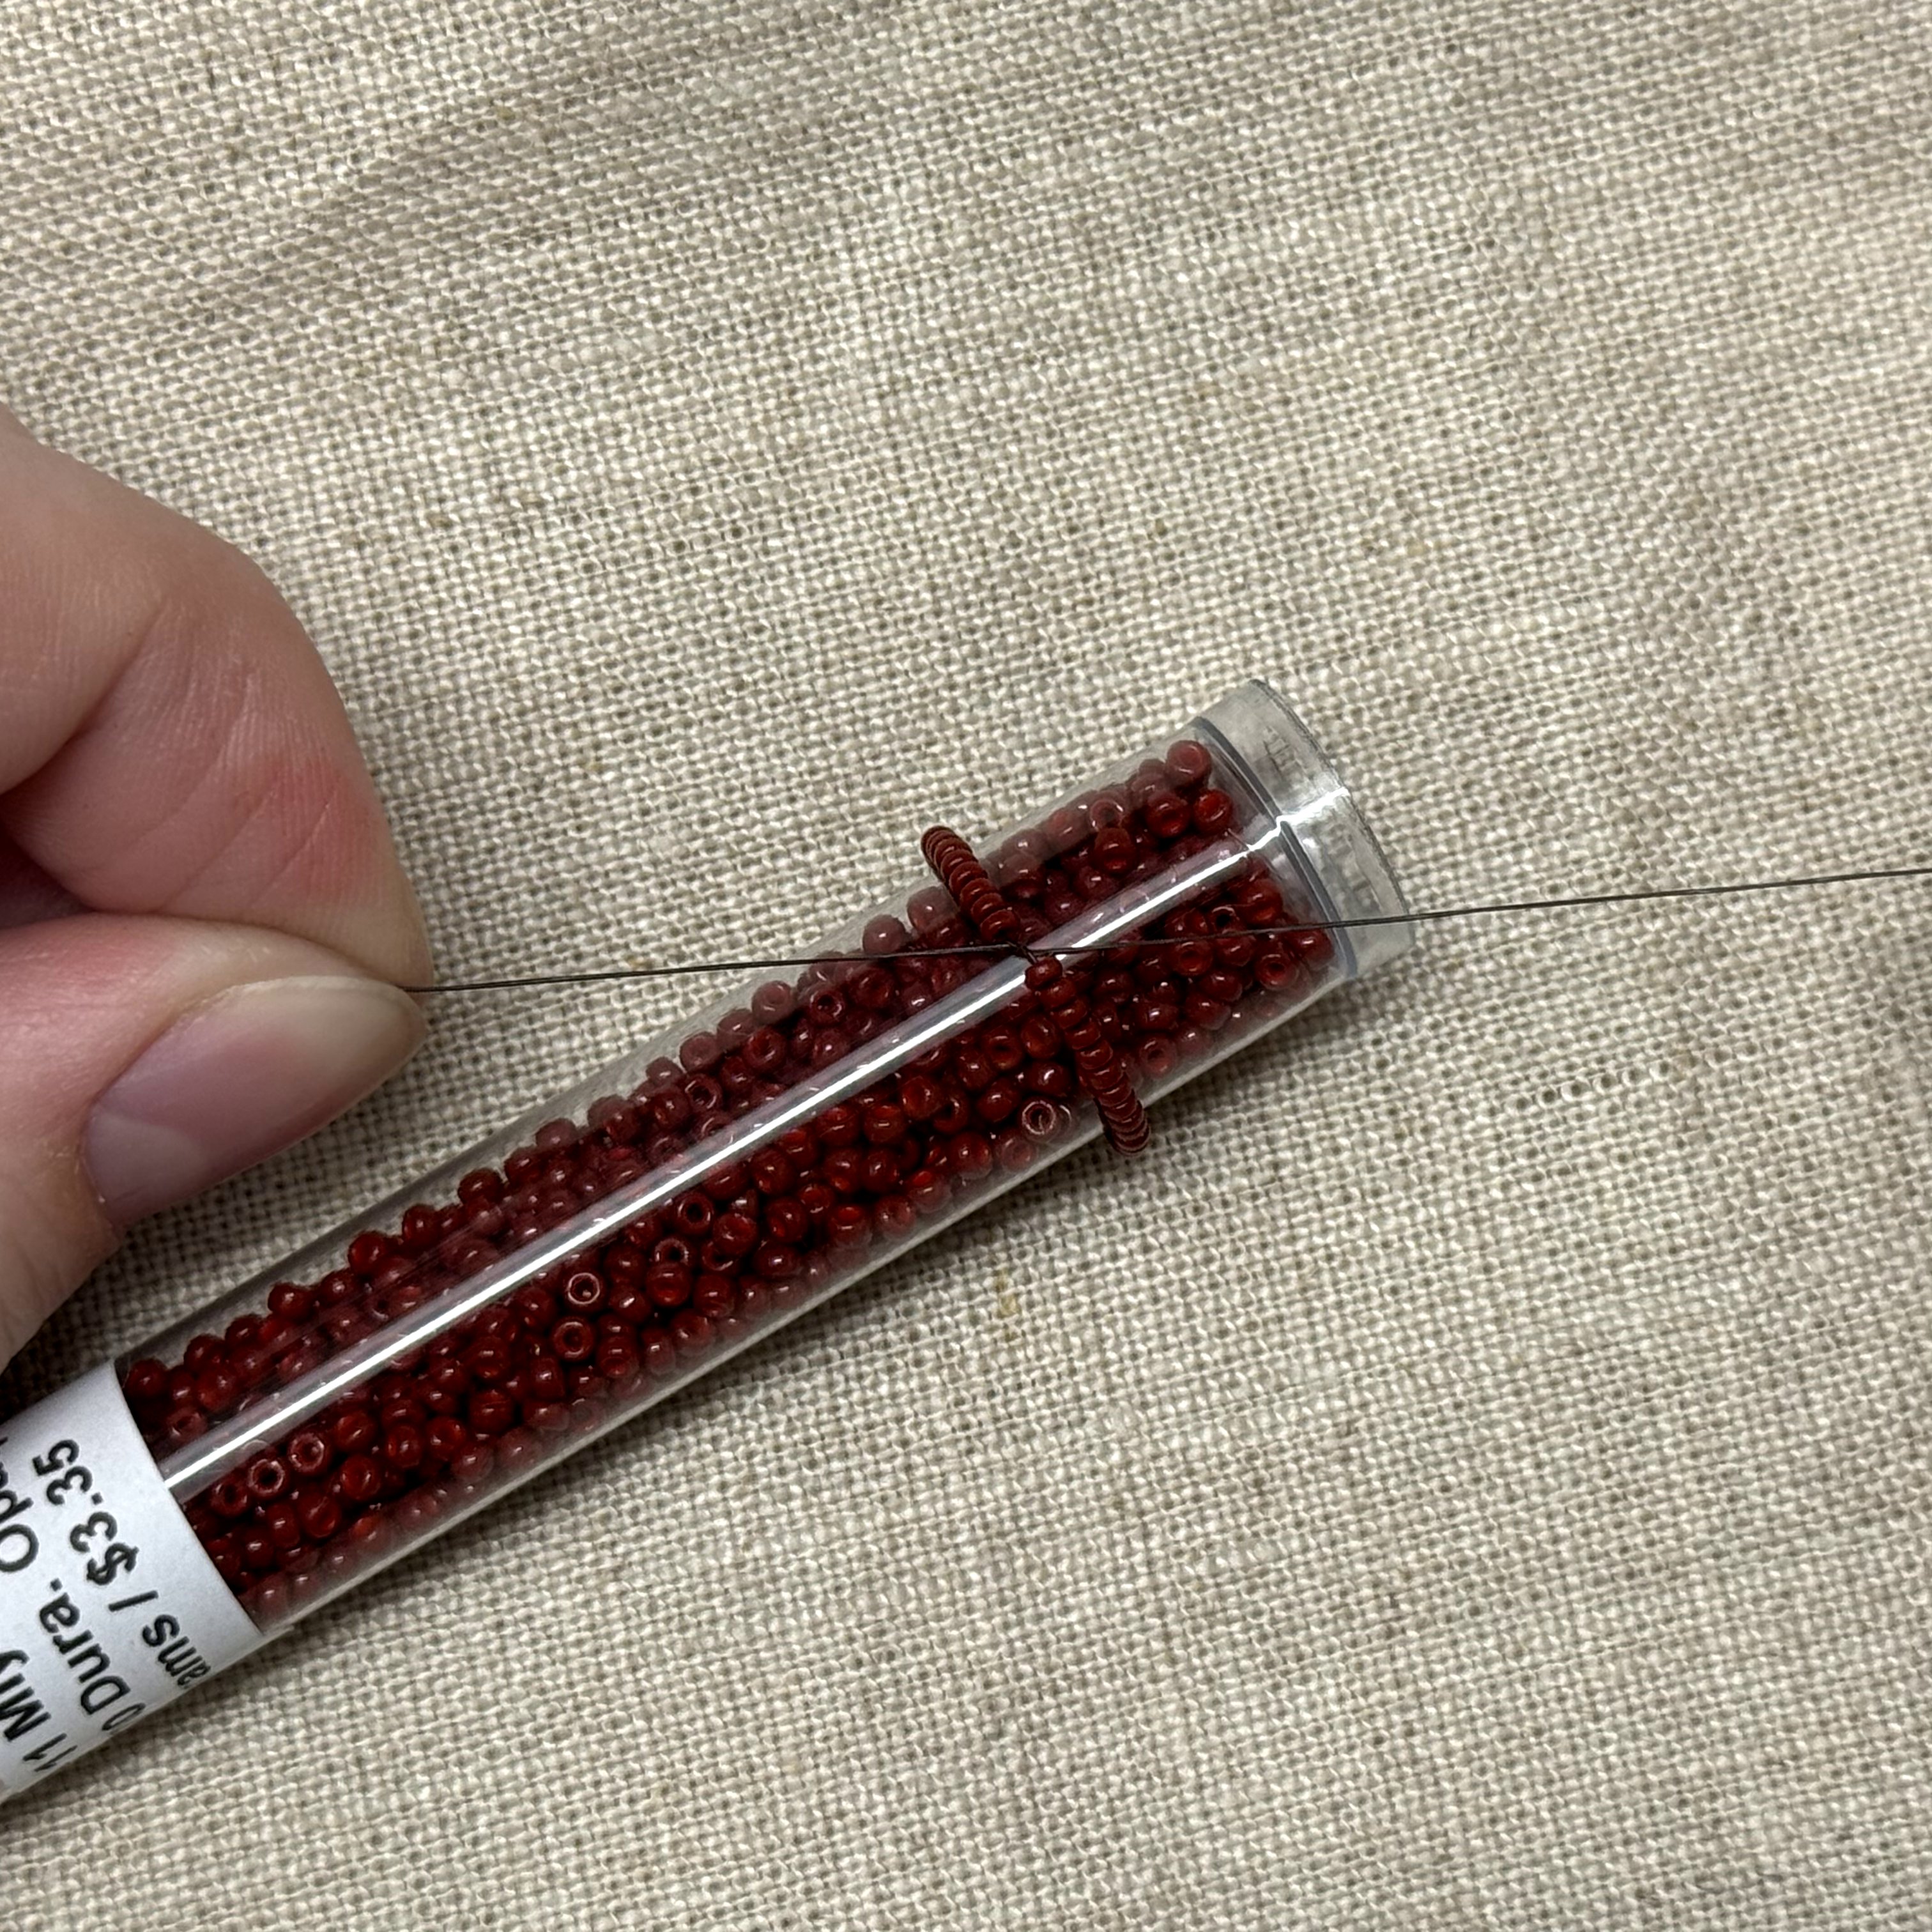
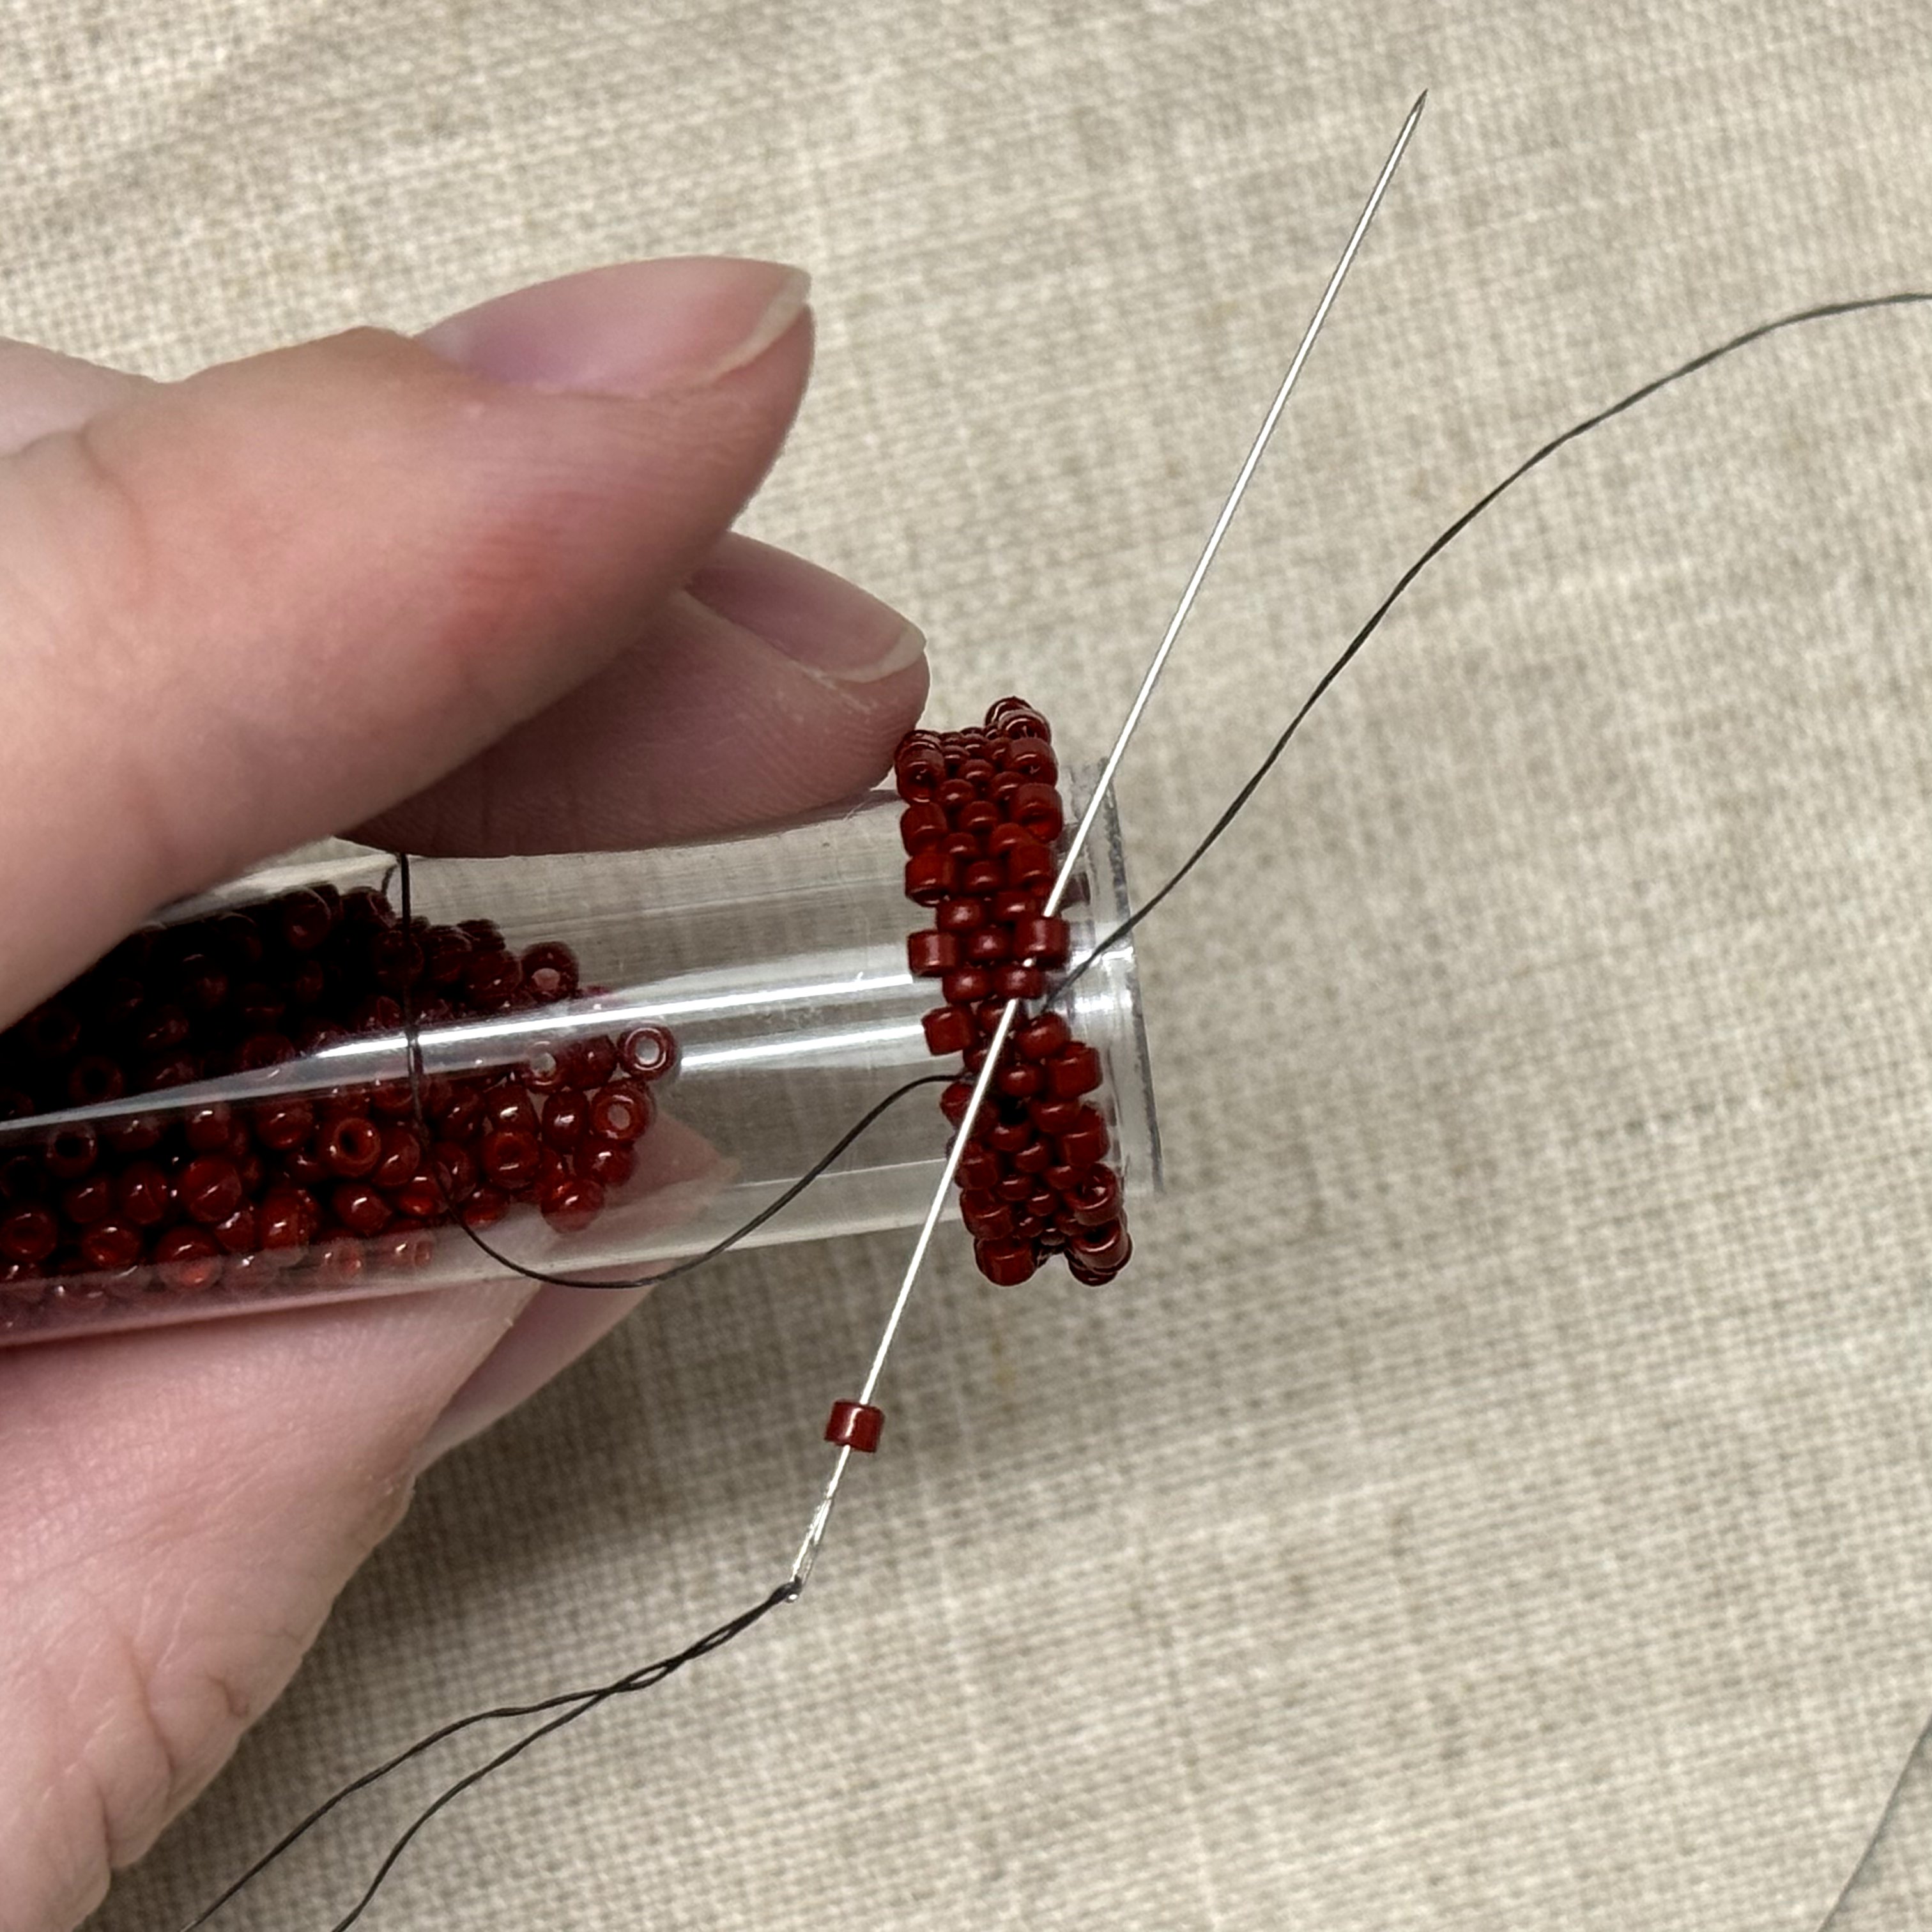
- Size 15 Miyuki Seed Beads -- D4470 Duracoat Opaque Mahogany
- Size 11 Miyuki Seed Beads -- D4470 Duracoat Opaque Mahogany
- Delicas Size 11 Miyuki Seed Beads -- 2120 Duracoat Opaque Maroon
- Size 15 Miyuki Seed Beads -- 465 24K Gold Plated you can also use - Size 15 Miyuki Seed Beads -- D4203 Duracoat Galvanized Deep Gold
- Size 11 Miyuki Seed Beads -- 465 24K Gold Plated you can also use - Size 11 Miyuki Seed Beads -- D4203 Duracoat Galvanized Deep Gold
- Delicas Size 11 Miyuki Seed Beads -- 031 24K Gold Plated or Delicas Size 11 Miyuki Seed Beads -- 034 Light 24K Gold Plated or you can use - Delicas Size 11 Miyuki Seed Beads -- 1833 Duracoat Galvanized Yellow Gold
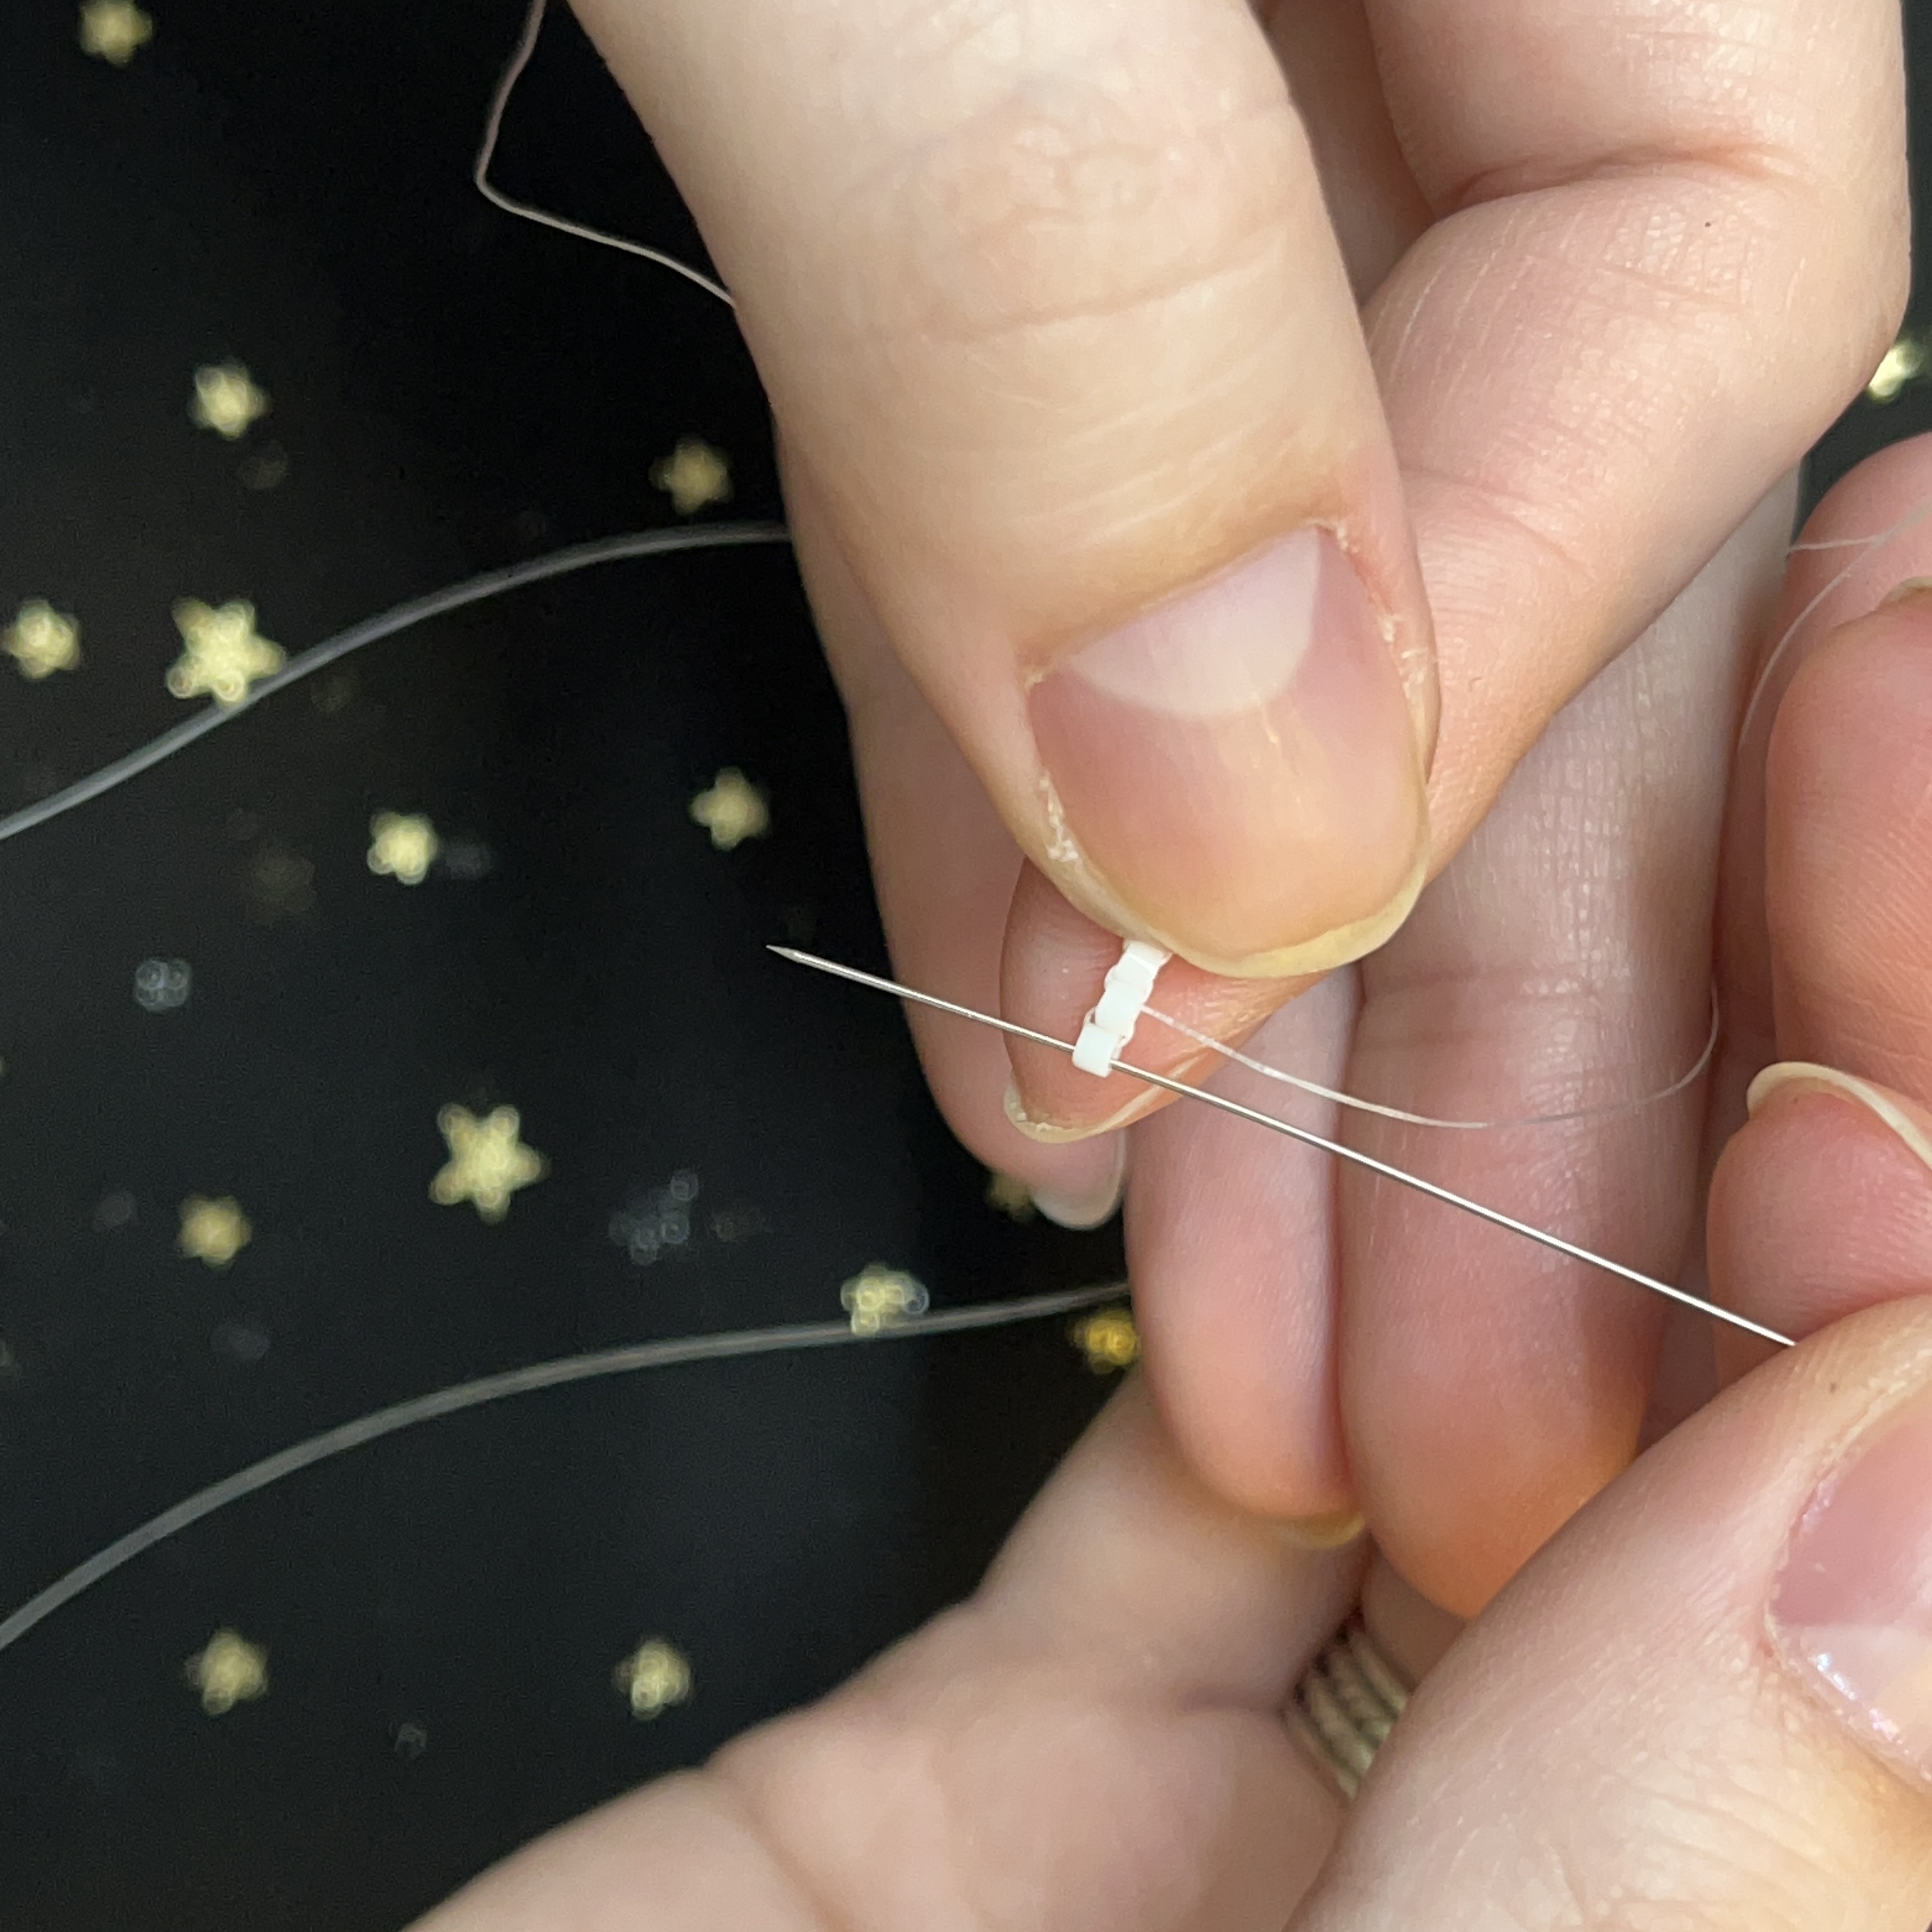
- Fireline® - Smoke - 50 Yards - 6lb (10ft - 5 ft per earring but you will use less)
- John James Needle Size 12 (1)
- 18K Gold Plated 13.5mm Hoop Earring with Rin (1 pair)
Tools Required:
Needle Nose Pliers (also known as chain nose)
Thread Snips or Scissors
Instructions on Construction:
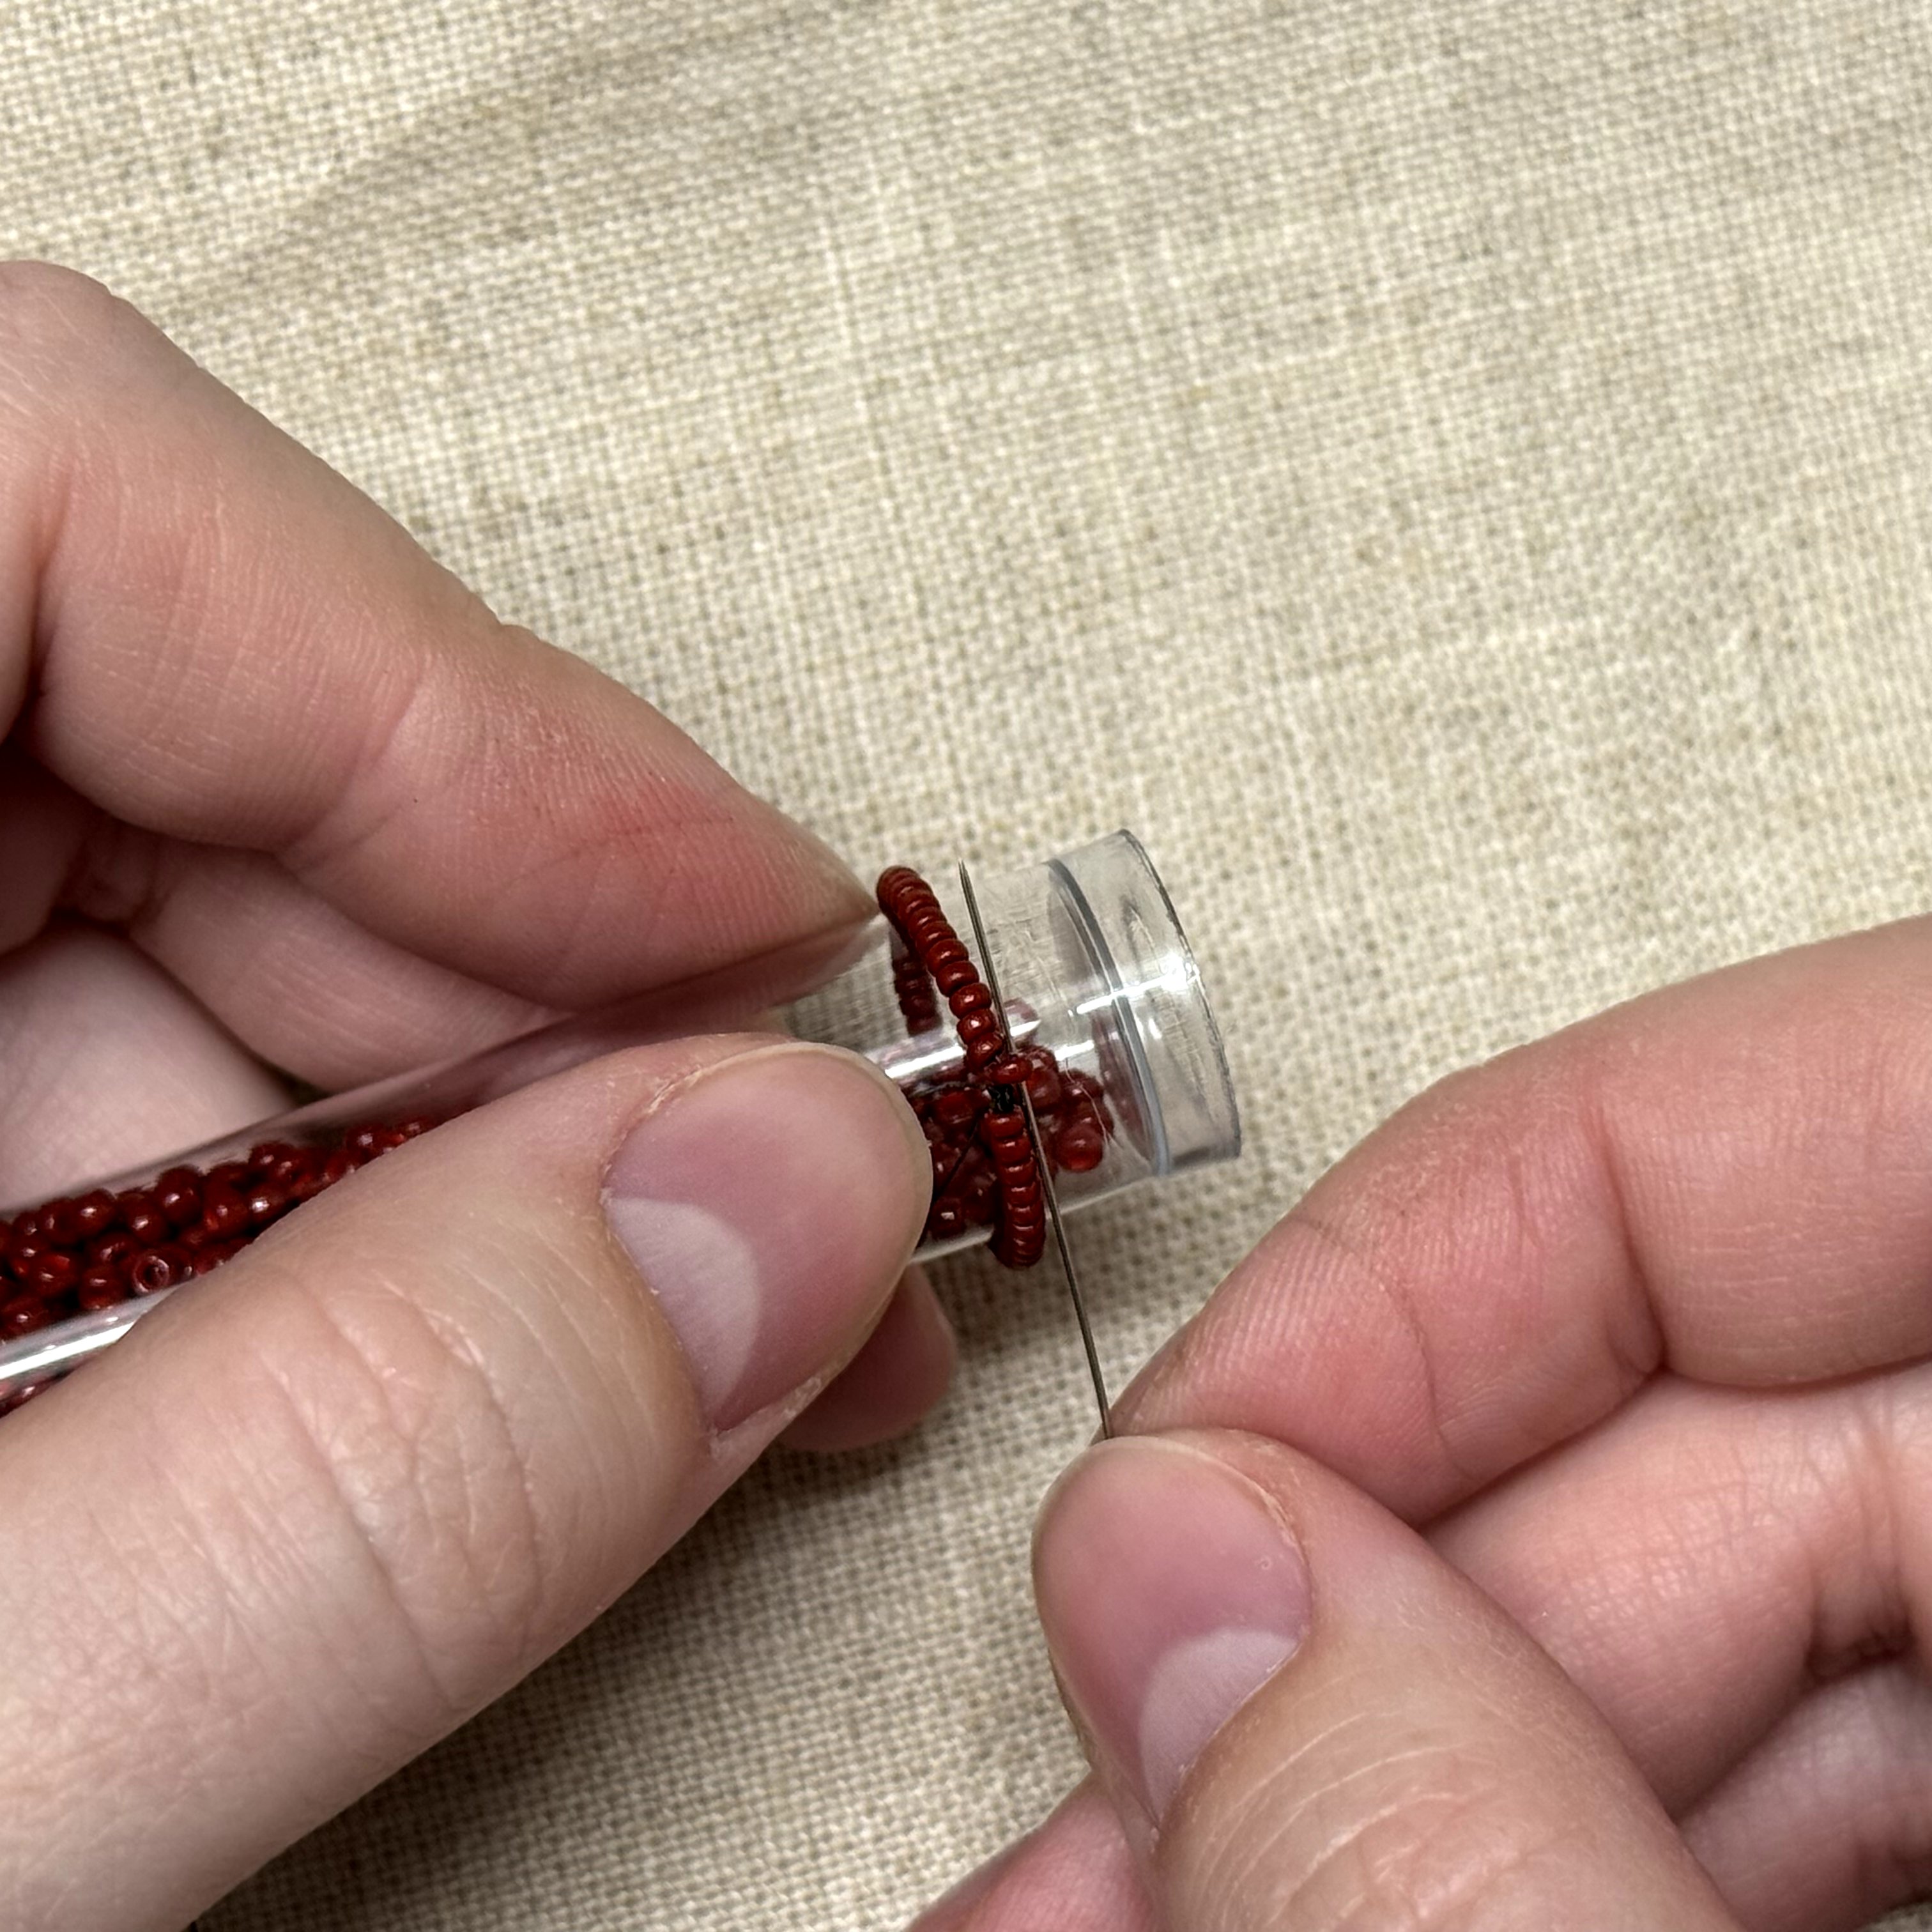
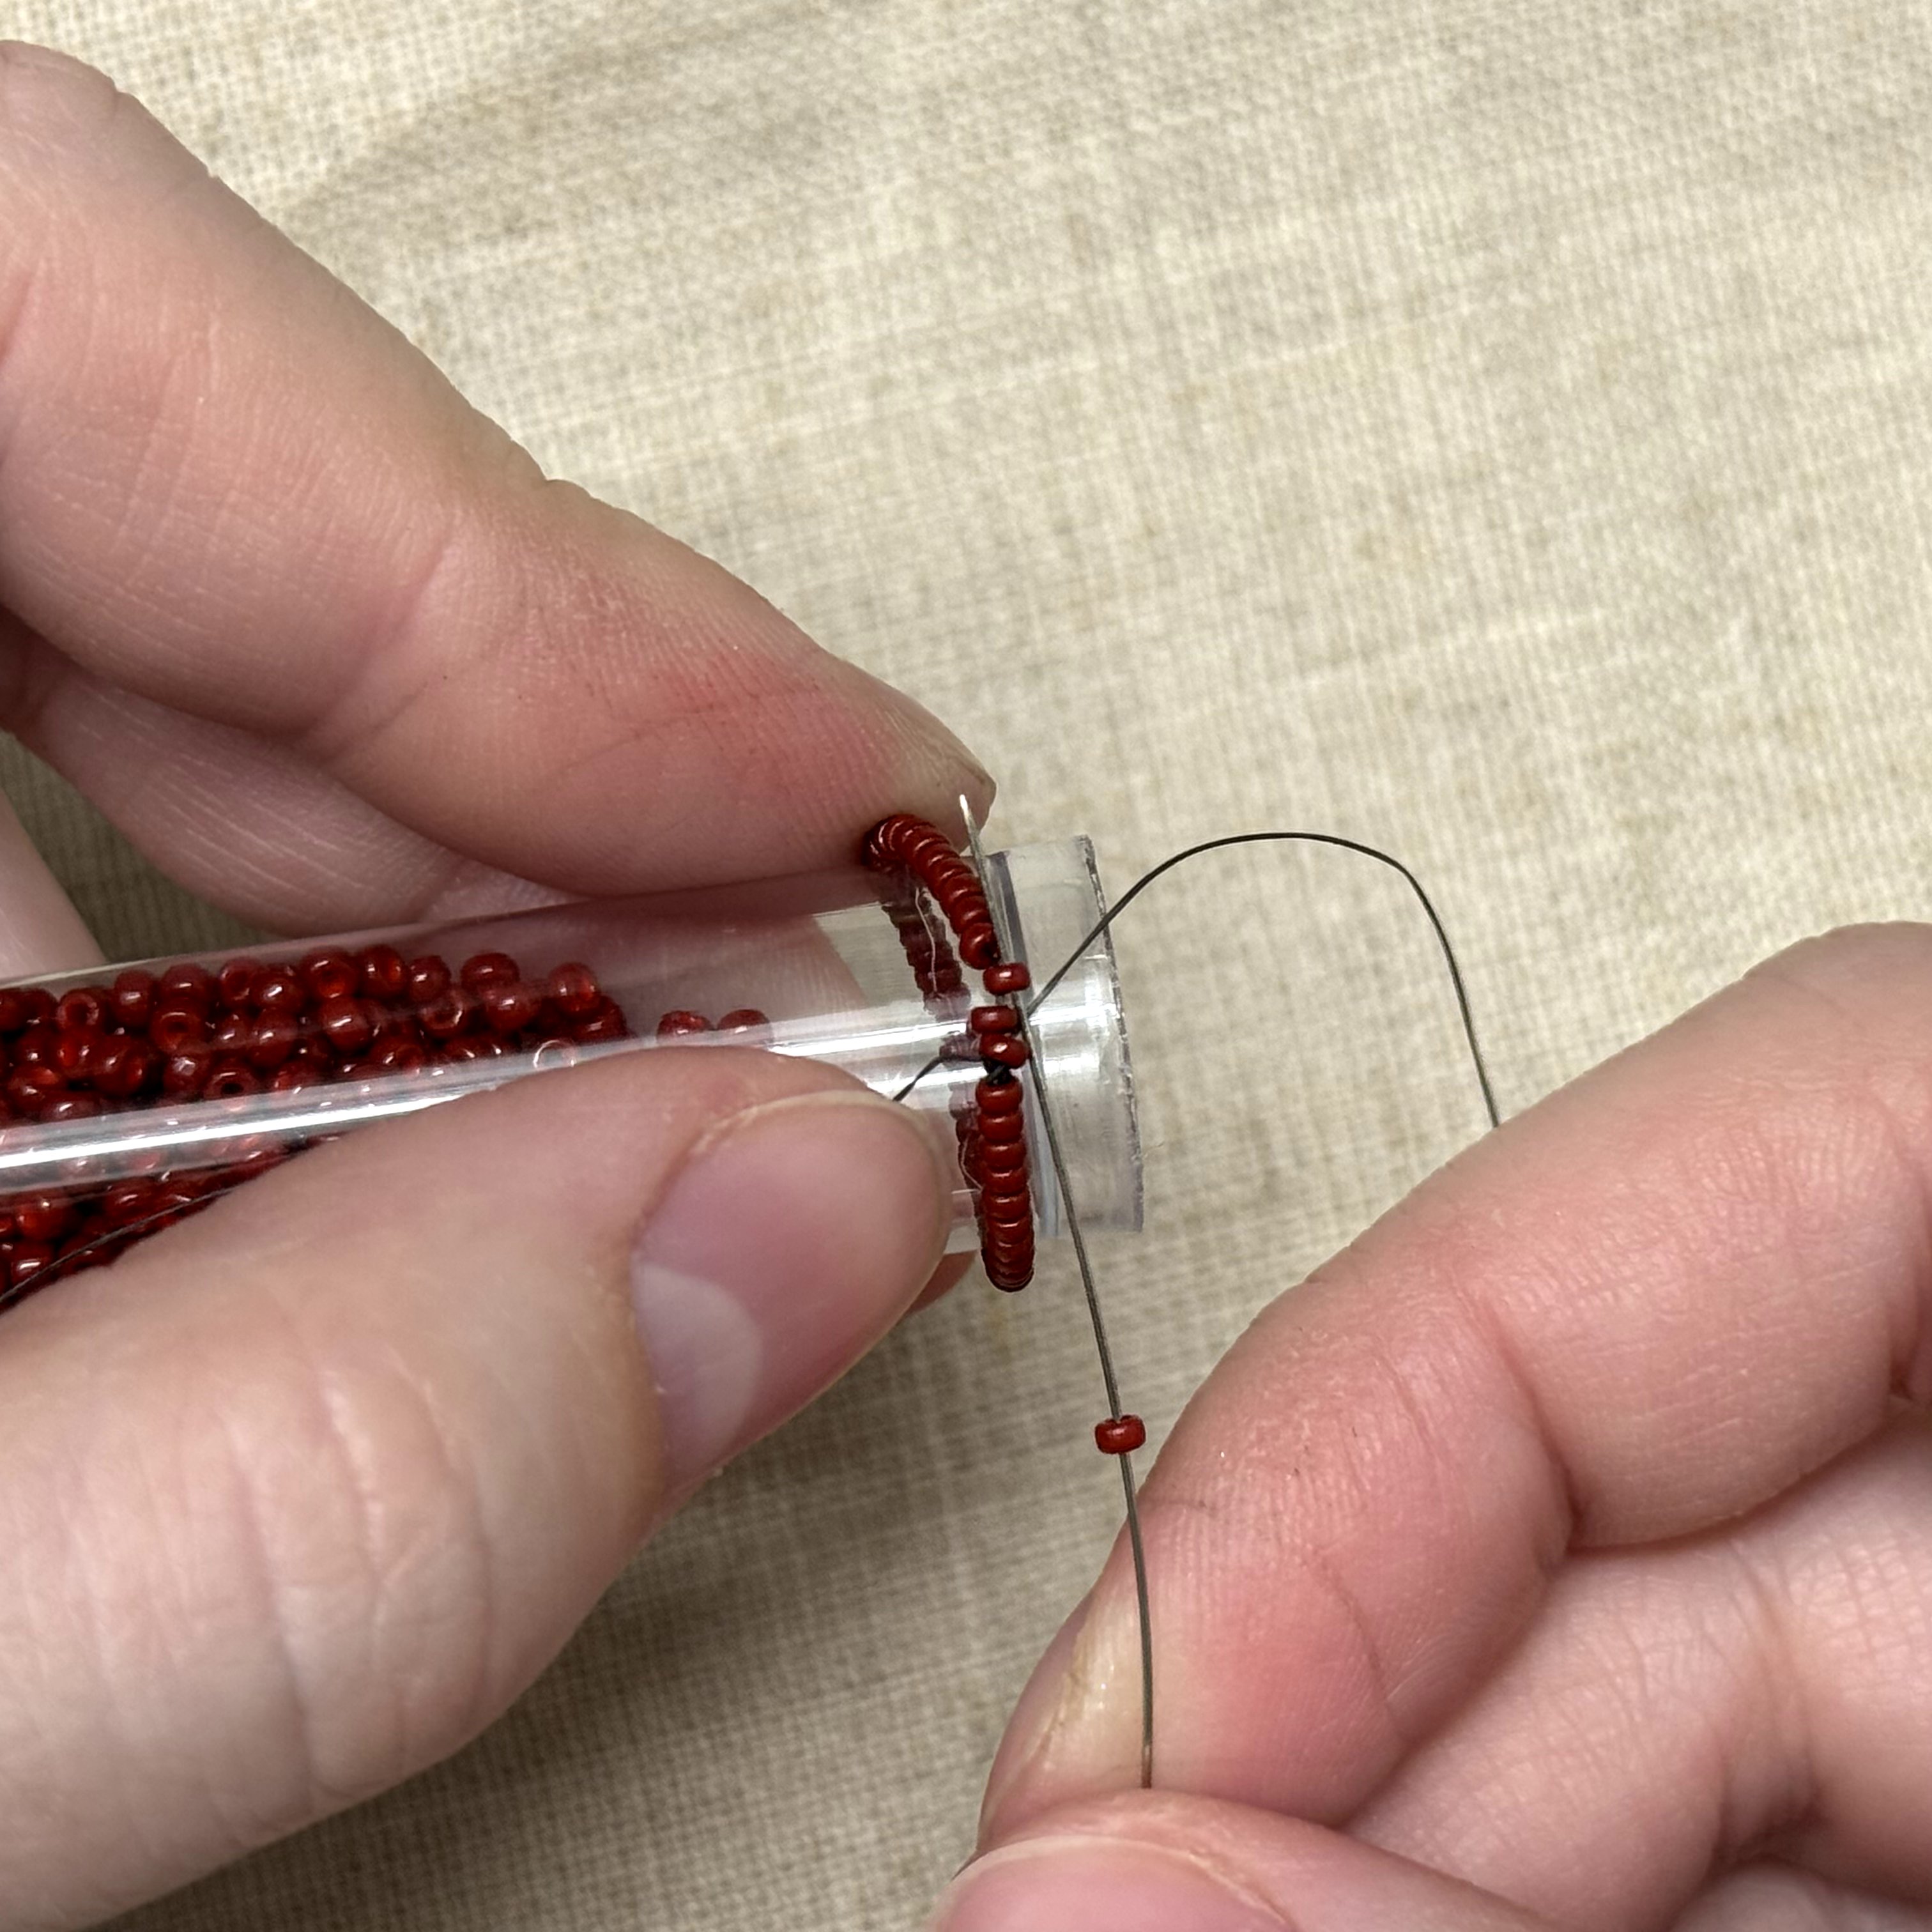
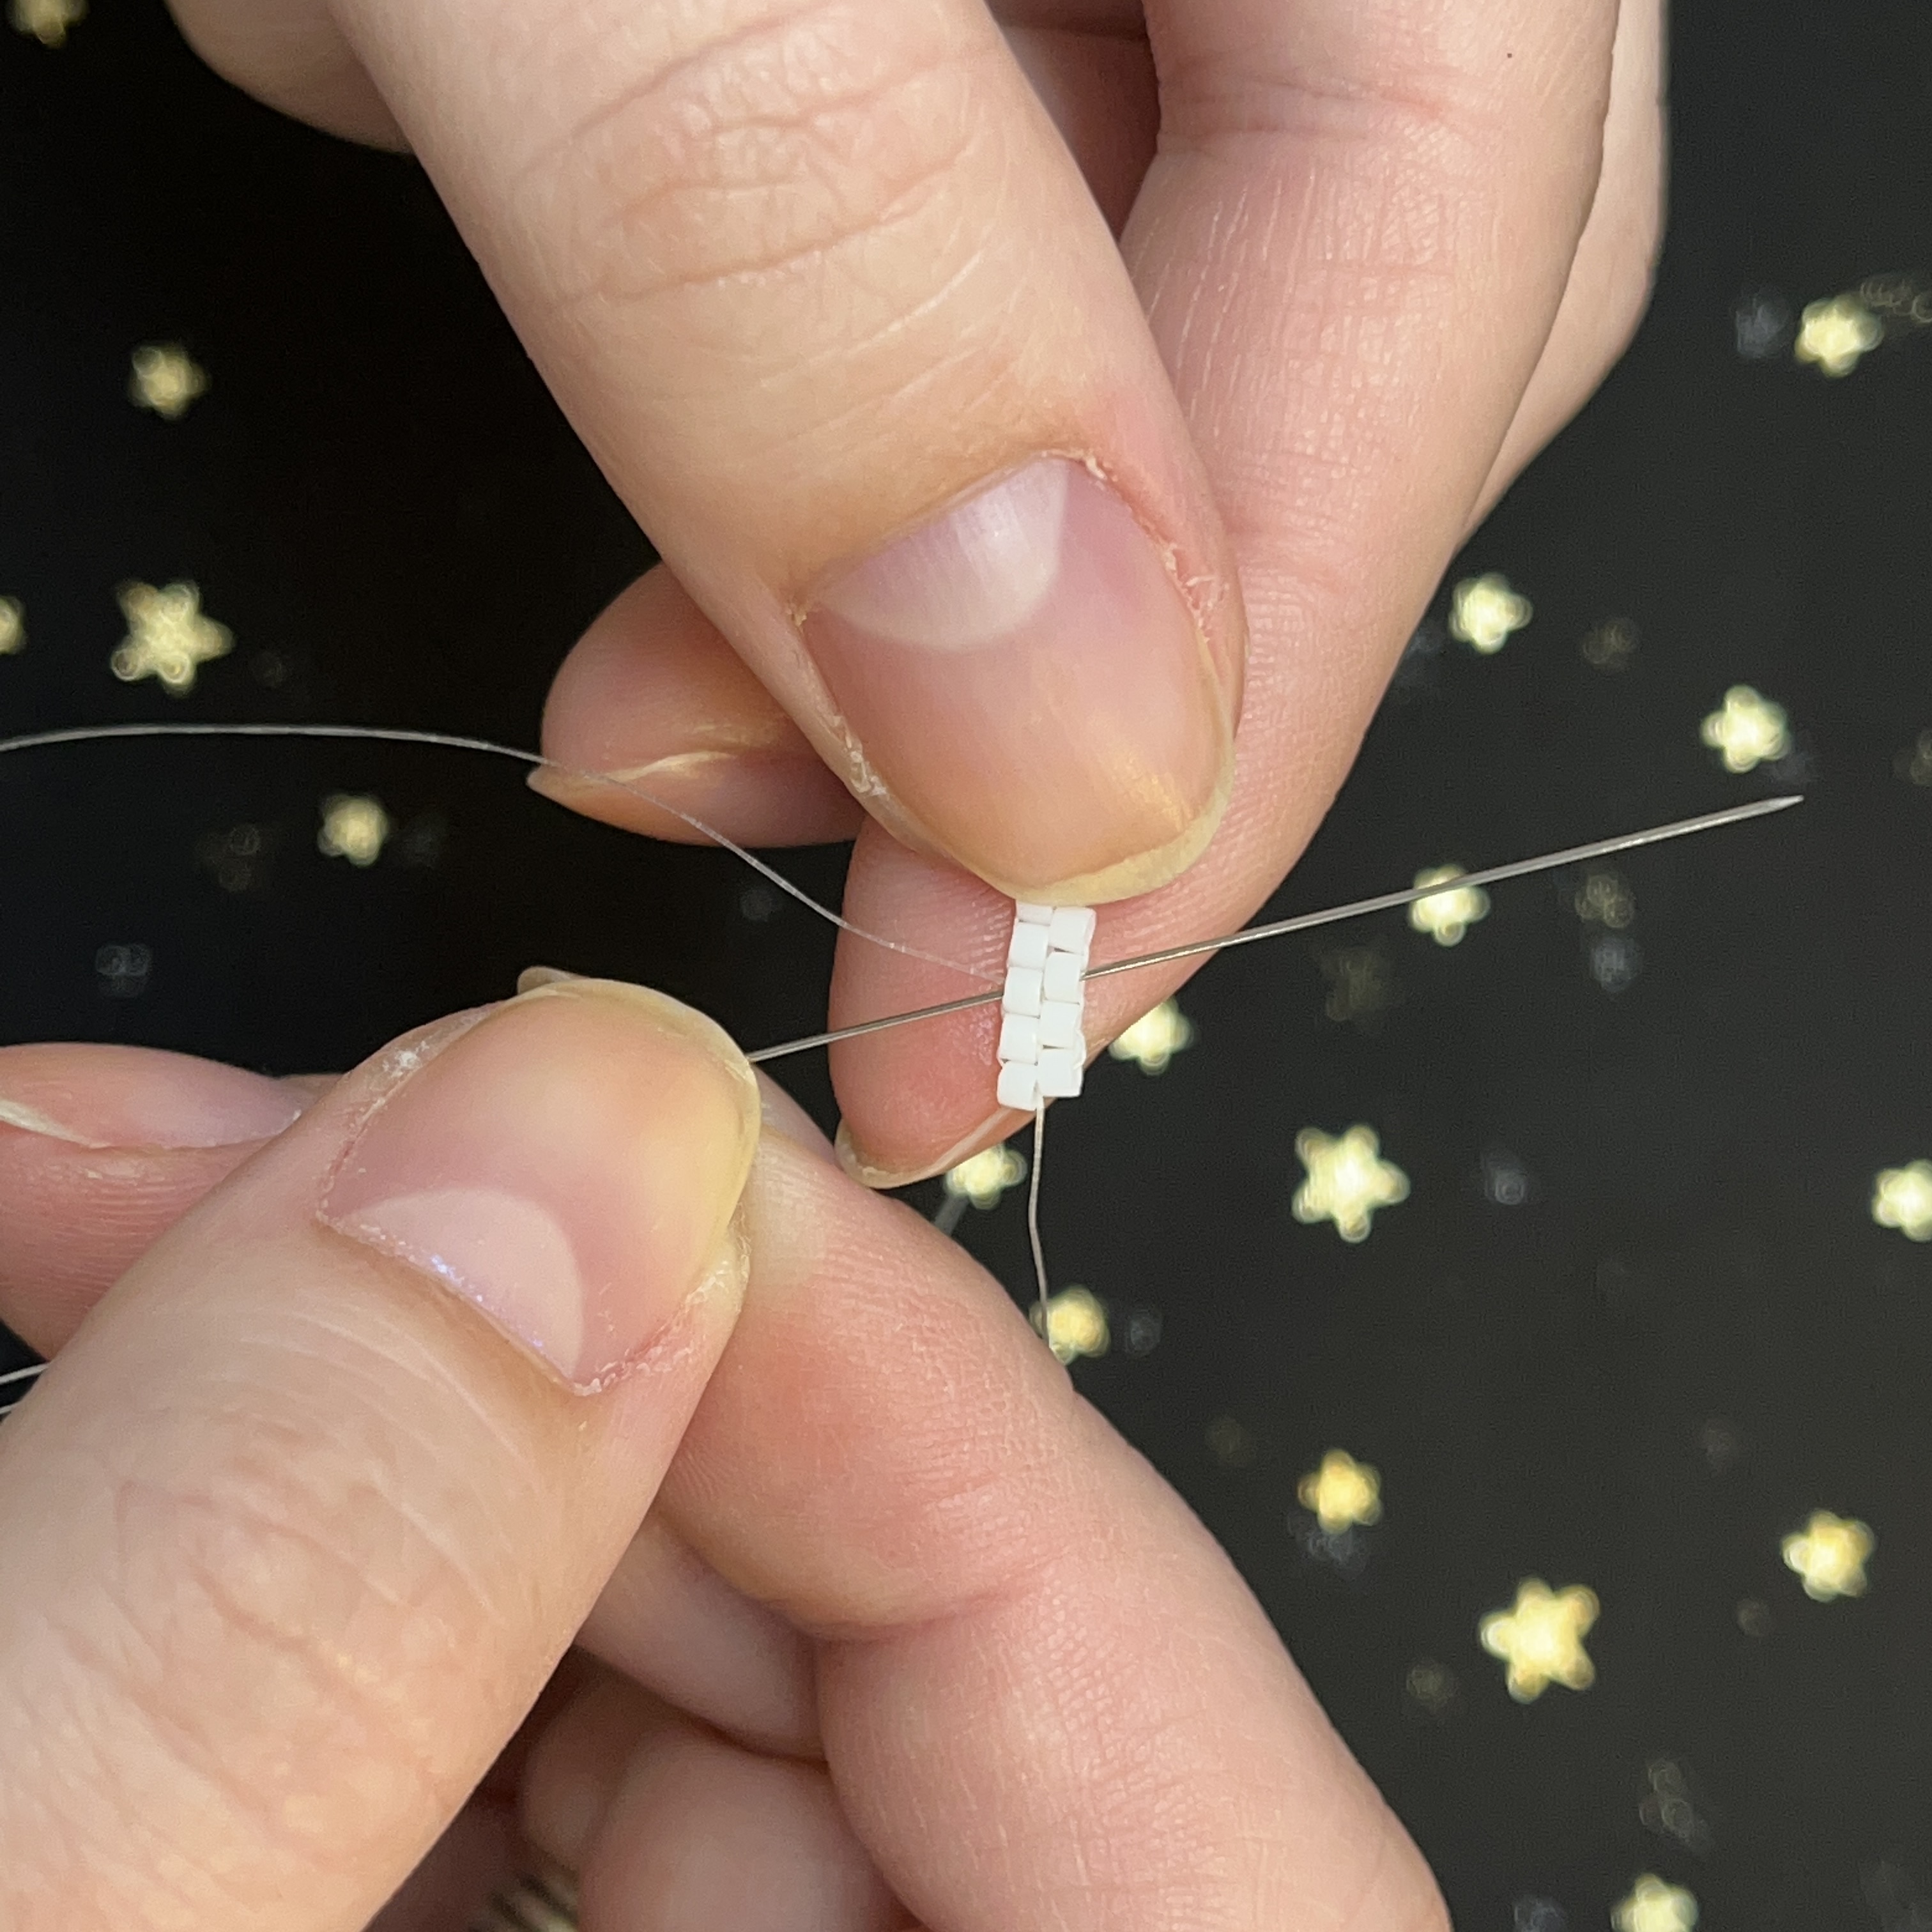
1. Thread on a needle onto your fireline and then string on 46 size 15 seed beads, wrapping it around the tube of seed beads works as a template for you as you stitch - Leave about a 2-3 inch tail of fireline
***If you wish to change the size of this project, be sure to use an even number of beads when starting out
2. First tie an overhand knot and then a surgeon's knot
3. Thread your needle up through one size 15 seed bead
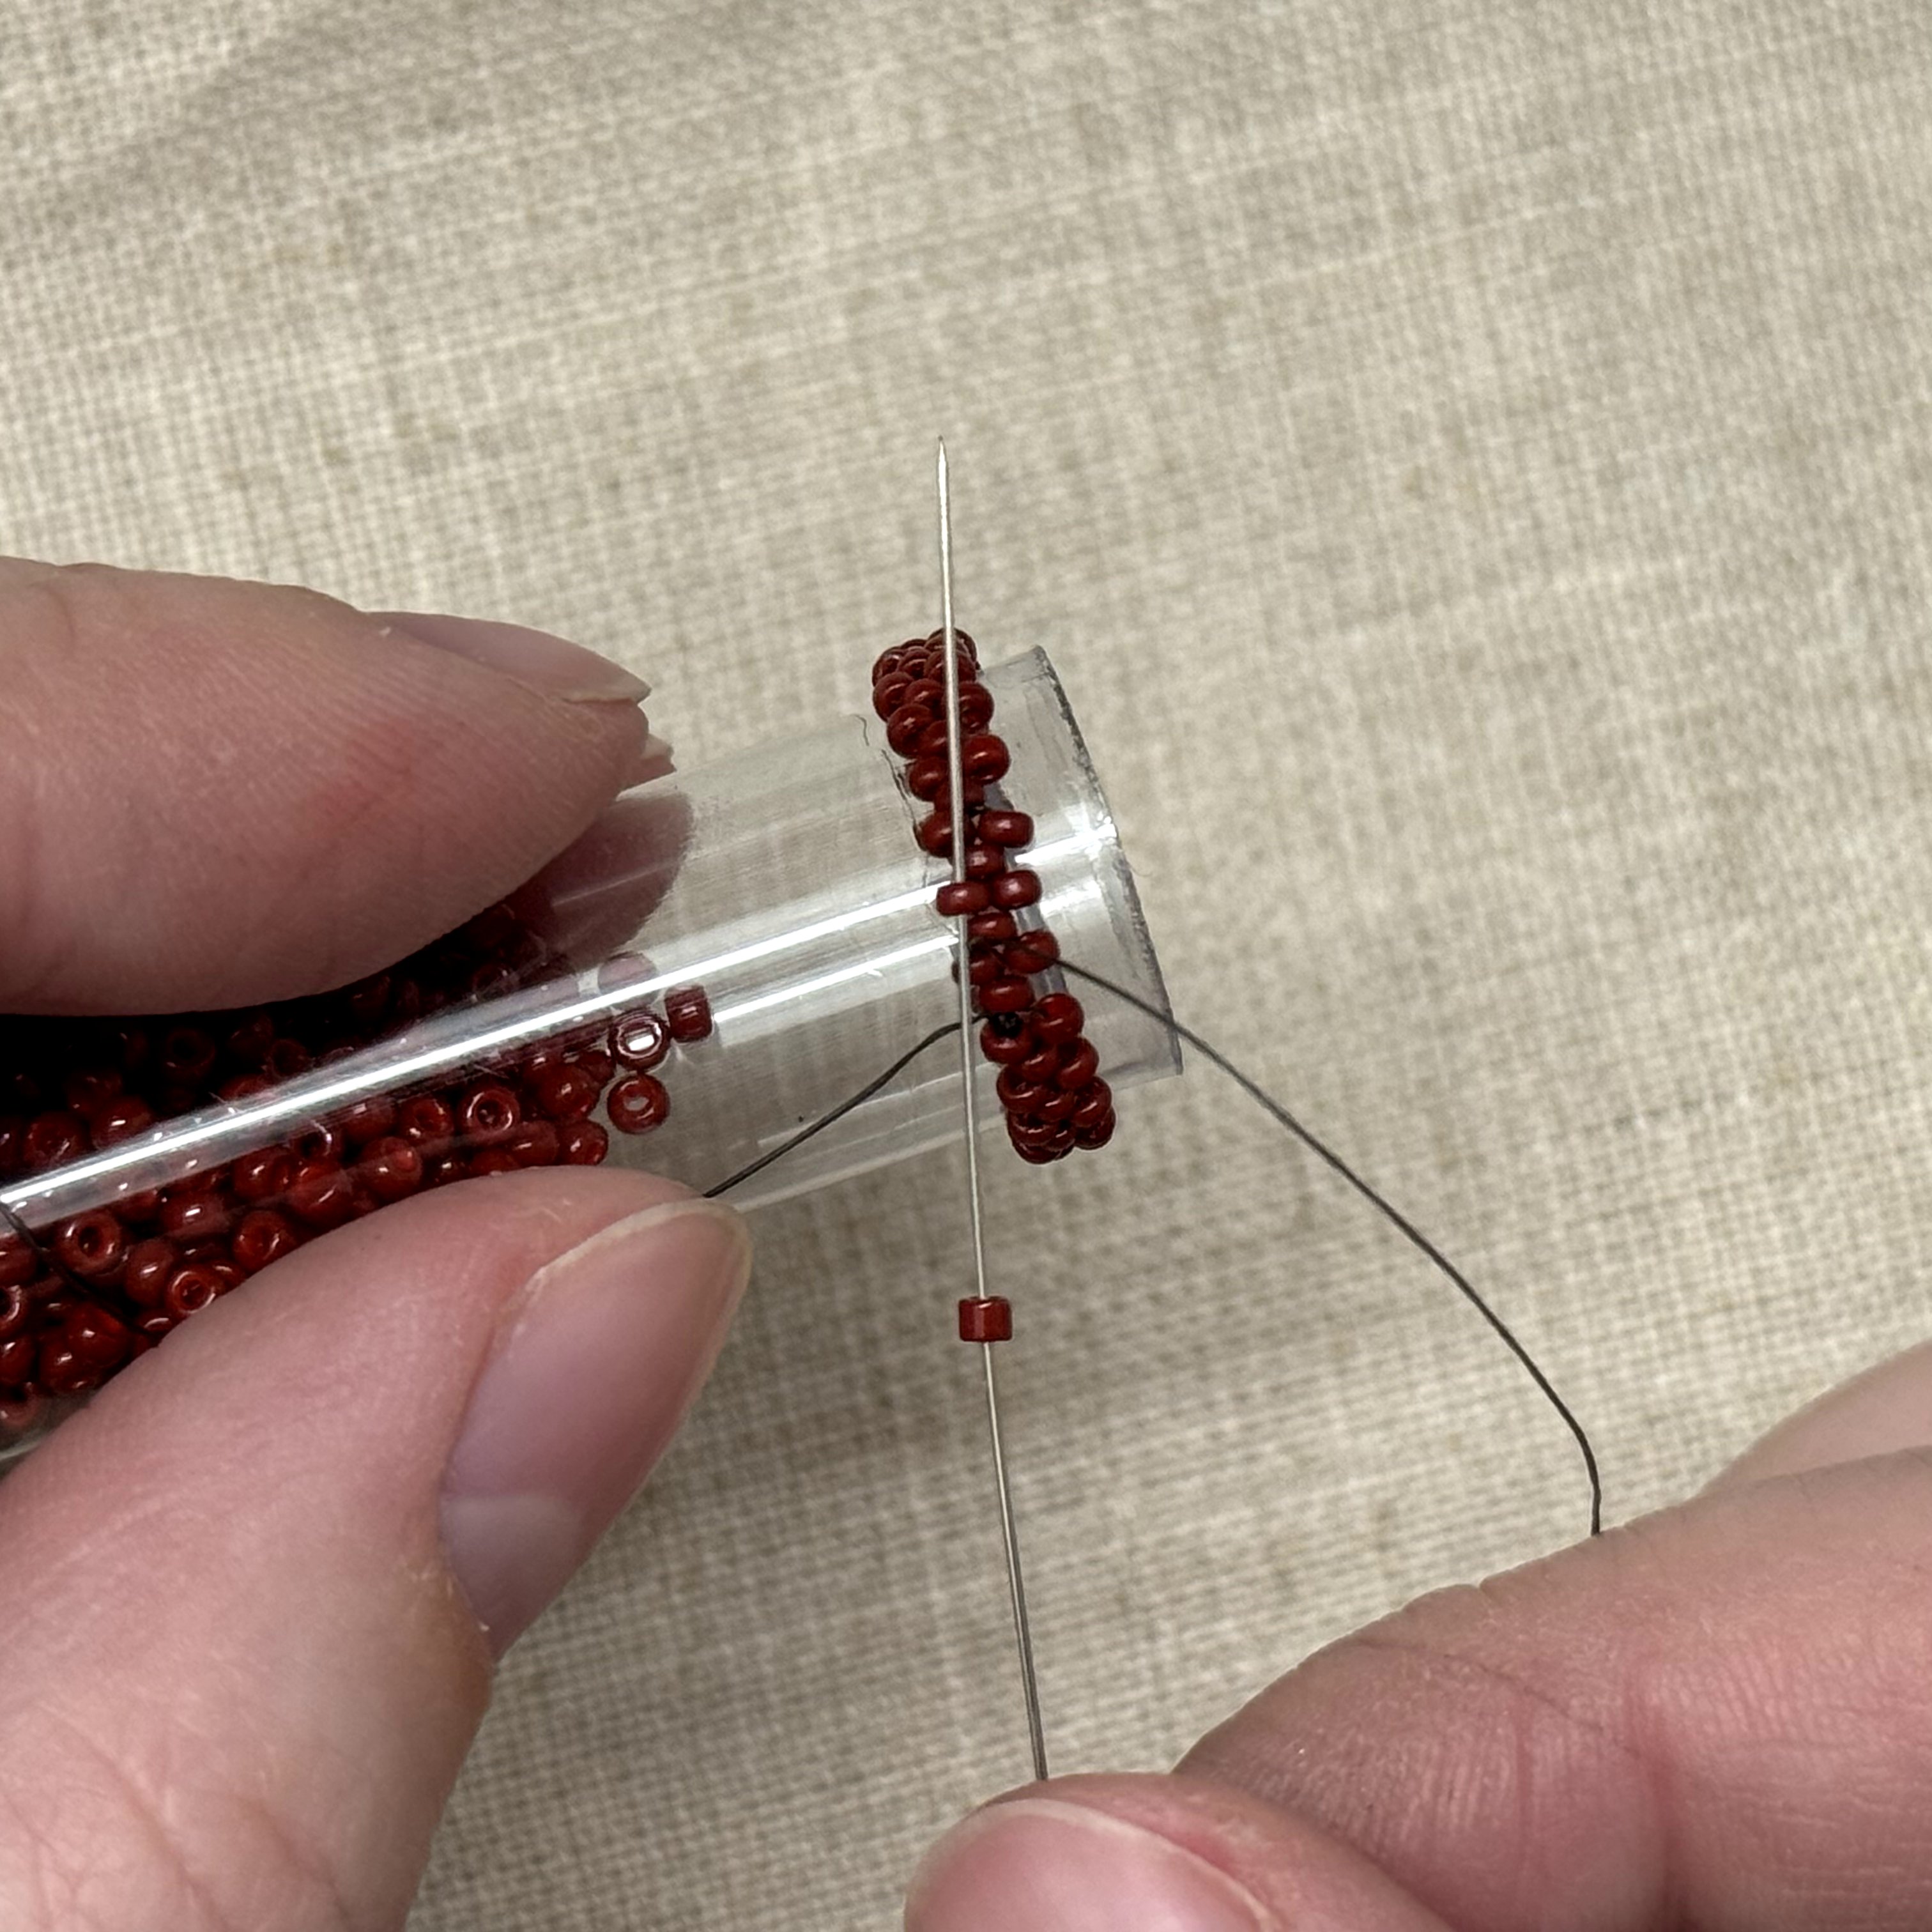
4. Pick up a size 15 bead with your needle and thread it through the size 15 seed bead shown - for this stitch, we will be skipping one bead when adding a bead
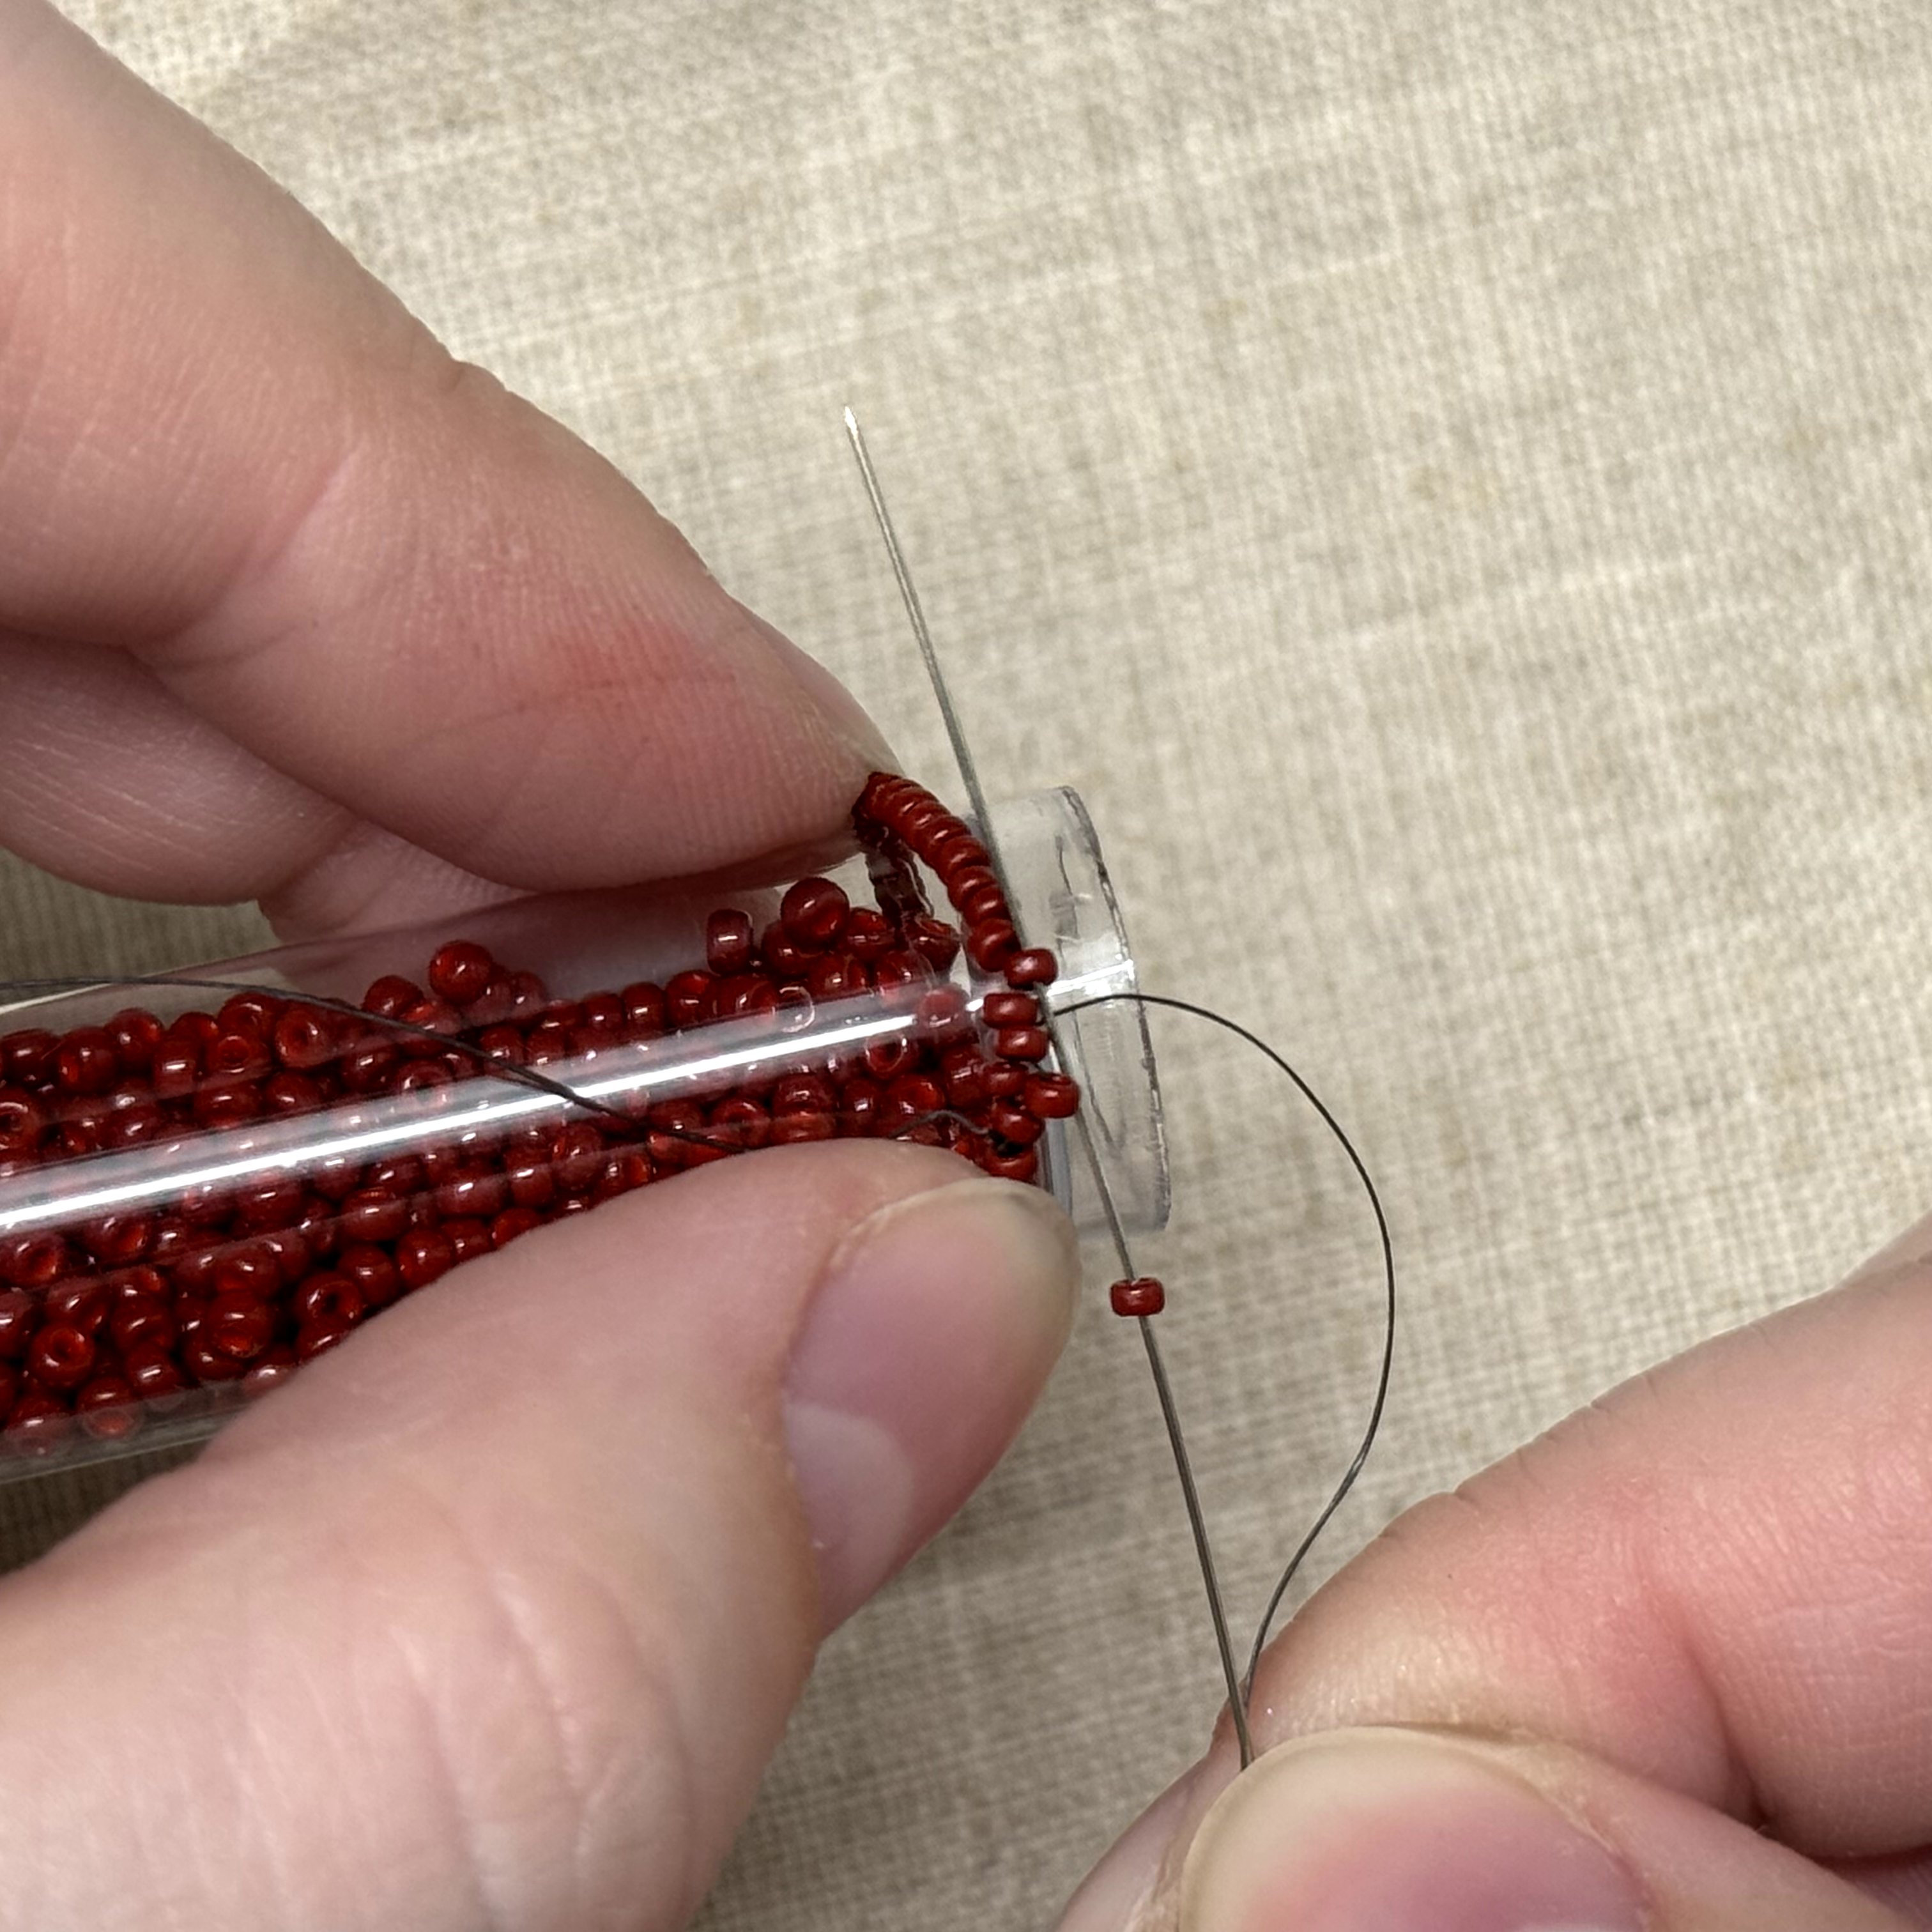
5. Skip over a seed bead then thread on another size 15 seed bead
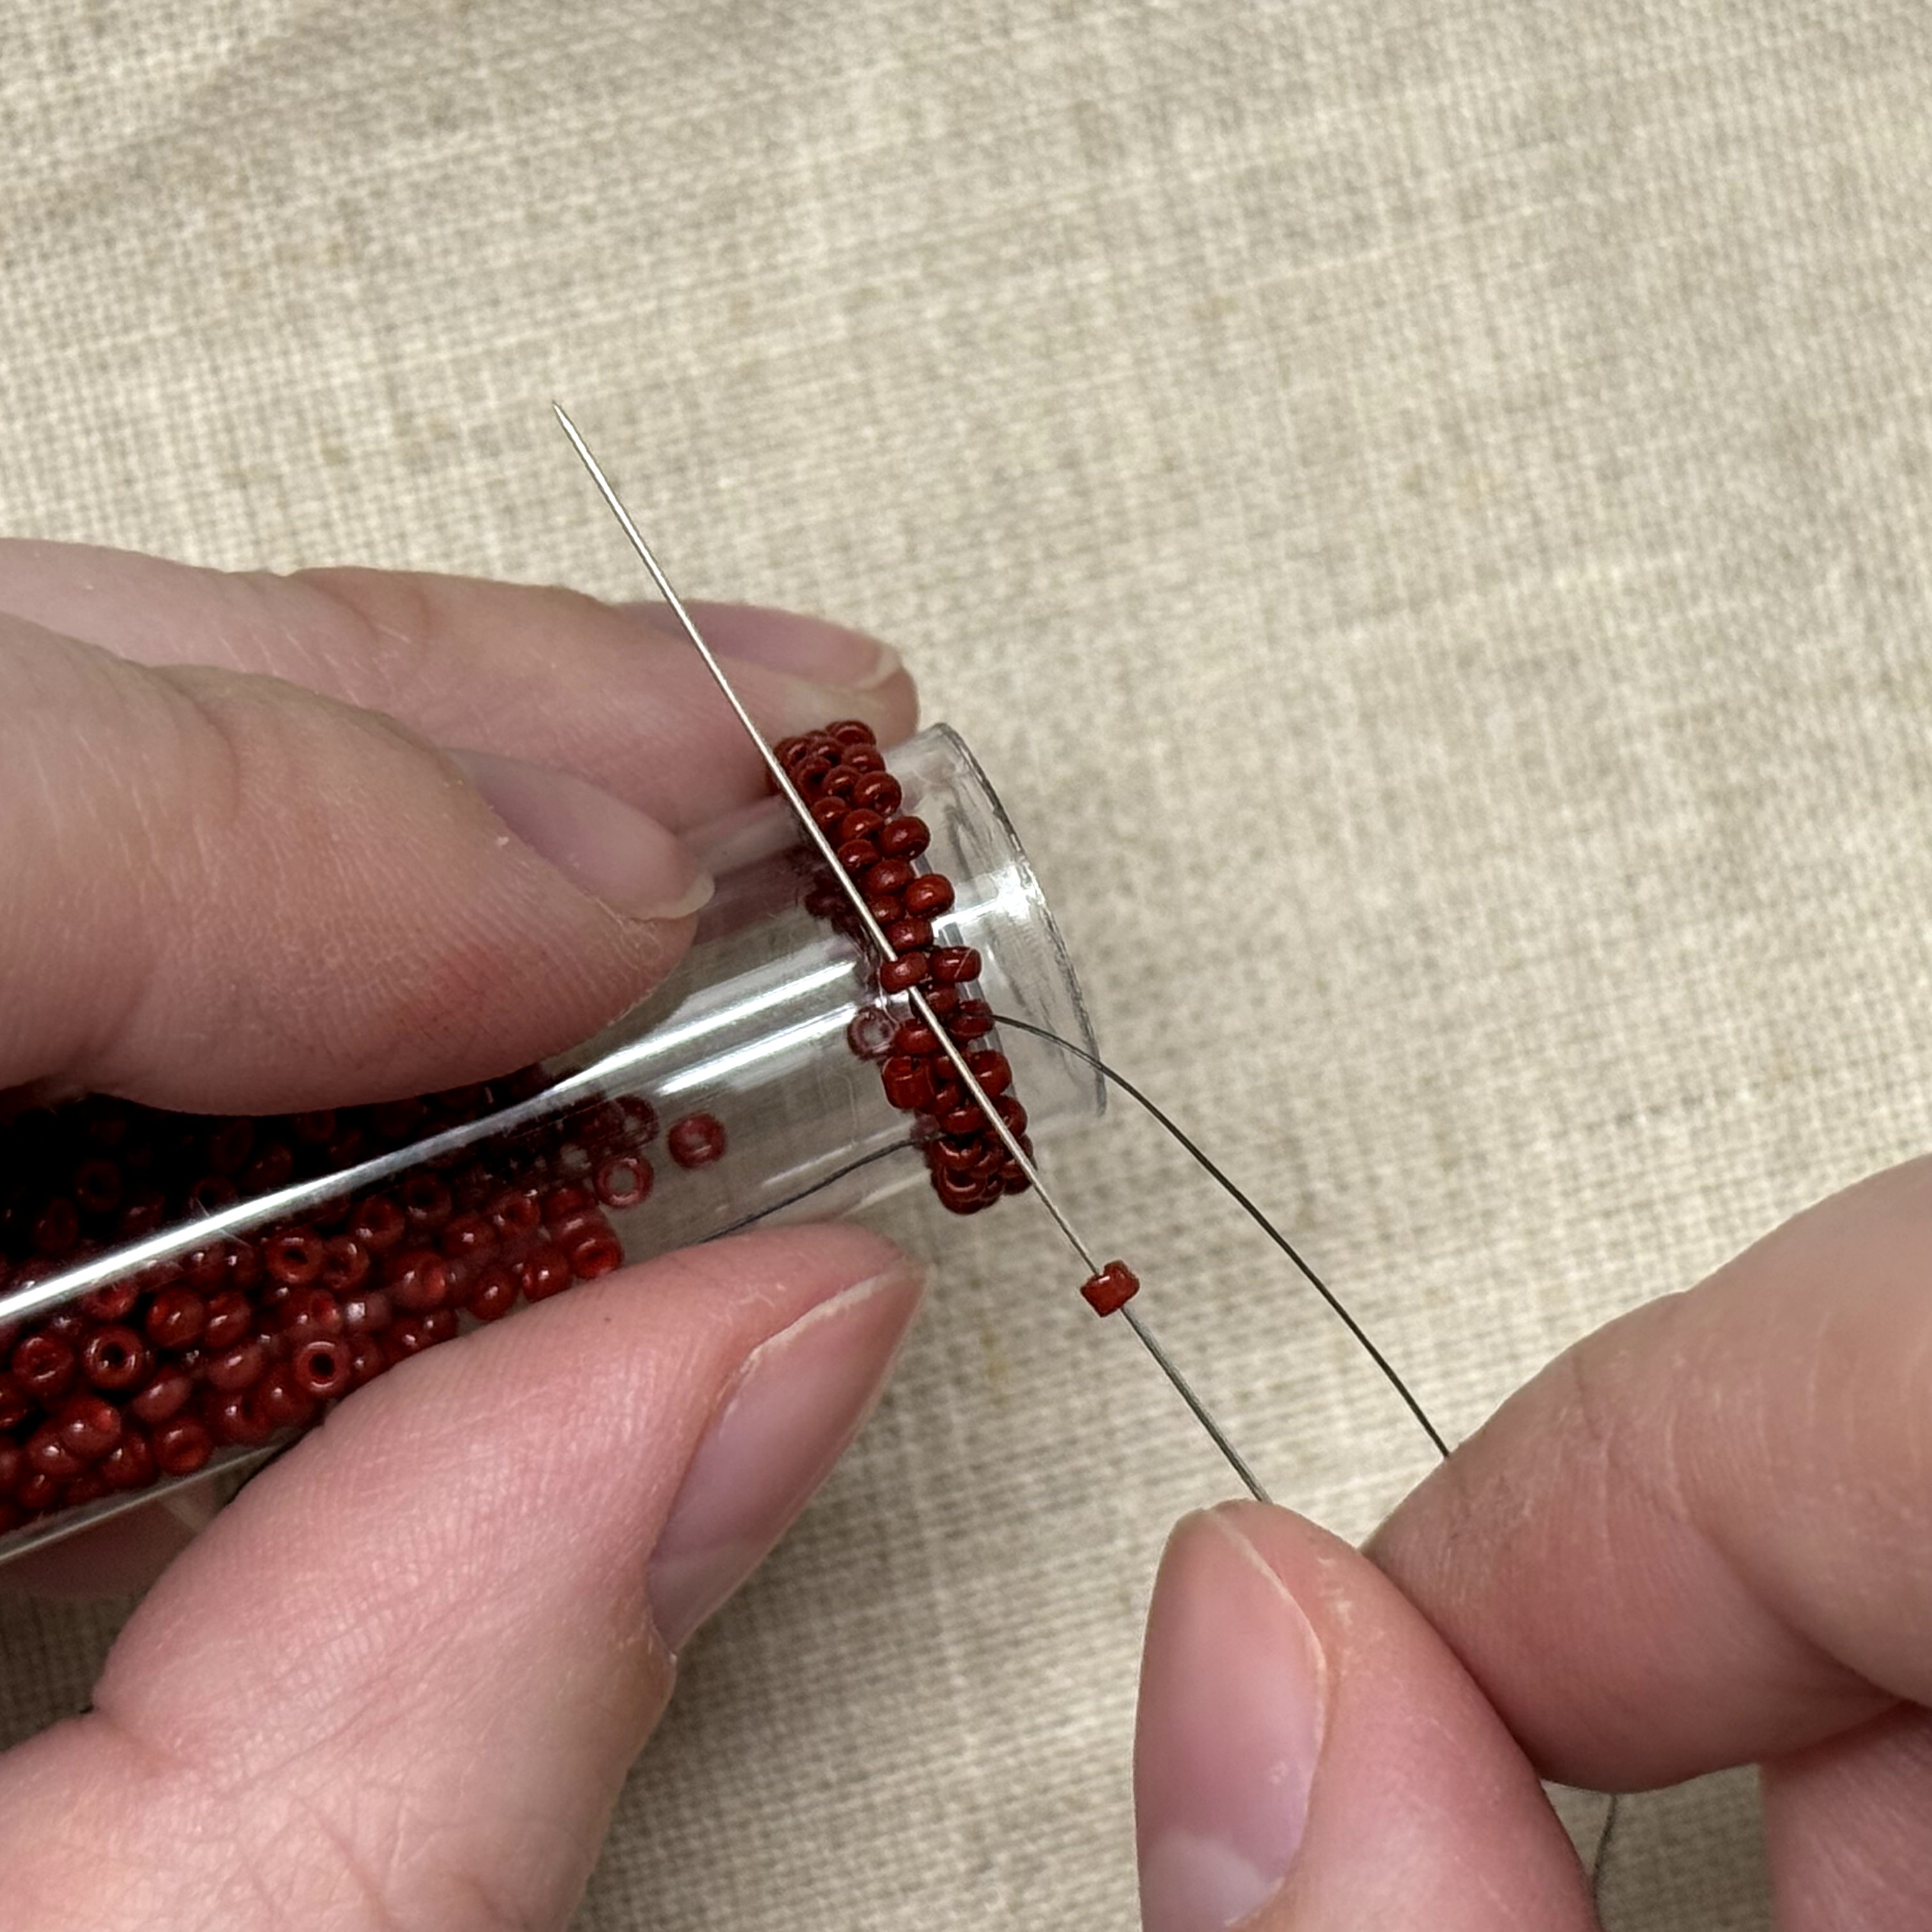
6. This will create a "brick" pattern - keep going all the way around
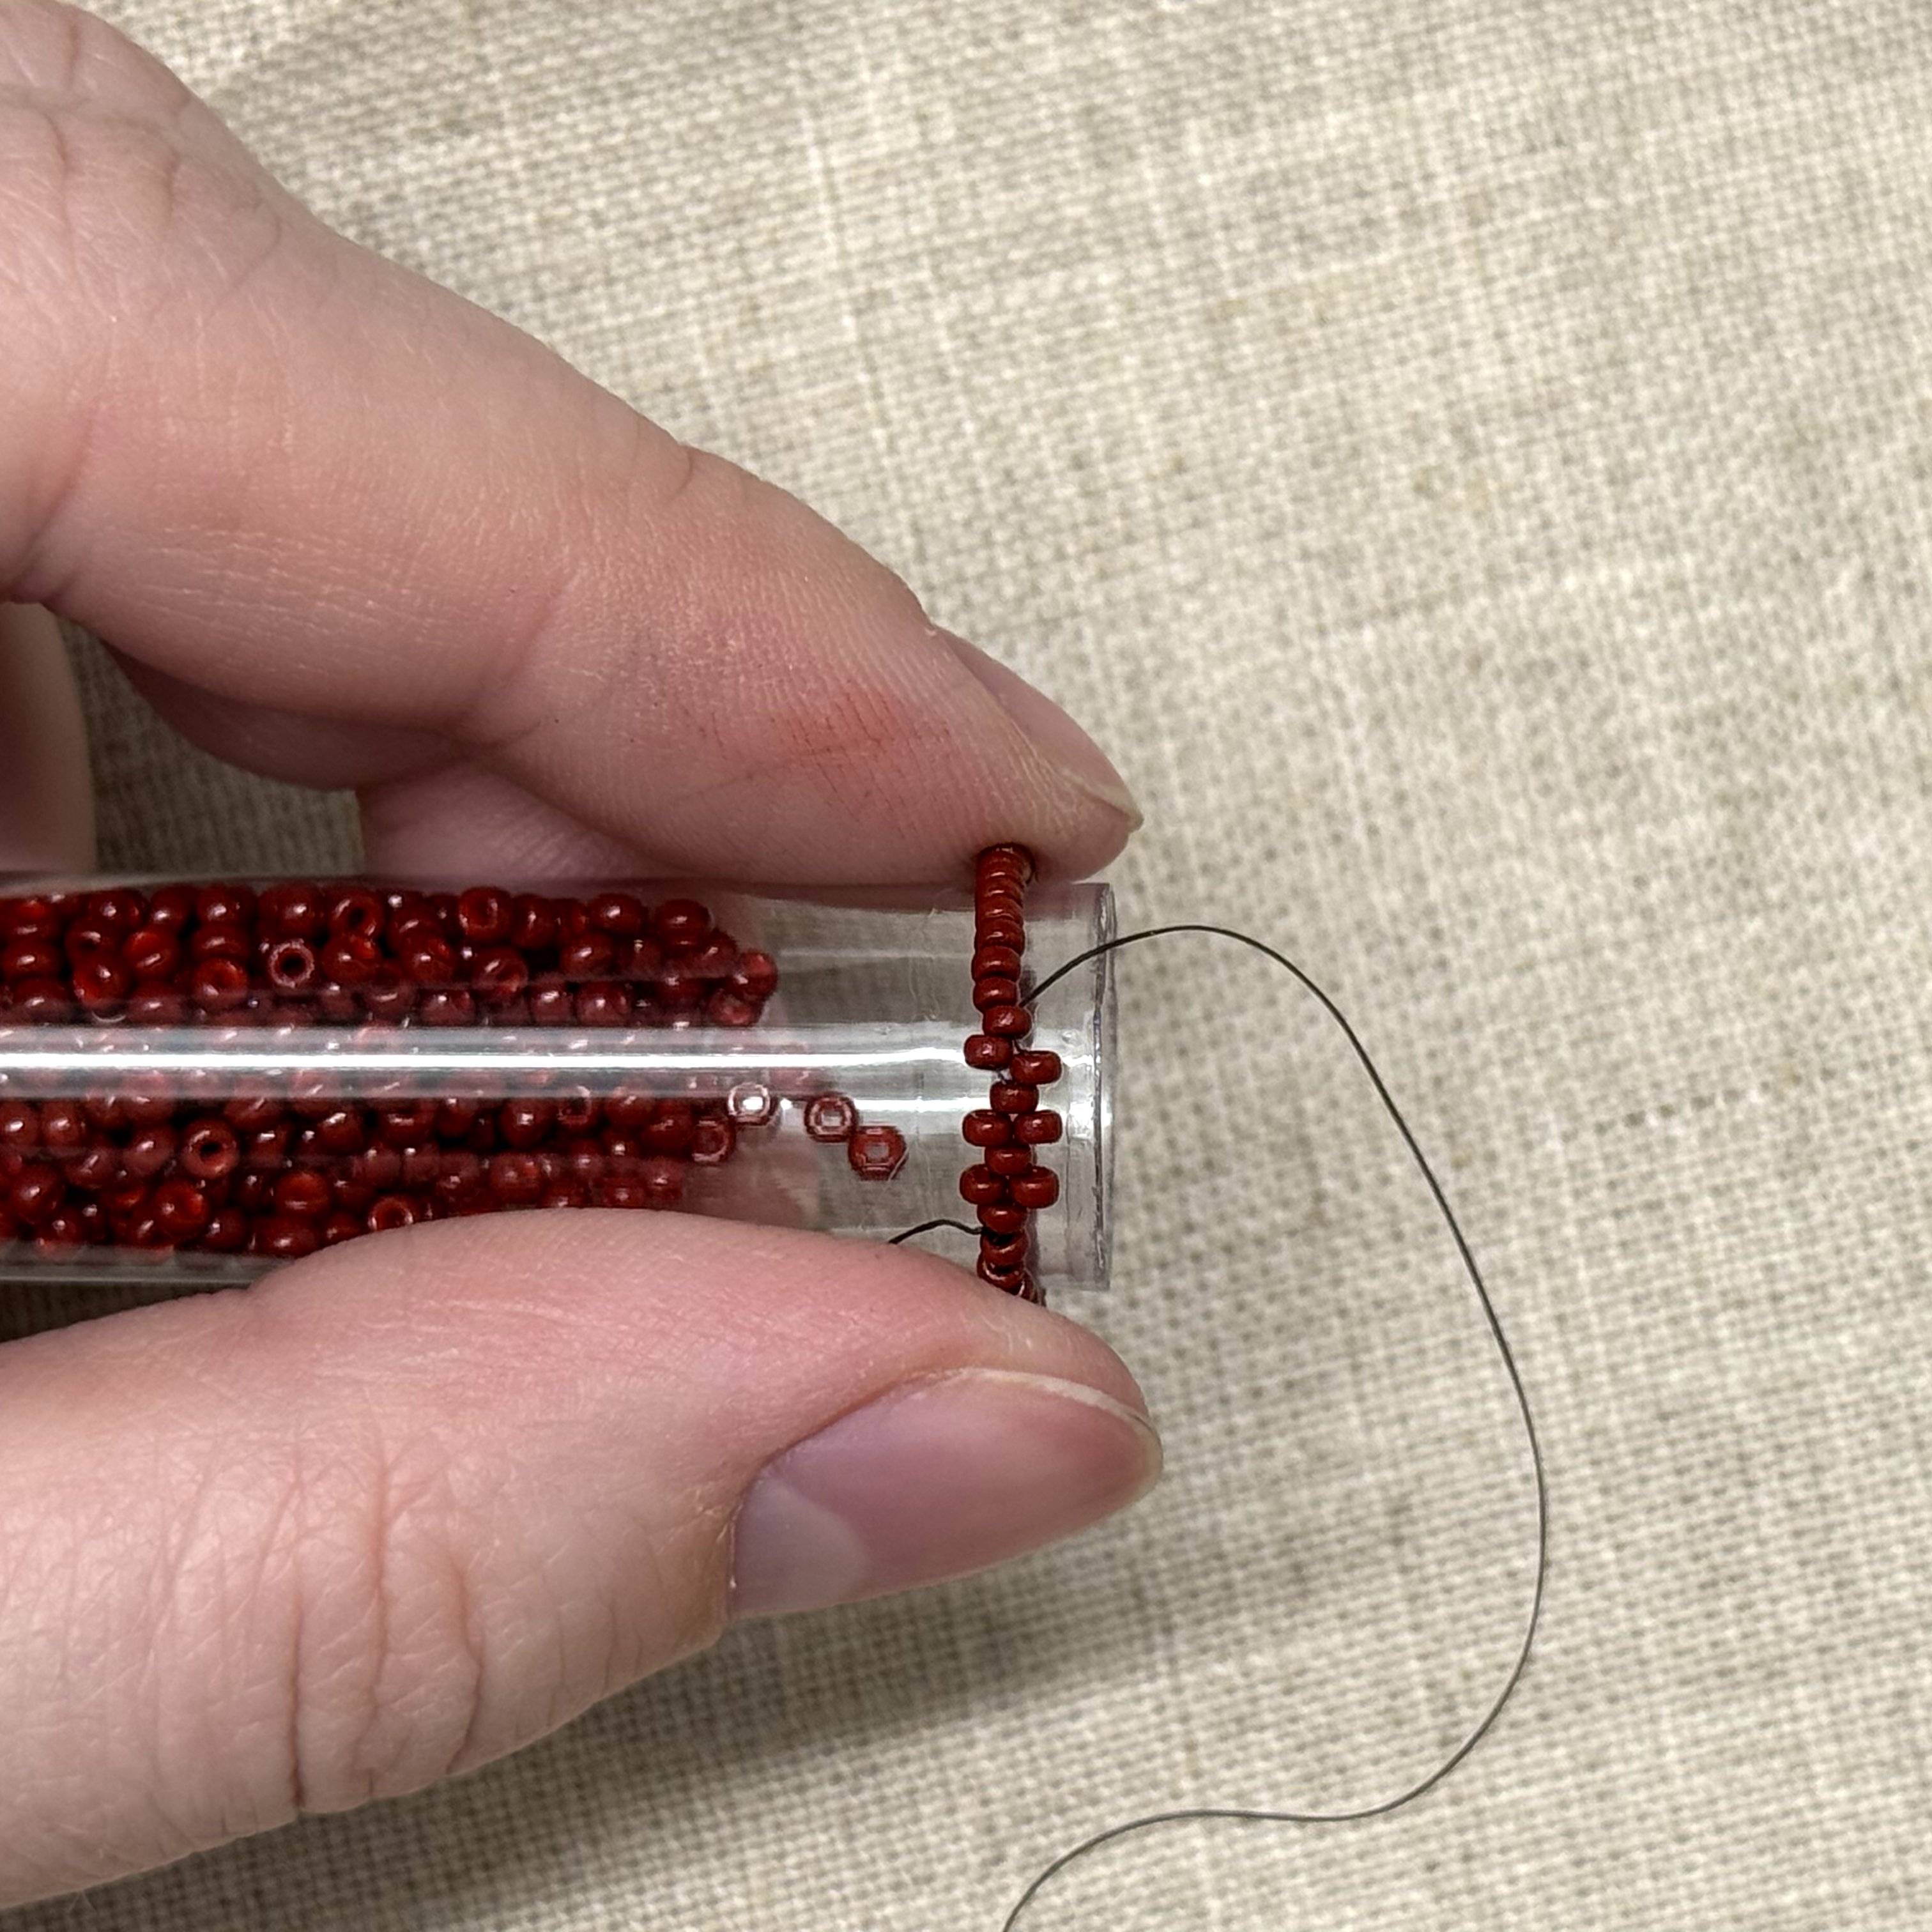
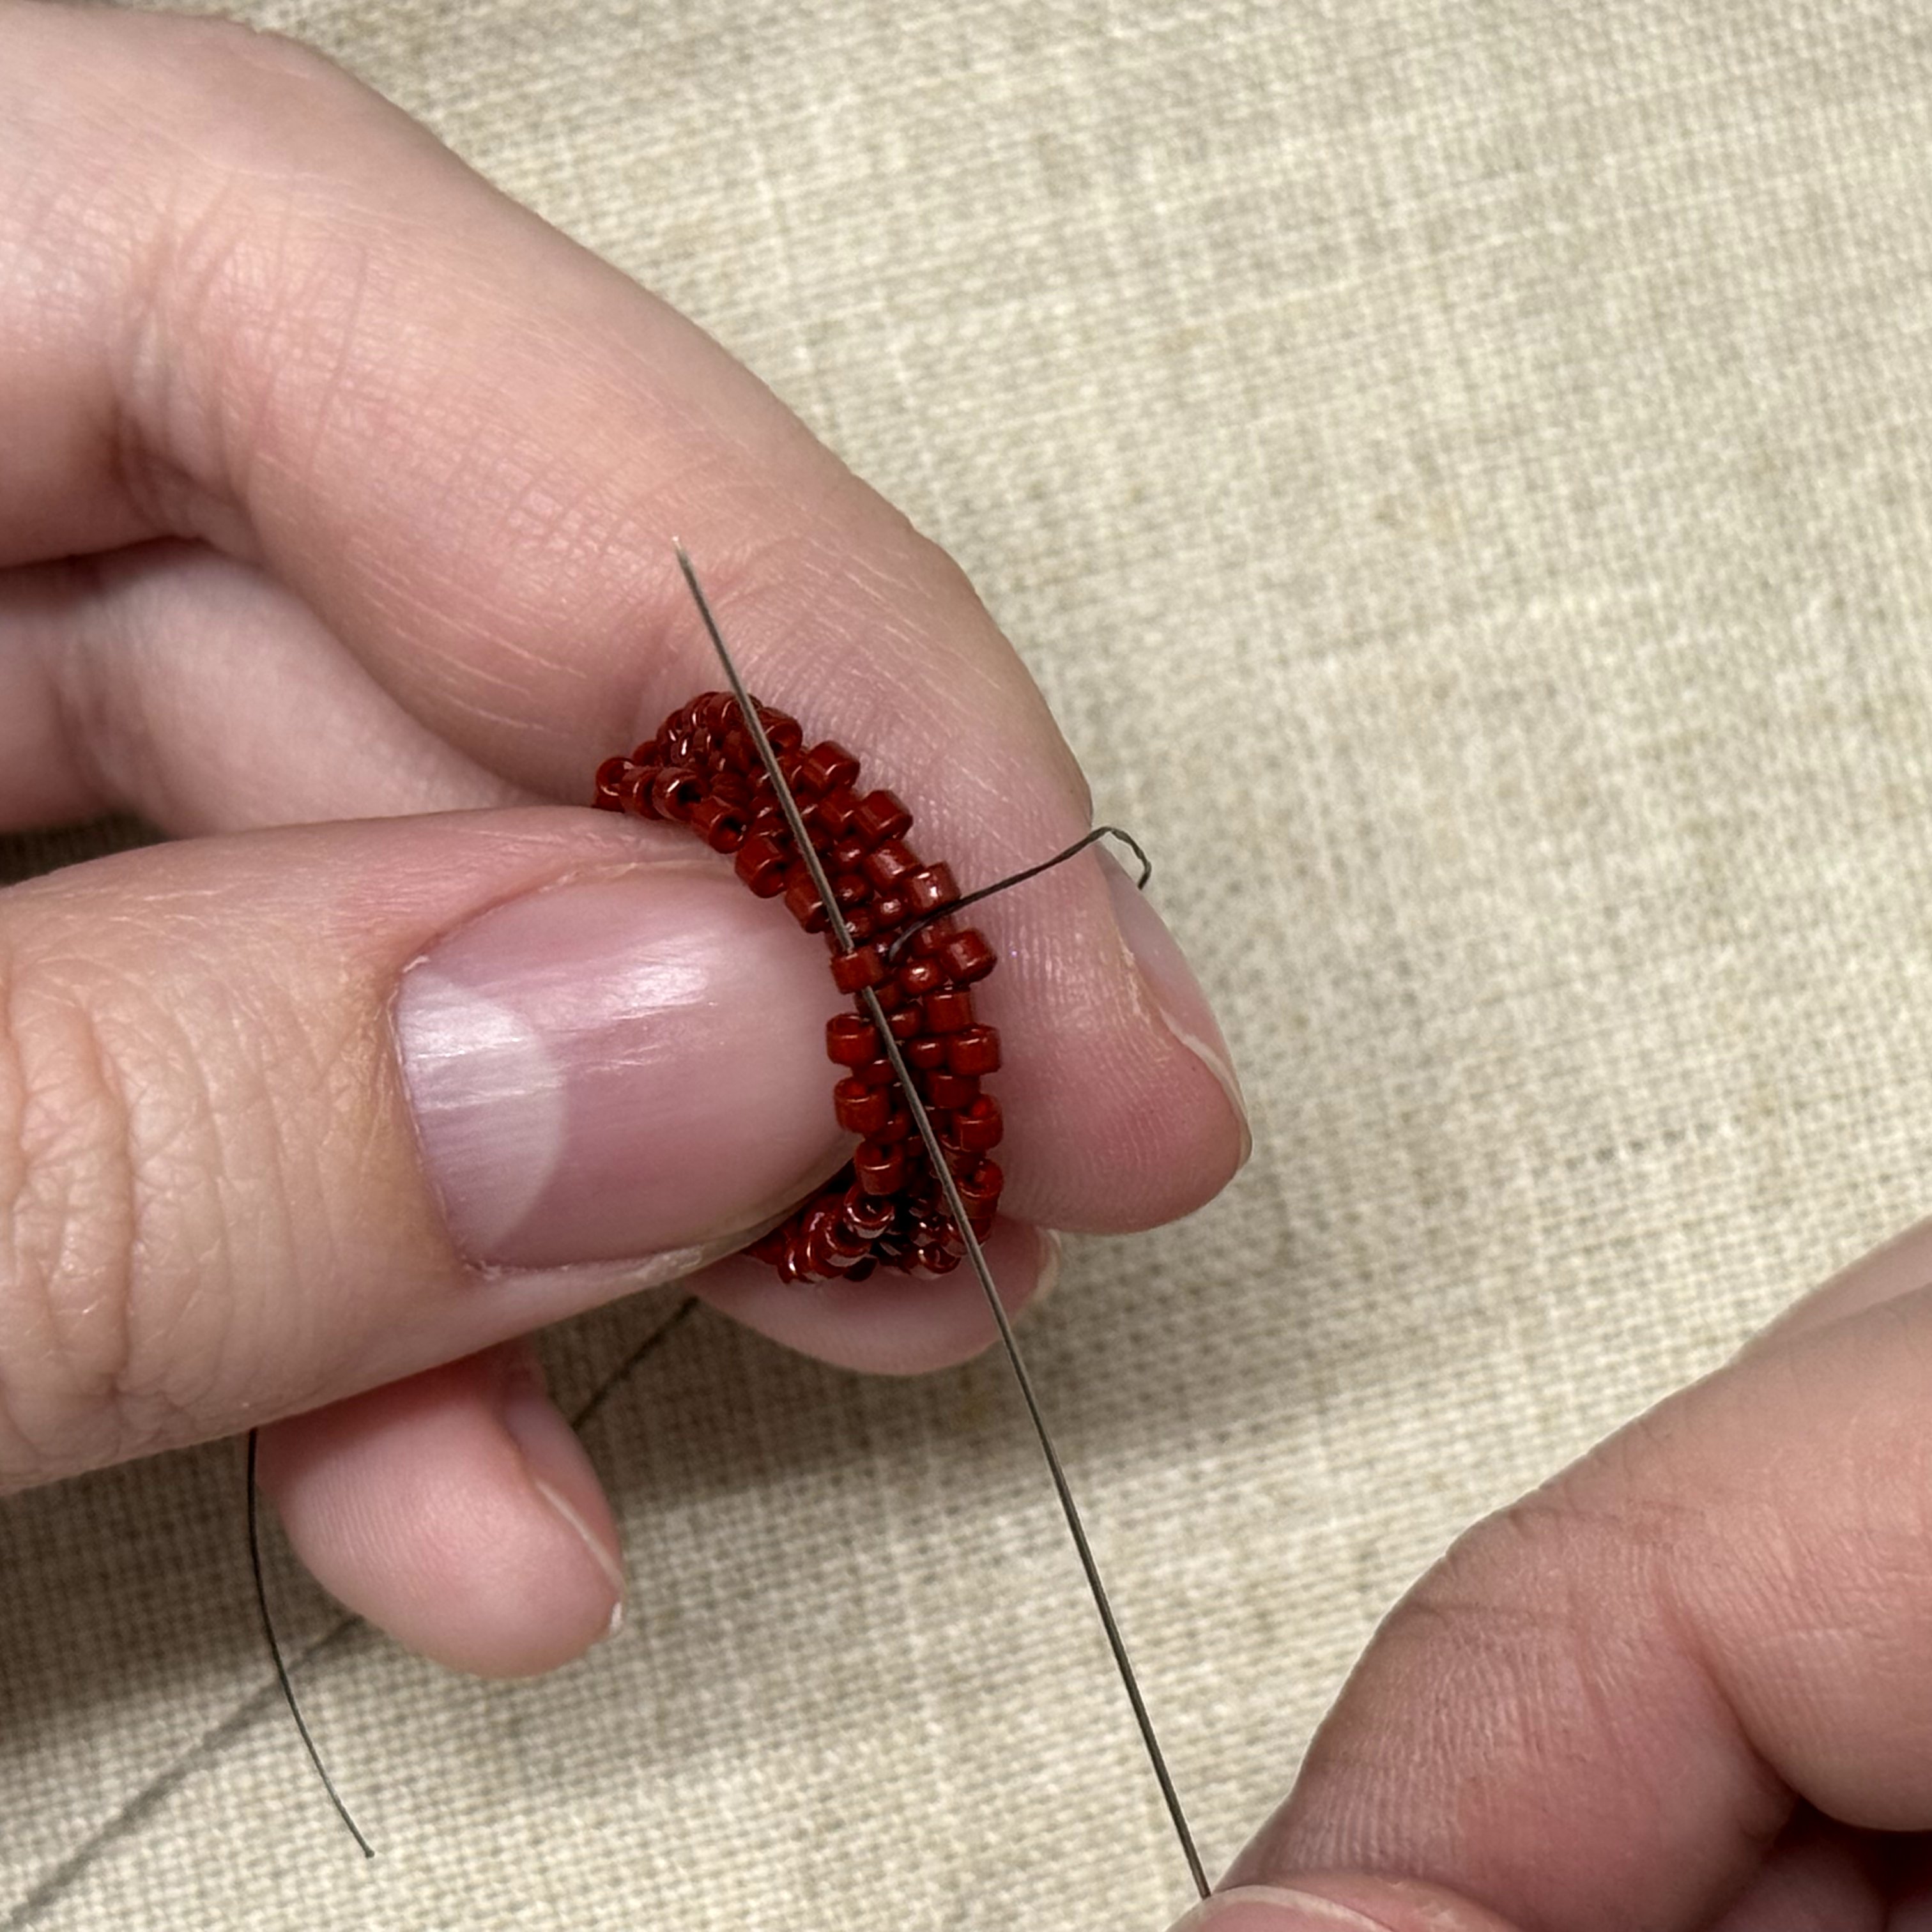
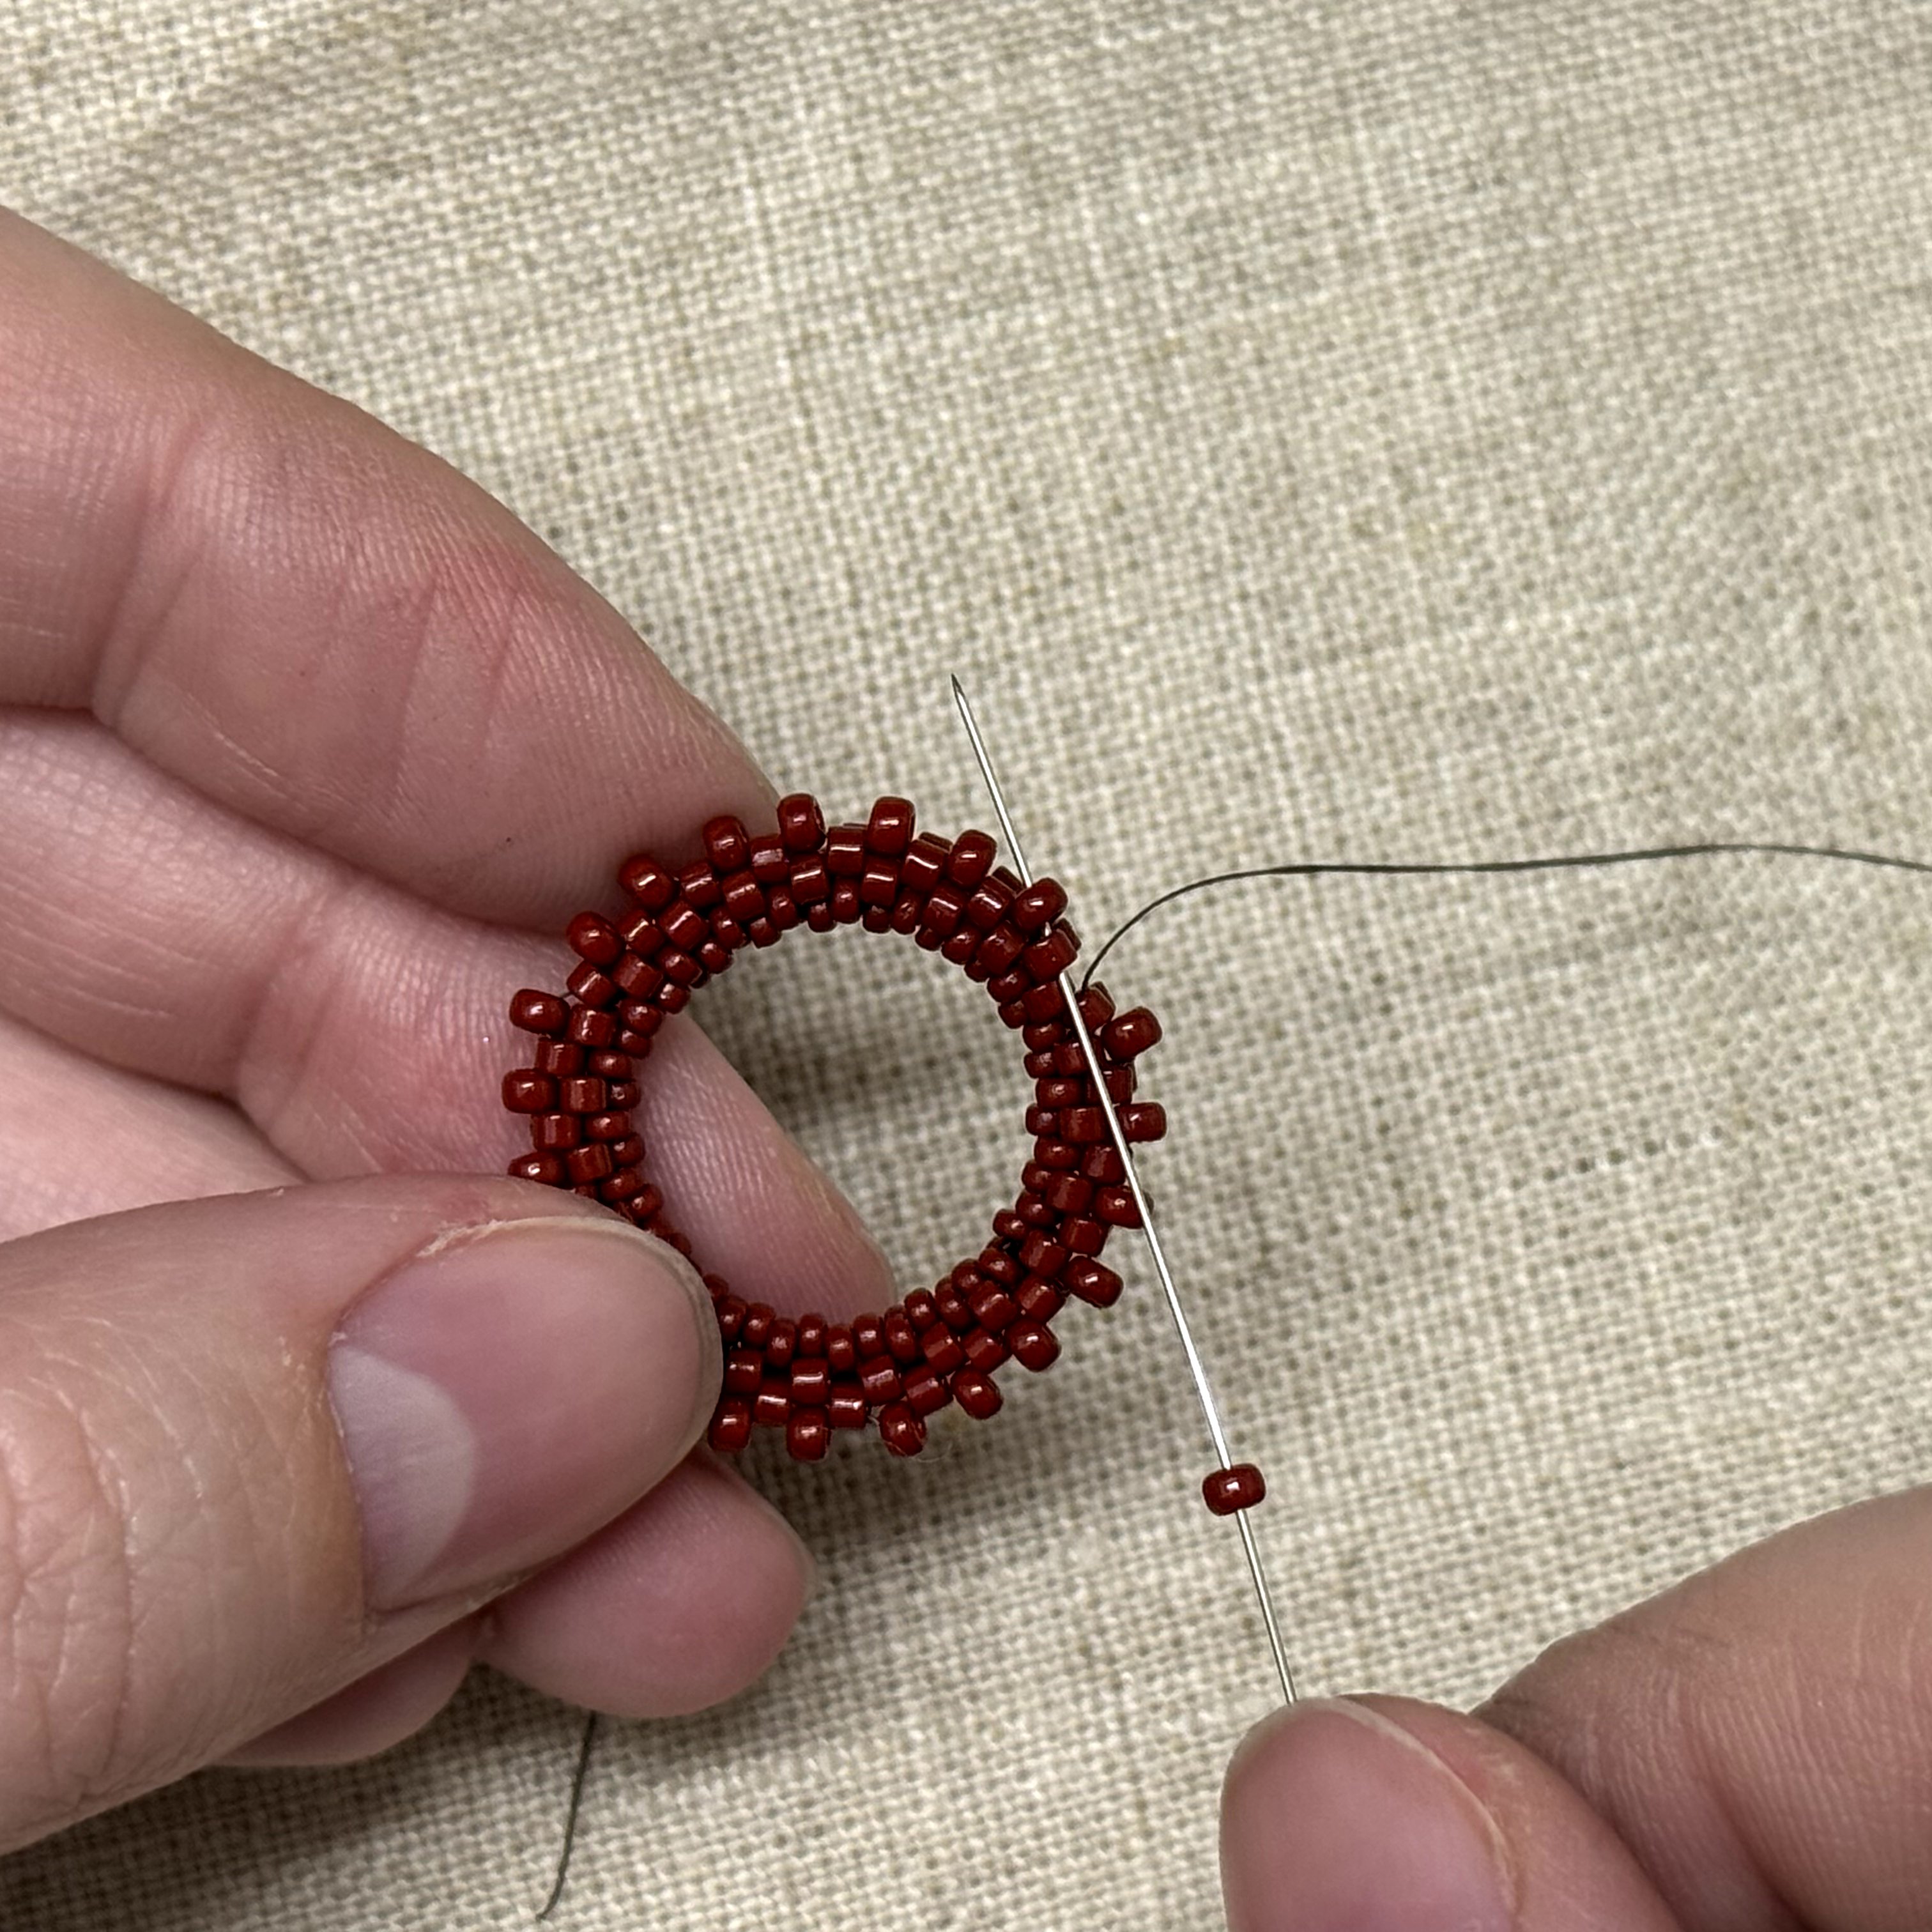
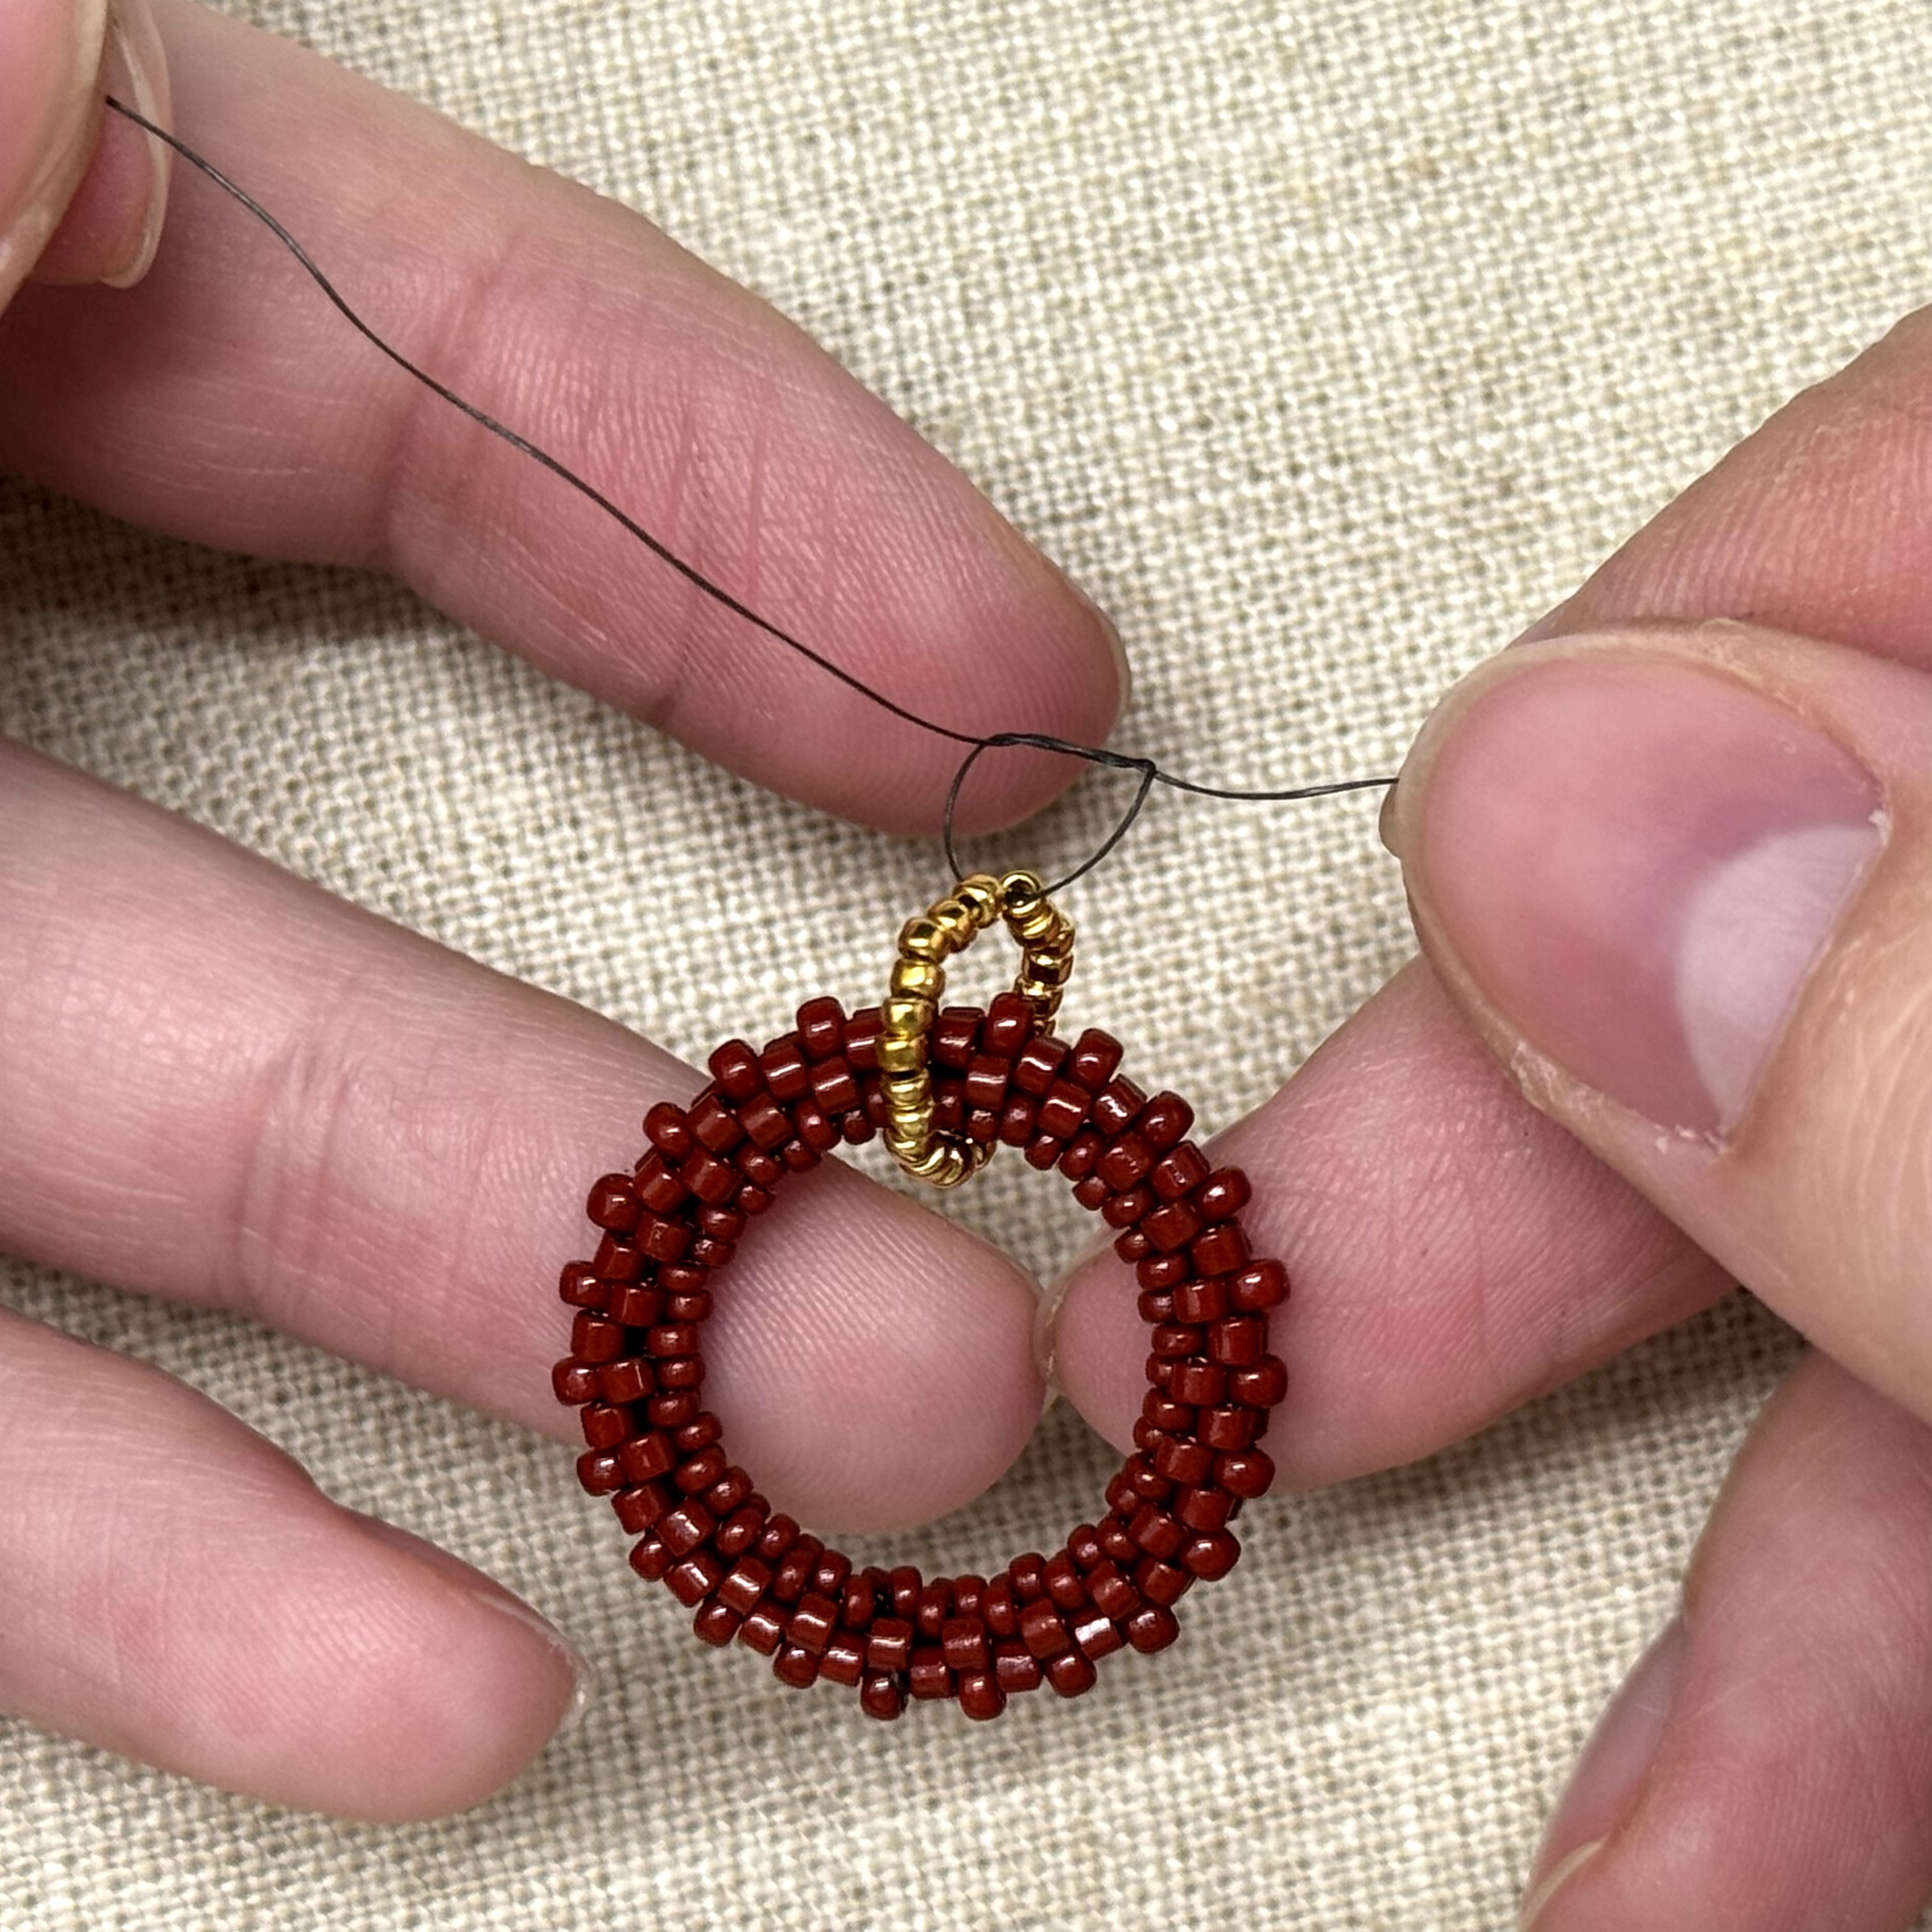
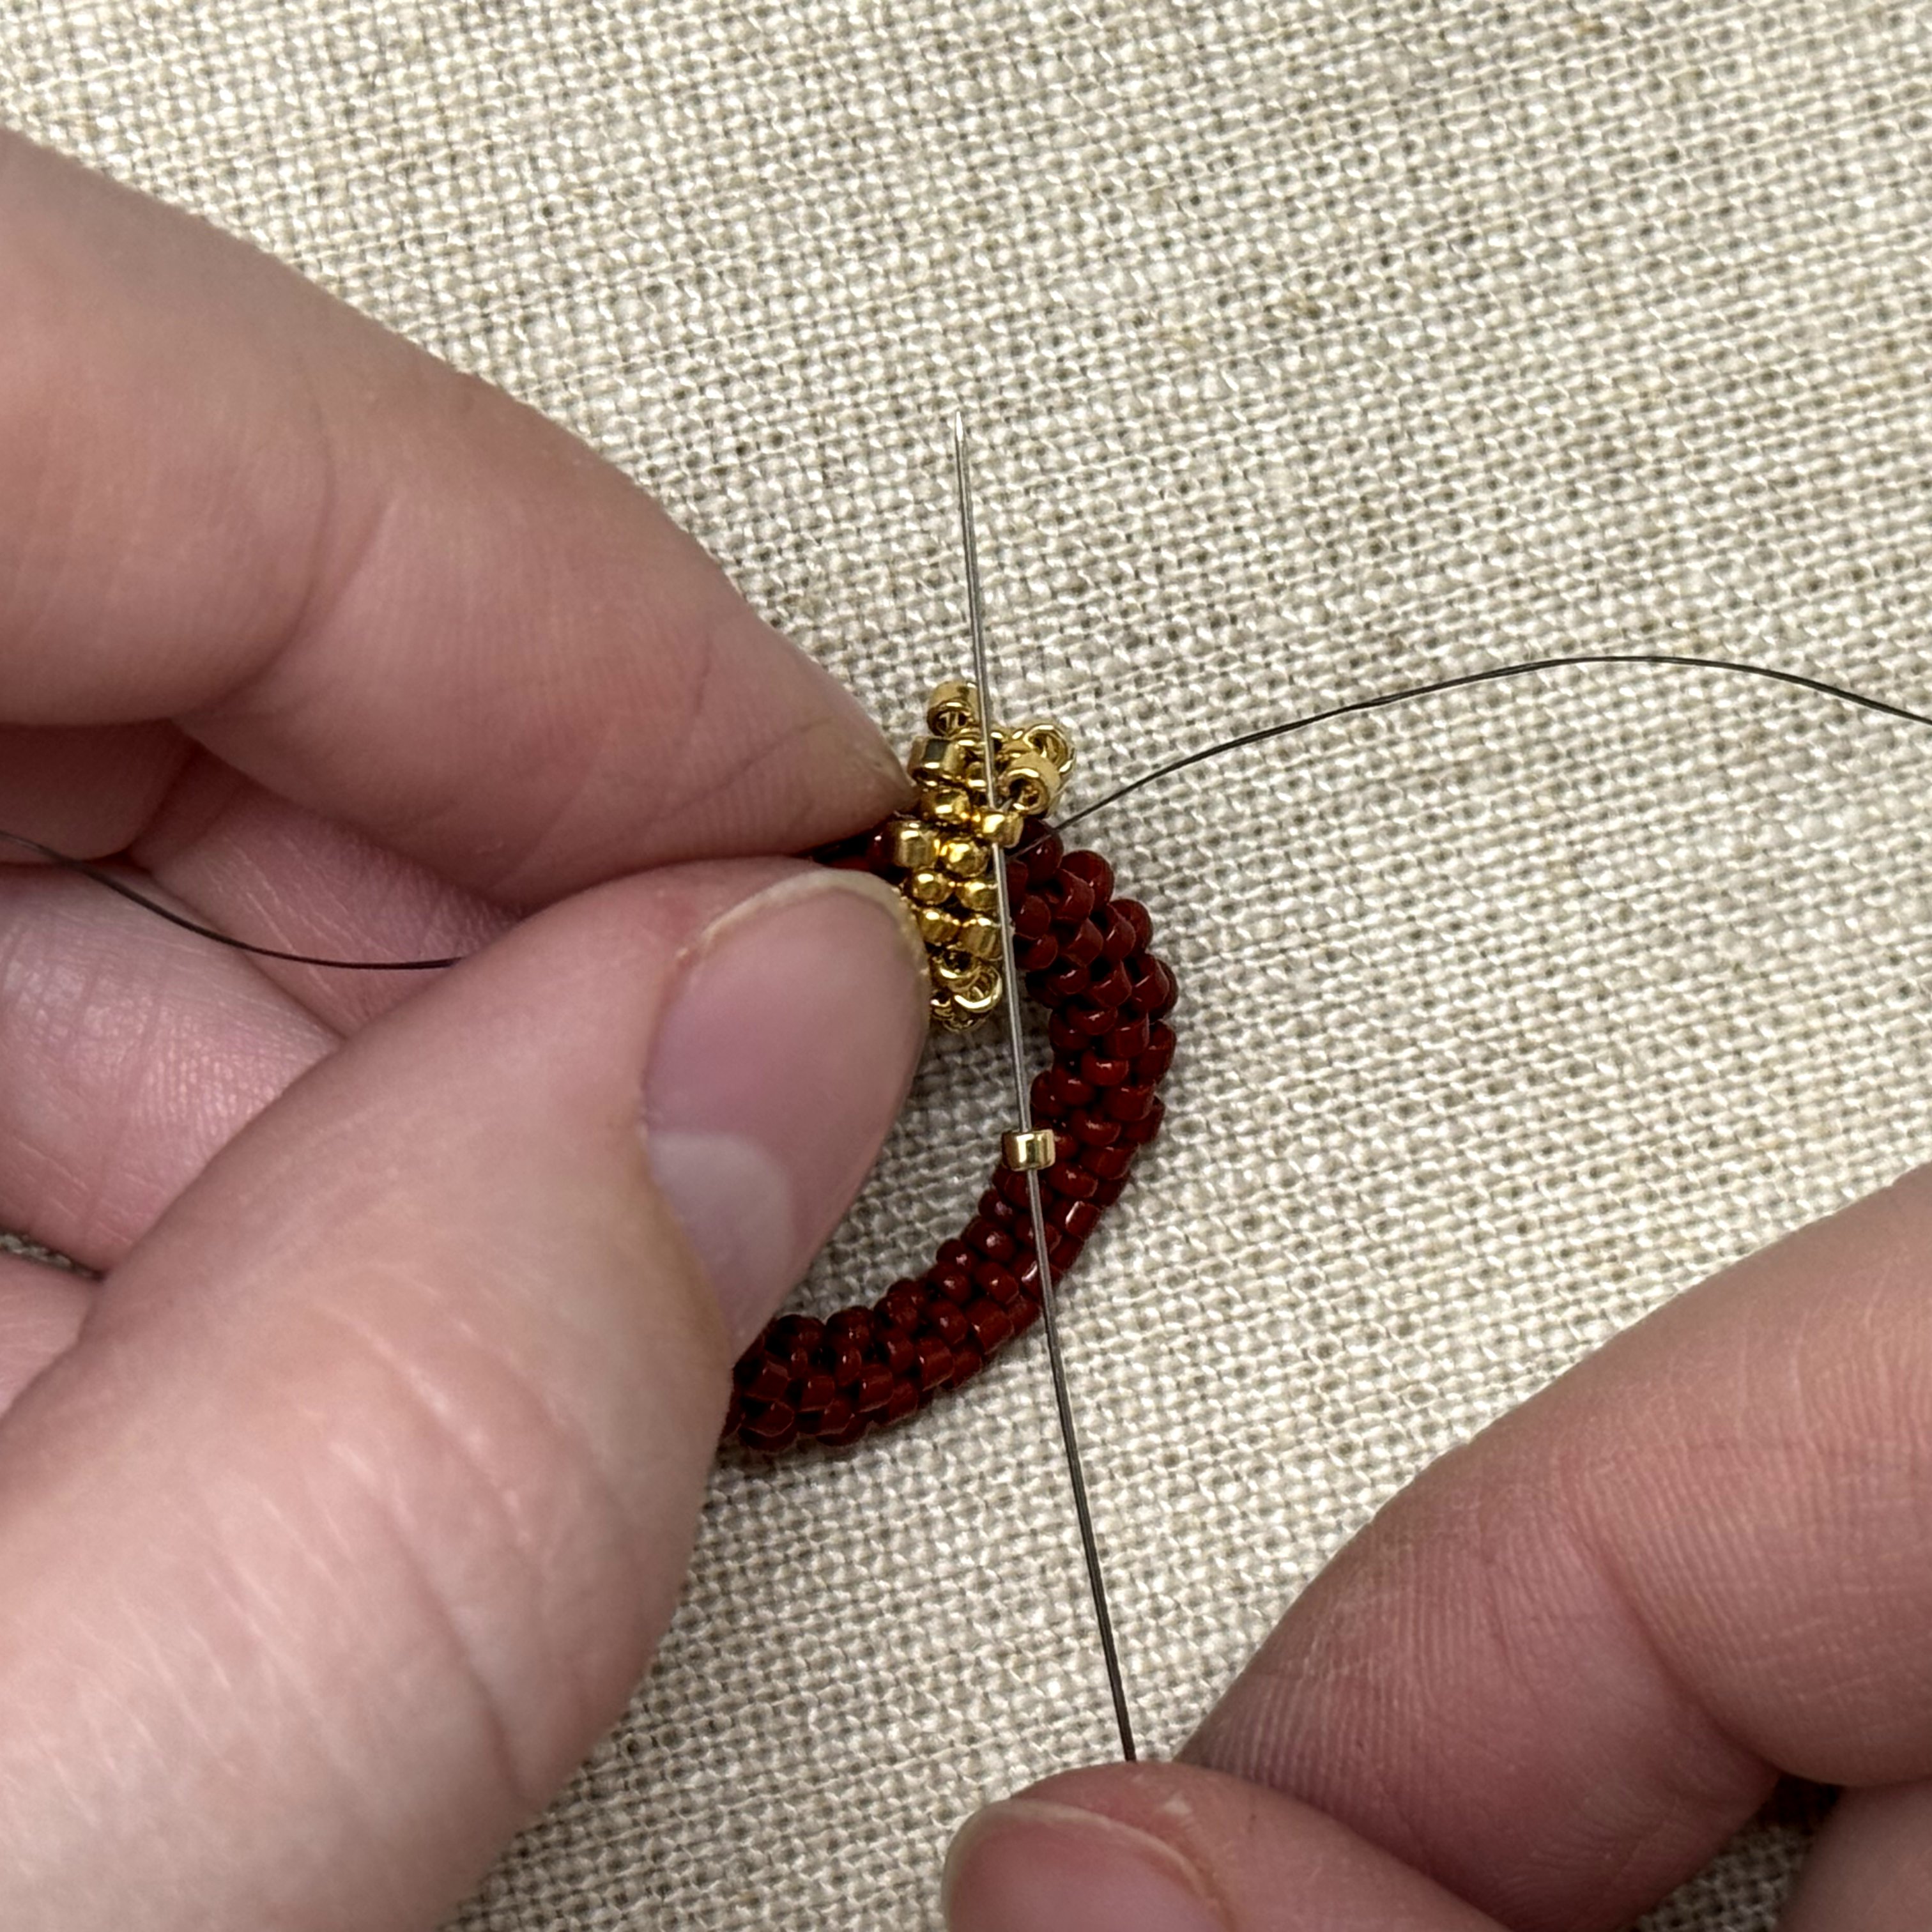
7. Once you have gone all the way around the ring, when adding your last size 15 bead, thread the needle through the two beads shown to get to the left side of your project
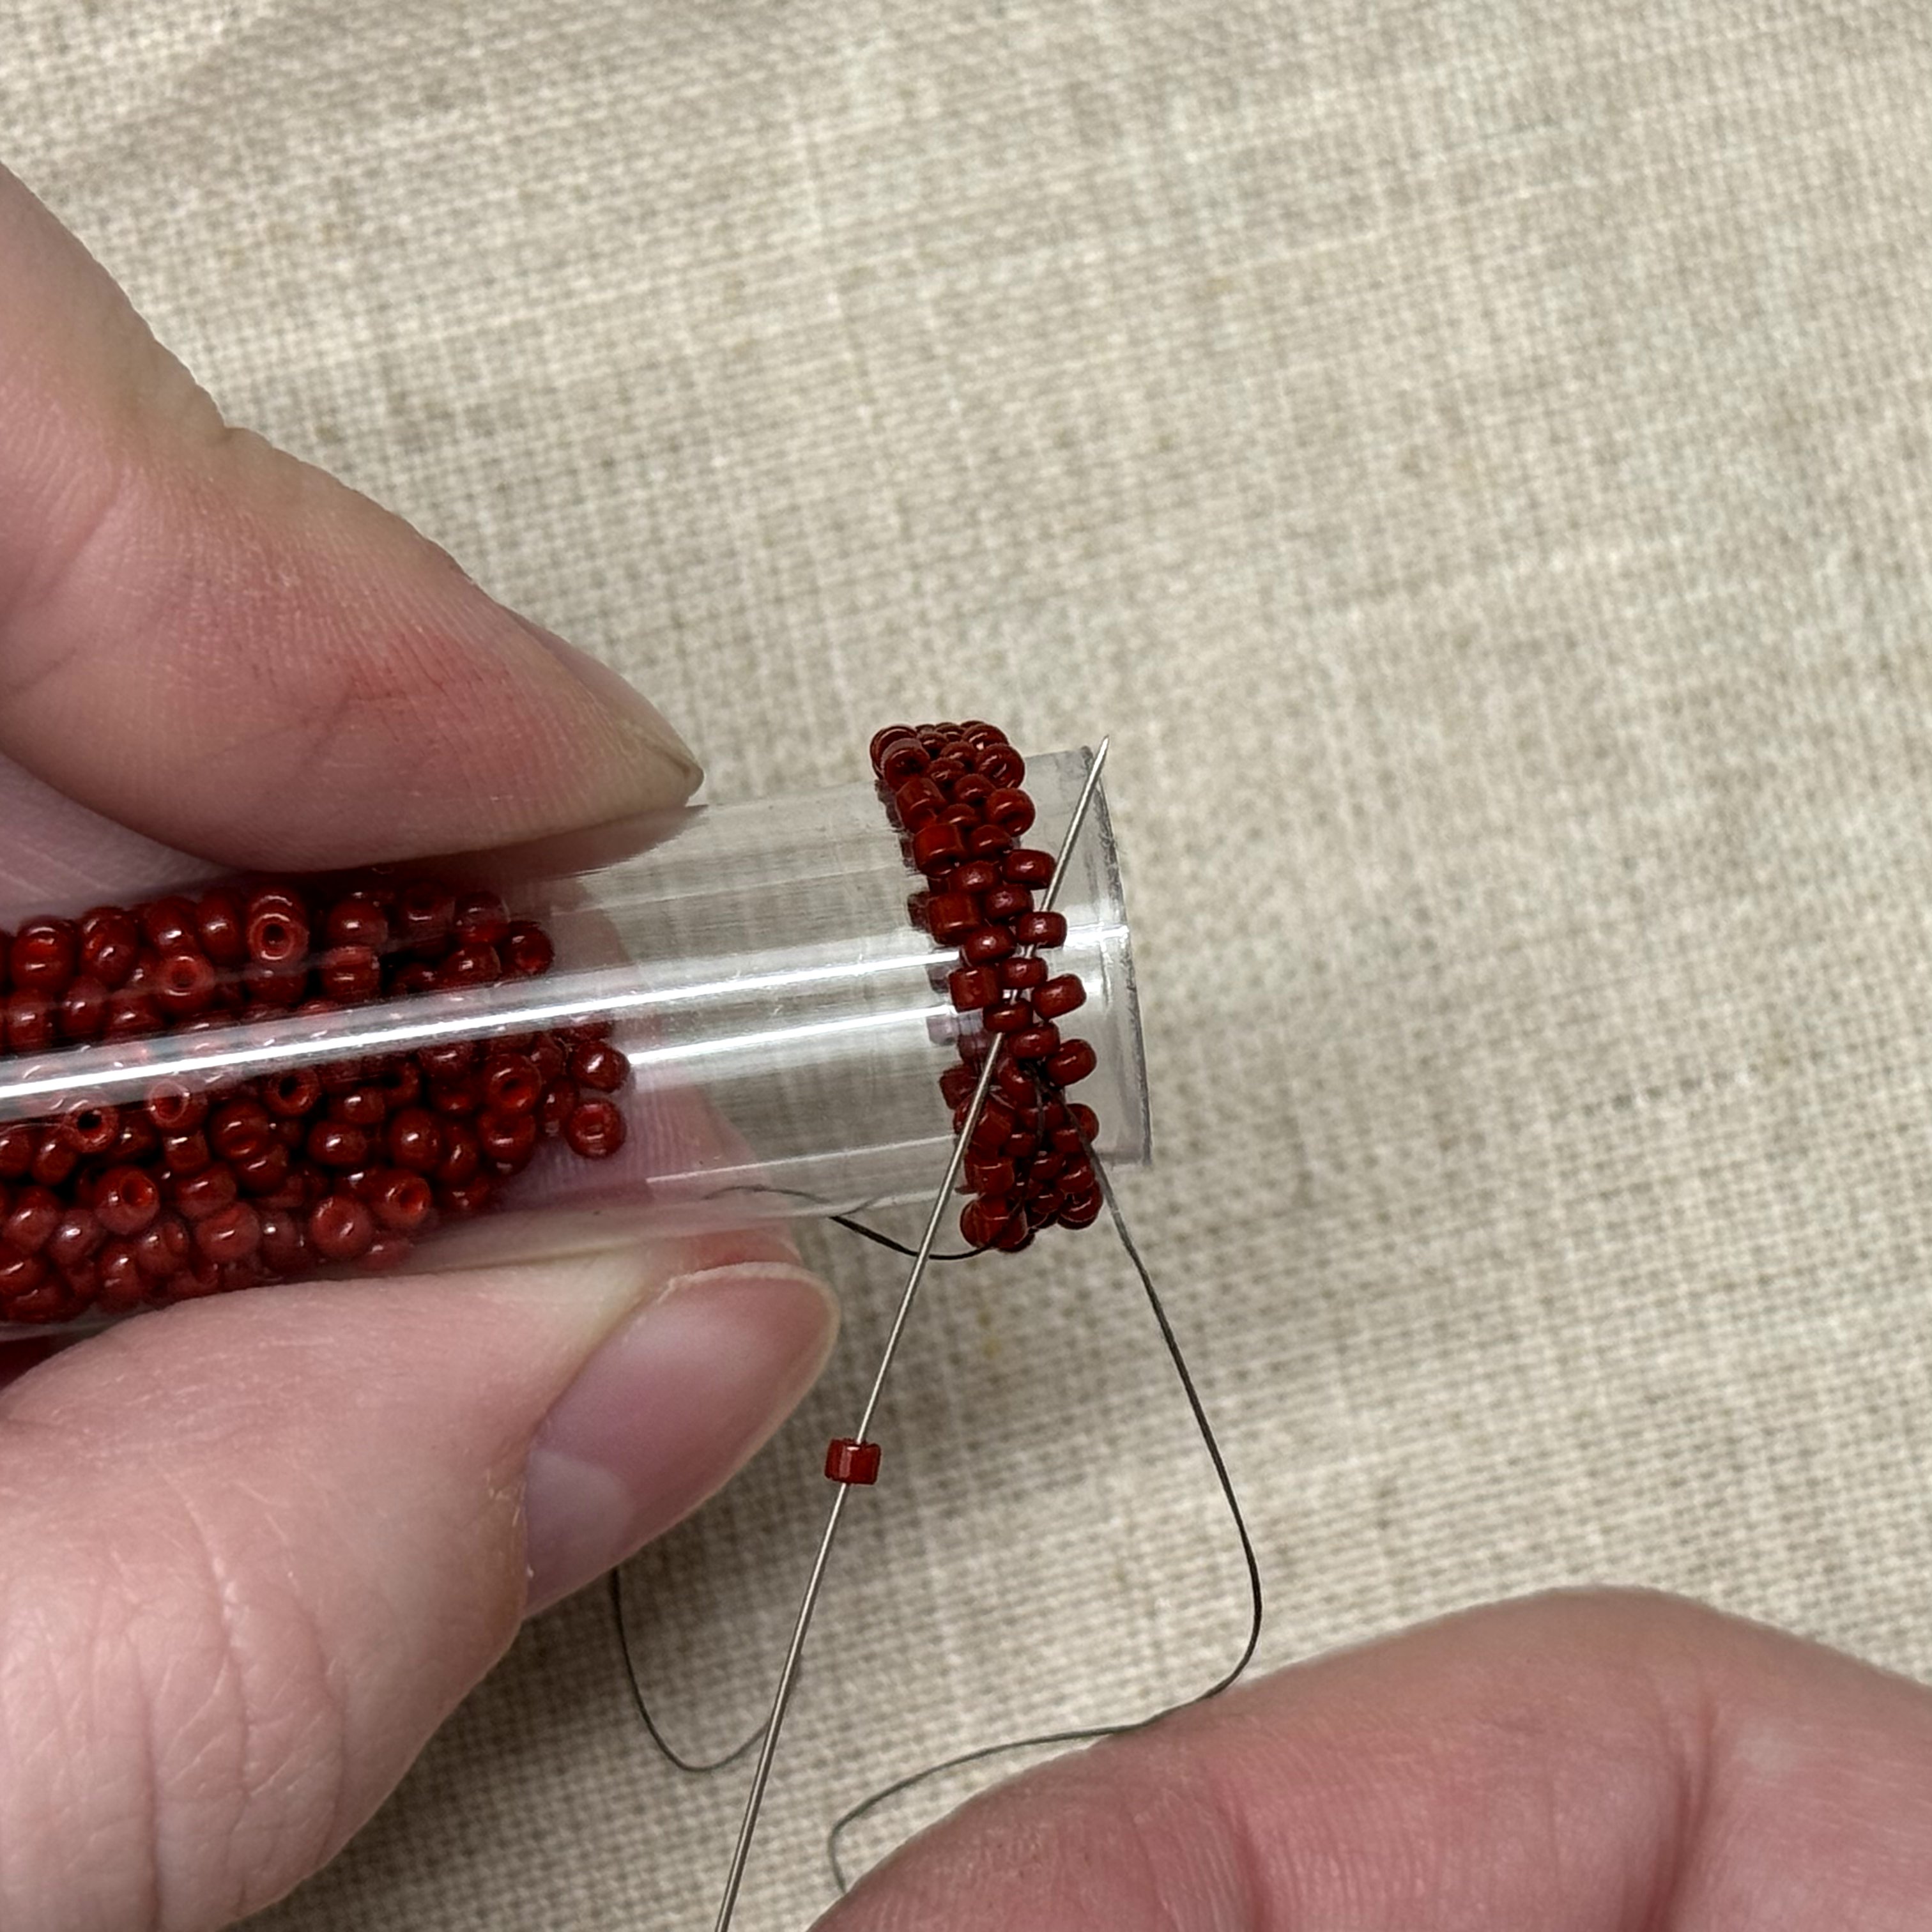
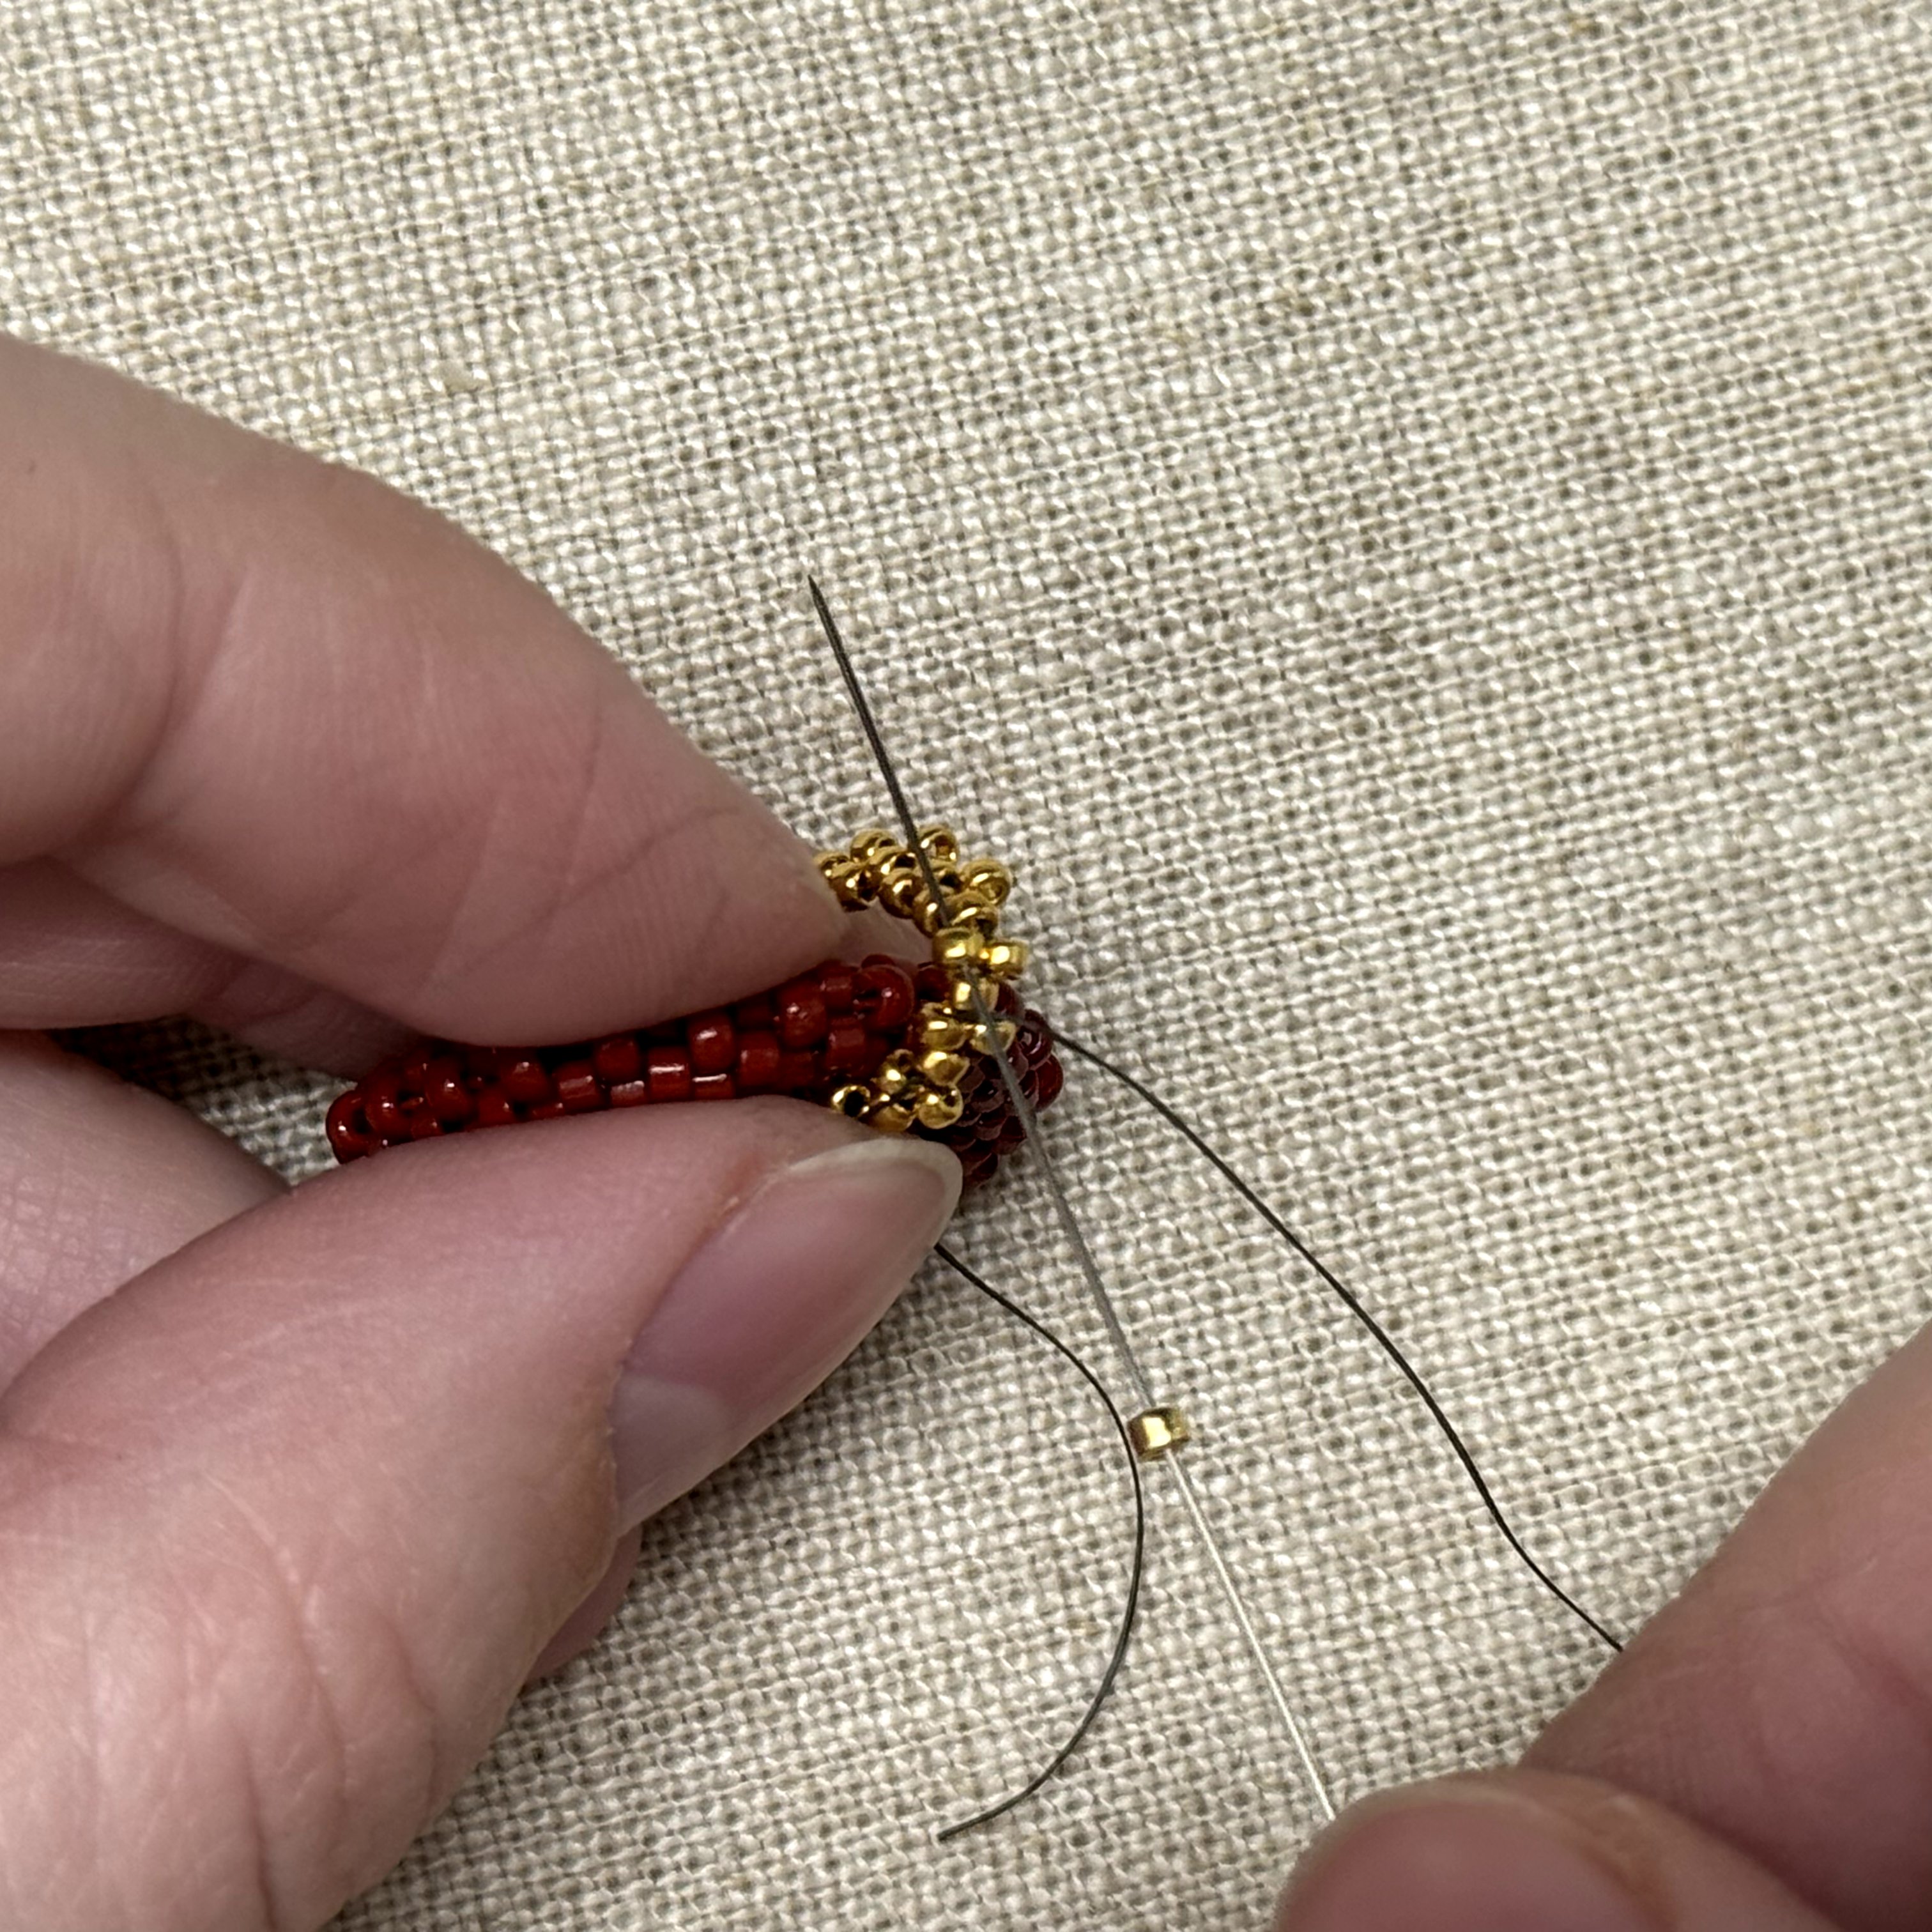
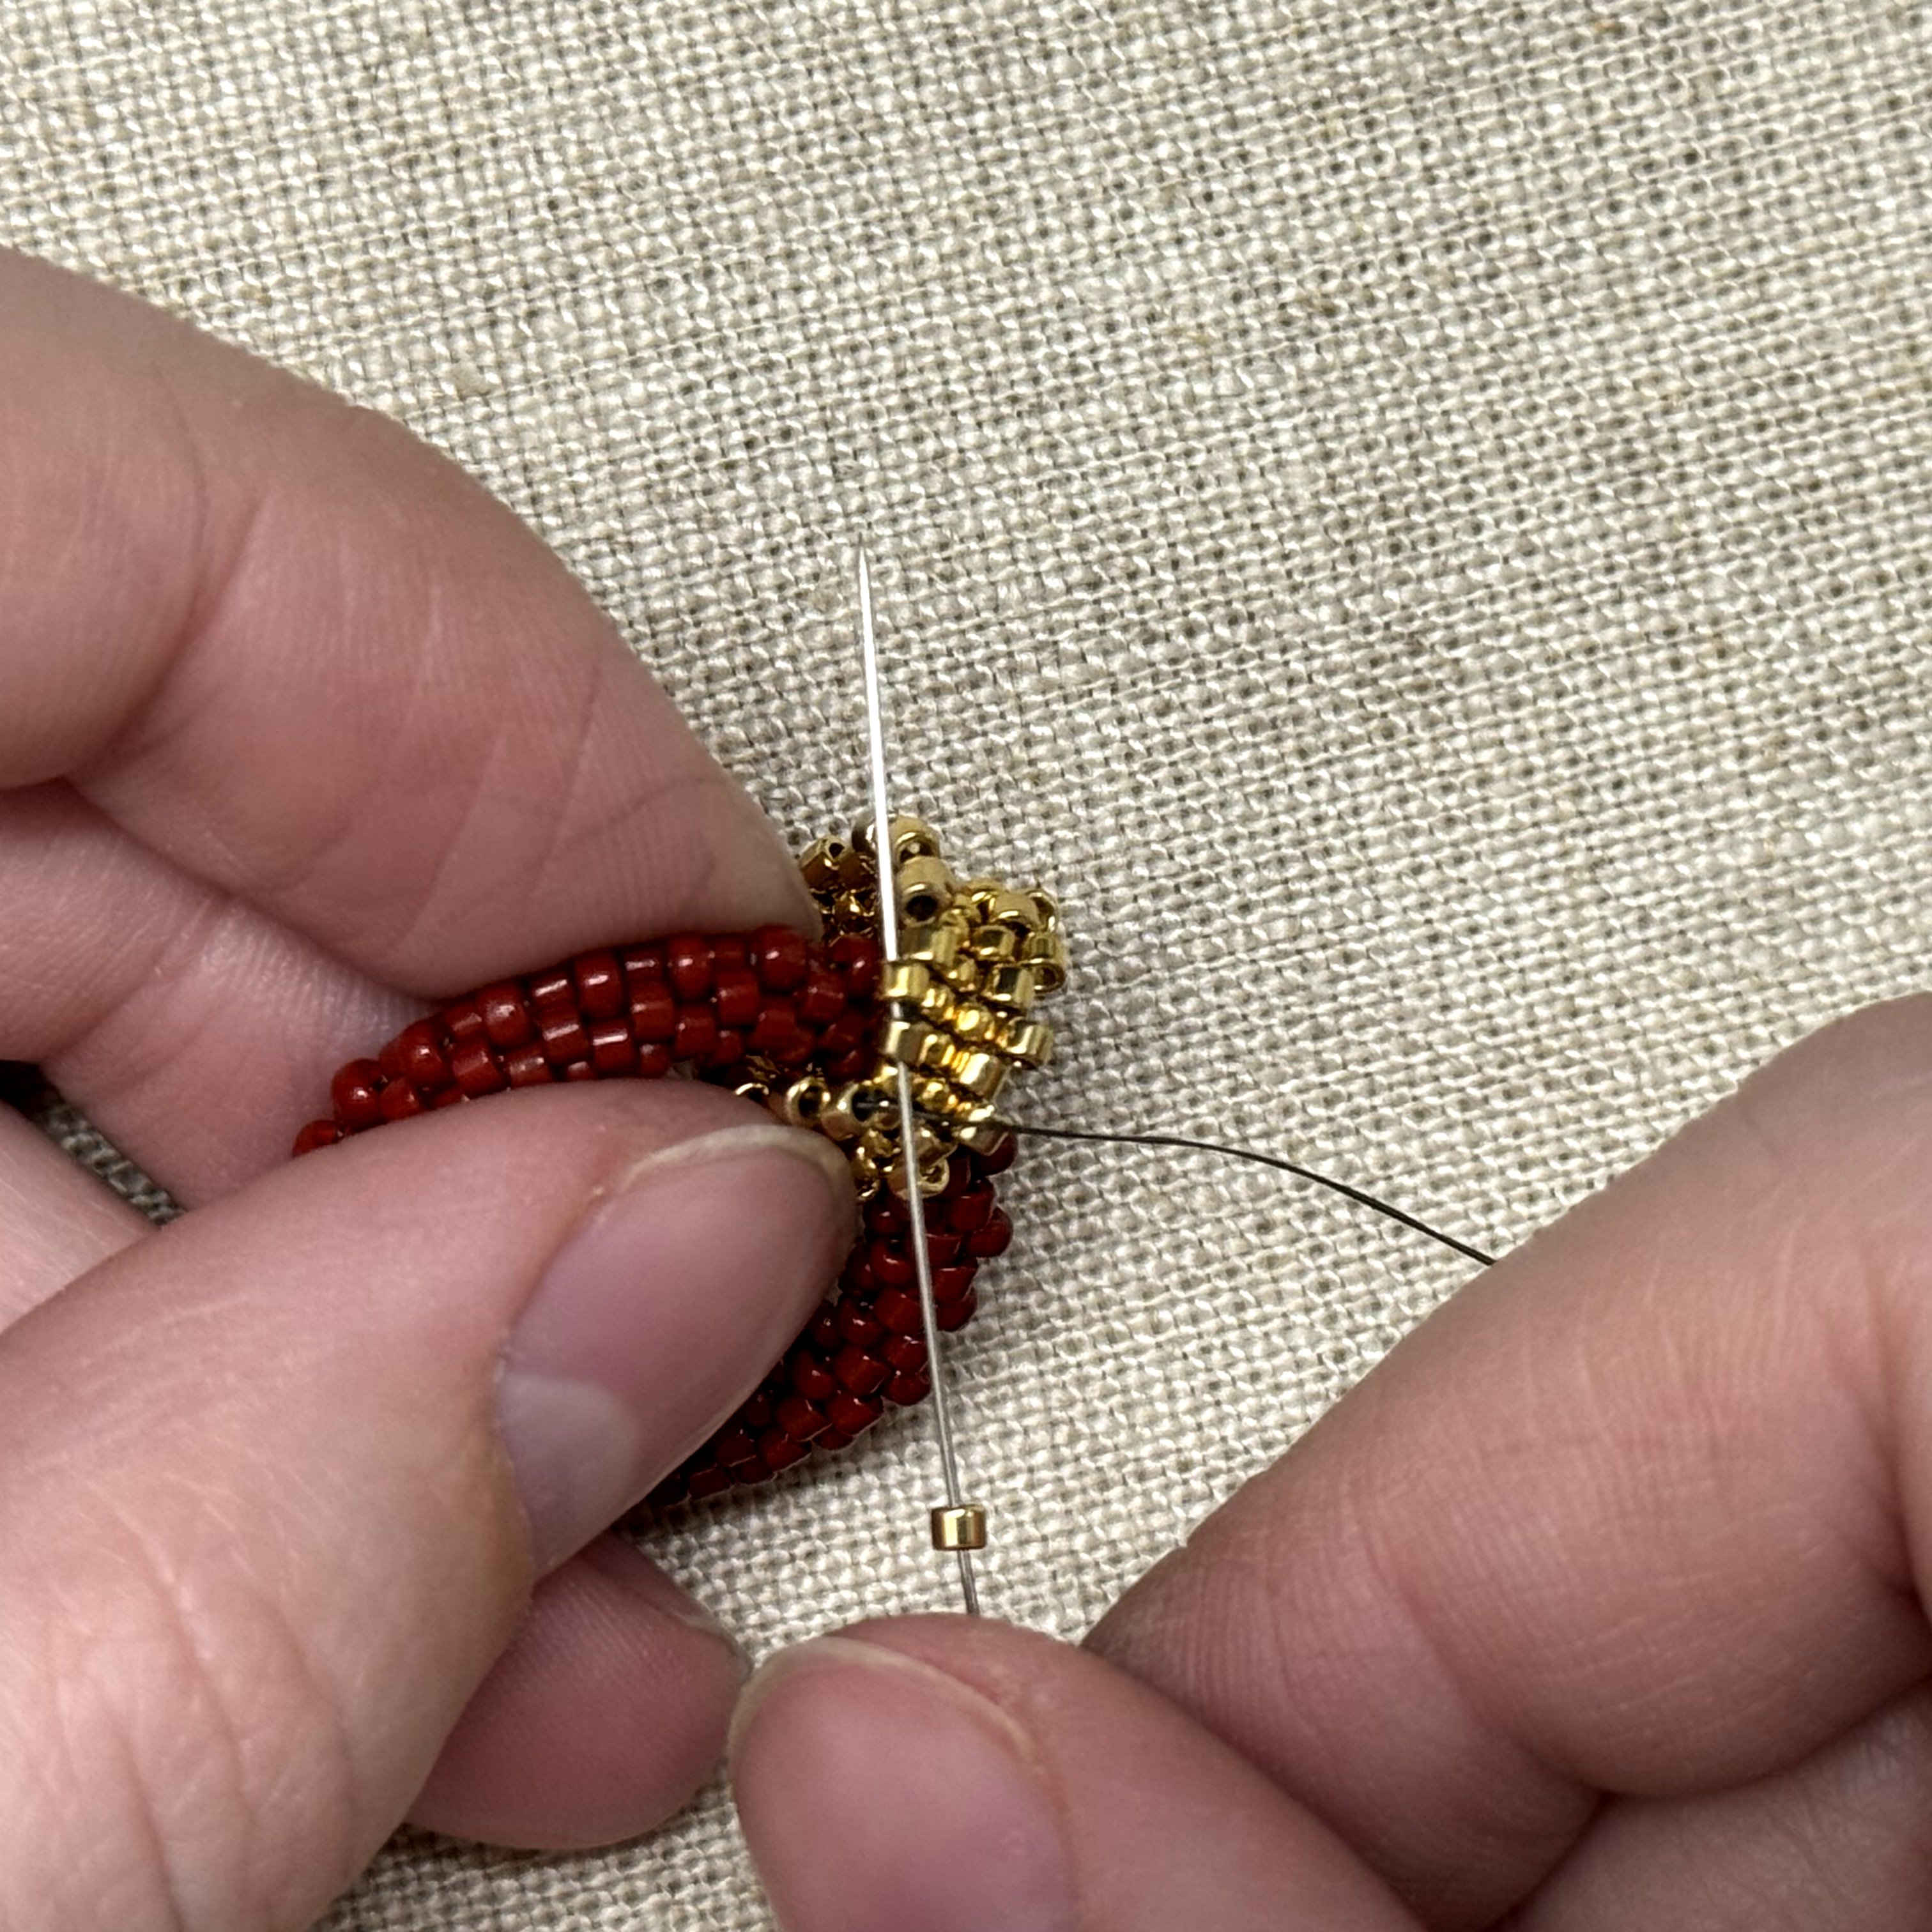
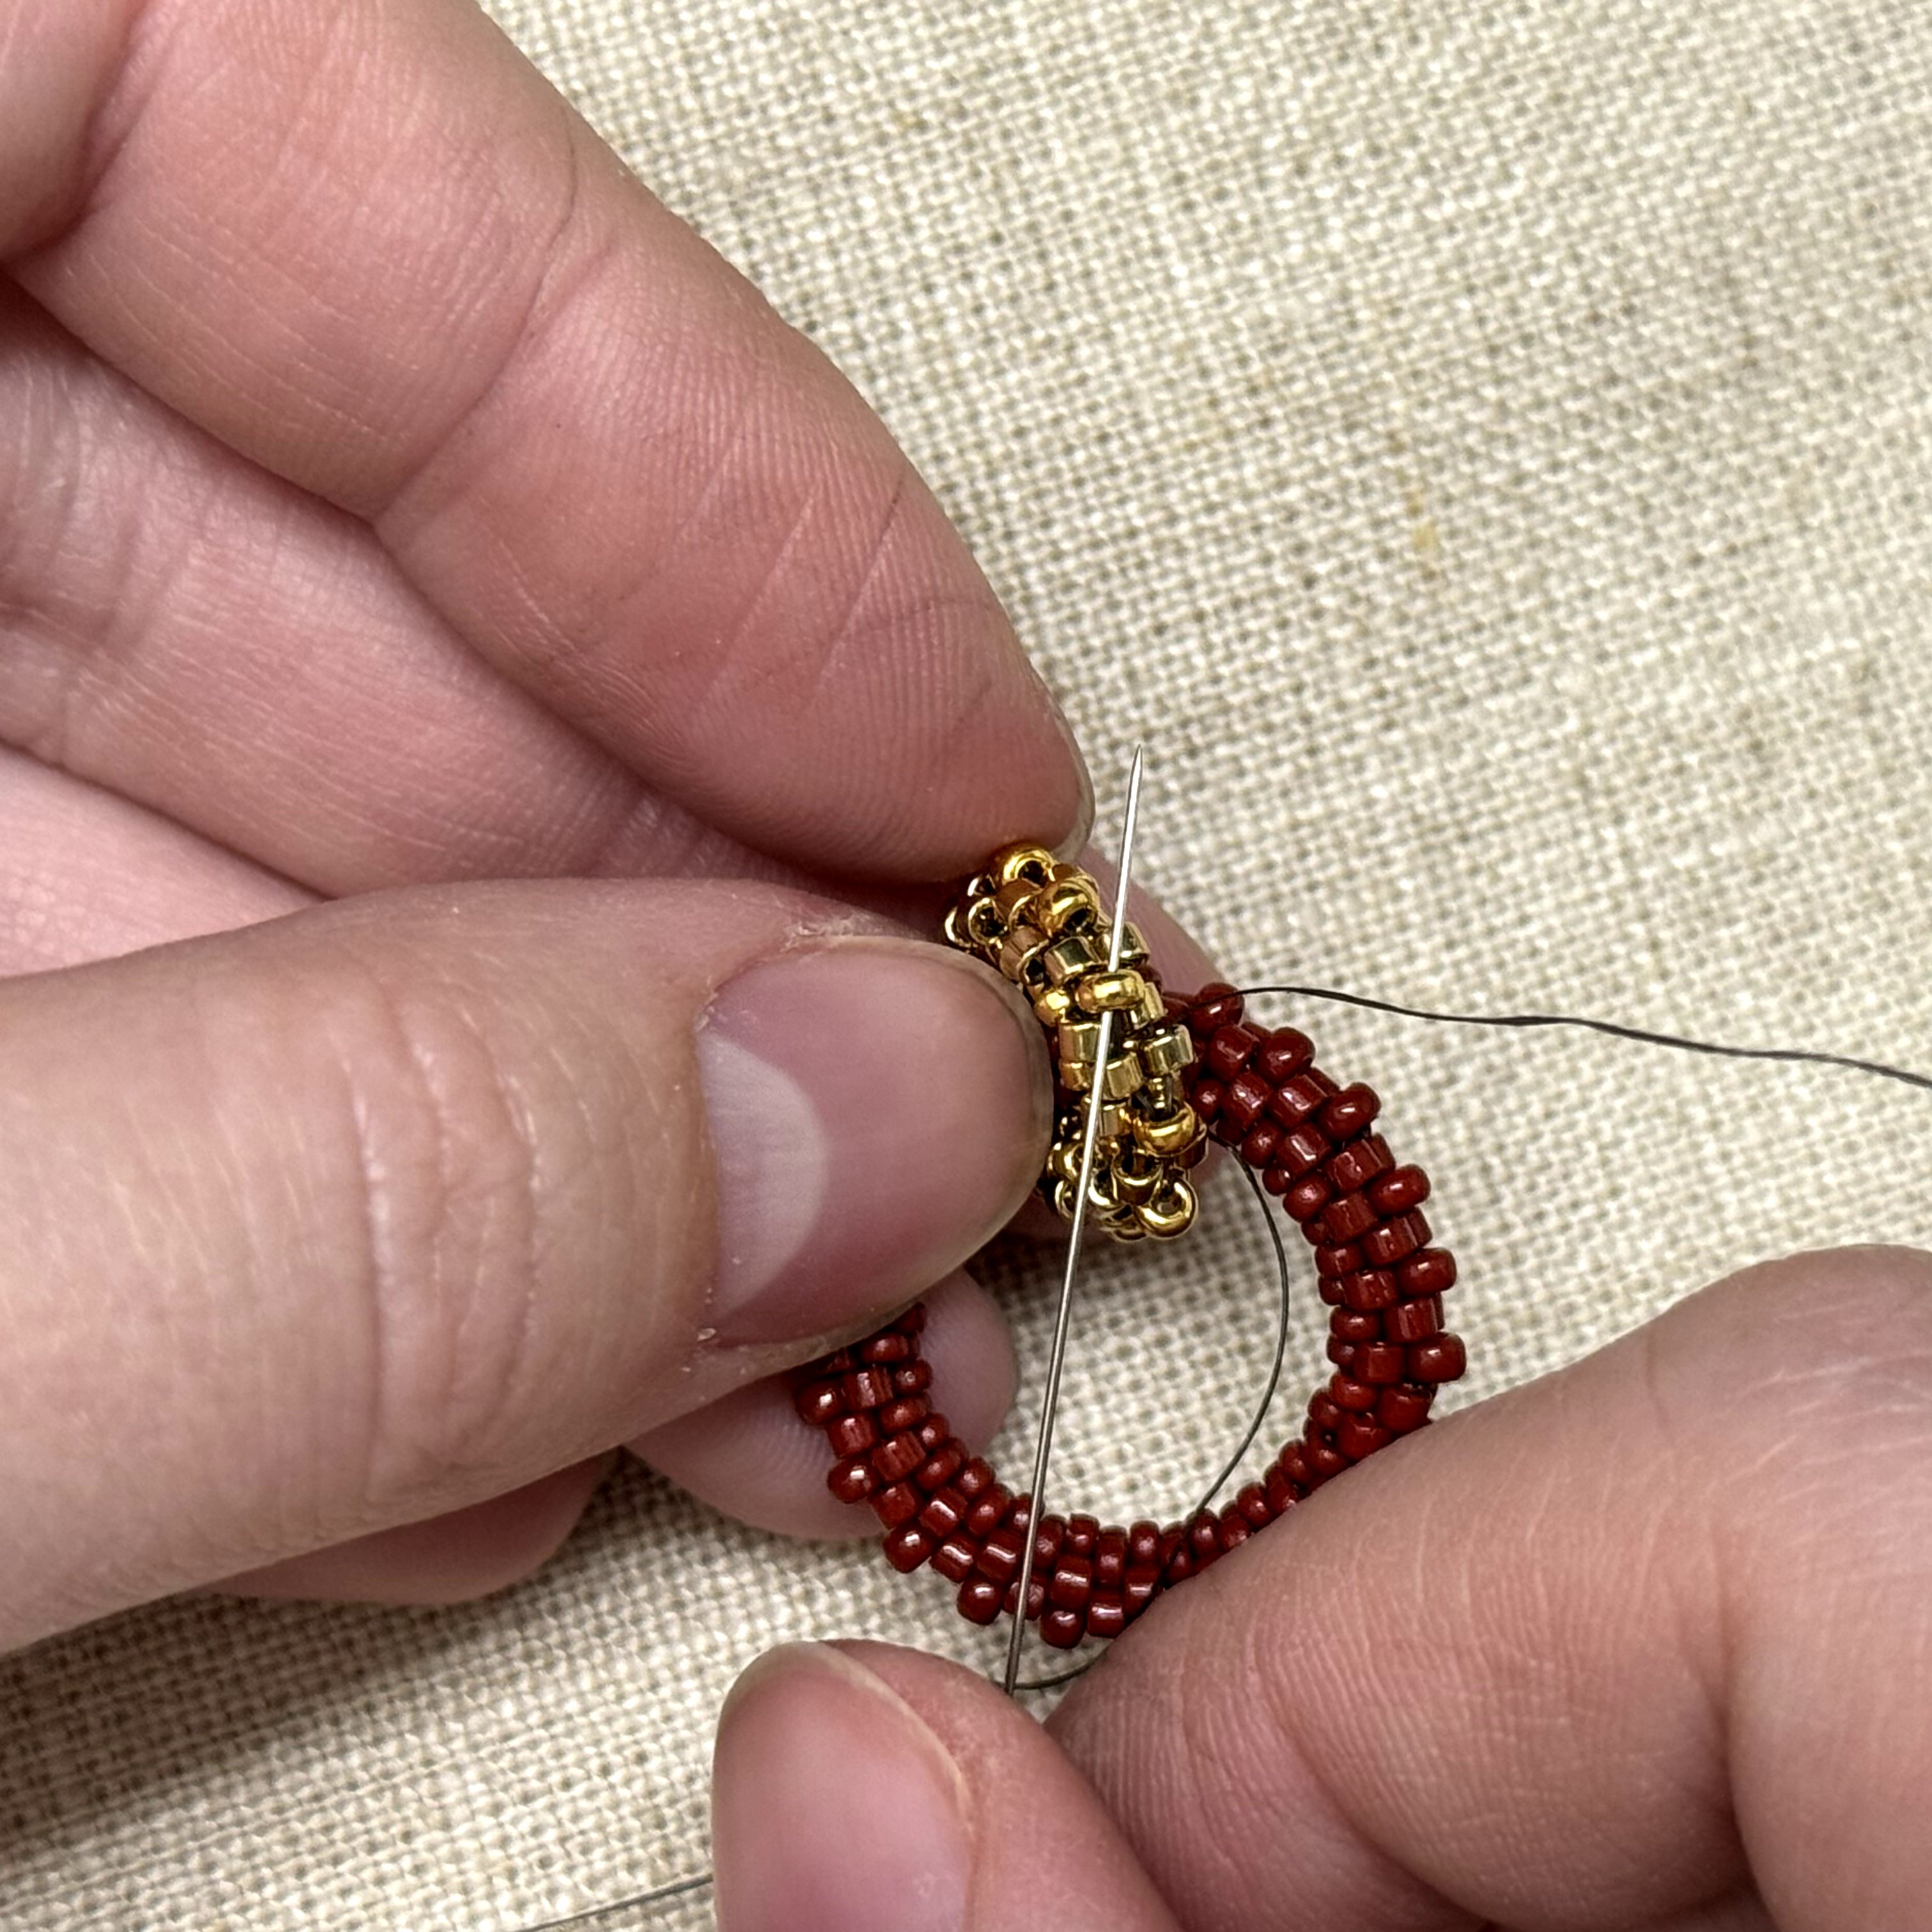
8. Select a size 11 Delica bead and thread it through the size 15 seed bead shown - as we go along we are essentially "filling in the sides"
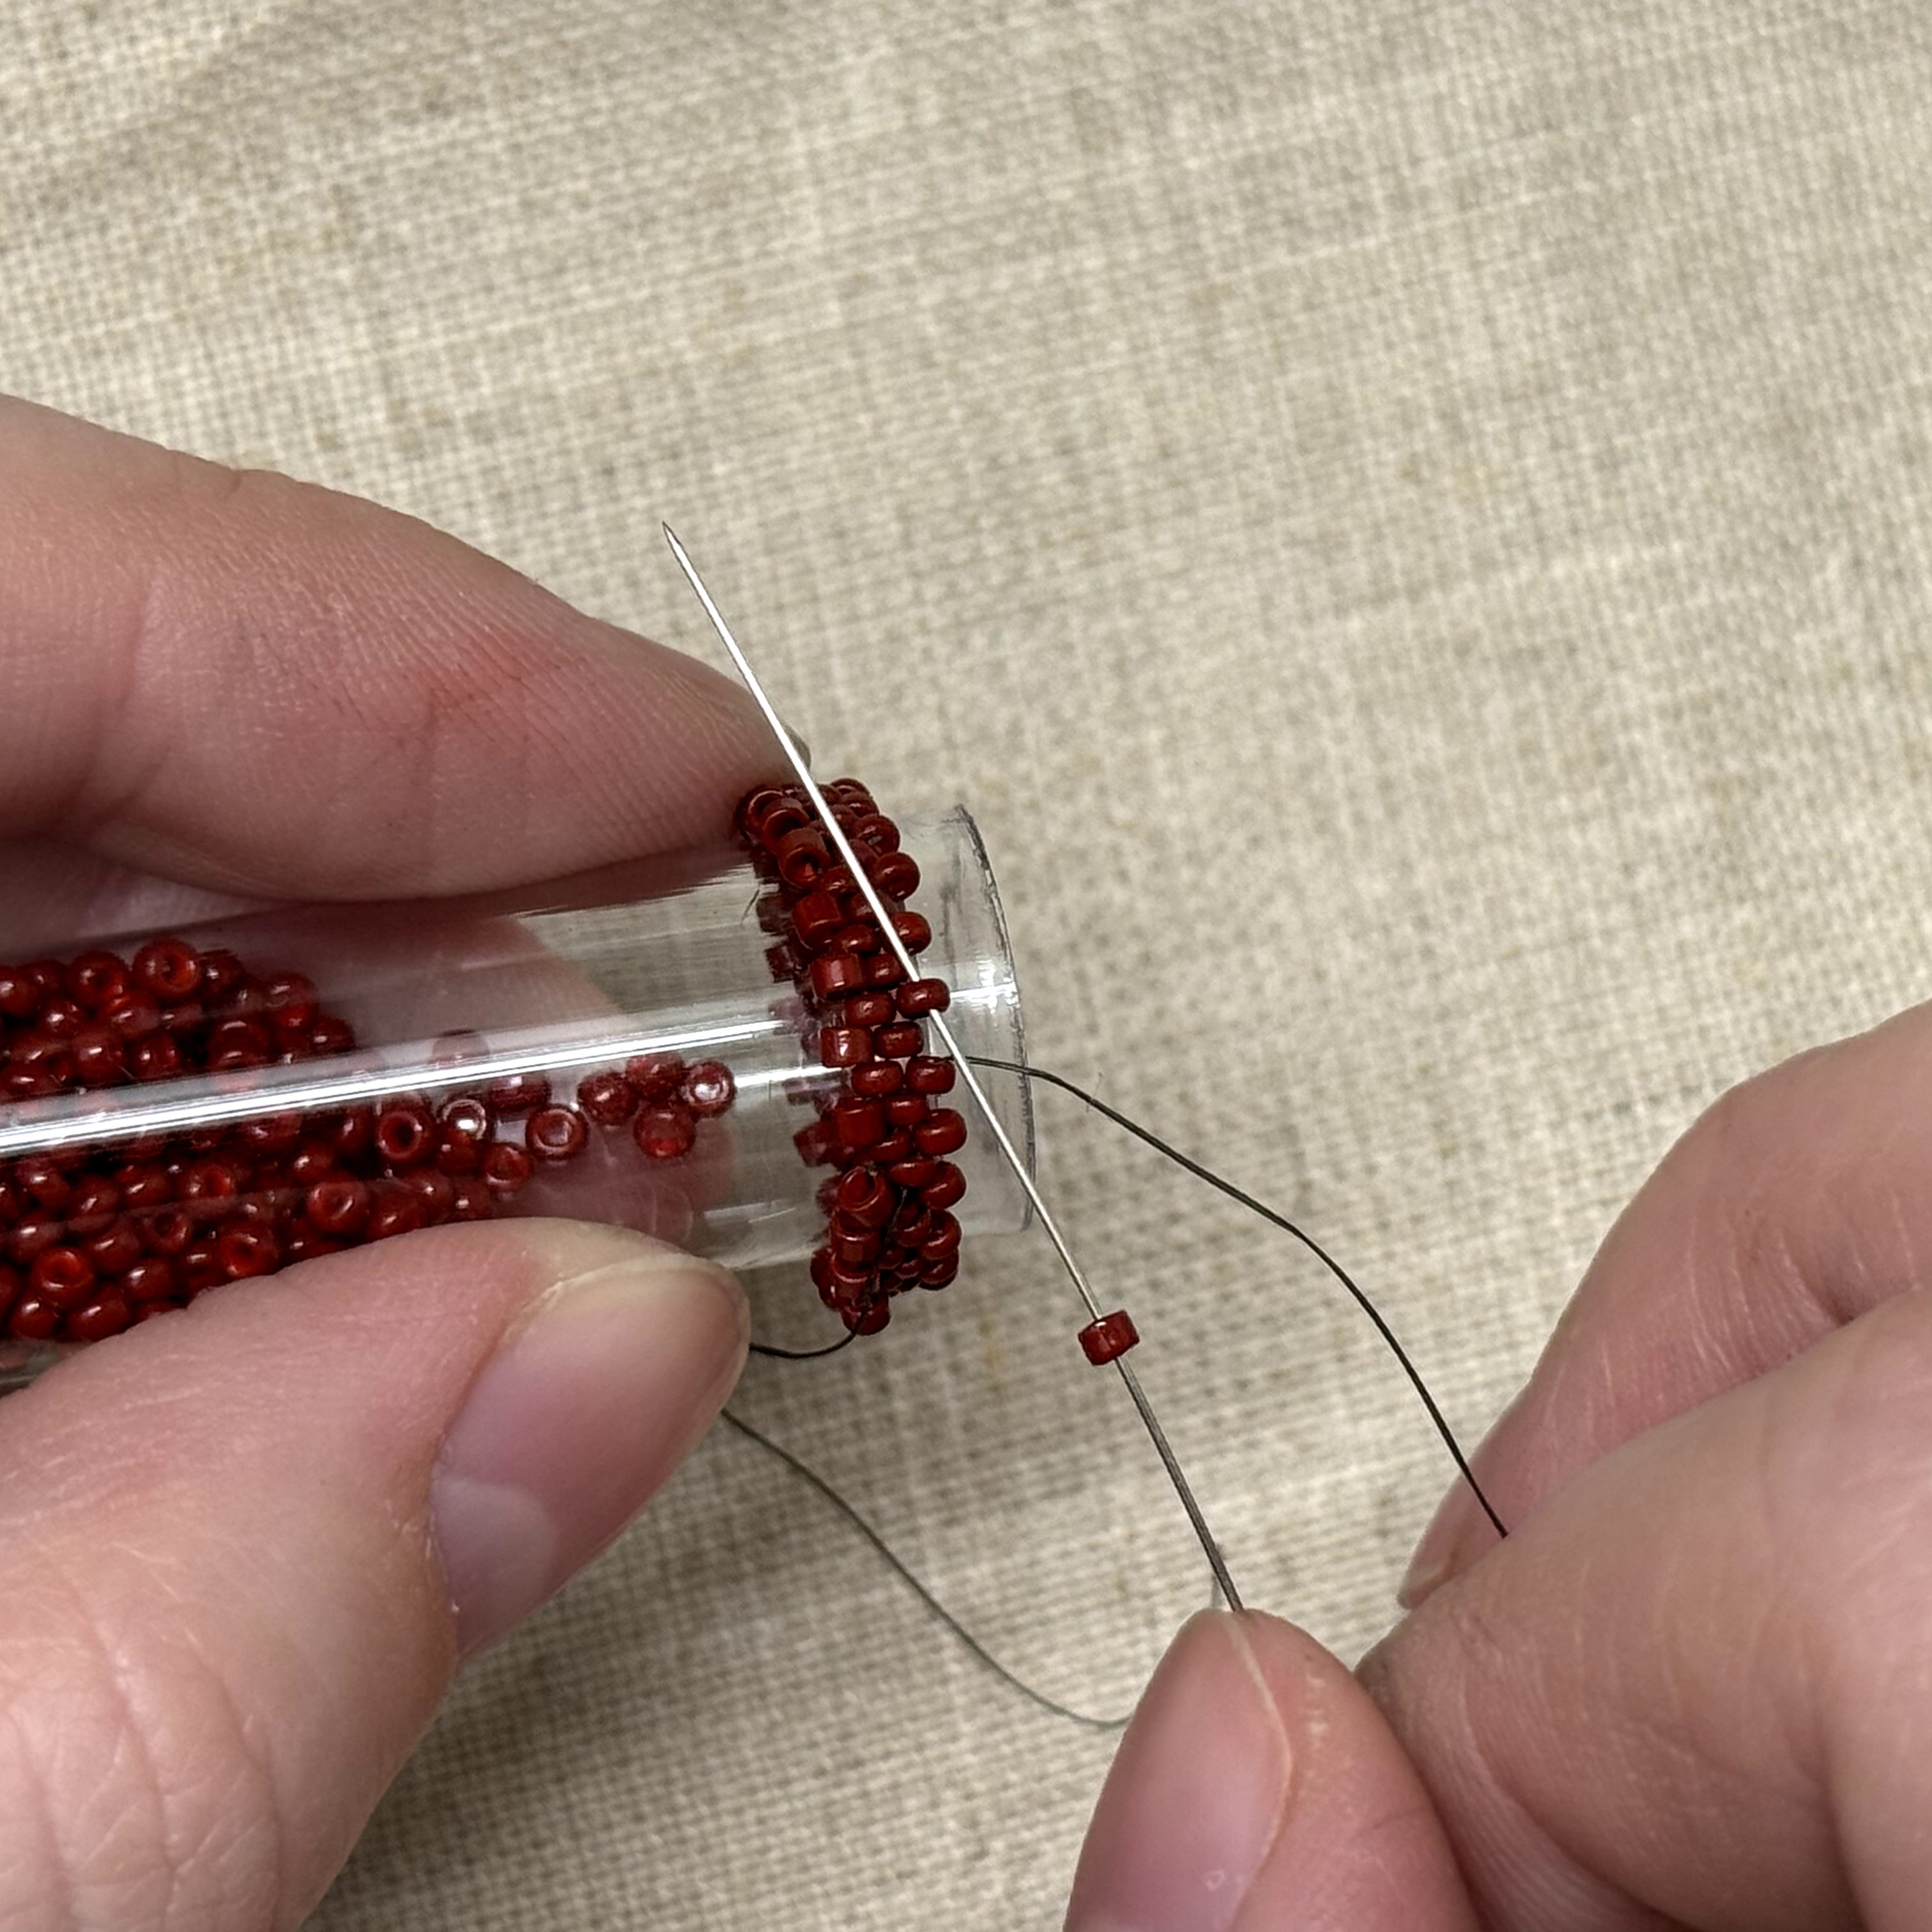
9. Repeat with another size 11 delica and keep repeating until you have gotten all the way around the ring
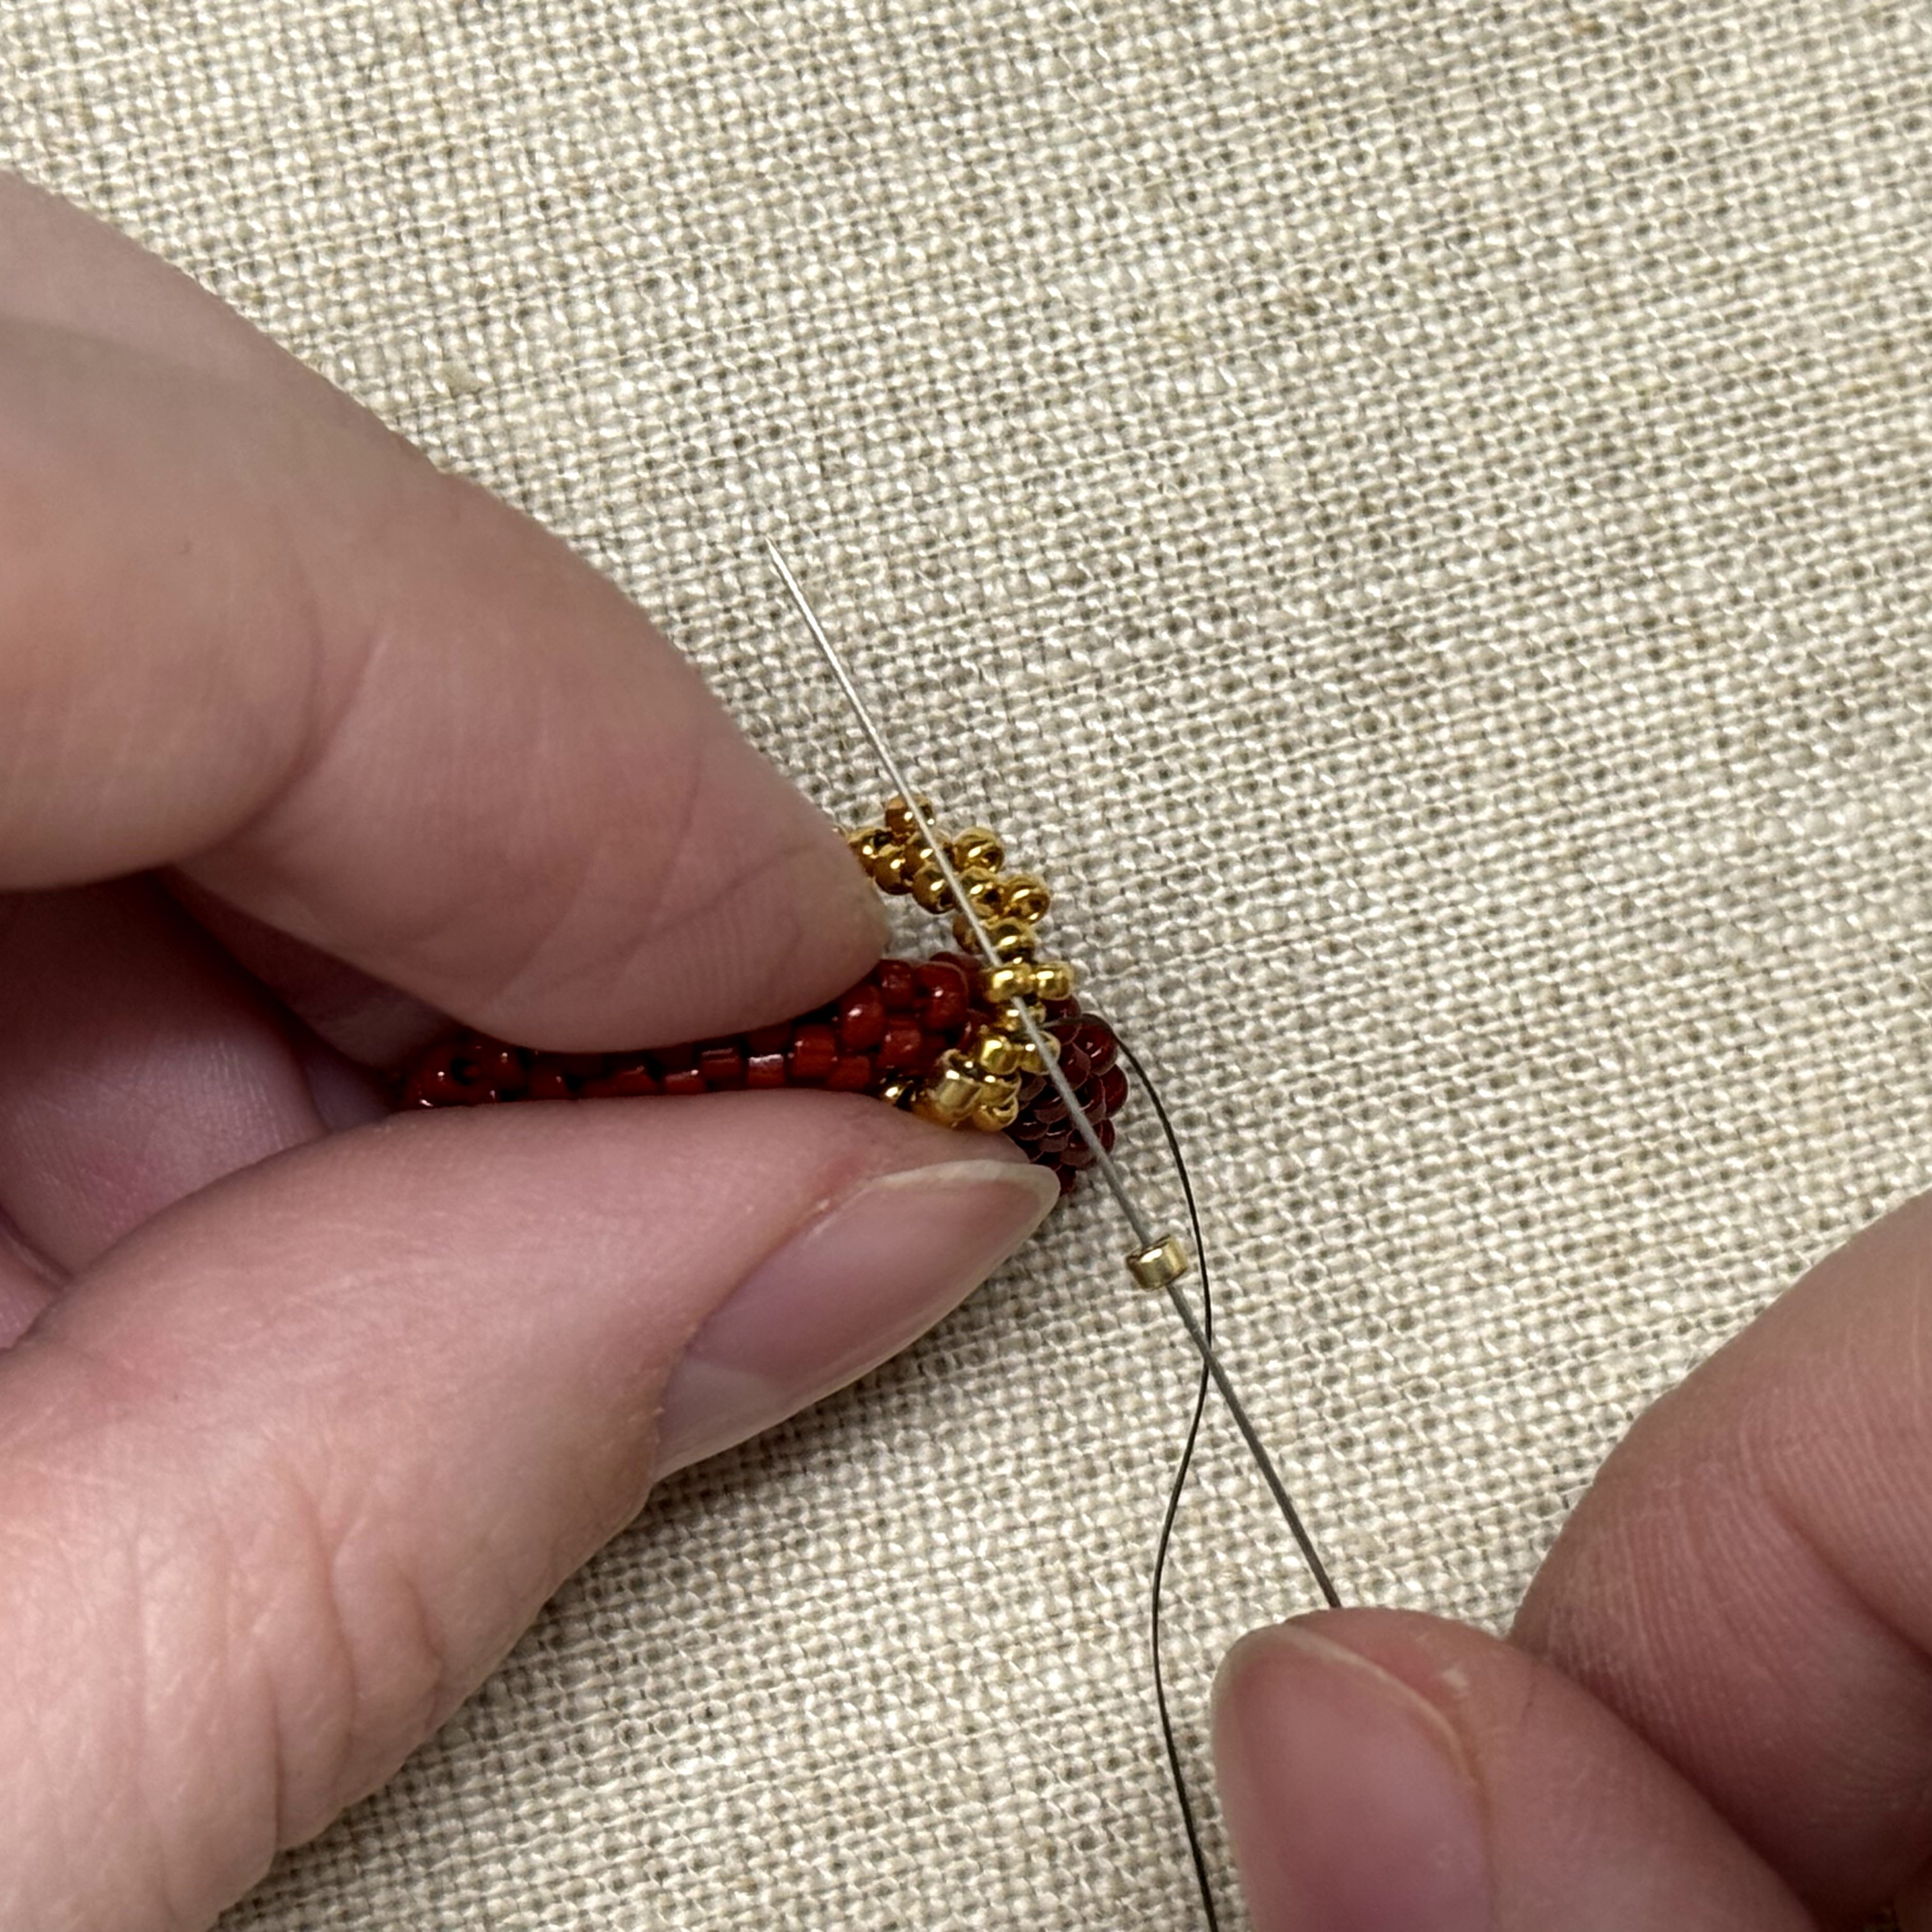
10. With the last delica, thread the needle through three size 15 seed beads diagonally, over to the right side of your project
11. Repeat steps 8-9
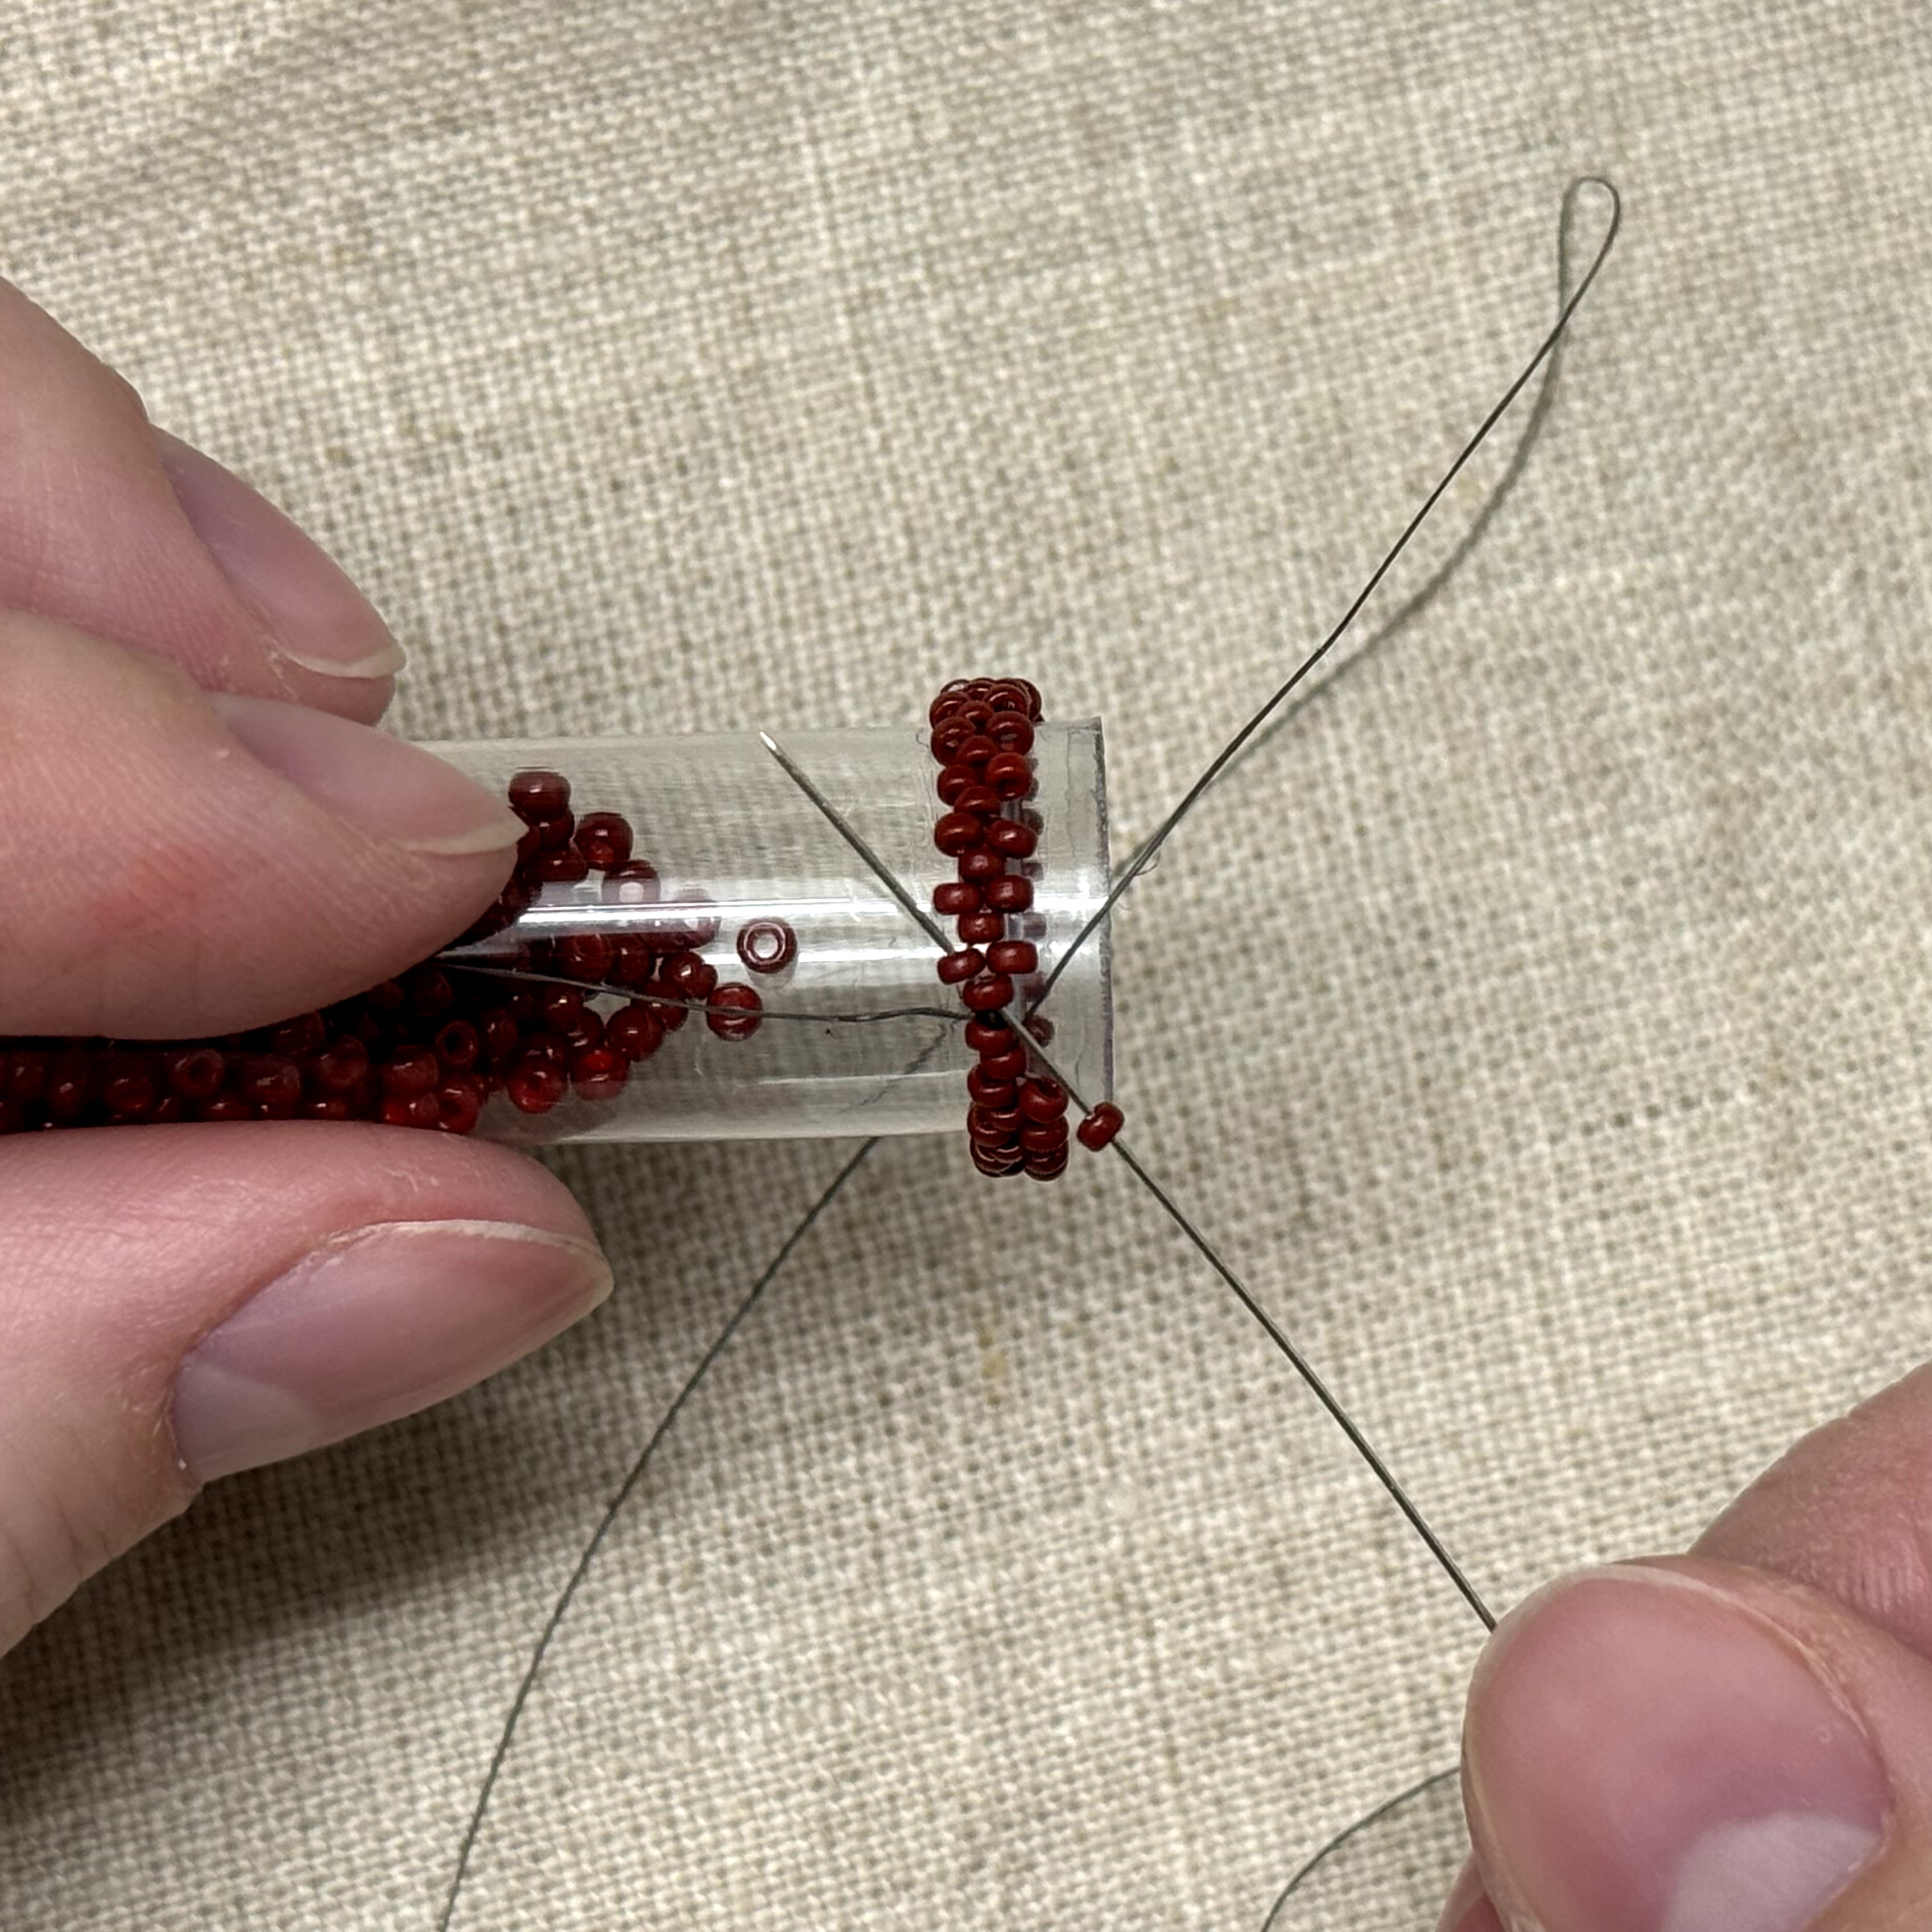
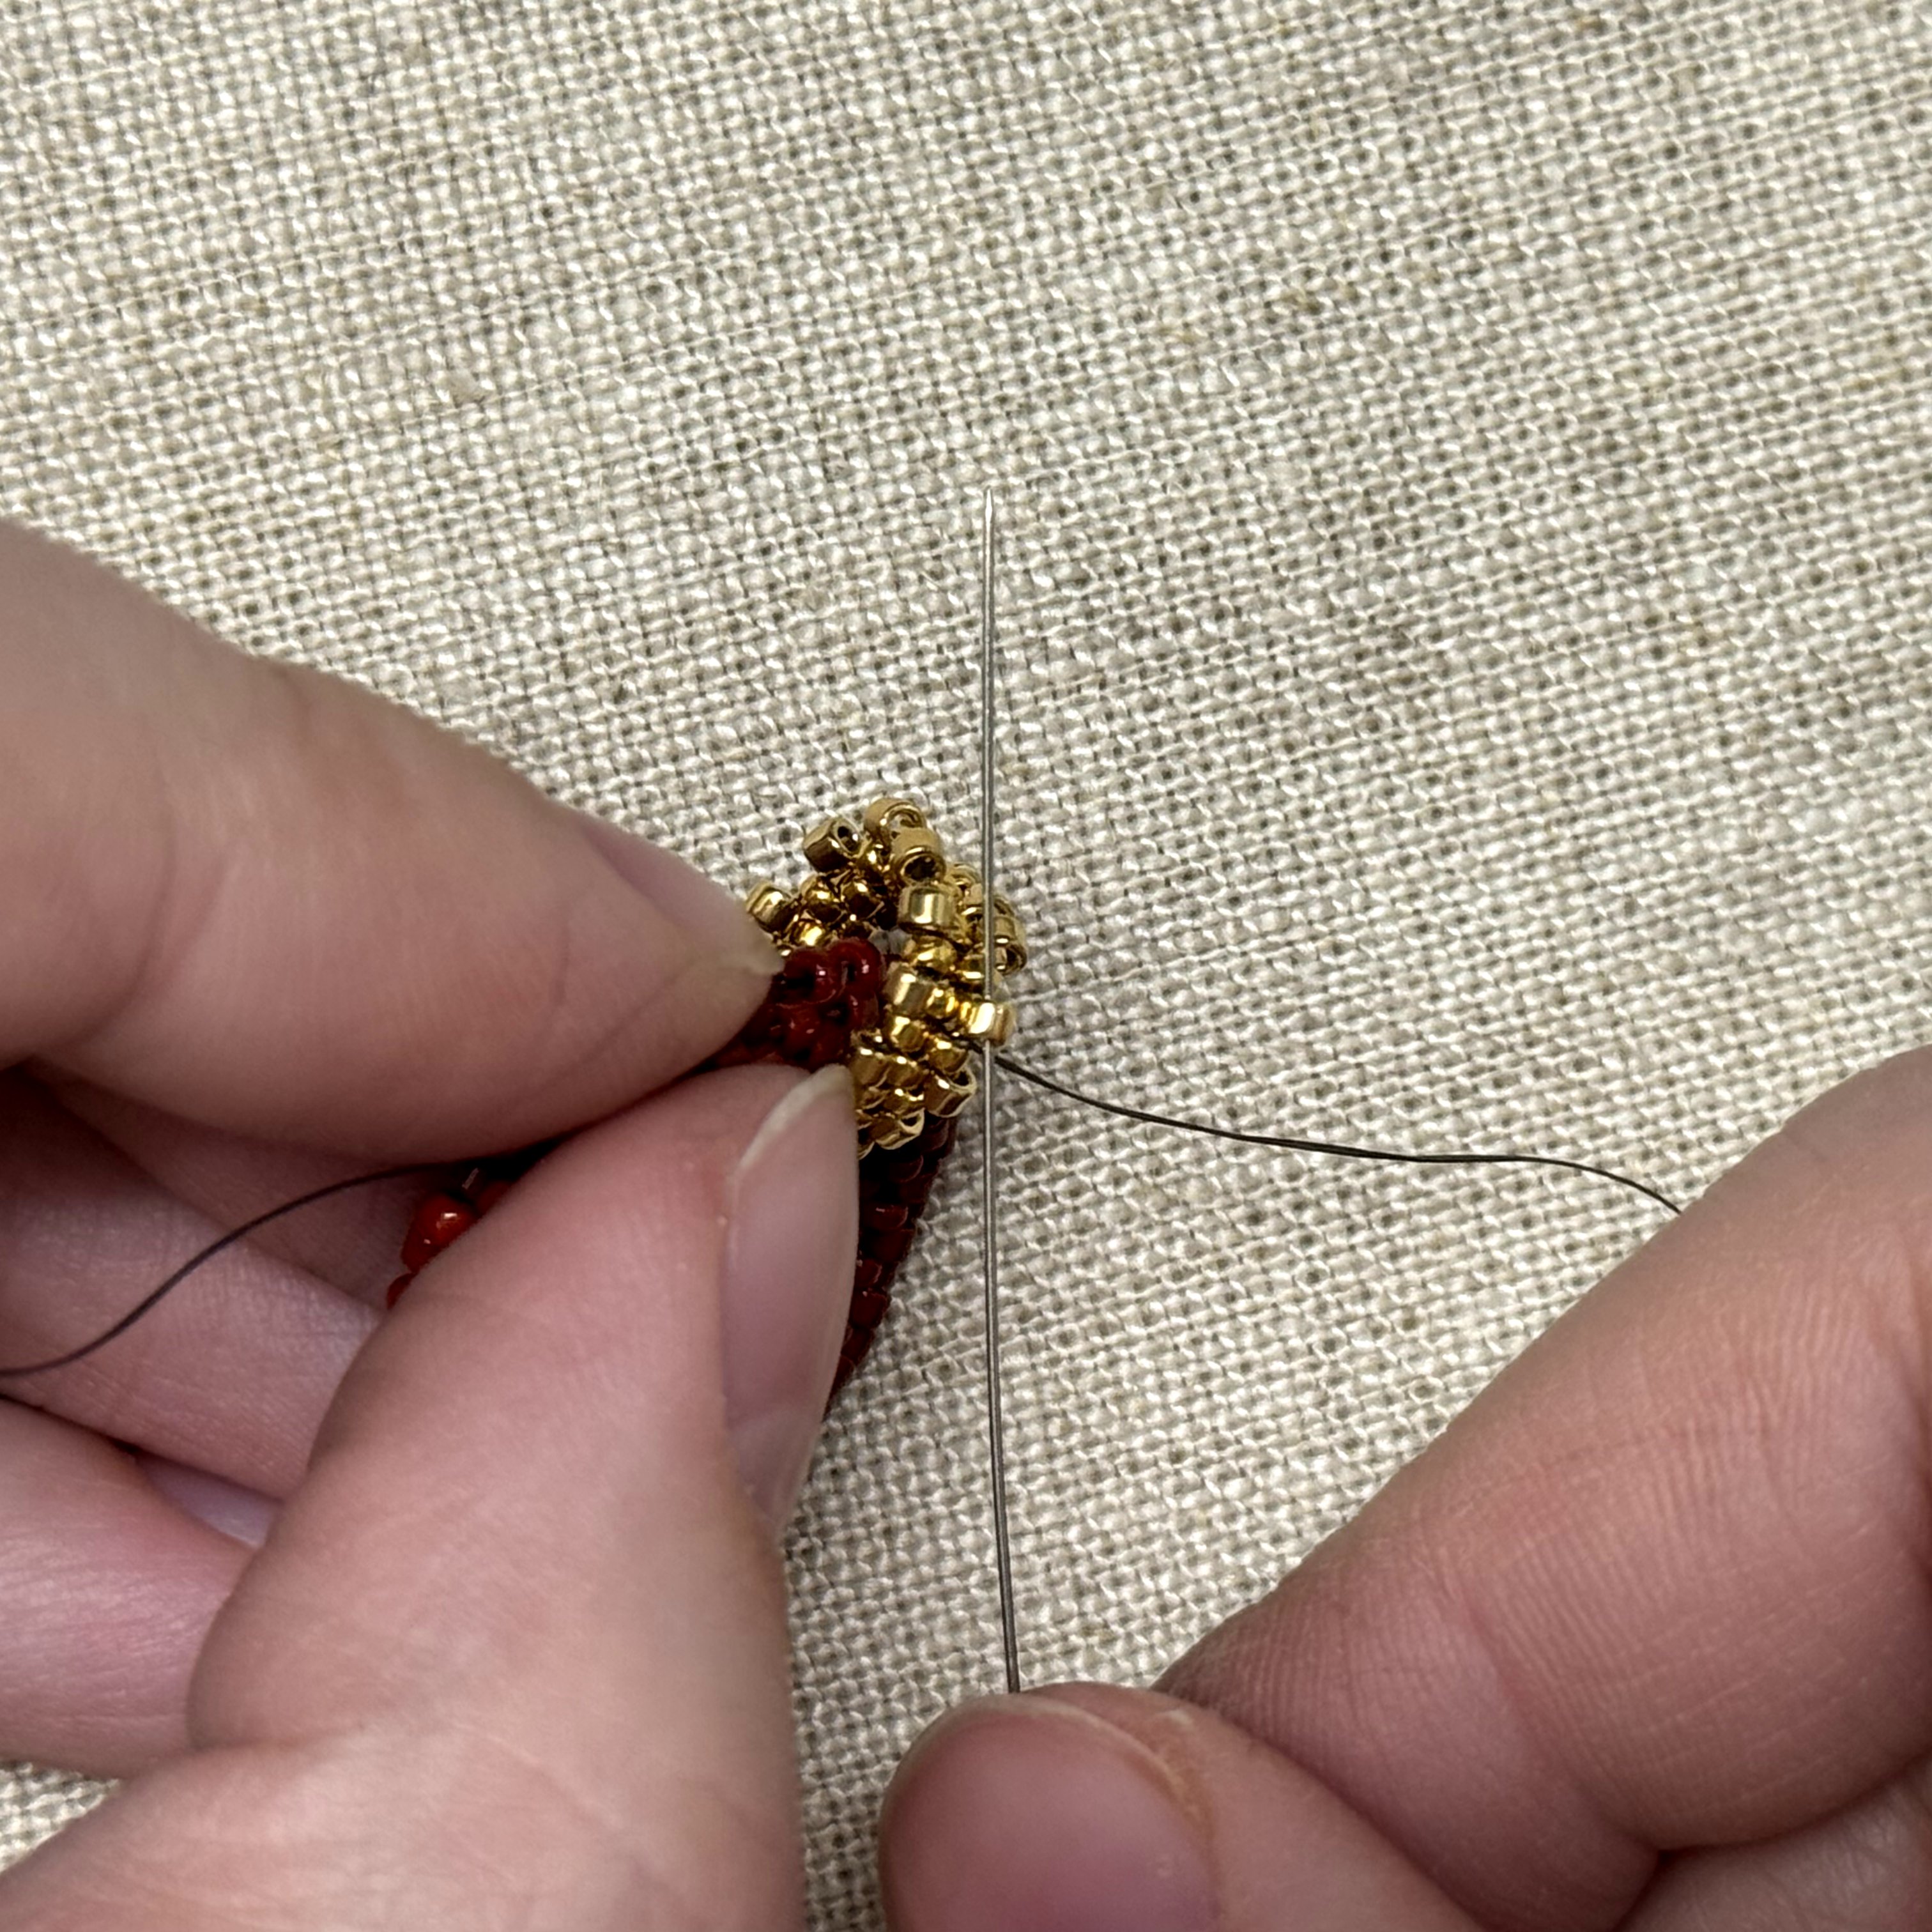
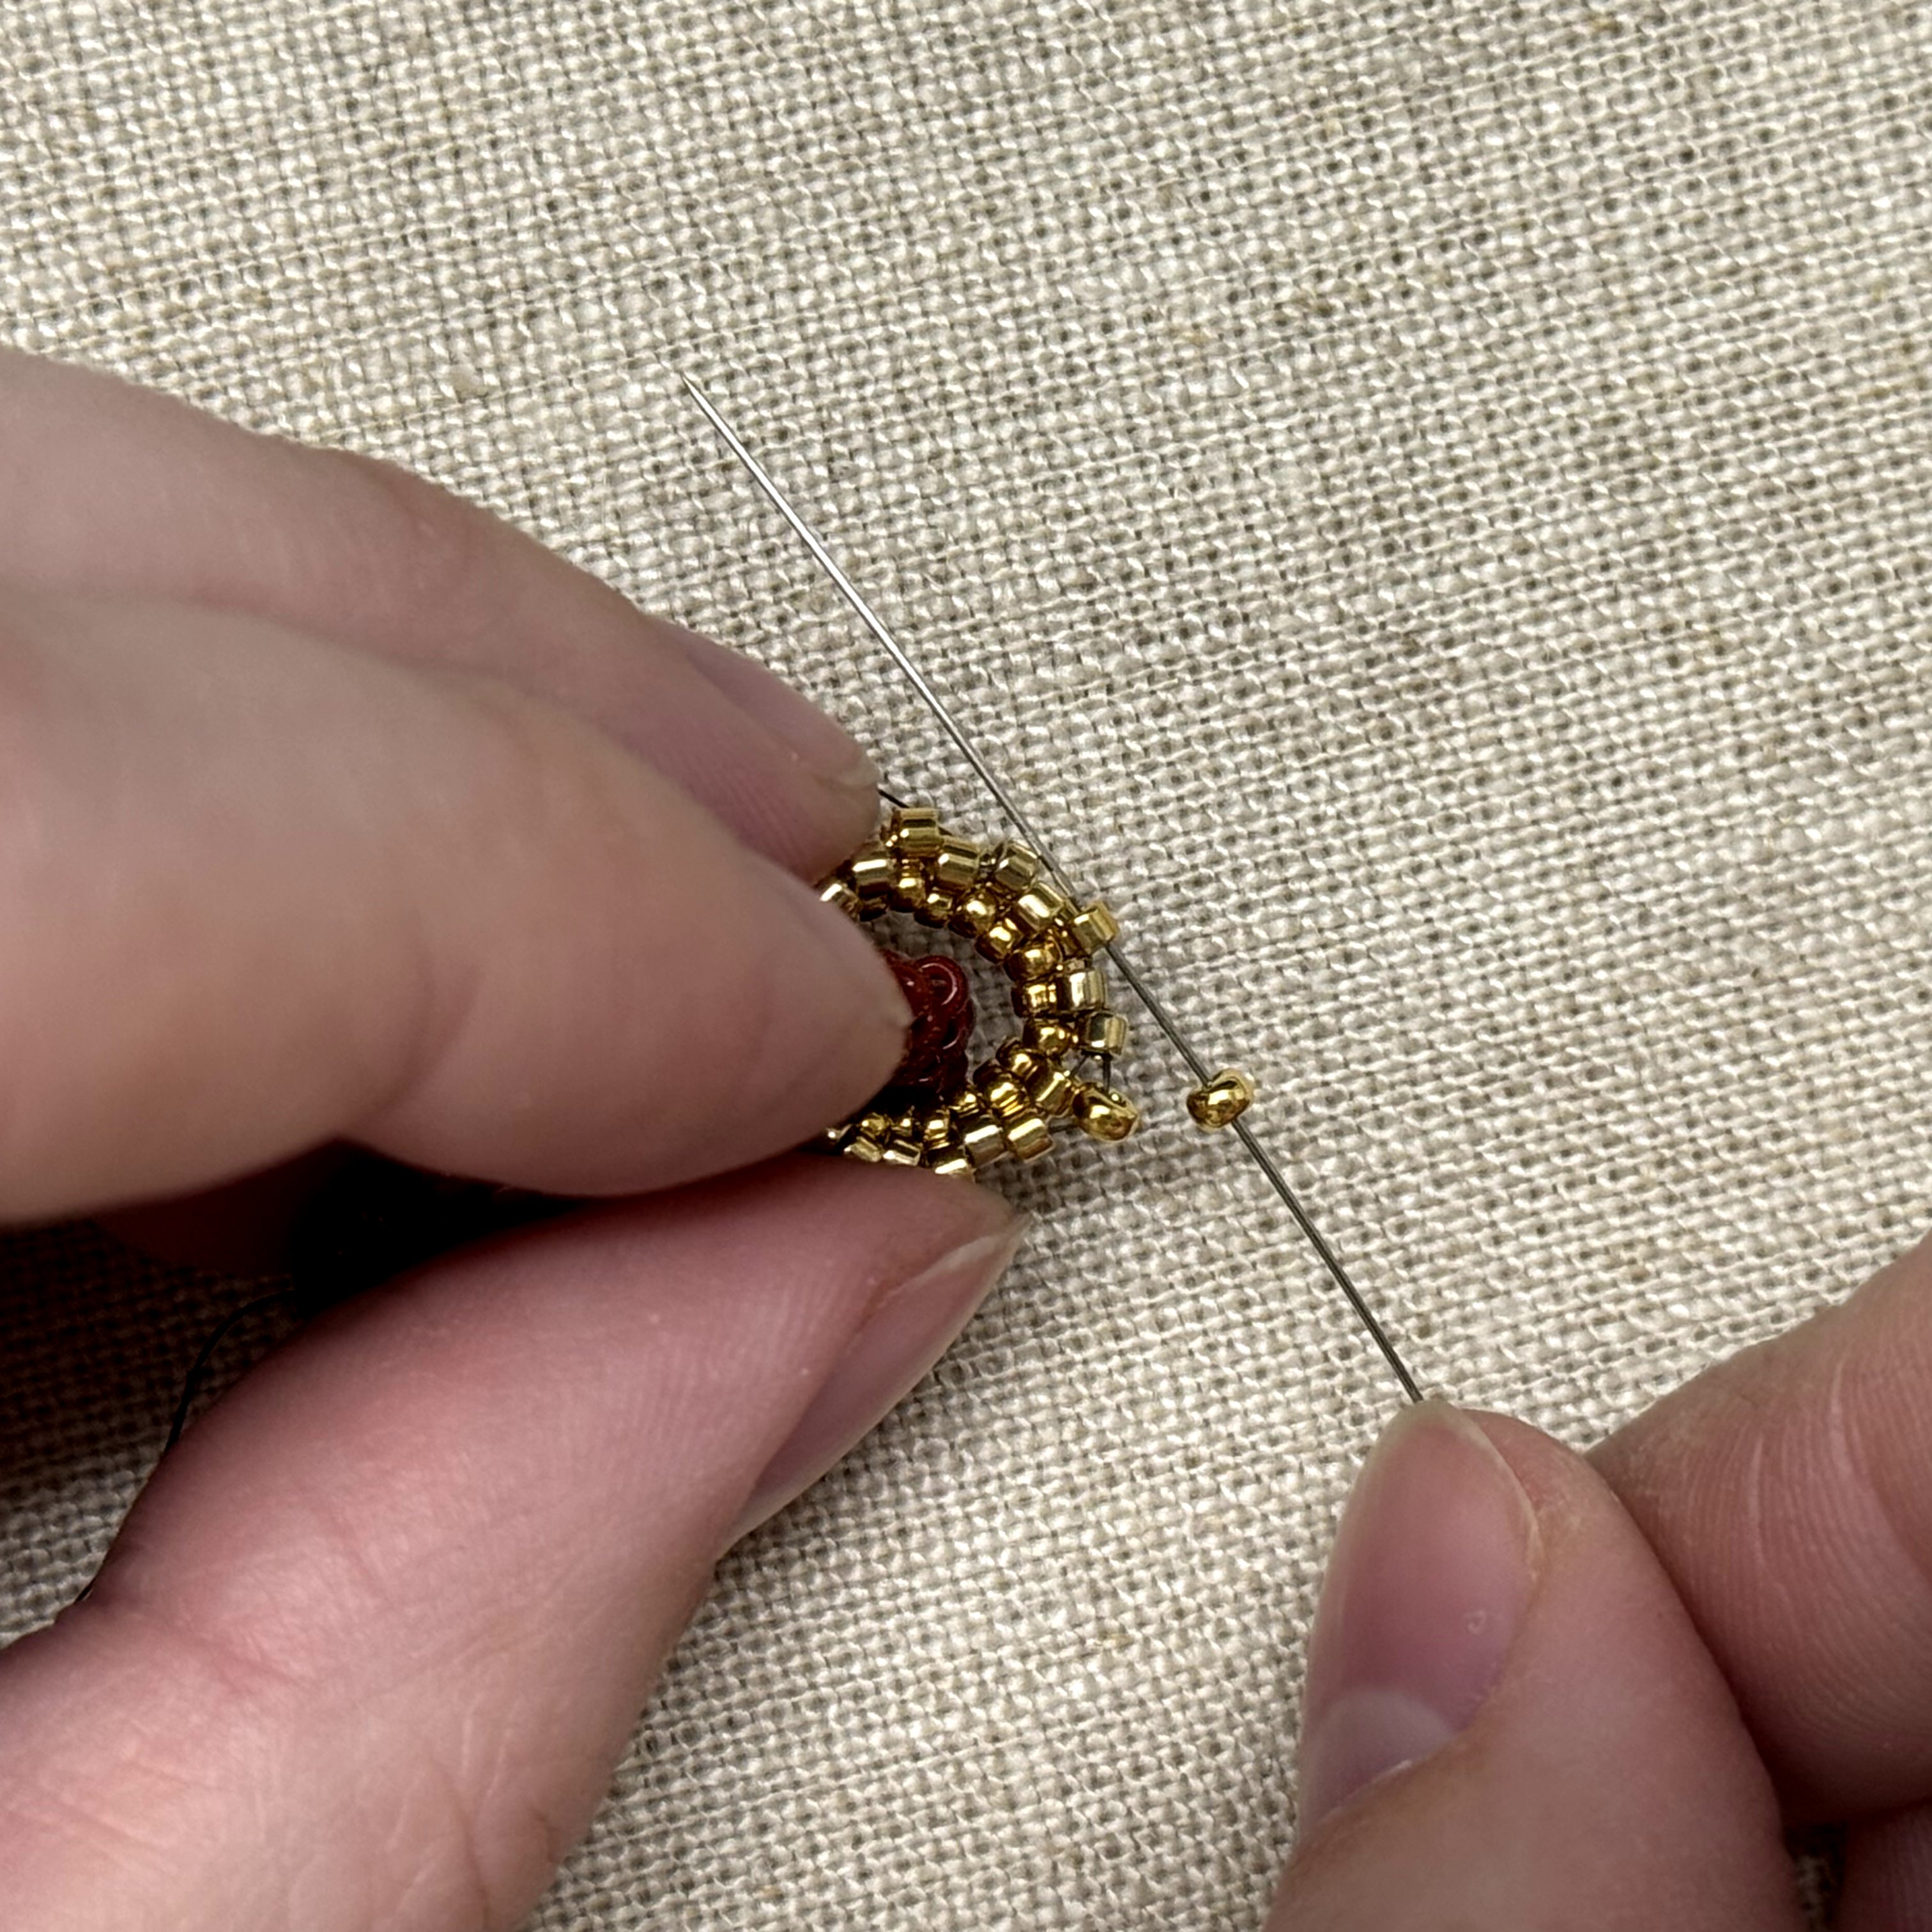
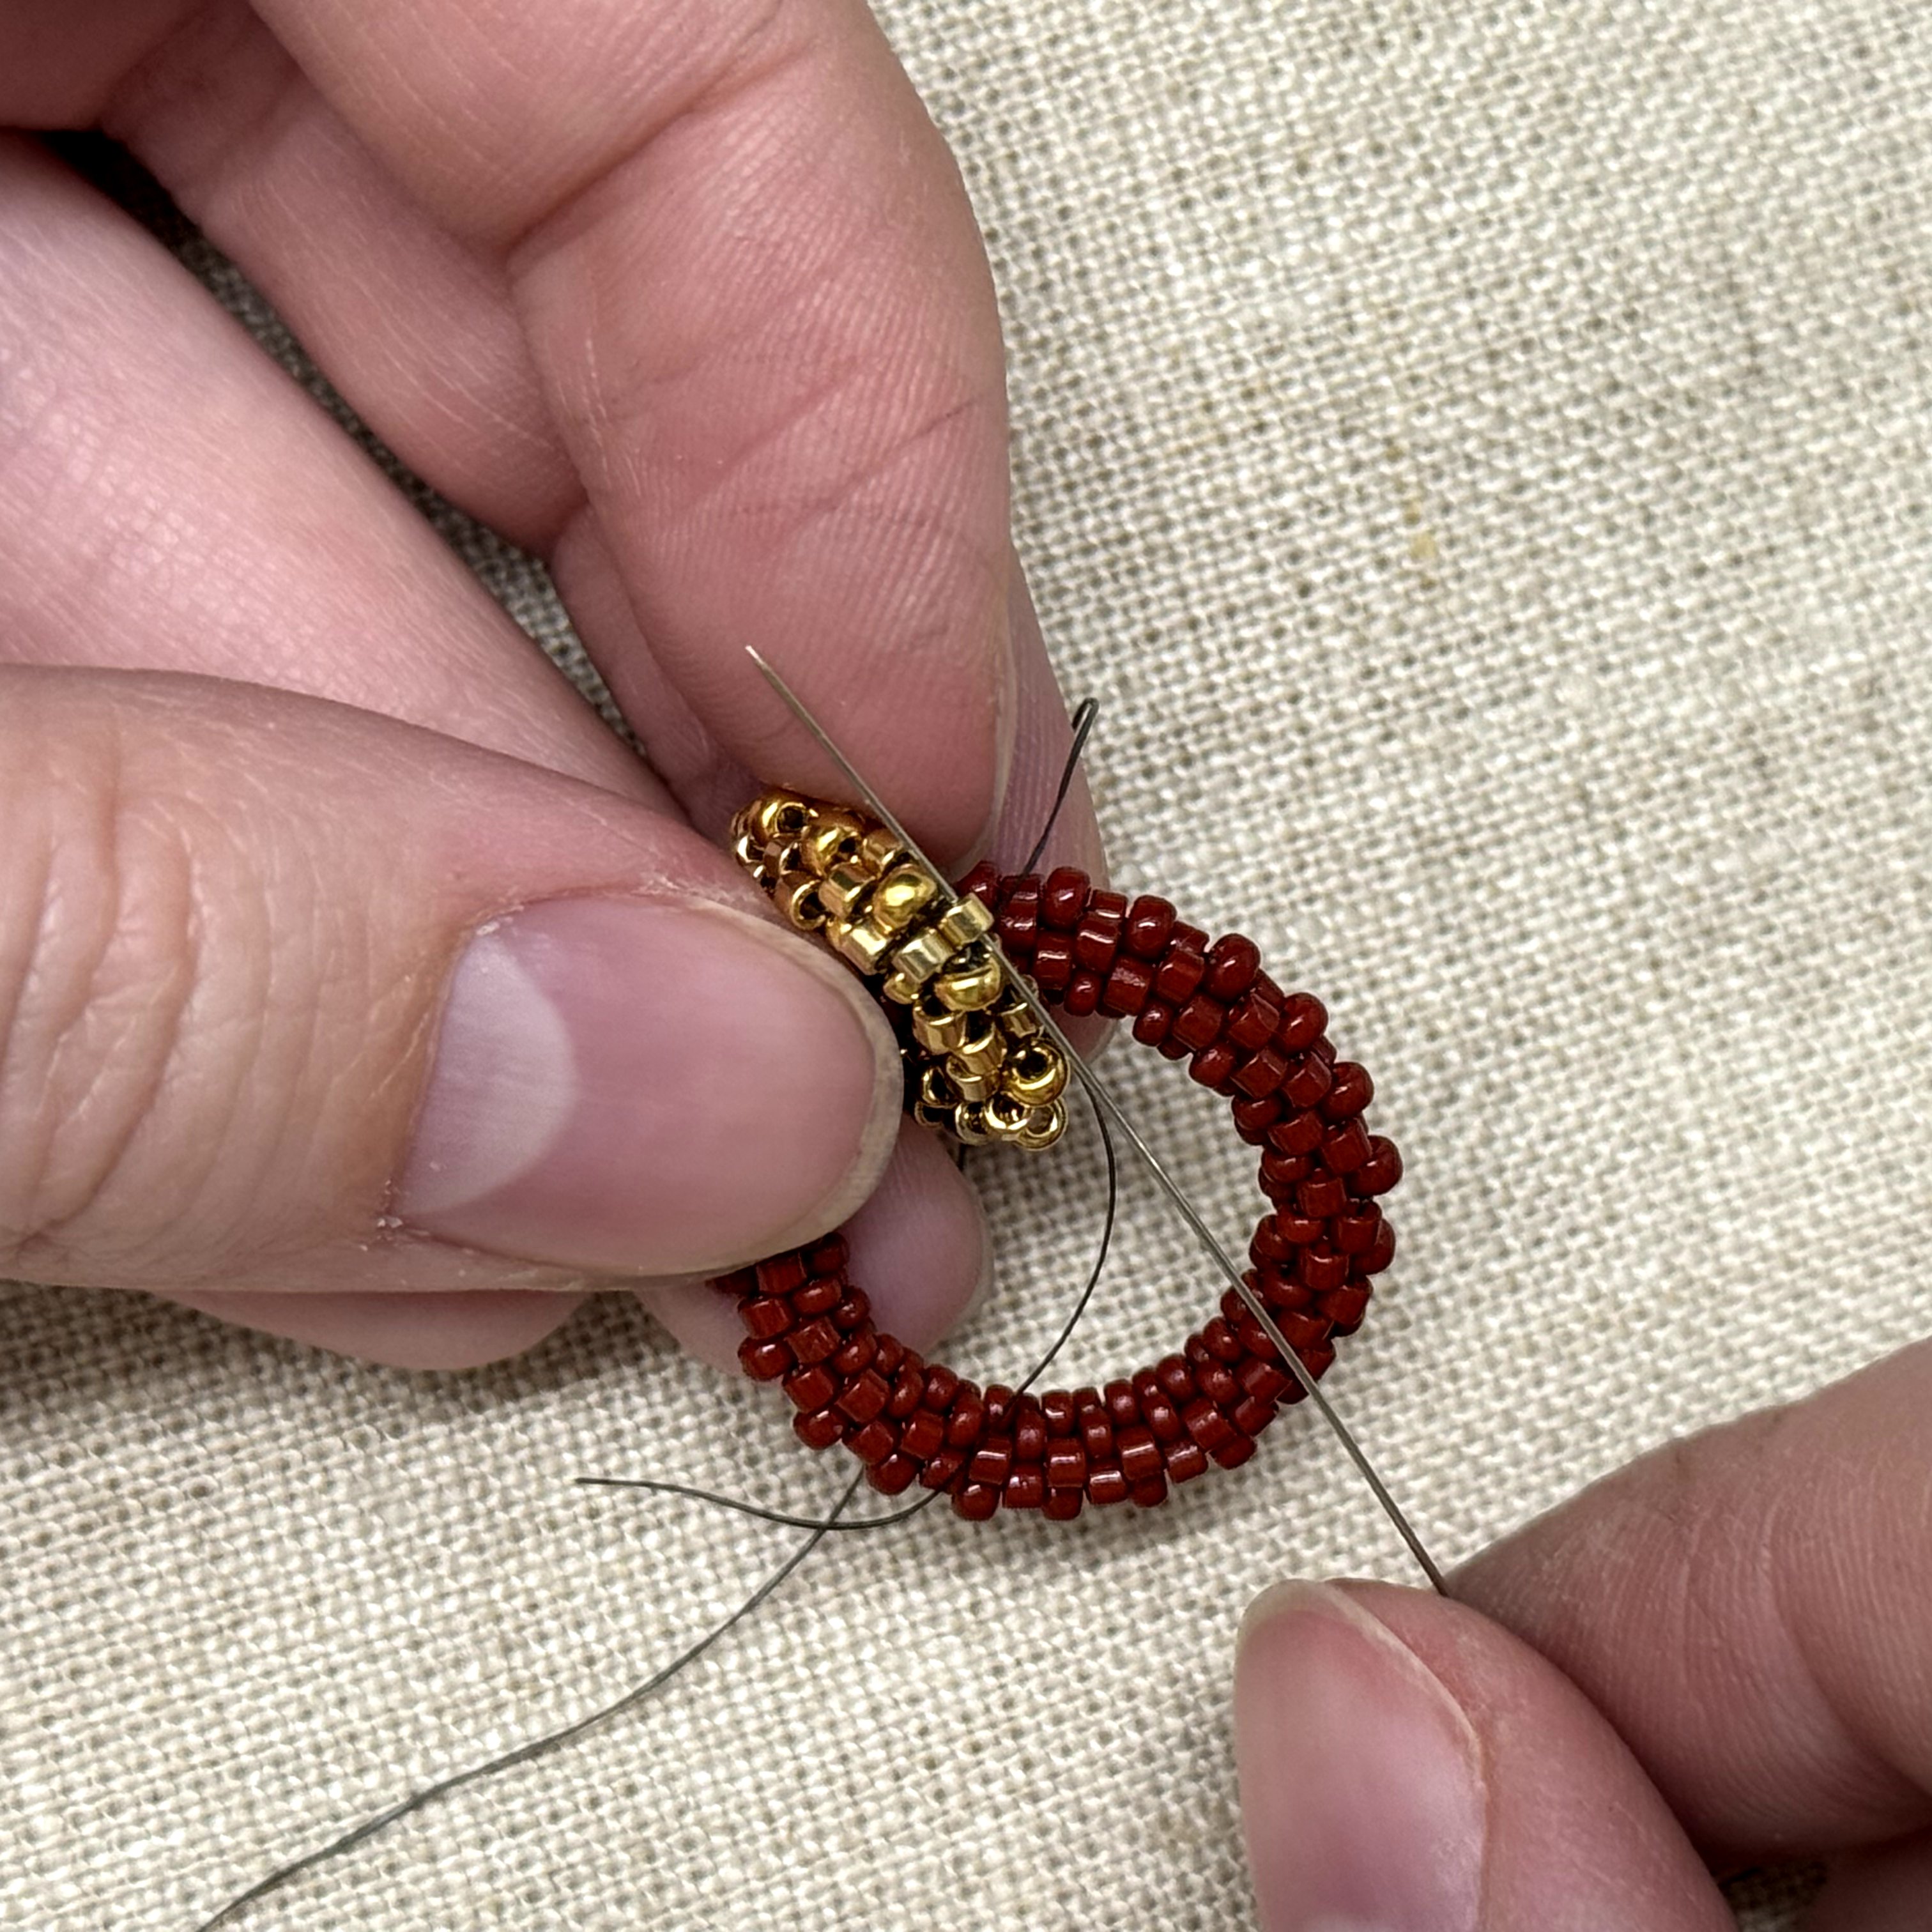
12. Once we have gone all the way around, we will create another layer of size 11 delicas. String on your delica in this step then thread the needle up through the size 15 seed bead and then the size 11 delica
13. Select a size 11 delica and thread the needle through the next delica in the pattern

14. Keep going around the ring until you have completed the right side. Finish by threading the needle through the delica shown
15. We will now go diagonally left, through the size 15 seed beads, over to the opposite side of our project
16. You can go one by one through the beads or through a few at a time
17. Then up through a delica bead
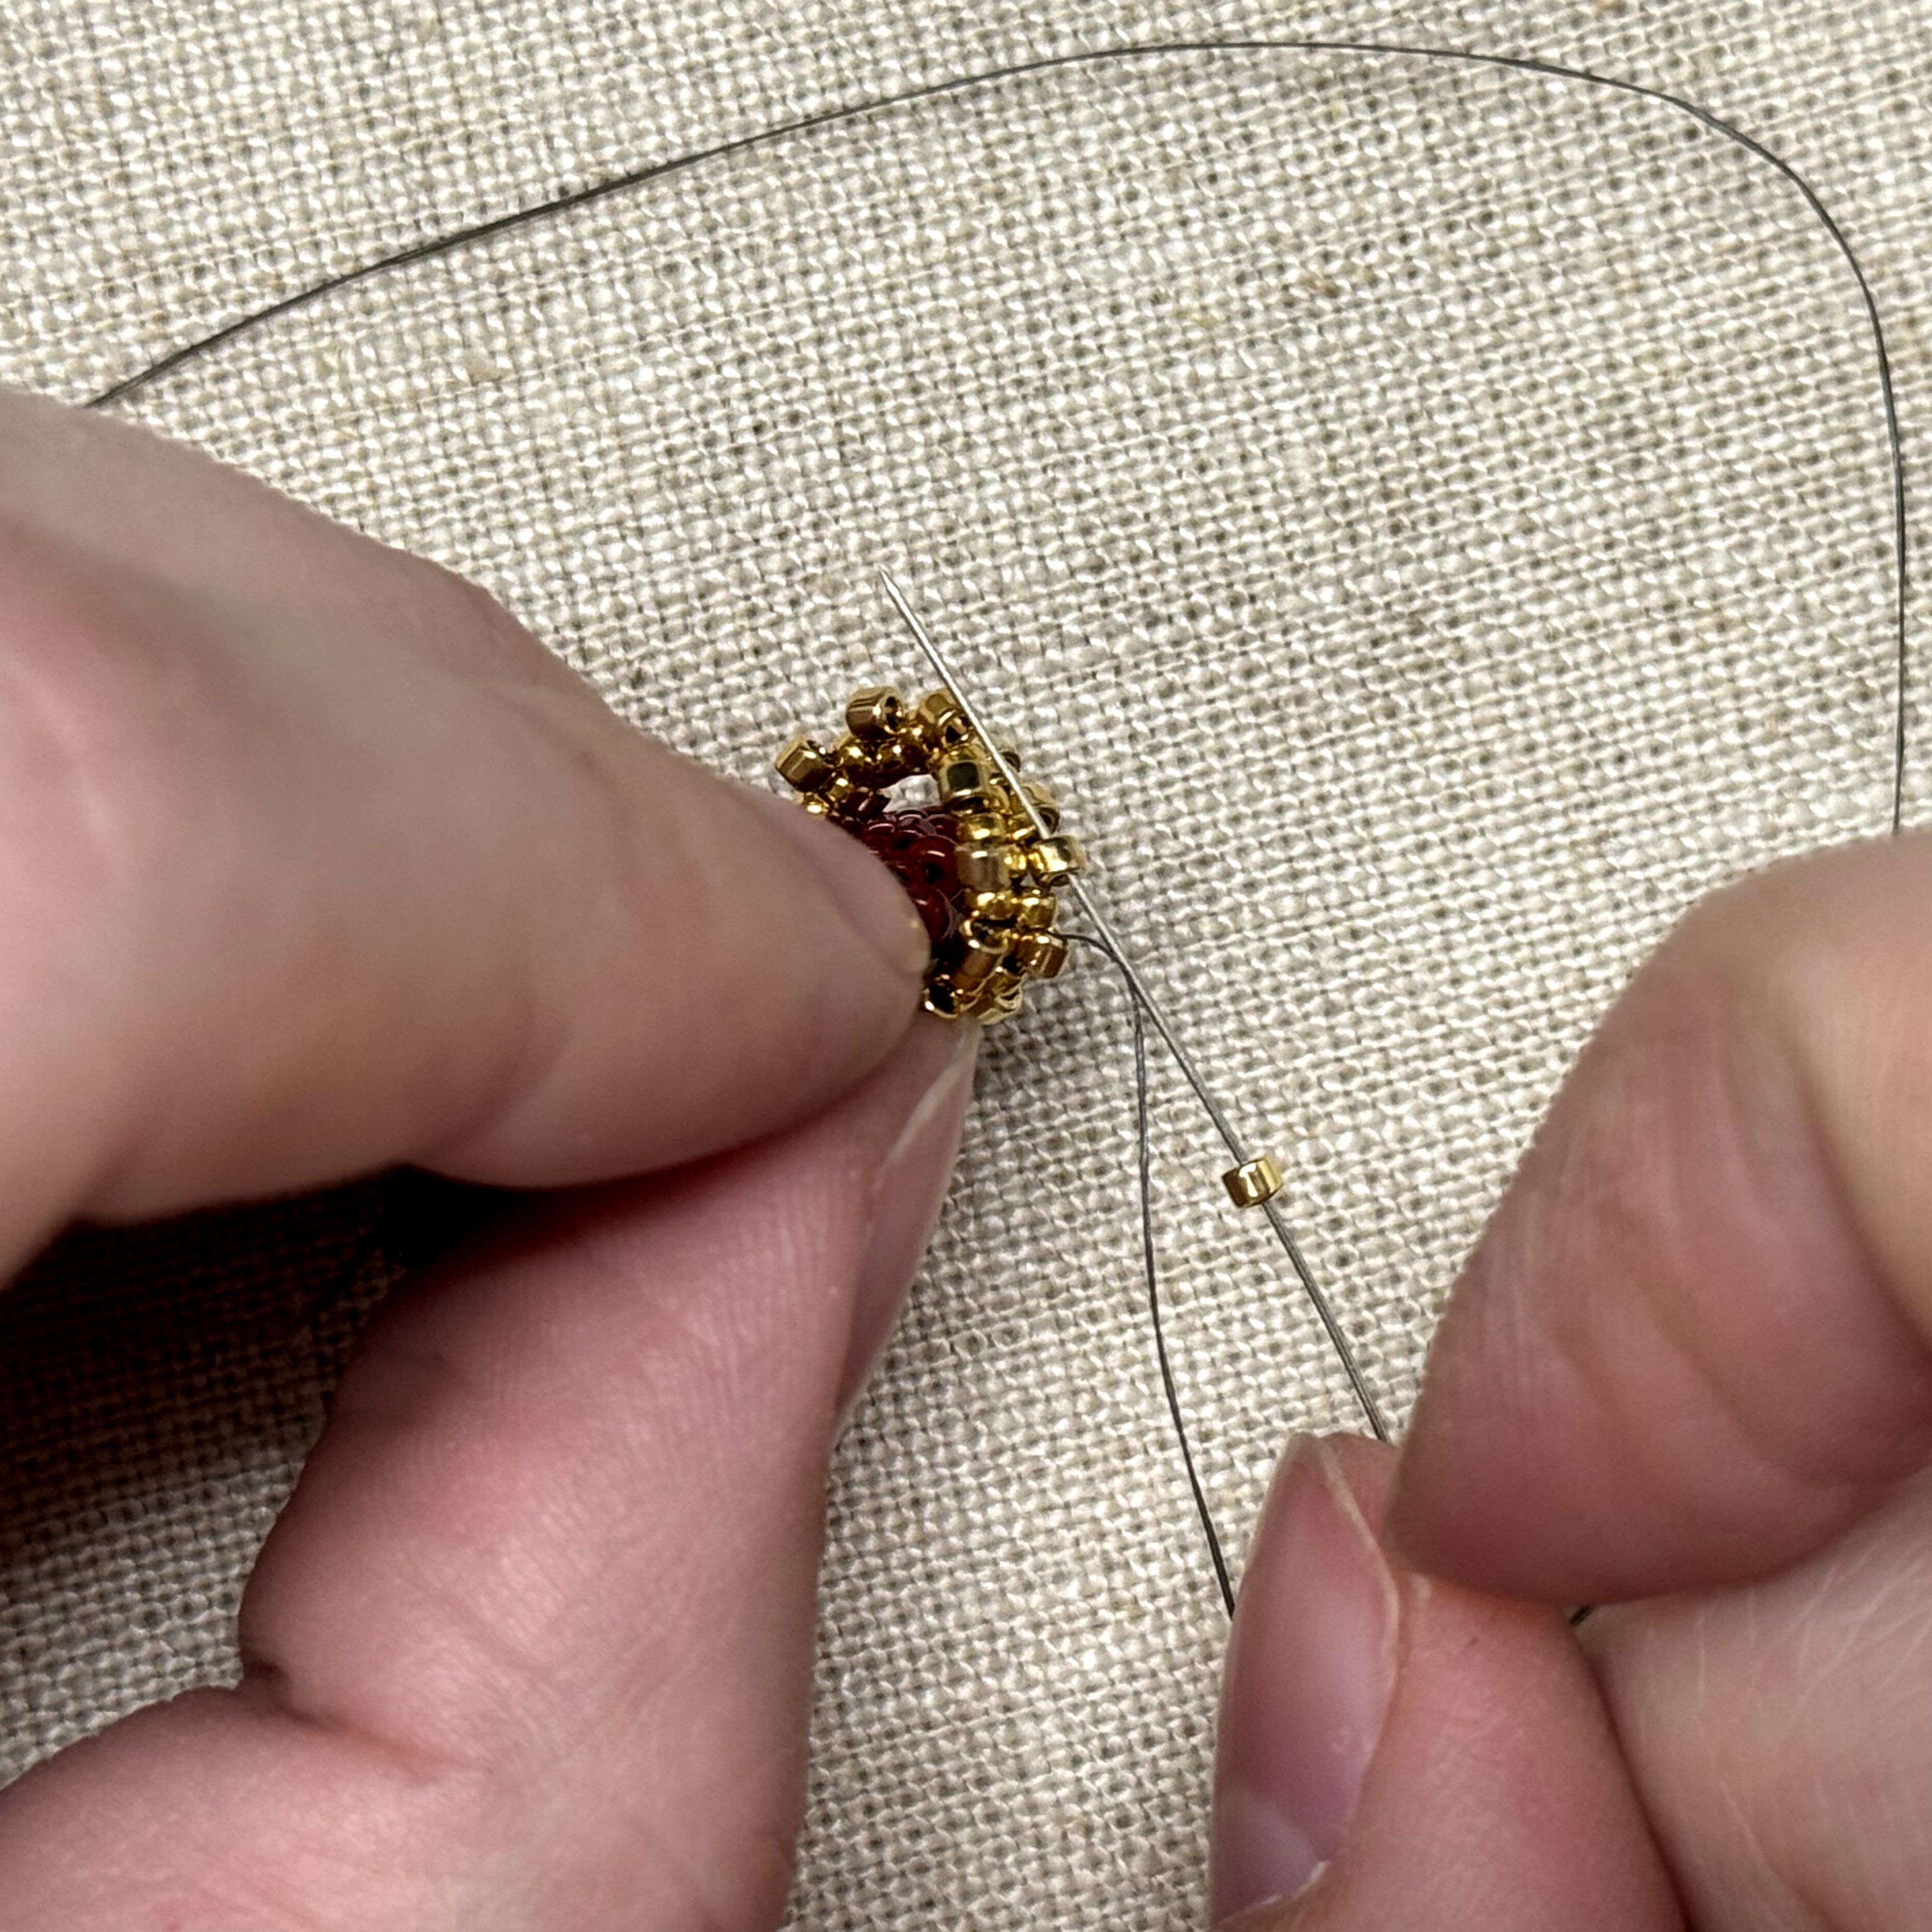
18.Select a delica bead then thread the needle through the delica shown, filling in the pattern until you get all the way around
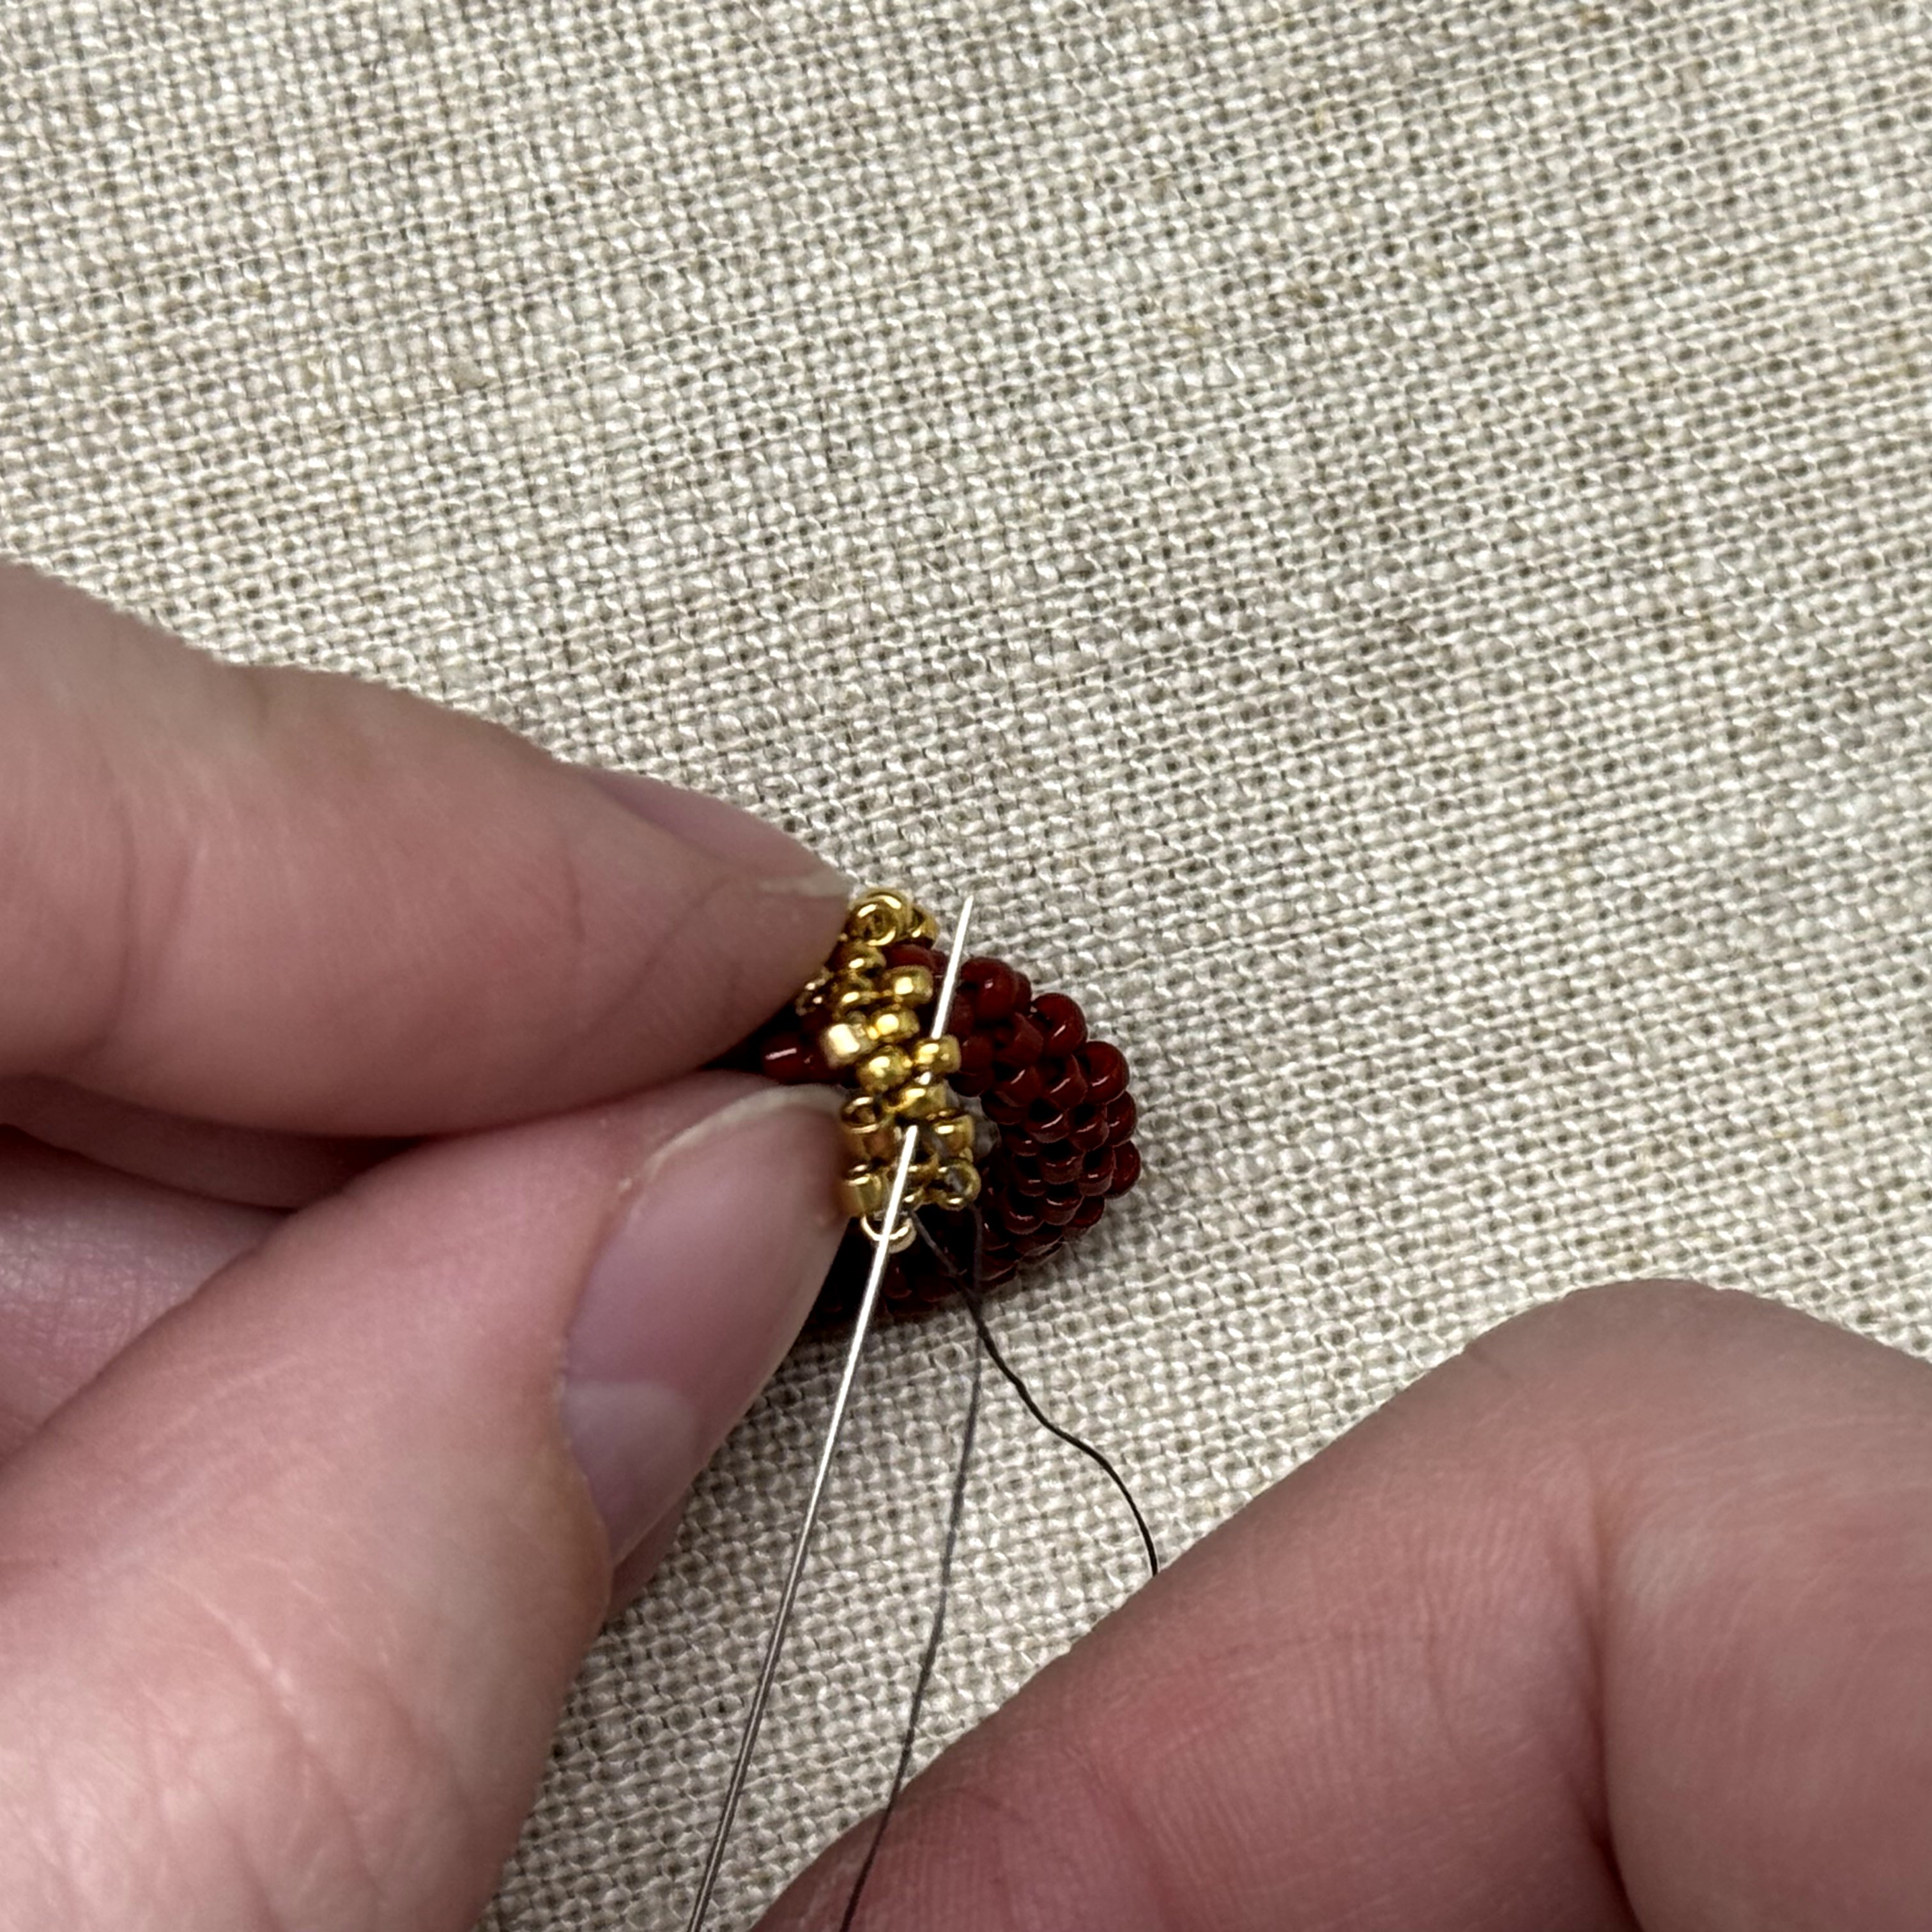
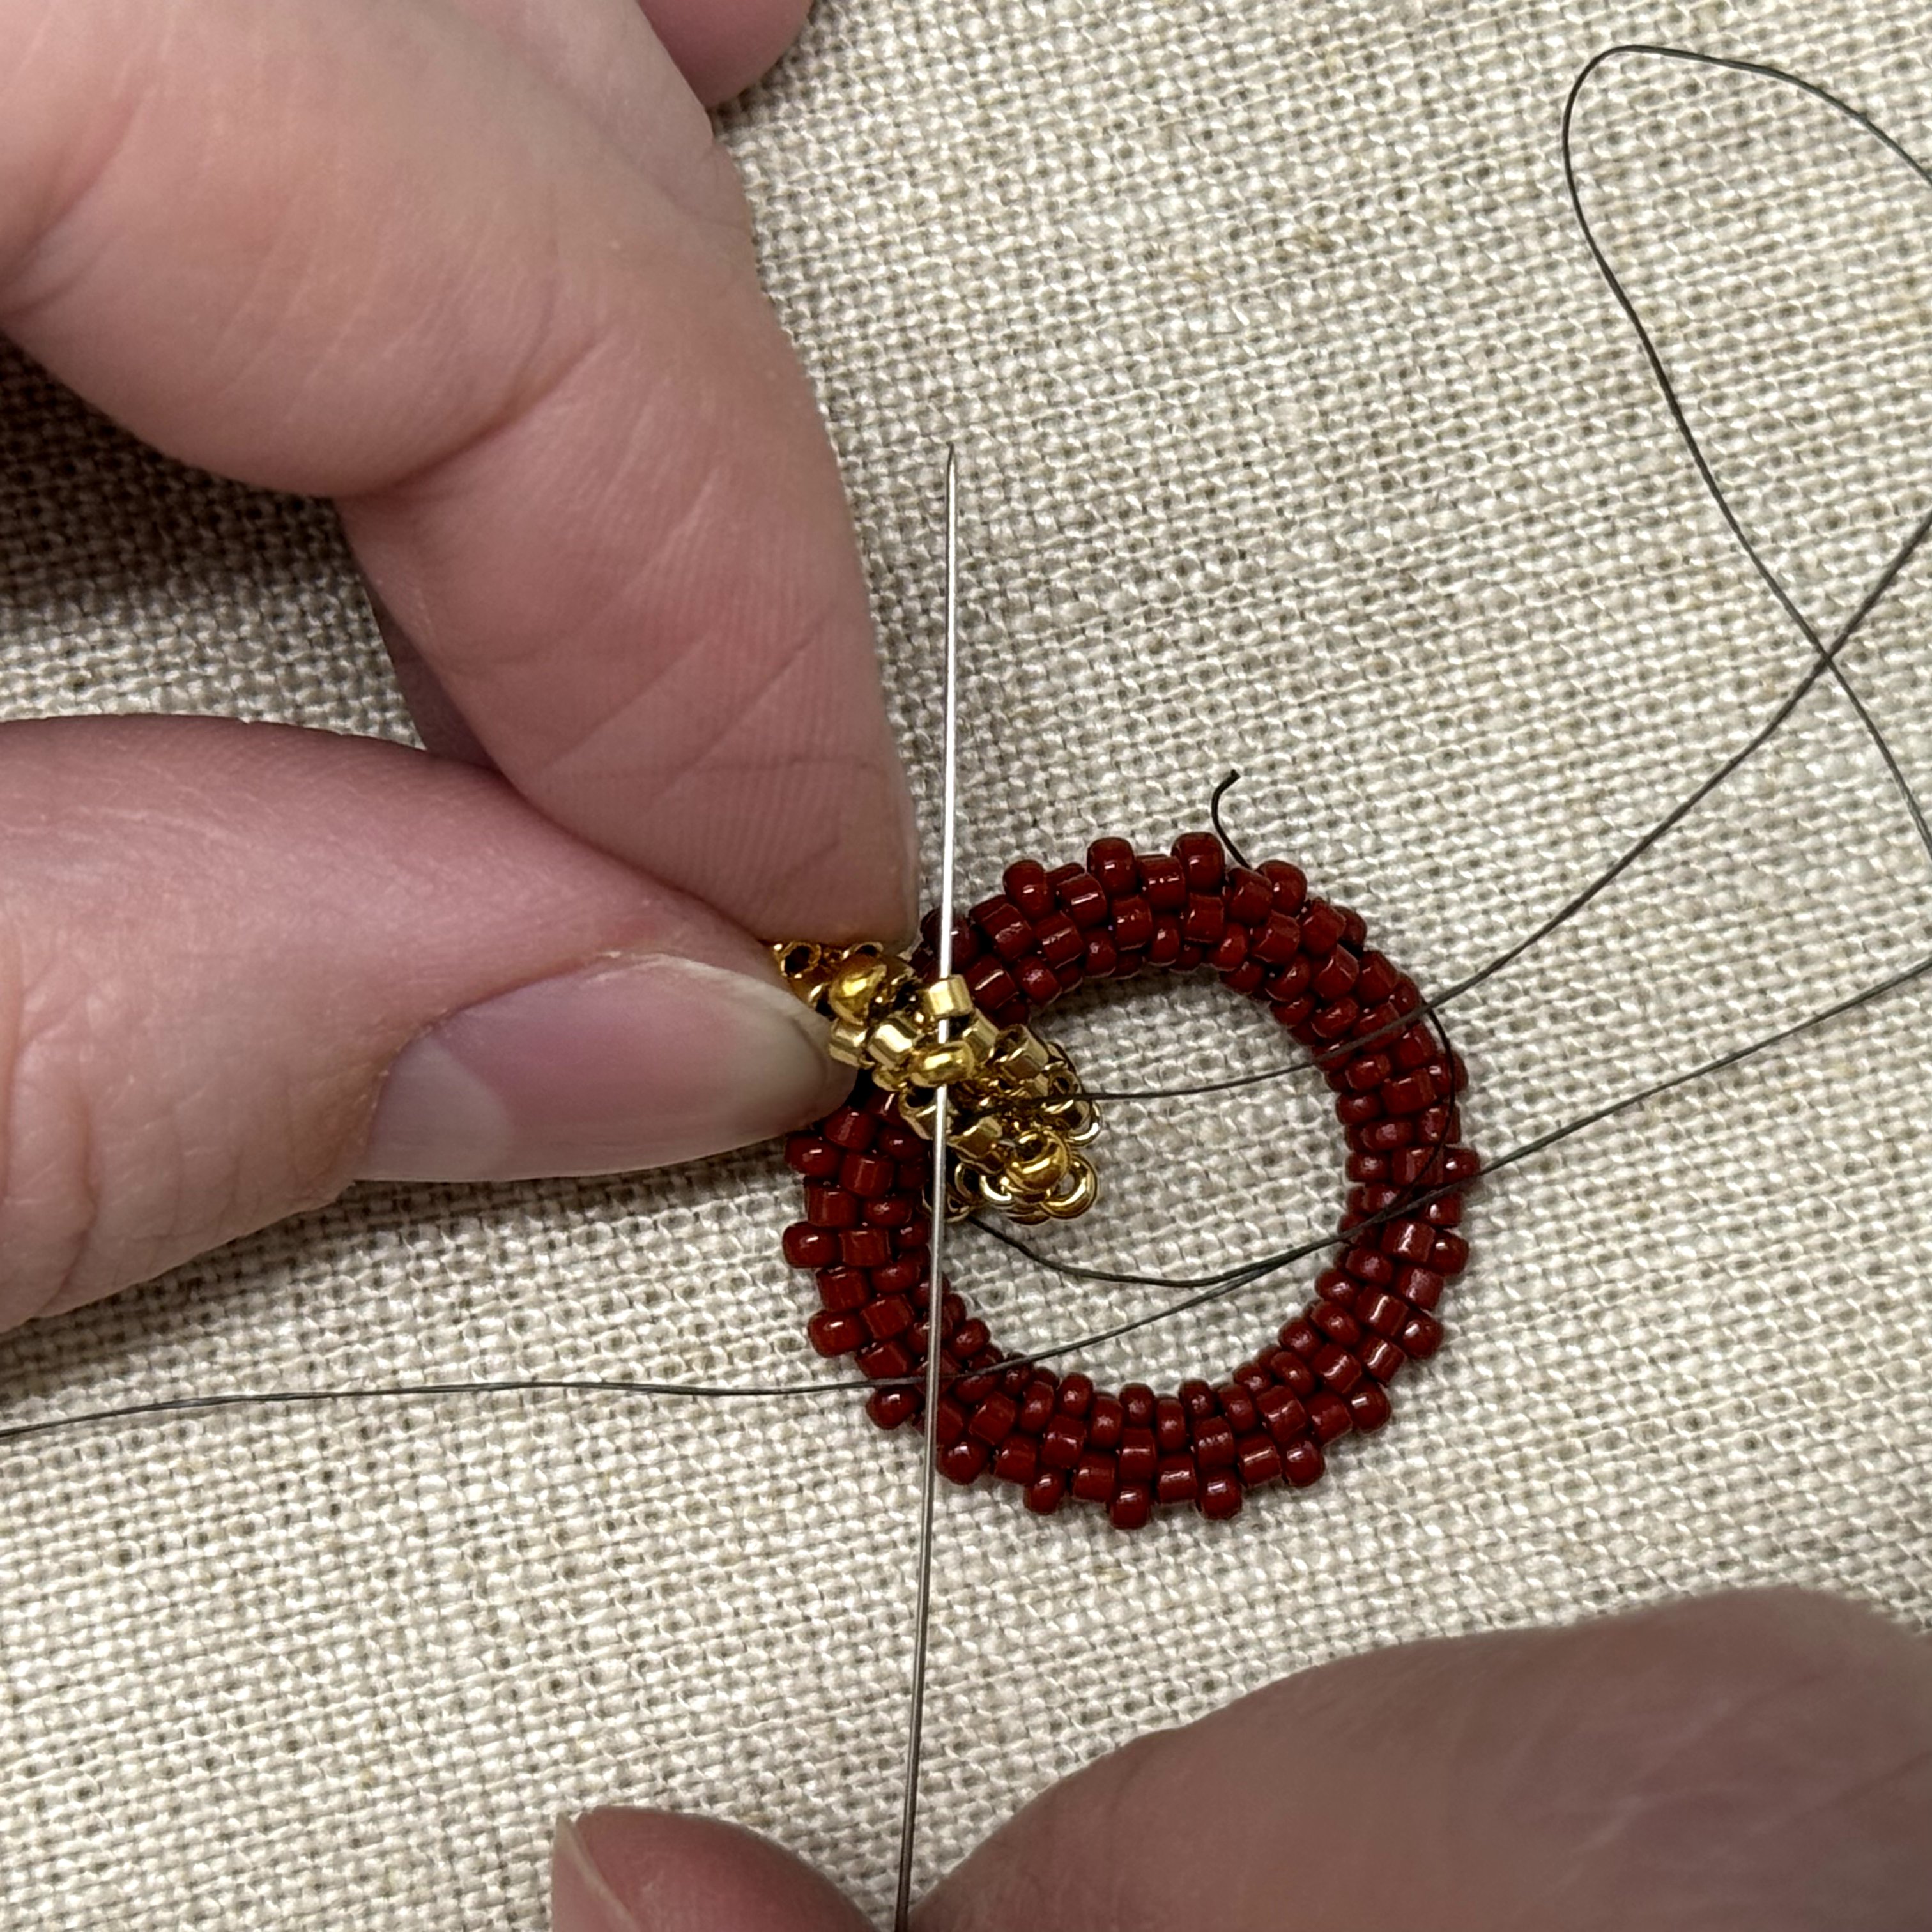
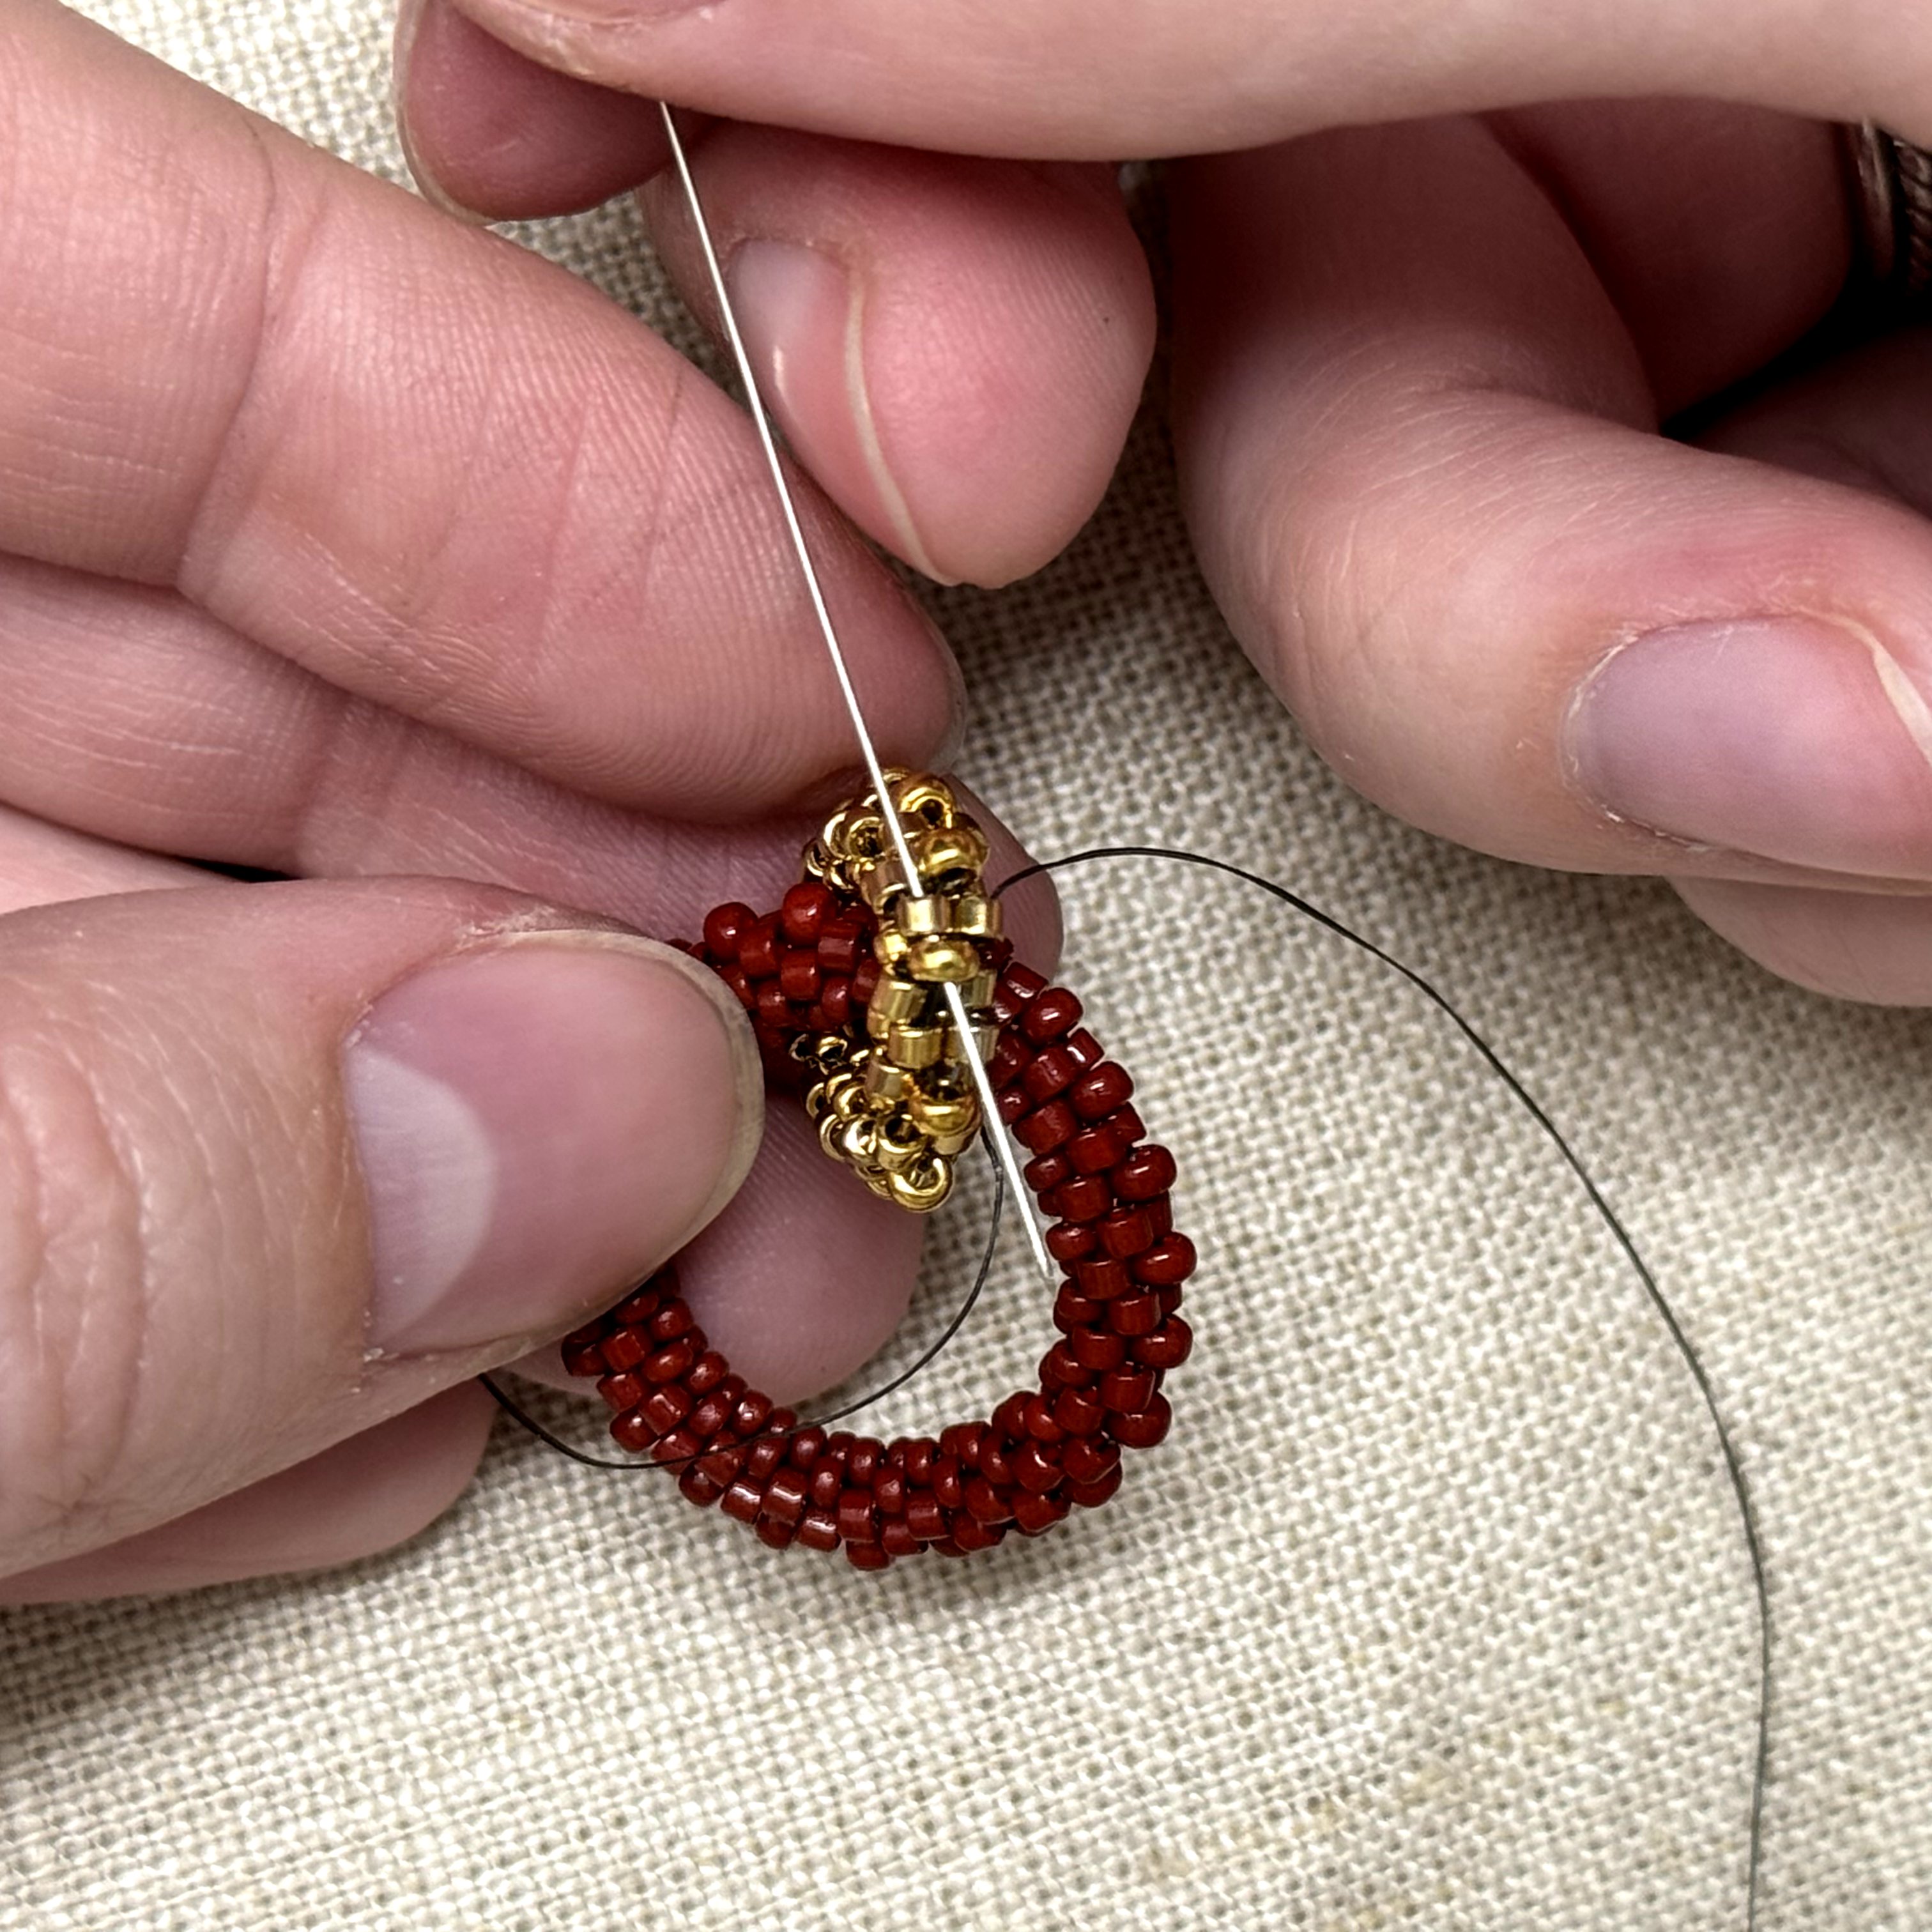
19. Once you have gone completely around the ring with a layer of delicas, we will create a whole other layer but with size 11 seed beads. Select a size 11 seed bead and thread the needle through the next delica along the pattern
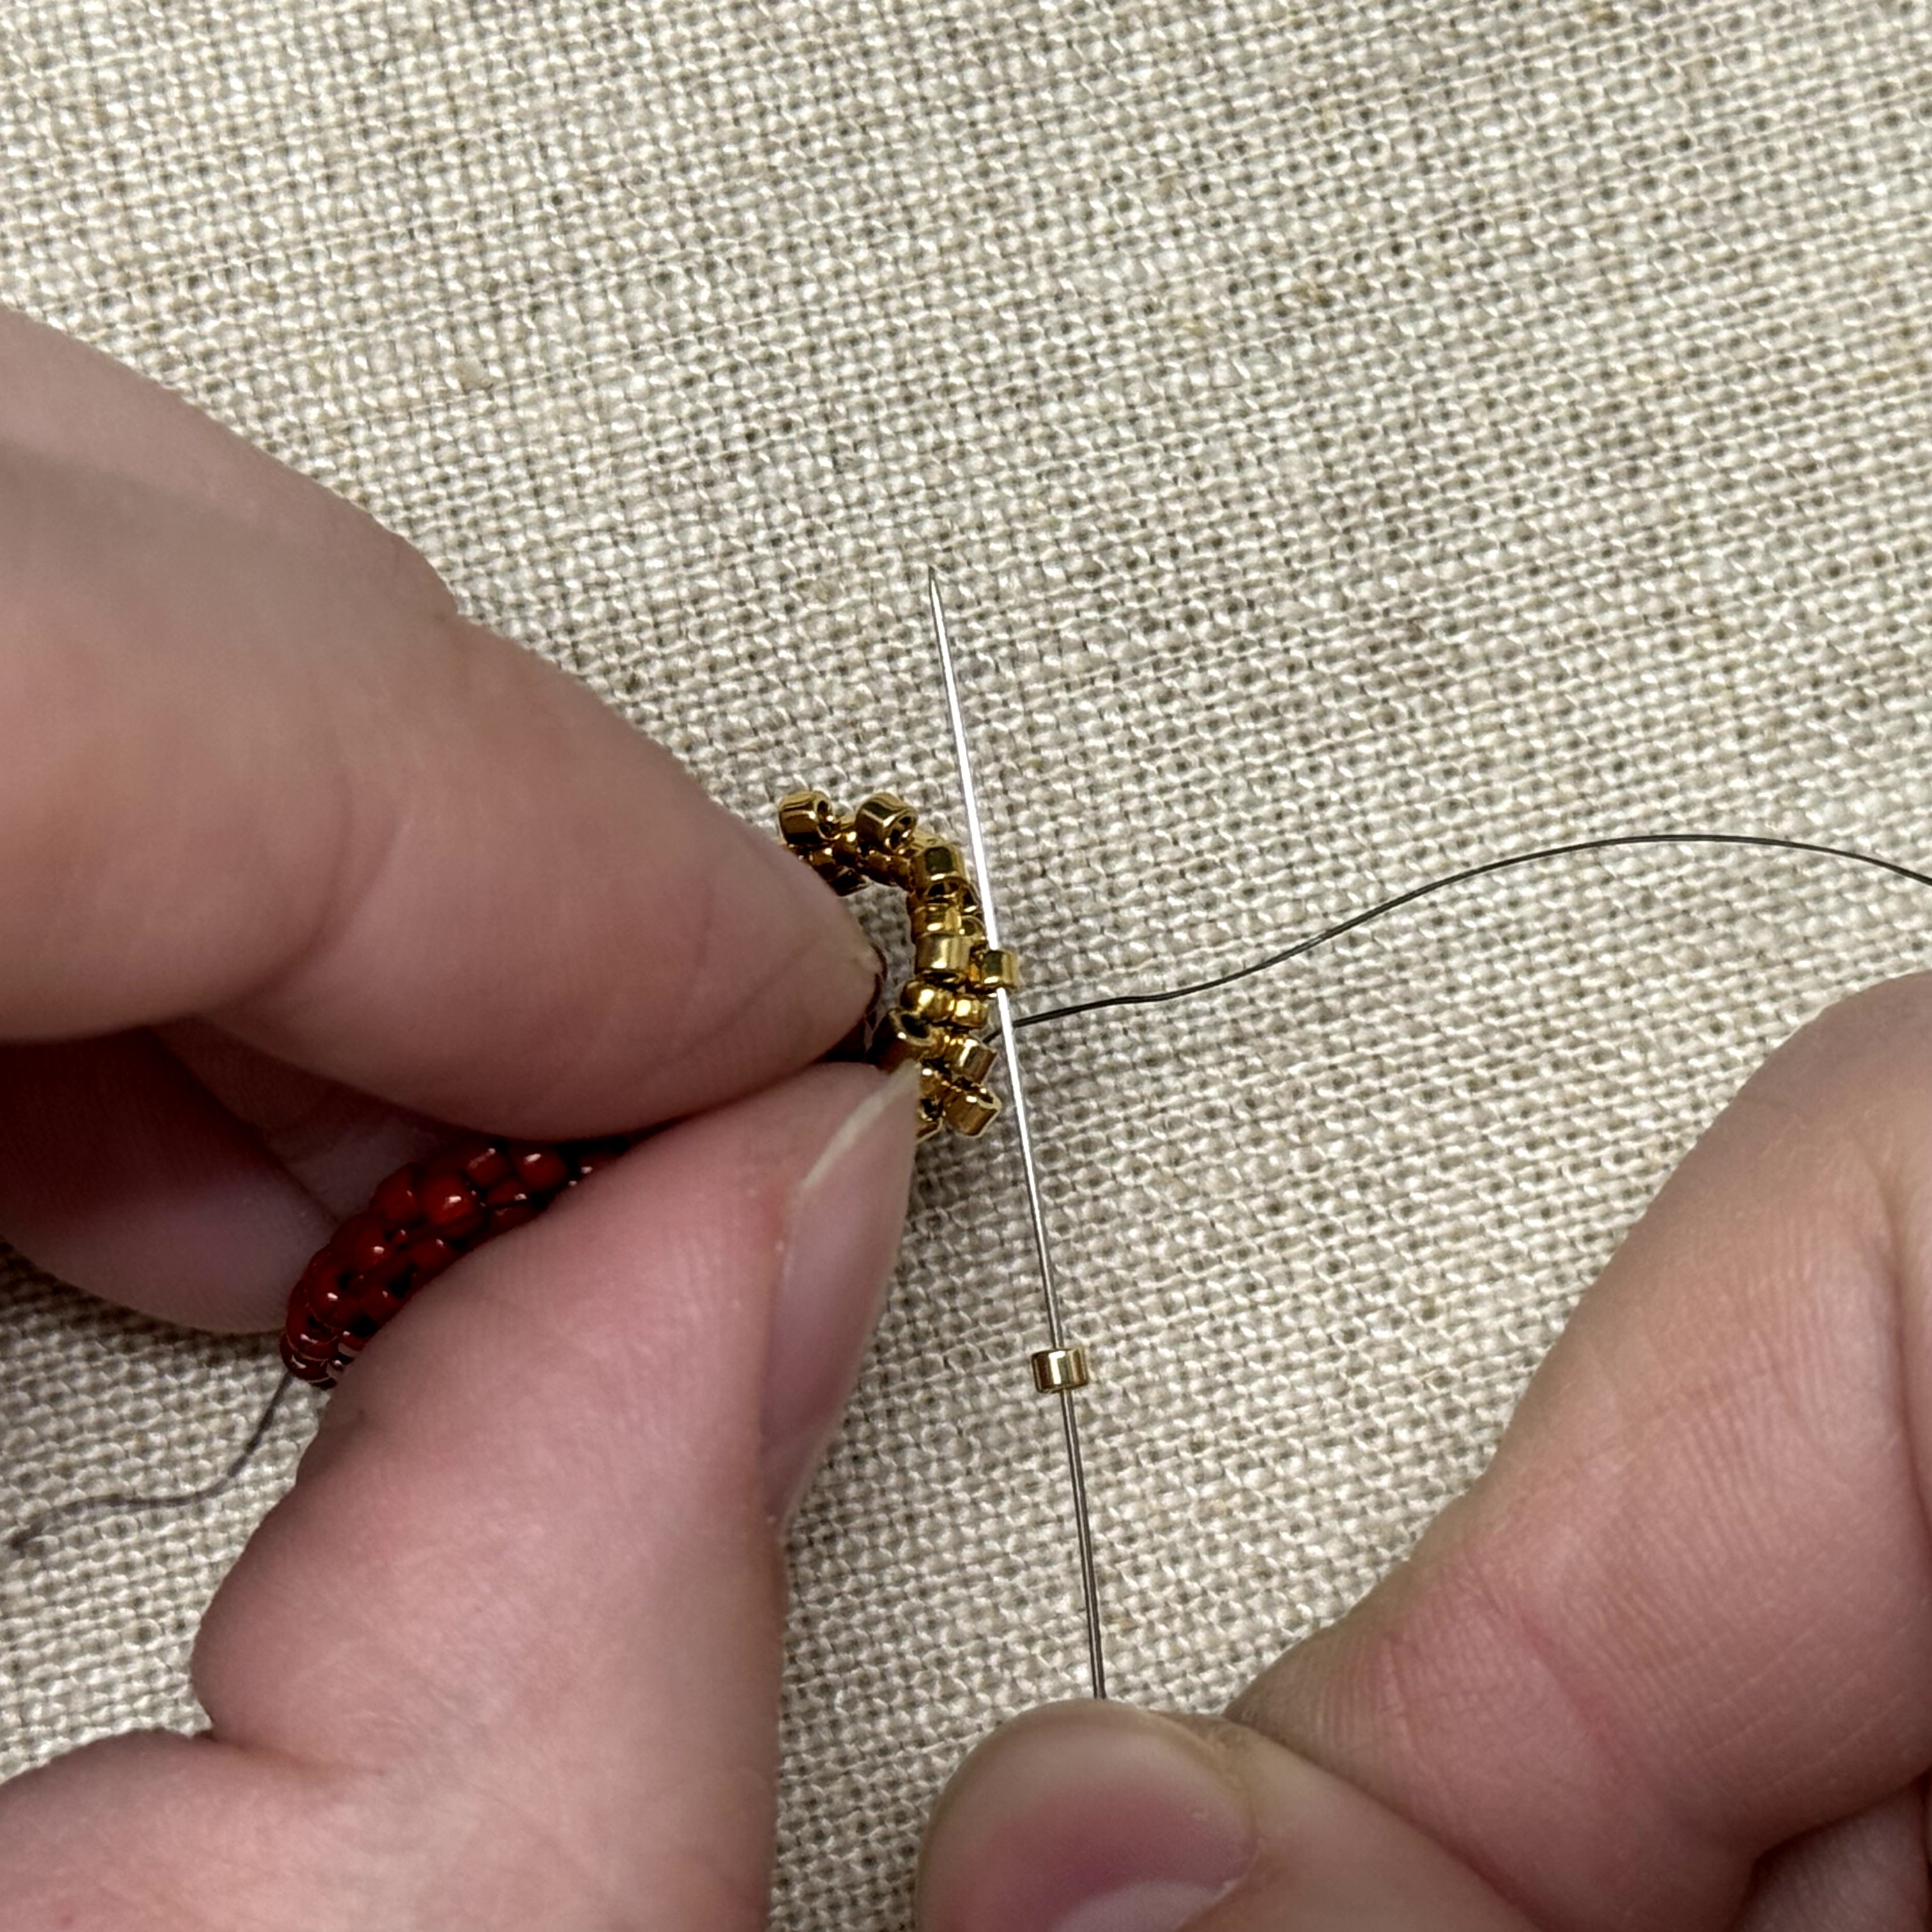
20. Keep going around with the size 11 seed beads, one by one, weaving through delicas
21.Once you have gone around the ring and are at the last of the size 11 beads, thread the needle up through the delica bead and the first size 11 bead you had added in the pattern

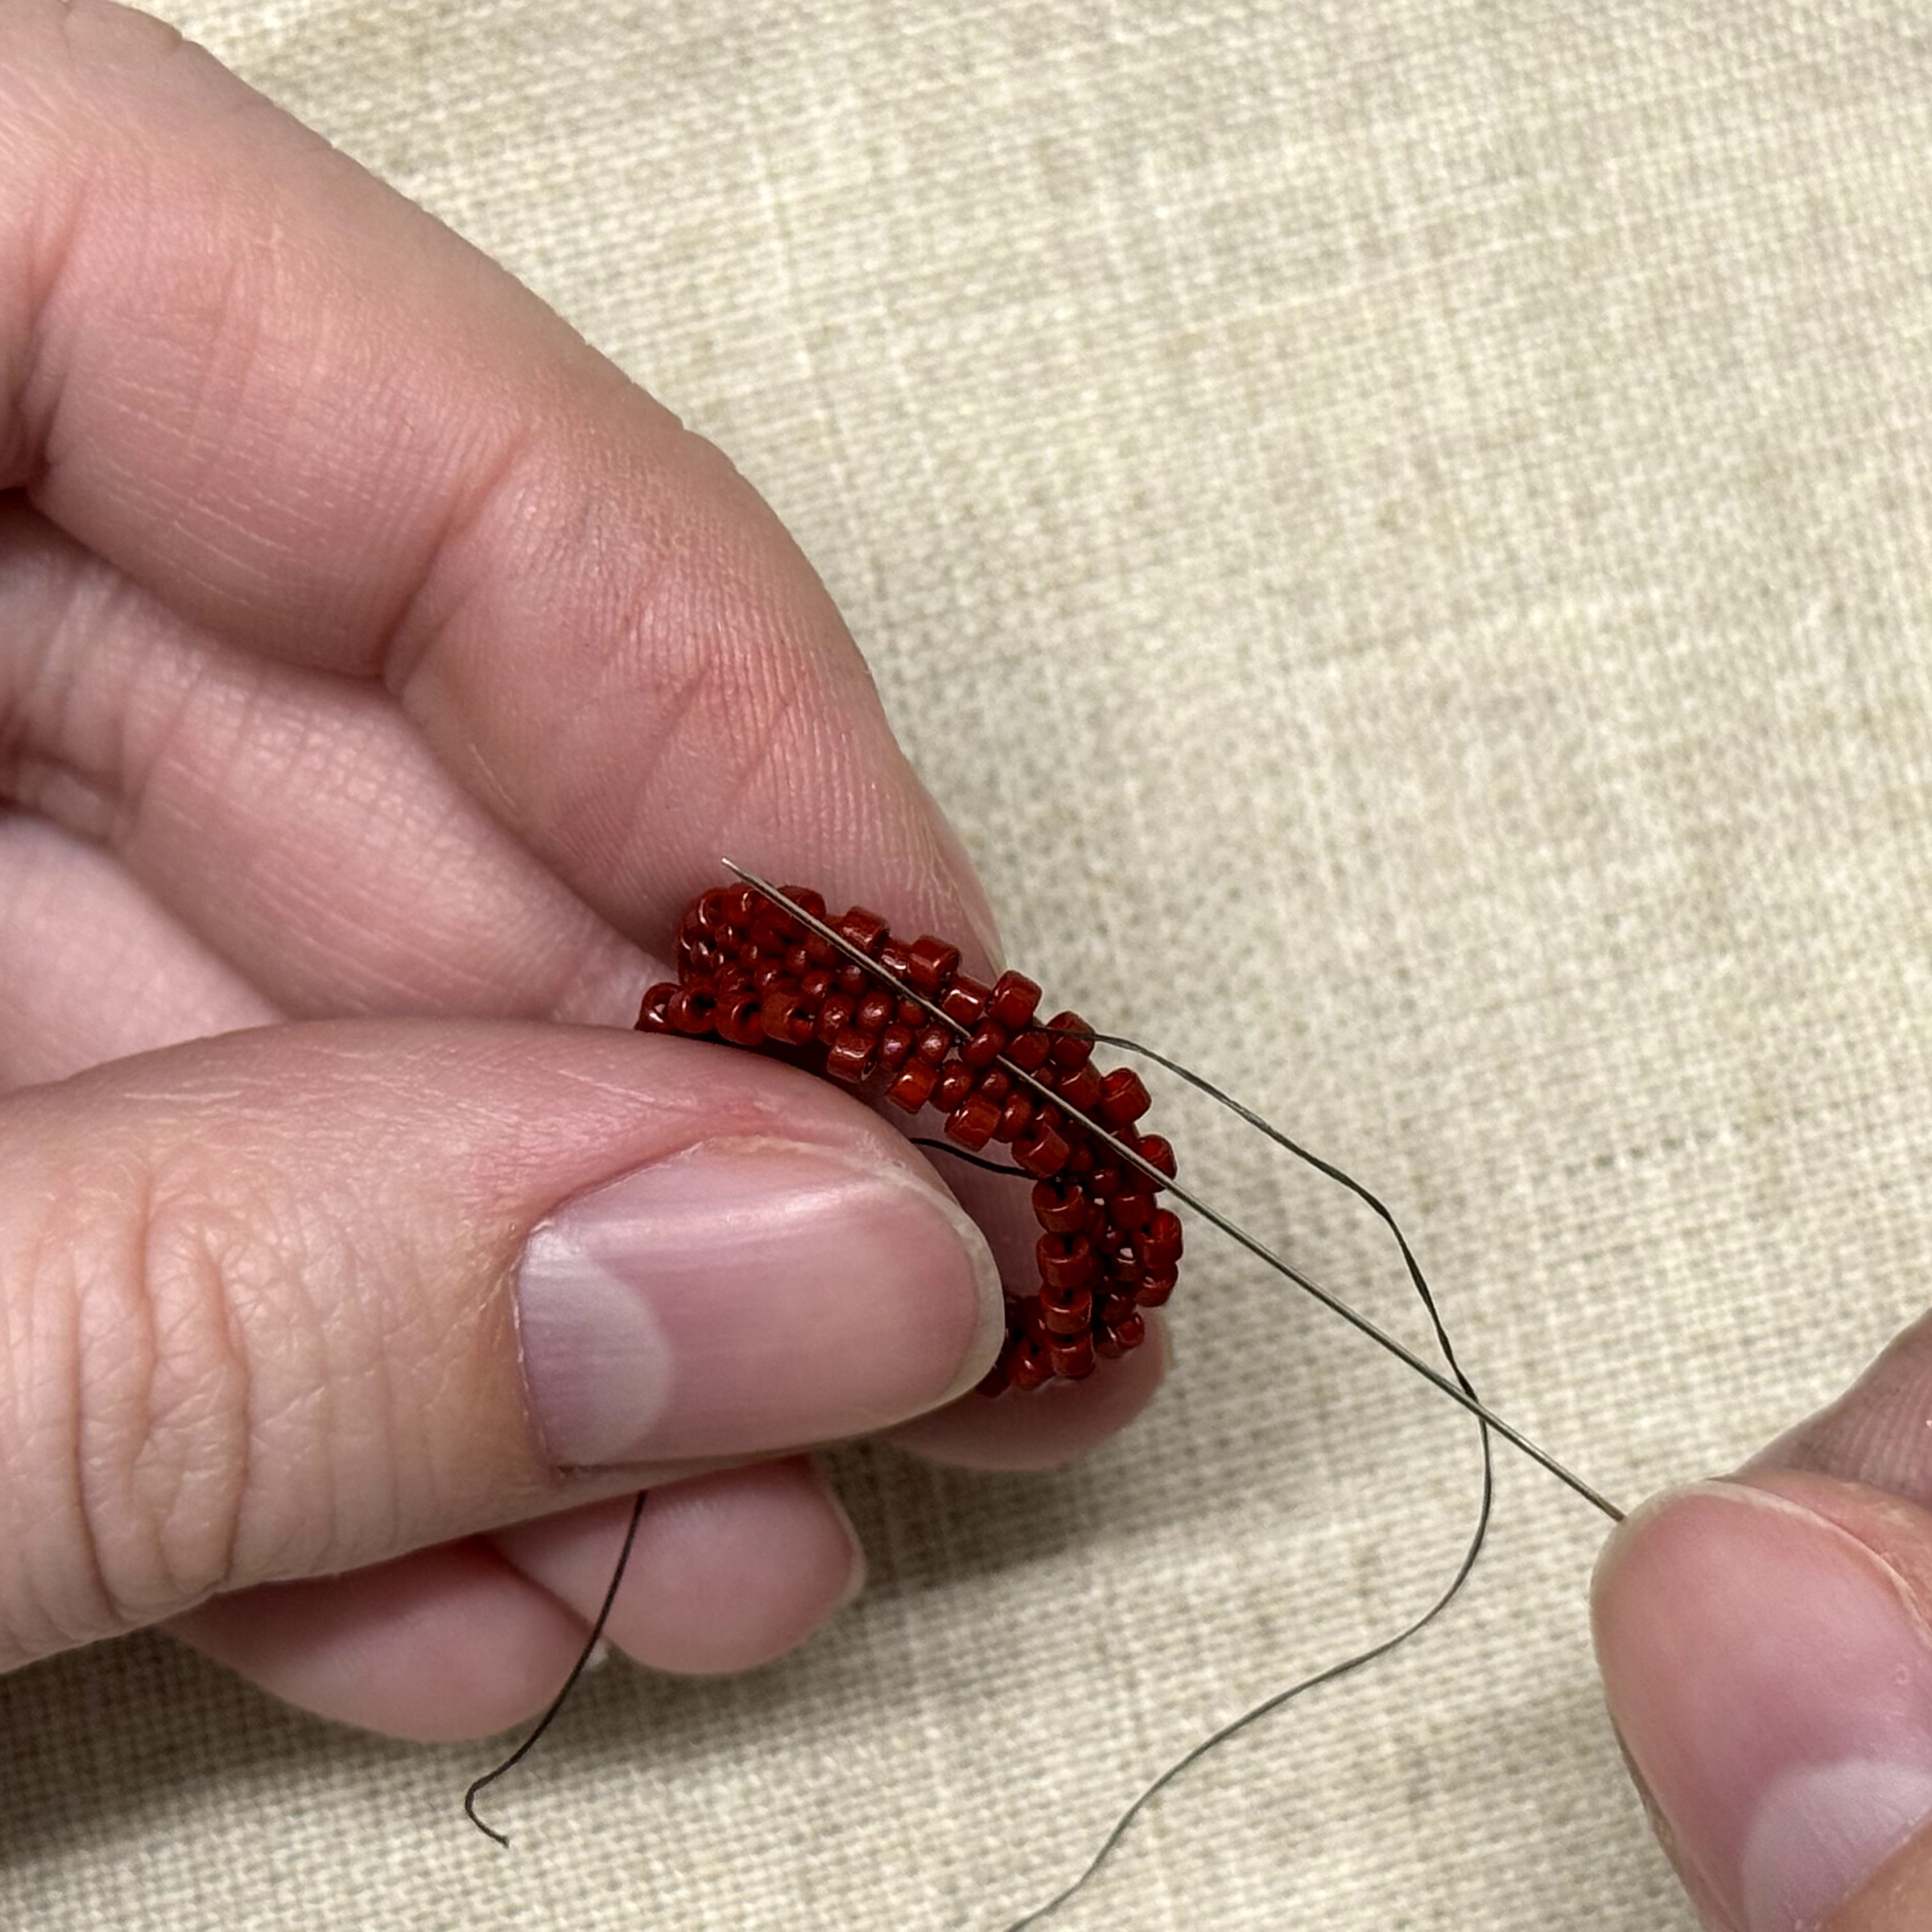
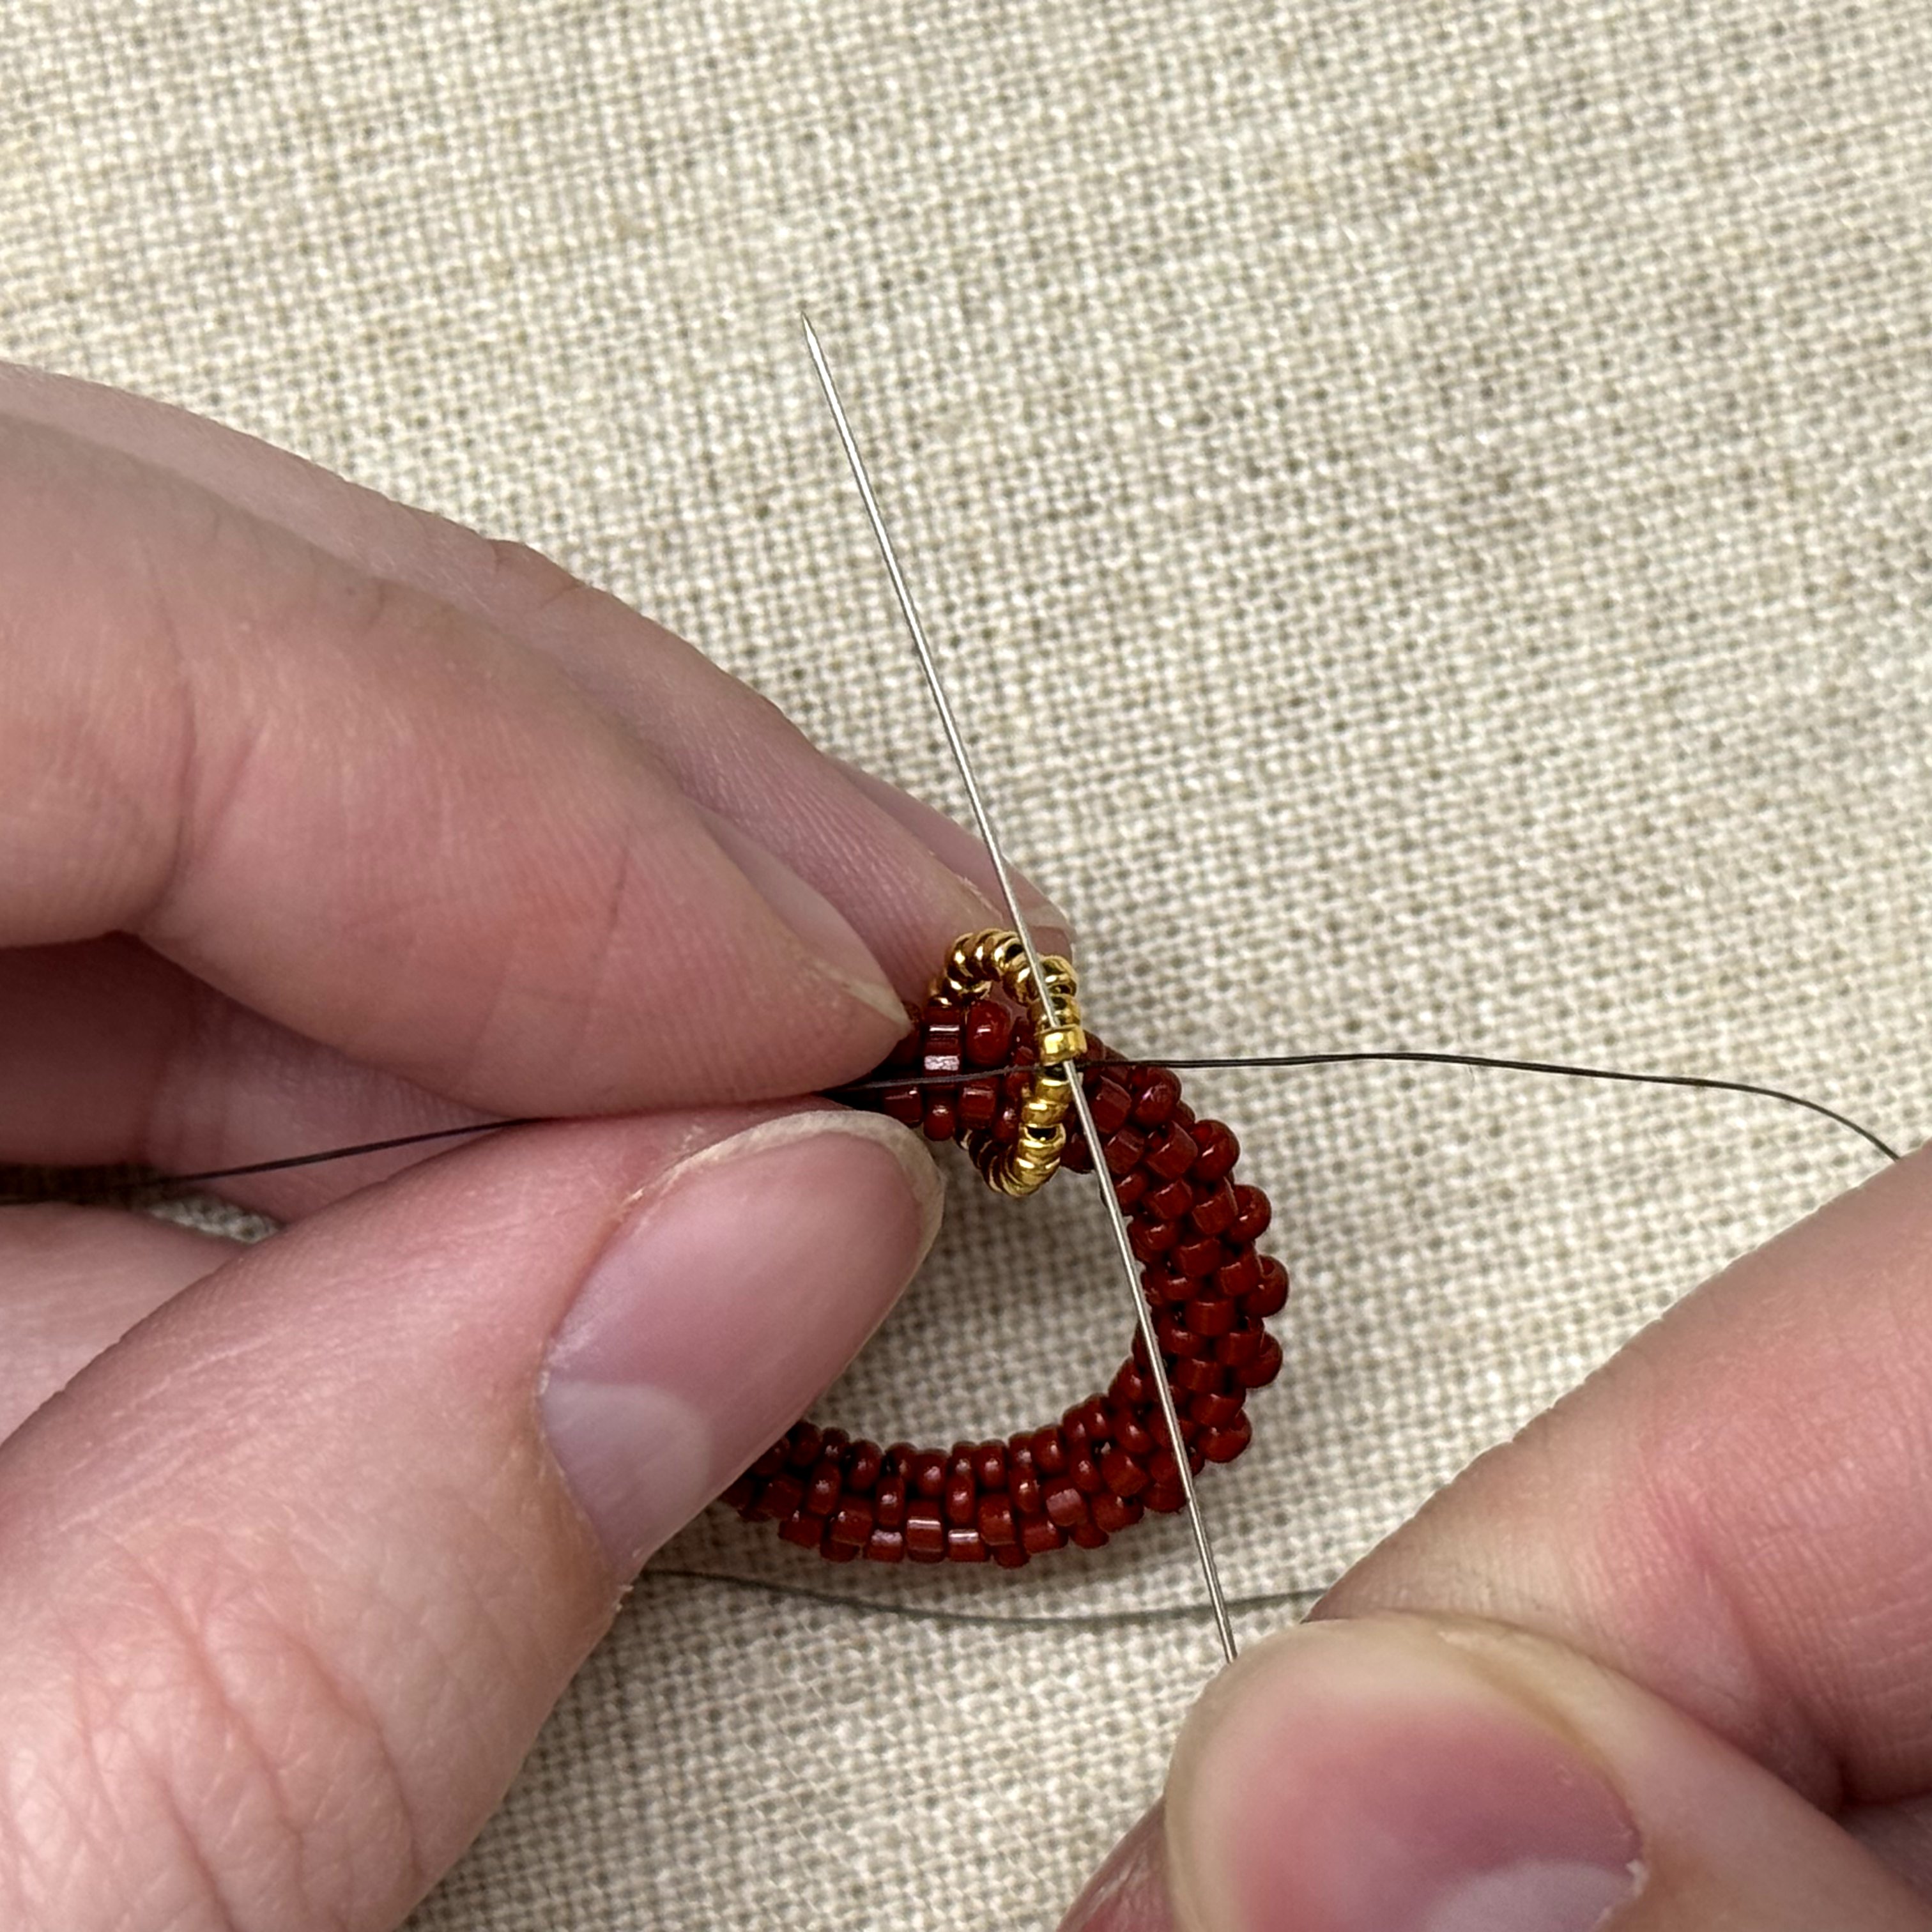
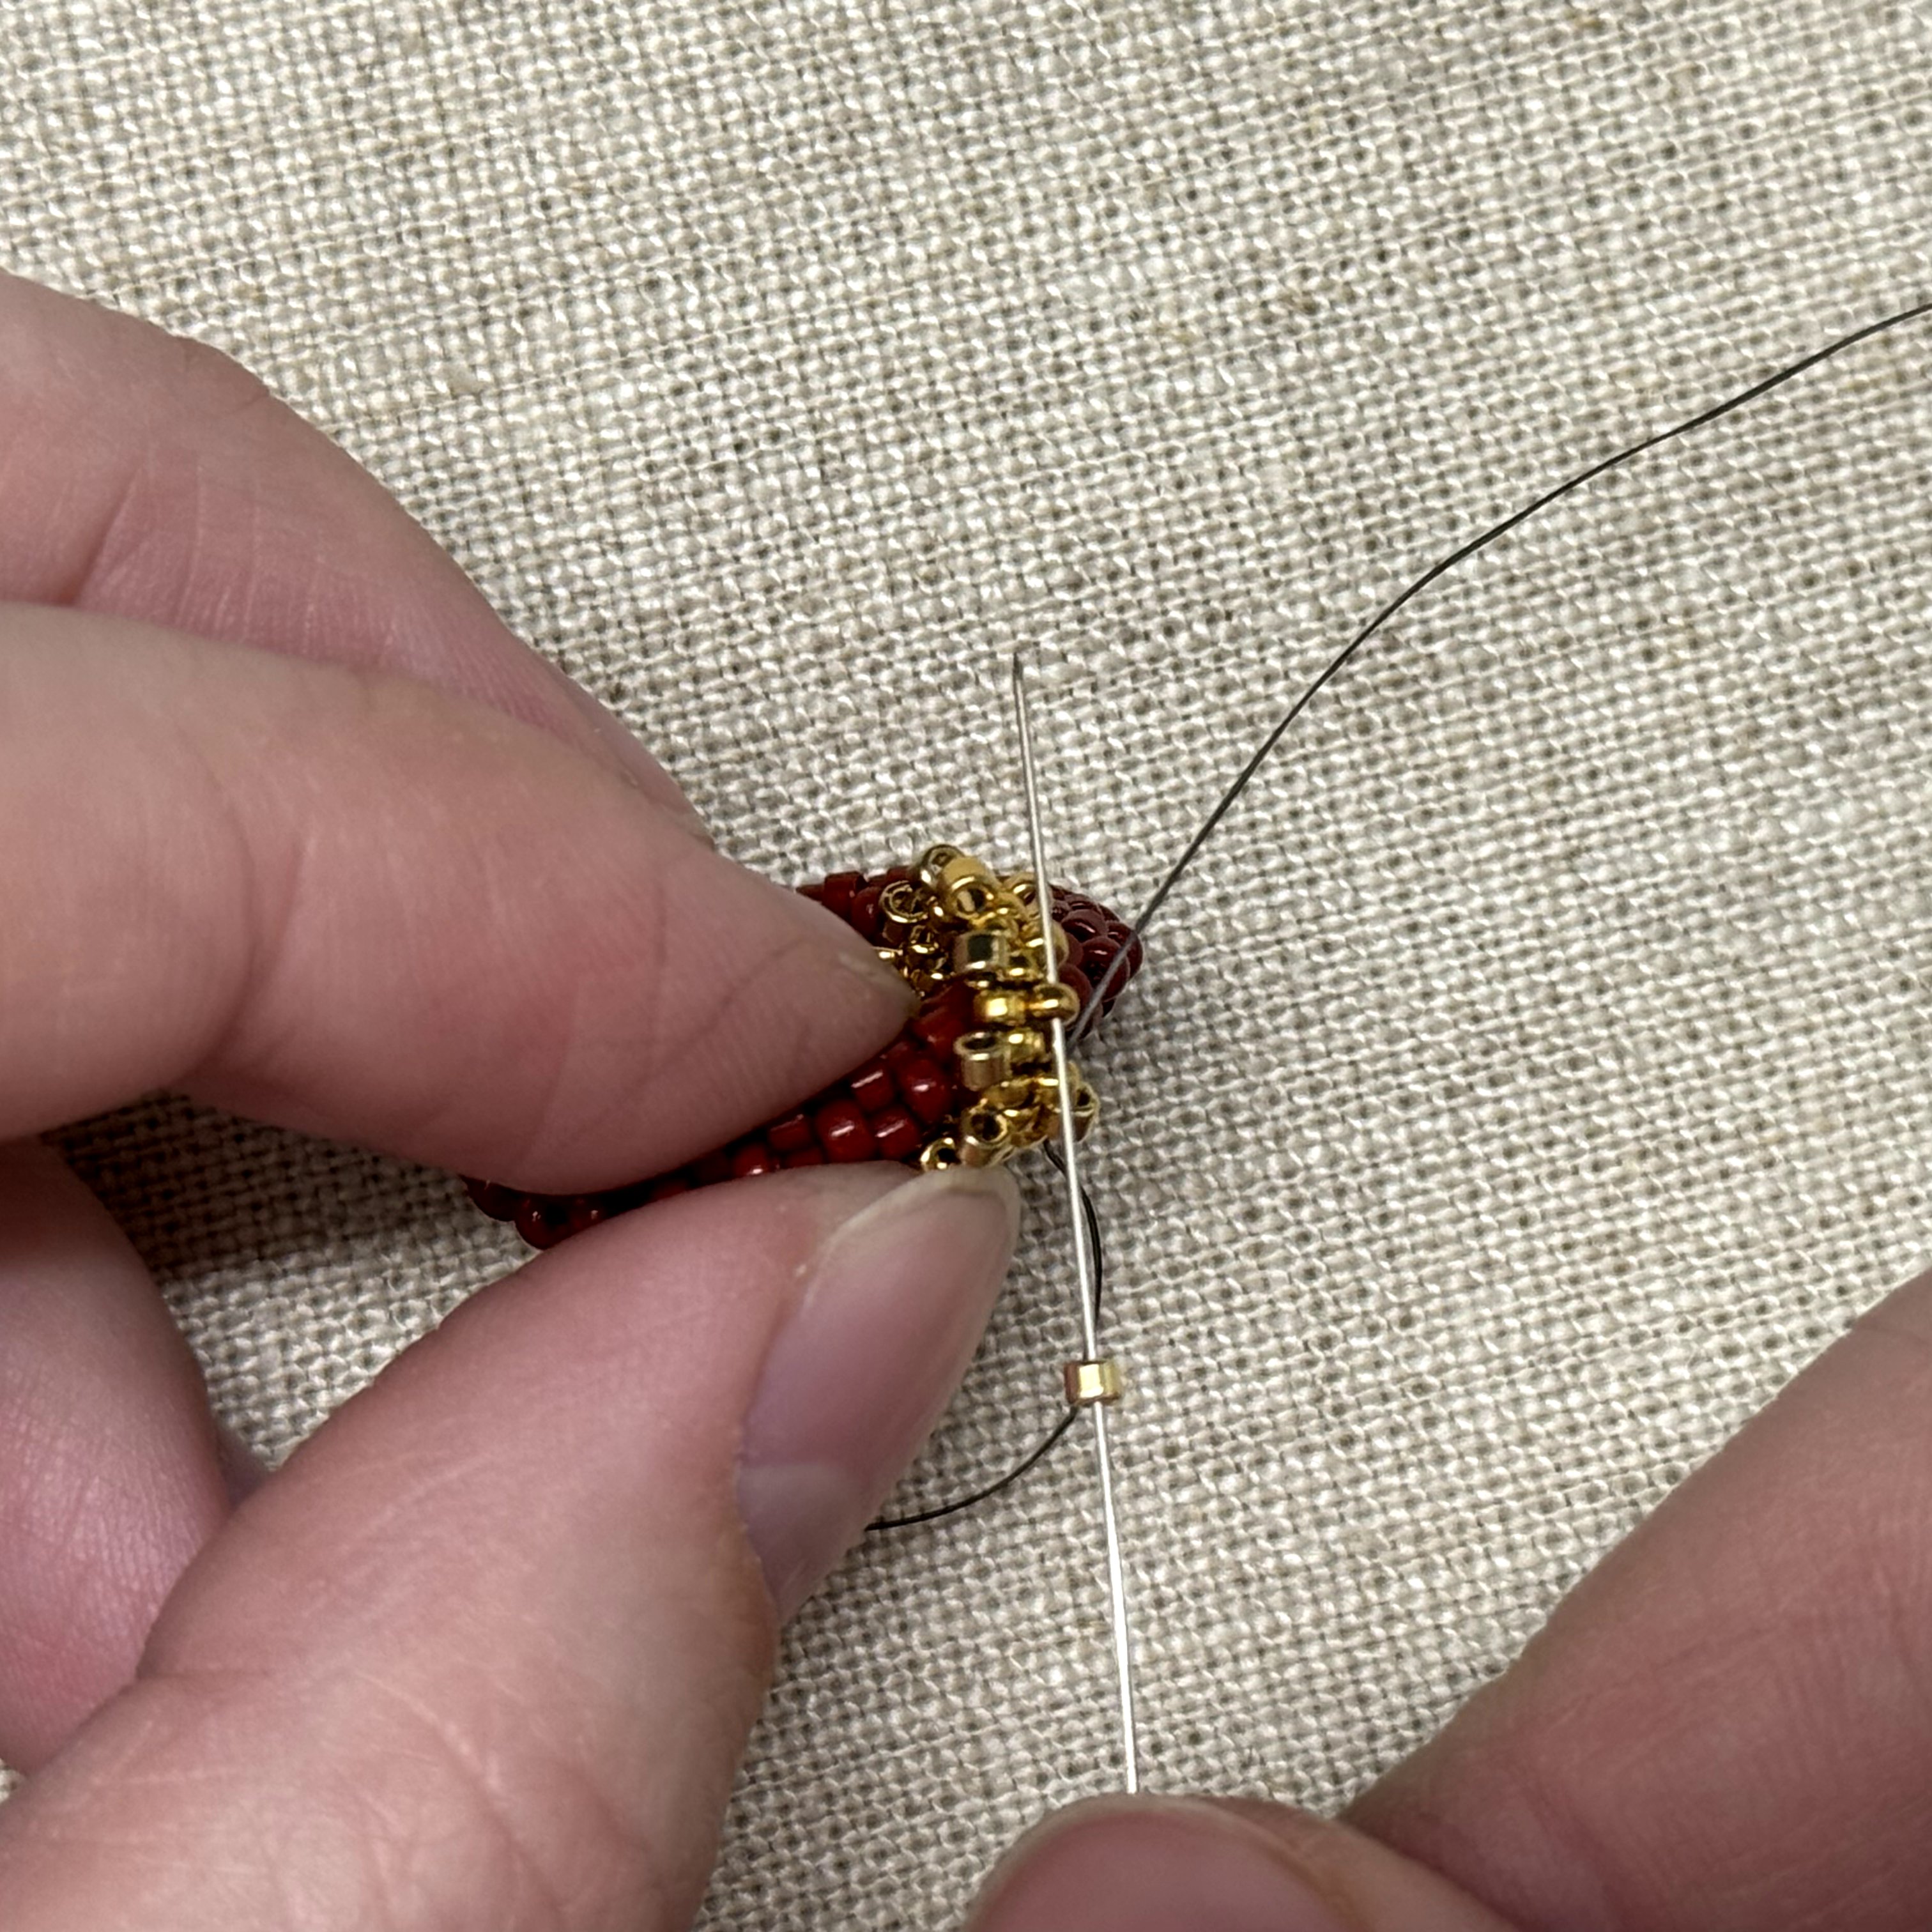
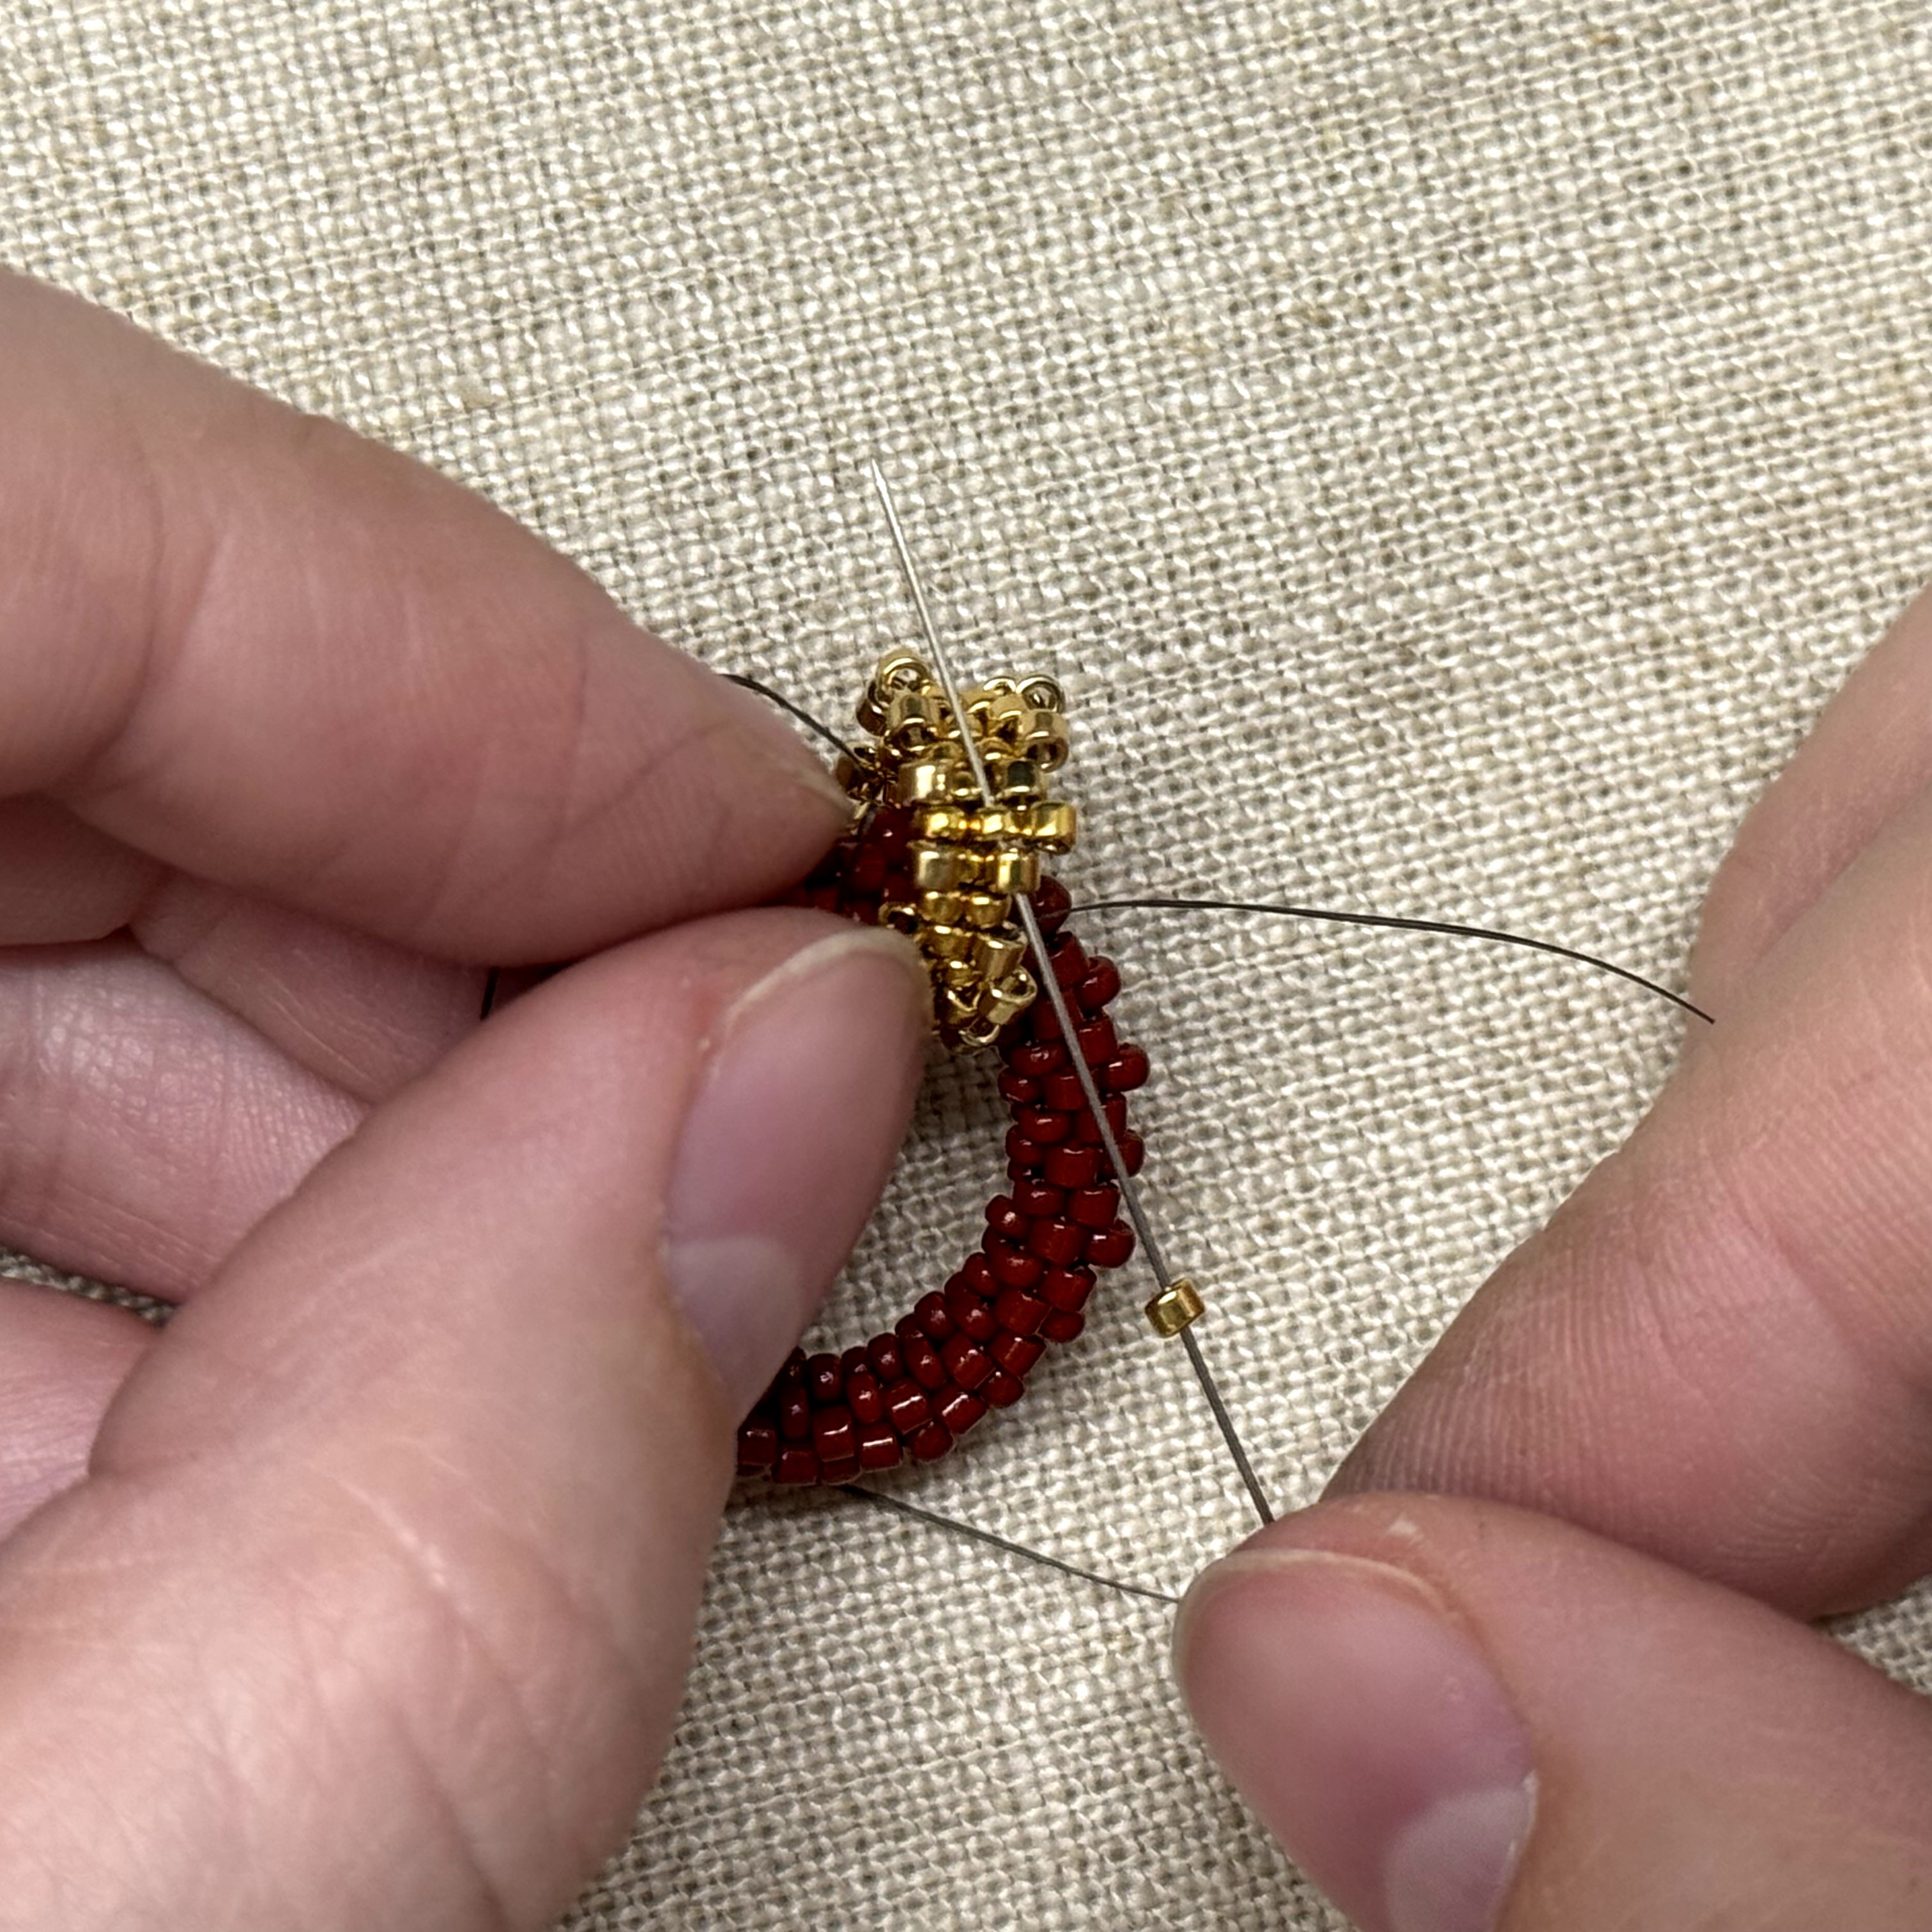
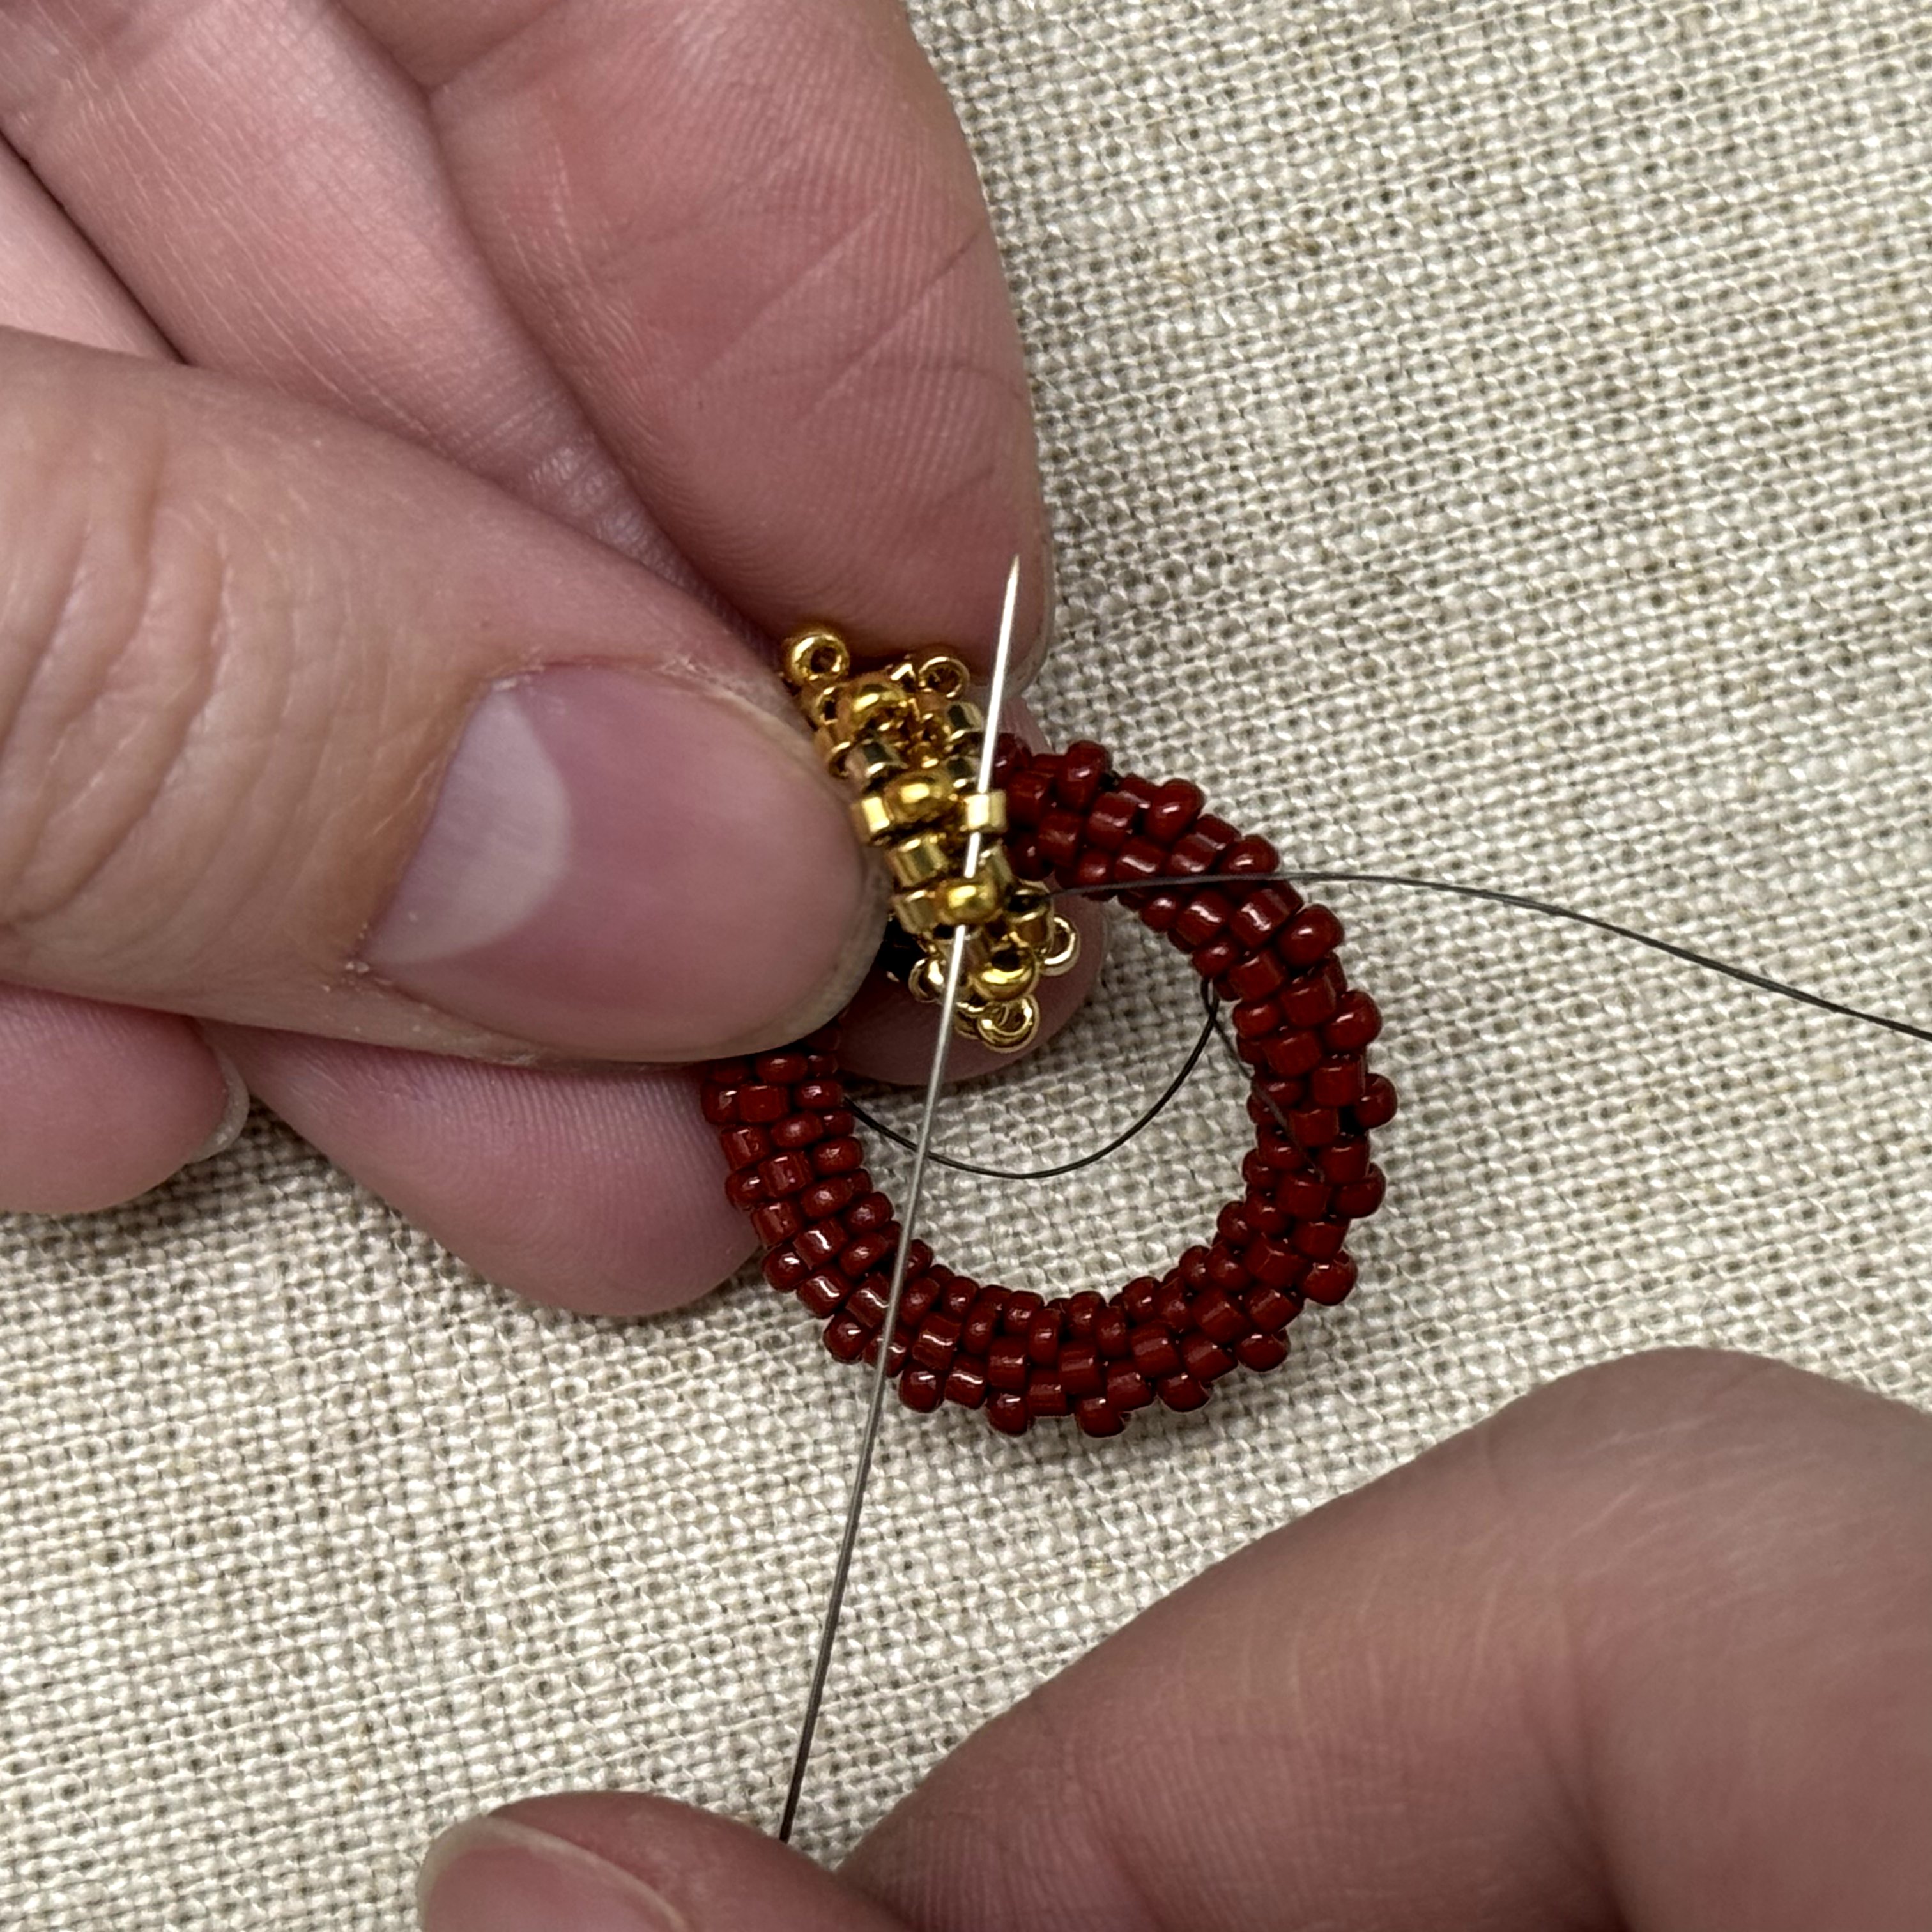
22. We are going to sew the sides together in a zig-zag pattern. Thread the needle up through the delica diagonal to the size 11 seed bead, pull tight as you go!
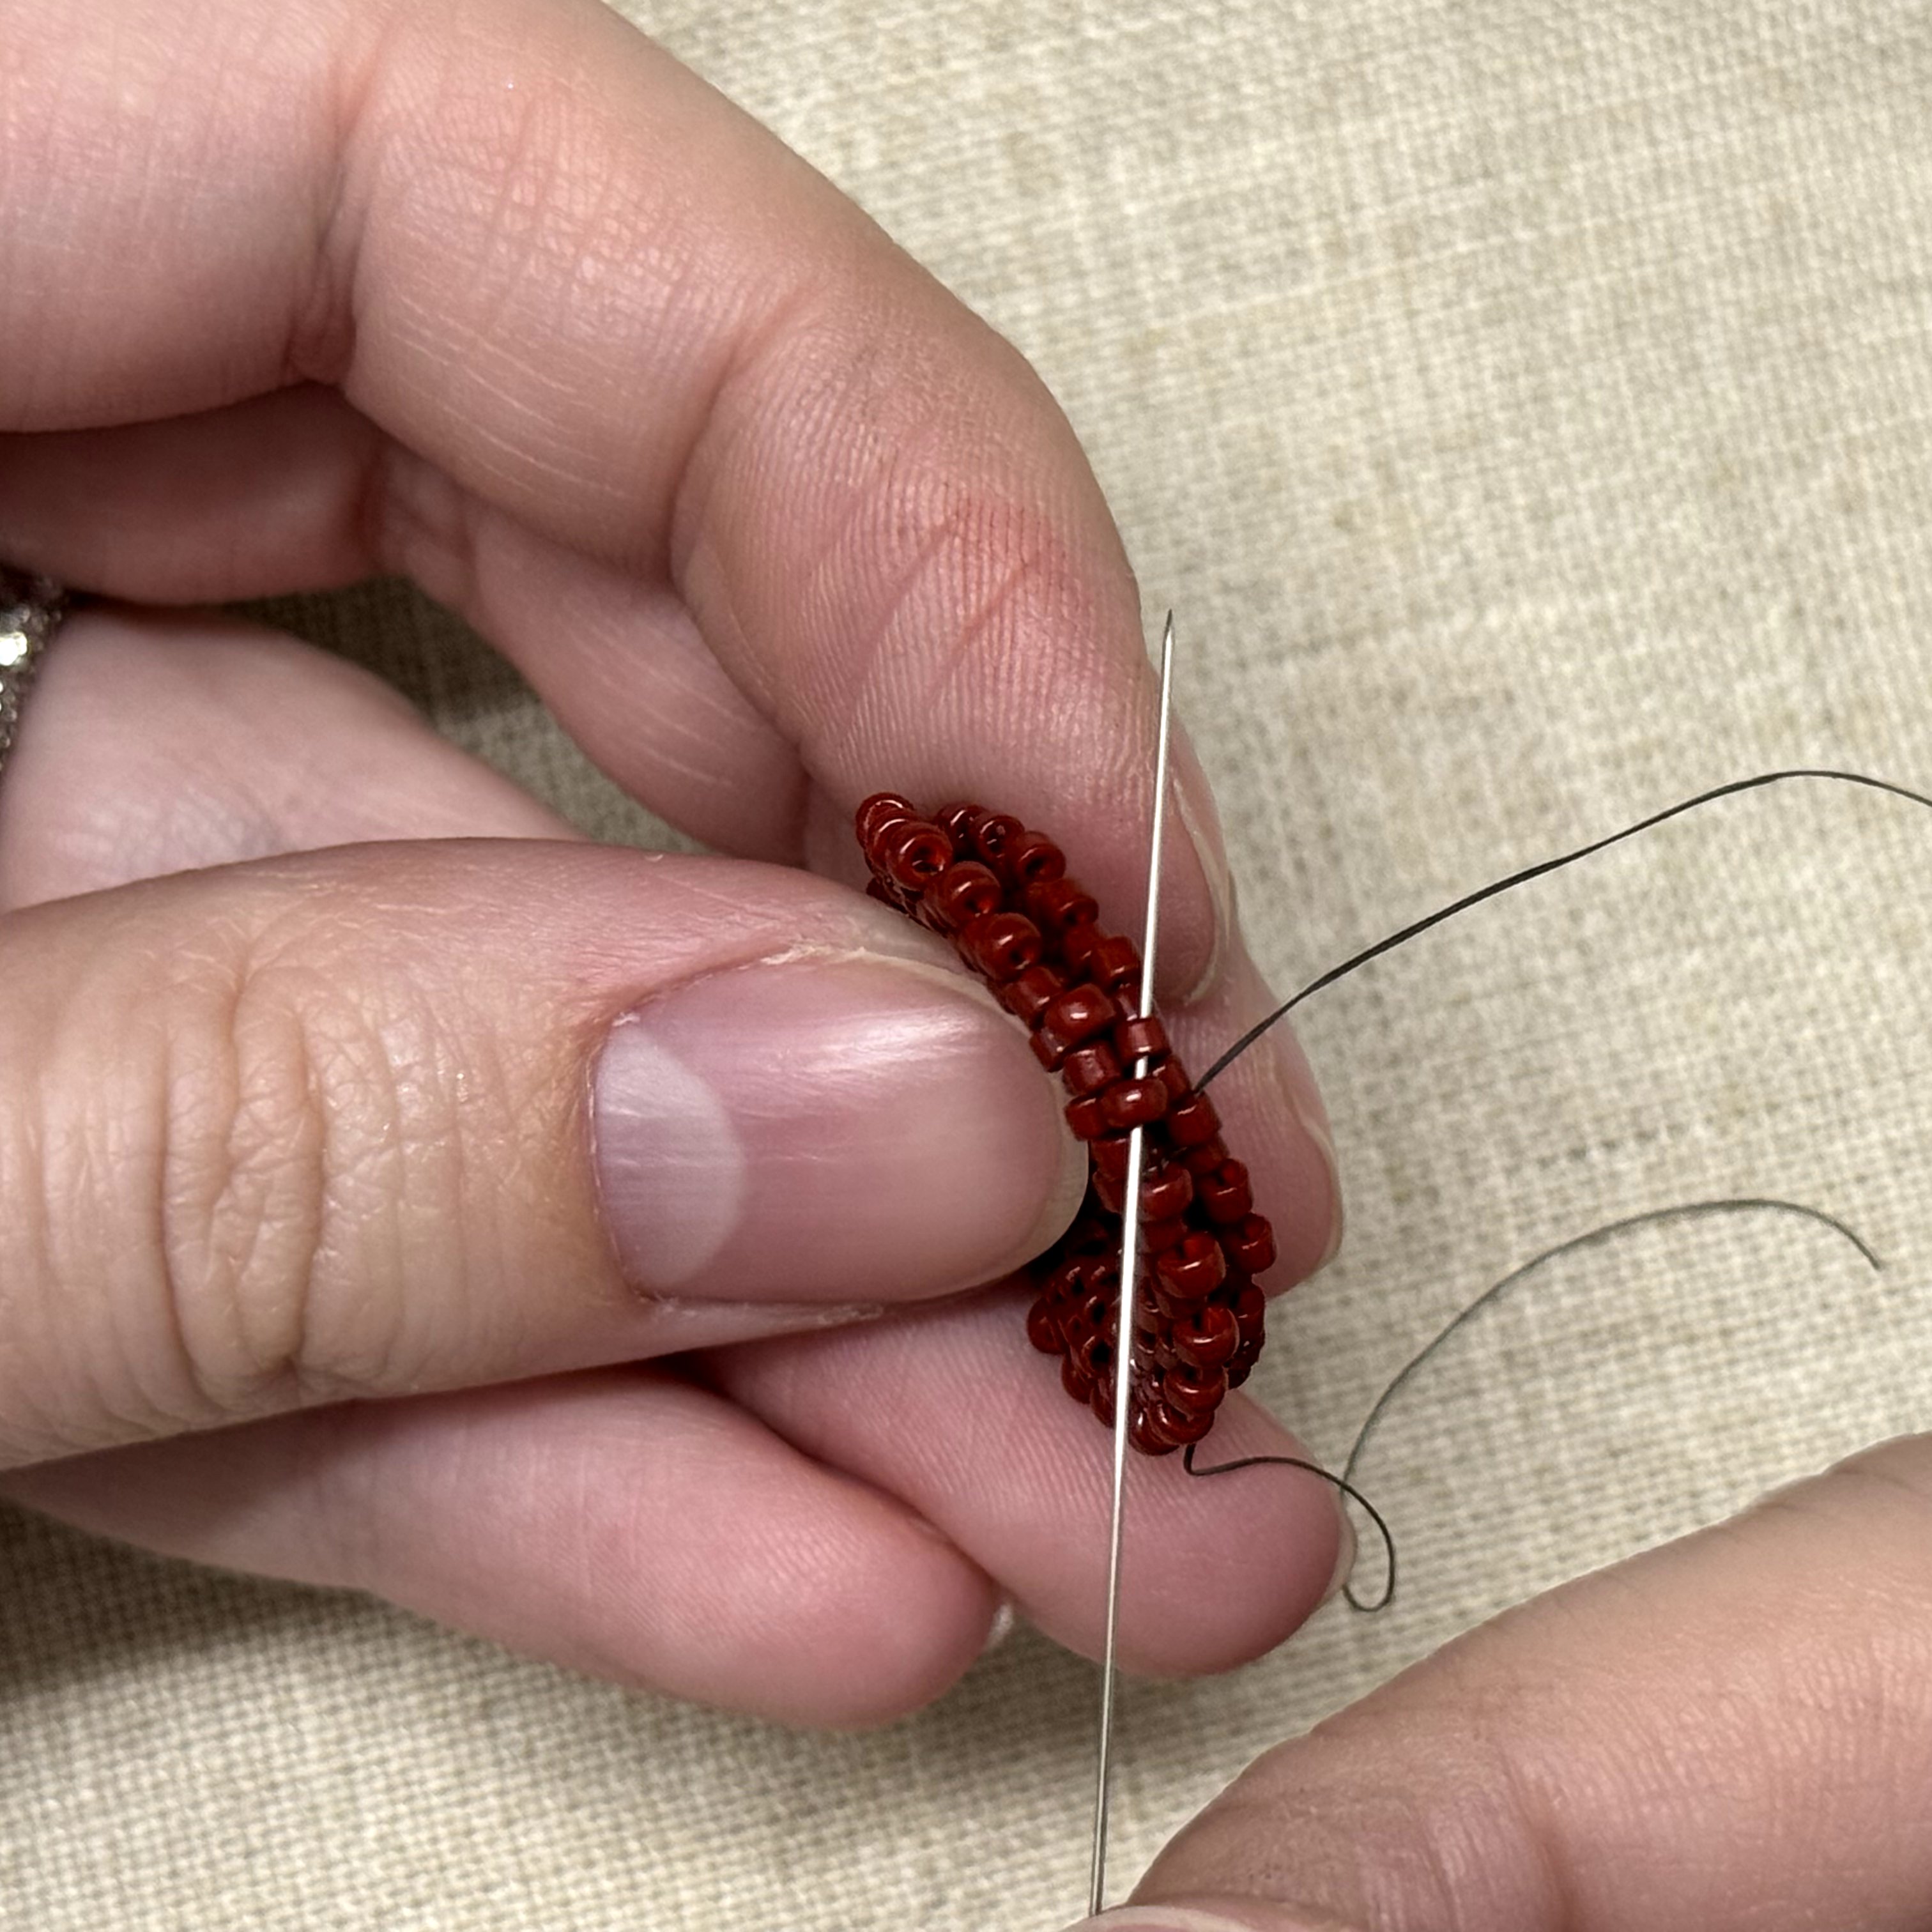
23. I find it easiest to thread my needle through the size 11 seed bead and delica at the same time to double check that I am going diagonally and selecting the right beads as I go
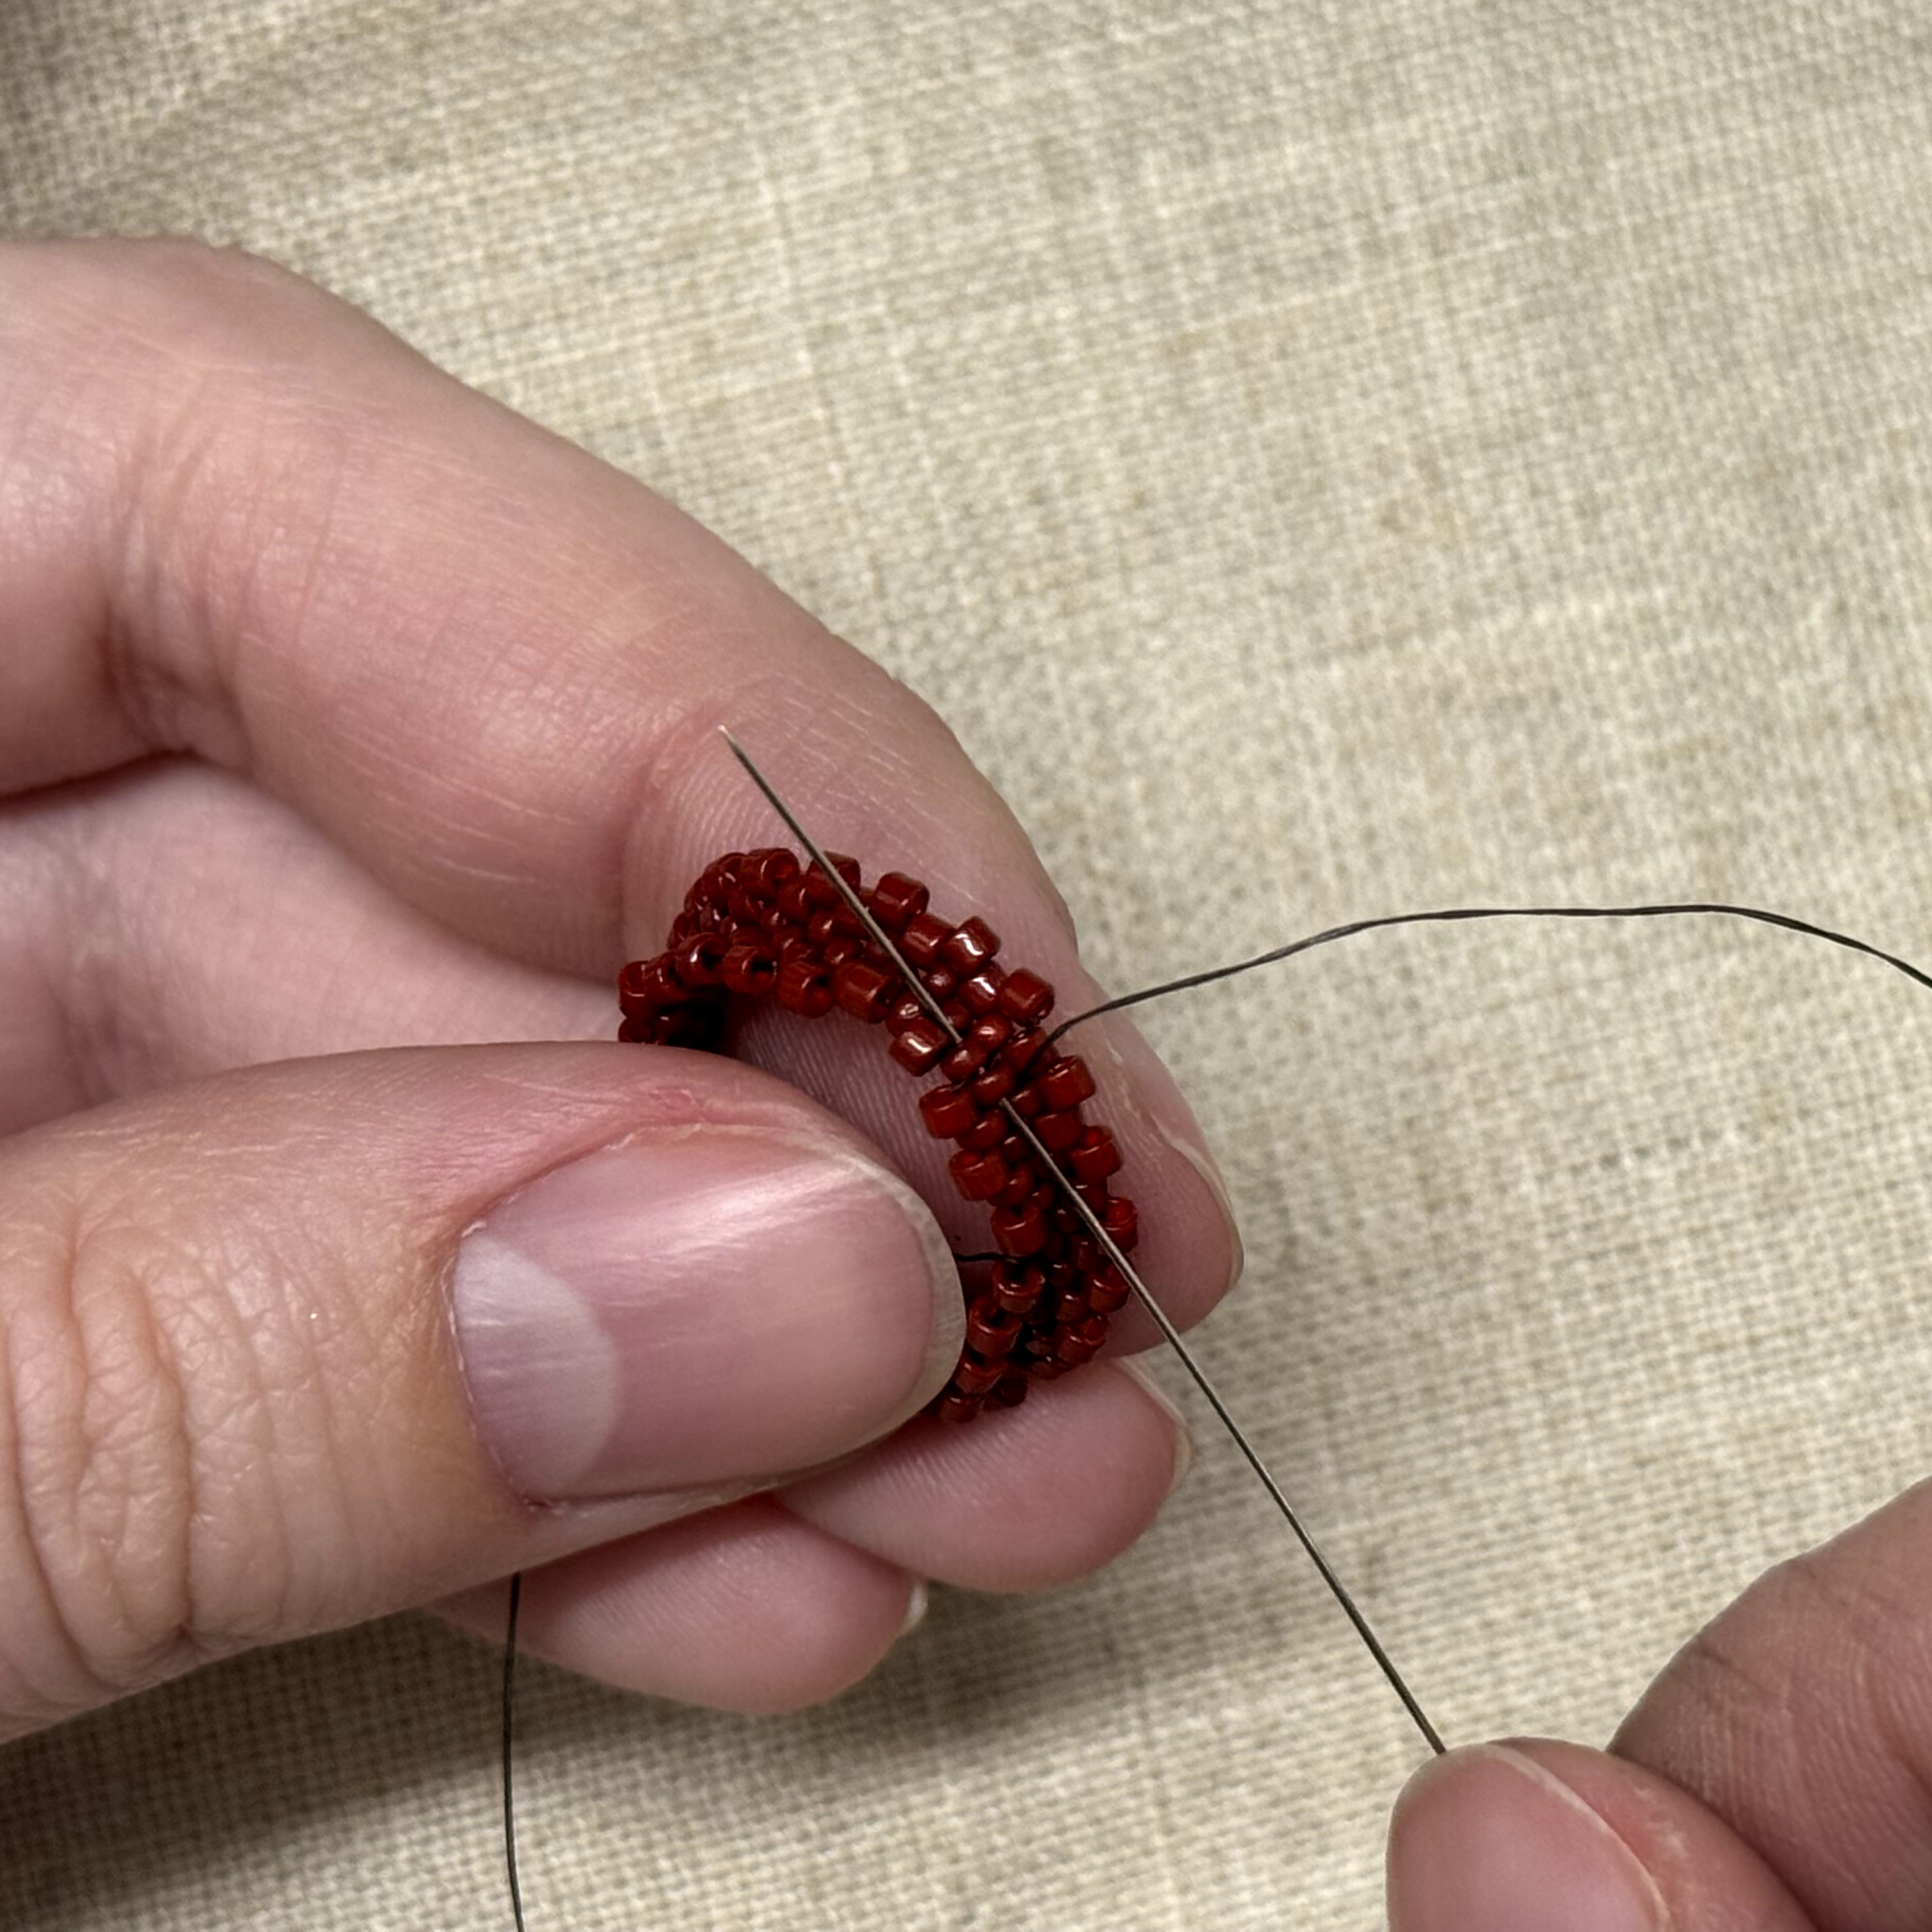
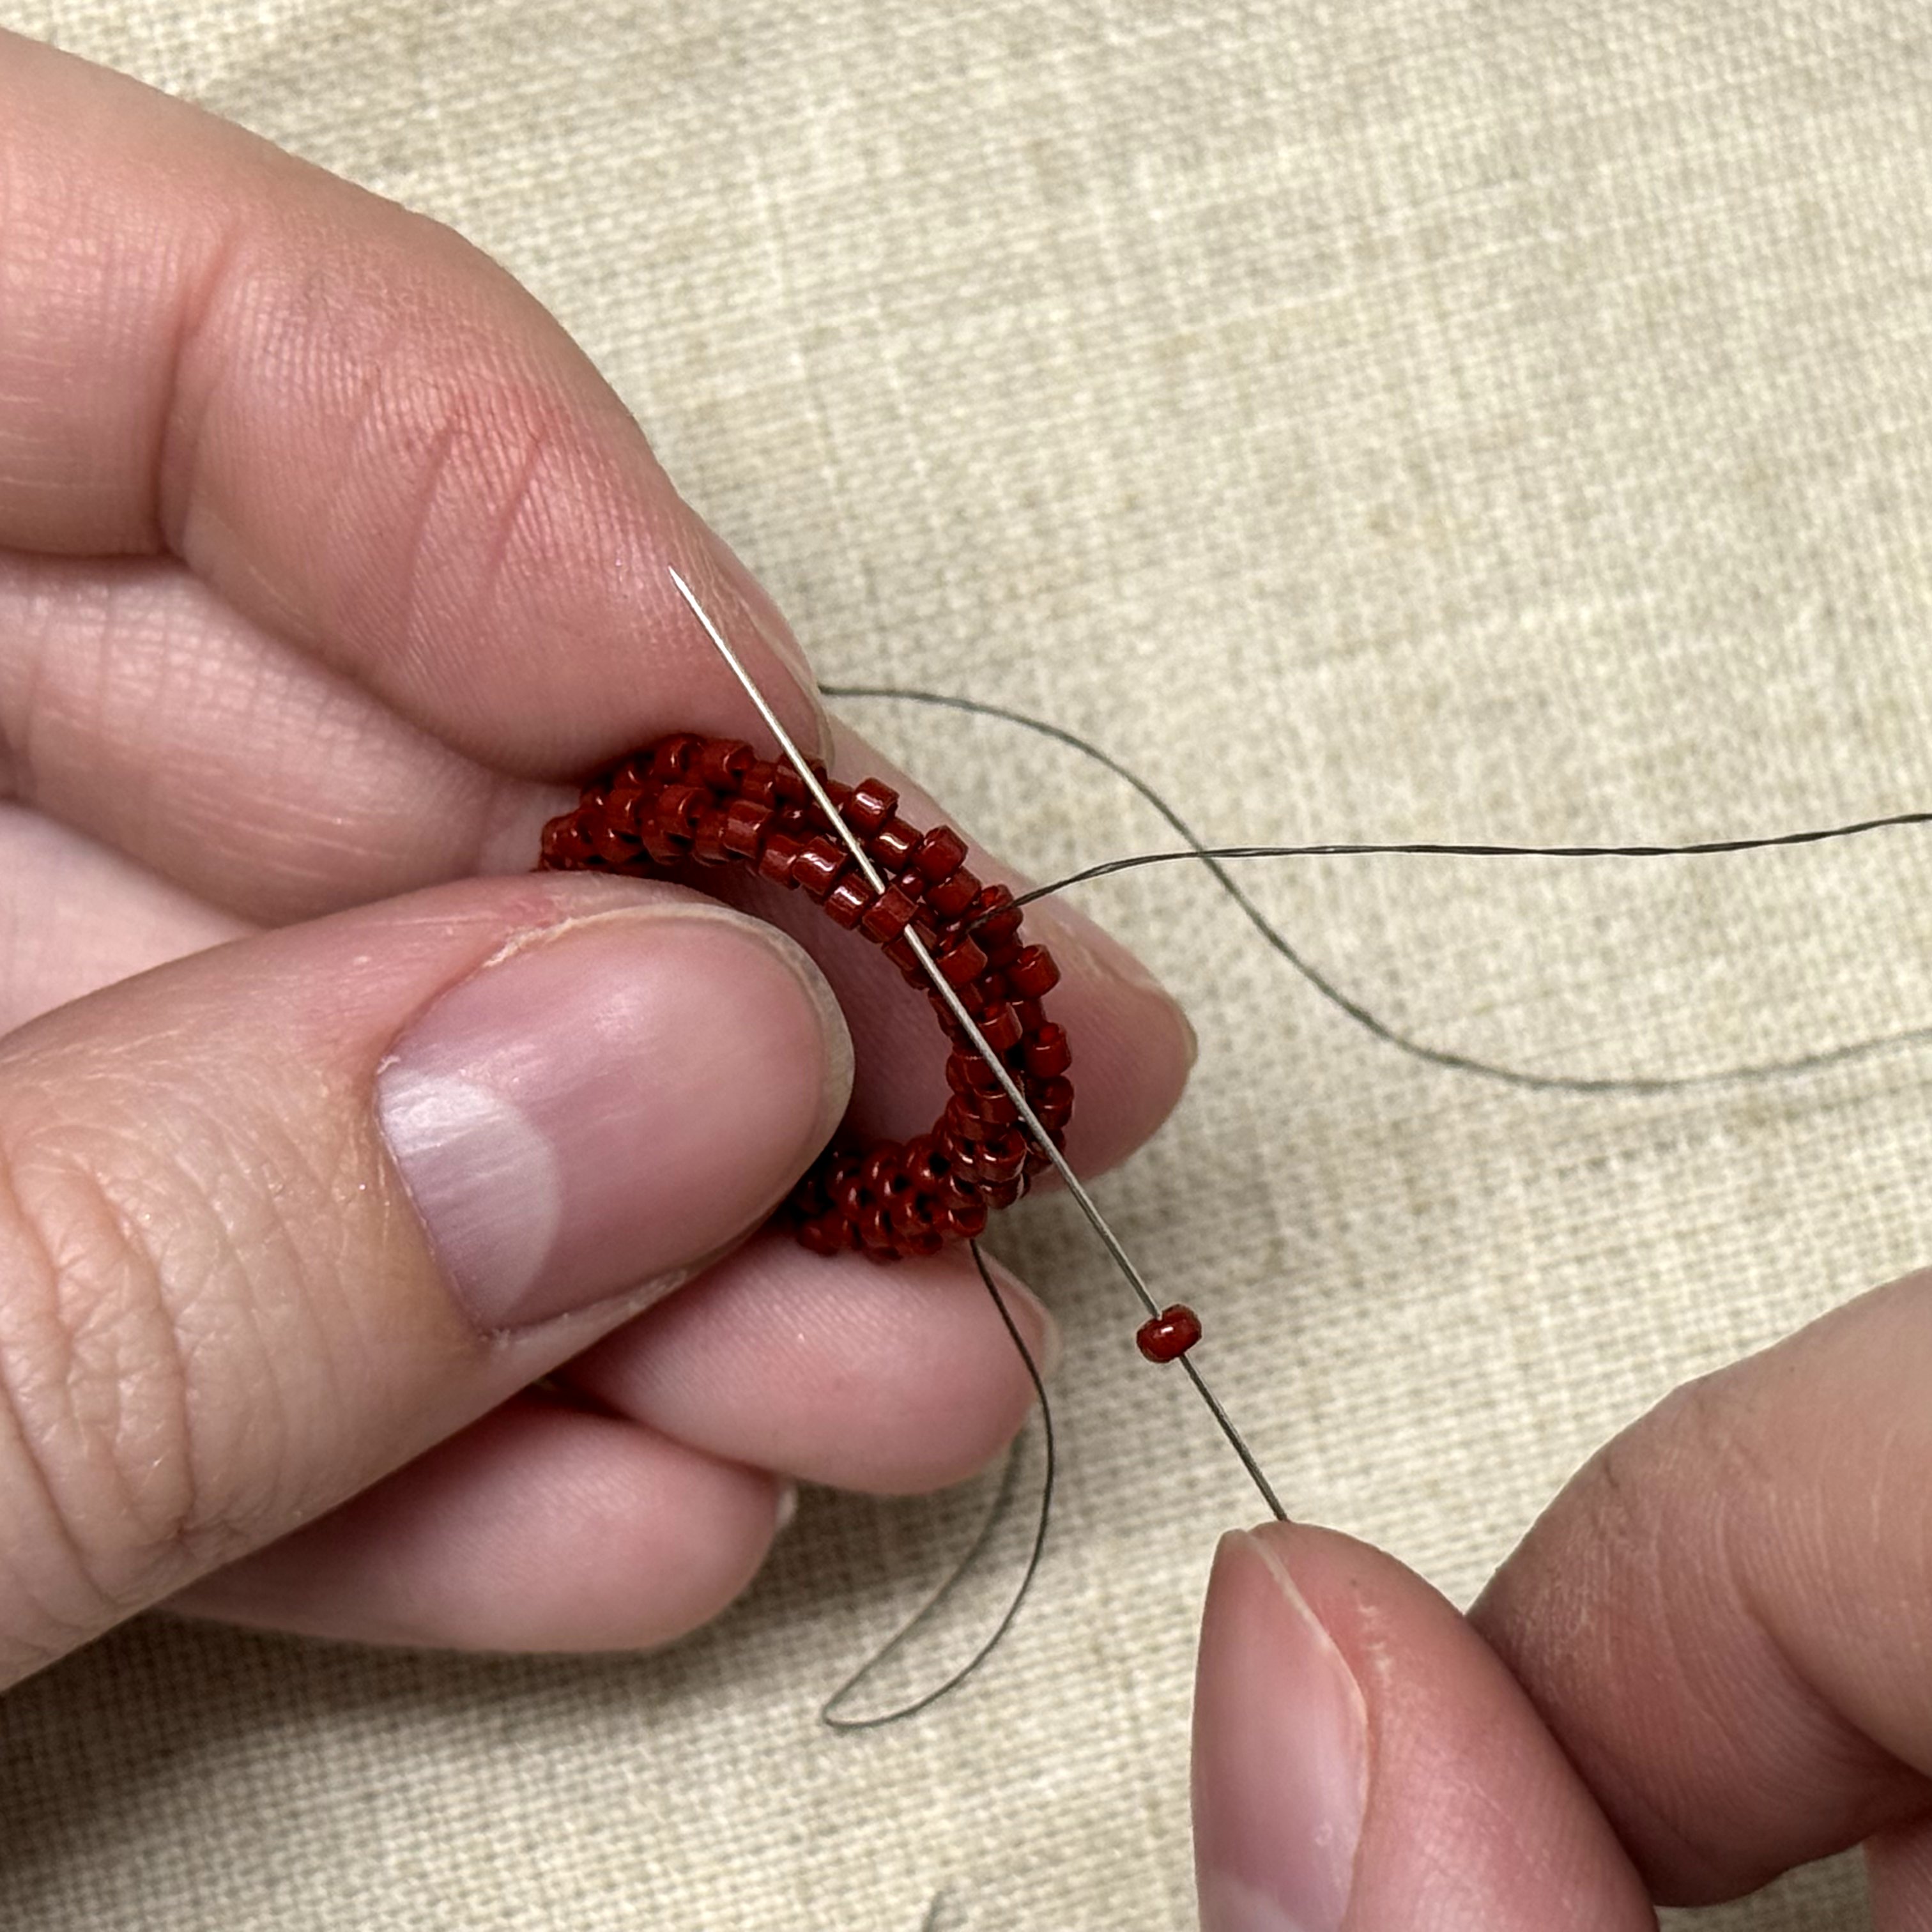
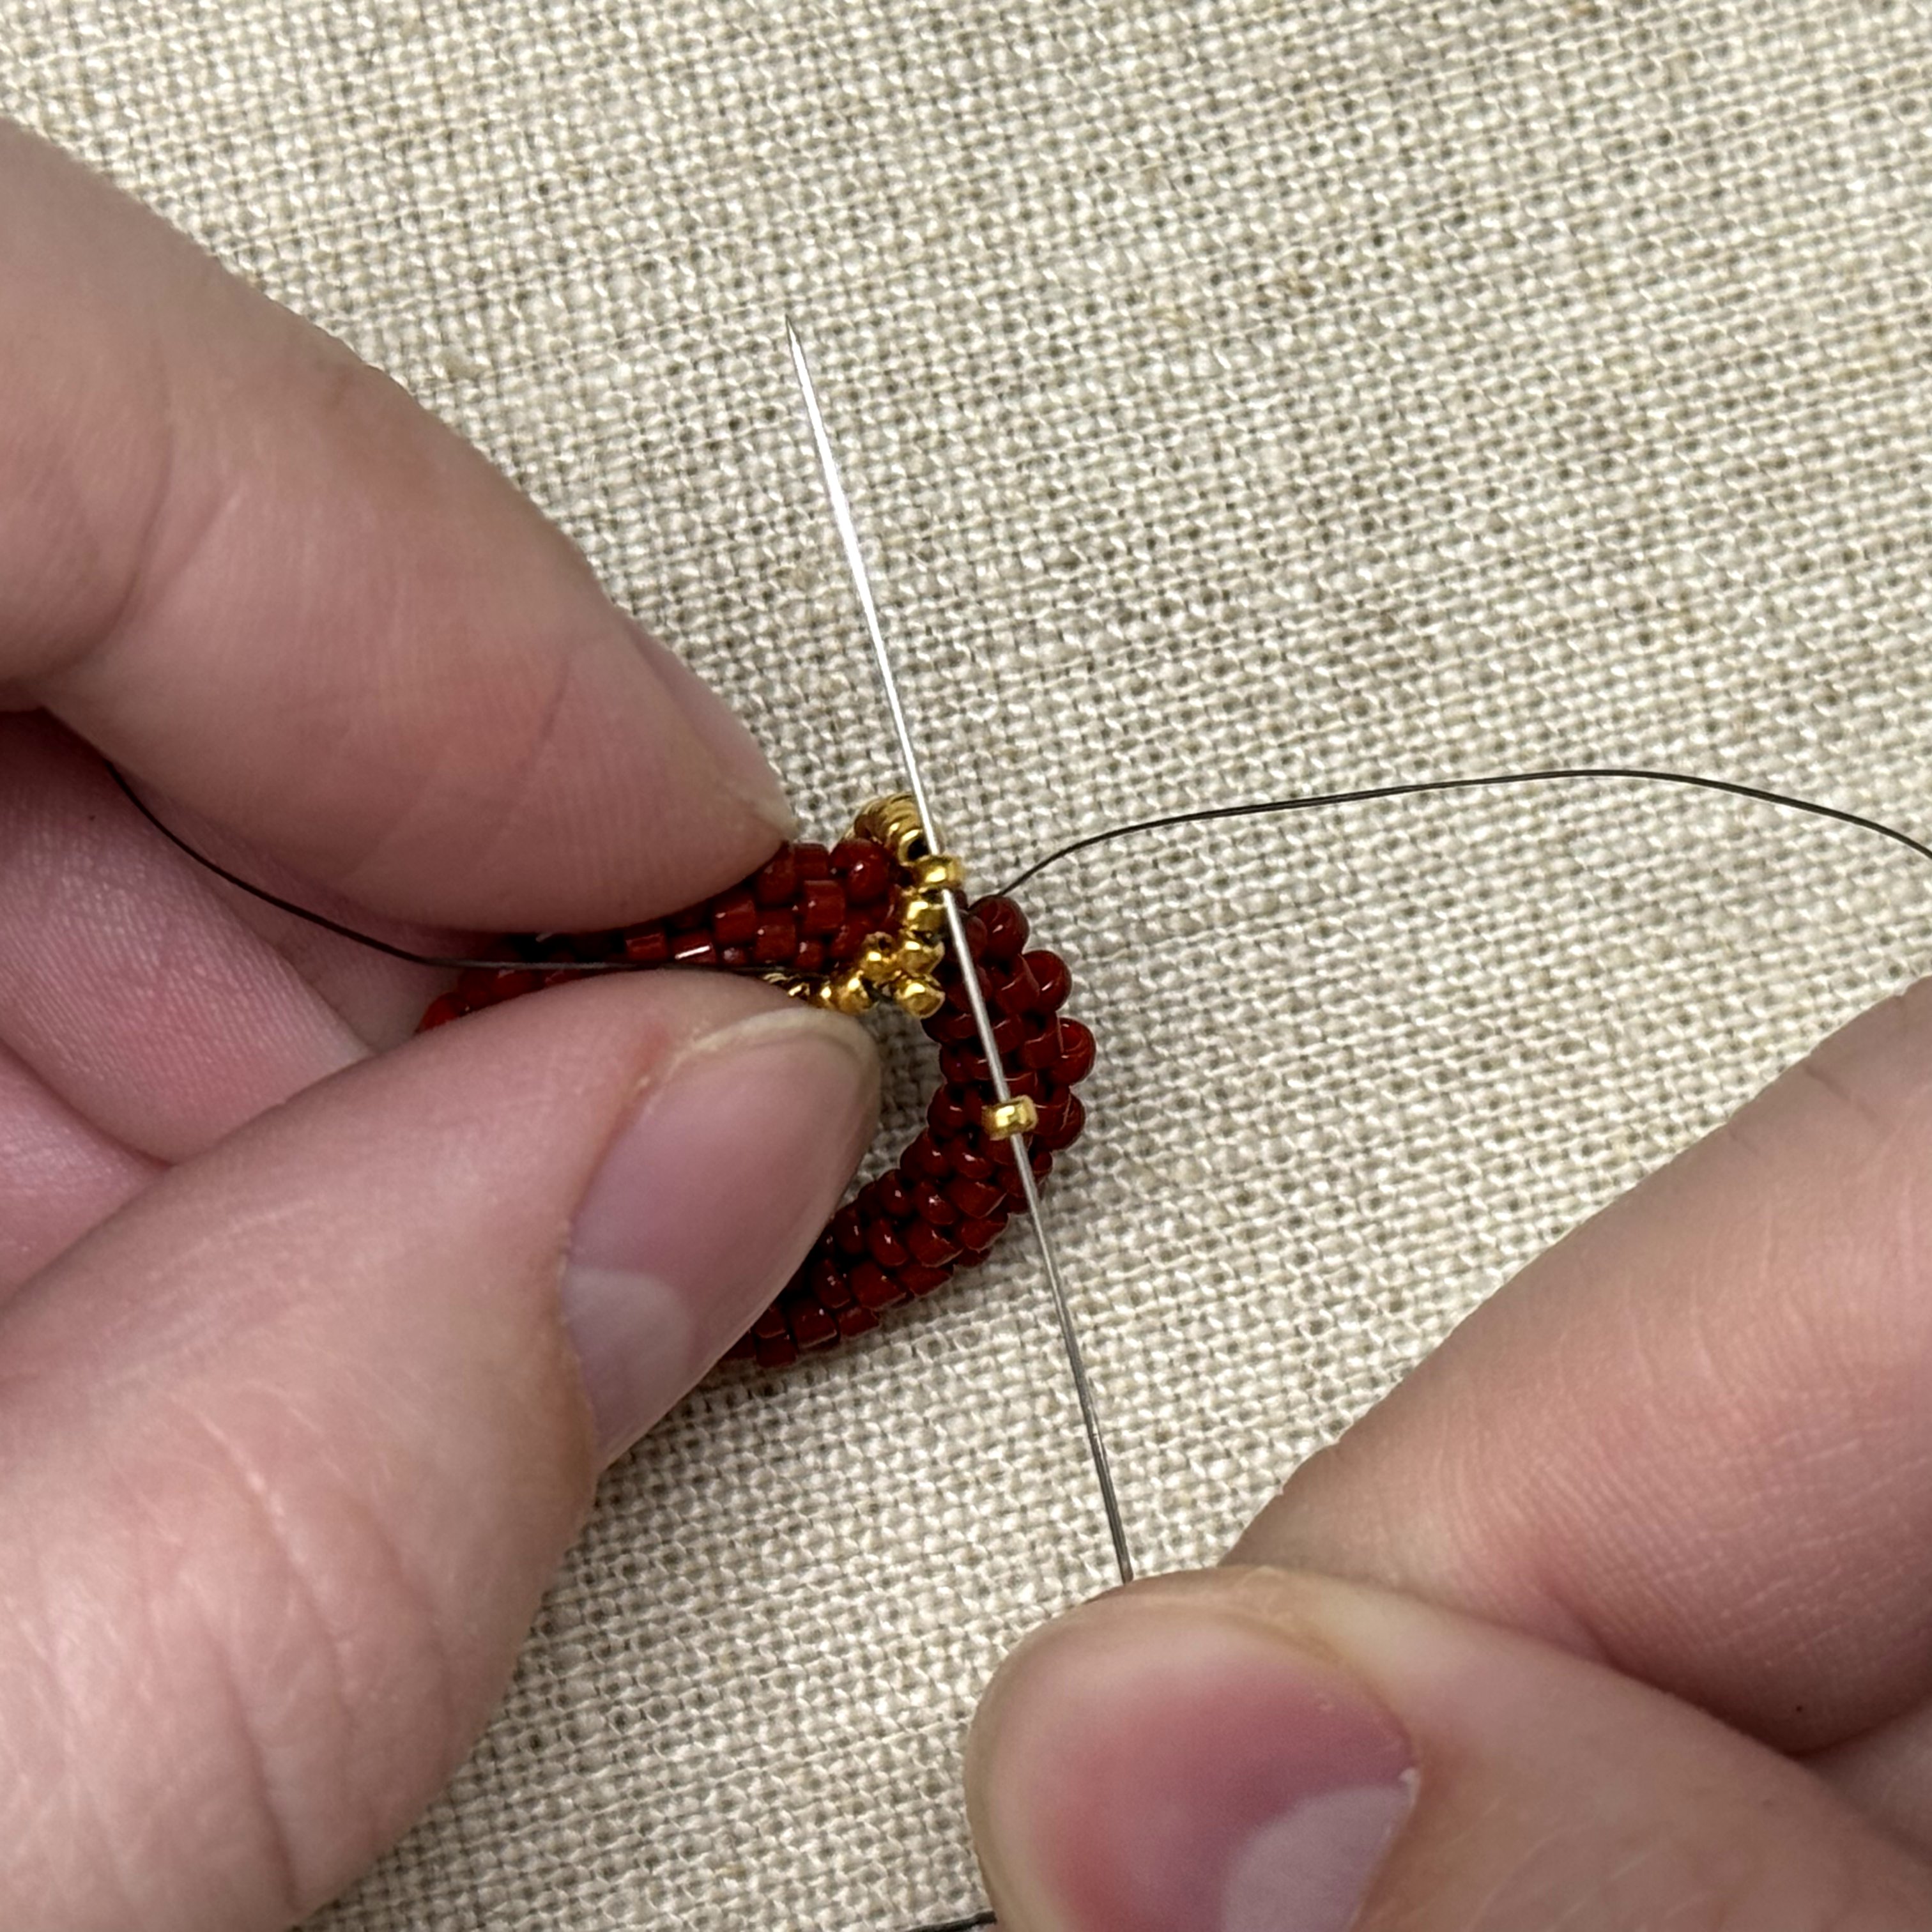
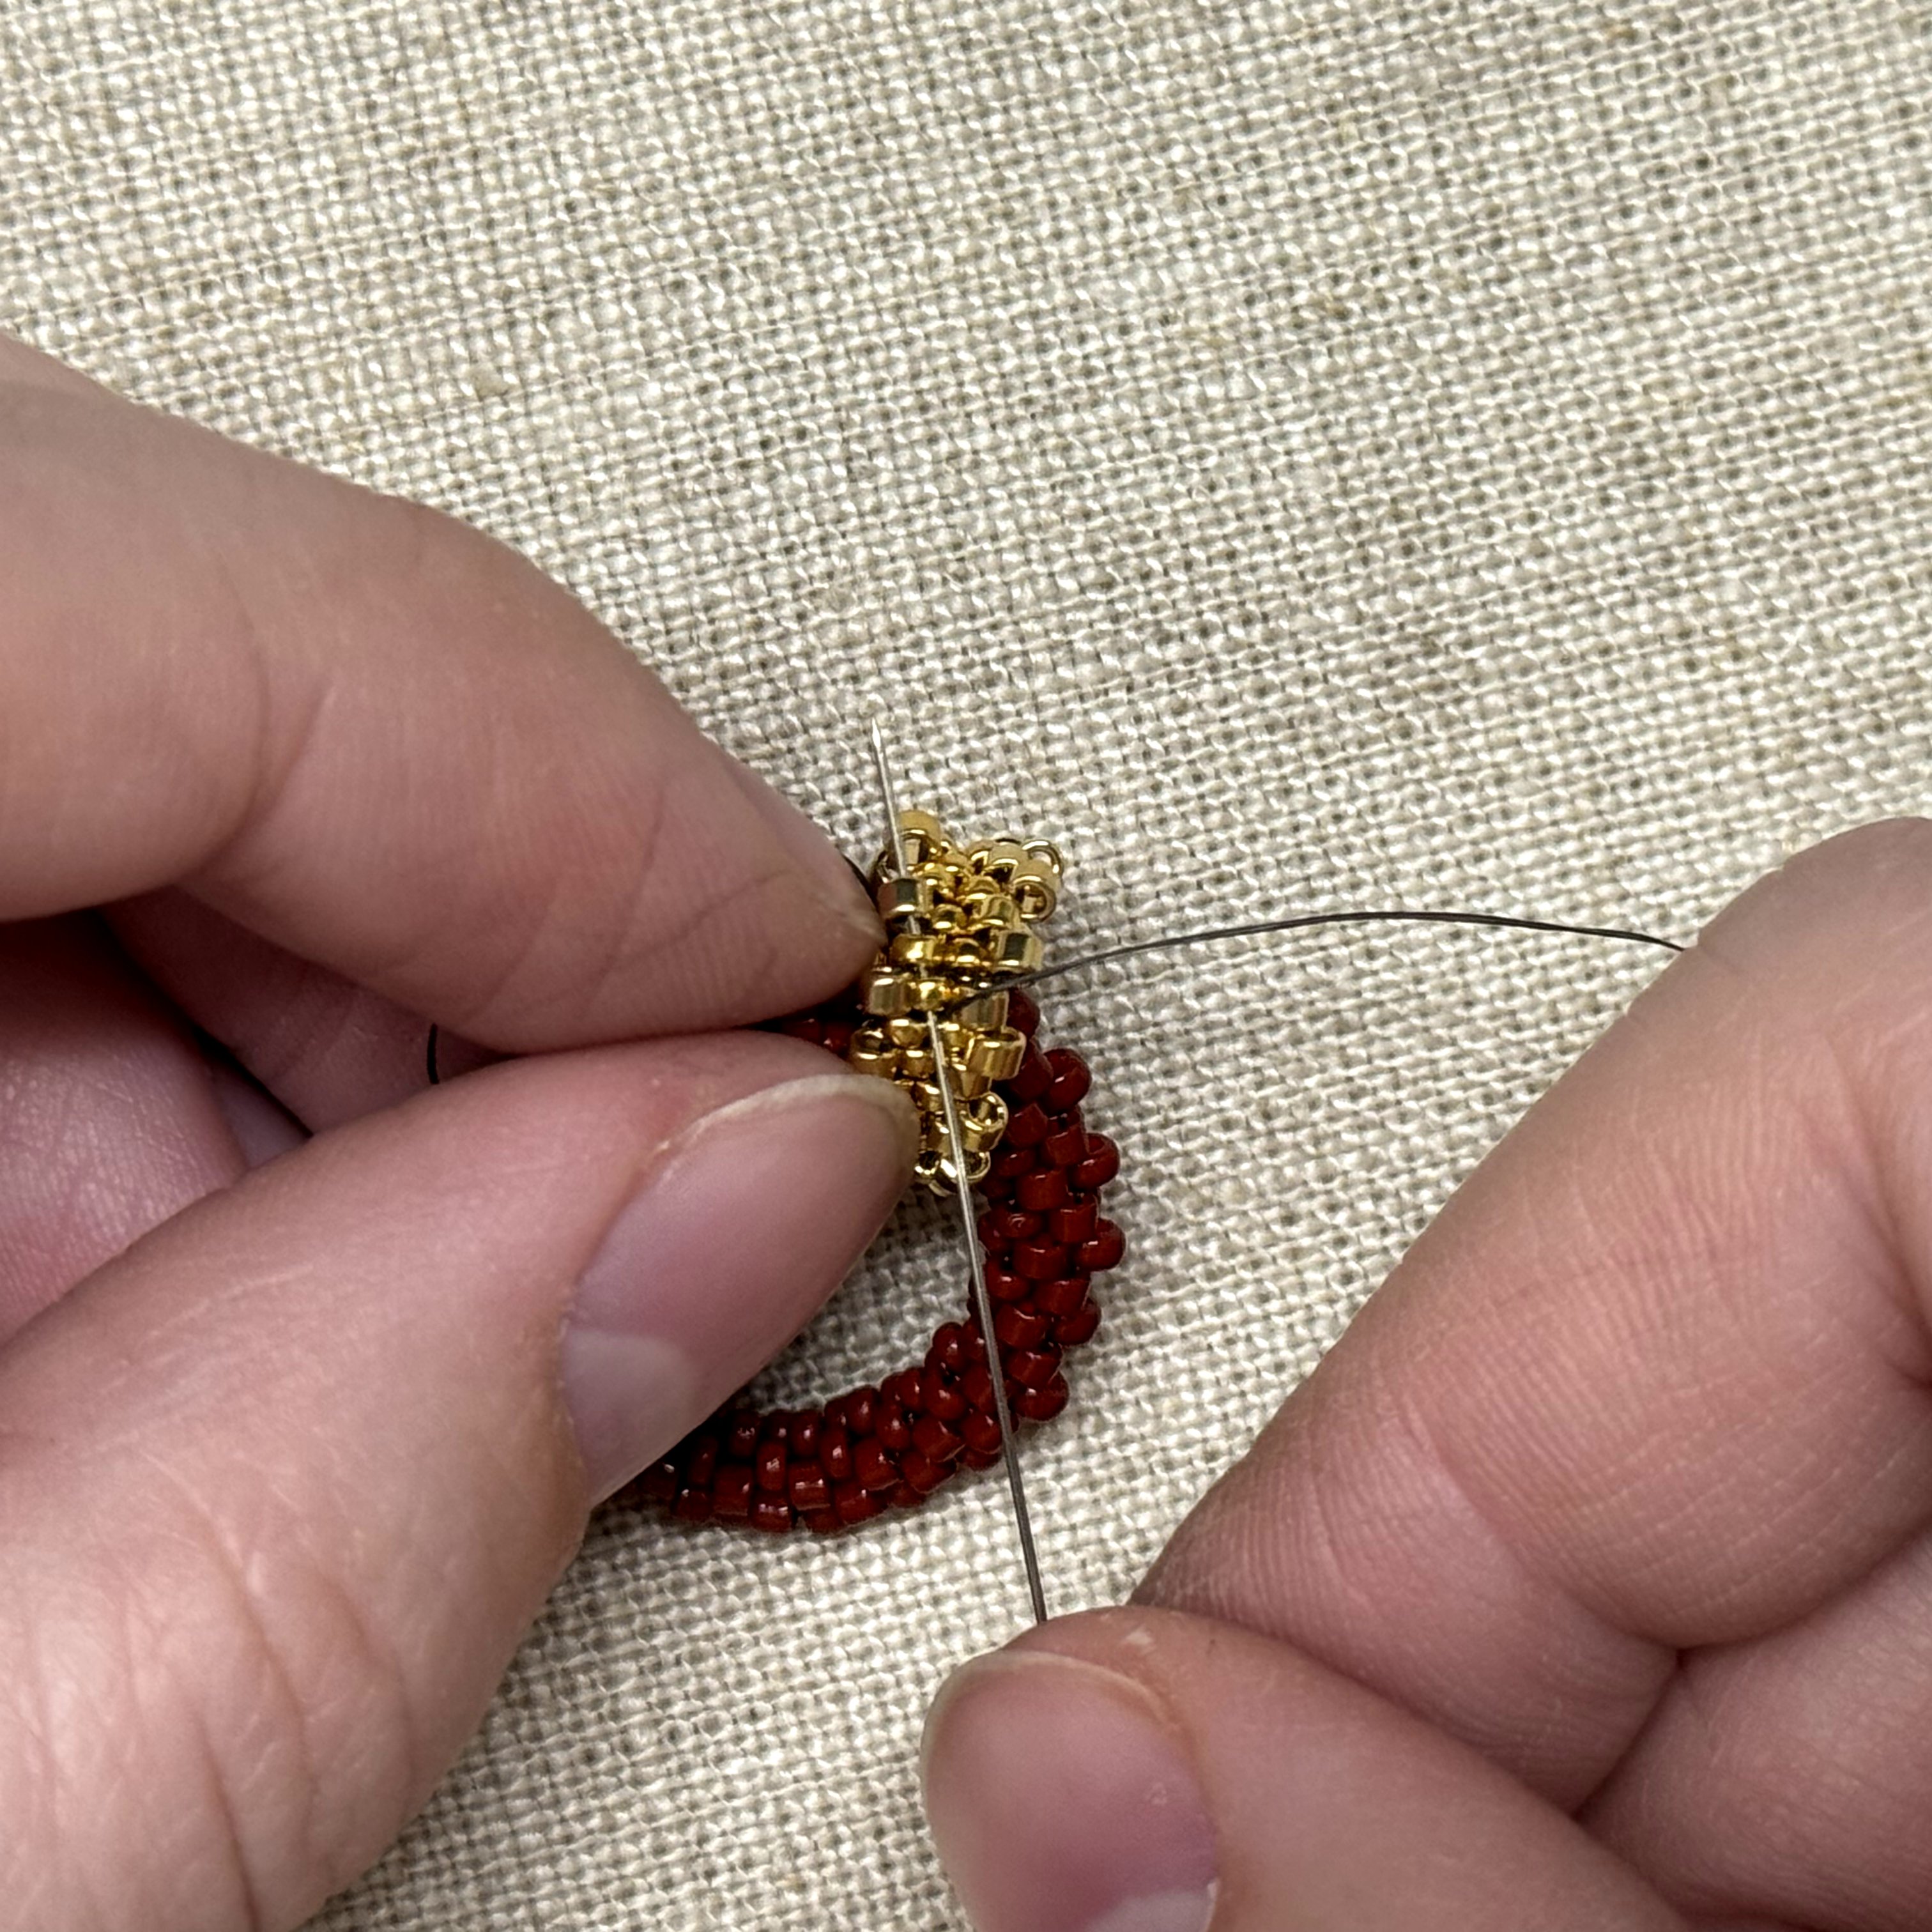
24. Keep going until you have sewn together all the way around. Now we need to secure our project - Thread the needle up through the delica to the right of the size 11 seed bead you had just gone through, then down the delica to the left.
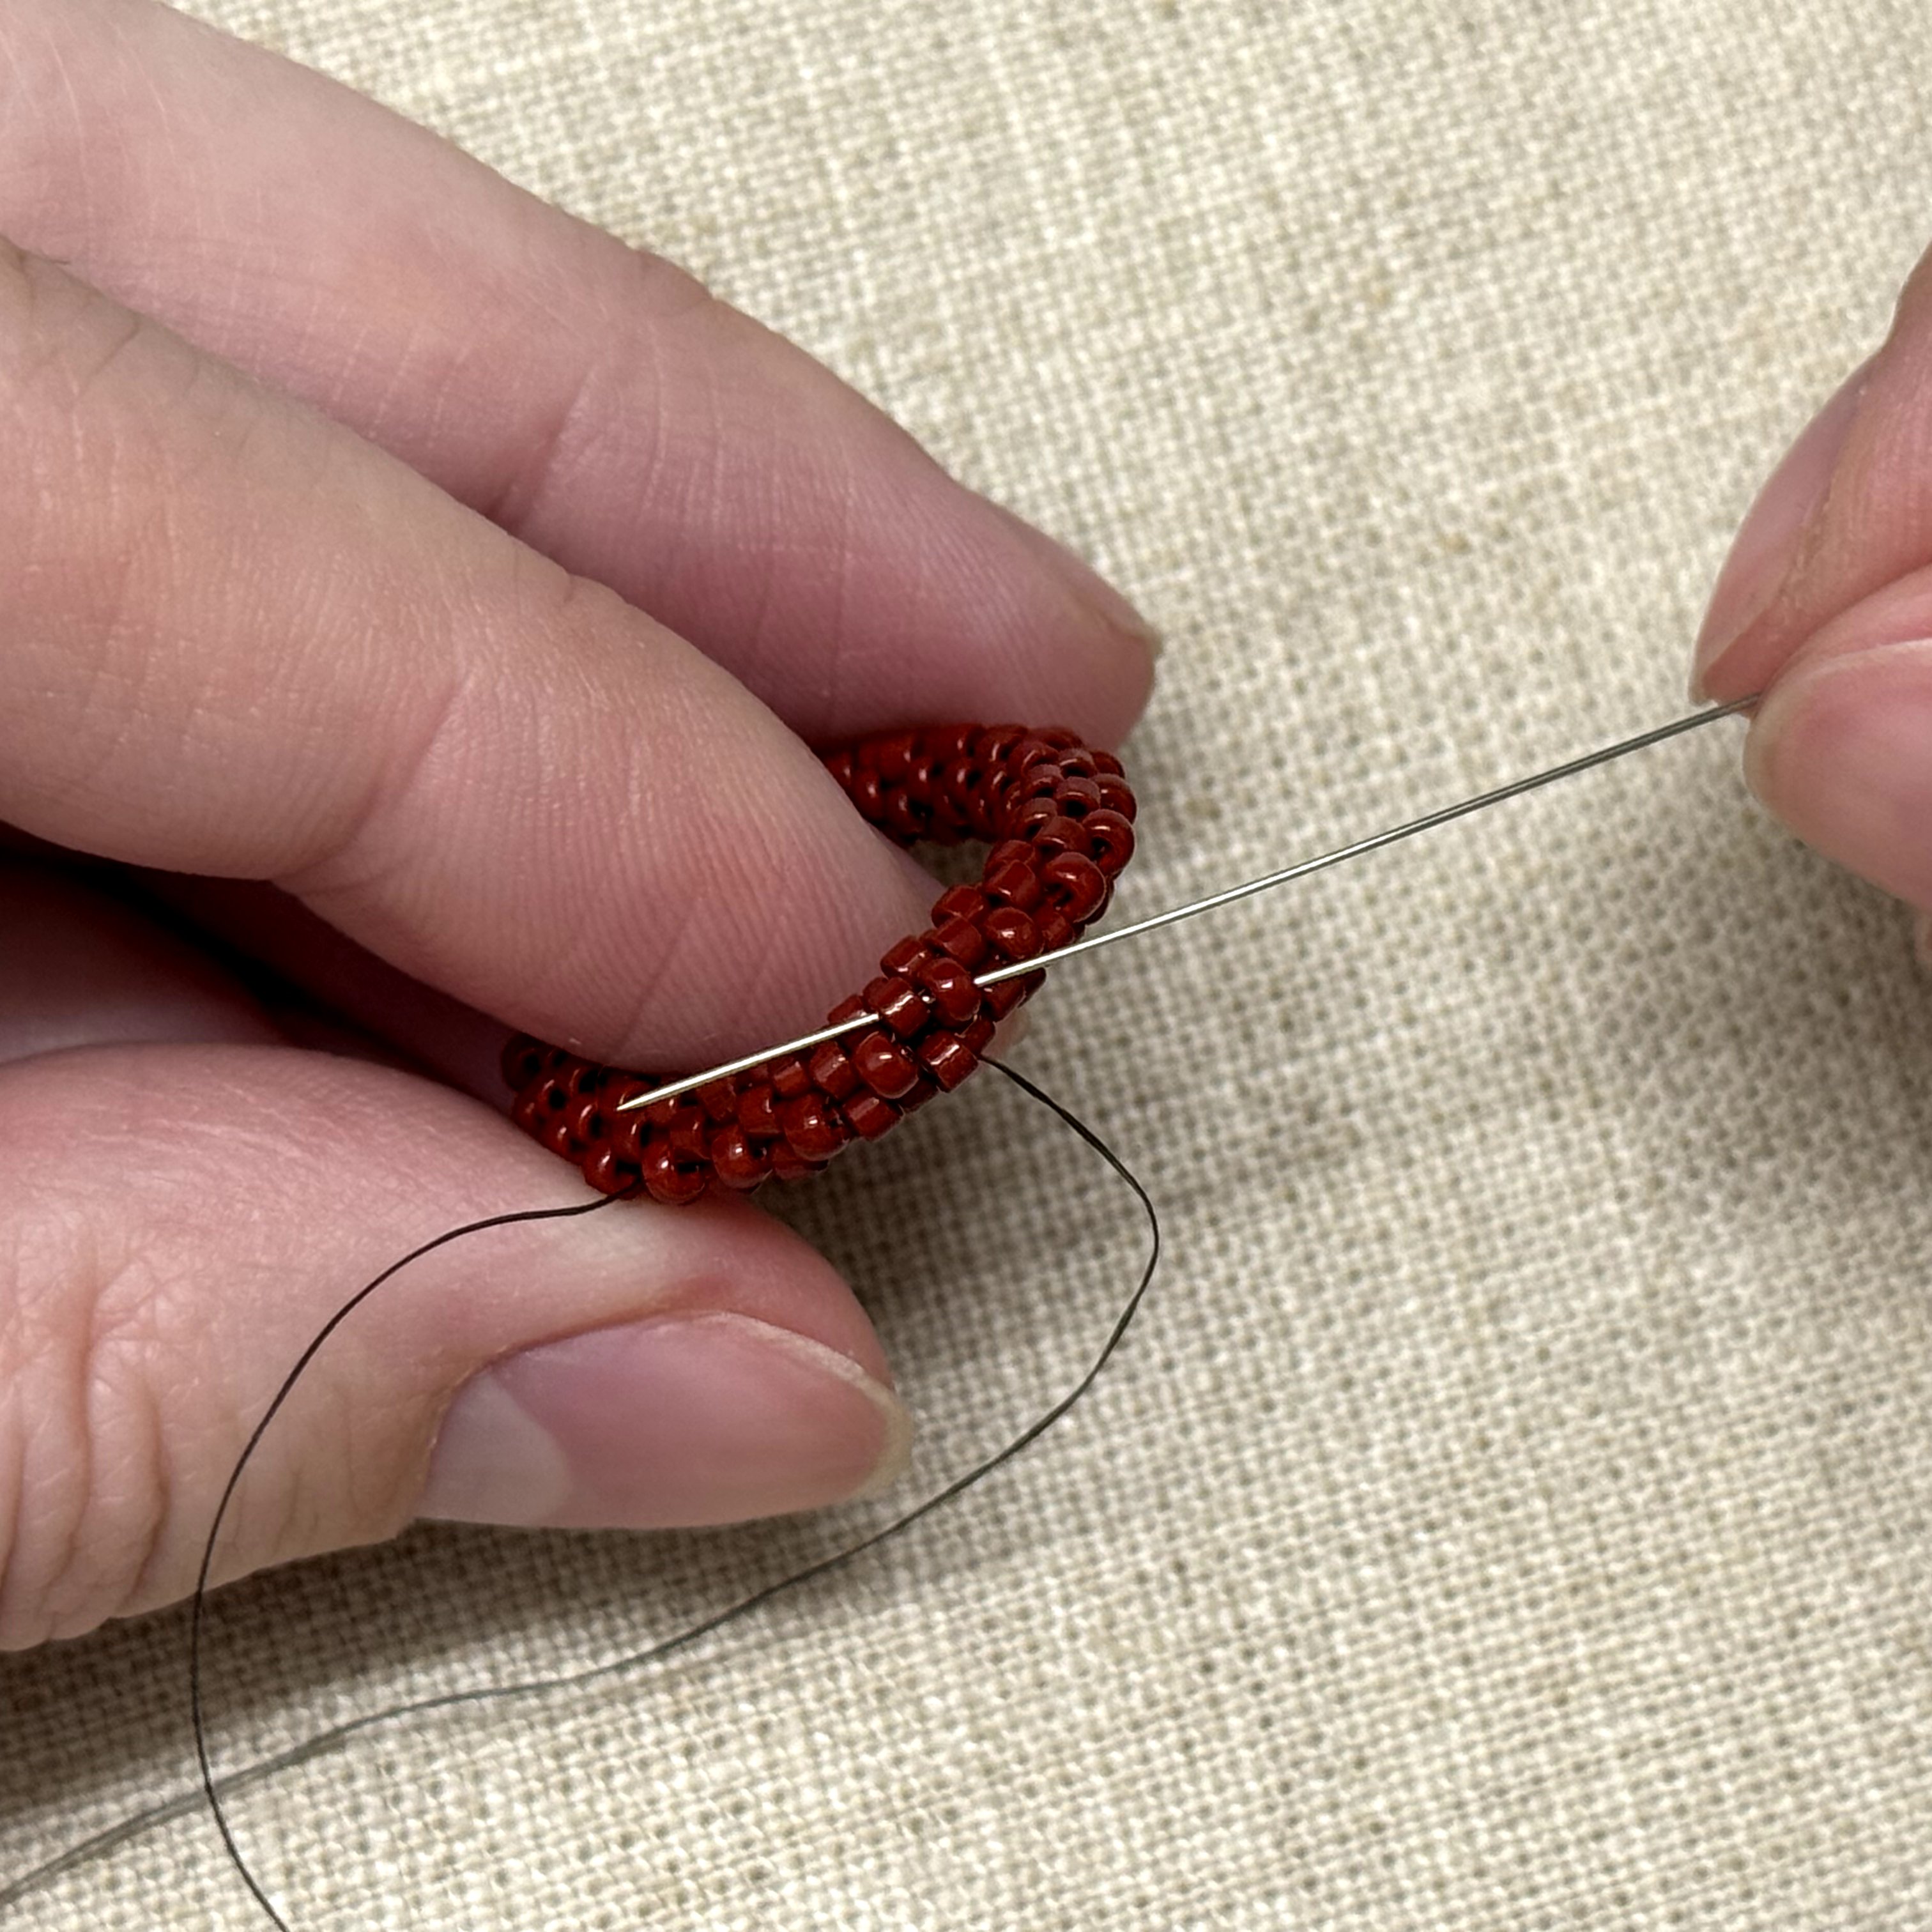
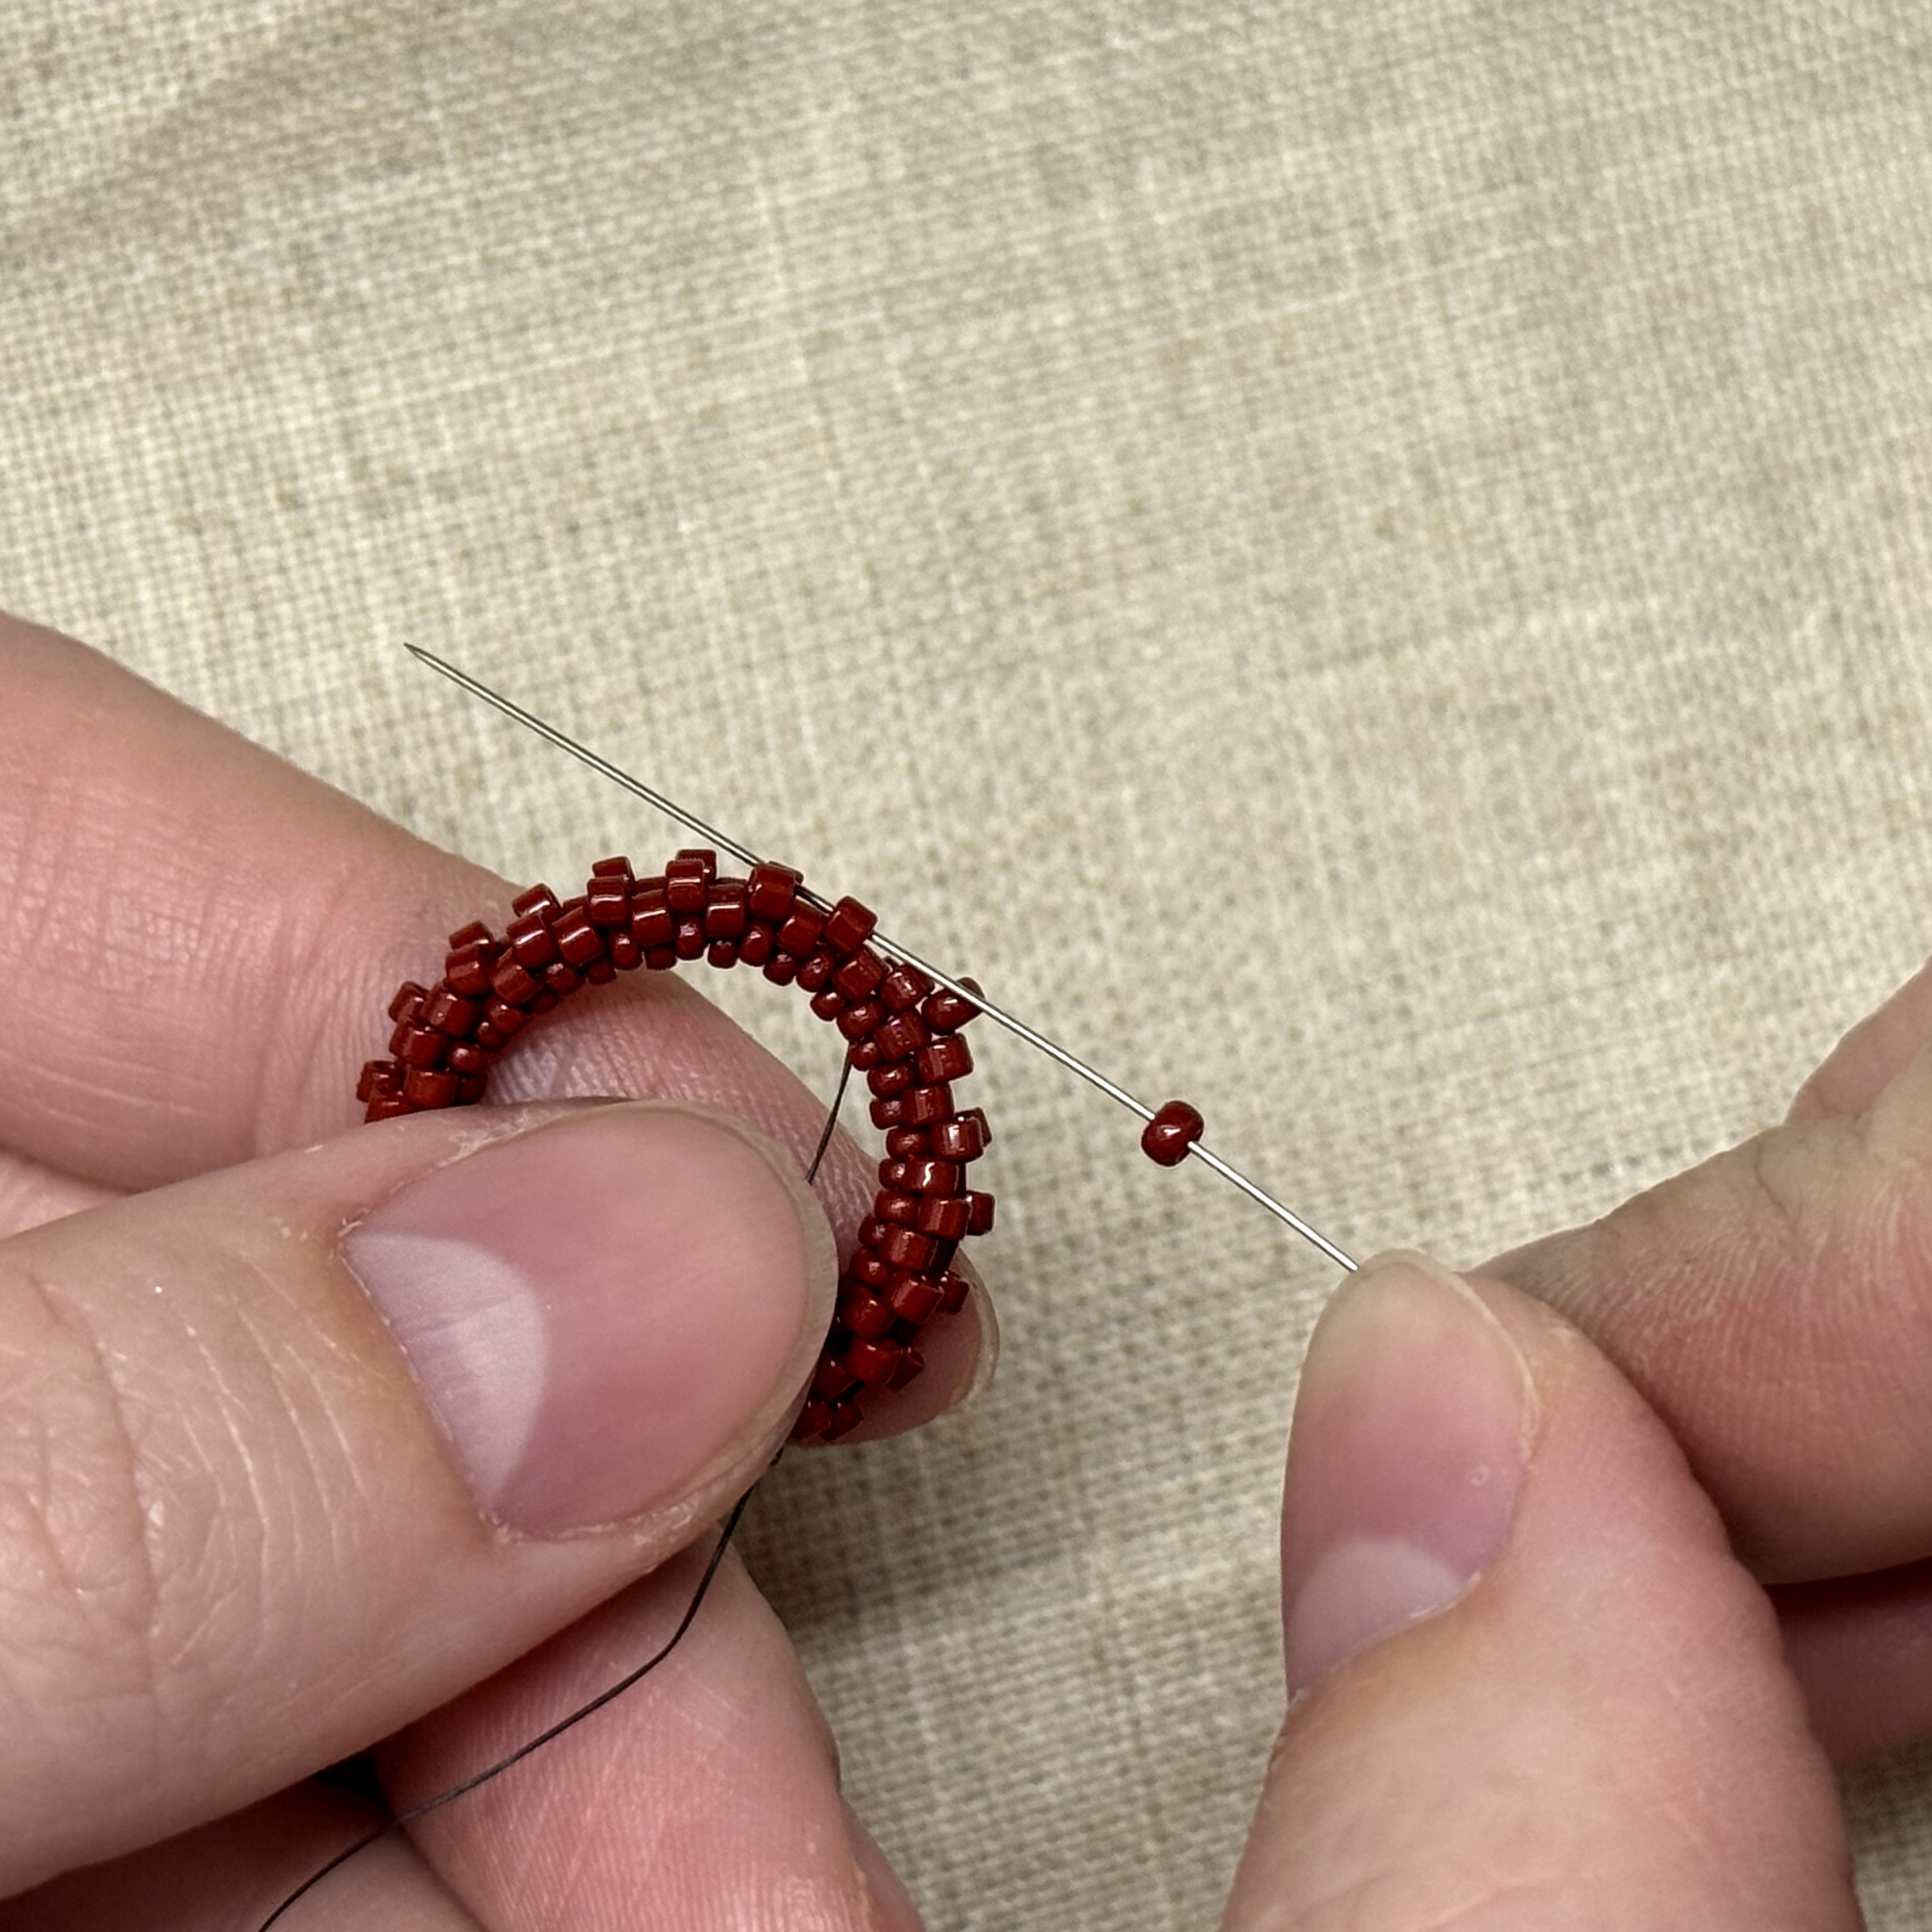
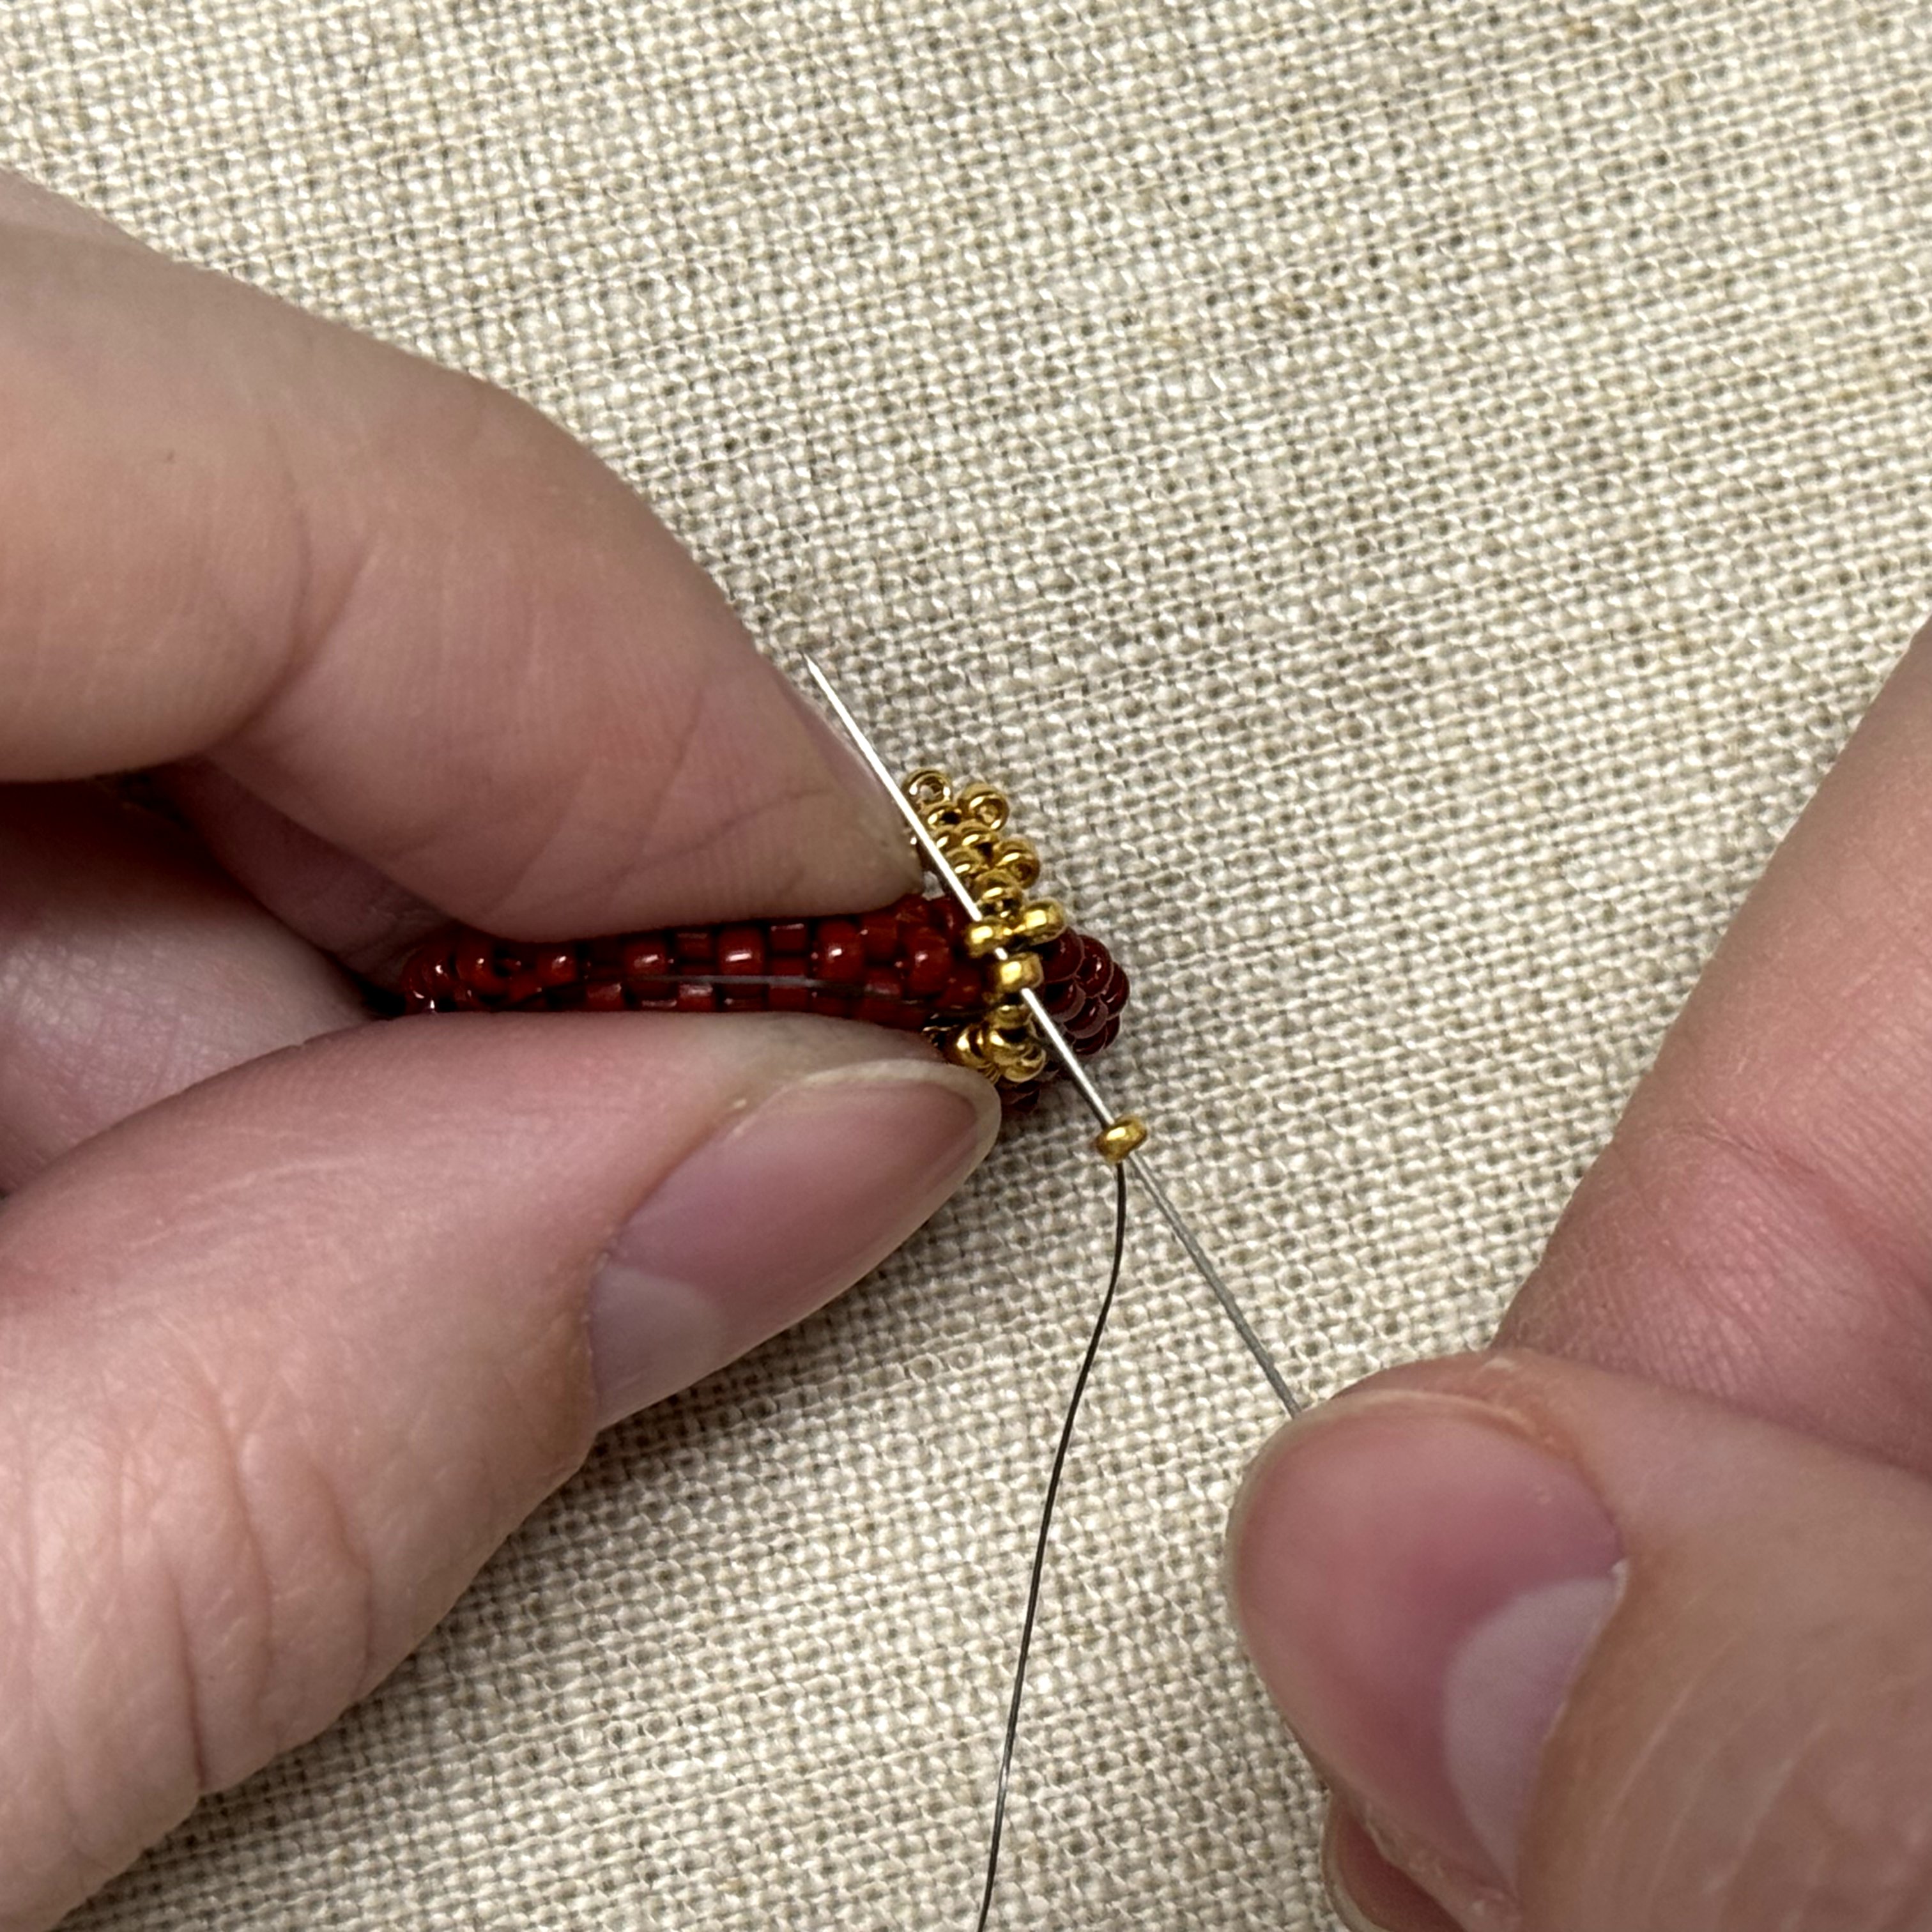
25. Thread the needle down the size 11 seed bead then through the delica on the left

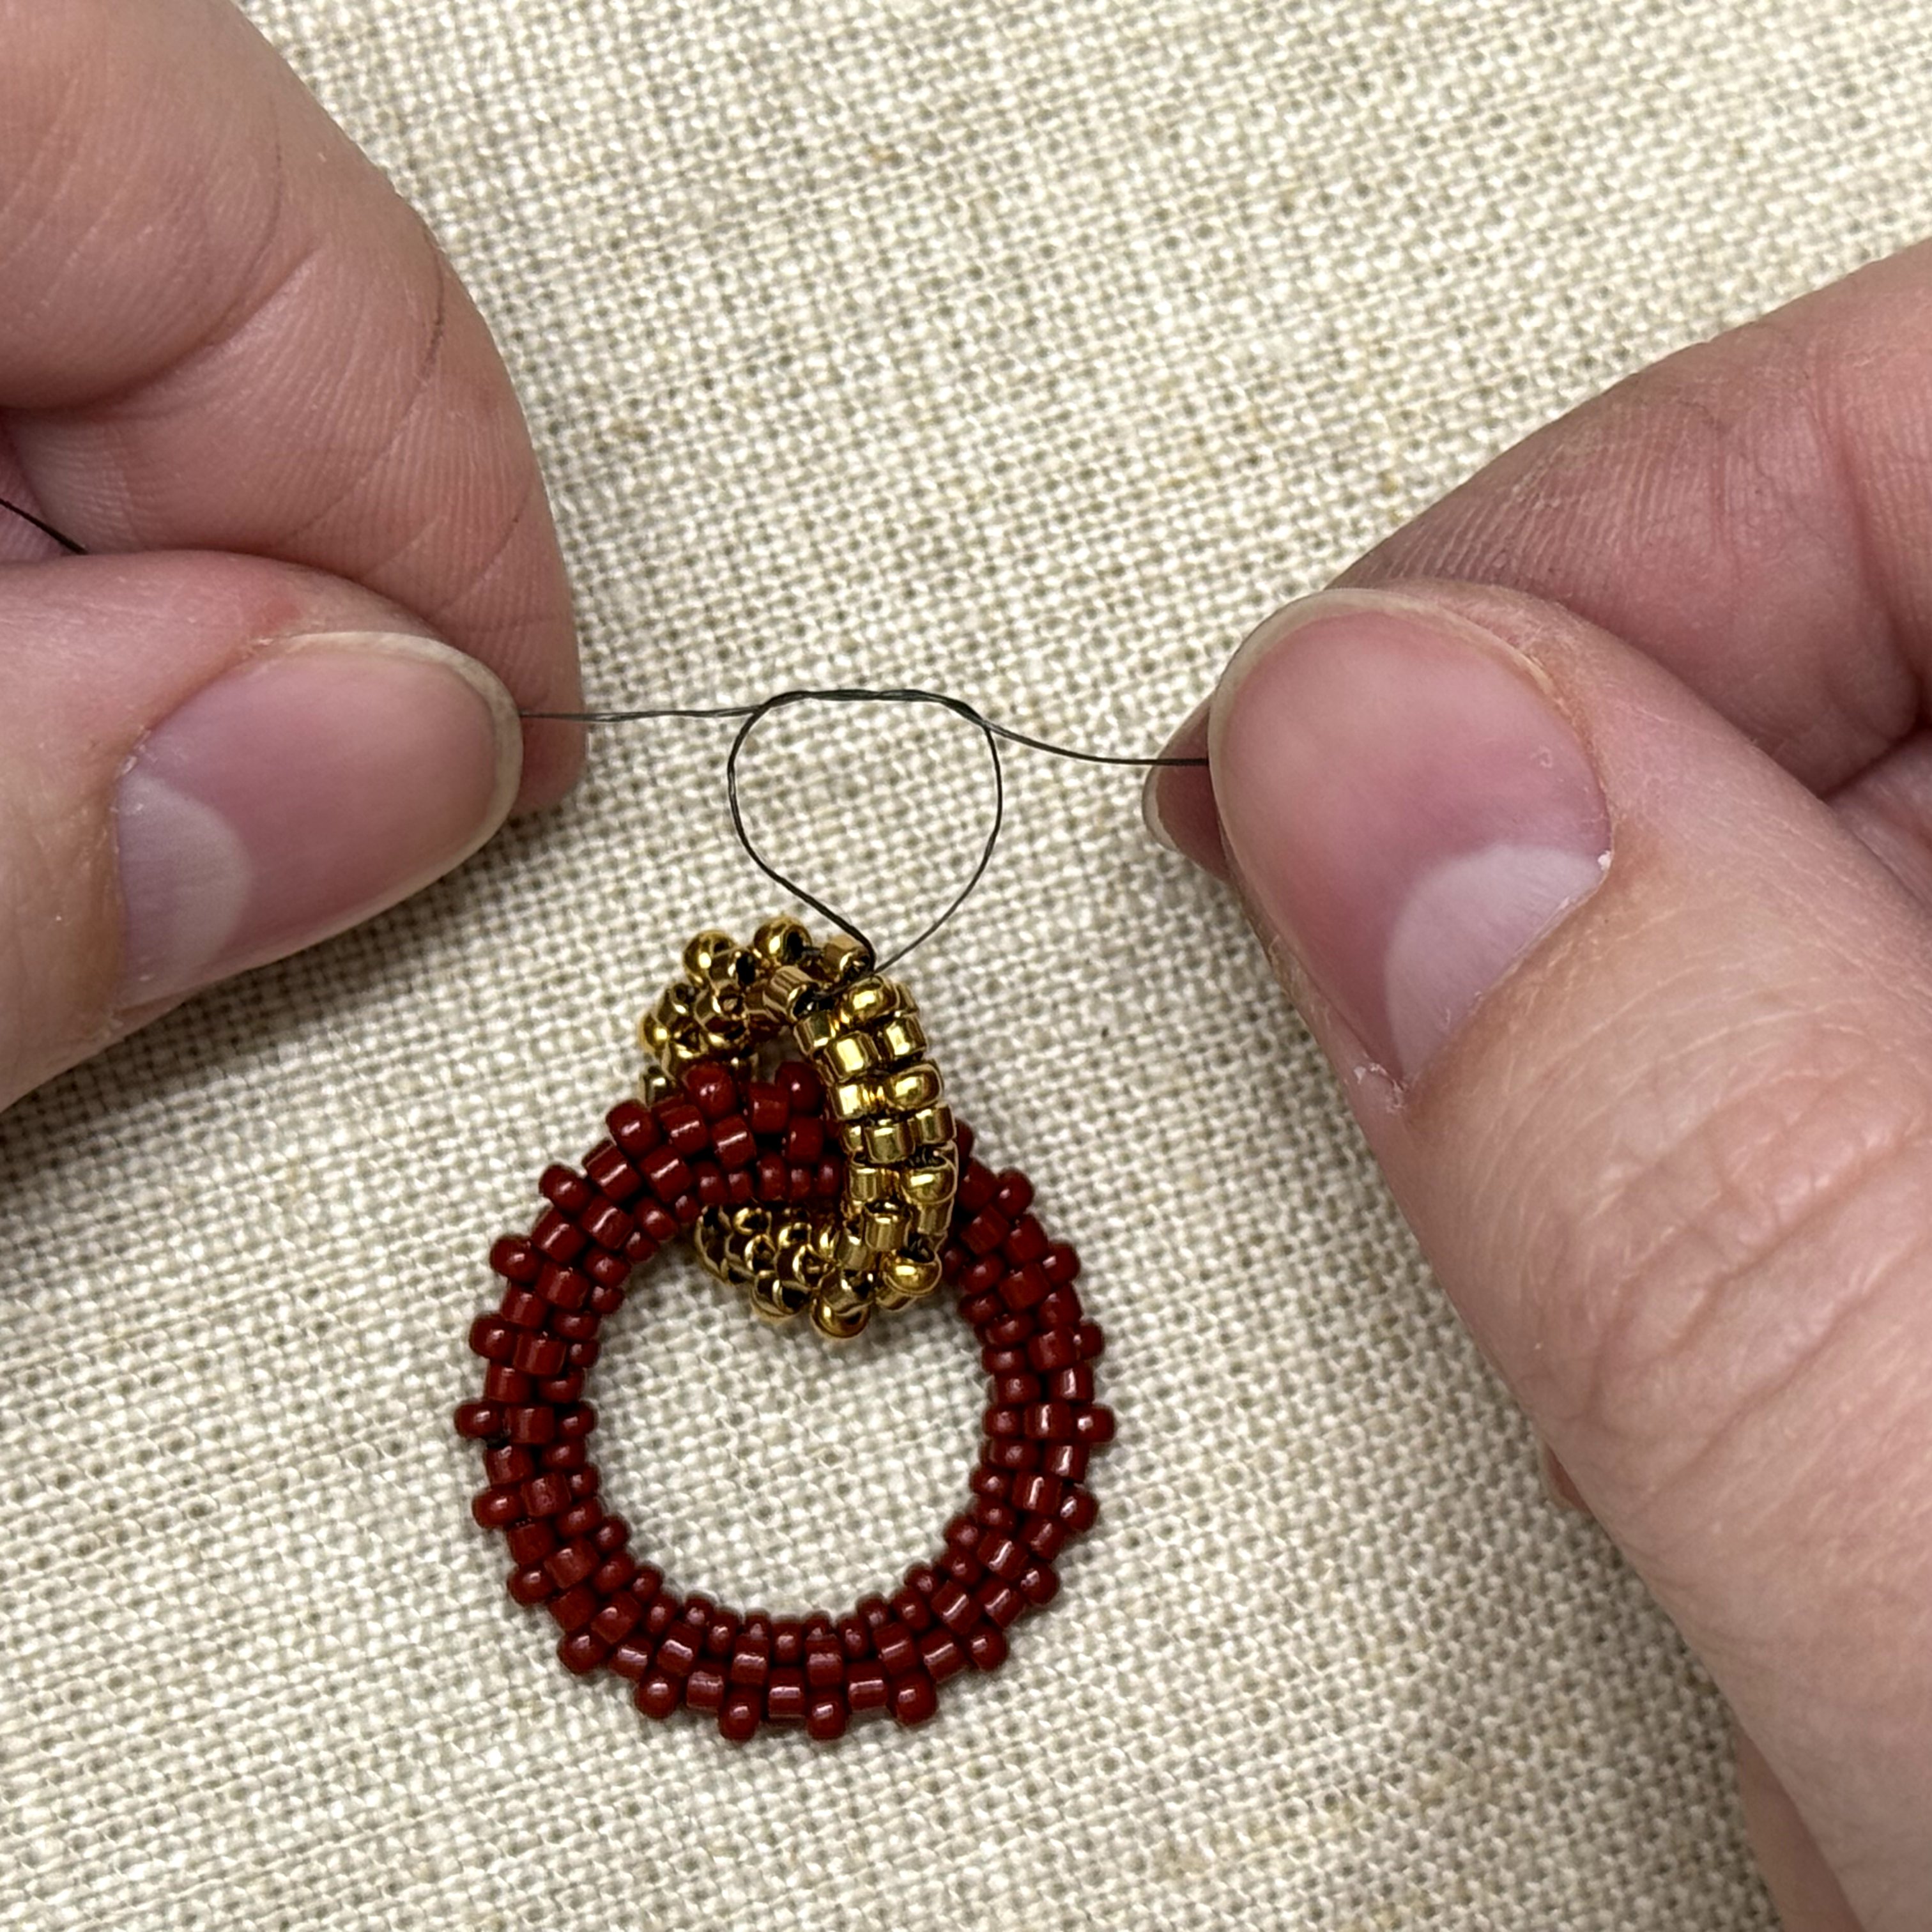
26. Keep going in that zig-zag pattern till you reach the tail of fire line from when you started
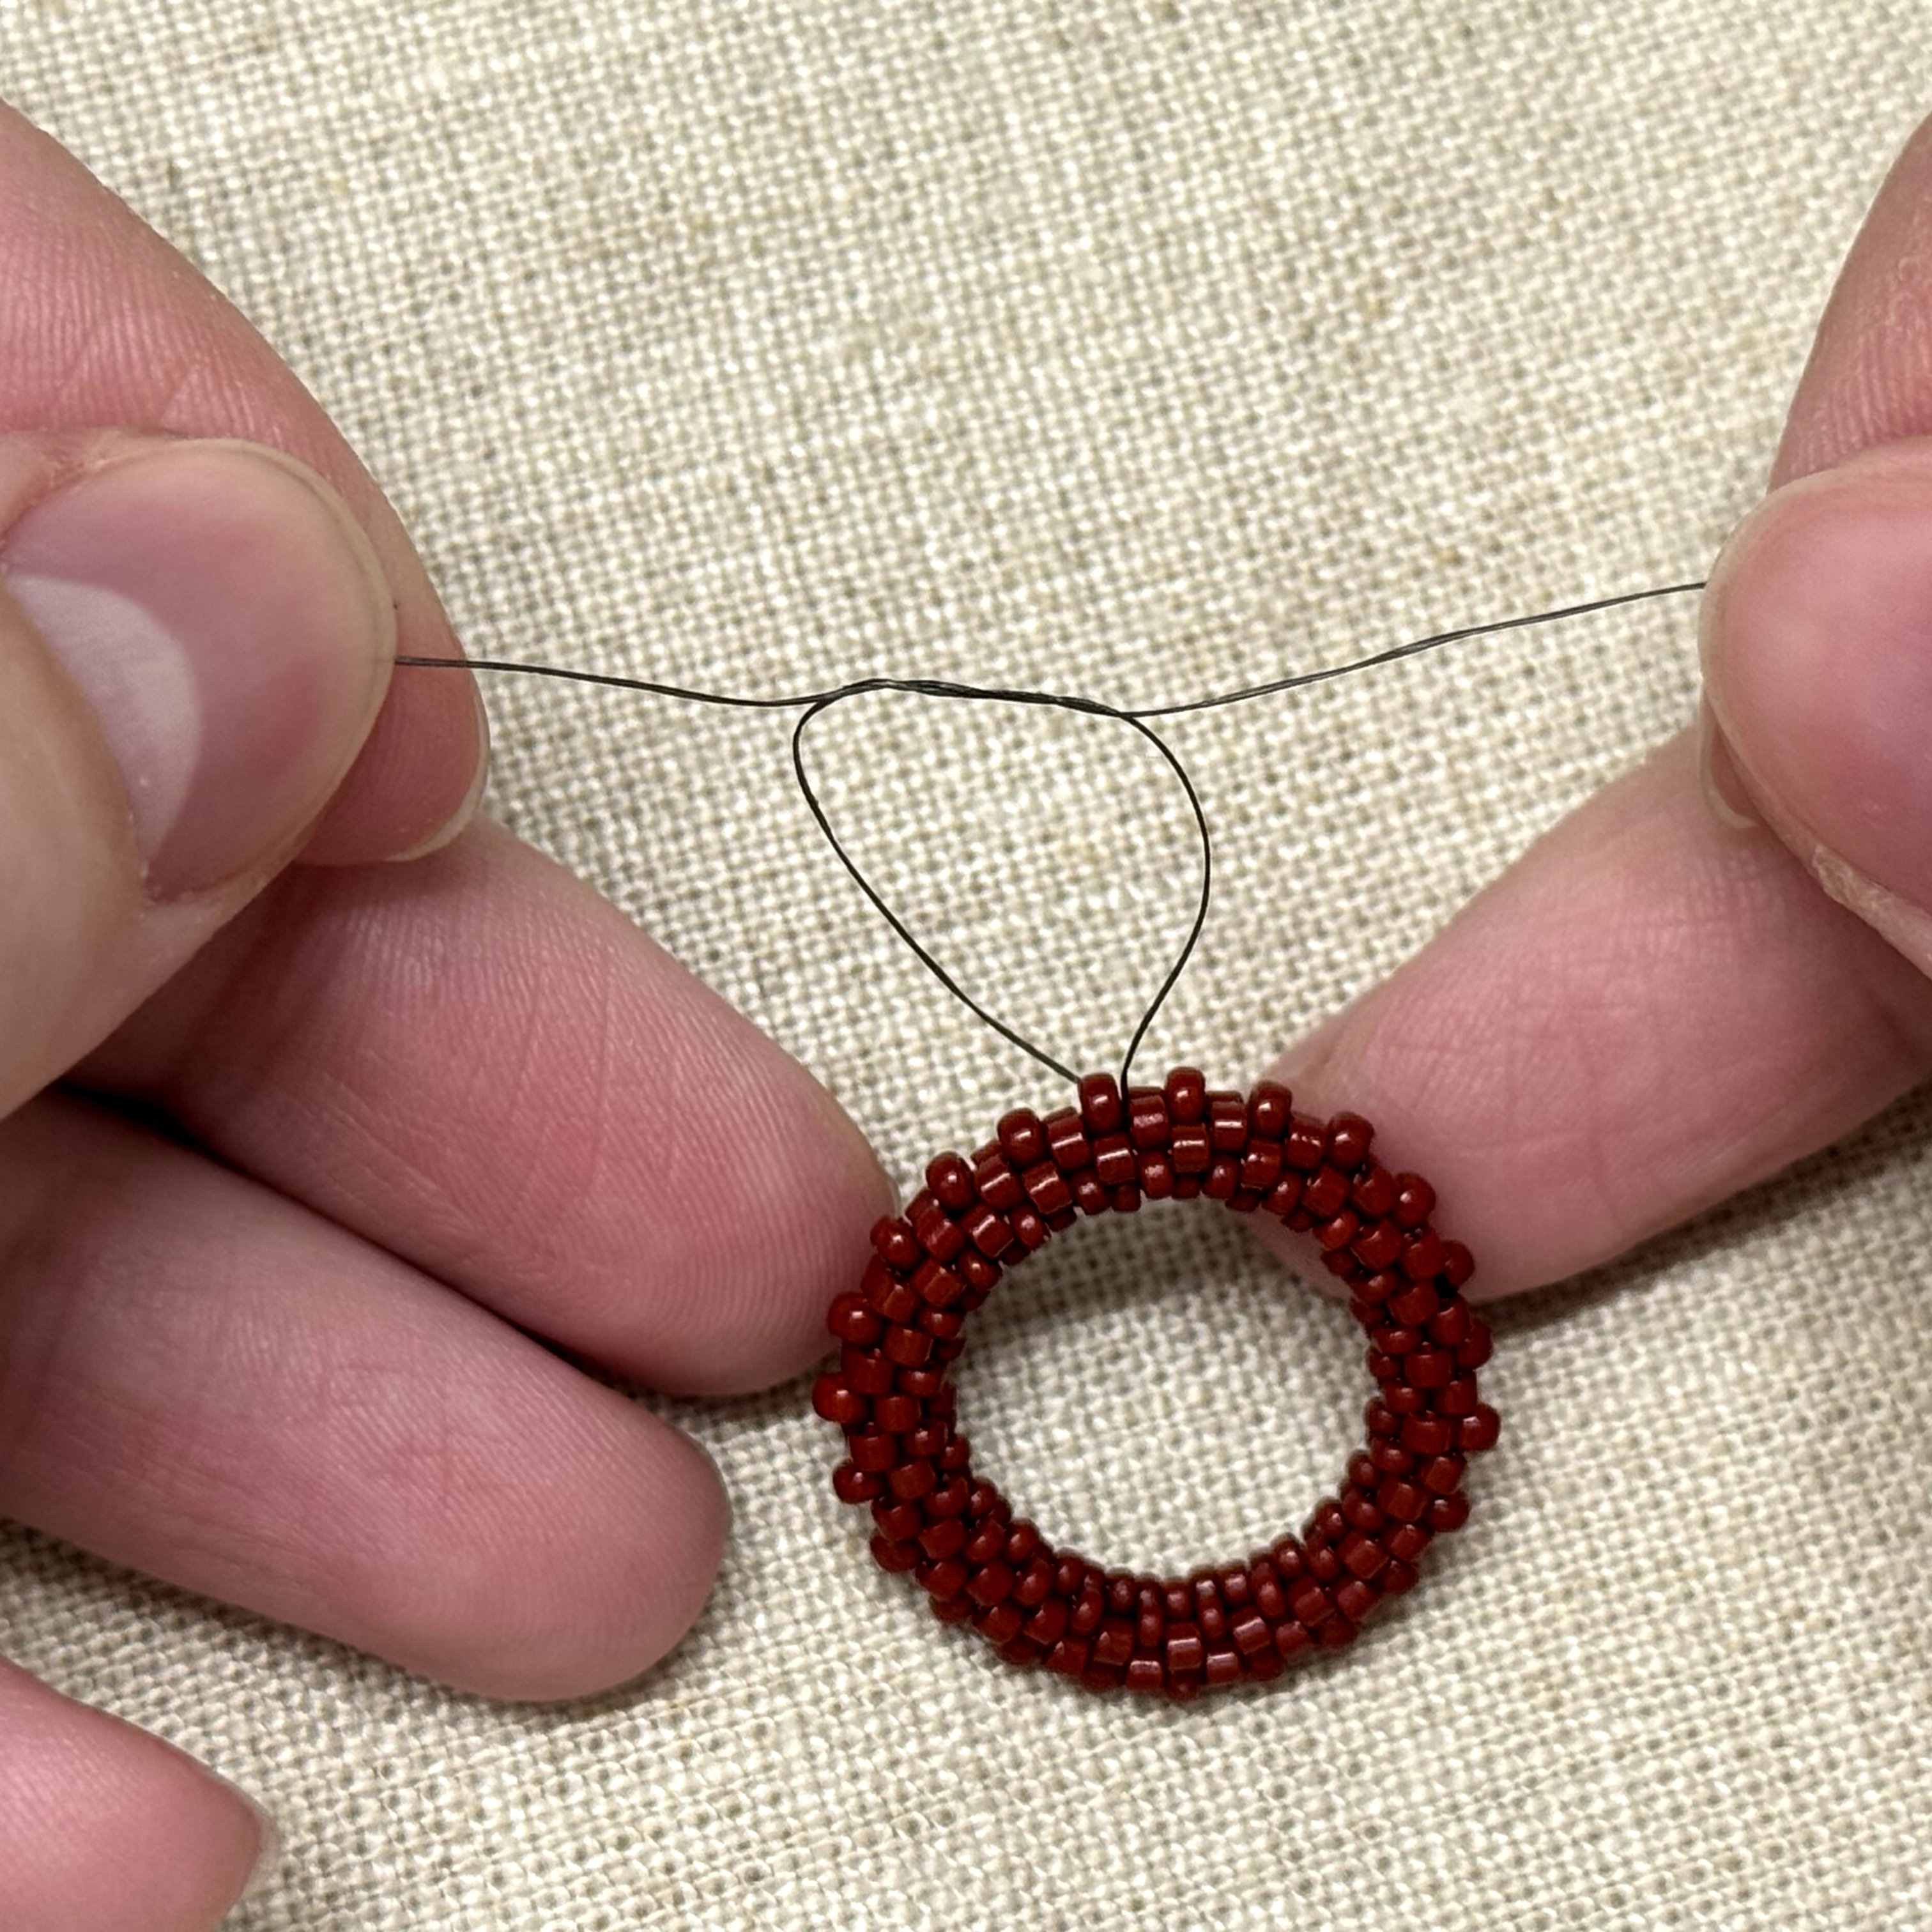
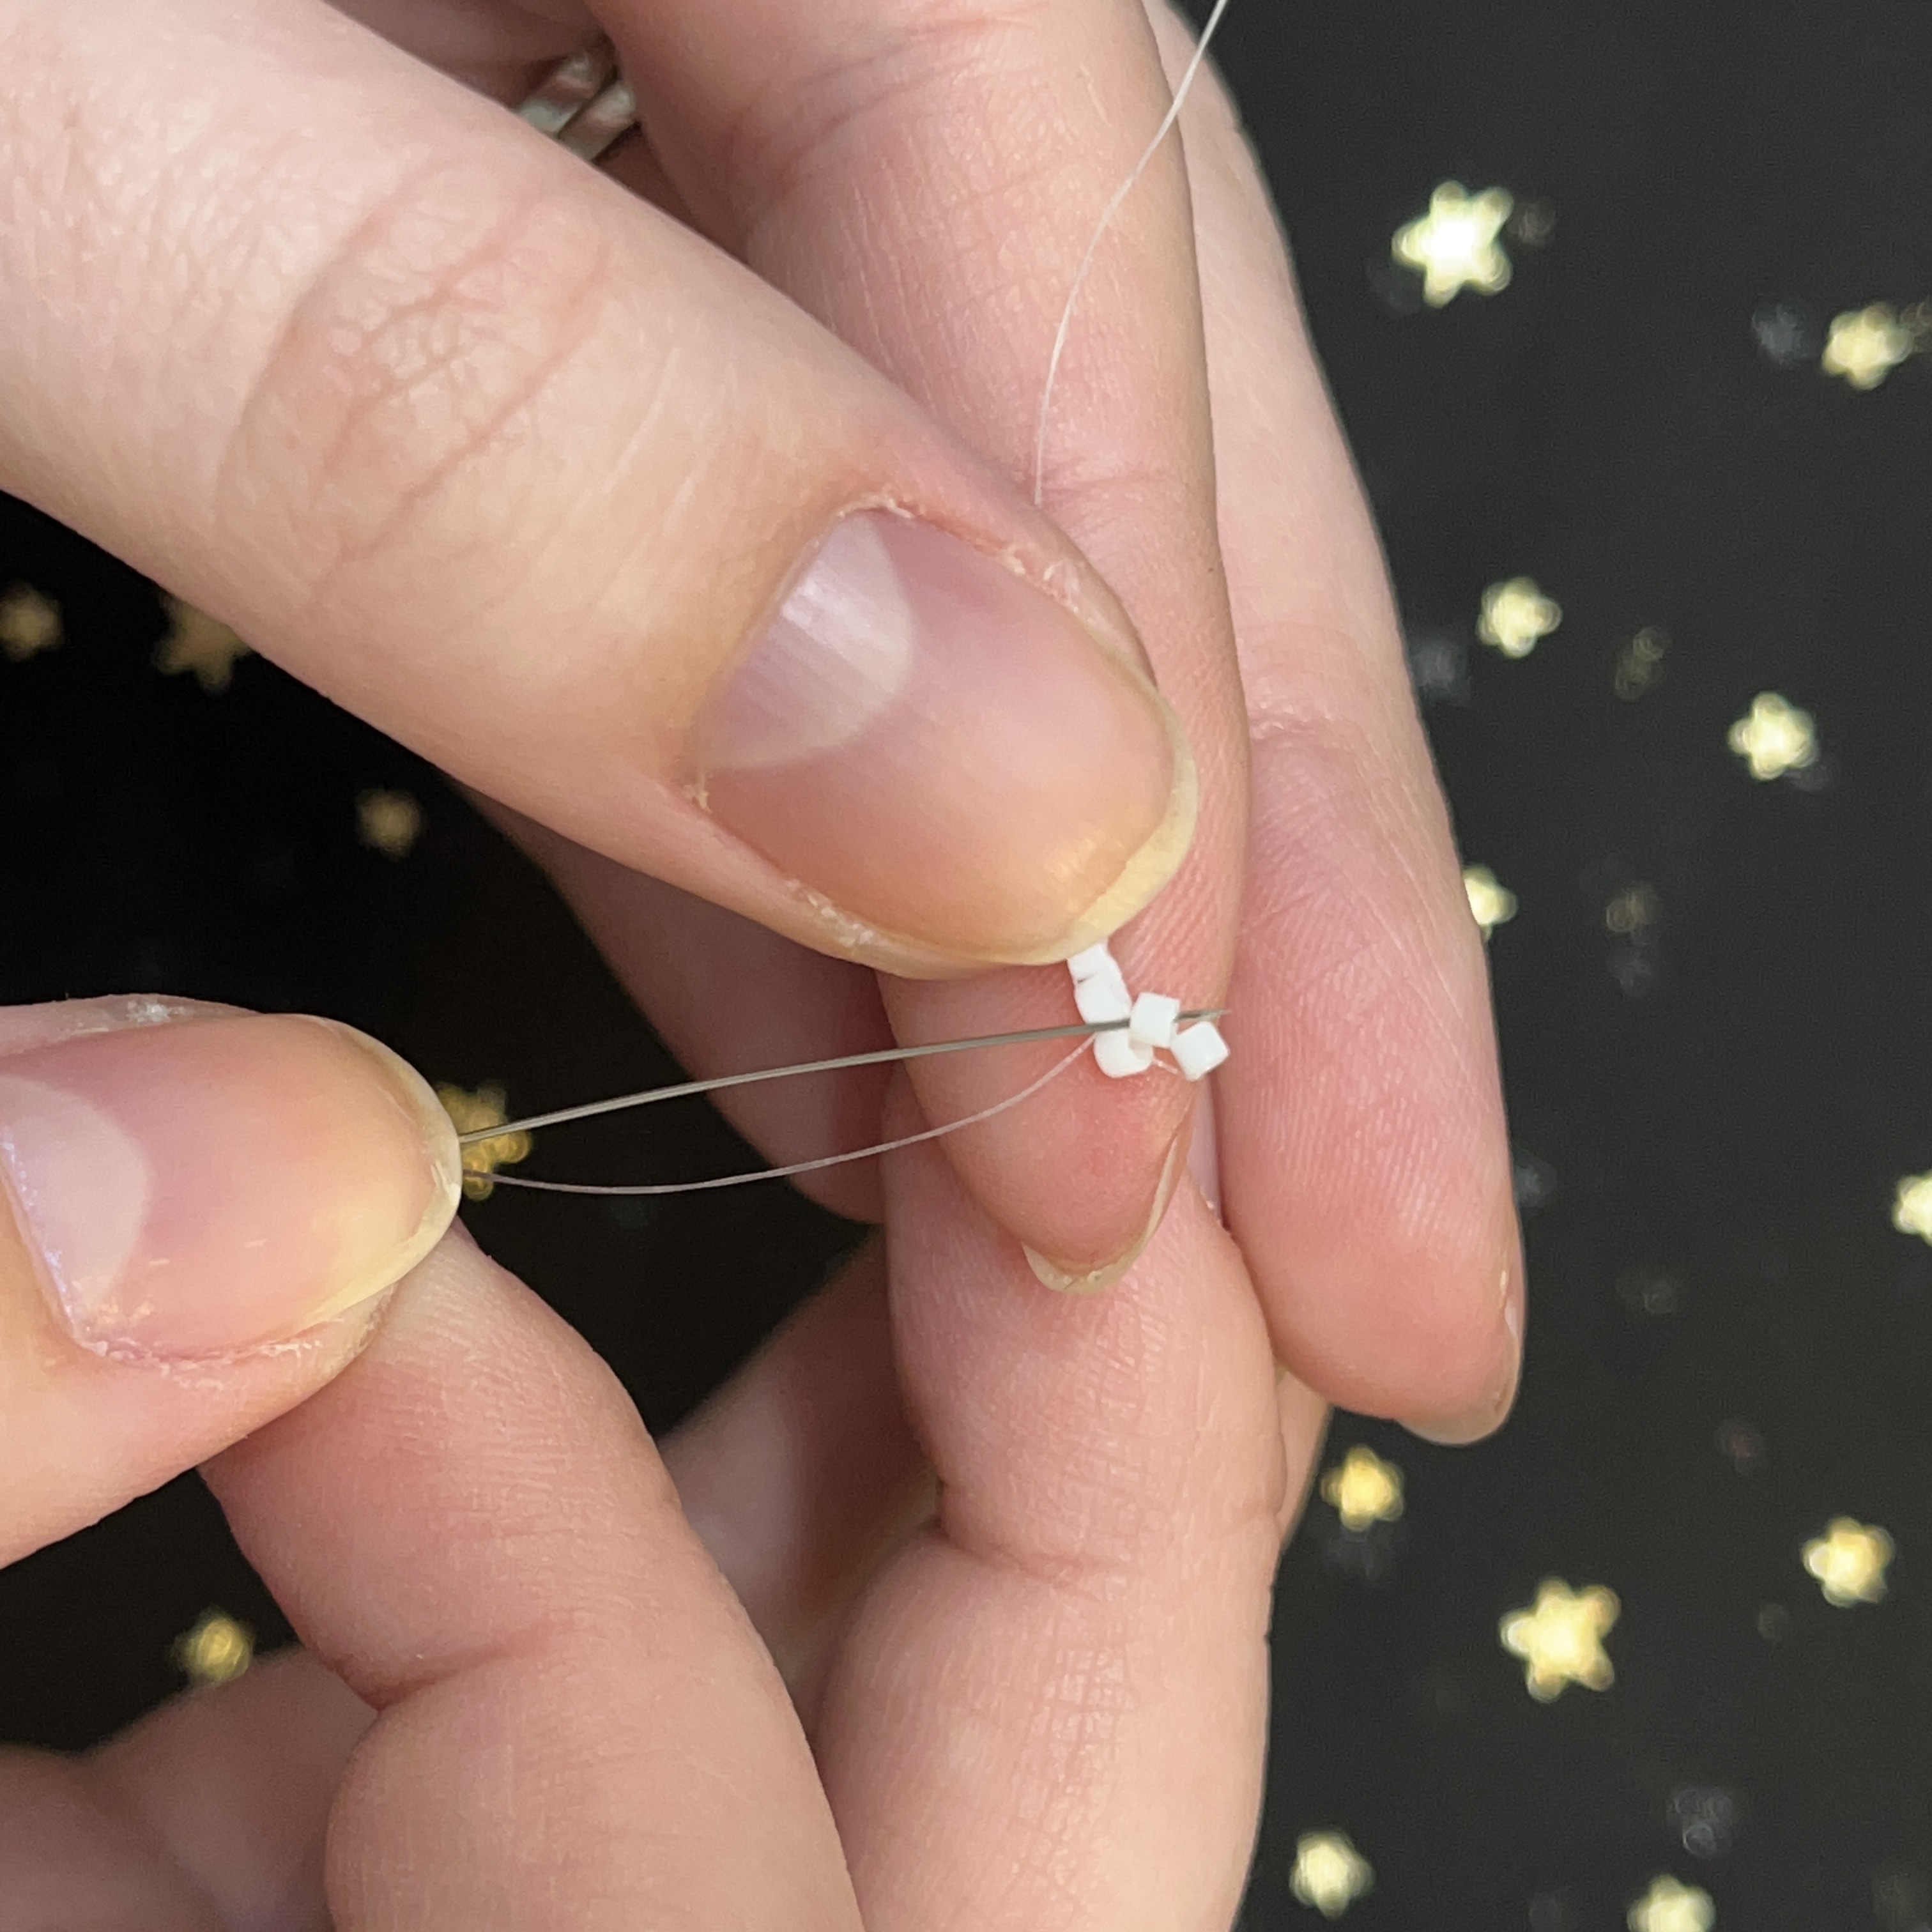
27. Tie a surgeon's knot with the two tails. Repeat to create two knots, cut tails, and dab knots with a tiny bit of gs-hypo cement glue
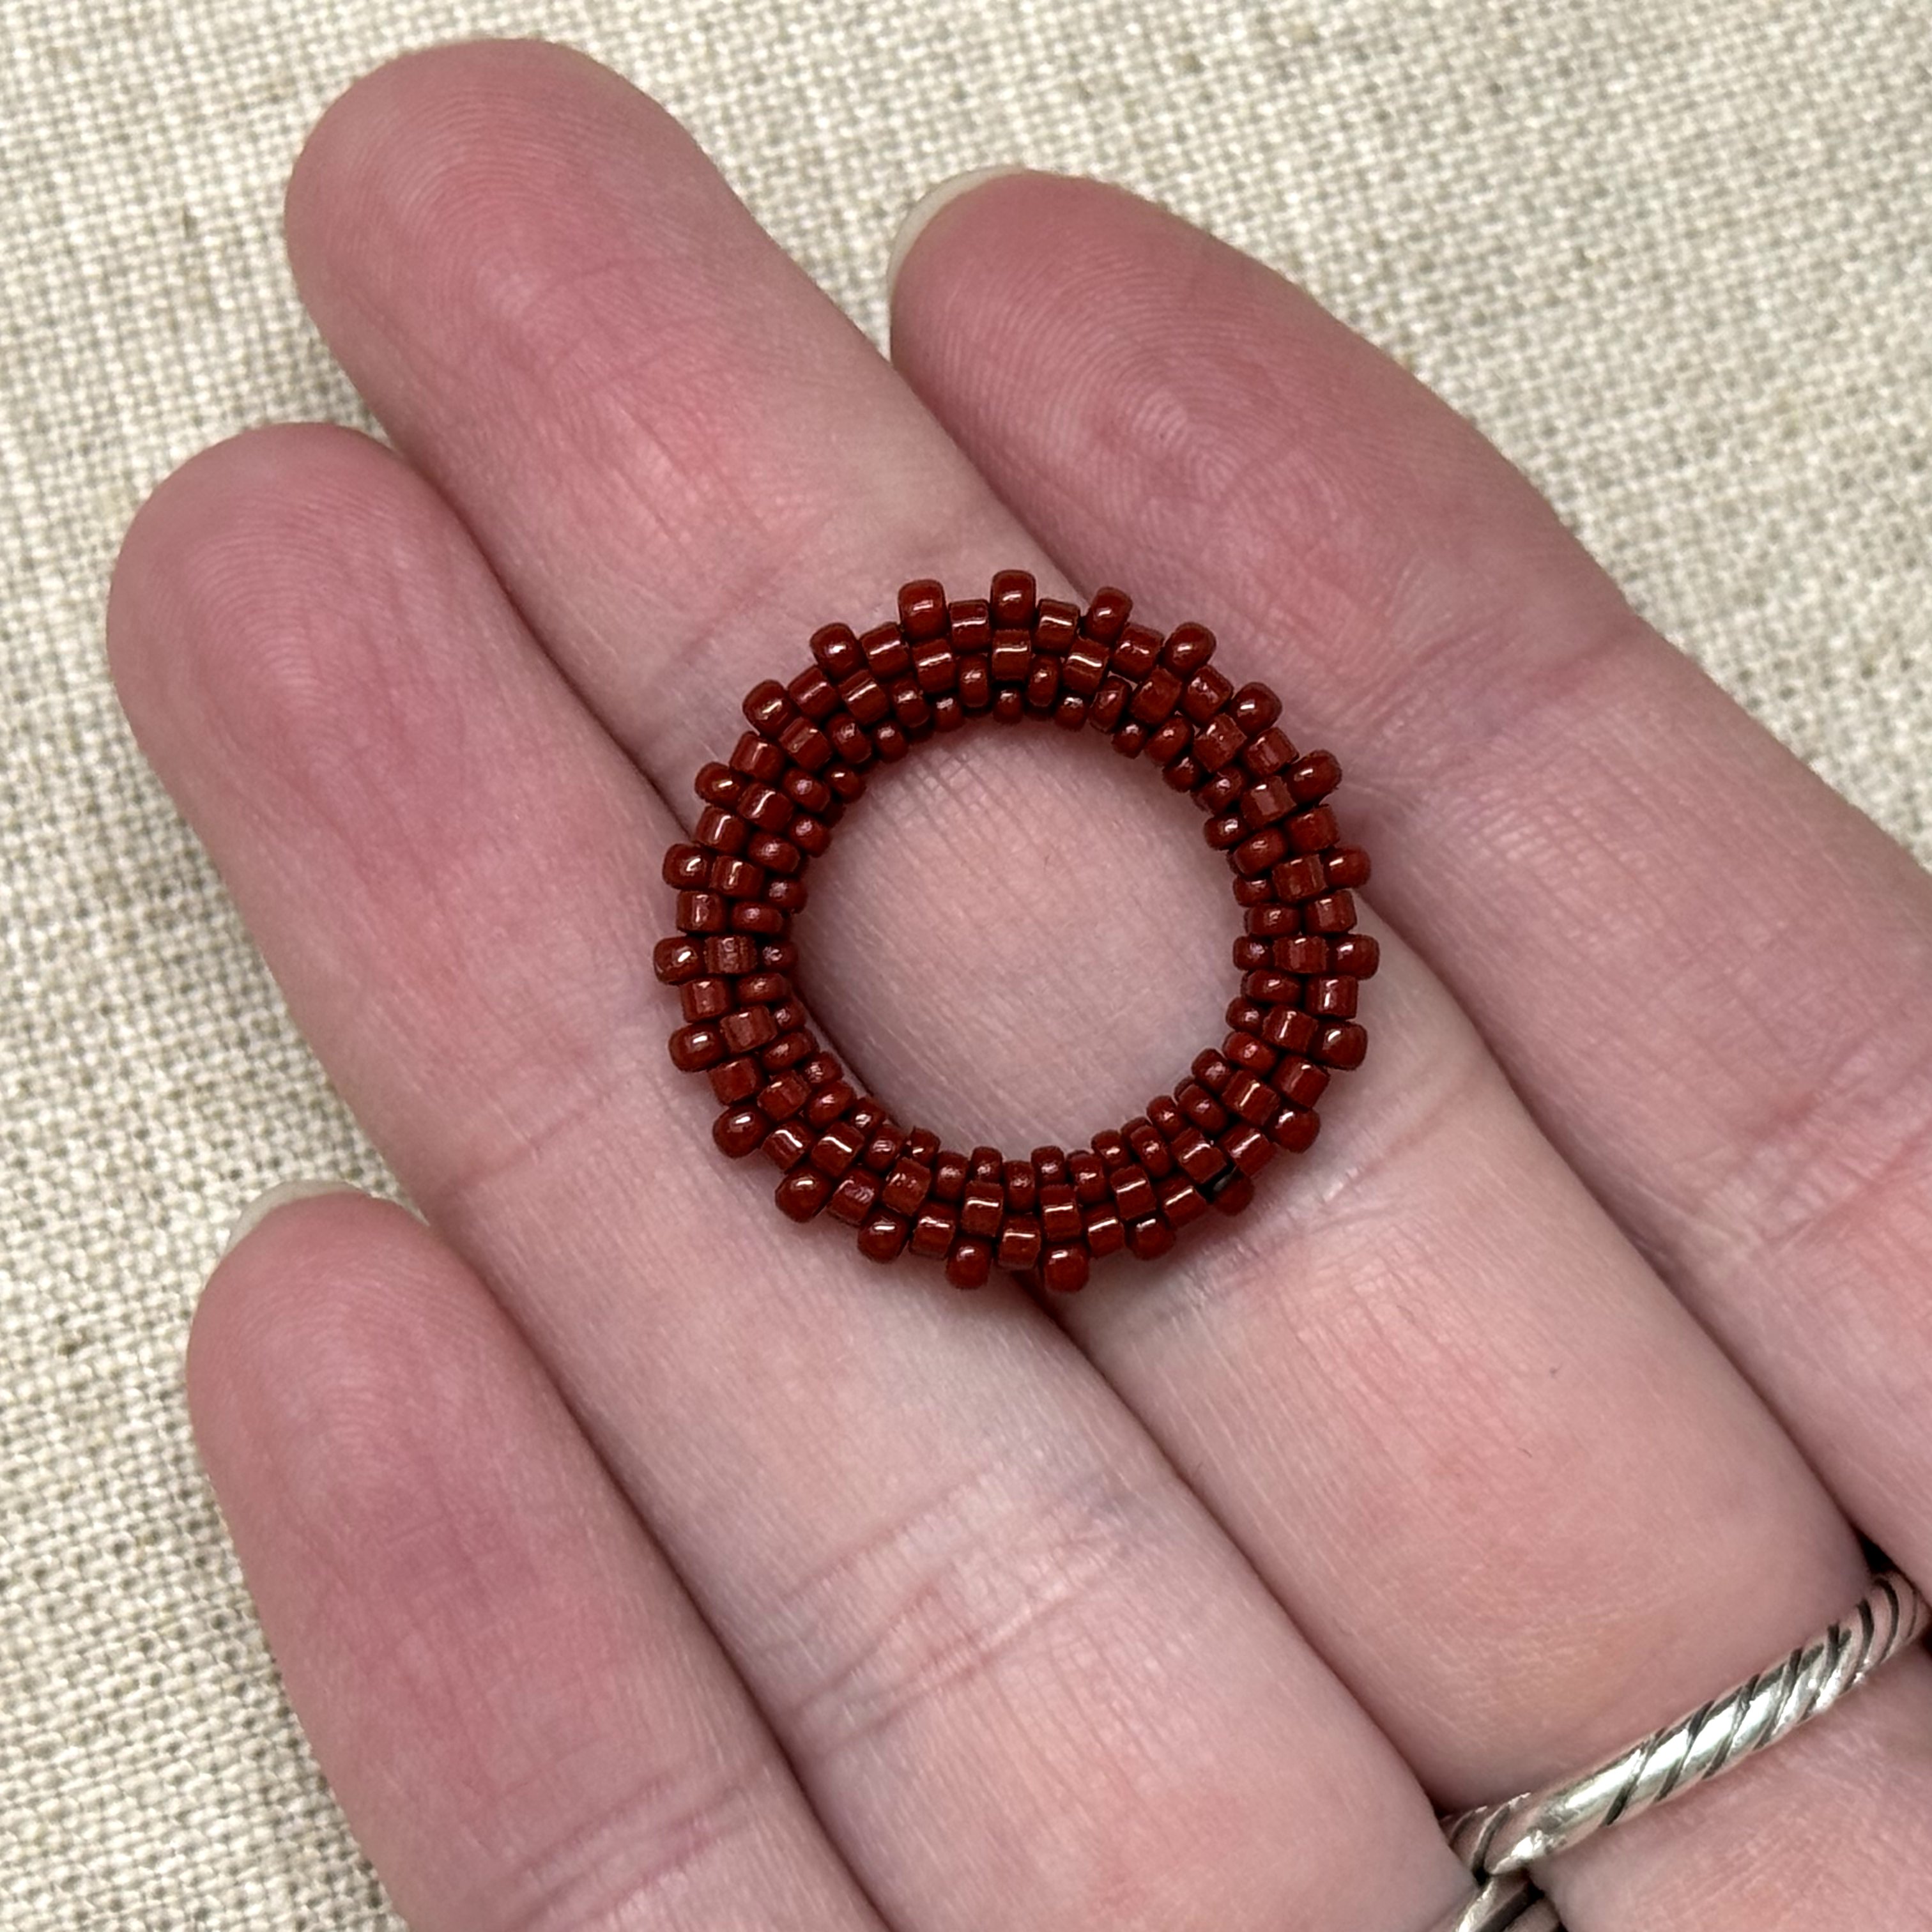
28. First ring done!
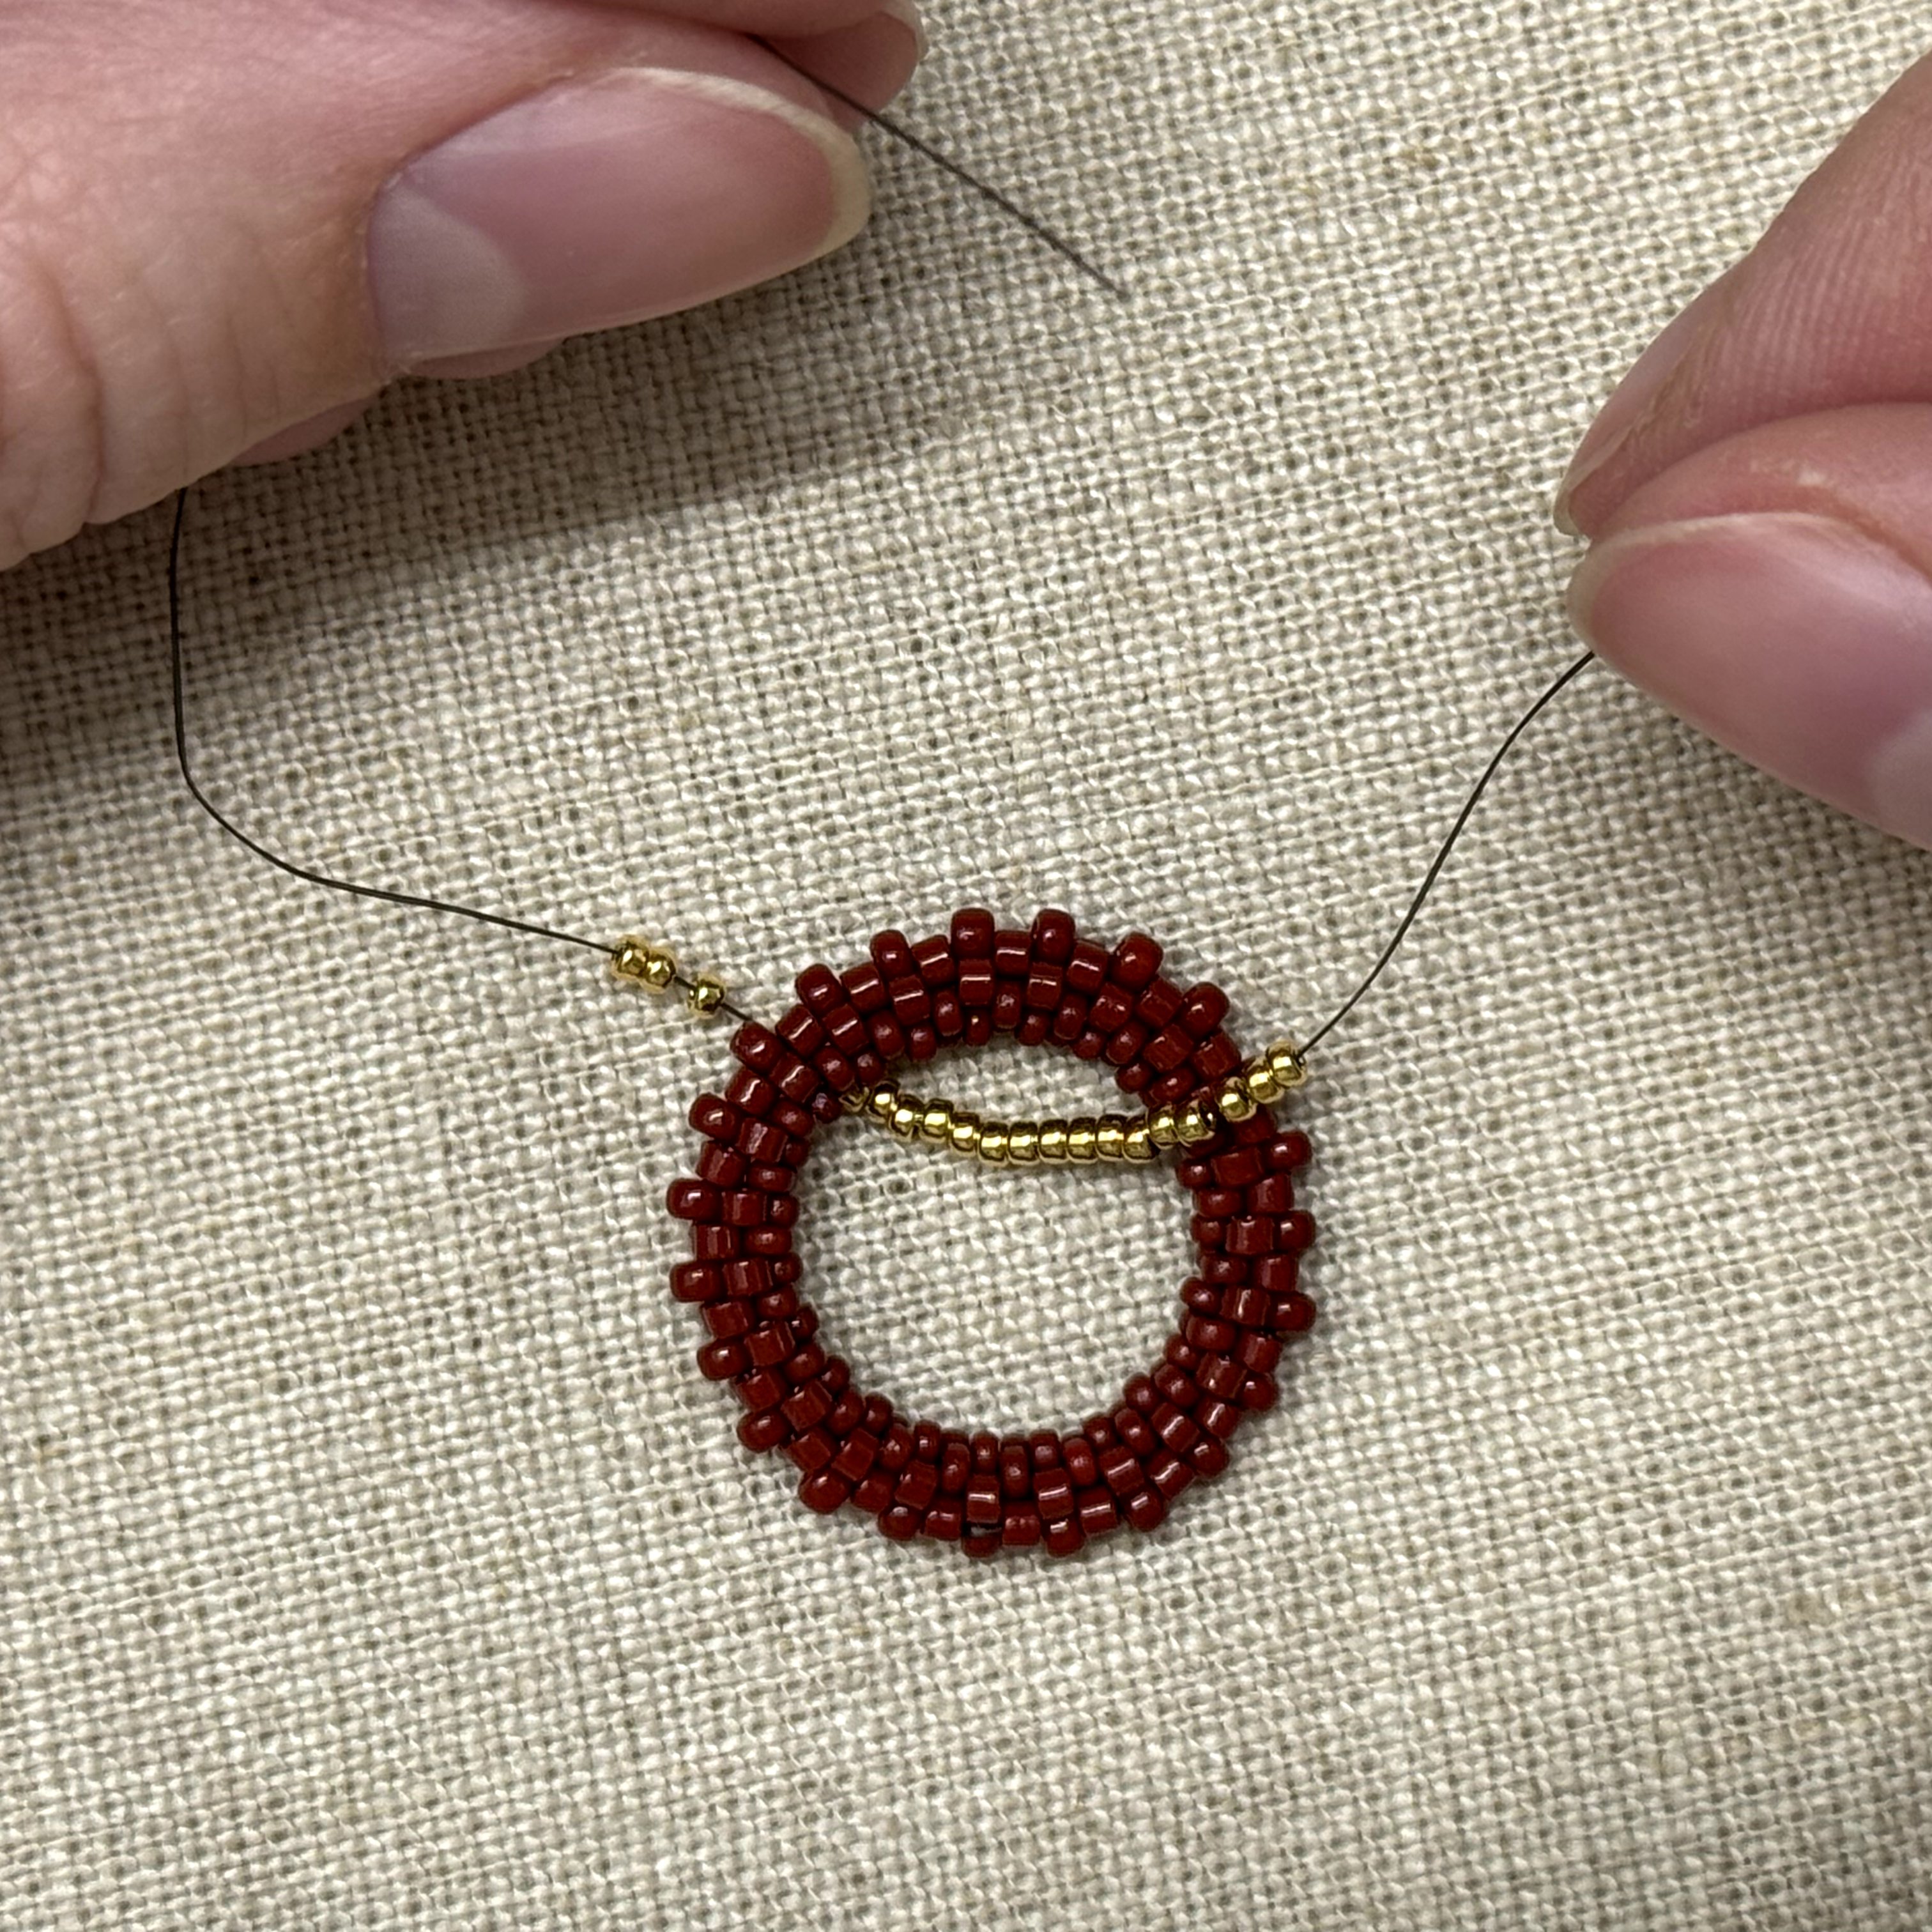
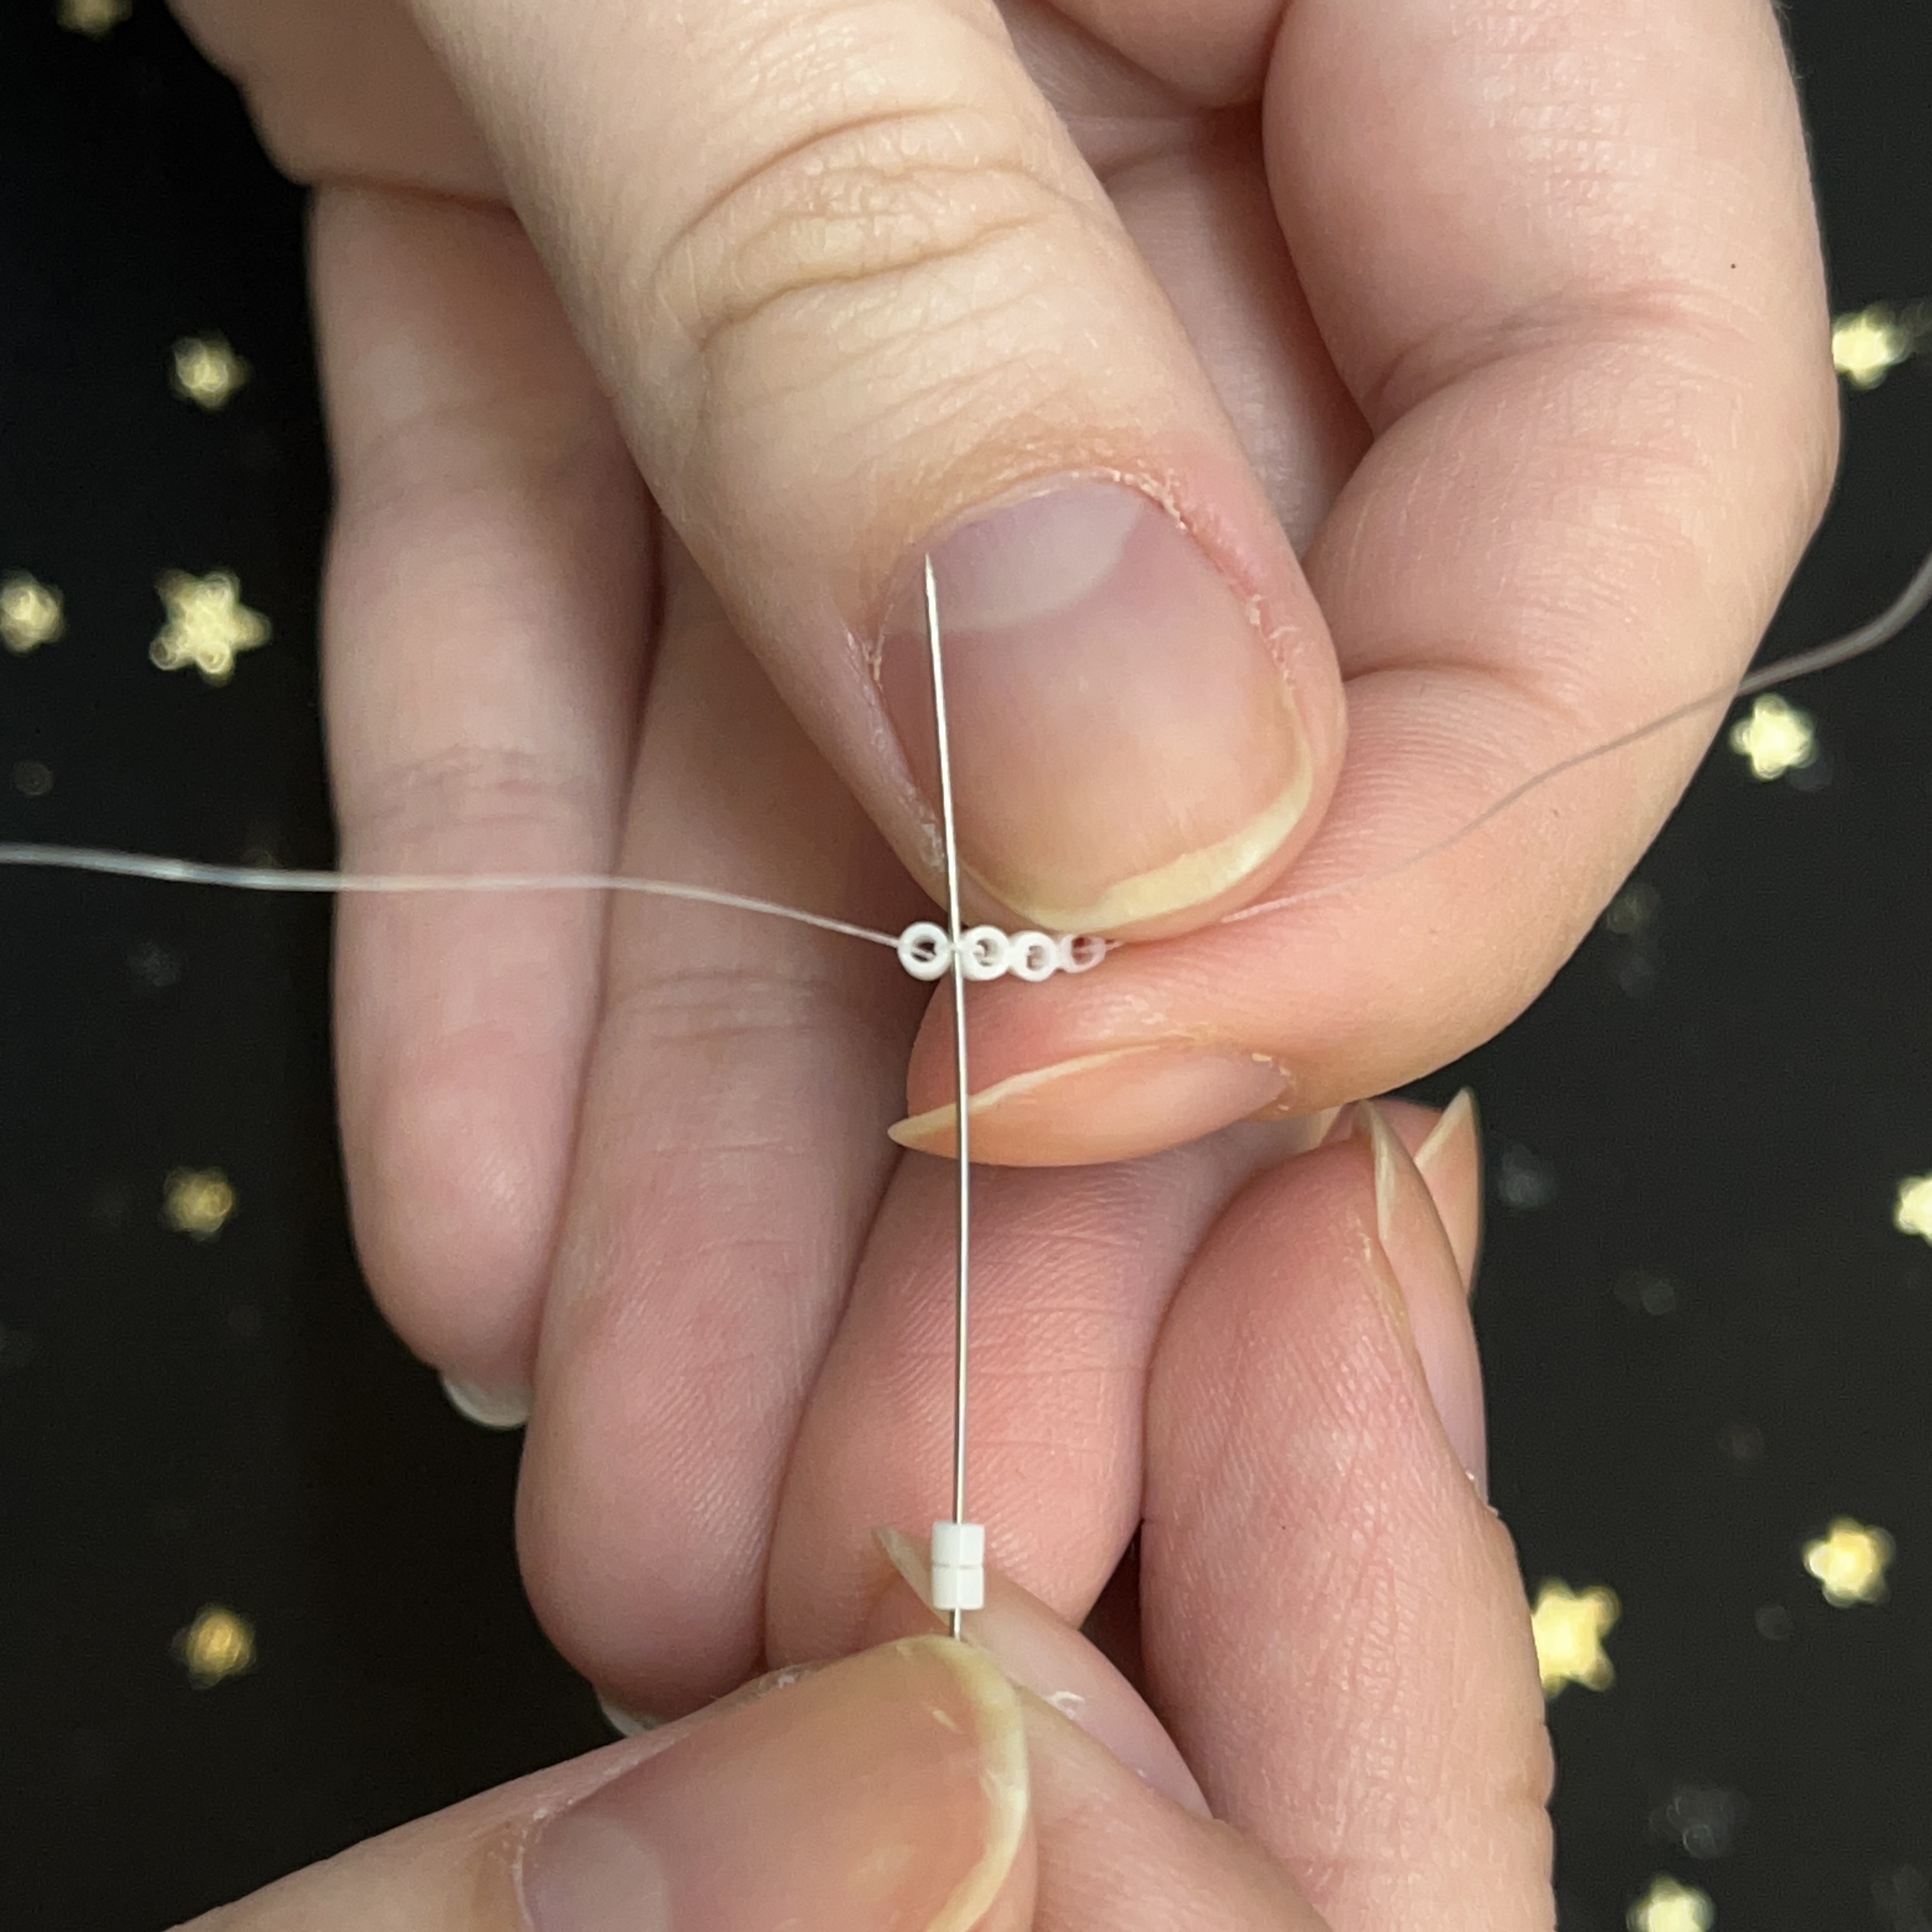
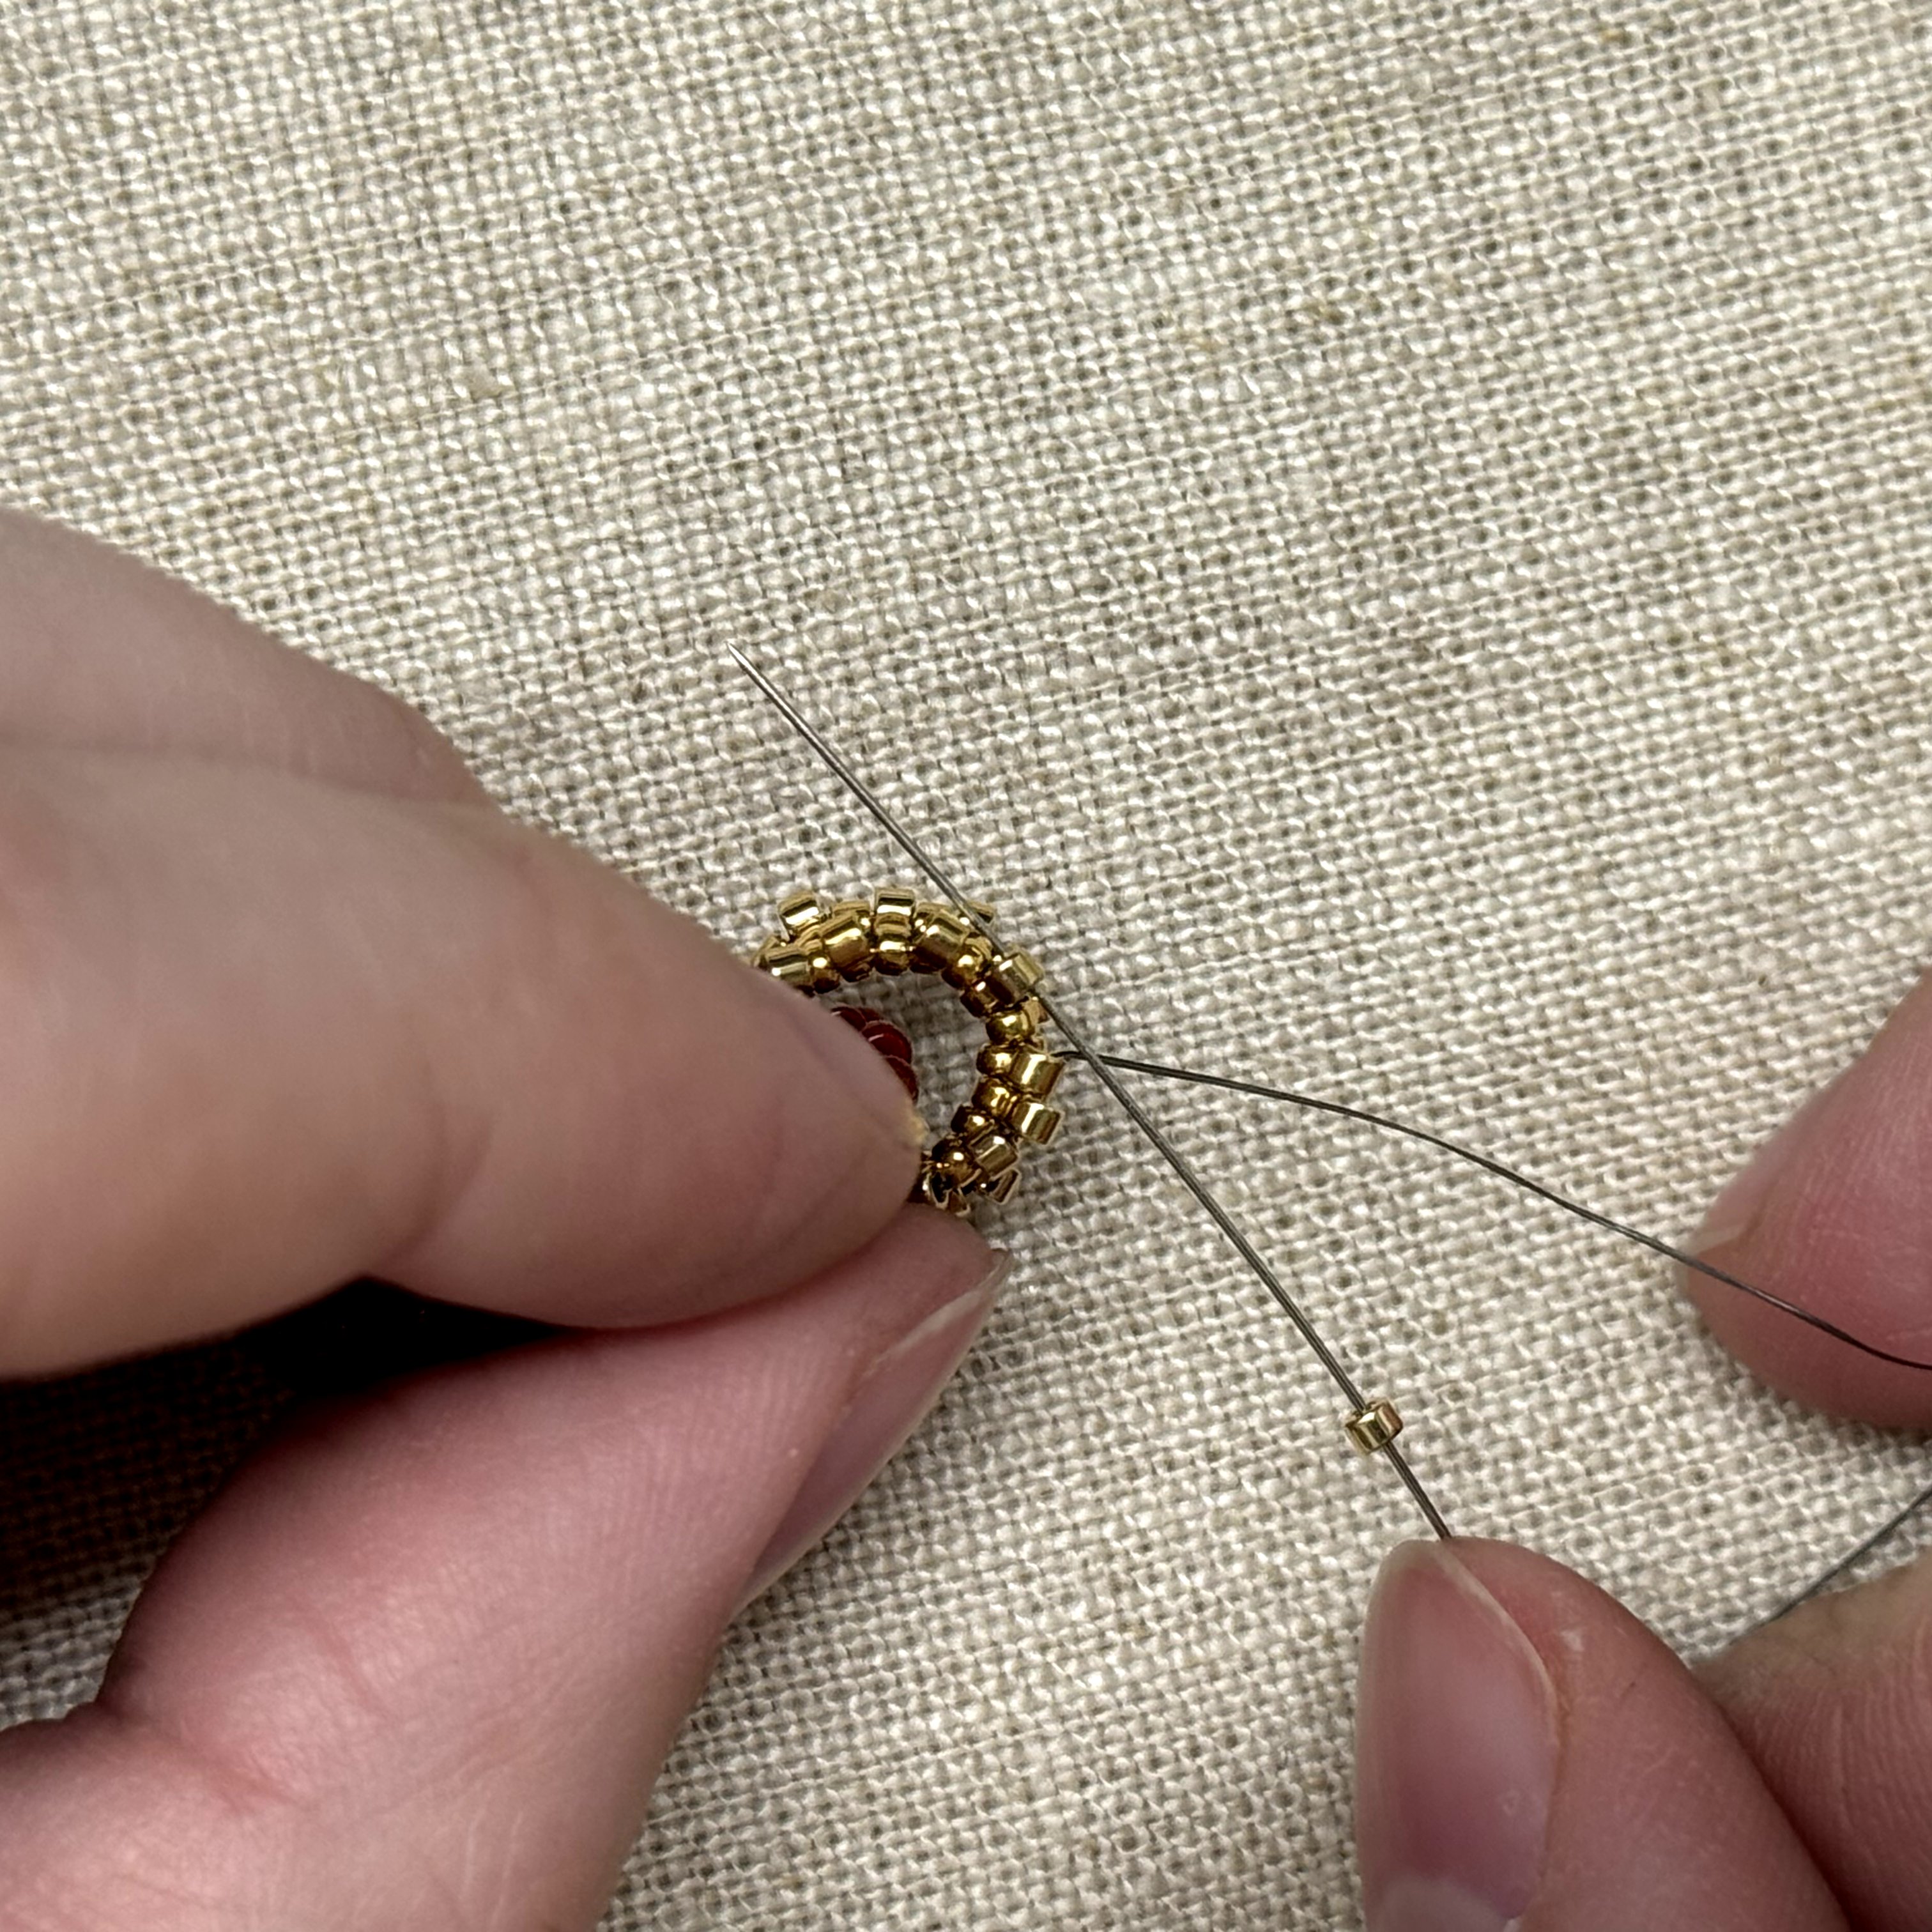
29. Now to start our second ring - string 22 size 15 miyuki gold beads onto the remaining few feet of your fireline
30. Tie an overhand knot, leaving about a 2-3 inch tail of fireline
31. Then tie a surgeon's knot to secure
32. Take your needle and thread it up through the first size 15 bead above the knot

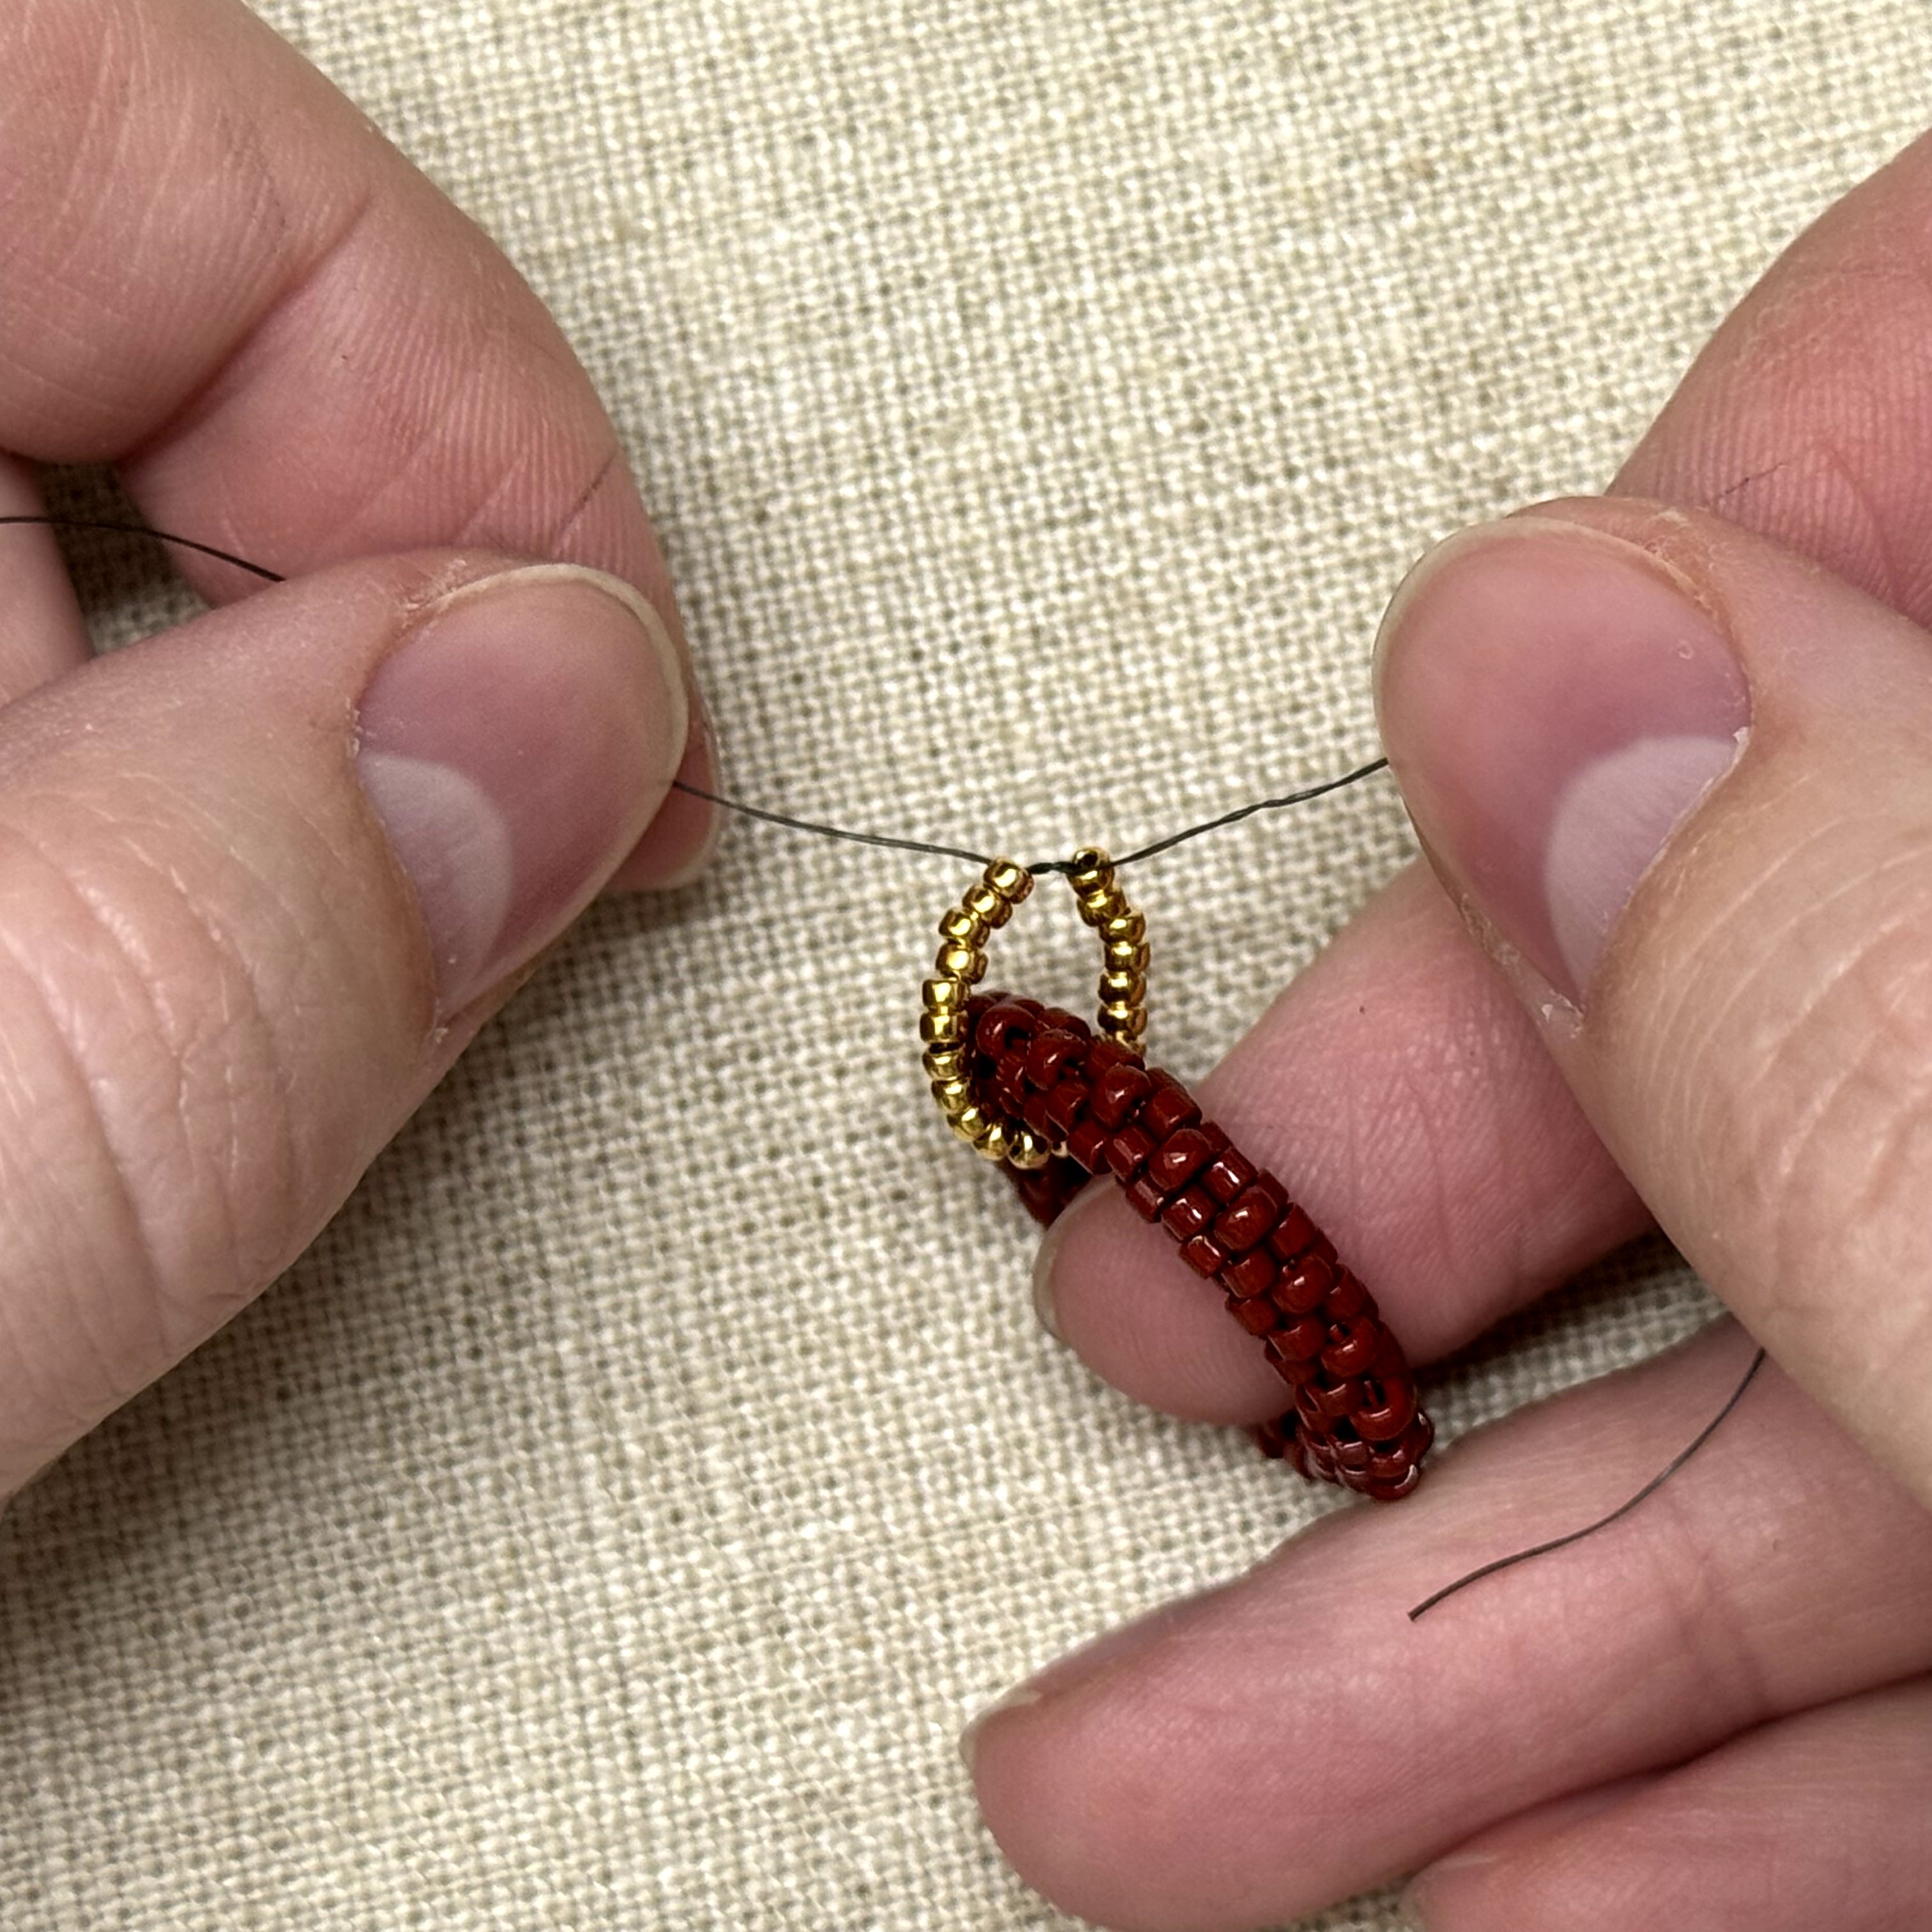
33. Pick up a size 15 bead with your needle and thread it through the size 15 seed bead shown - for this stitch, we will be skipping one bead when adding a bead
34. Skip over a seed bead then thread on another size 15 seed bead
35. Keep going with the pattern all the way around until you are adding your last size 15 seed bead - now you will want to thread the needle up the two beads shown, going diagonally up to the left
36. Select a size 11 Delica bead and thread it through the size 15 seed bead shown - as we go along we are essentially "filling in the sides"
37. Keep adding a delica in between the size 15 seed beads till you make it all the way around the ring
38. After stitching on the last delica of the row, thread your needle diagonally over to the right side of your project (up through 3 size 15 beads)
39. Select a delica bead and thread the needle up through the size 15 miyuki bead shown, keep adding delicas, one by one, until you have made it all the way around the ring
40. Once you have reached the end of the row, add the last delica bead and thread the needle up the next size 15 seed bead
41. Then through the next delica in the row
42. Select a delica bead and then thread the needle through the next delica in the row
43. Keep going all the way around until you complete the row
44. When you get to the end of the row and are adding your last delica, thread the needle up through the delica and seed beads over to the left side of your project
45. Keep going up until you have made it through a delica bead, you'll start the new row off of this bead
46. Select a delica bead and thread your needle through the next delica in the row
47. Keep going until you make it all the way around the ring, stitching beads one by one
47. When you have made it all the way around and are adding your last delica bead, thread the needle up through the two delica beads shown to create a new row

48. Select a size 11 miyuki seed bead and thread it through the next delica in the row
49. Keep stitching on size 11 seed beads in between the delica beads until you make it all the way around the ring
50. Once you have added the last size 11 seed bead, thread your needle through the next delica bead, the first size 11 bead you added, then the delica bead diagonal to the right of that size 11 seed bead
51. Thread your needle through the next size 11 seed bead then up diagonally through the next delica bead
52. Once you have sewn the two sides together and reach the end, thread your needle through the next size 11 seed bead - we will now secure the ring
53. Then up the delica to the upper right
54. Then down the delica to the left and back through the size 11 seed bead
55. Zig Zag your needle and thread down towards the tail you left in the beginning of this gold ring
56. Once you reach the original tail, tie 2 surgeon's knots, trim tails, then add a dab of gs-hypo glue.
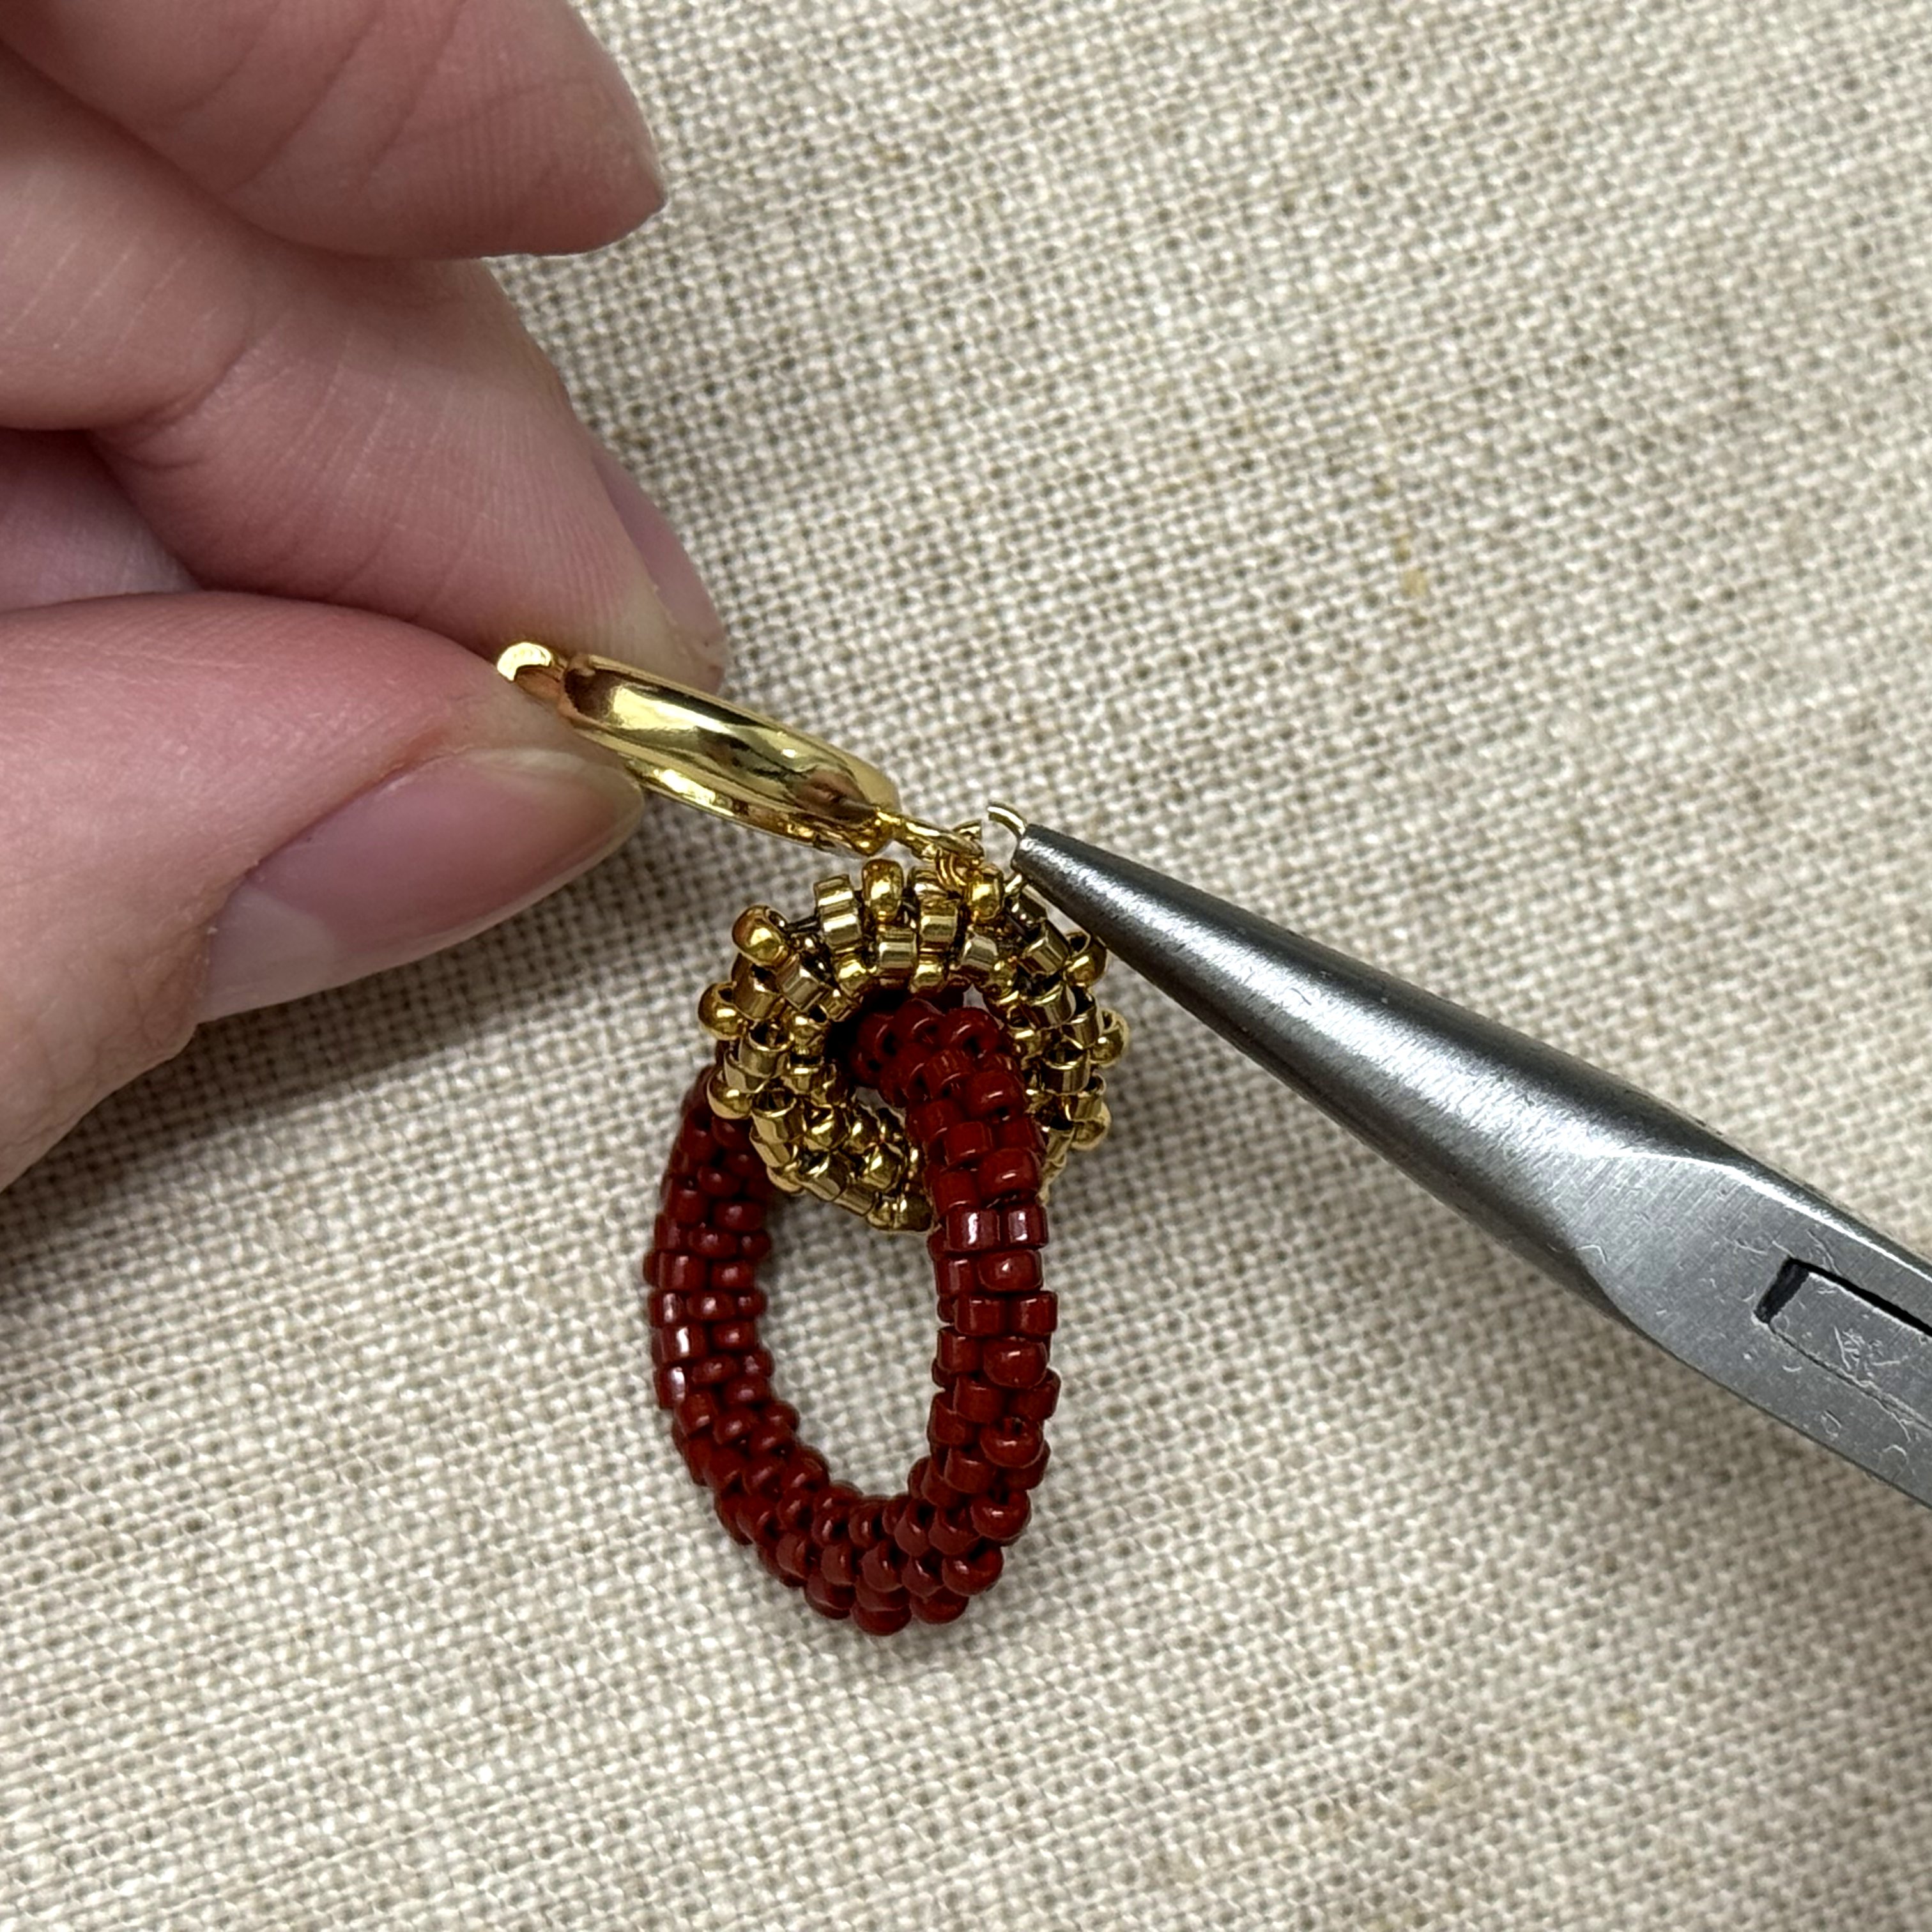
56. Very gently, thread a jump ring through one of the size 11 seed beads and then attach your earring at the loop. Close jump ring
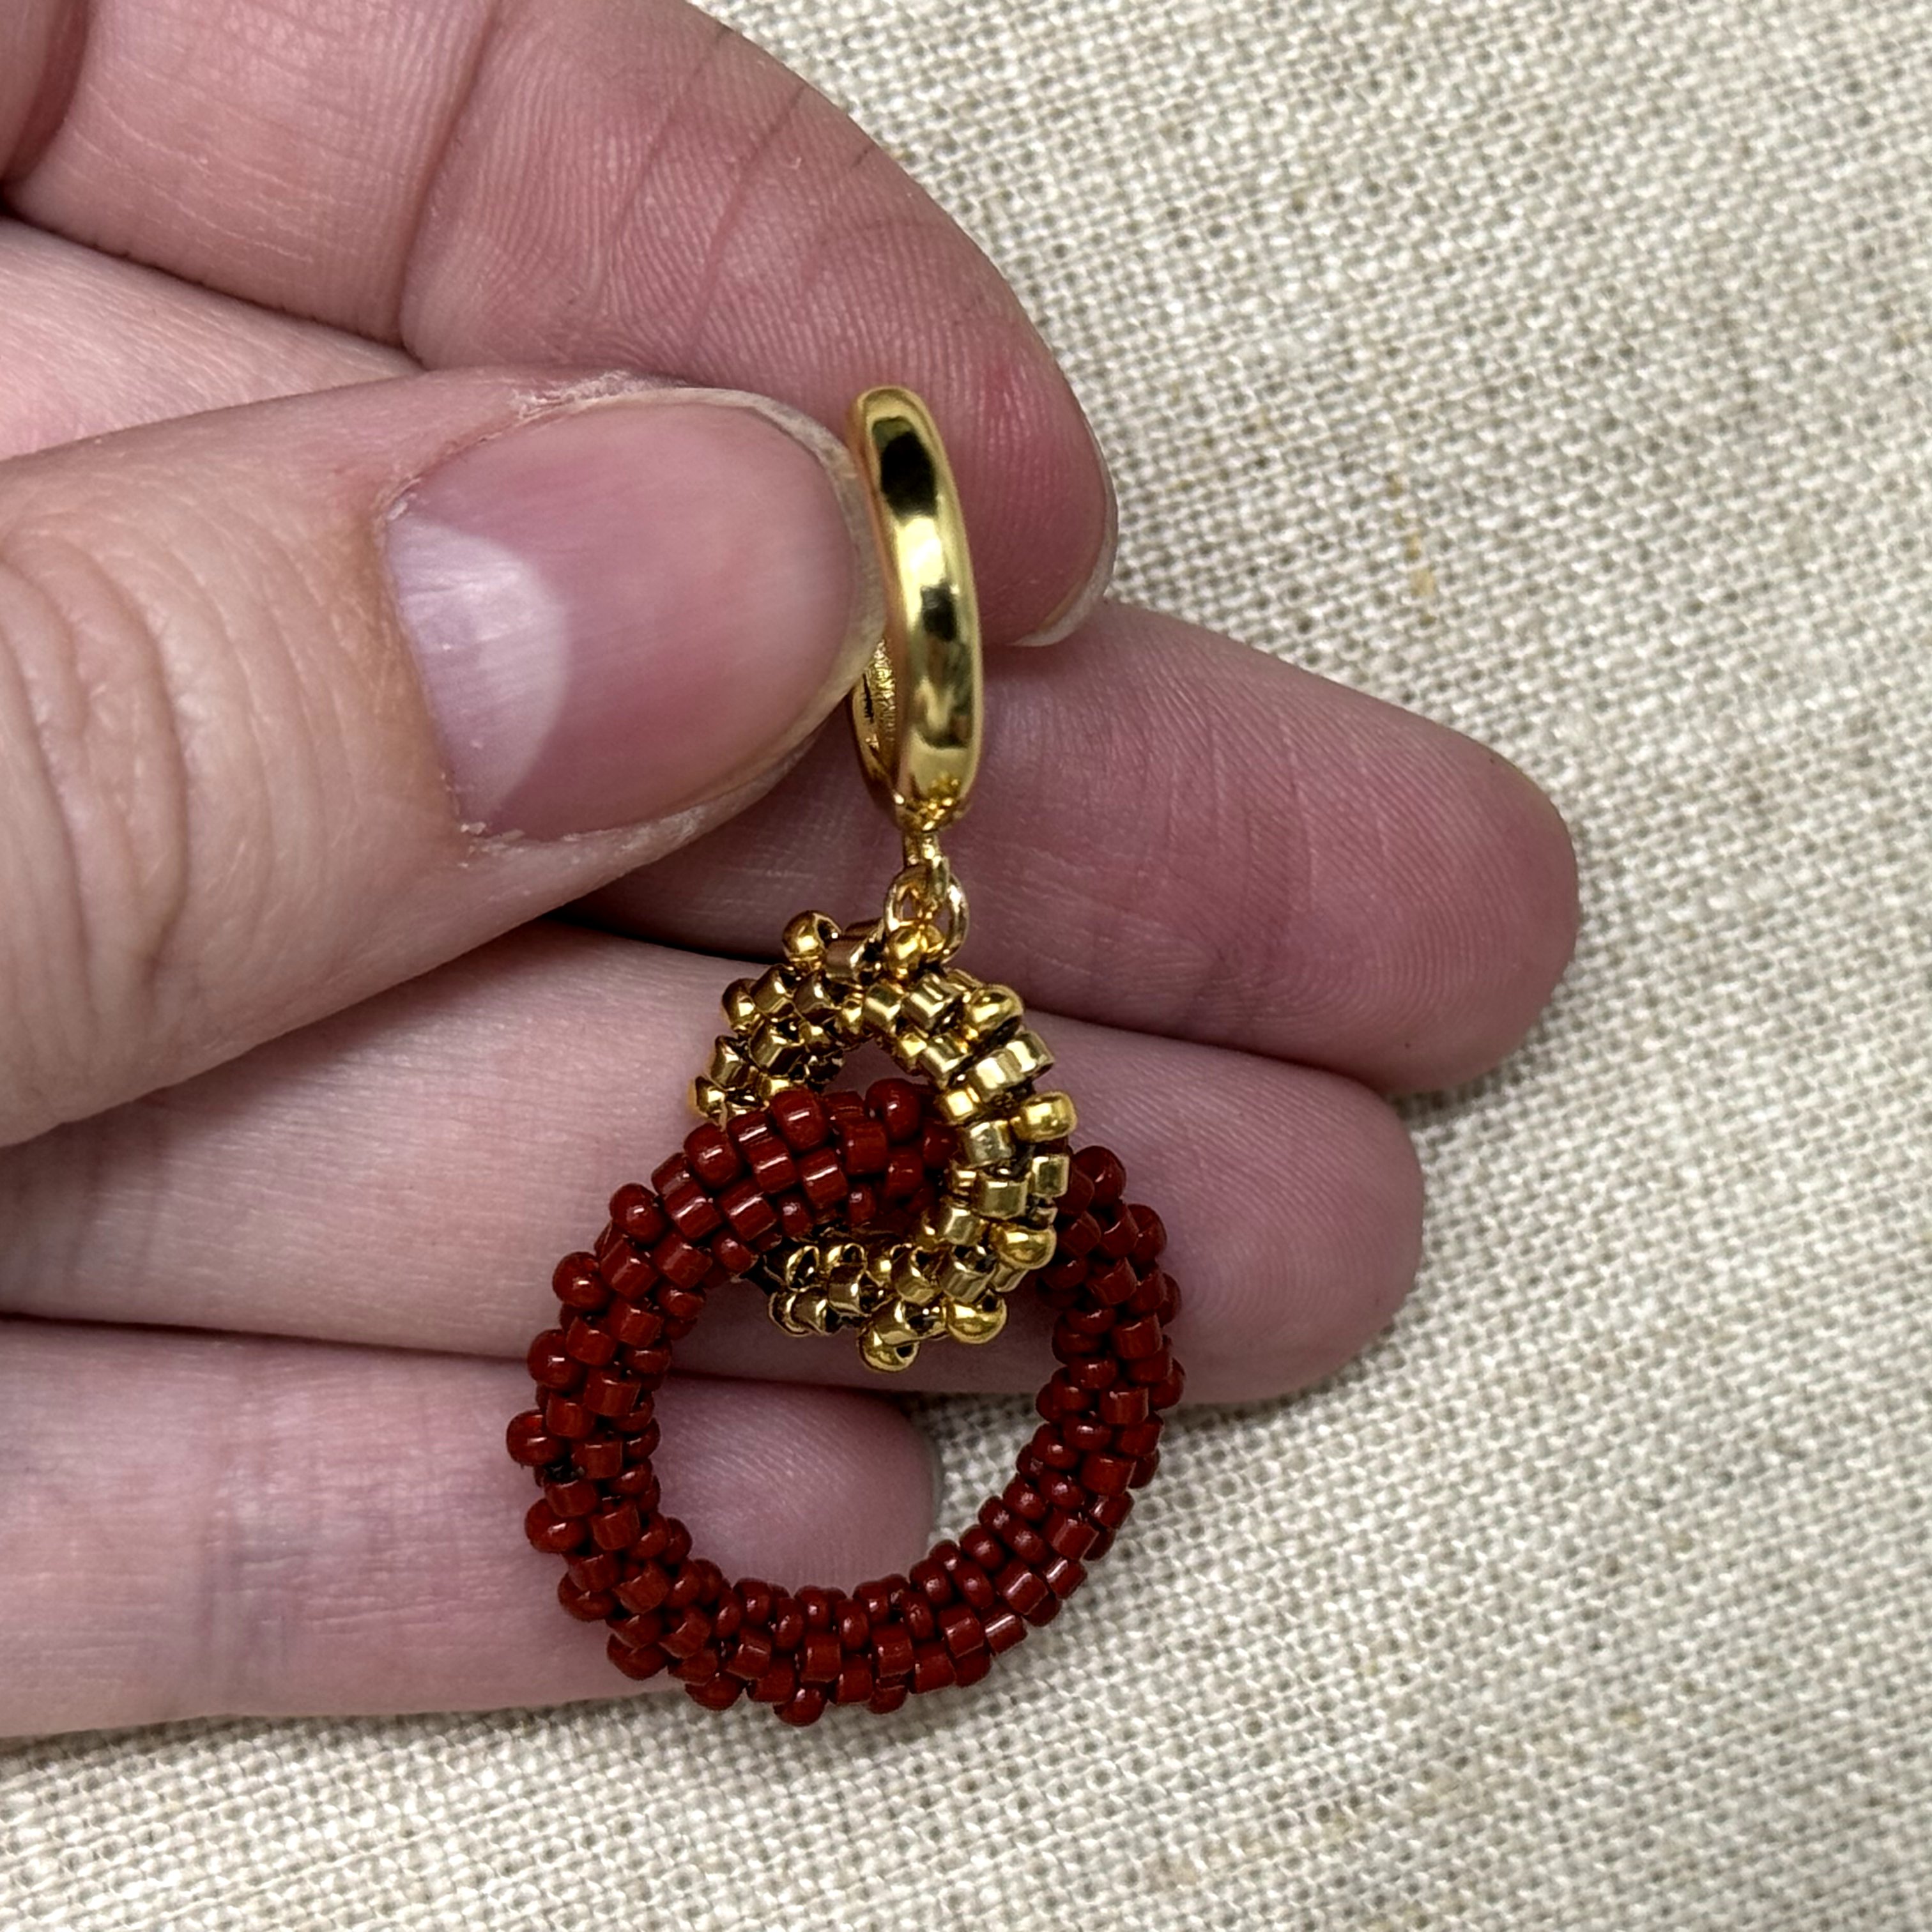
57. Done! Repeat previous steps to create the second earring.
Recent Posts
-

Valentine Fringe Earrings
Valentine Fringe EarringsLearn how to make fringe earrings with a heart pattern that pops! The …13th Jan 2025 -

Dancing Pearl Cowboy Charm Leather Bracelet
Dancing Pearl Cowboy Charm Leather BraceletThis tutorial is a spin of our Dancing Gemstone Brac …17th Dec 2024 -

Christmas Wine Charms - Mini Tutorial
Christmas Wine Charms - Mini TutorialThese wine charms are sure to be the center talking point at yo …25th Nov 2024