

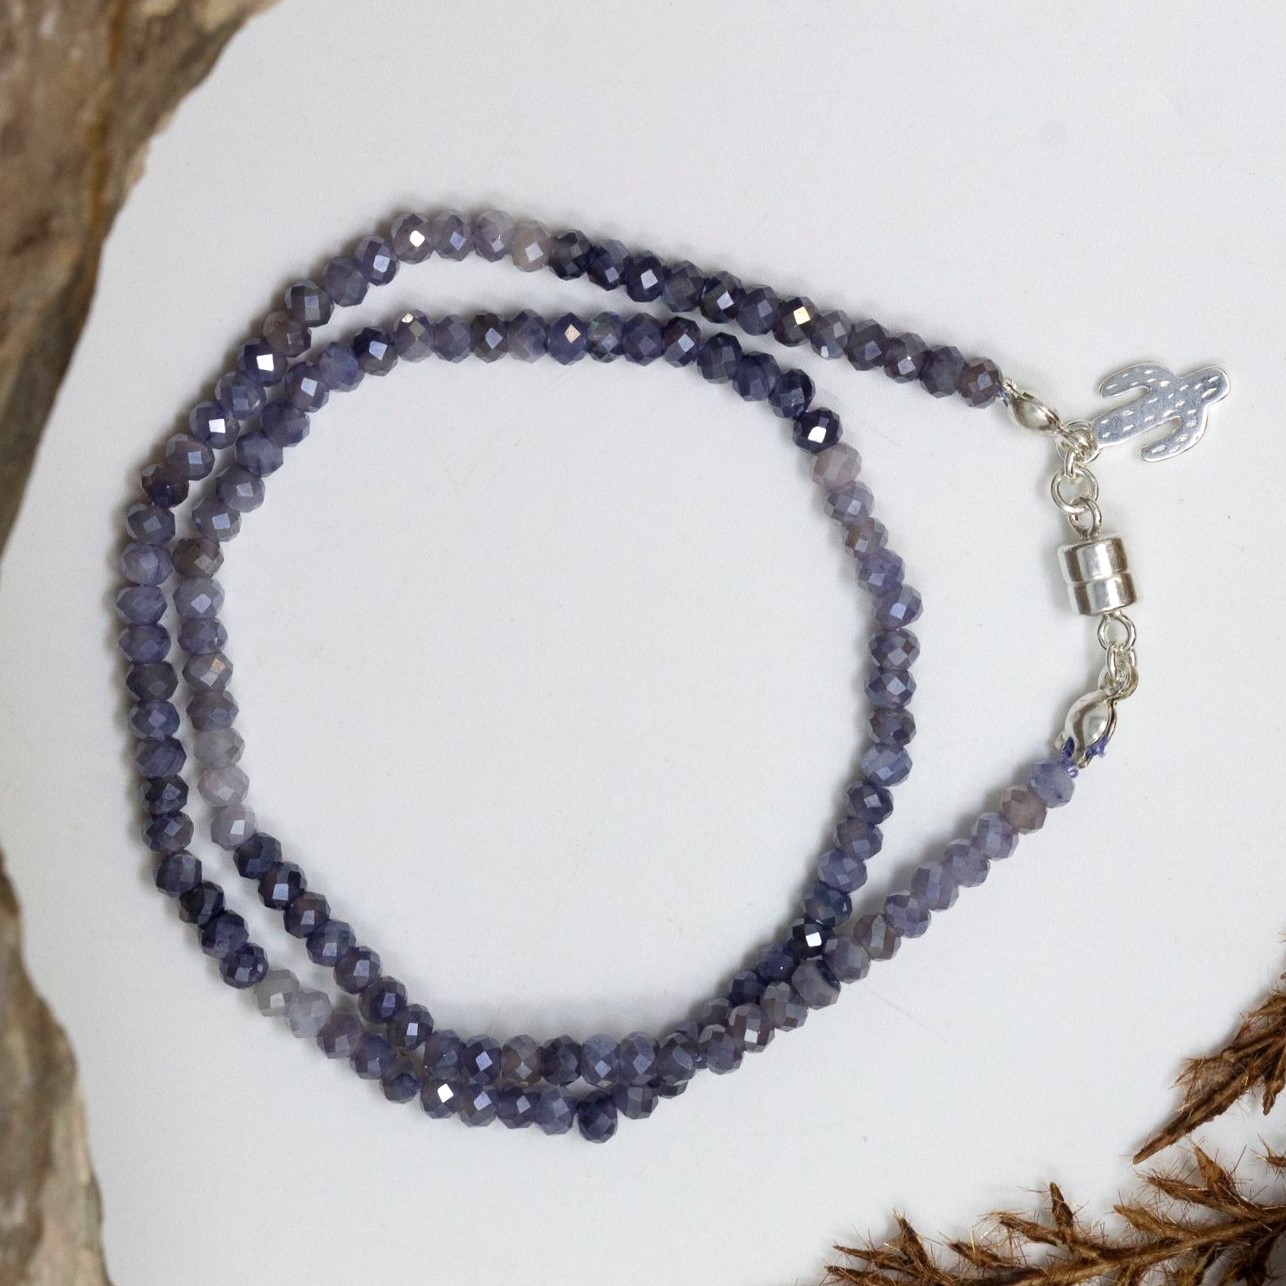
Double Wrap Ombre Gemstone Bracelet
Double Wrap Ombre Gemstone Bracelet
Finished Length 12-15”+ depending on preference
Can be worn as a choker necklace at approx. 13"+
Adjustable option at end of directions
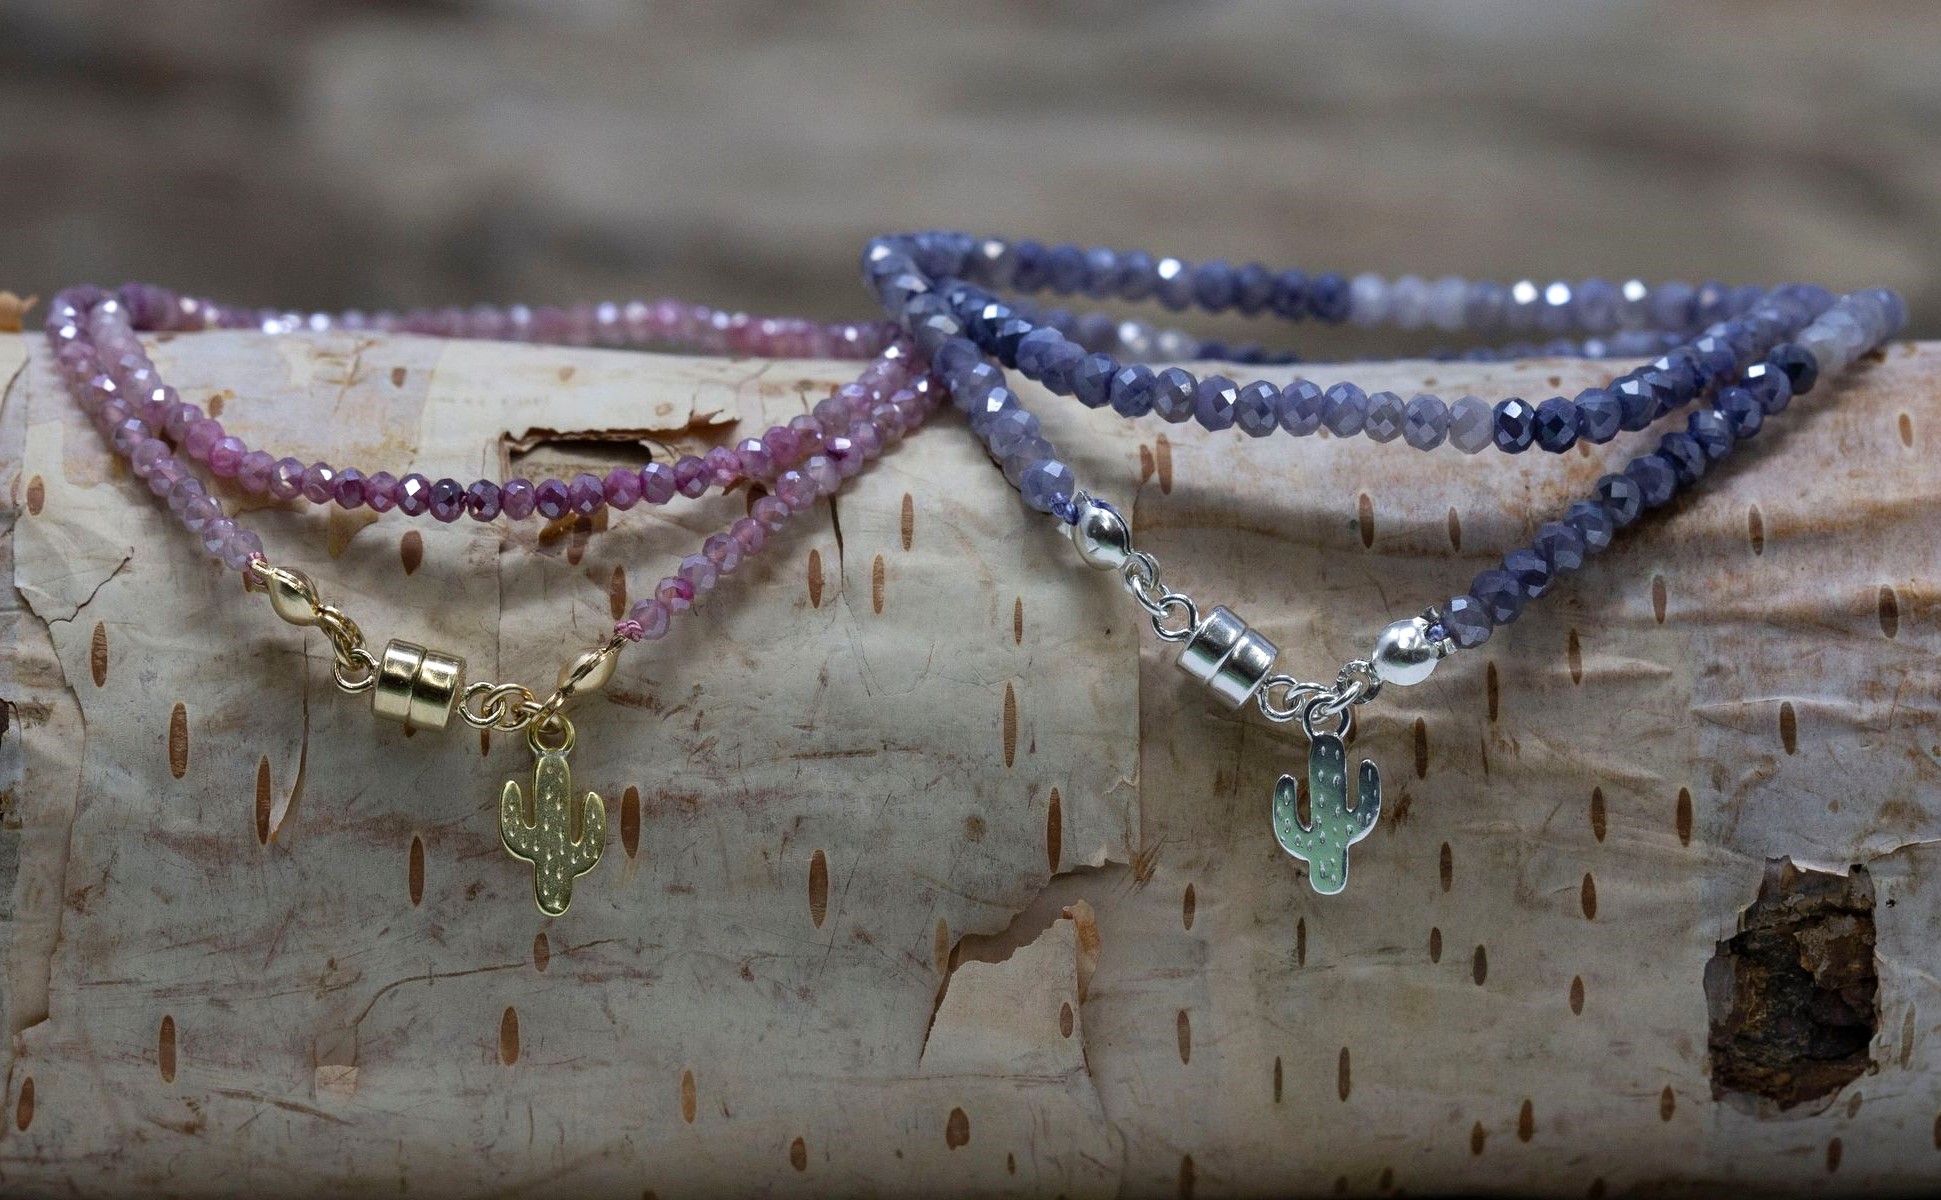
For this tutorial, we have two bracelets featured to show you how to make this kind of bracelet. For material and instructional purposes, we will be focusing on the Moonstone Coated Ombre Banded Blue 2.5x2mm Faceted Rondel with sterling silver accents. If you would like gold accents, you can use the same findings but in 14k gold filled. The other gemstone shown in the picture is the Moonstone Coated Ombre Banded Pink 2mm Faceted Rondel. This bracelet can be made in many different colors! Just search on our website for ombre or banded to see our full selection. Don't forget to check the hole size in the description's additional information if you use a gemstone that is different to the two we have listed. Just to make sure you use the right size griffin silk cord.
Materials Needed:
- Moonstone Coated Ombre Banded Blue 2.5x2mm Faceted Rondel (1 strand is approx. 14", if you would like it longer, purchase 2 strands)
- 4.5mm Magnetic Clasp Sterling Silver Plated (1)
- Griffin Cord Silk Lilac #3 (1)
- Sterling Silver Clamshells with 2 rings (2)
- 3mm 22 gauge Jump rings (3)
- 2mm Sterling Silver round beads (2)
- Amoracast Sterling Silver Arizona Cactus Charm (1)
Tools Required:
Instructions on Construction:
1. The first thing you will do is stretch the kinks out of the silk cord, thread on a 2mm sterling silver bead and bring close to the end of the thread (about 3-4" away) tie two knots or one surgeon knot and pull tight over the 2mm bead, squish the 2mm bead with your pliers, then you will thread the cord through the clamshell (the two holes will be opposite to were you will string on the gemstone beads) so that you have a means of attaching the finished bracelet to the clasp.
*Trim as close as you can to the knot to get rid of excess cord, make sure your knots are tight first! Use a little glue to secure the knot to the inside of clam shell. You do not want excess cord to show when clamshell is closed.
2. Using the needle nose pliers, gently close the clamshell, make sure the two holes line up so you can fit your jump ring through it. Tie a knot so that it sits tights against the opening of clamshell. Use you preferred way of knotting, tweezers, awl or fingers… just make sure that your knots are in the correct place before tightening fully…. It is a pain to undo knots!
3. Regarding pattern, I pretty much followed the ombre / banded sequence that that they came in (taking out any beads that didn’t please me). Your layout may be different.
4. Start threading on your beads!
5. Once you reach your desired length, do a final knot, then enter into the second clamshell so that you are in the position with cord coming through from outside into the interior of the shell (the opposite of how you started your piece). Thread on the last 2mm sterling silver bead. Then tie 2 knots or one surgeon knot and squish the bead with your pliers.
6. At this stage, trim to get rid of excess cord, make sure your knots are tight first! Use a little glue to secure the knot to the inside of clam shell. You do not want excess cord to show when clamshell is closed.
7. Now gently close your clamshell with your needle nose pliers and flat nose pliers, add a 3mm jump ring to attach the magnetic clasp to the clamshell on one end. Close the jump ring.
8. On the other end add a 3mm jump ring, slide it through the rings of the clamshell, add on your Arizona cactus charm and close the jump ring.
9. Take the 3rd and final jump ring and slide it through the jump ring that holds the cactus charm and then through the magnetic clasp.
10. Done!
Want to make your bracelet adjustable?
Swap out the magnetic clasp for a lobster clasp on one end of the bracelet and attach a short length of chain (approx. 2-3 inches) to the other end of the bracelet using a jump ring. You can attach the Arizona Cactus charm at the end of the chain with the third jump ring if you wish.
Recent Posts
-

Christmas Wine Charms - Mini Tutorial
Christmas Wine Charms - Mini TutorialThese wine charms are sure to be the center talking point at yo …25th Nov 2024 -

Christmas Bow Garland - Mini Tutorial
Christmas Bow Garland - Mini TutorialCreate your own holiday decor with a Christmas-colored bow garl …14th Nov 2024 -

Charm Necklace Tutorial
Charm Necklace TutorialEmbrace individuality with our Personalized Charm Necklace tutorial, a perfec …6th Nov 2024