

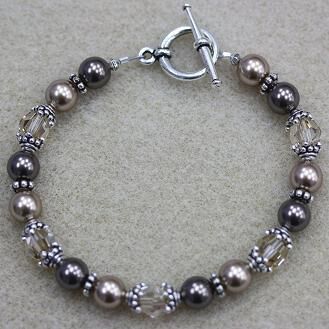
Elegant Swarovski Bracelet Tutorial
Elegant Swarovski Bracelet Tutorial
You will need:
8mm Swarovski Crystals (5)
8mm Swarovski Pearls, Color A (6)
8mm Swarovski Pearls, Color B (6)
3mm Nugget Spacers (2)
6mm Daisy Spacers (6)
Bead Caps (10)
Toggle Clasp (1)
2x2mm Crimps (2)
Medium Soft Flex Beading Wire (1 foot)
Bead Stoppers (2)
Crimping Pliers OR Needle Nose Pliers
Cutters
Fuzzy Mat
.
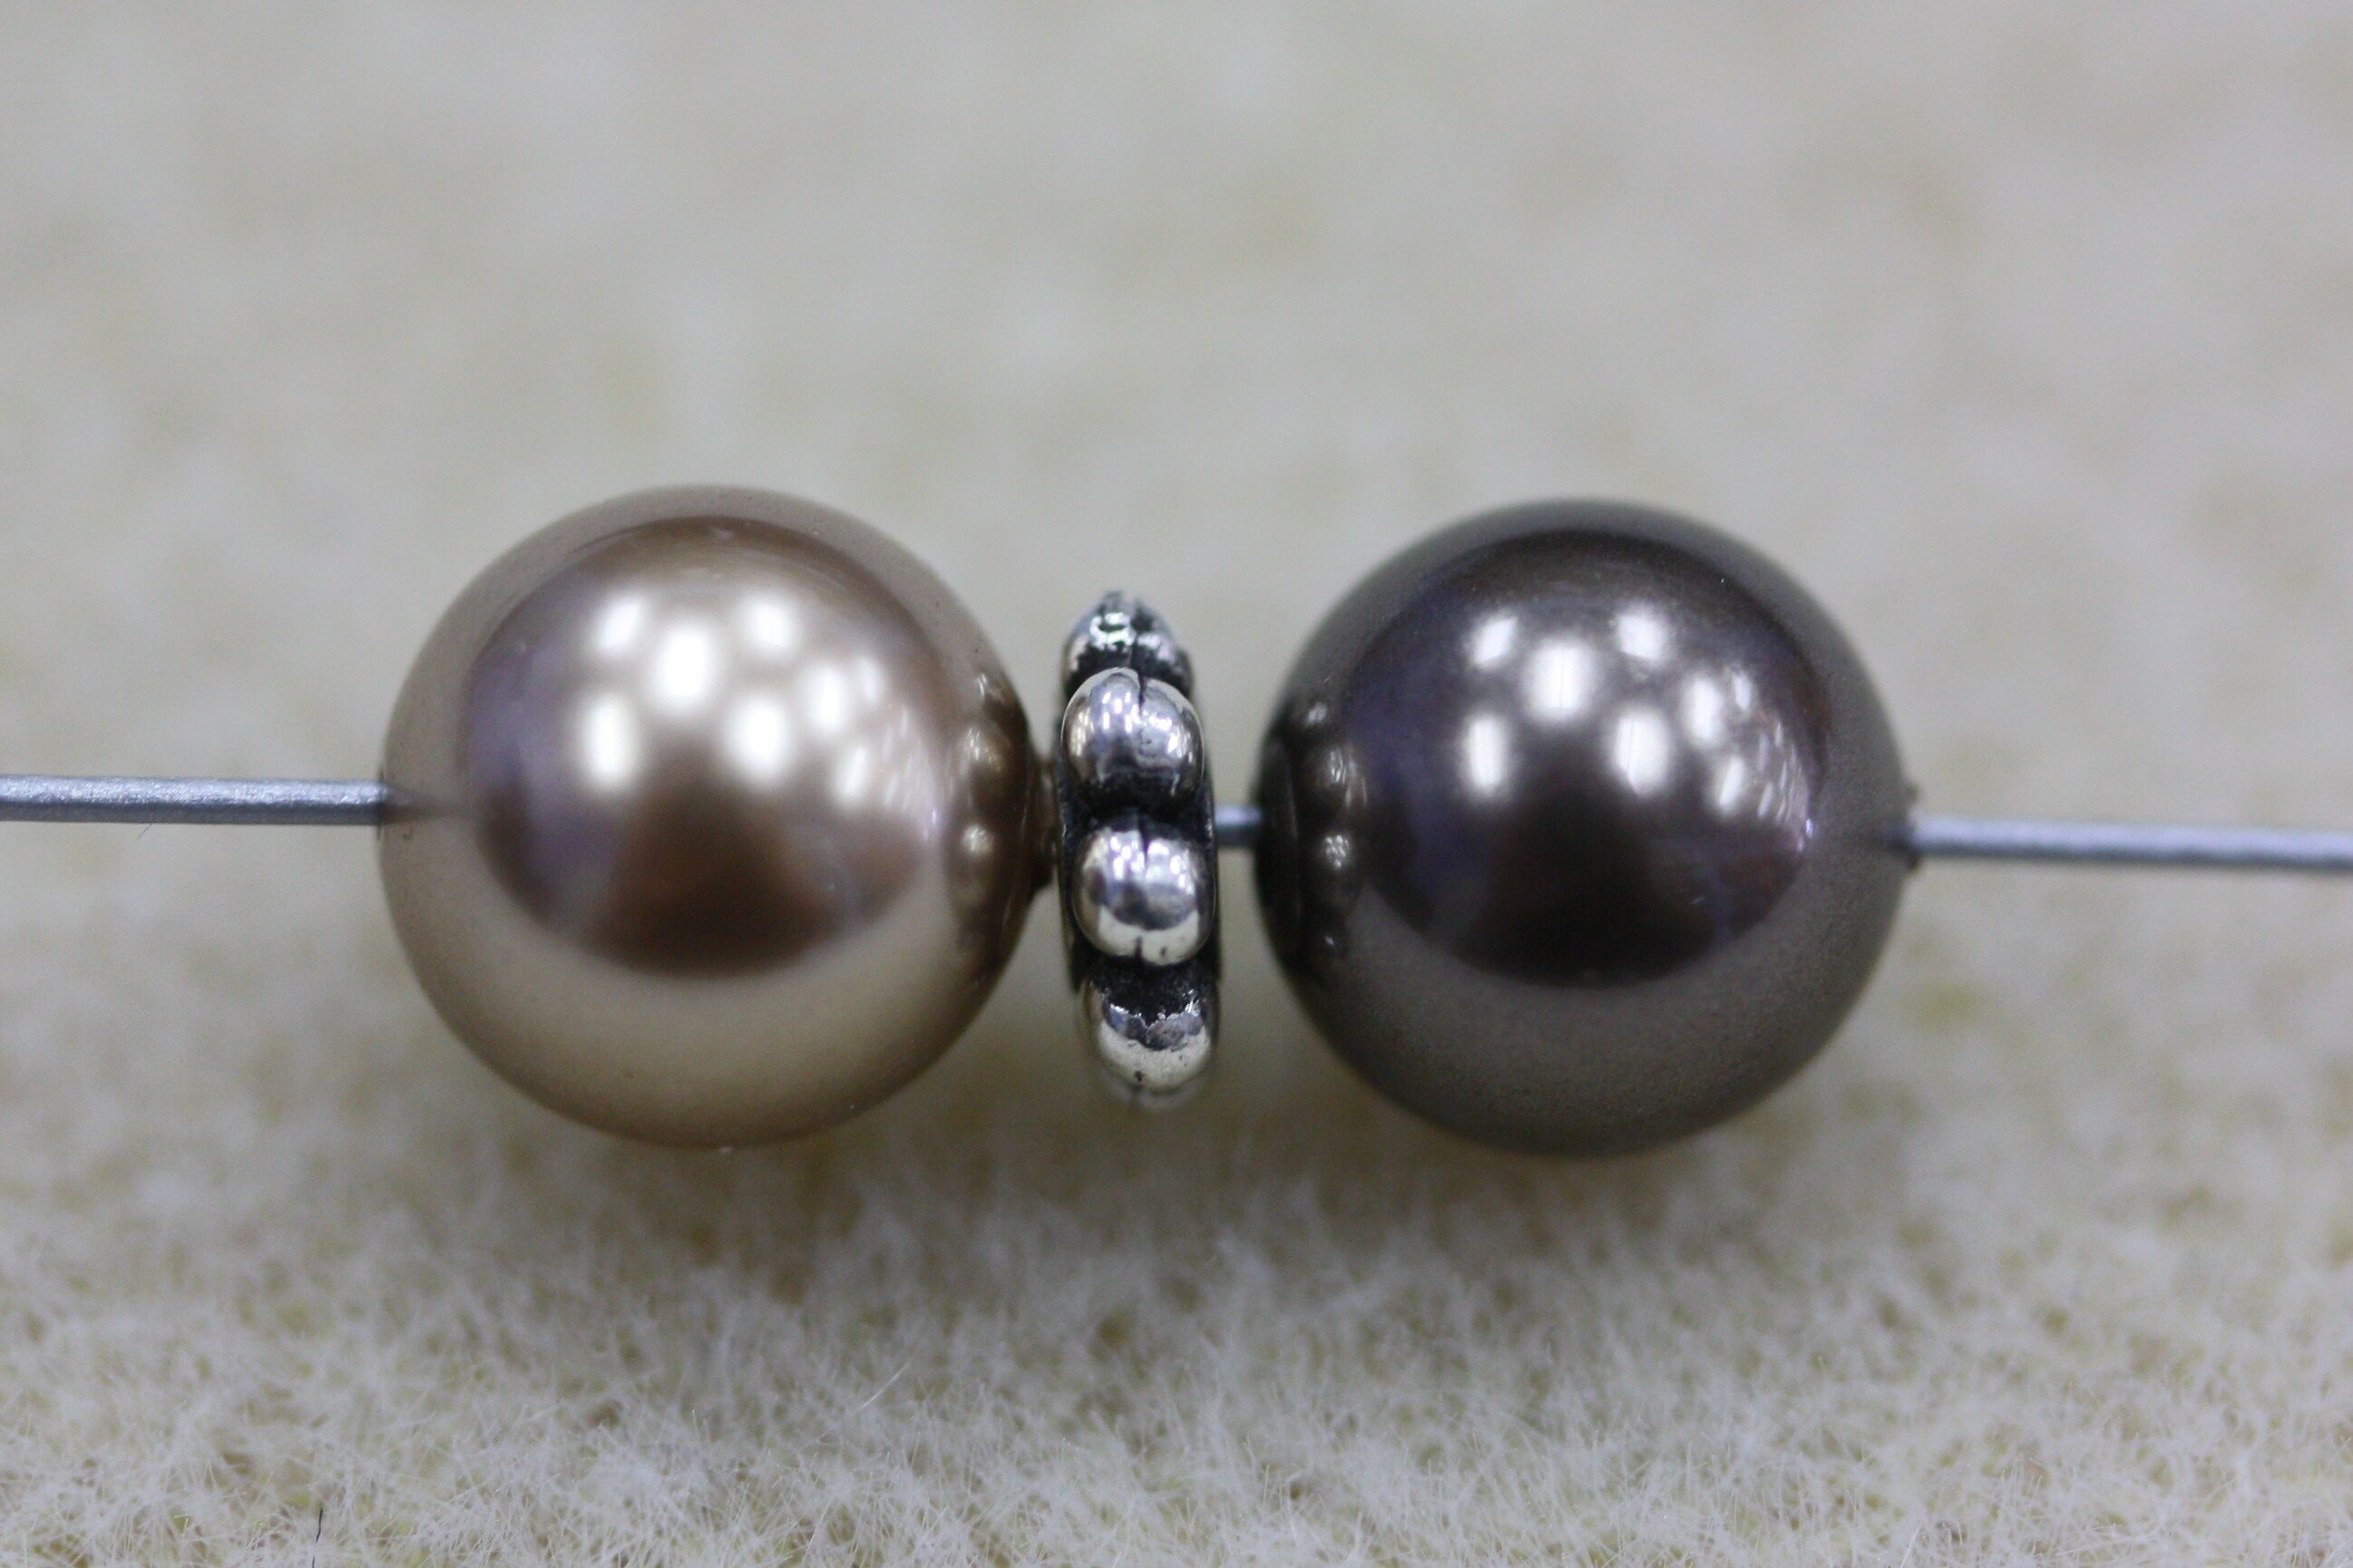
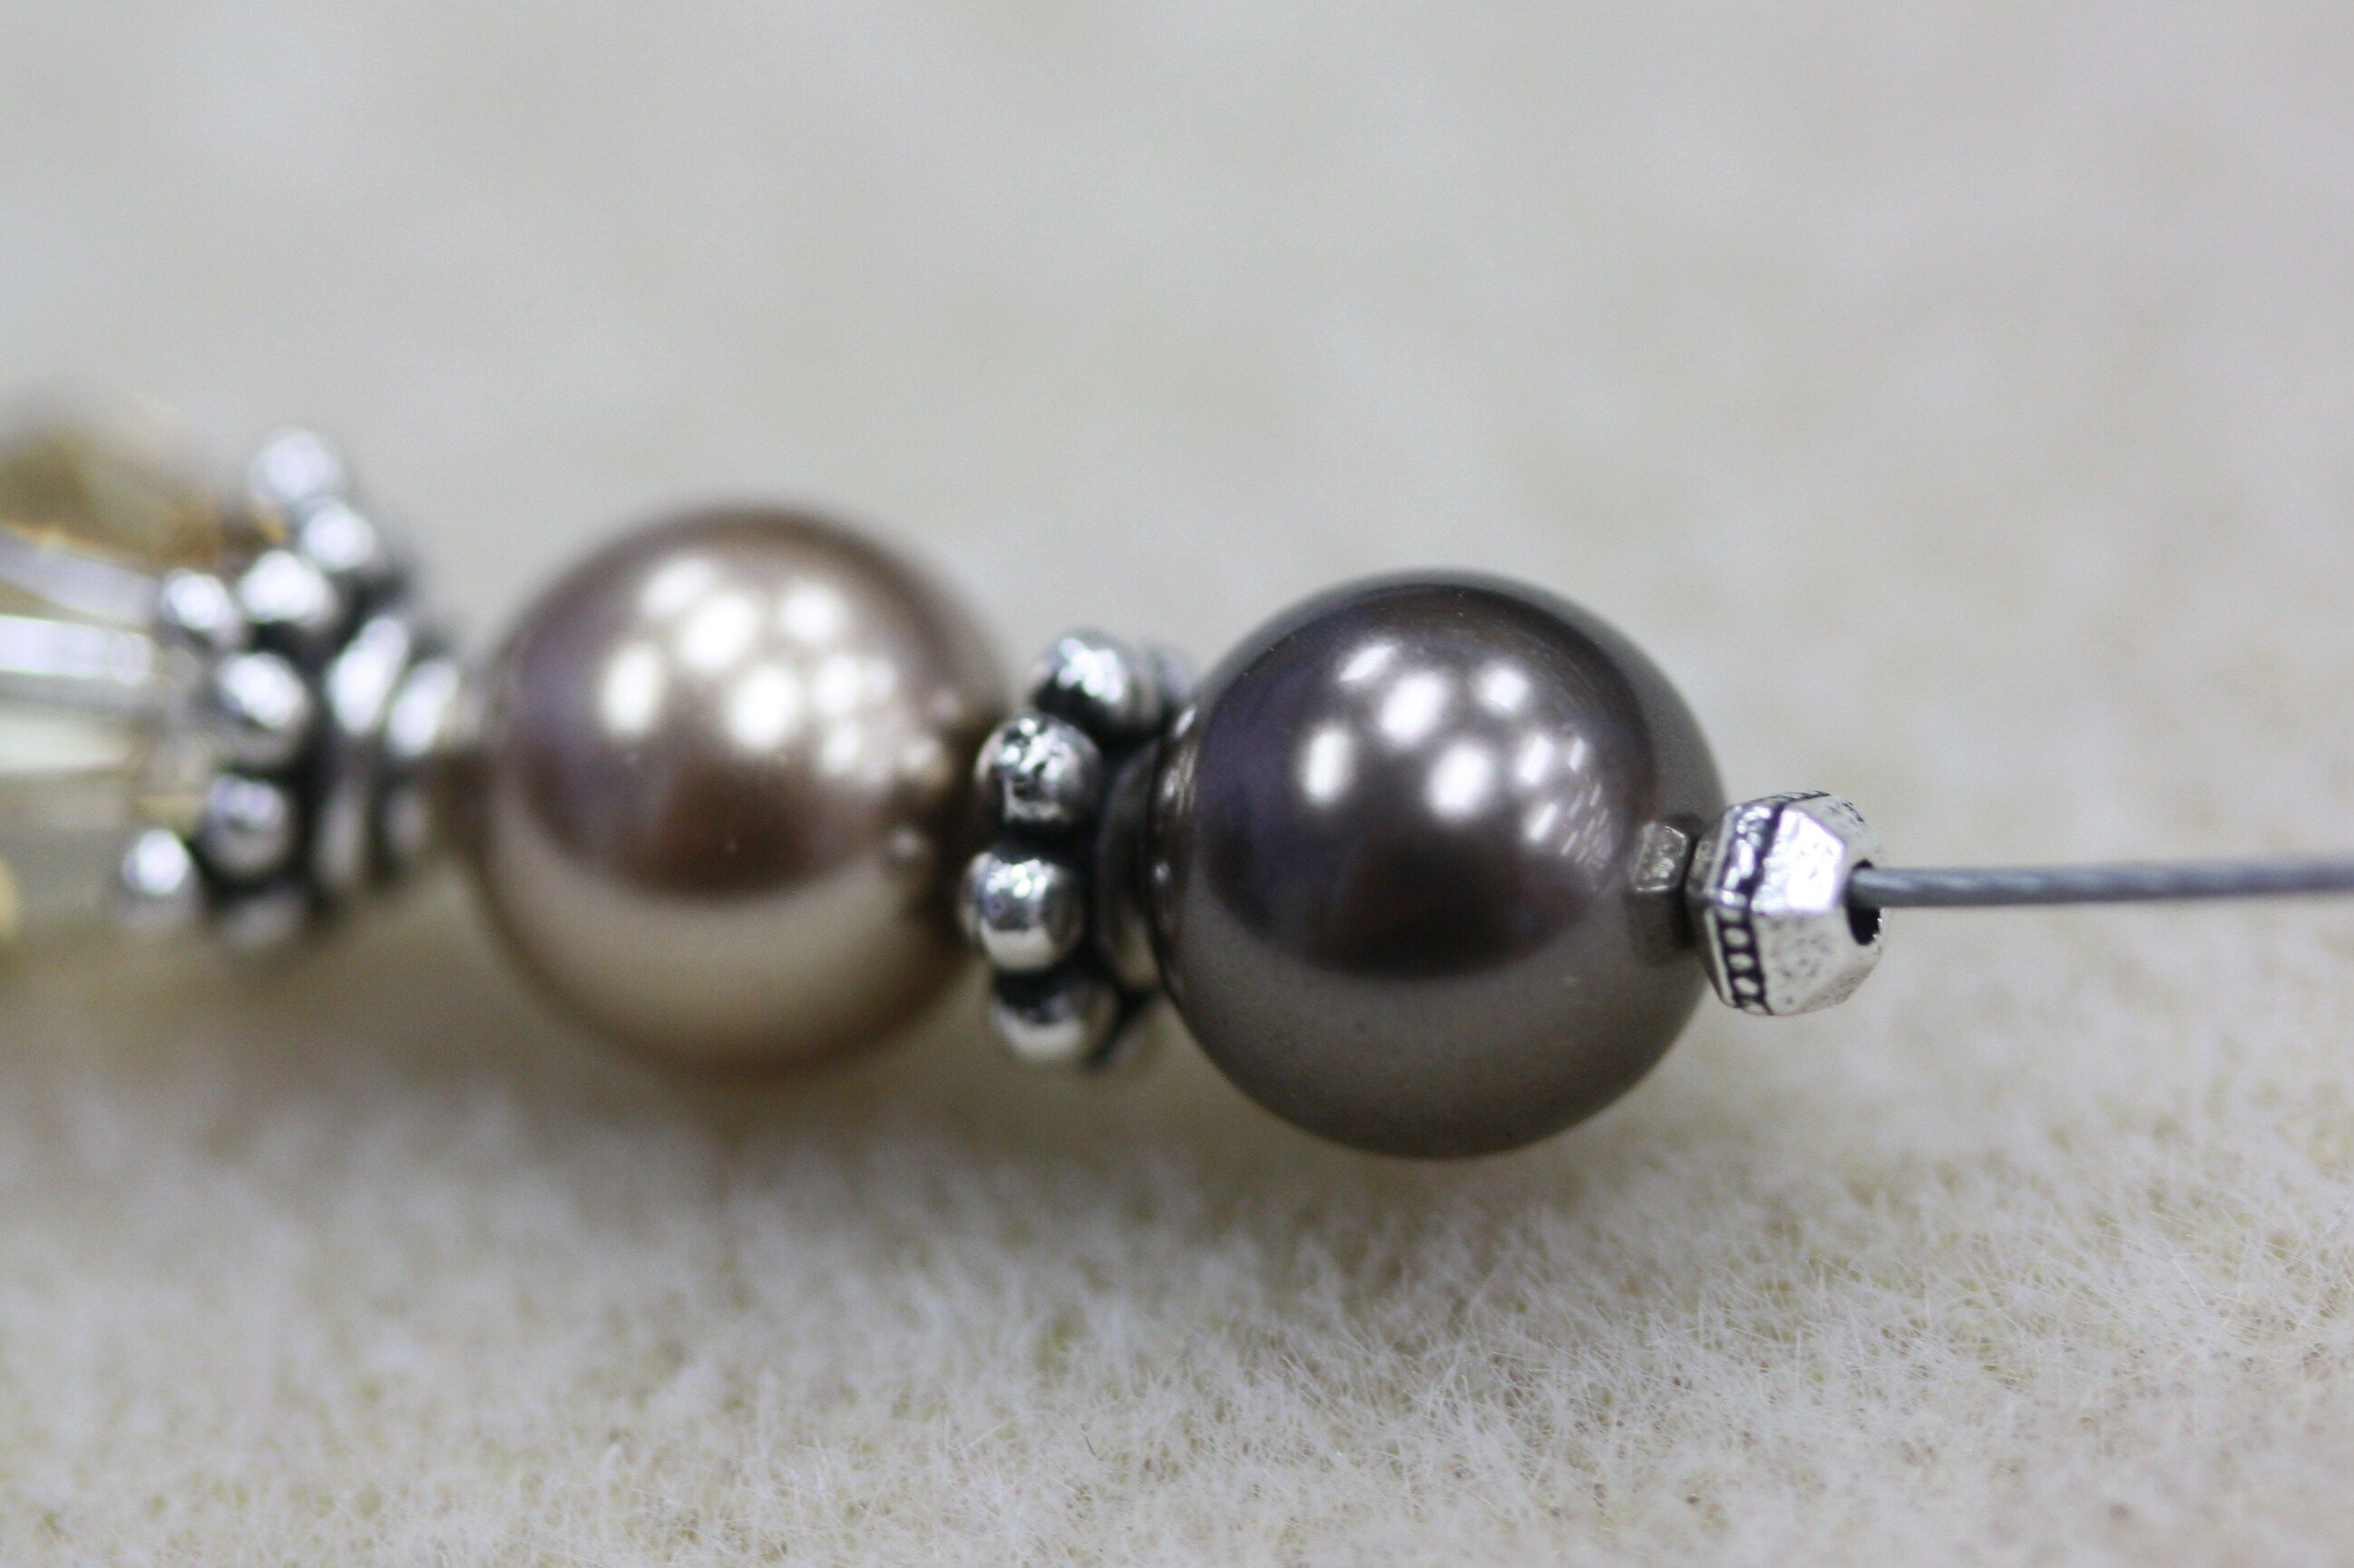
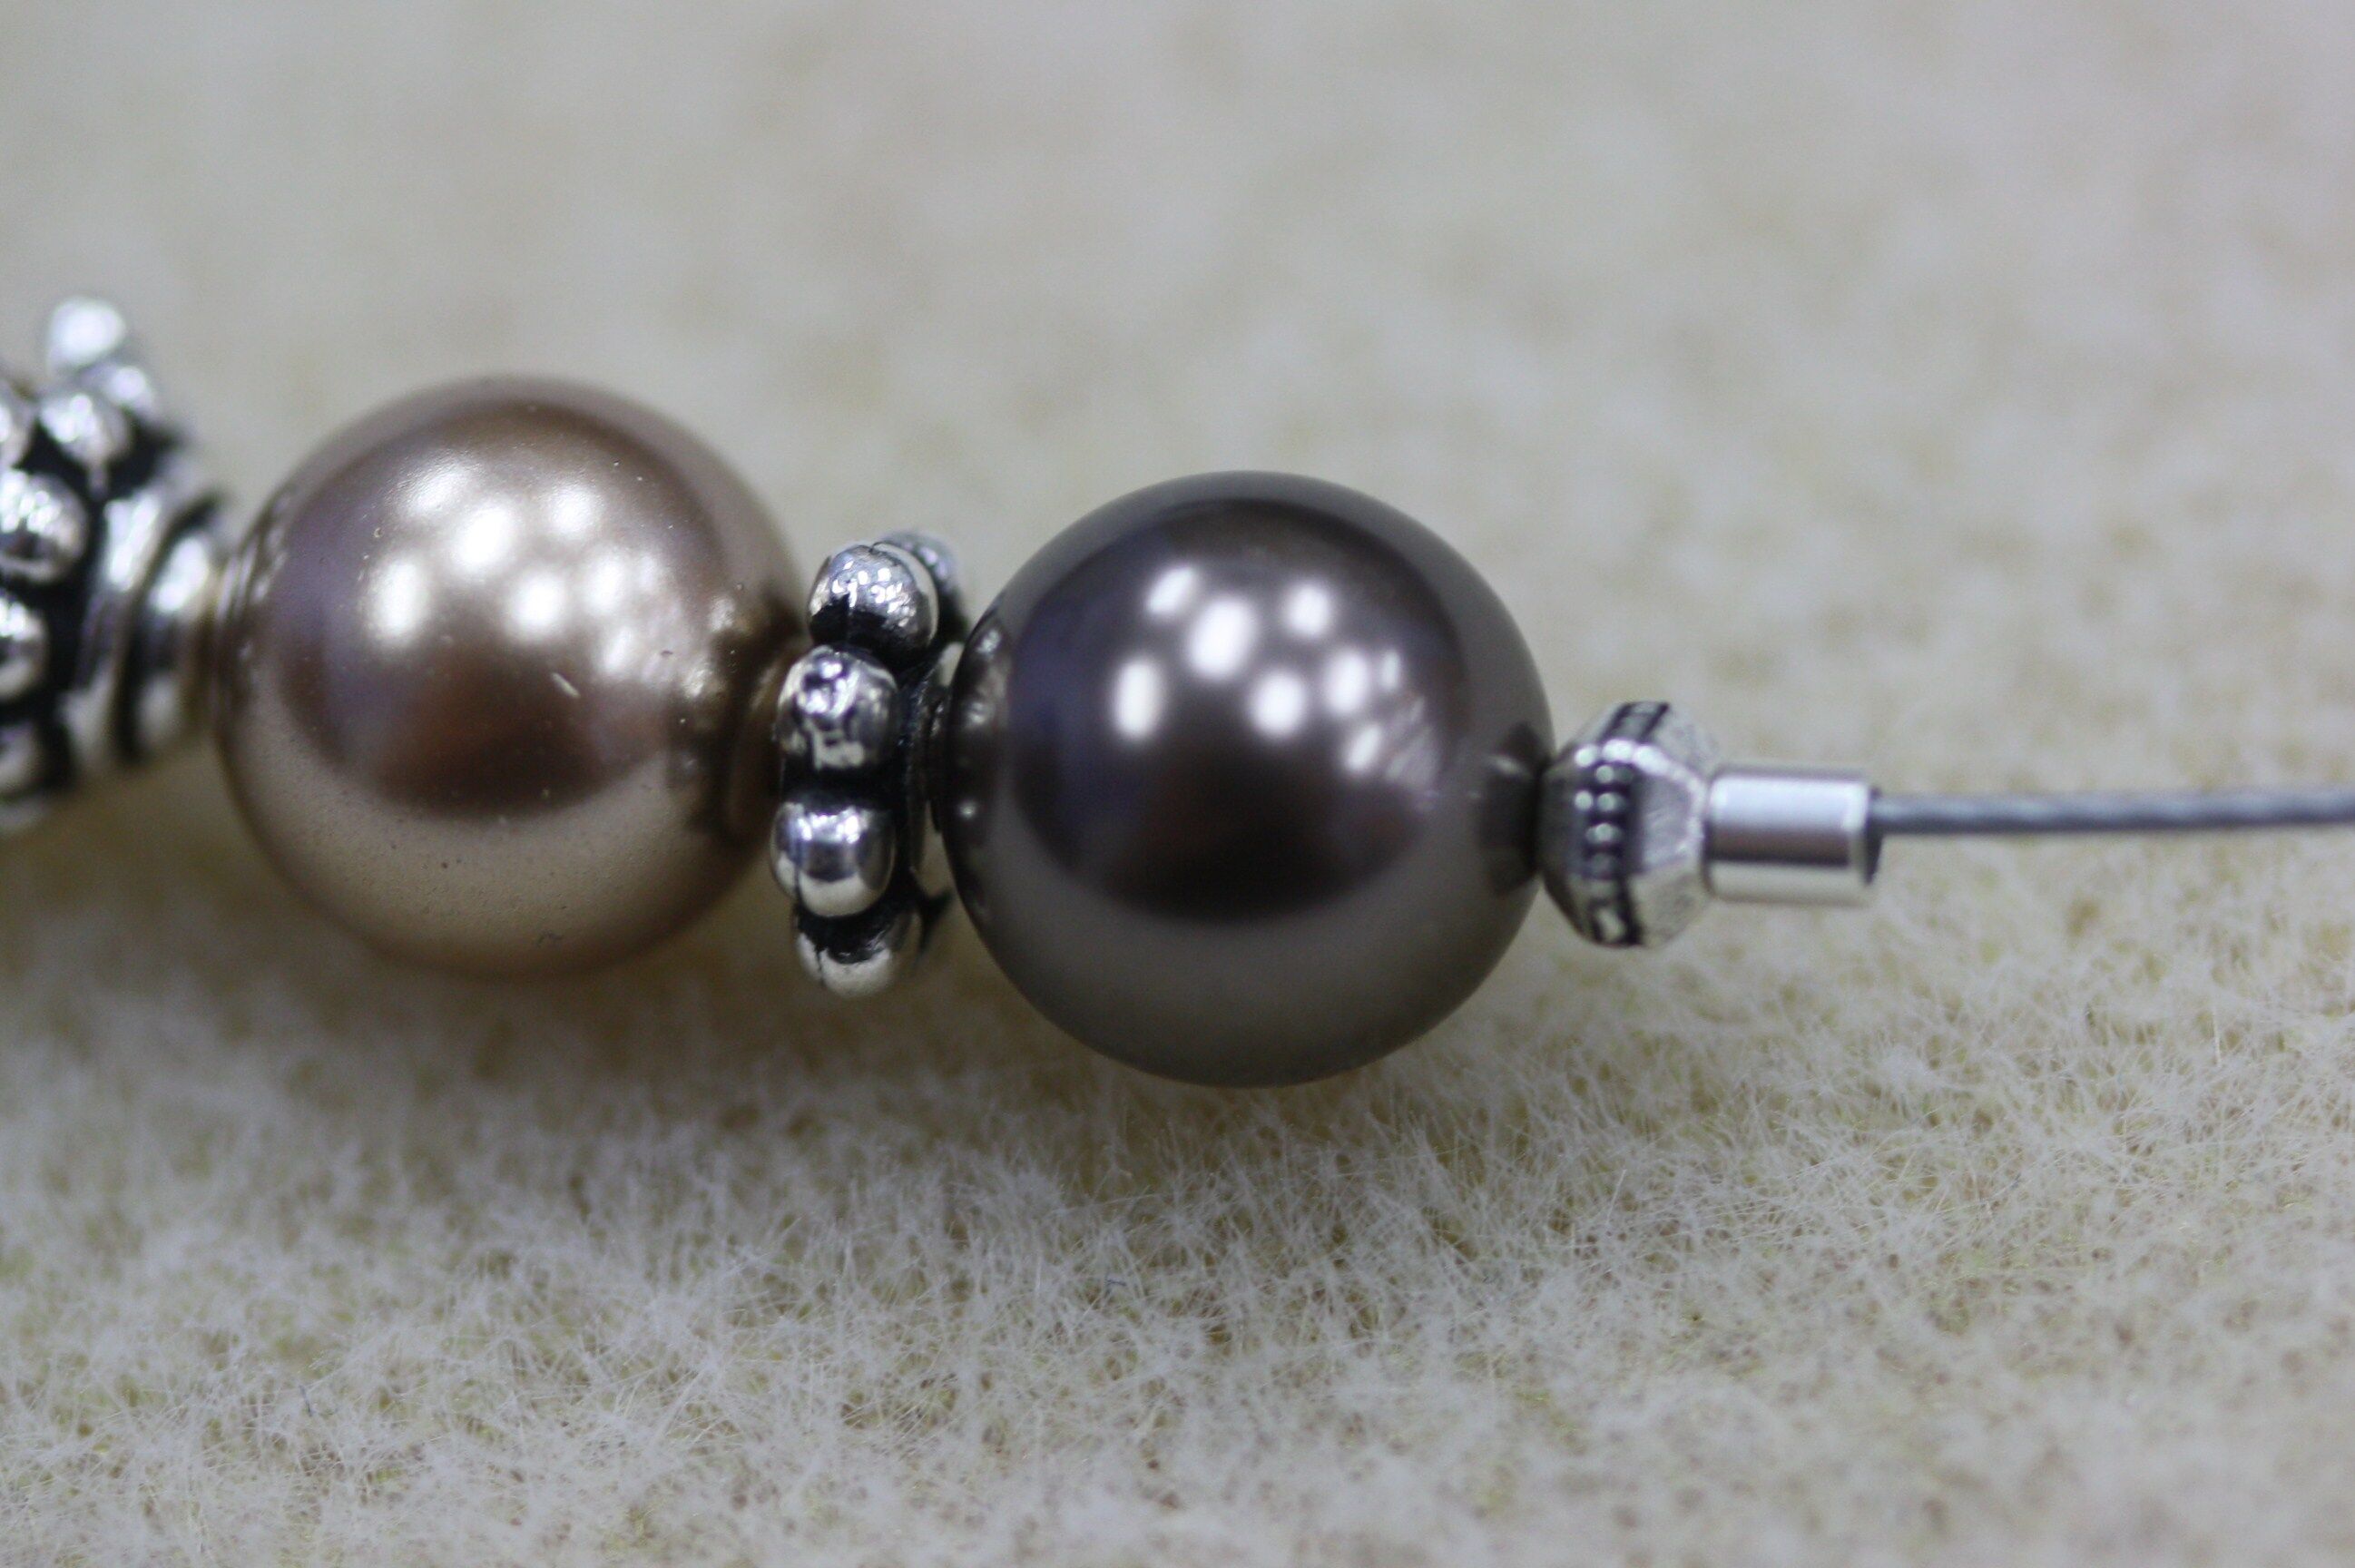
1. String one light colored pearl, one daisy spacer and one dark colored pearl onto the SoftFlex wire.
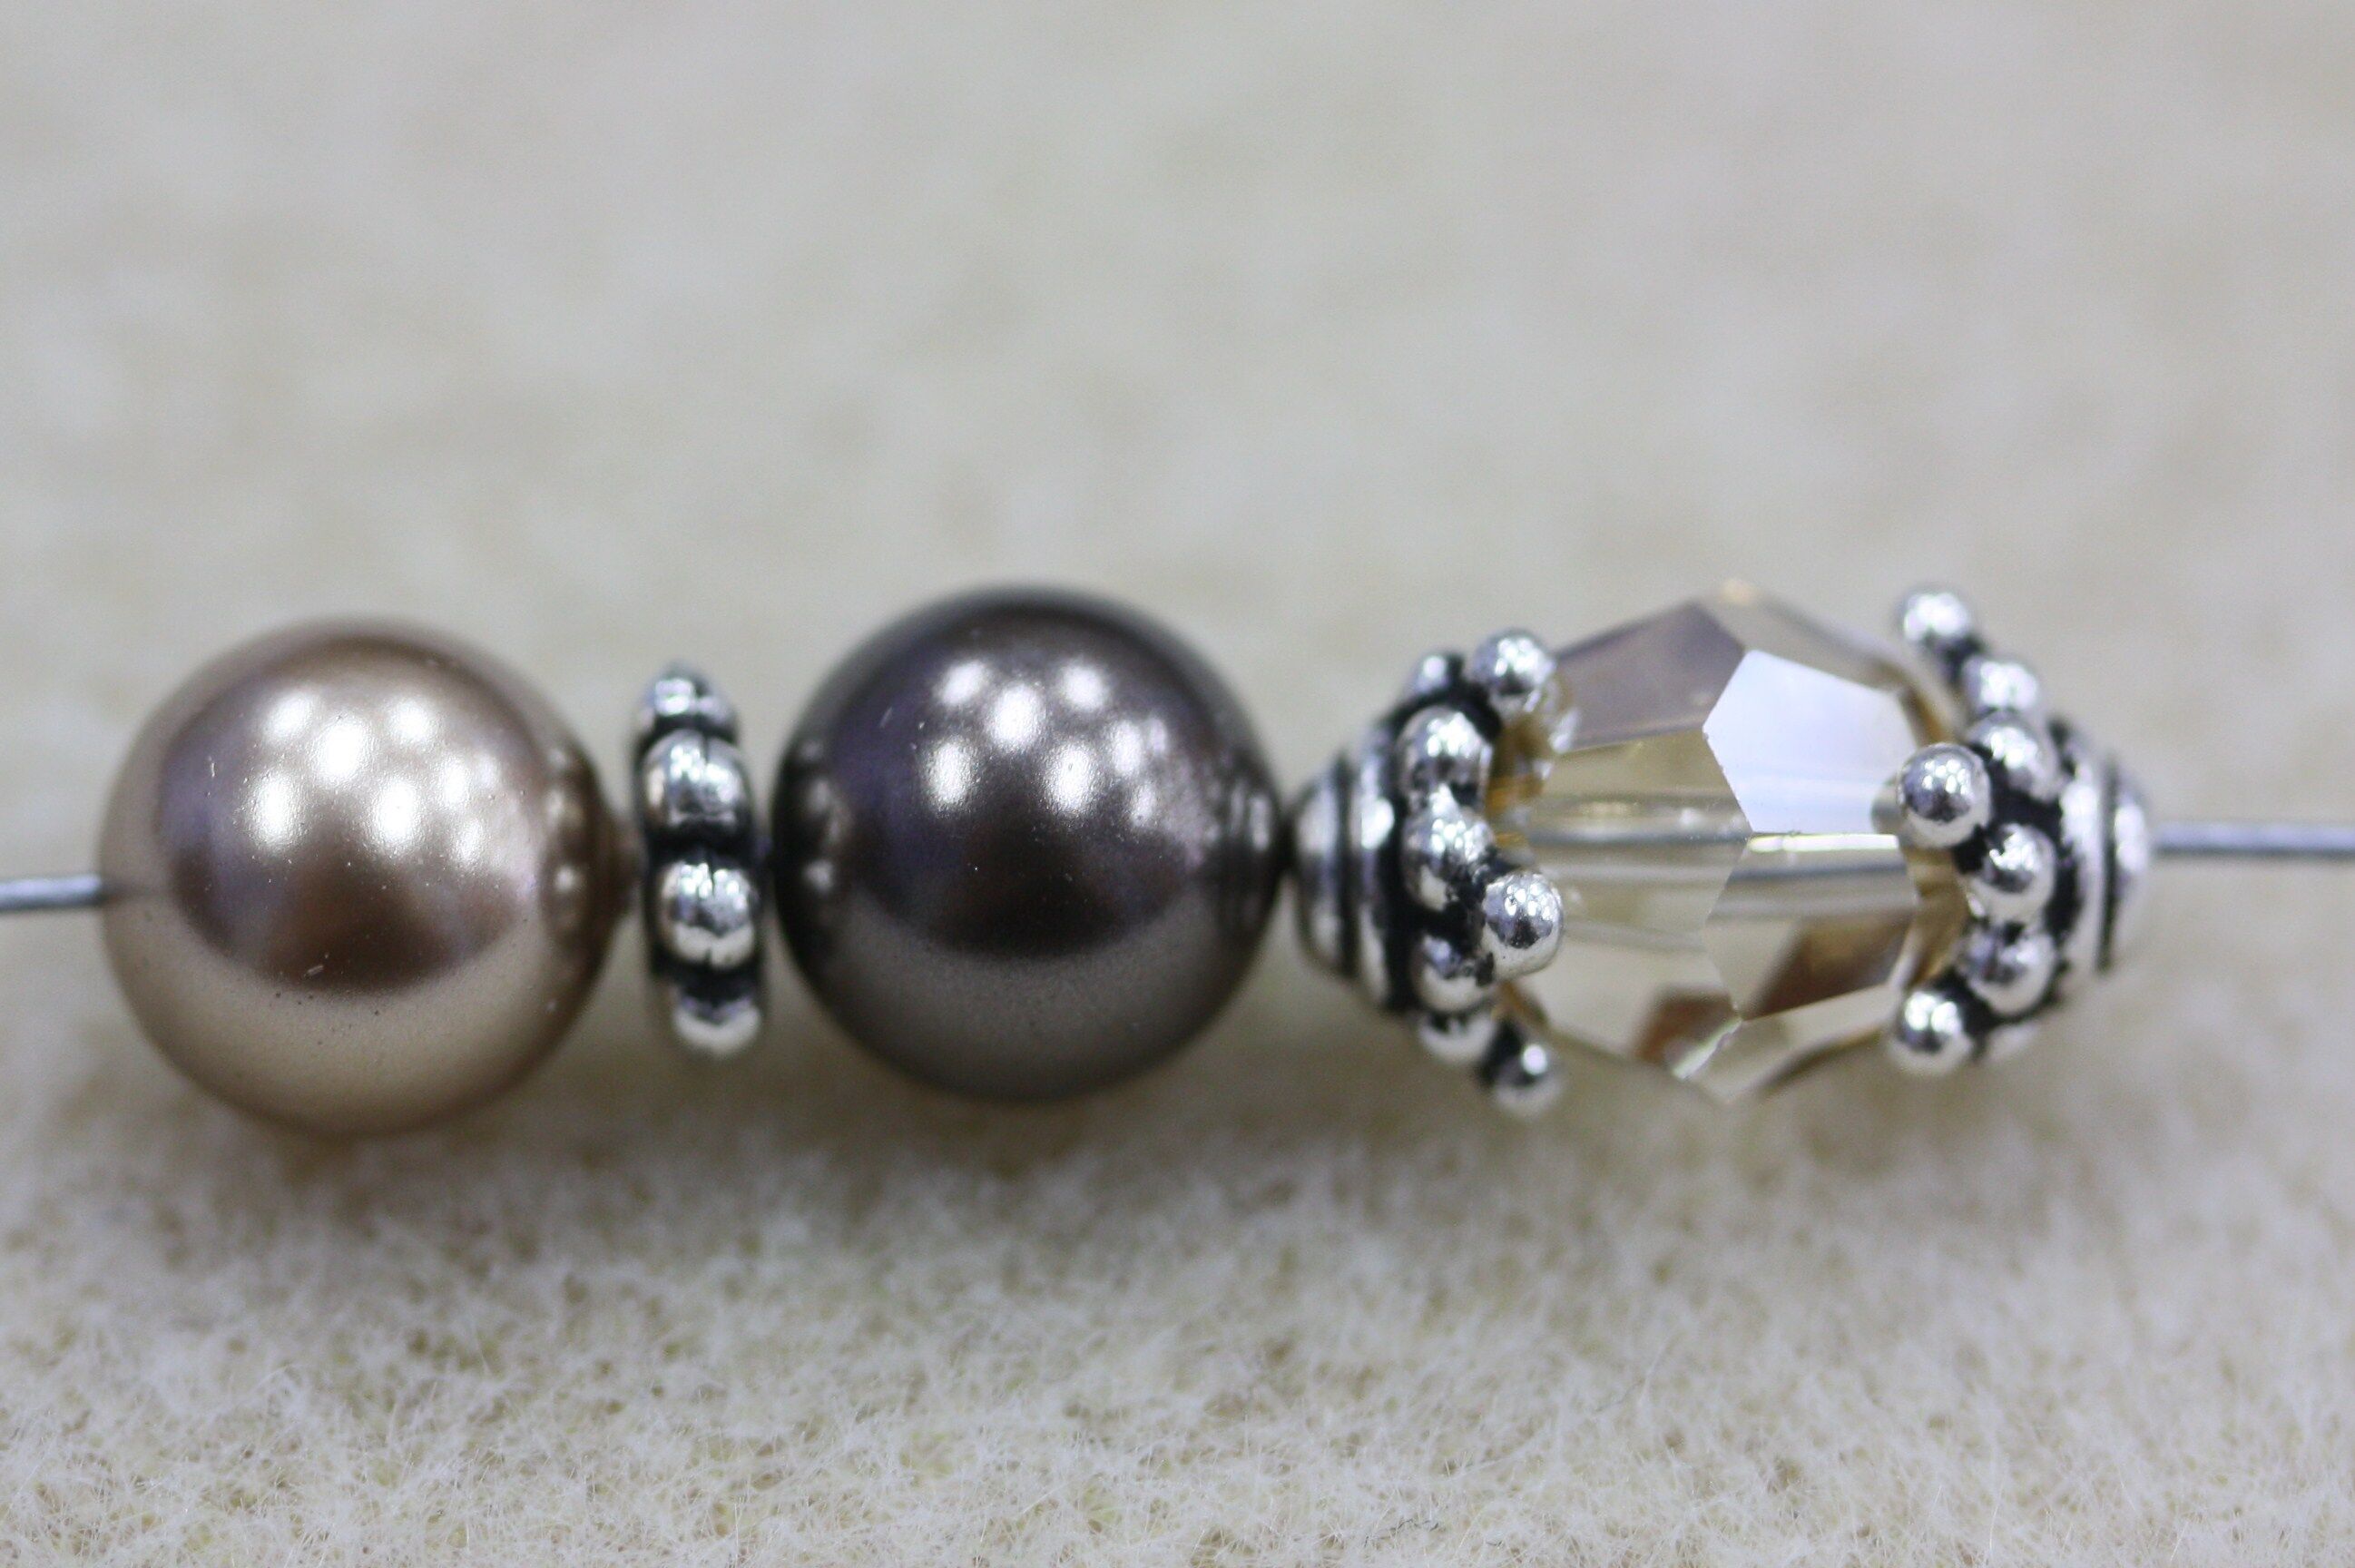
2. String one bead cap, one crystal and another bead cap onto the wire. Make sure the prongs of the bead caps point in toward the crystal.
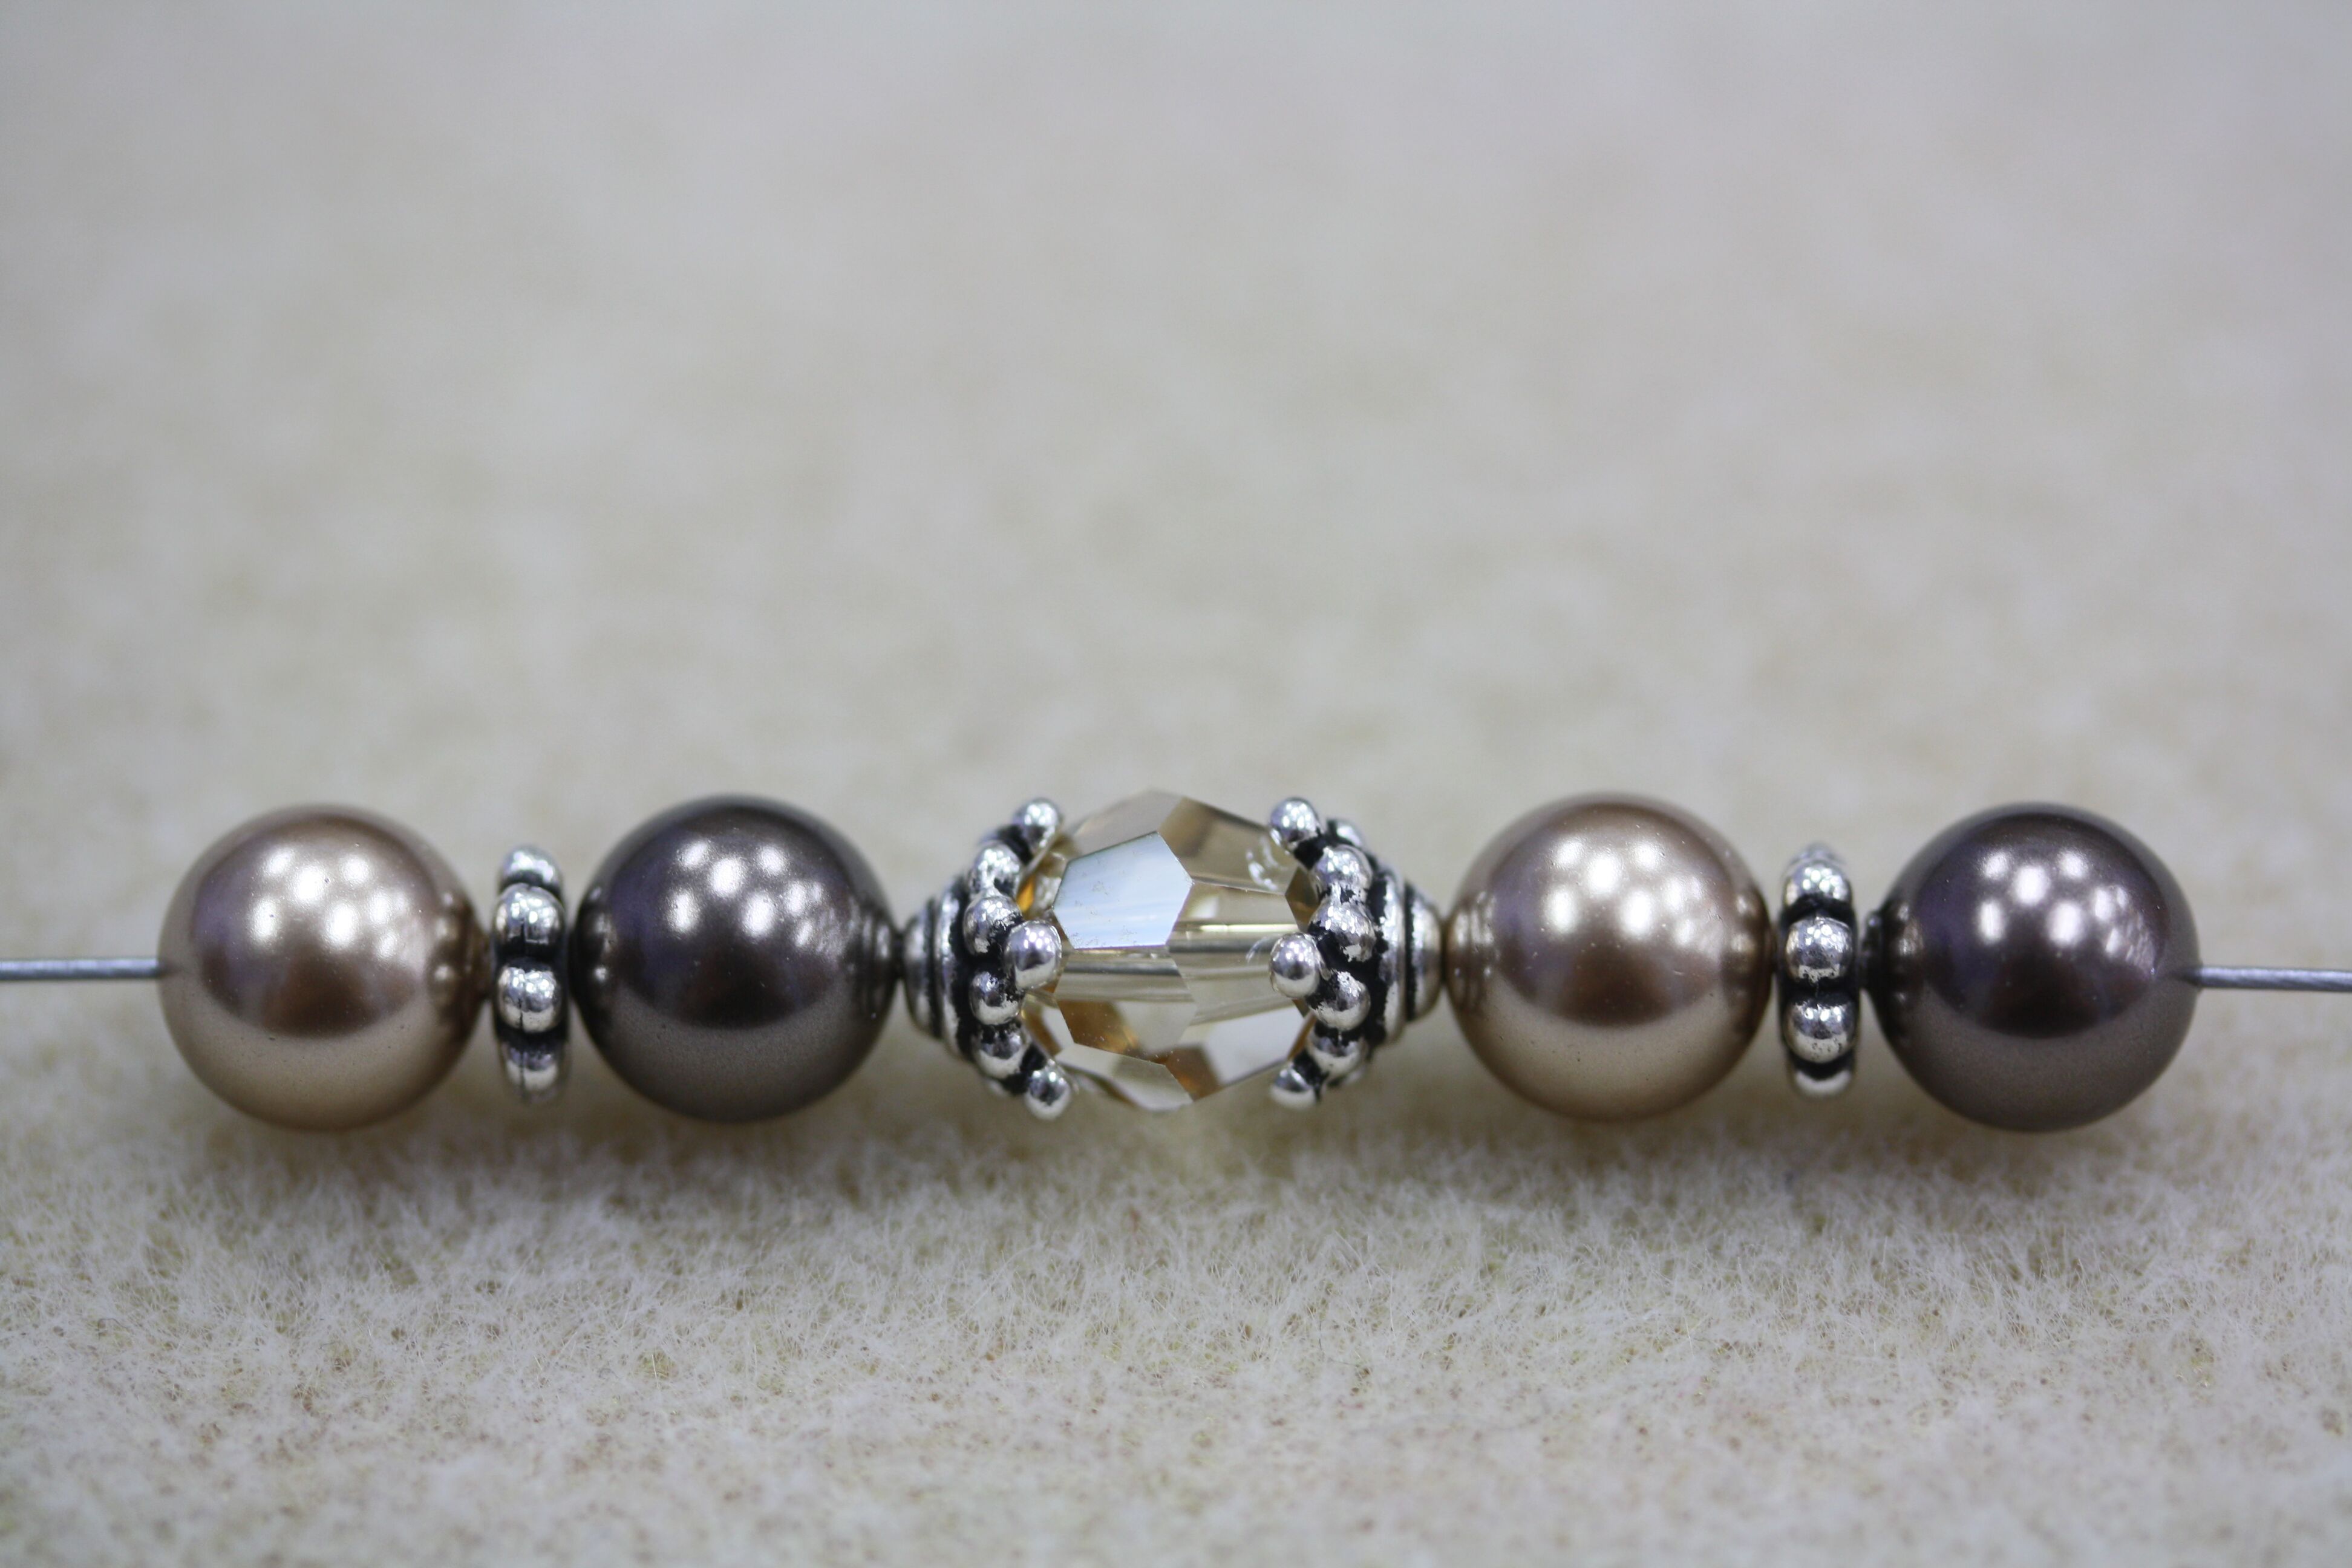
3. Repeat the pattern from steps 1 and 2 until the bracelet is the desired length.
4. Add a 3mm nugget on each end of the bracelet.
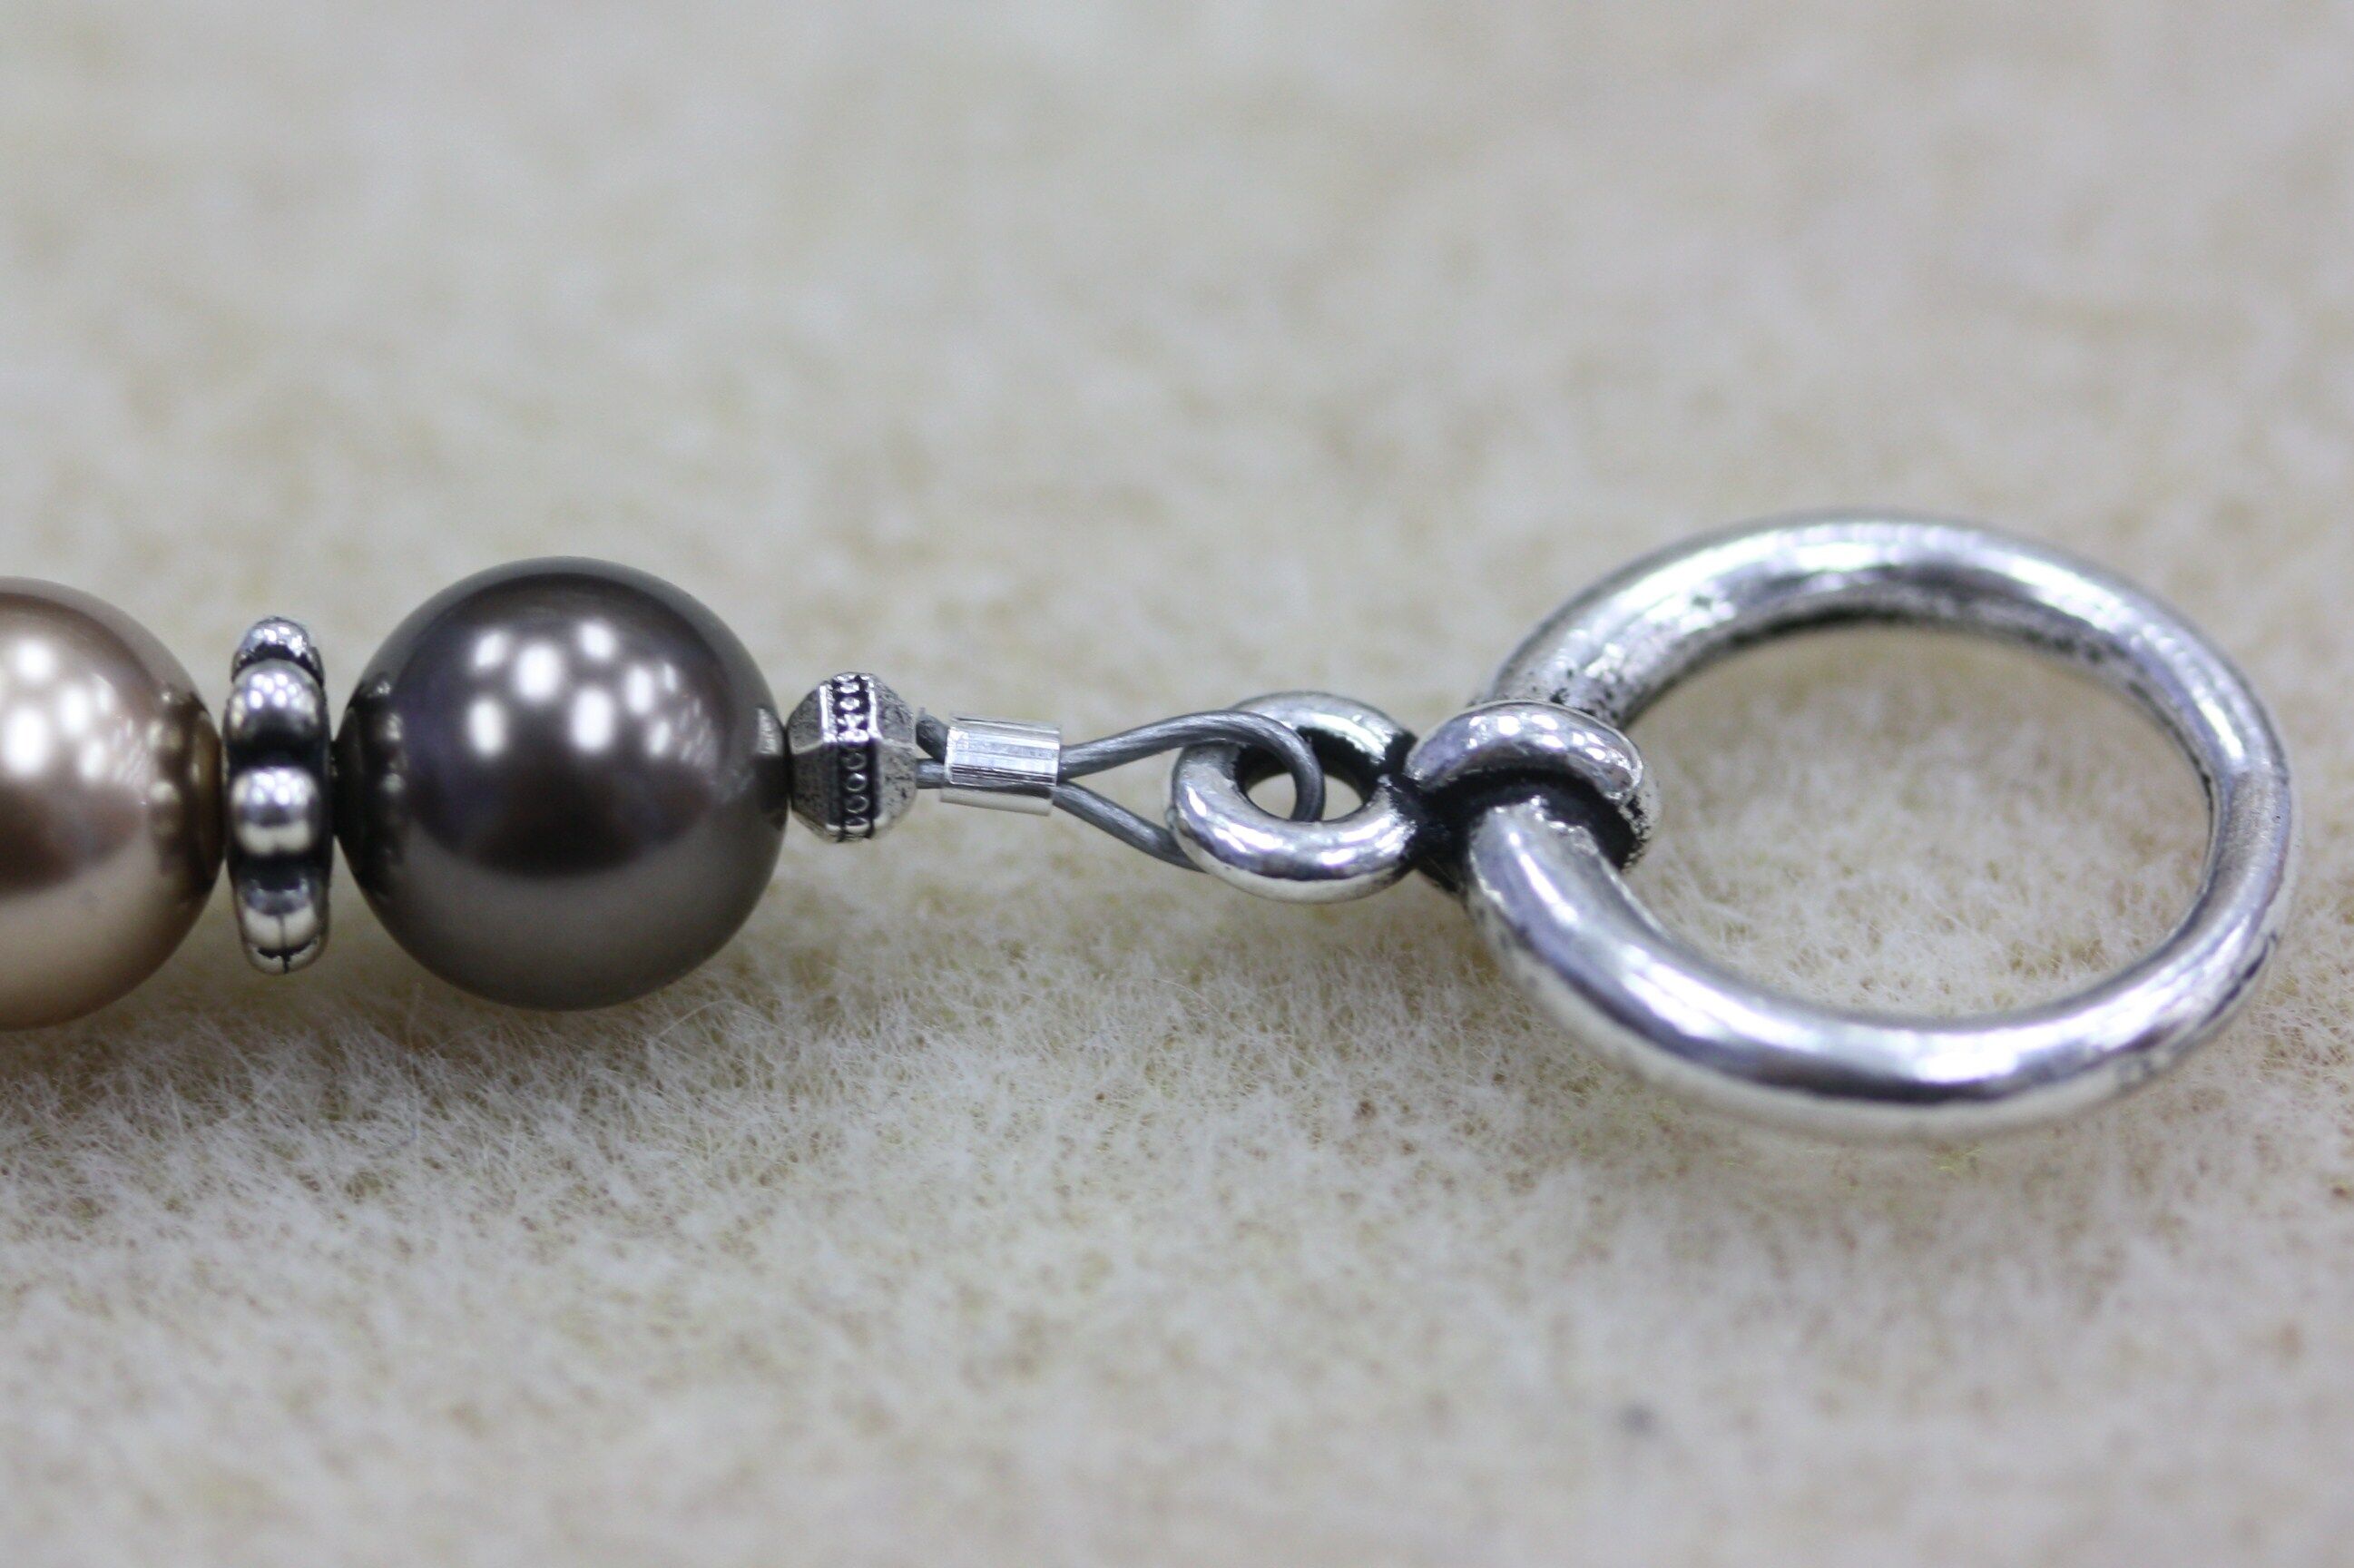
5. String a crimp onto the wire. Pass the wire through the loop of the toggle and then back down through the crimp.

6. Use your crimping skills to close the crimp. Cut off any excess wire.
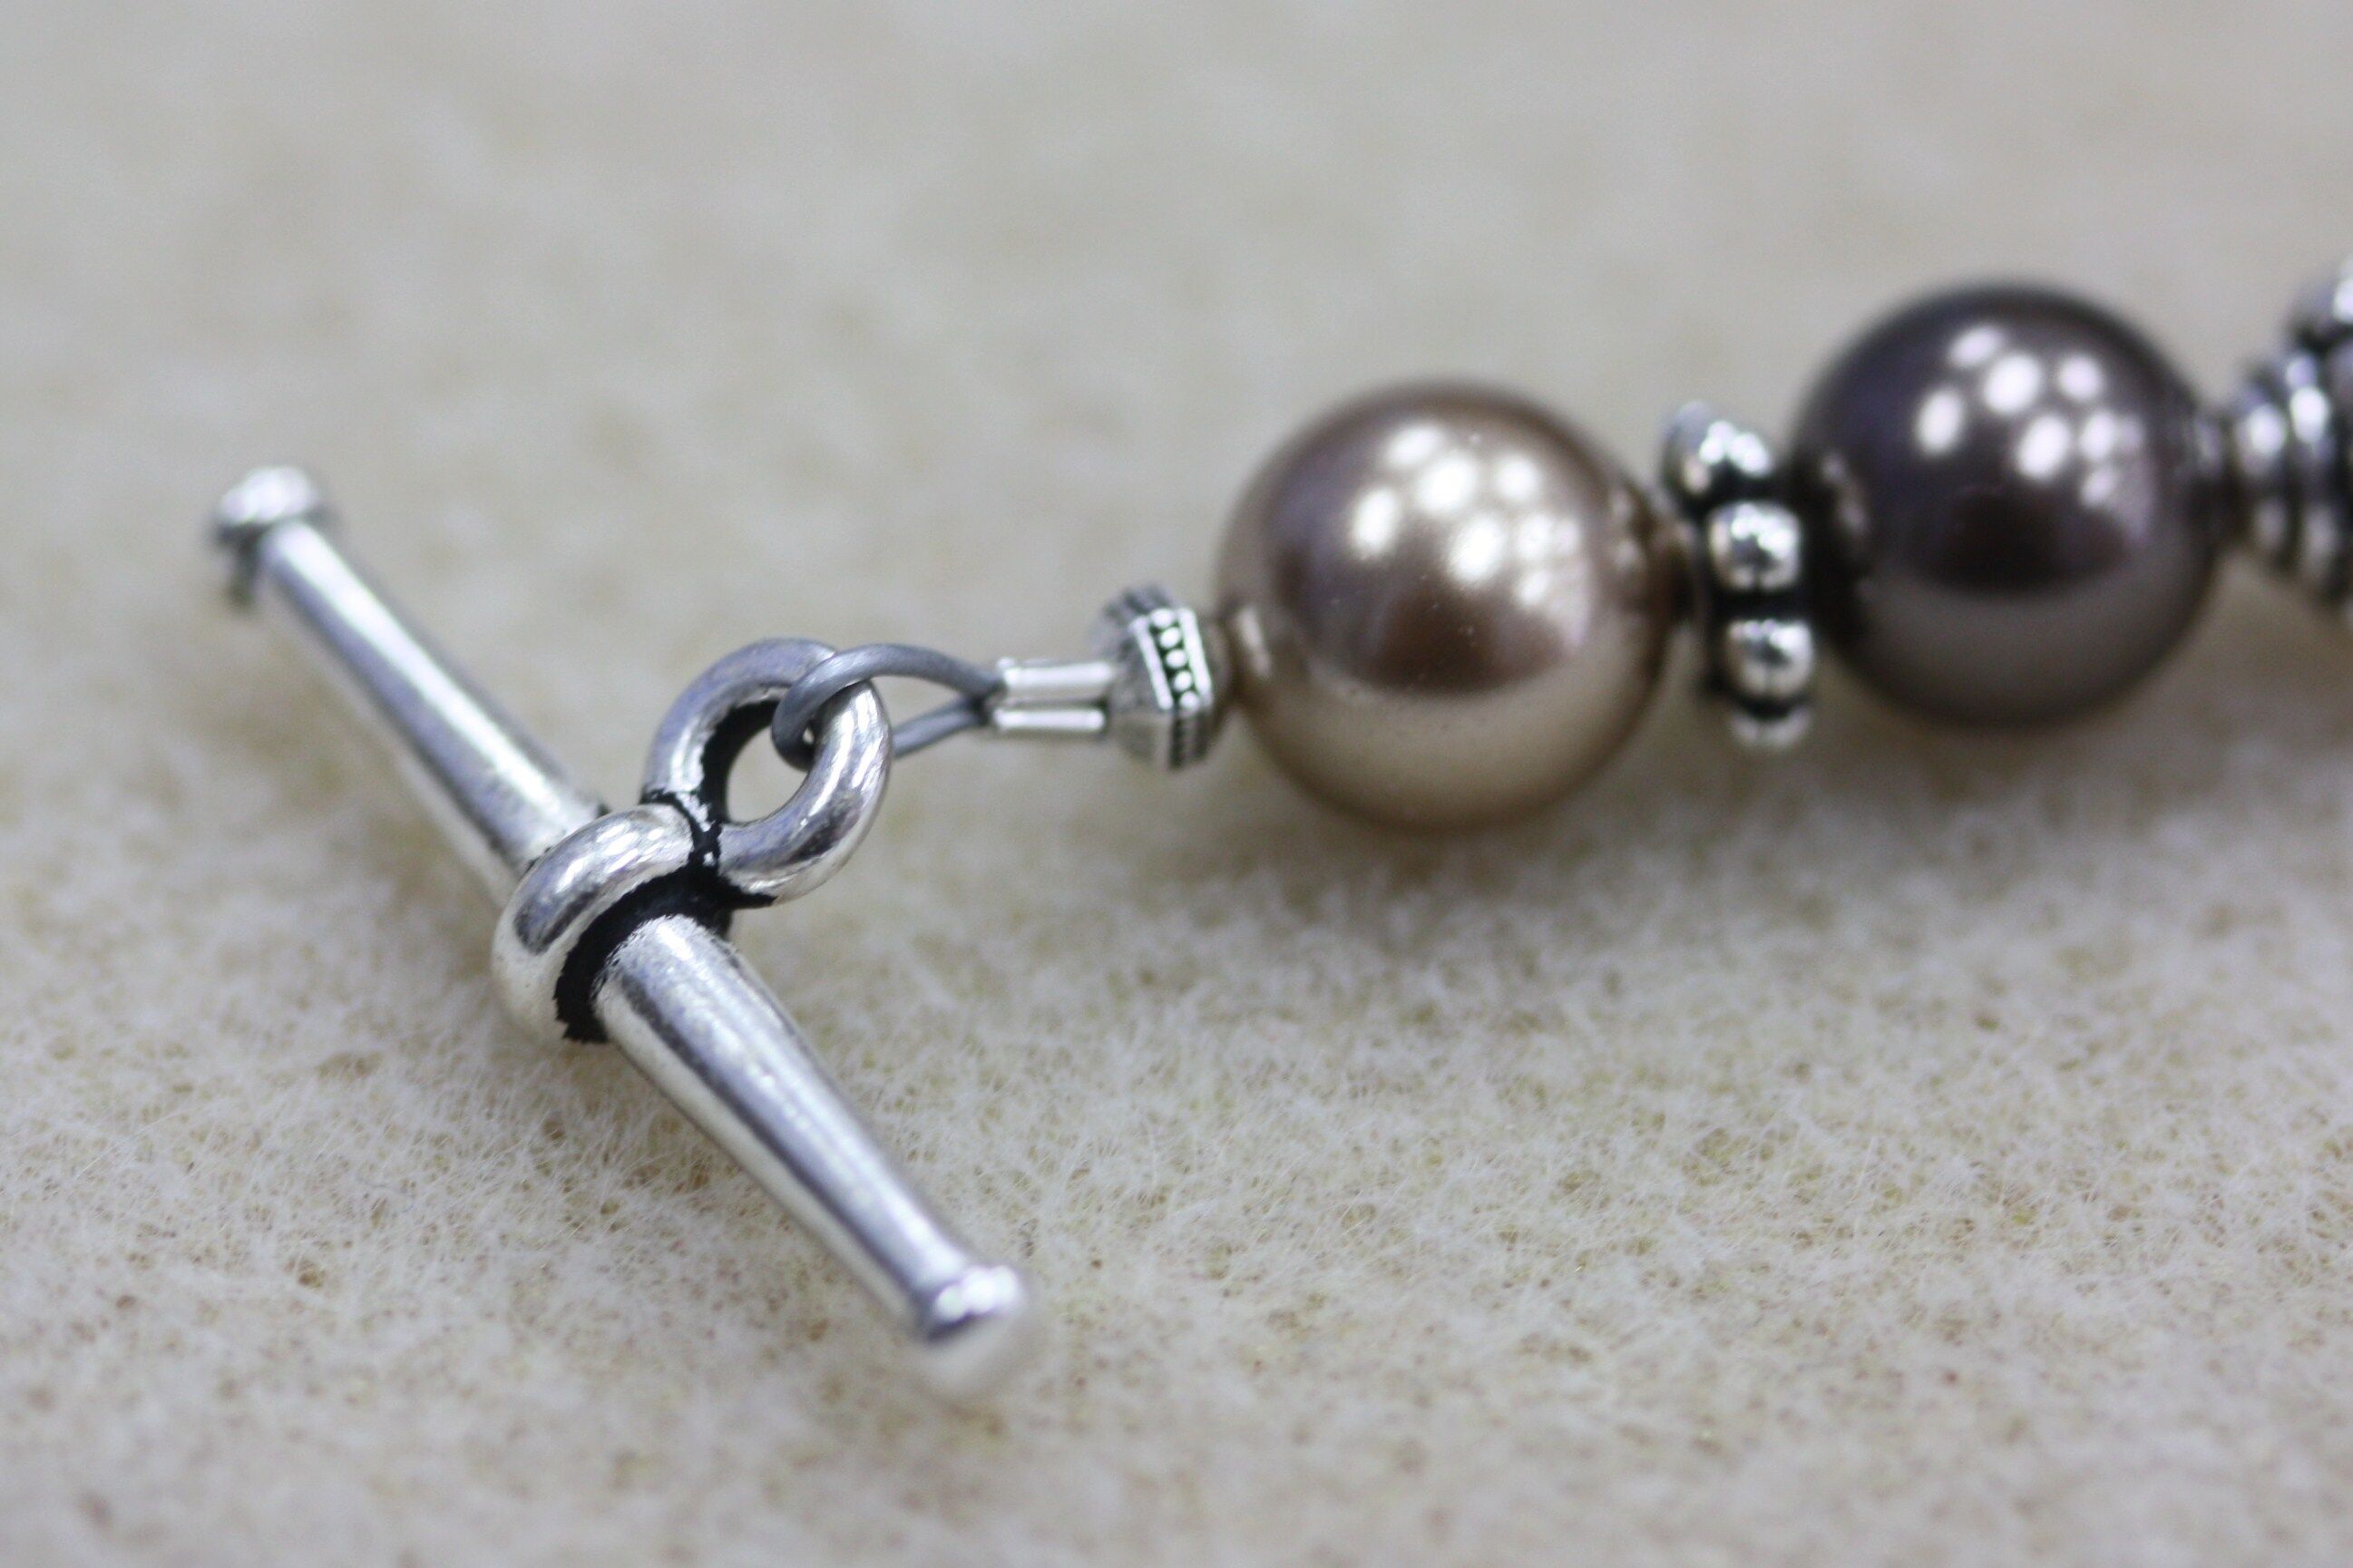
7. Repeat steps 4 and 5 to attach the toggle bar on the other end of the bracelet.
8. Your finished Elegant Swarovski Bracelet will look like this. You can use crimp covers to hide the crimps if you’d like.

Isn’t it amazing how the same technique can look so different just by changing up the beads & spacers used? You can customize your jewelry any way you’d like once you know the simple basic techniques. We can’t wait to see what designs you come up with!
Happy Beading!!
Recent Posts
-

Valentine Fringe Earrings
Valentine Fringe EarringsLearn how to make fringe earrings with a heart pattern that pops! The …13th Jan 2025 -

Dancing Pearl Cowboy Charm Leather Bracelet
Dancing Pearl Cowboy Charm Leather BraceletThis tutorial is a spin of our Dancing Gemstone Brac …17th Dec 2024 -

Christmas Wine Charms - Mini Tutorial
Christmas Wine Charms - Mini TutorialThese wine charms are sure to be the center talking point at yo …25th Nov 2024