

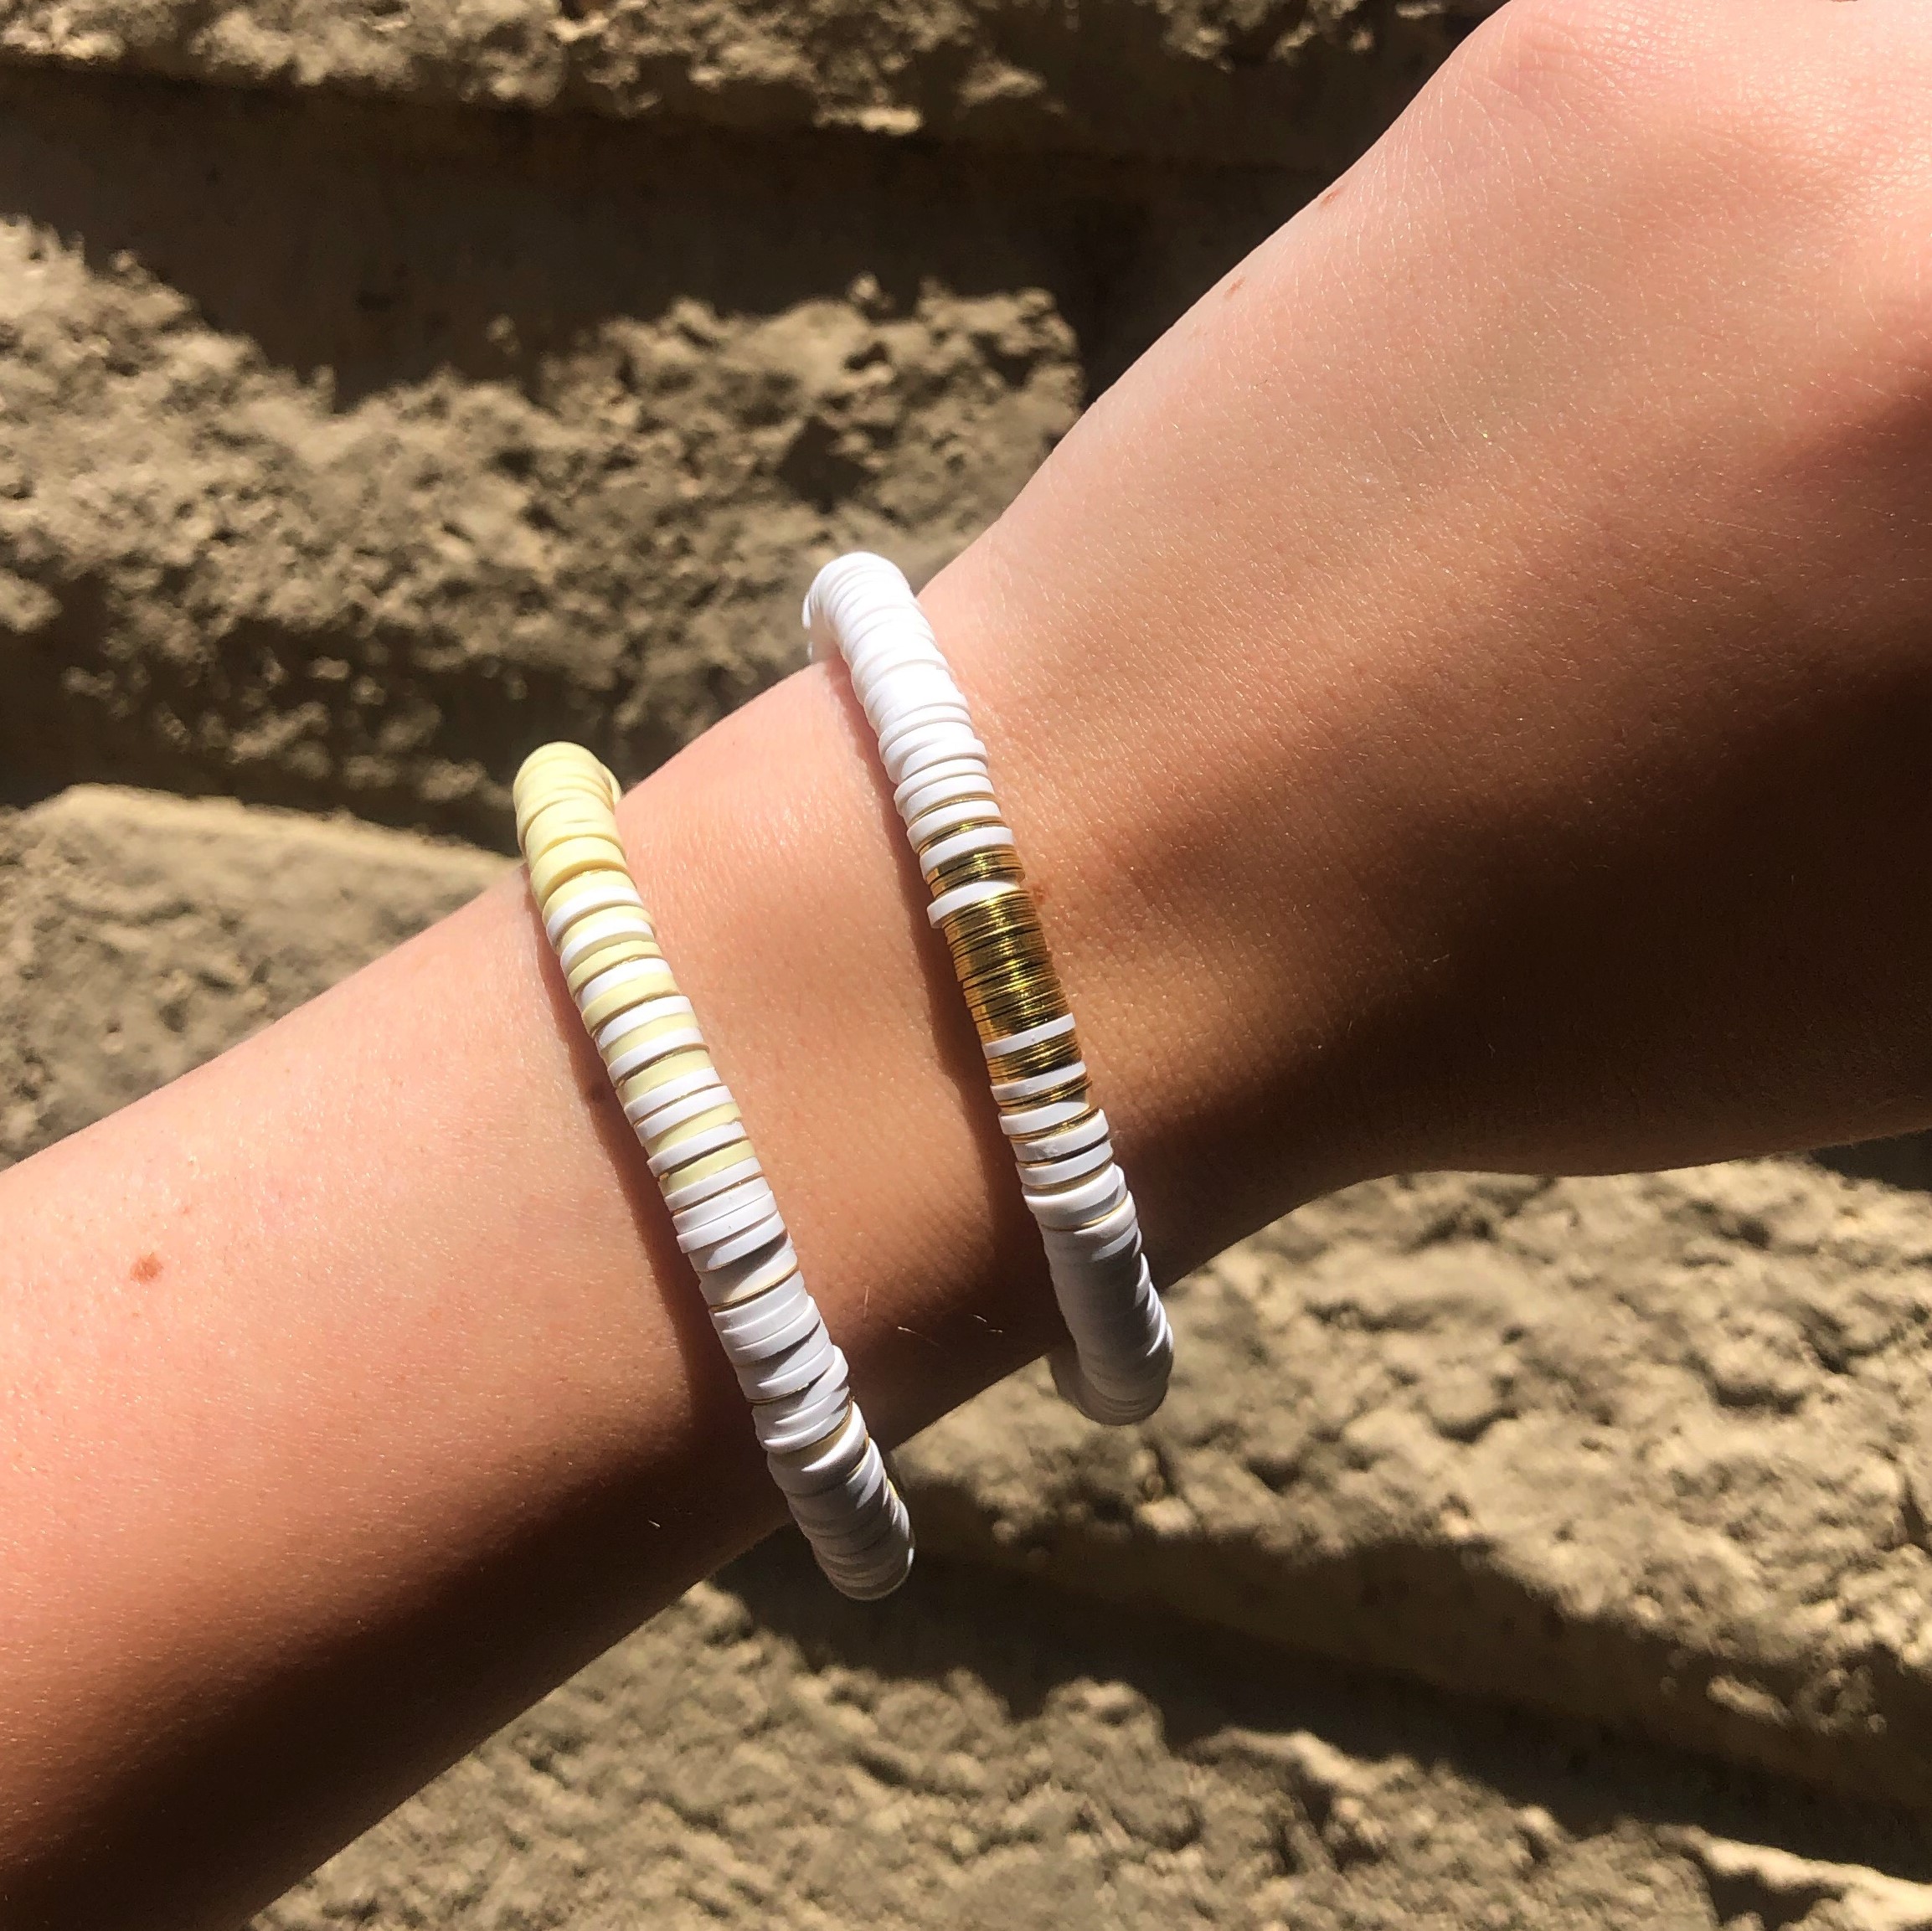
"Golden Neutrals" Set of Two Polymer Disc Stretch Bracelets
"Golden Neutrals" Set of Two Polymer Disc Stretch Bracelets
 Materials Needed:
- Polymer Clay 6mm White Disc (1 Strand)
- Polymer Clay 6mm Cream Disc (1 Strand)
- 6mm Disc Spacers - Gold Plated Brass (100, I used 99 spacer beads so if you need a larger bracelet, you will need 2 packs of these spacers)
- Cube Bead 6mm Light Gold Plated (1)
- Saucer Bead 8x6mm Light Gold Plated (1)
- 1mm Stretch Magic, Crystal (24”)
- G-S Hypo Cement
Size Approx. 6”
Tools Required:
Key Code for Beads: You can lay your beads out on mat with labels next to them to make it easier for stringing in correct sequence. * If you have a bead board you can lay the beads in correct sequence before stringing, this may be the easiest option.
A = White 6mm Polymer Clay Slices, B = Cream 6mm Polymer Clay Slices, C = Gold Plated 6mm Disc Spacers
Instructions on Construction:
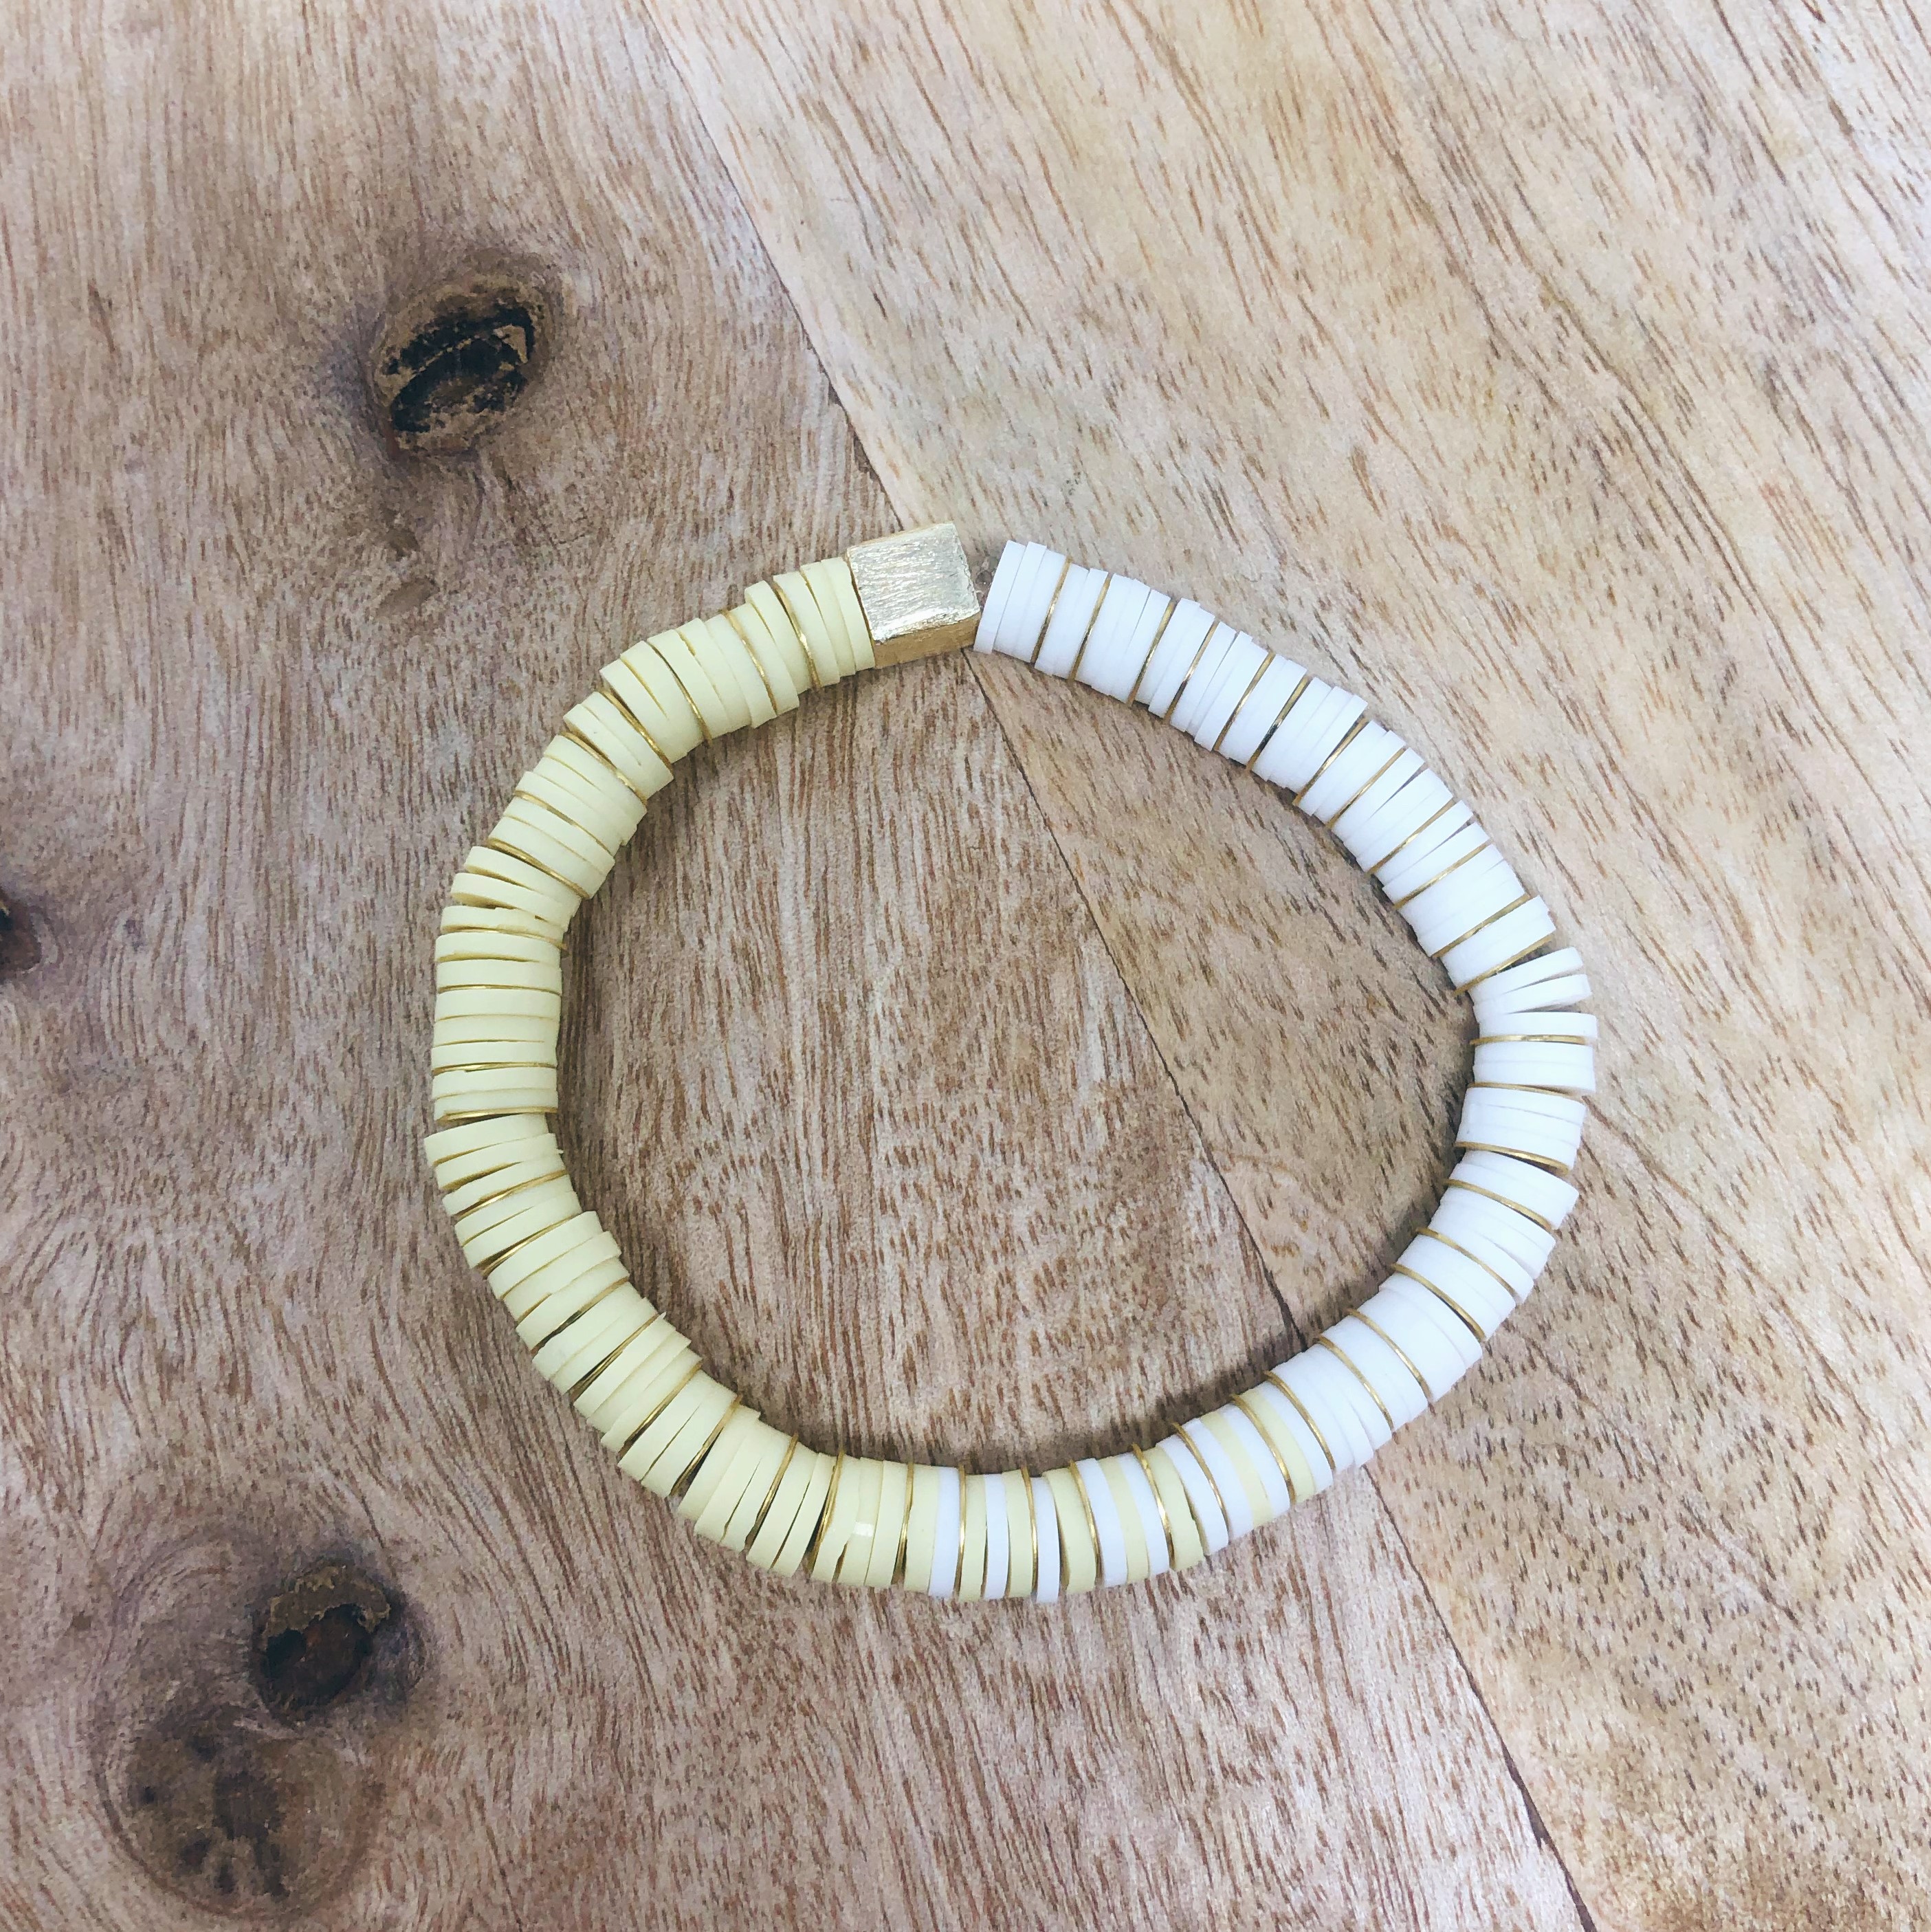
First – Neutral to White Ombre Bracelet
1. Cut 1 x 12” pieces of Stretch Magic, pre-stretch cord then attach bead stop to one end of stretch cord about 2 1/2” from end.
2. String in this order: A (3), C (1), A (2), C (1), A (3), C (1), A (2), C (1), A (3), C (1), A (2), C (1), A (3), C (1), A (2), C (1), A (3), C (1), A (2), C (1), A (3), C (1), A (2), C (1), A (3), C (1), A (2), C (1), A (3), C (1), A (2), C (1), A (3), C (1), A (2), C (1), A (3), C (1), A (2), C (1), A (3), C (1), A (1), B (1), C (1), A (1), B (1), A (1), C (1), A (1), B (1), C (1), A (1), B (1), A (1), C (1), B (1), A (1), C (1), B (1), A (1), B (1), C (1), A (1), B (1), C (1), B (3), C (1), B (2), C(1), C (1), B (3), C (1), B (2), C(1), C (1), B (3), C (1), B (2), C(1), C (1), B (3), C (1), B (2), C(1), C (1), B (3), C (1), B (2), C(1), C (1), B (3), C (1), B (2), C(1), C (1), B (3), C (1), B (2), C(1), C (1), B (3), C (1), B (2), C(1), C (1), B (3), C (1), B (2), C(1), C (1), B (3), C (1), B (2), C(1)
* Check the sizing of your bracelet, Add more polymer clay and gold discs in the same pattern to each end of the strand to make your bracelet larger if needed.
3. String on the 6mm light gold plated cube bead
4. Check sizing again before tying knots. Tie one square knot (or surgeon's knot) and tighten firmly. Finish with GS hypo cement on the knot.
5. Leave the bracelet for at least a couple of hours for the hypo cement to set up, then trim tails.
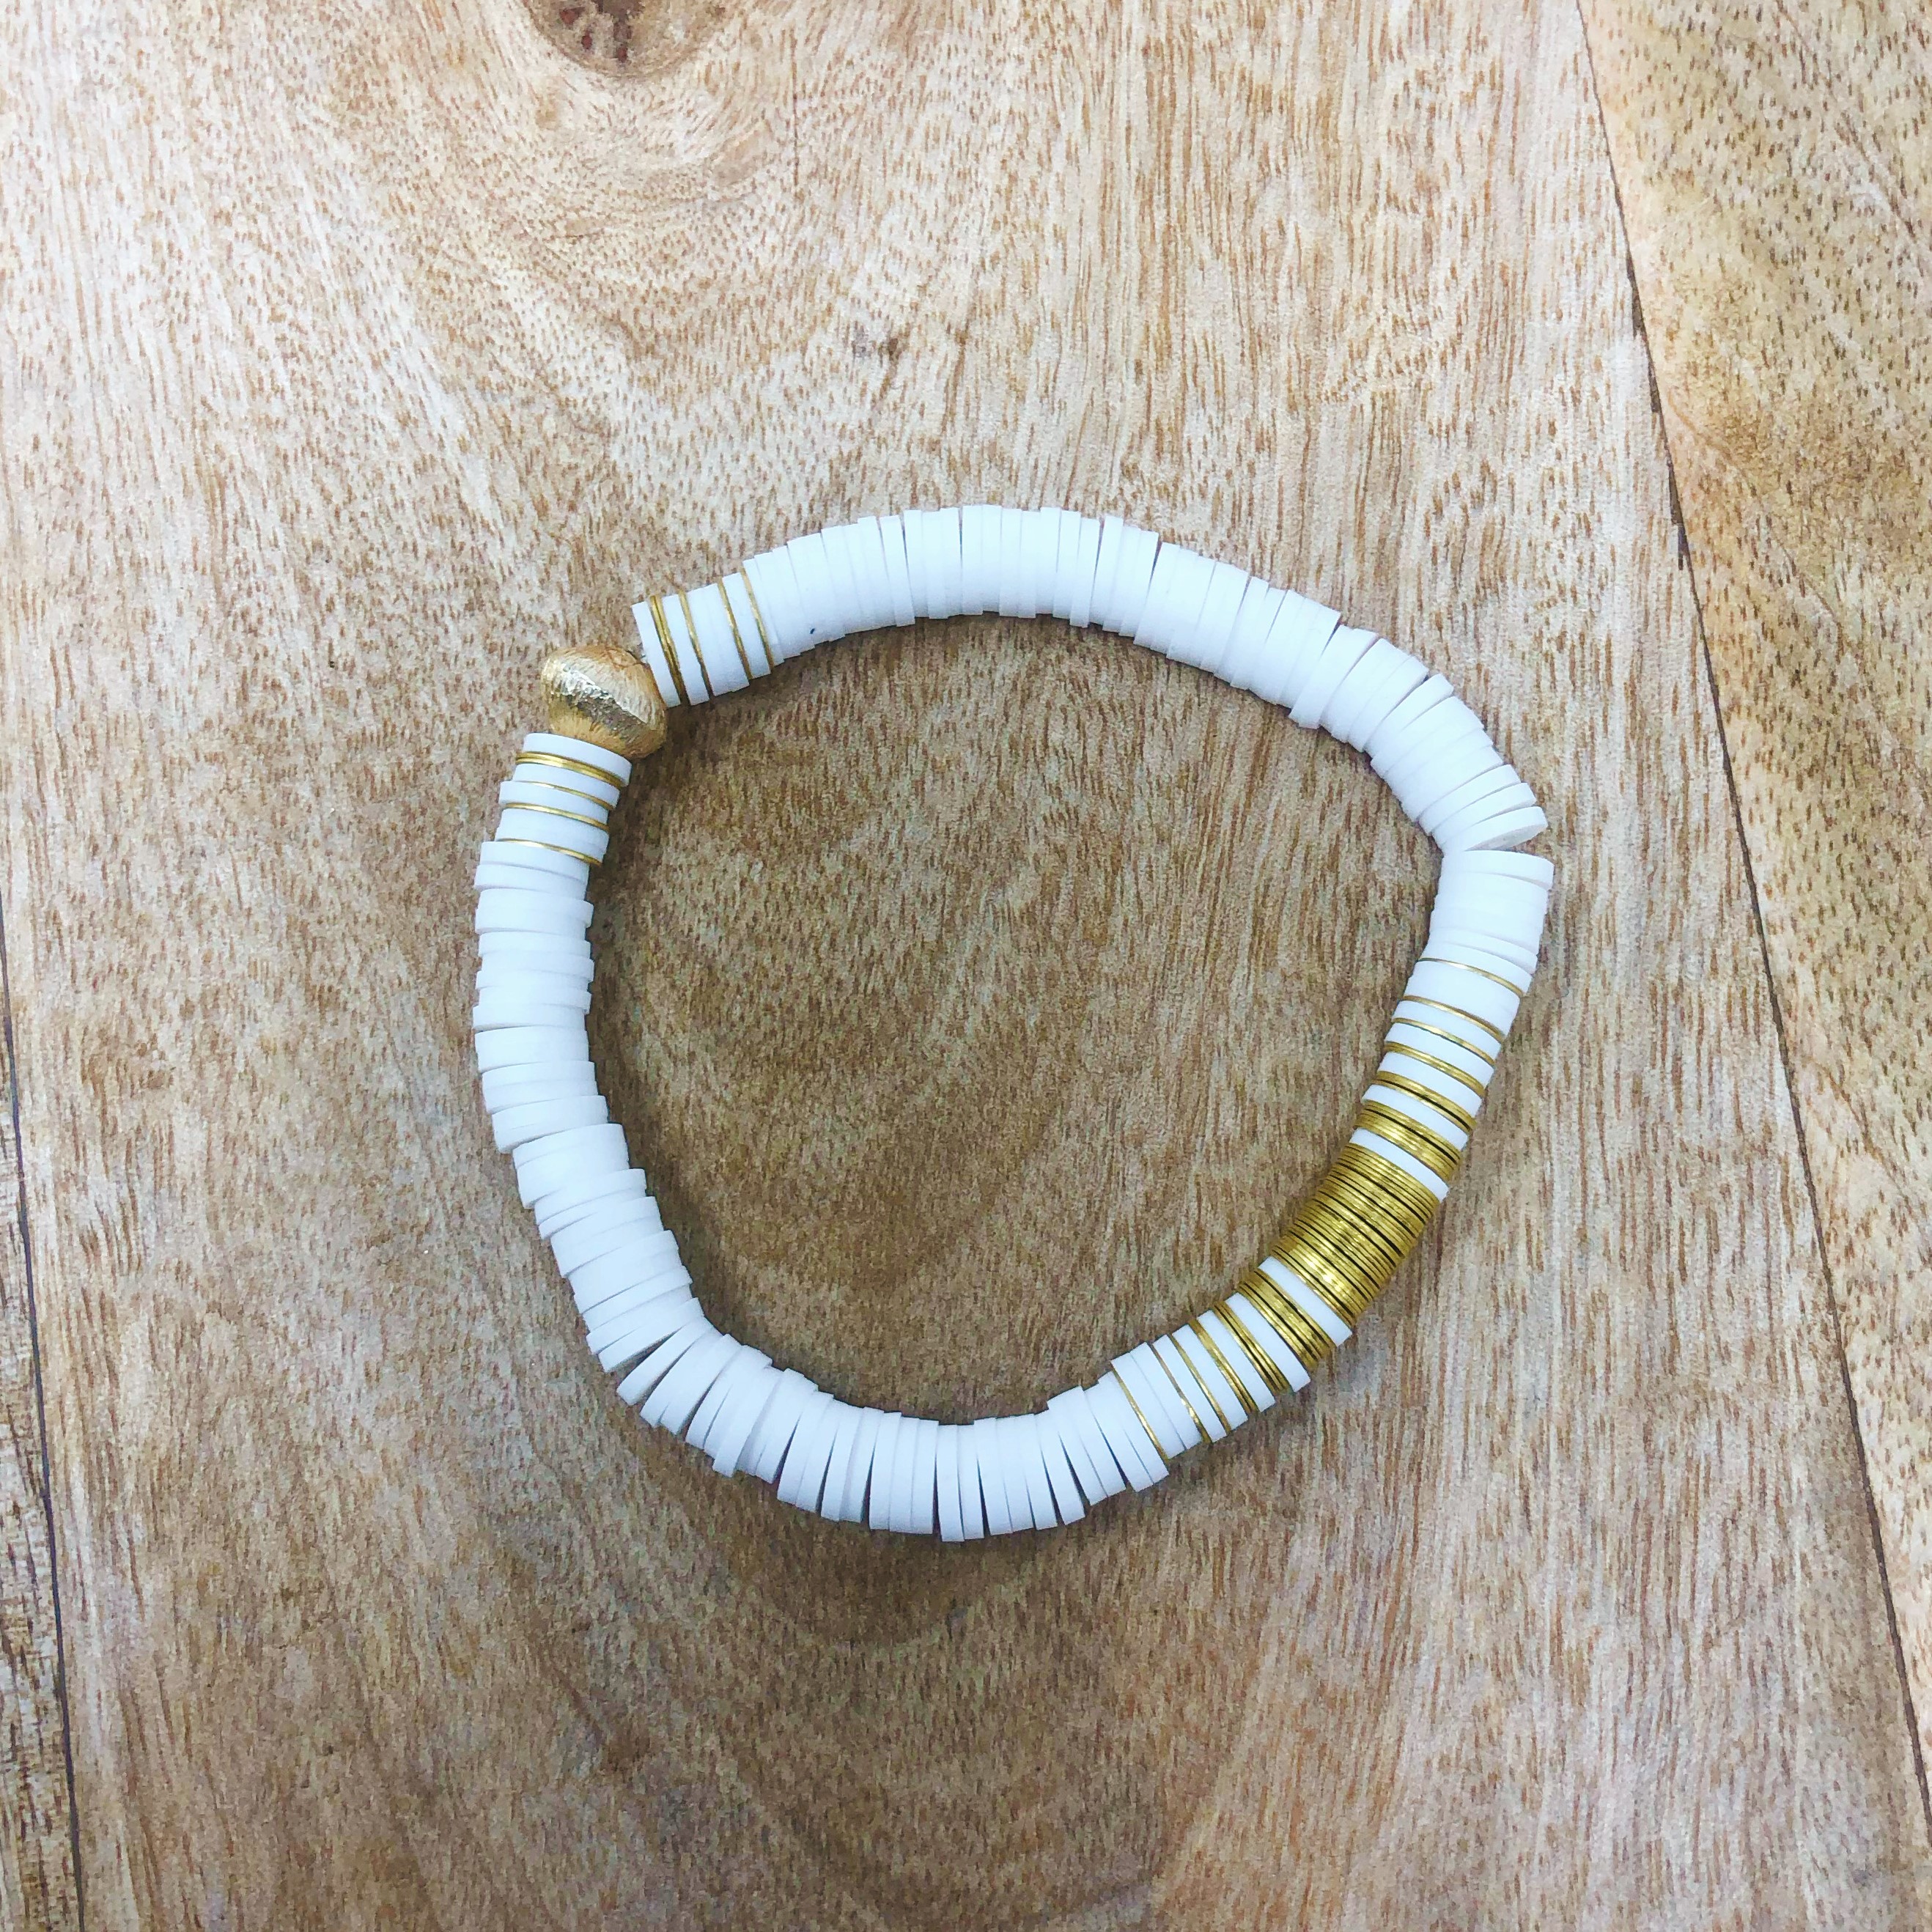
Second – Golden Disc Bracelet
1. Cut 1 x 12” pieces of Stretch Magic, pre-stretch cord then attach bead stop to one end of stretch cord about 2 1/2” from end.
2. String in this order: A (1), C (2), A (1), C (1), A (2), C (1), A (1), C (1), A (51), C (1), A (2), C (1), A (1), C (1), A (1), C (2), A (1), C (3), A(1), C (6), A (1), C (28), A (1), C (6), A (1), C (3), A (1), C (2), A (1), C (1), A (1), C (1), A (2), C (1), A (51), C (1), A (1), C (1), A (2), C (1), A (1), C (2), A (1)
* Check the sizing of your bracelet - to make your bracelet larger you will remove the [C (1), A (1), C (1), A (2), C (1), A (1), C (2), A (1)] on each side and add an equal amount of white discs on each side to reach your desired length (including the ends you just took off)
3. Check sizing again before tying knots. Tie one square knot (or surgeon's knot) and tighten firmly. Finish with GS Hypo Cement on the knot
5. Leave the bracelet for at least a couple of hours for the hypo cement to set up, then trim tails.
Designed by Kiara Thompson
Recent Posts
-

Christmas Wine Charms - Mini Tutorial
Christmas Wine Charms - Mini TutorialThese wine charms are sure to be the center talking point at yo …25th Nov 2024 -

Christmas Bow Garland - Mini Tutorial
Christmas Bow Garland - Mini TutorialCreate your own holiday decor with a Christmas-colored bow garl …14th Nov 2024 -

Charm Necklace Tutorial
Charm Necklace TutorialEmbrace individuality with our Personalized Charm Necklace tutorial, a perfec …6th Nov 2024