

Intermediate Spanish Knot Bracelet Tutorial
Intermediate Spanish Knot Bracelet Tutorial
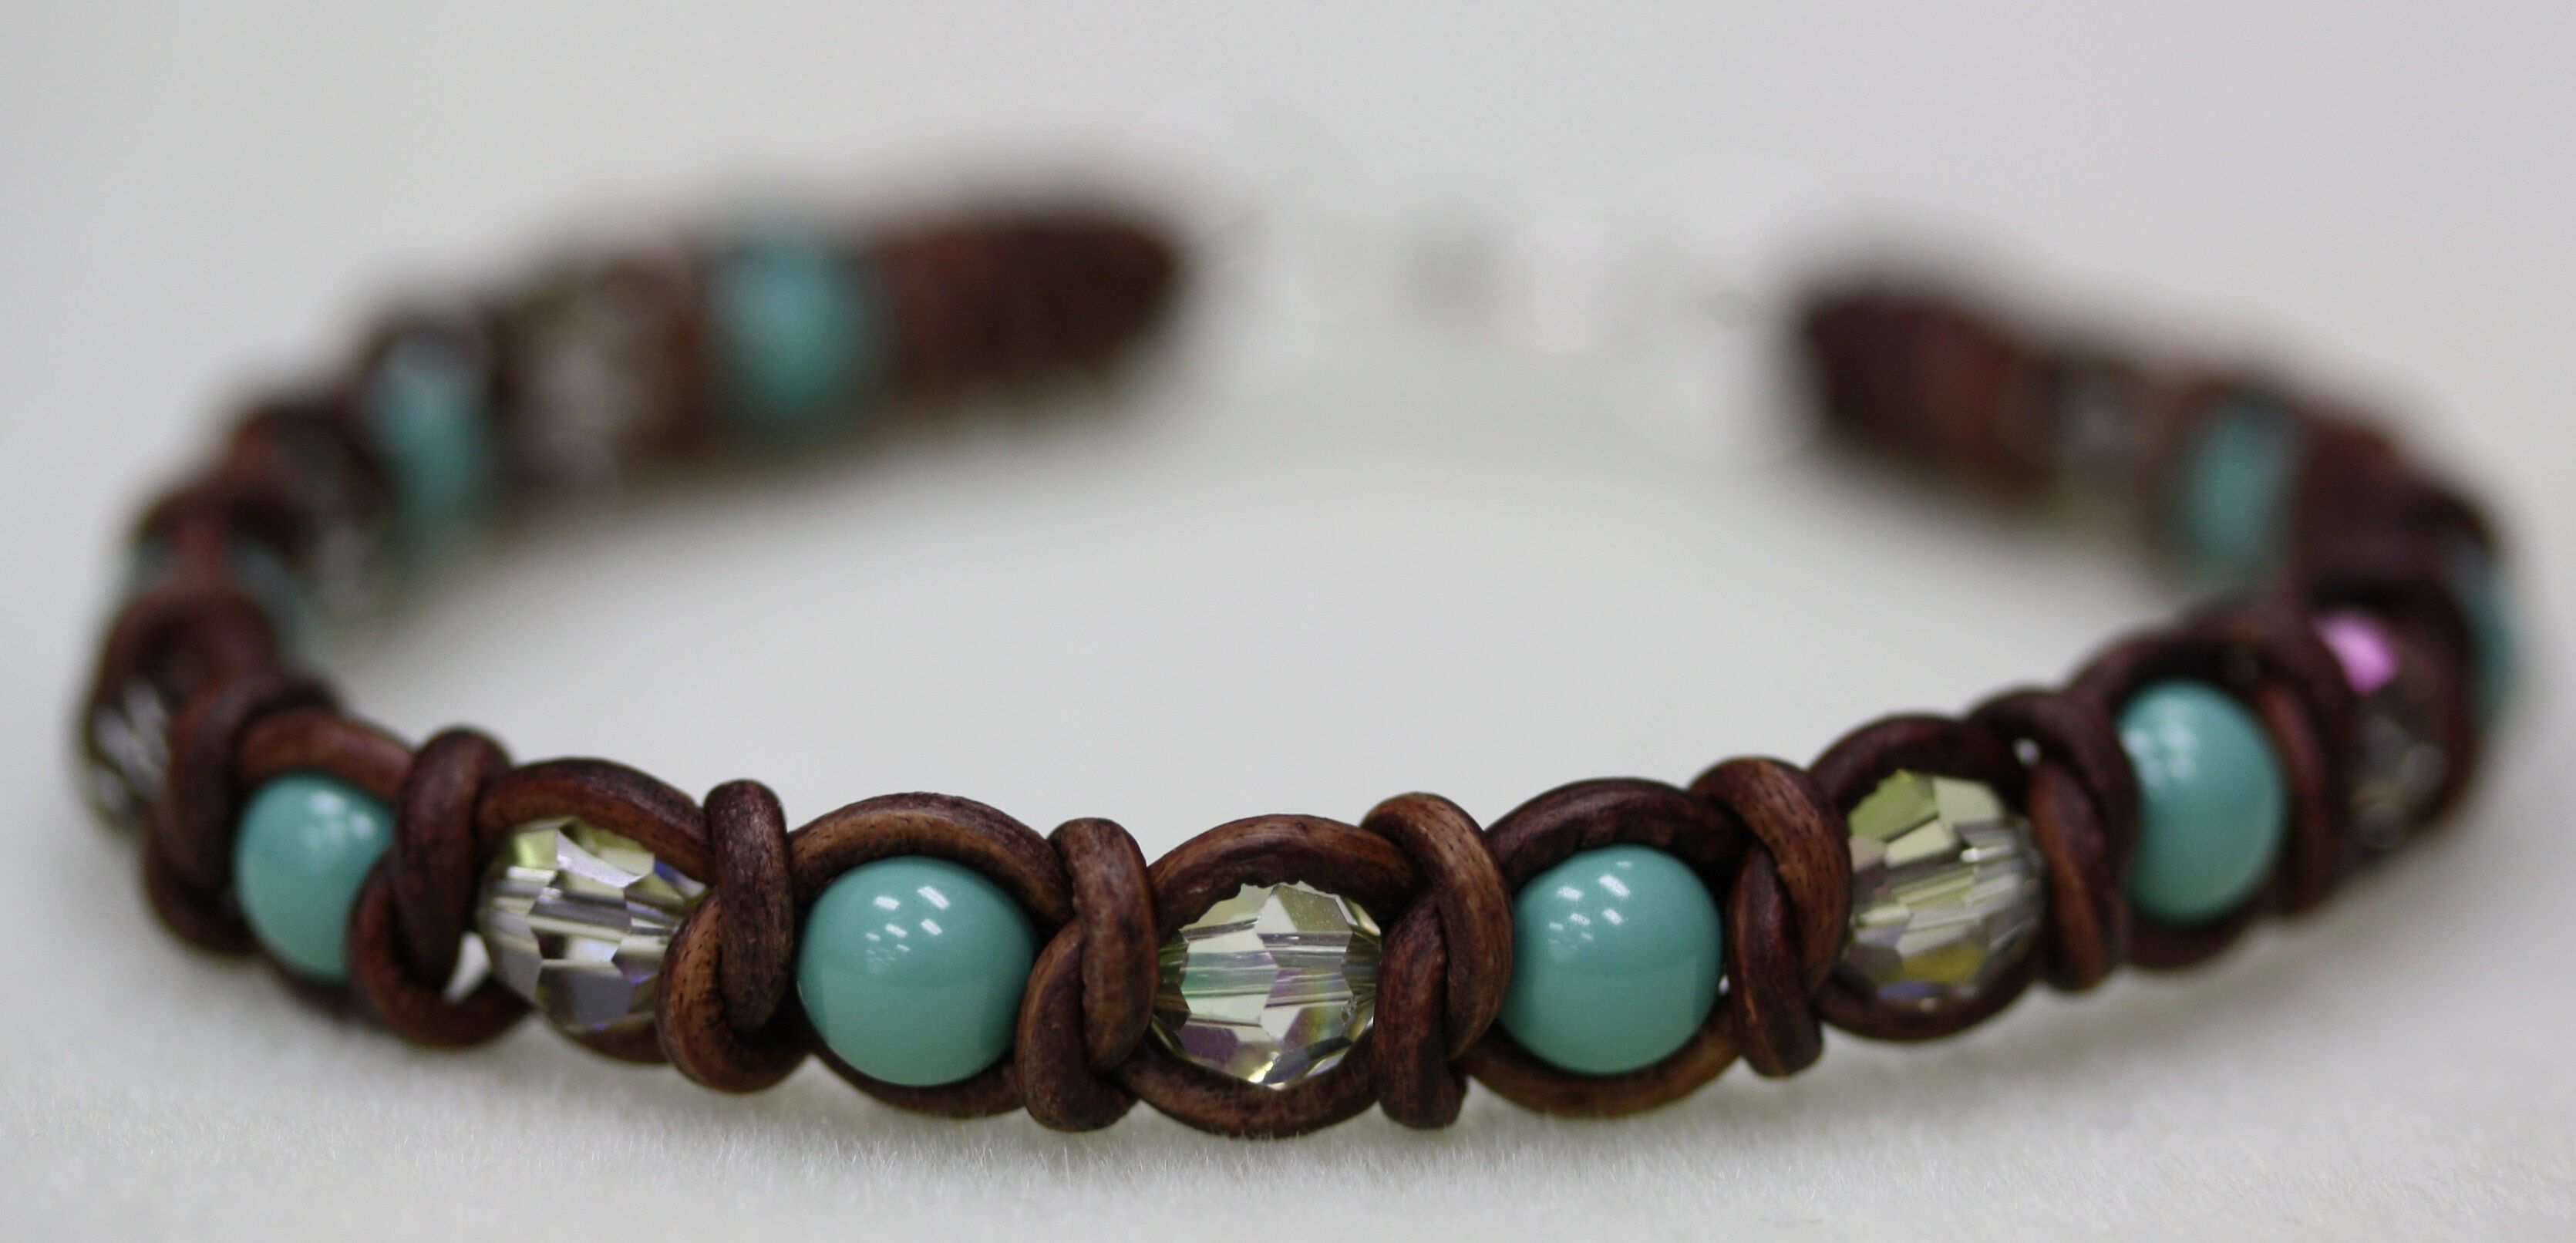
The Spanish Knot continues to be a major hit here at Bead World!! We absolutely love its unique look and versatility – it can be used in so many amazing ways! Our Intermediate Spanish Knot bracelet is one of my personal favorite projects. It reminds me of the hemp and macrame bracelets I grew up making, but with a fresh new spin on it. We’ve elevated a classic bracelet and brought it into the 21st century!
.
You will need:
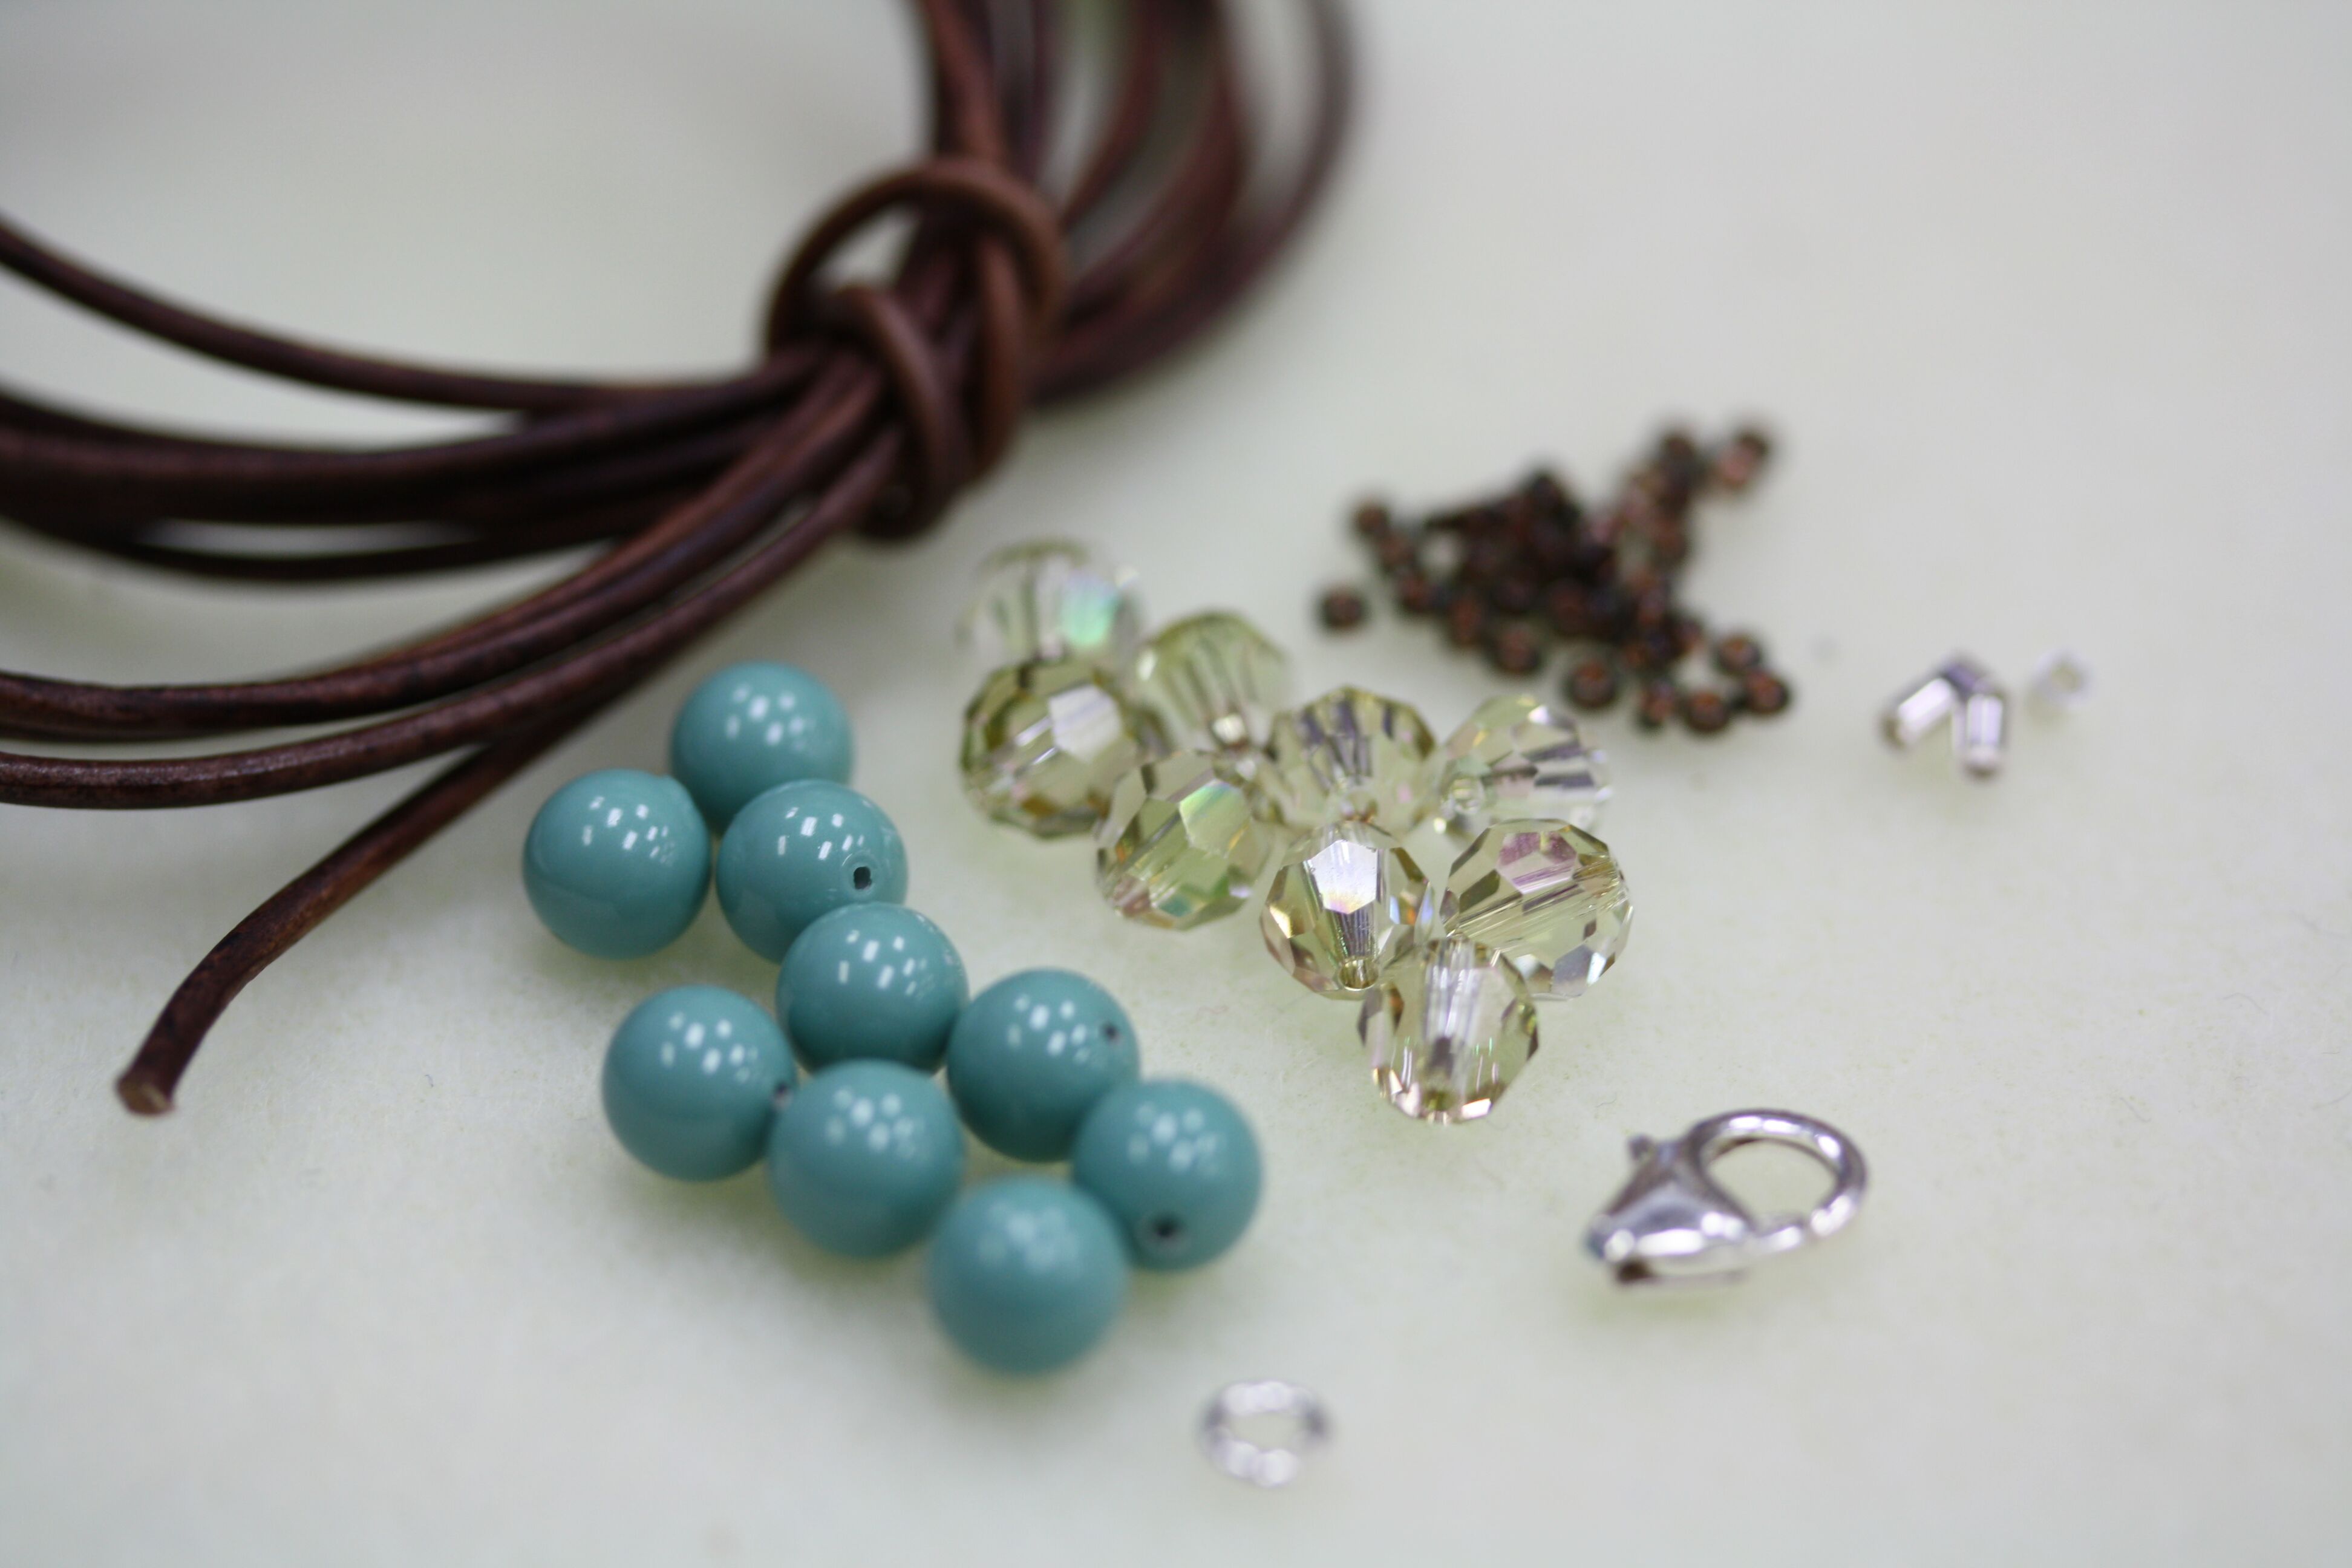
1.5mm leather (5 feet)
6mm round pearl or gemstone (9)
6mm round Swarovski crystal (9)
Size 11 seed beads (38)
SoftFlex (1 foot)
2x2mm crimps (4)
6mm closed jump rings (2)
Trigger clasp with jump ring (1)
GS Hypo Glue (Red)
Needle nose pliers
SoftFlex cutters
Cutters for leather
Alligator clips (2)
Project board.
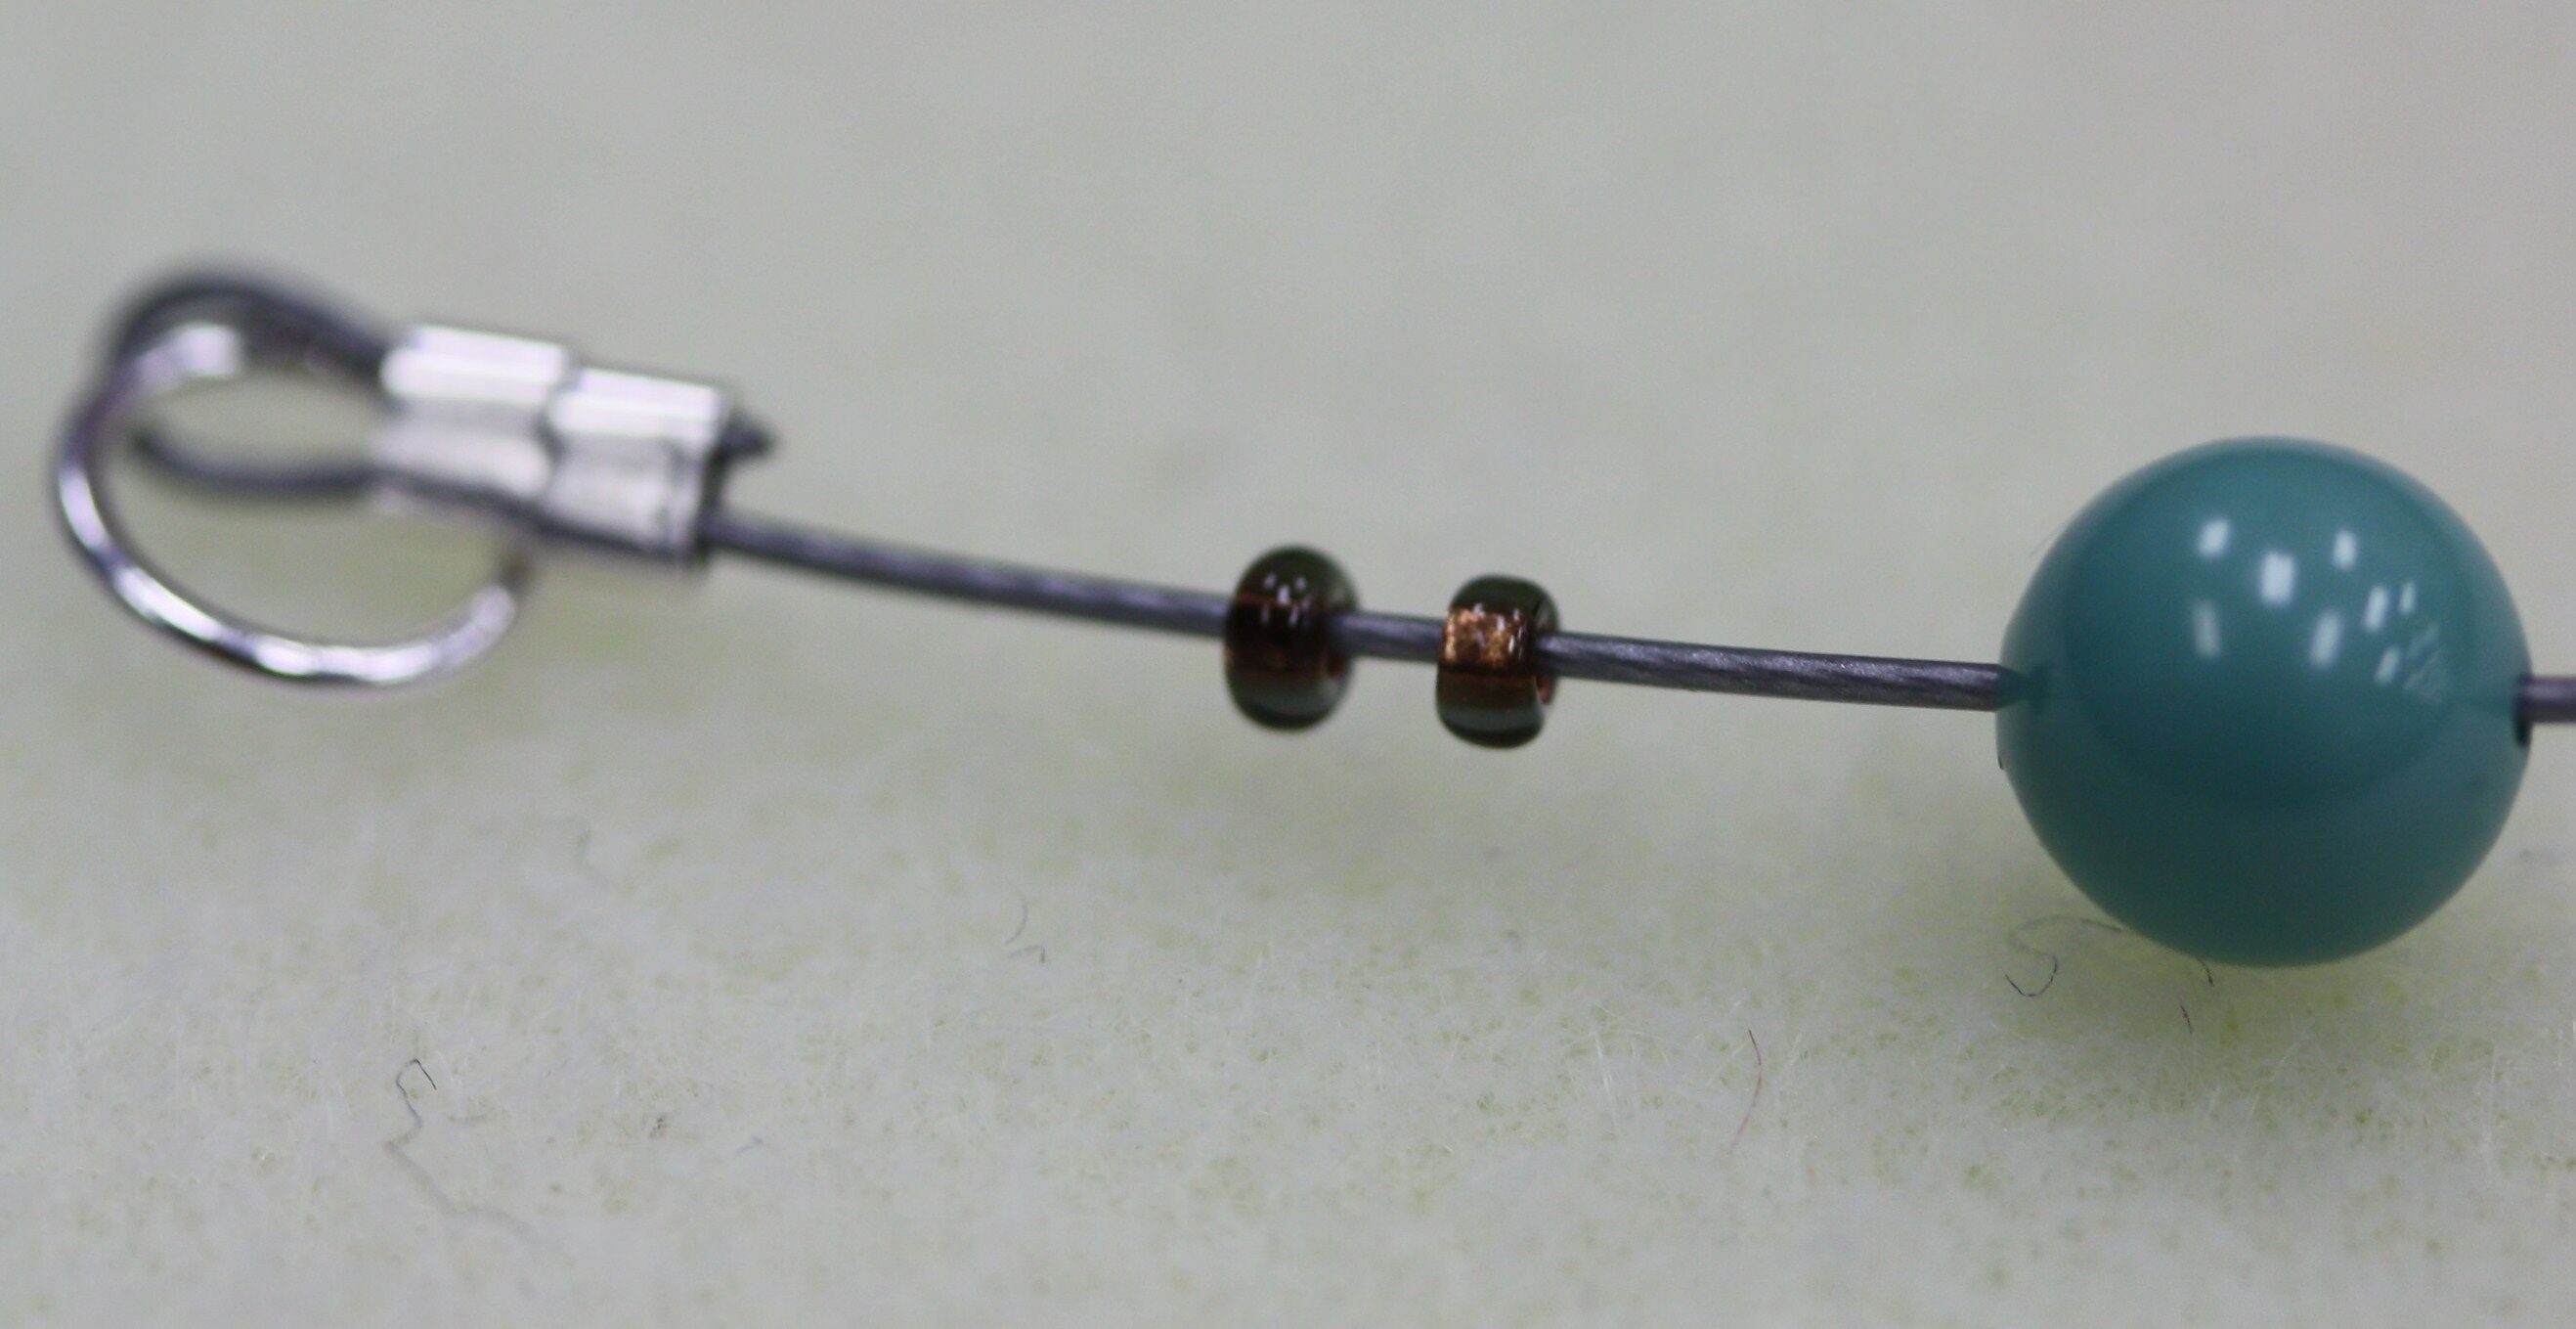
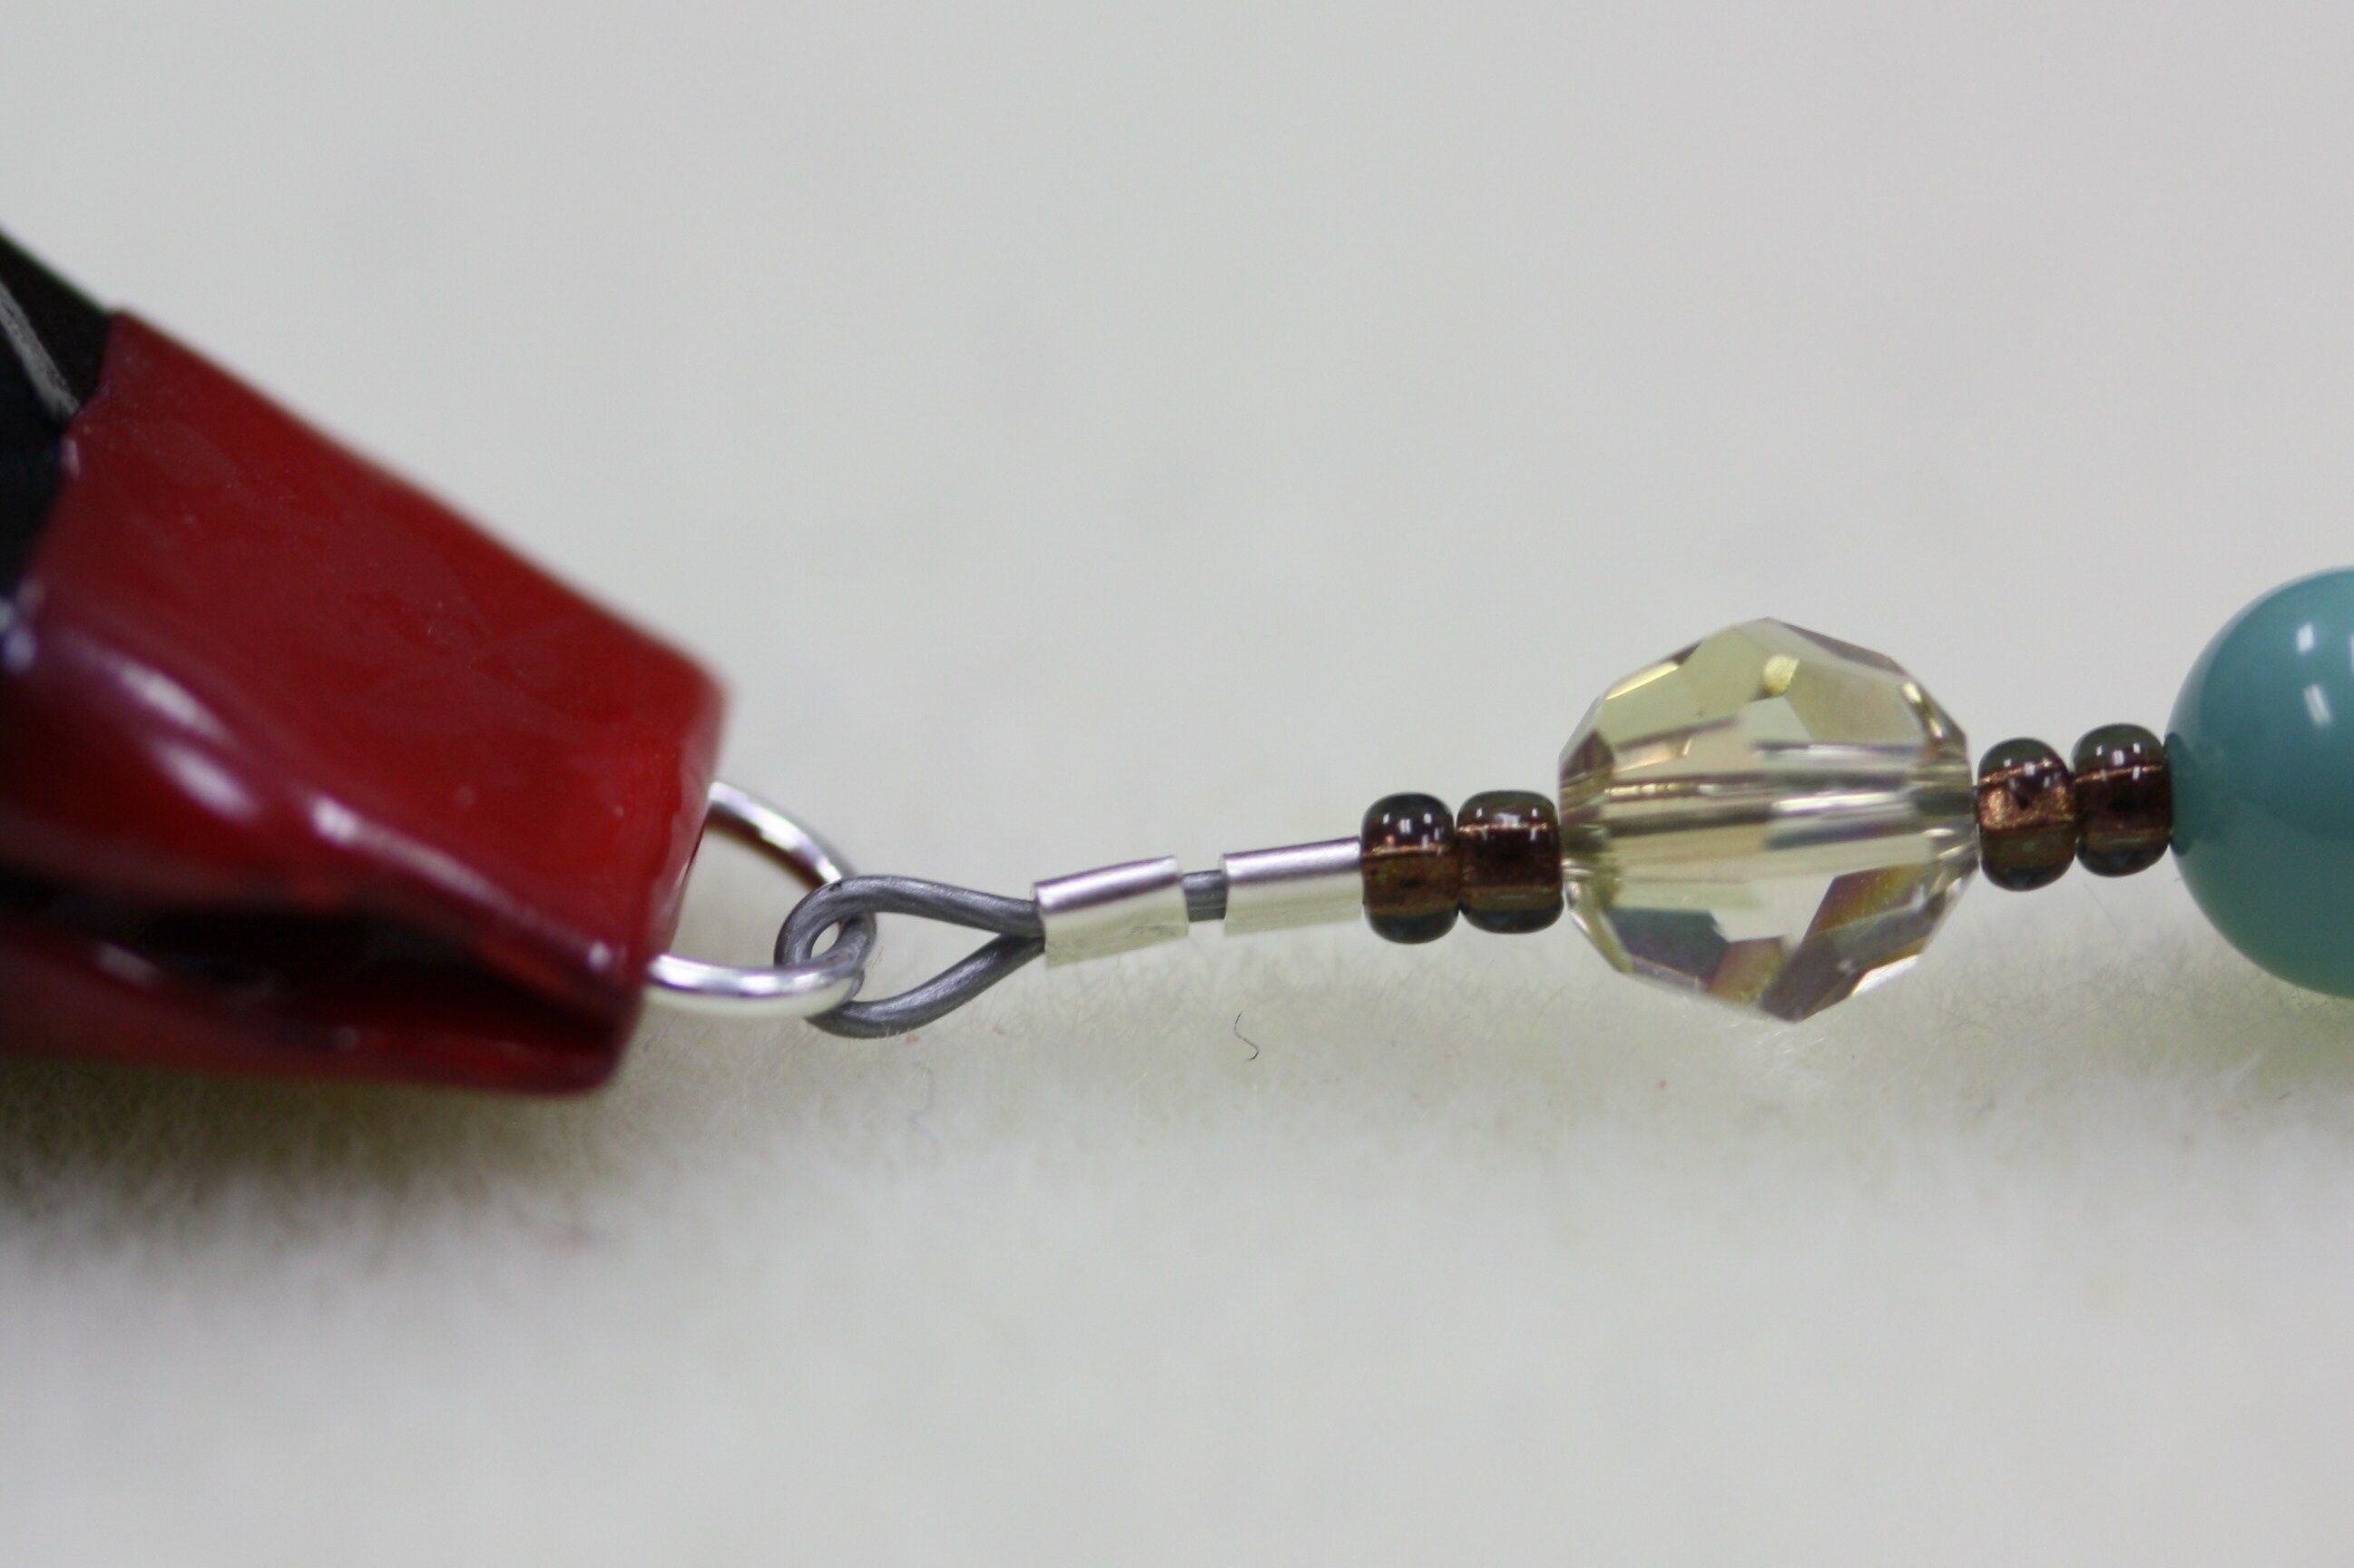
1. Thread two crimps onto one end of the SoftFlex. Pass the SoftFlex through one closed jump ring and back down through both crimps.
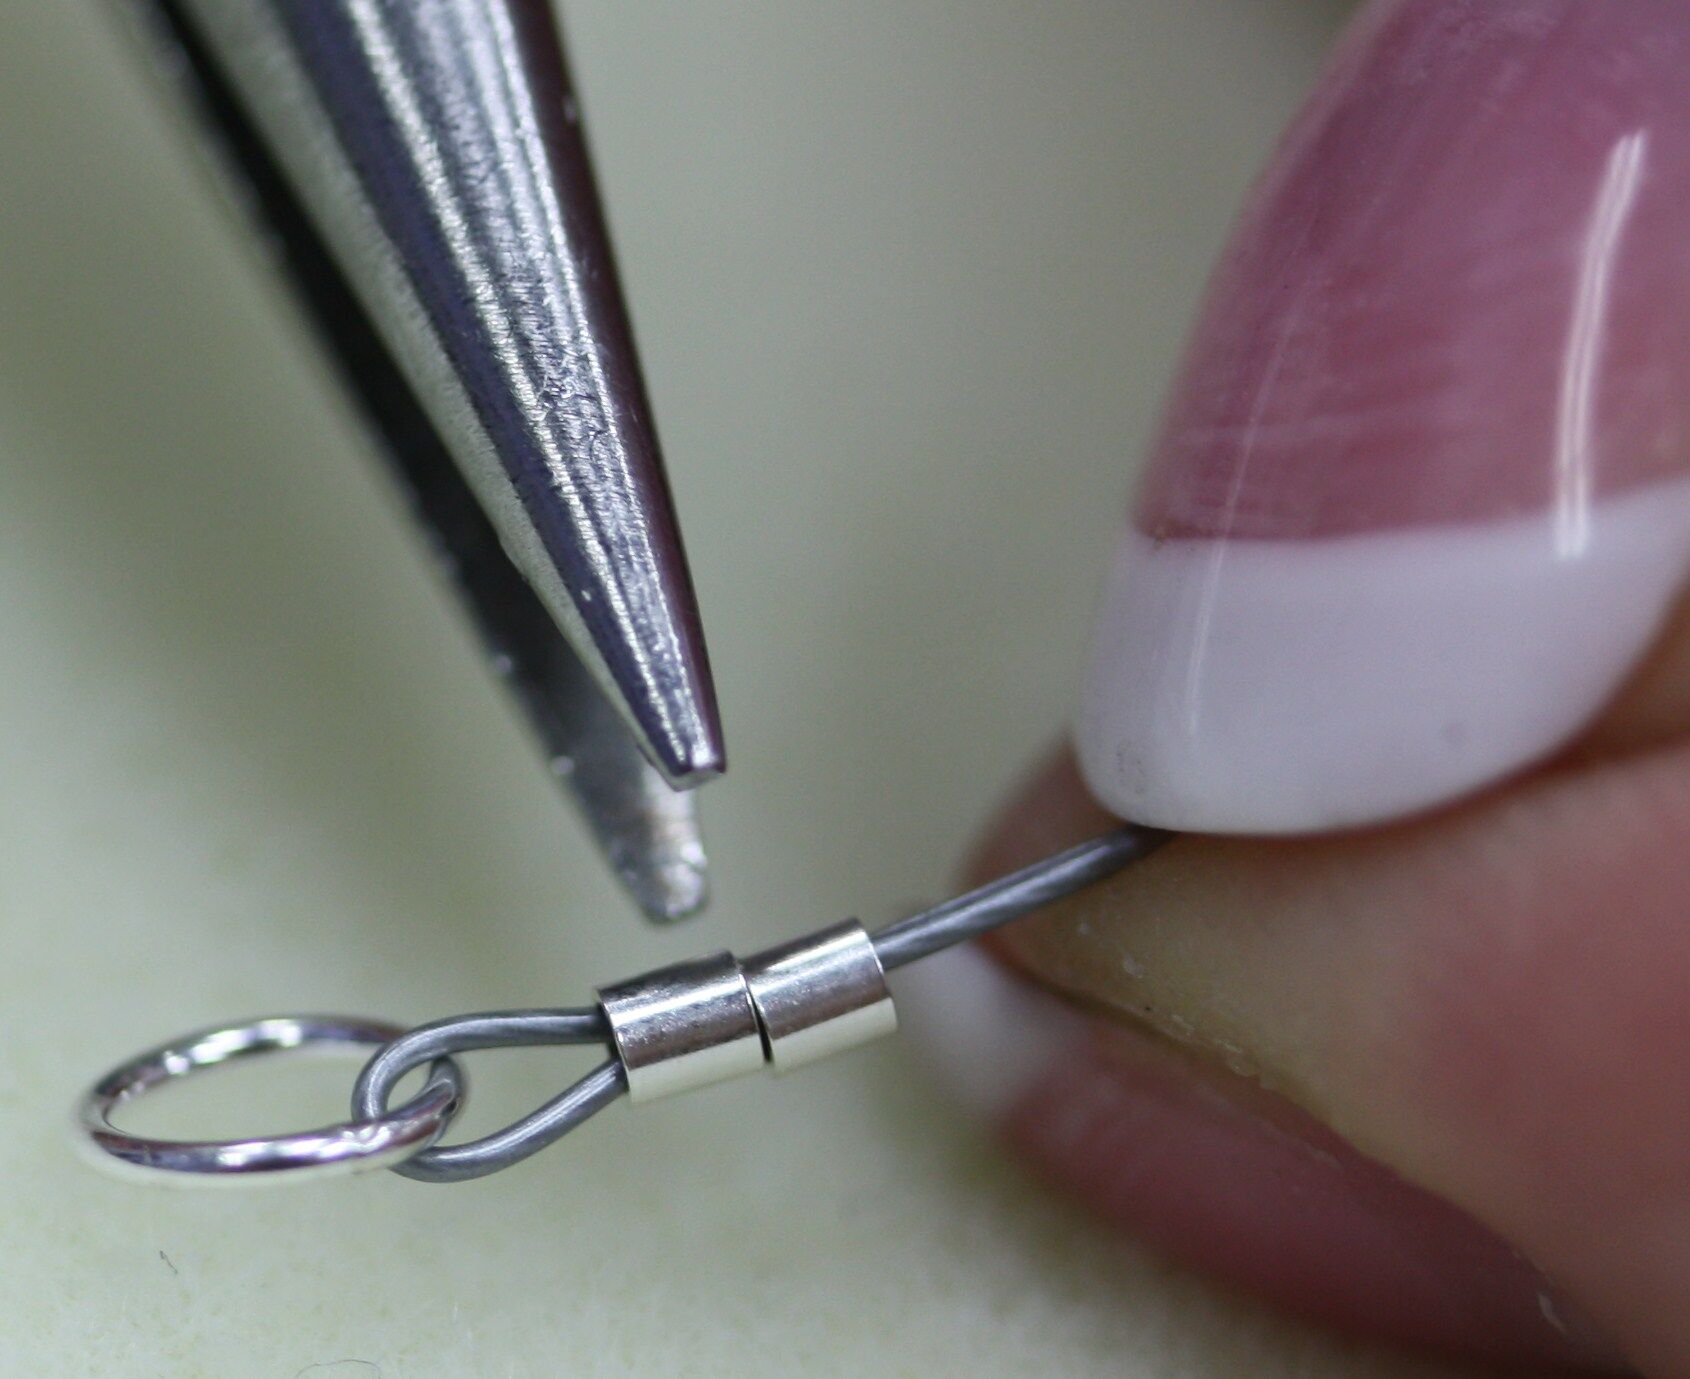
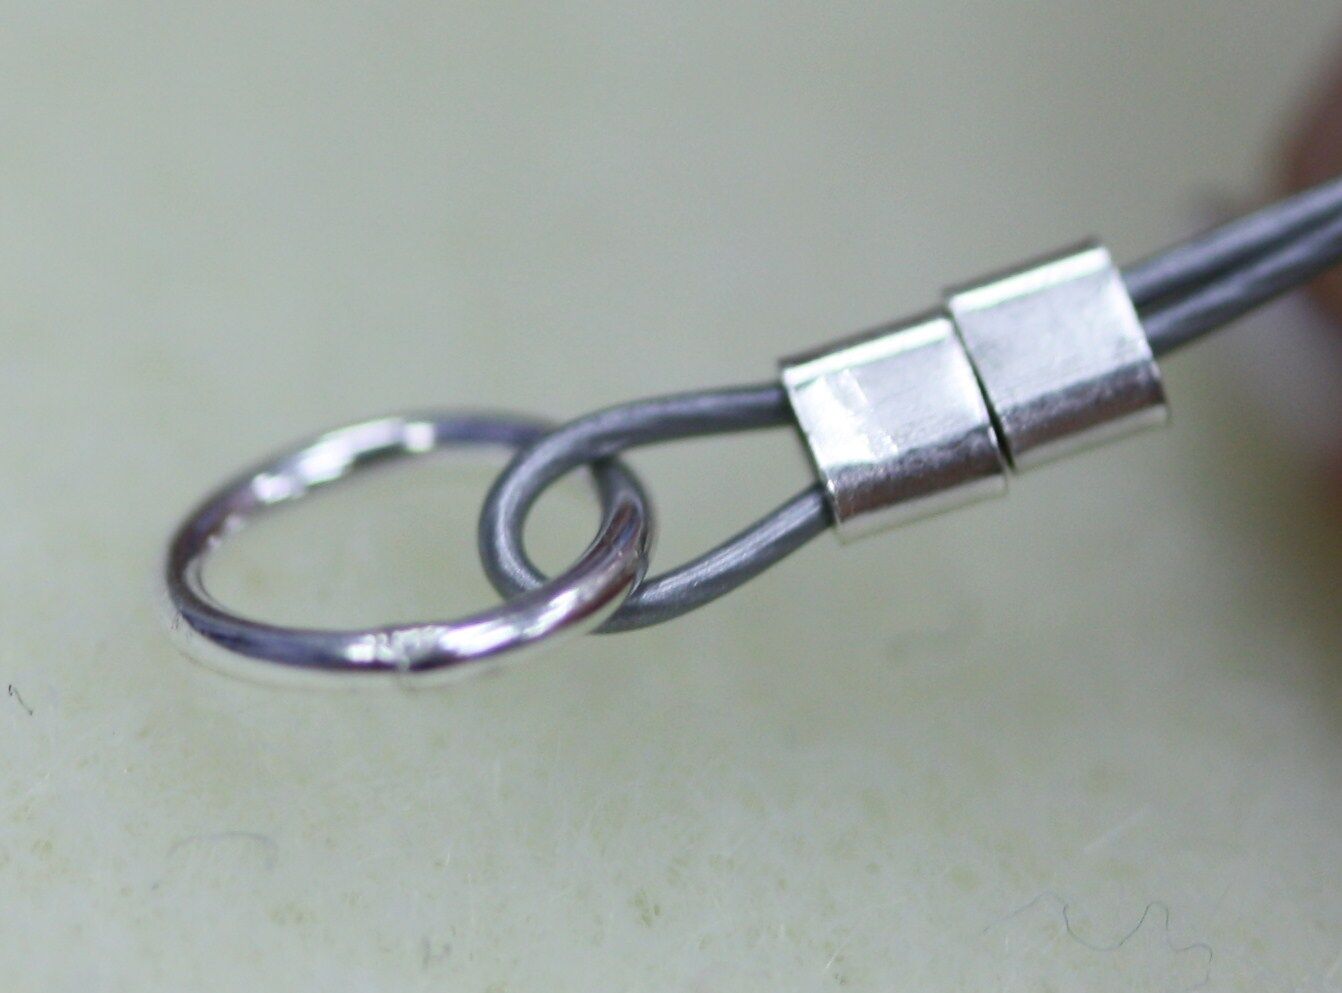
2. Using your needle nose pliers, flat crimp both crimps. Cut off any excess wire.
3. Thread two size 11 seed beads and one 6mm bead (pearl or gemstone) onto the SoftFlex.
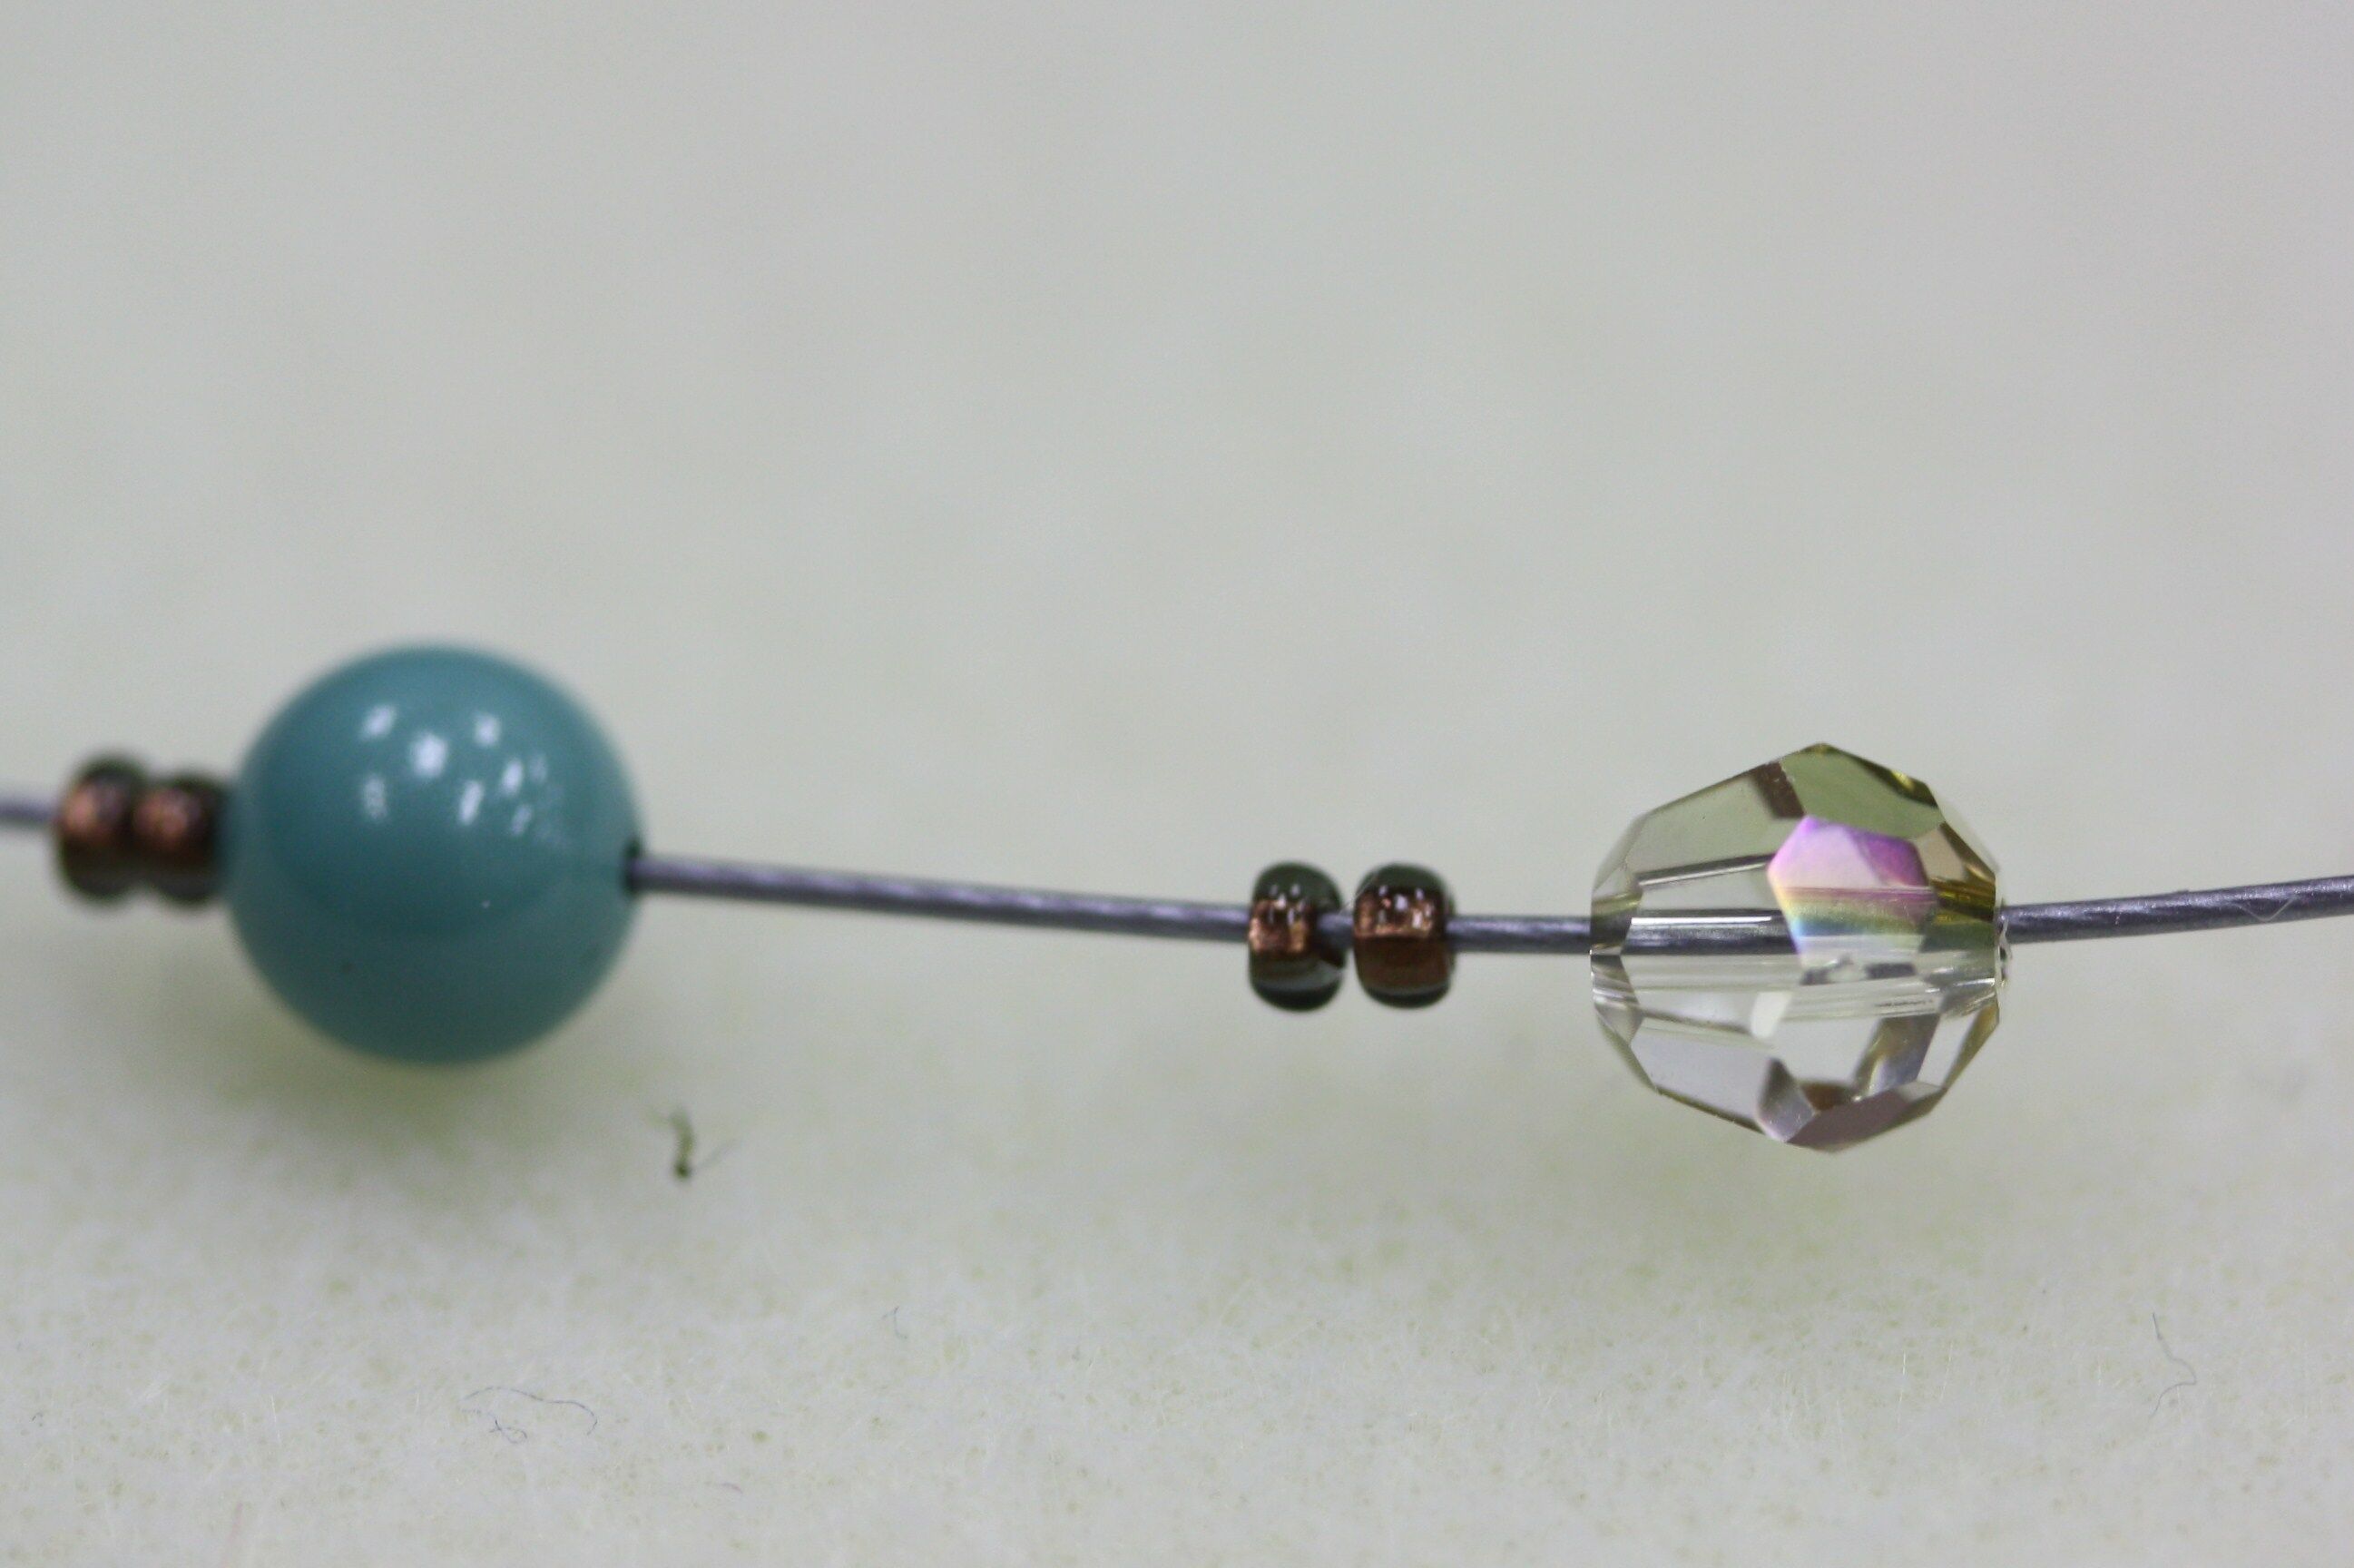
4. Then thread two seed beads and one crystal onto the SoftFlex.
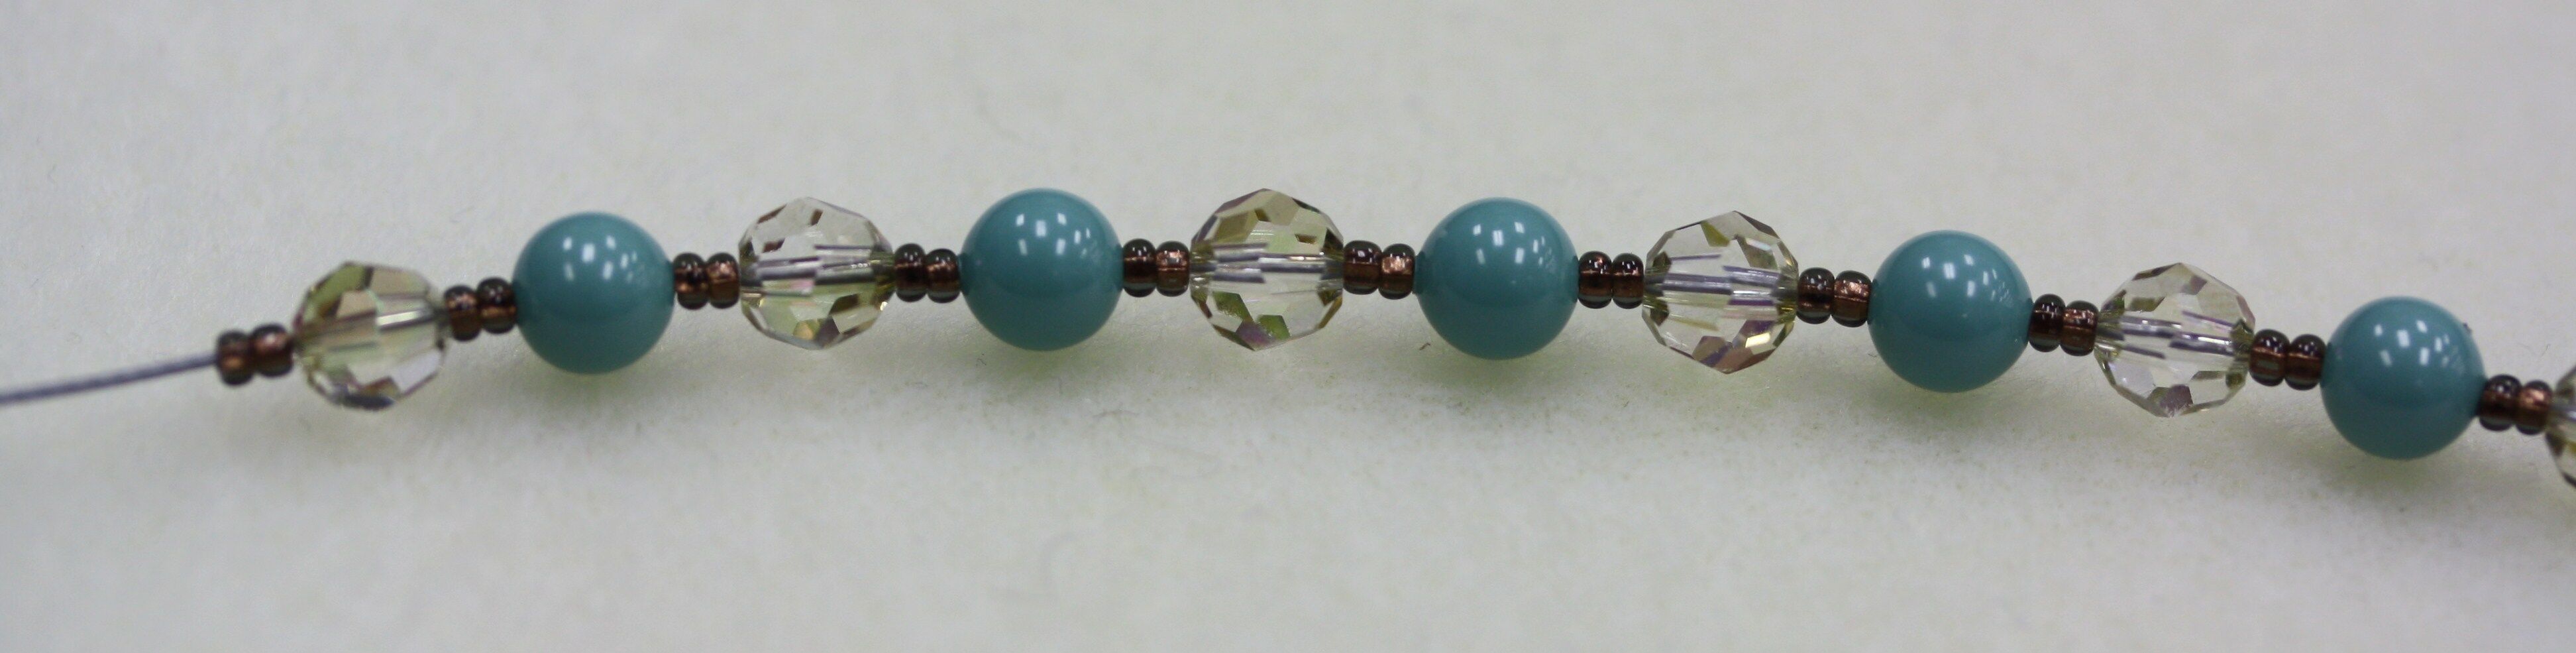
5. Continue the pattern from Steps 3-4 until you have used all the beads needed for your size.
6. Now, thread two crimps onto the end of the SoftFlex. Pass the SoftFlex through the other closed jump ring and back down through both crimps. Be careful to leave a two seed bead sized gap for slack. Using your needle nose pliers, flat crimp both crimps and cut off any excess wire.
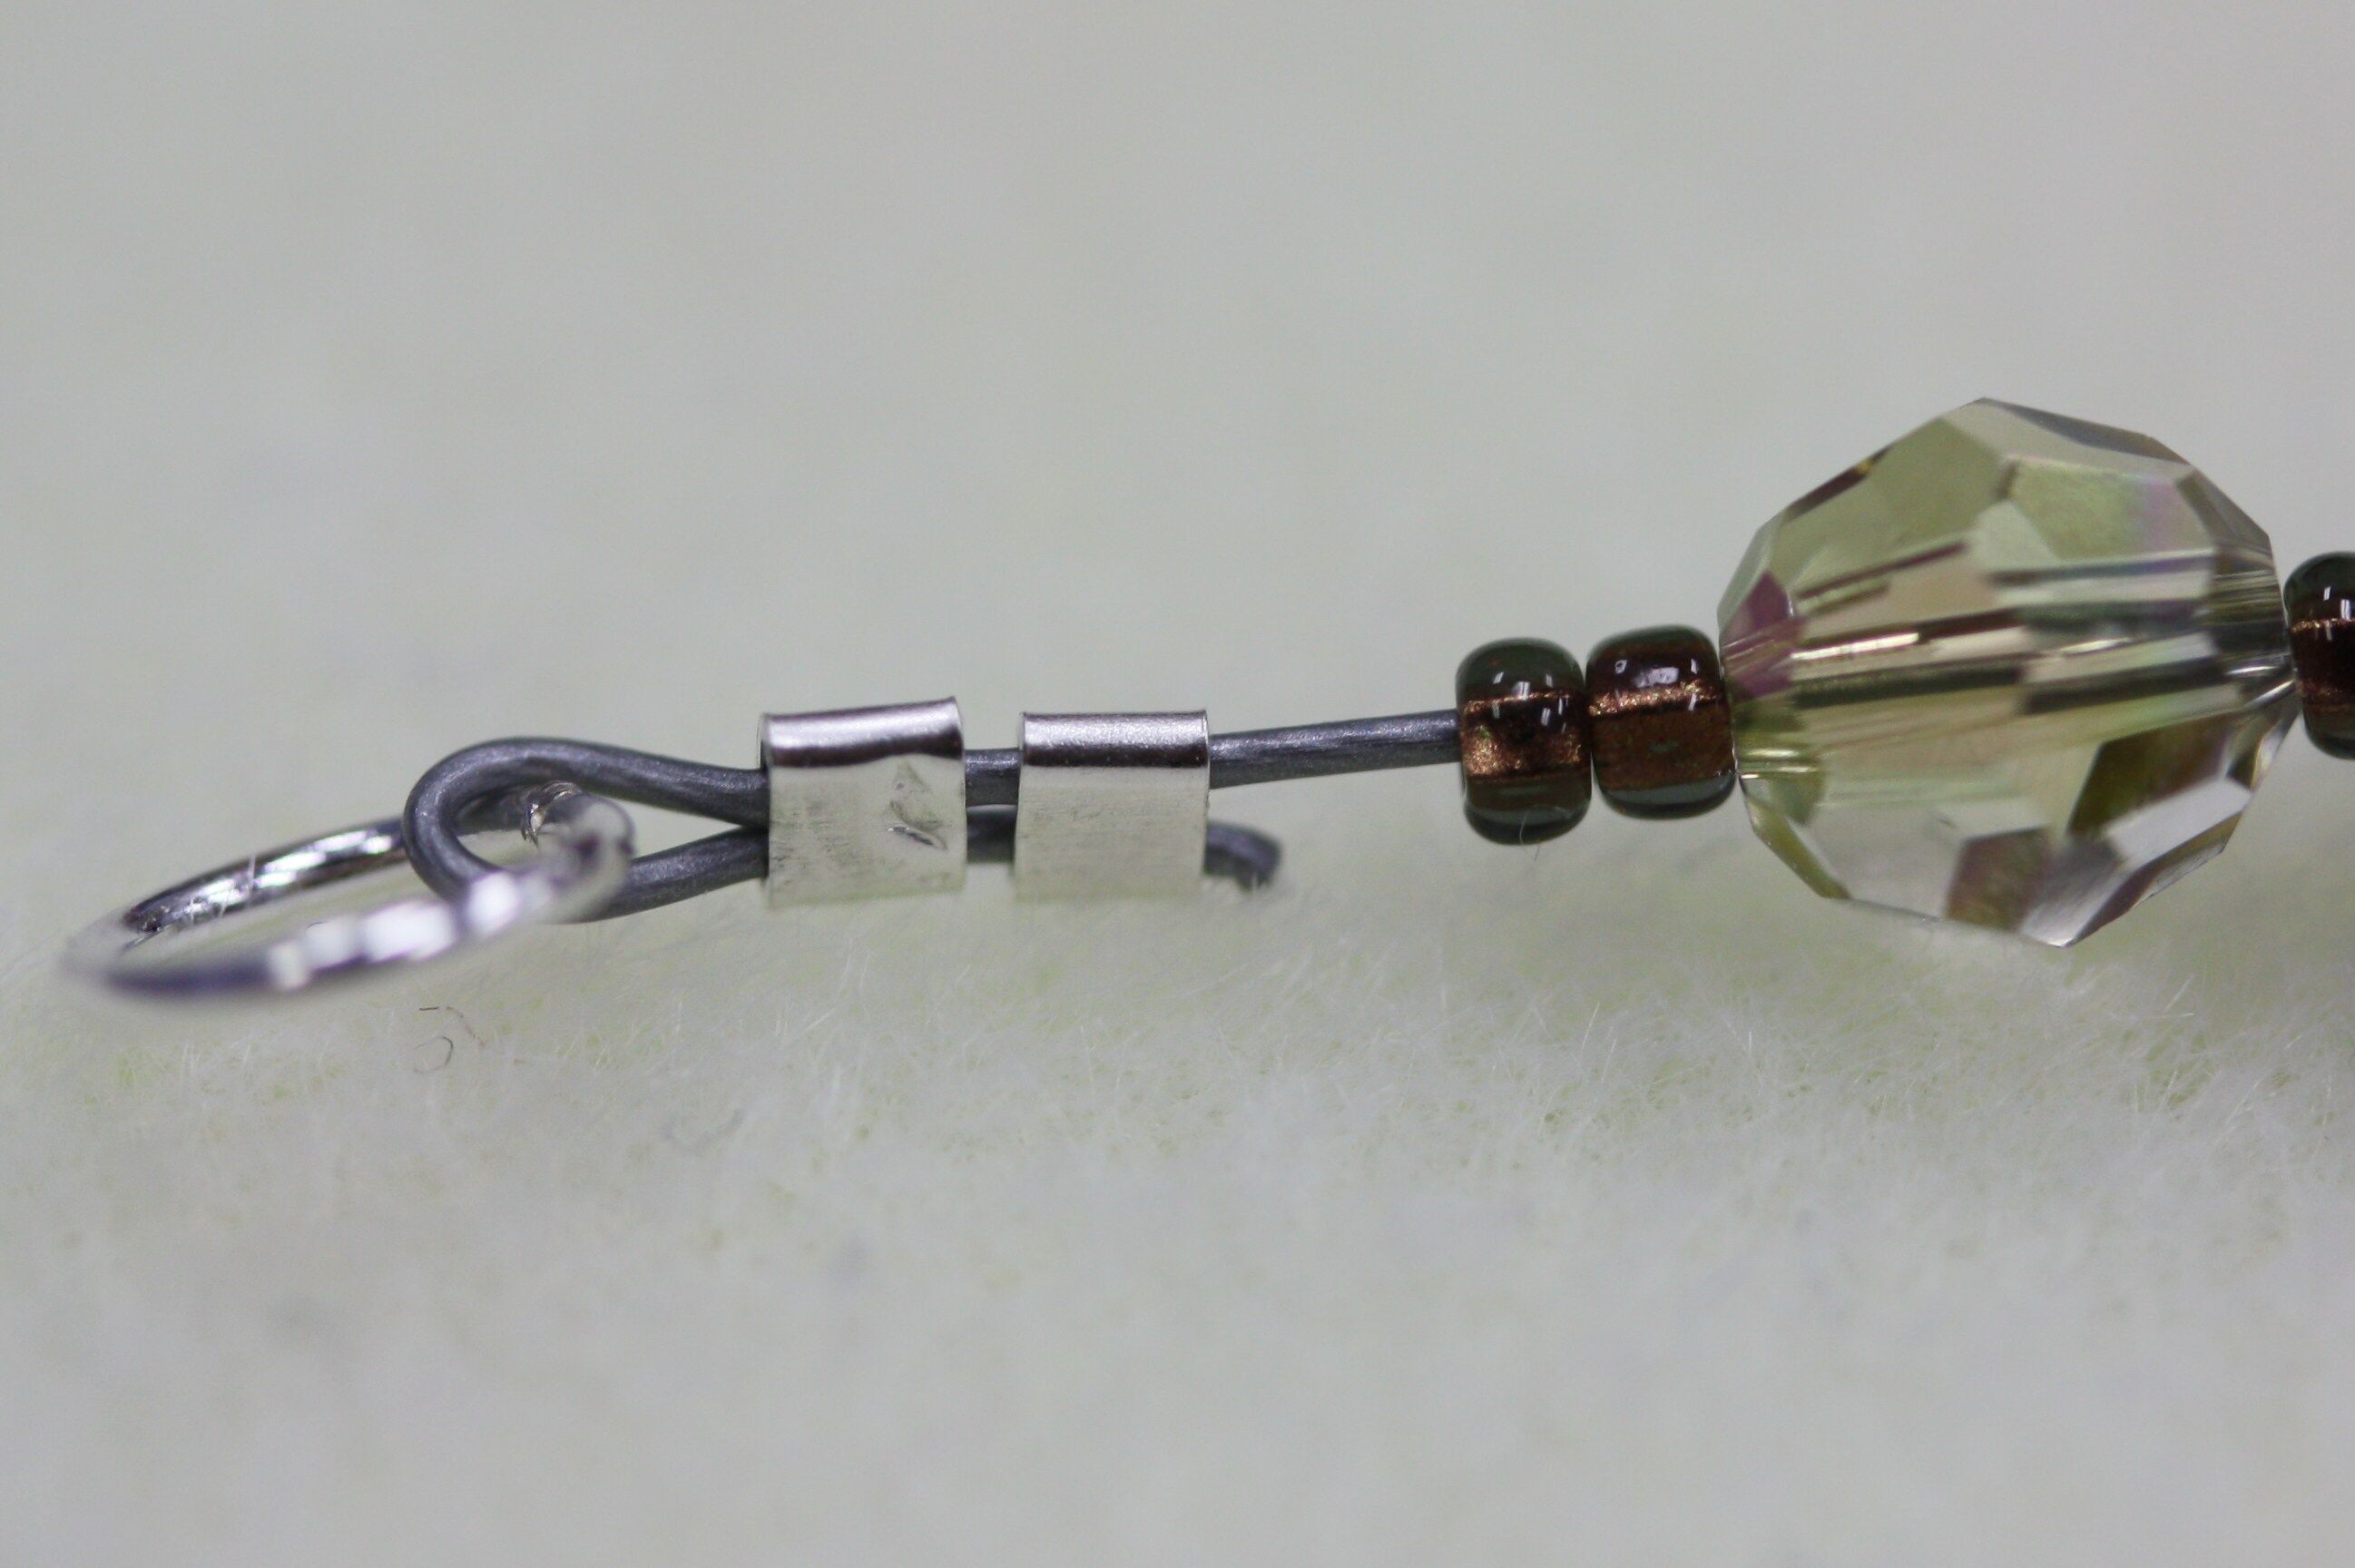
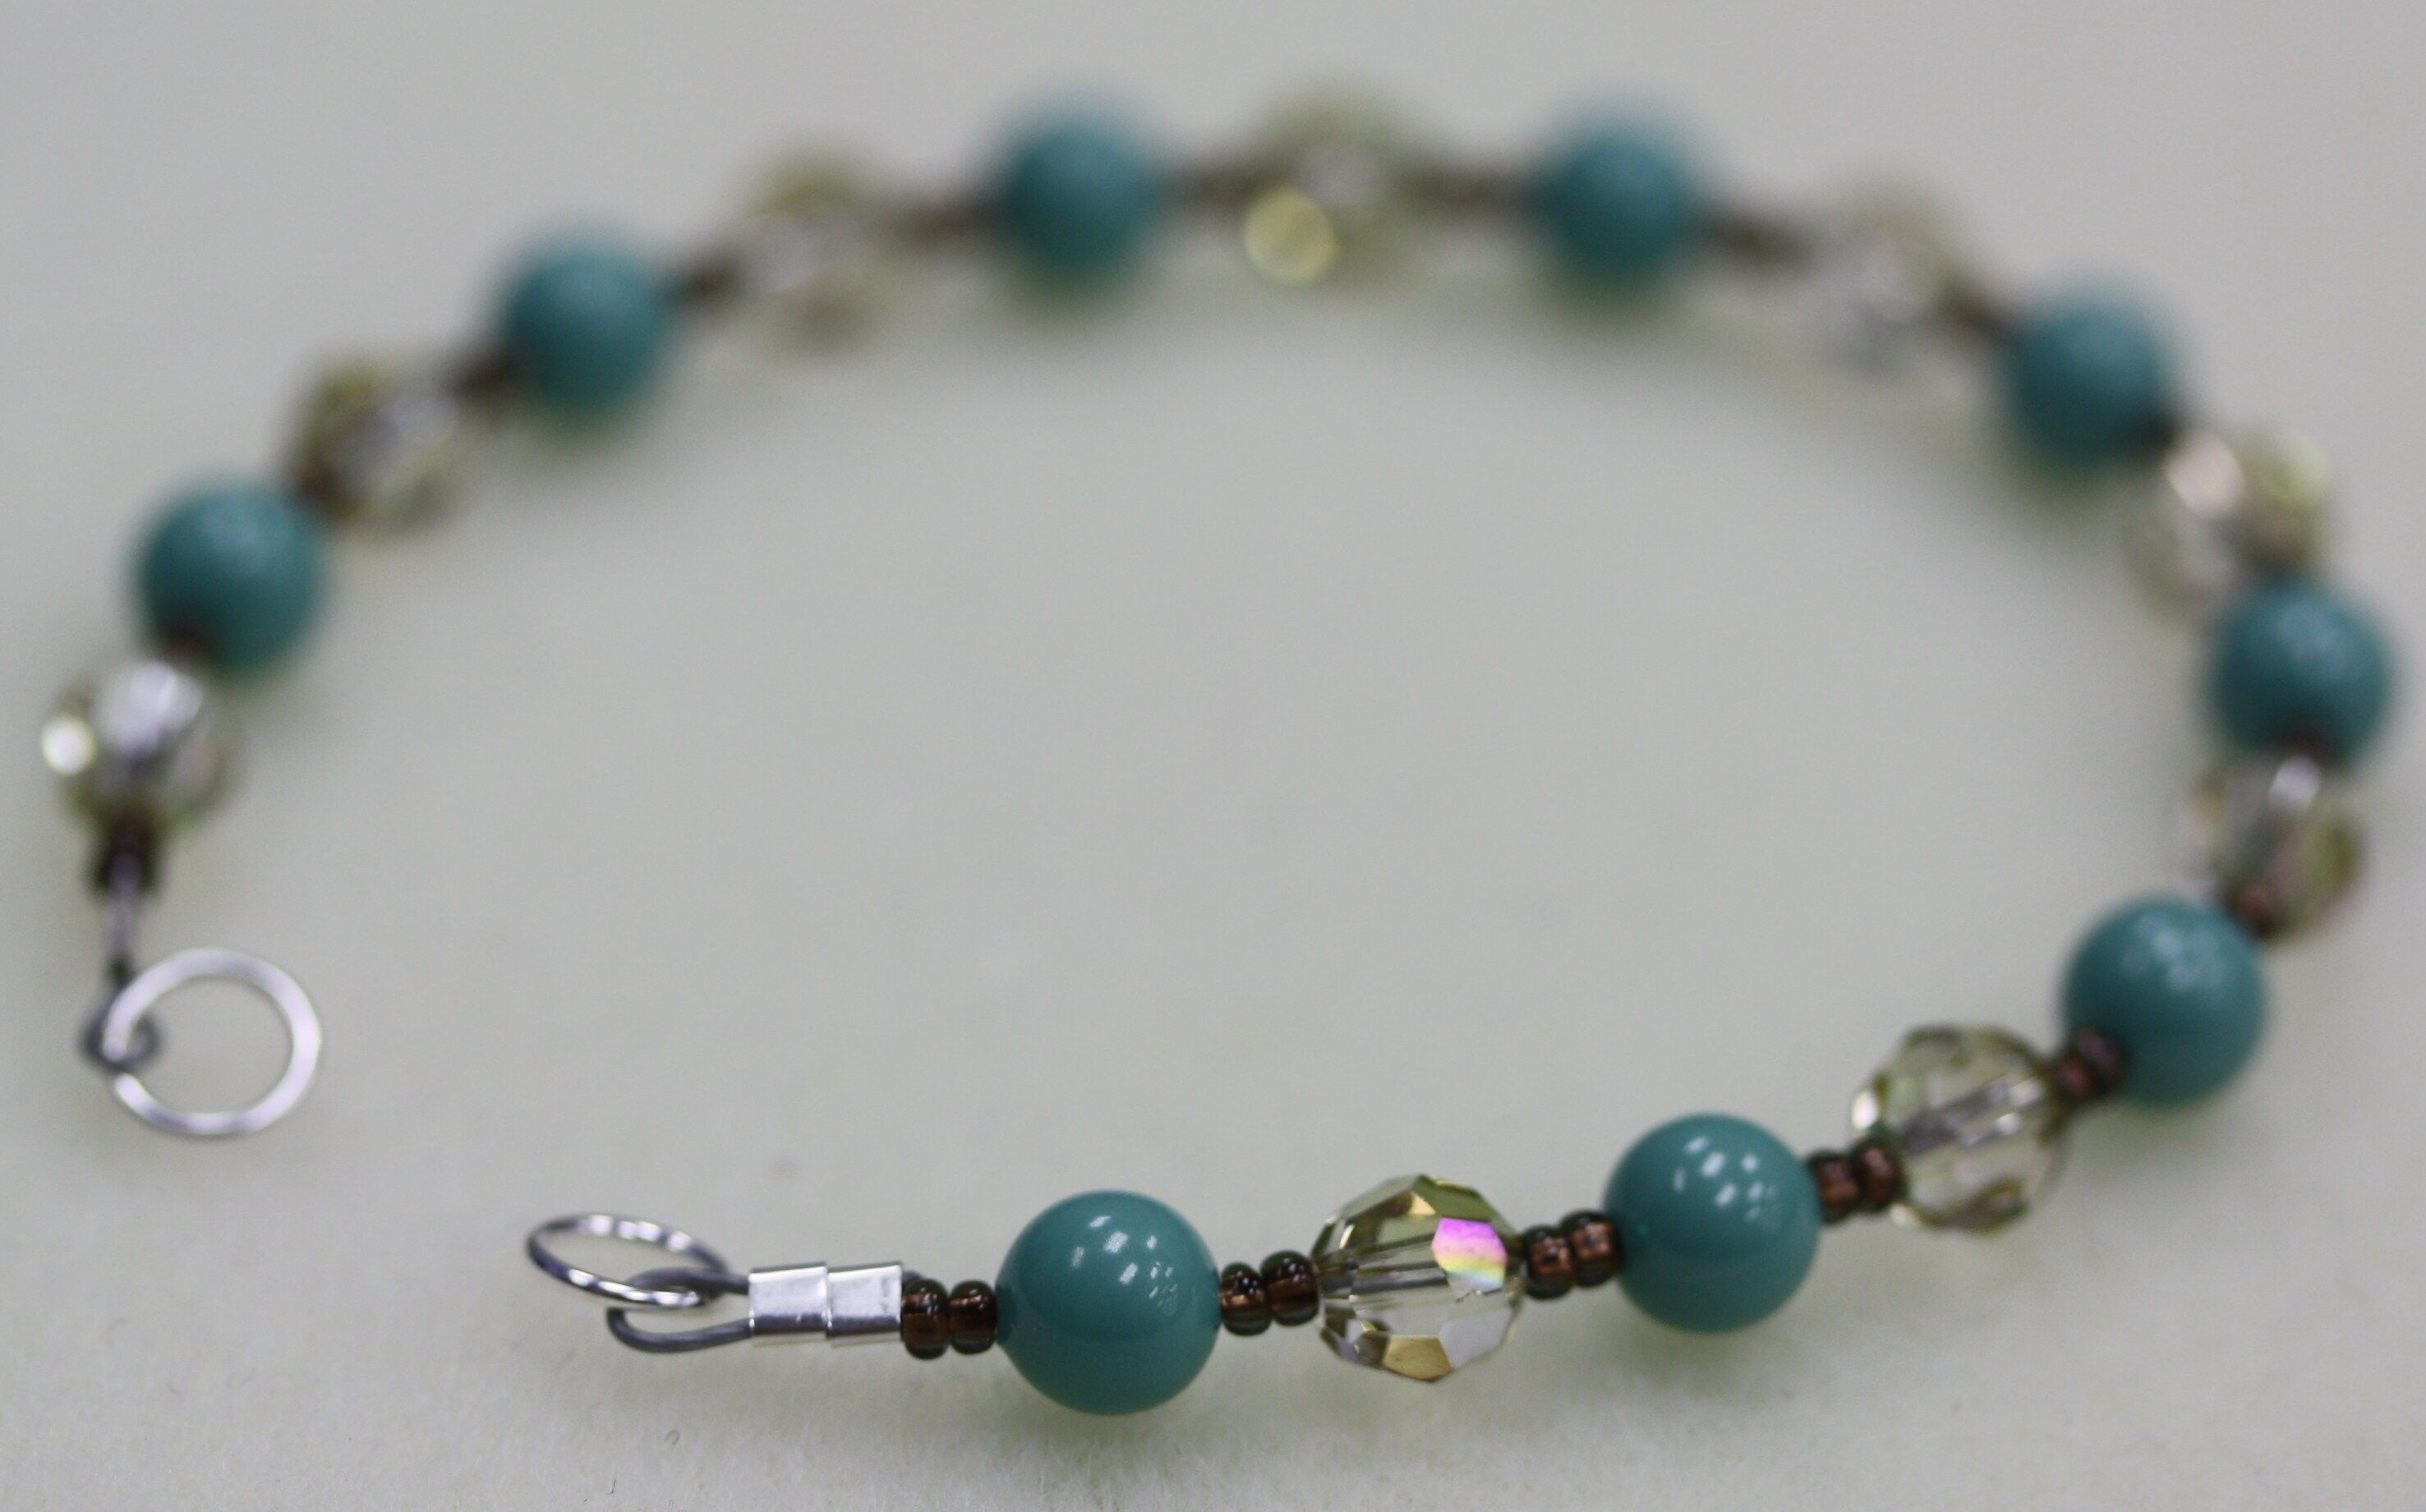
7. Your bracelet should look like this.
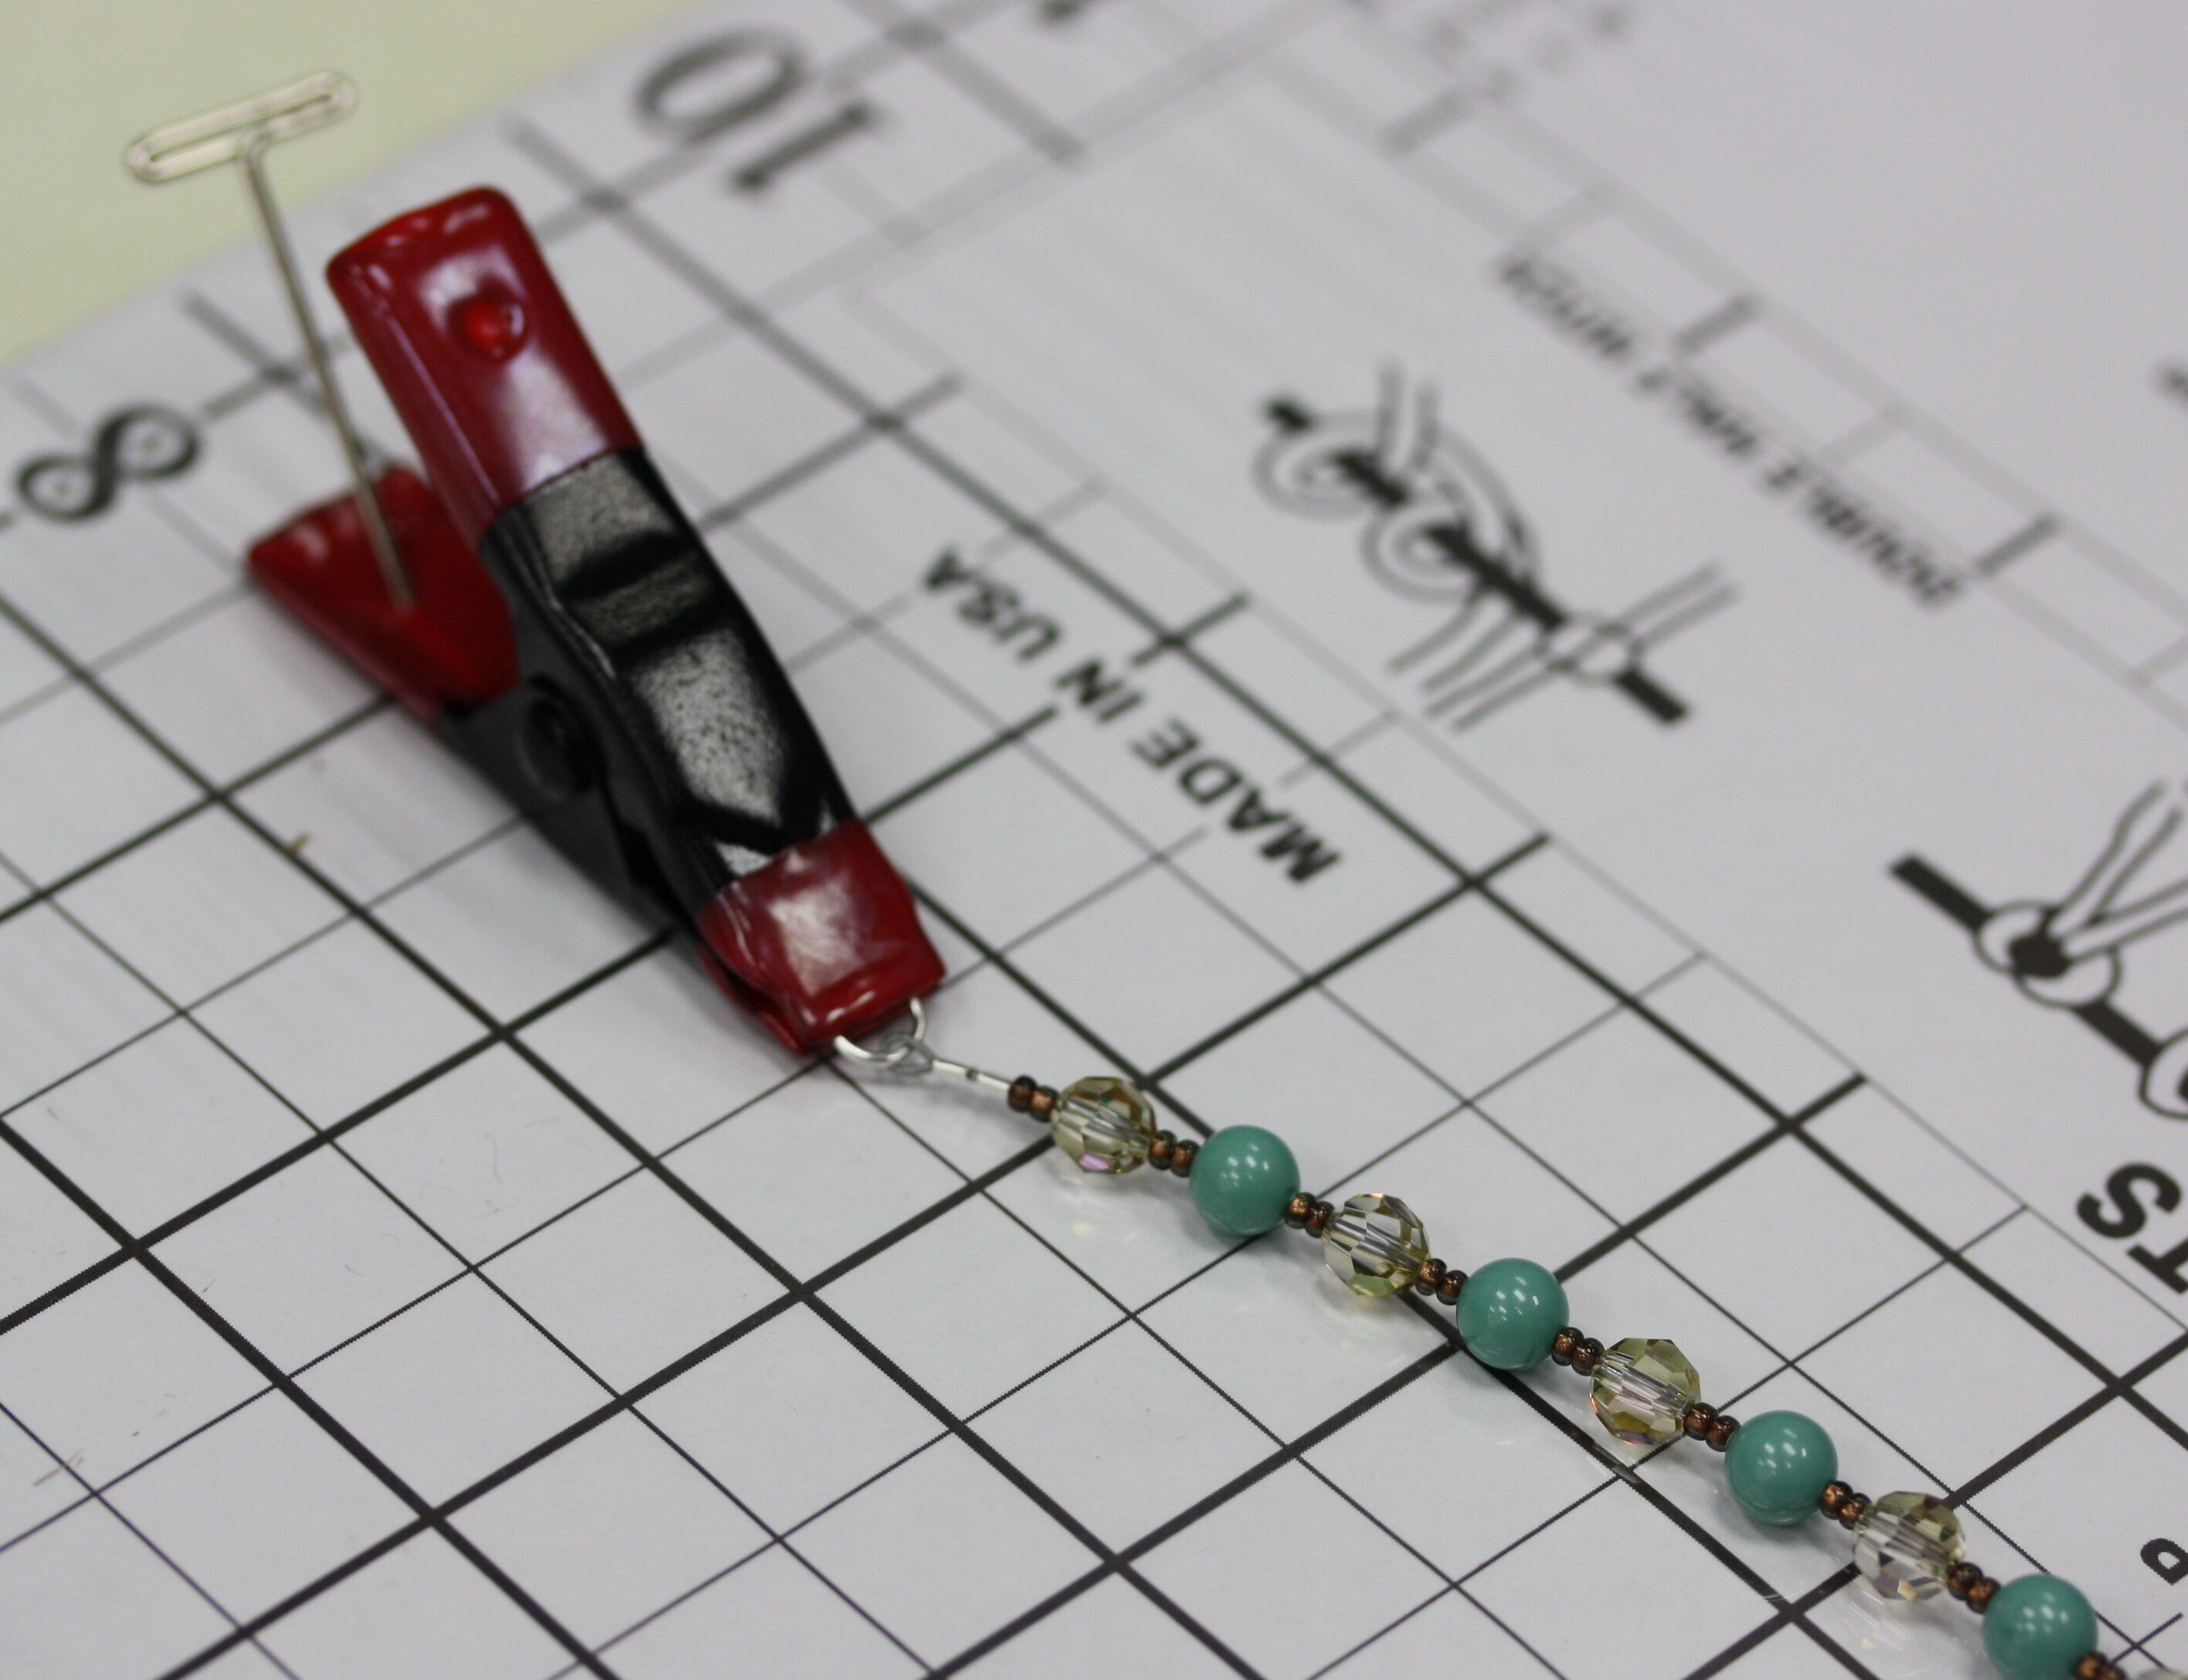
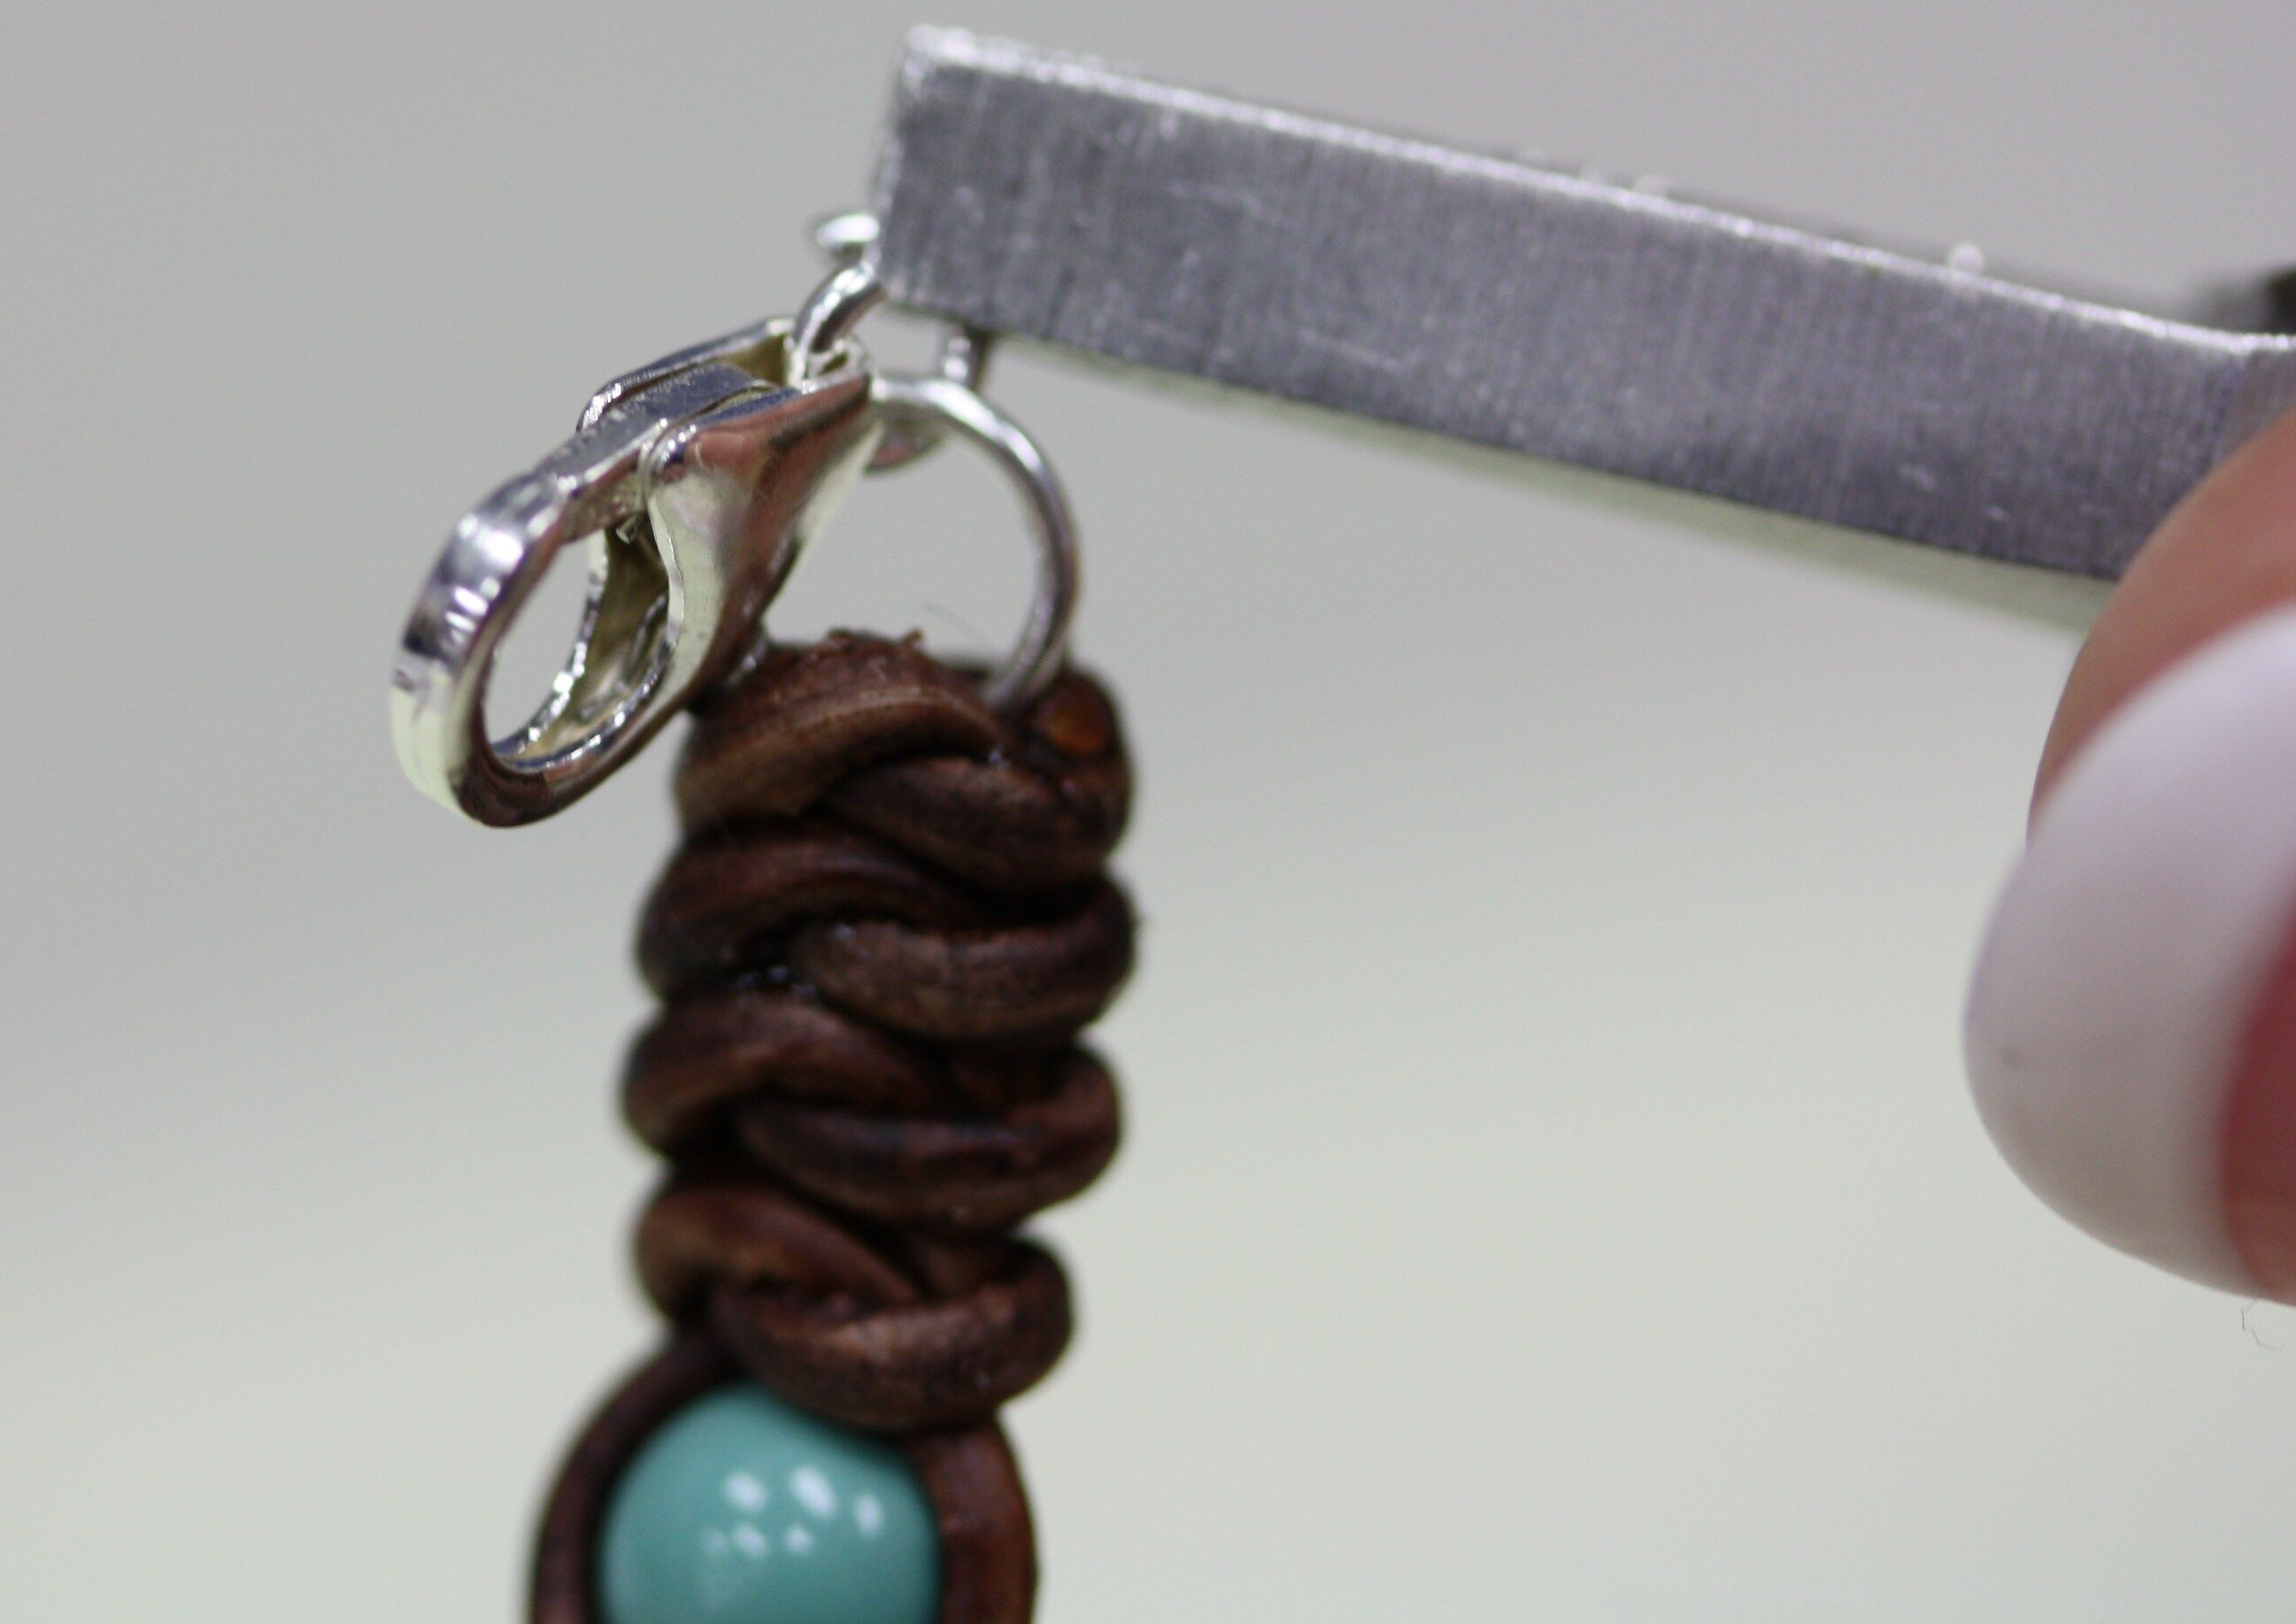
8. Place an alligator clip onto the end of one of the 6mm jump rings.
9. Pin the alligator clip to the project board.
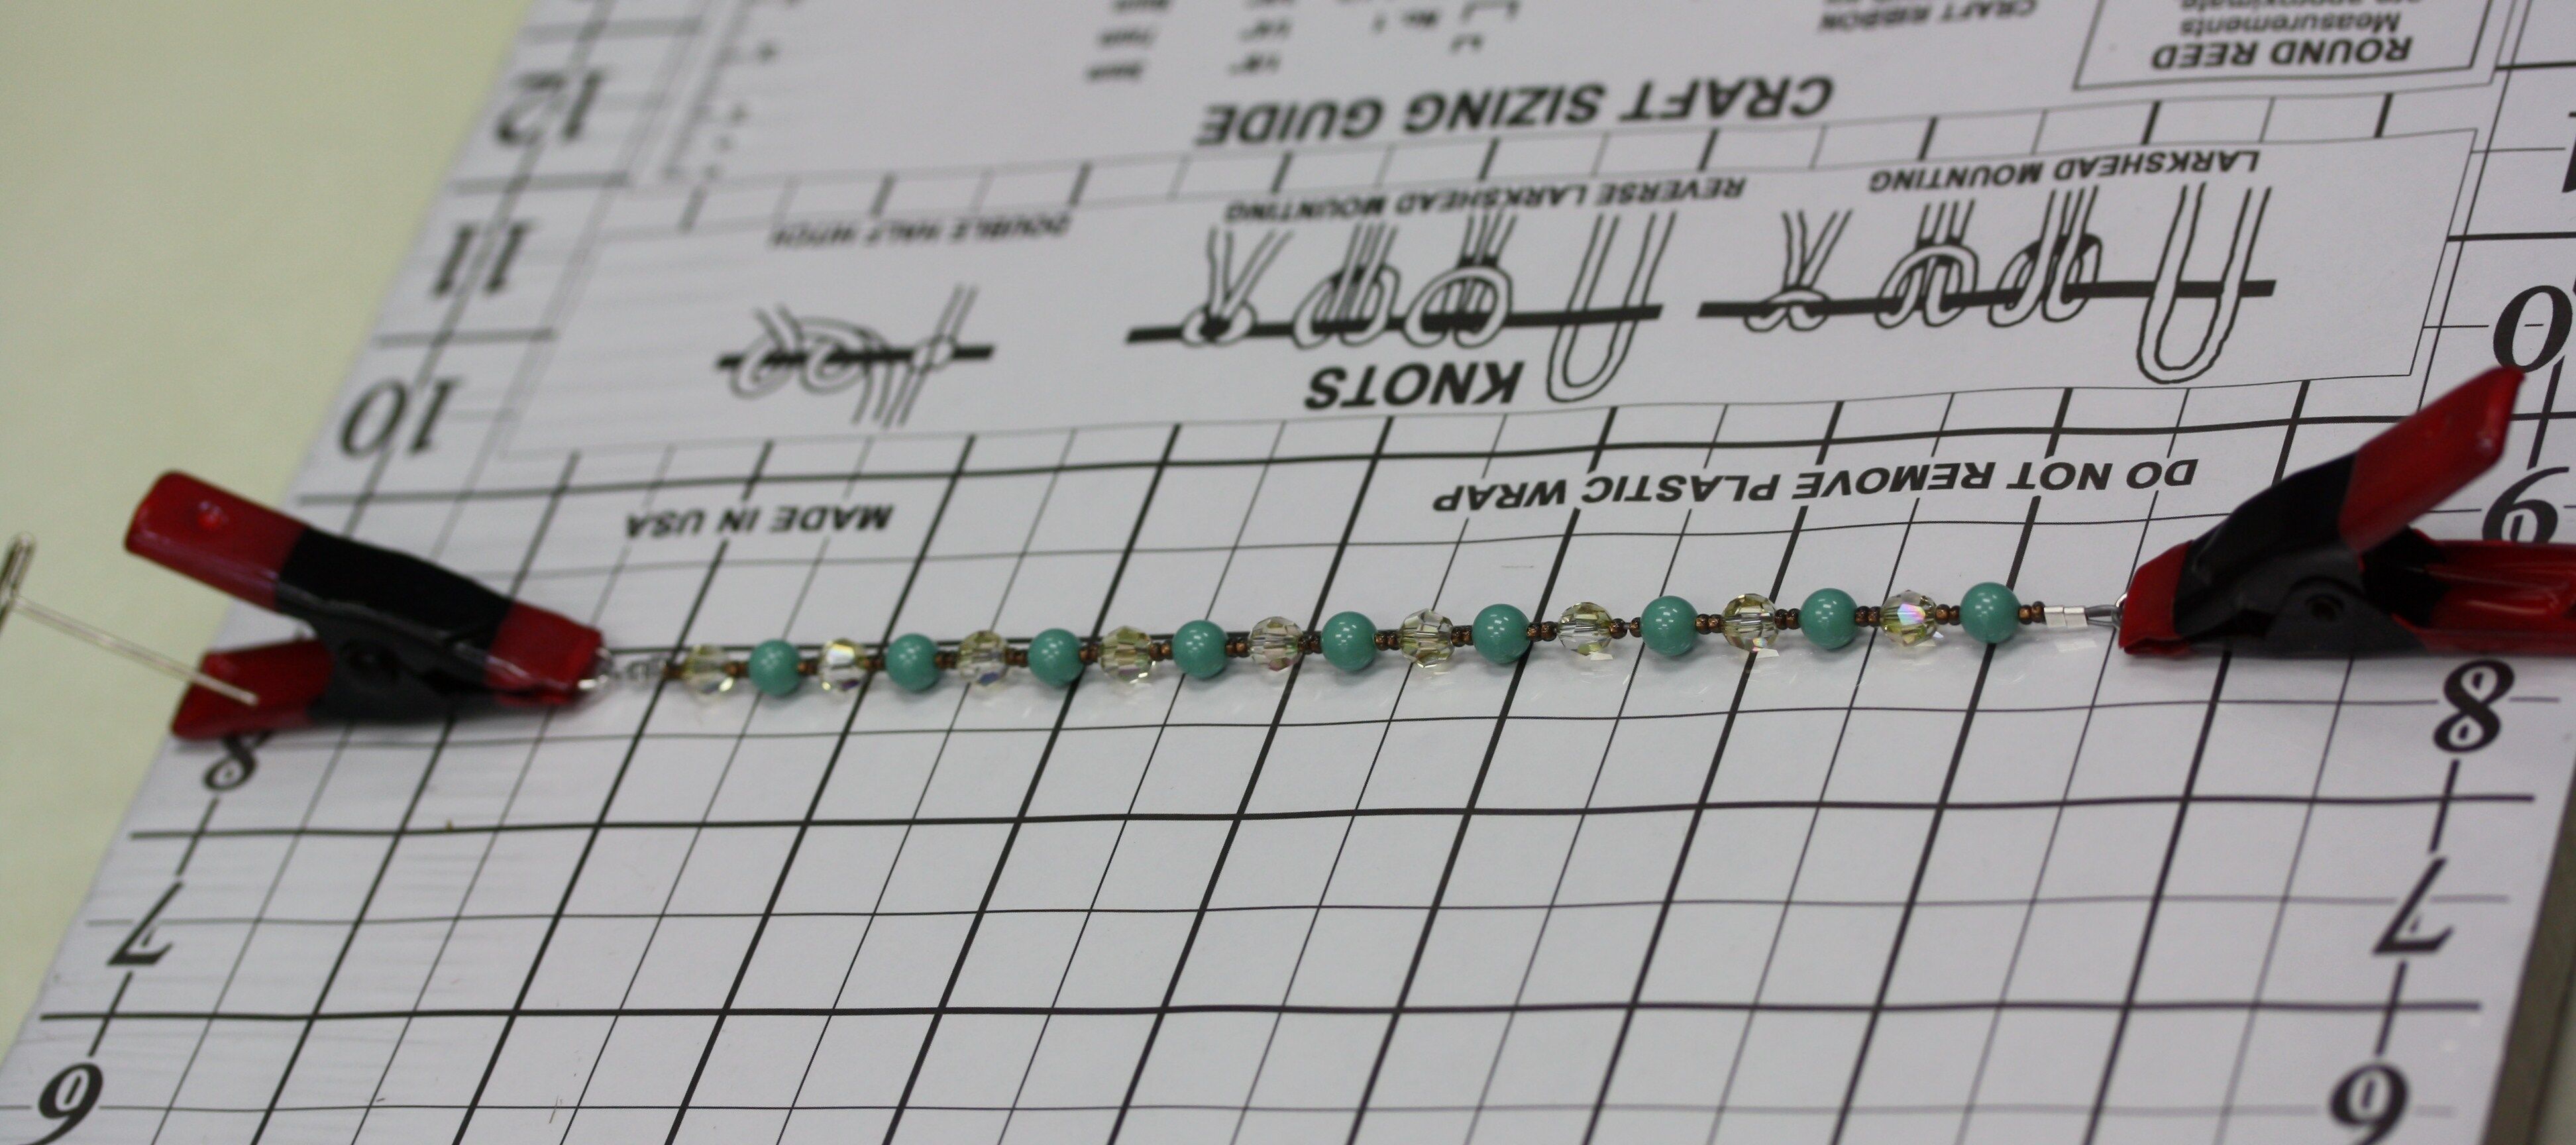
10. Place an alligator clip on the other 6mm jump ring and pin it to the project board, pulling the bracelet fairly tight.
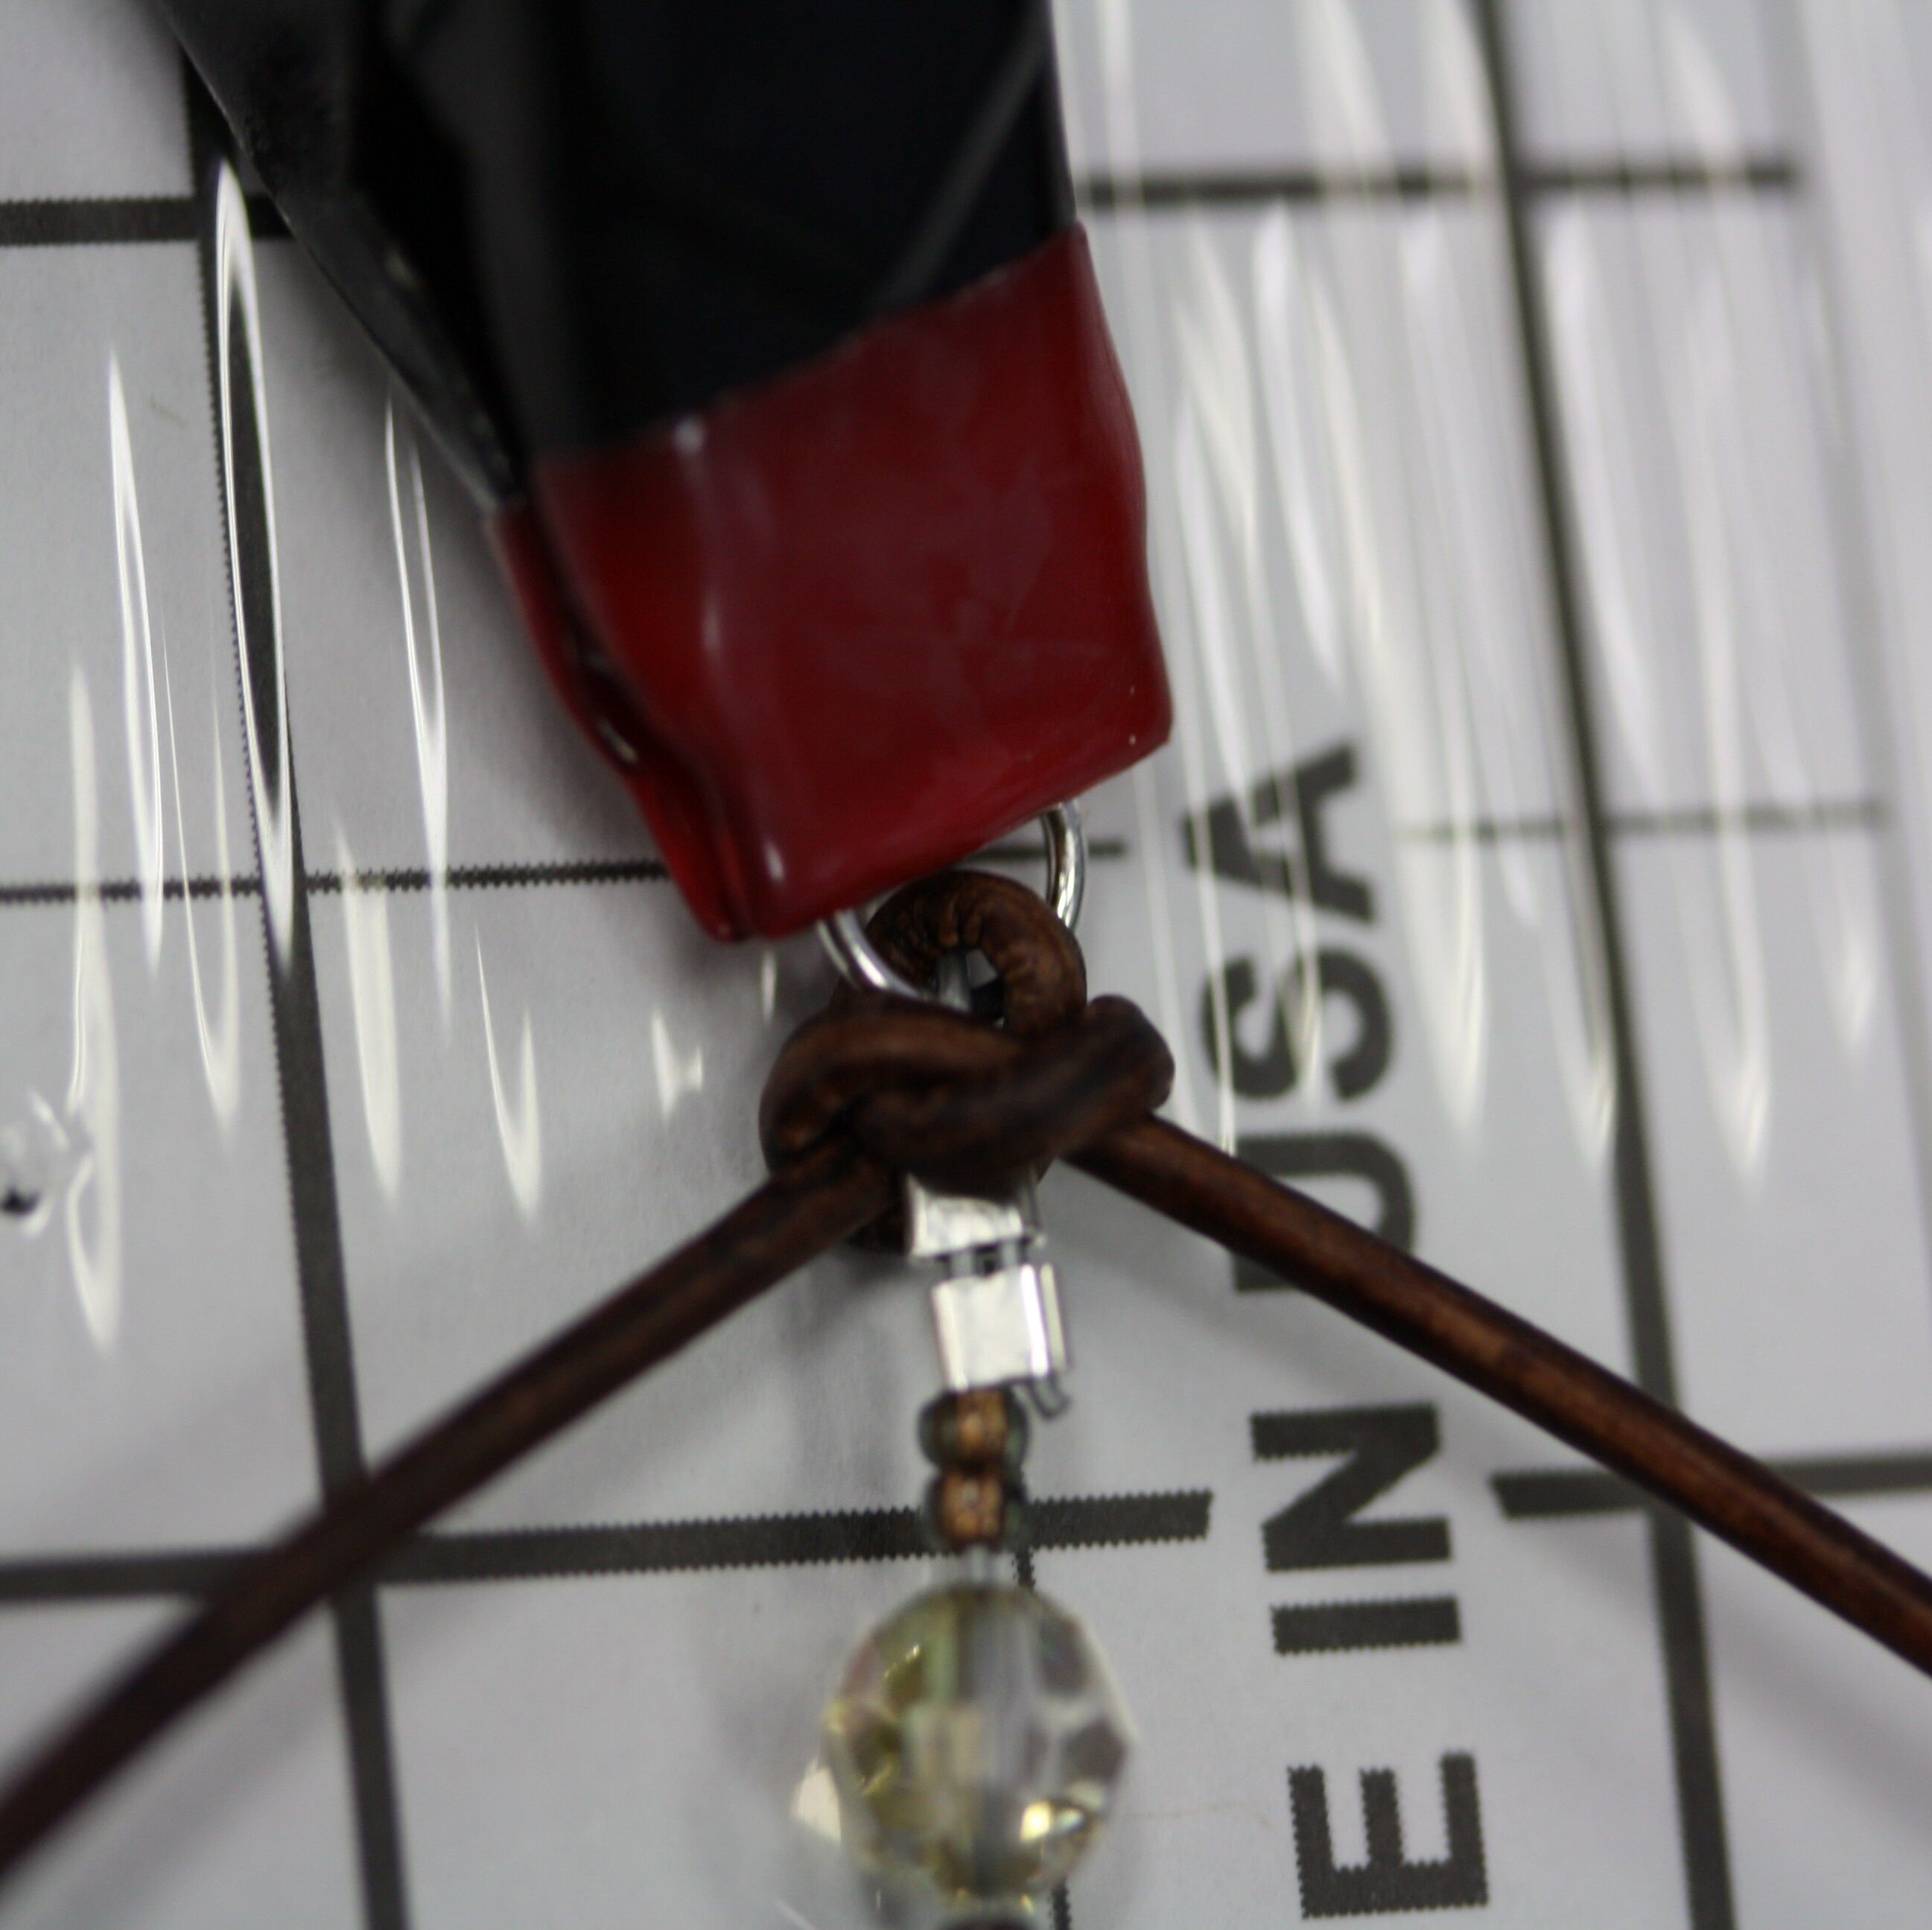
11. Fold the leather in half, and pass one end of the leather through one of the 6mm jump rings.
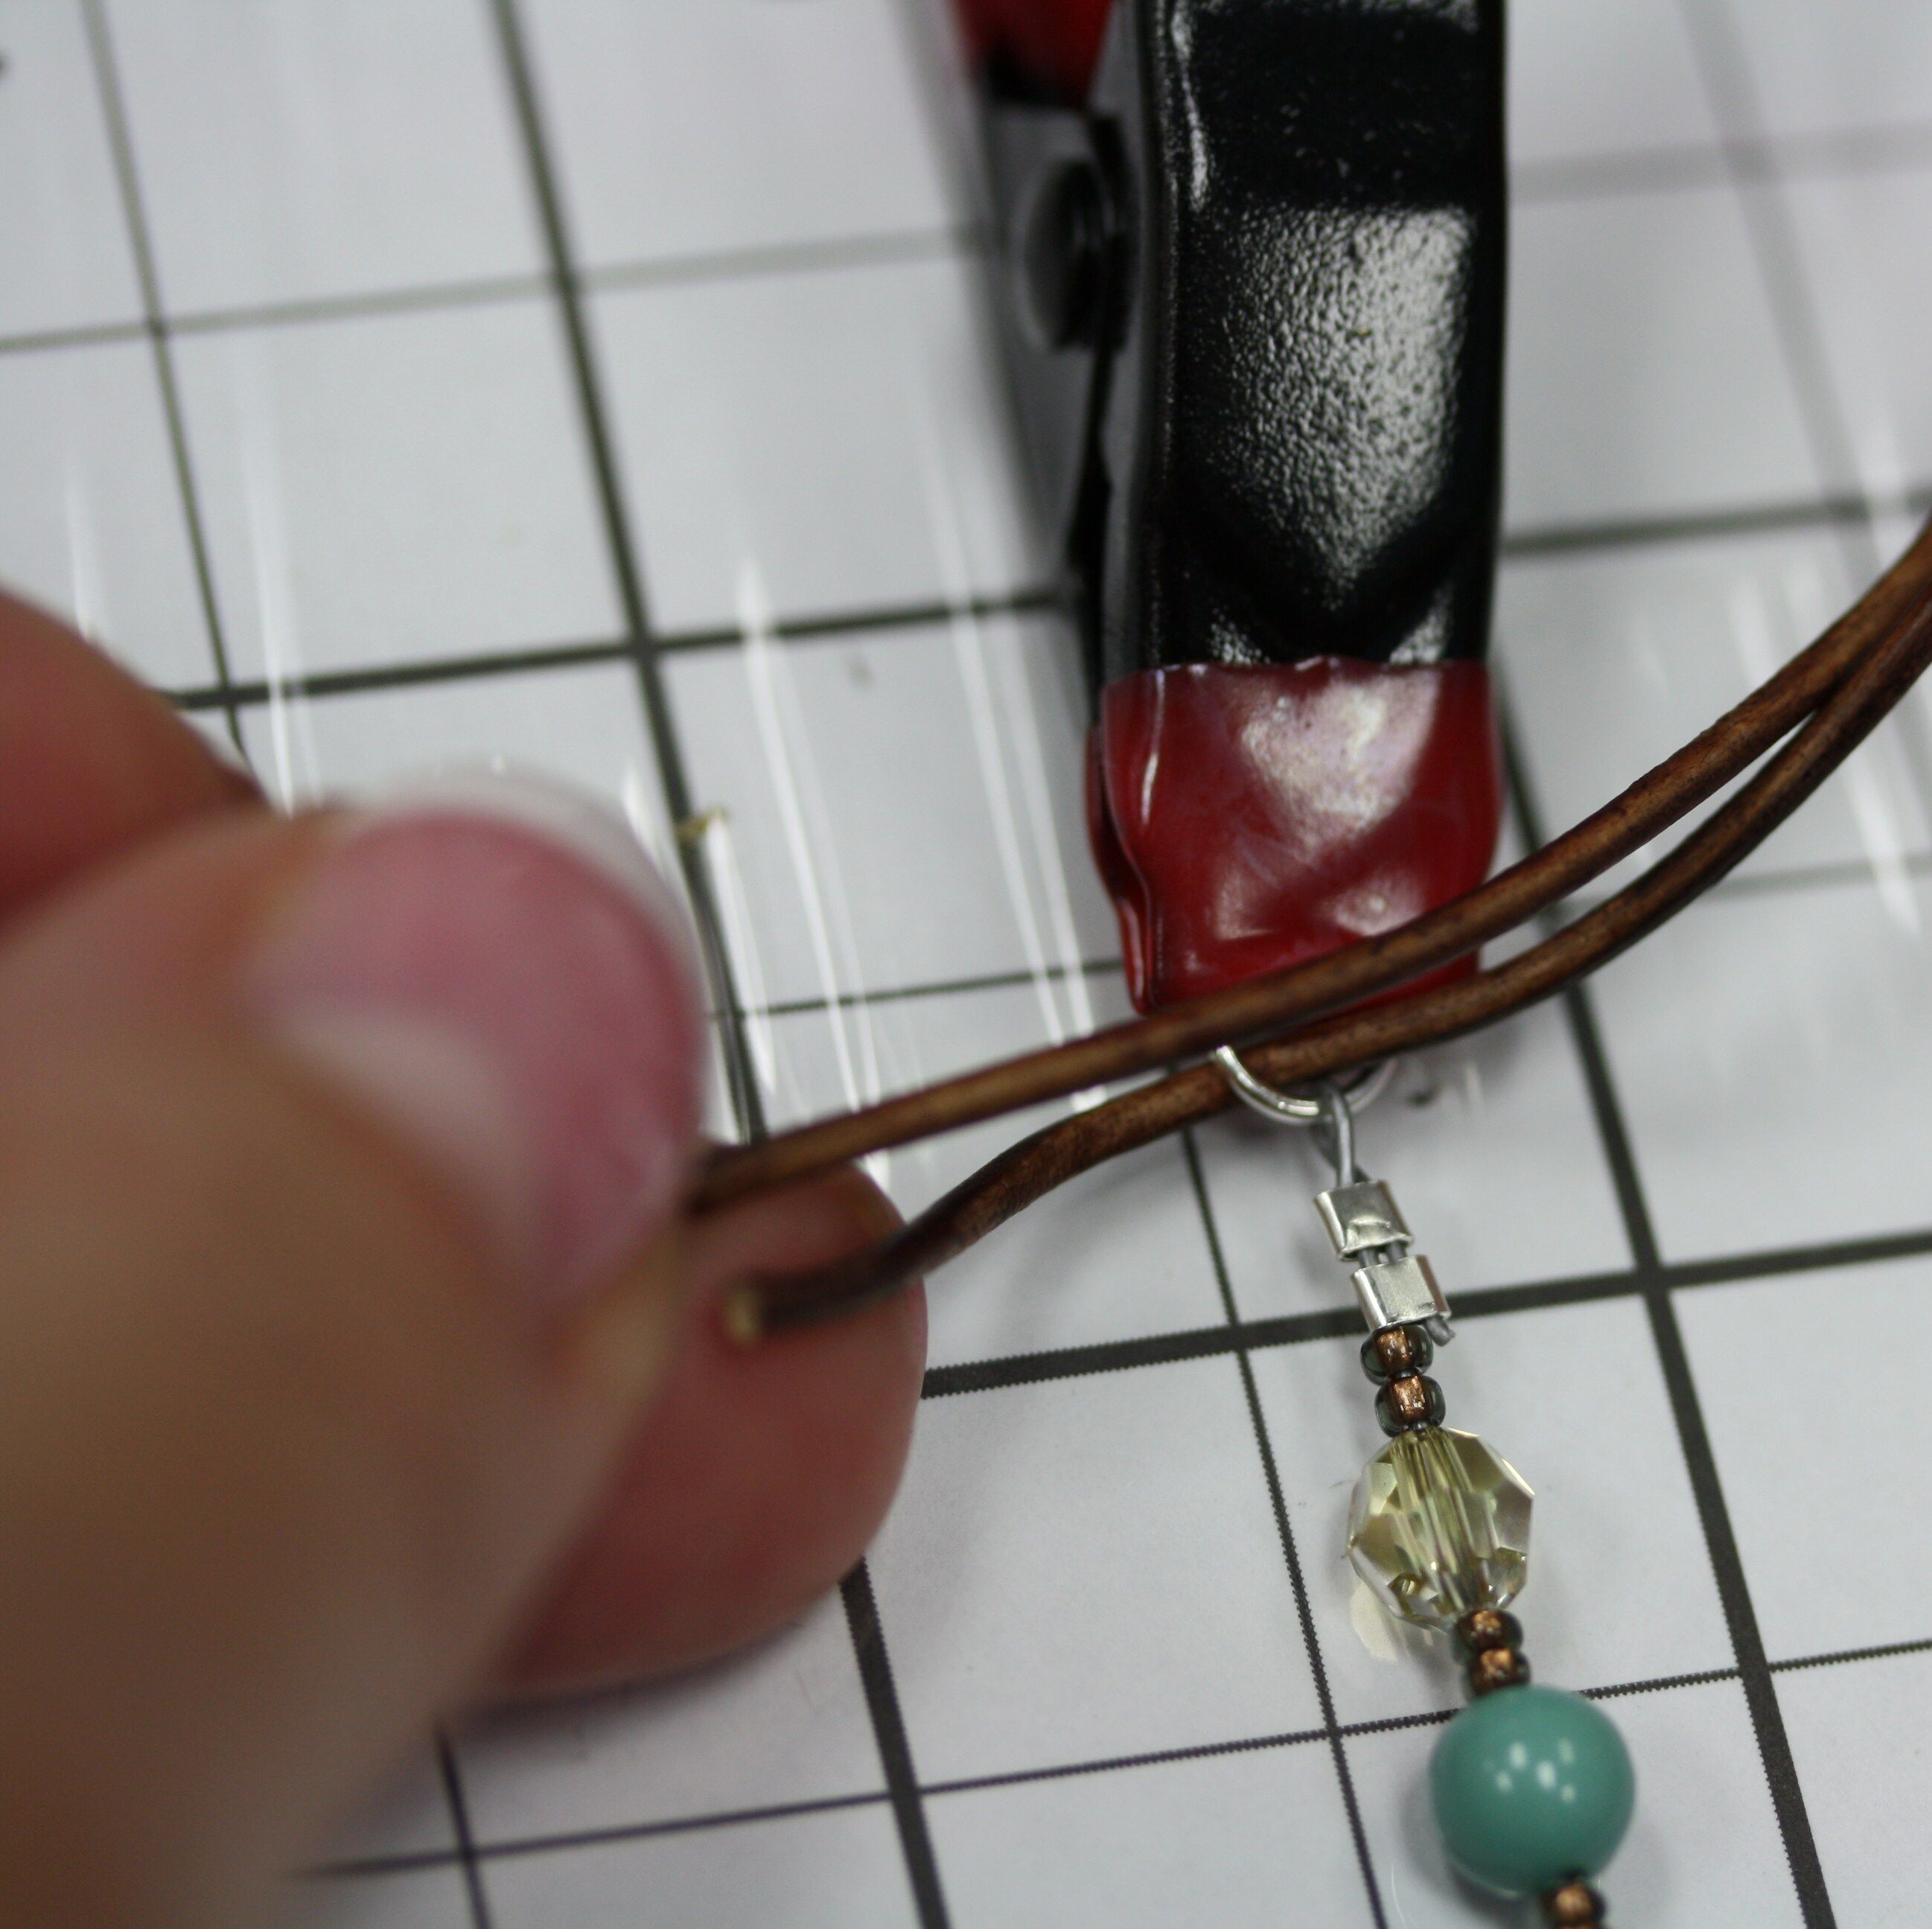
12. Pull the leather through, leaving a 1 inch “D”. The right side of the leather should be behind the SoftFlex.
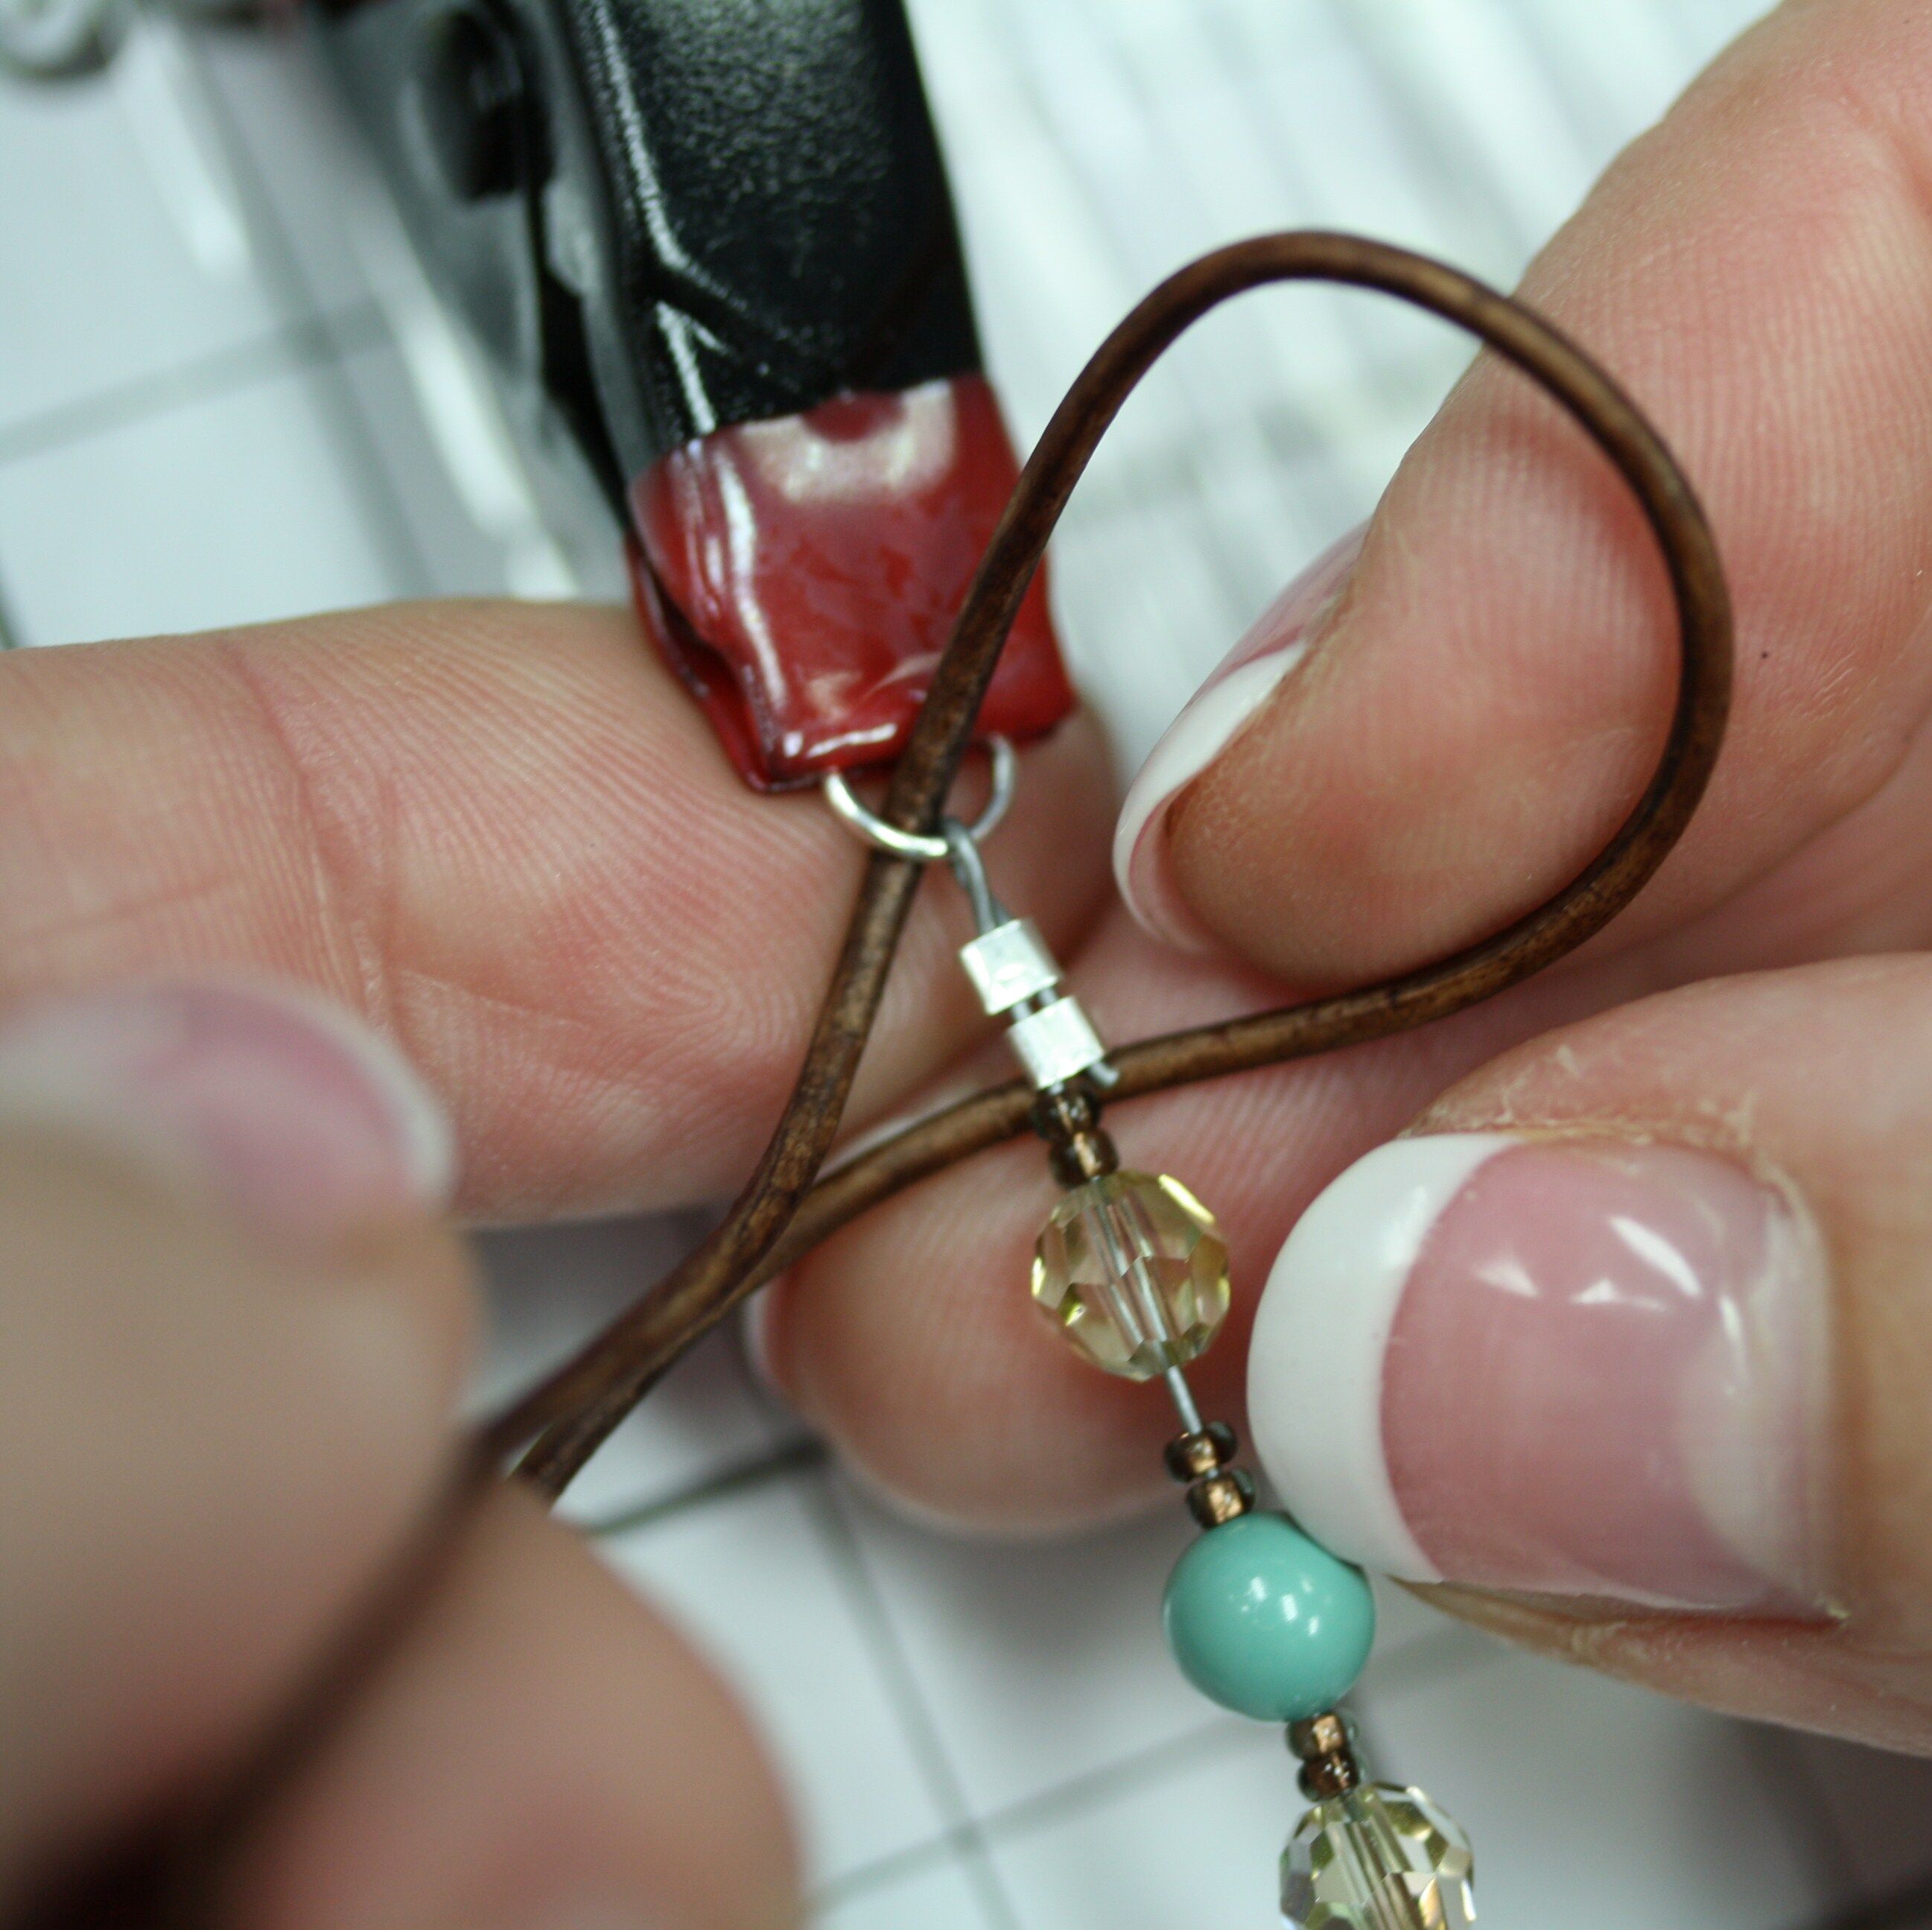
13. Flip the same strand of leather over the top of the center strand. Hold it with your thumb and forefinger where it crosses under the alligator clip.
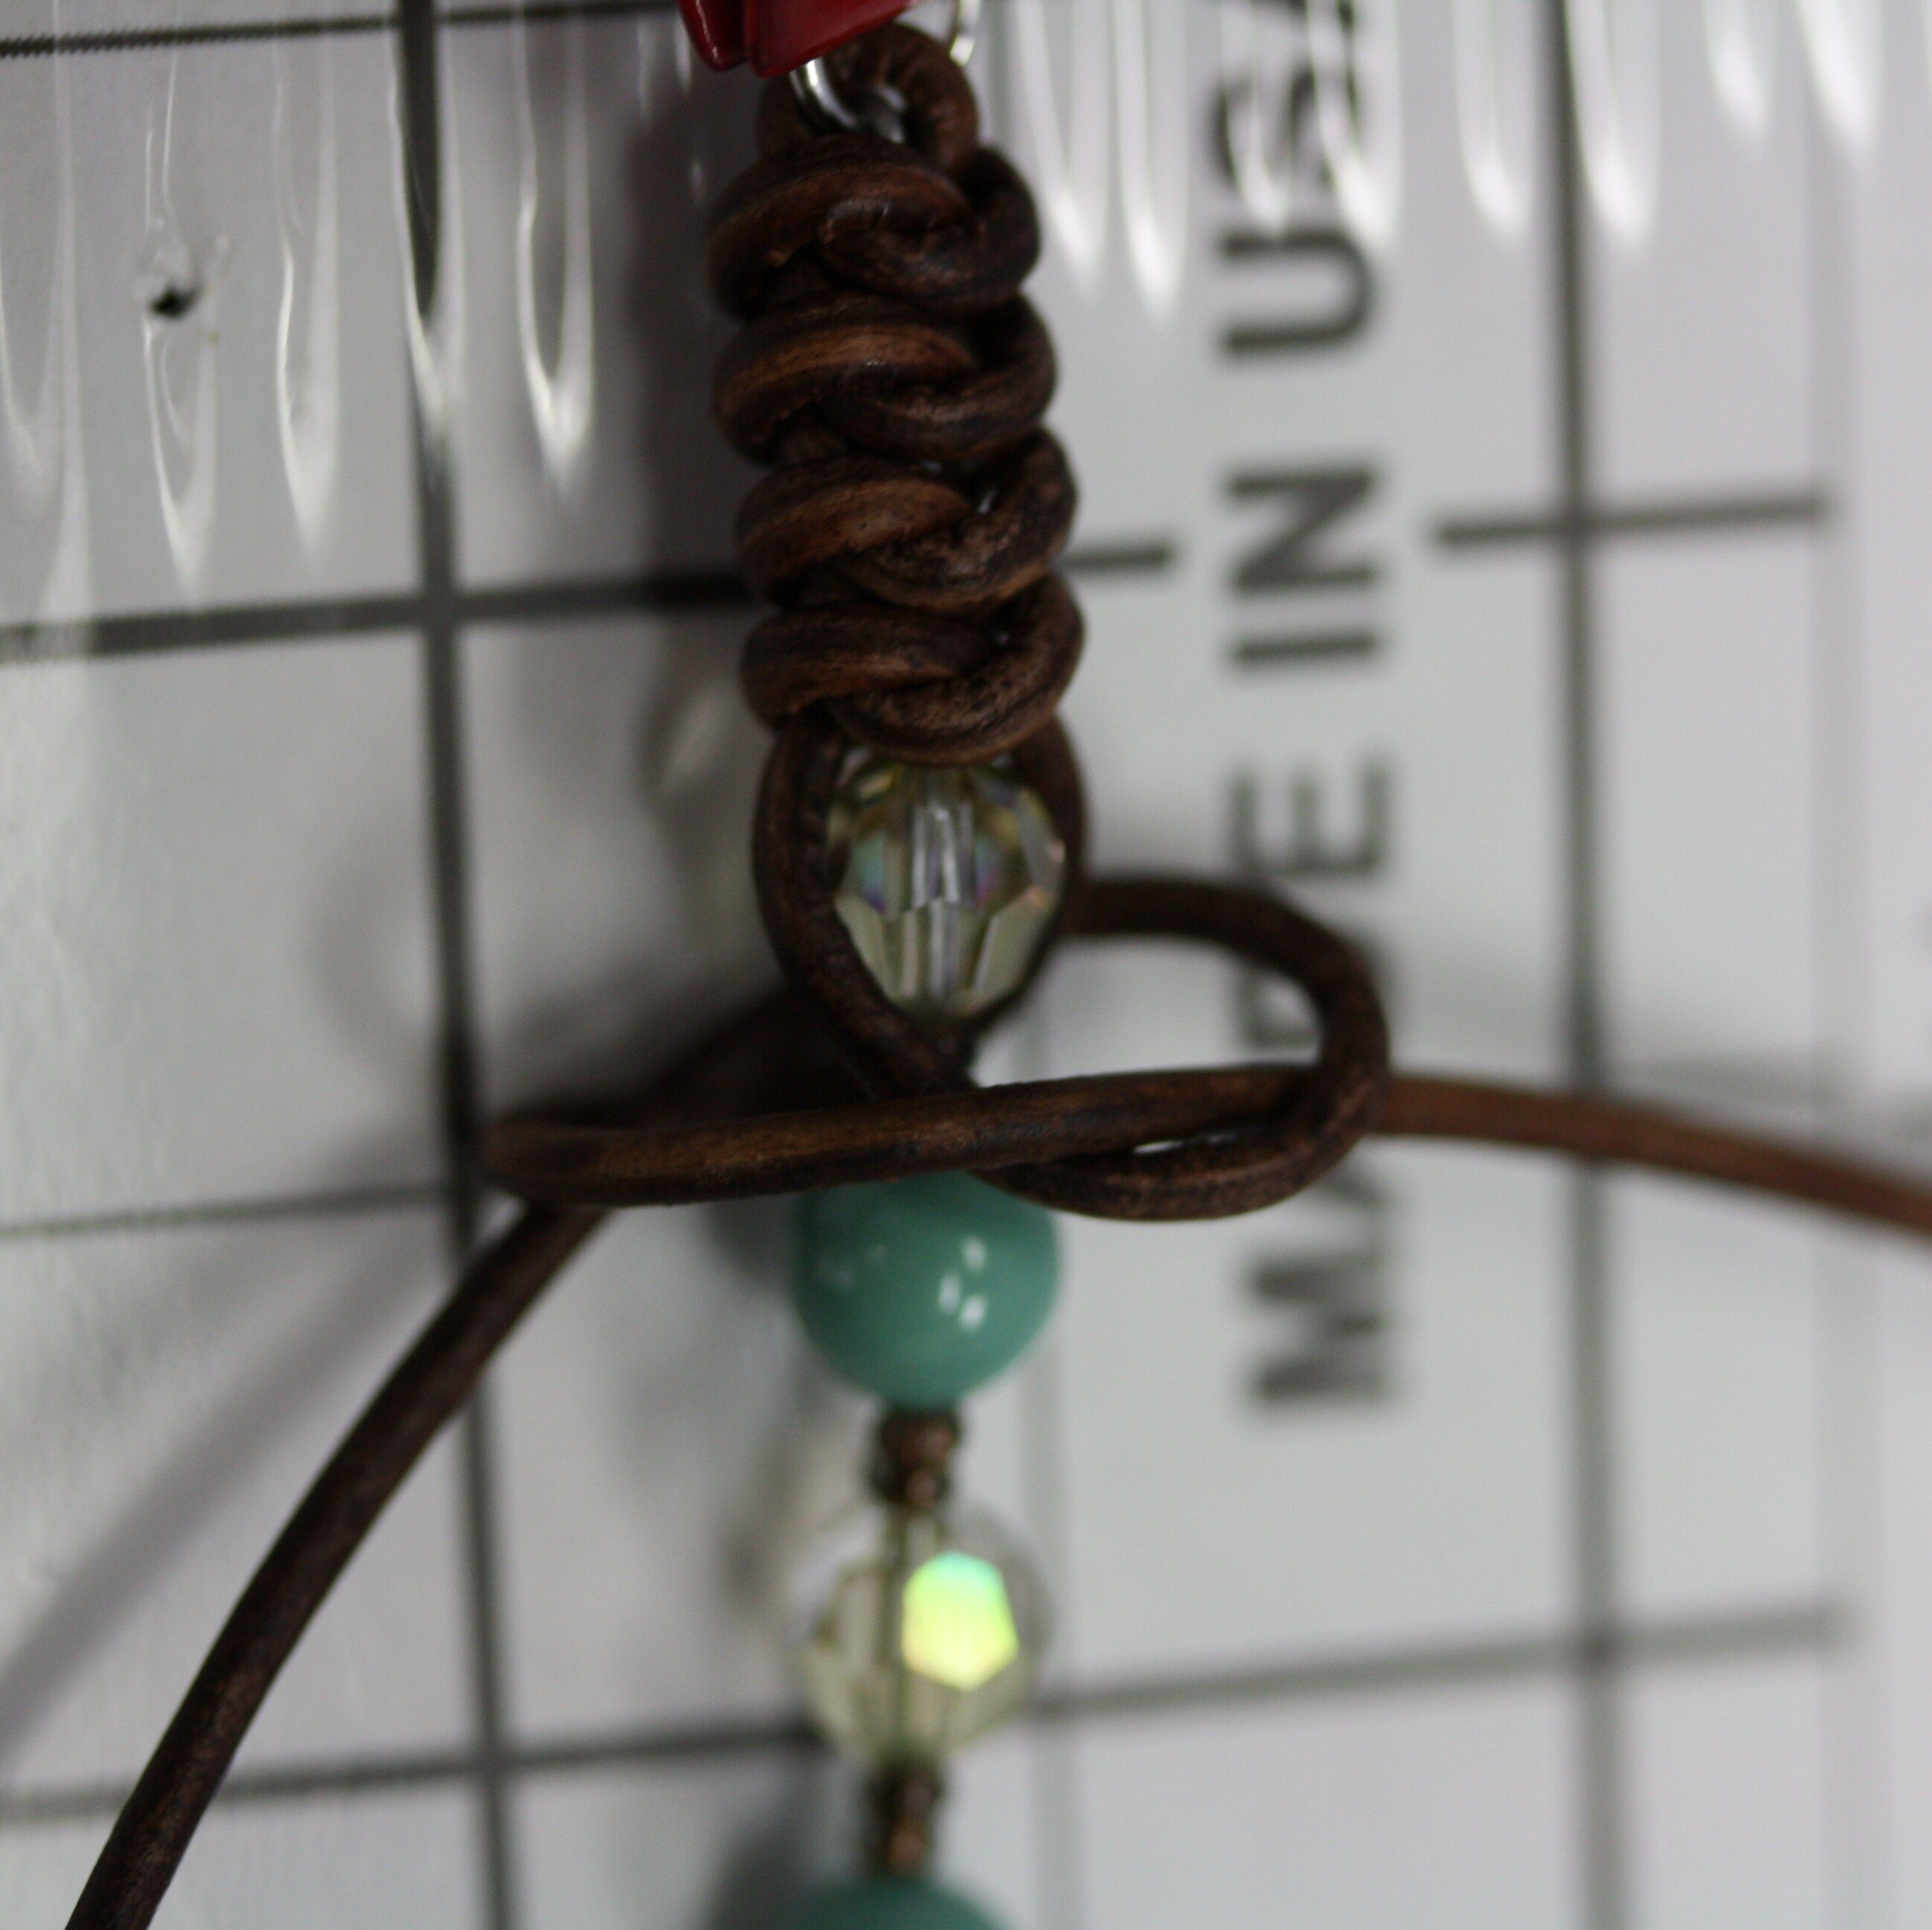
14. Next, take the left strand of leather and place it over the strand going out to the right. Then go under the SoftFlex and pass through the loop to the left, towards you.

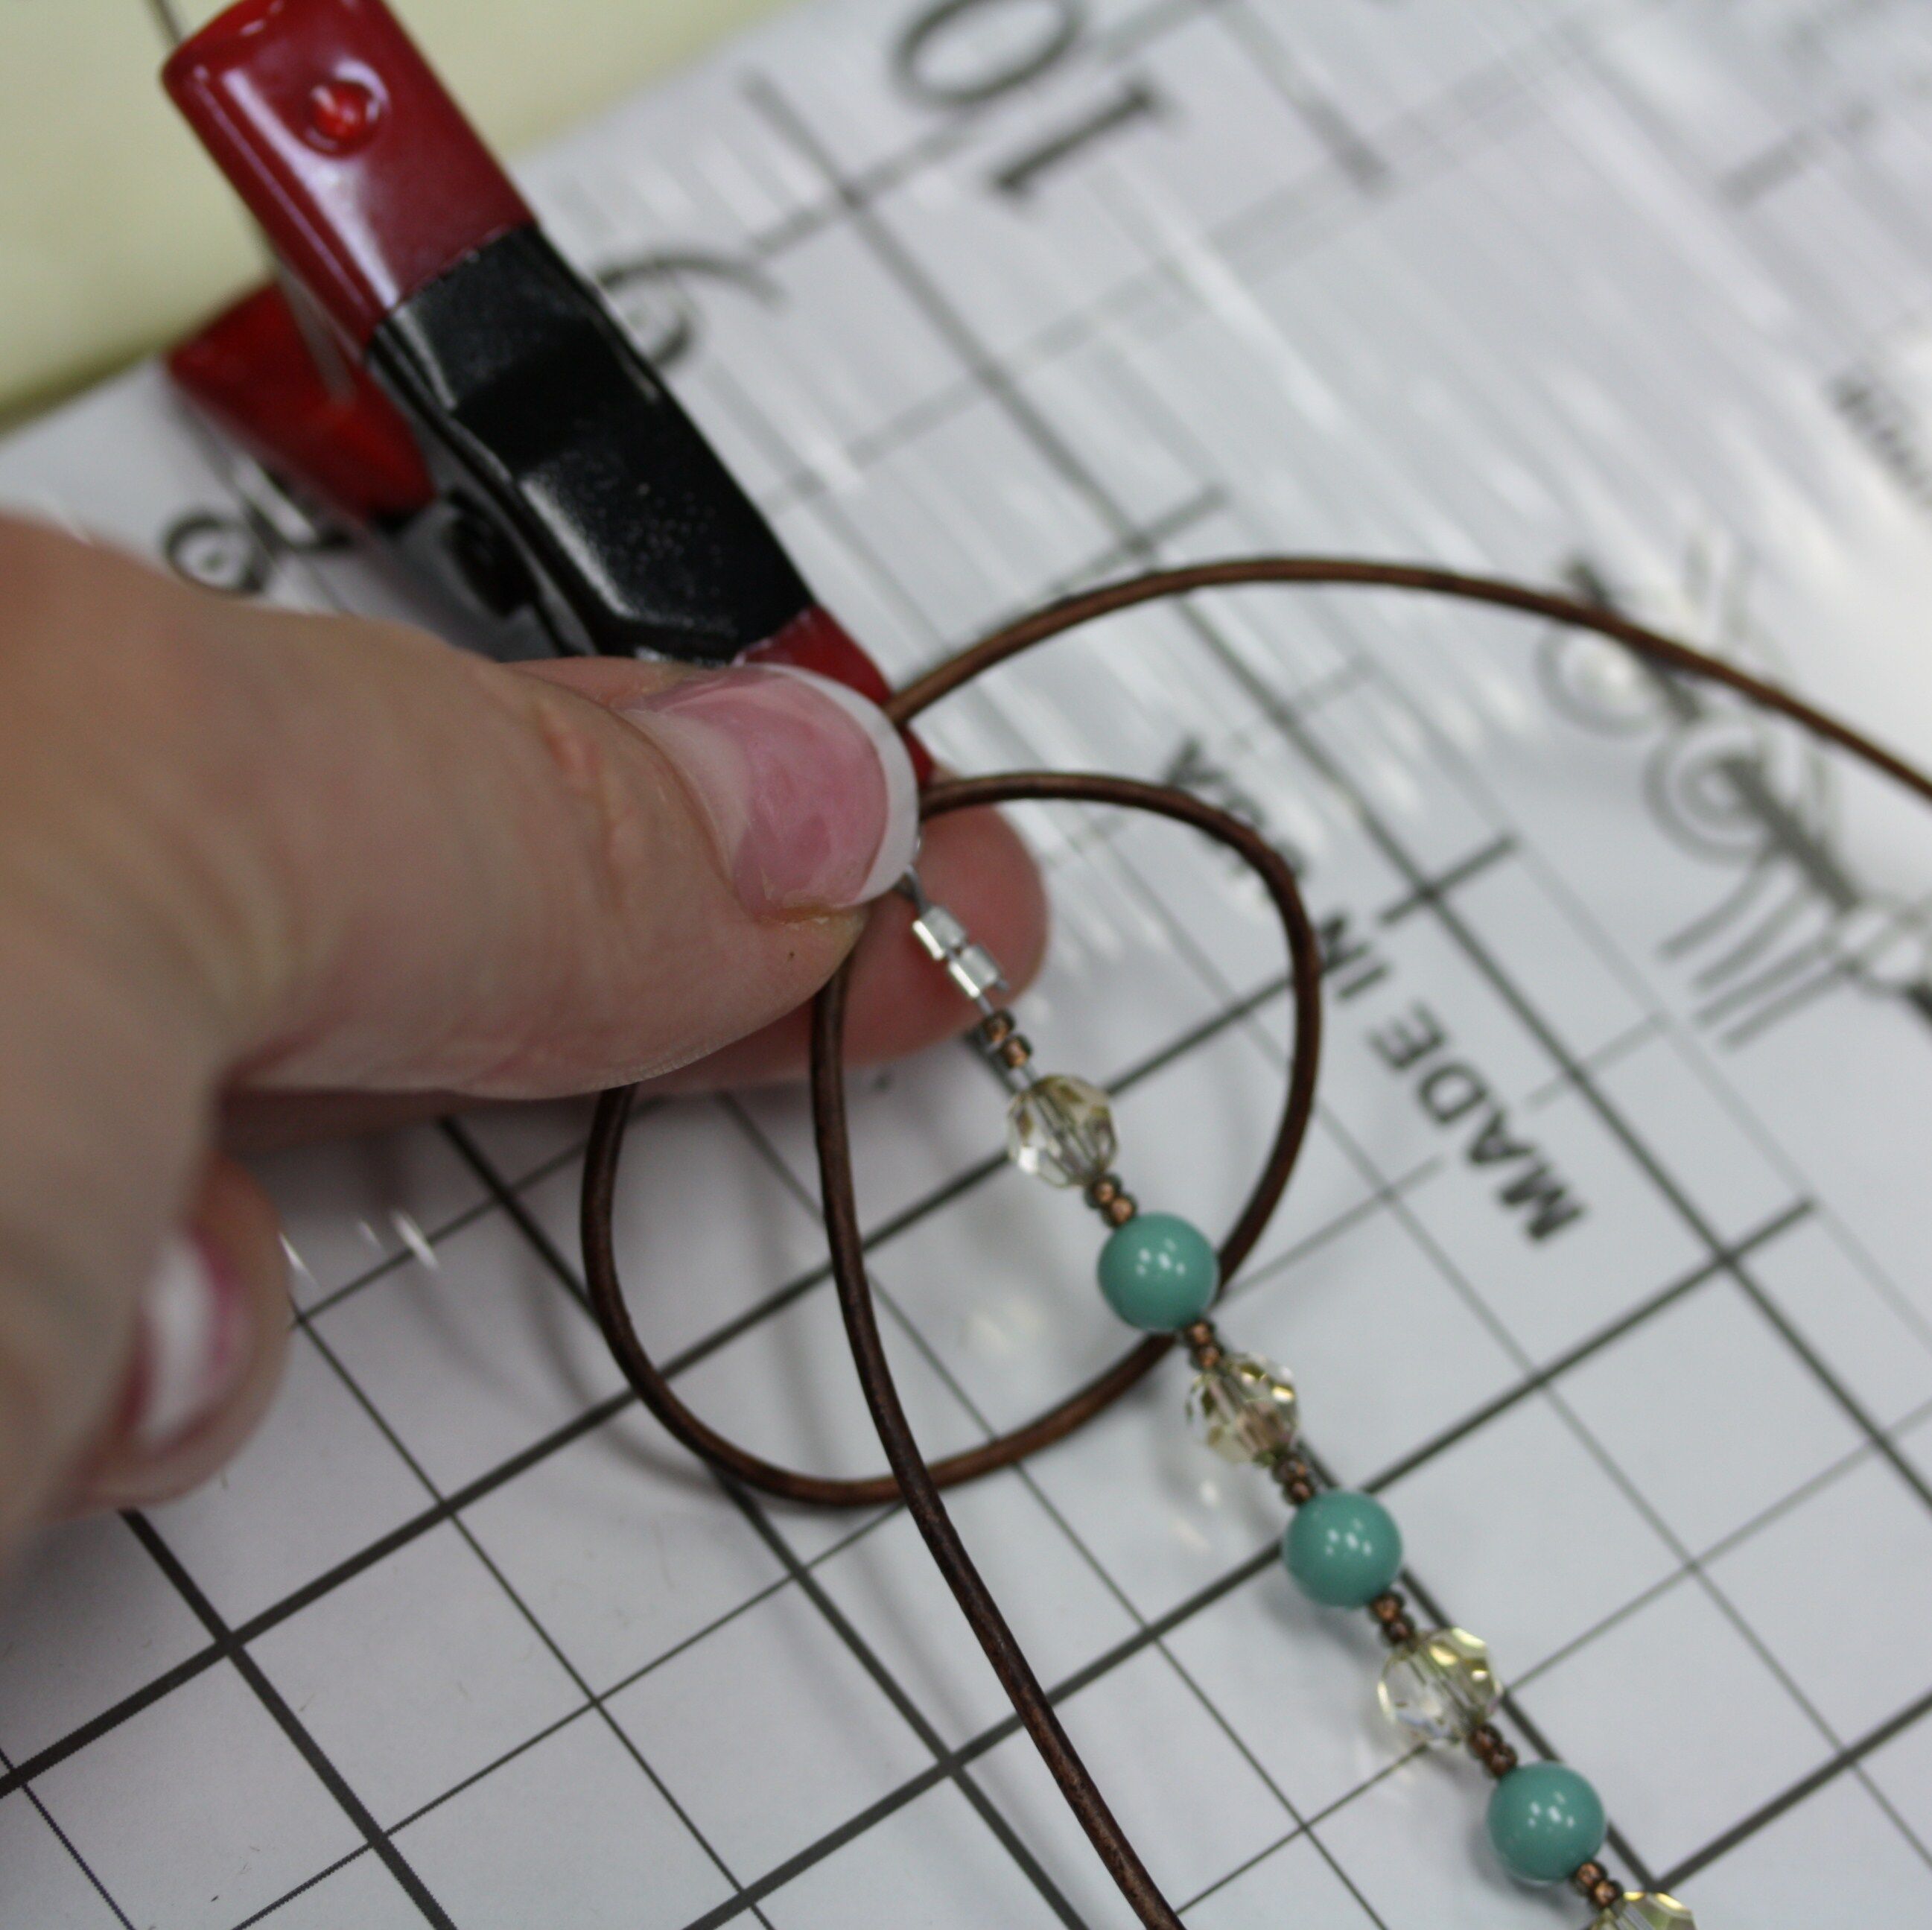
15. Pull until you have formed two 1 inch loops that look like a pretzel.
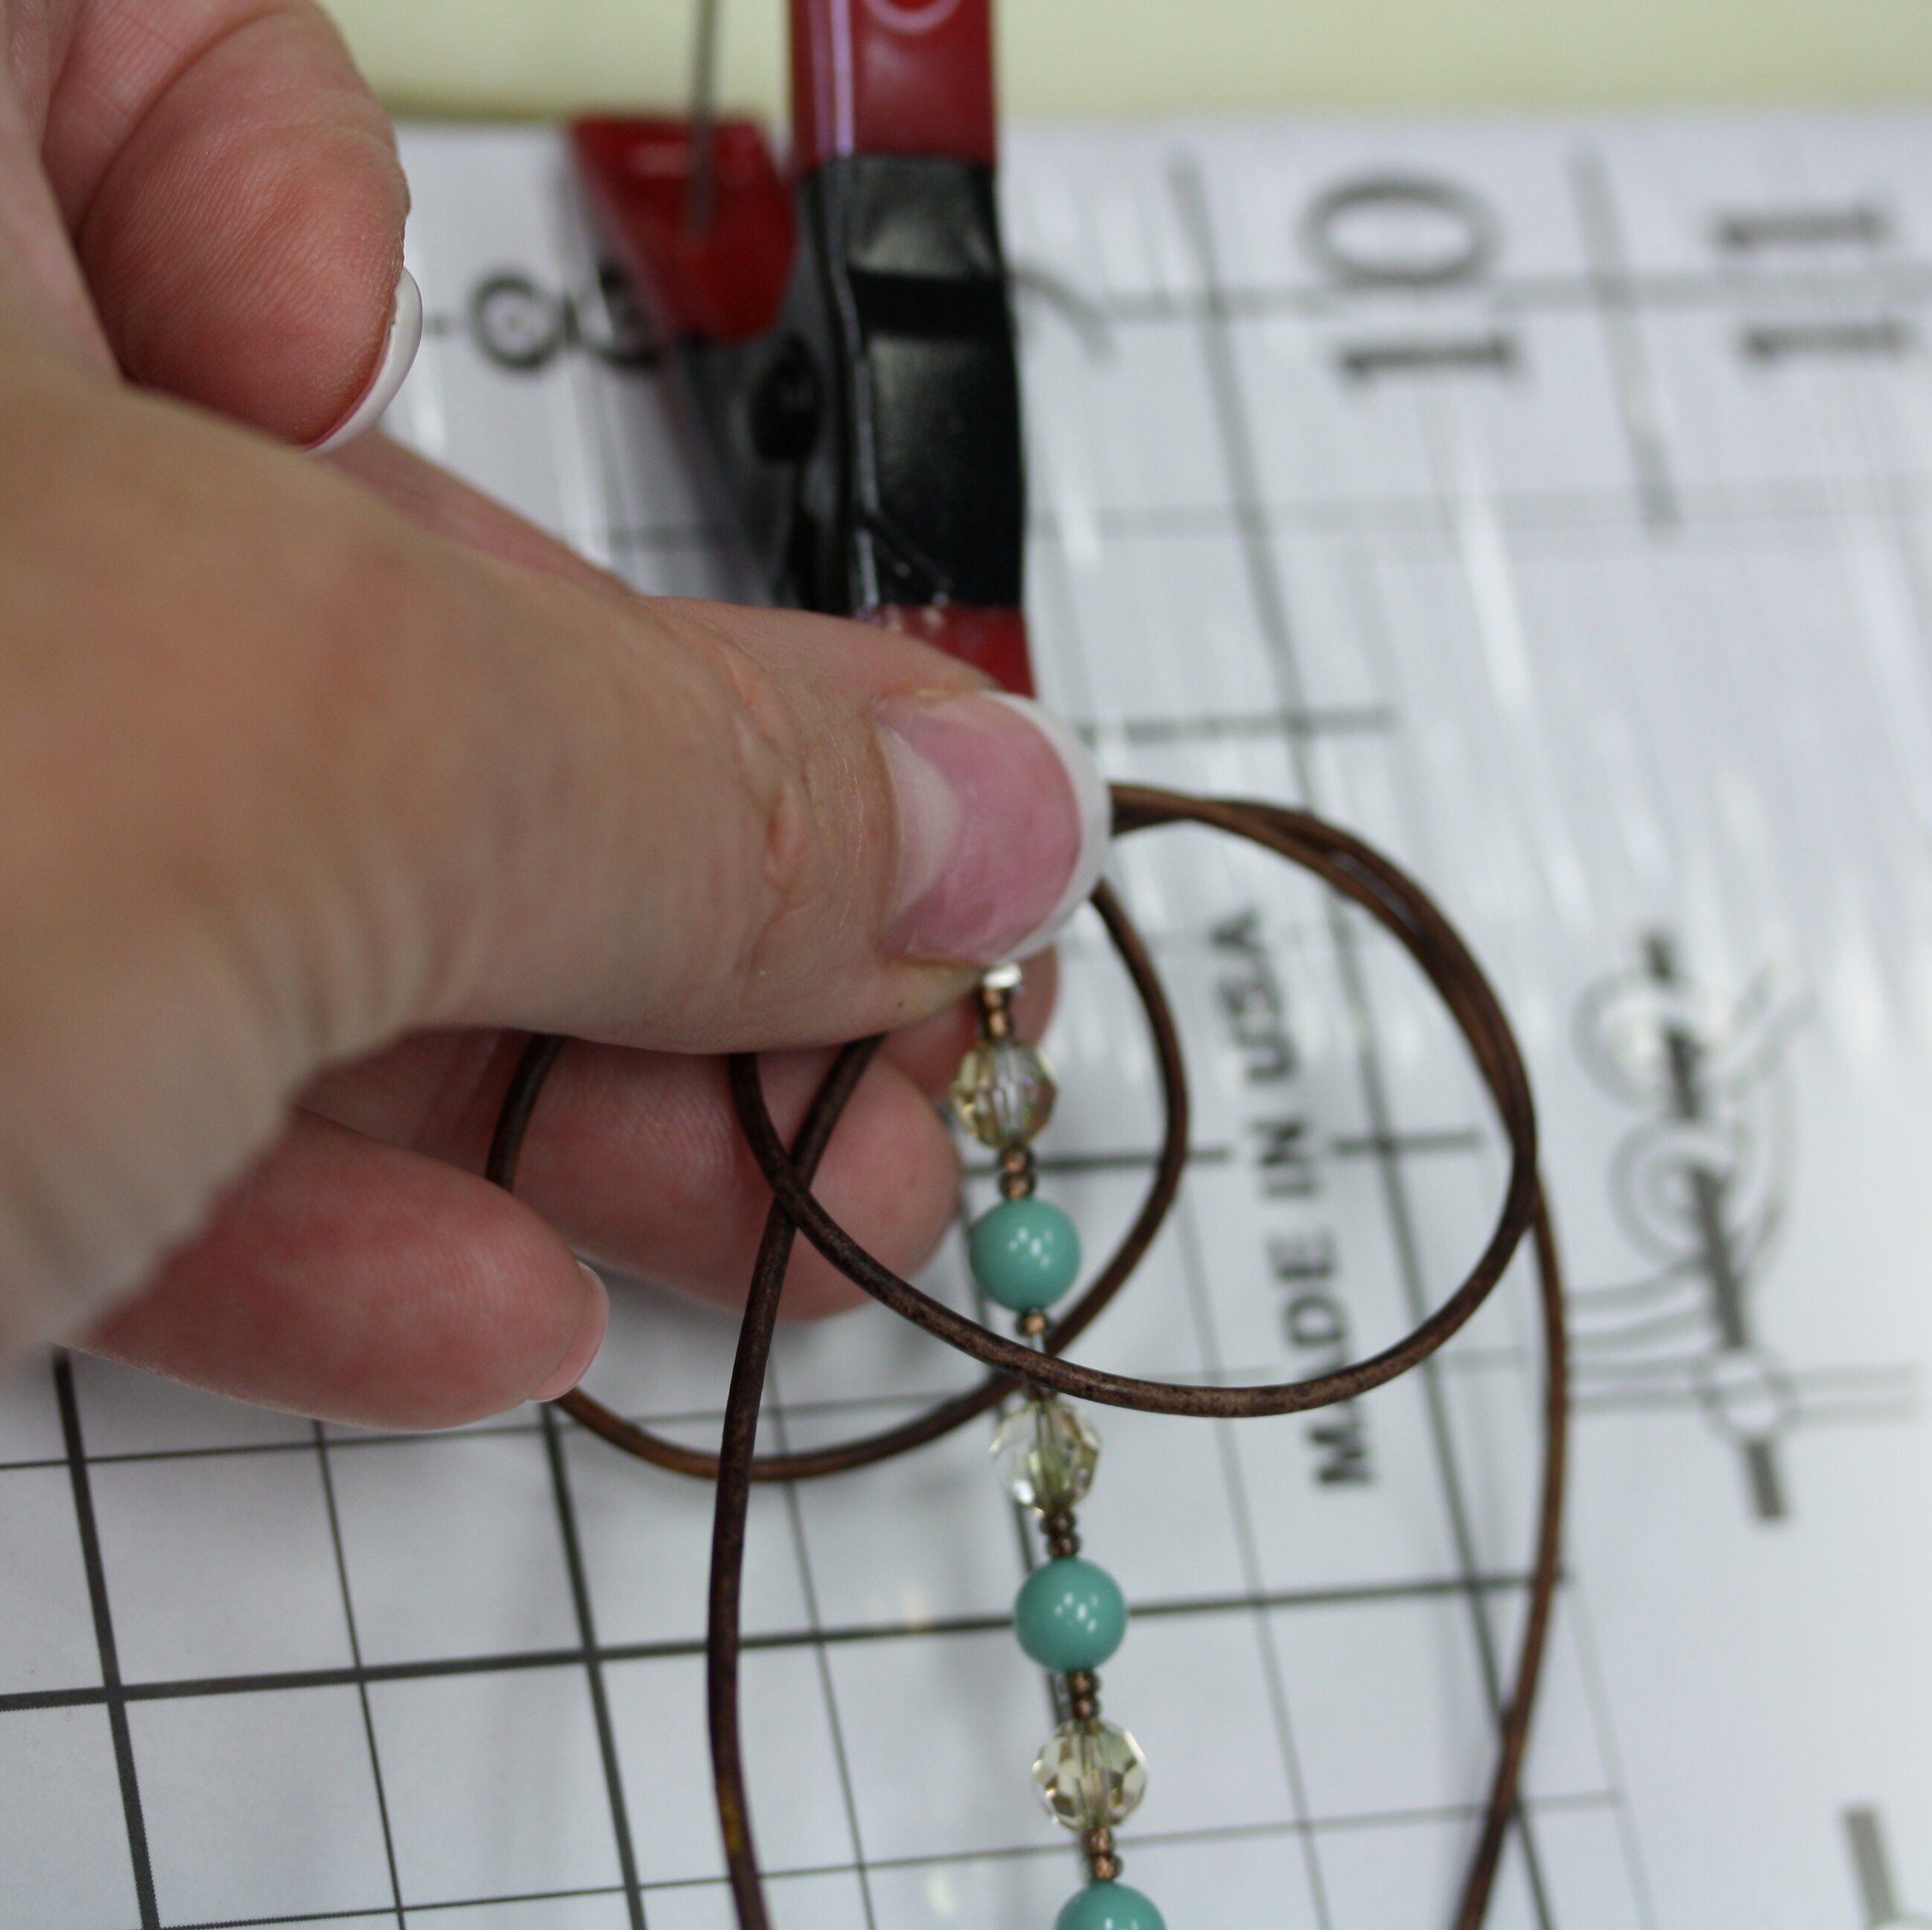
16. Pull each strand (left, then right) gradually reducing the size of the loops. When the loops get to ¼ inch in size, pull on both strands at the same. Push up on knot with right finger and thumb until knot closes over the SoftFlex.
17. Tie three more tight knots, making sure they all fit together with no twist. This should cover the crimps.
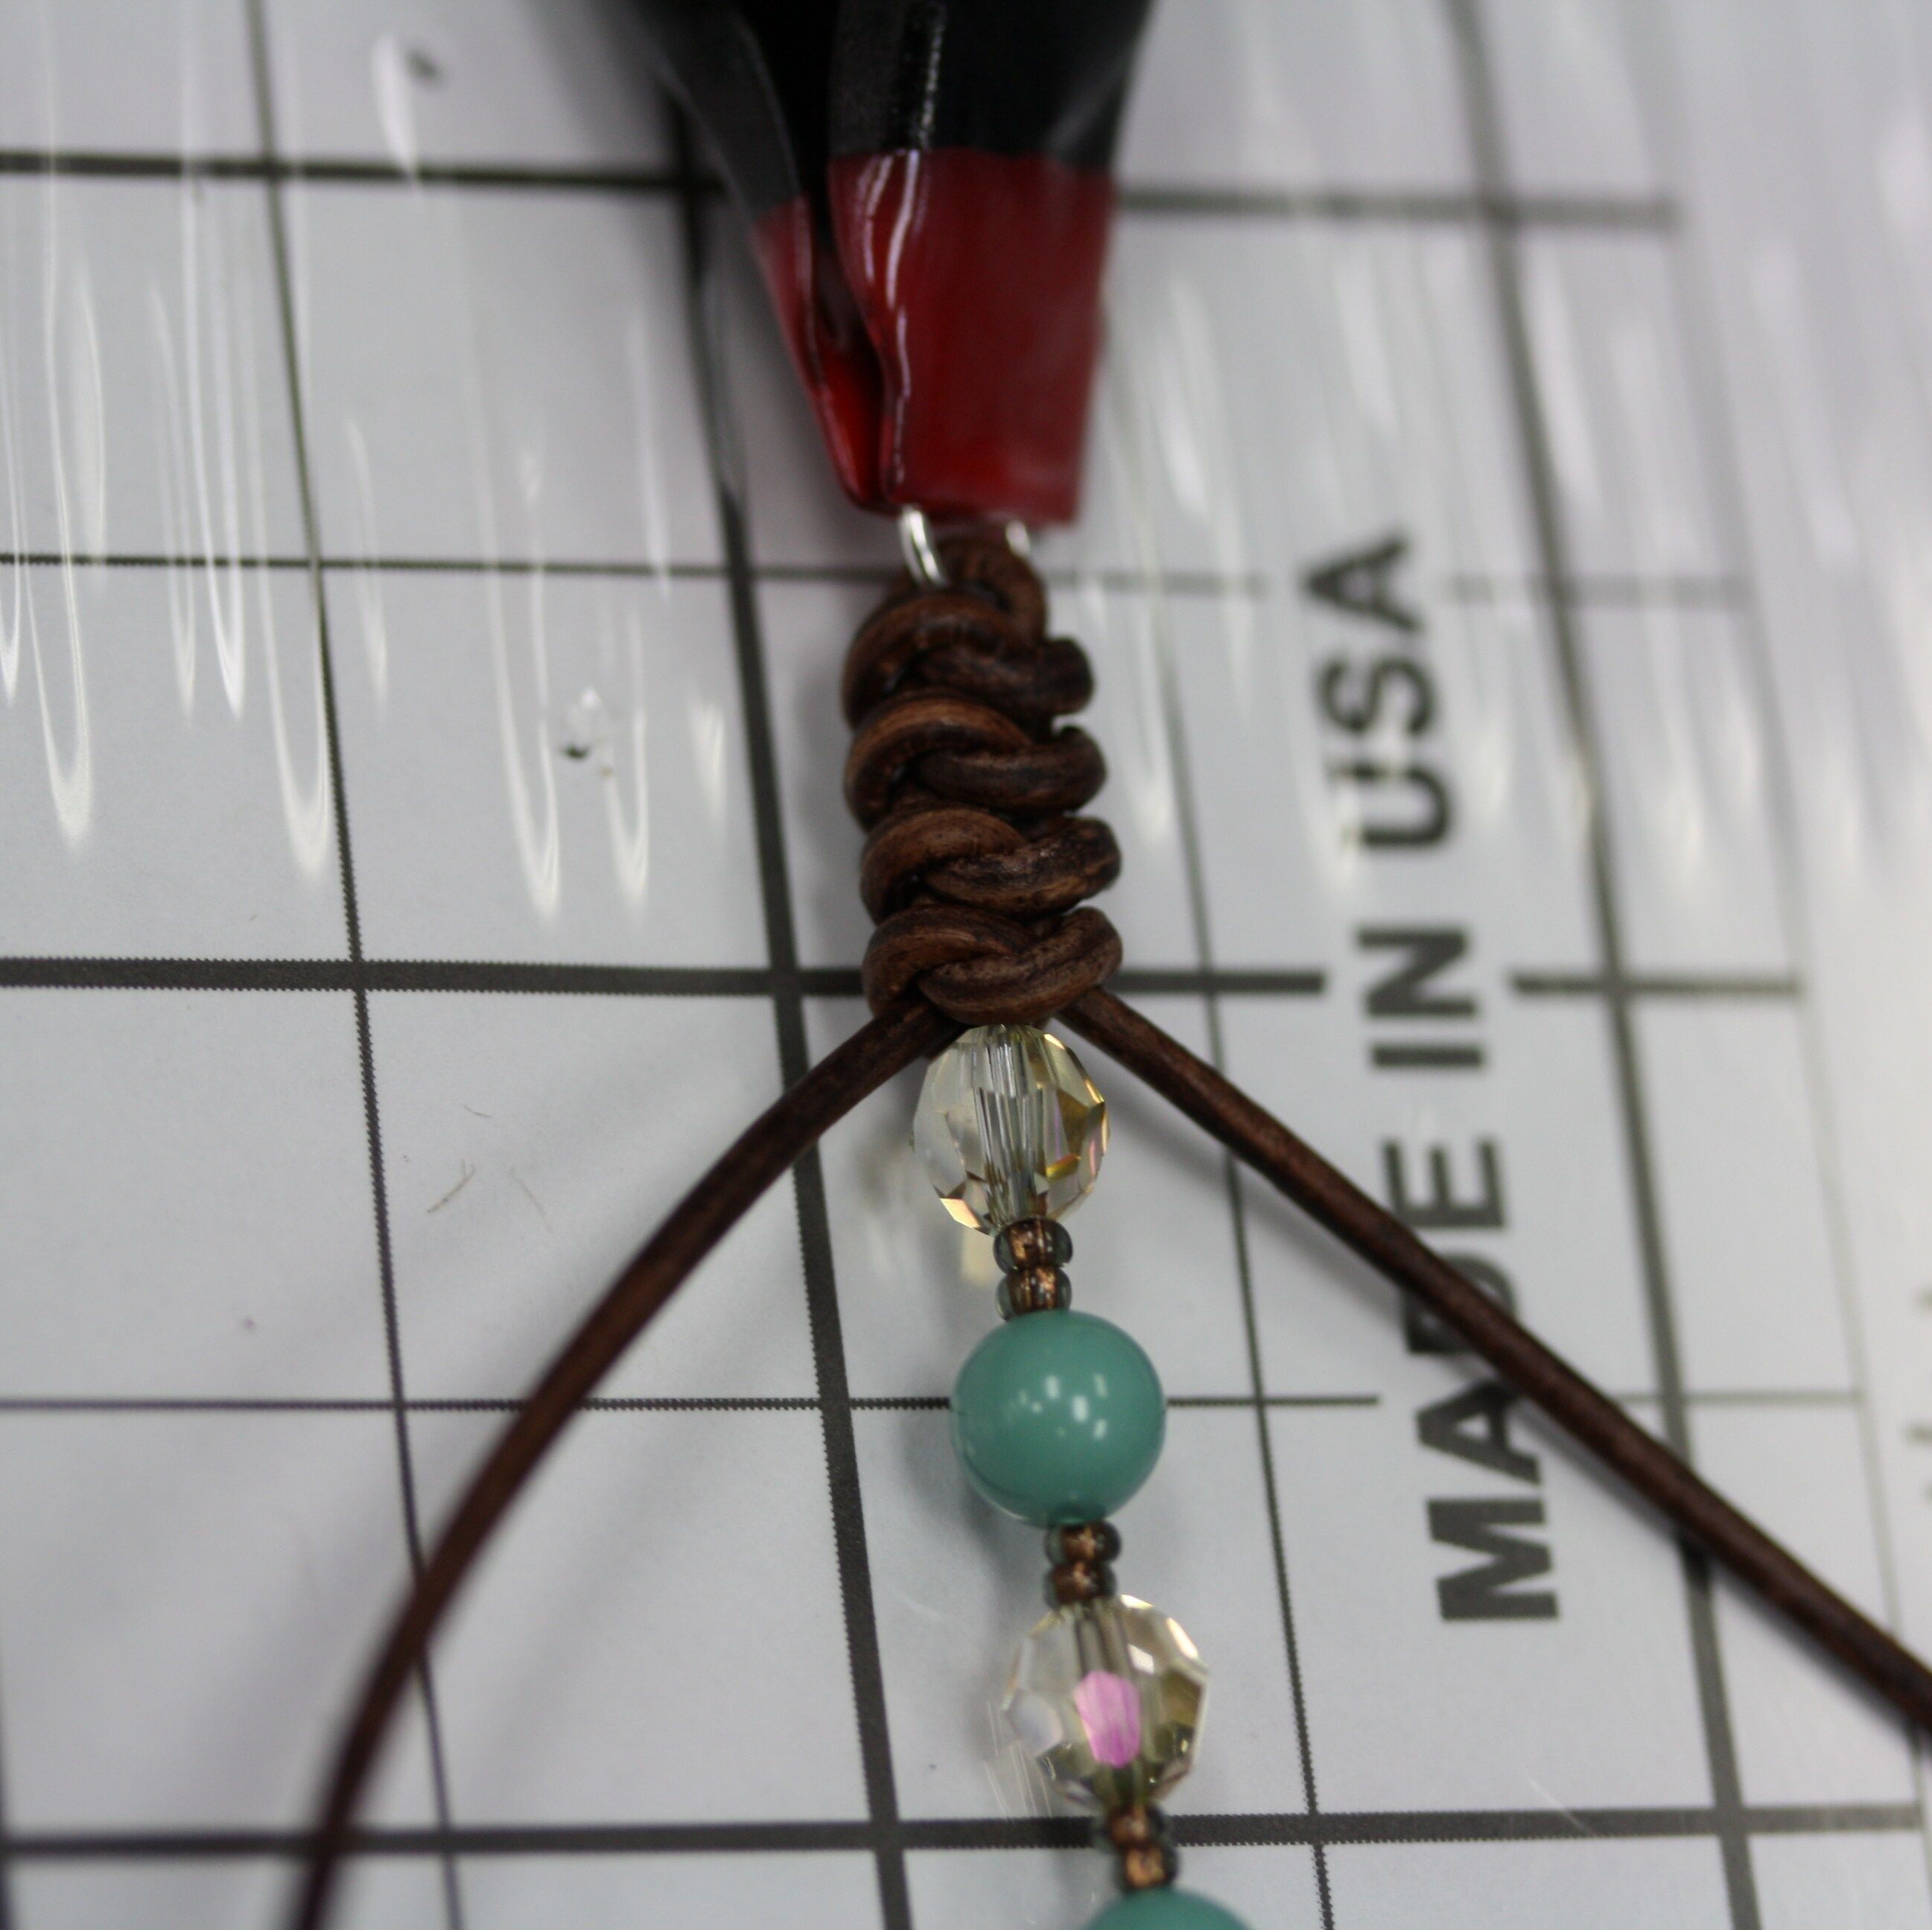
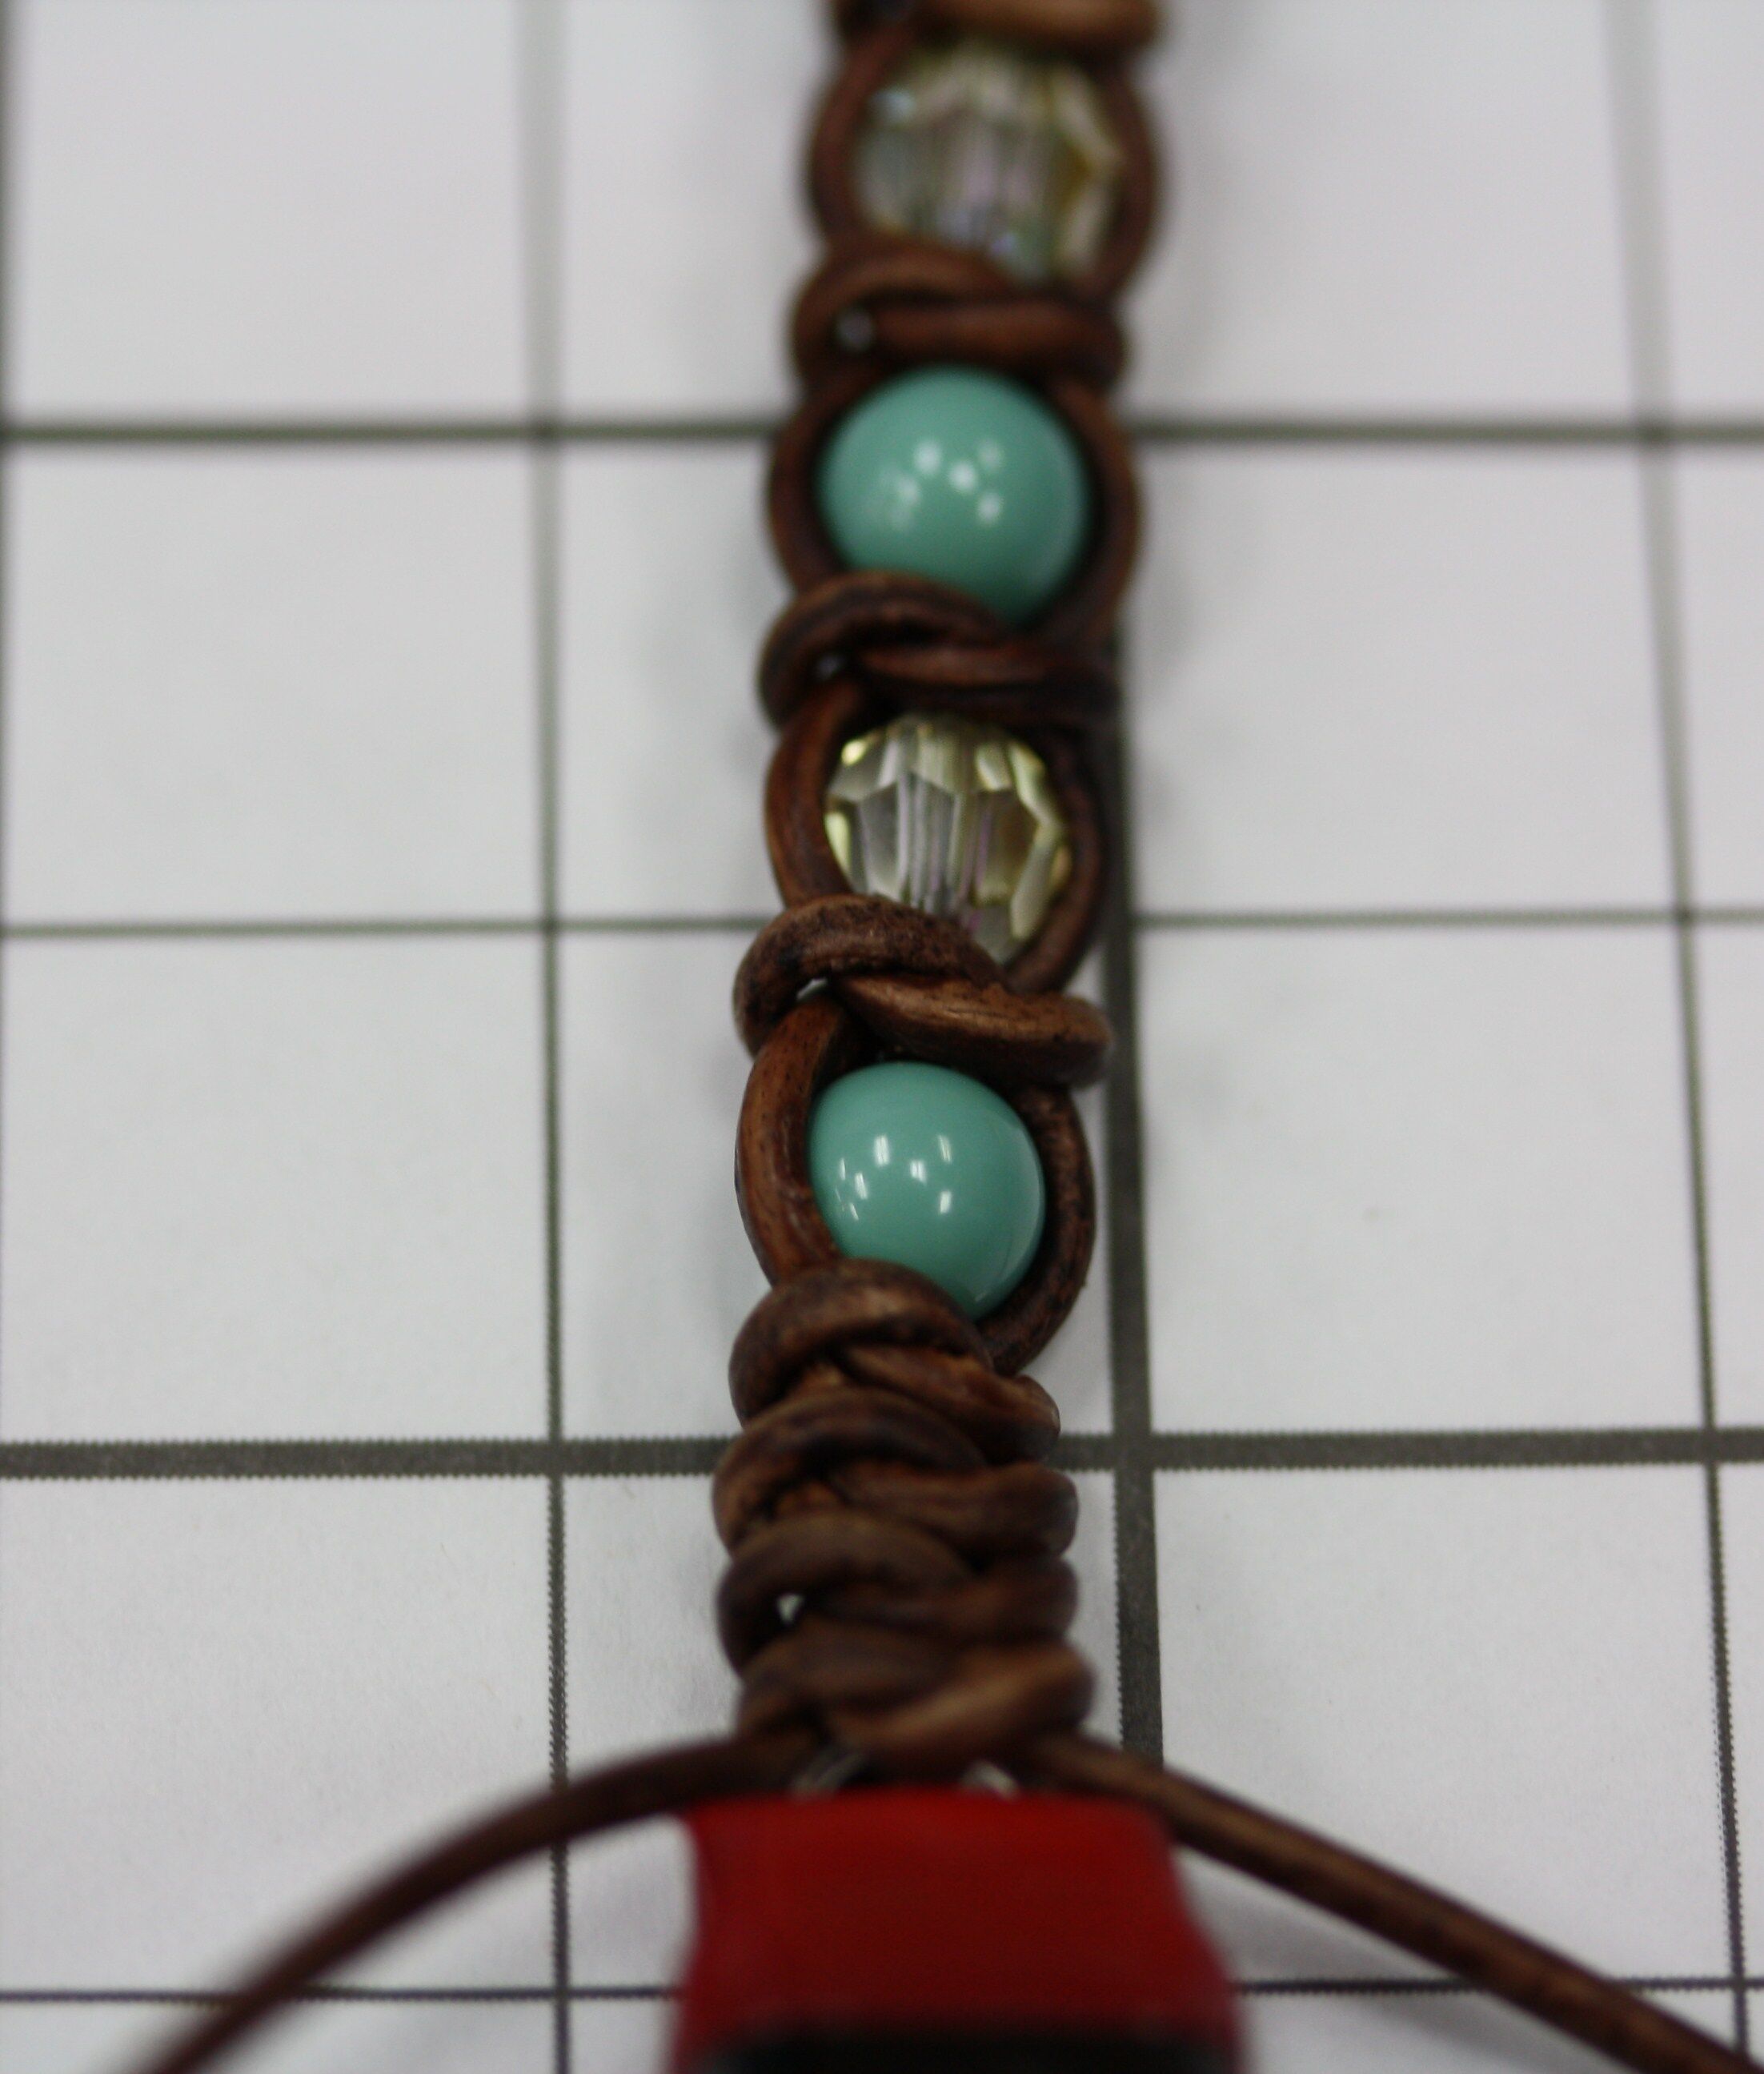
18. Pull the leather around the first bead and repeat steps 12-16 to form a Spanish knot over the two seed beads.
19. Pull the knot tight.
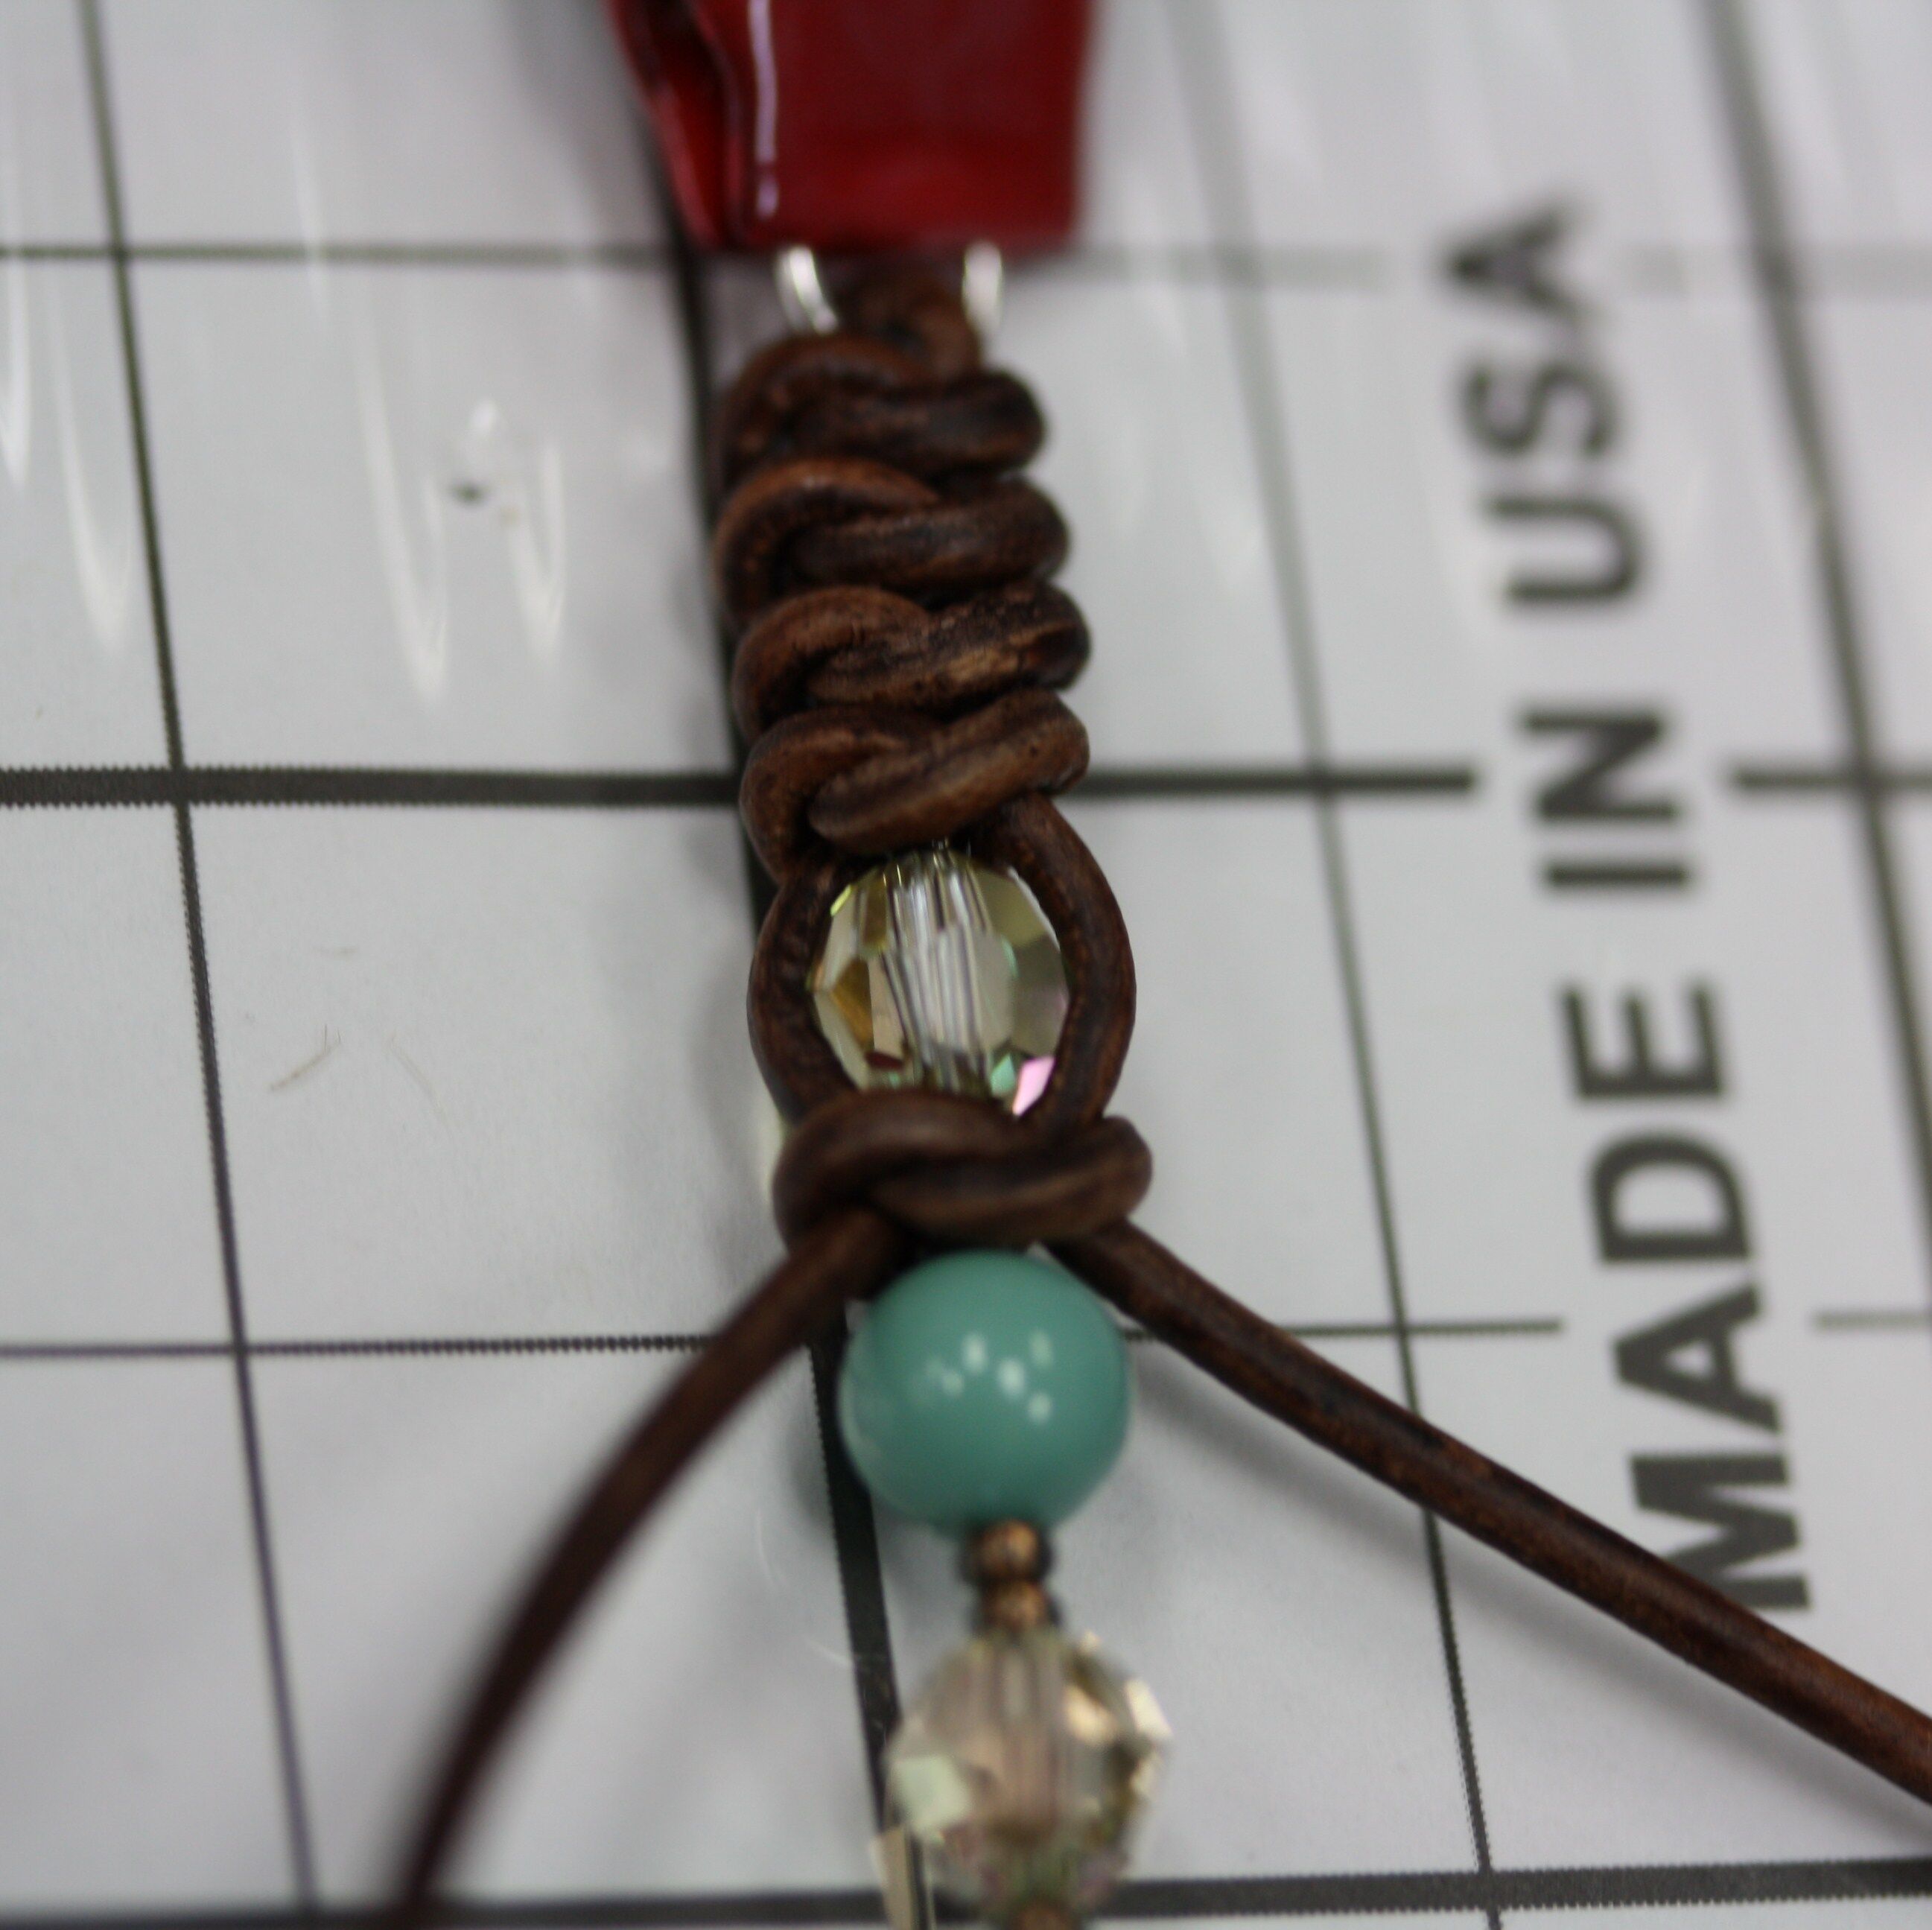
20. Repeat steps 18-19 until you have tied knots around all of your beads.
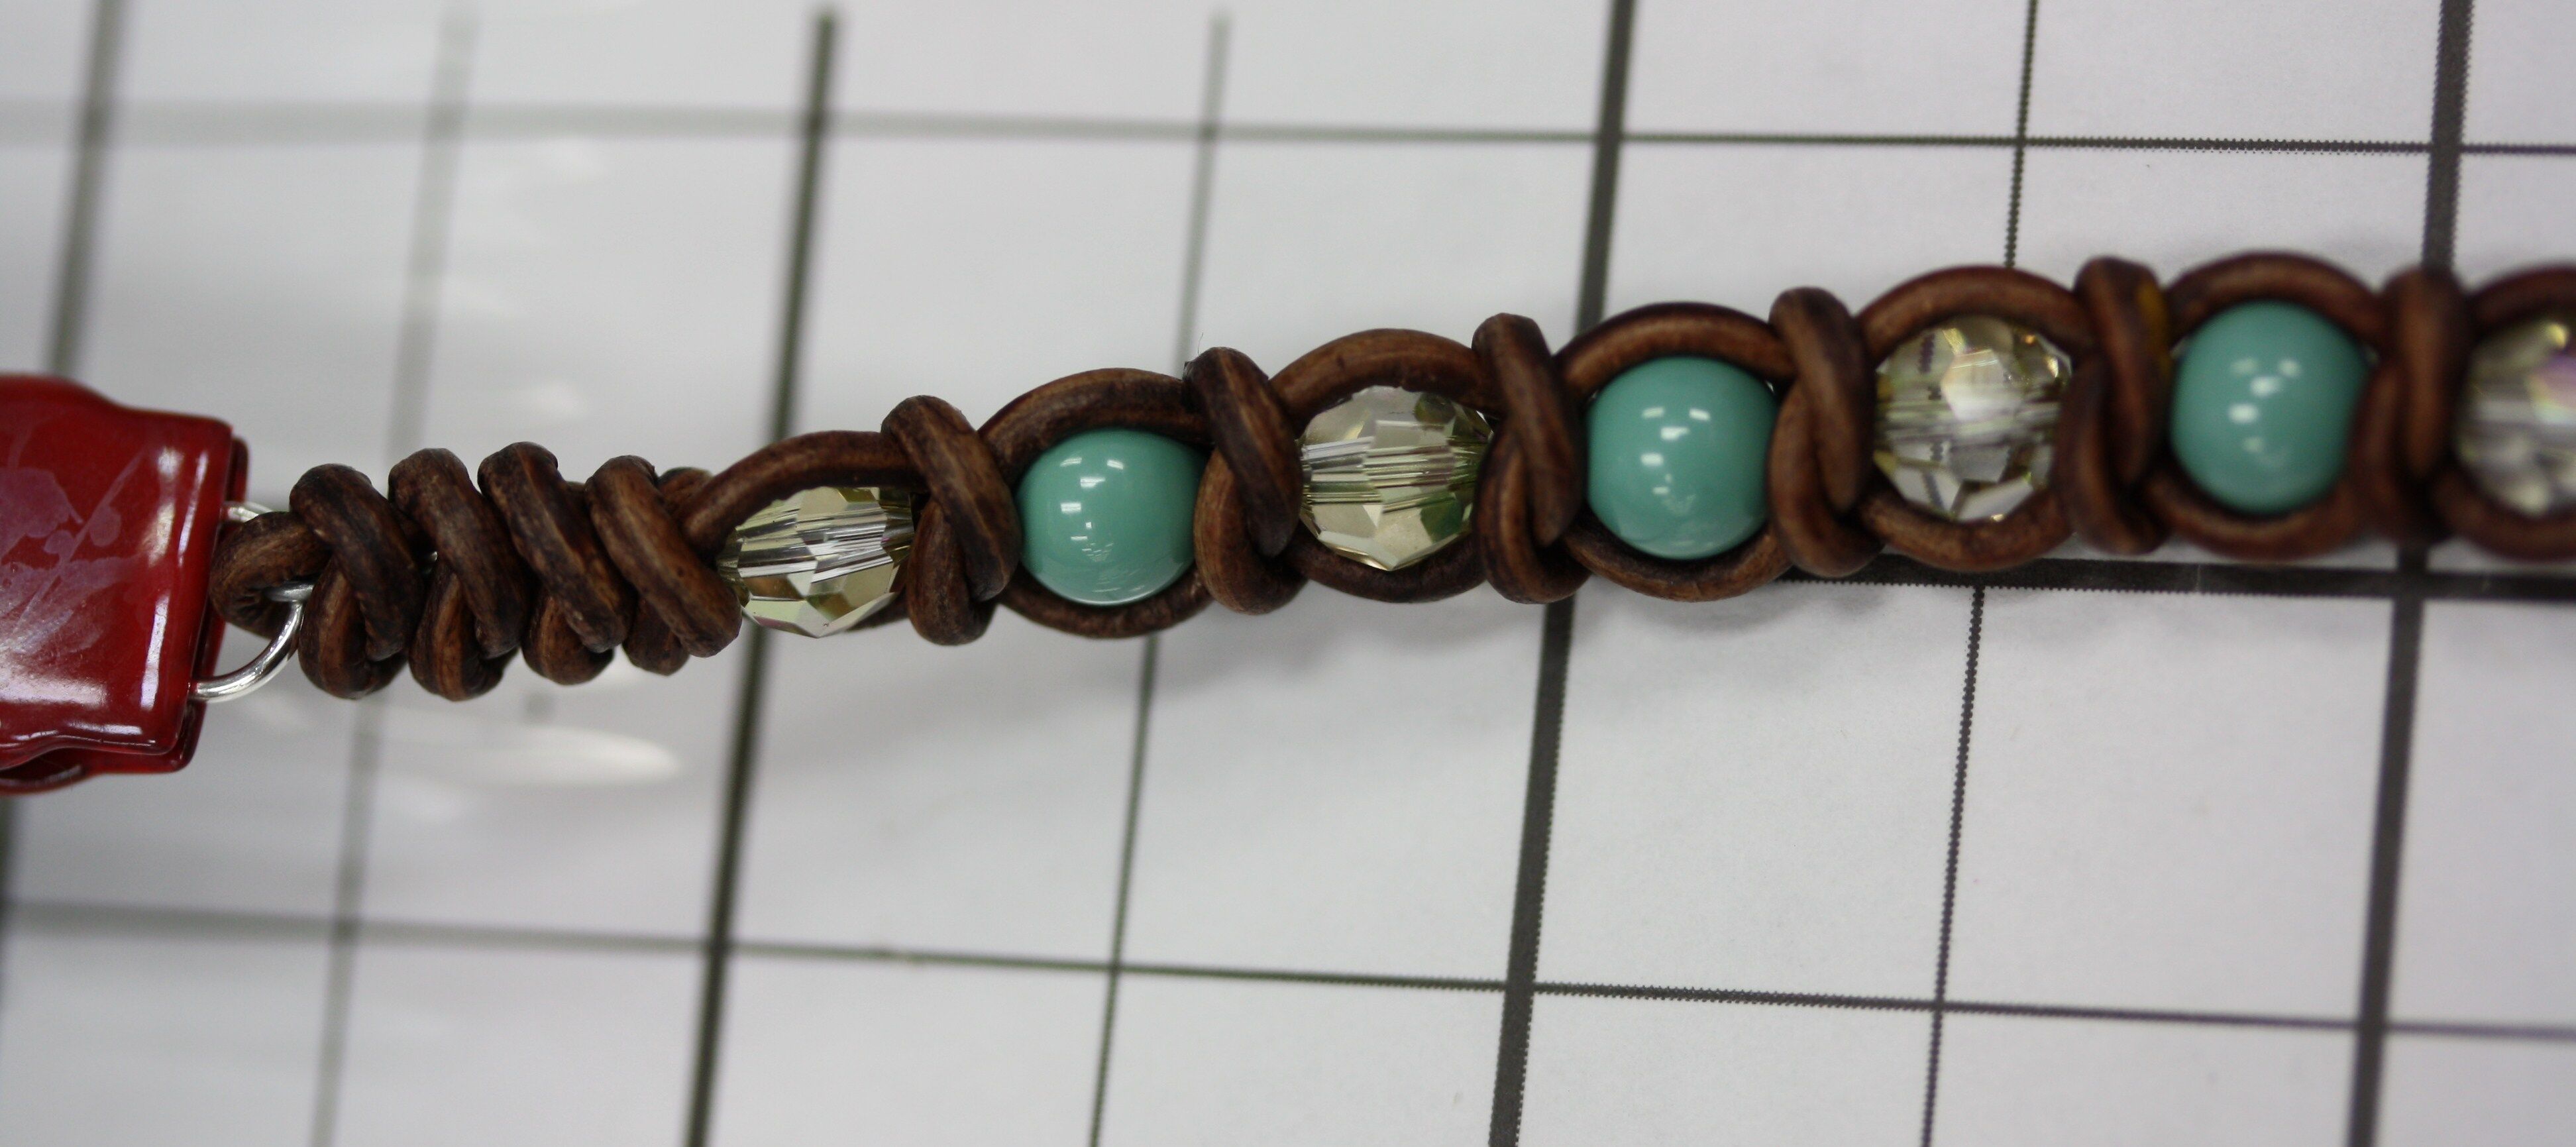
21. At the end, tie four knots. If you didn’t allow enough room for slack, you may only have space for three knots. If you have too much space, you can tie five knots. If this happens it’s okay. The sides don’t have to be even.
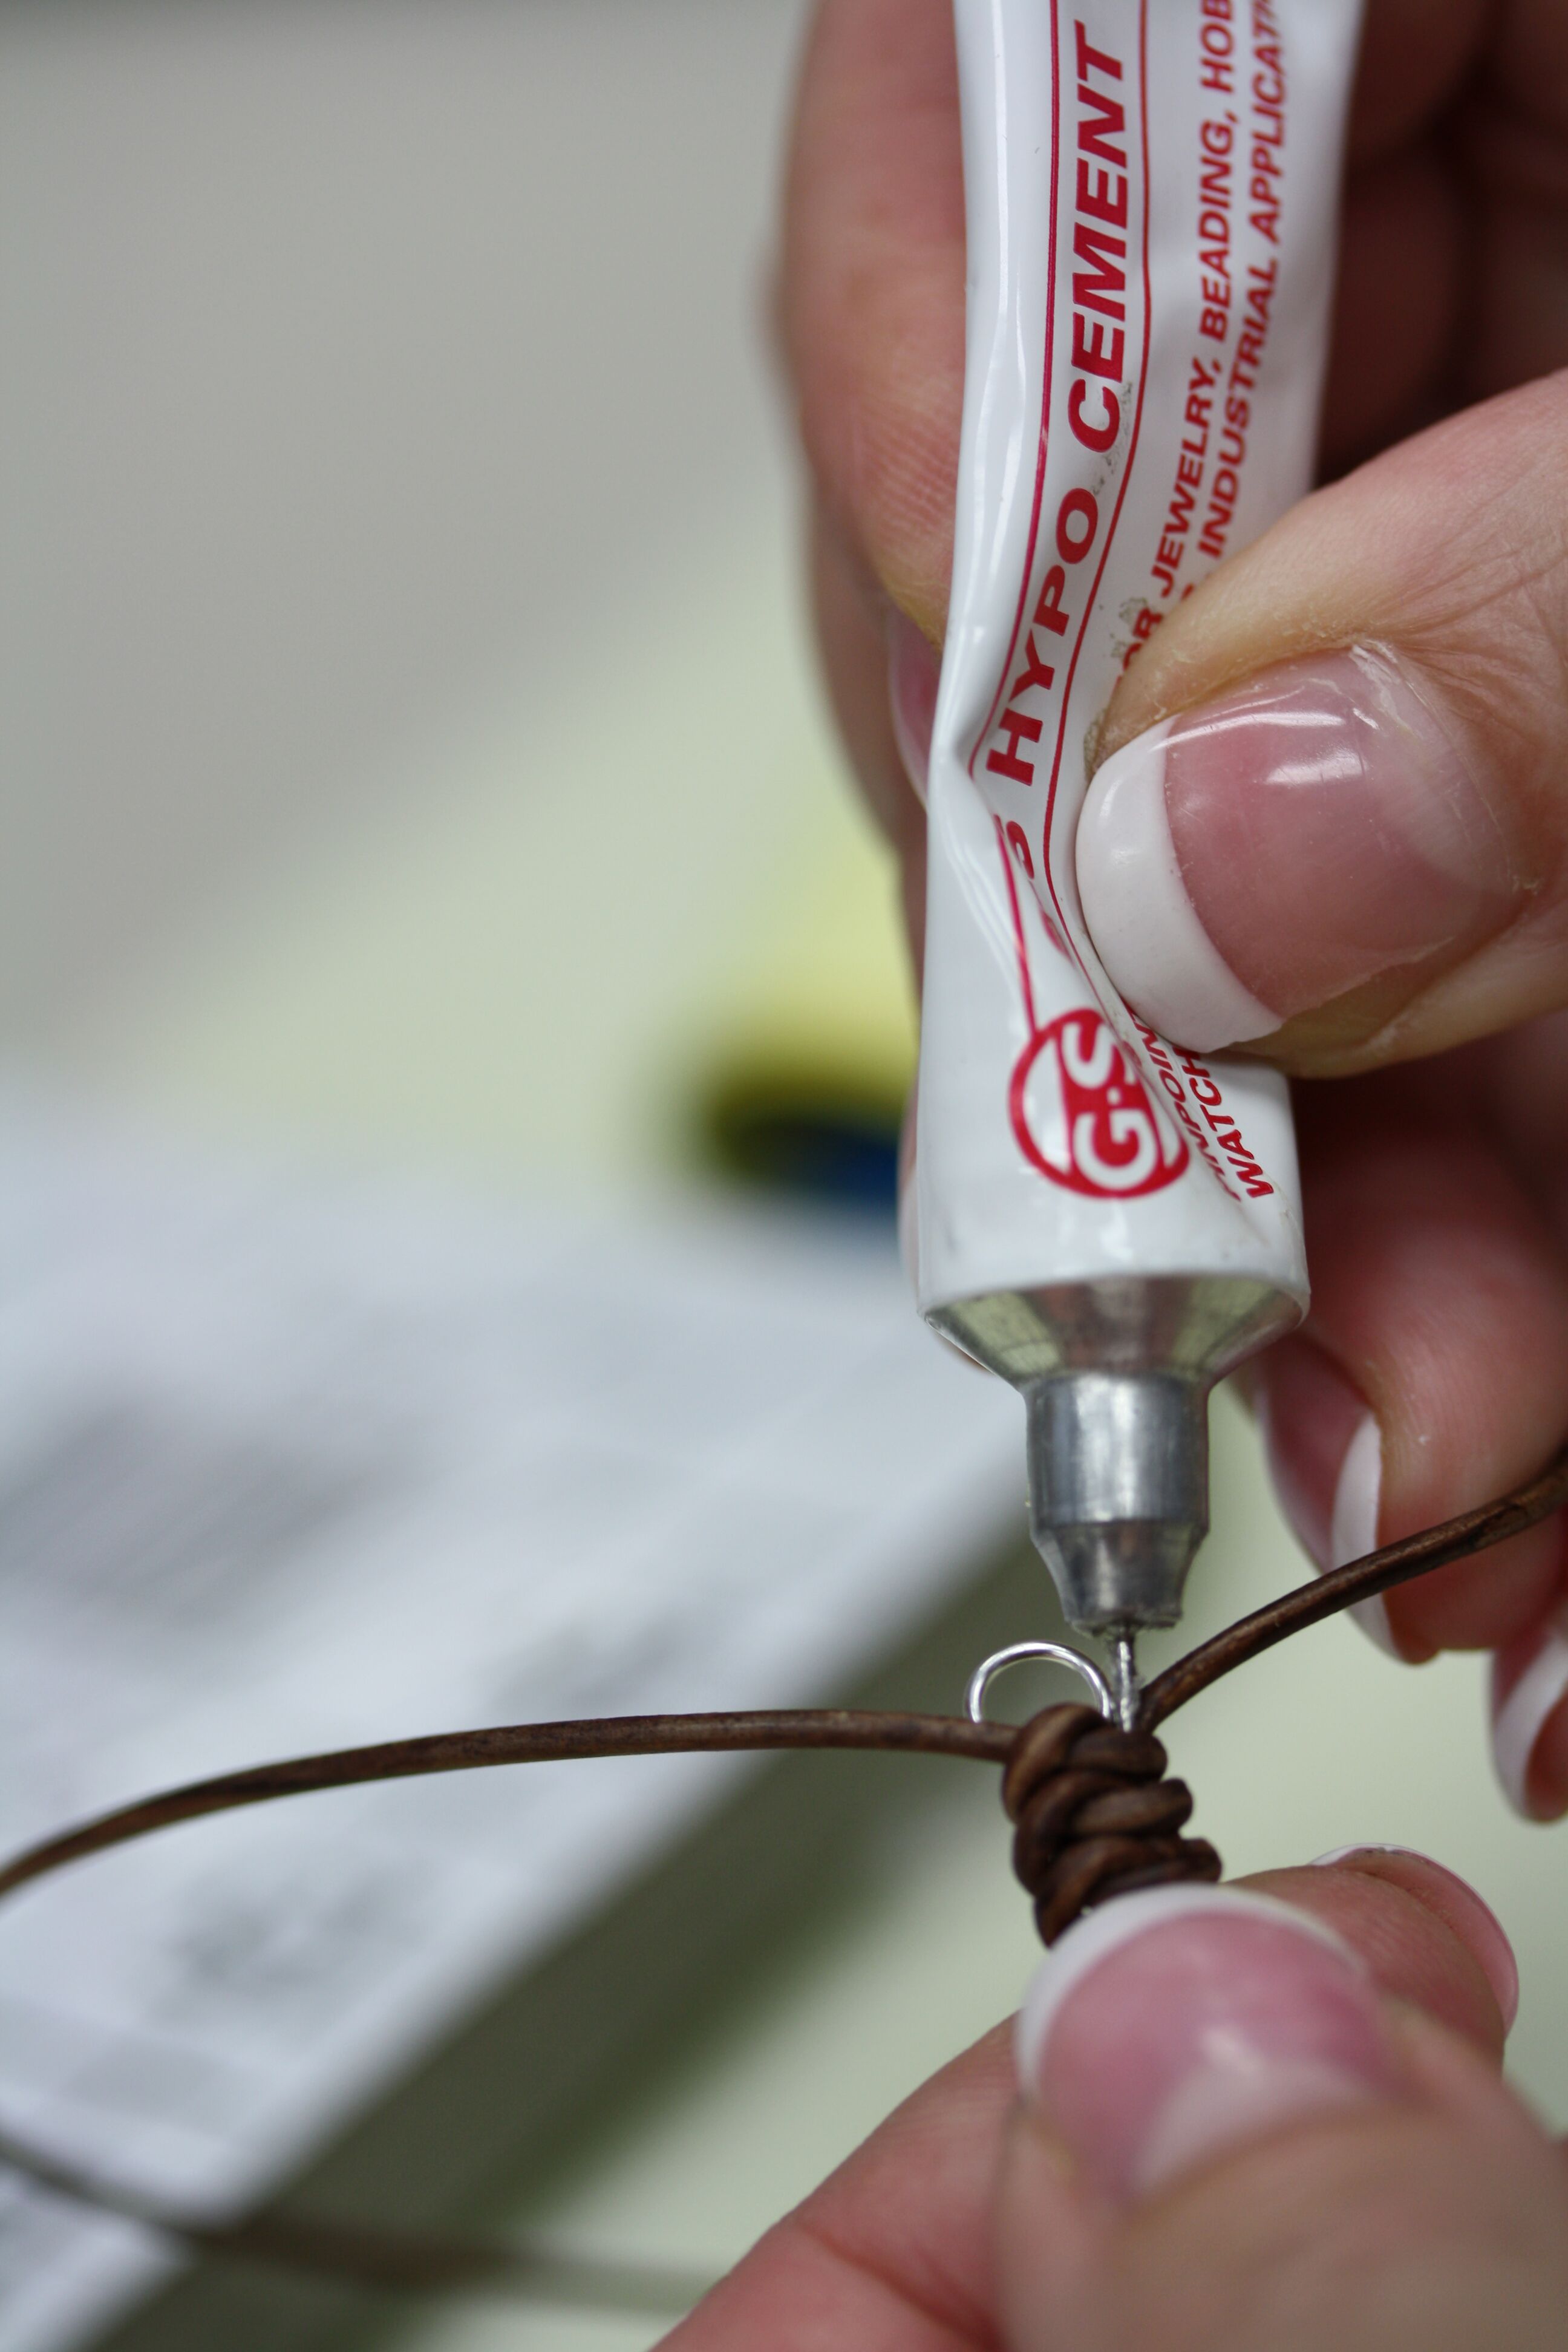
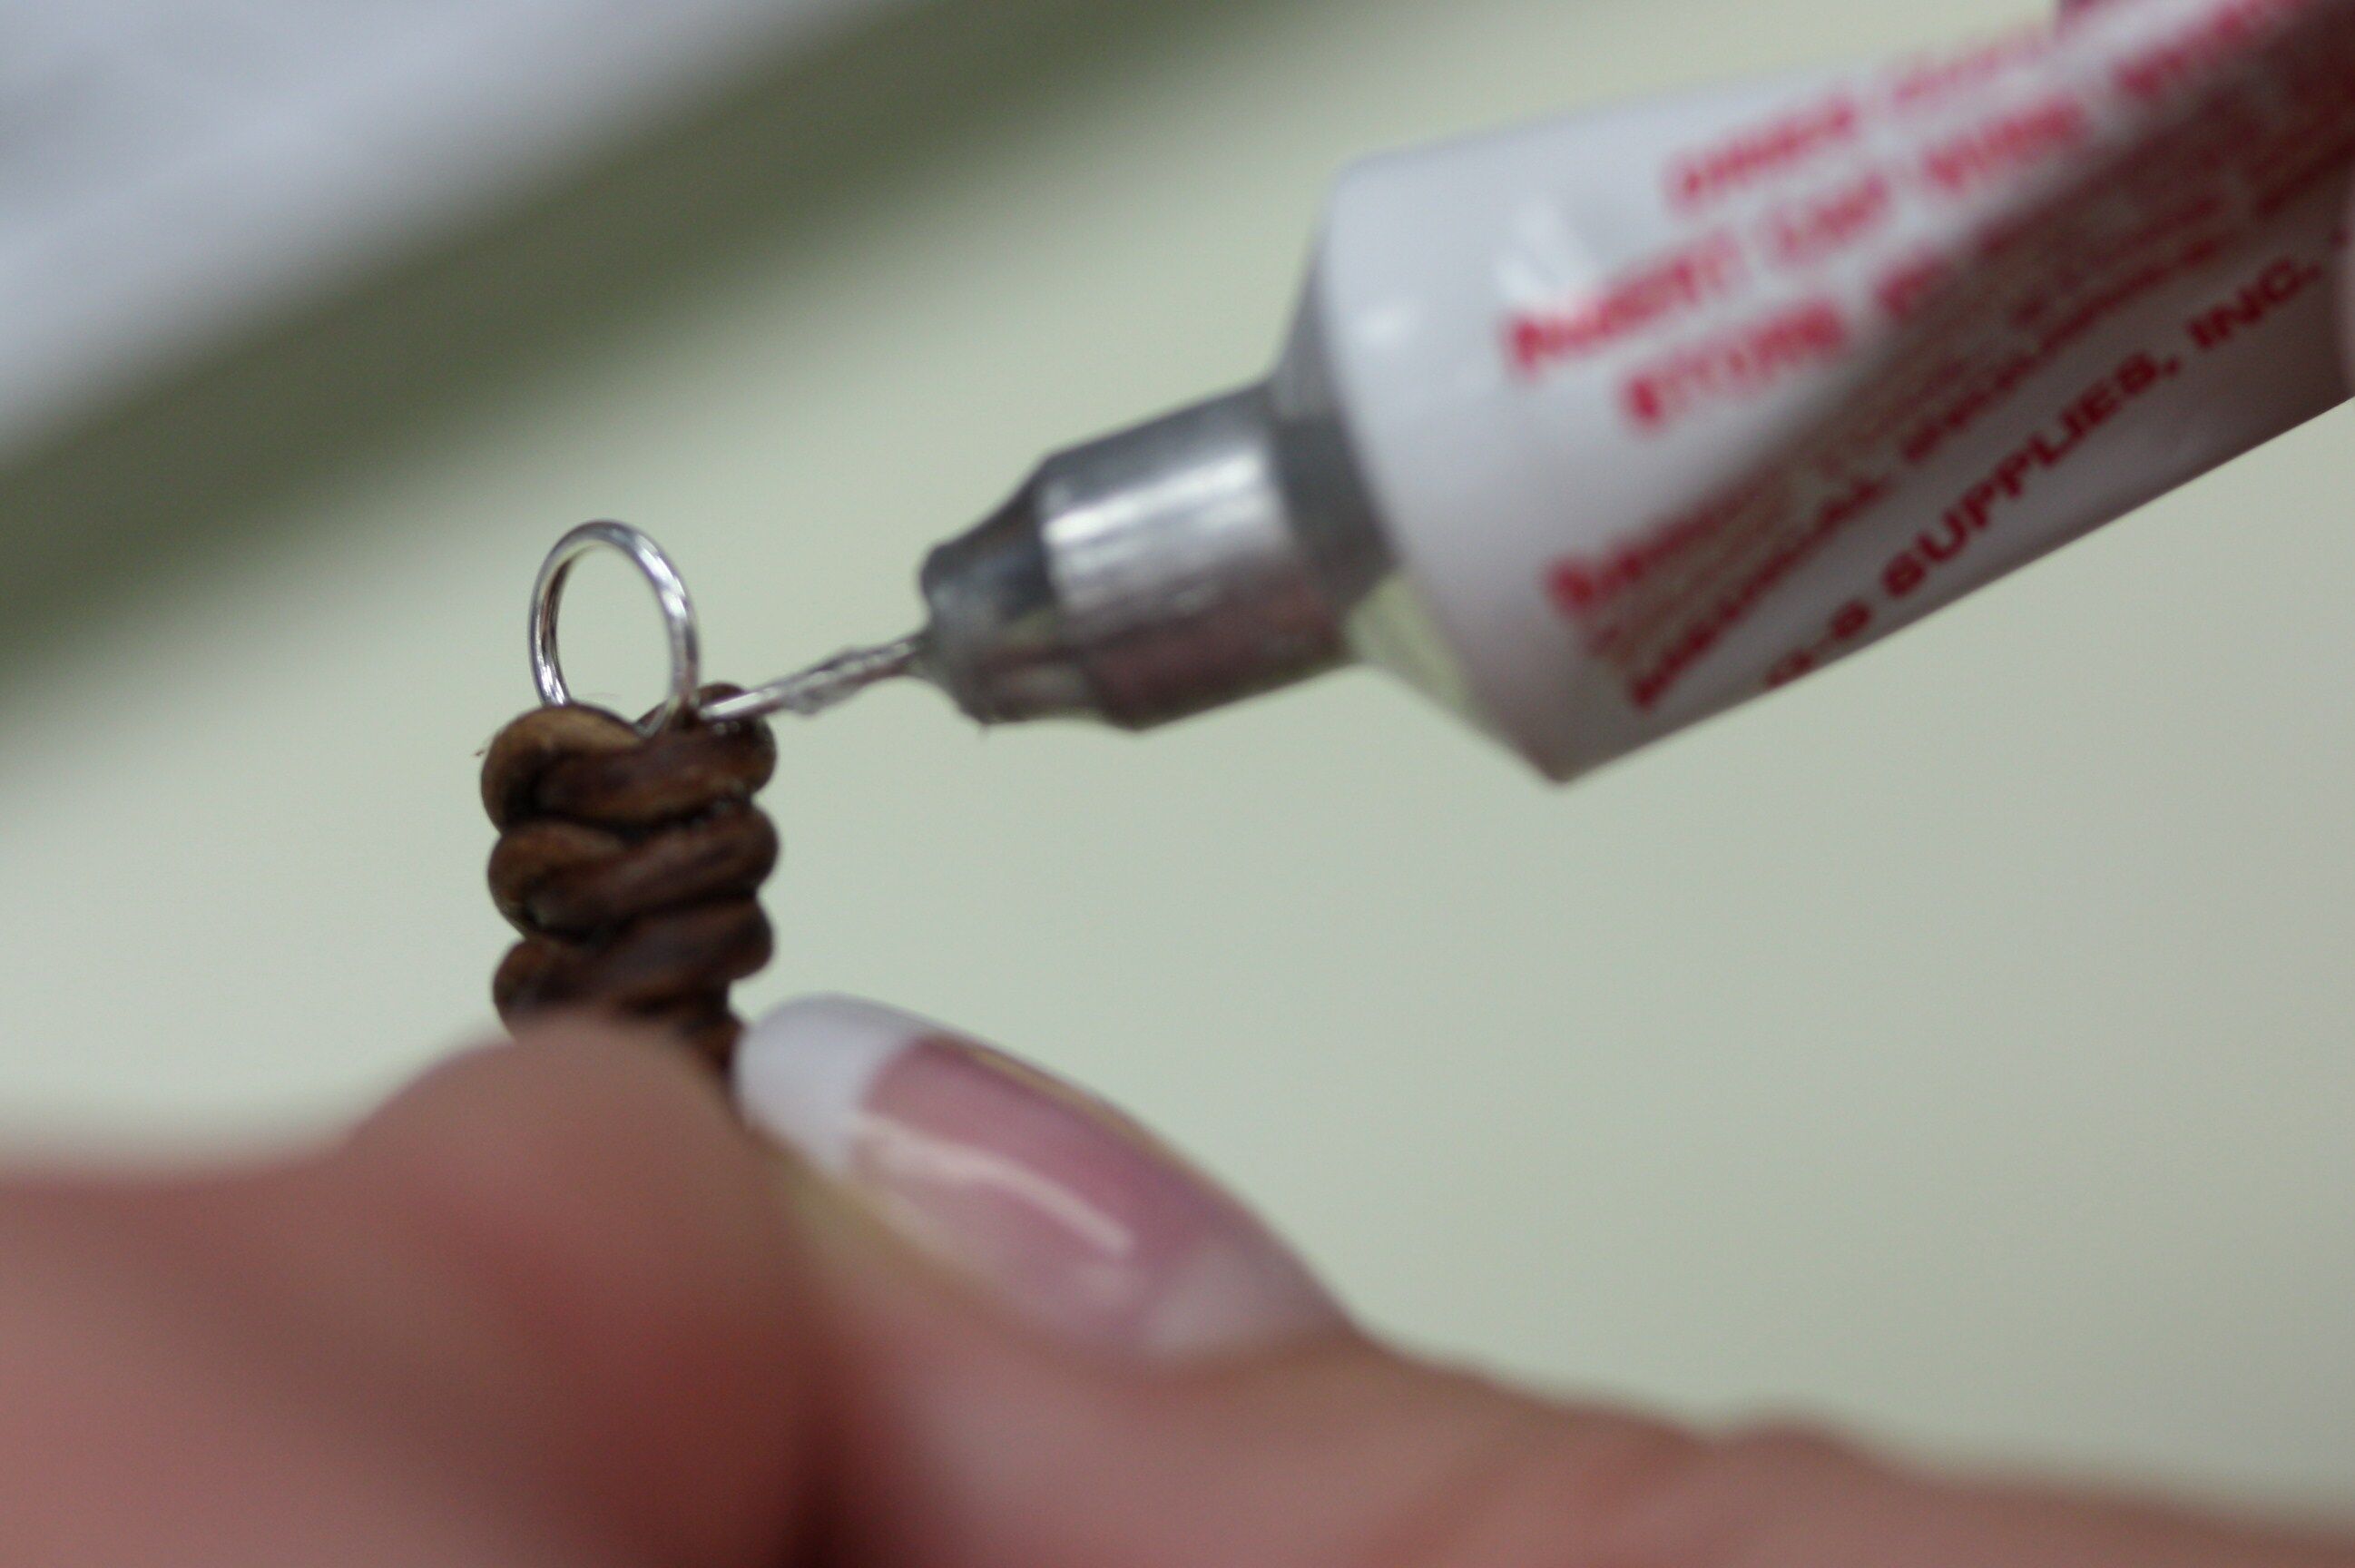
22. Complete the bracelet by putting the GS Hypo Glue (Red) needle inside all the openings of the end knots, using plenty of glue to keep them from coming undone, and pull it tight.
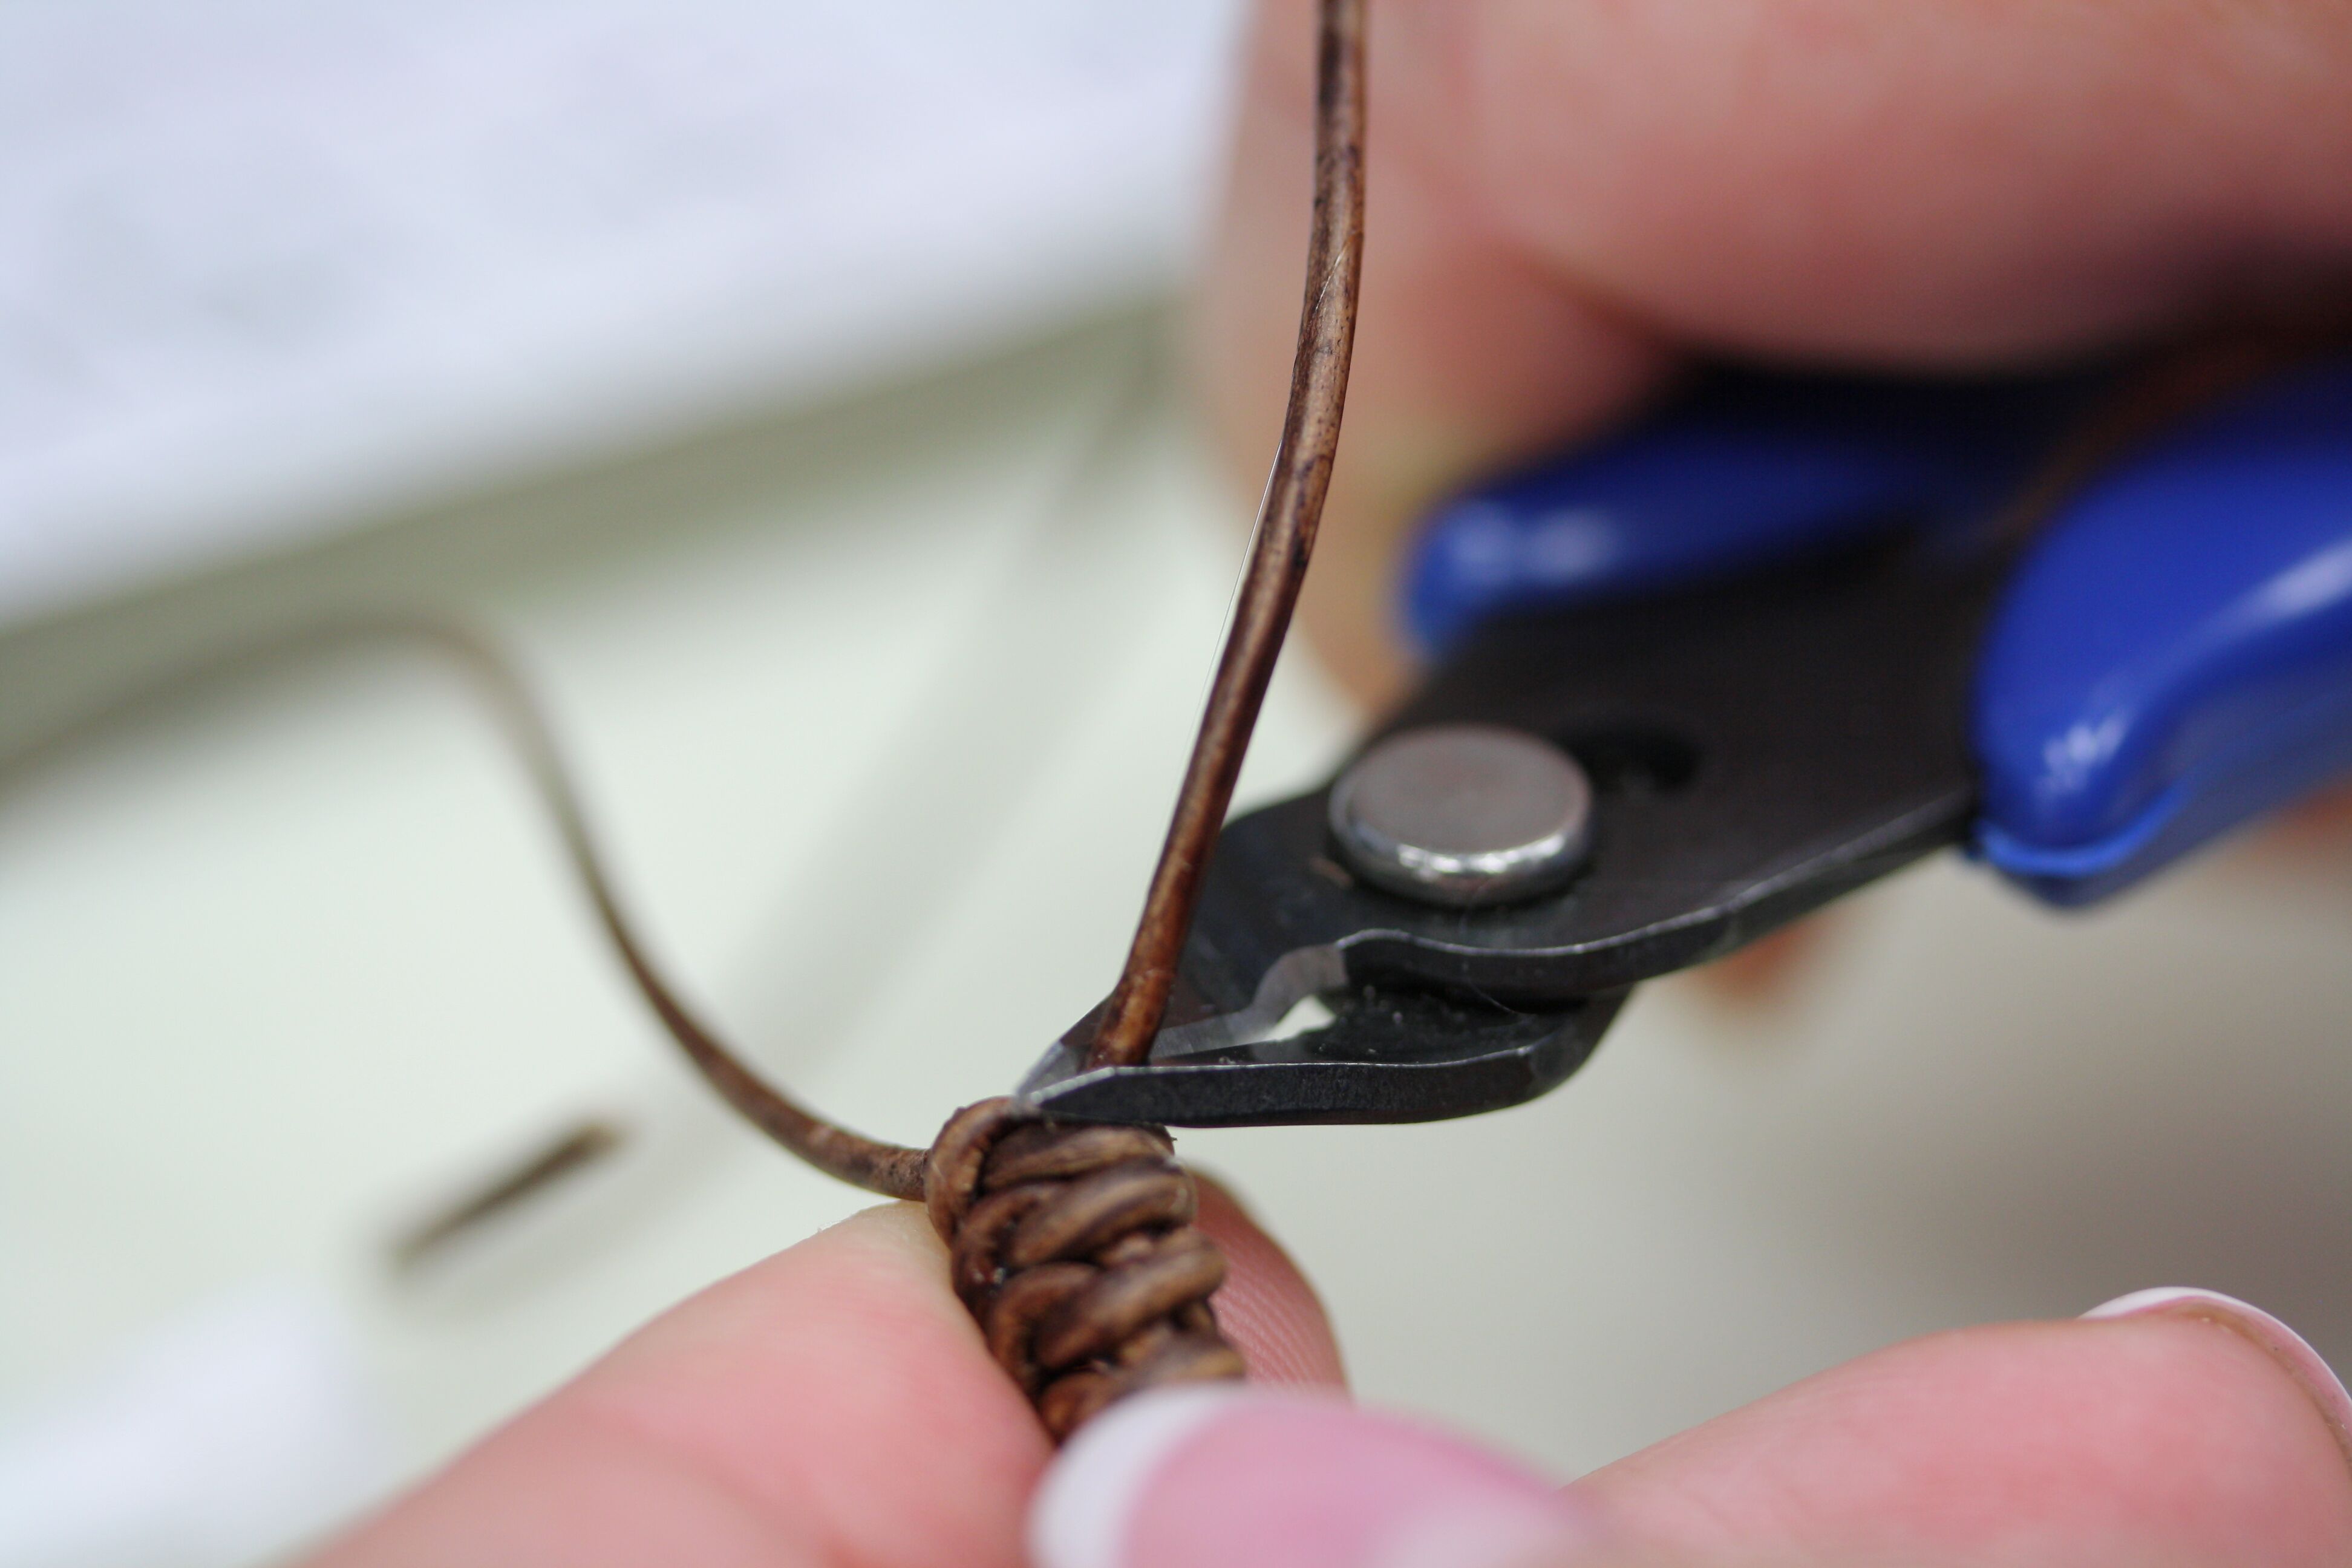
23. Allow to dry for at least 10 minutes before carefully trimming off the excess leather.
24. If the inside of the leather is light, color it in with a colored Sharpie marker. Then, add more GS Hypo glue over the cut edges.
25. Open the jump ring on the trigger clasp and string it through one closed 6mm jump ring.
26. Close the jump ring to attach the clasp.
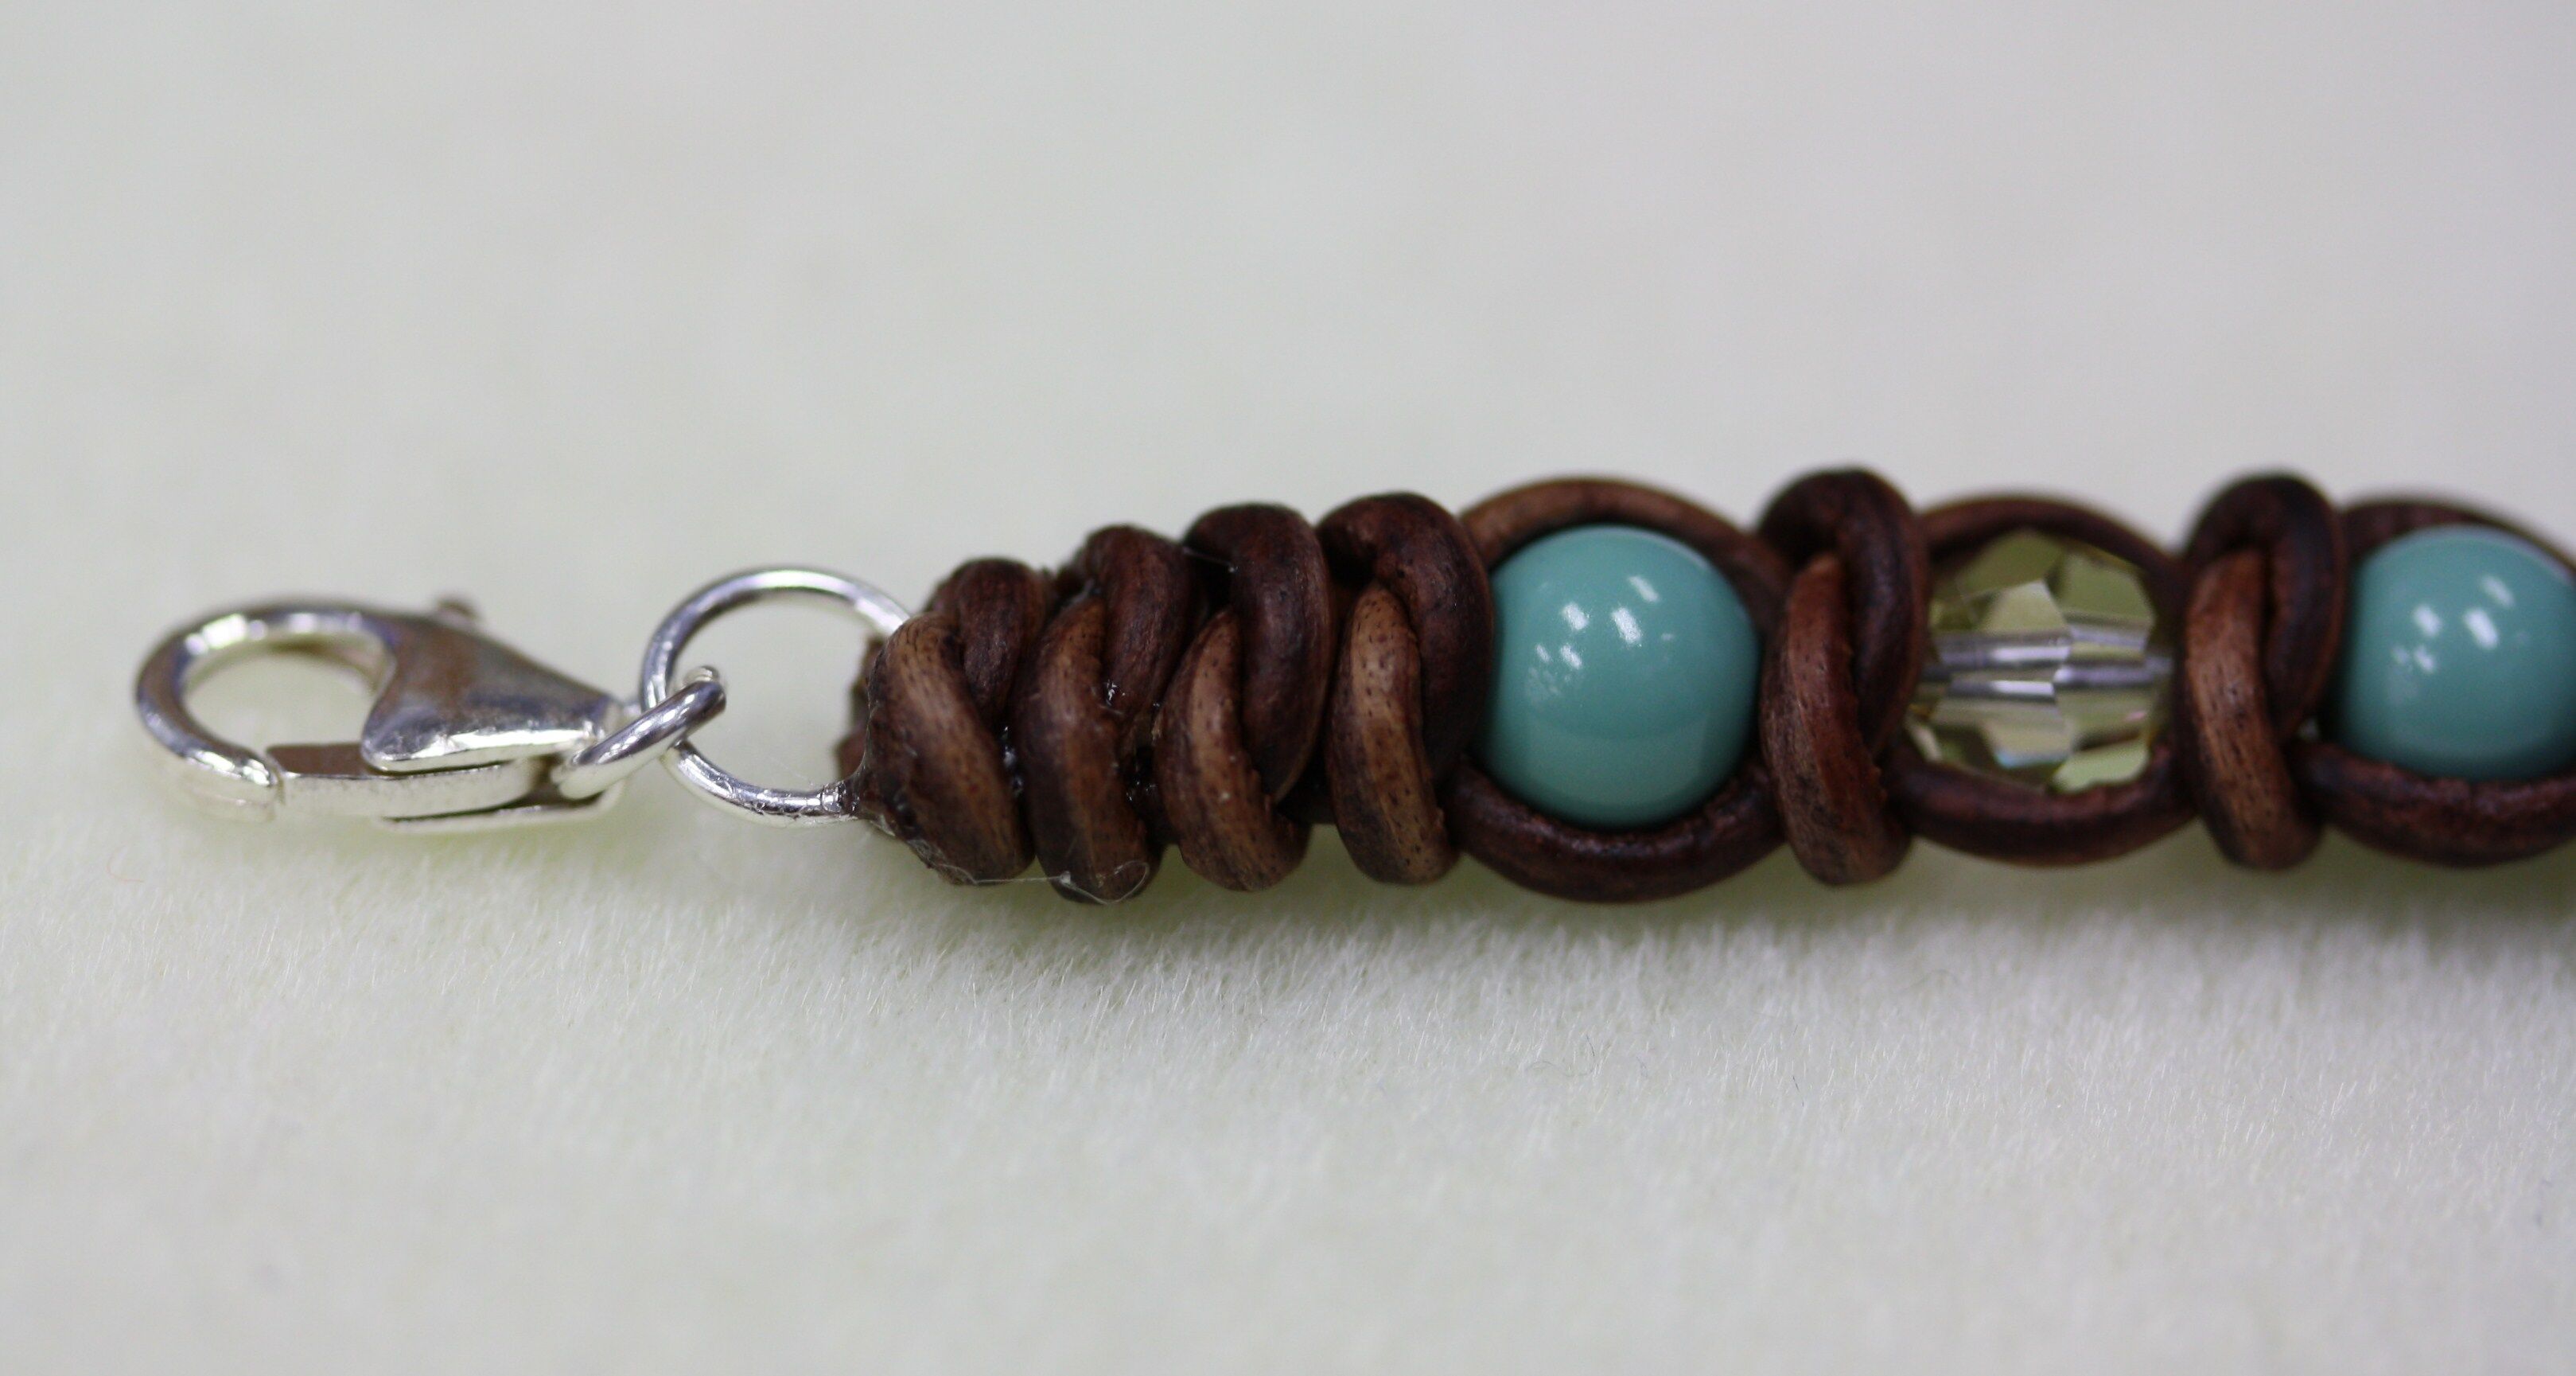
27. The trigger clasp attaches to the other 6mm jump ring. To make the bracelet adjustable in size, use three fewer 6mm beads and add chain or jump rings to this side. The finished bracelet is shown below.

Try this Intermediate Spanish Knot technique with different beads for a variety of looks!
Happy Beading!!
Recent Posts
-

Christmas Wine Charms - Mini Tutorial
Christmas Wine Charms - Mini TutorialThese wine charms are sure to be the center talking point at yo …25th Nov 2024 -

Christmas Bow Garland - Mini Tutorial
Christmas Bow Garland - Mini TutorialCreate your own holiday decor with a Christmas-colored bow garl …14th Nov 2024 -

Charm Necklace Tutorial
Charm Necklace TutorialEmbrace individuality with our Personalized Charm Necklace tutorial, a perfec …6th Nov 2024