
Tutorials
Leather Wrap Hat Band - Western Delica Pattern
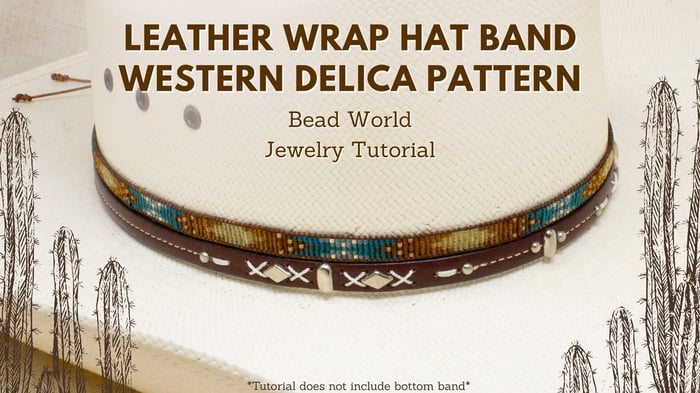
Leather Wrap Hat Band - Western Delica Pattern
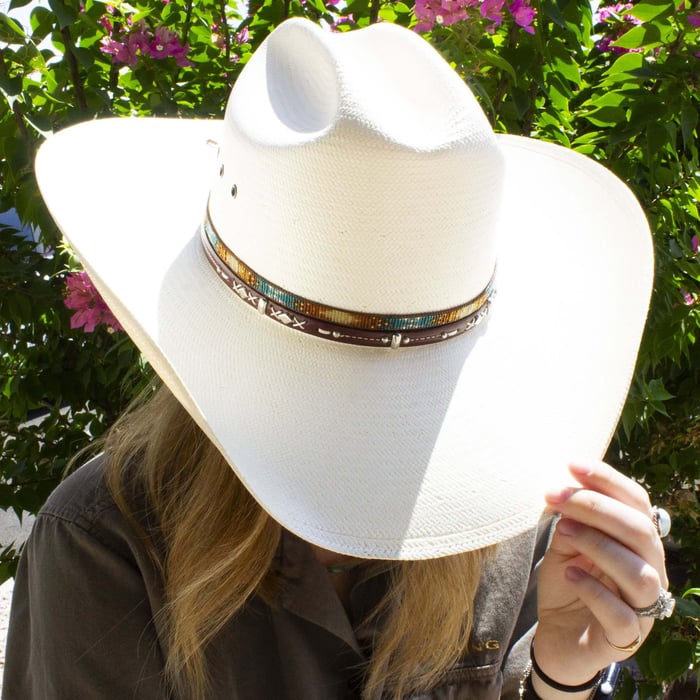
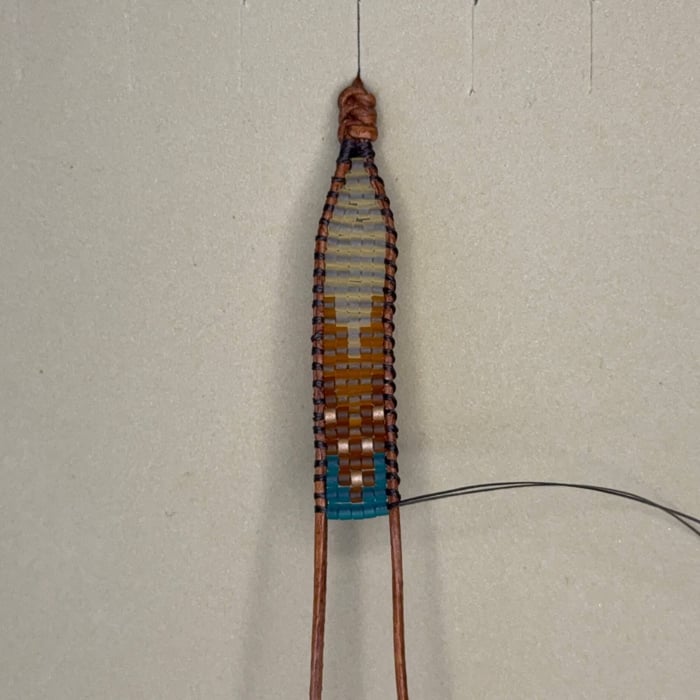
This tutorial teaches you how to make a leather wrap hat band using rows of Delica seed beads to create a Western-inspired pattern. The featured design, shown as the top in the images, combines earthy tones like turquoise, amber, and metallic colors in a geometric pattern that adds a handcrafted, Southwestern flair to any hat. It's a great project for adding unique, beaded detail to your Western look.
Finish using a different closure, like a button, to make this a 3 wrap bracelet.
*Please use caution while creating this project, it is very easy to poke yourself with the needle*
Materials Needed:
- Delicas Size 11 Miyuki Seed Beads -- 1158 Galvanized Light Smoky Amethyst Semi Matte
- Delicas Size 11 Miyuki Seed Beads -- 764 Transparent Dark Topaz Matte
- Delicas Size 11 Miyuki Seed Beads -- 1272 Transparent Crystal Ivory Matte
- Delicas Size 11 Miyuki Seed Beads -- 1163 Galvanized Mead Matte
- Delicas Size 11 Miyuki Seed Beads -- 1261 Transparent Marigold Matte
- Delicas Size 11 Miyuki Seed Beads -- 1268 Transparent Caribbean Teal Matte
- Delicas Size 11 Miyuki Seed Beads -- 385 Sea Glass Green Matte
- Natural Light Brown 1mm Leather Cord (7ft 4 inches - there will be a little leftover - use more leather if you wish your project to be longer - i.e. bigger hat)
- Rose Gold Plated 8mm Silicone Suction Bead - 2.5mm Hole or color of your choice with a 2.5mm hole (1)
- One-G Thread - 50 Yards - Brown
- Tulip Size 10 Long Needles
Tools Required:
Mini Macrame Bead Board optional - you can also tape one end to your work surface
Pattern:
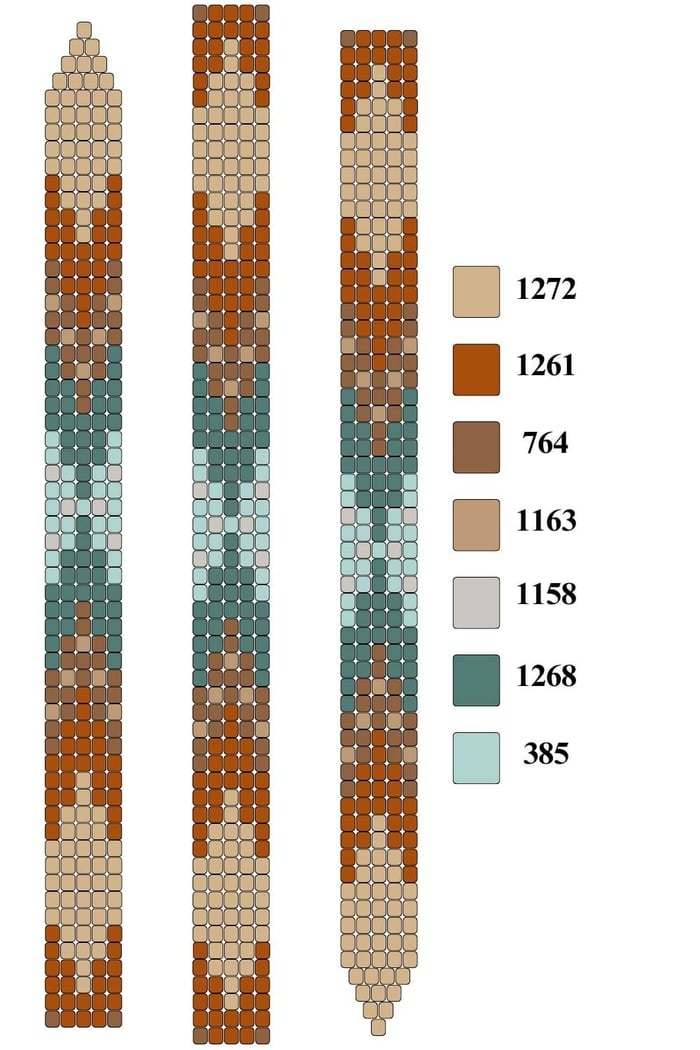
The pattern above shows the start and finish of the project, you will continue repeating the center pattern of the 3 shown until you reach your desired length
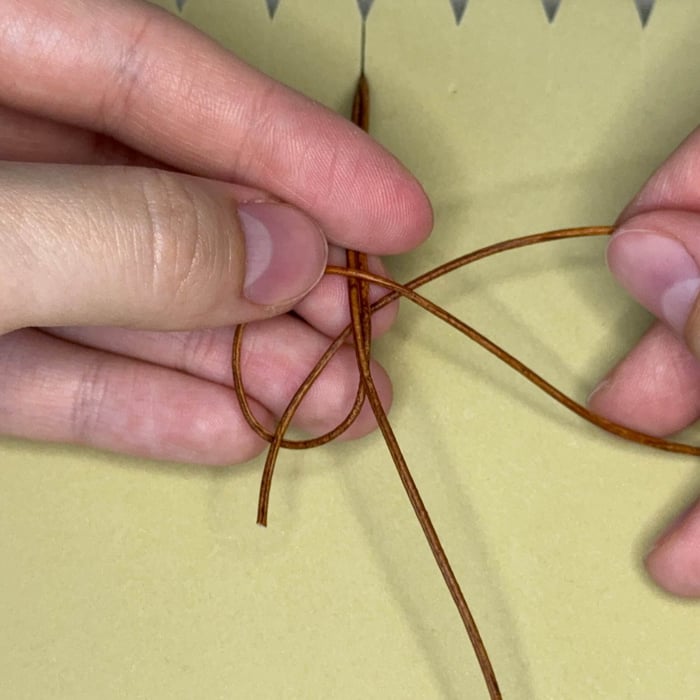
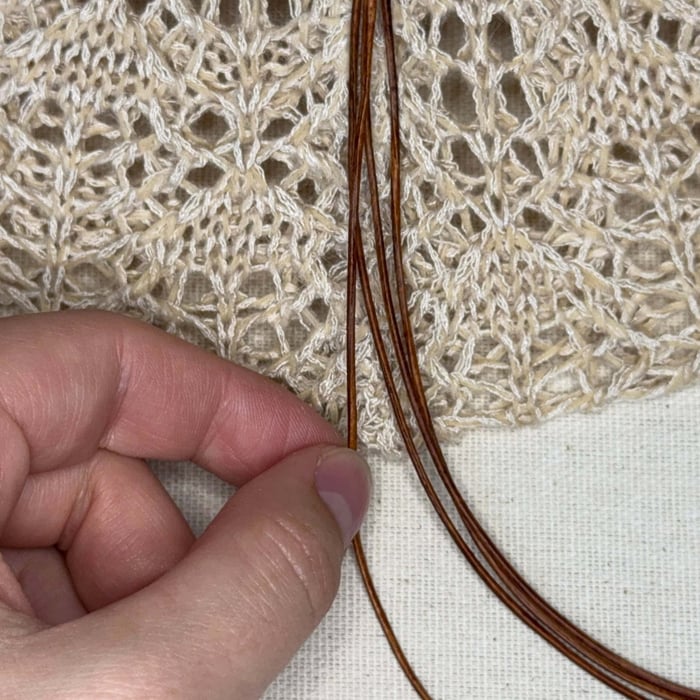
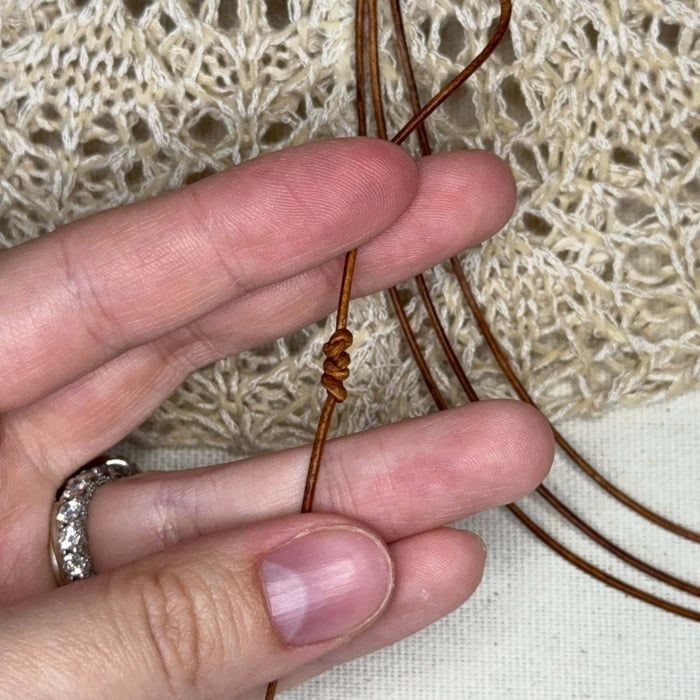
Instructions on Construction: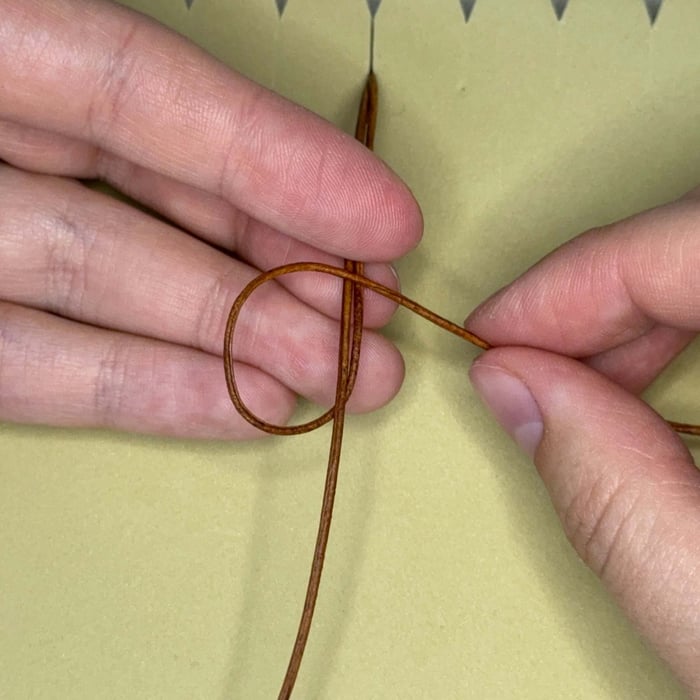 1. Cut two lengths of equal leather measuring 3ft 8 inches each. Measure 8 inches to the point where you will make your first knot (longer if you want longer tail ends and you have longer pieces of leather as a whole), then place the two pieces of leather into the center of the macrame board. We will now create a Spanish Knot (also known as a Snake Knot).
Keep the left cord straight, loop the right cord under the left cord then over like shown in the picture above.
***TIP: you can also just tape the ends of your leather cord to your desk / work surface. The macrame board isn't necessary although very handy for using while traveling or an easy way to put your unfinished project away until you're ready to complete it.
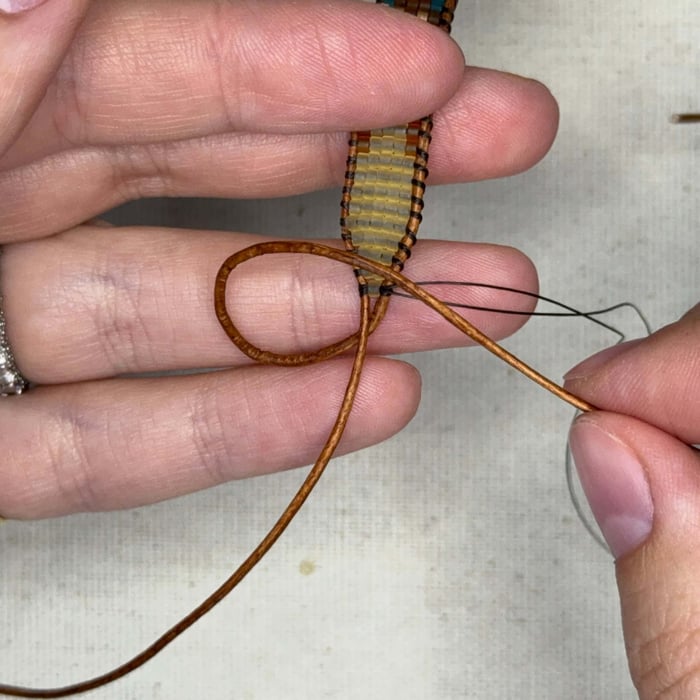
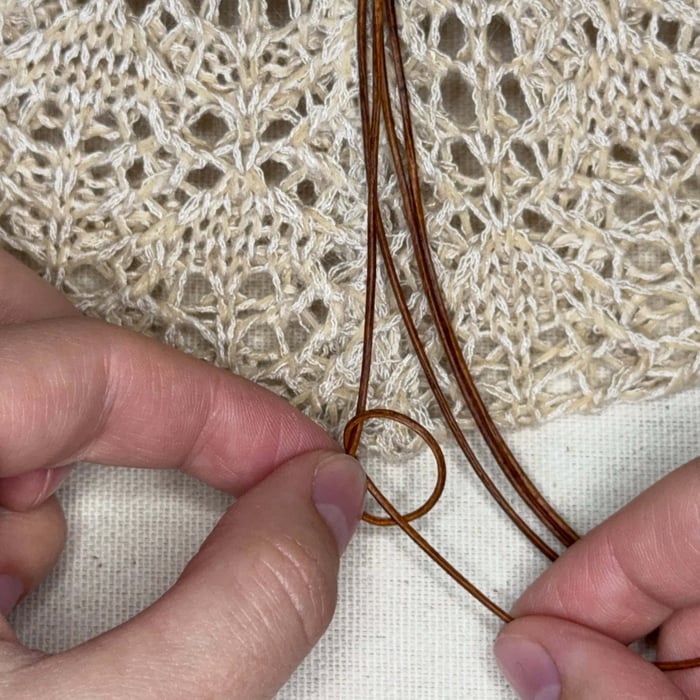
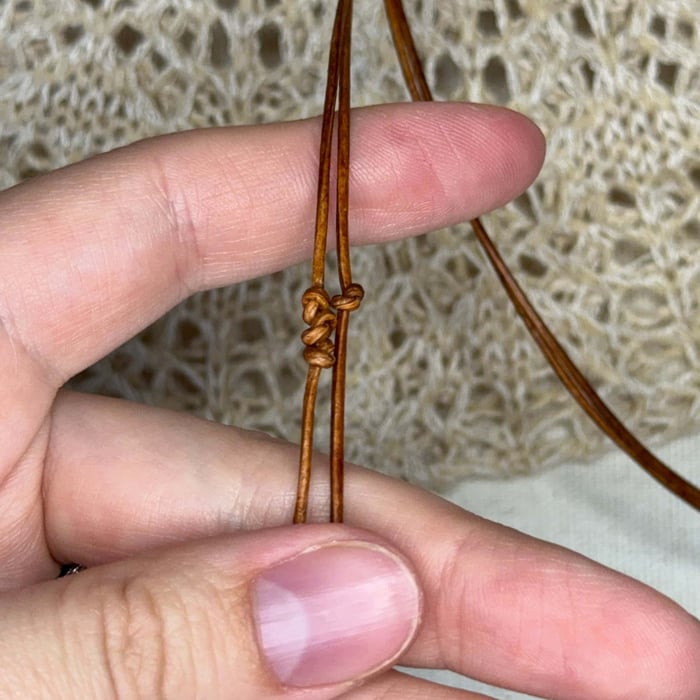
2. While holding the loop you just made, take the left cord and thread the end through the previously made loop
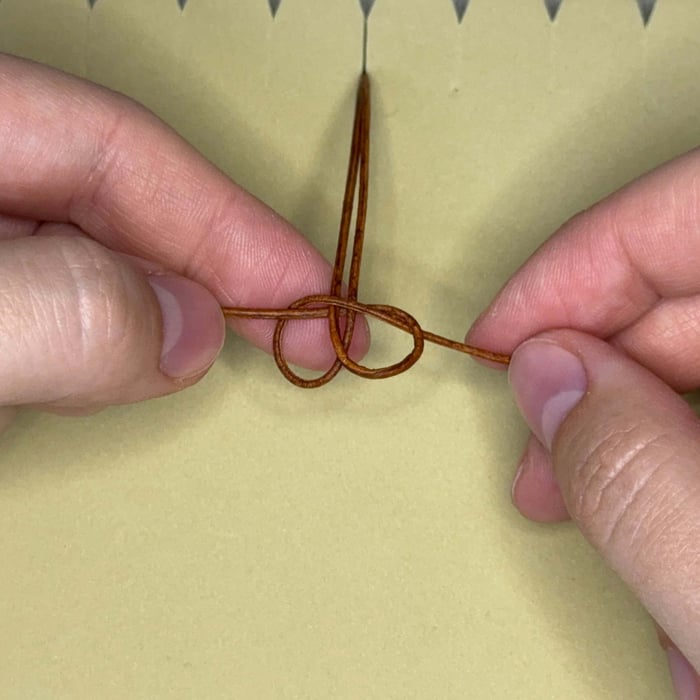
3. Keeping the loops intact (don't let them fold over themselves), gently start to tighten the loops to create the knot.
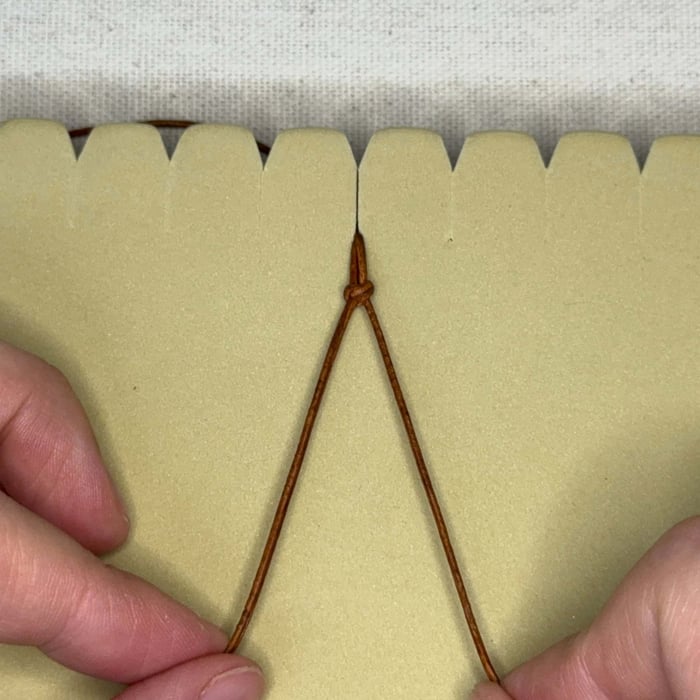
4. Tighten the knot
***TIP: Be careful tightening your knots, it is much easier to tear leather than you realize.
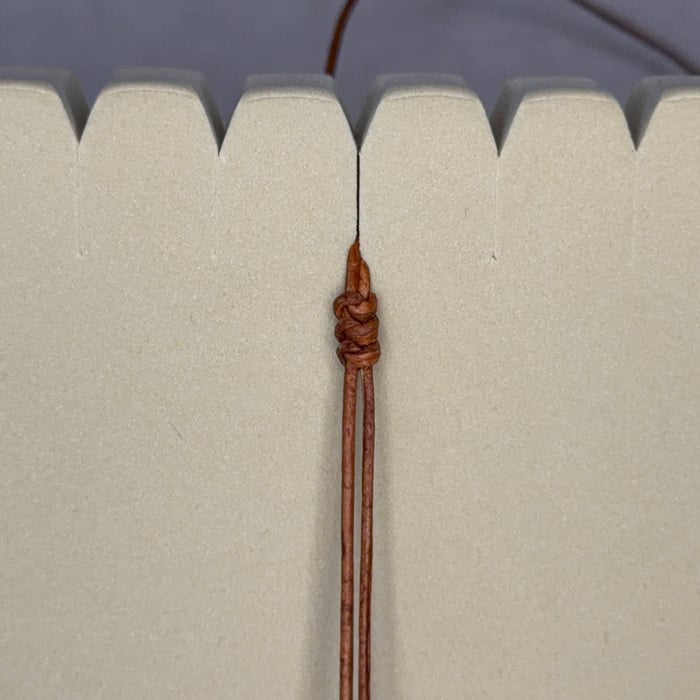
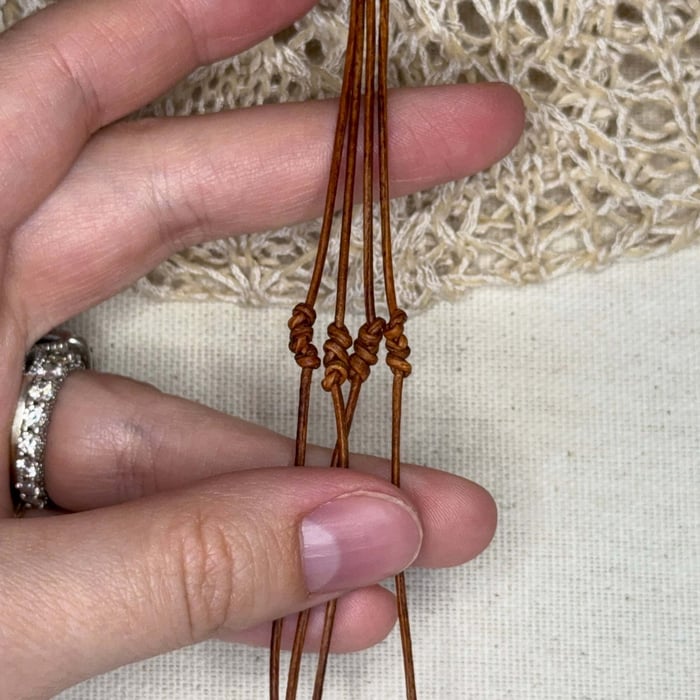
5. Create two more Spanish knots so you have 3 in total lined up close together.
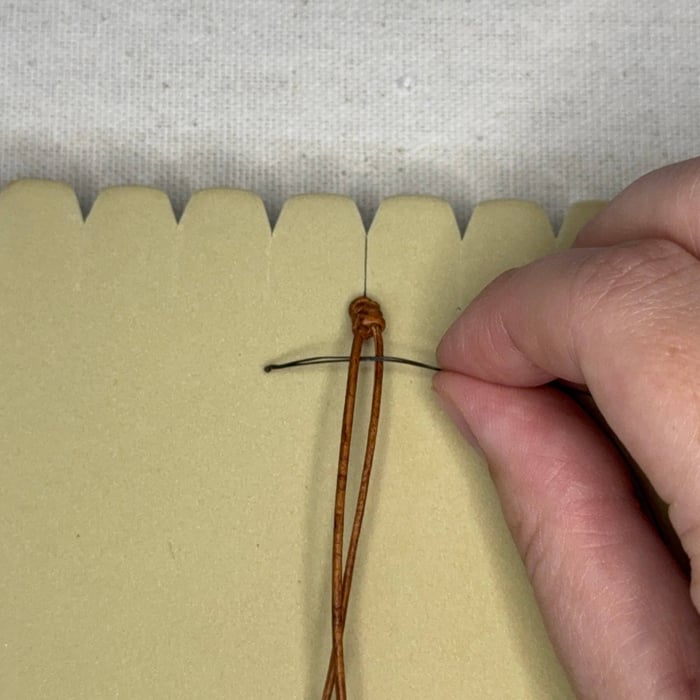
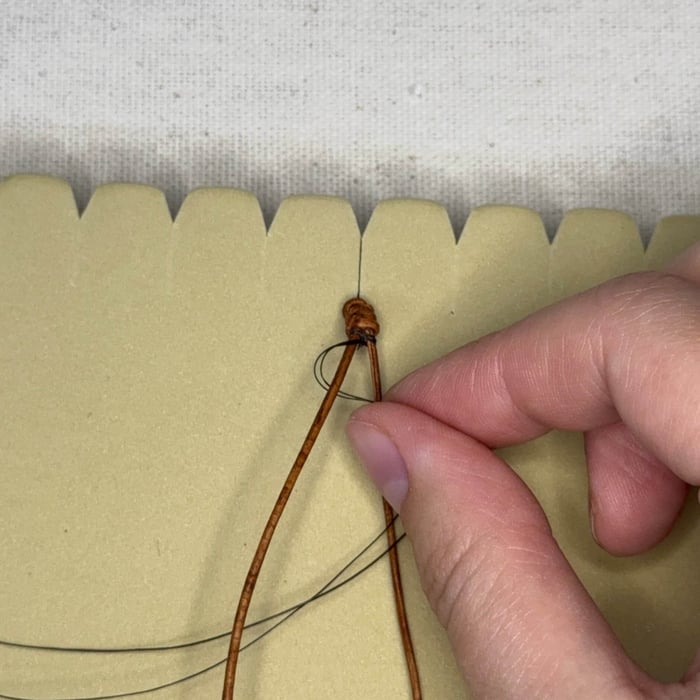
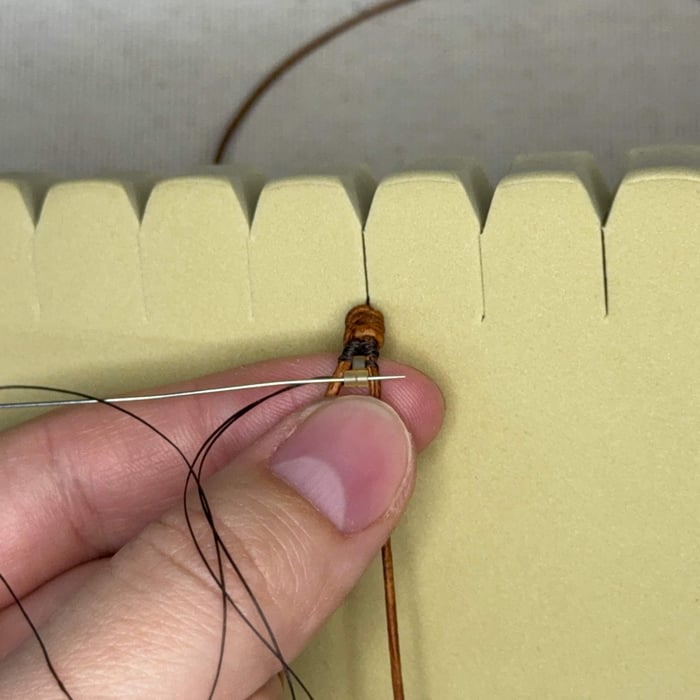
6. Cut 8 feet of one G thread, thread on the tulip needle and pull it to the center of the thread. At the end of the thread, tie an overhand knot to secure the ends together. Trim tail ends. Now we will attach the thread to the leather. First, you will put the knot end just under the left leather cord.
7. Thread your needle through the loop (over the leather)
8. Pull the thread to the right so the knot is "hiding" in the center between the two leather cords
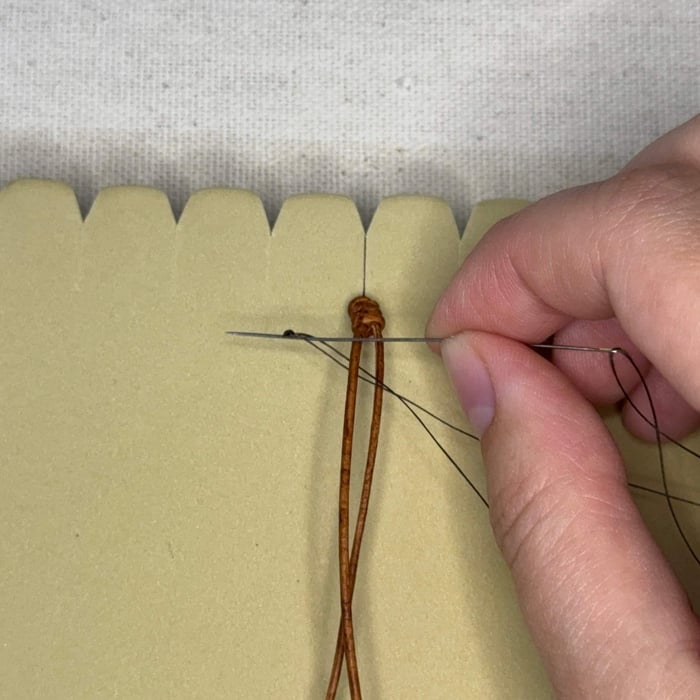
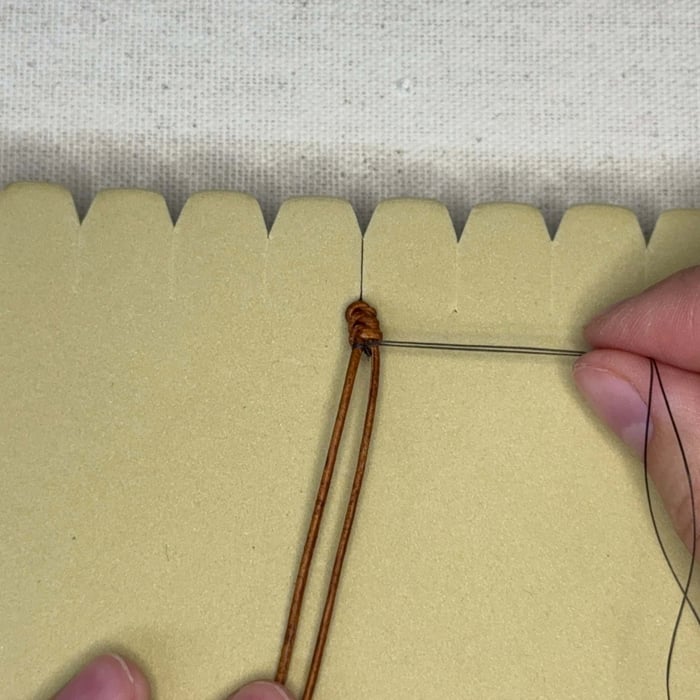
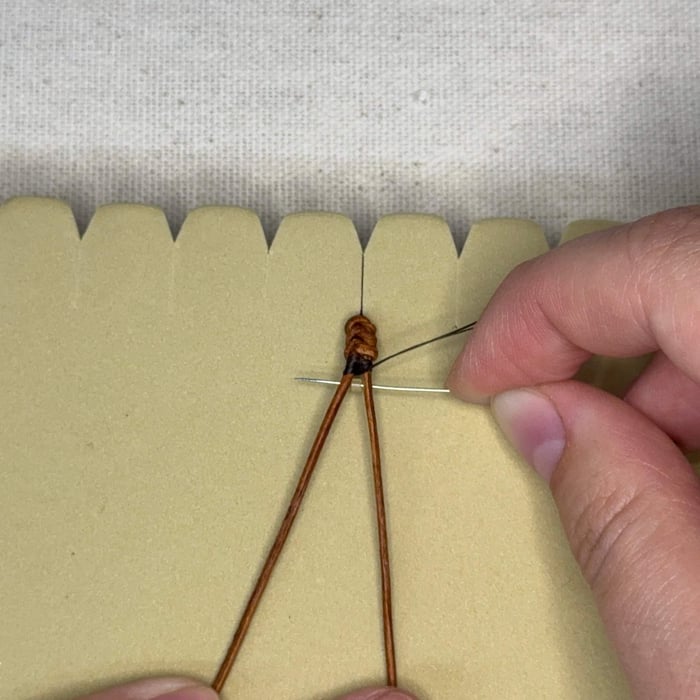
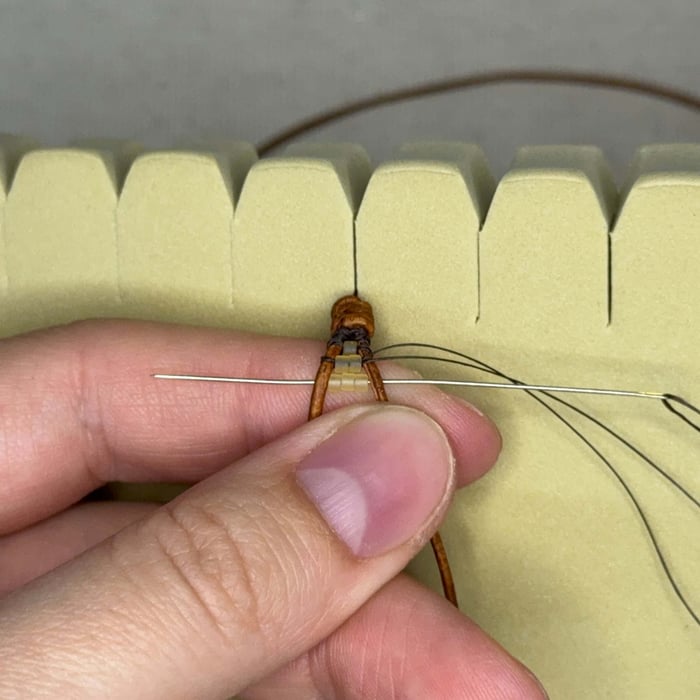
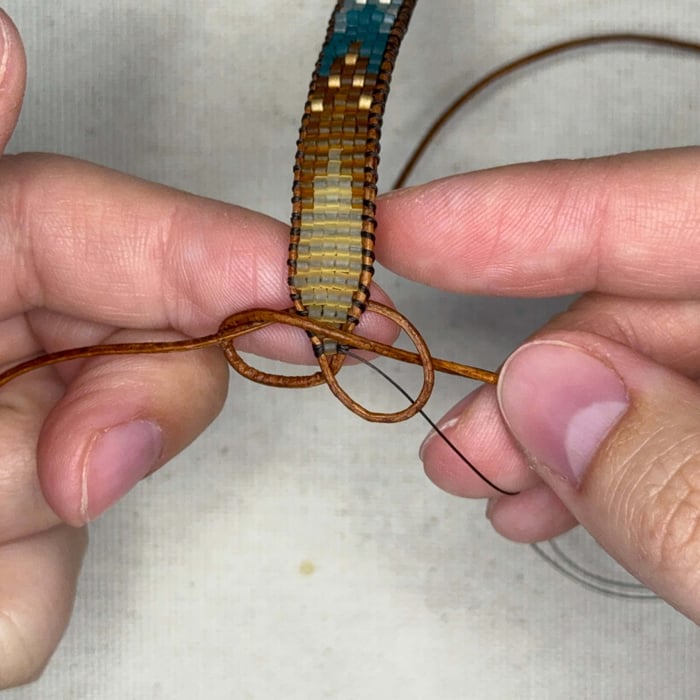
9. Loop the thread under the right leather cord then over the left
10. Loop the thread under the left cord then over the right (can you tell we're making a figure 8?)
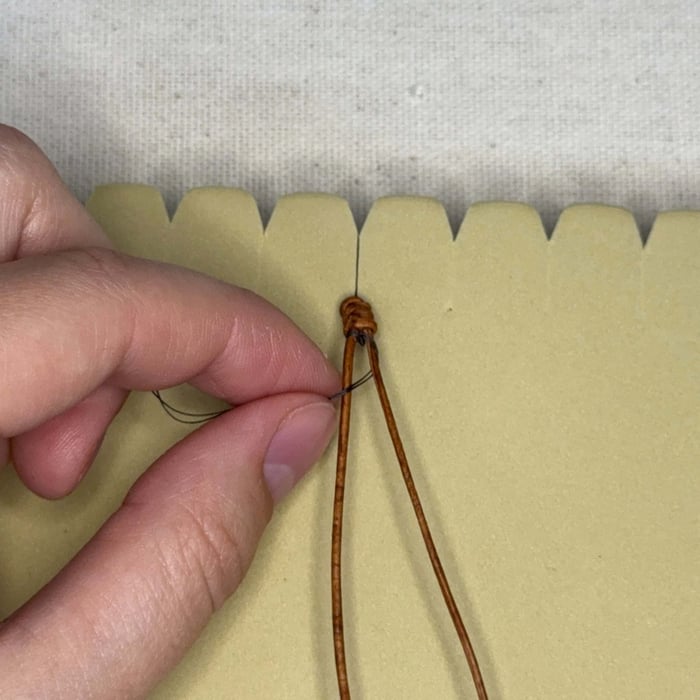
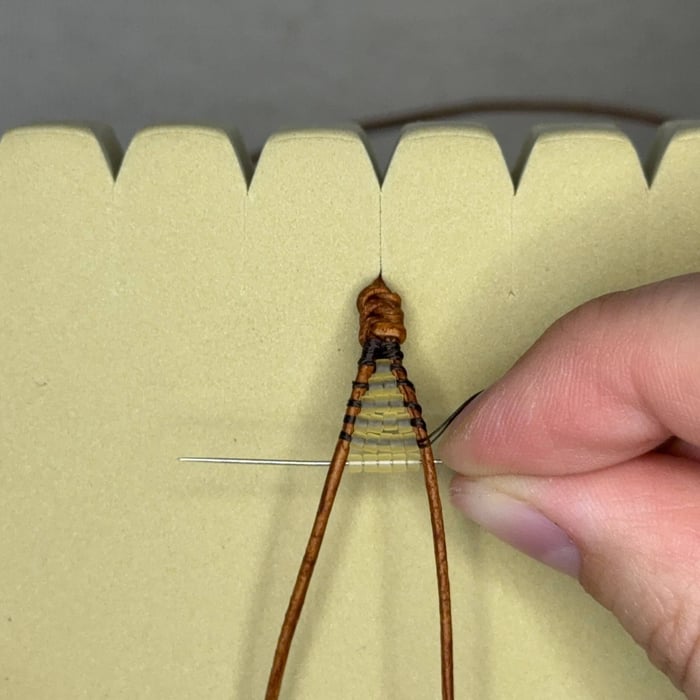
11. Create 2 more figure 8's and when your thread is going to the right, thread a 1272 Transparent Crystal Ivory Matte Delica Bead onto your needle and hold it below the two leather cords
12. Holding the delica bead with your left index finger and your thumb and finger holding the two leather cords, thread the needle back through the delica bead but now going over the leather cords. Pull tight
***TIP: Keep your thread consistently tight on both ends of the leather cord as you go, it will be easier to keep the left side tight and harder for the right. If one side is too loose it will warp your leather wrap.
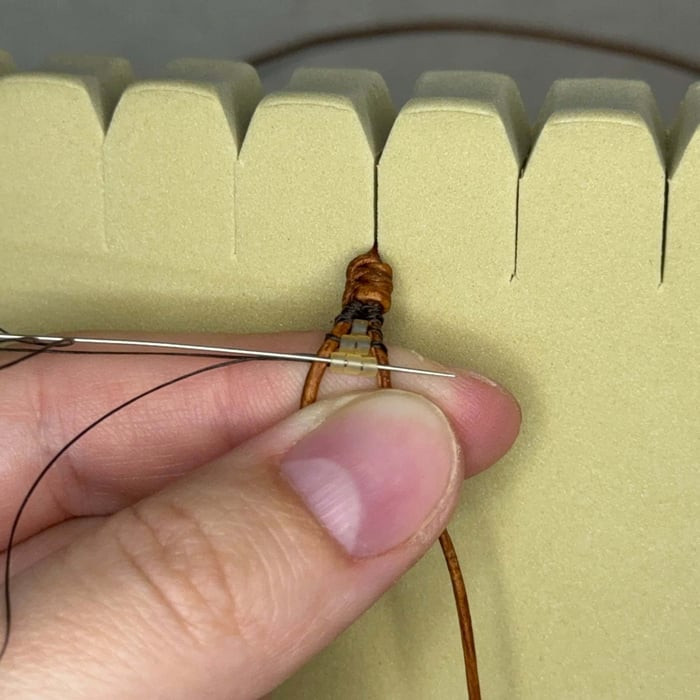
13. Now add 2 1272 delica beads to your needle hold the delica beads with your left index finger and your thumb and finger holding the two leather cords - pull the thread through the two beads and pull the thread so it lays flush around the leather cord
14. Then thread the needle back through the 2 delica beads, pull through the thread and pull tight.
15. Now for the next row add 3 1272 delica beads
16. Then back through the 3 beads
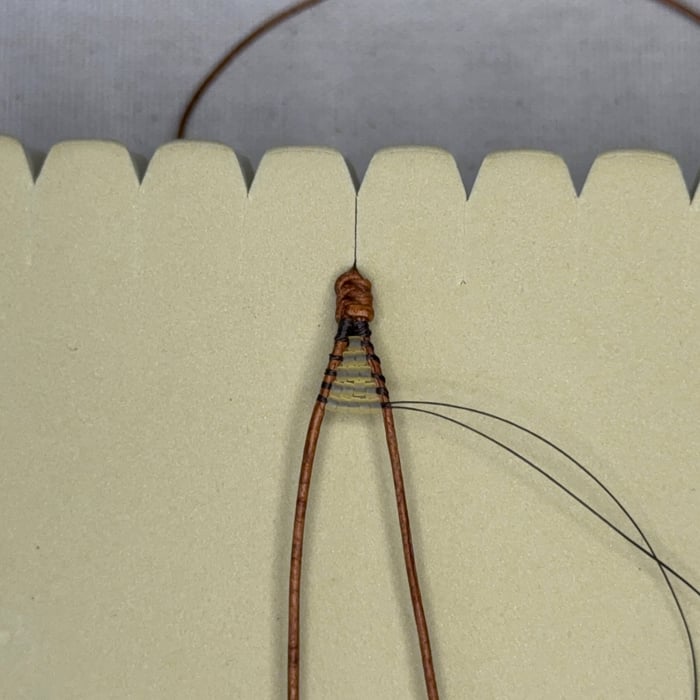
17. For the next row add 4 beads and the row after that add 5
18. For the next row, use 5 beads, for the rest of the project (until you reach the end), each row will have 5 beads.
19. Keep following the pattern
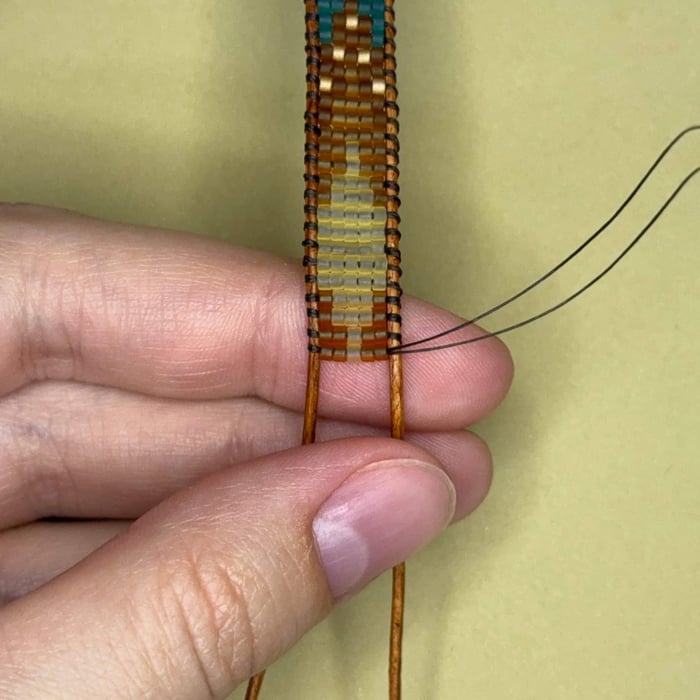
20. Keep following the pattern until you have about 8 or so inches of thread left (it does not matter where you do this along your wire wrap). We will now tie off this thread and add new thread in the following steps.
Have the thread going off to the right
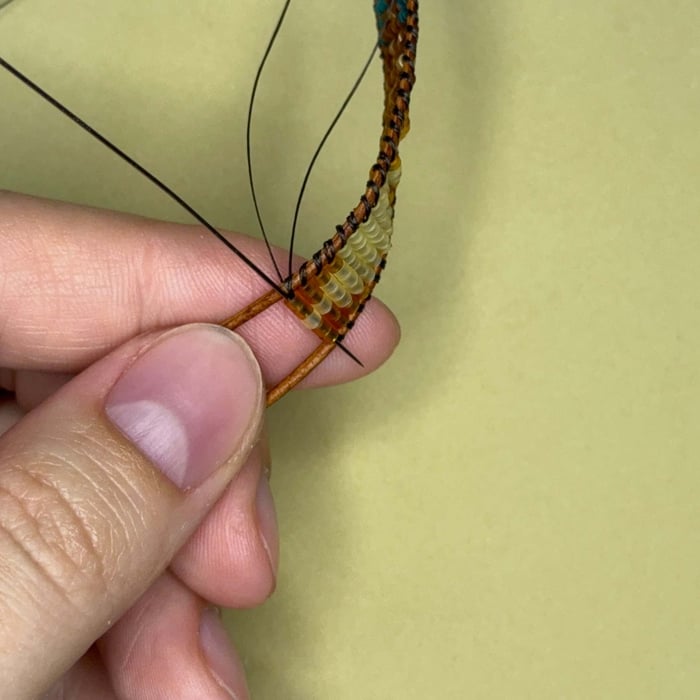
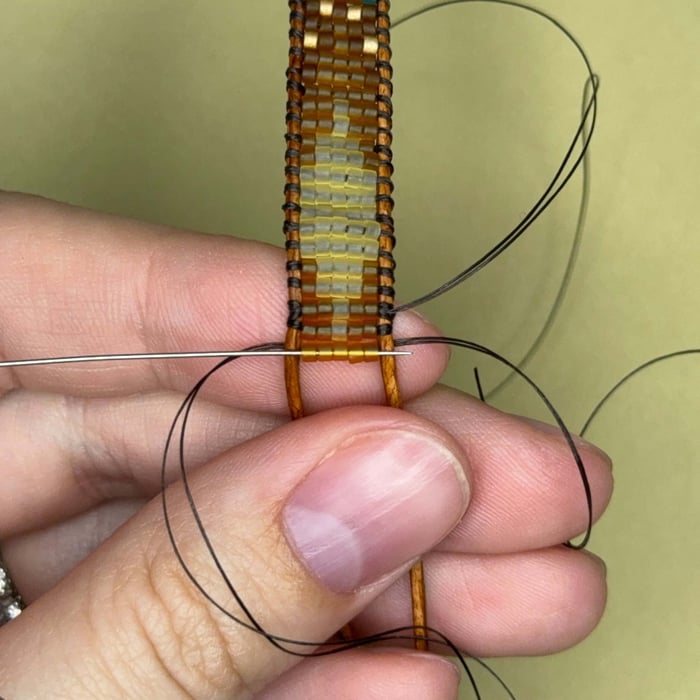
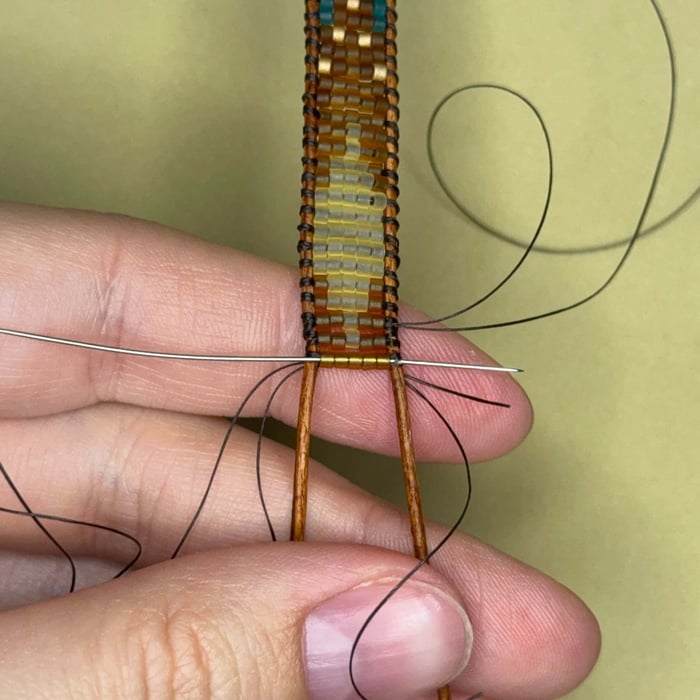
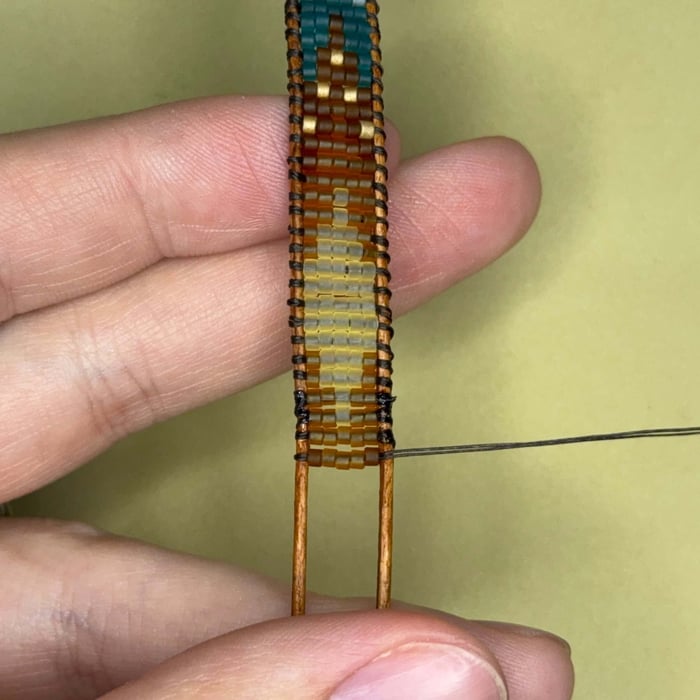
21. Turn your project over and thread your needle back through the row of delicas, but underneath the leather
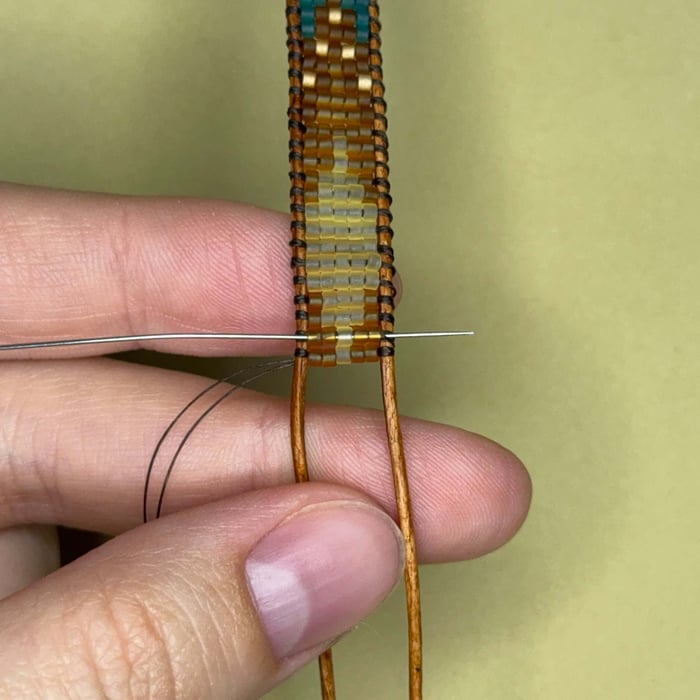
22. Turn your project back around and then thread your needle through the previous row from left to right (over the leather)
23. Turn your project over and thread the needle back through the row of delicas, underneath the leather
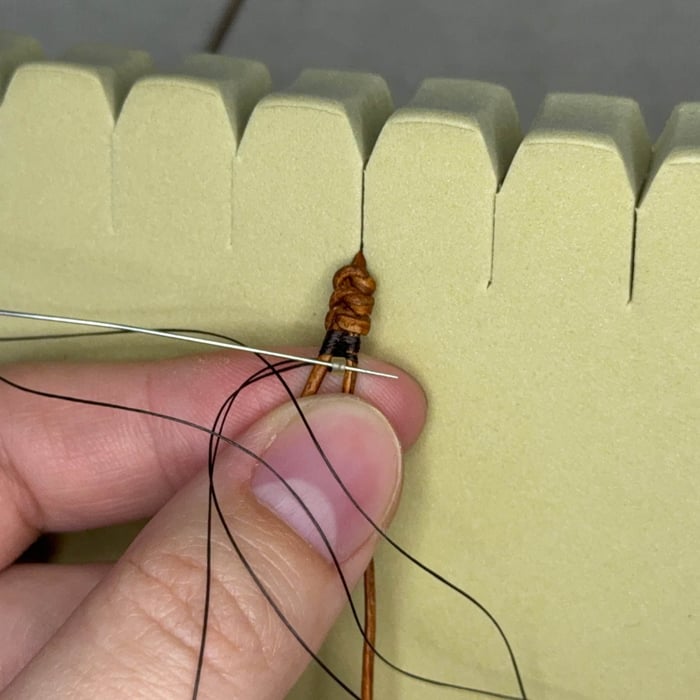
24. Turn your project back around then thread the needle through the delica row one more time (it will be very tight). Cut the thread to leave two short tails and remove the needle.
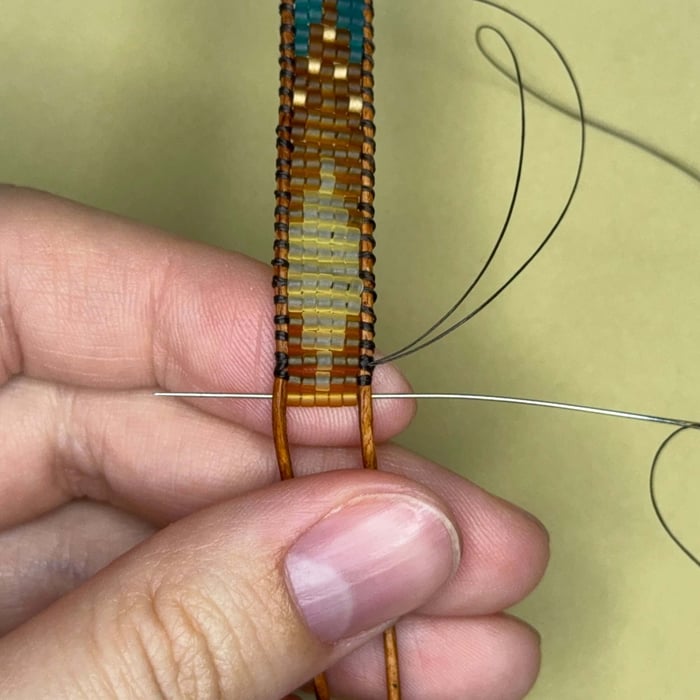
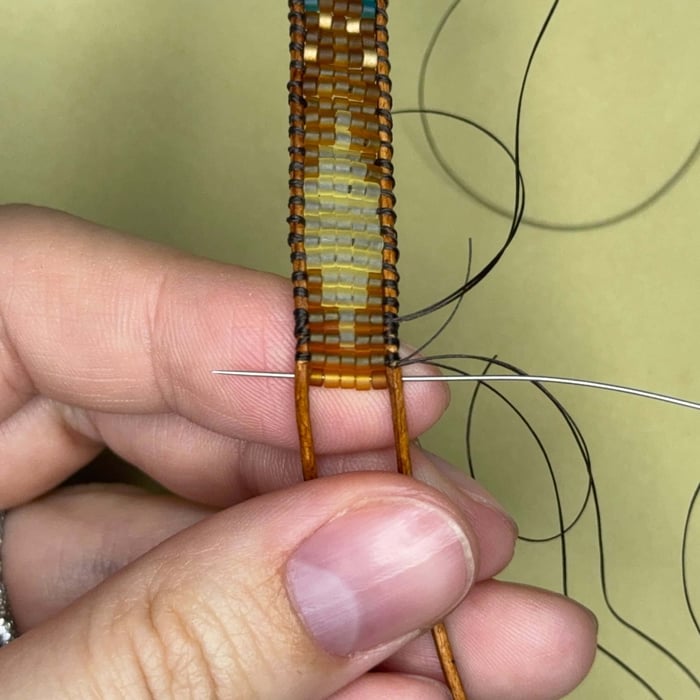
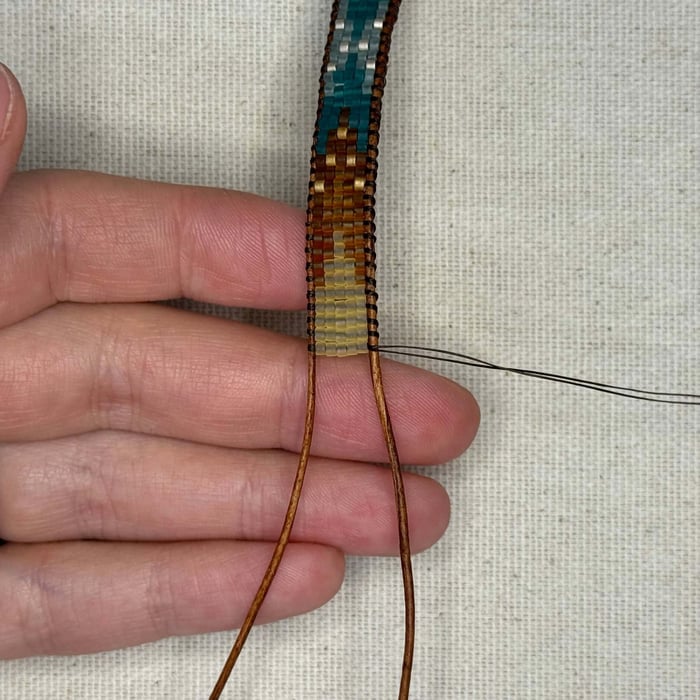
25. Cut a new length of thread (about 6-8 feet whatever you feel comfortable working with) and pull your needle to the center of the long thread then line up the ends ***DO NOT KNOT THREAD***
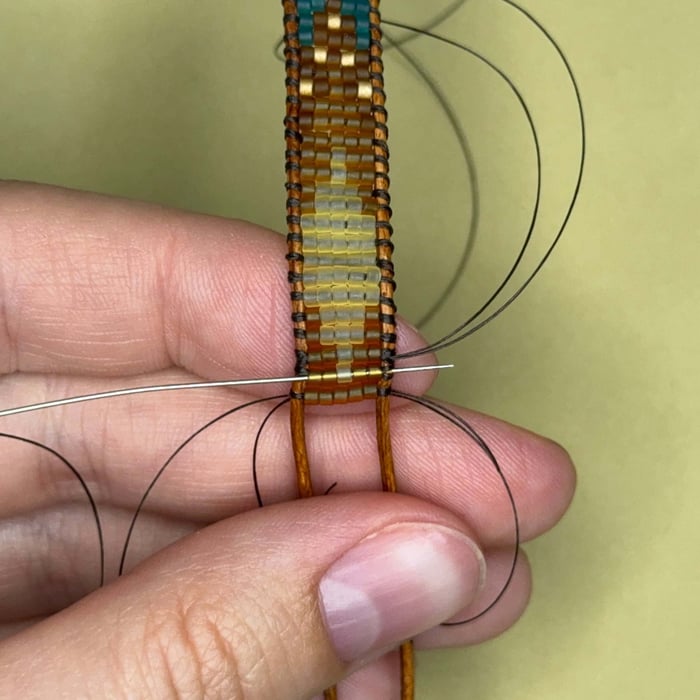
Place the next 5 delica beads in your pattern (remember that you may be at a different point in the pattern, this is fine), and hold them in place using your pointer finger as you gently pull the needle and thread almost all the way through, you will leave about a 3 inch tail or so
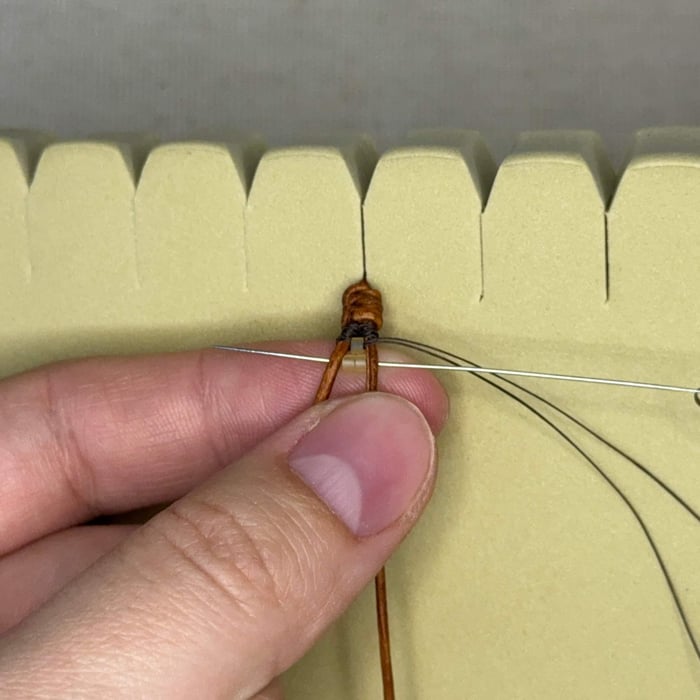
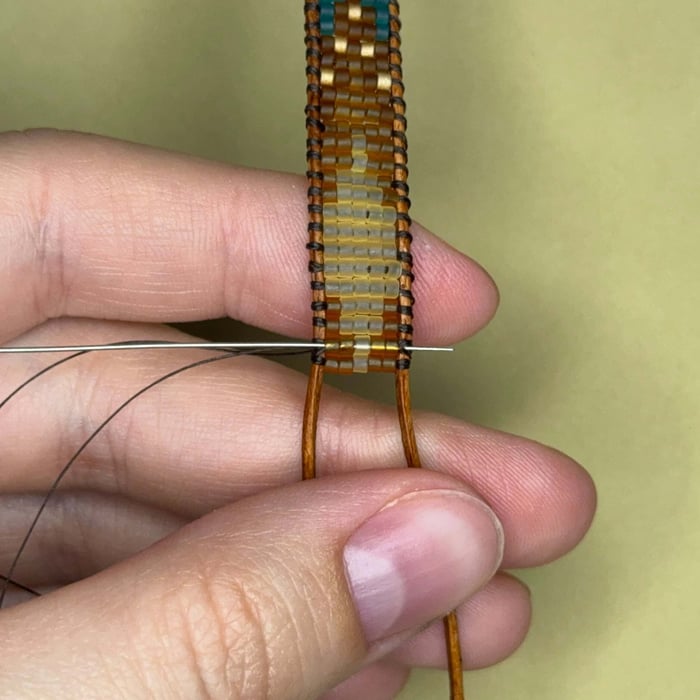
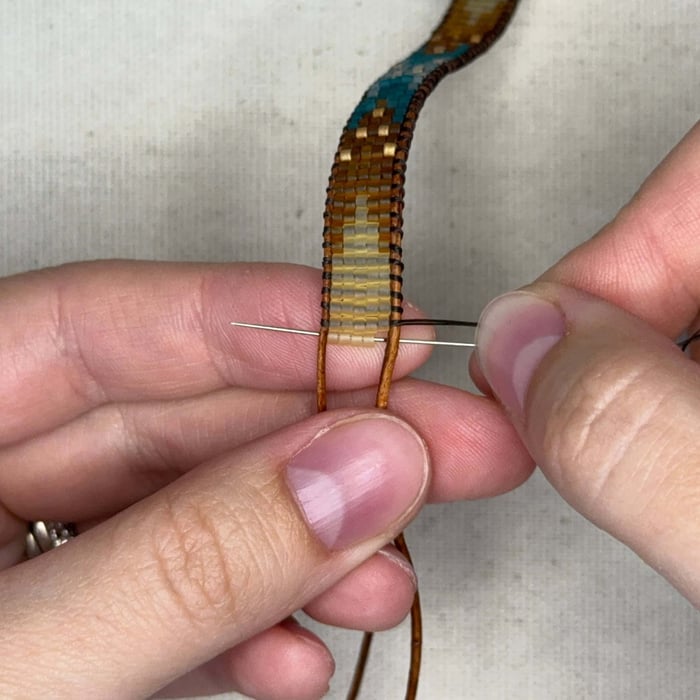
26. Still holding the delicas, thread your needle back through the delica row
27. Turn your project around (still stabilizing those delicas) thread the needle through the row
28. Turn your project back around and thread the needle through the row above
29. Turn your project over and then thread the needle through the last row of delicas
30. Turn your project back around then thread the needle through the last row (this will be very tight)
31. Follow along the pattern to add the following row of delicas
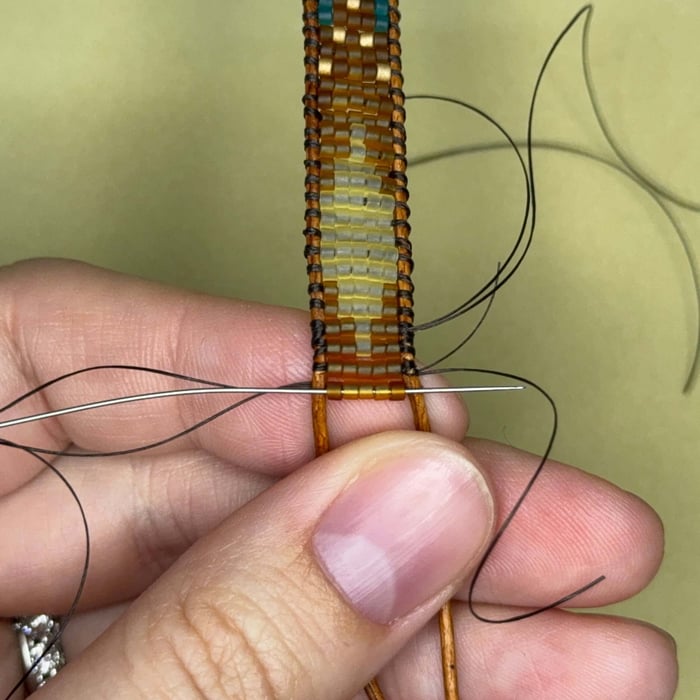
32. And then back through the same row
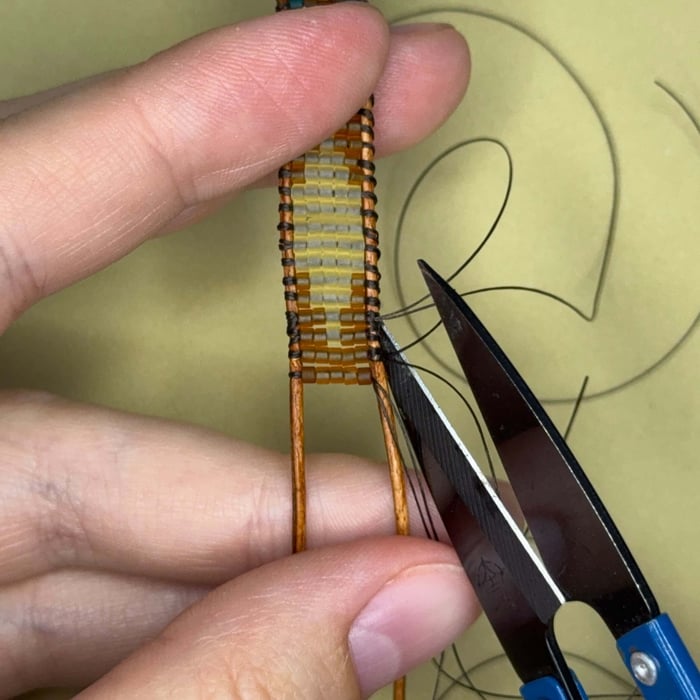
33. Now you can cut the tails (not the current thread you are working with) - cut as close as possible to the leather
34. Then add a couple dabs of GS-Hypo cement to both sides.
***Why do we not tie a knot?***
We don't create a knot here because (especially if this project is worn as a bracelet) once the glue has dried, the knot is sharp, unsightly, and can cause irritation to the skin. Foregoing a knot and using tension and glue, we can create a secure and seamless finish to the start and end of our thread.
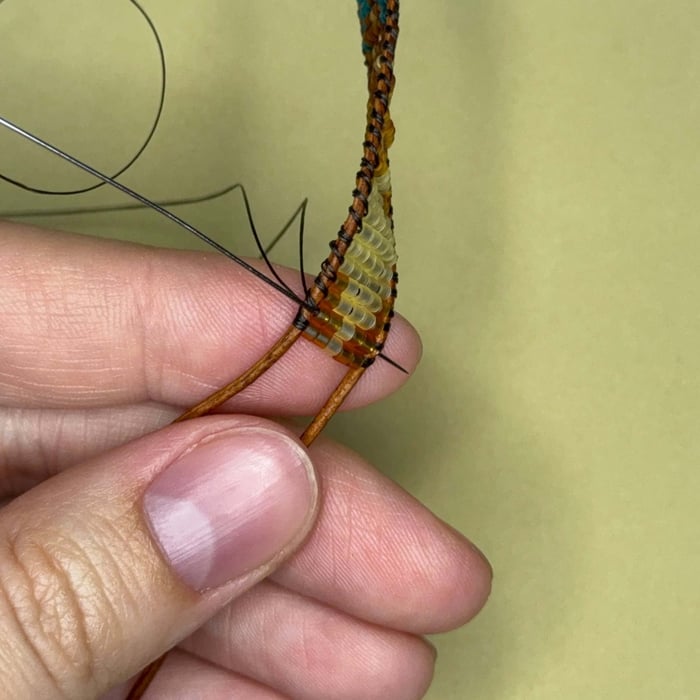
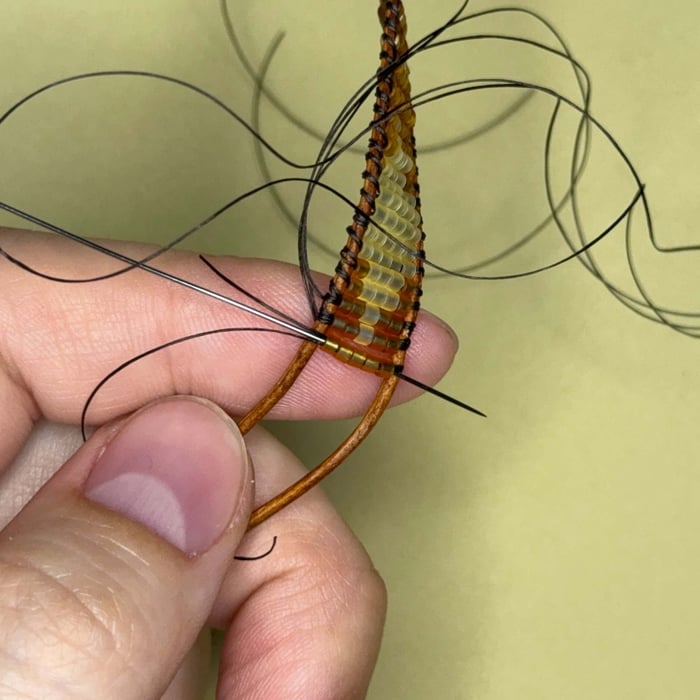
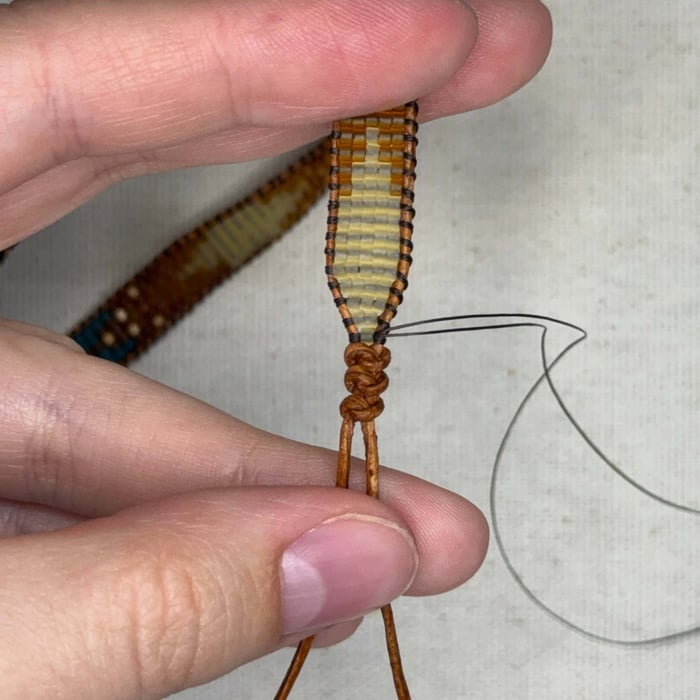
35. Once you have reached your desired length (I have 21 inches of beaded leather plus my leather tails) you will finish off the diamond of 1272 delica beads by decreasing a bead each time, just like in steps 11 through 17
36. 4 beads, down to 3, then 2, and then —
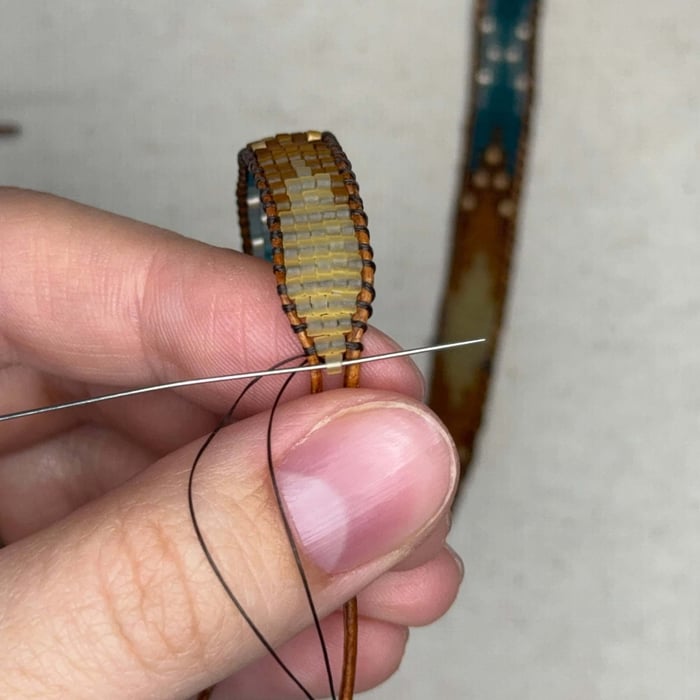
37. Down to one bead. Make sure to thread your needle back through the last bead

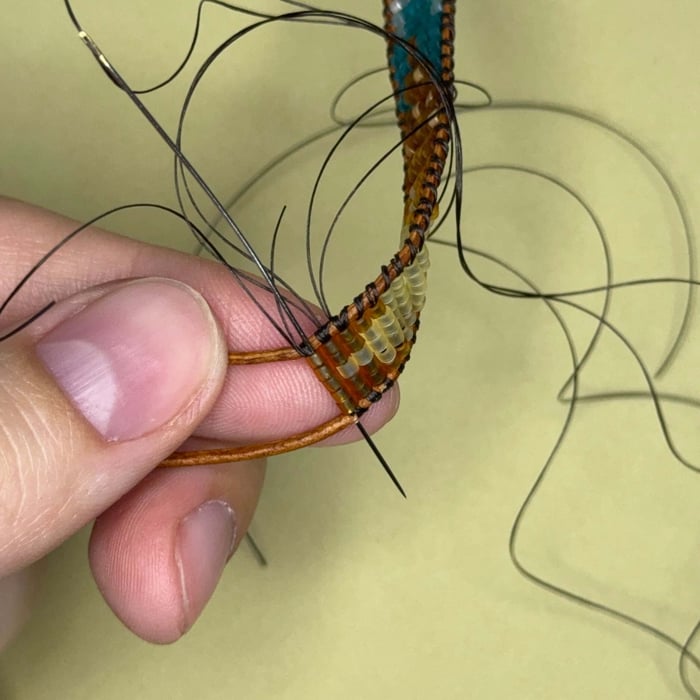
38. Flip your project around and go through the single delica bead again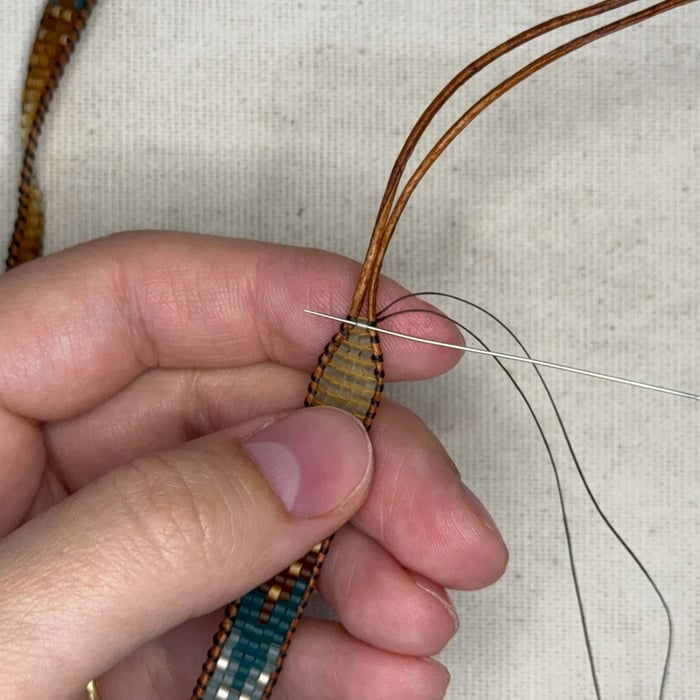
39. Flip your project back over and thread the needle through the bead again to secure
40. Pull the thread over to the side for now, we are going to finish off the beaded area by tying 3 Spanish knots.
Keep the left cord straight and loop the right cord under then over
41. Then loop the left cord over the right cord and back under and through the left loop
42. then pull tight, make sure the knot ends close to the last delica bead
43. Tie 2 more Spanish knots for a total of 3 knots
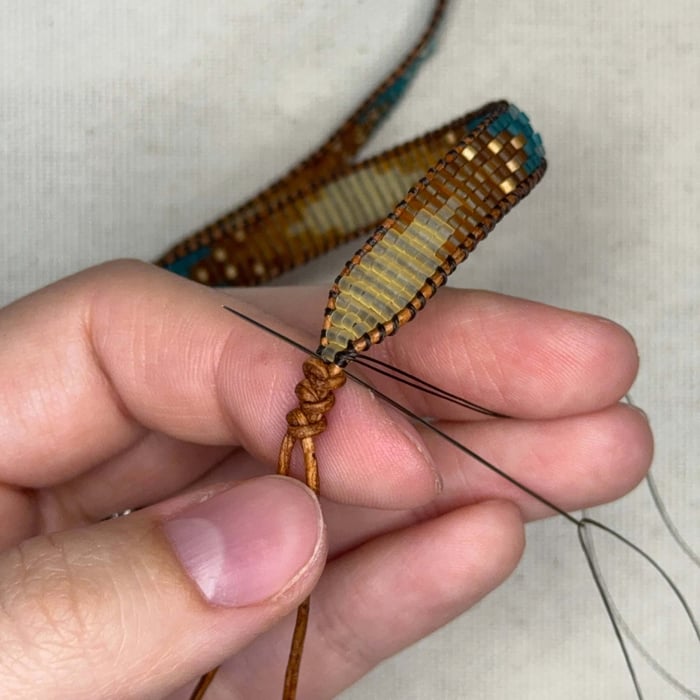
44.Take your needle and thread it between the leather knot and the delica
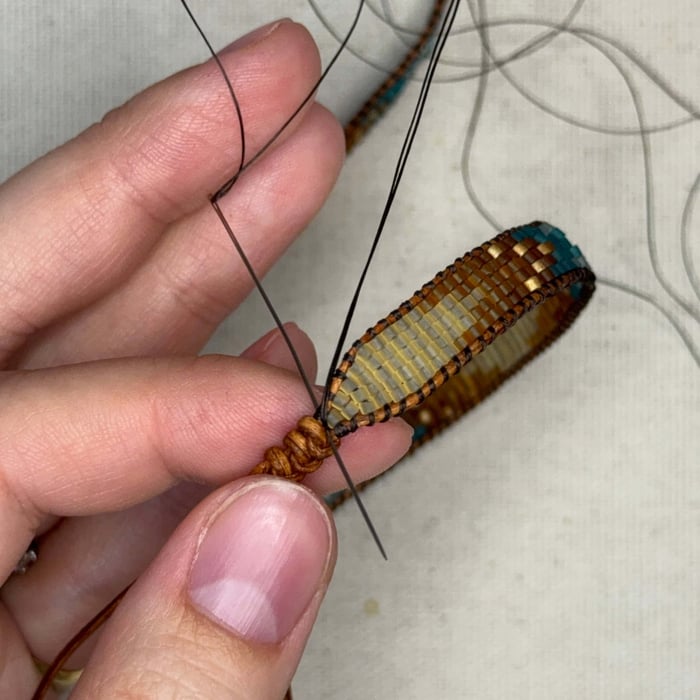
45. Loop over the leather then thread your needle back up under - we are creating a figure 8 again
46. Loop around again a final time but do not fully pull the thread through - see next step
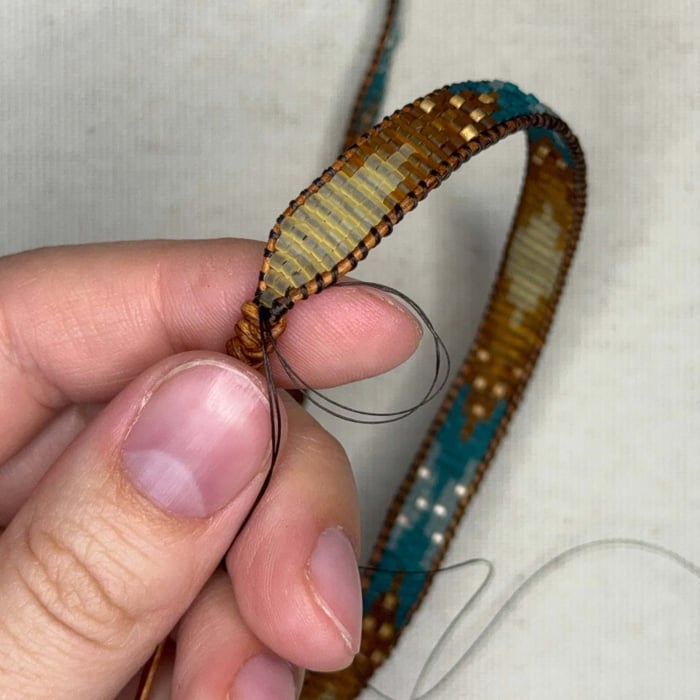
47. Pull the thread almost all the way through, leaving a small loop
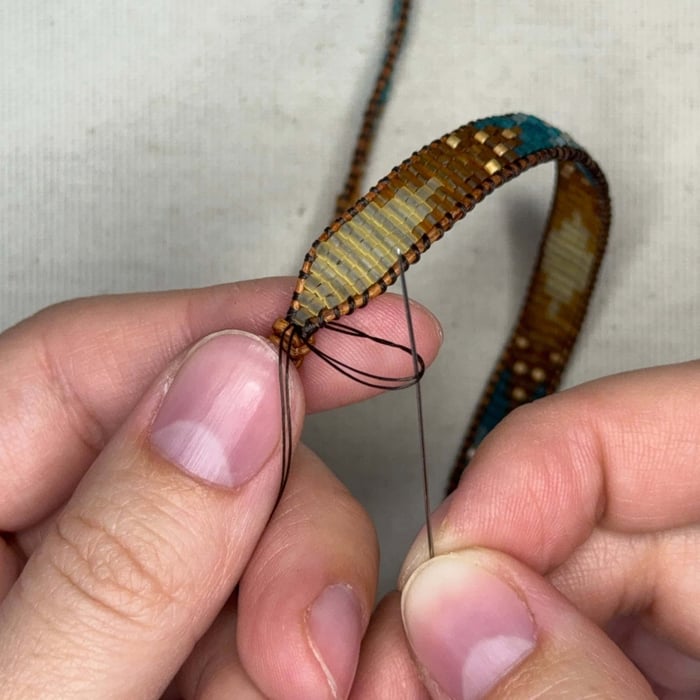
48. Thread your needle through the loop
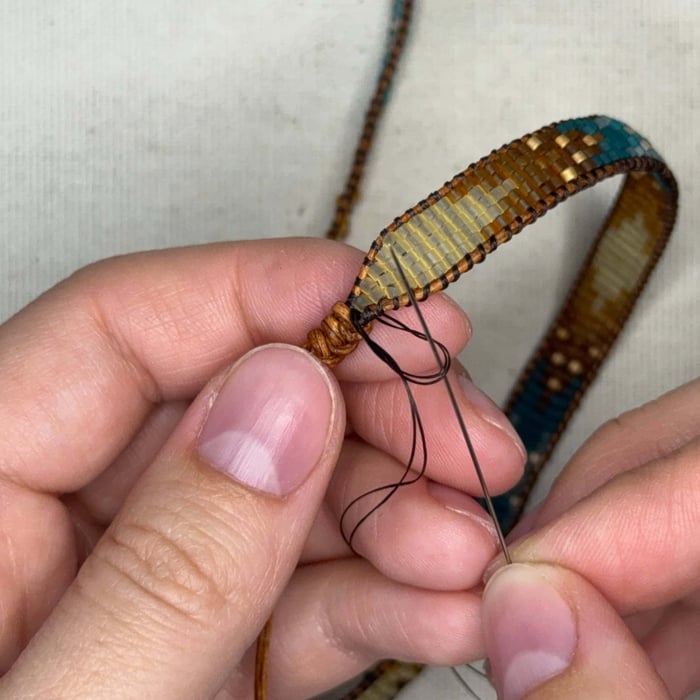
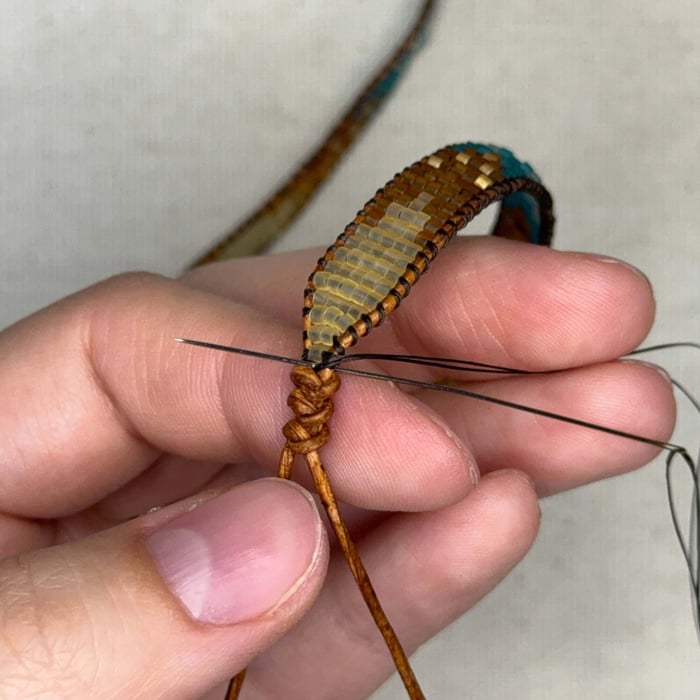
49. And once more
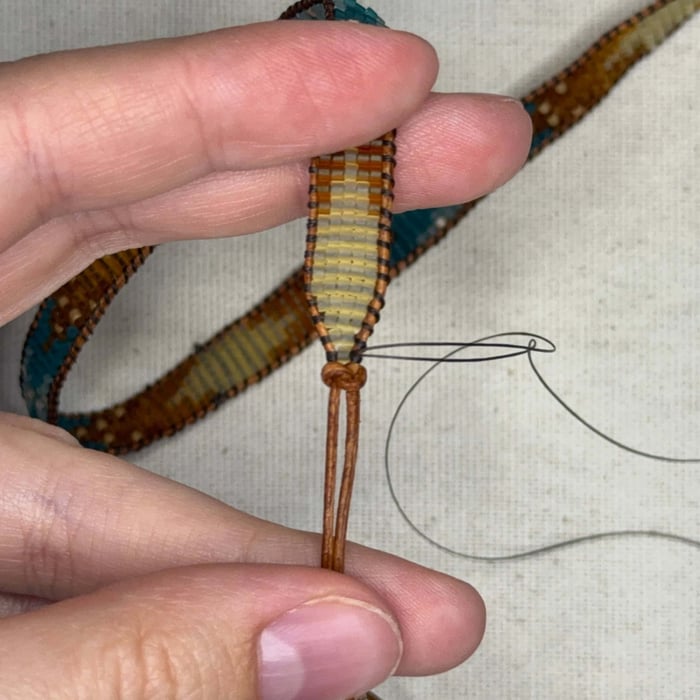
50. Then pull tight

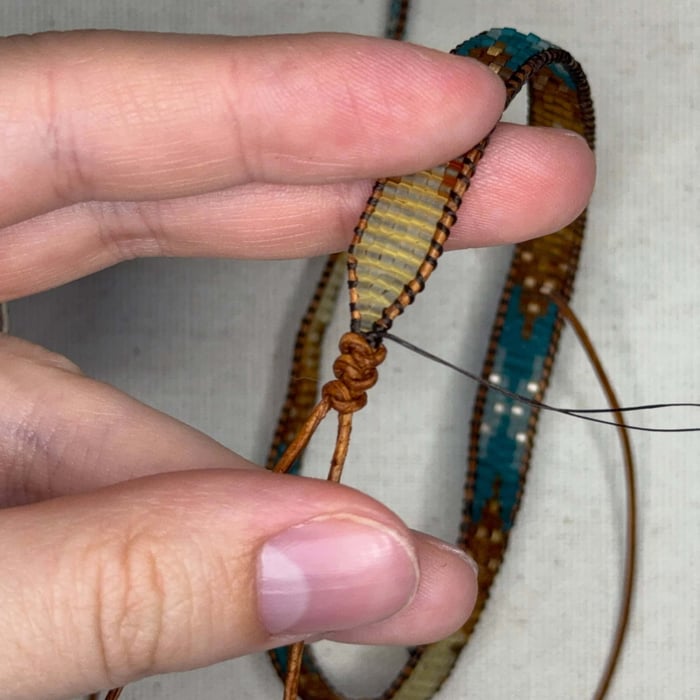
51. Cut the tail and add a dab of GS Hypo cement to the cut thread and knot
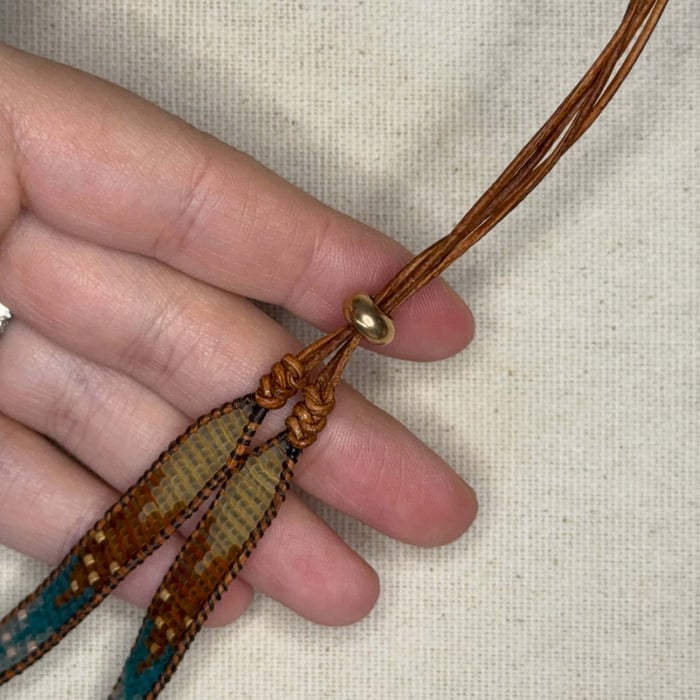
52. Take your slide bead and one by one push the 4 leather cords through the silicone hole
53. Check the fit on your hat and center the slide bead so you can determine where your end knots will go
54. I wanted my end knots to come just to the edge of my hat.
55. Tie a knot with one cord, just a simple overhand knot
56. Then 2 more so you have 3 knots total
57. Take a second cord and tie a knot in line
58. Tie 2 more knots for a total of 3 knots. Repeat for the rest of the cords.
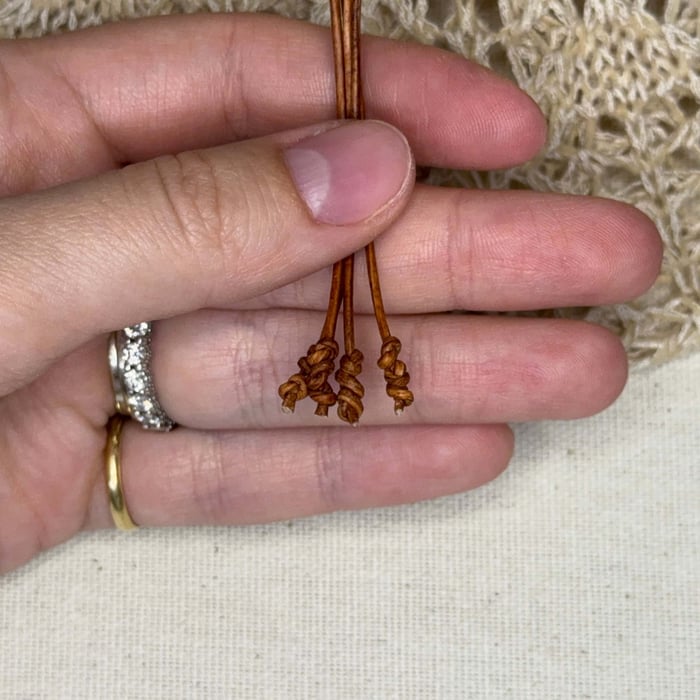
59. Trim ends (leave a few millimeters to prevent cord coming undone) and secure with GS Hypo cement on each knot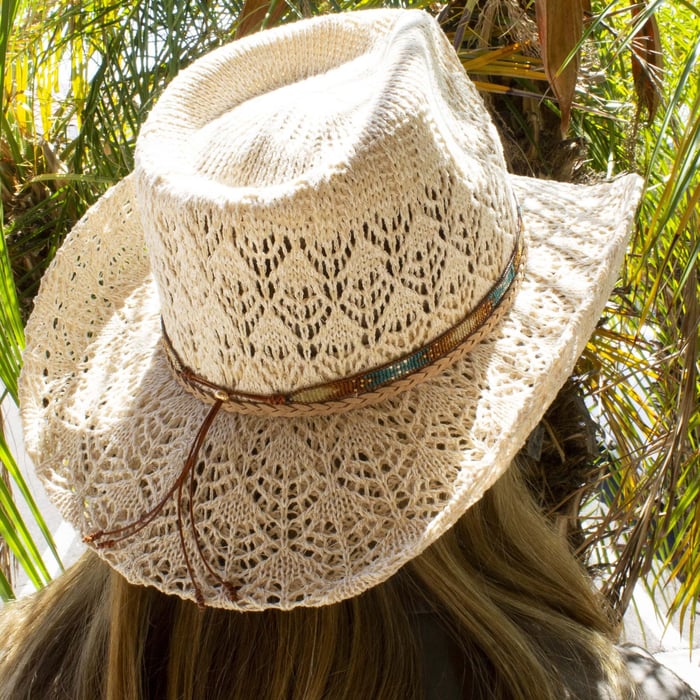
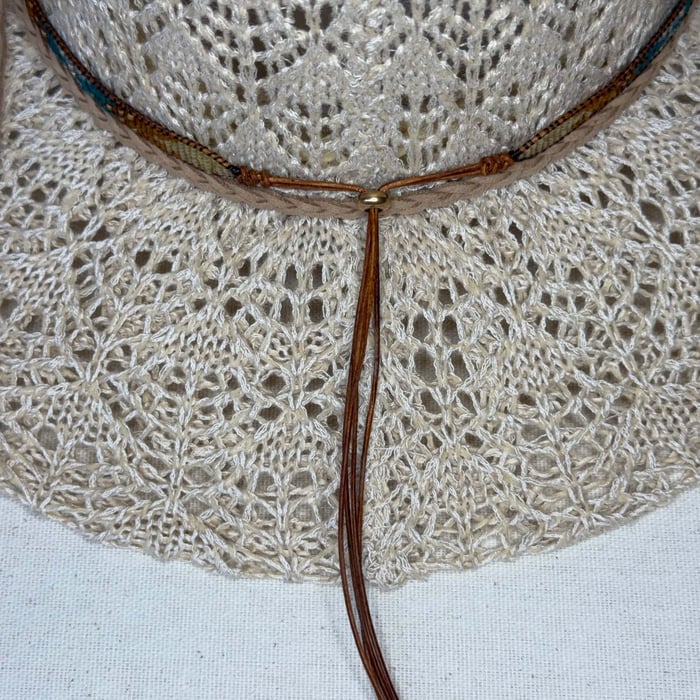
60. Done! Use on a hat without a band or layer onto an already banded hat. Enjoy your Leather Wrap Hat Band - Western Delica Pattern!
Related Articles
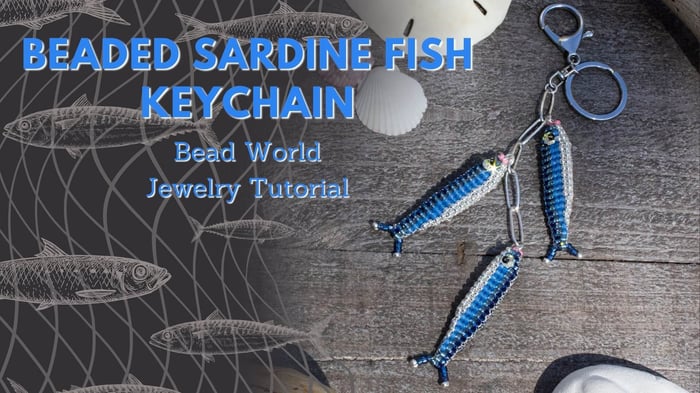
Beaded Sardine Fish Keychain
Beaded Sardine Fish Keychain In this tutorial you will stitch three double sided sardines in cool blues...
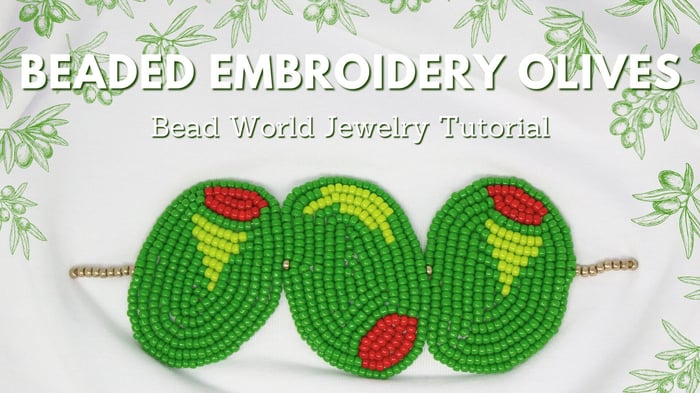
Beaded Embroidery Olives
Beaded Embroidery Olives In this tutorial, you’ll learn how to embroider with seed beads to create...
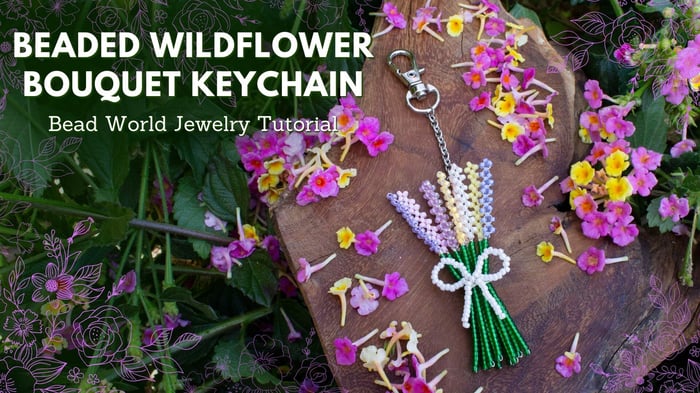
Beaded Wildflower Bouquet Keychain
Learn how to create a stunning beaded wildflower bouquet keychain with this easy-to-follow DIY seed bead...