
Tutorials
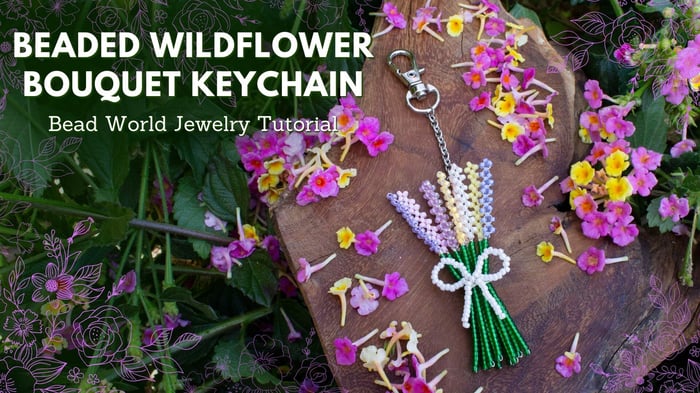
Beaded Wildflower Bouquet Keychain
Table of Contents
Beaded Wildflower Bouquet Keychain
Learn how to create a stunning beaded wildflower bouquet keychain with this easy-to-follow DIY seed bead tutorial. This project is a perfect way to practice your wire-wrapping skills while creating a unique, handmade accessory. By the end of this guide, you'll have a beautiful beaded wildflower bouquet keychain that makes a thoughtful gift or a charming addition to your own keys.
Materials Needed:
- 28 Gauge Craft Wire 15 Yards - Silver (15 inches per flower and stem [9 flowers total] - 26 inches for wrap closure and bow - total of 13 feet 5 inches - you can use any color here)
- Stainless Steel 3.7x3mm Cable Chain (1 inch)
Size 11 Miyuki Seed Beads -- 1929 Cornflower / Pale Blue Lined Semi Matte
Tools Needed:
- Needle Nose Pliers (optional)
- Wire Cutters
- Bead Mat
Instructions for your Beaded Wildflower Bouquet Keychain:
To begin your beaded wildflower bouquet keychain, start by preparing your work surface with a bead mat and organizing your Miyuki seed beads by color. We will be building this bouquet flower by flower.
Preparing Your Wire and Beads
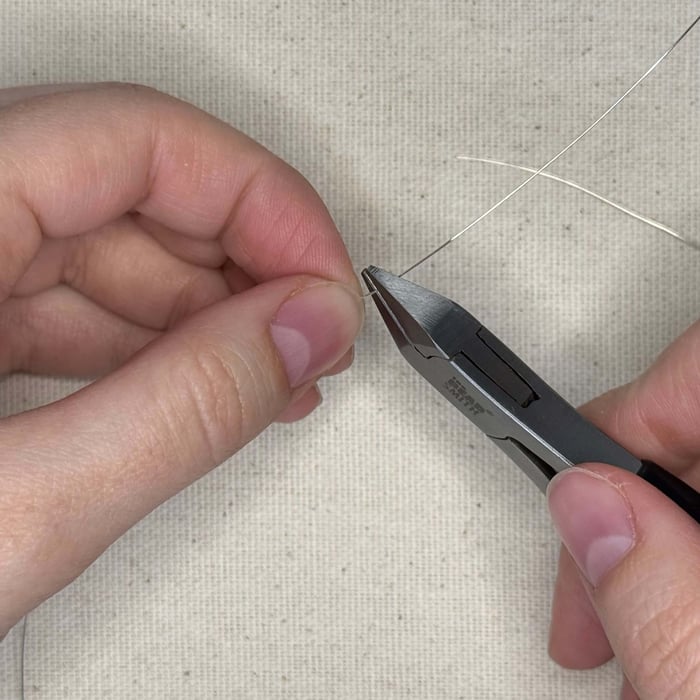
1. Cut 15 inches of 28 gauge wire - you will need 9 sections of wire - one per flower and stem
2. In these instructions I will be using the Size 11 Miyuki Seed Beads -- 1929 Cornflower / Pale Blue Lined Semi Matte for the first flower. You can use any mix of colors you like or even just one color of seed beads for the flowers.
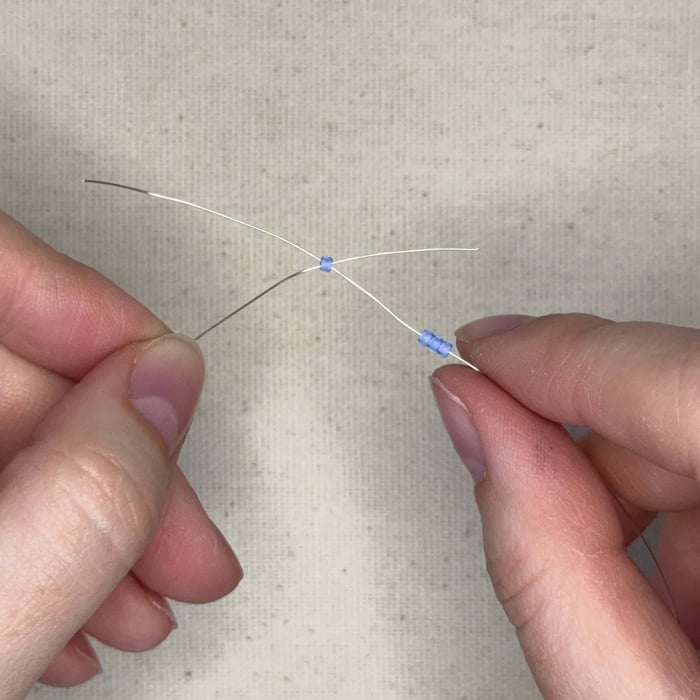
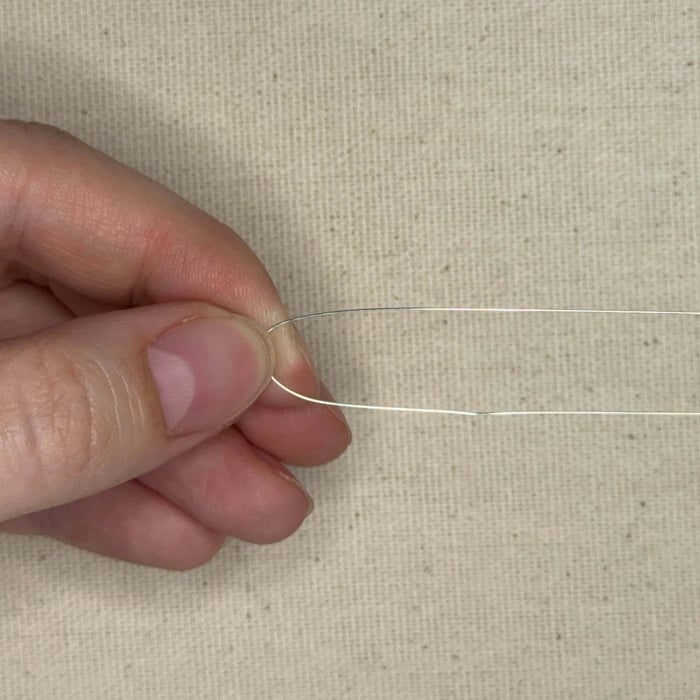
String on 4 size 11 seed beads onto one end of your 15 inch section of wire then thread the left end of the wire through the last of the 4 beads
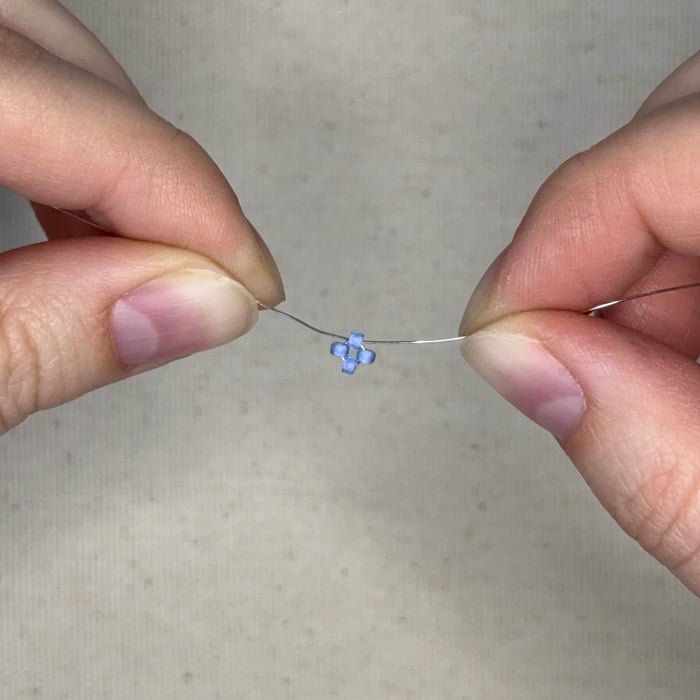
3. Pull the wire to gather the 4 beads towards the center of the wire and pull tight
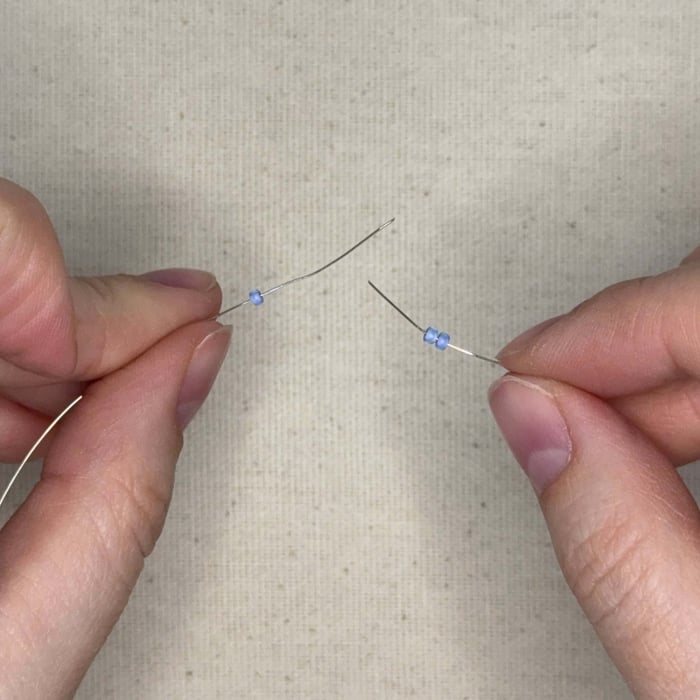
4. Thread one bead on the left end of the wire and 2 beads on the right
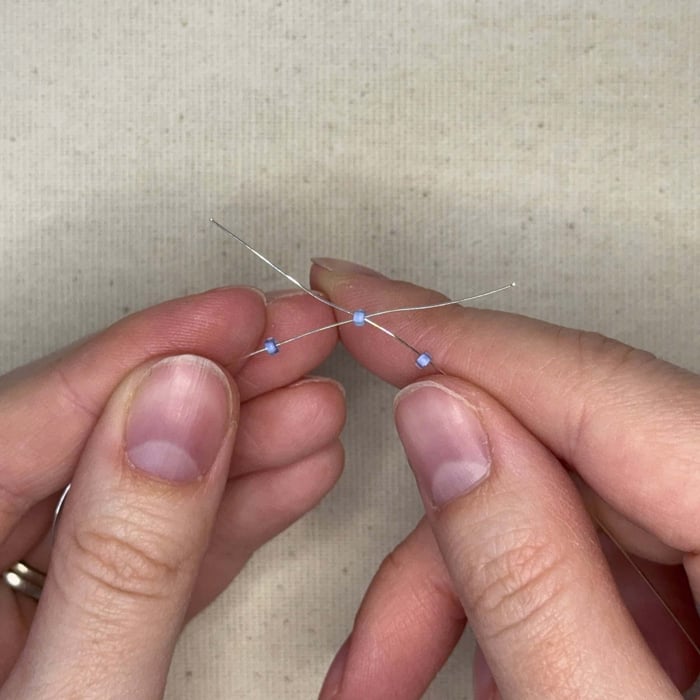
5. Stick the left end of the wire through the left of the two beads on the right end to create an X with a bead at the center
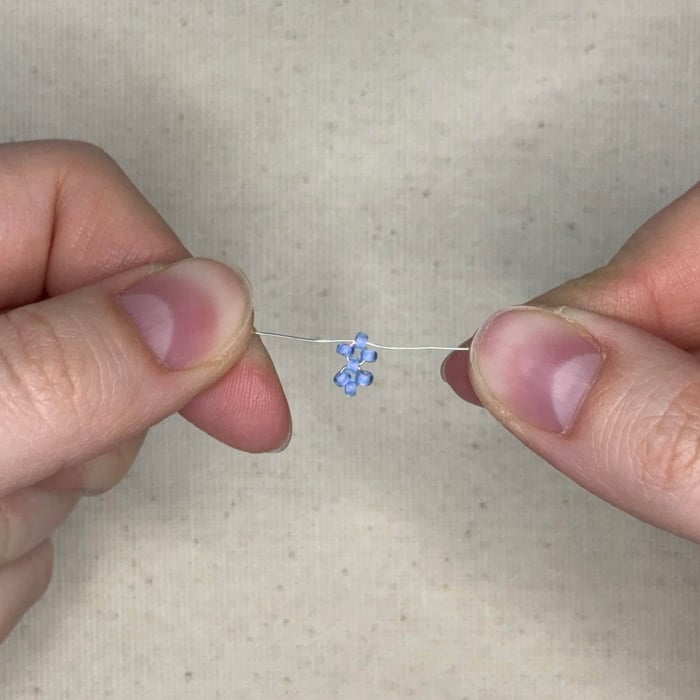
6. Pull the wires tight, bringing the 3 beads towards the center
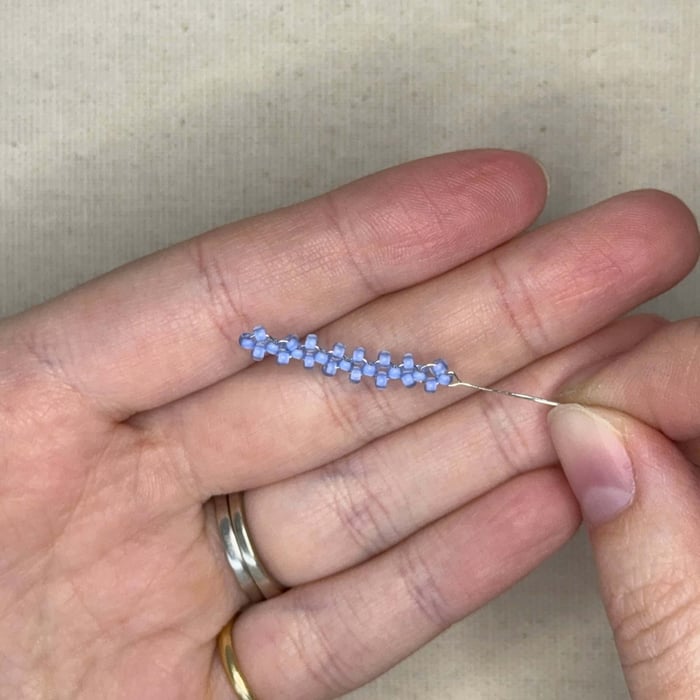
7. Repeat steps 4-6 six more times then pinch the ends of the wires with your fingers. The flowers should be just about 1 inch long.
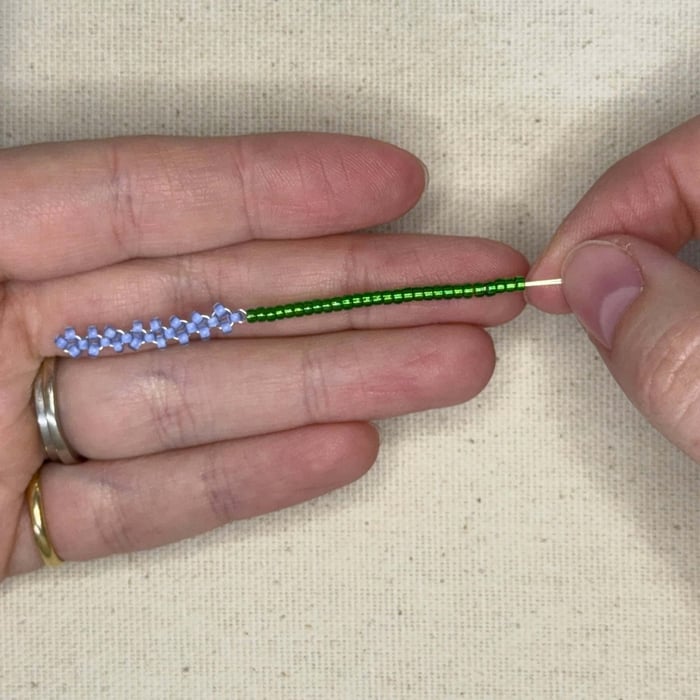
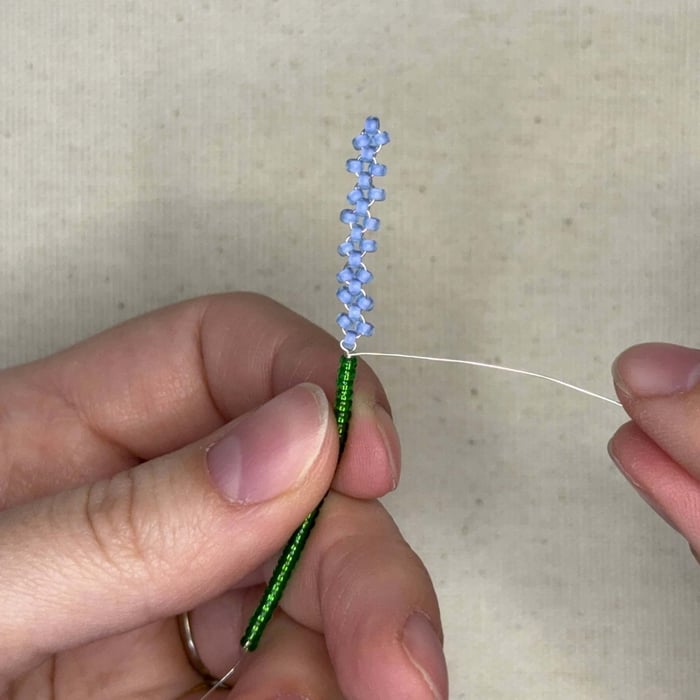
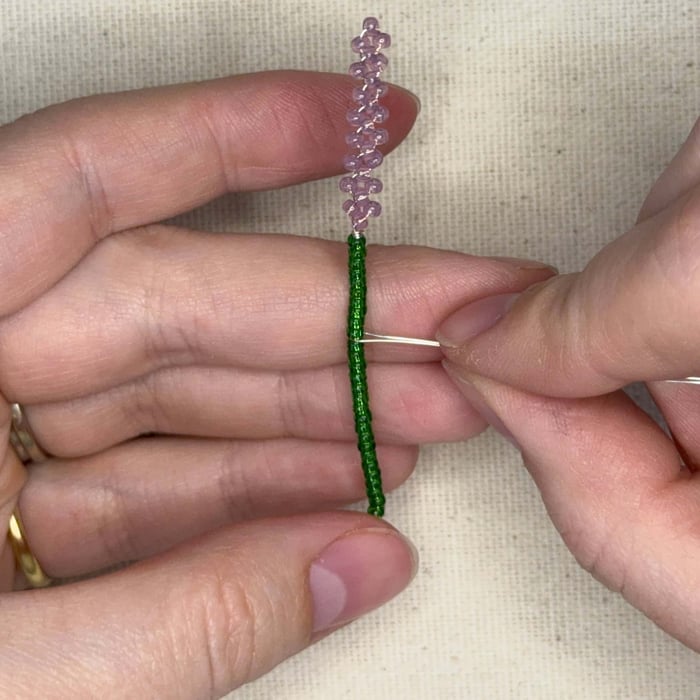
8. String on 1.5 inches of Size 11 Miyuki Seed Beads -- 146 Transparent Green through both wires
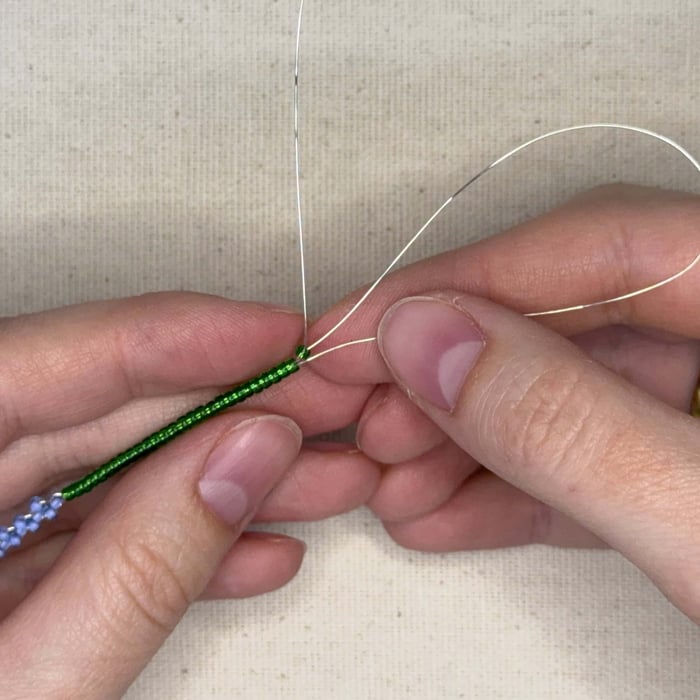
9. Take one of the two wires and loop it around SKIP (do not go through) the last bead, then thread it through all the green beads
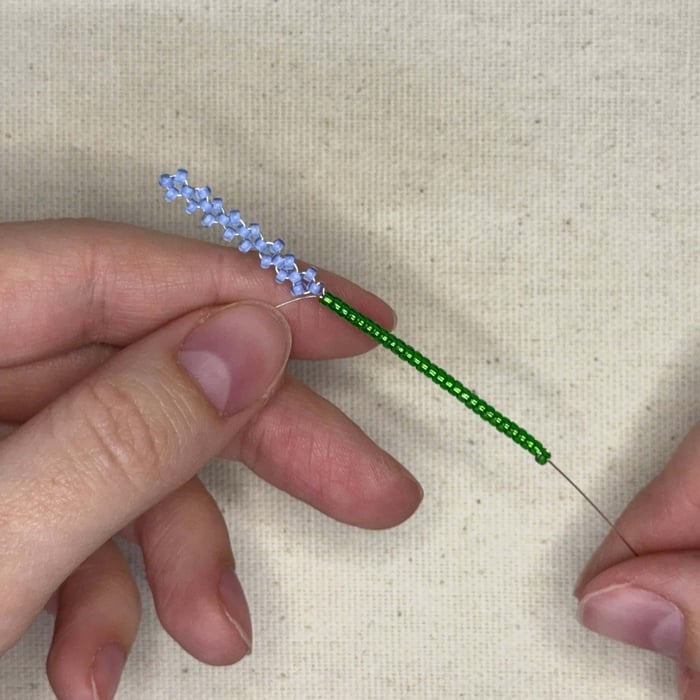
10. Pull both wires to tighten
11. Take the wire at the base of the flower and wrap 2 to 3 times around to secure, the wire is malleable enough to use your hands to do so without tools. If you would like to use tools, hold your flower and stem in one hand and chain nose pliers in the other while clamped onto the end of the wire
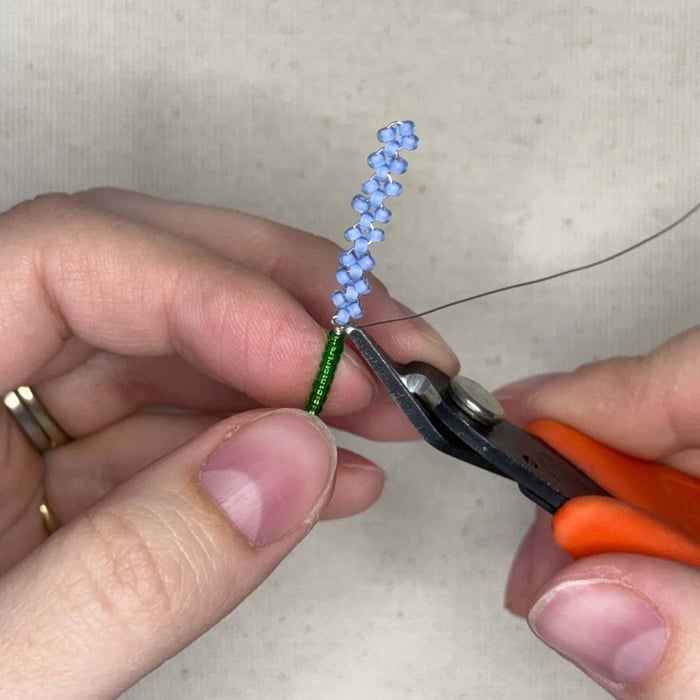
12. Trim excess wire
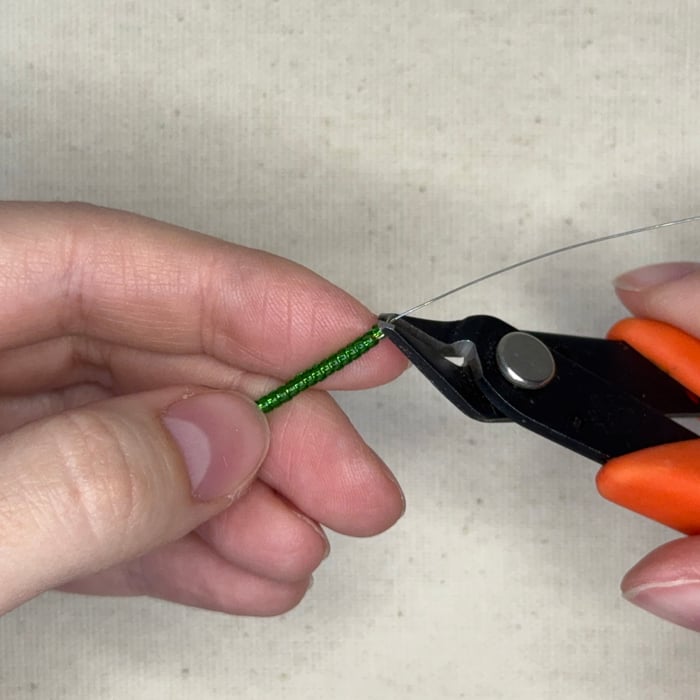
13. Trim excess wire
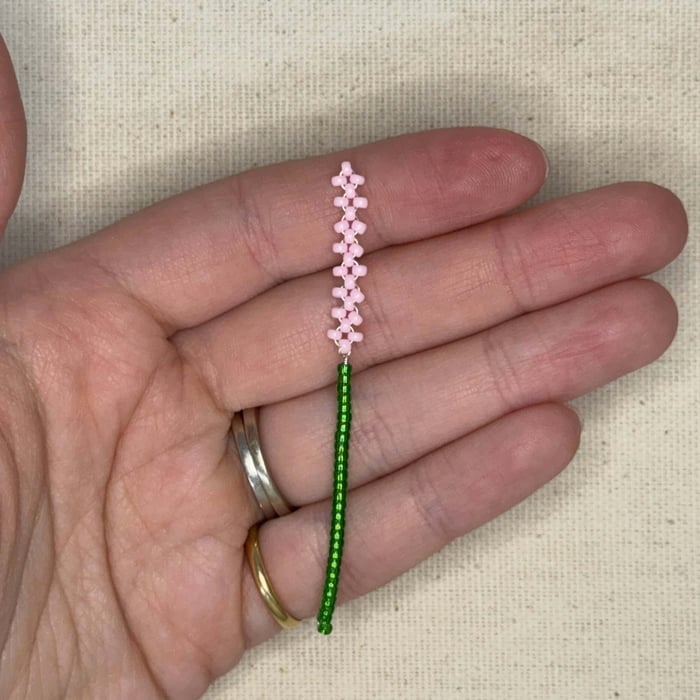
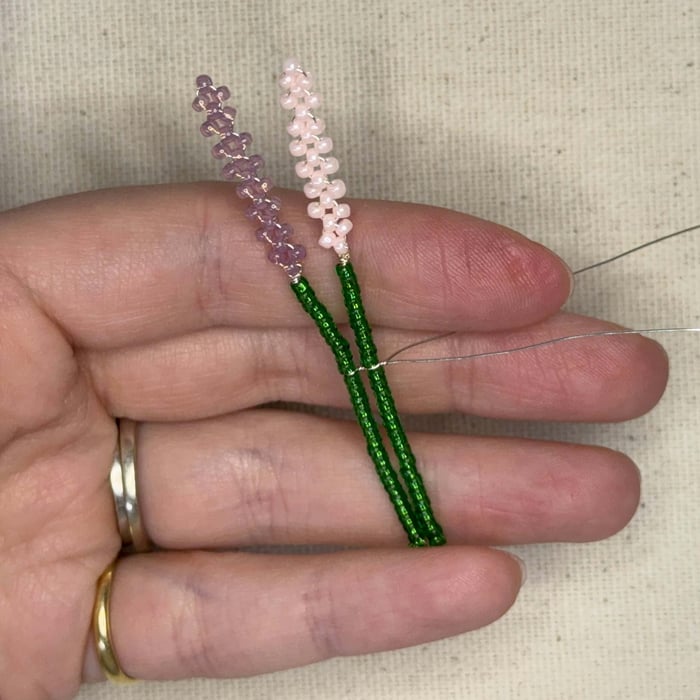
14. Repeat steps 2-13 with the rest of the colors until you have 9 wire flowers - this flower above is Size 11 Miyuki Seed Beads -- 415J Opaque Baby Pink
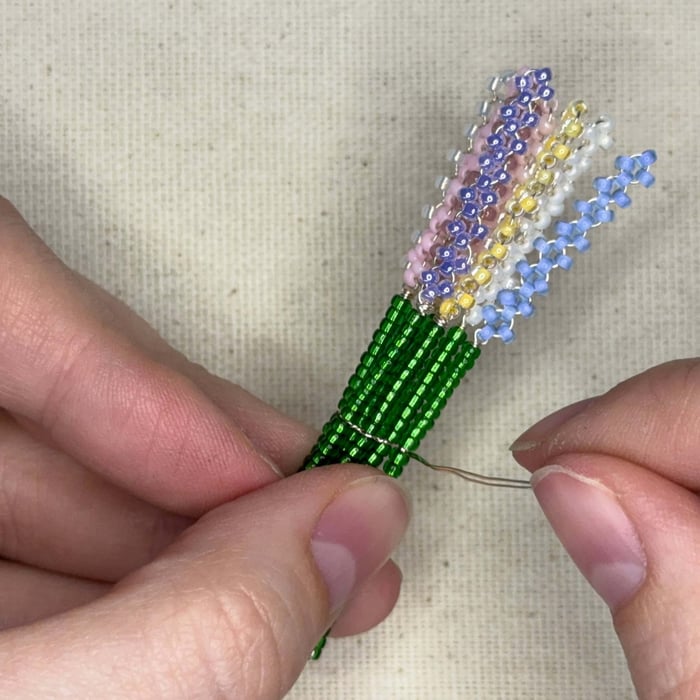
Assembling the Bouquet and Bow
15. Cut 26 inches of 28 gauge wire and find the center, create a slight bend in the wire here
16. Take a wire wrapped flower and position it in the center of that wire. You will want to secure the wire 10 beads down from the base of the flower beads. You will do this for each of the following flowers for consistency

17. Twist the wire, turning the flower 180 degrees, to tighten the wire around the flower stem. I used pliers for a tighter finish; however, twisting too tight with pliers can cause the wire to break so use with caution. You can absolutely use your fingers to twist the wire to prevent breakage.
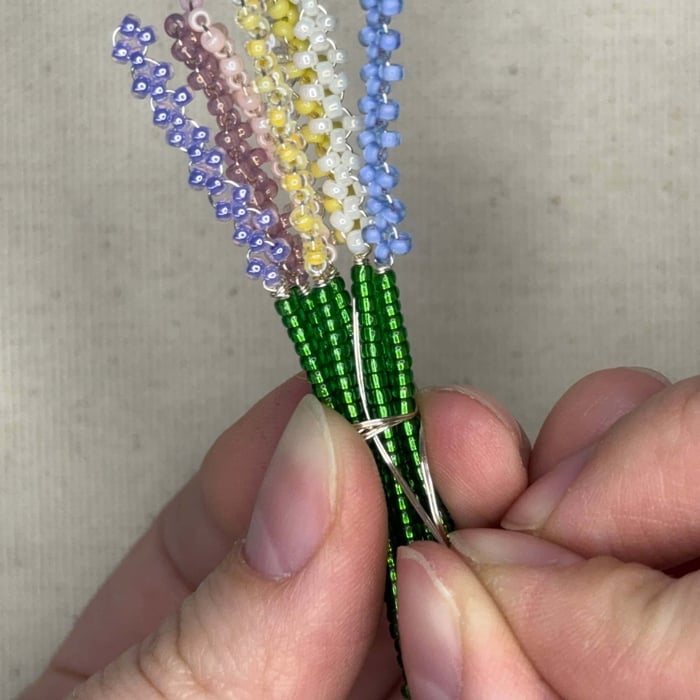
18. Turn your project right side up and place your next flower in the groove of the wire (10 beads down on the stem), then repeat step 18
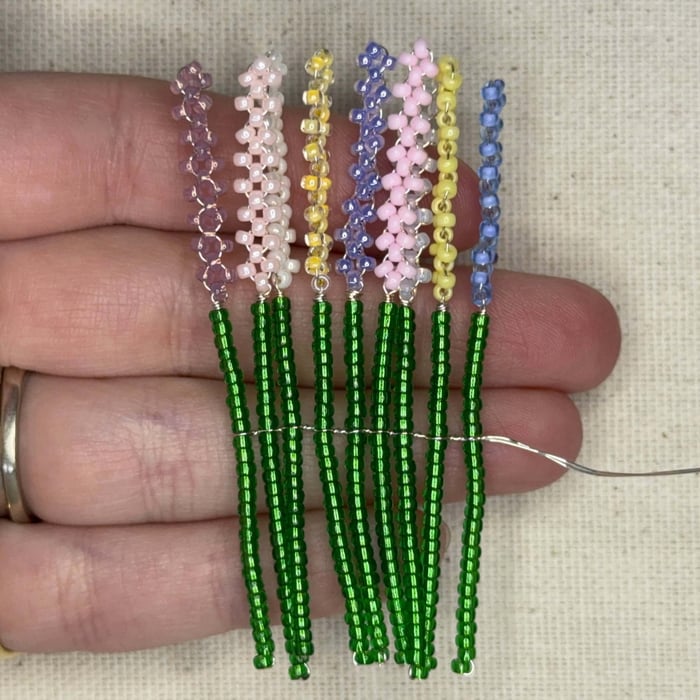
19. Repeat with the rest of the flowers until you have added all 9.
20. Roll the flowers together like you're rolling up a blanket. You want this to be very tight!
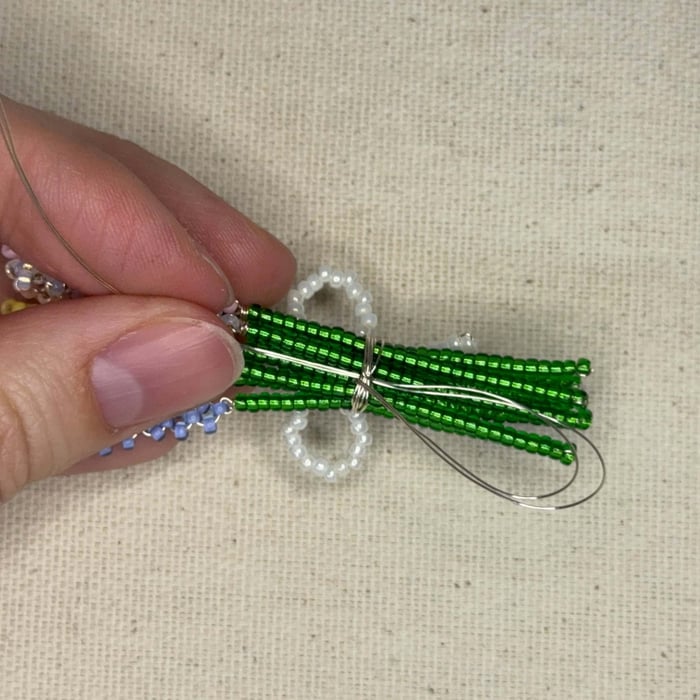
21. Wrap the two wires around the stems 2-3 times. Decide where you want your bow to be and thread your two wires up through the wrapped wire.
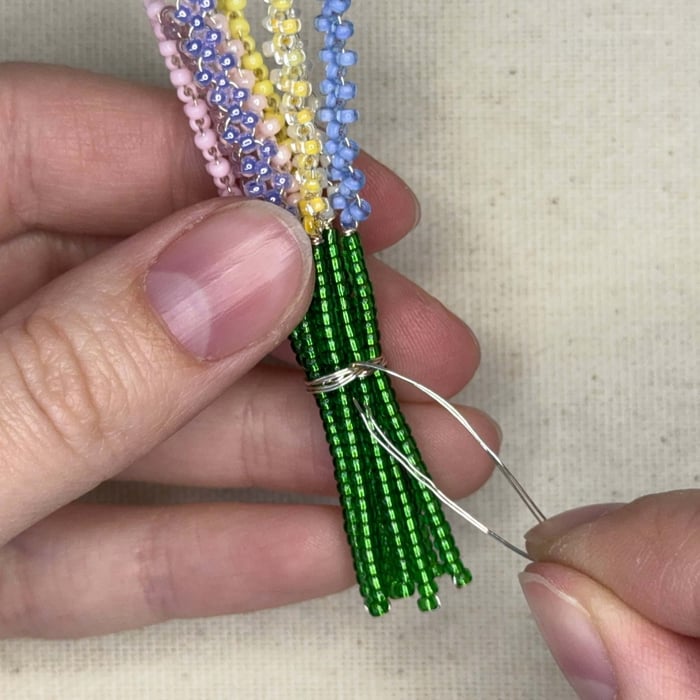
22. Thread your wires back up through and around 2 more times. Pull tight.
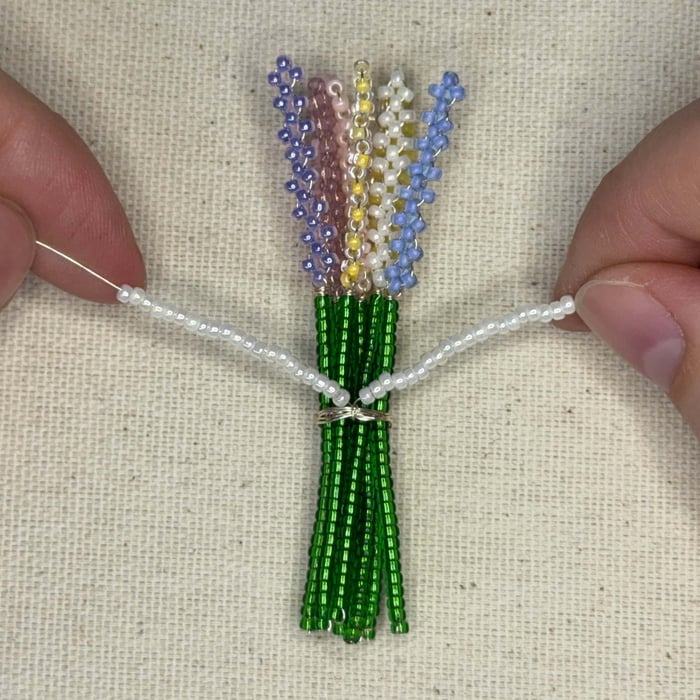
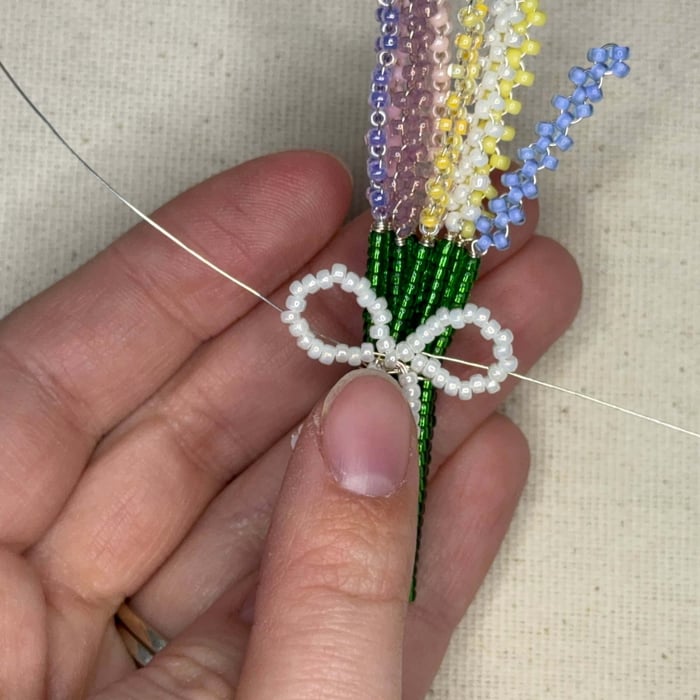
23. Separate the wires and thread 21 beads of Size 11 Miyuki Seed Beads -- 591 Pearl Ceylon on the left wire and 20 beads on the right wire
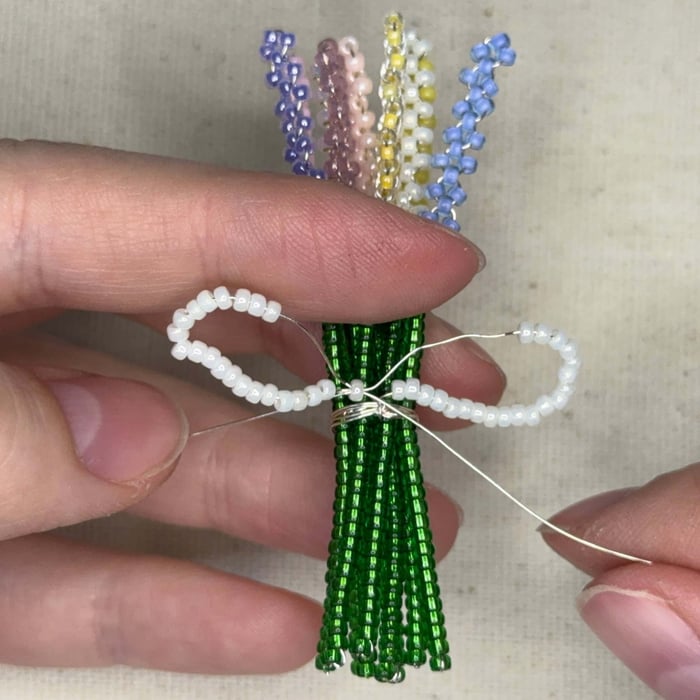
24. Thread both wires through the first bead on the left side, creating an X. Pull tight
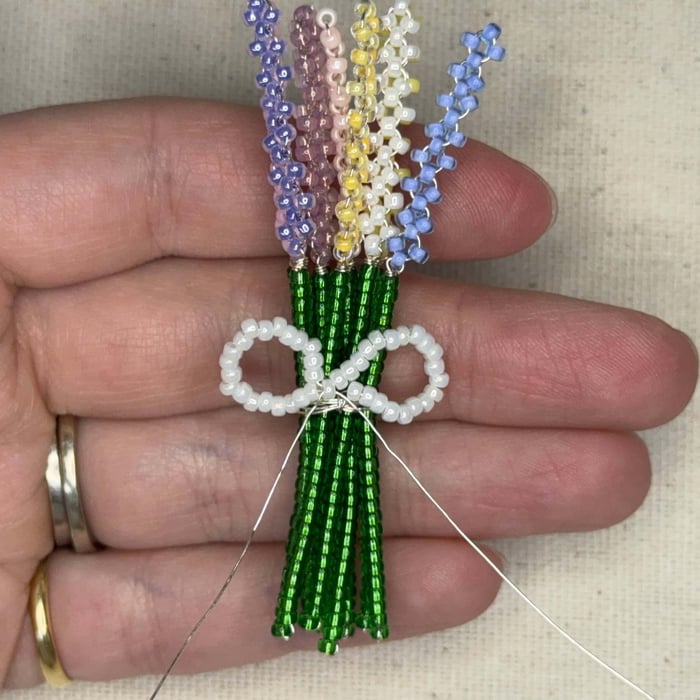
25. Mold the bow to your liking, keeping it tight.
26. Thread on 10 beads, then thread the wire back through 9 beads, skipping that first bead.
27. Repeat on other wire
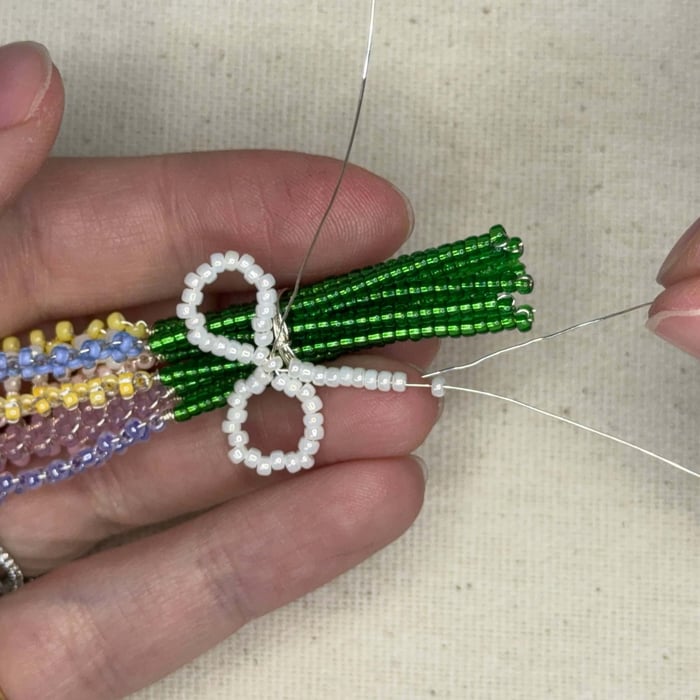
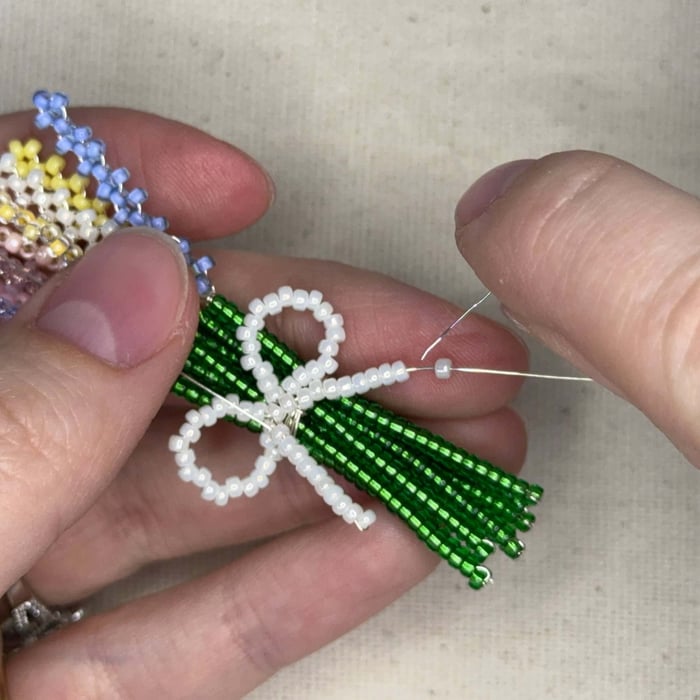
28. Now here is a tricky part. You are going to take your wires and thread it back through that center bead in the middle of the bow, then pull the wires to the back. If you can only get one wire through that is okay.
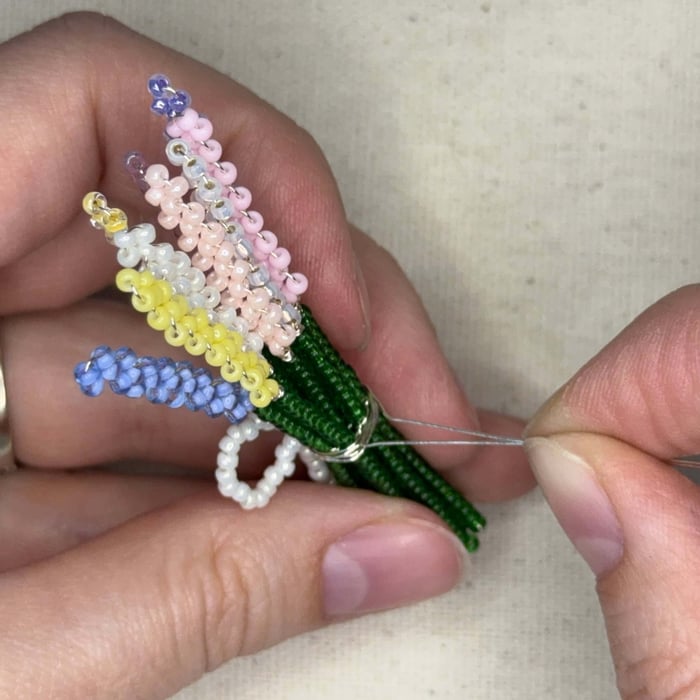
29. Wrap the wires around the stems to the opposite side of the bow
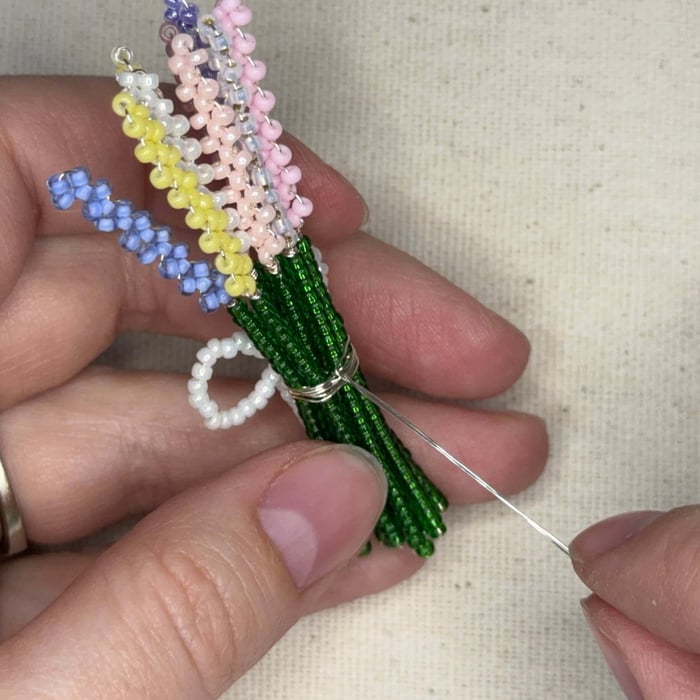
30. Twist the wires together, just once is fine
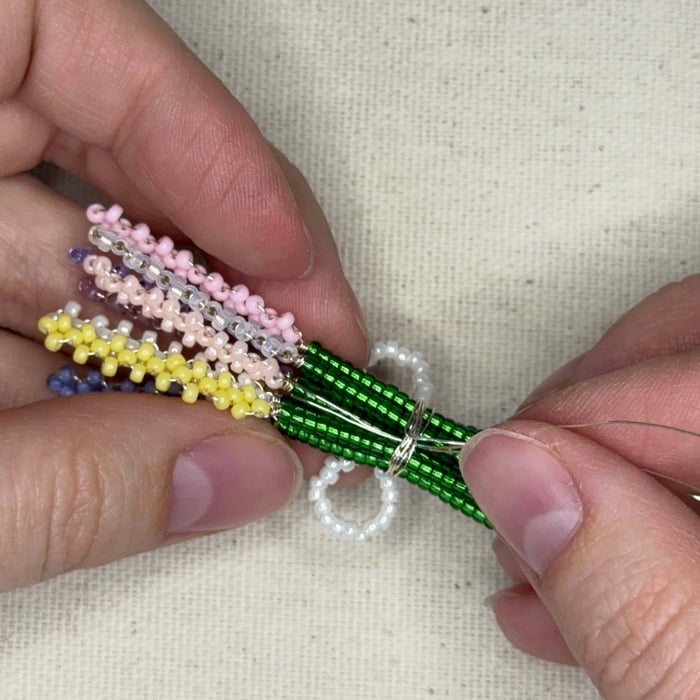
31. Take the two wires and thread them up behind the wrapped wire
32. Loop the wires over and thread the two wires under the wrapped wire again - do this one more time for a total of three wraps
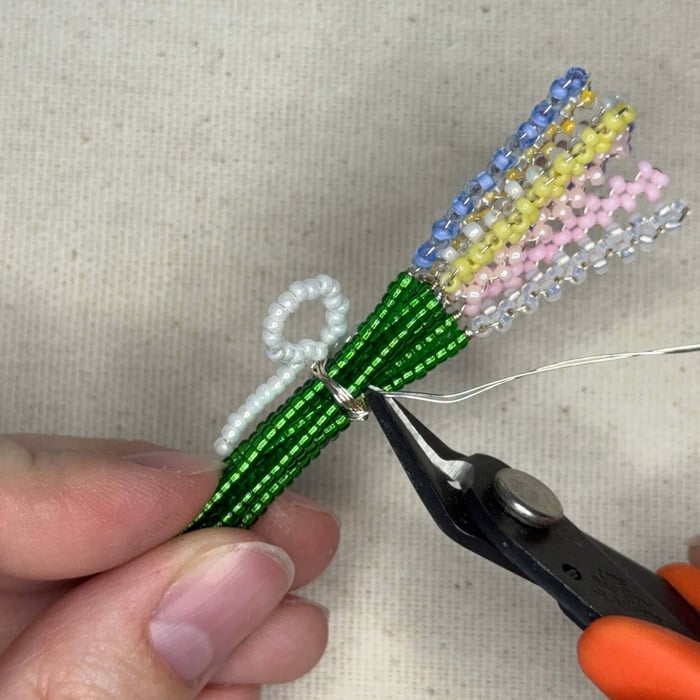
33. Cut the excess
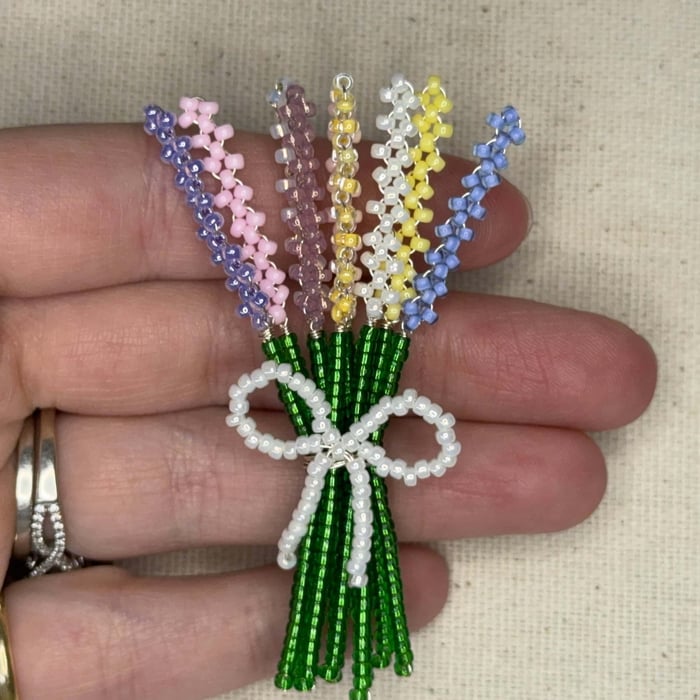
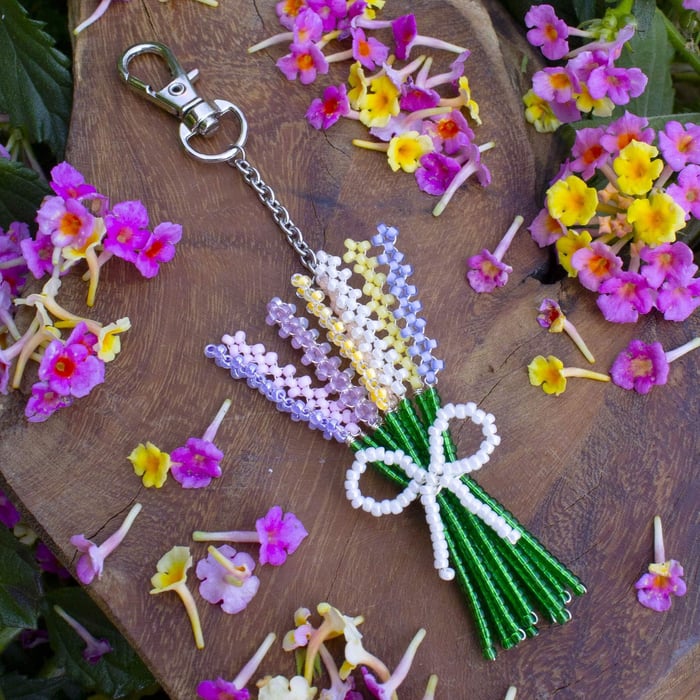
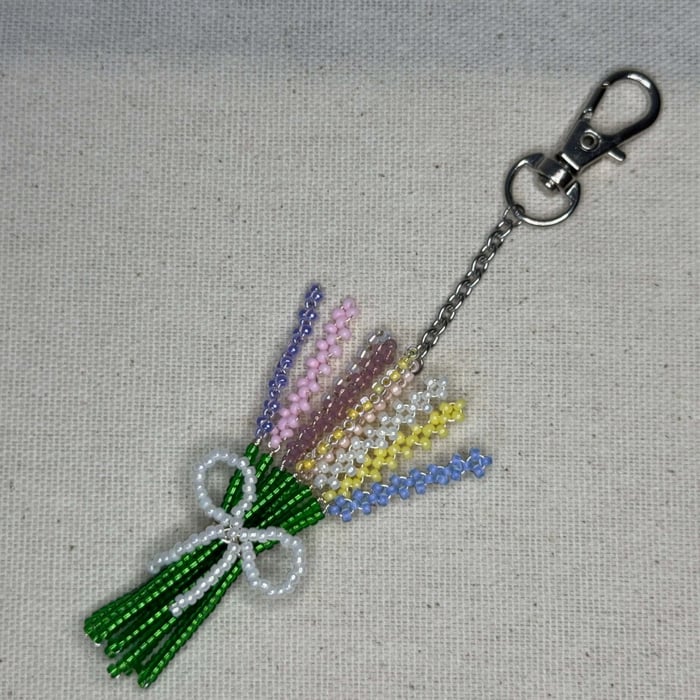
34. Your project should look like this. Please not the placement of the flower colors may be different to yours.
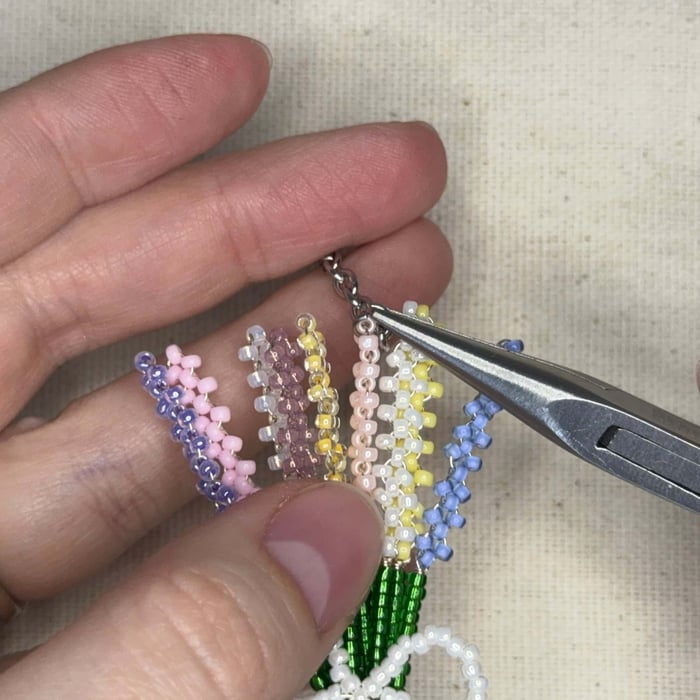
35. Open one of your two jump rings and thread it through your one inch section of chain and then through your centermost flower. Mine ended up being the Size 11 Miyuki Seed Beads -- 427A Opaque Peach Luster
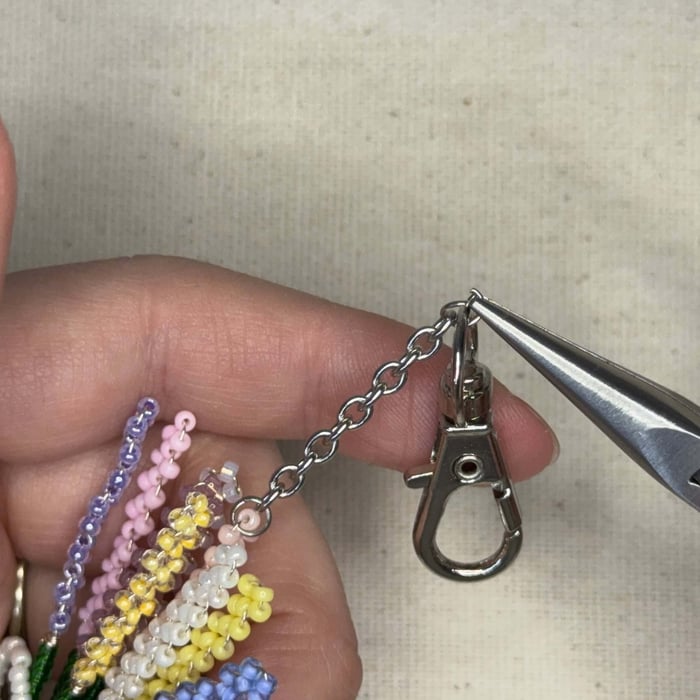
36. Connect your second jump ring on the other end of the chain section and attach your swivel clasp
37. Done!
I hope you enjoyed making your beaded wildflower bouquet keychain! Tag us in your photos on Instagram, Facebook or Tiktok so we can see your beautiful floral creations!
FAQs
What are the best beads for a wildflower keychain?
We recommend using Size 11 Miyuki Seed Beads for their uniformity and vibrant colors, which make the floral details pop.
What wire gauge should I use for beaded flowers?
A 28 gauge craft wire is ideal because it is thin enough to pass through seed beads multiple times but strong enough to hold the flower's shape.
How long does it take to make this beaded bouquet?
For a beginner, it typically takes about 1.5 to 2 hours to complete all 9 flowers and assemble the keychain.
Related Articles
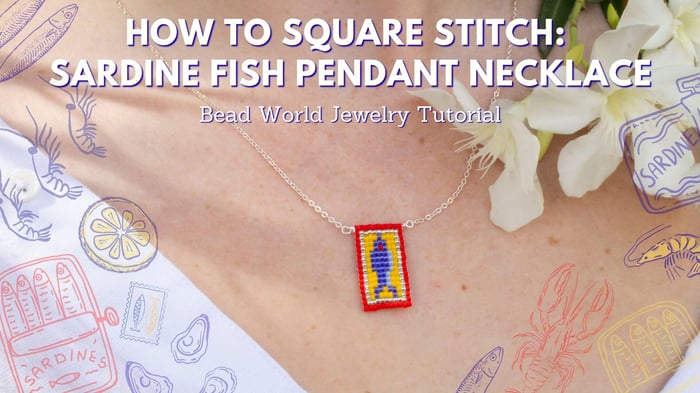
How to Square Stitch: Sardine Fish Pendant Necklace
How to Square Stitch: Sardine Fish Pendant Necklace Learn how to square stitch with this step-by-step...
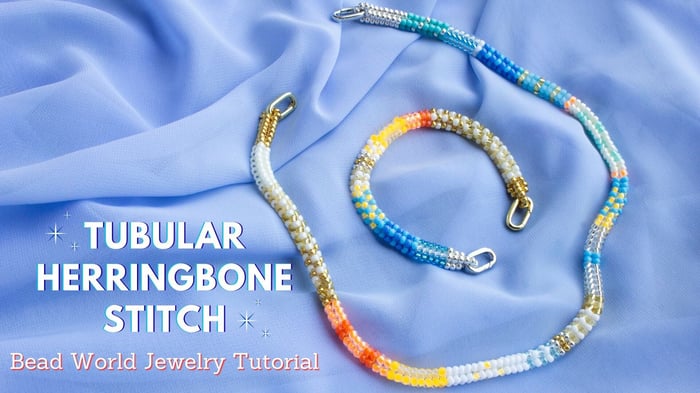
How to: Tubular Herringbone Stitch Bracelet and Necklace
How to: Tubular Herringbone Stitch Bracelet and Necklace Learn to create these flowing, color-blocked...
Watermelon Slice - Internal Circular Brick Stitch Hoop Earrings
Watermelon Slice - Internal Circular Brick Stitch Hoop Earrings These little watermelon slices are one of...