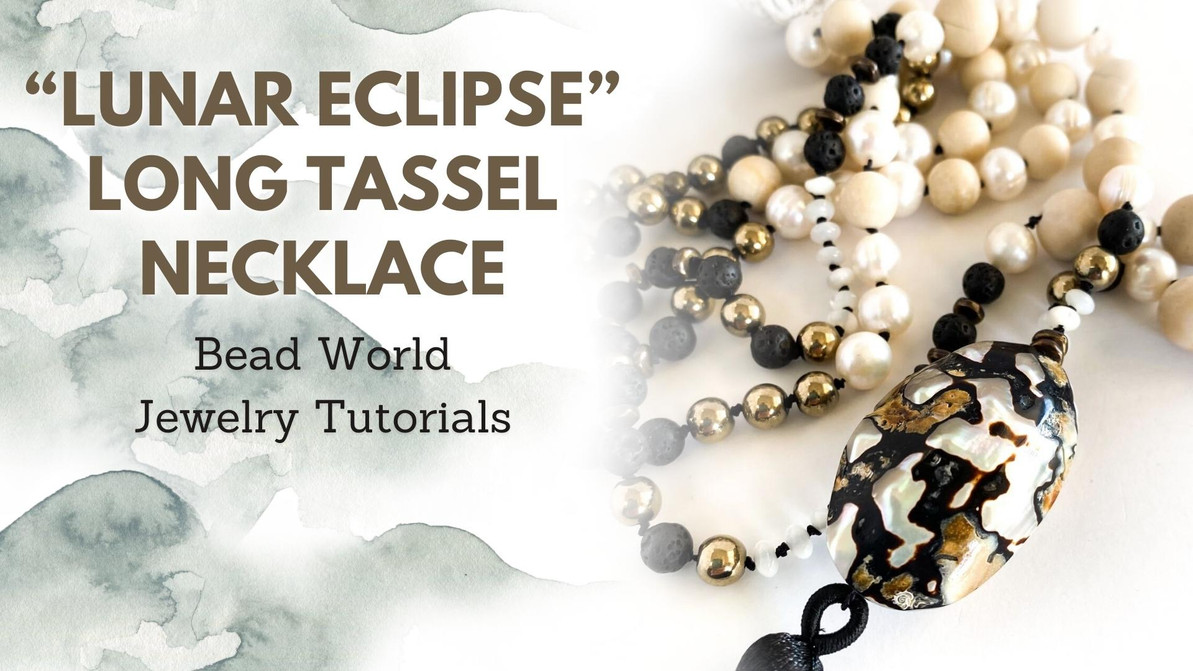
“Lunar Eclipse” Long Tassel Necklace
“Lunar Eclipse” Long Tassel Necklace
The colors in this set are derived from the beautiful focal beads that are made from exotic shells. The colors are ivory pearl, warm gold tones and black, the mix creates a dramatic statement, and the two necklaces look great worn together or separately
Long Necklace Finished Length: 34” with a 4 ½” shell and tassel pendant dangling below

Materials Needed:
- 8-9mm Ivory/White Freshwater Potato Pearls (28) – (one strand will give you enough to also make the shorter necklace).
- 8mm Riverstone Jasper, Round Matte (14) – (one strand will give you enough to also make the shorter necklace).
- 10mm Riverstone Jasper, Round Matte (8) – (not used in second necklace)
- Griffin Silk #5 Black (1)
- 6mm Pyrite Round (26) – (one strand will give you enough to also make the shorter necklace).
- 6mm Black Lava Rock, Round (24) - (one strand will give you enough to also make the shorter necklace).
- 3x4mm Mother of Pearl Rondels (18) (one strand will give you enough to also make the shorter necklace.)
- TierraCast 5mm Nugget, Brass Plated (14) (2 packets, they come in packets of ten which will give you enough to also make the shorter necklace)
- Size 11 # F401 Black Matte, Miyuki Seed Beads (1 Tube)
- 3” Tassel, Black - (1)
- 4mm Crimp Covers, Antique Brass (1)
- Large “Saramatieus” Shell
- G-S Hypo Cement
Tools Required
Key Code: A = 8-9mm Freshwater Pearls B = 8mm Matte River Stone Jasper C = 10mm Matte River Stone Jasper D = 6mm Titanium Pyrite E = 6mm Lava Rock F = Mother of Pearl Rondelles G = 5mm Brass Nuggets H = Size 11 Black Seed Beads I = Large Shell
Instructions on Construction:
Pre-stretch your cord
This necklace has the look of a knotted necklace that is achieved by using seed beads in place of knots.
This stringing starts & finishes at center back and is symmetrical.
1. Start by unwinding the Griffin silk, pre-stretch, attach the bead stop to the end of the cord leaving about a 3” tail. You are now ready to start stringing your beads onto the Griffin silk
2. The loading sequence is as follows: H (1), D (1), H (1), E (1), H (1), D (1), H (1) * repeat underlined six times, E (1), H (1), B (1), H (1), A (1), H (1) * repeat underlined seven times, A (1), H (1), * repeat underlined twice, D (1), H (1), *repeat underlined three times, E (1), H (1), G (1), H (1), * repeat underlined four times, E (1), H (1), D (1), H (1), E (1), H (1), D (1), H (1), F (1), H (1), * repeat underlined seven times, E (1), H (1), G (1), H (1), * repeat underlined twice, E (1), H (1), A (1), H (1), C (1), H (1), repeat underlined four times, A (1), H (1), E (1), H (1), D (1), H (1), F (1), H (1), * repeat underlined twice, G (2), * thread the needle down through the large shell, then pass through the loop at the top off the tassel and then back up through shell and the last two brass nuggets.
3. The second side is a mirror image of the first side.
4. Pull the beads together so they fit snugly on the silk as it does tend to stretch a little over time, even though you pre-stretched at the beginning.
5. You will finish your necklace by tying 1 ½ square knots making sure that they are tight & secure. Add a small dab of glue to the square knots (hypo cement) then let dry until glue has set up. Now you can use either scissors or a thread zapper to burn off cord (close to knot).
6. Add the crimp cover over knot, close carefully with your needle nose pliers making sure that edges line up closely.
7. Try on your new necklace & admire your handiwork! Enjoy
Jewelry designed by Steph Stirniman at https://magpiecollectives.etsy.com/
Recent Posts
-
Christmas Wine Charms - Mini Tutorial
Christmas Wine Charms - Mini TutorialThese wine charms are sure to be the center talking point at yo …25th Nov 2024 -
Christmas Bow Garland - Mini Tutorial
Christmas Bow Garland - Mini TutorialCreate your own holiday decor with a Christmas-colored bow garl …14th Nov 2024 -
Charm Necklace Tutorial
Charm Necklace TutorialEmbrace individuality with our Personalized Charm Necklace tutorial, a perfec …6th Nov 2024


