

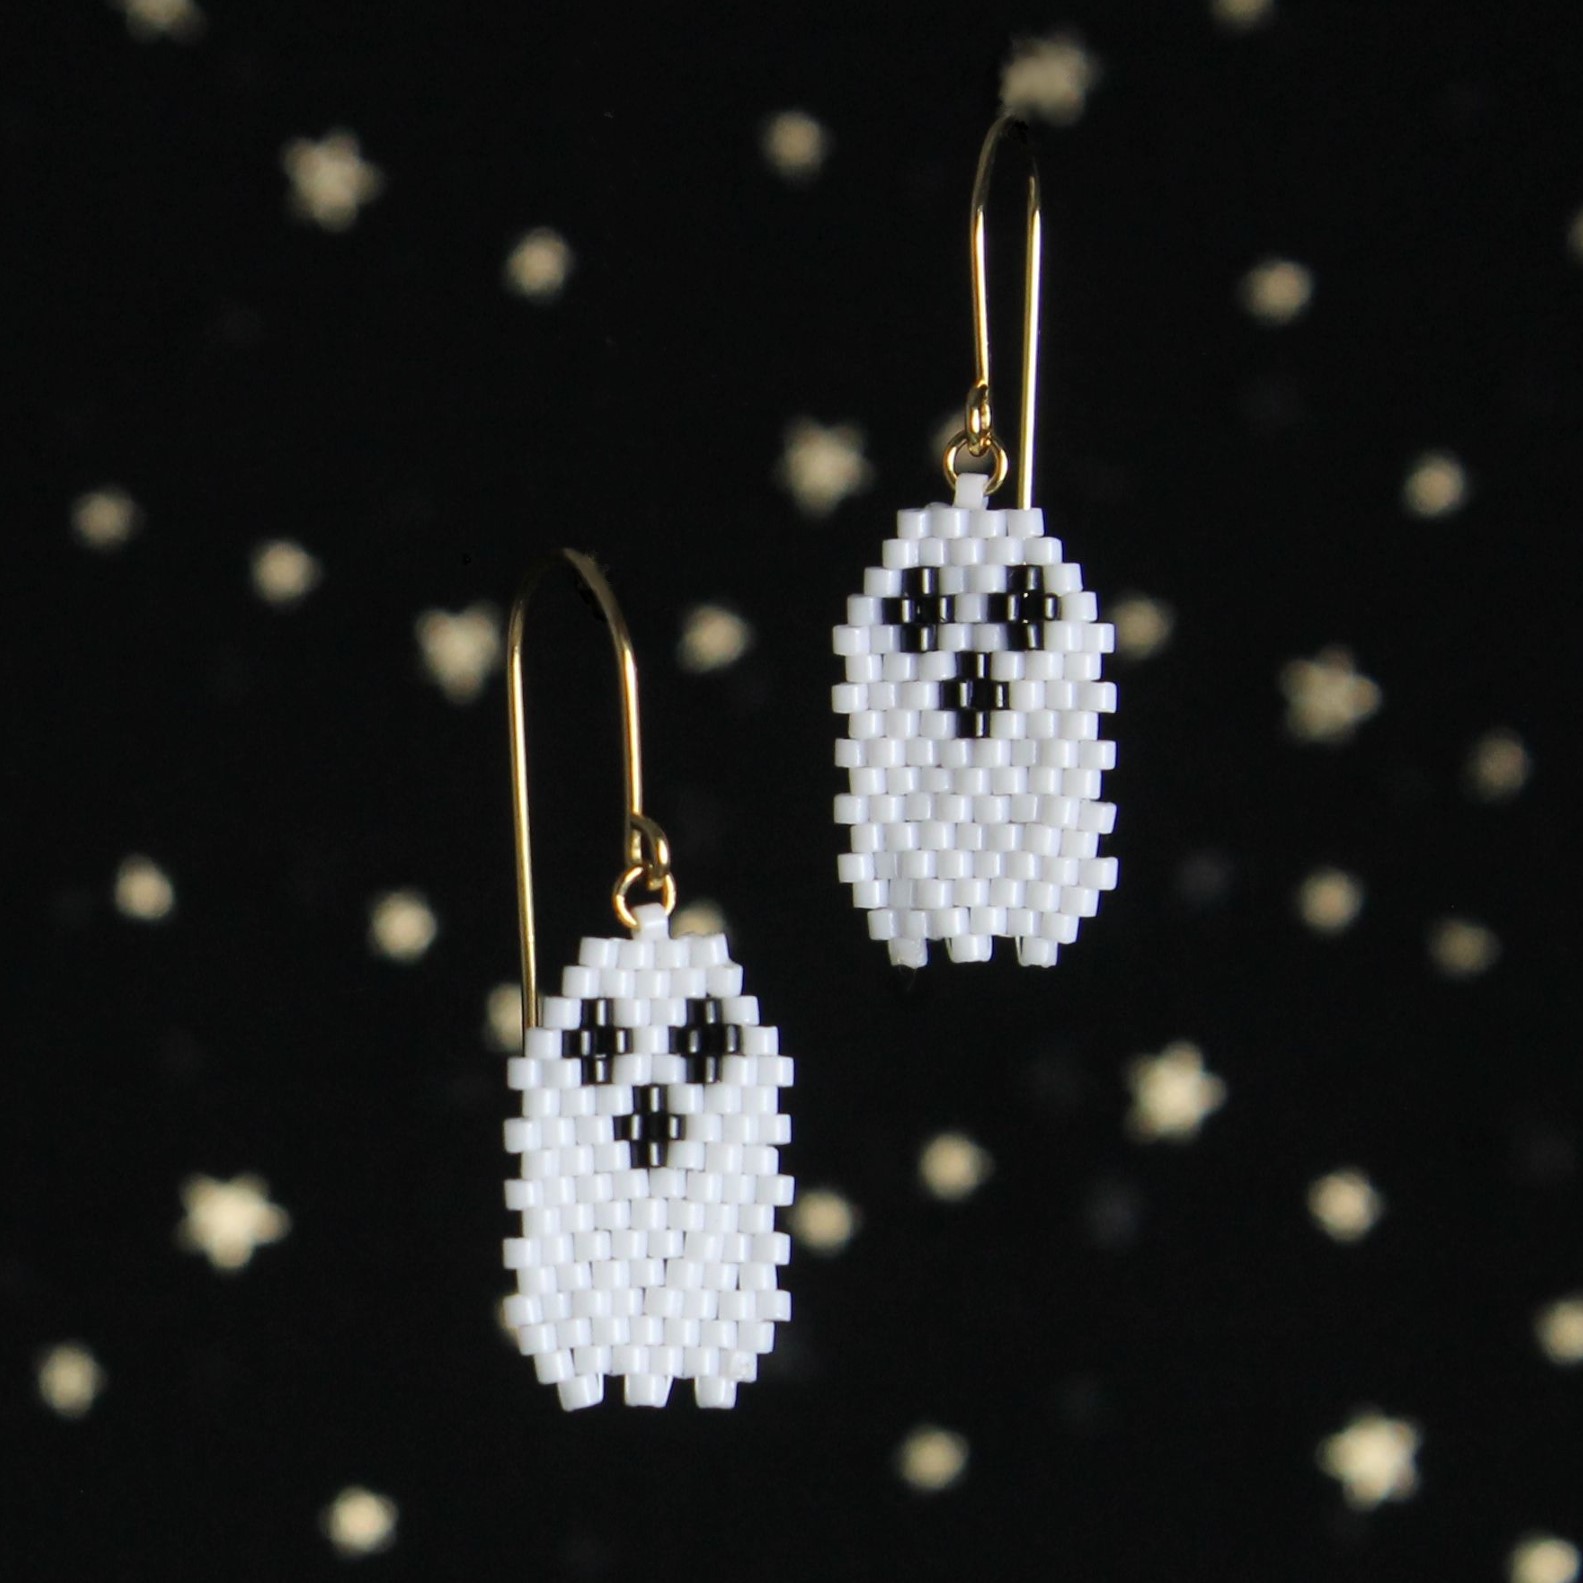
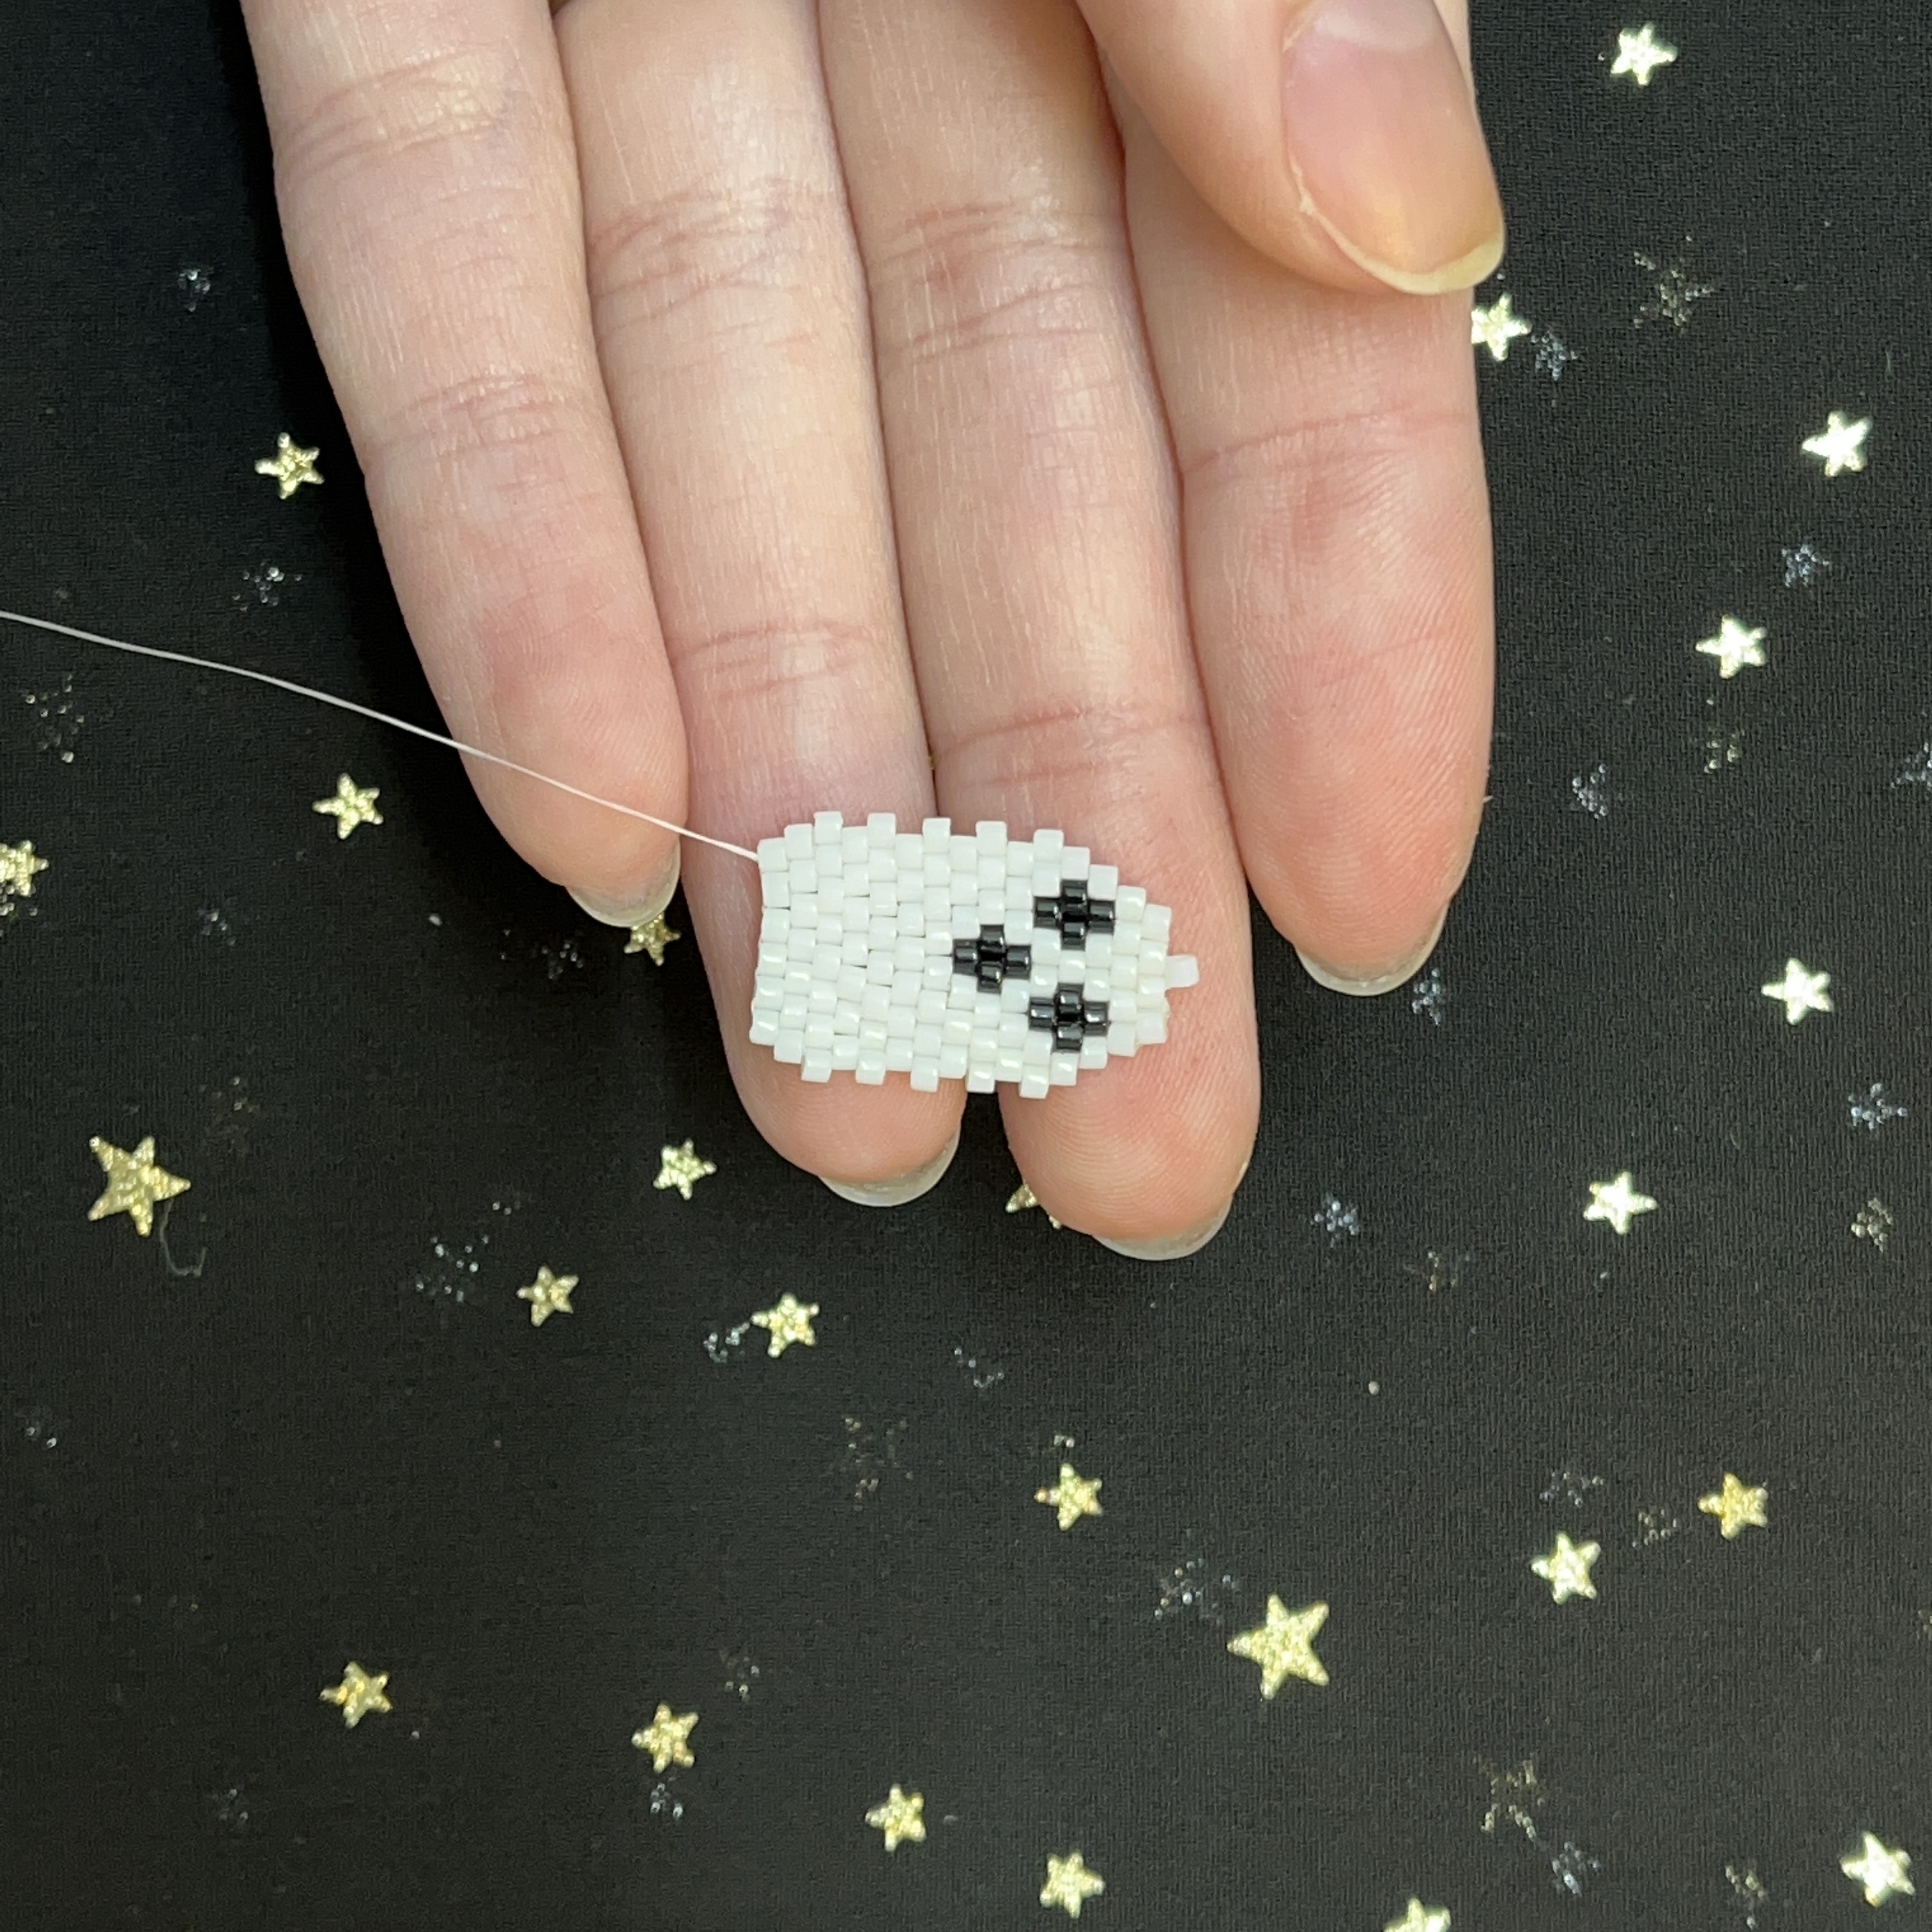
"Boo" Brick Stitch earrings
"Boo" Brick Stitch Earrings
These fun little guys are perfect to make as holiday gifts for family, friends, or yourself! Wear them to that next Halloween party or all through the autumn season!
Drop Length approx. 3/4 inch
Materials Needed:
- Delica Size 11 200 Chalk White
- Delica Size 11 010 Black
- Fireline Crystal 4lb (about 3 feet but you will end up using less)
- Gold Plated 3mm 22 Gauge Jump Rings (2)
- 18K Gold Plated Stainless Steel Ear Wires (1 Pair) or gold plated ear wires of your choice
- John James Needle Size 12 (1)
Tools Required:
Needle Nose Pliers (also known as chain nose)
Instructions on Construction:

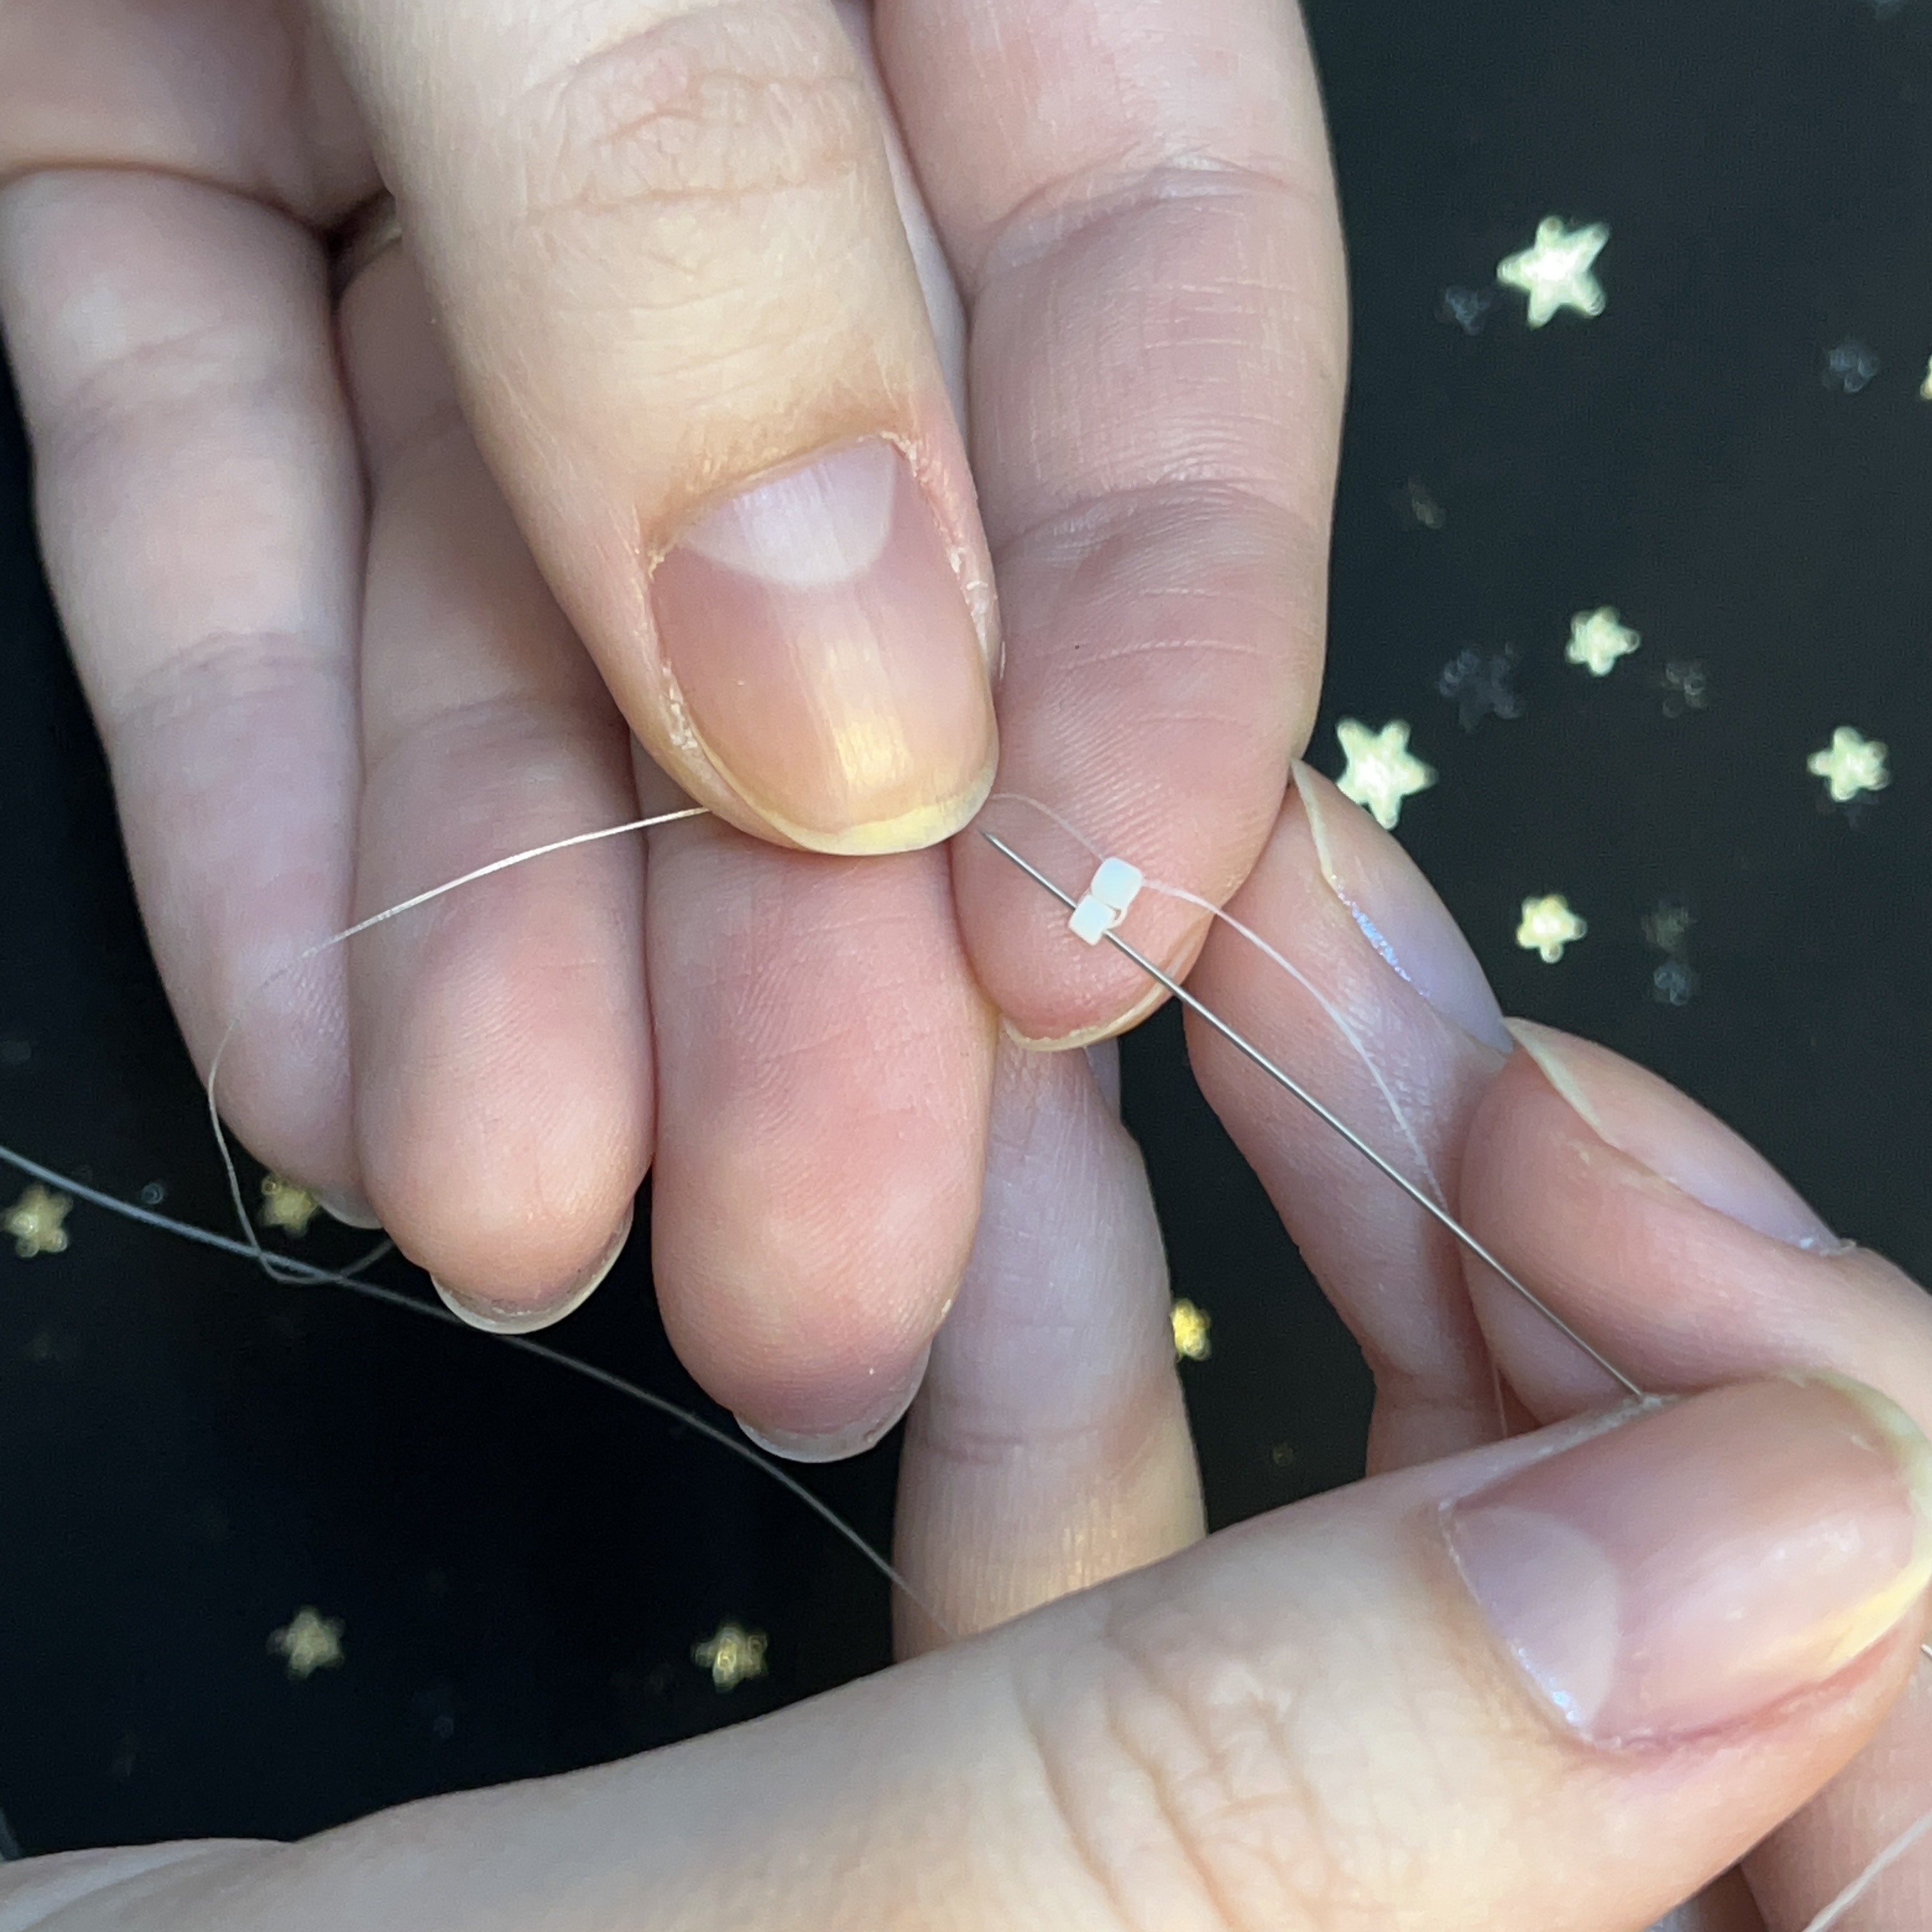
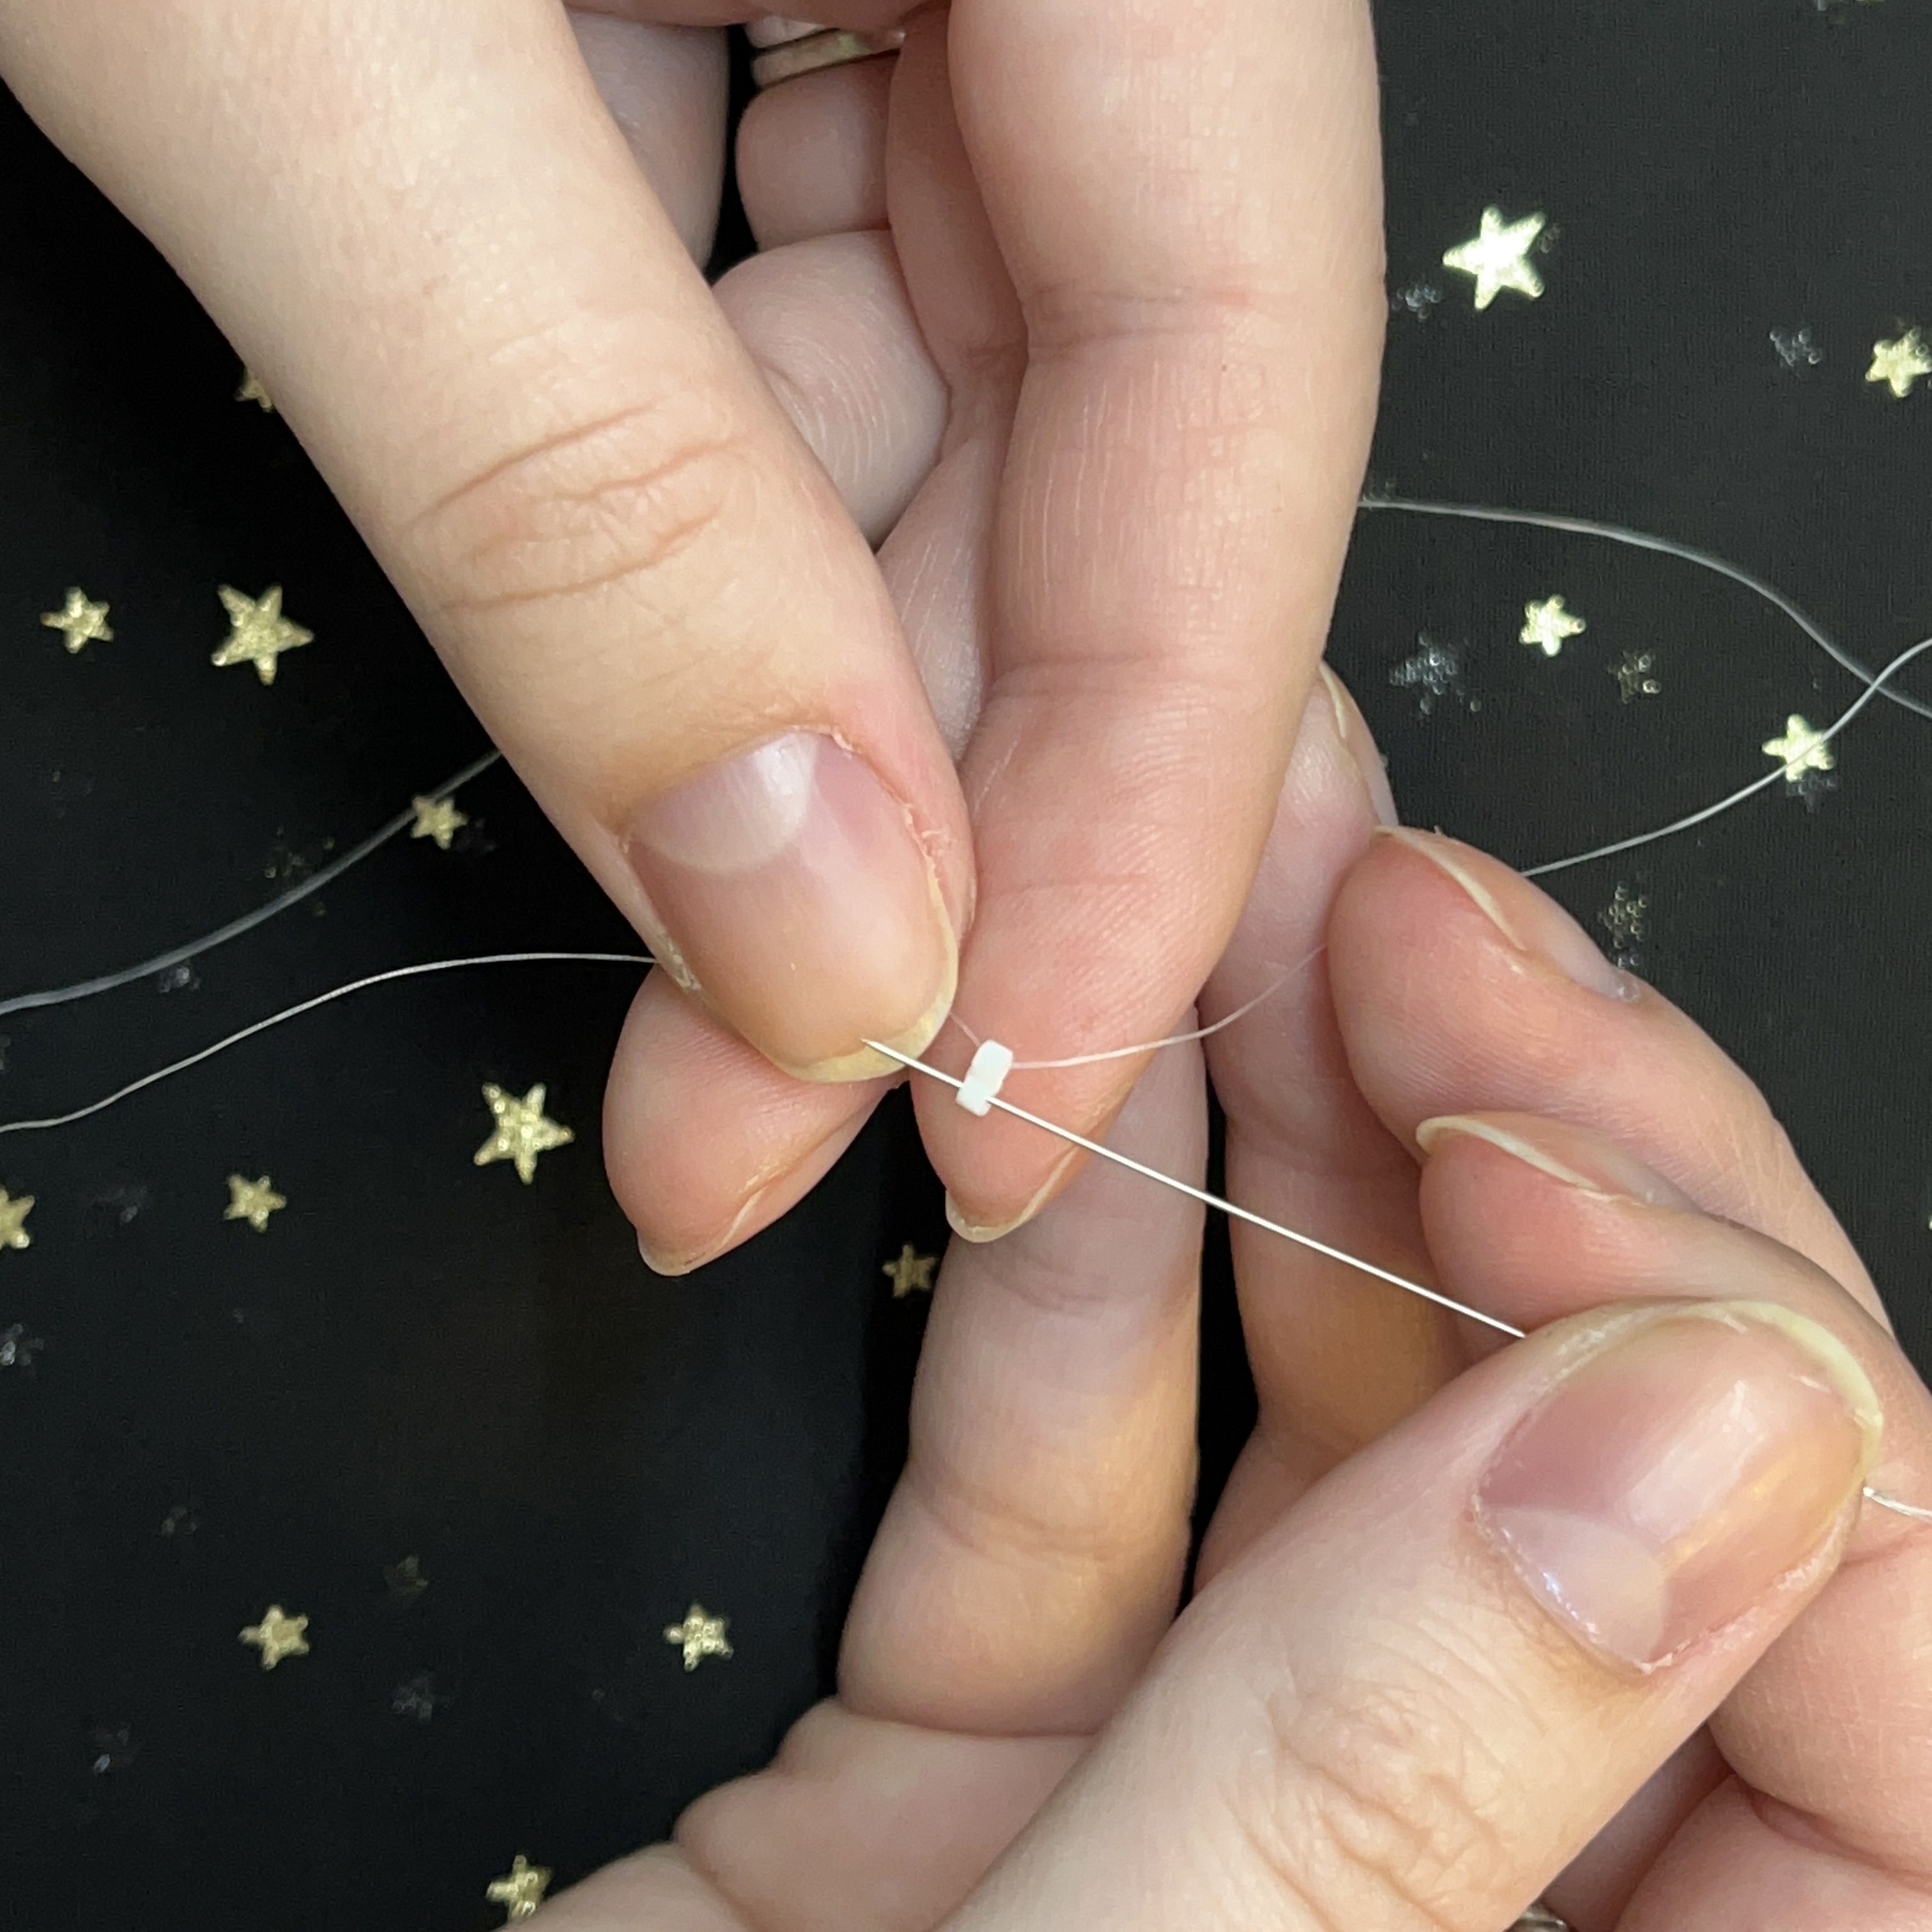
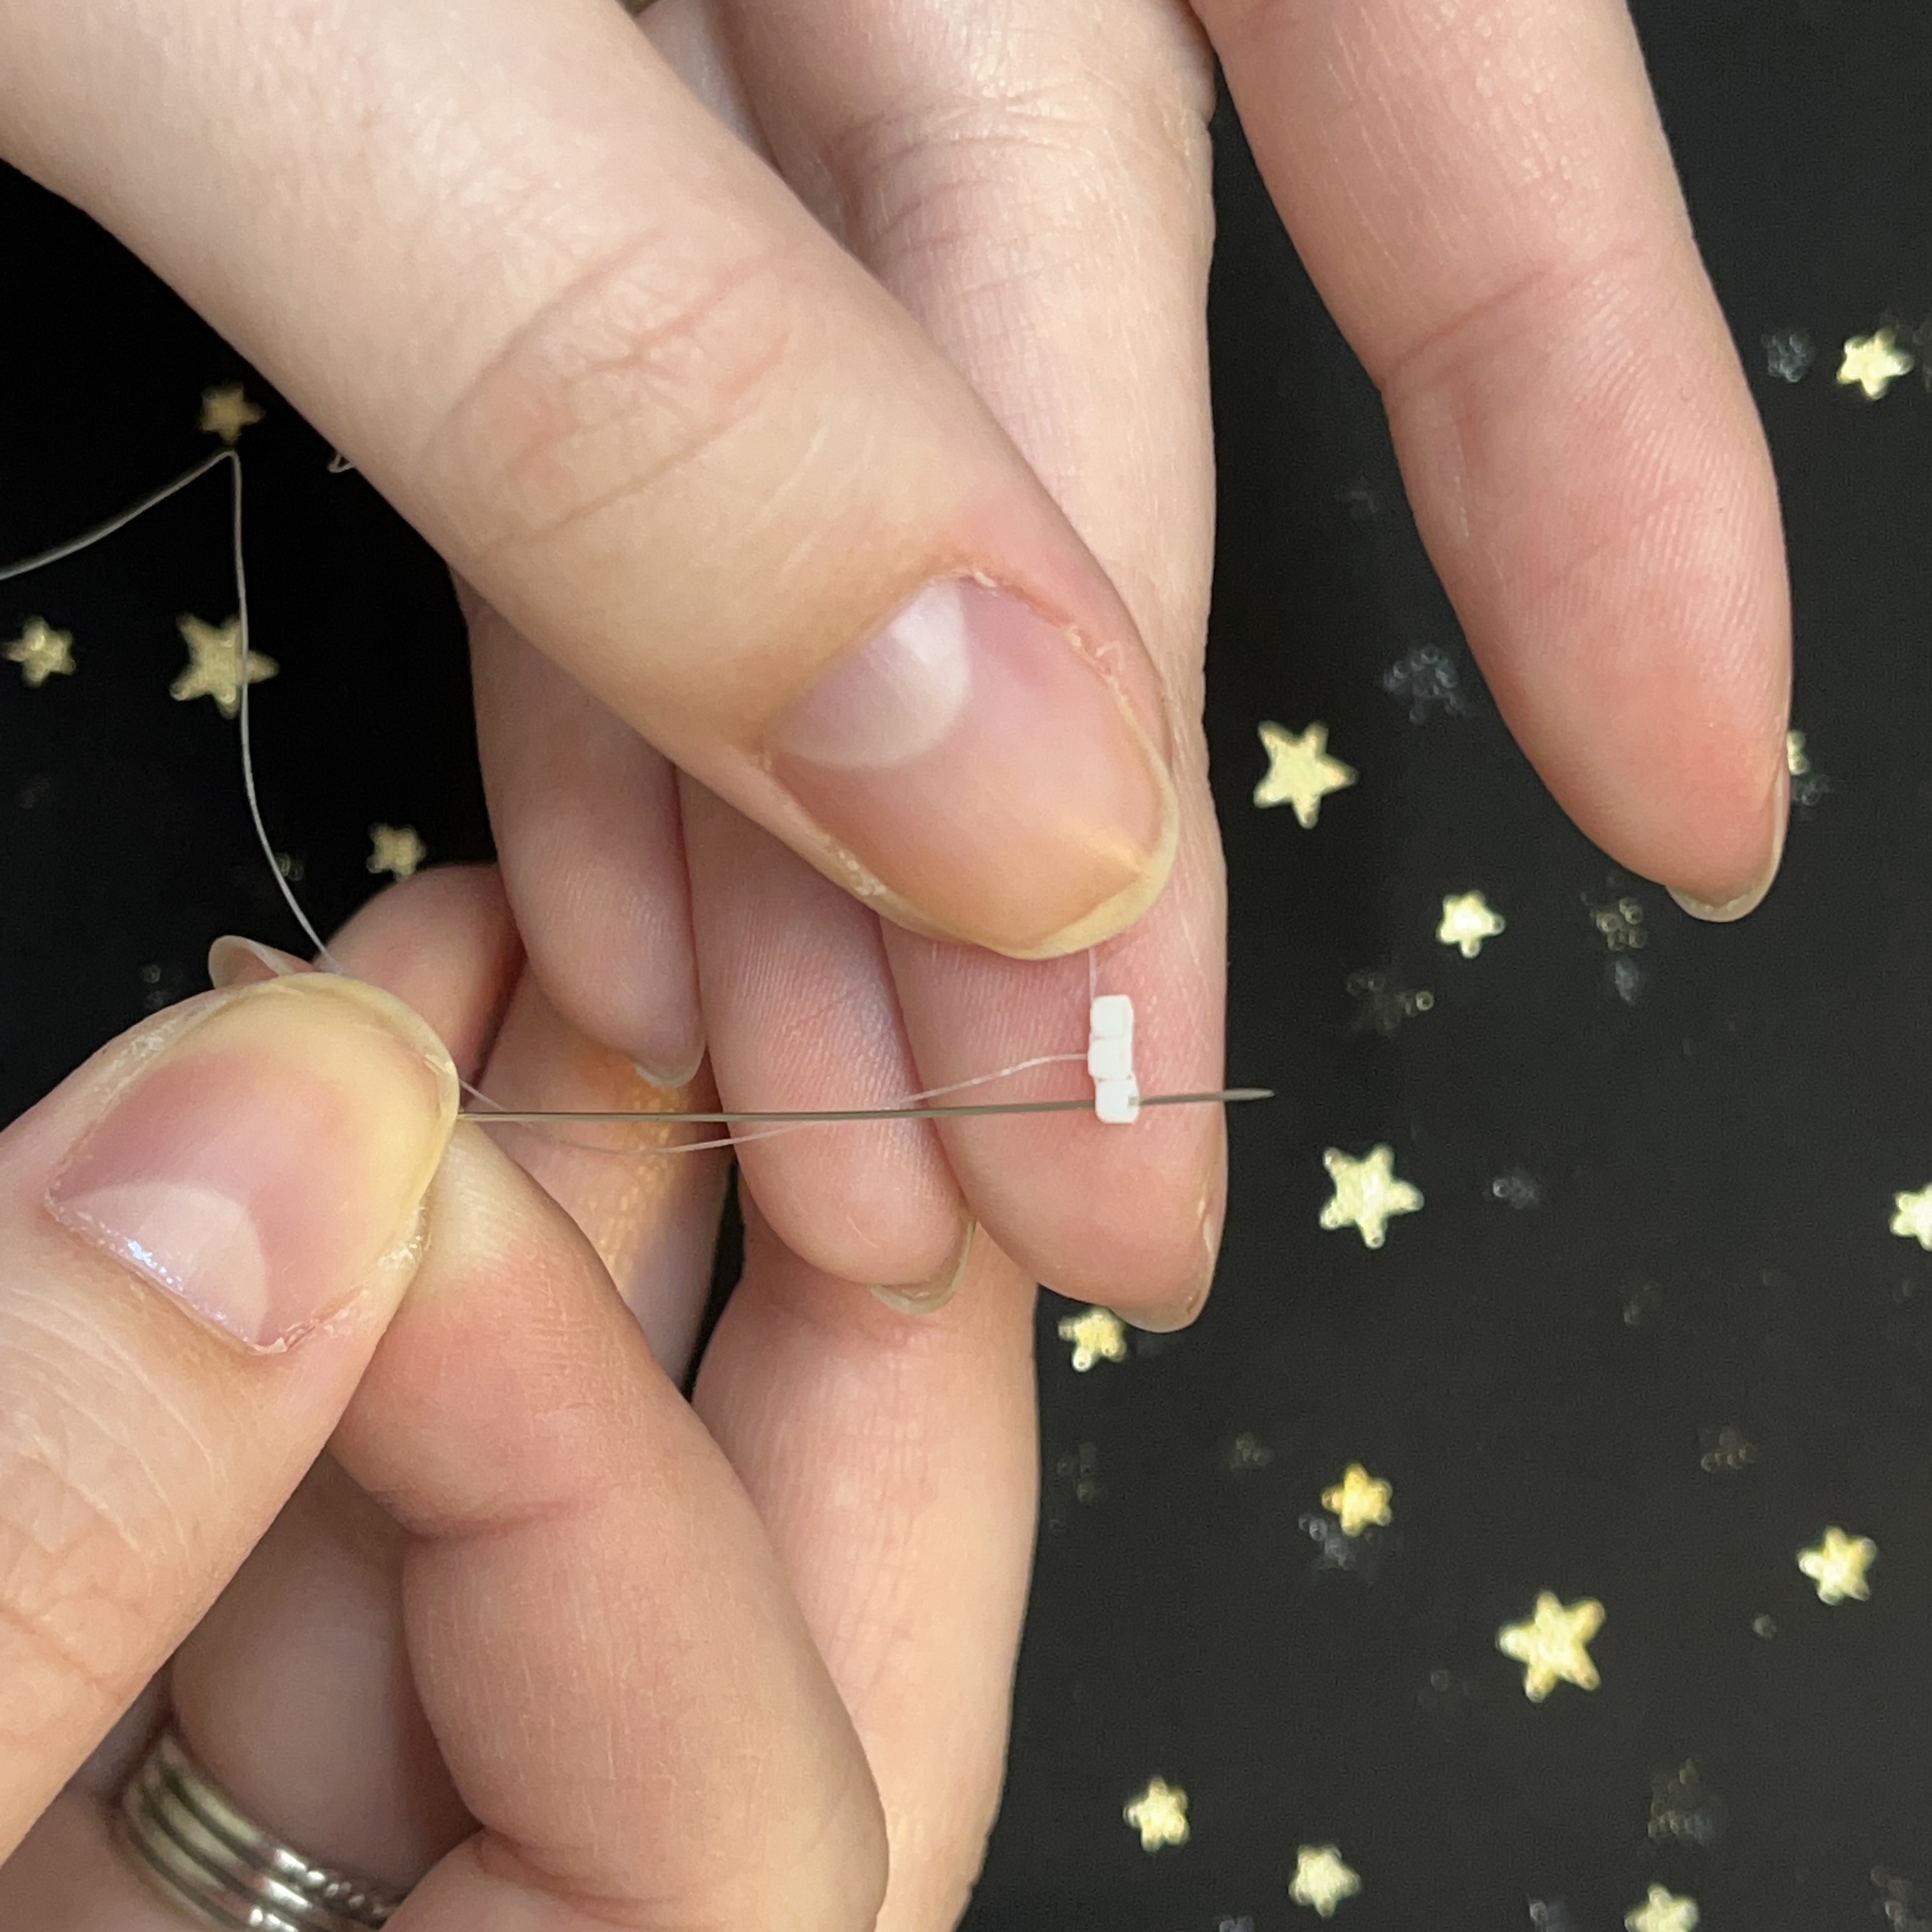
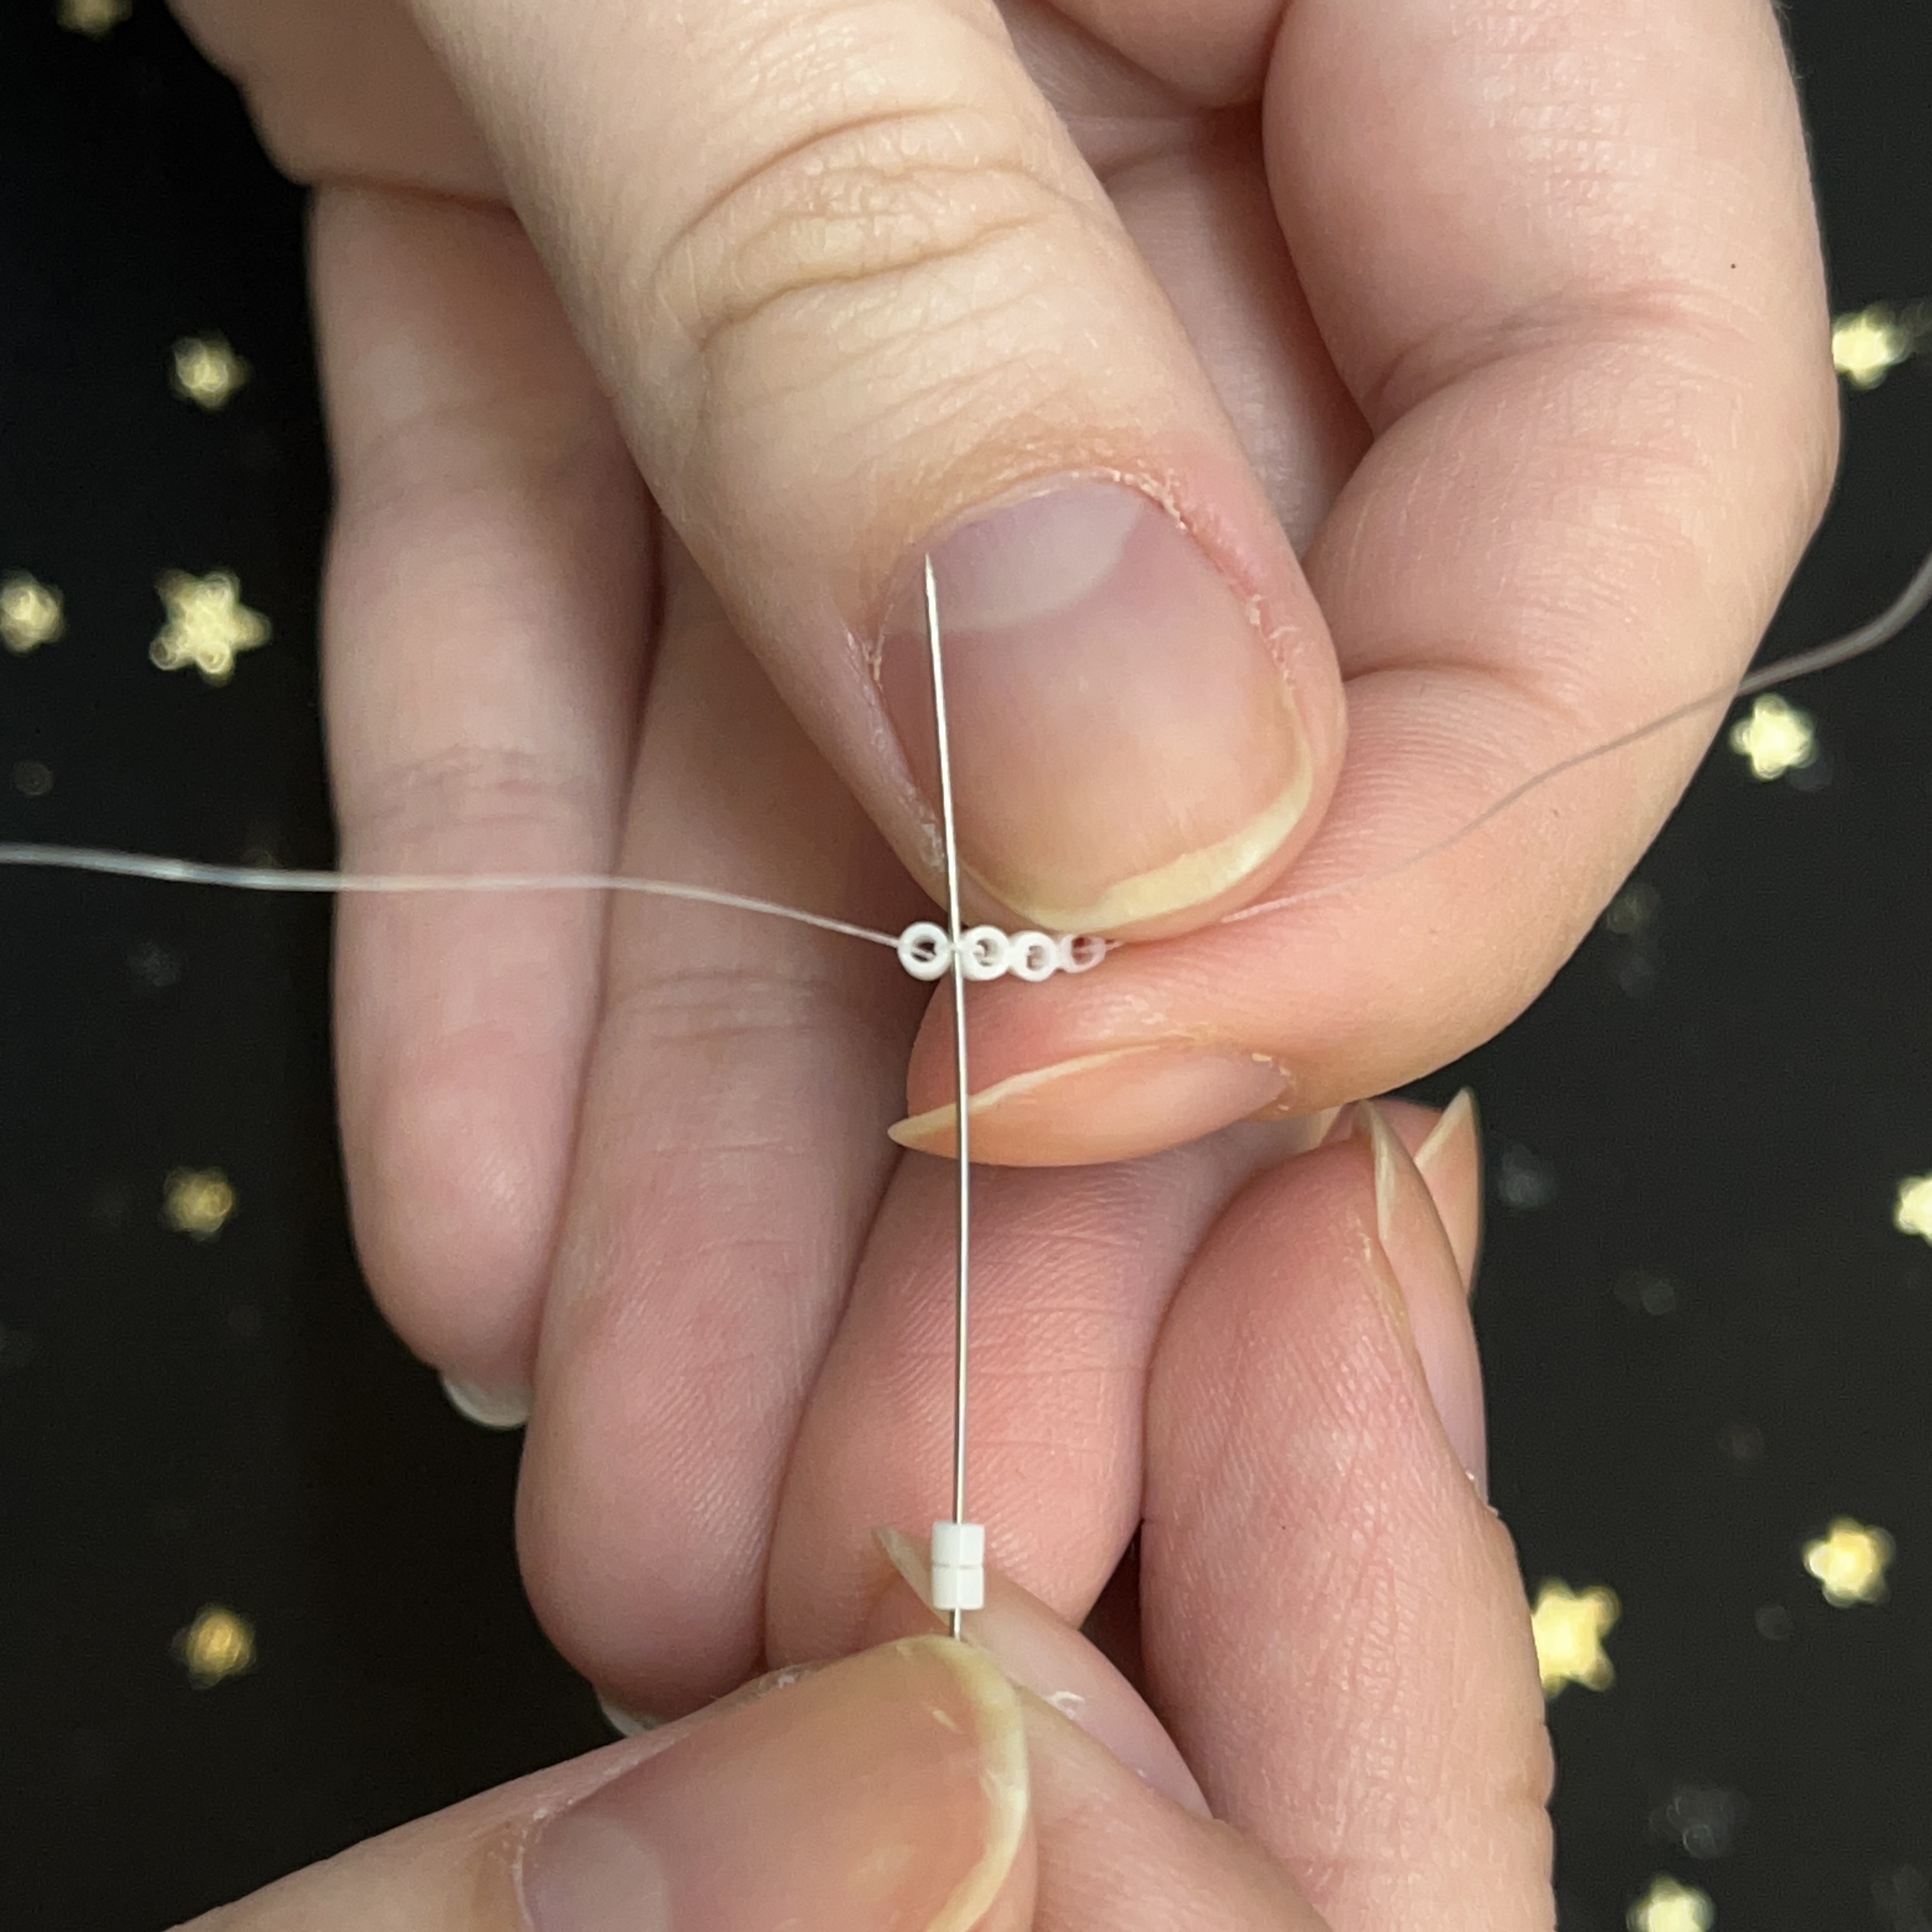
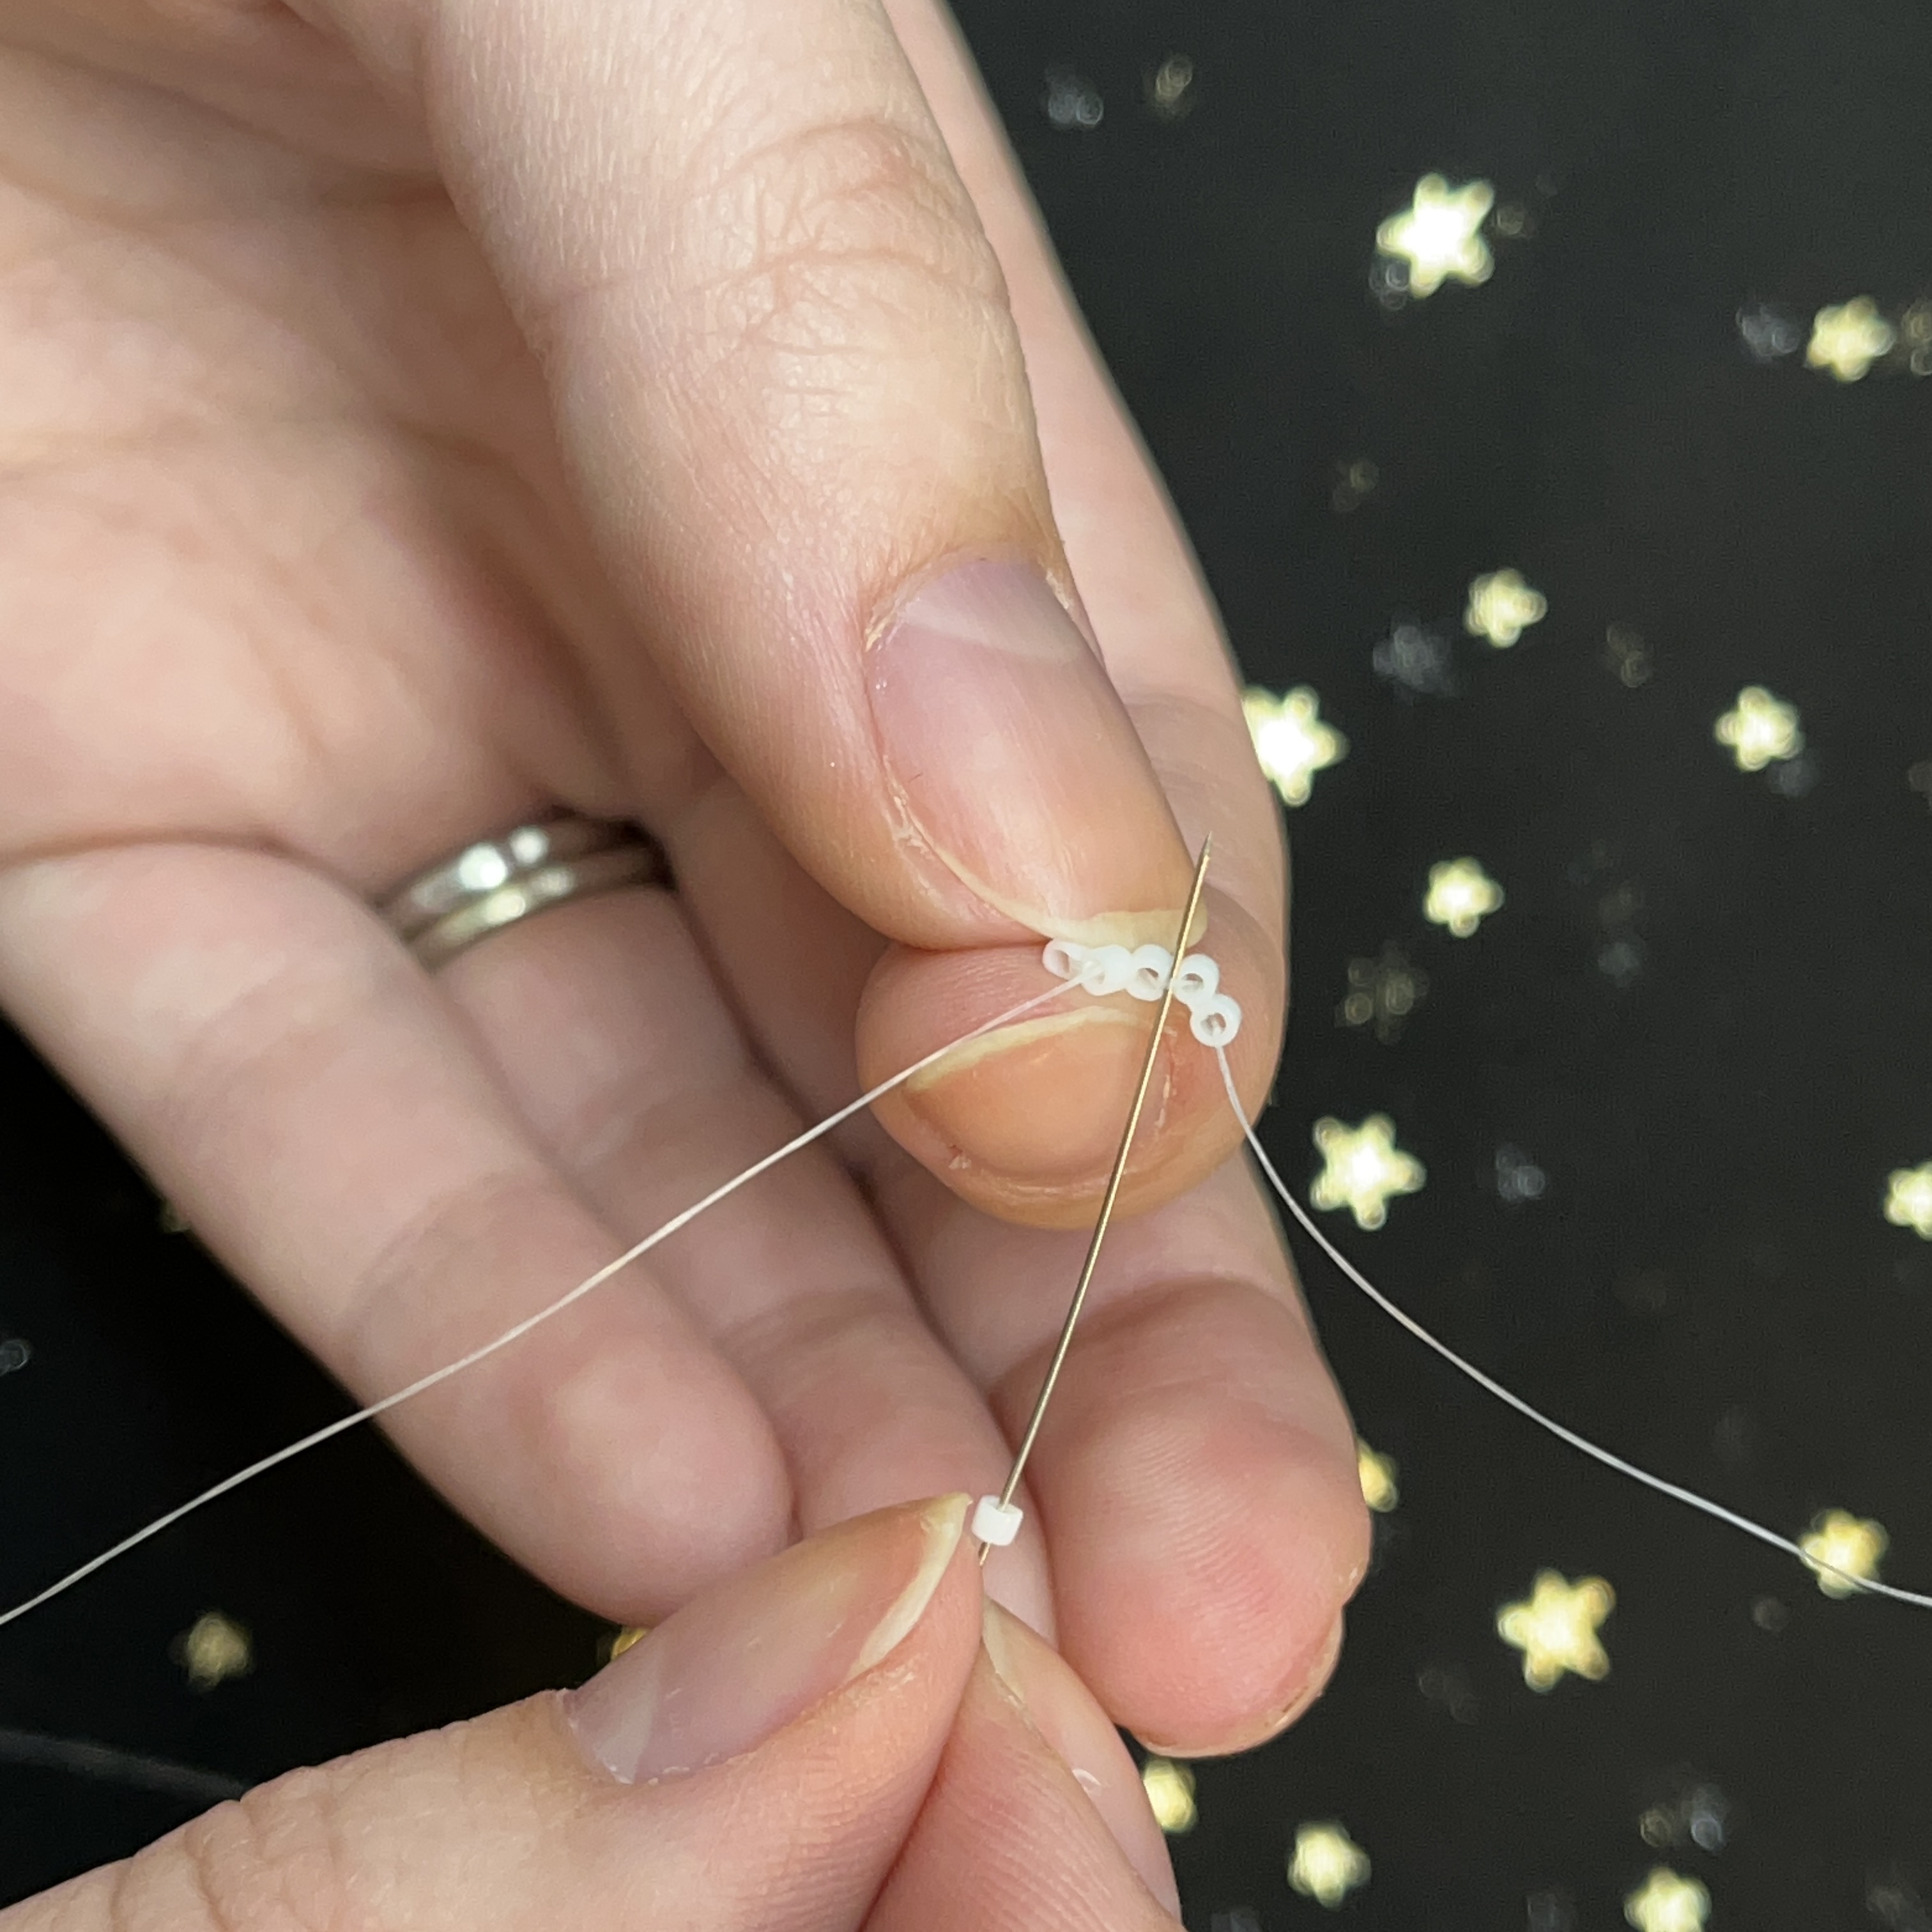
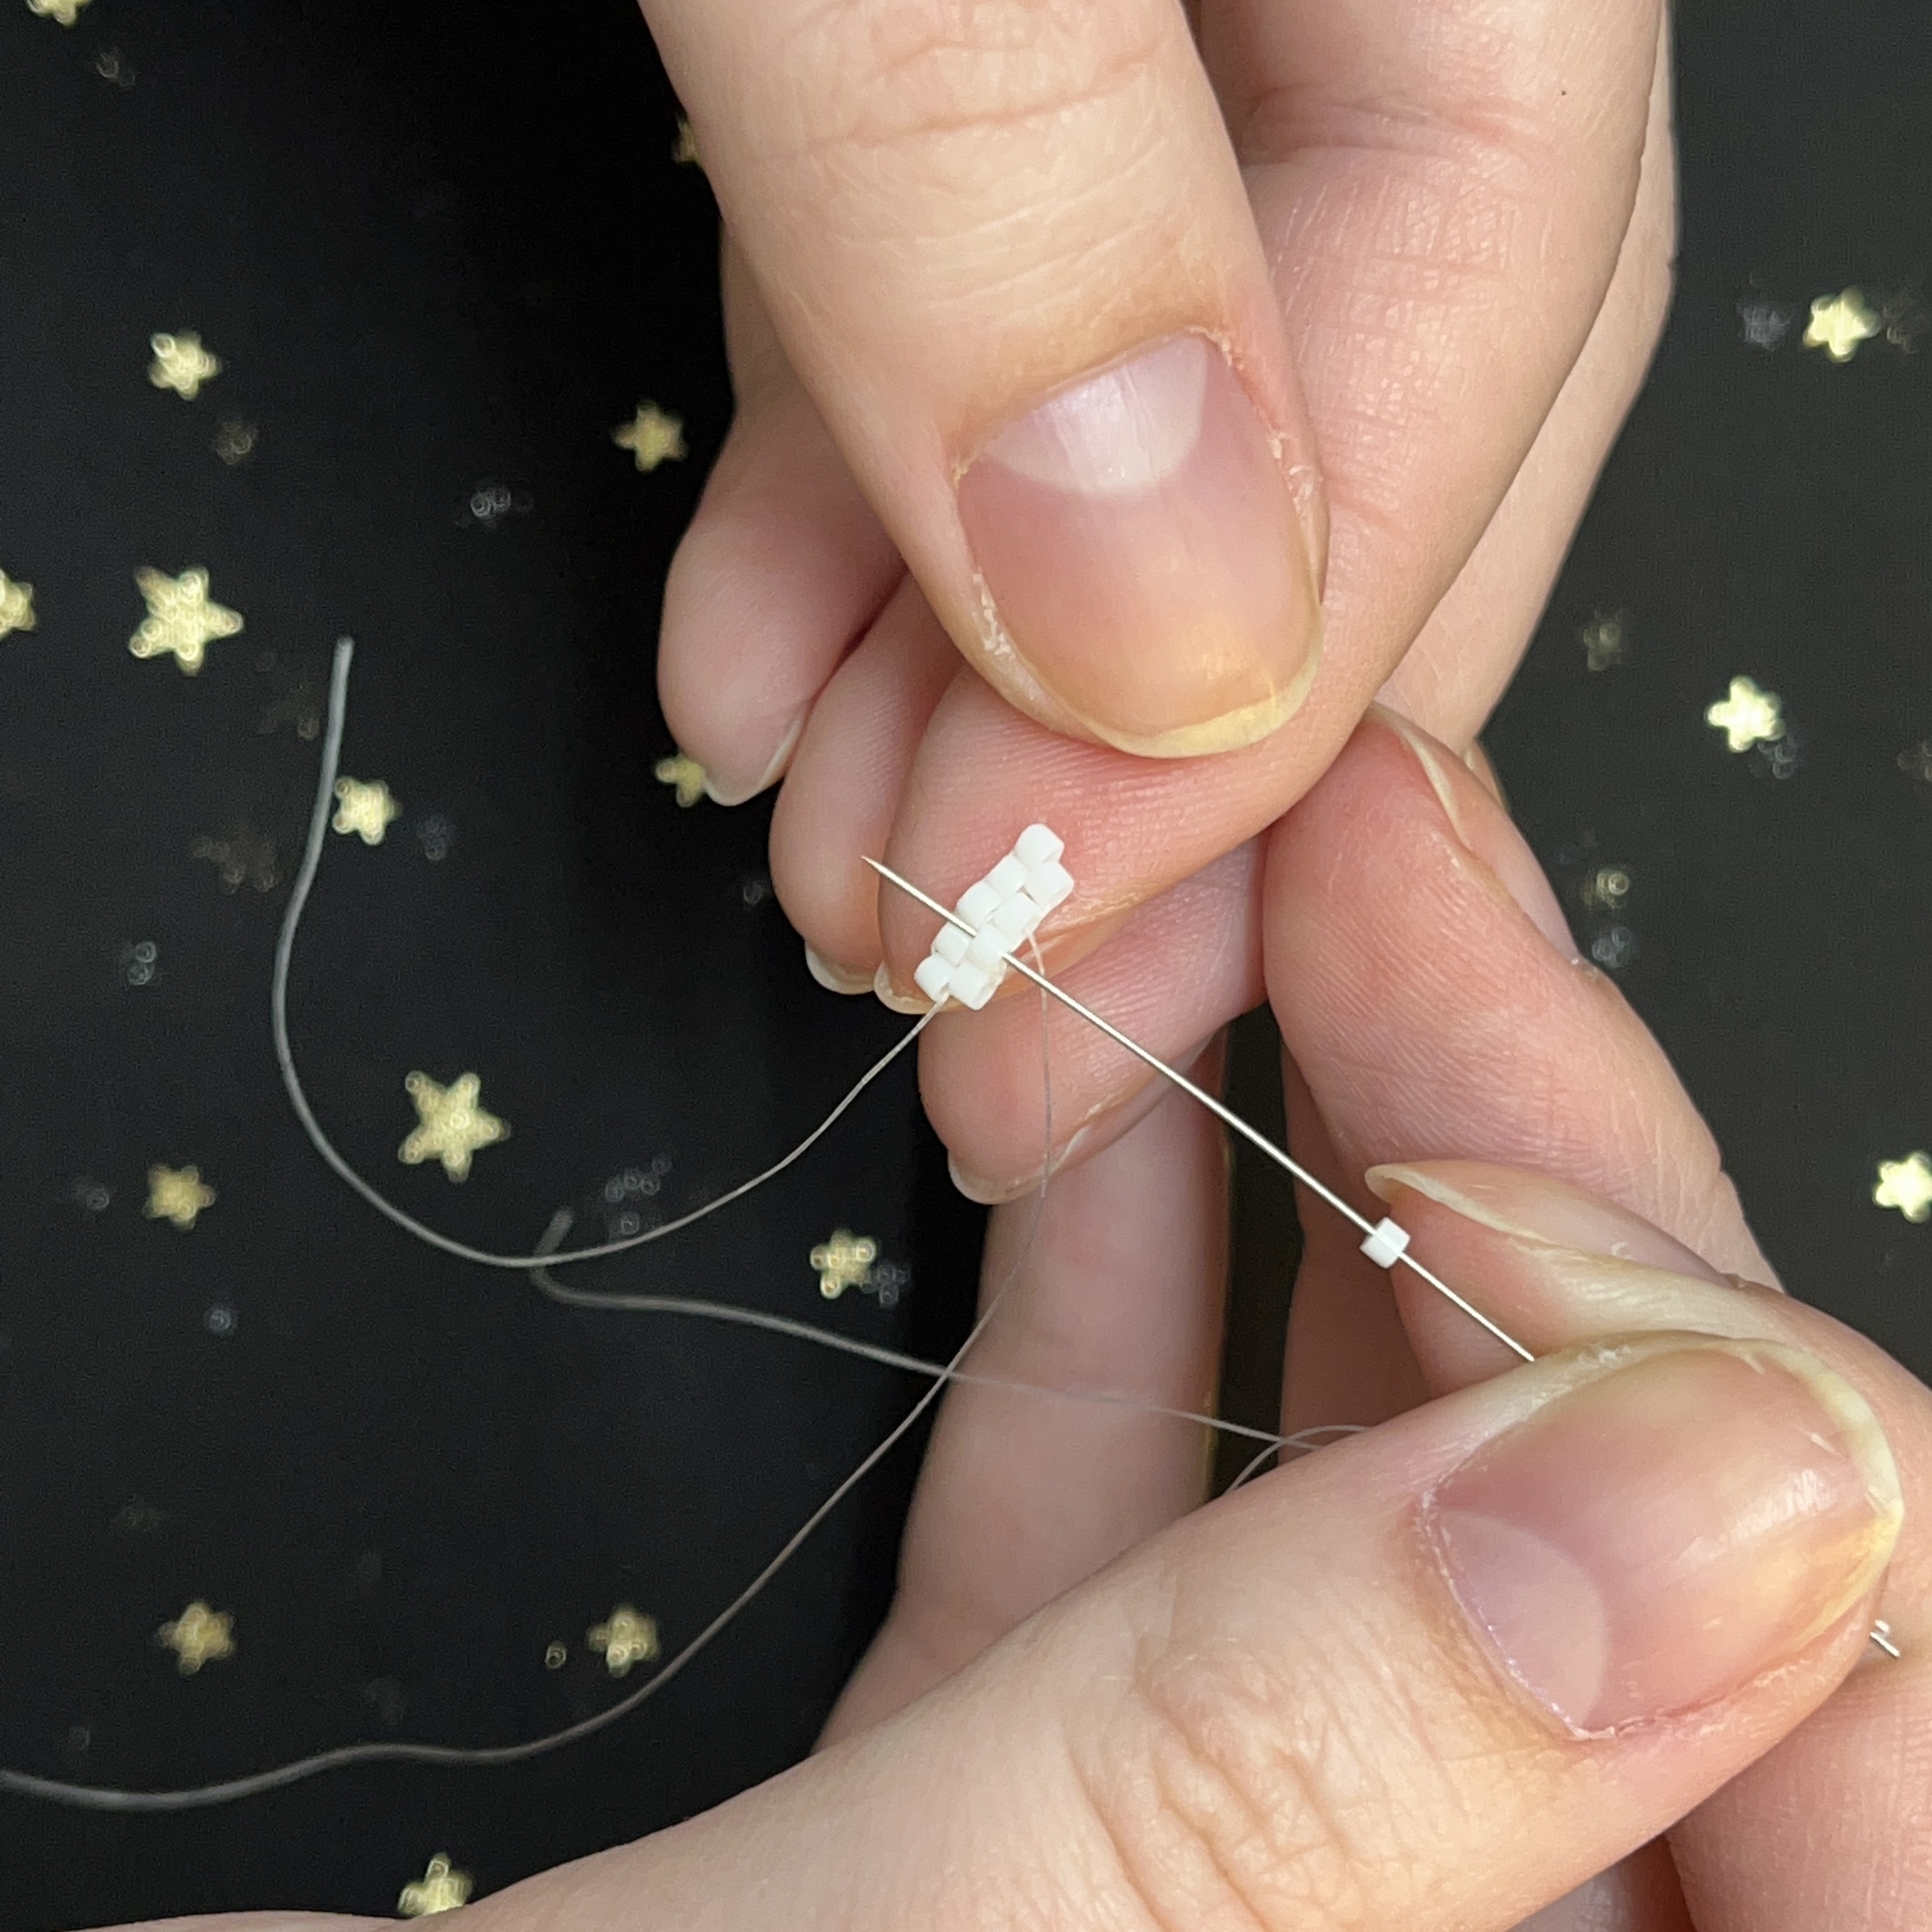
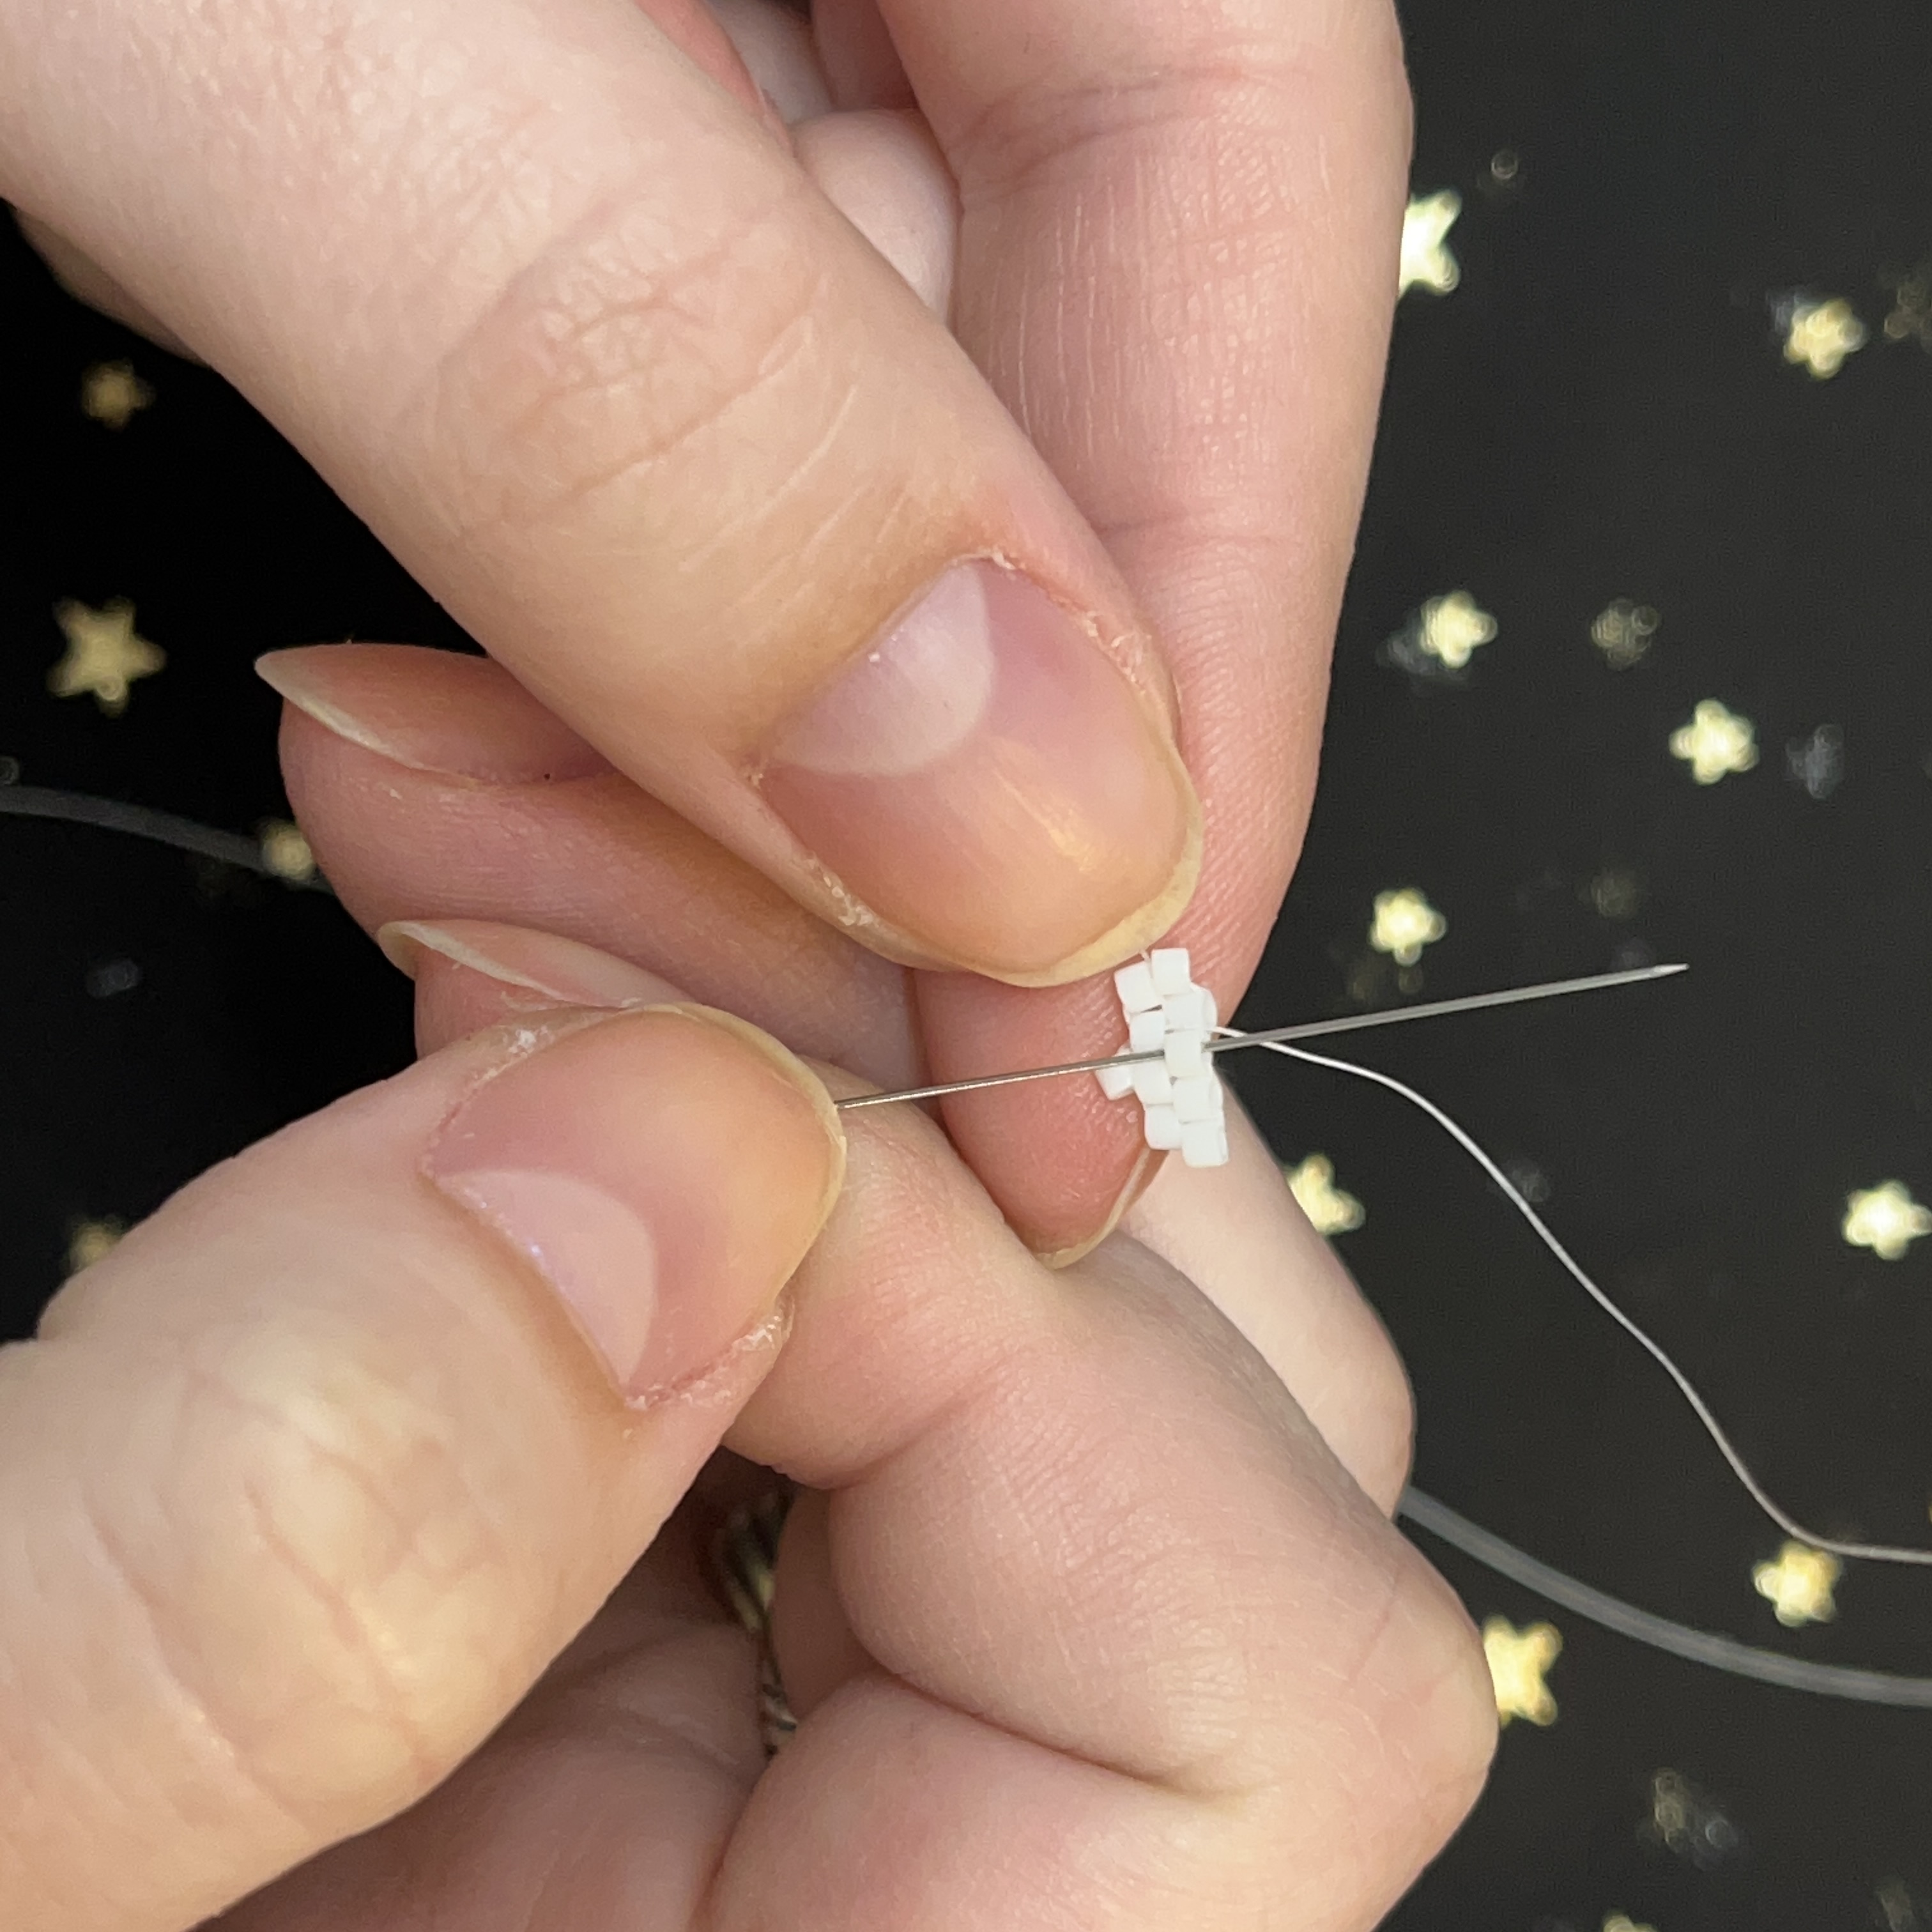
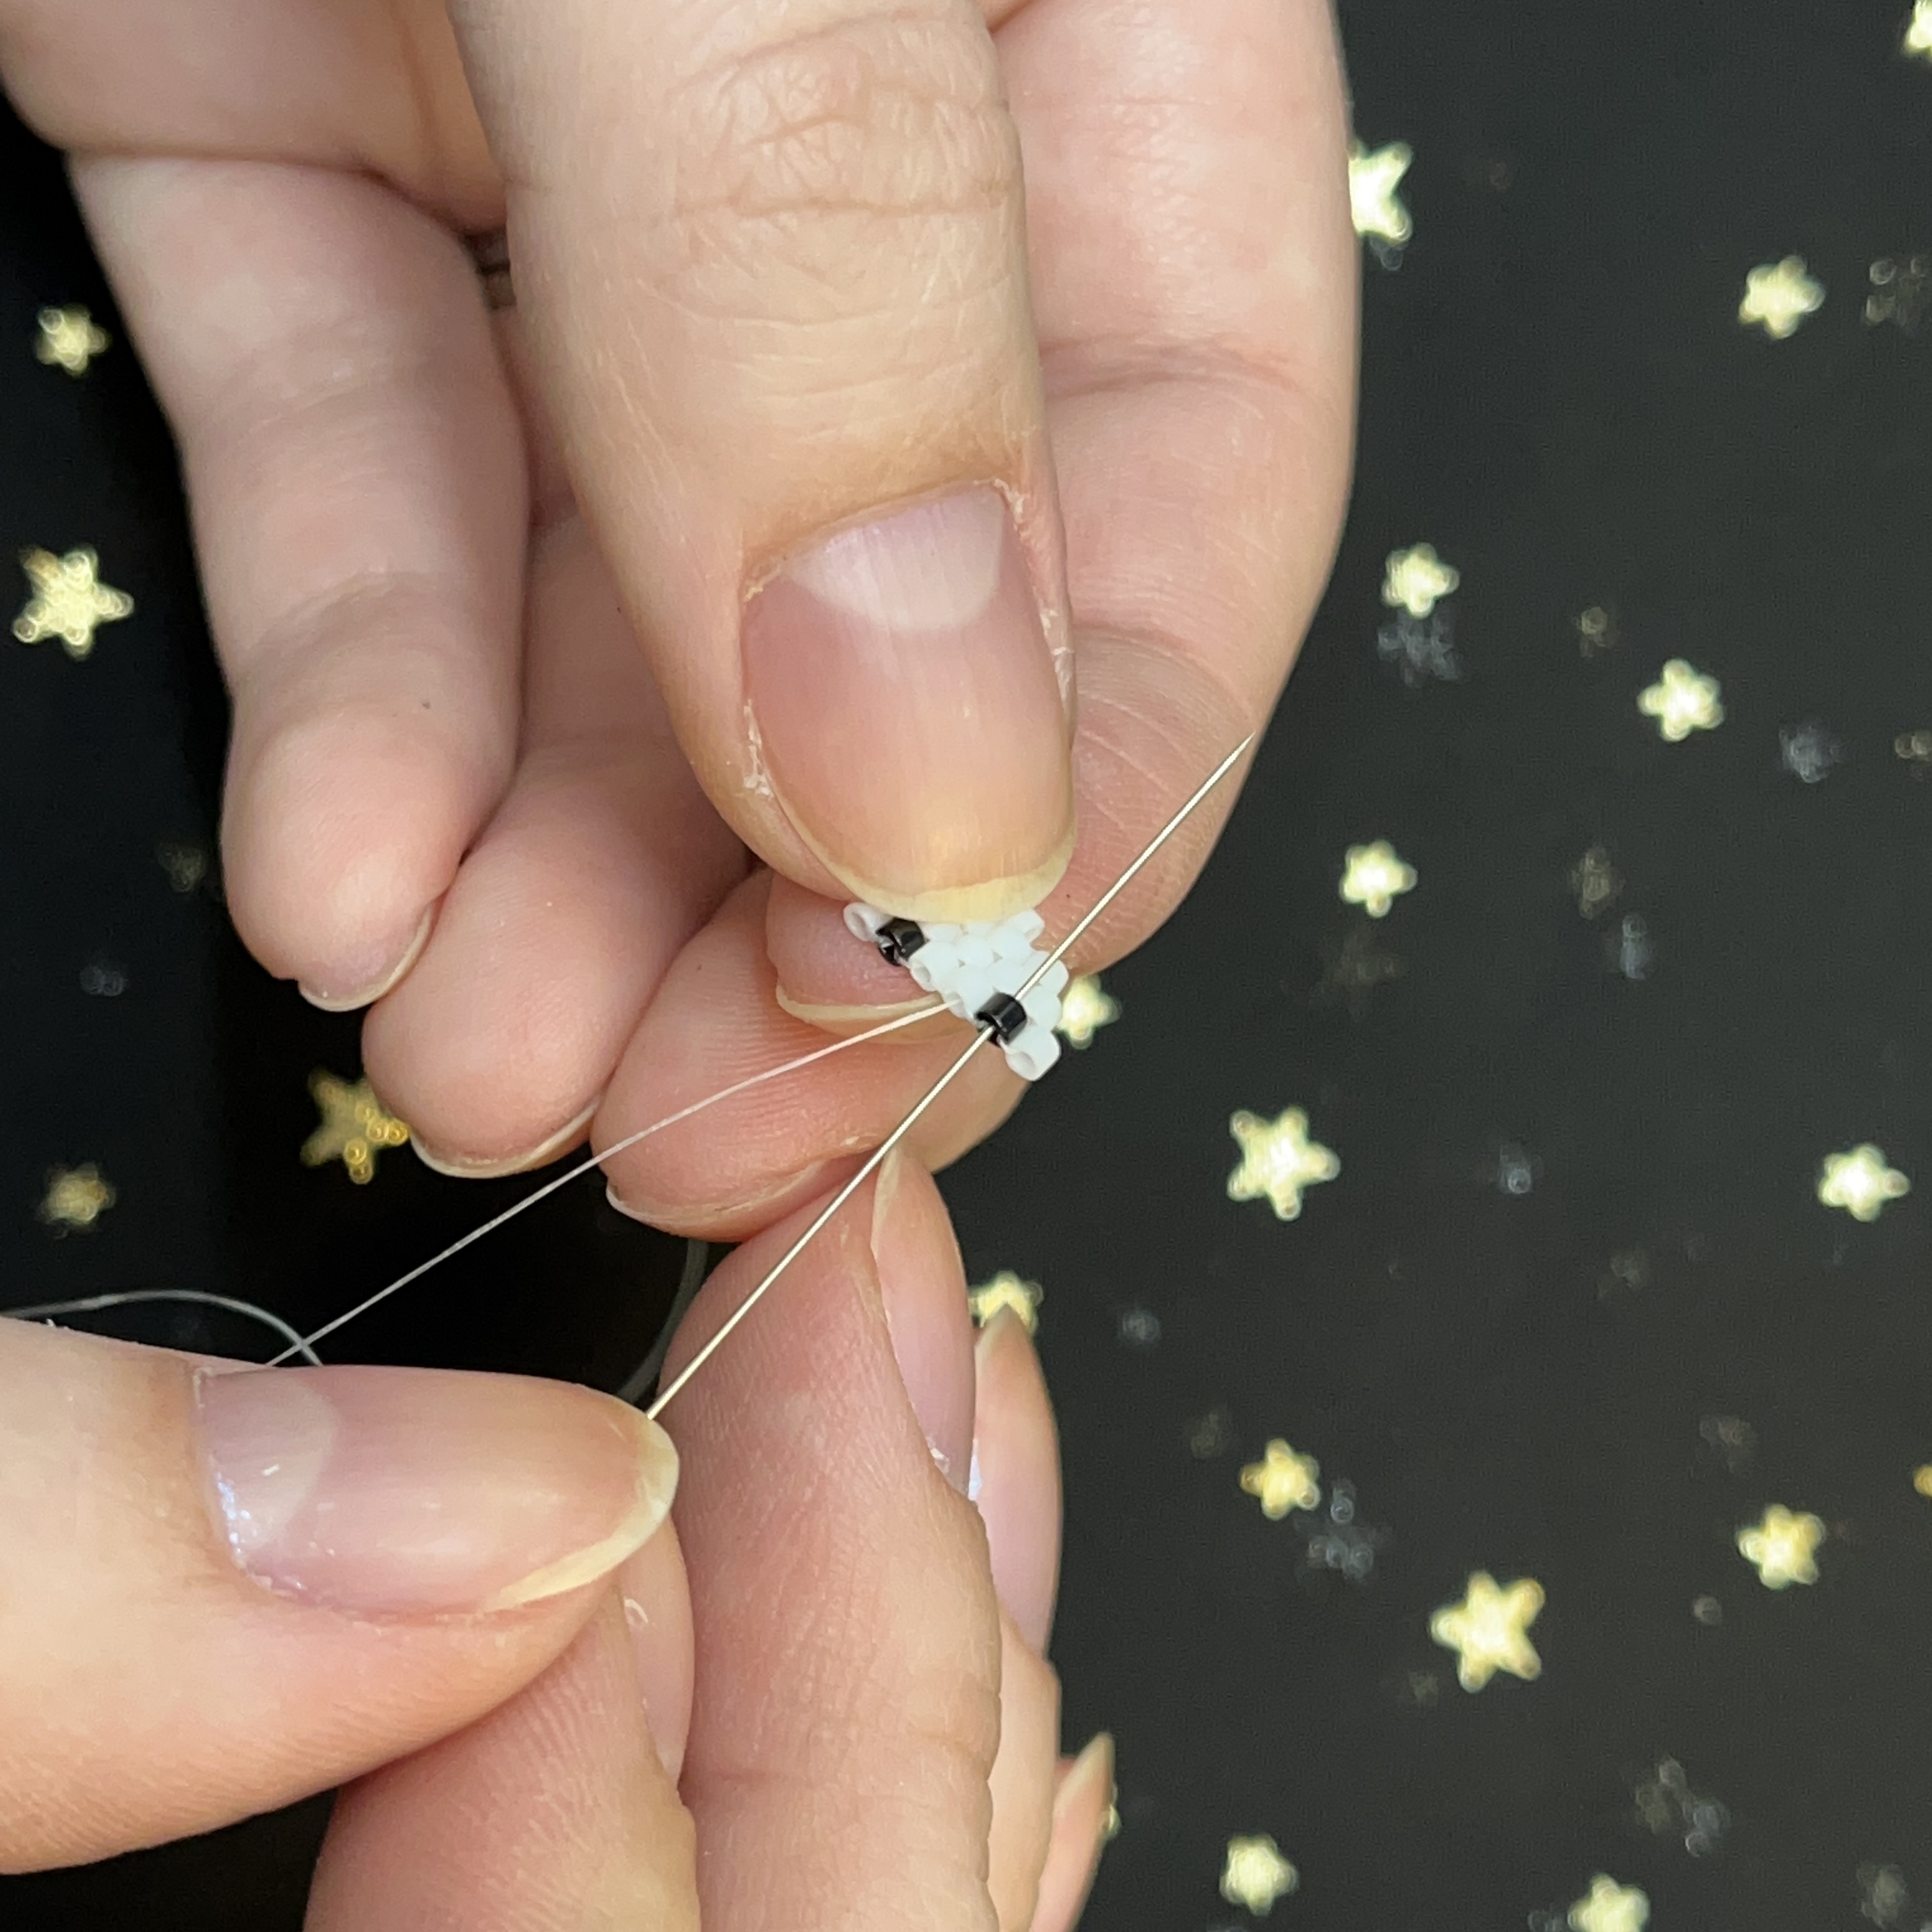
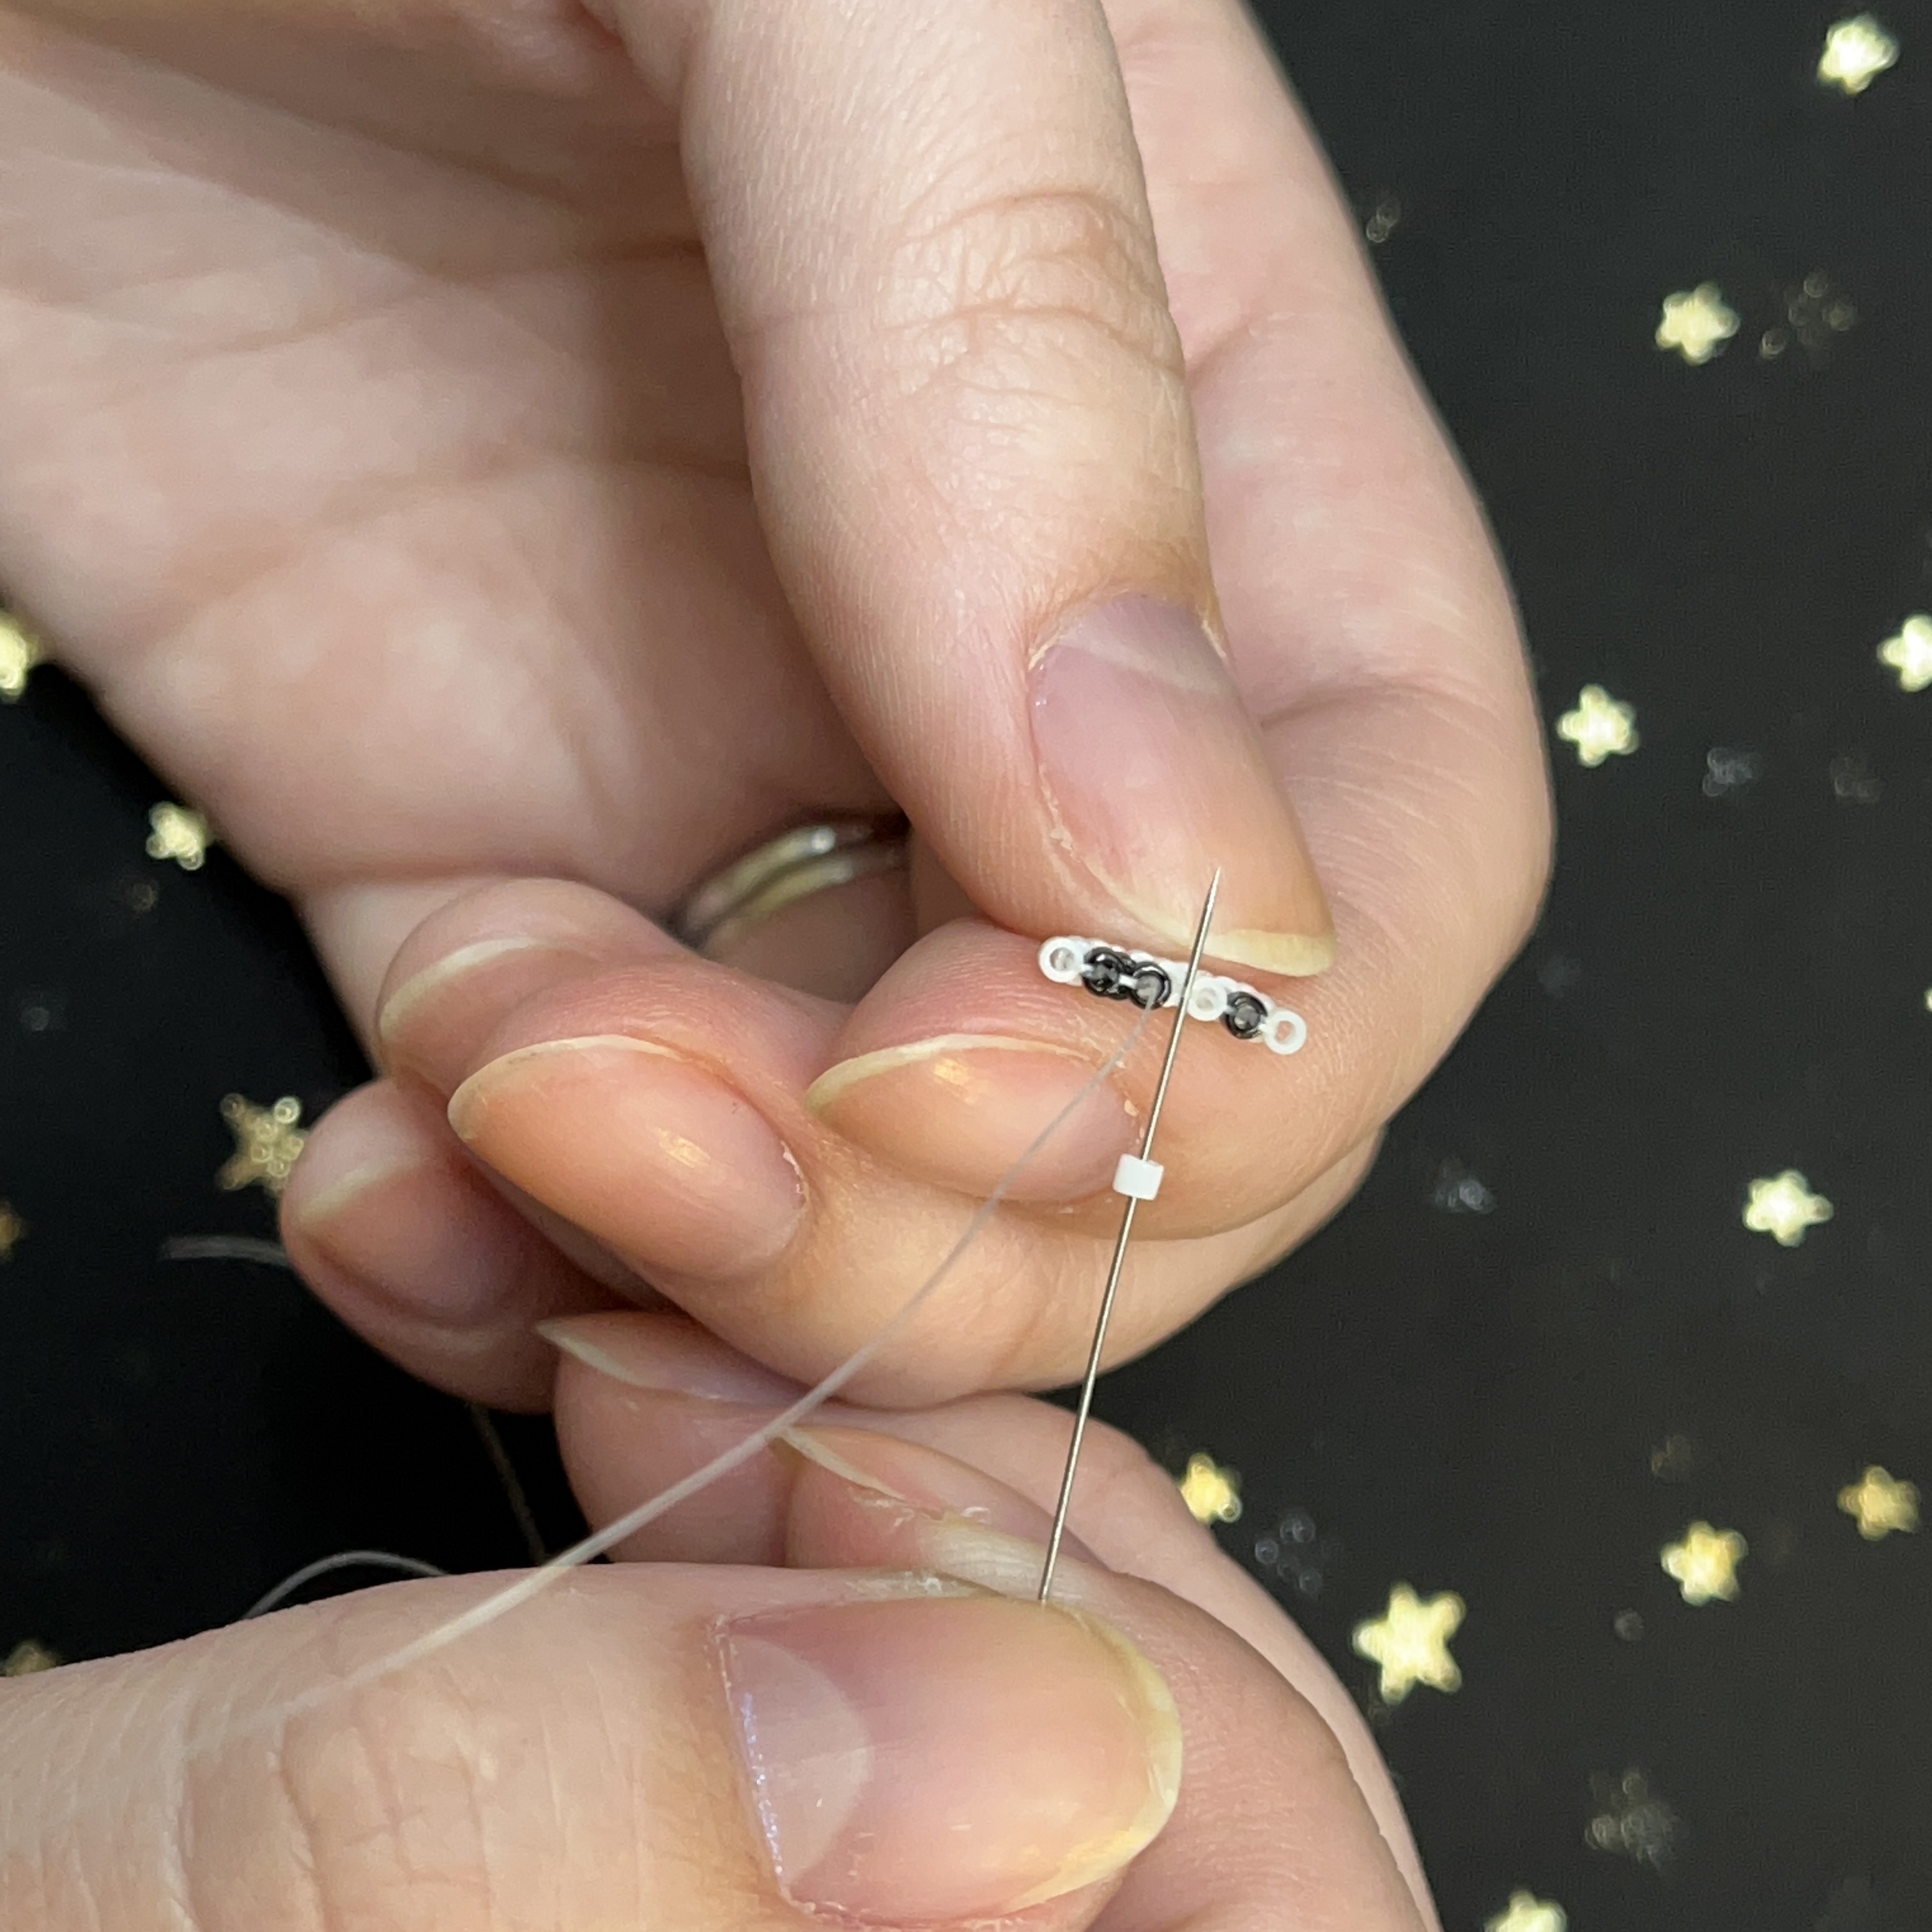
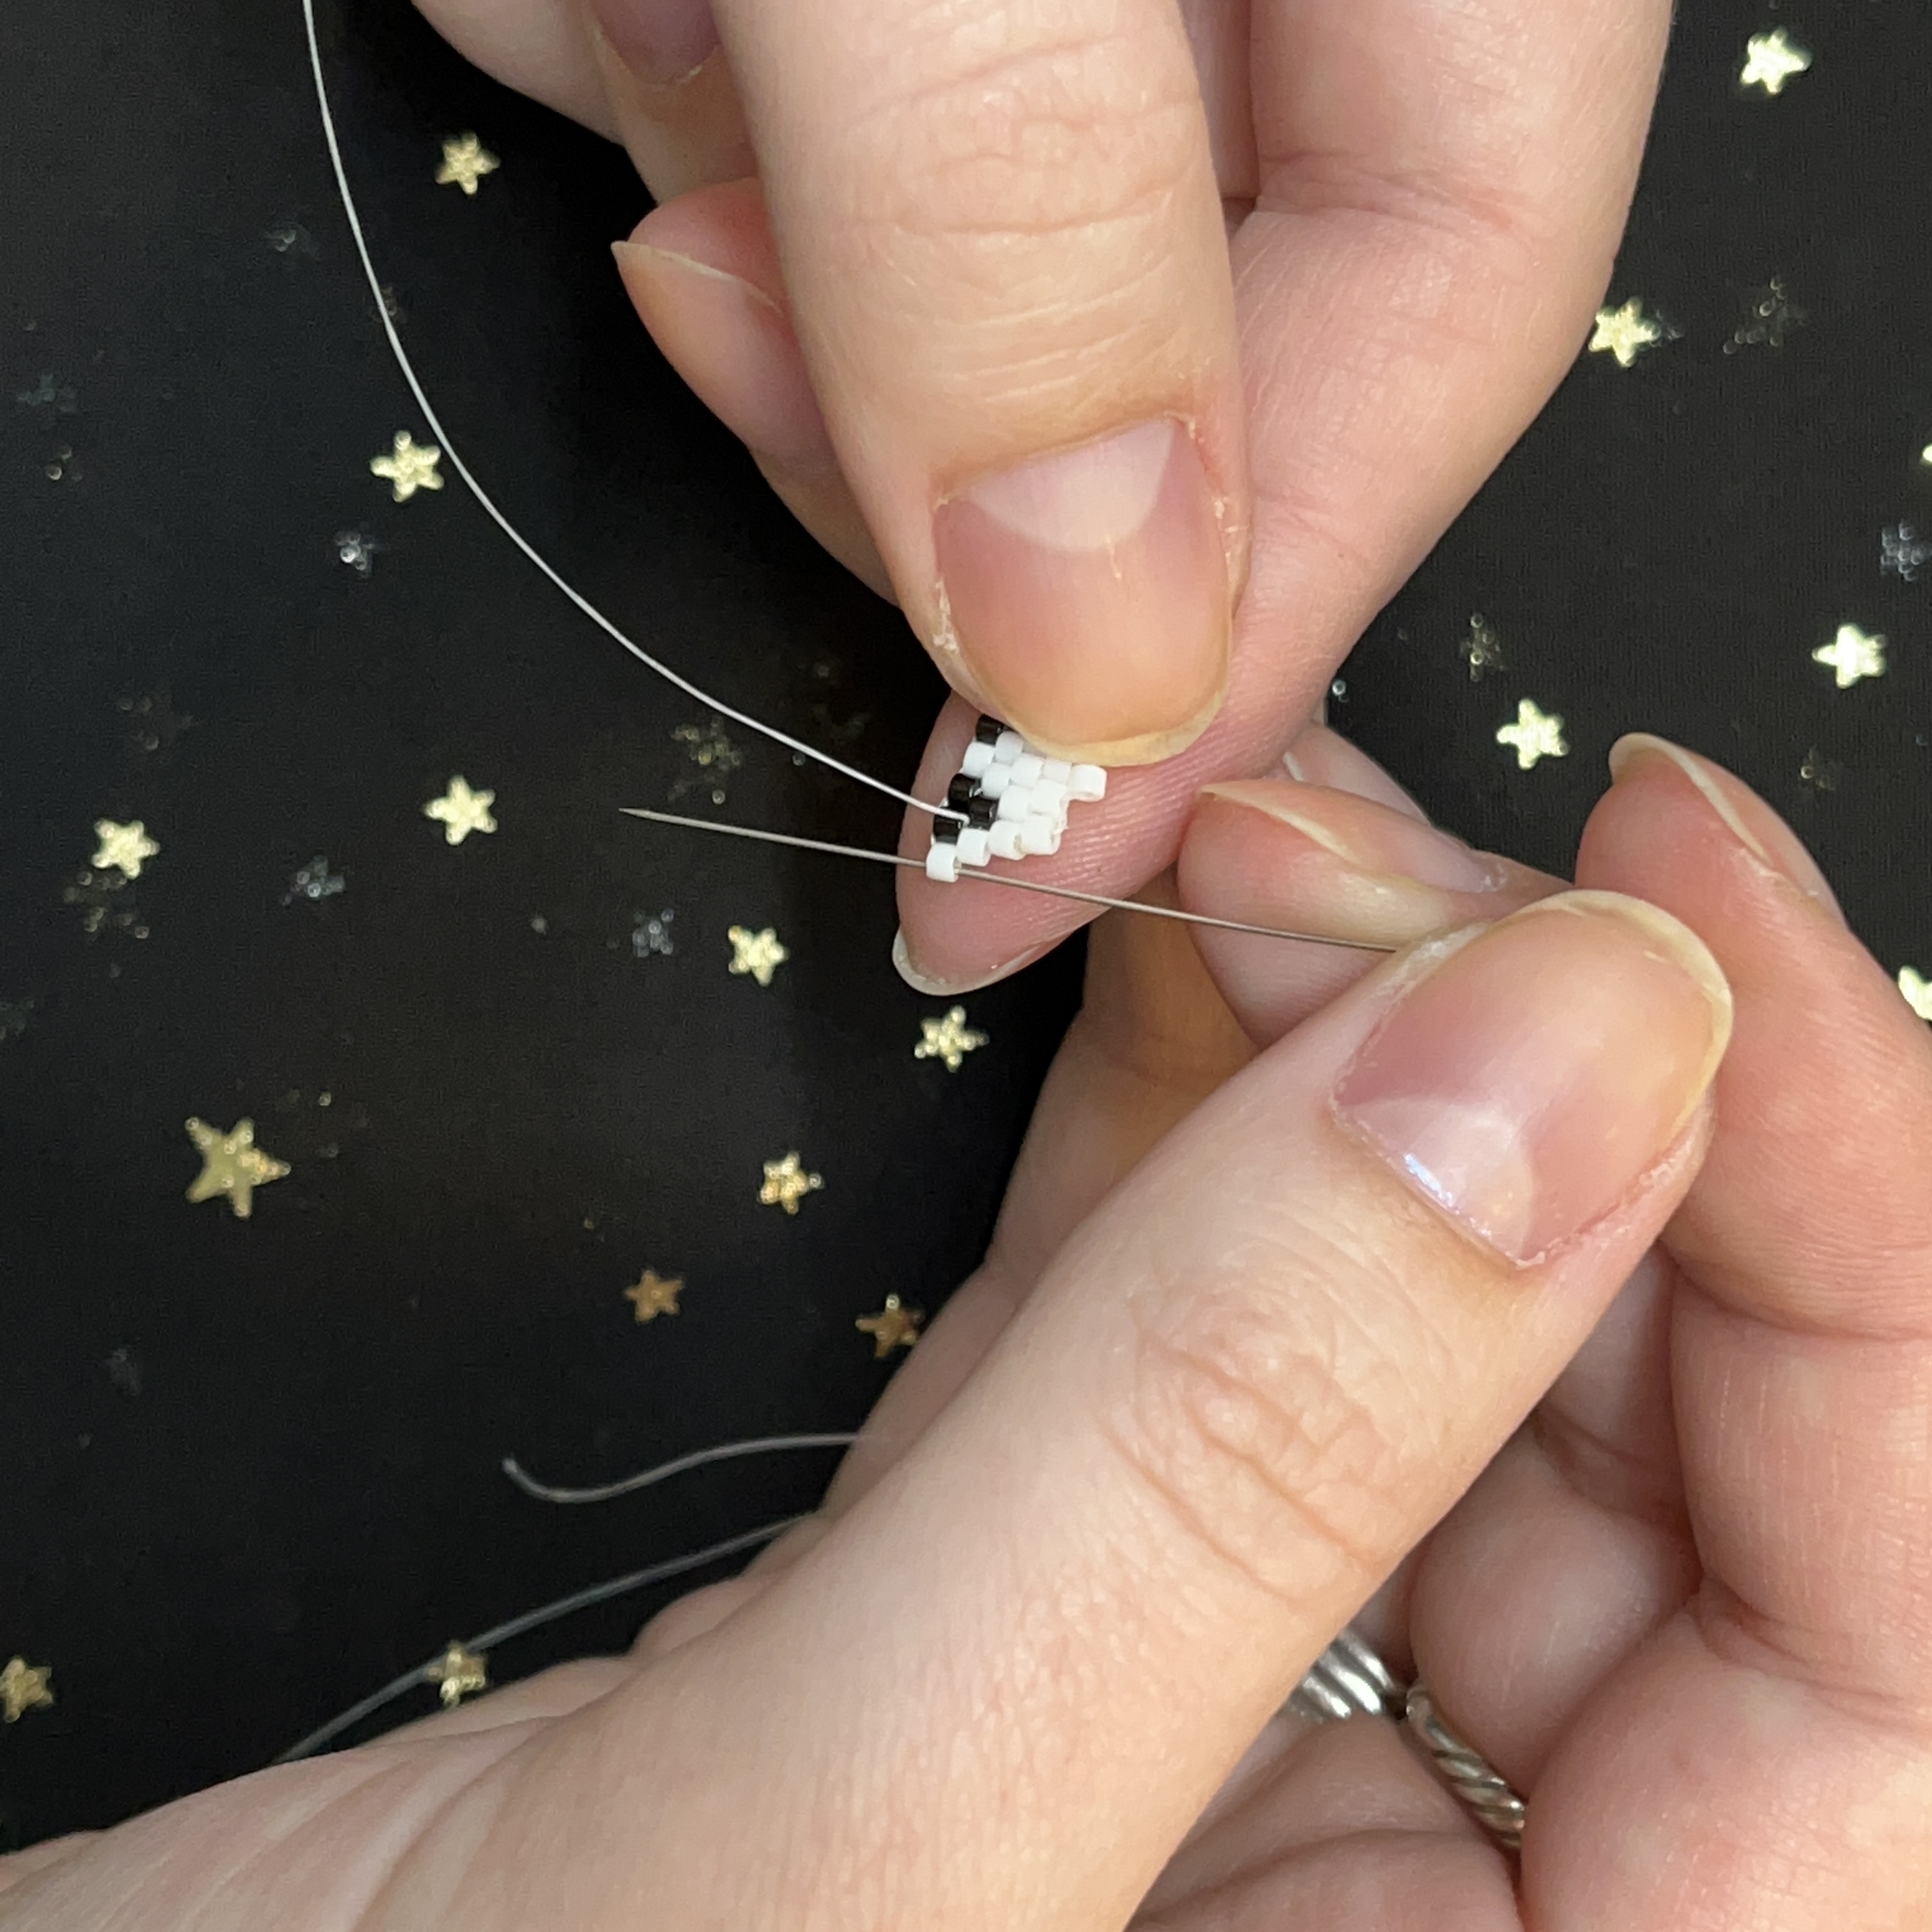
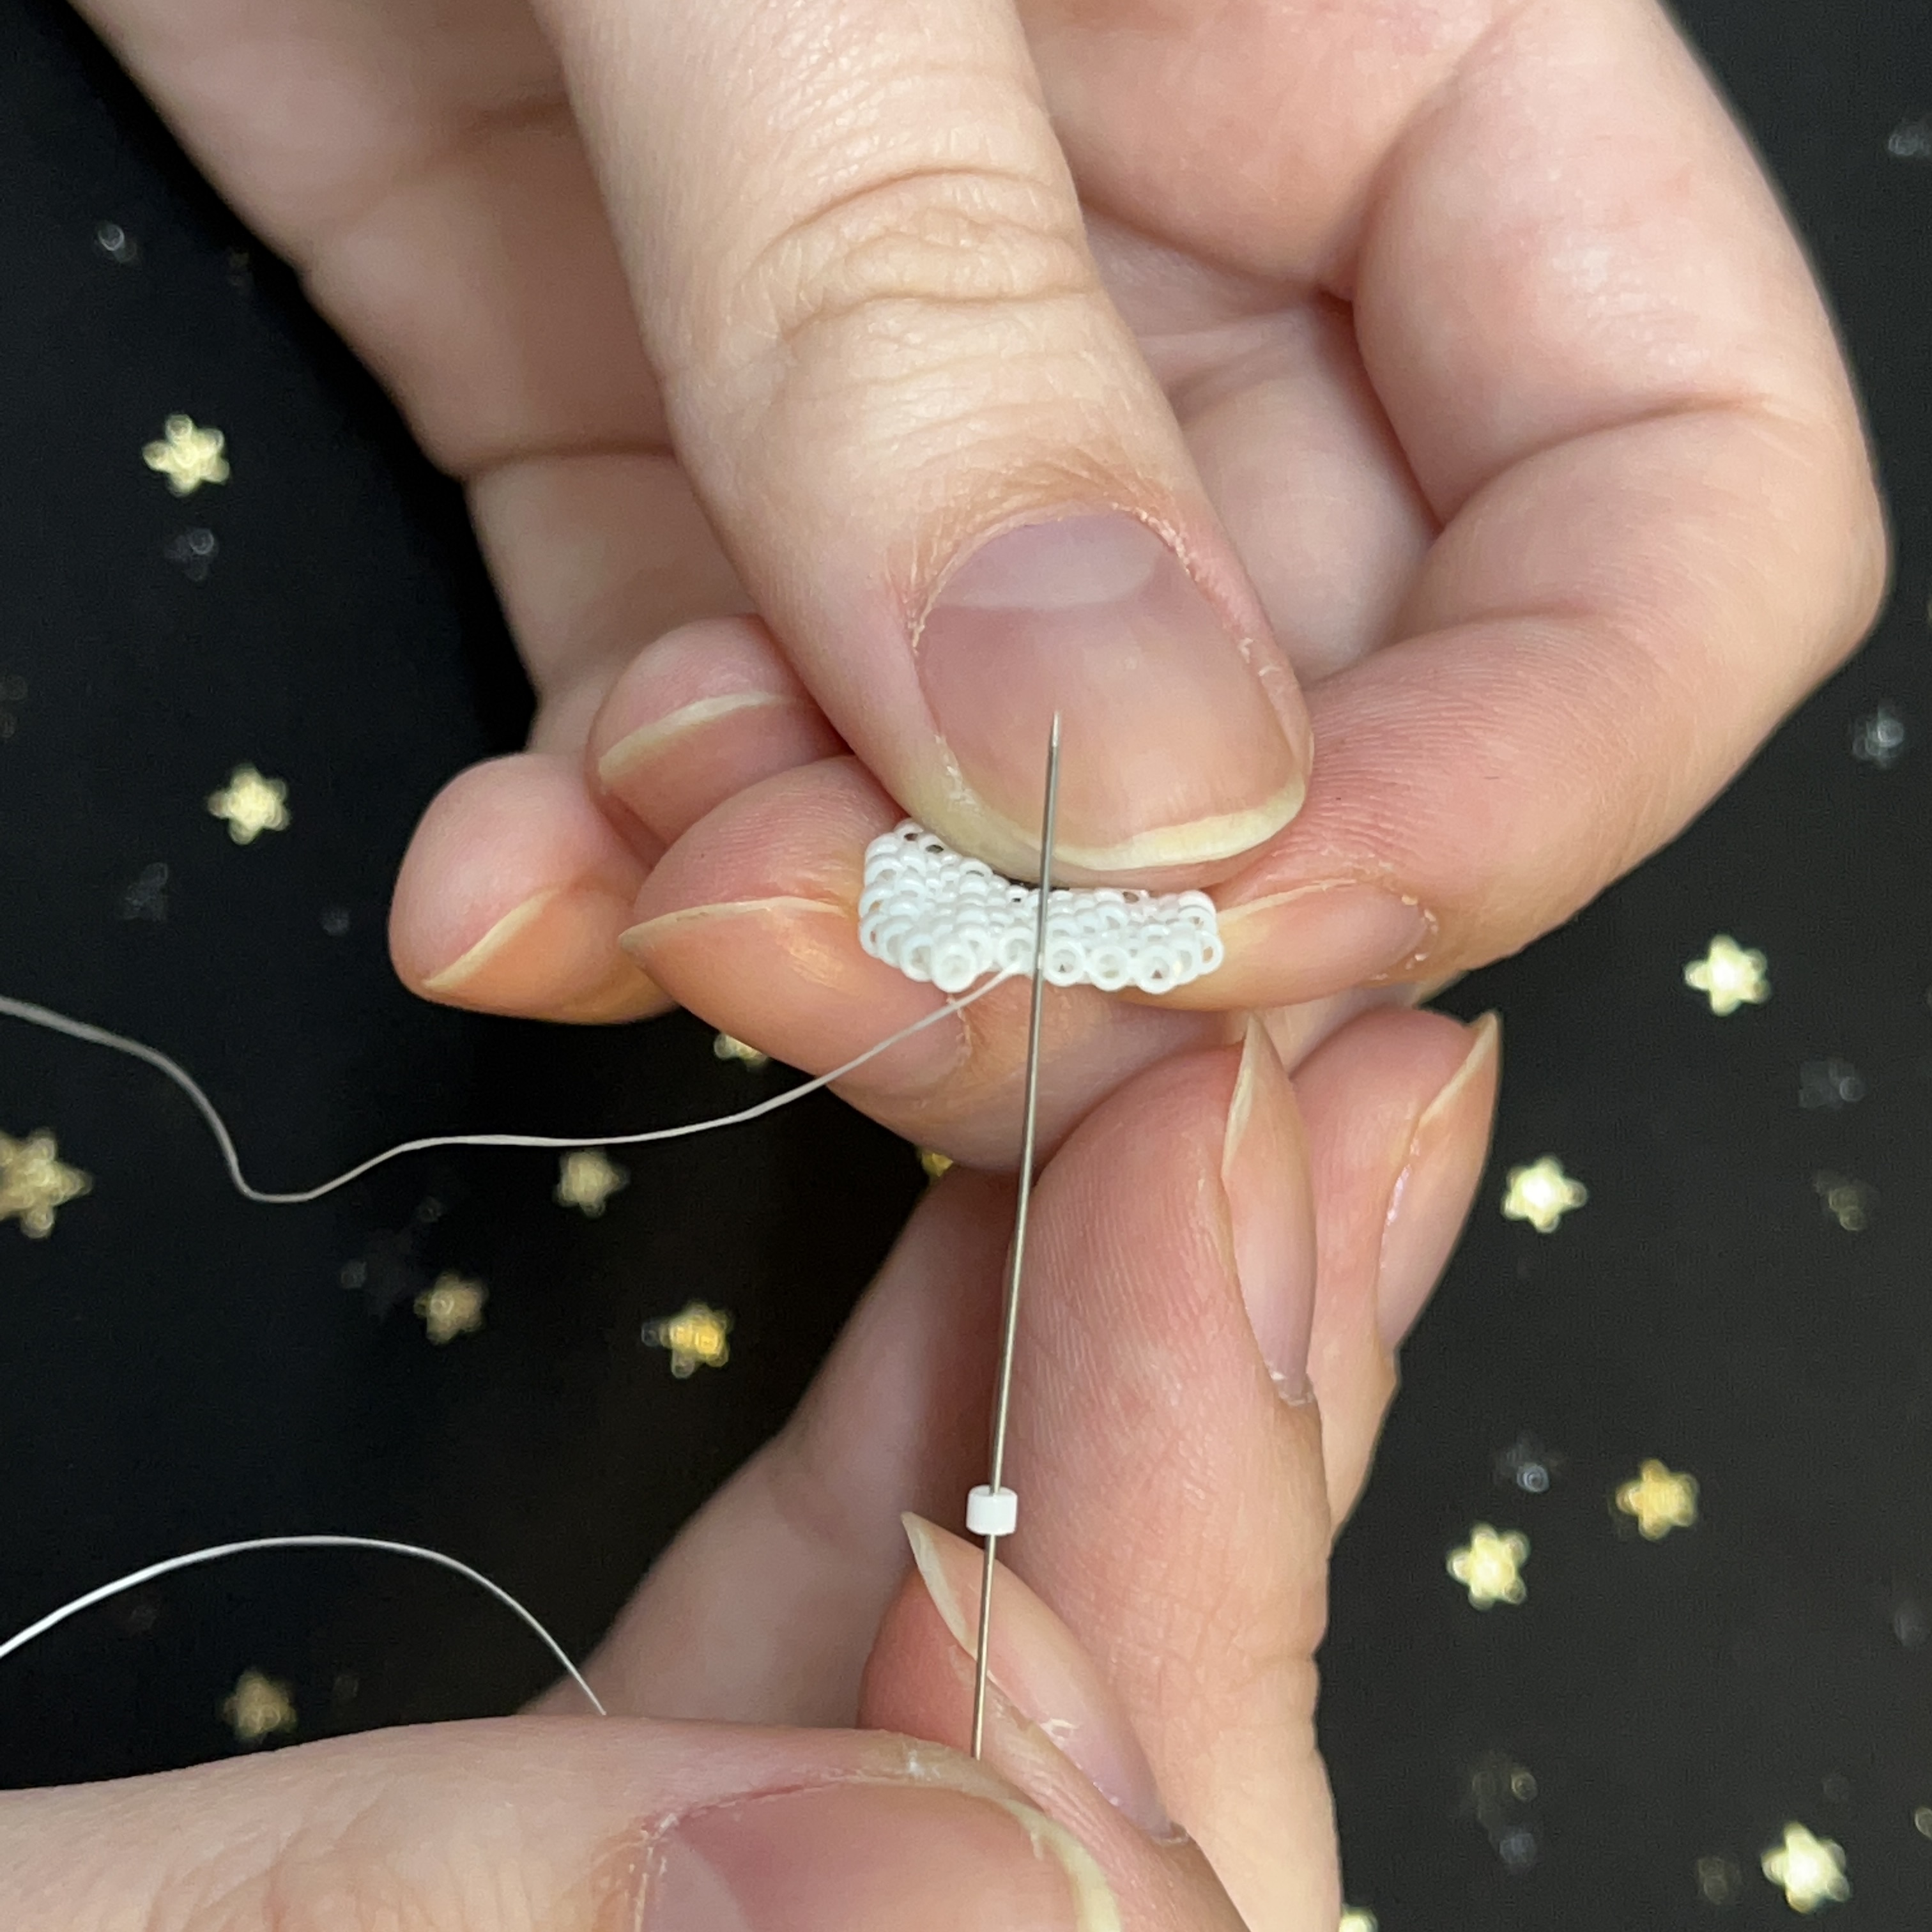
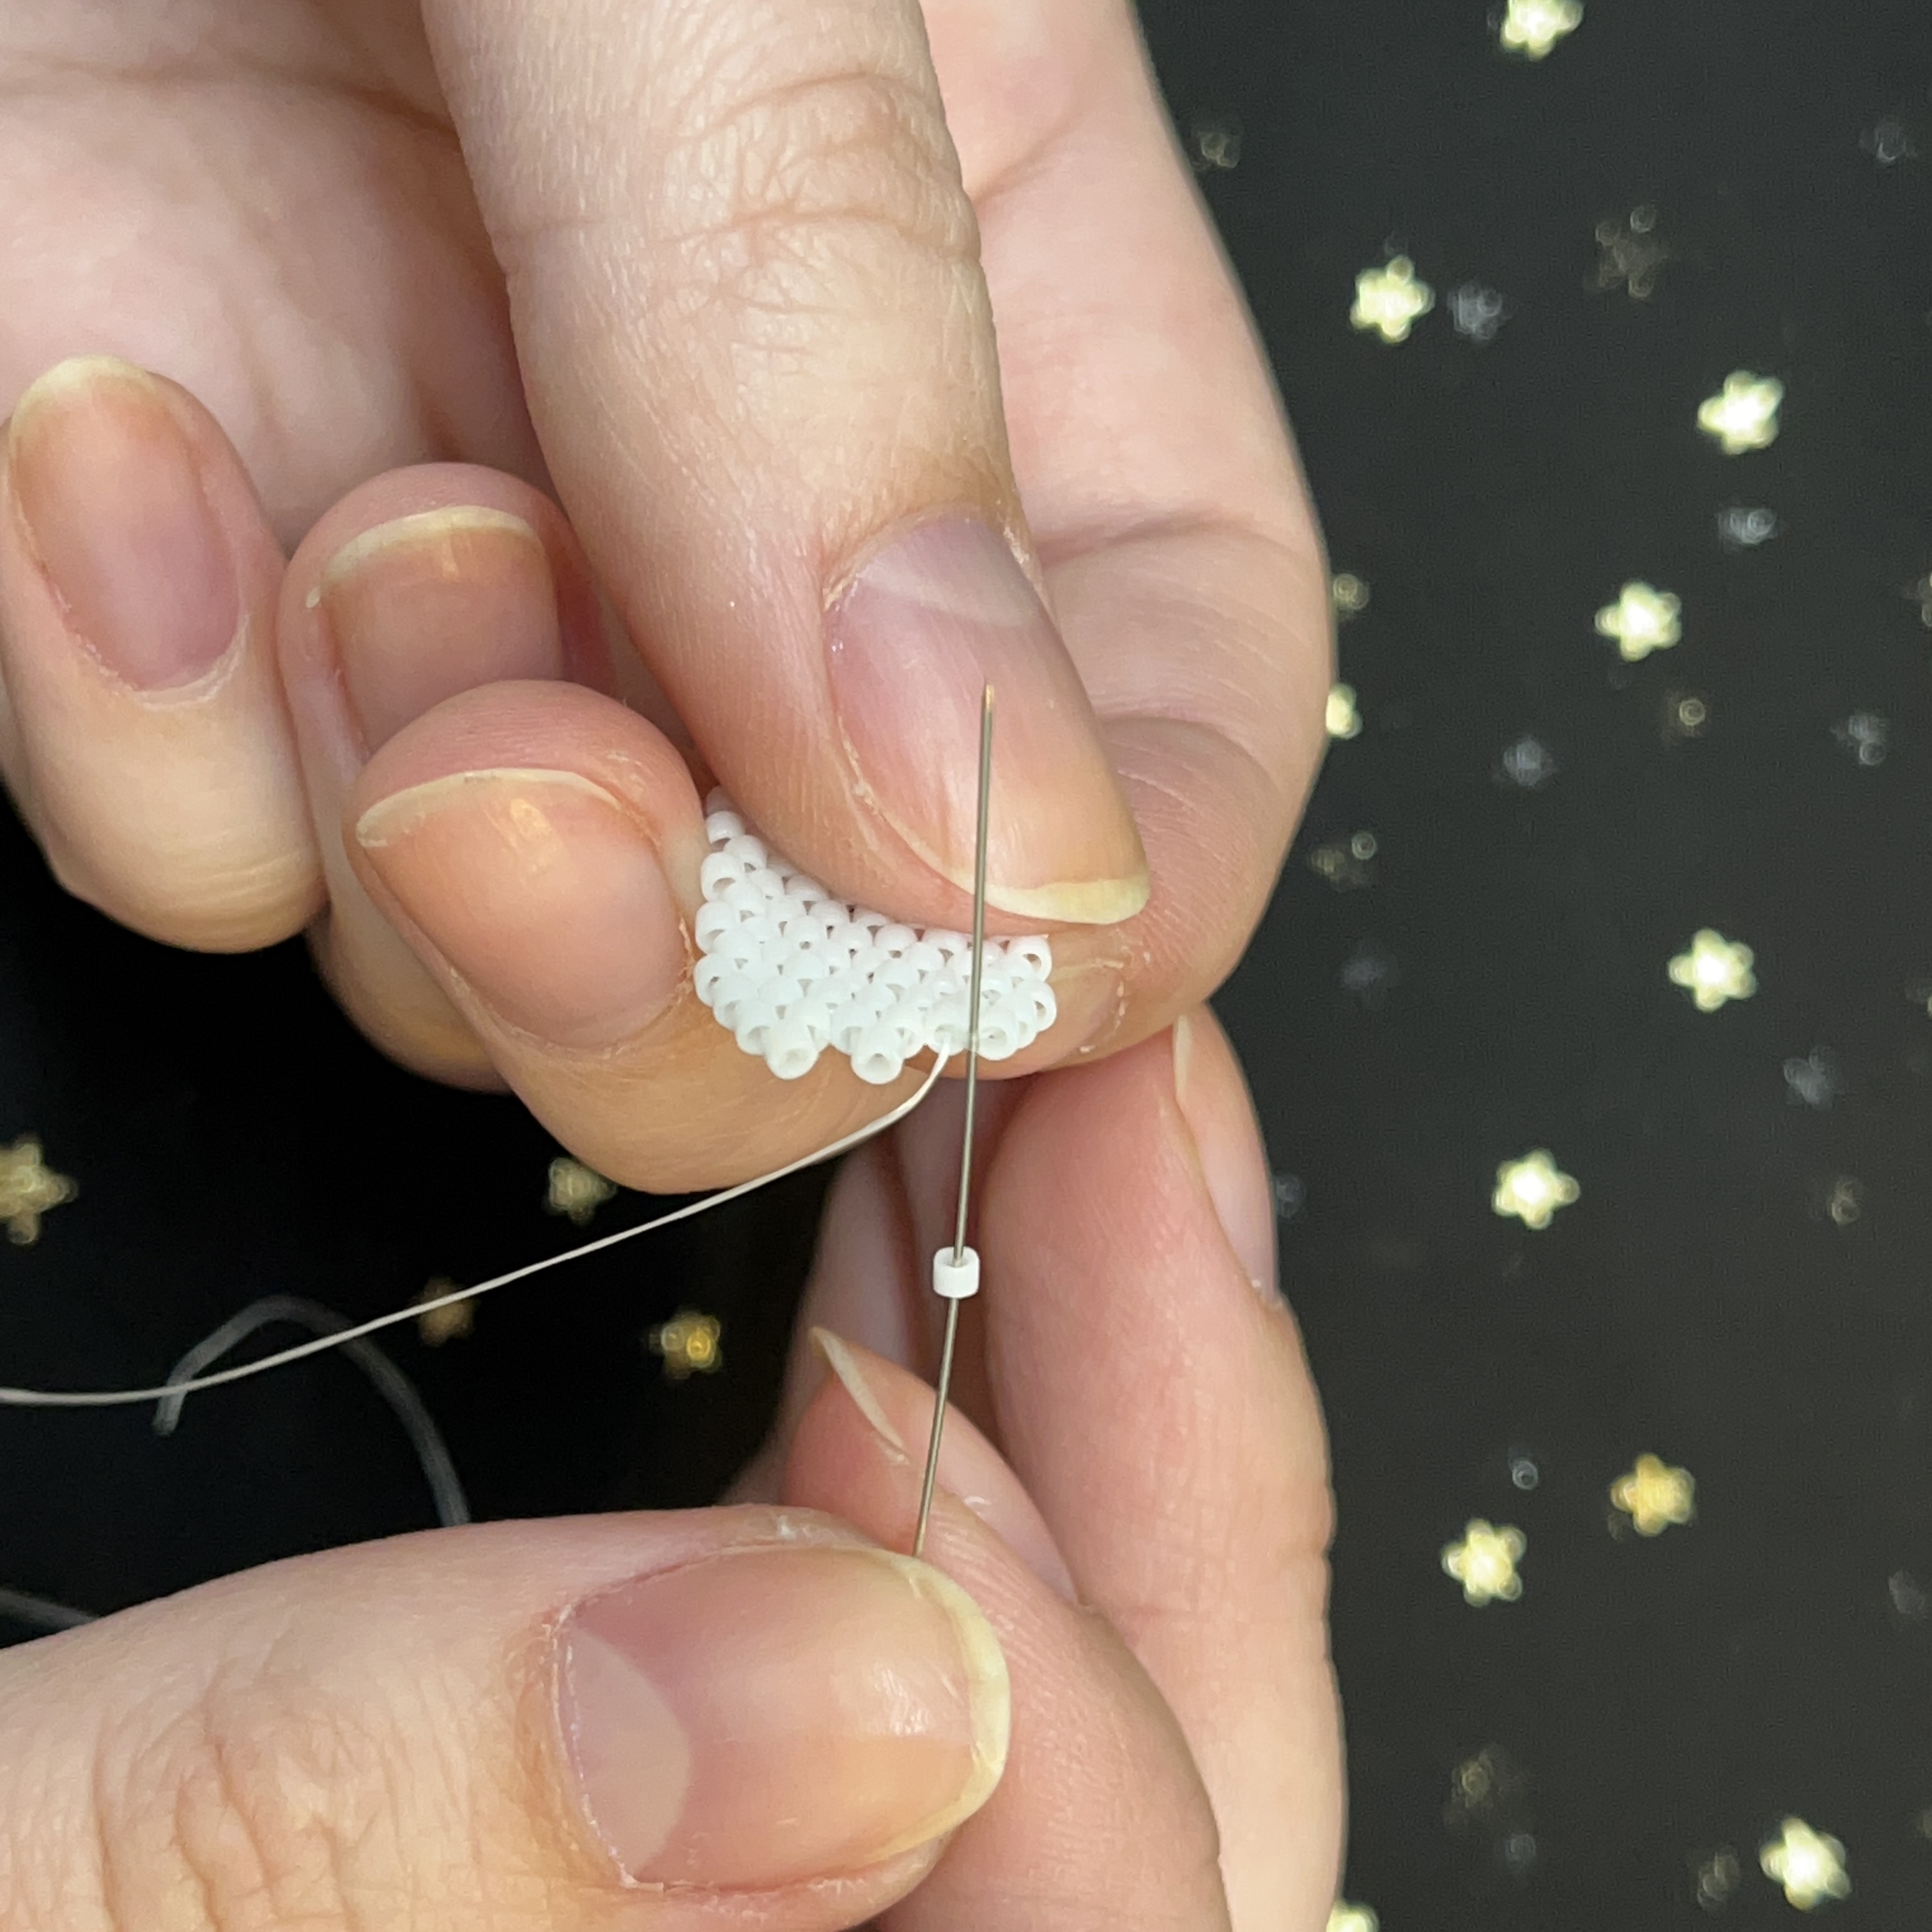
1. Thread on your fireline onto the needle and pick up 2 white delica beads with the needle
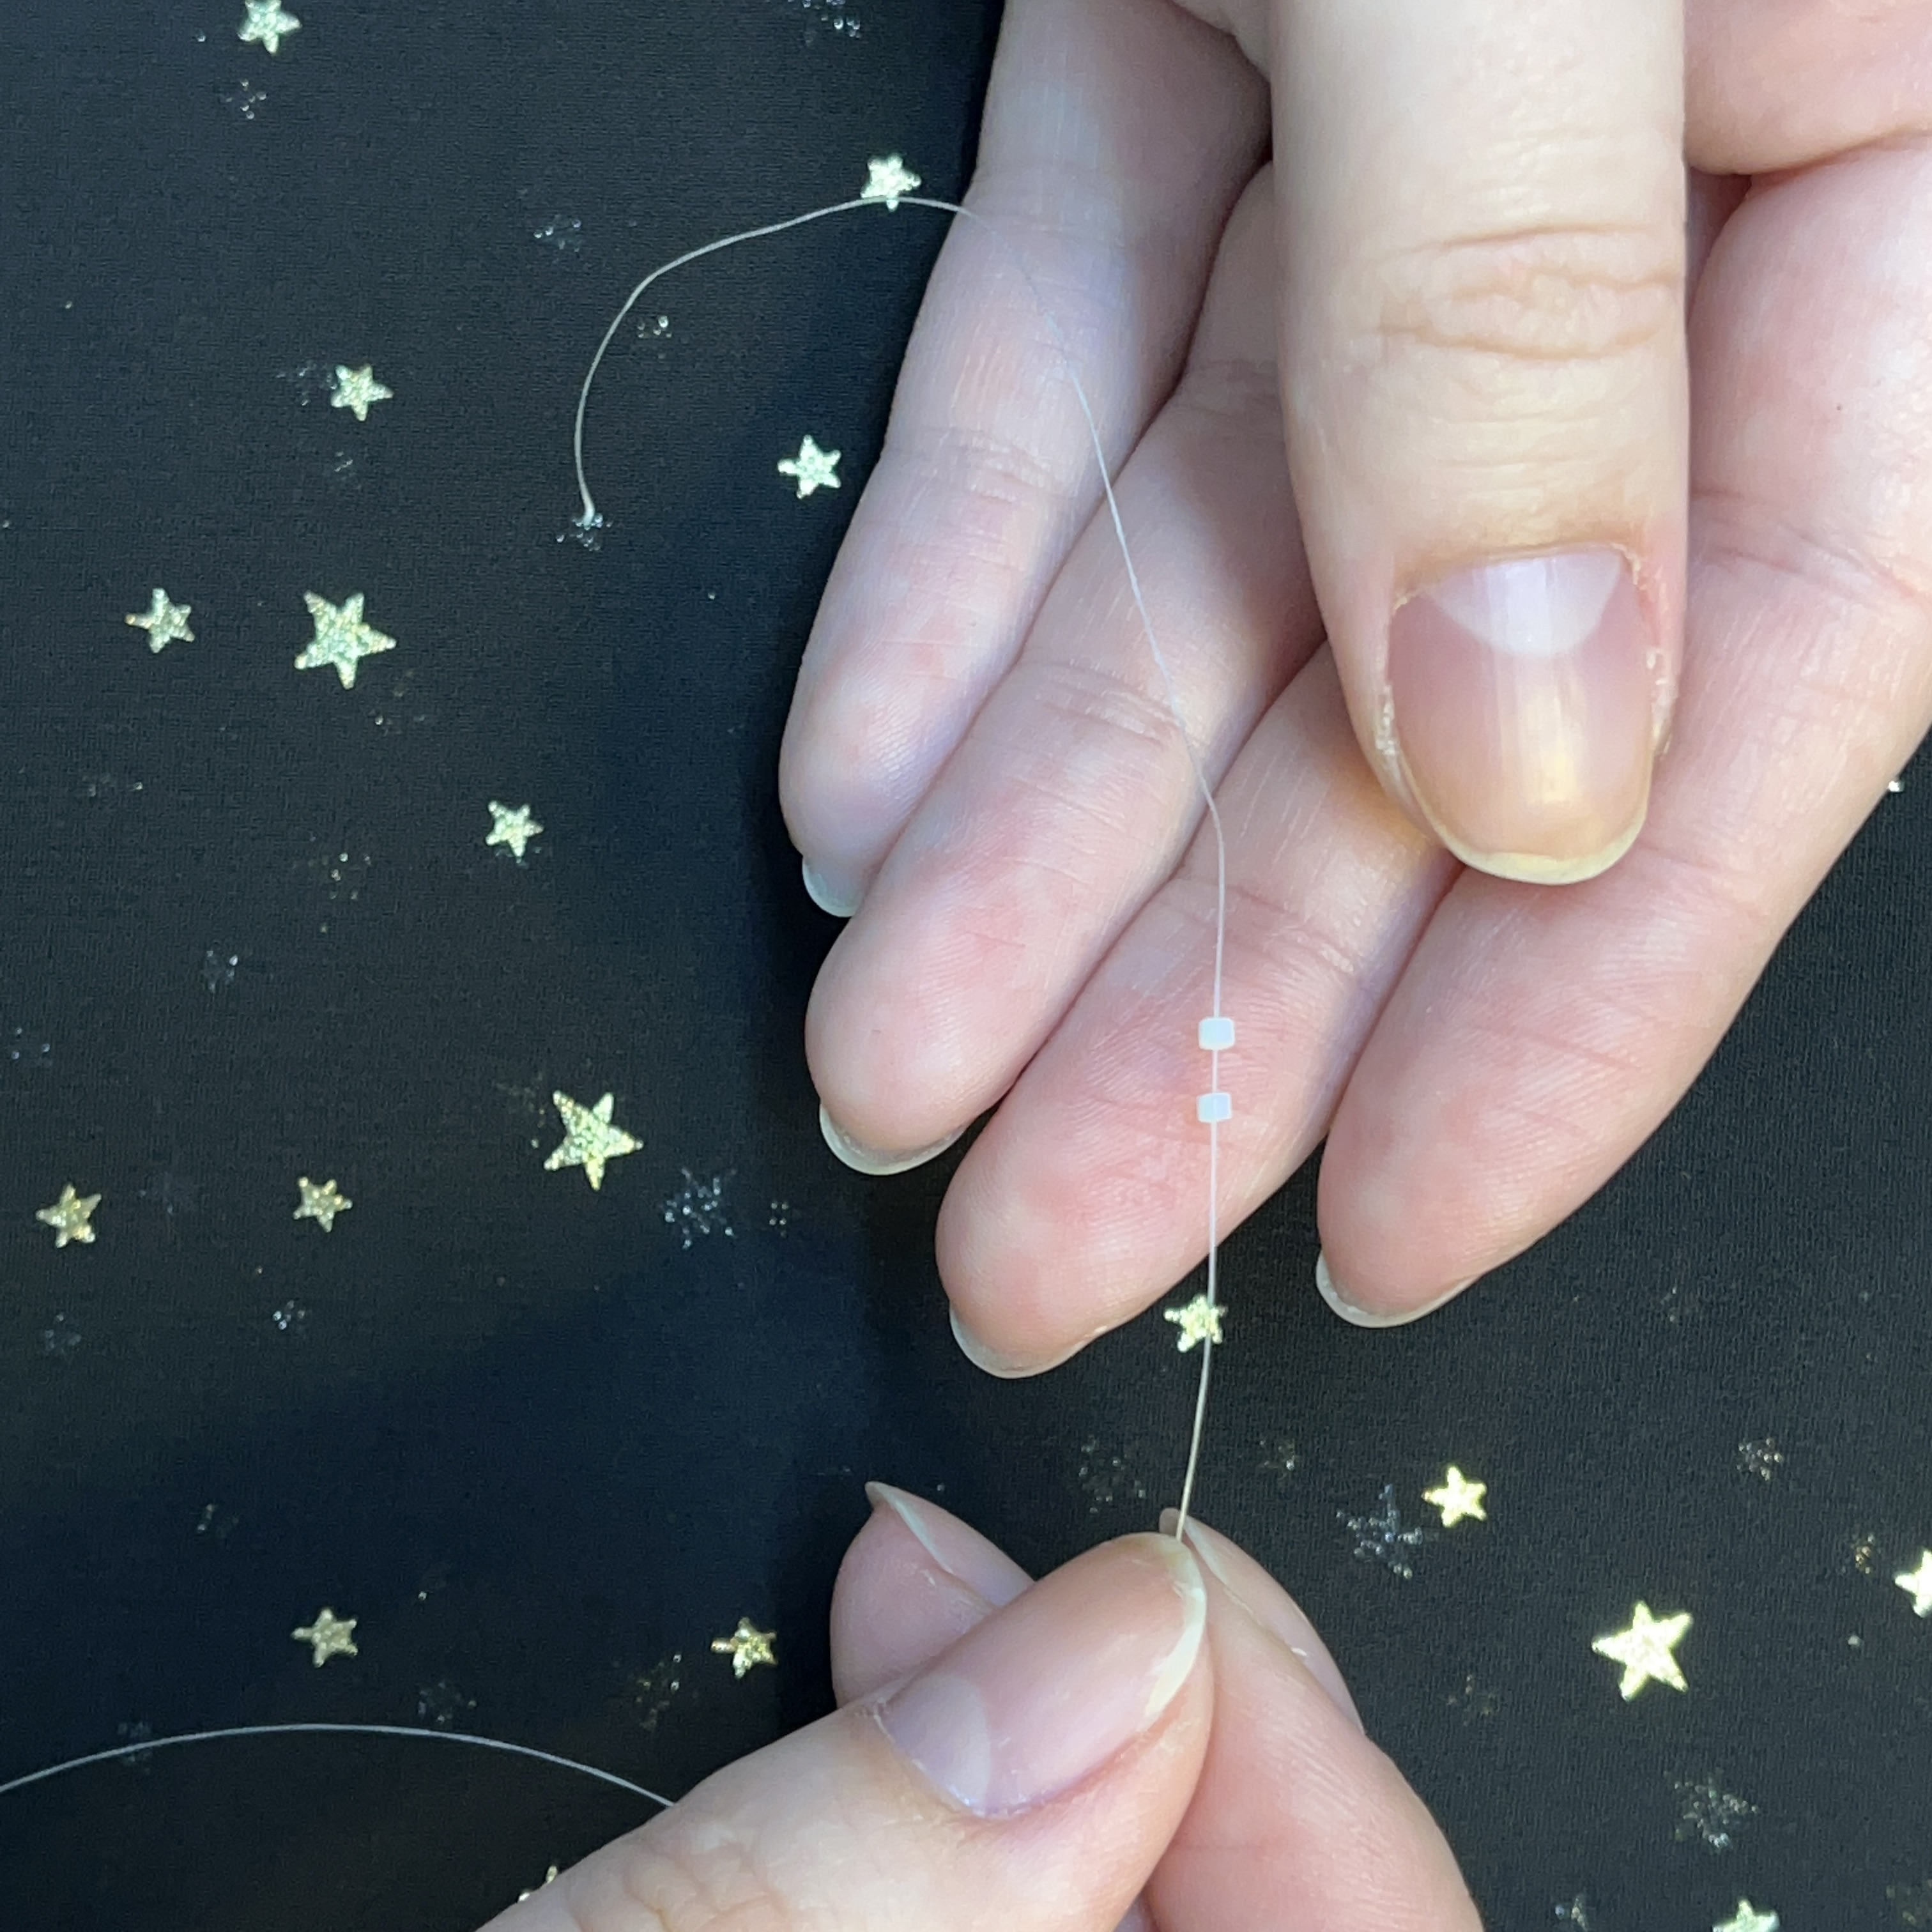
2. Bring the 2 delicas close to the end of the fireline thread
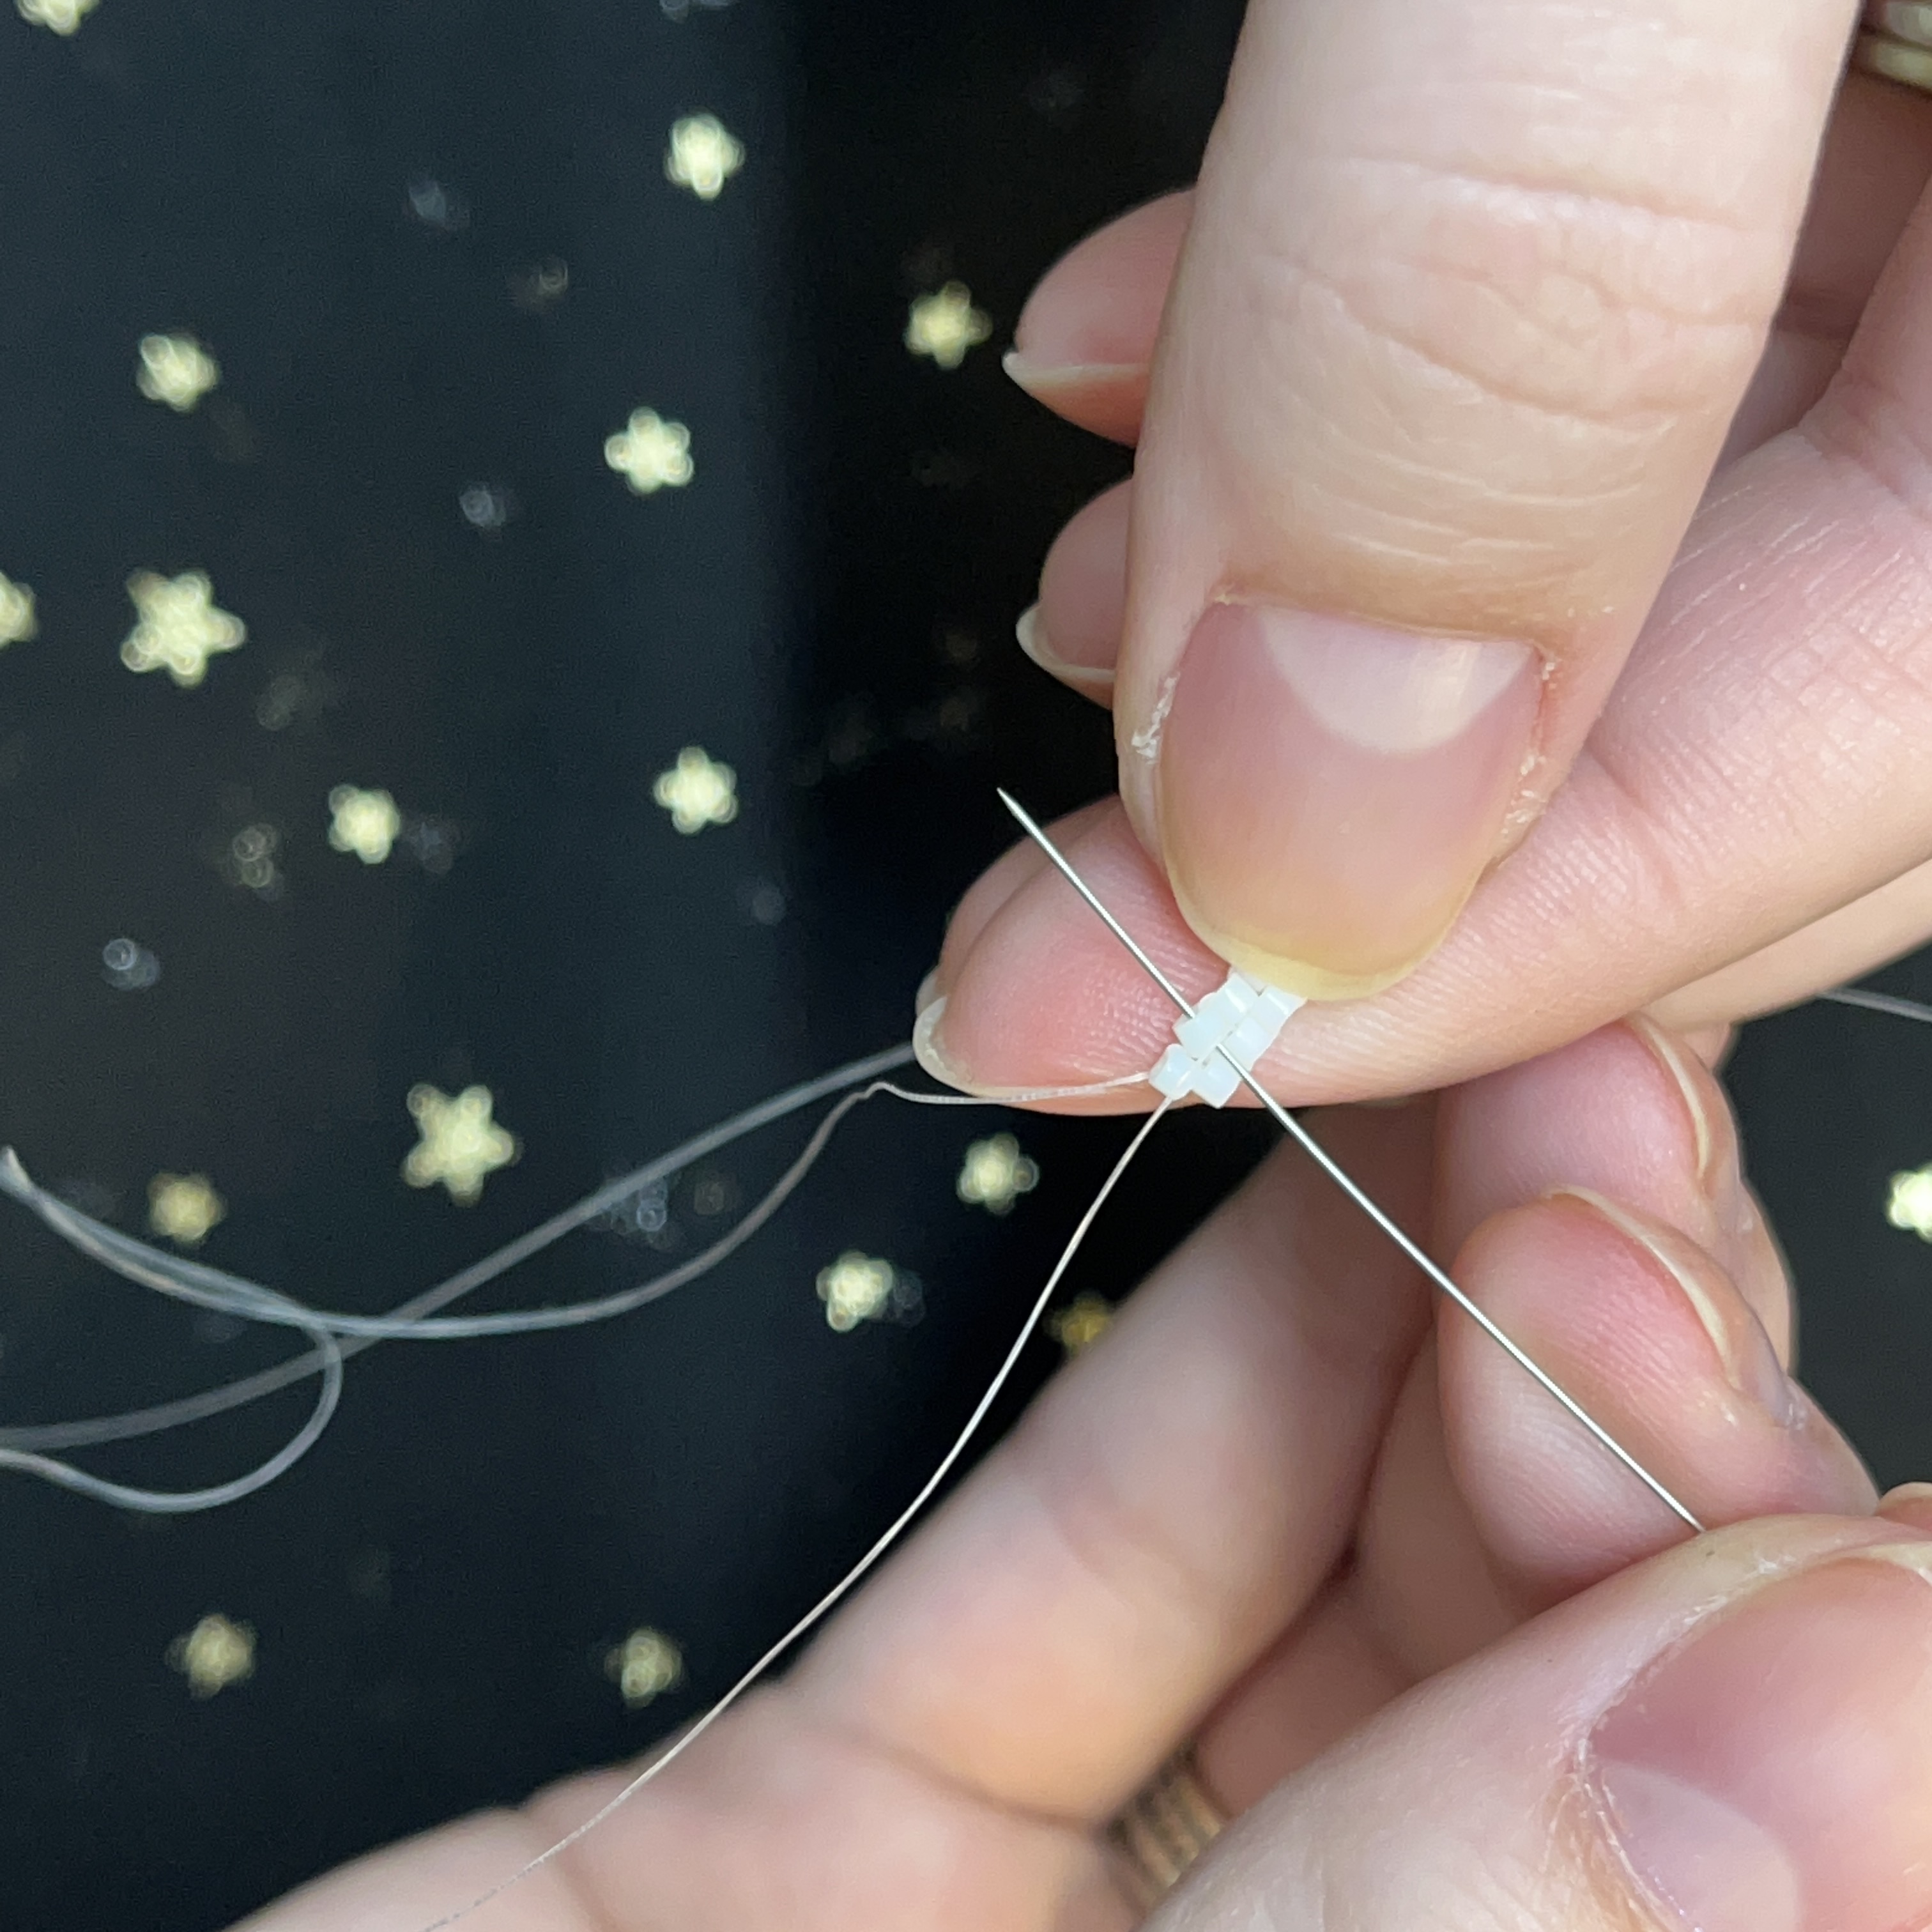
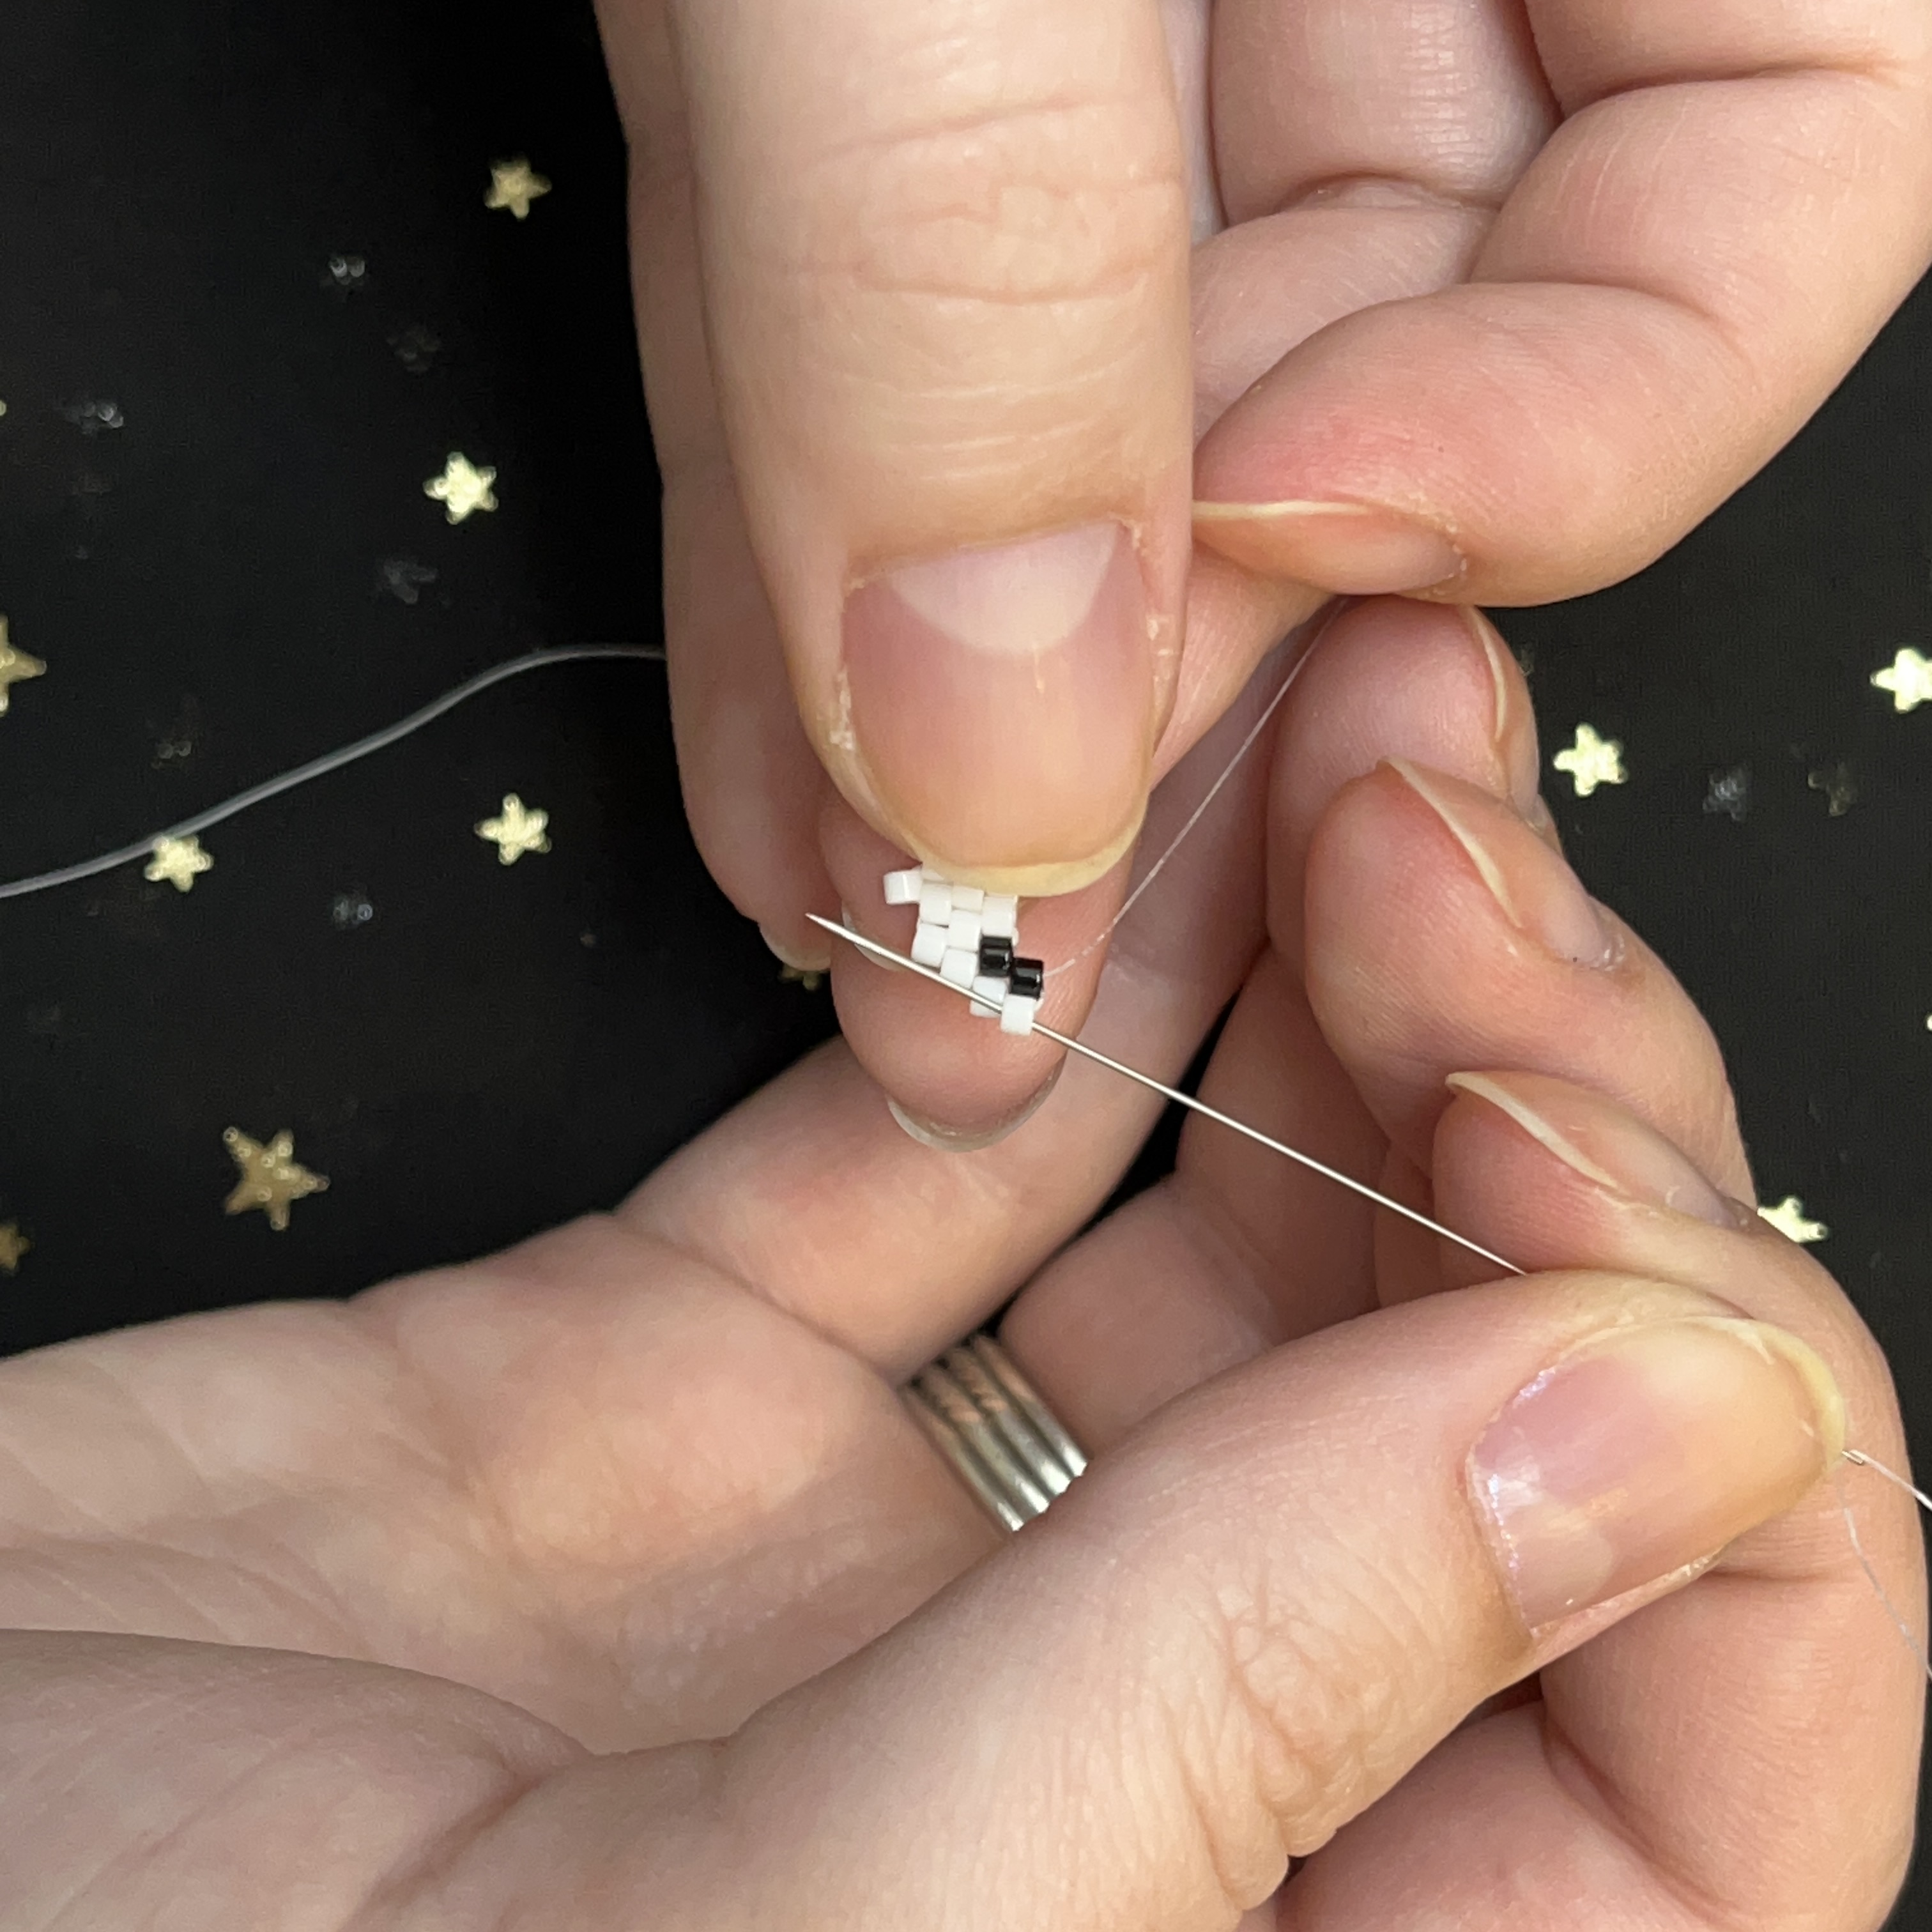
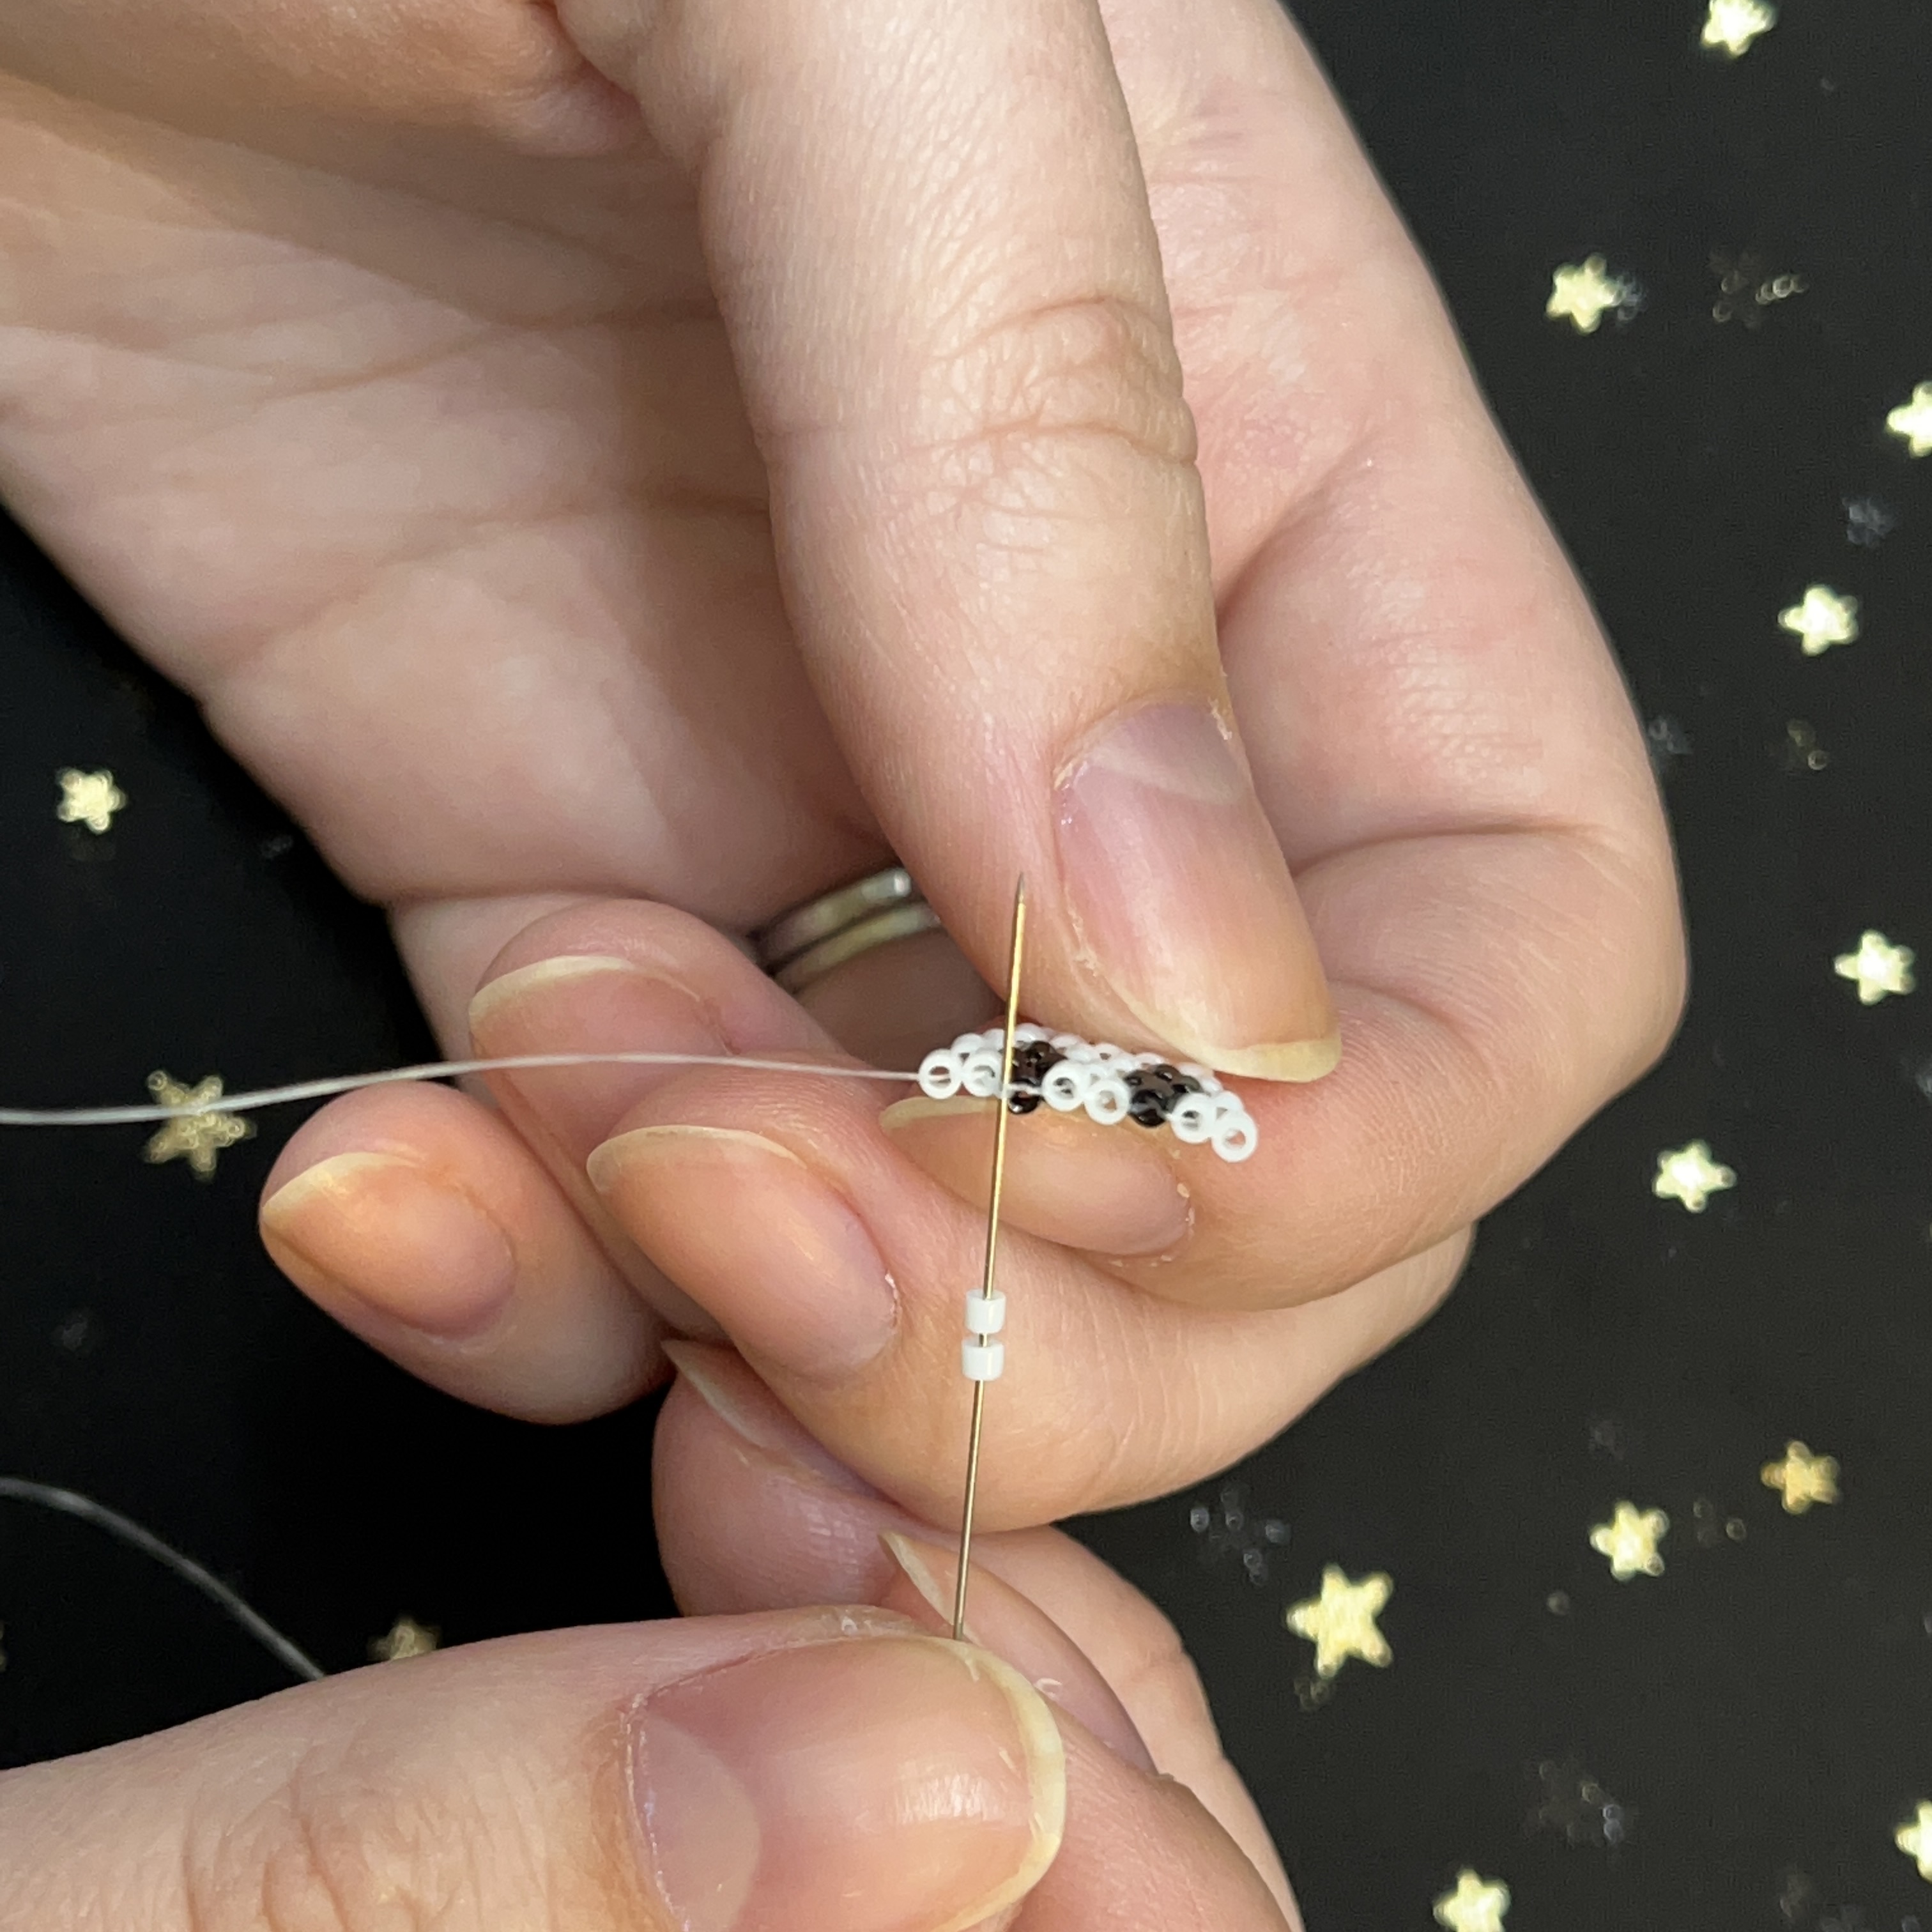
3. Just like the picture above, thread your needle through the first of the two delicas
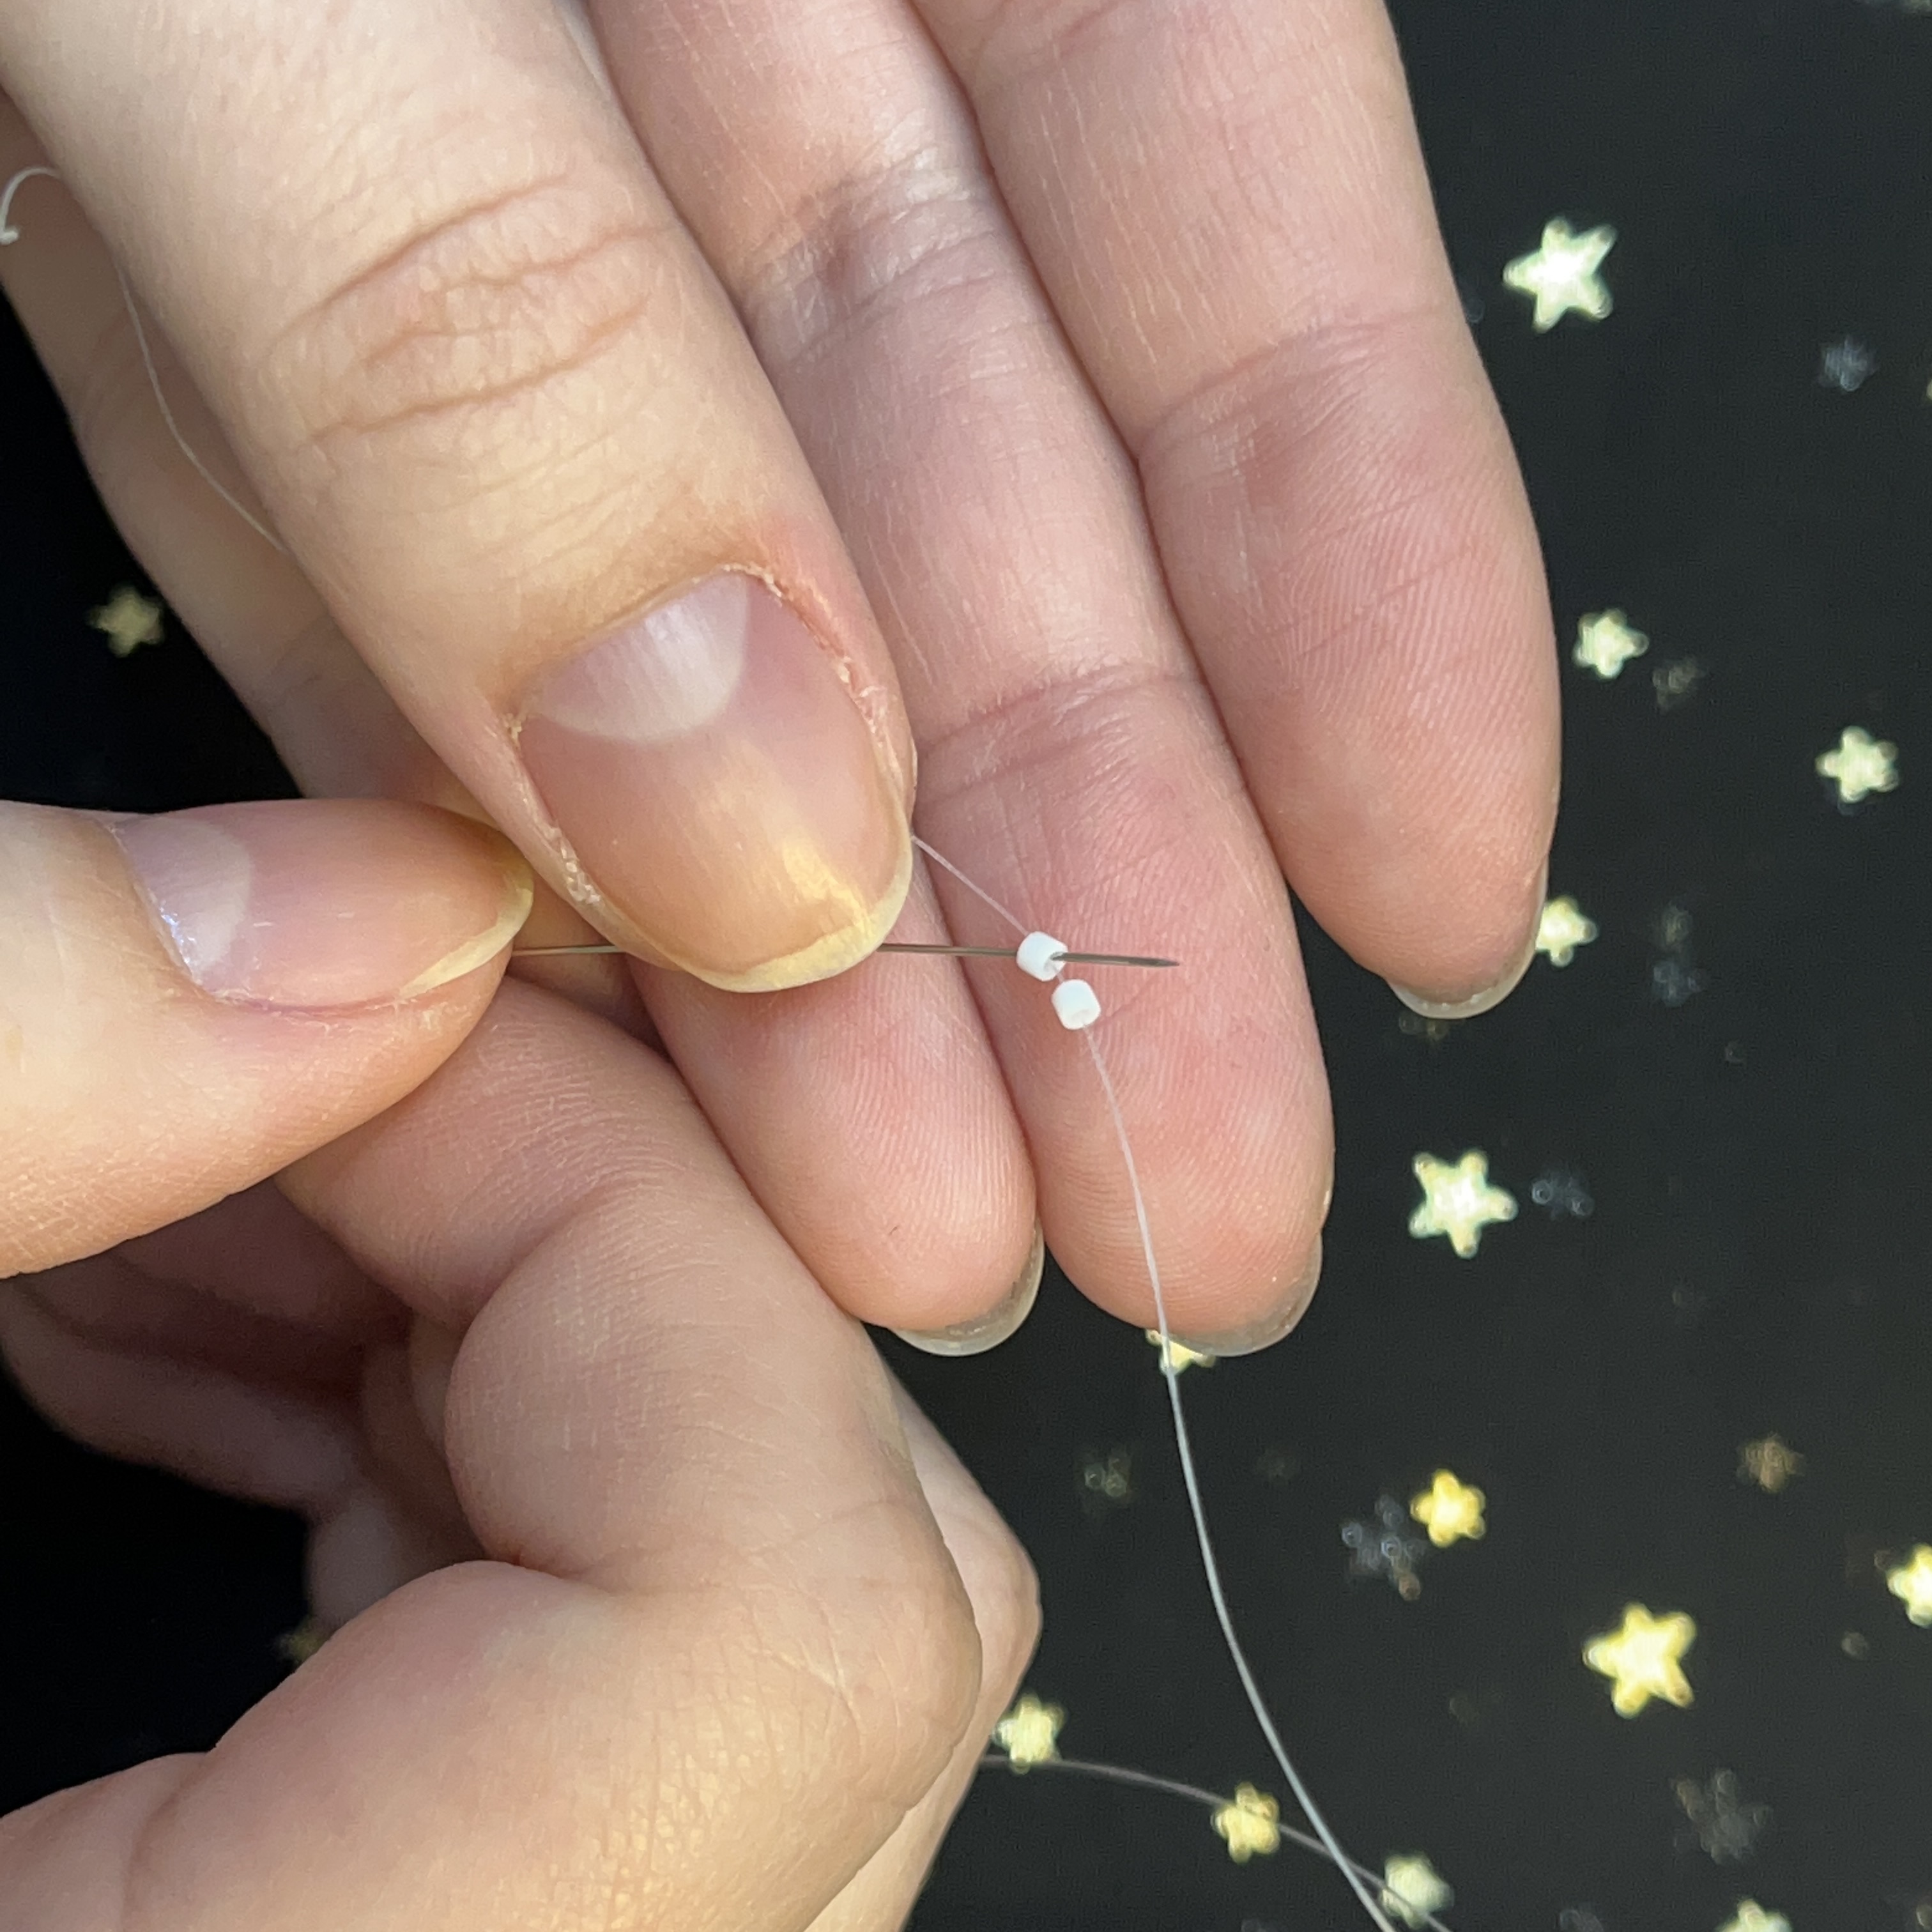
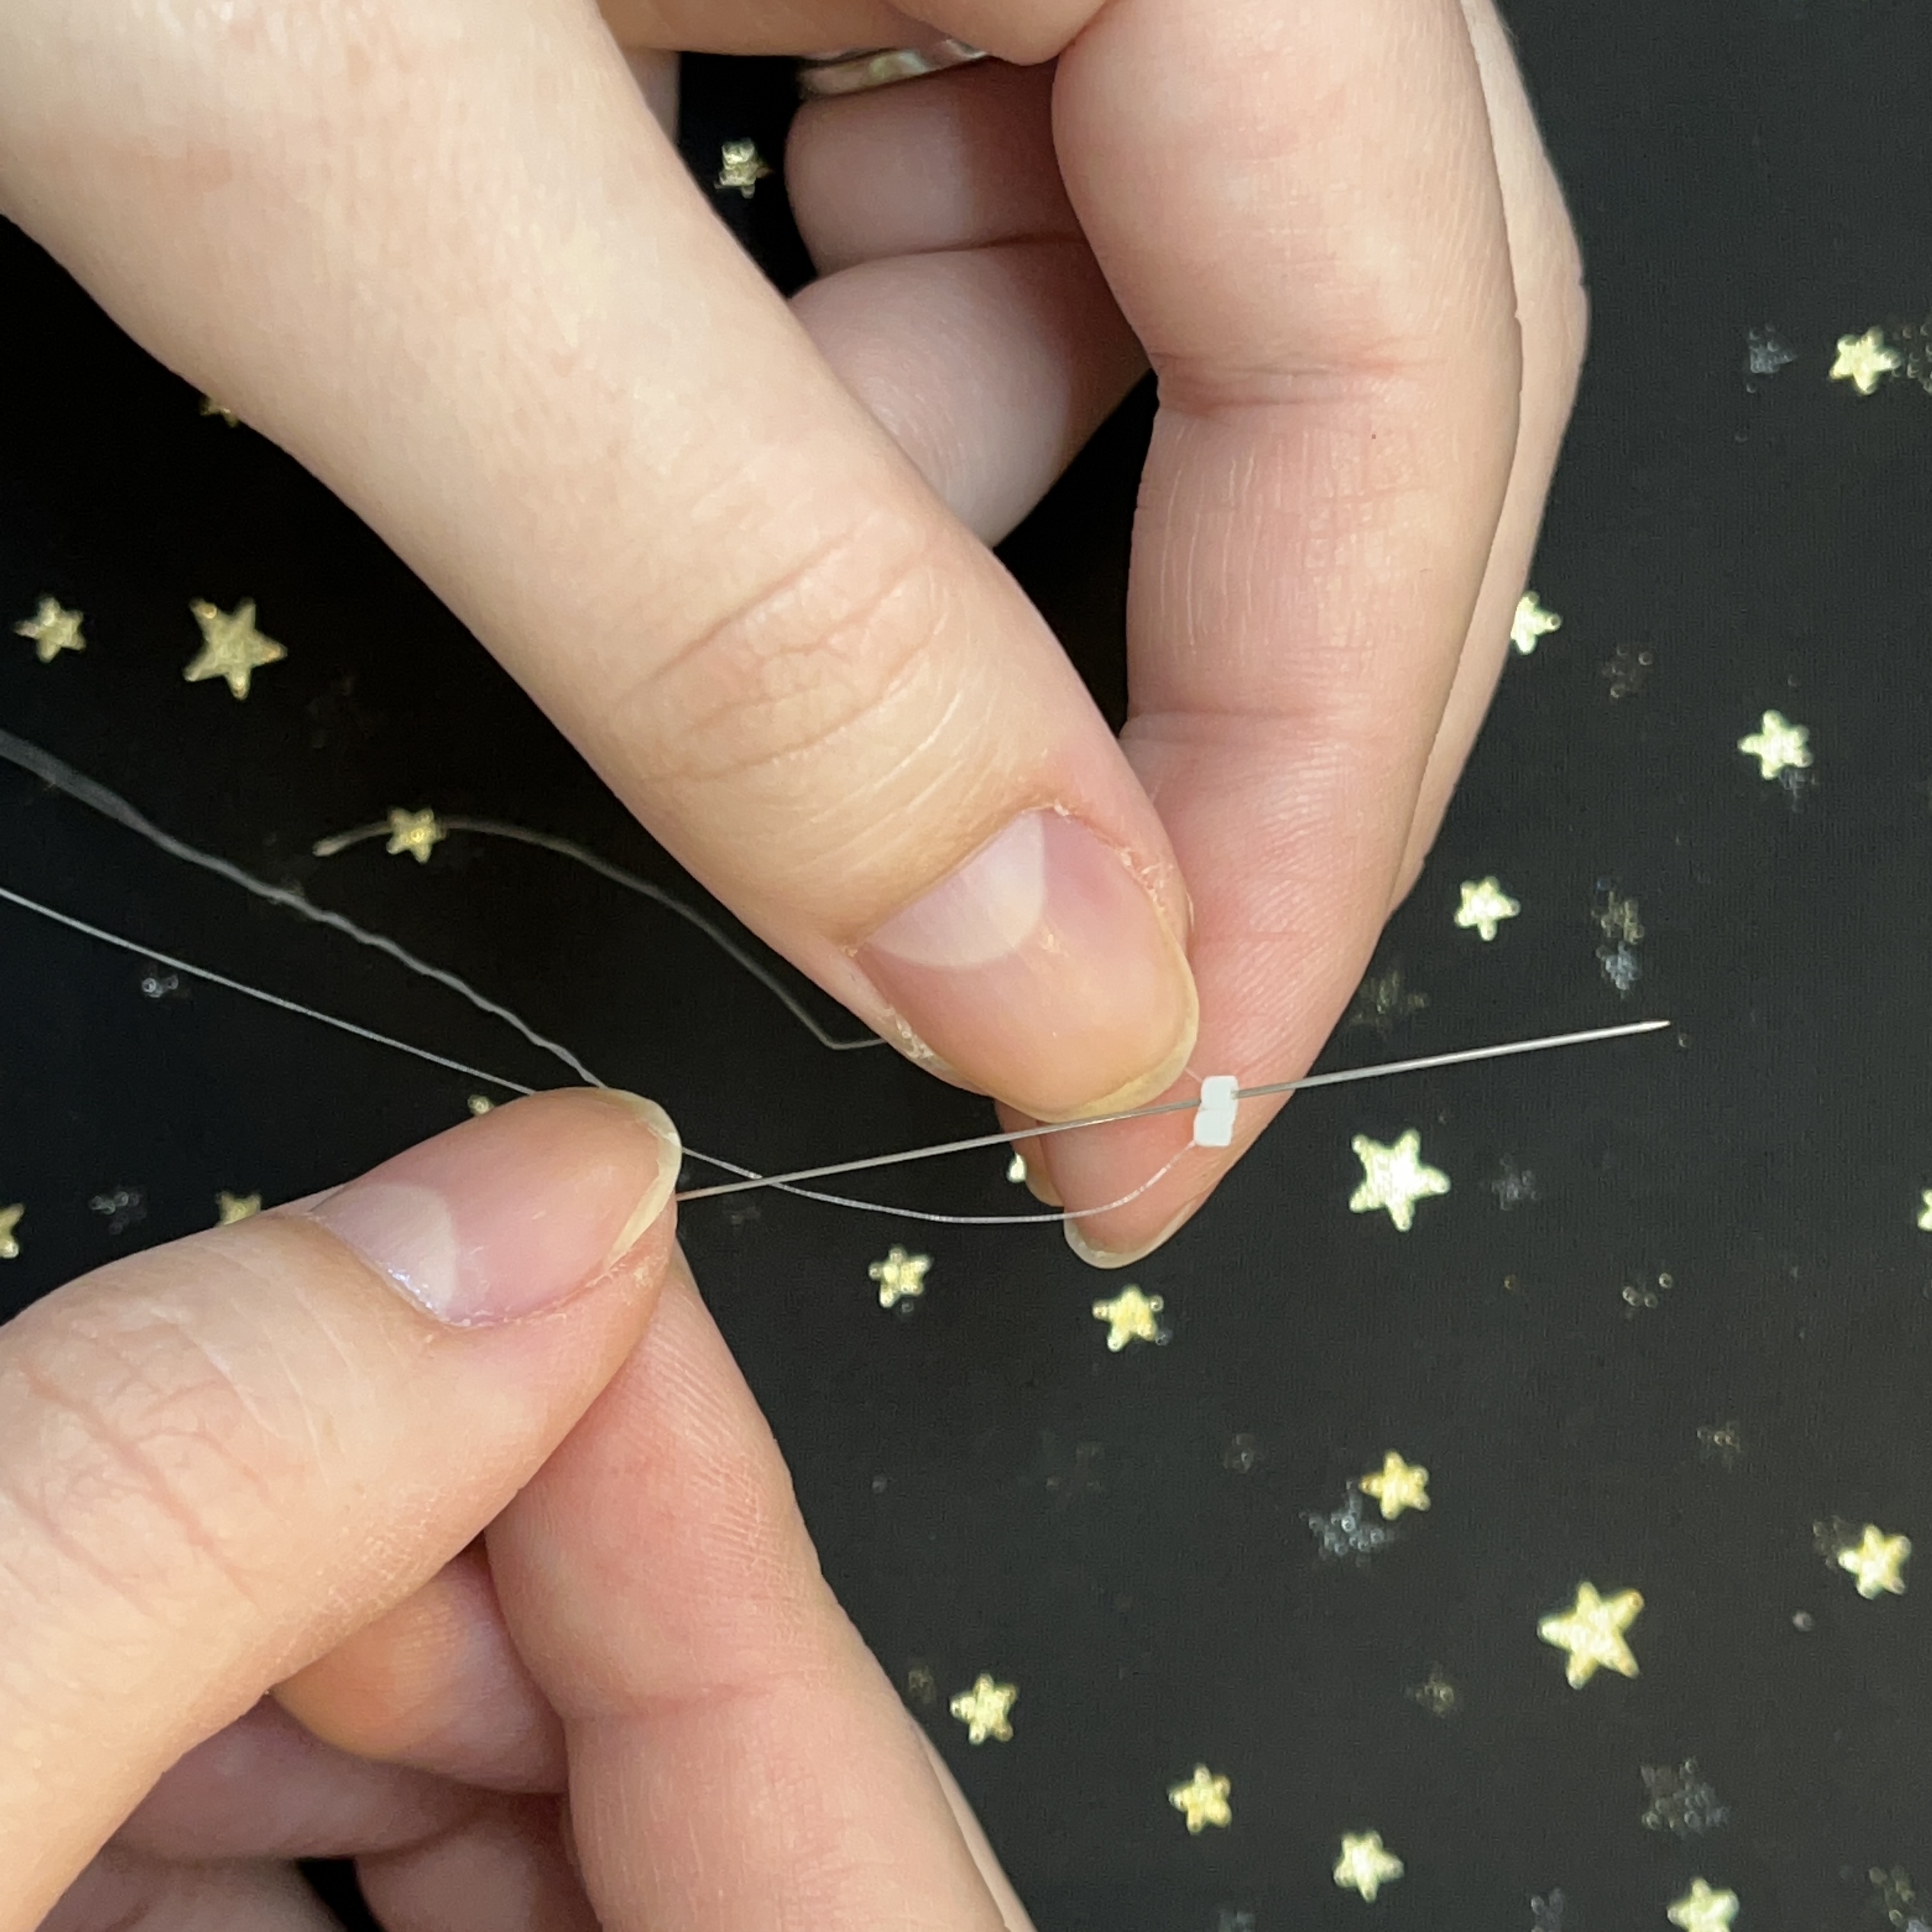
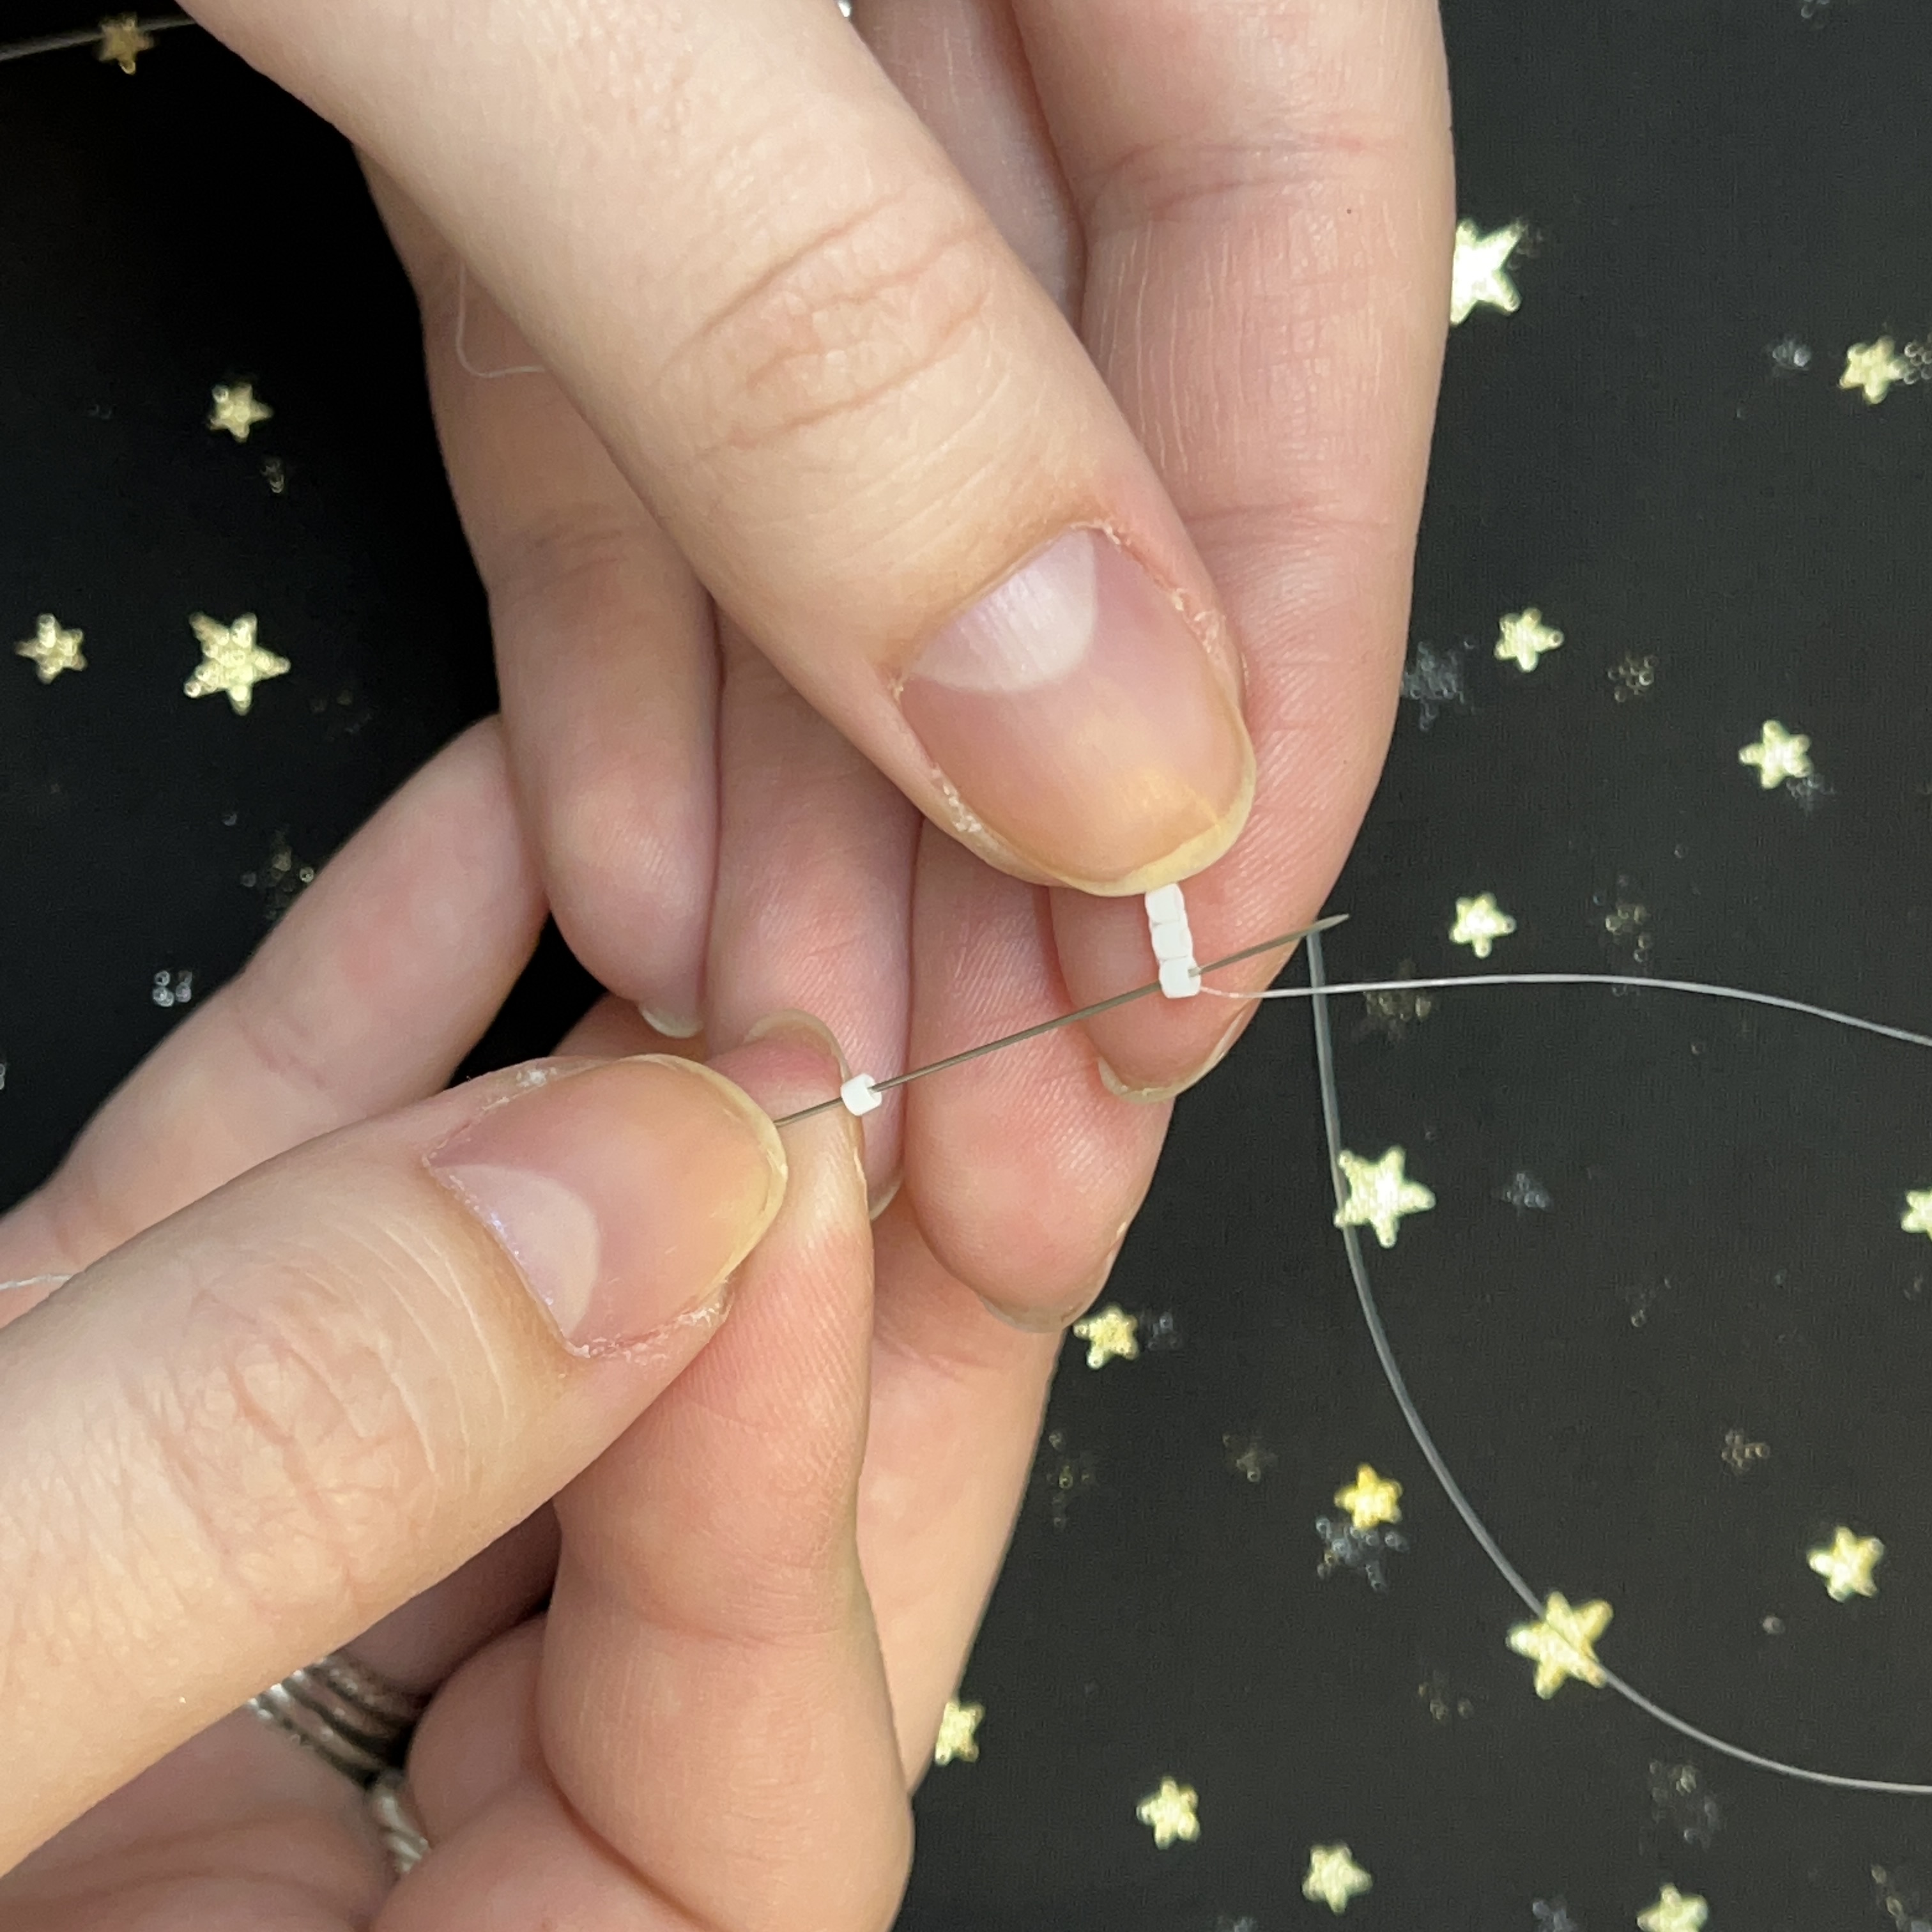
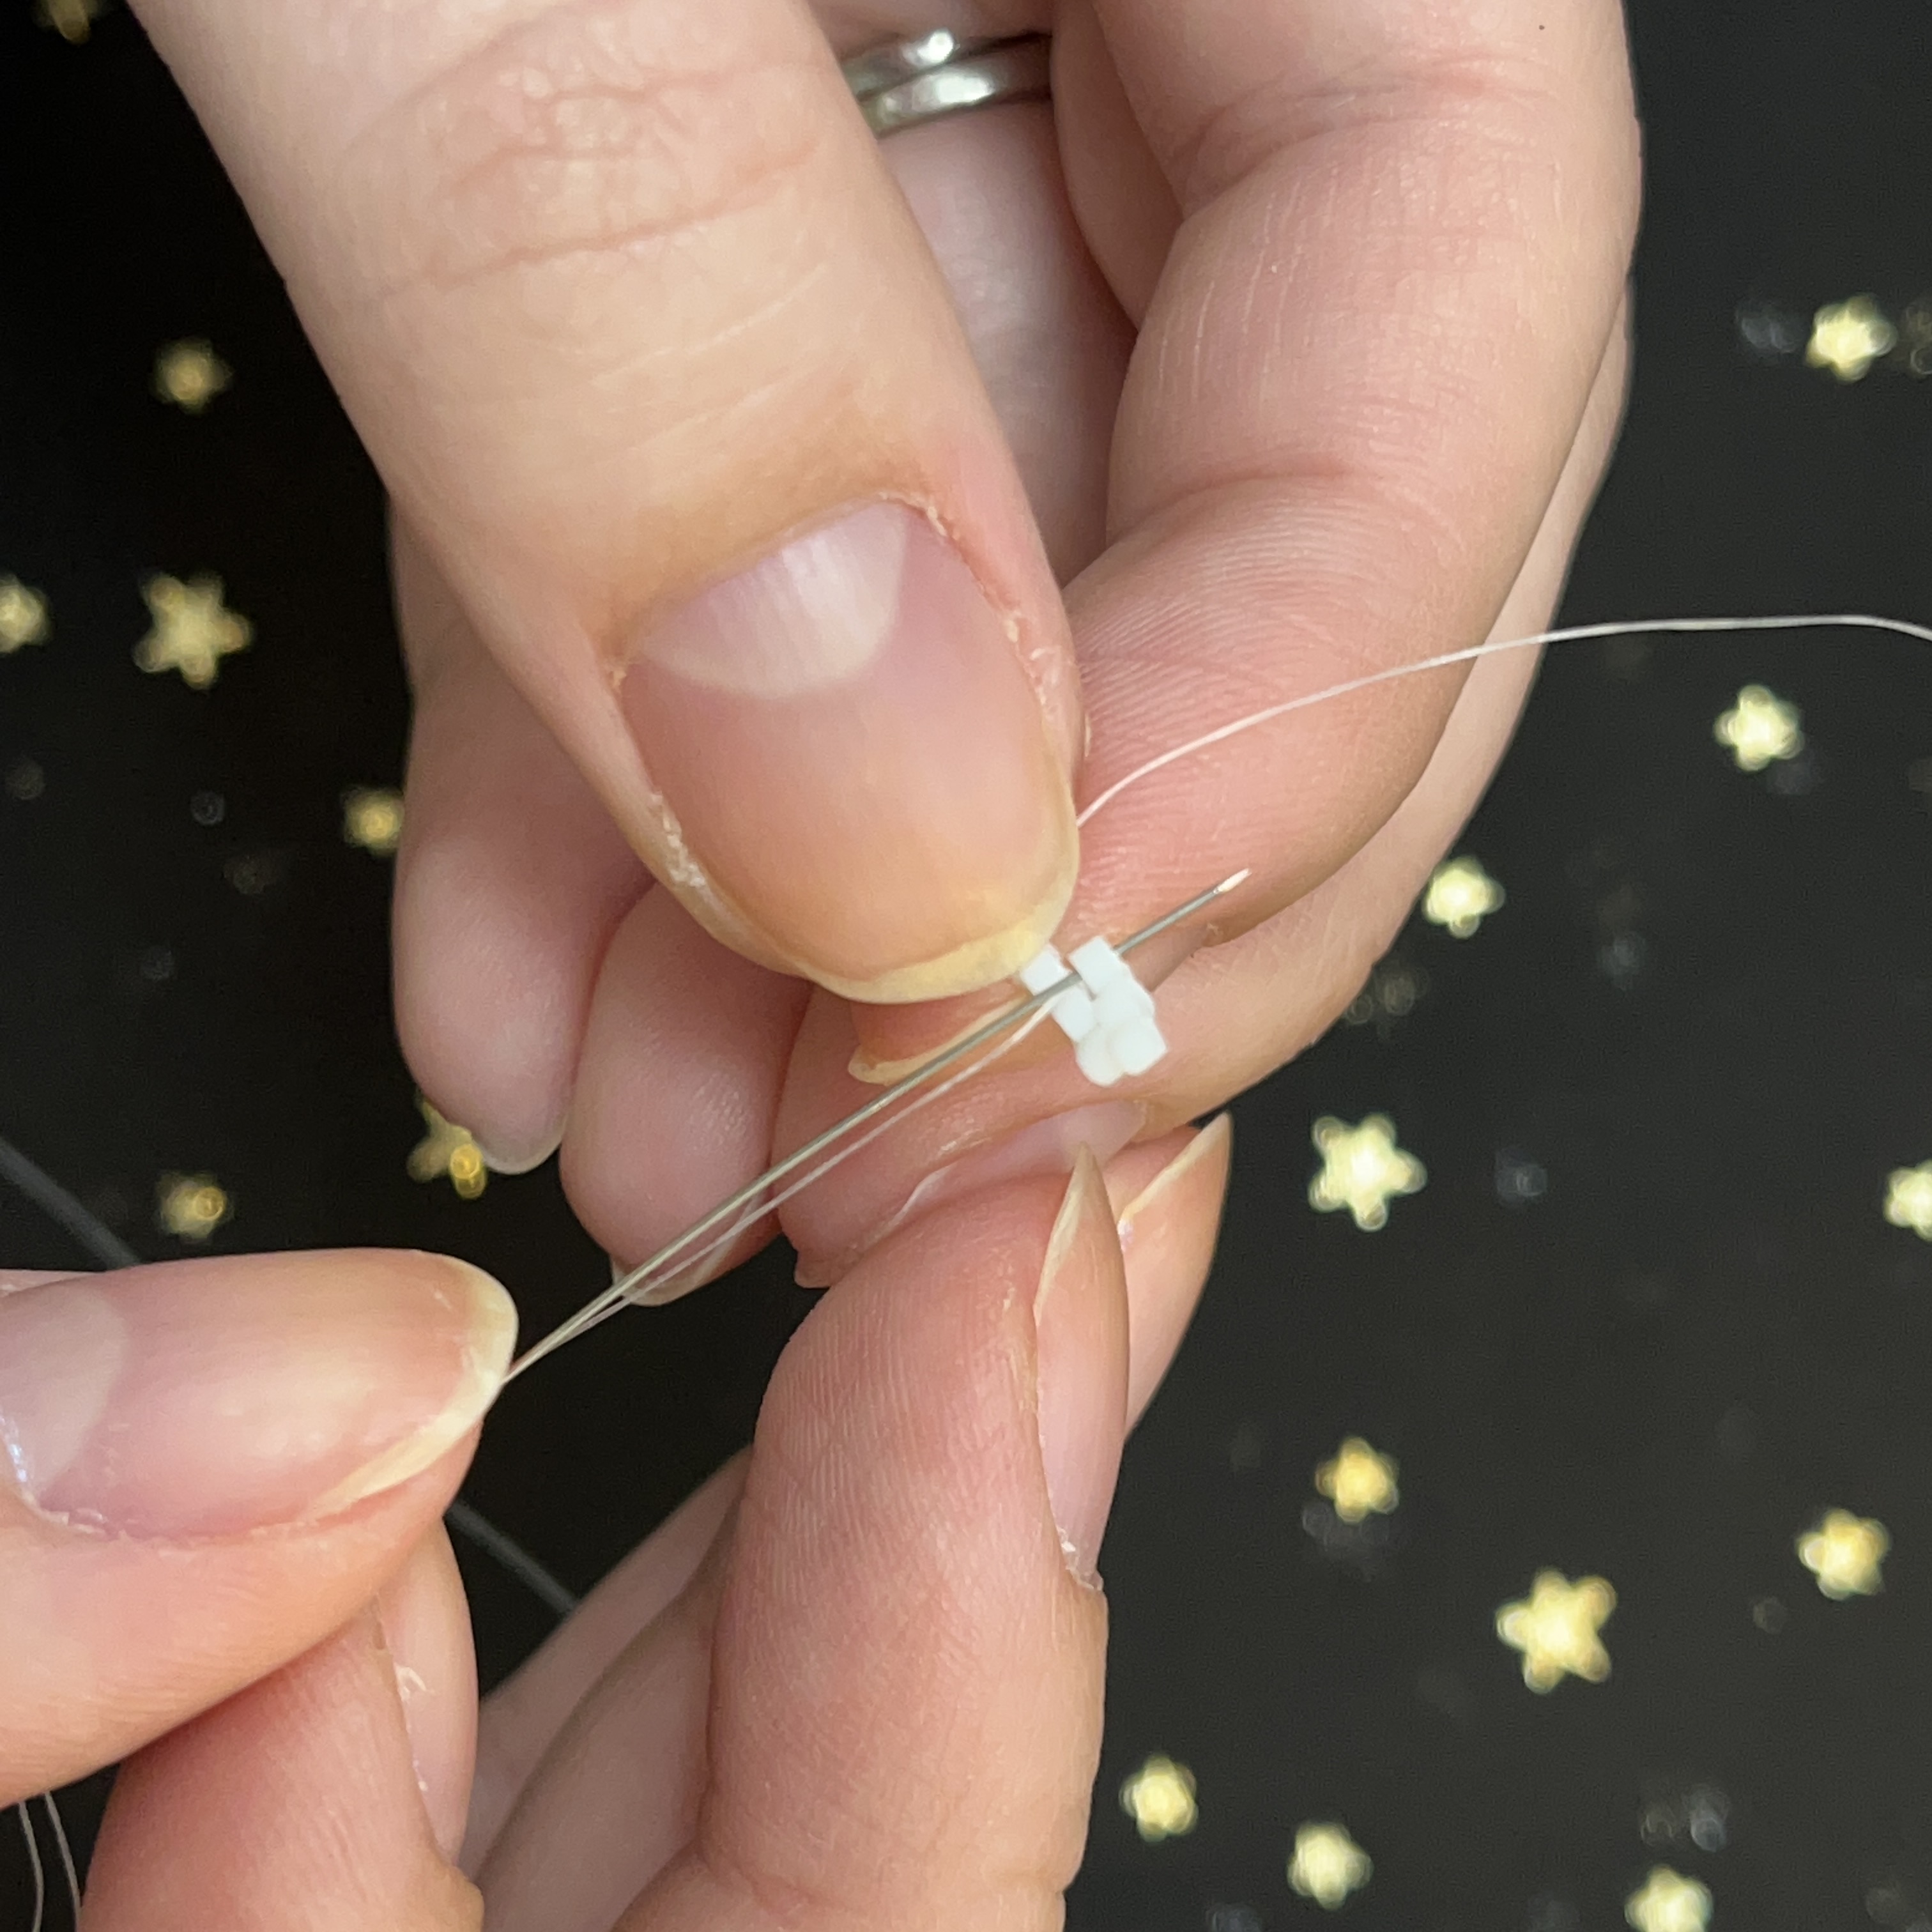
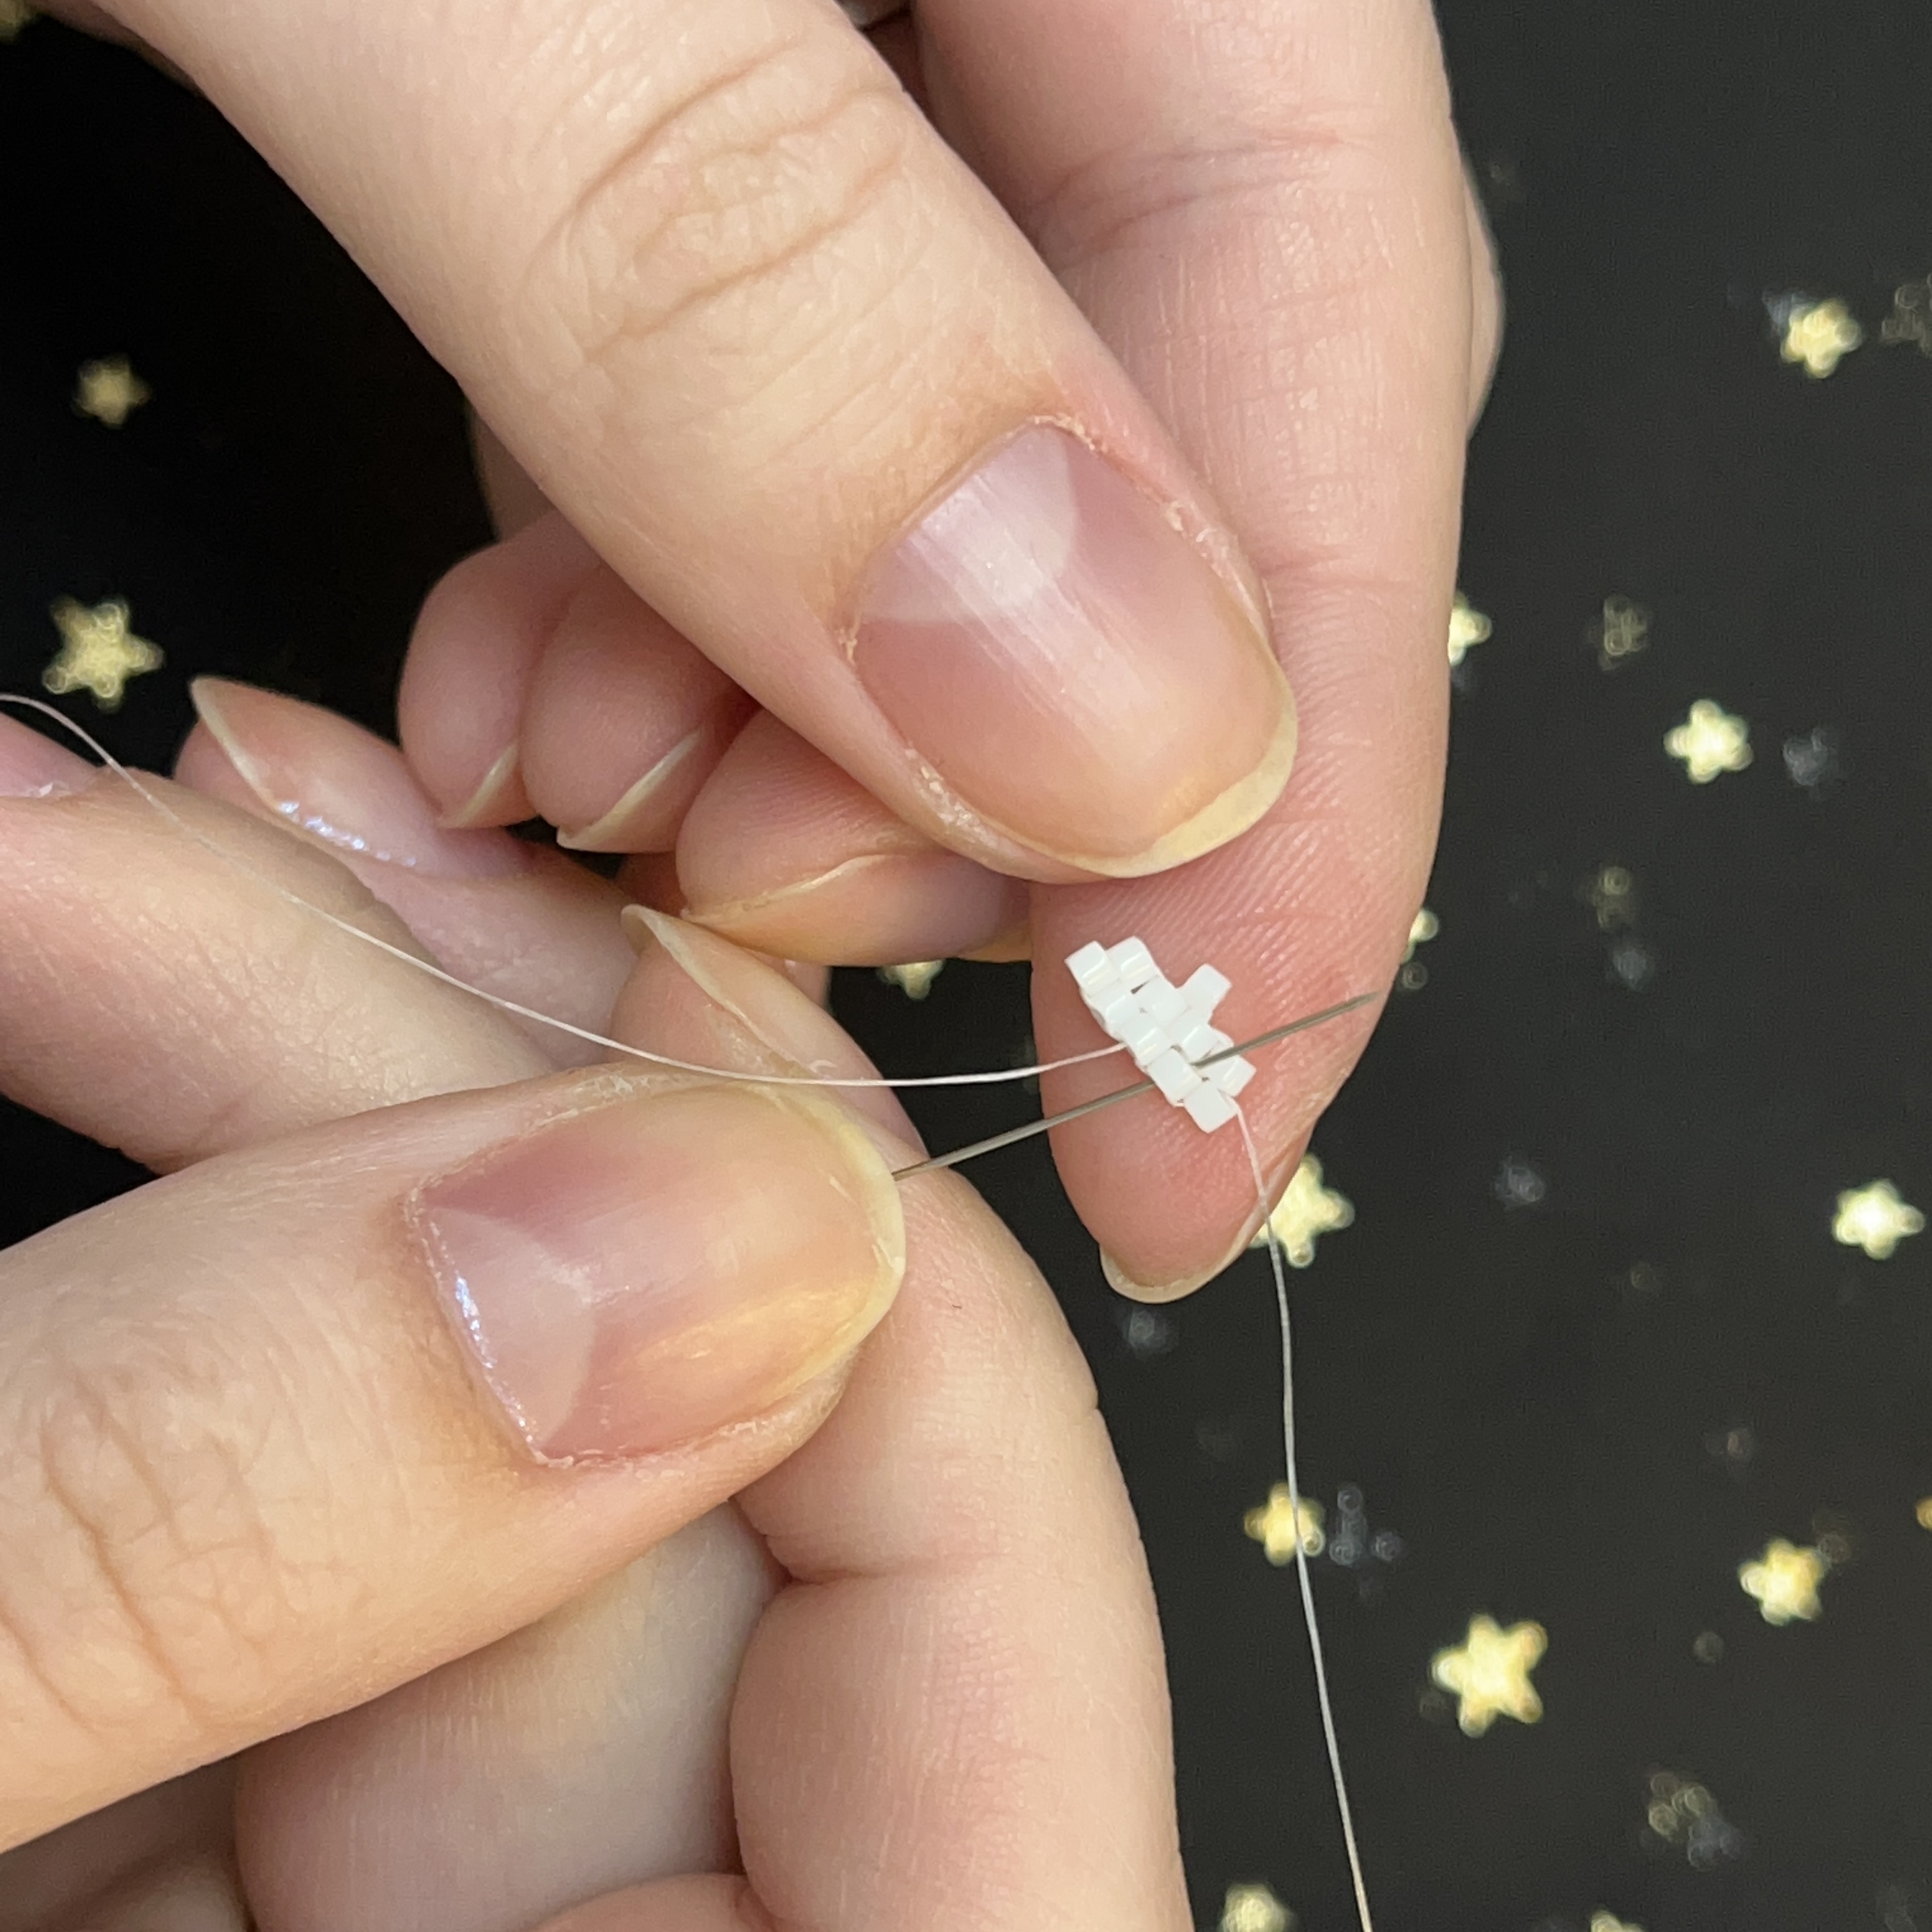
4. Pull the thread tight and they should line up like this
5. Thread the needle through the second delica exactly like the picture above.
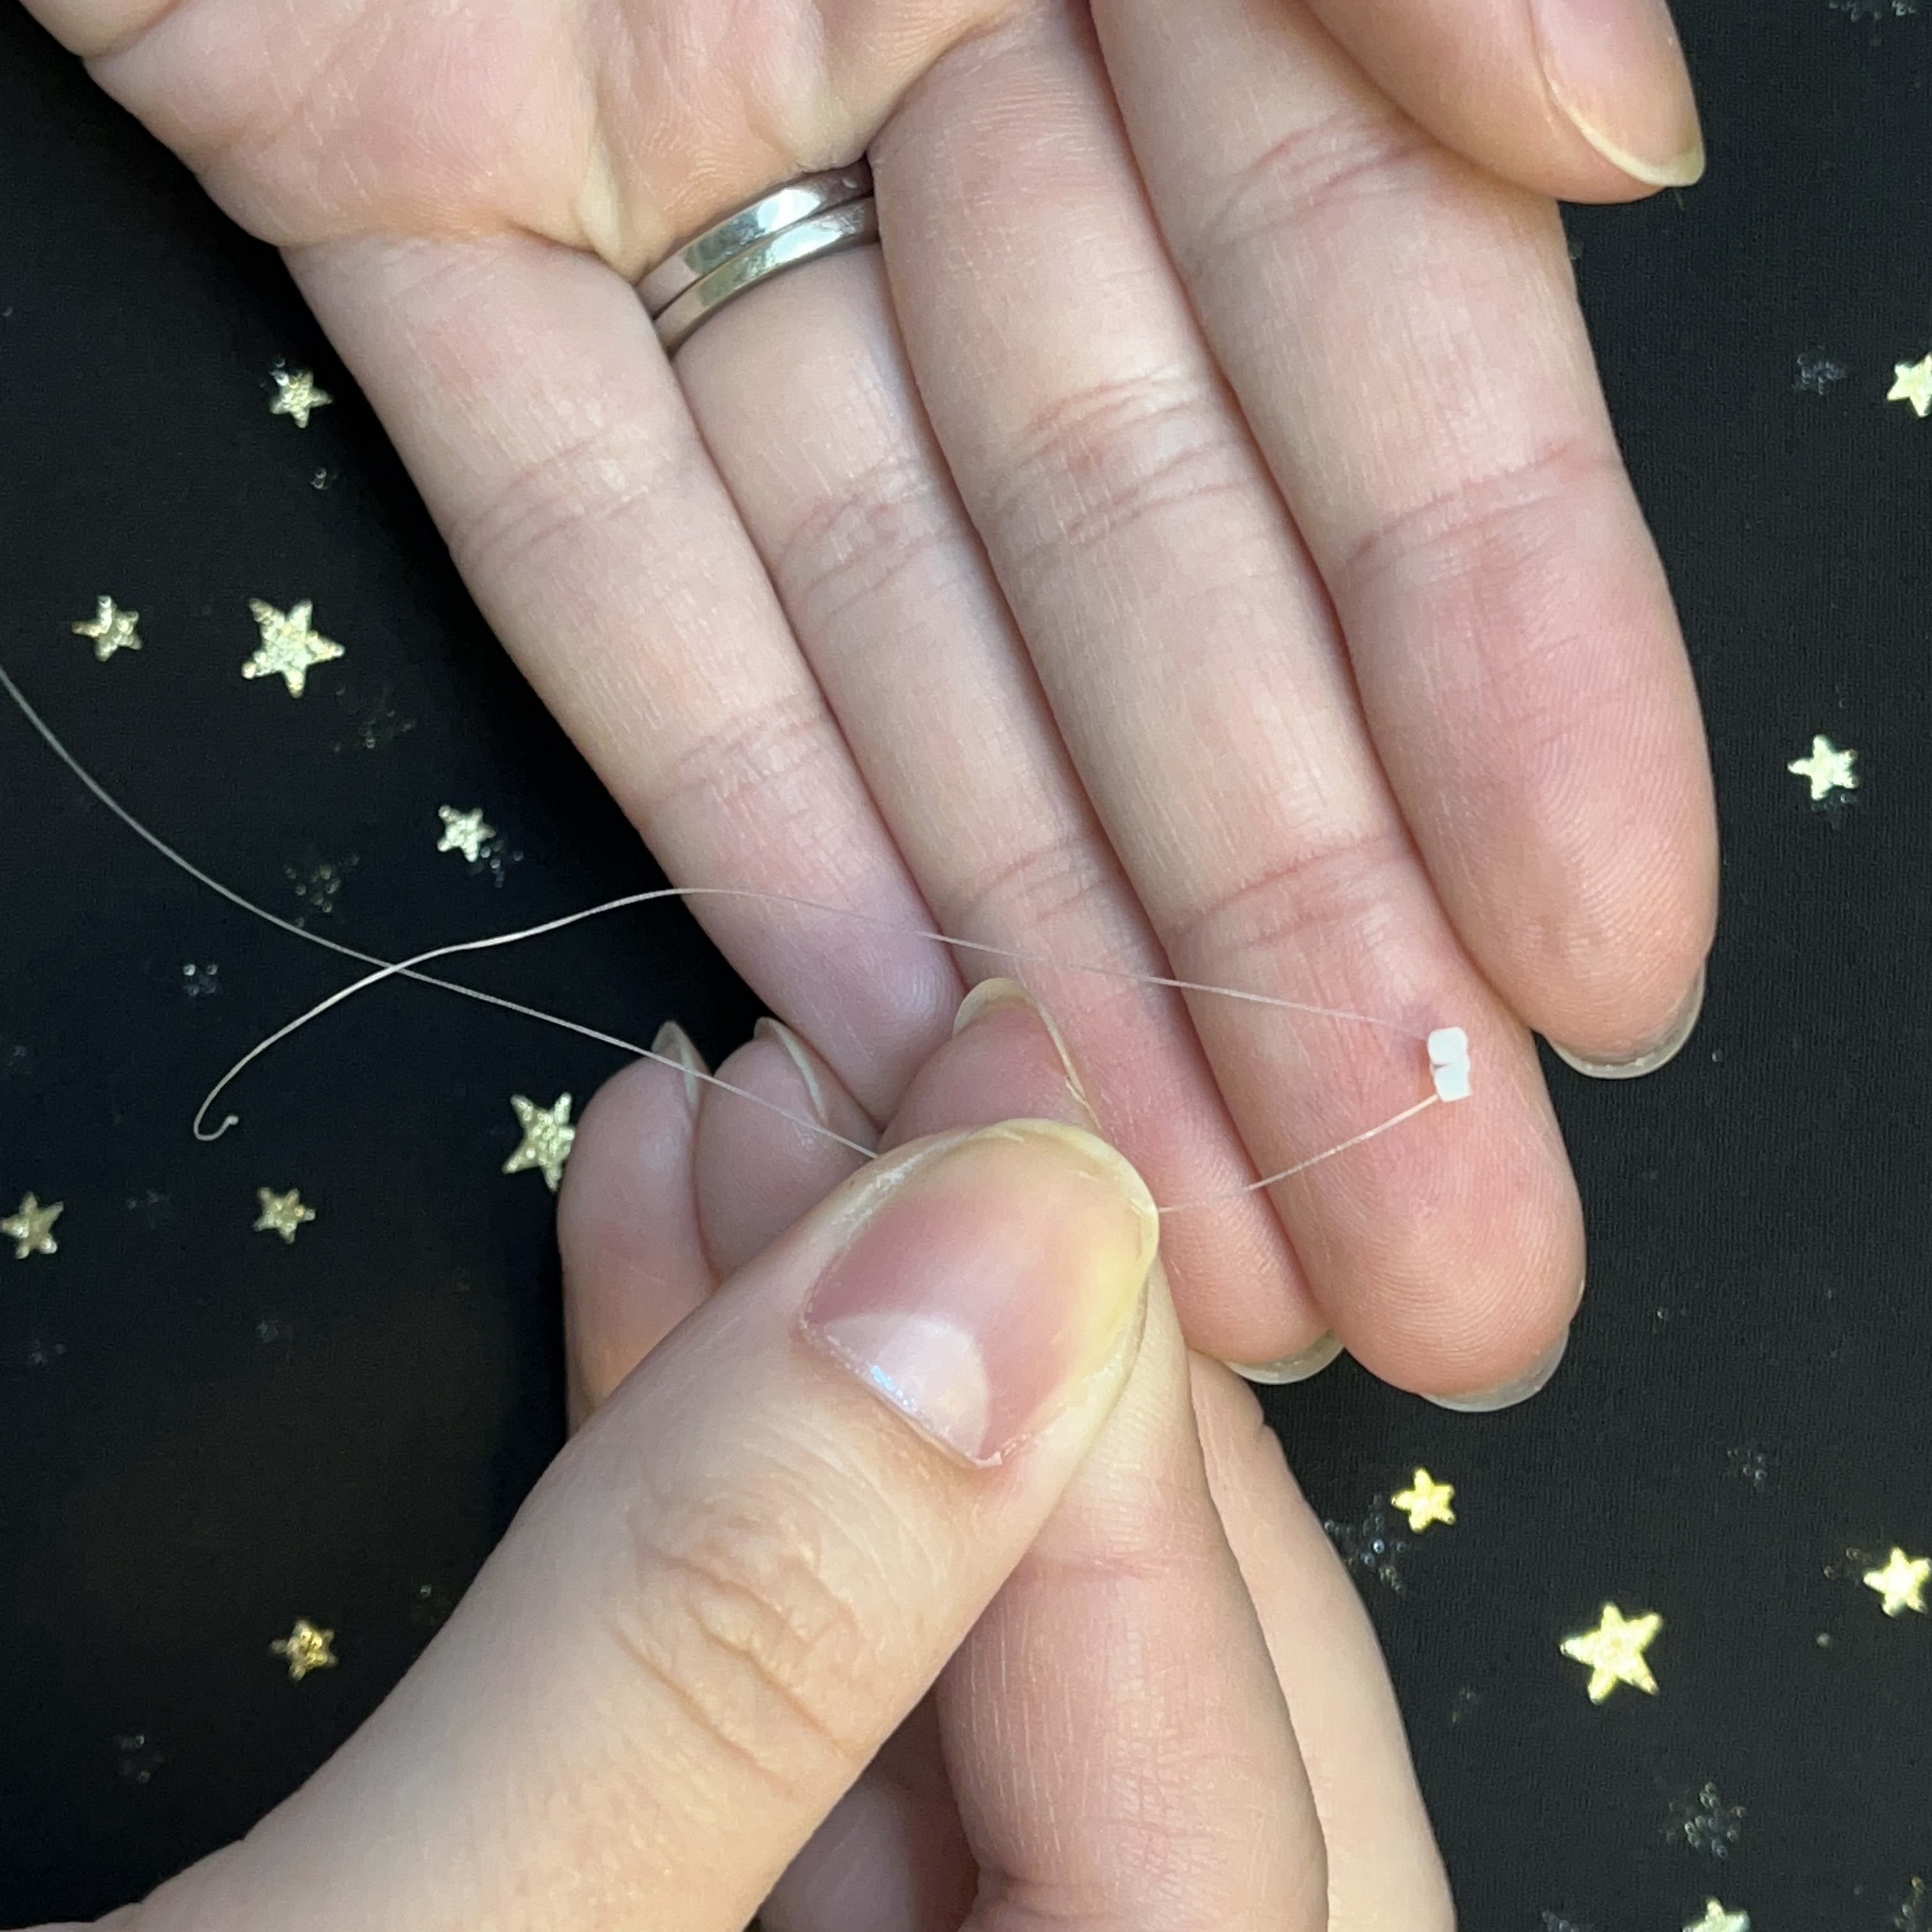
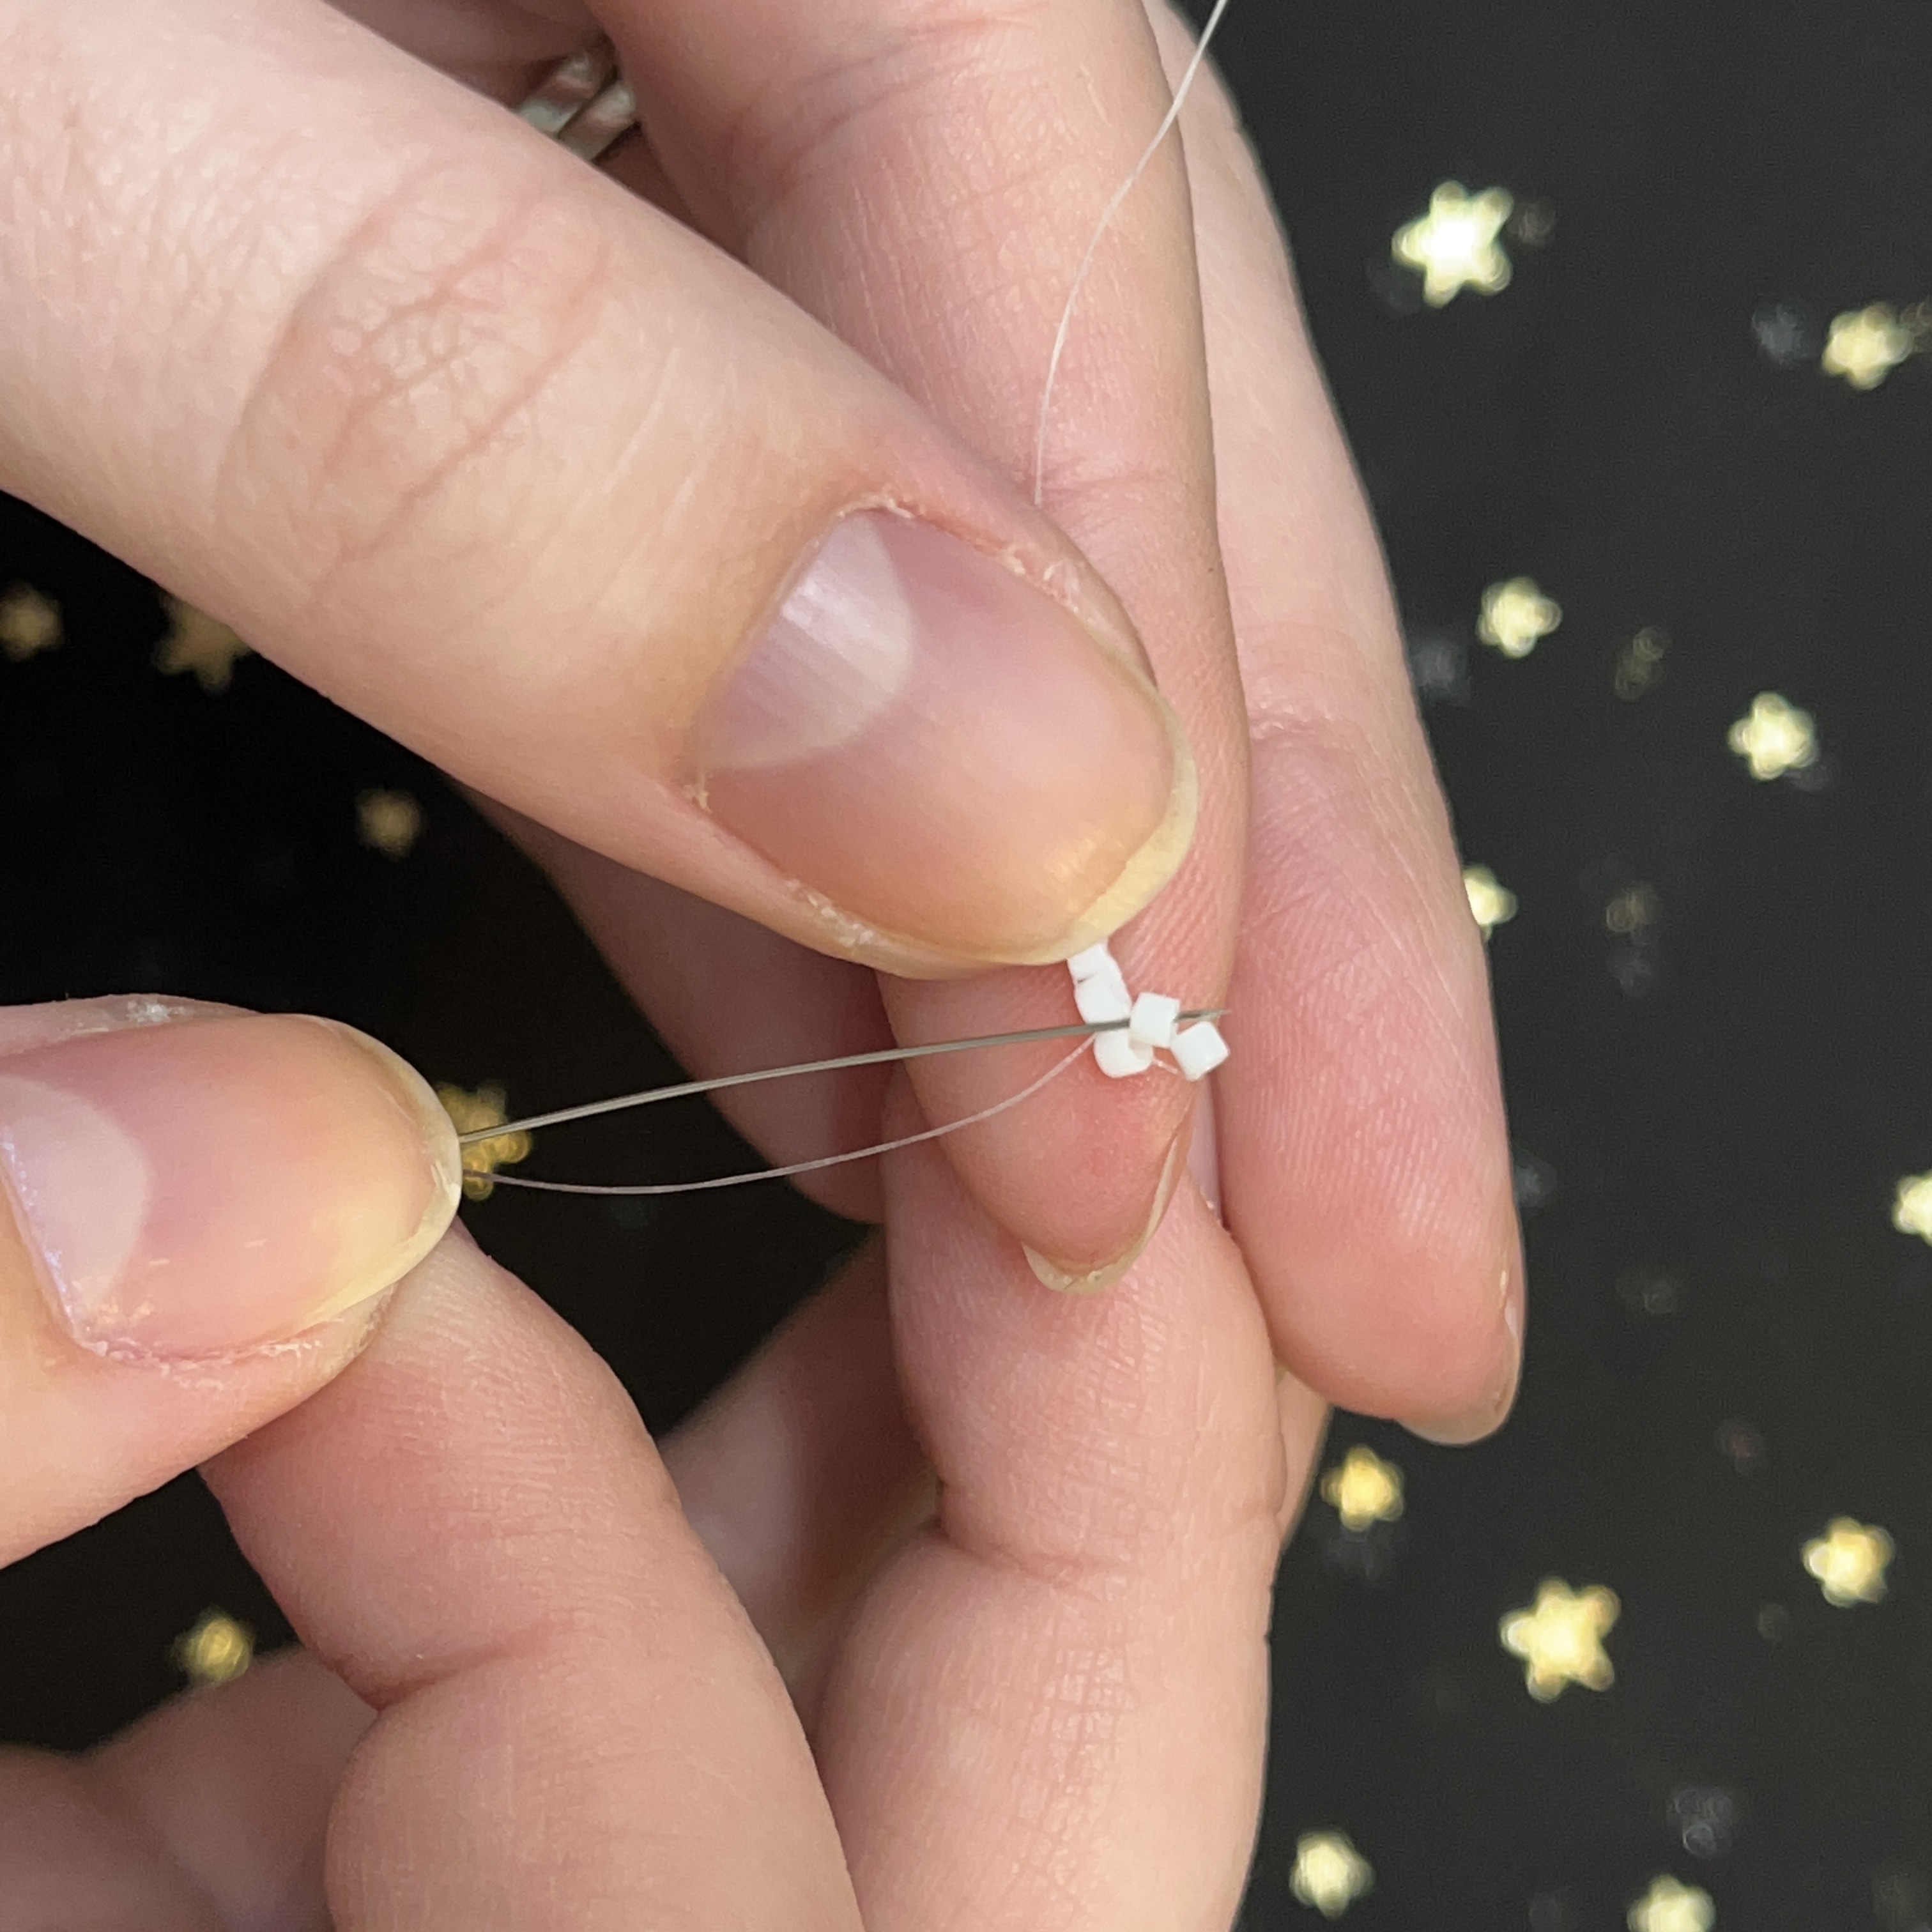
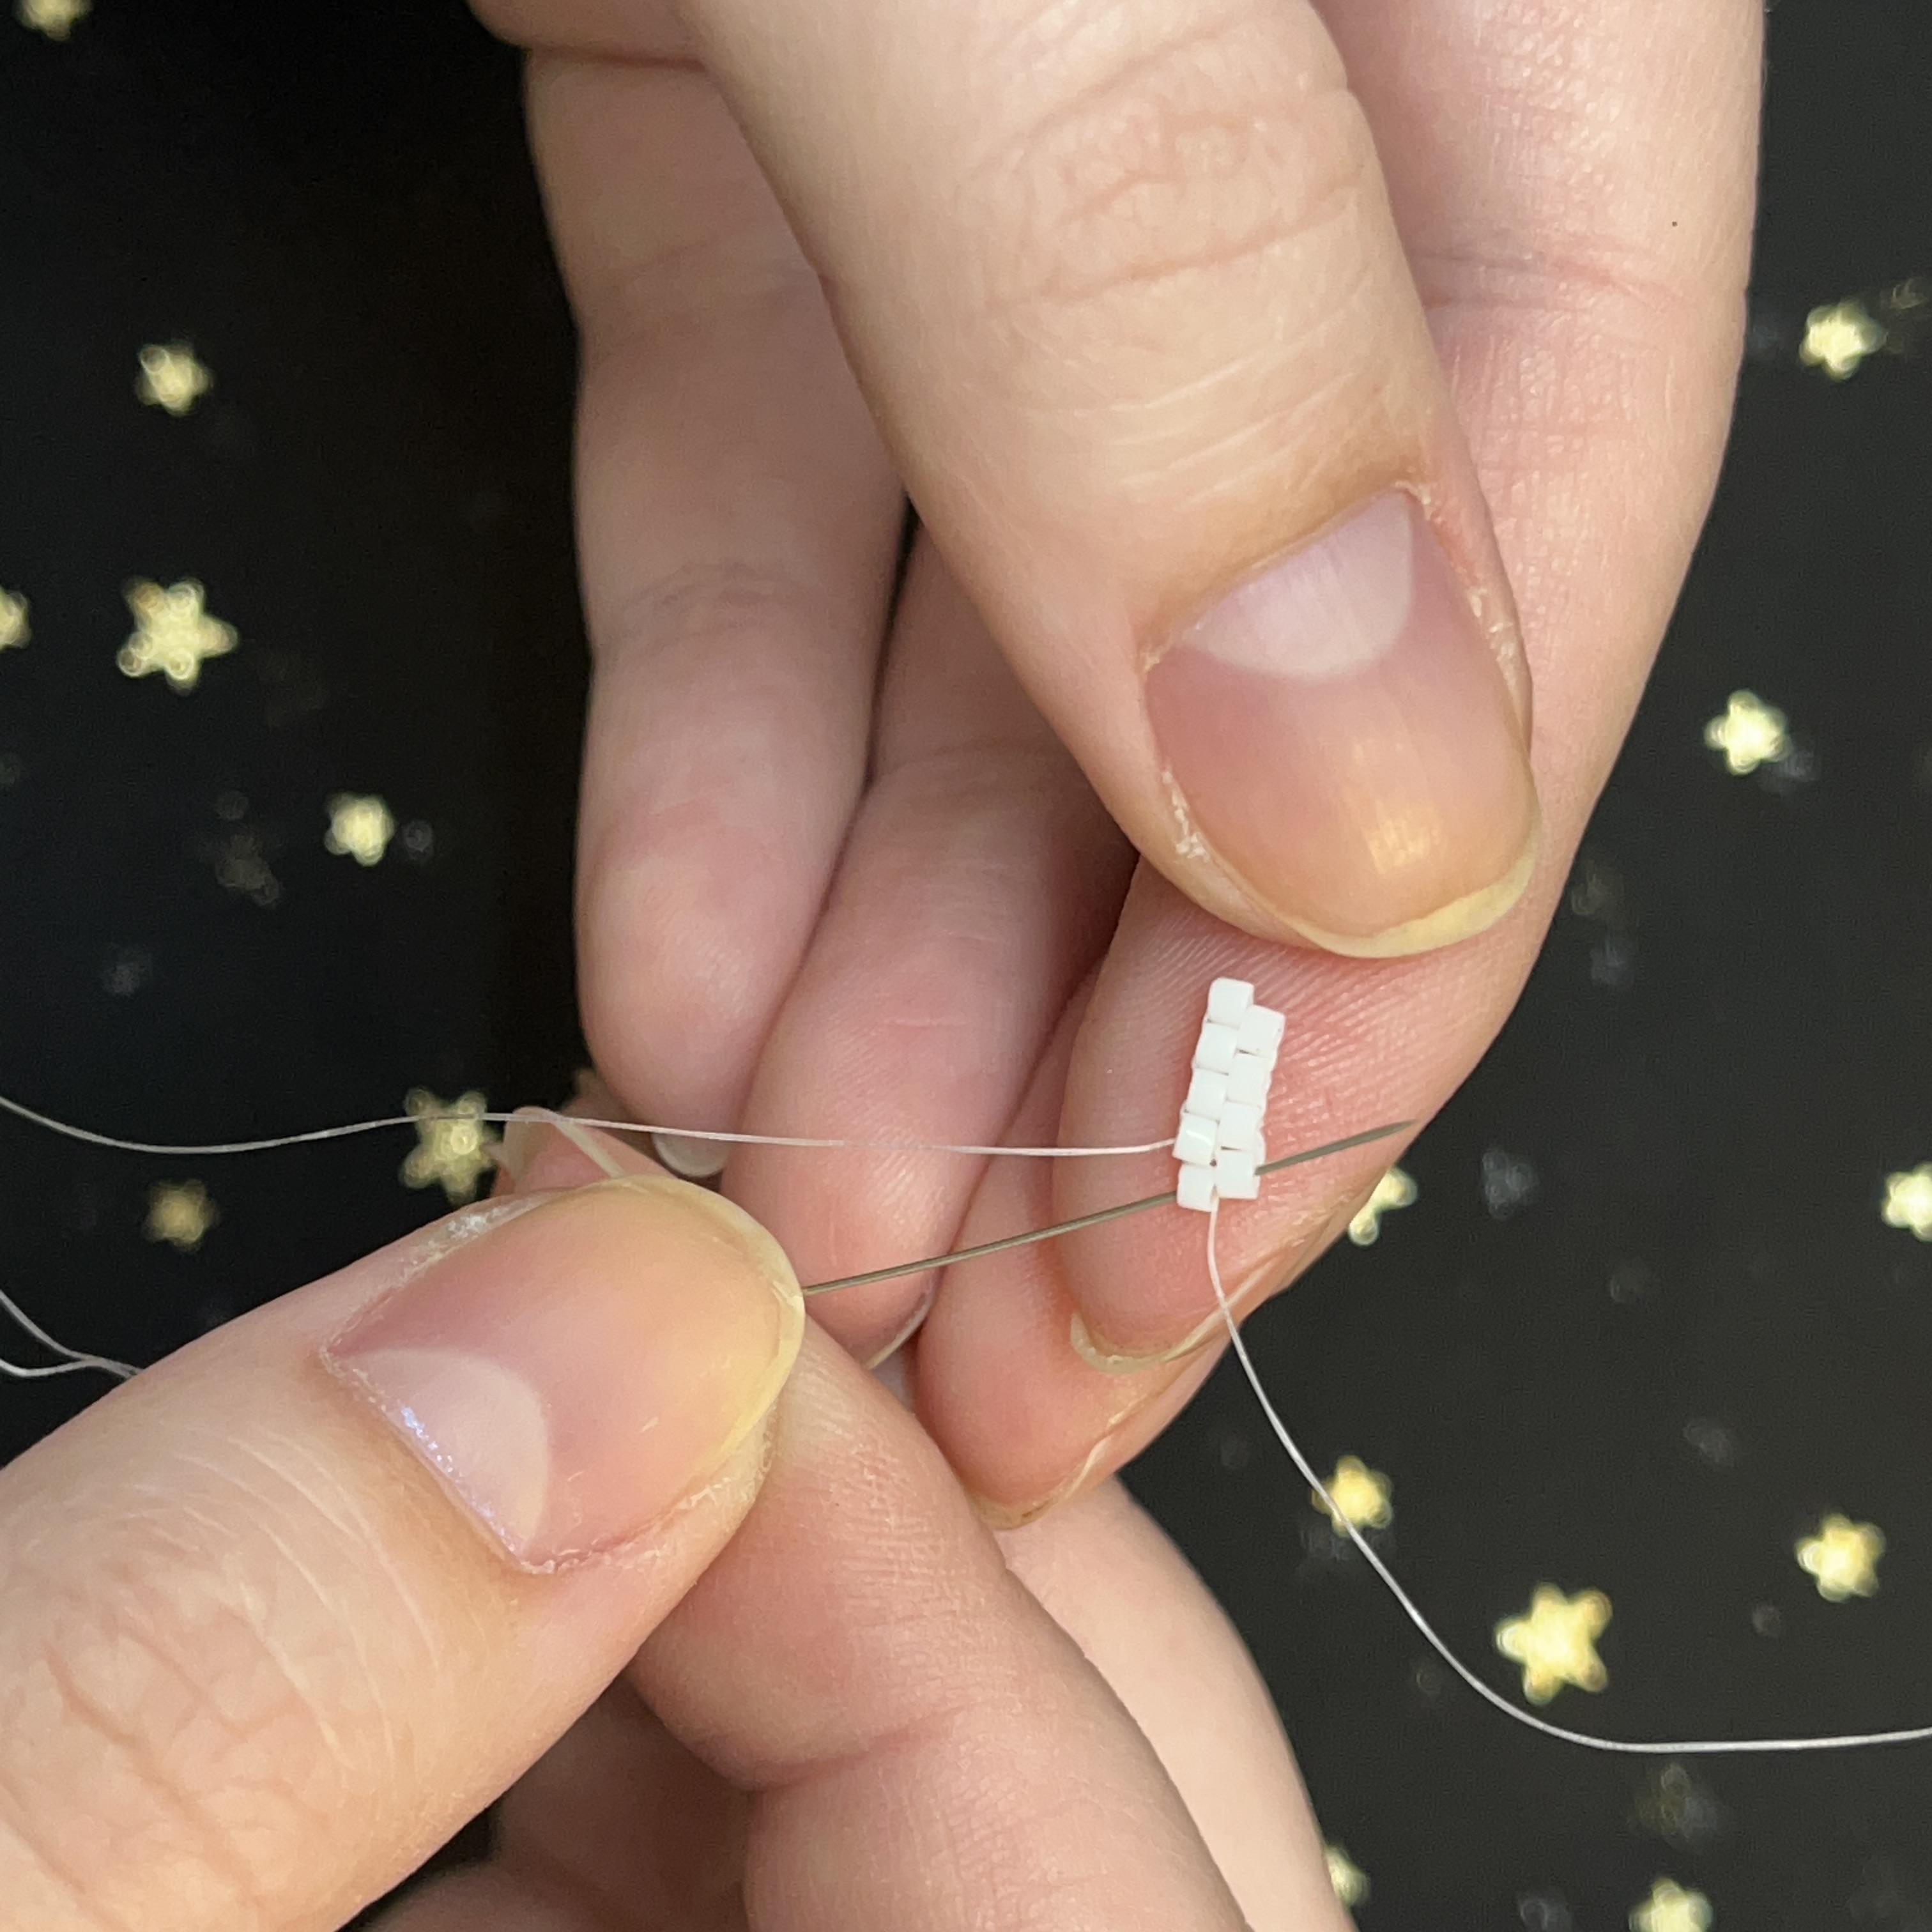
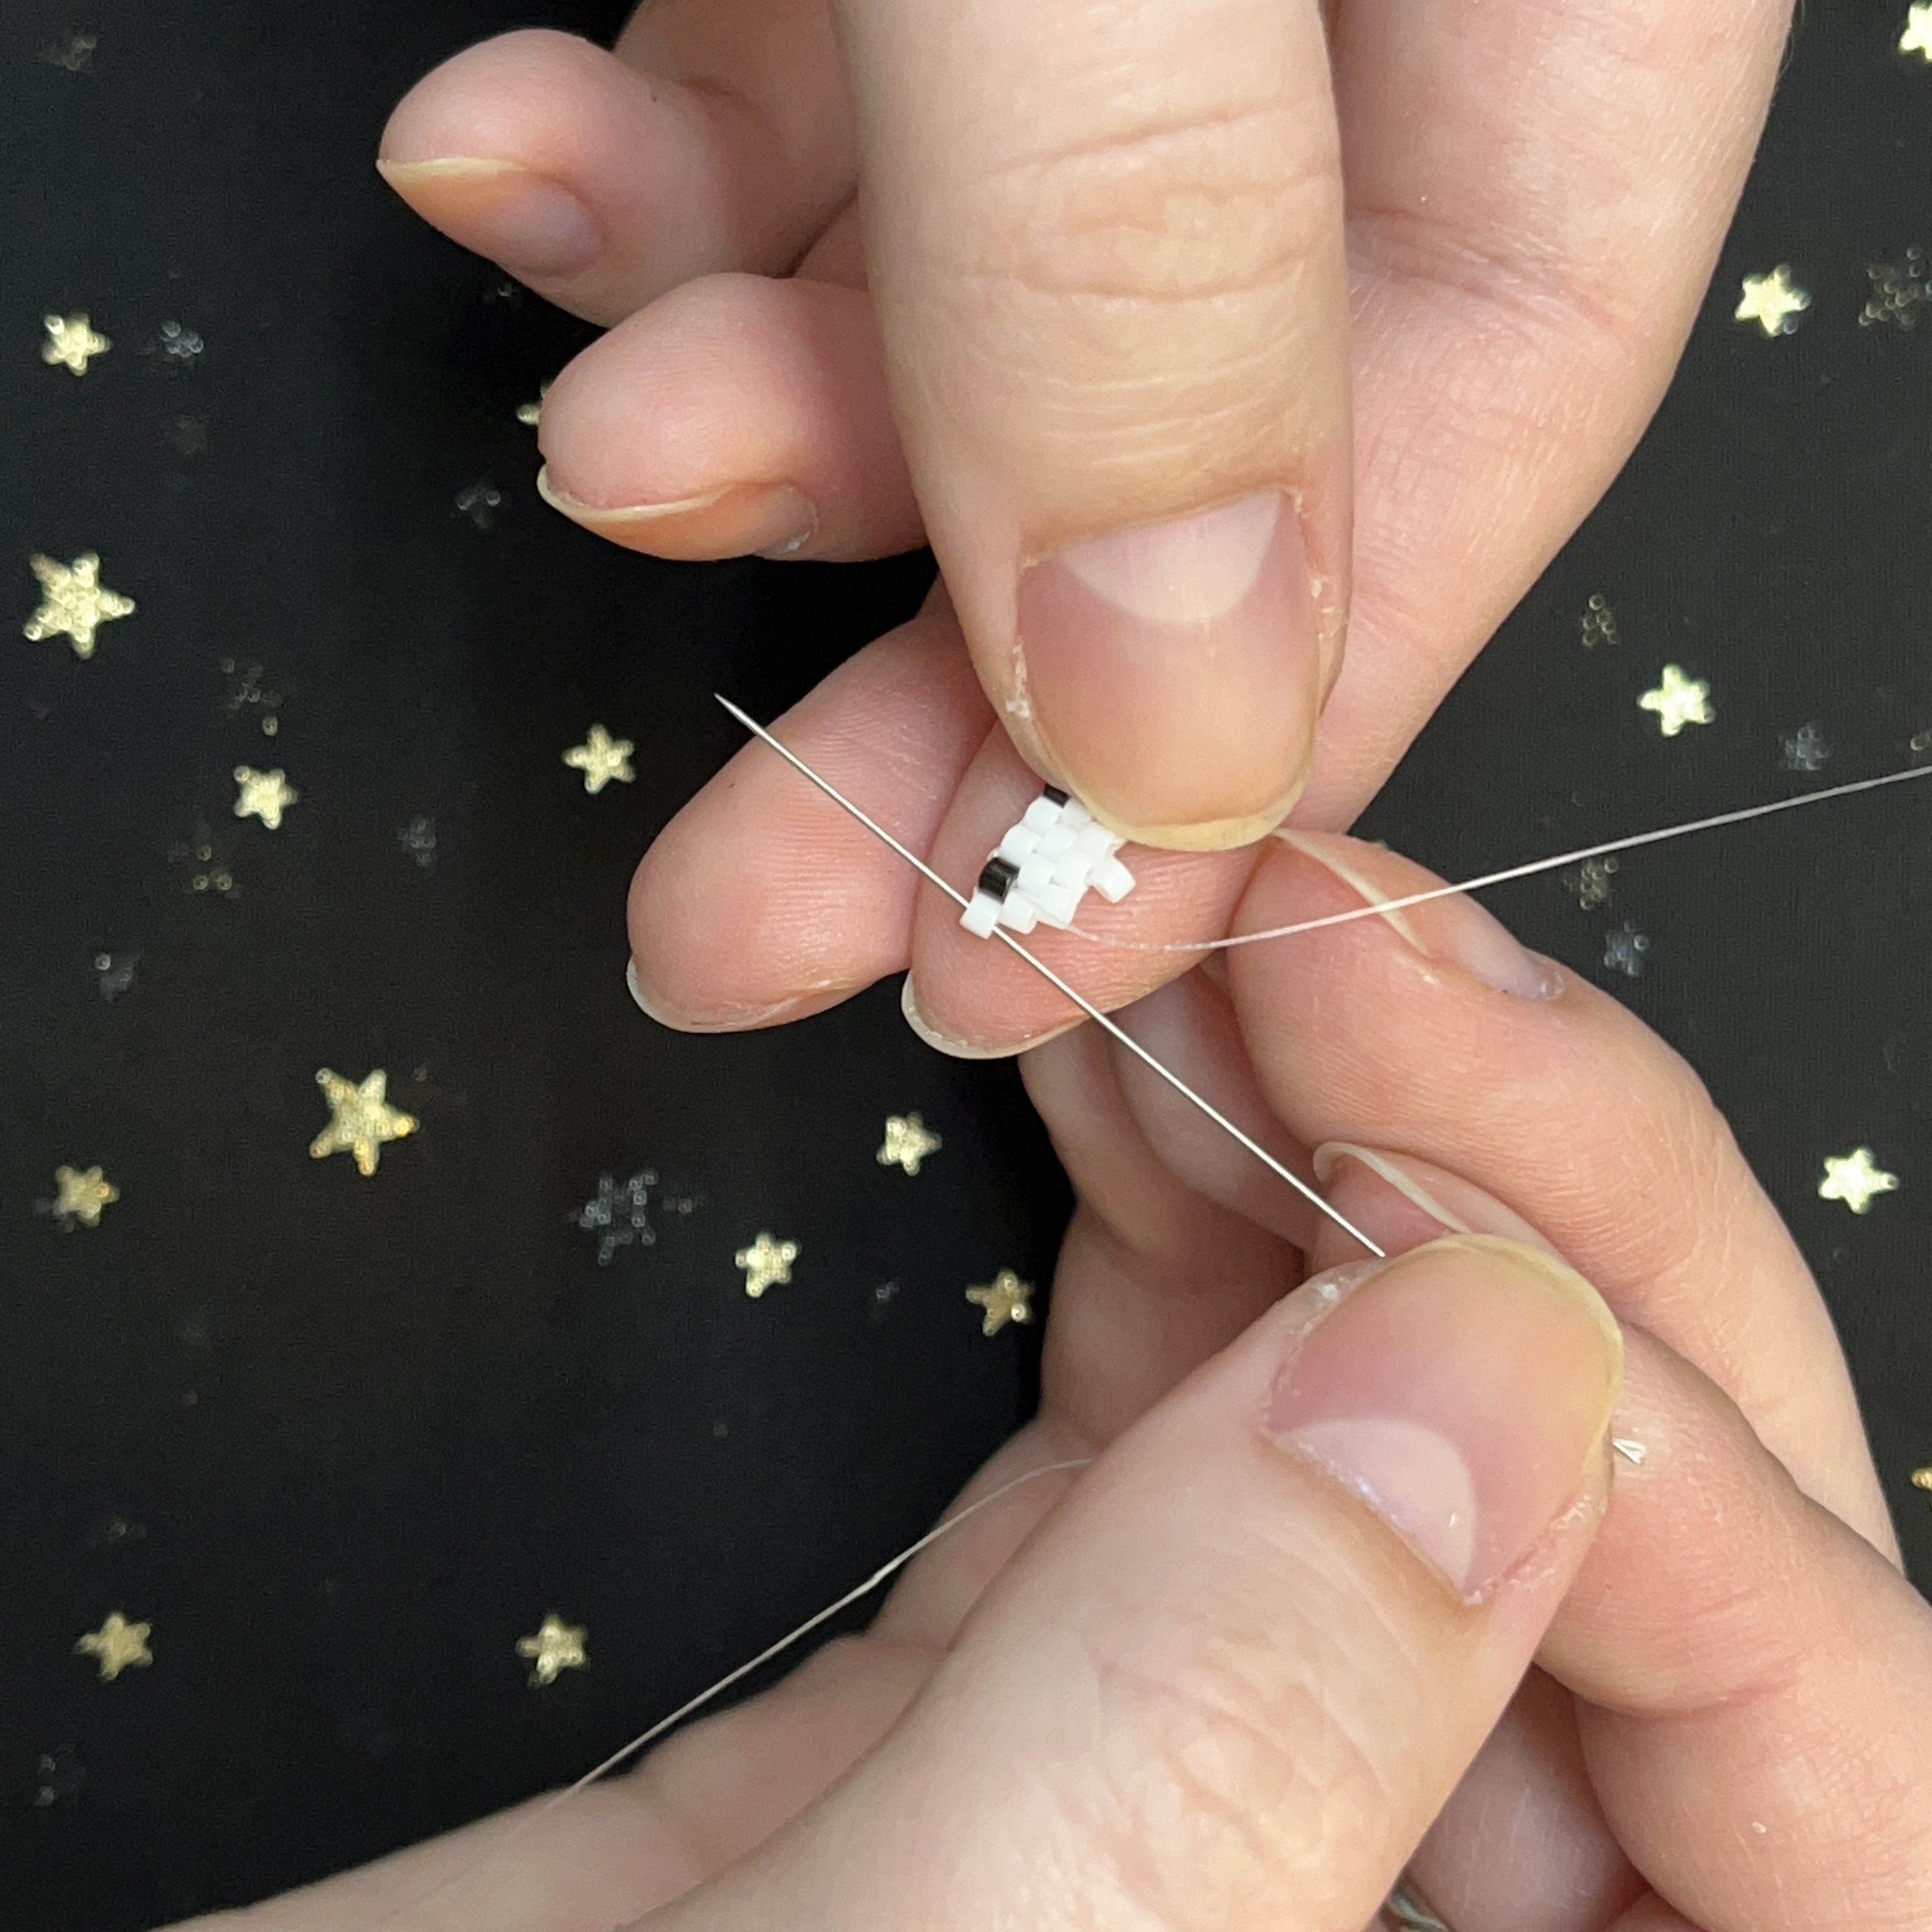
6. Now you will have the starter of your brick stitch. Both threads are facing downwards.
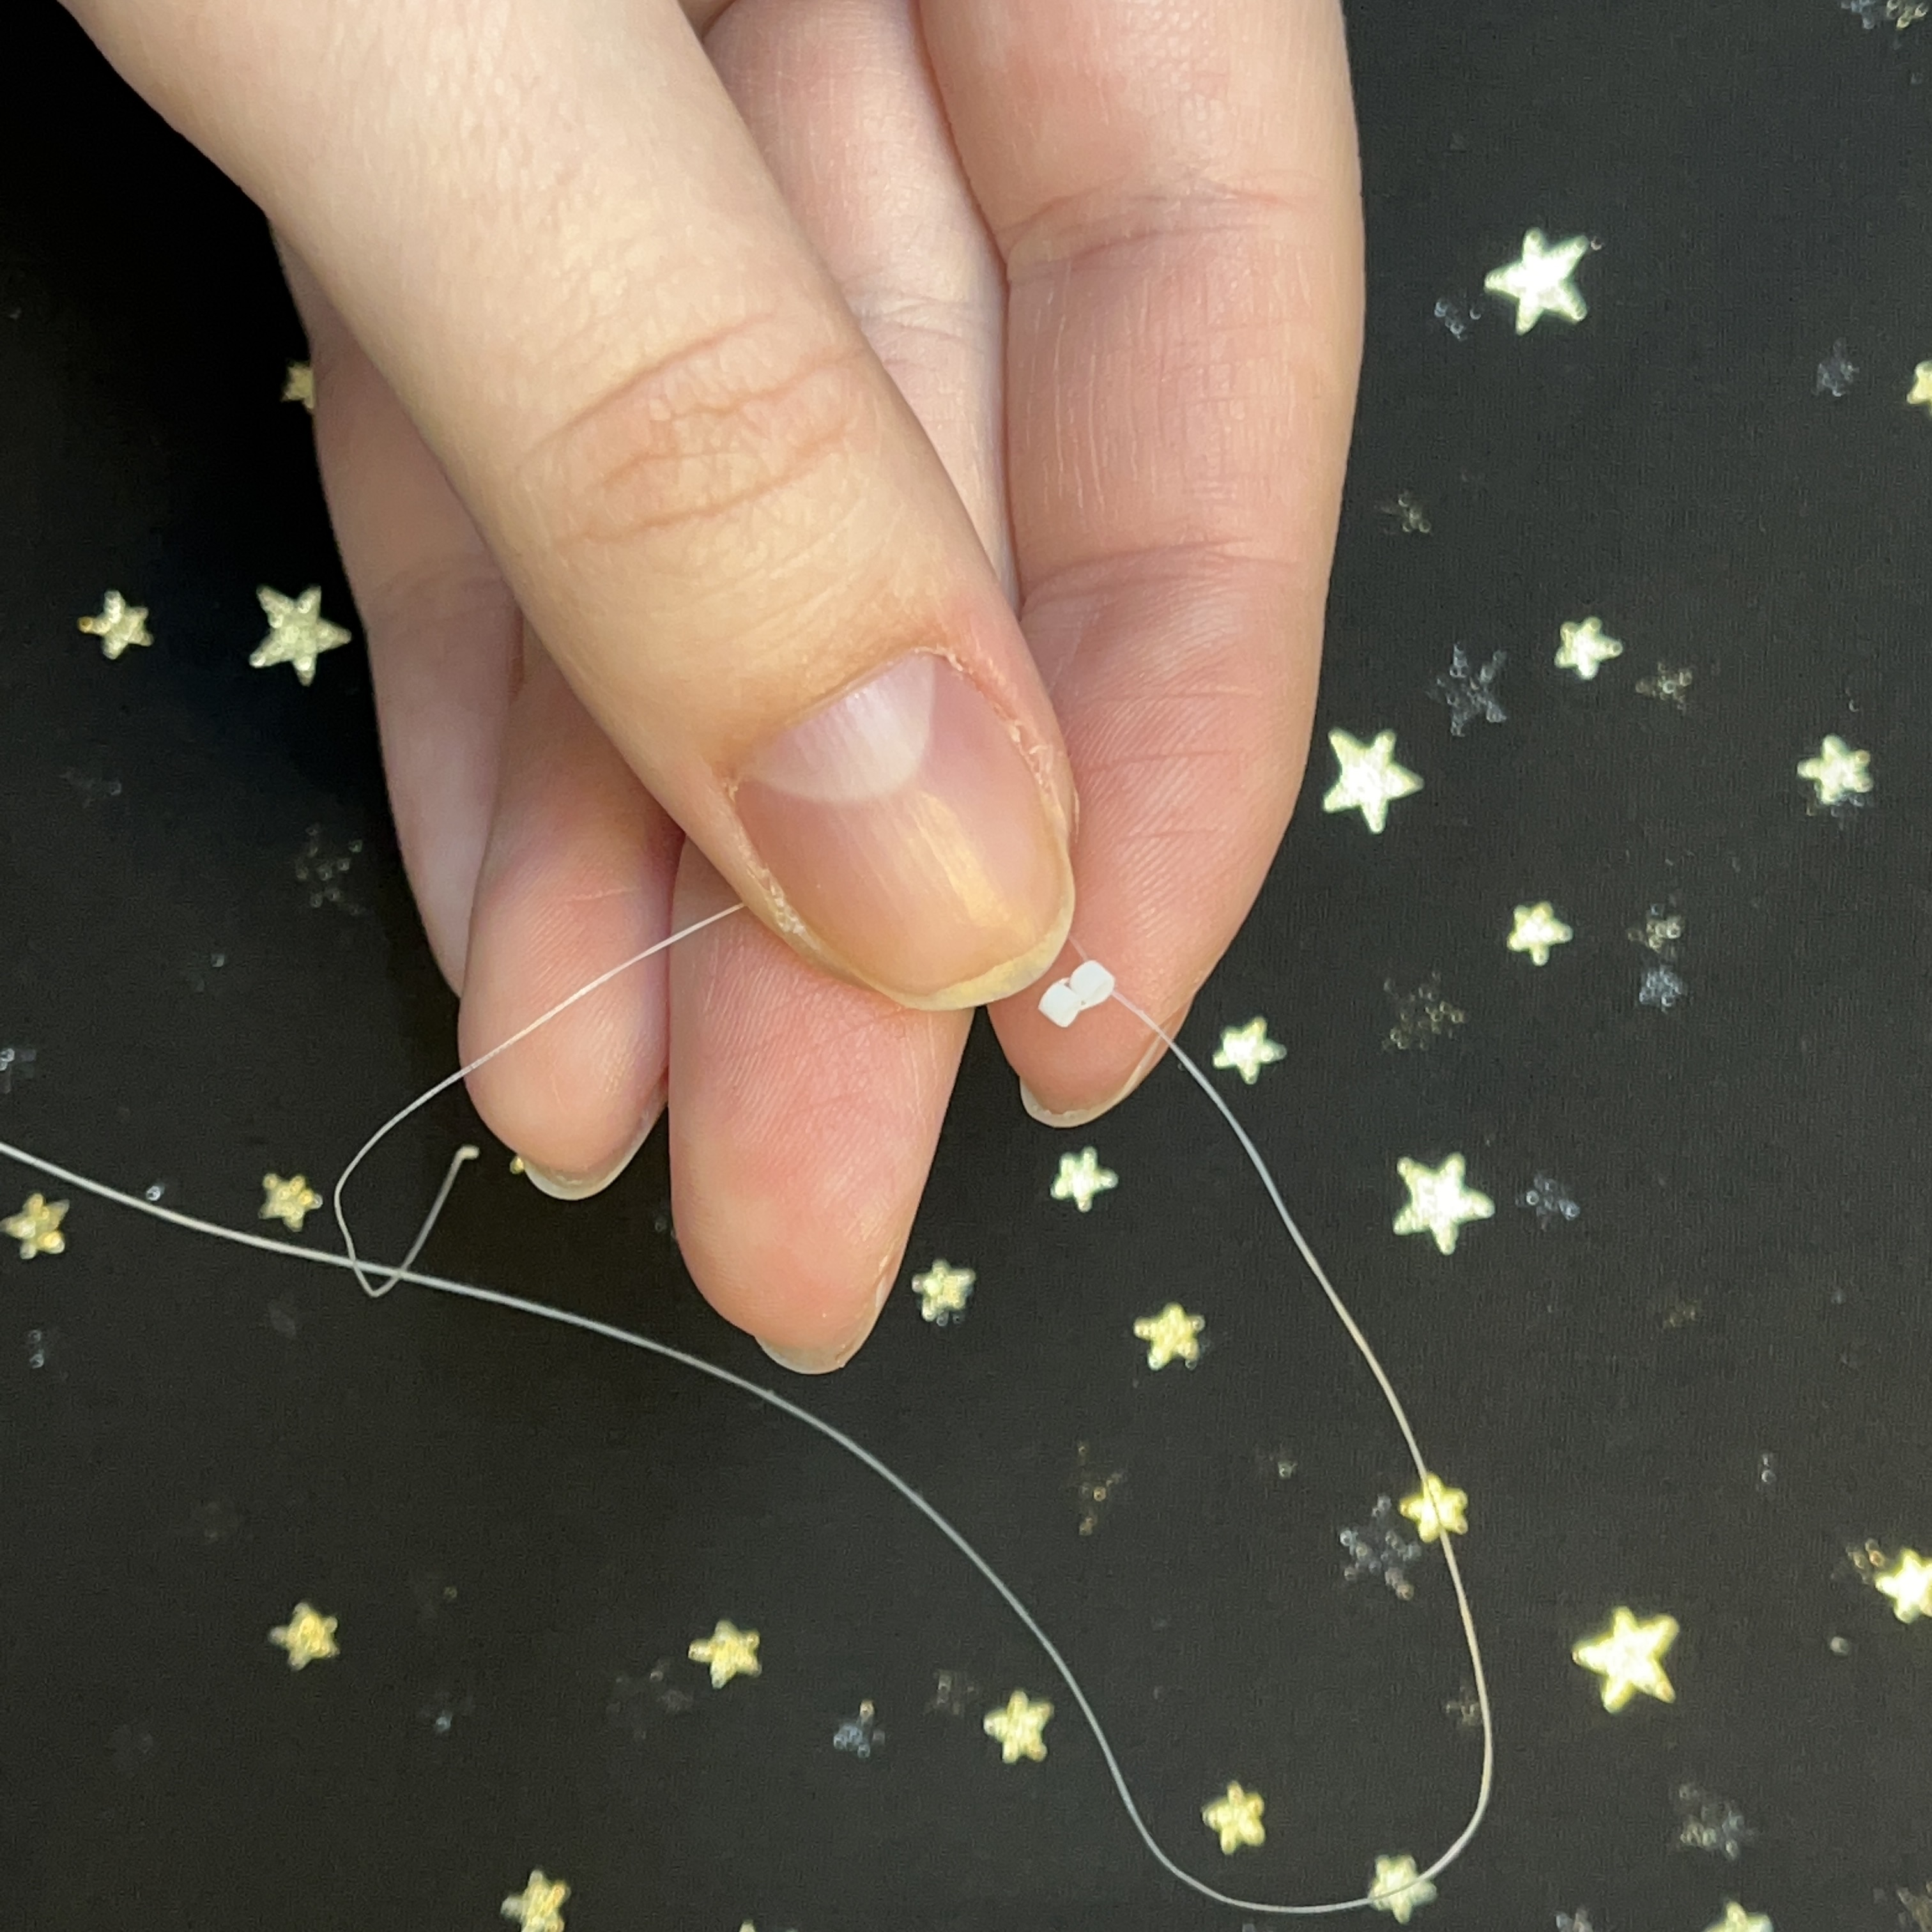
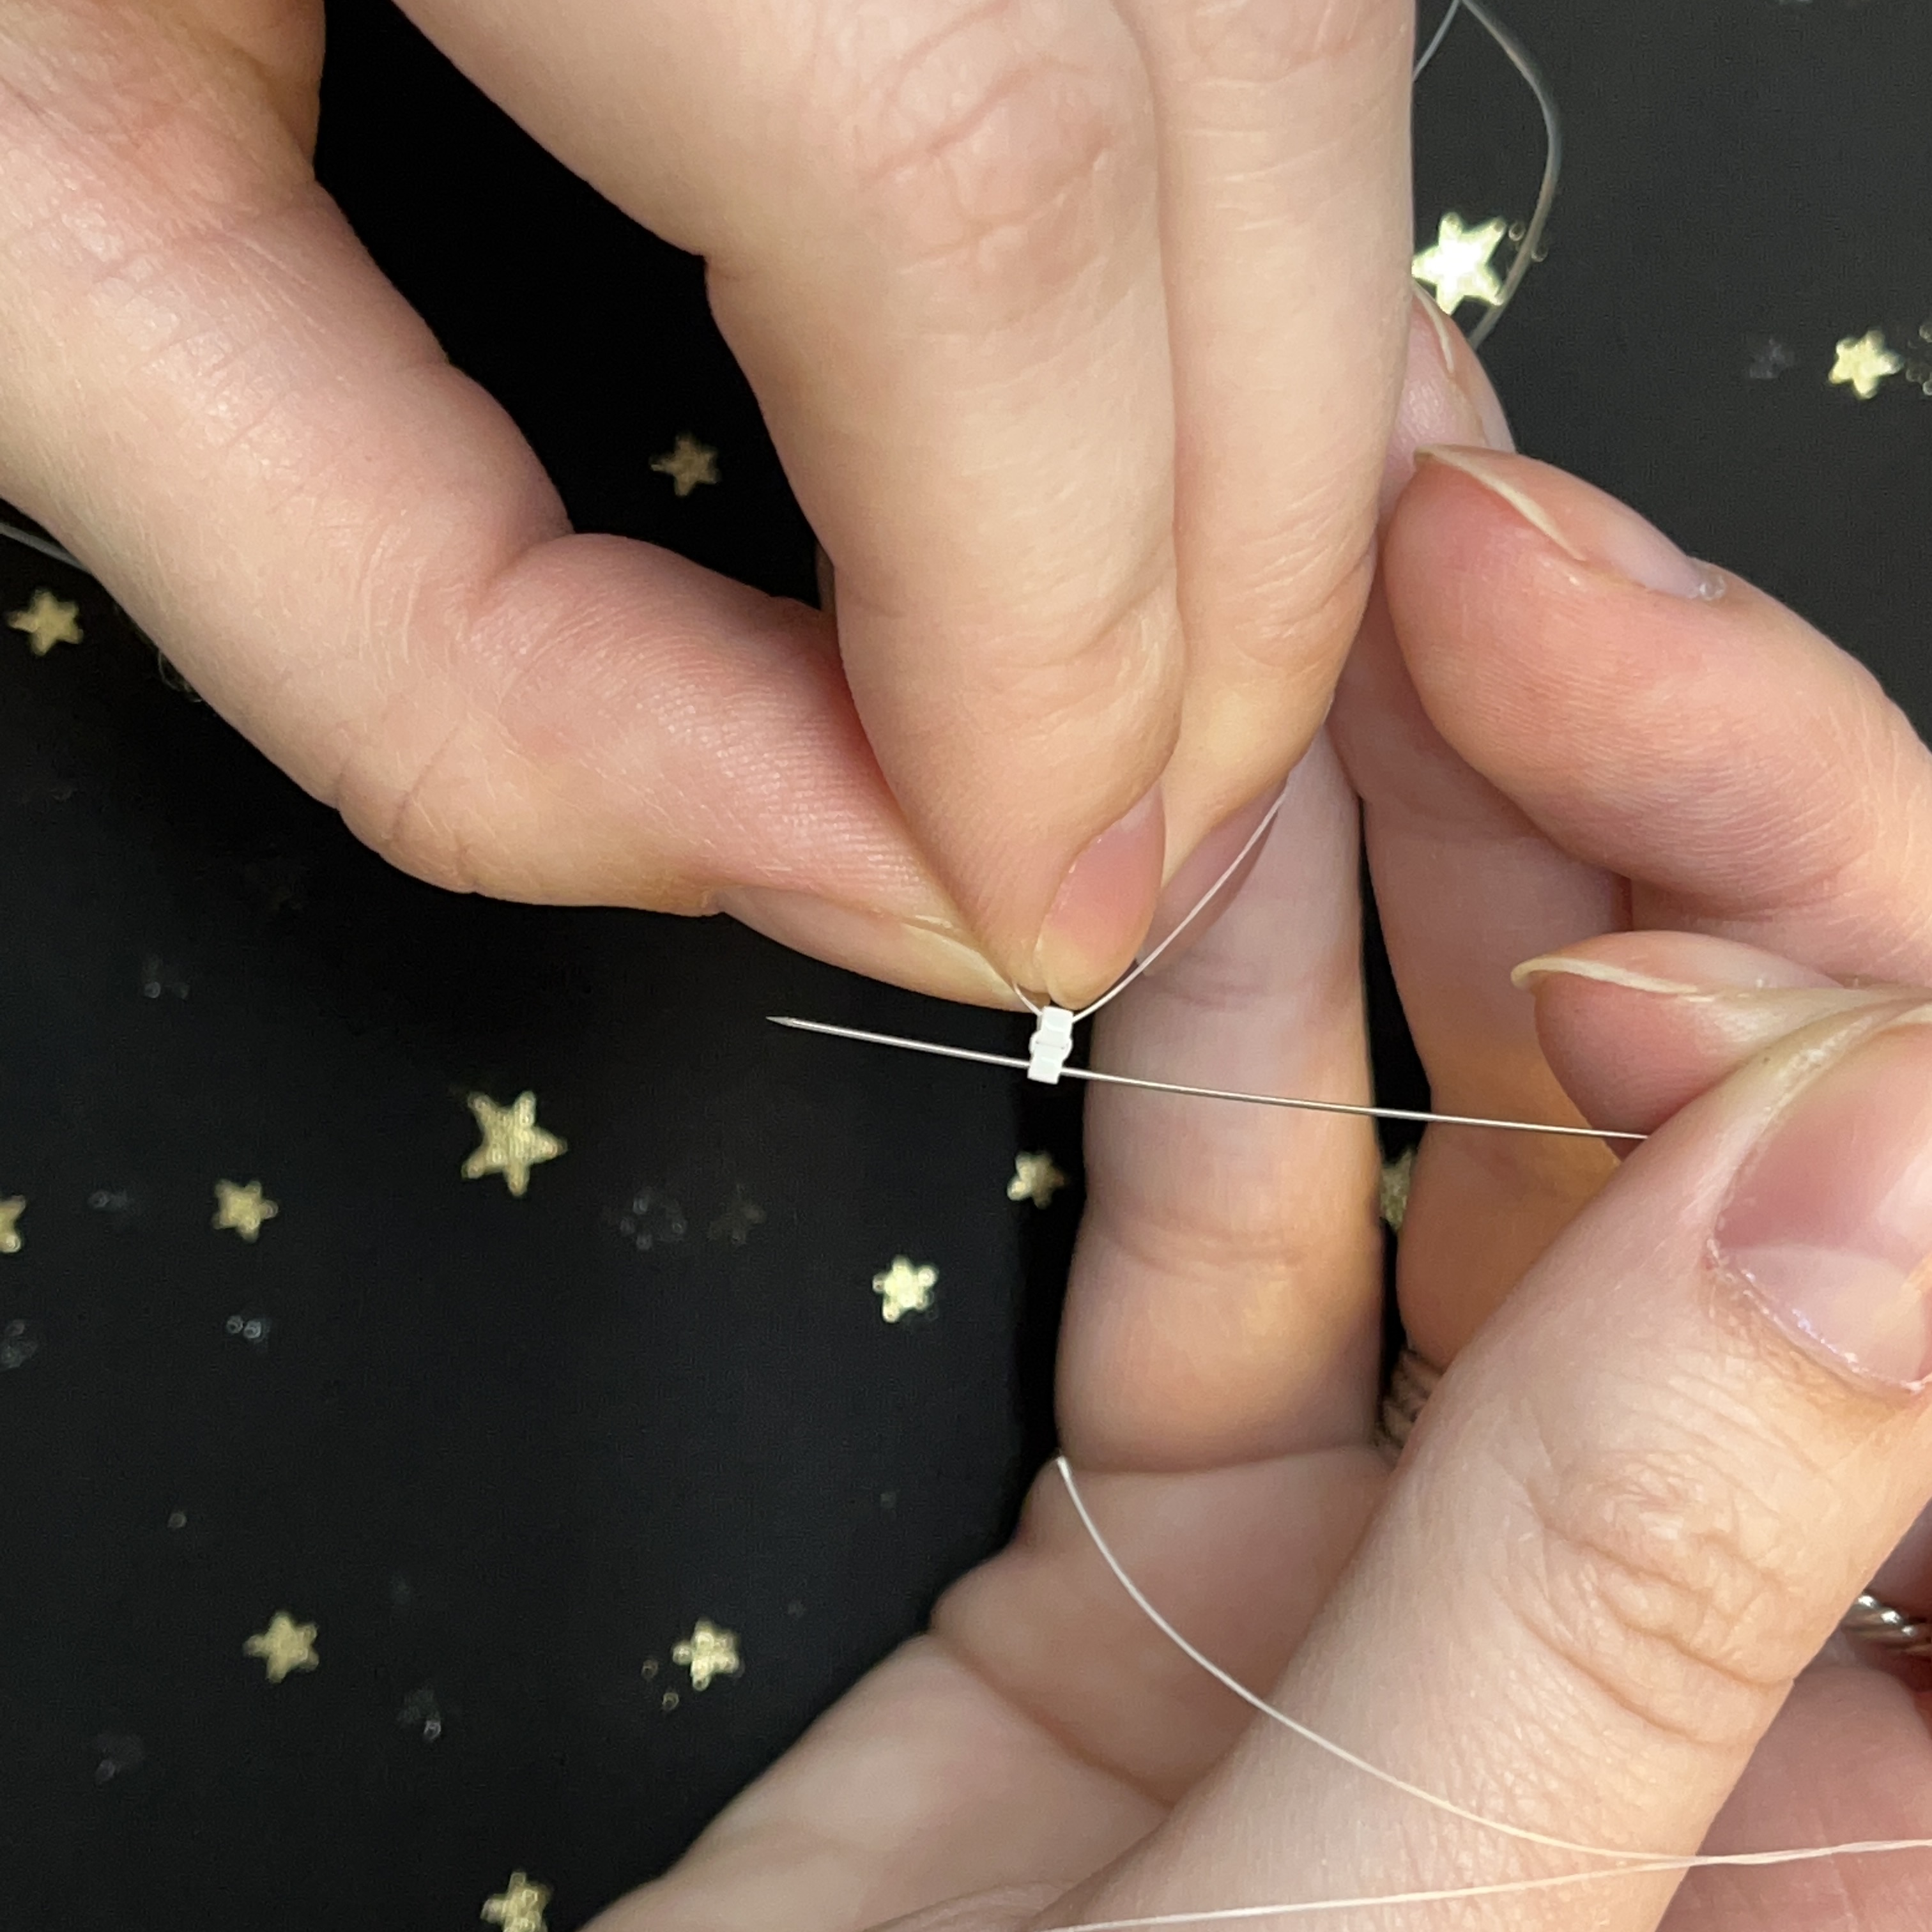
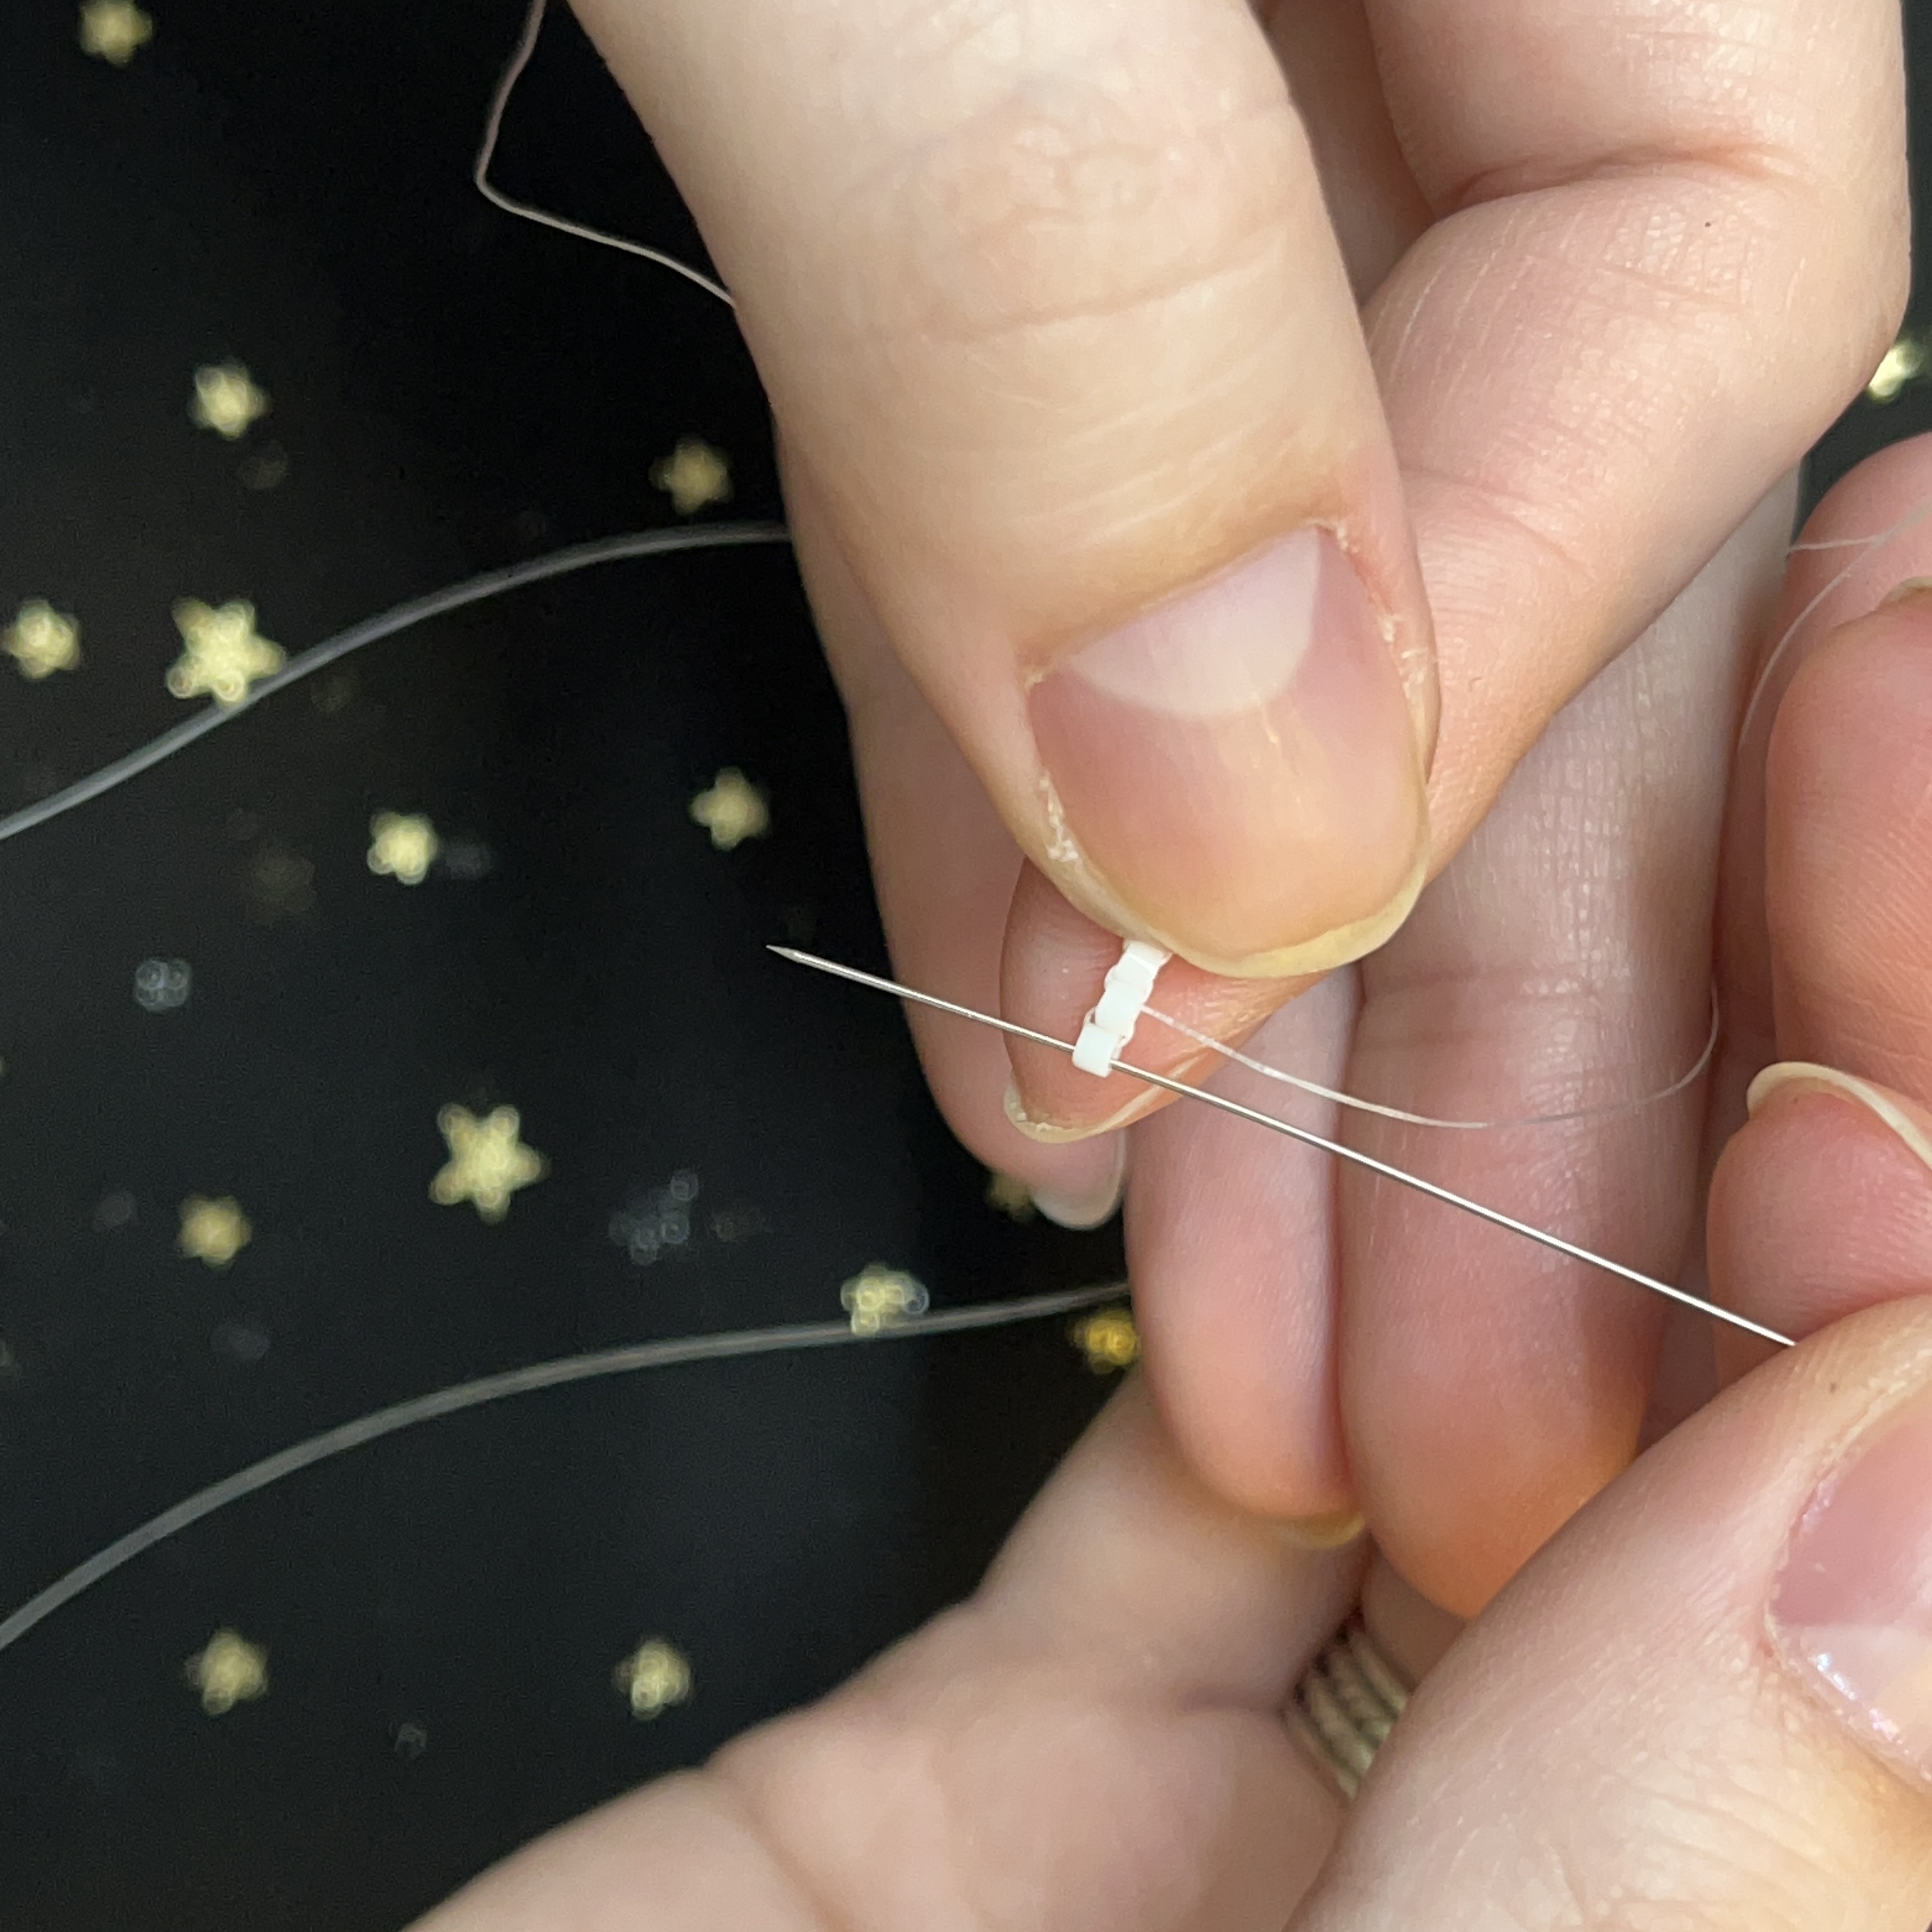
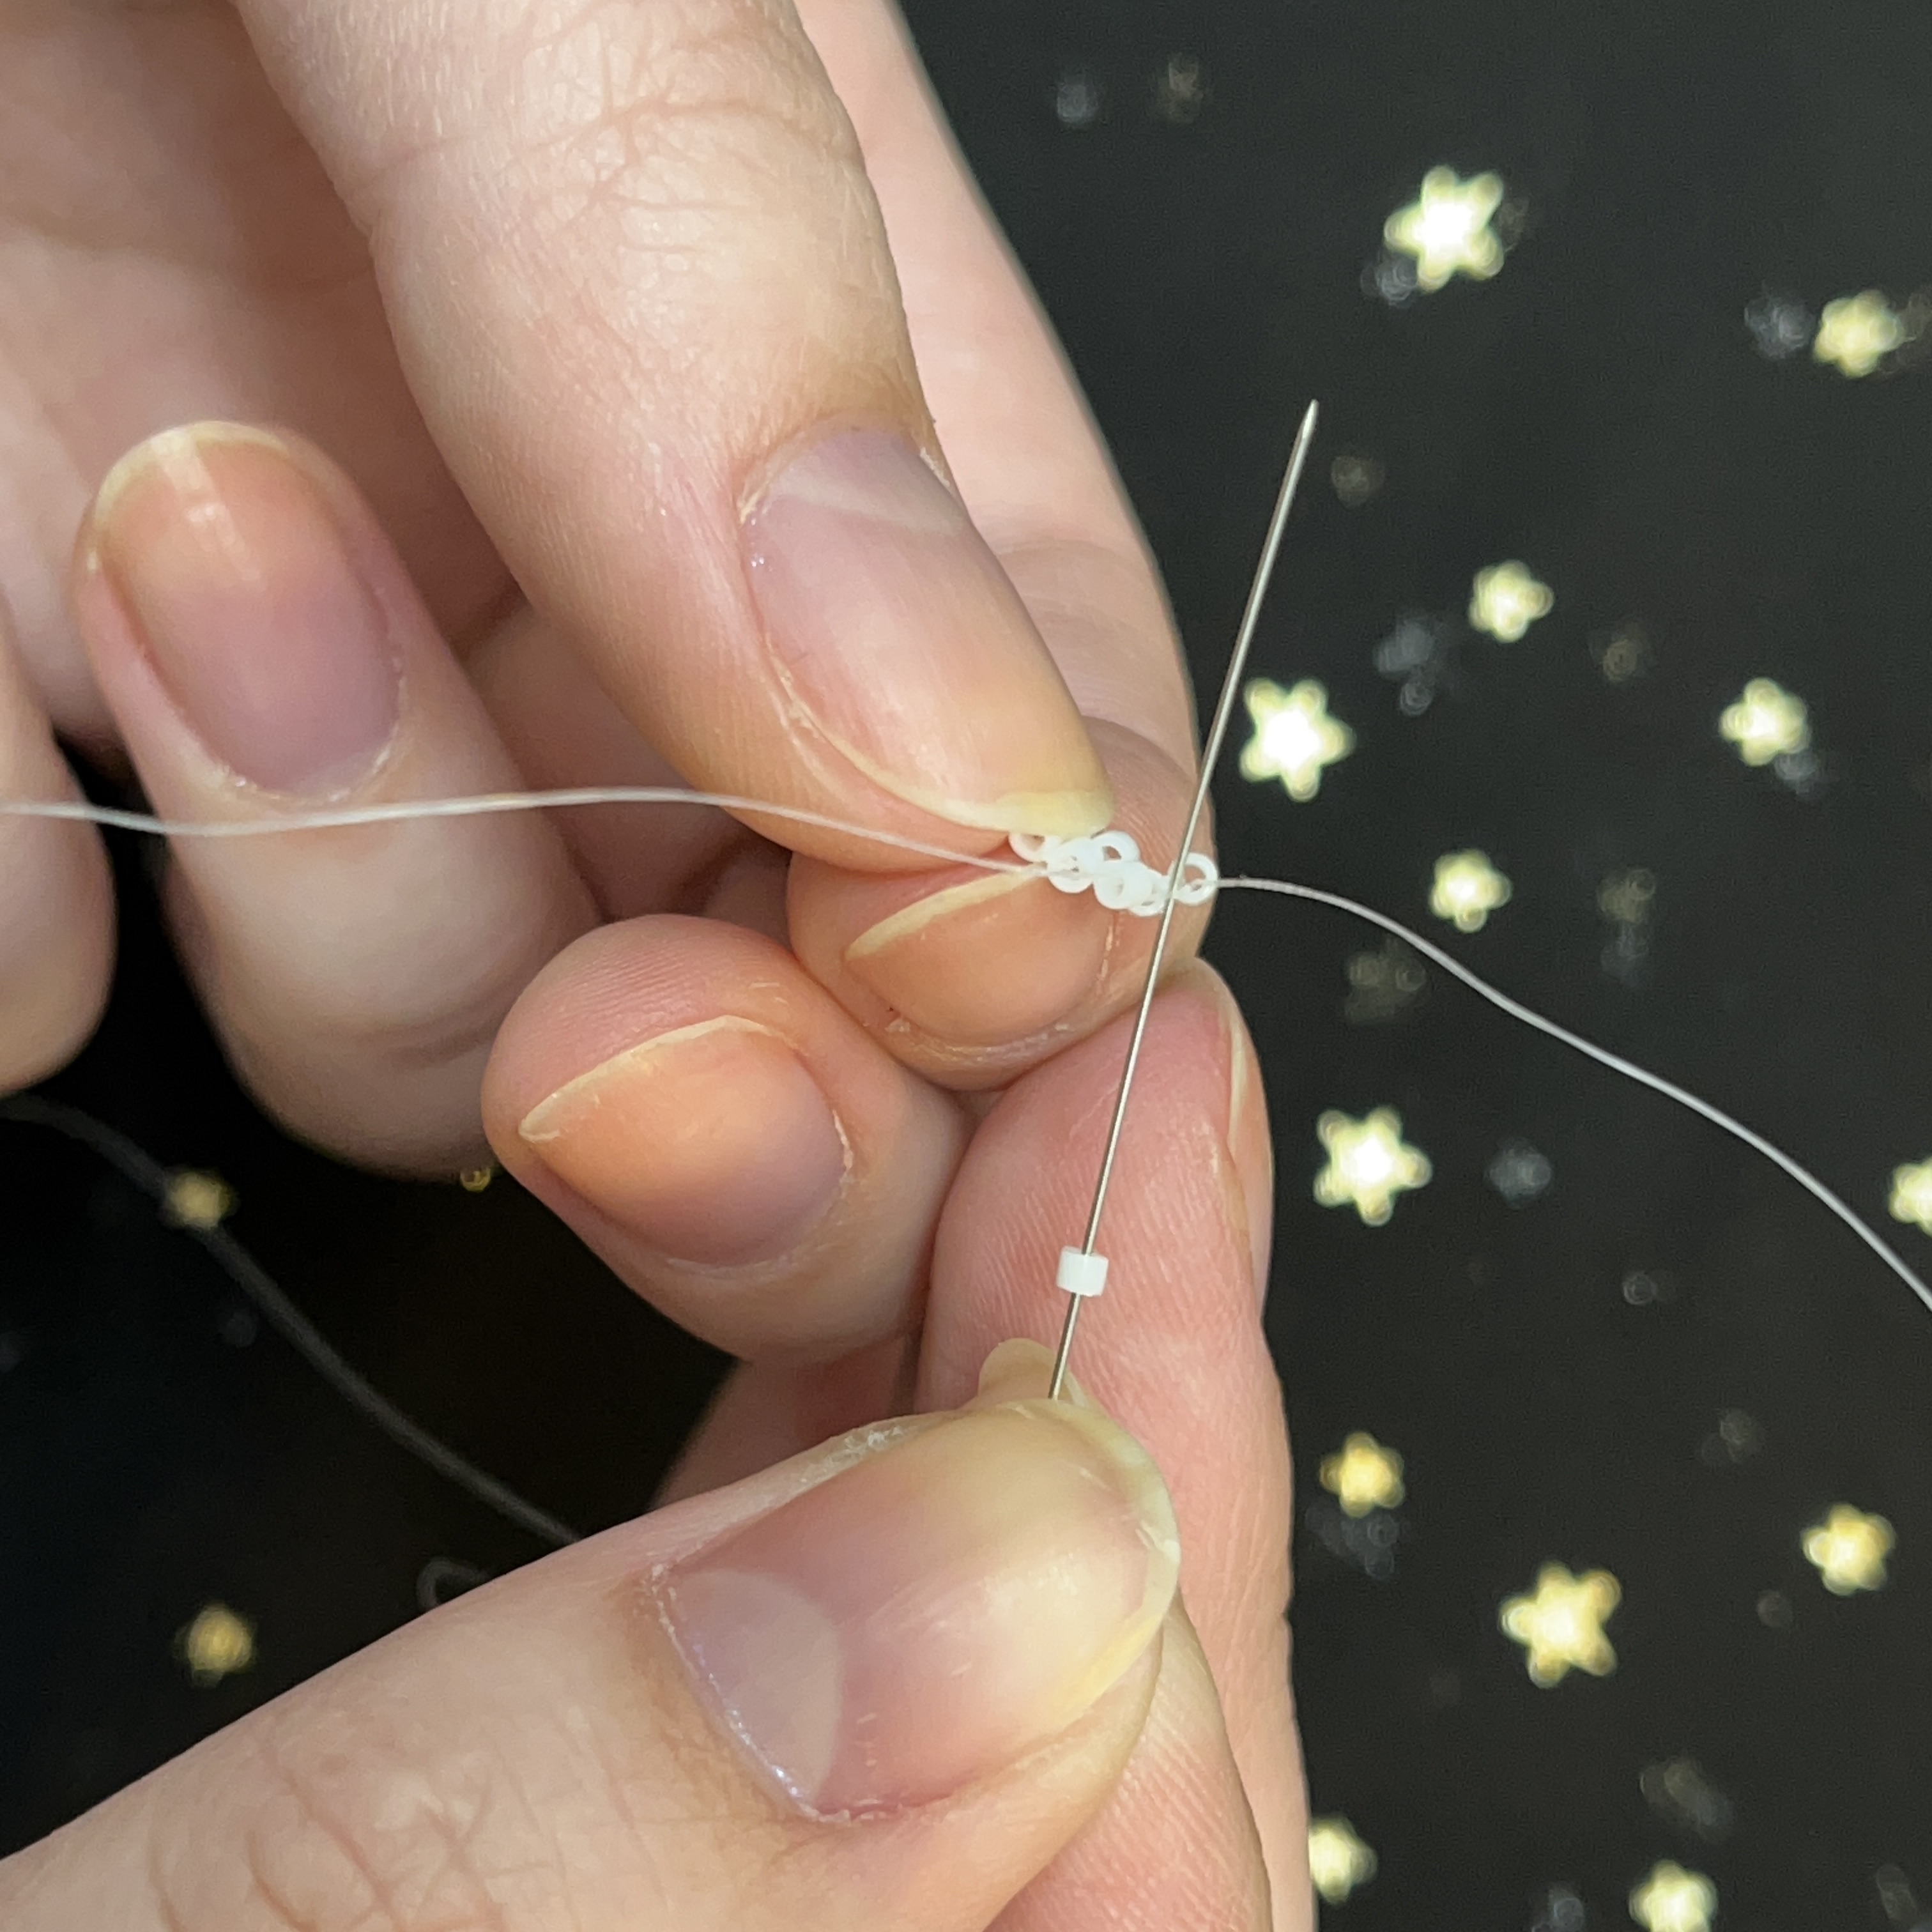
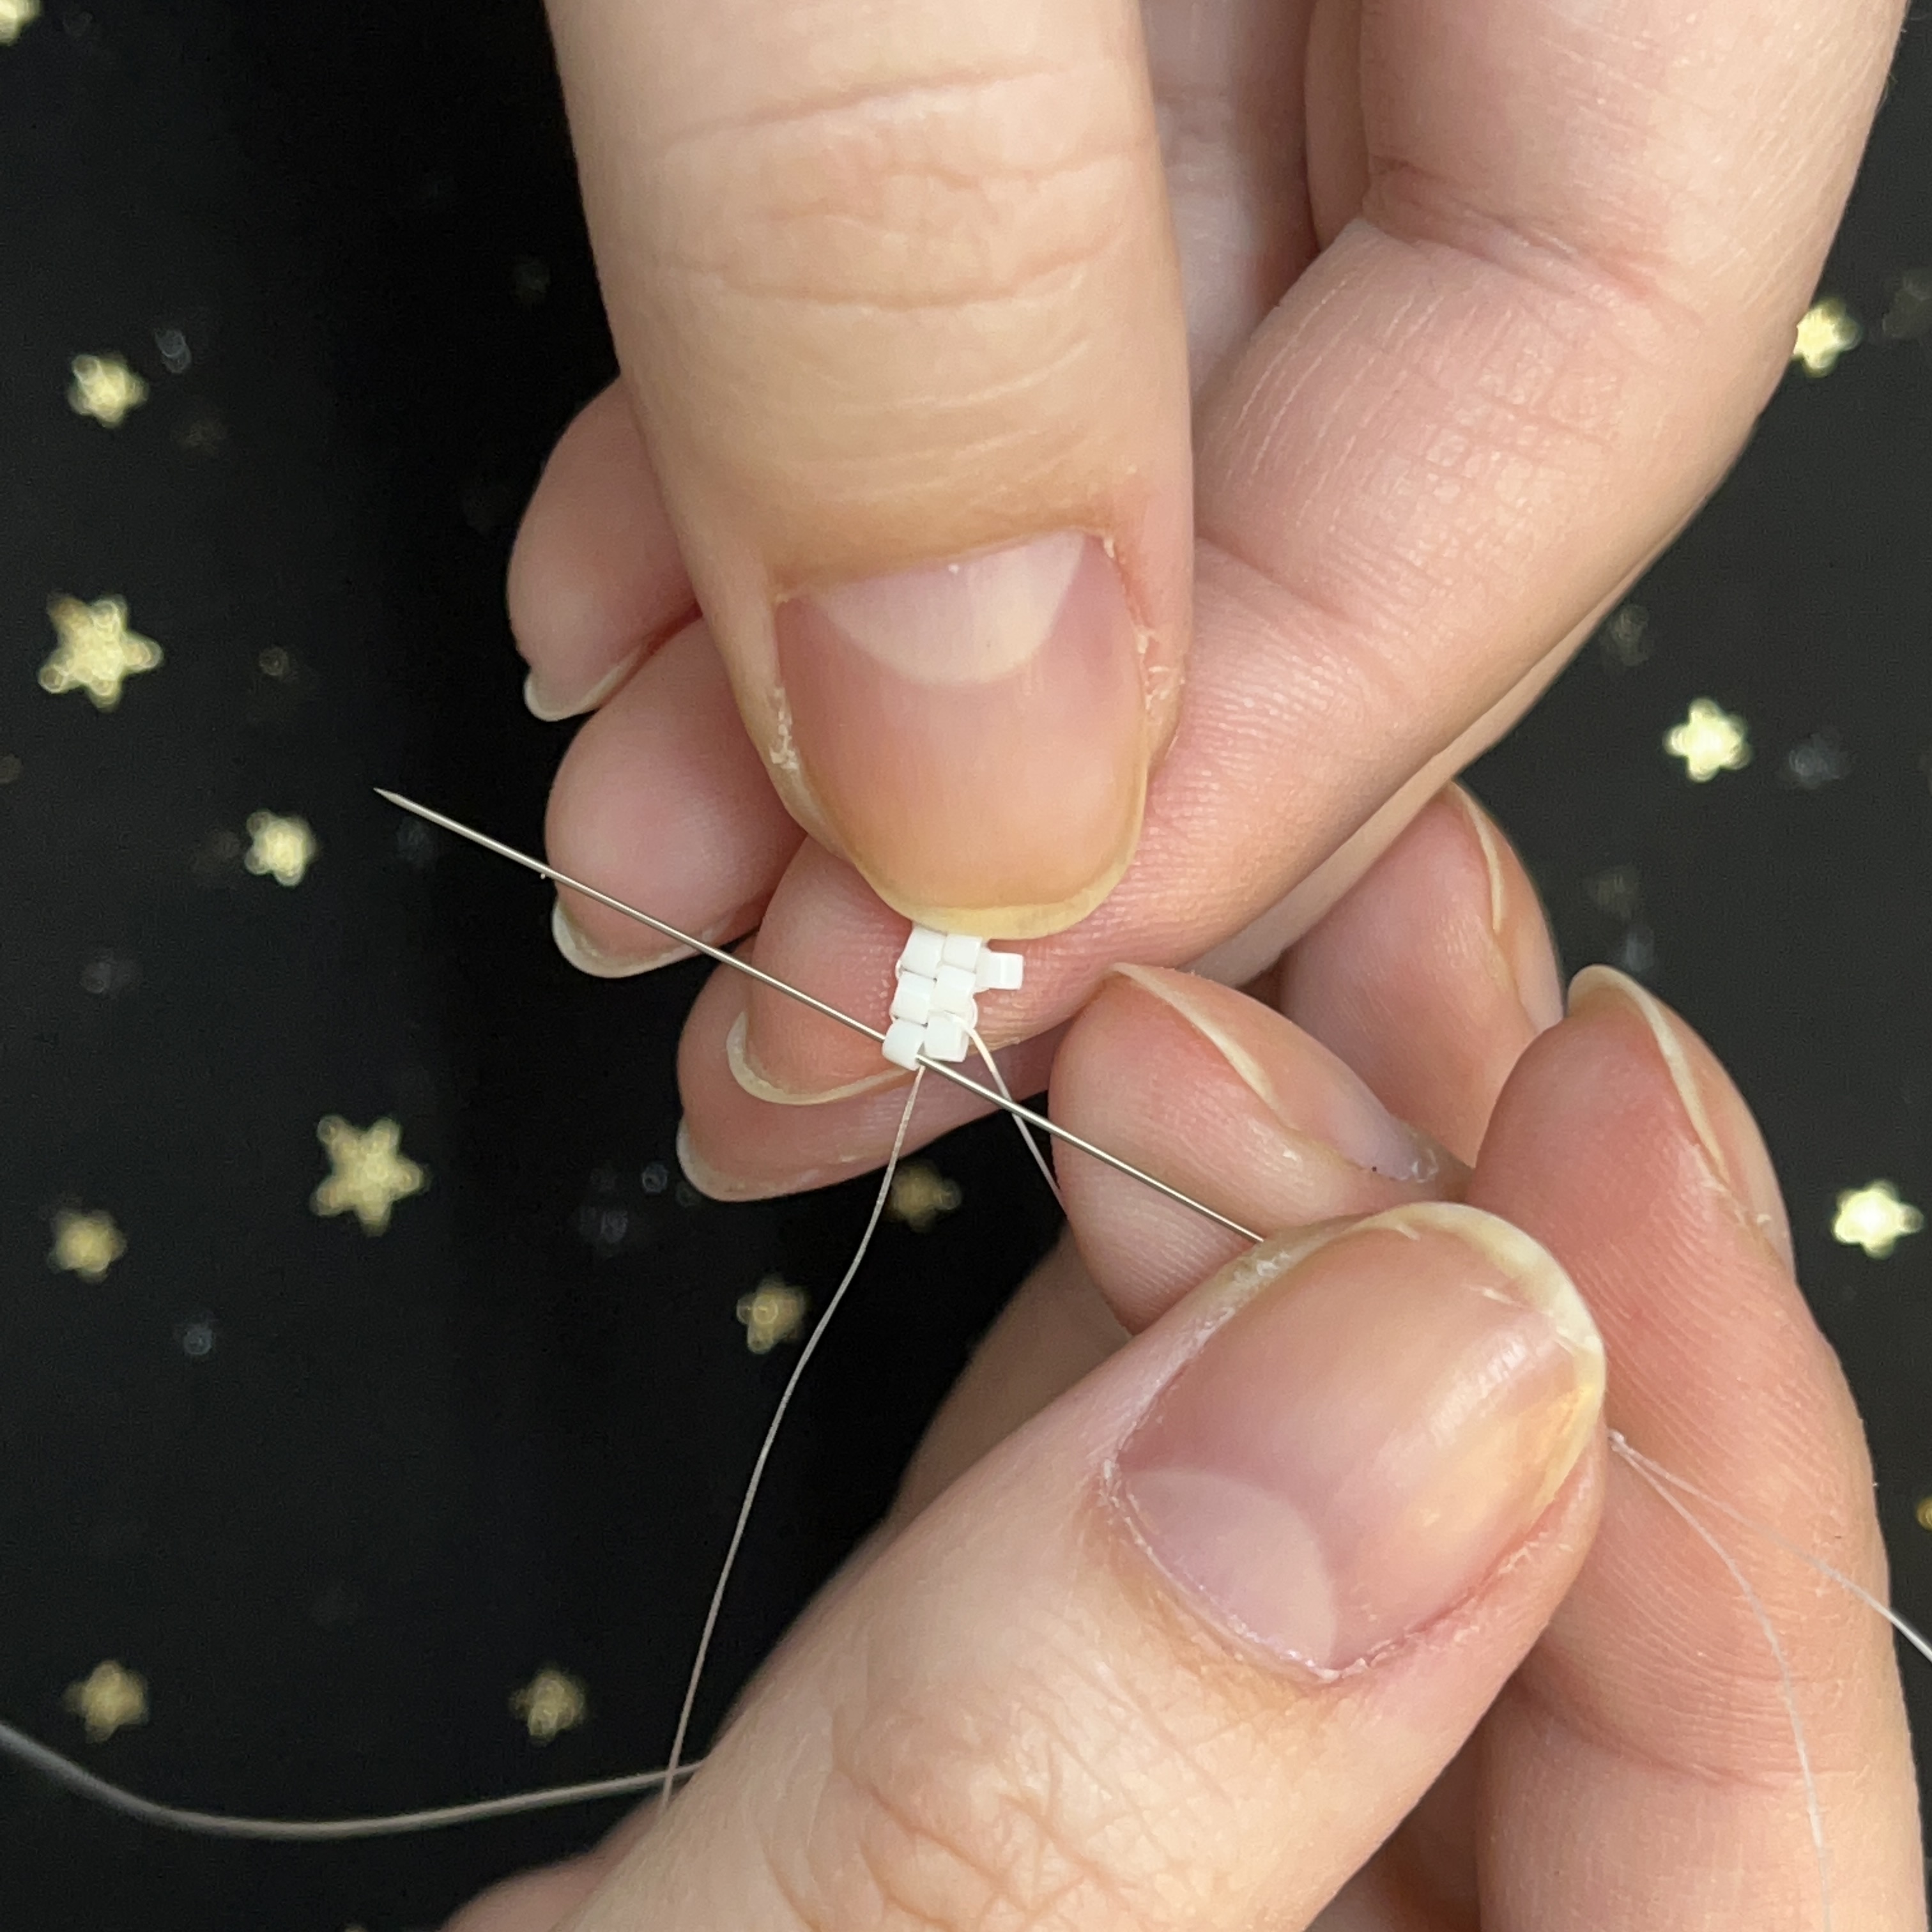
7. Go through the first bead again.
8. Pull the thread tight. * You might want to hold onto the tail (excess thread) to prevent the thread from slipping through.
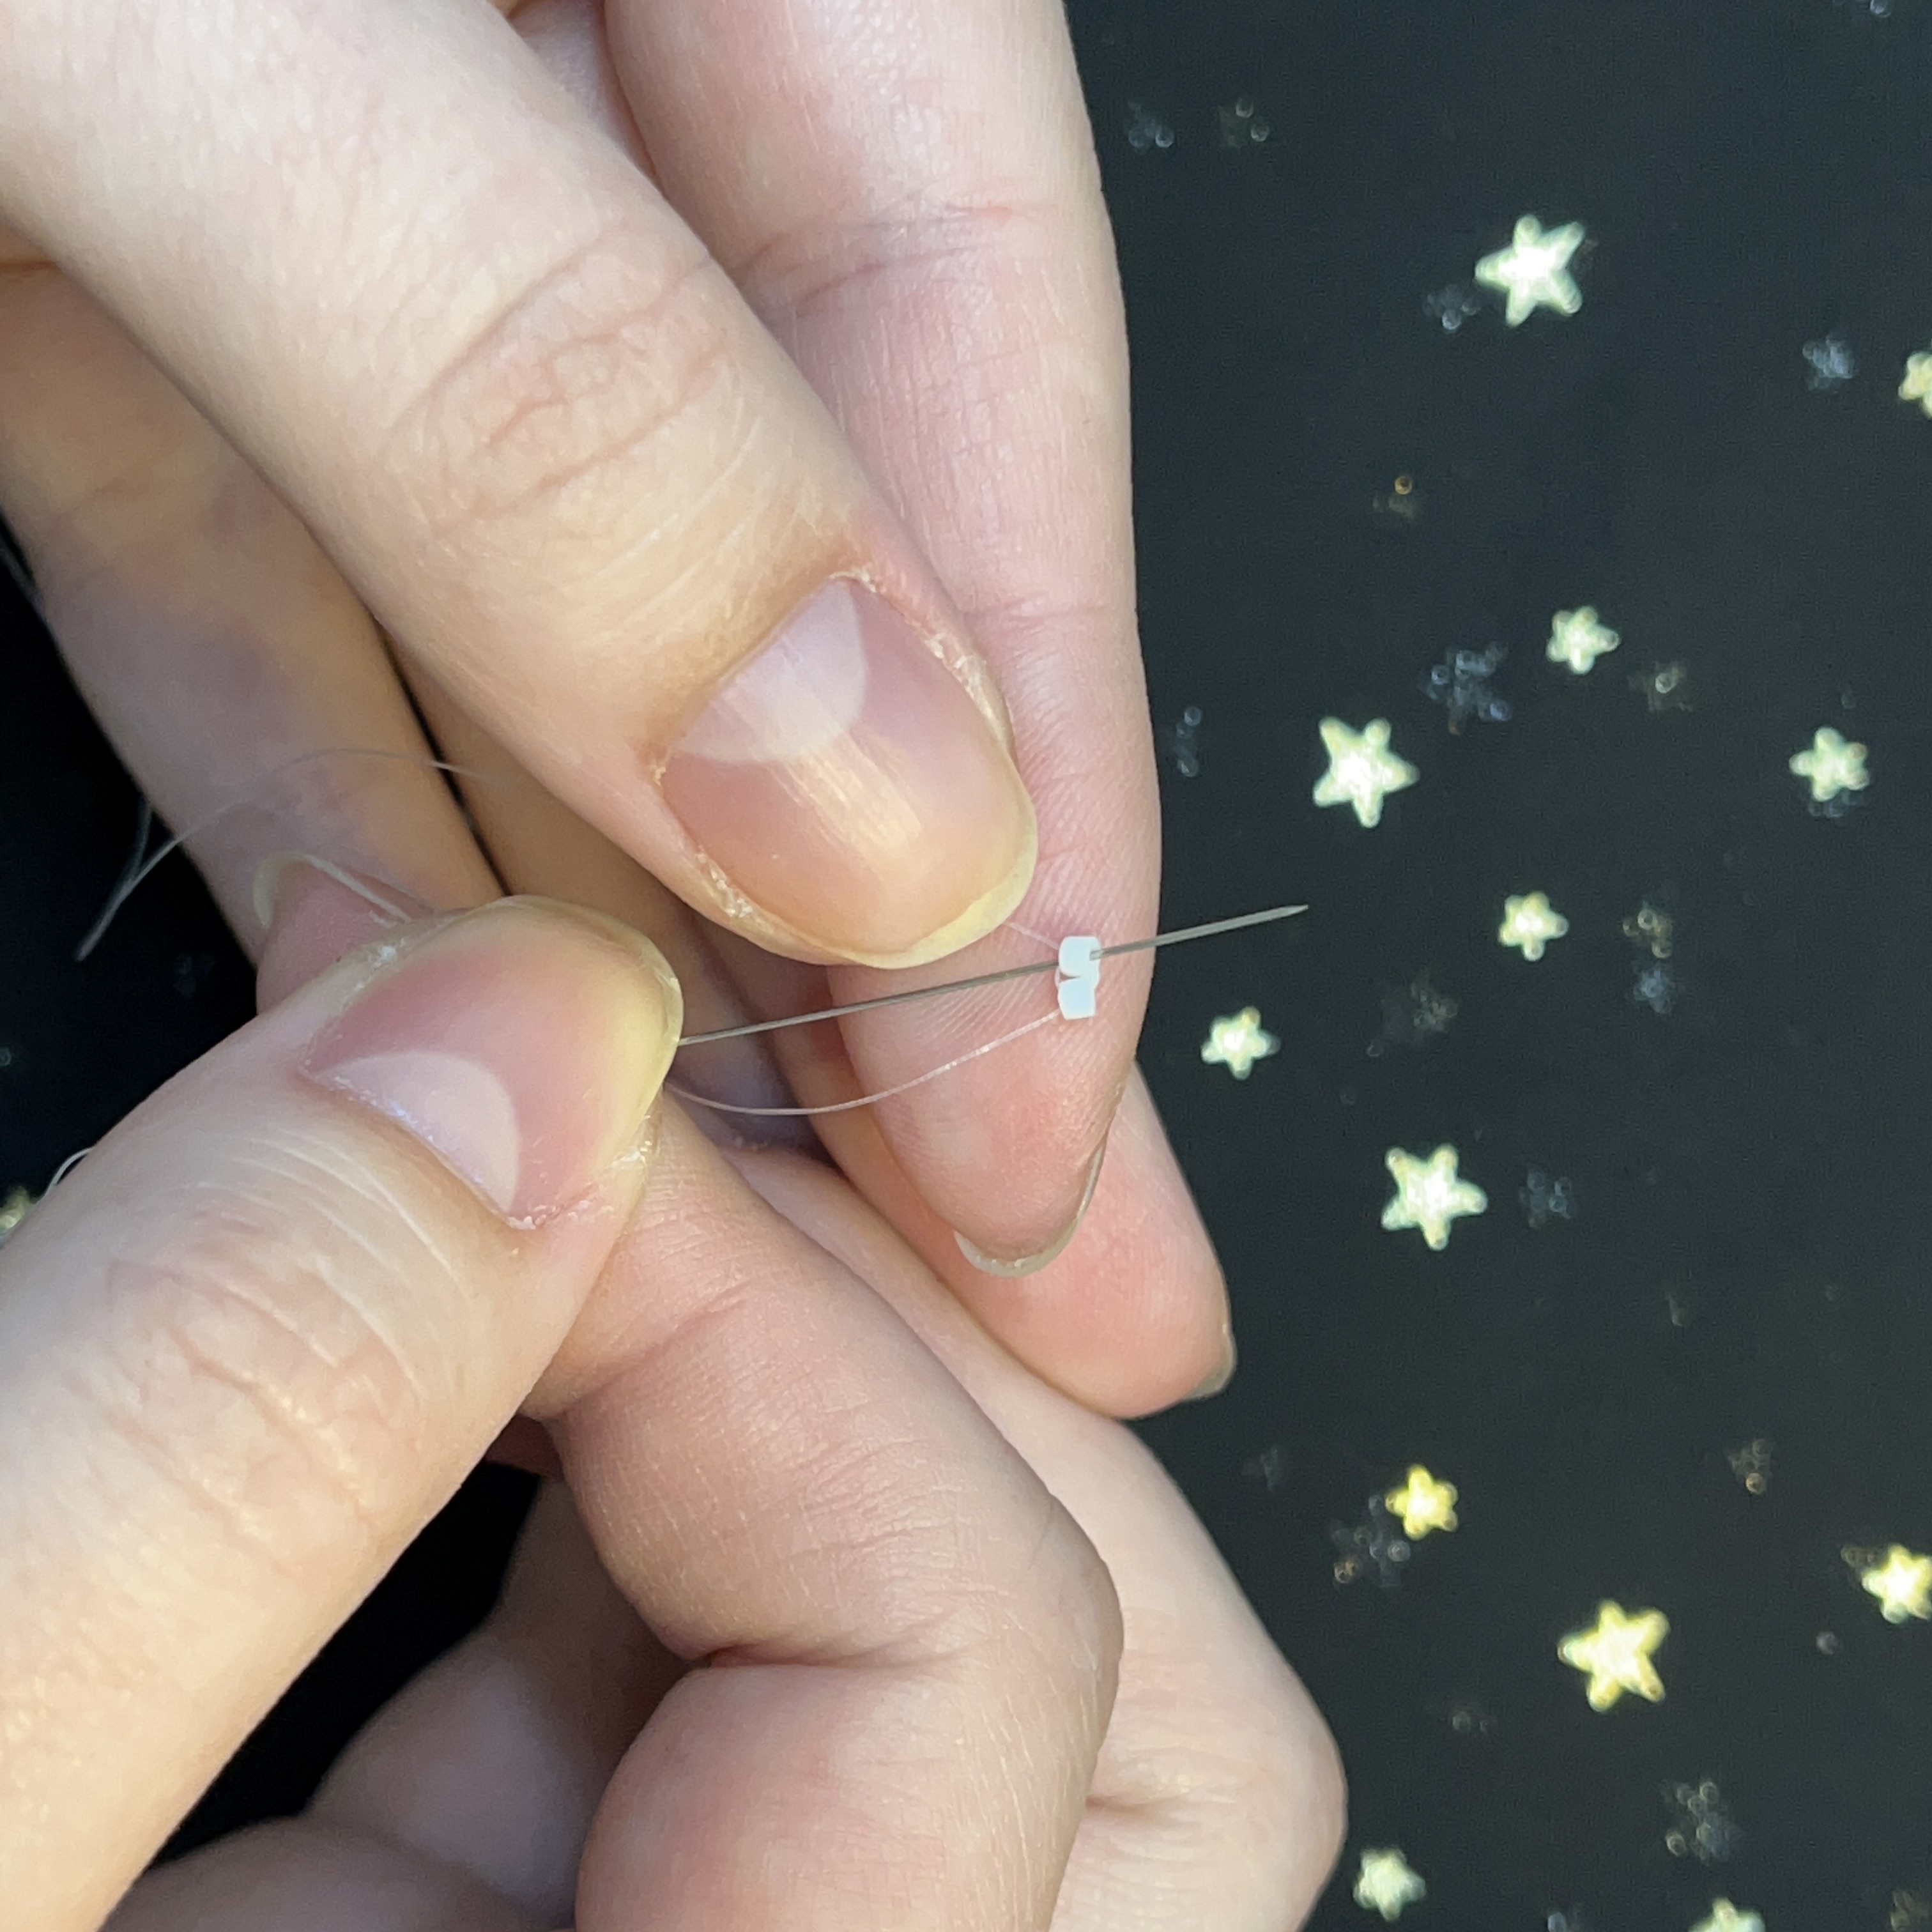
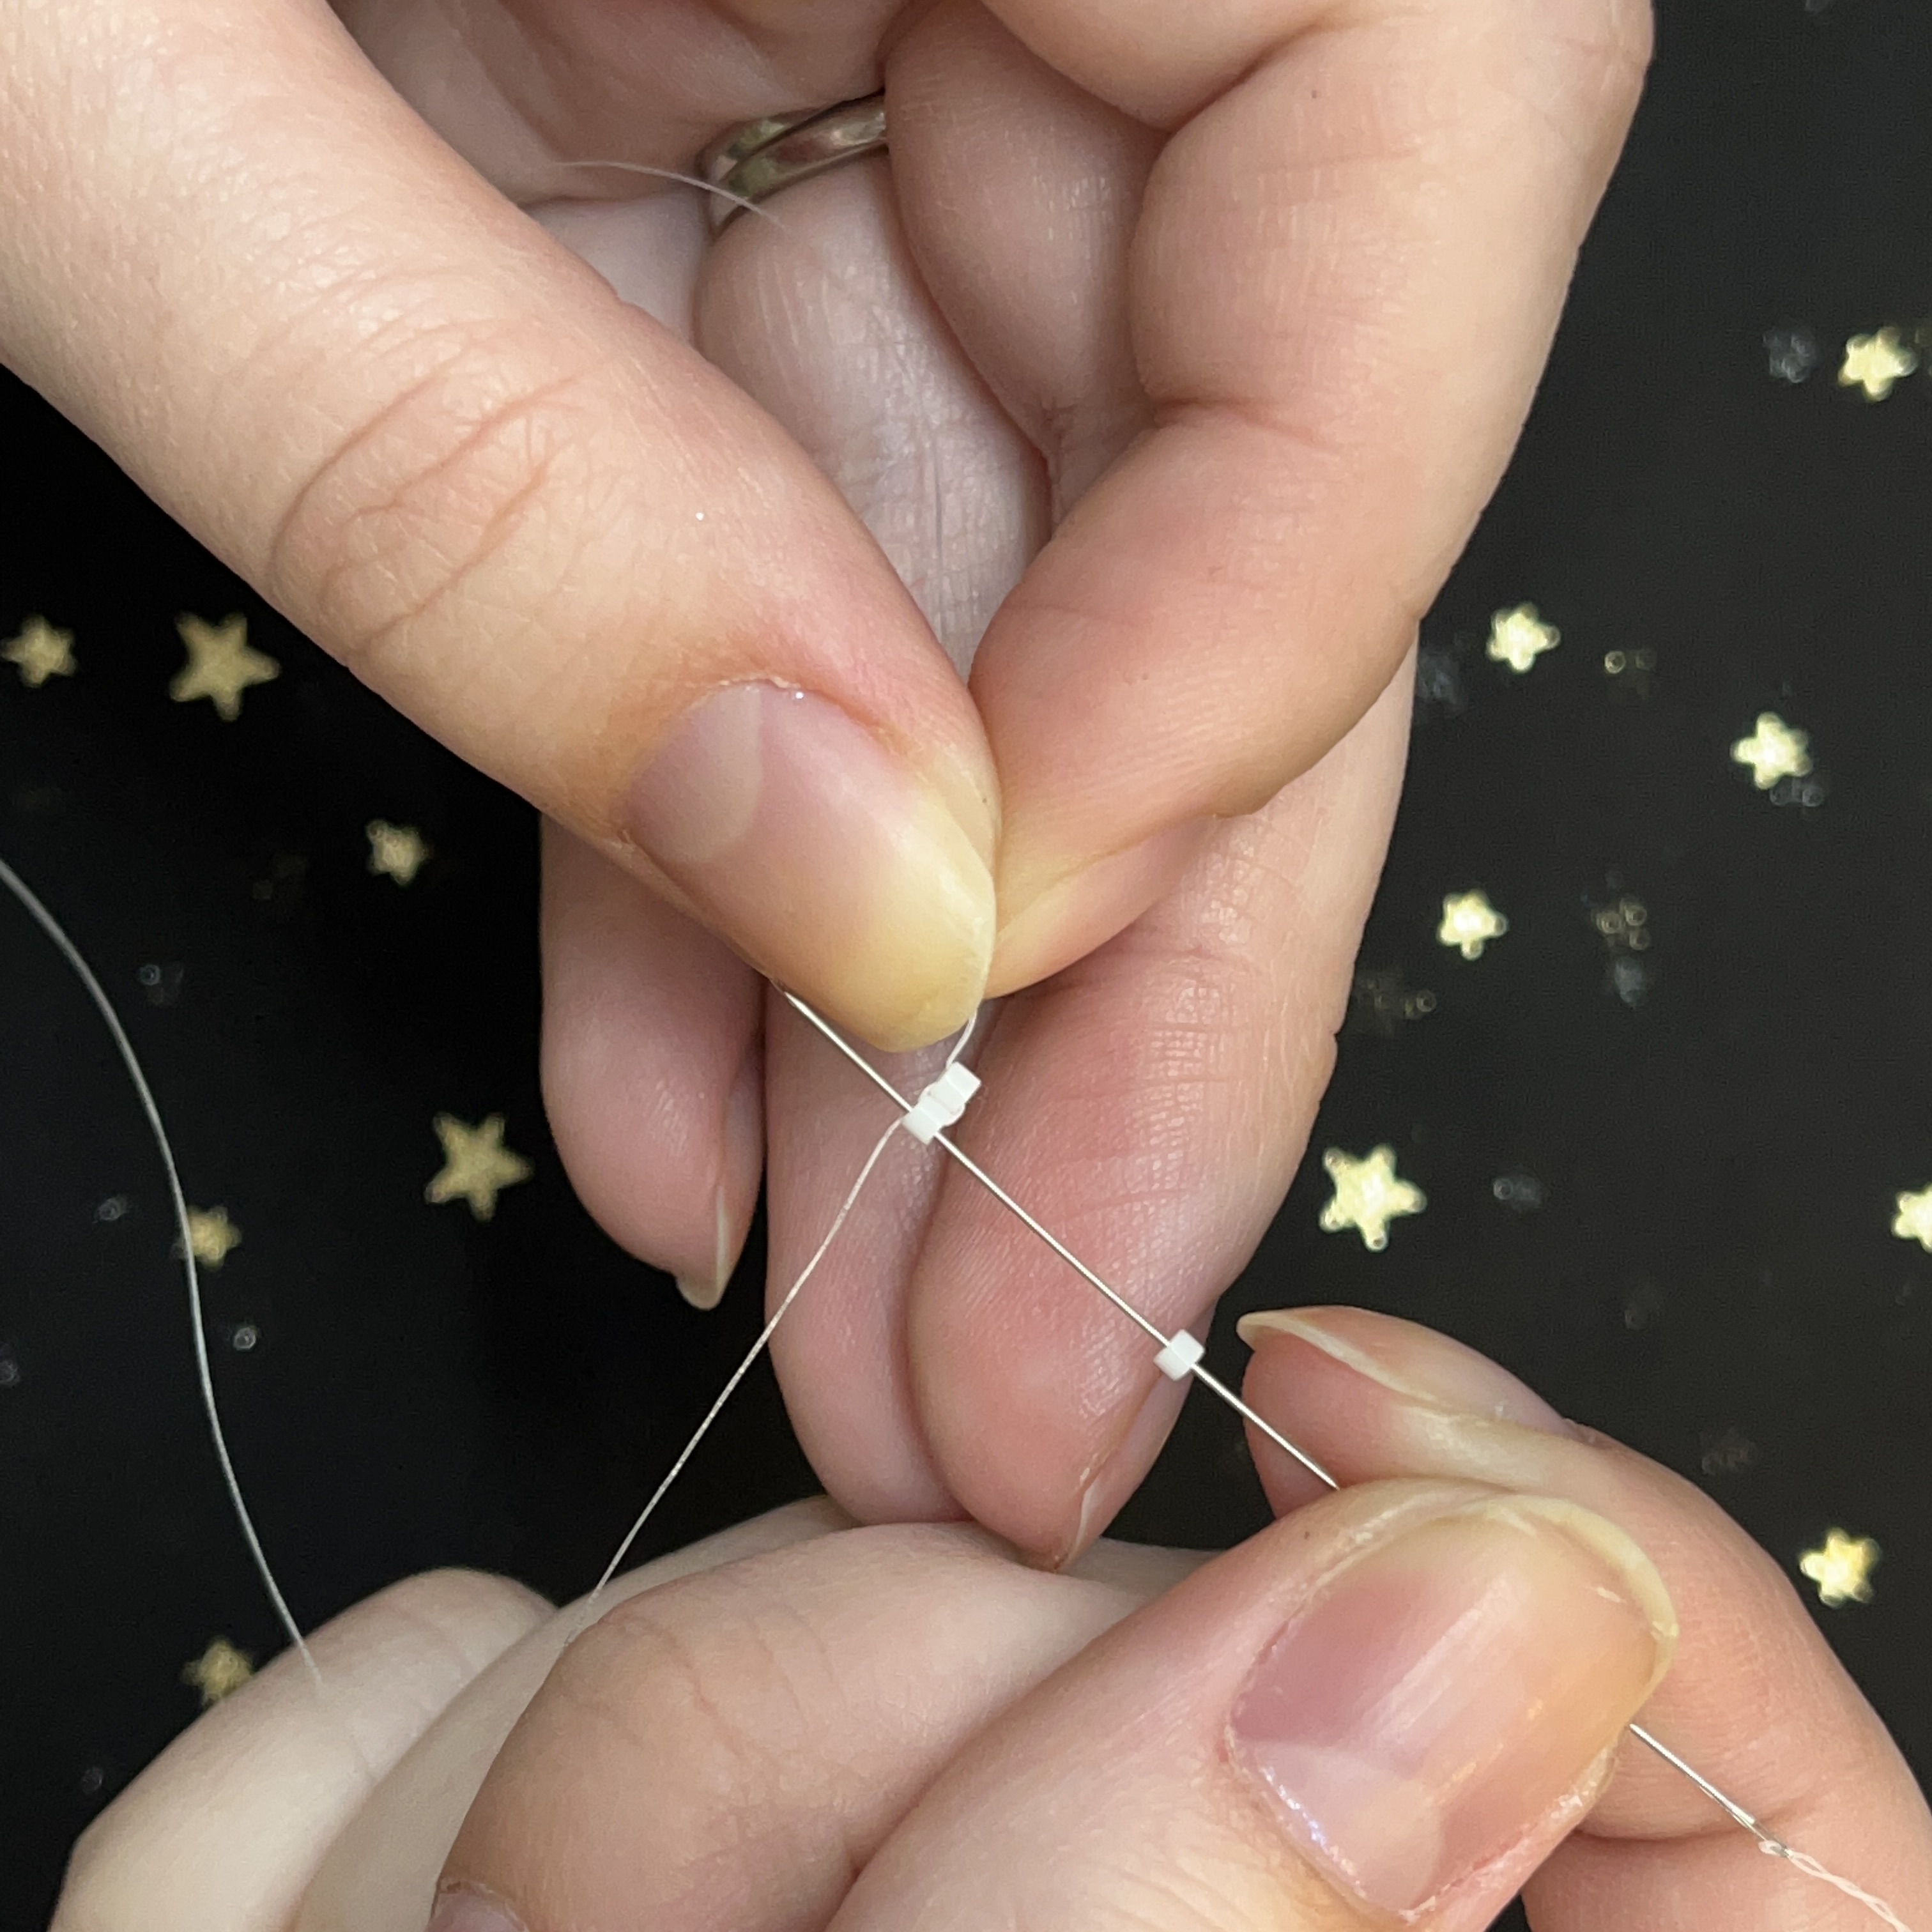
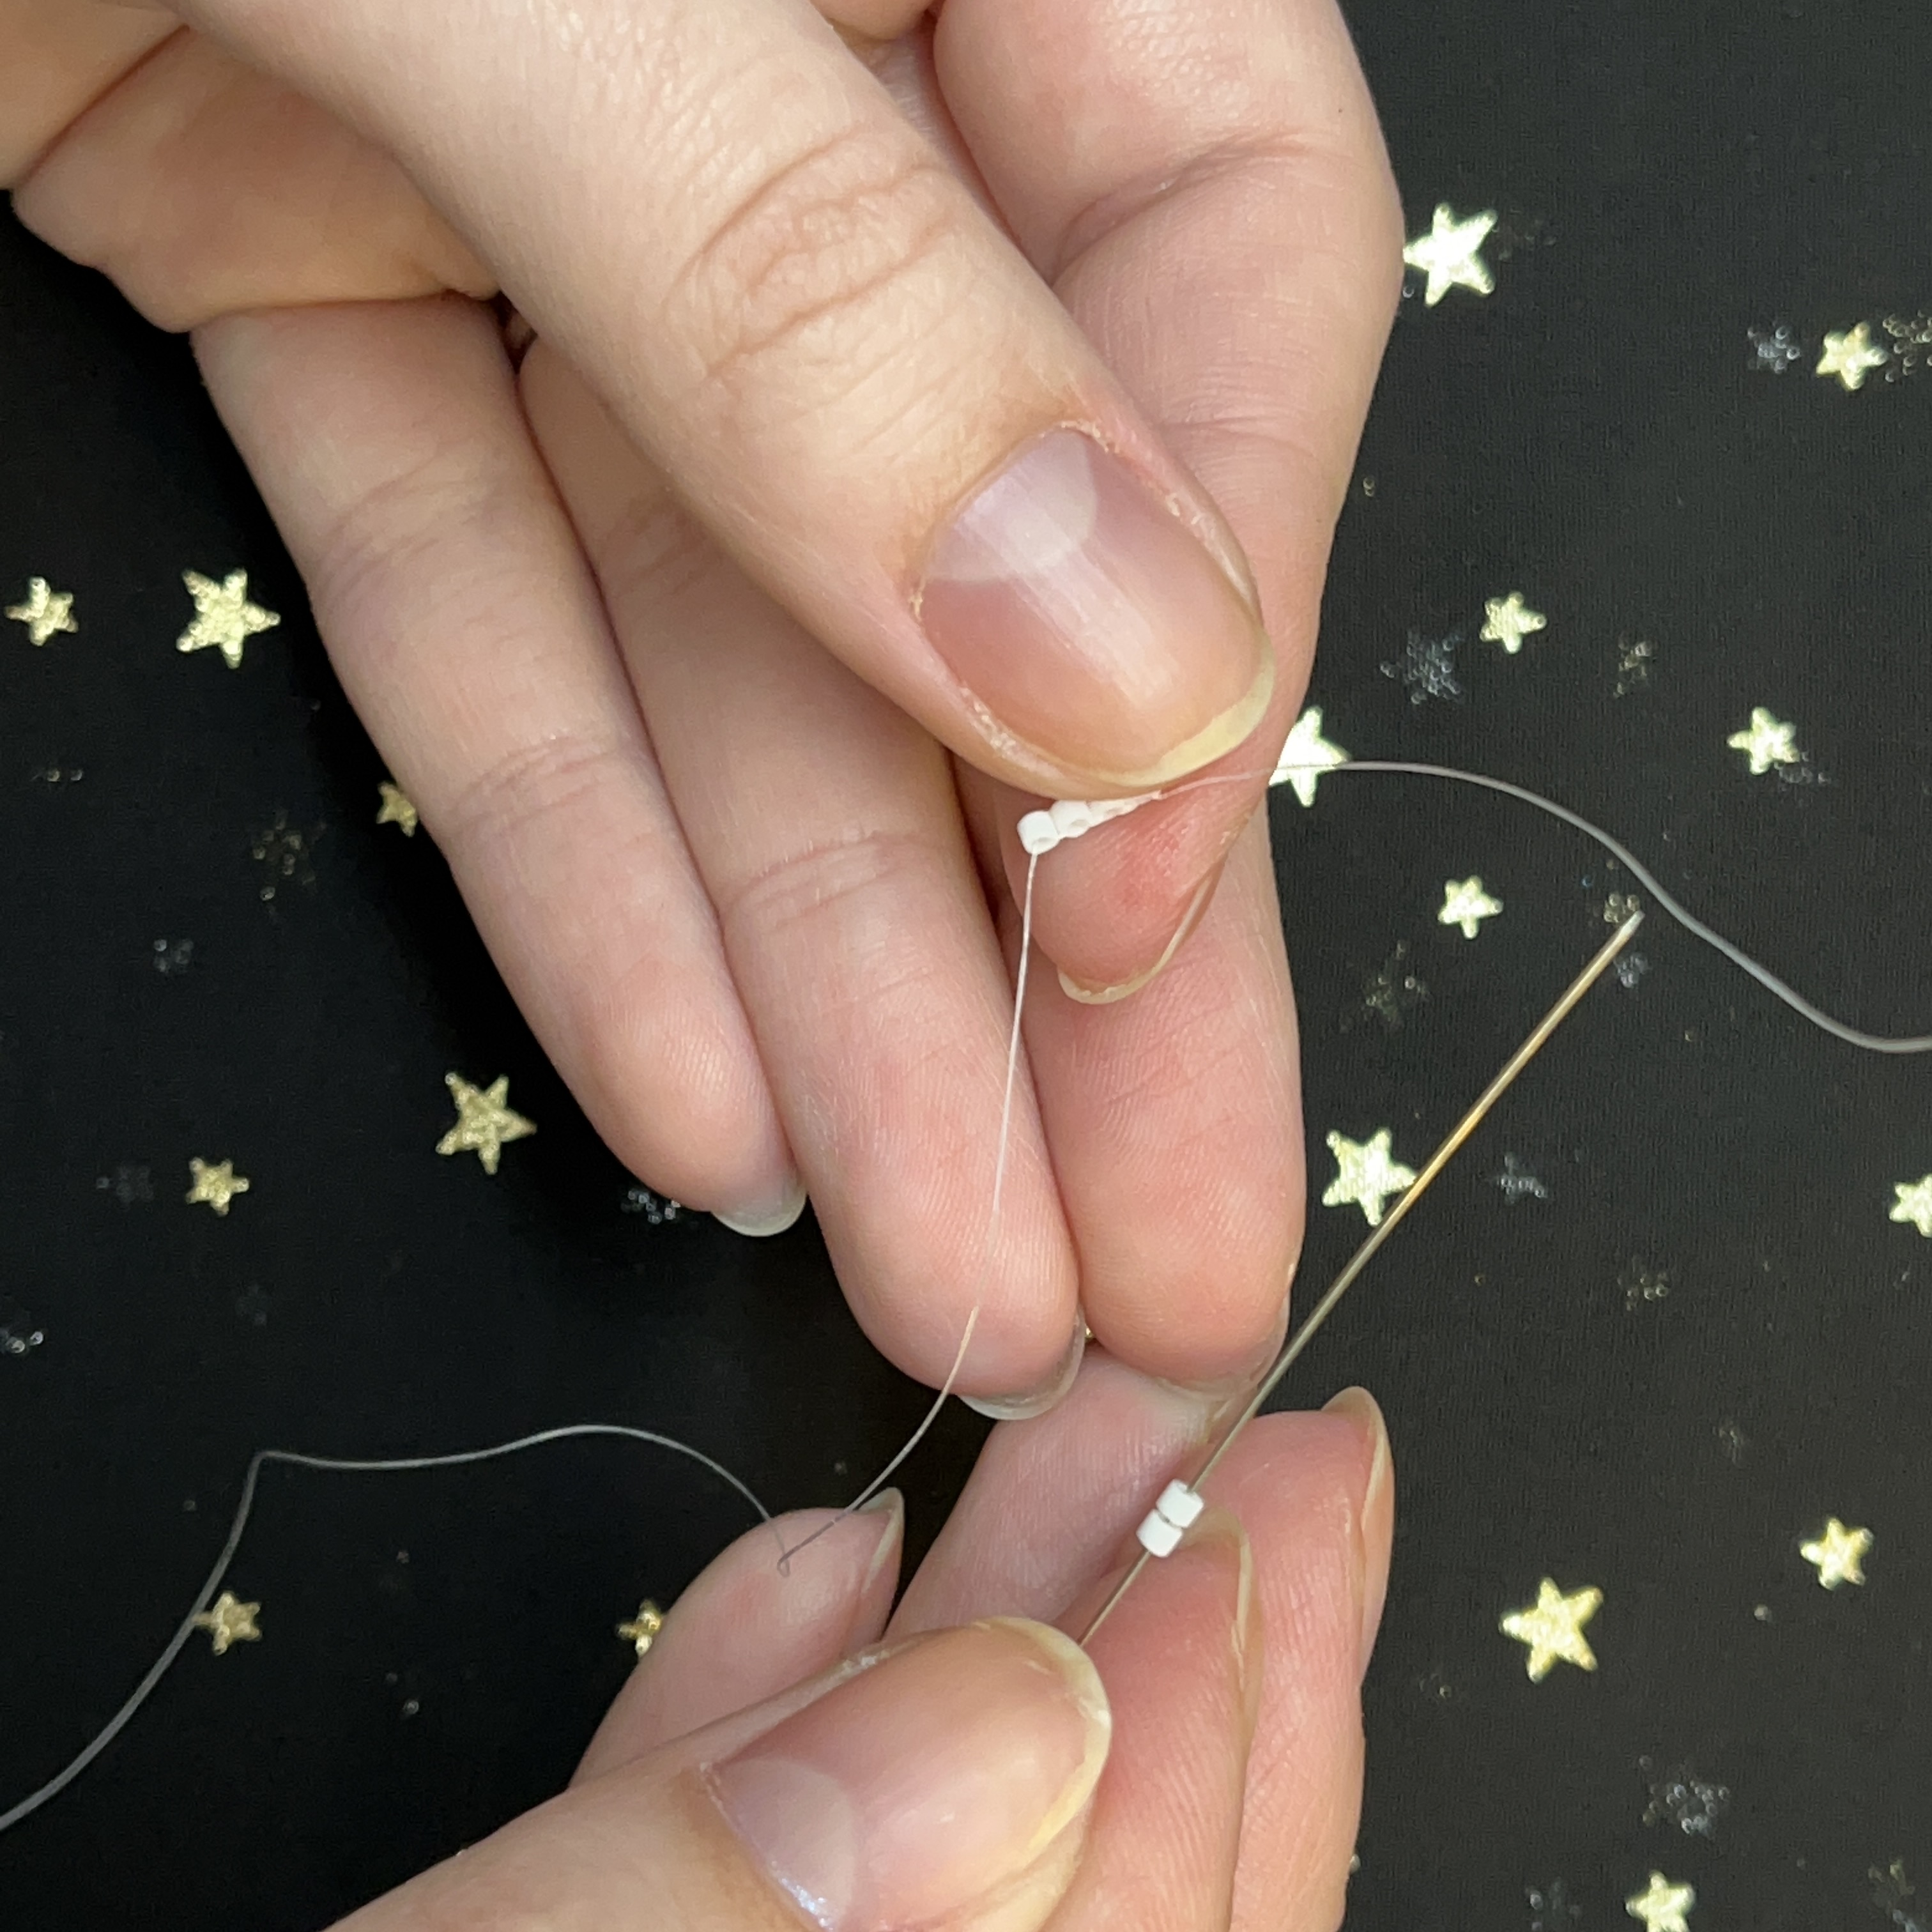
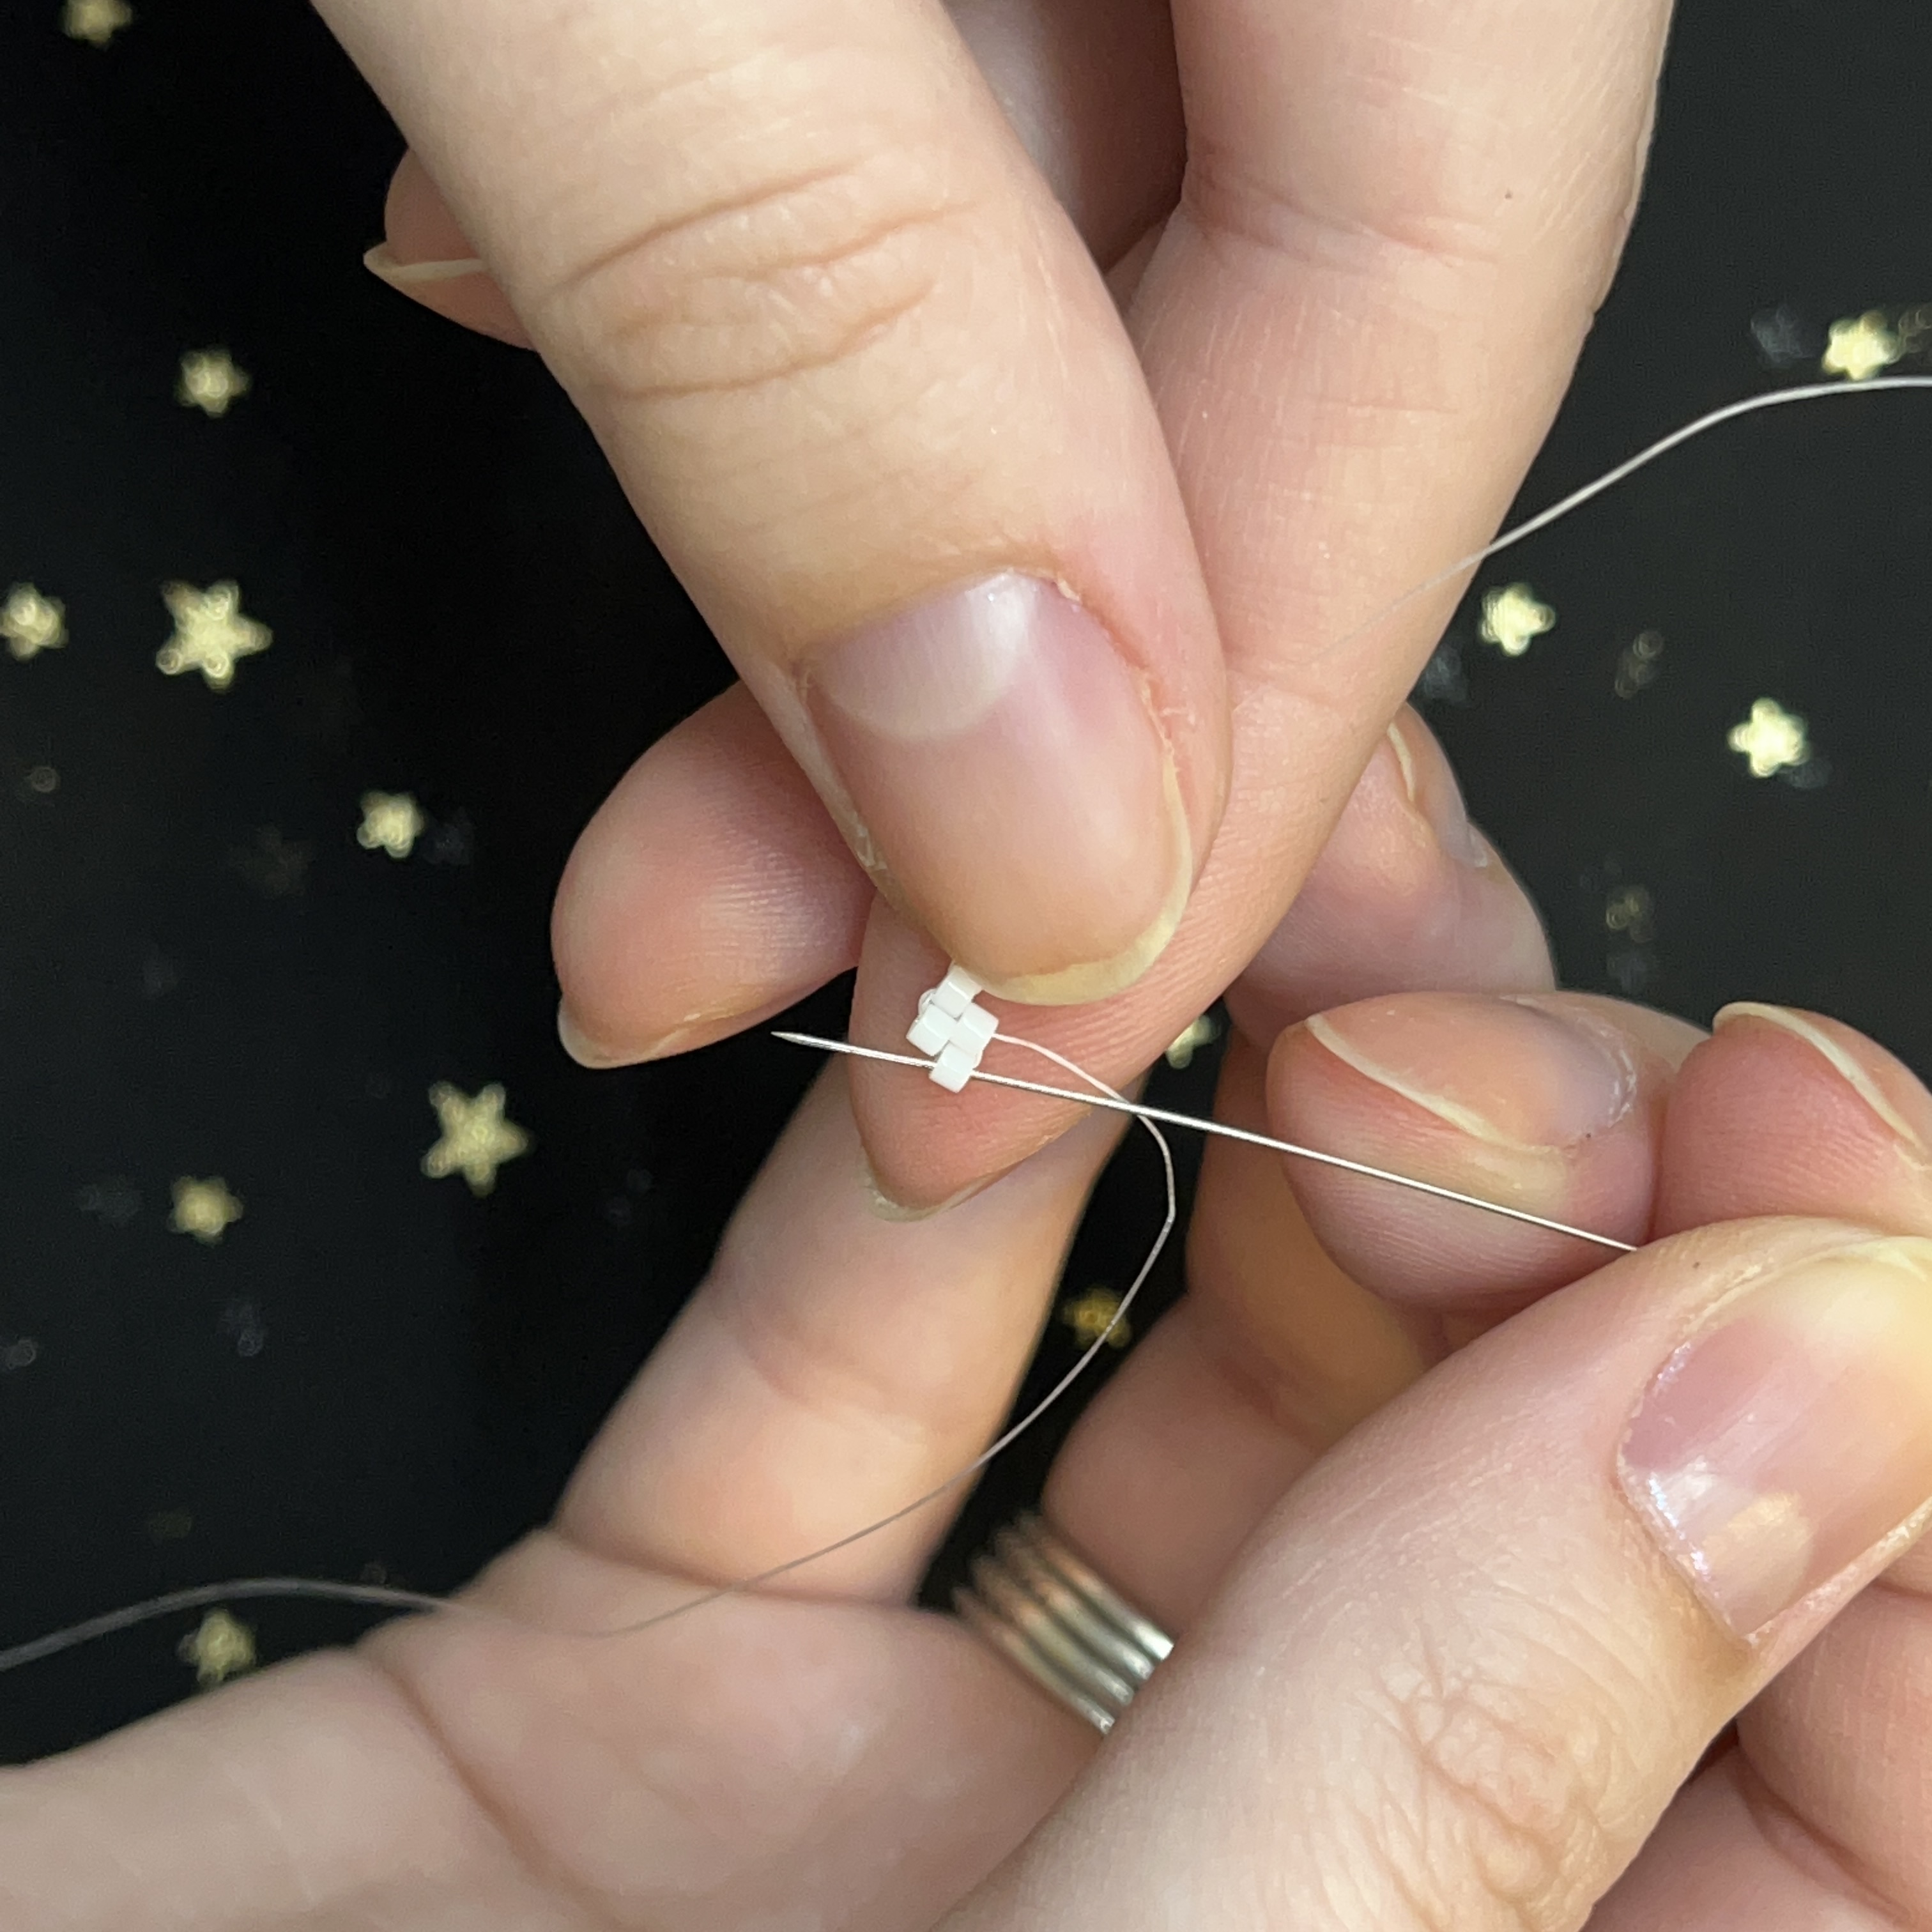
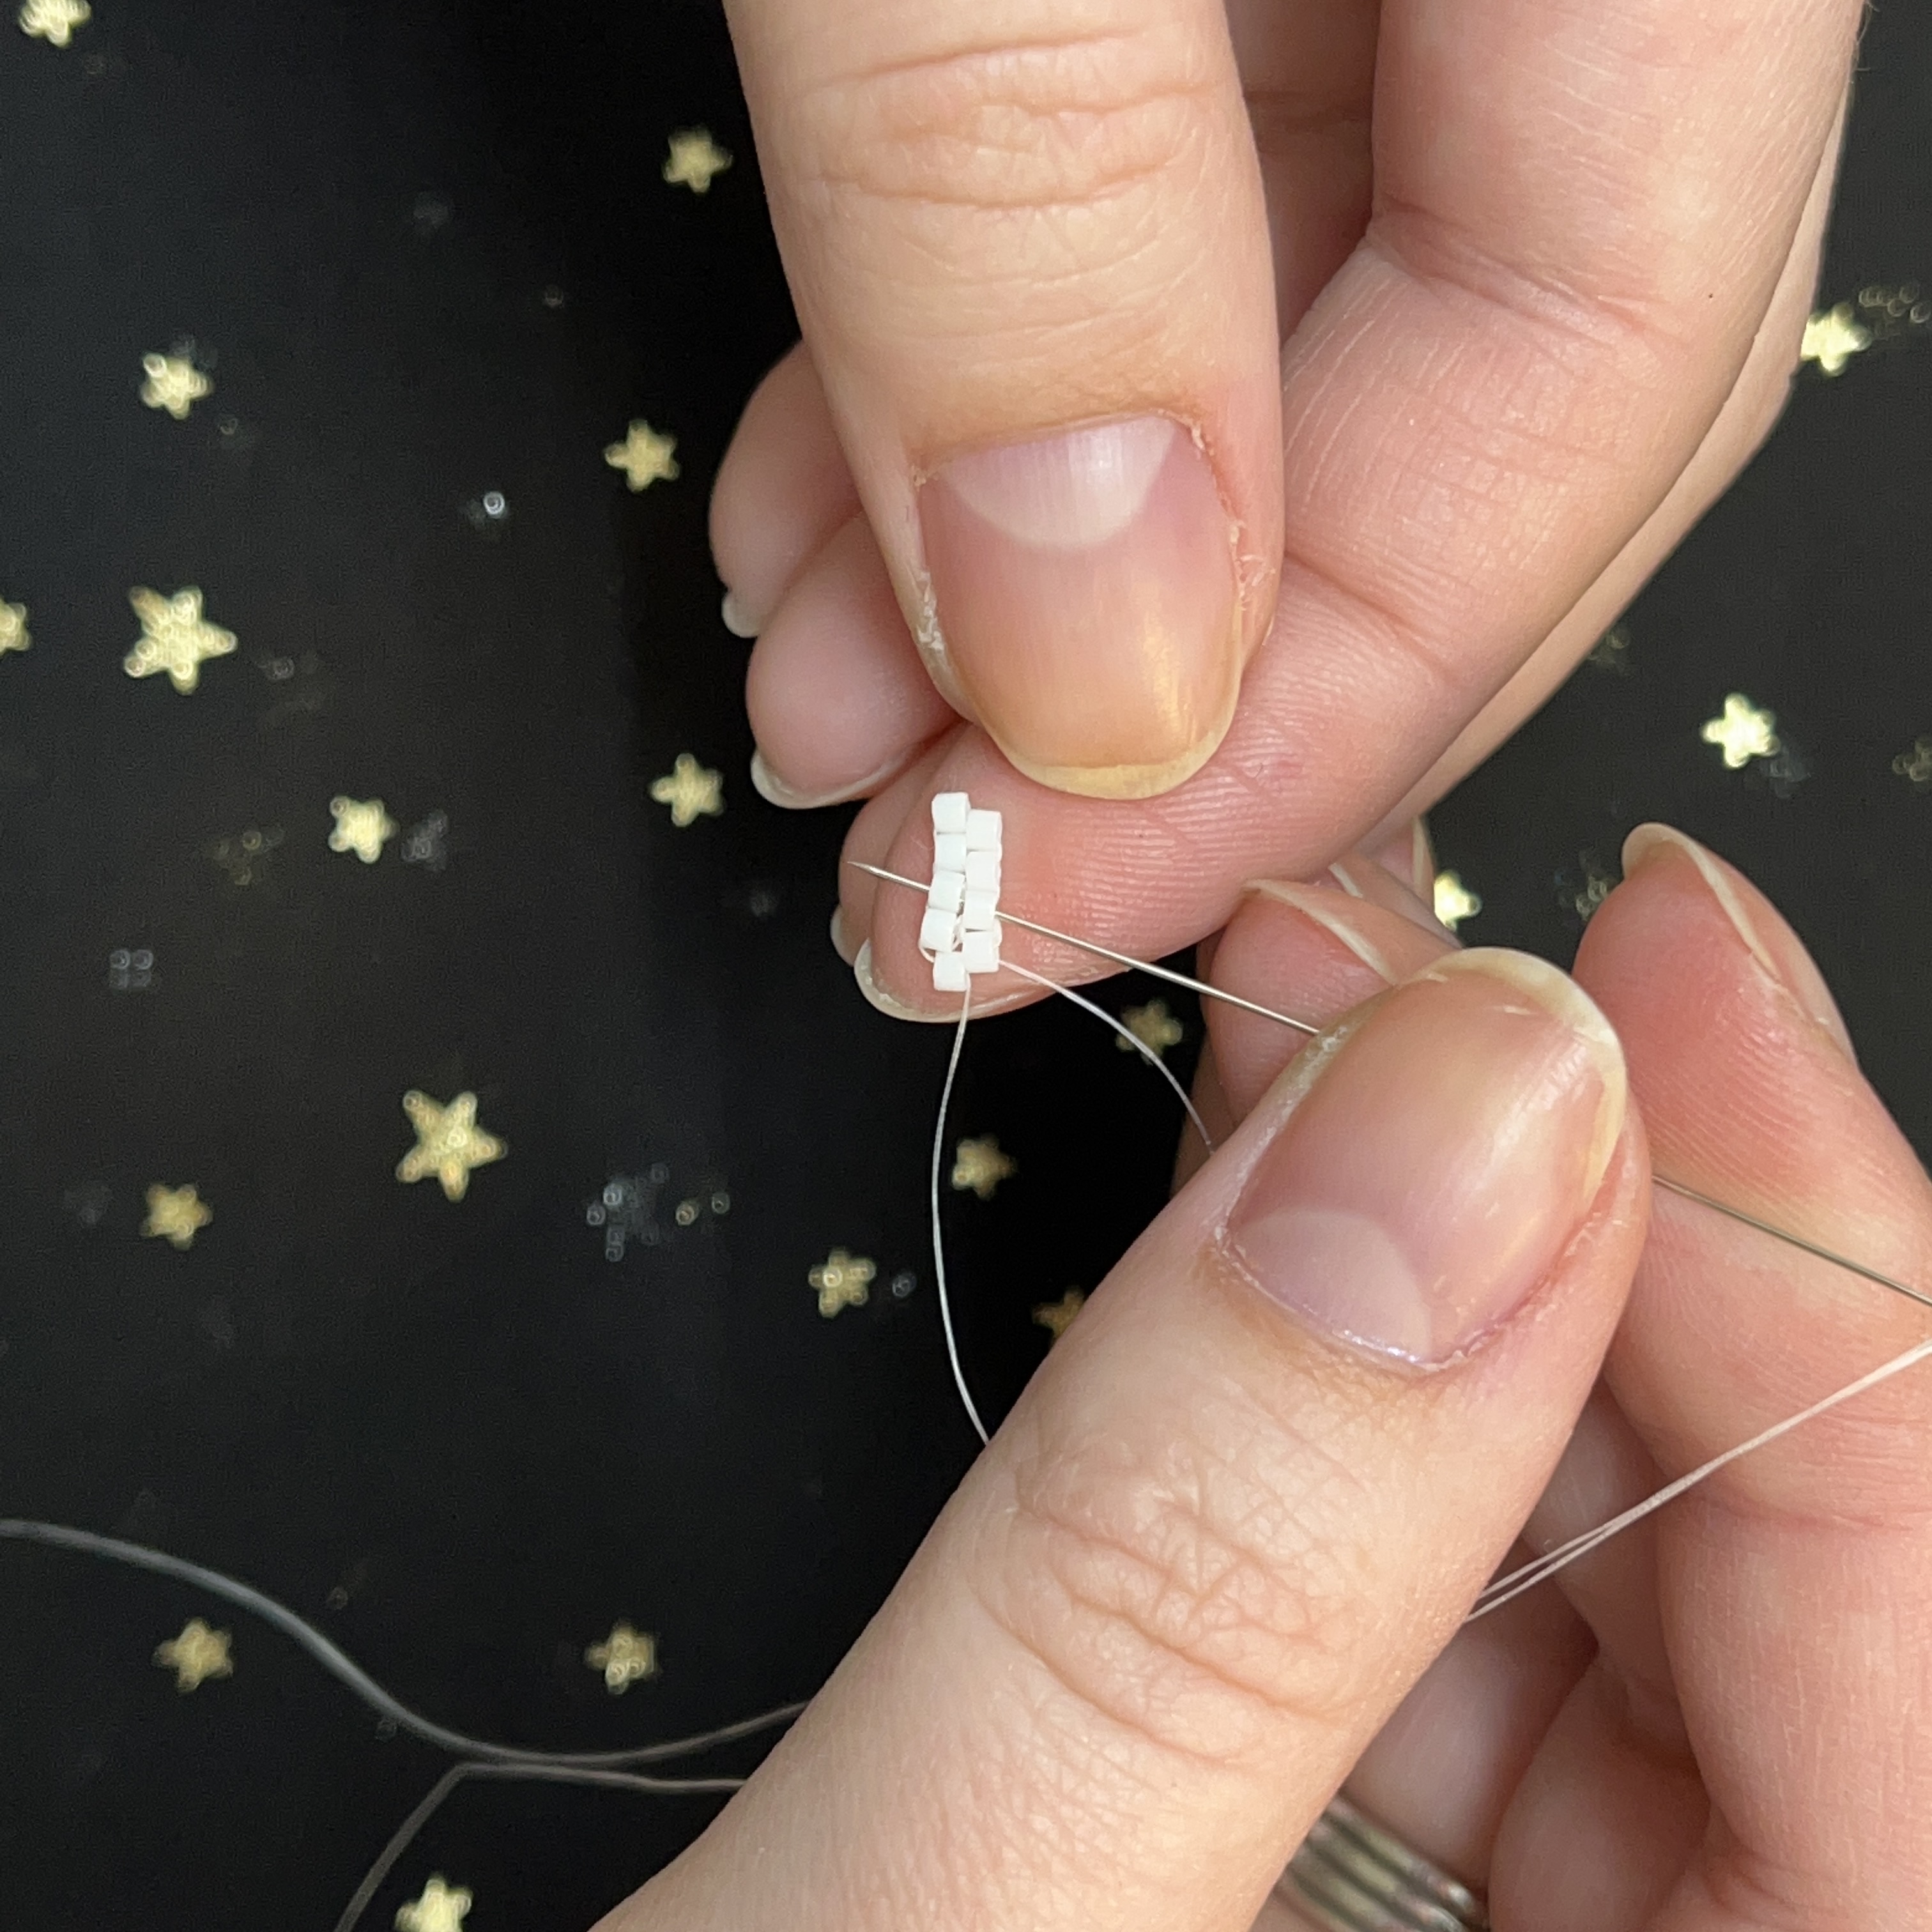
9. Thread through the second bead from top to bottom.
10. Optionally, you can thread through the first bead again to secure everything tightly.
11. Thread through second bead.
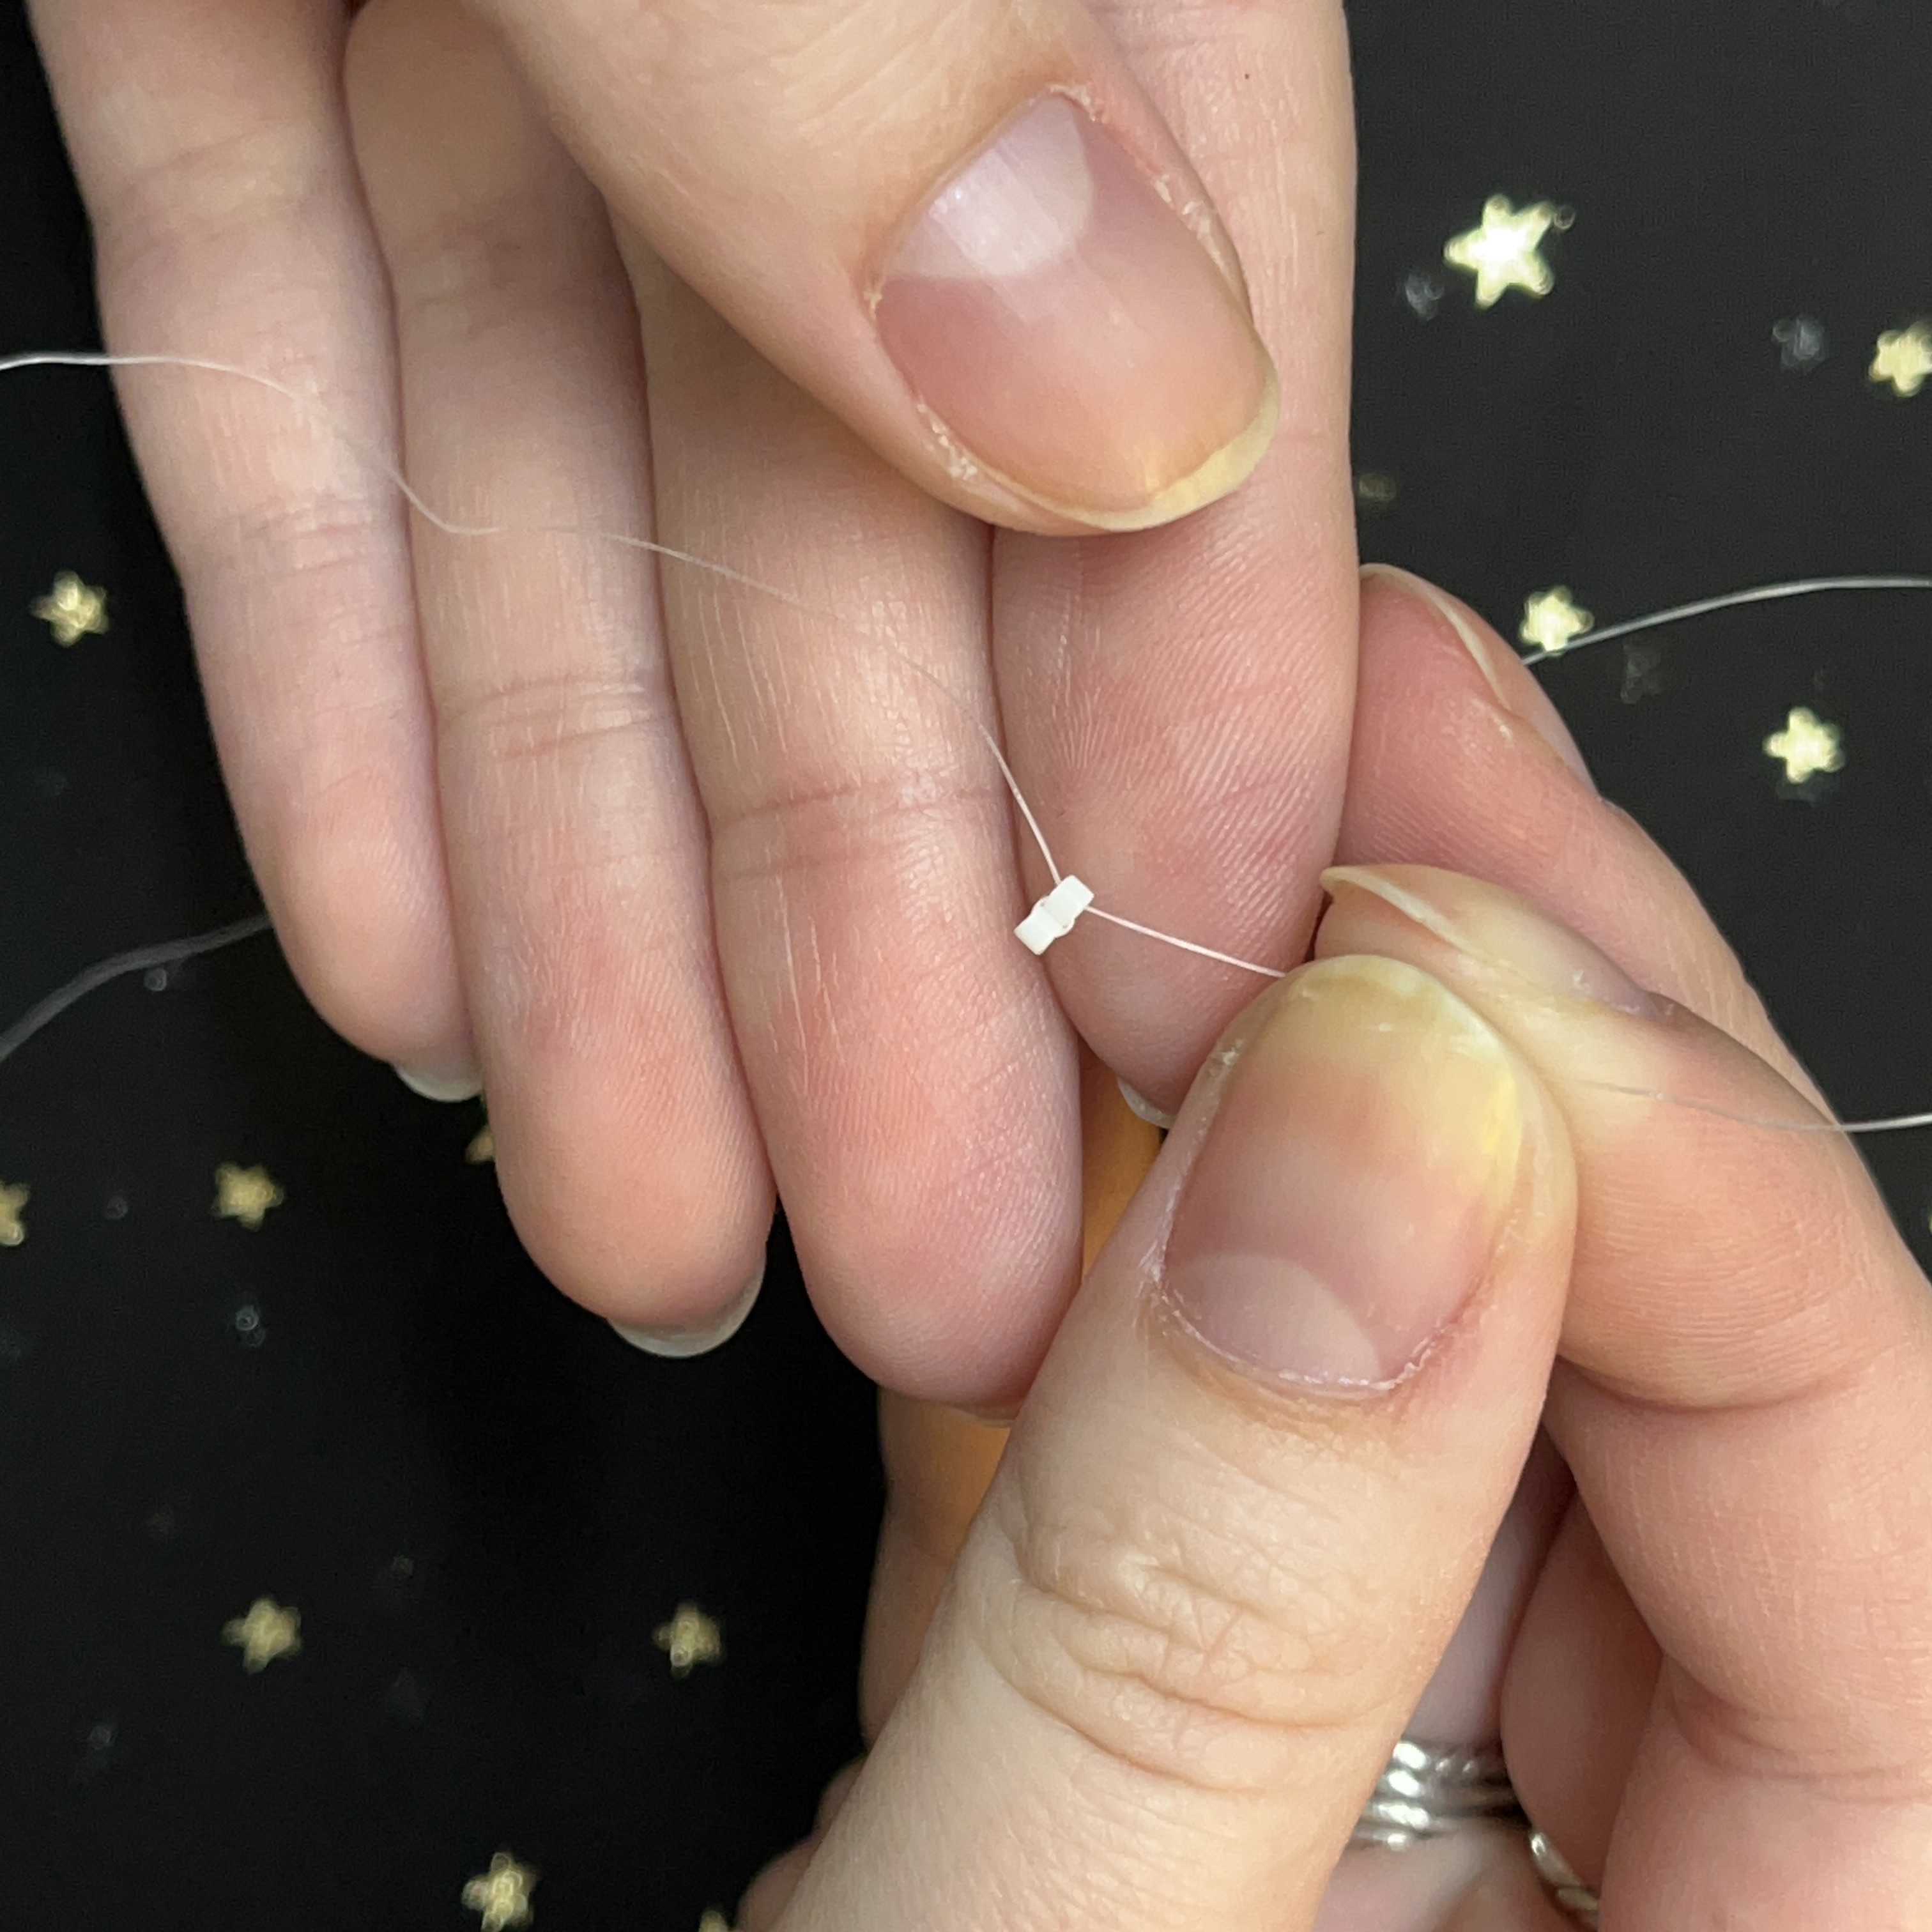
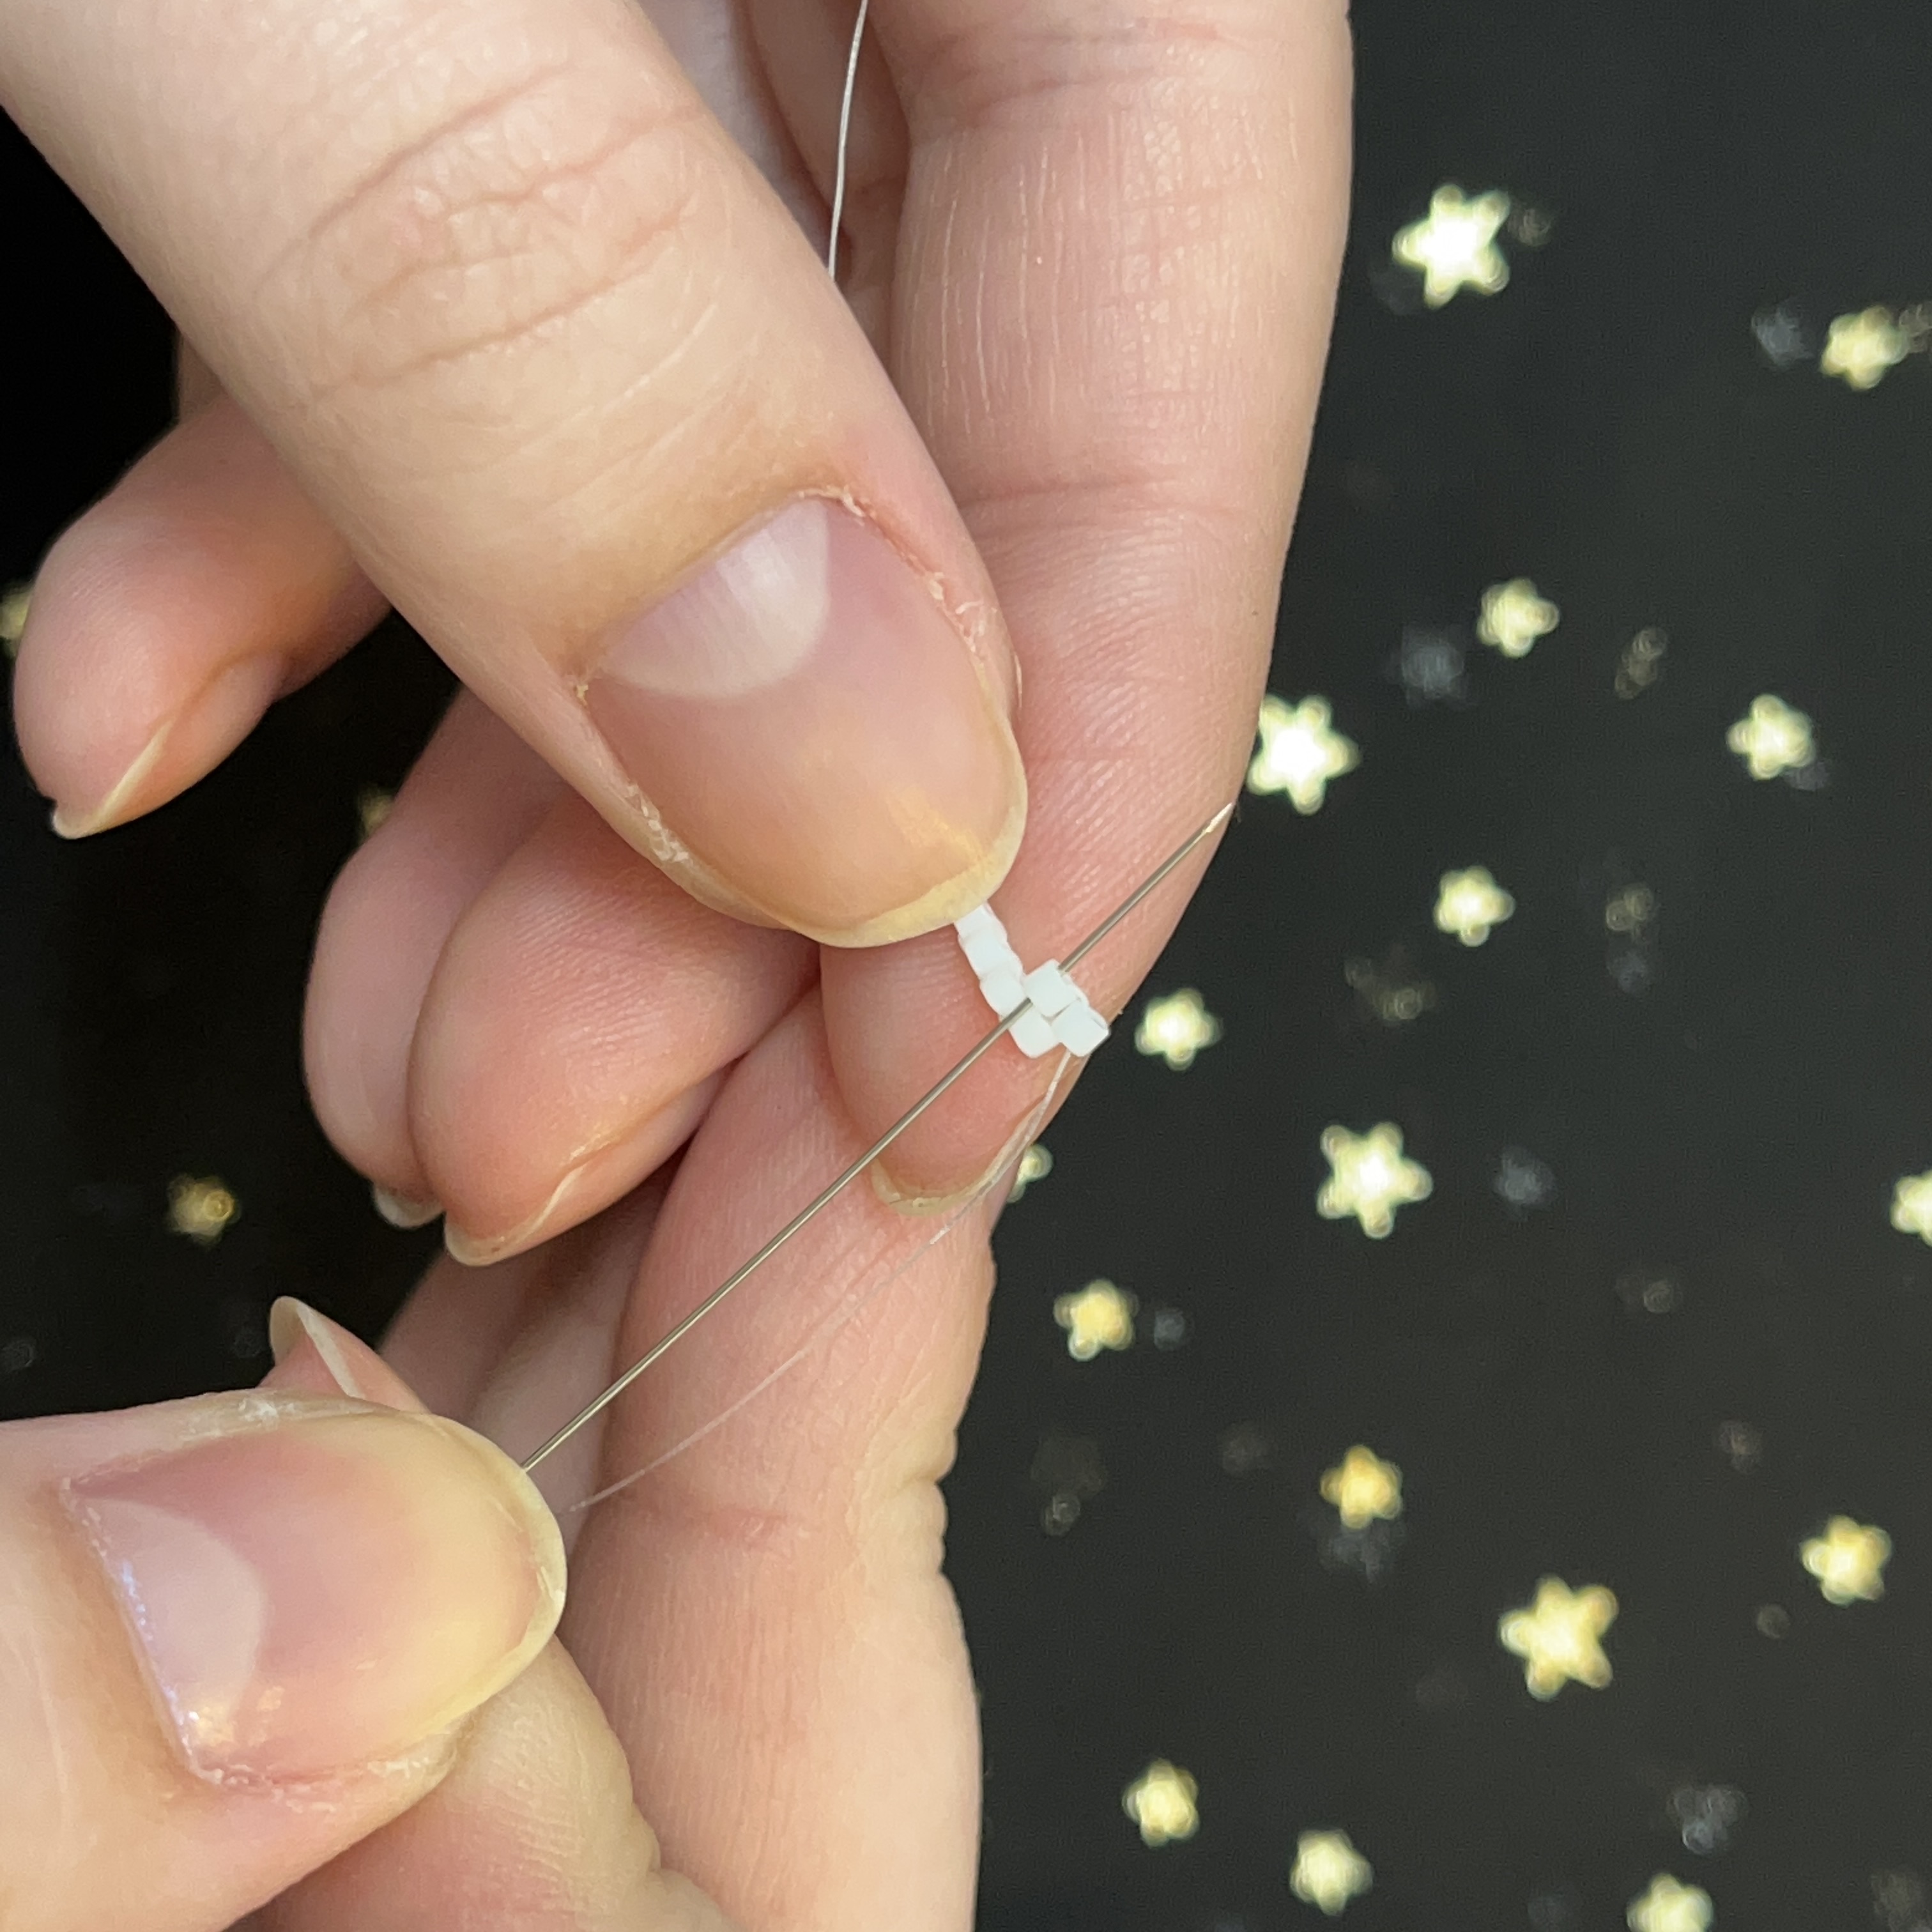
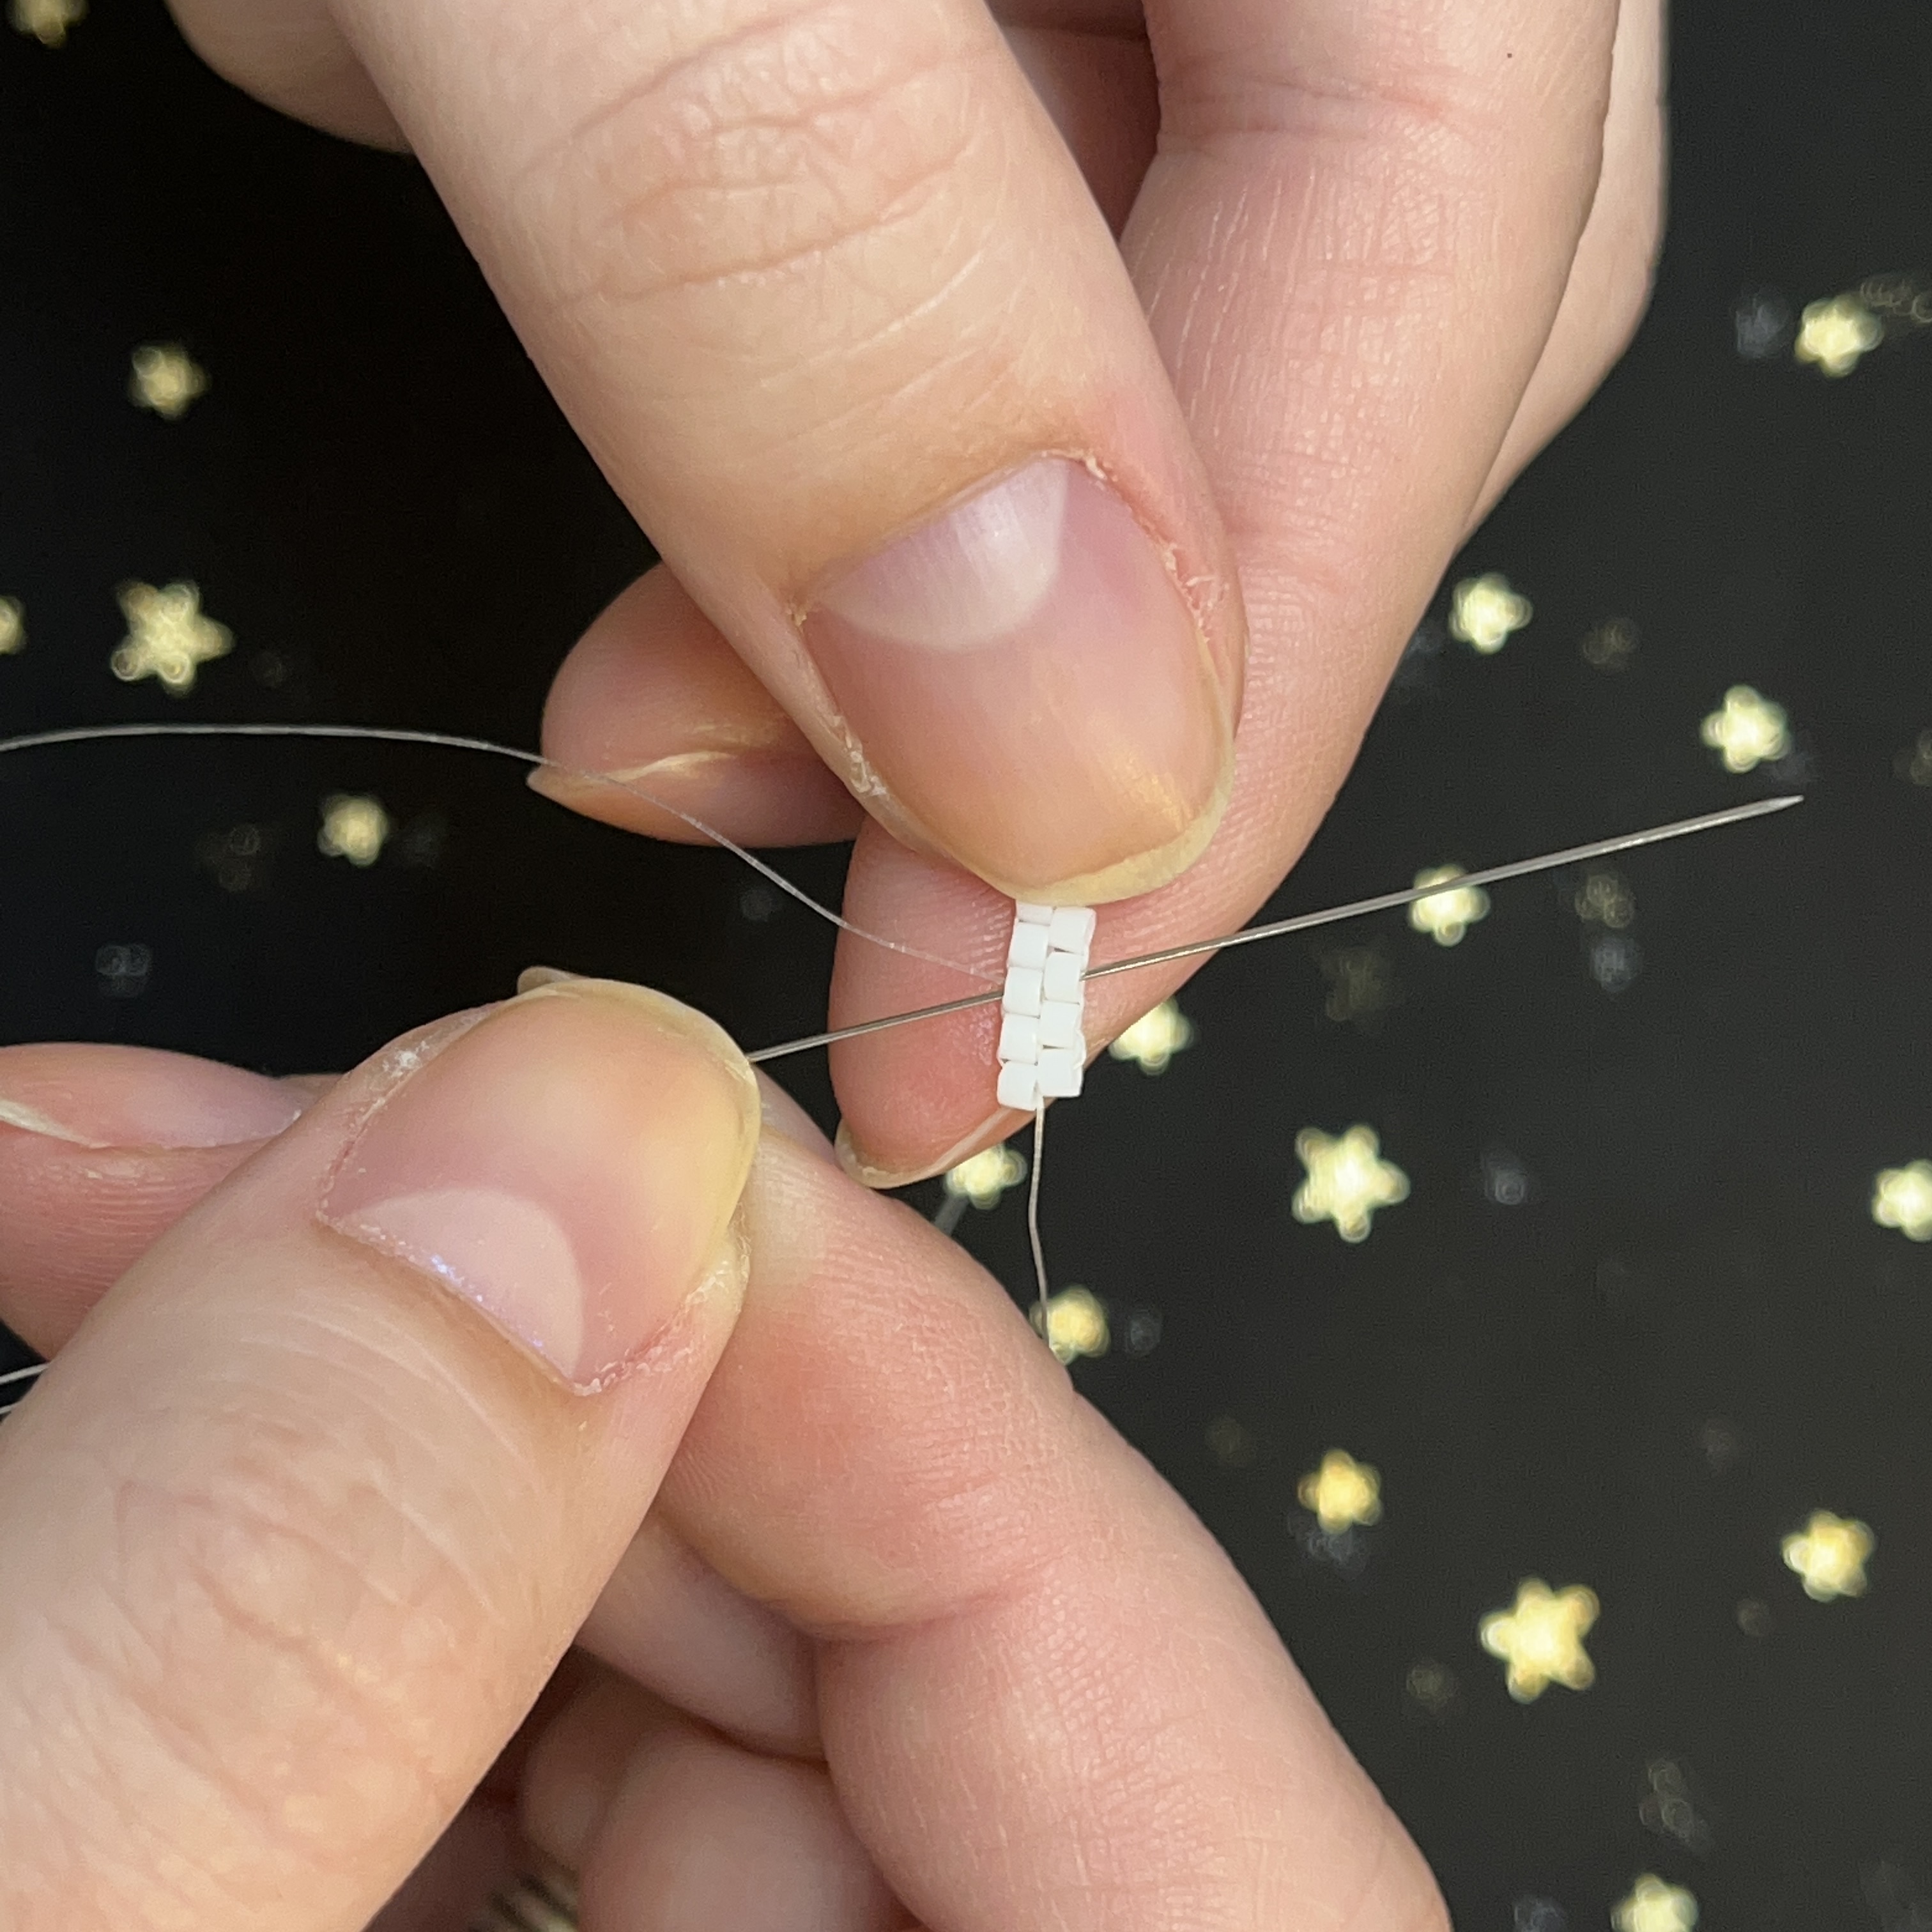
12. Thread on a third white bead and thread through the second bead from top to bottom.
13. Follow the picture and thread through bottom to top with the third bead. Pull tight.
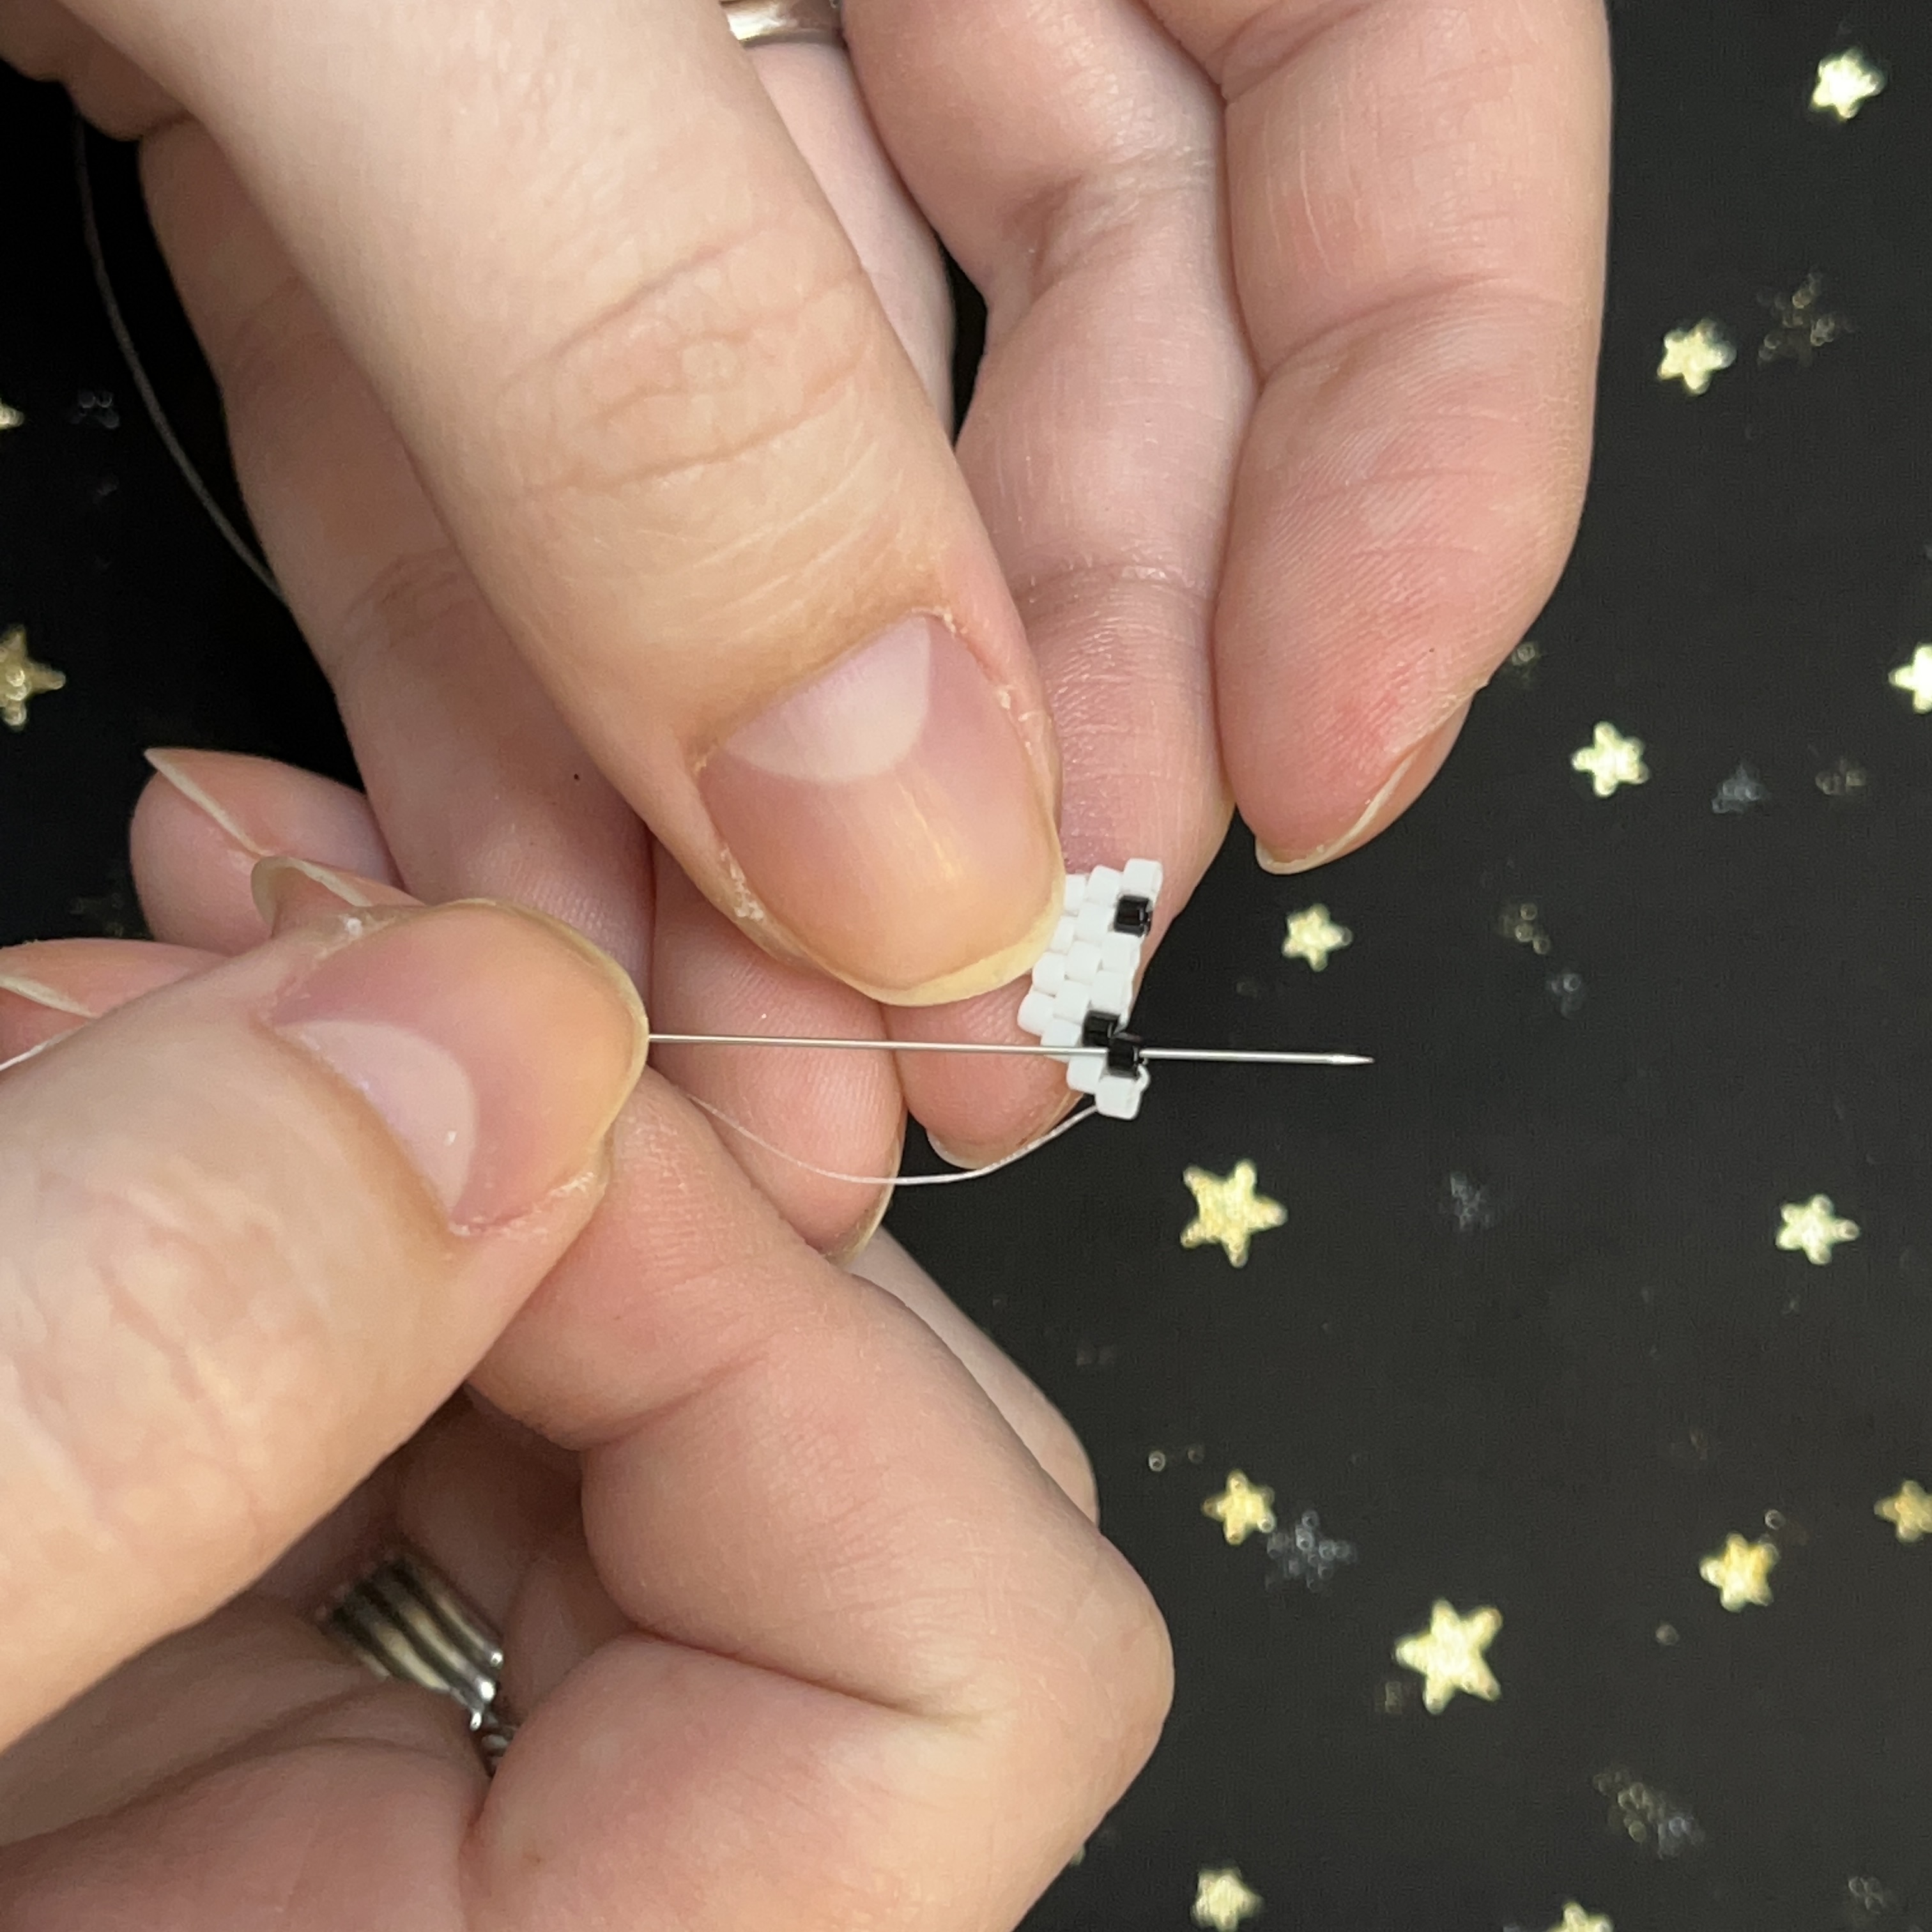
14. Add a fourth bead and thread through the third bead from bottom to top.
15. Thread through the fourth bead from top to bottom. Pull tight.
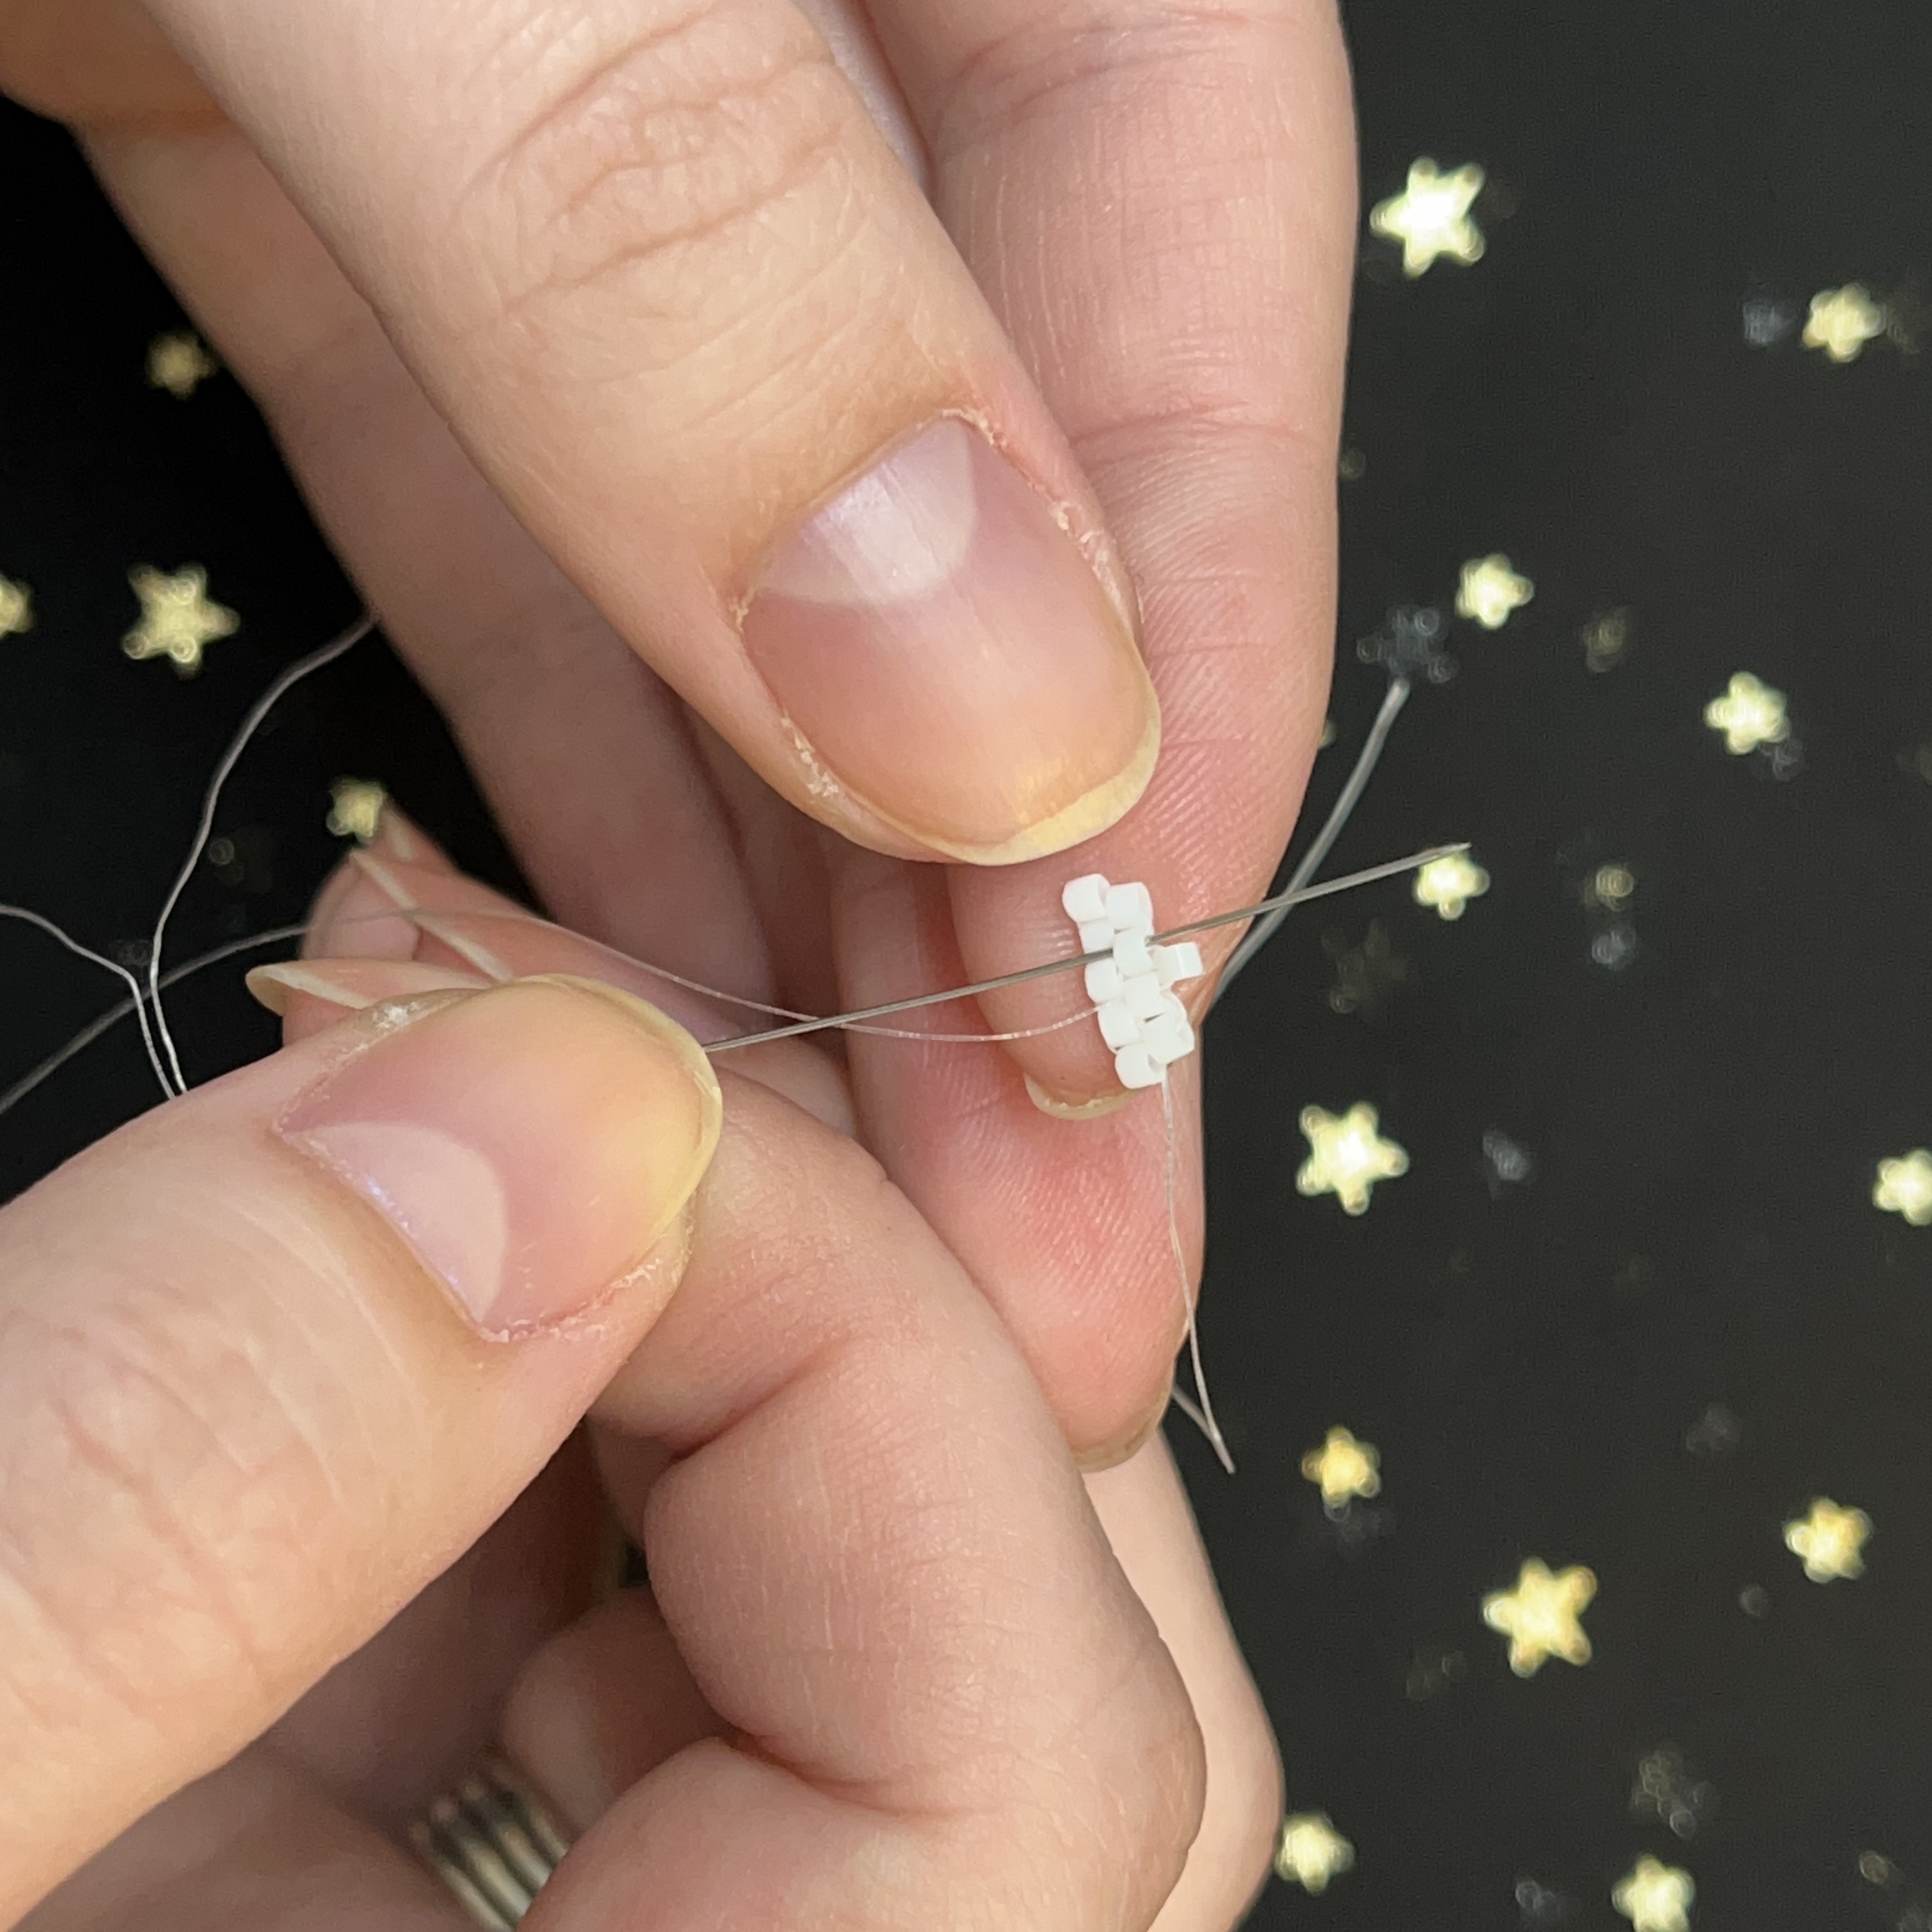
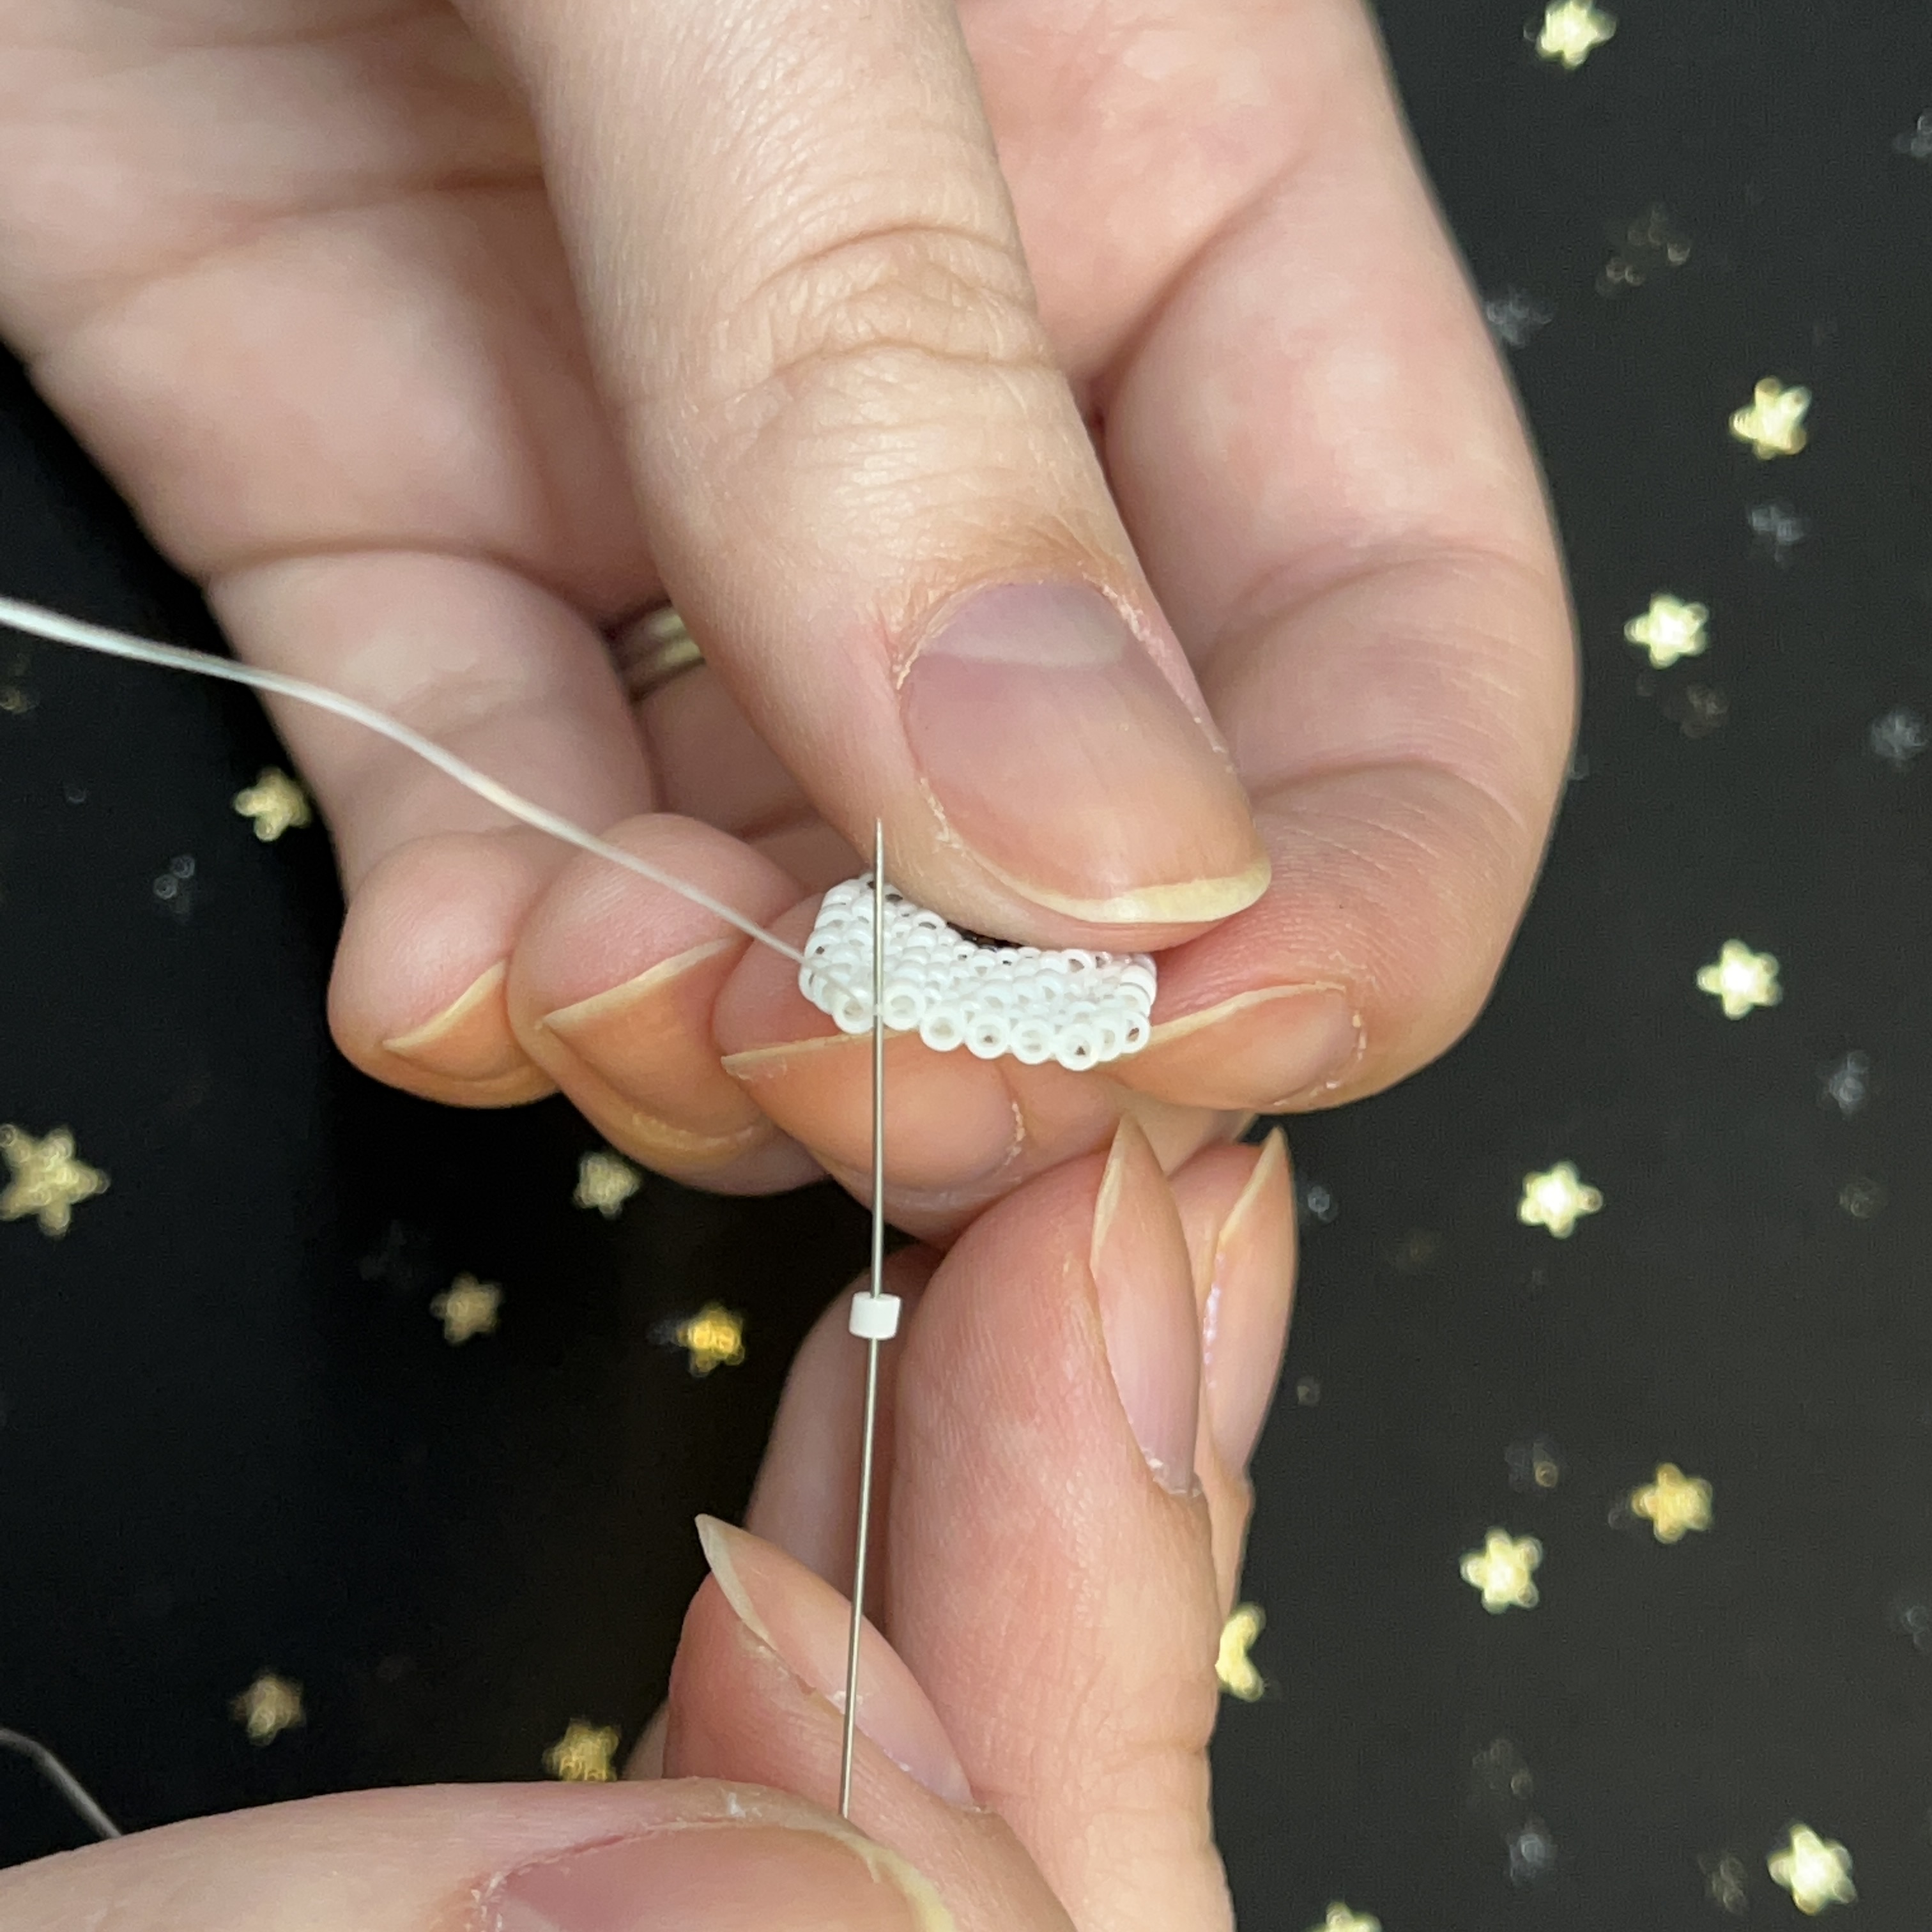
16. The first row (also called the ladder) is done and we will now start the second row. Add 2 white delicas on the needle.
17. We will be adding 5 beads total to this row so we will be threading through the first thread which holds bead 3 and 4 together on the first row. *I find it easiest to continuously go from right to left through the thread for each stitch.
*If we wanted to make a smaller second row and only have 3 beads in it, we would go through the second thread between the beads 2 and 3.
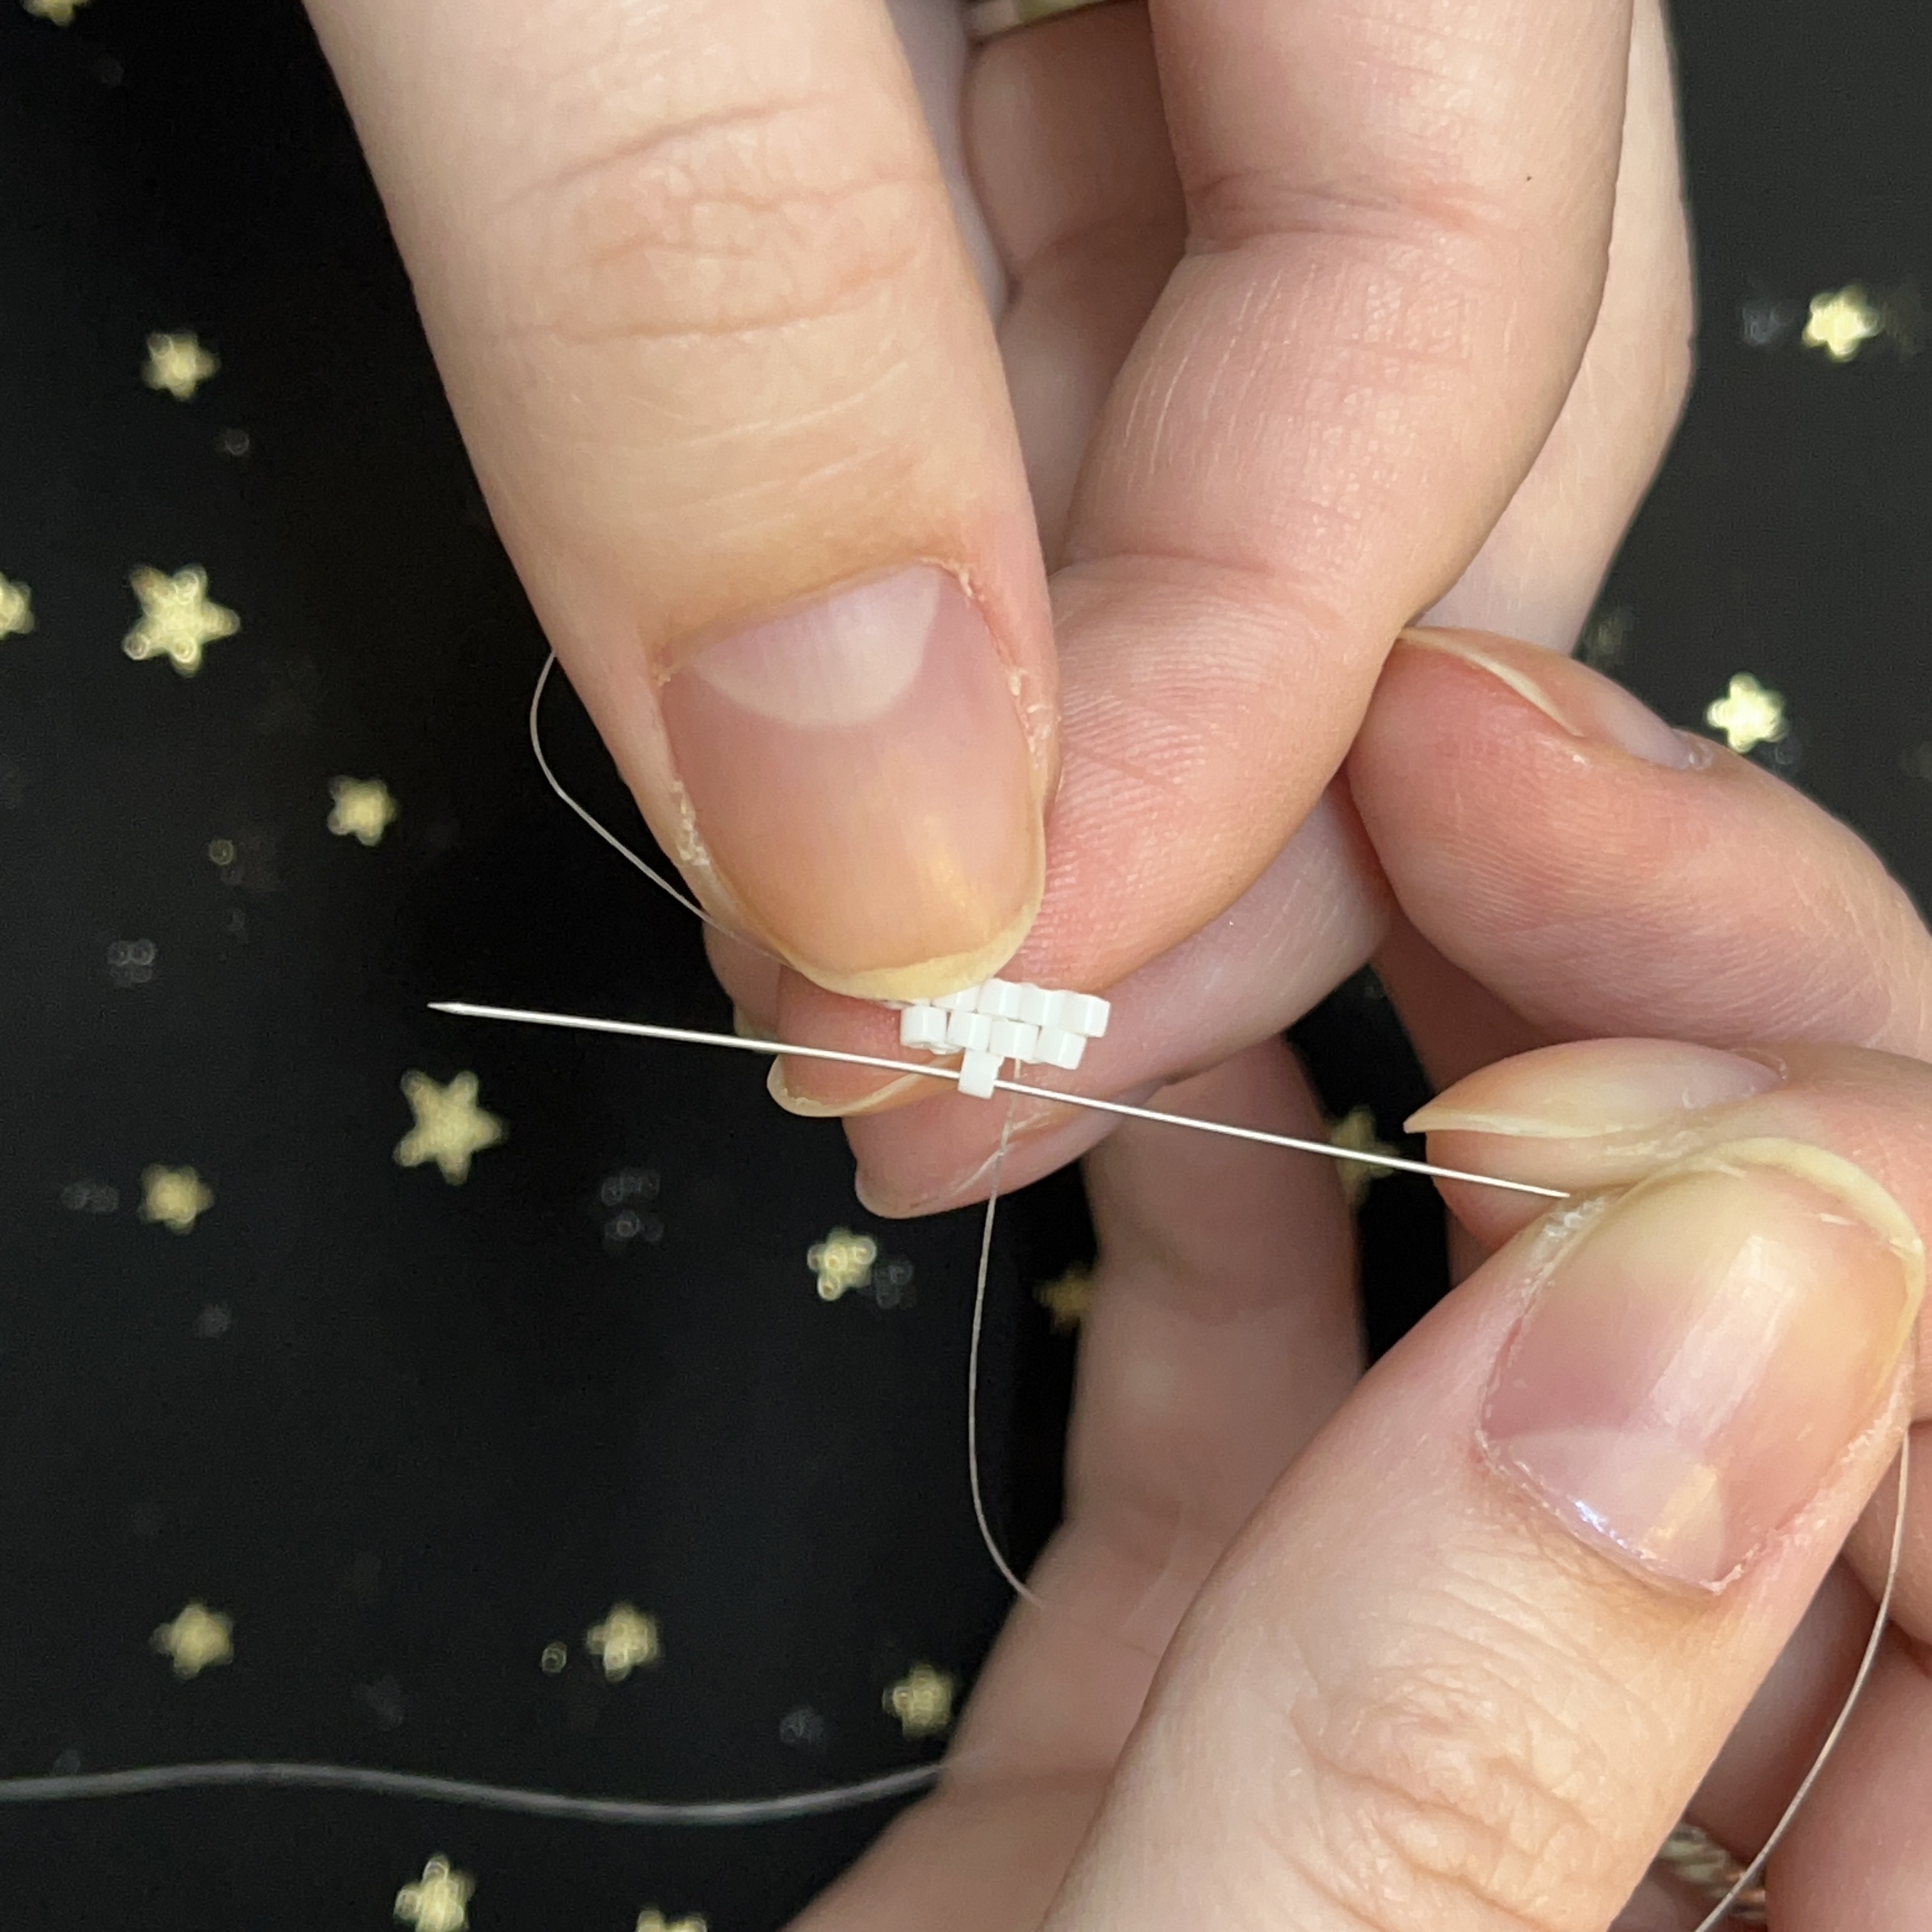
18. Now to secure the two beads you just added. Thread the needle through the first bead on the left and pull the thread through.
19. The beads might go wonky but that's okay, just shift them to look like the picture above and then thread the needle through the top of the second bead.
20. Now go back up through the bottom of the first bead.
21. Lets continue the row but this time, only add one bead to the needle. Thread the needle through the next stitch (holding beads 2 and 3 together).
22. Pull tight and thread the needle up through only the 3rd bead.
23. Repeat step 21. * Its okay if things get wonky, just keep pulling your thread tight and straighten out the beads occasionally with your fingers.
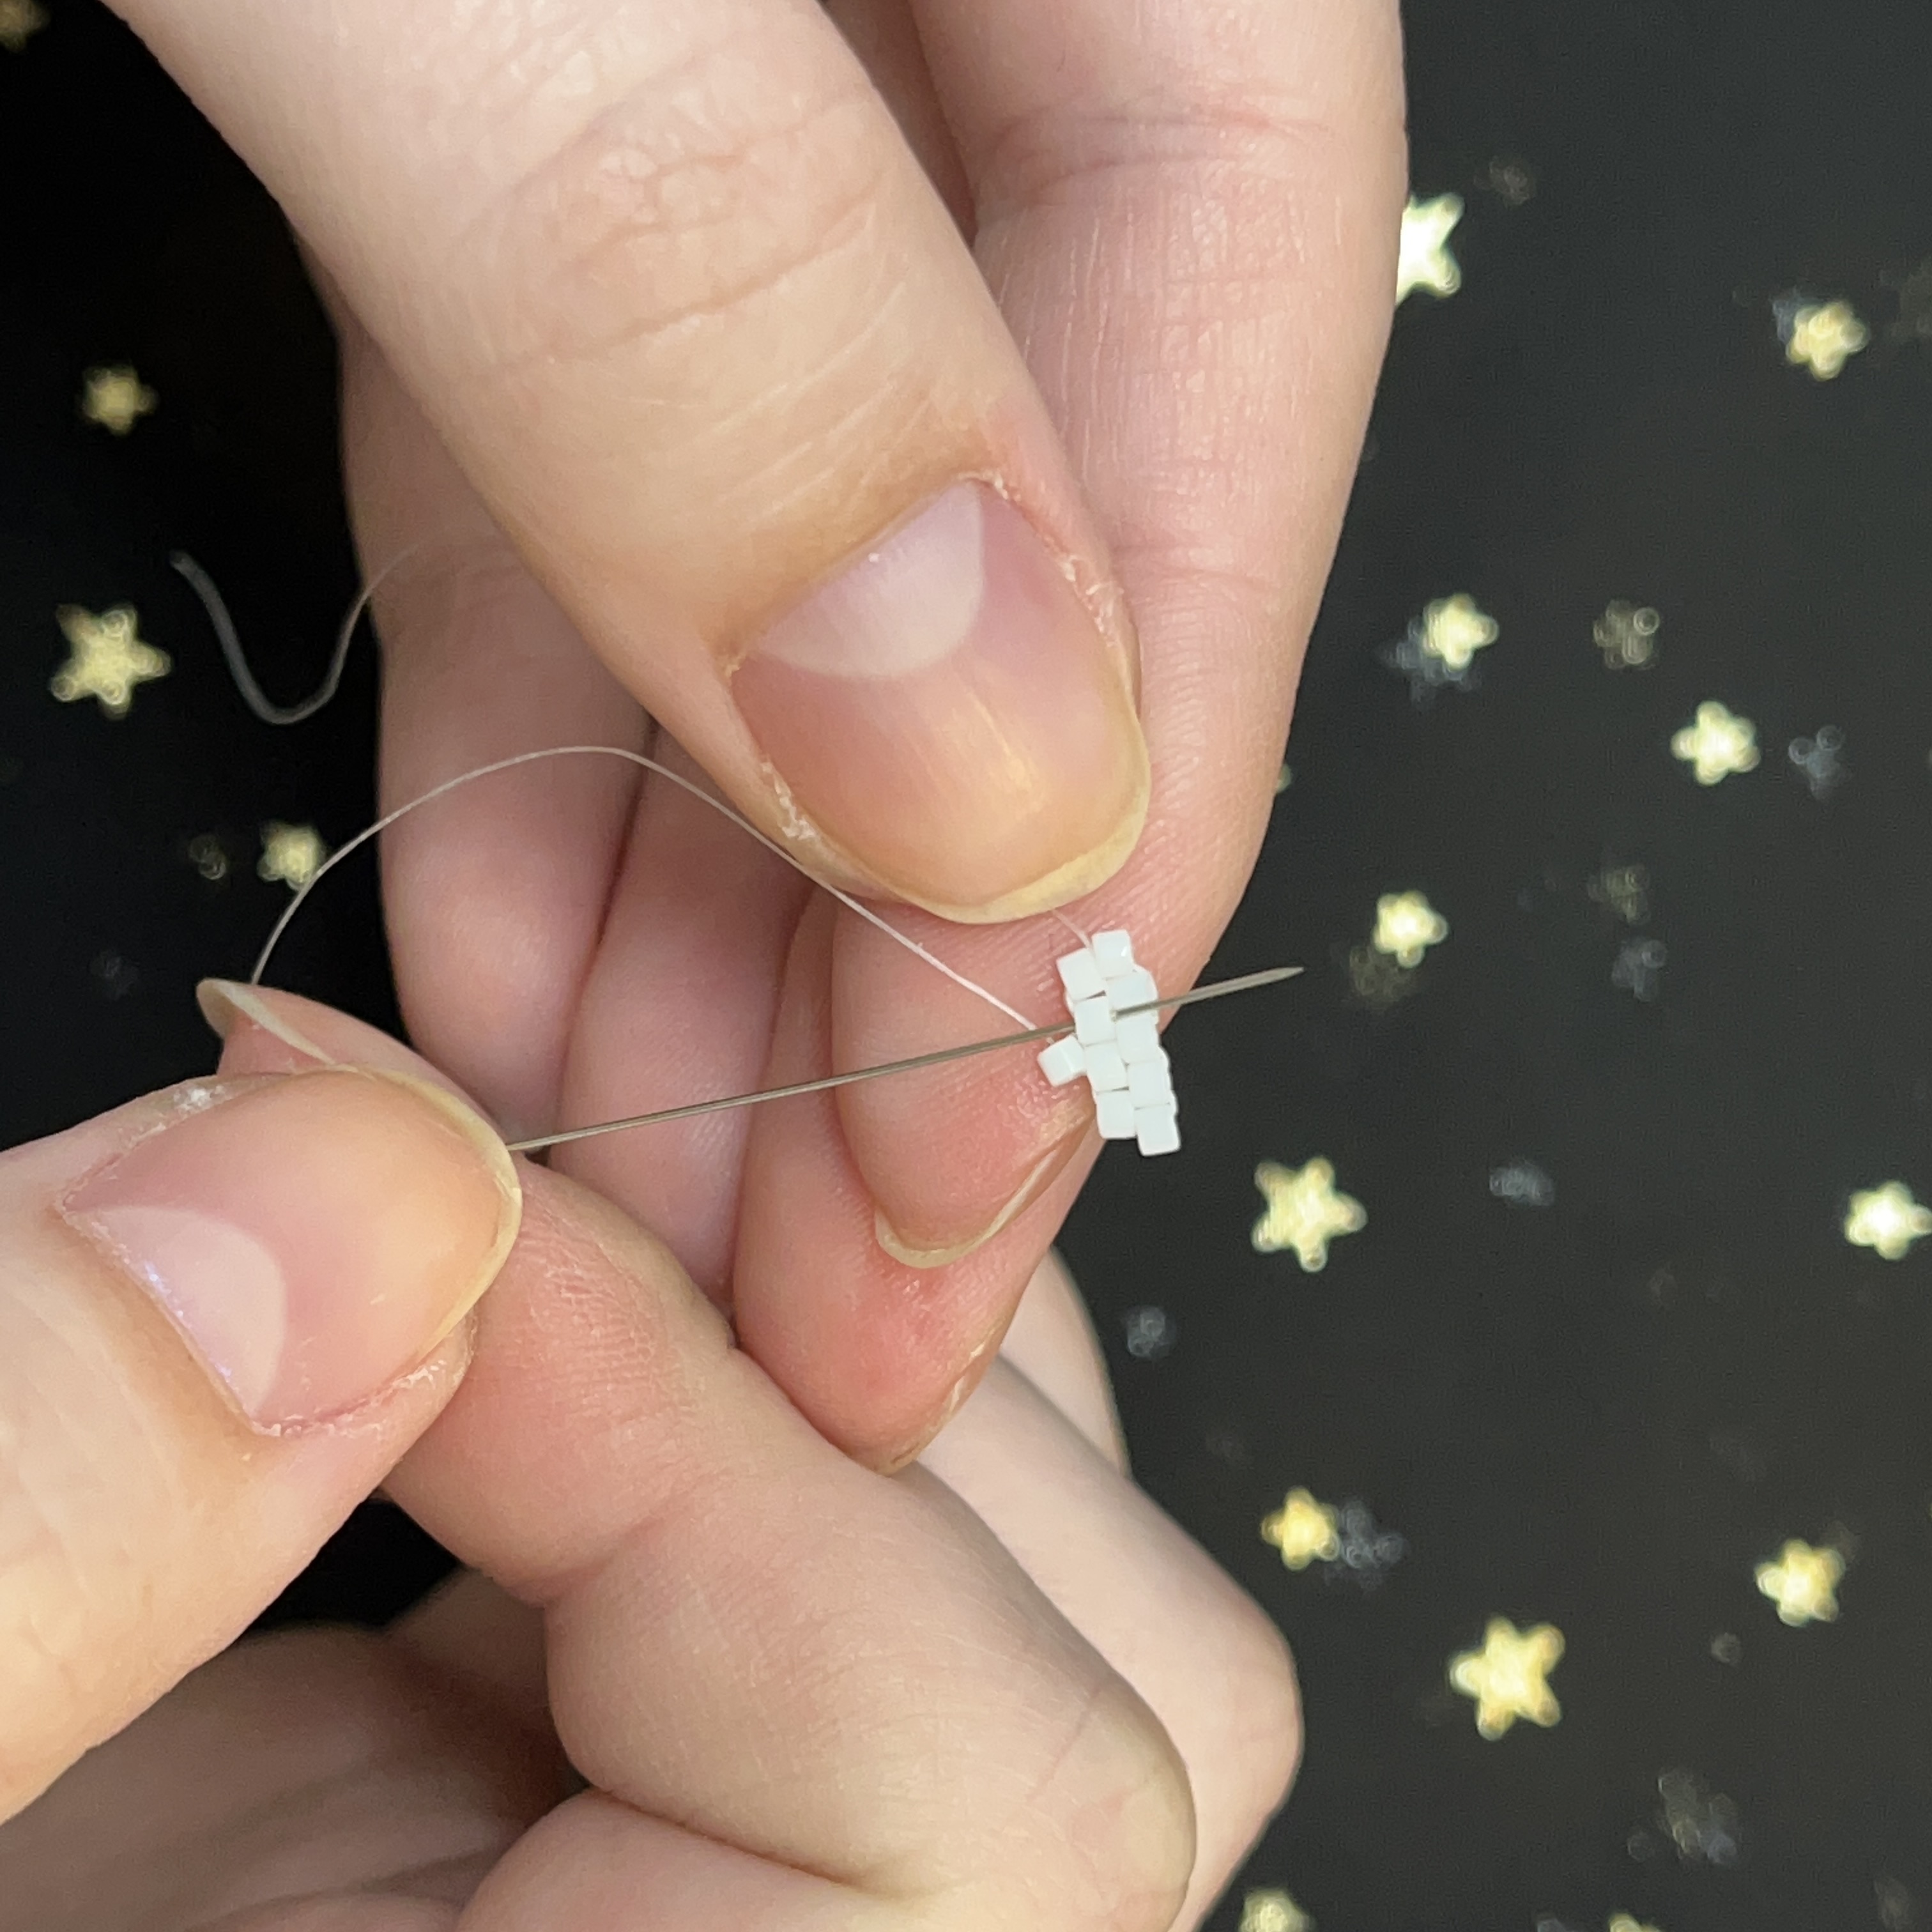
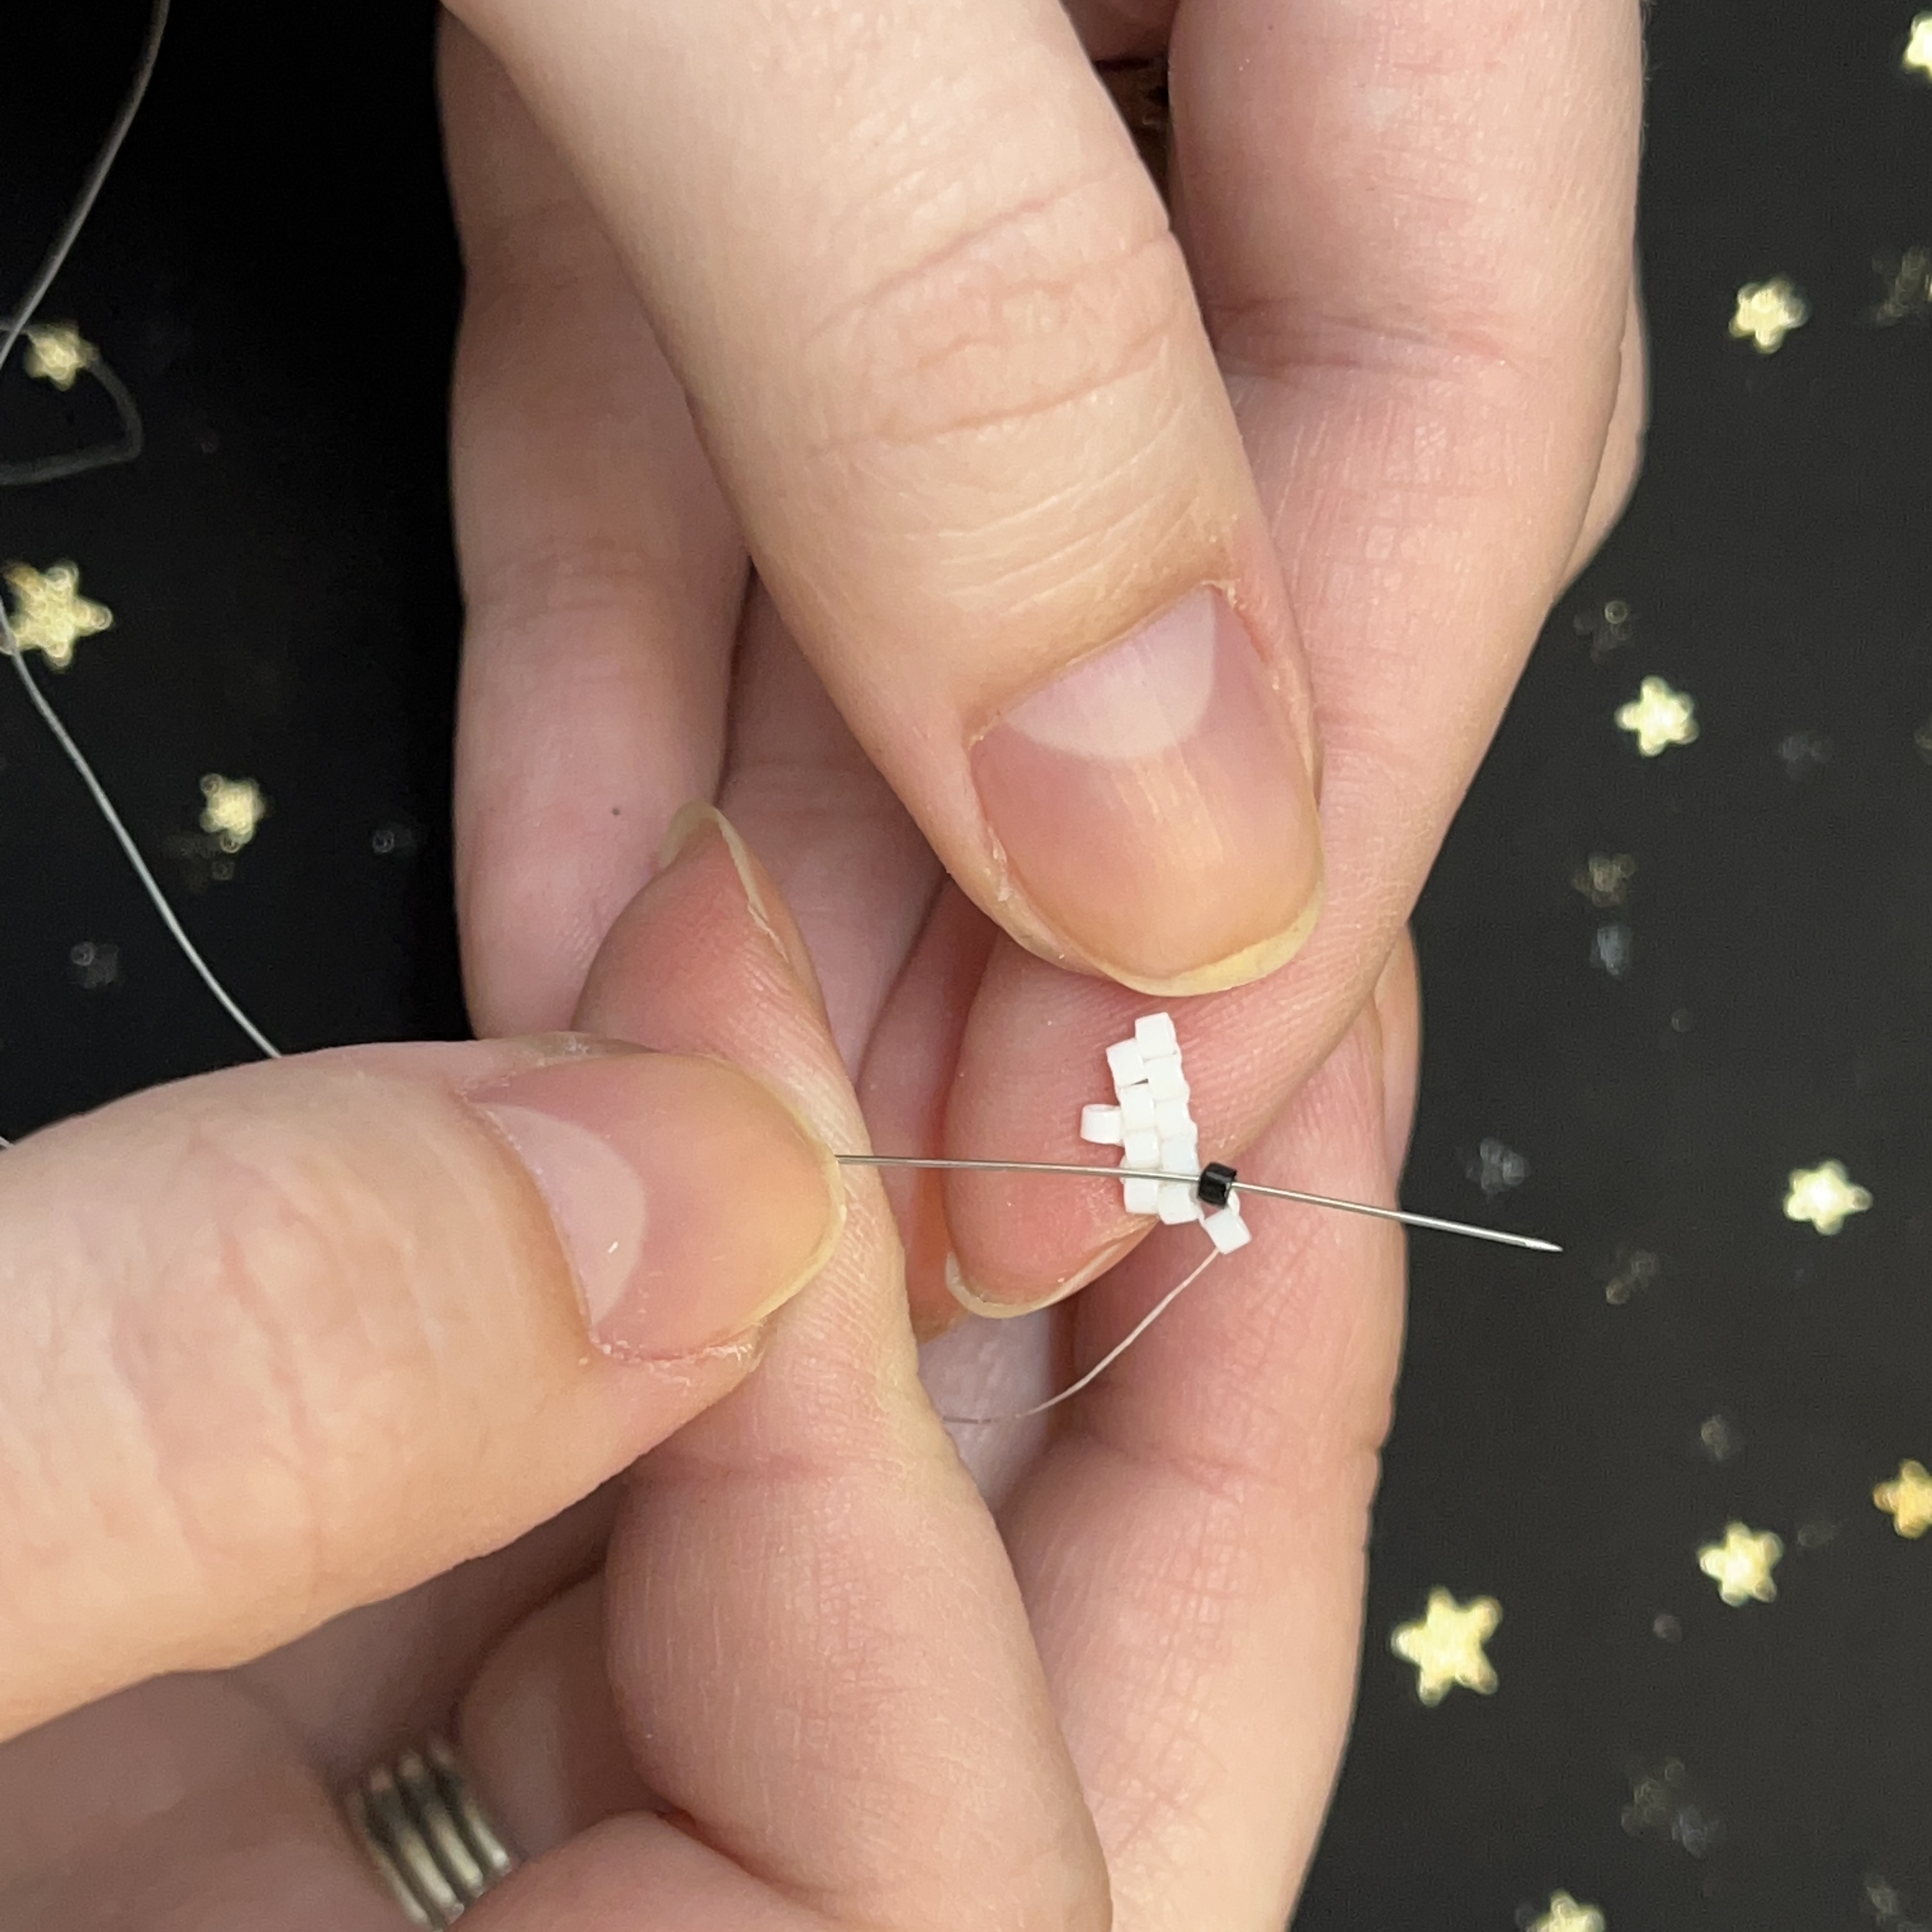
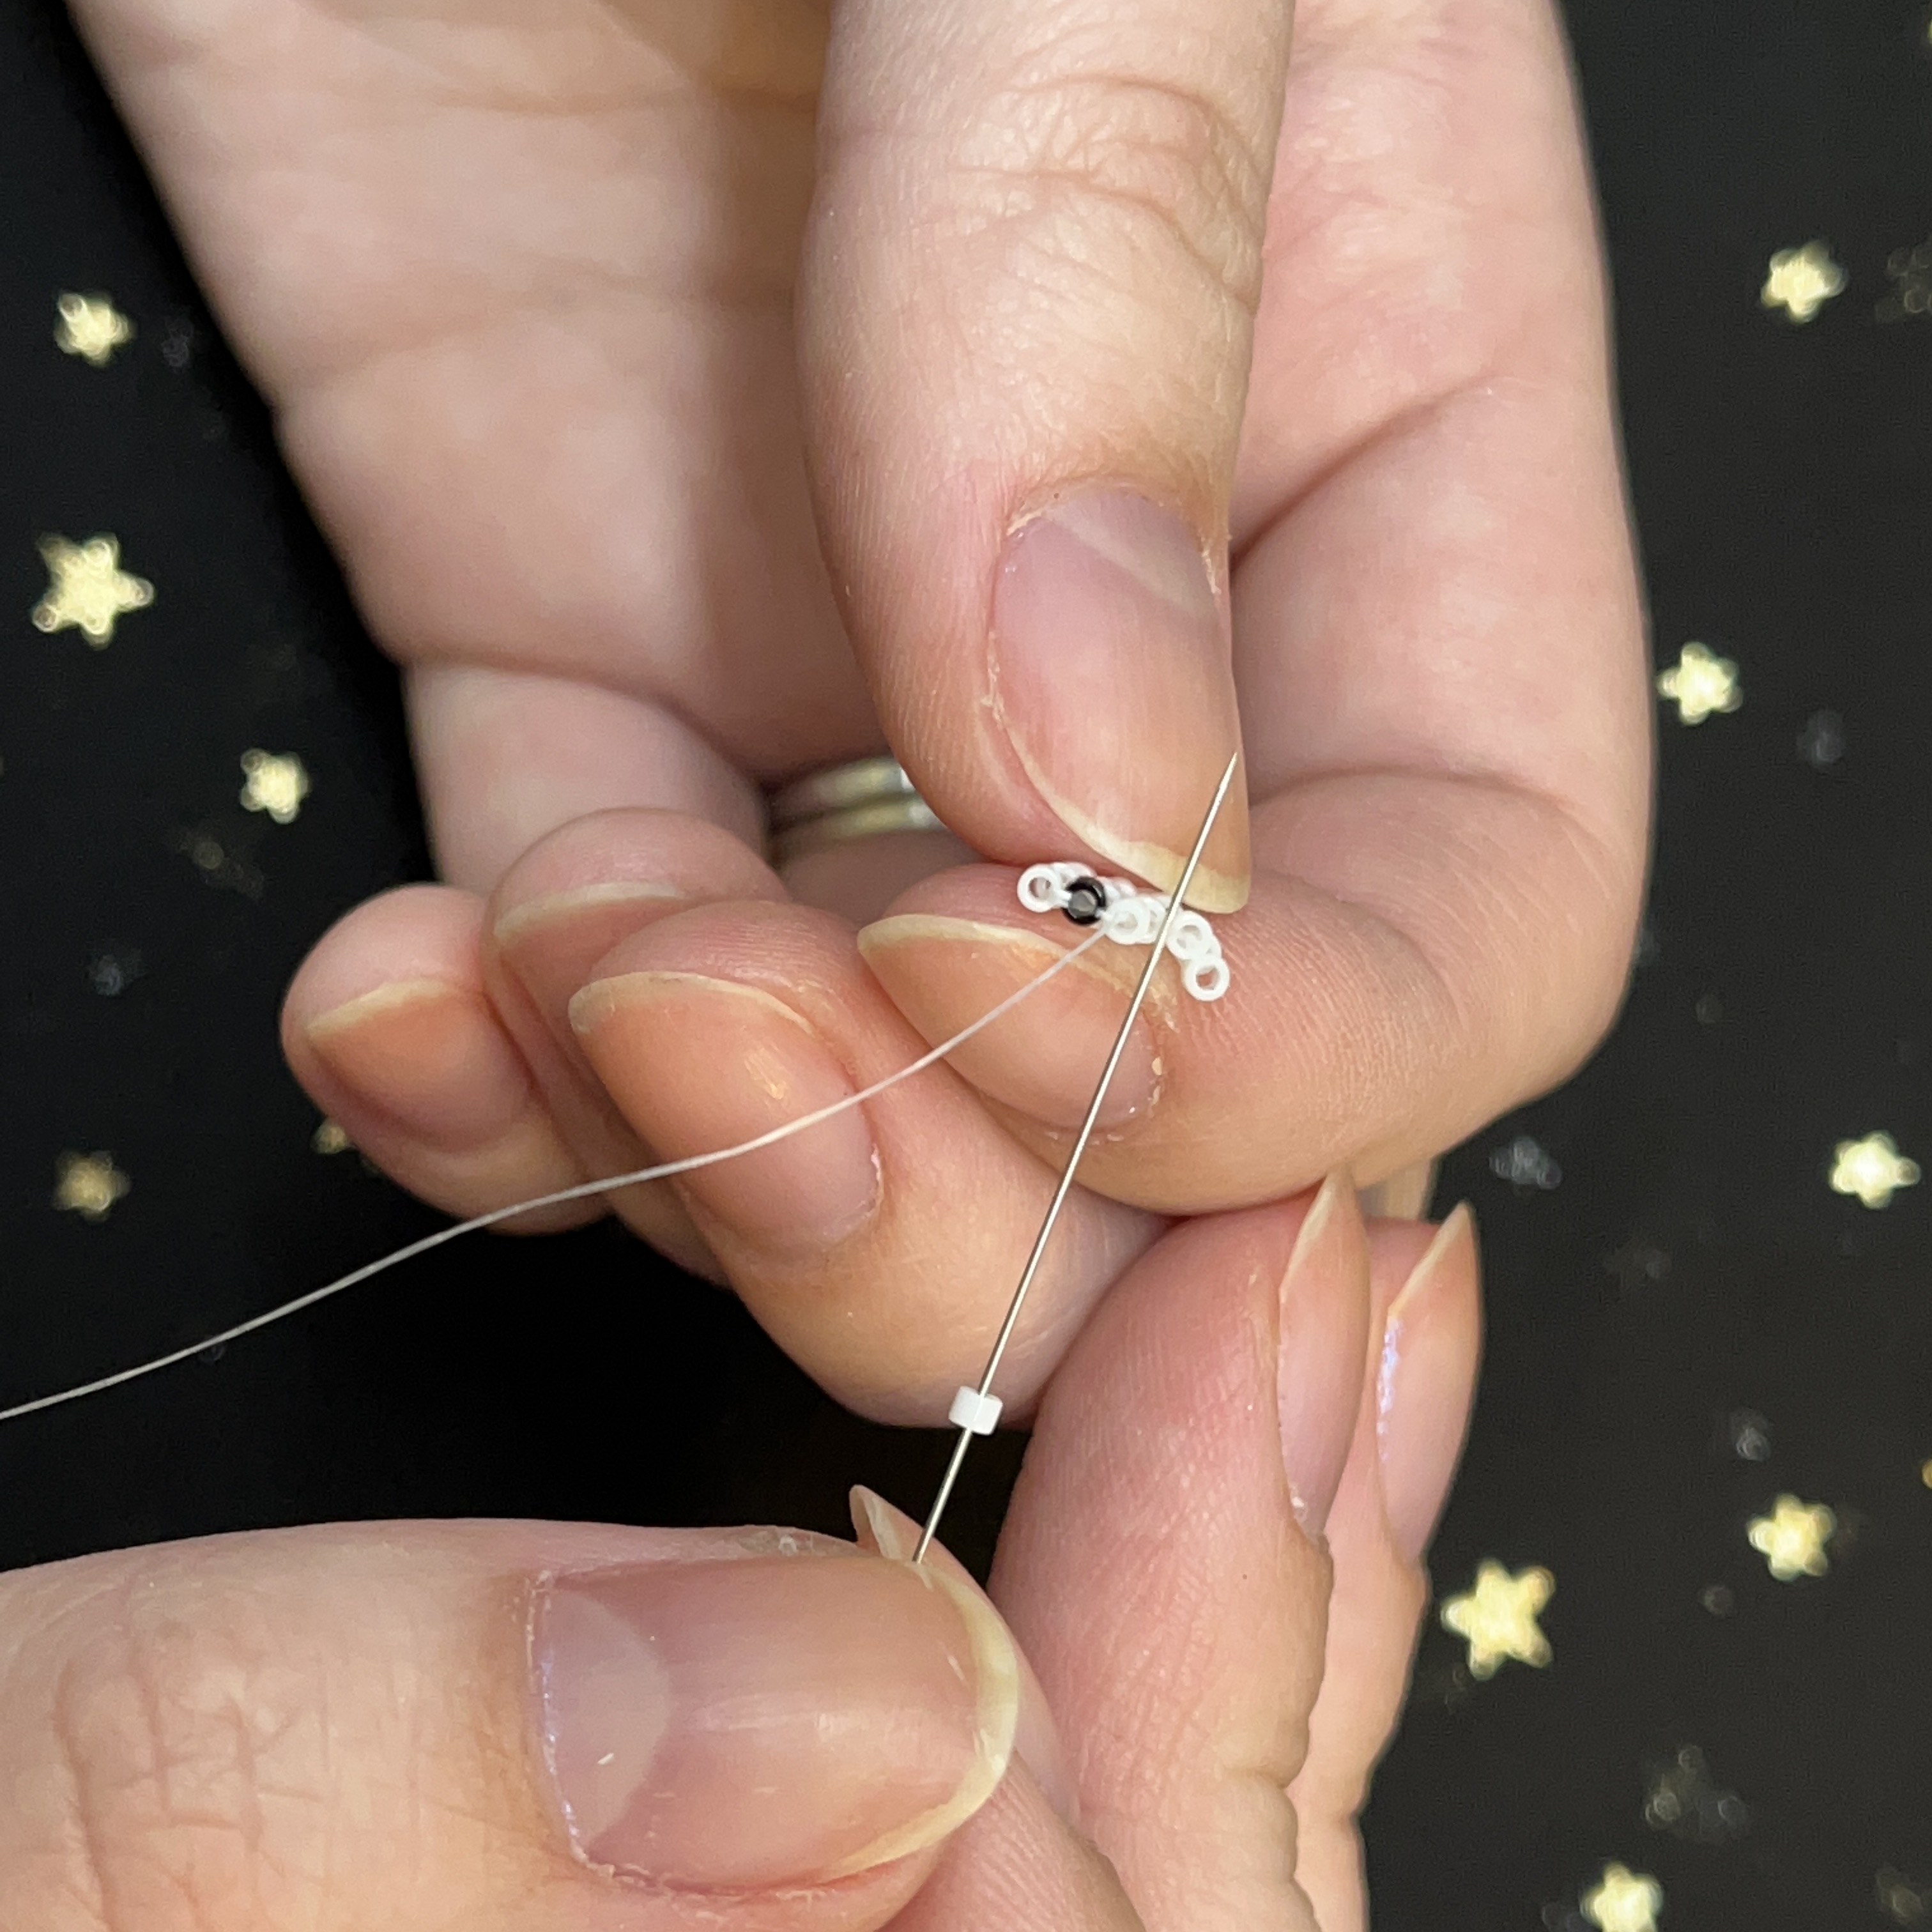
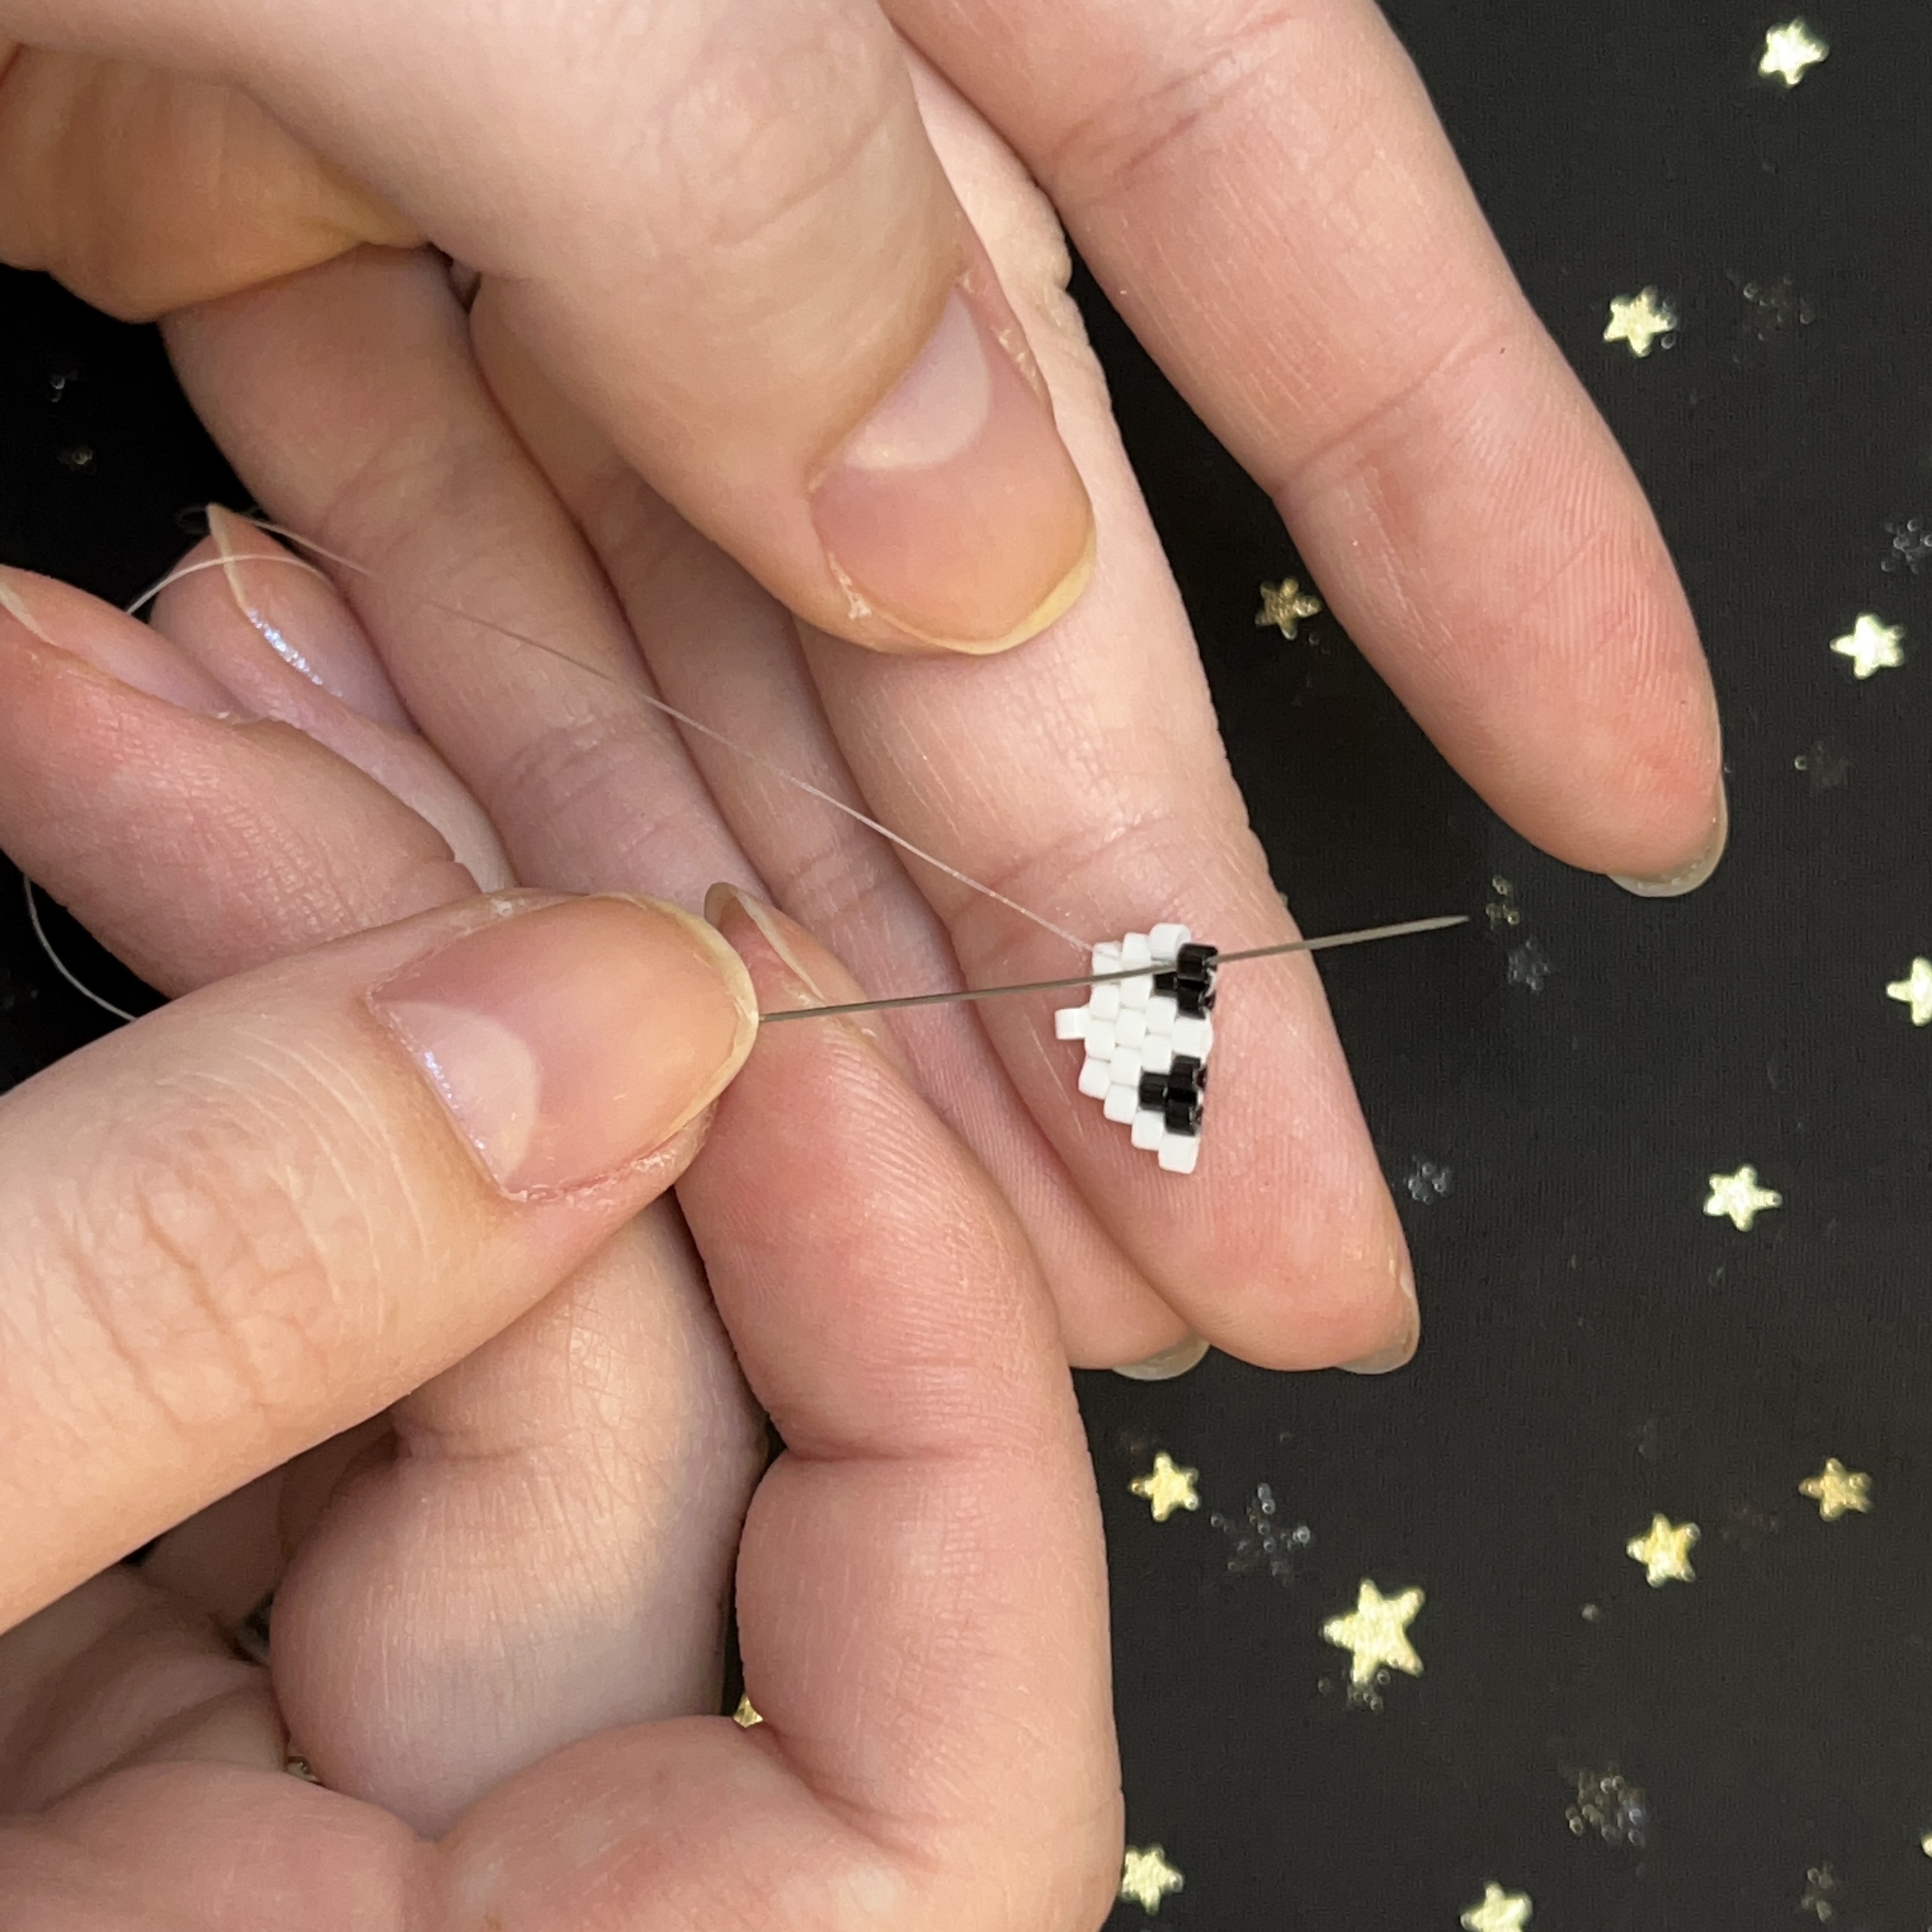
24. Now you're probably thinking, how am I going to get the 5th bead on? Well, add the 5th bead onto your needle and thread it through the very last bead on the first row. Pull tight!
25. Thread the needle through the bead behind the one you just added. Follow the picture and pull tight!
*Since shortly, we will be adding the top bead that will hold the jump ring, these next stitches will be a little different to a conventional brick stitch.
26. Go back through the last bead you added and all the way through to the very first bead in the first row. Pull tight!
27. Following the picture, thread through the second bead through to the middle bead in the second row.
28. Go back through the middle bead and through the 3rd bead on the first row (second from the left, third from the right). Pull tight!
29. Add a white delica bead and thread through the second bead from the right top to bottom.
30. Thread bottom to top through the second bead from the left. Pull tight.
31. Thread through the top bead one more time to secure.
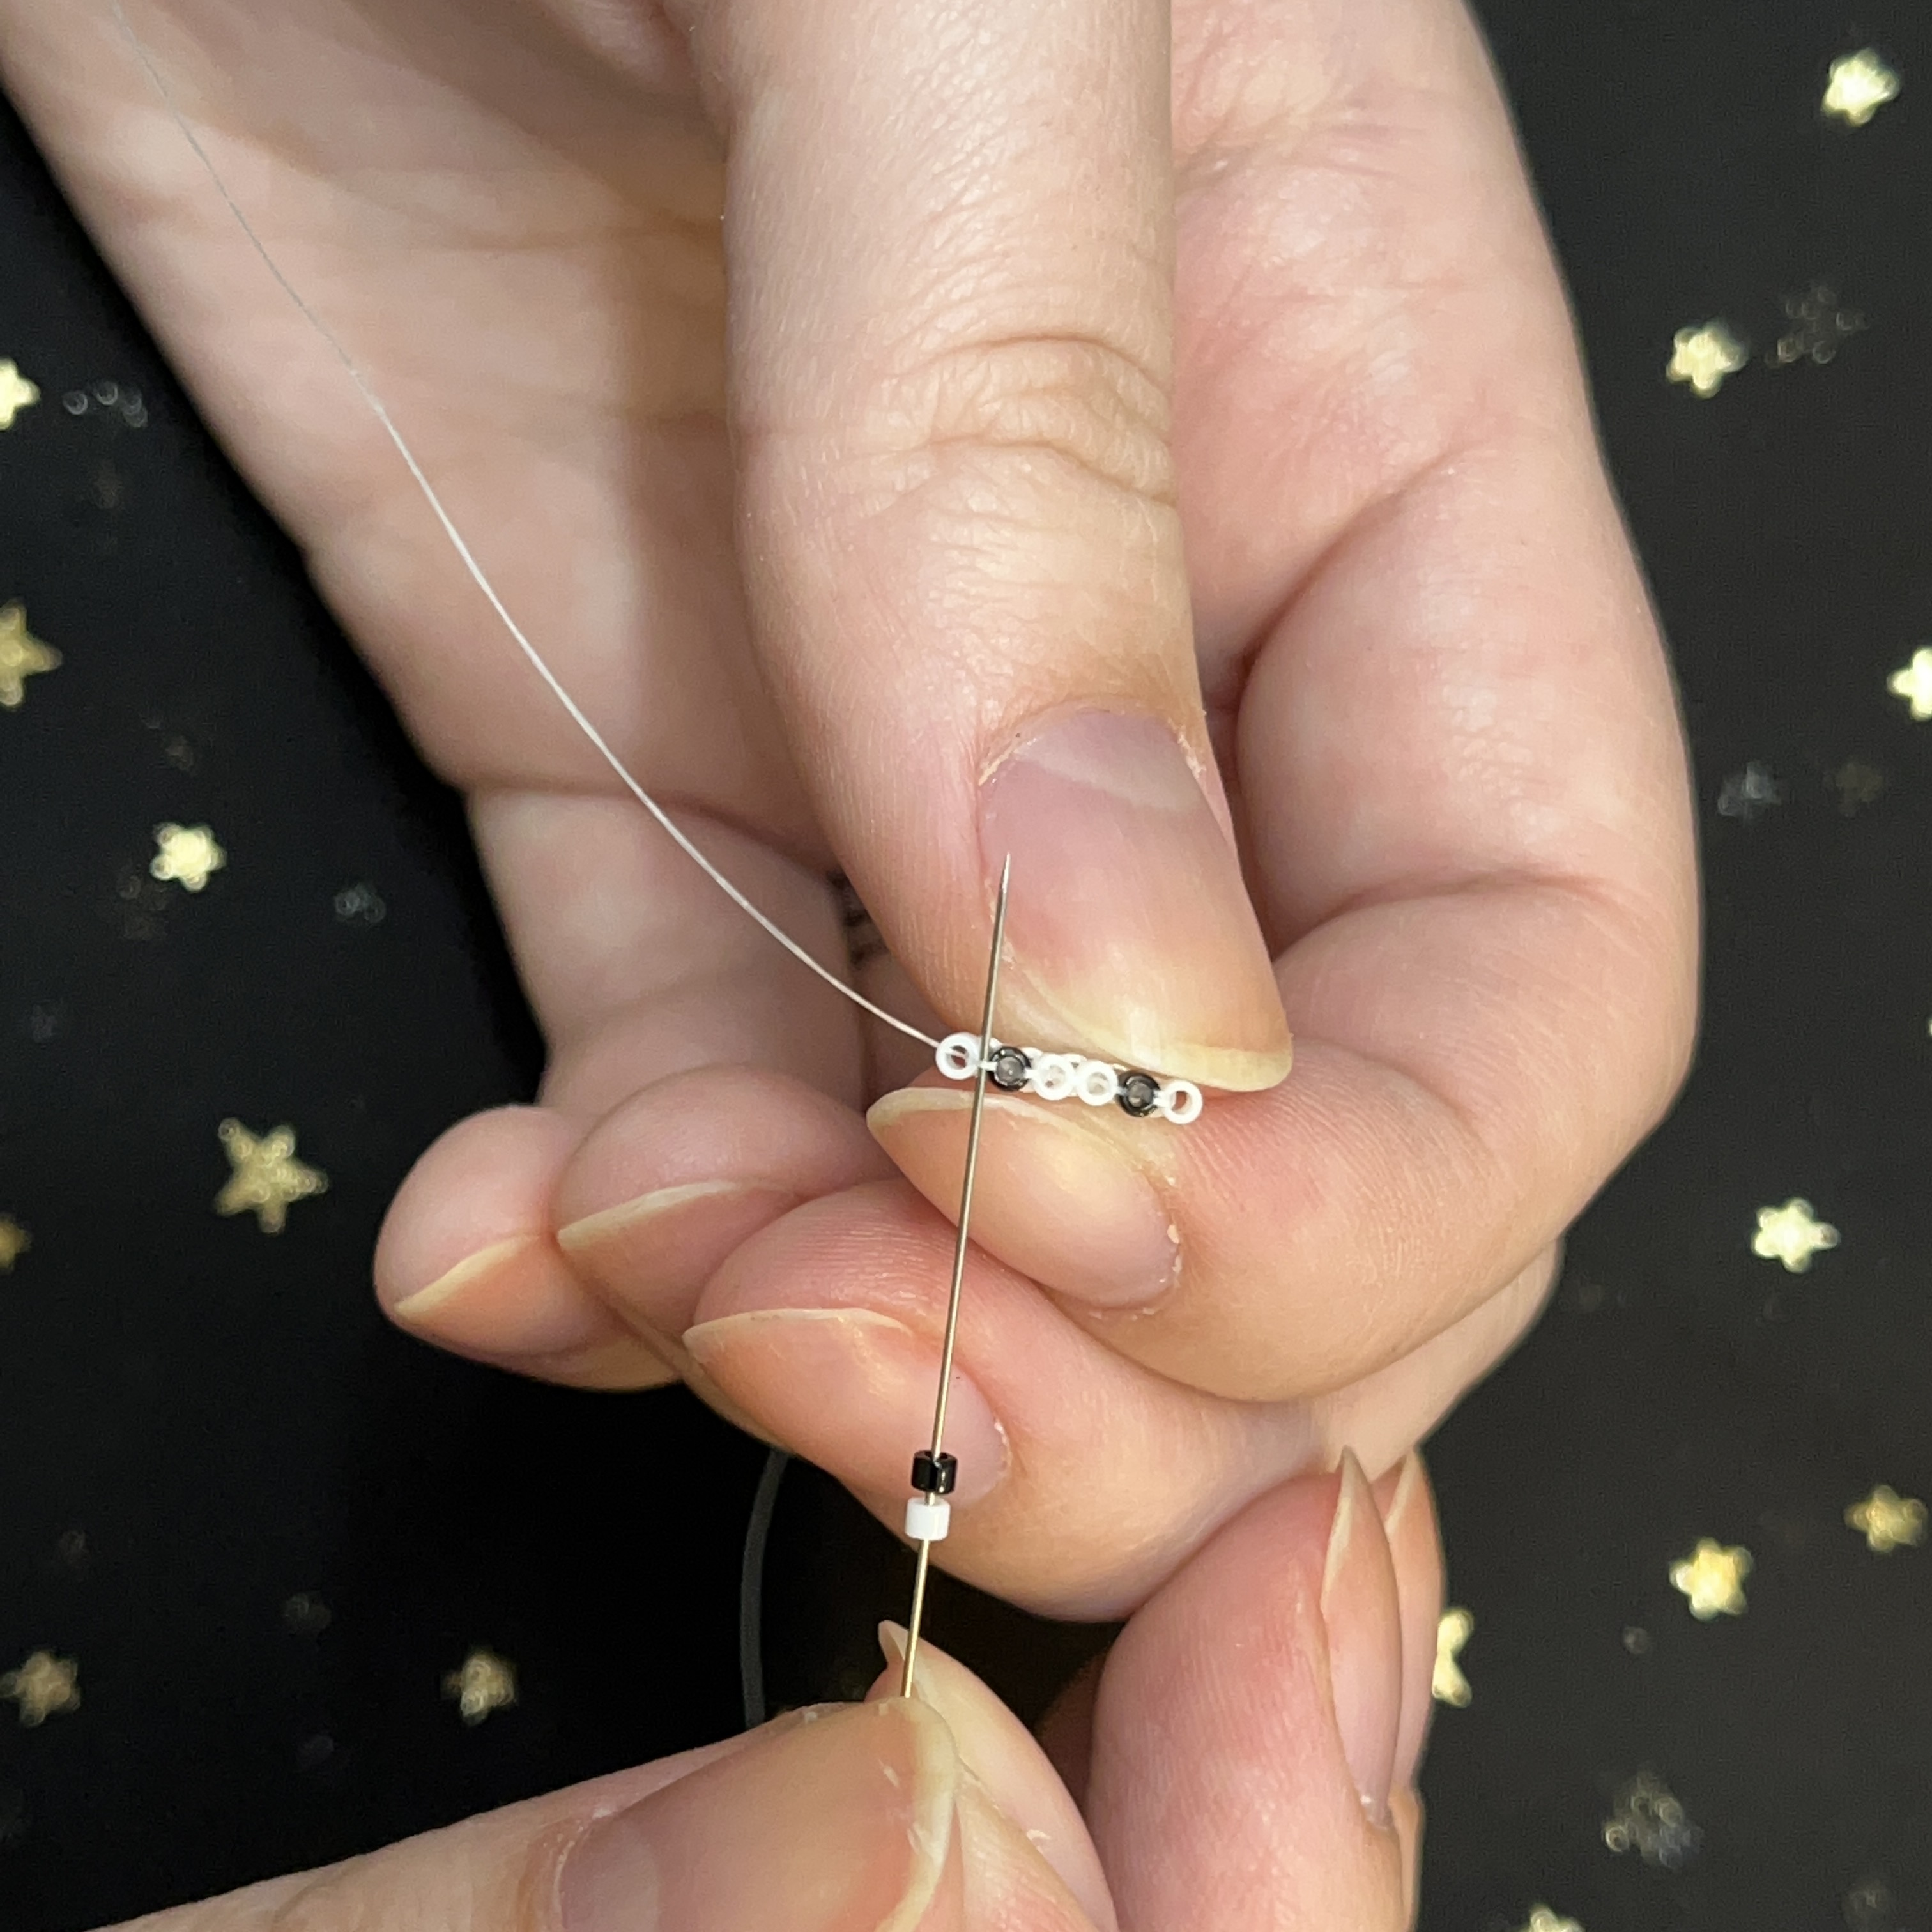
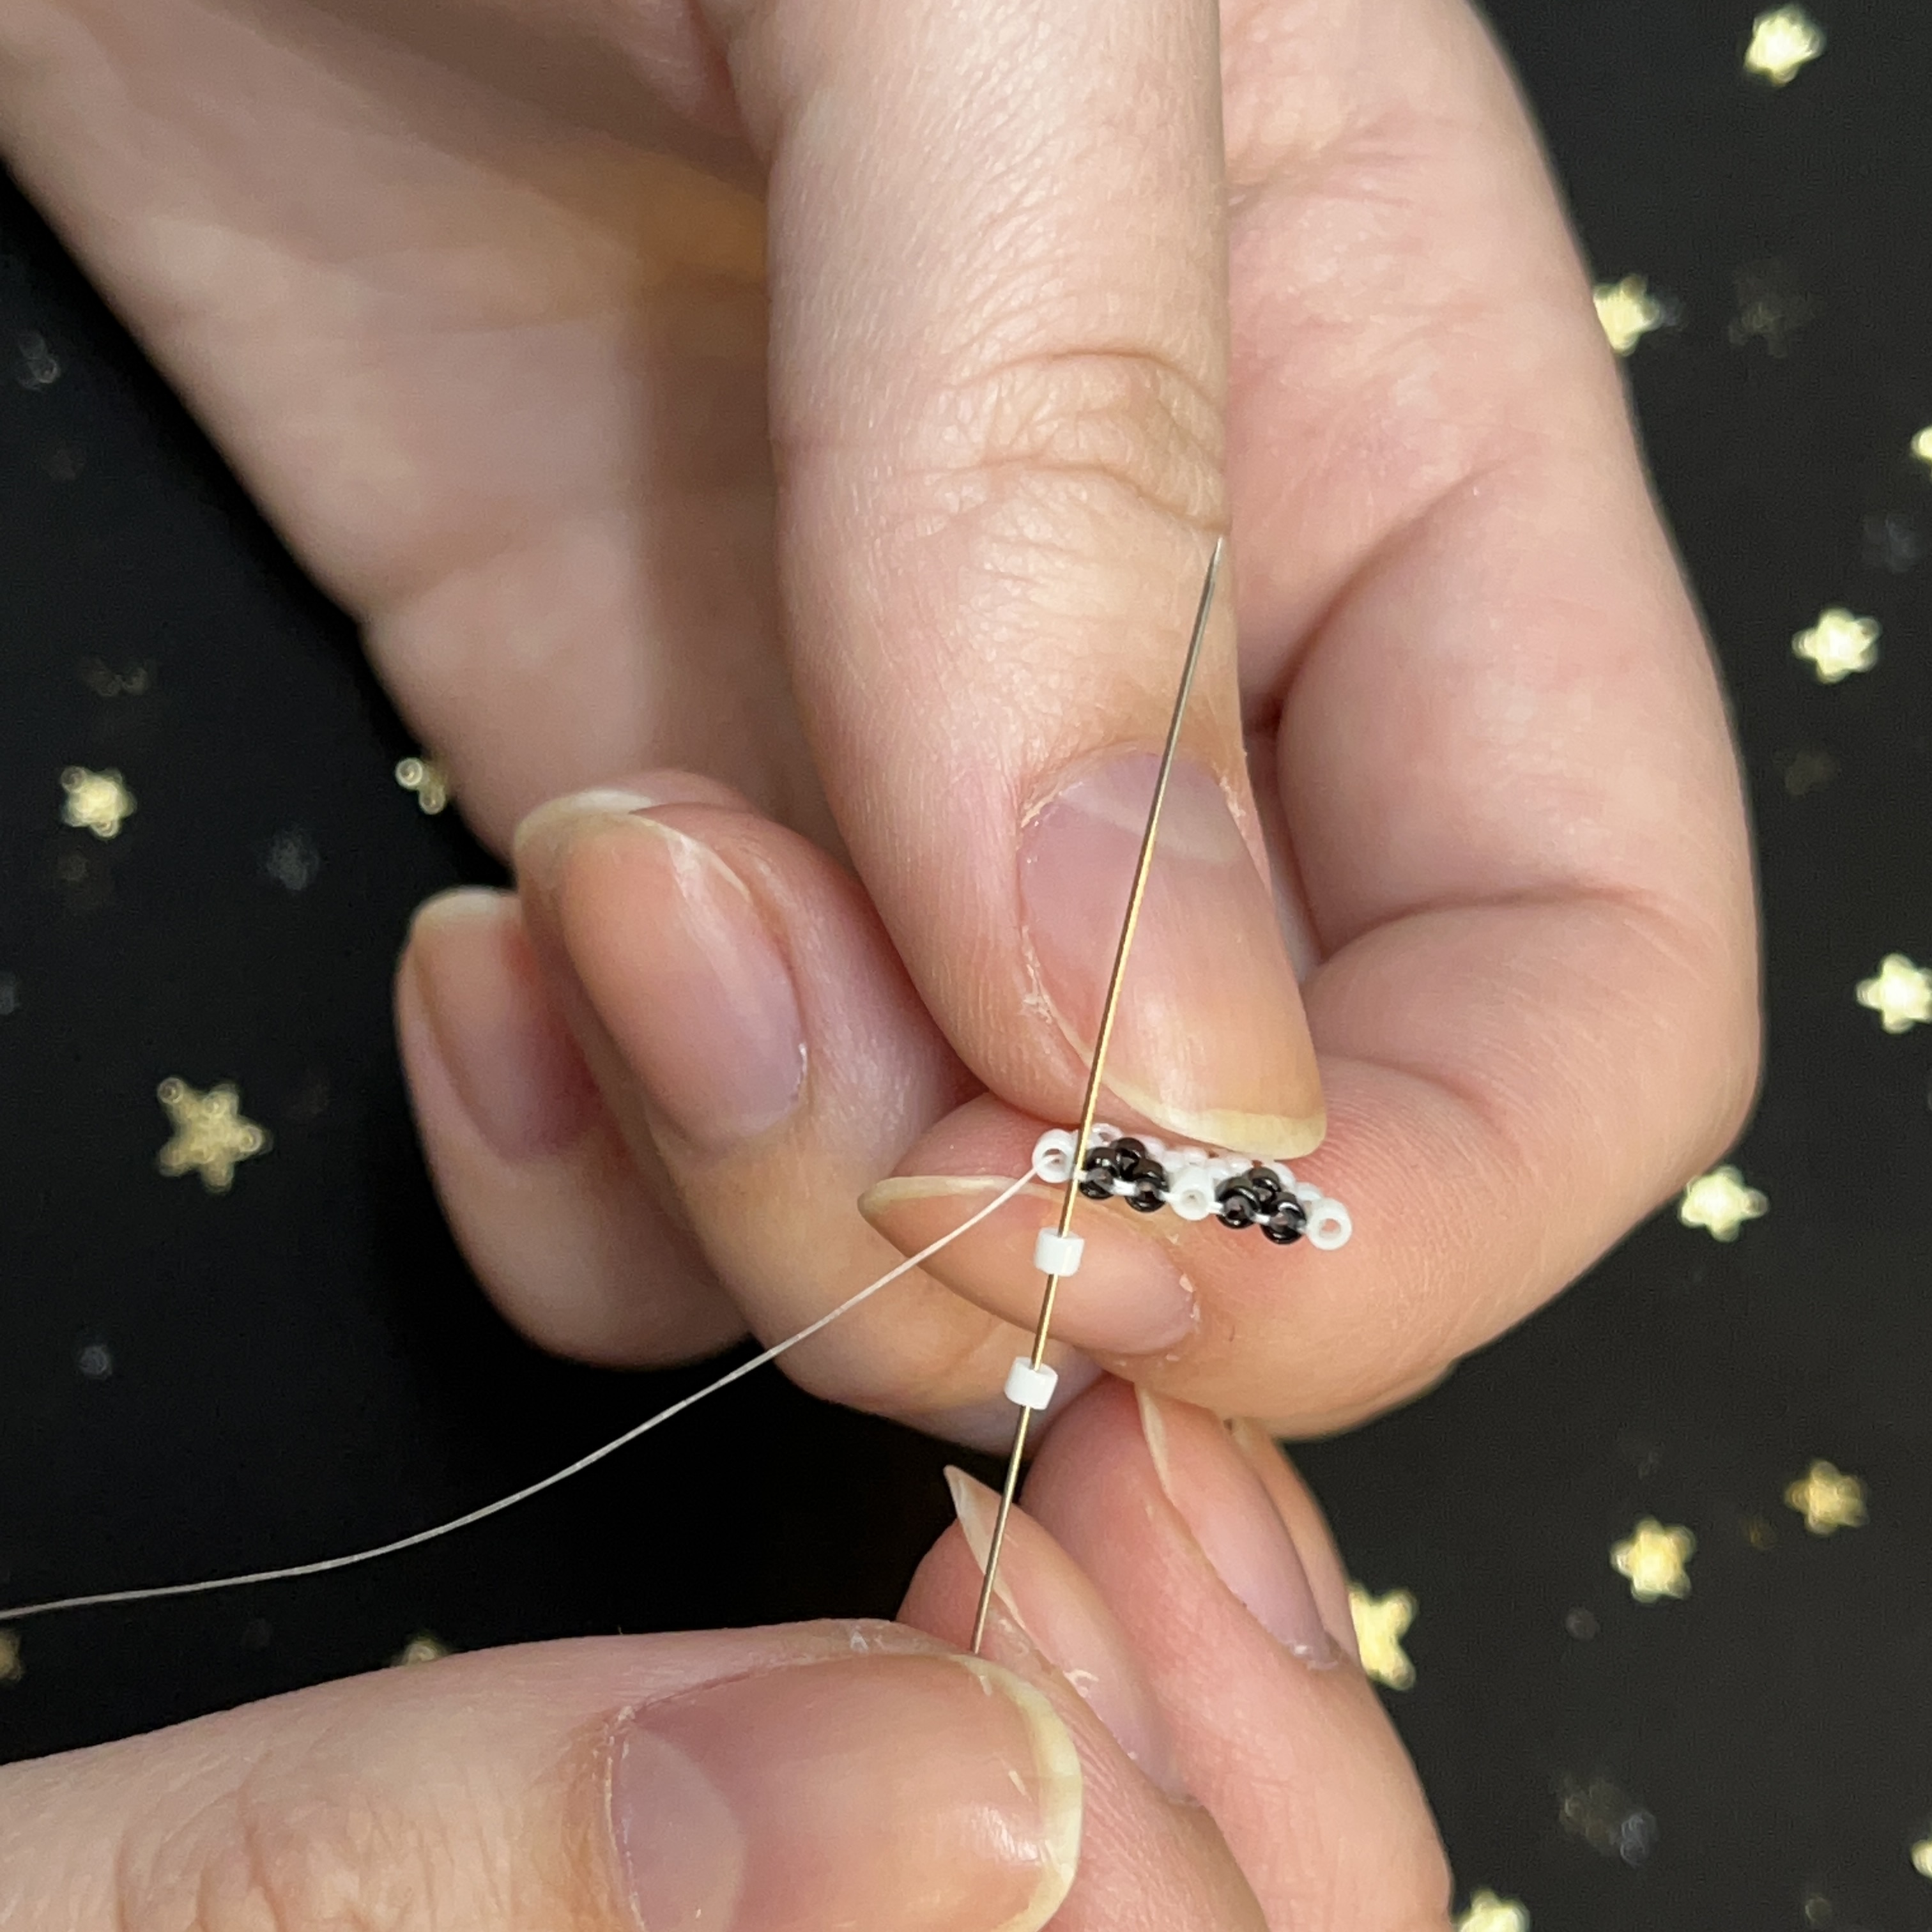
32. Thread through the second bead from the left in the picture.
33. Thread through the center bead in the second row. Pull tight.
34. Now we are on our way back to classic brick stitch. Thread through the second bead to the right, bottom to top.
35. Thread the needle top to bottom. Pull tight and straighten out the rows.
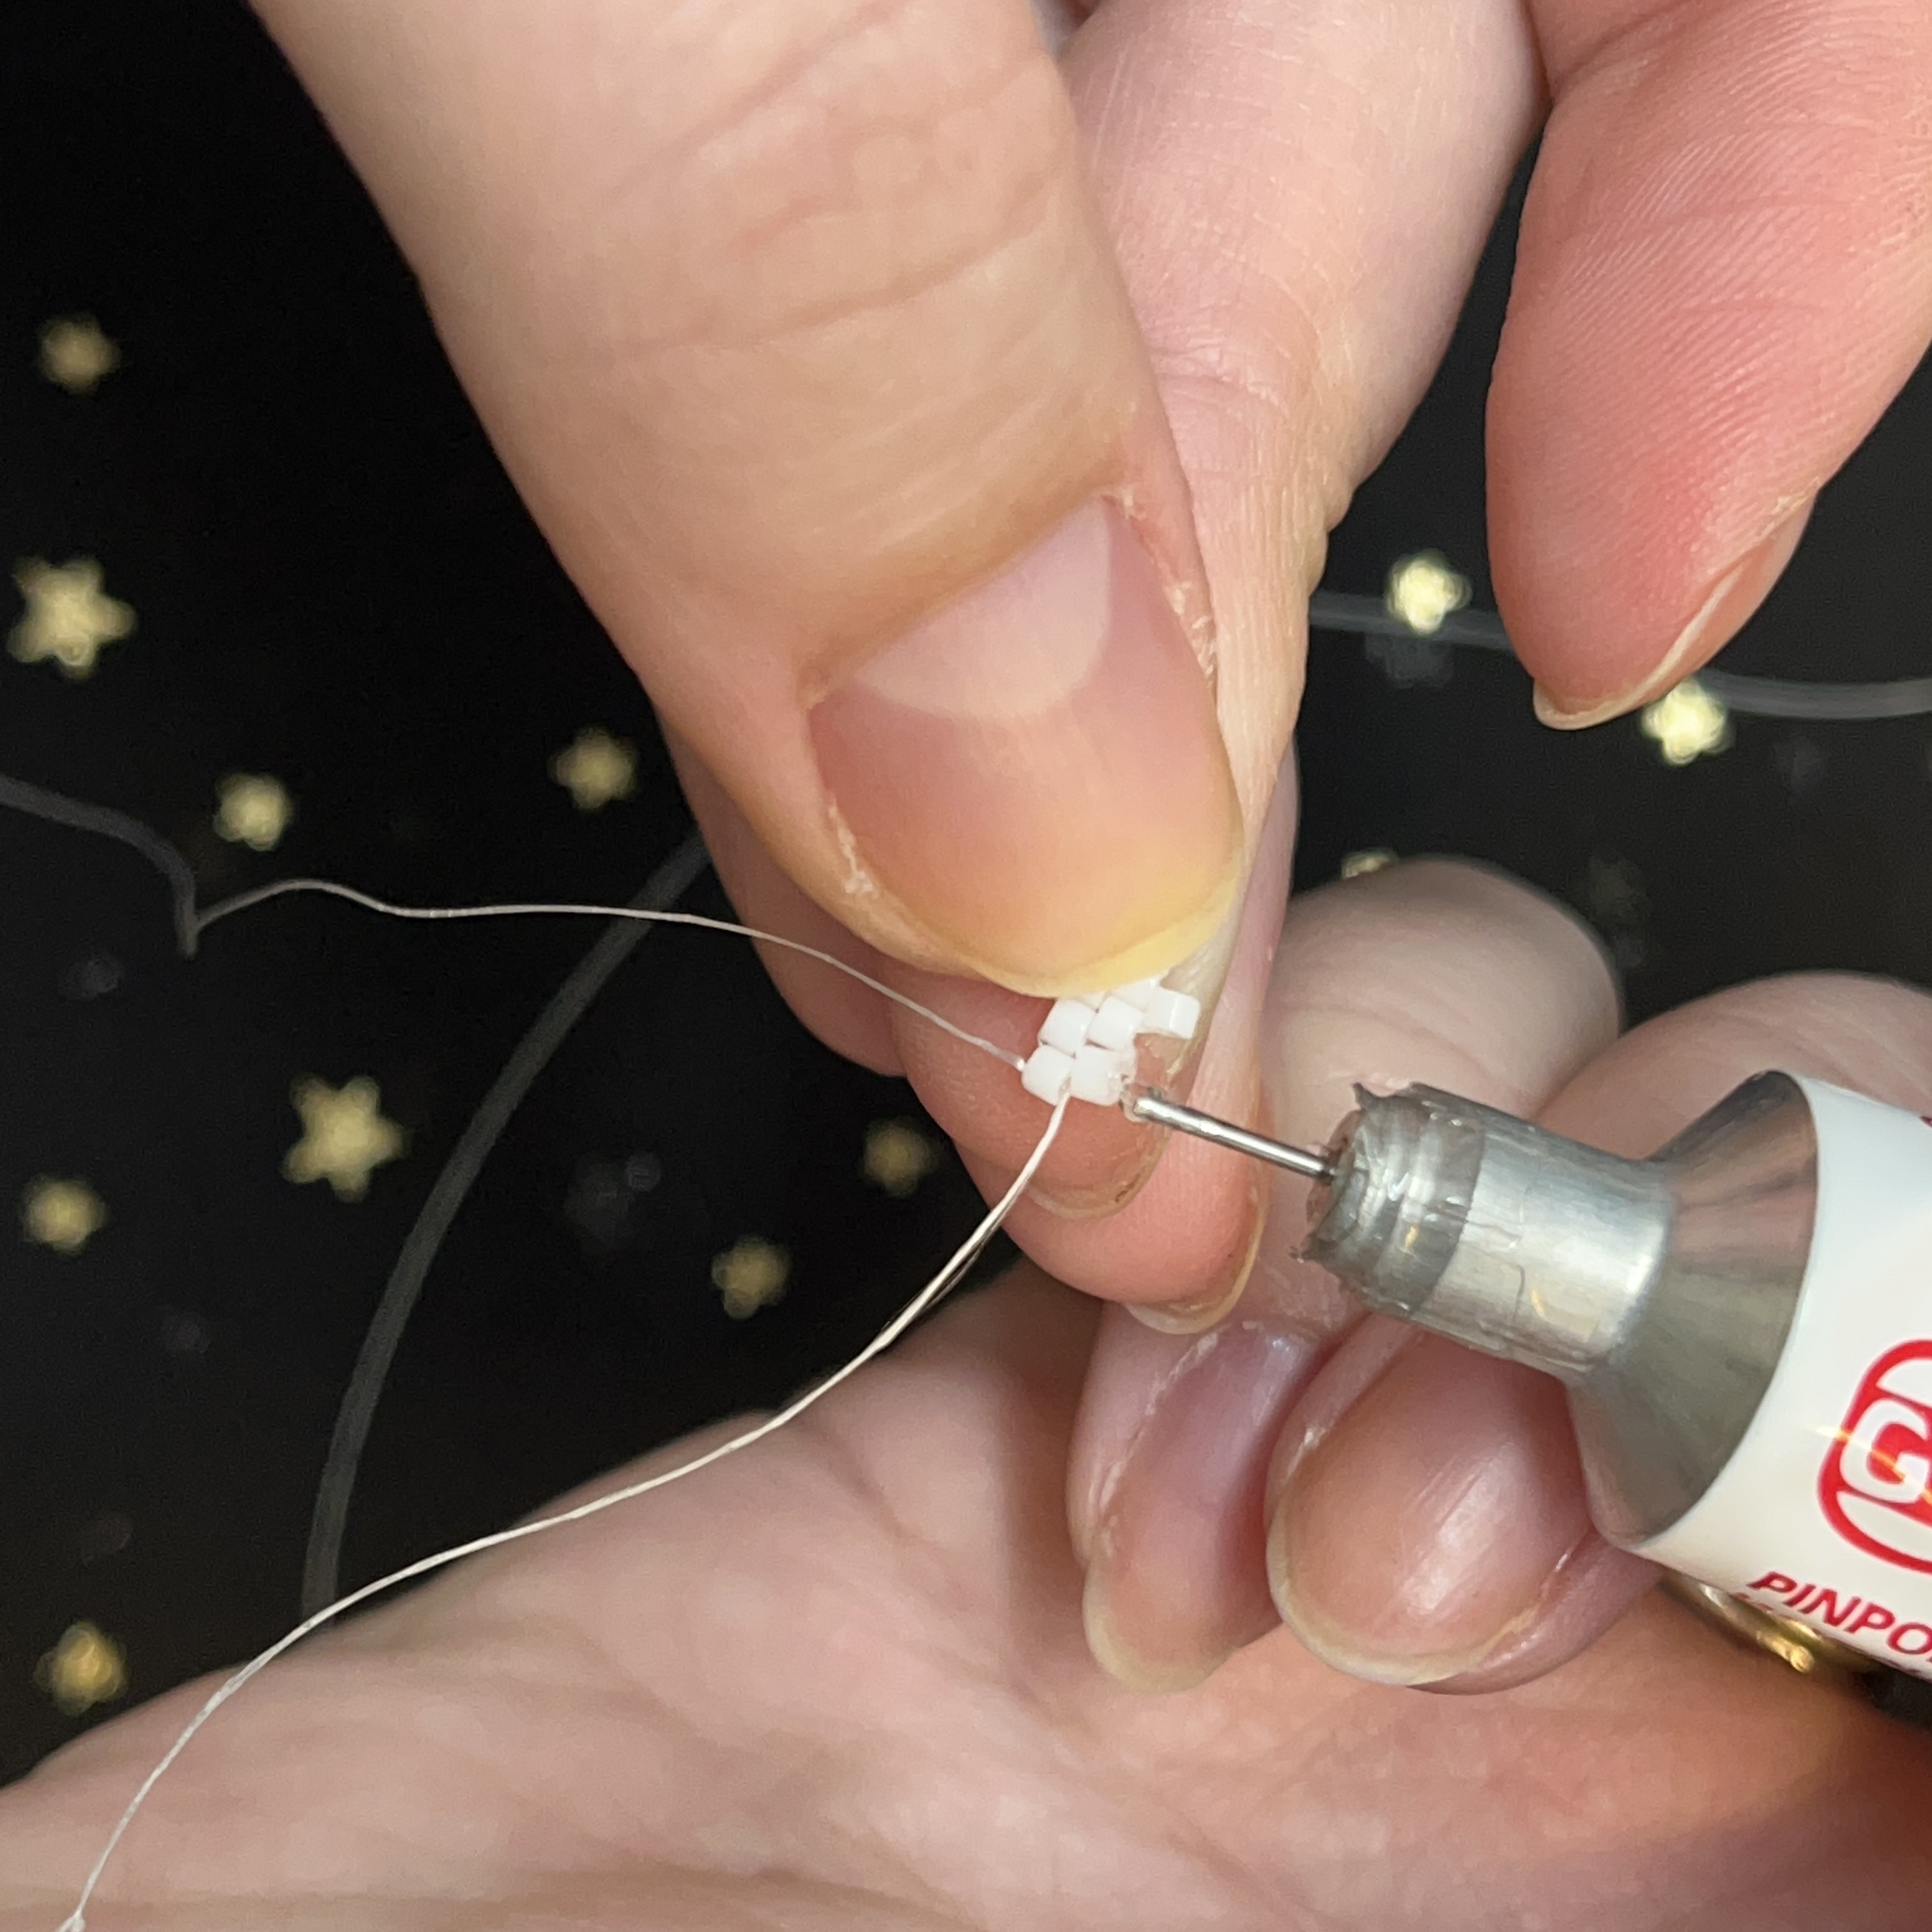
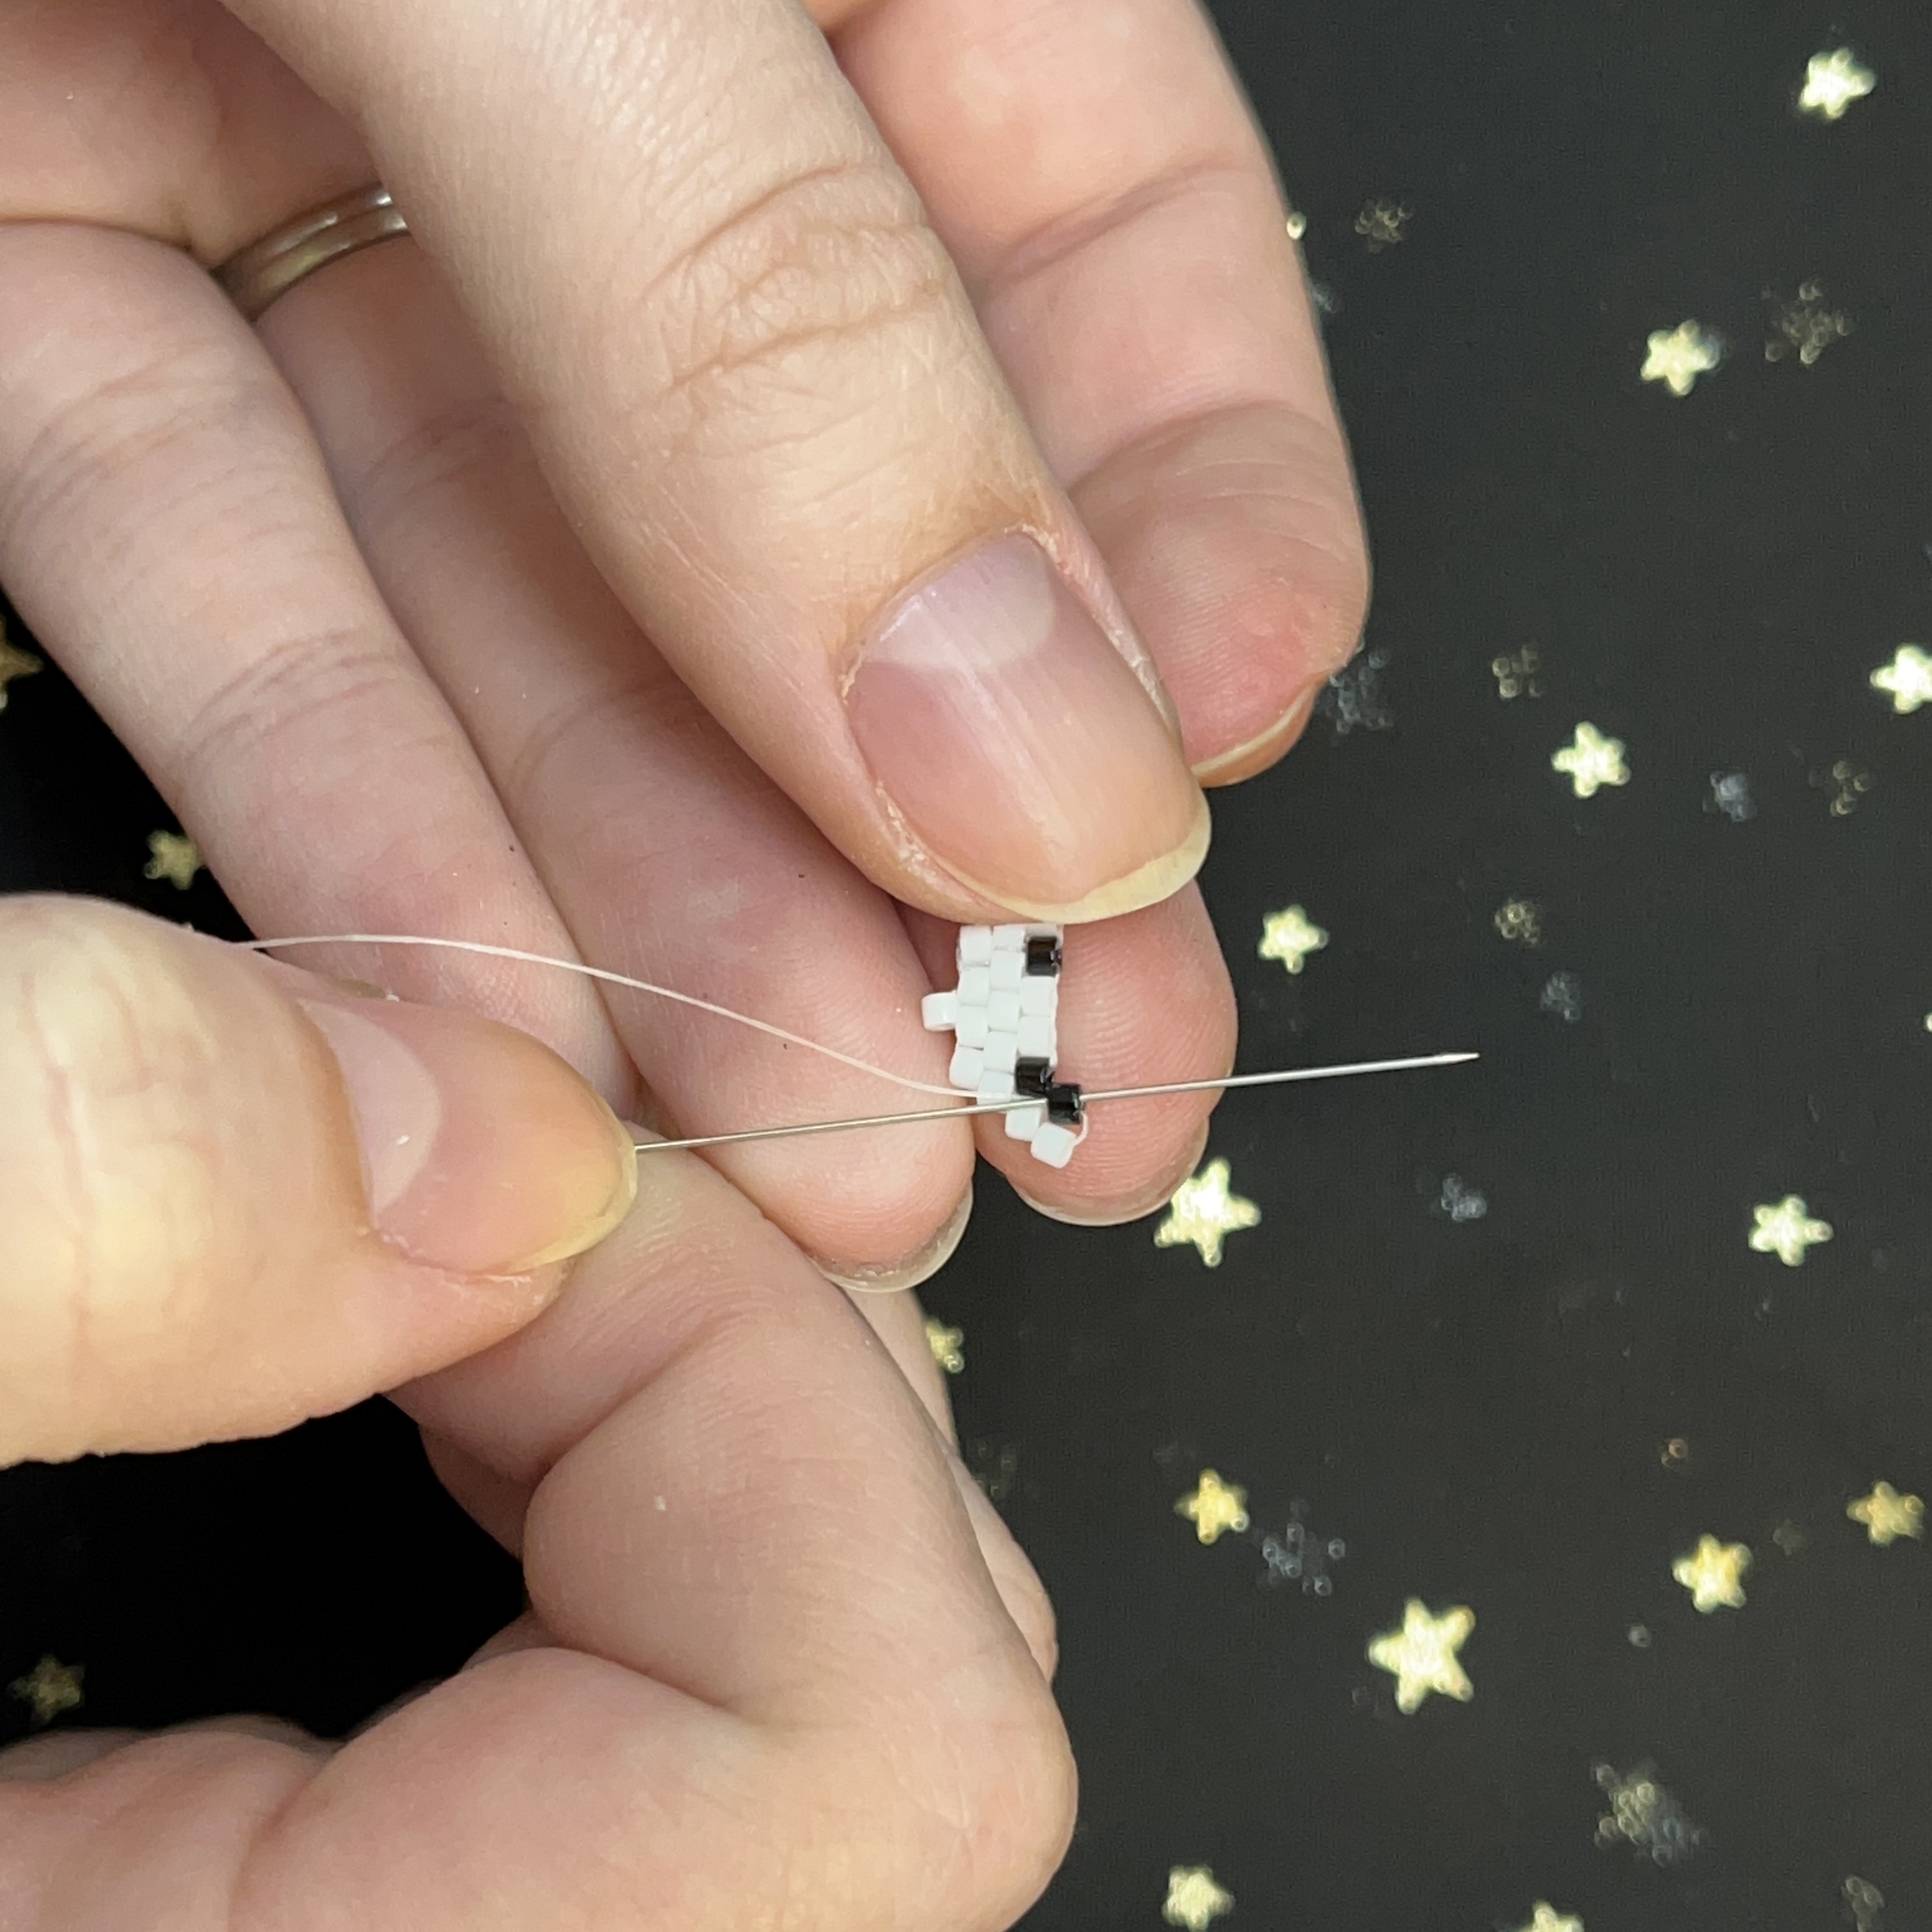
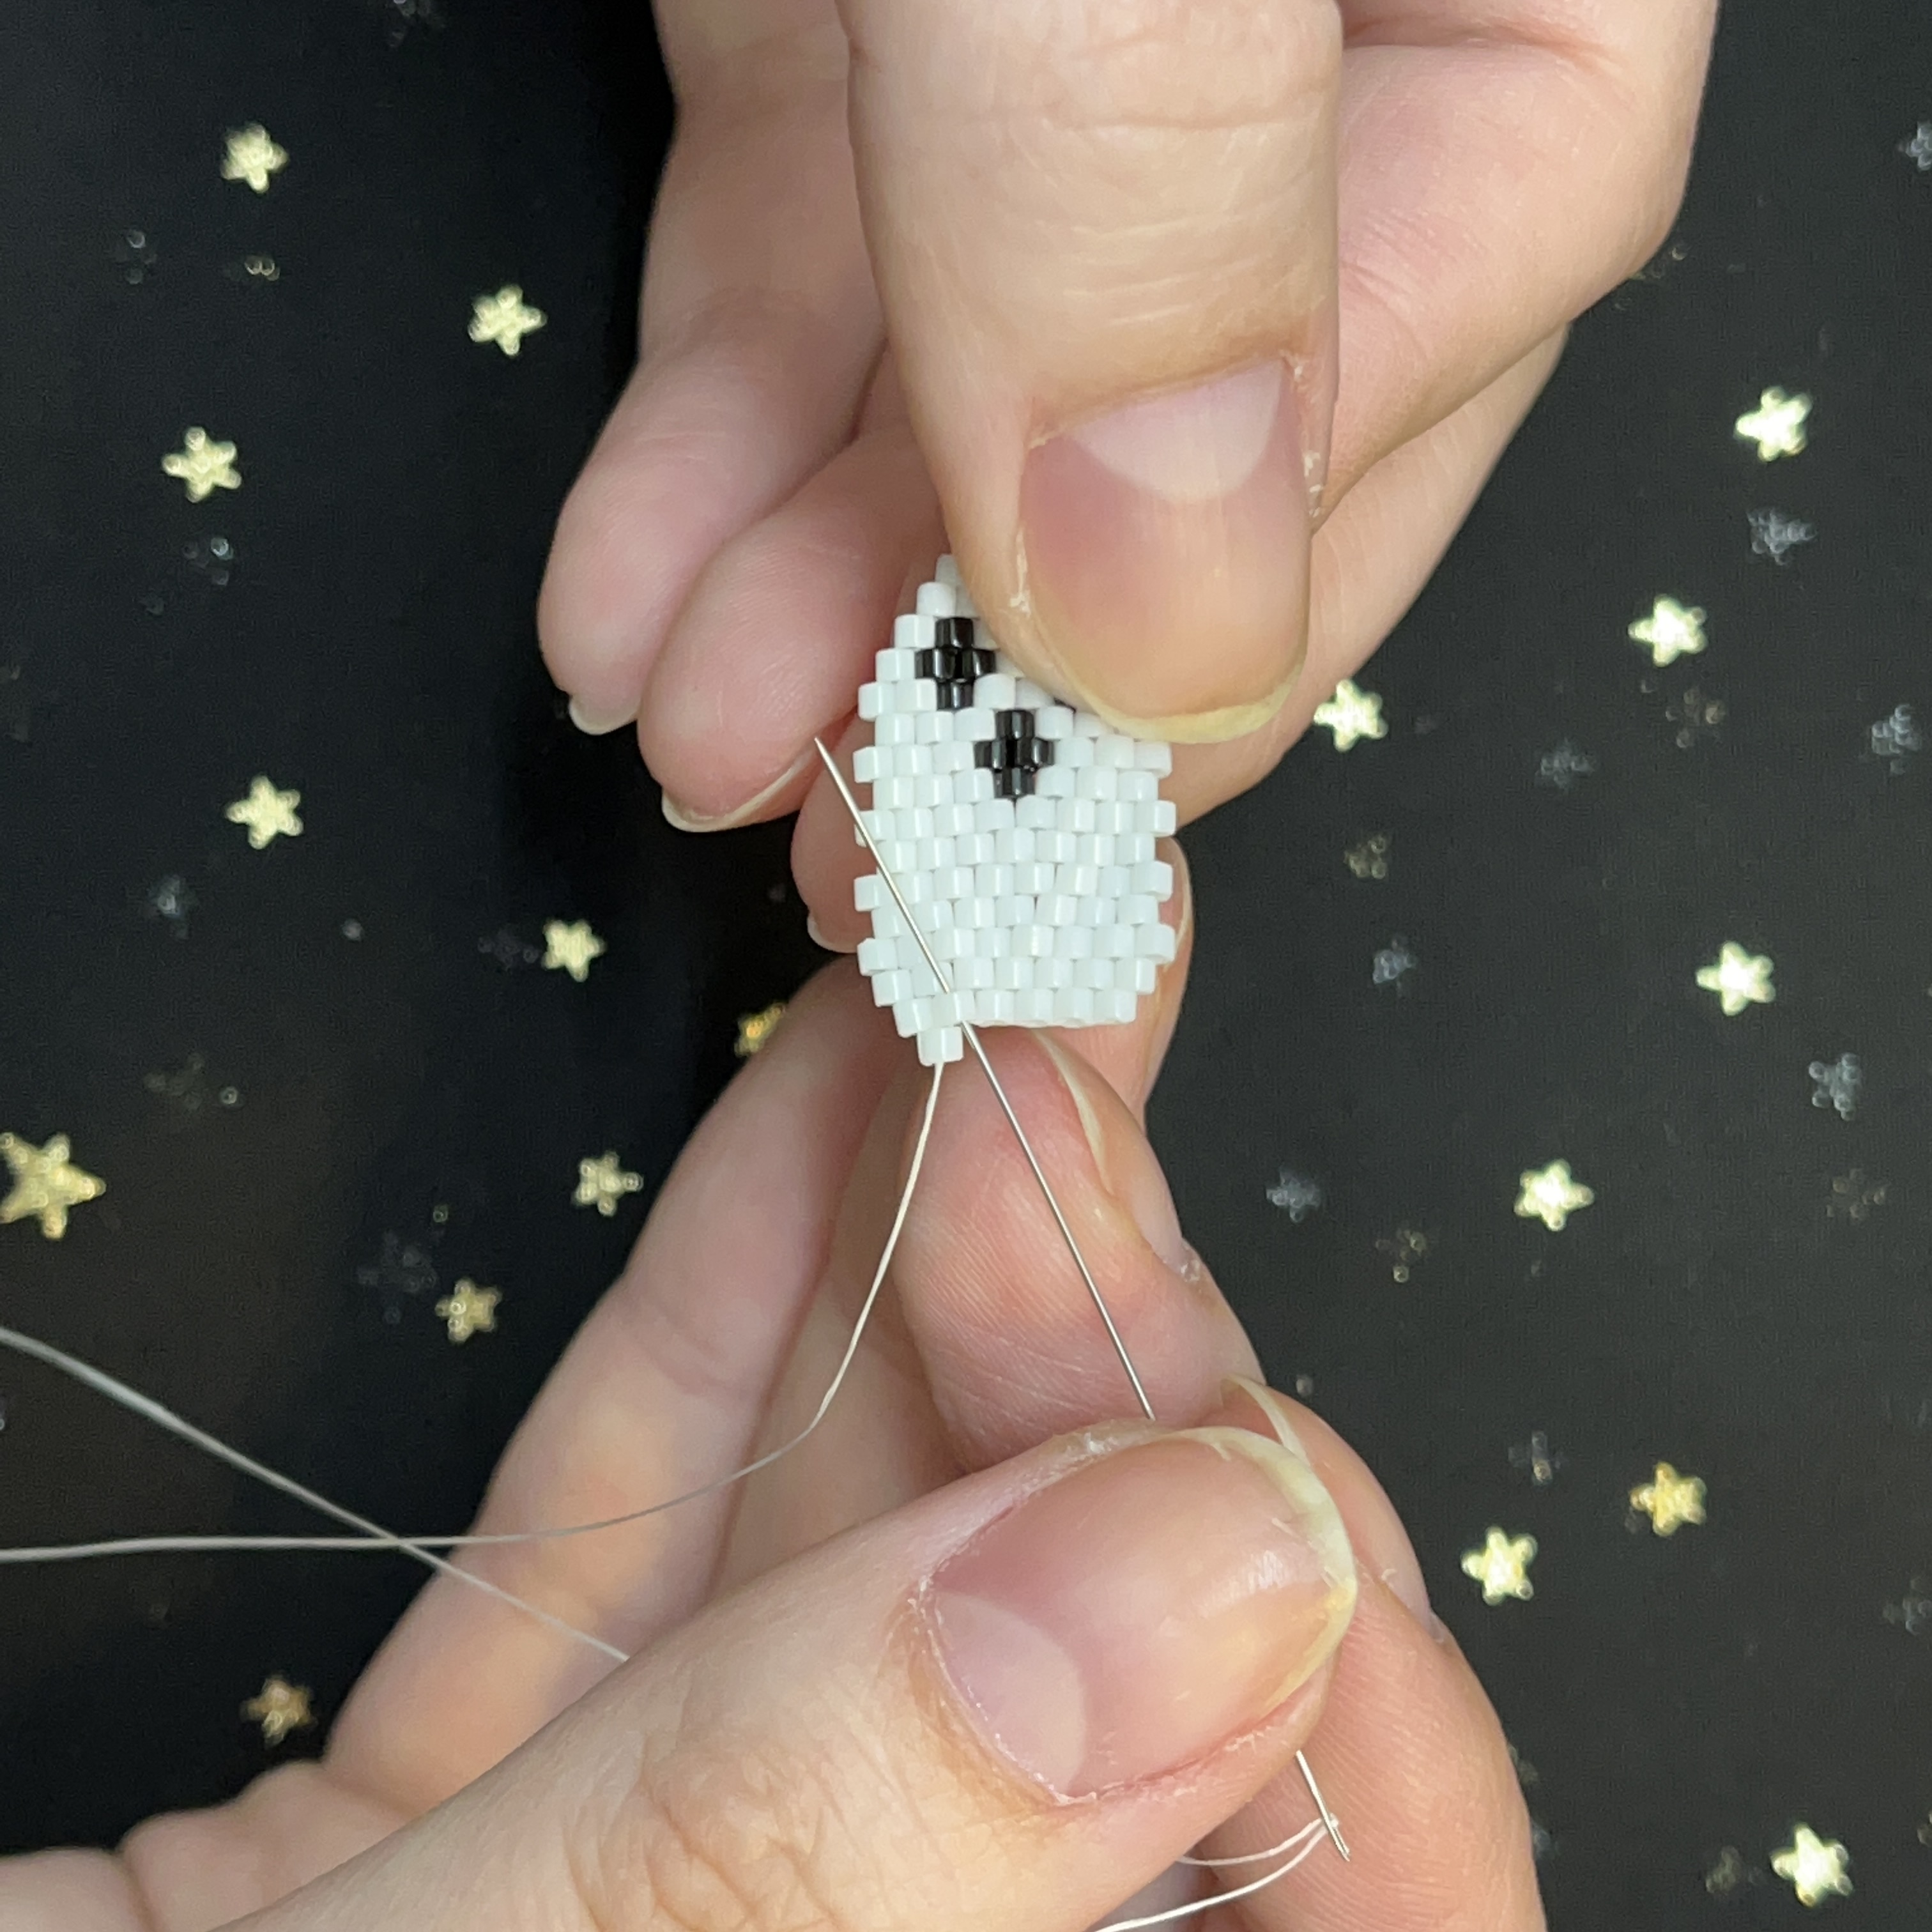
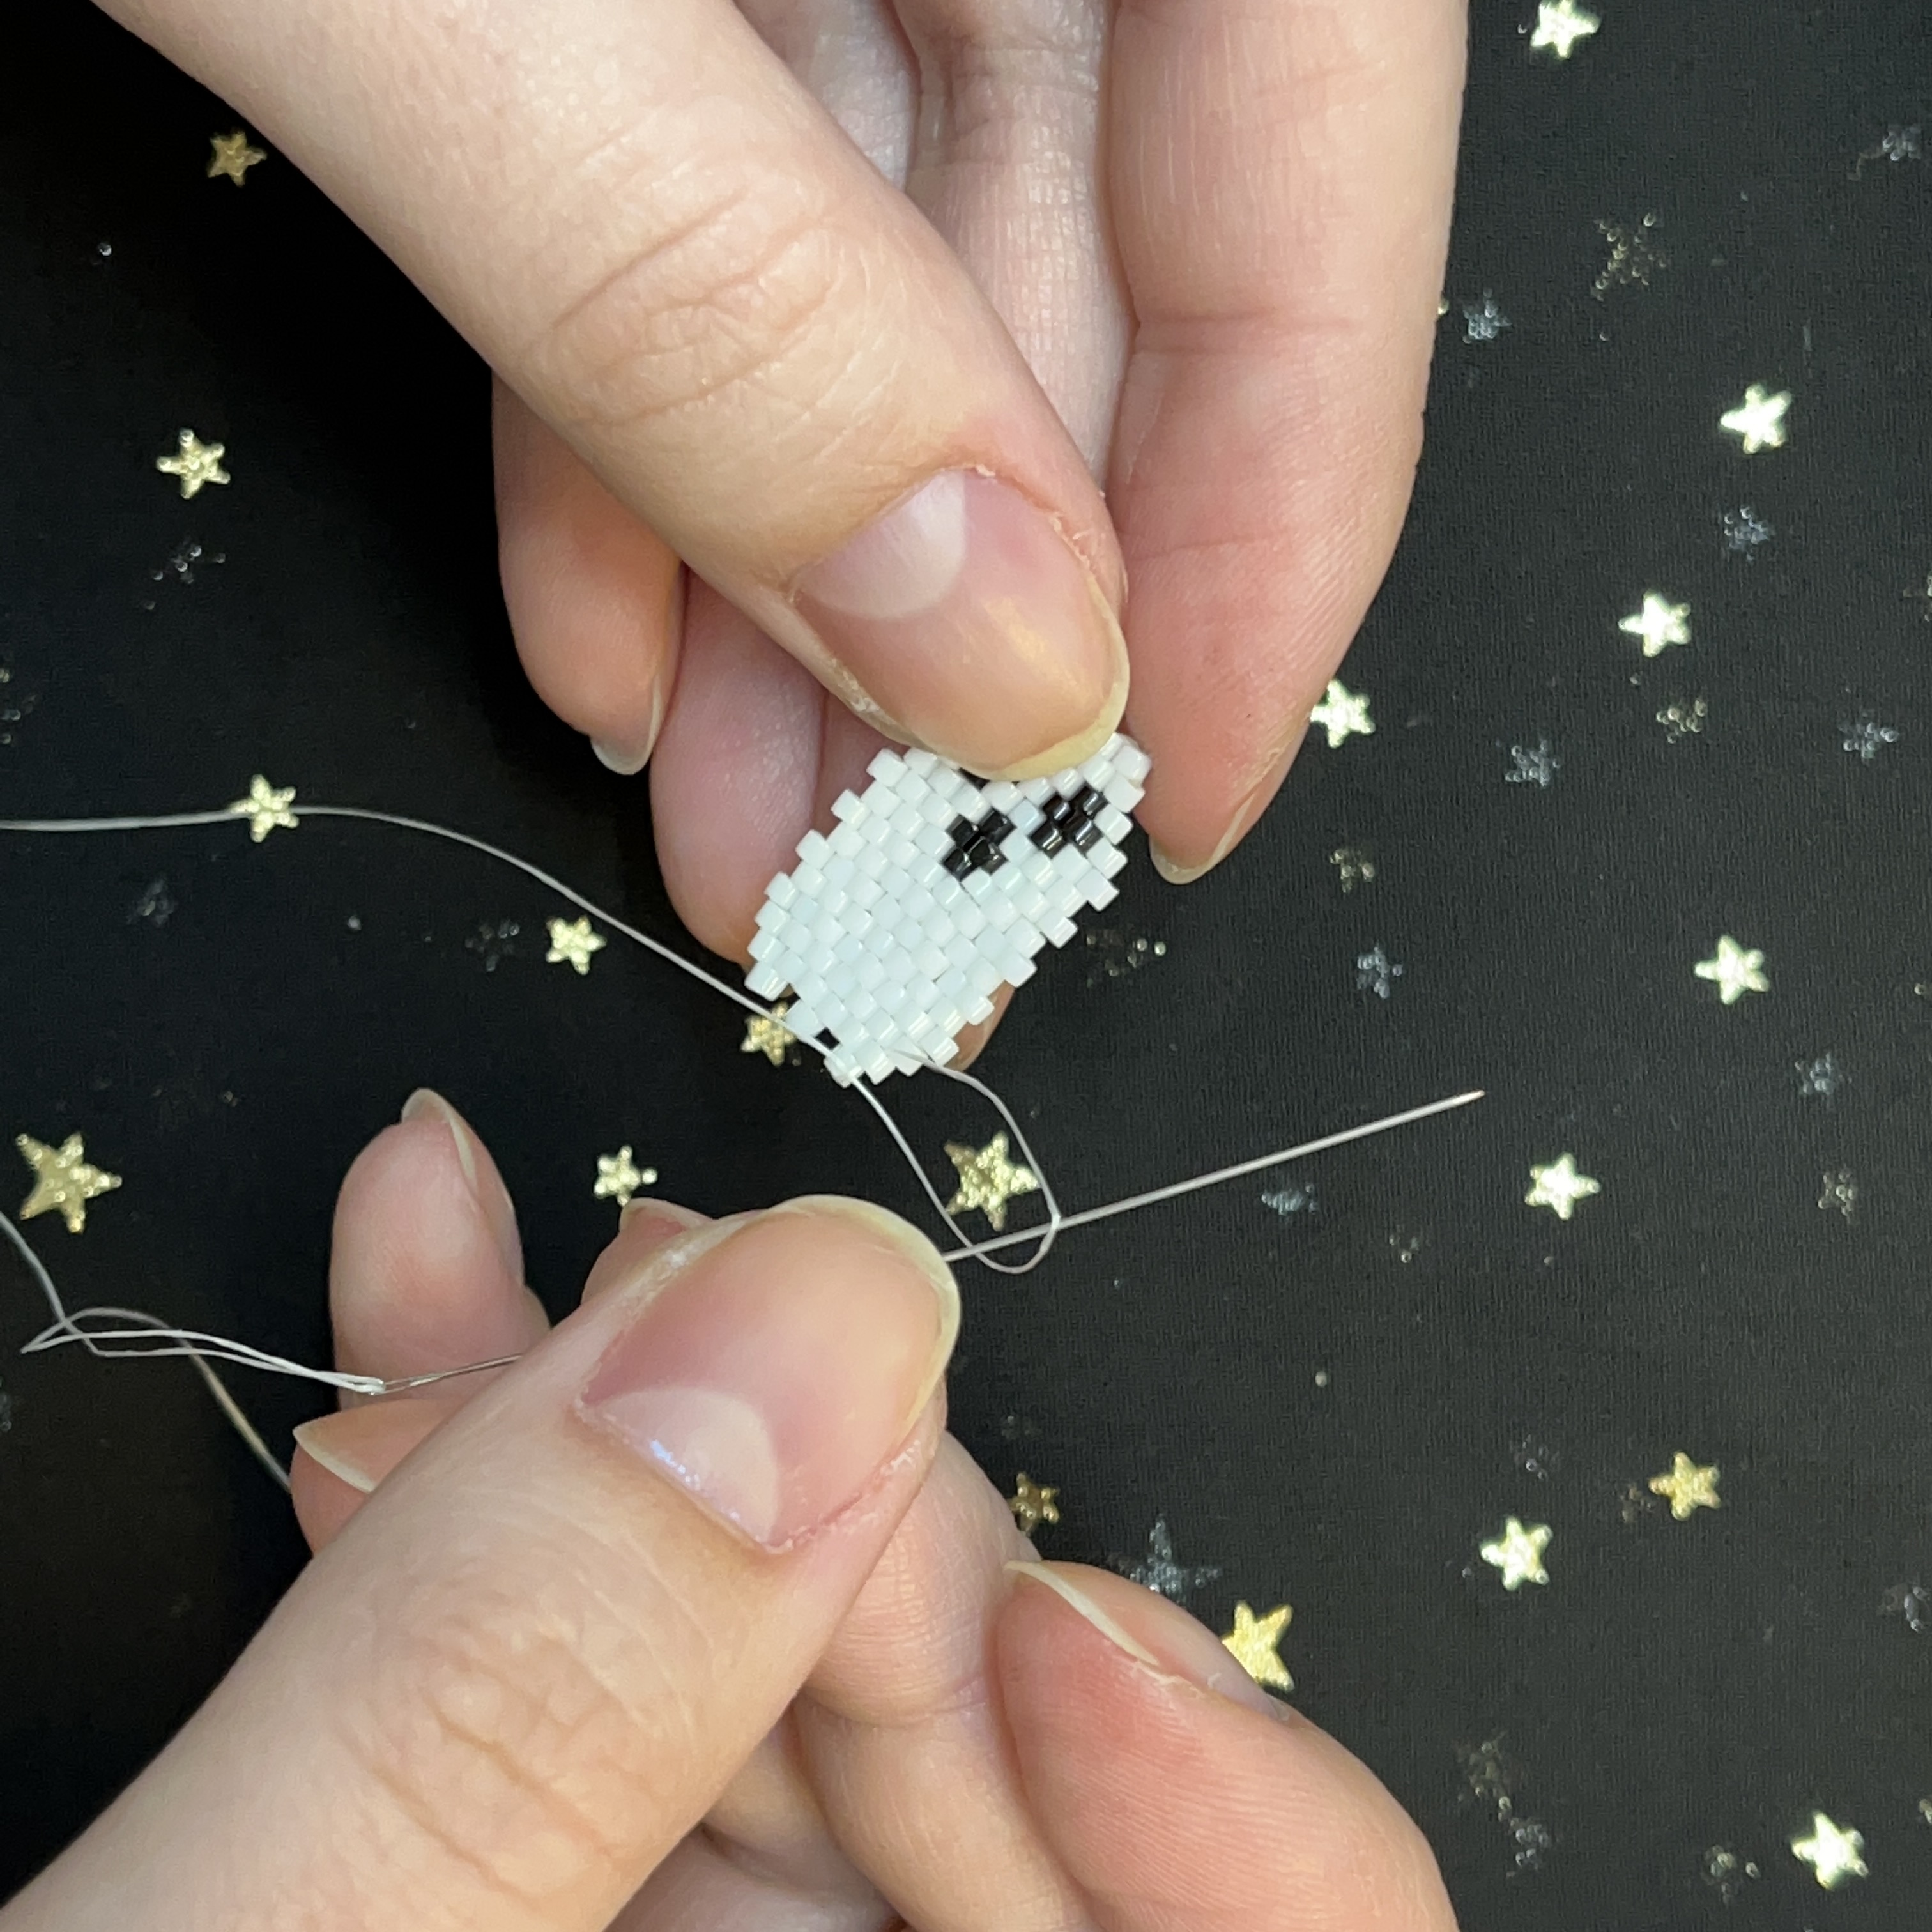
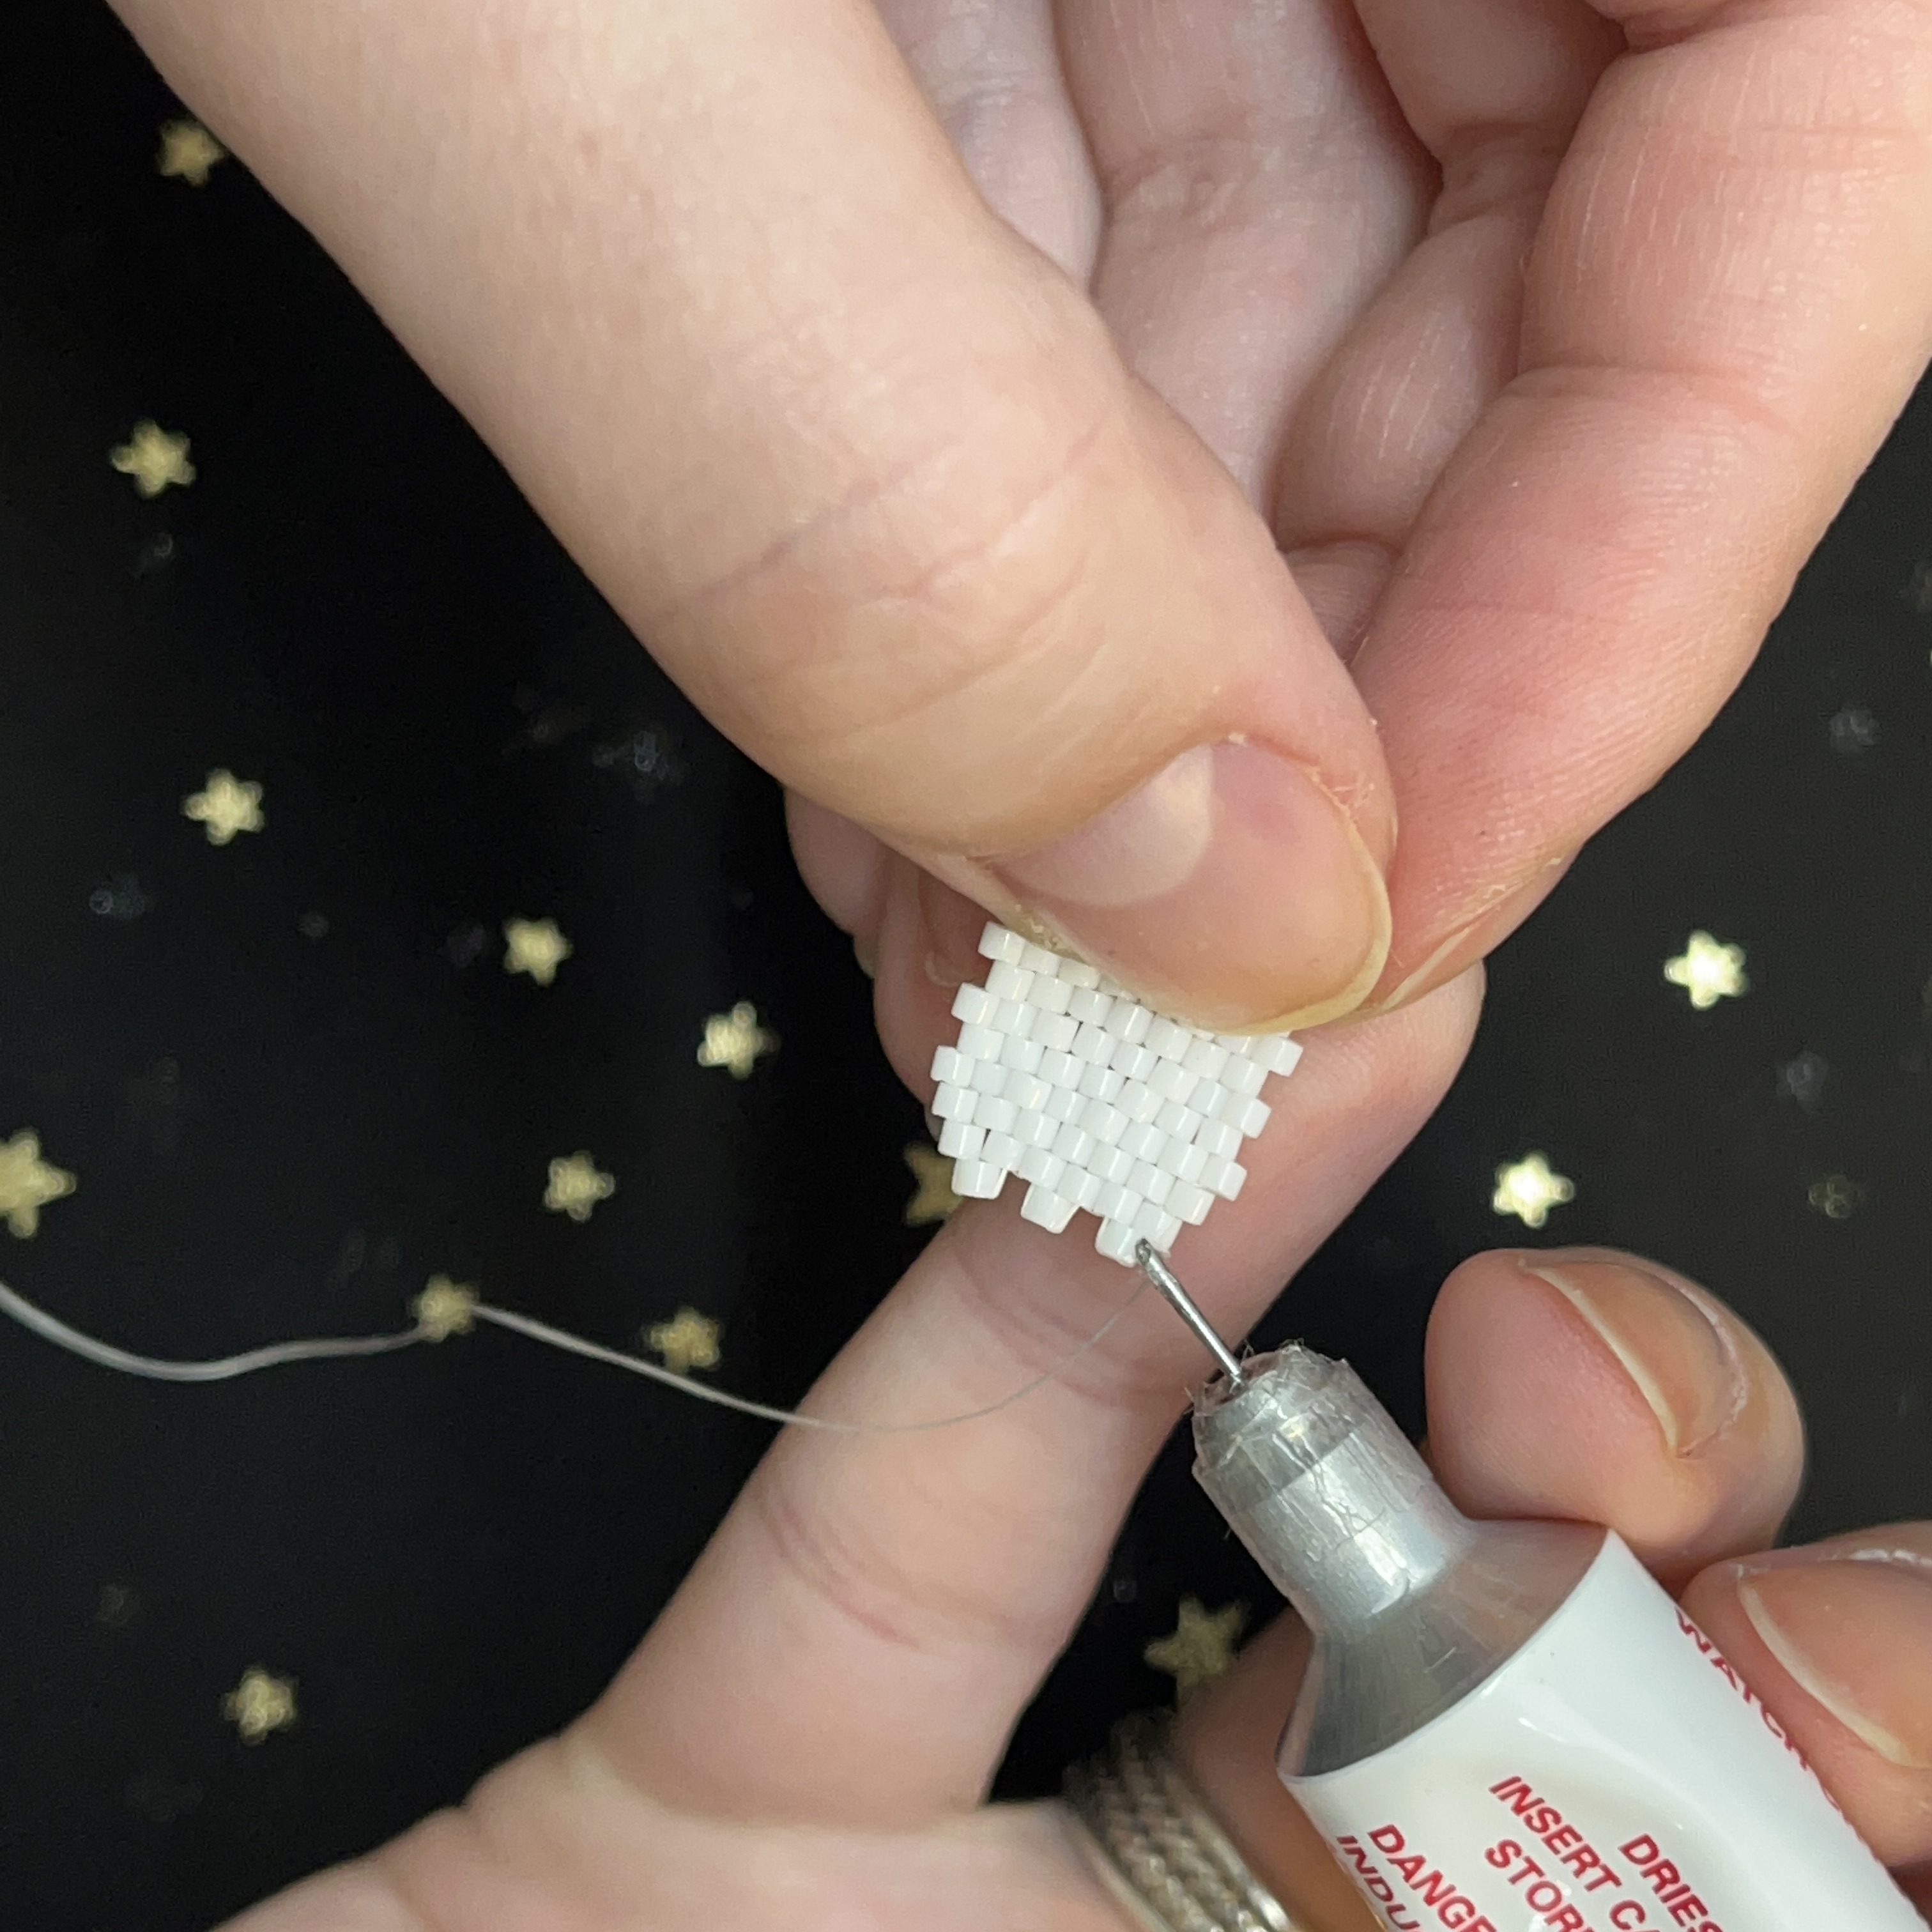
36. If you would like now, you can glue the tail (thread you are not using) and cut it. You can leave it for the end but I find that the tail can get in the way. Glue and wait until it has hardened or at least harder than just tacky (if you are impatient like me)
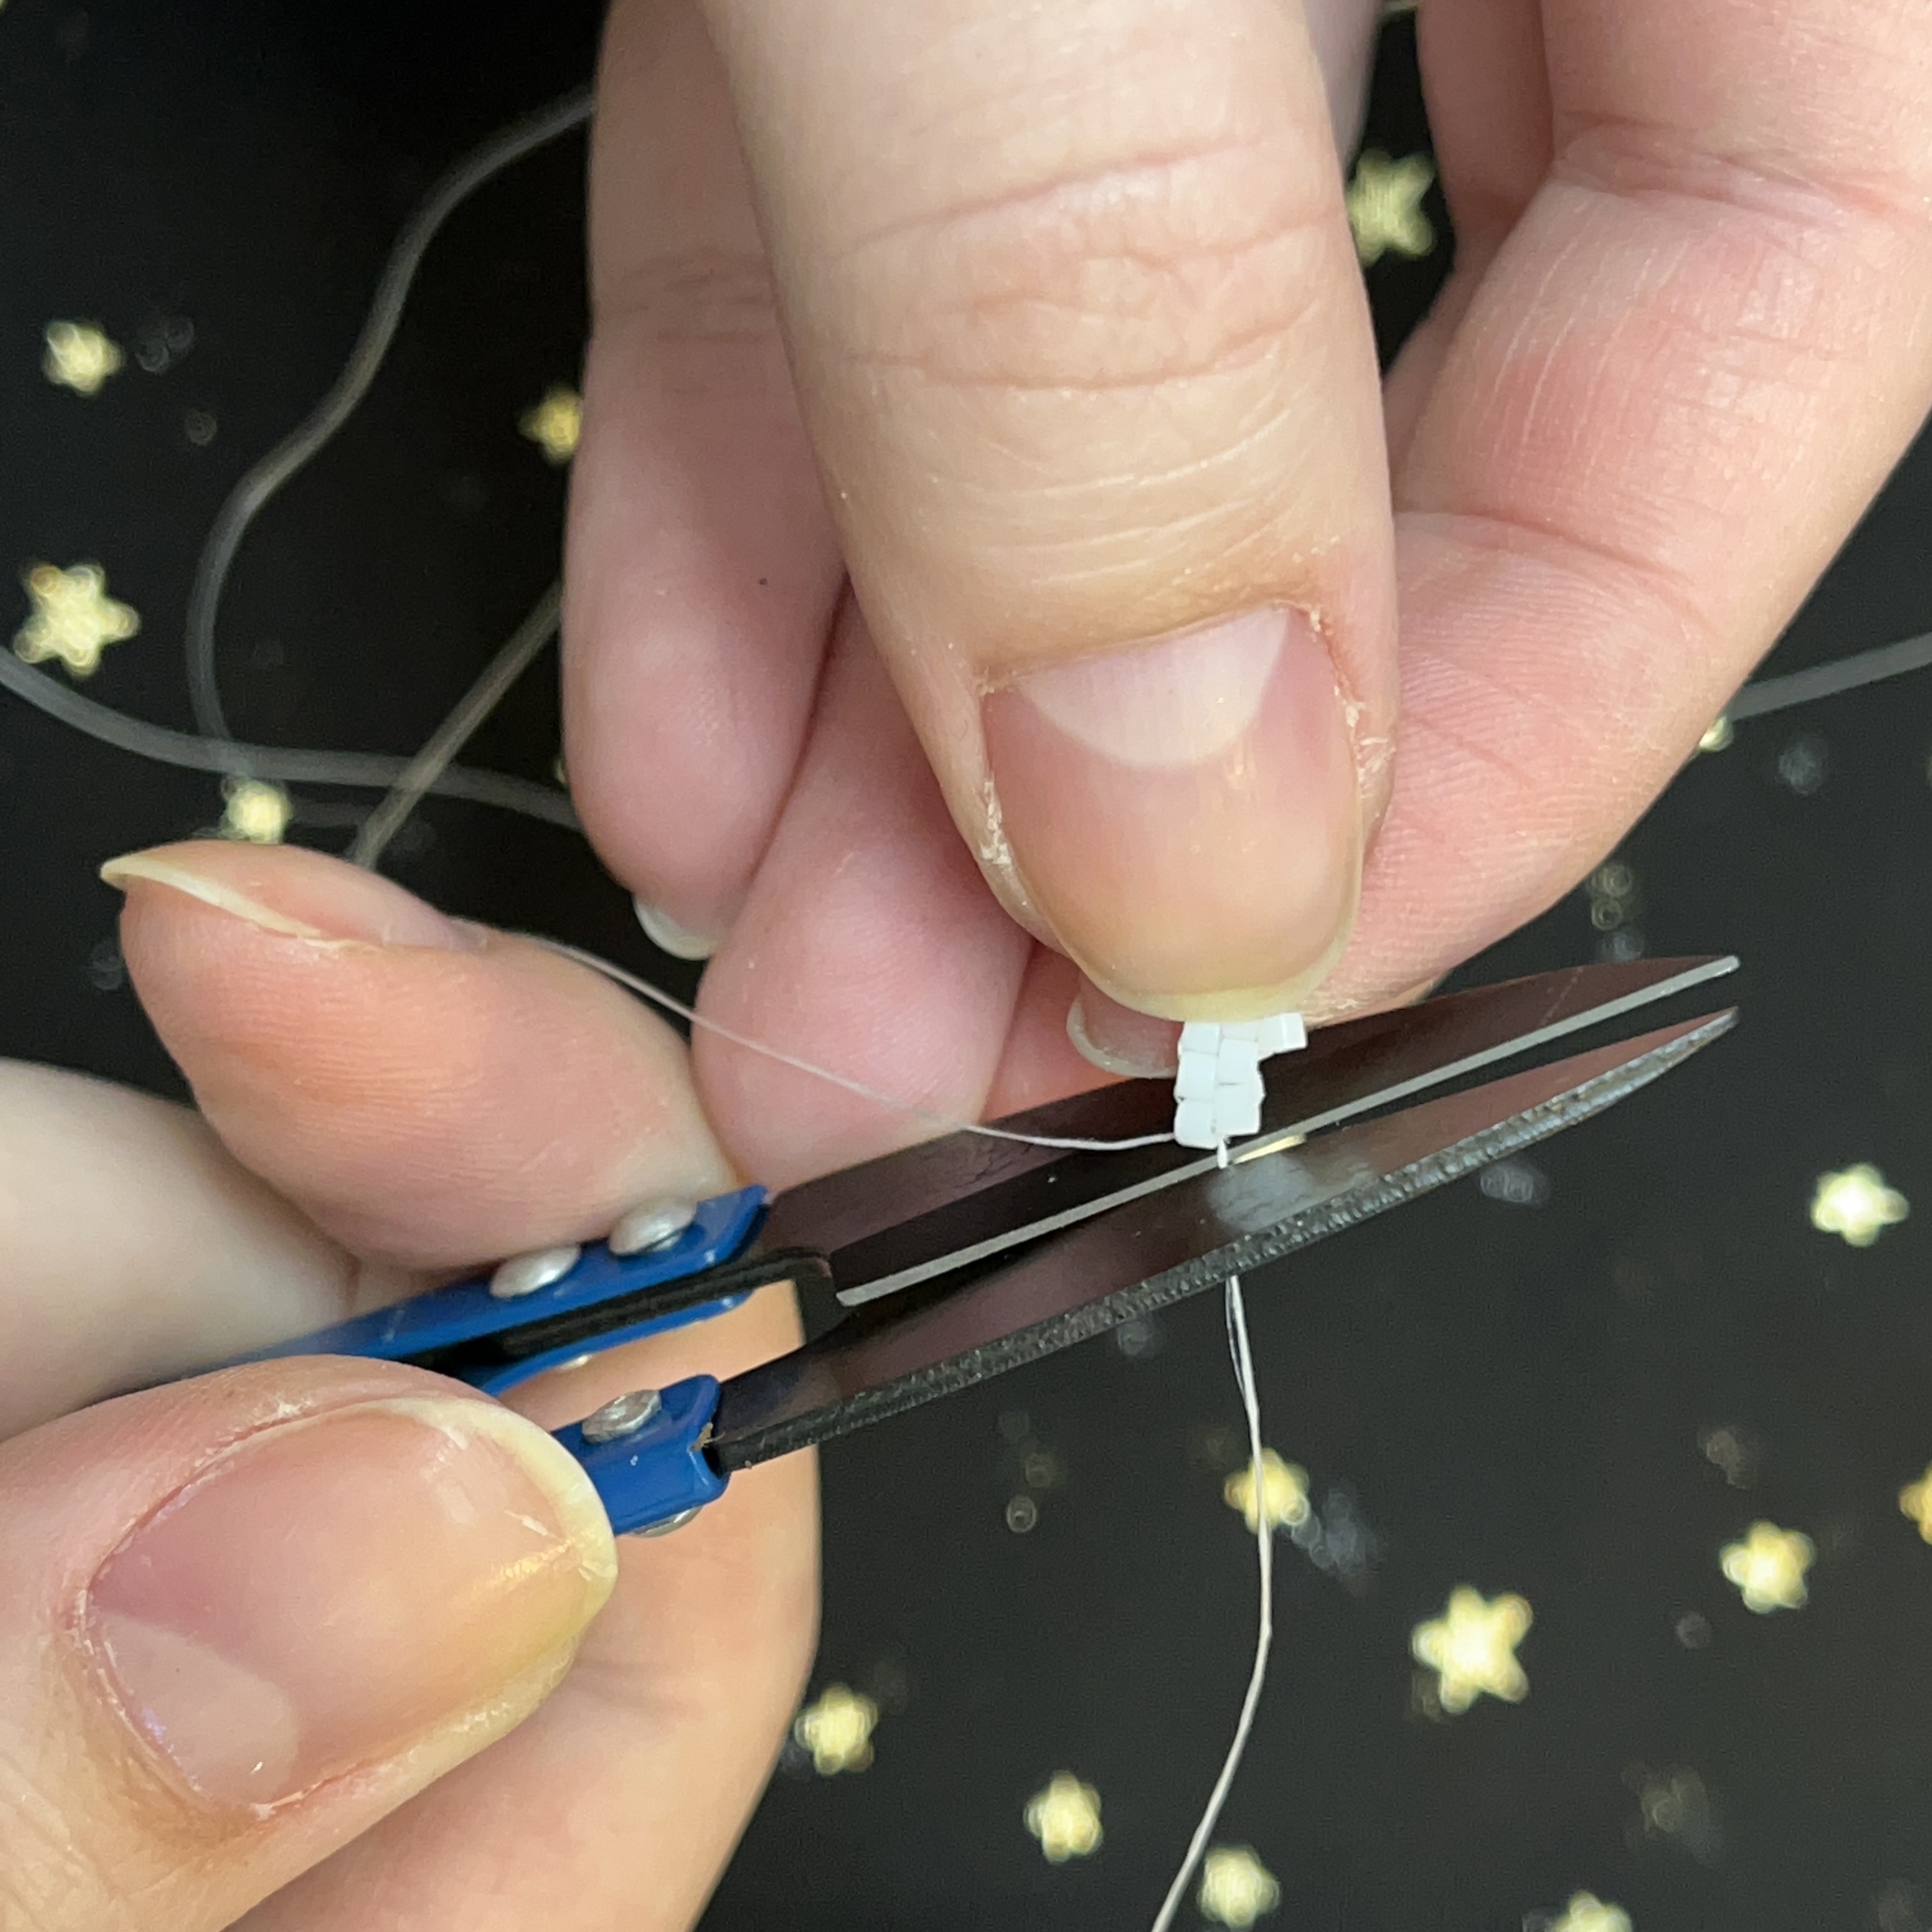
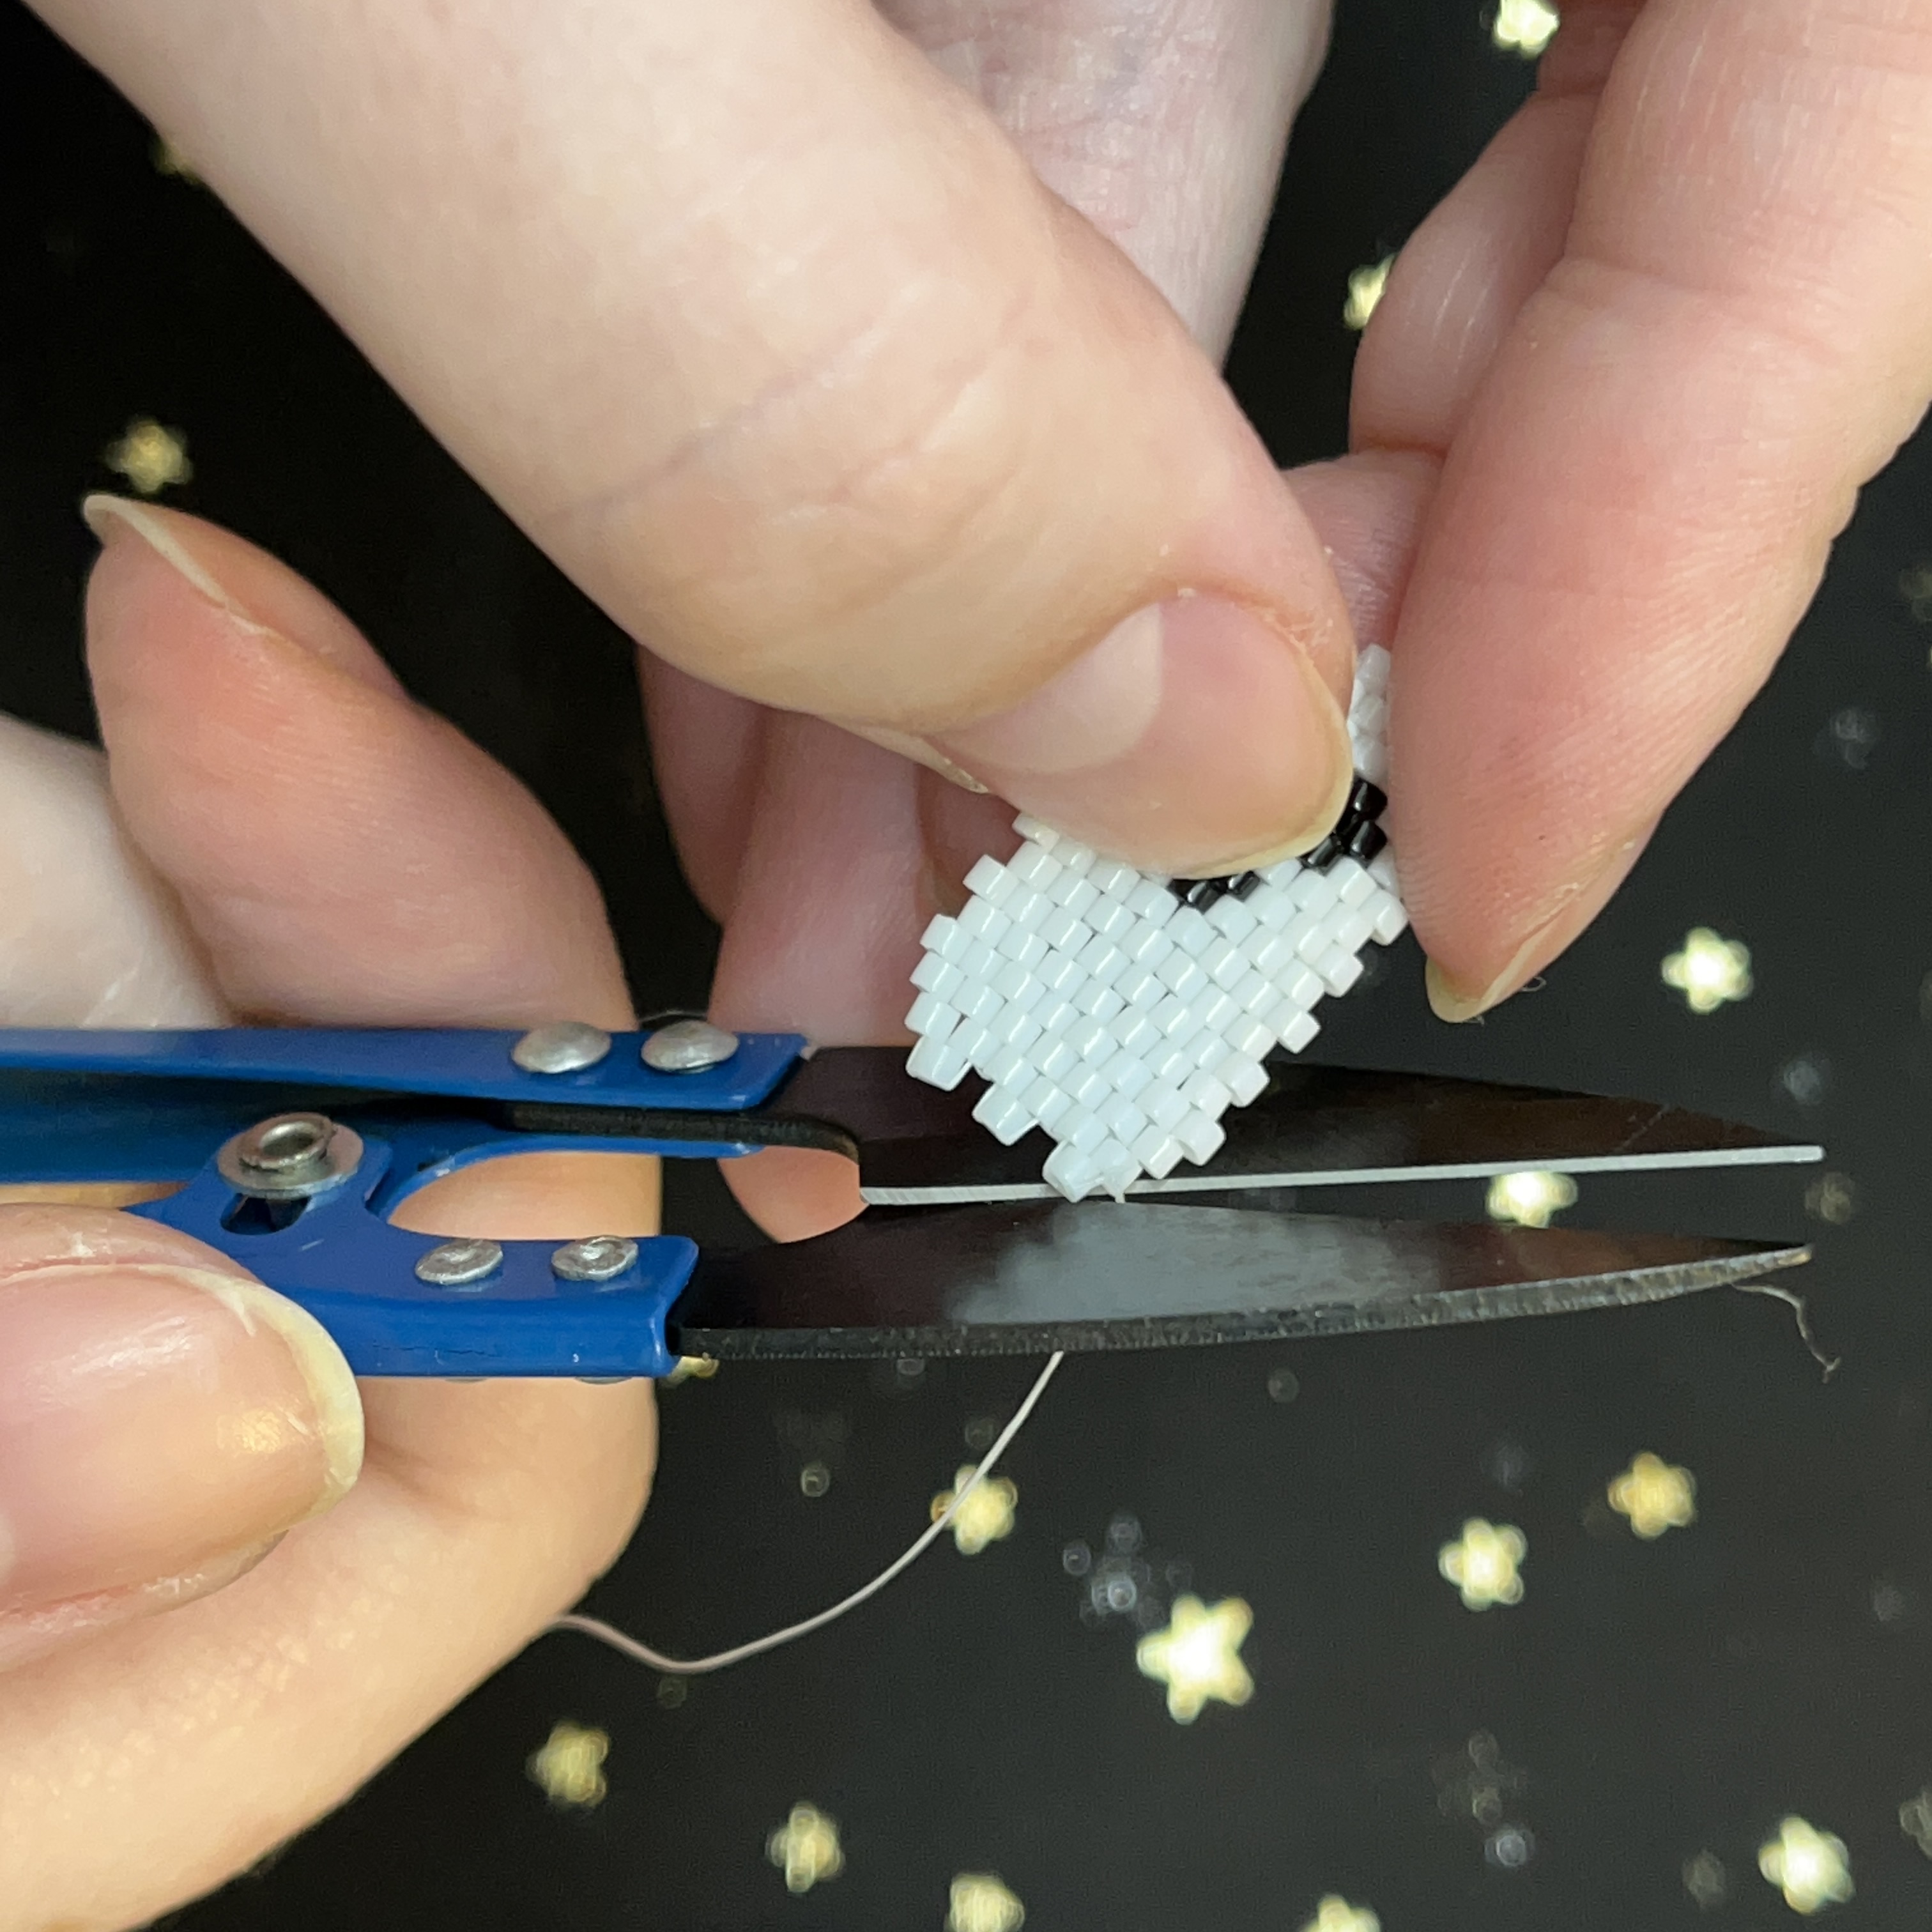
37. After the glue has dried. Cut the tail thread.
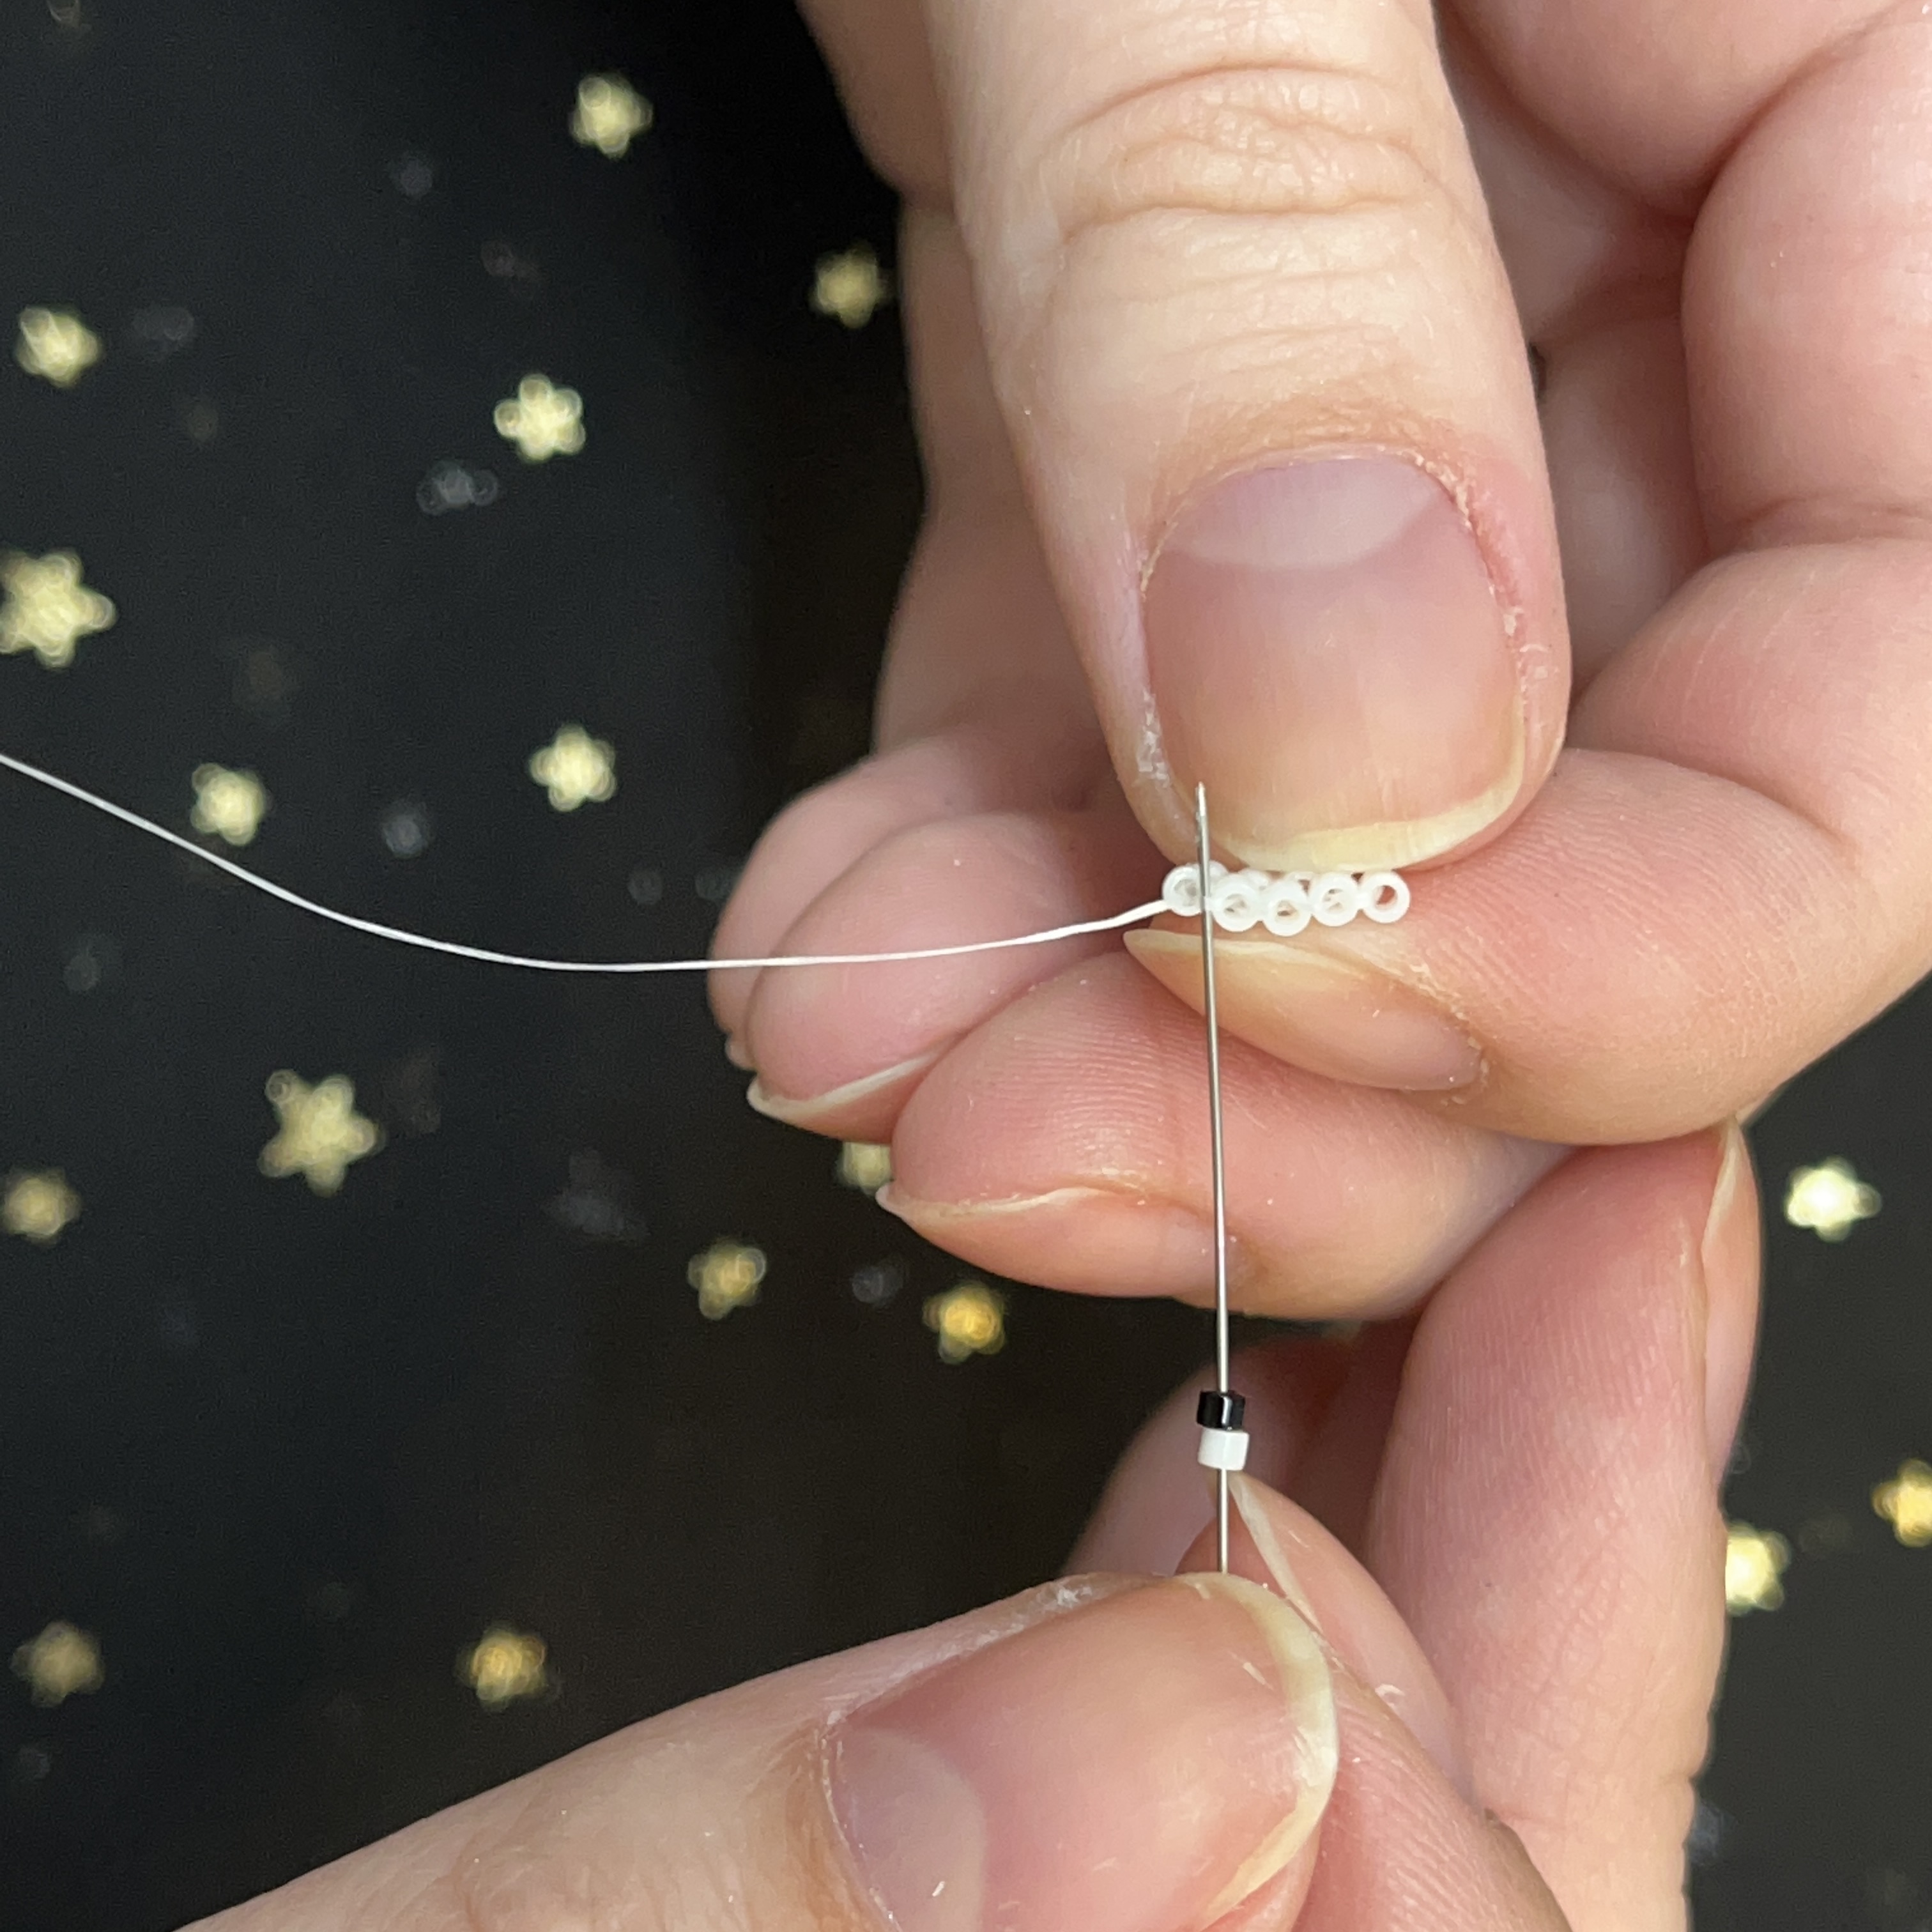
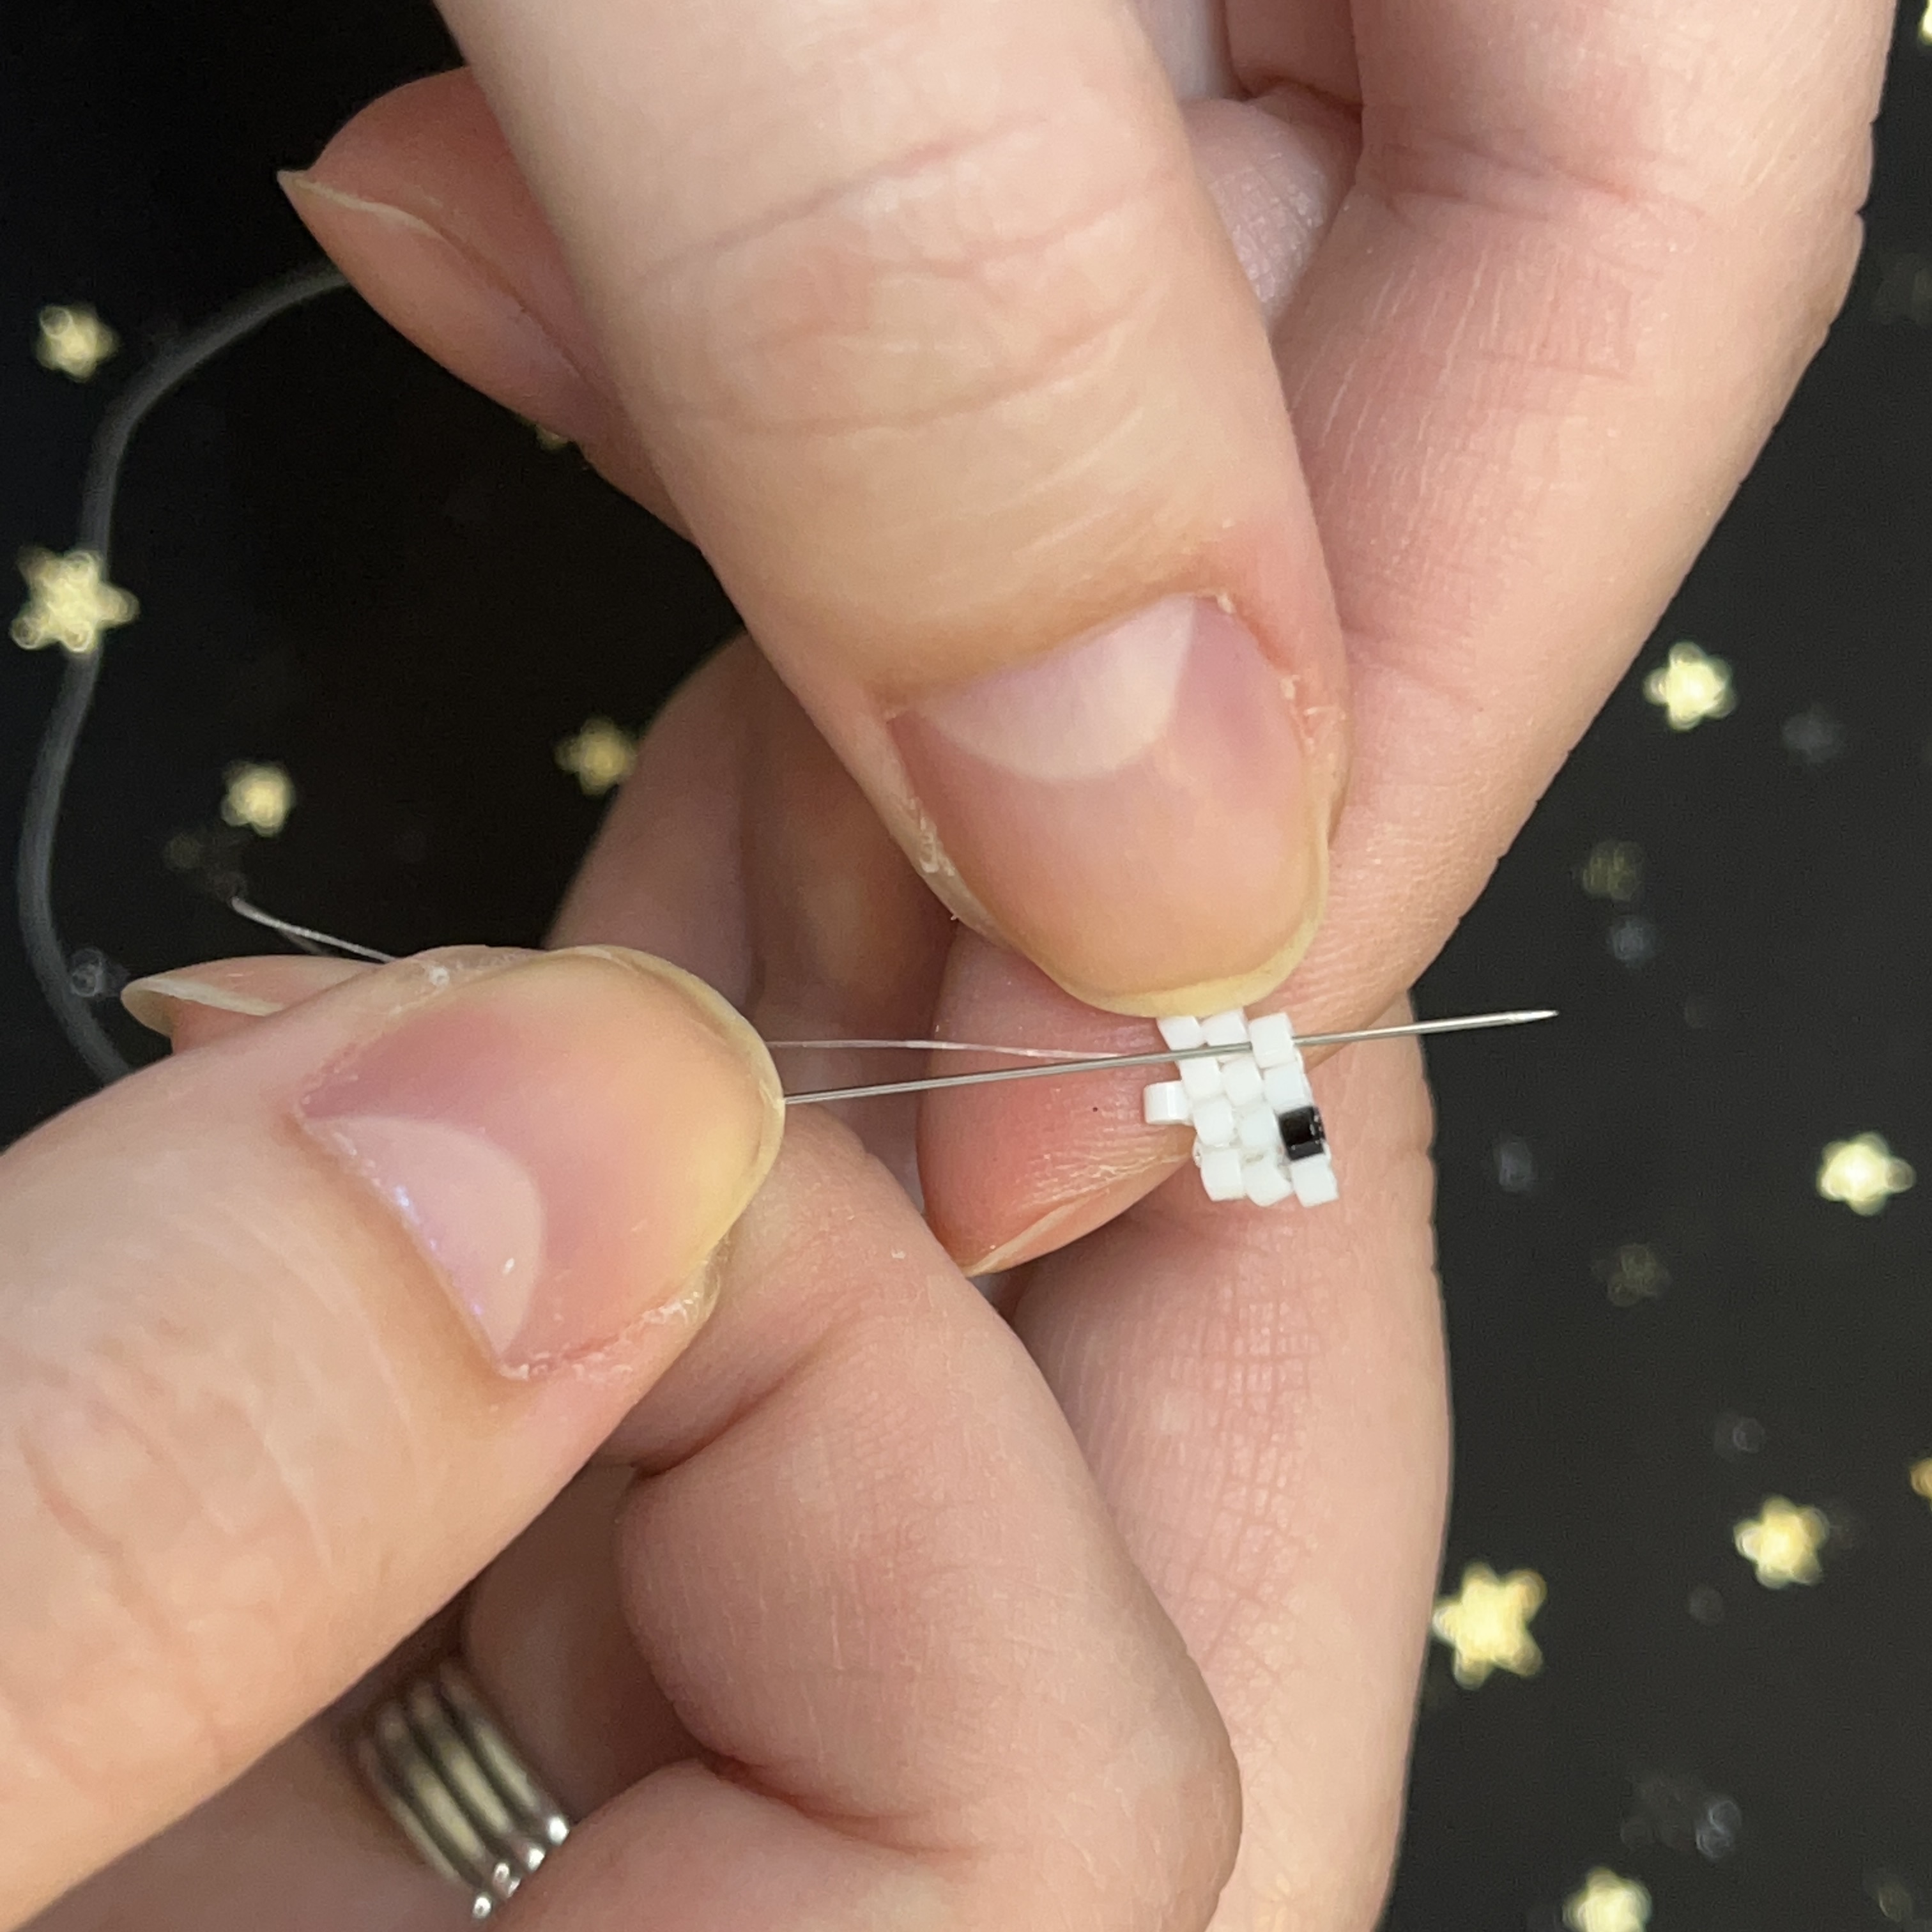
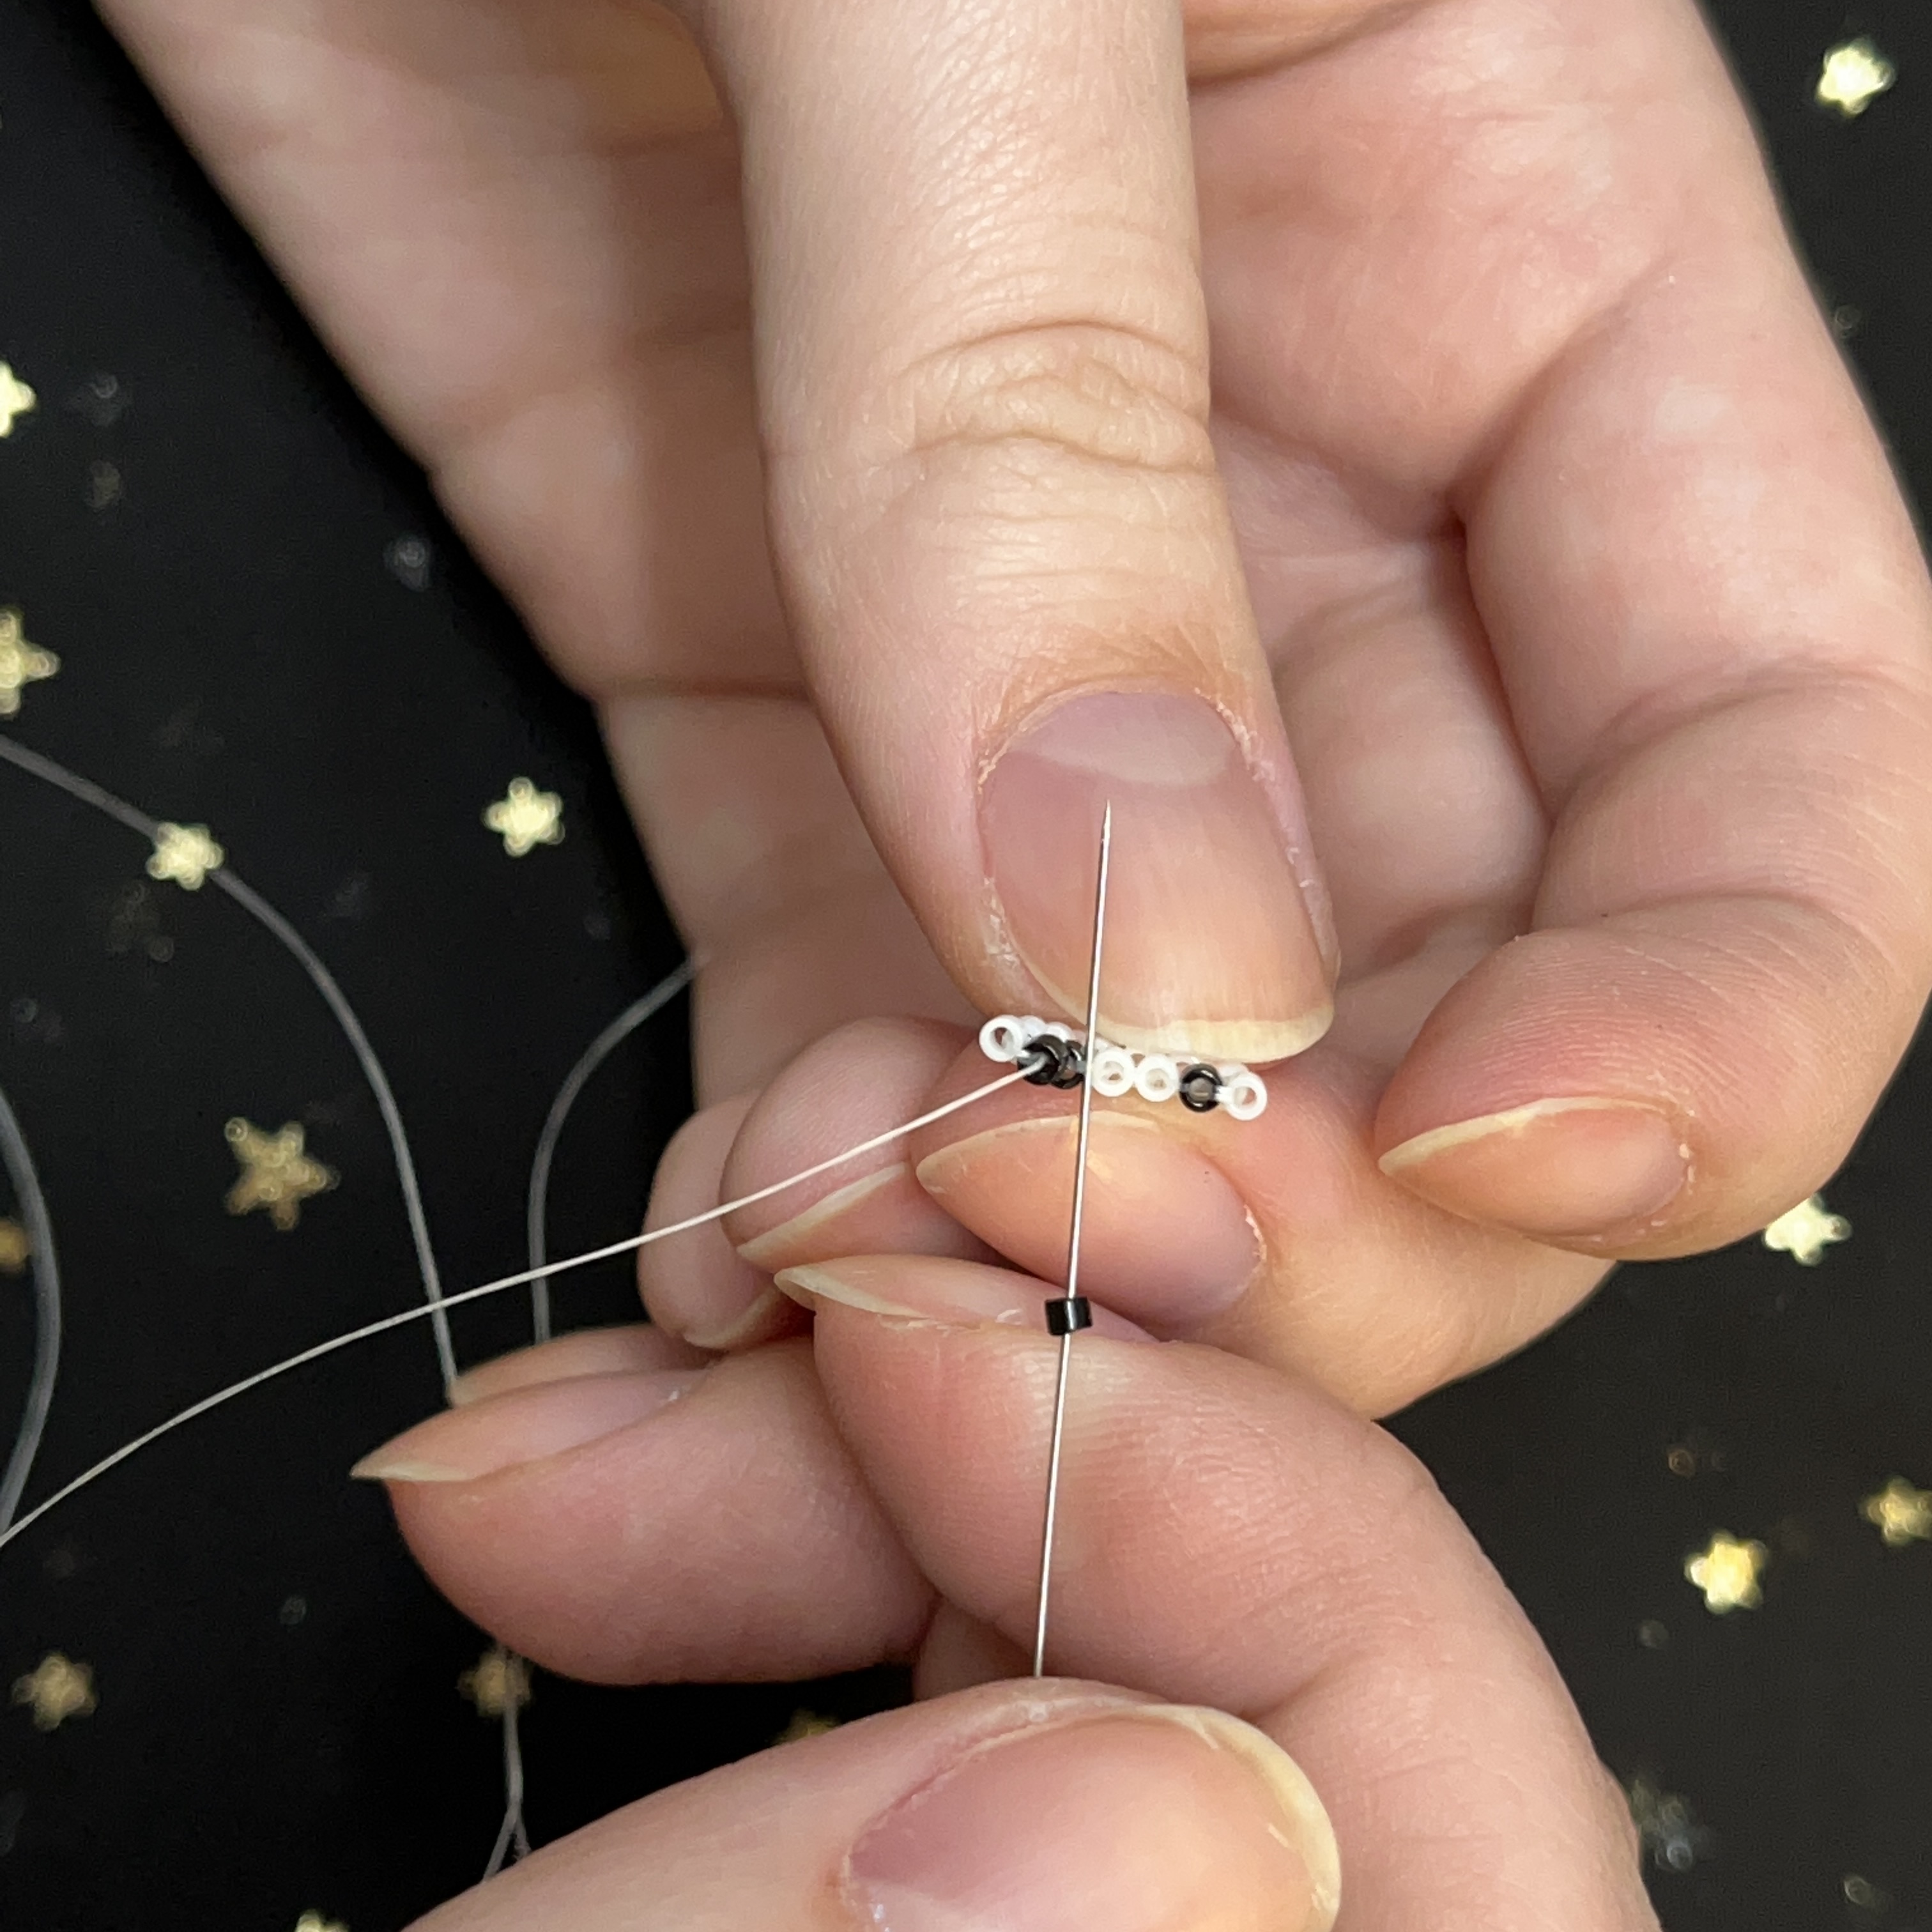
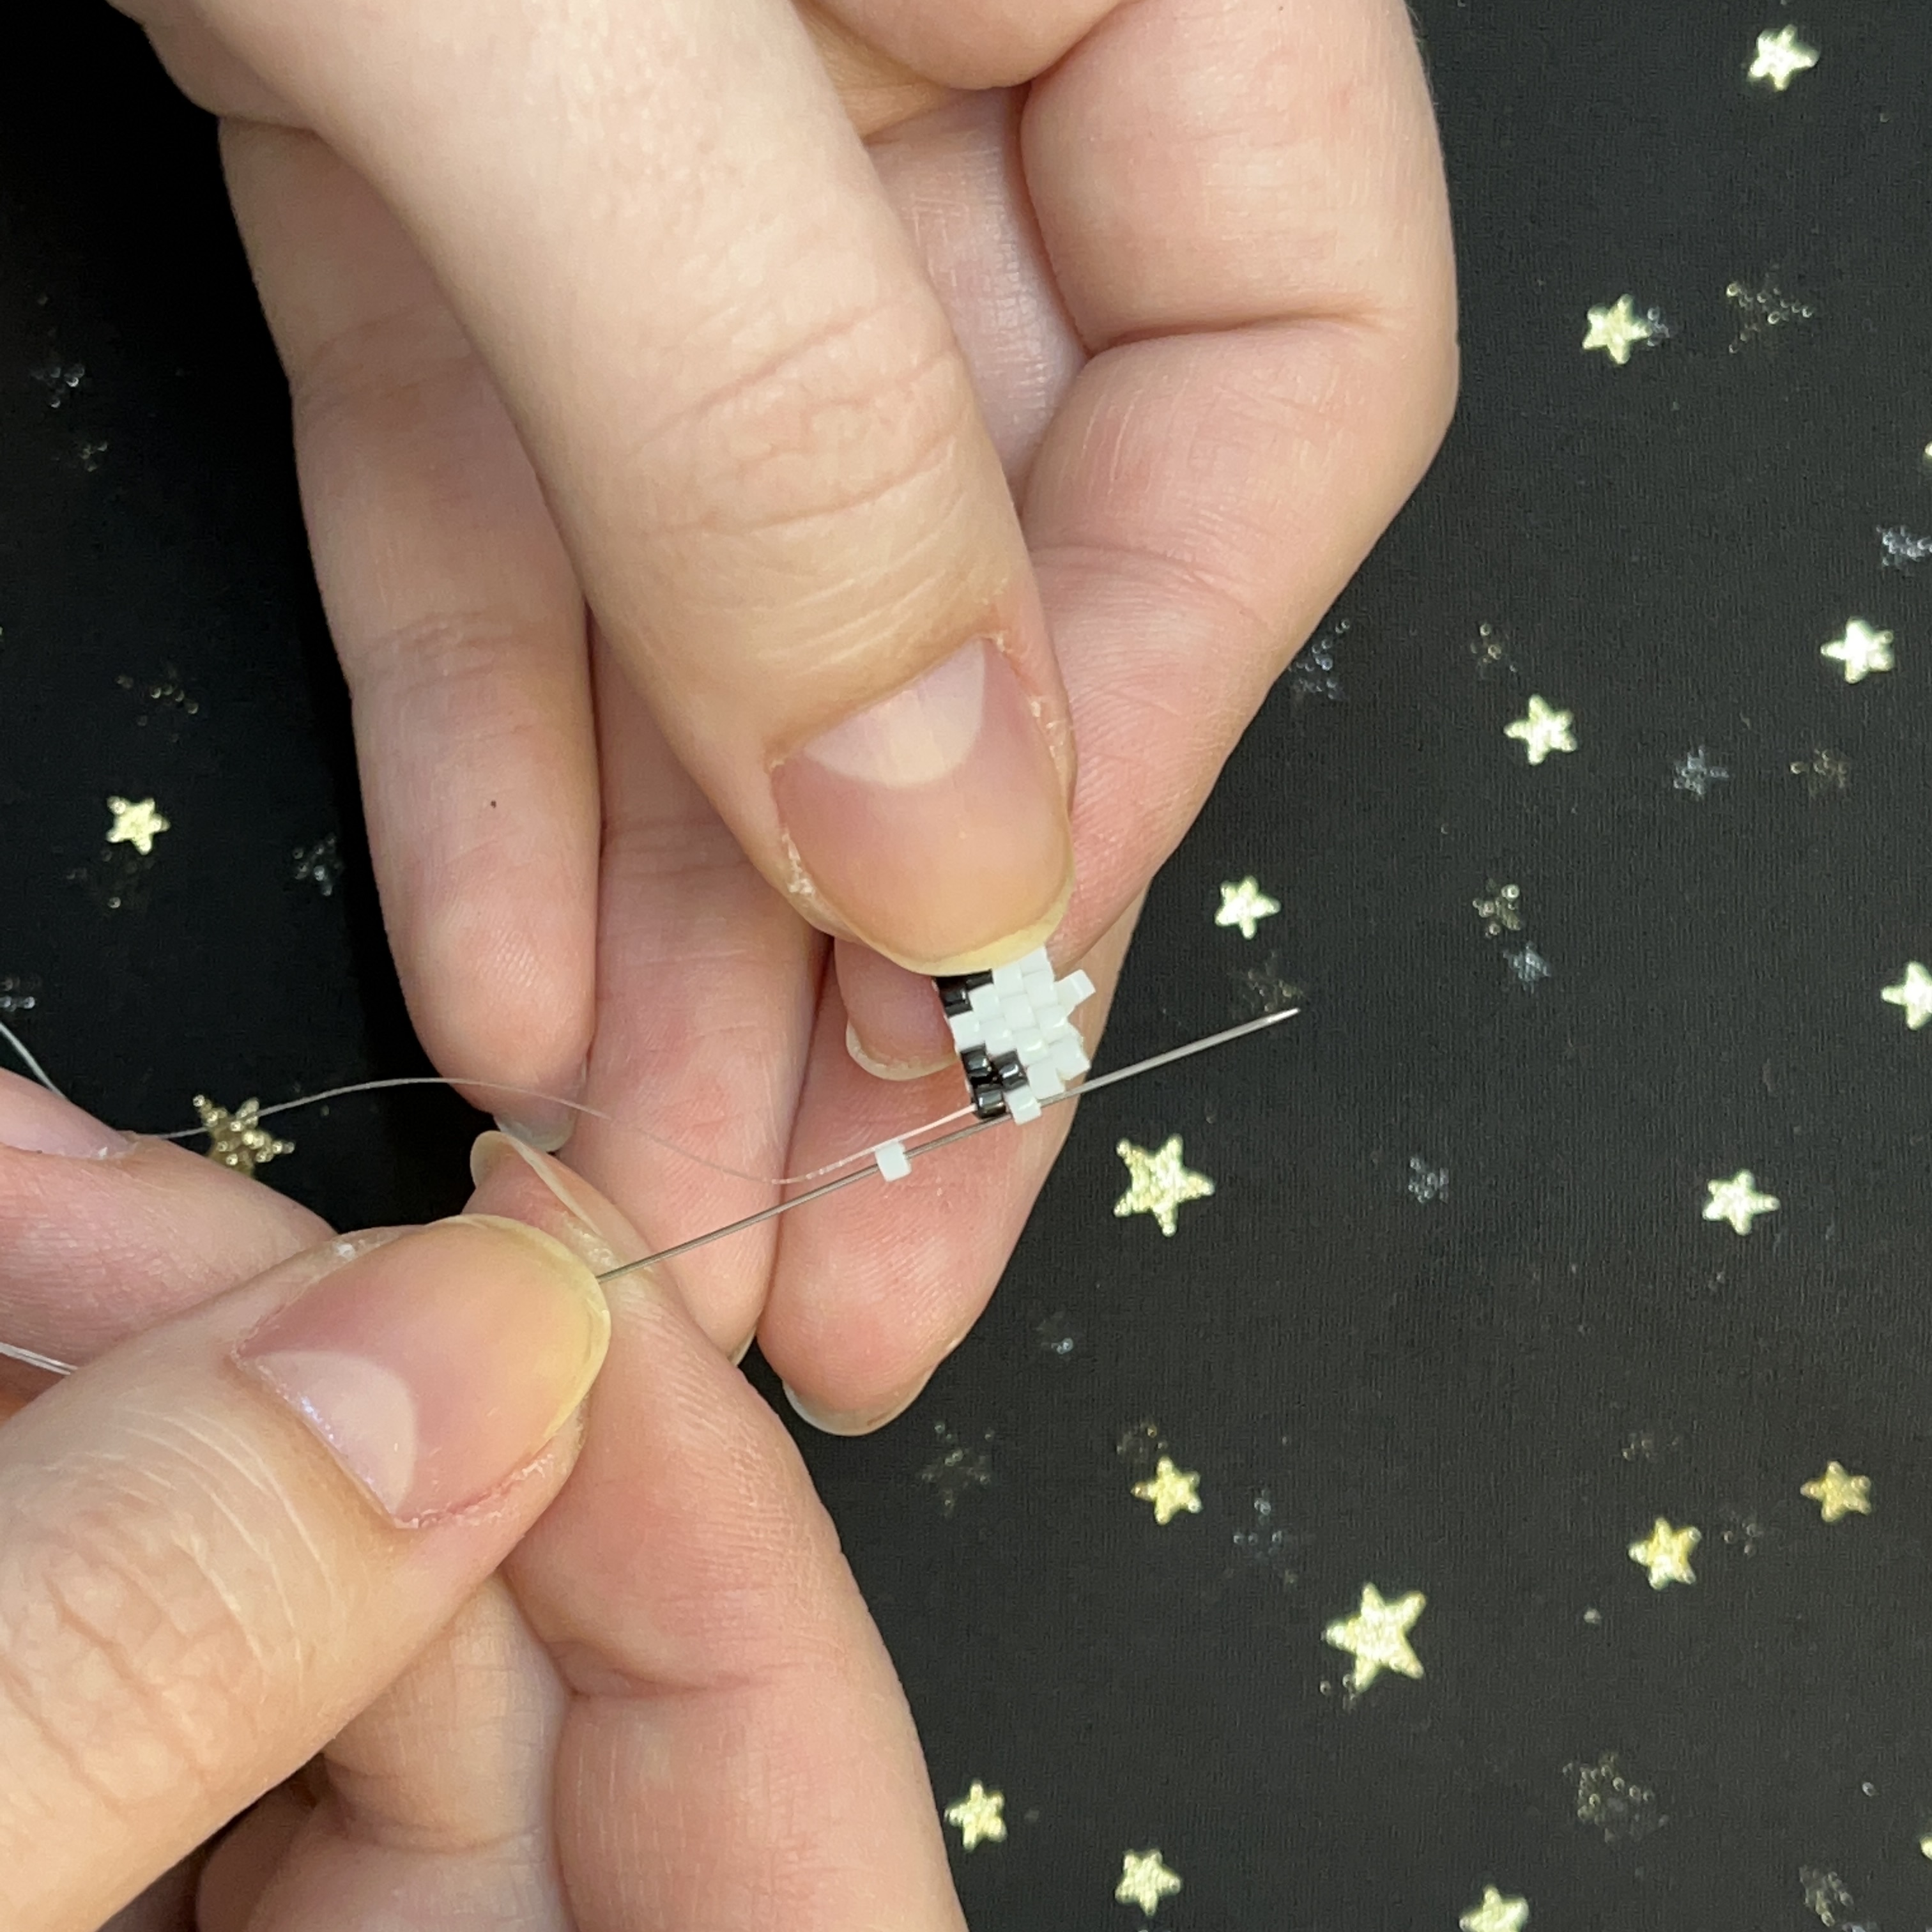
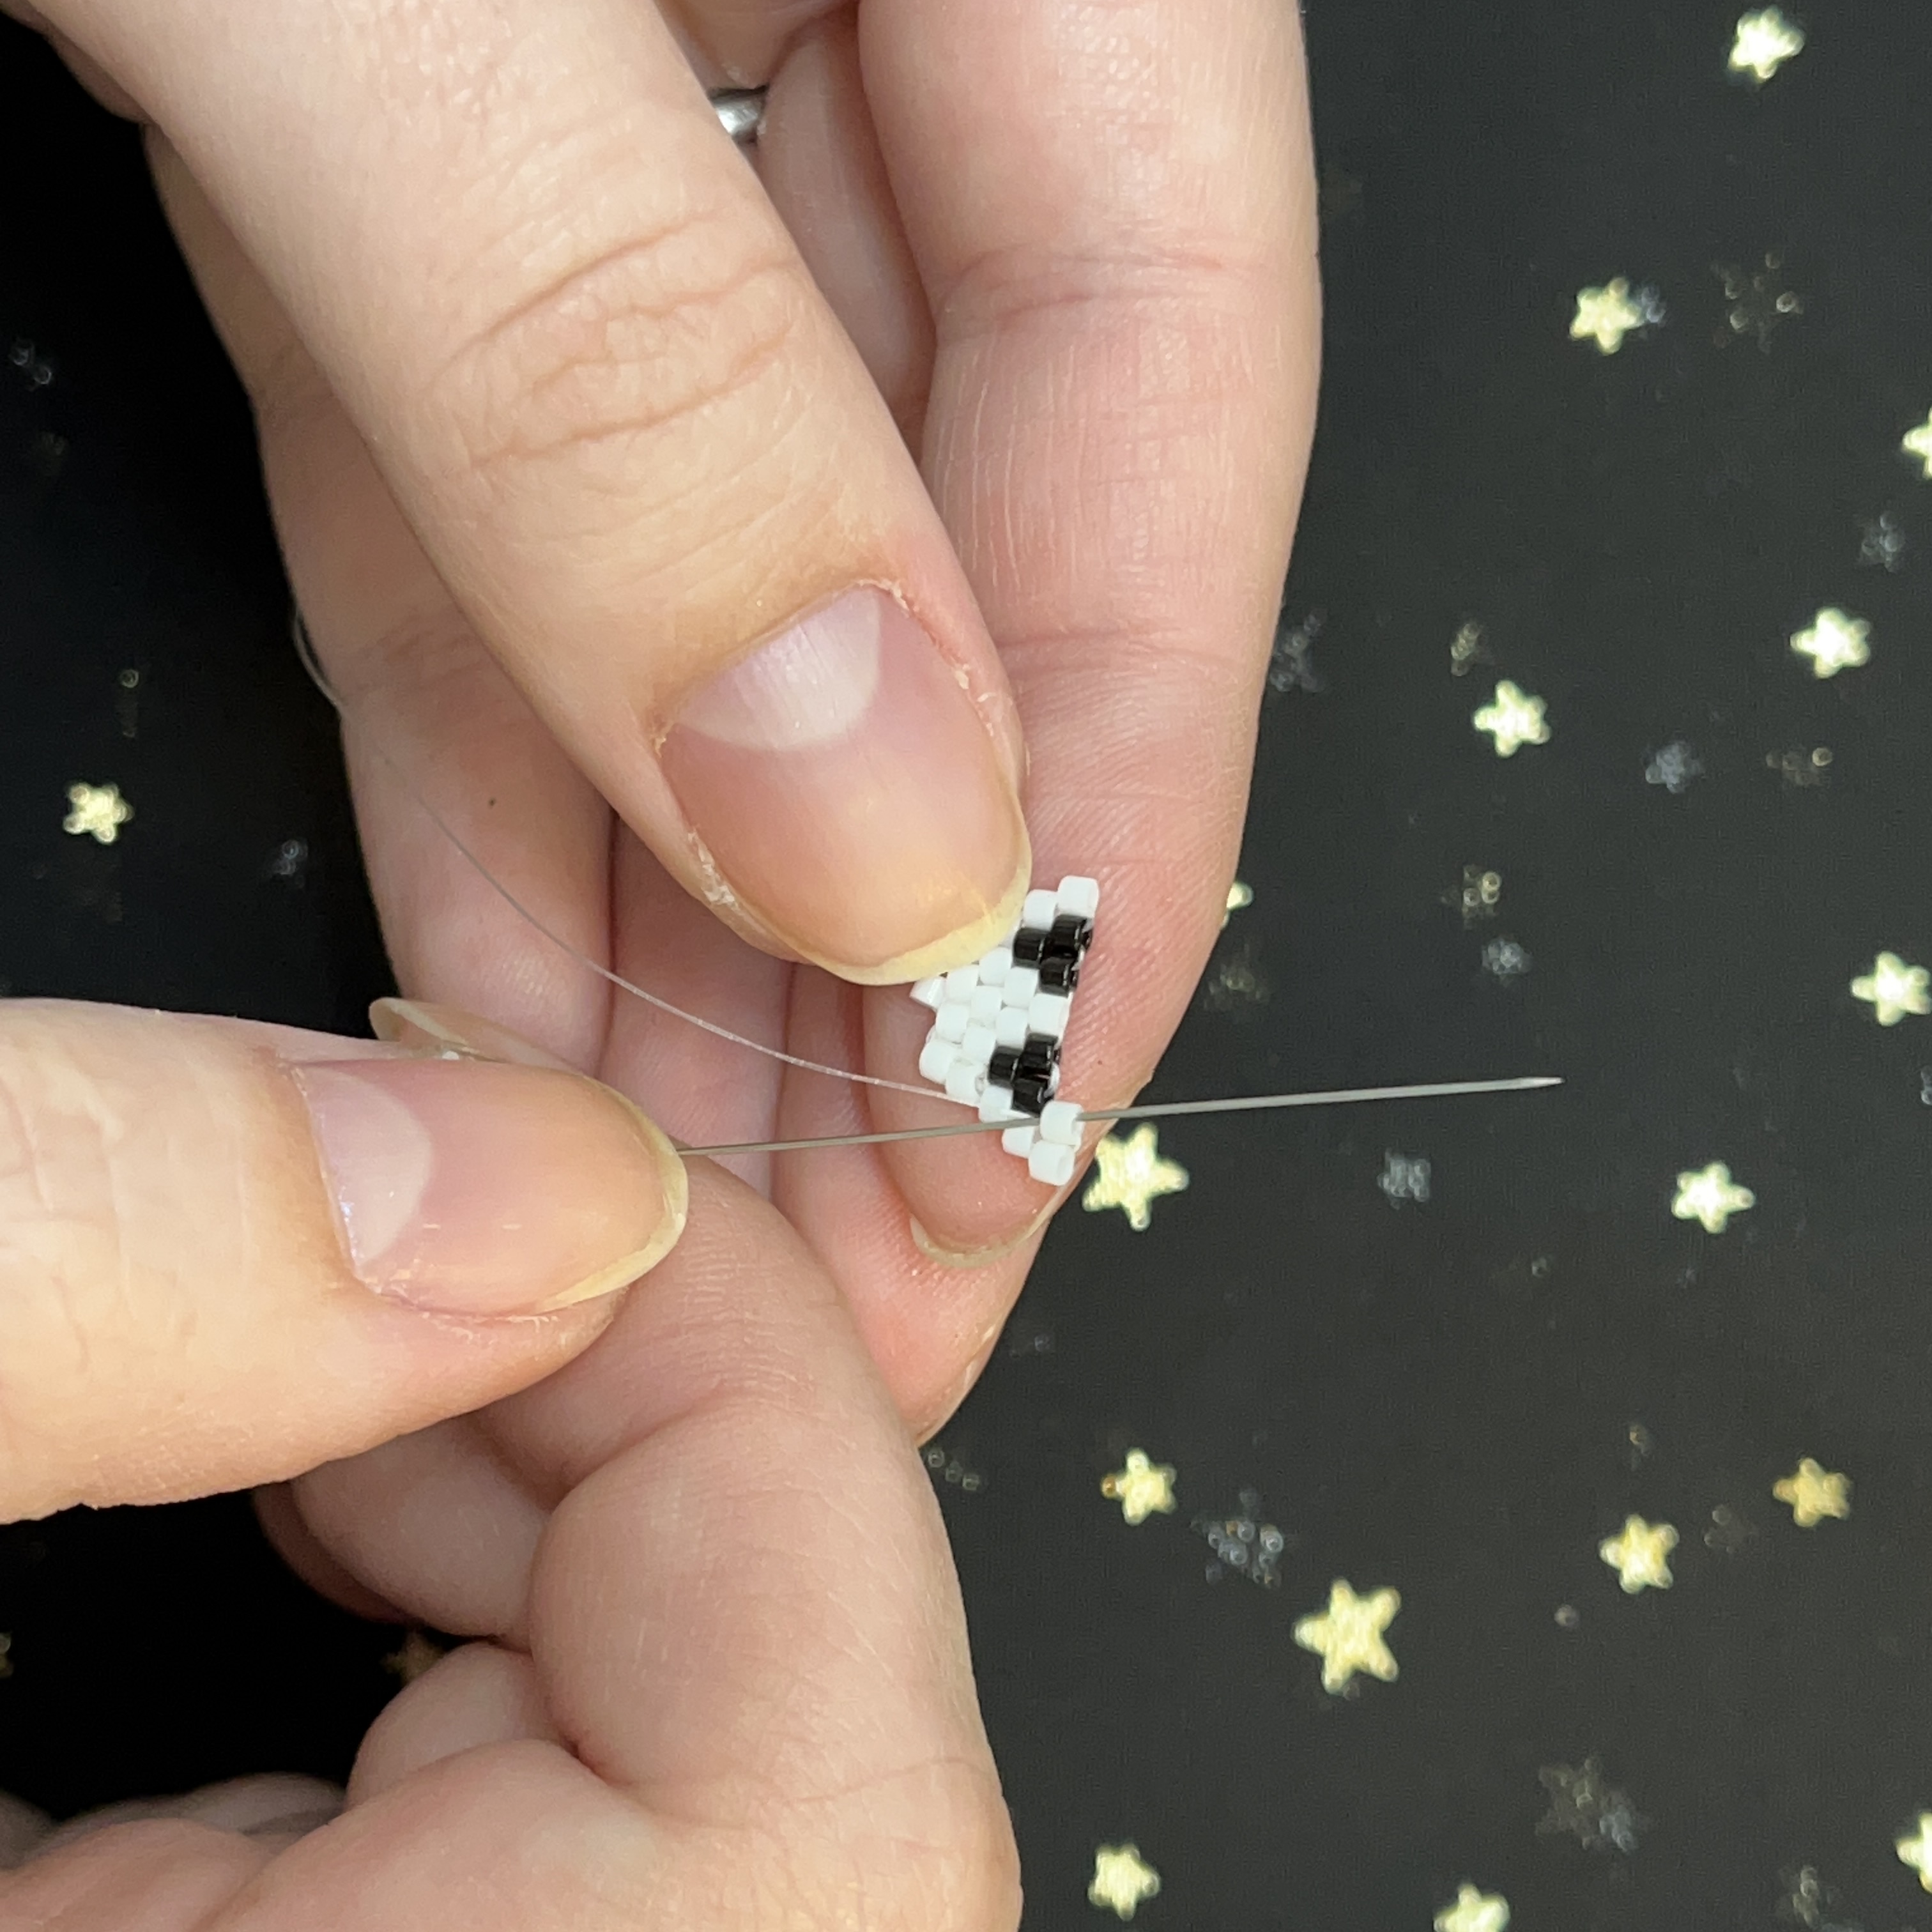
38. Thread on a white and black bead (in that order) and thread the needle through the first stitch of the row.
39. Now to secure the two beads you just added. Thread the needle through the first bead on the left and pull the thread through.
40. The beads might go wonky but that's okay, just shift them to look like the picture above and then thread the needle through the top of the second bead.
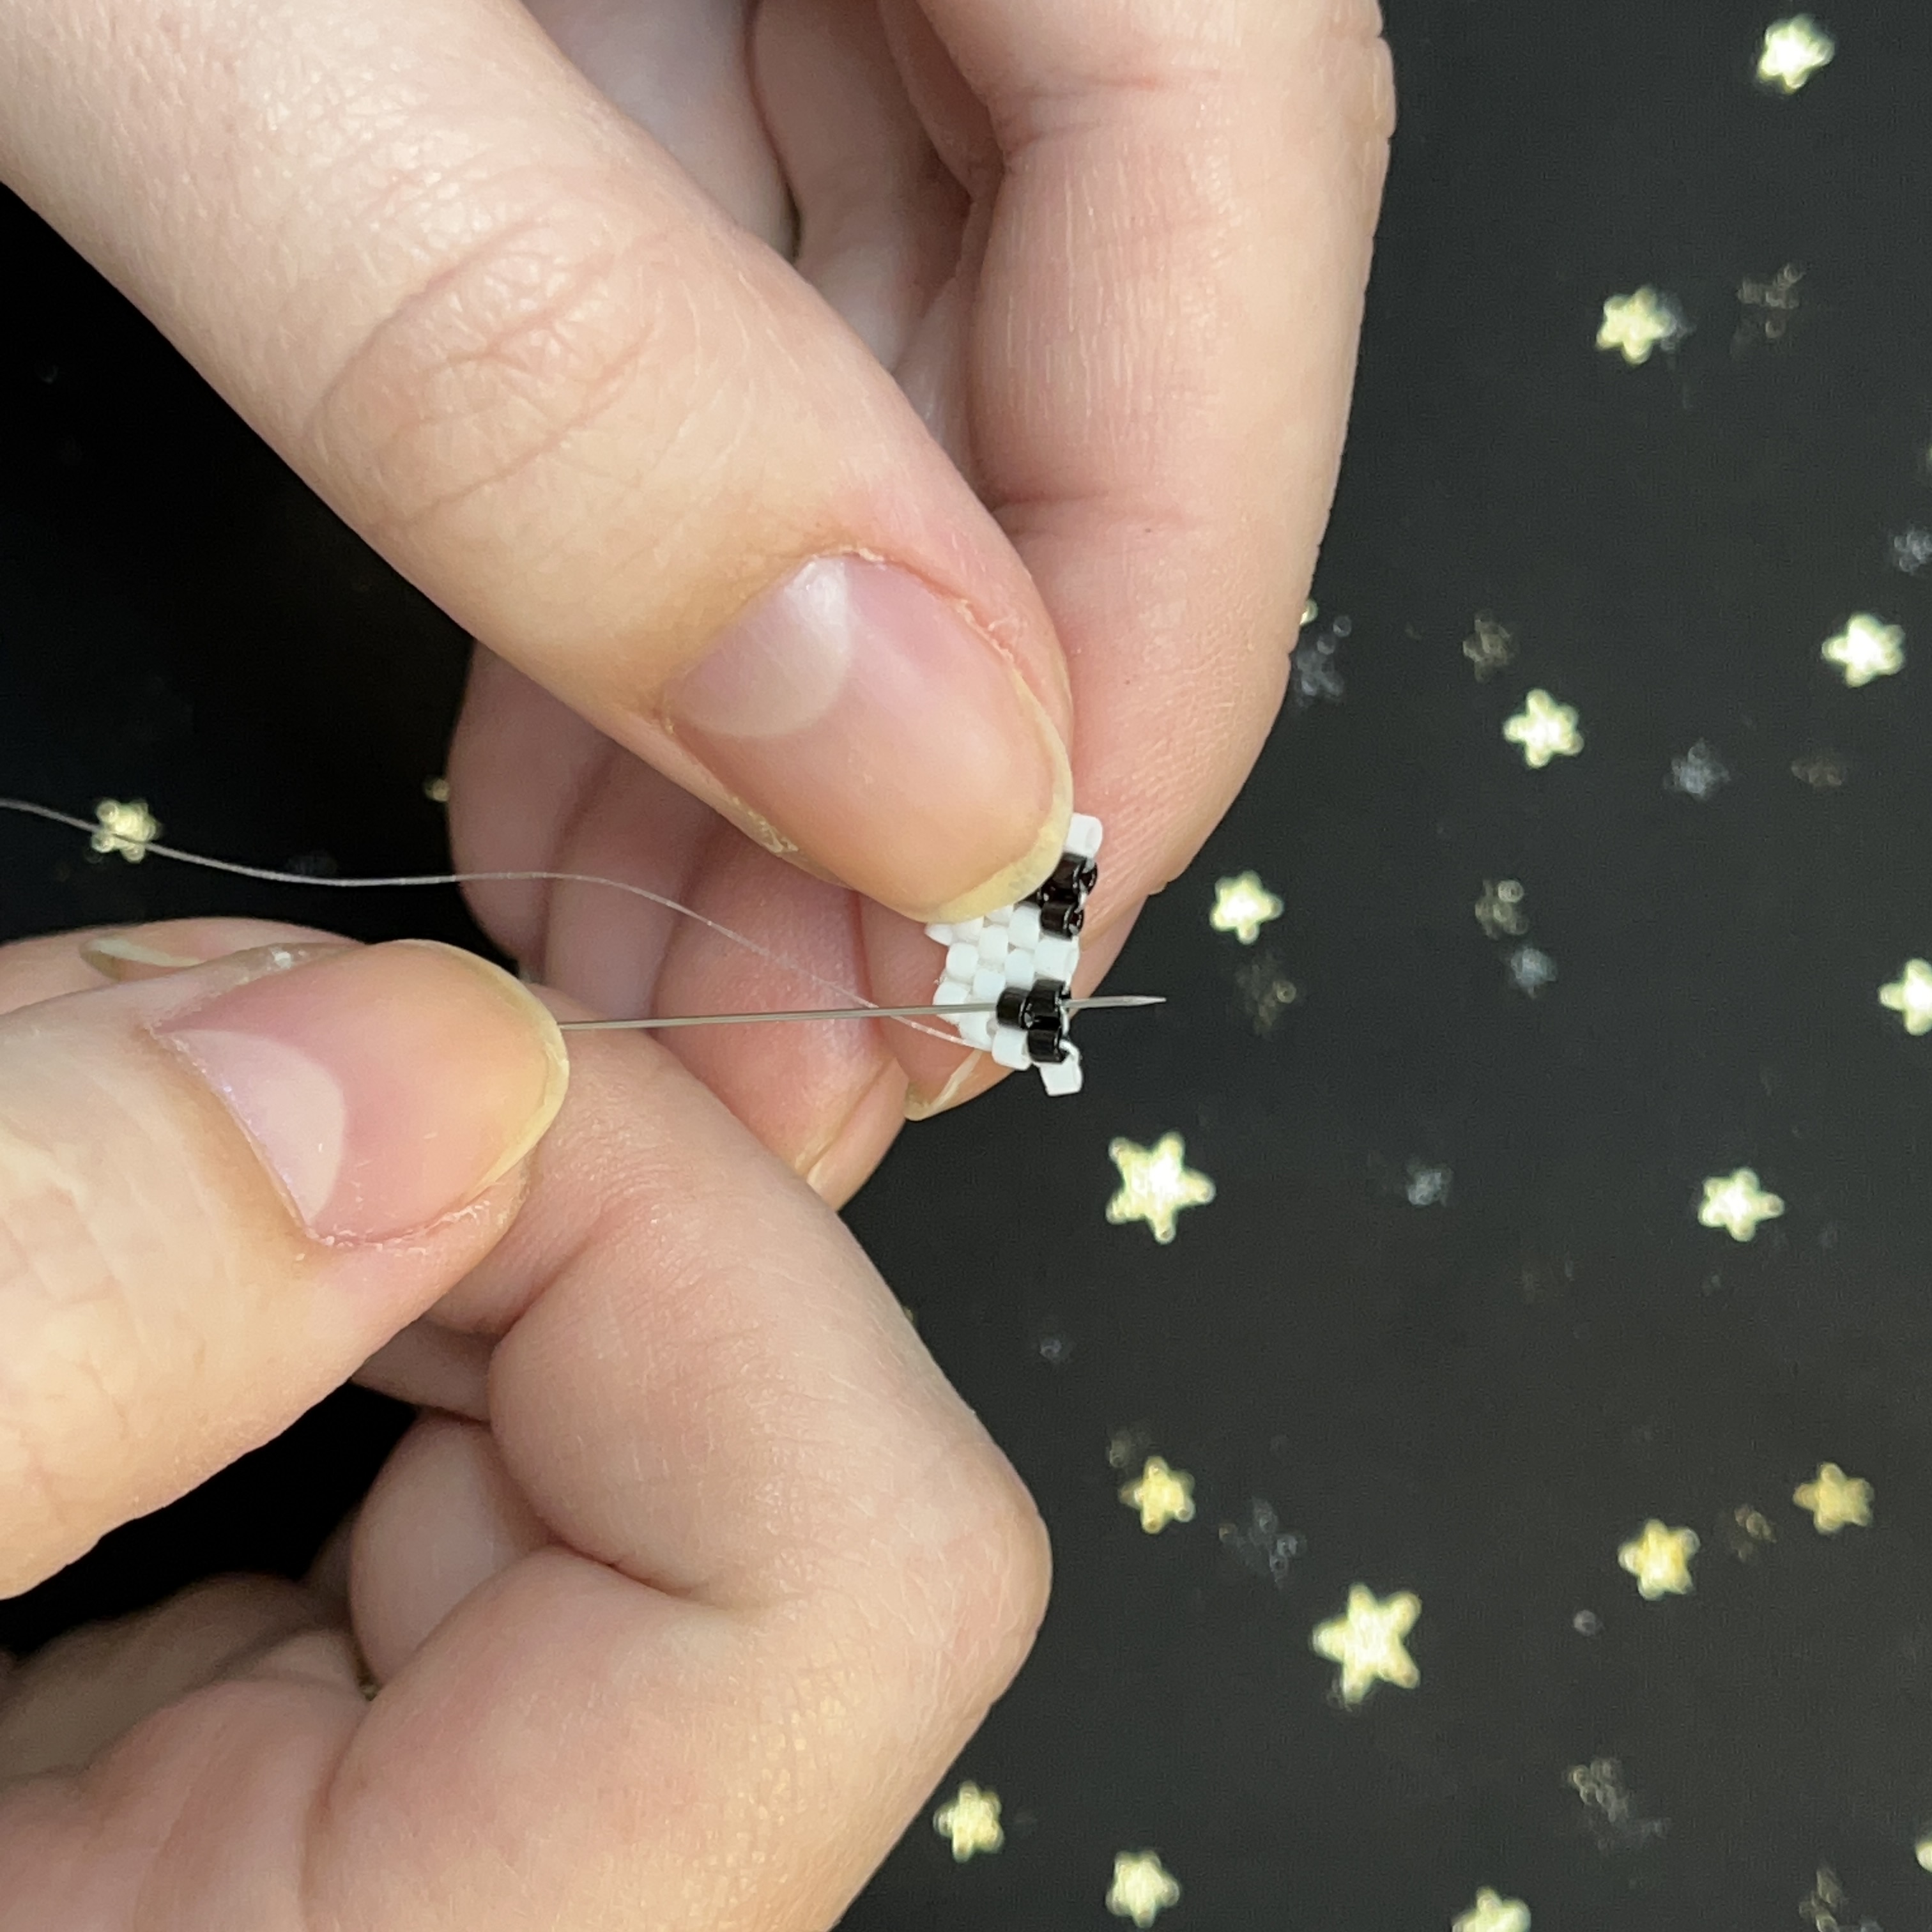
41. Thread back up through the black bead to secure it.
41. Take a white delica bead and thread through the next stitch on the row.
42. Thread back up through the bead.
43. Repeat with a white bead.
44. Repeat step 42. Remember to keep pulling tight as you go.

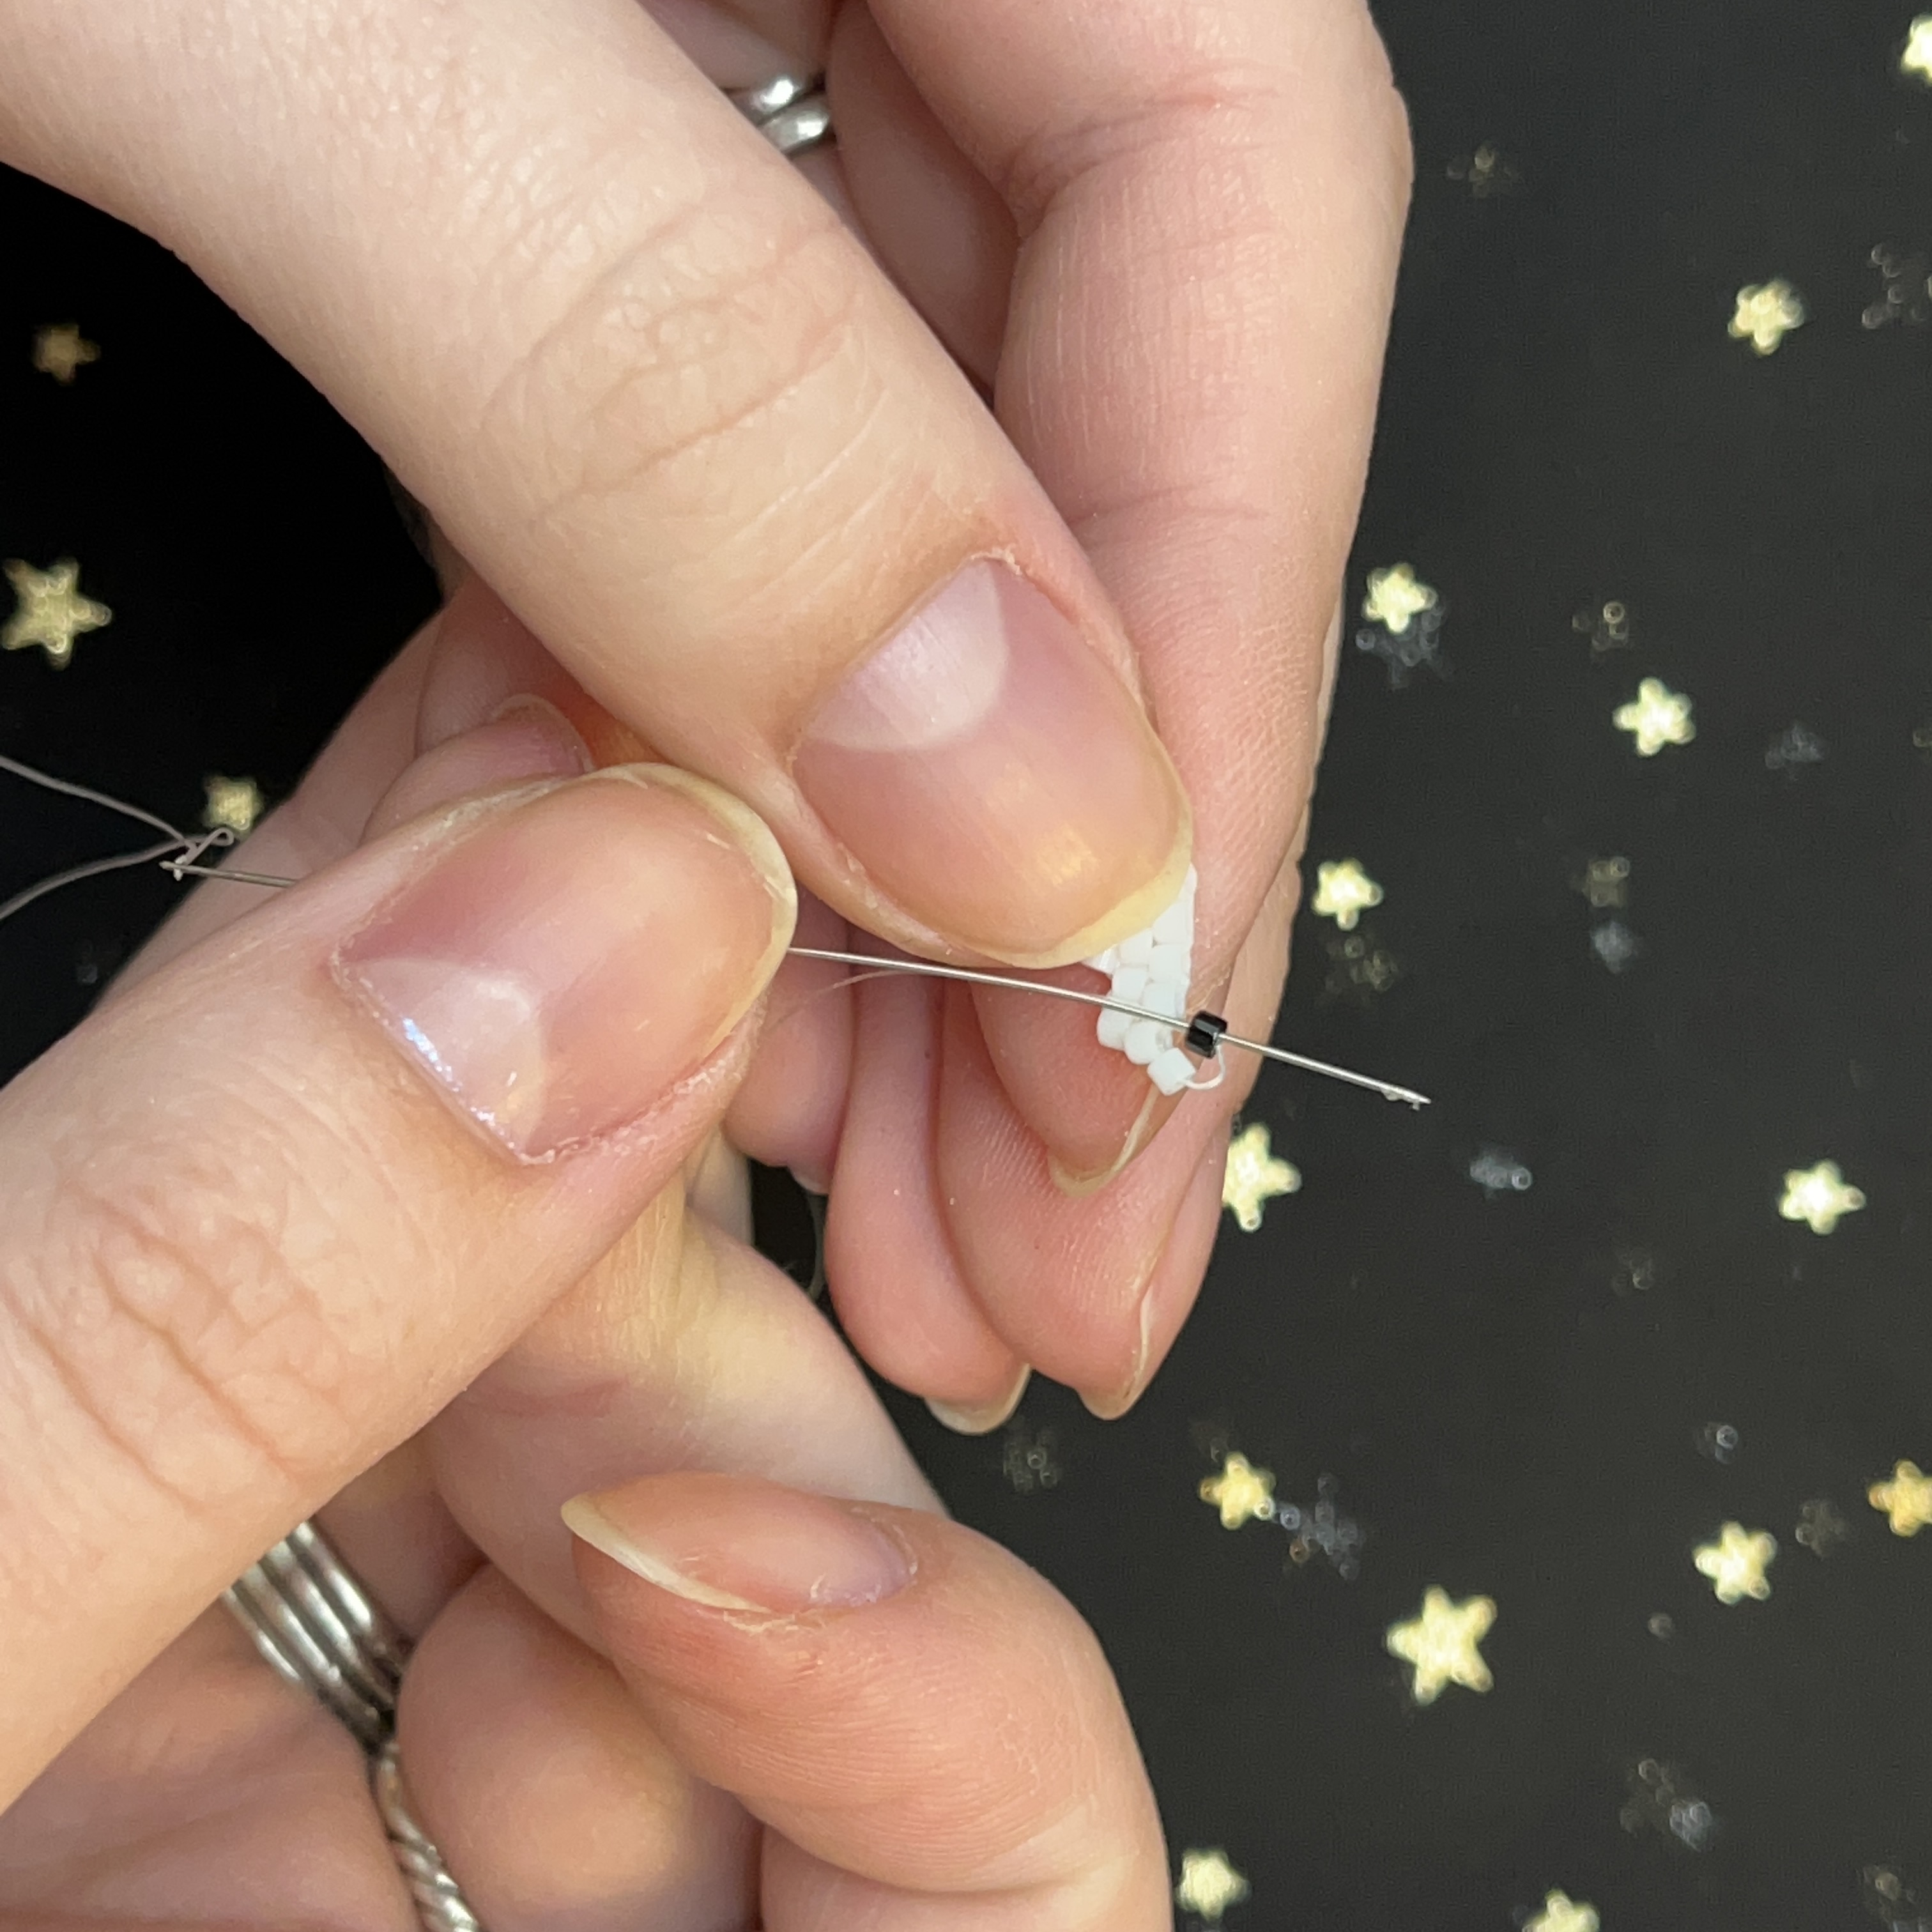
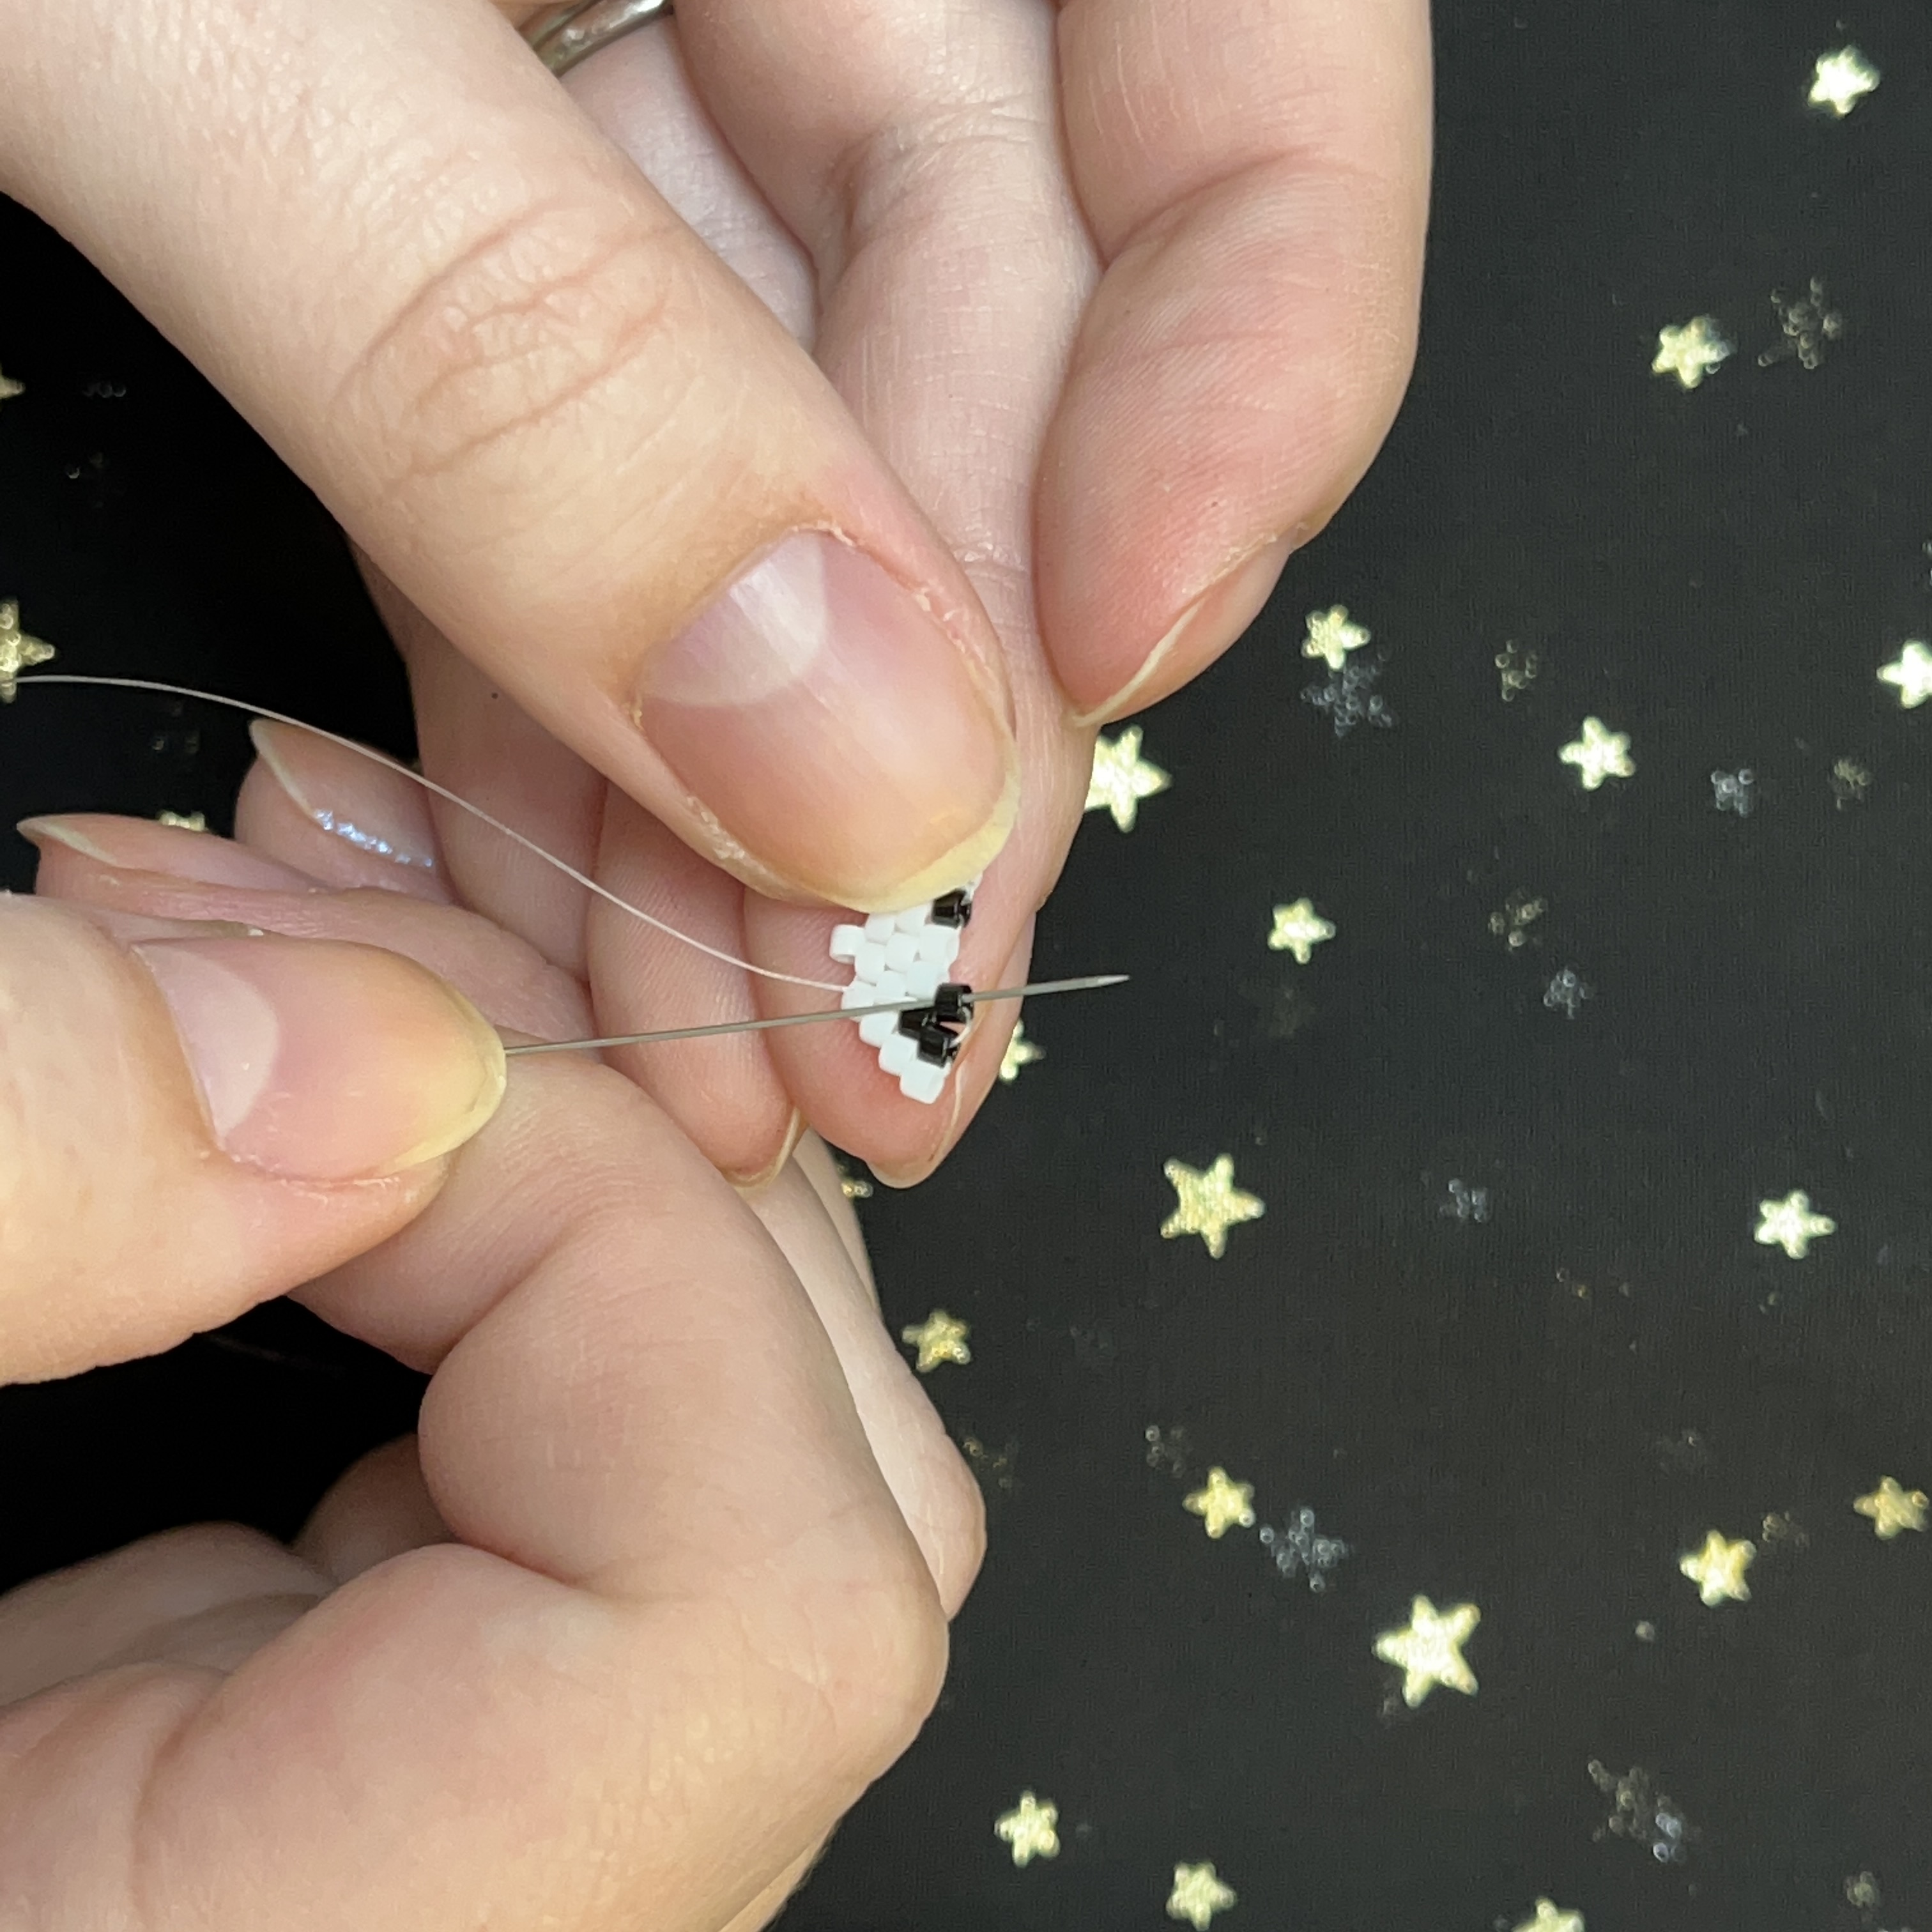
45. Add a black bead to the next stitch.
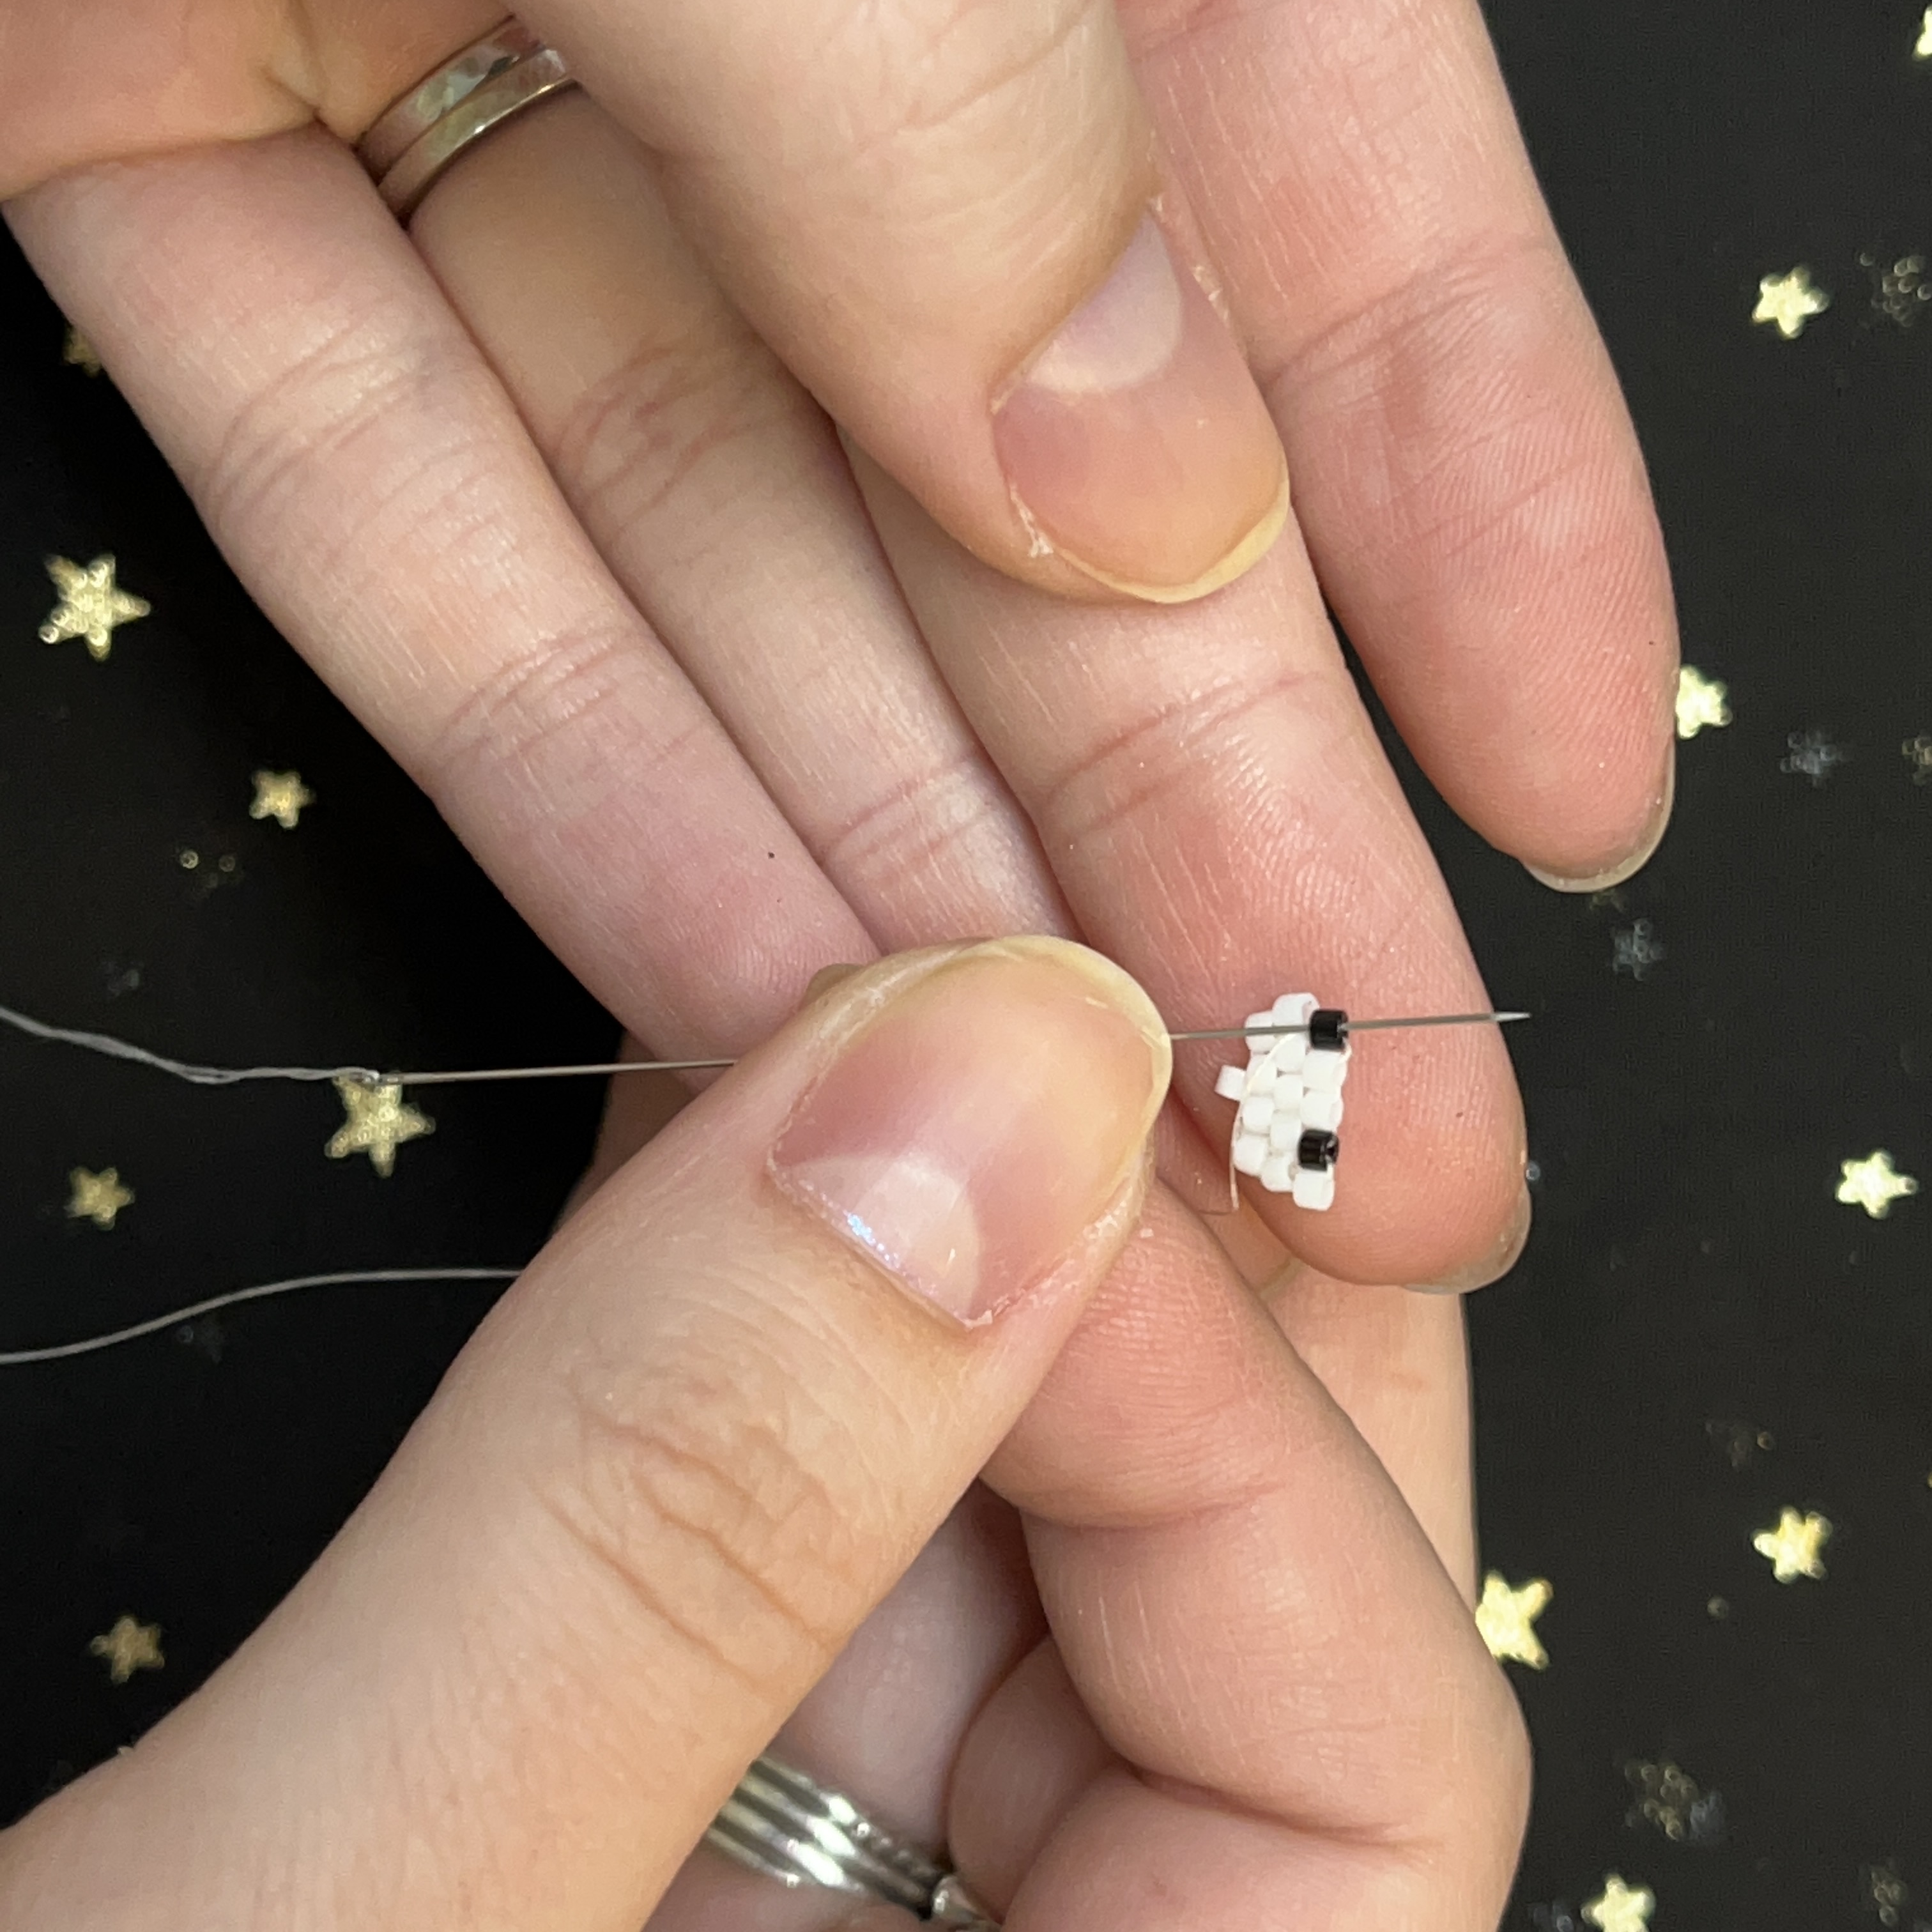
46. Thread up through the black bead.
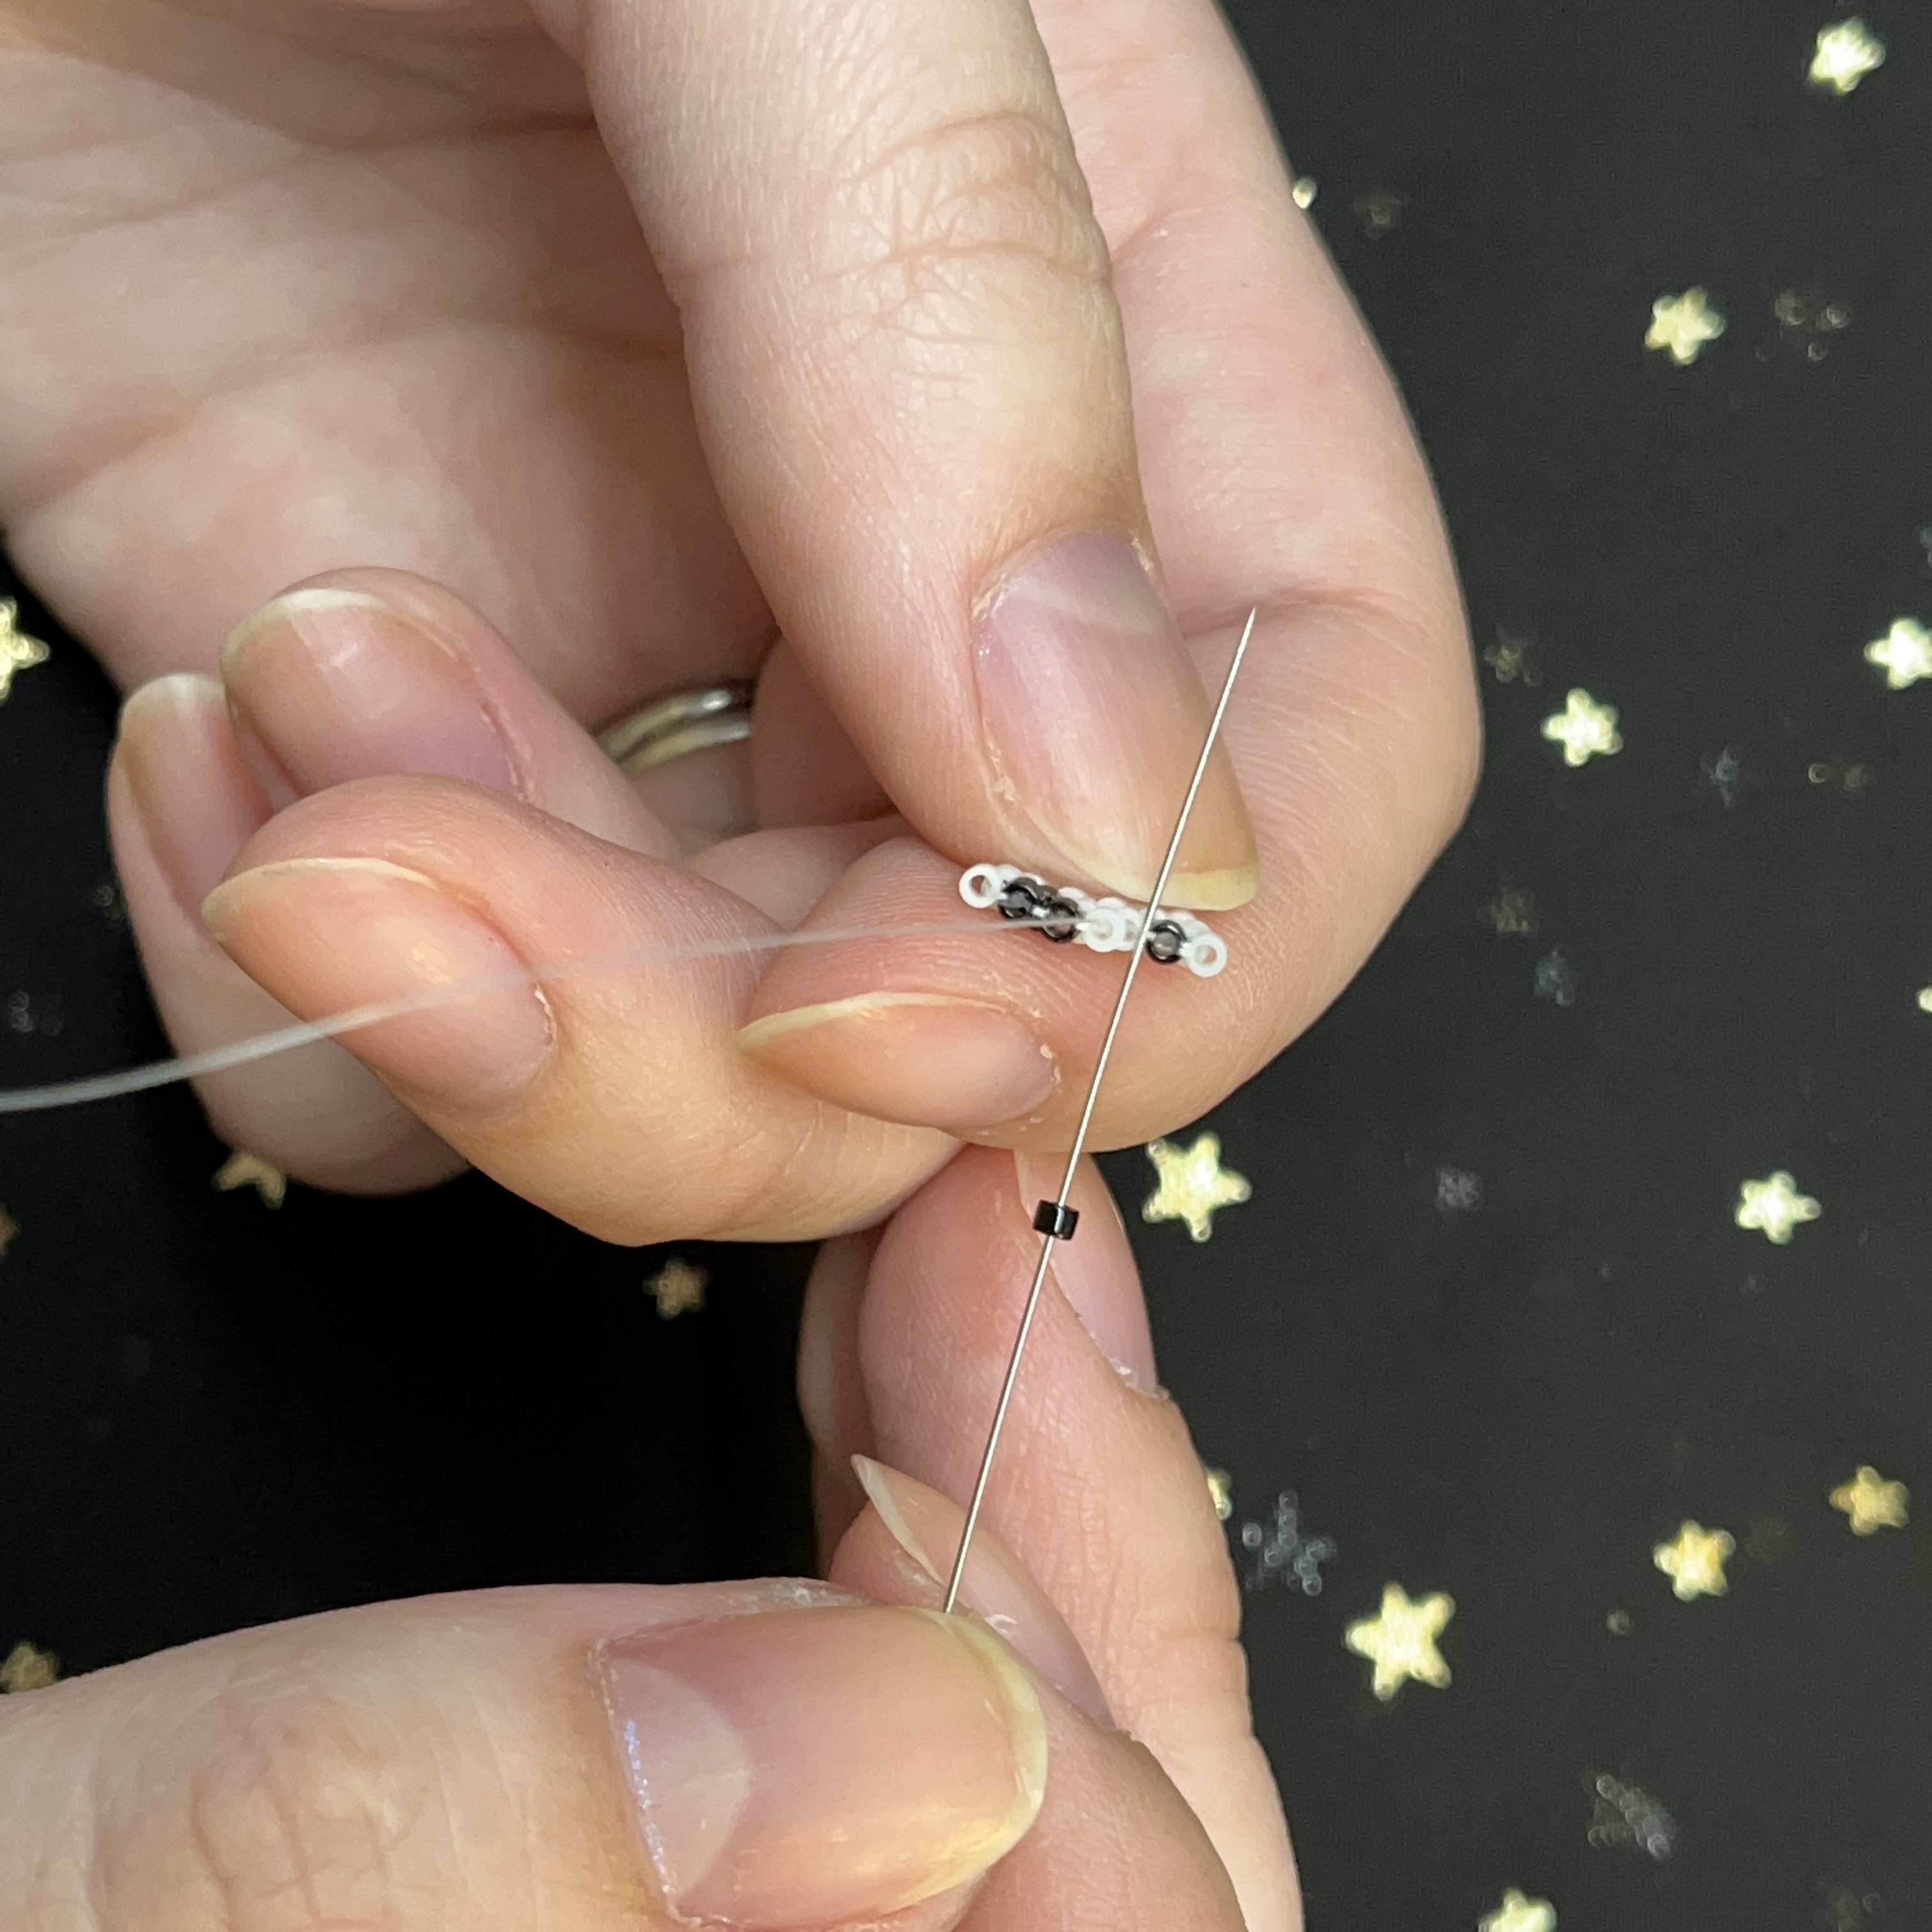
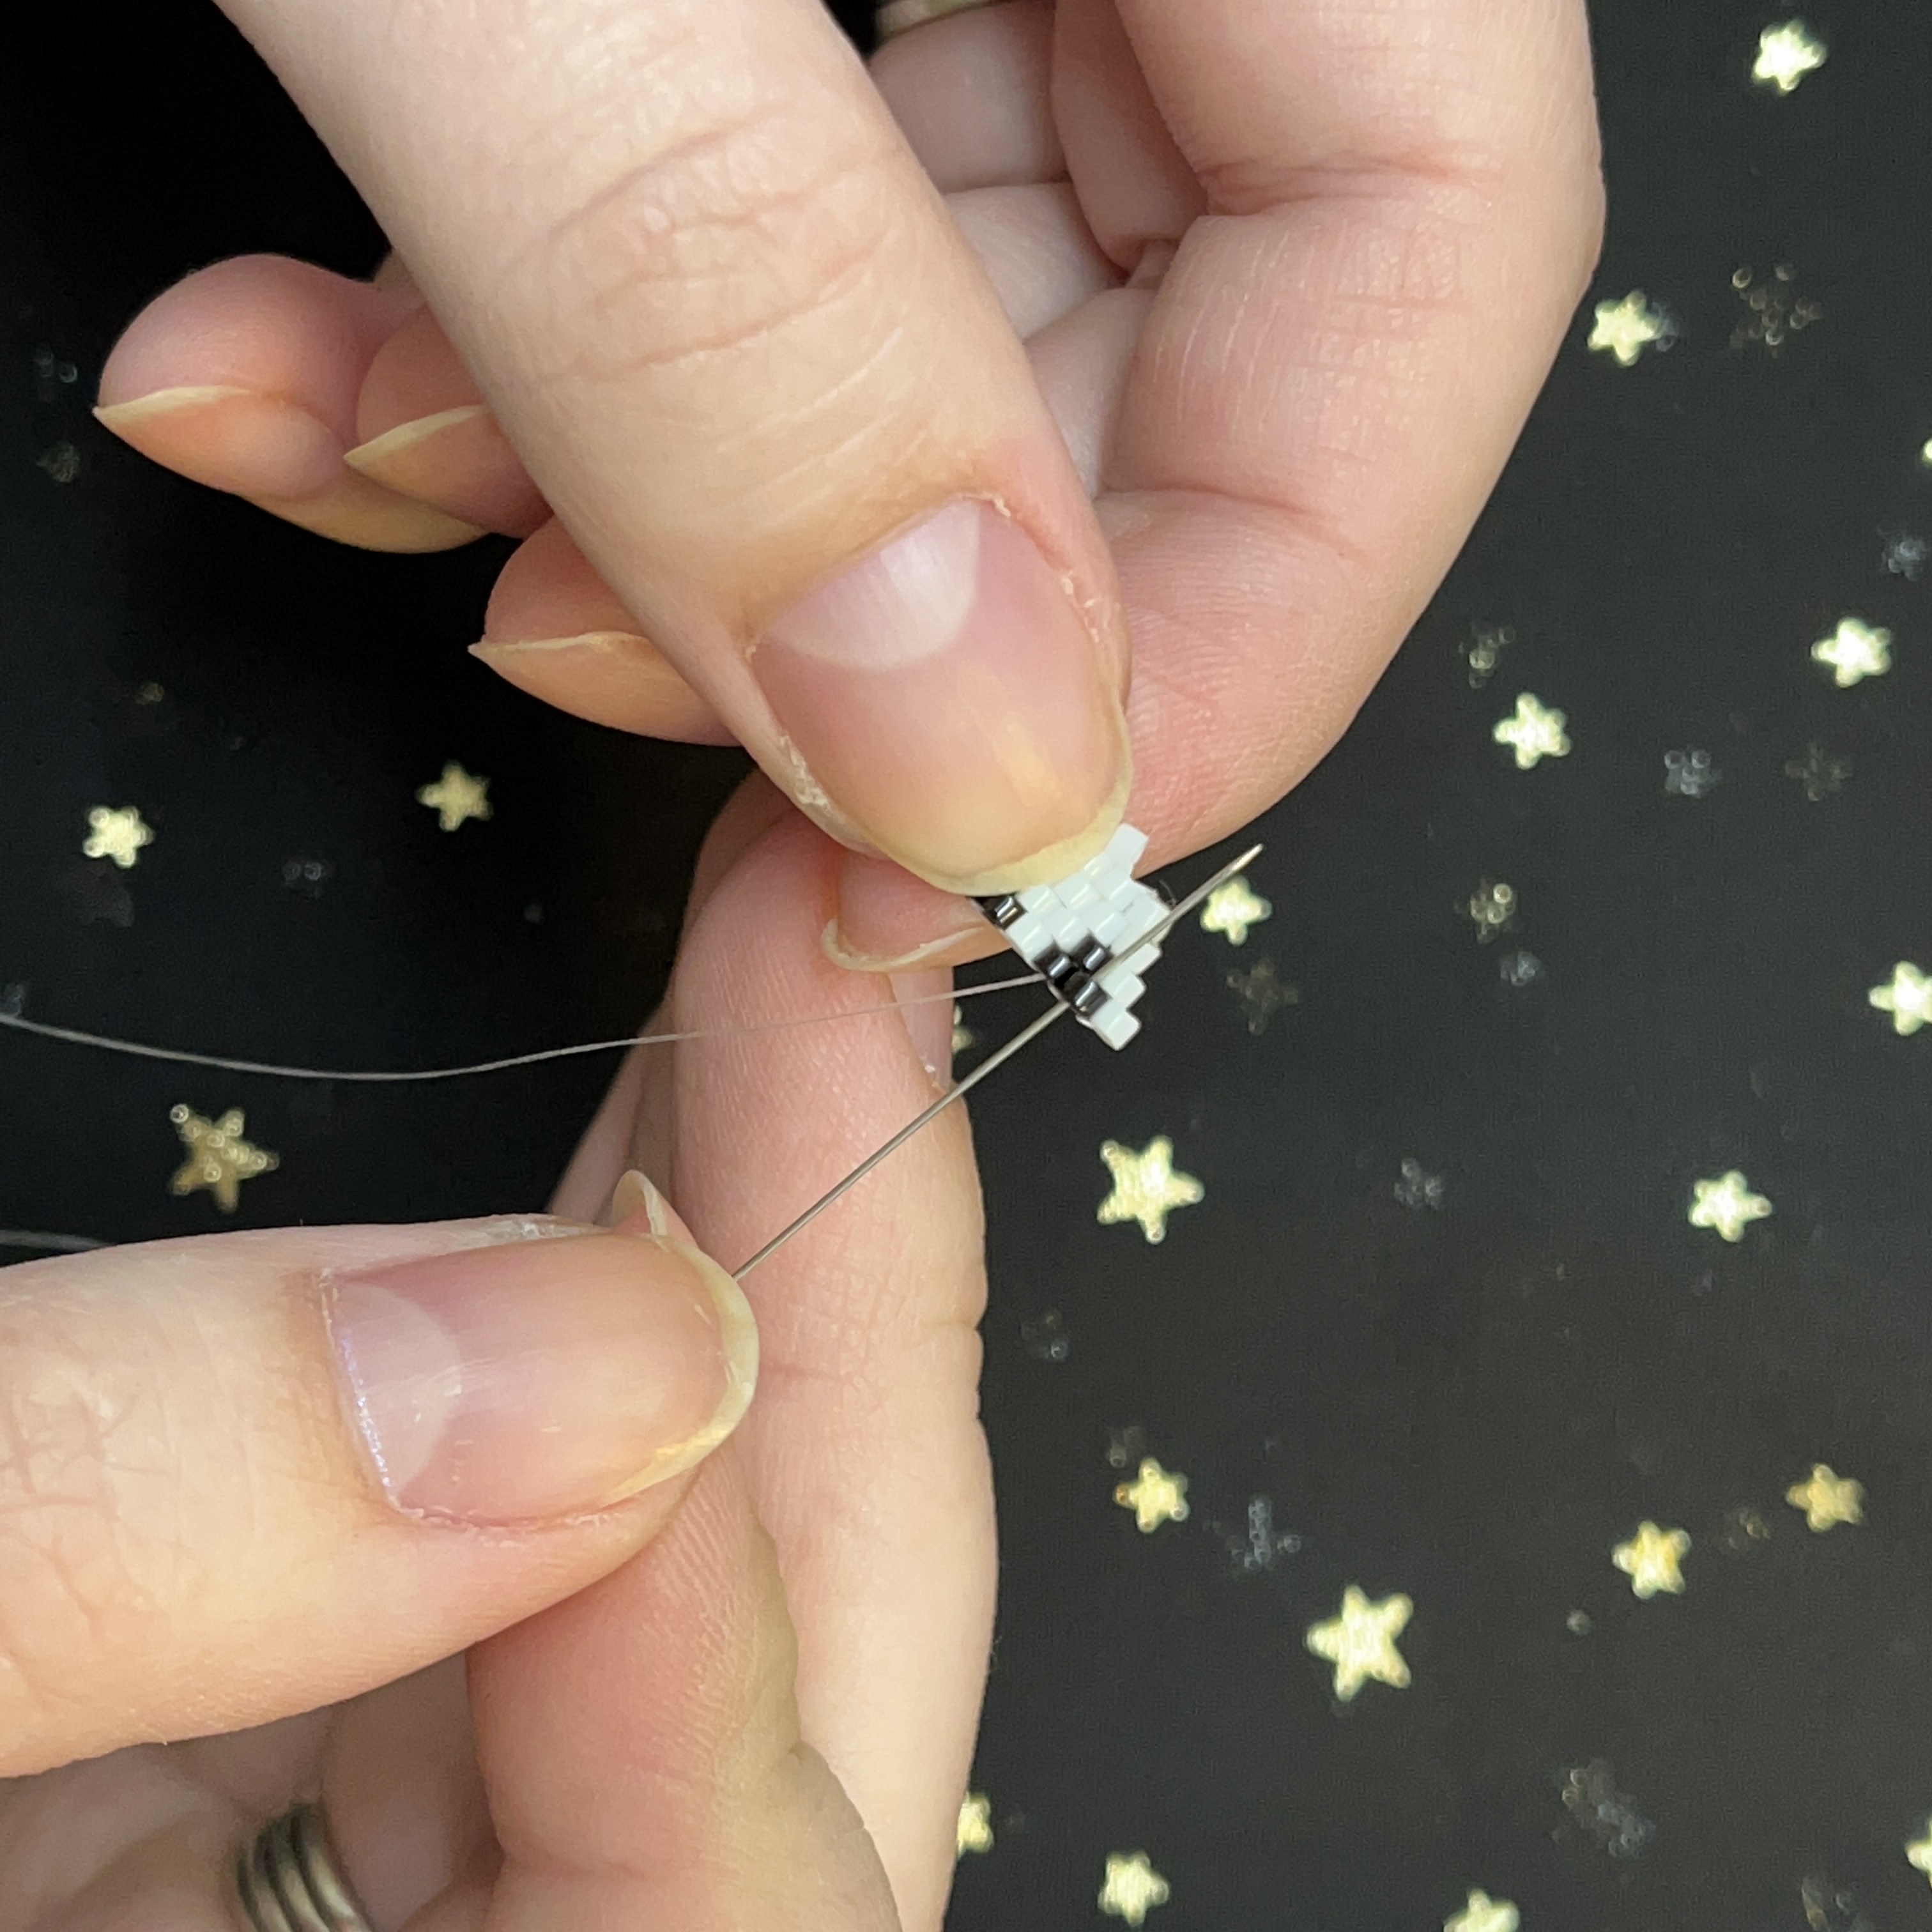
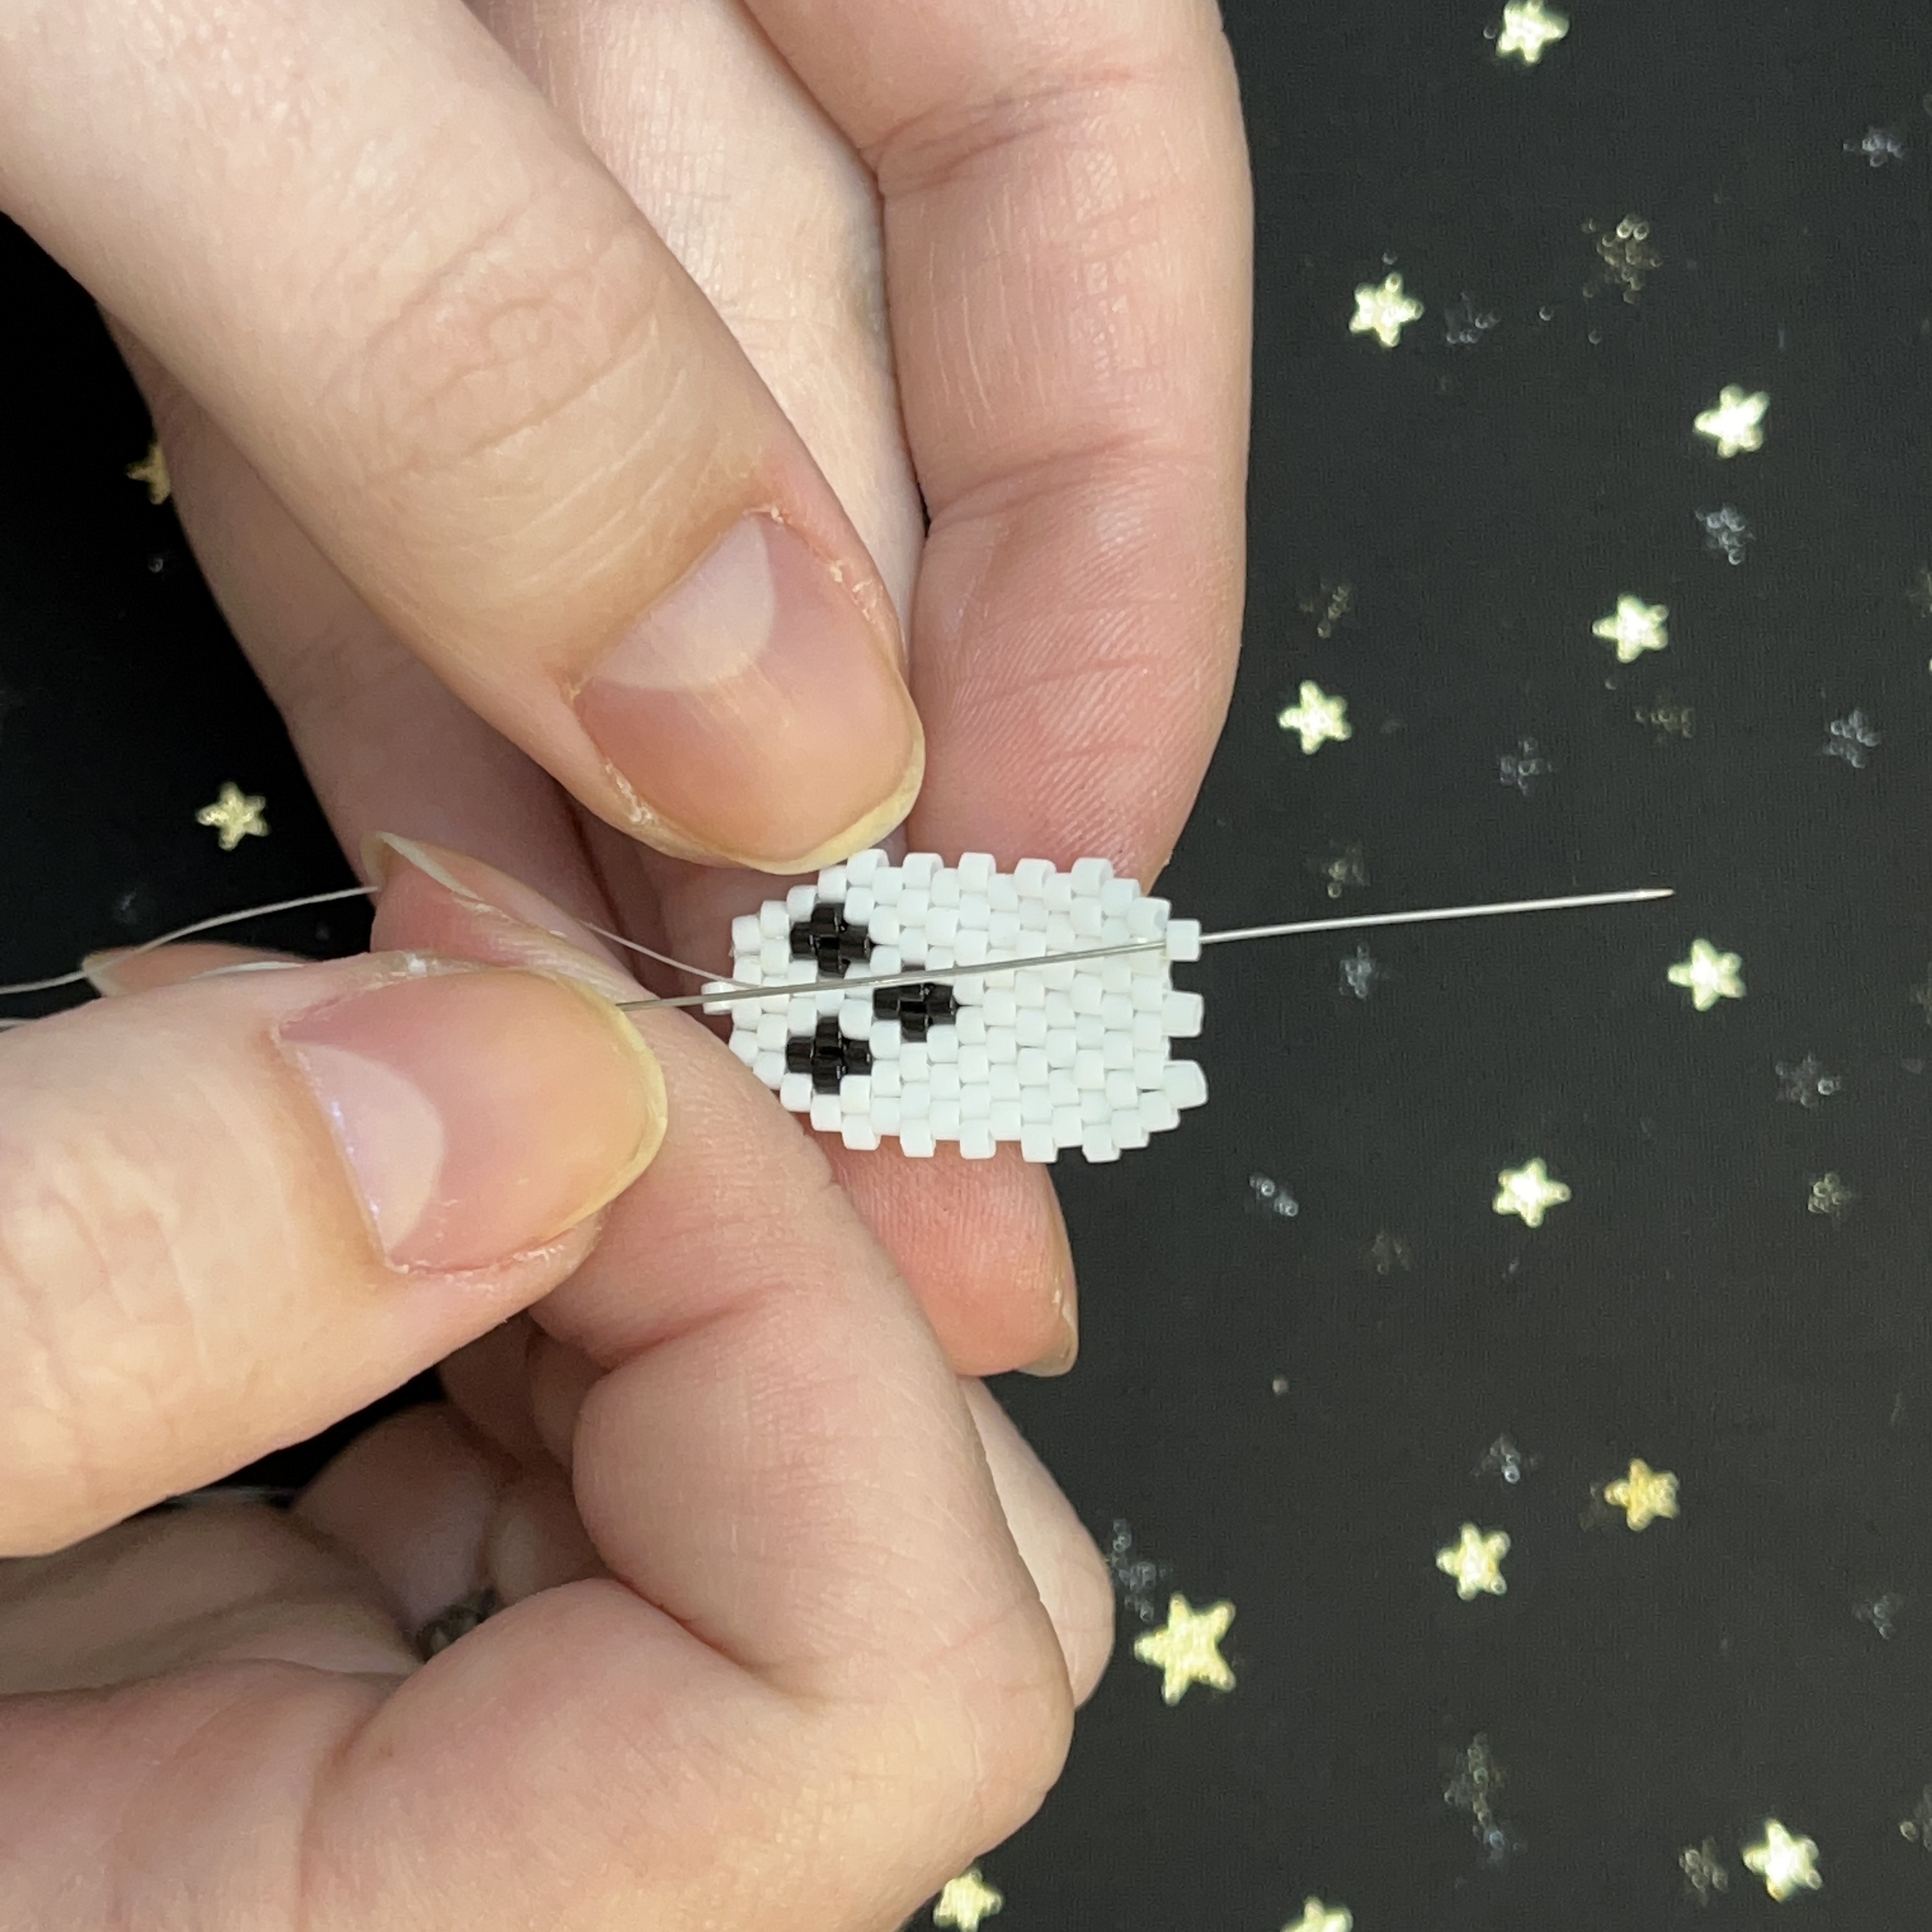
47. To add the 6th bead on the row, thread the needle through the last bead of the row below.
48. Flip the project 180 degrees, thread the needle through the bead to the left and through the 3rd bead from the right at the top row.
49. Thread the needle from top to bottom of the black bead on the right hand side.
50. Thread the needle through the last bead on the third row bottom to top.
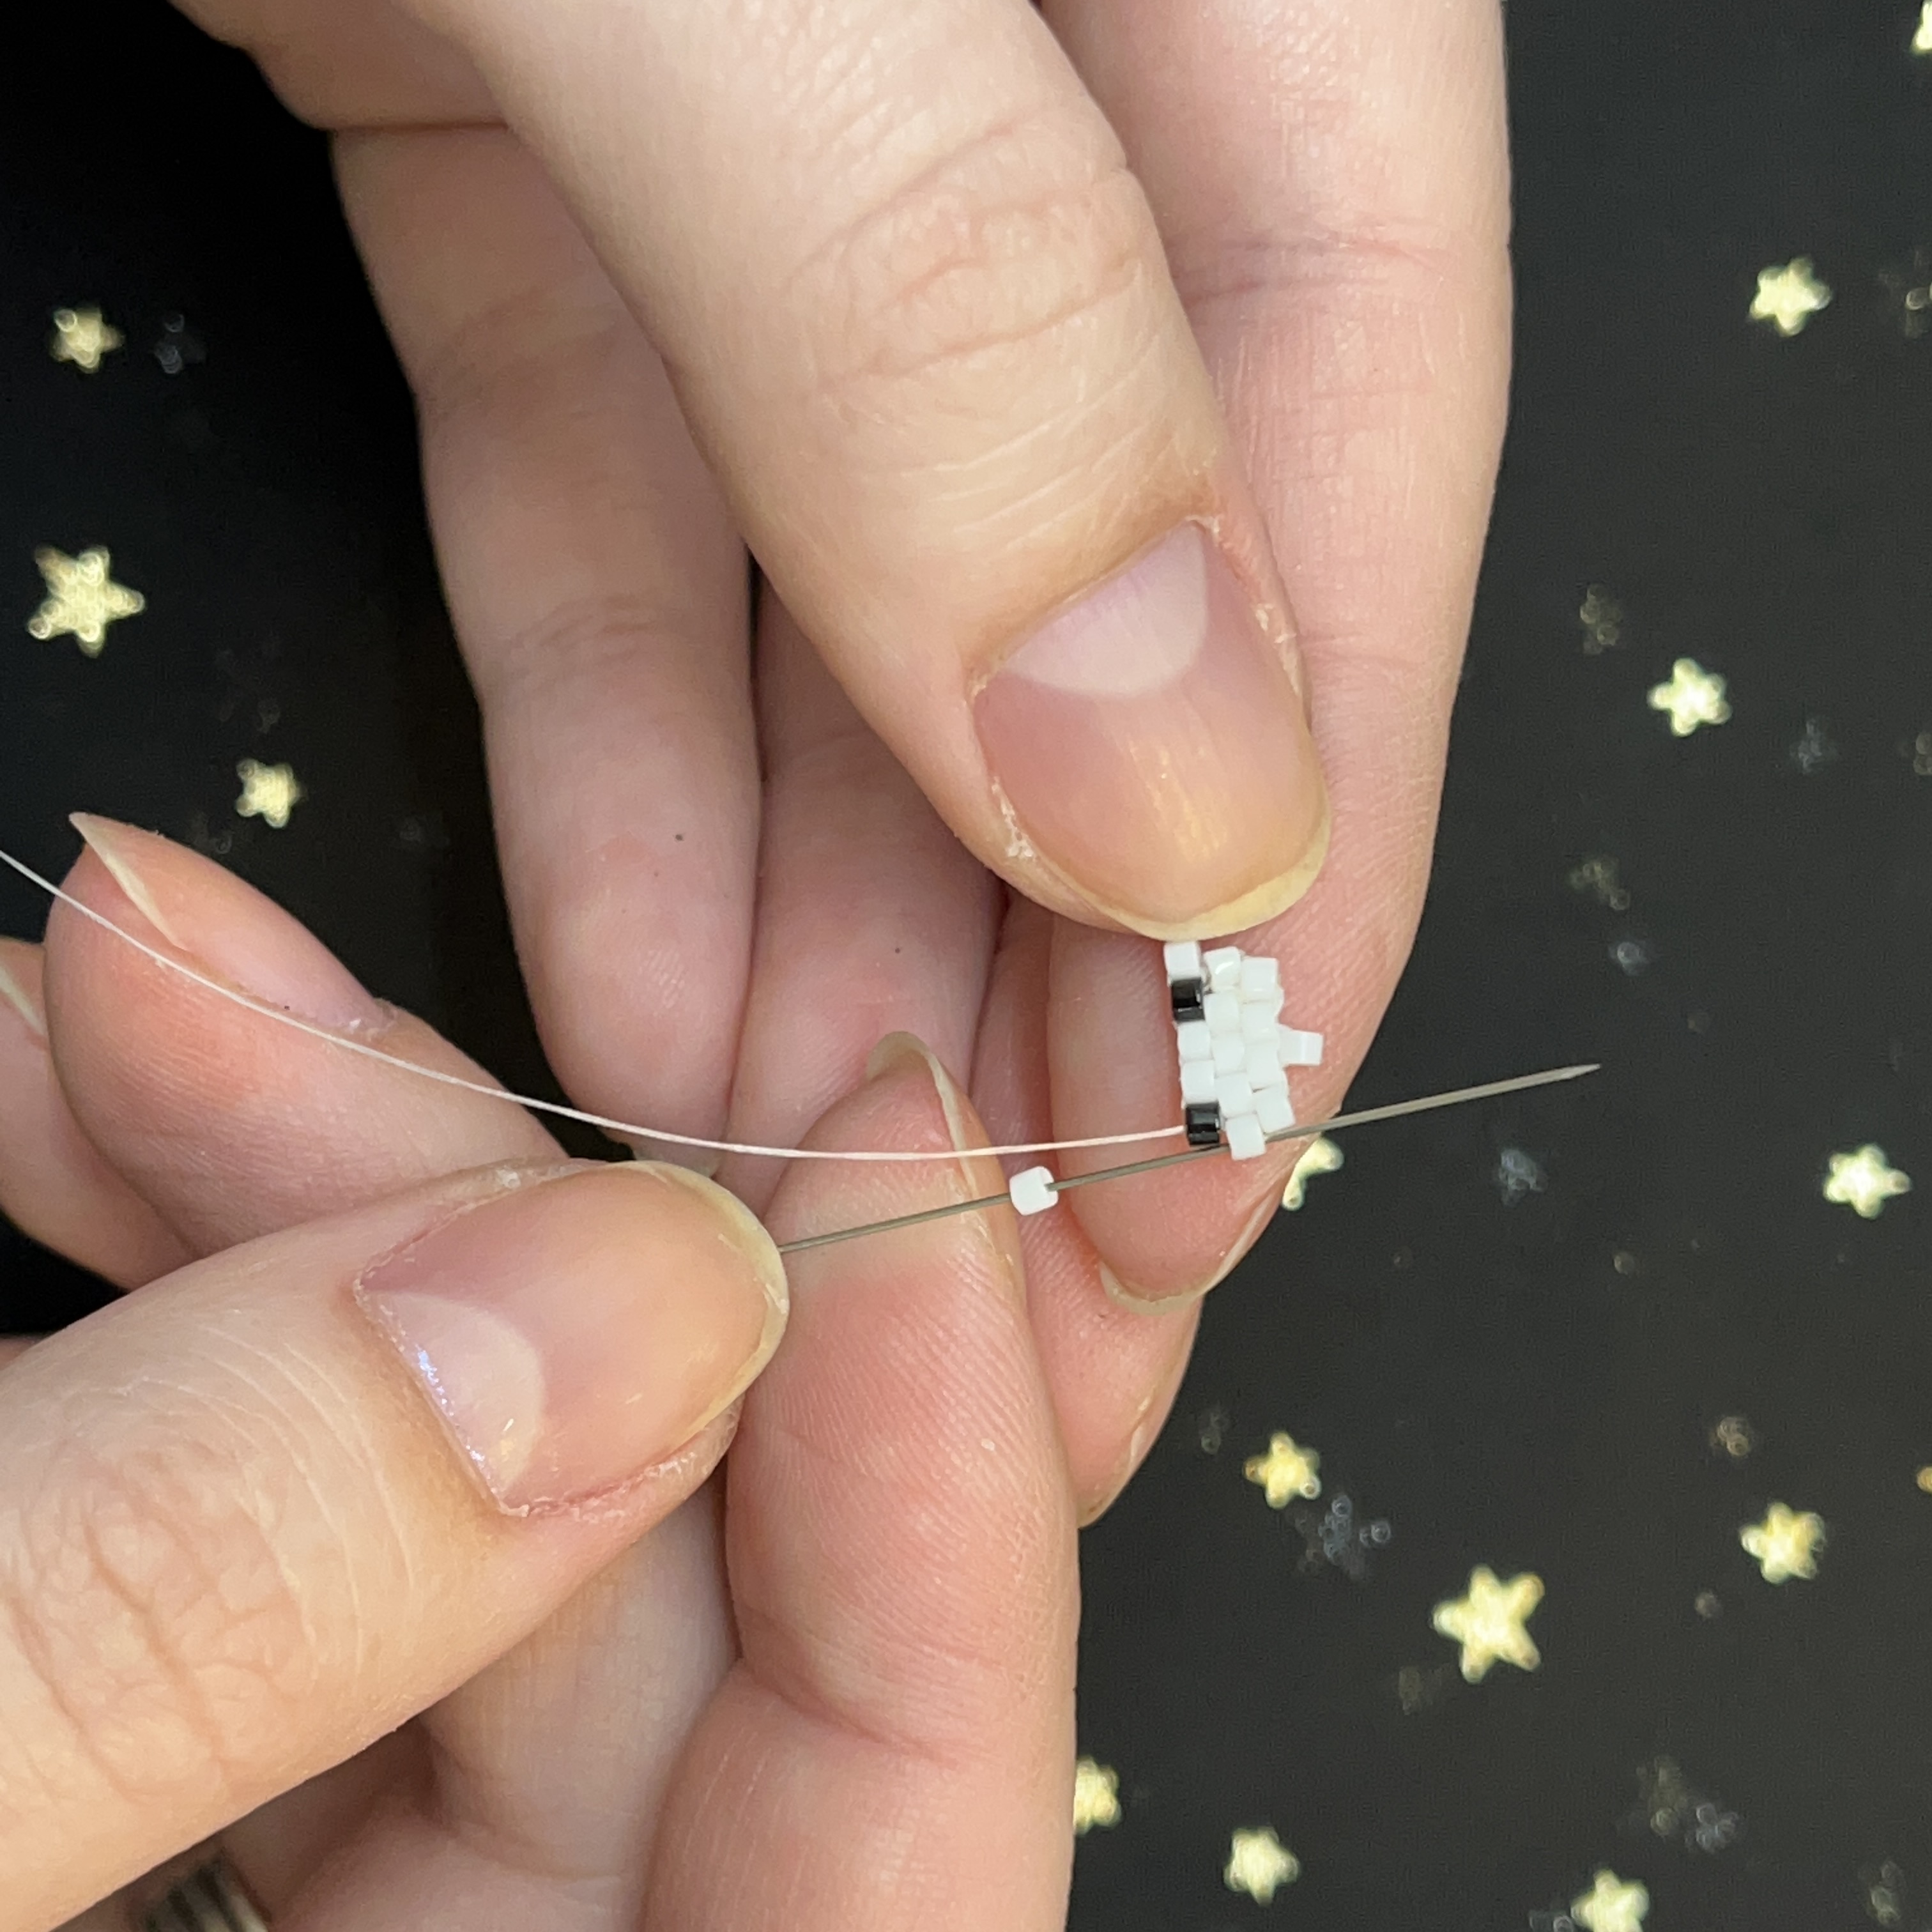
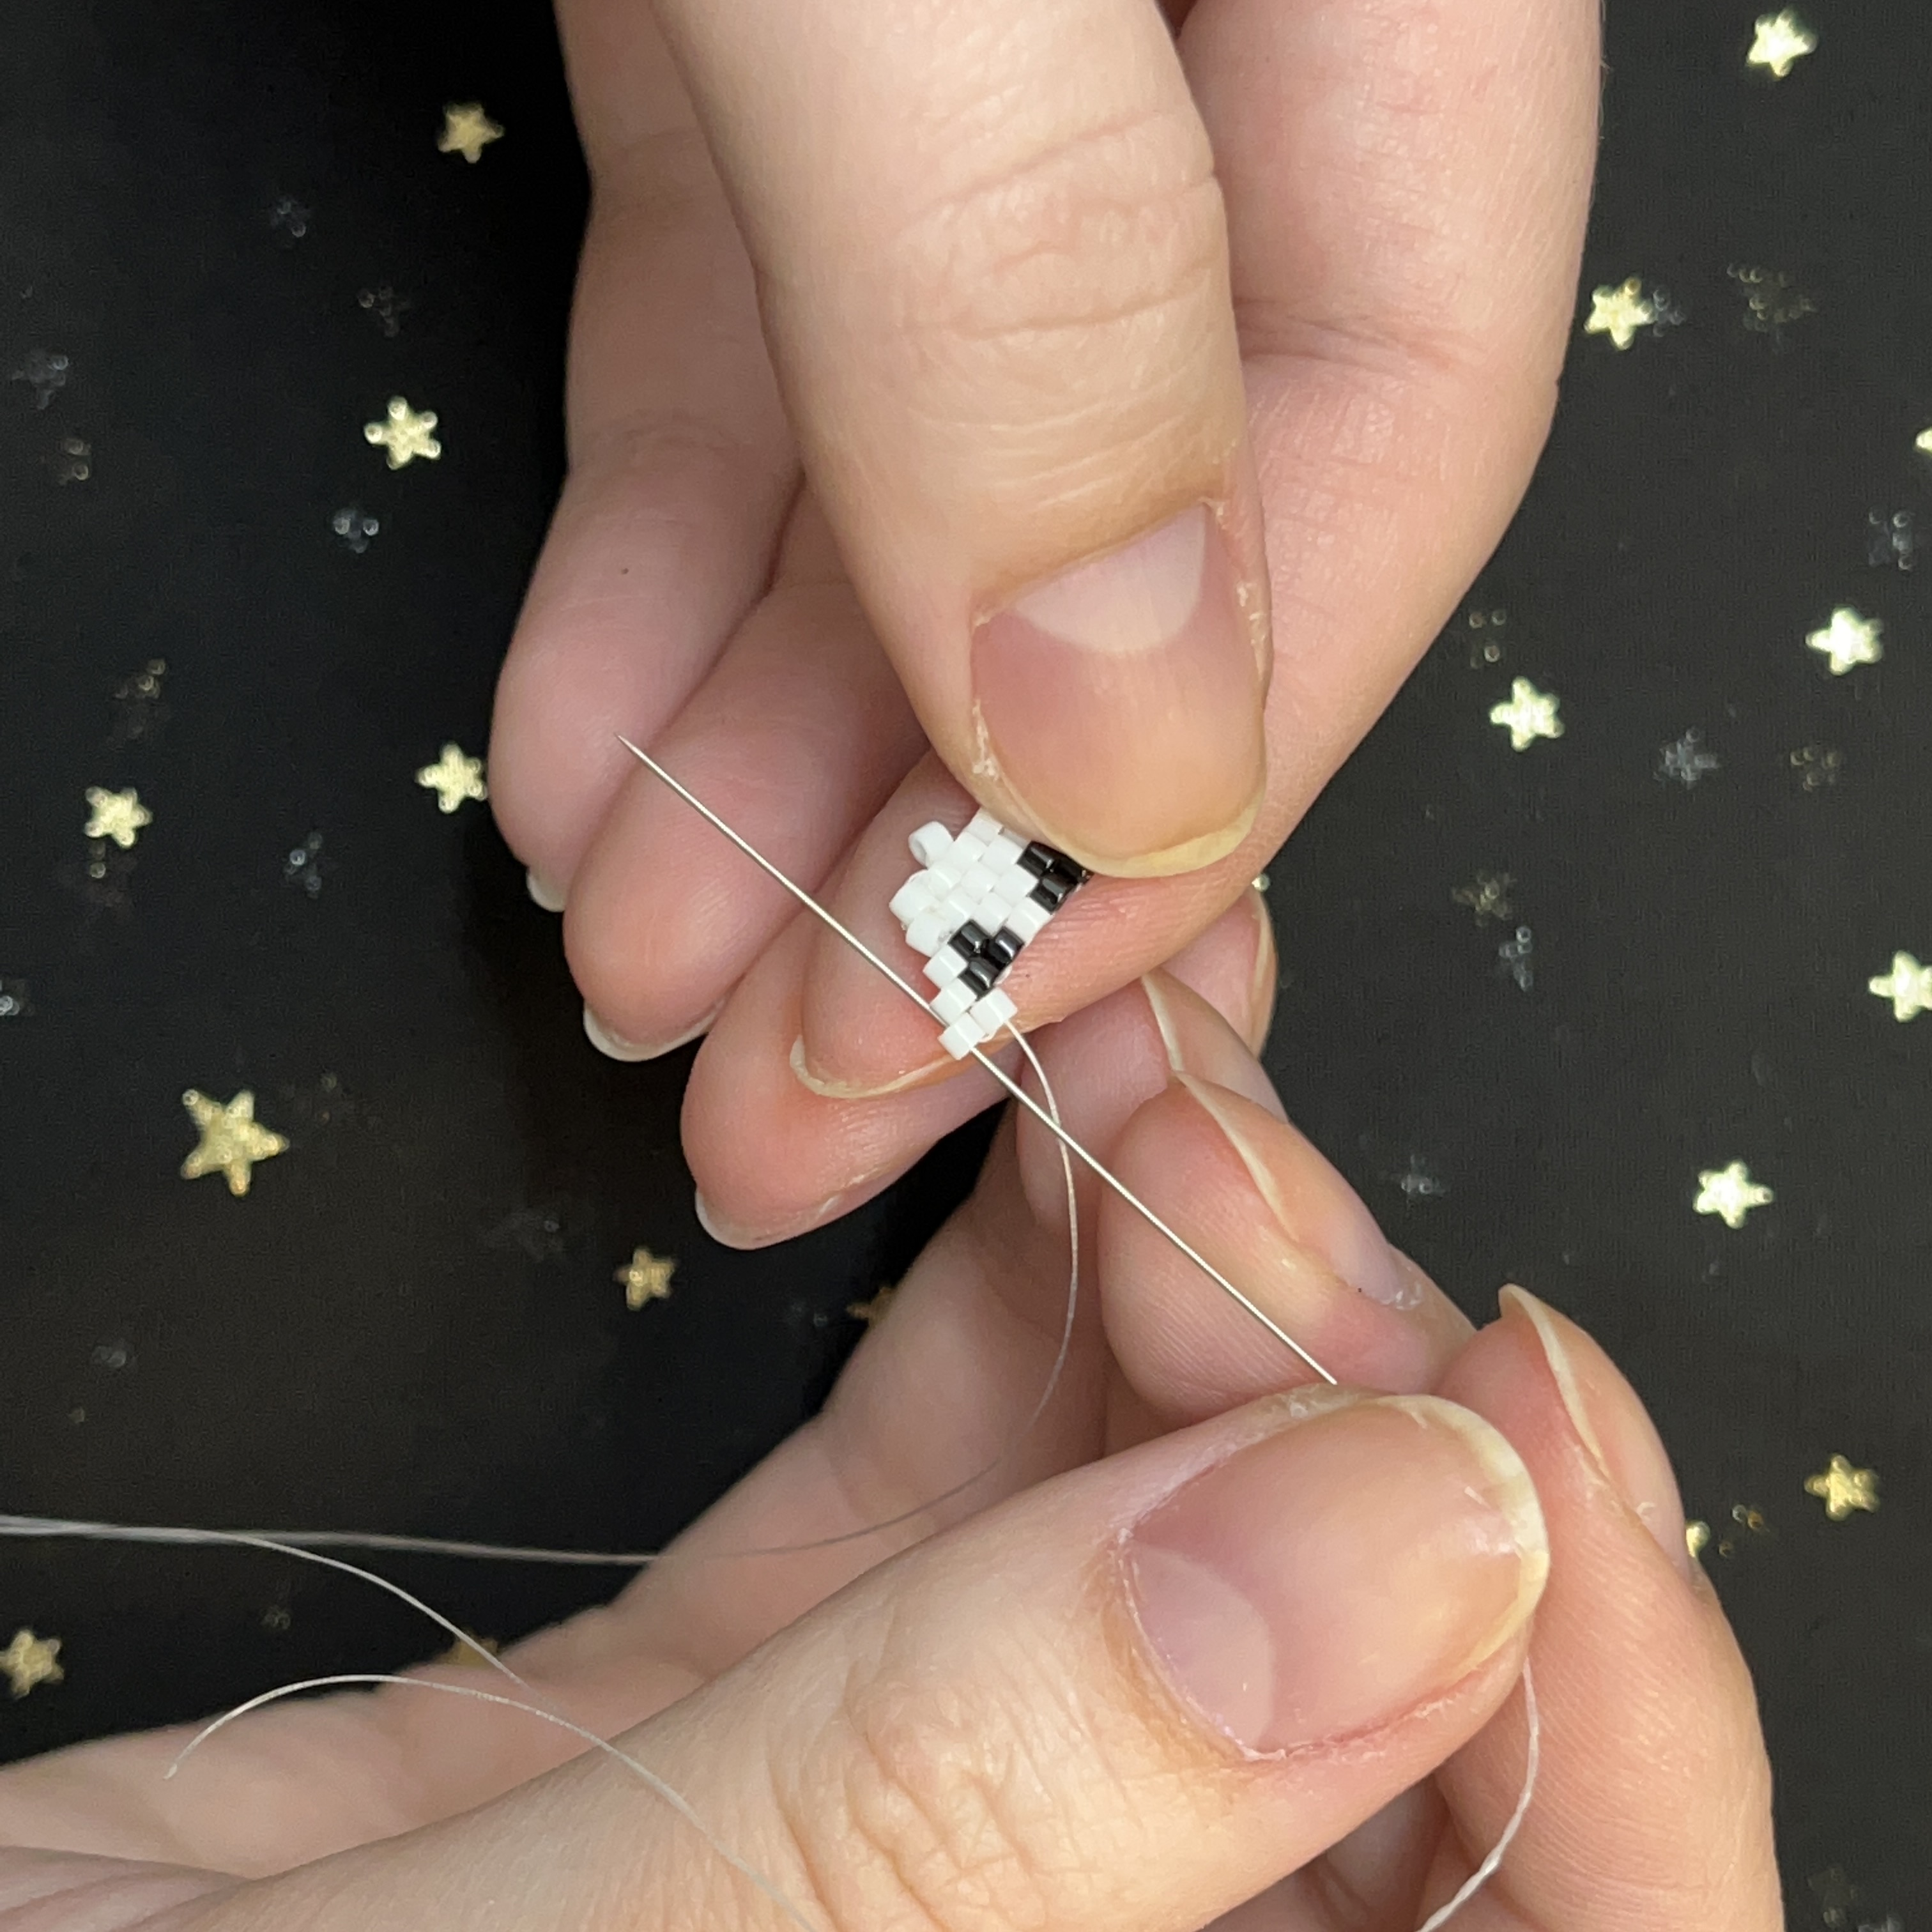
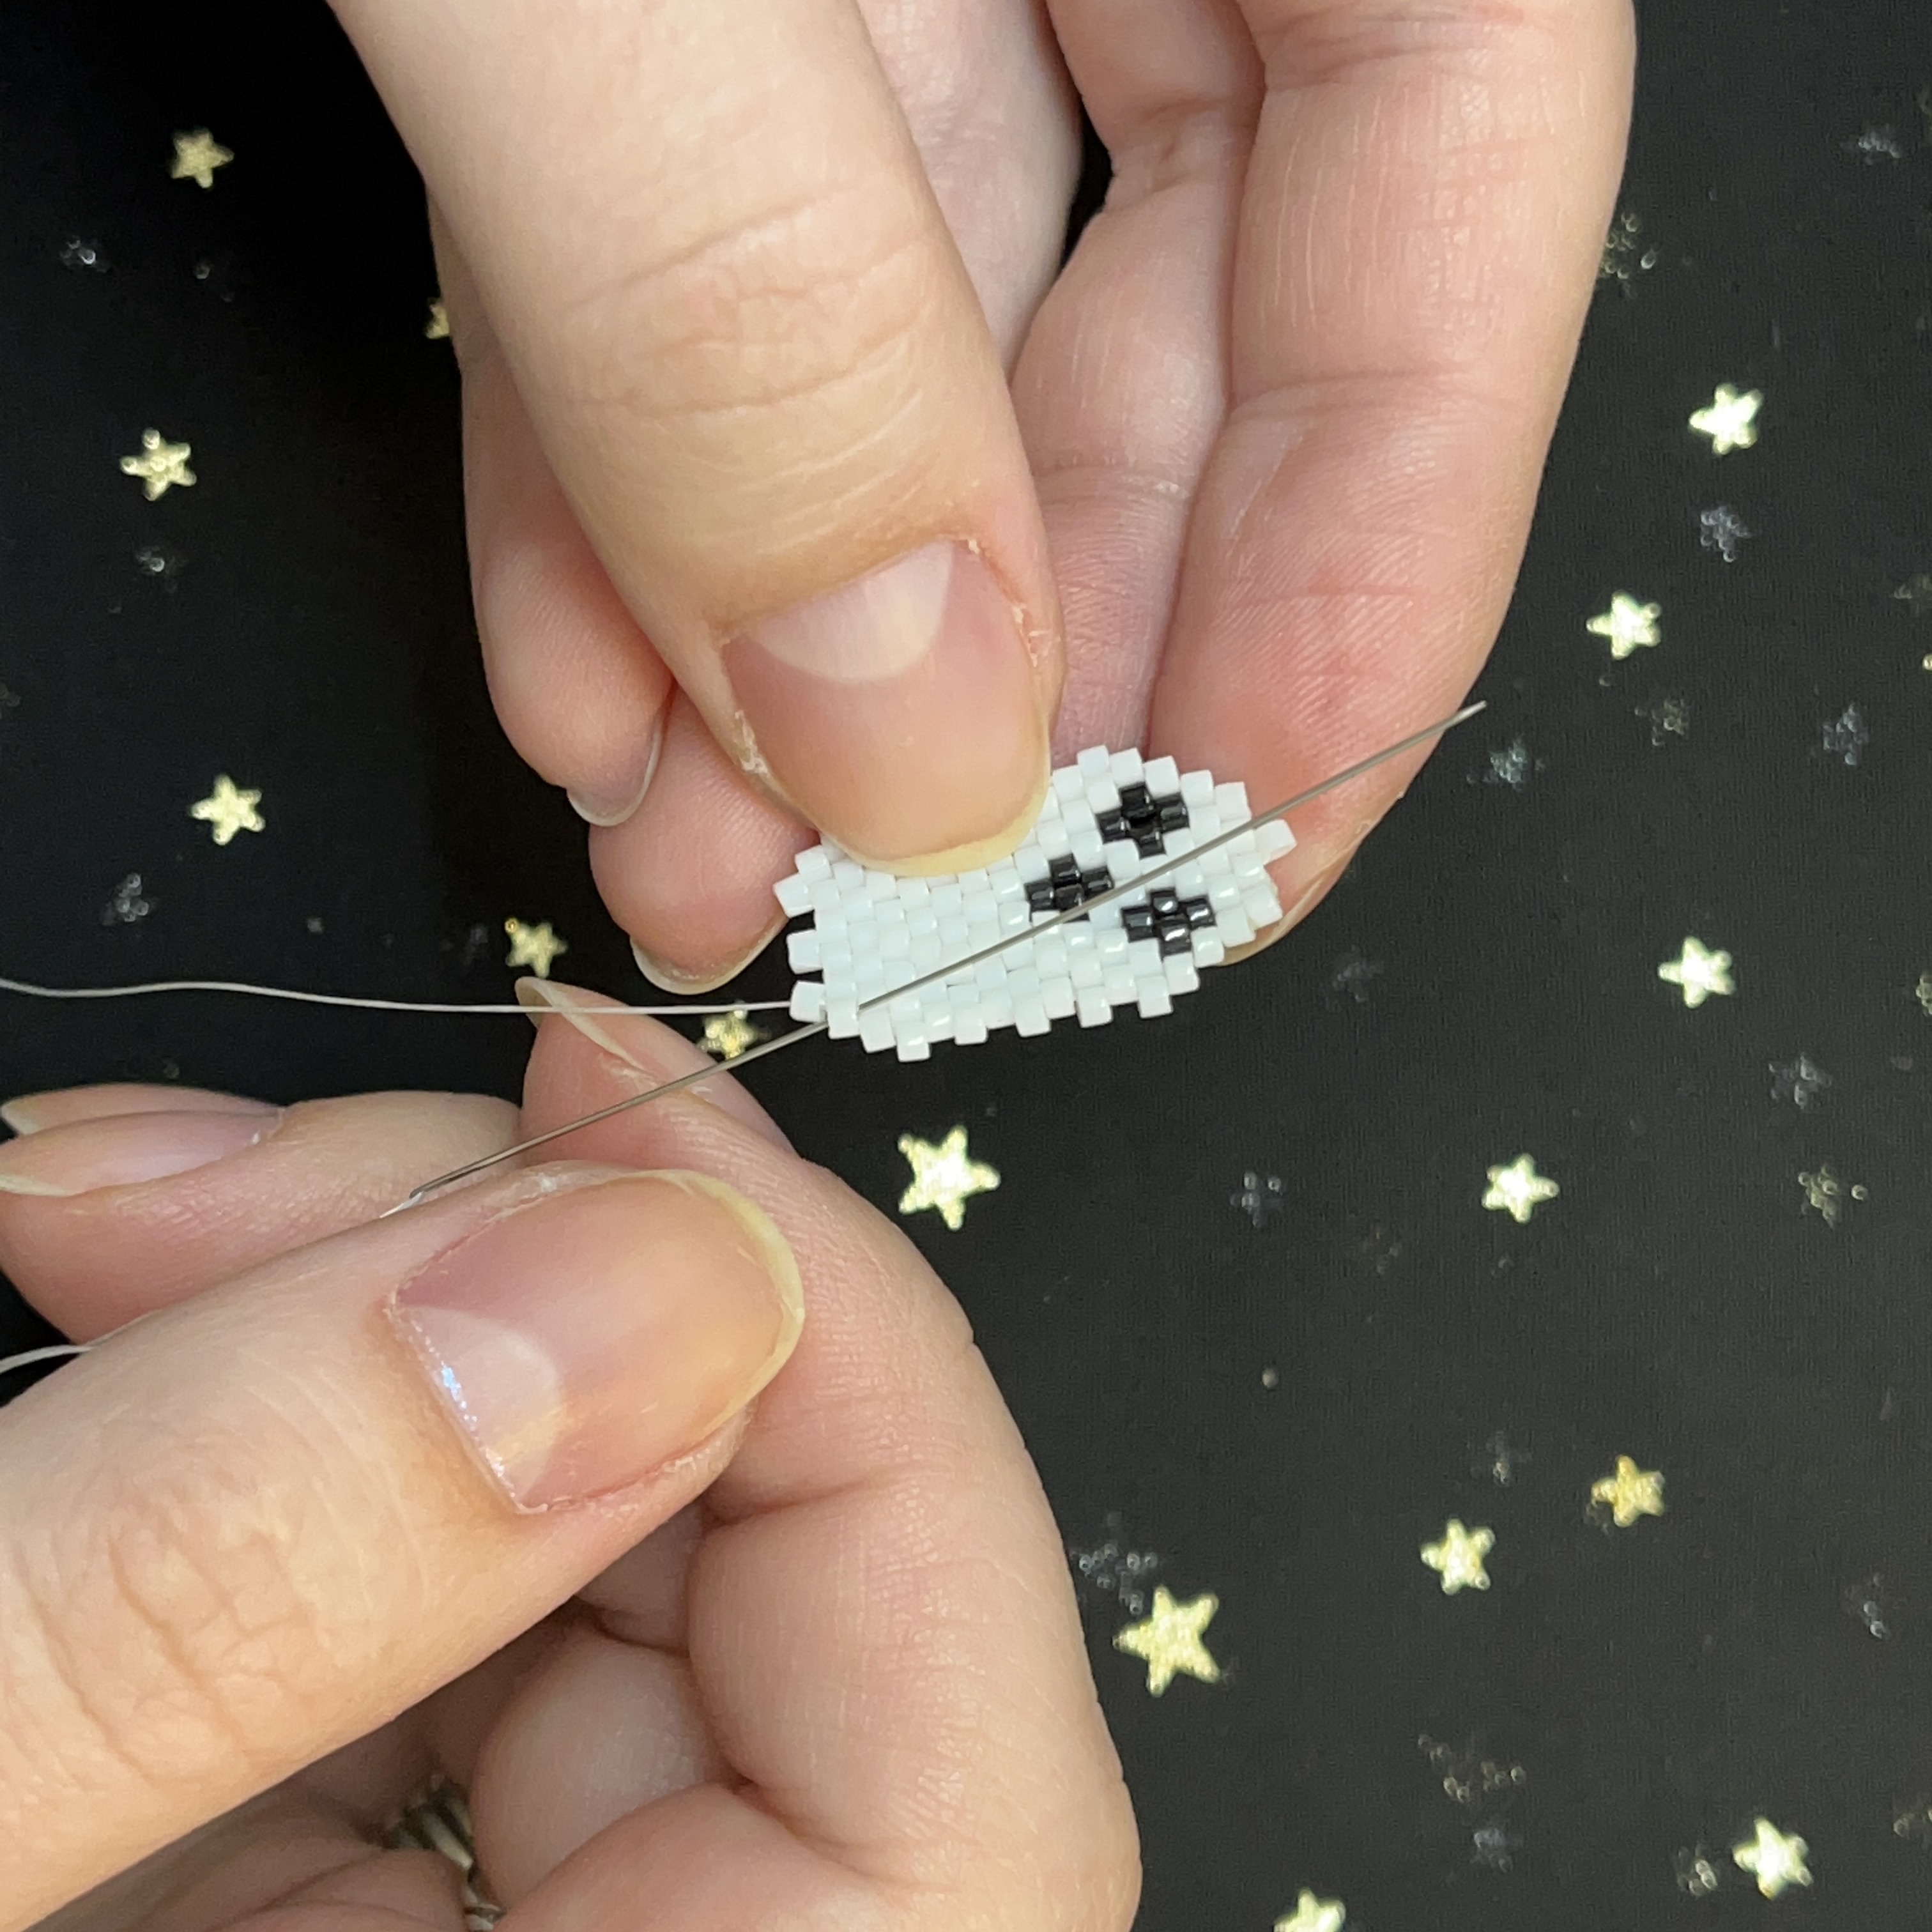
51. Add a white and black delica (in that order) onto the needle and thread through the first stitch of the row.
52. Secure the beads by threading up through the black bead. Pulling tight.
53. Thread through the white bead, top to bottom.
54. Now back up through the black bead. Pulling tight as always.
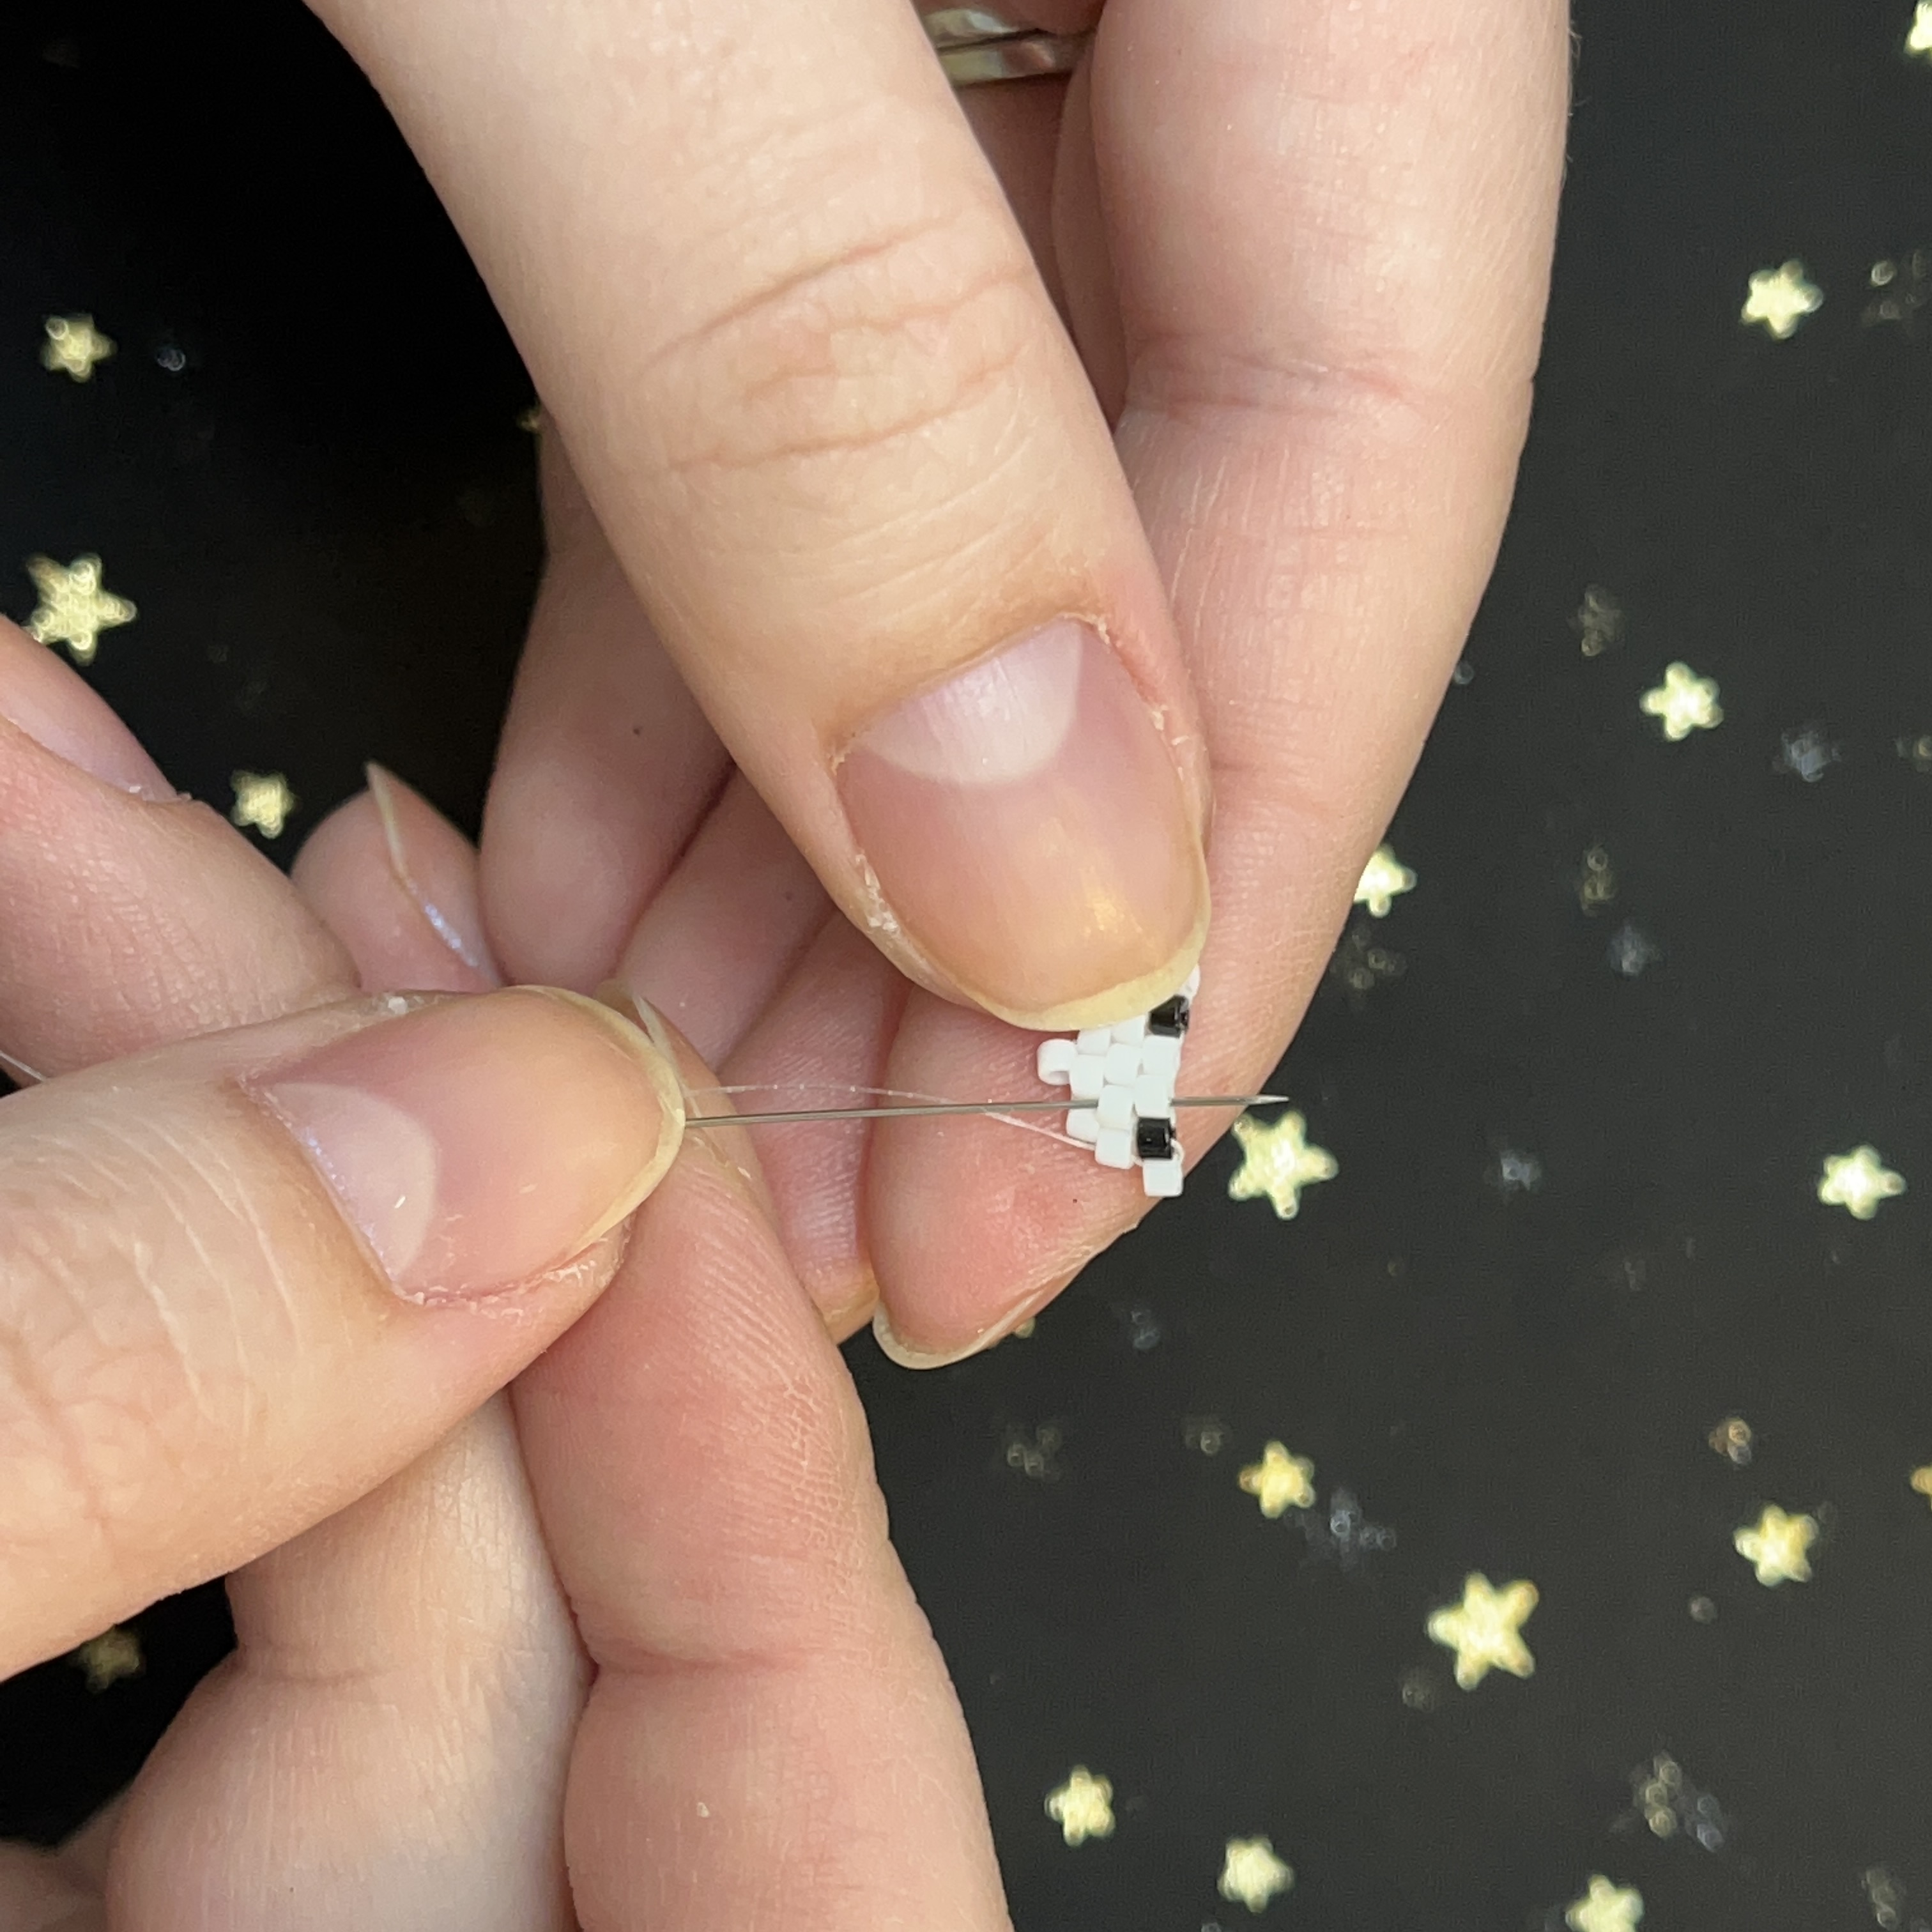
55. Thread a black bead through the next stitch in the row.
56. Thread up through the black bead you just added.
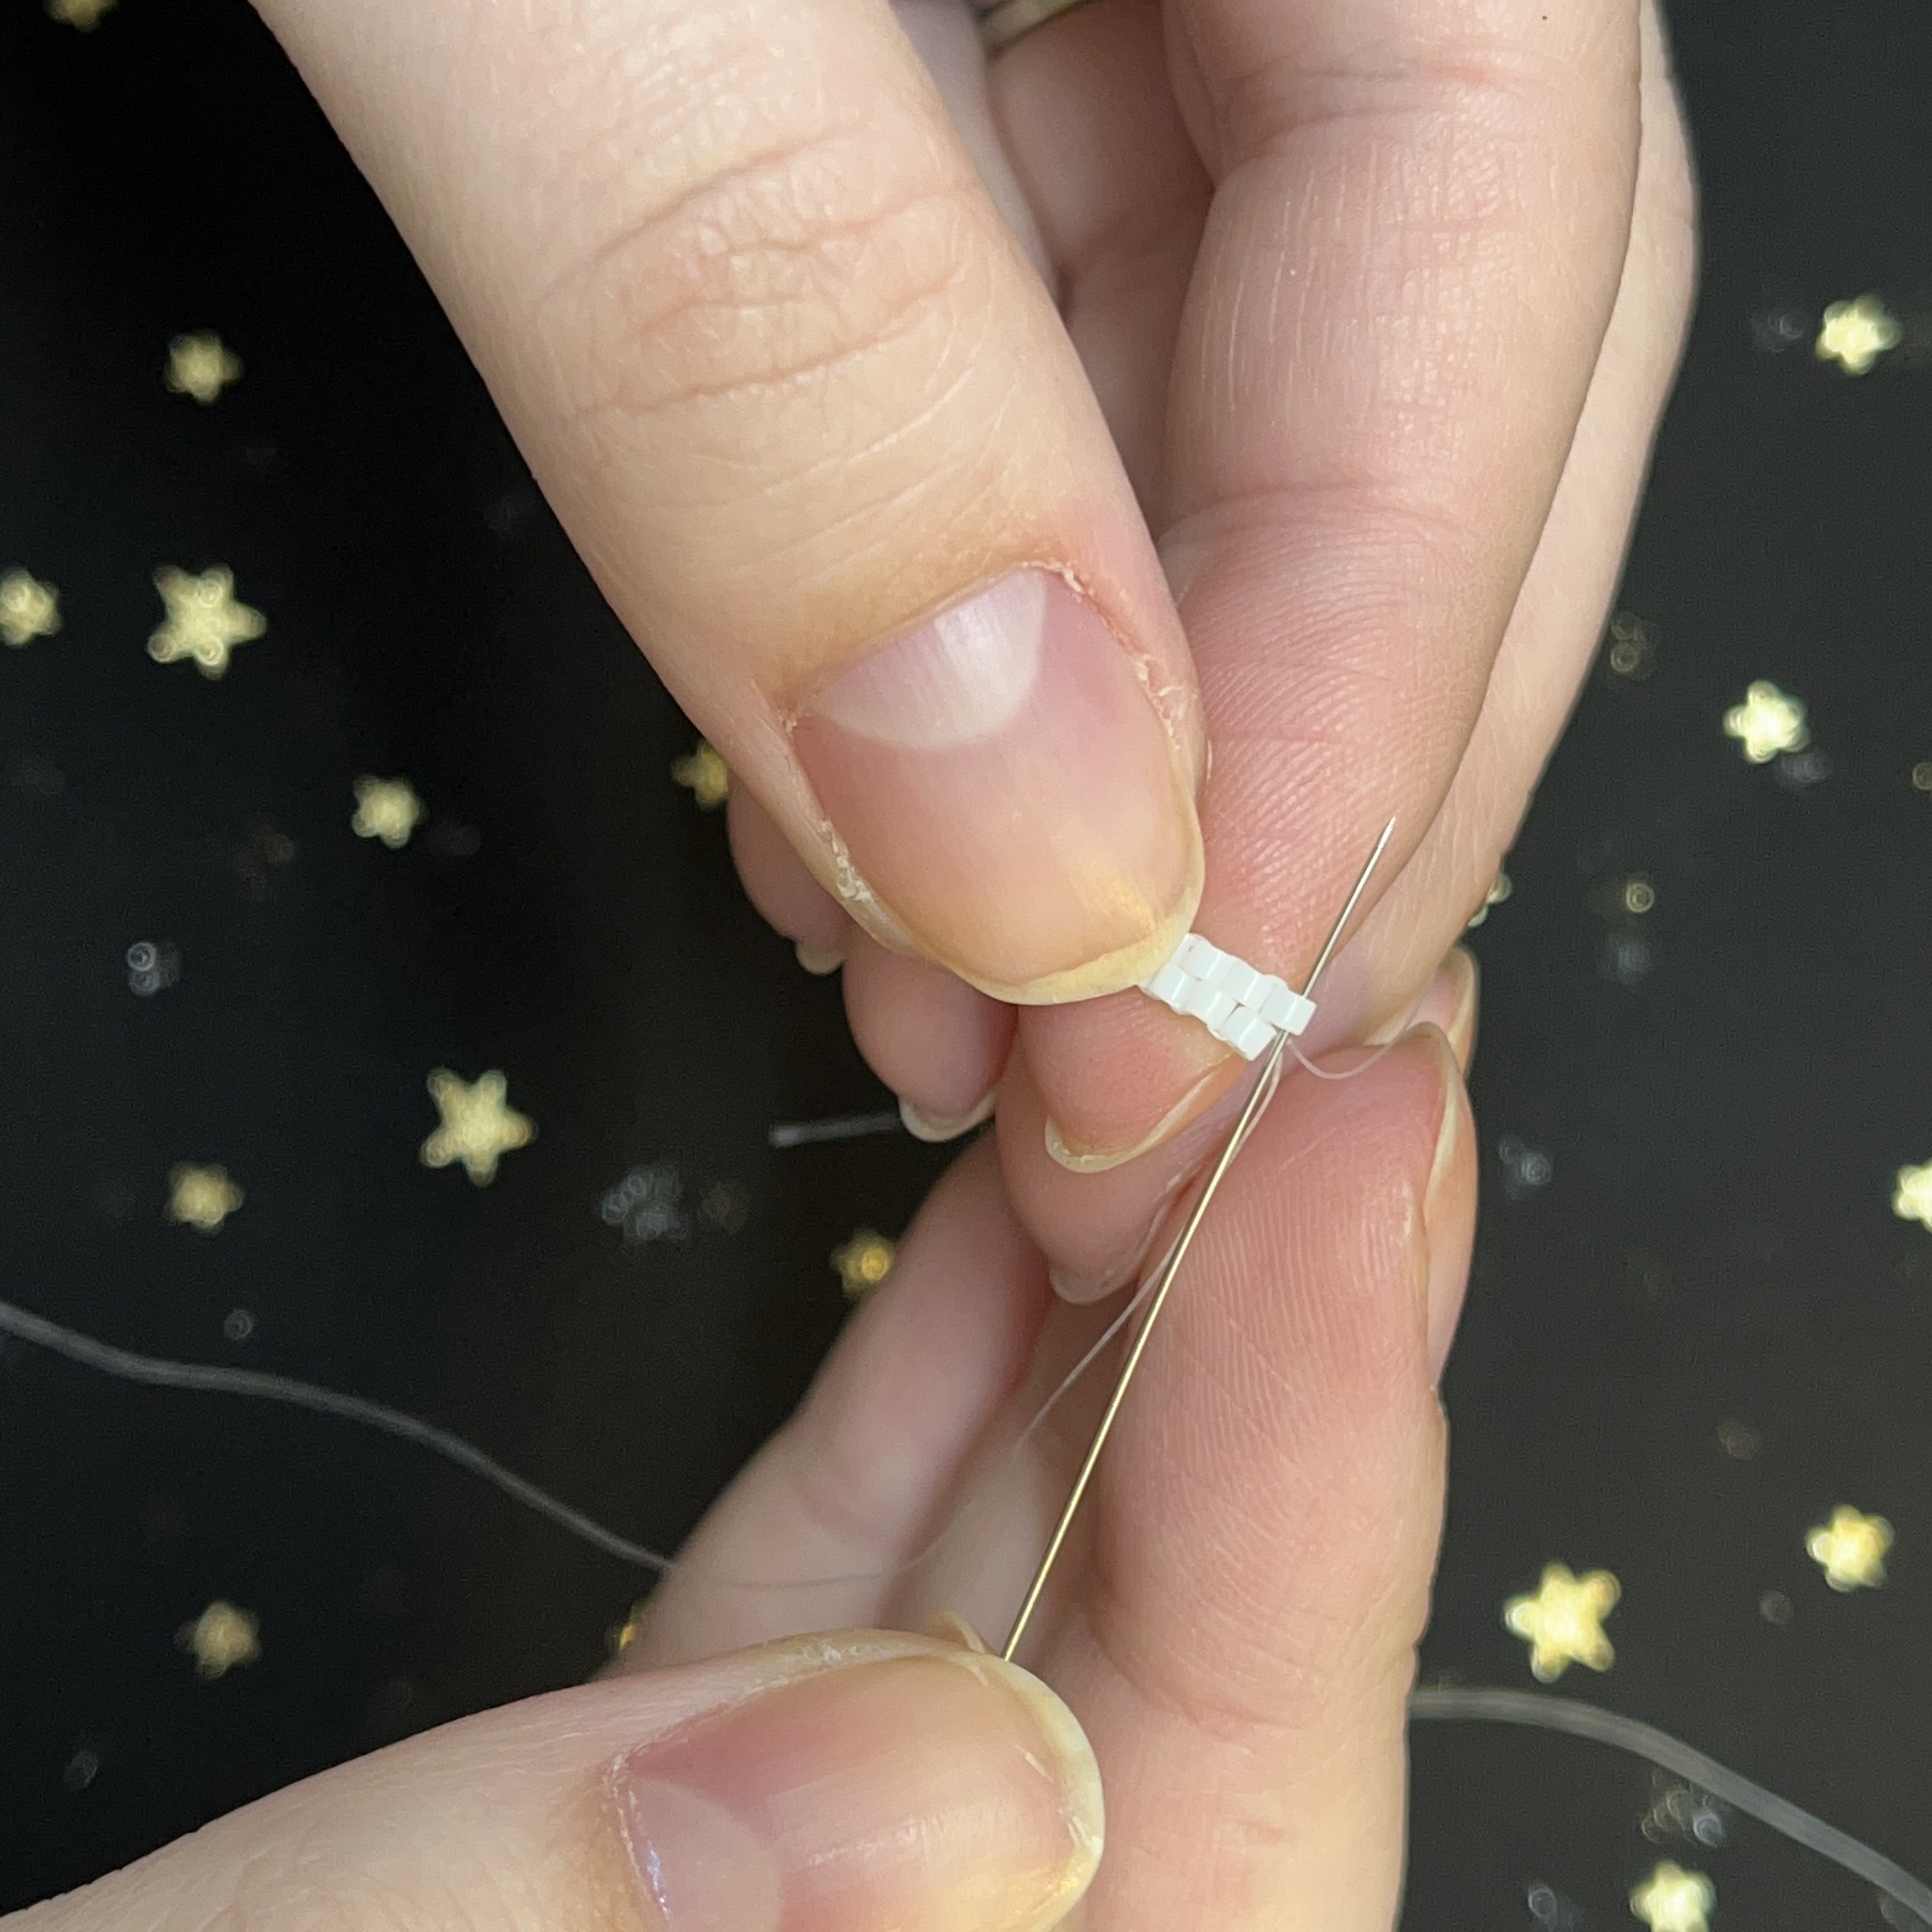
57. Add a white bead.
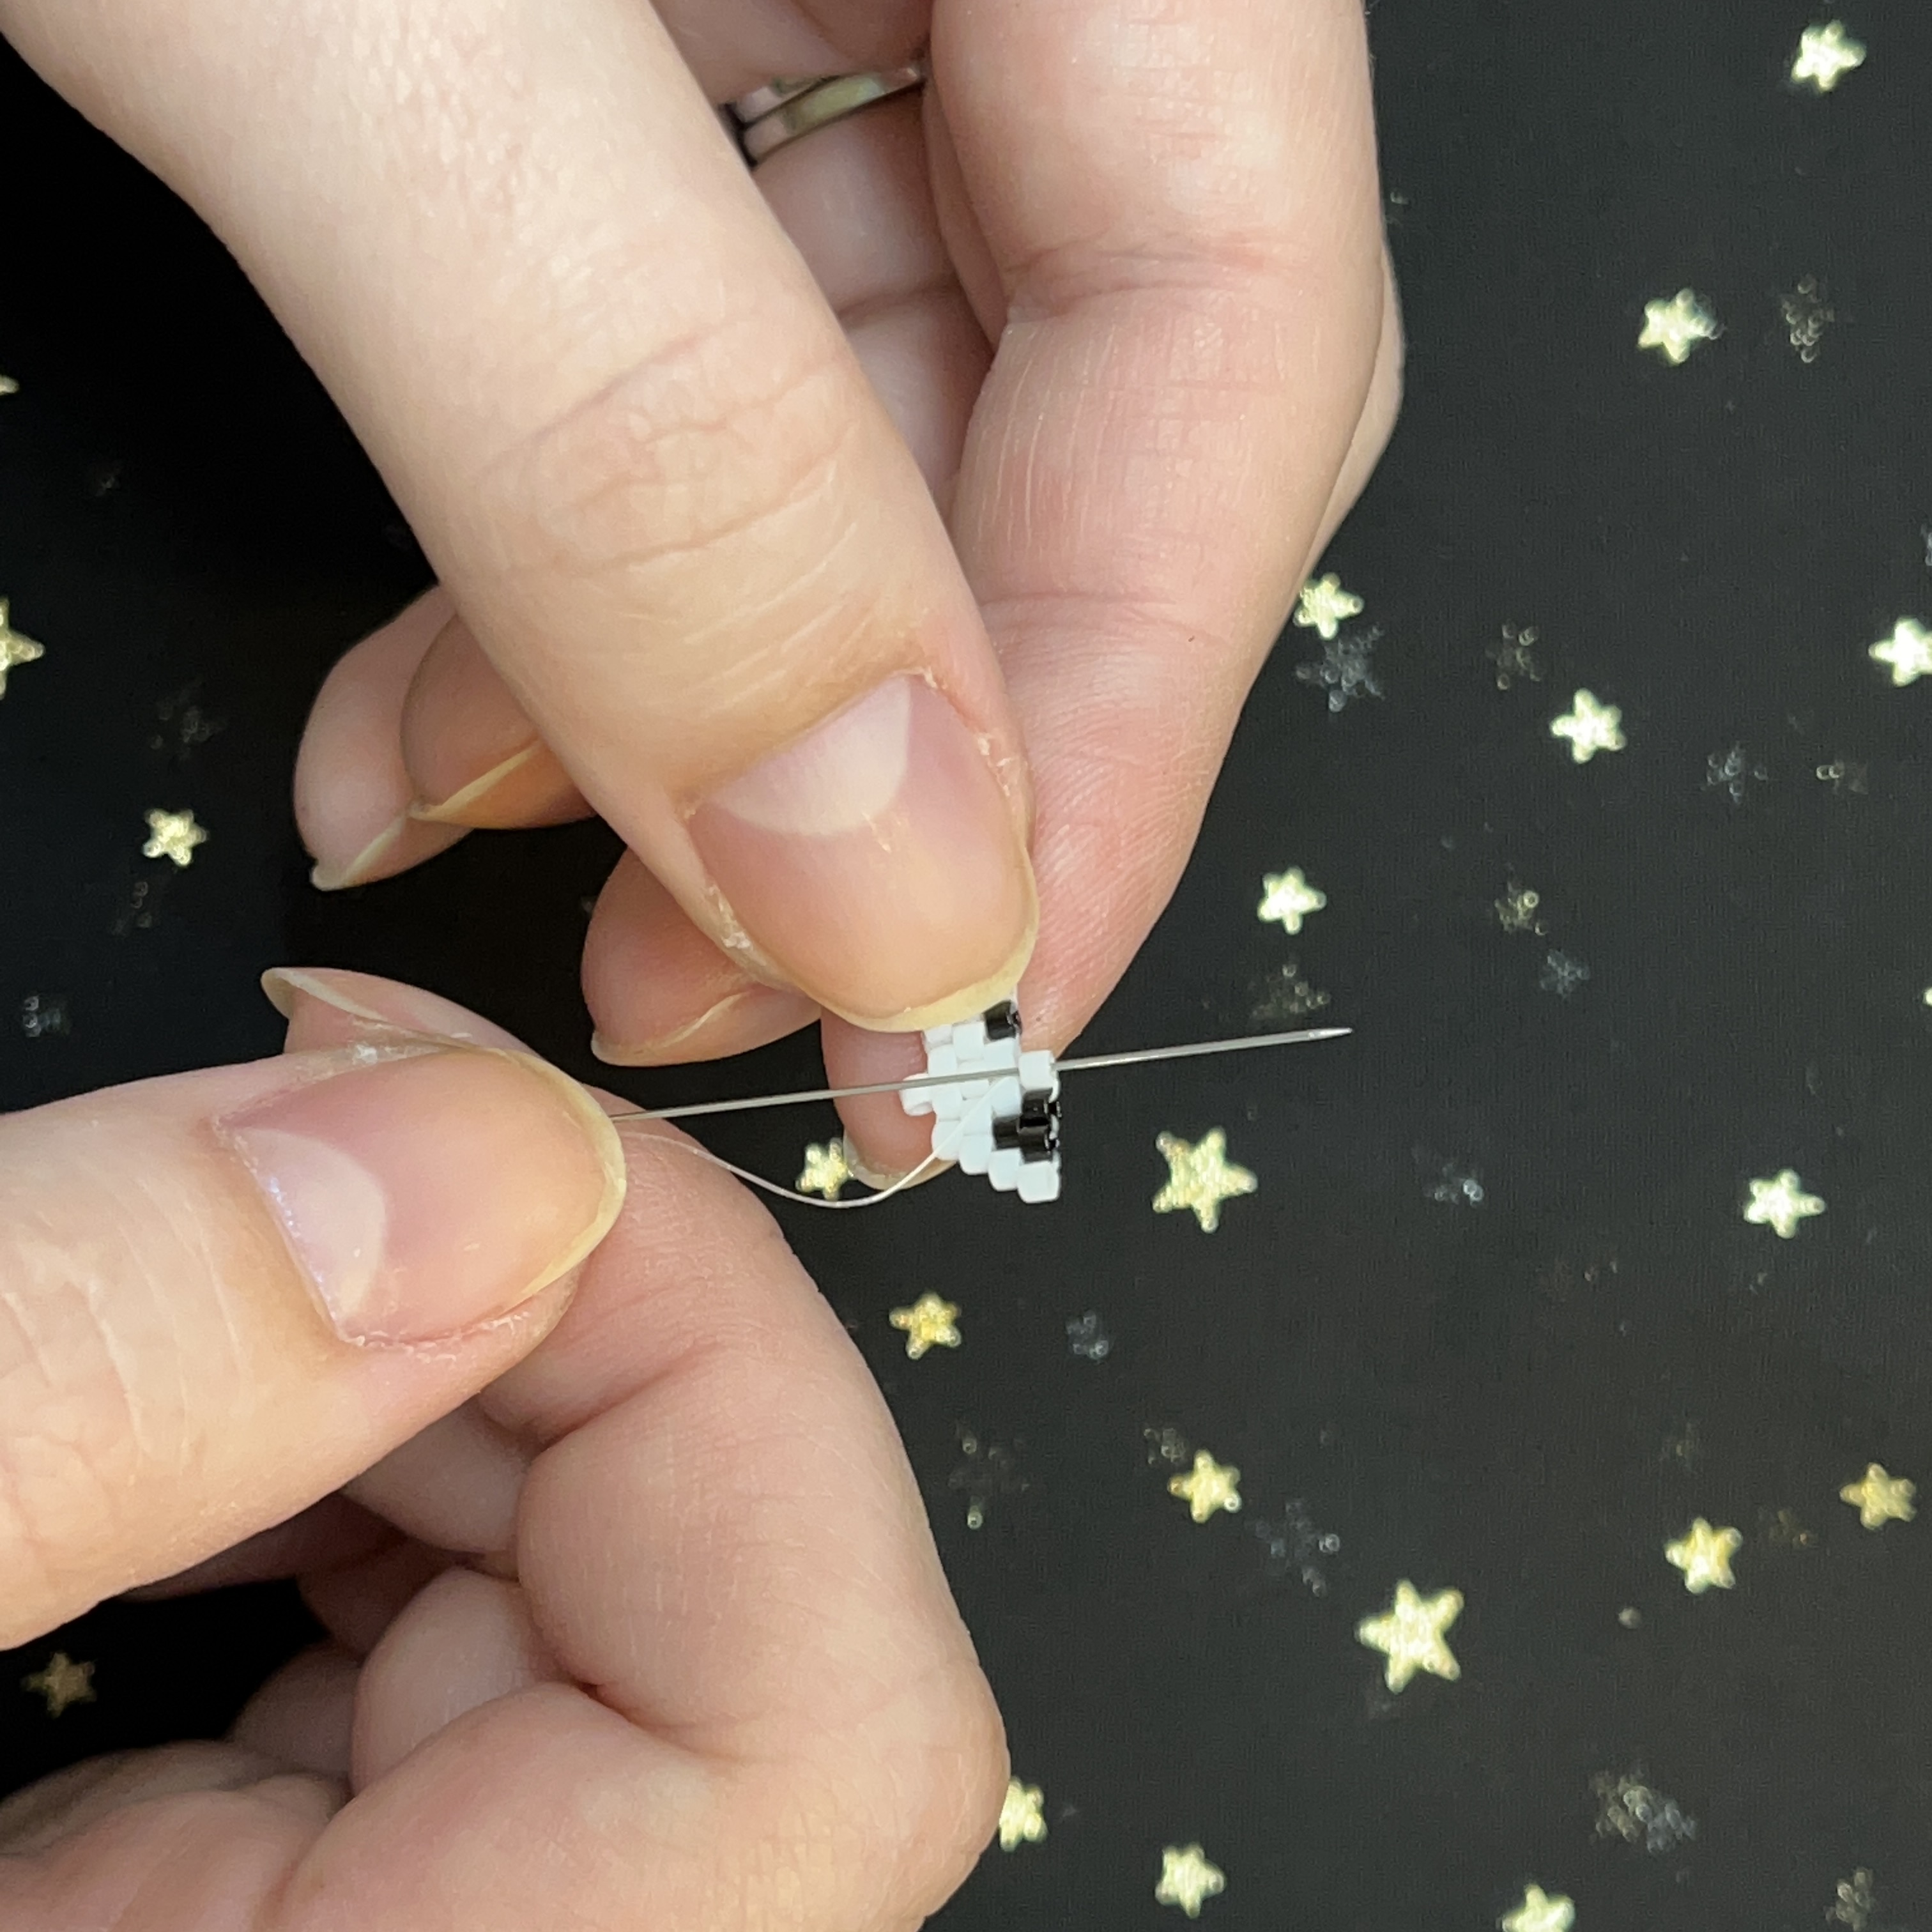
58. Thread up through the white bead.
59. Add a black bead.
60. Thread up through the black bead.

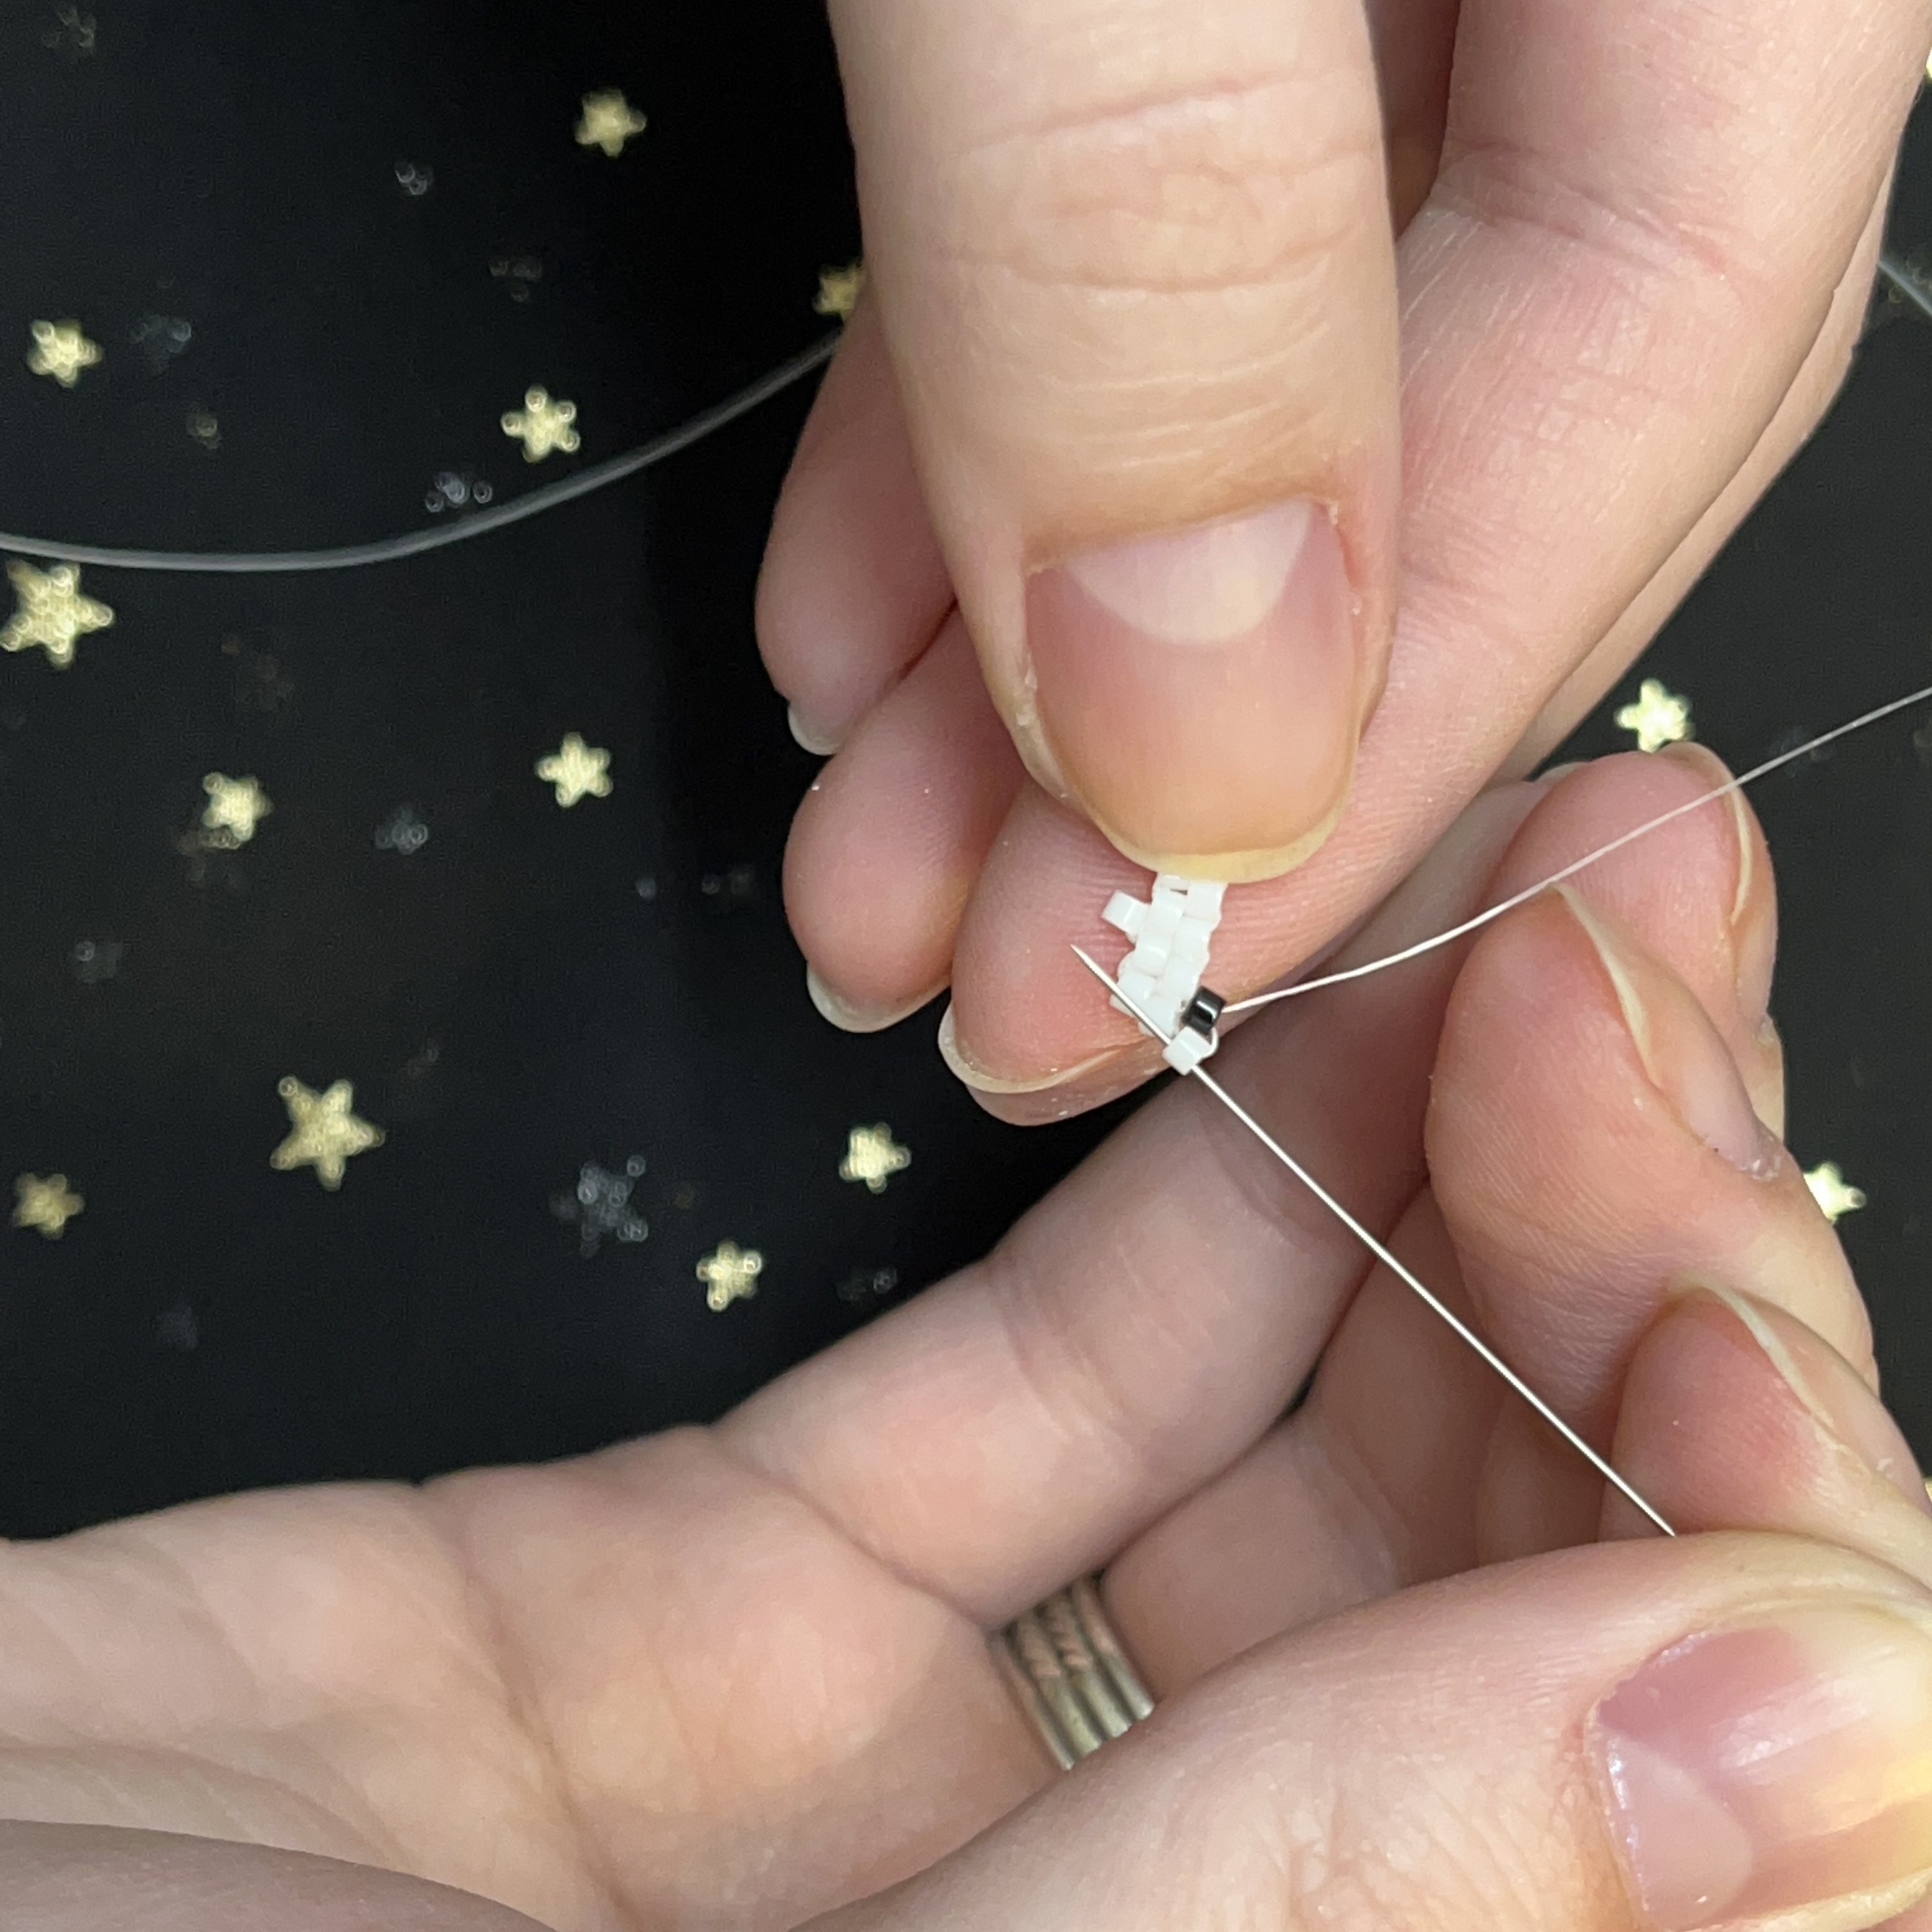
61. Add another black bead.
62. Thread up through the black bead you just added.
63. Add a white bead and thread the needle through the last bead on the row below.
64. Flip the project around and thread up through the black bead next to the bead you just went through, also threading through the 3rd bead from the right.
65. Flip the project back around and thread the needle through the second bead from the end. Top to bottom.
66. Thread the needle through the last bead of the row bottom to top. Pull tight!
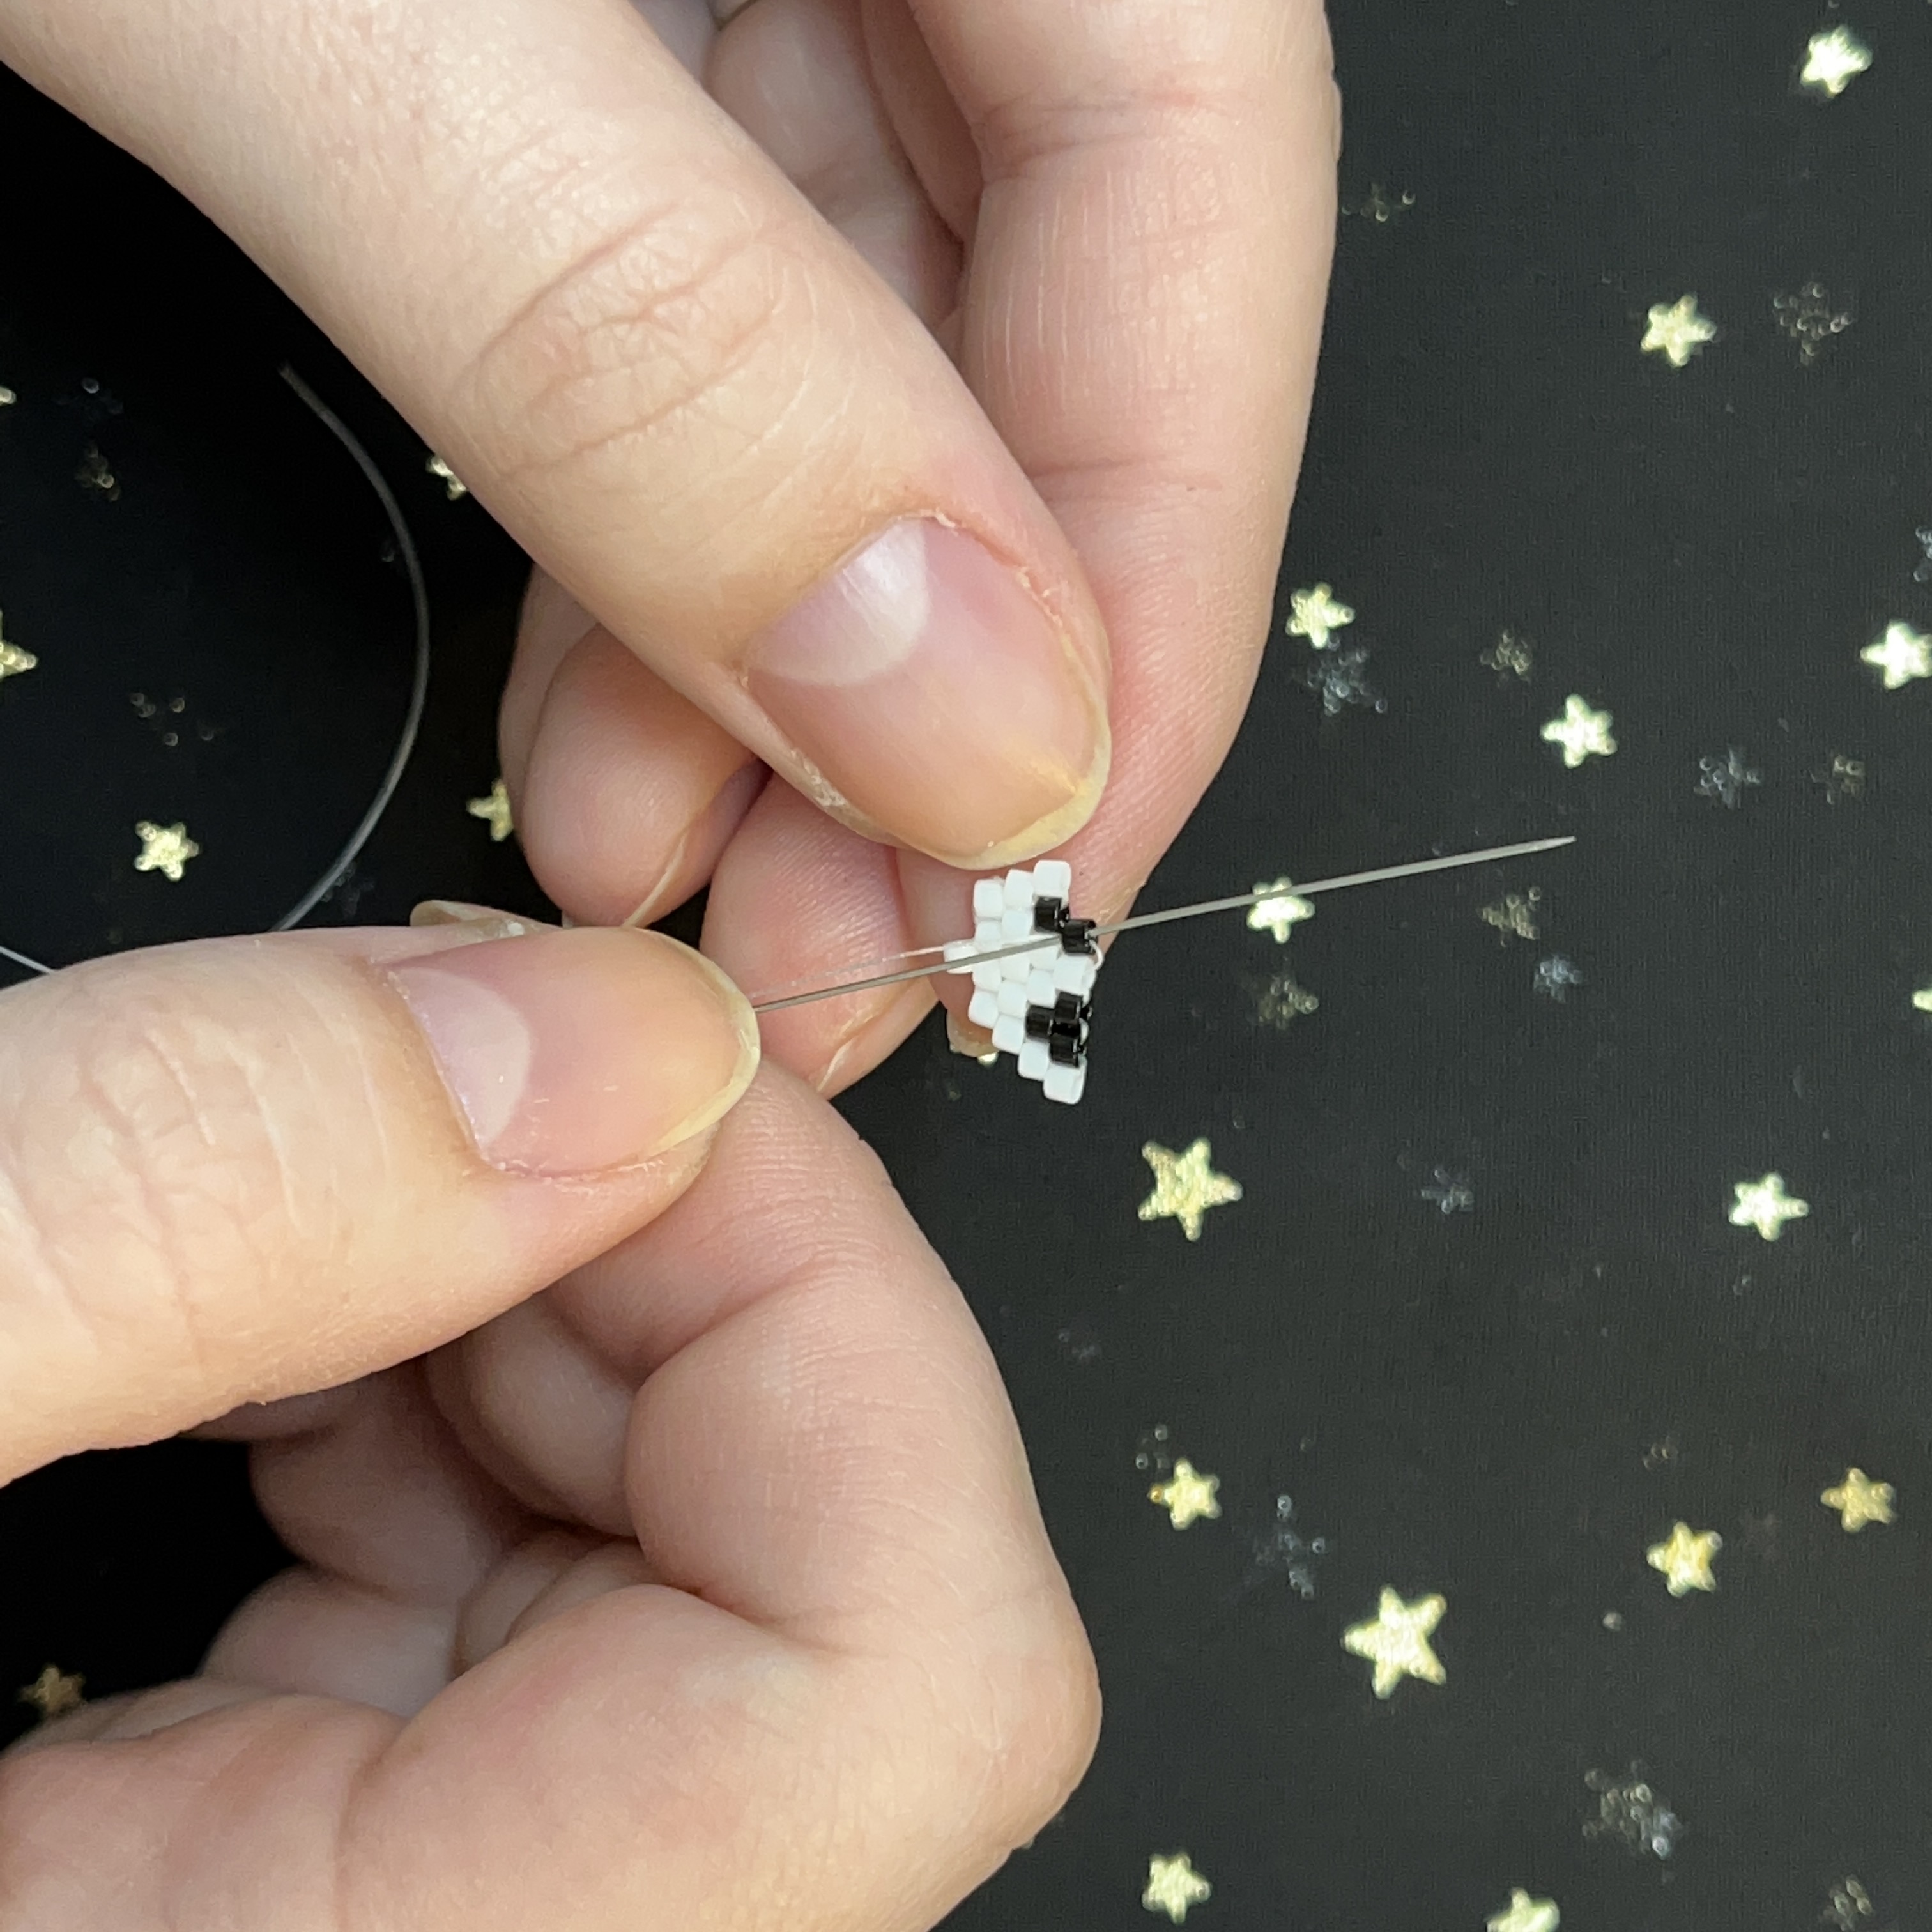
67. Add 2 white delica beads to the needle and thread through the first stitch in the row.
68. Thread up through the first bead.
69. Thread down the second bead.

70. And back up through the first bead. Repeat the previous steps to add a total of 8 beads to this row in this order (W,W,B,W,W,B,W,W) W= White B= Black
71. Now we are going to do only 7 beads in this next row. Thread the needle through the SECOND stitch of the row. This will decrease the size of the row.
72. Continue the row as usual, adding one black bead as the 4th bead of the row.
73. It should look like this. *** When you get to the last (7th) bead. You will just go through the last stitch and be on your way to starting the next row, no need to go through the bead below.
74. Thread 2 beads through the FIRST stitch. There will be 8 beads in this row.
75. Continue row. Order of beads should look like this. Order is: W,W,W,B,B,W,W,W
76. Next row is 7 beads so thread your two beads through the SECOND stitch.
77. Continue on. Order of beads will be W,W,W,B,W,W,W
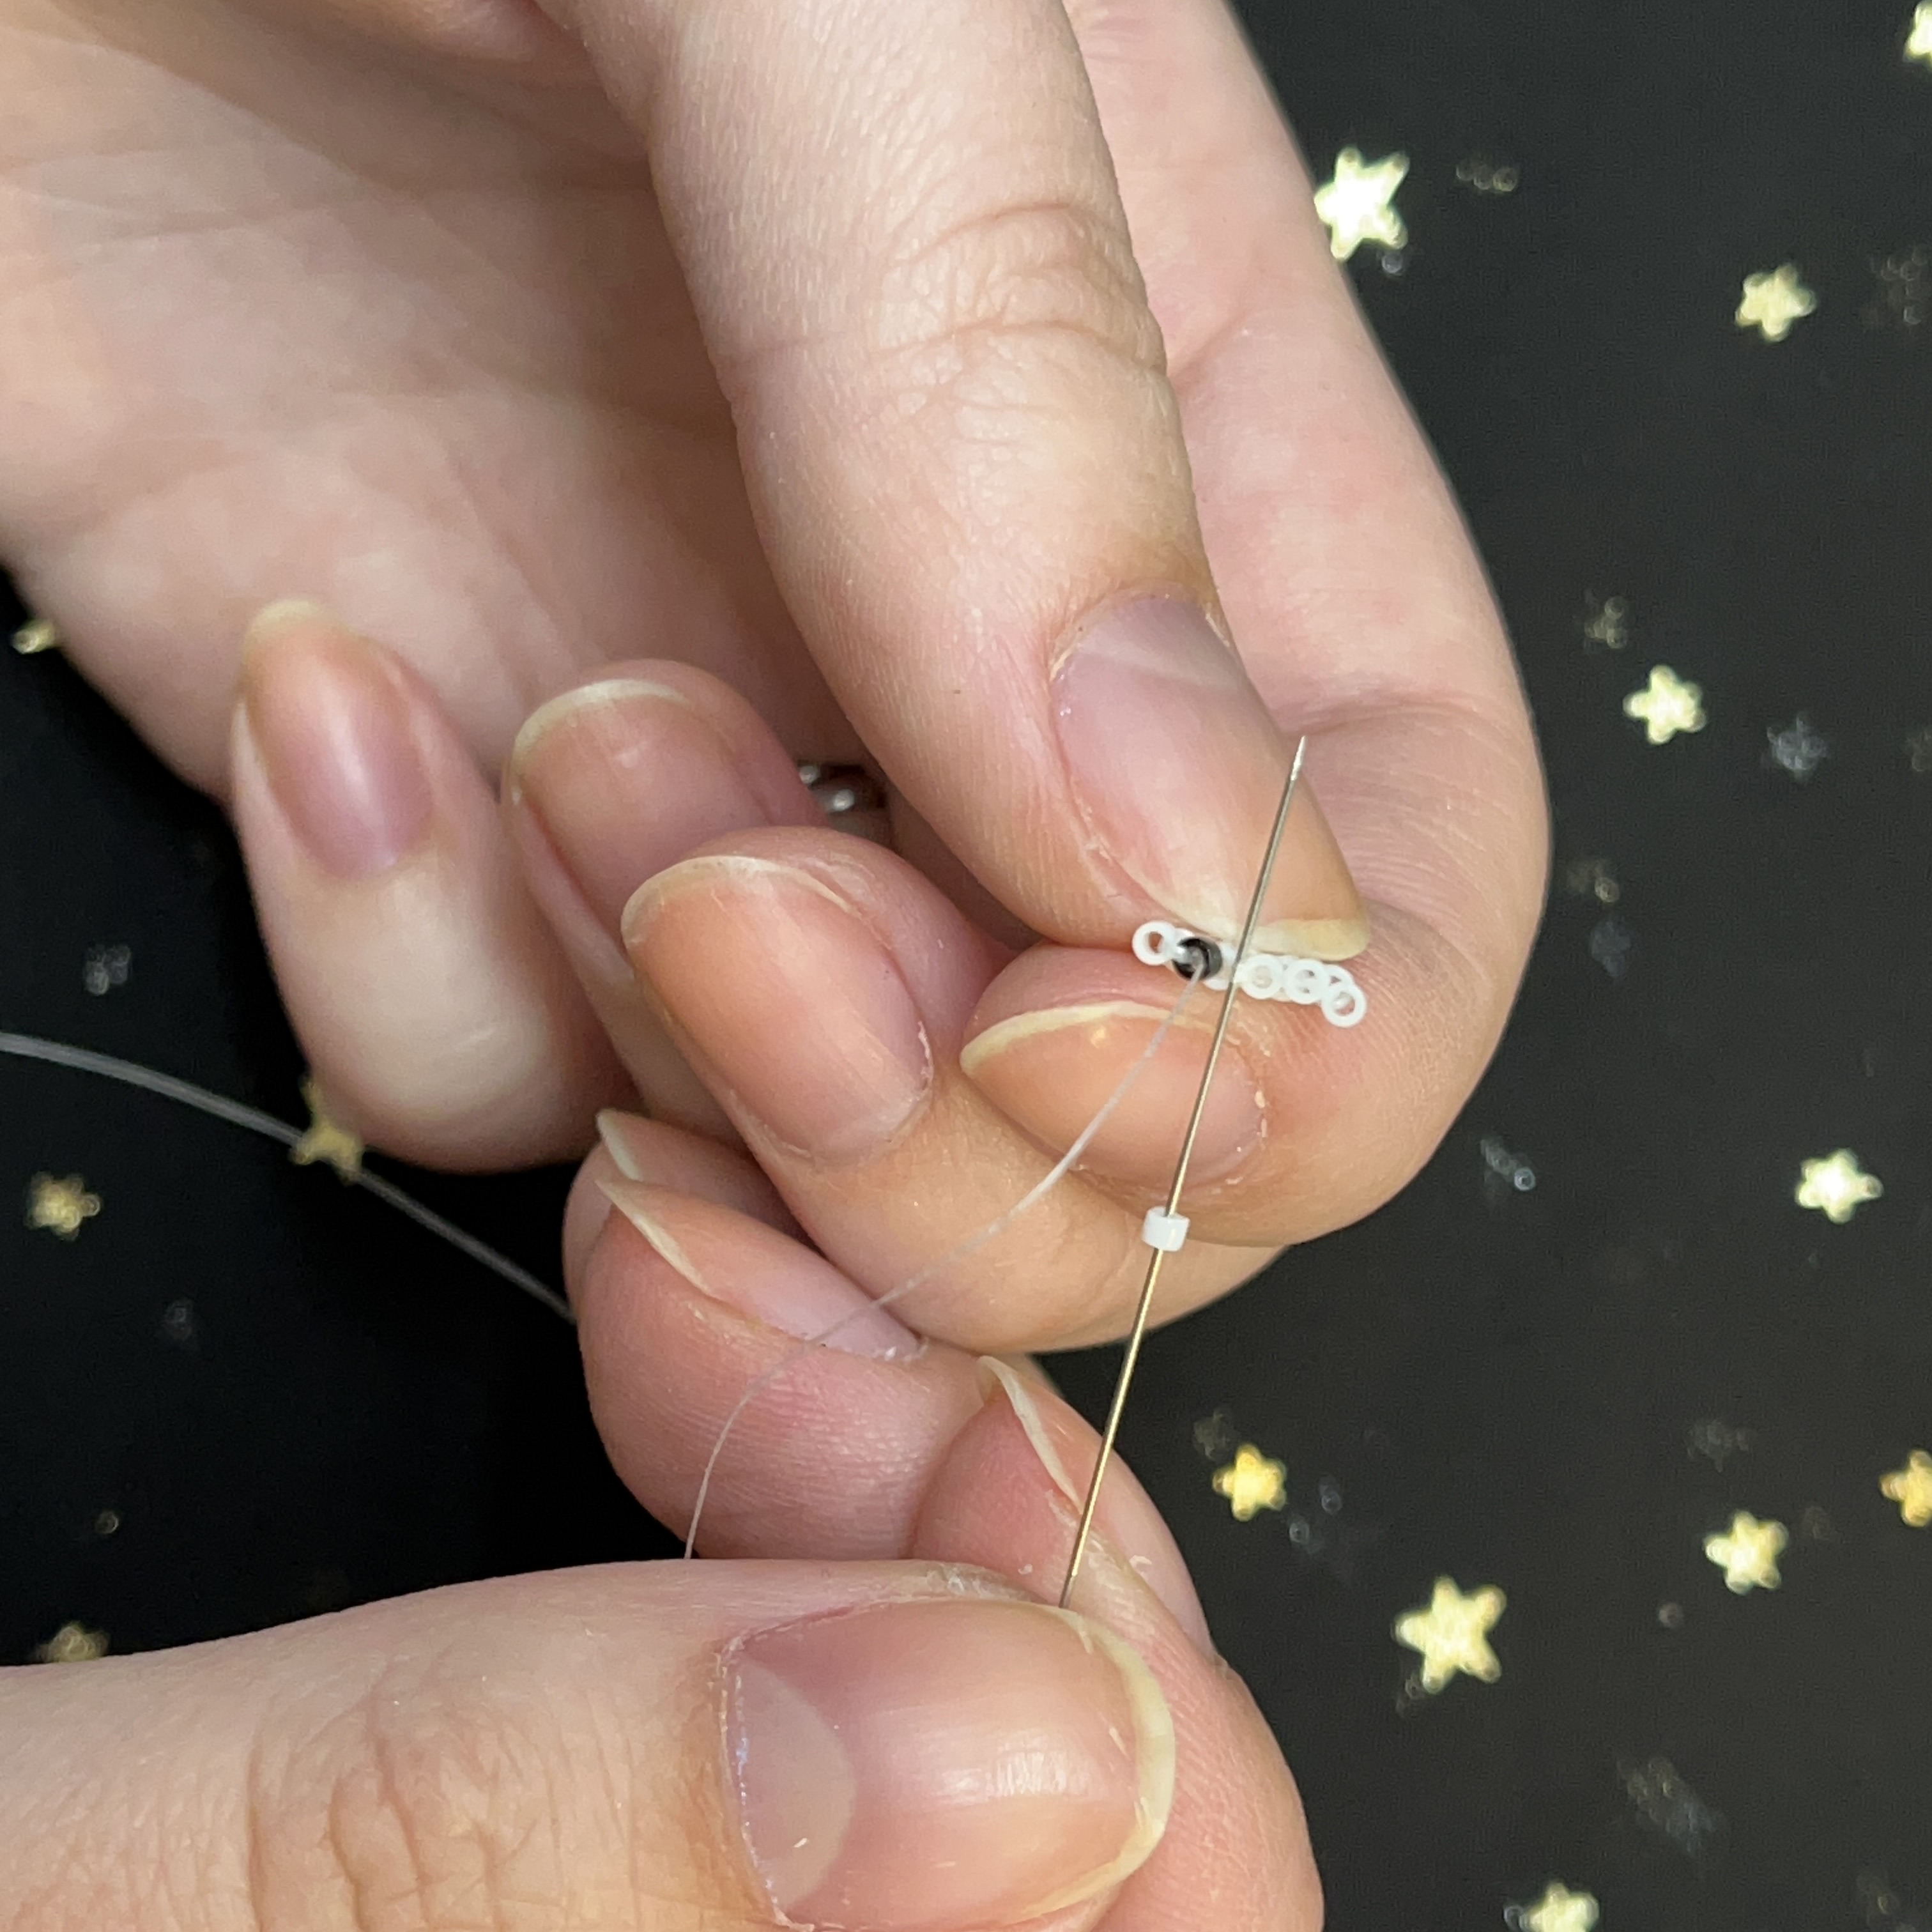
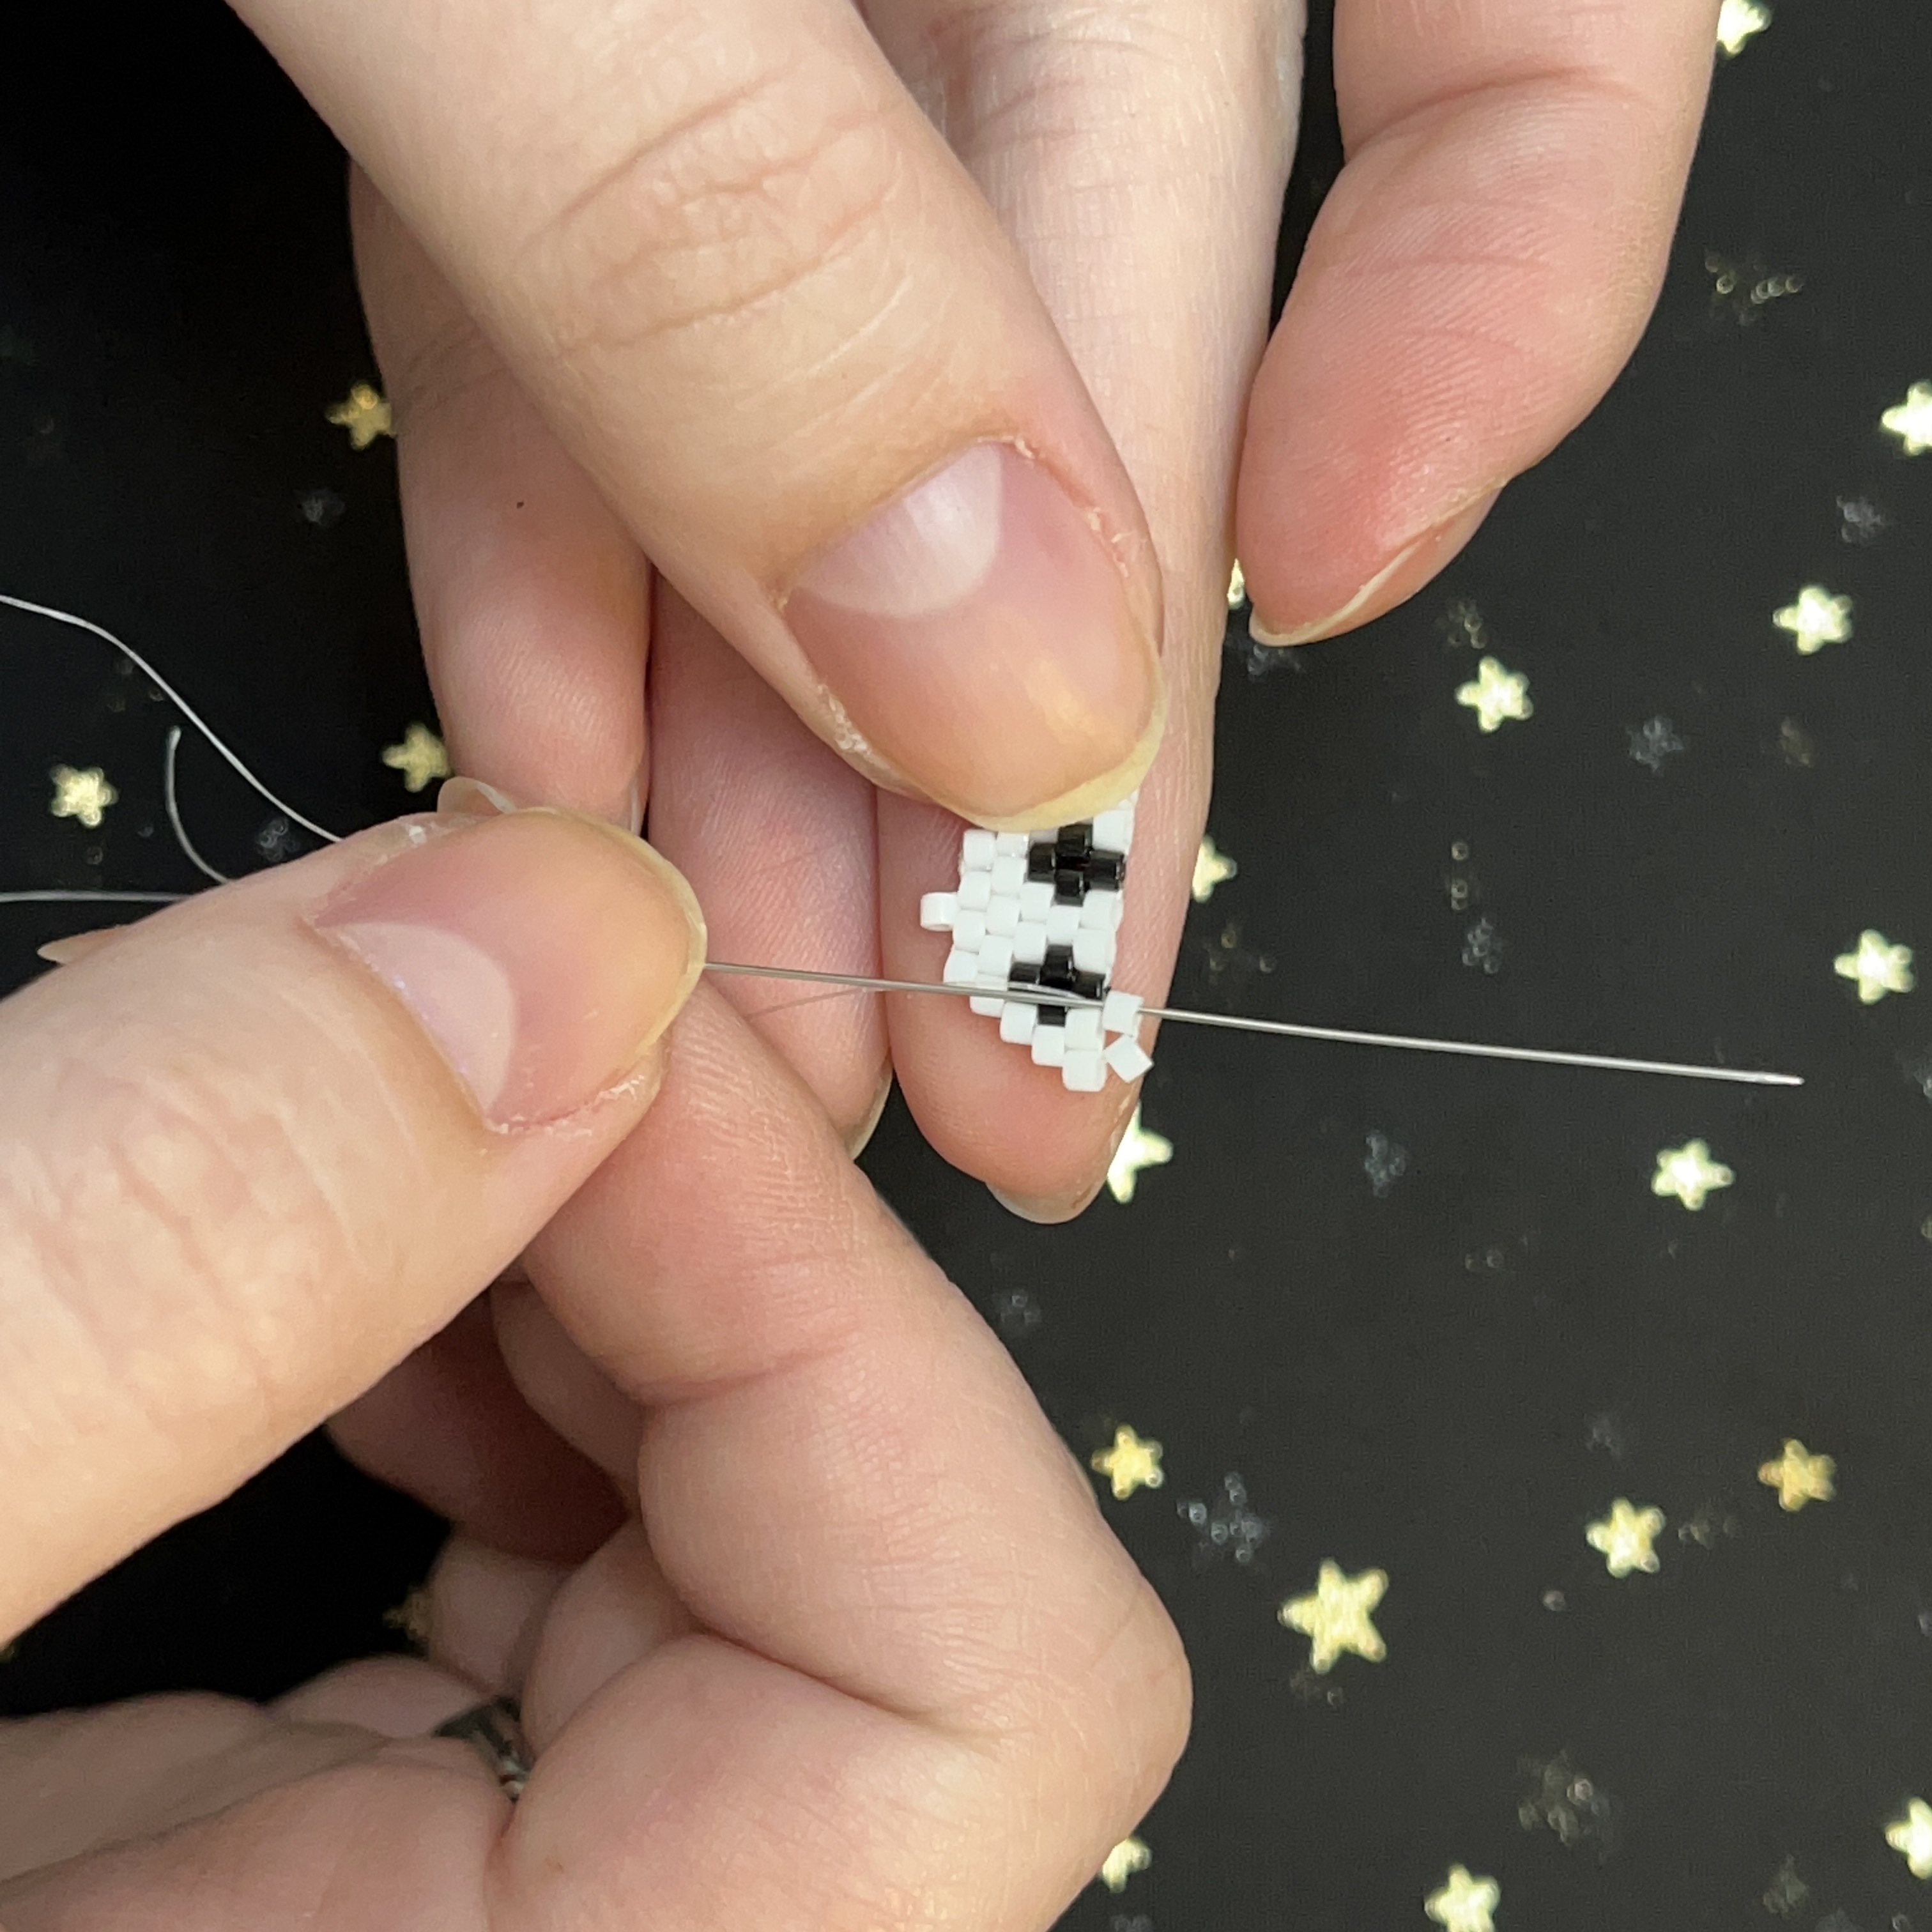
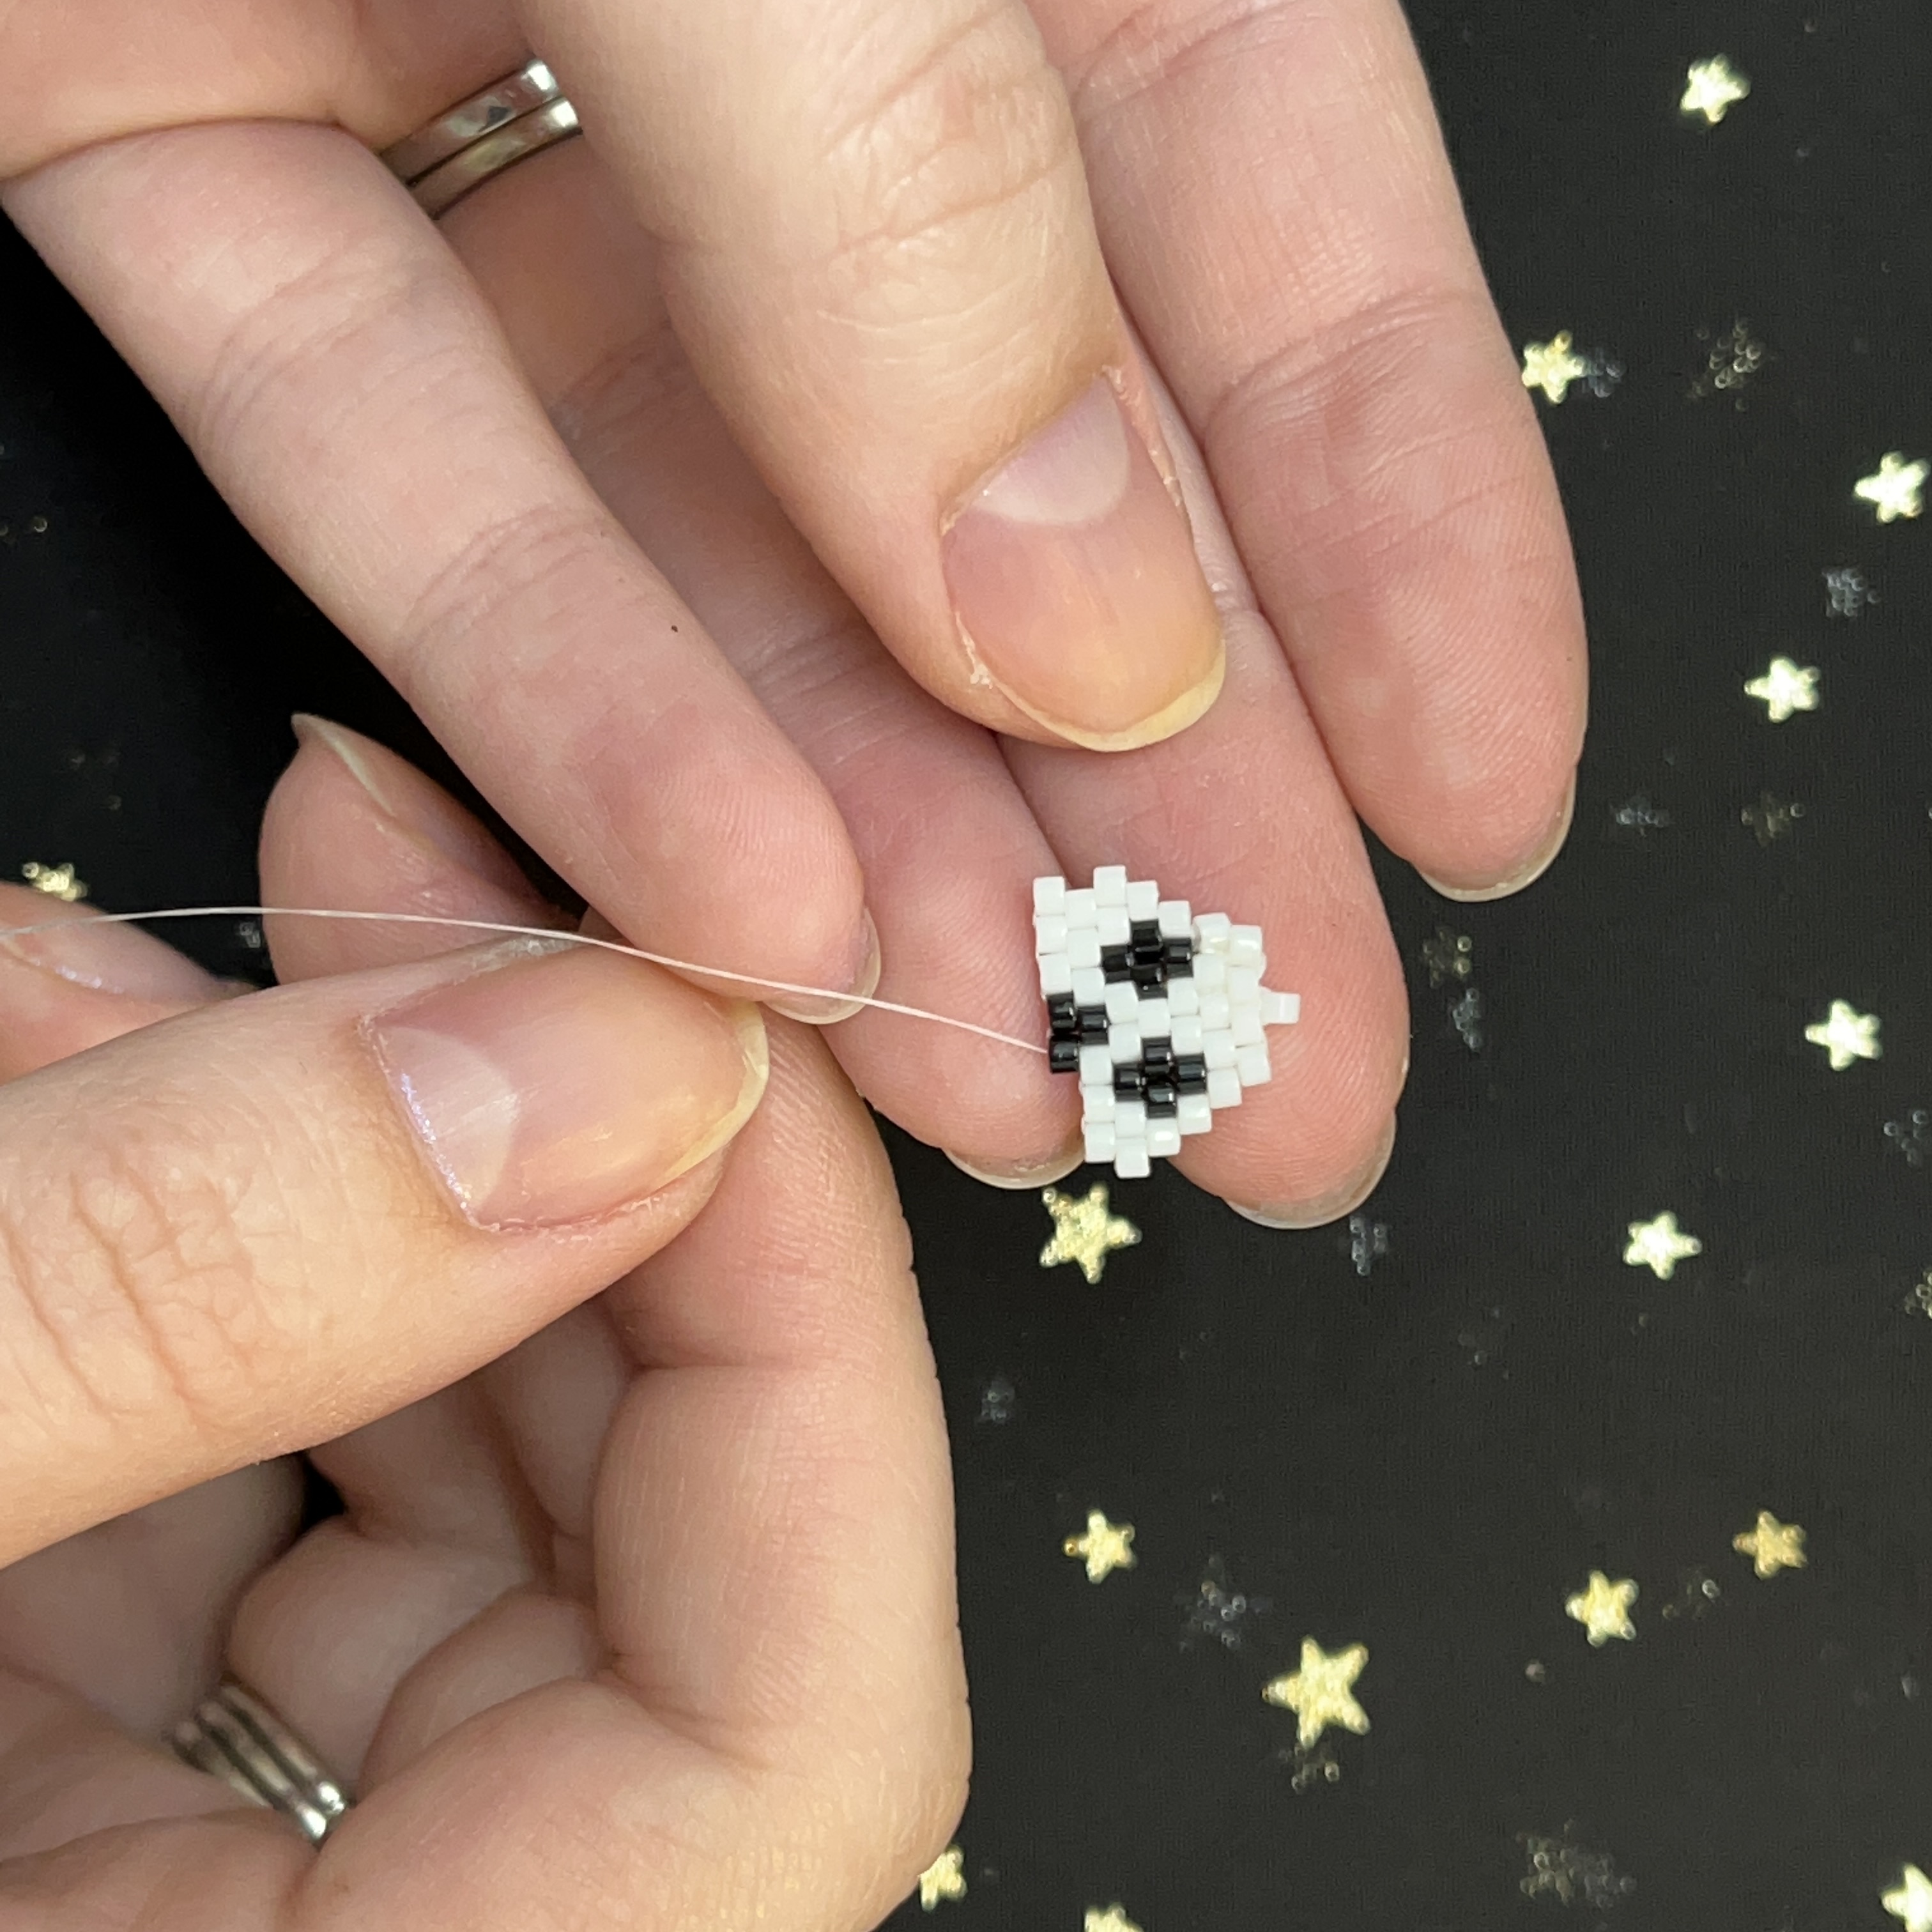
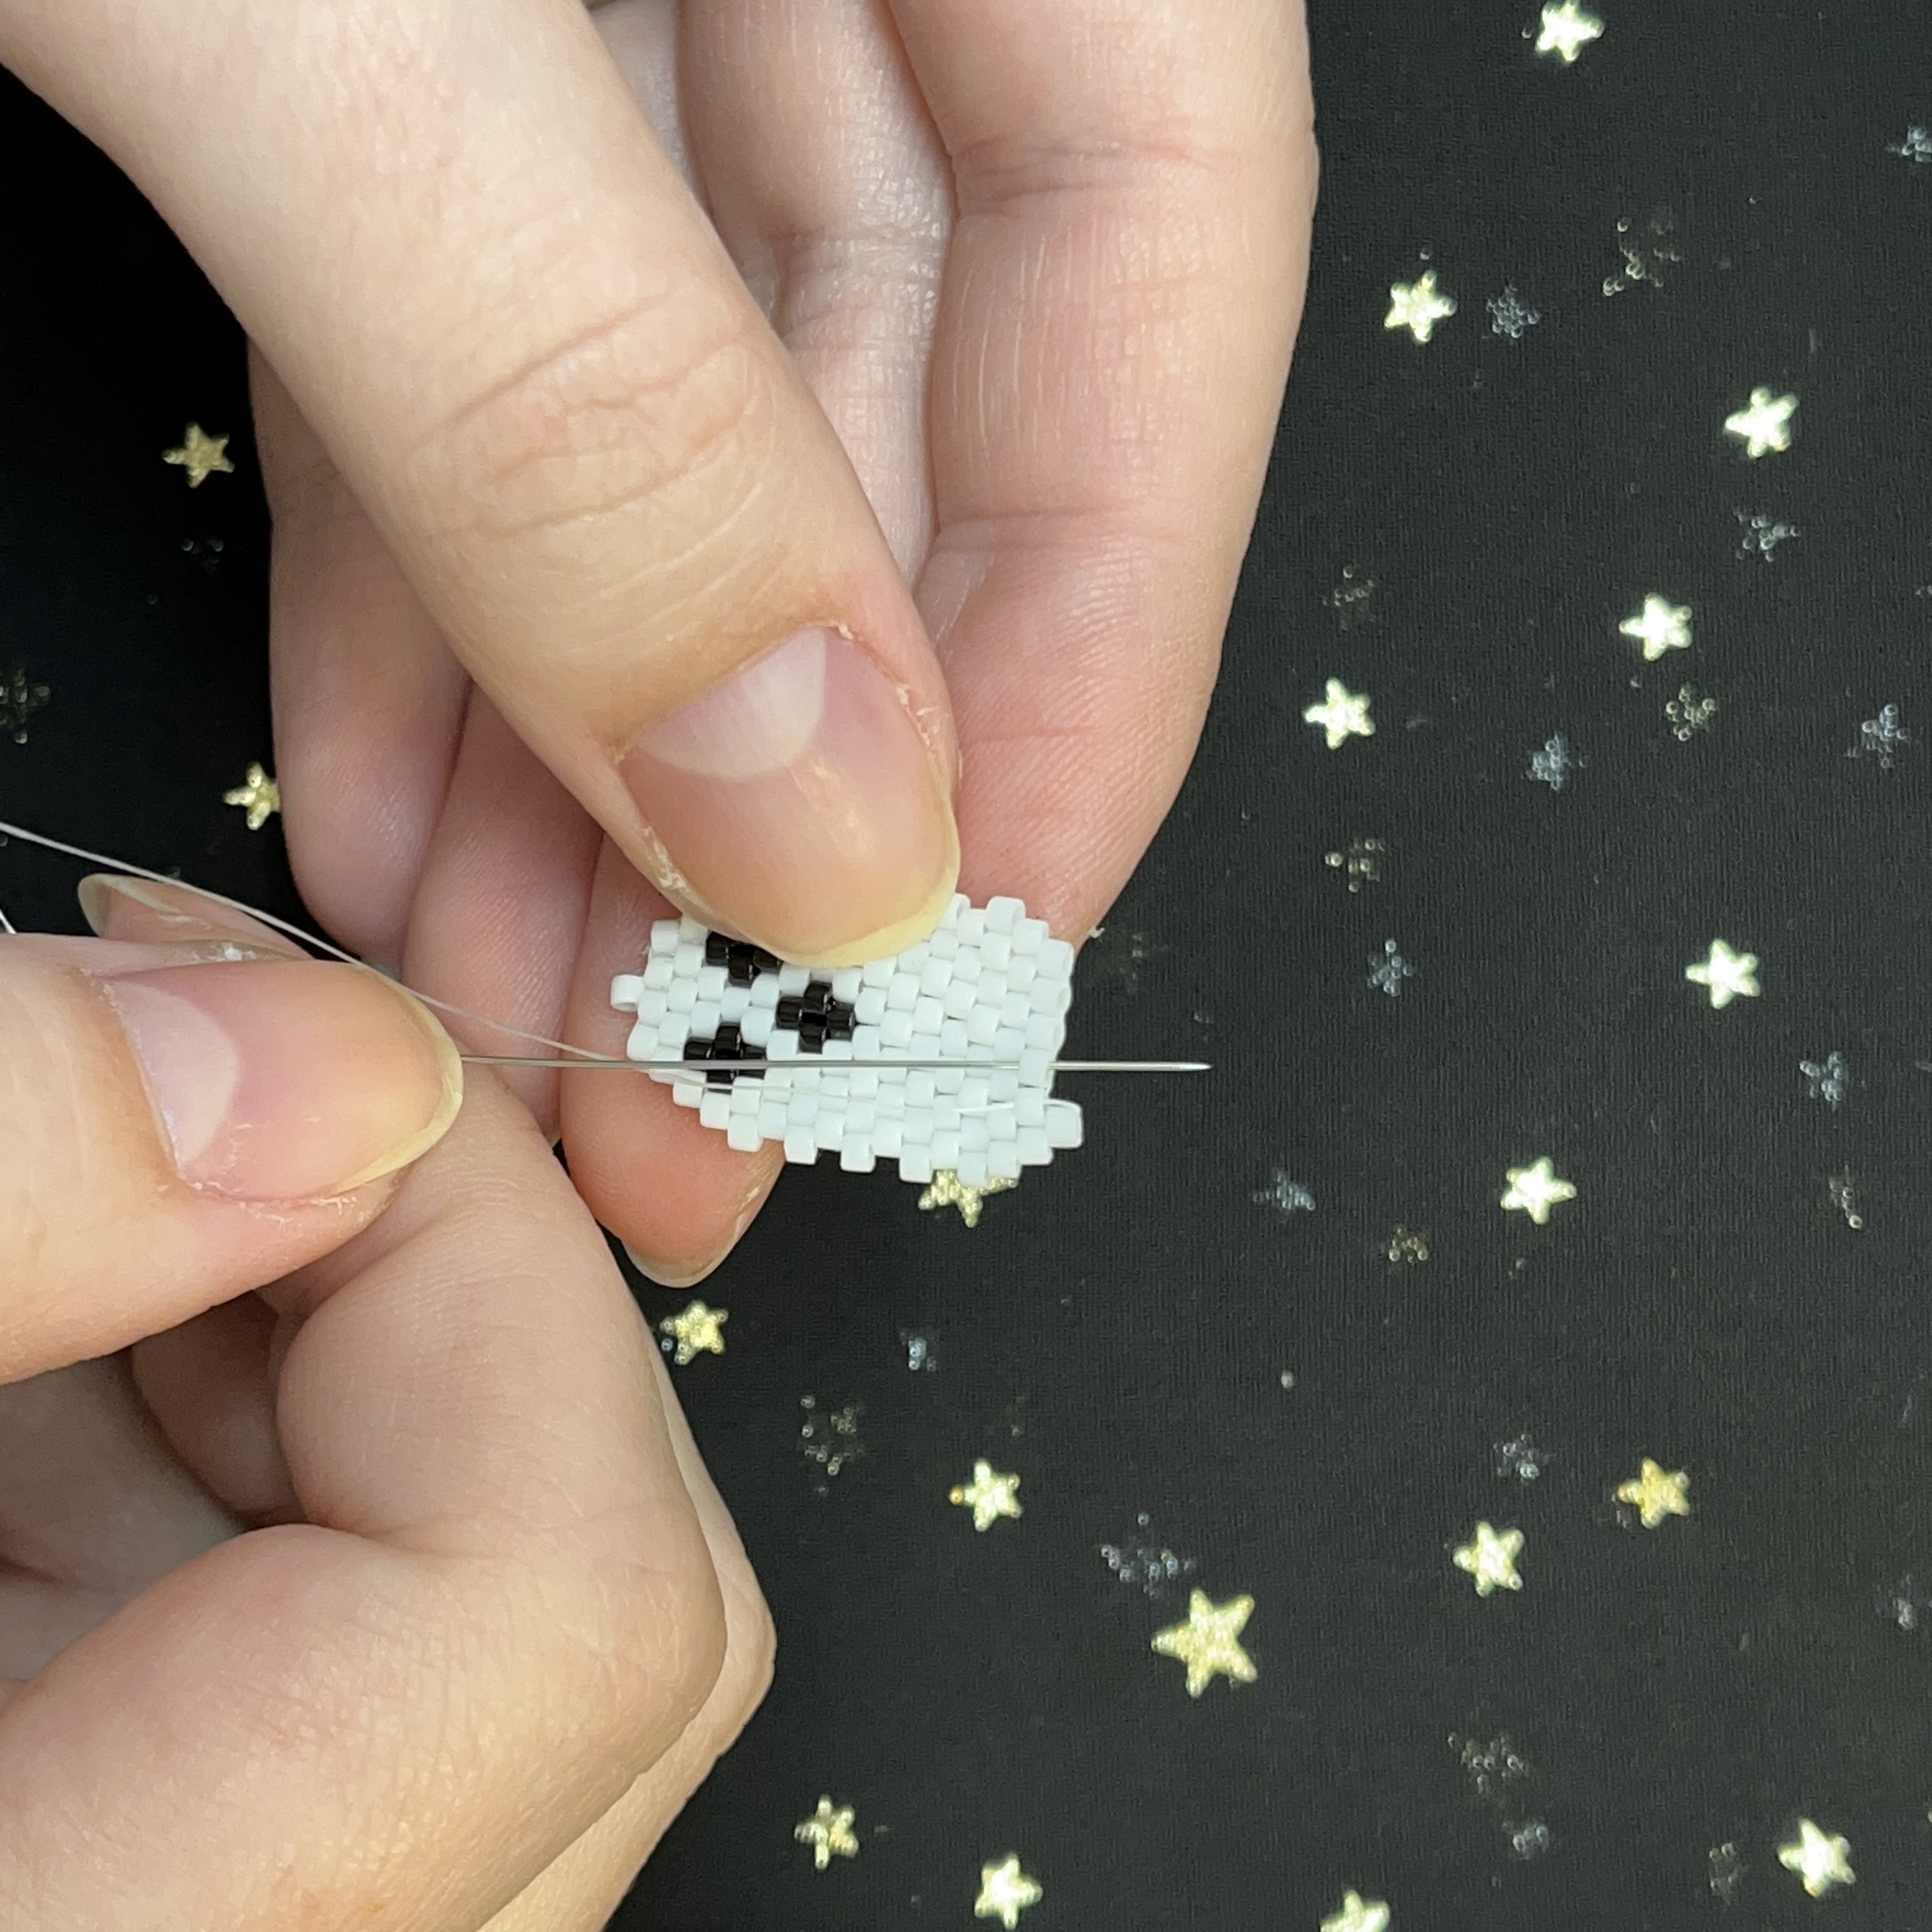
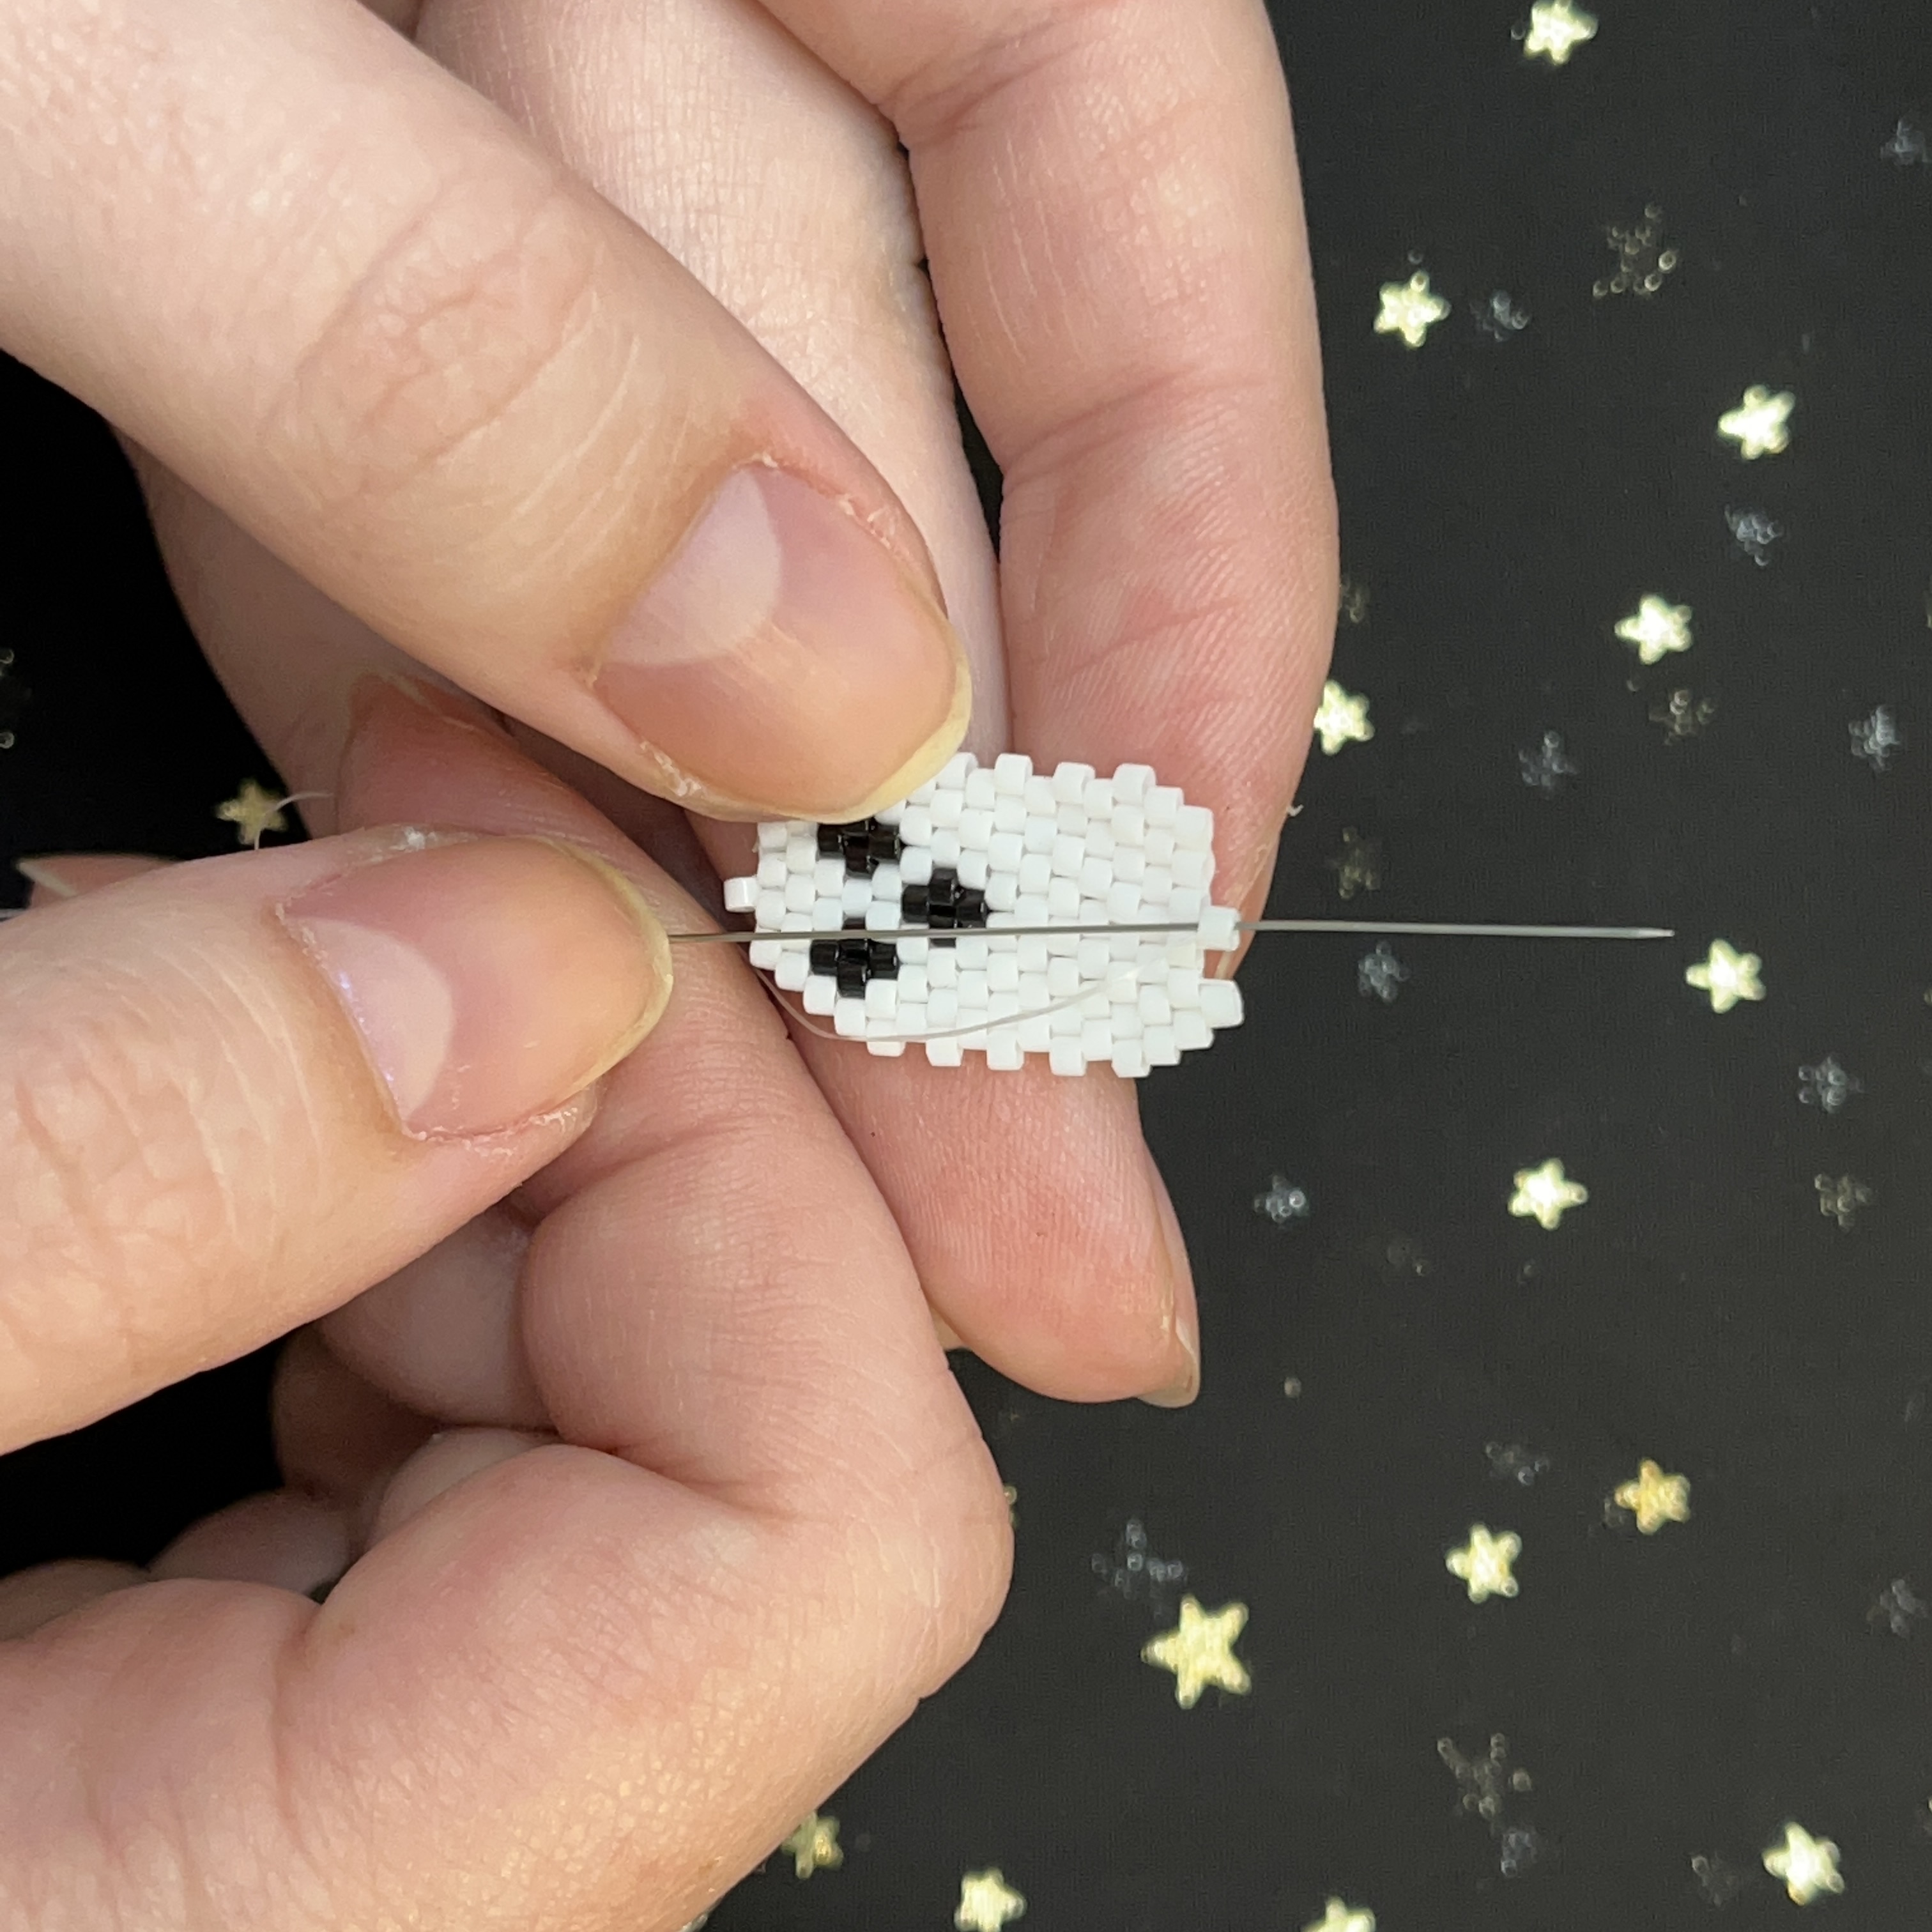
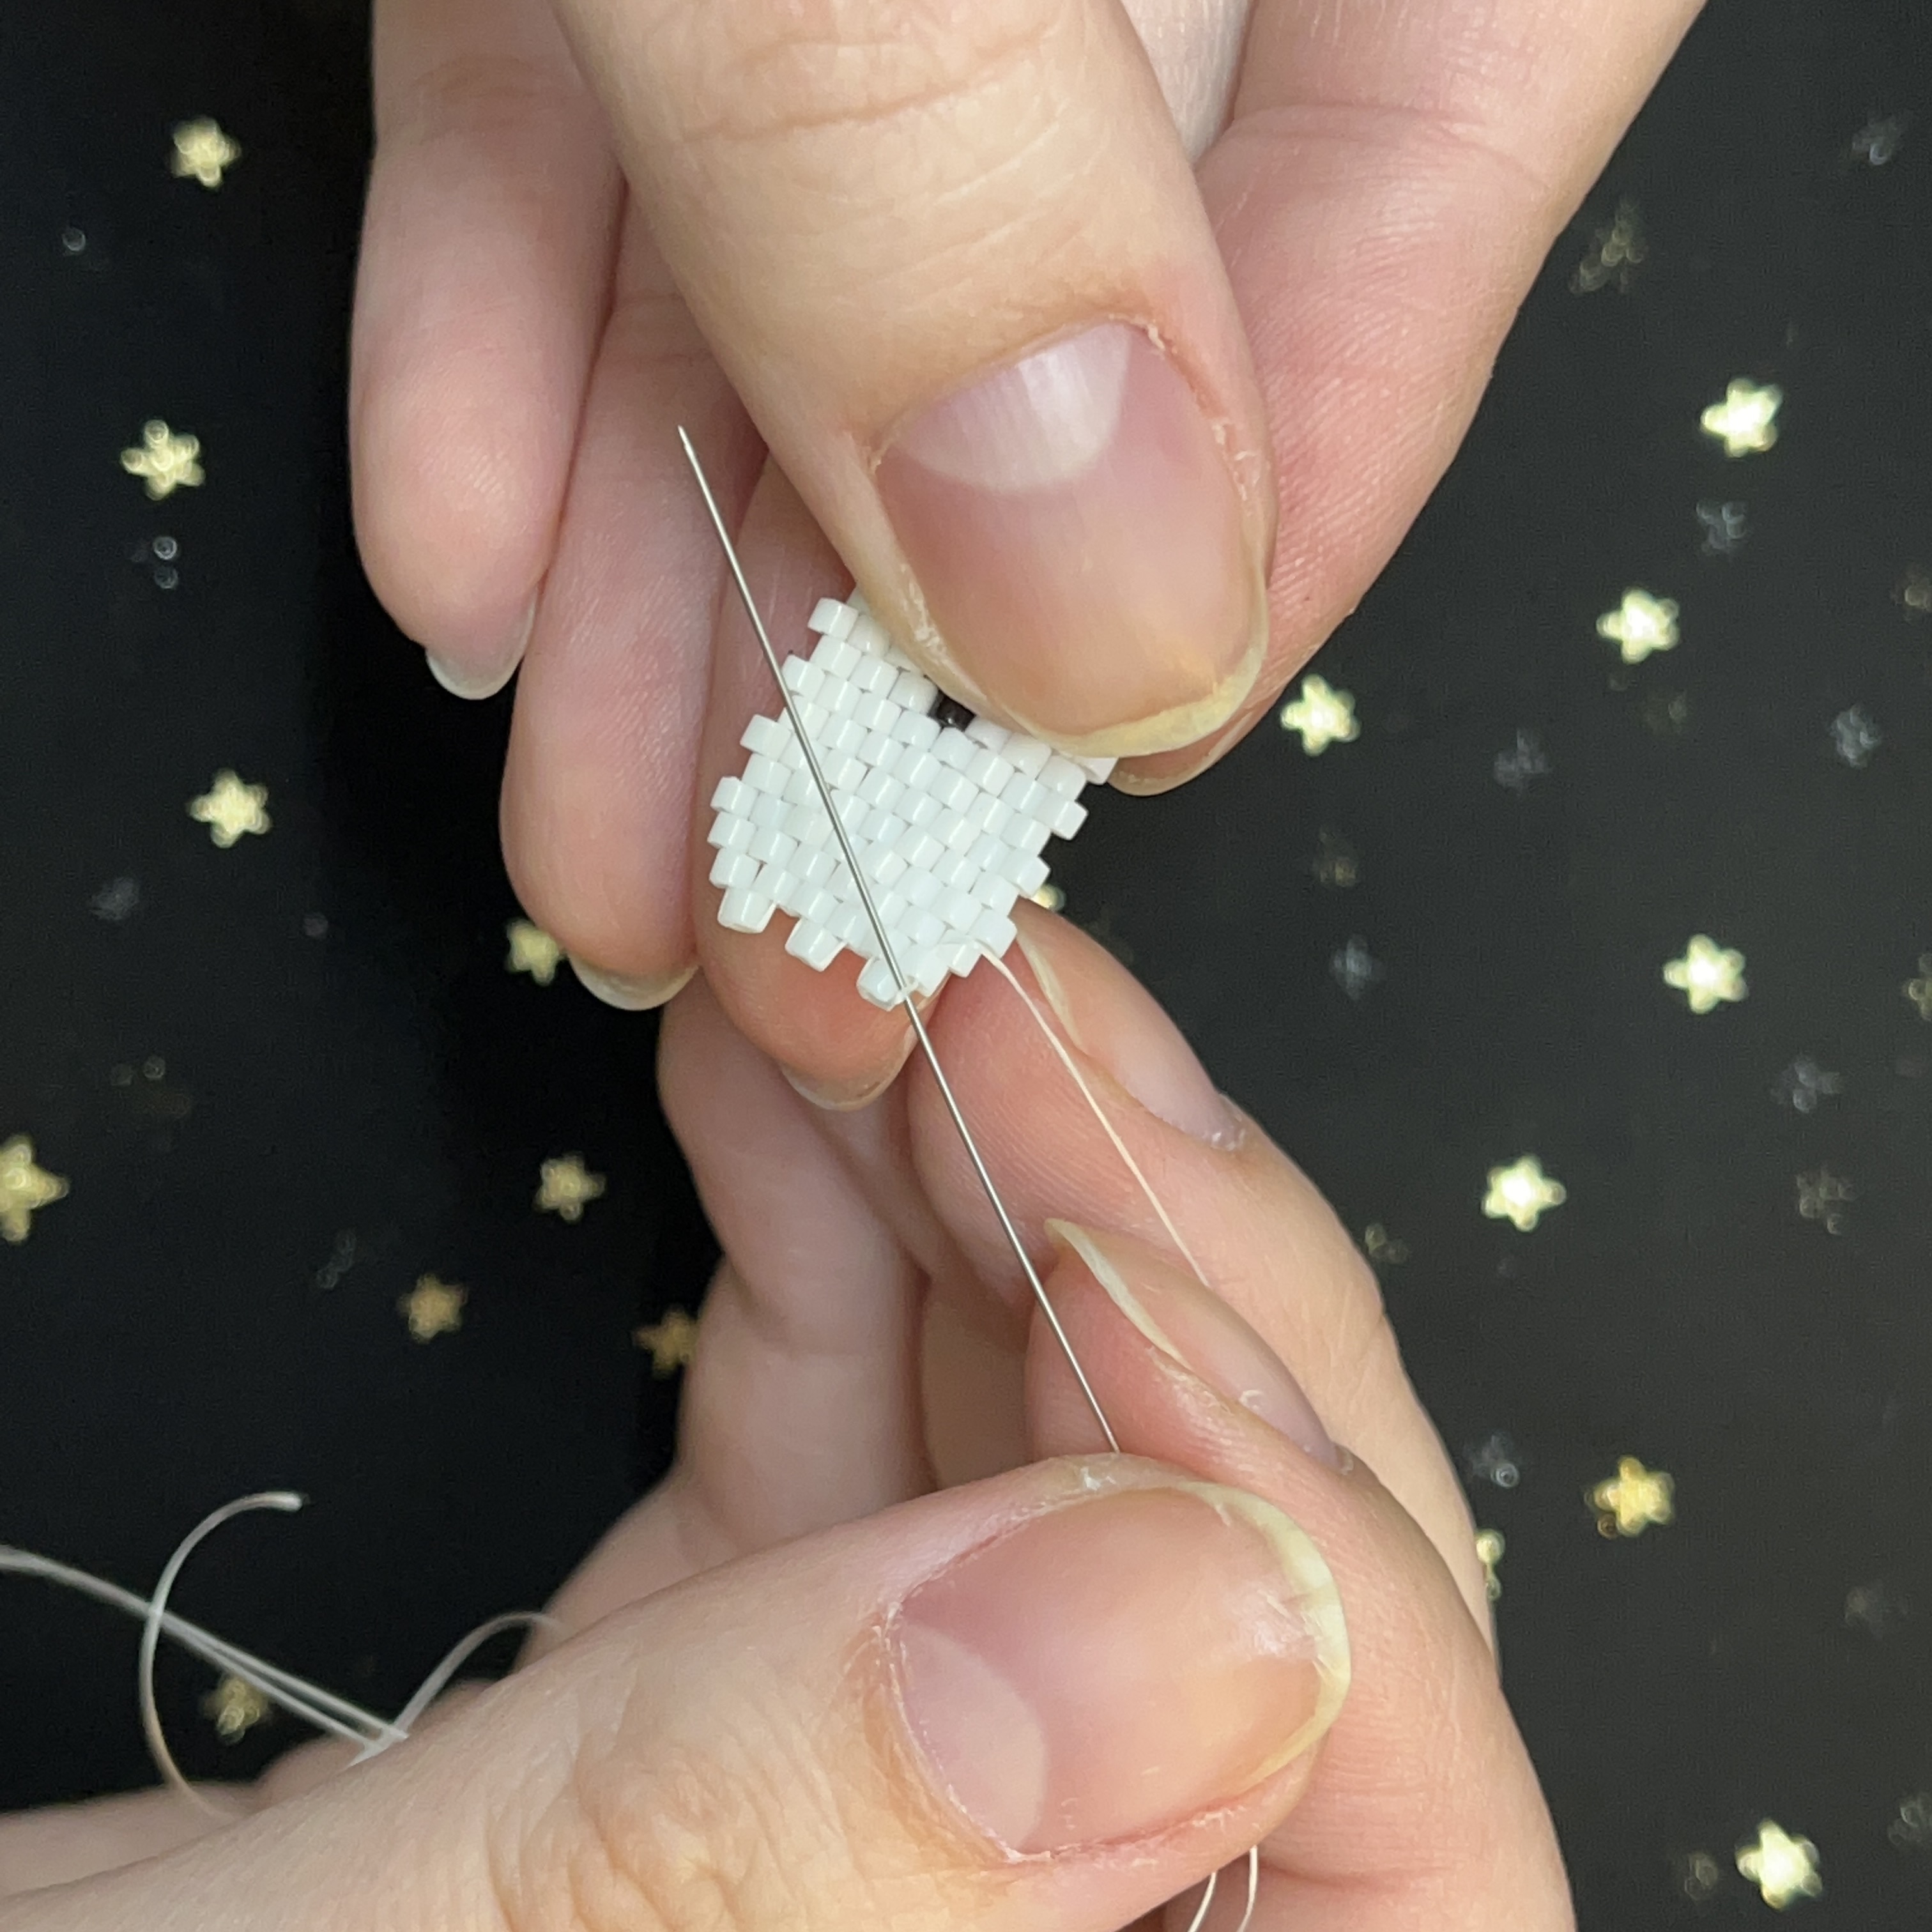
78. Continue rows with just white beads until there is 14 rows total. Order of beads per row should look like this: row 1: 4 beads - row 2: 5 beads - row 3: 6 beads - row 4: 7 beads - row 5: 8 Beads- row 6: 7 beads - row 7: 8 beads- row 8: 7 beads - row 9: 8 beads- row 10: 7 beads - row 11: 8 beads - row 12: 7 beads - row 13: 8 beads - row 14: 7 beads
Now starting the 15th row, we will only be adding 6 beads so start on the SECOND stitch, adding 2 beads to the needle.
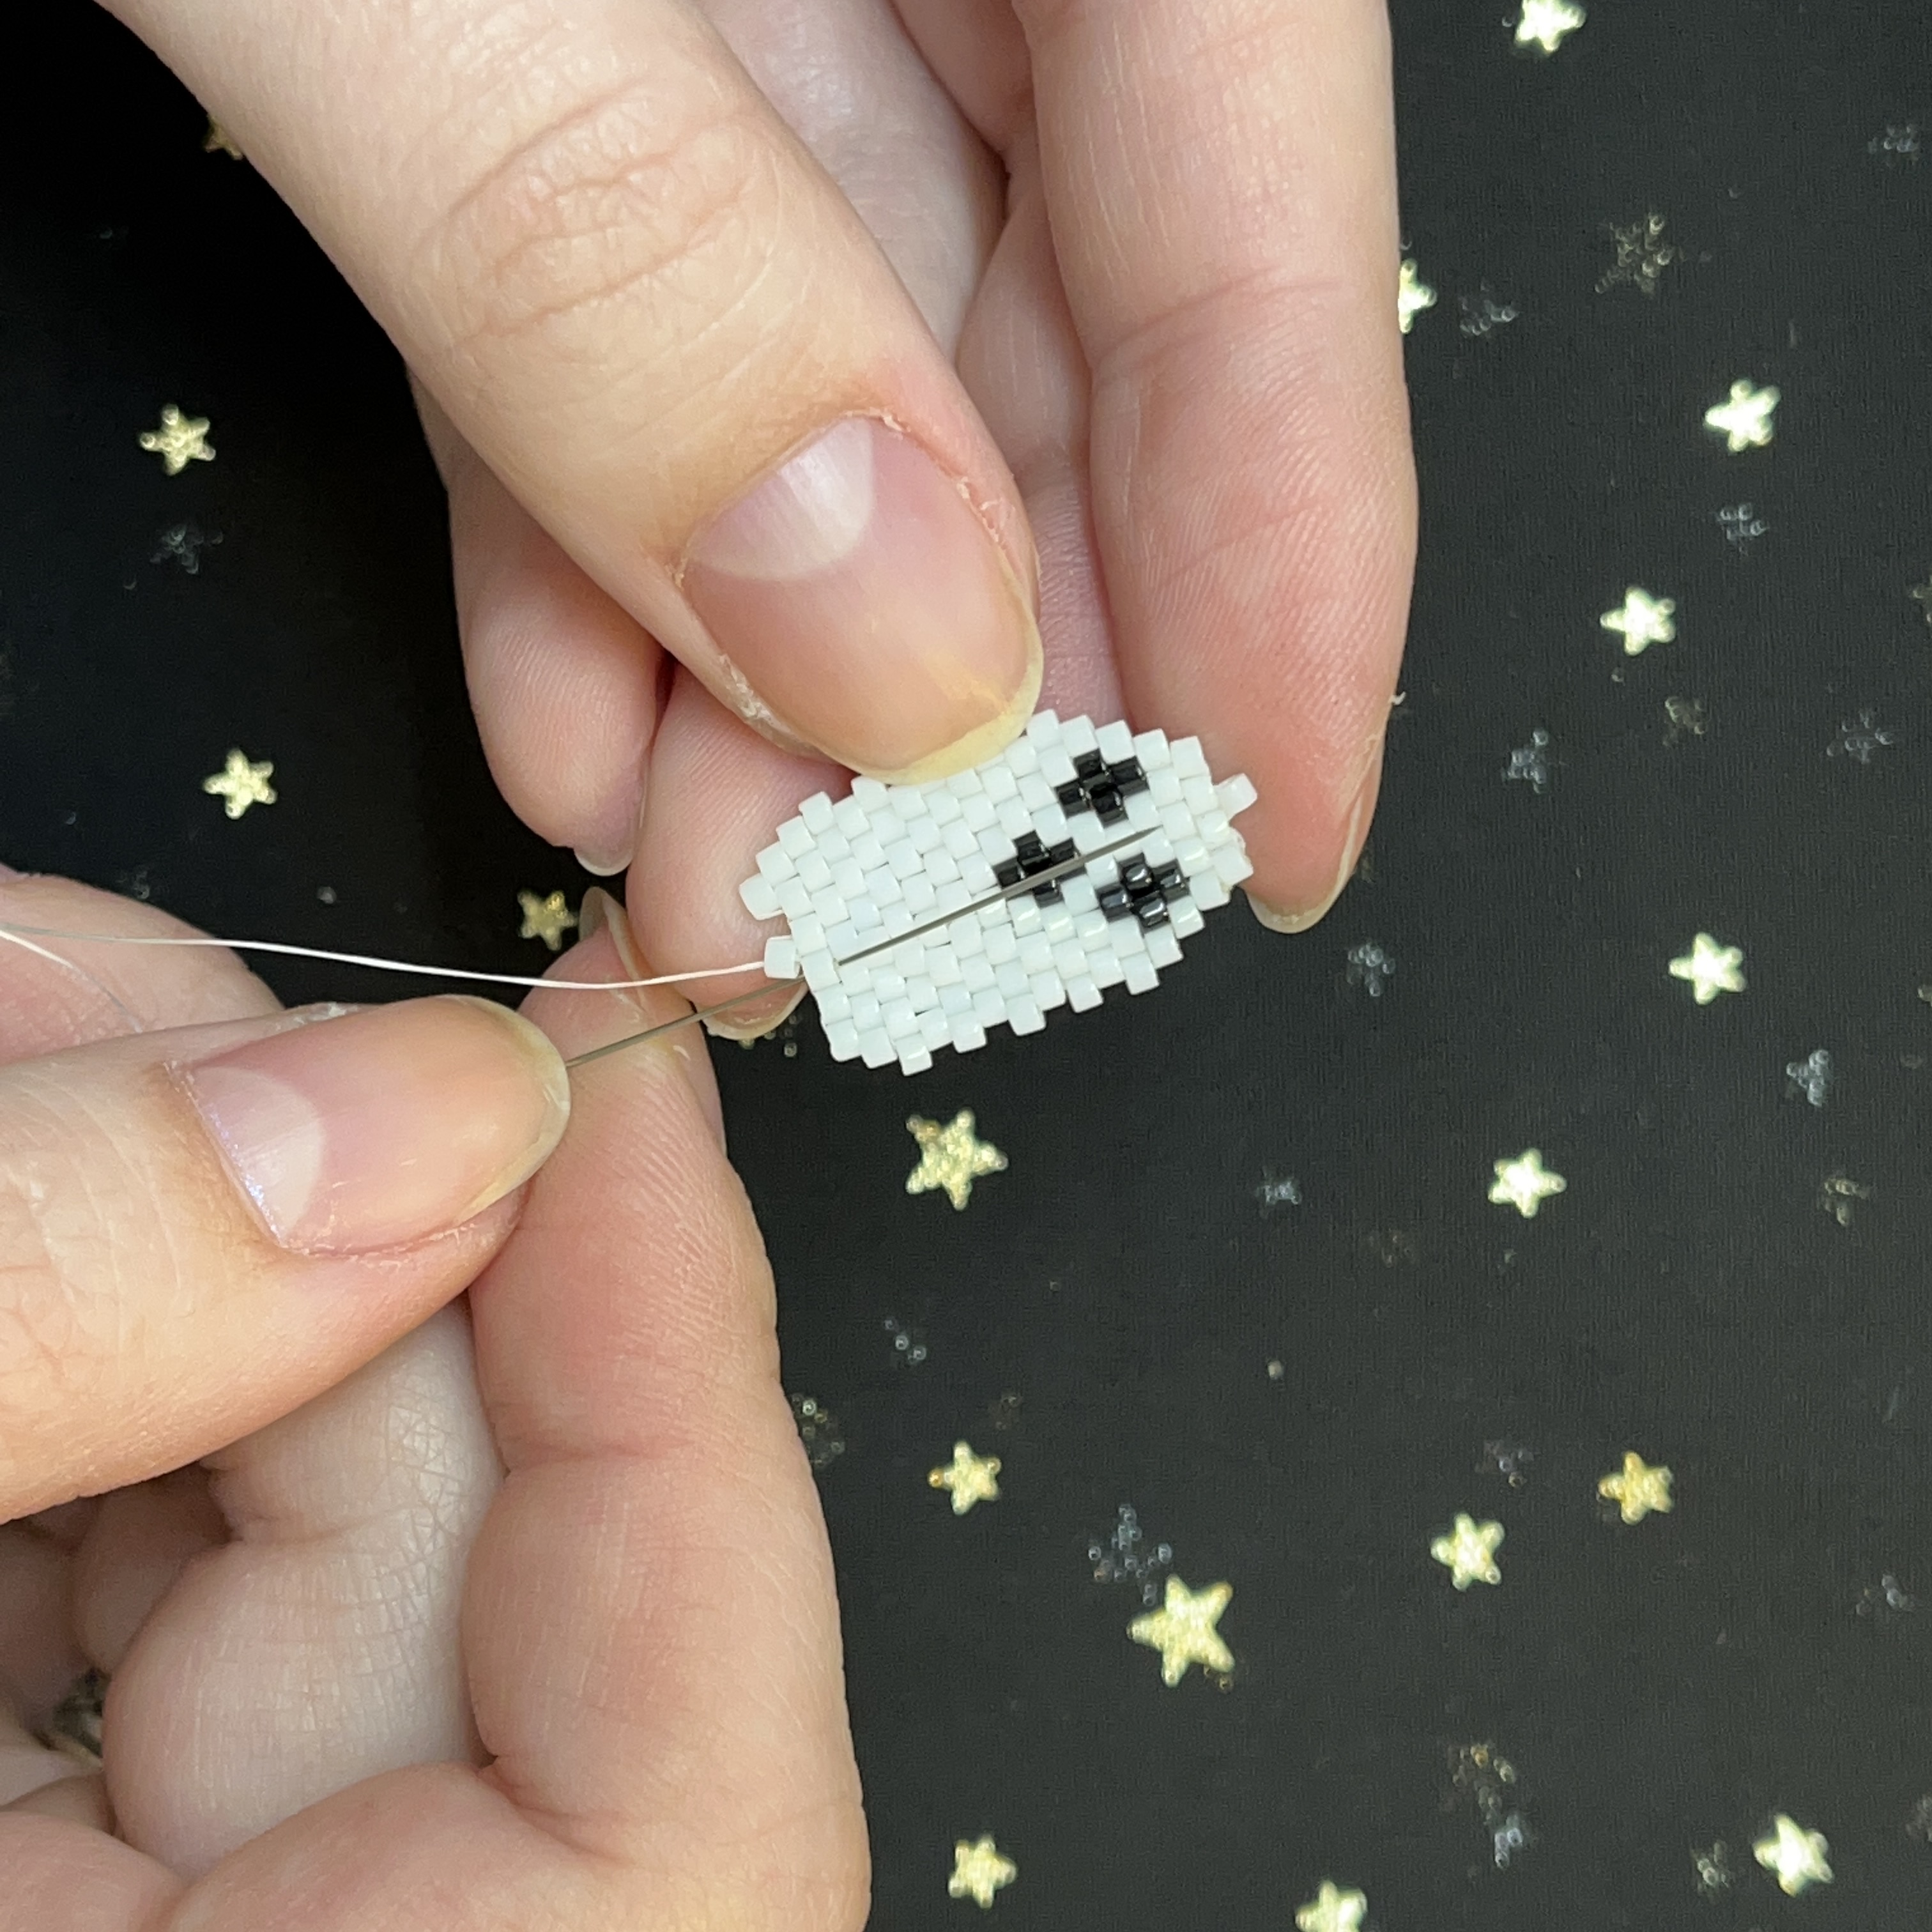
79. The 15th row should look like this.
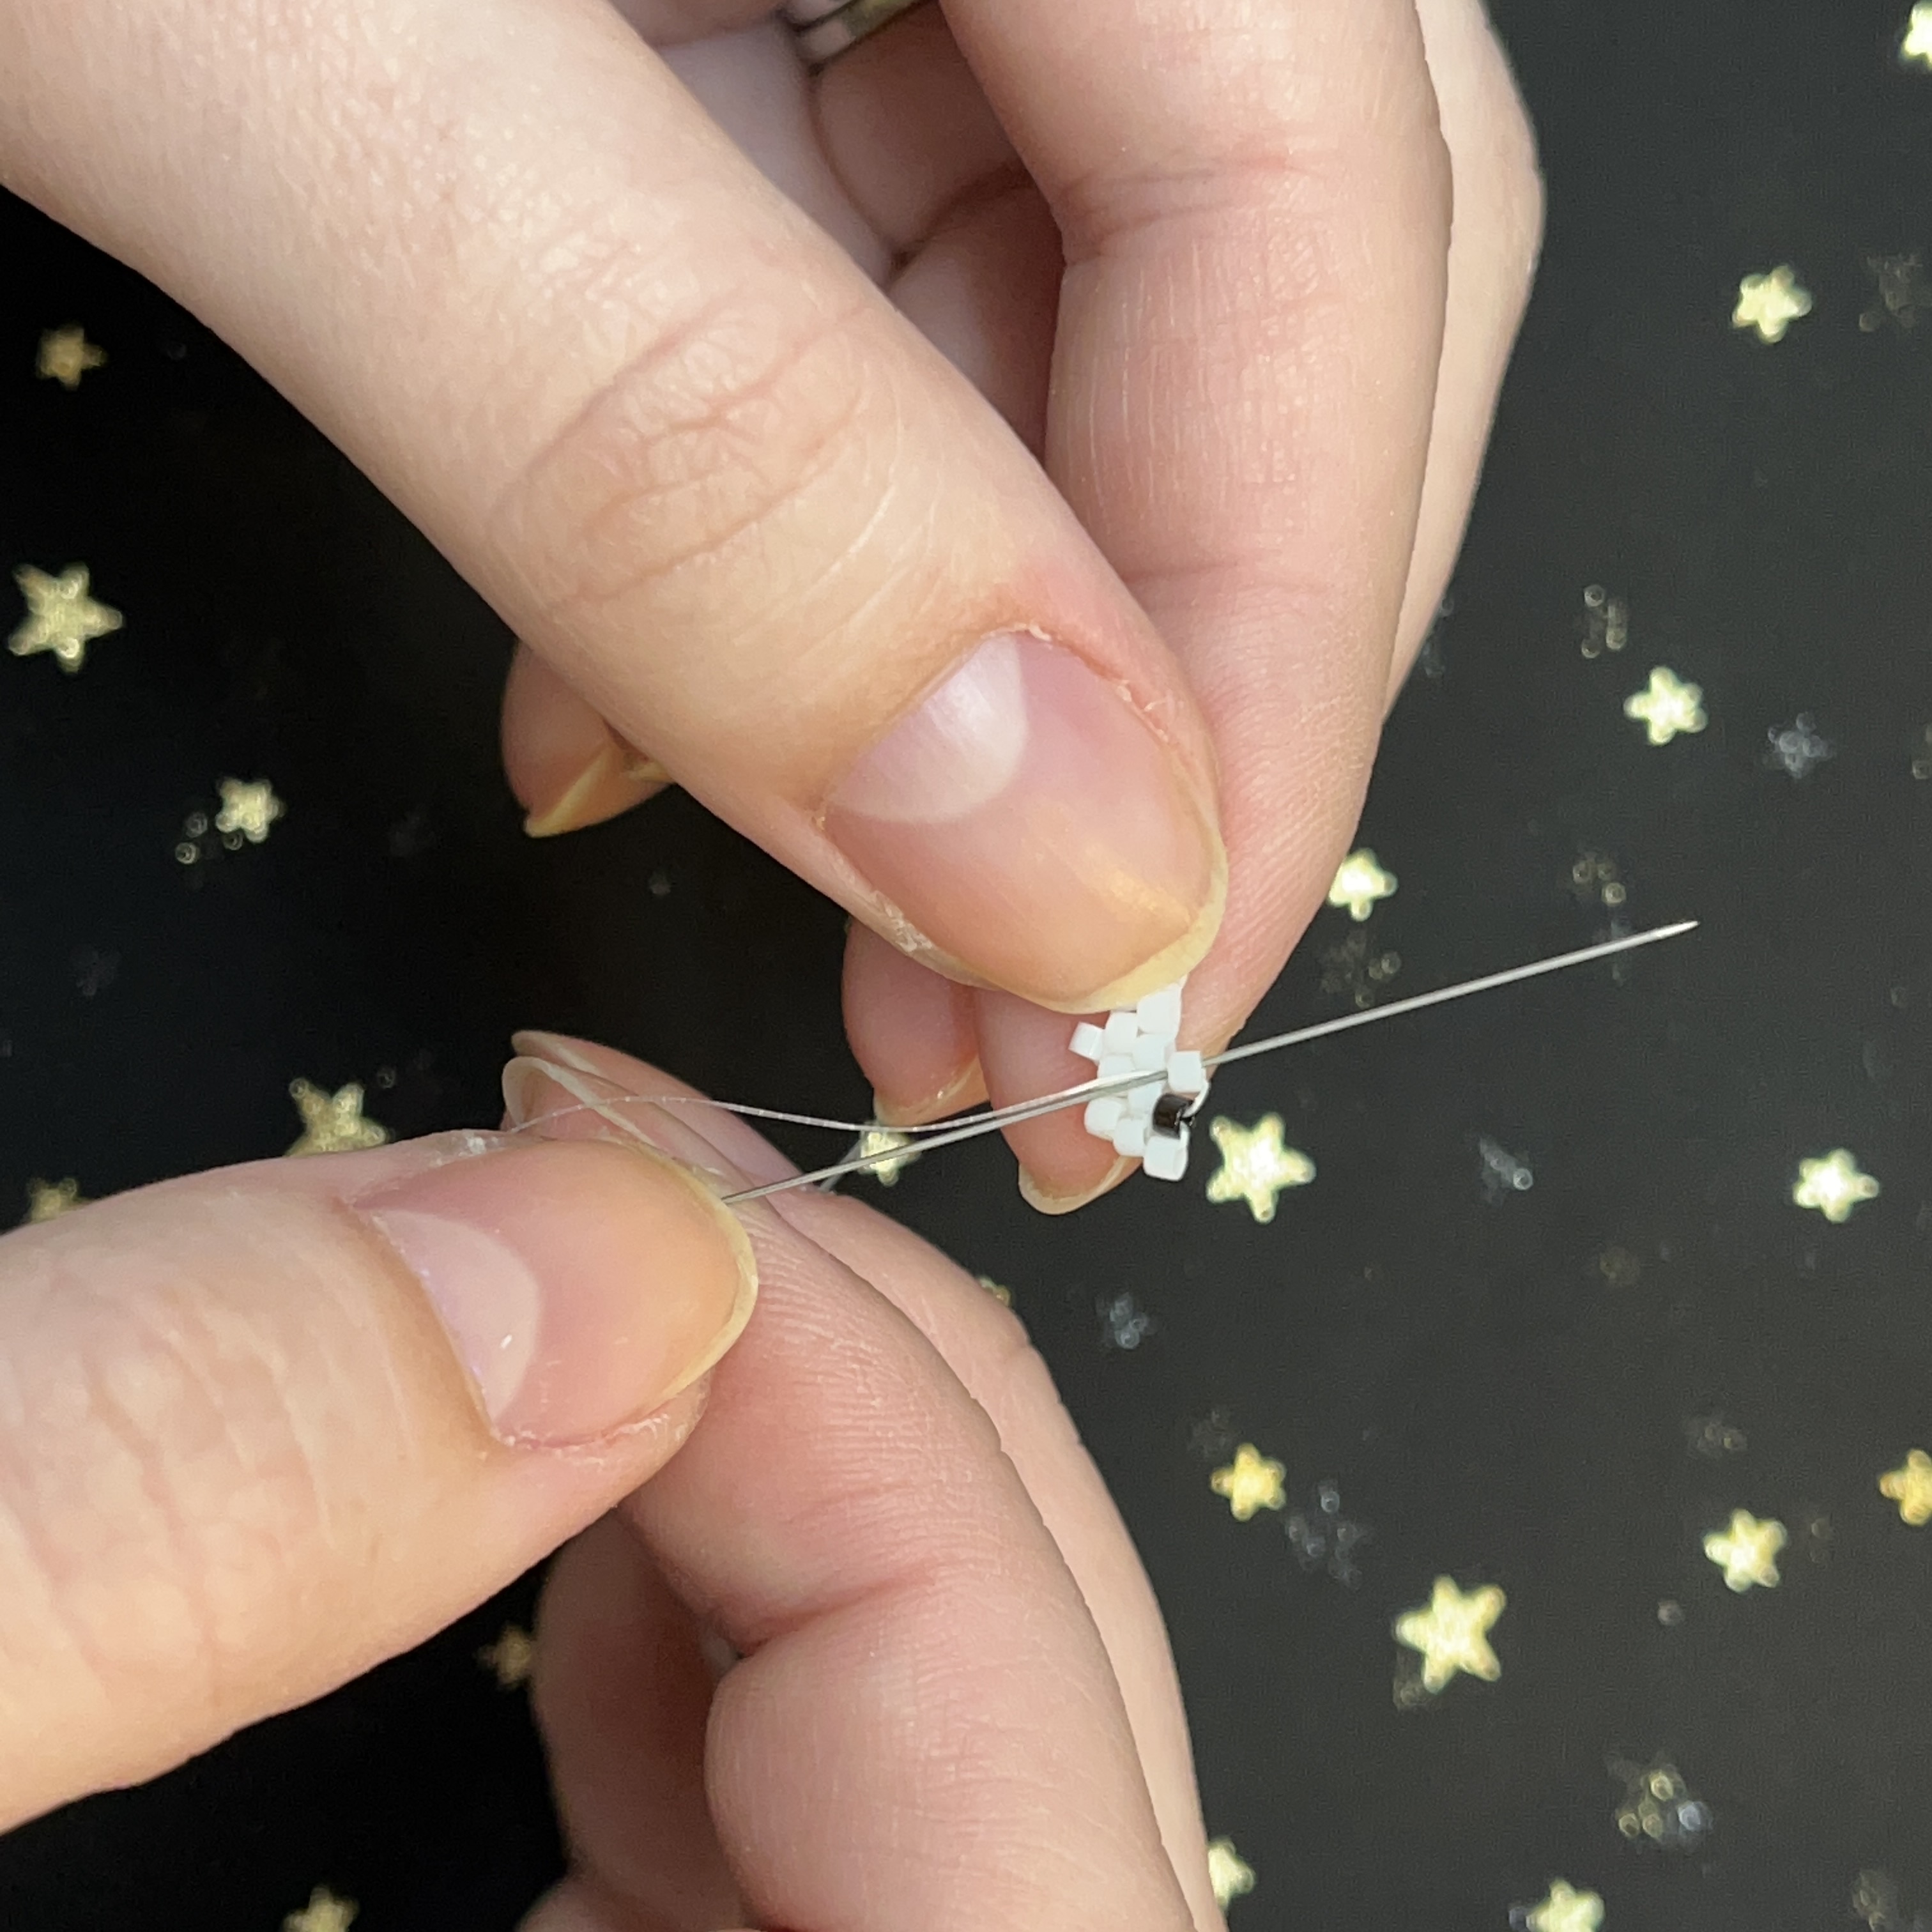
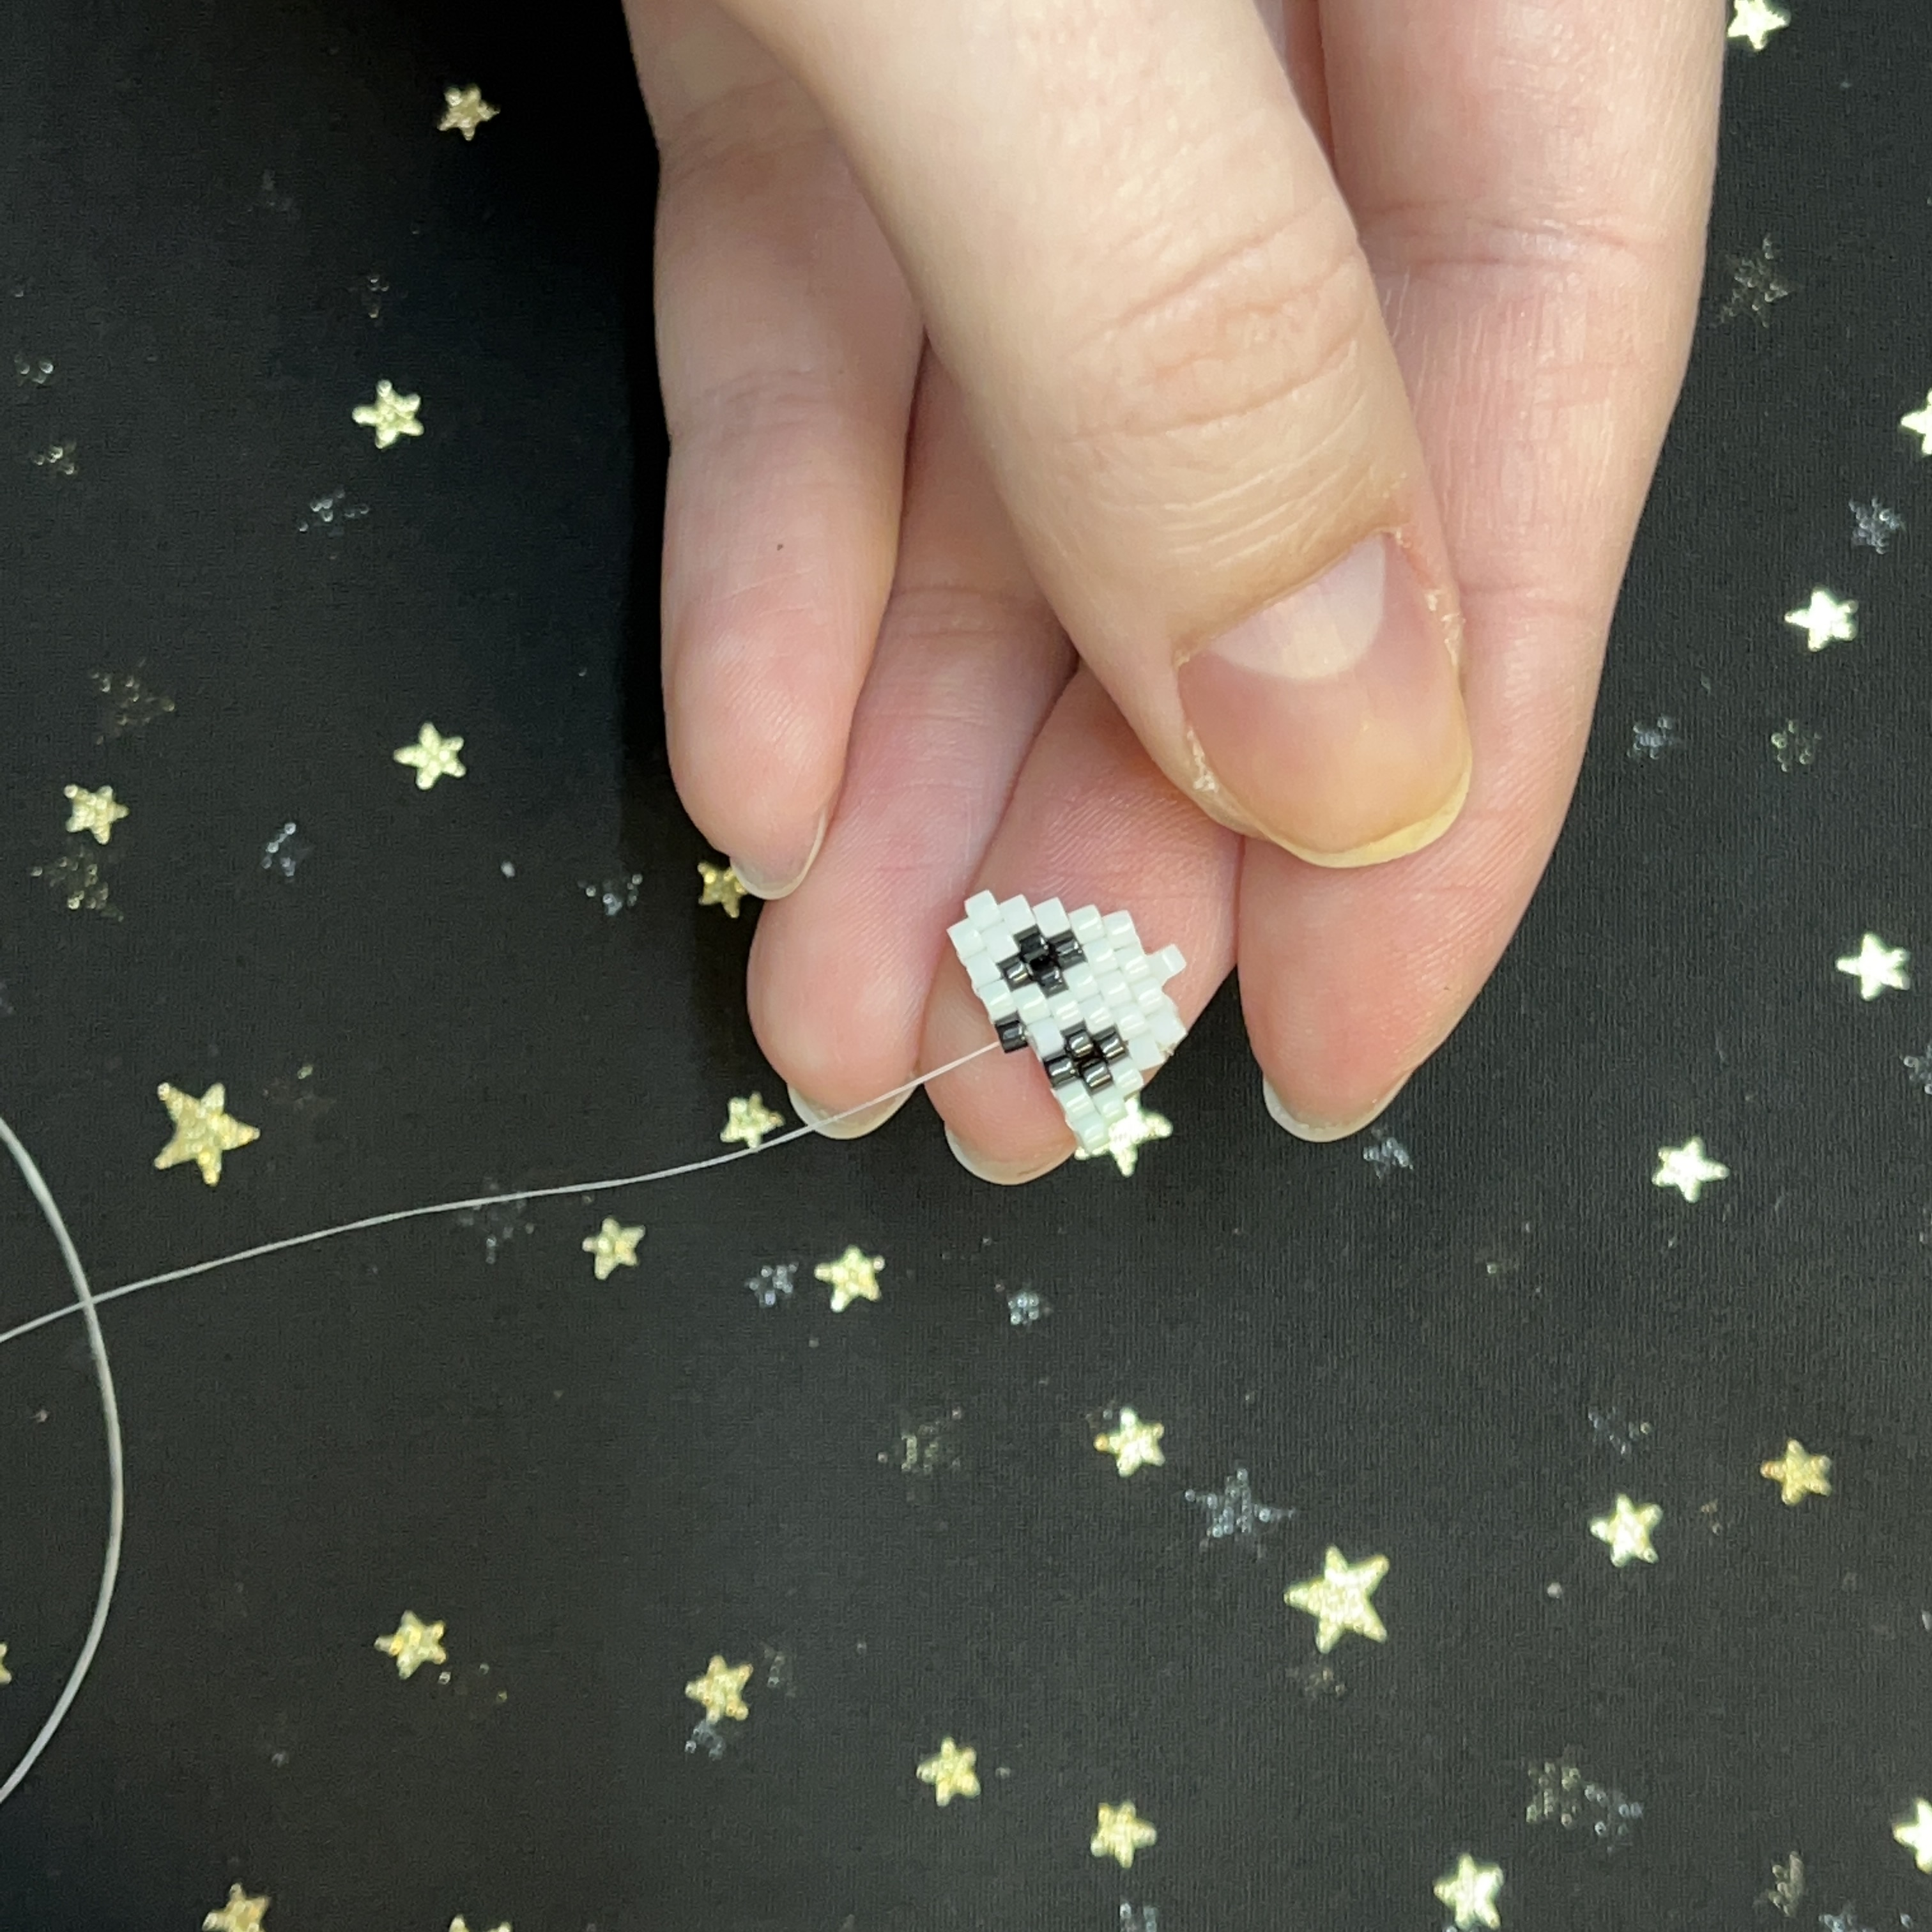
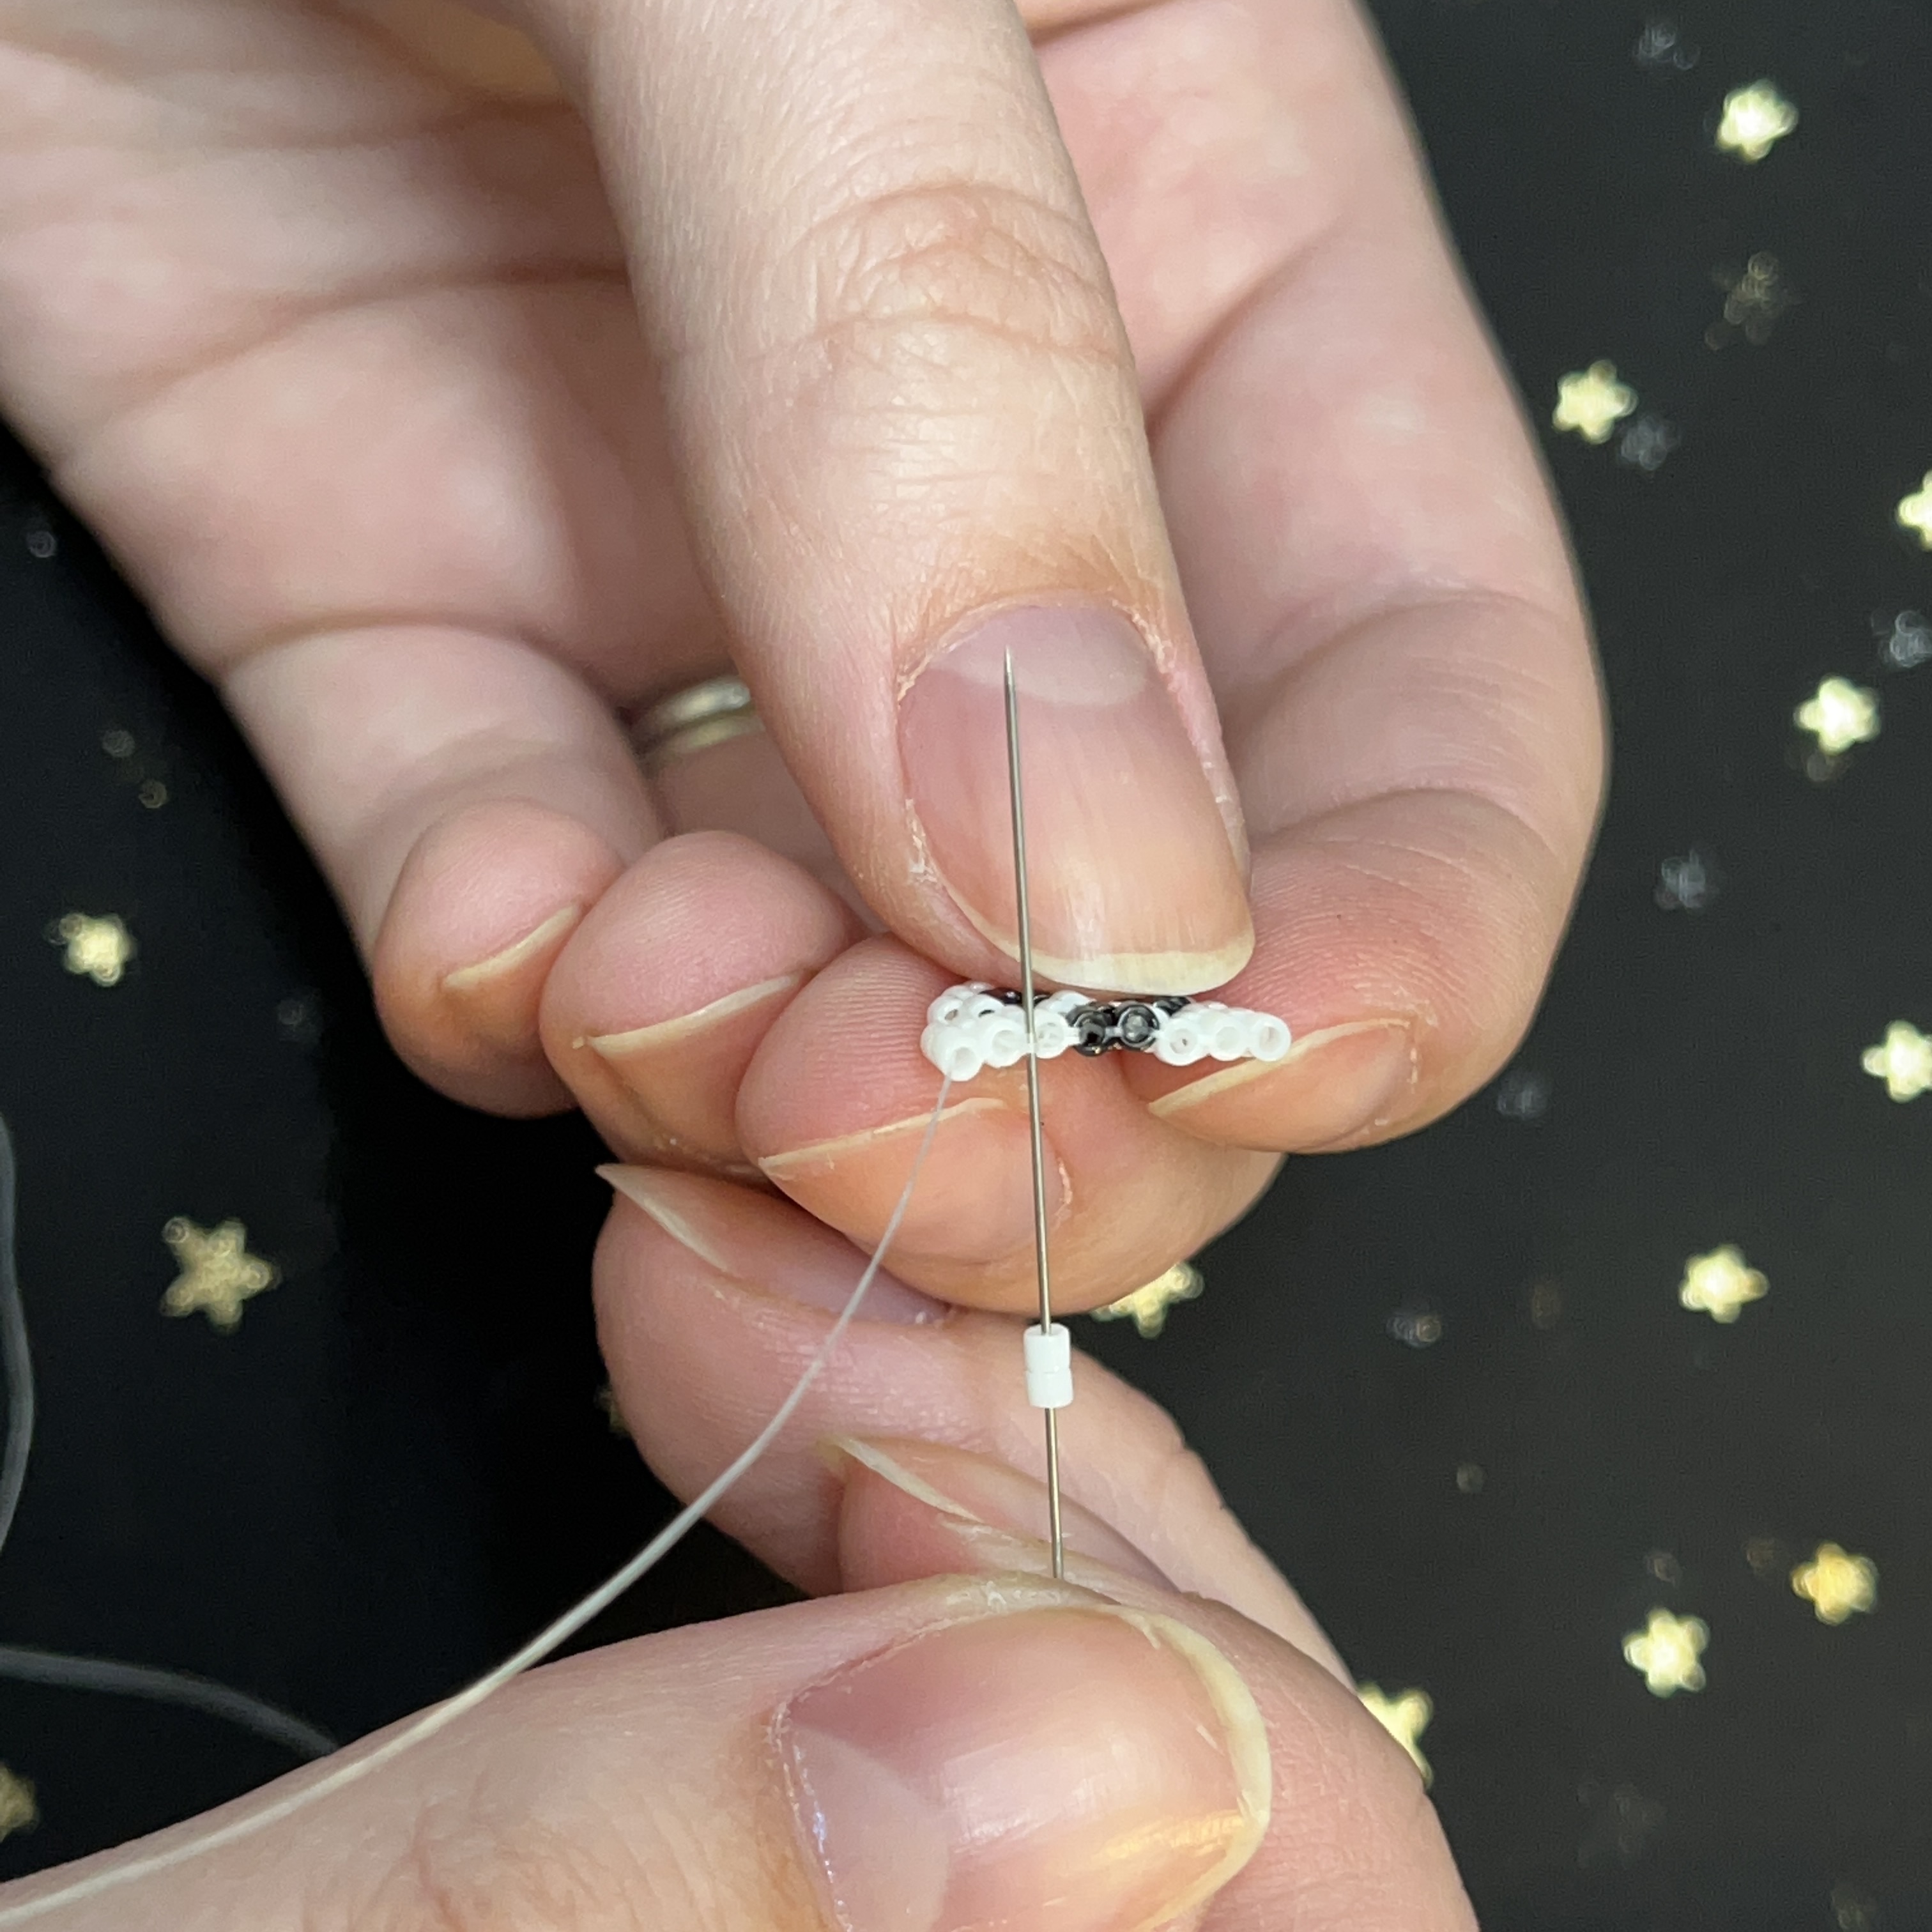
80. Now we will add the little ends to the ghost. Thread one bead through the FIRST stitch.
81. Thread the fireline back up through the first bead and then through the second bead on the row below.
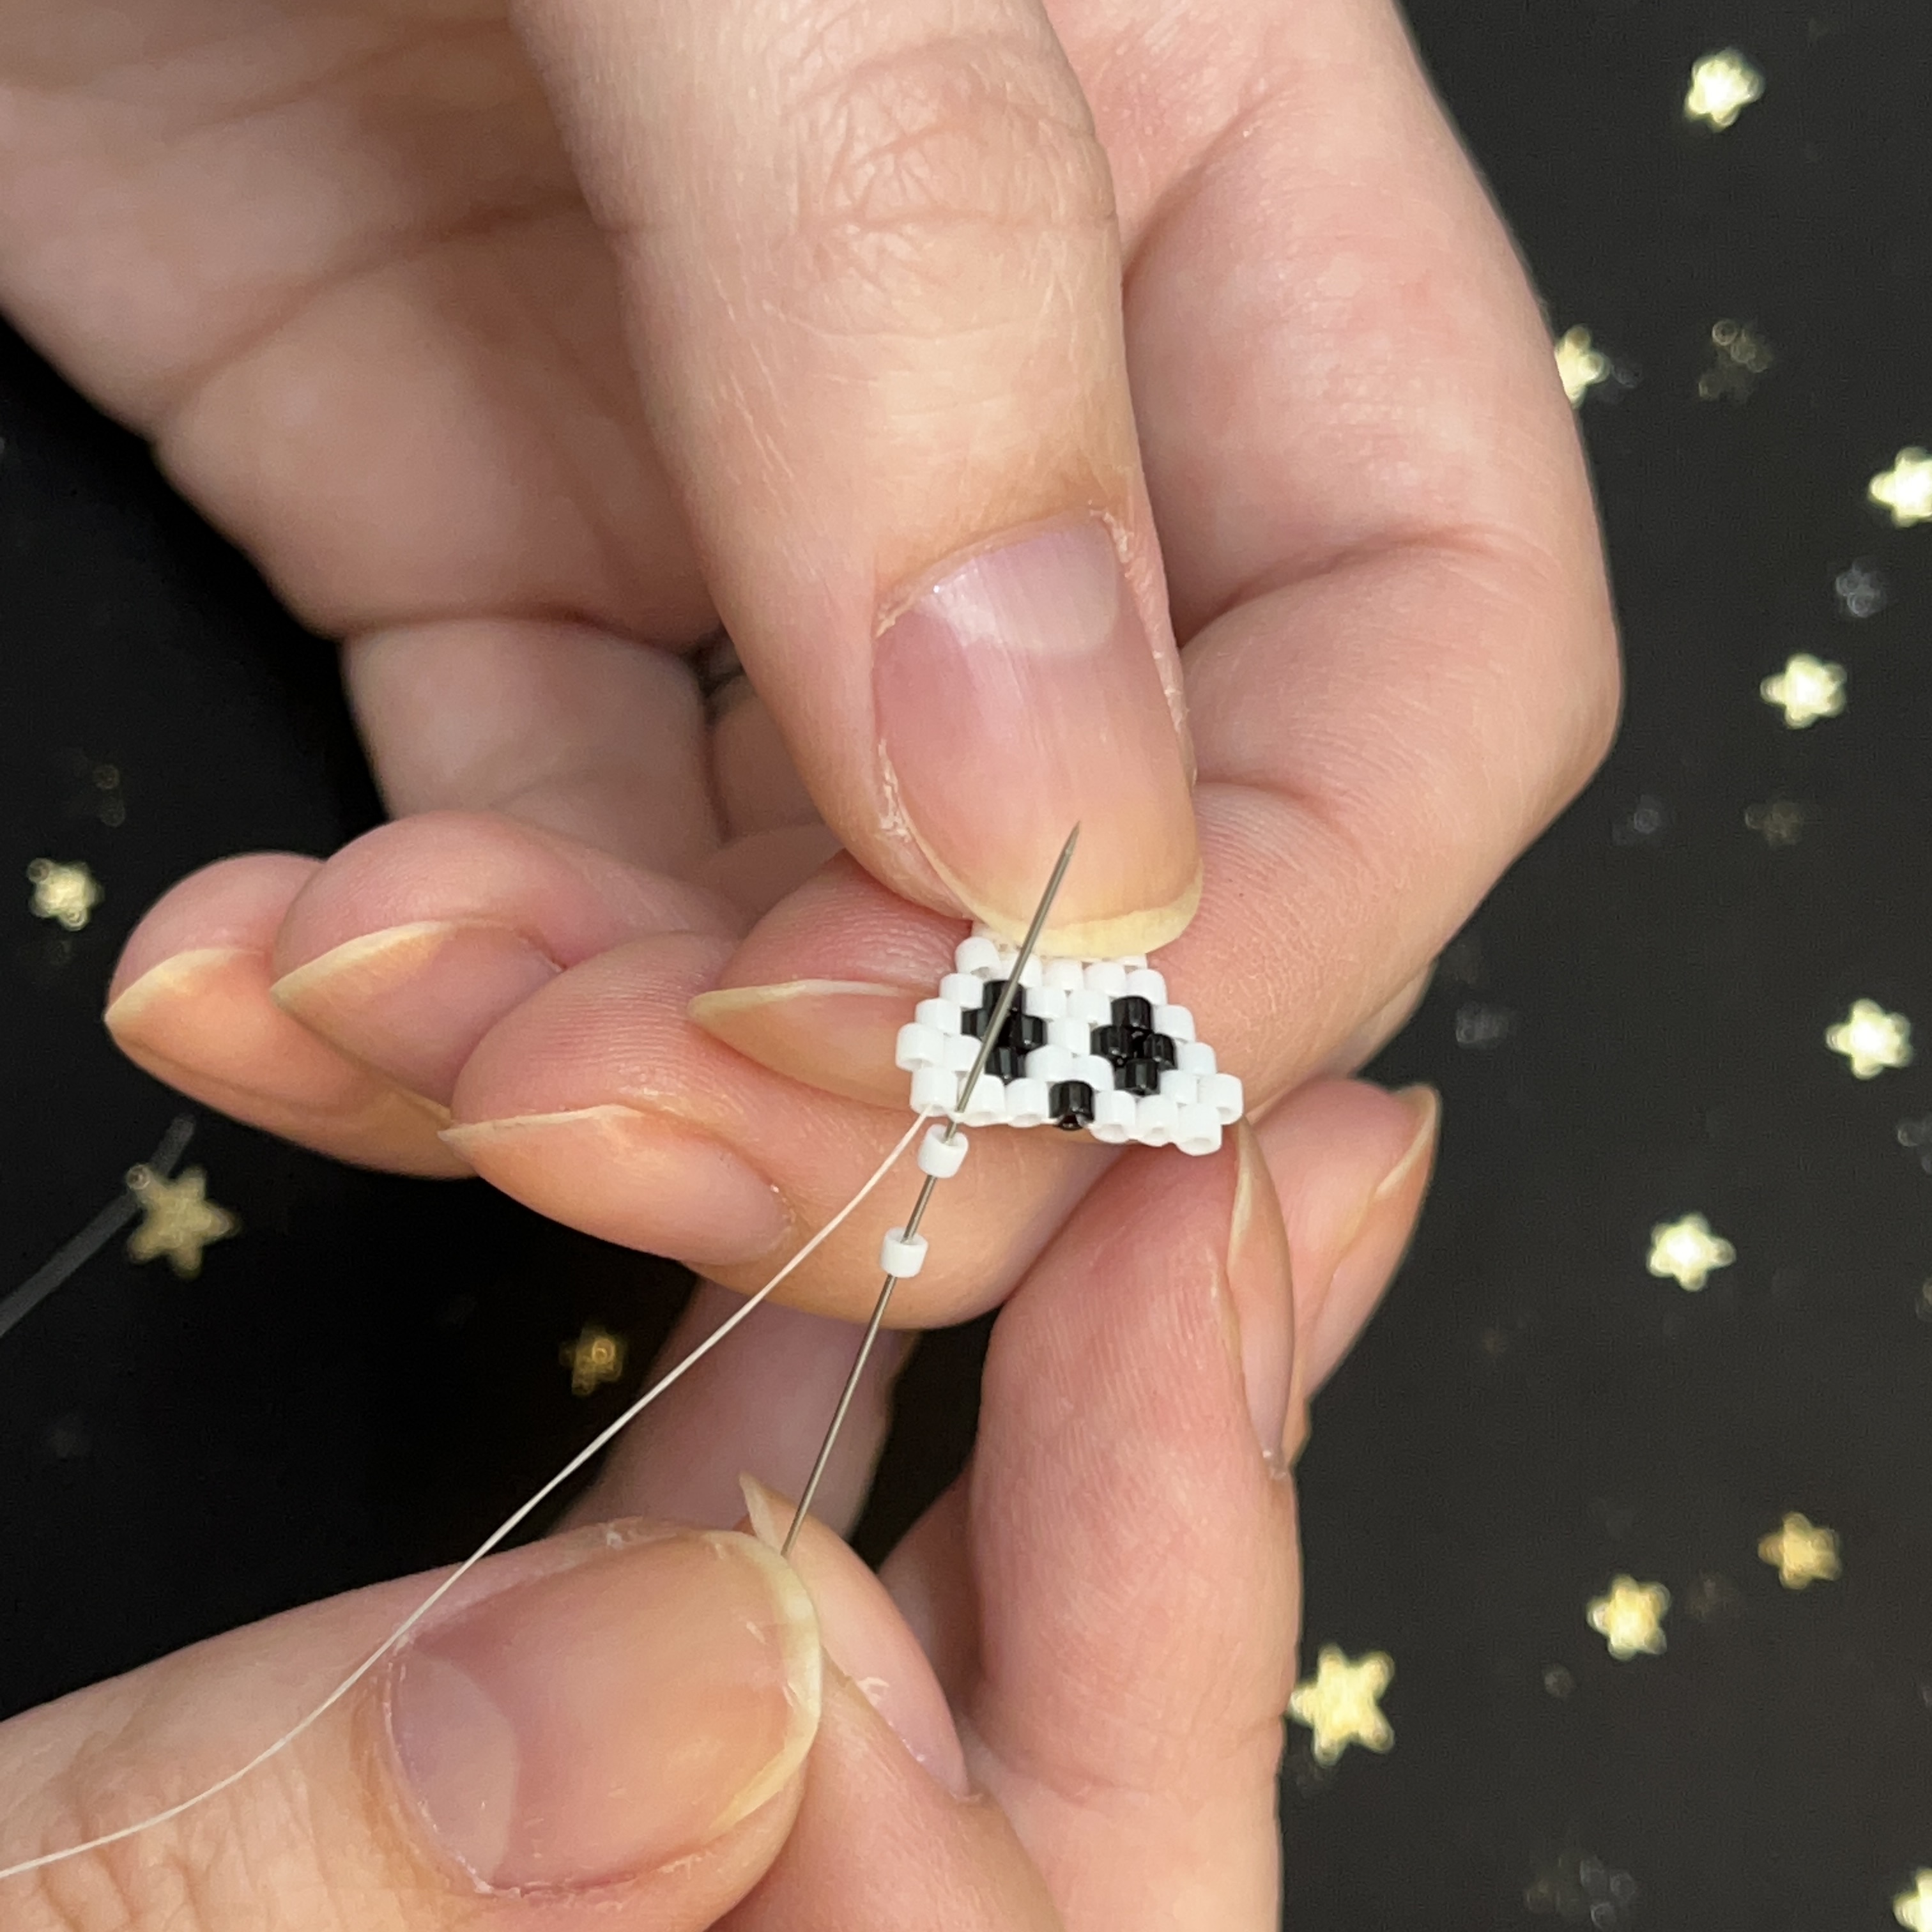
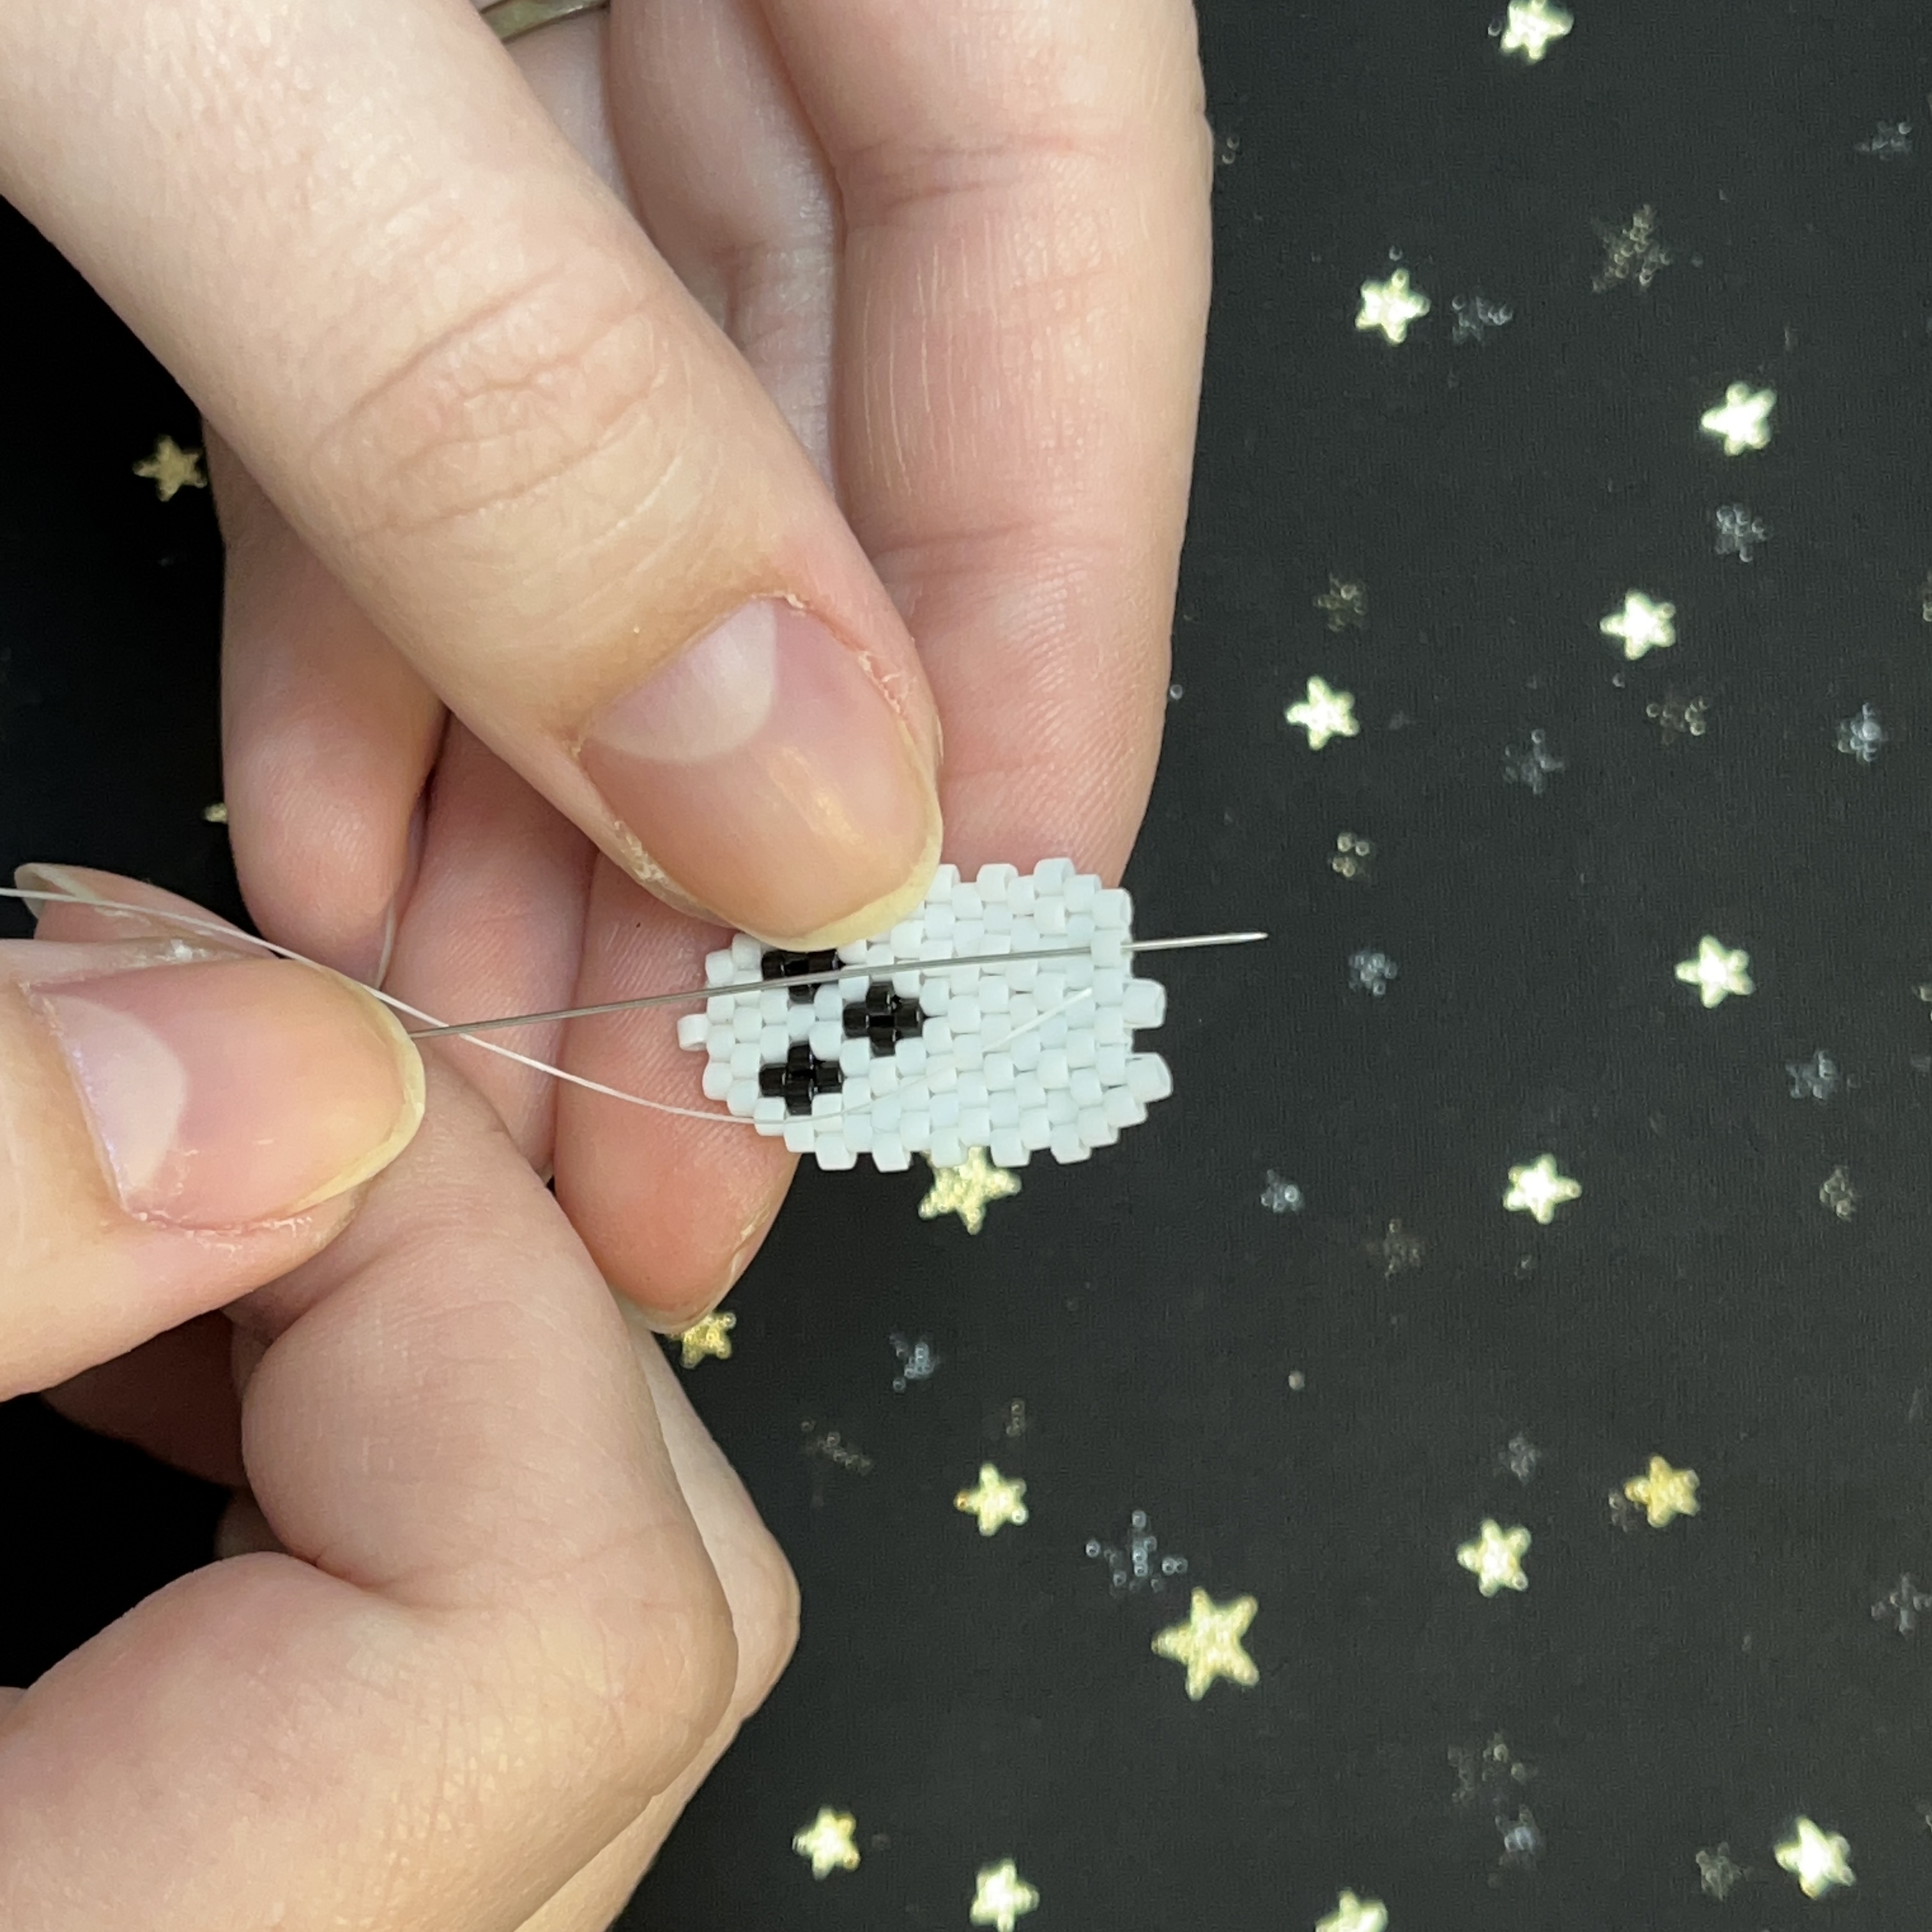
82. Thread the needle through the 3rd bead to the right - bottom to top.
83. Find the stitch to the left (above) of the bead the thread is coming out of. Add a bead on the needle and thread through.
84. Thread back up through the bead you just added.
85. Thread the needle down through the bead shown above.
86. And thread back up through the bead to the left of the one you just went through.
87. Add the last bead to the last stitch on the row.
88. Thread back up through the bead you just added
89. And down through the last bead as shown above.
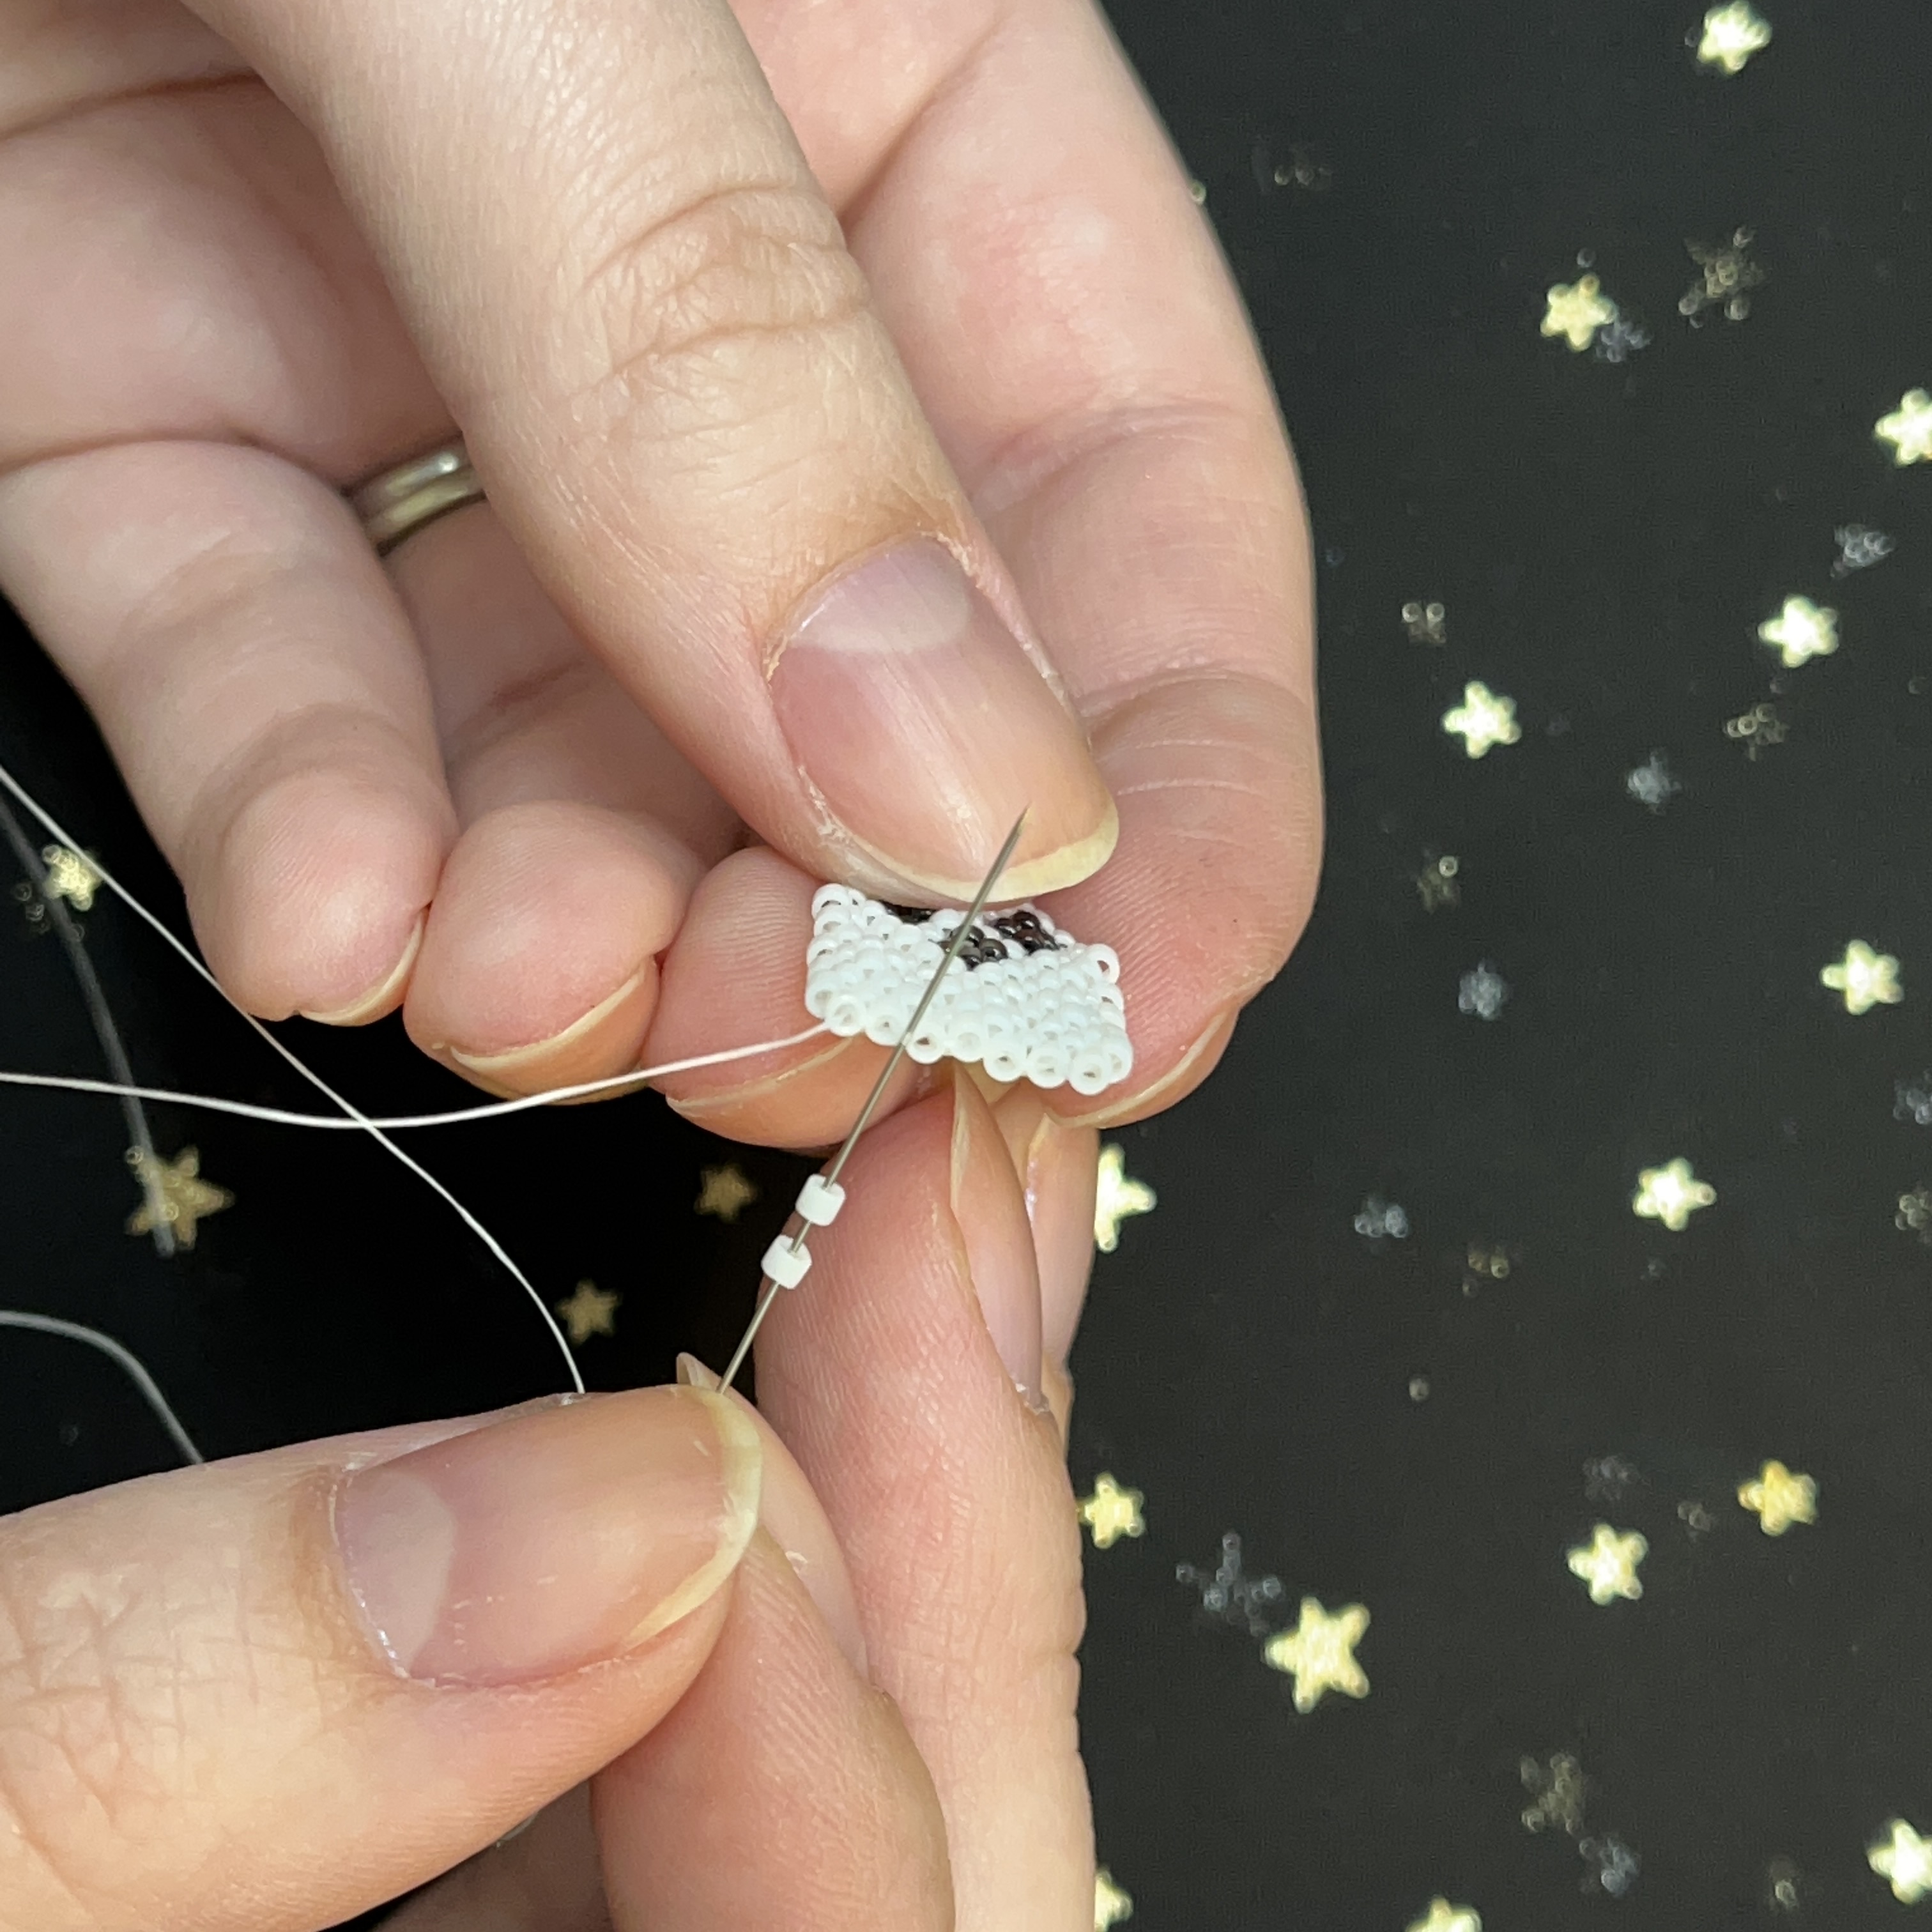
90. Thread your needle through the fireline on the right of the last bead. We will be making a knot to secure and finish the project
91. Before pulling the thread through, take your needle through the loop to create the knot. You can knot again if you wish.
92. Glue the knot.
93. Cut the excess thread.
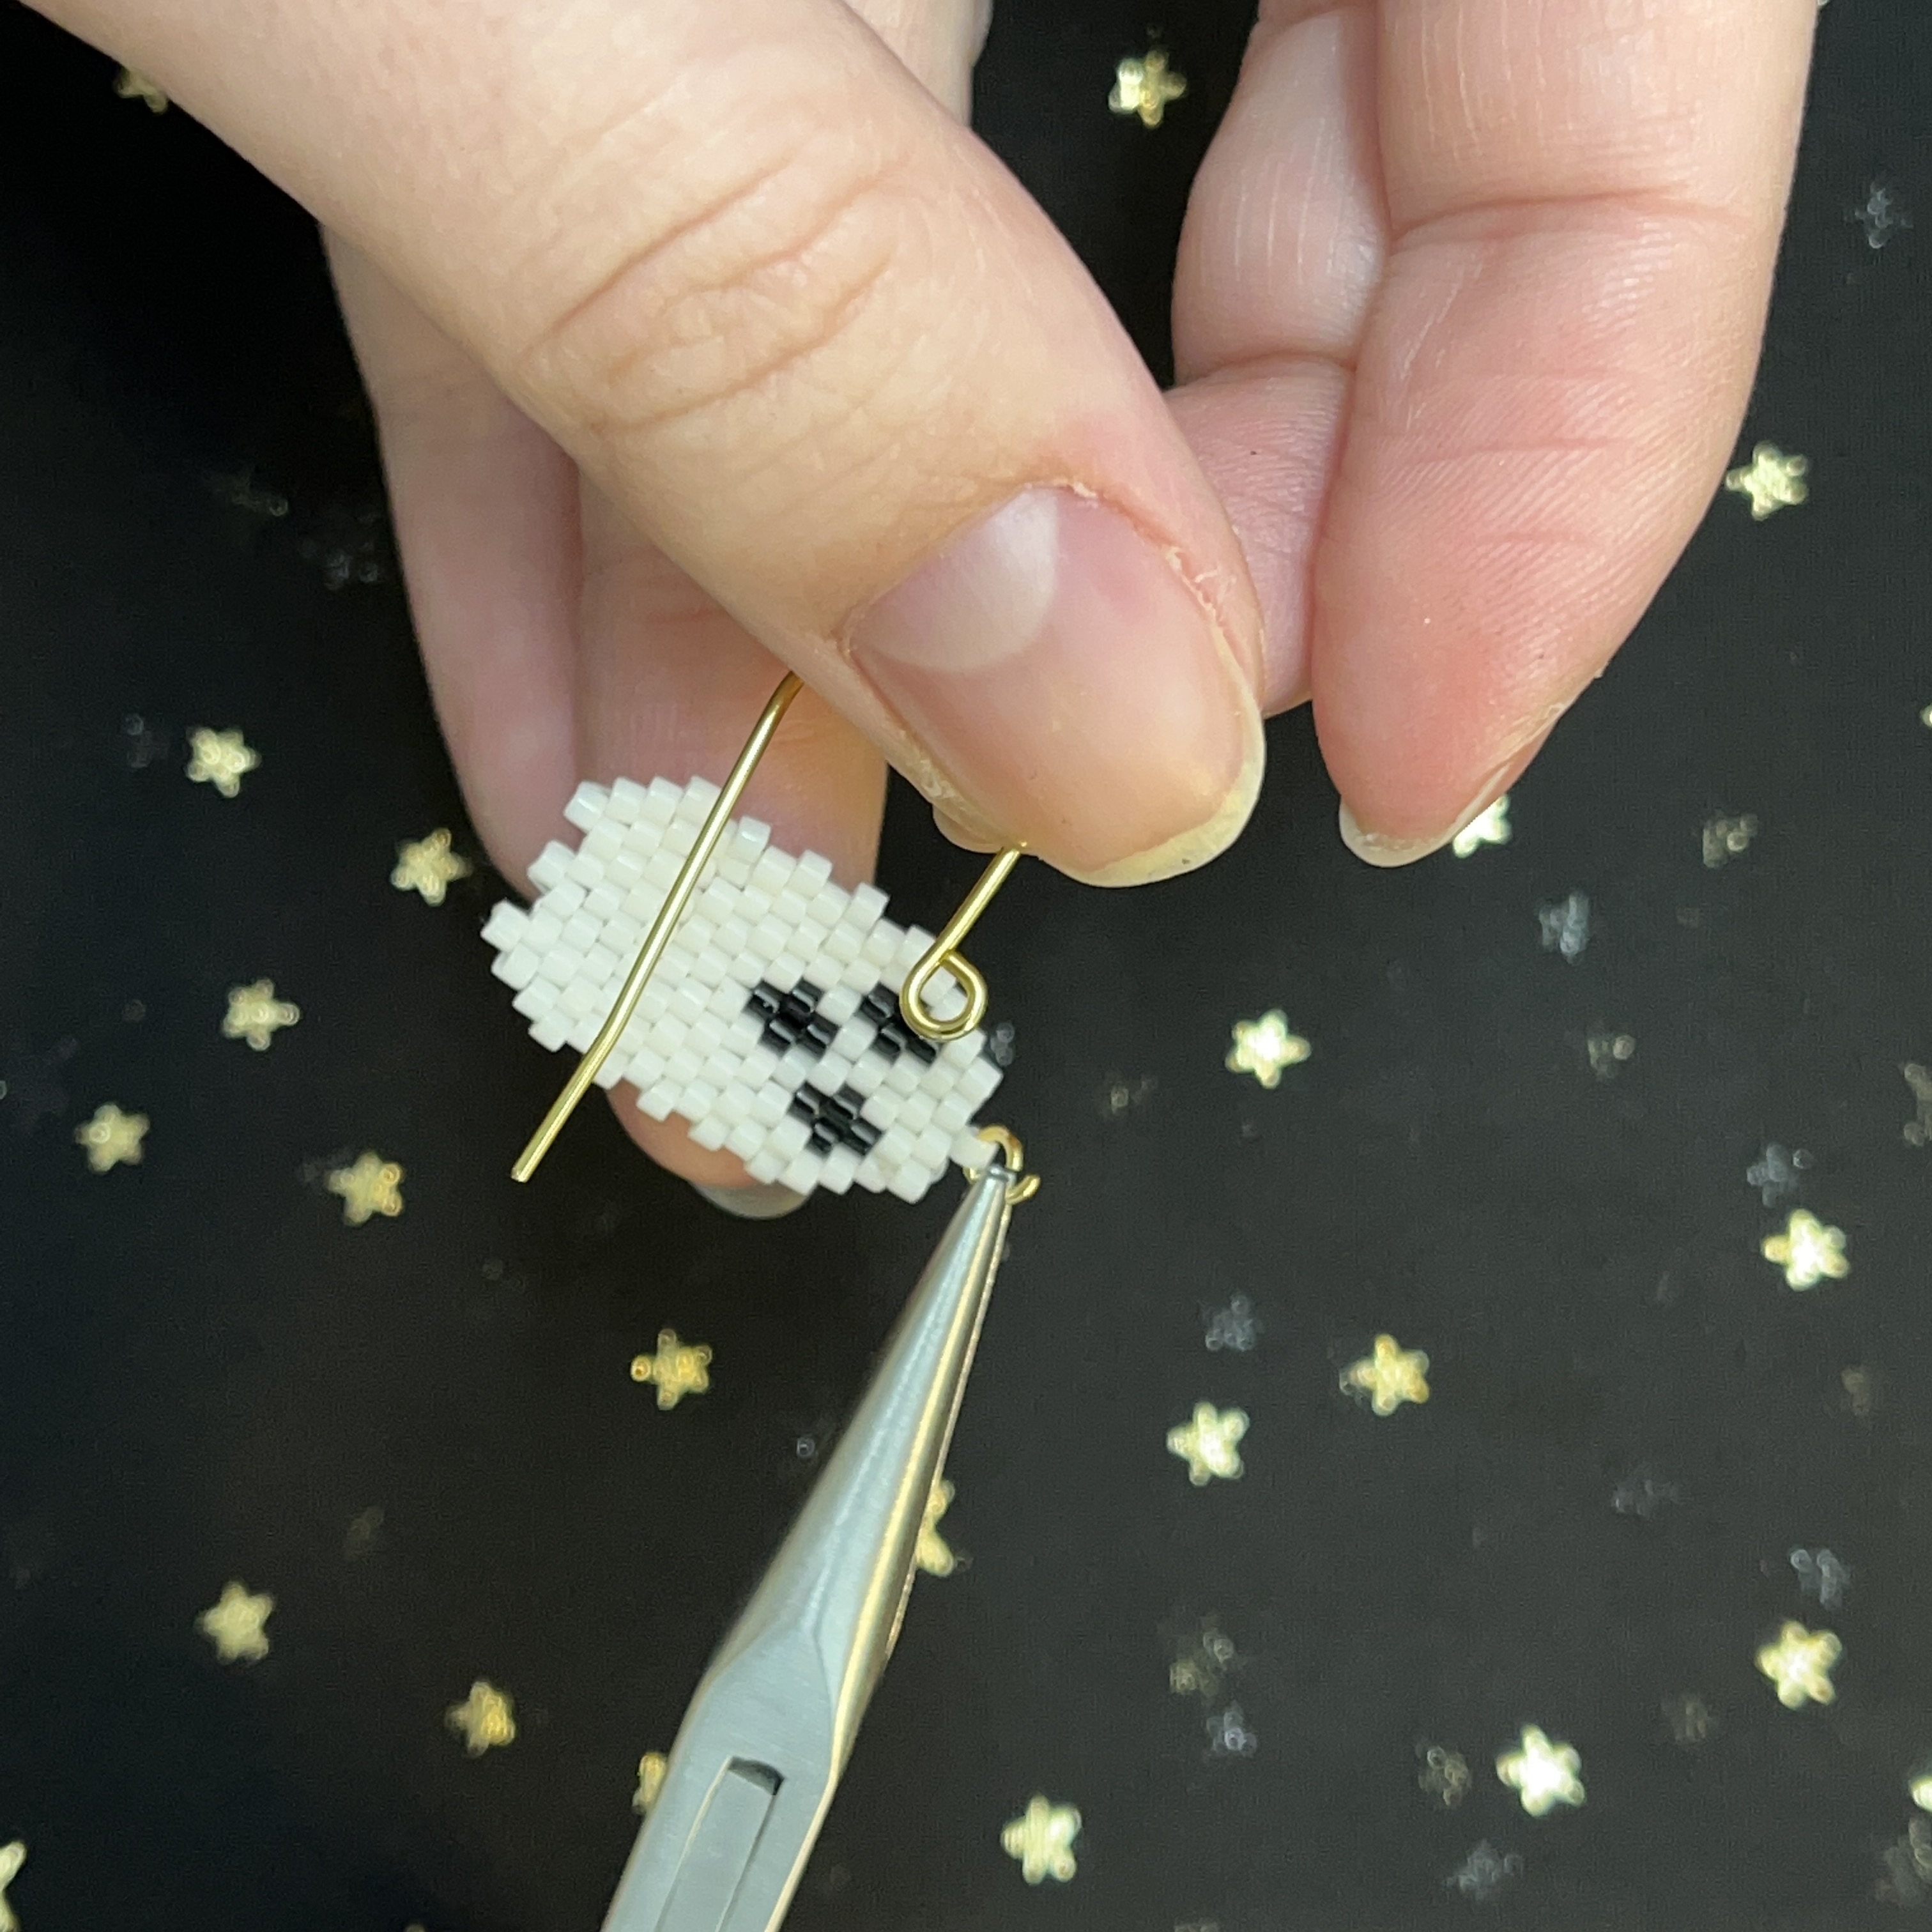
94. Attach a jump ring onto the top delica, keep jump ring open for the ear wire.
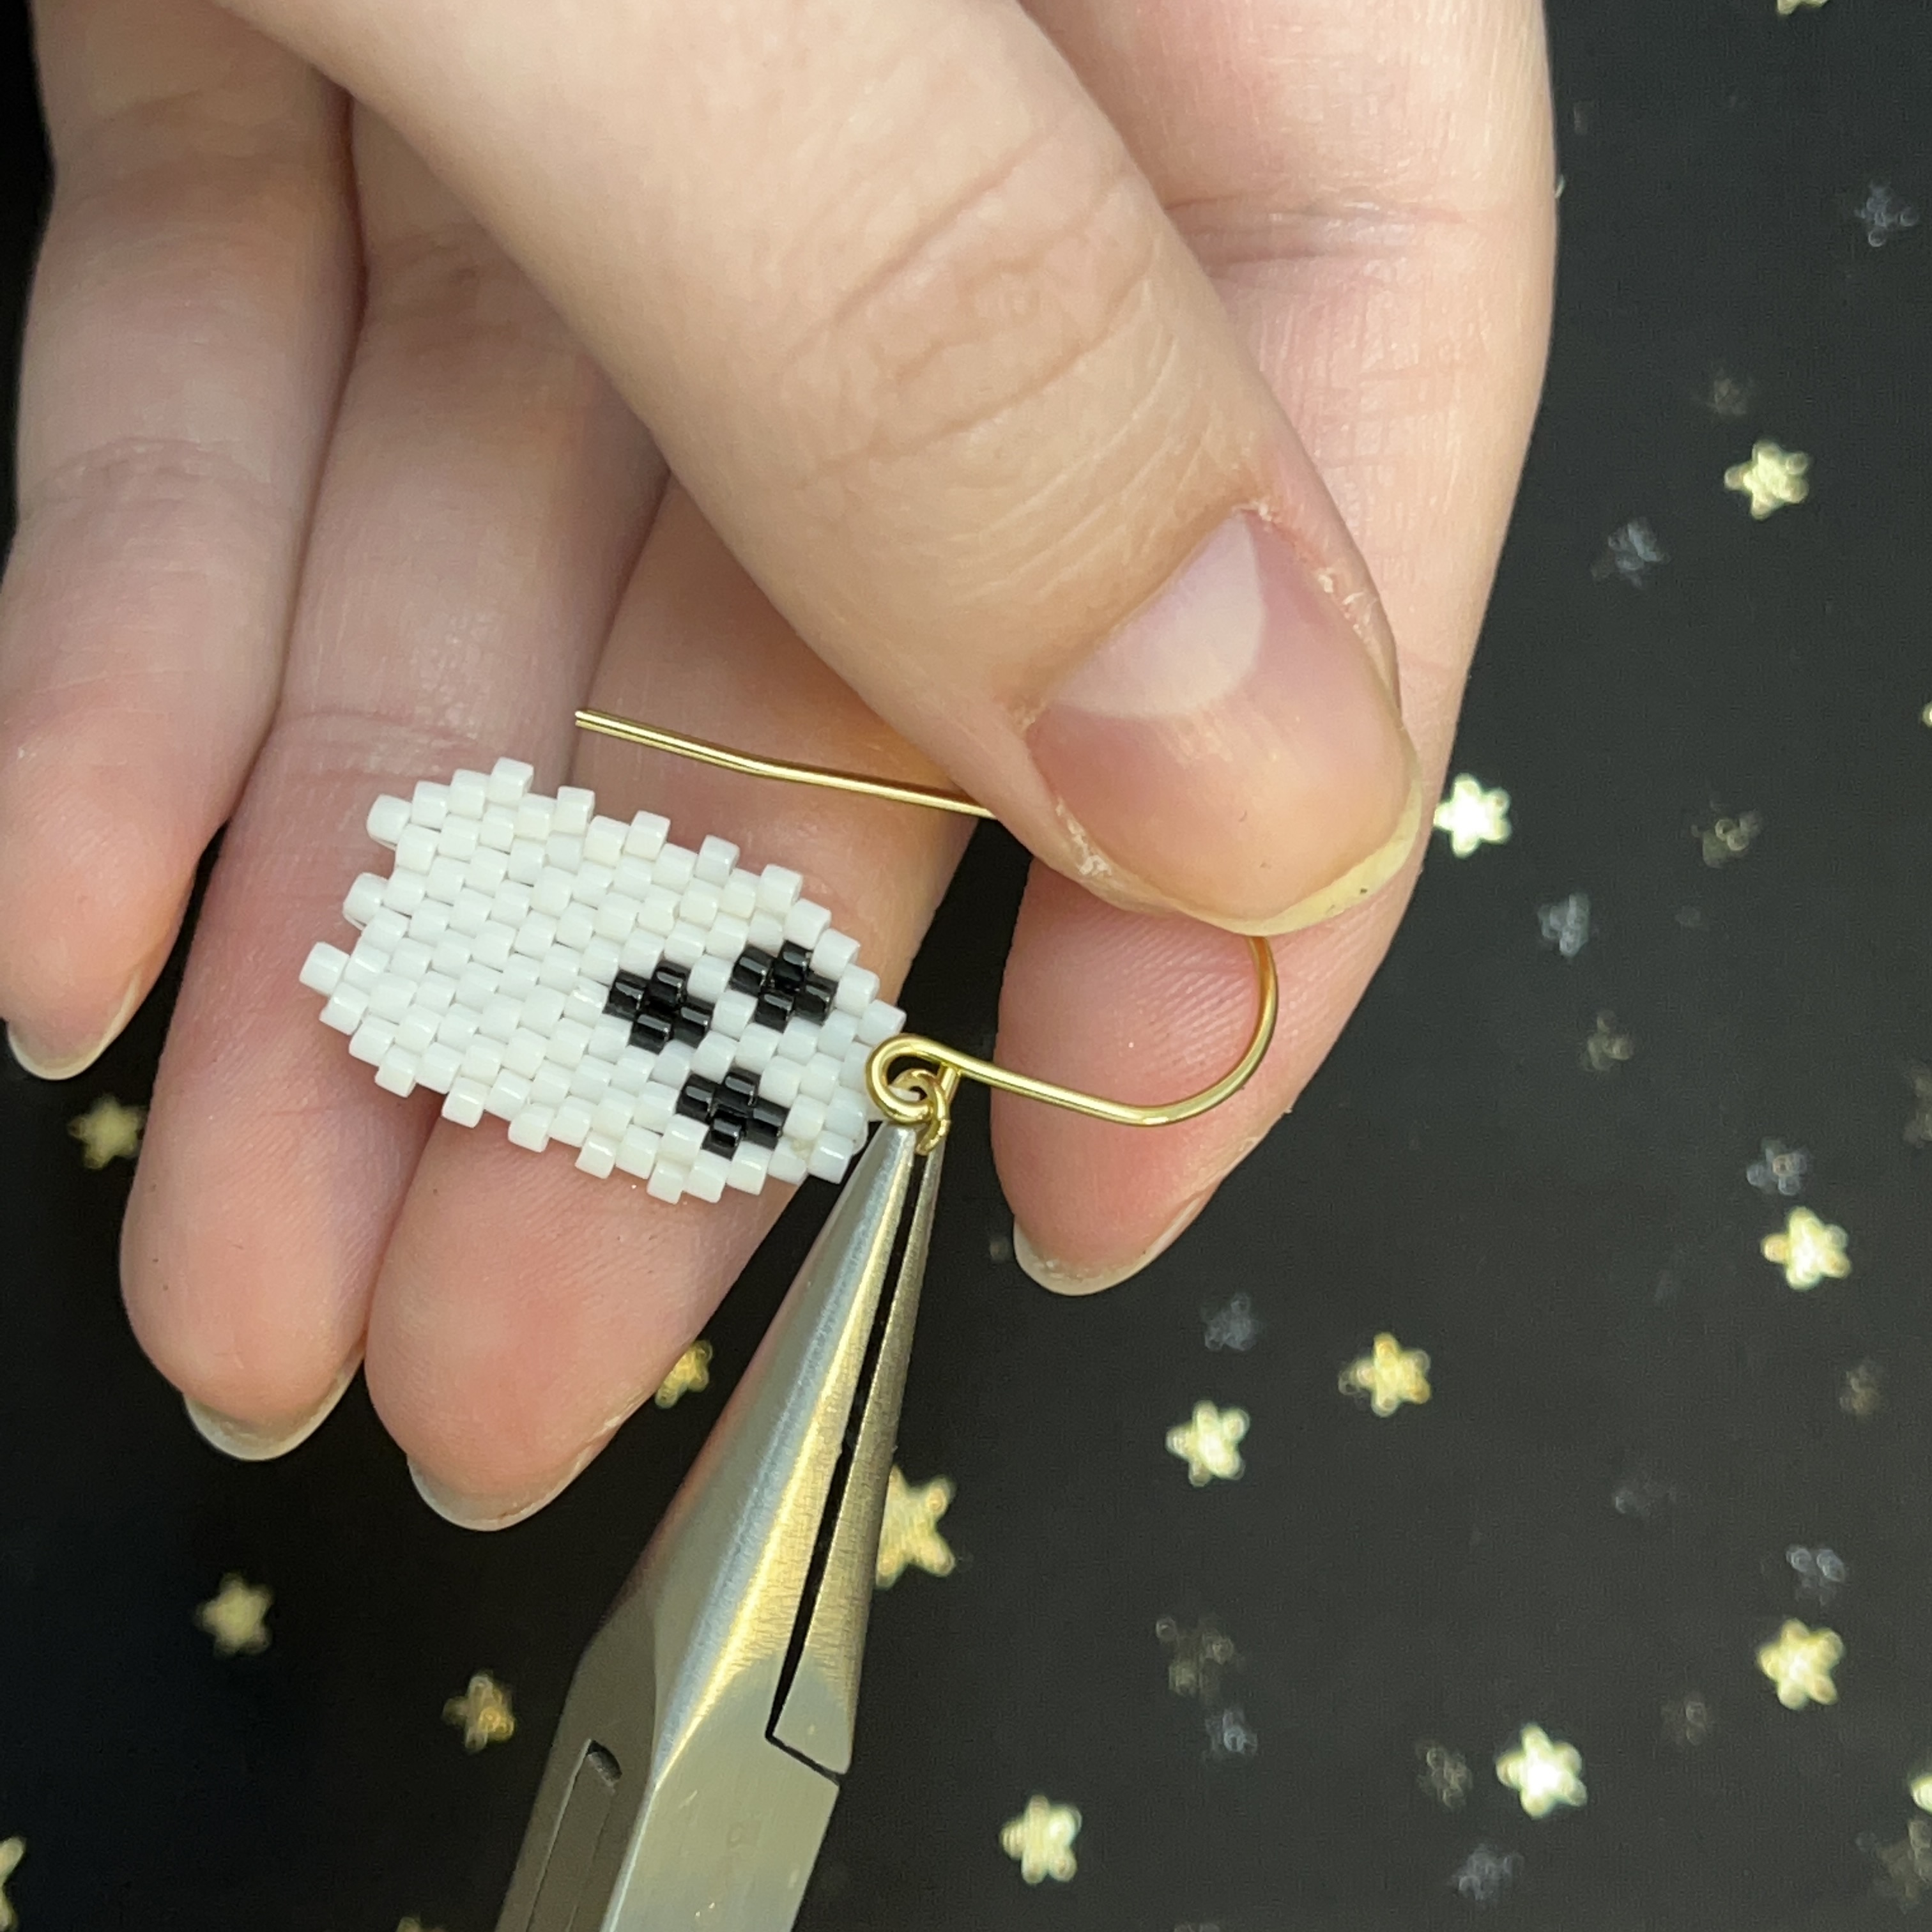
95. Attach ear wire of your choice and close jump ring.
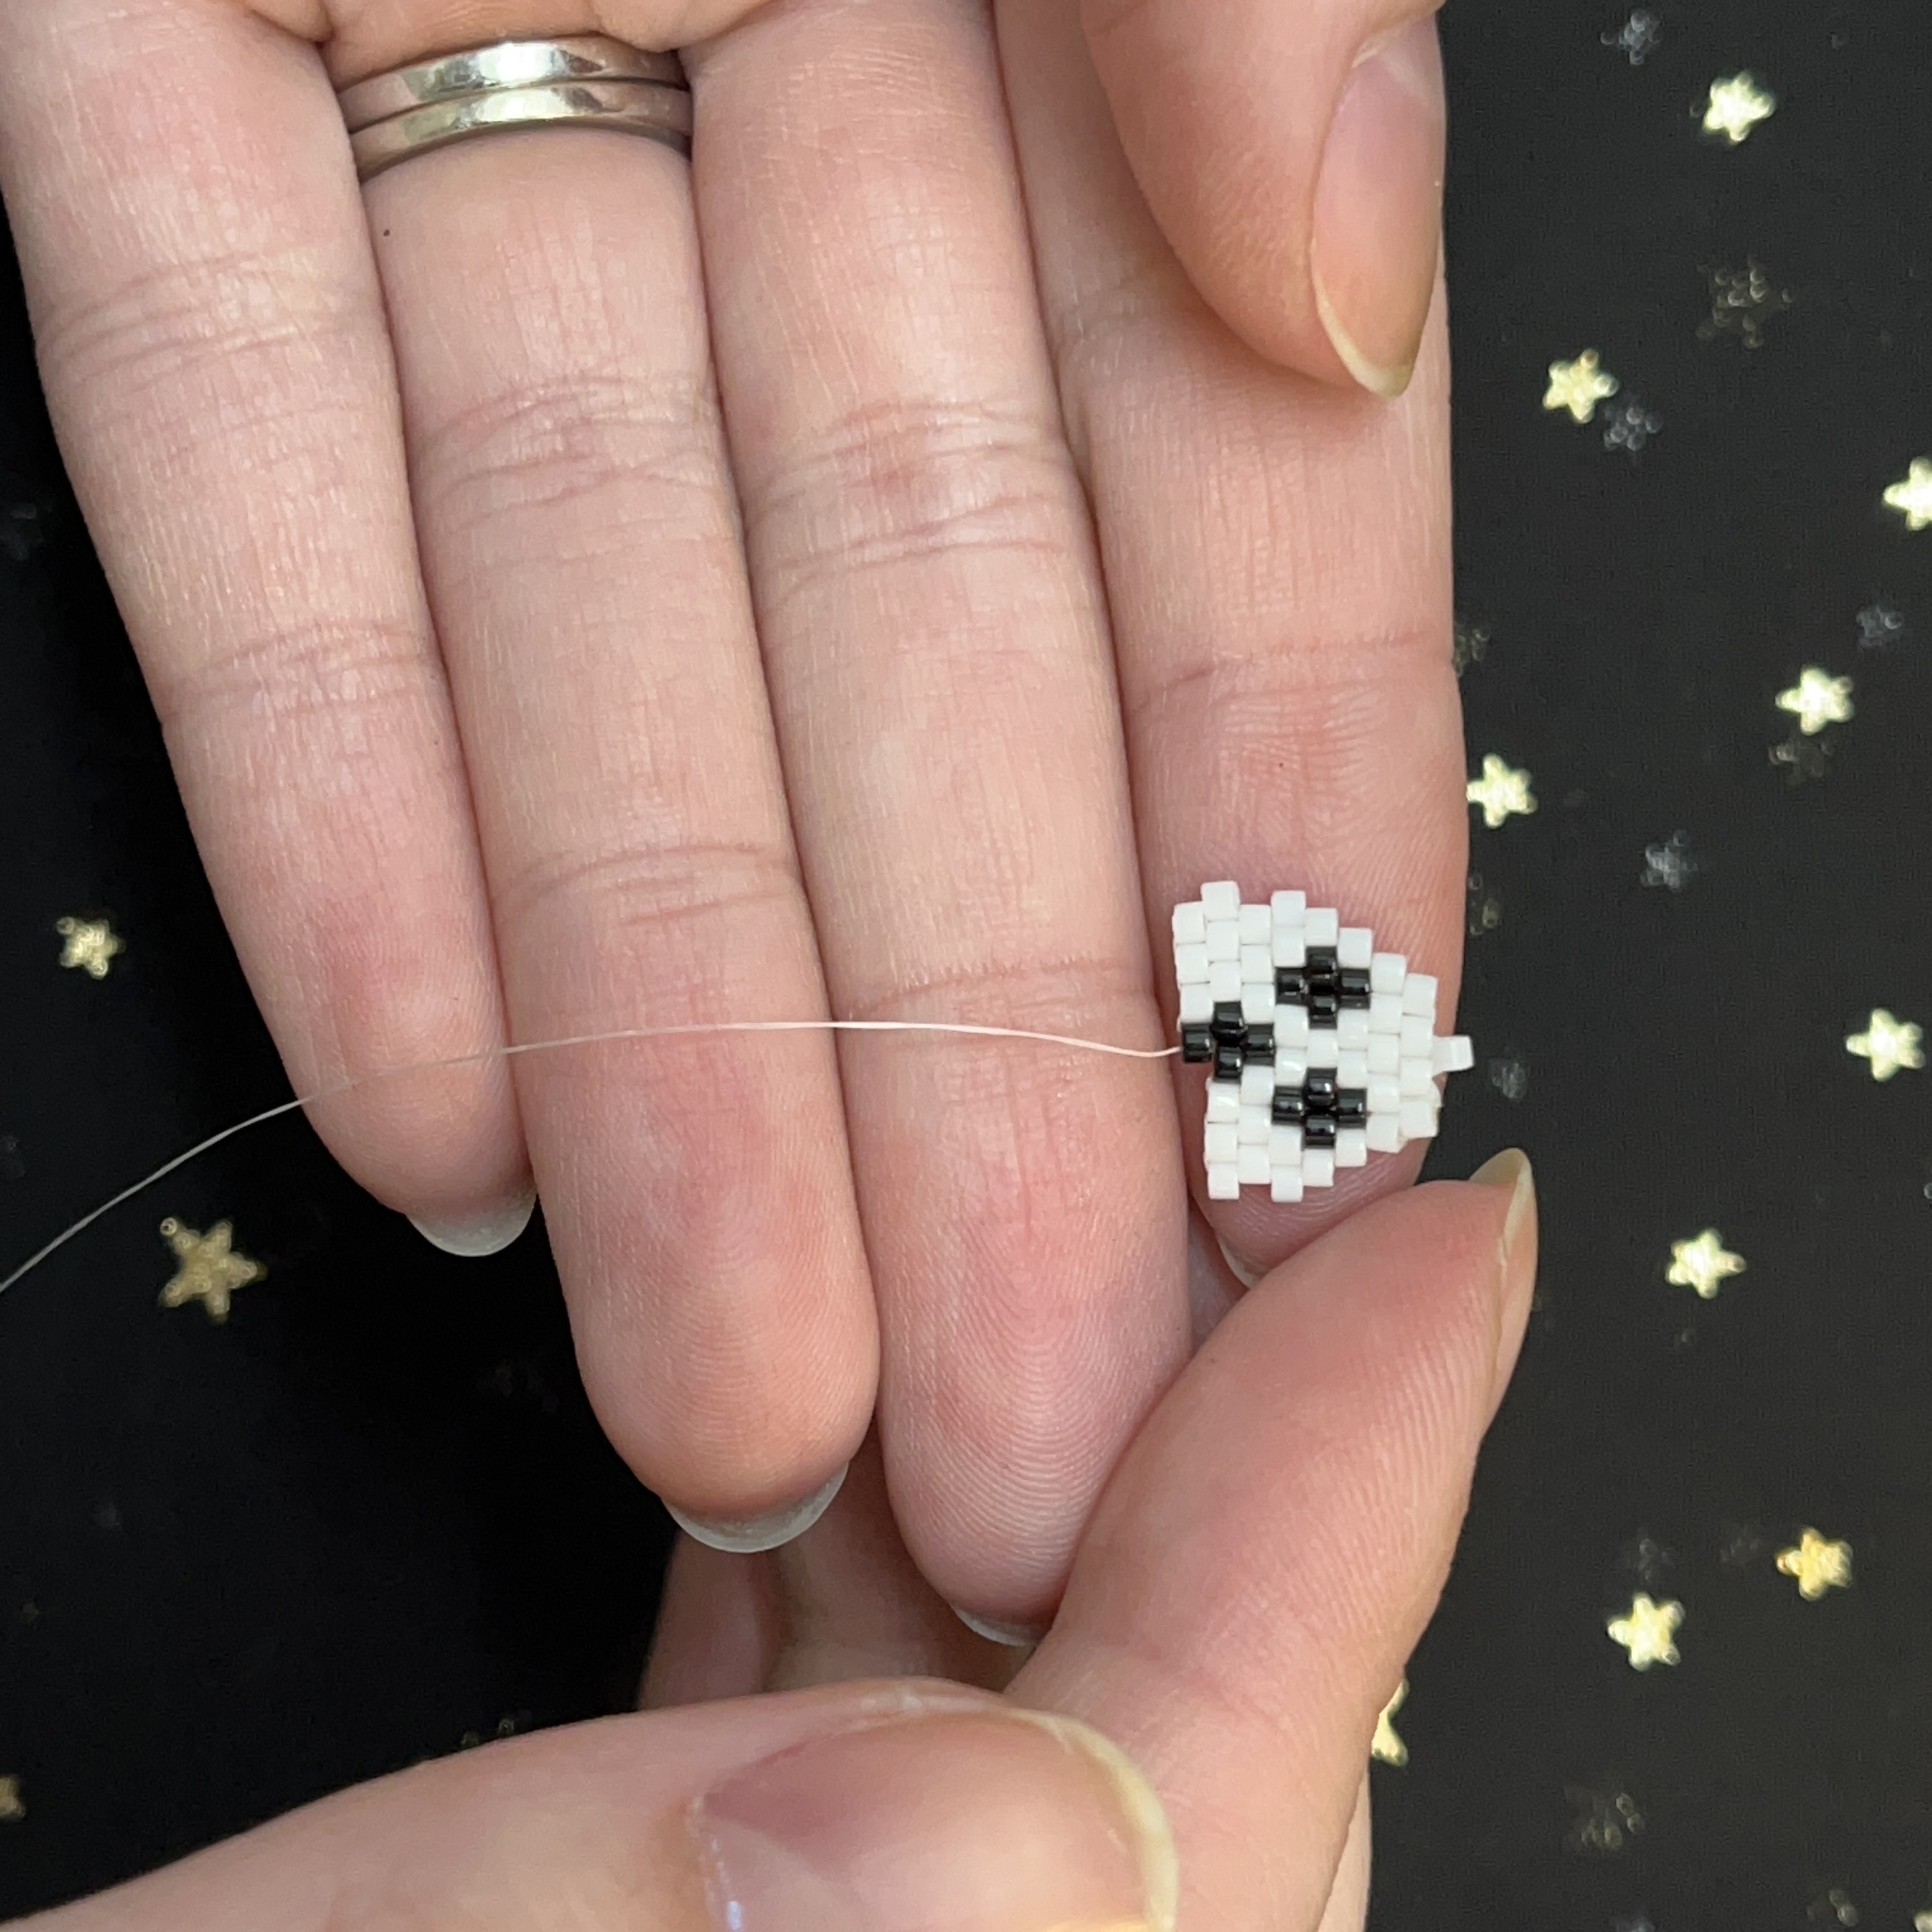
96. Done! Repeat for second earring.
Jewelry designed by Kiara Rimsza
Recent Posts
-

Back to Basics: Stack of Stretch Bracelets Including How to Make a Daisy Chain Stretch Bracelet
Back to Basics: Stack of Stretch Bracelets Including a Daisy Chain Stretch BraceletFollow our "Back …24th Jul 2024 -

Seed Bead Starfish Bracelet
Seed Bead Starfish BraceletThis project is perfect for both beginners and seasoned crafters looking …19th Jun 2024 -

DIY Personalized Layered Charm Necklace
DIY Personalized Layered Charm NecklaceEmbrace individuality with our Personalized Charm Necklace tu …29th May 2024