

“Early Morning Glow” - Zen Style Mala
“Early Morning Glow” - Zen Style Mala
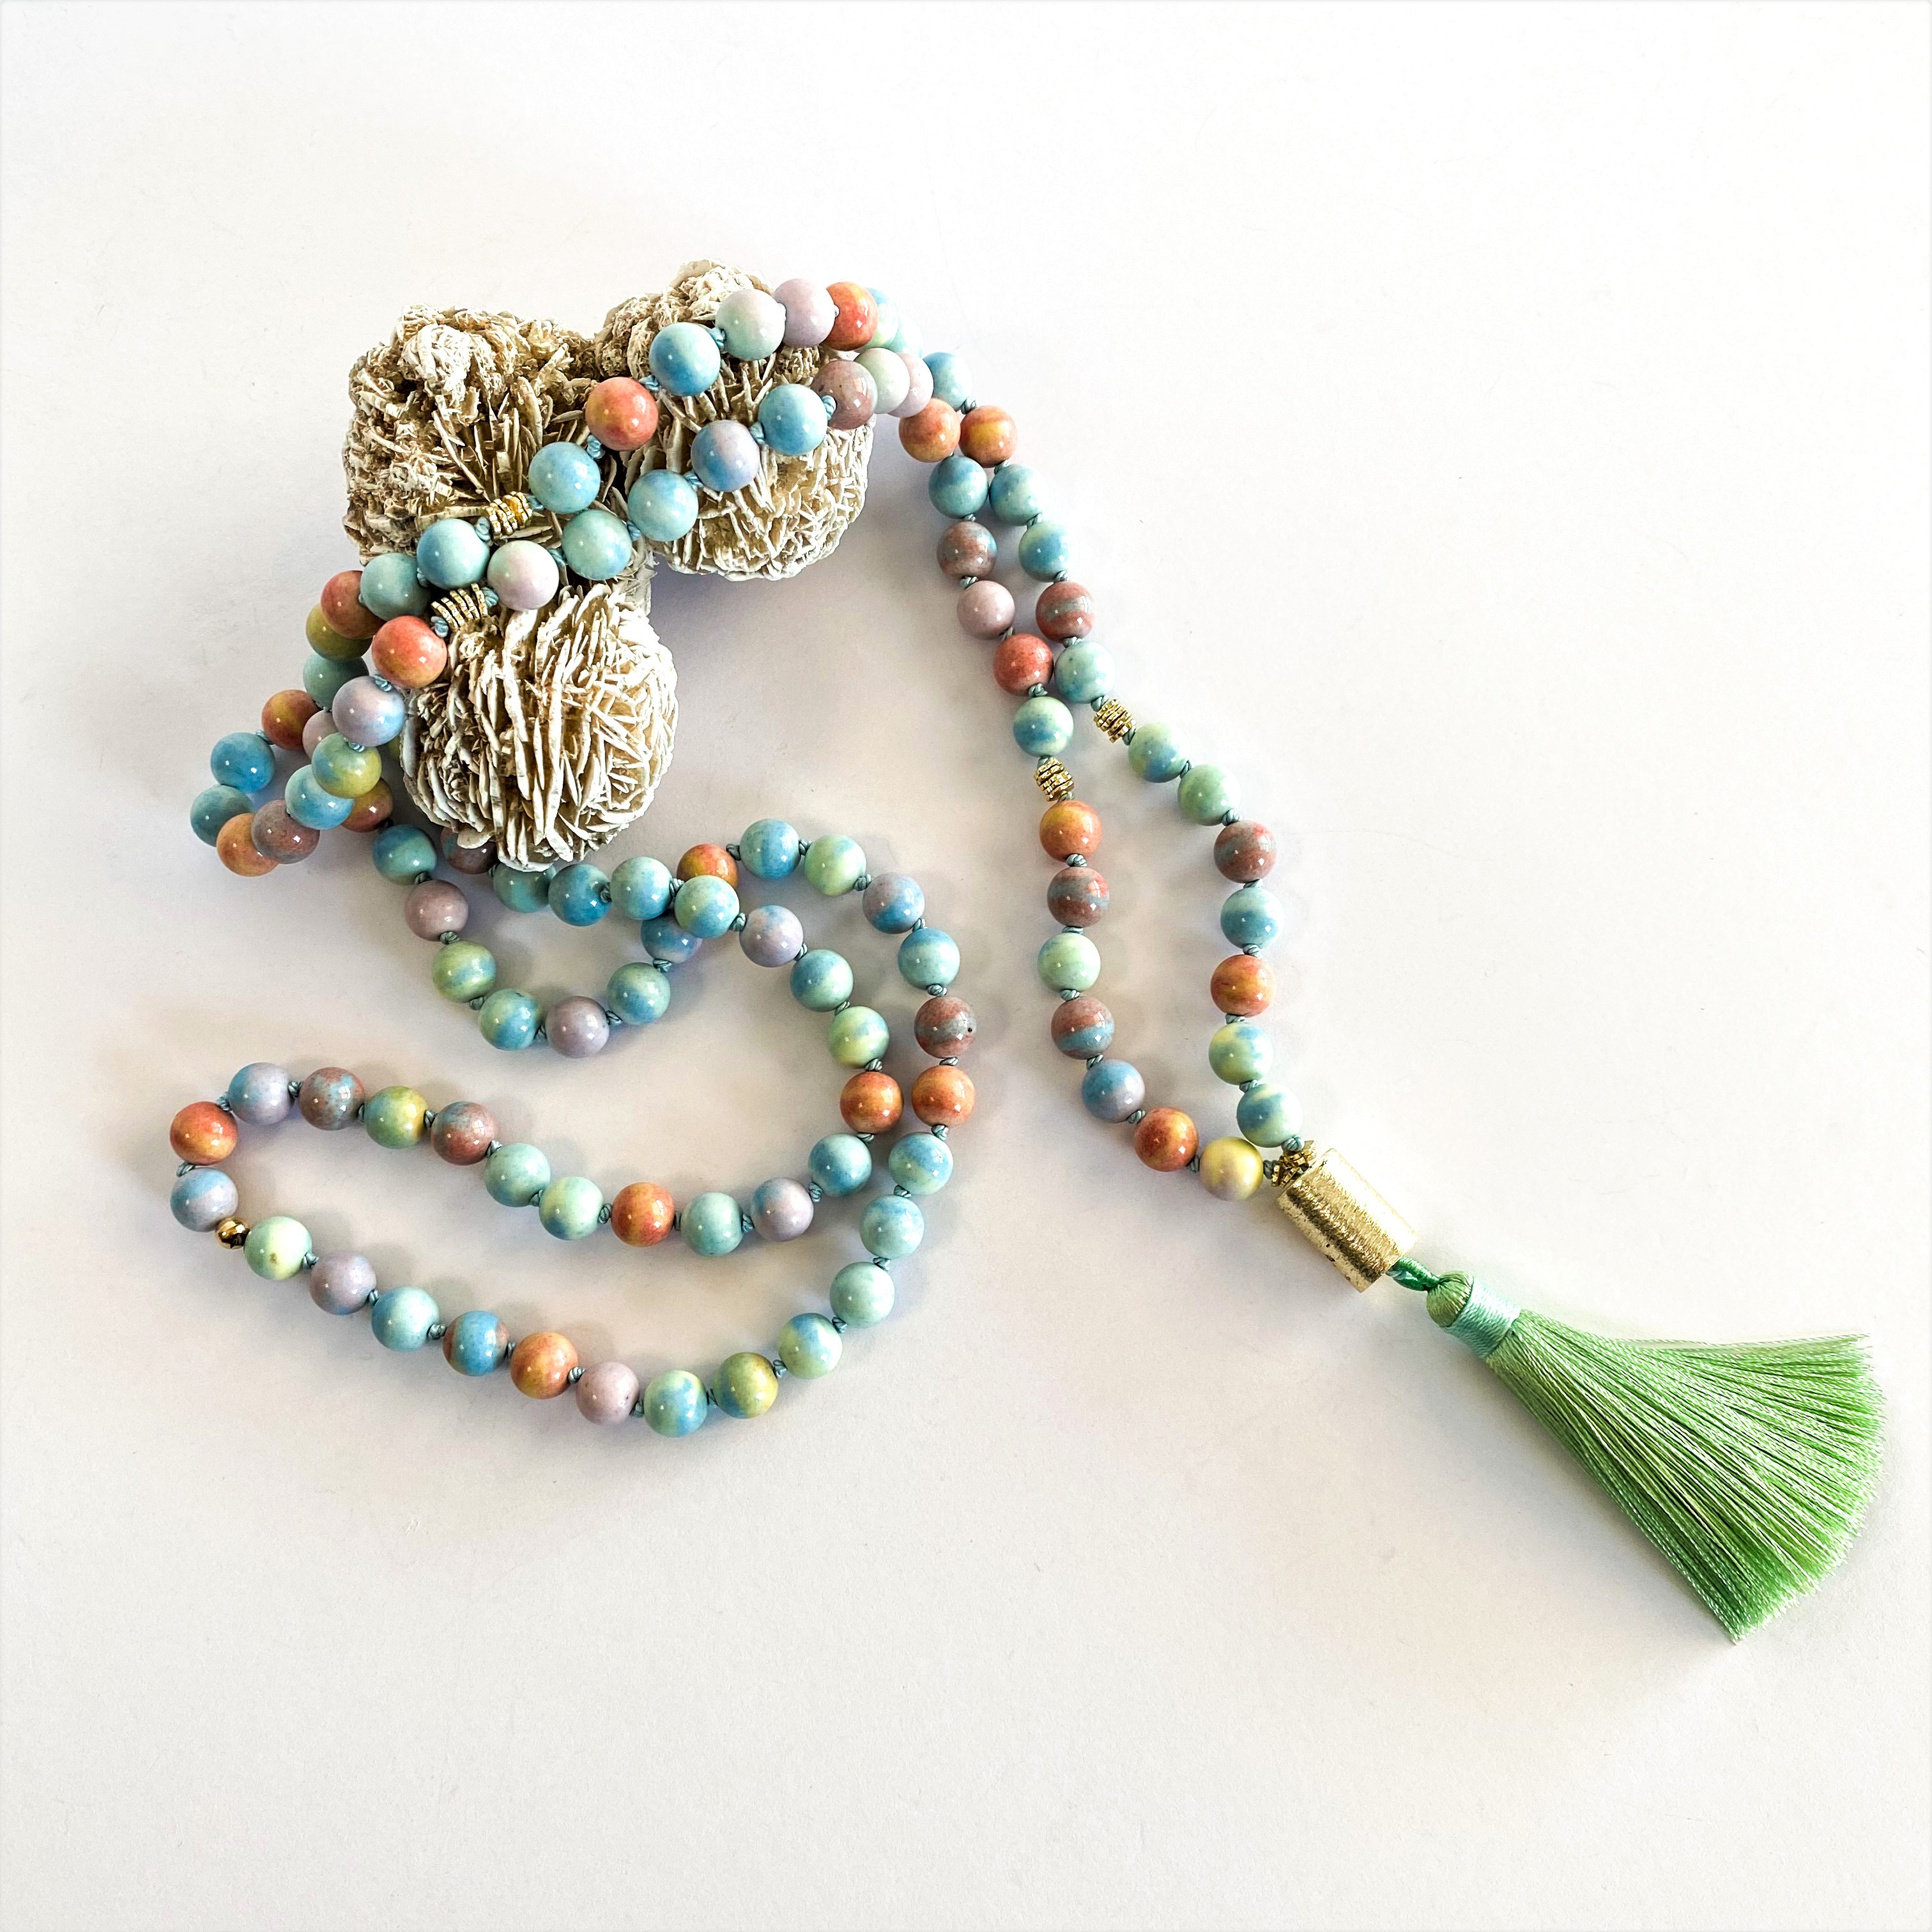
The delicate colors in this mala remind me of sunrise and the promise of another beautiful day, wet seashells on the beach or maybe sugar candy, I hope the colors talk to you too!
Materials Needed:
- 8mm Round Alashan Agate - 3 strands (108 beads used – you will have enough left to make bracelet & earrings)
- 4mm Flower Disc – Brushed Gold Color, Plated Anti Tarnish – 1 strand (24 beads used – you will have some left to use in bracelet & earrings)
- 10x15mm Cylinder Bead - Brushed Light Gold Color, Plated Anti Tarnish (1)
- Griffin Silk #10 Turquoise (1)
- 2.5” Tassel, Pale Green (1)
- 4mm Crimp Covers, 14K Gold Filled (1)
- G-S Hypo Cement
Finished Length: 38” (Drop from Guru to bottom of tassel 3”)
Tools Required
Key Code: A = 8mm Round Alashan Agate, B = 4mm Flower Disc – Brushed Gold, C = 10 x 15mm Cylinder (Guru Bead), D = Tassel
Instructions on Construction:
Pre-stretch your cord this helps keep the knots where you want them to be!
This is a knotted, 108 bead mala in the “Zen” Style with a 7-14-66-14-7 layout with flower disc spacers acting as the counter beads and the cool cylinder as a Guru bead with a tassel below.
If you like the look of a knotted mala, but do not have this skill in your repertoire yet, you can achieve a similar look using size 8 seed beads of your color choice, in place of knots.
This mala starts & finishes at center back and there is only one type of beads, so I strung directly from the bead strand to the Griffin silk (there may have been a couple off places where I changed the color order of the beads, but mostly I kept the same sequence).
1. Start by unwinding the Griffin silk, pre-stretch, attach the bead stop to the end of the cord leaving about a 3” tail. * Make sure that you do not leave more cord than this or you may run short of cord before finishing project! You are now ready to start stringing your beads onto the Griffin silk. I usually pre-load all my beads before I start to knot (I find that this is quicker & it’s easier to get into a rhythm doing it this way), but you can add the beads as you go if this suits you better.
2. The loading sequence is as follows: A (33), B (5), A (14), B (5), A (7), B (2) * This is the first side of the mala and you will tie knots between these before adding the guru bead, tassel and second side of the mala.
3. Carefully count the beads, there should be 54 agate beads. The flower discs are used as spacers & do not count in the 54.
4. Start with a knot making sure that you have left a 3” tail, that will be used tie off at end of project. Use you preferred way of knotting, tweezers, awl or fingers, just make sure that your knots are in the correct place before tightening fully…. It is a bear to try to undo knots!
5. Knot between each of the agate beads and on either side of the flower discs i.e. Agate bead, then tie a knot, five flower discs then tie a knot, agate then tie a knot etc. You are treating the five flower spacers as one bead. Continue knotting until you reach the final B (2) beads Do Not tie a knot after these two flower discs.
6. You are now ready to attach the Guru bead & tassel. Thread the needle down through the cylinder, then pass through the loop at top of tassel, then thread the needle back up through the cylinder (Guru bead). * It is a little tricky to line up the needle so that you can come back out of the cylinder, I found it helpful to keep lots off slack on the cord & to hold the cylinder up to a light so that I could see the hole location.
7. The second side is a mirror image of the first side, so go ahead load your beads & flower discs and knot in the same manner as before.
8. You will finish your mala by tying 1 ½ square knots making sure that they are tight & secure. Add a small dab of glue to the square knots (hypo cement) then let dry until glue has set up. Now you can use either scissors or a thread zapper to burn off cord (close to knot).
9. Add the crimp cover over knot, close carefully with your needle nose pliers making sure that edges line up closely.
10. Try on your new mala & admire your handywork!
11. Enjoy!
Jewelry designed by Steph Stirniman at https://magpiecollectives.etsy.com/
Recent Posts
-

Christmas Wine Charms - Mini Tutorial
Christmas Wine Charms - Mini TutorialThese wine charms are sure to be the center talking point at yo …25th Nov 2024 -

Christmas Bow Garland - Mini Tutorial
Christmas Bow Garland - Mini TutorialCreate your own holiday decor with a Christmas-colored bow garl …14th Nov 2024 -

Charm Necklace Tutorial
Charm Necklace TutorialEmbrace individuality with our Personalized Charm Necklace tutorial, a perfec …6th Nov 2024