

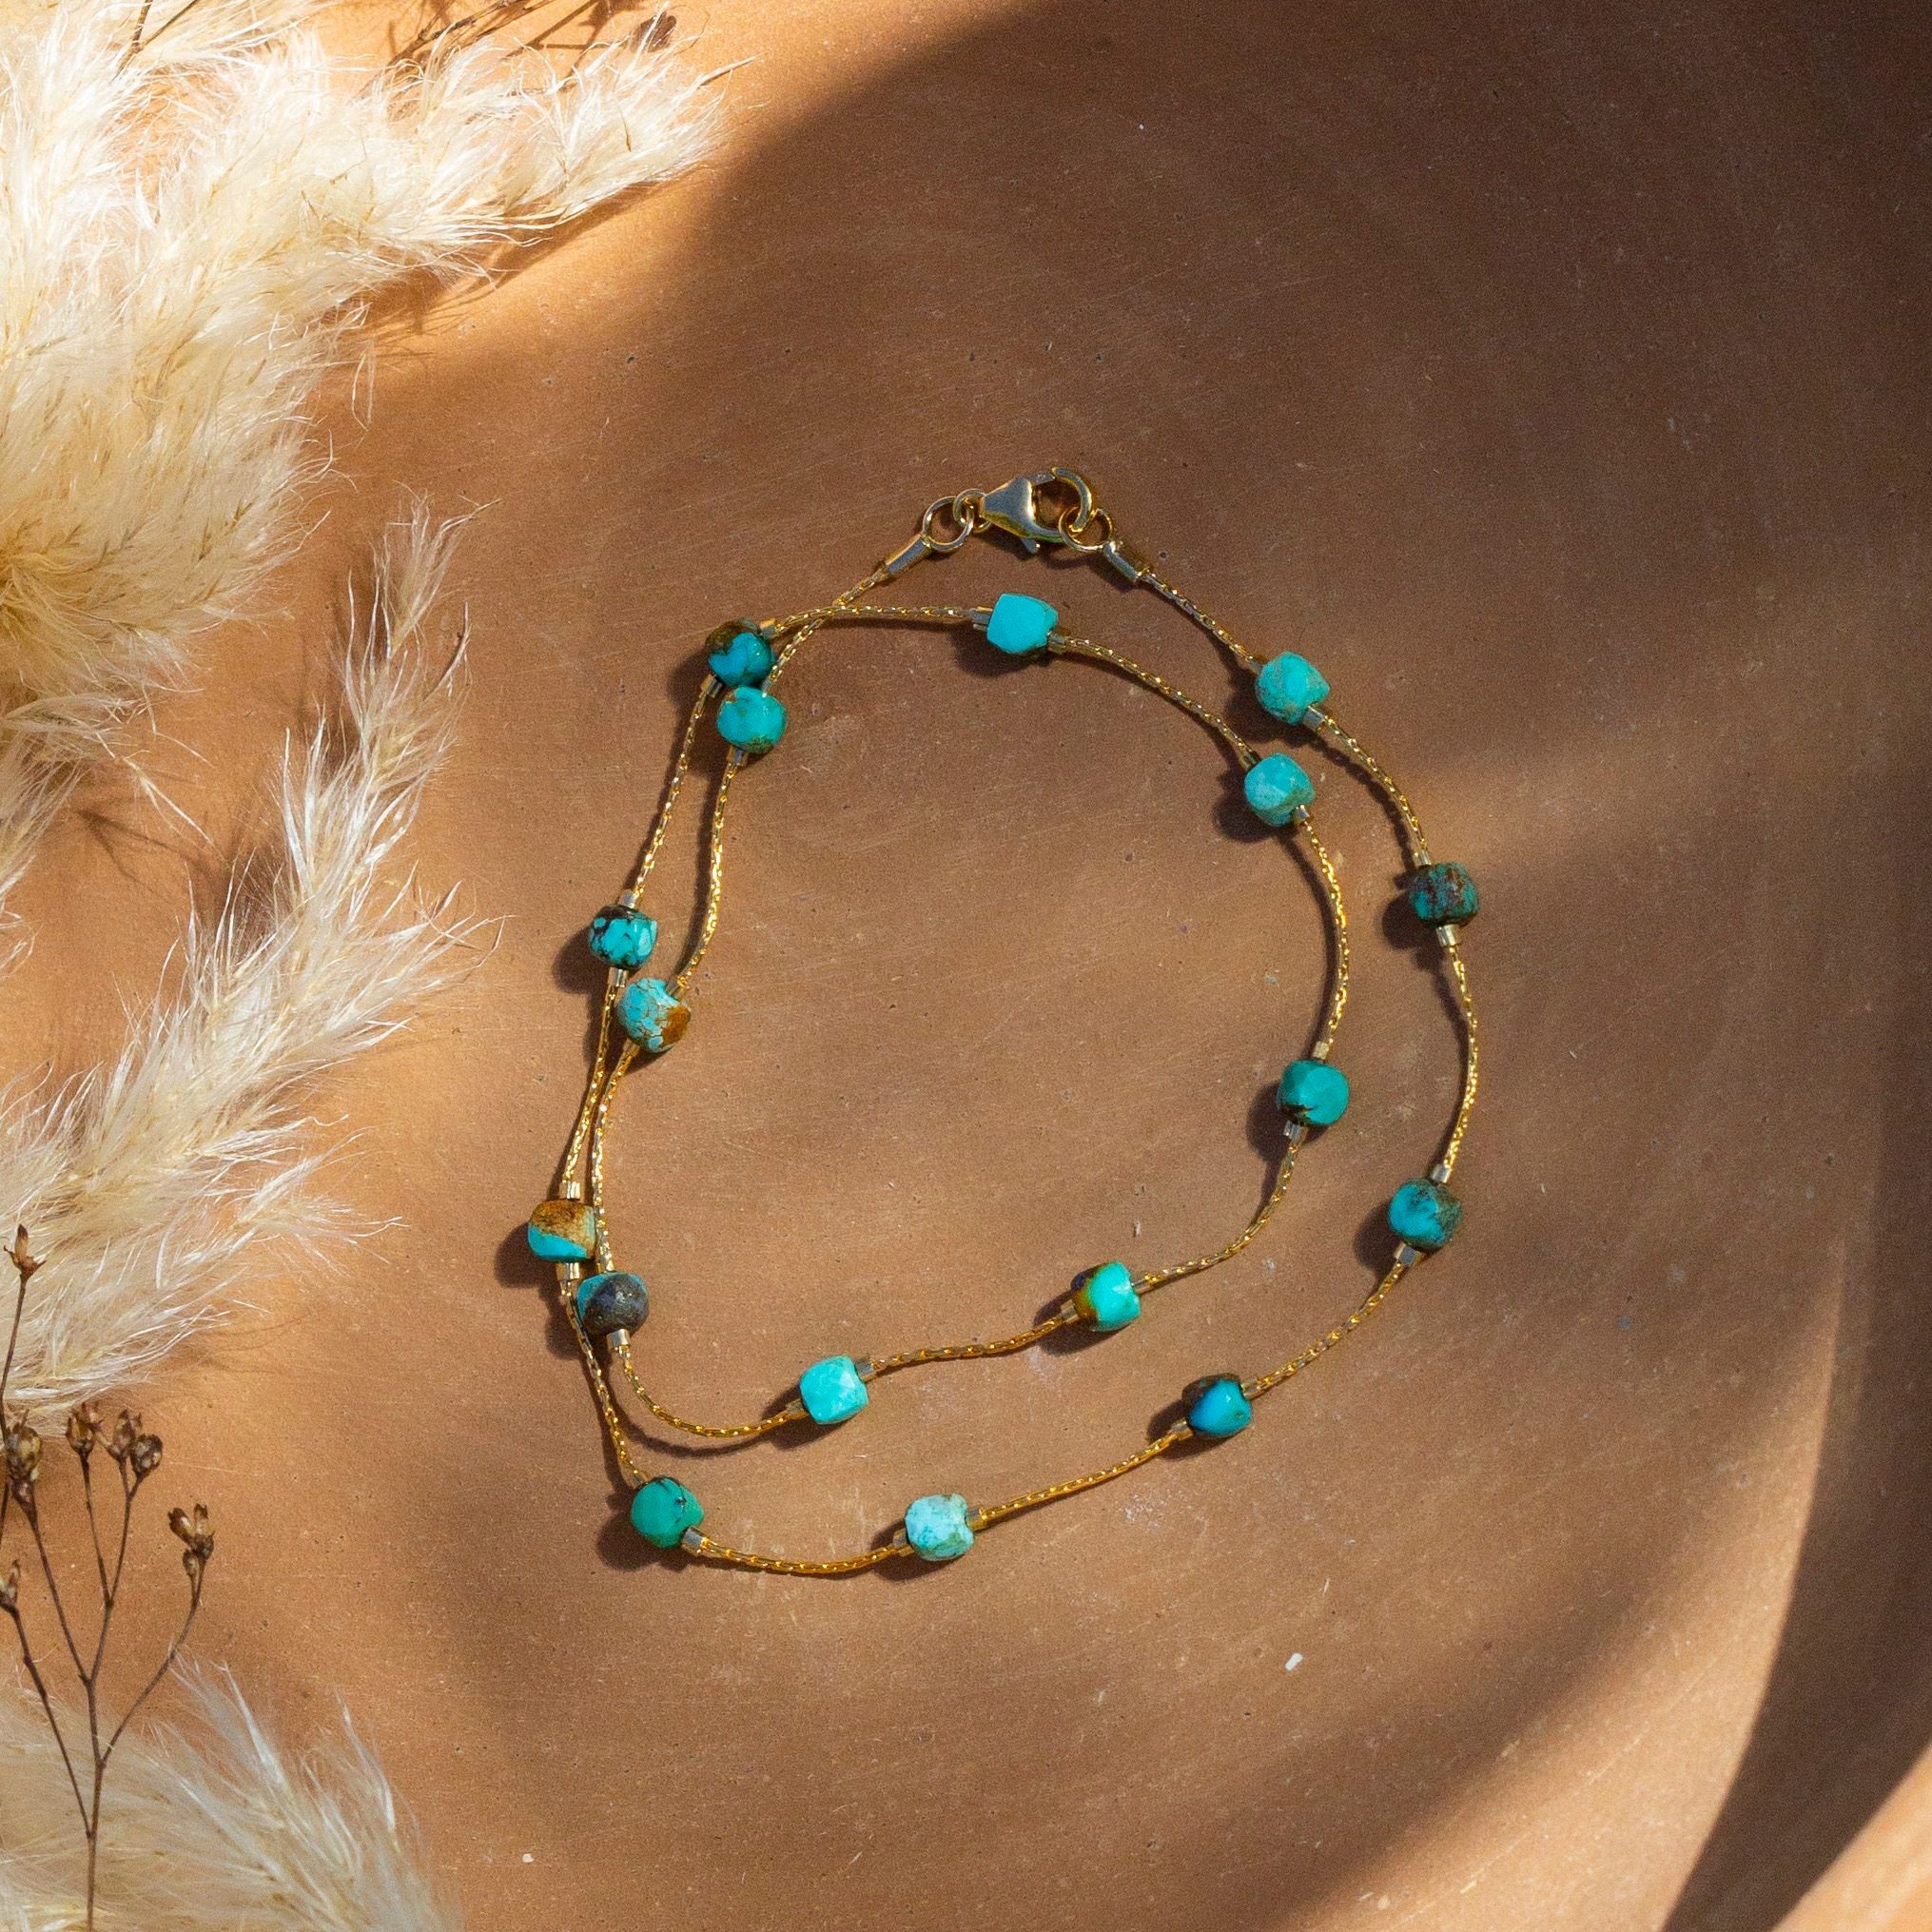
Illusion Faceted Cube Gemstone Necklace / Double Bracelet
Illusion Faceted Cube Gemstone Necklace / Double Bracelet
This Turquoise and gold piece of jewelry can be worn both as a necklace or double bracelet. Dainty and elegant, this piece is great to use in layered jewelry or on its own. We have all kinds of faceted gemstone cubes to choose from if turquoise isn't your style - click the link here (just make sure the bead's hole is large enough for the chain). We also have this chain in a sterling silver, or you can use plated gold, silver, antique silver, antique copper, gunmetal, or antique brass.
Materials Needed:
Length approx. 14.5":
- 14K Gold Filled .6mm Euro Chain (16 inches) You can also use Gold Plated .7mm Beading Chain - we also have a silver option
- 14K Gold Filled 2x1mm Crimps (2 packs of 20)
- 1mm Crimp End Cap 14K Gold Filled (1 Pair) You can find it in silver here (just slightly larger)
- Hubei Turquoise 4mm Faceted Cube (1 strand) or other 4mm Faceted Cube of your choosing
- Gold Filled 5x8mm Trigger Clasp (1)
- 14K Gold Filled 3mm Round 22 Gauge Open Jump Ring (1)
Tools Required:
Needle Nose Pliers (also known as chain nose)
GS-HYPO Cement (red tube)
Instructions on Construction:
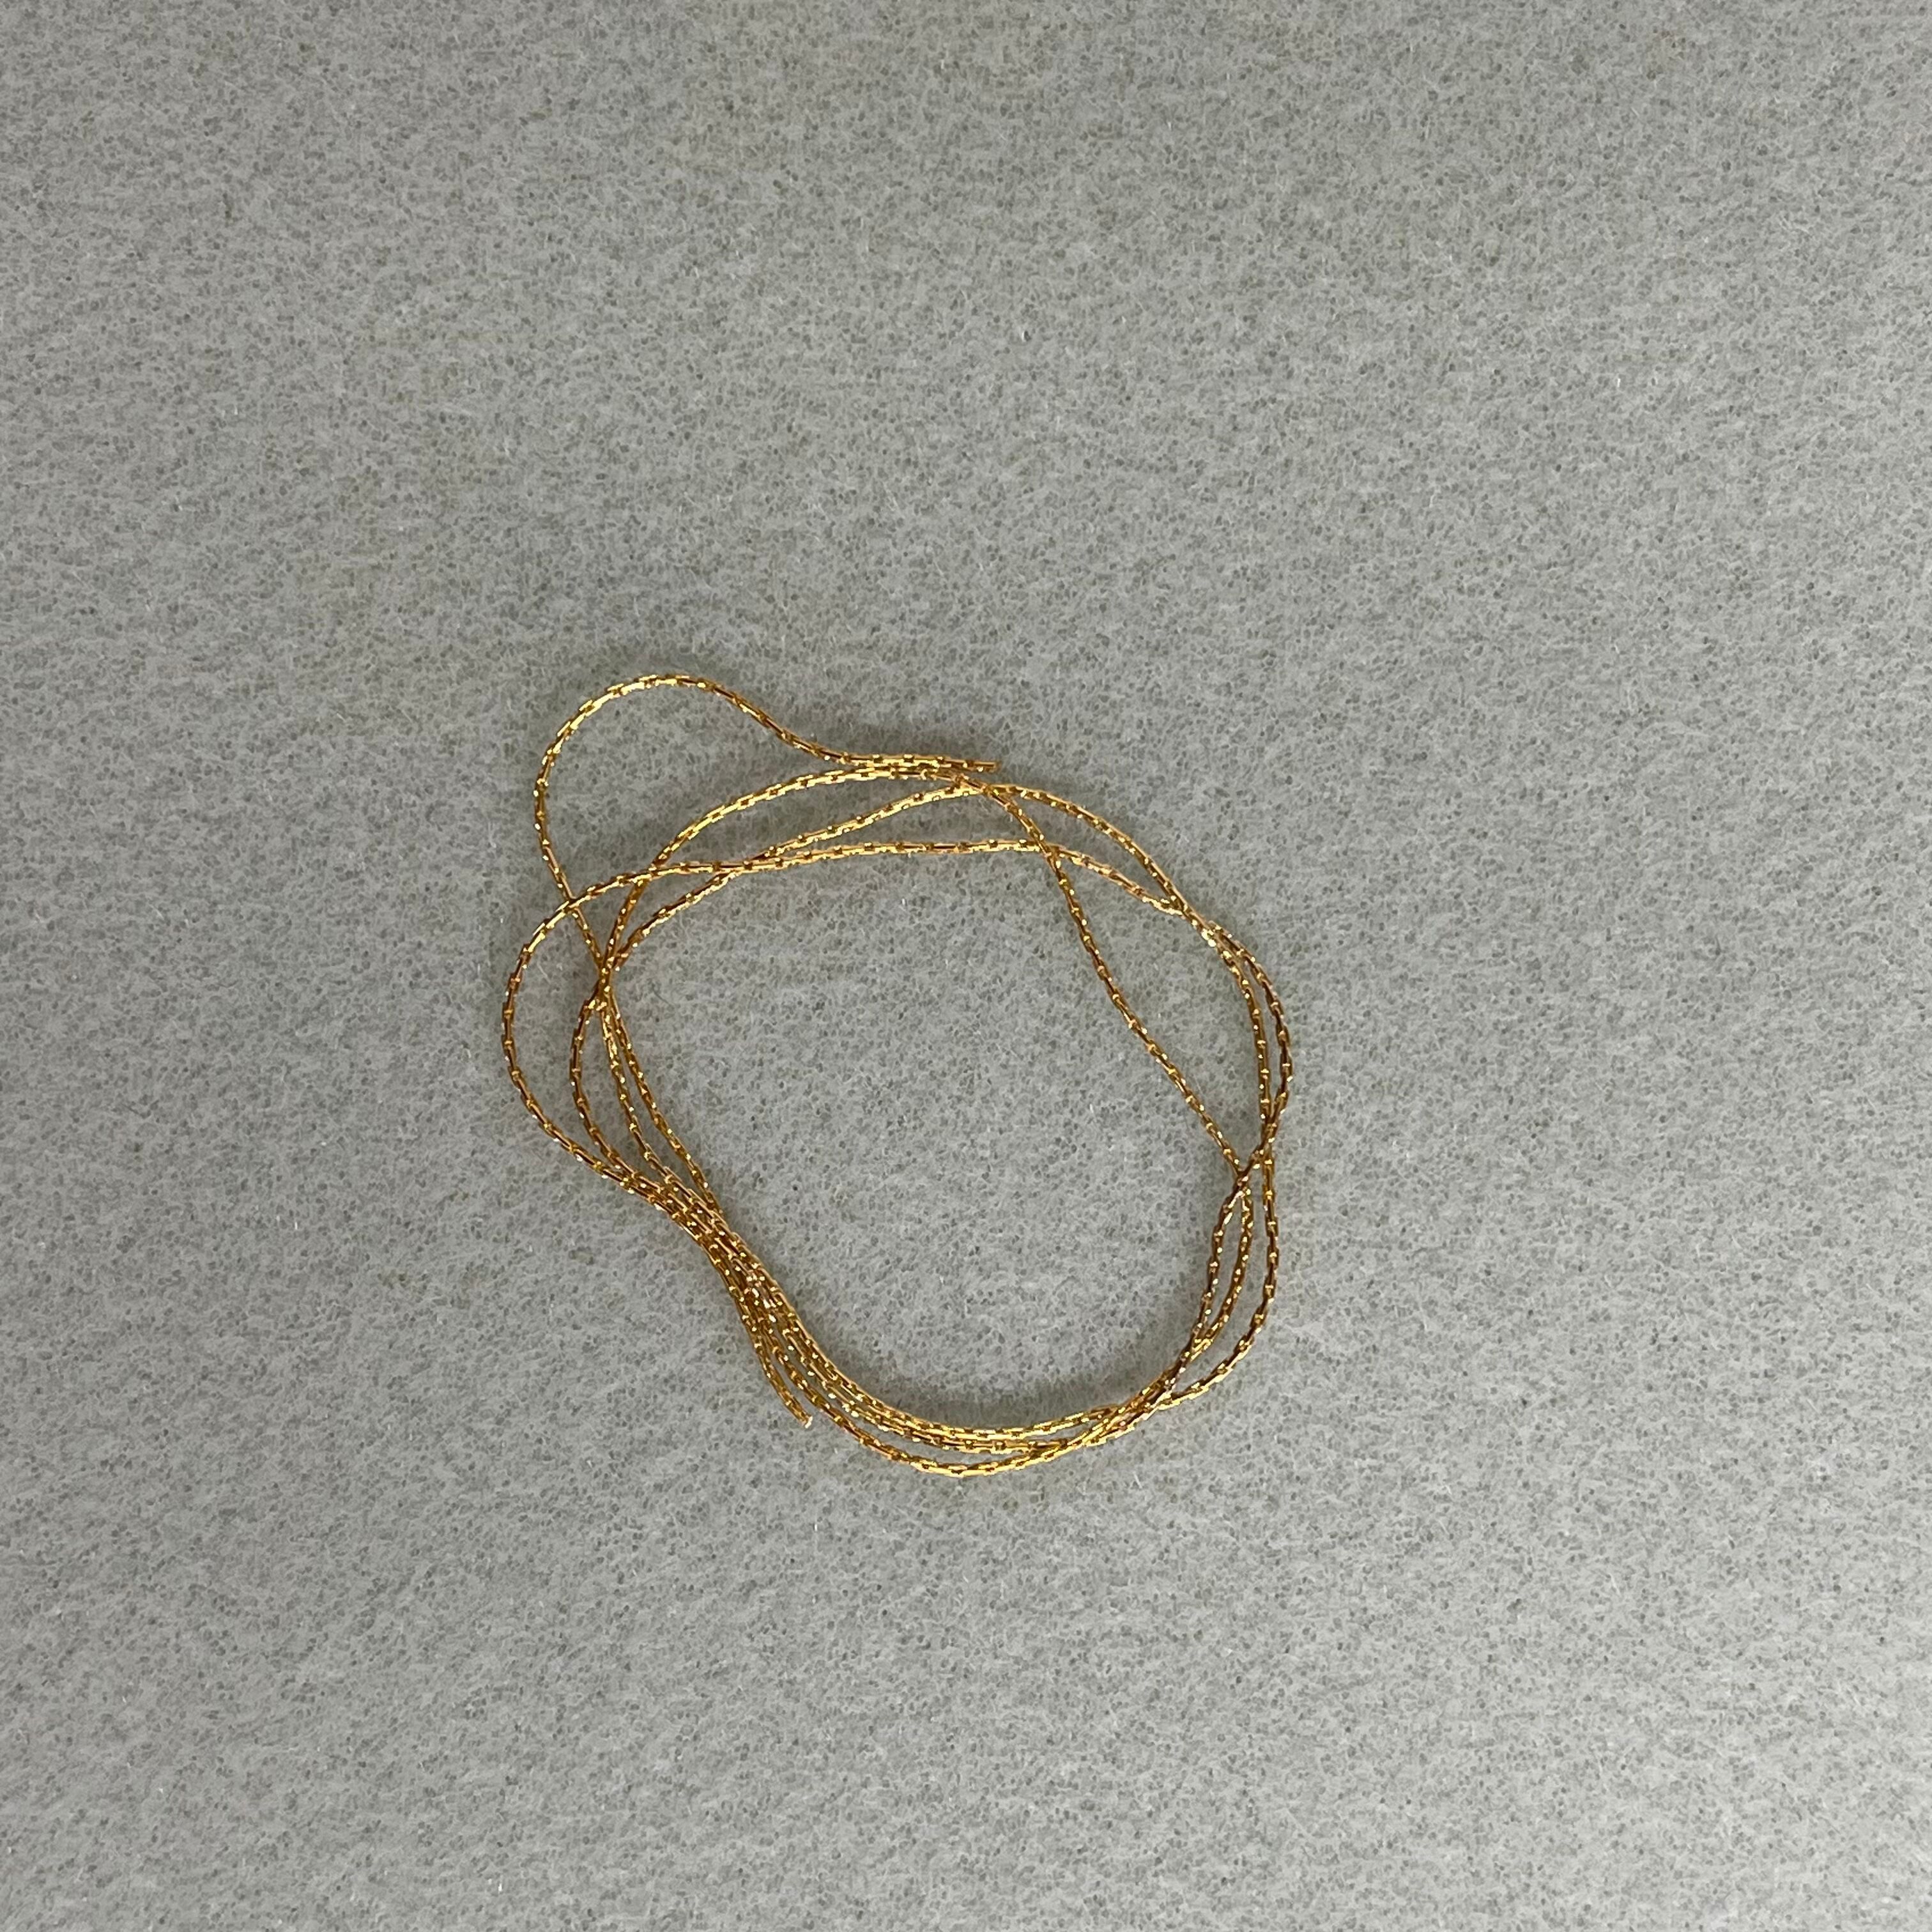
1. Cut 15-16 inches of beading wire (we will use about 14, but it is always nice to have a little extra to work with) * or length of your choice if you would like a longer or shorter piece of jewelry
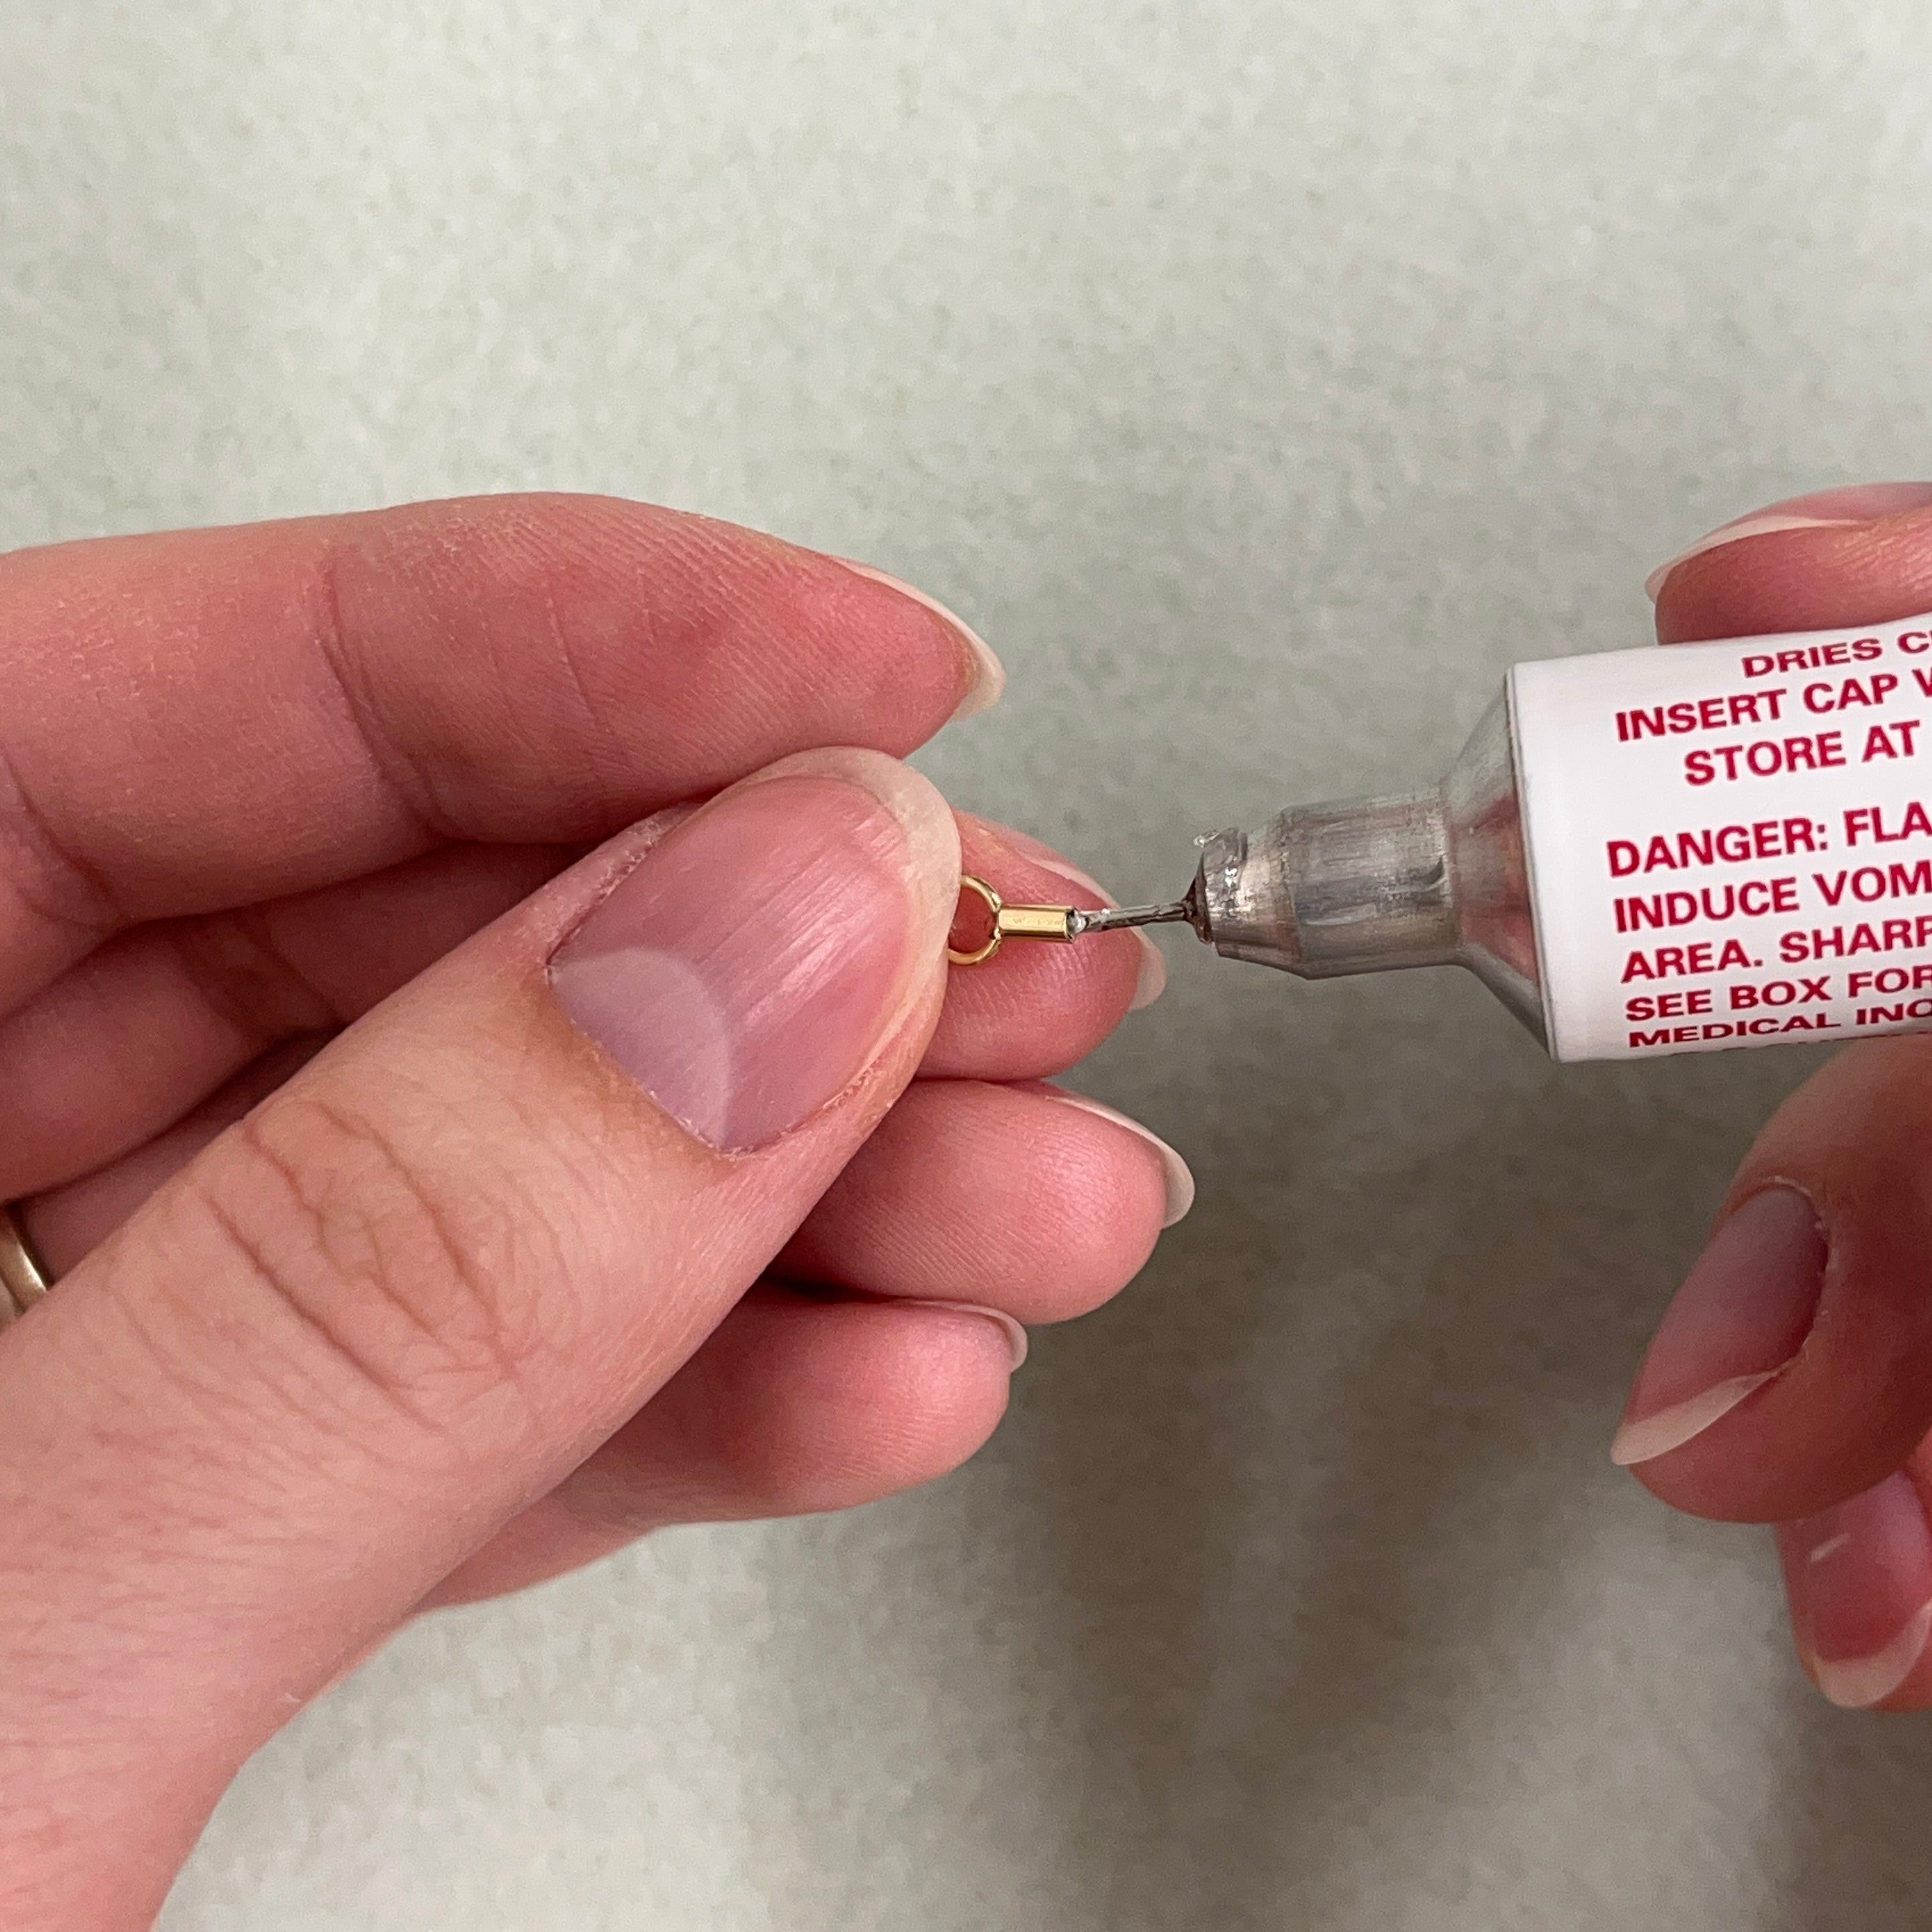
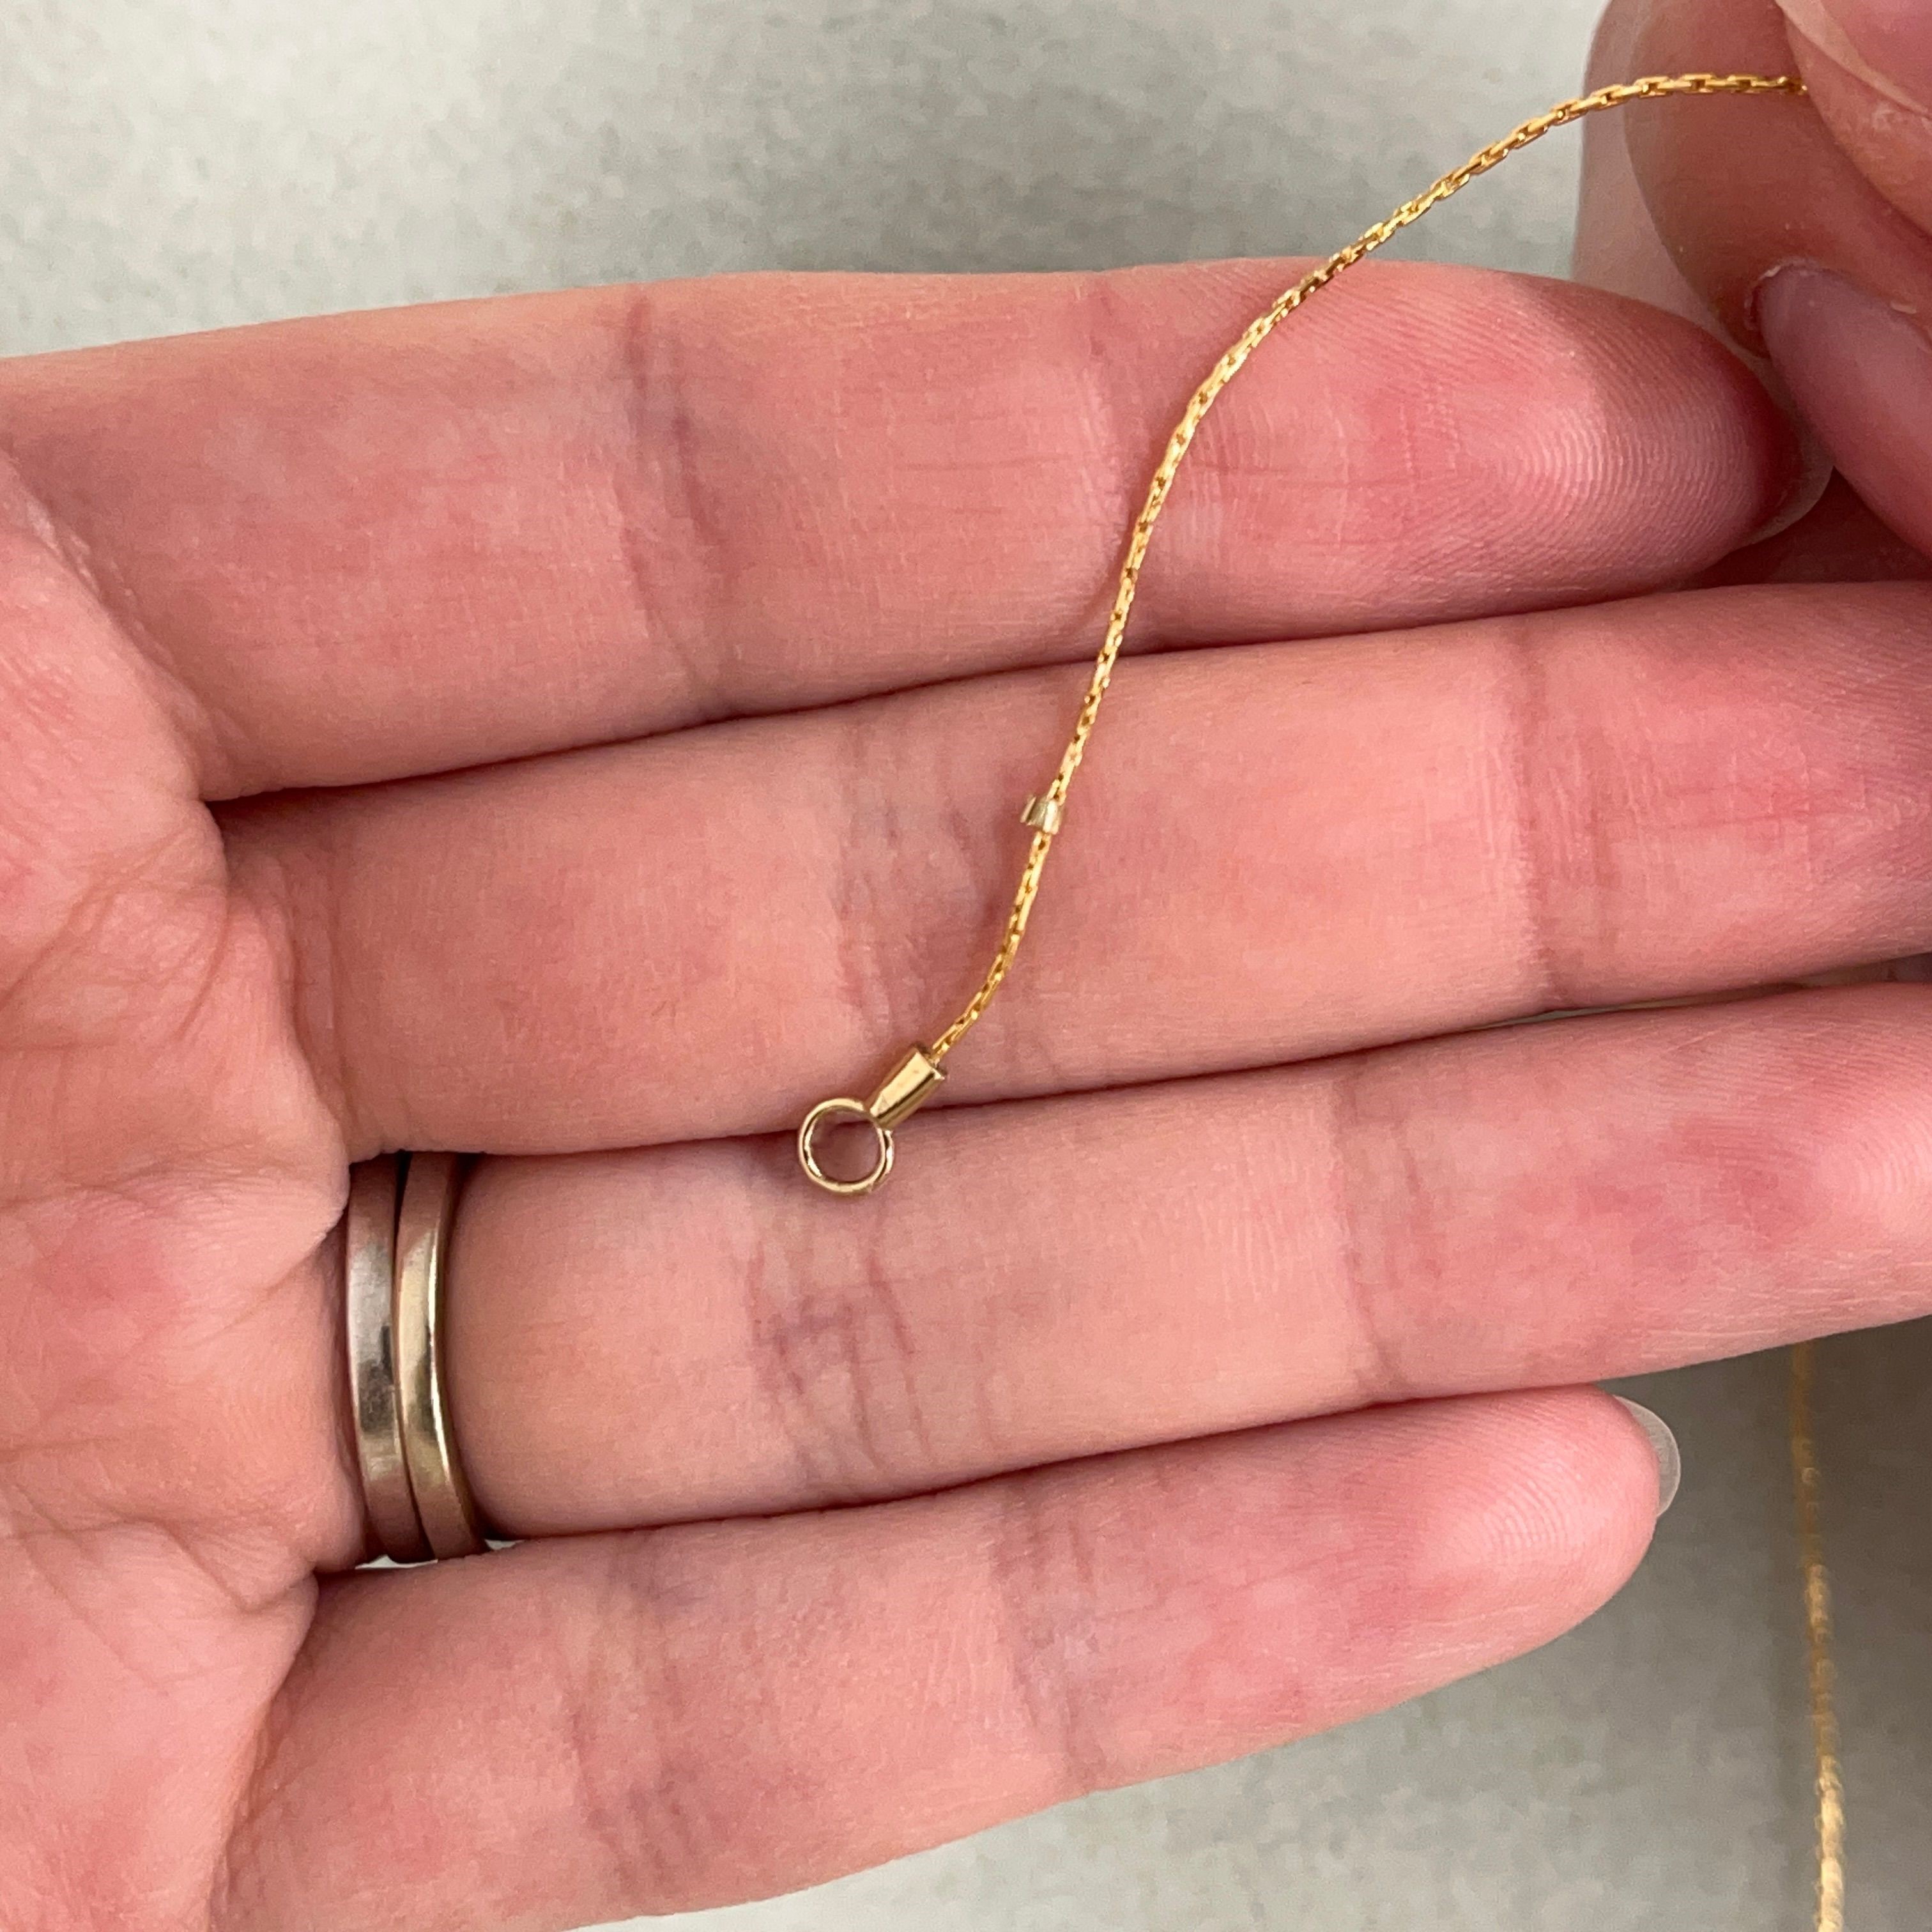
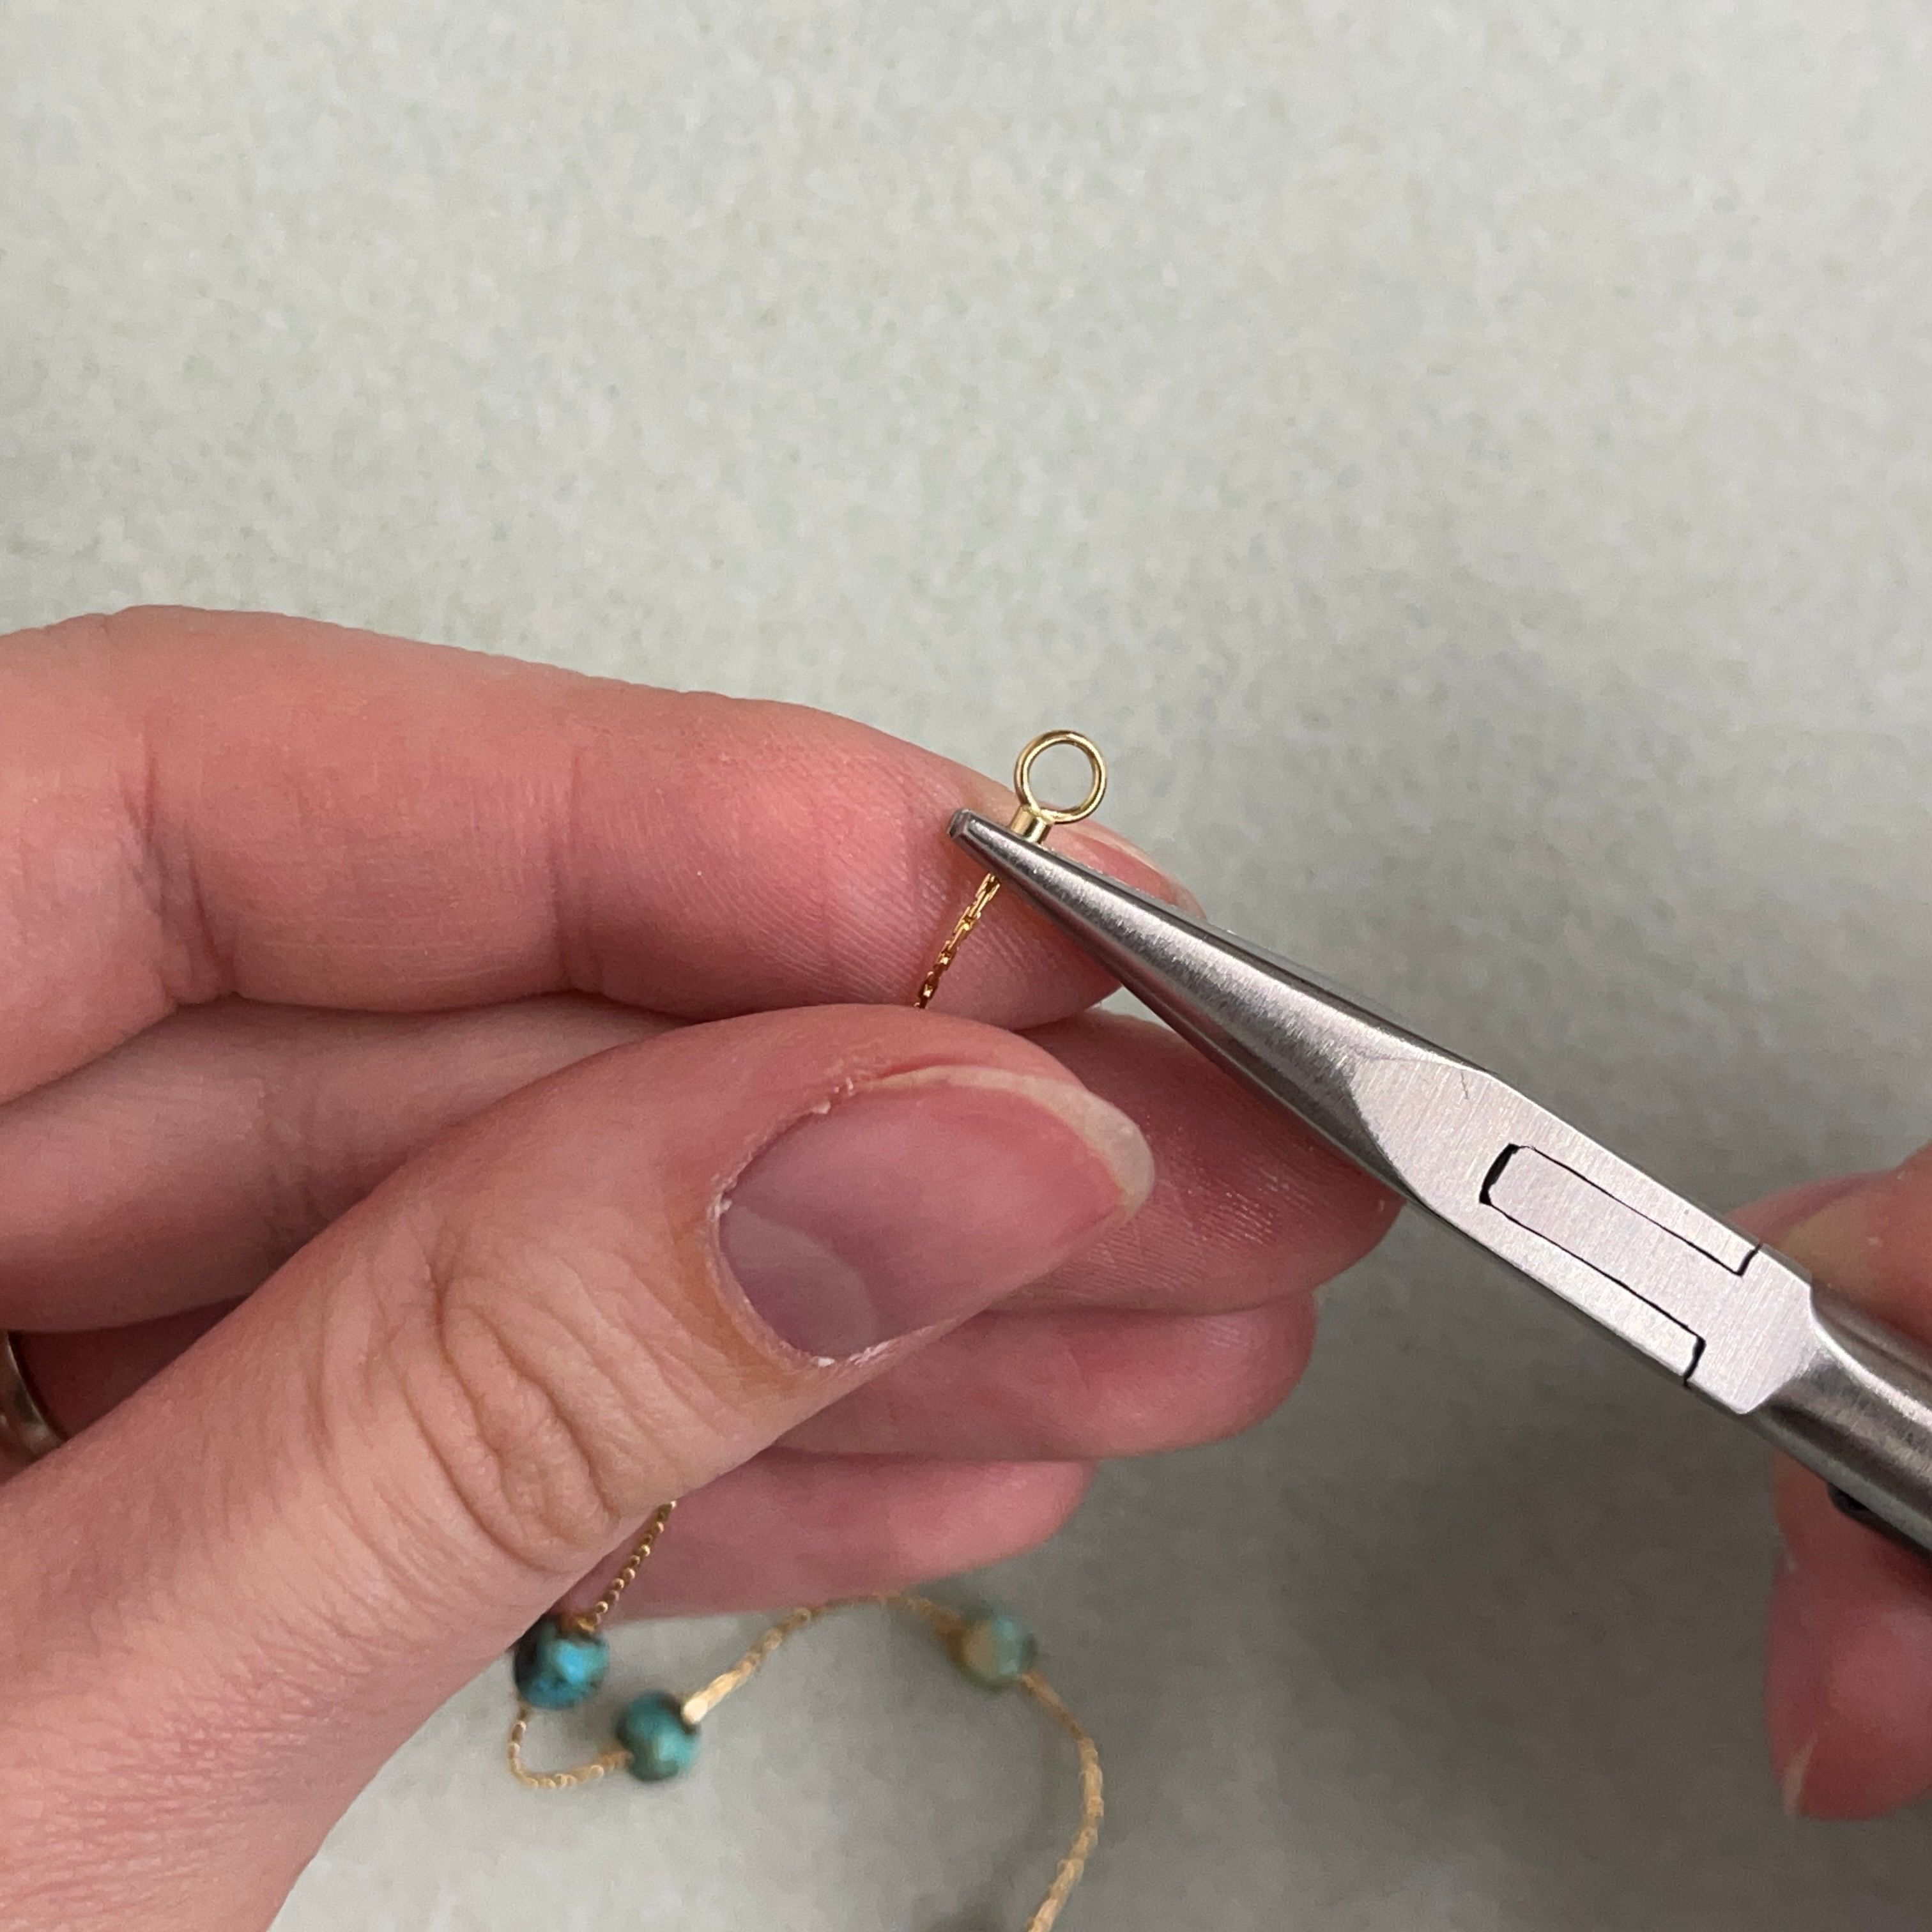
2. Insert the gs-hypo glue into the 1mm crimp end cap - squeeze enough to just fill the end cap
3. Push one end of the chain into the glue - as far as it will go

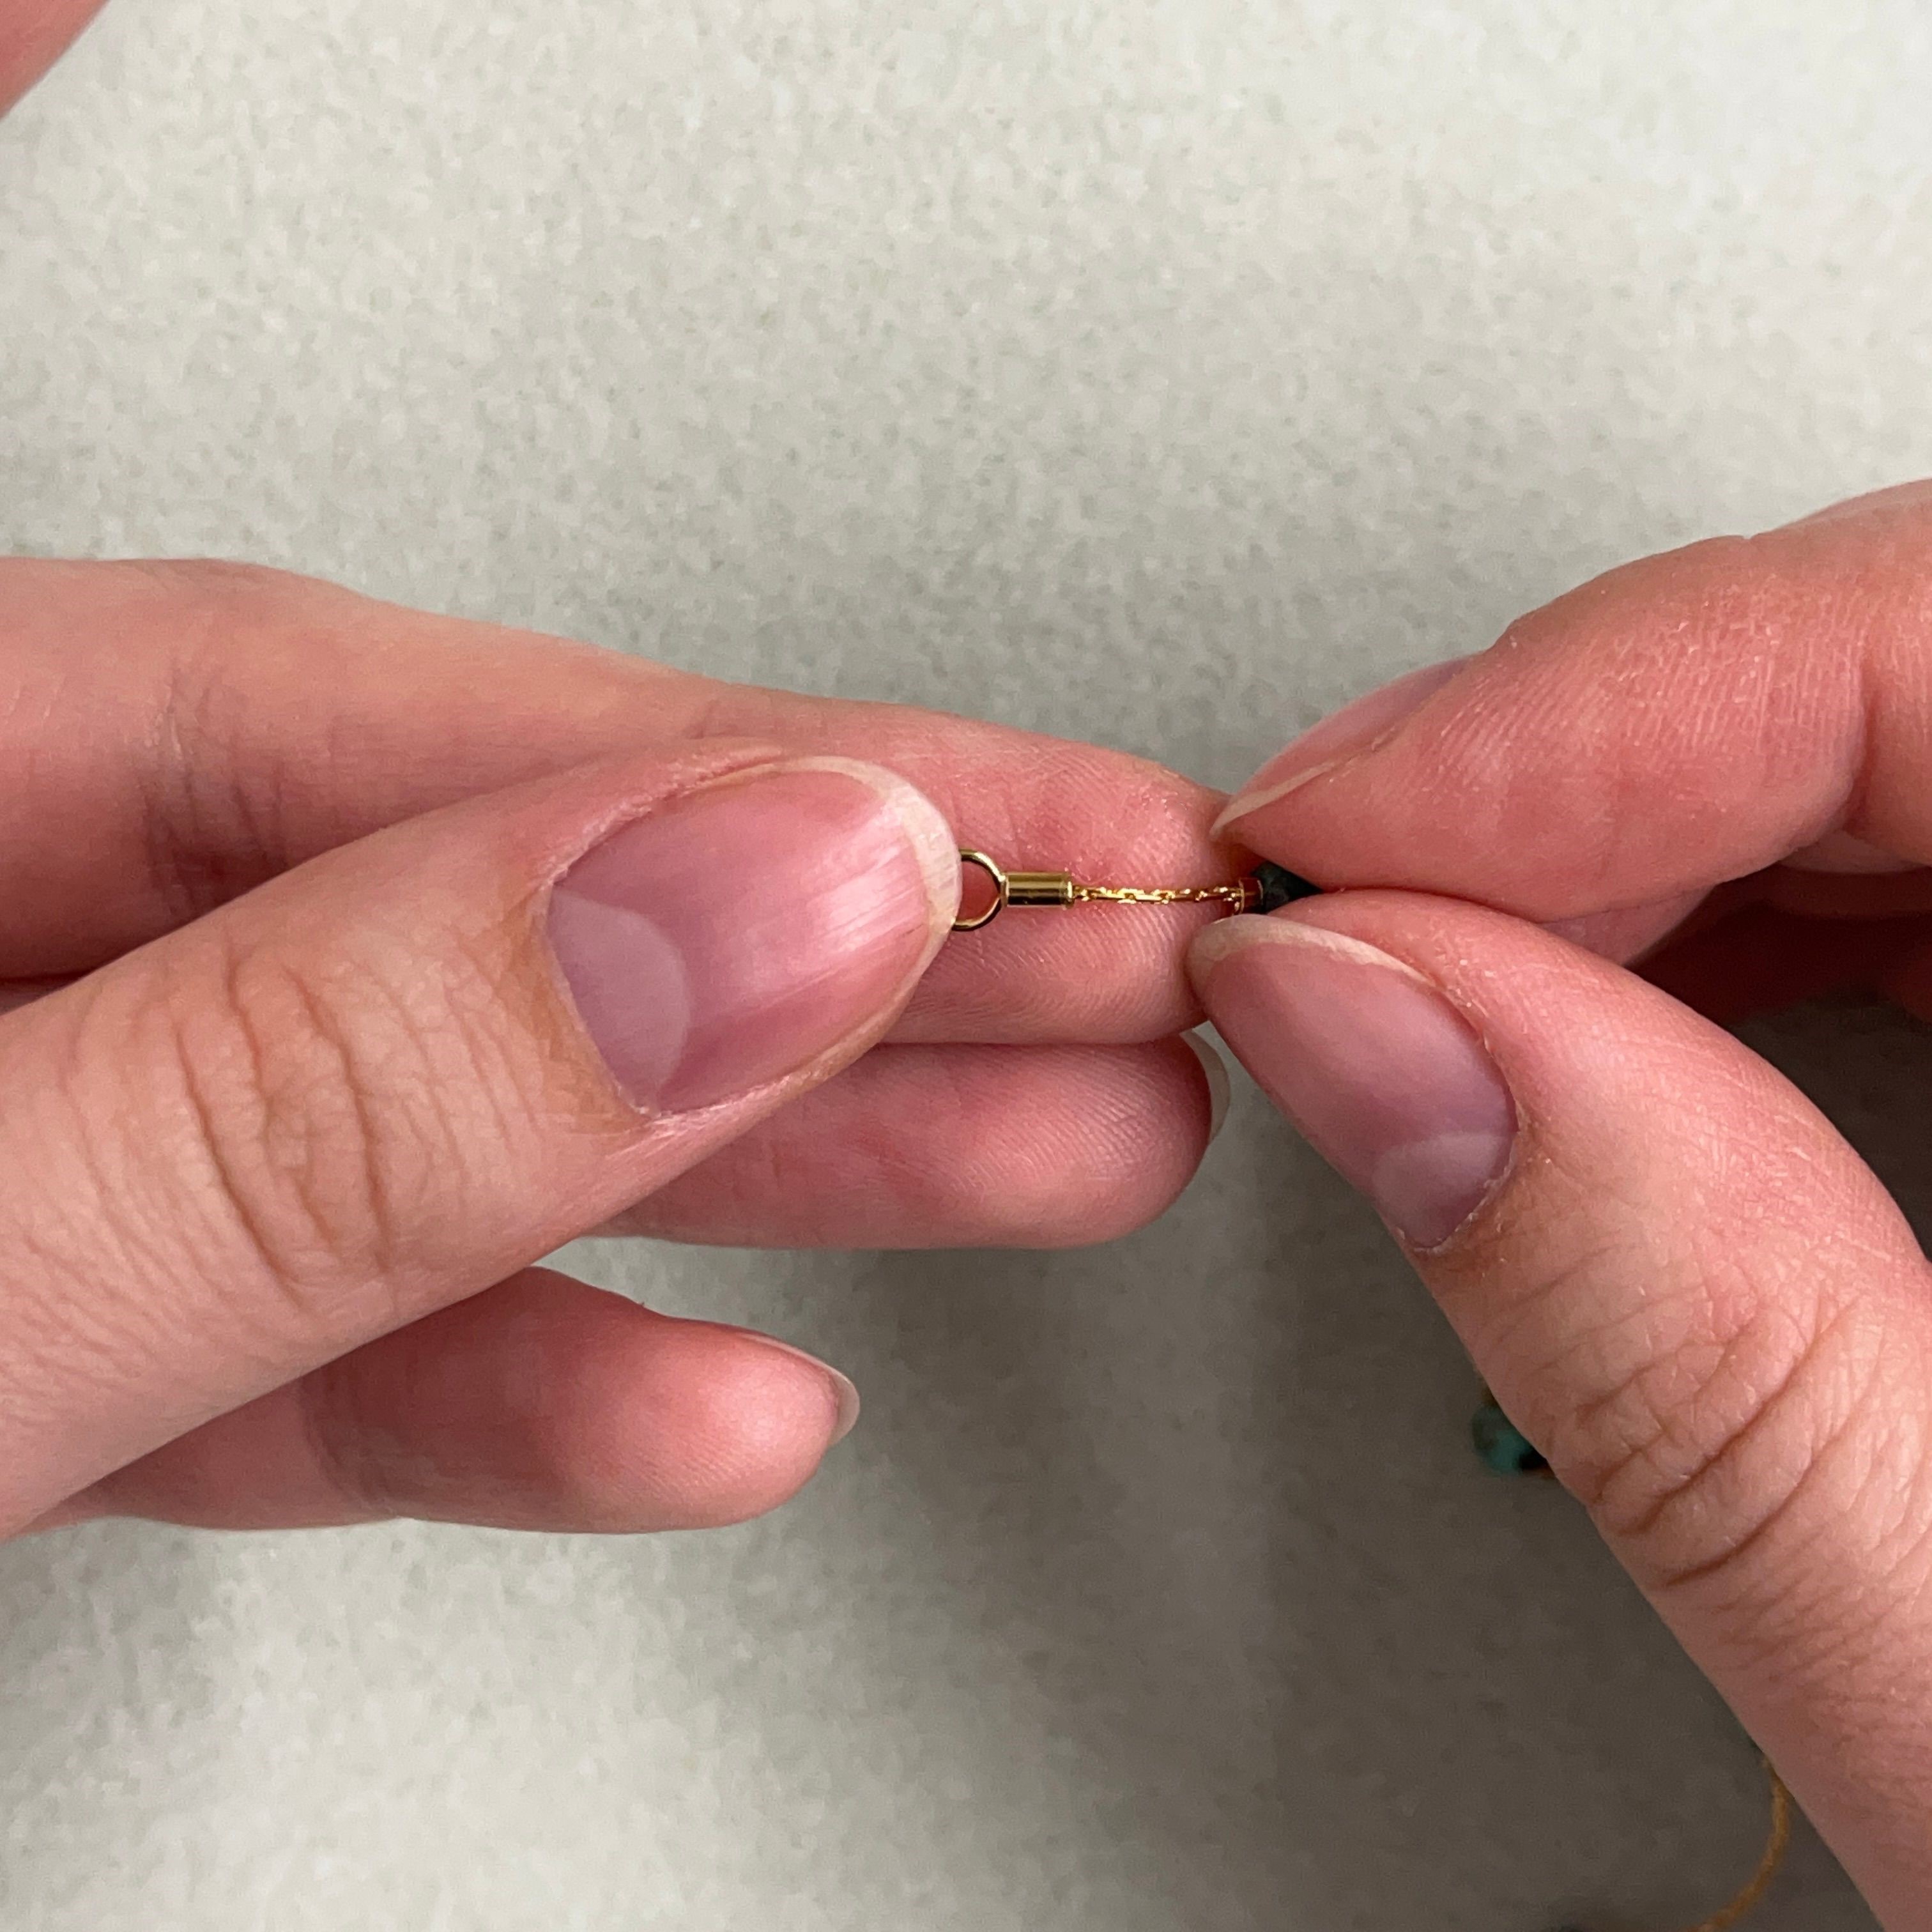
4. With the needle nose plier, gently crimp the end cap, slightly flattening it, so it will hold the chain in place
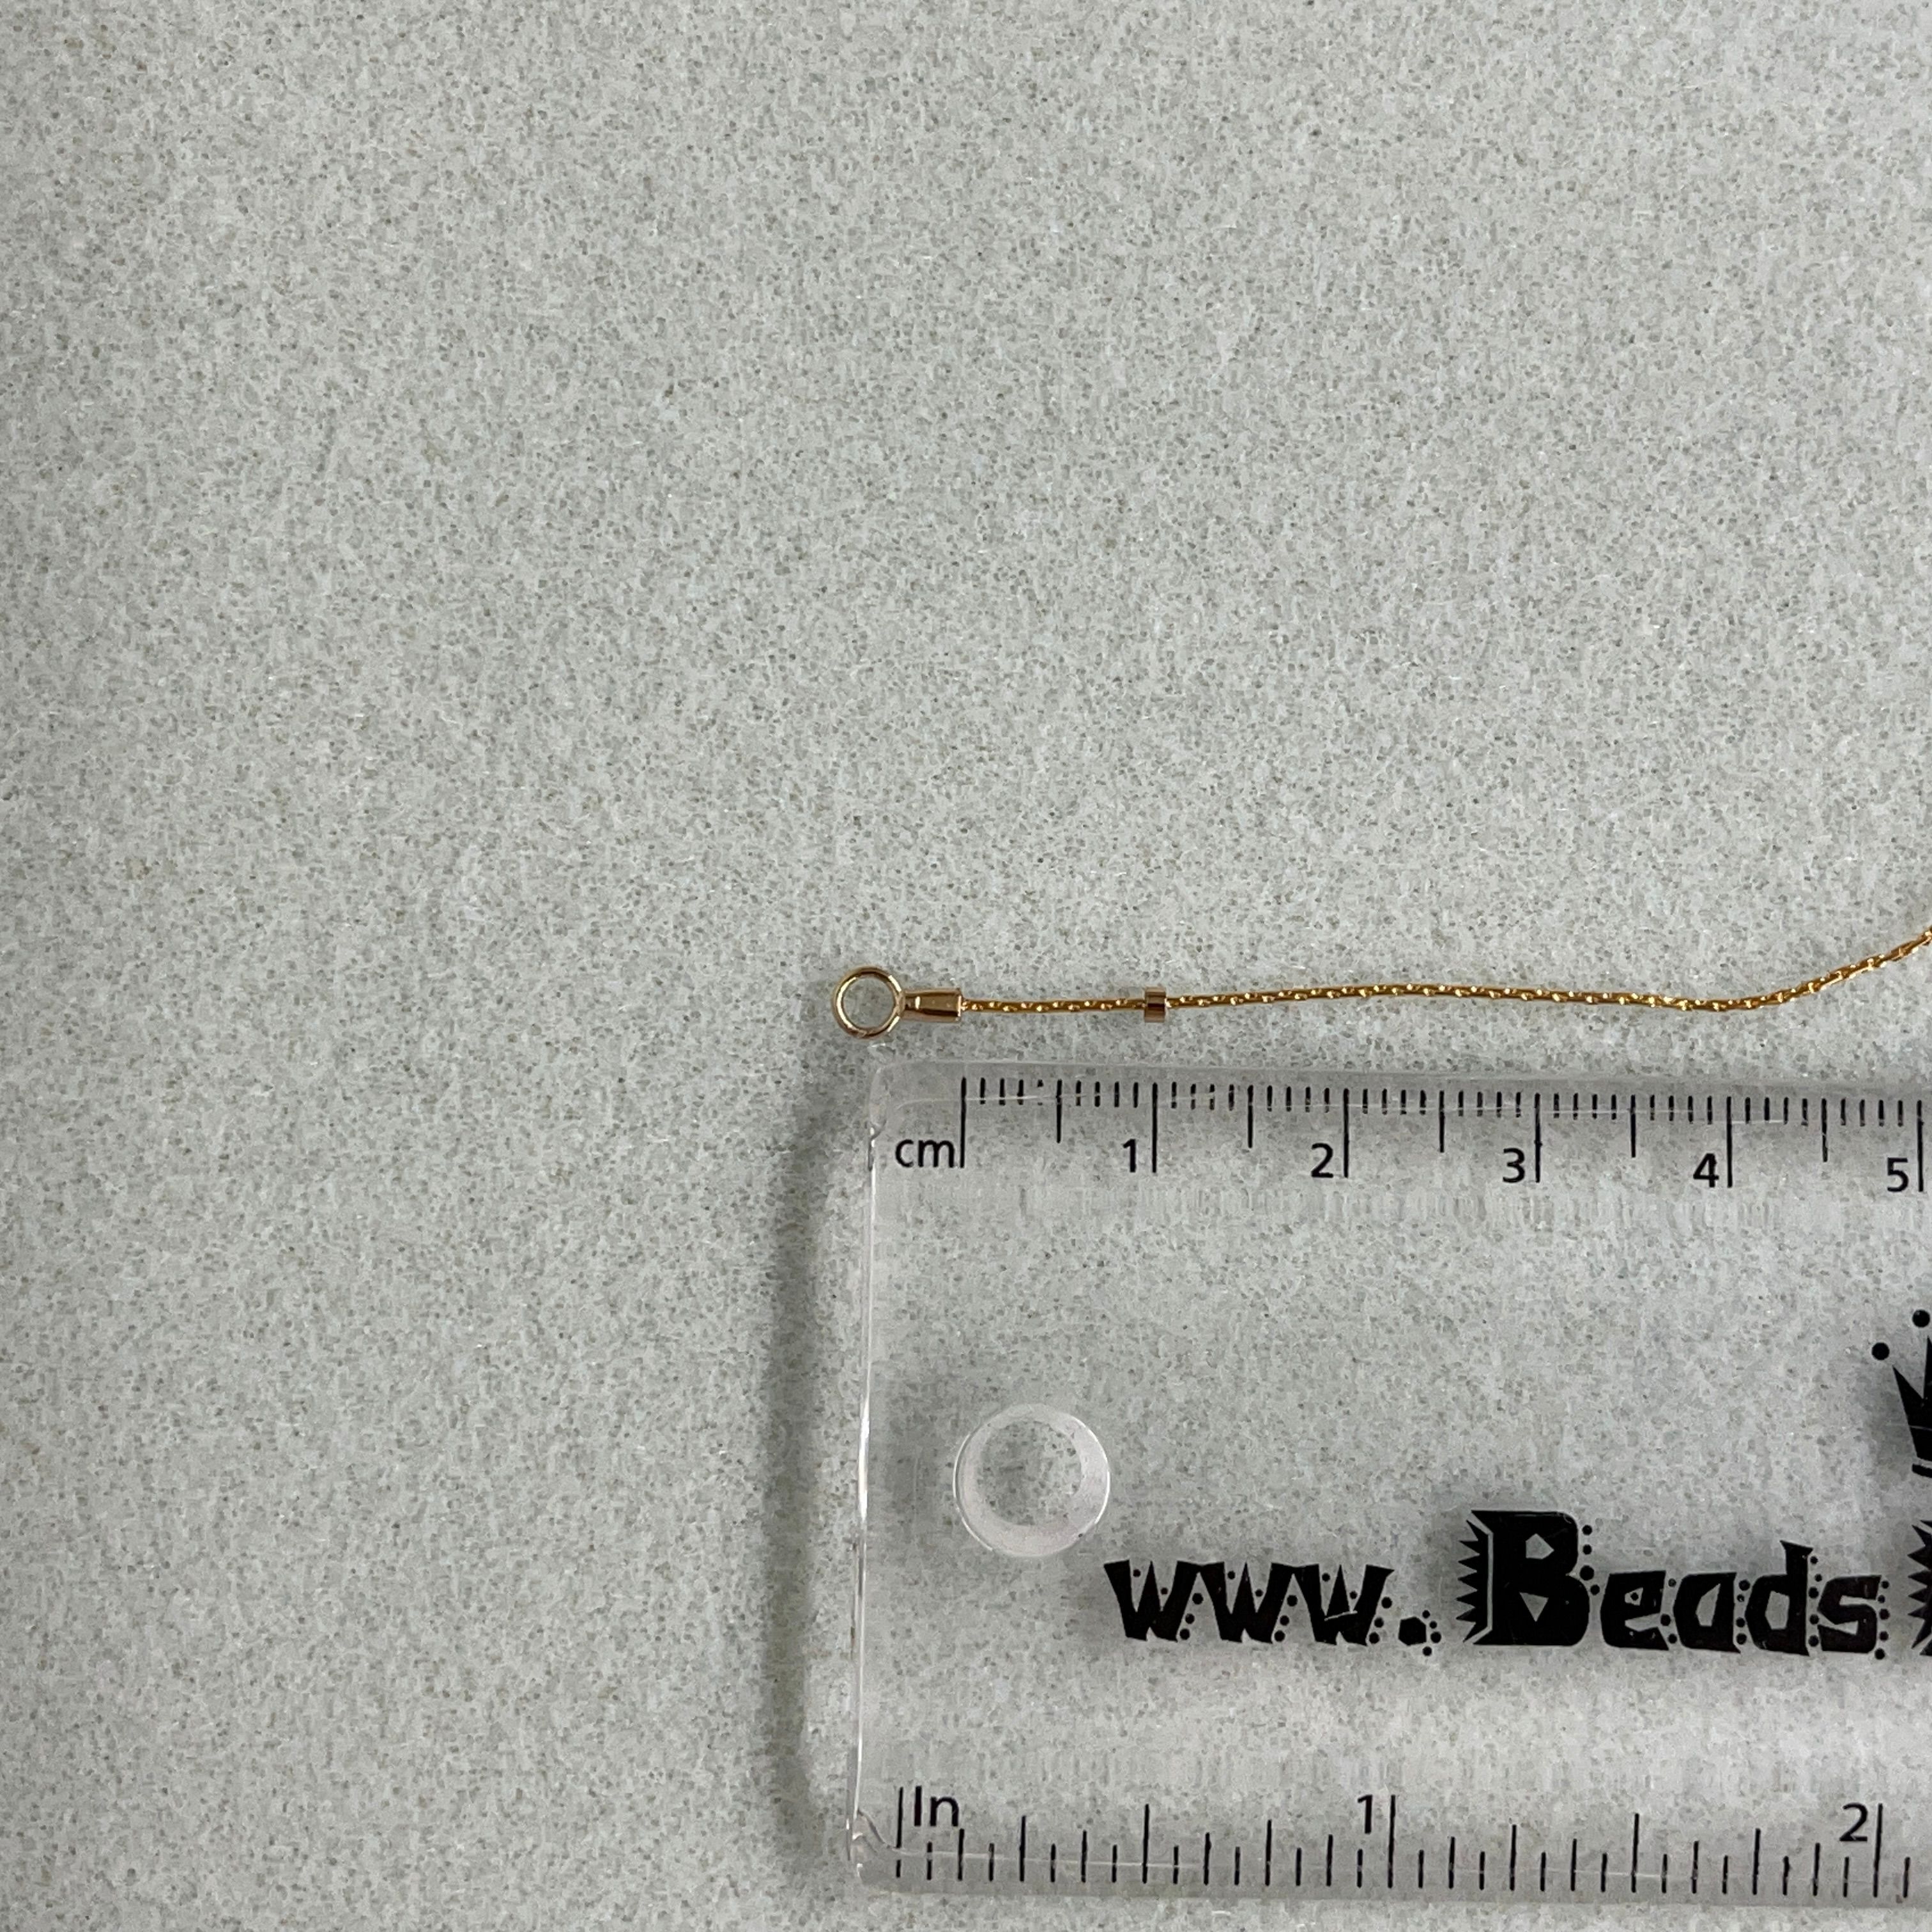
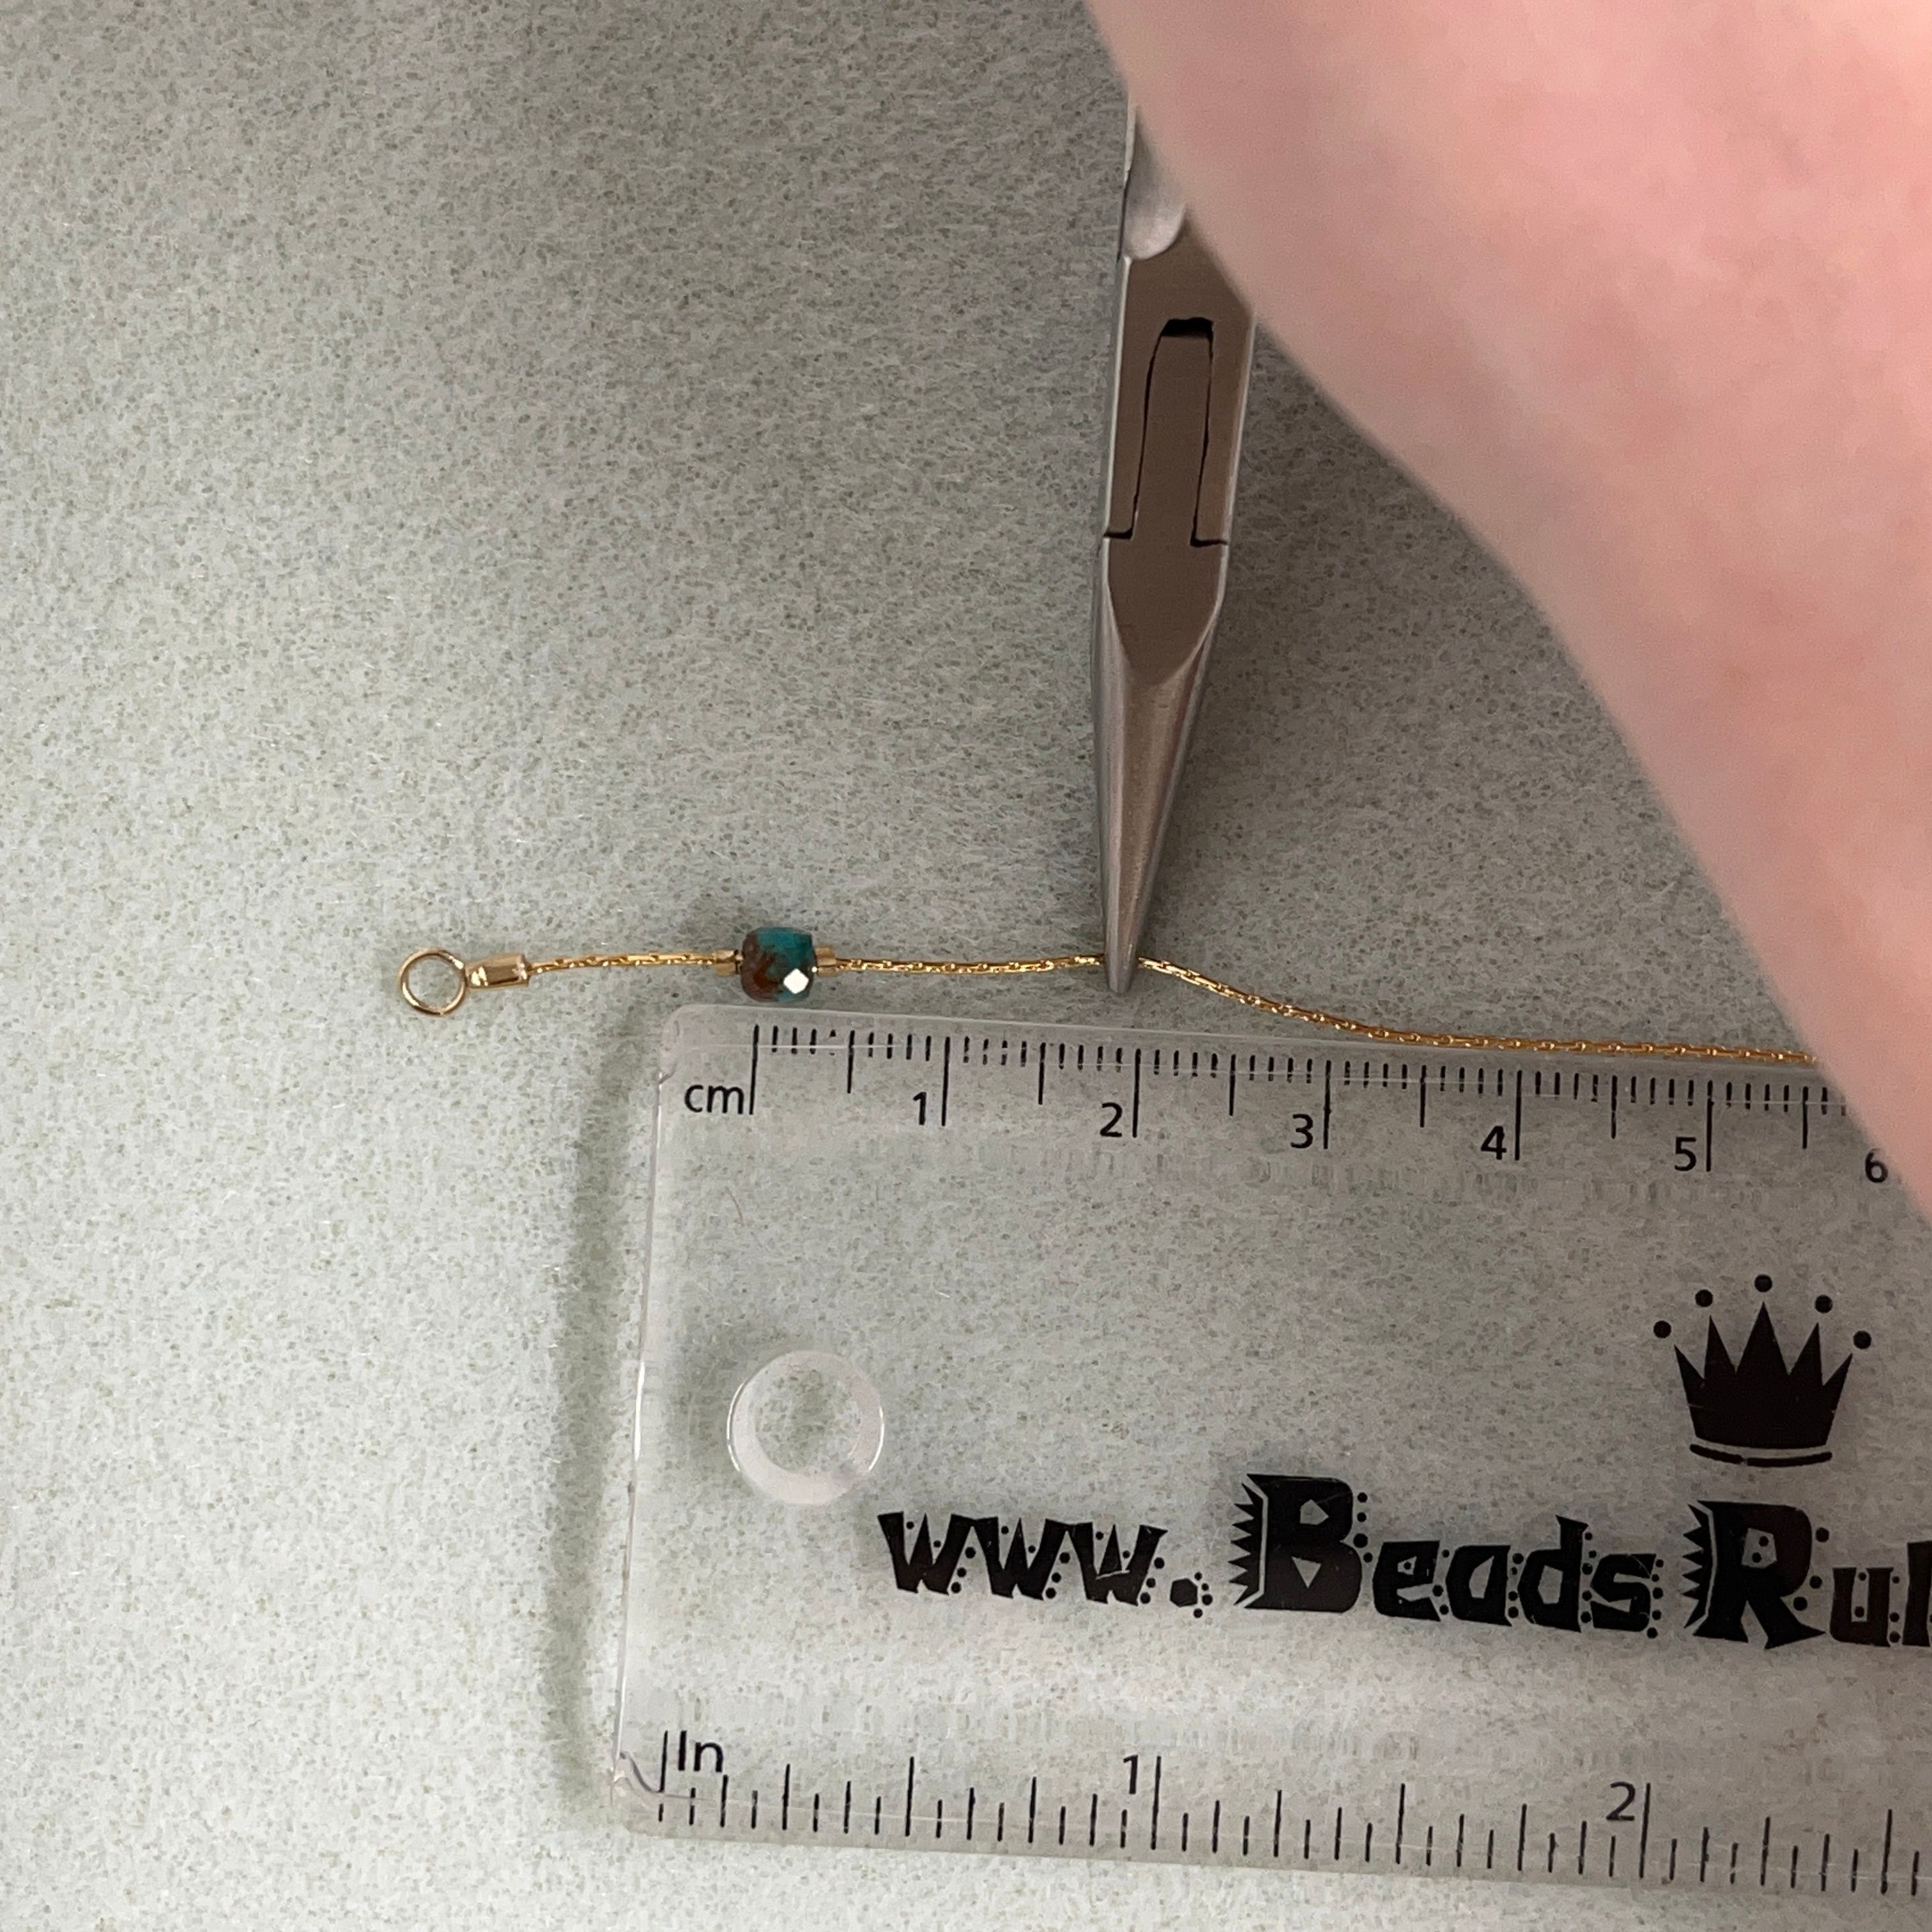
5. Thread on your first crimp - spacing should be about 1 cm from the end of the end cap to the end of the crimp

6. Using the needle nose plier, flatten the crimp with 1 cm of spacing *Flatten just enough so the crimp won't slide around
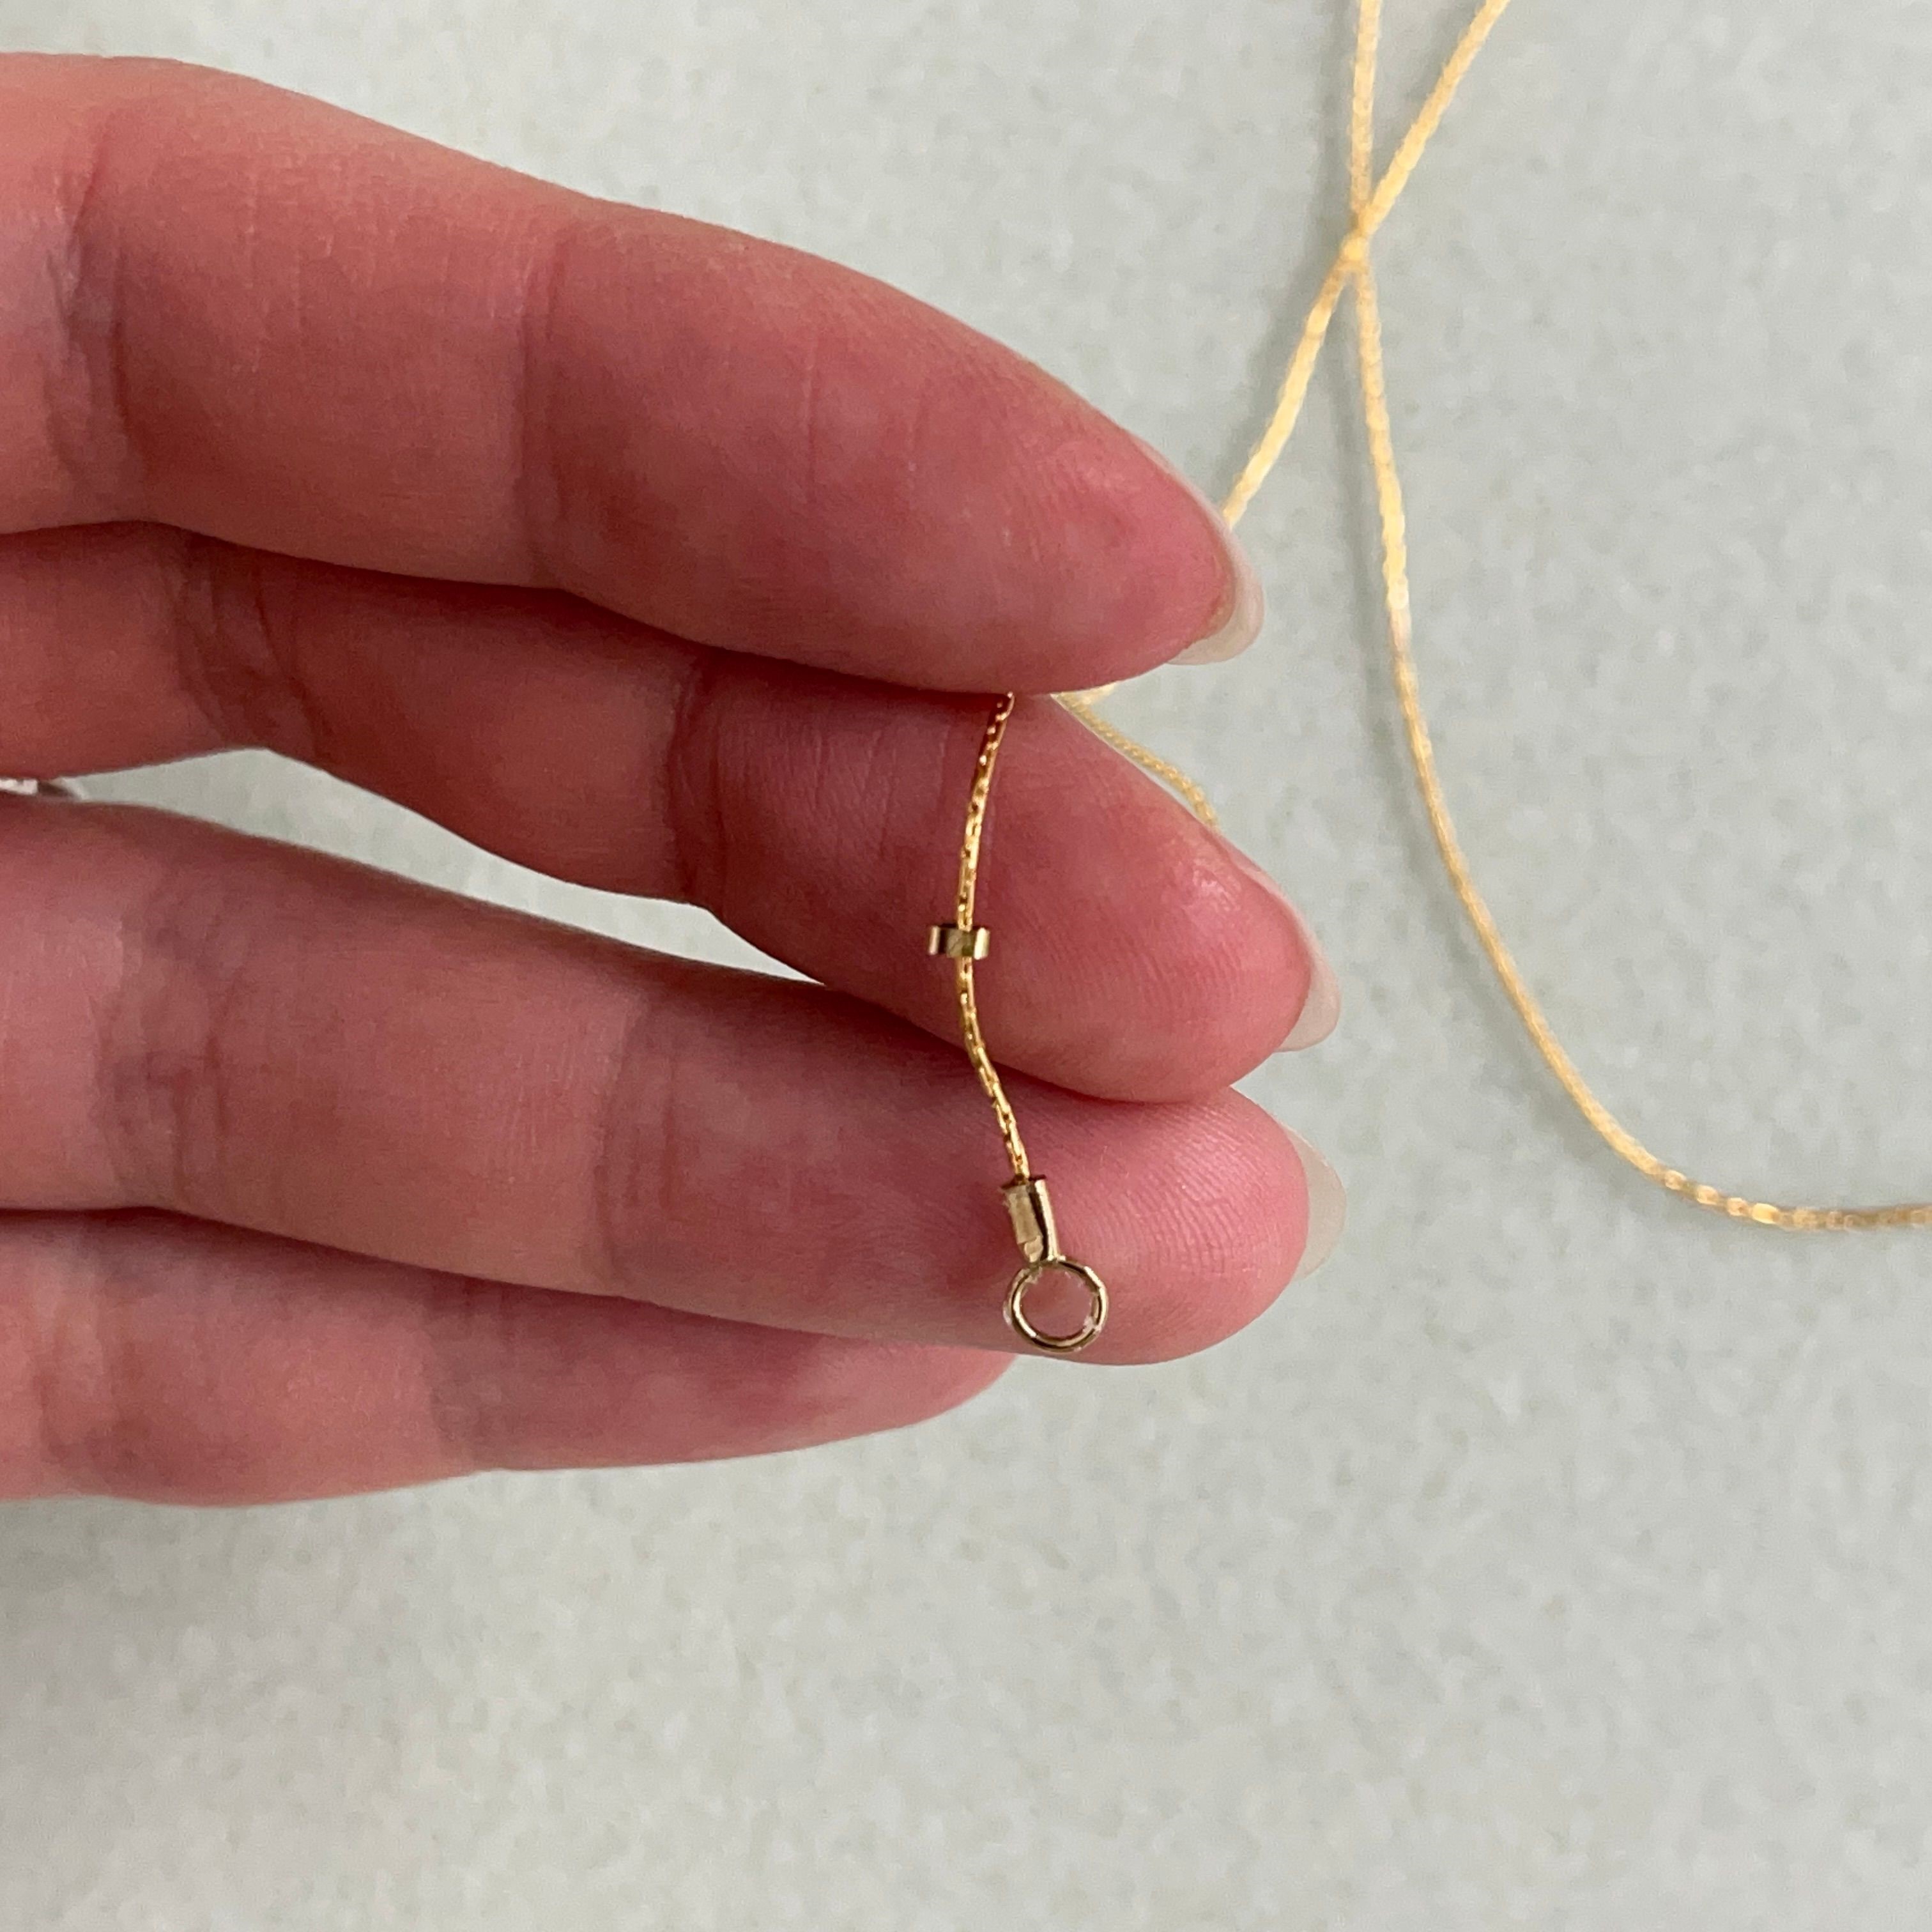
7. The crimp should look like this
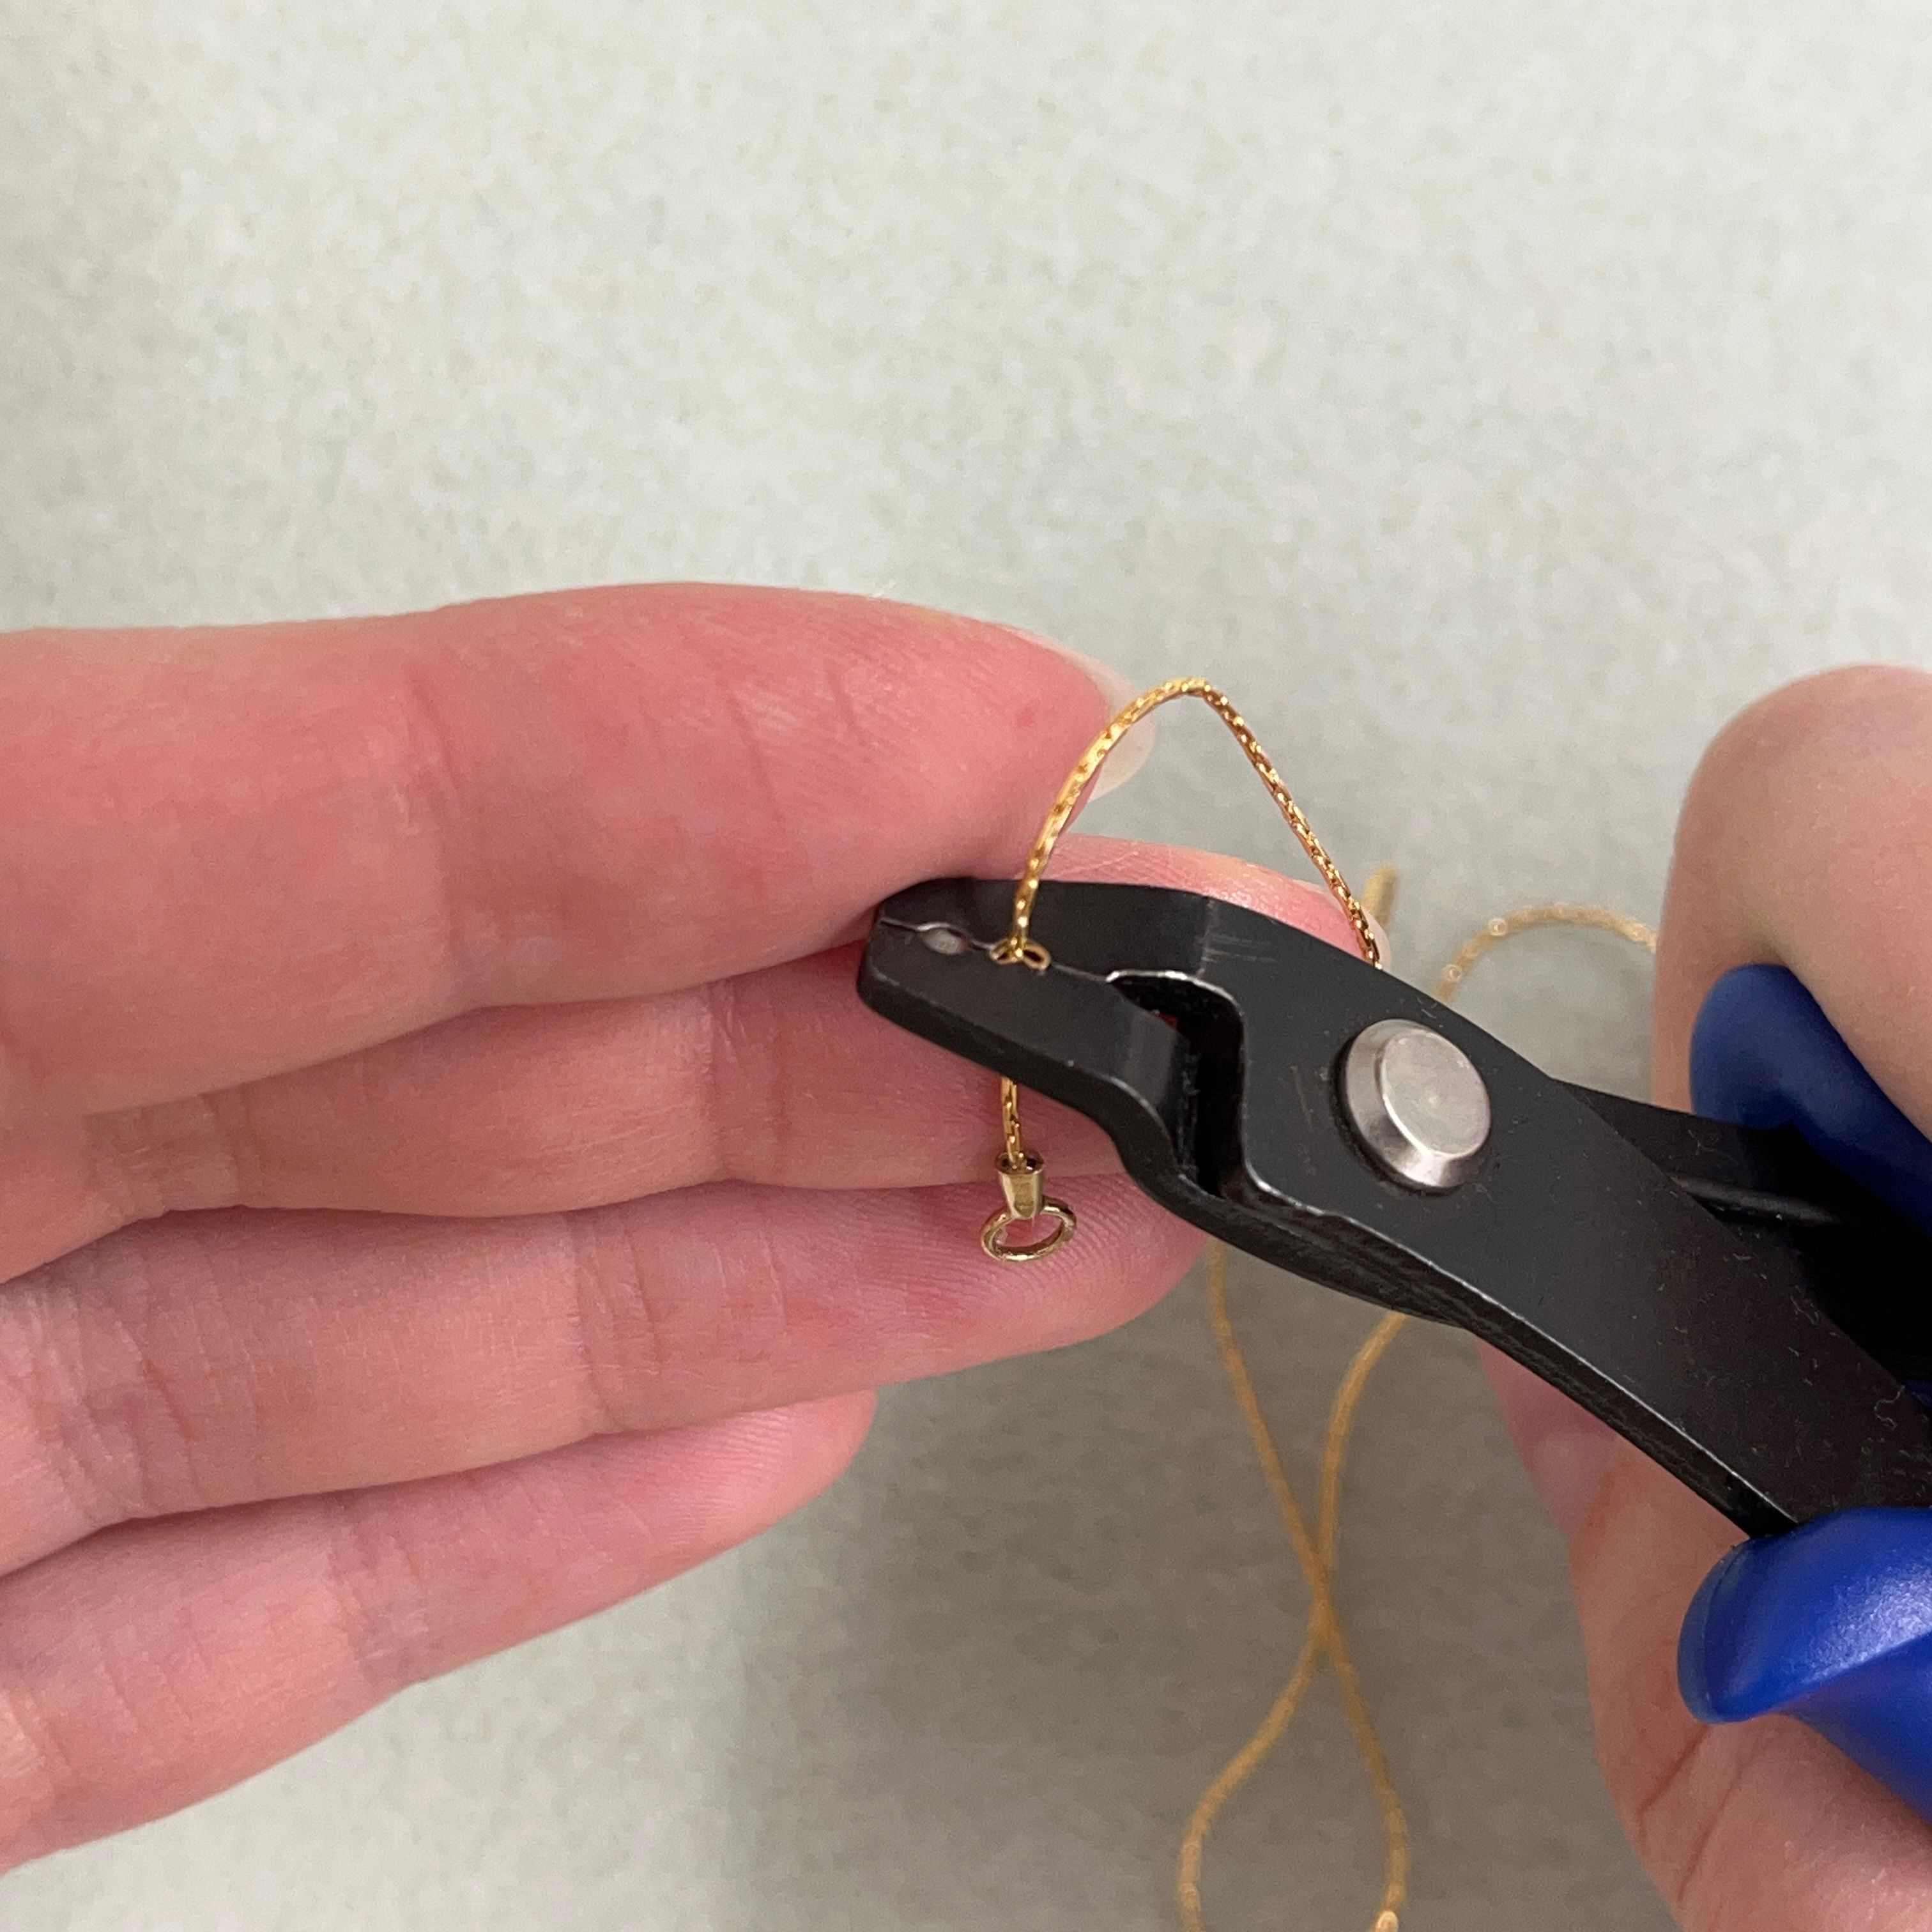
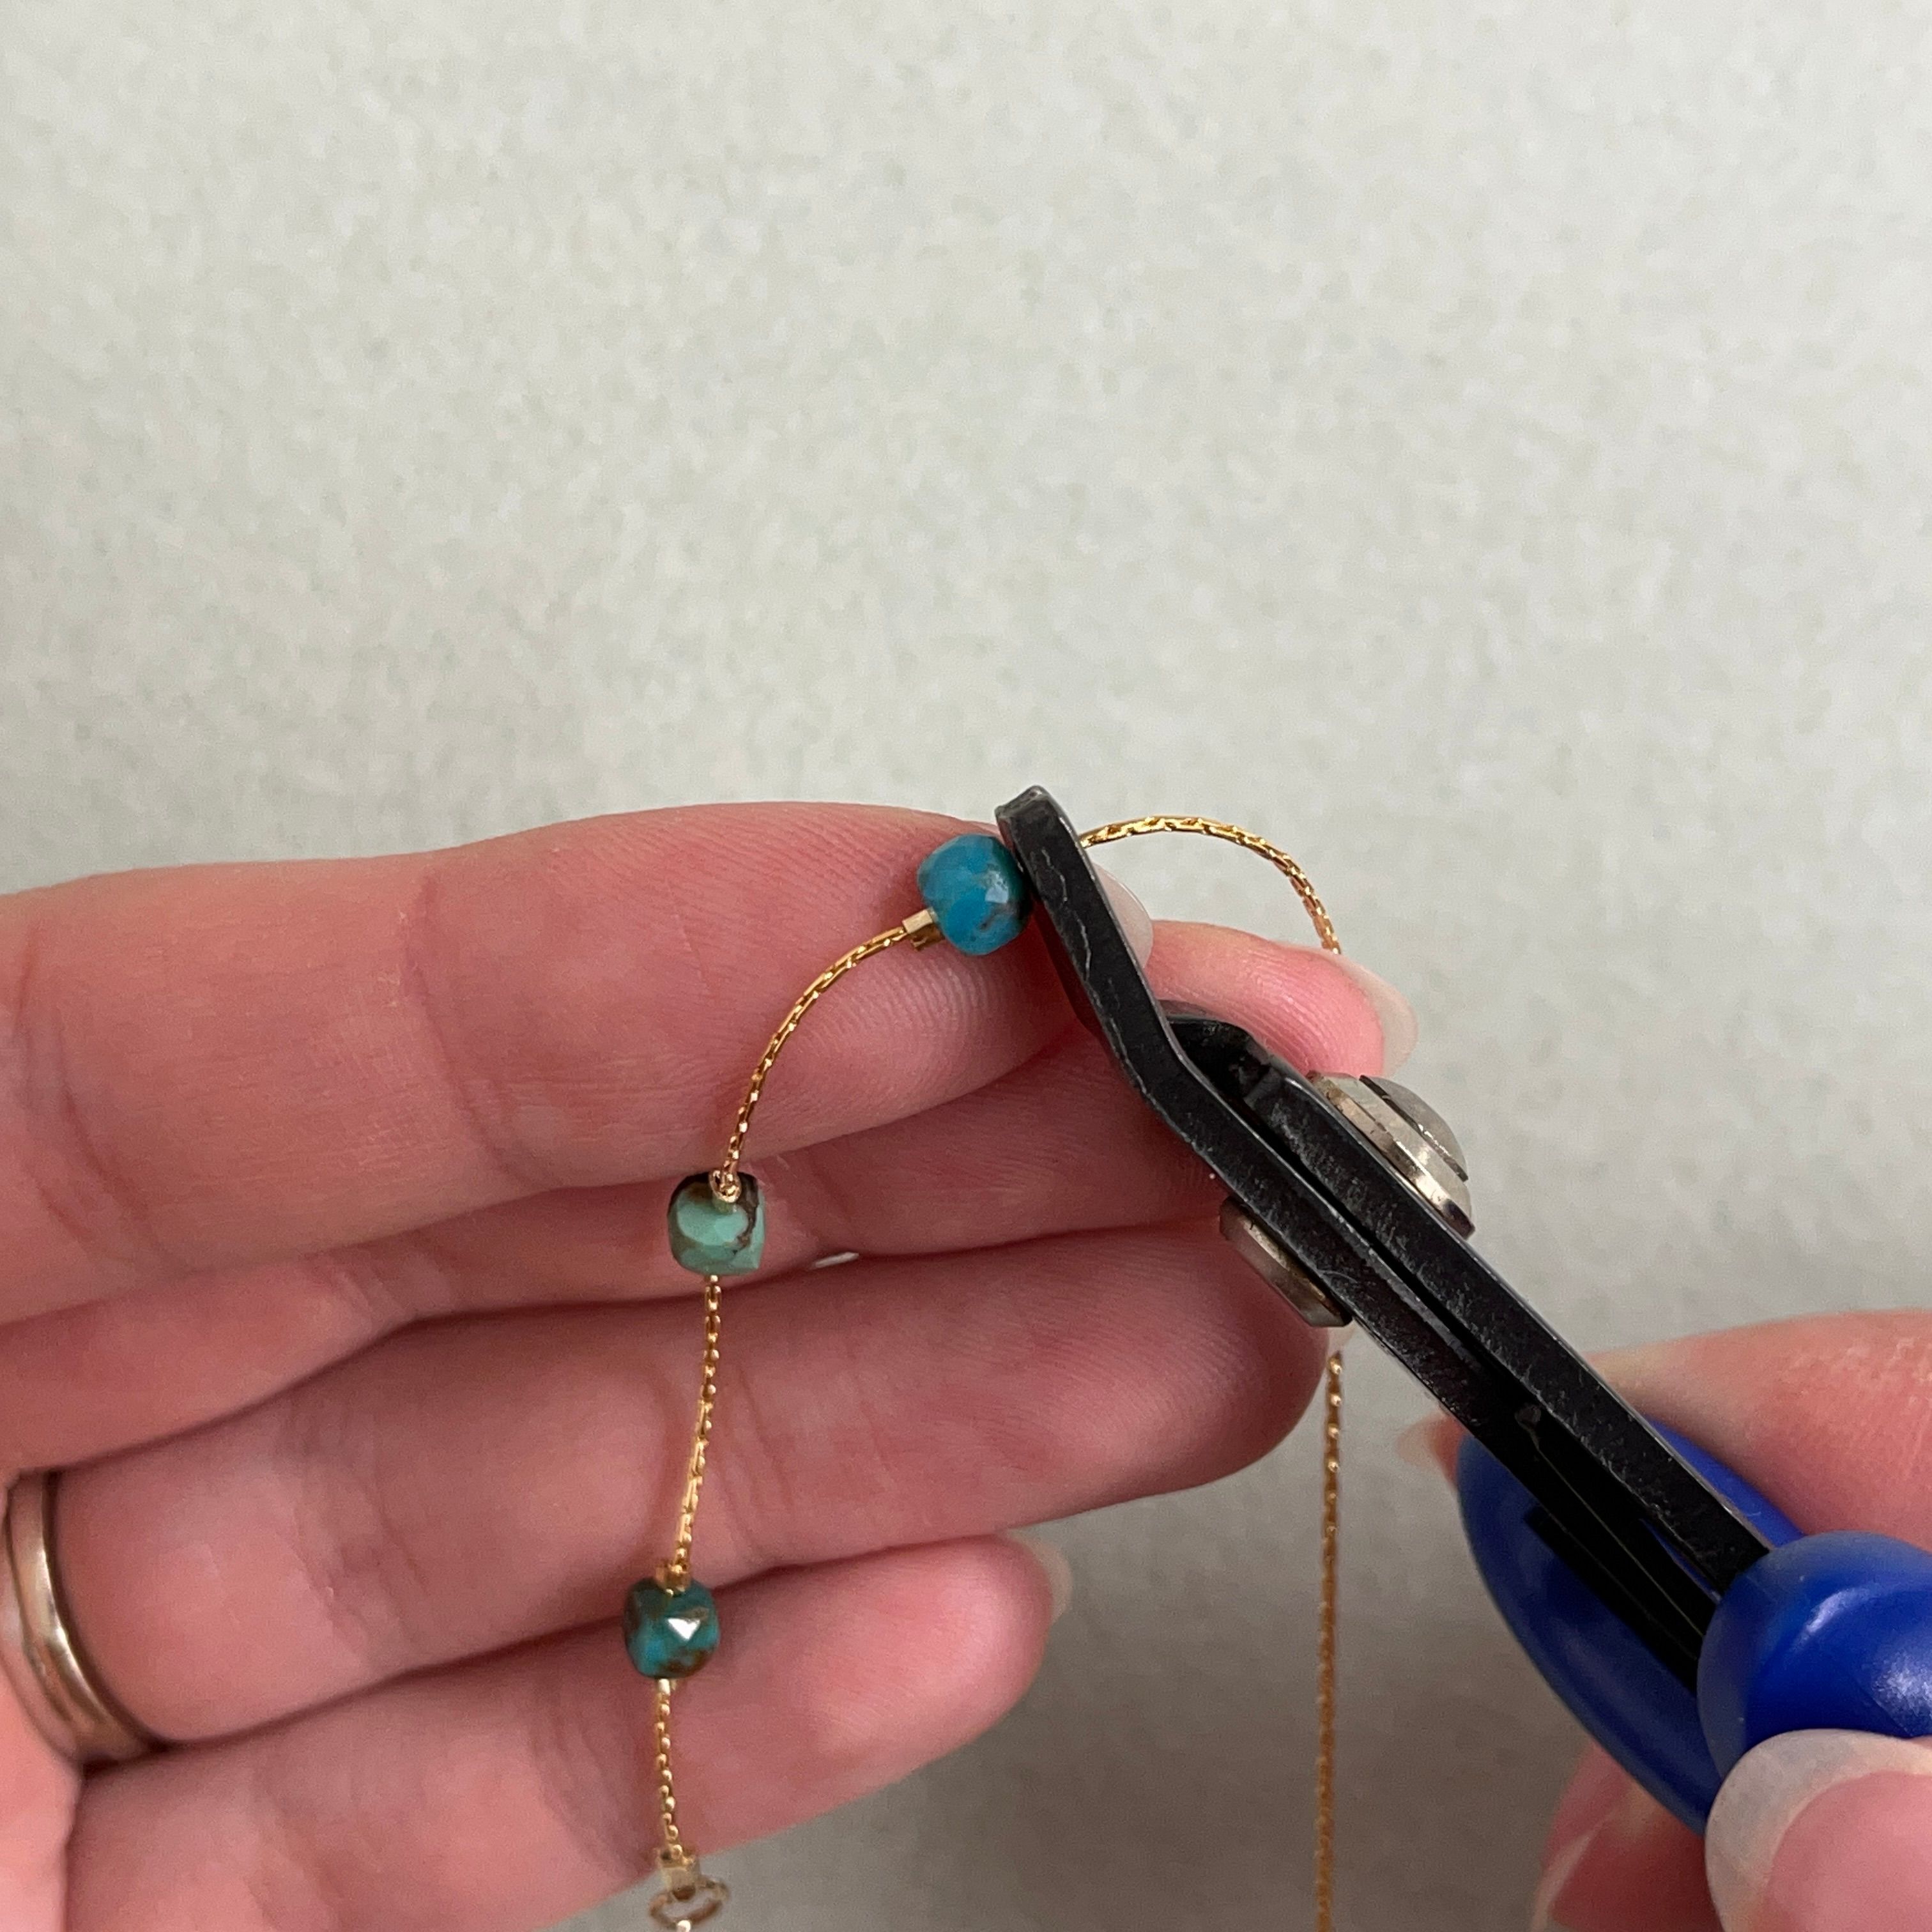
8. Take your crimping pliers and crimp at the grooved section of the pliers as shown above
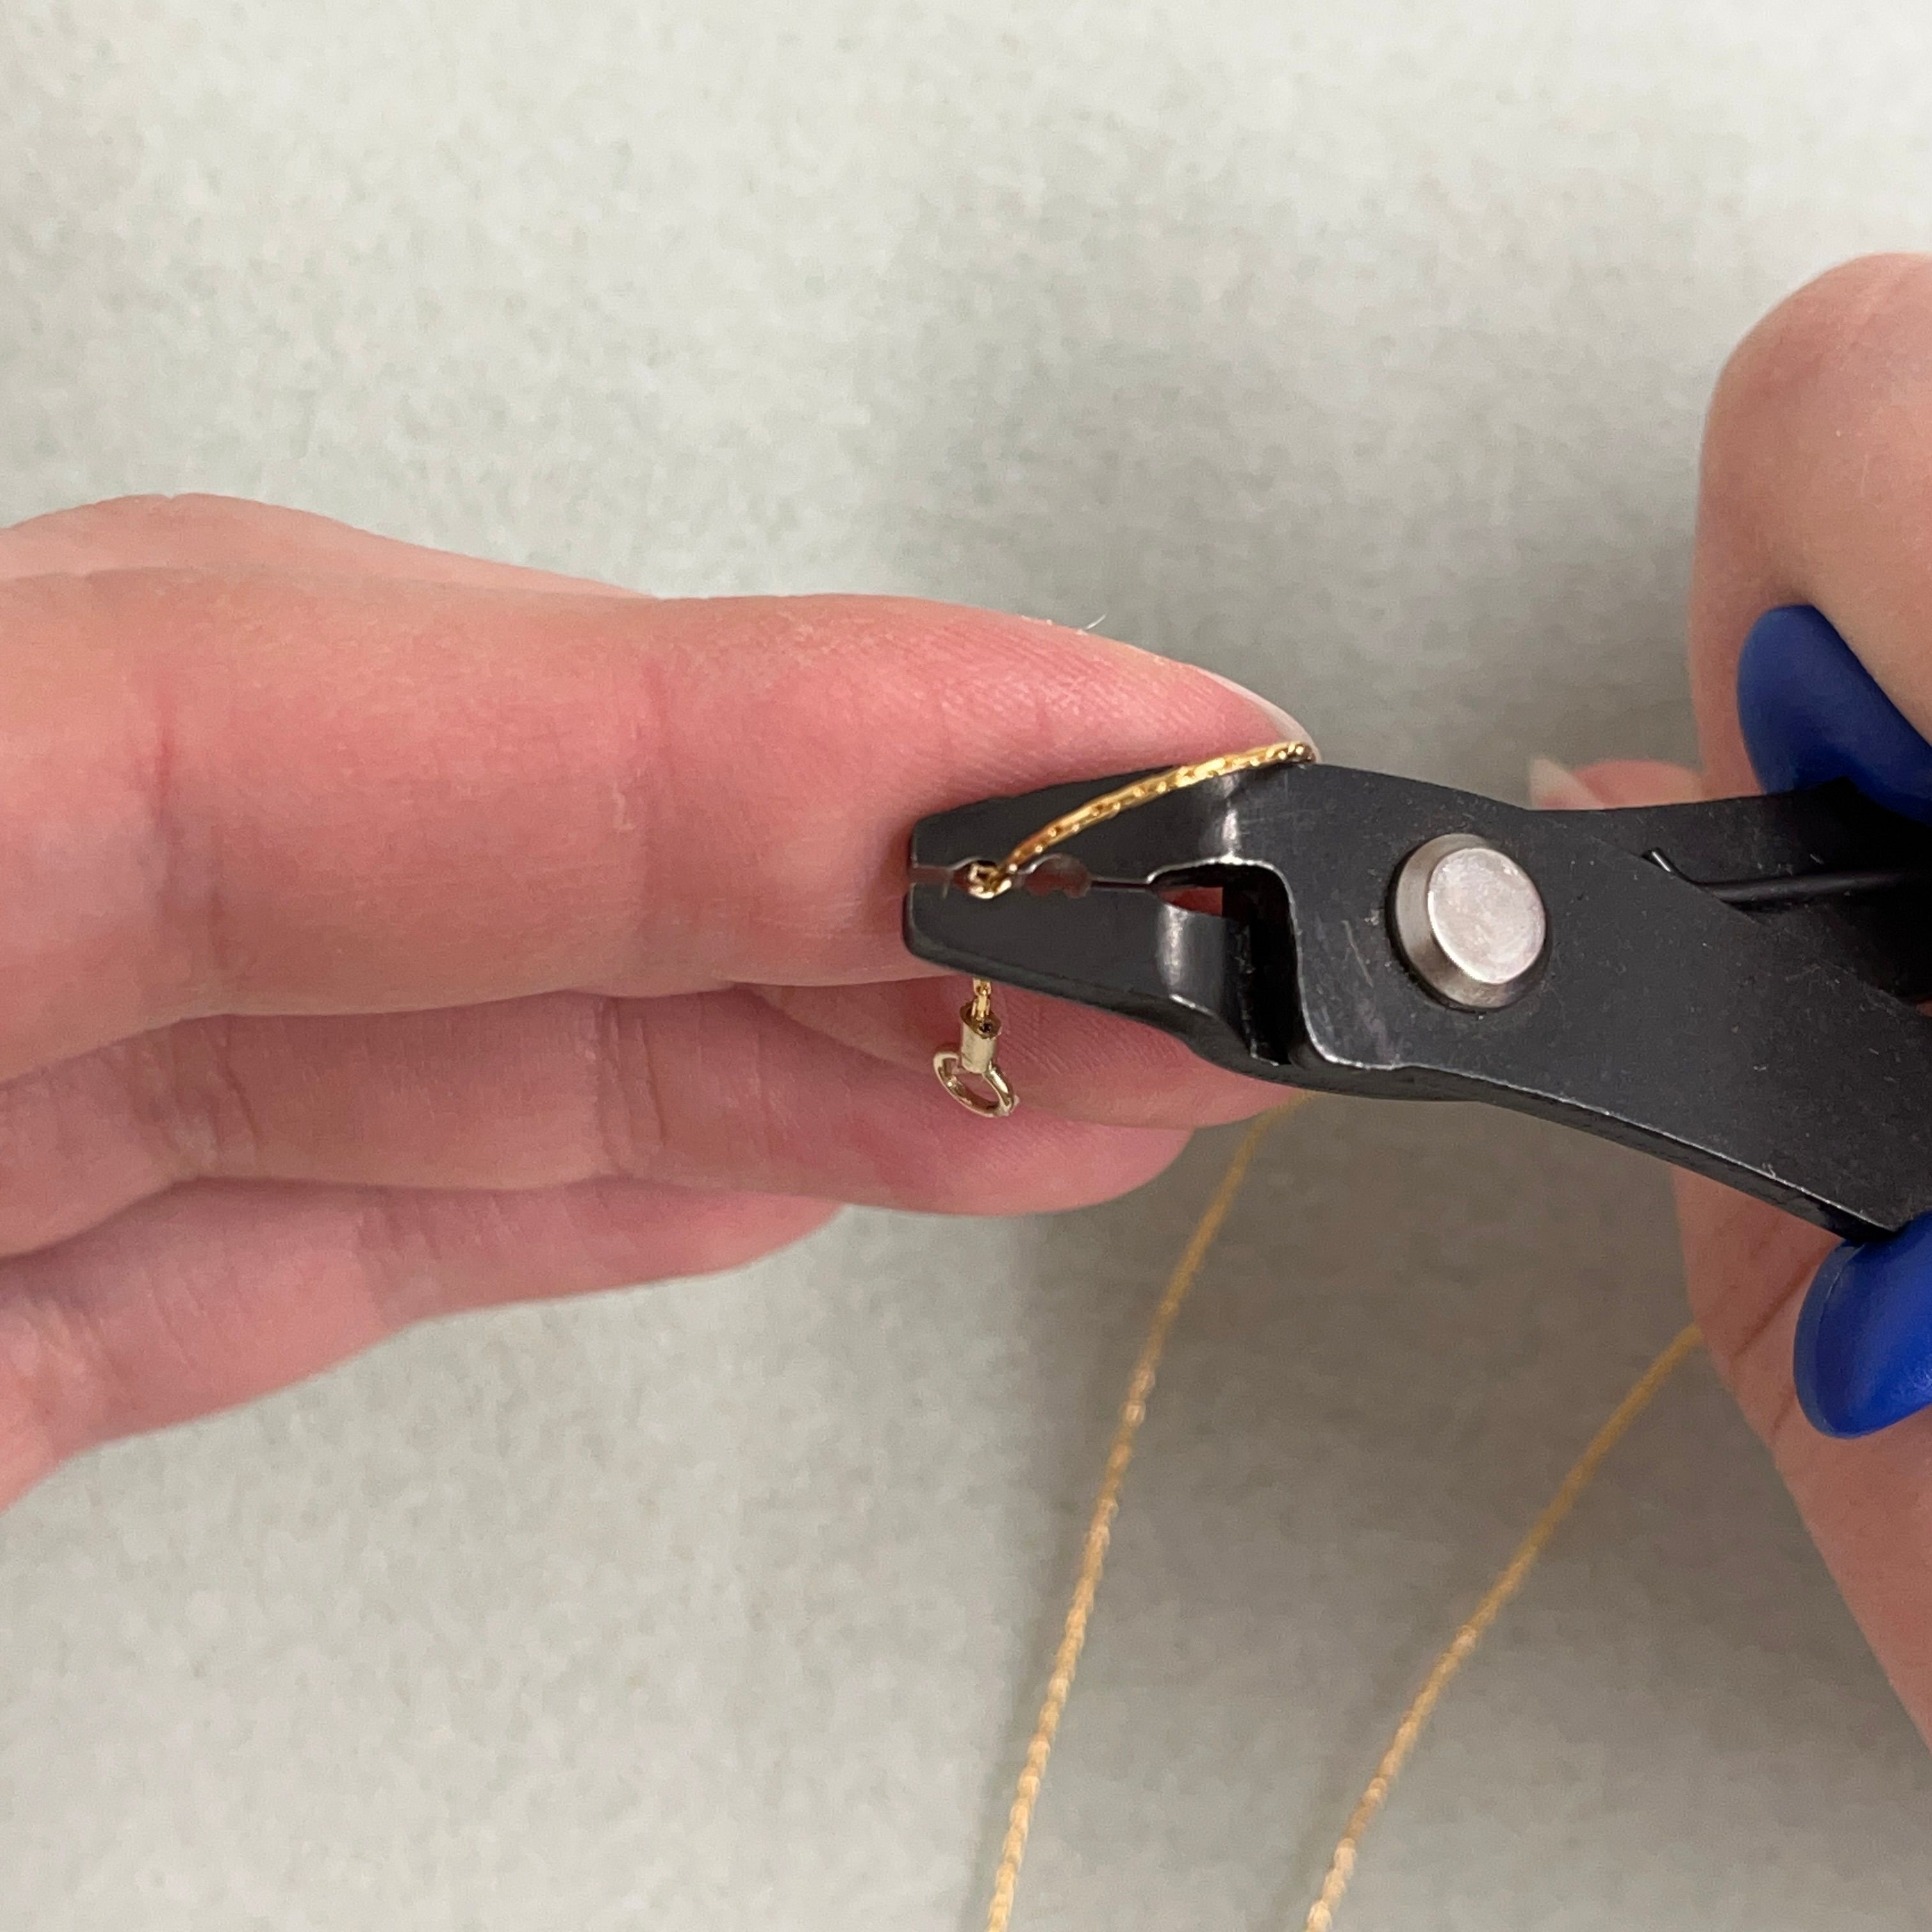
9. Fold over the crimp with the concave section as shown above * you might have to gently keep crimping until the crimp is sturdy on the chain
10. Your project should look like this so far
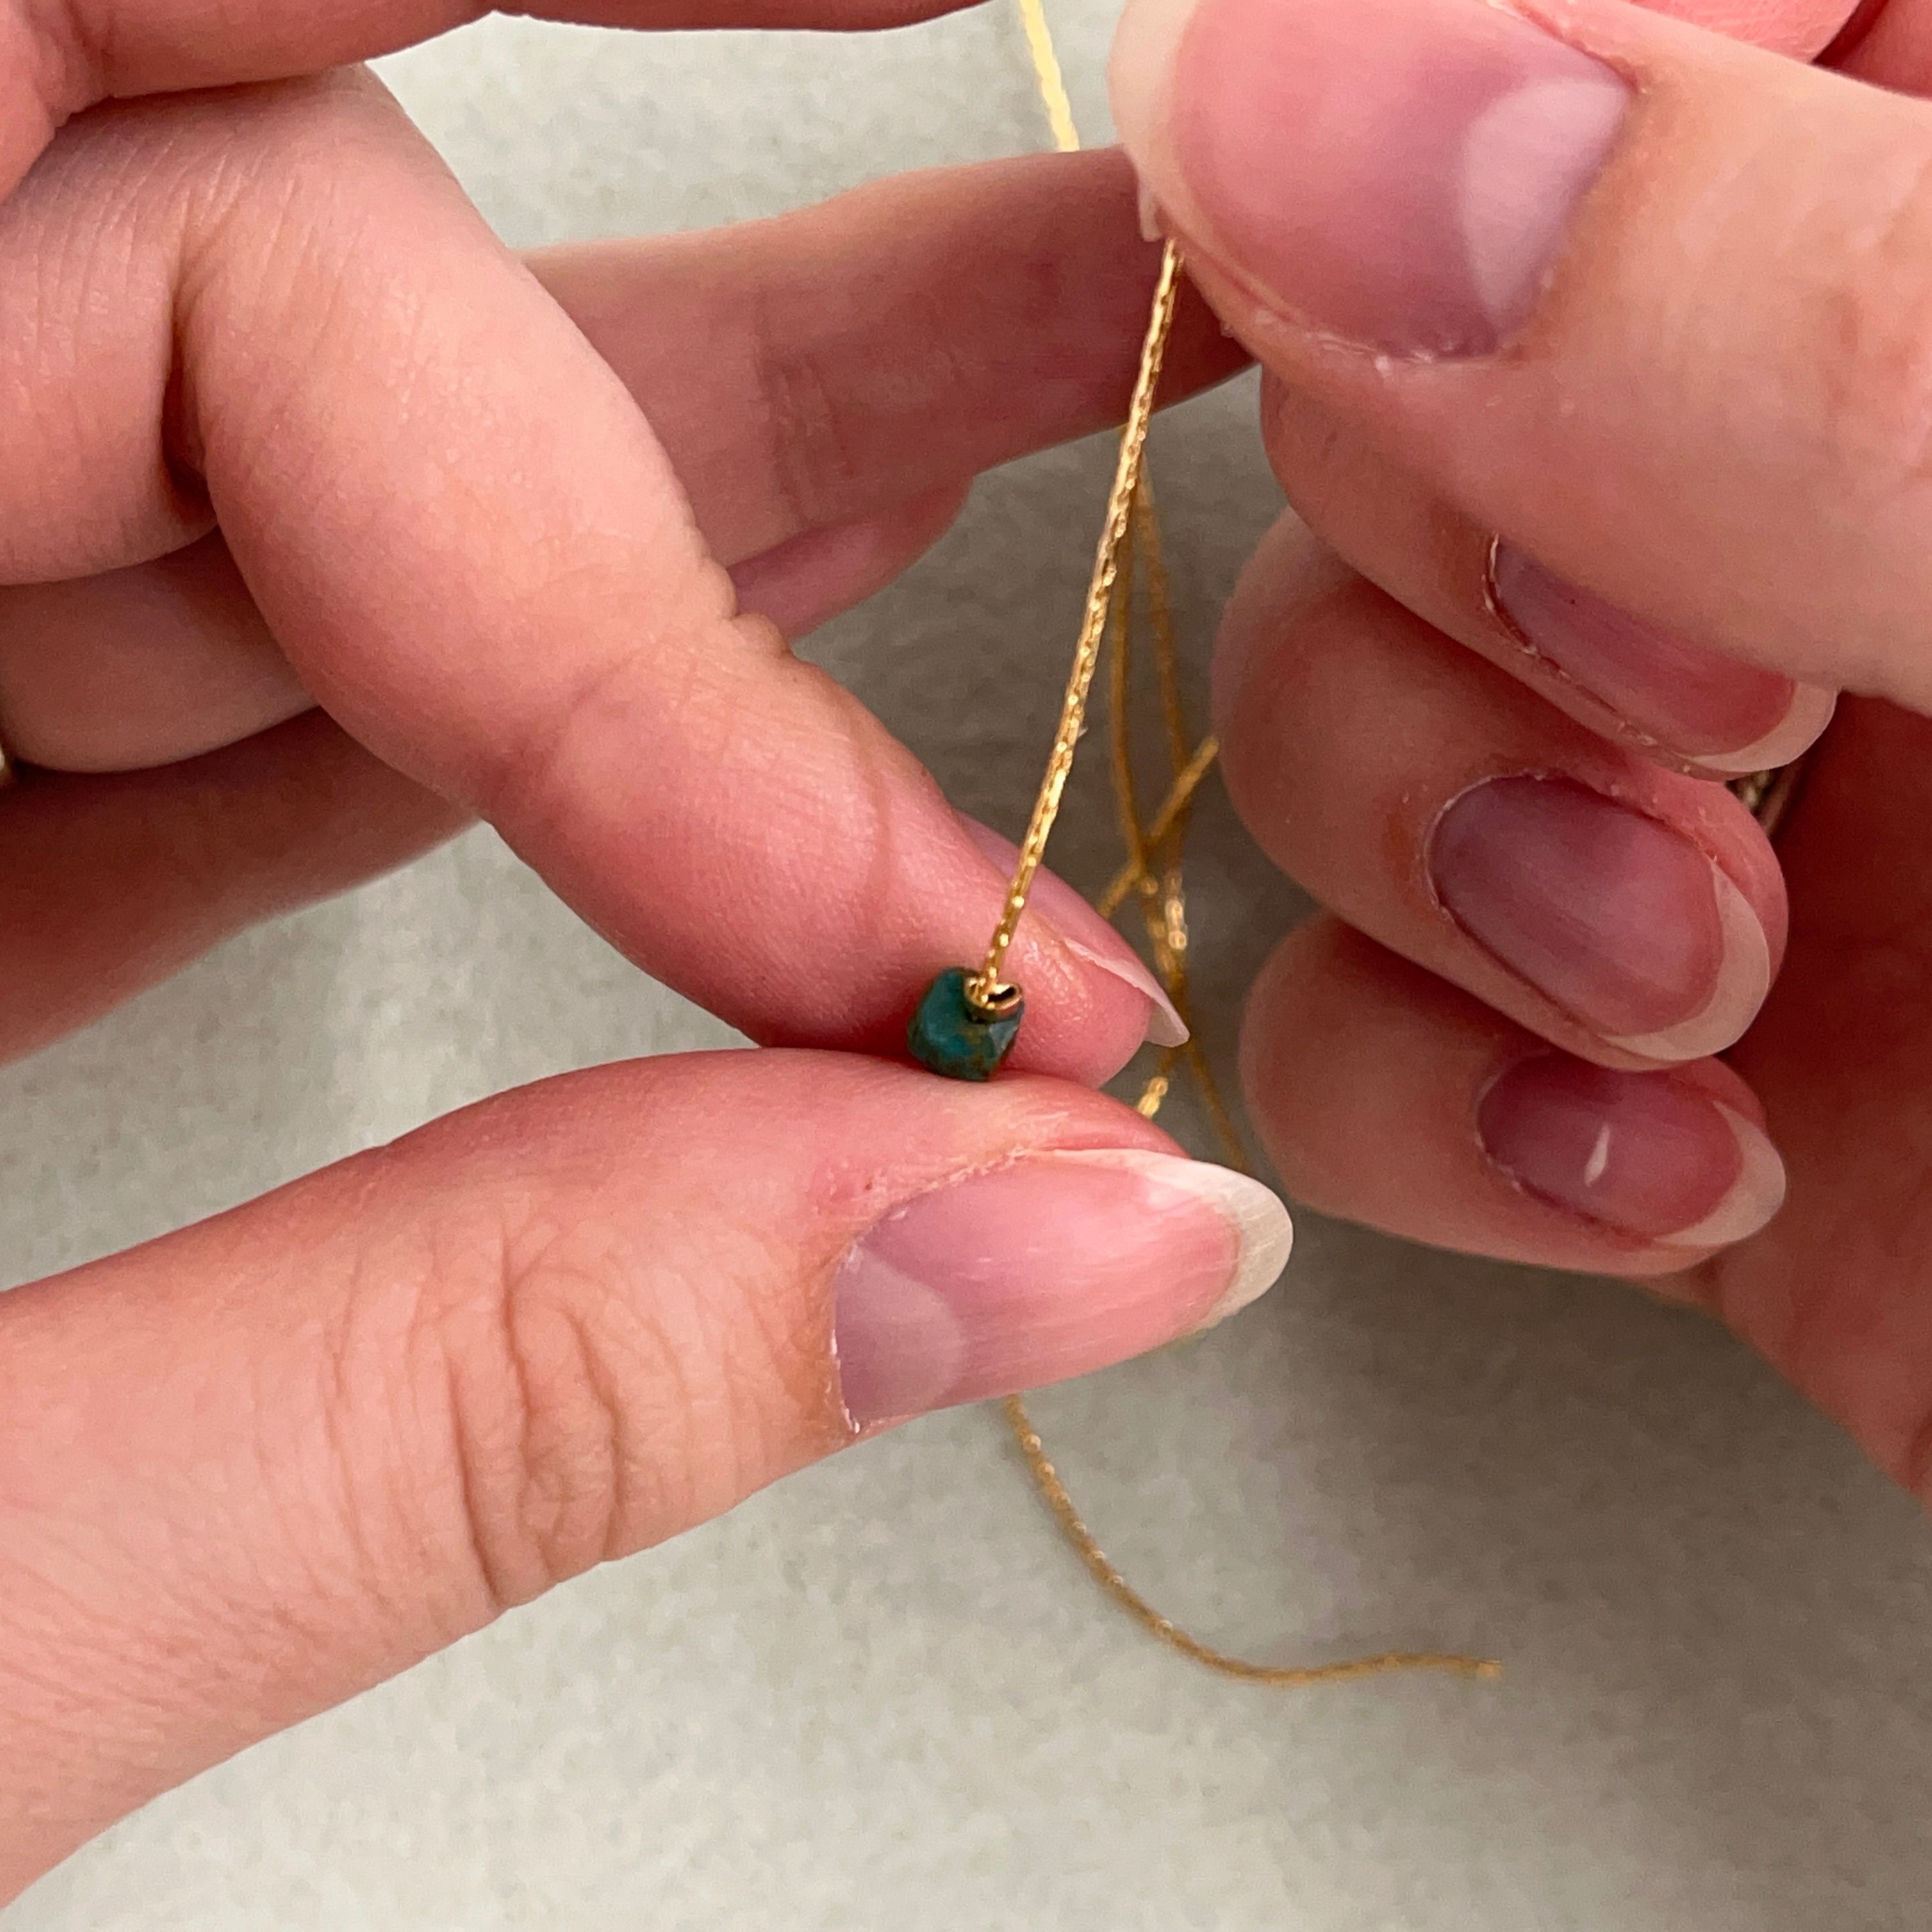
11. Thread on a turquoise 4mm faceted cube bead (or bead of your choice)
12. Thread on a crimp bead
13. Take your crimping pliers and crimp at the grooved section of the pliers as shown above - Make sure the crimp is touching the turquoise bead
14. The crimp will look like this
15. Fold over the crimp - make sure it is secure around the chain
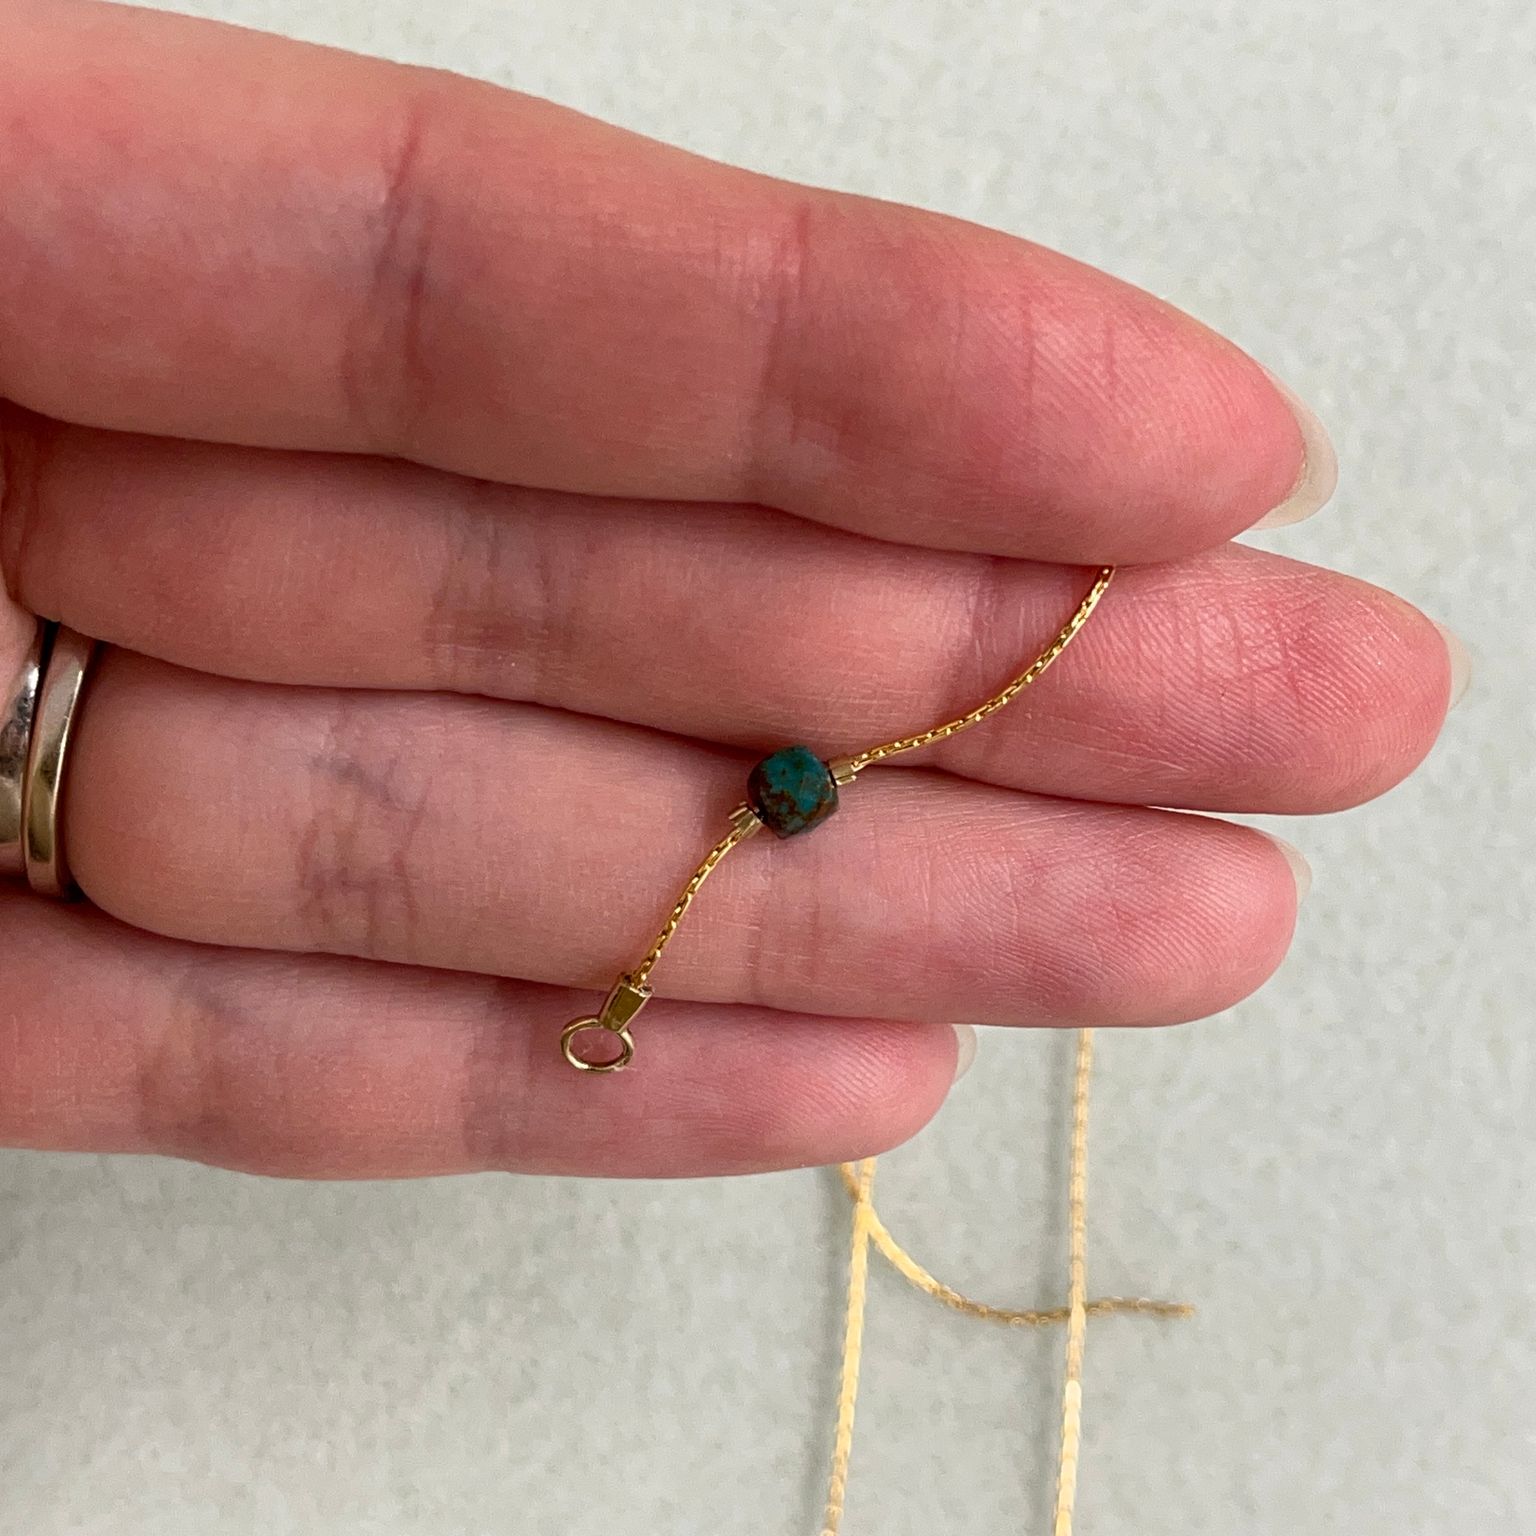
16. Your project will look like this so far - first bead done!
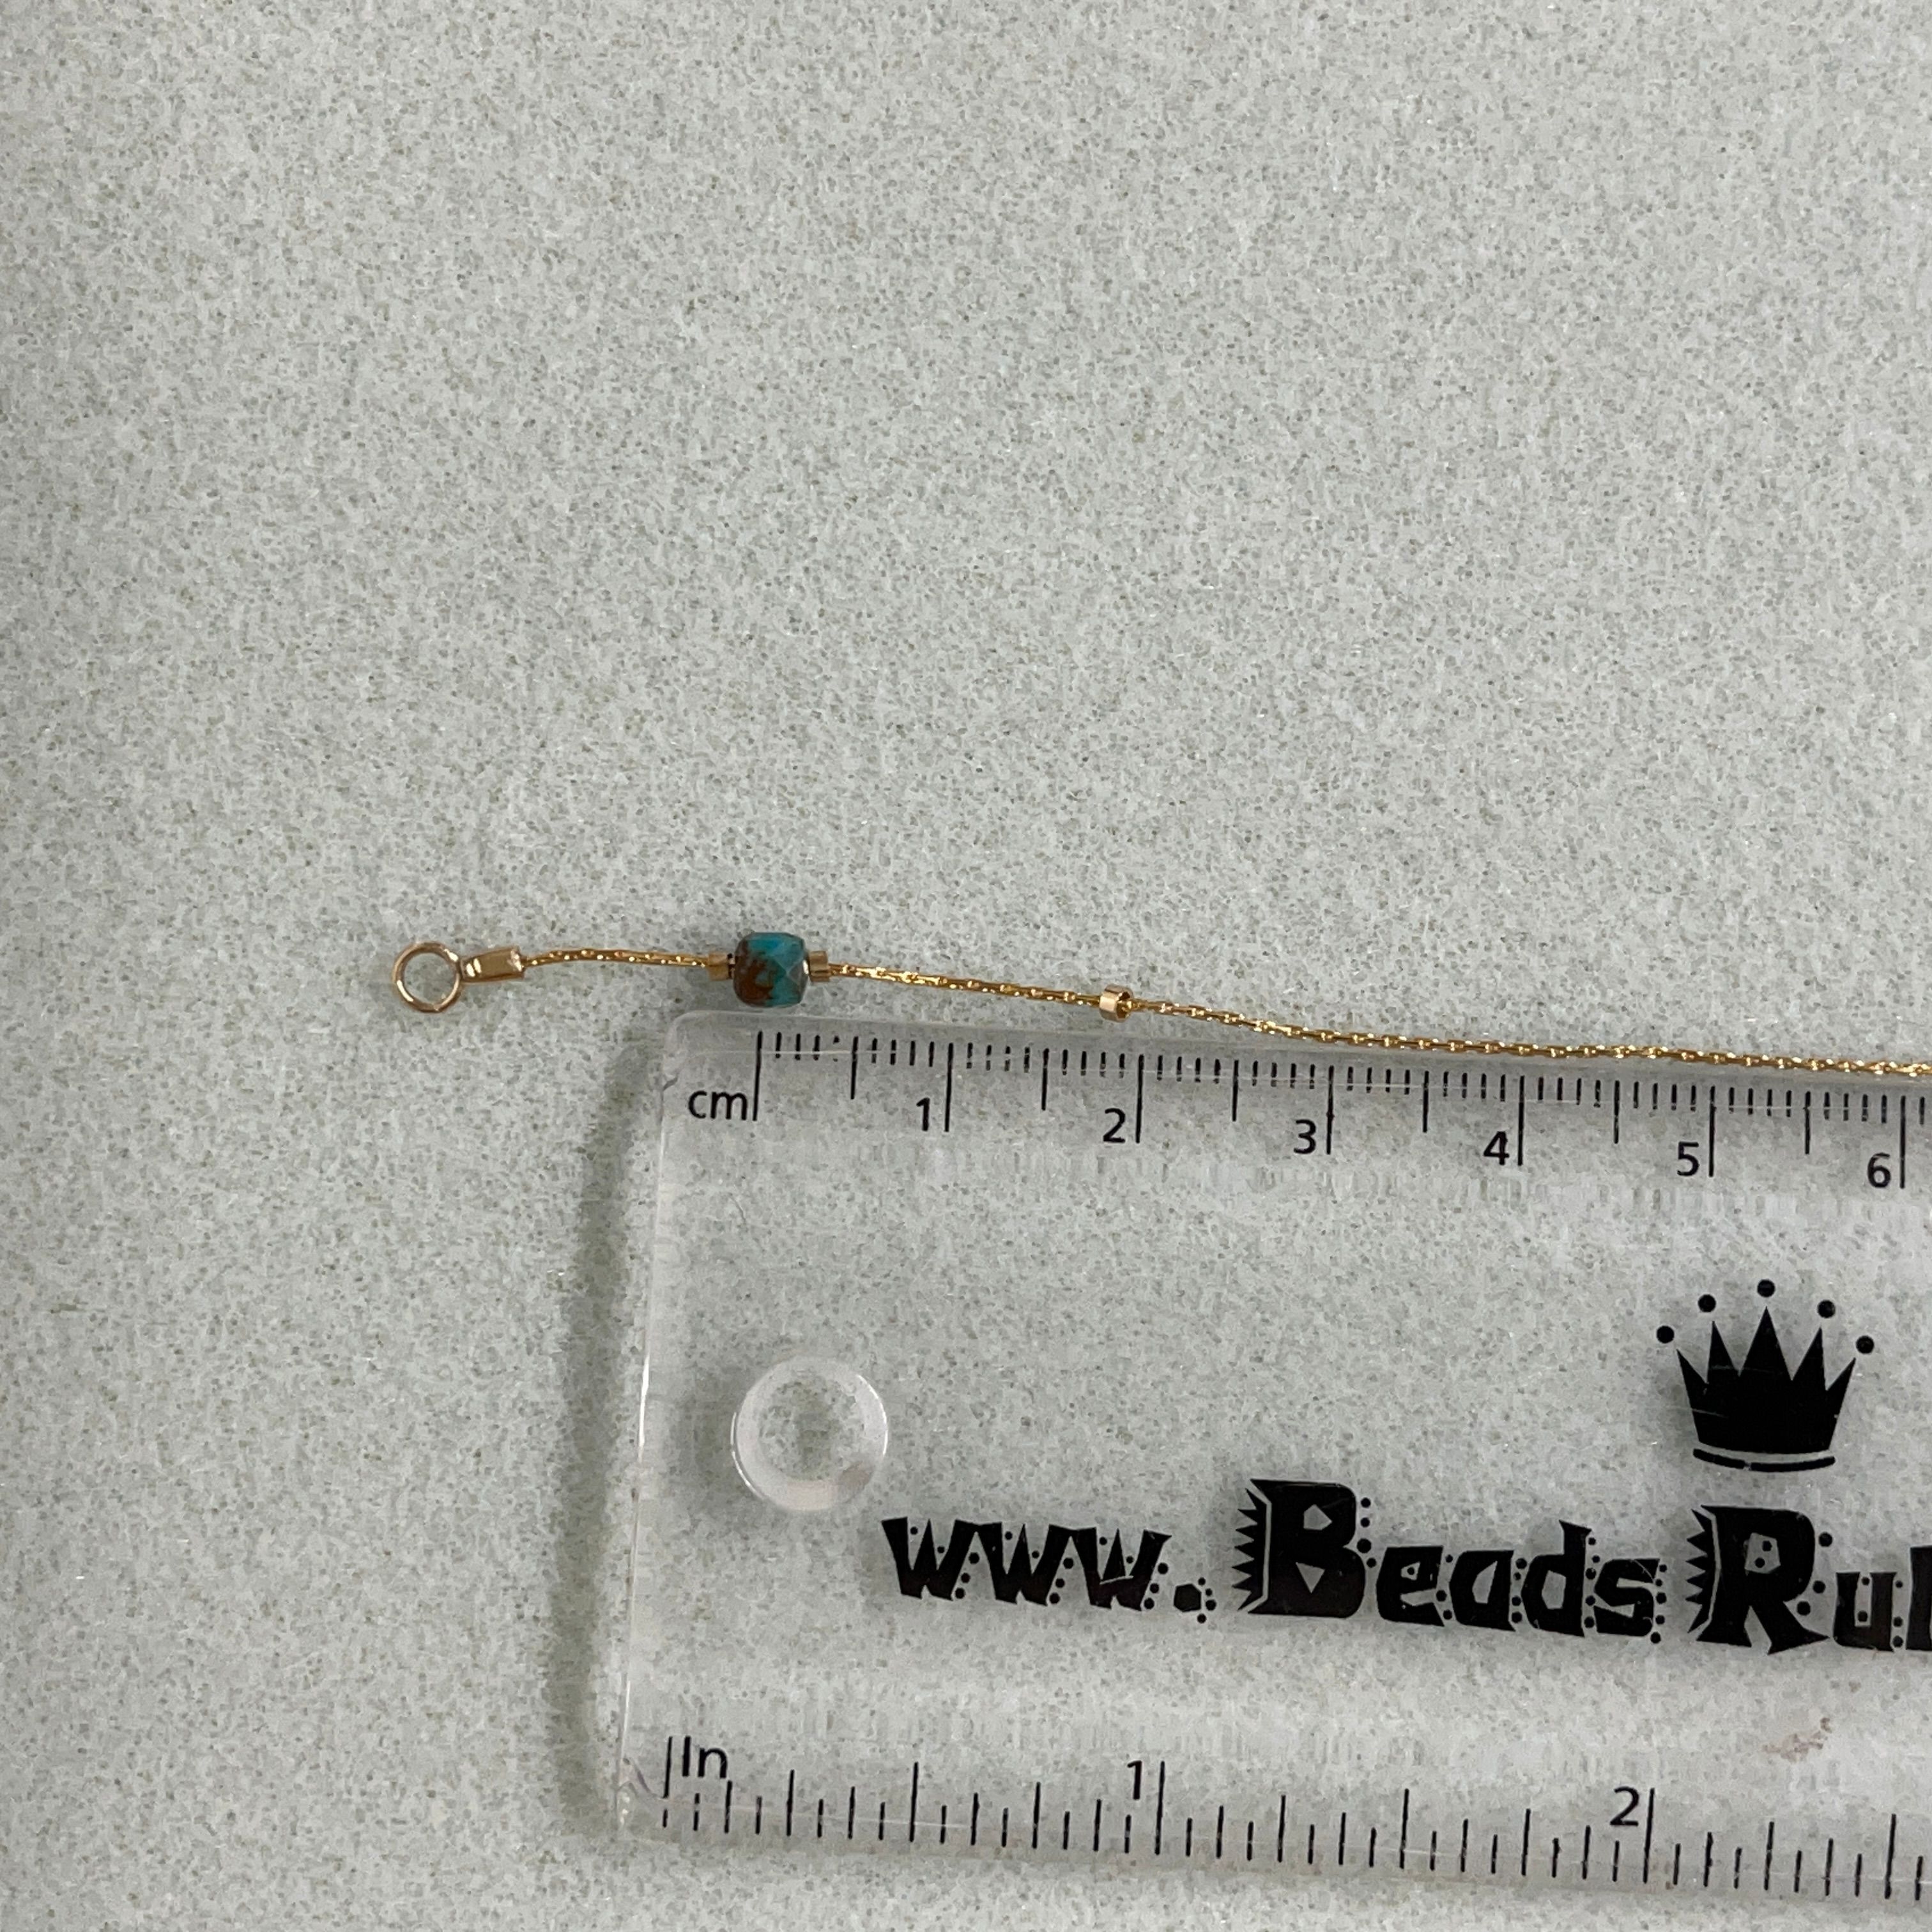
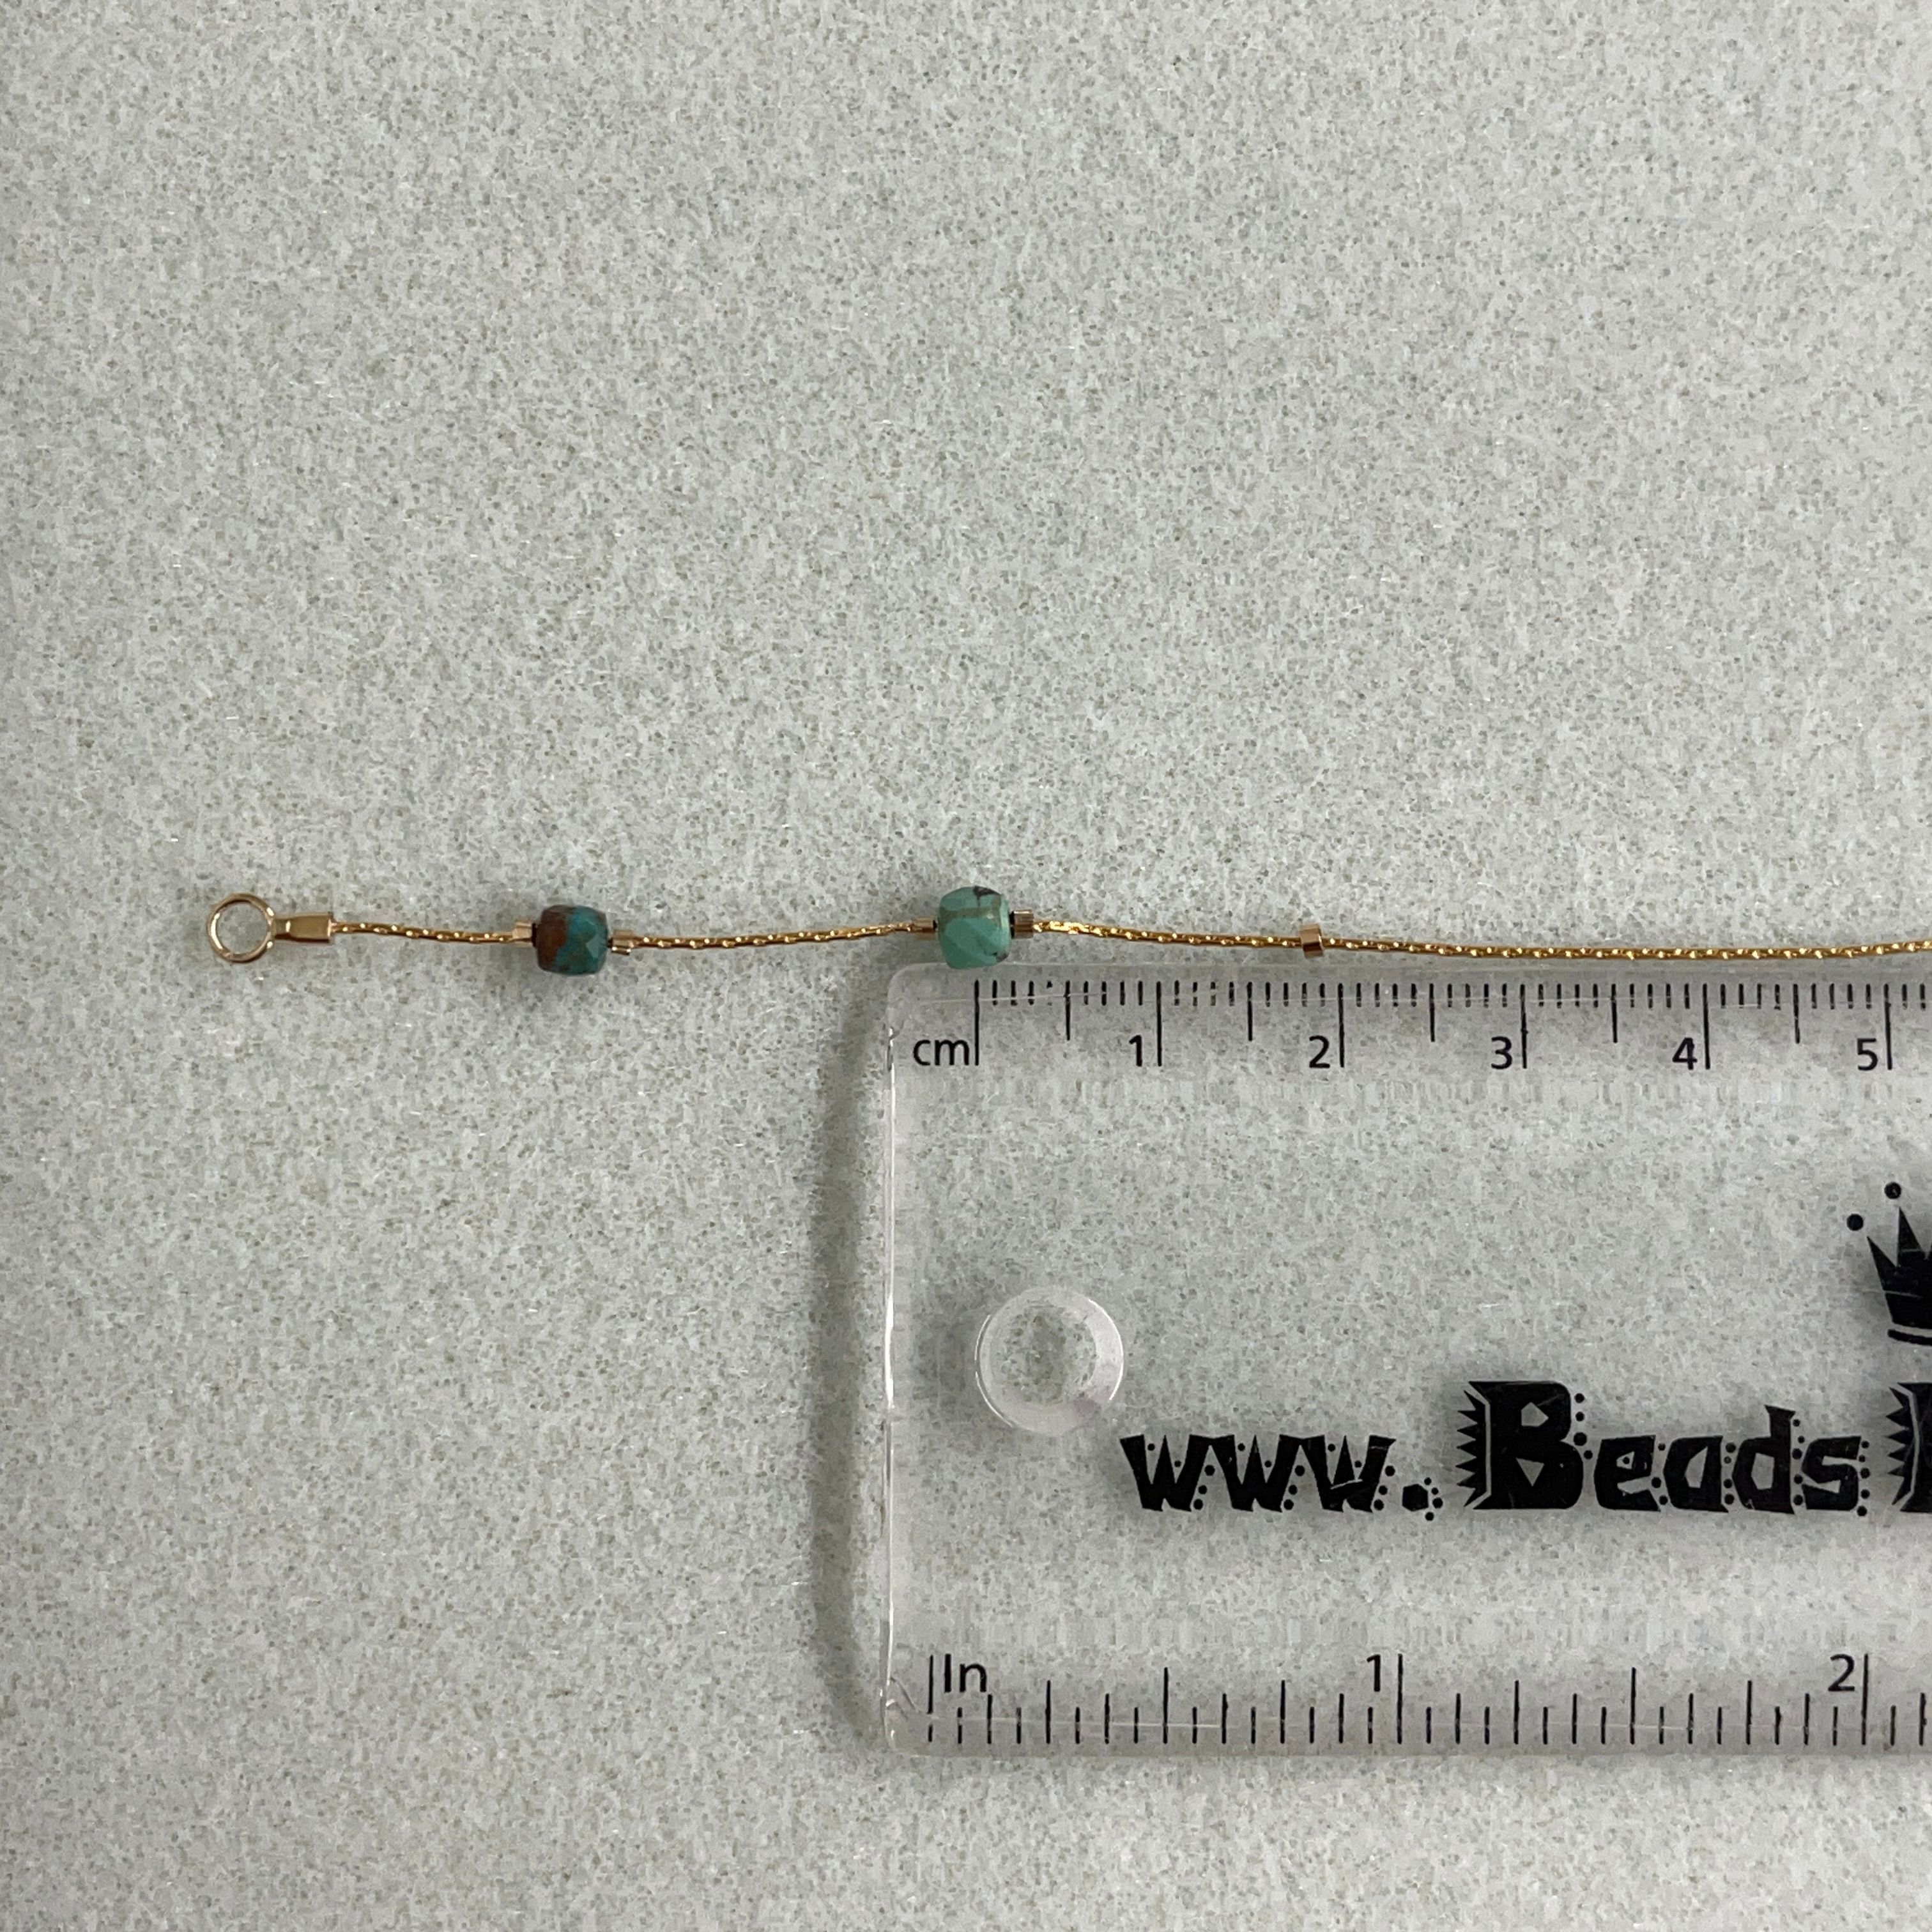
17. * We want each turquoise bead to measure 2 cm apart* Thread on a crimp and pull out your ruler. You want the crimp to lay just before 2cm so the turquoise bead you will then add will be right at 2cm
18. Gently squish the crimp with your needle nose pliers - just enough to hold the crimp in place on the chain
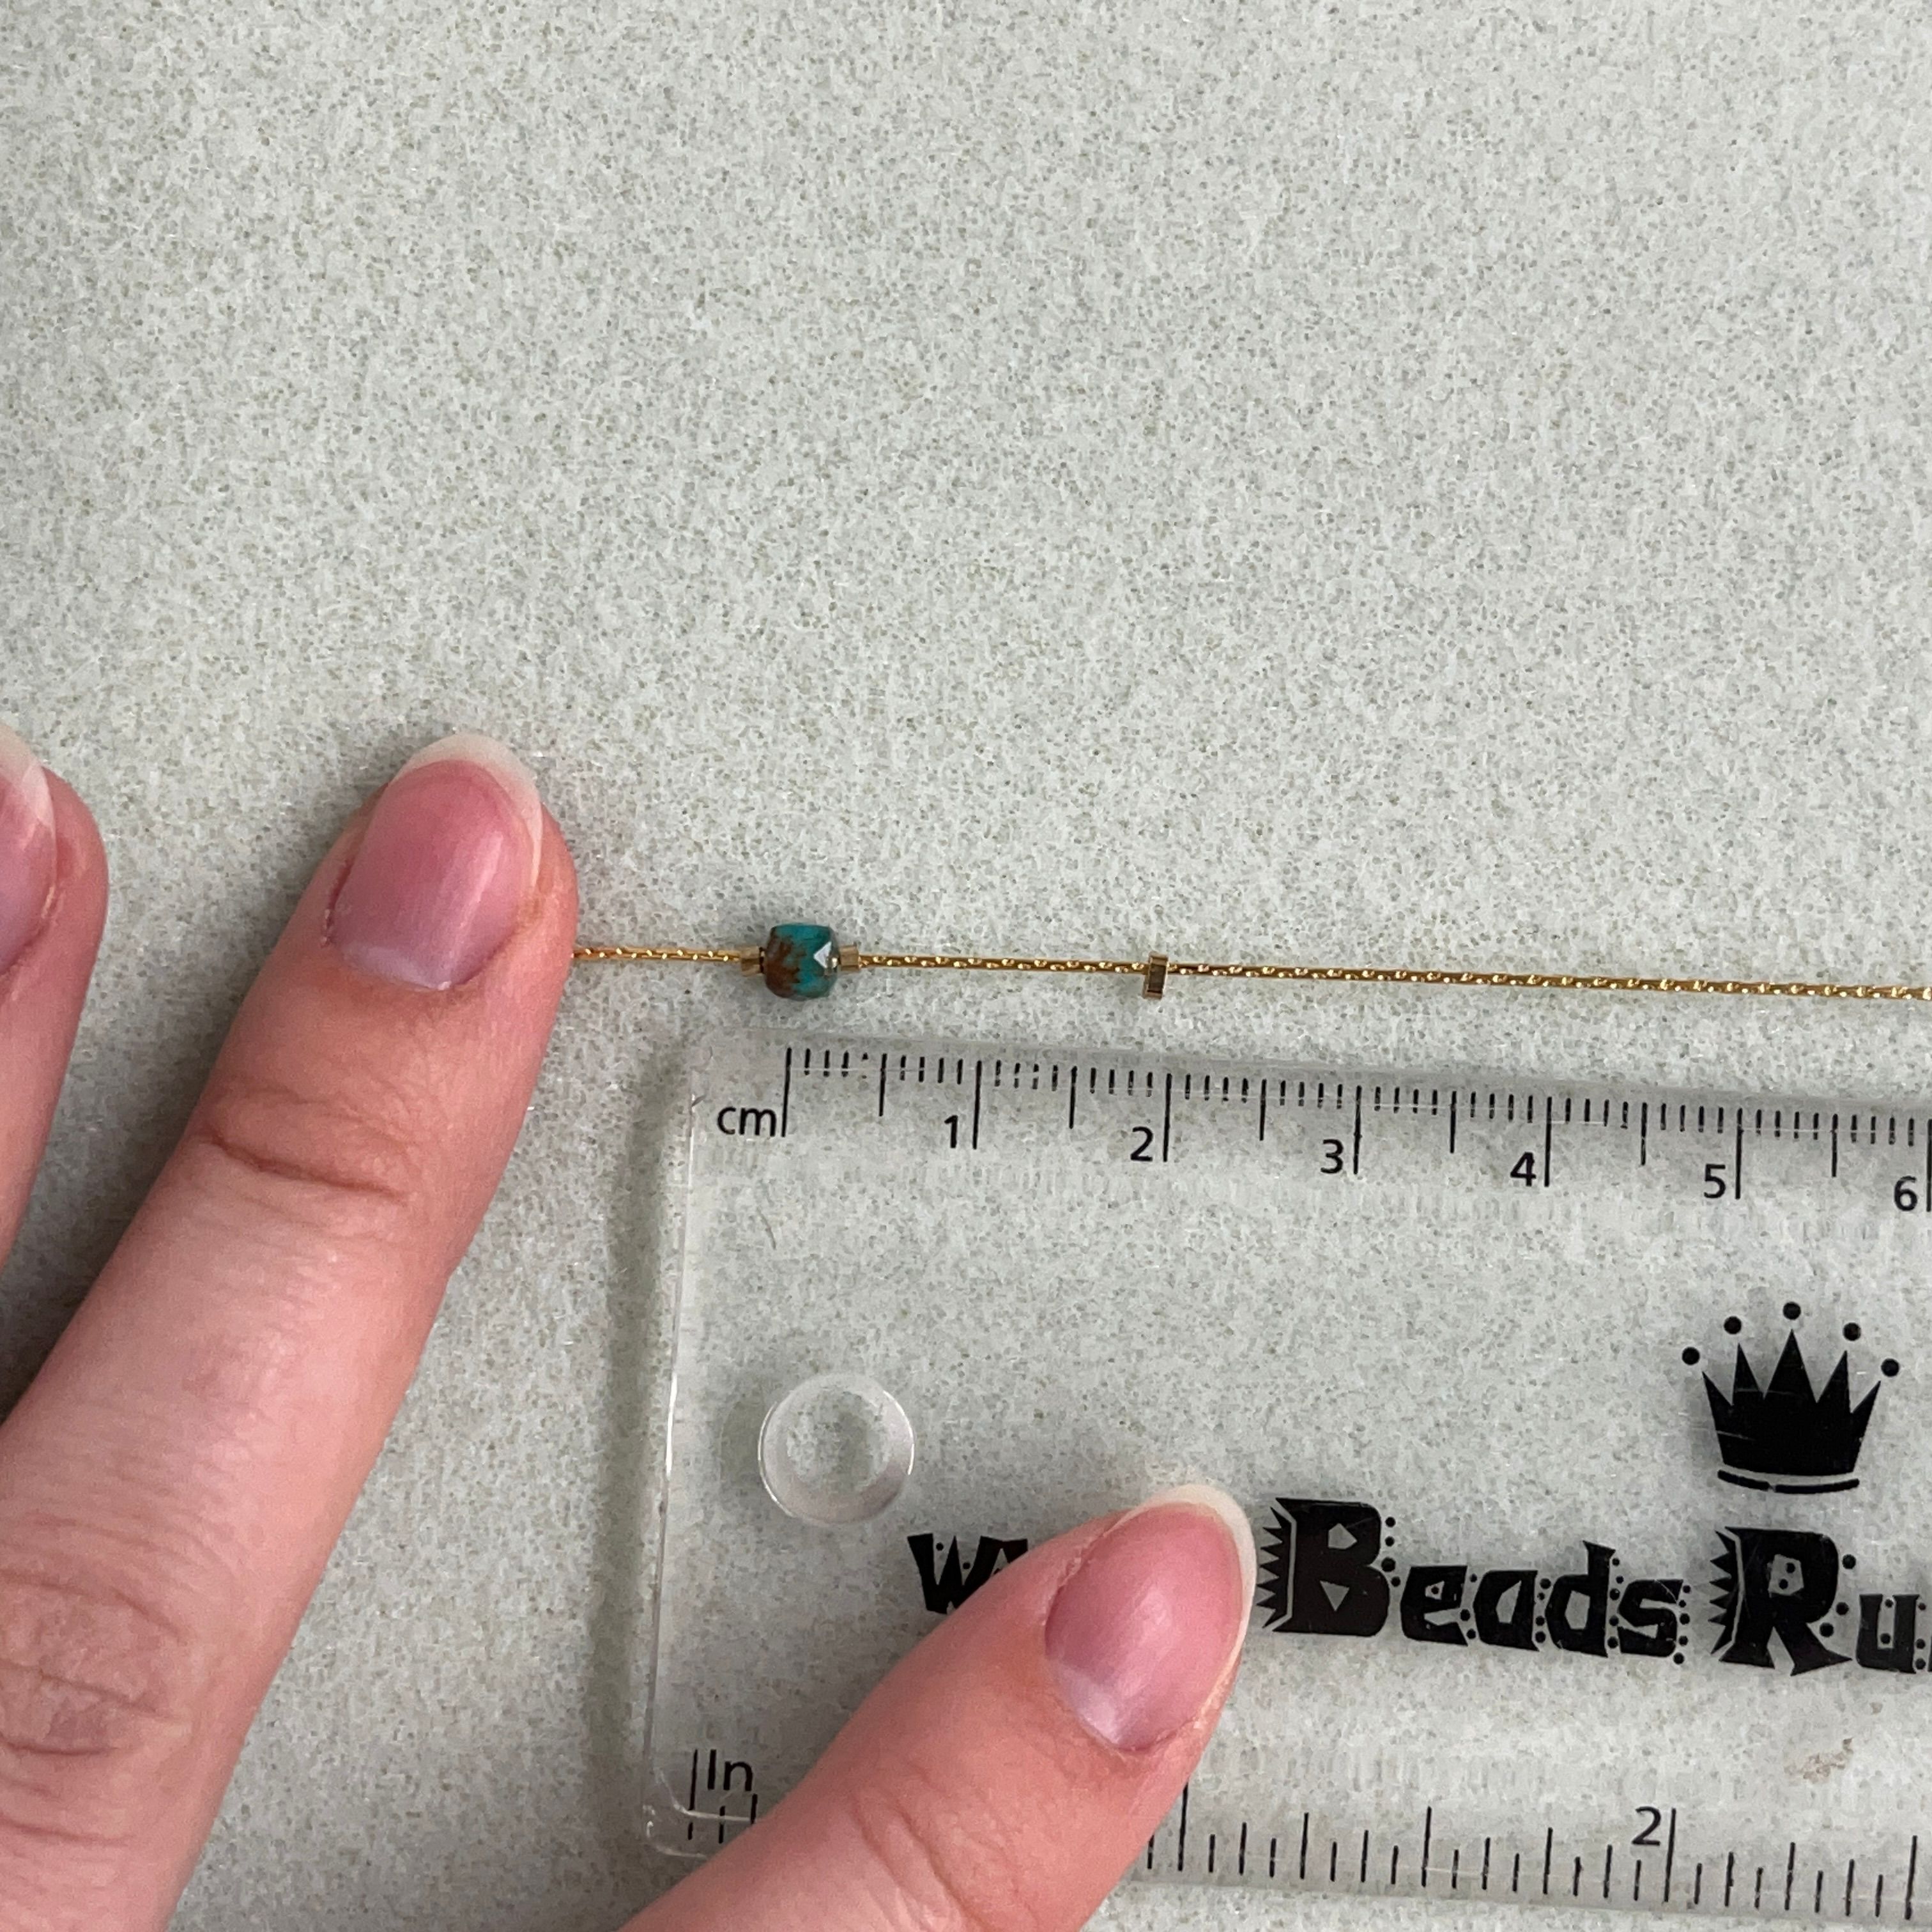
19. It should look like this

20. Take your crimping pliers and crimp at the grooved section of the pliers as shown above - then fold over the crimp
21. Your finished crimp should look like this - nice and secure on the chain
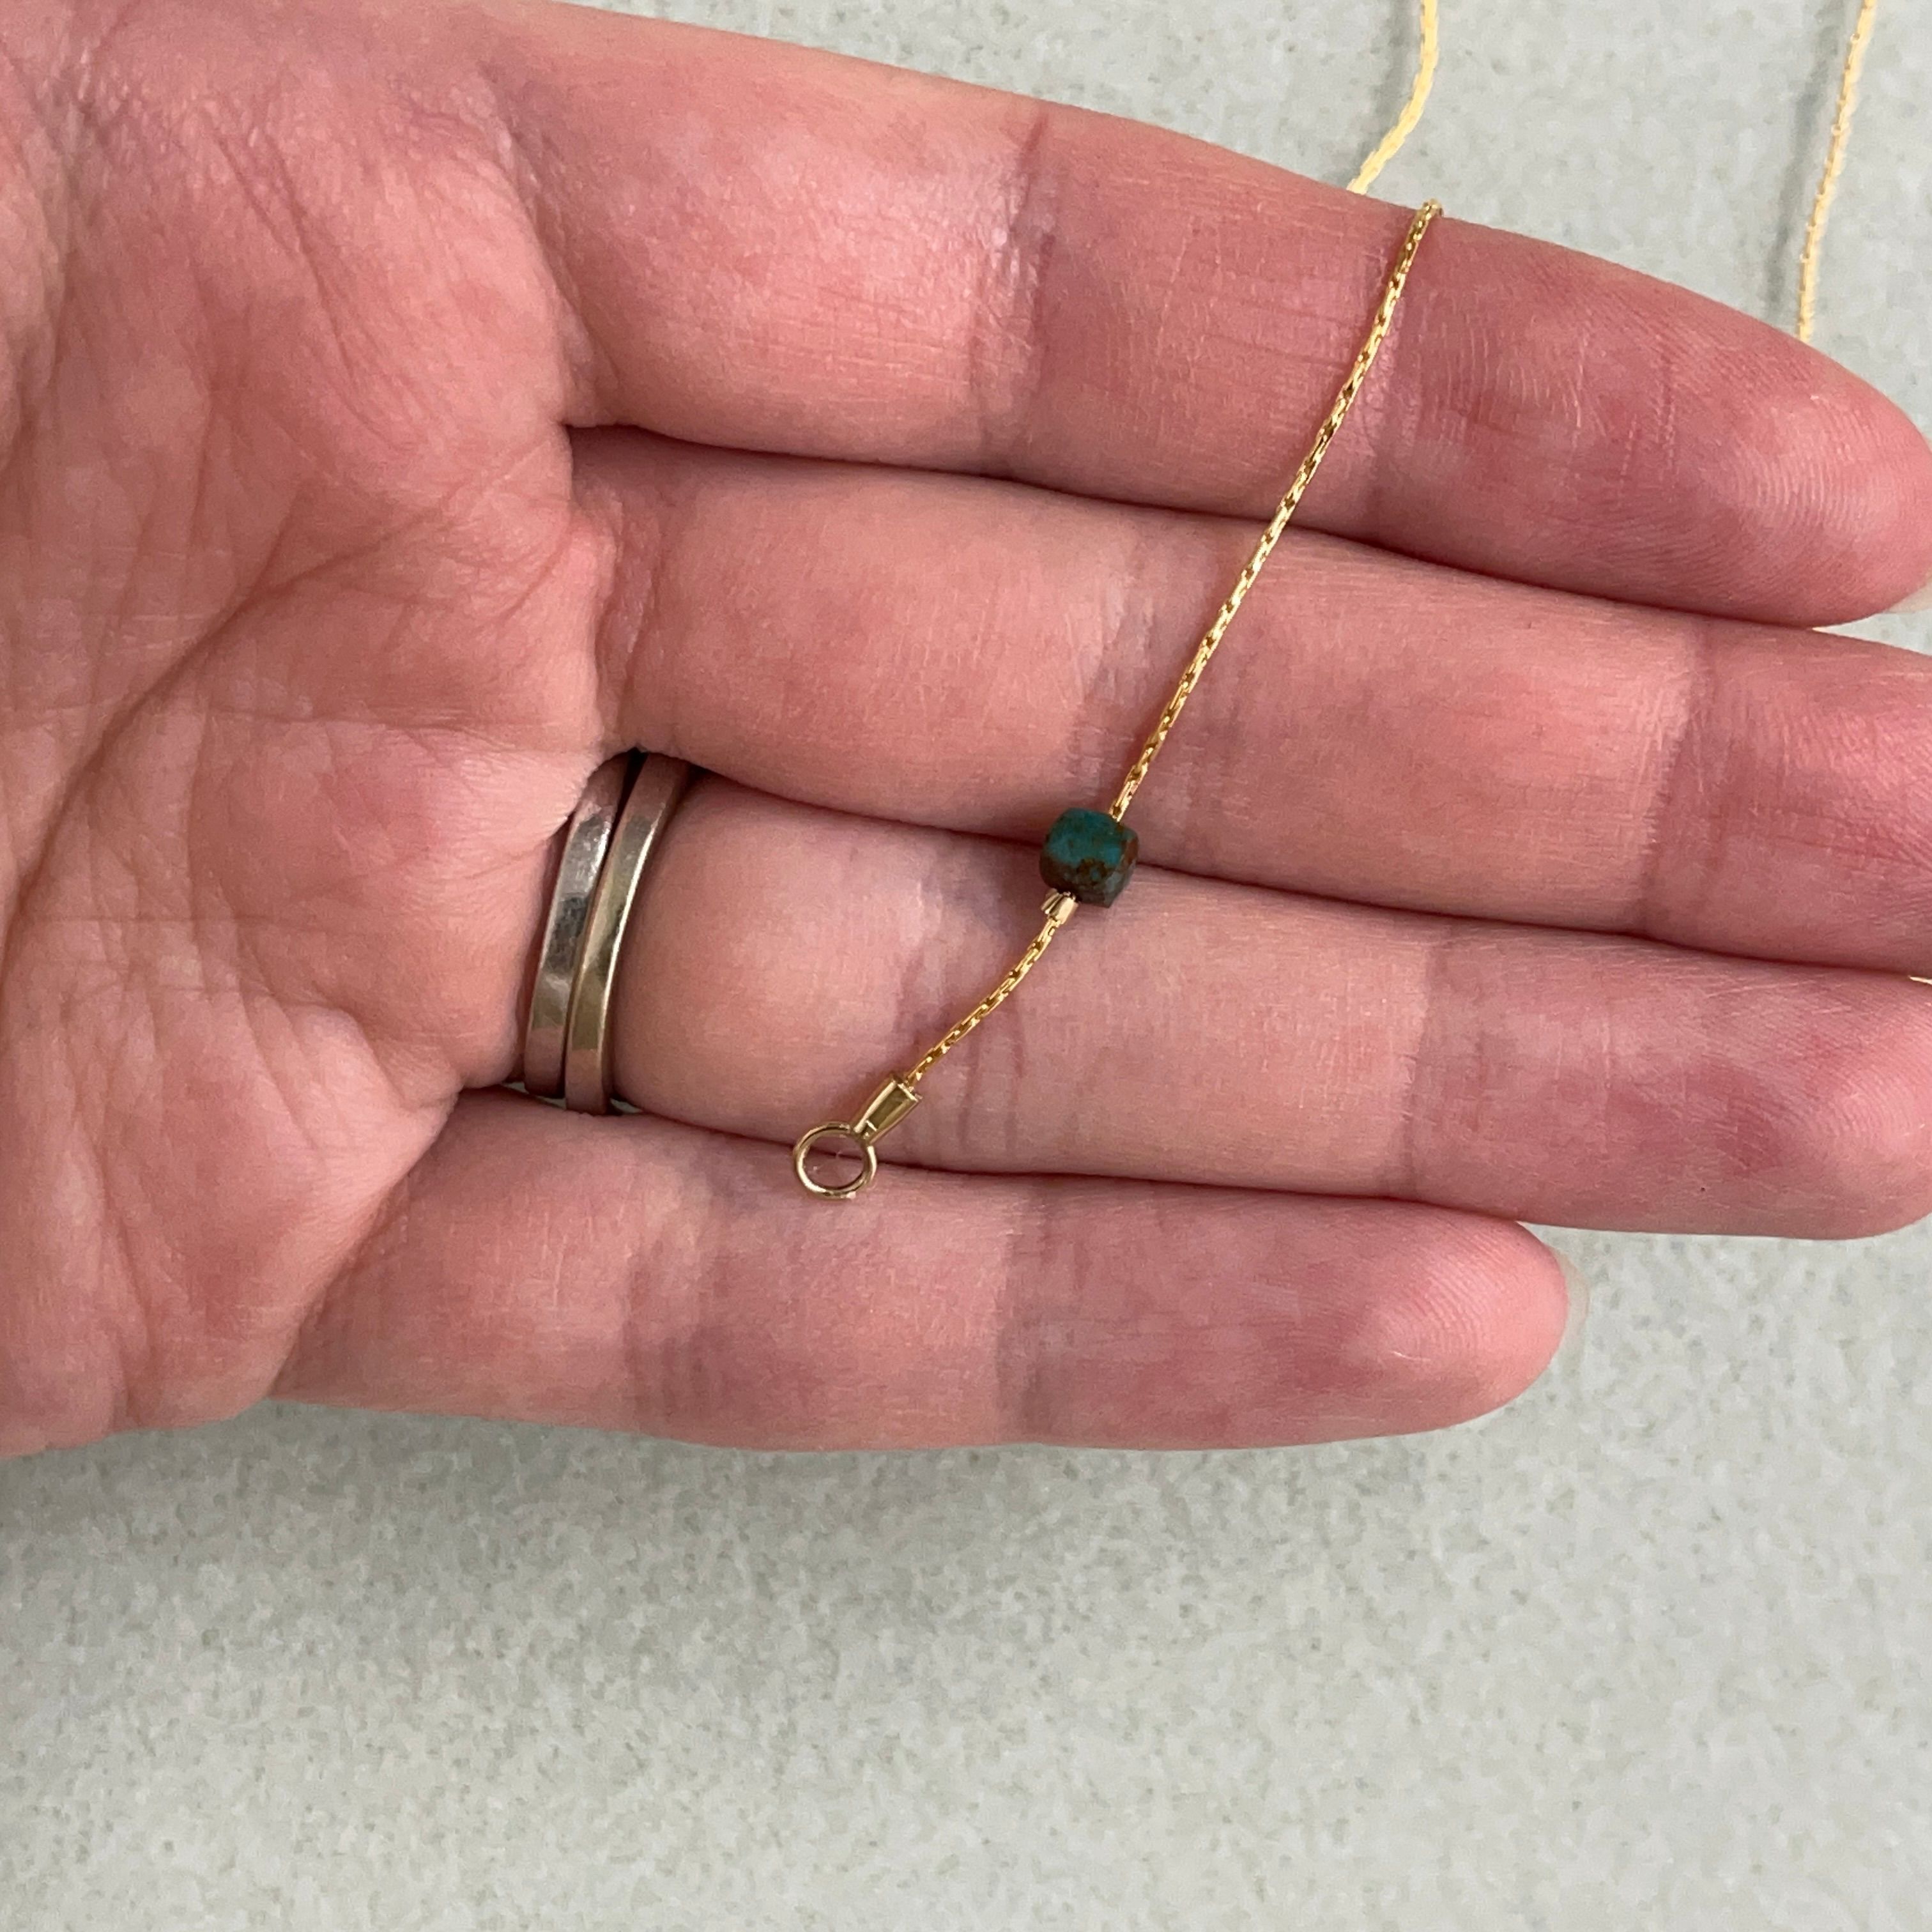
22. Thread on your turquoise bead

23. Thread on a crimp bead and crimp at the grooved section of the pliers as shown above
24. Fold over the crimp - making sure the crimp is secure on the chain
25. Your project should look like this so far
26. Repeat step 17 through 21 - making sure the crimp is just before the 2 cm mark
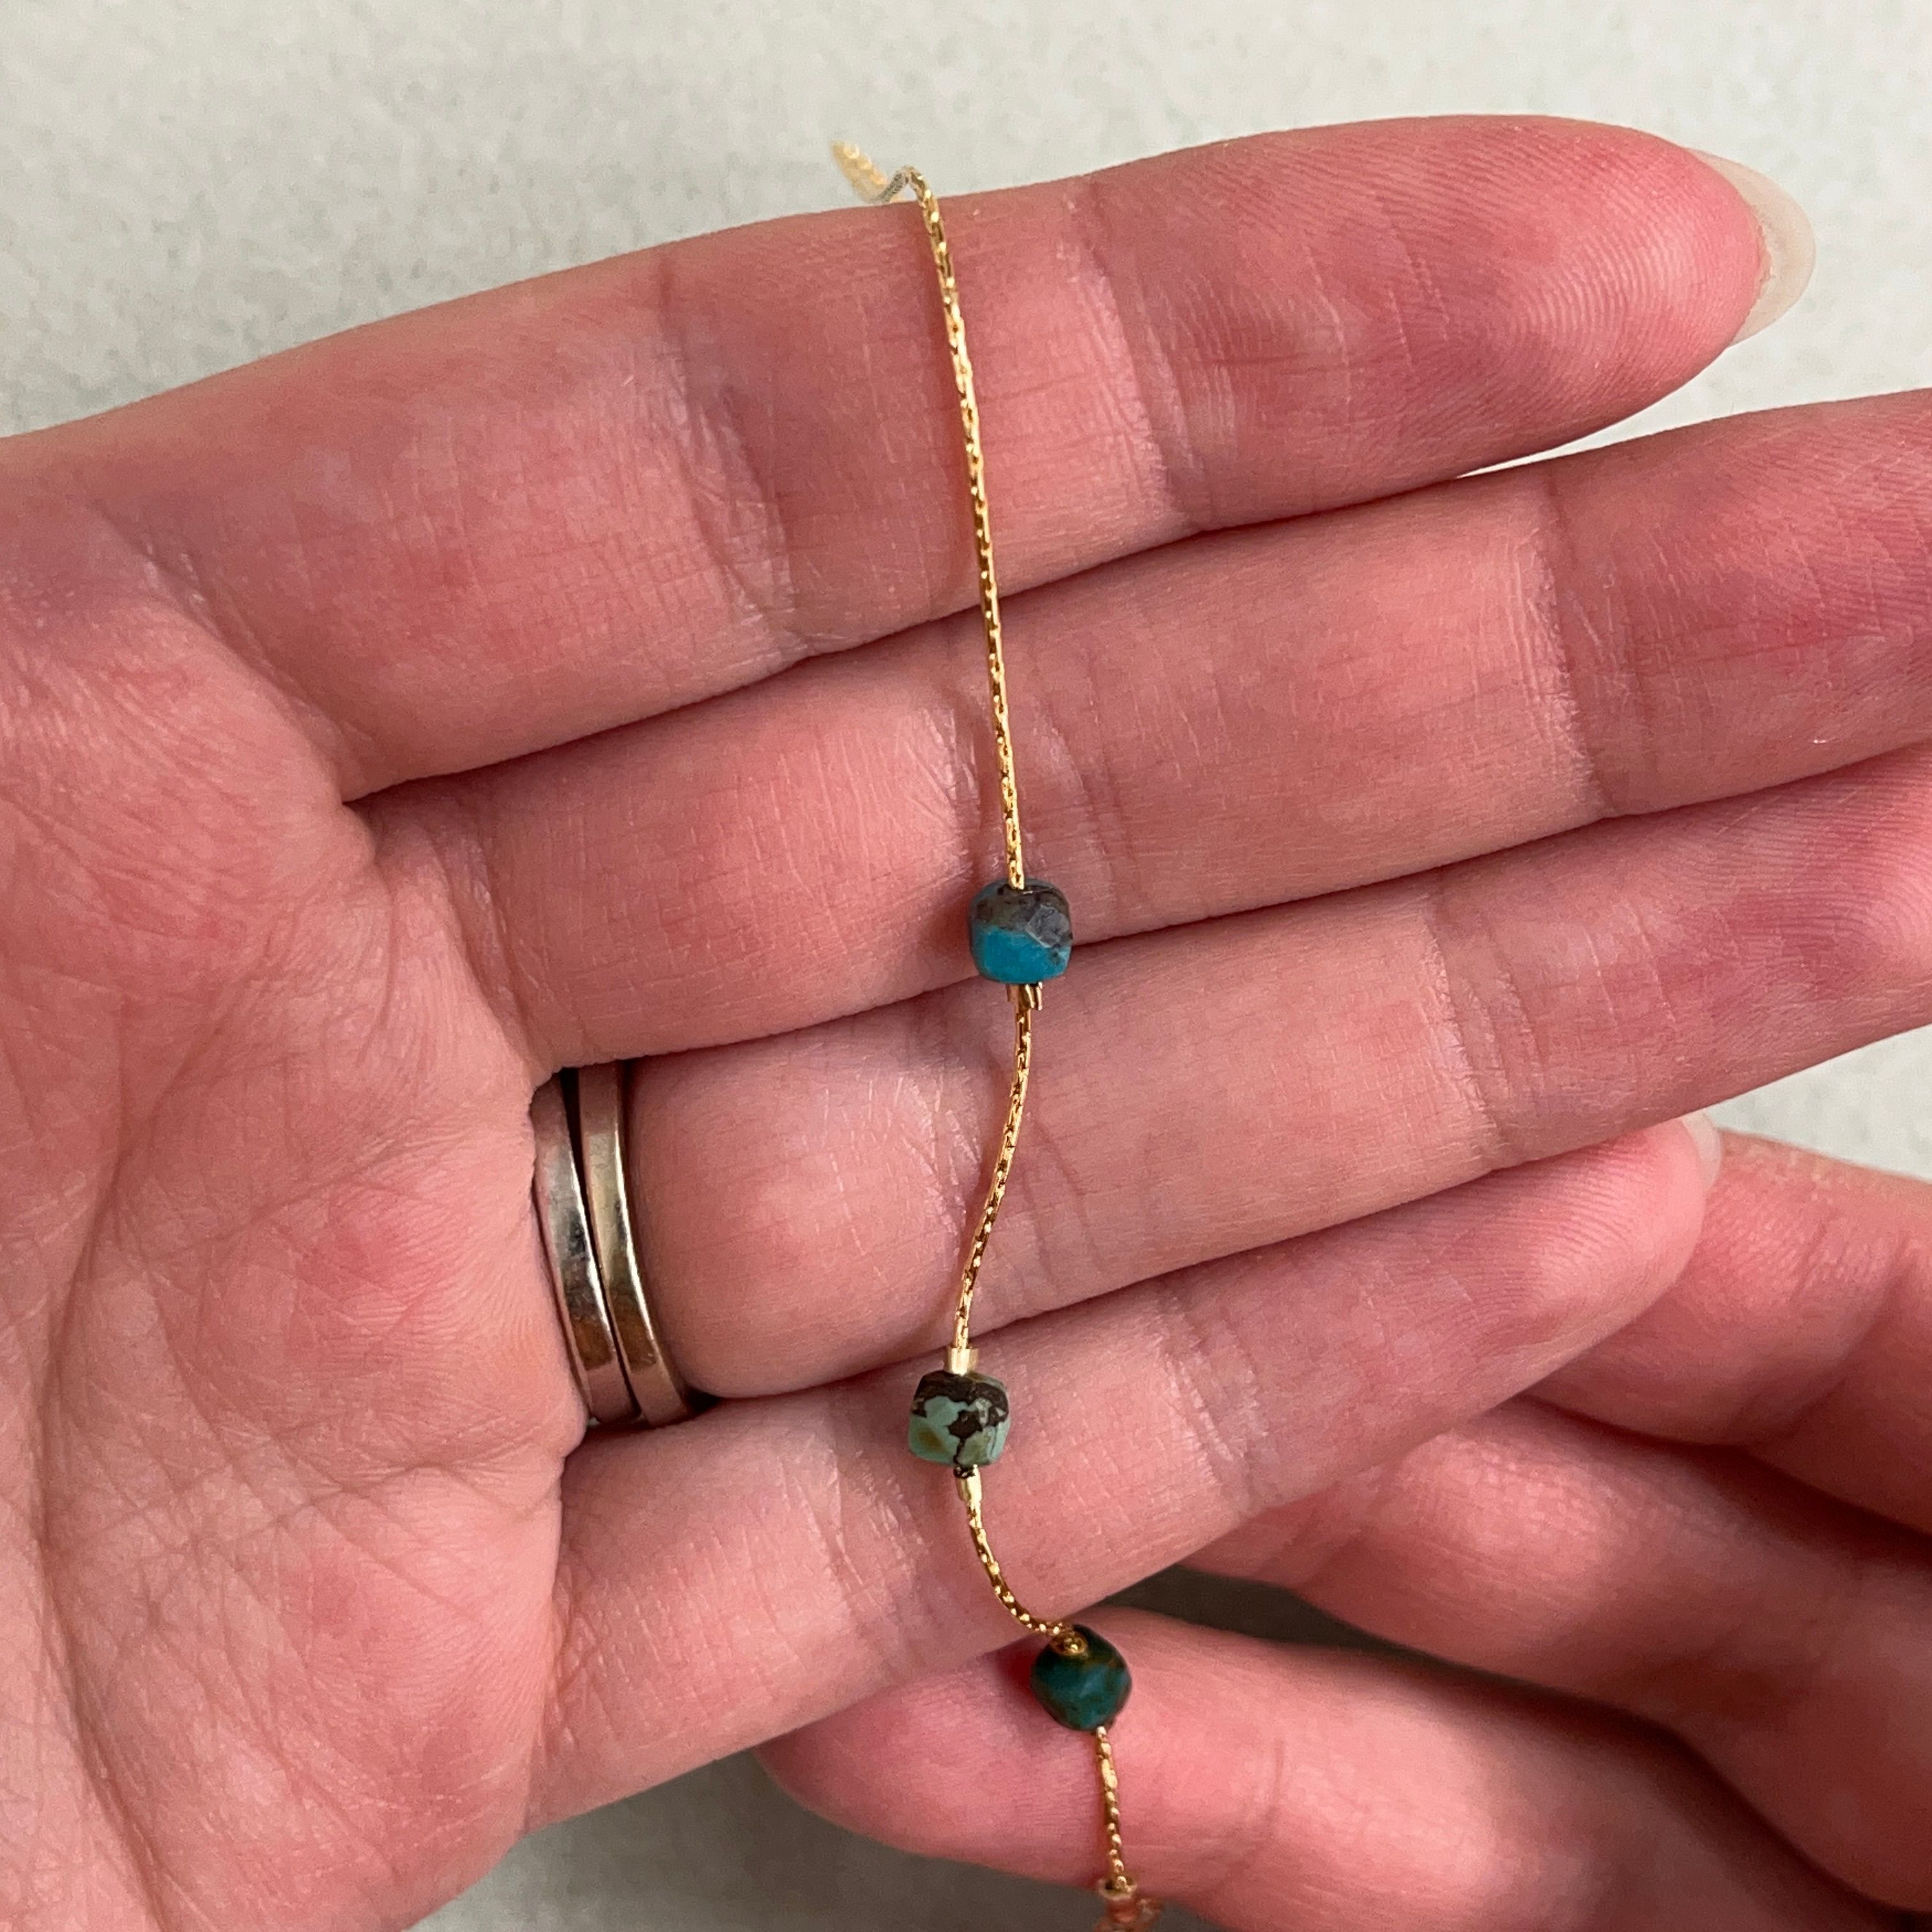
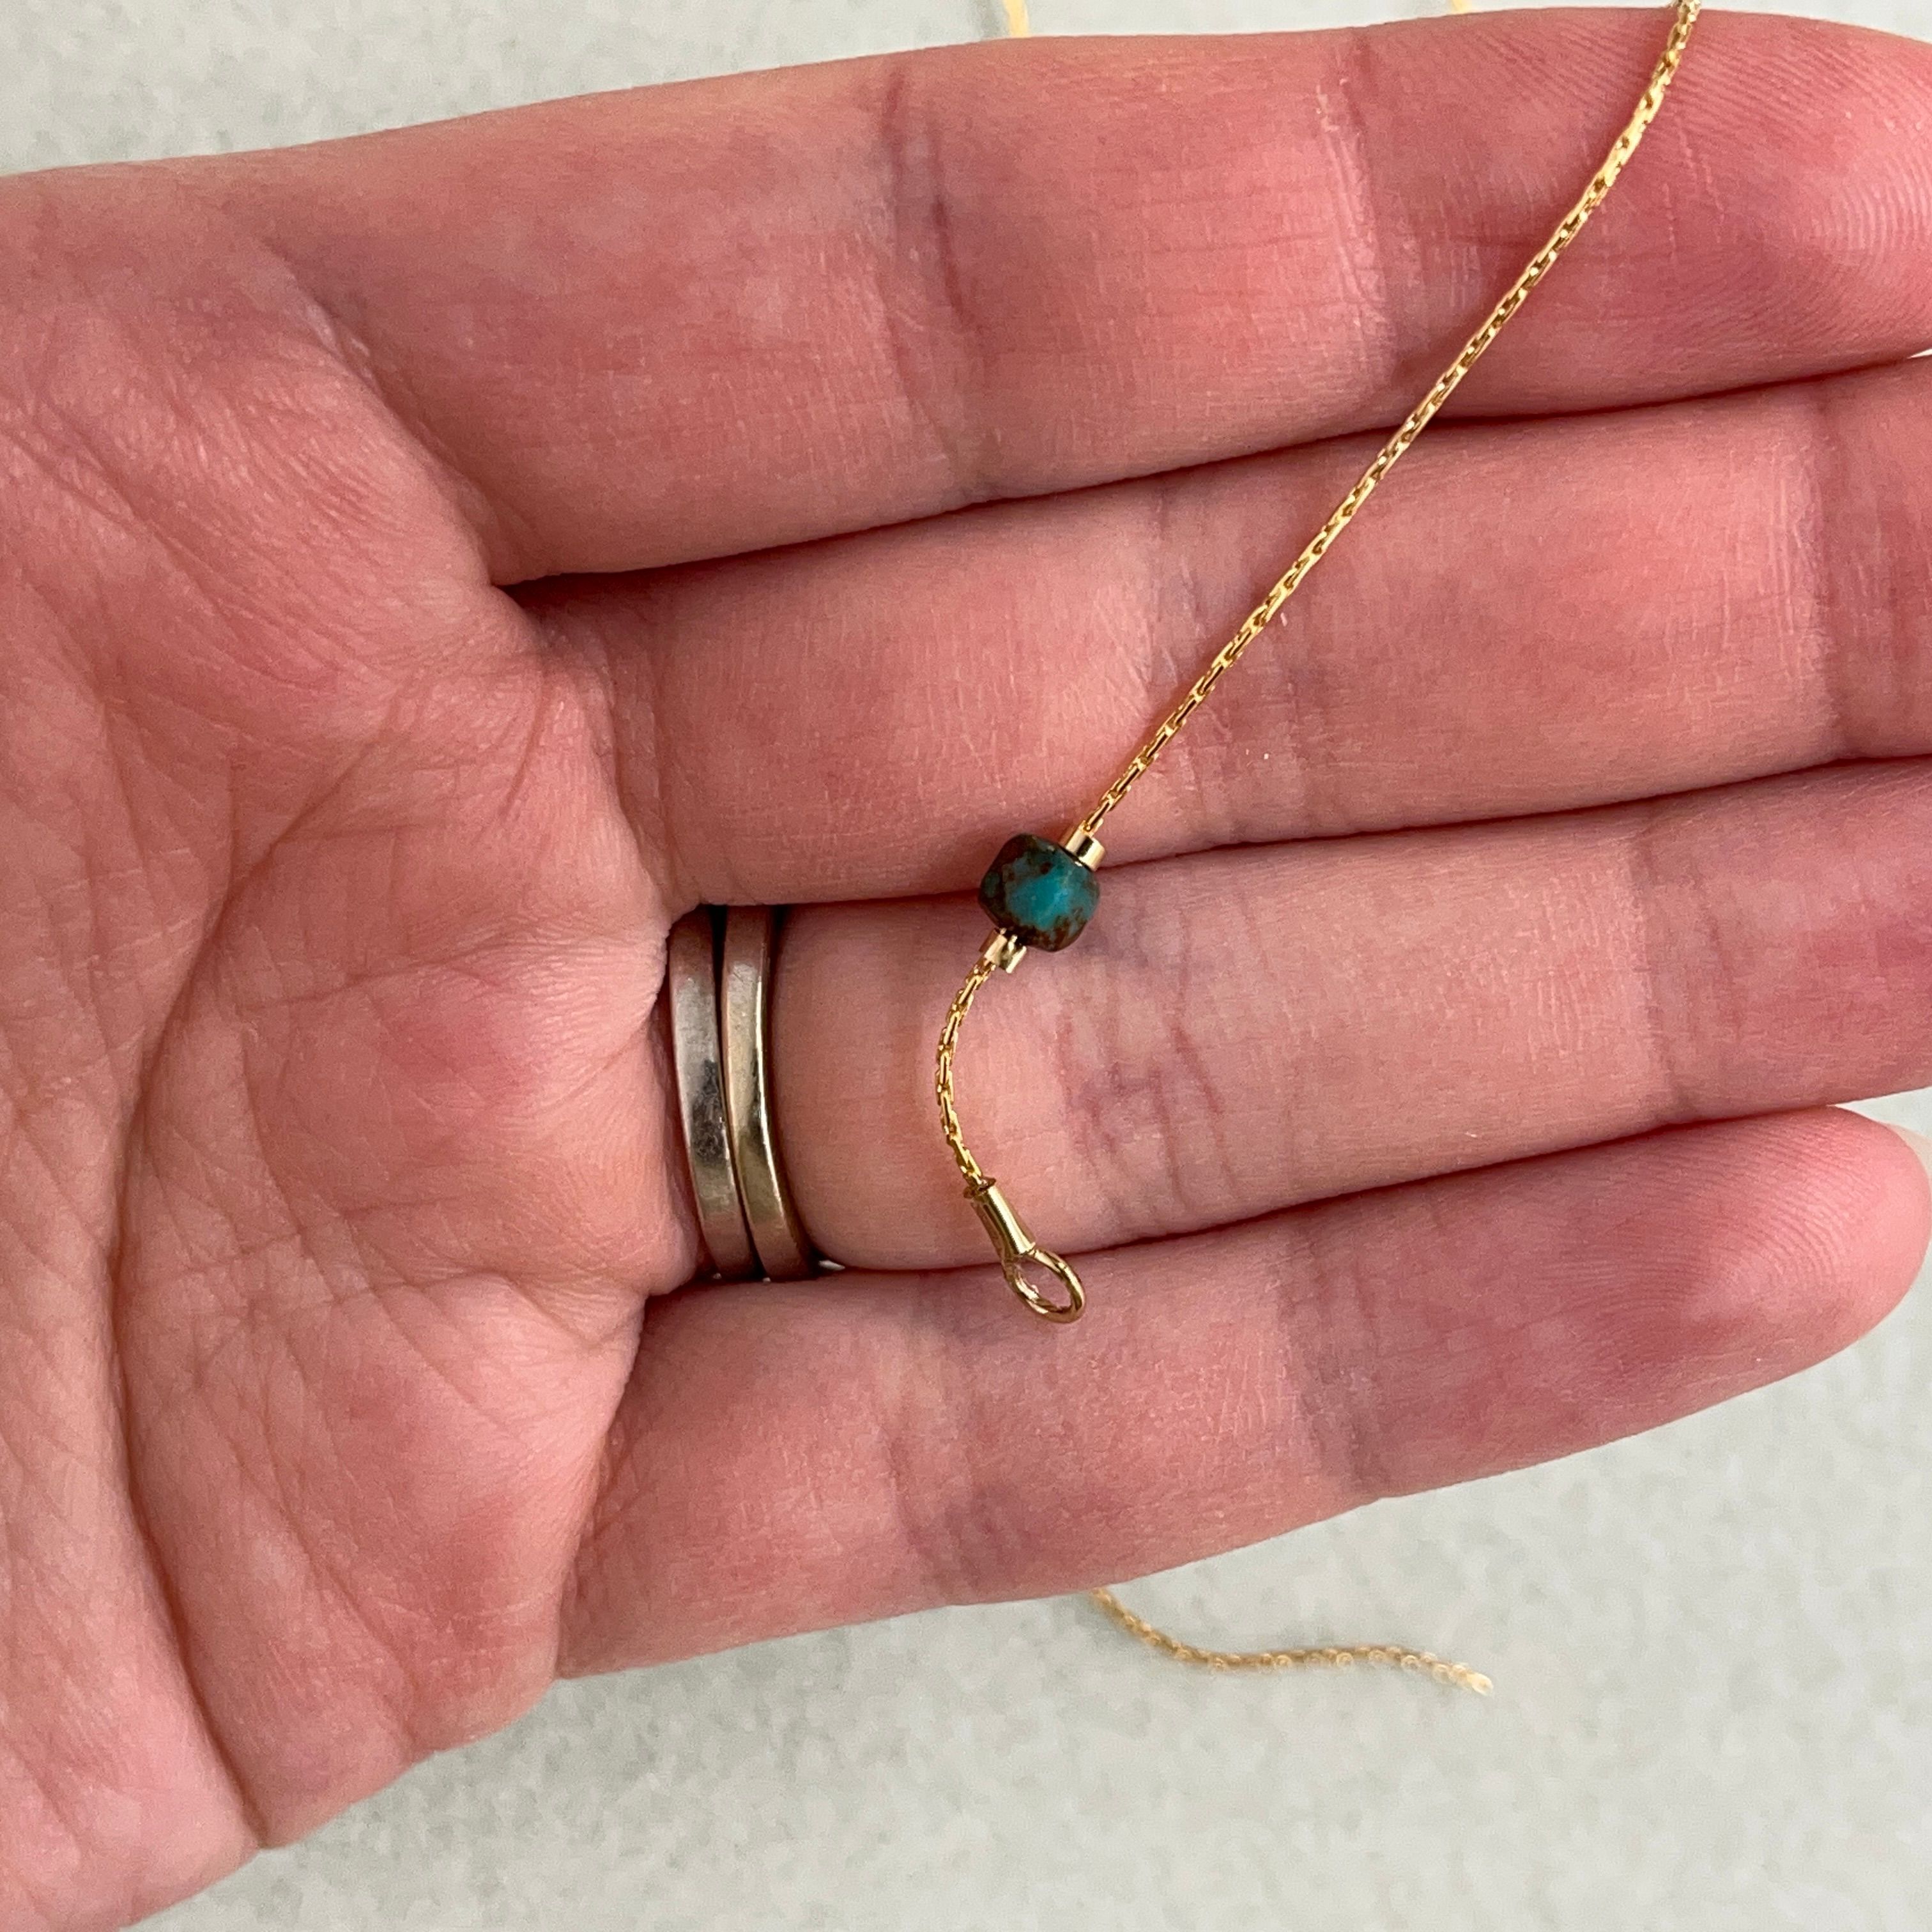
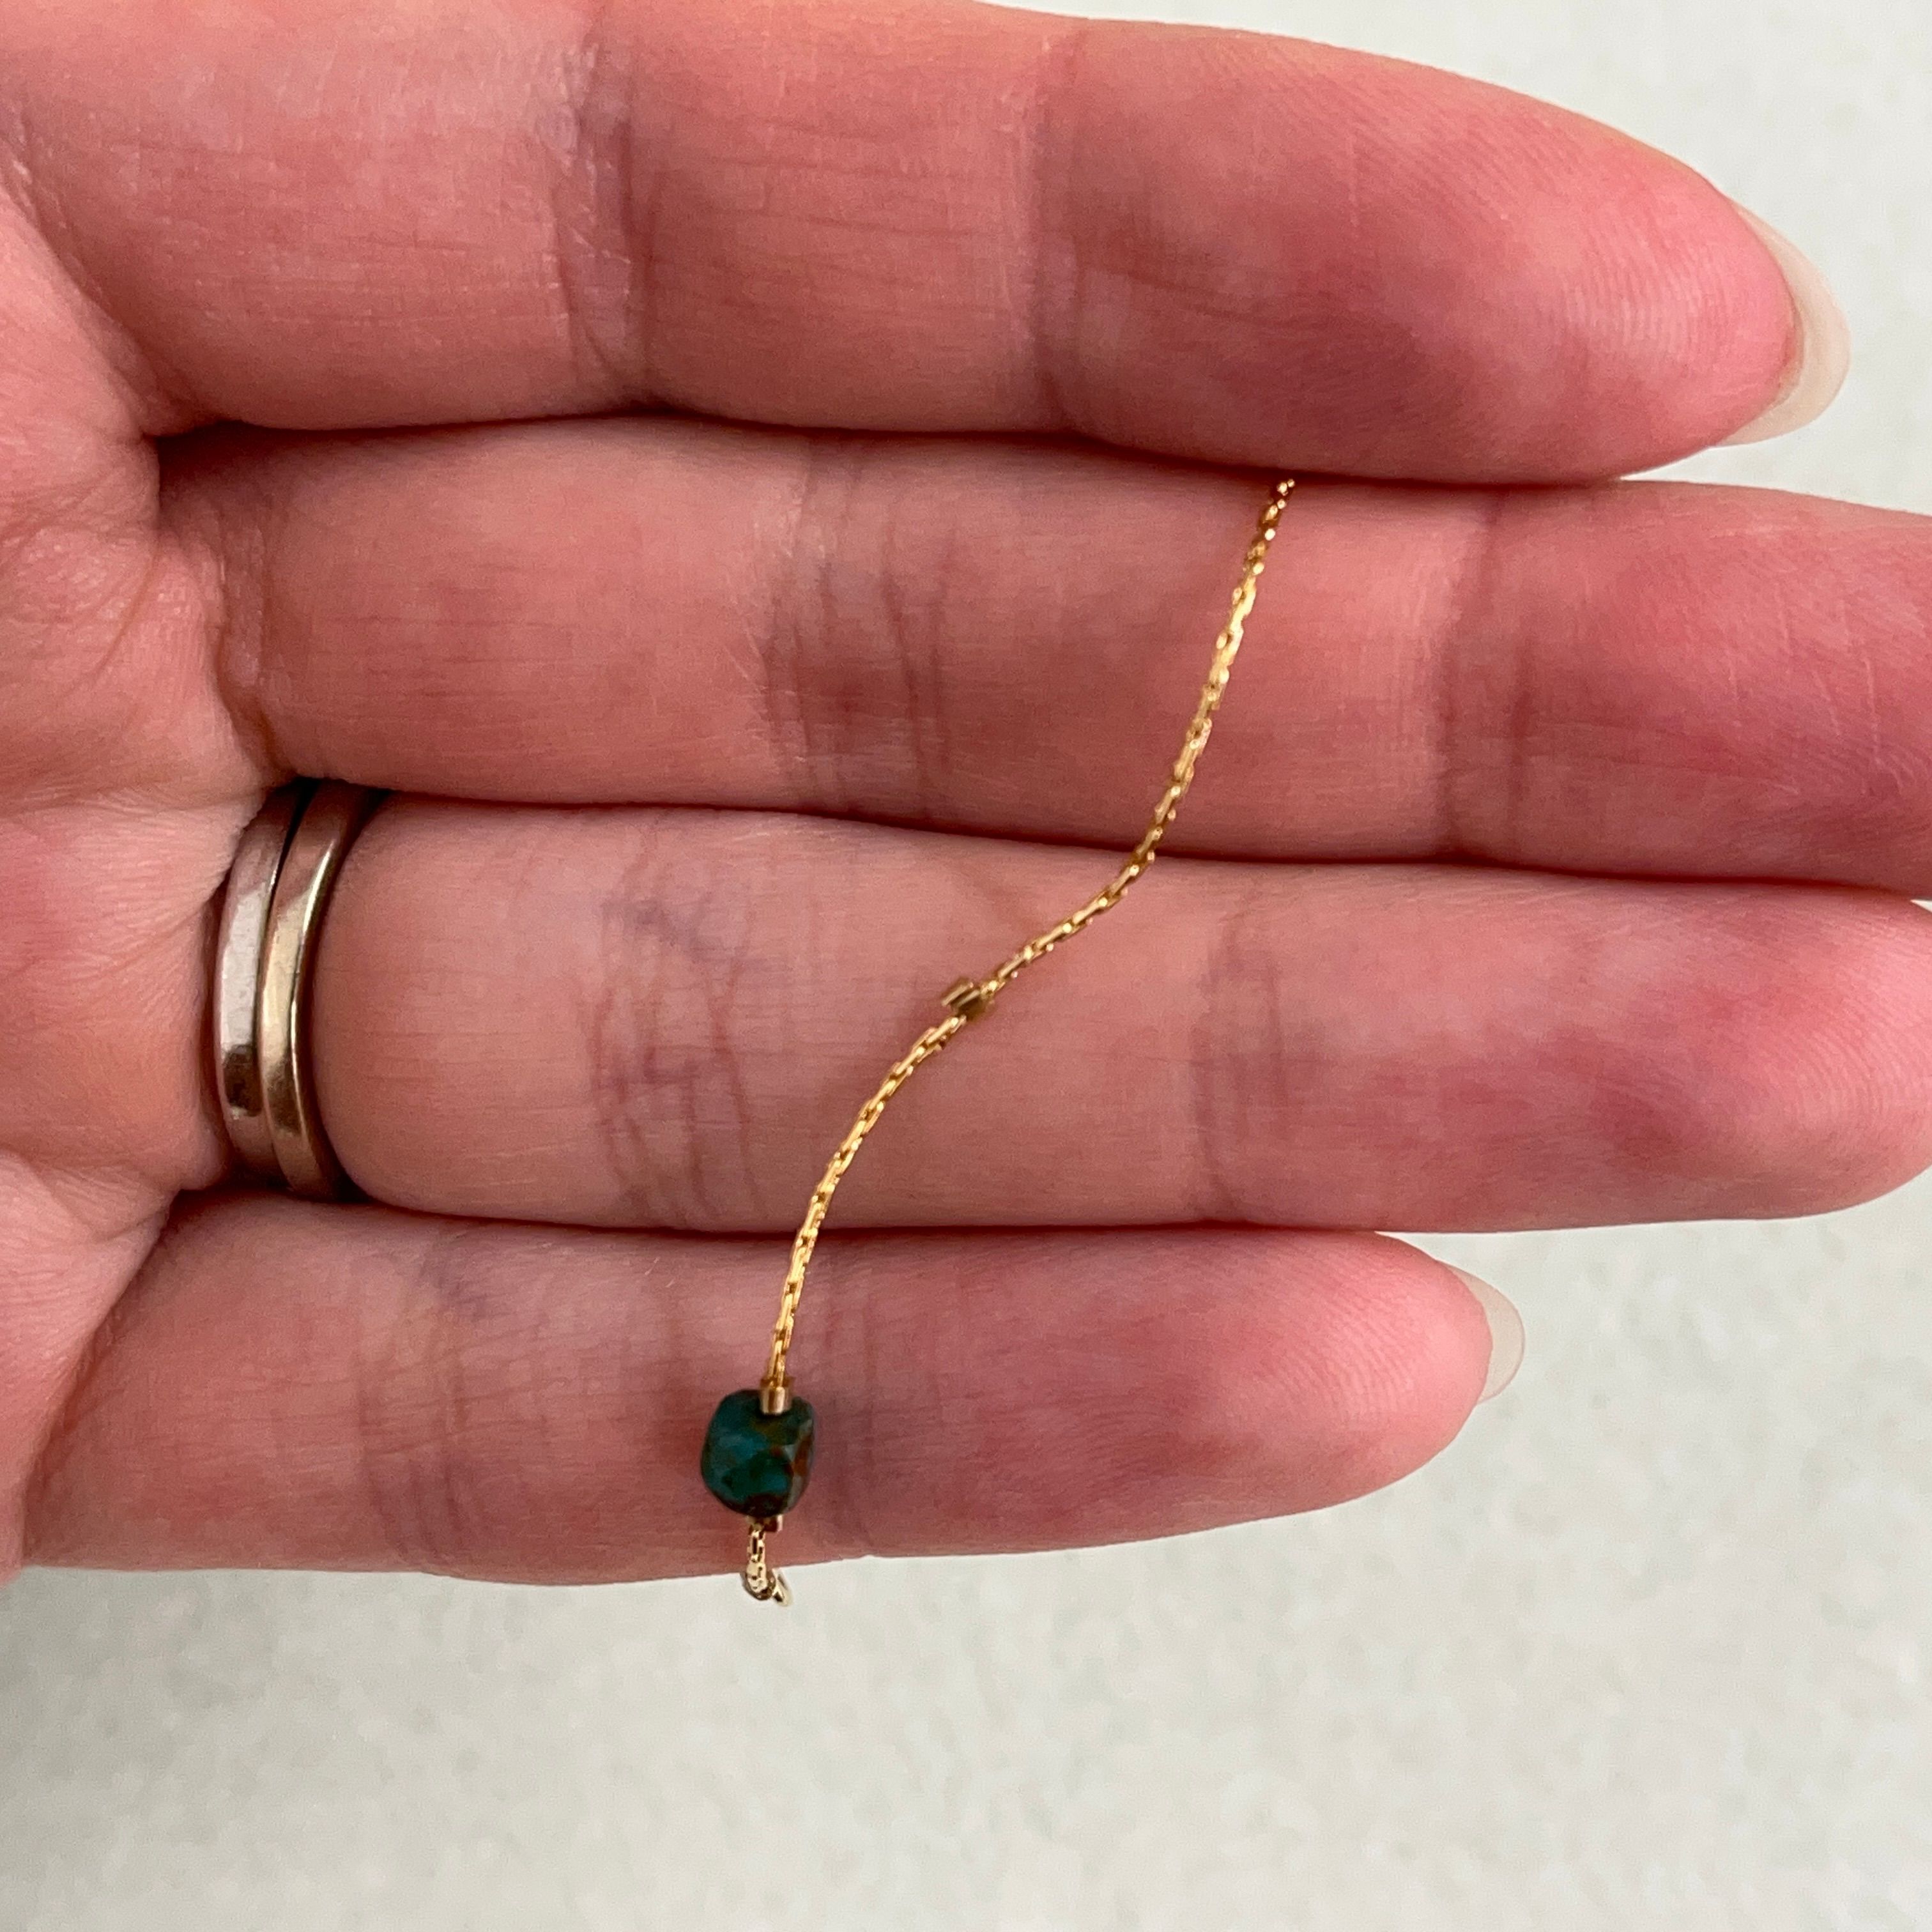
27. Thread on another turquoise bead
28. Squish the crimp bead as close to the turquoise bead as possible
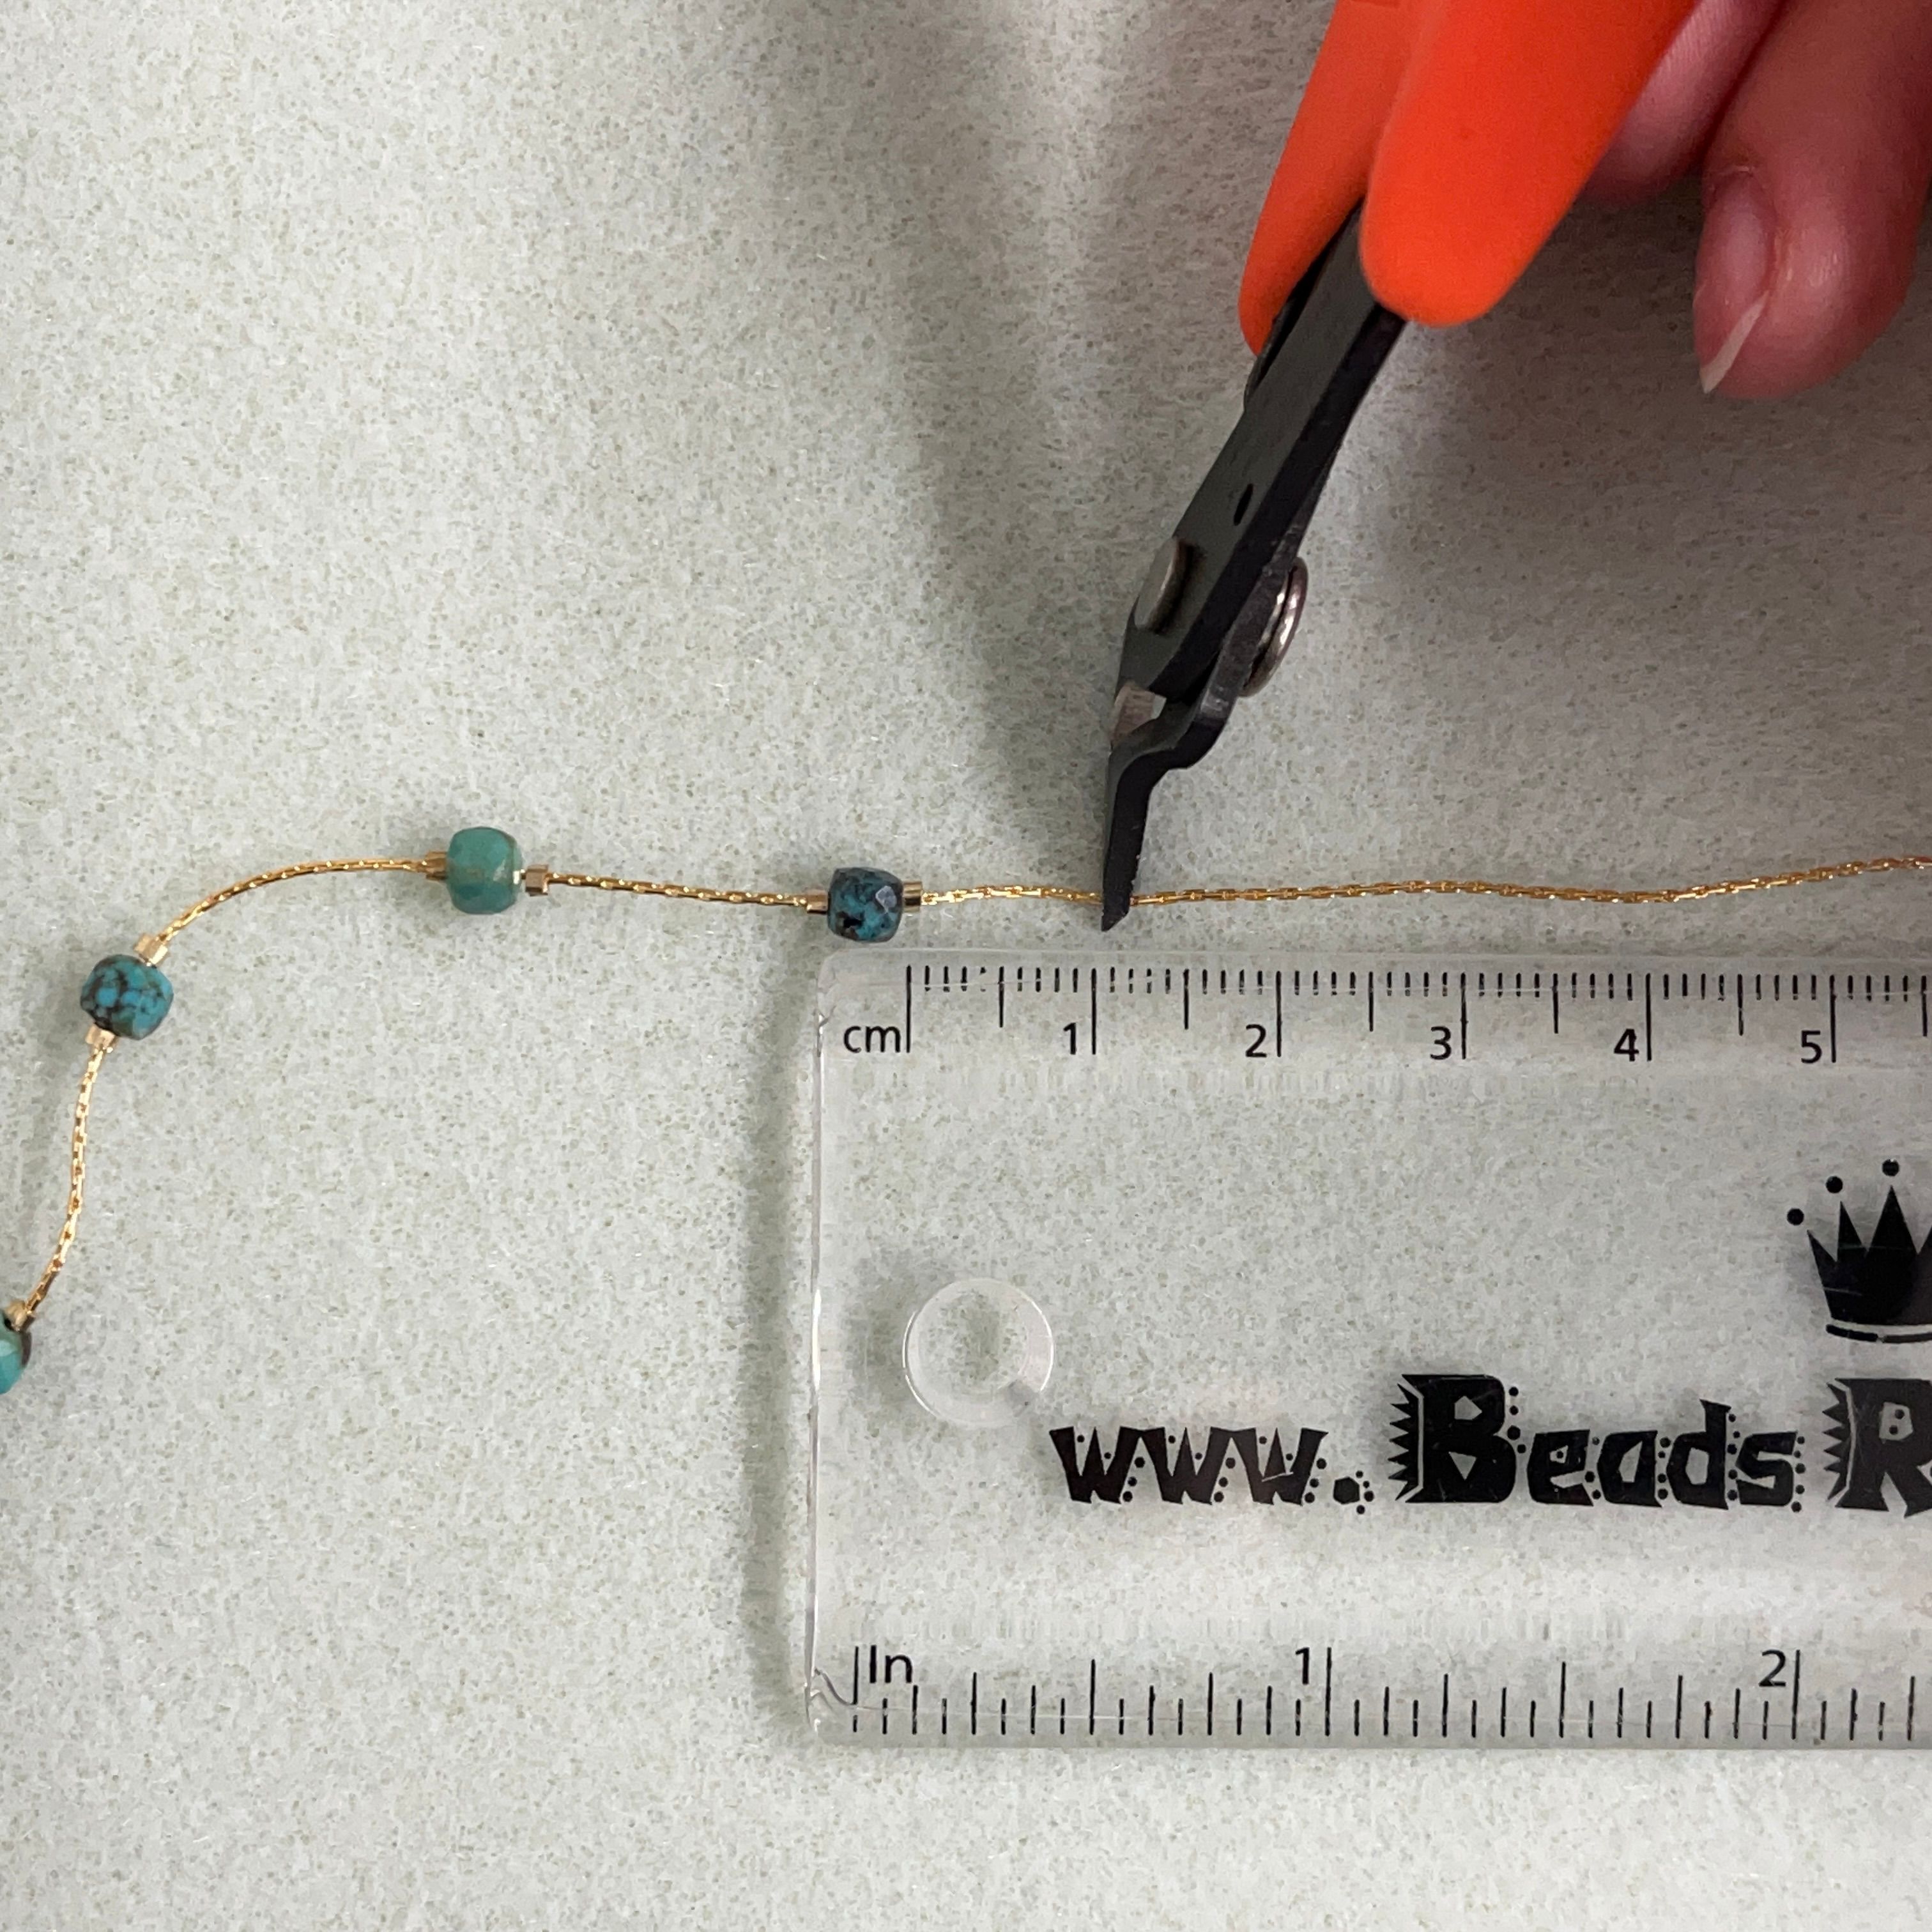
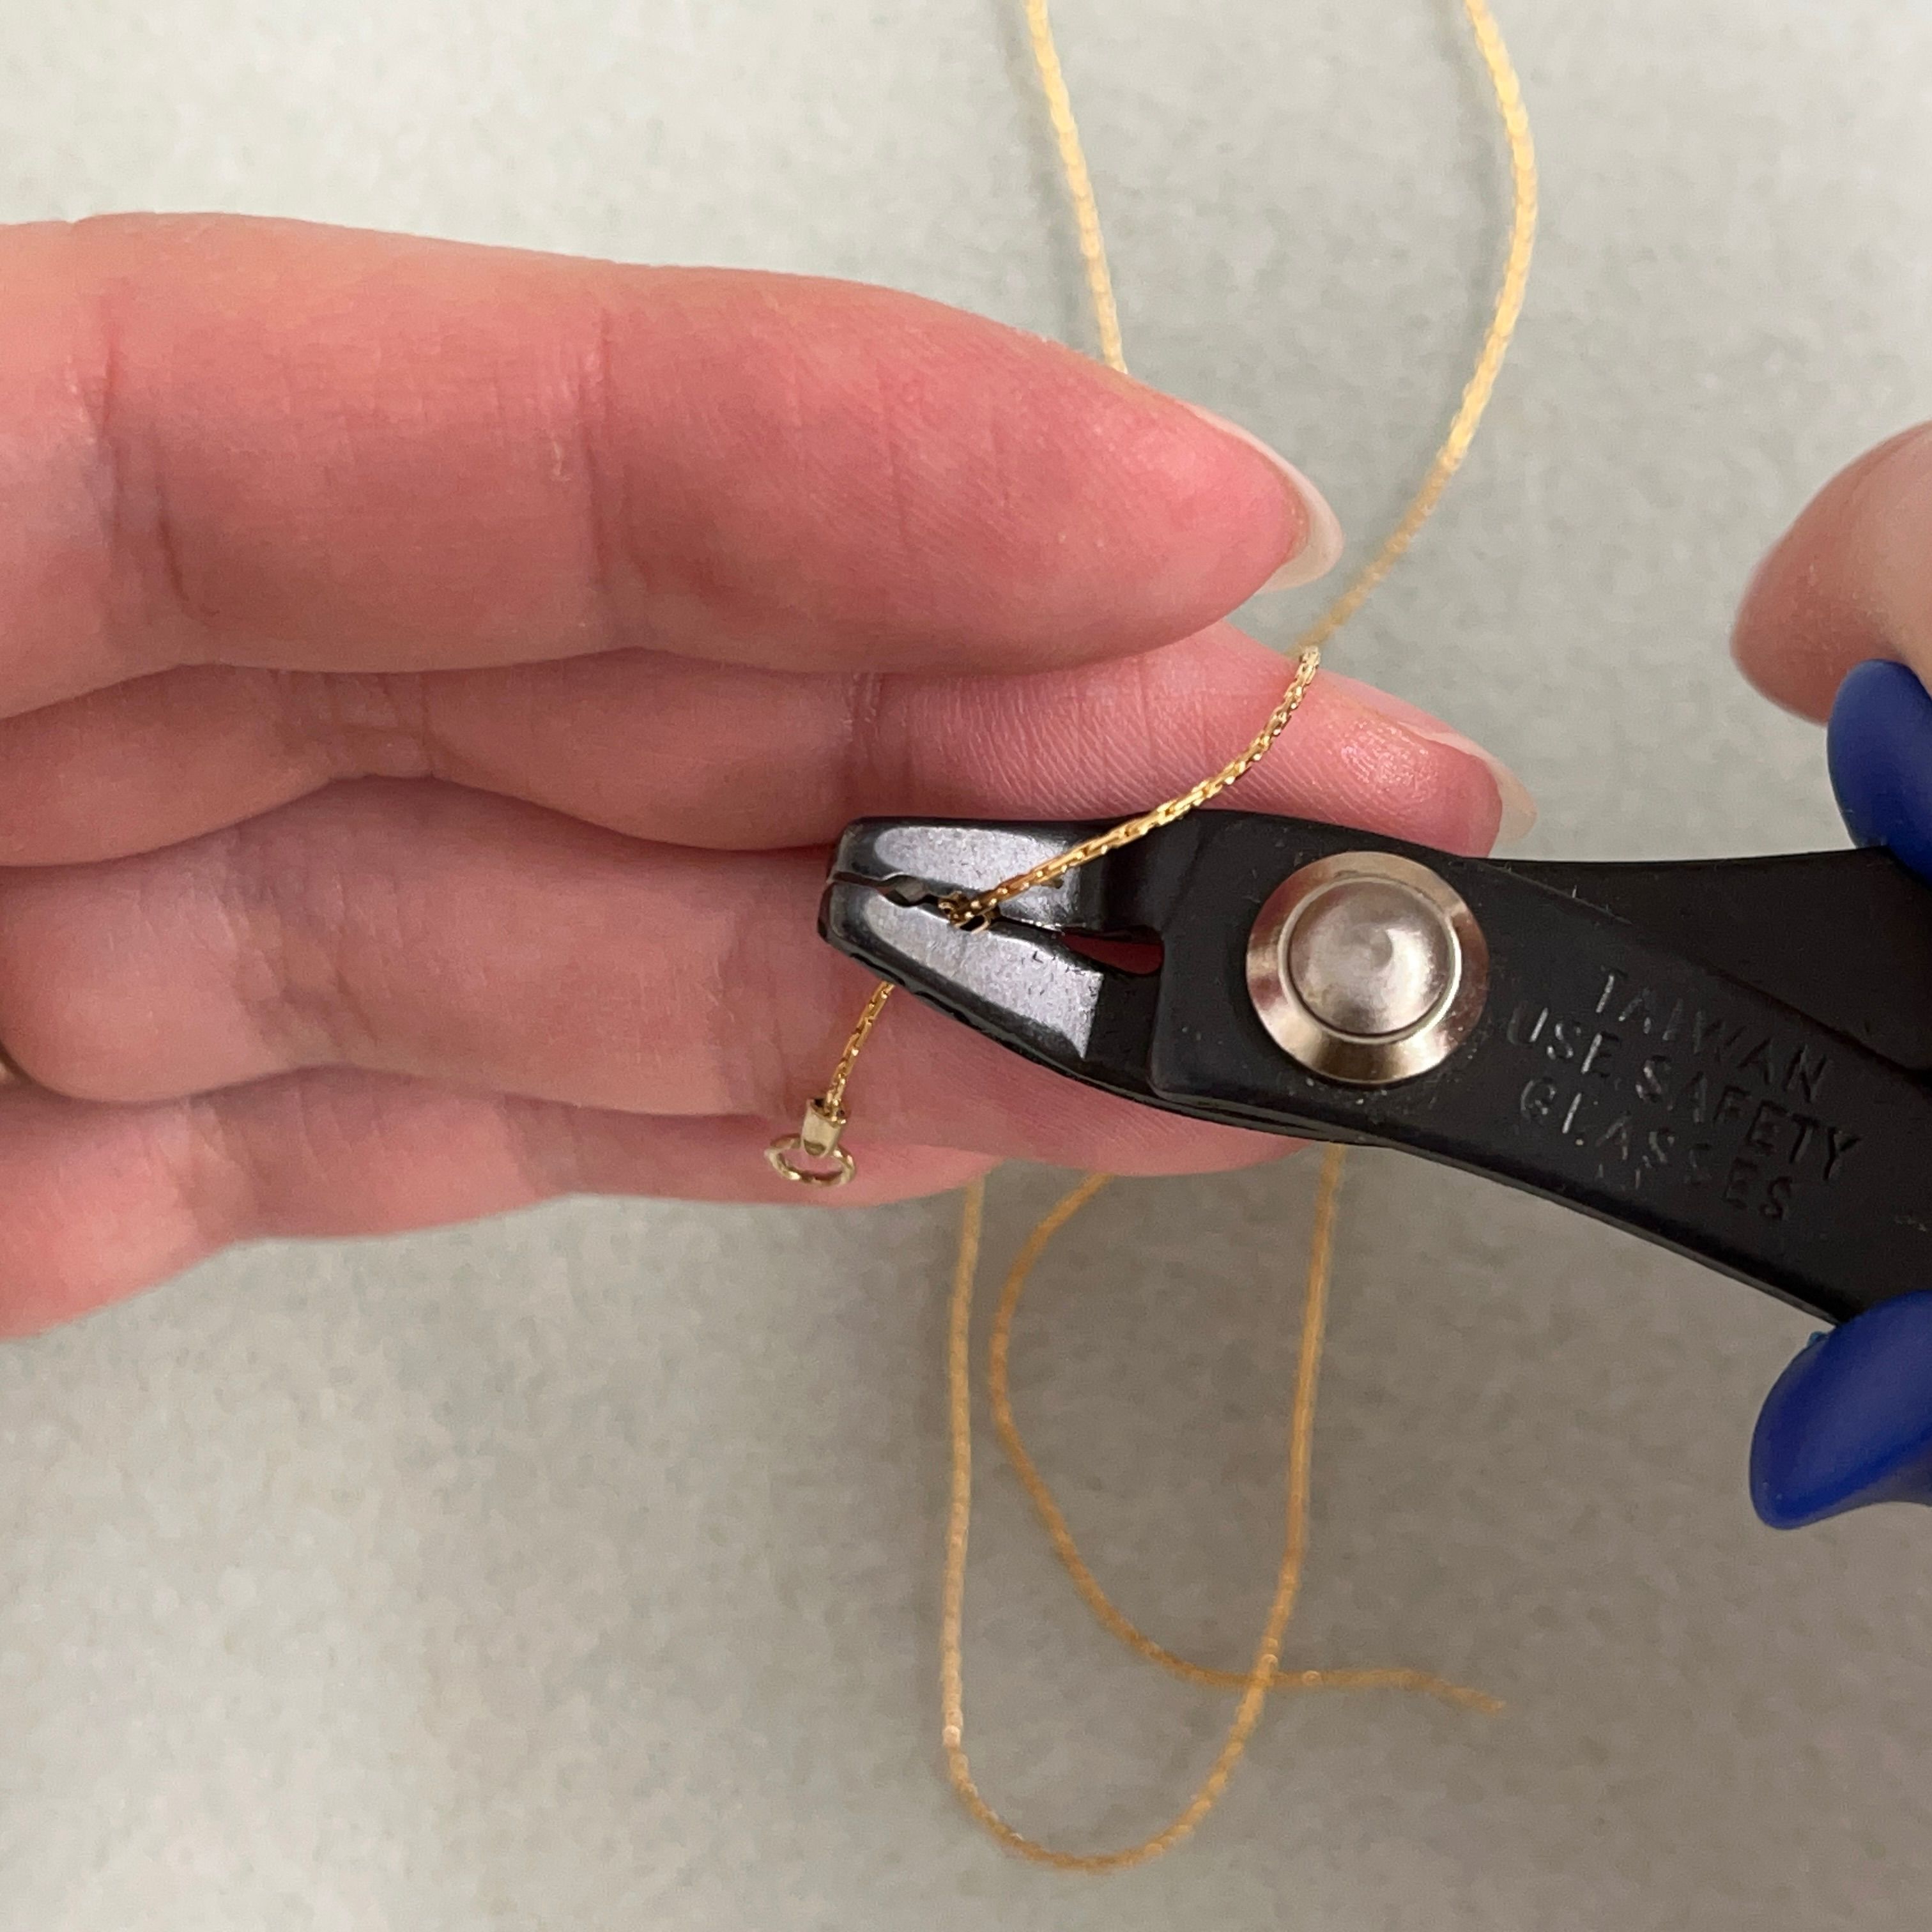
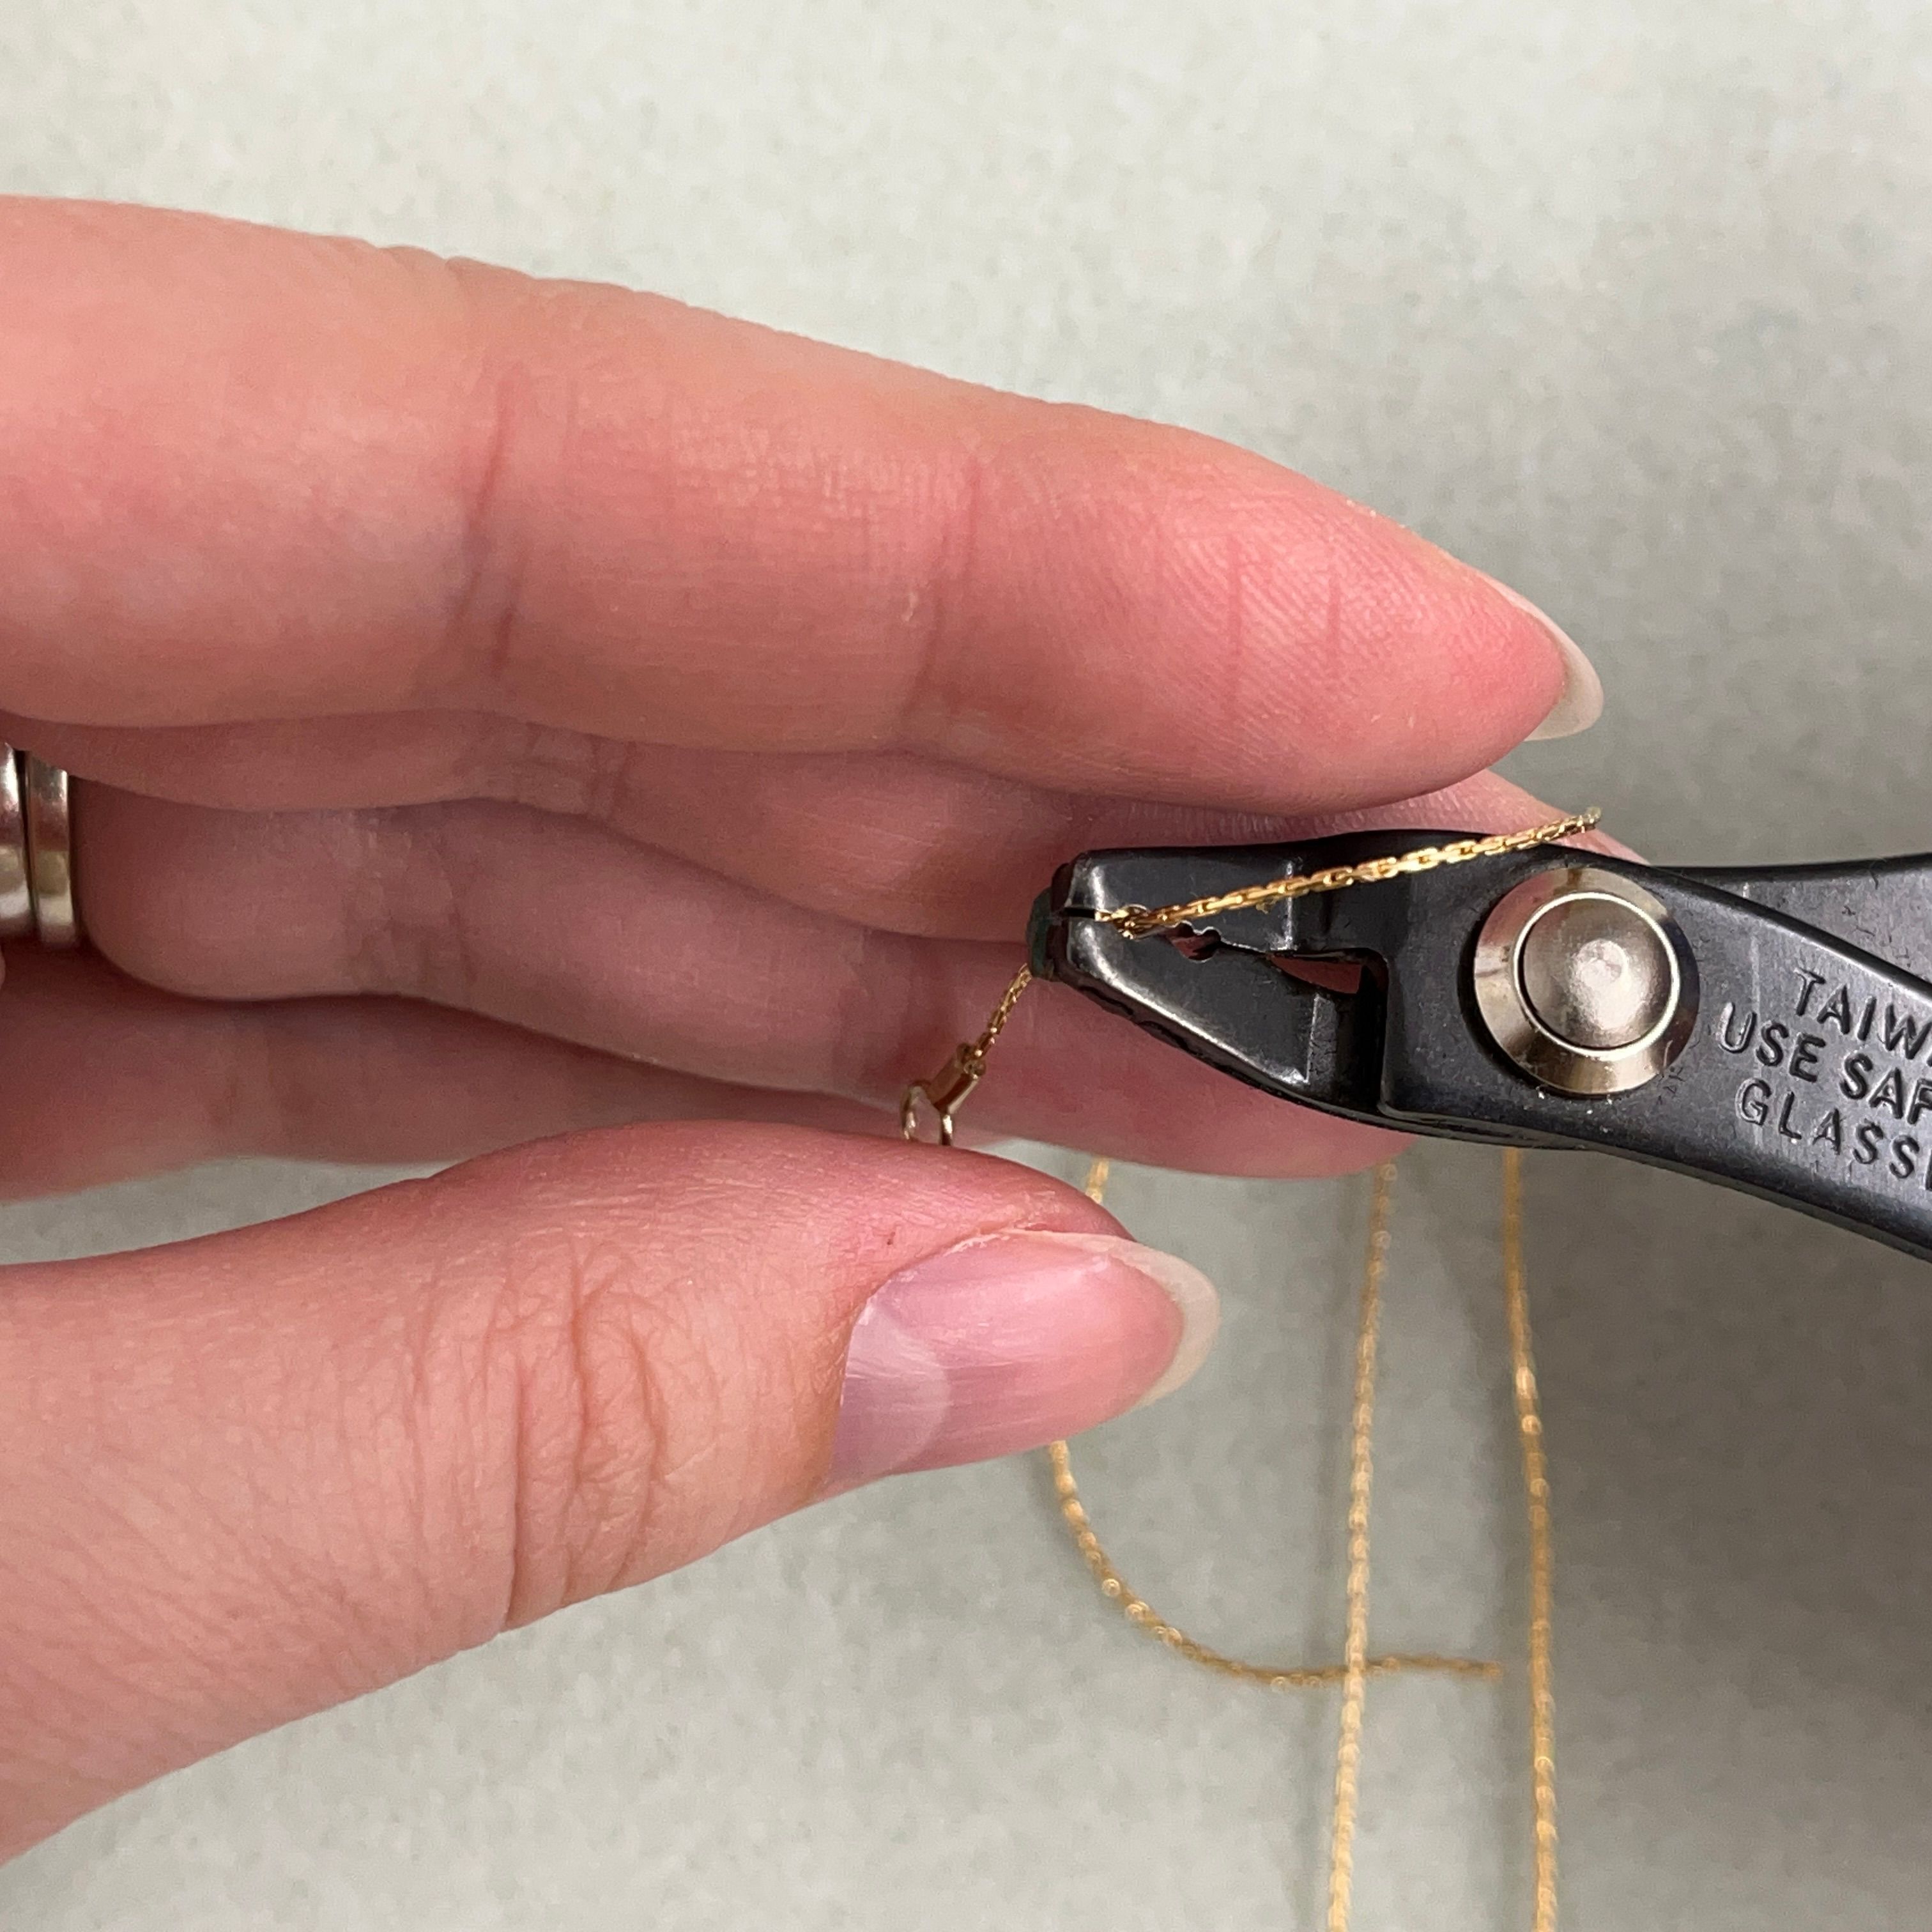
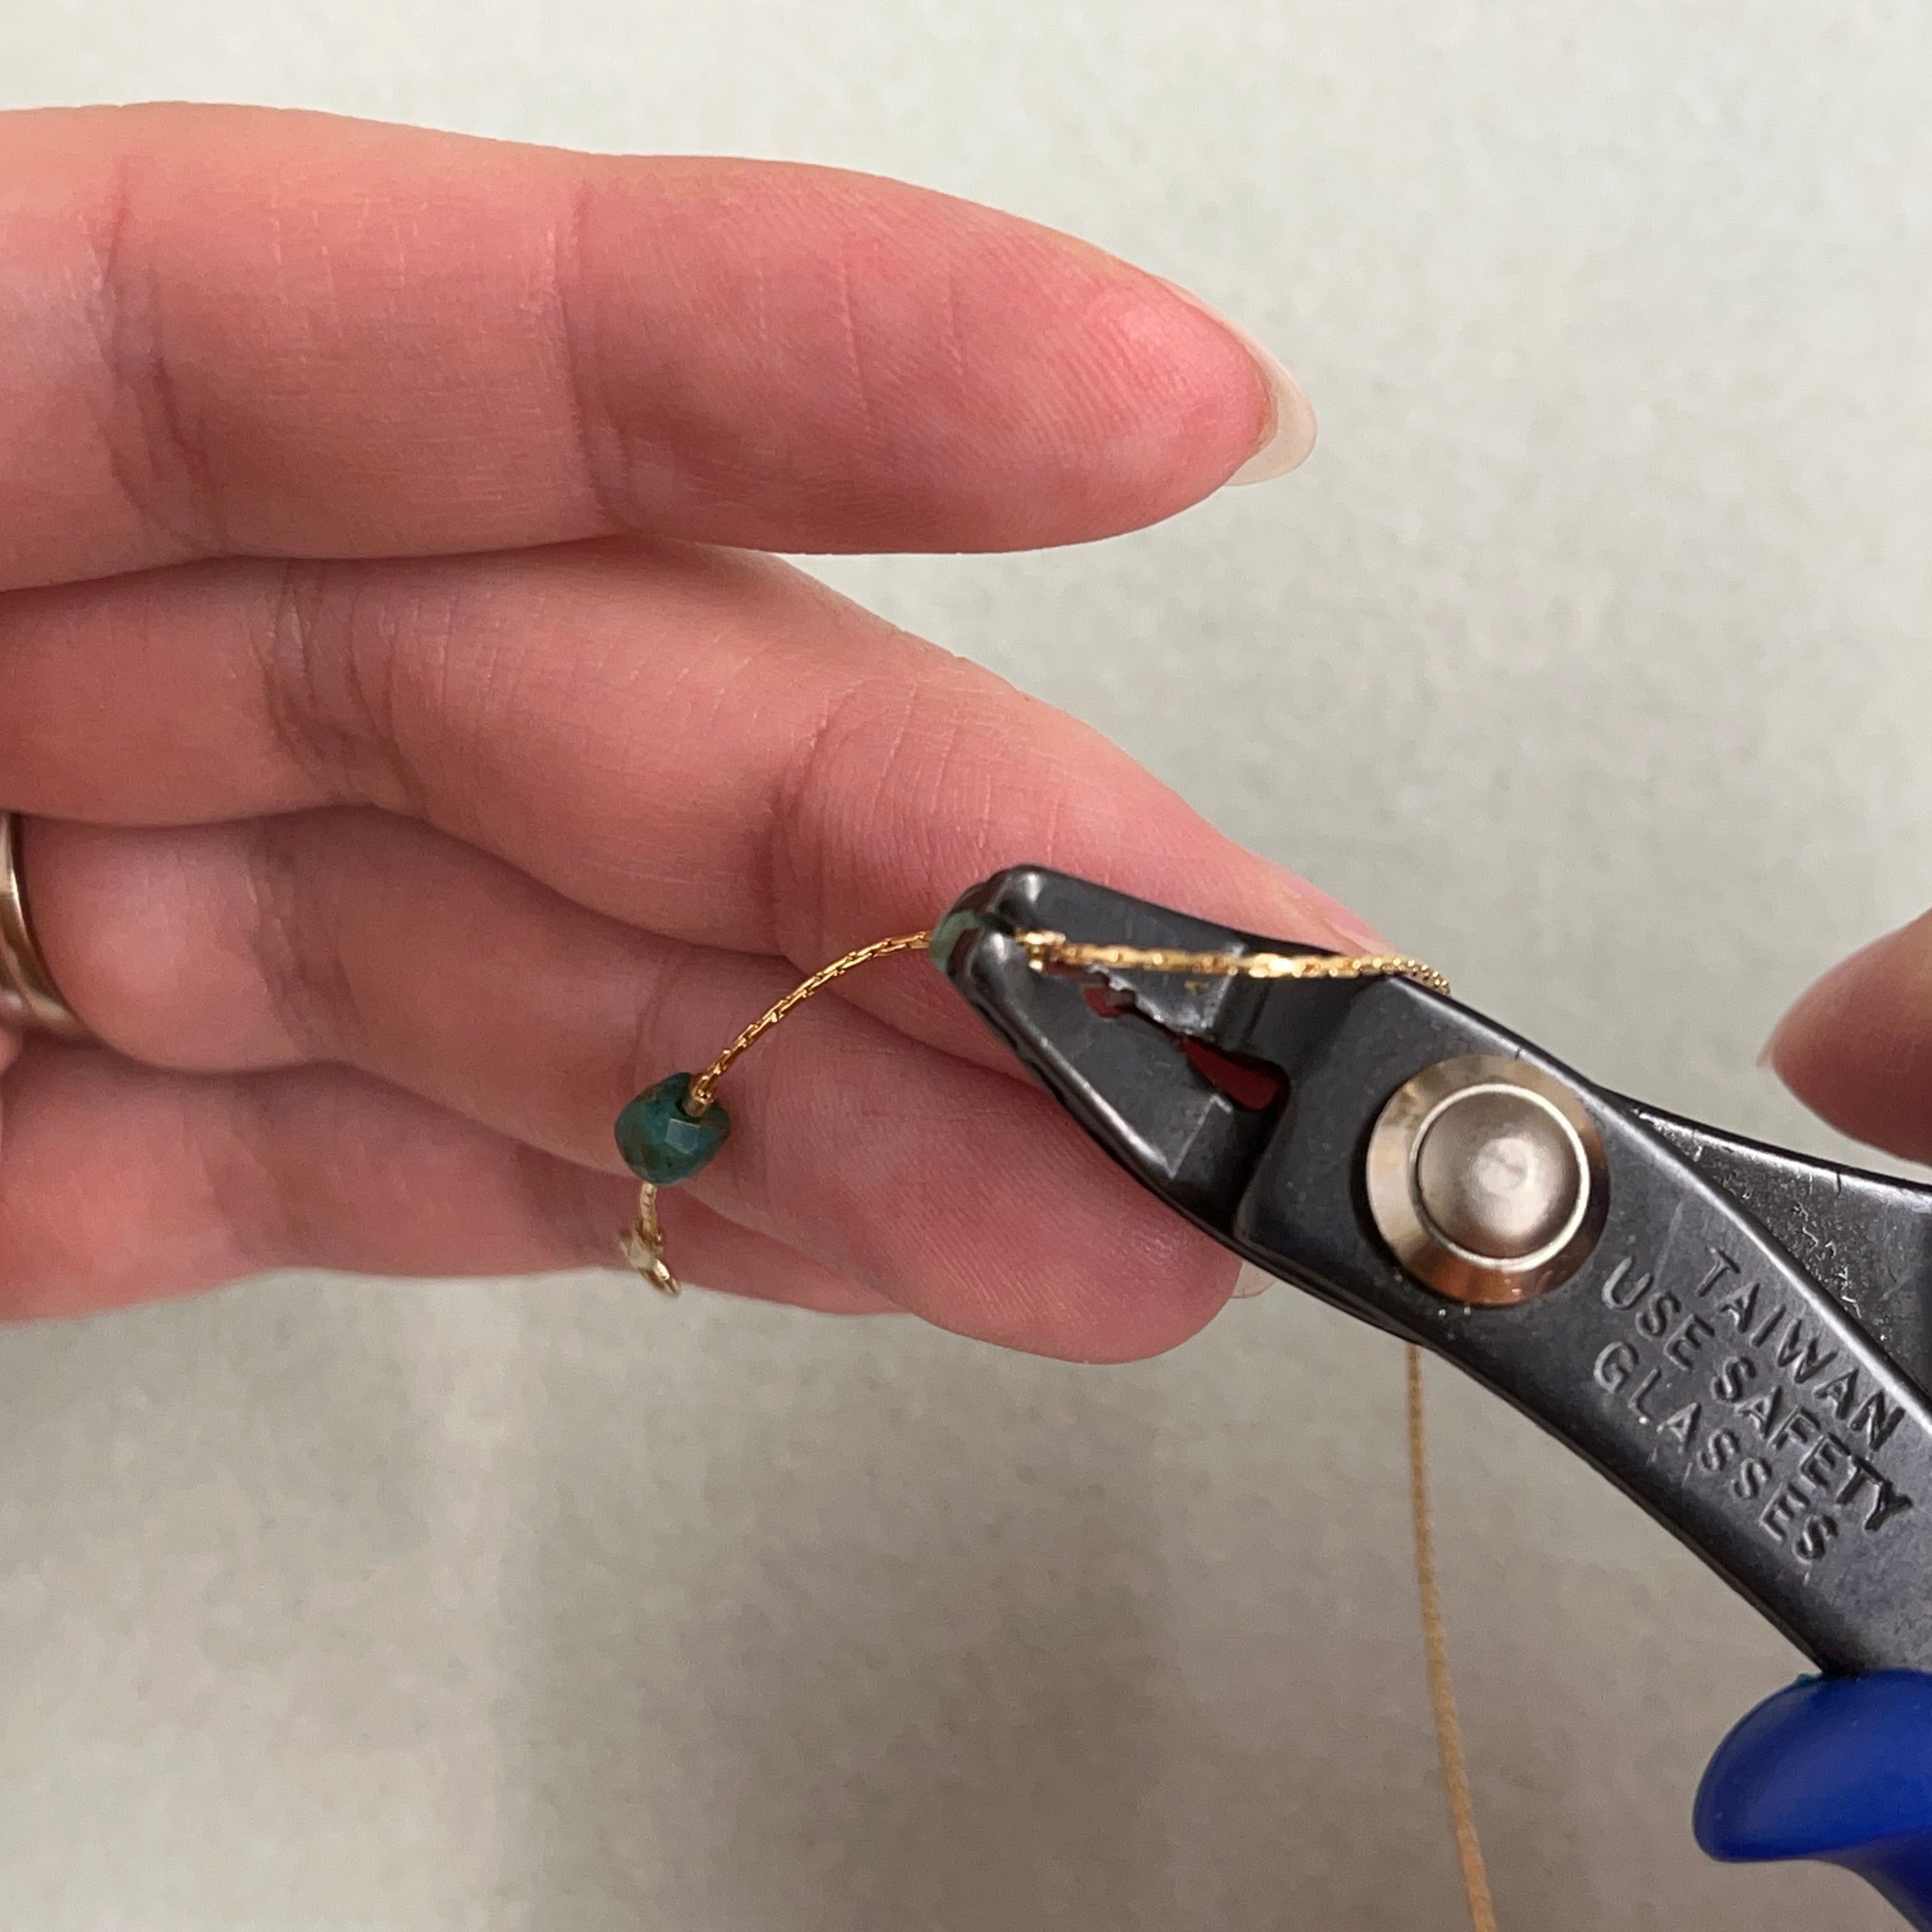
29. Continue adding turquoise beads between crimps until you have a total of 17 turquoise beads. Once done, cut your chain approx. 1 cm from the end of the crimp bead.
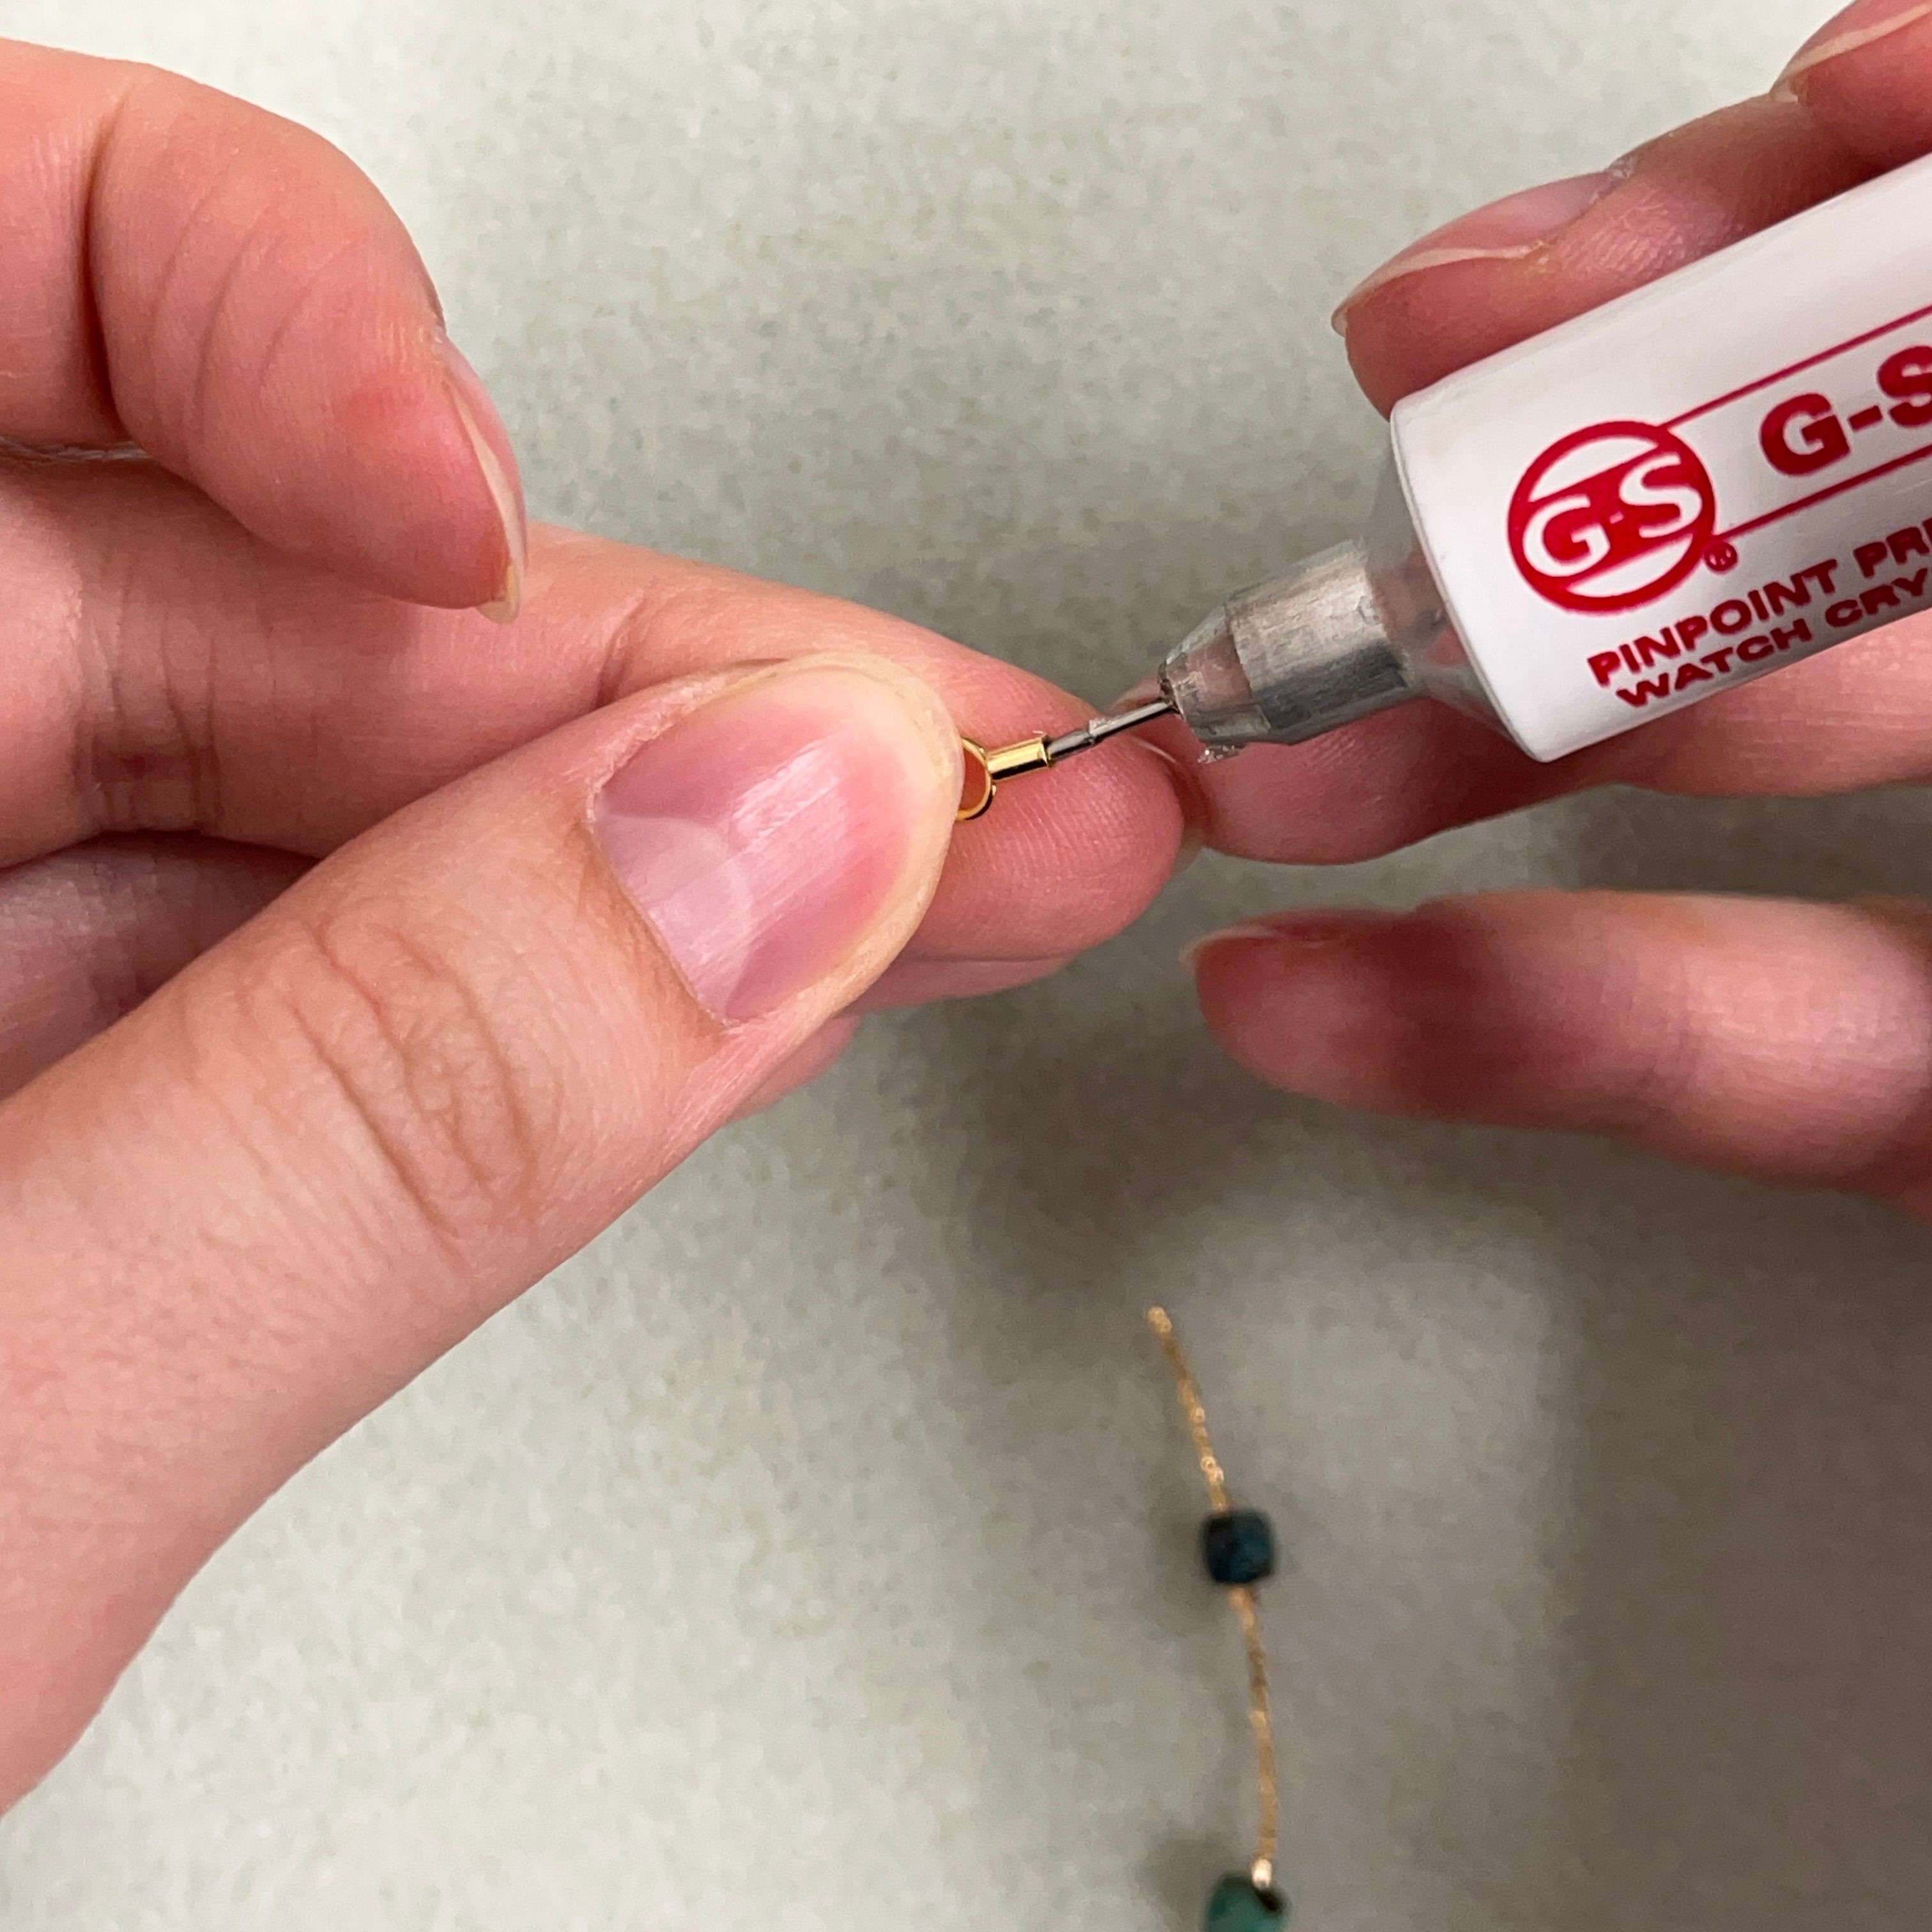
30. Fill your second end cap with gs hypo cement
31. Insert the chain into the glue and end cap as far as it will go
32. Gently squish the end cap to help keep the chain secure in the end cap as the glue dries
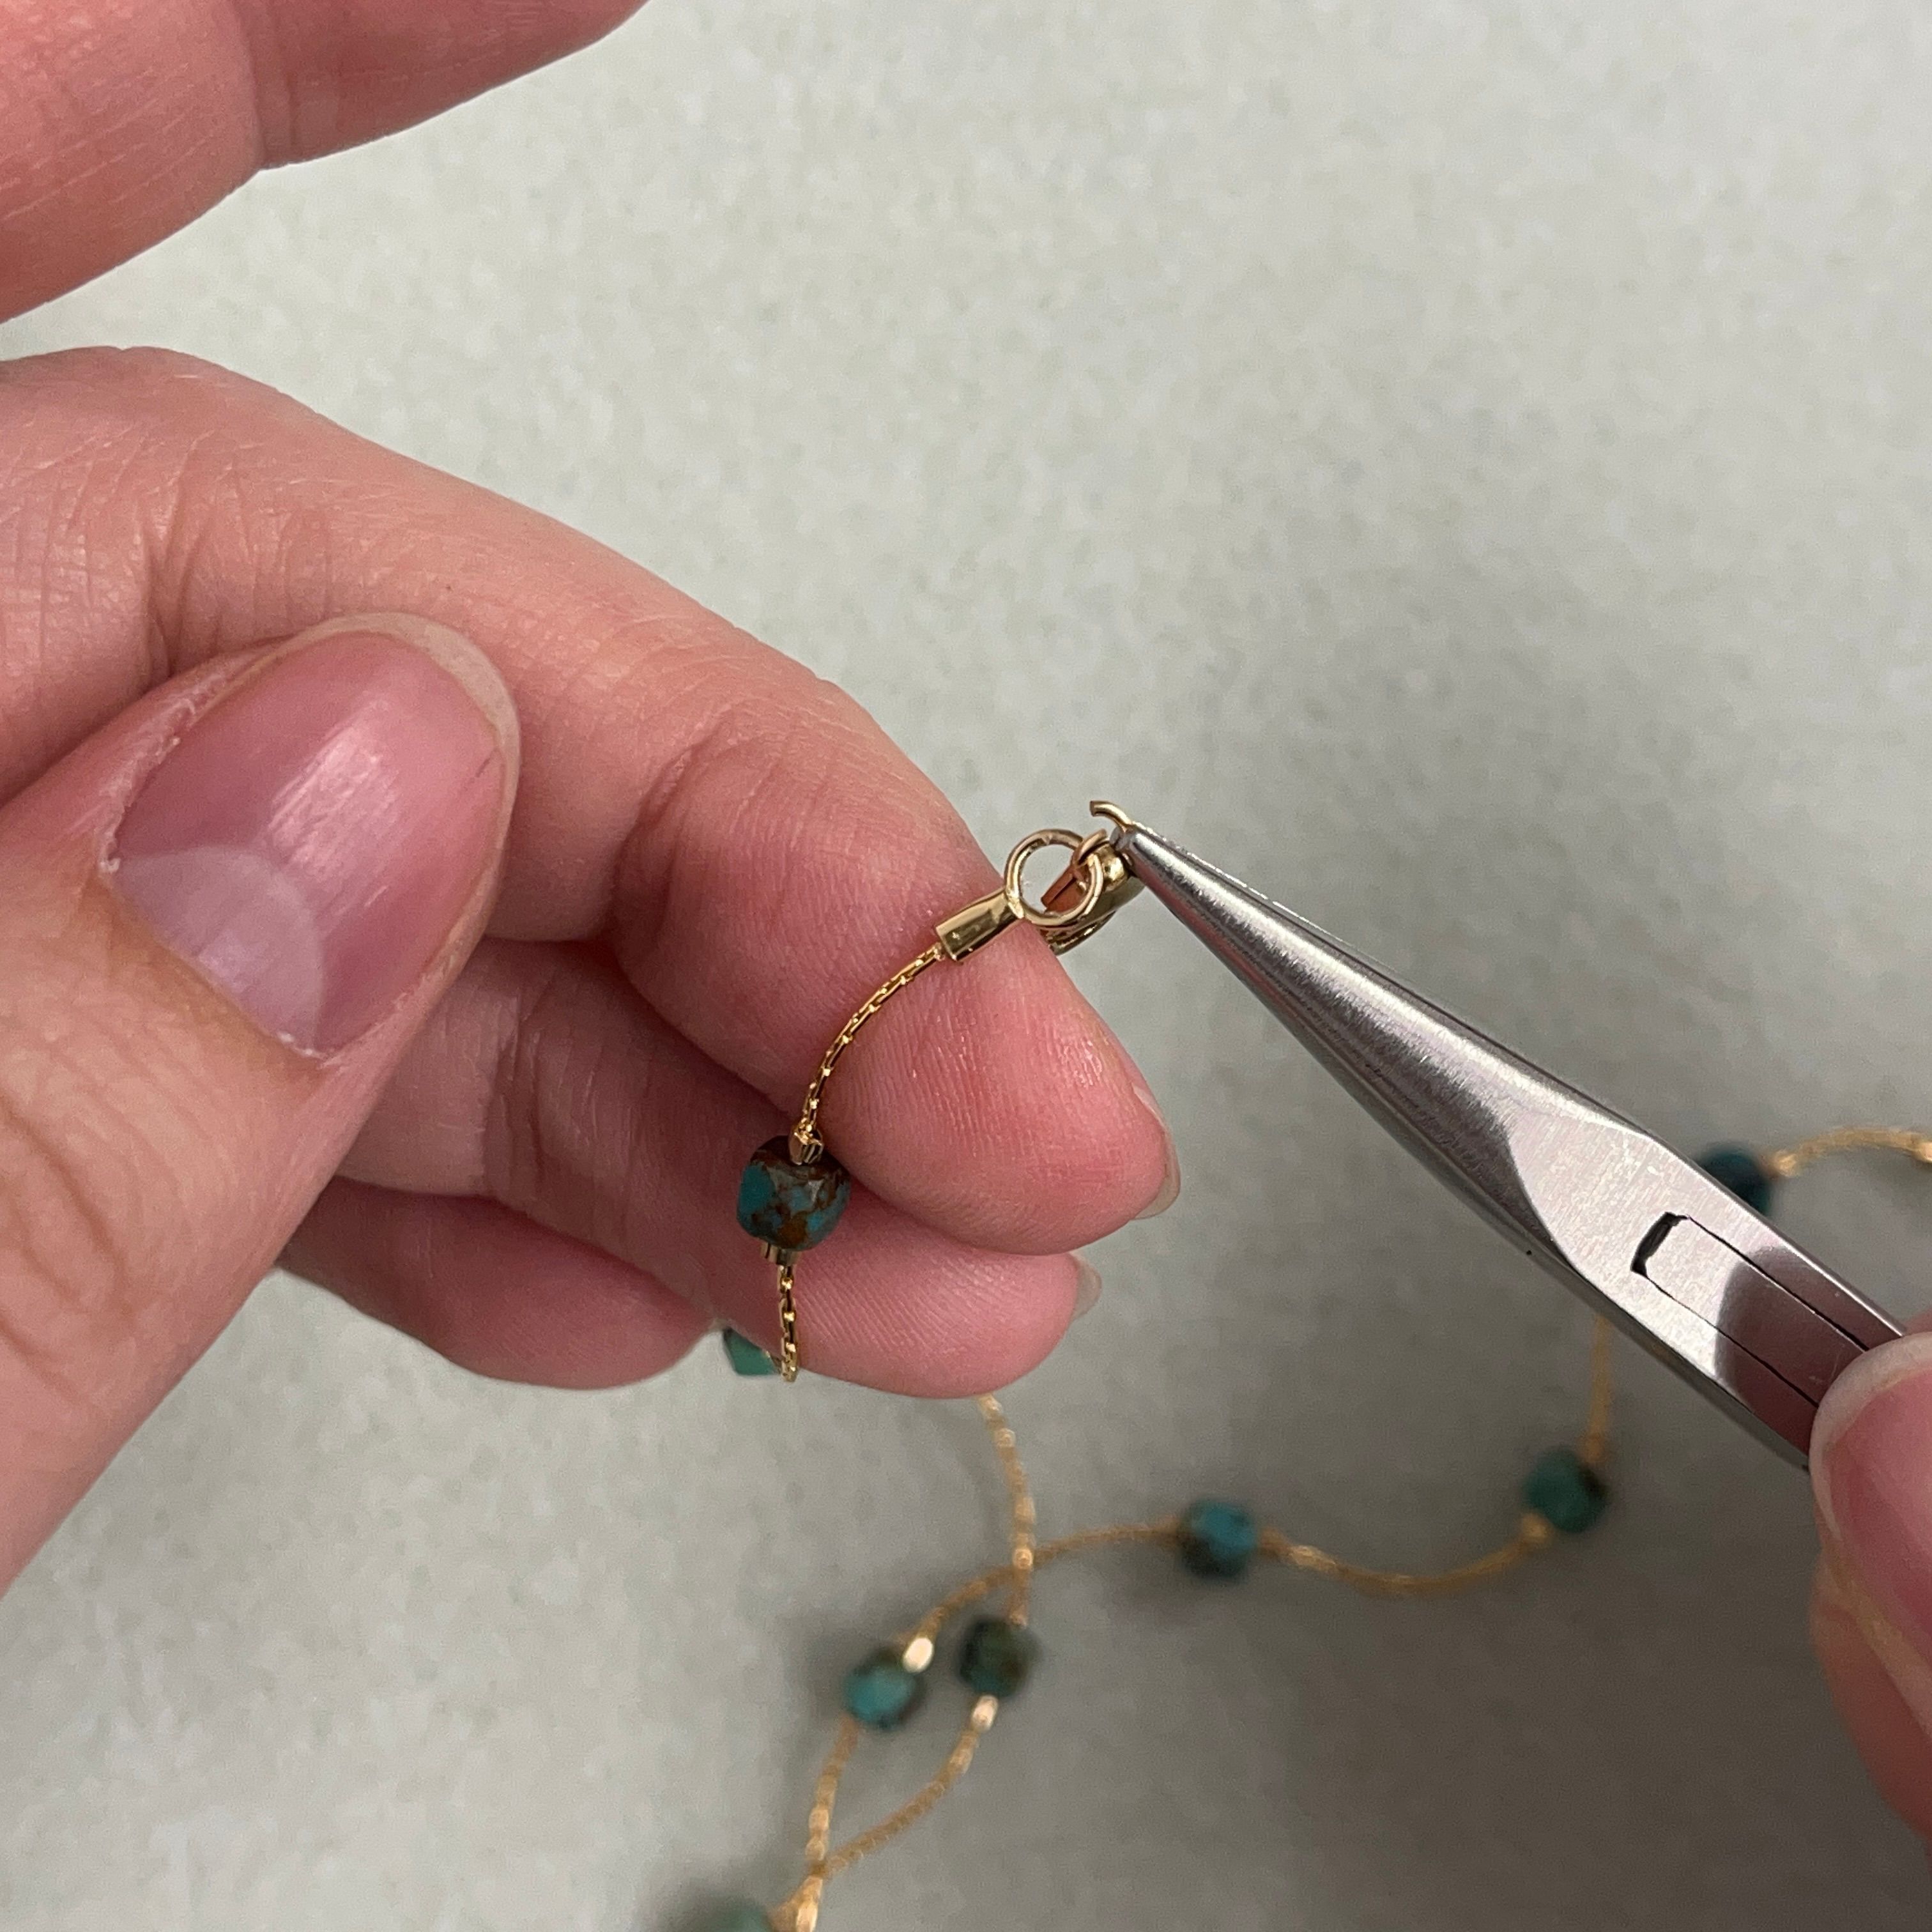
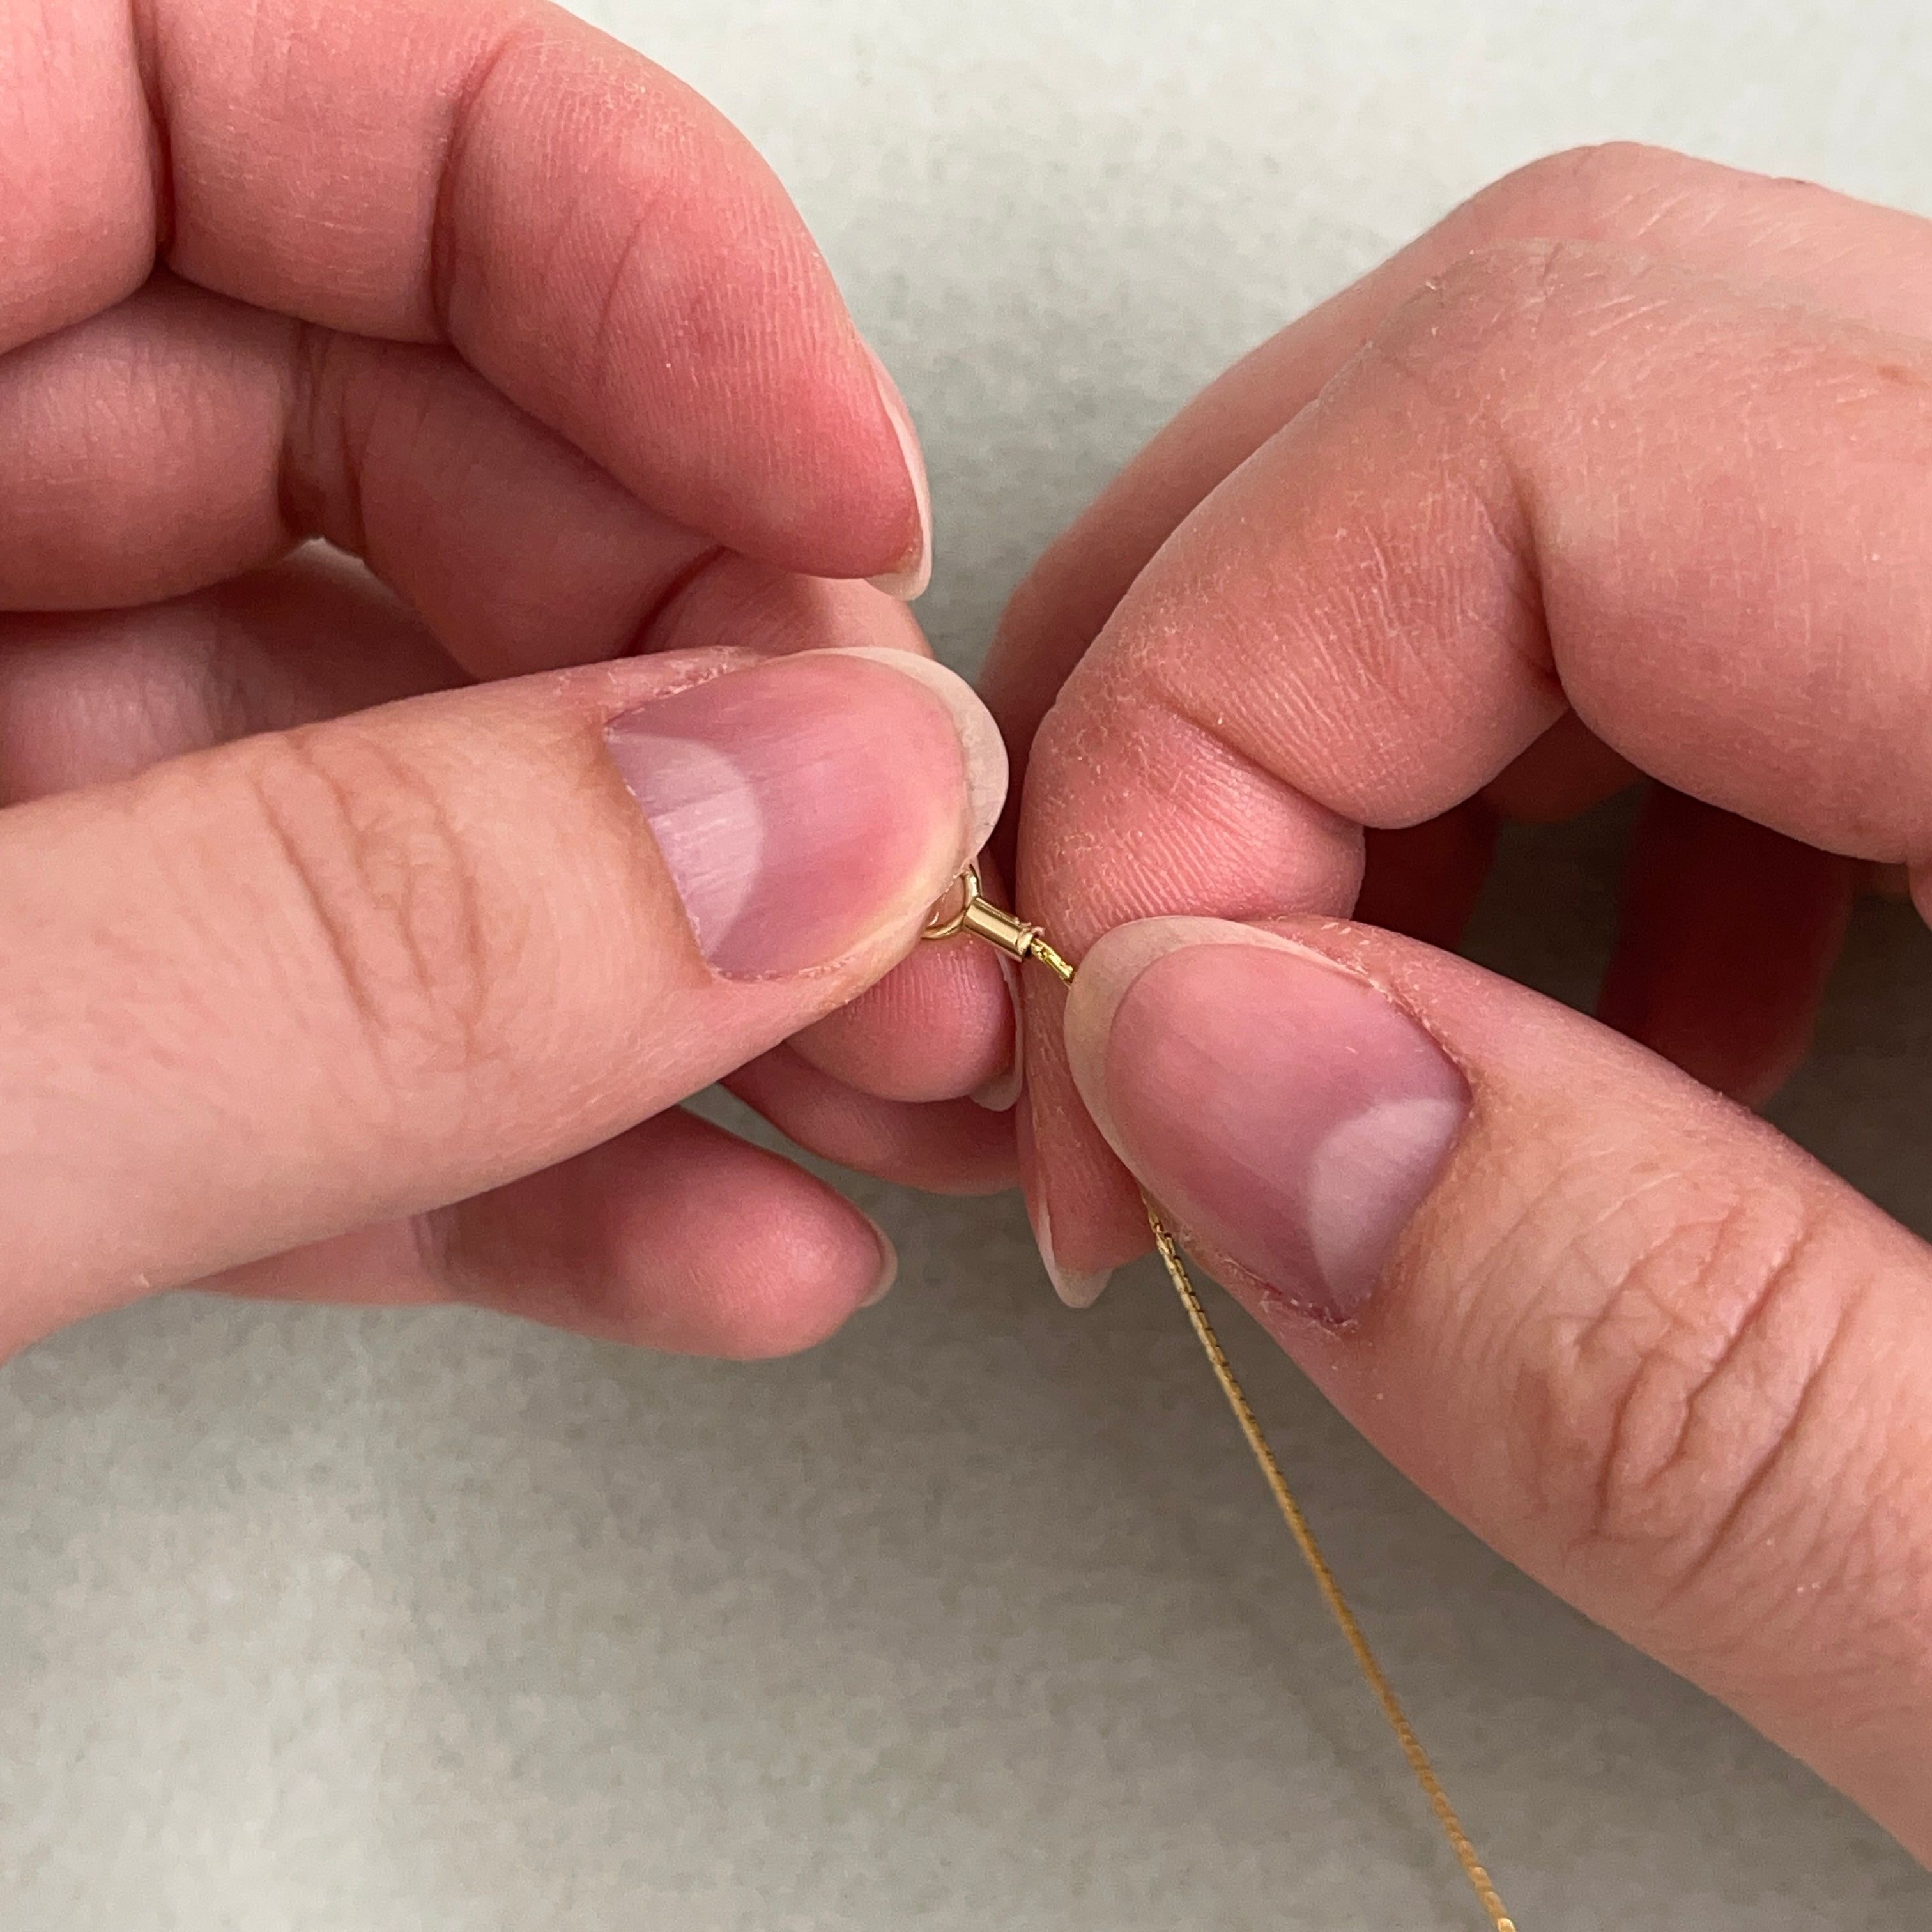
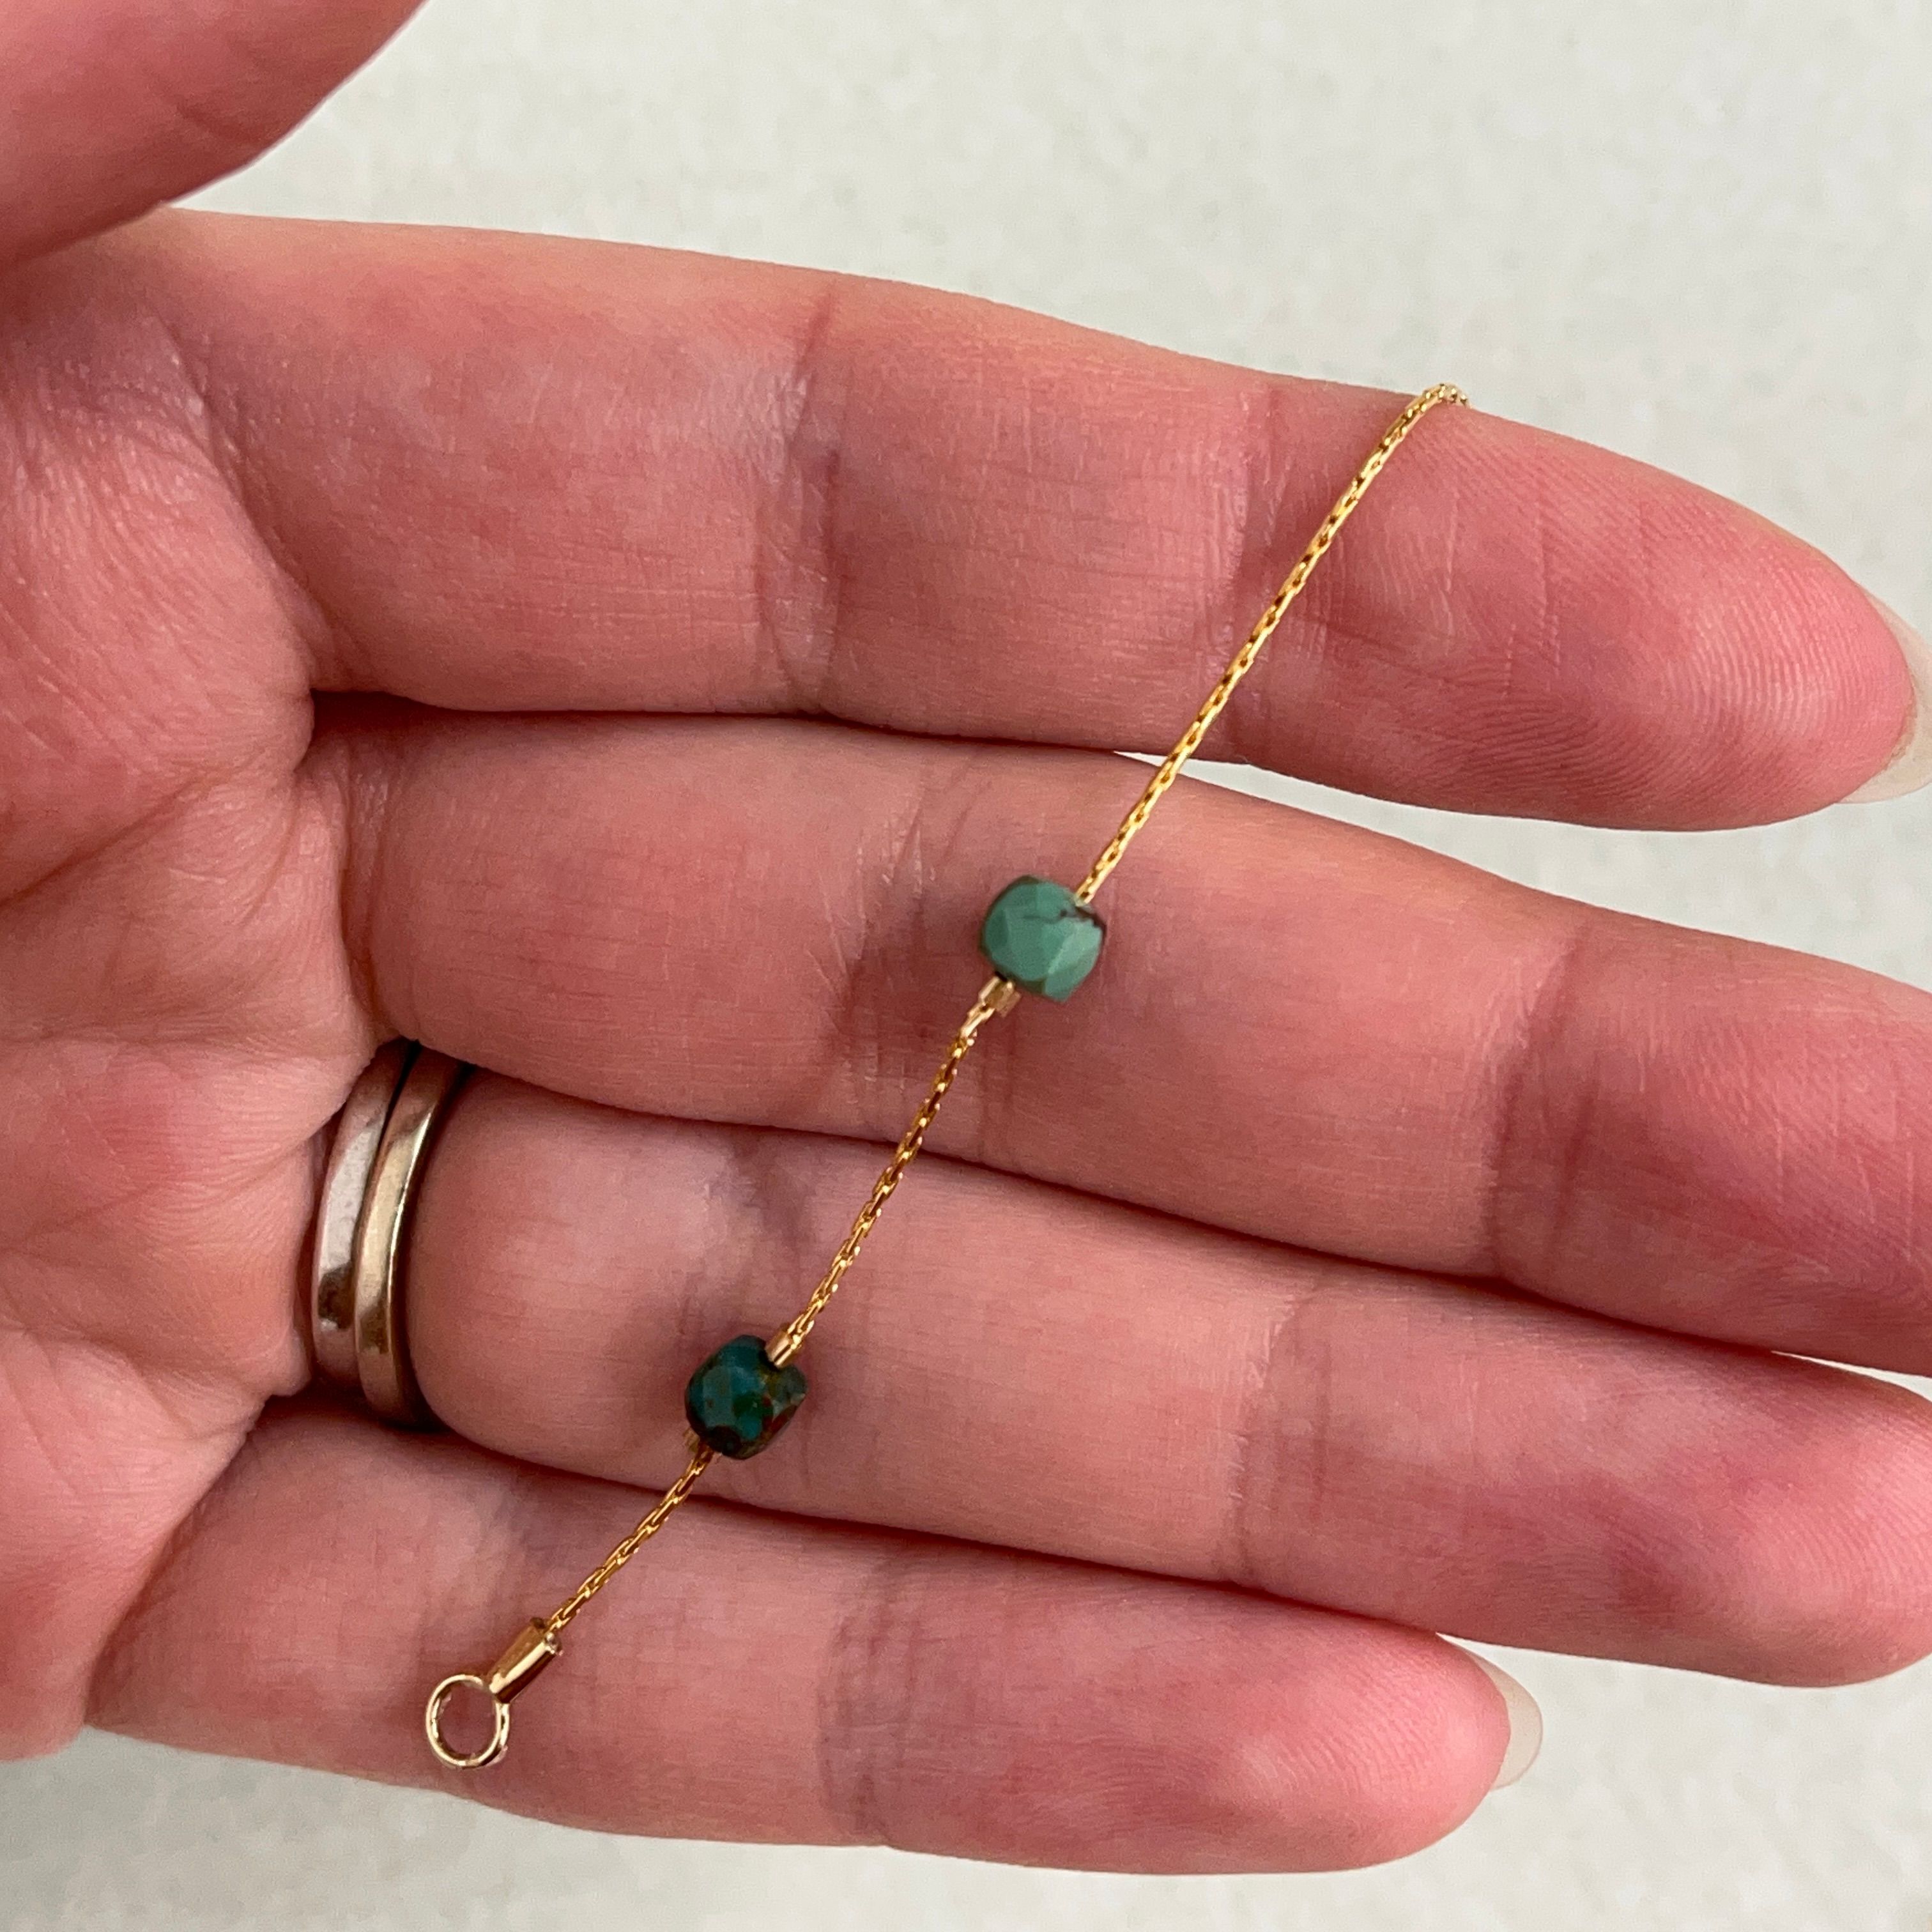
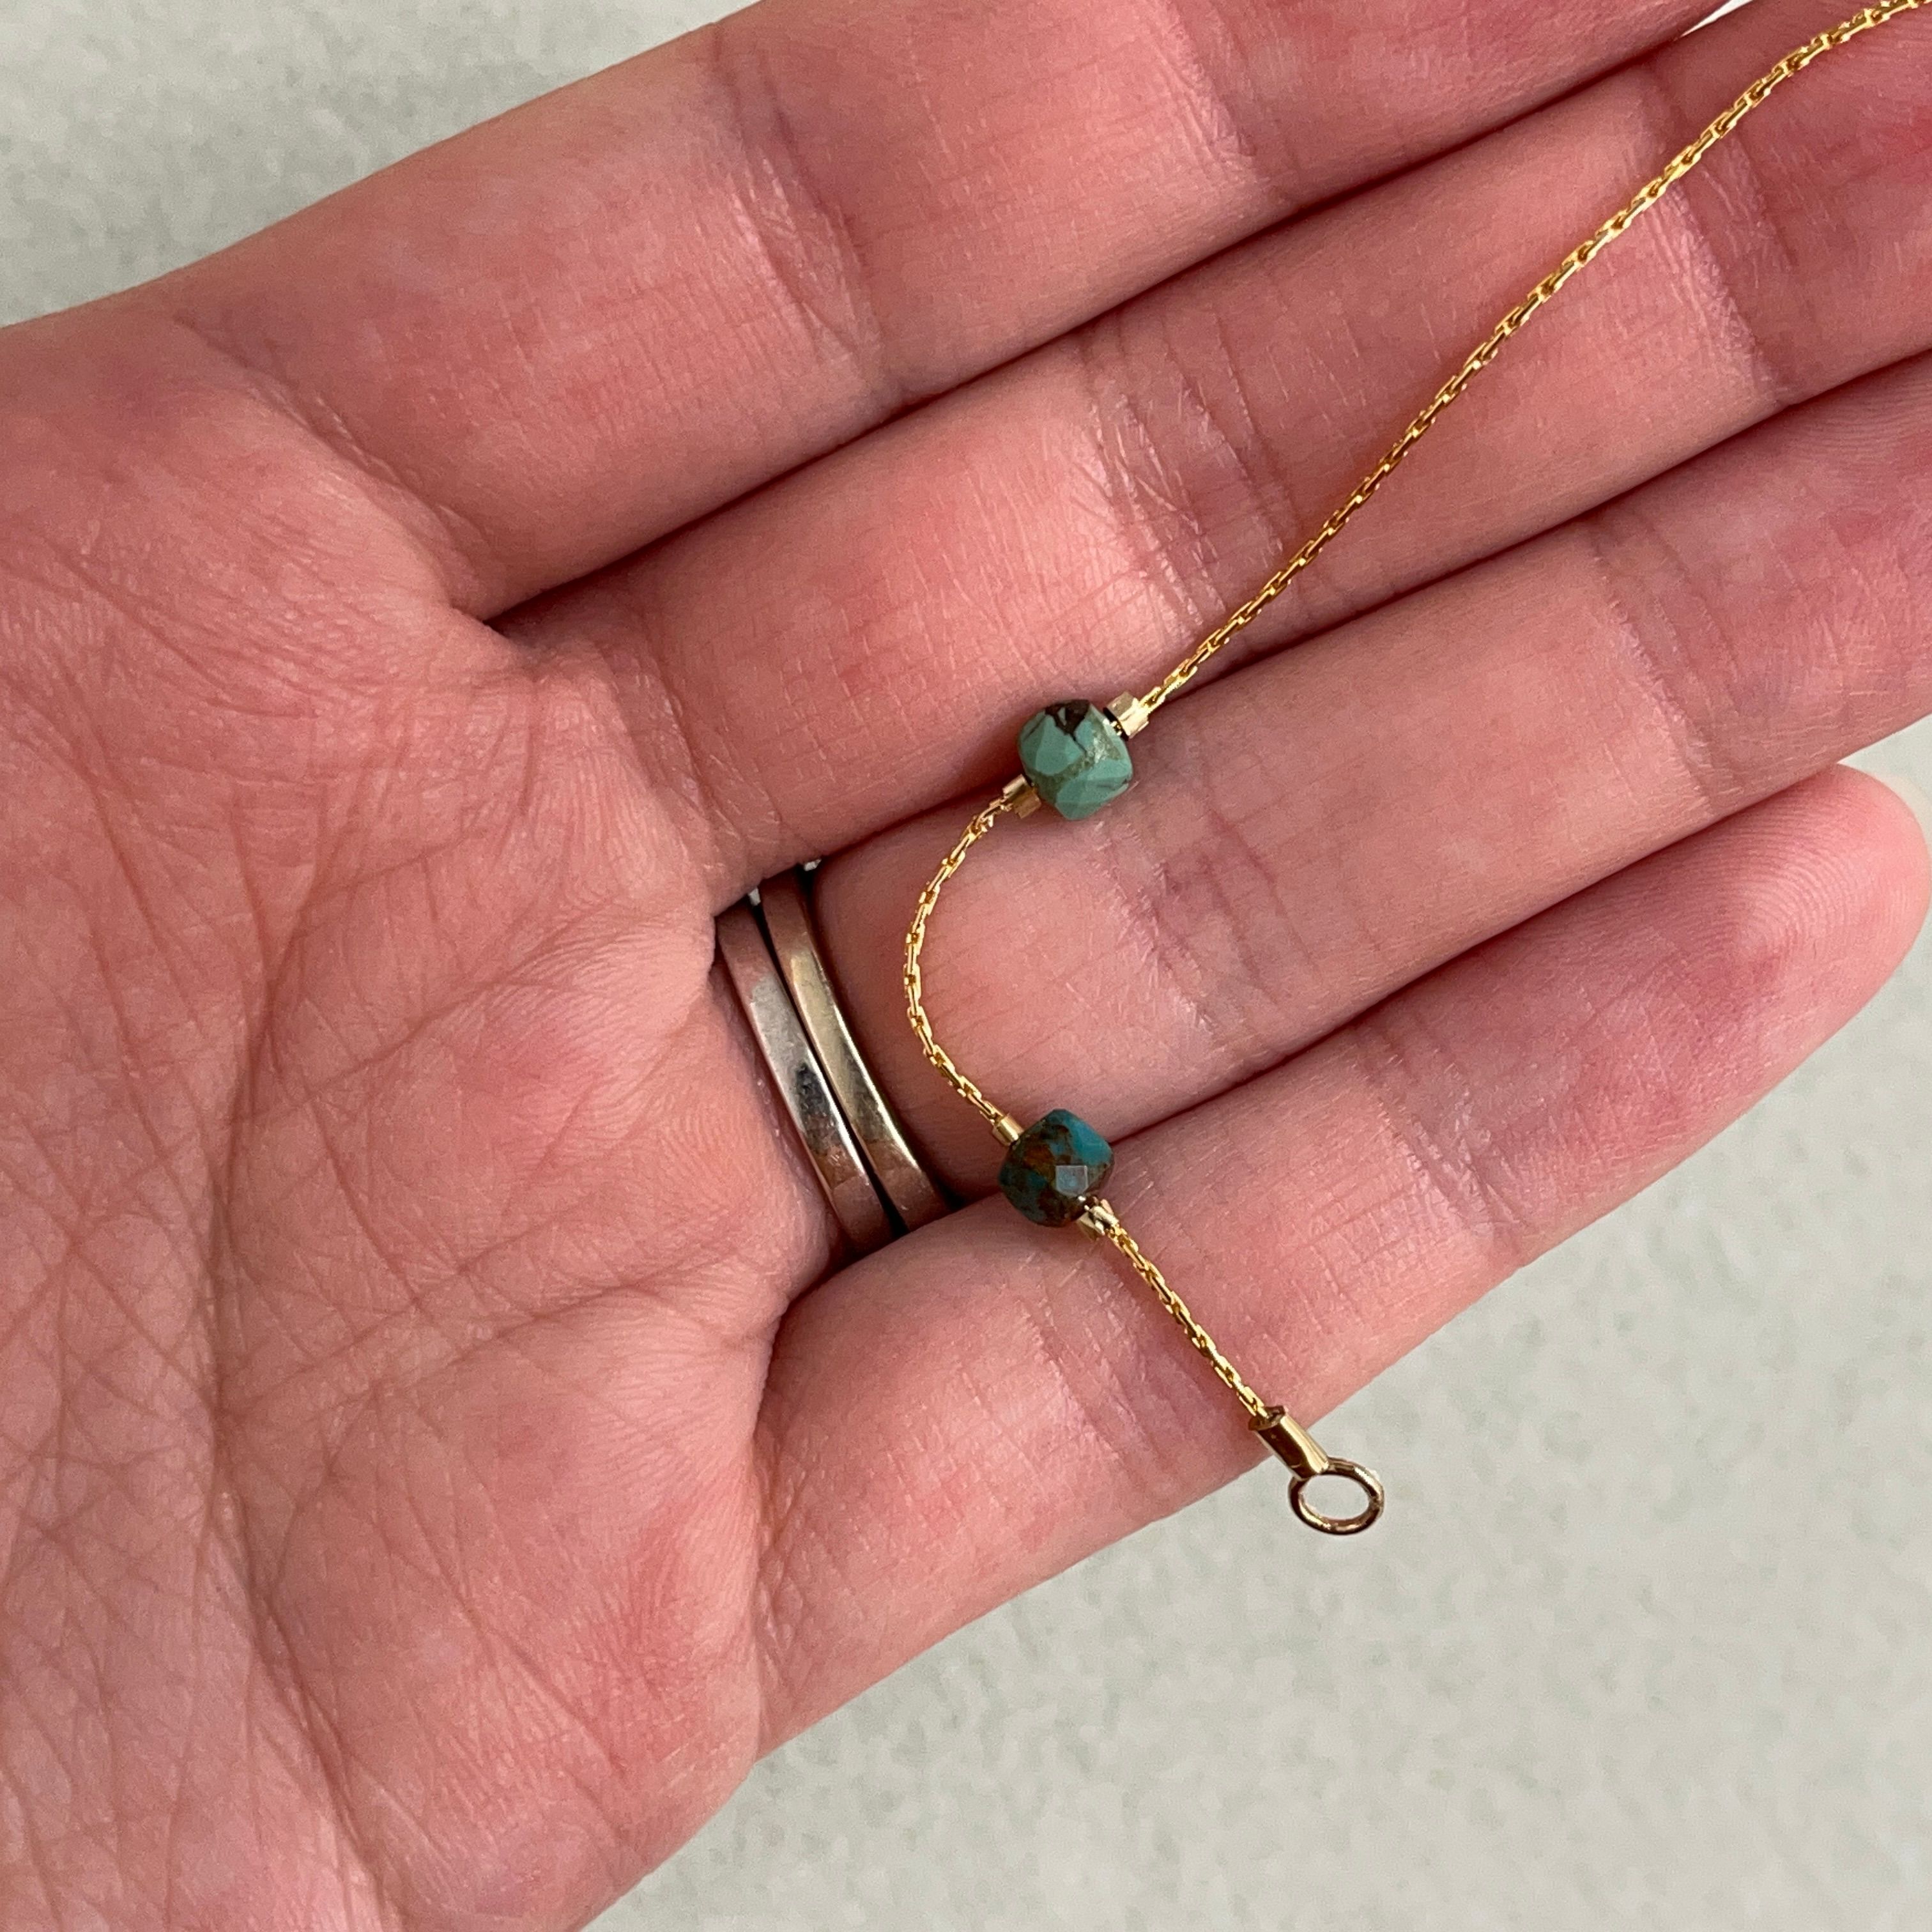
33. Using your chain and flat nose pliers, take your clasp and add a 3mm 22 gauge jump ring (or the jump ring the clasp might have came with), then attach it to the end cap * I like to add the clasp to the first end cap that has already dried
34. Done!
Recent Posts
-

Back to Basics: Stack of Stretch Bracelets Including How to Make a Daisy Chain Stretch Bracelet
Back to Basics: Stack of Stretch Bracelets Including a Daisy Chain Stretch BraceletFollow our "Back …24th Jul 2024 -

Seed Bead Starfish Bracelet
Seed Bead Starfish BraceletThis project is perfect for both beginners and seasoned crafters looking …19th Jun 2024 -

DIY Personalized Layered Charm Necklace
DIY Personalized Layered Charm NecklaceEmbrace individuality with our Personalized Charm Necklace tu …29th May 2024