
Tutorials
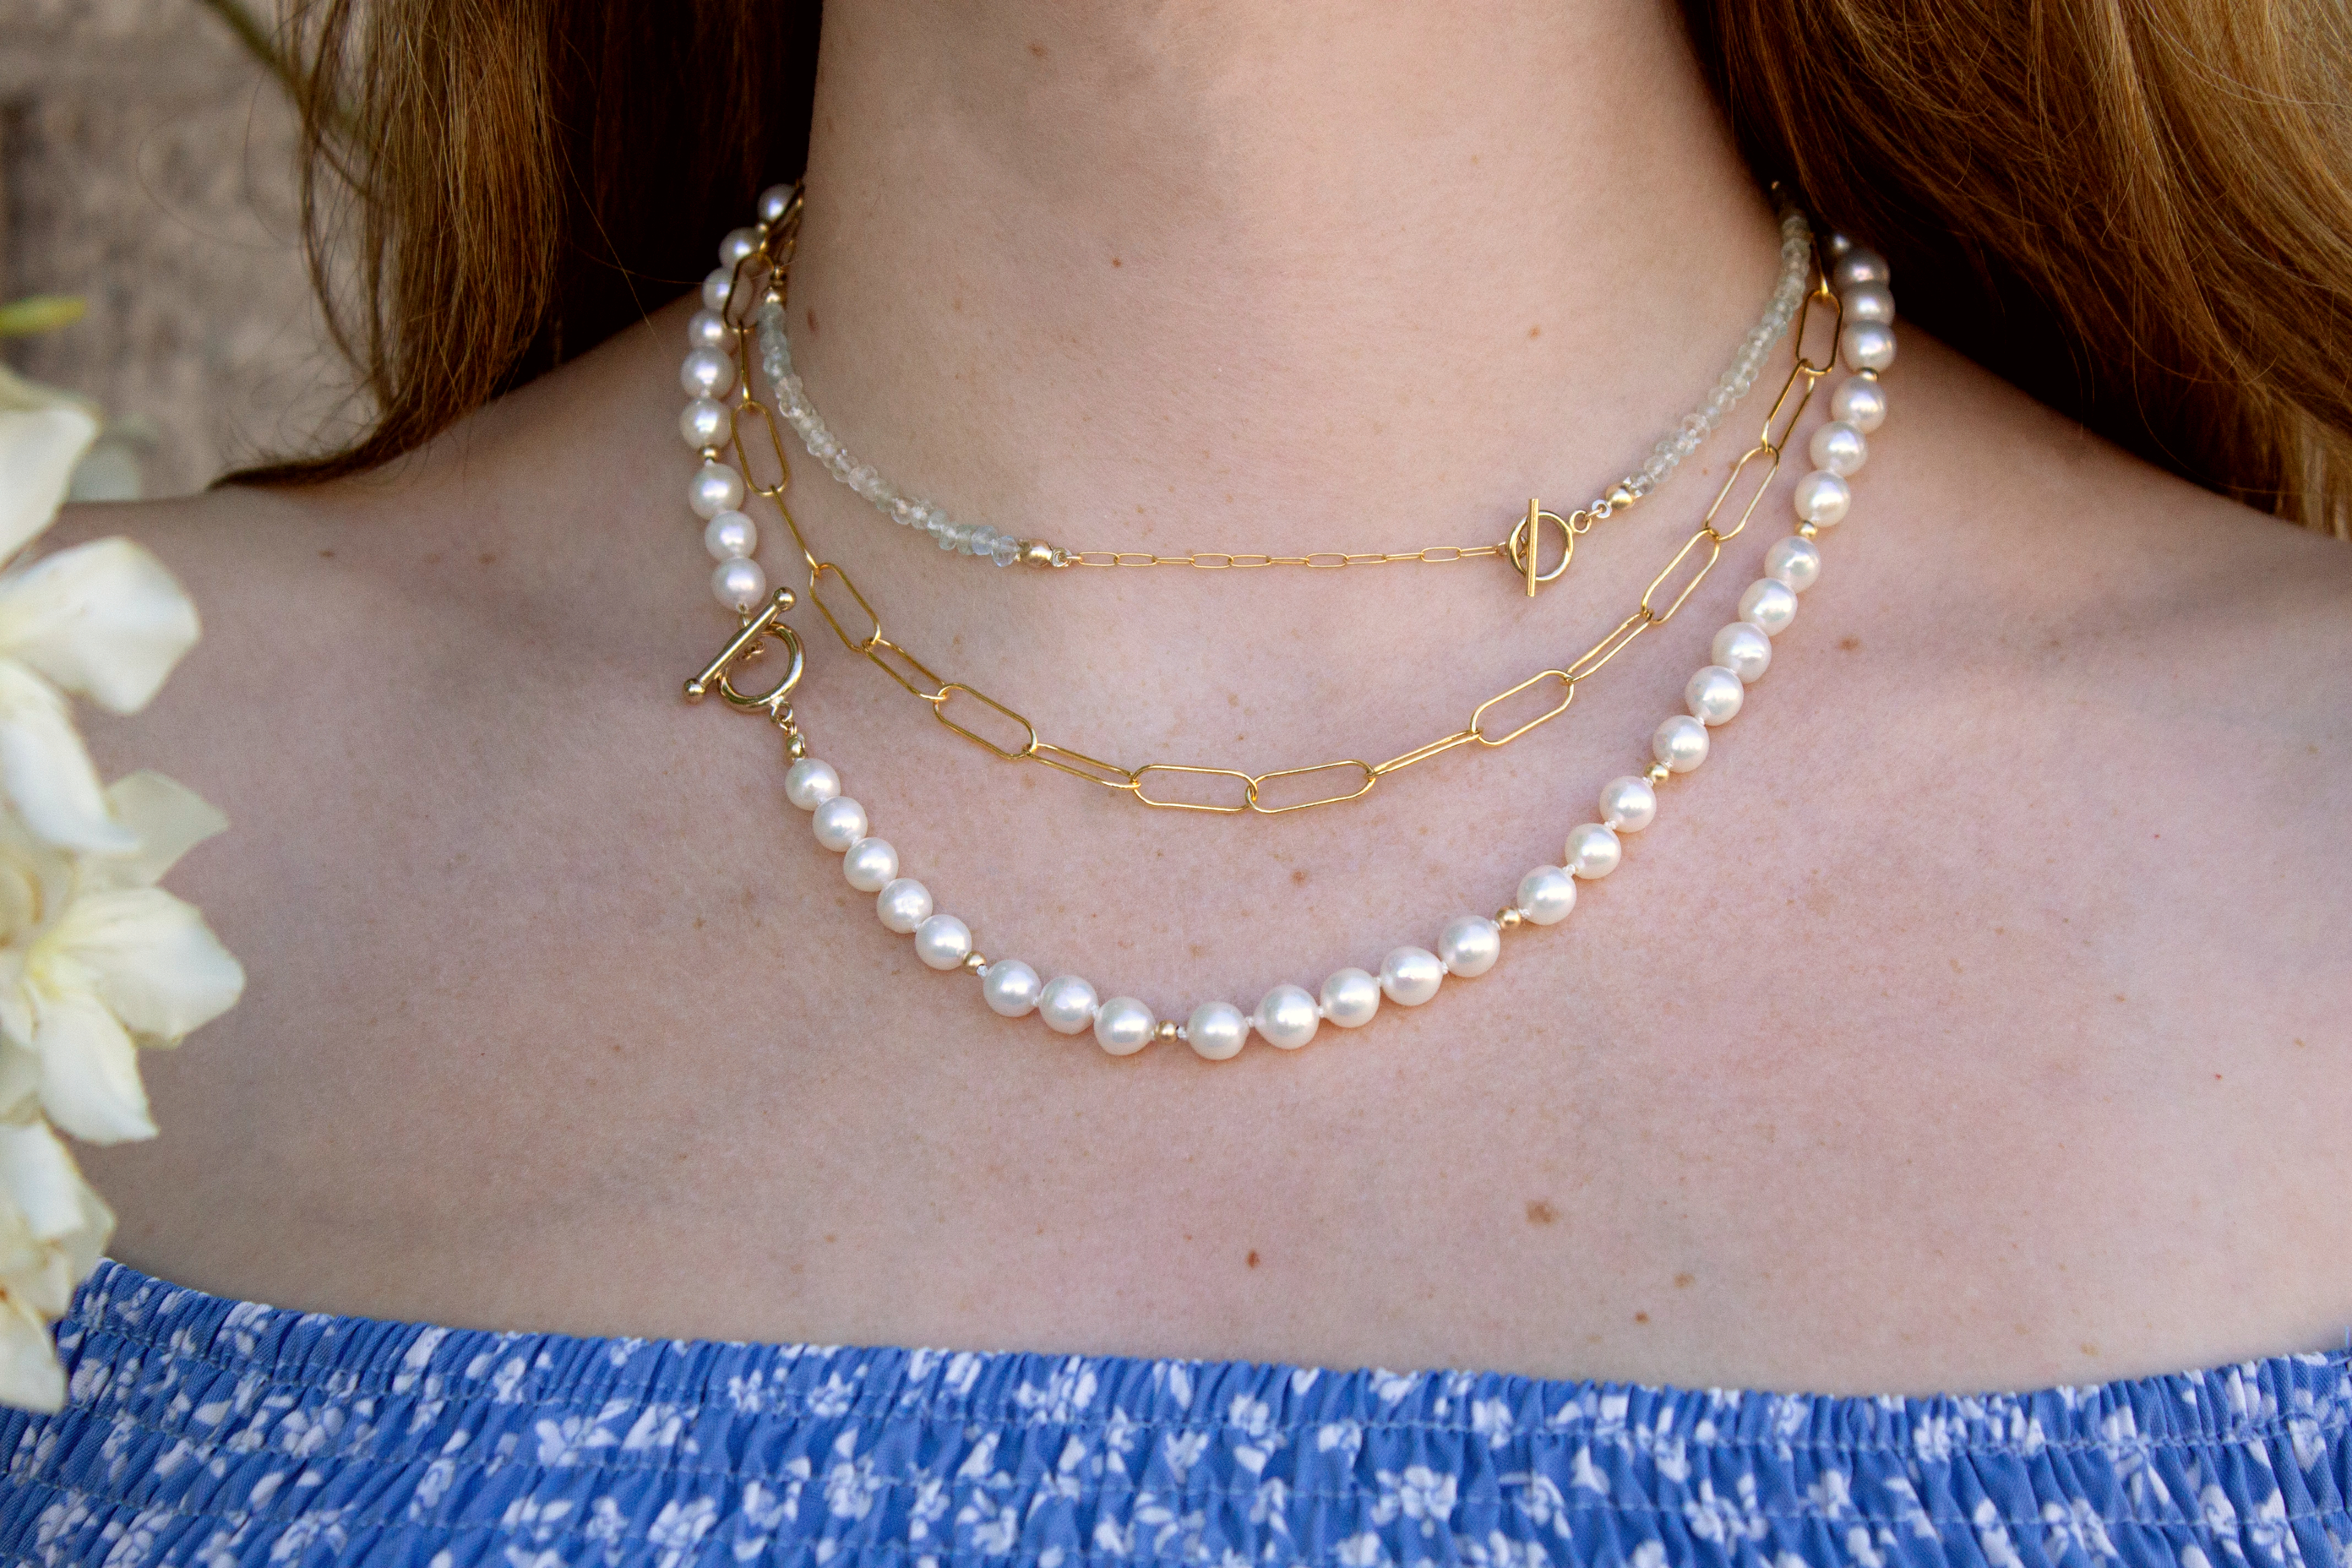
Layered Necklaces - How to Make and Style your own Knotted Necklace and Chain Collection
Layered Necklaces - How to Make and Style your own Knotted Necklace and Chain Collection
Layering necklaces is an art that allows you to create a personalized and eye-catching jewelry collection. Knotted necklaces have recently hit the spotlight as a jewelry trend, especially with rondel gemstones. These three necklaces experiment with texture and thicknesses to add depth to the layered look. The combination of delicate chains with chunkier chains and the different materials of the pearls and aquamarine gemstones, create contrasting textures that enhance the overall aesthetic and make each layer stand out.

Layered Necklaces - How to Make and Style your own Knotted Necklace and Chain Collection
Materials Needed:
Pearl Necklace (approx. 20"):
- Edison Freshwater Pearls White 6mm Round (1 Strand) - you can also use the 6mm drop for a more organic look
- Griffin #4 White
- 14K Gold 3mm Sandblast Beads (13)
- 14K Gold Filled Clamshells with 2 Rings (2)
- 14K Gold Filled 3mm 22 Gauge Jump Rings (2)
- 14K Gold Filled 12mm Toggle and Eye Set (1)
Aquamarine and Chain Necklace (approx. 15"):
- Aquamarine Ombre Banded 4mm Faceted Rondel (1 Strand makes 2 necklaces)
- Griffin #2 White
- 14K Gold Filled 1.8mmx5.1mm Fancy Paperclip Chain (6 inches)
- 14K Gold Filled Clamshells with 2 Rings (6)
- 14K Gold Filled 3mm 22 Gauge Jump Rings (7)
- 14K Gold Filled 2mm Round Beads (6)
- 14K Gold Filled 9mm Toggle and Eye Set (1)
Paperclip Chain Necklace (approx. 17.5"):
- 14K Gold Filled 5.35x15.5mm Fancy Squared Chain (17 inches)
- Gold Filled 5x14mm Lobster Clasp (1 comes with jump ring) - or clasp of your choice
Tools Required:
Needle Nose Pliers (also known as chain nose)
Thread Snips or scissors
GS-HYPO Cement (red tube)
Instructions on Construction: Knotted Pearl Necklace
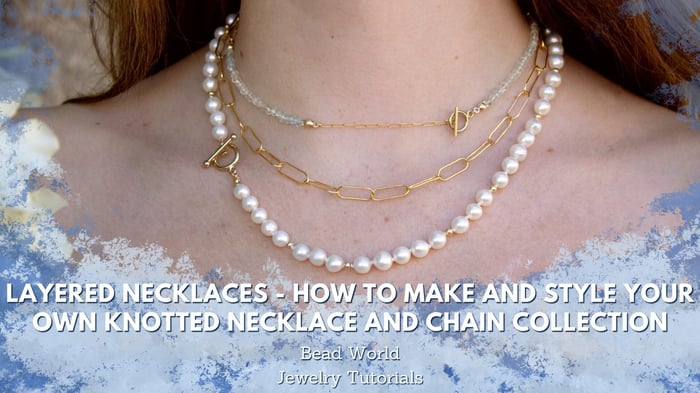
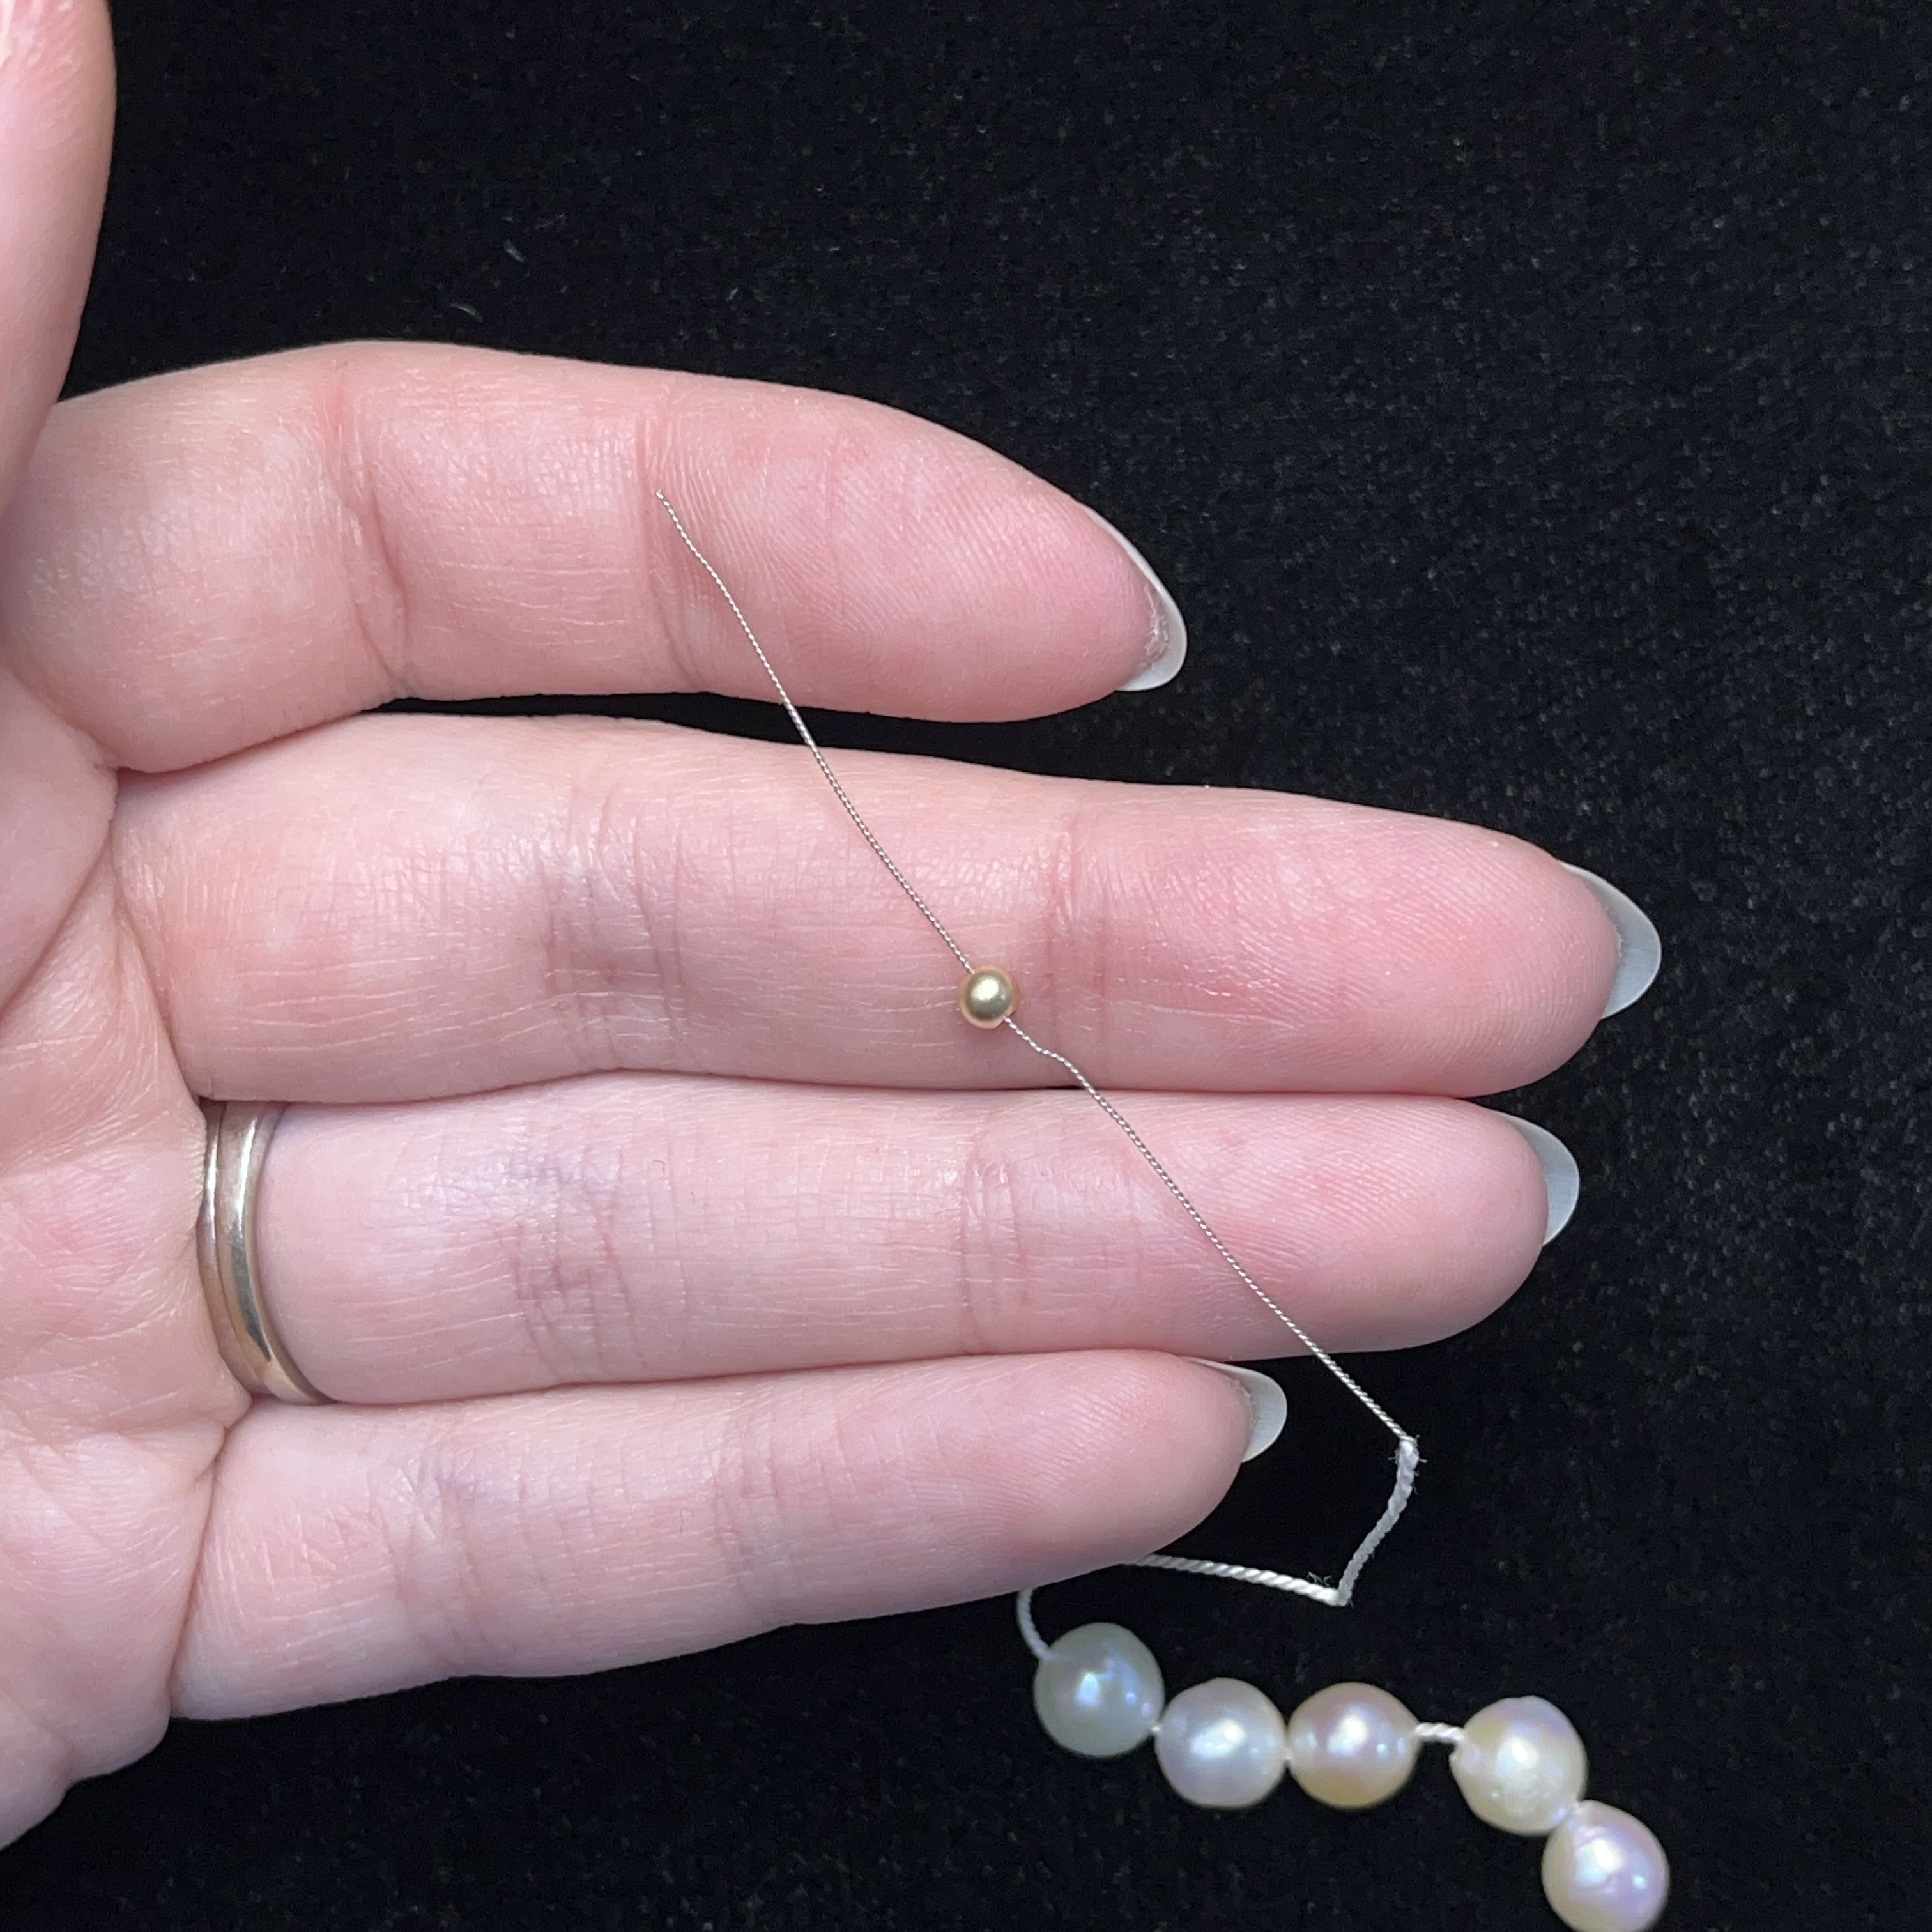
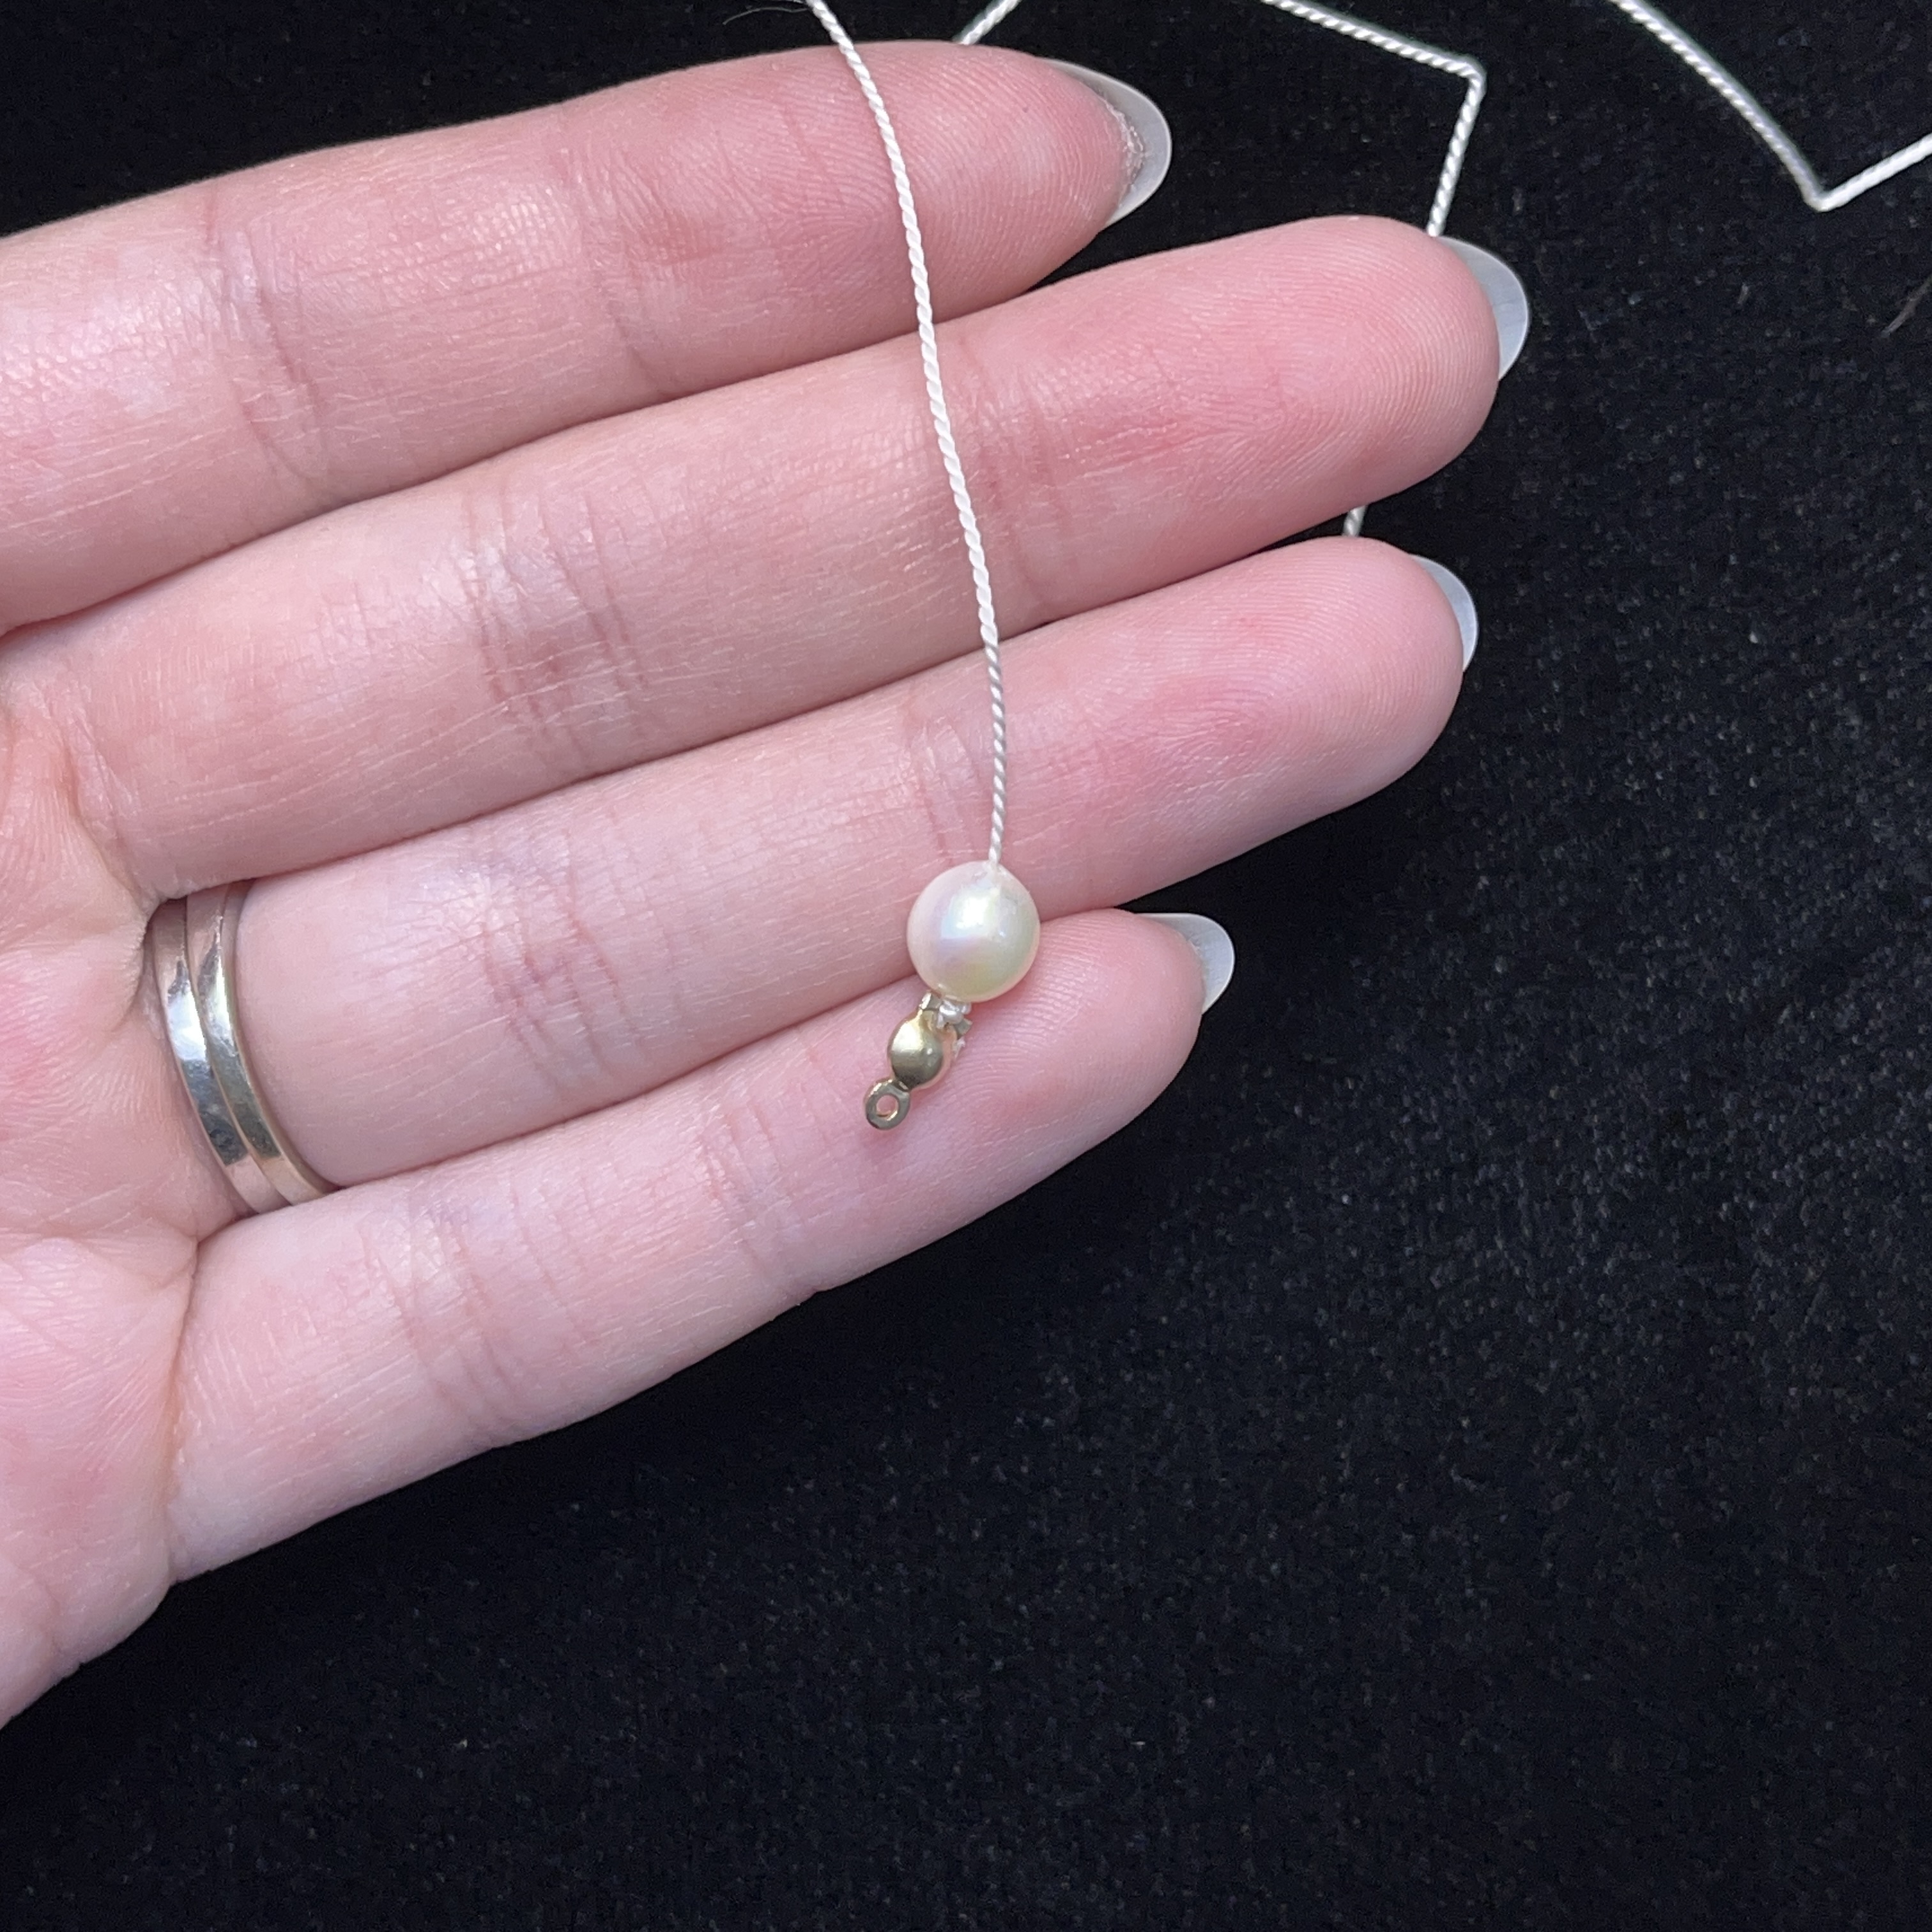
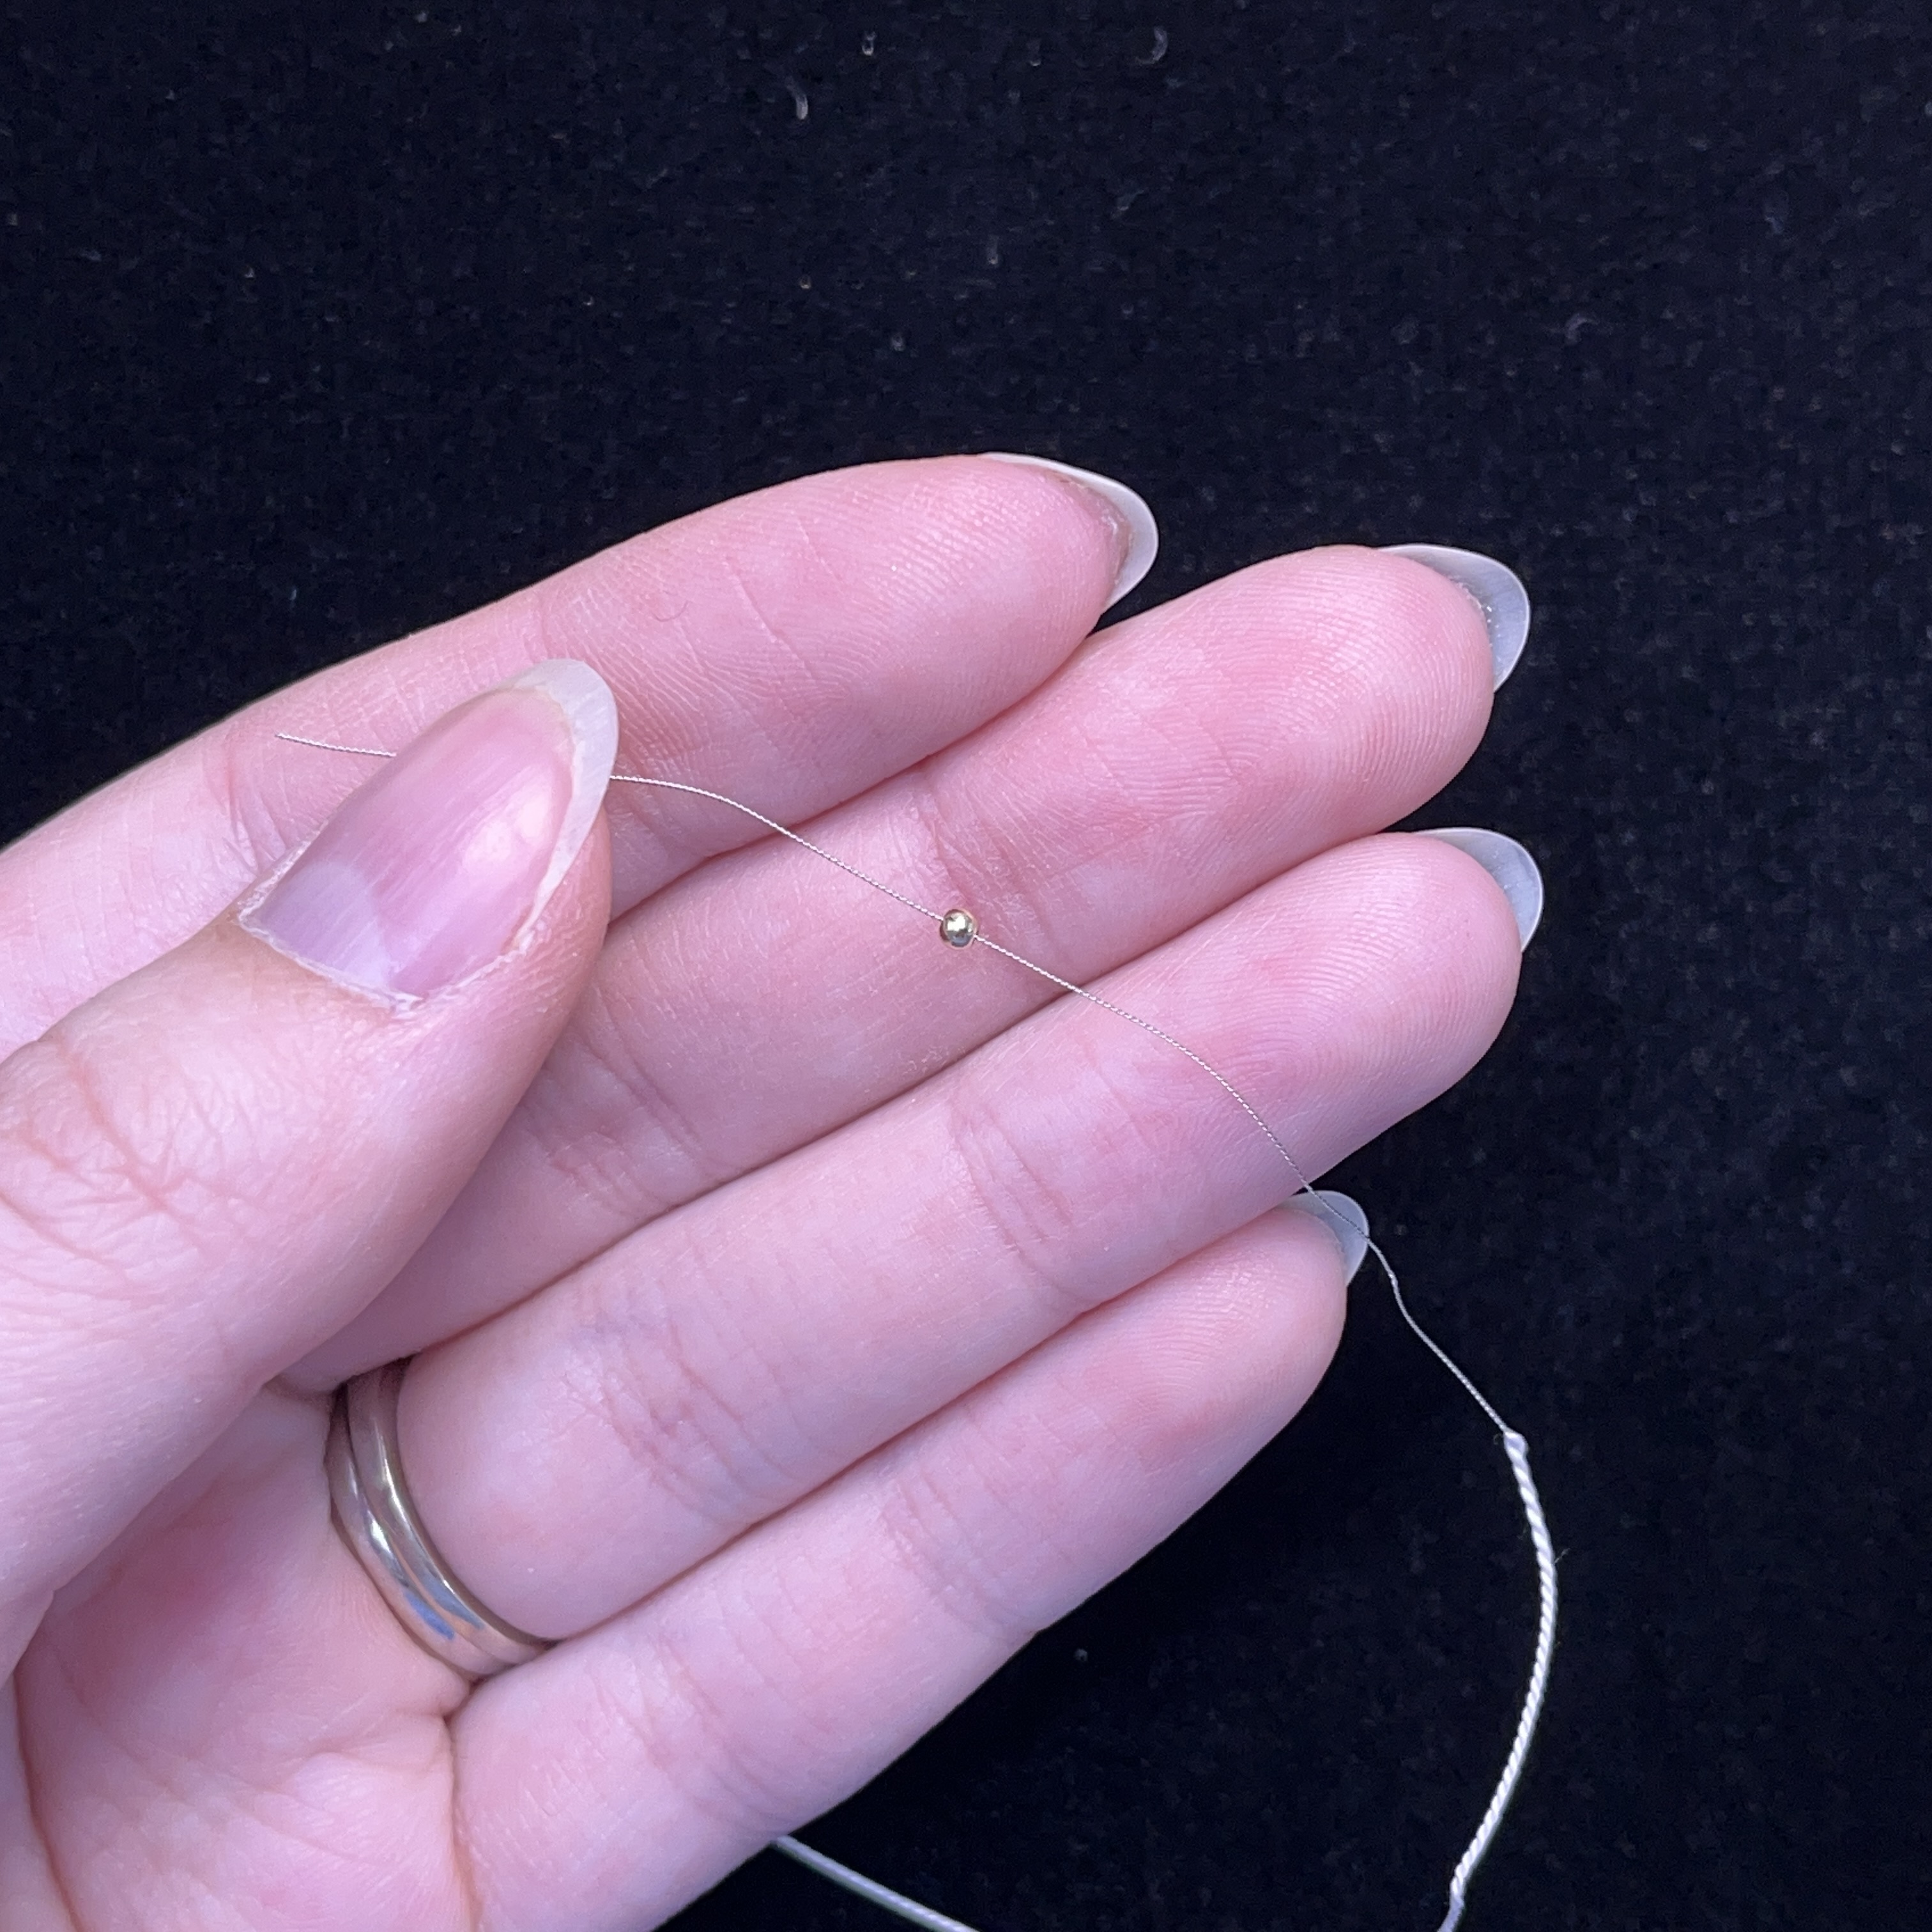
1. Thread on a 2mm Gold filled bead and bring it about 2 inches away from the end of the griffin cord, you could also use a sterling silver or crimp bead, but I prefer to use this bead.
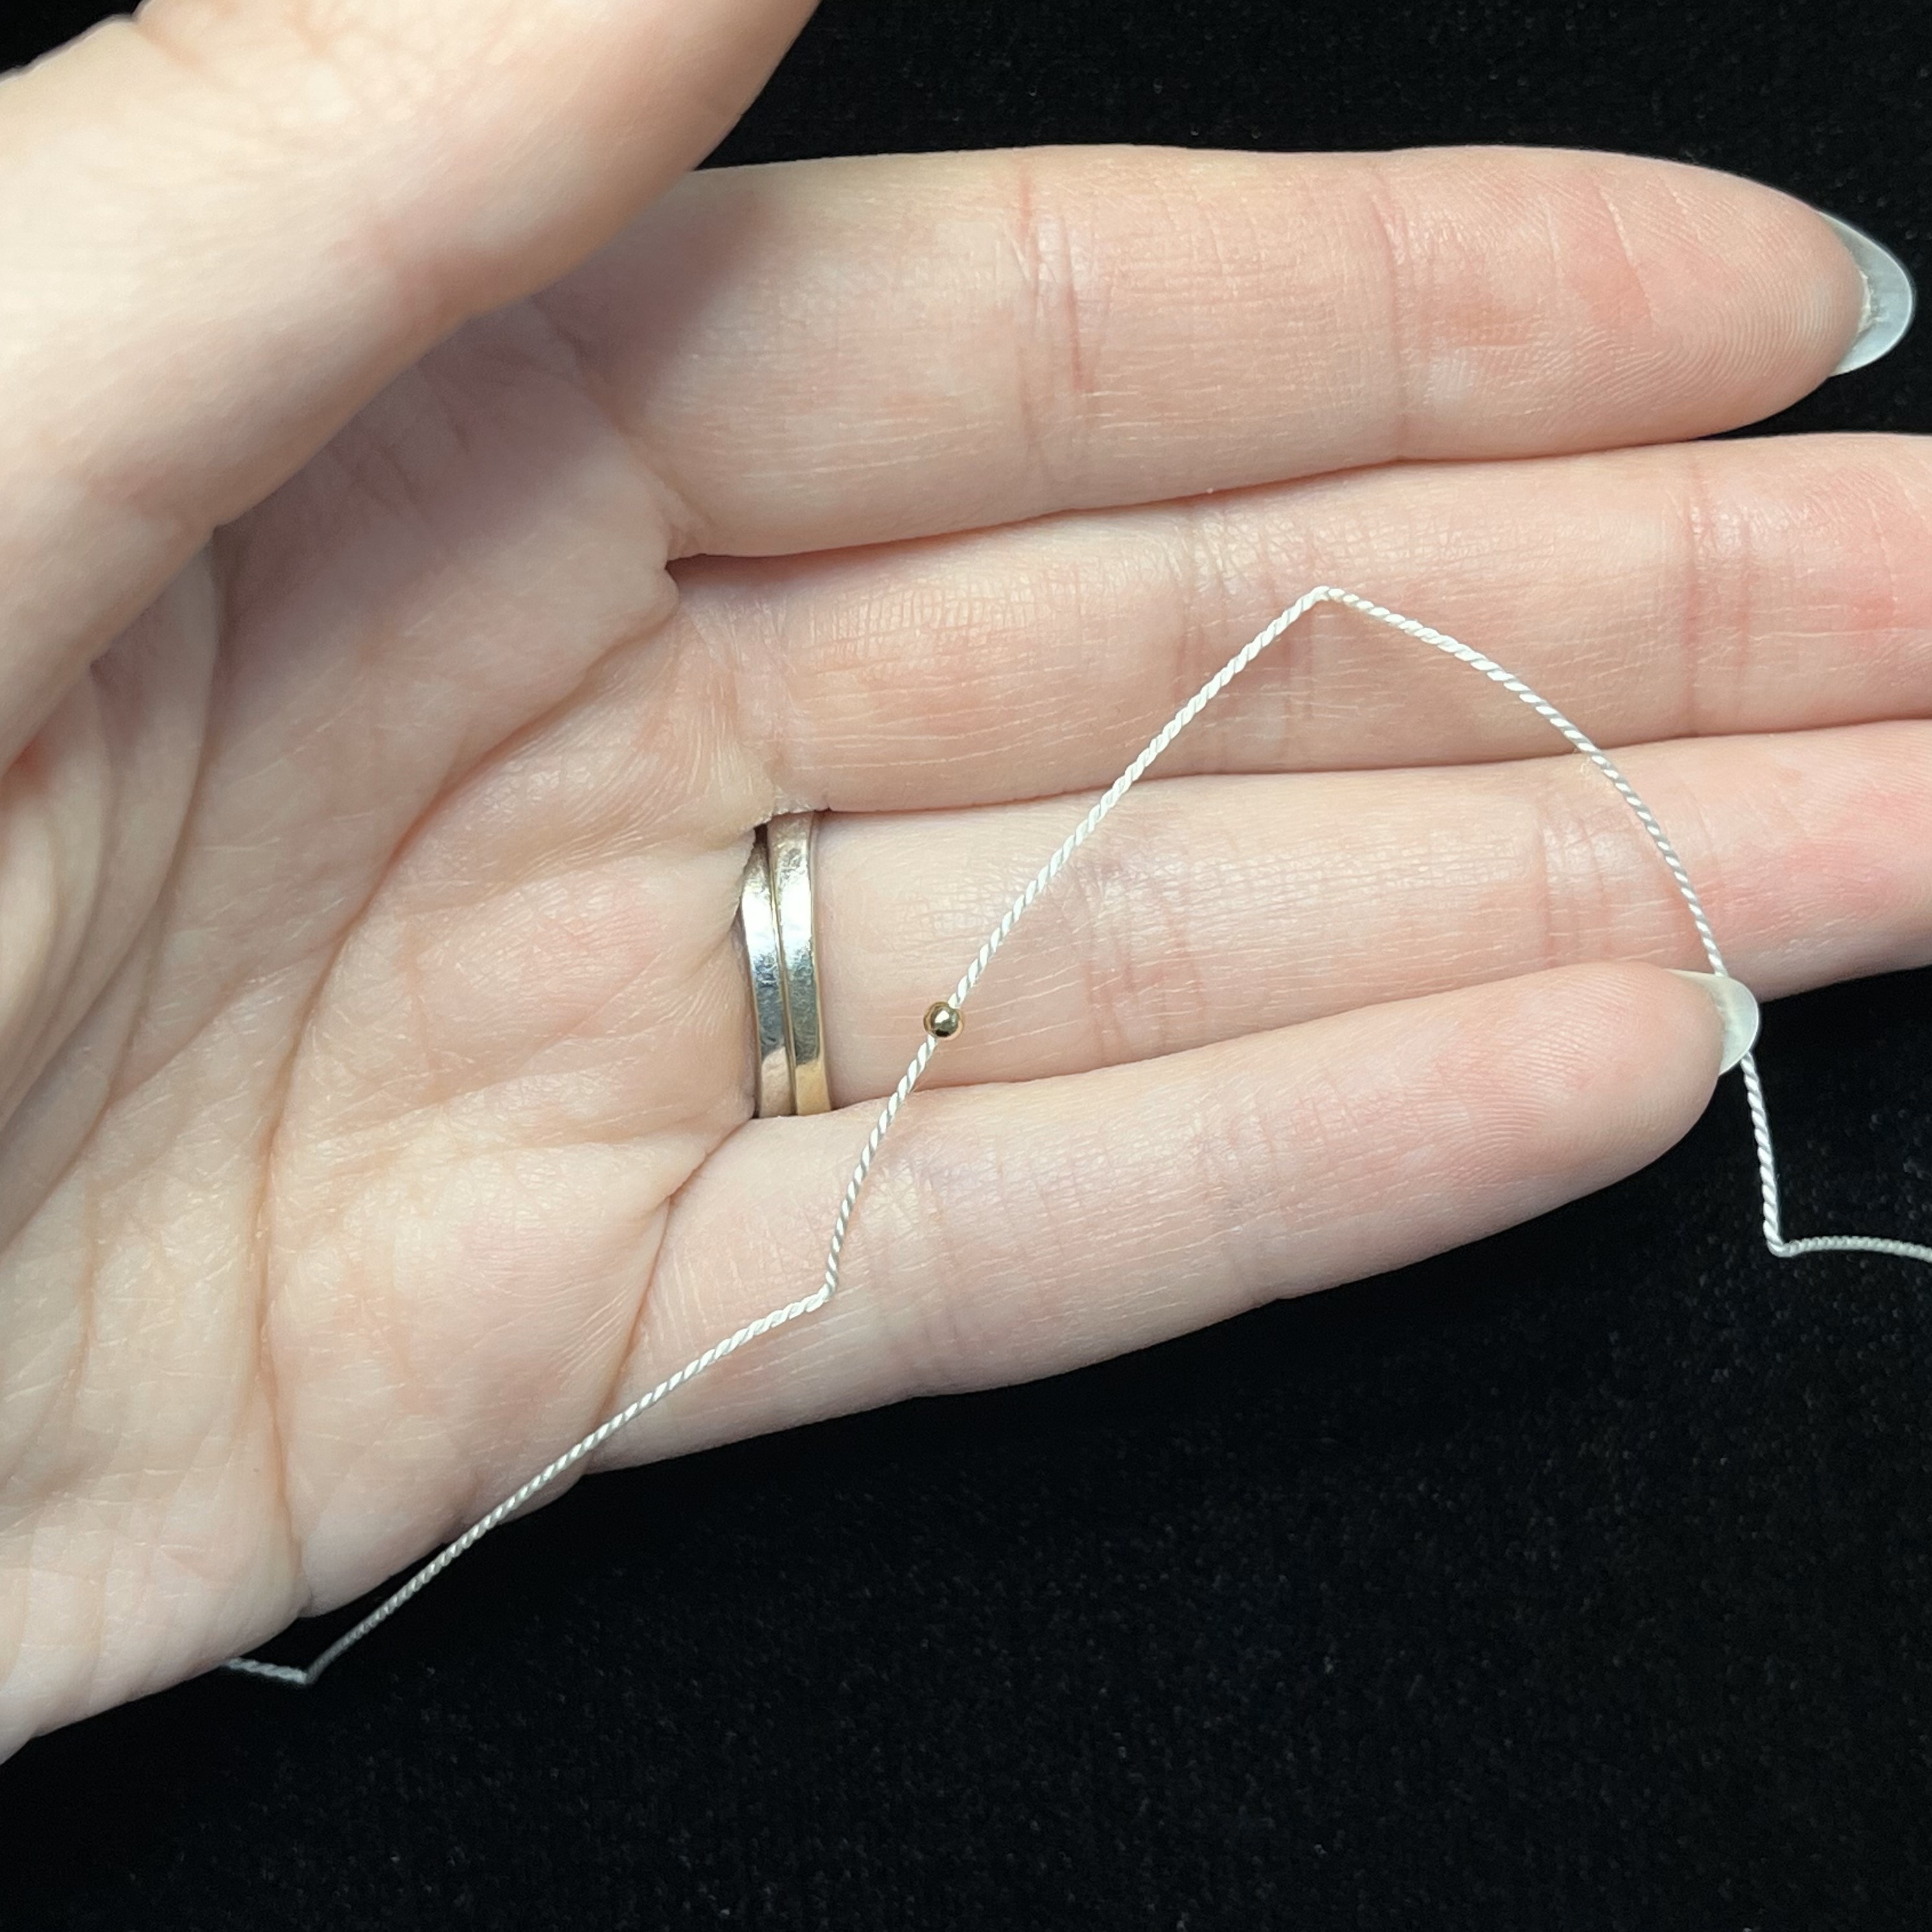
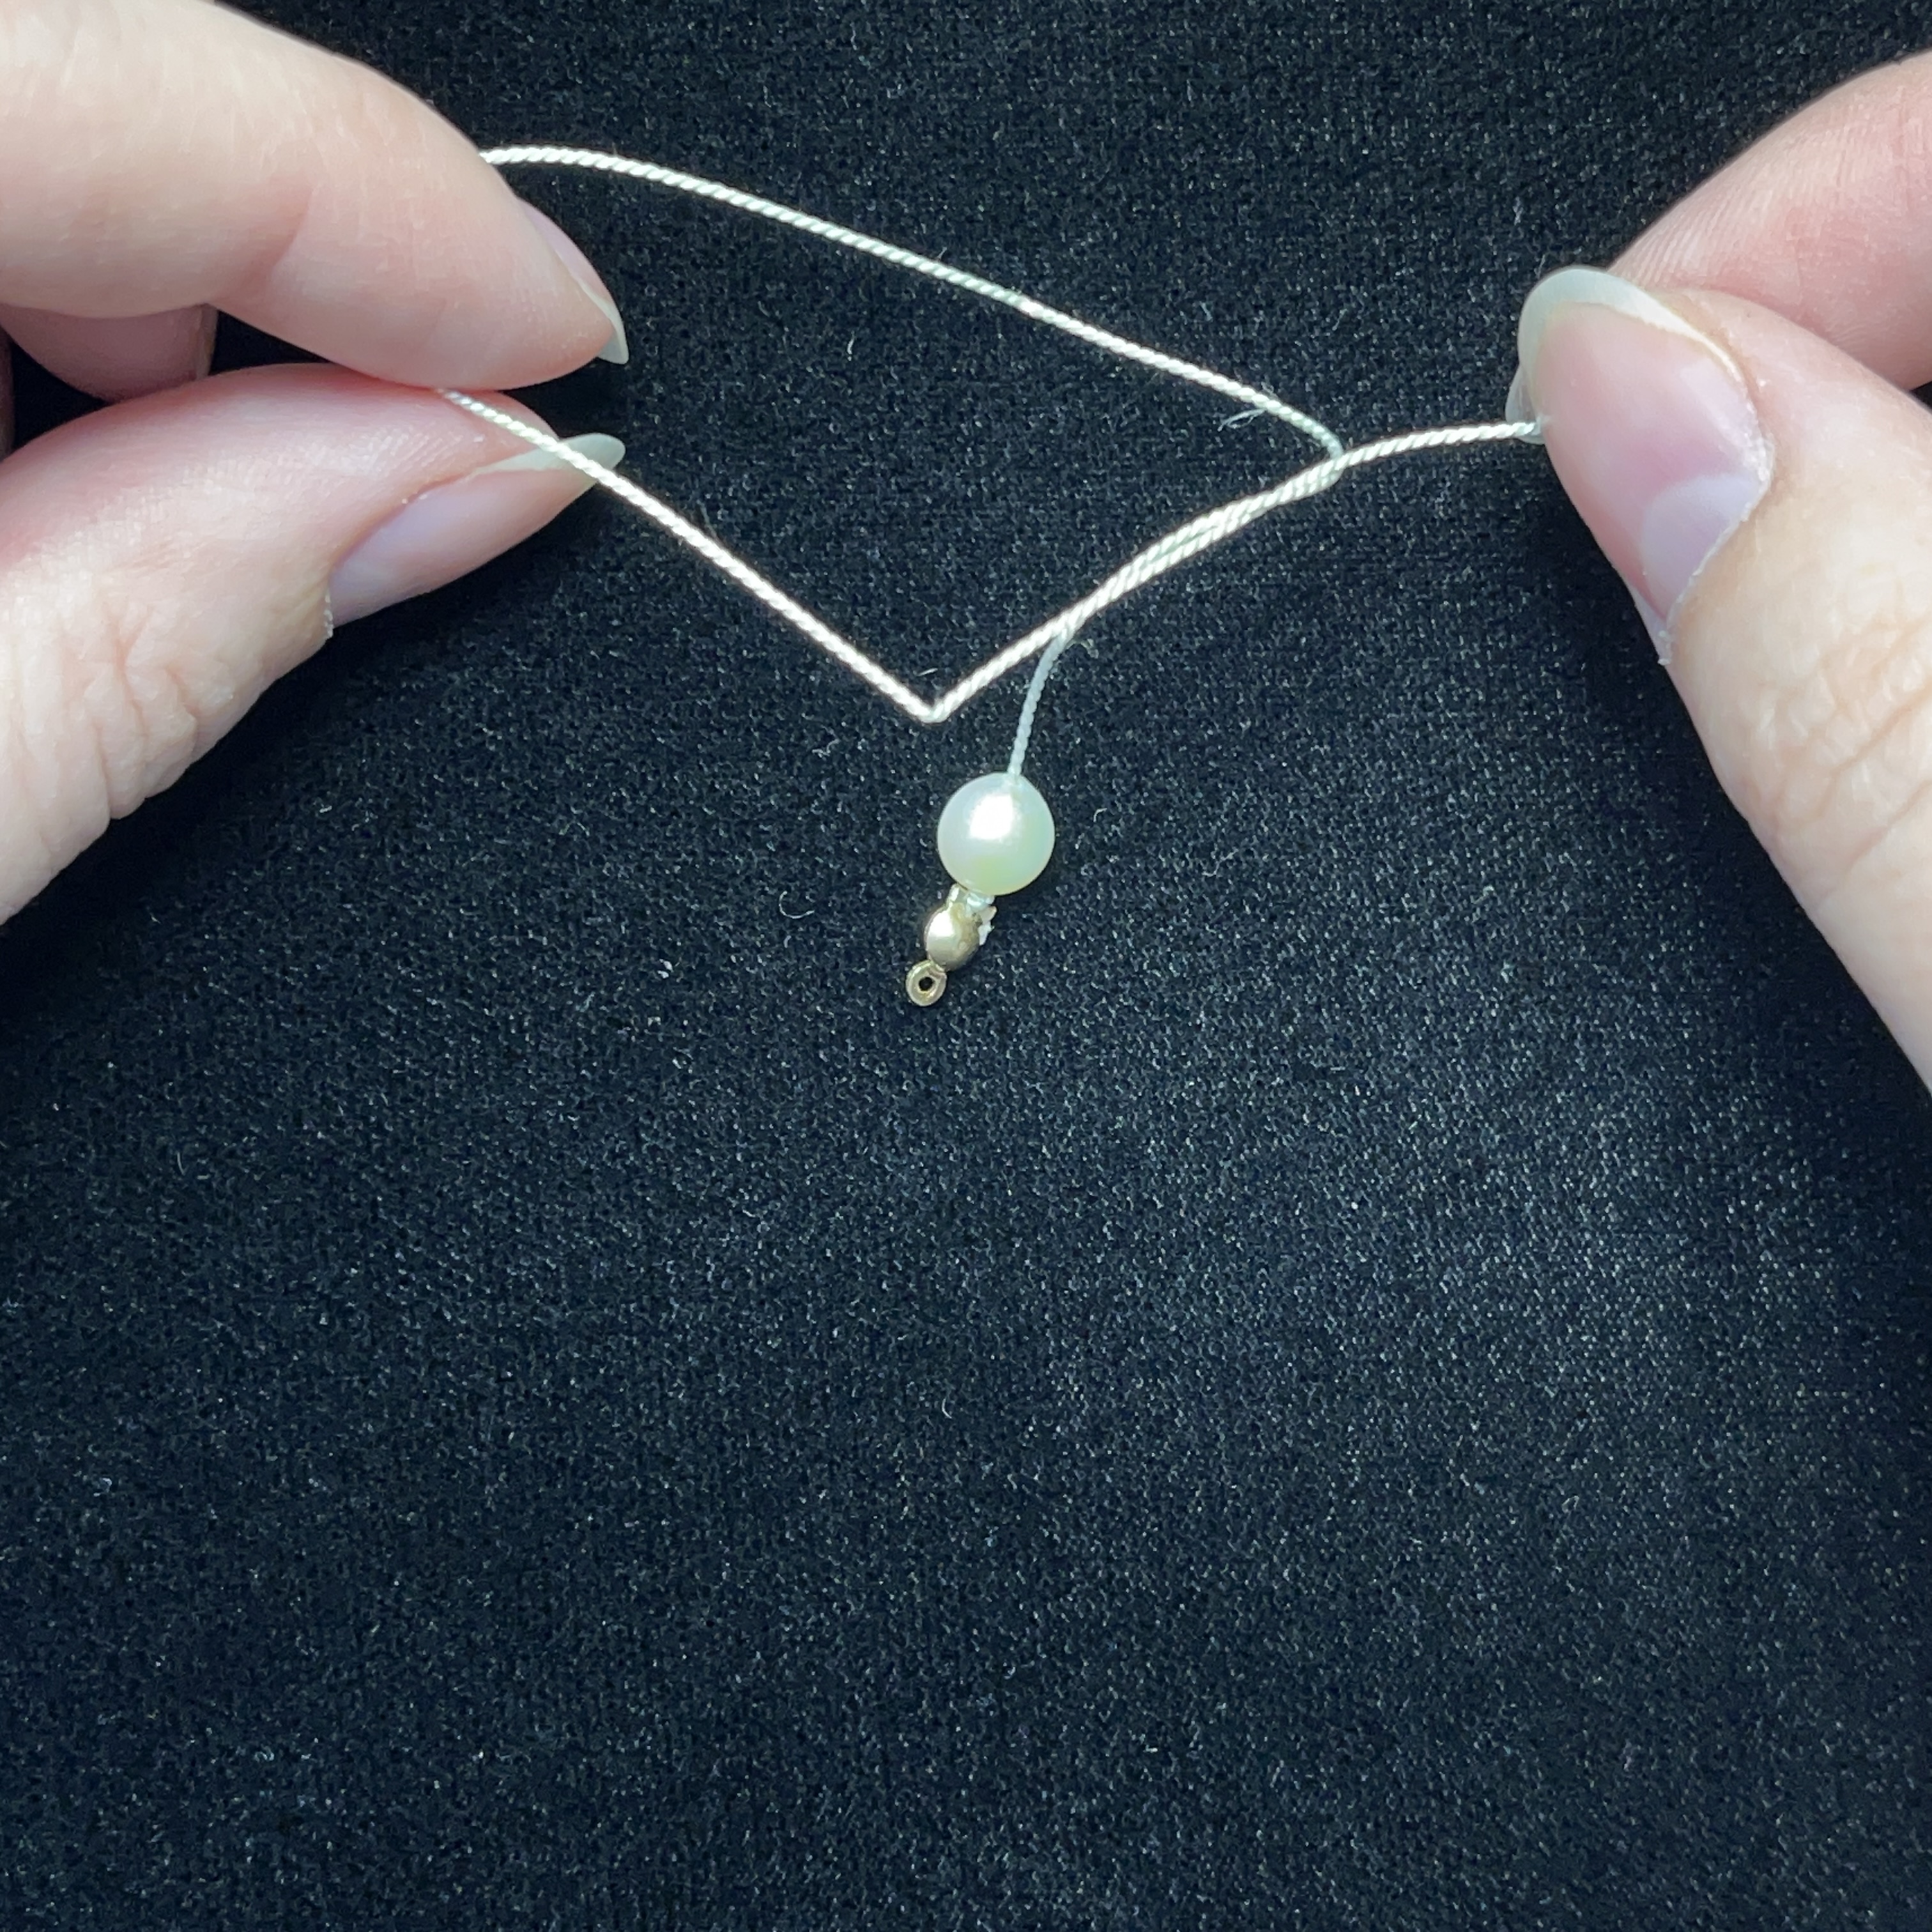
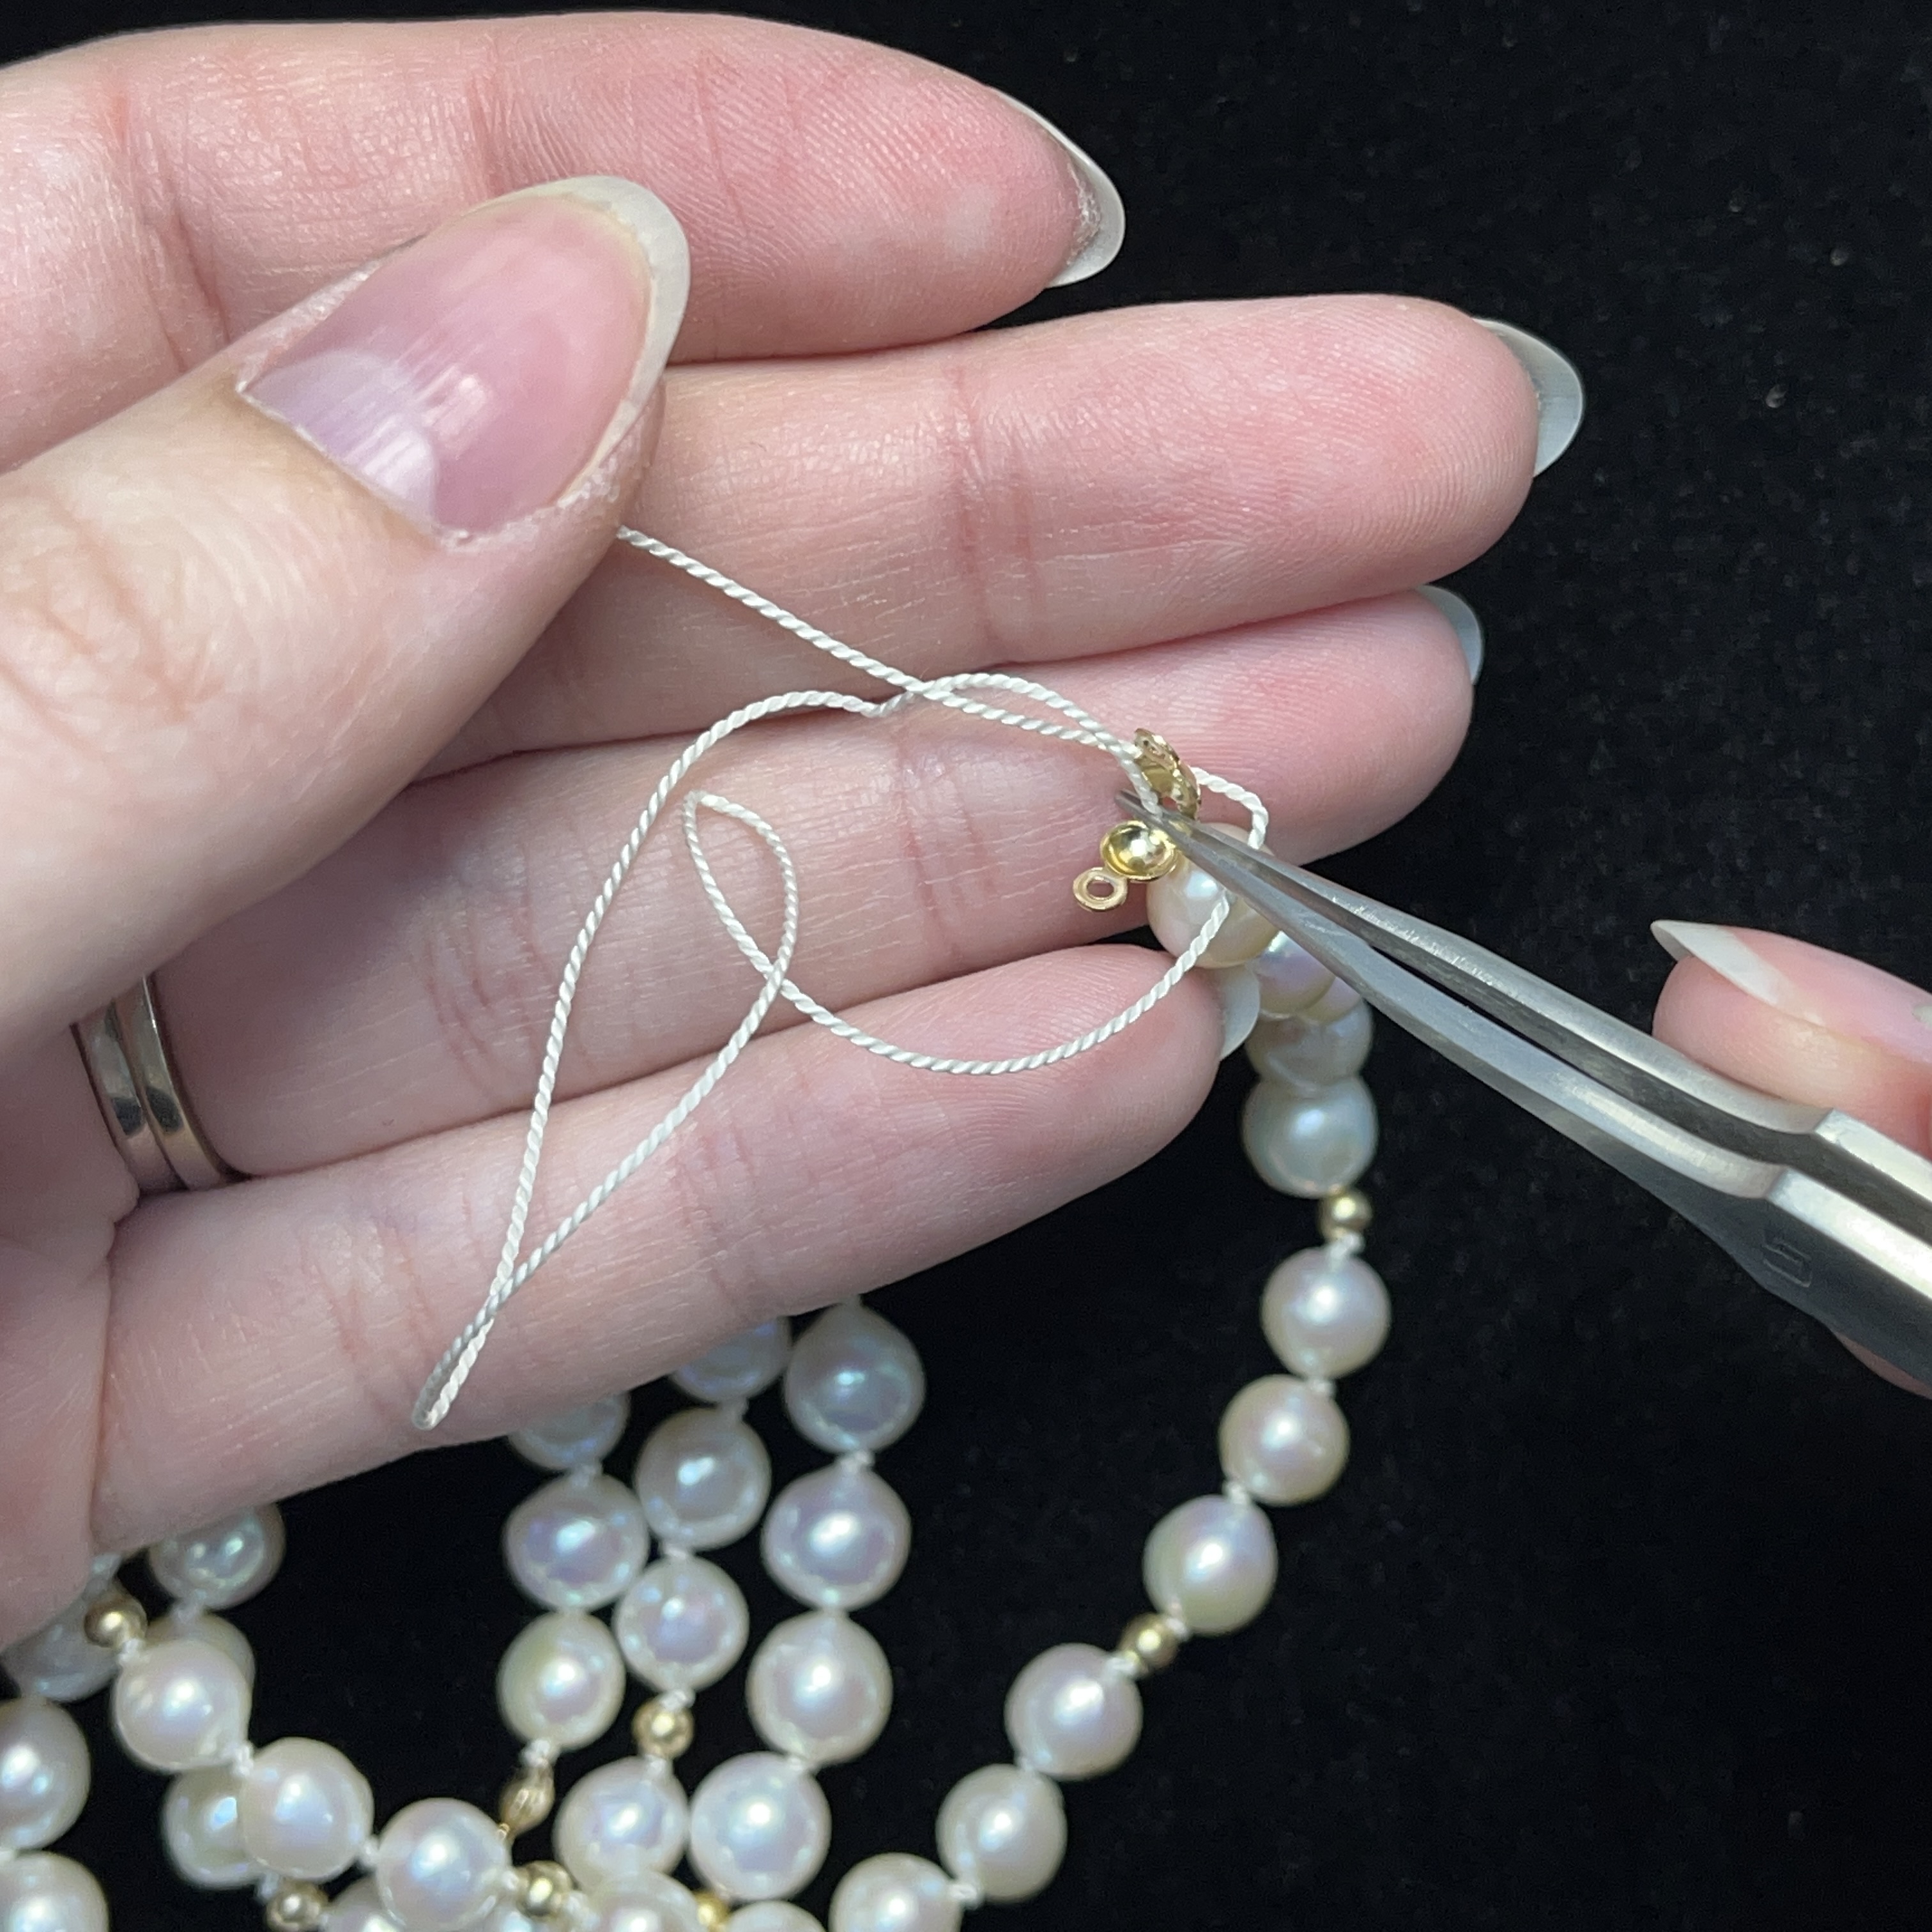
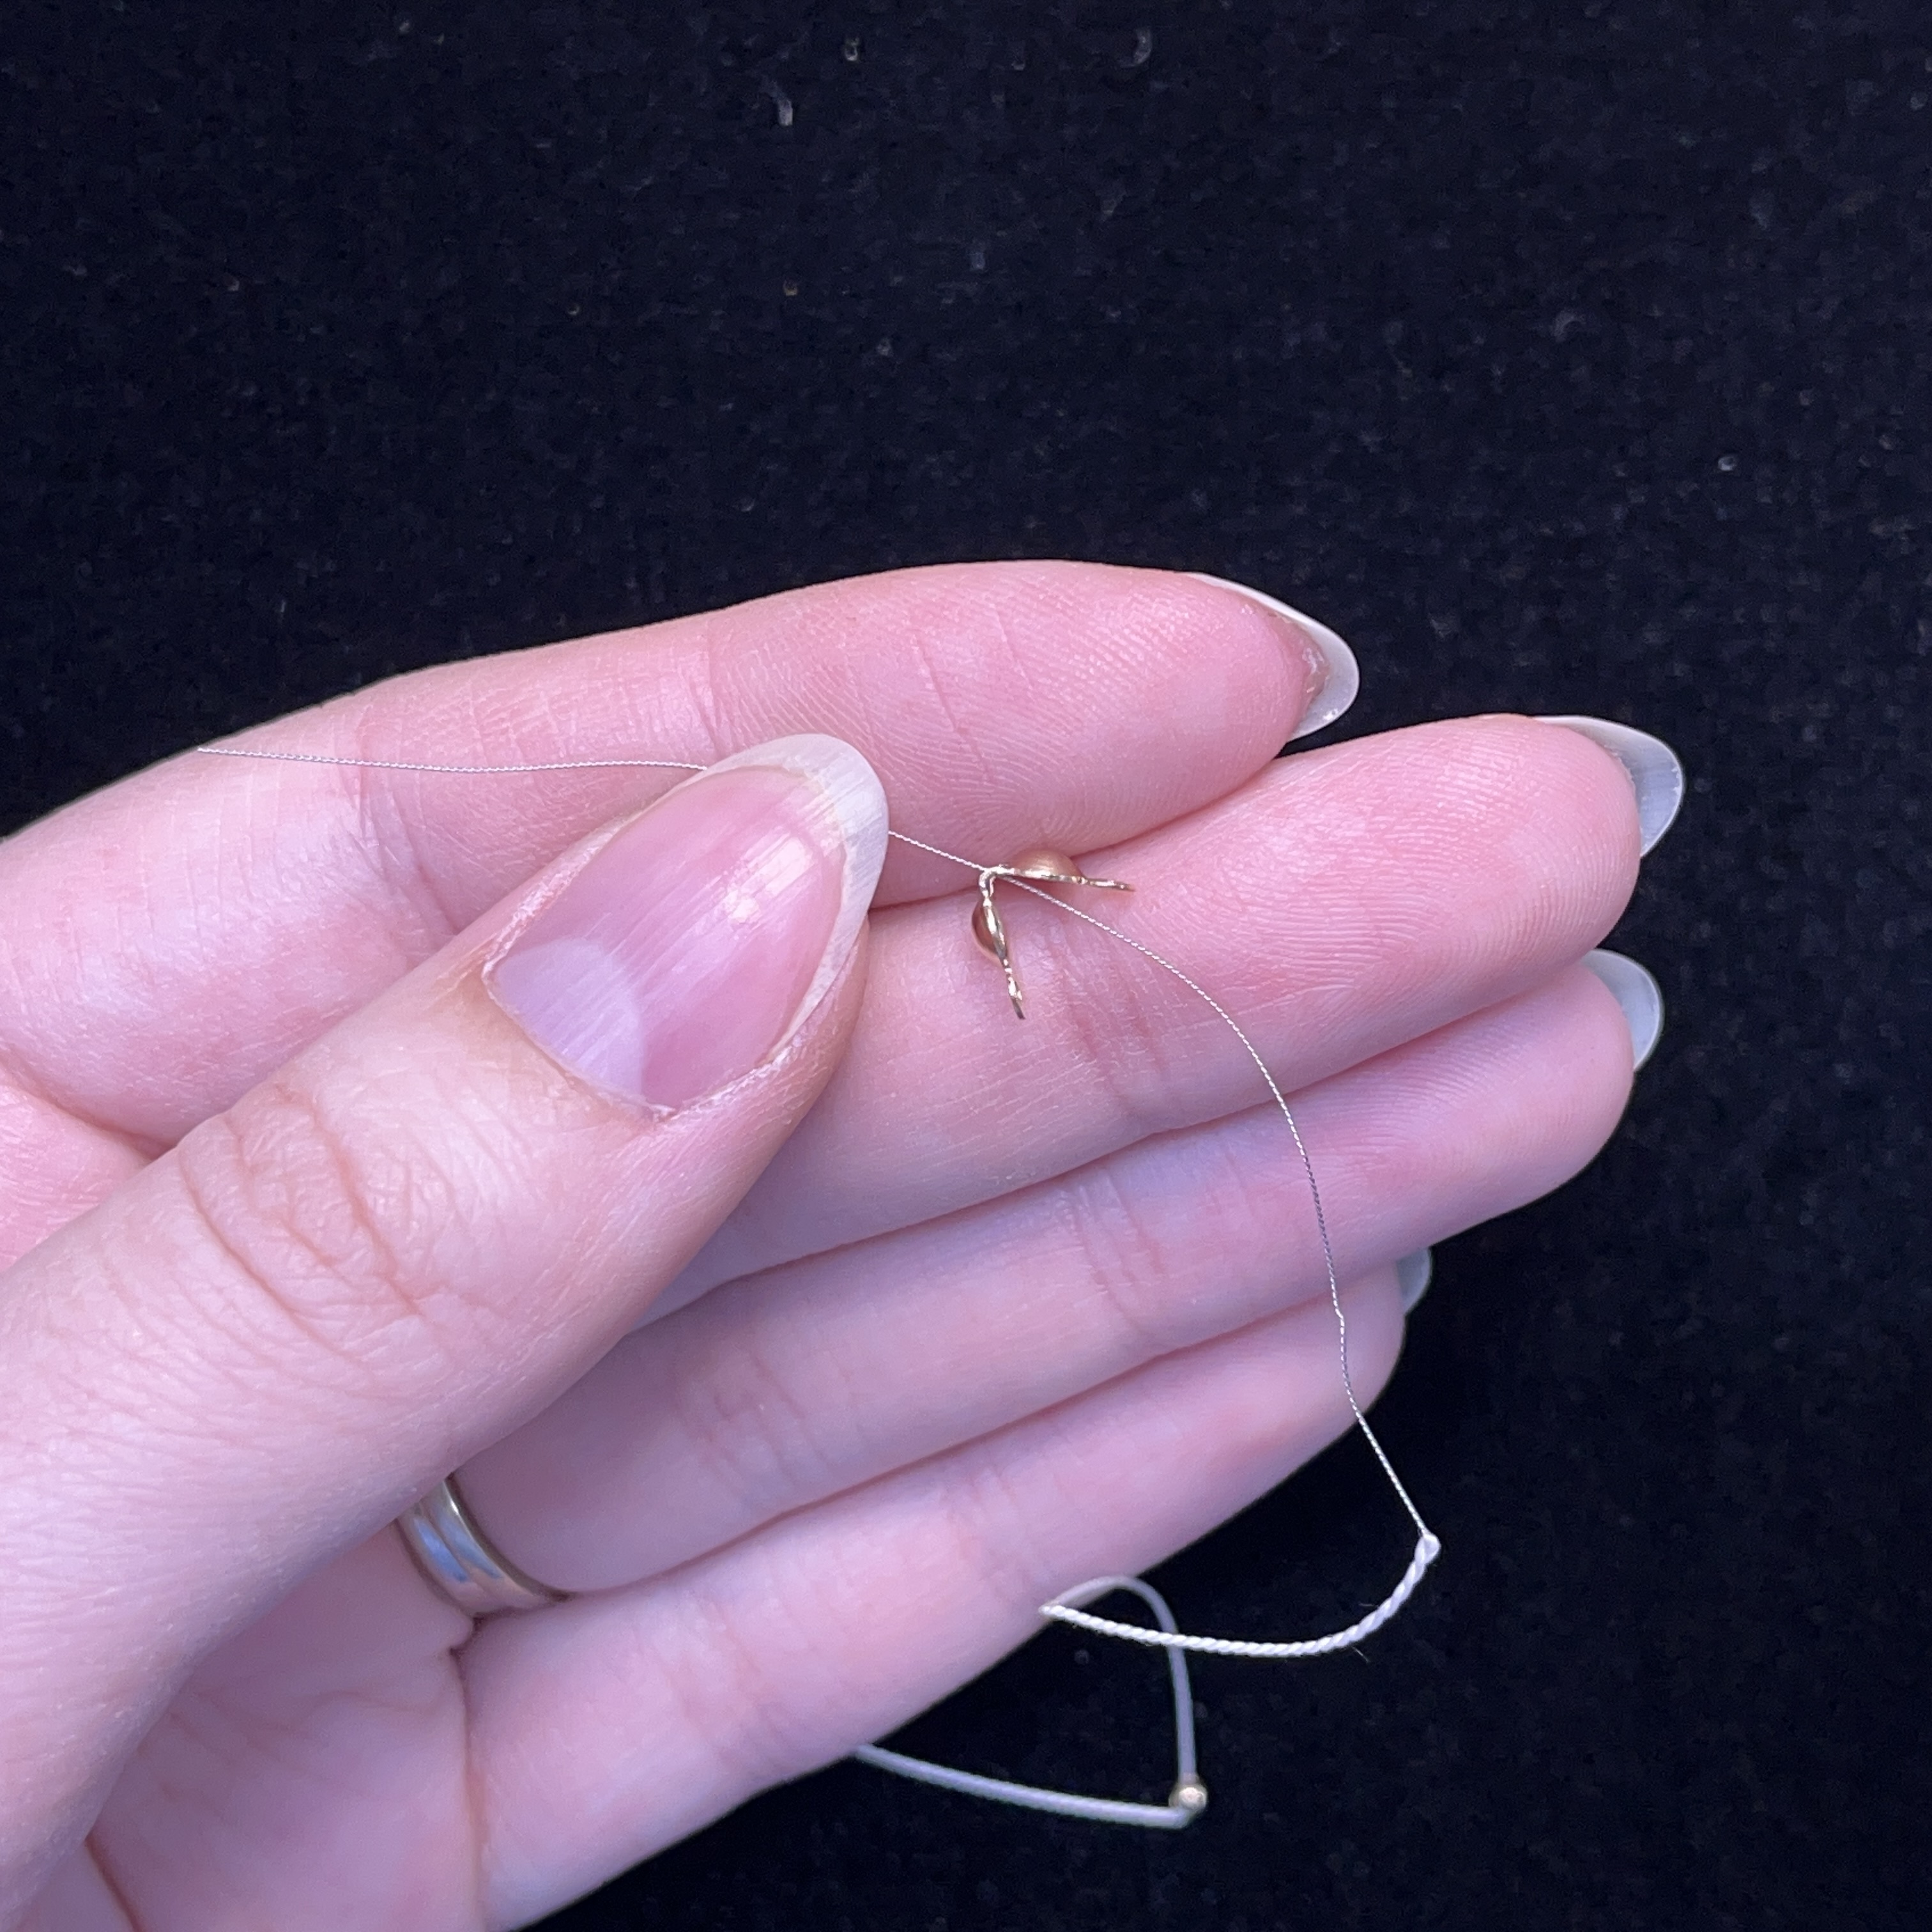
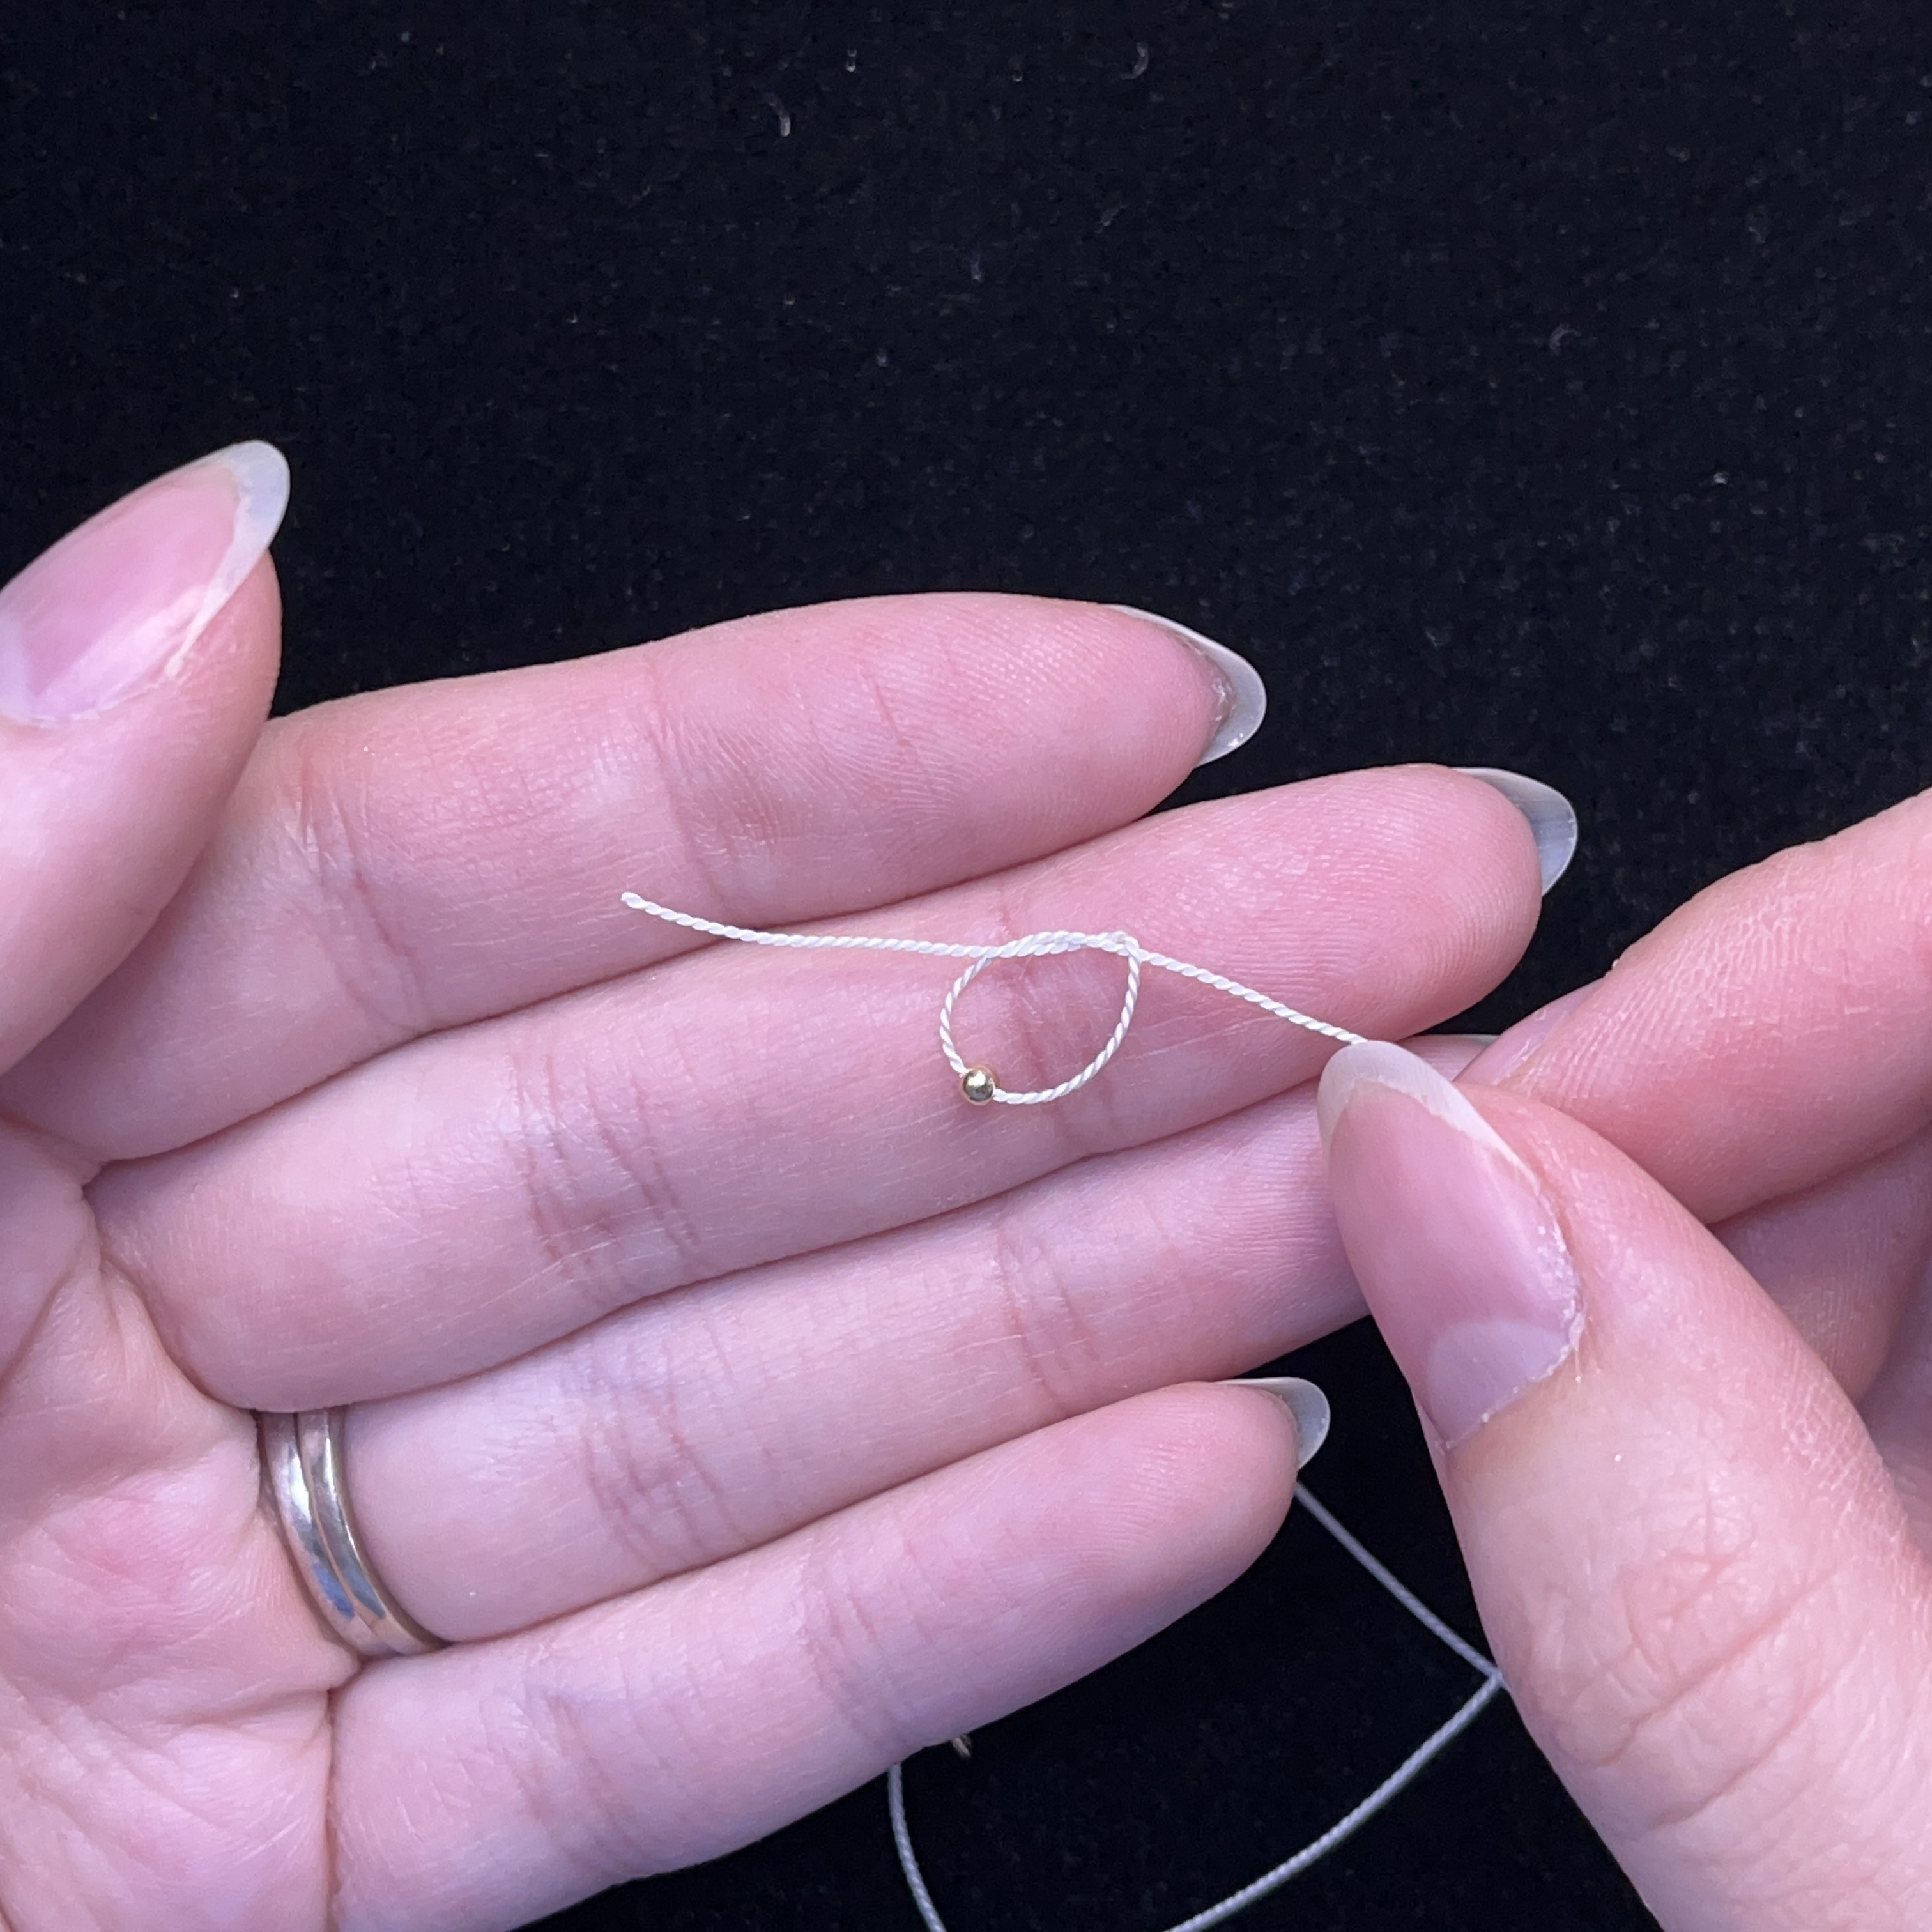
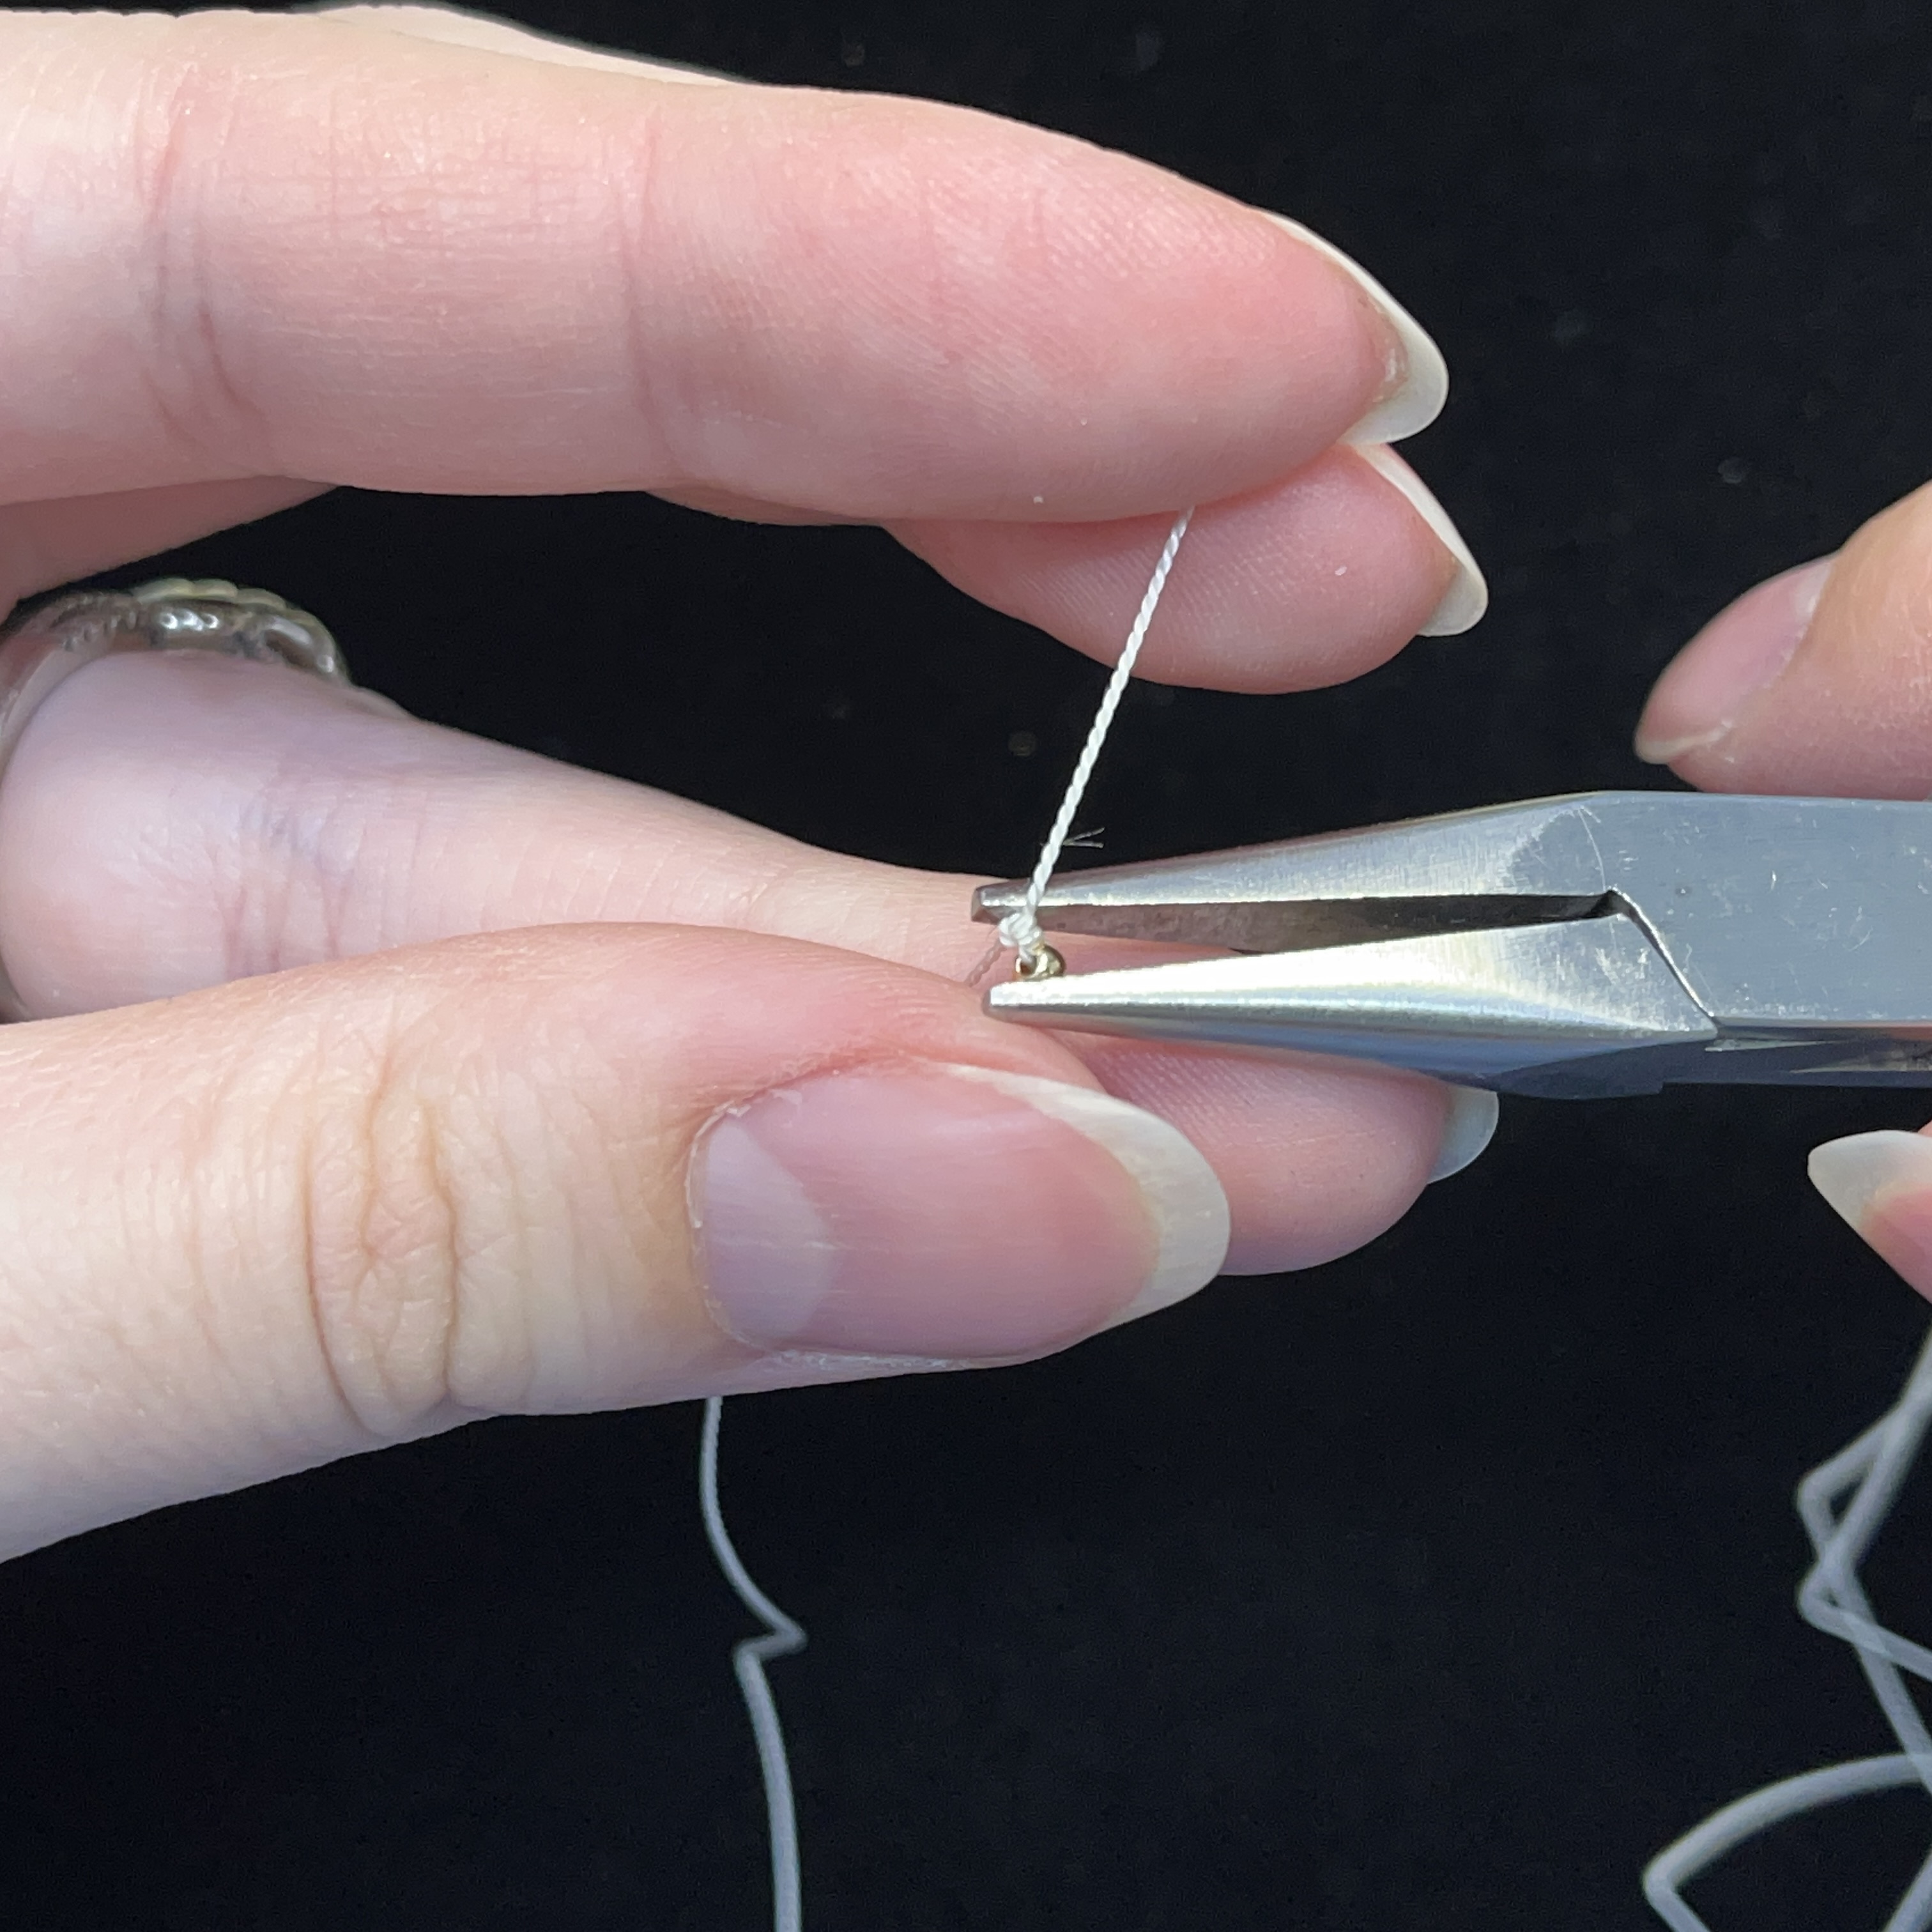
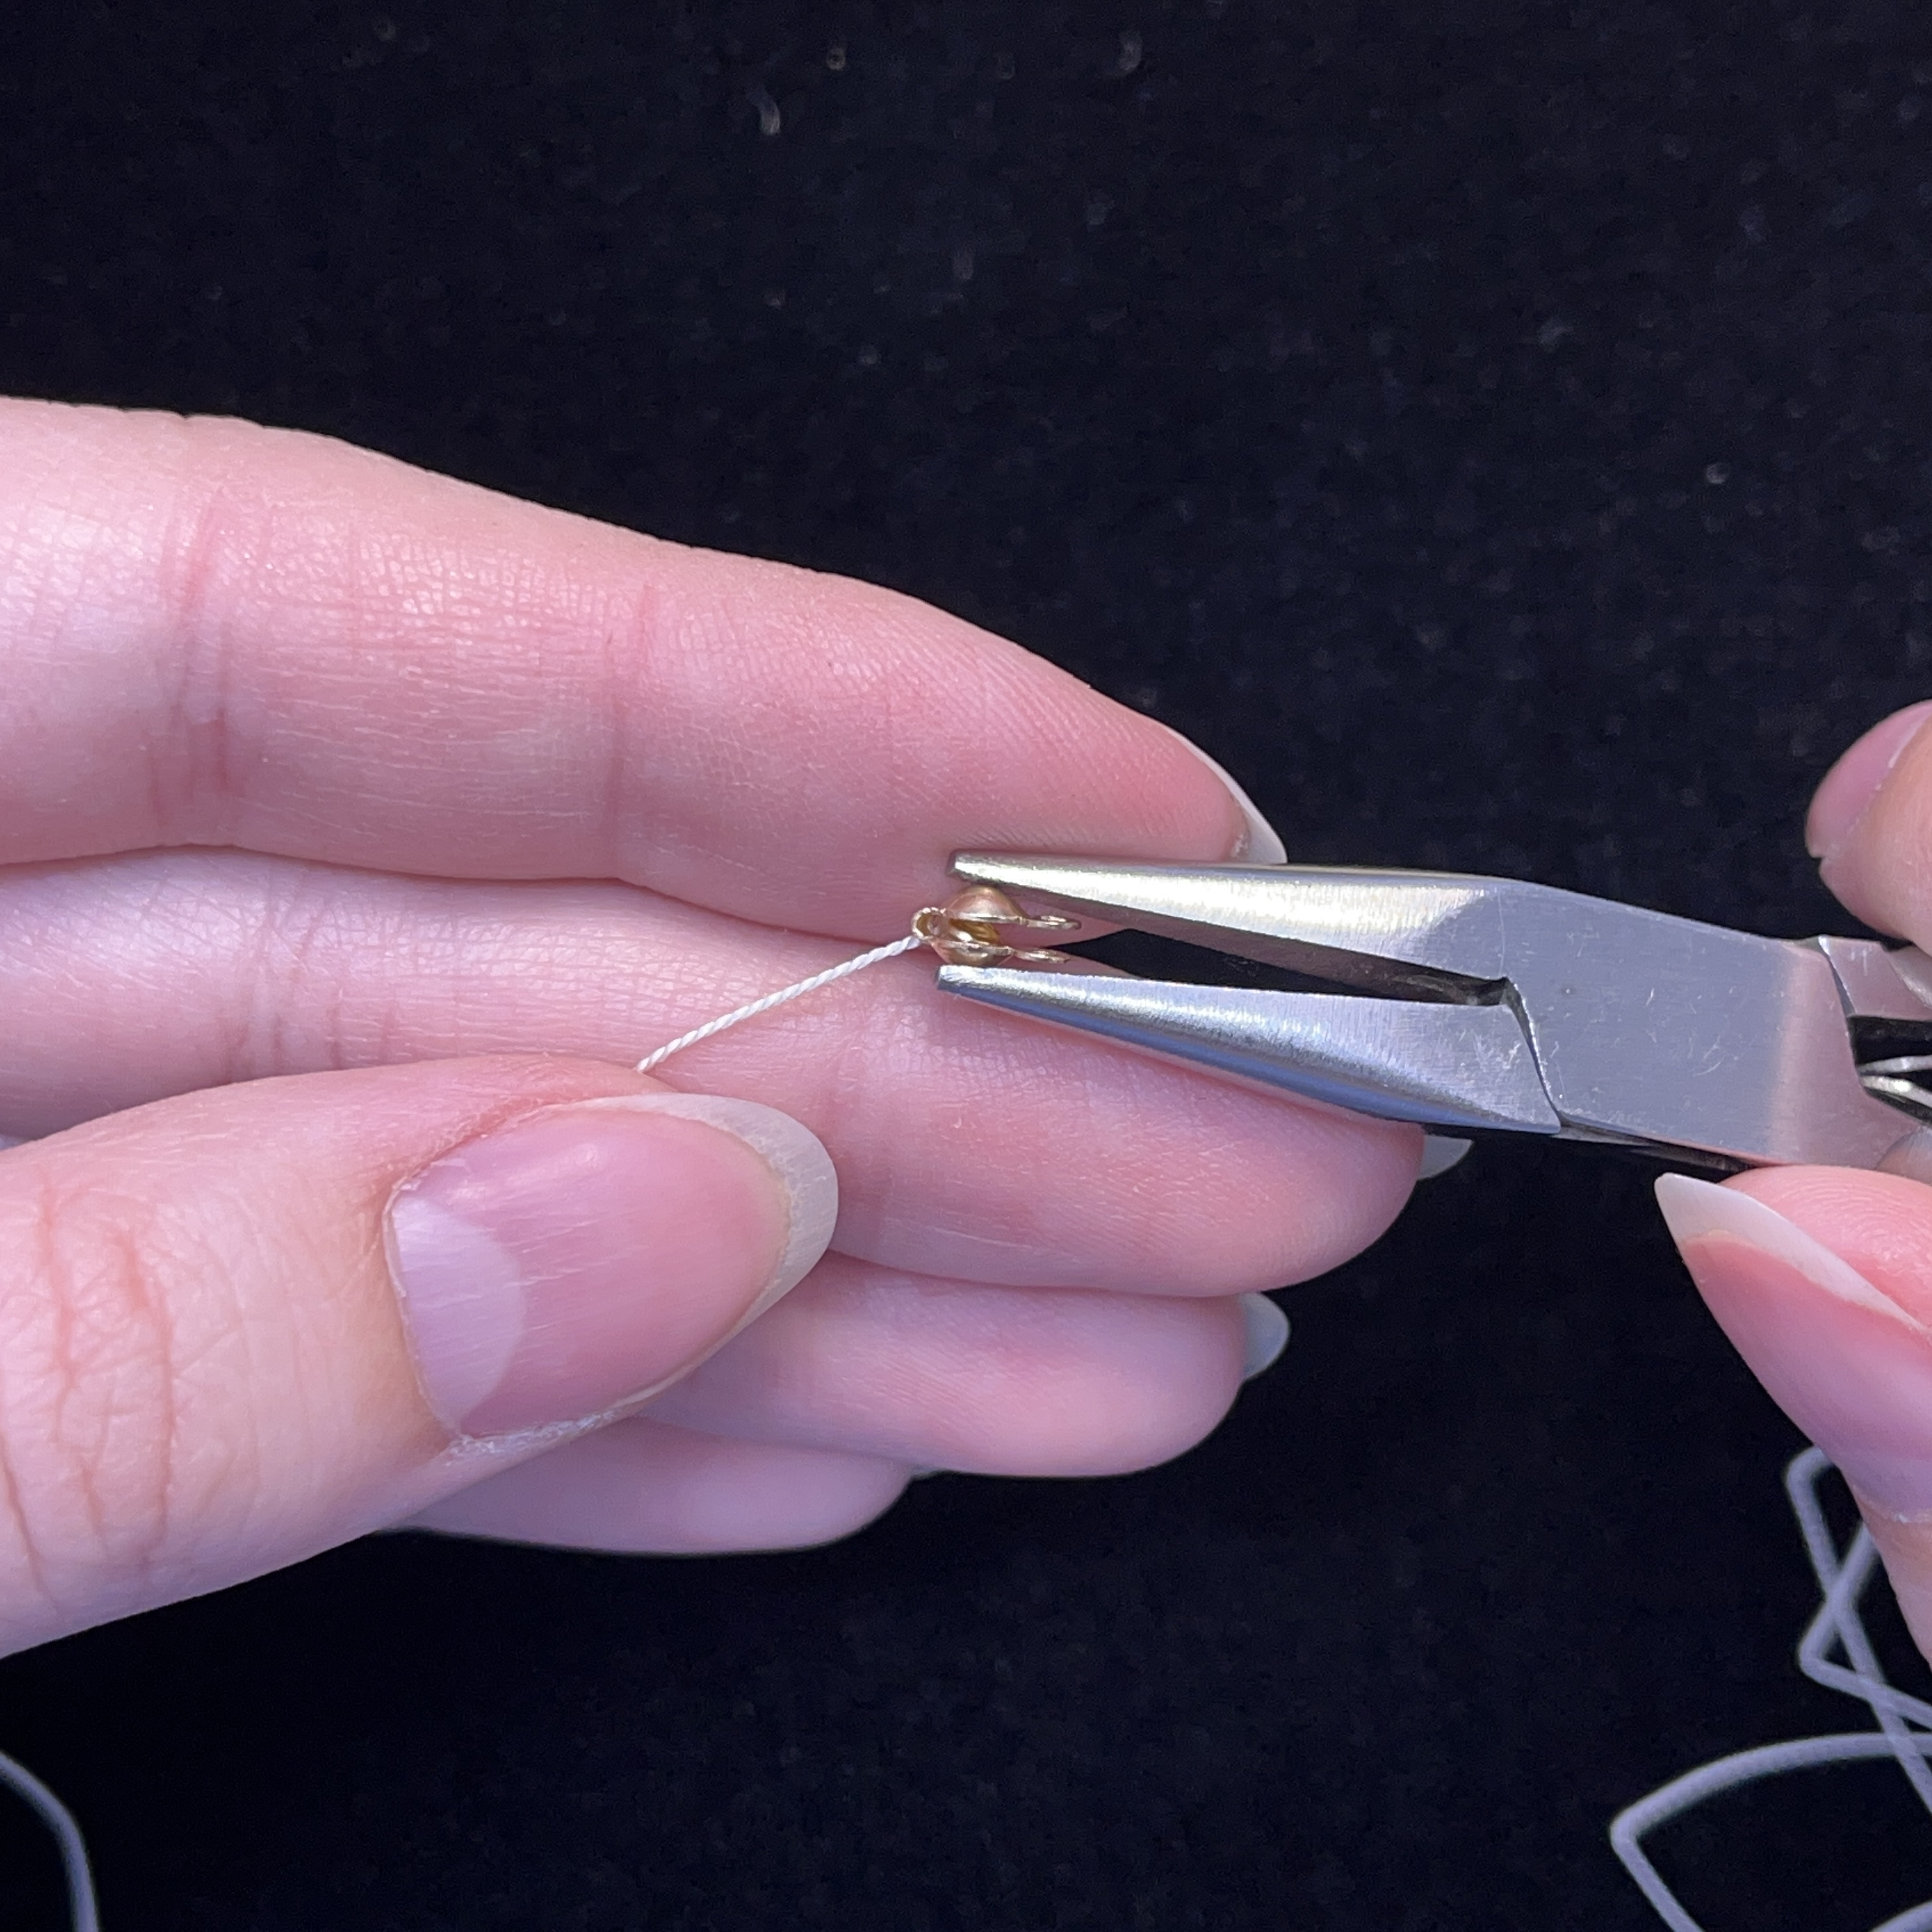
2. Tie 2-3 overhand knots around the gold bead then take your pliers and squish the bead down (you don't need to press too hard, the gold is quite soft)
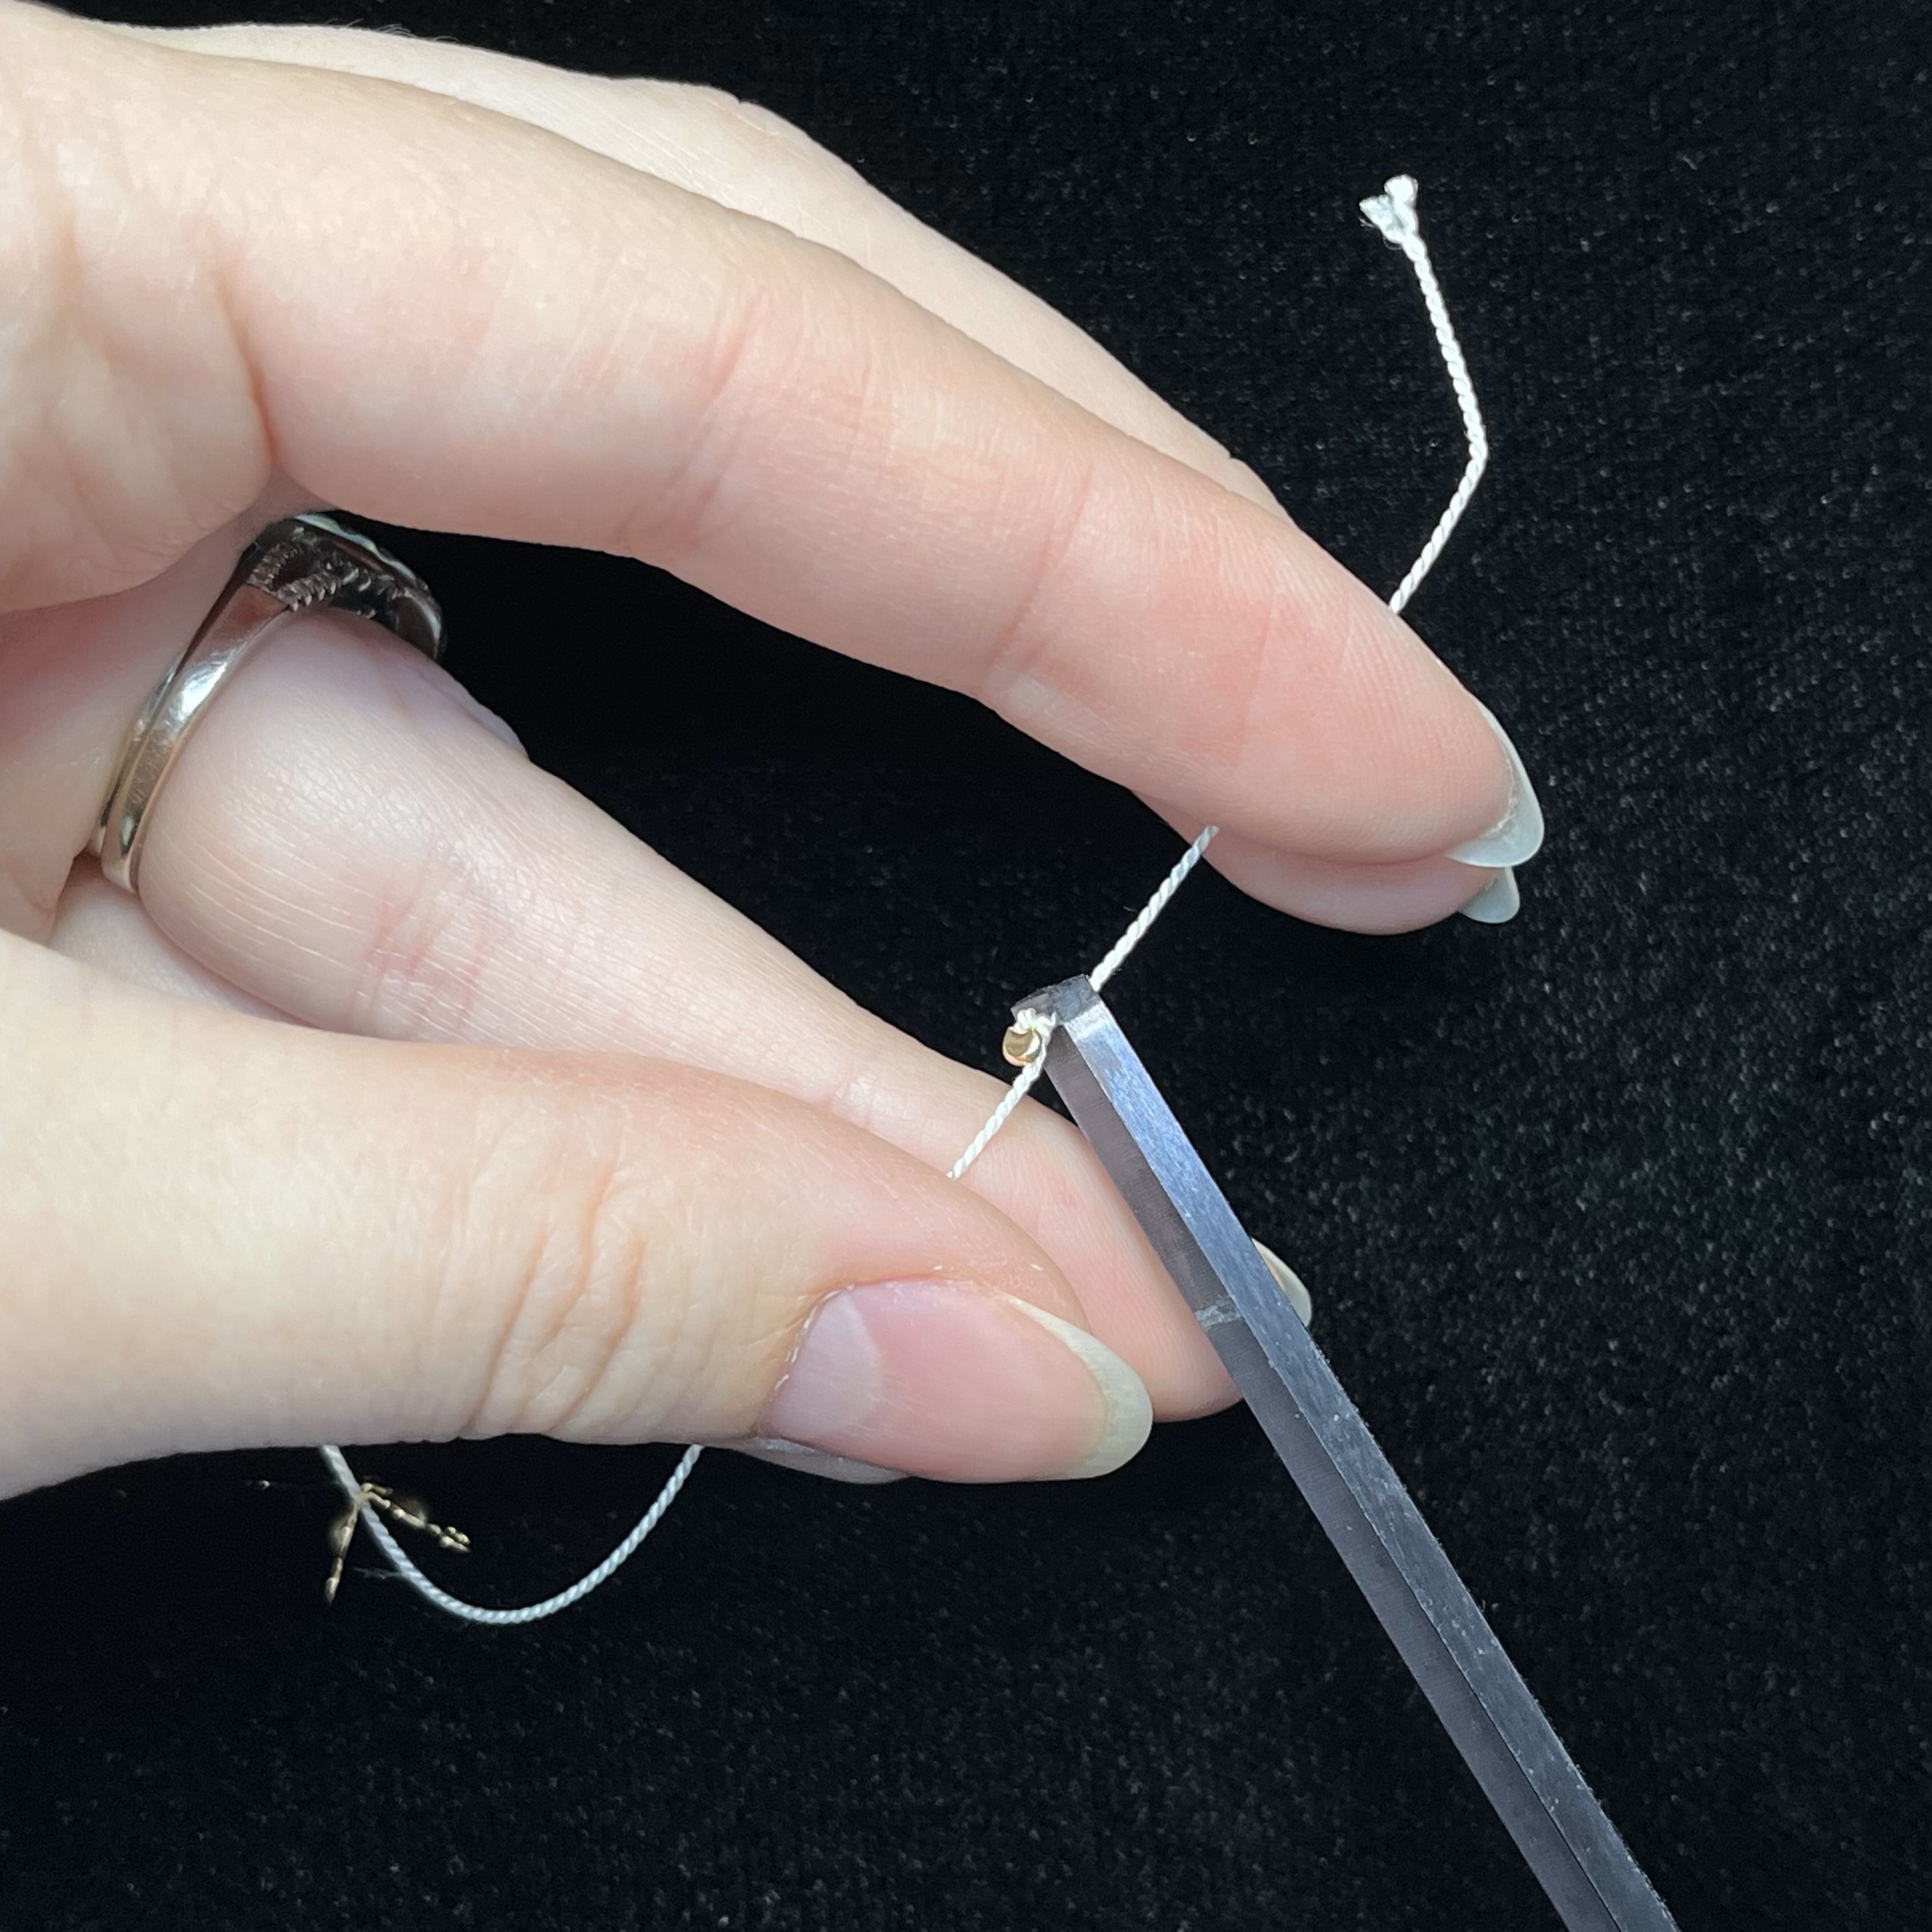
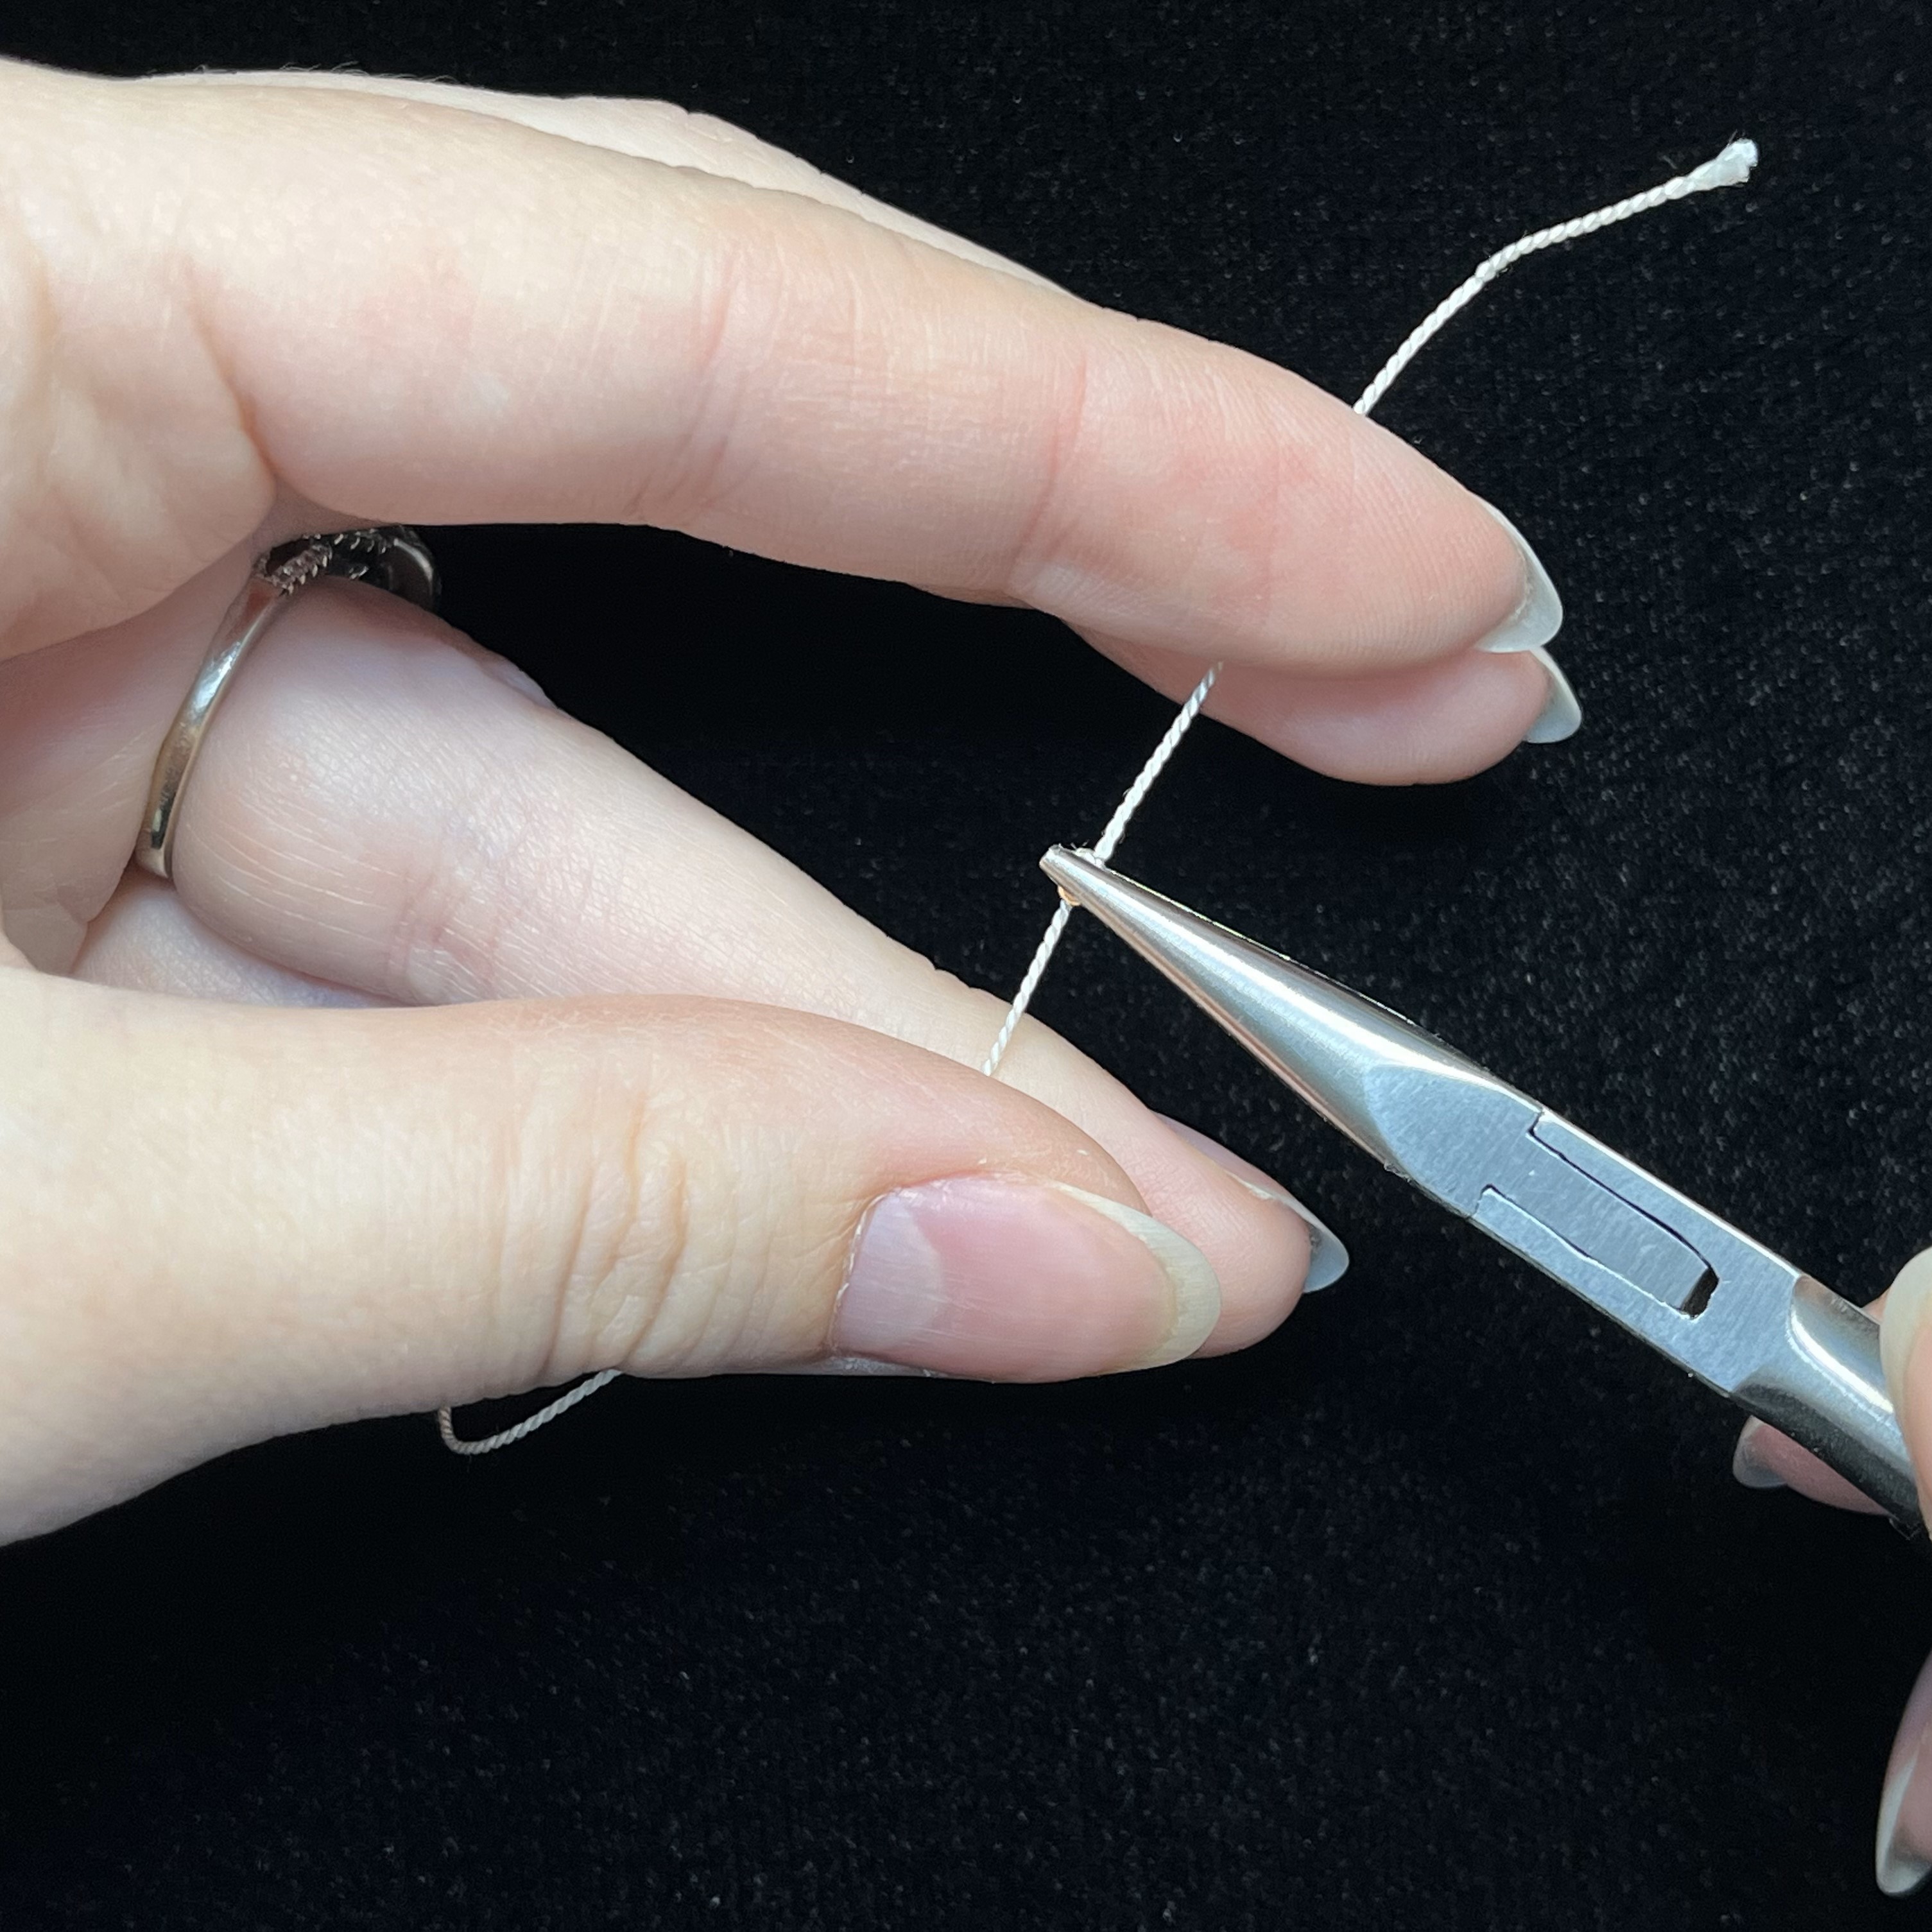
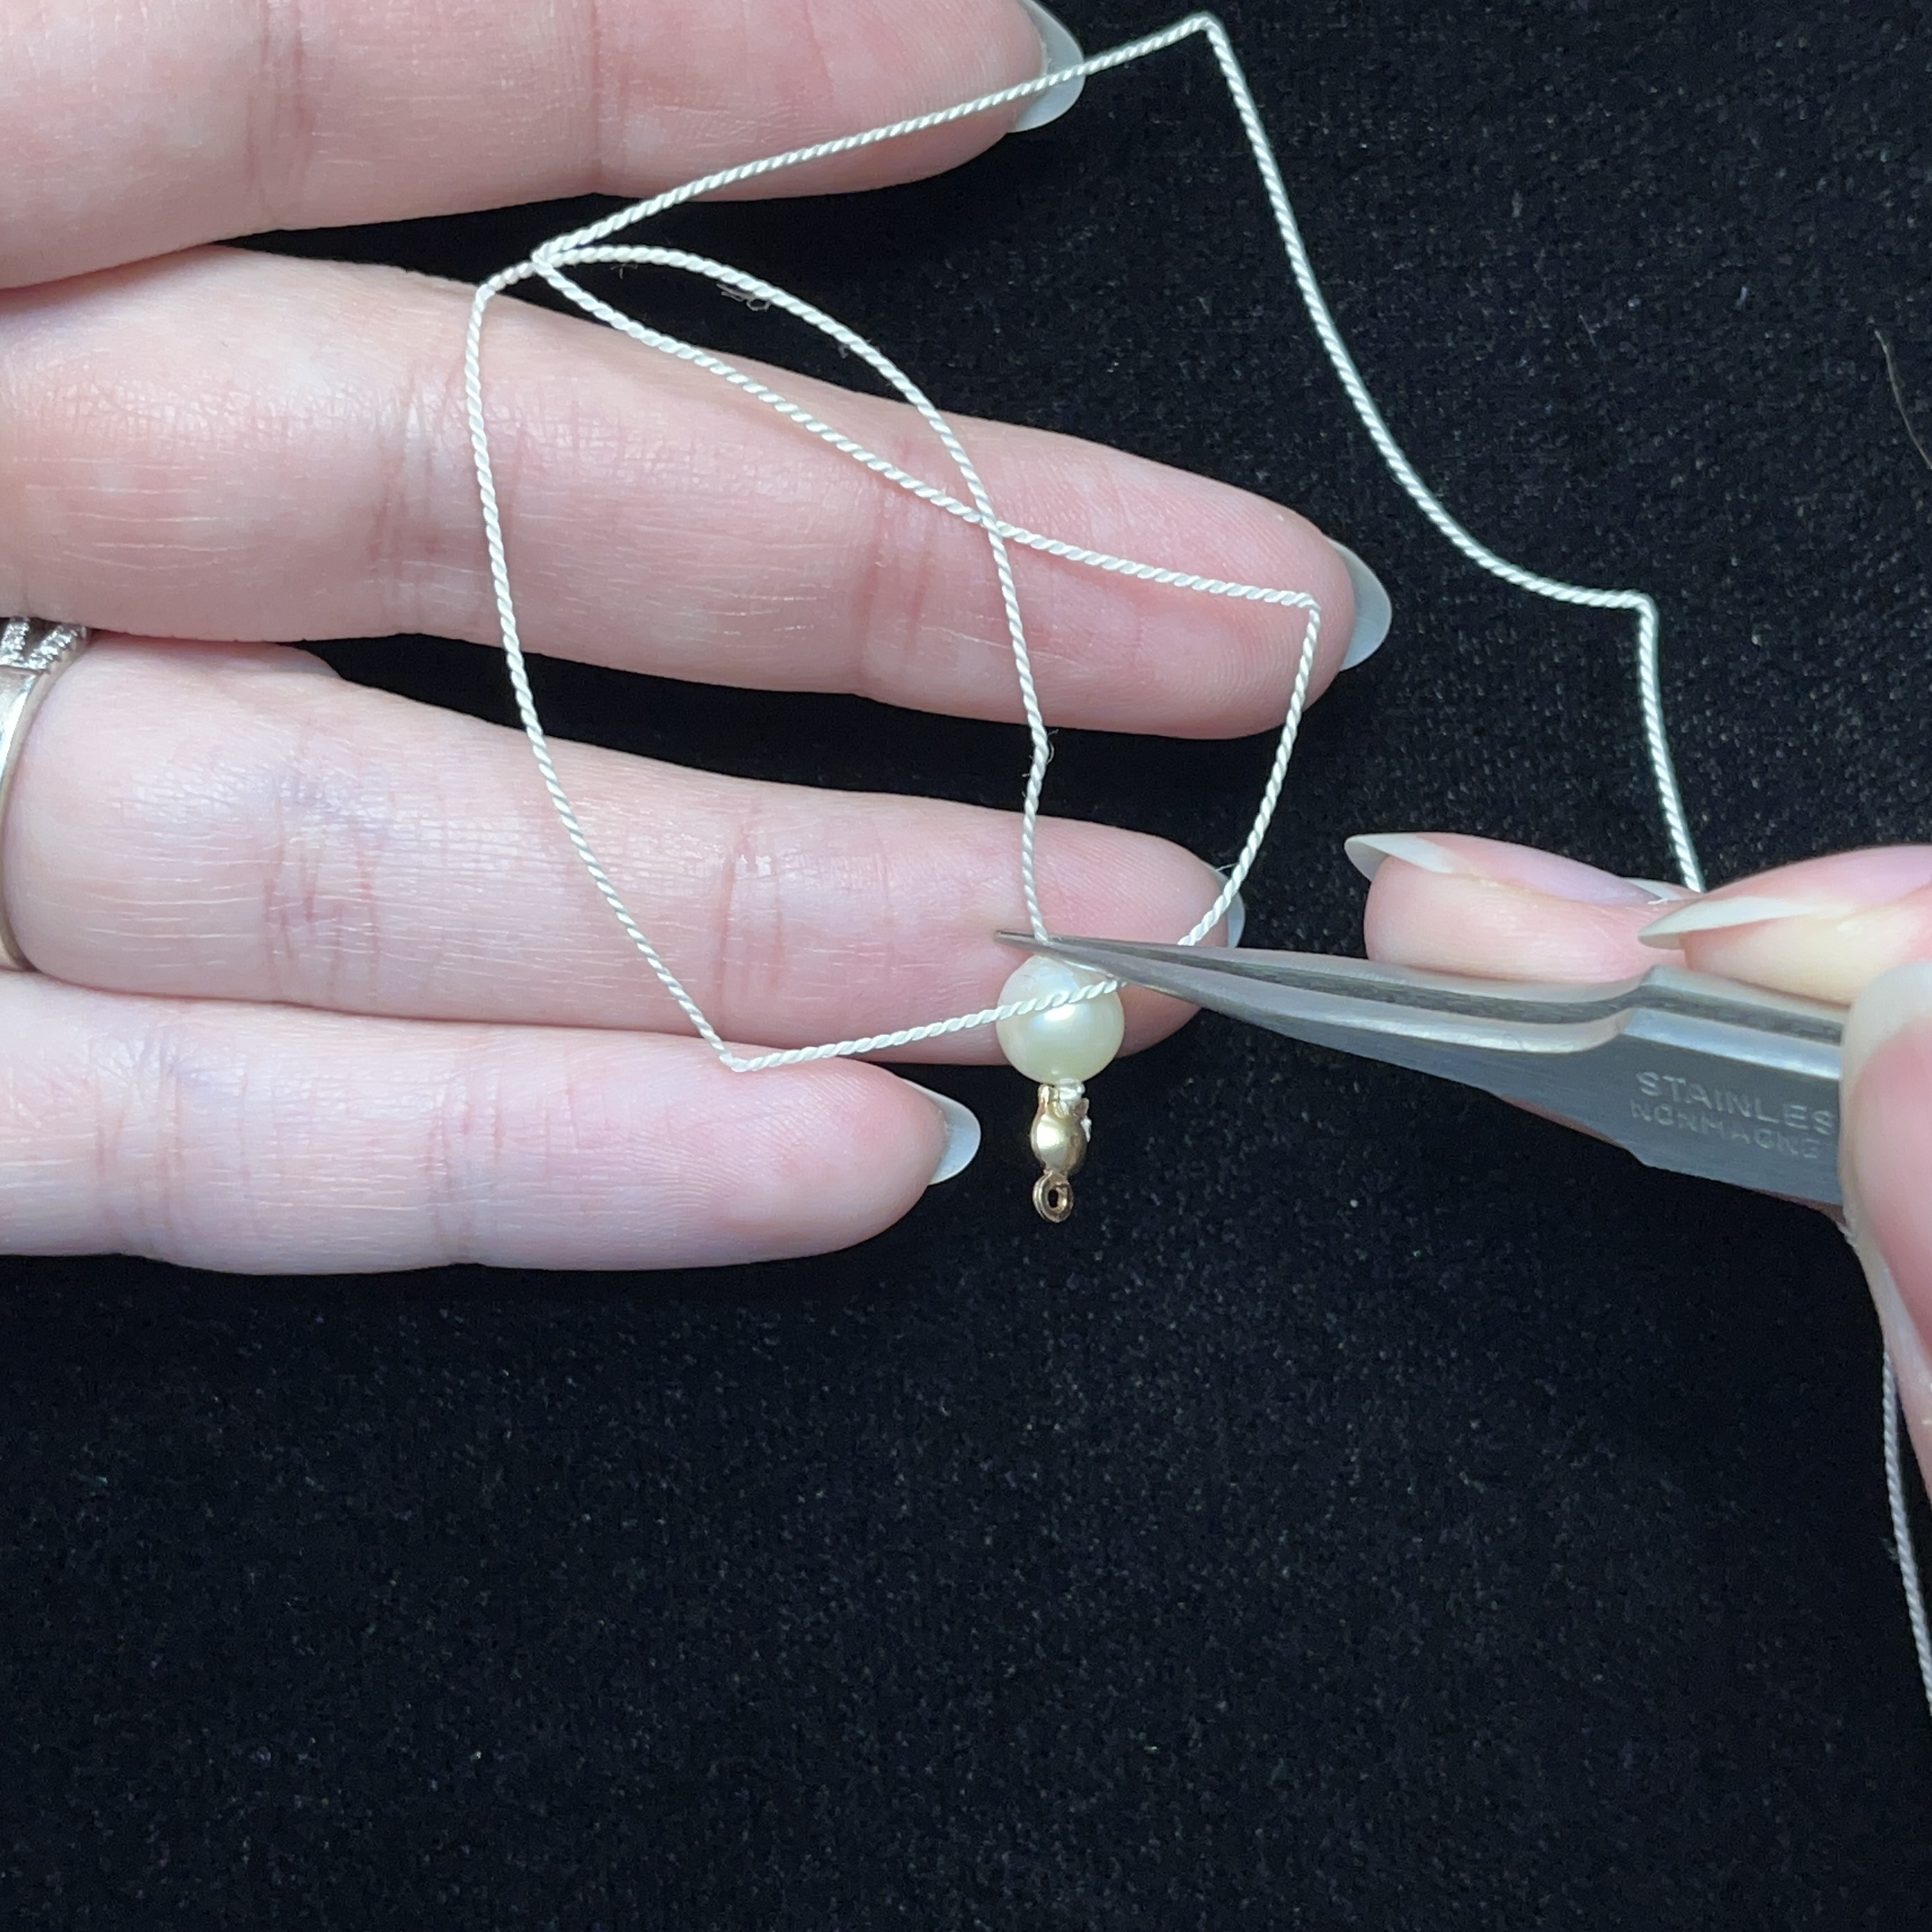
3. Cut the excess thread off, careful not to cut the knots
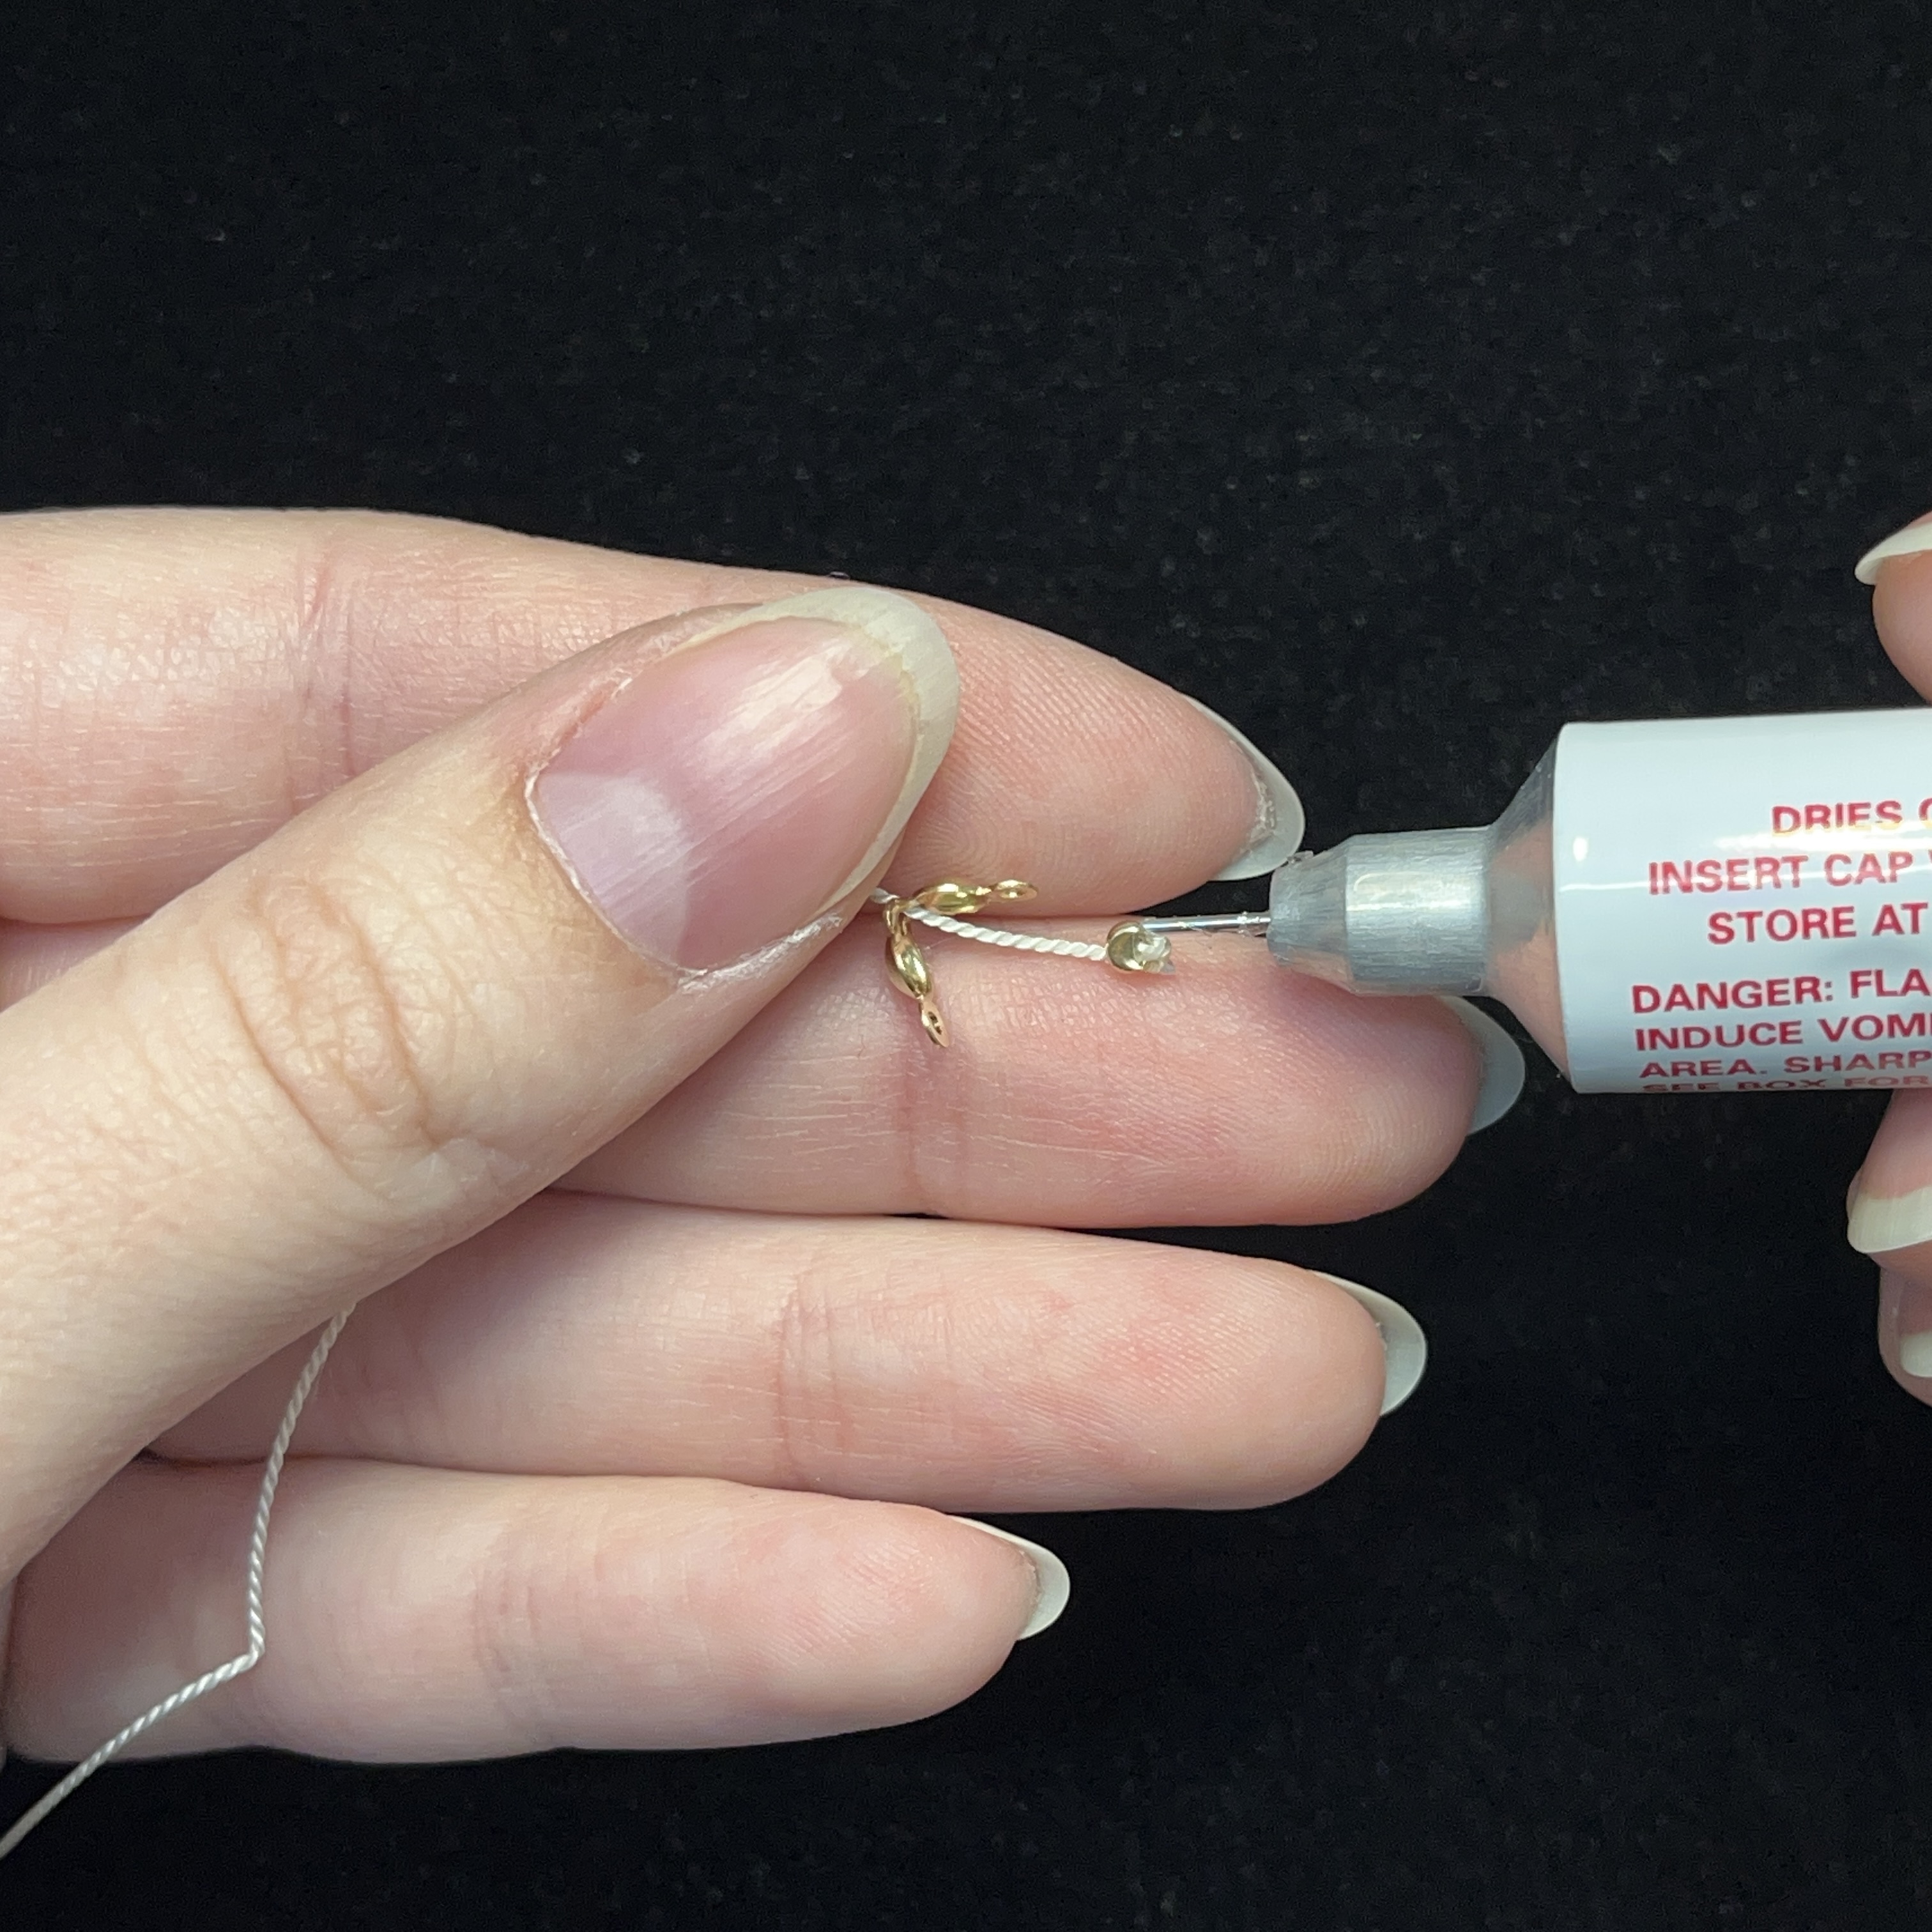
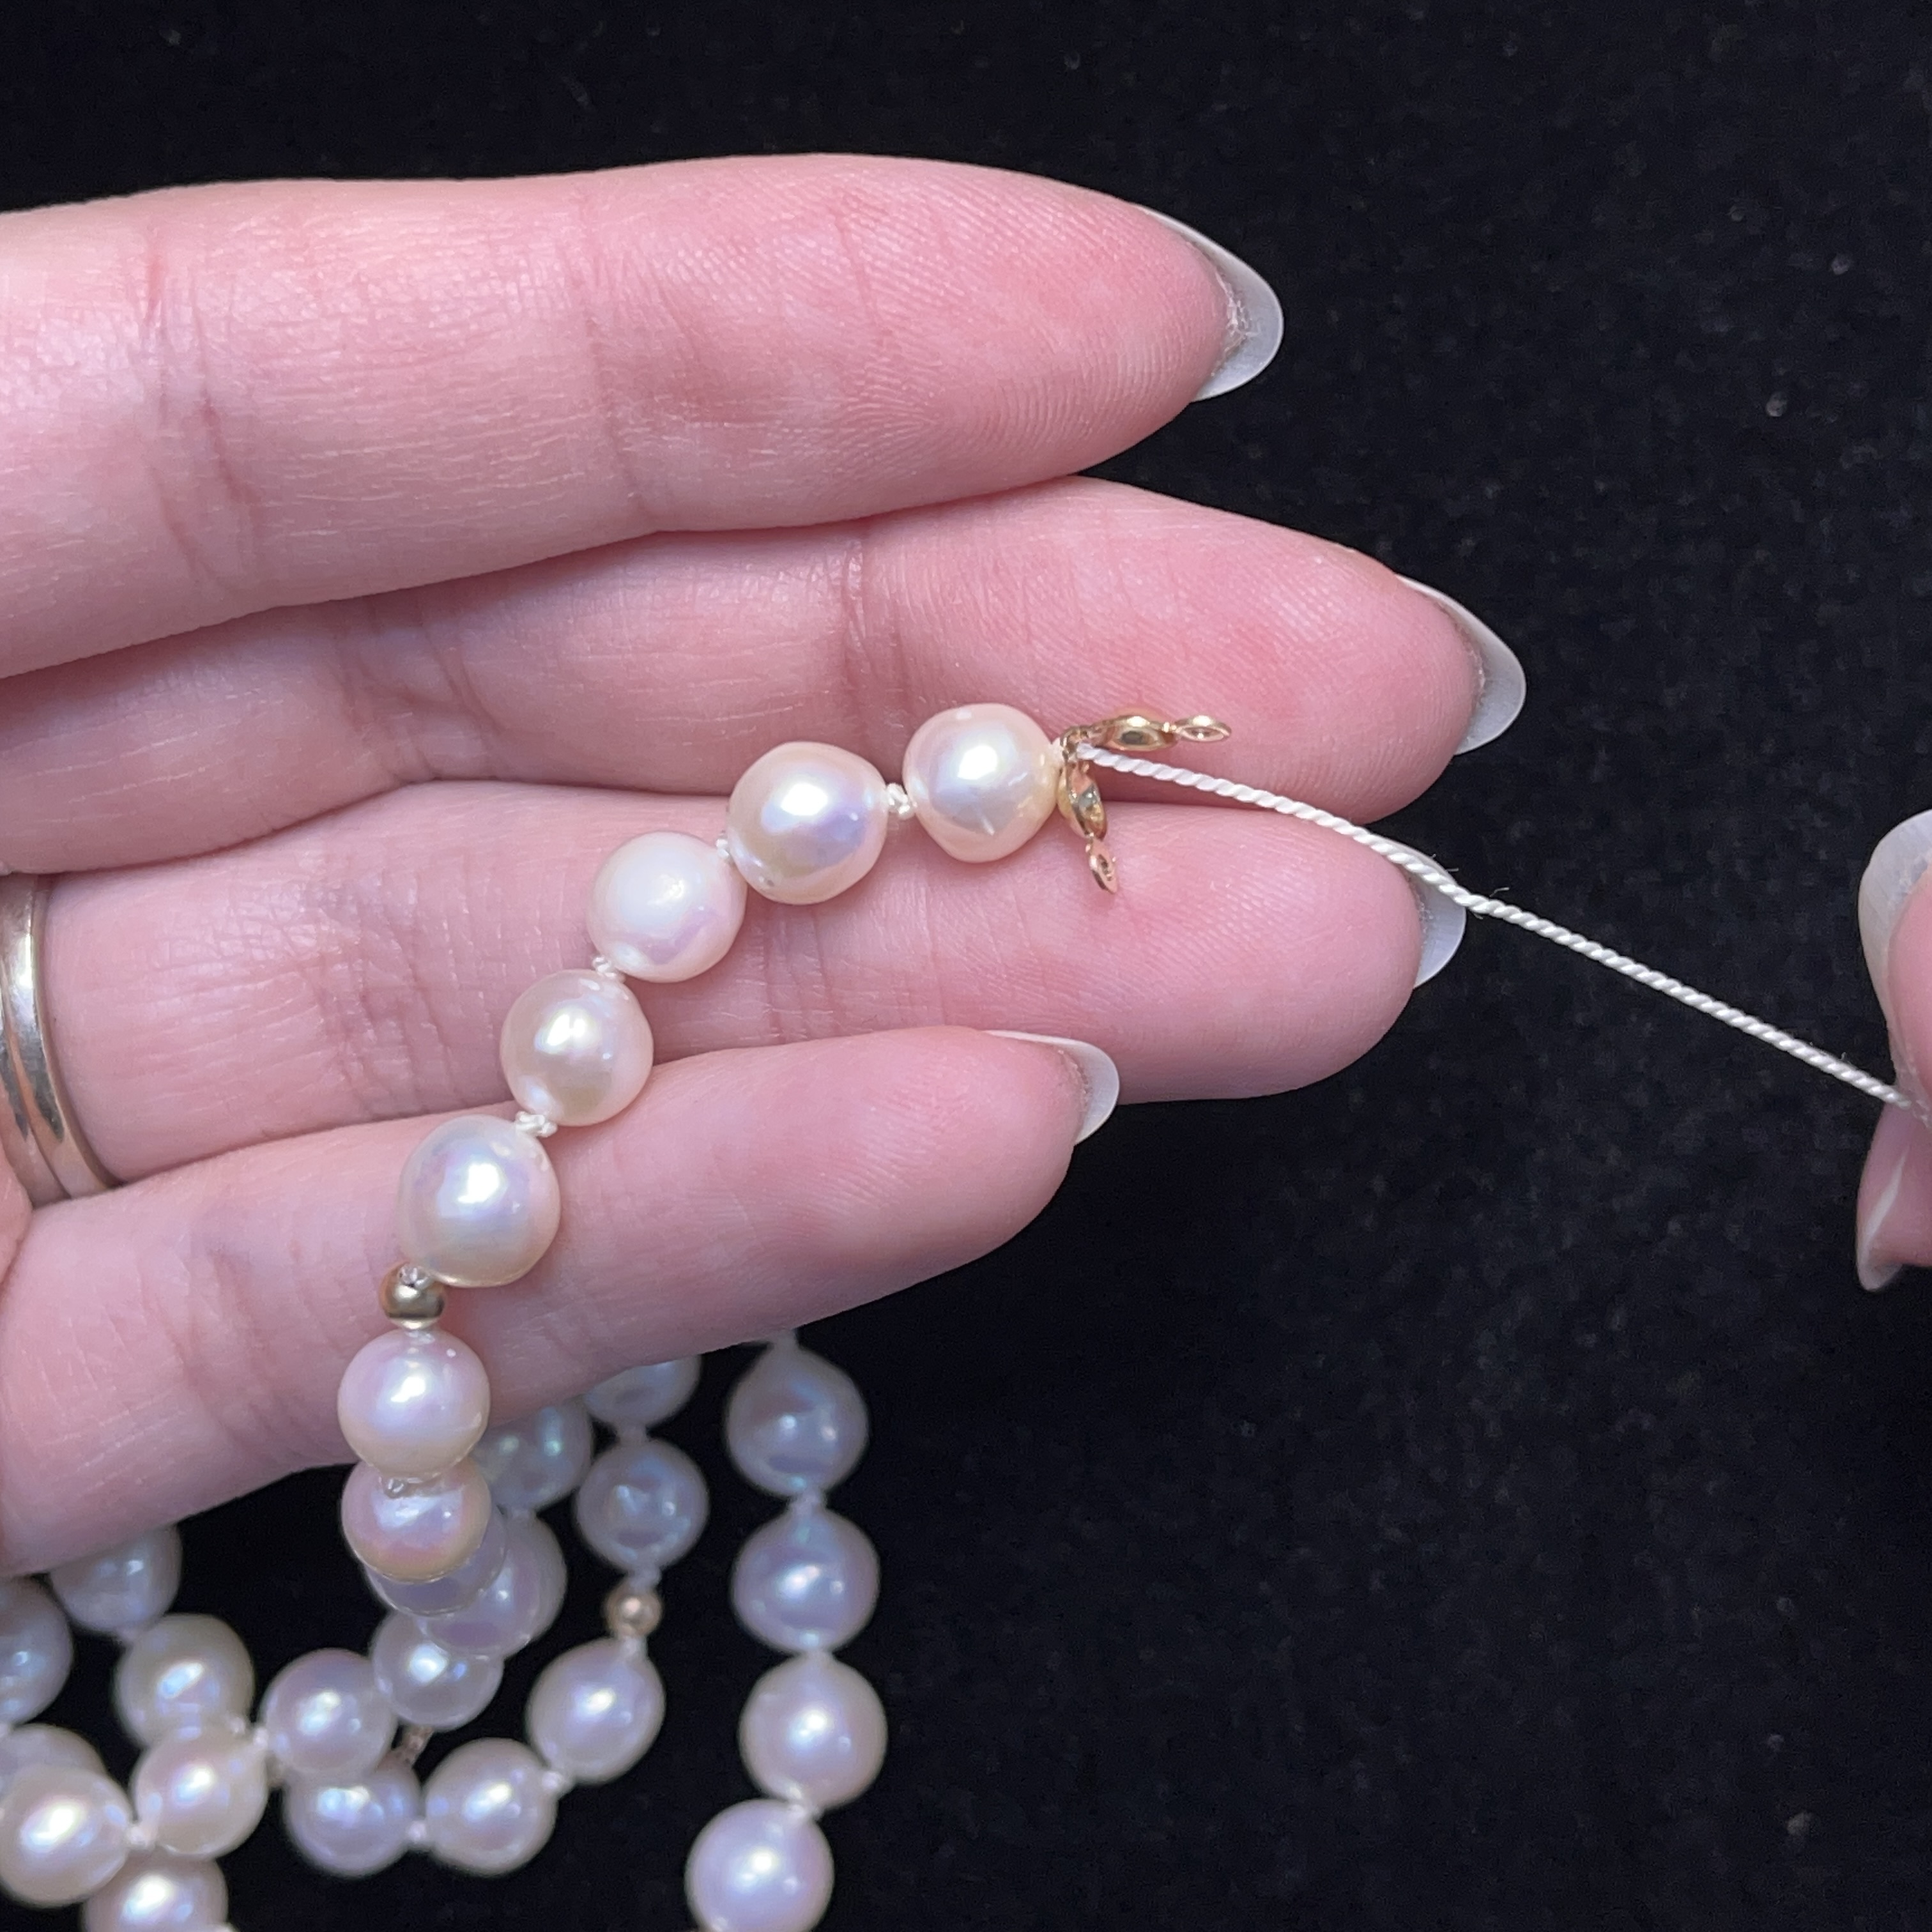
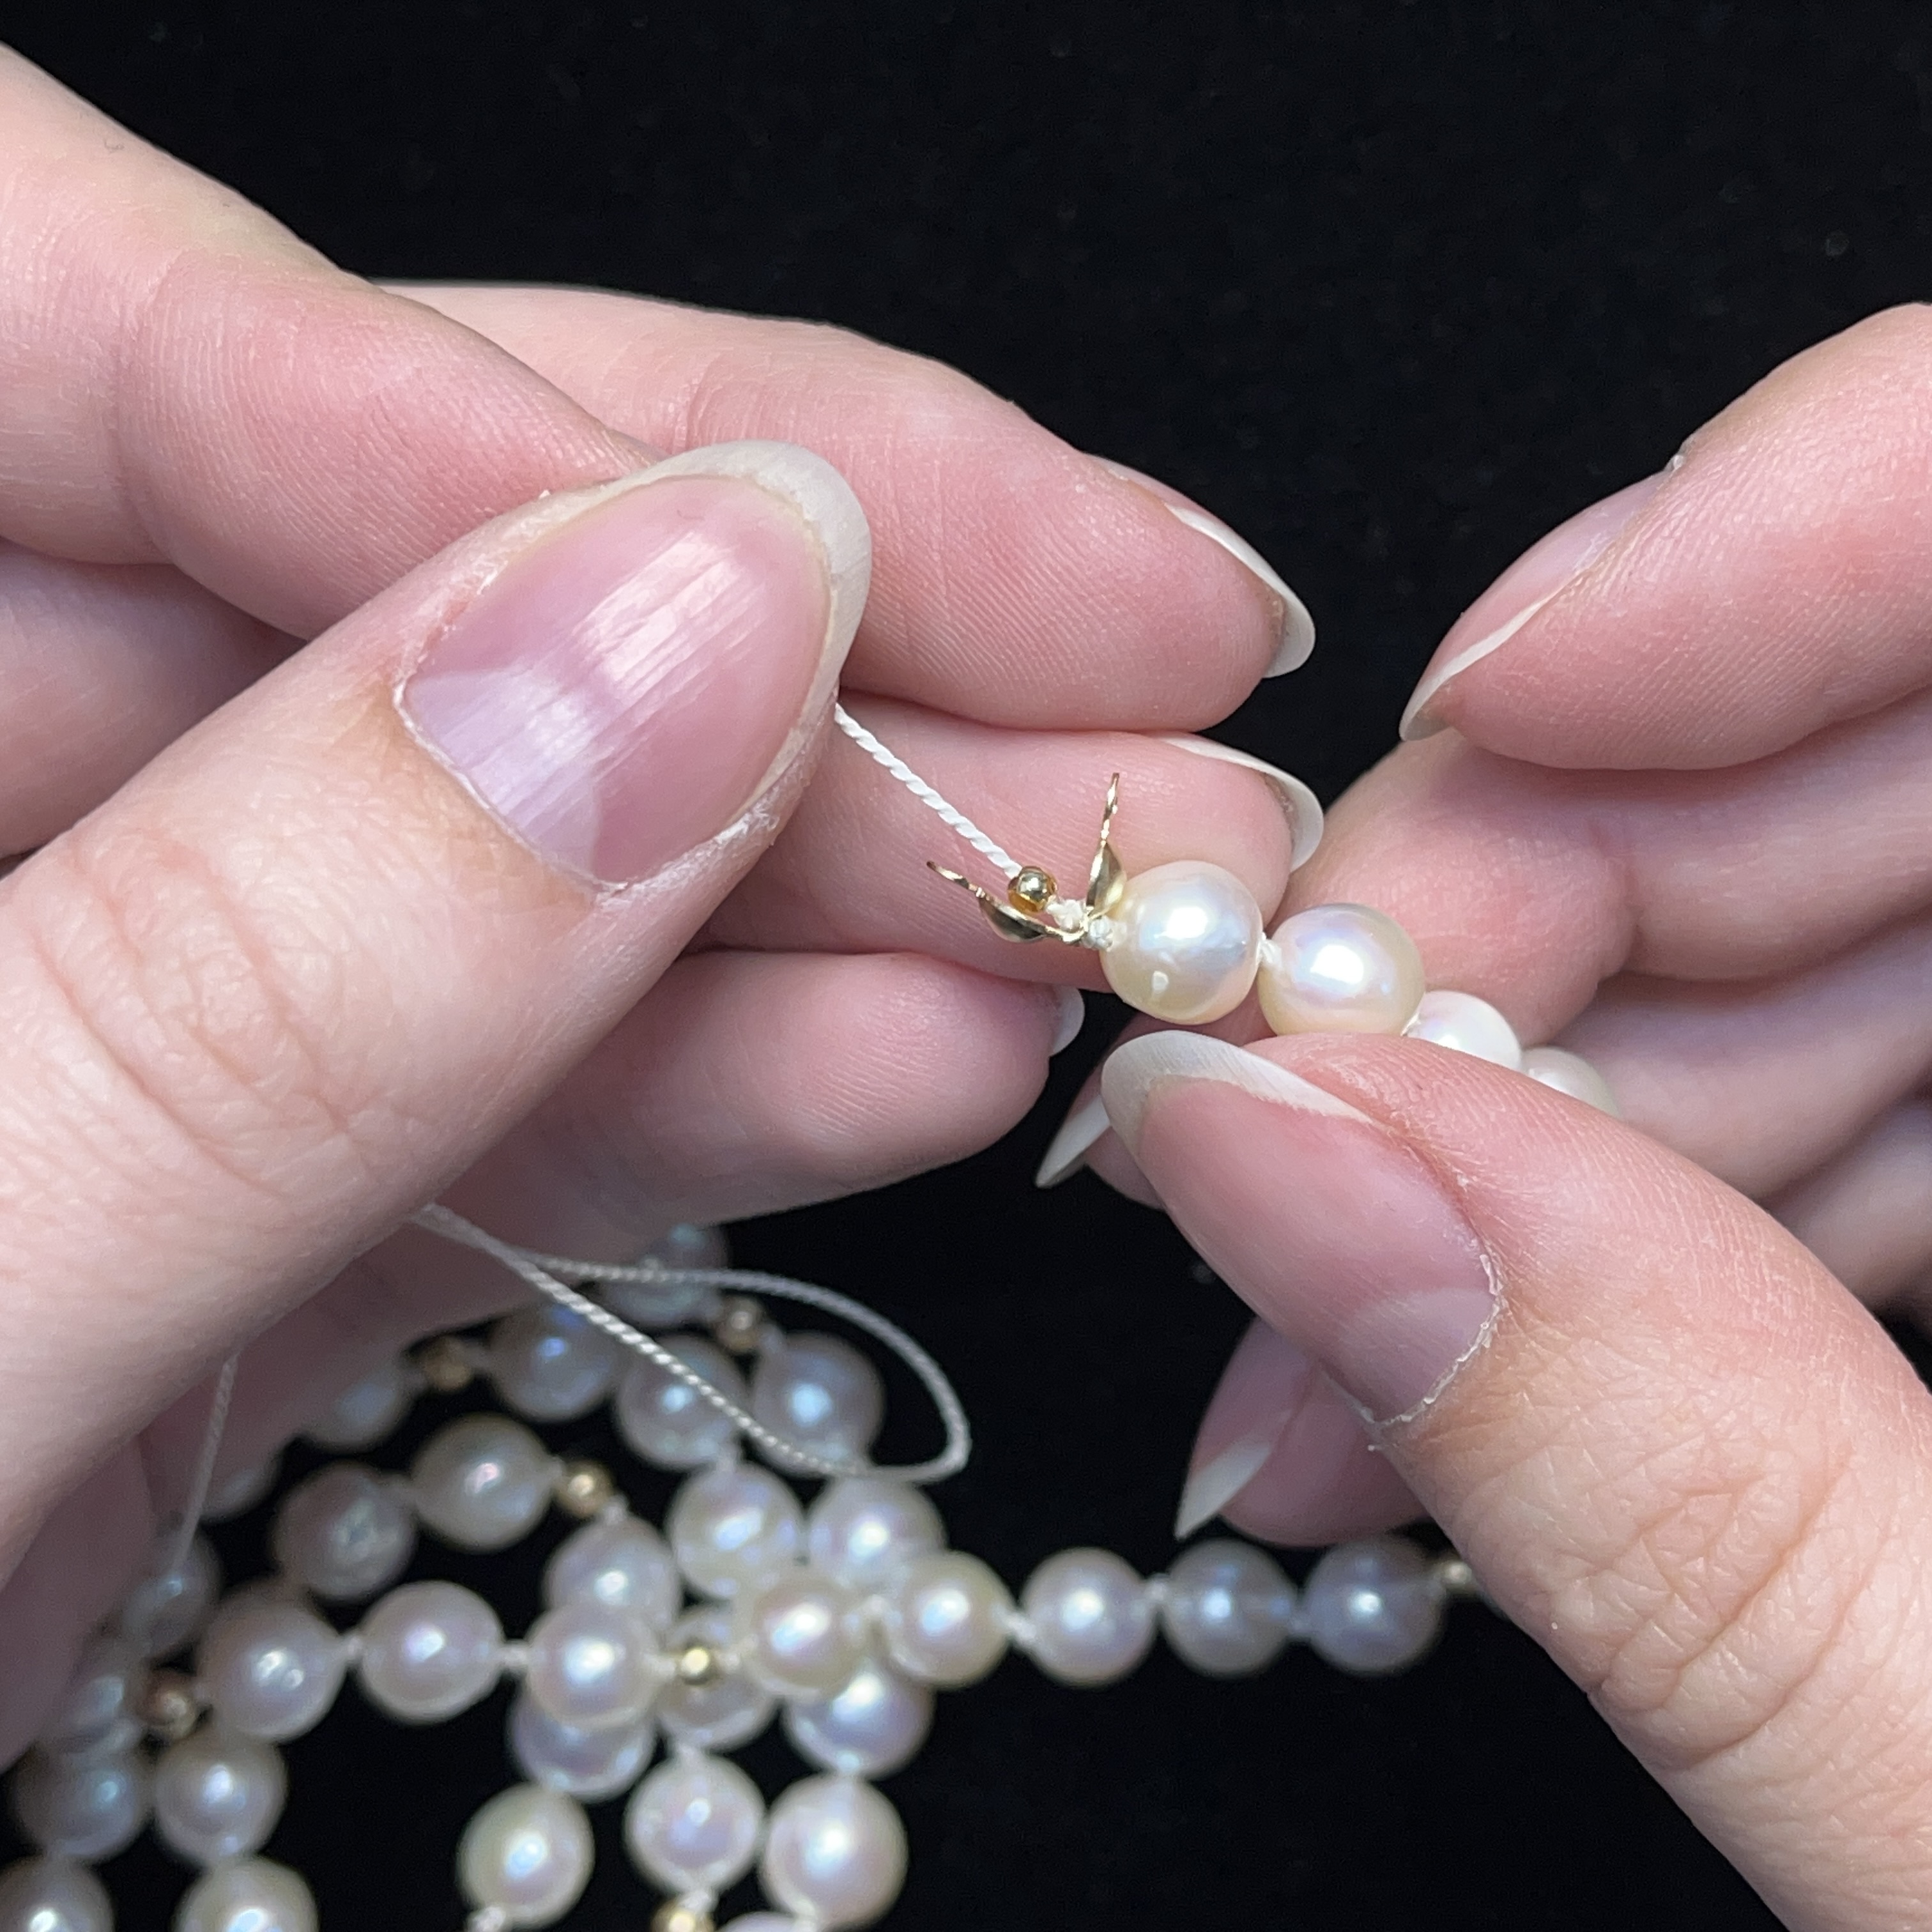
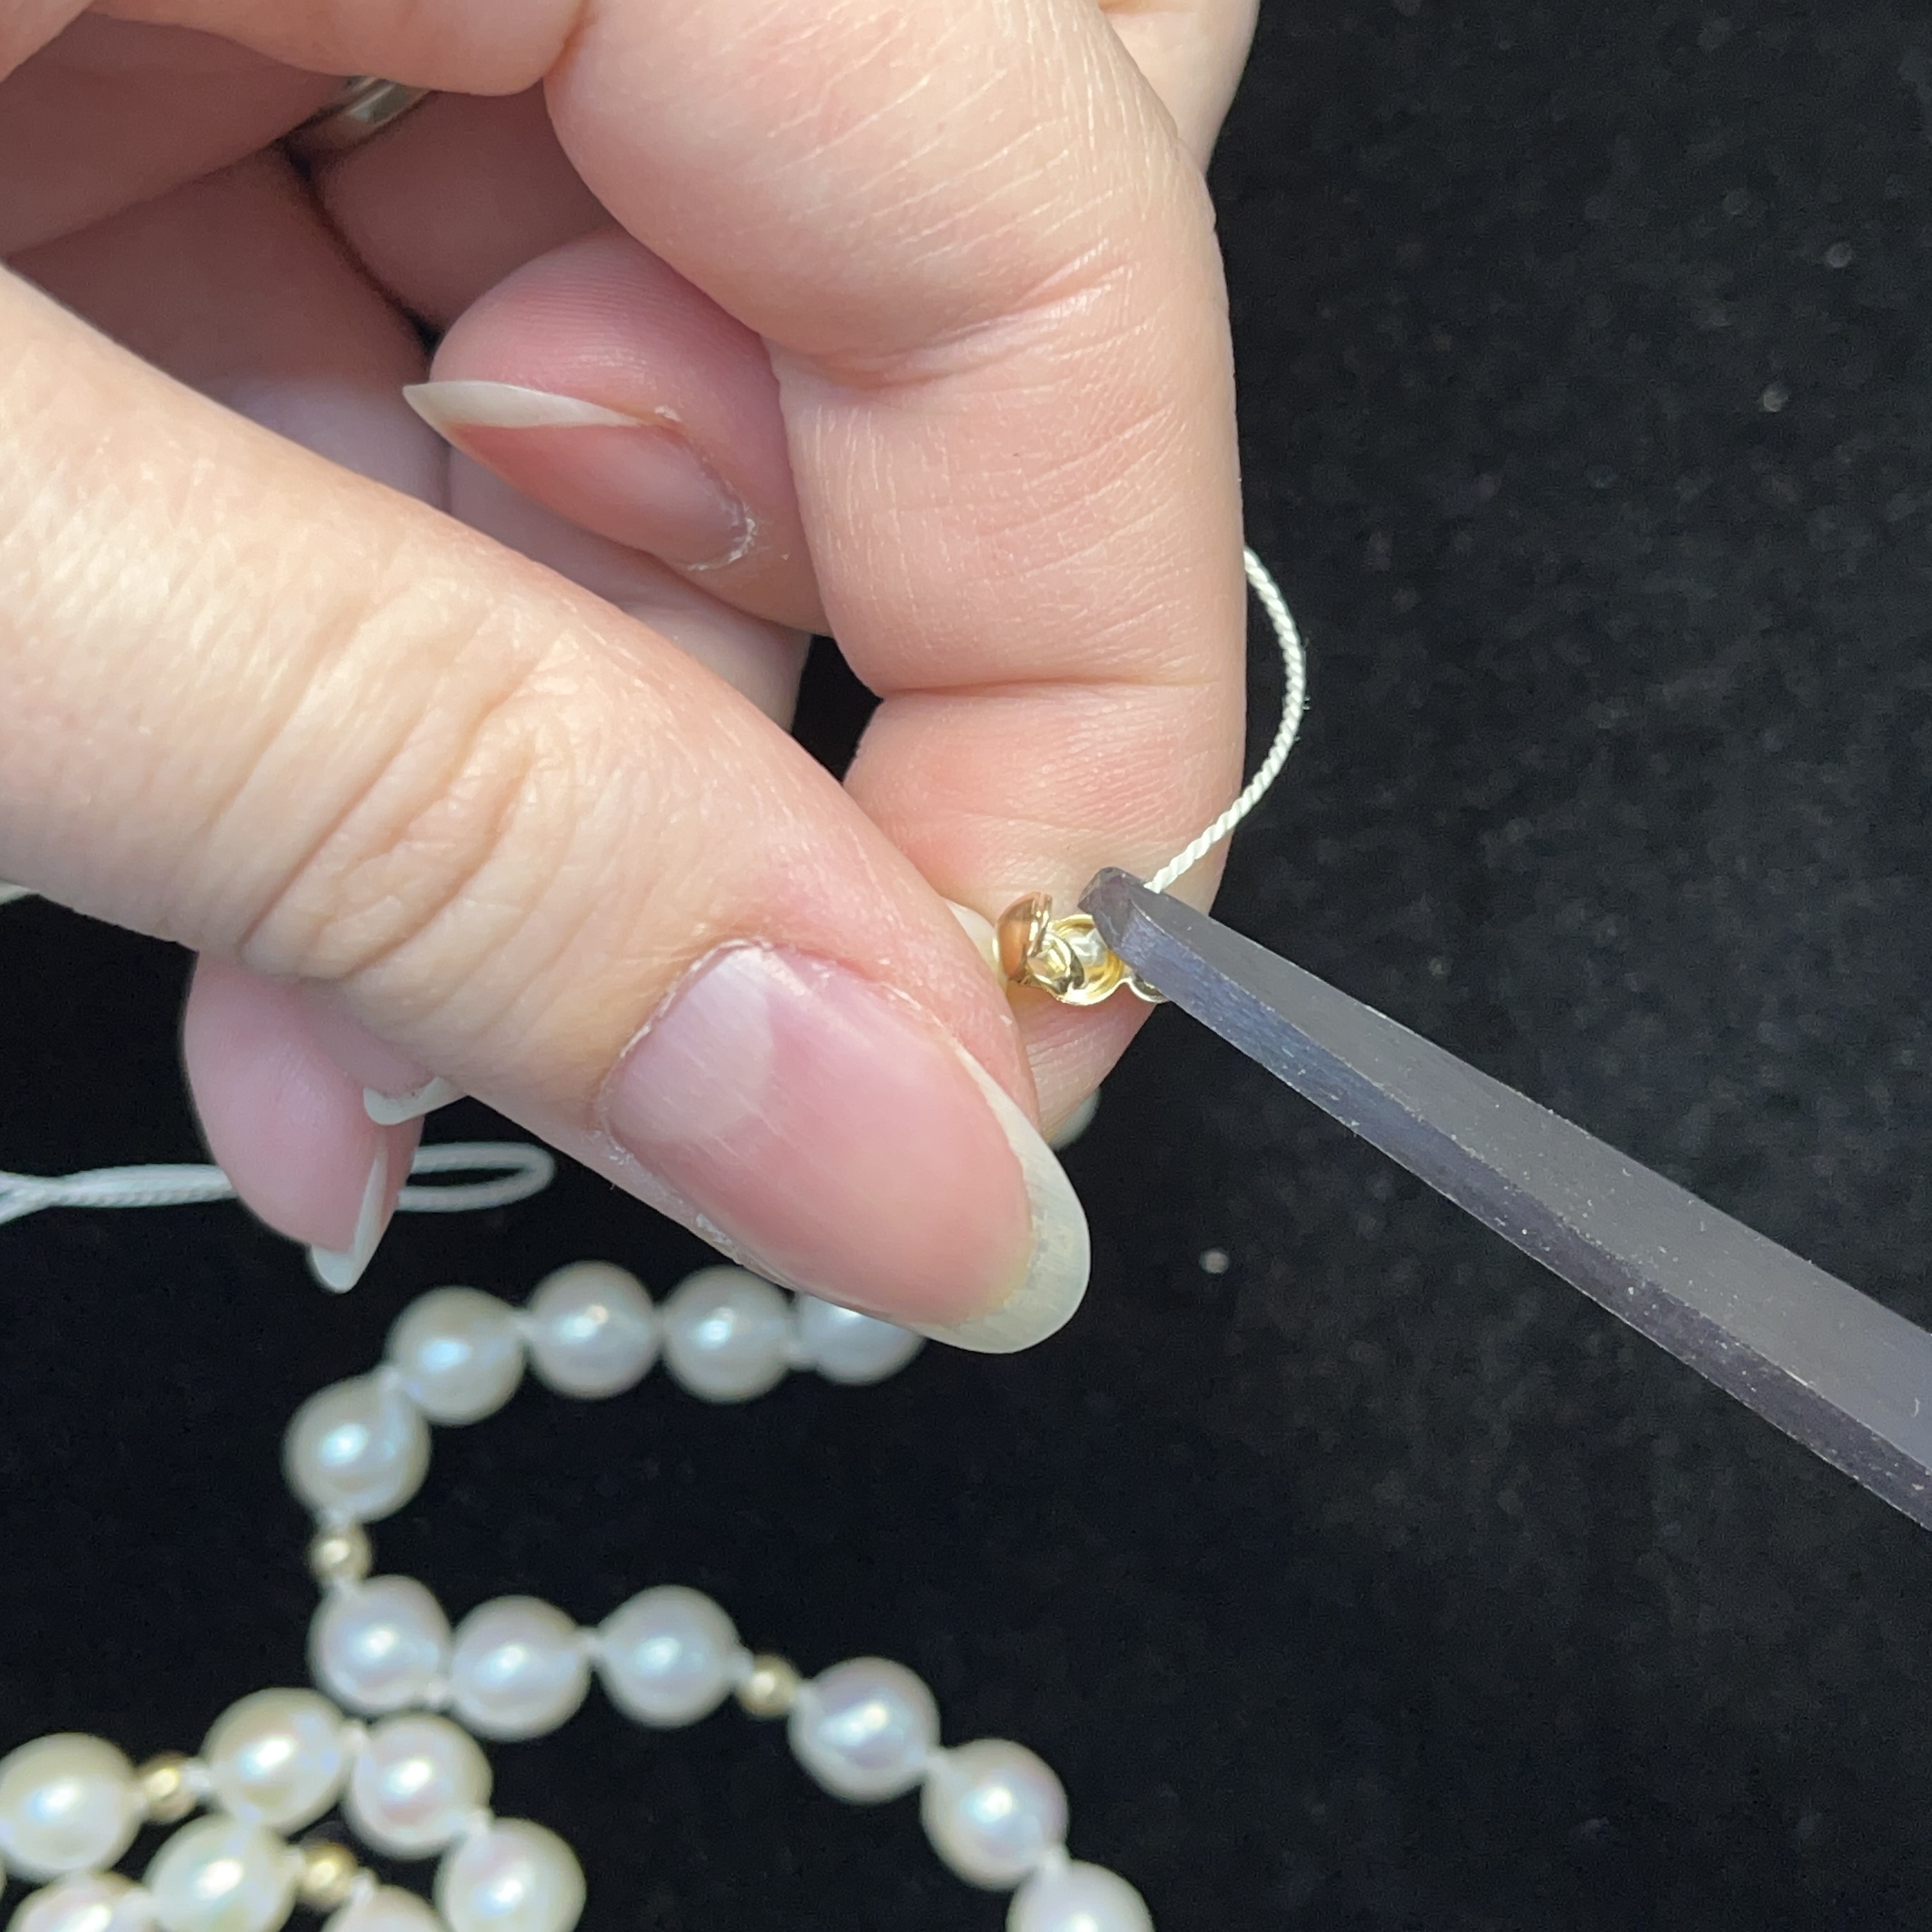
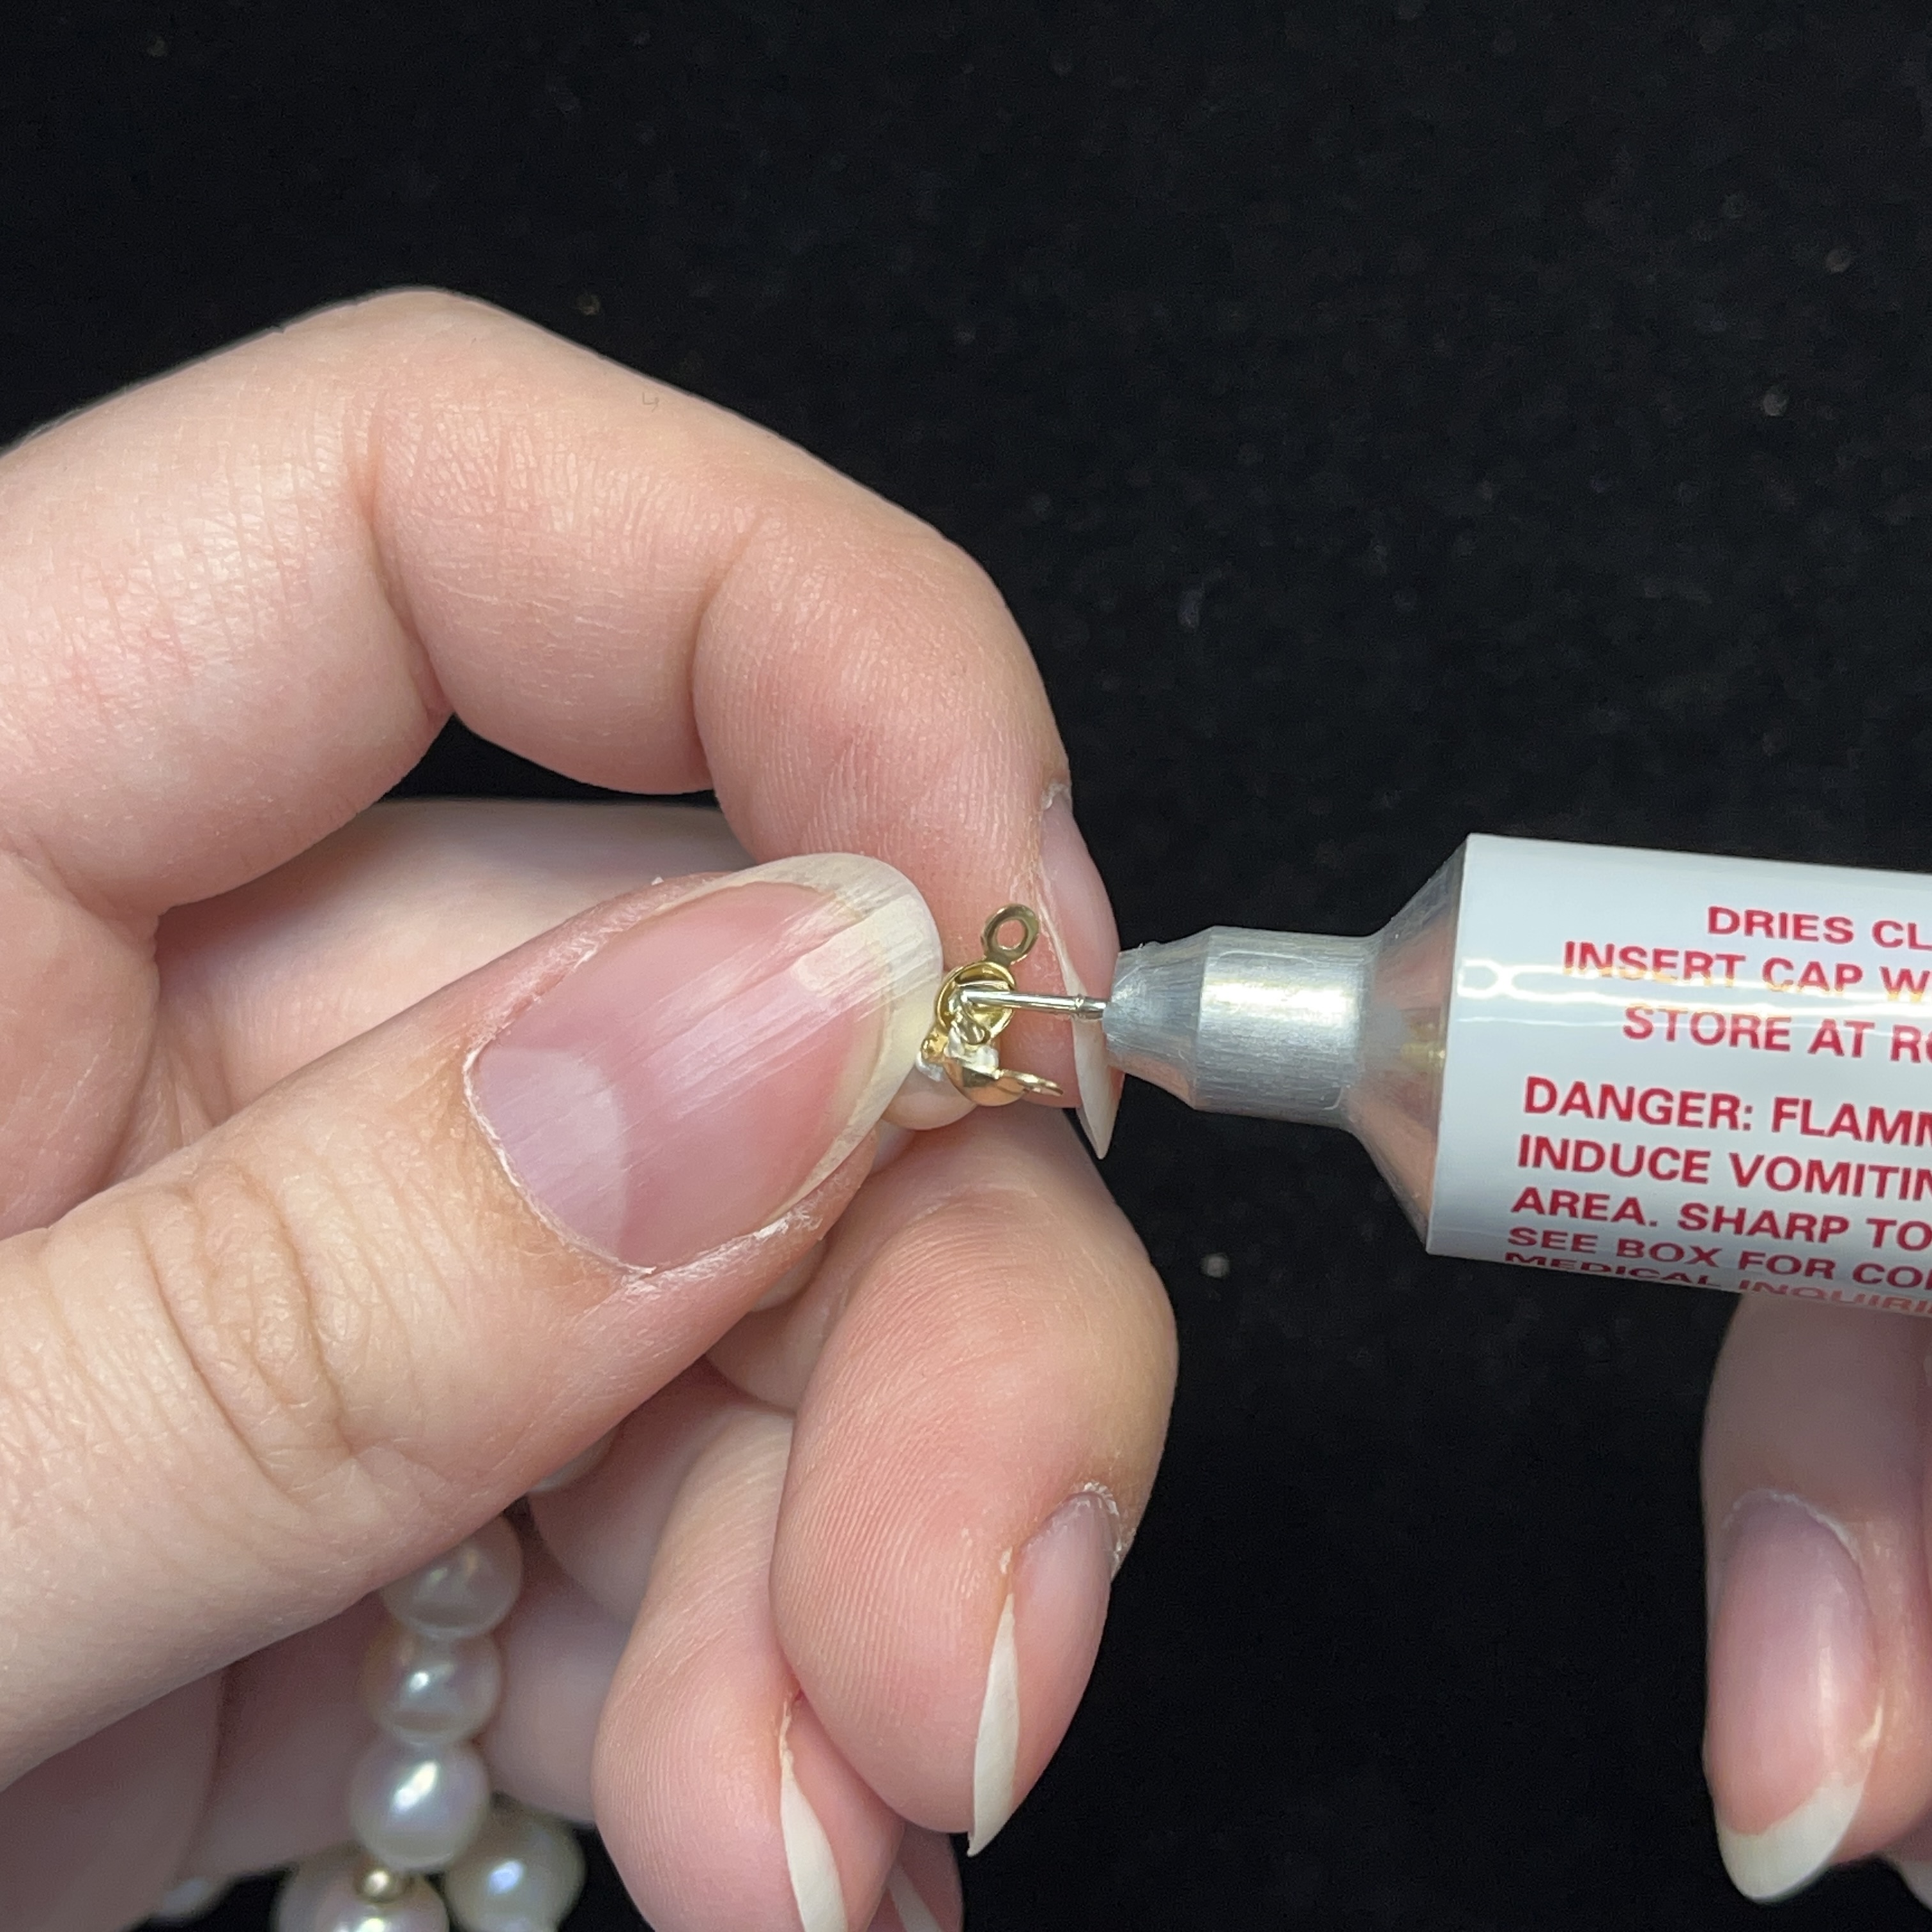
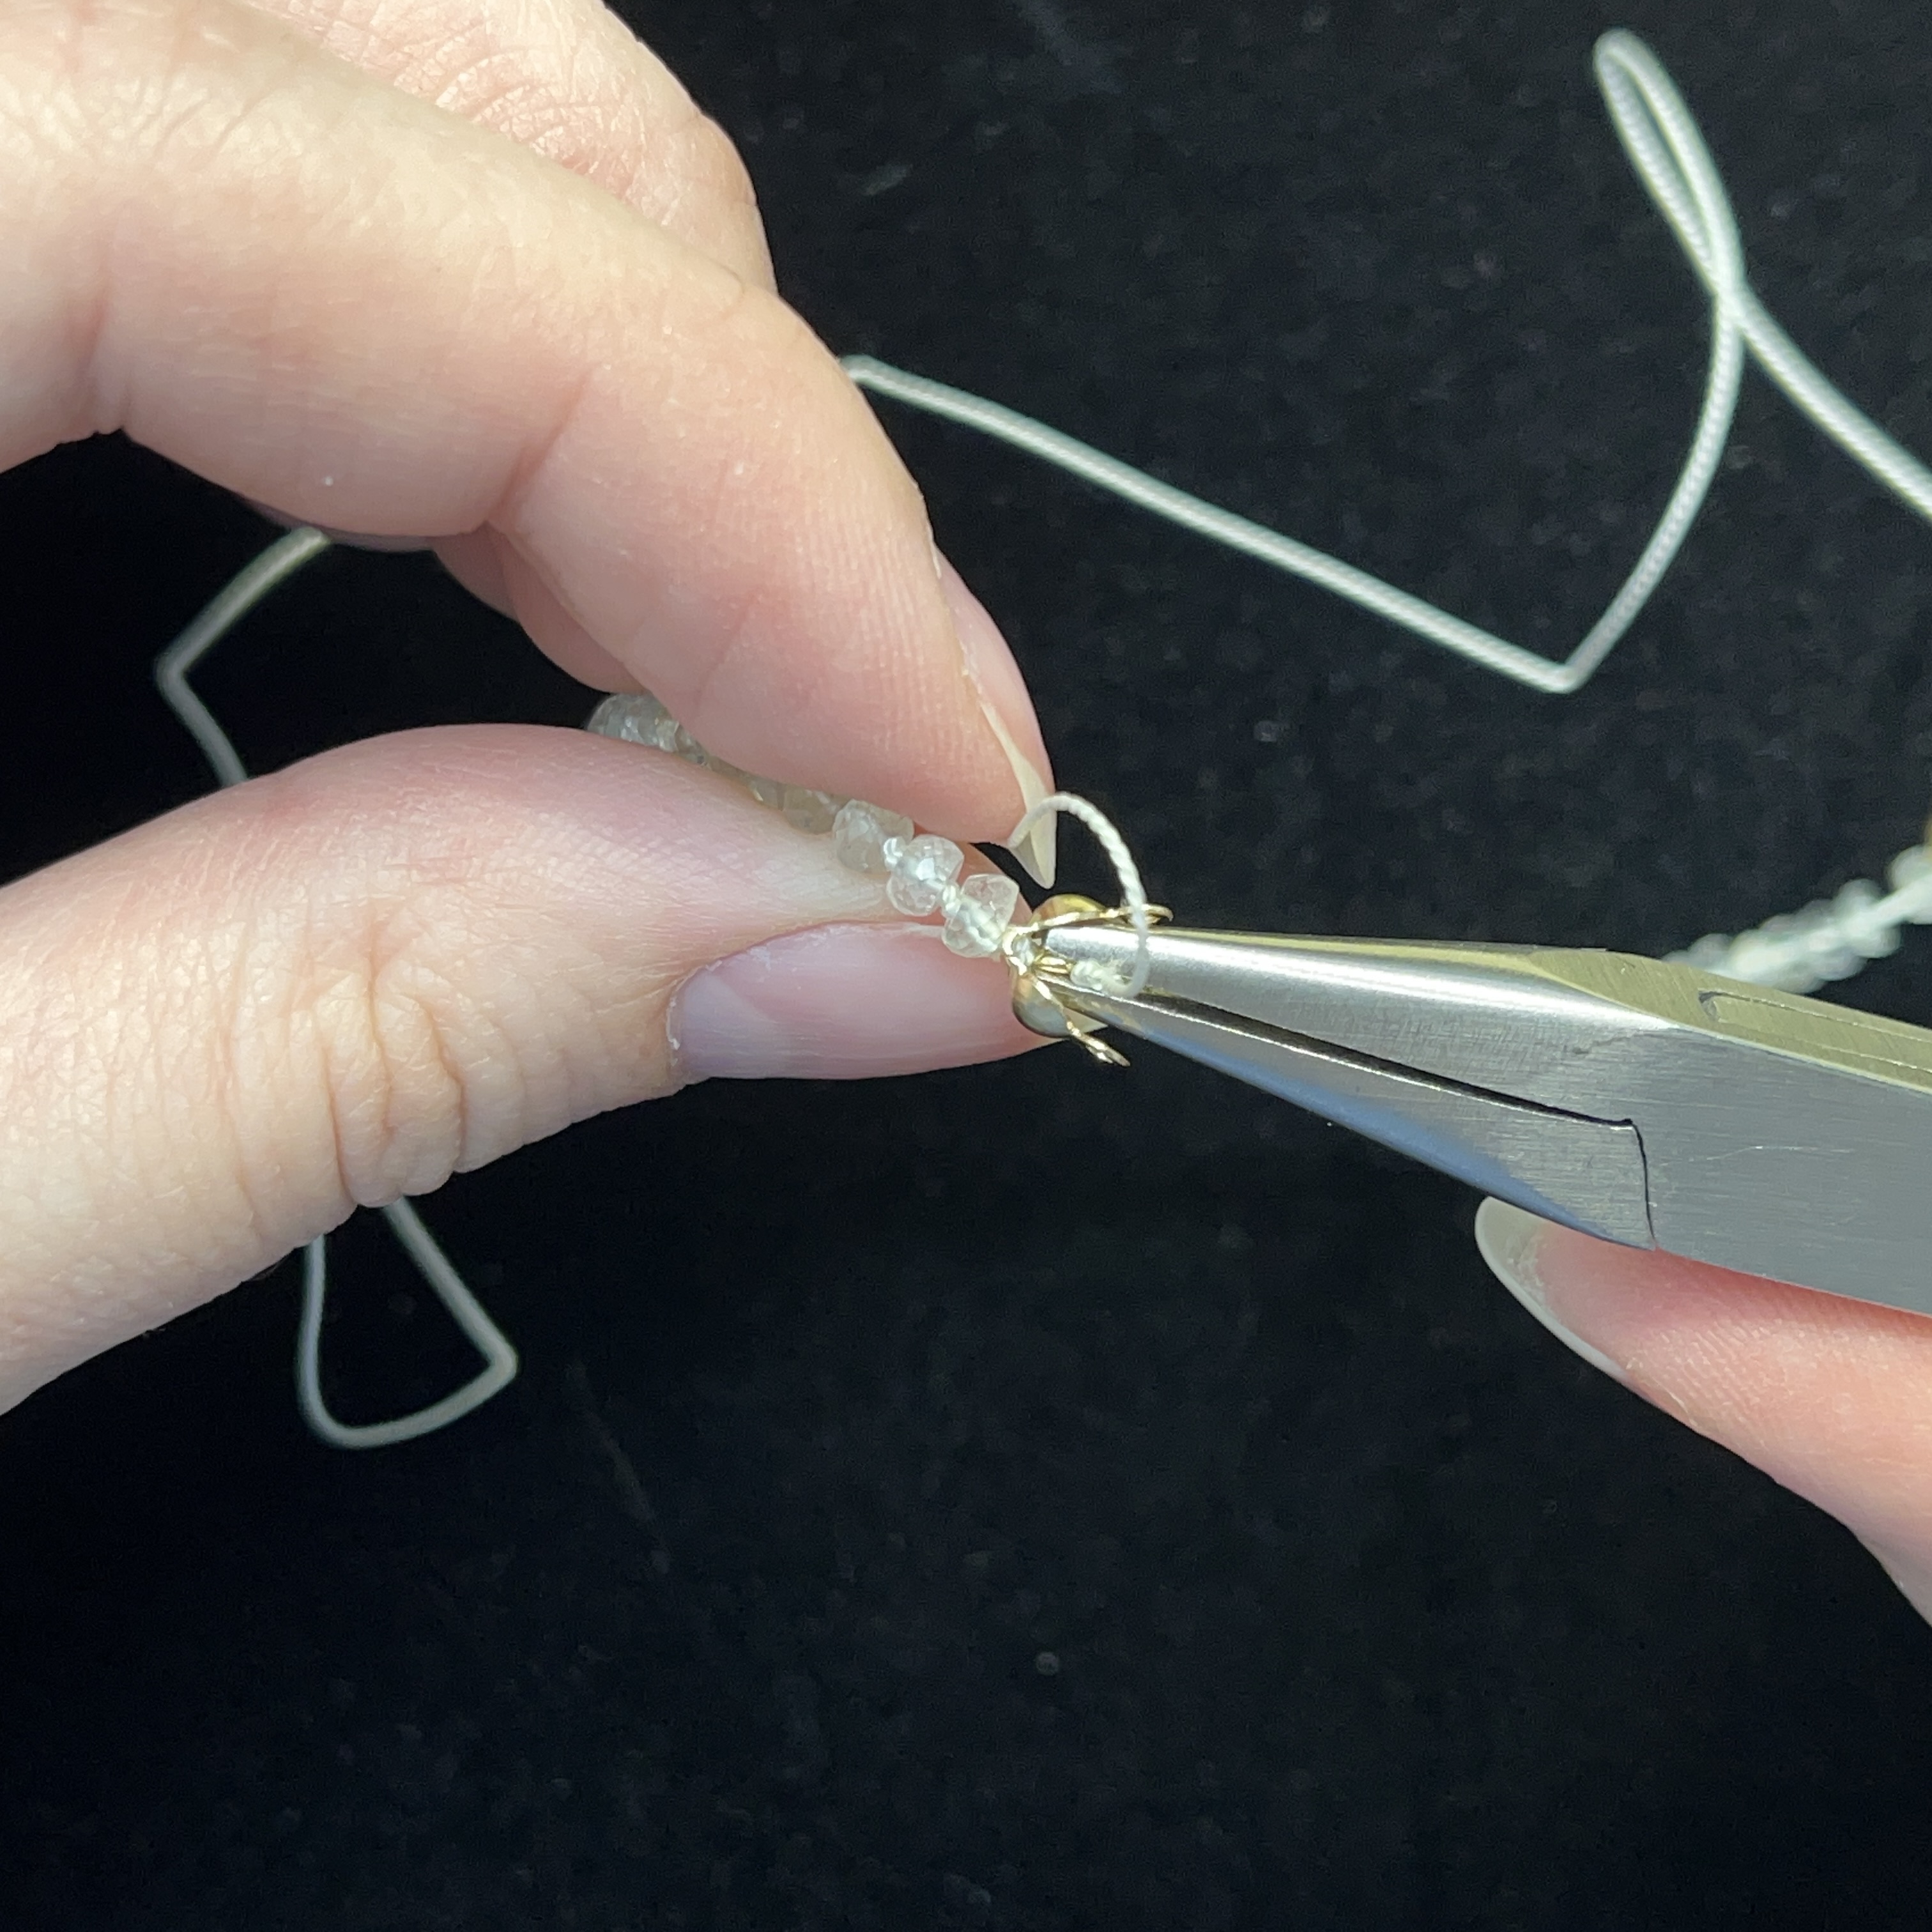
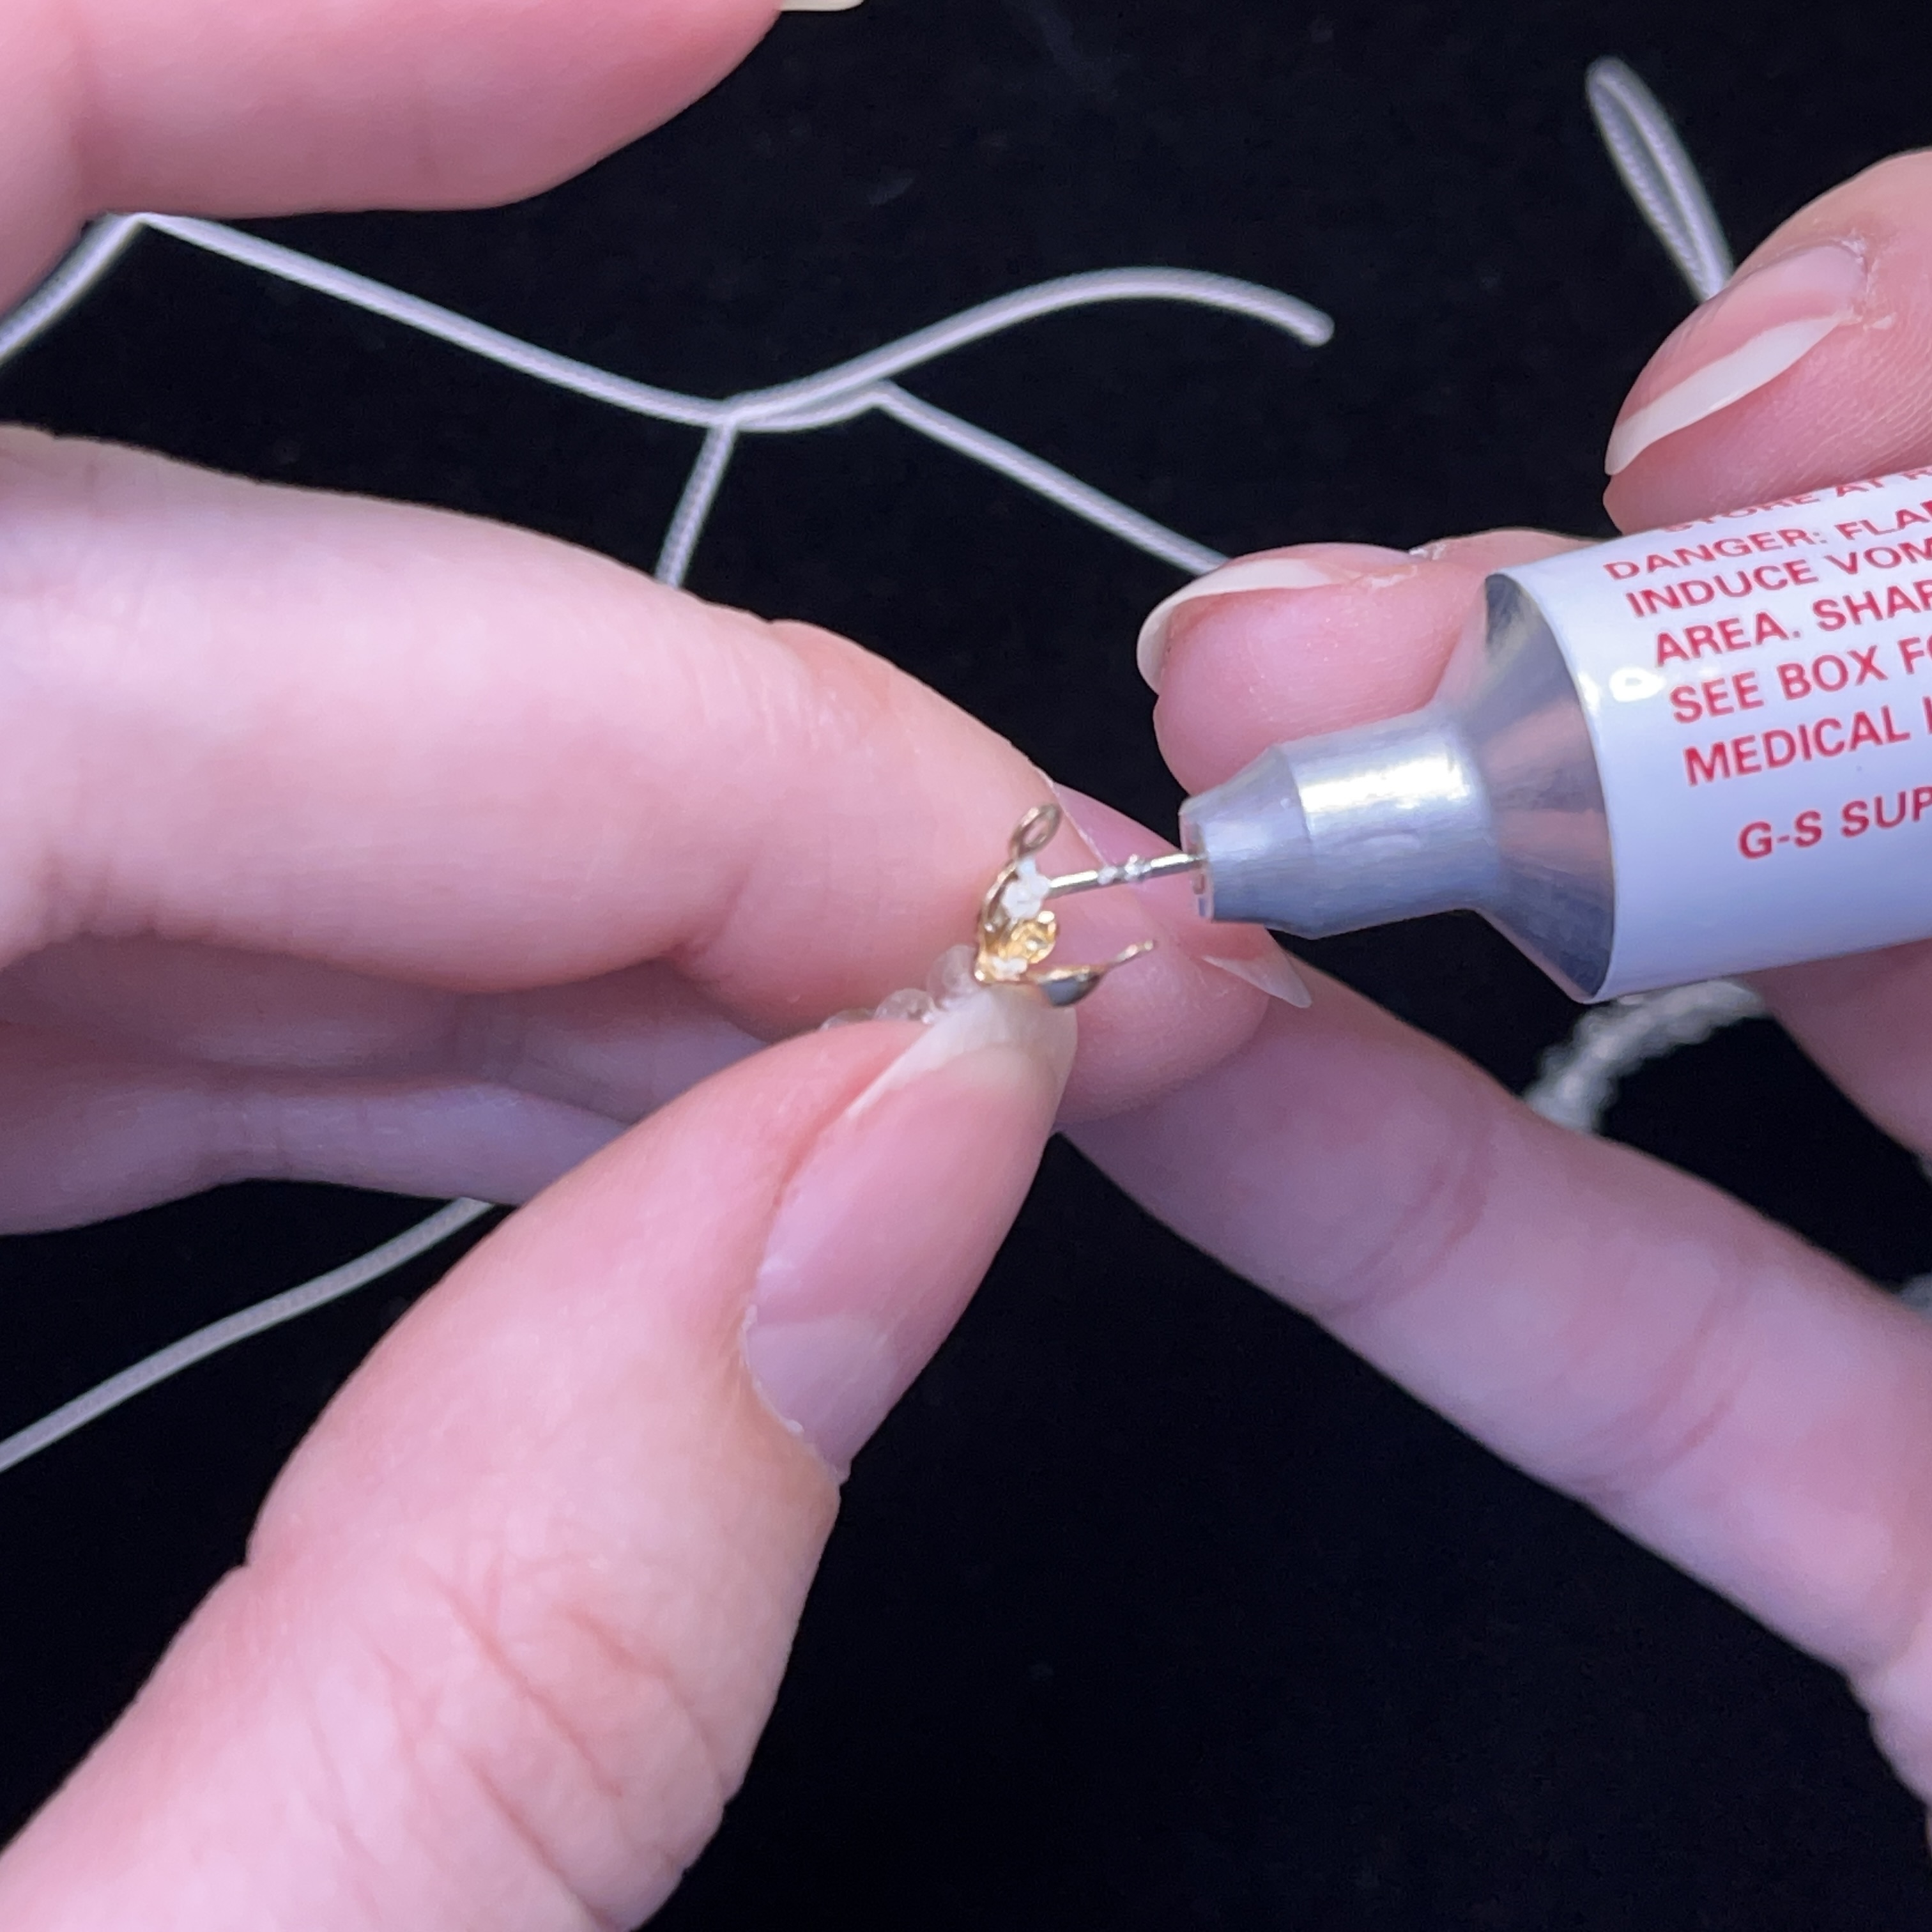
4. Thread on the clamshell facing exactly like the photo above. You want the knots and crushed bead to be inside the clamshell when you close it in the next step. Take the GS-Hypo cement and cover the knots with a good dab of glue.
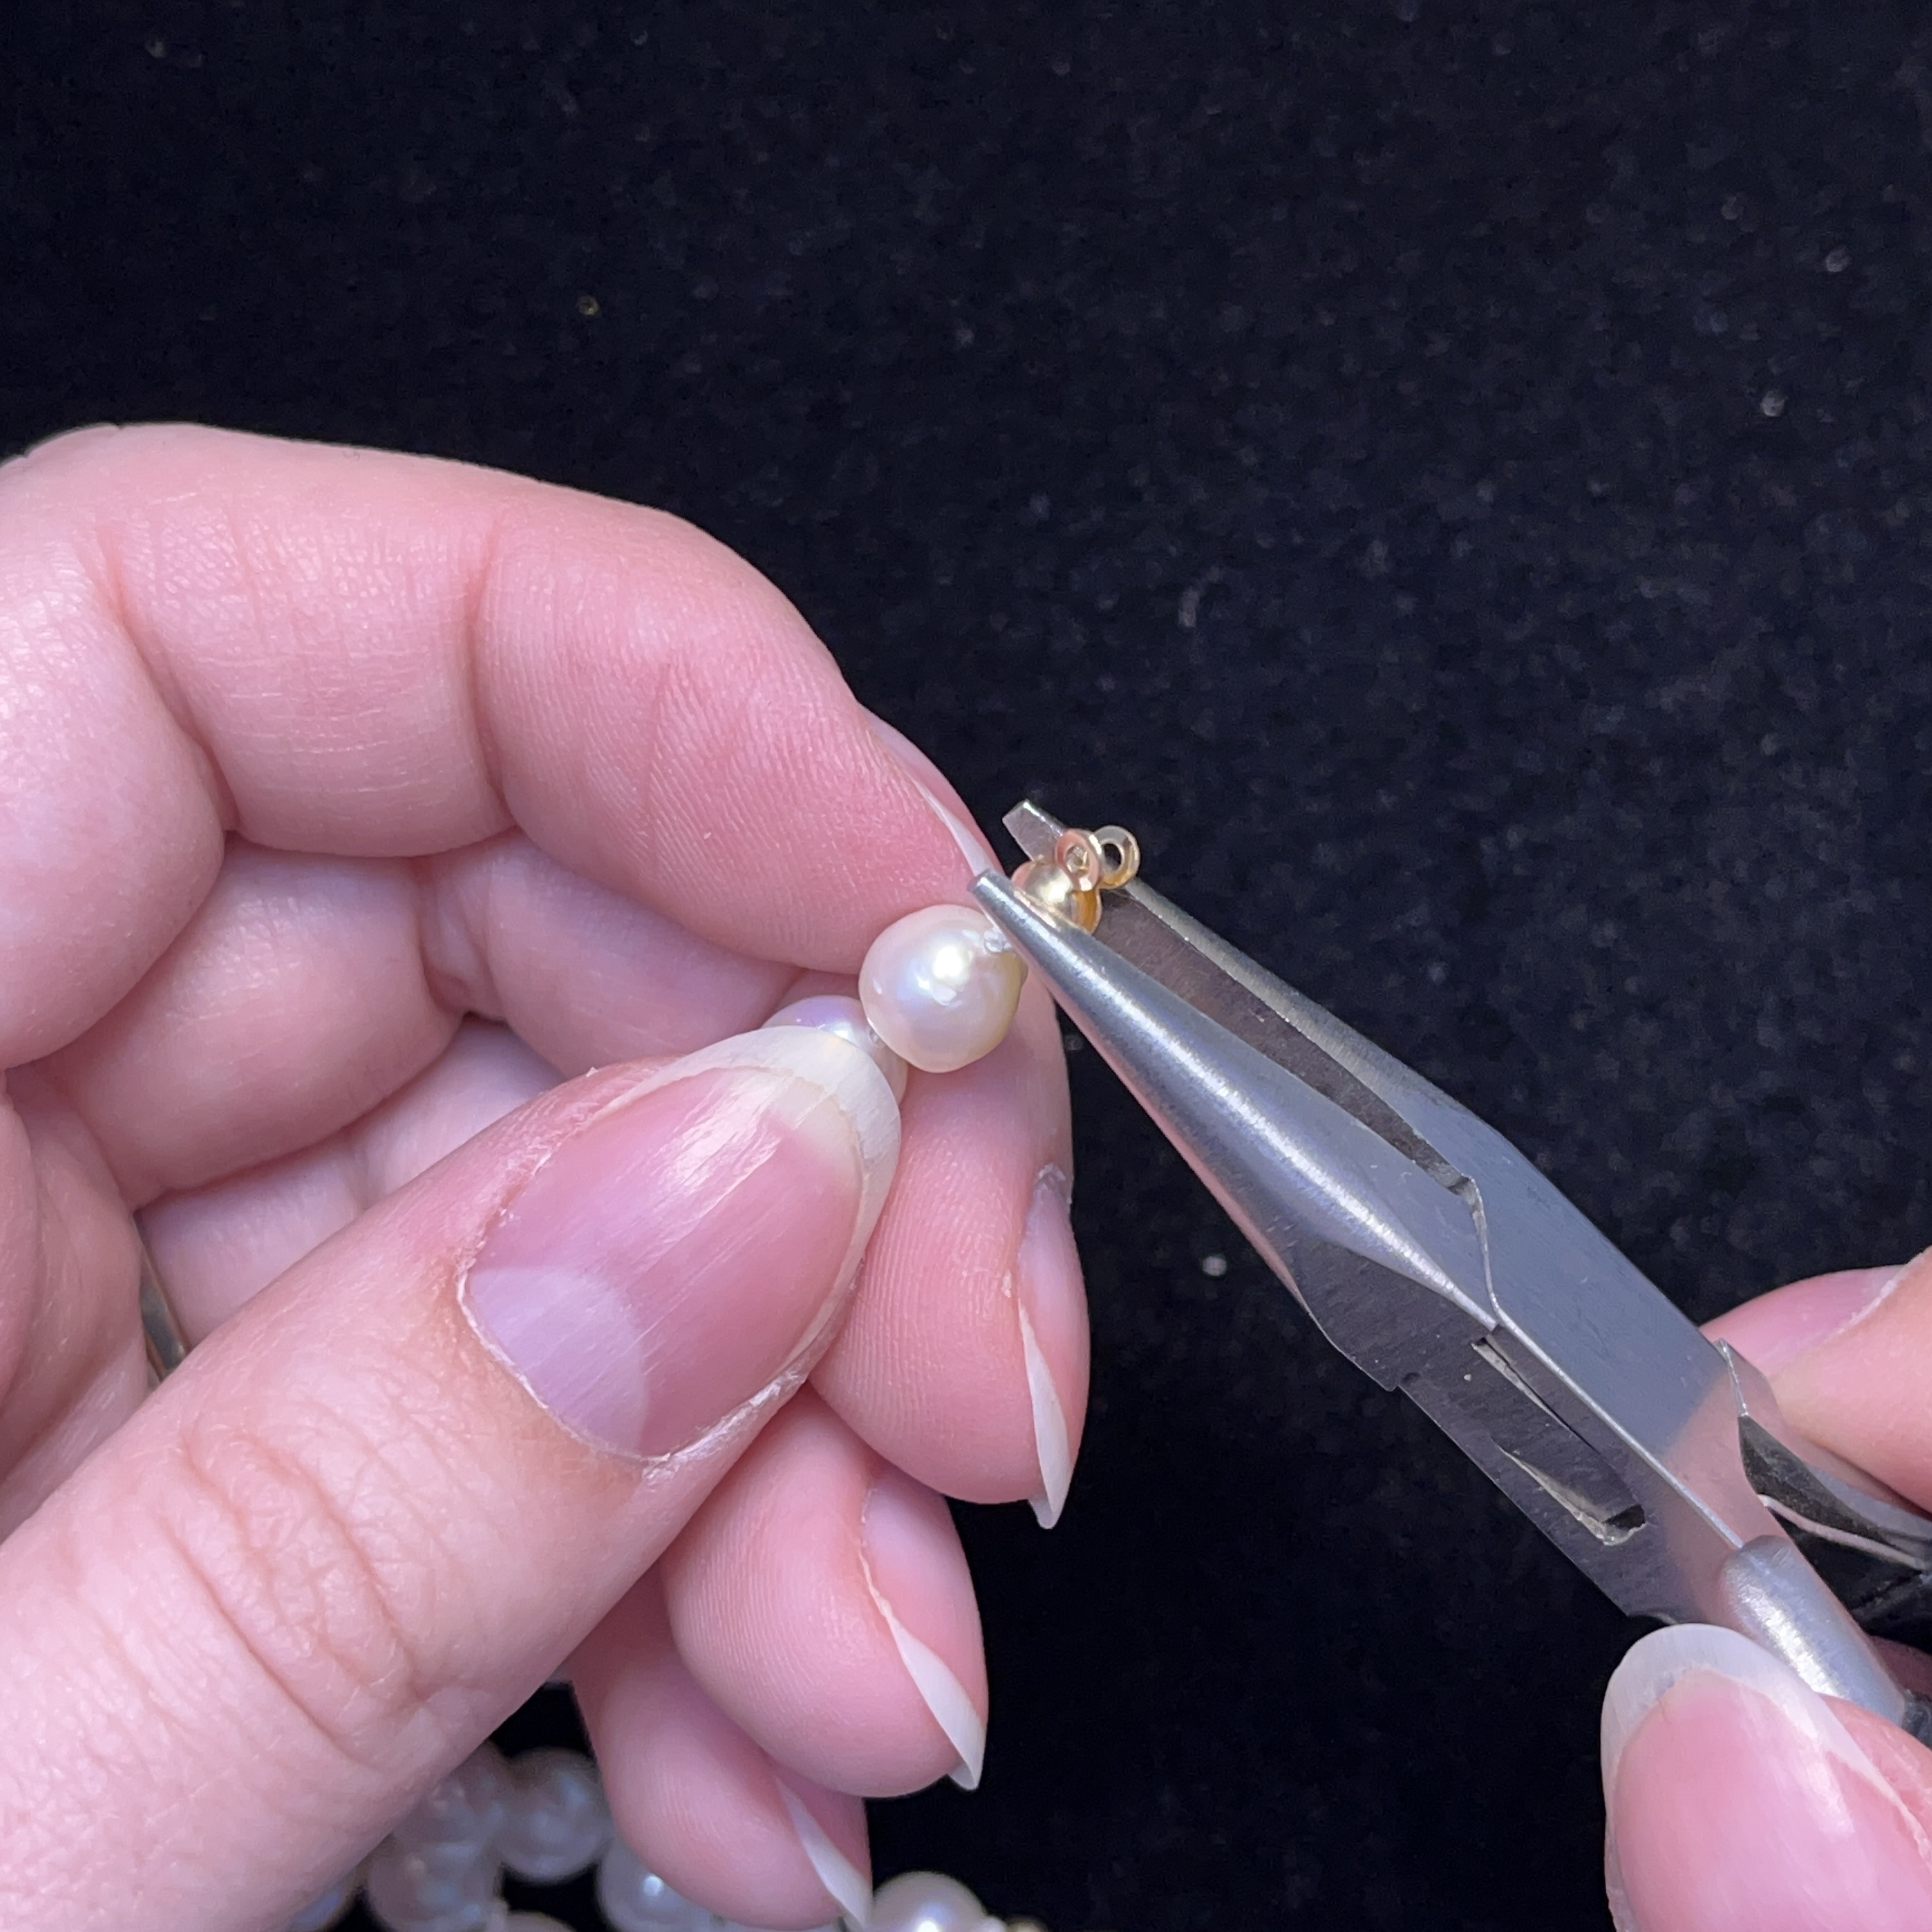
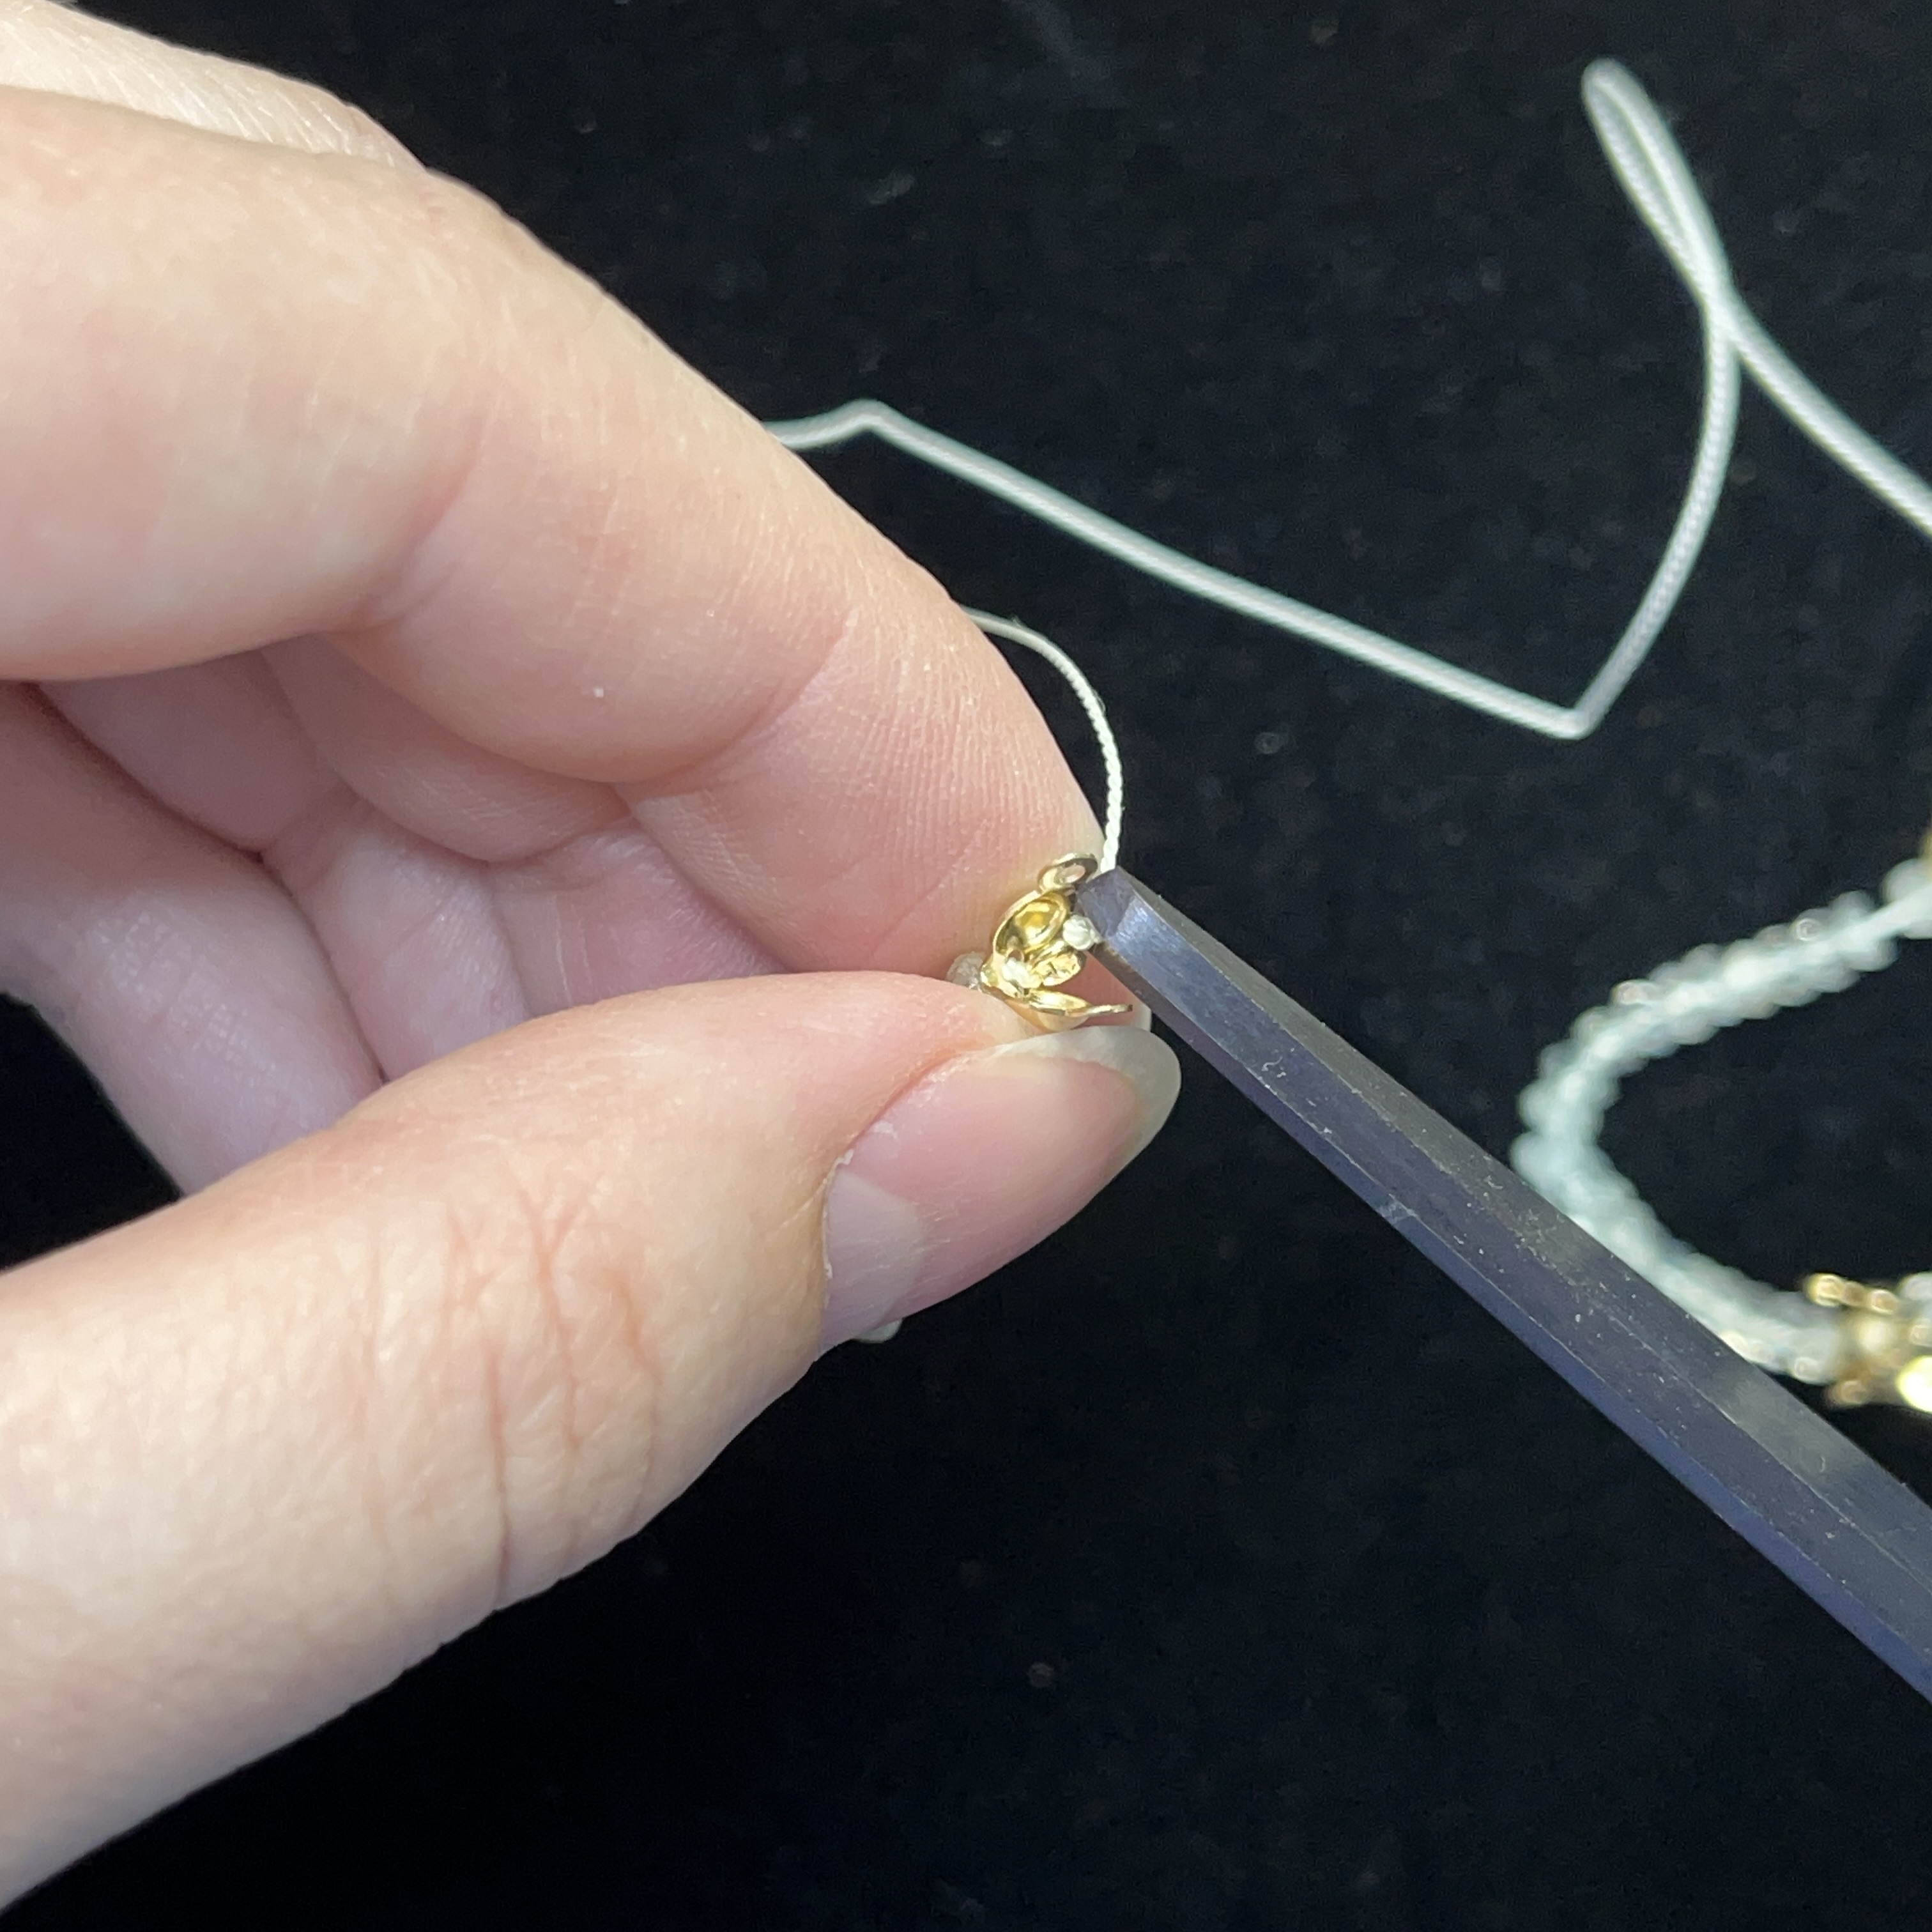
5. Gently close the clamshell using your chain nose pliers. Make sure the 2 loops are parallel to allow a jump ring to go through them later. Sometimes it helps to use 2 pliers.
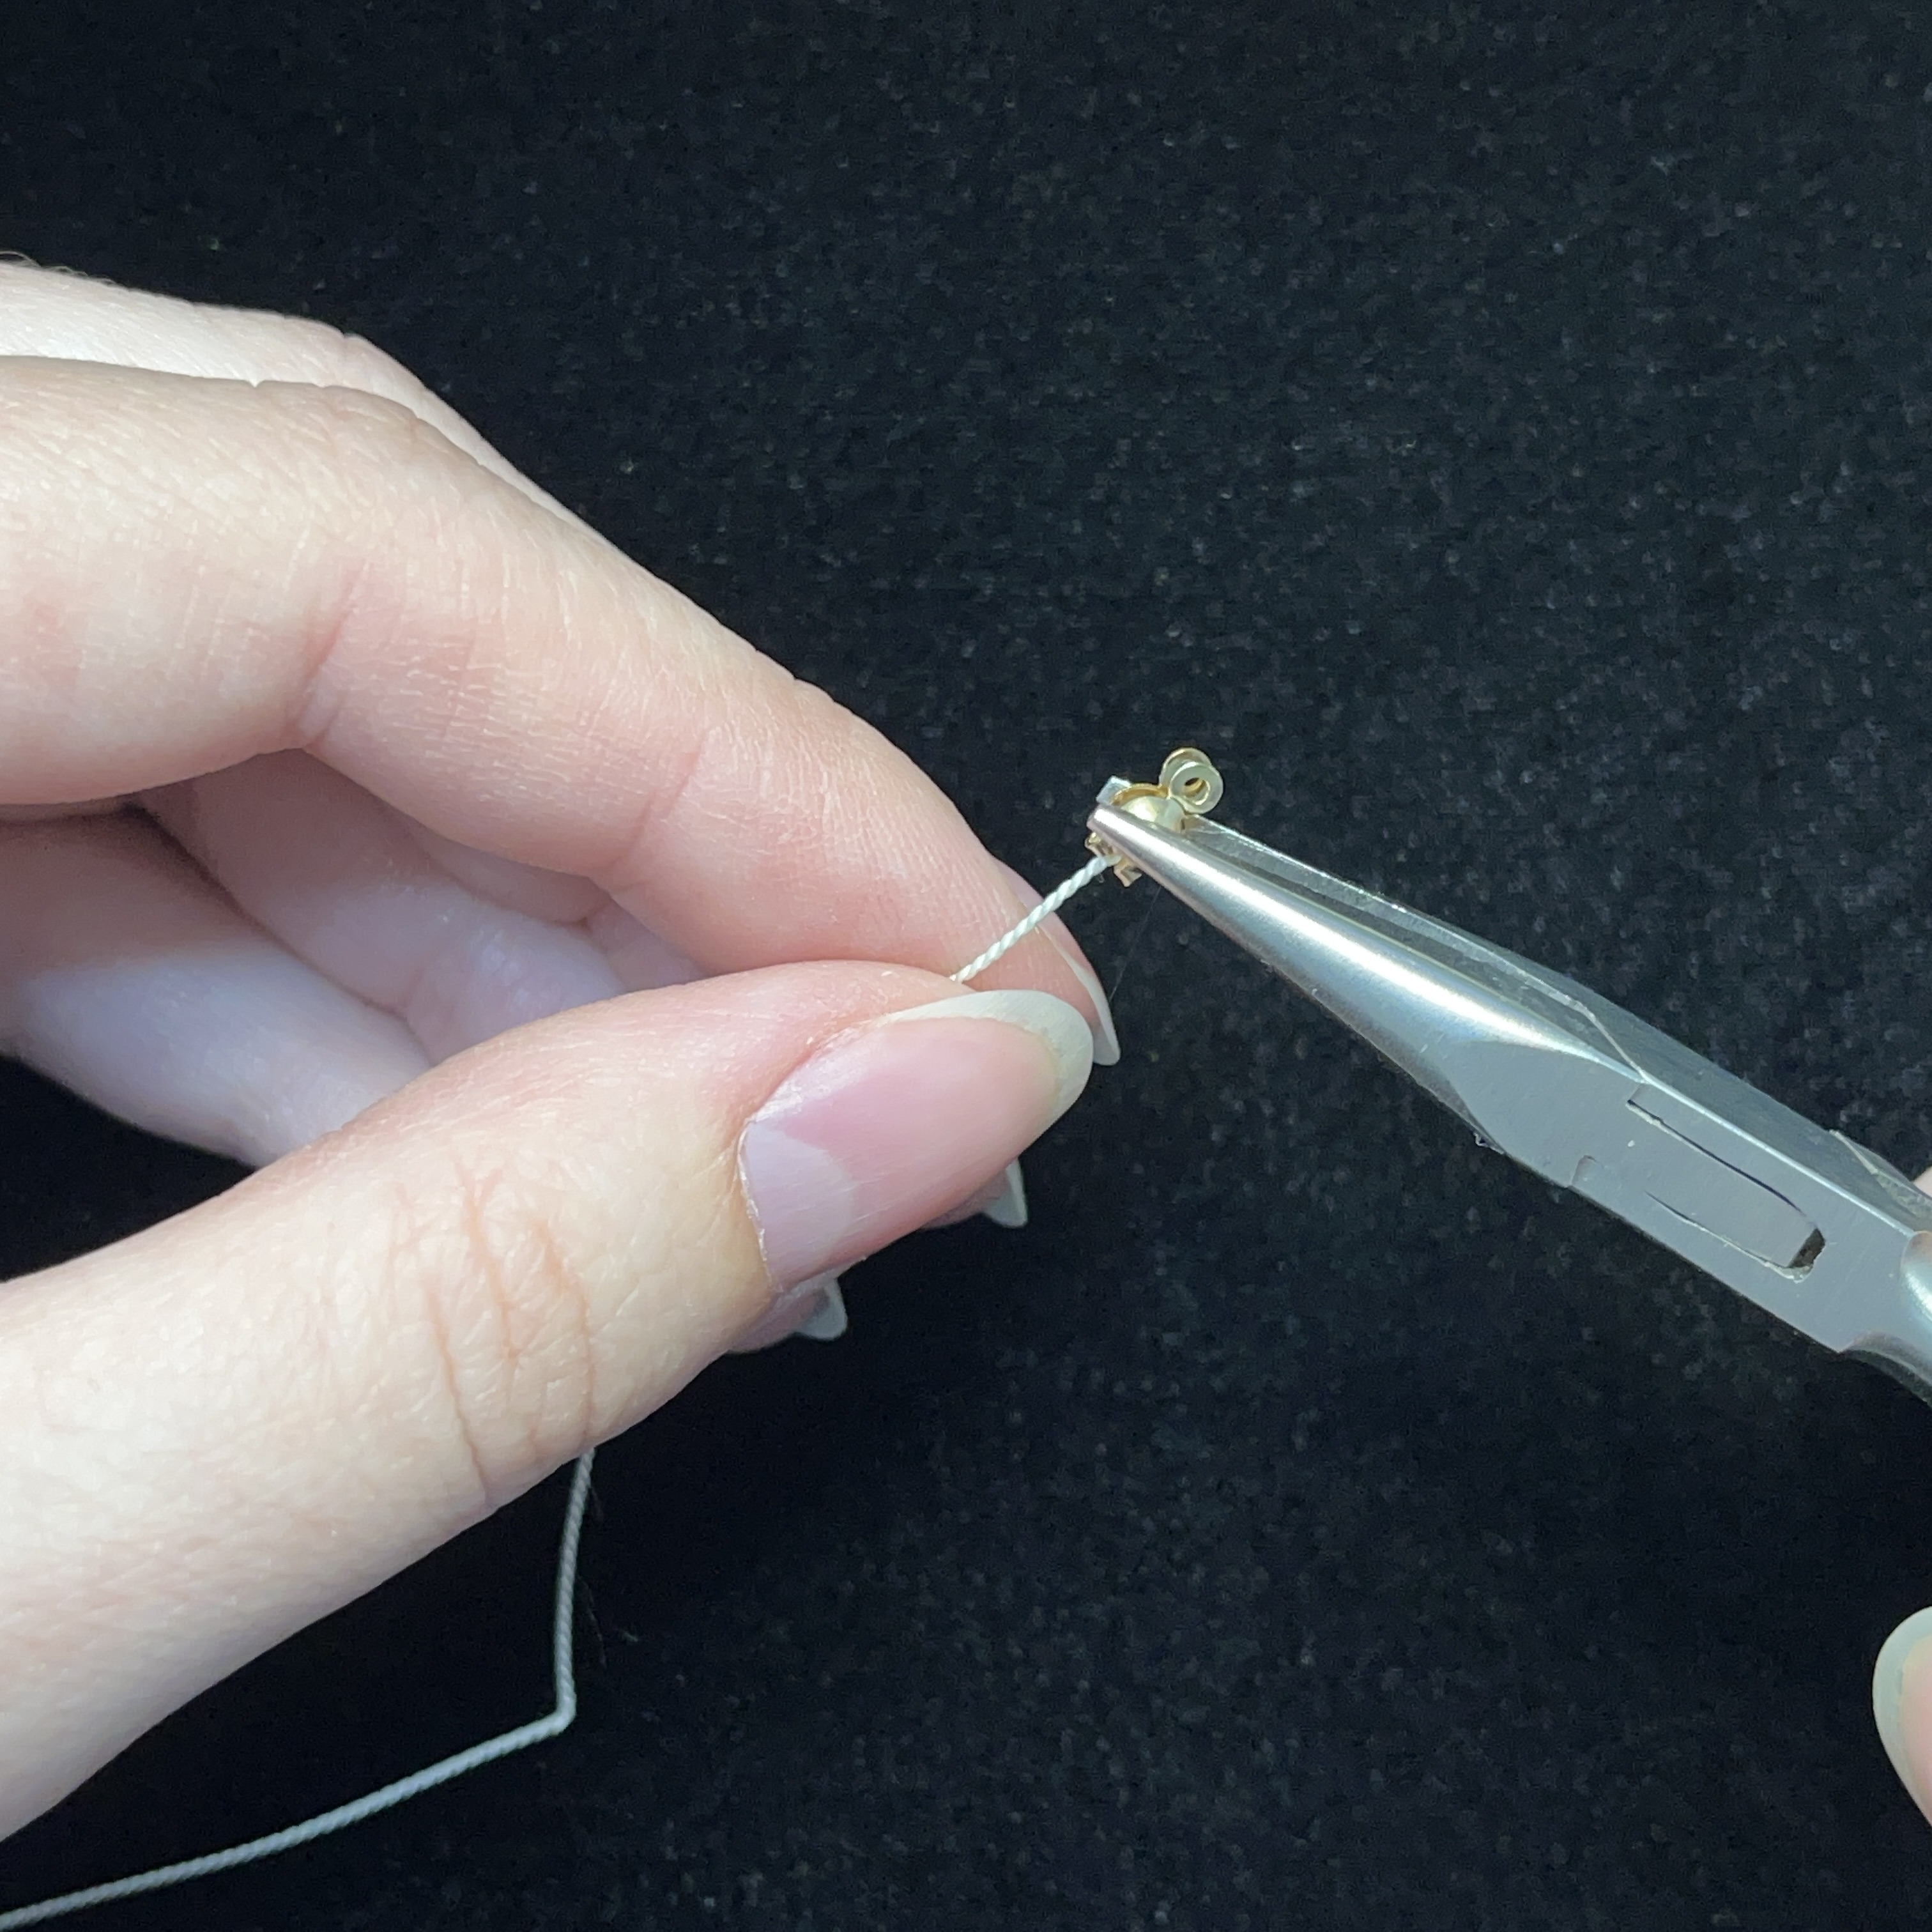
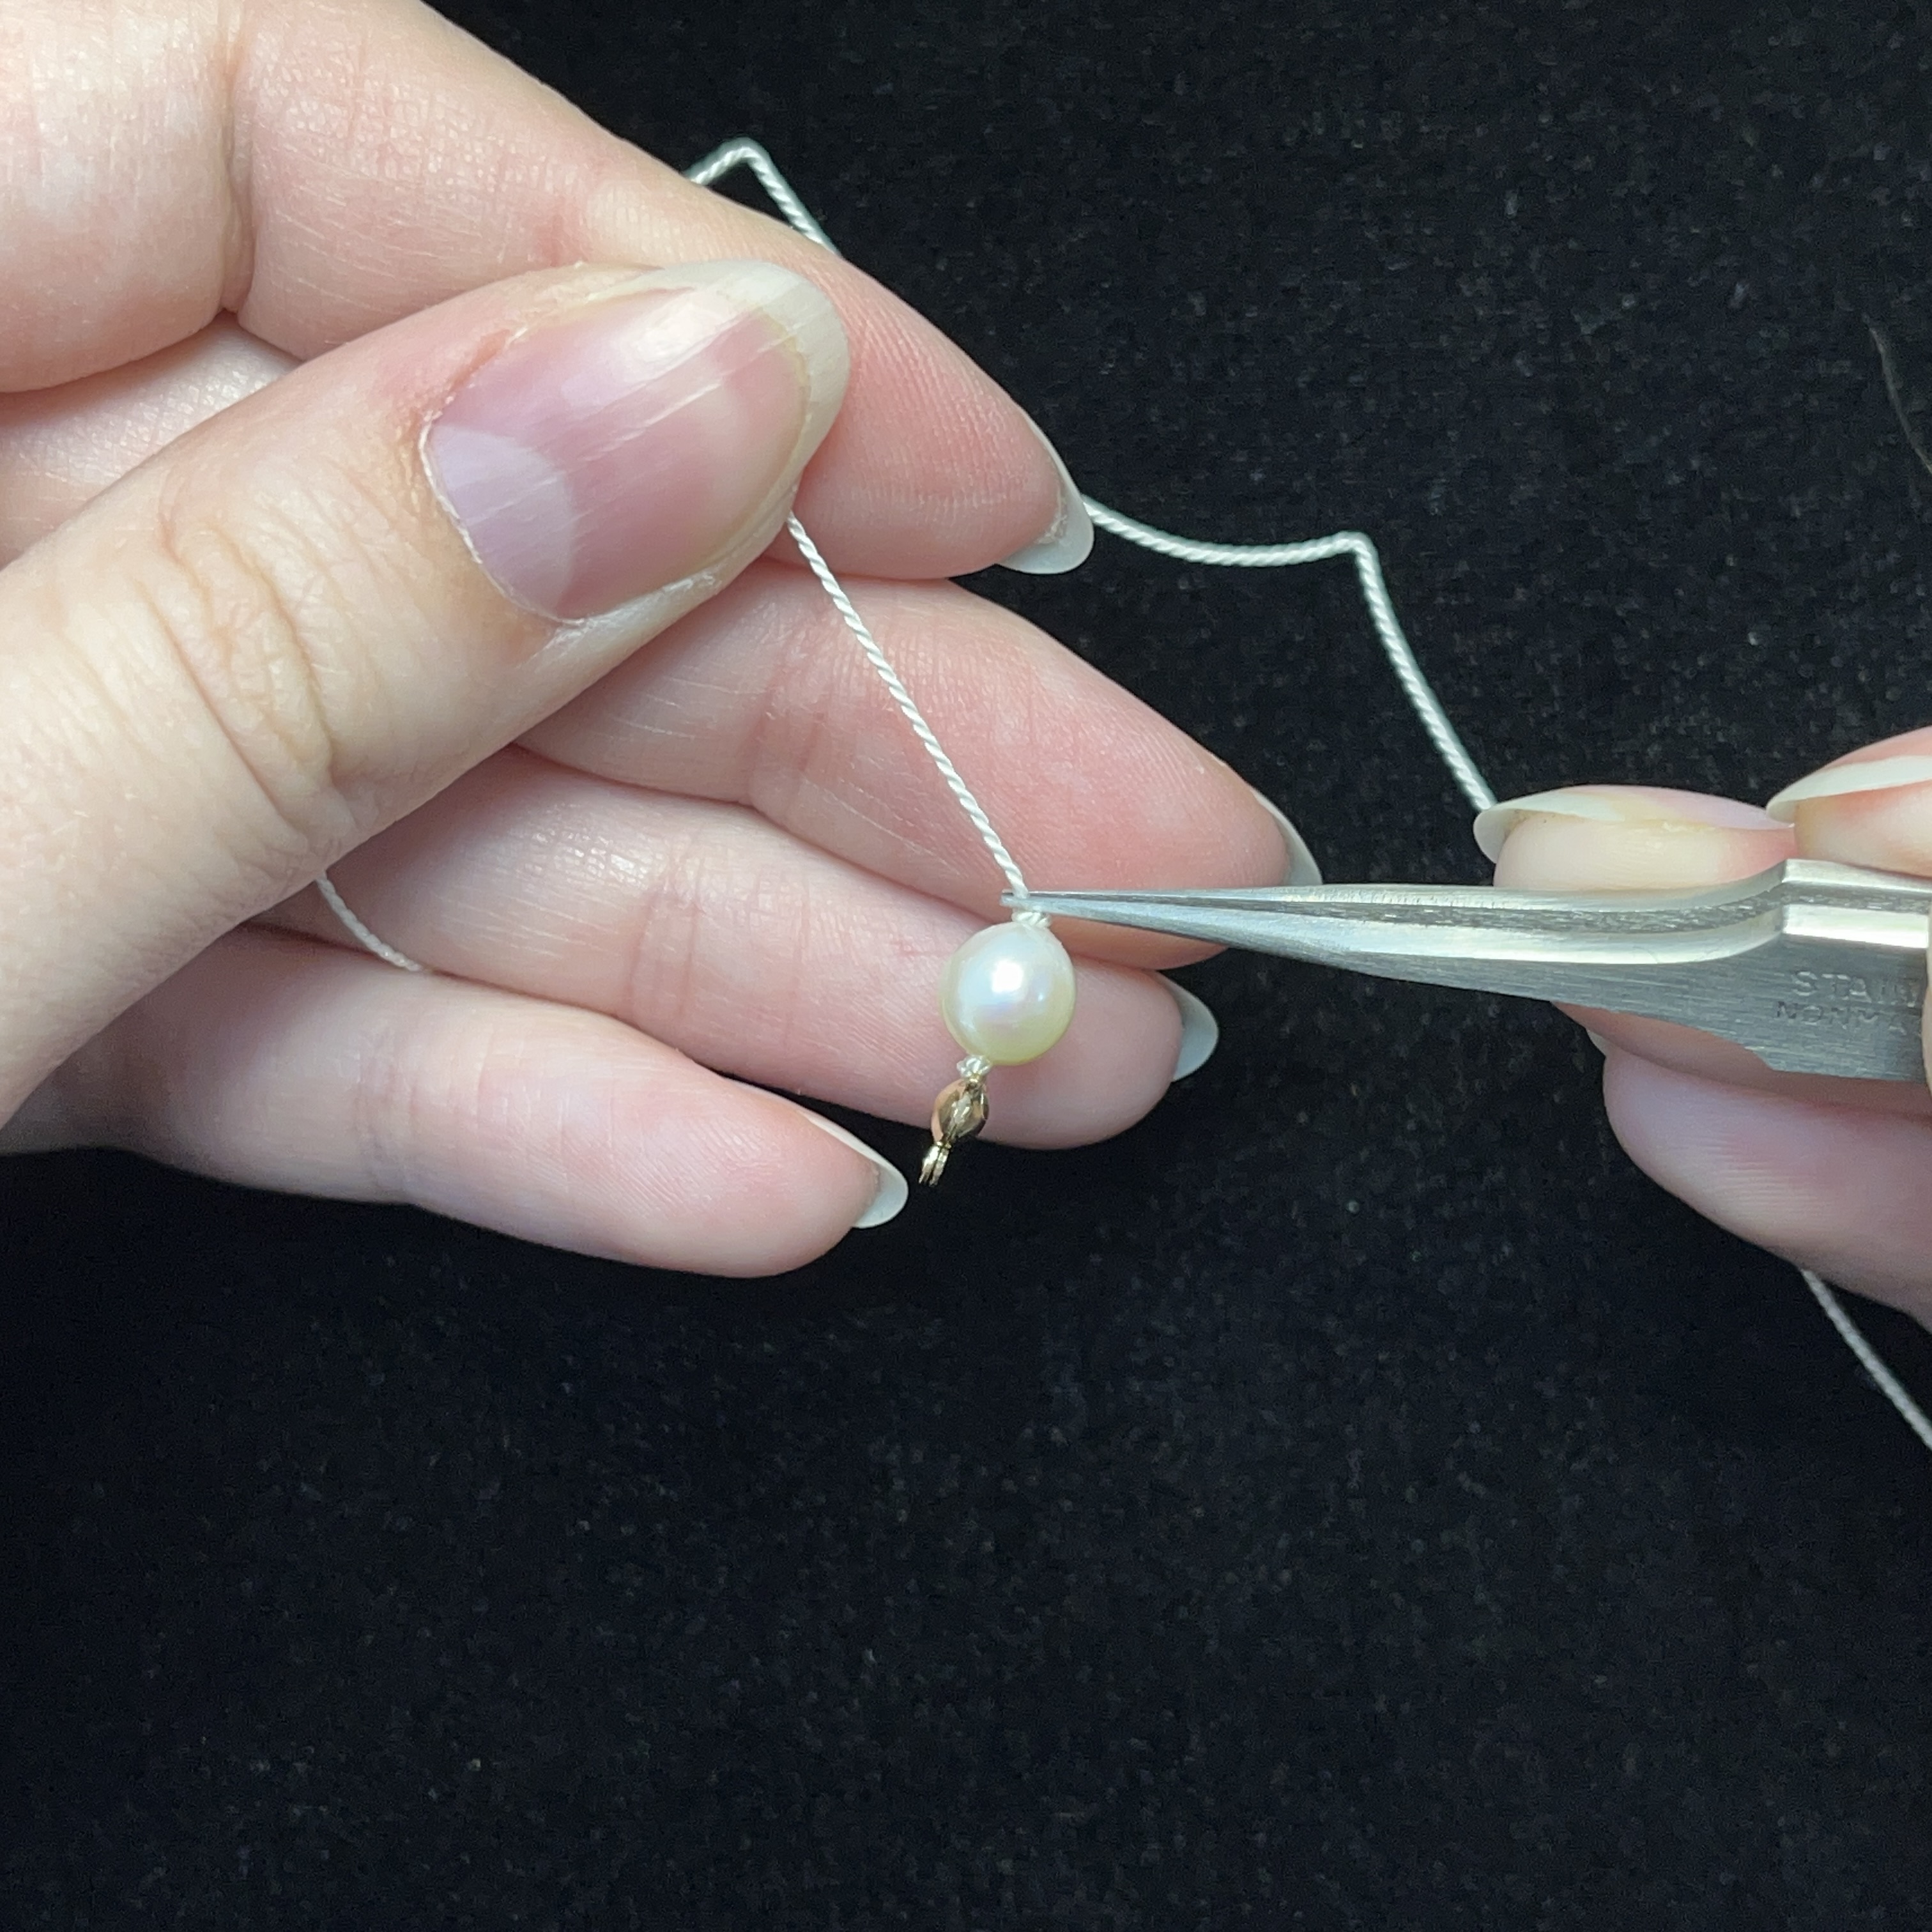
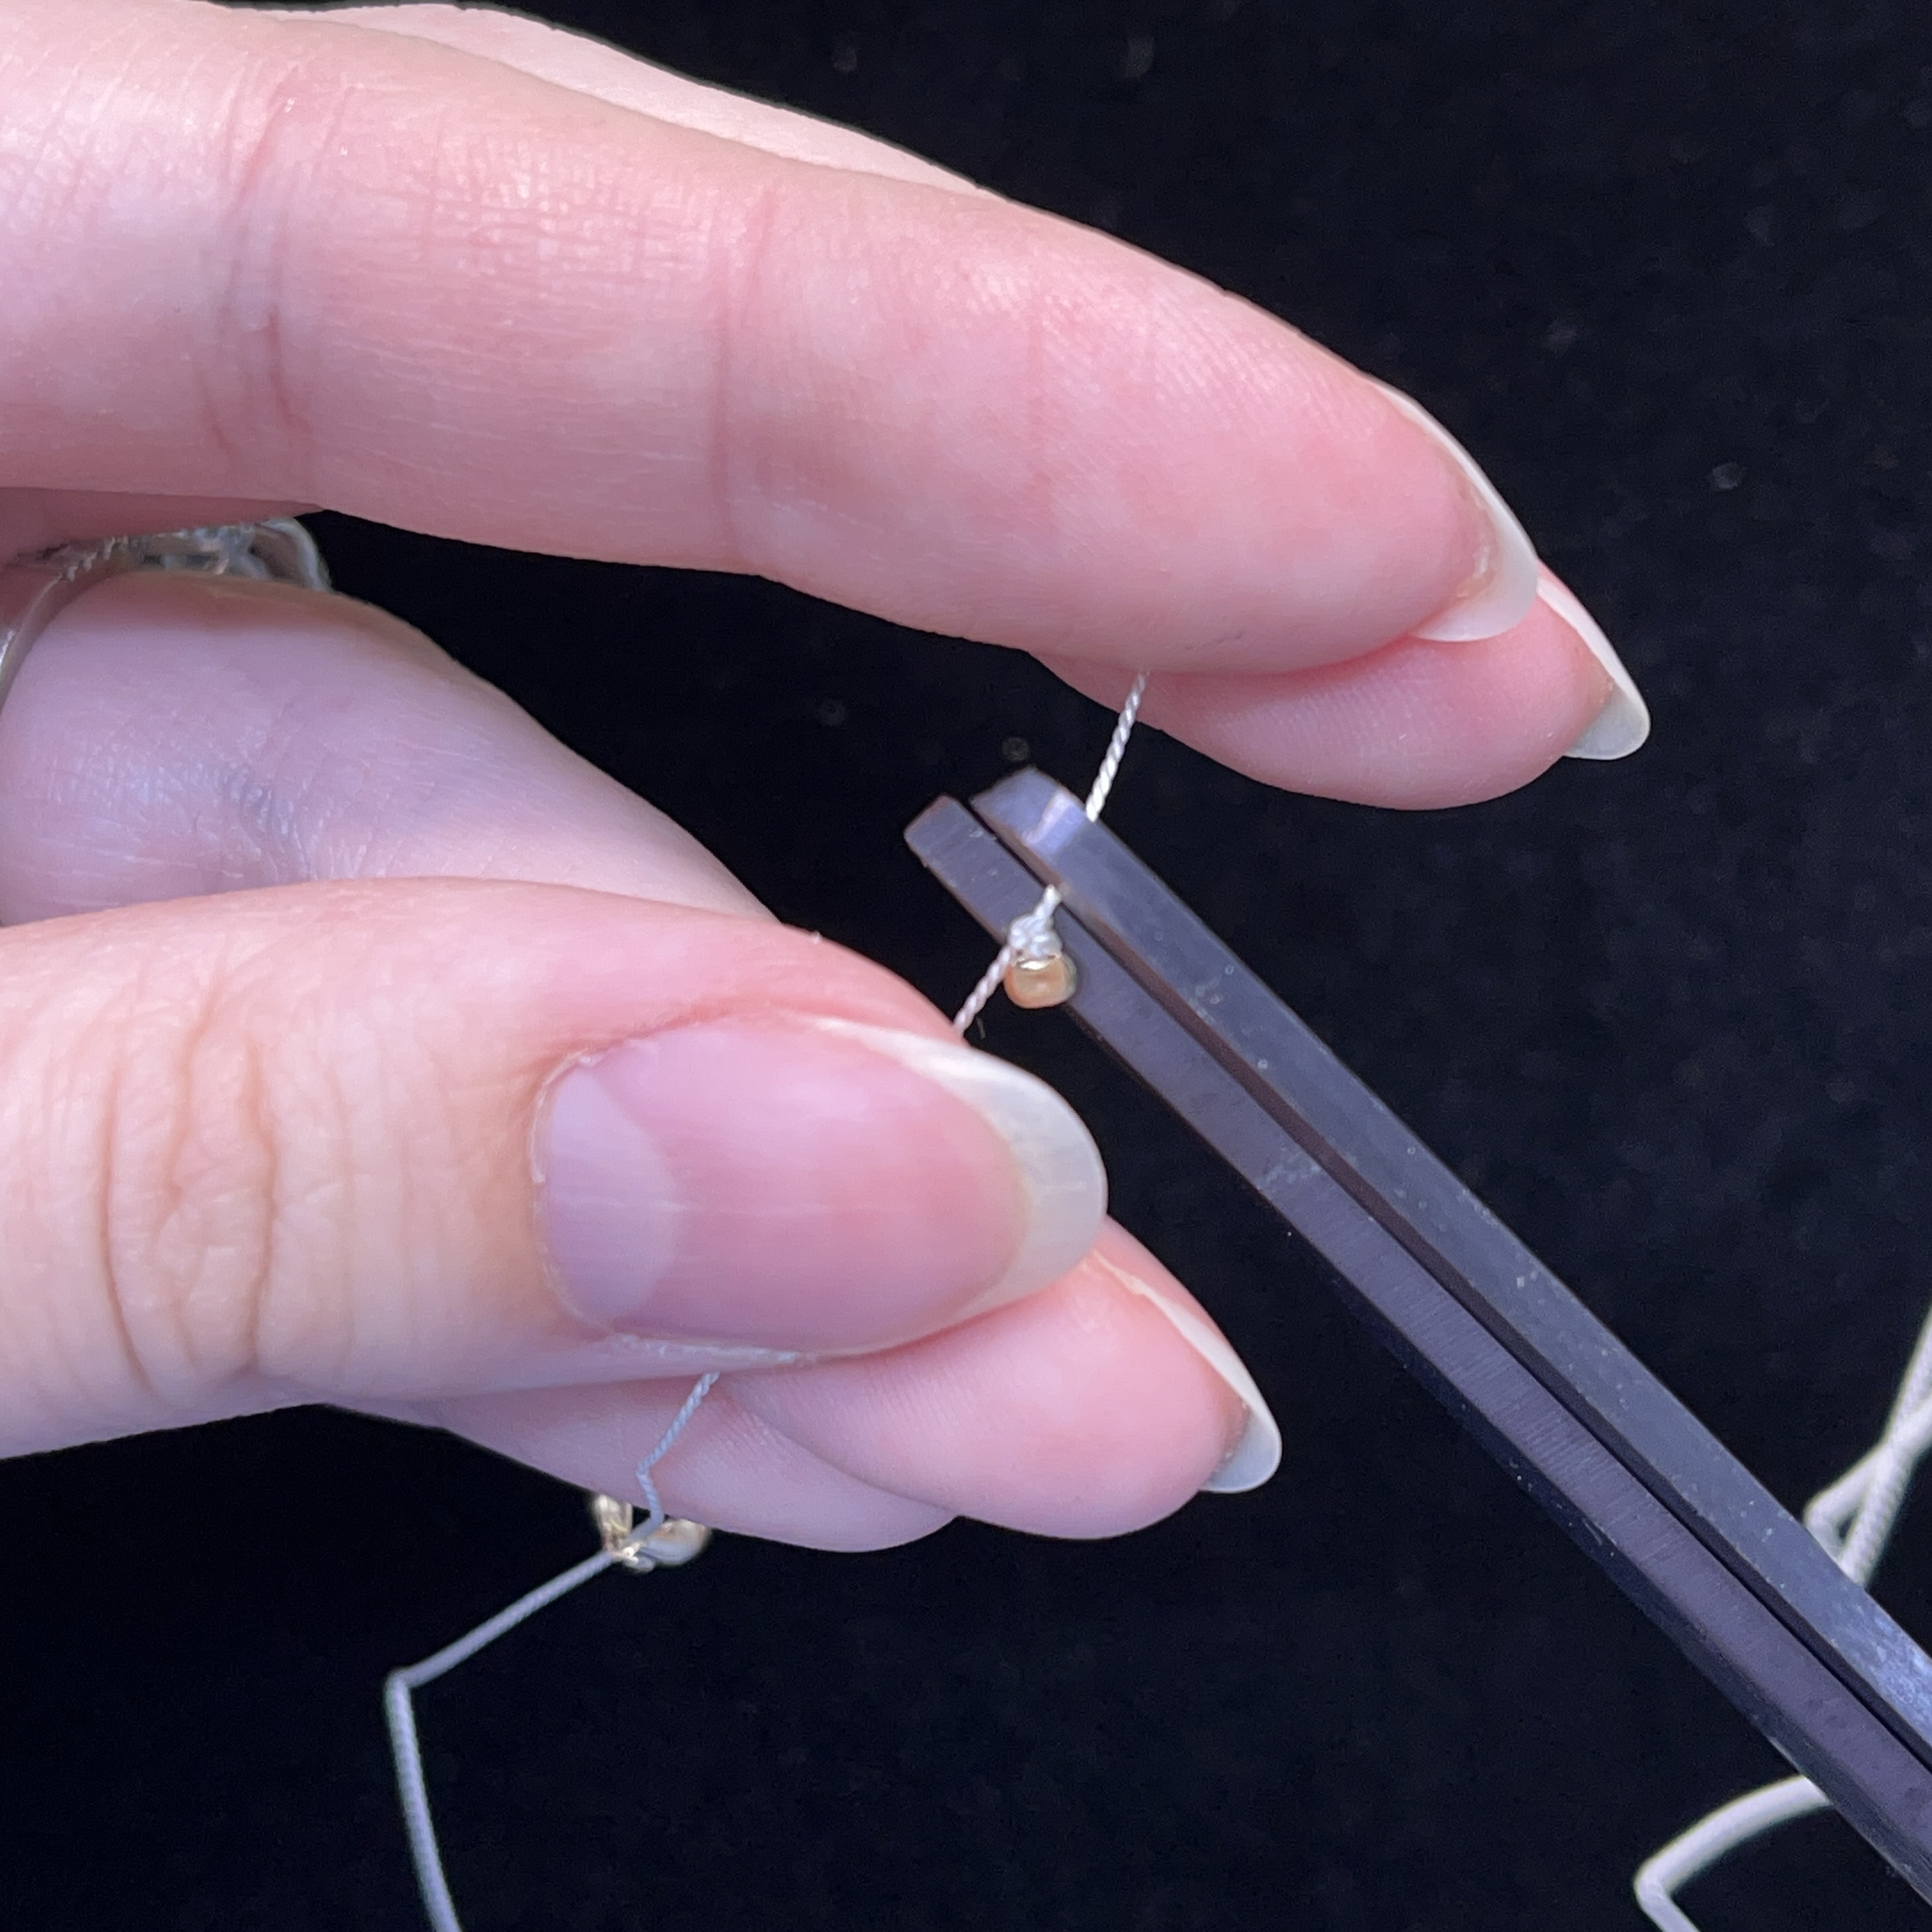
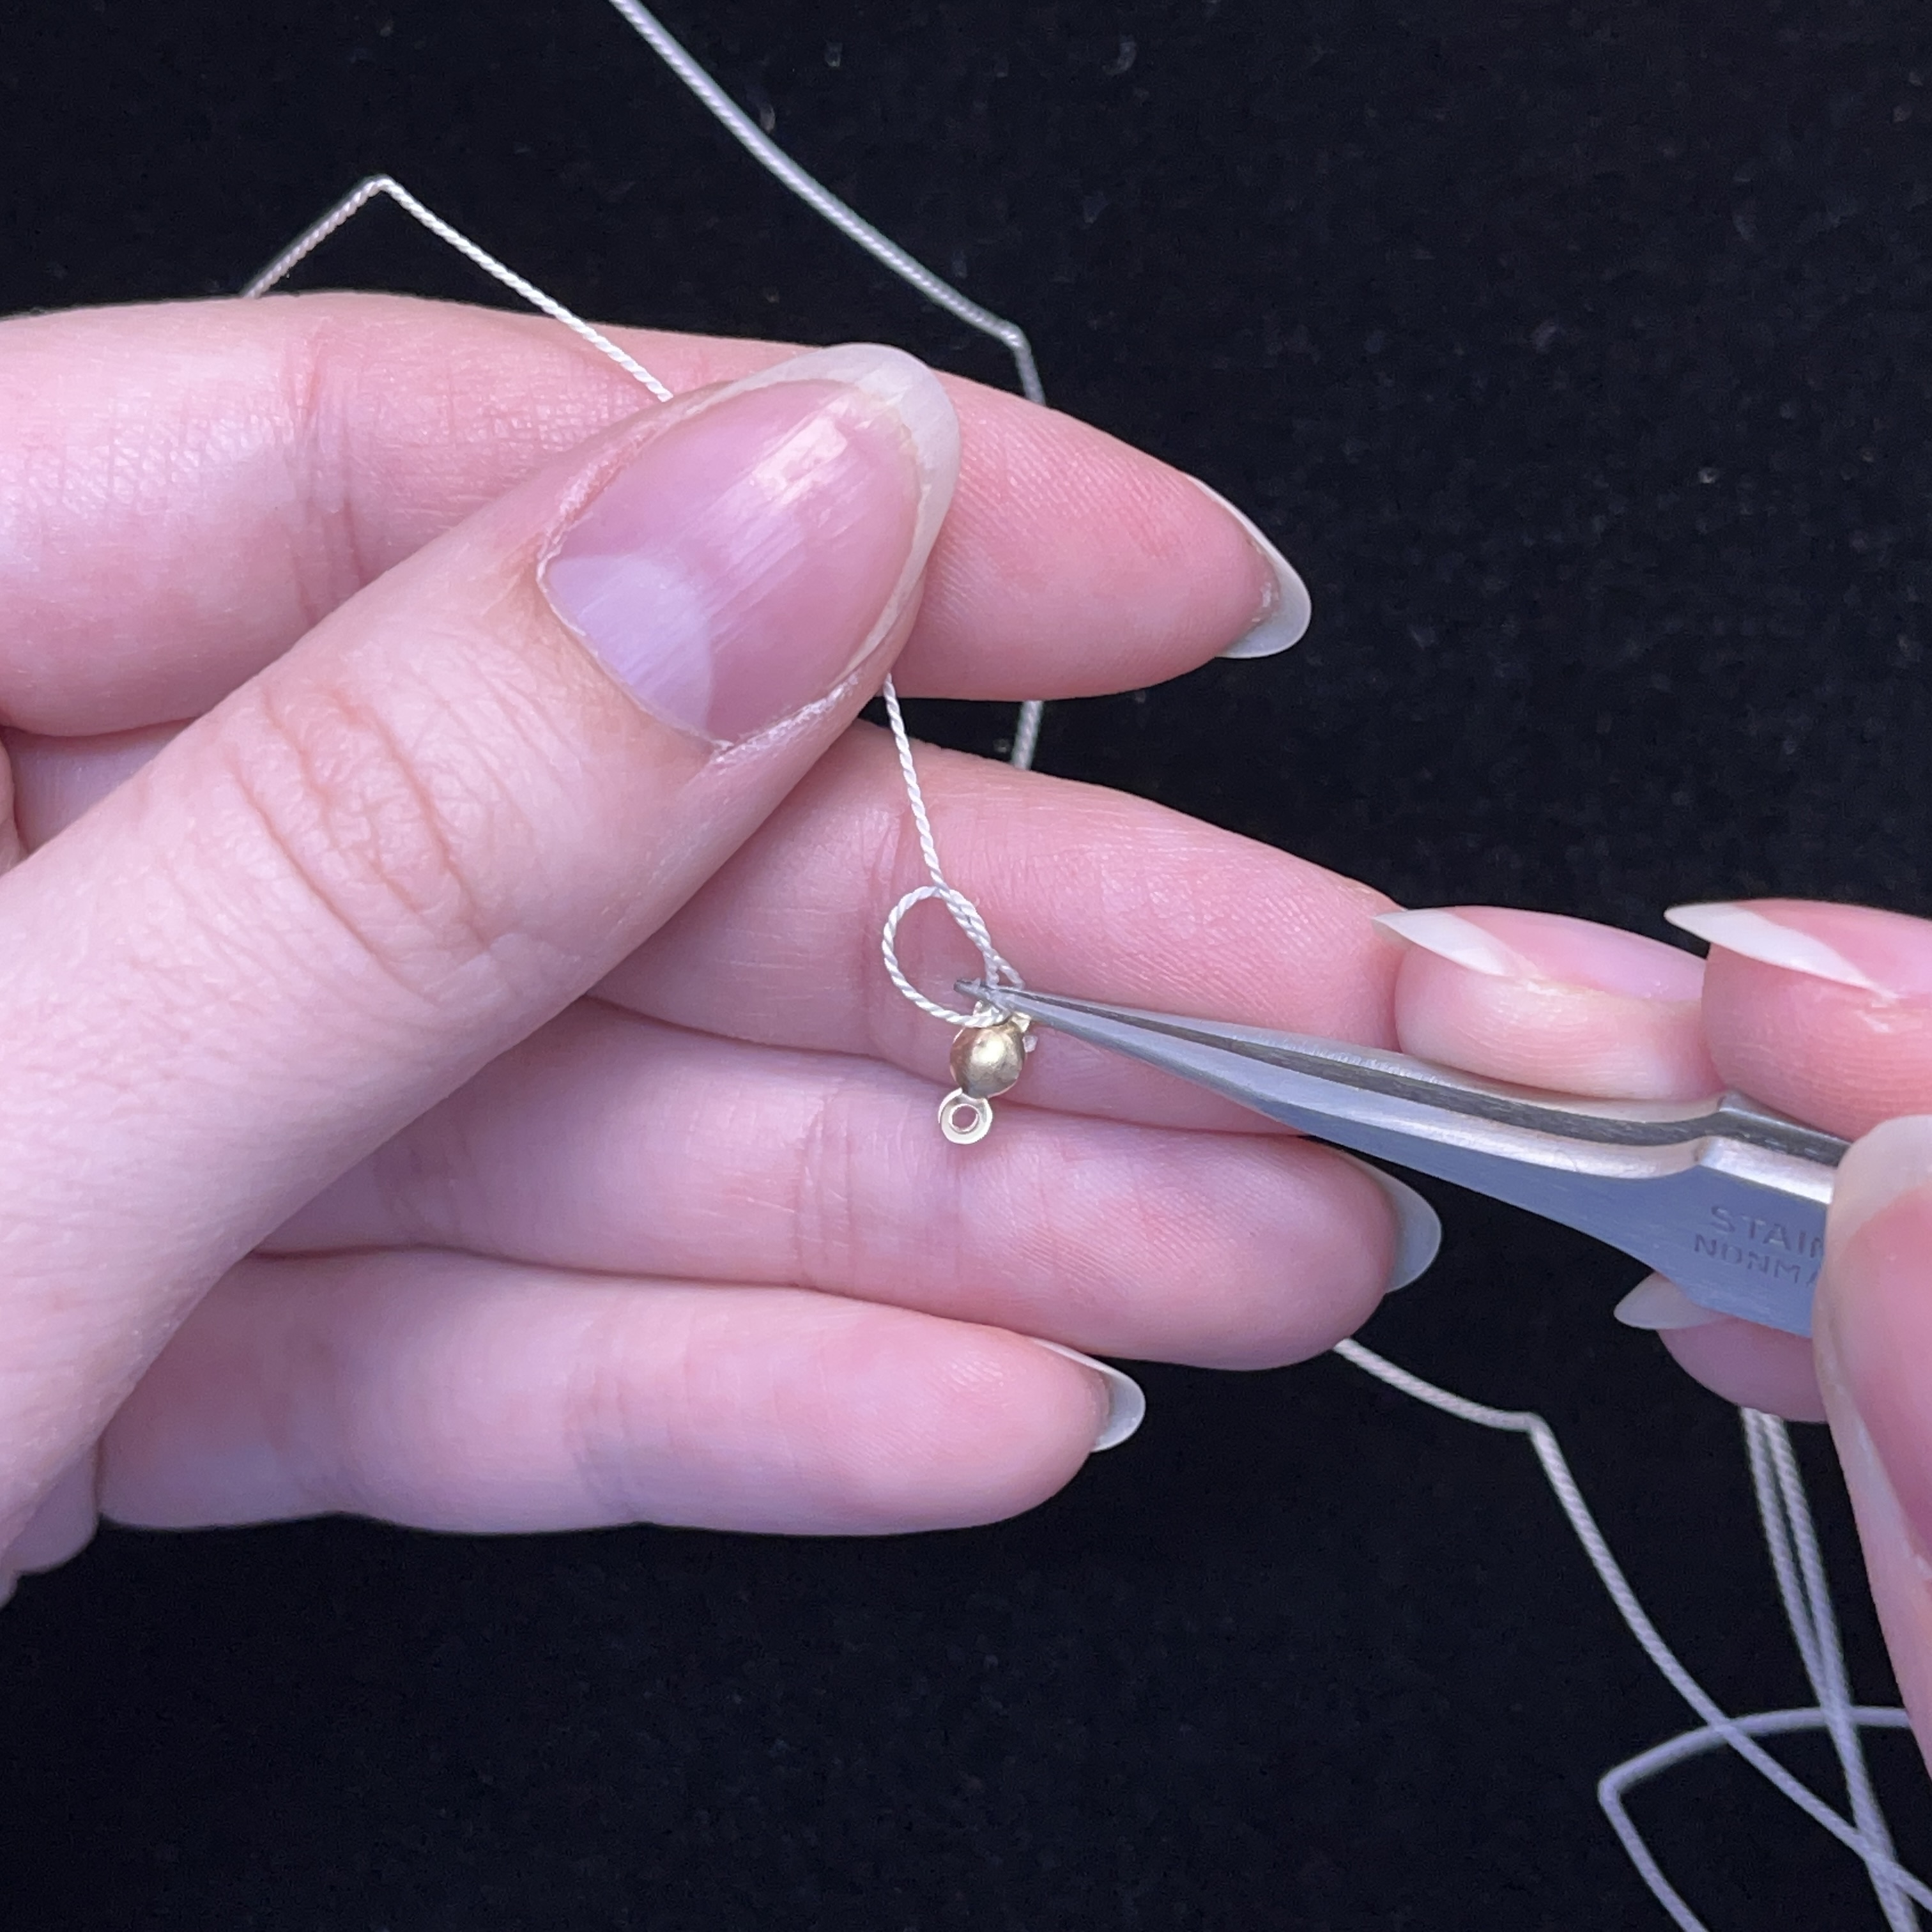
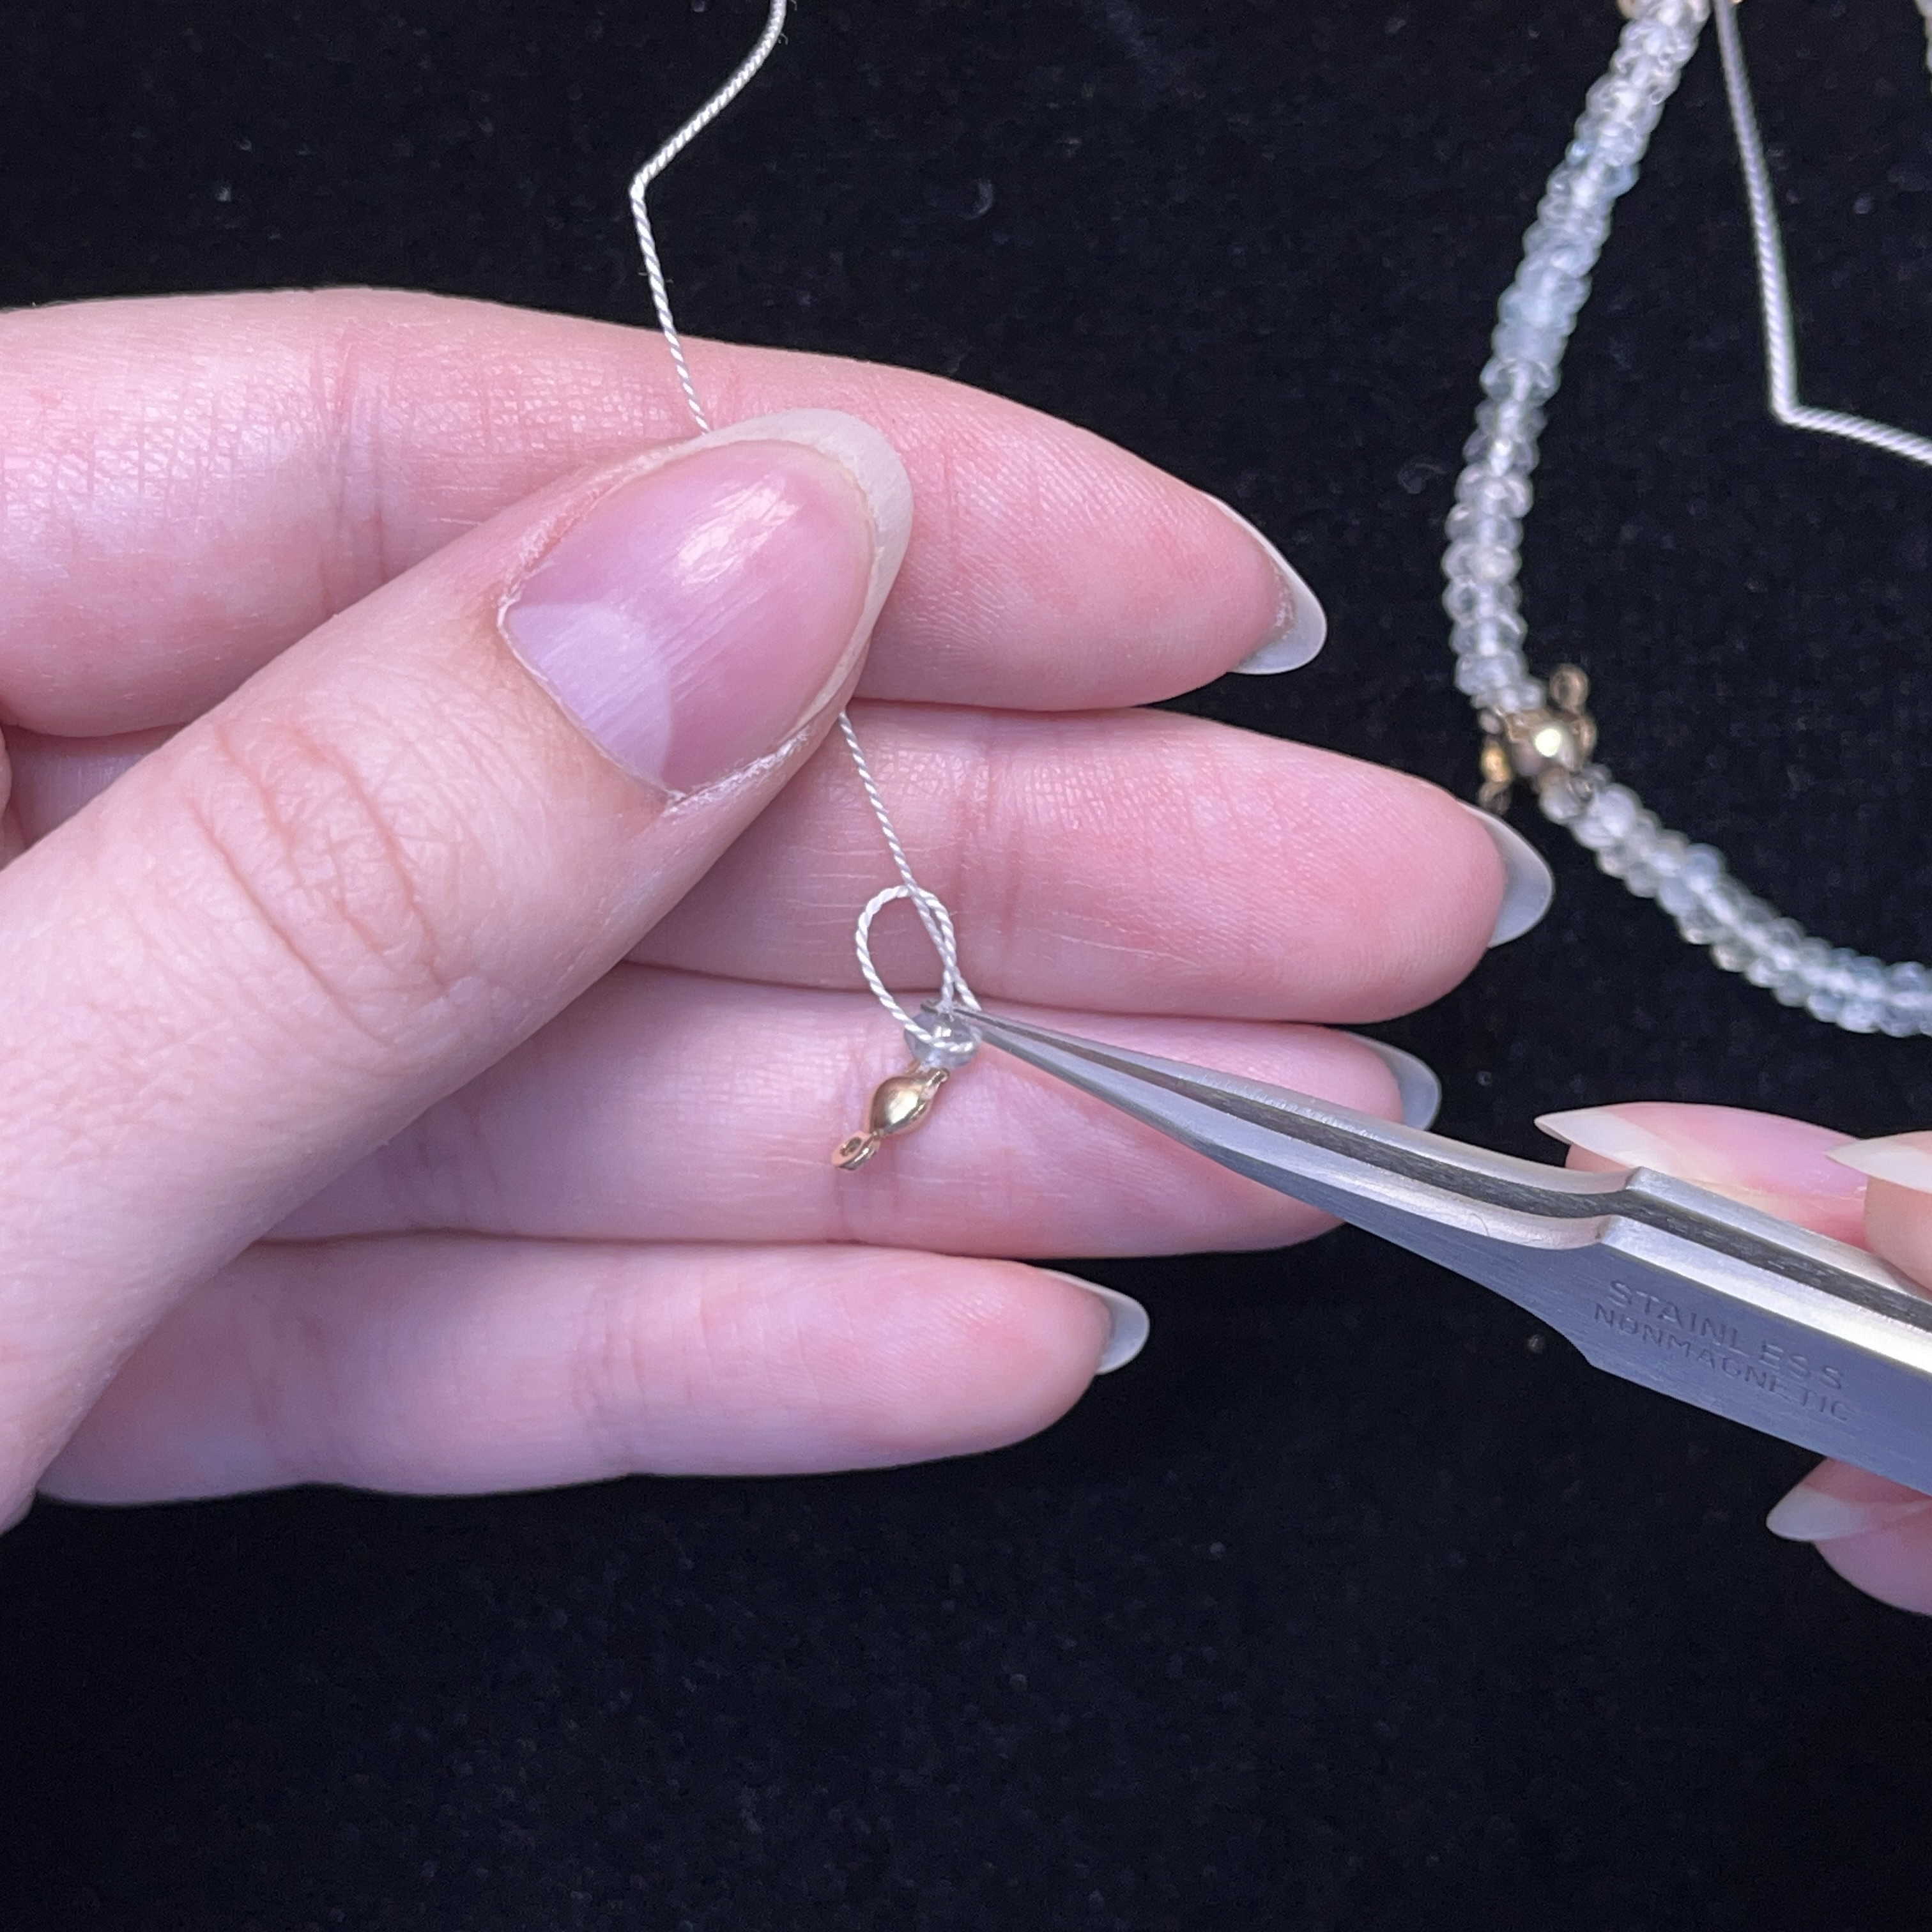
6. Tie a knot and use the tweezers to pull the knot as close as possible to the clamshell. Tighten the knot.
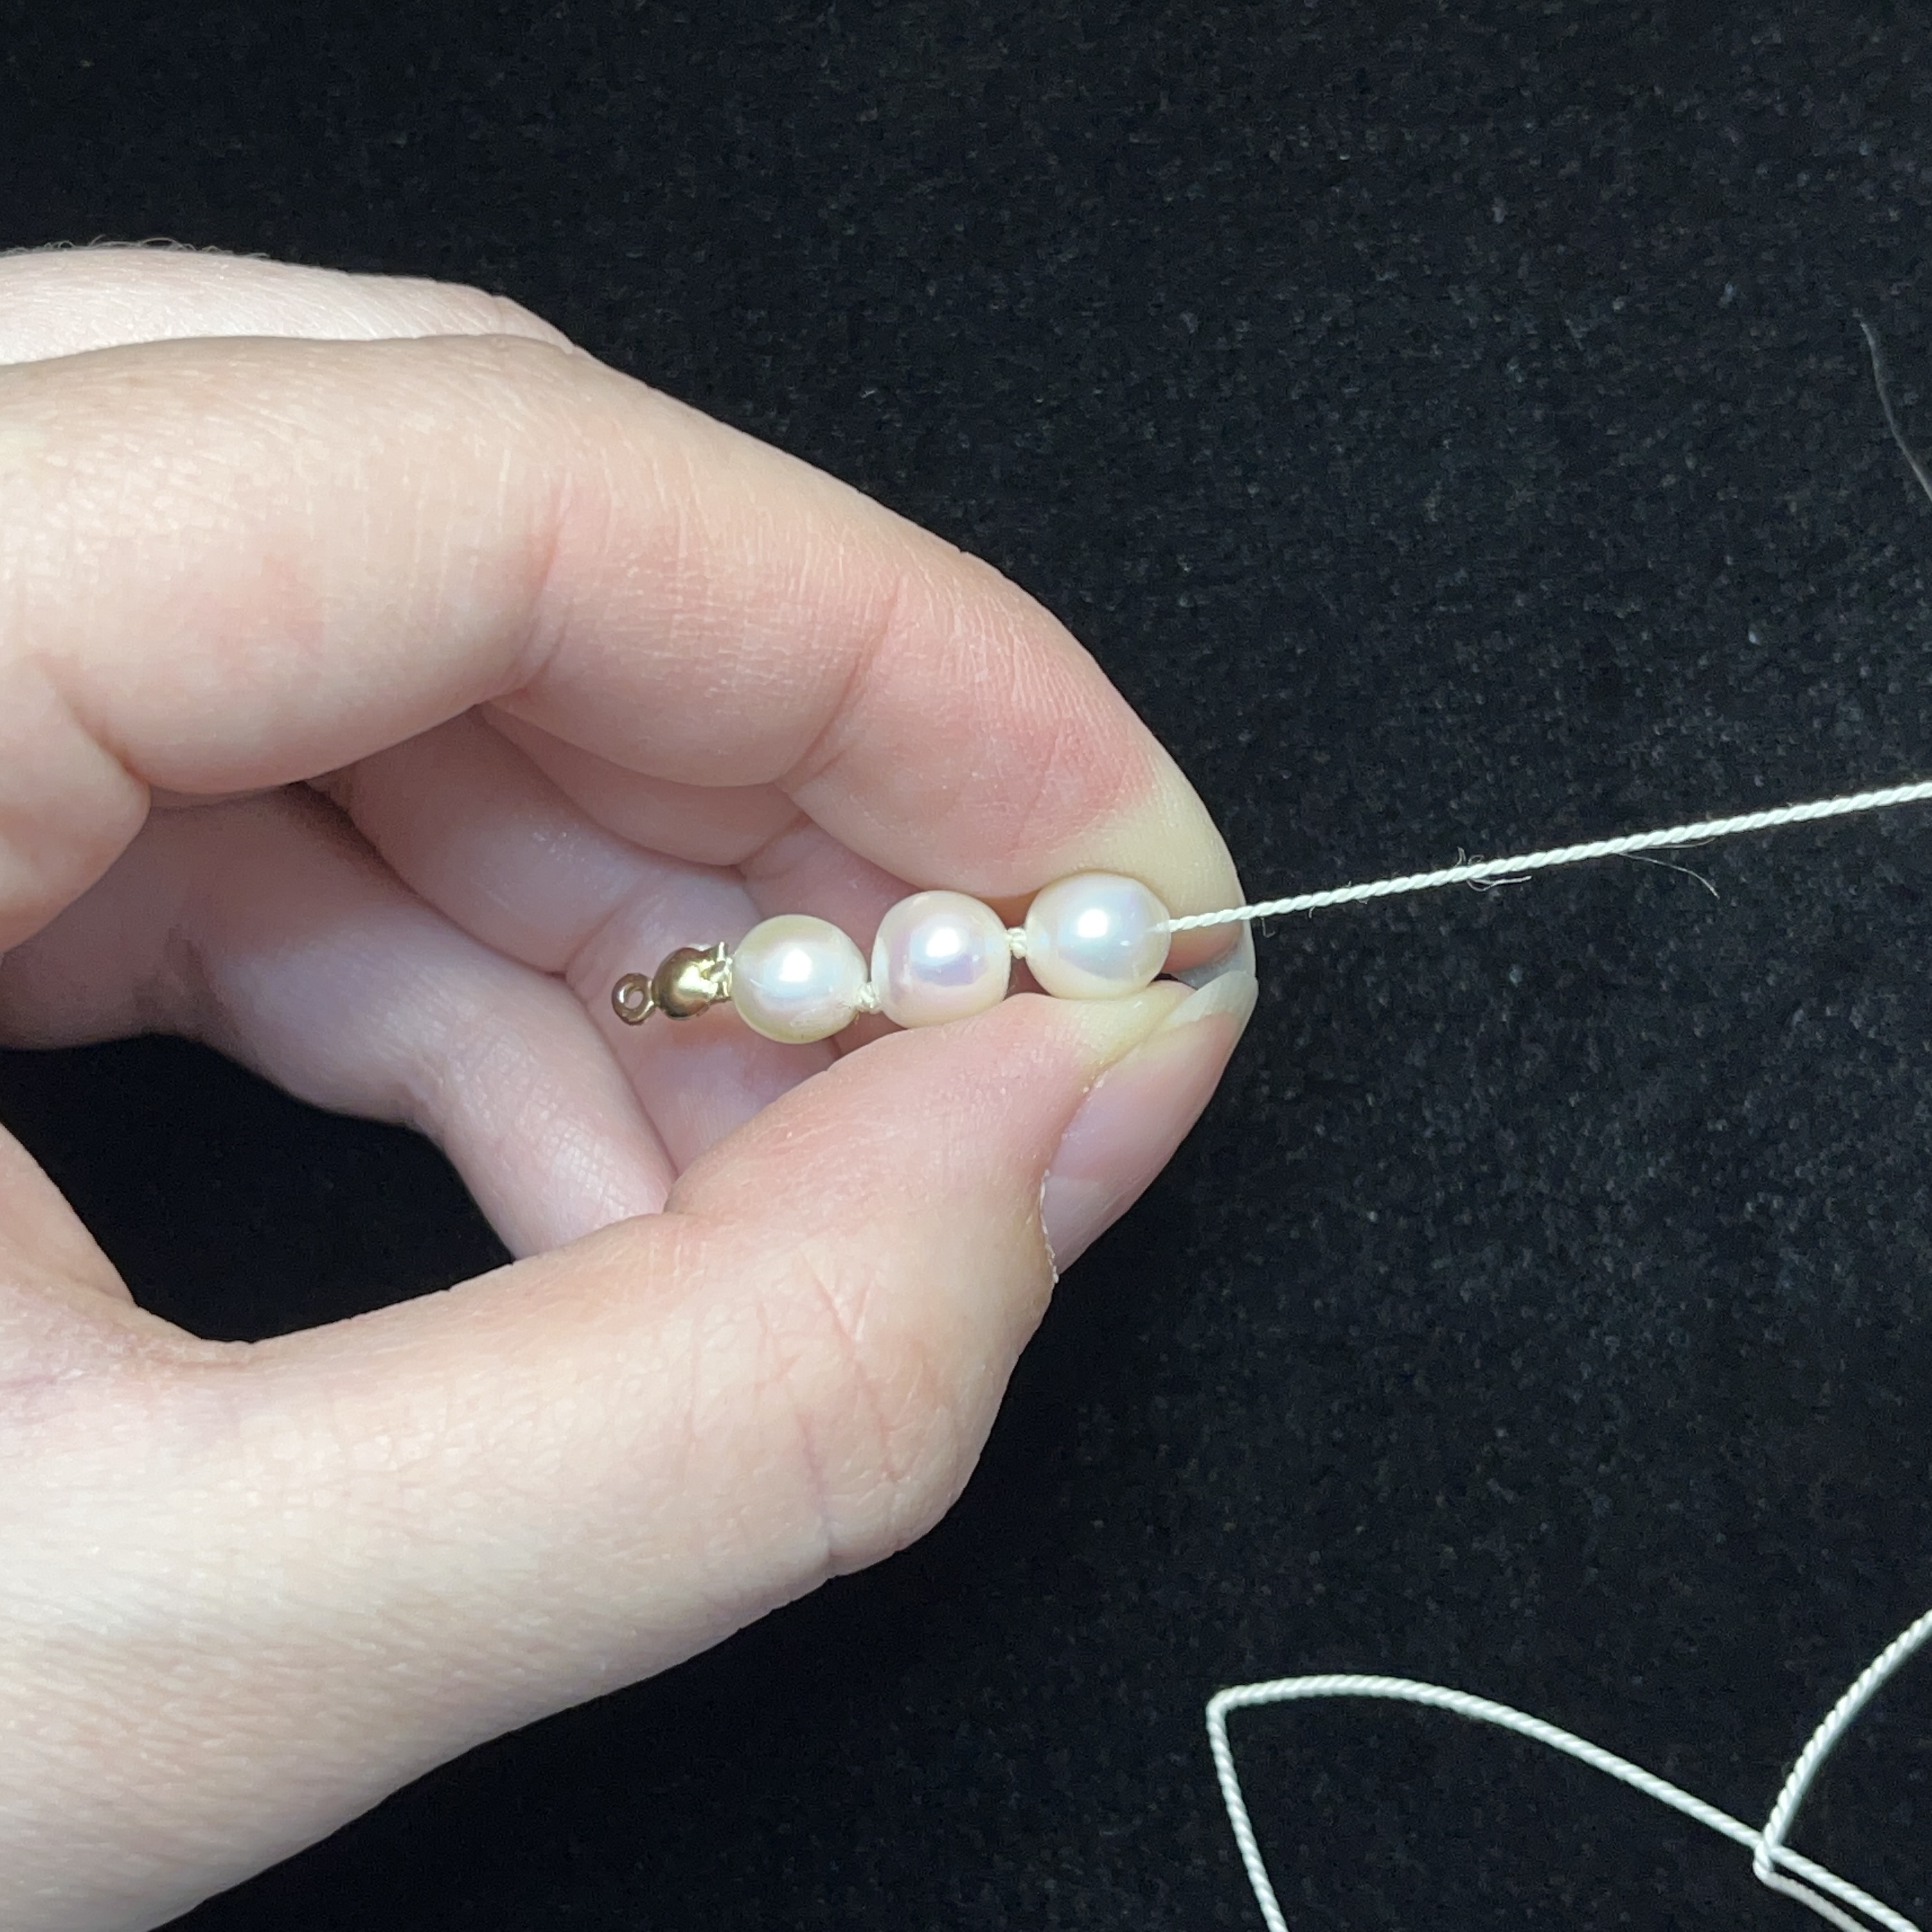
7. String on 3 pearls
8. String on 1 3mm gold sandblast bead
9. String on 5 pearl beads
10. Add one 3mm sandblast bead
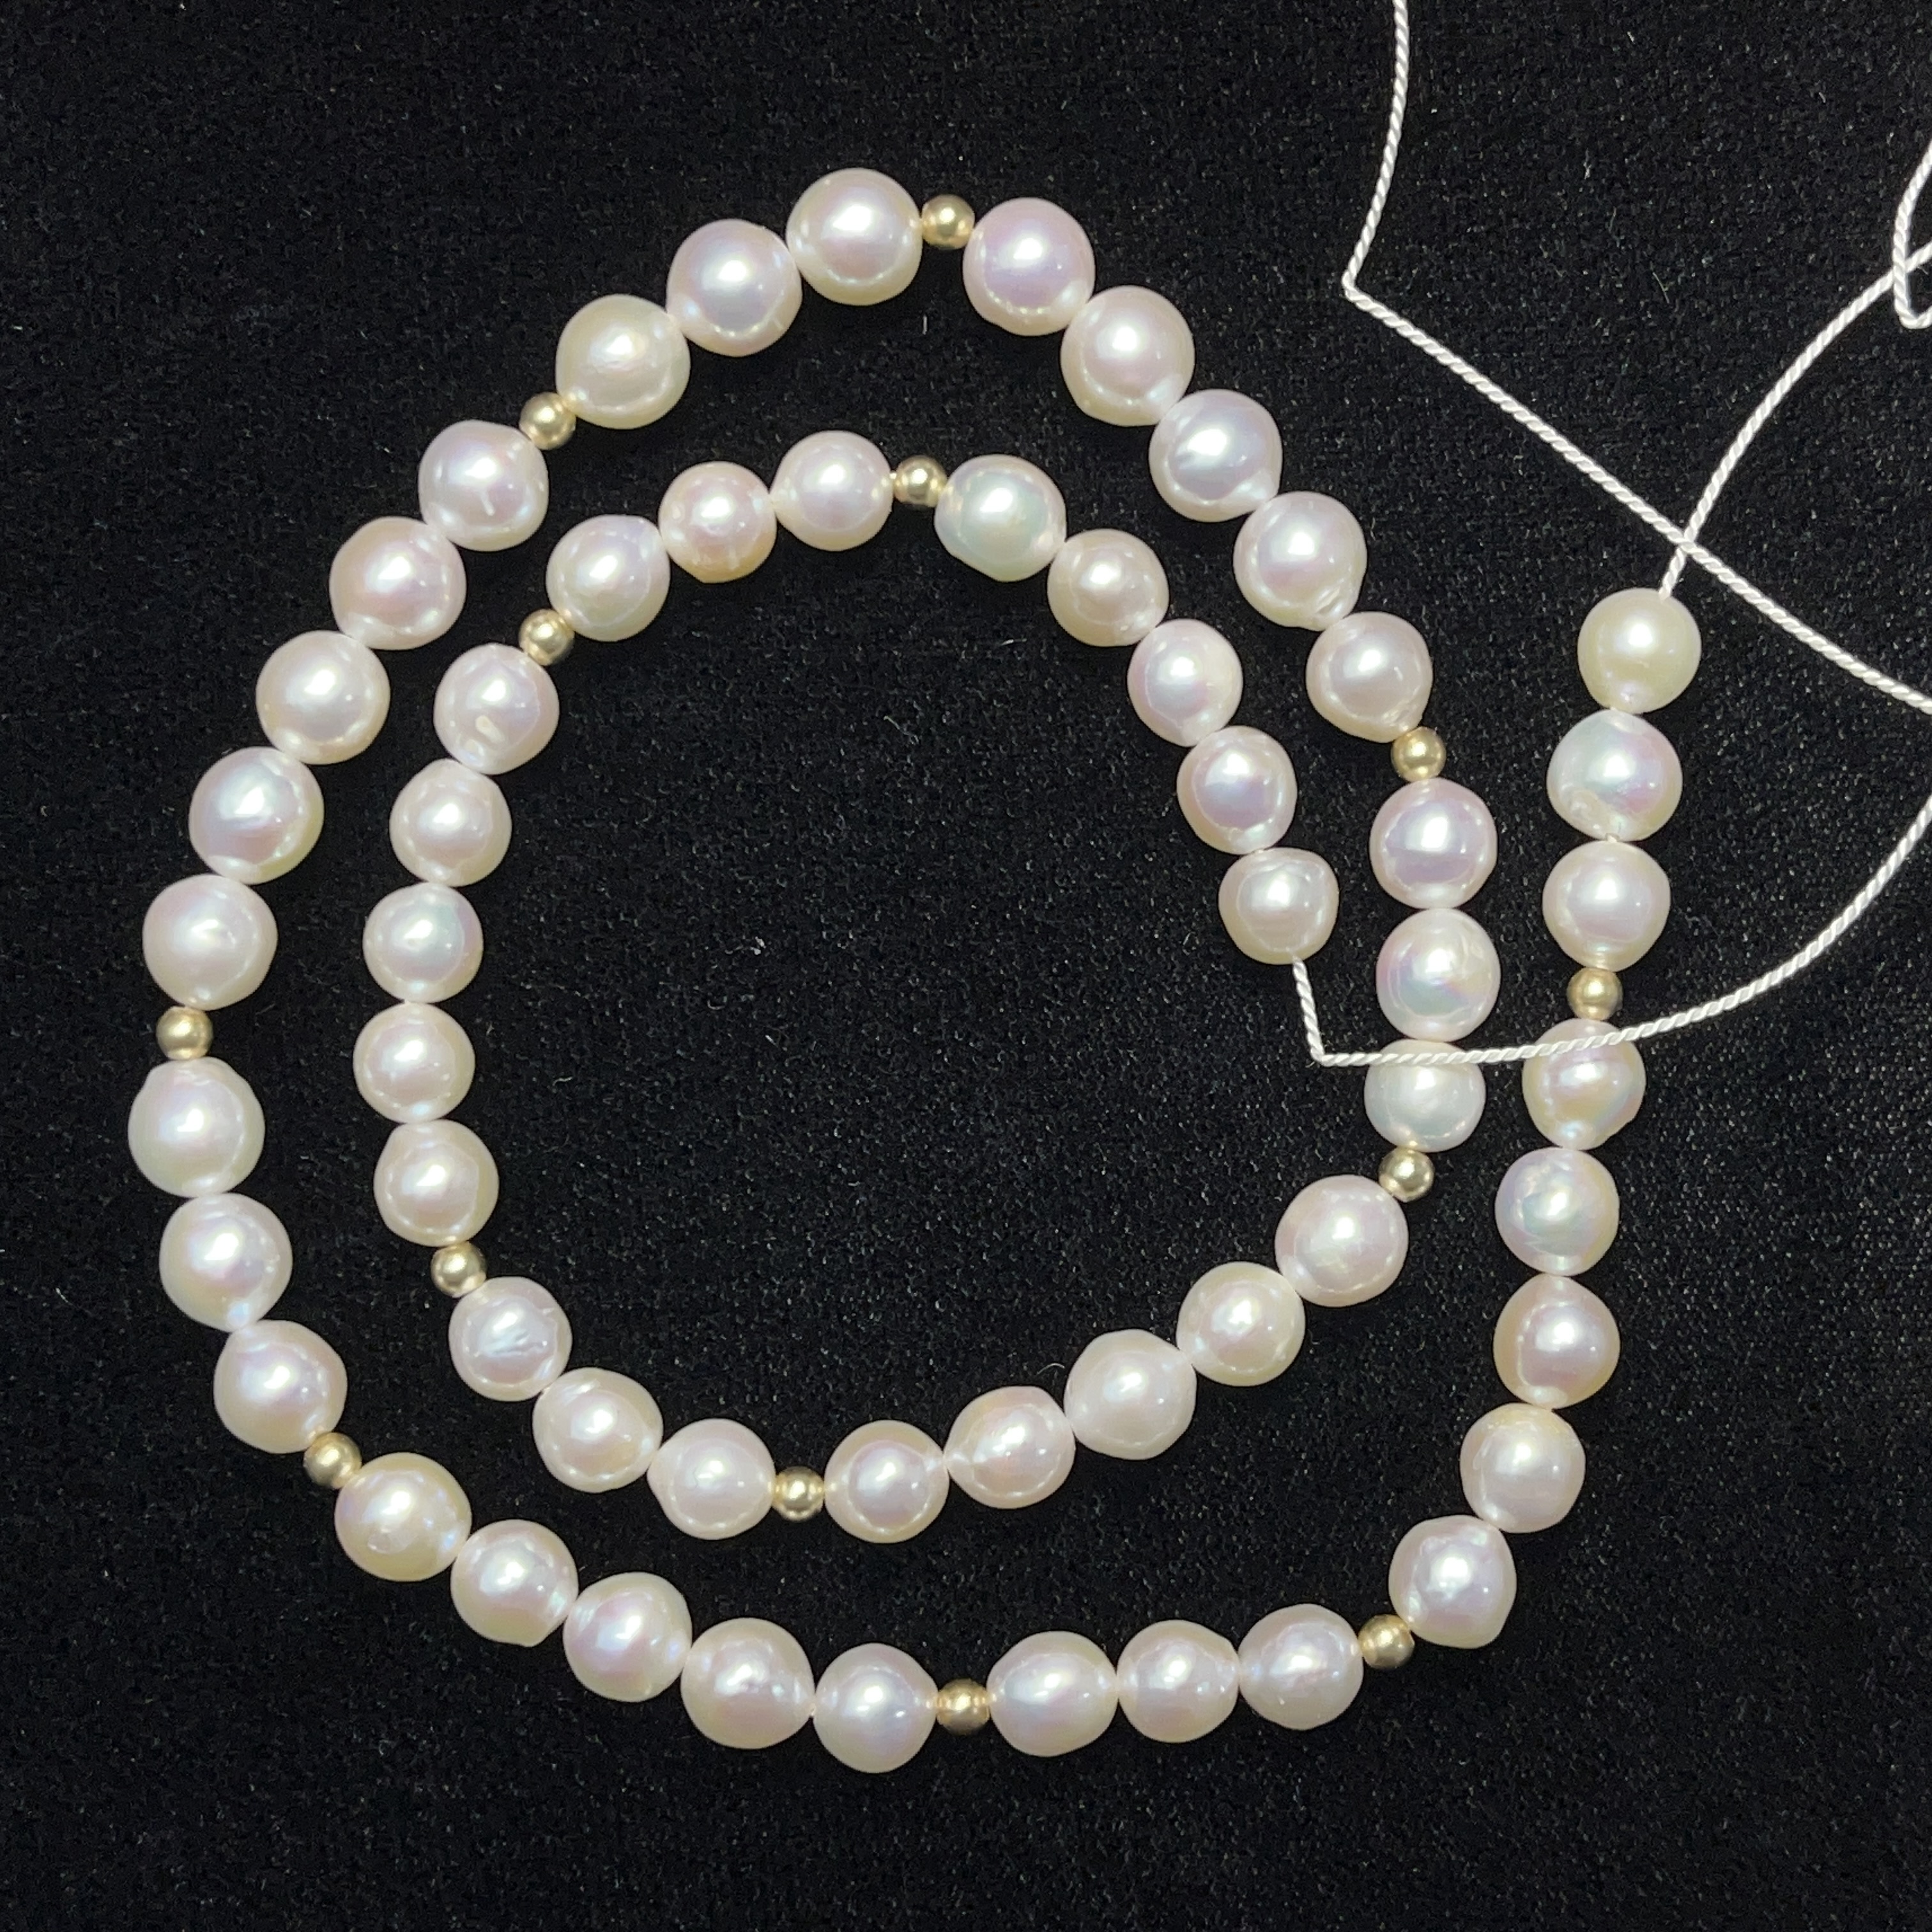
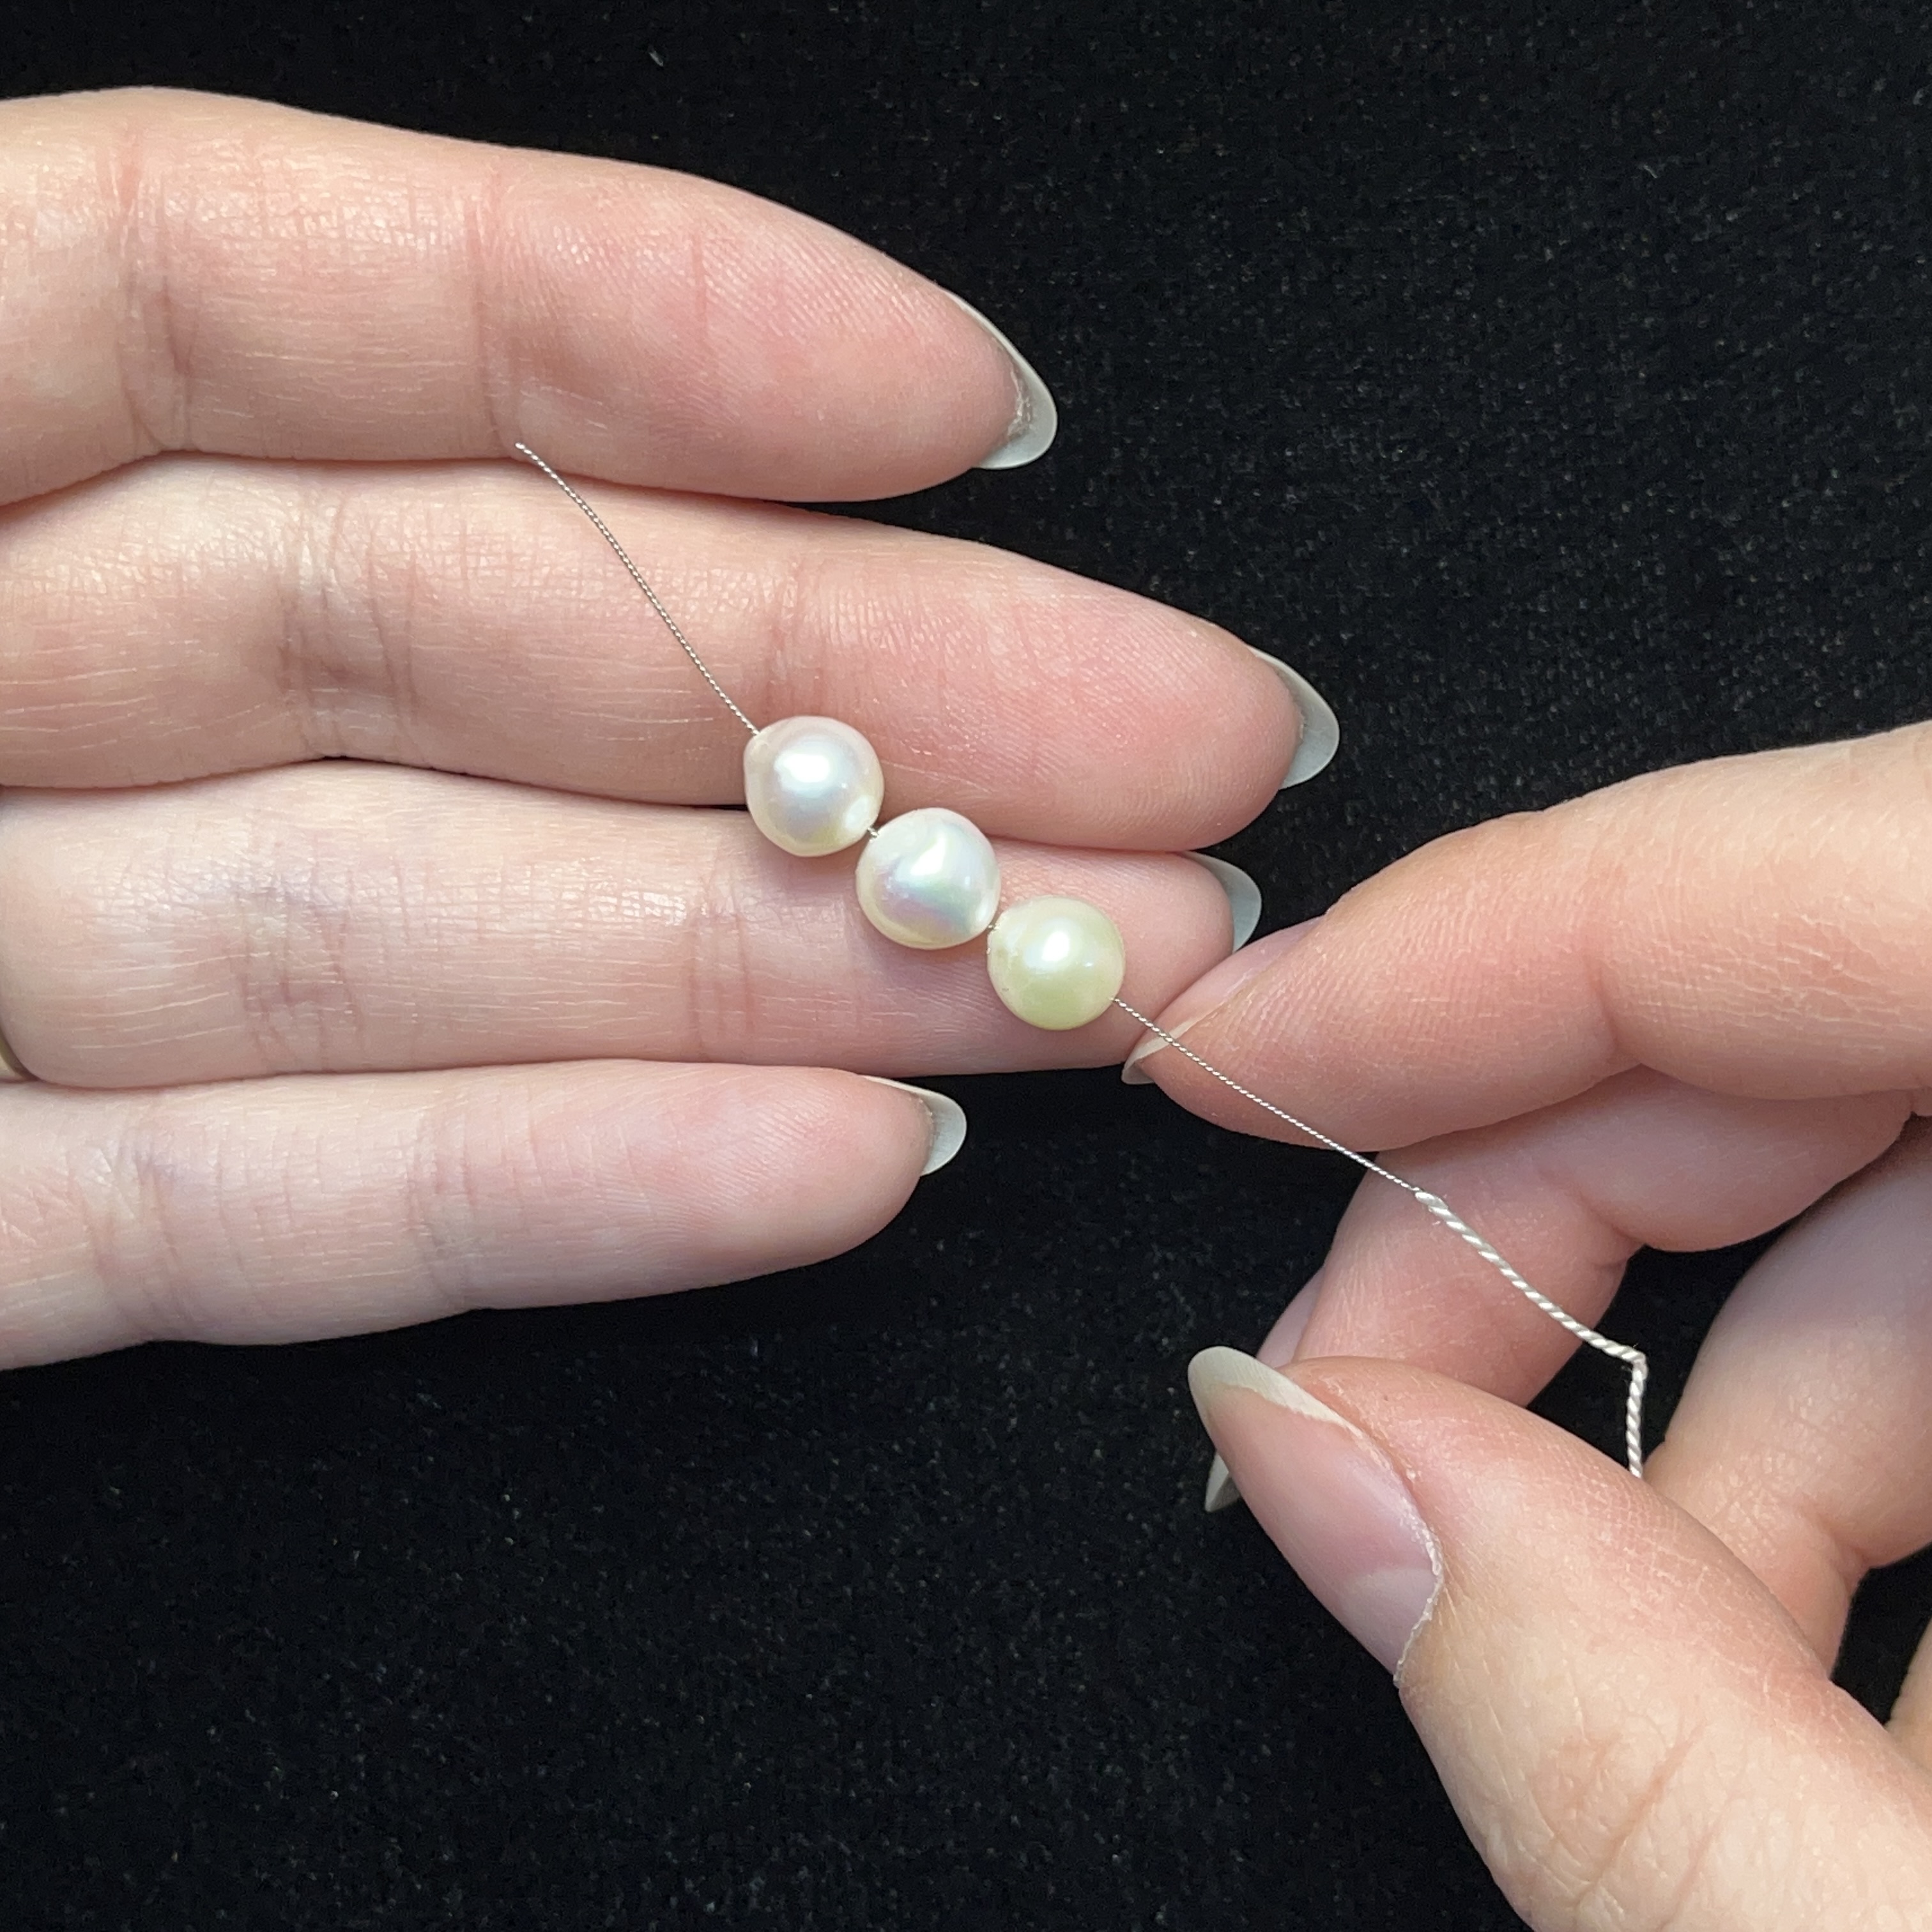
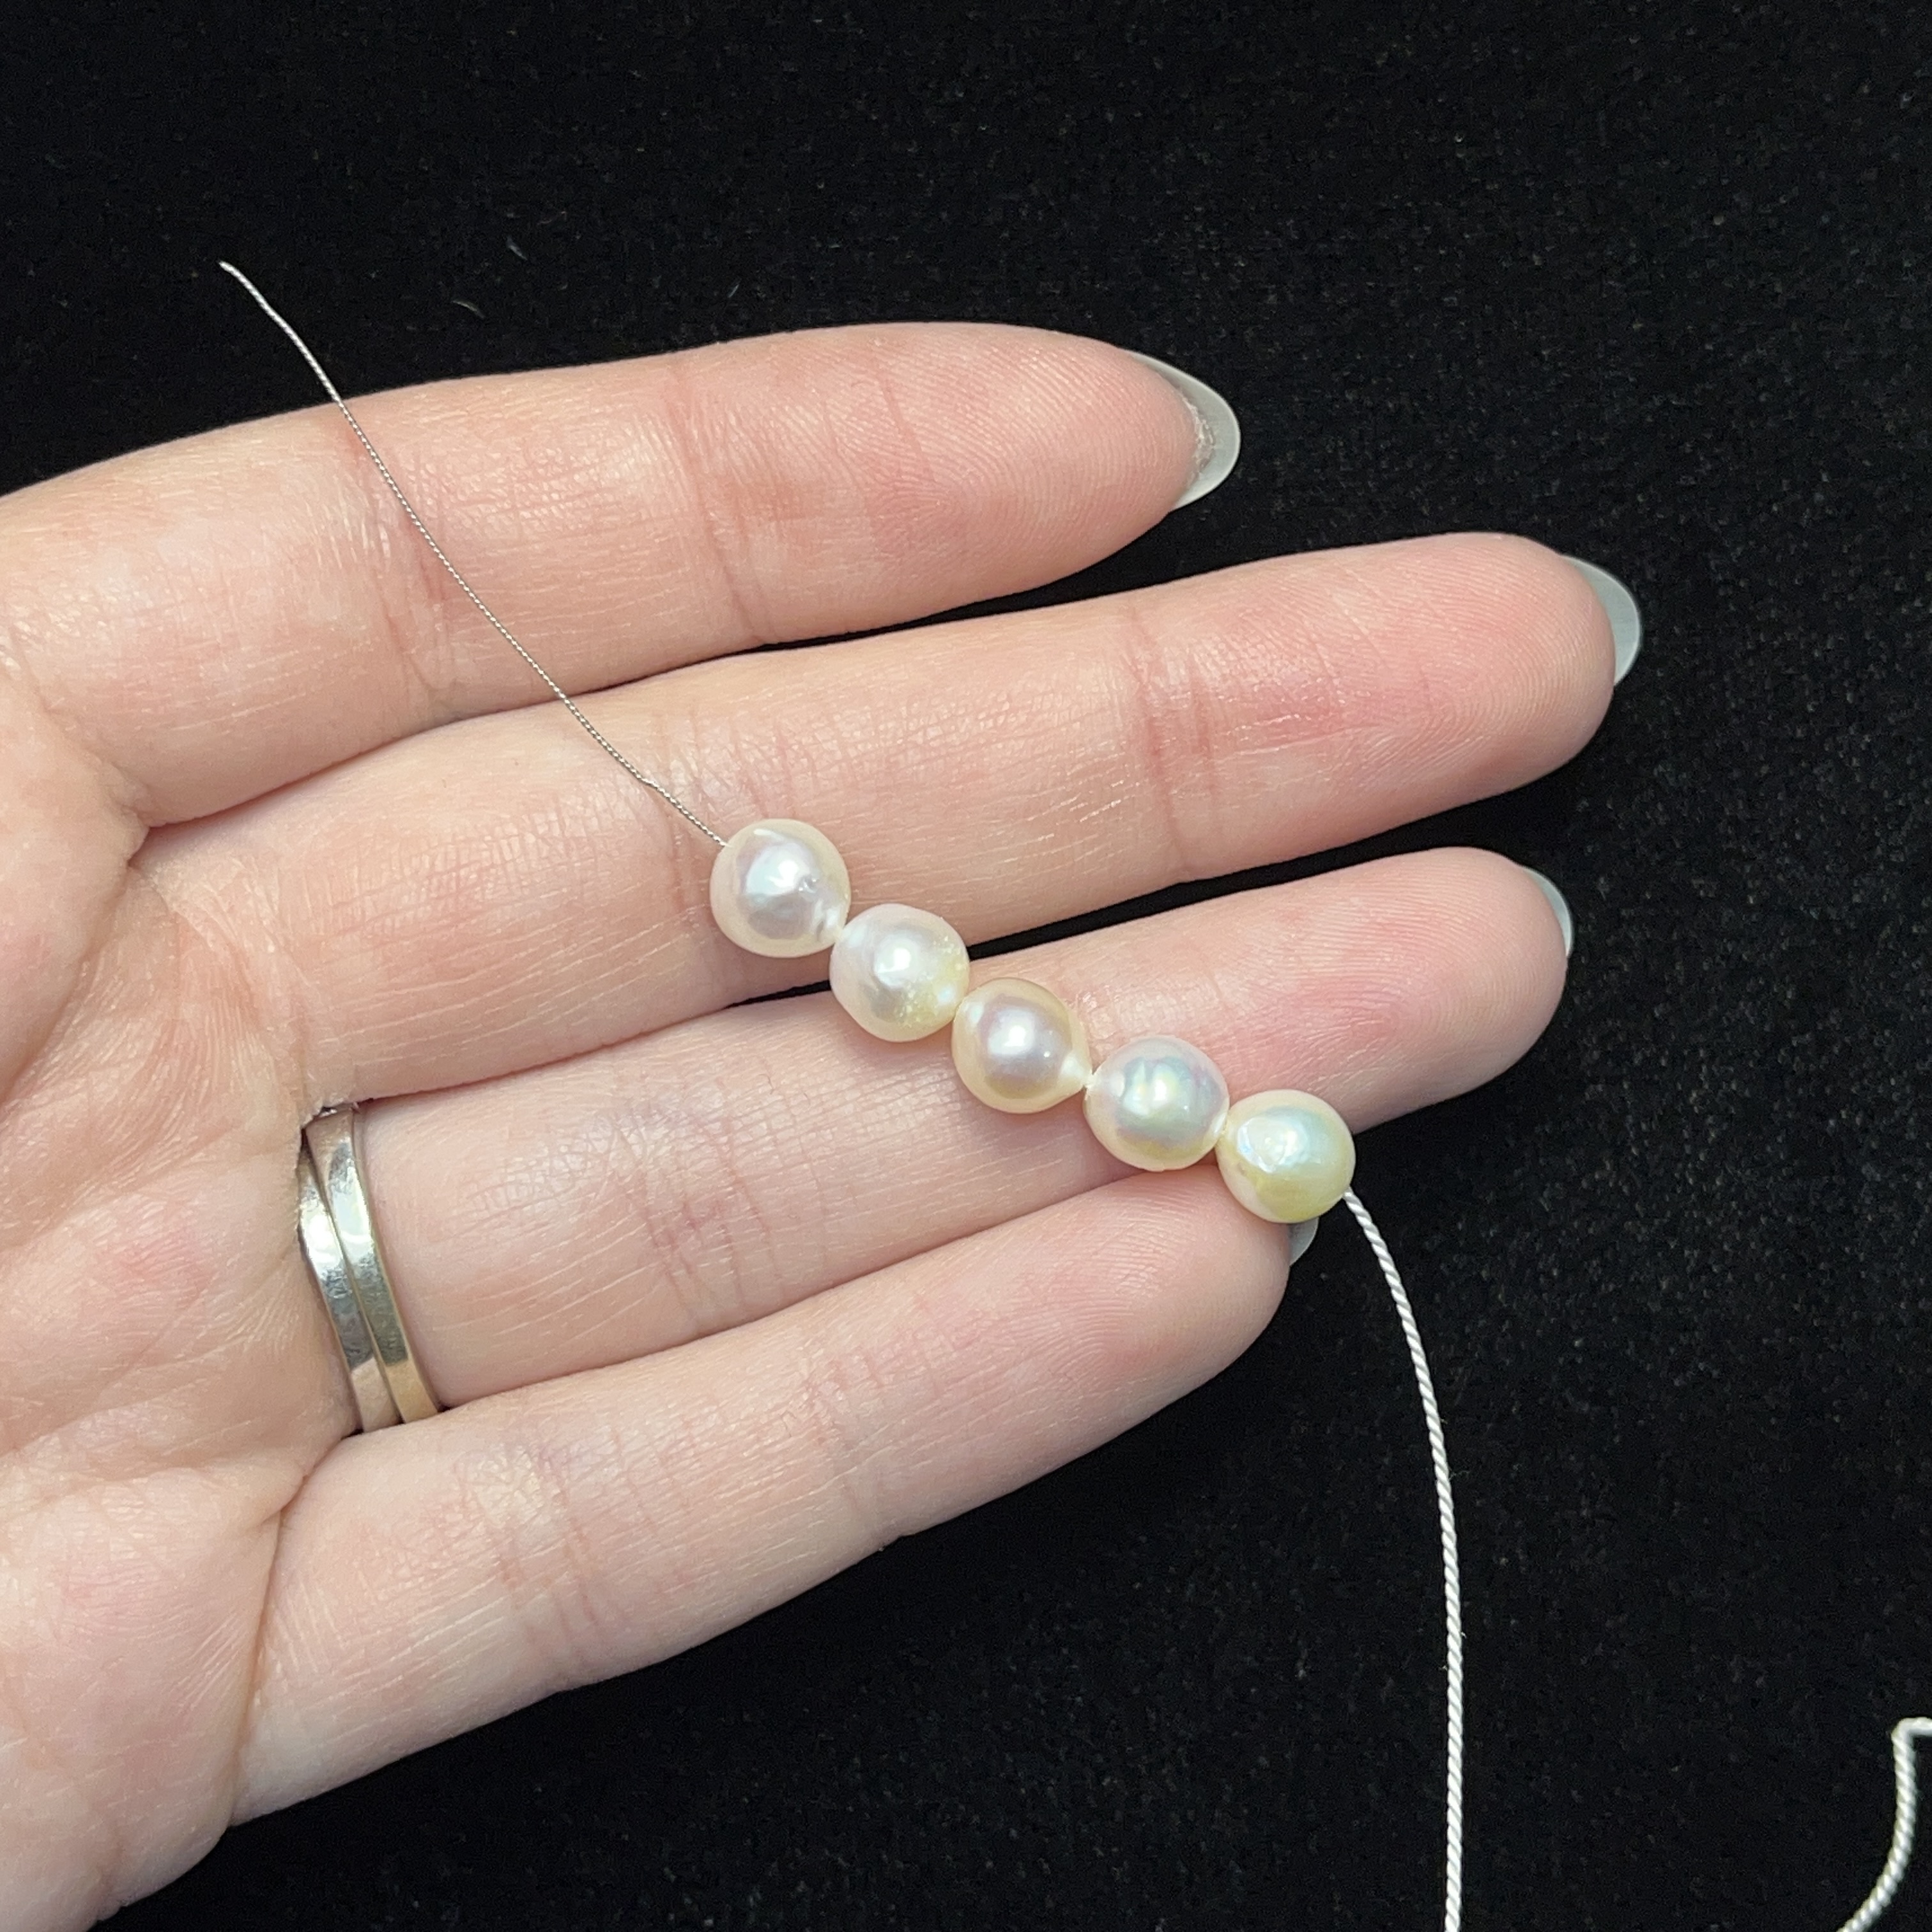
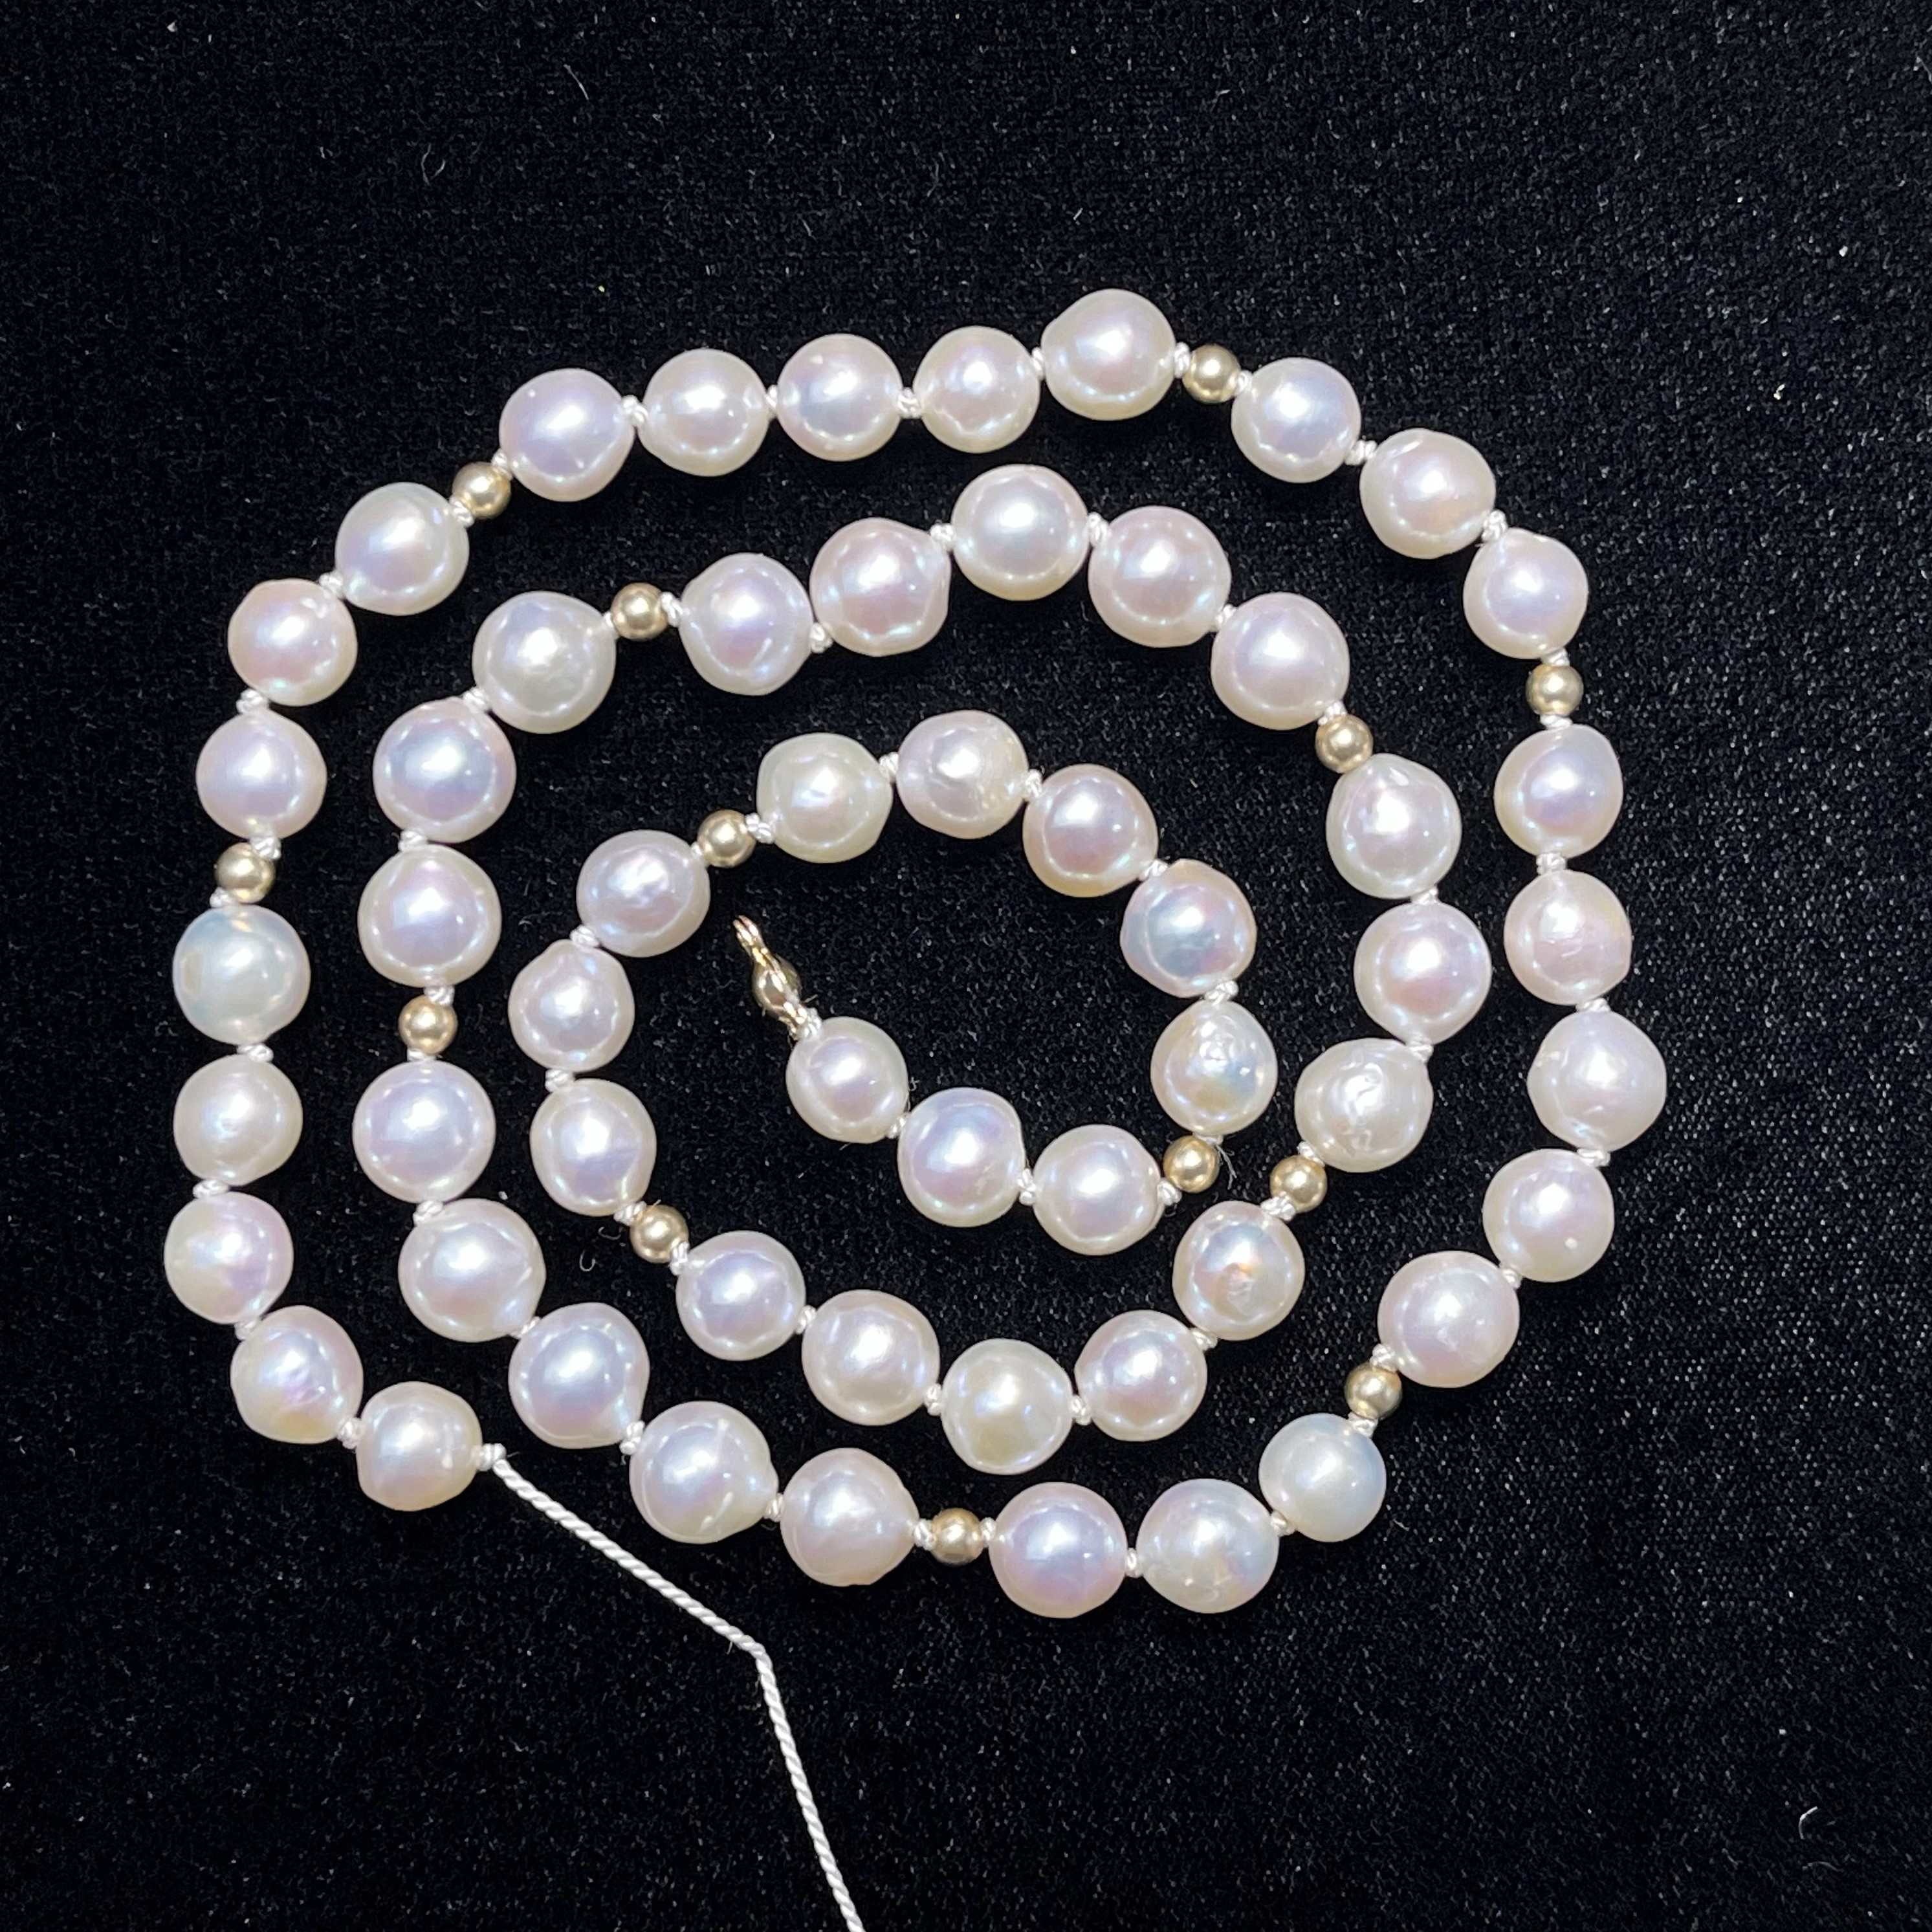
11. Continue the pattern of 3 pearls, 1 gold bead, 5 pearls, 1 gold bead - until you have used pretty much all of the beads in the strand (there might be 2-3 left). Pattern should look like the picture above.
Stringing on all the beads in the pattern make it much easier when creating a knotted necklace
*If you would like your necklace to be smaller, just omit the last 5 to 8 pearl beads.
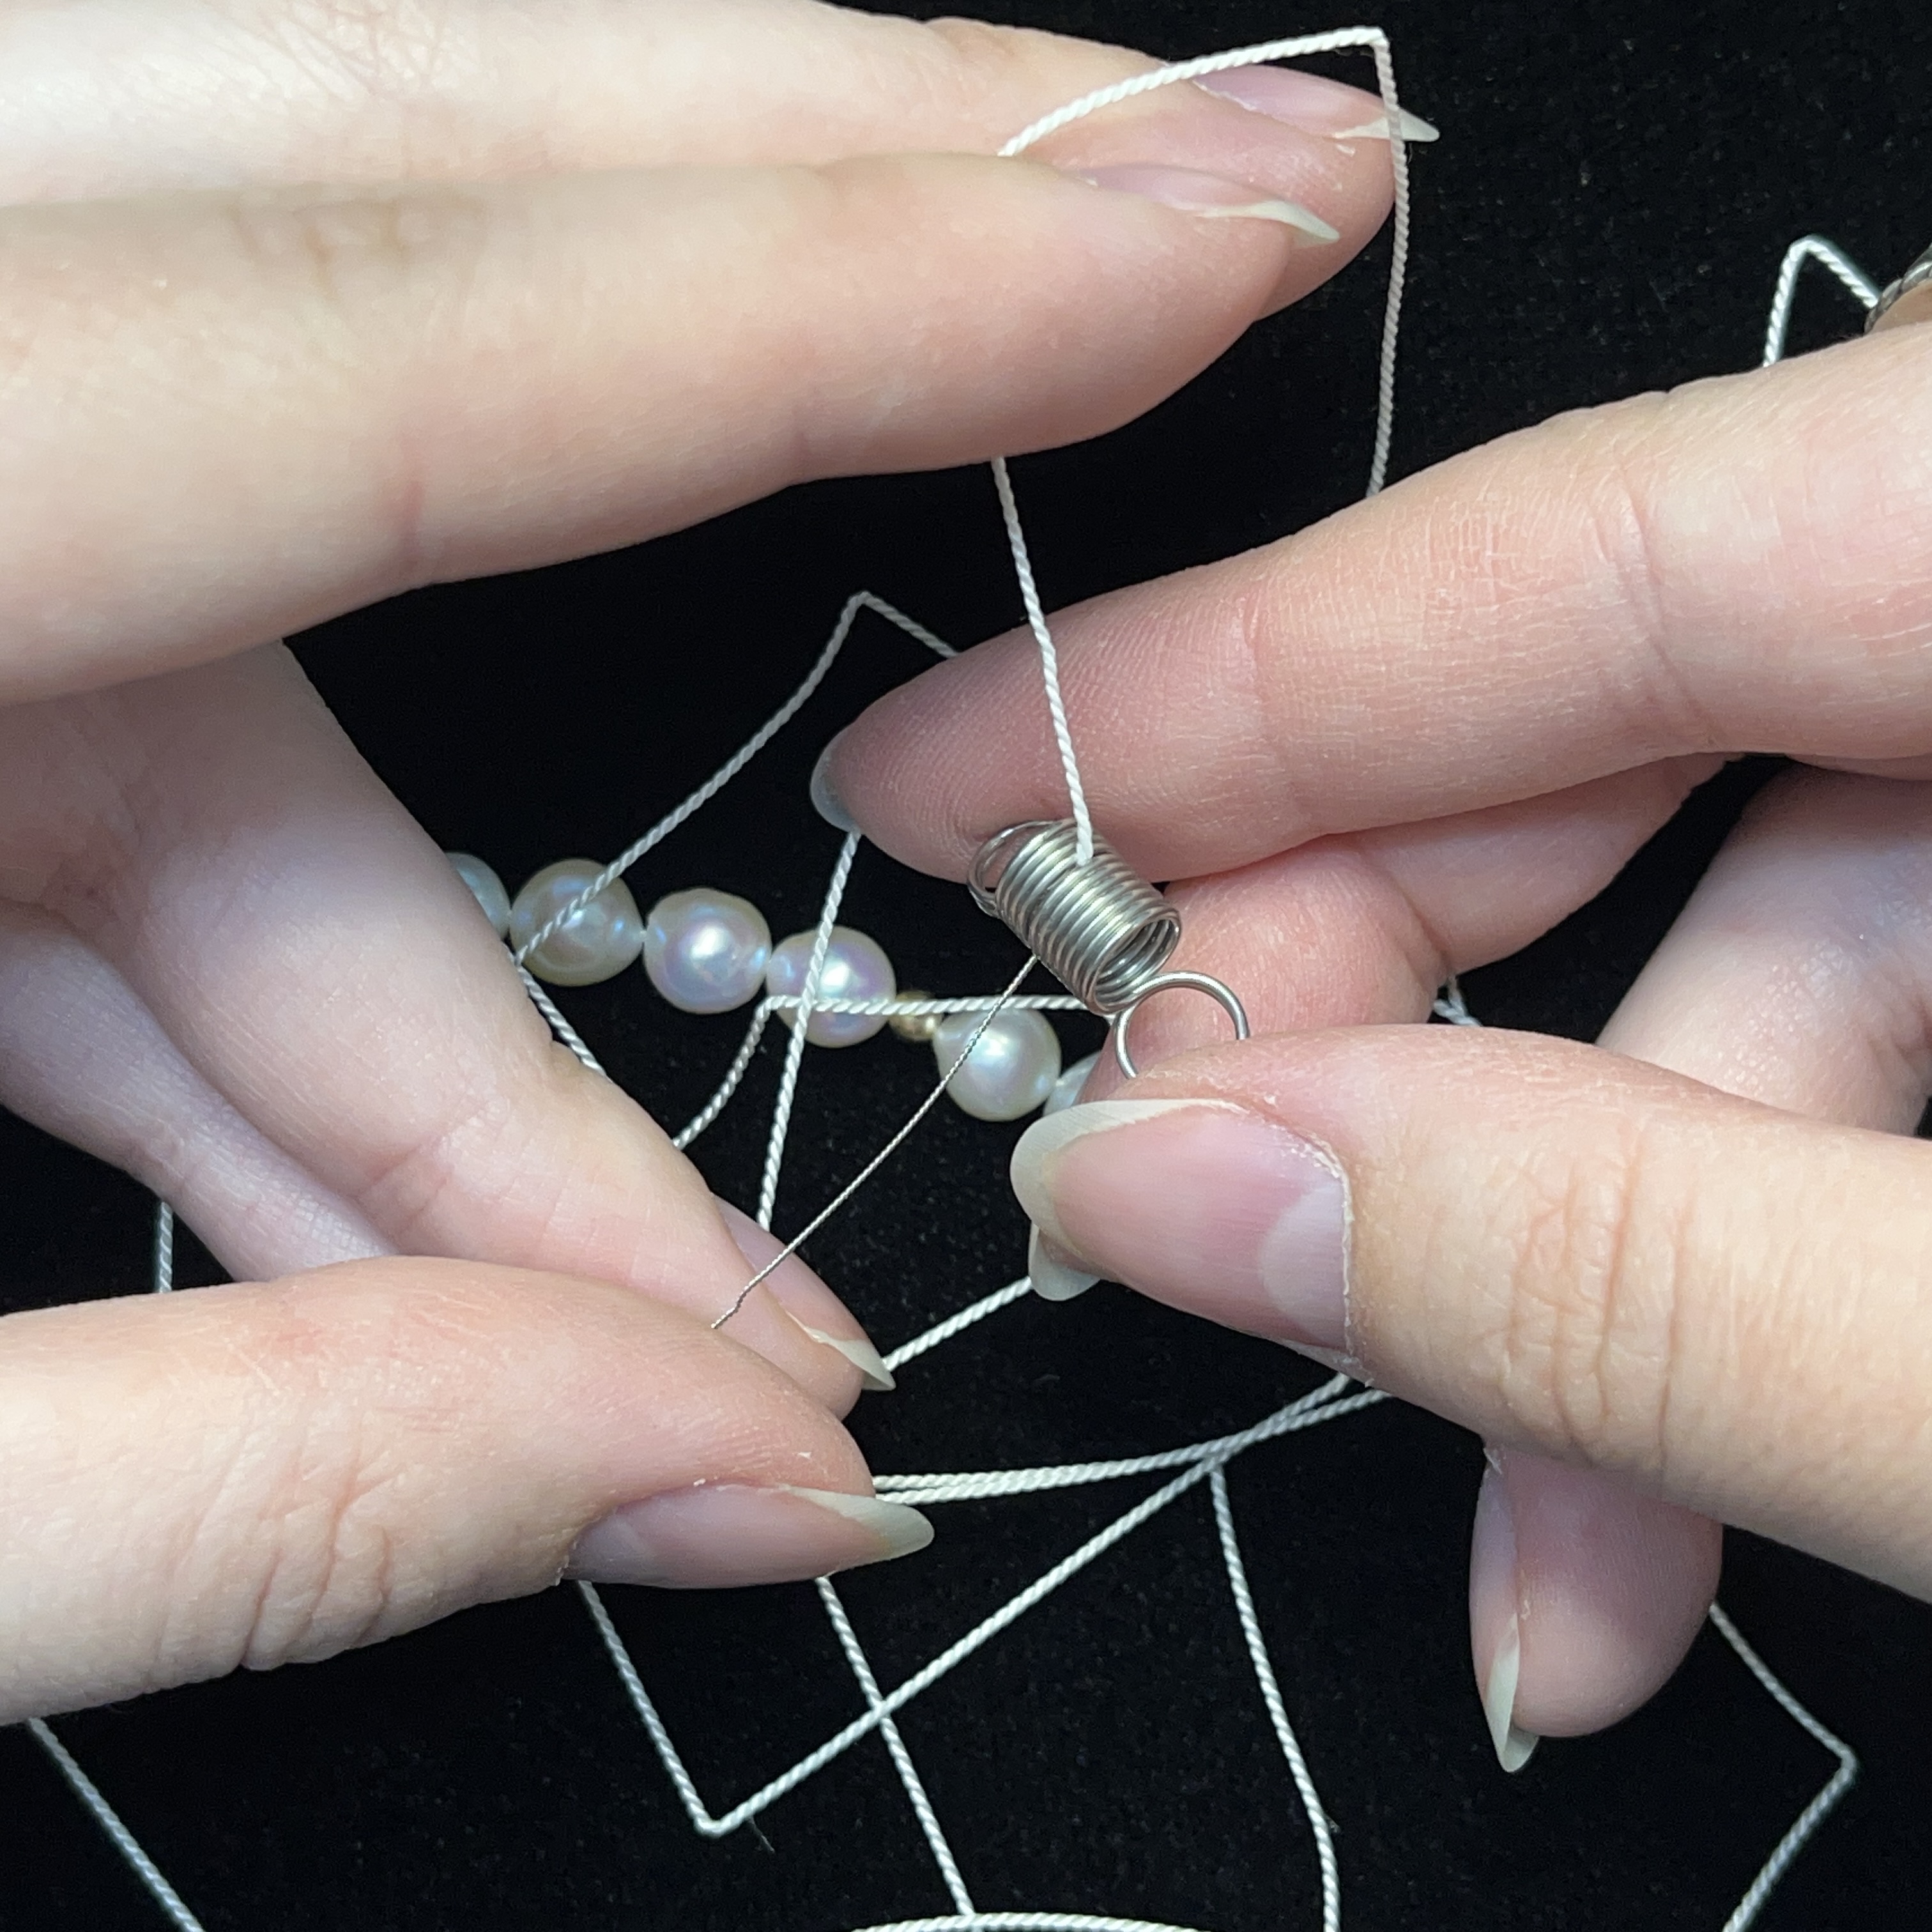
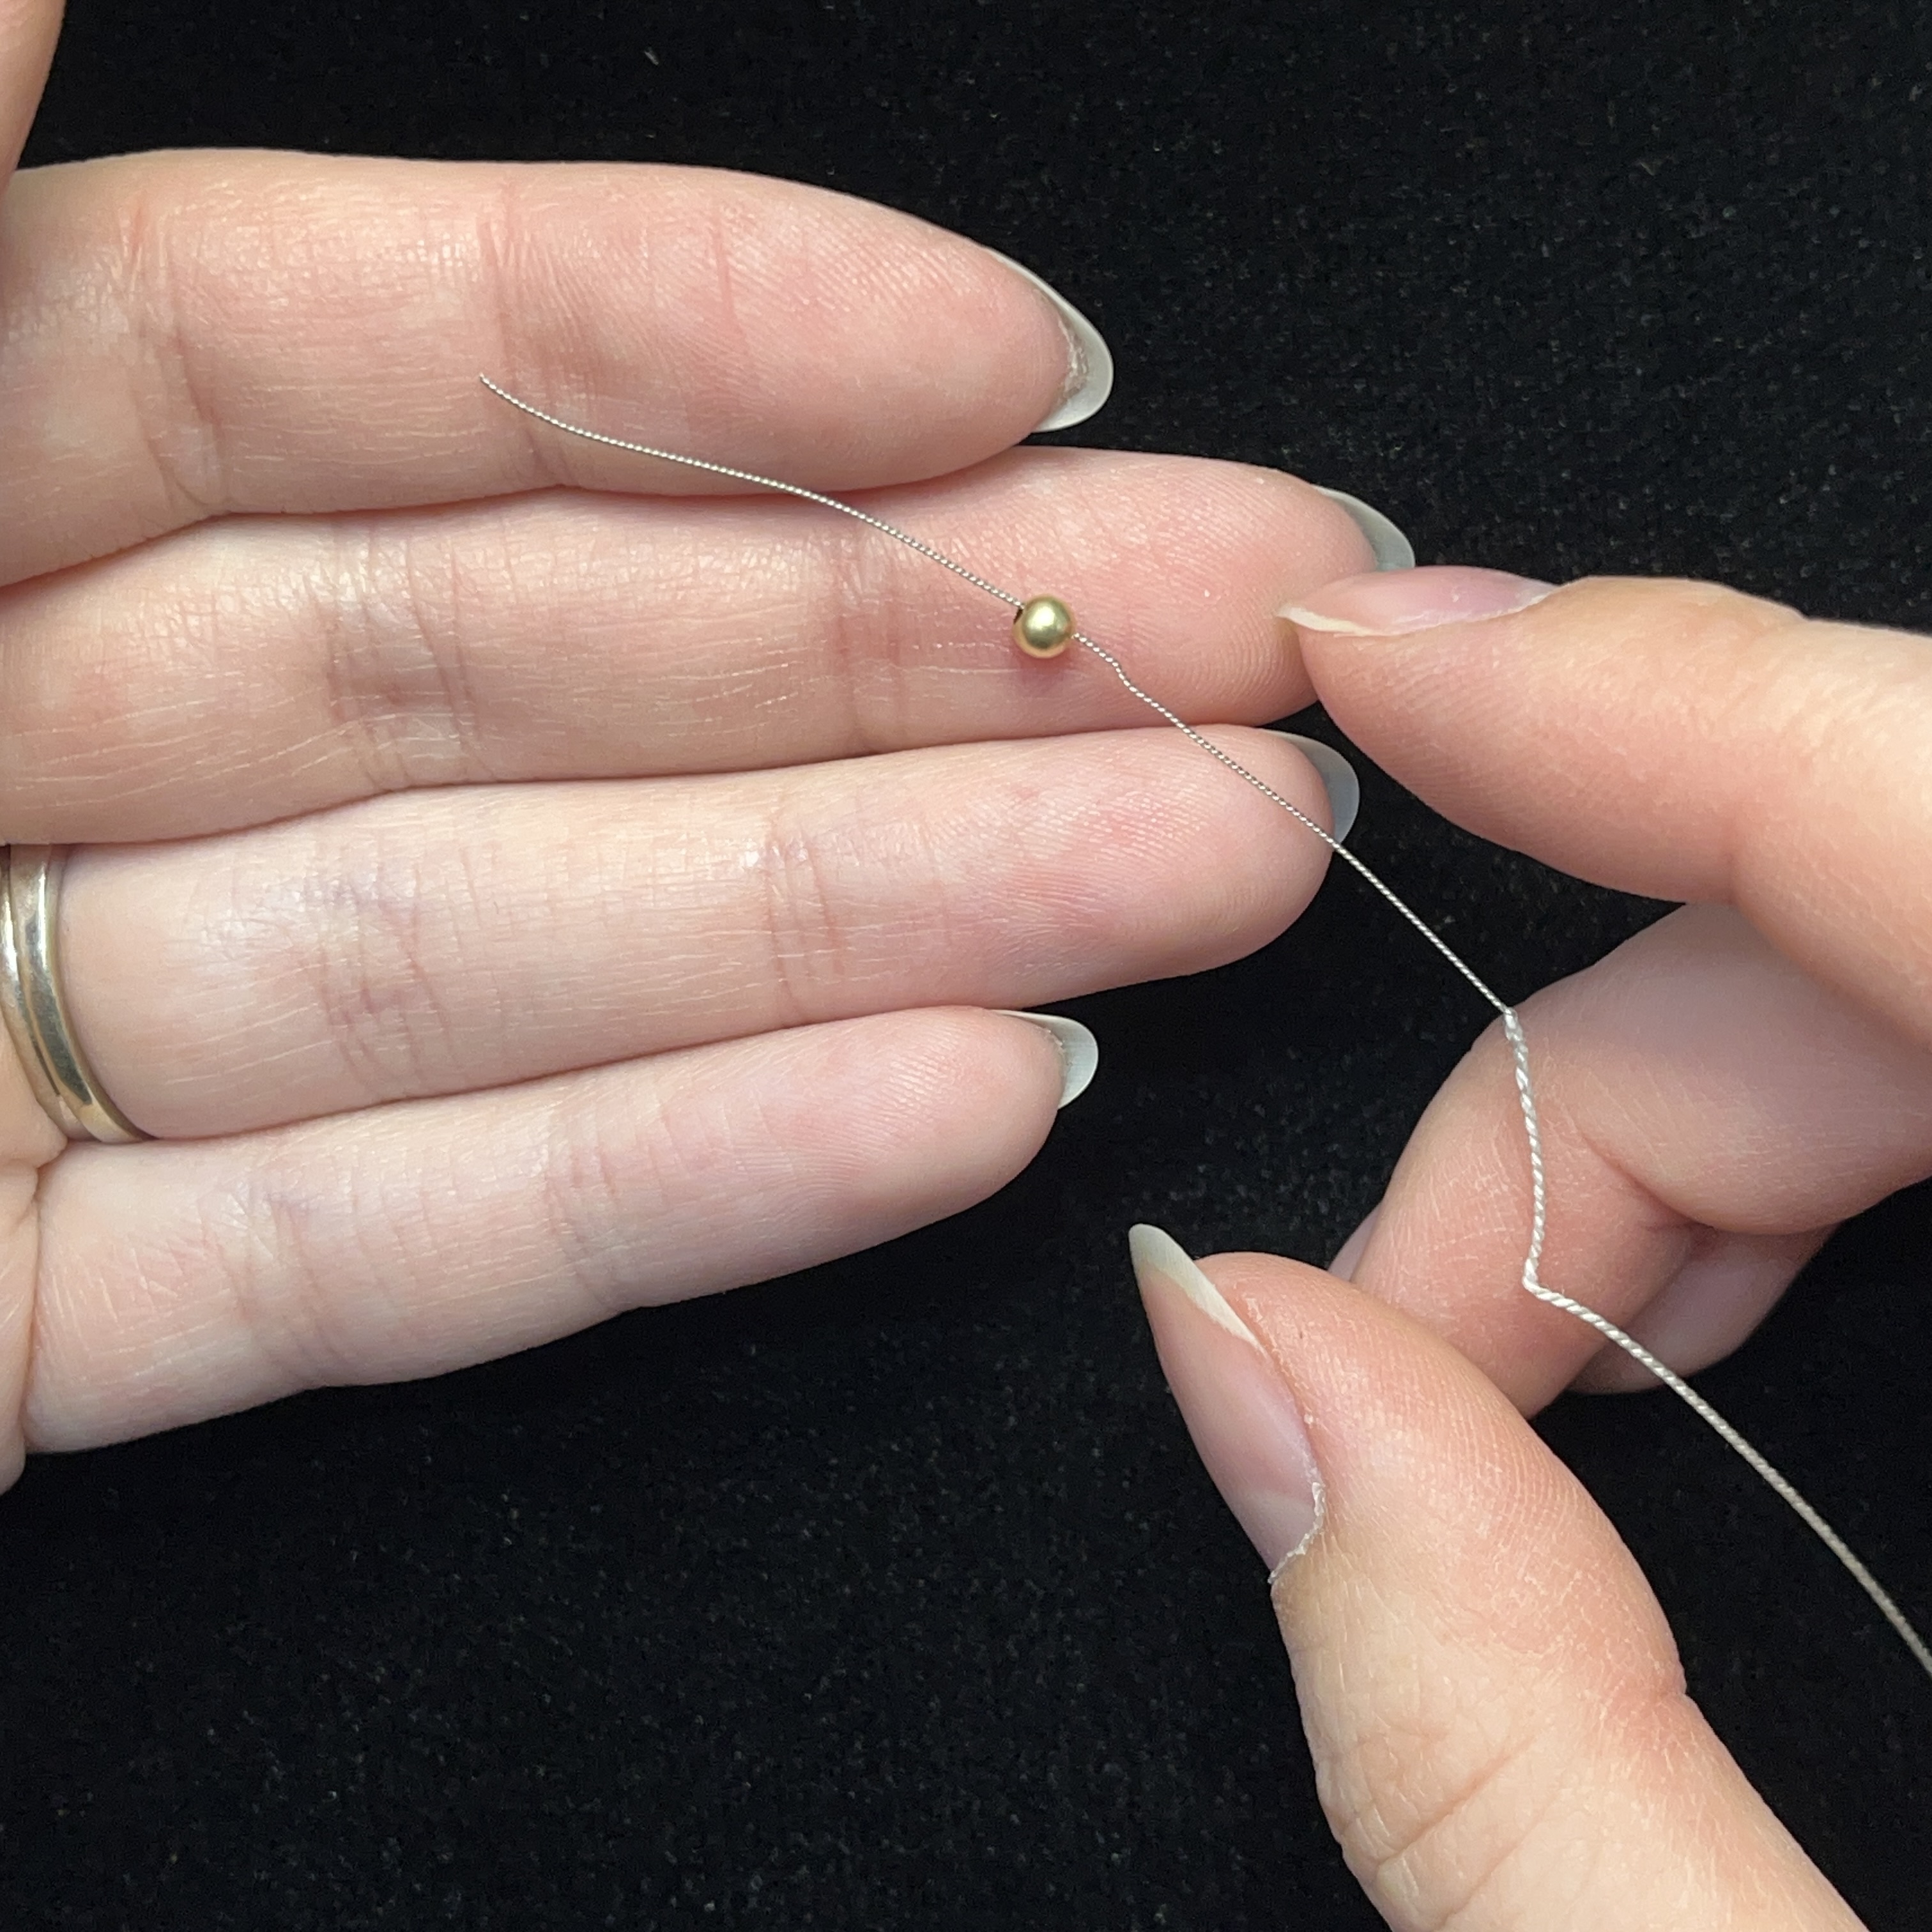
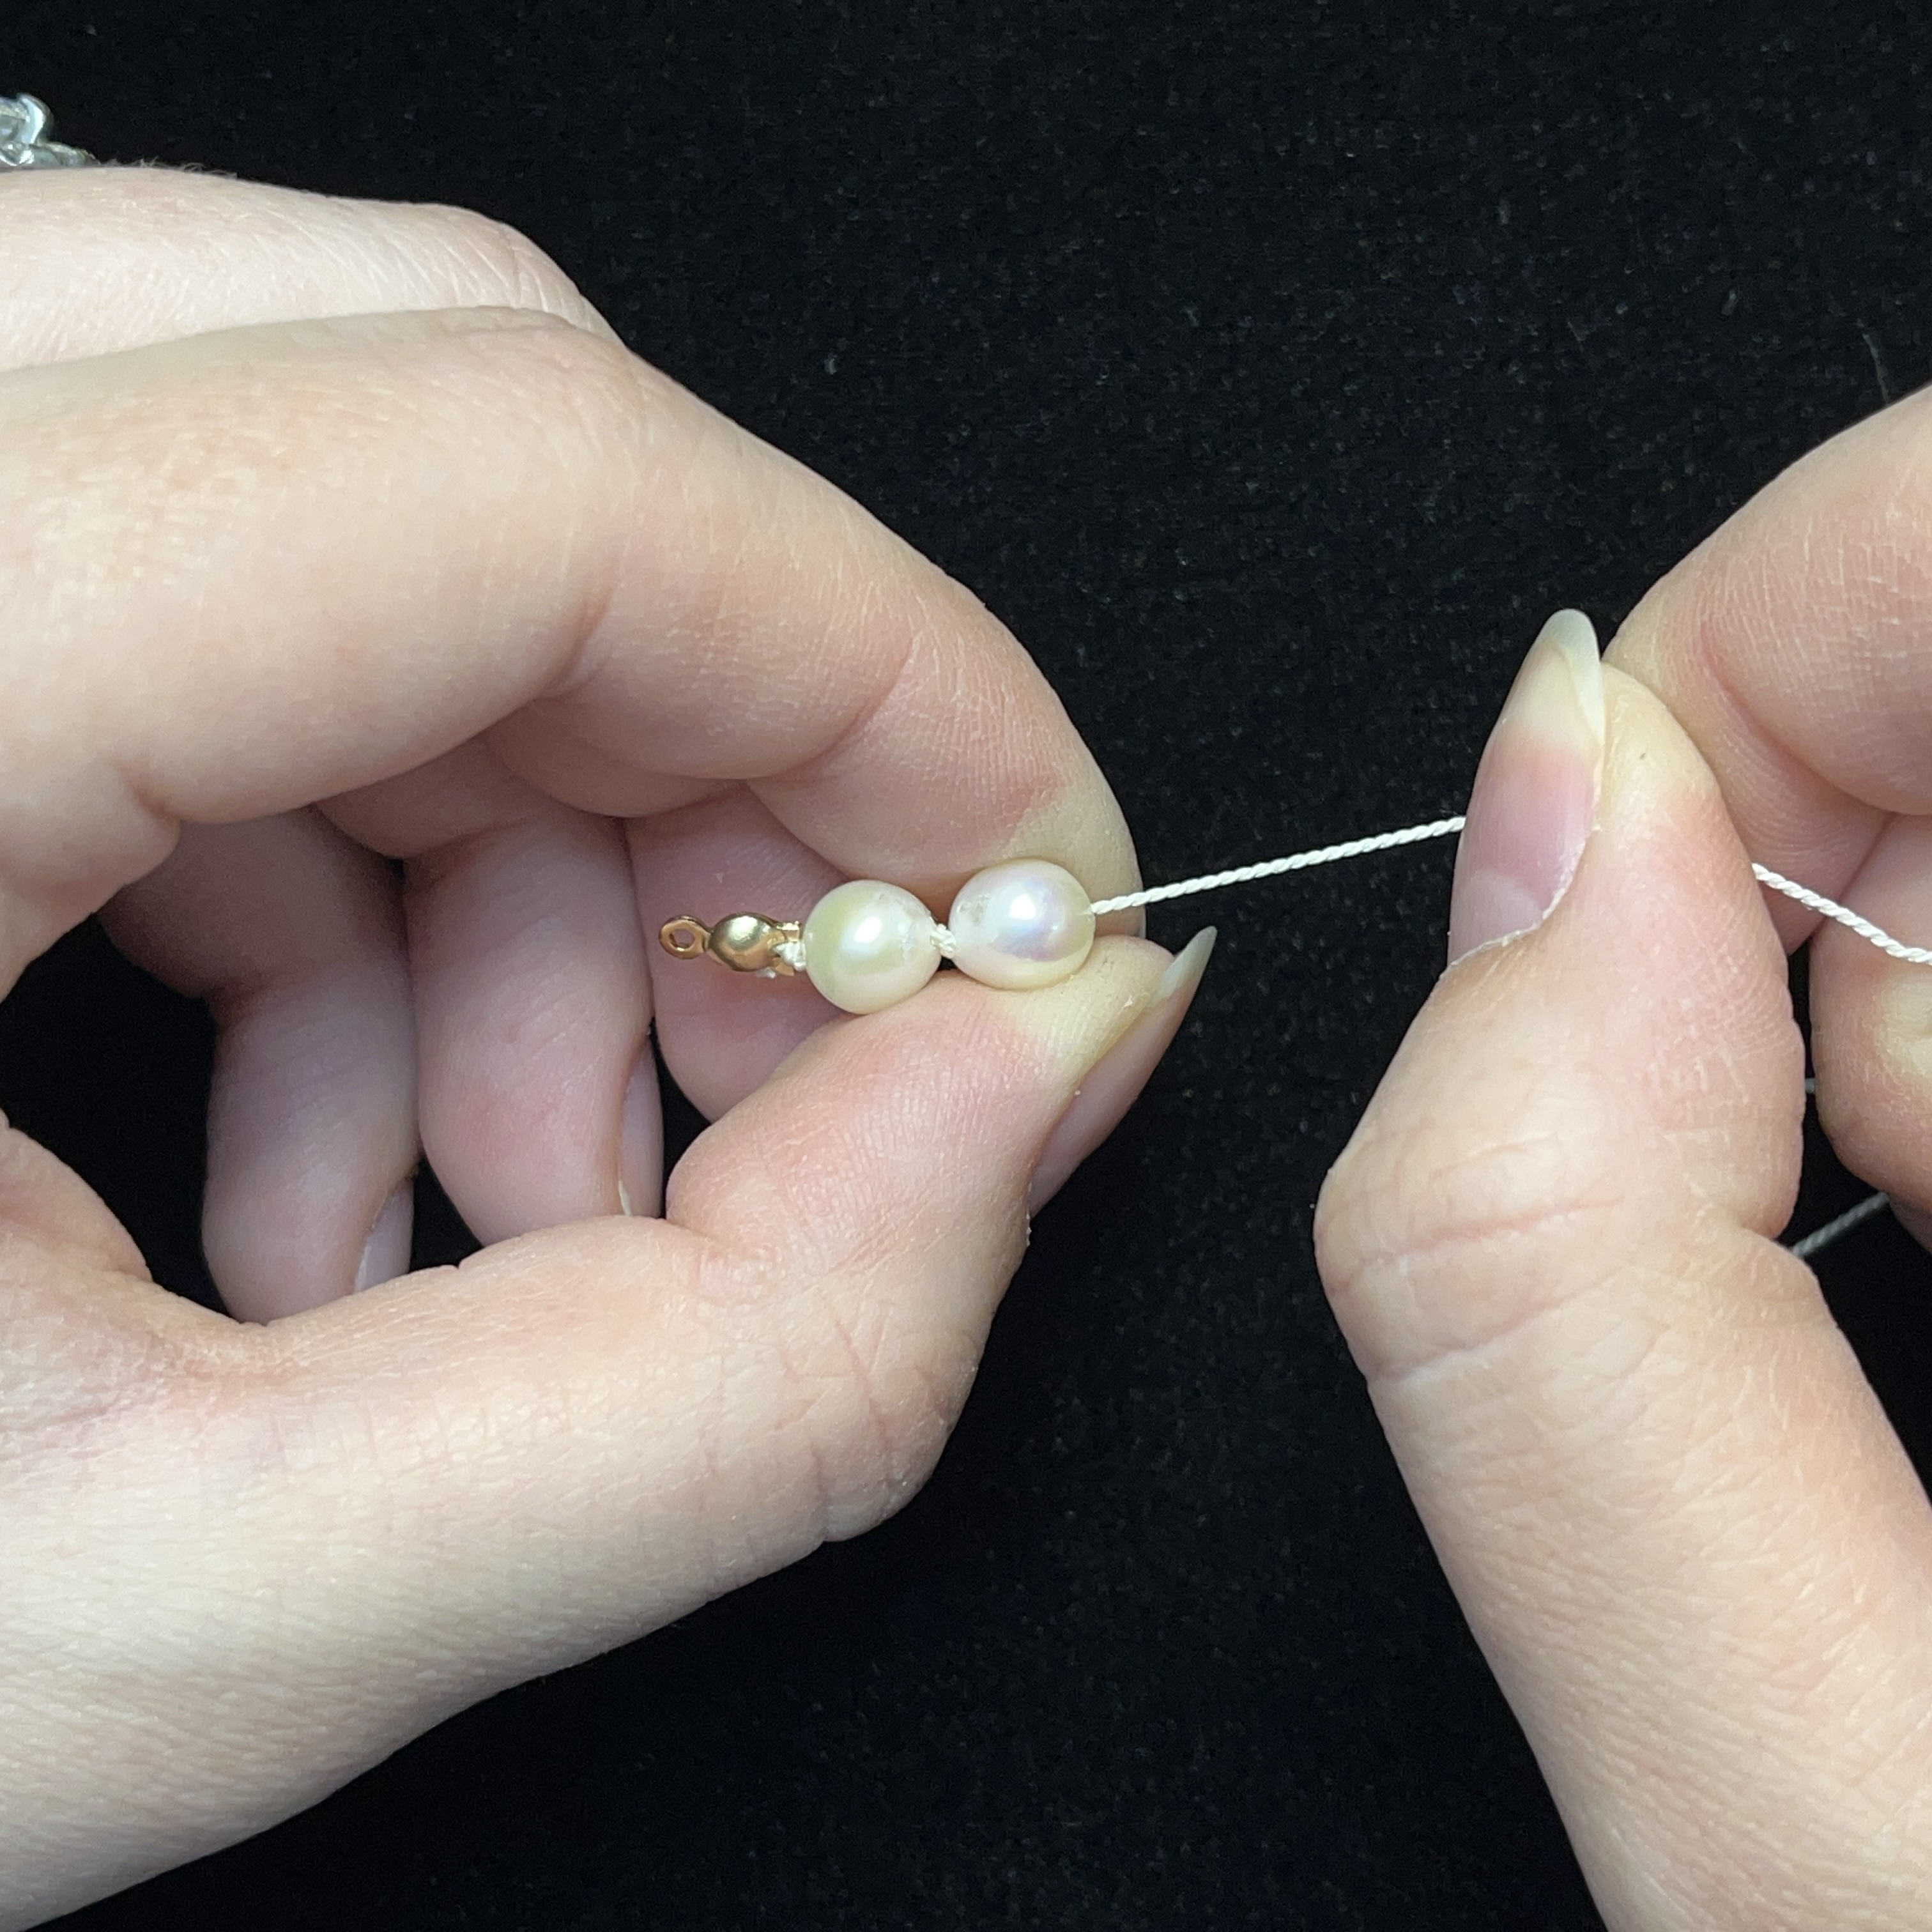
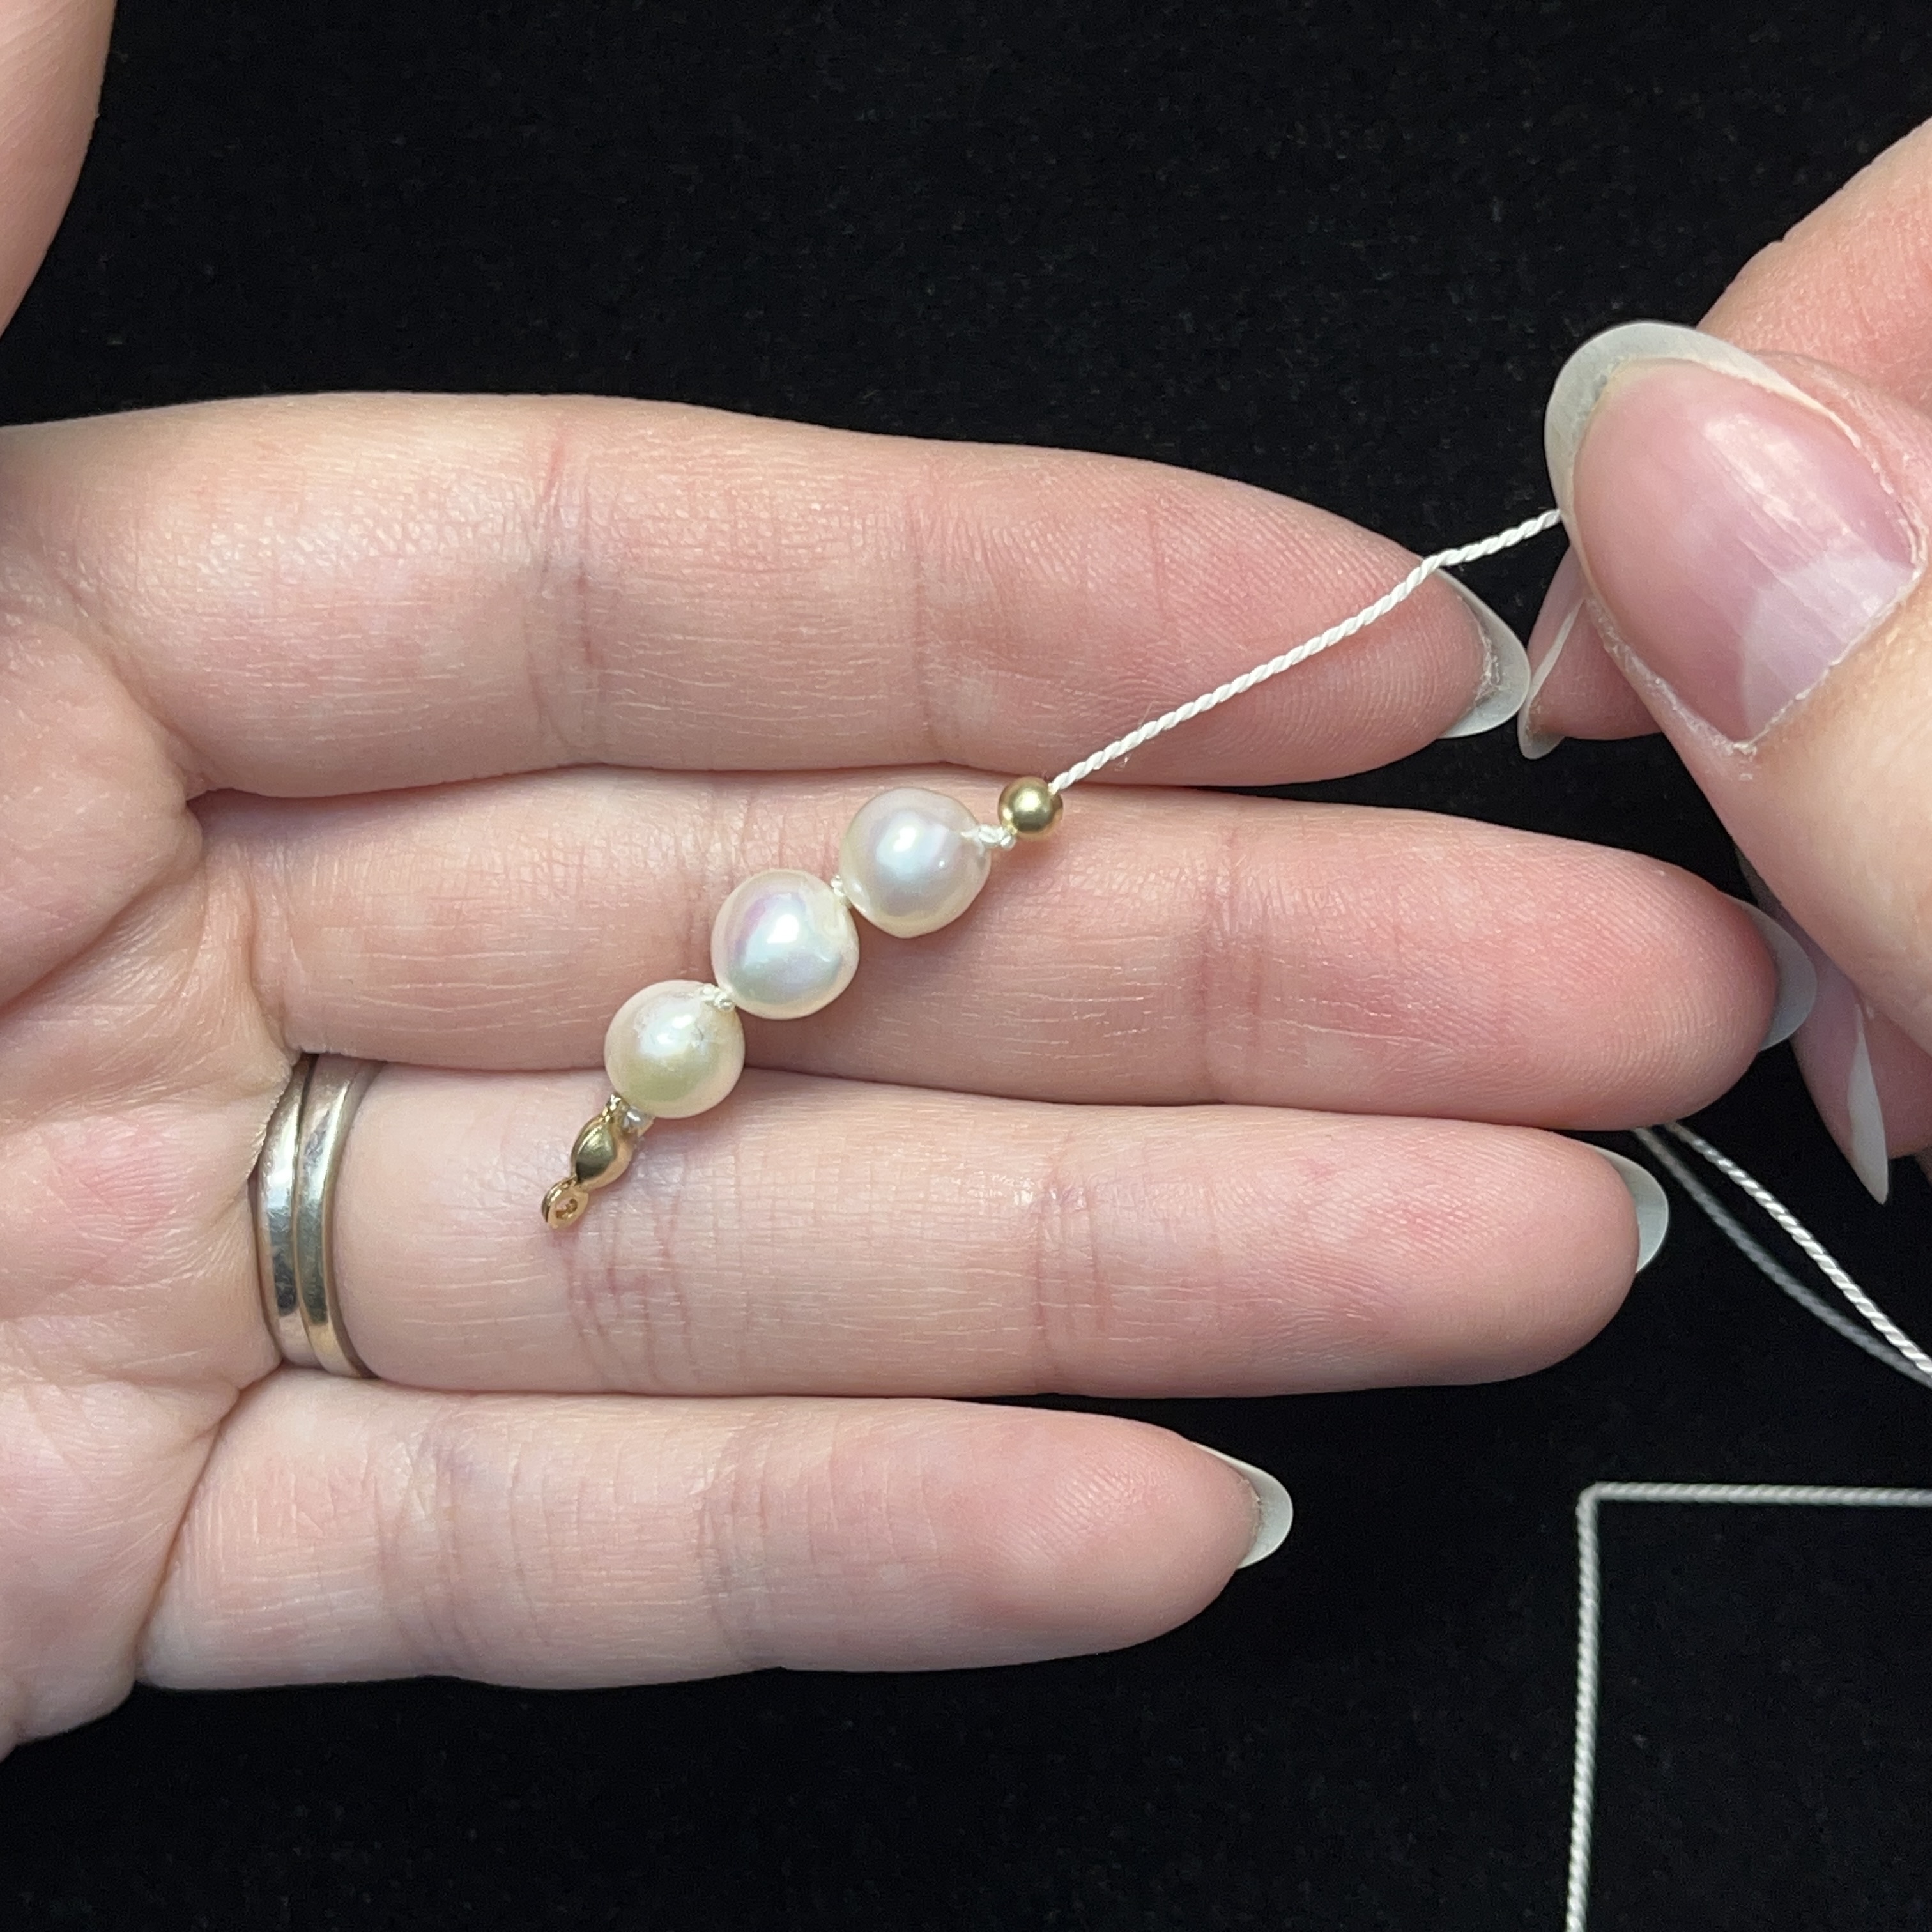
12. Add a bead stop to where the needle attaches to the silk cord
13. Pull down the first pearl bead
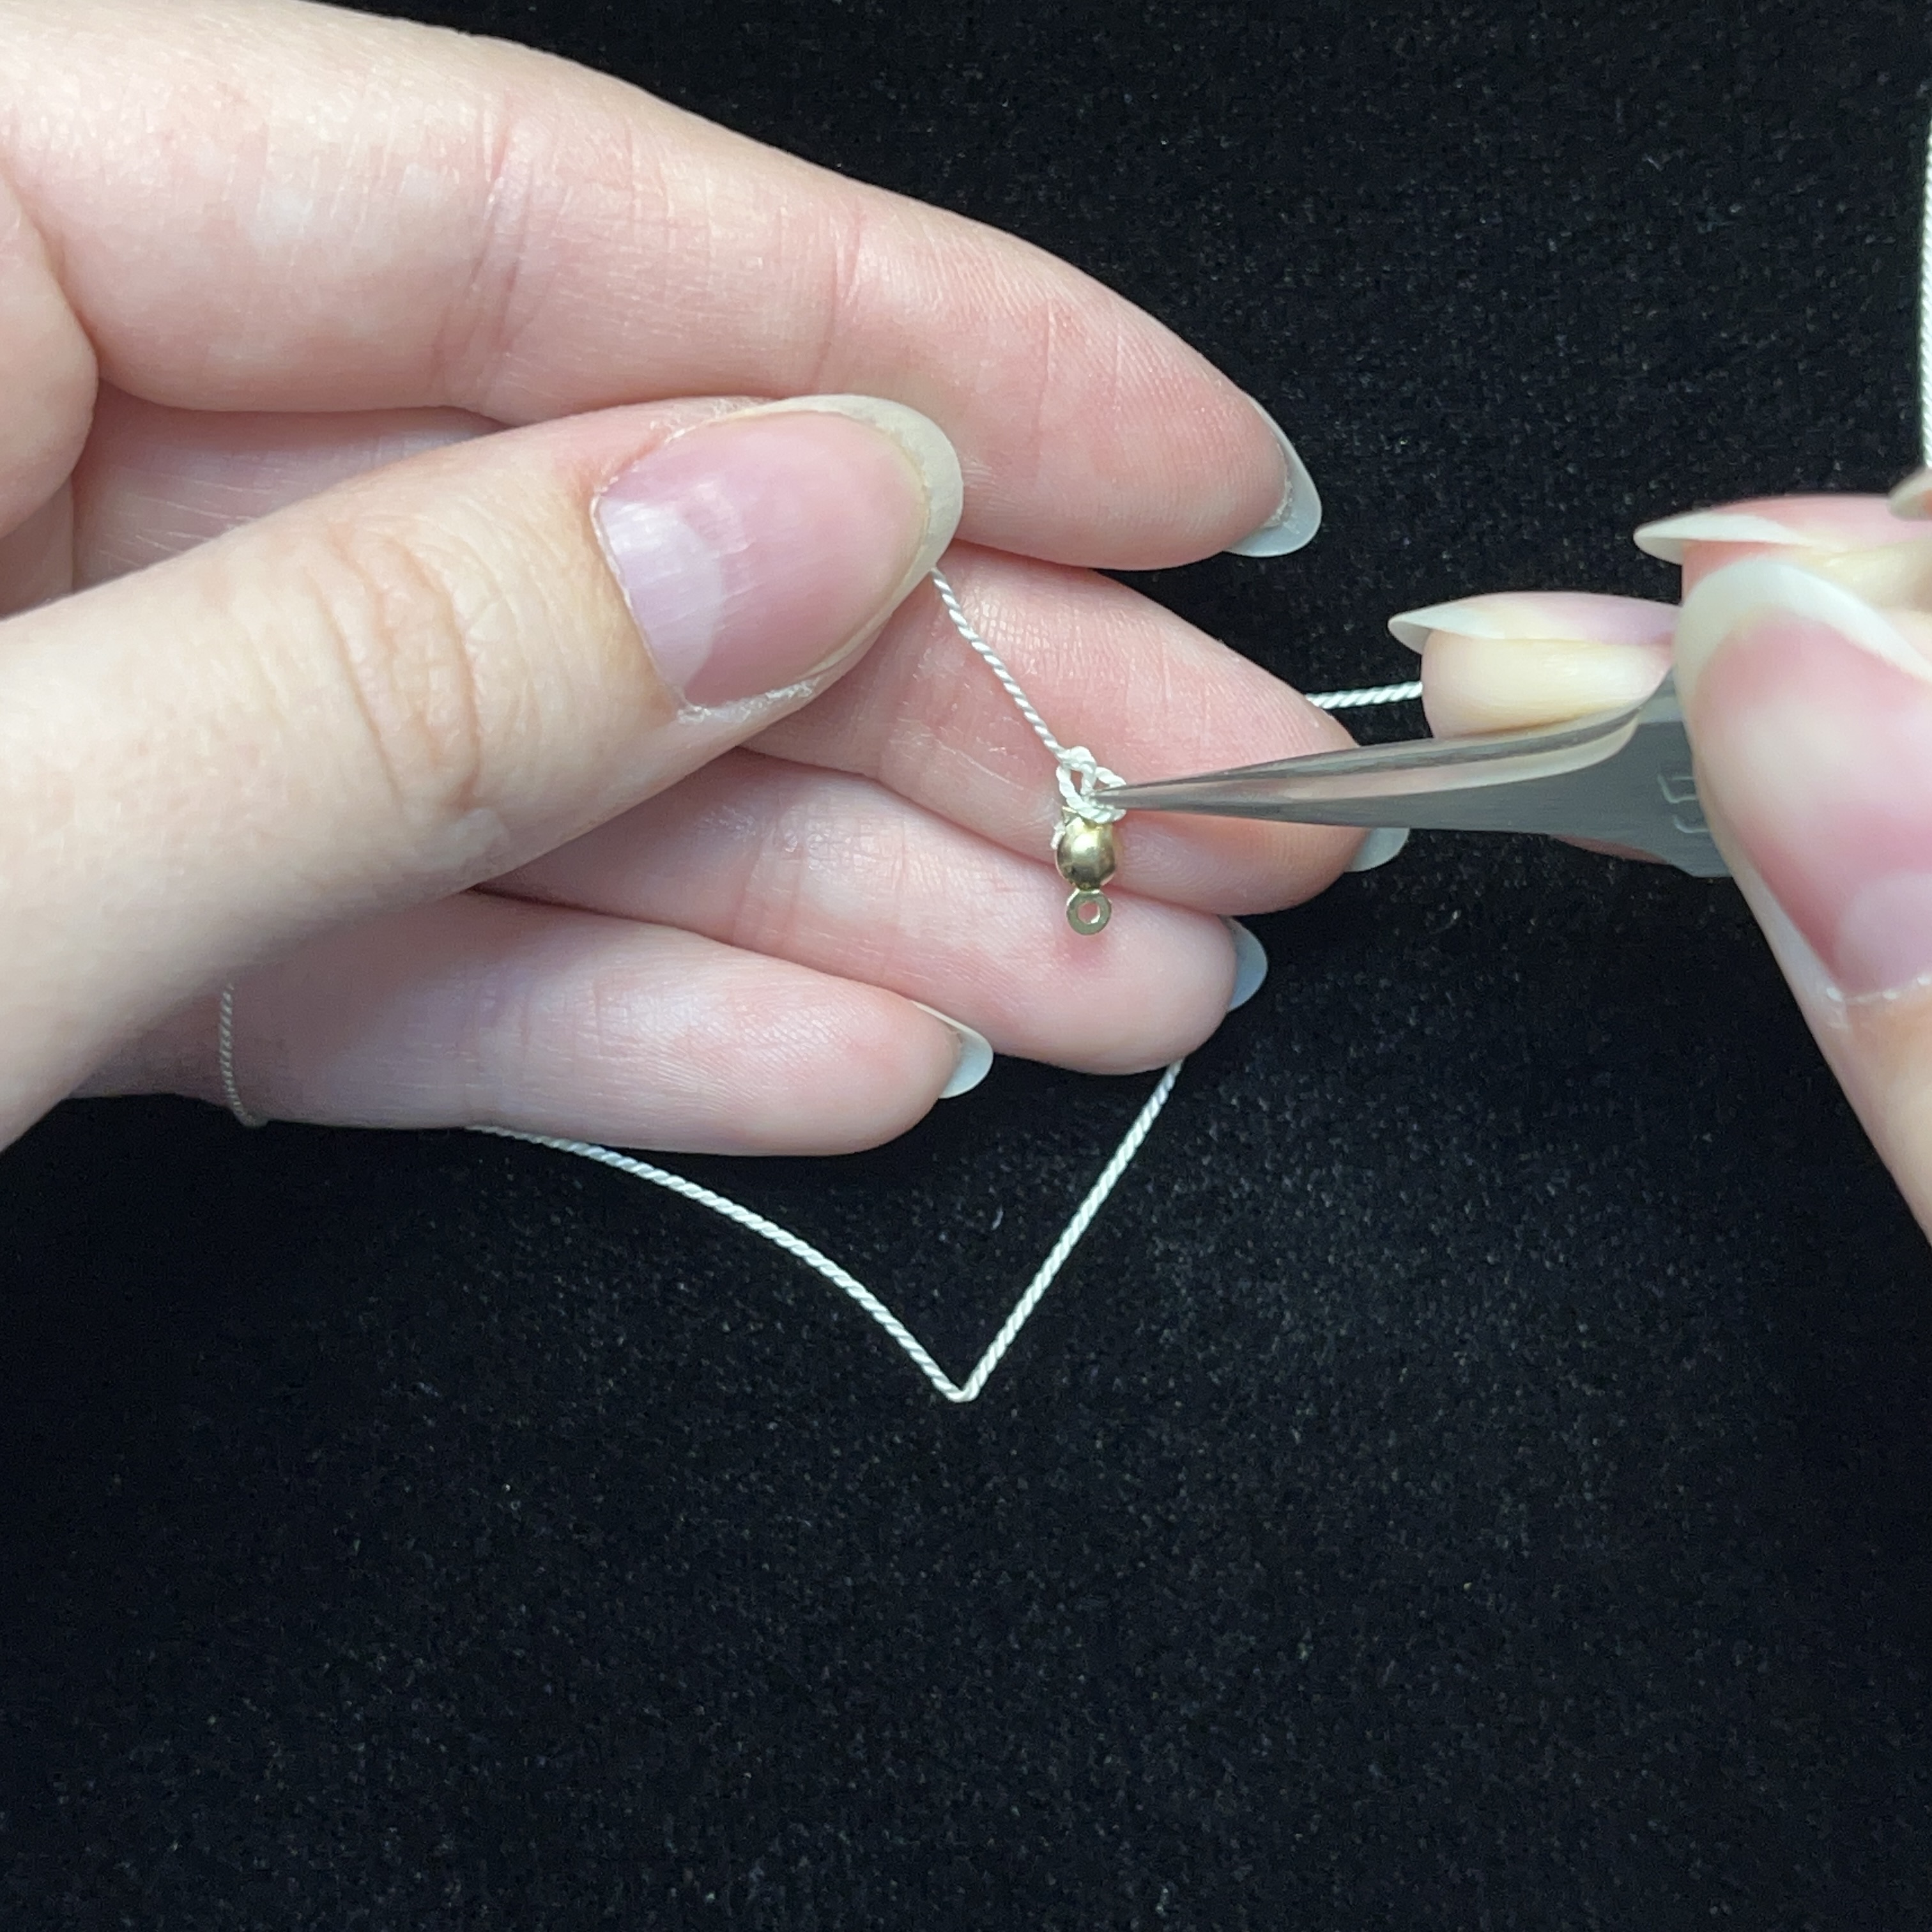
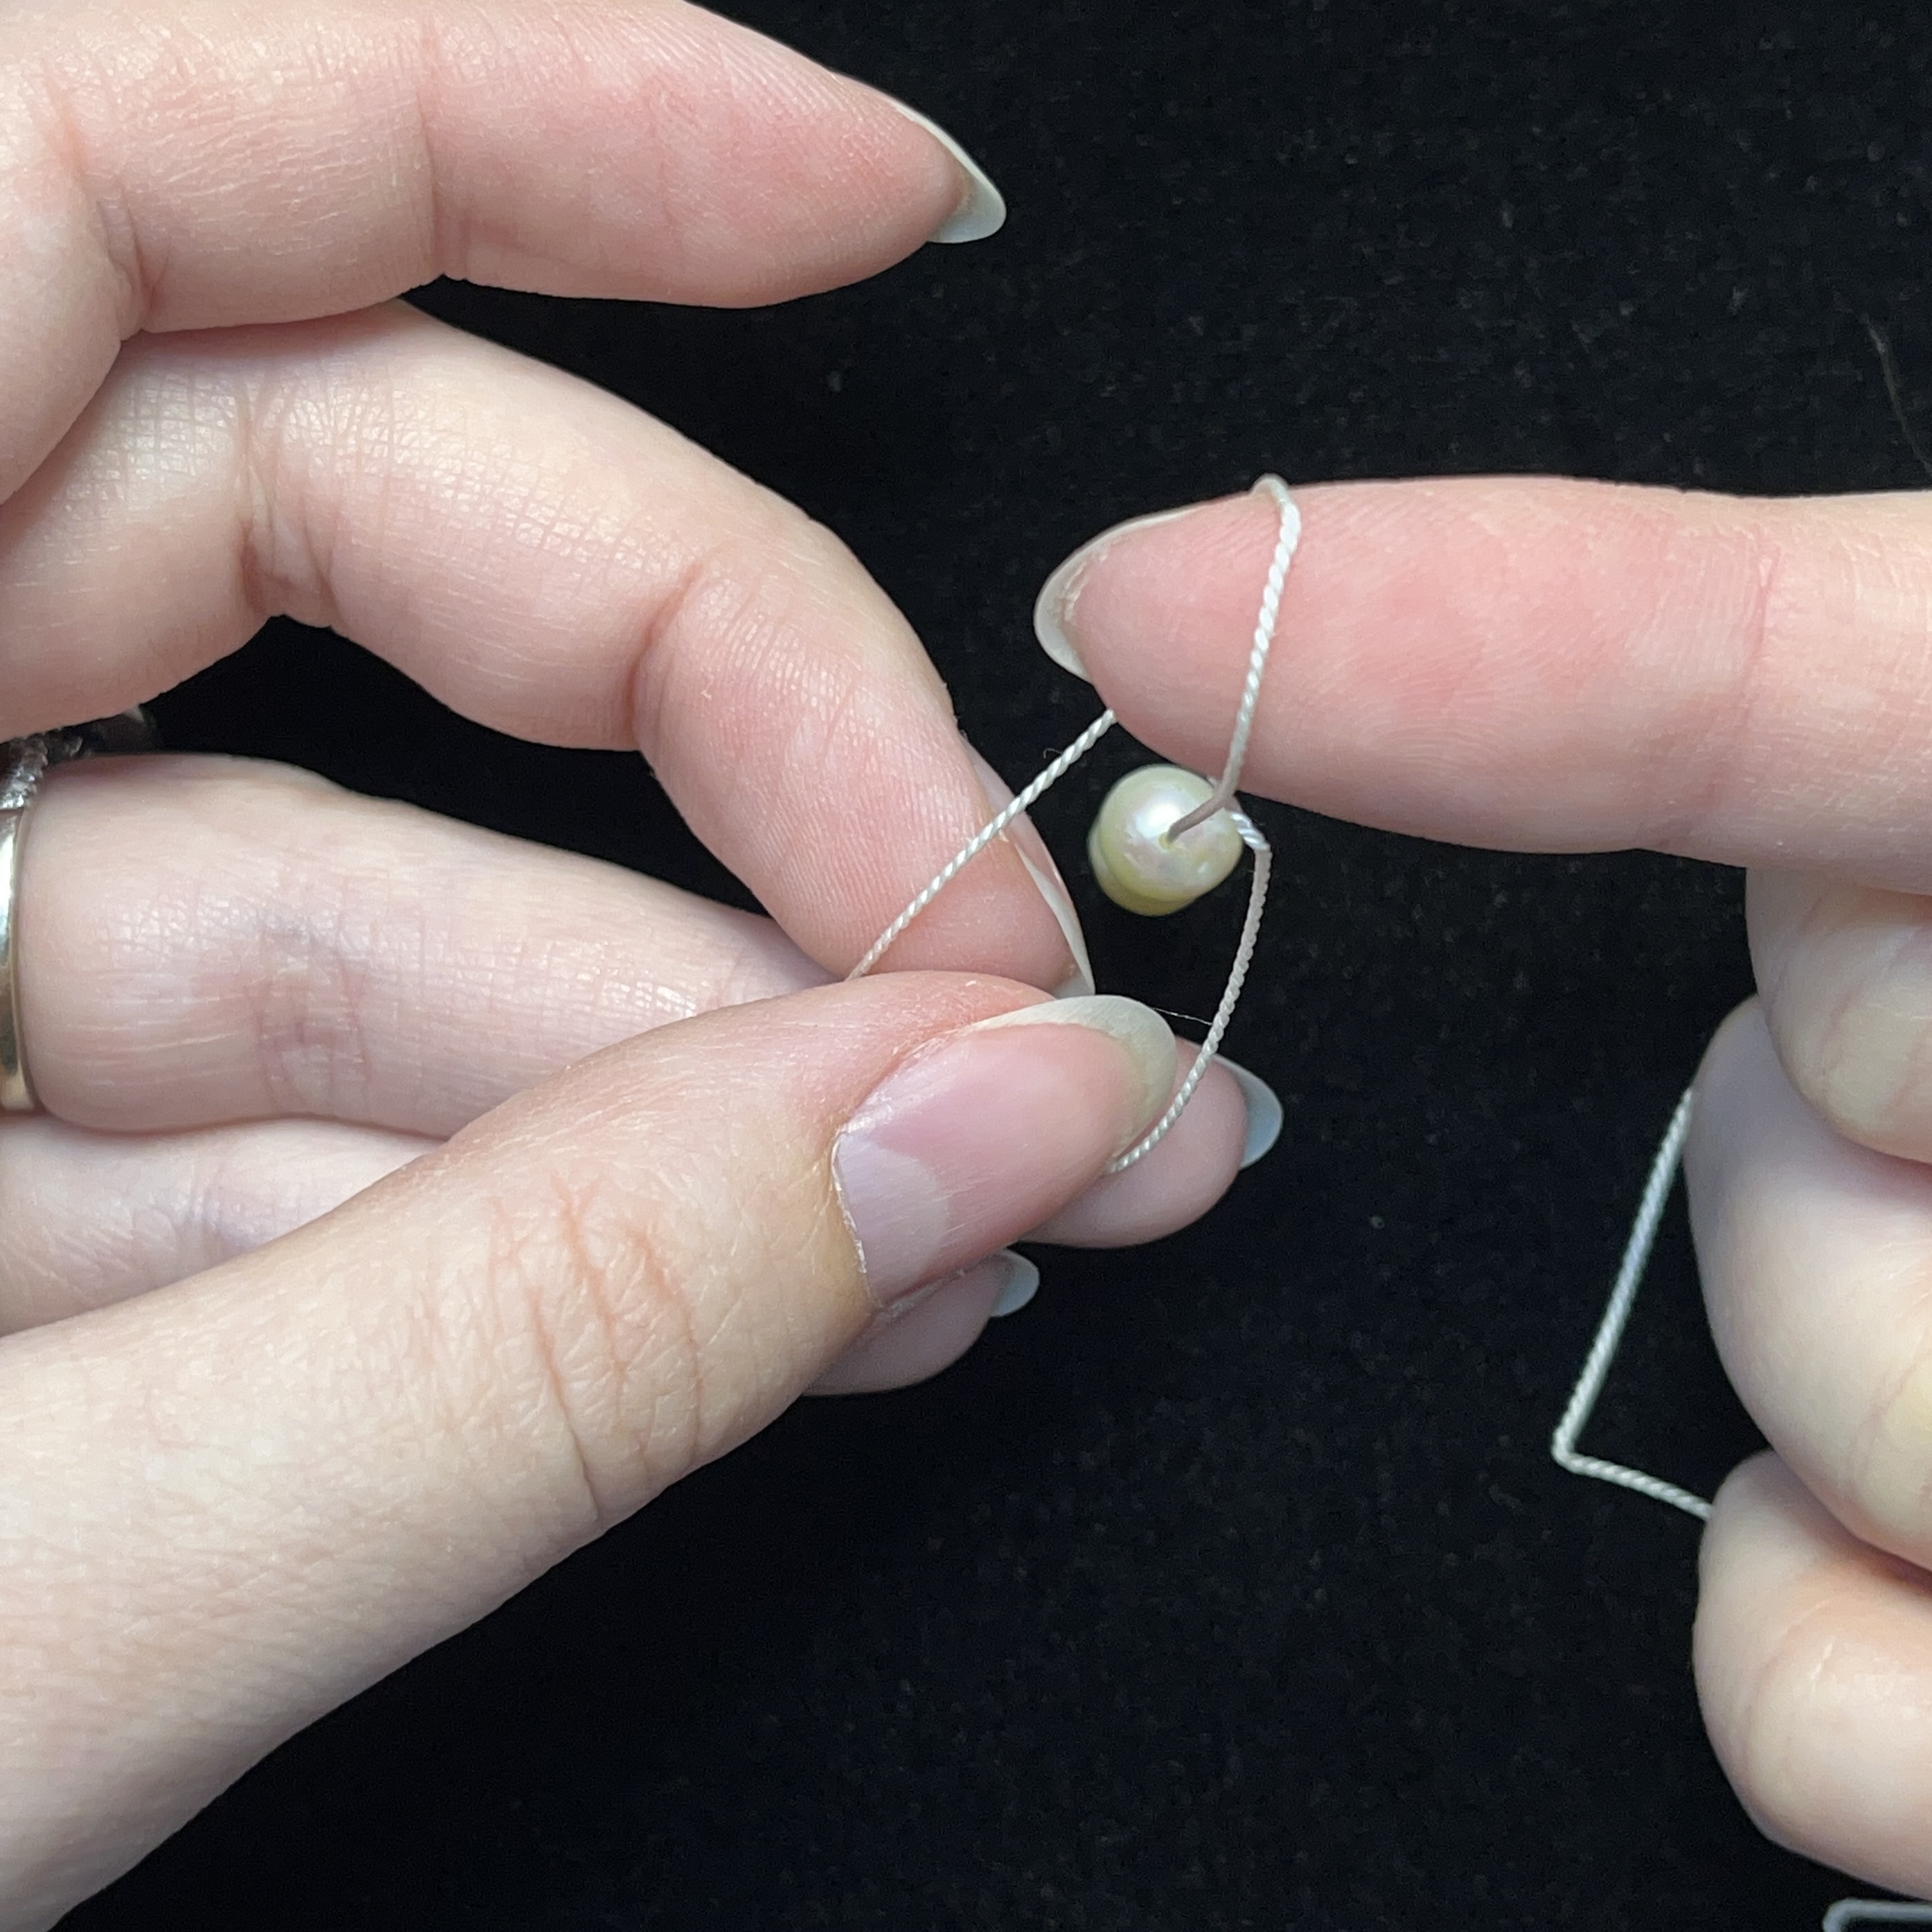
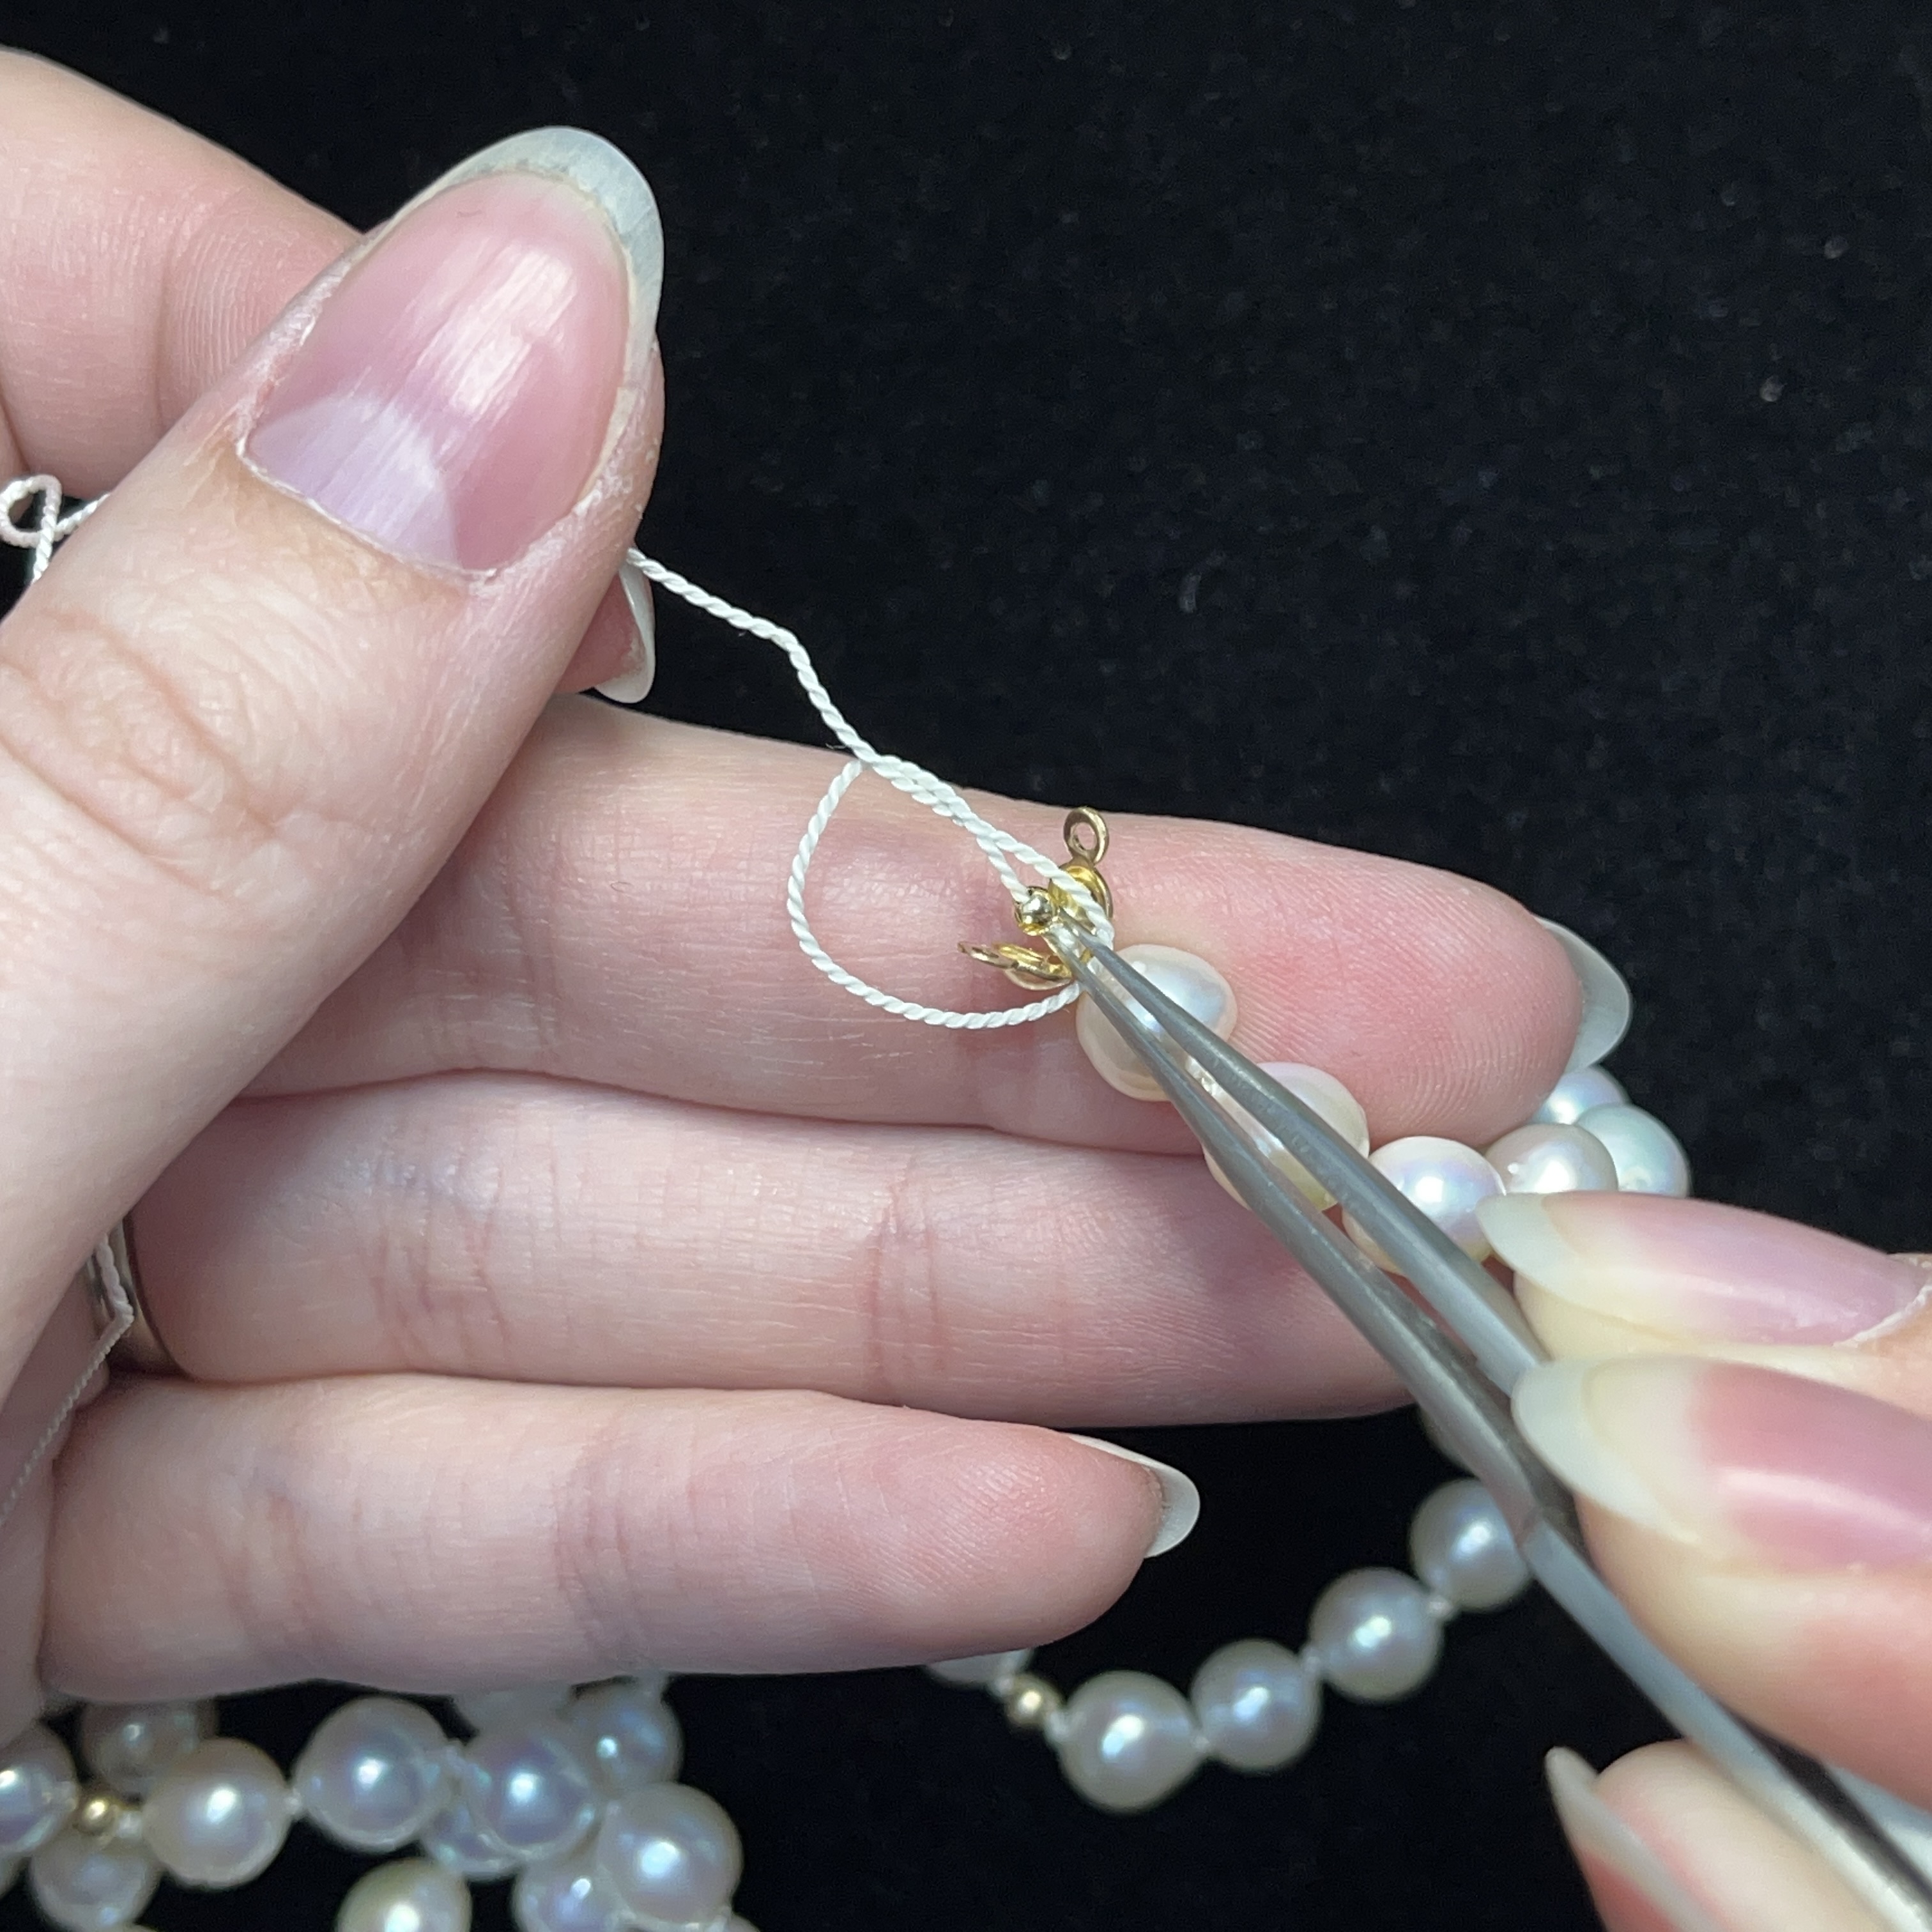
14. Make a knot above the pearl
15. Pinch the cord with your tweezers just above the pearl through the loop of the knot and pull tight
16. Press down the knot with the tweezers
17. Grab the next pearl and very gently pull so you squish the knot down more. *careful, if you pull too hard you might break the cord
18. Create another knot, I find it easiest to *drop* the pearl down in a loop to make a knot - think of it like creating a backwards overhand knot
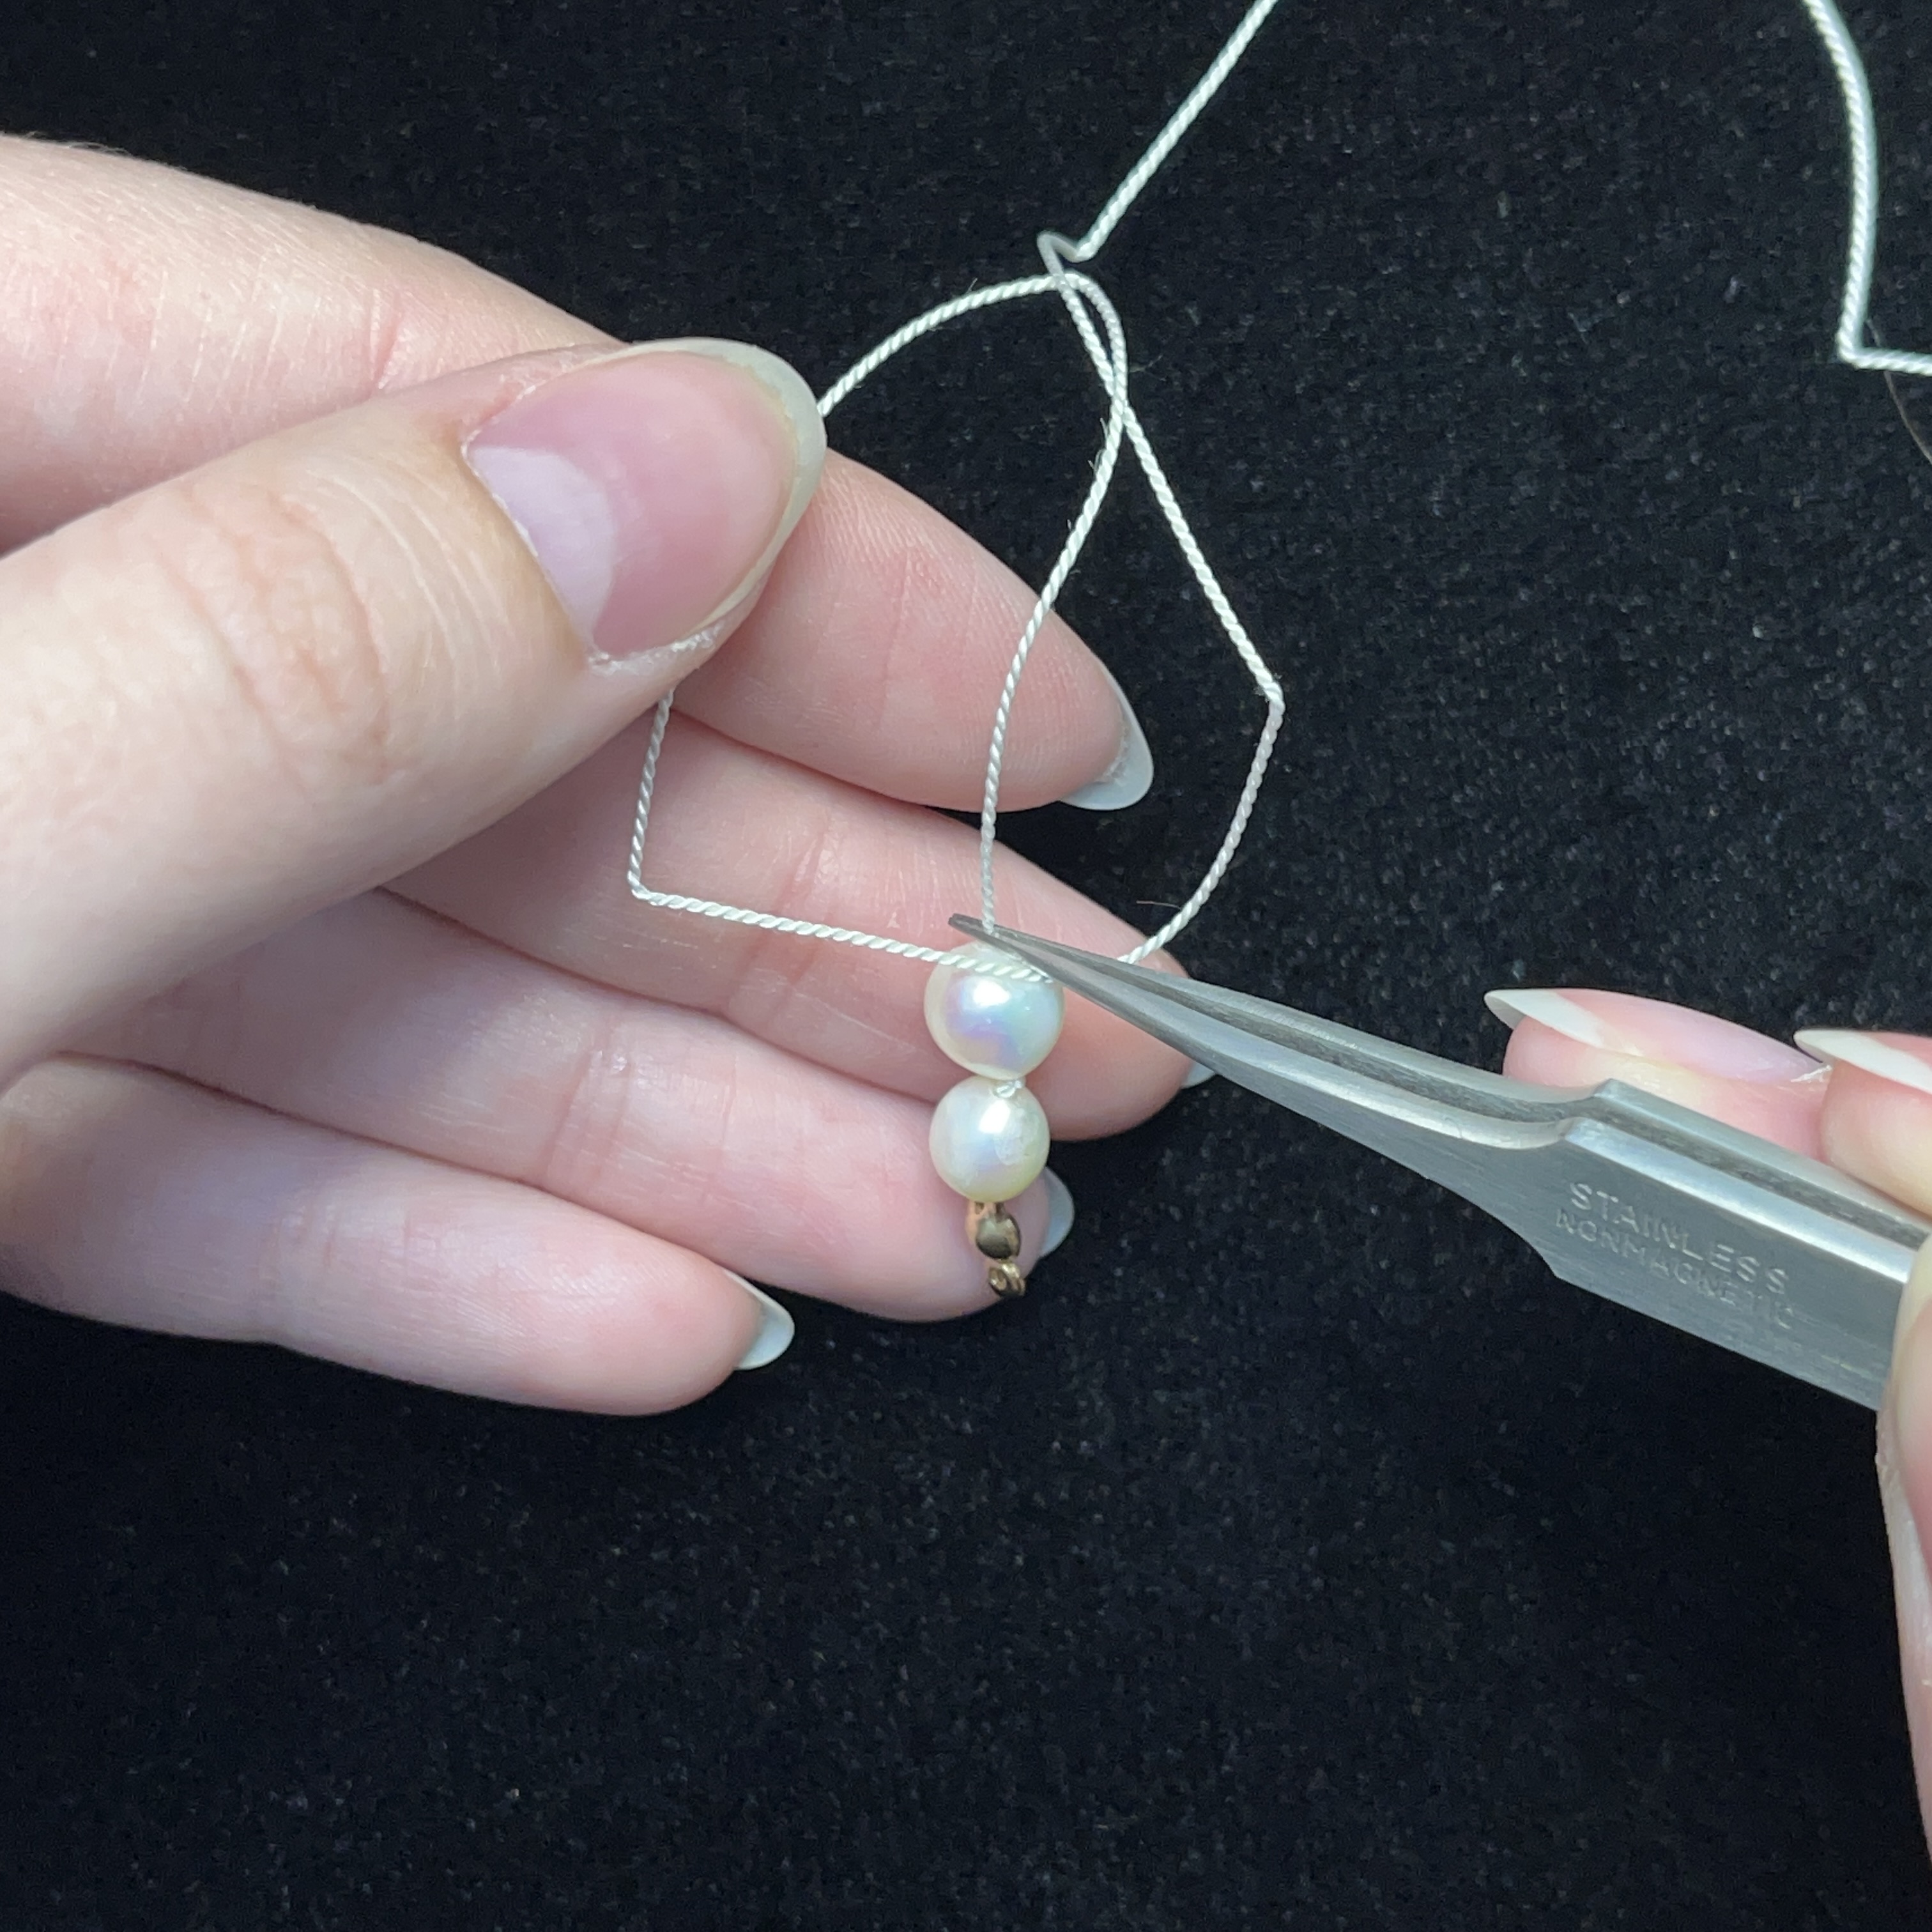
19. Repeat the knotting steps by pinching the cord just above the pearl through the knot loop

20. Pull tight and push the knot down with the tweezers if needed
21. Repeat with 3rd pearl bead
22. After knotting, pull forward the next bead in the pattern, the 3mm gold sandblast bead
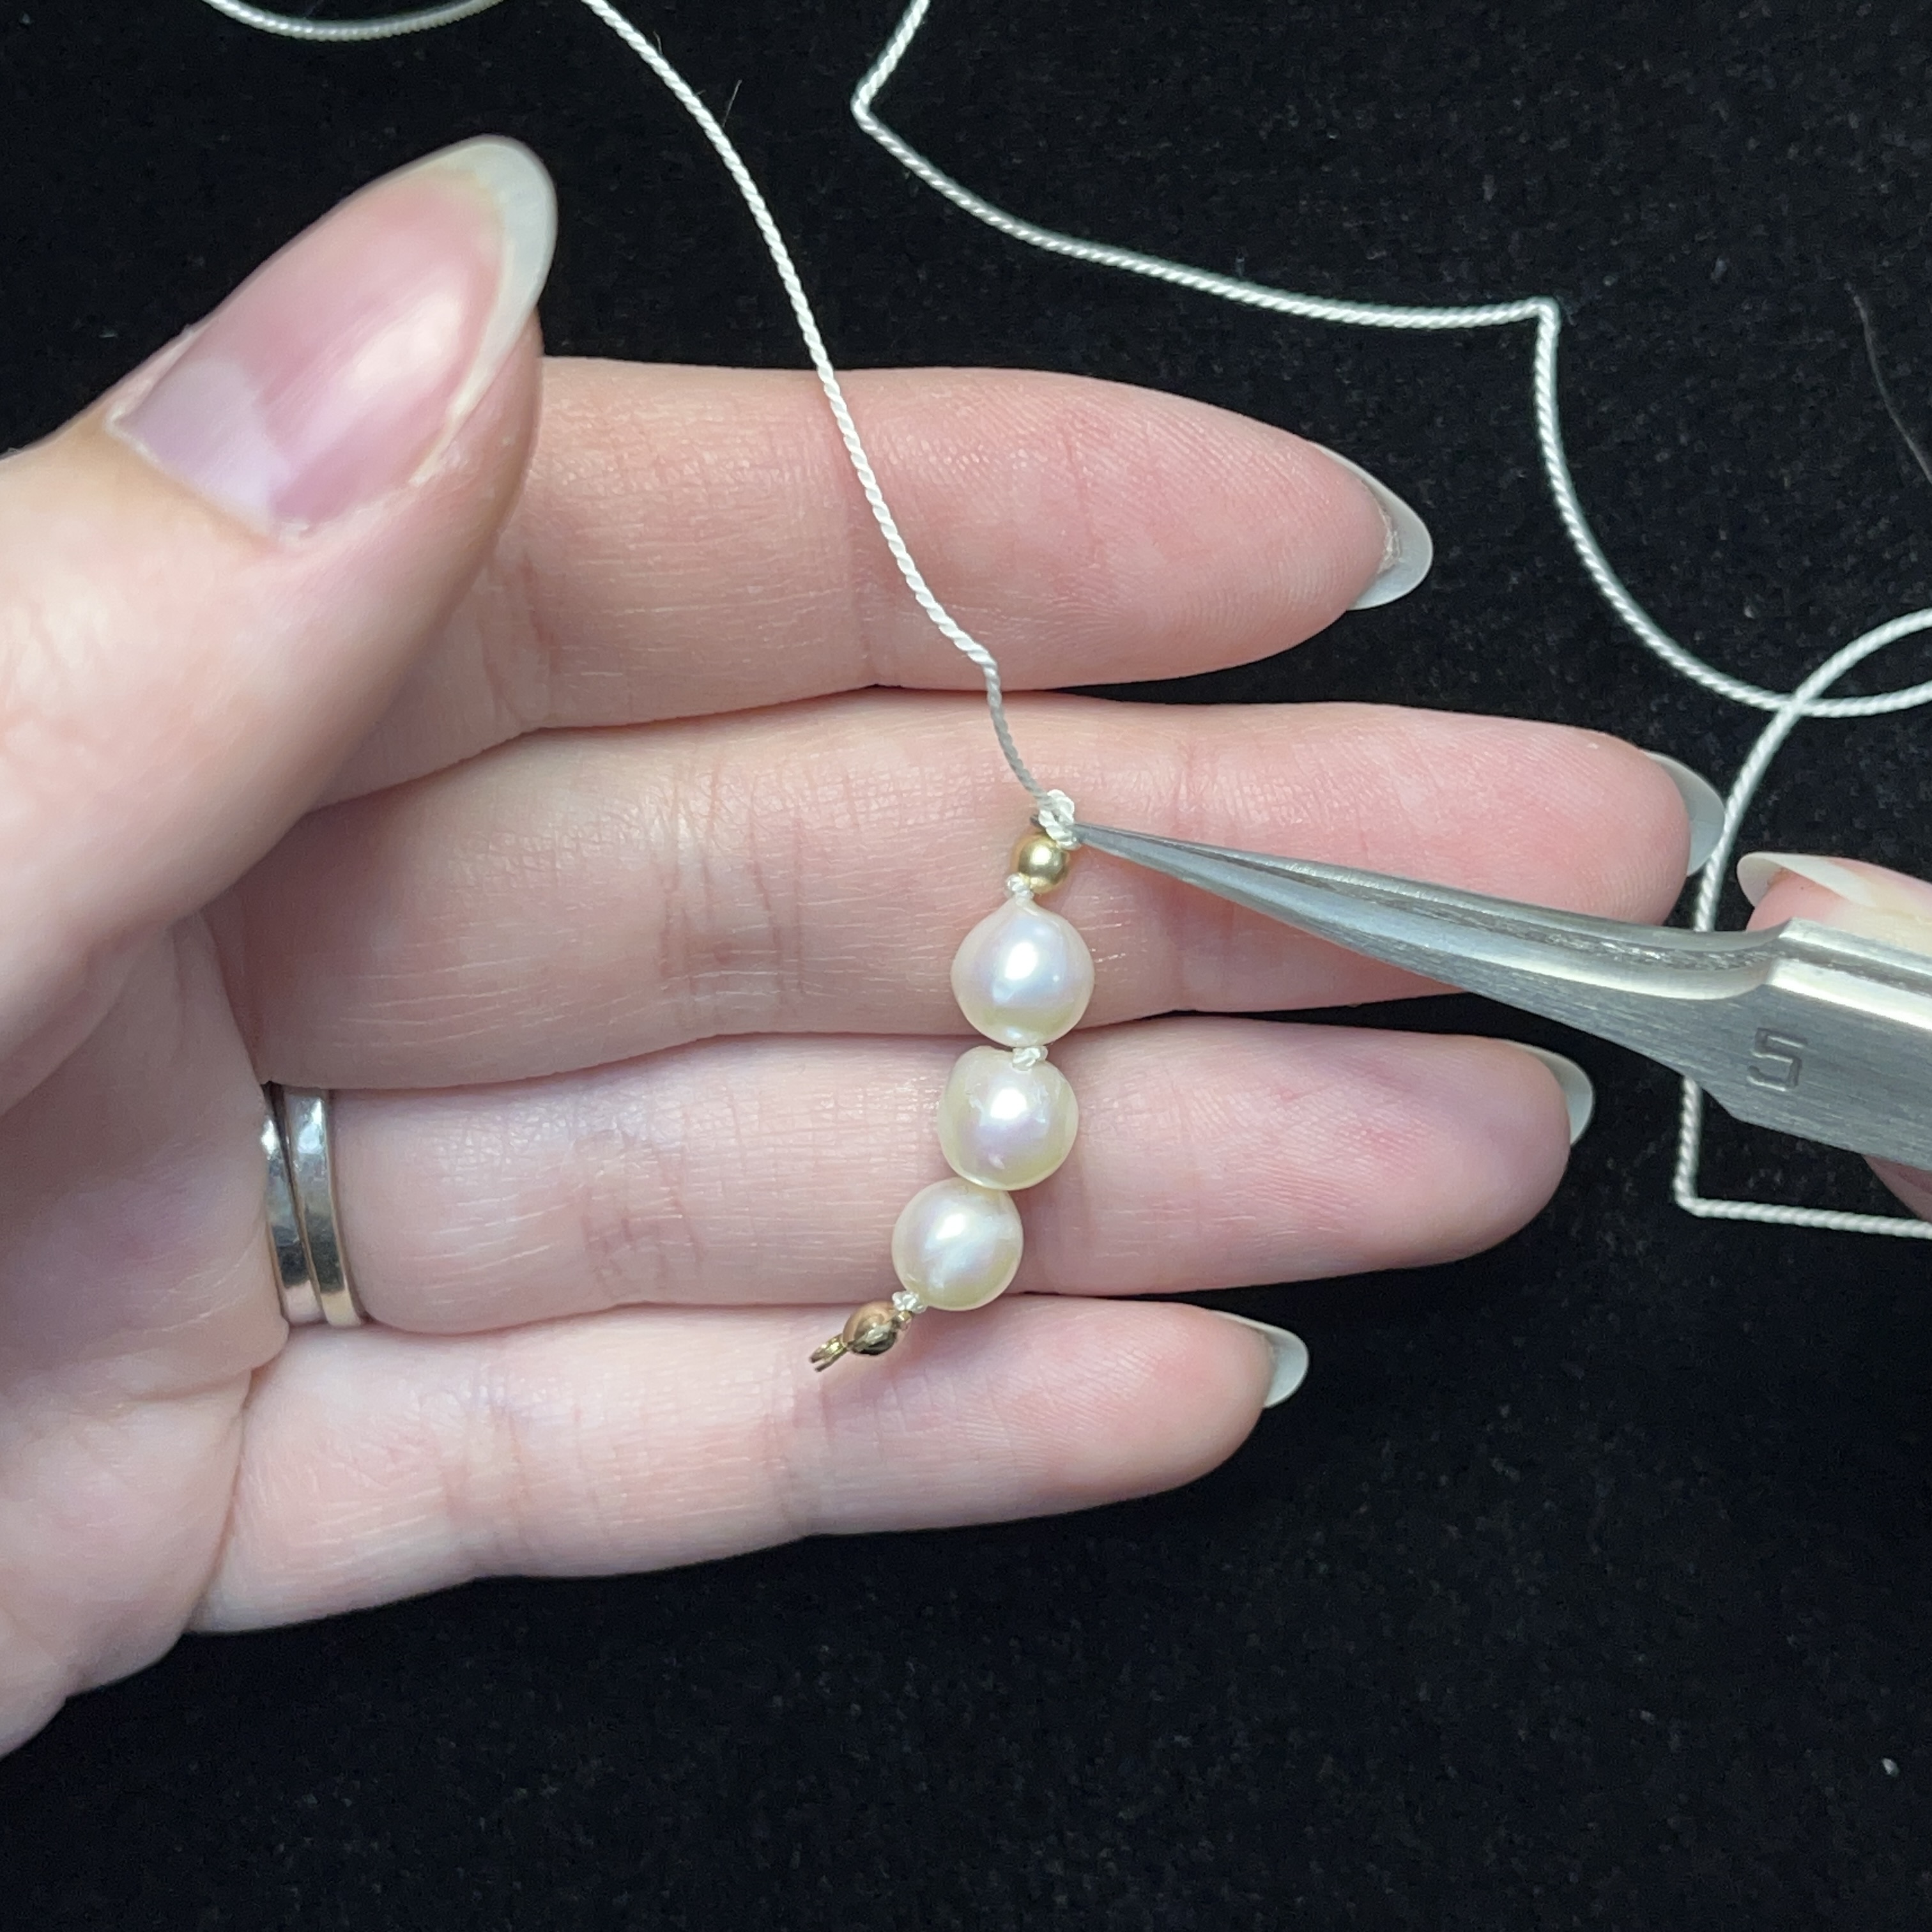
23. Knot above the gold bead
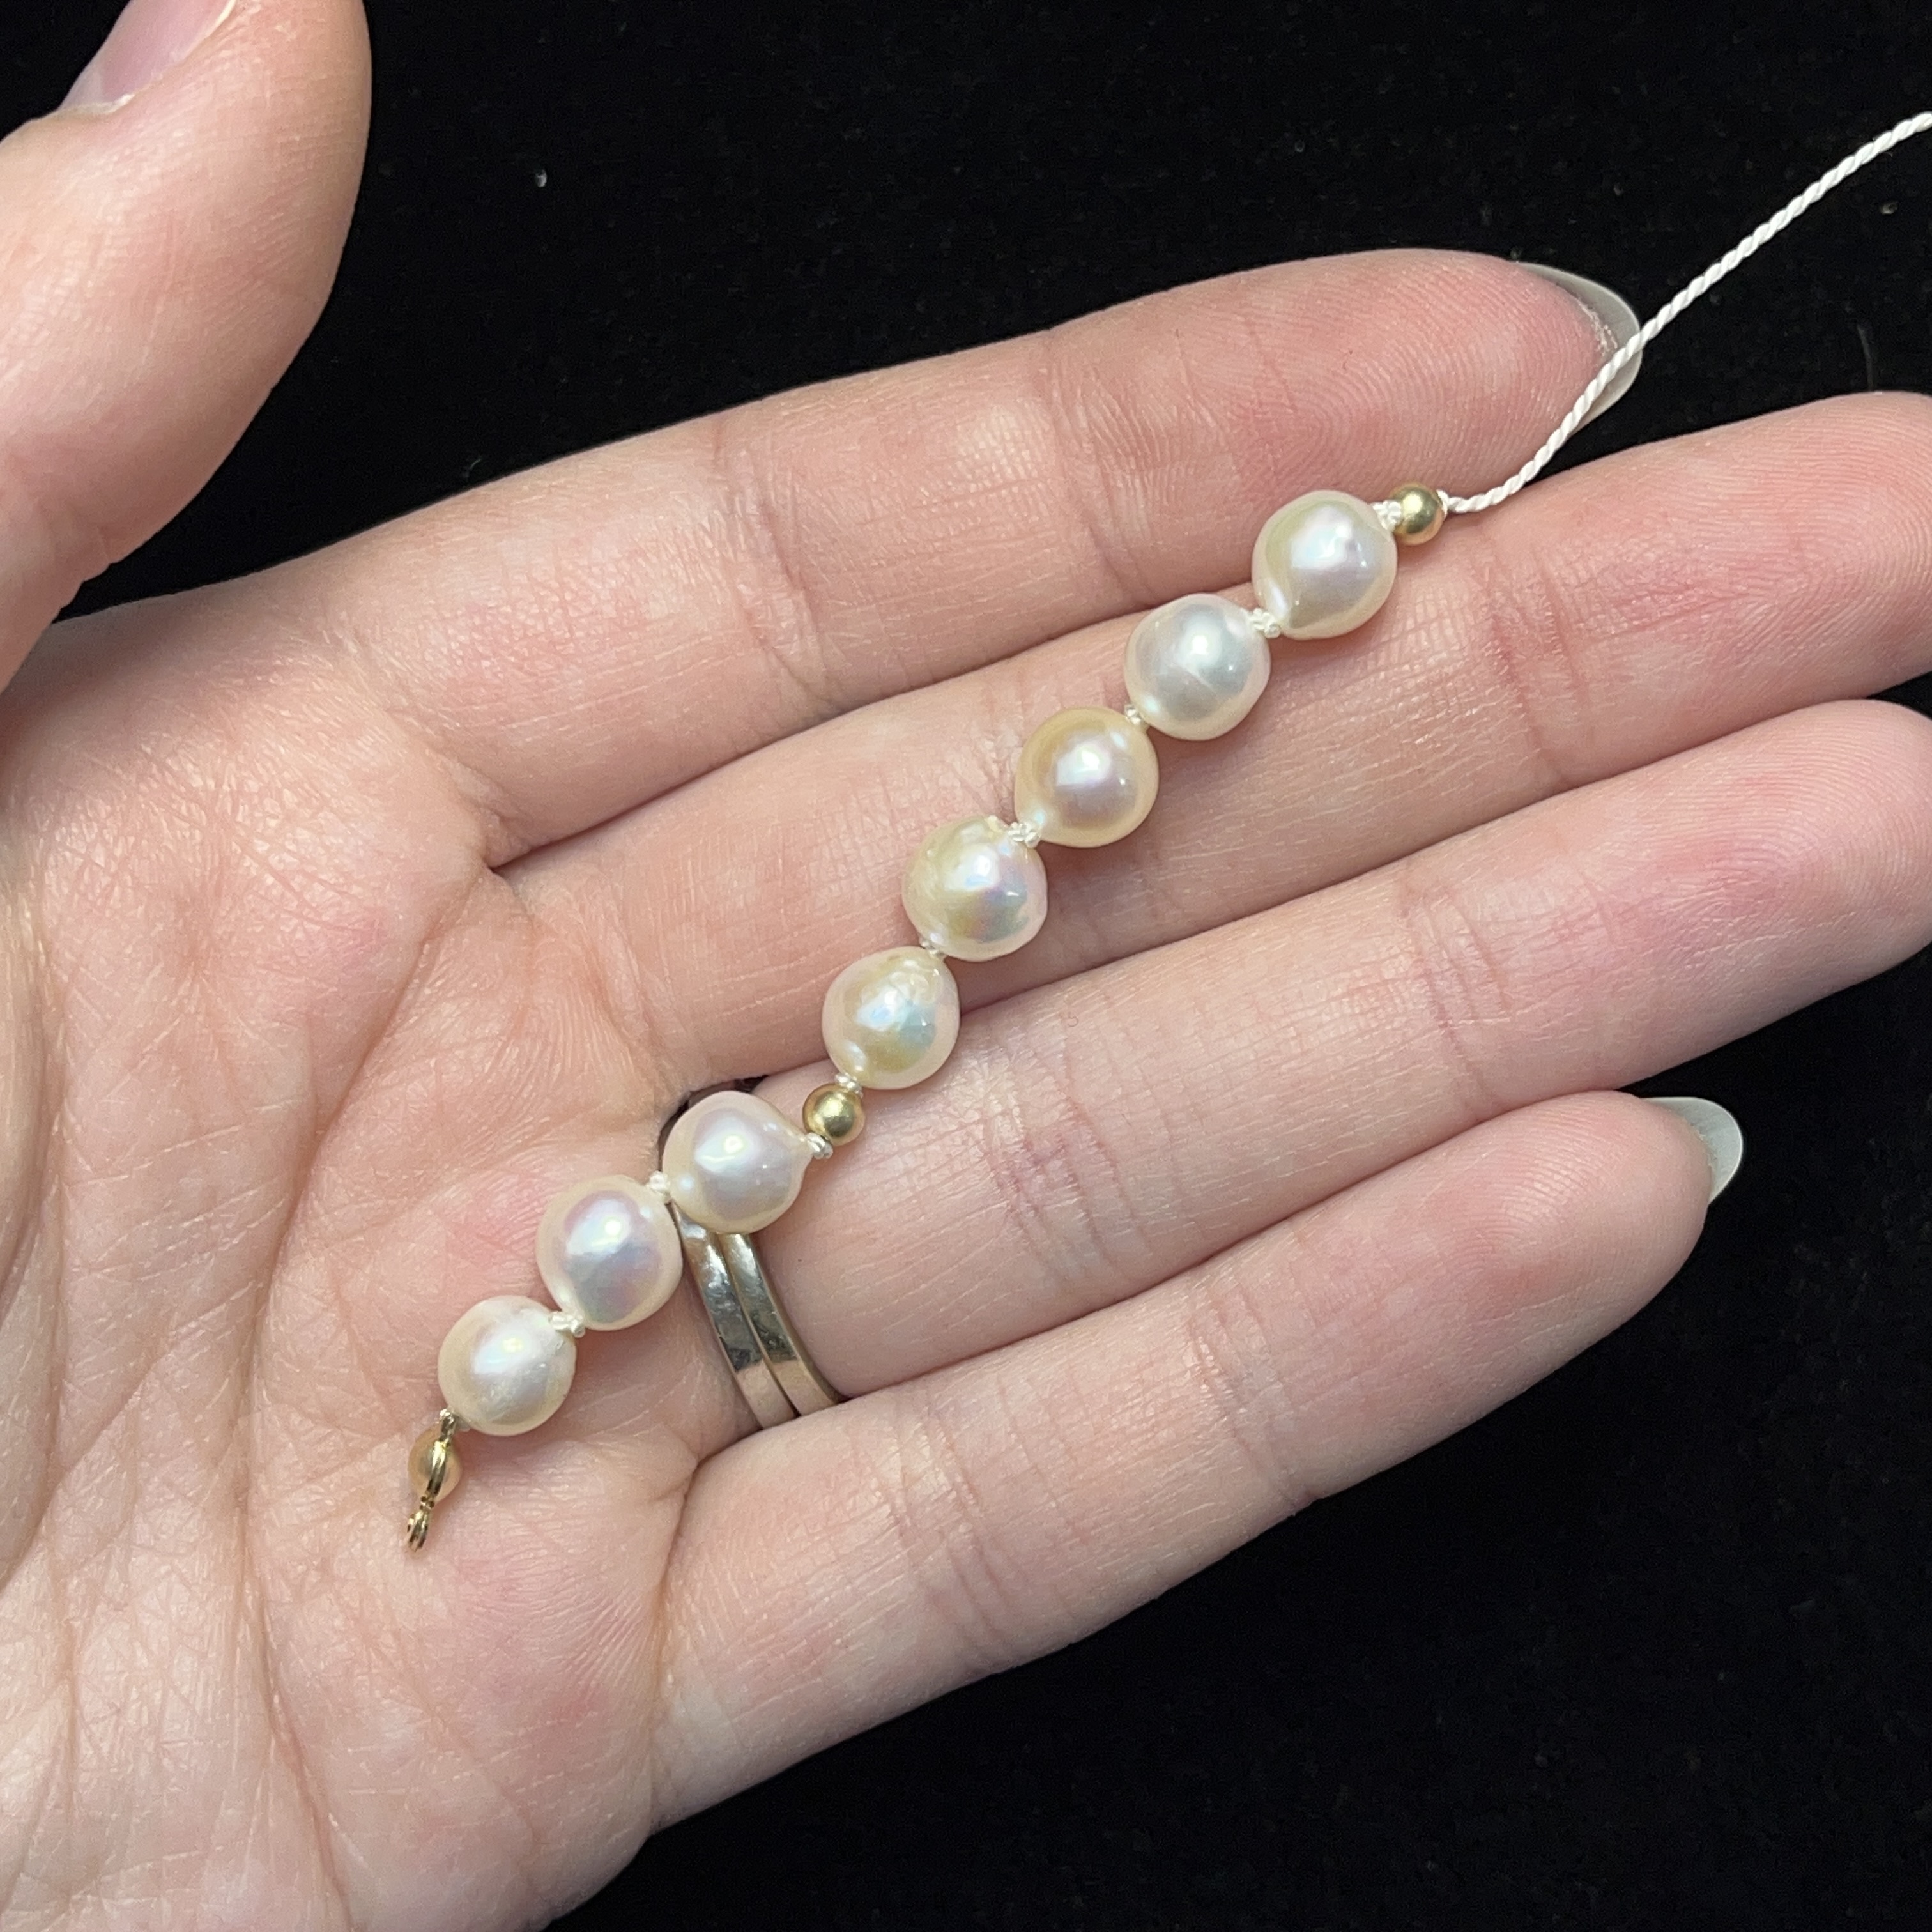
24. Continue with the pre strung beads and add the next 5 pearls and gold bead
25. Continue until you have completed the pattern. Knot the end of the last pearl before adding the clamshell in the next step
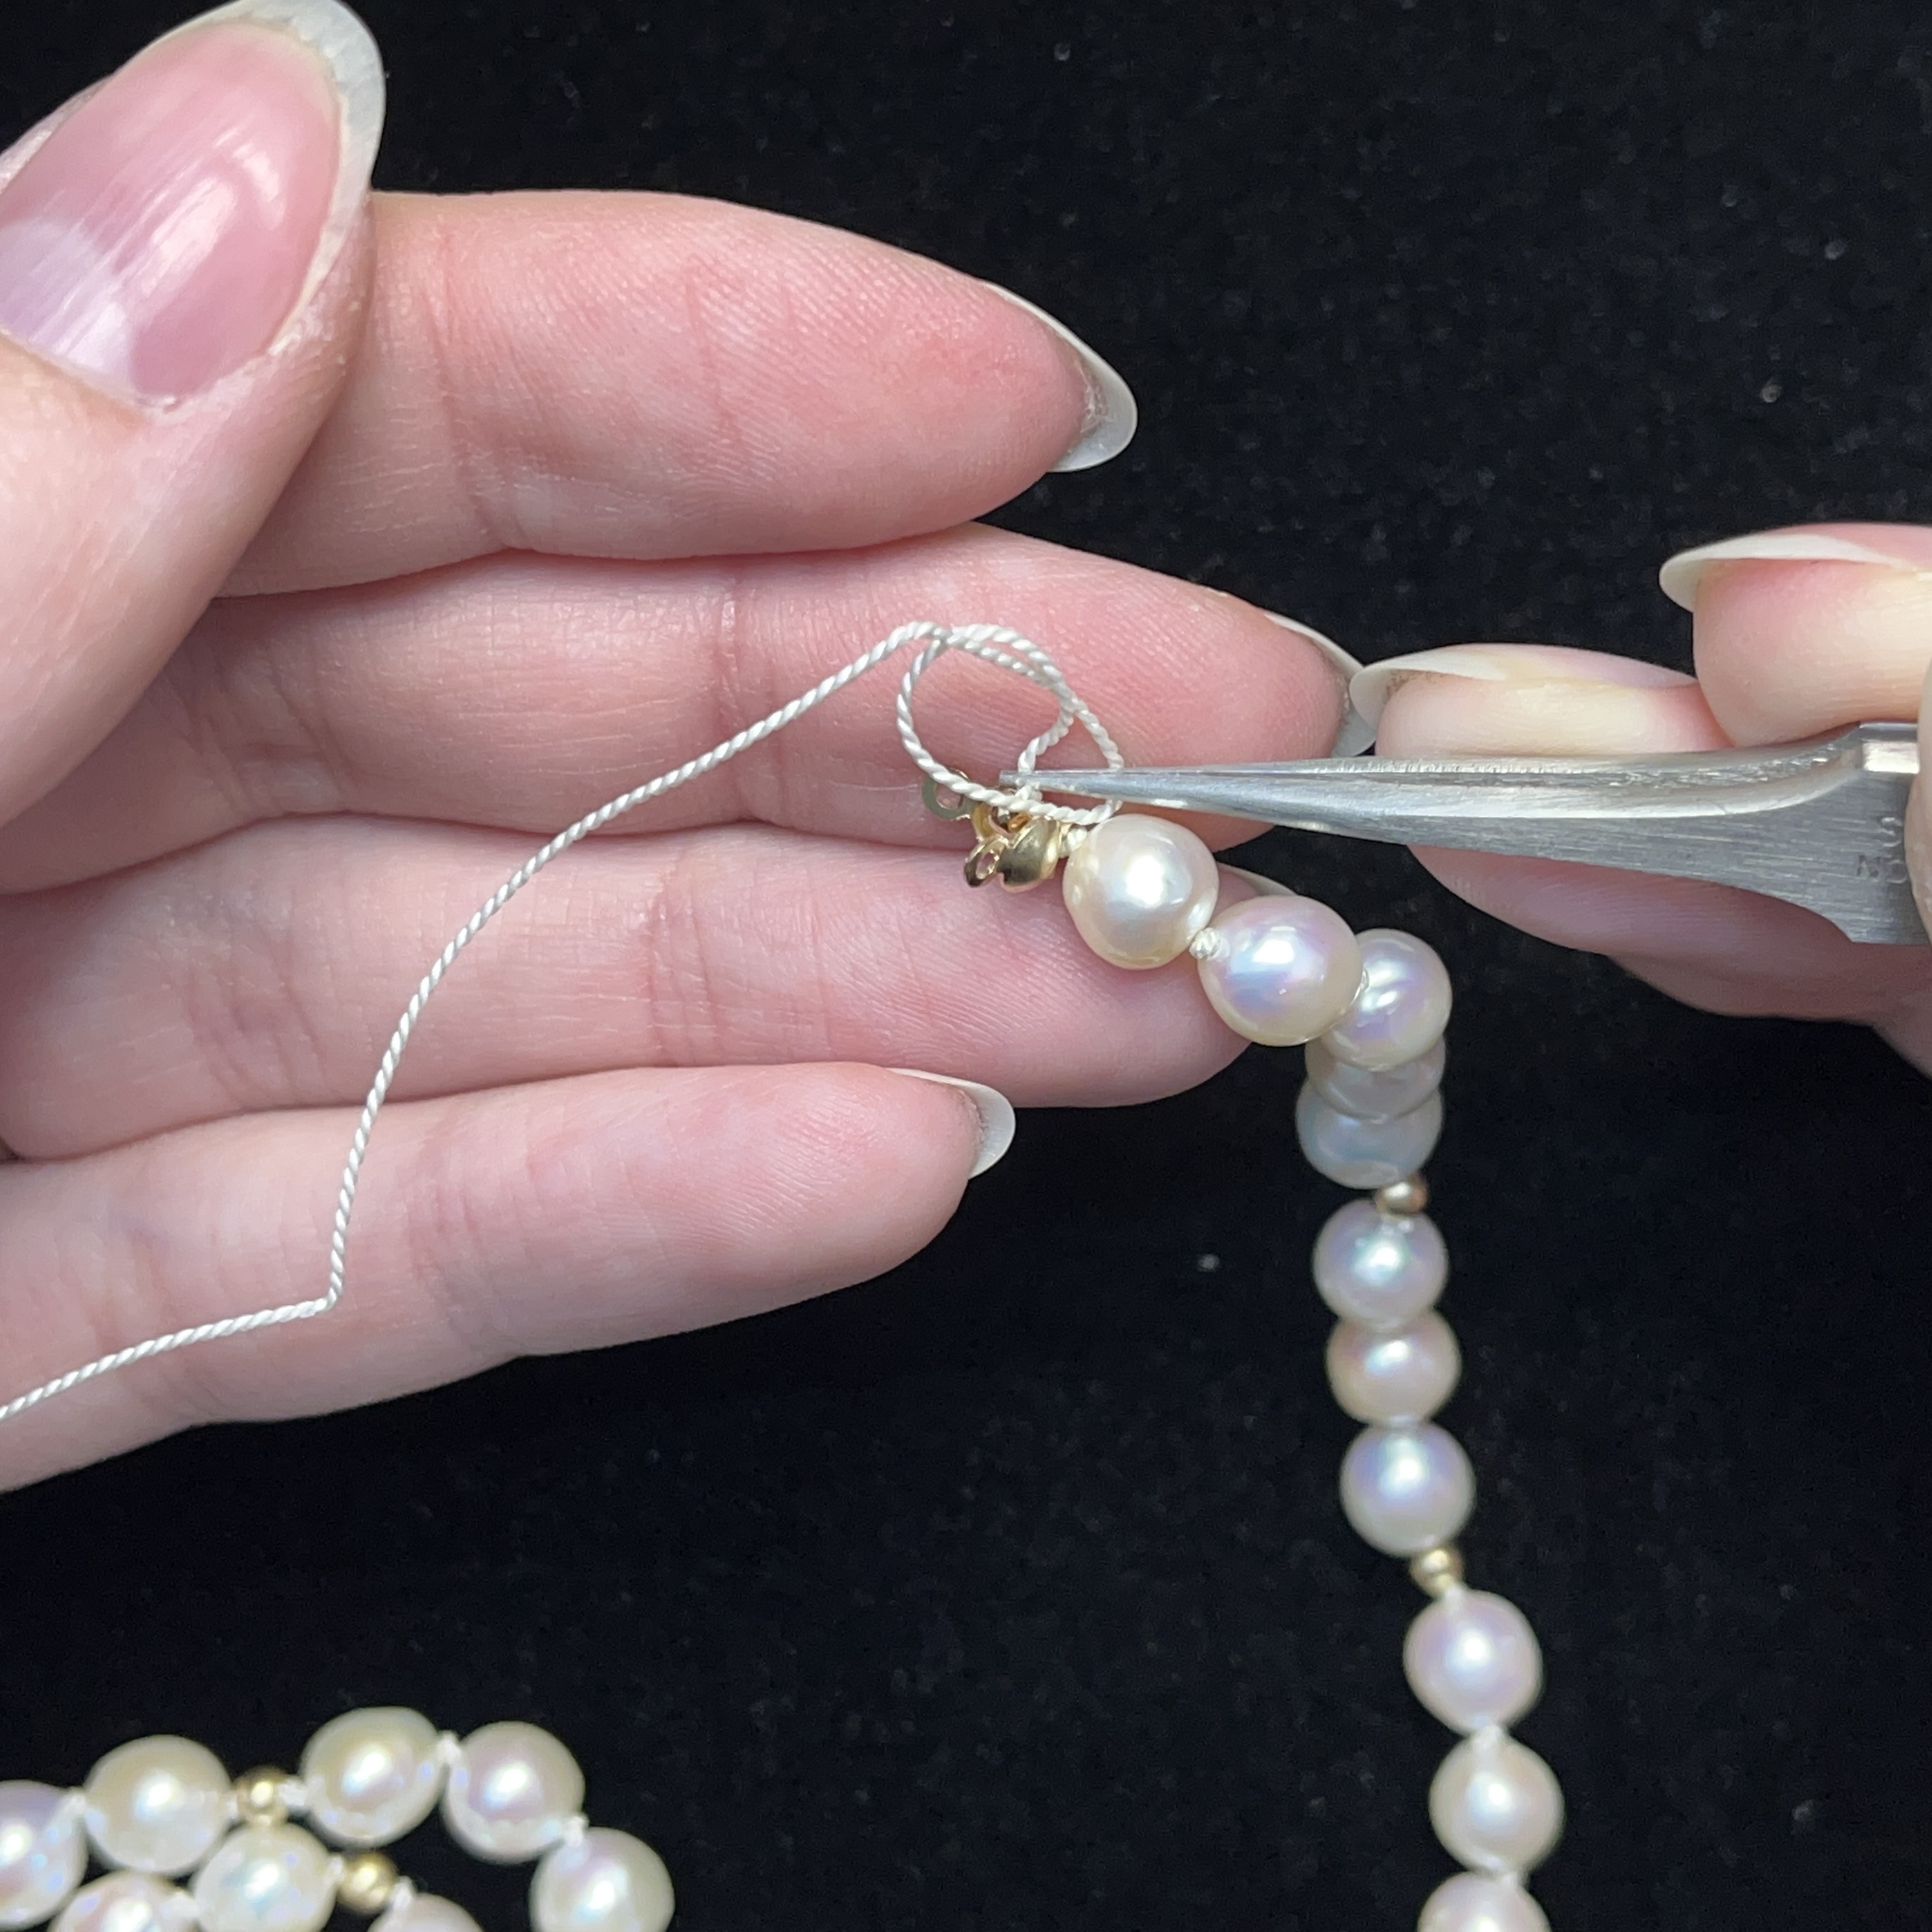
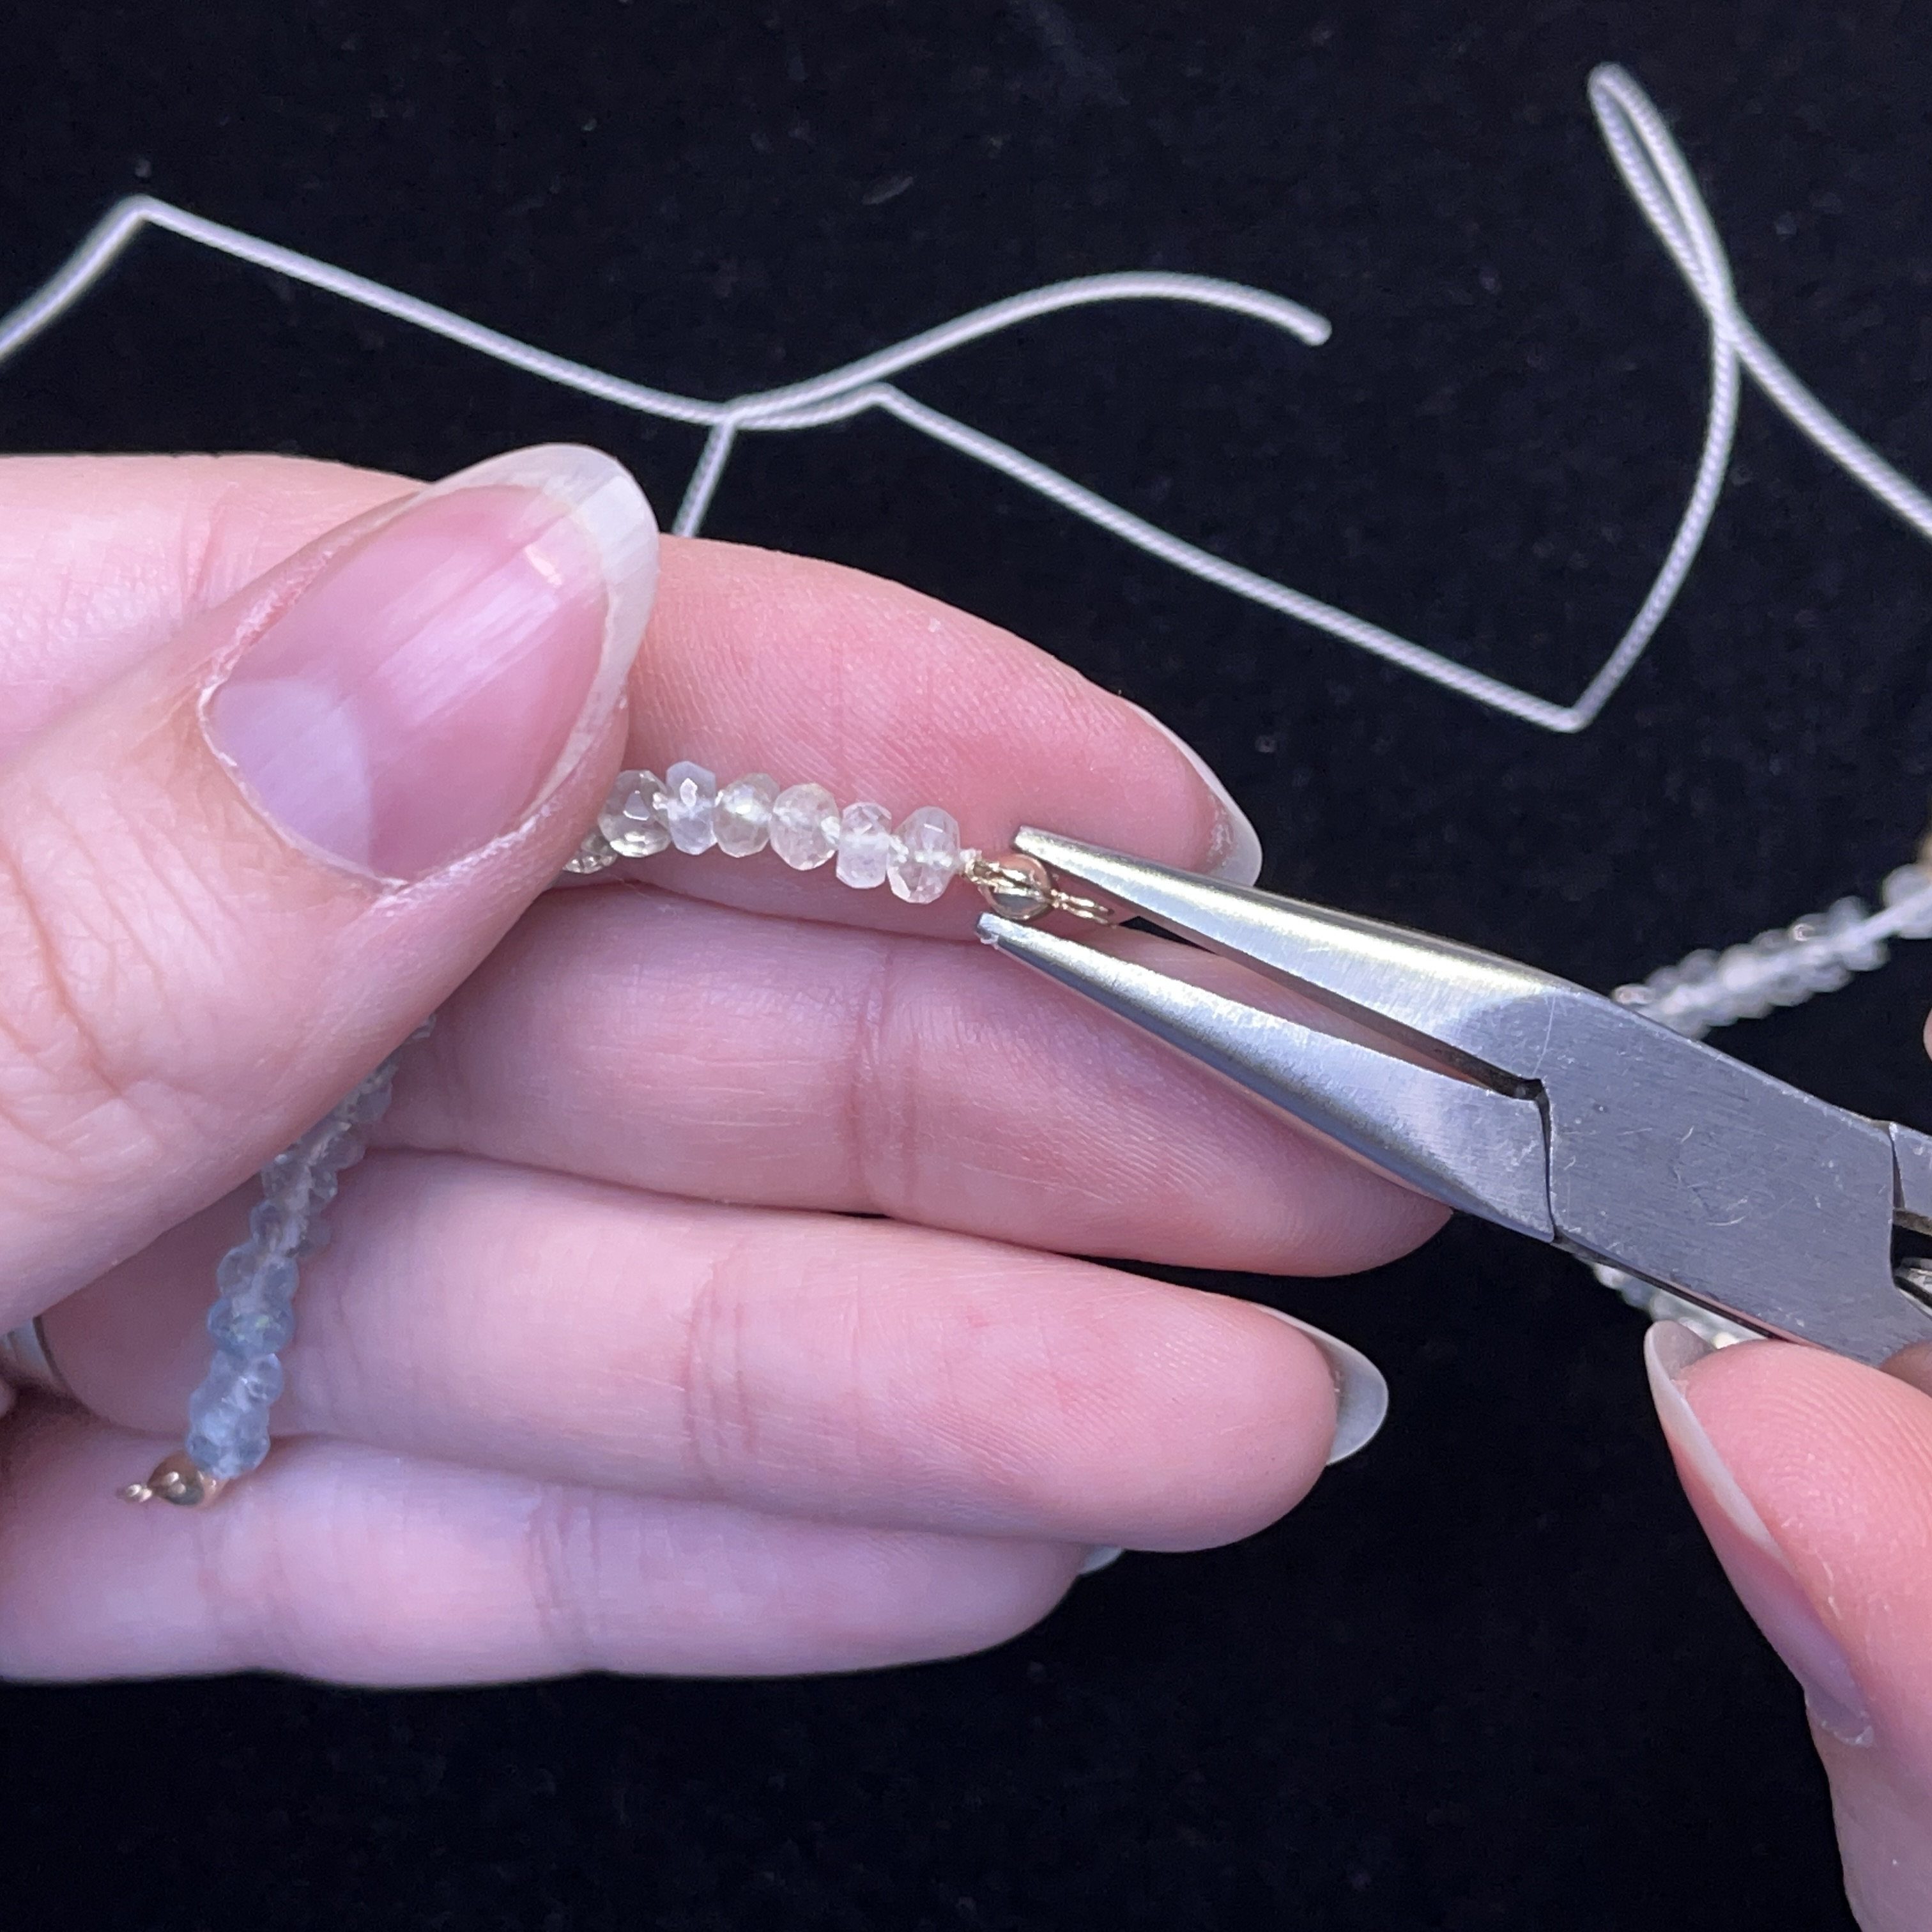
26. Add clamshell as shown above
27. Tie knot and pinch base of the clamshell's interior with your tweezers, this is where the knot will go
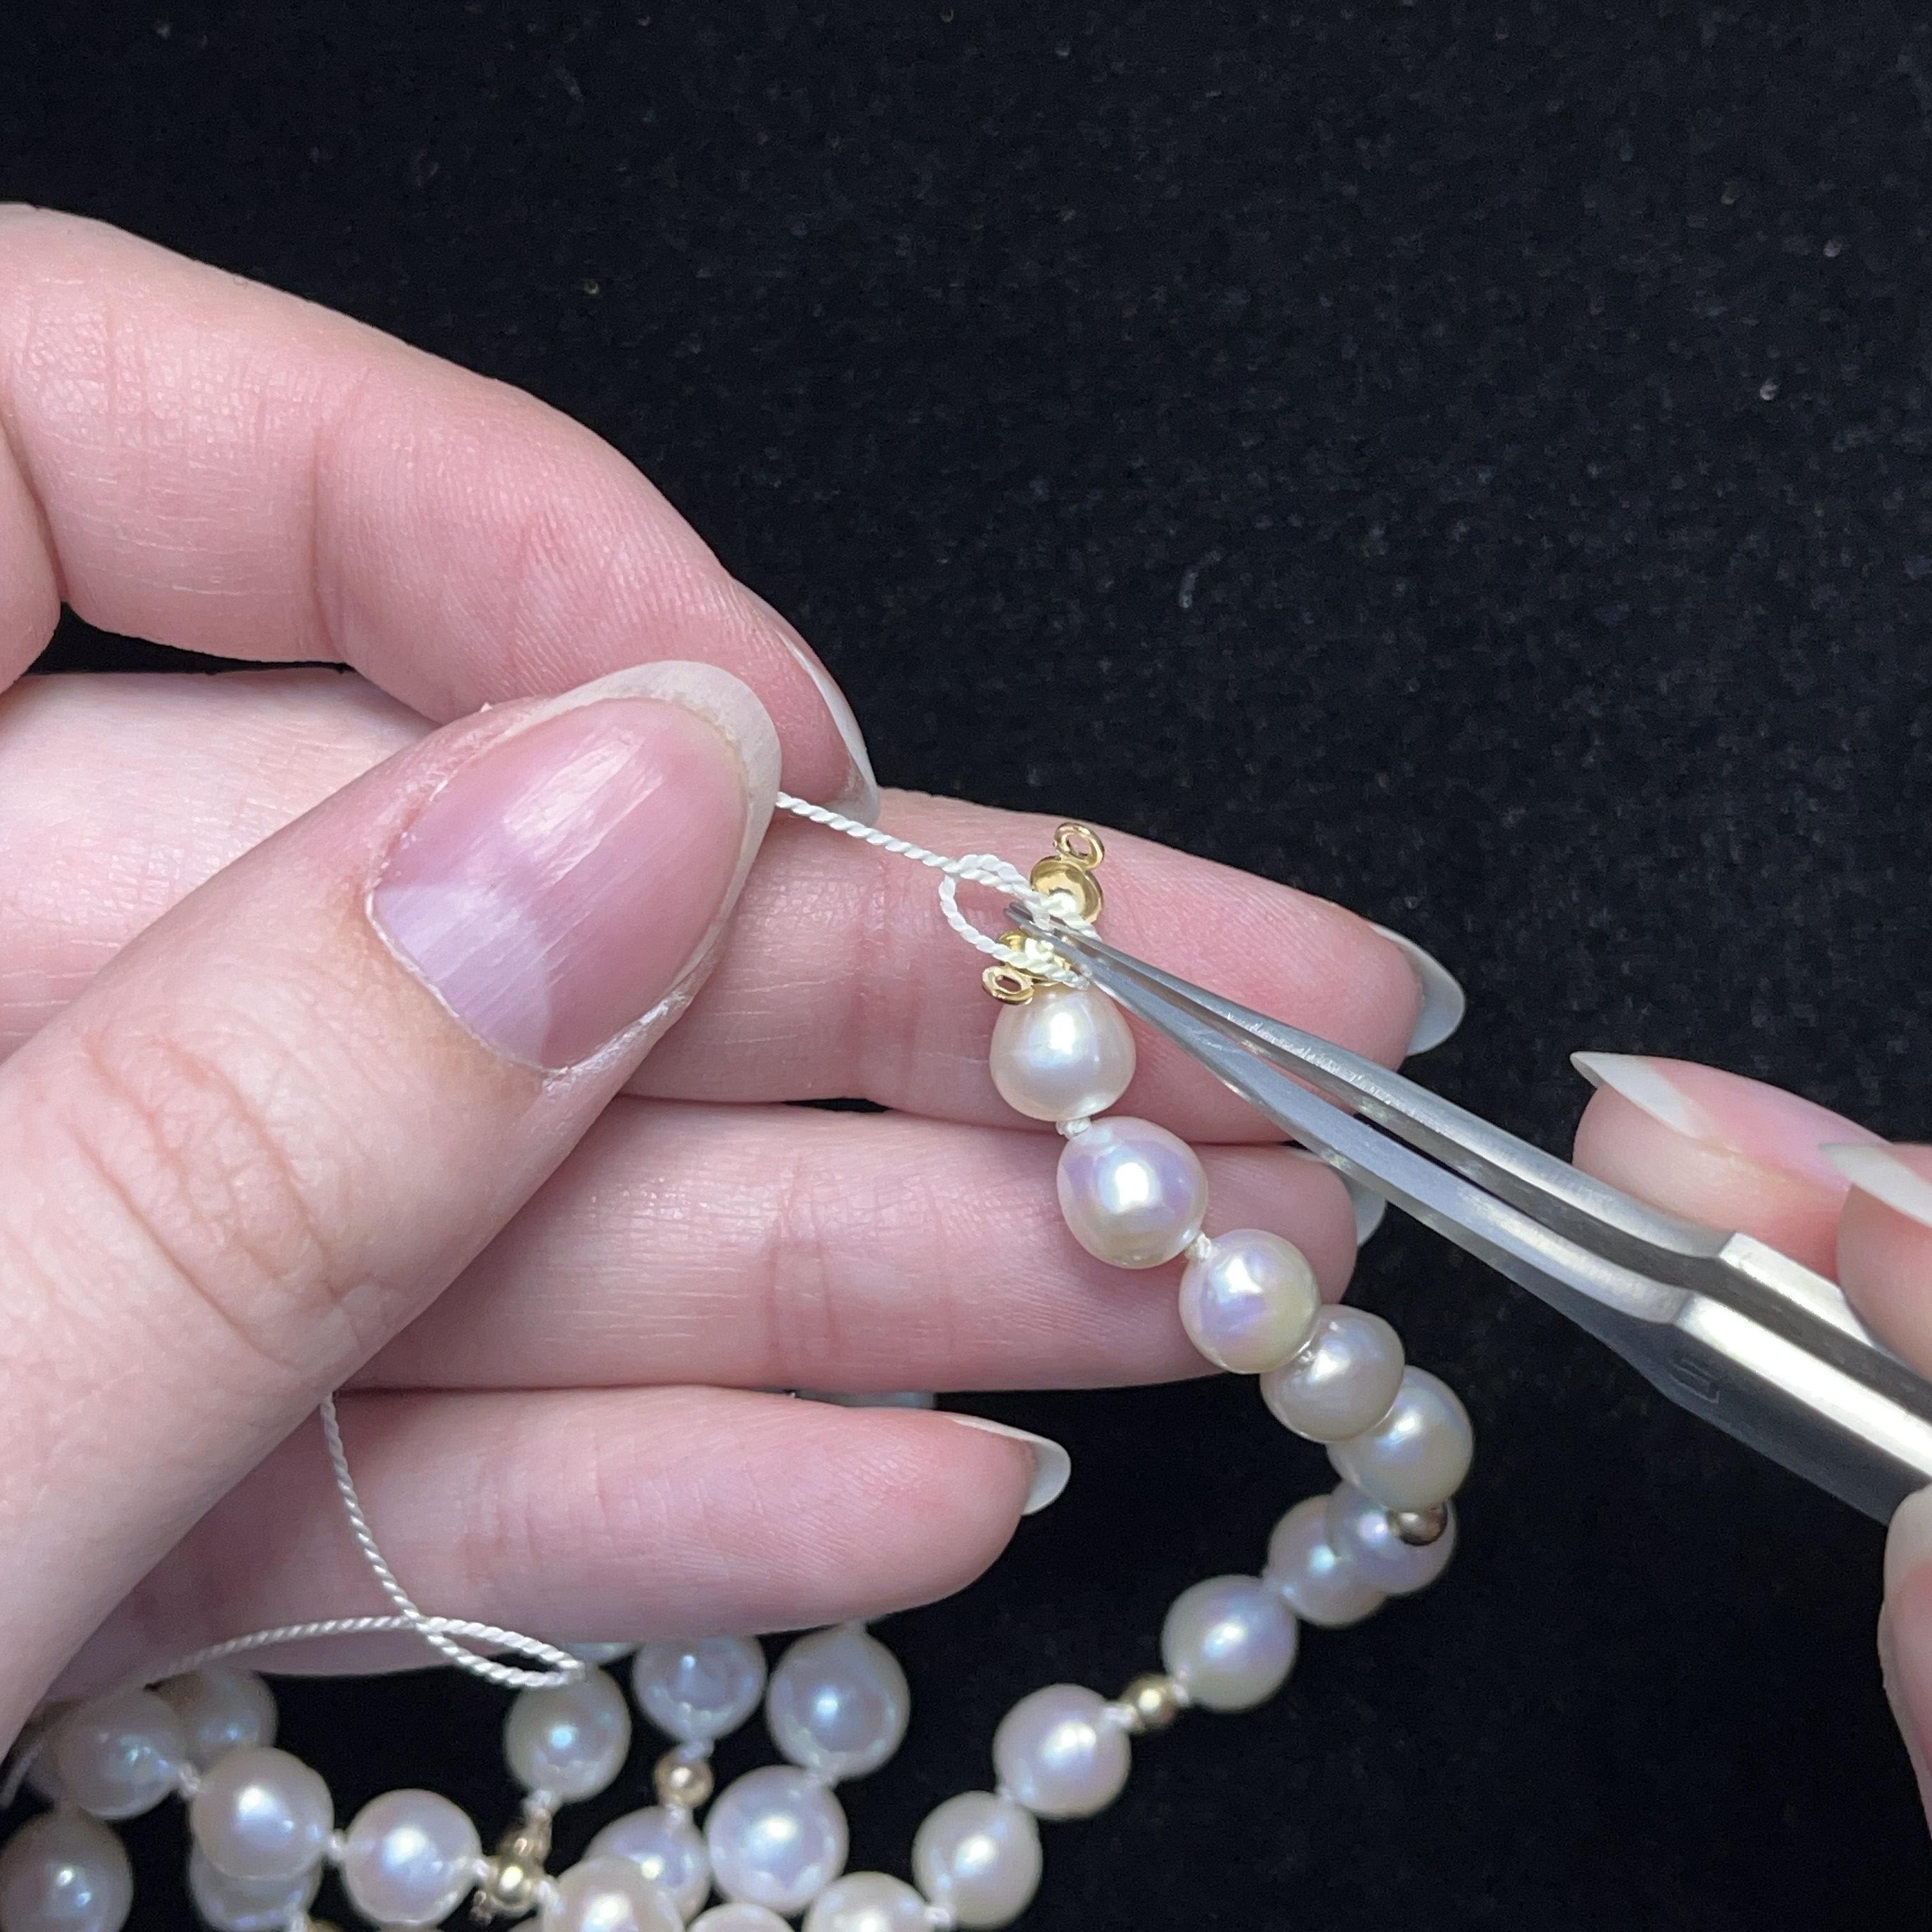
28. Tighten knot
29. Thread on a 2mm gold bead
30. Tie a second knot
31. If you would like, tie a third knot
32. Squish 2mm gold bead
33. Cut off excess thread
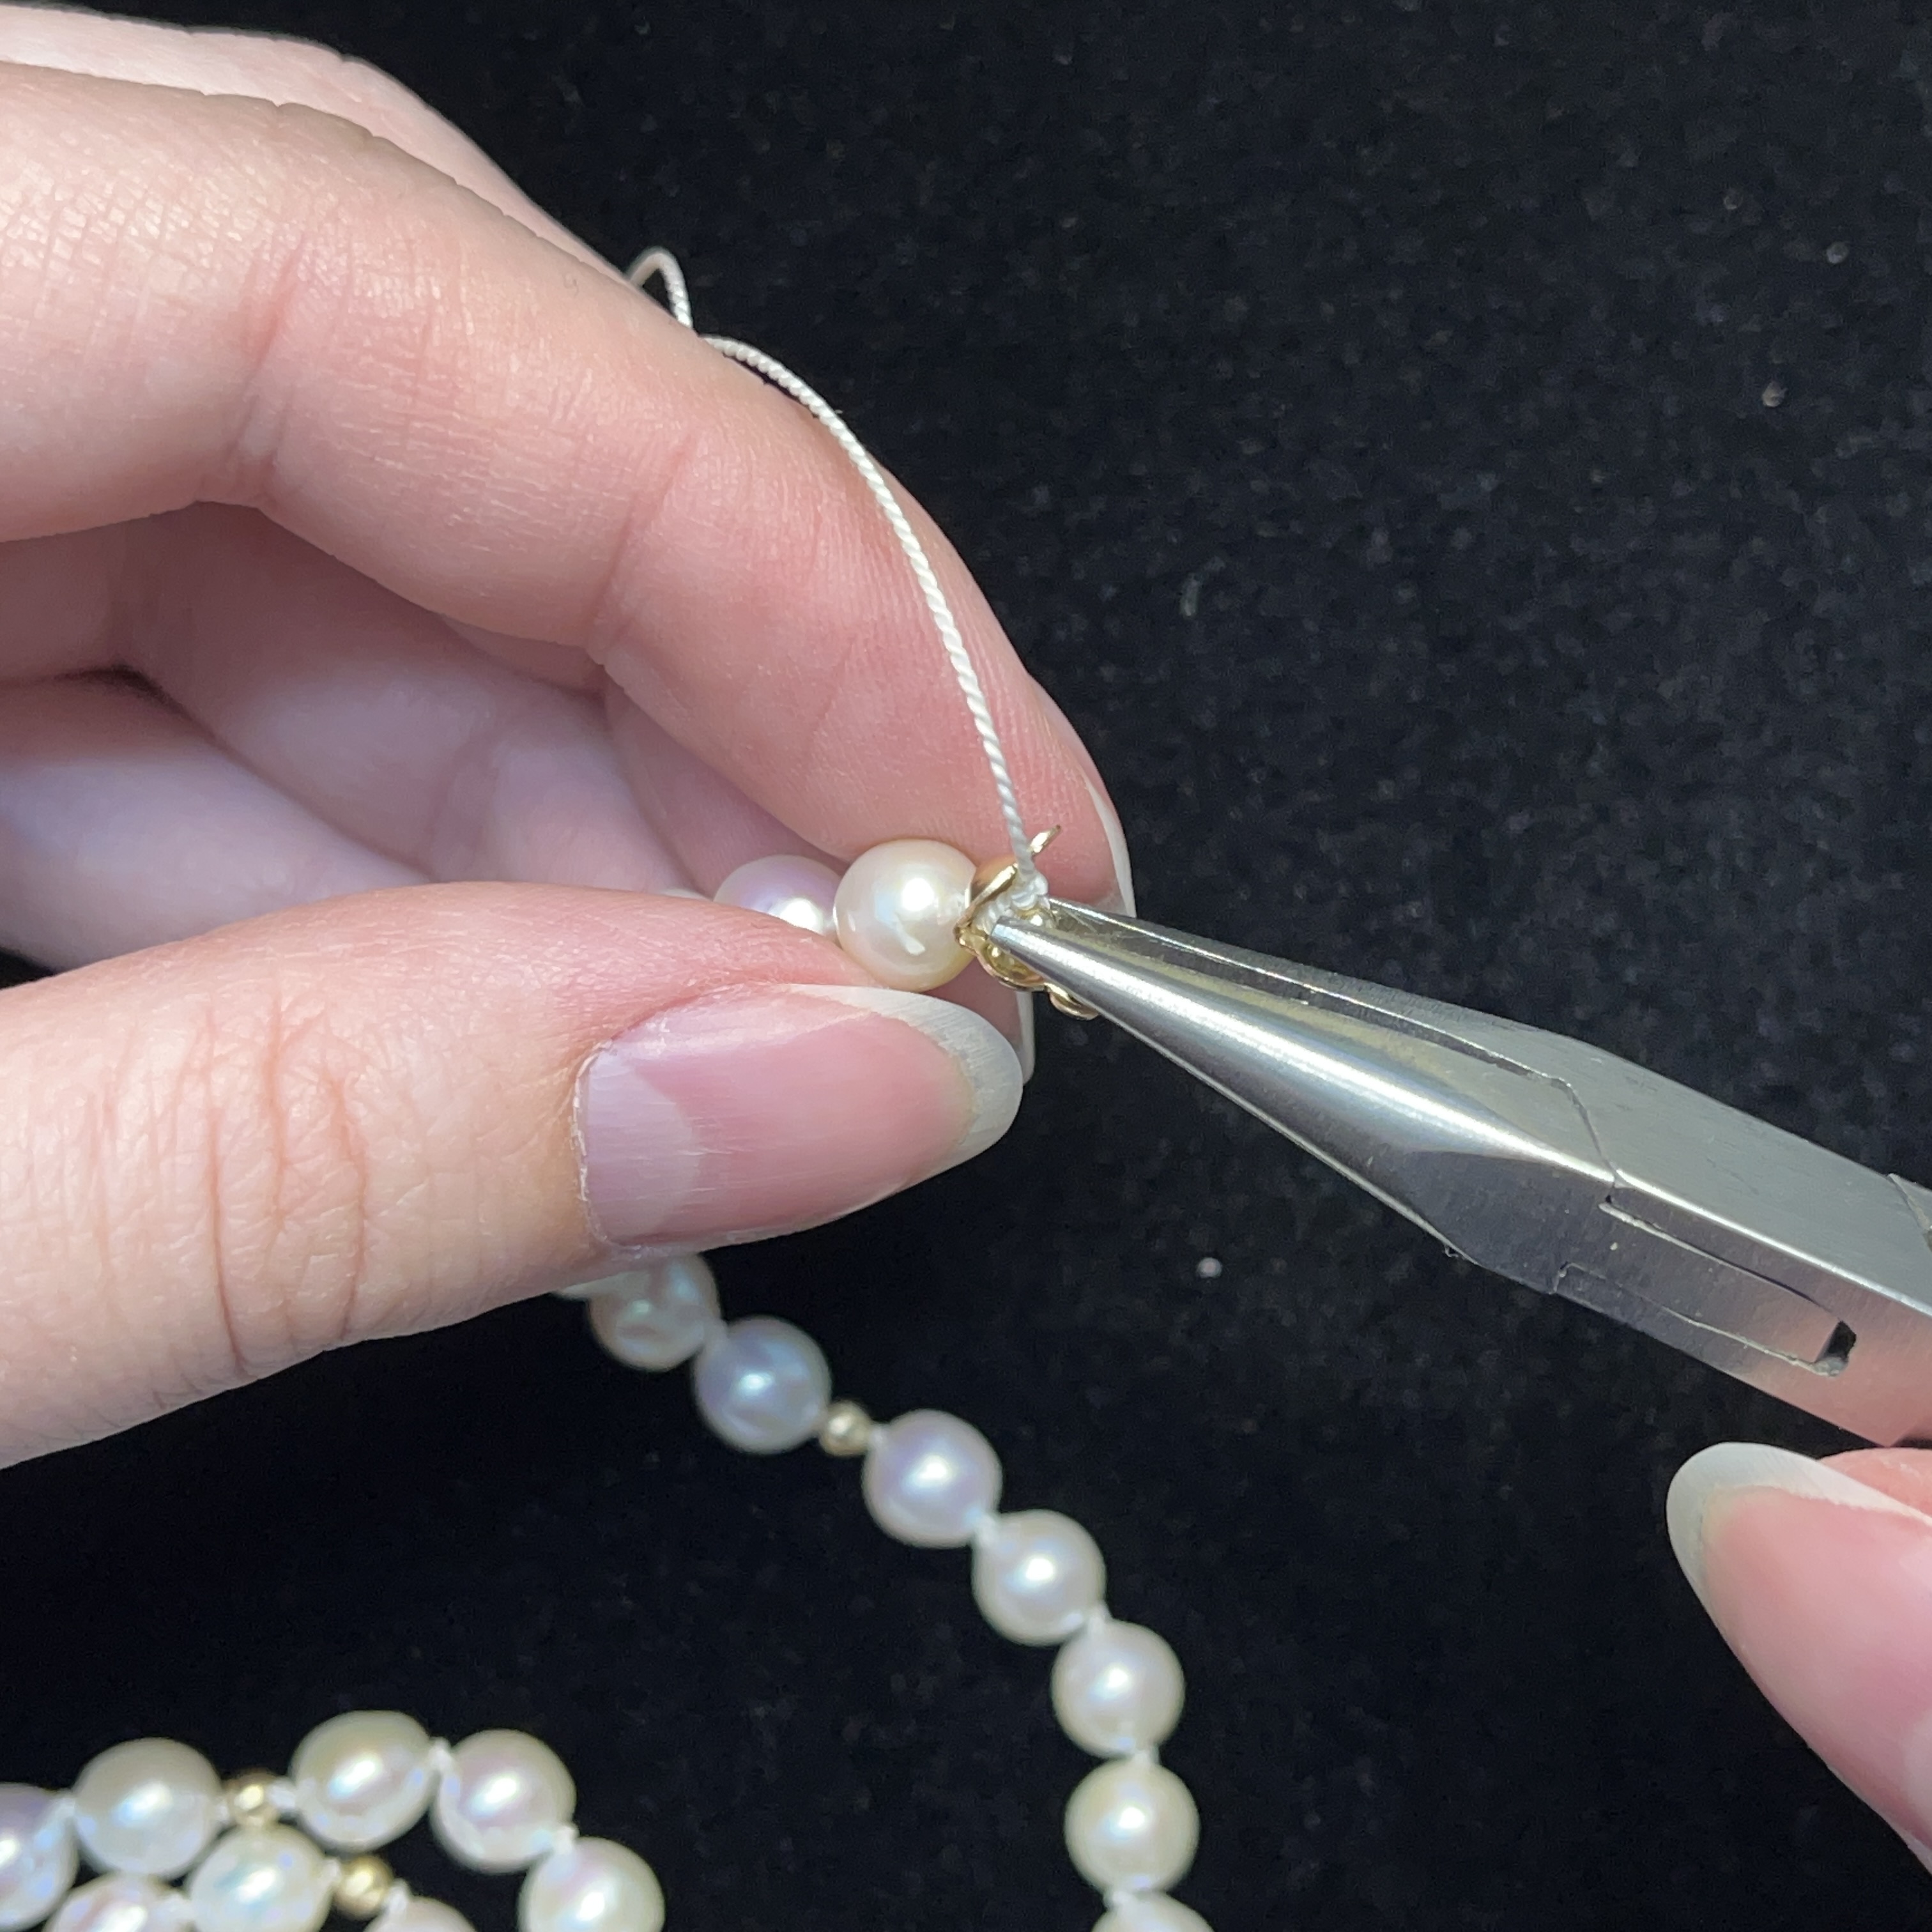
34. Dab a generous amount of glue in clamshell and on the knotted thread
35. Gently close clamshell with your pliers

36. Attach your toggle eye using a jump ring and pliers
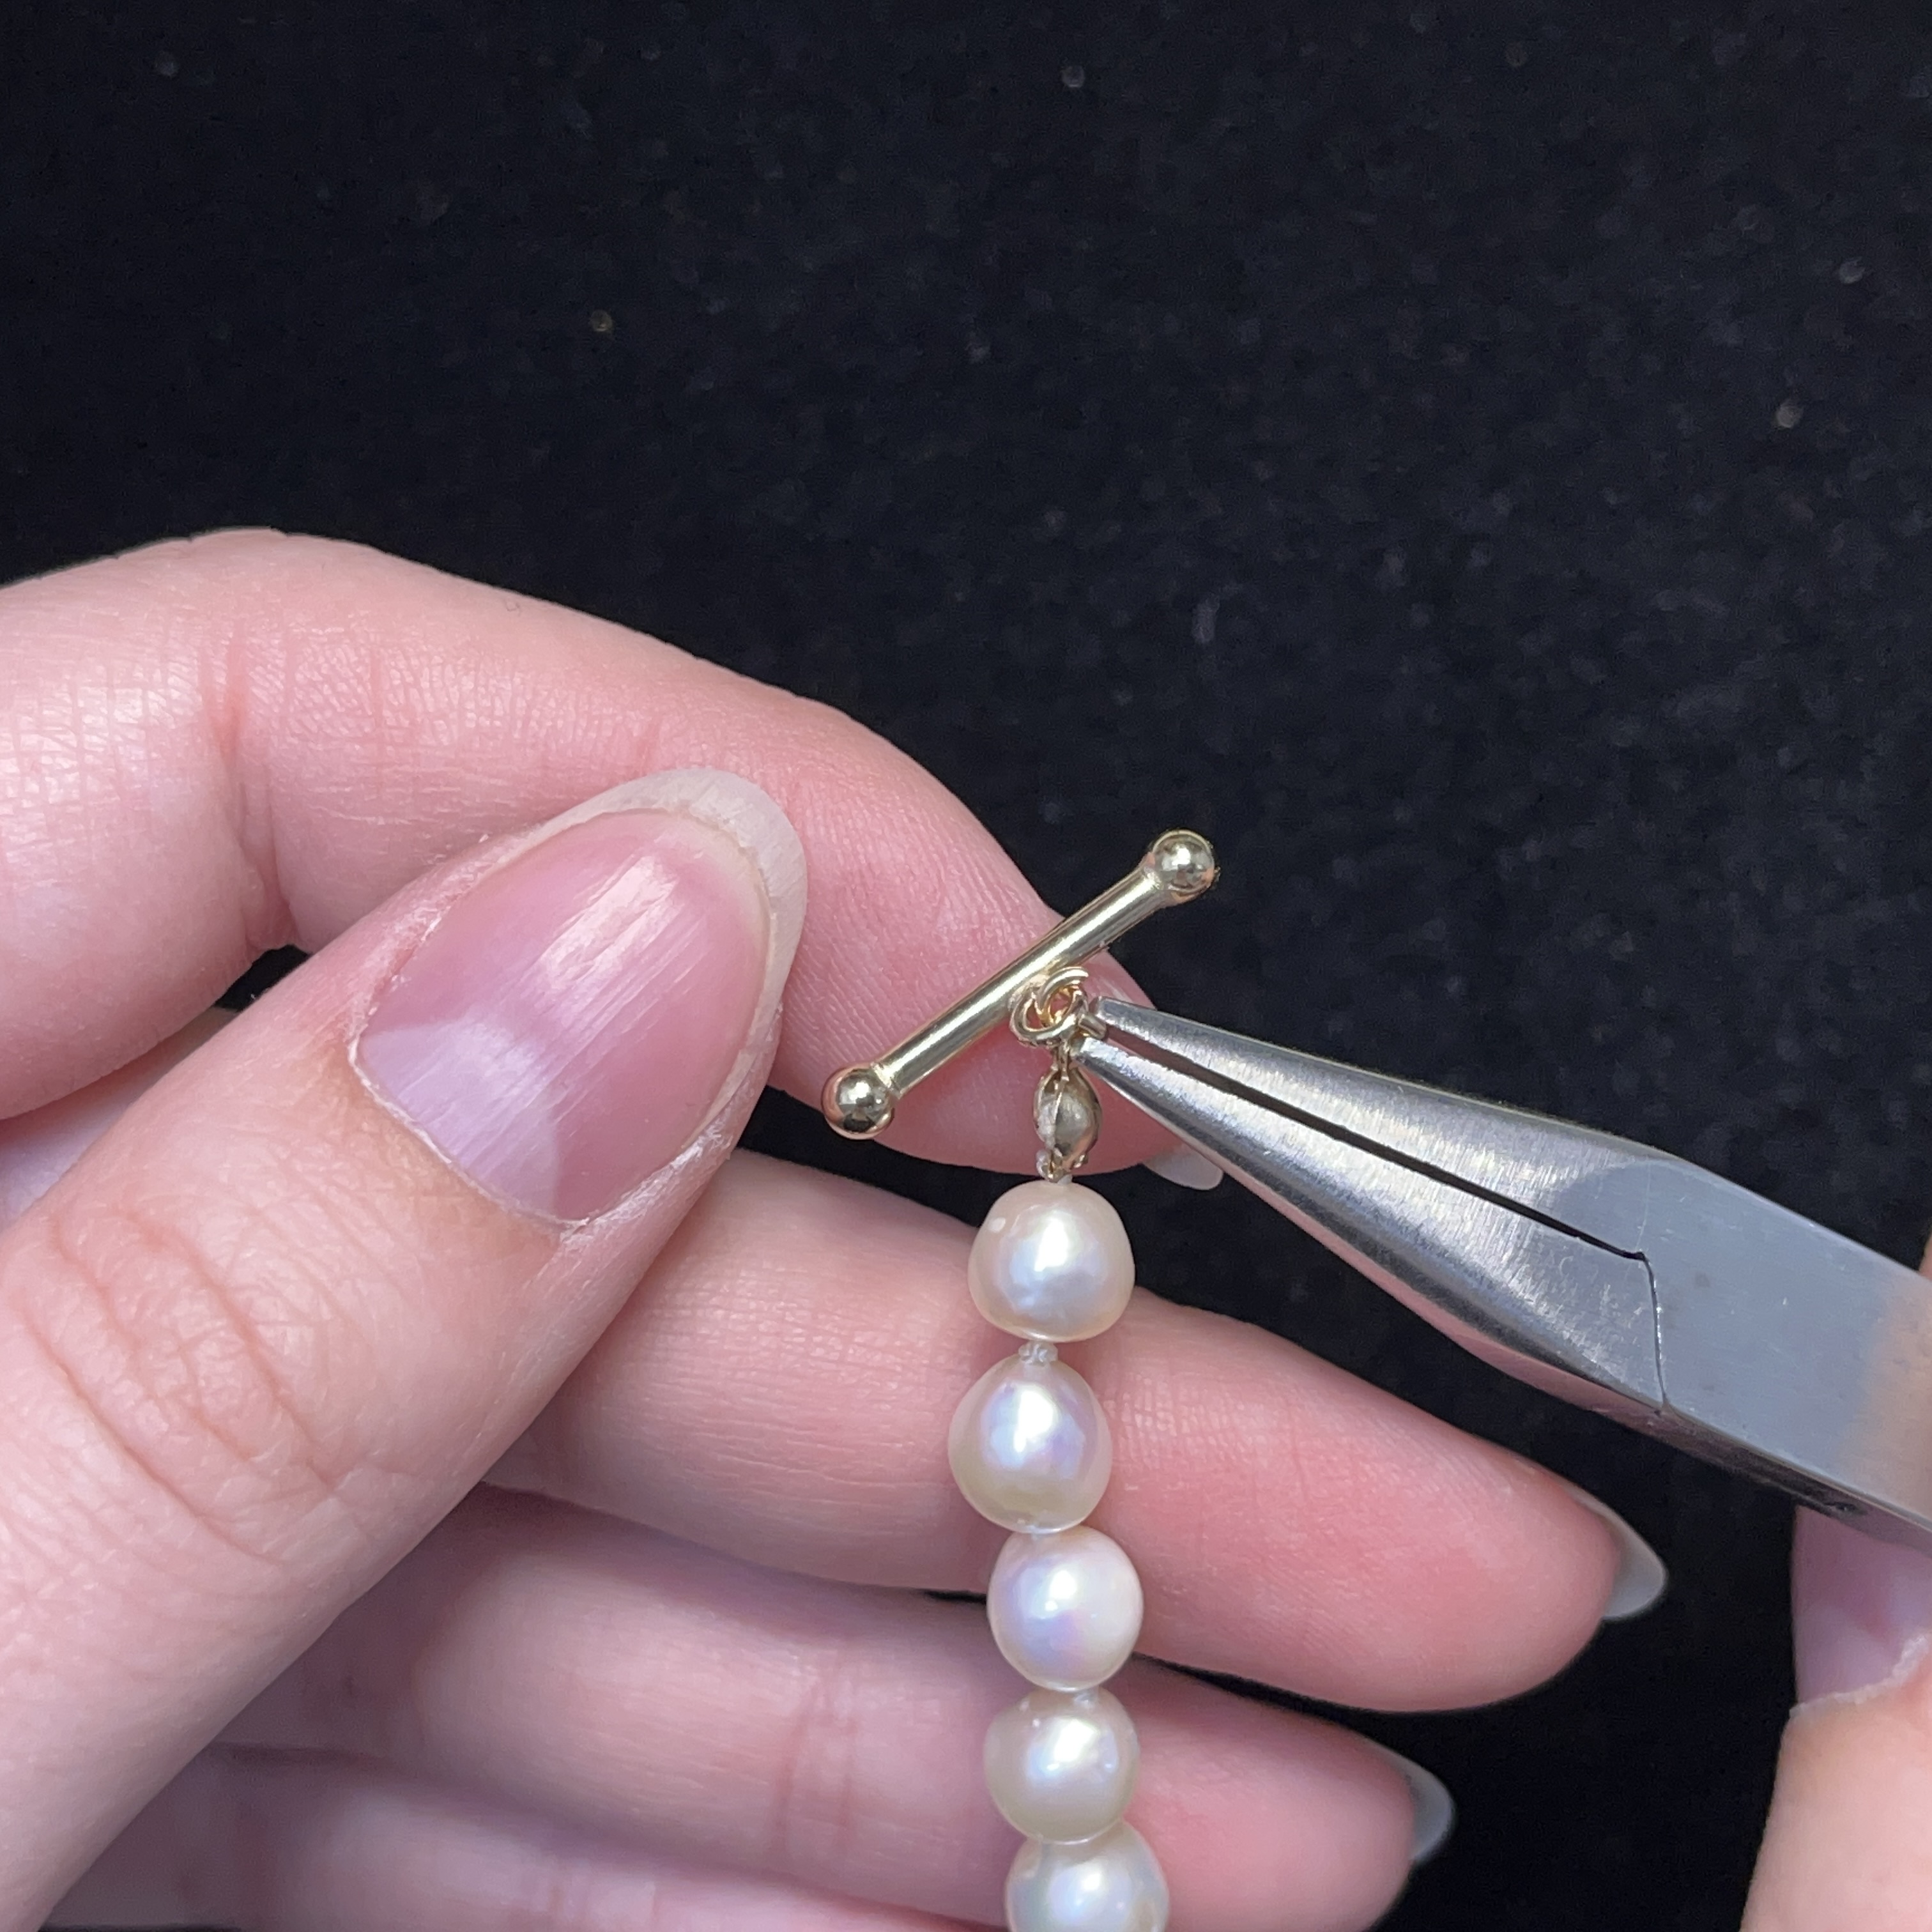
37. Attach your toggle bar using a jump ring and pliers
4. Done! :)
Instructions on Construction: Knotted Aquamarine and Chain Choker Necklace
1. Add a 2mm gold bead onto your griffin silk thread
2. Add a clamshell facing the way shown above on your griffin silk thread
3. Bring the bead to the end of the cord and tie a knot, leaving a tail of about 2-3 inches so you have some cord to work with.
4. Tie 2-3 more knots then clamp gently, squishing the gold bead
5. Cut off the excess thread, careful not to cut the knots!
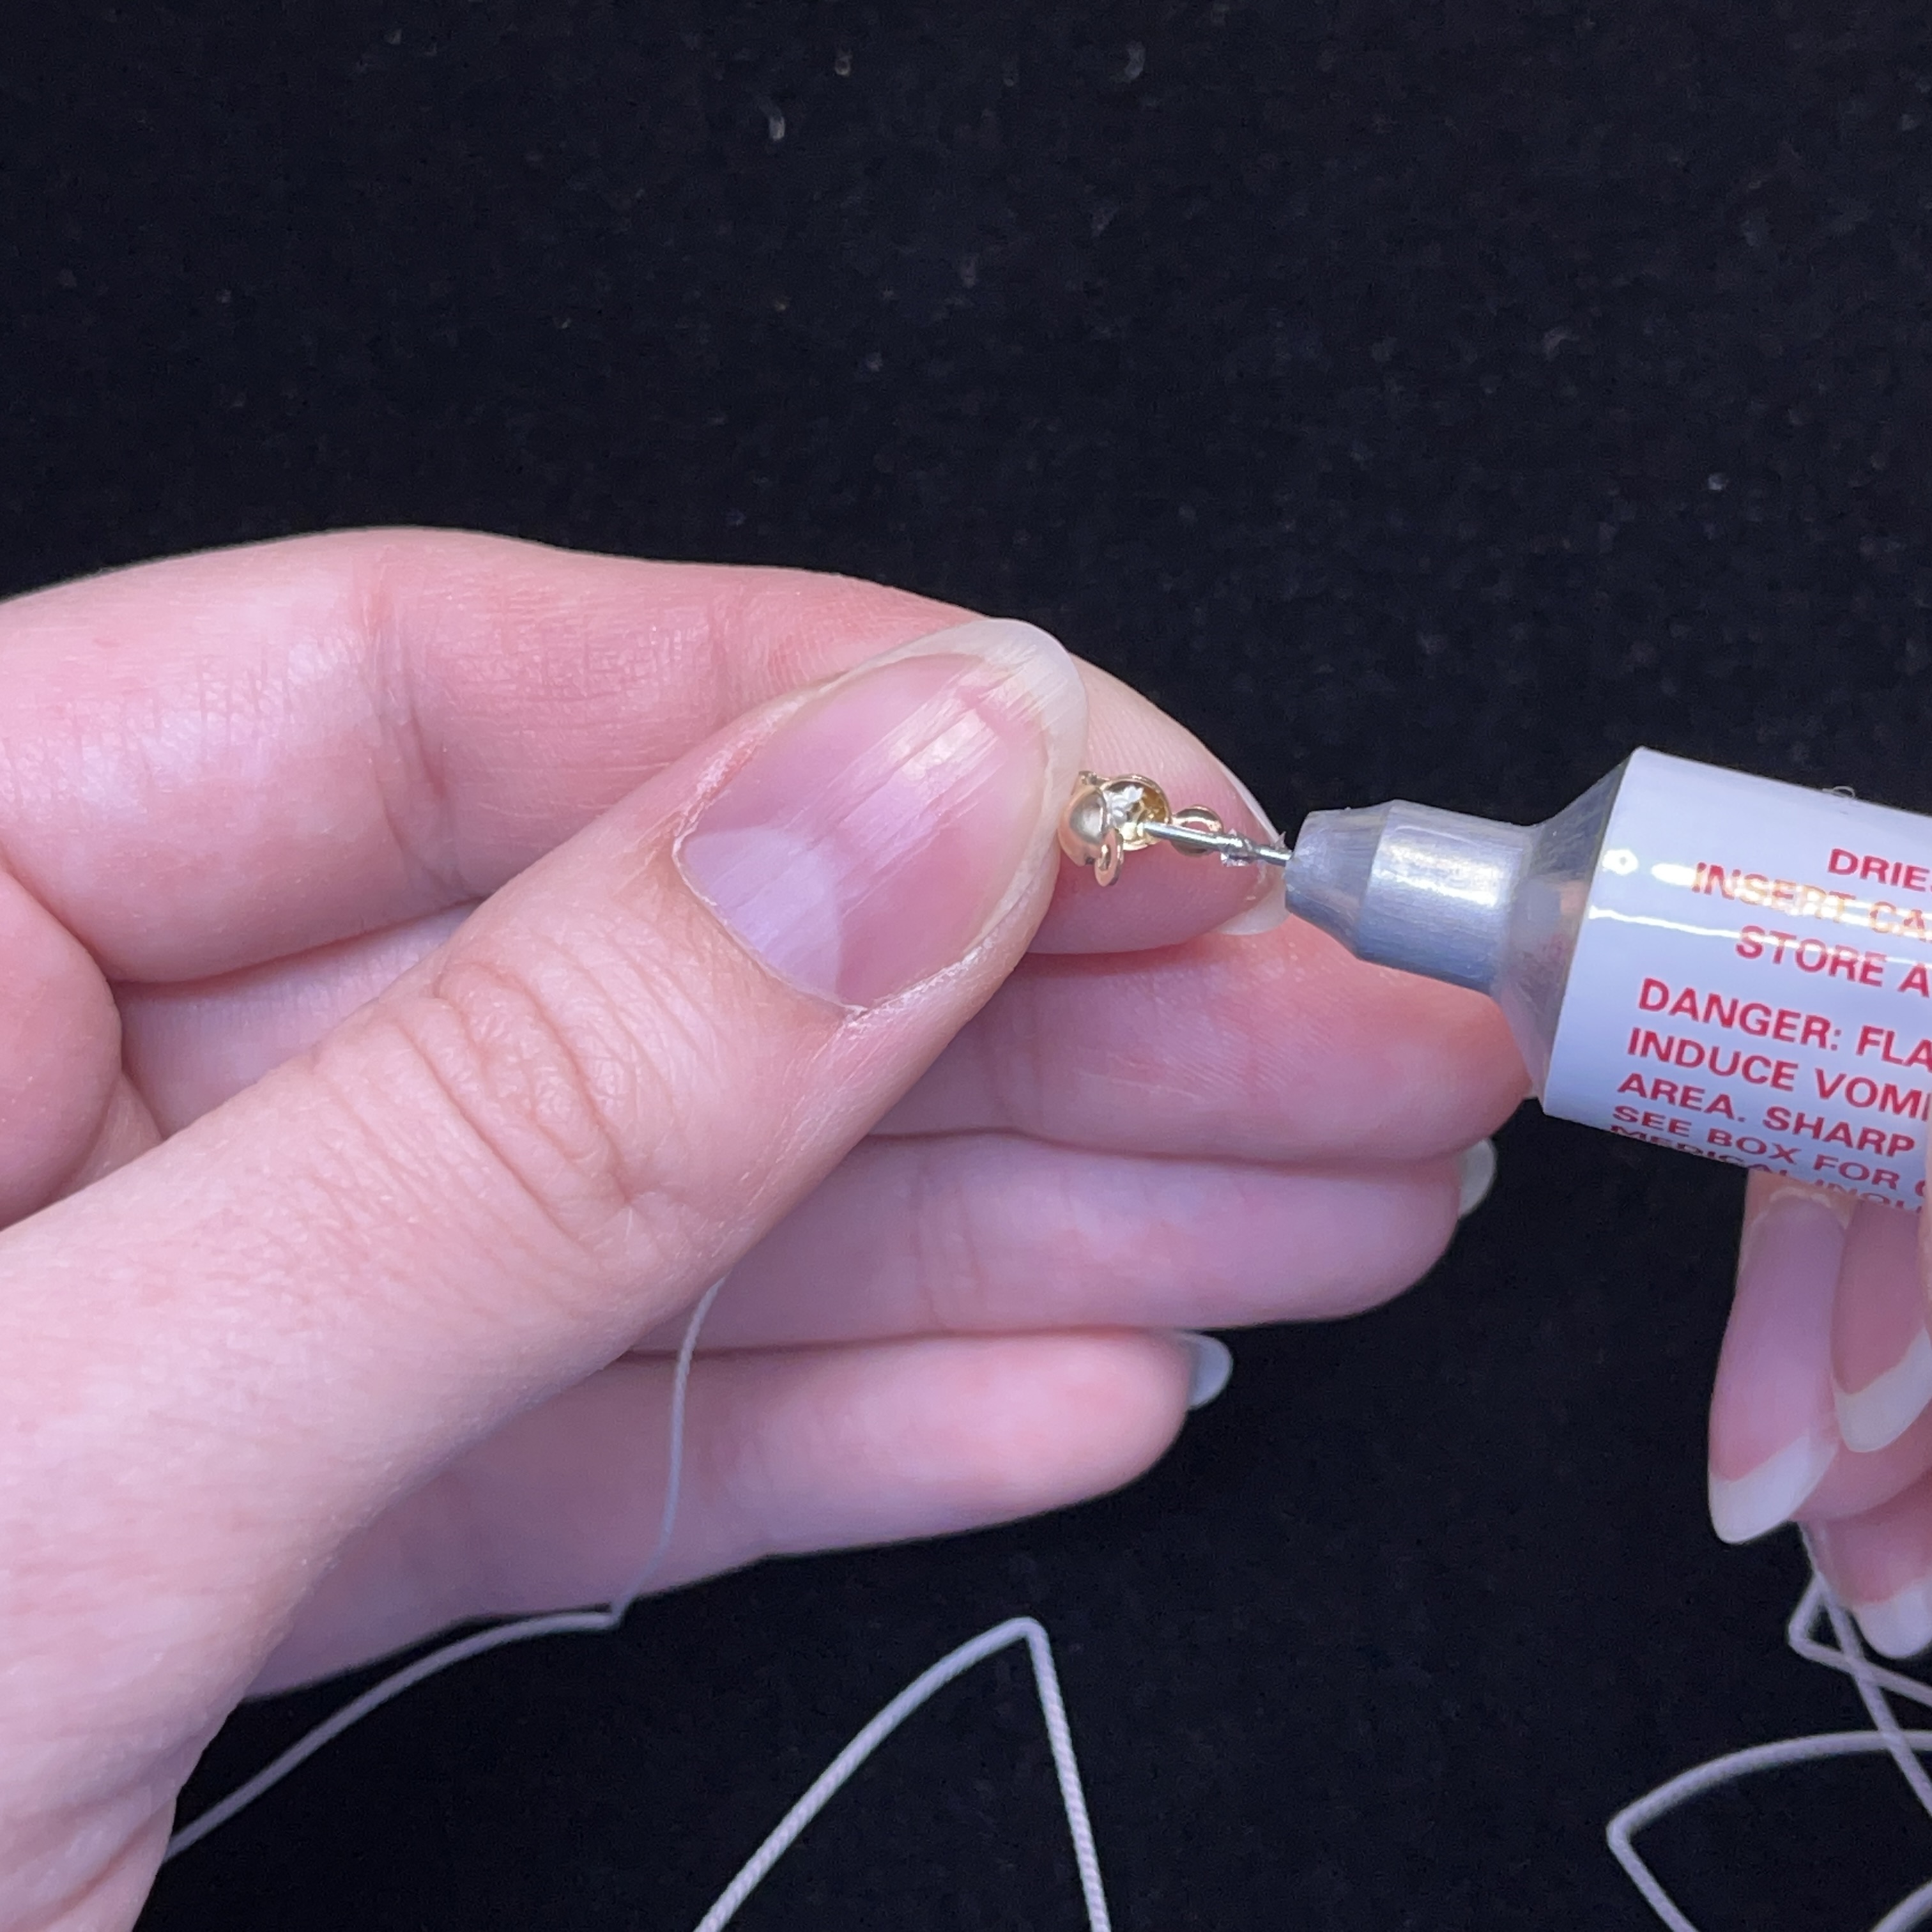
6. Apply a couple dabs of glue in the clamshell and around the knots
7. Gently close the clamshell using your chain nose pliers. Make sure the 2 loops are parallel to allow a jump ring to go through them later. Sometimes it helps to use 2 pliers.
8. Tie a knot and using your pliers, pull the knot as close as possible to the end of the clamshell
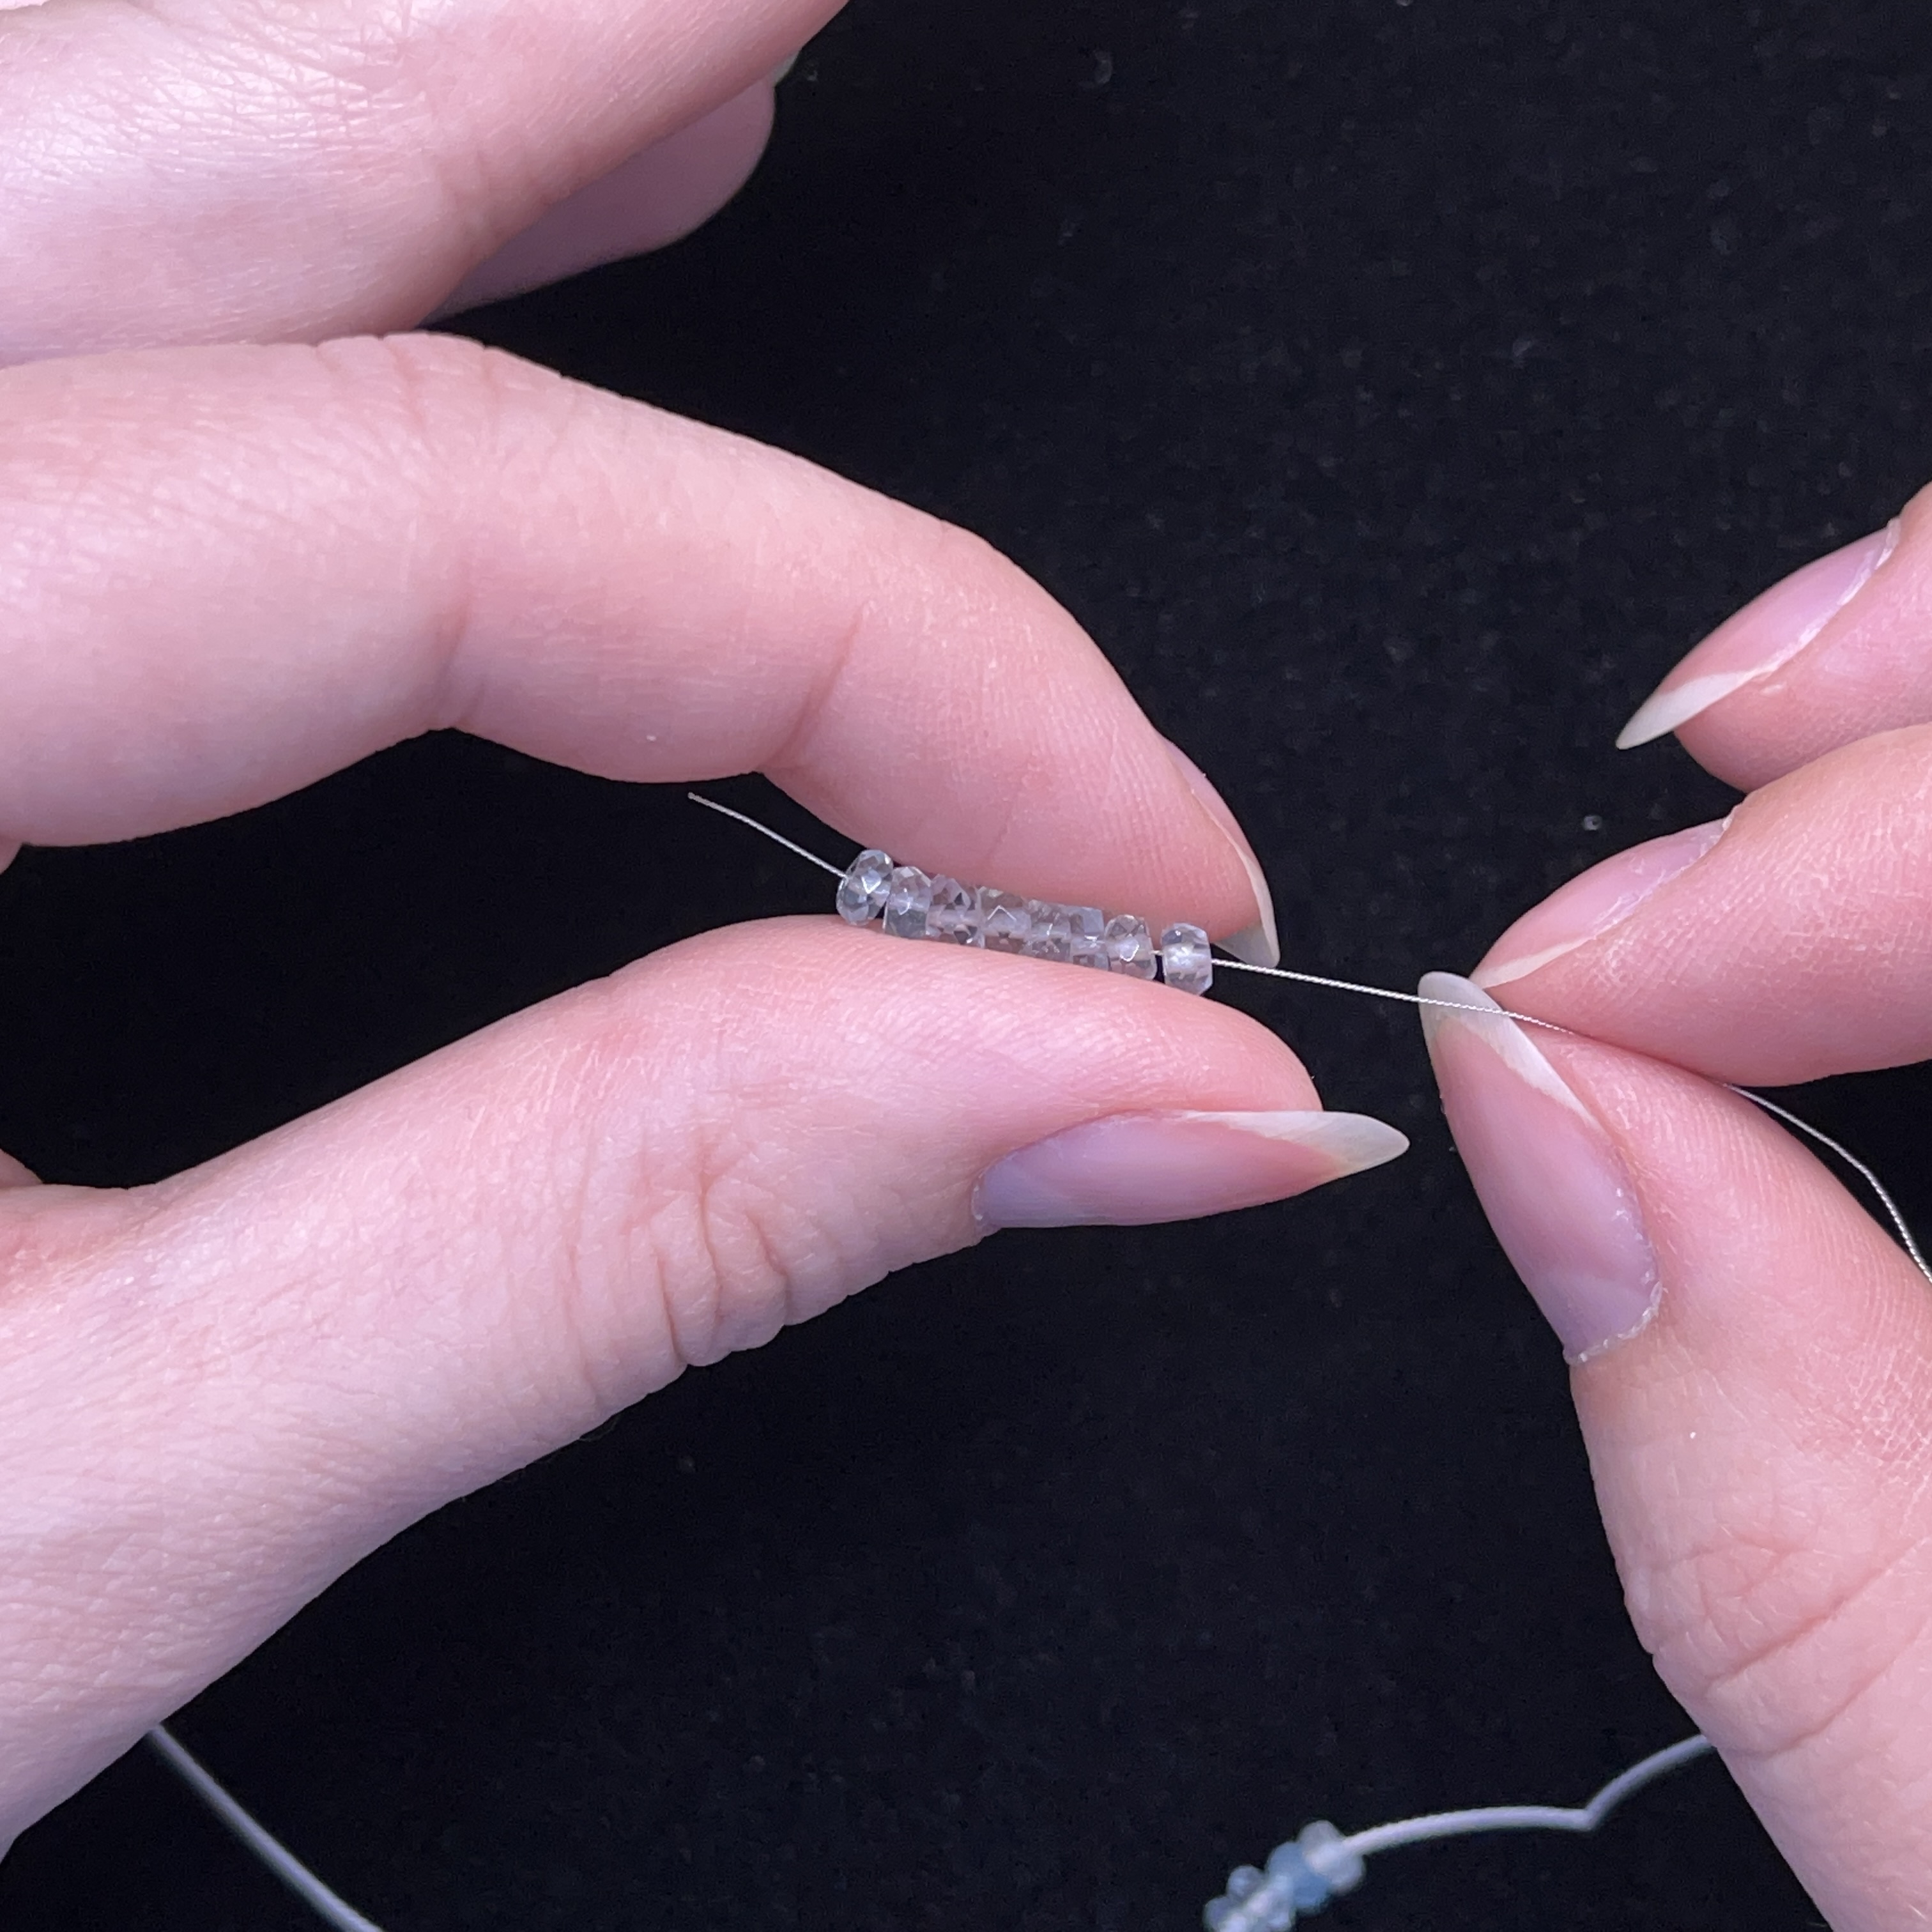
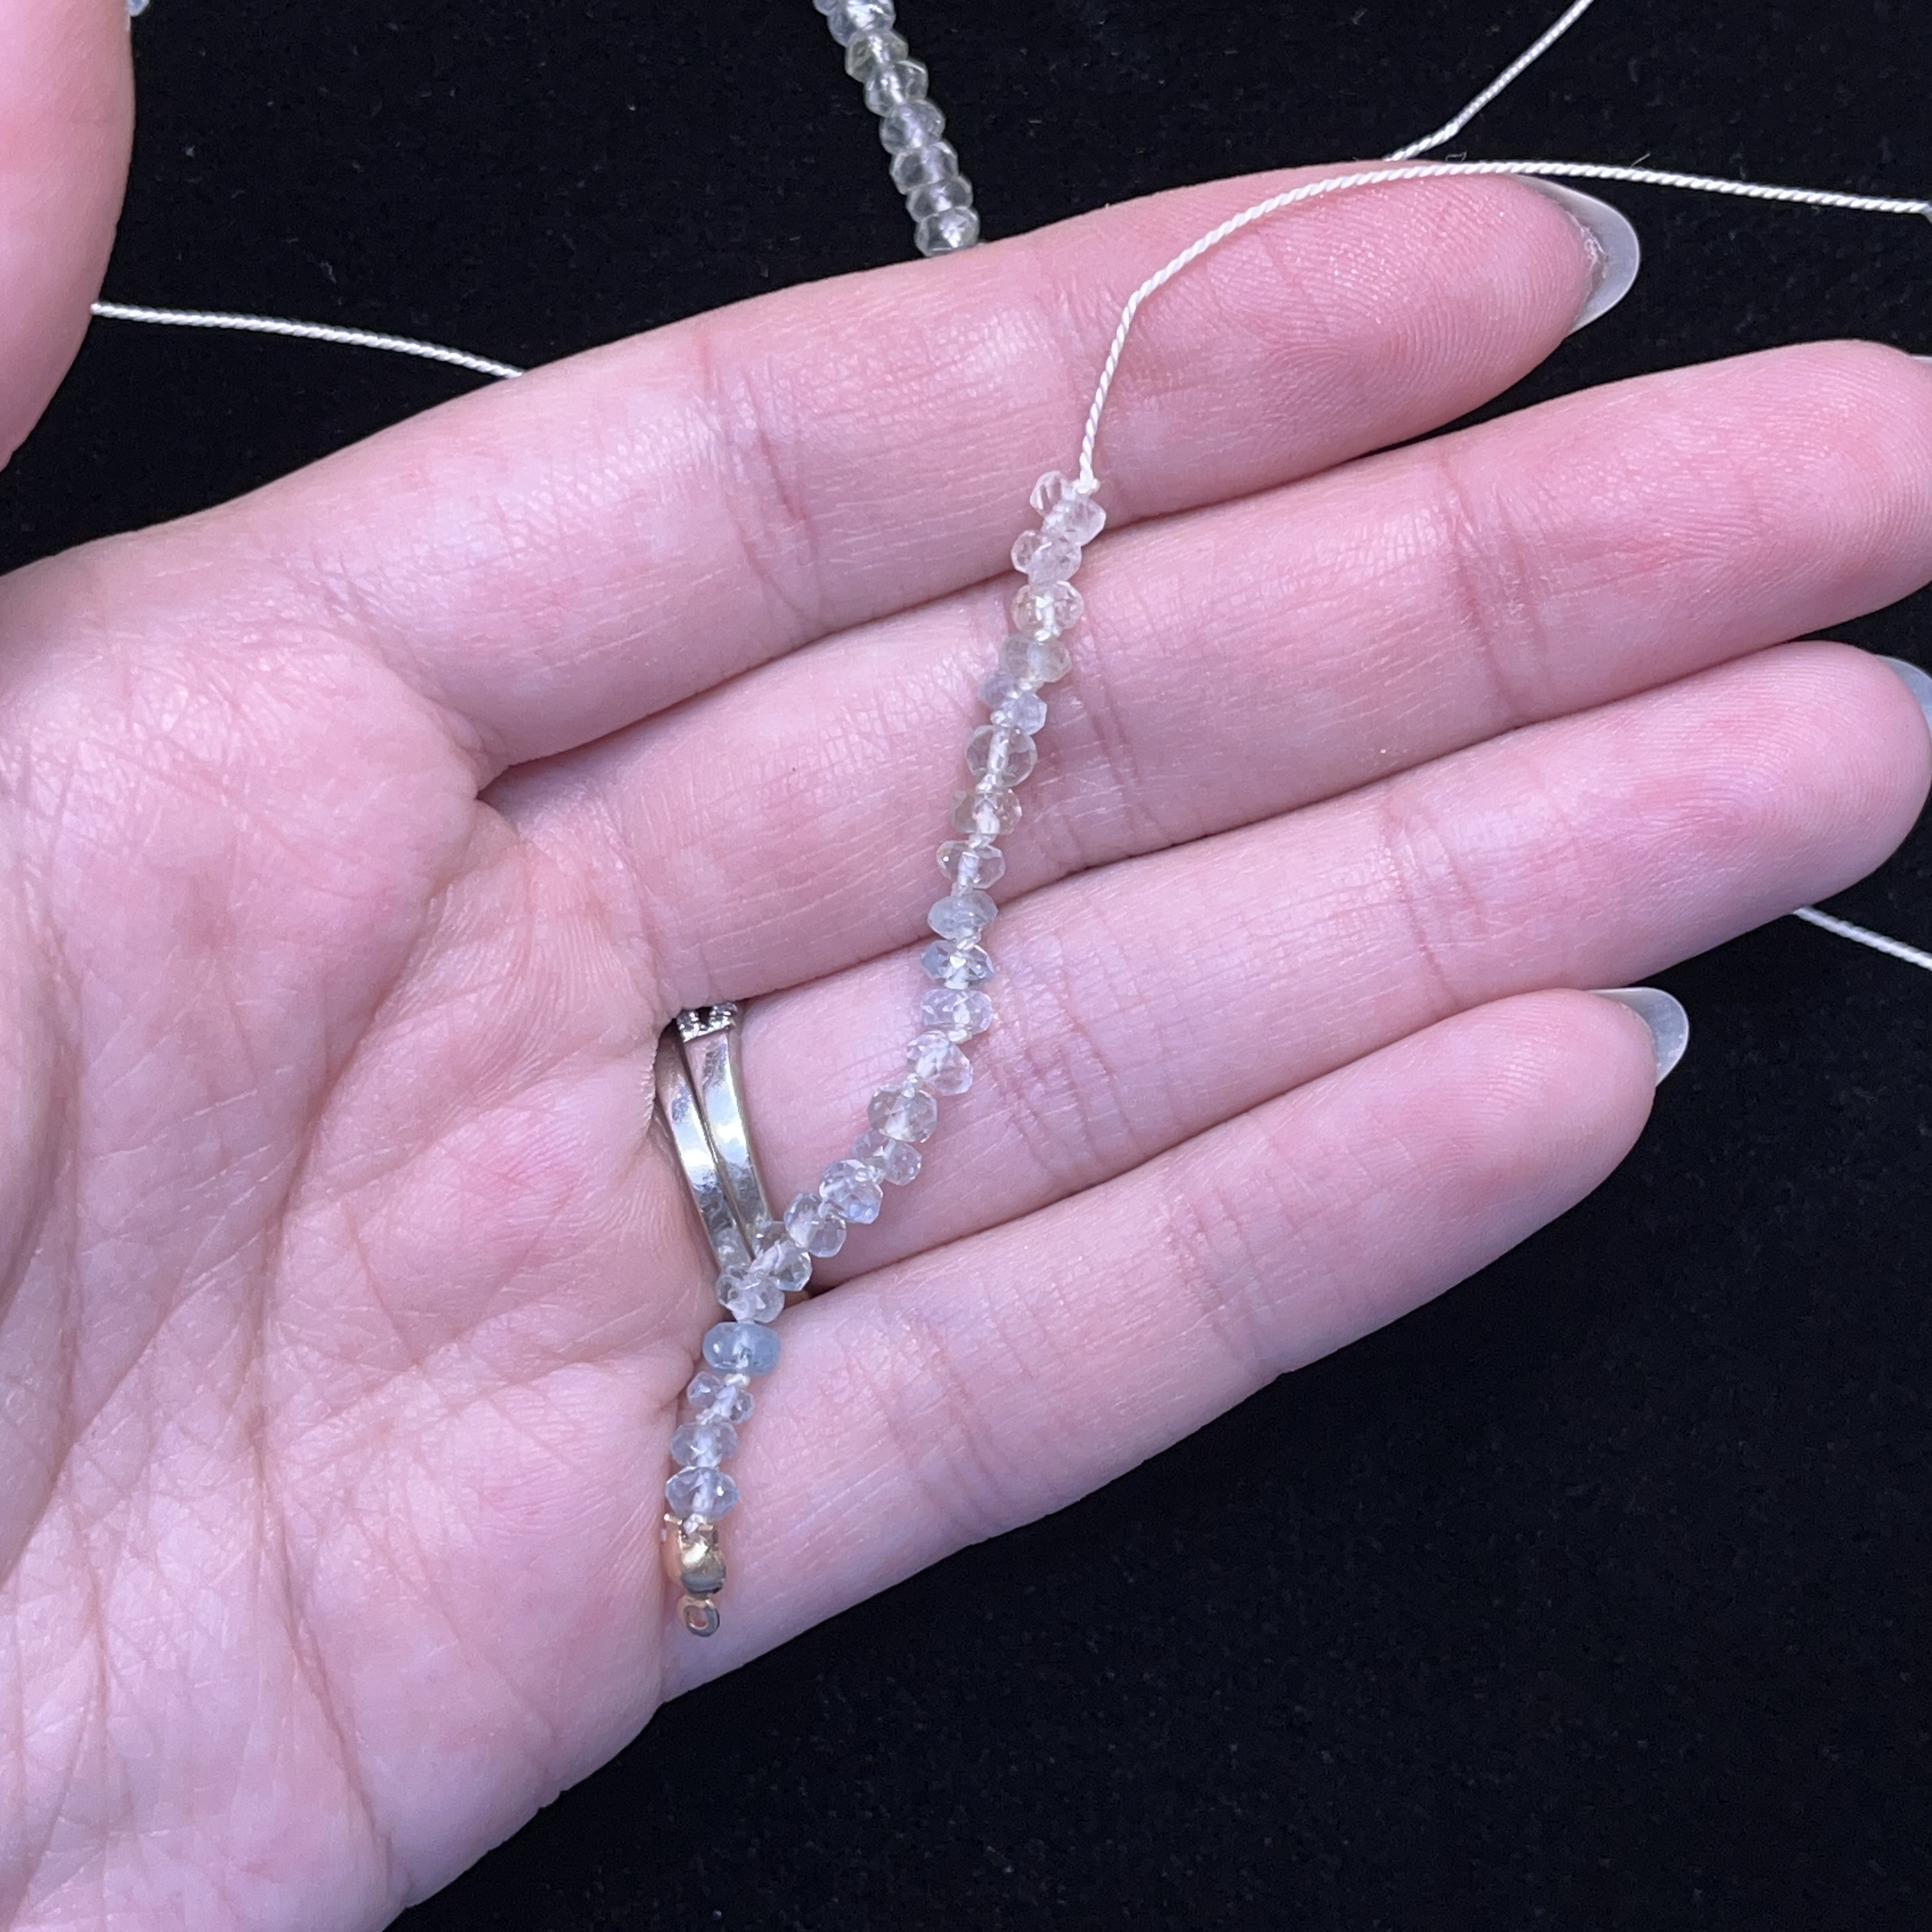
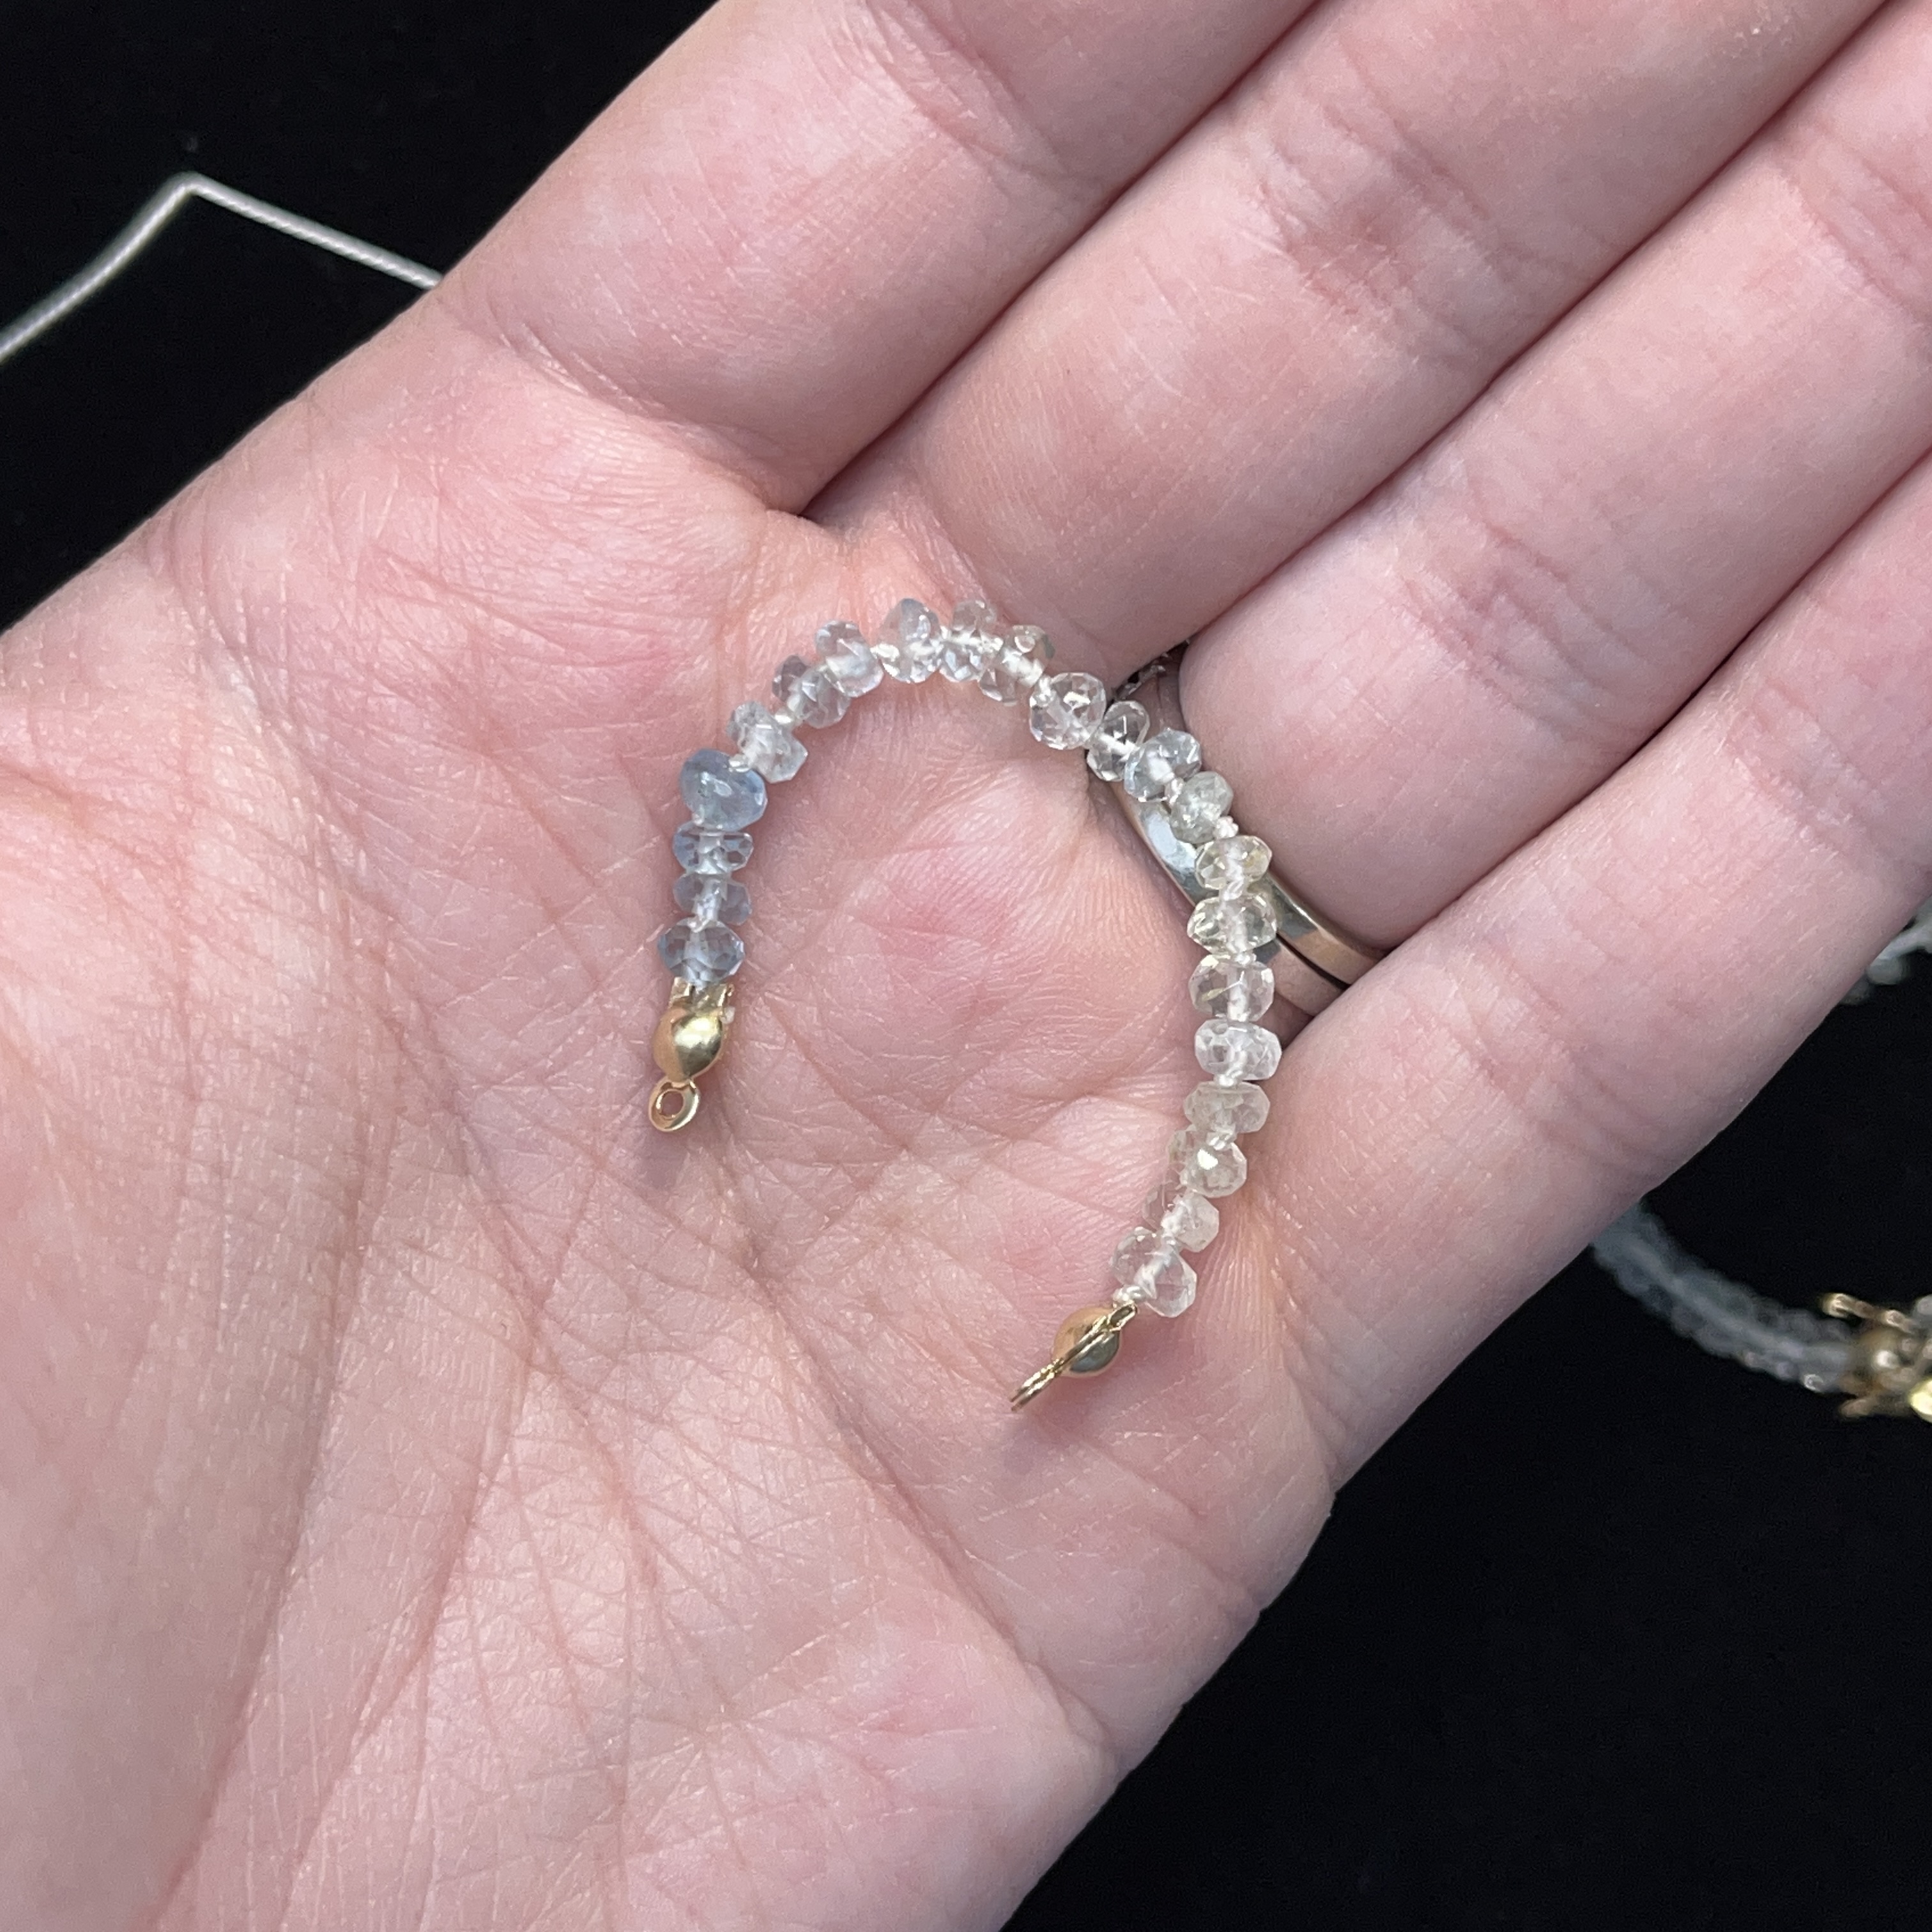
9. Start stringing on your aquamarine beads. *It helps to hold beads in between your fingers, keeping the bead's holes in a line as you pull them off the original strand, taking your griffin silk needle and gently pushing them through all the holes. This is a much quicker way to string on beads and will help keep the ombre pattern of the original strand.
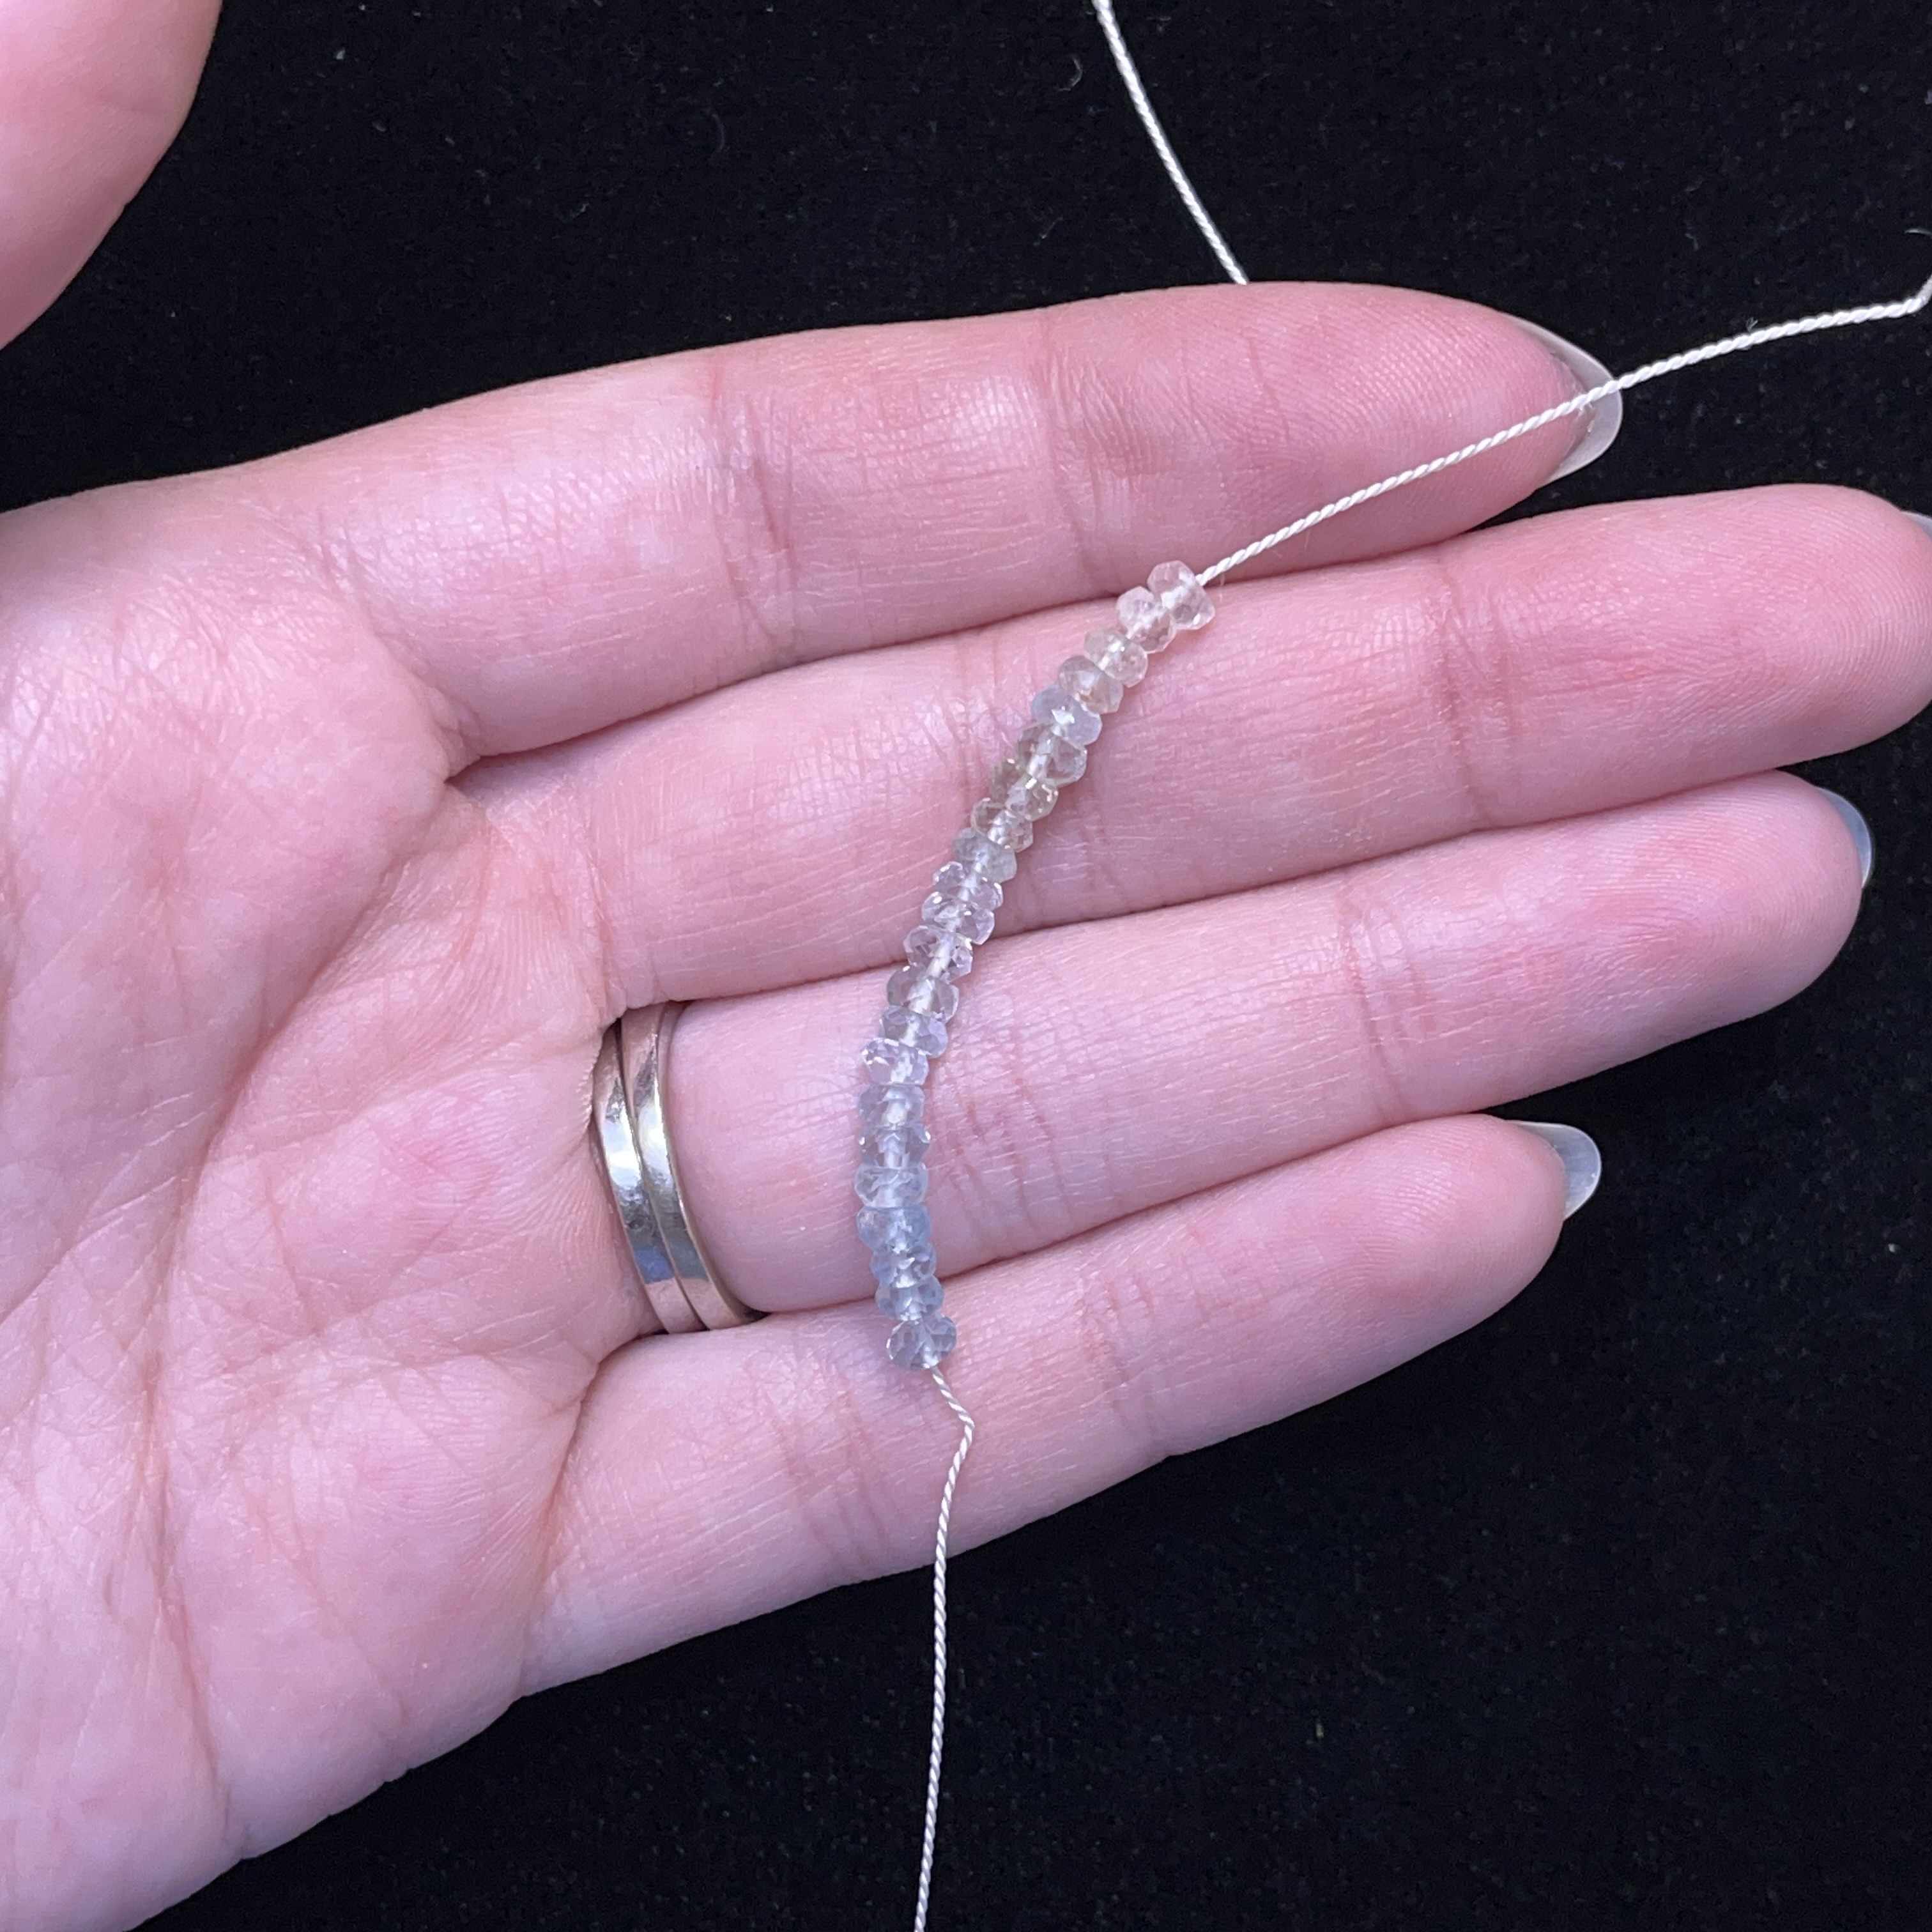
10. Thread on 22 aquamarine beads
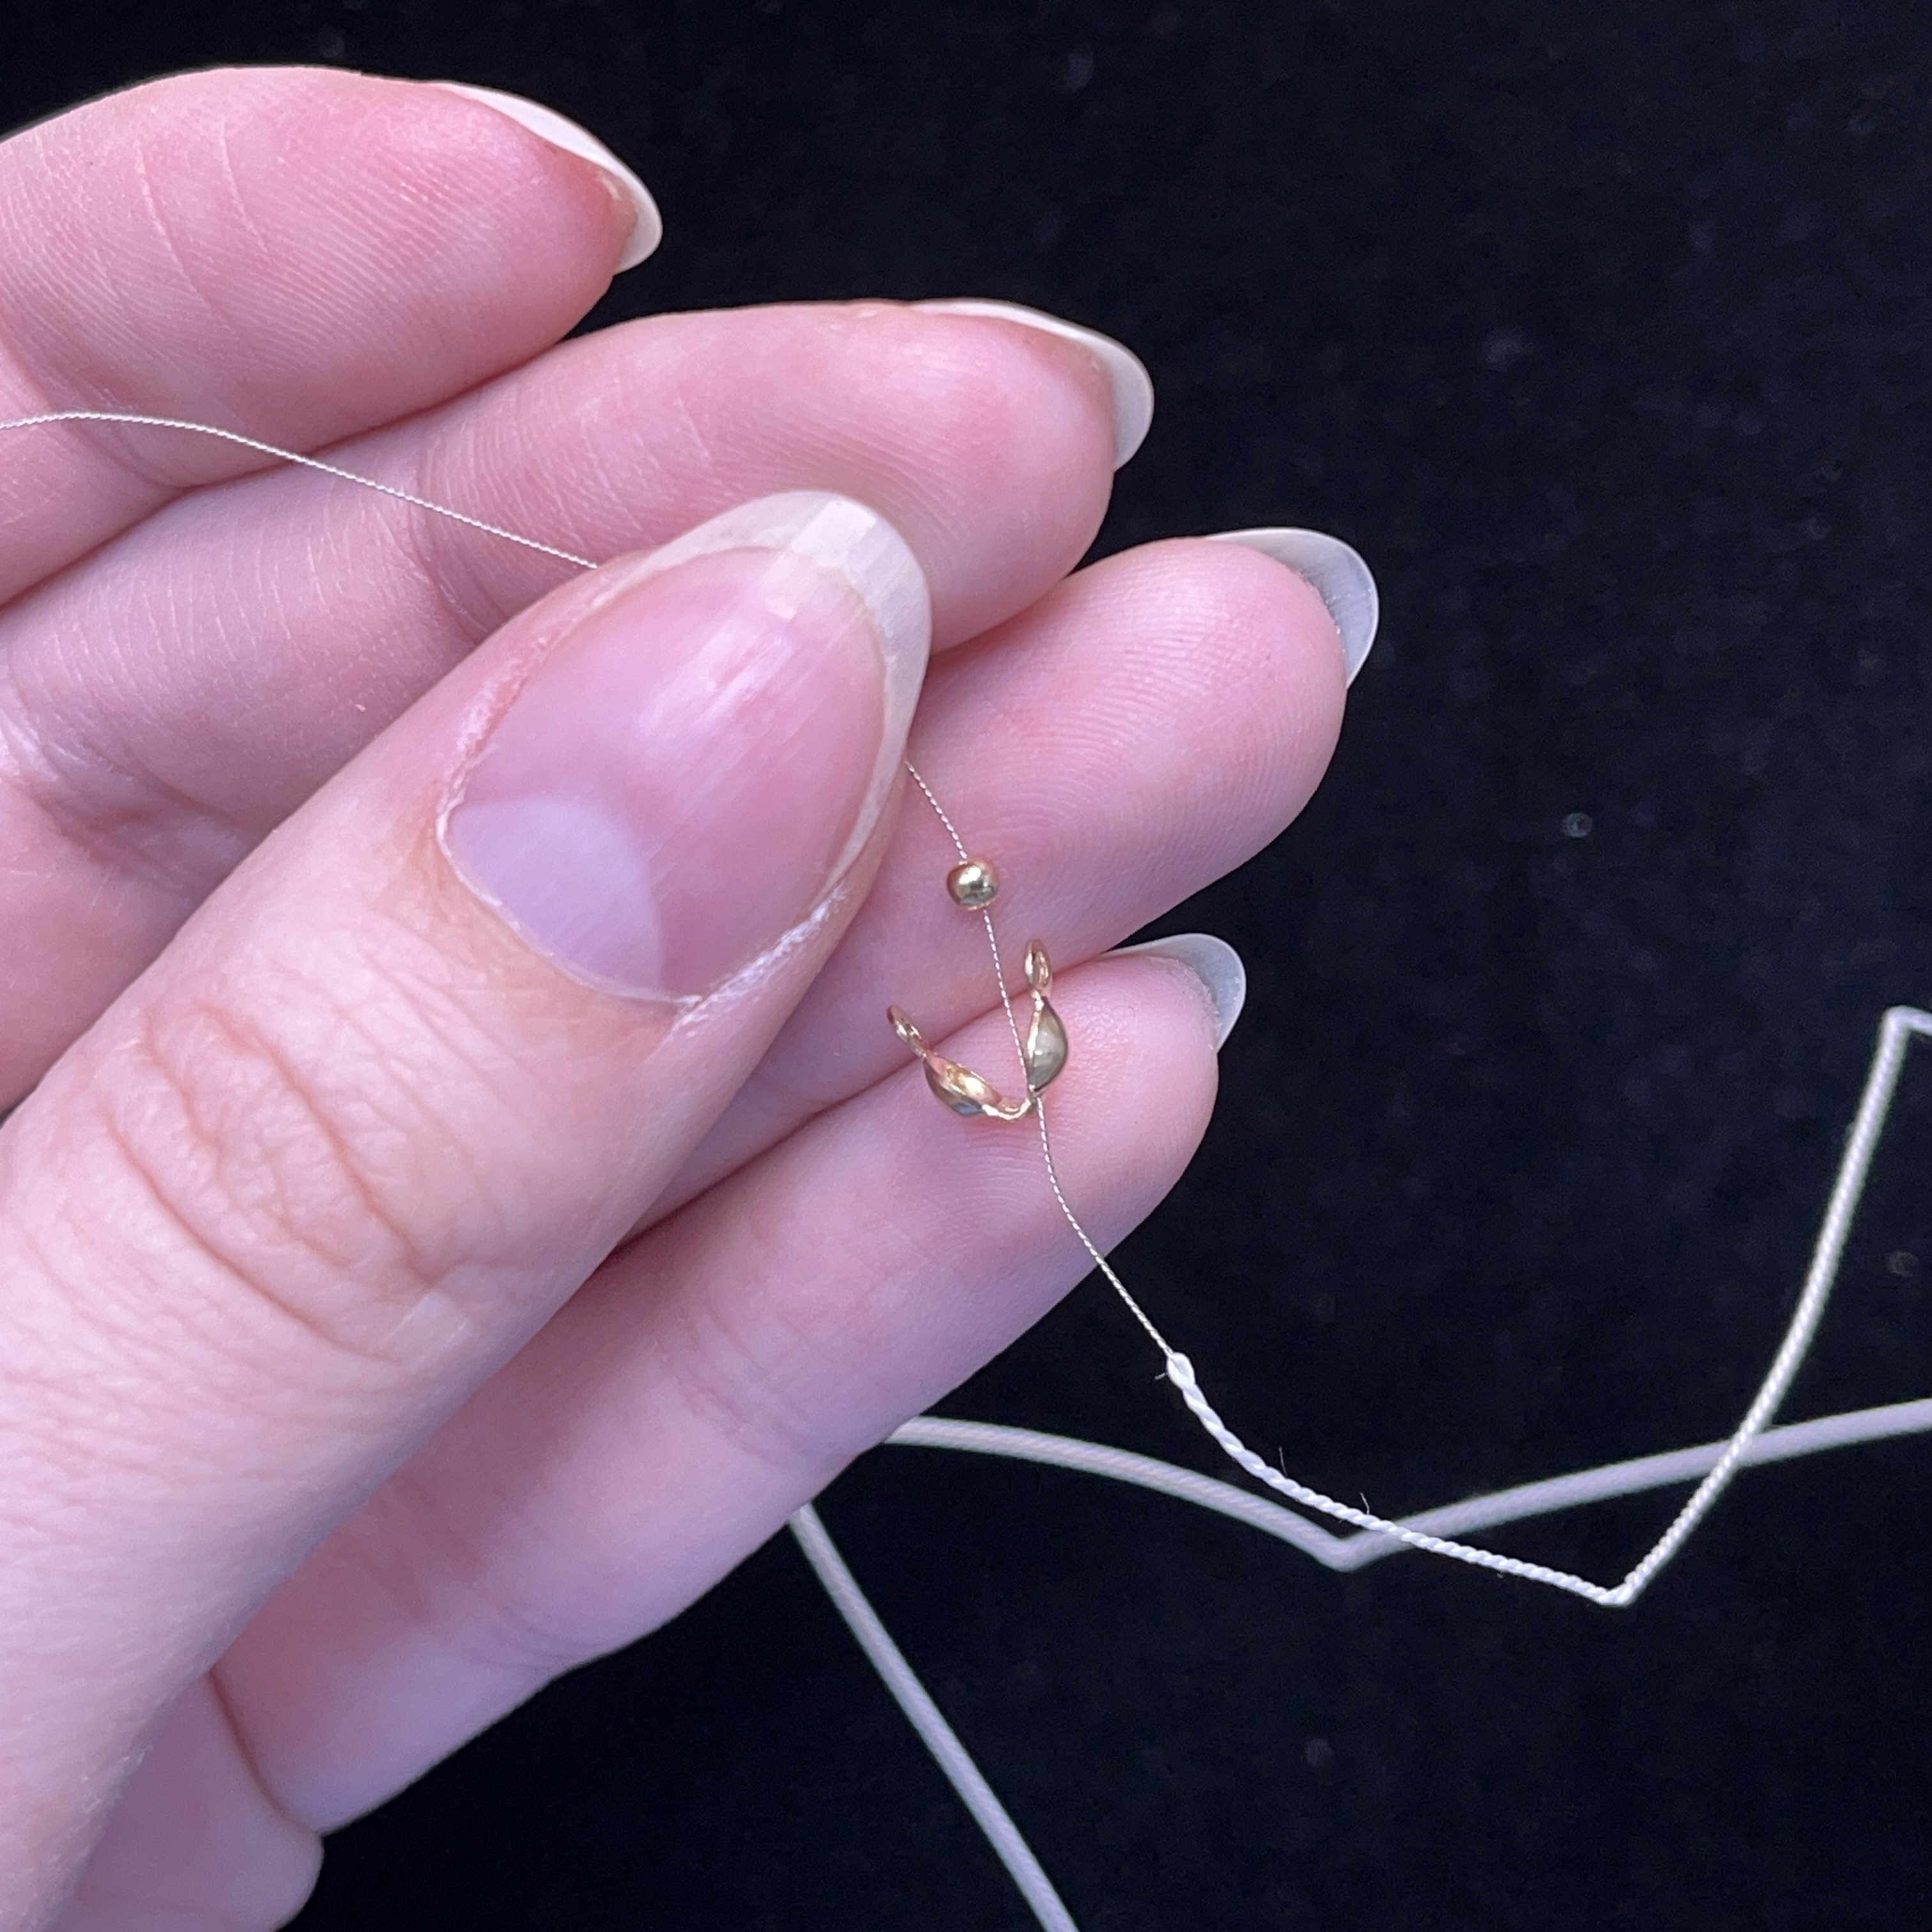
11. Thread on a clamshell and 2mm bead exactly as shown above
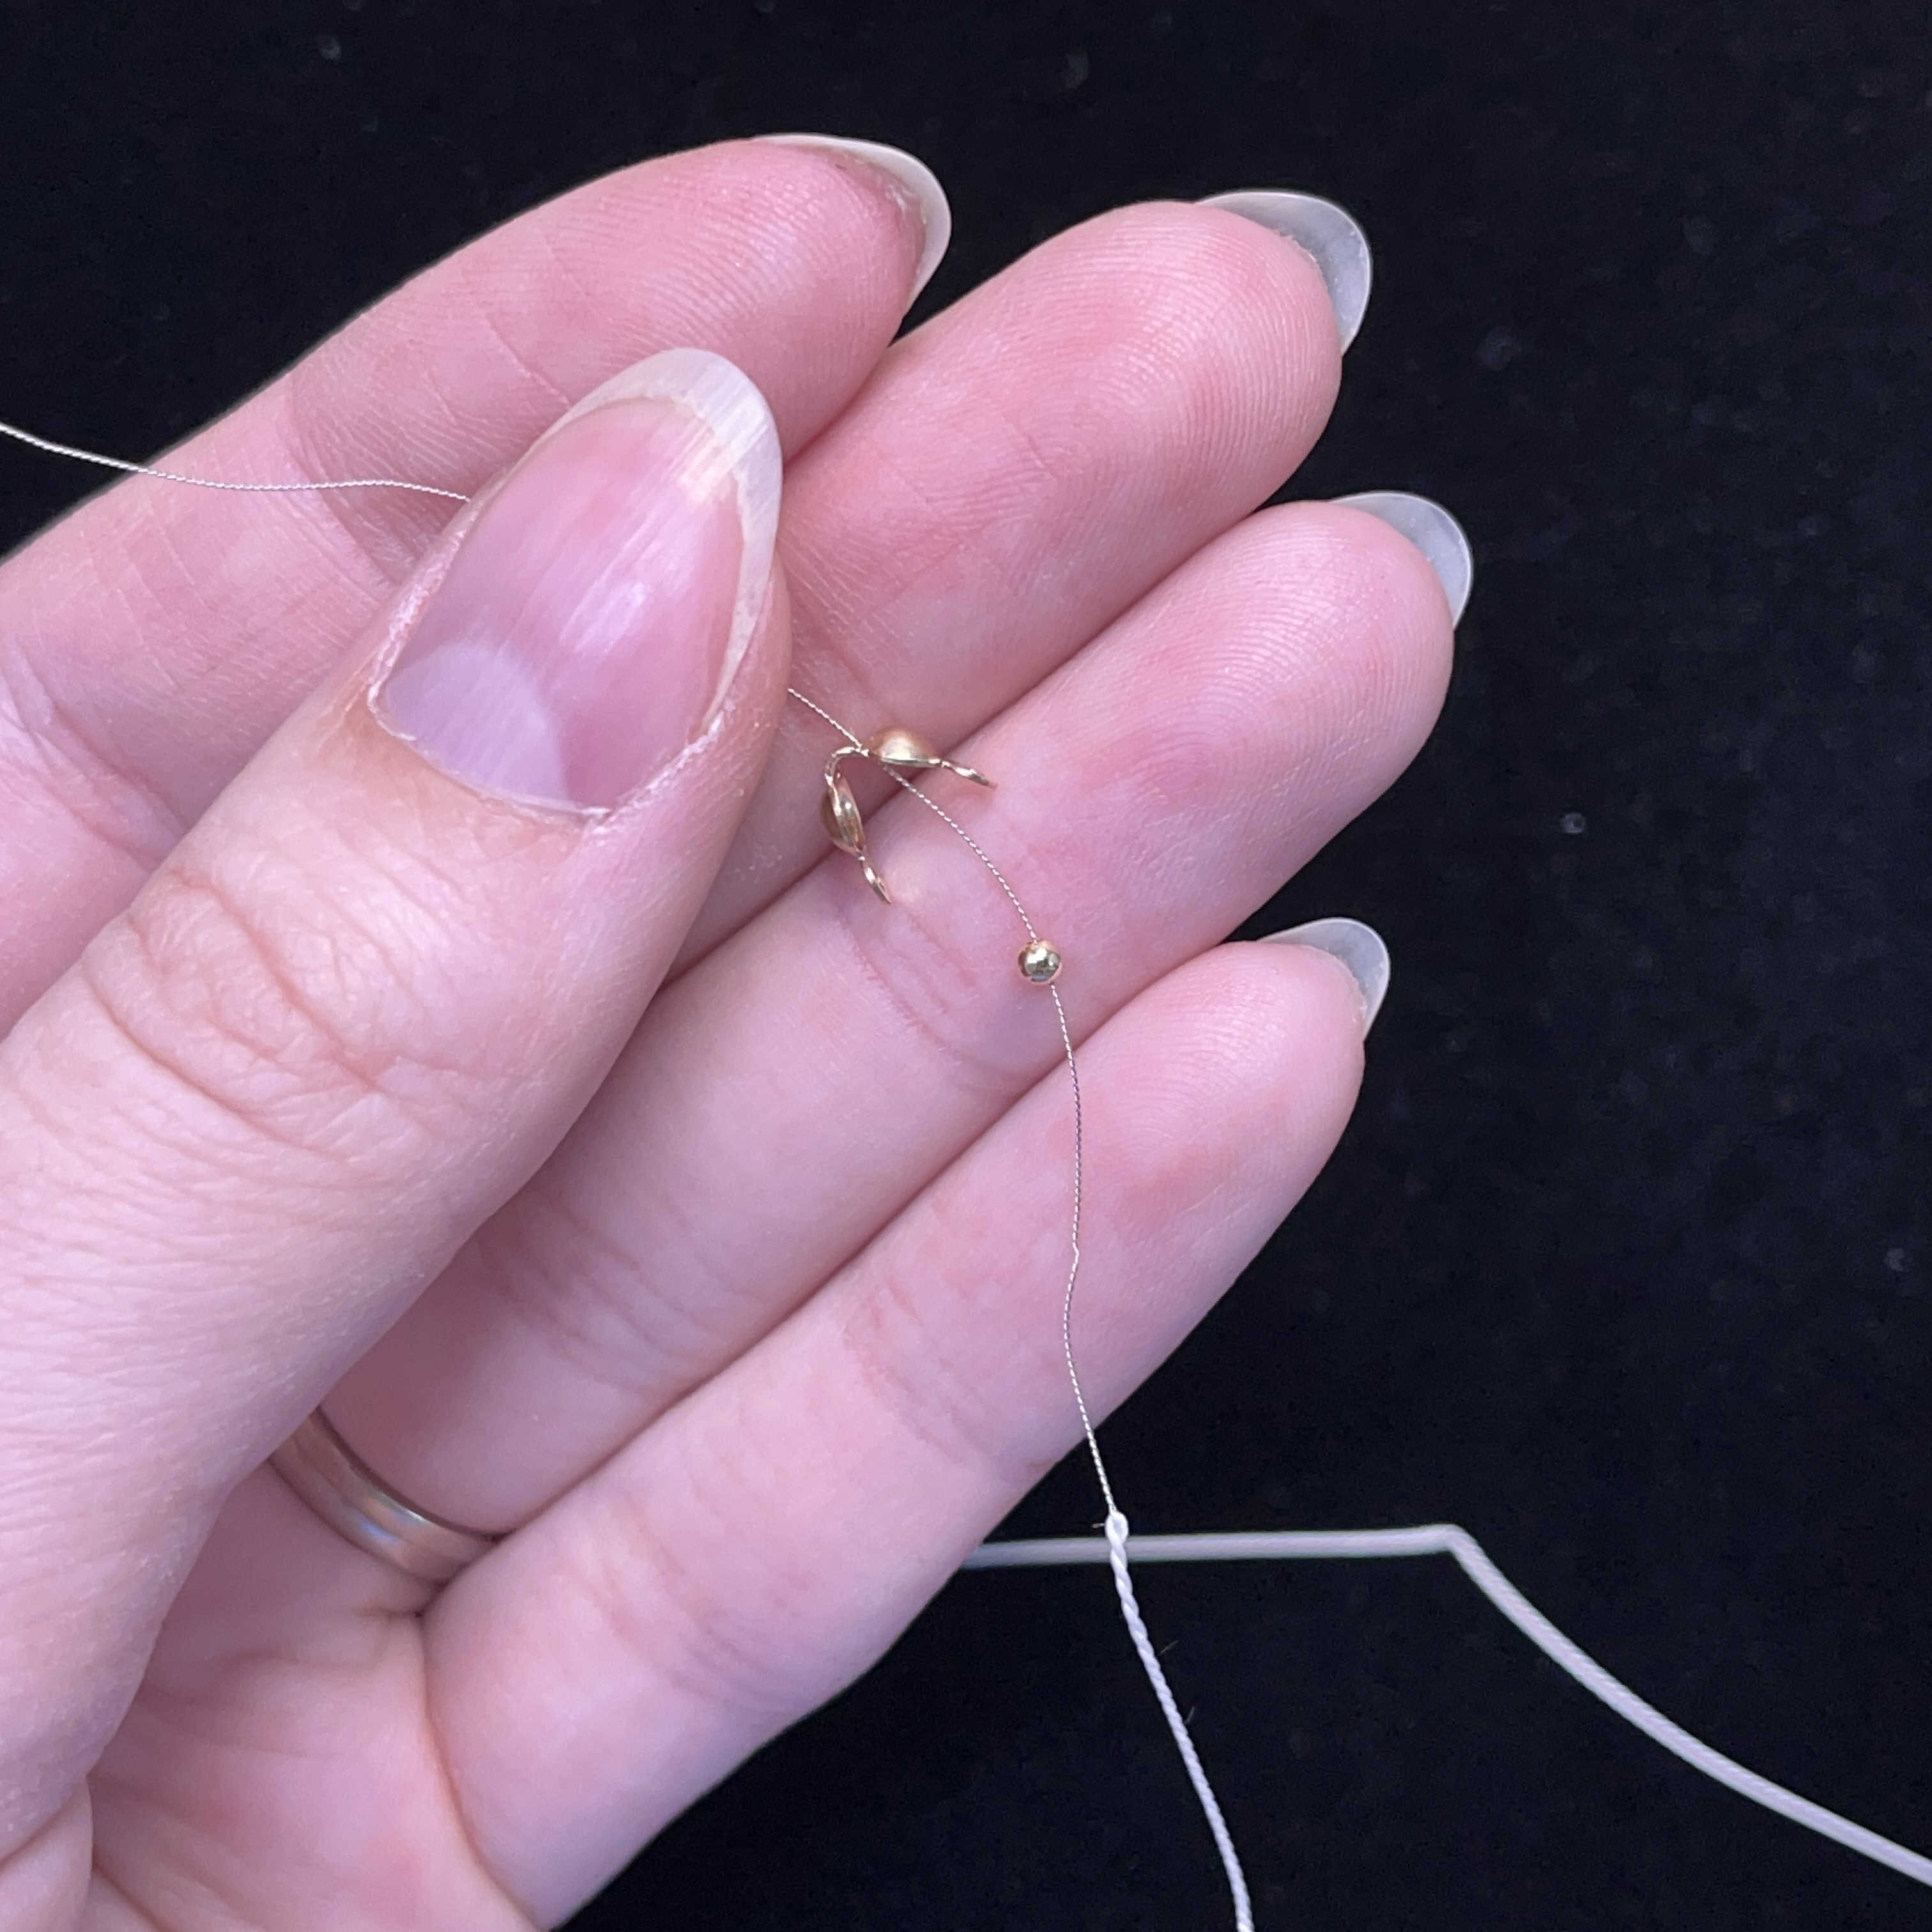
12. Then thread on another 2mm followed by a clamshell pointing exactly as shown above
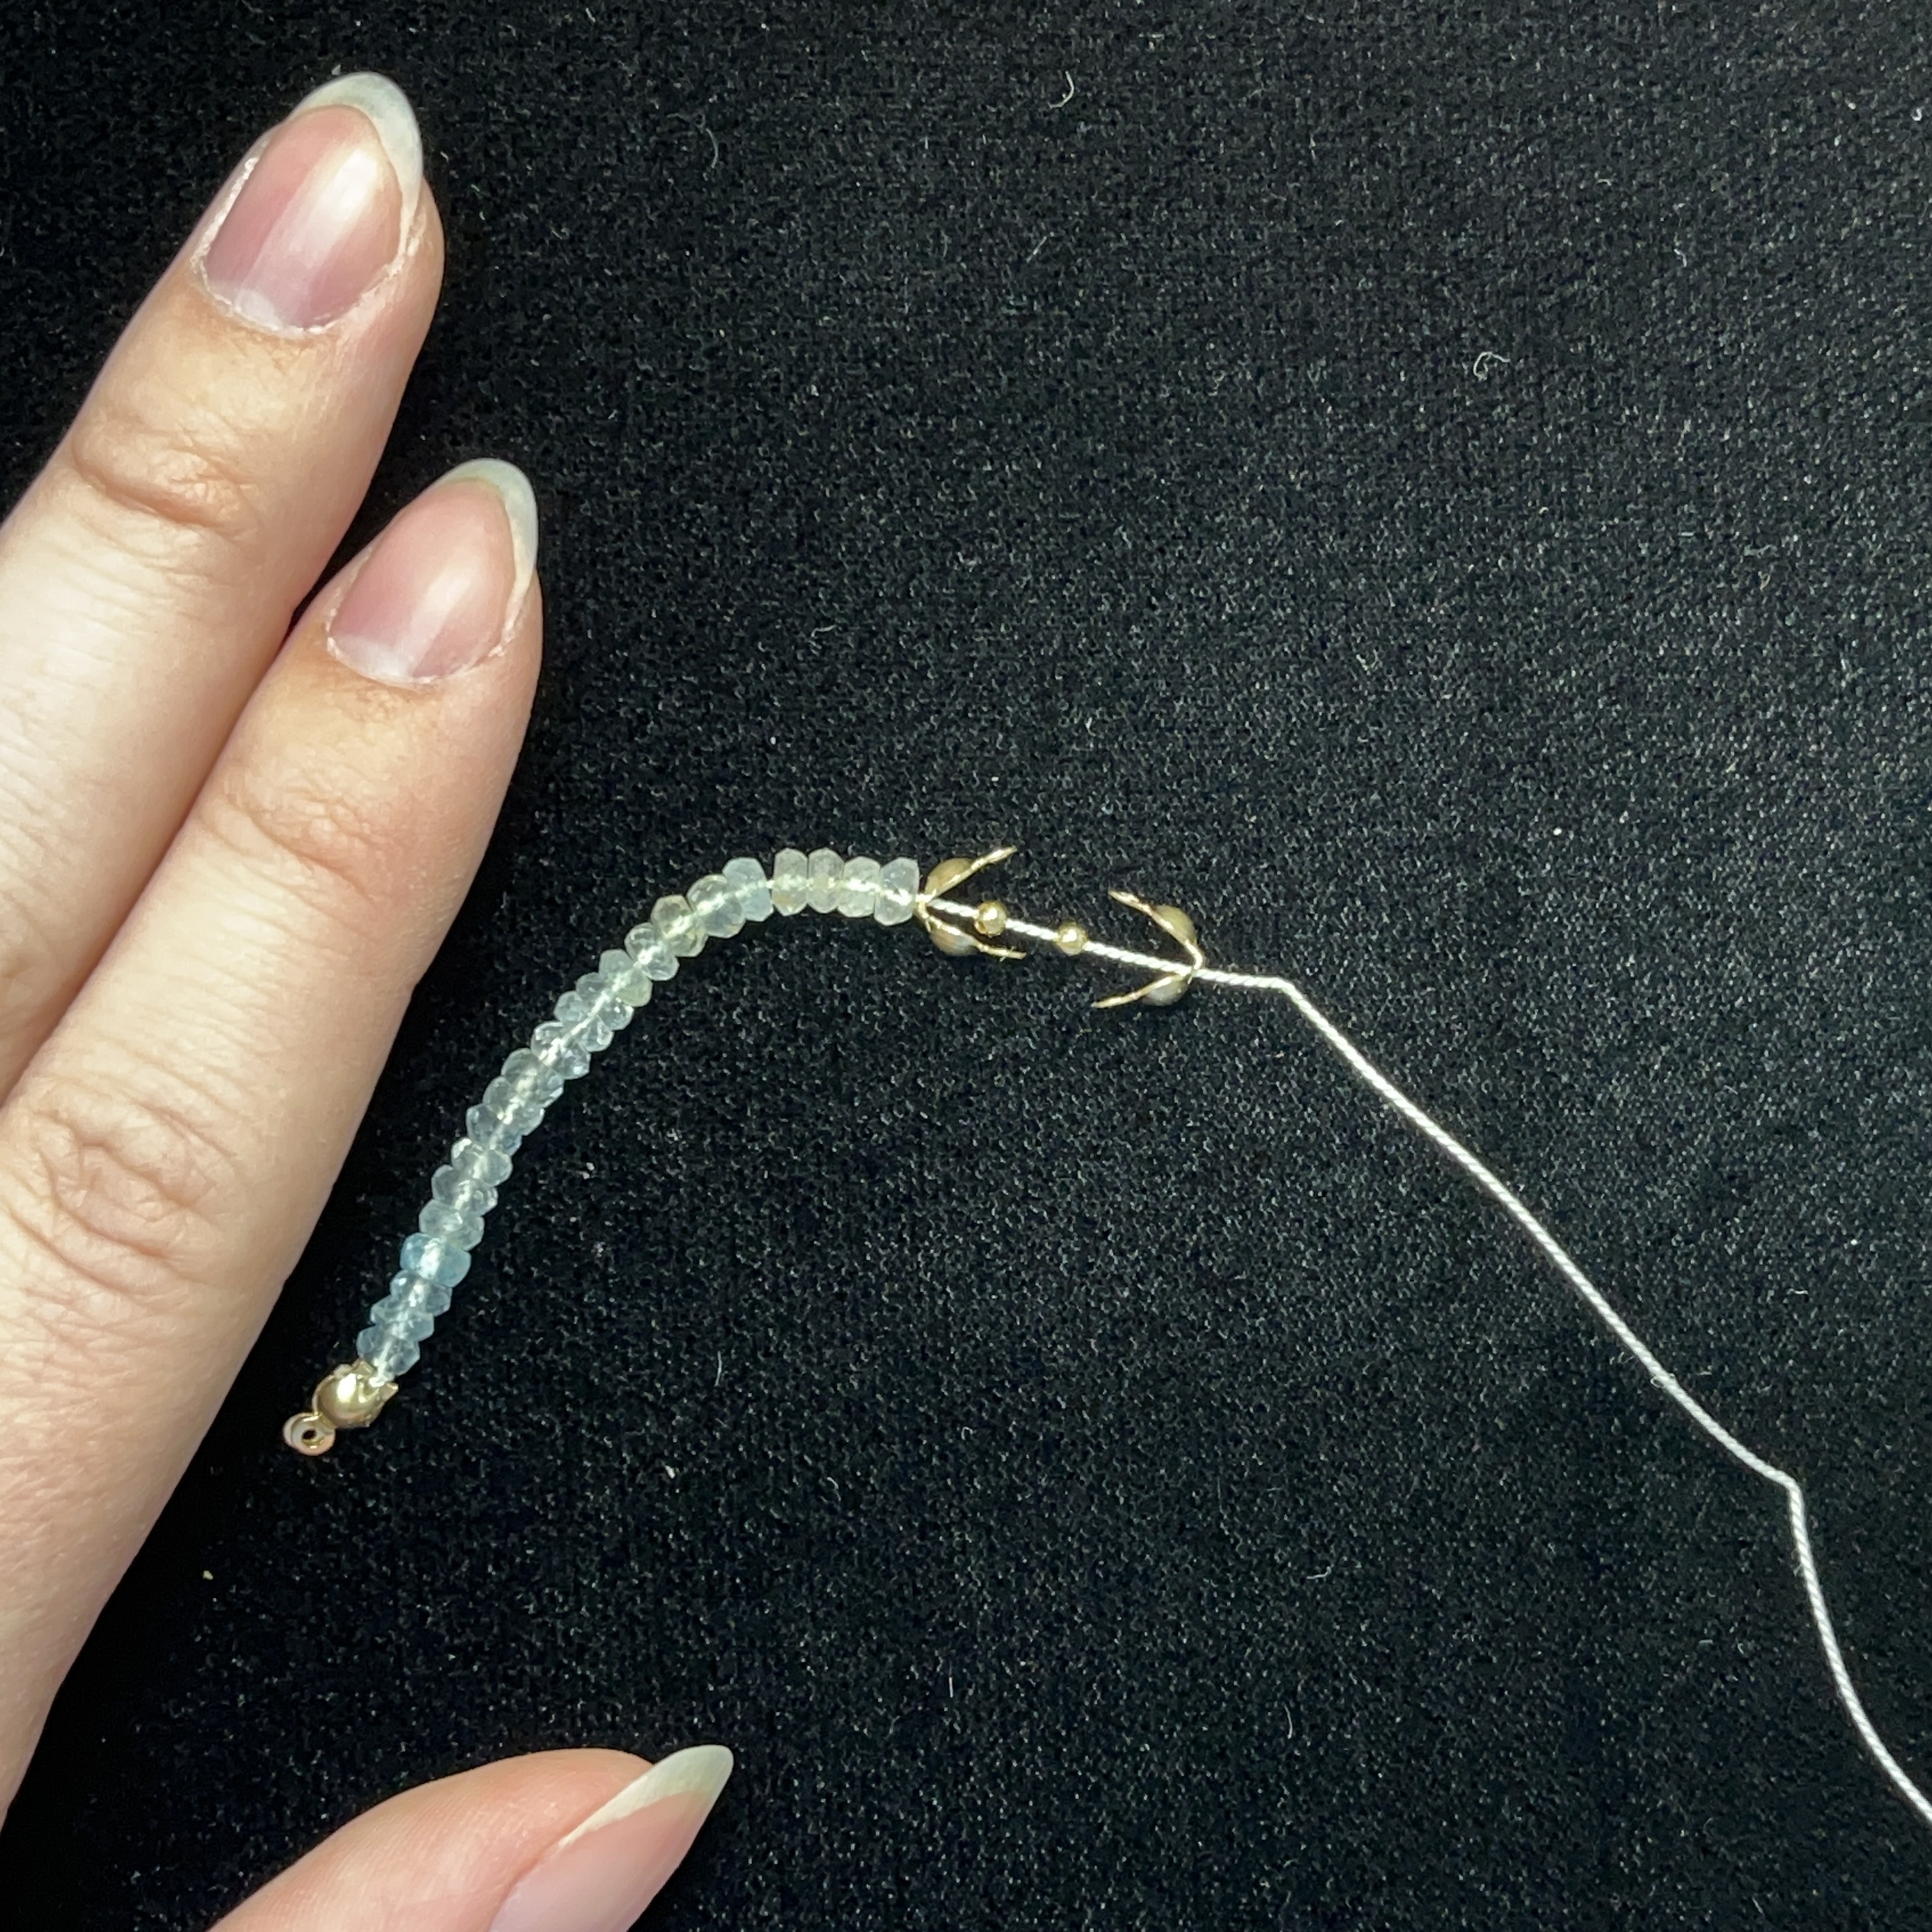
13. Your project will look like this
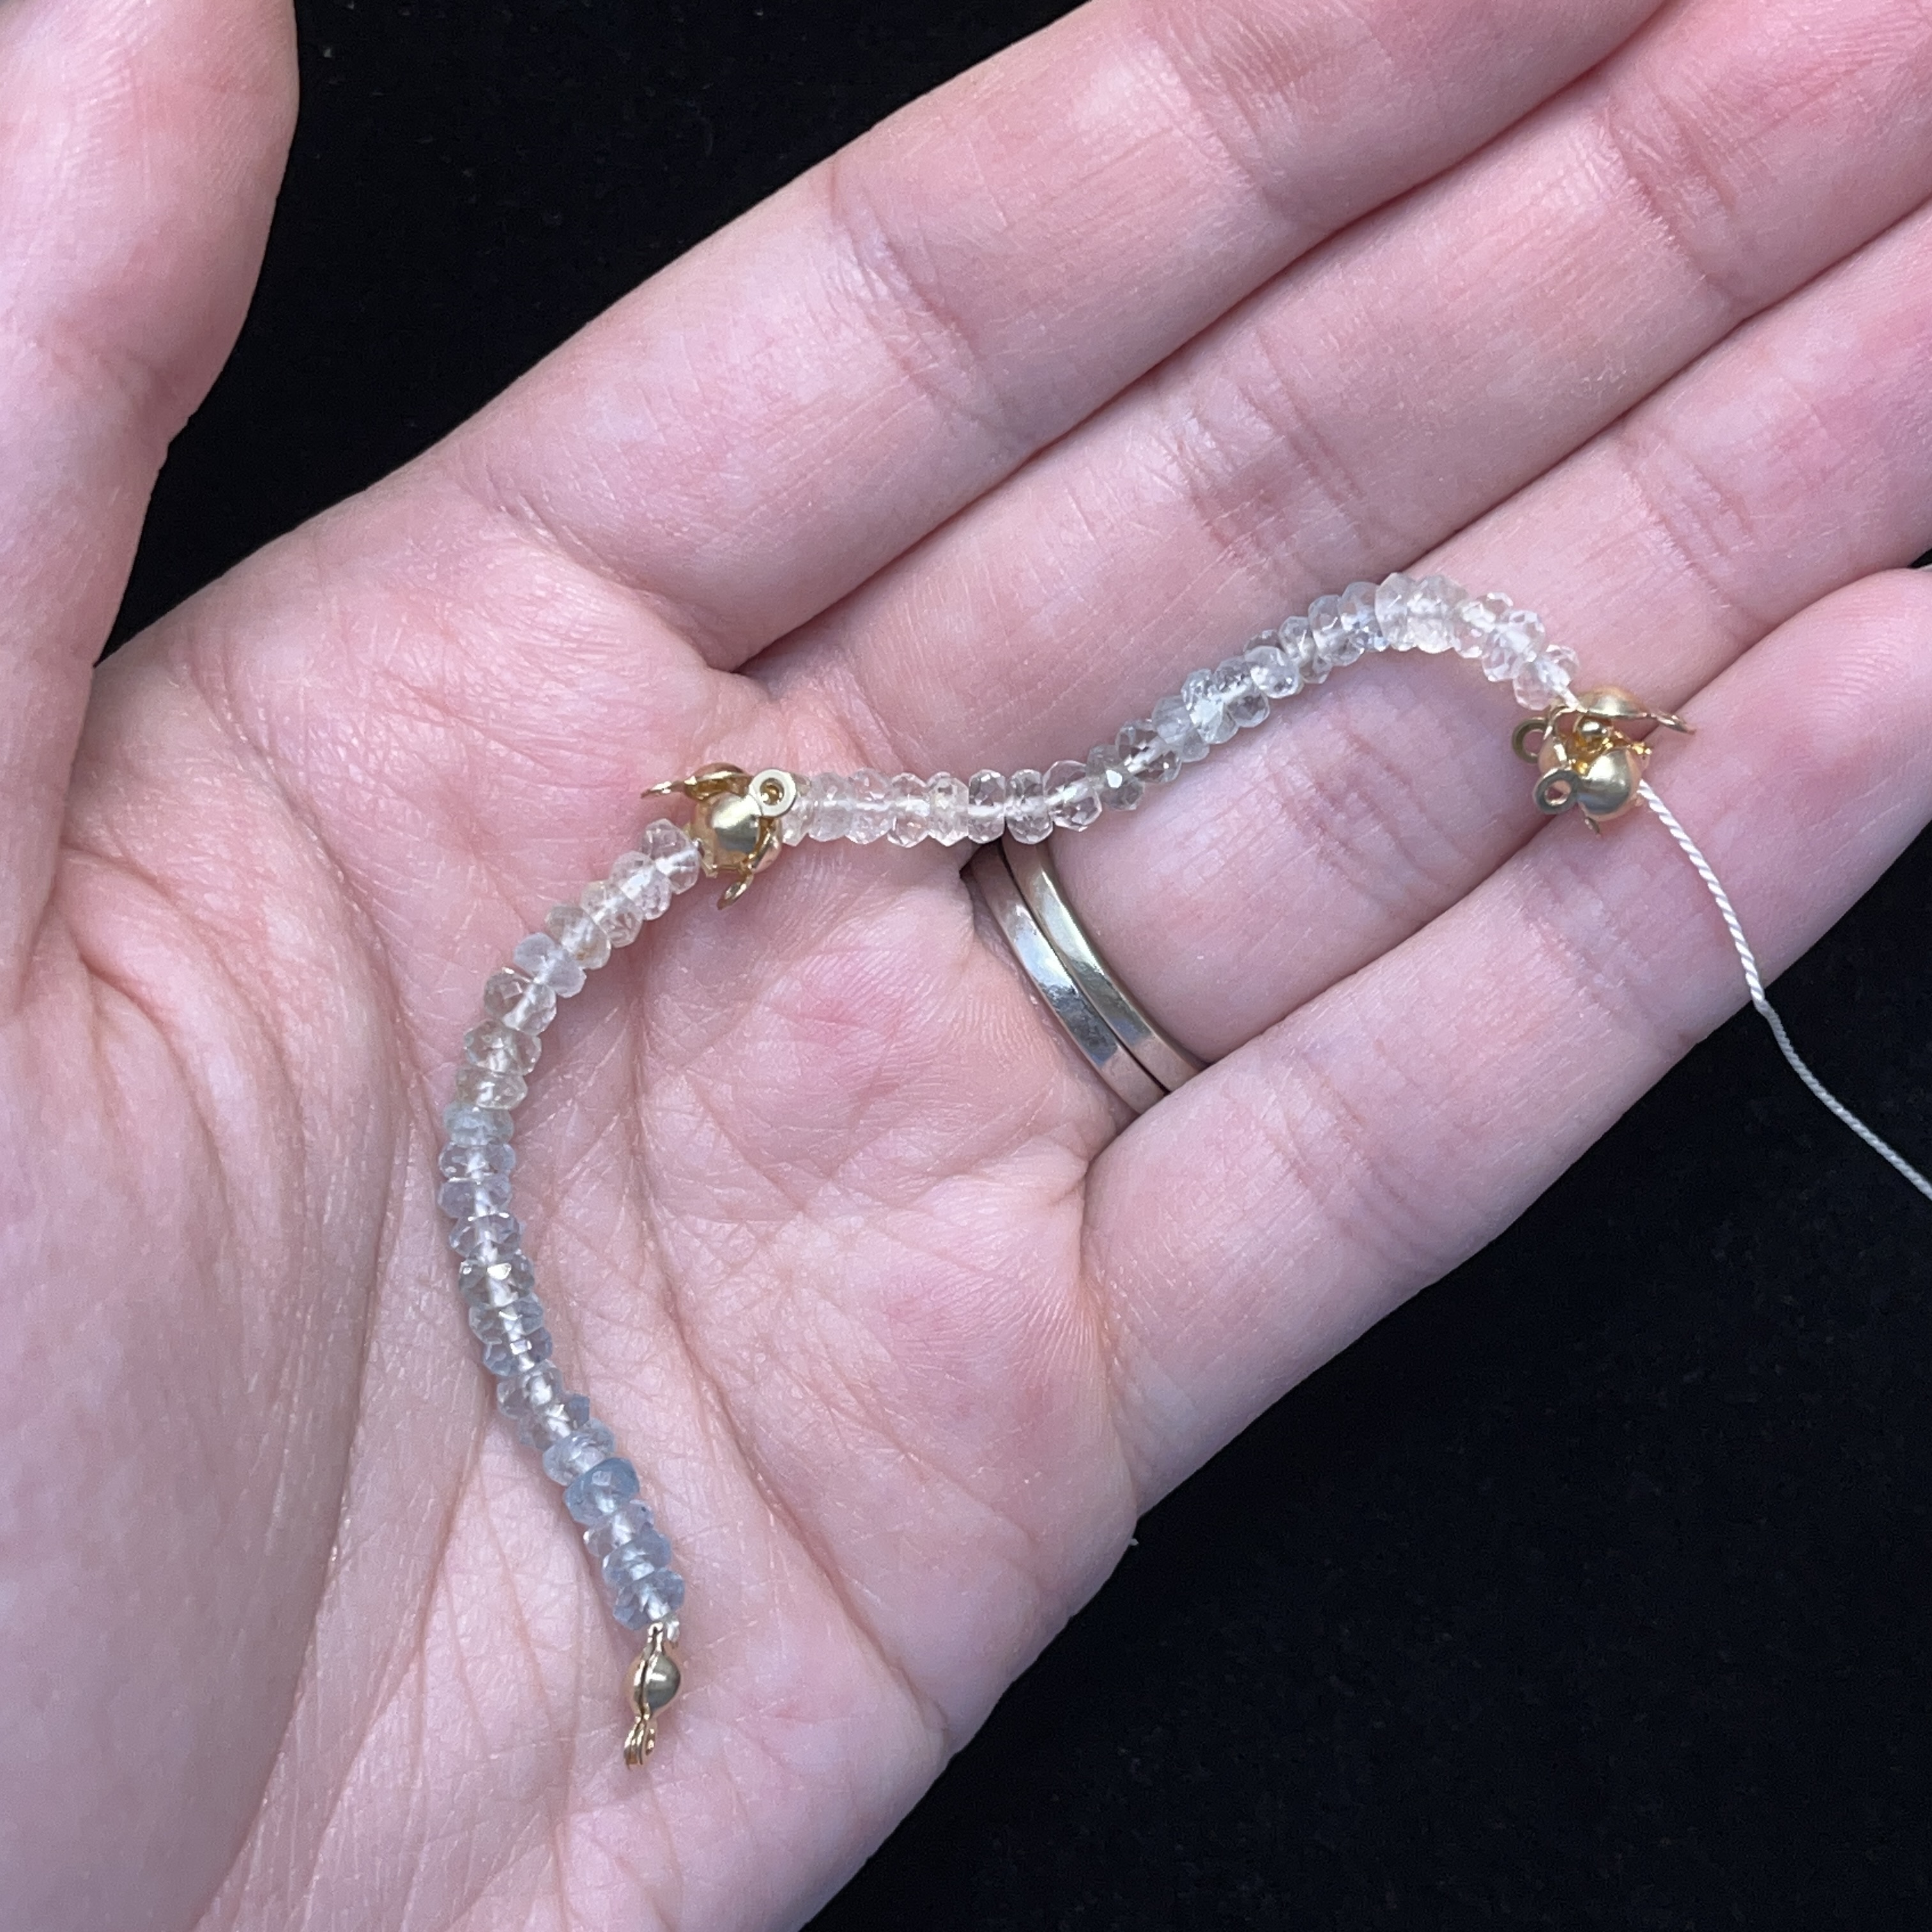
14. Continue the pattern by adding 22 more aquamarine beads, followed by 1 clamshell, 2 gold beads, then another clamshell
15. Finish the pattern by stringing on 22 more aquamarine beads followed by a clamshell and gold bead
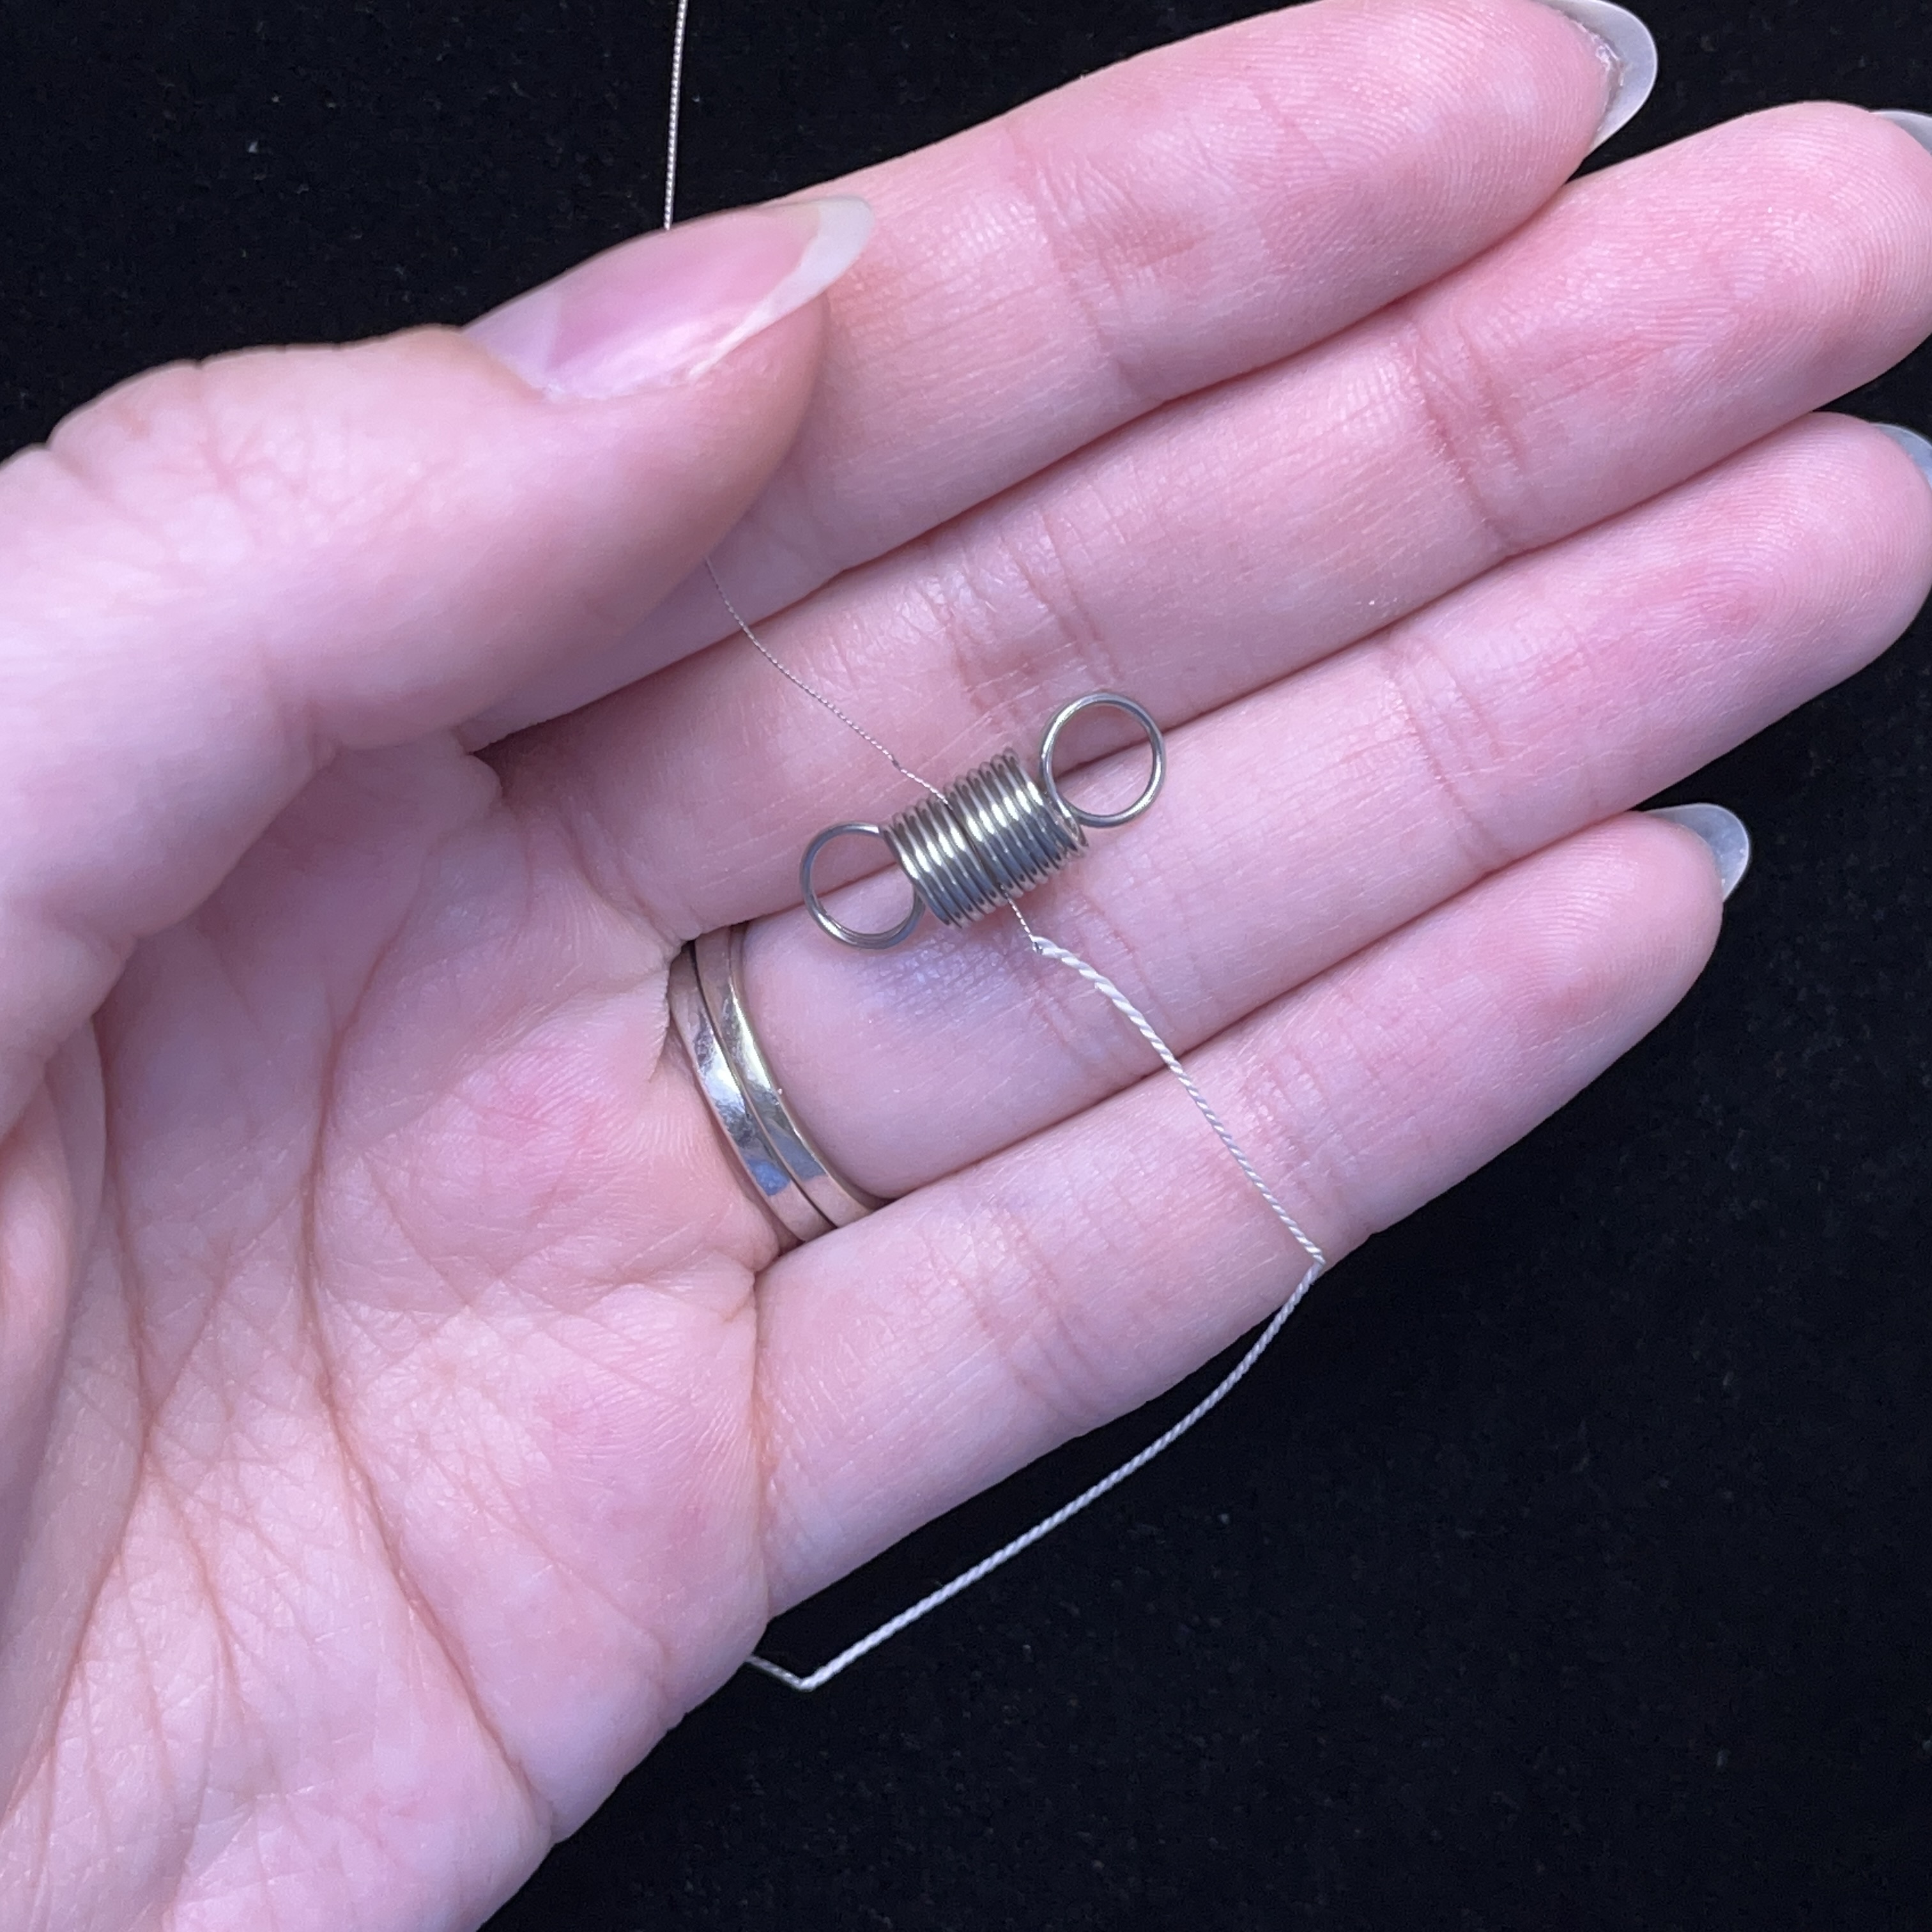
16. Add a bead stop near the the griffin silk needle
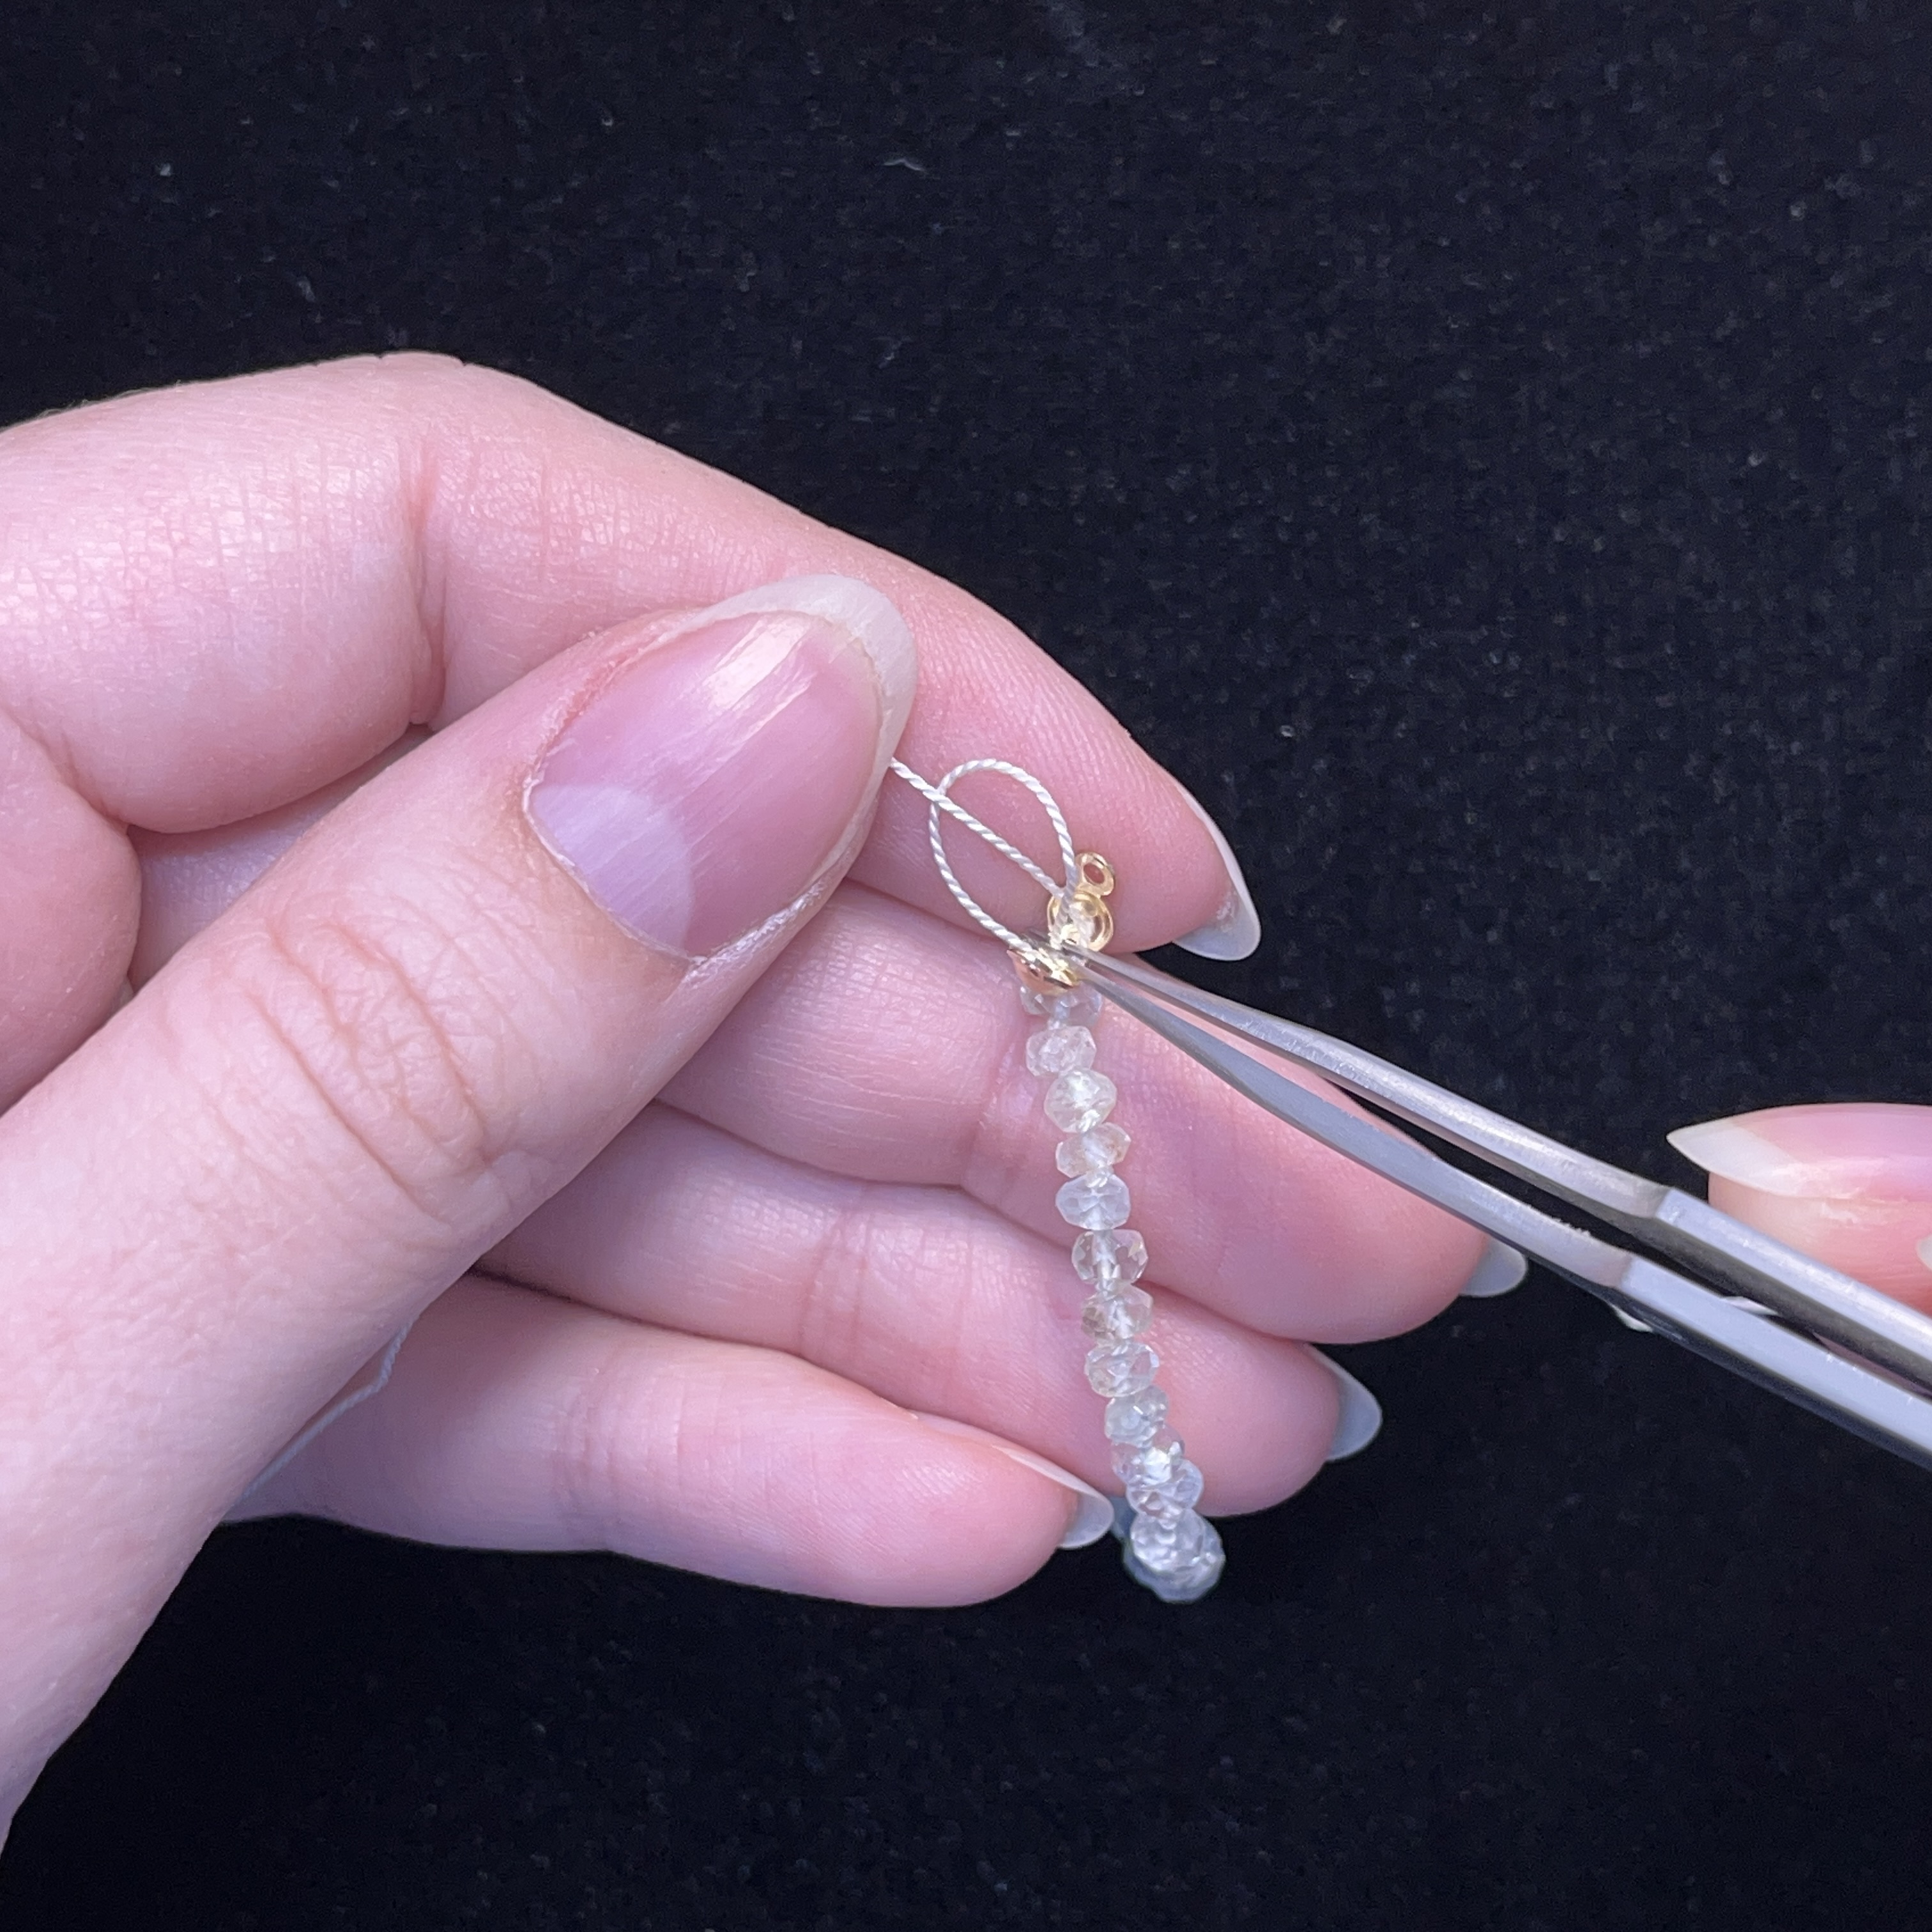
17. Pull back the aquamarine beads to give yourself some cord to work with. Pull forward 1 aquamarine bead towards the clamshell and create a knot on top of the aquamarine
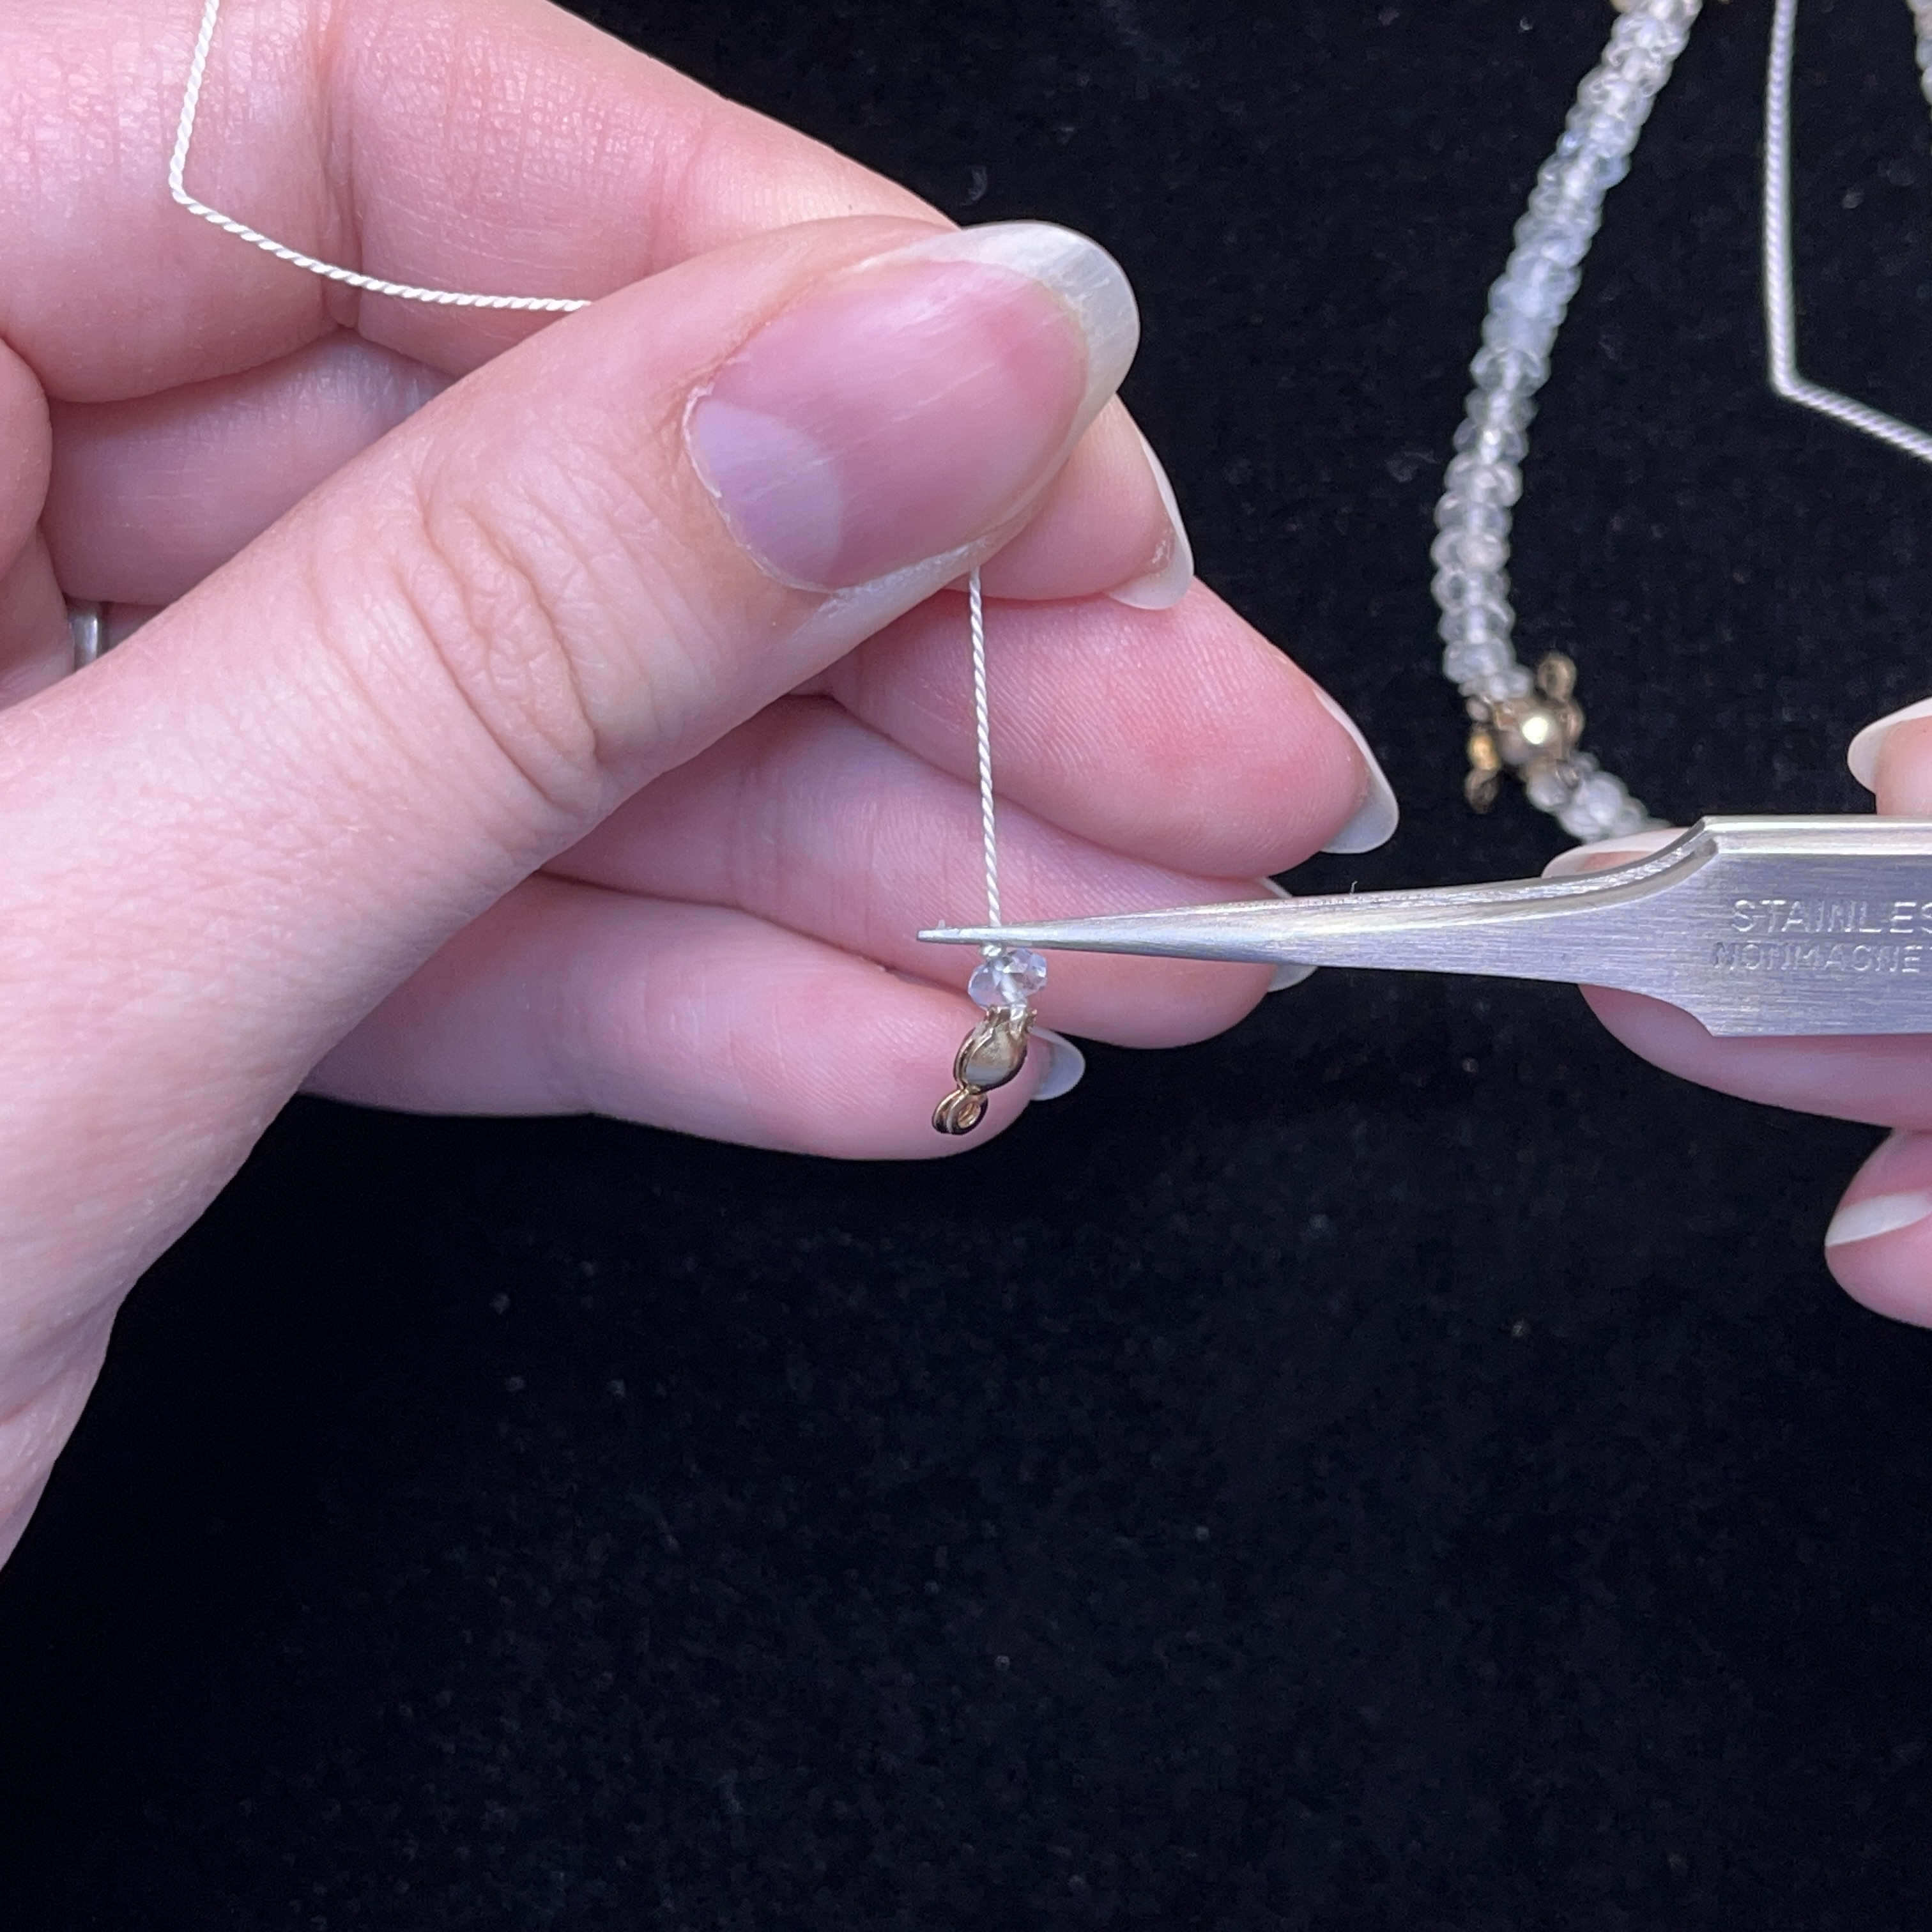
18. Push down the knot with your tweezers so the knot is tight
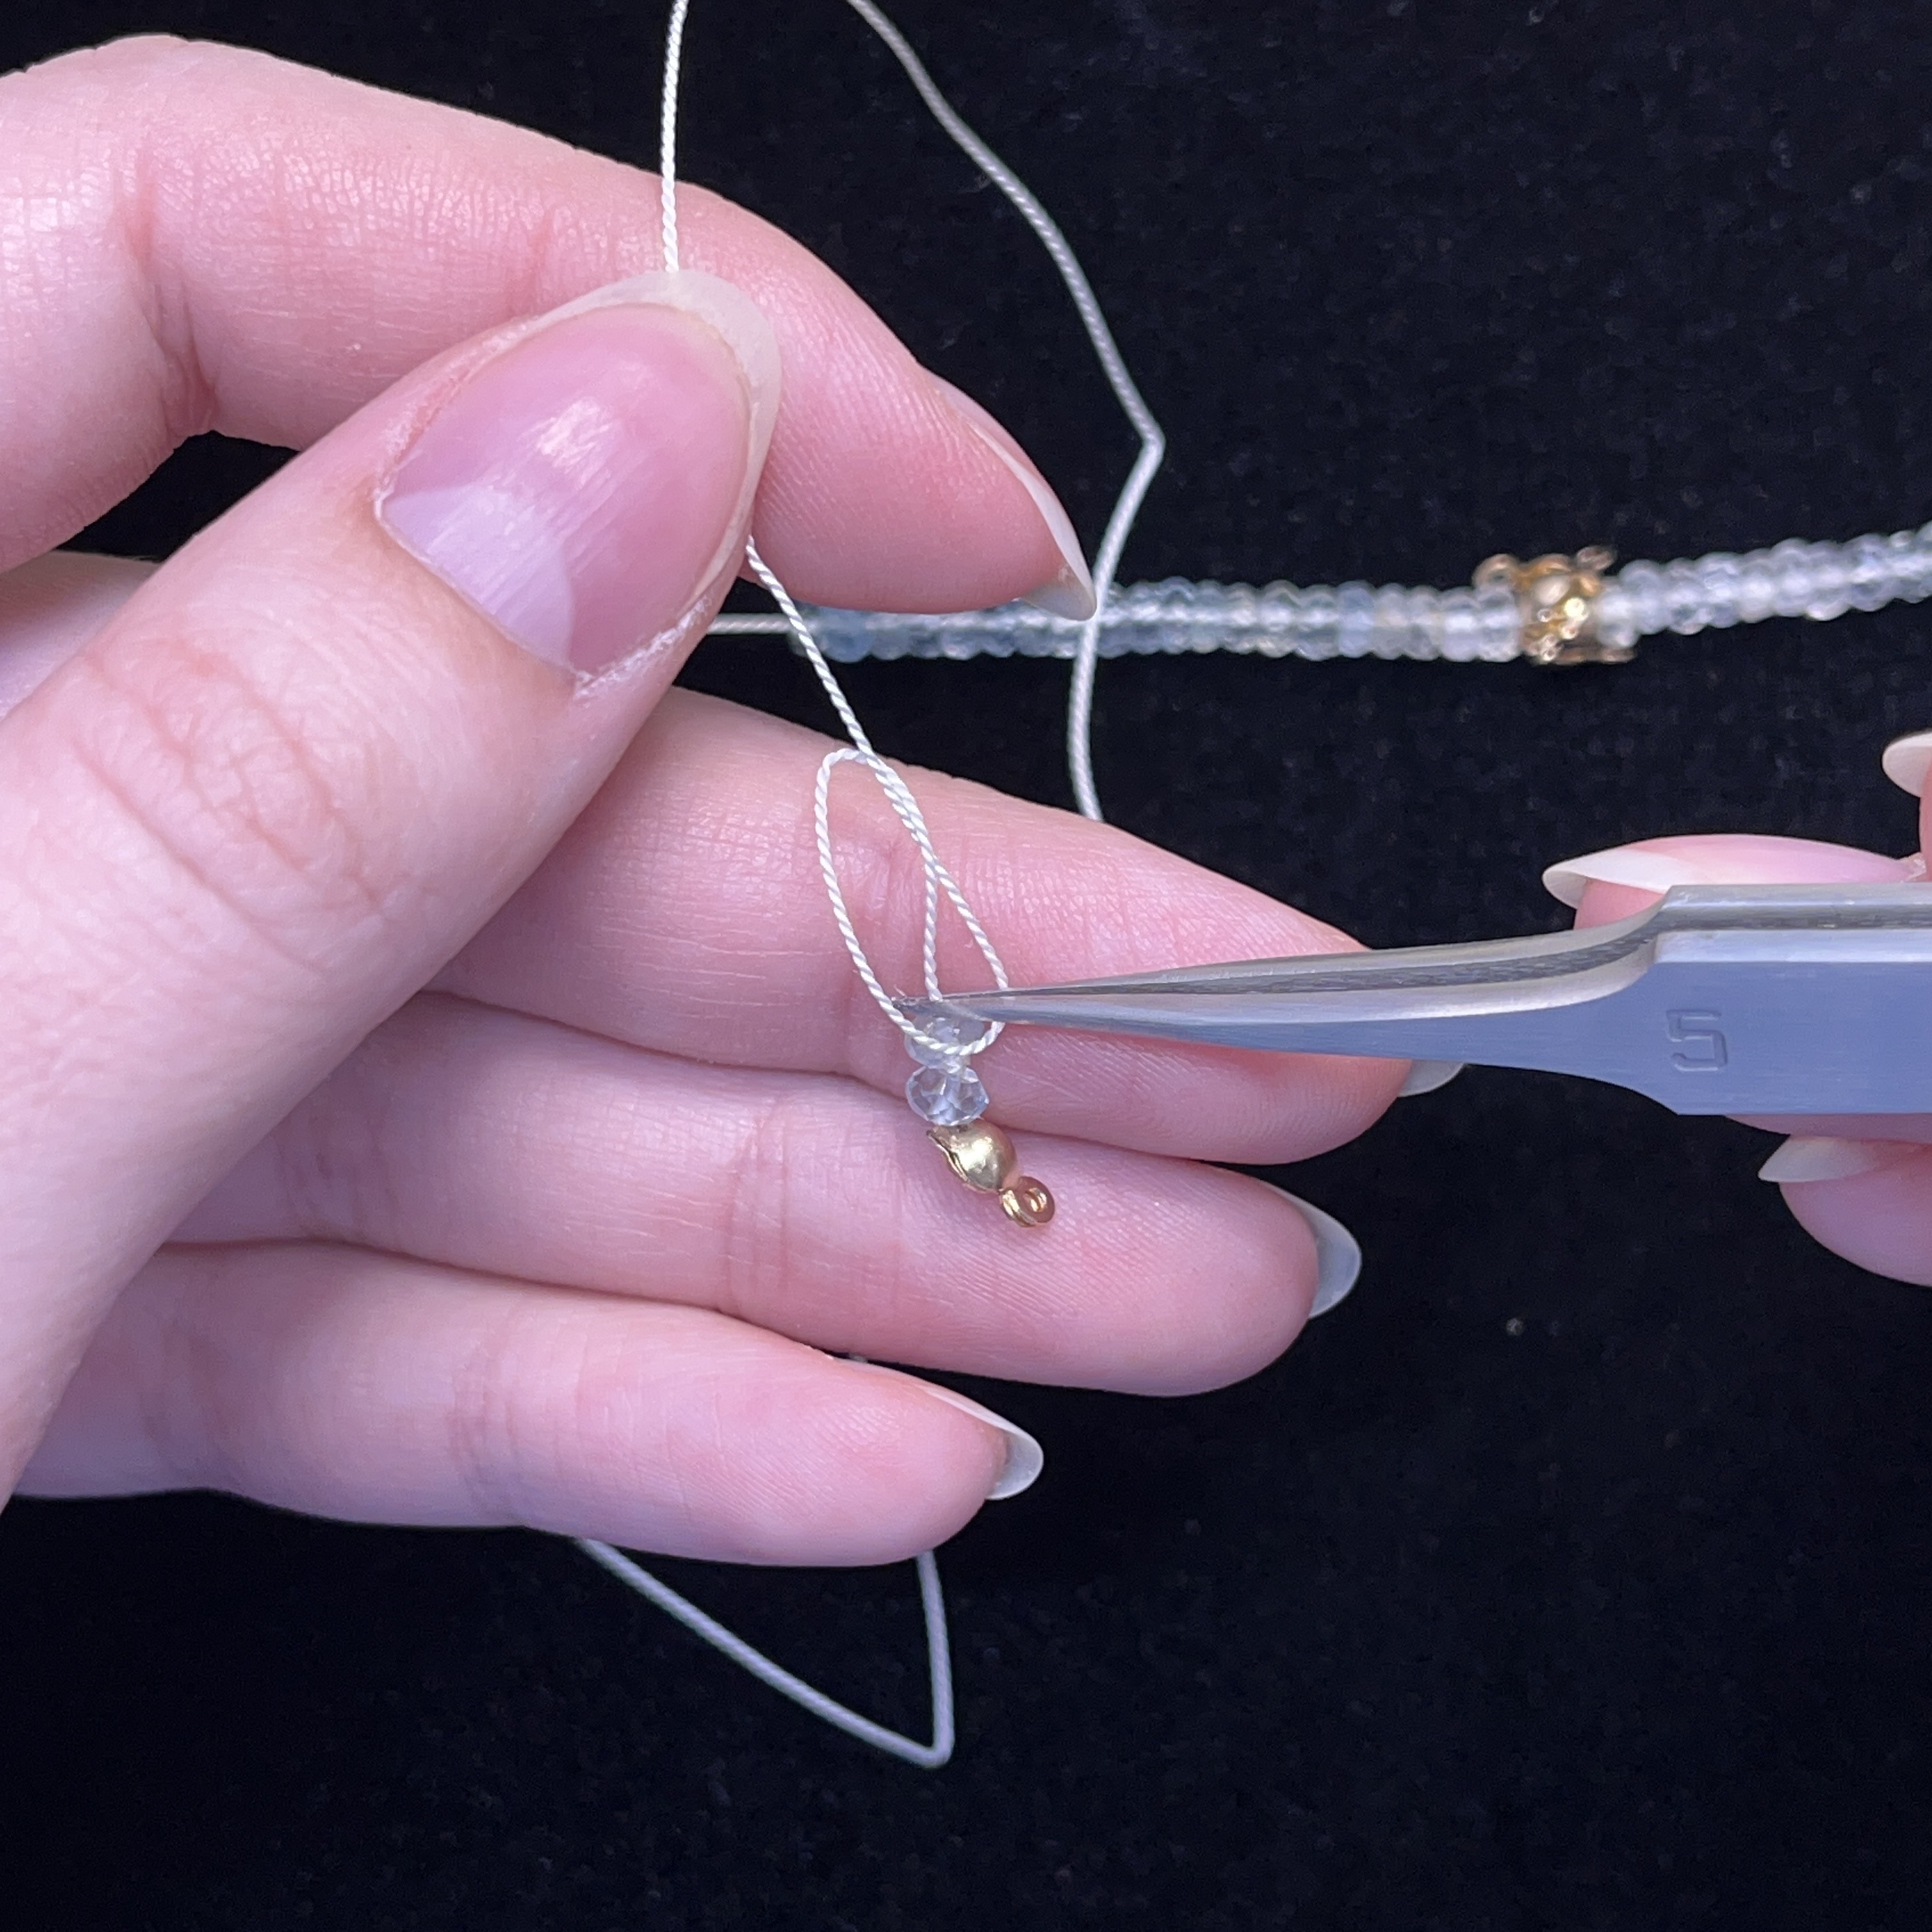
19. Pull down a second aquamarine bead and knot the top
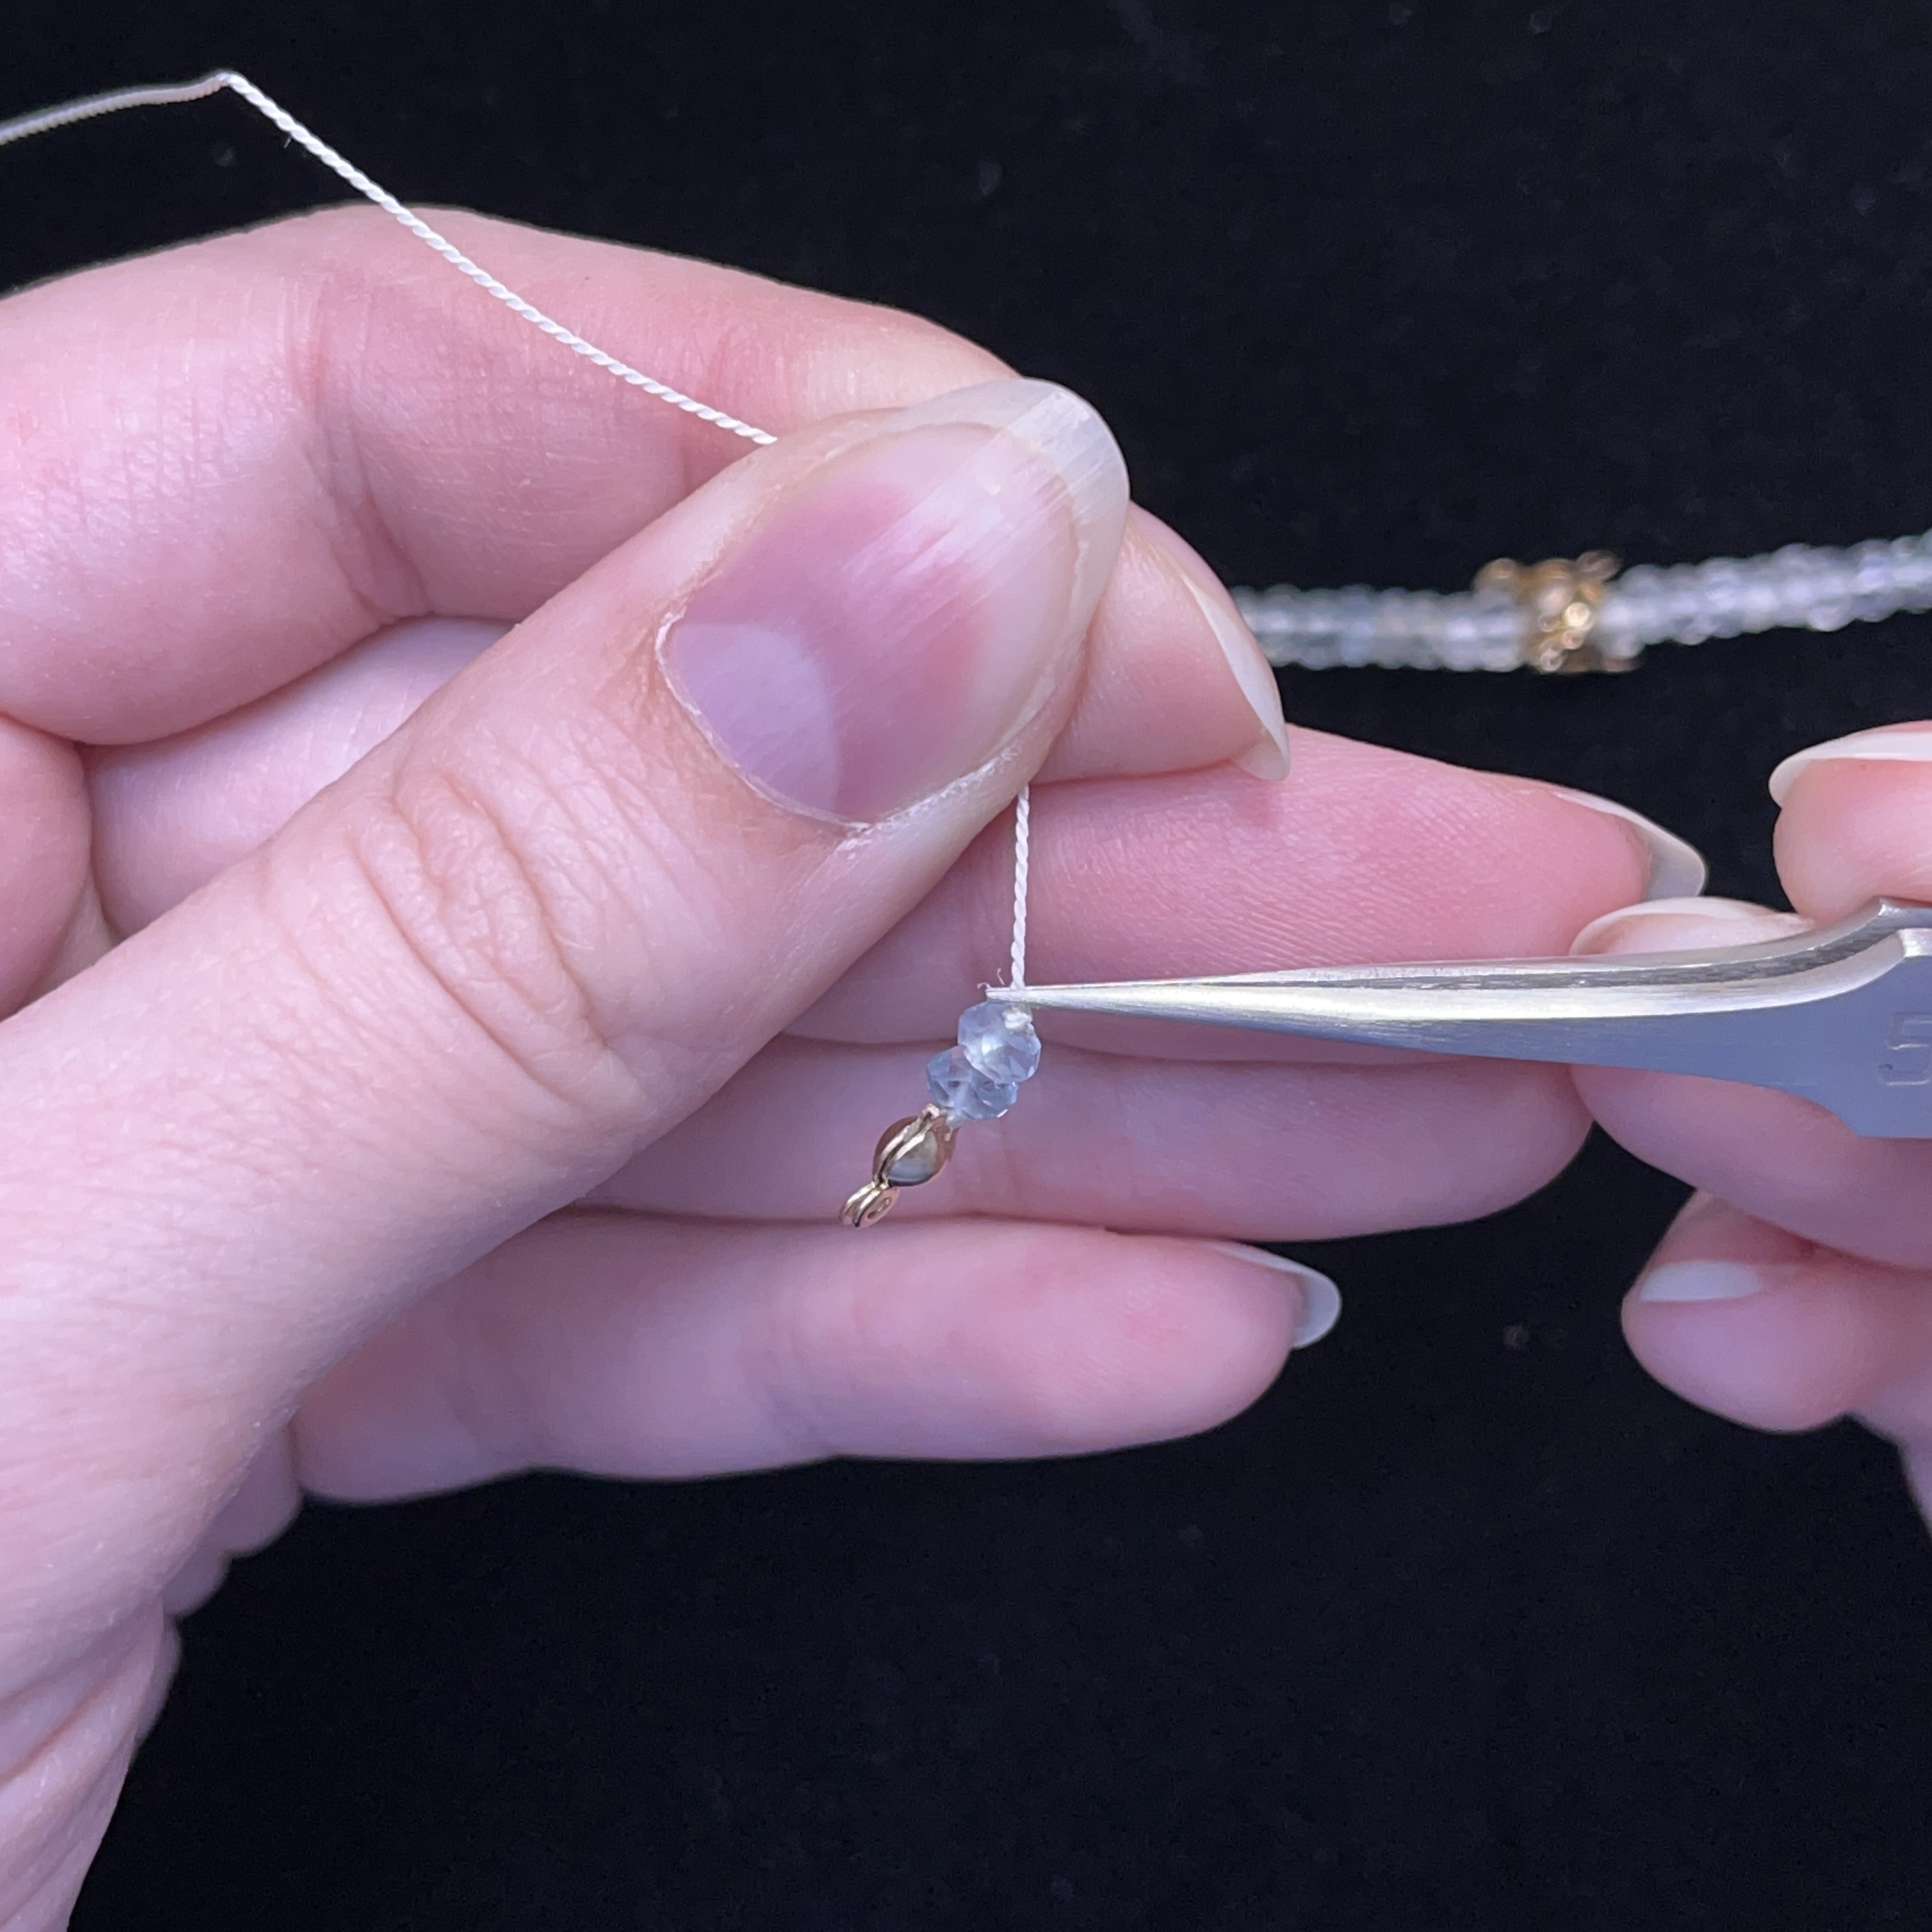
20. Tighten the knot
21. Continue knotting after each aquamarine bead until you have knotted the first set of 22 beads
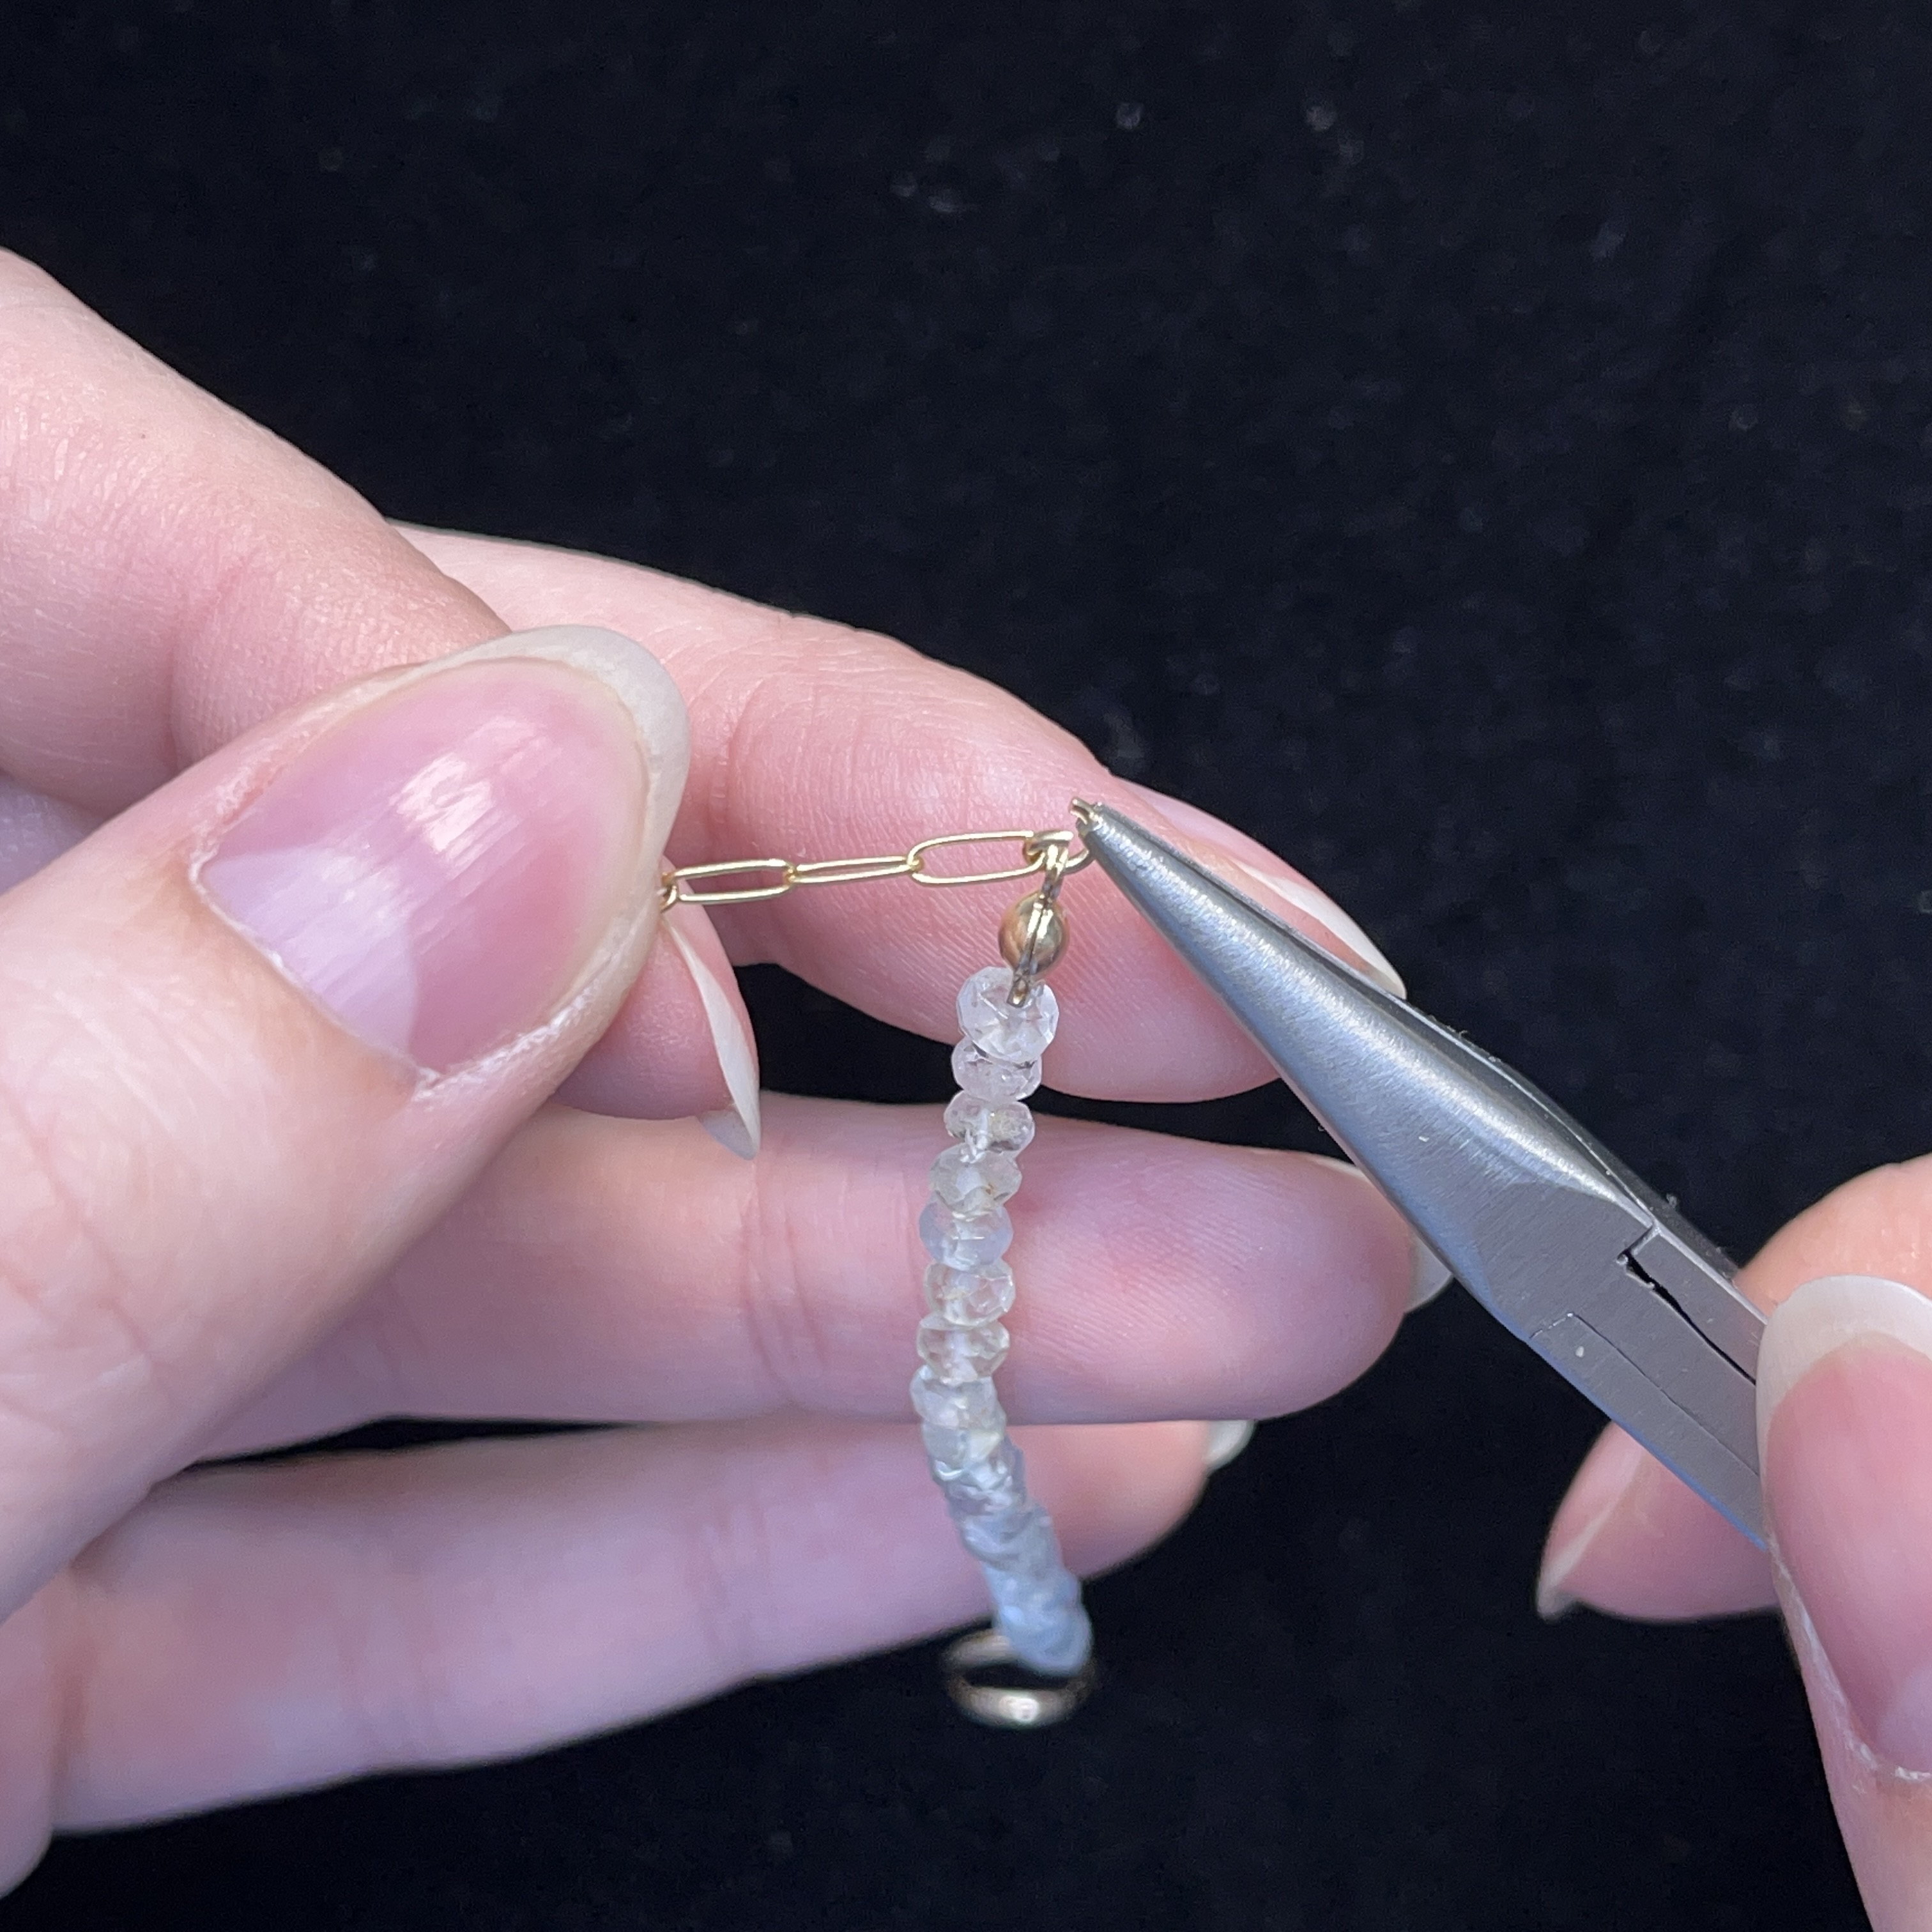
22. Thread the first clamshell down to the knot and create a knot at the hole of the clamshell
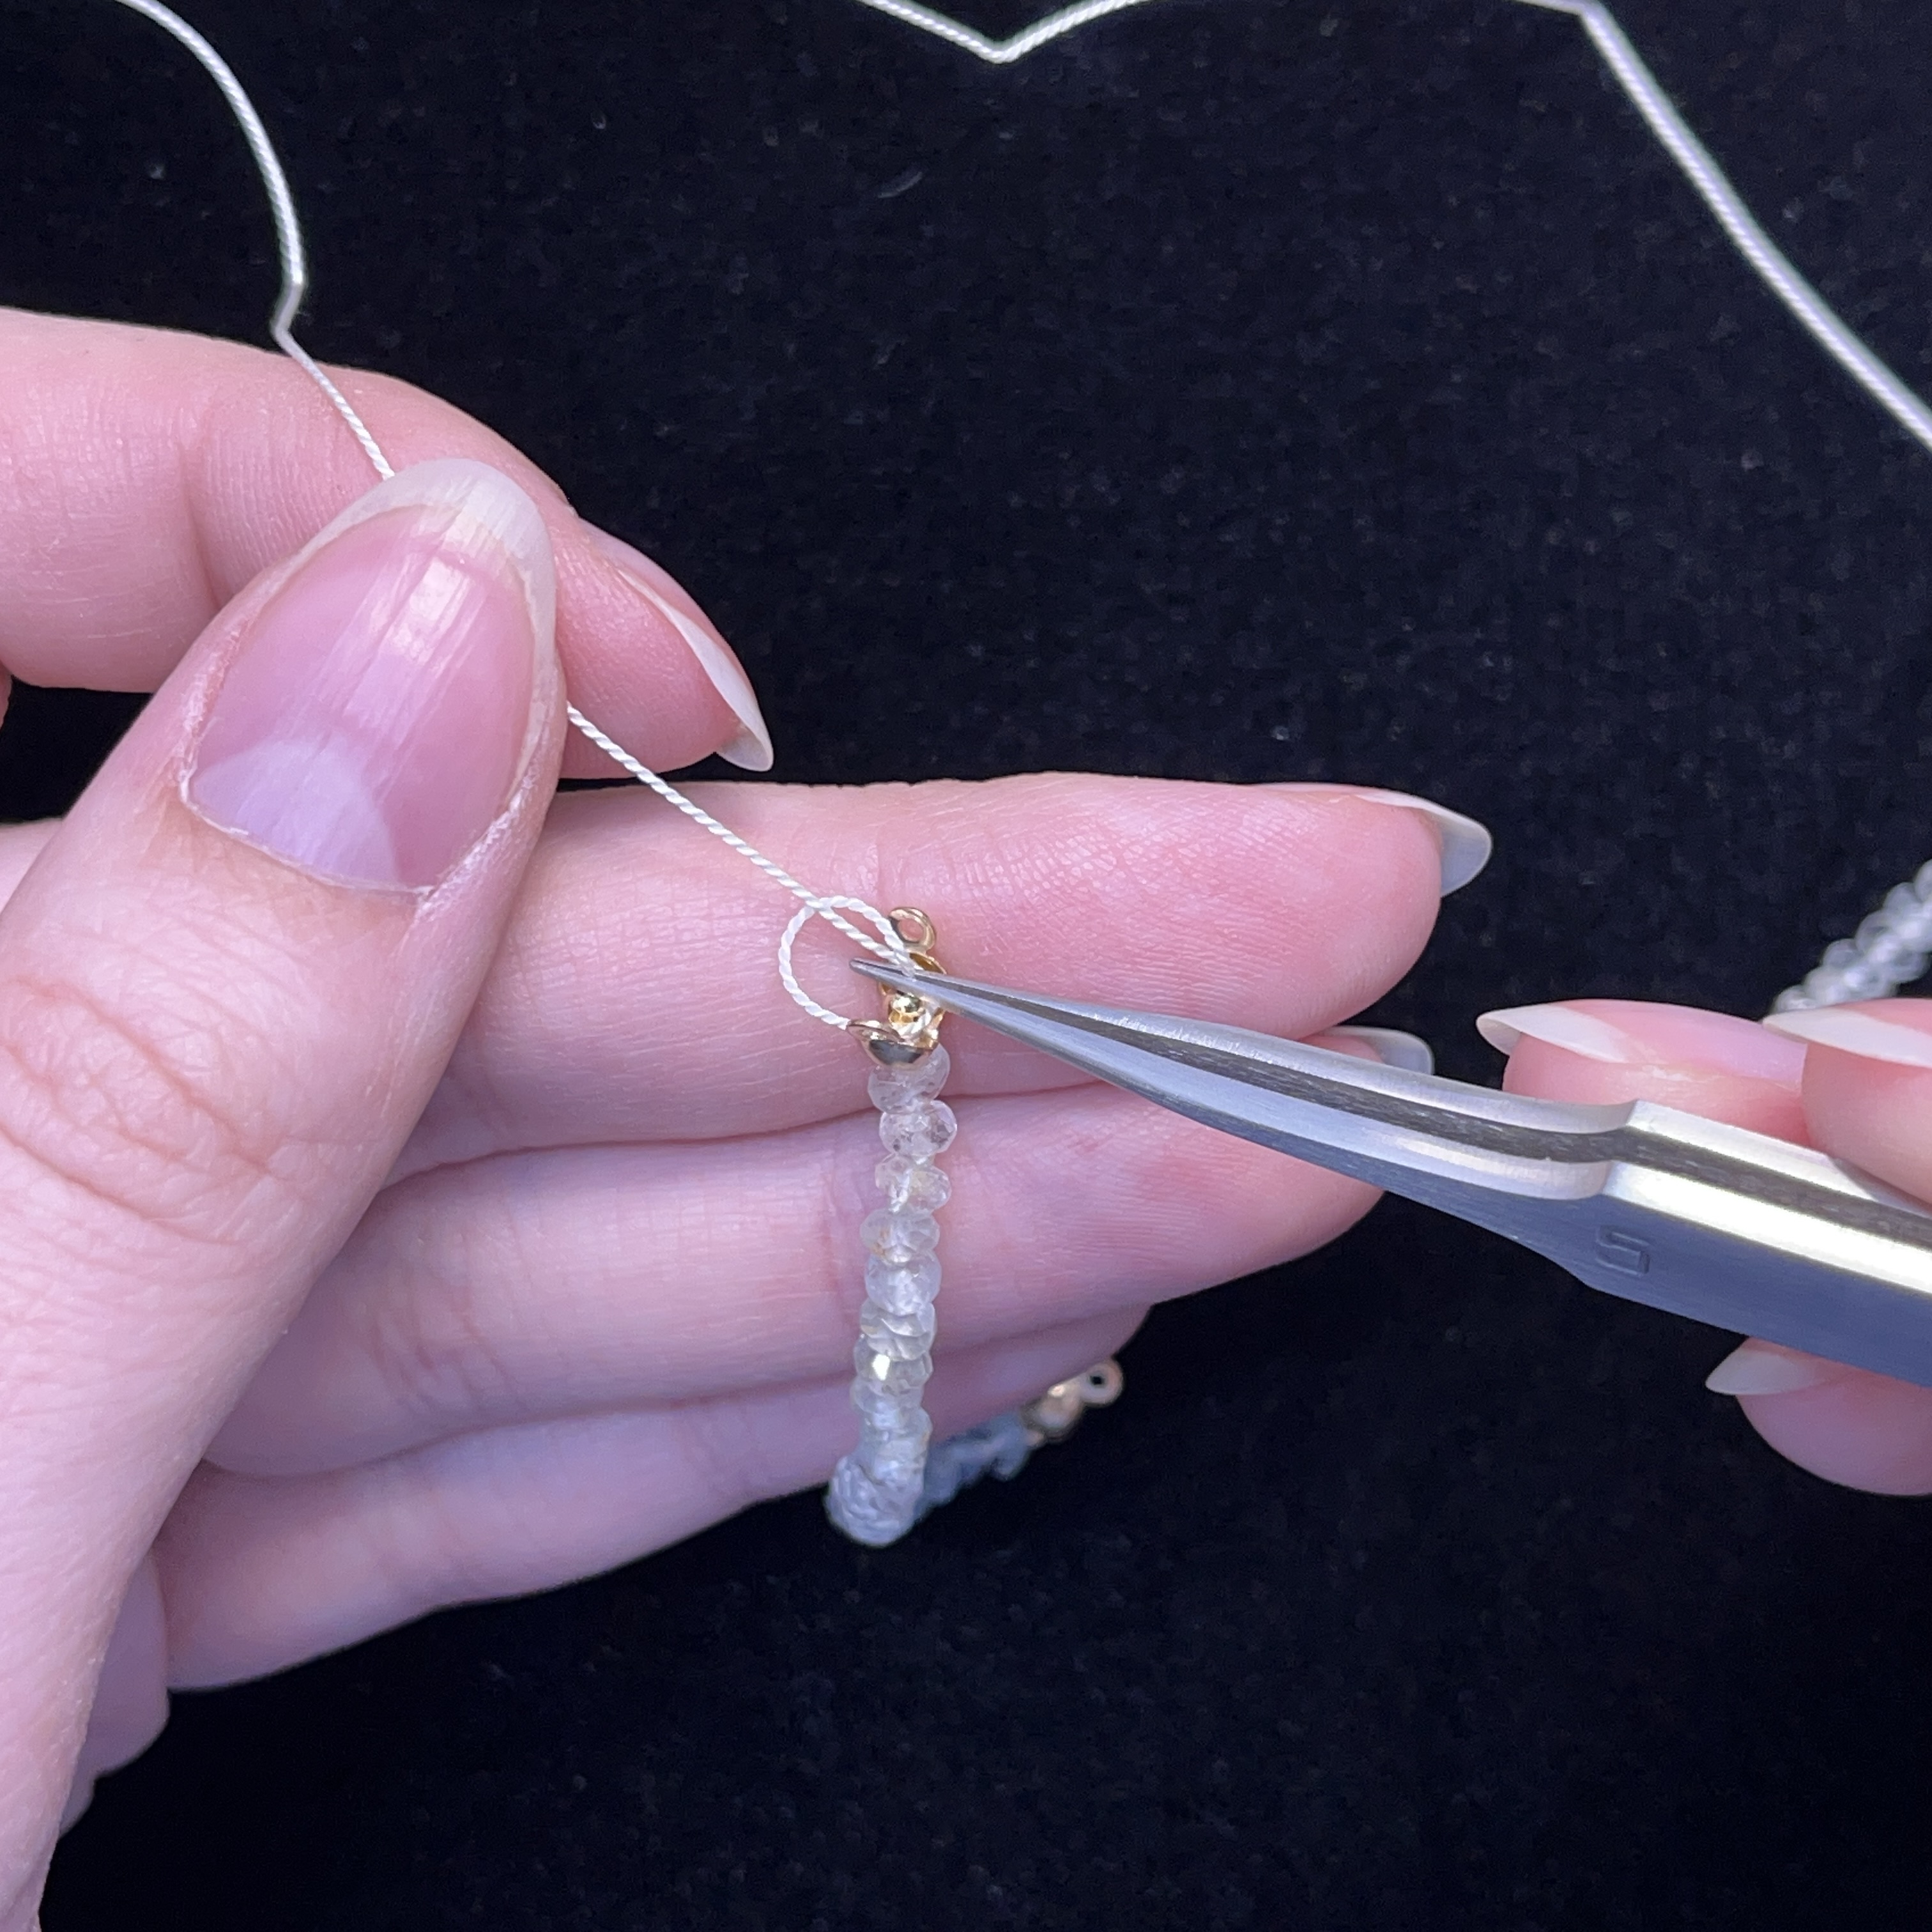
23. Pull one of the 2mm gold beads into the clamshell and make a second knot
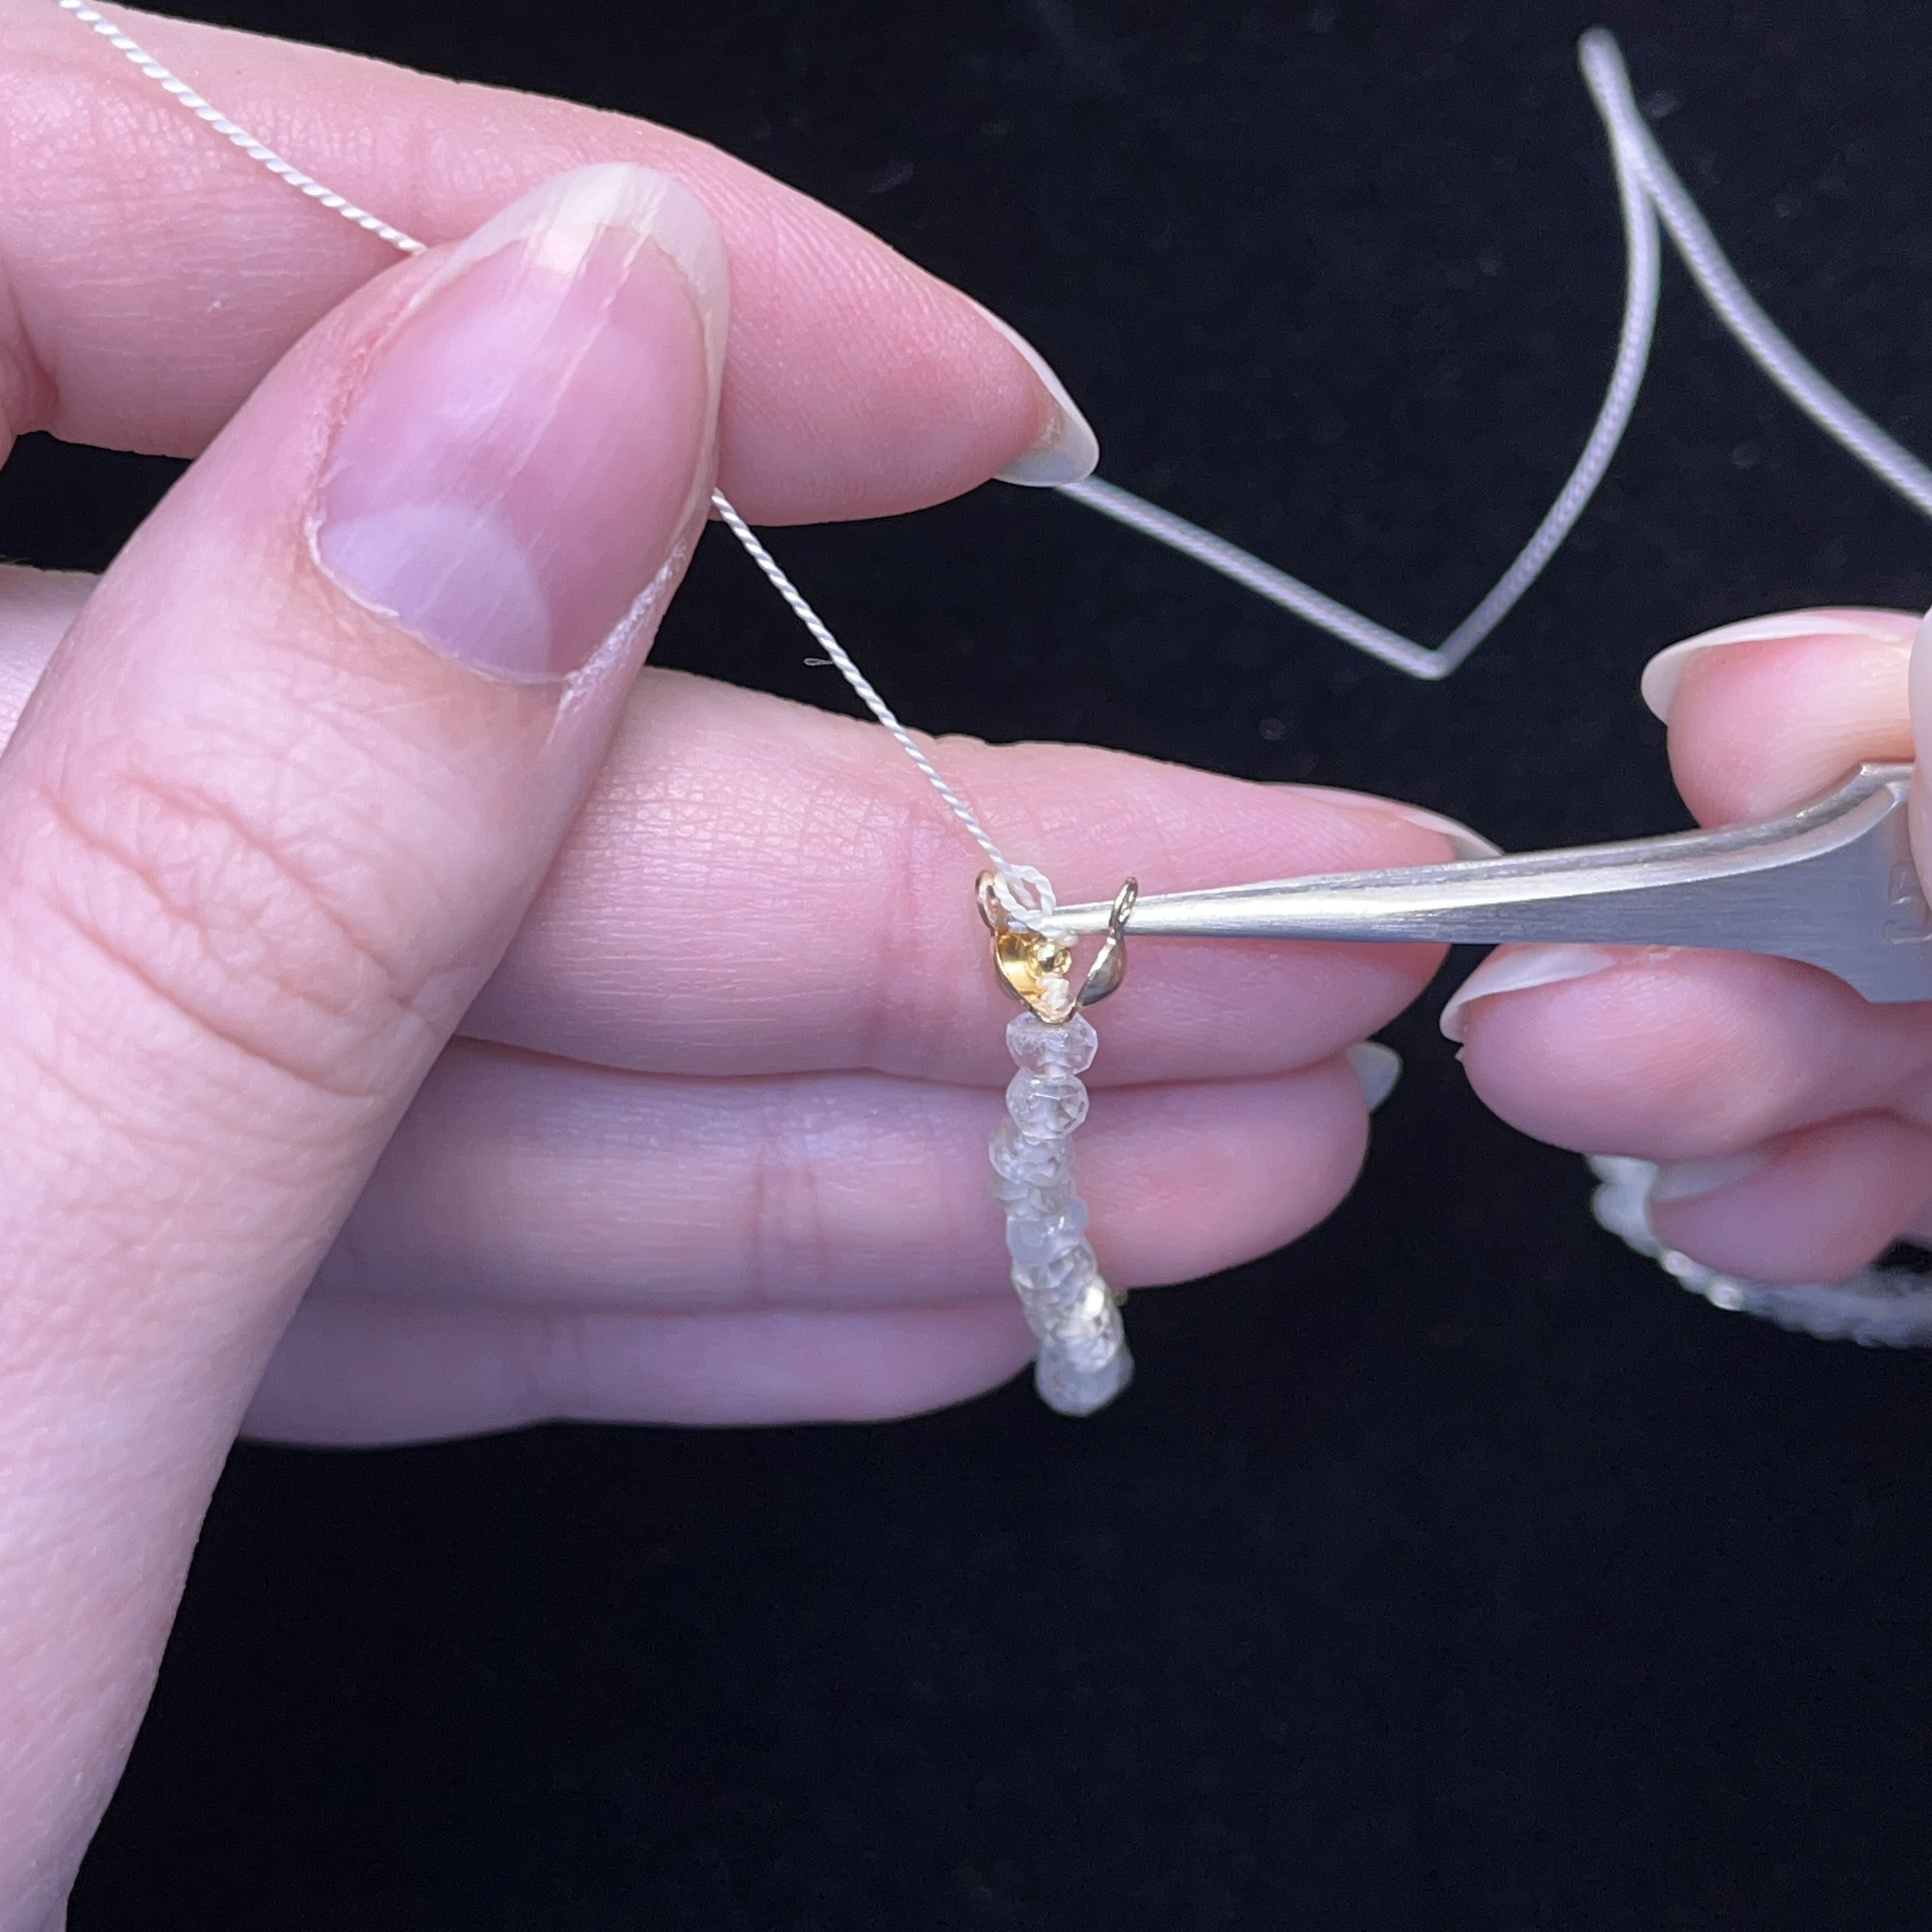
24. Tie a third knot
25. Gently squish the 2mm bead in the clamshell
26. Carefully cut the cord above the knot
27. Apply glue to the knots and the clamshell
28. Gently close the clamshell
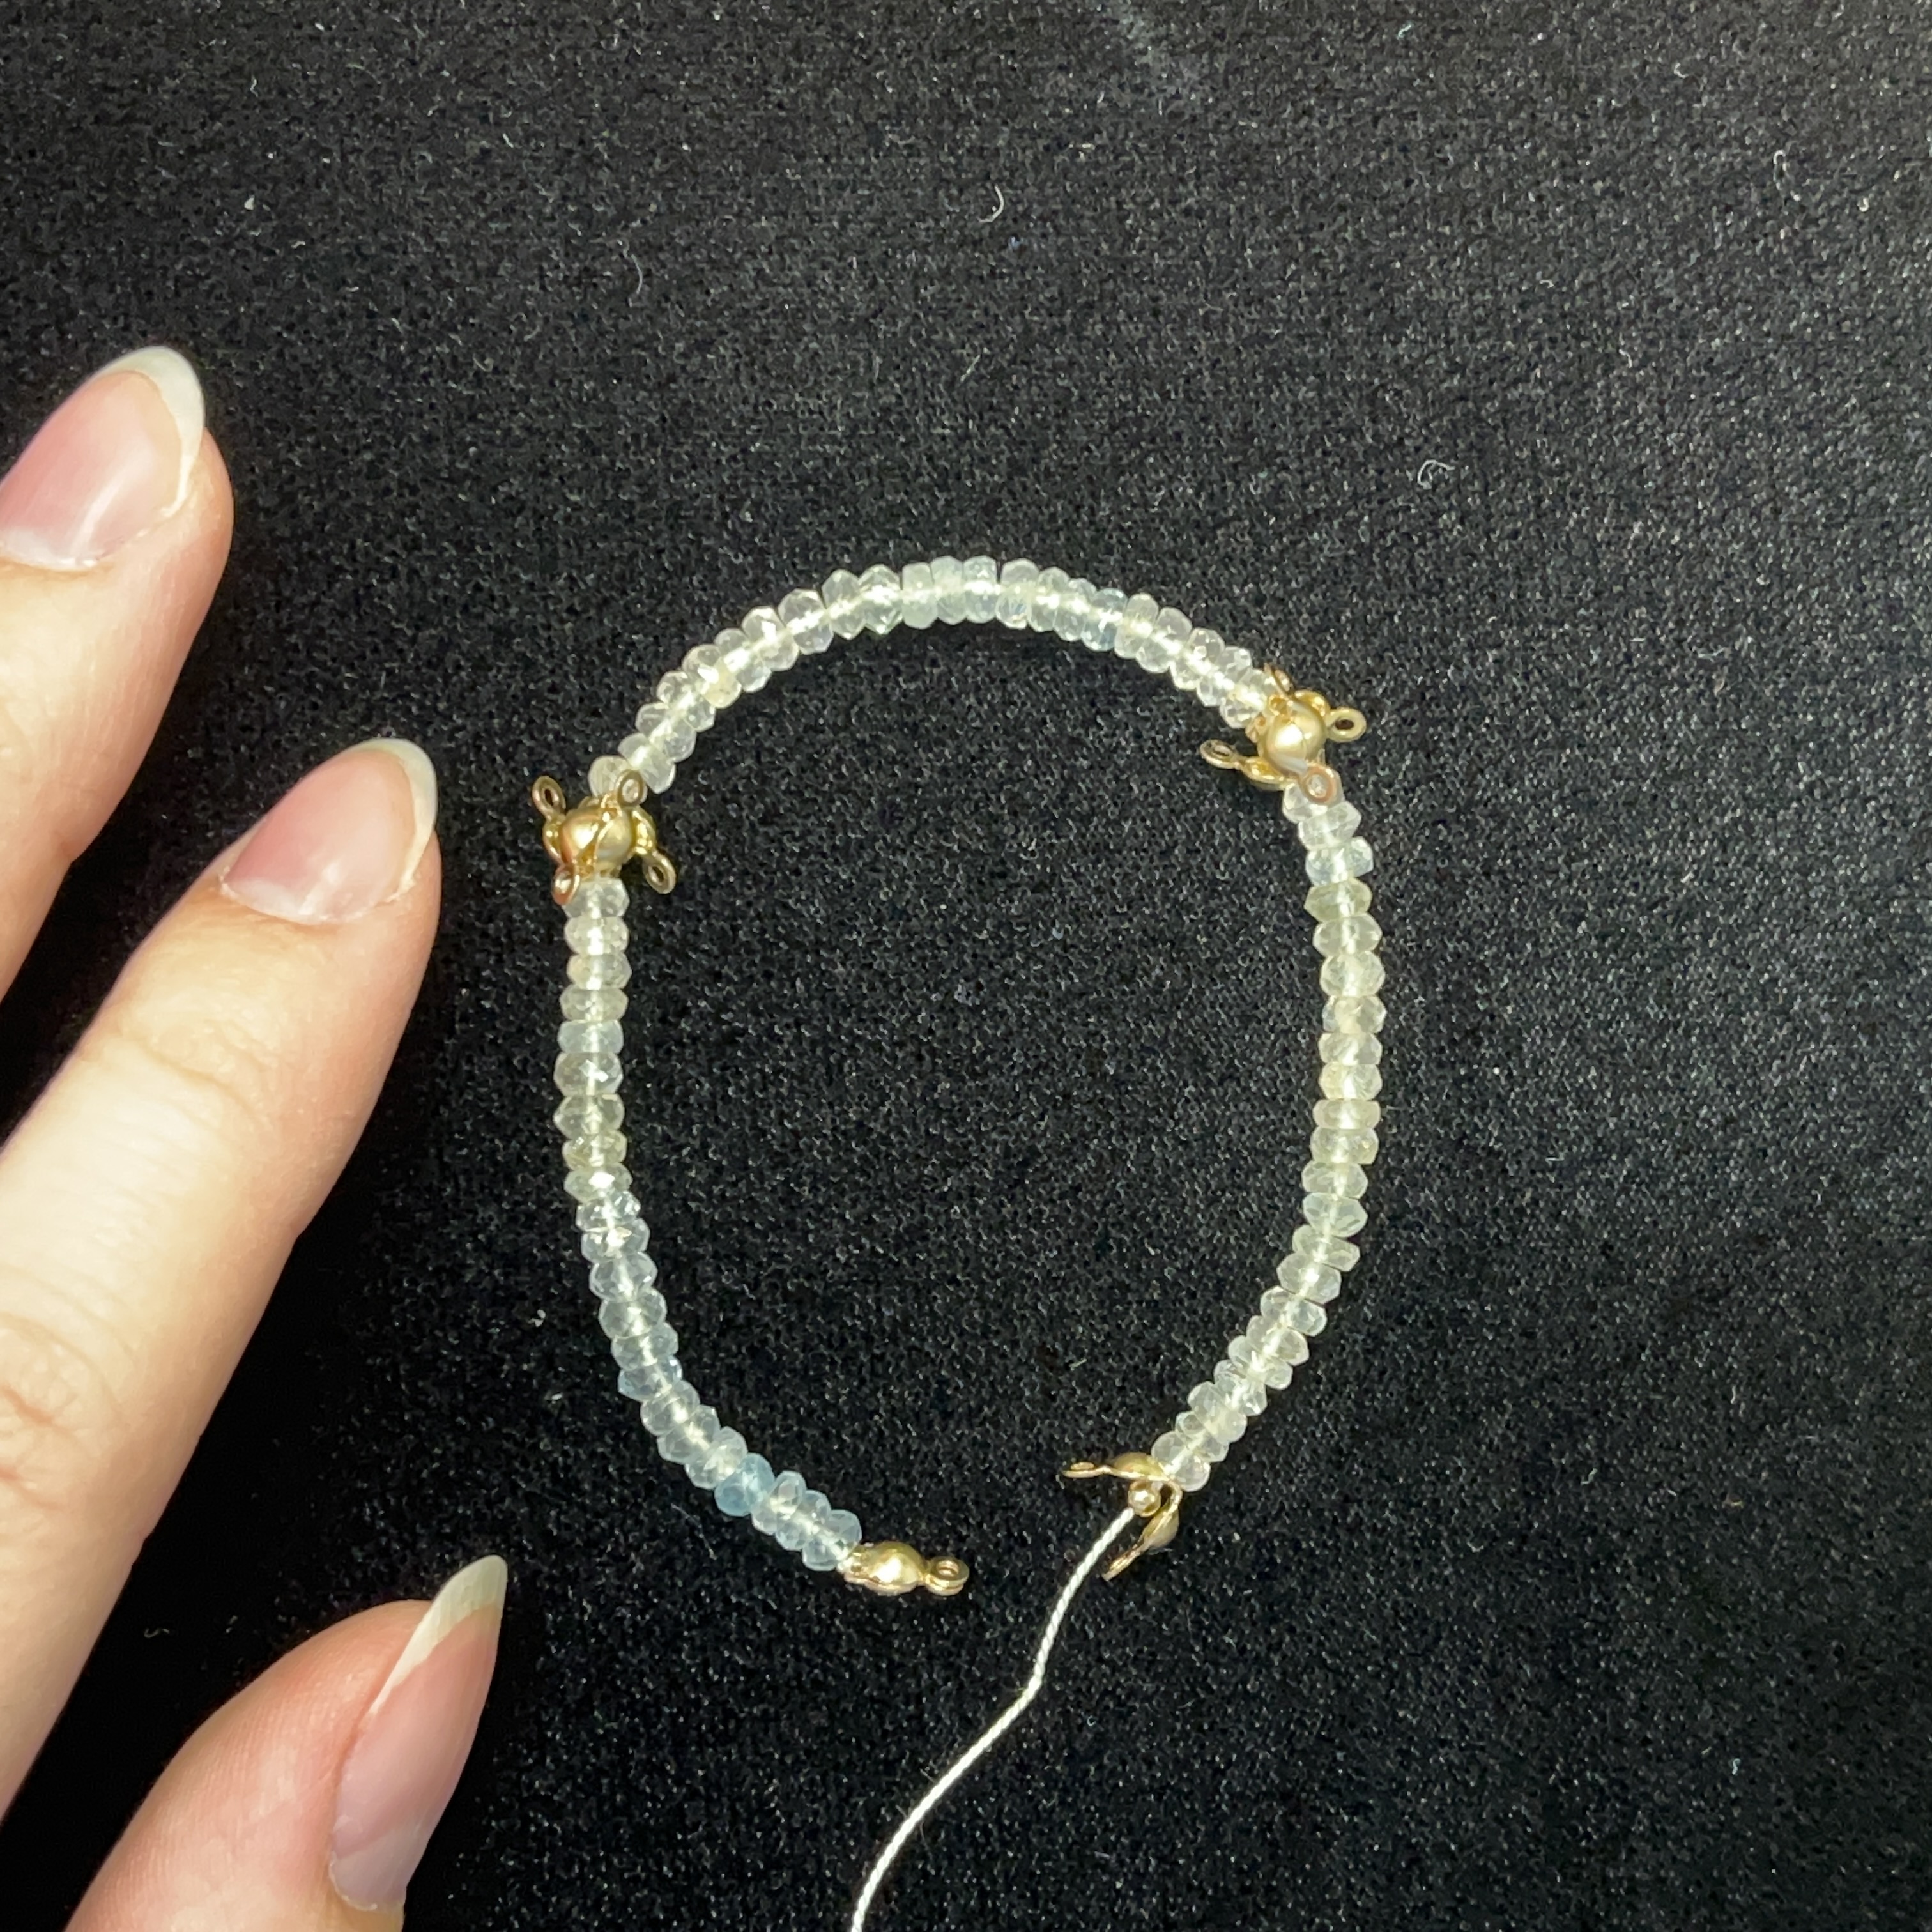
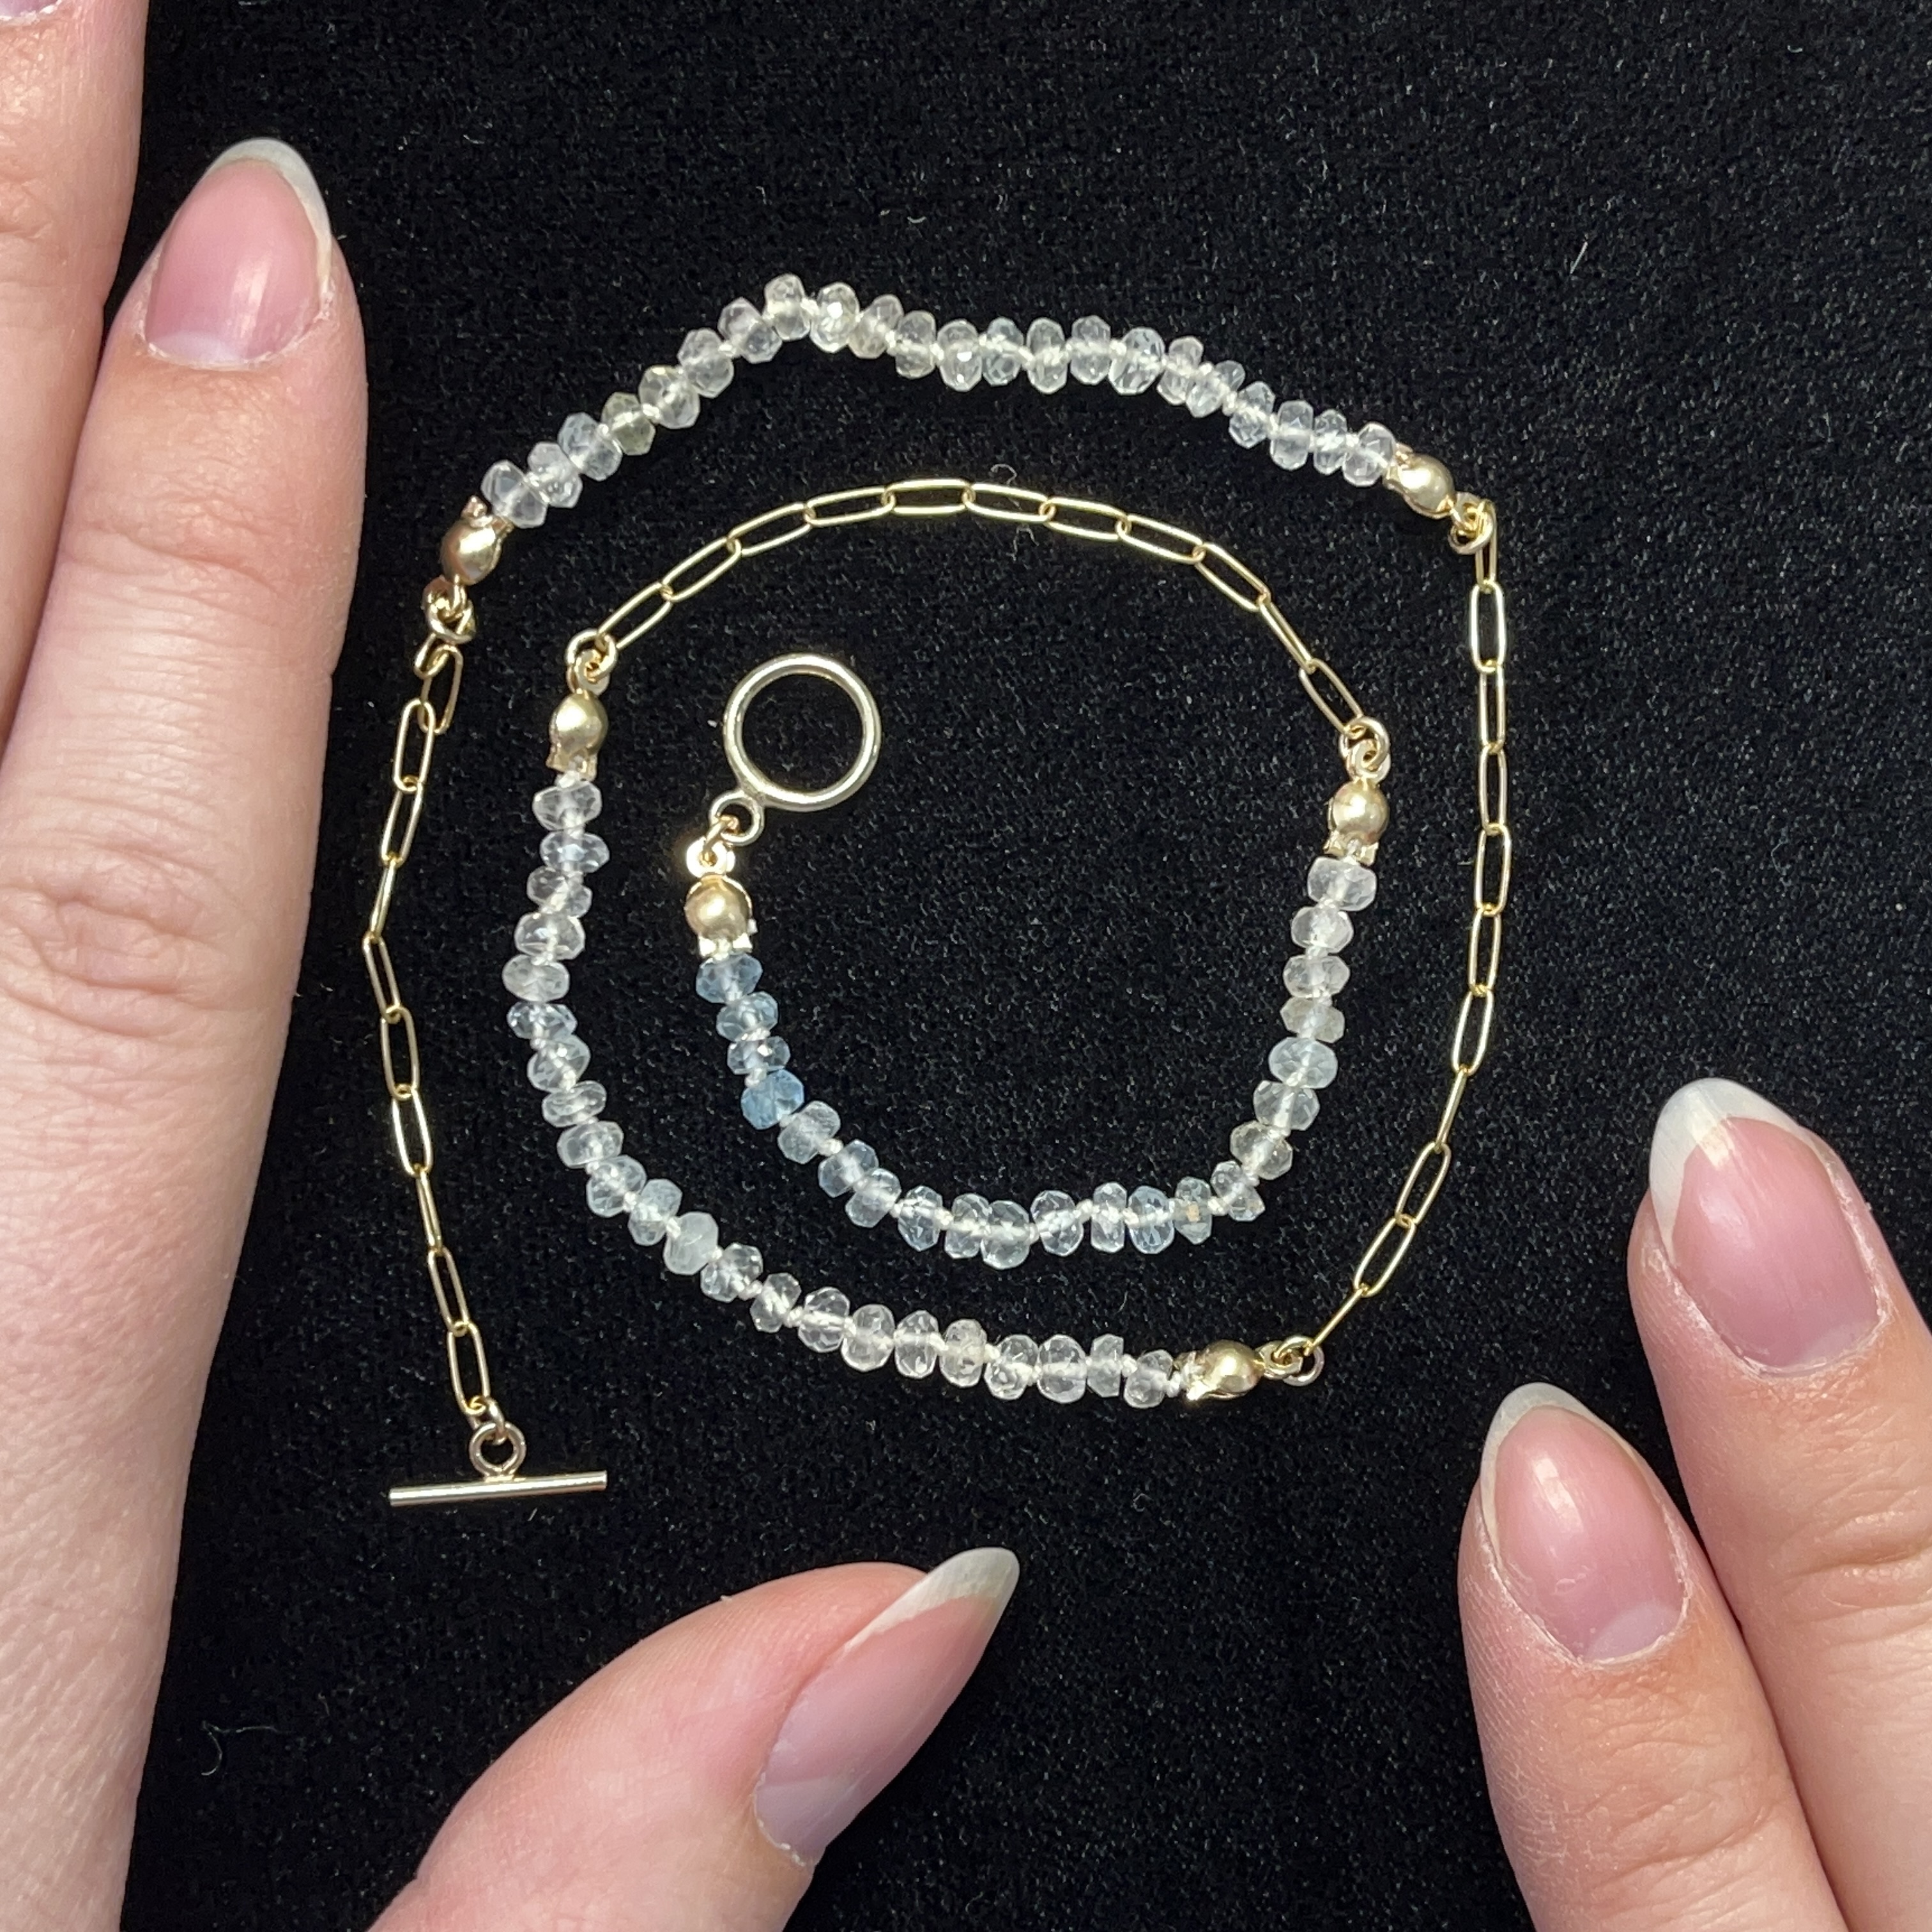
29. The first of 3 knotted strands will look like this. Repeat steps 3-8 and 17-28 to complete 2 more knotted strands like shown above
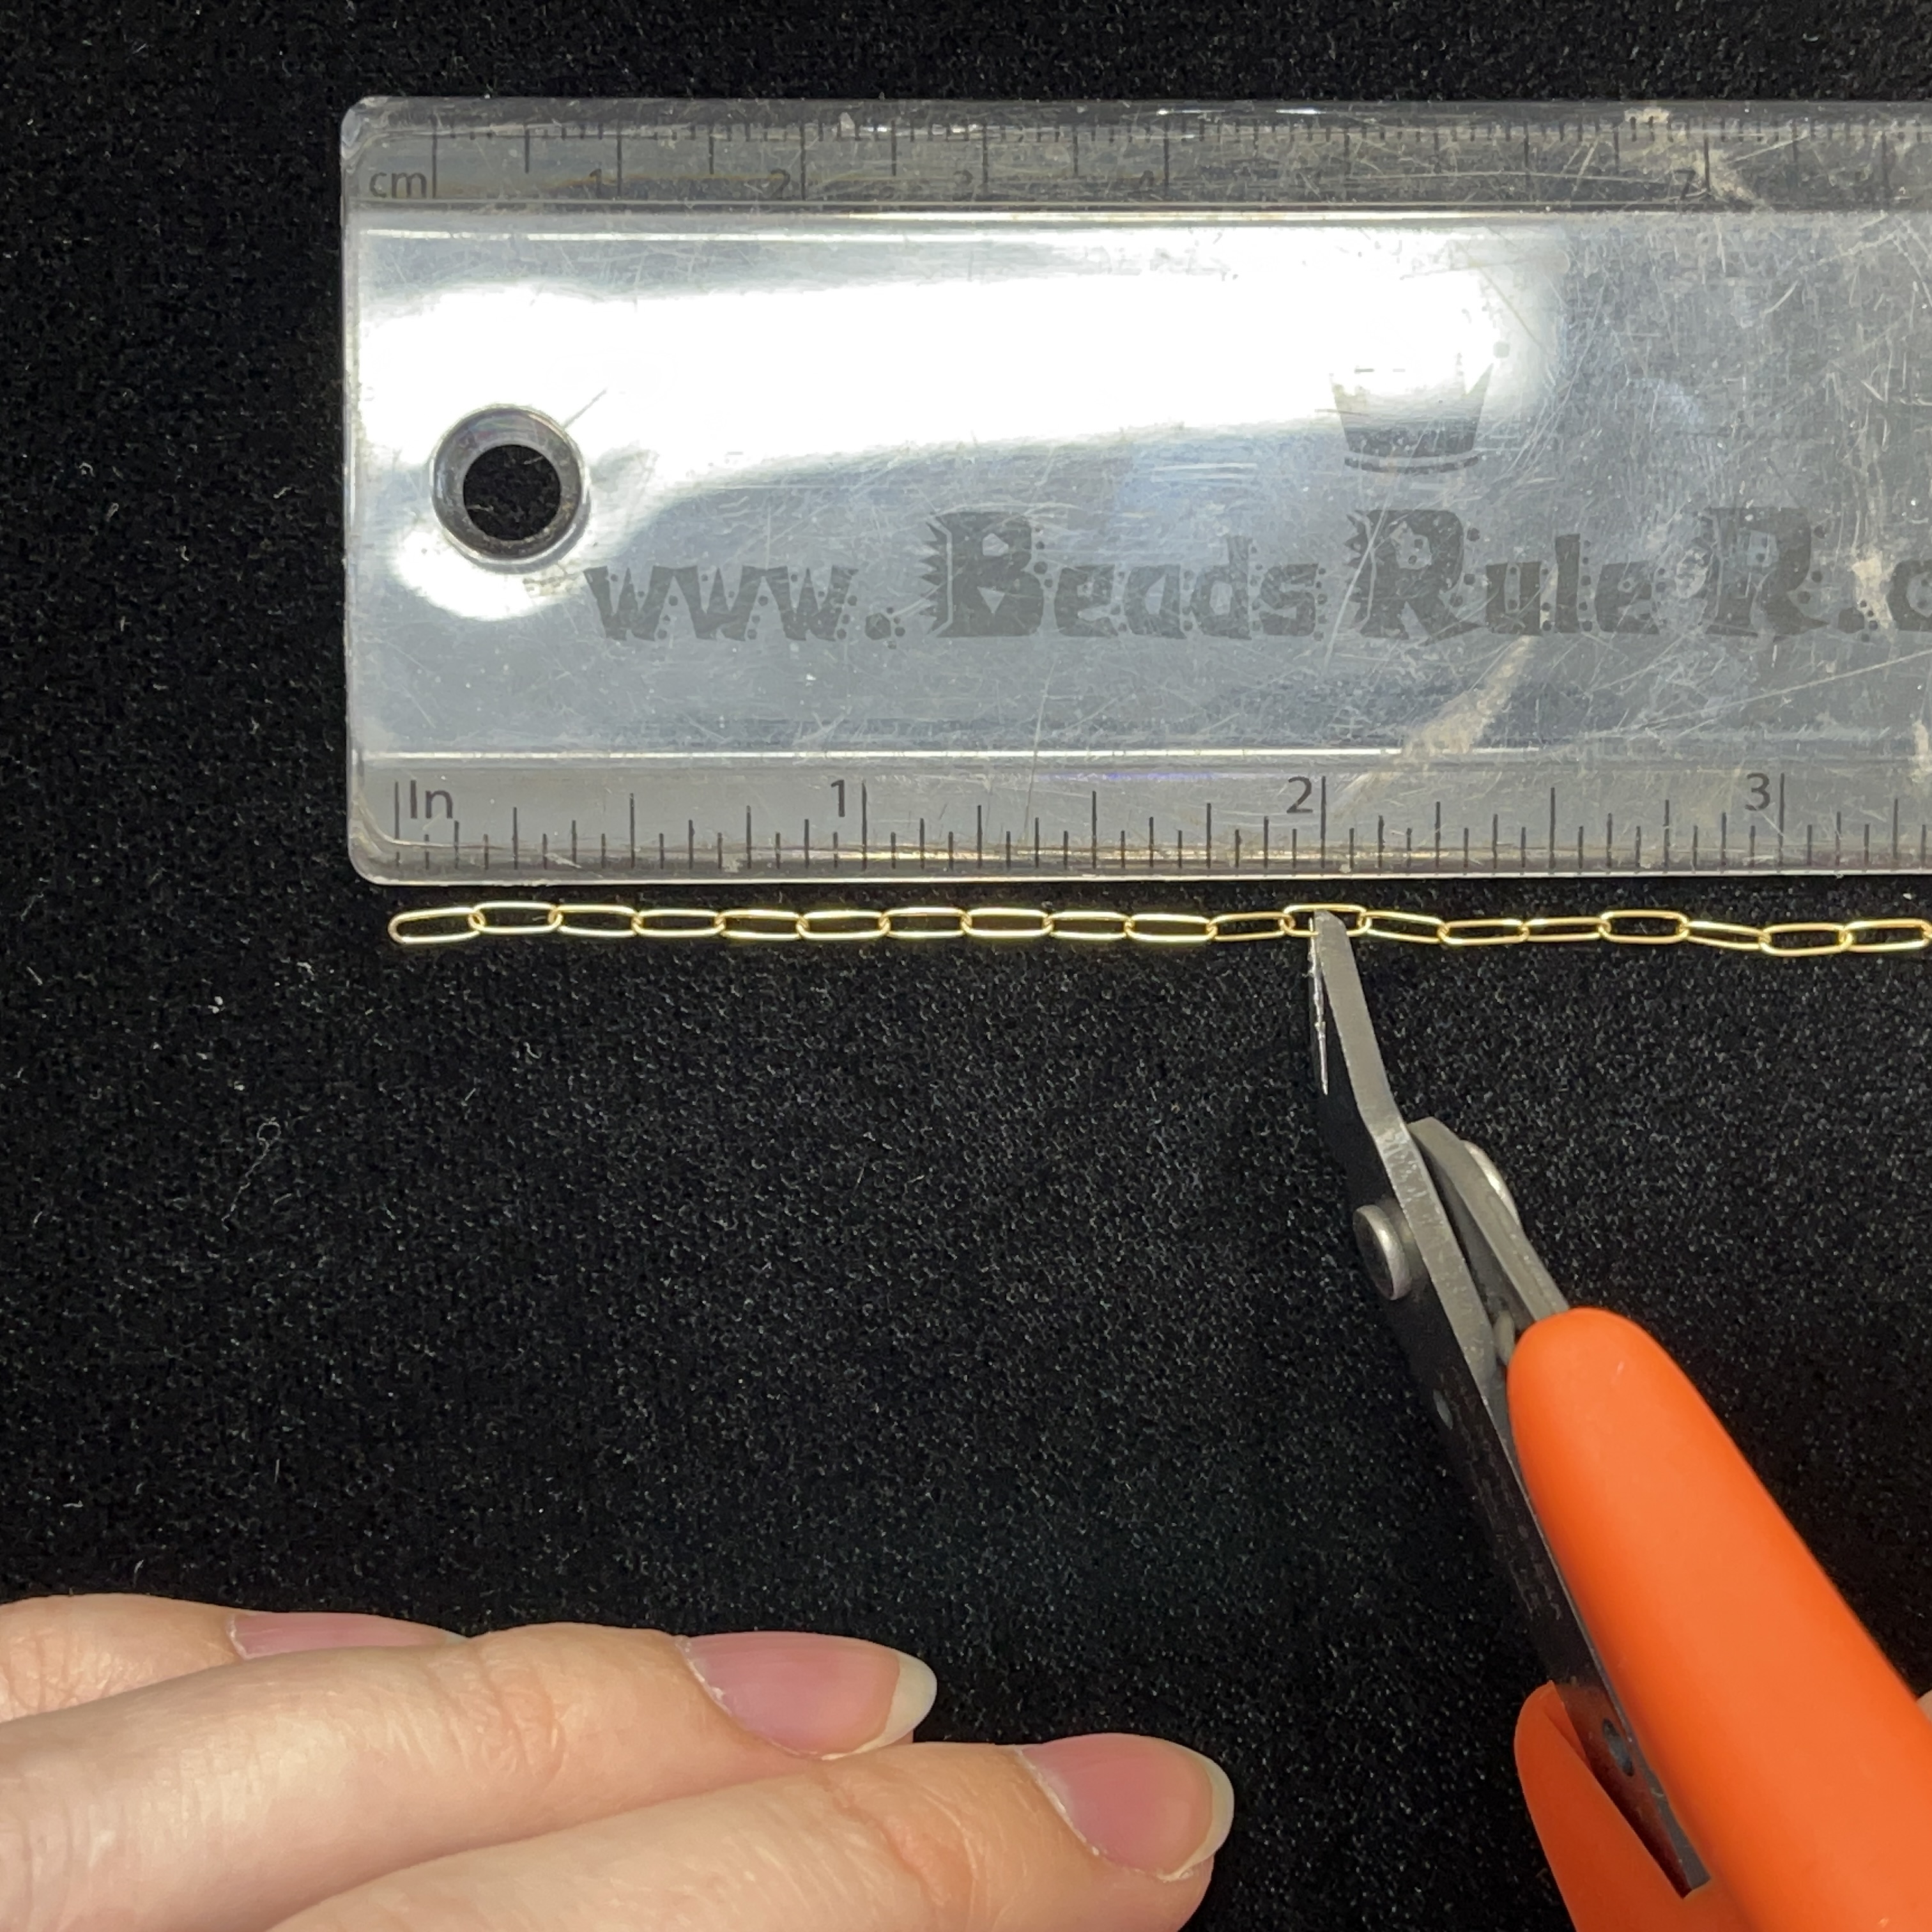
30. Cut your chain into (almost) 2" strands, repeat until you have 3 strands of chain total
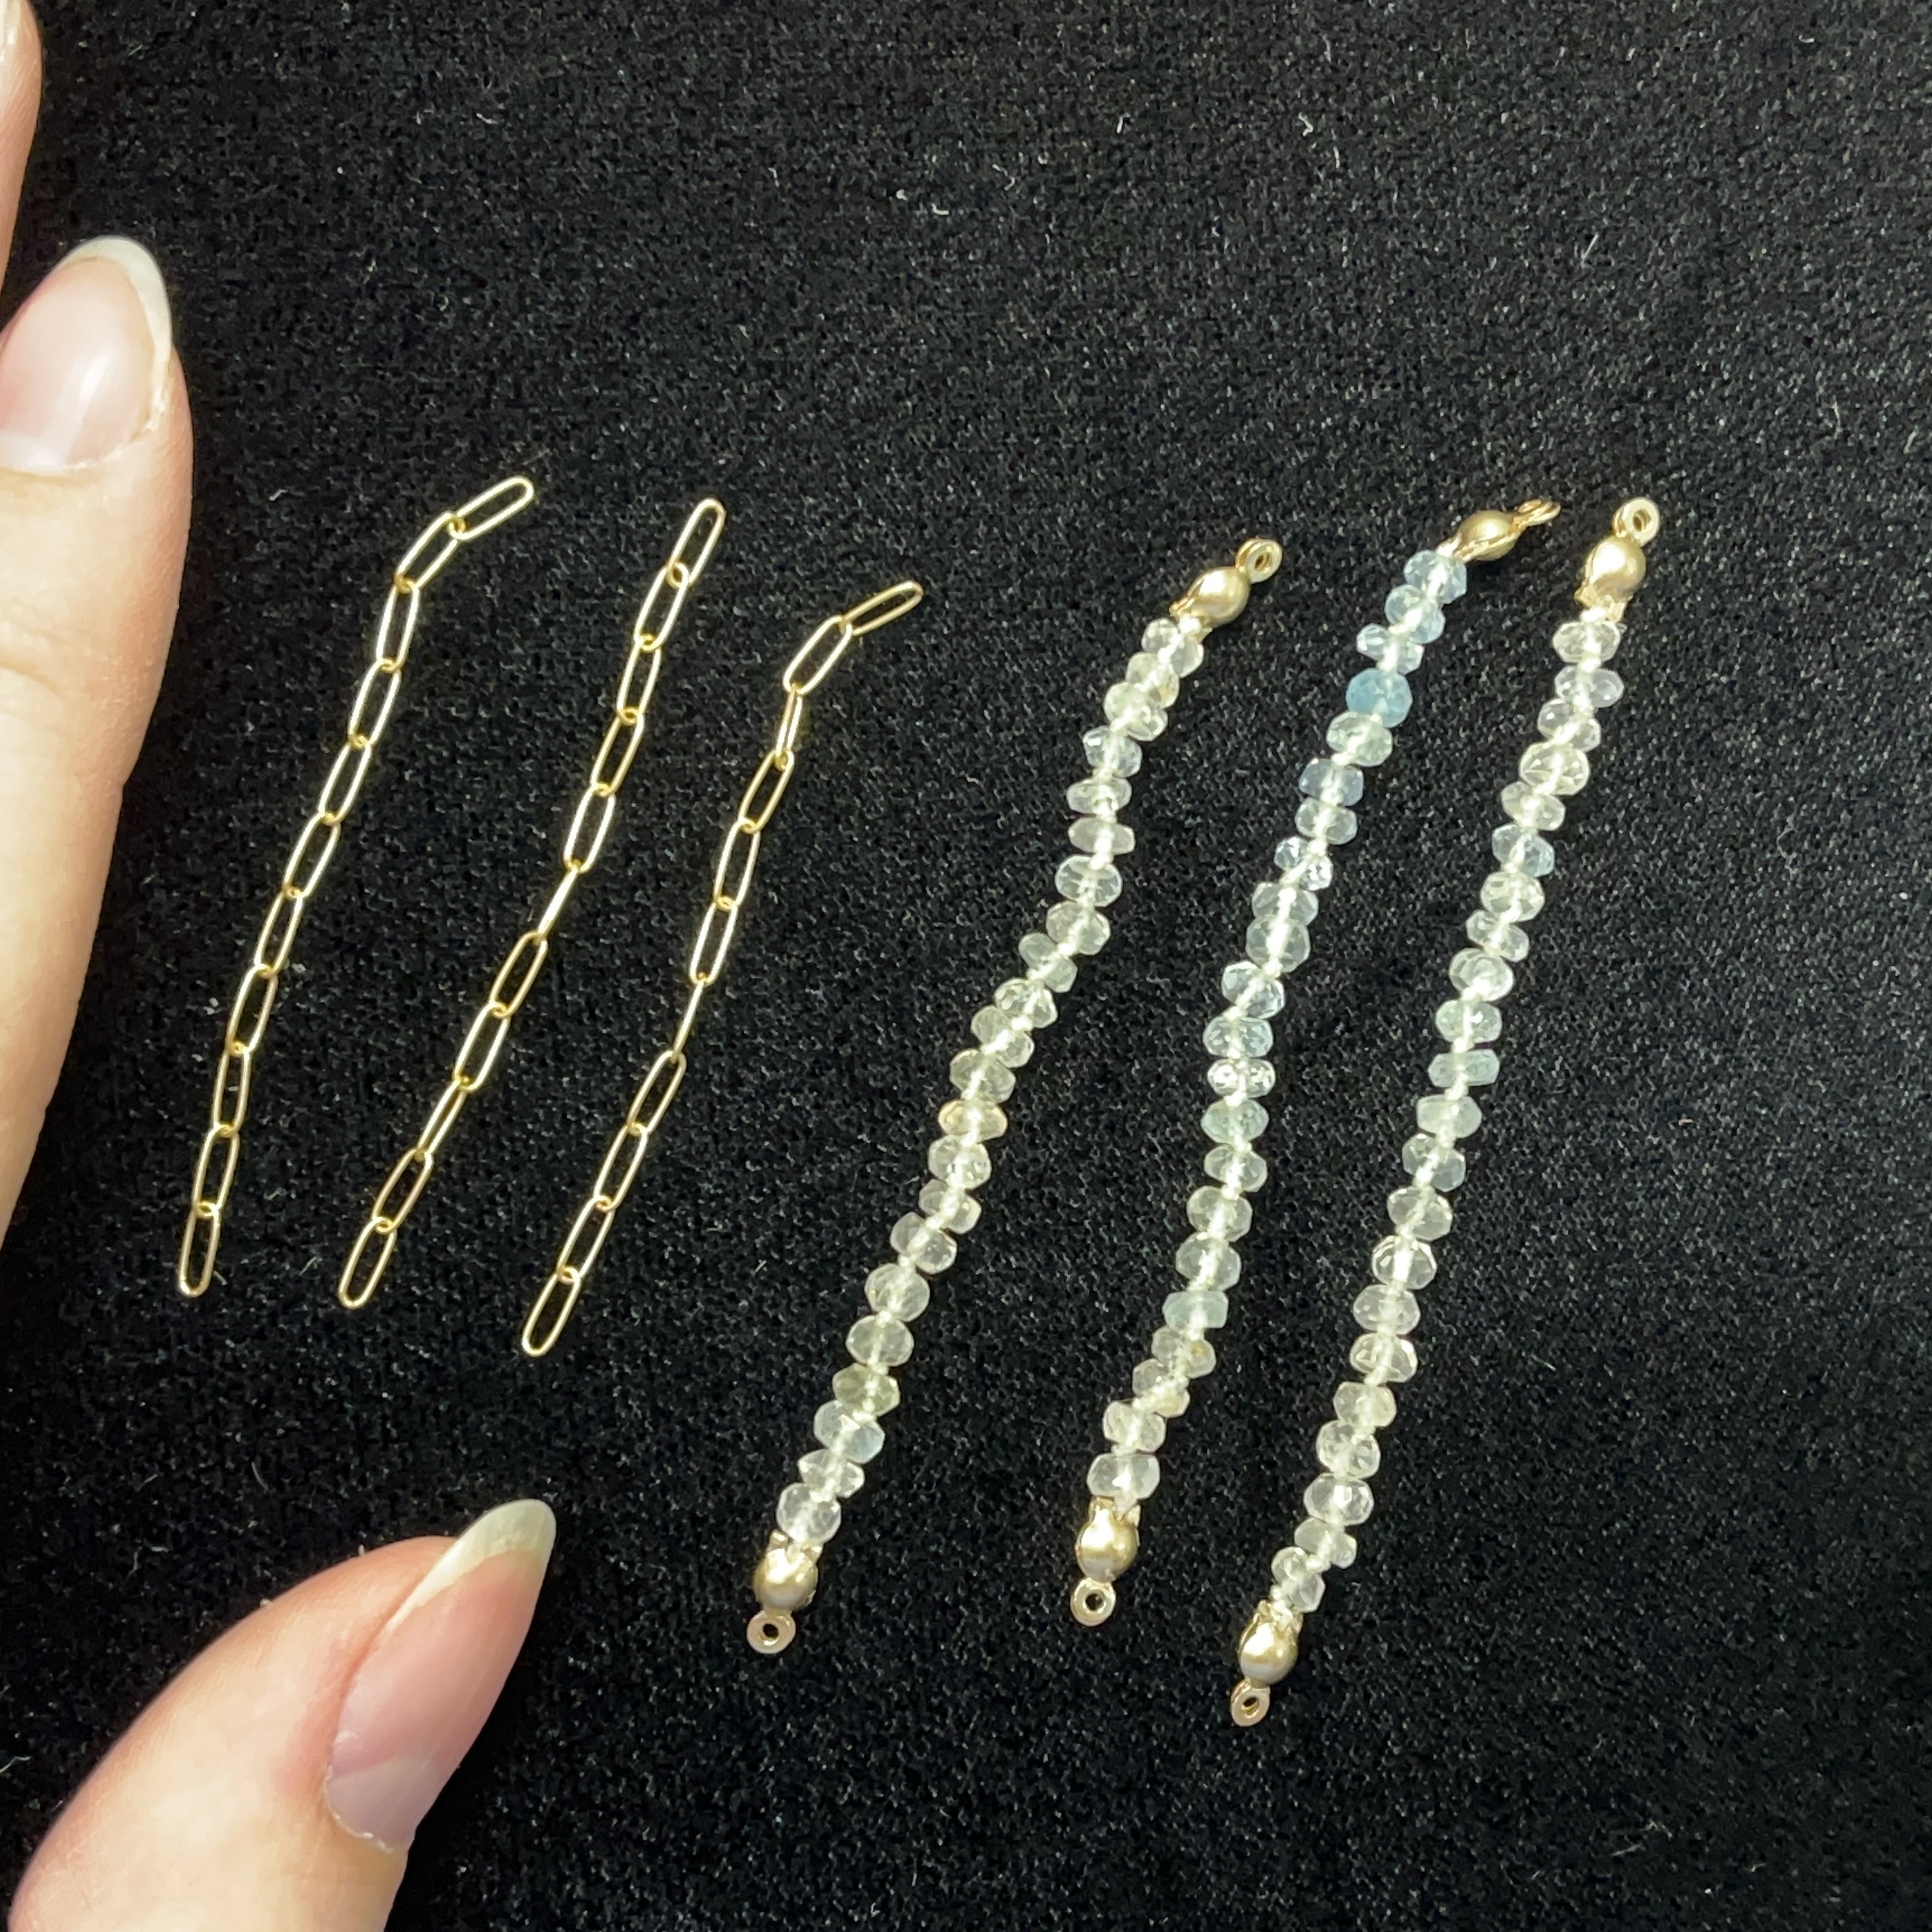
31. You should now have 3 knotted aquamarine strands and 3 strands of chain
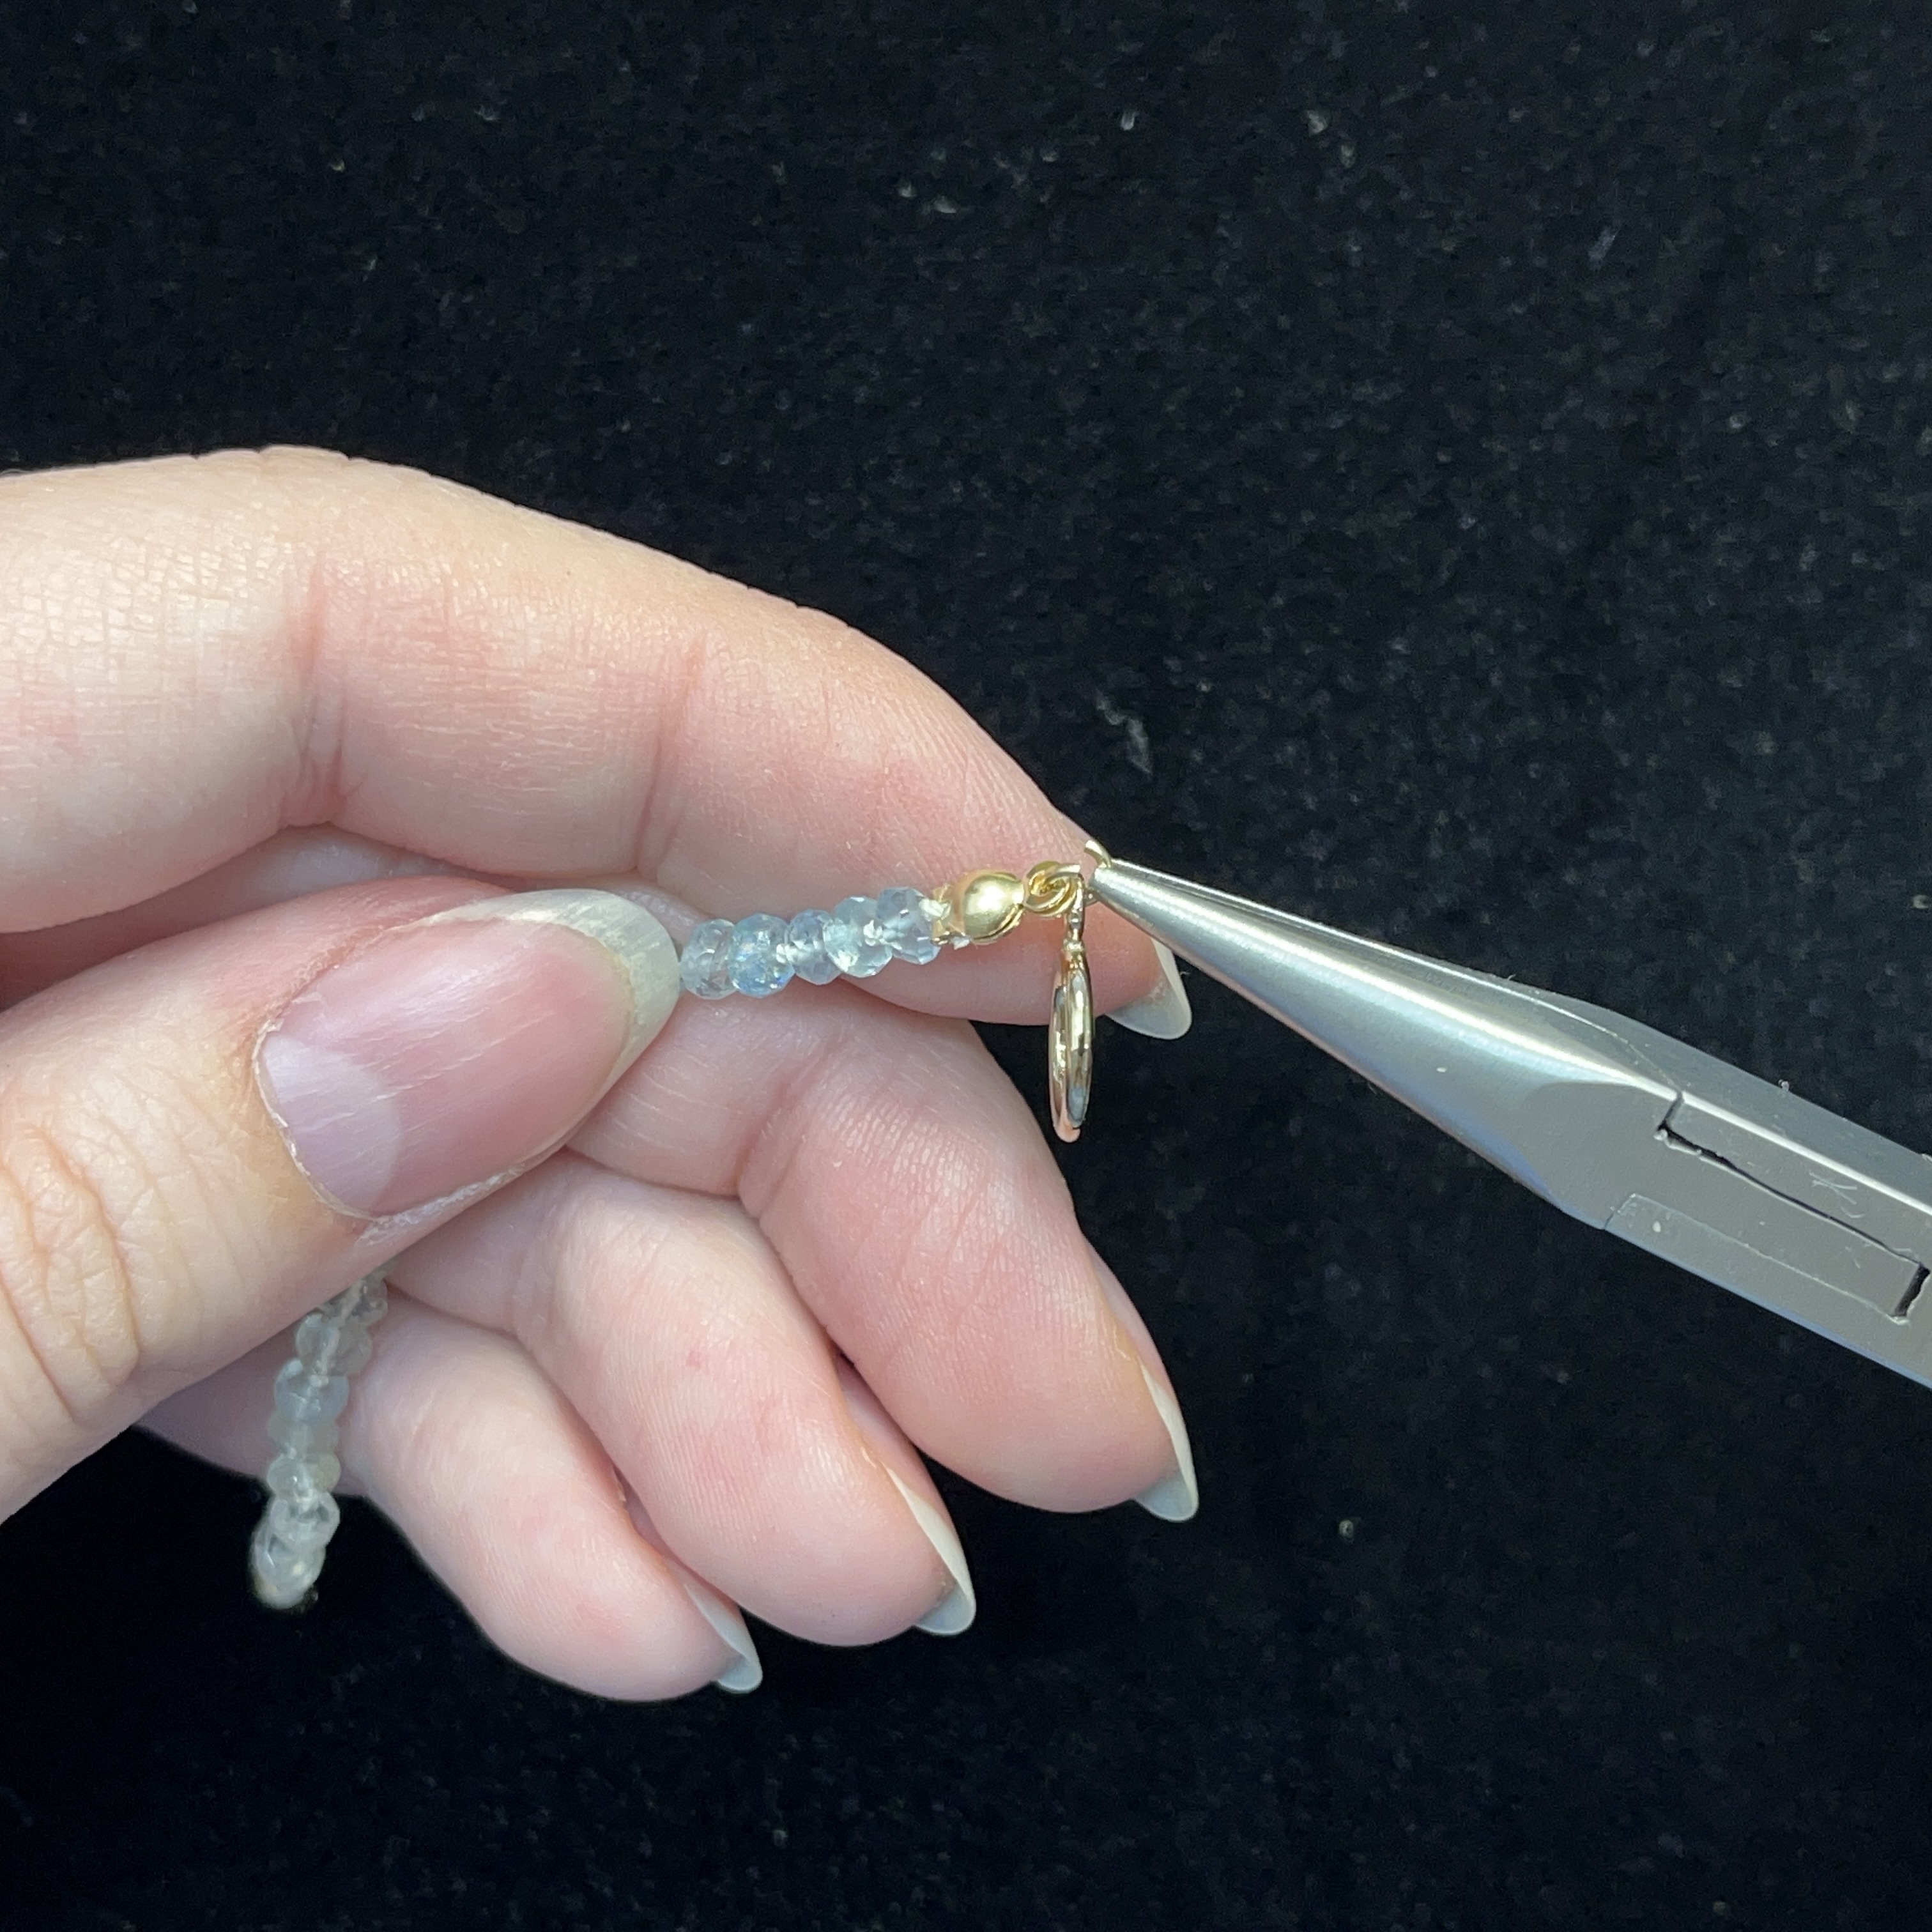
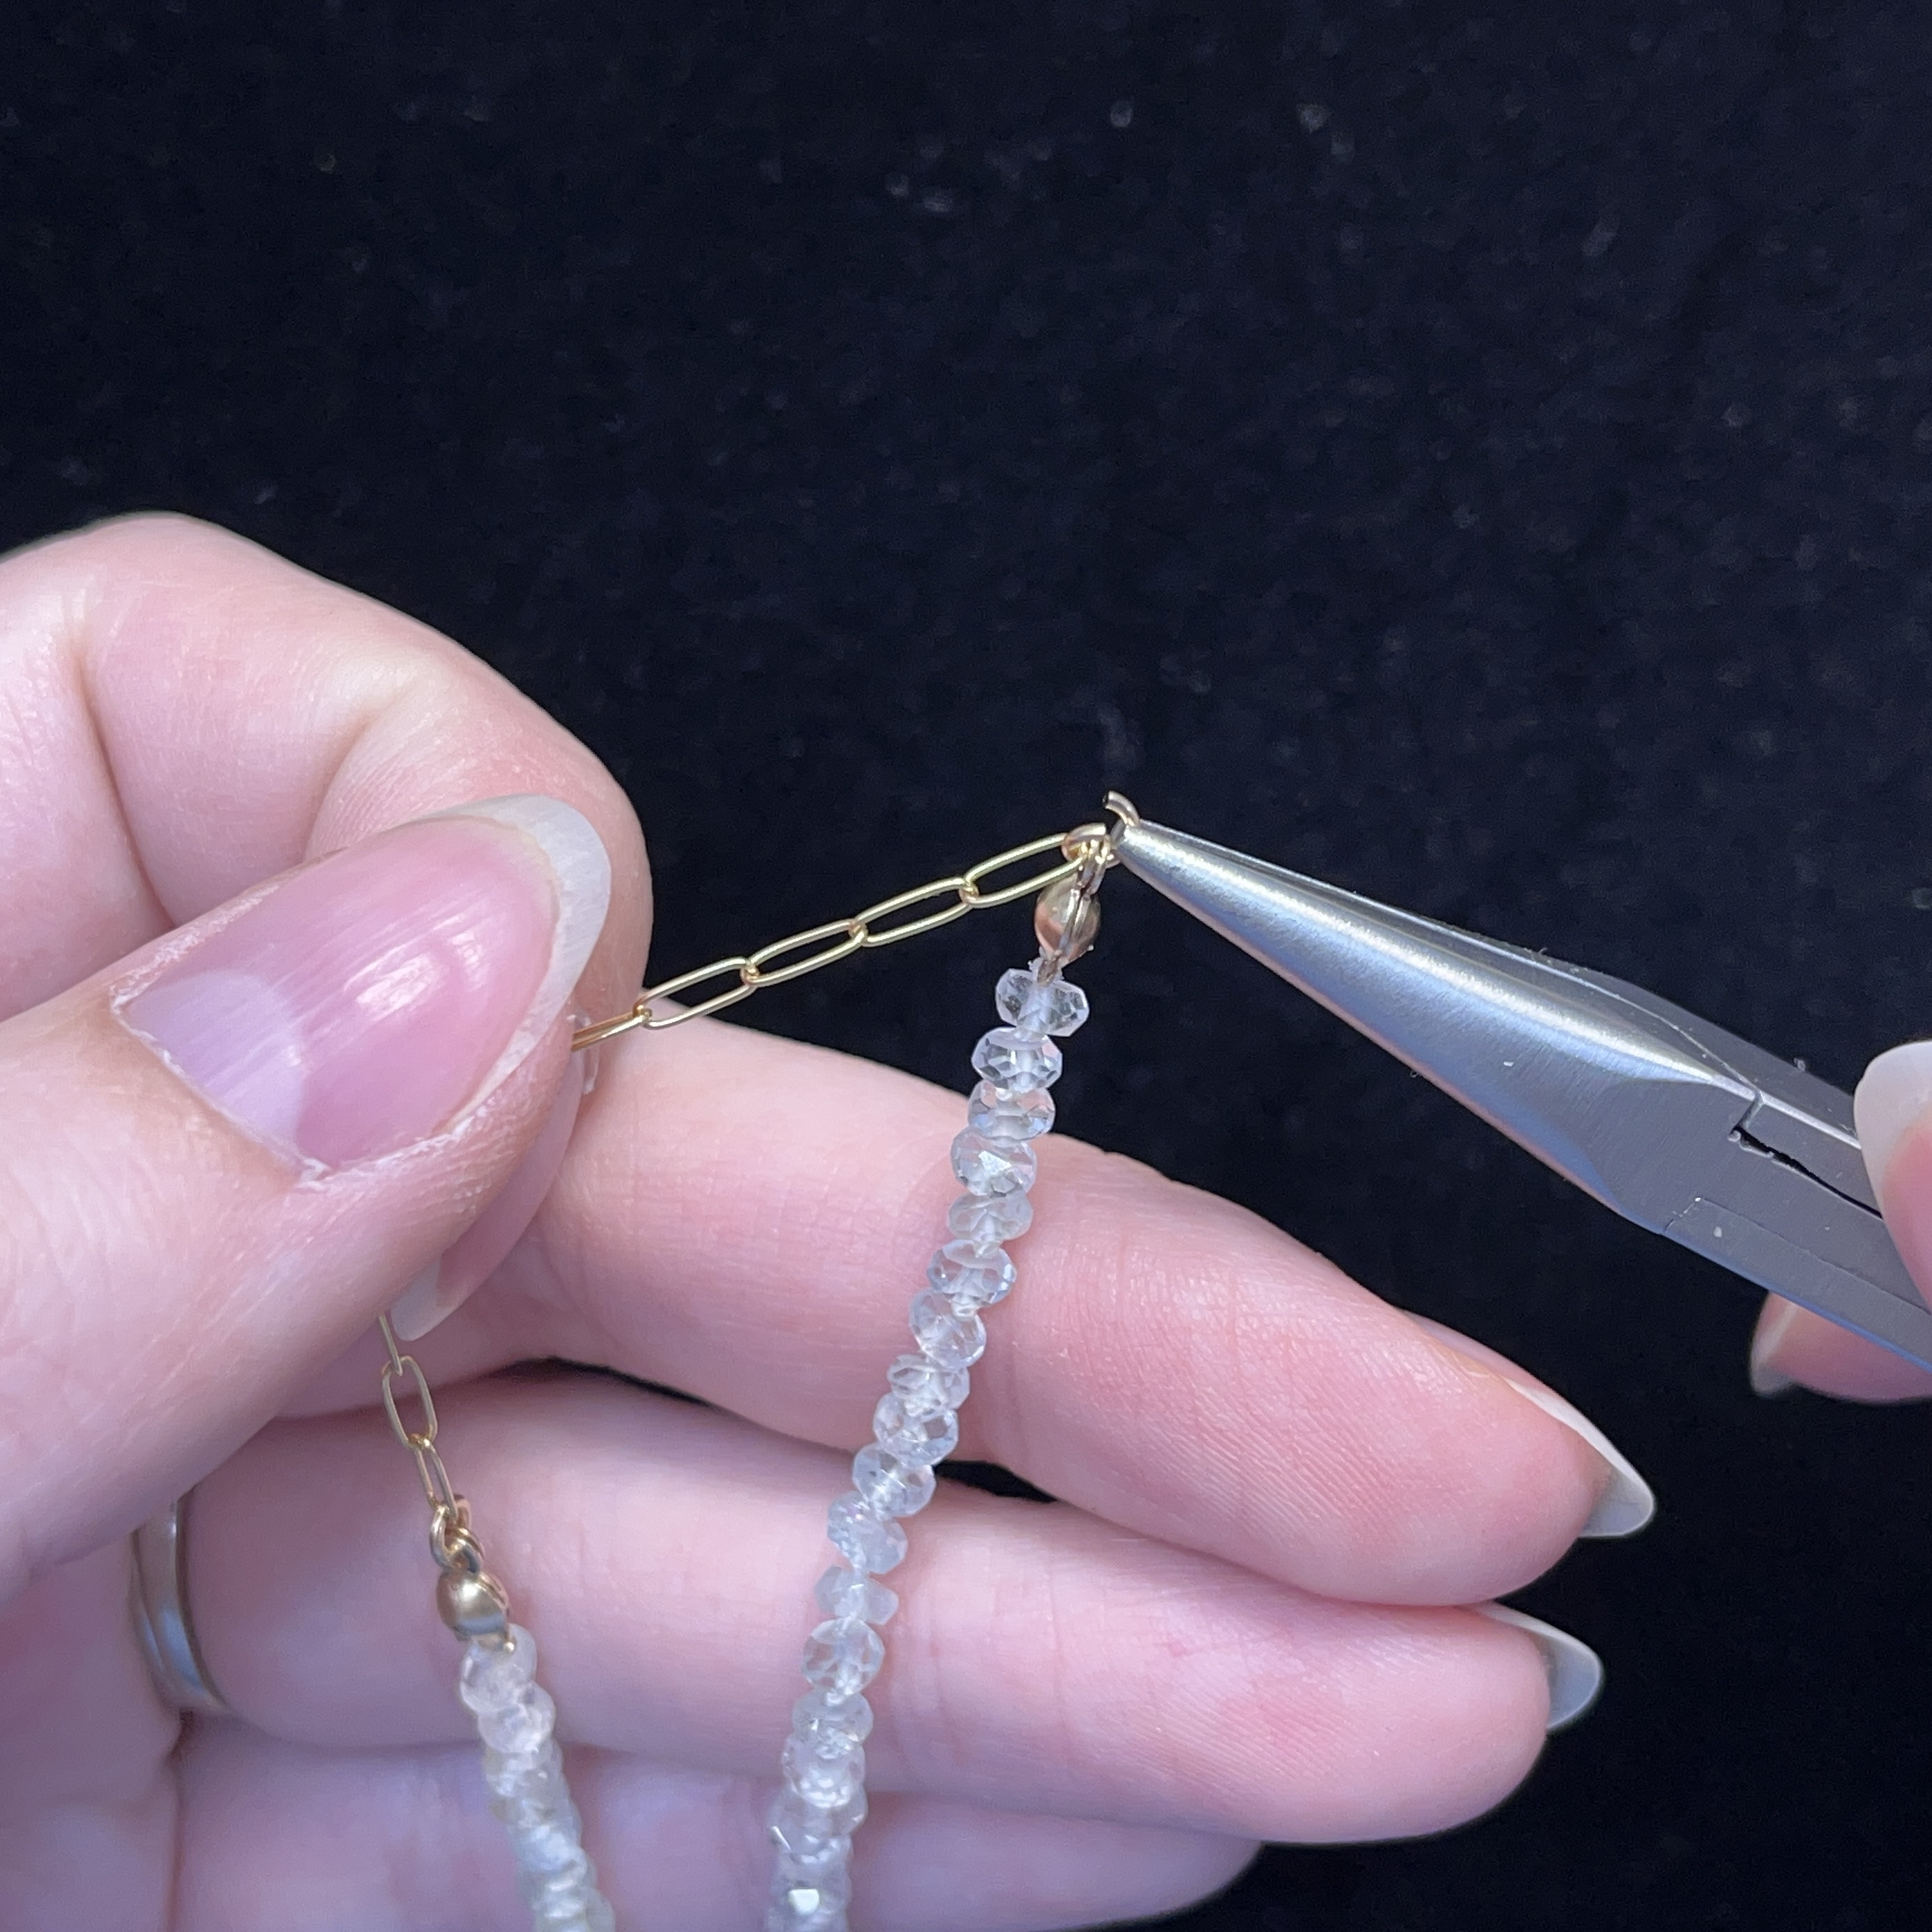
32. Take a jump ring and your toggle eye and attach to one of the aquamarine strands, close the jump ring.
33. Take another jump ring and your aquamarine strand and attach the end of one of the chain strands, close the jump ring
34. Continue the pattern so you have chain then aquamarine strand then chain and so on, all attached together with jump rings
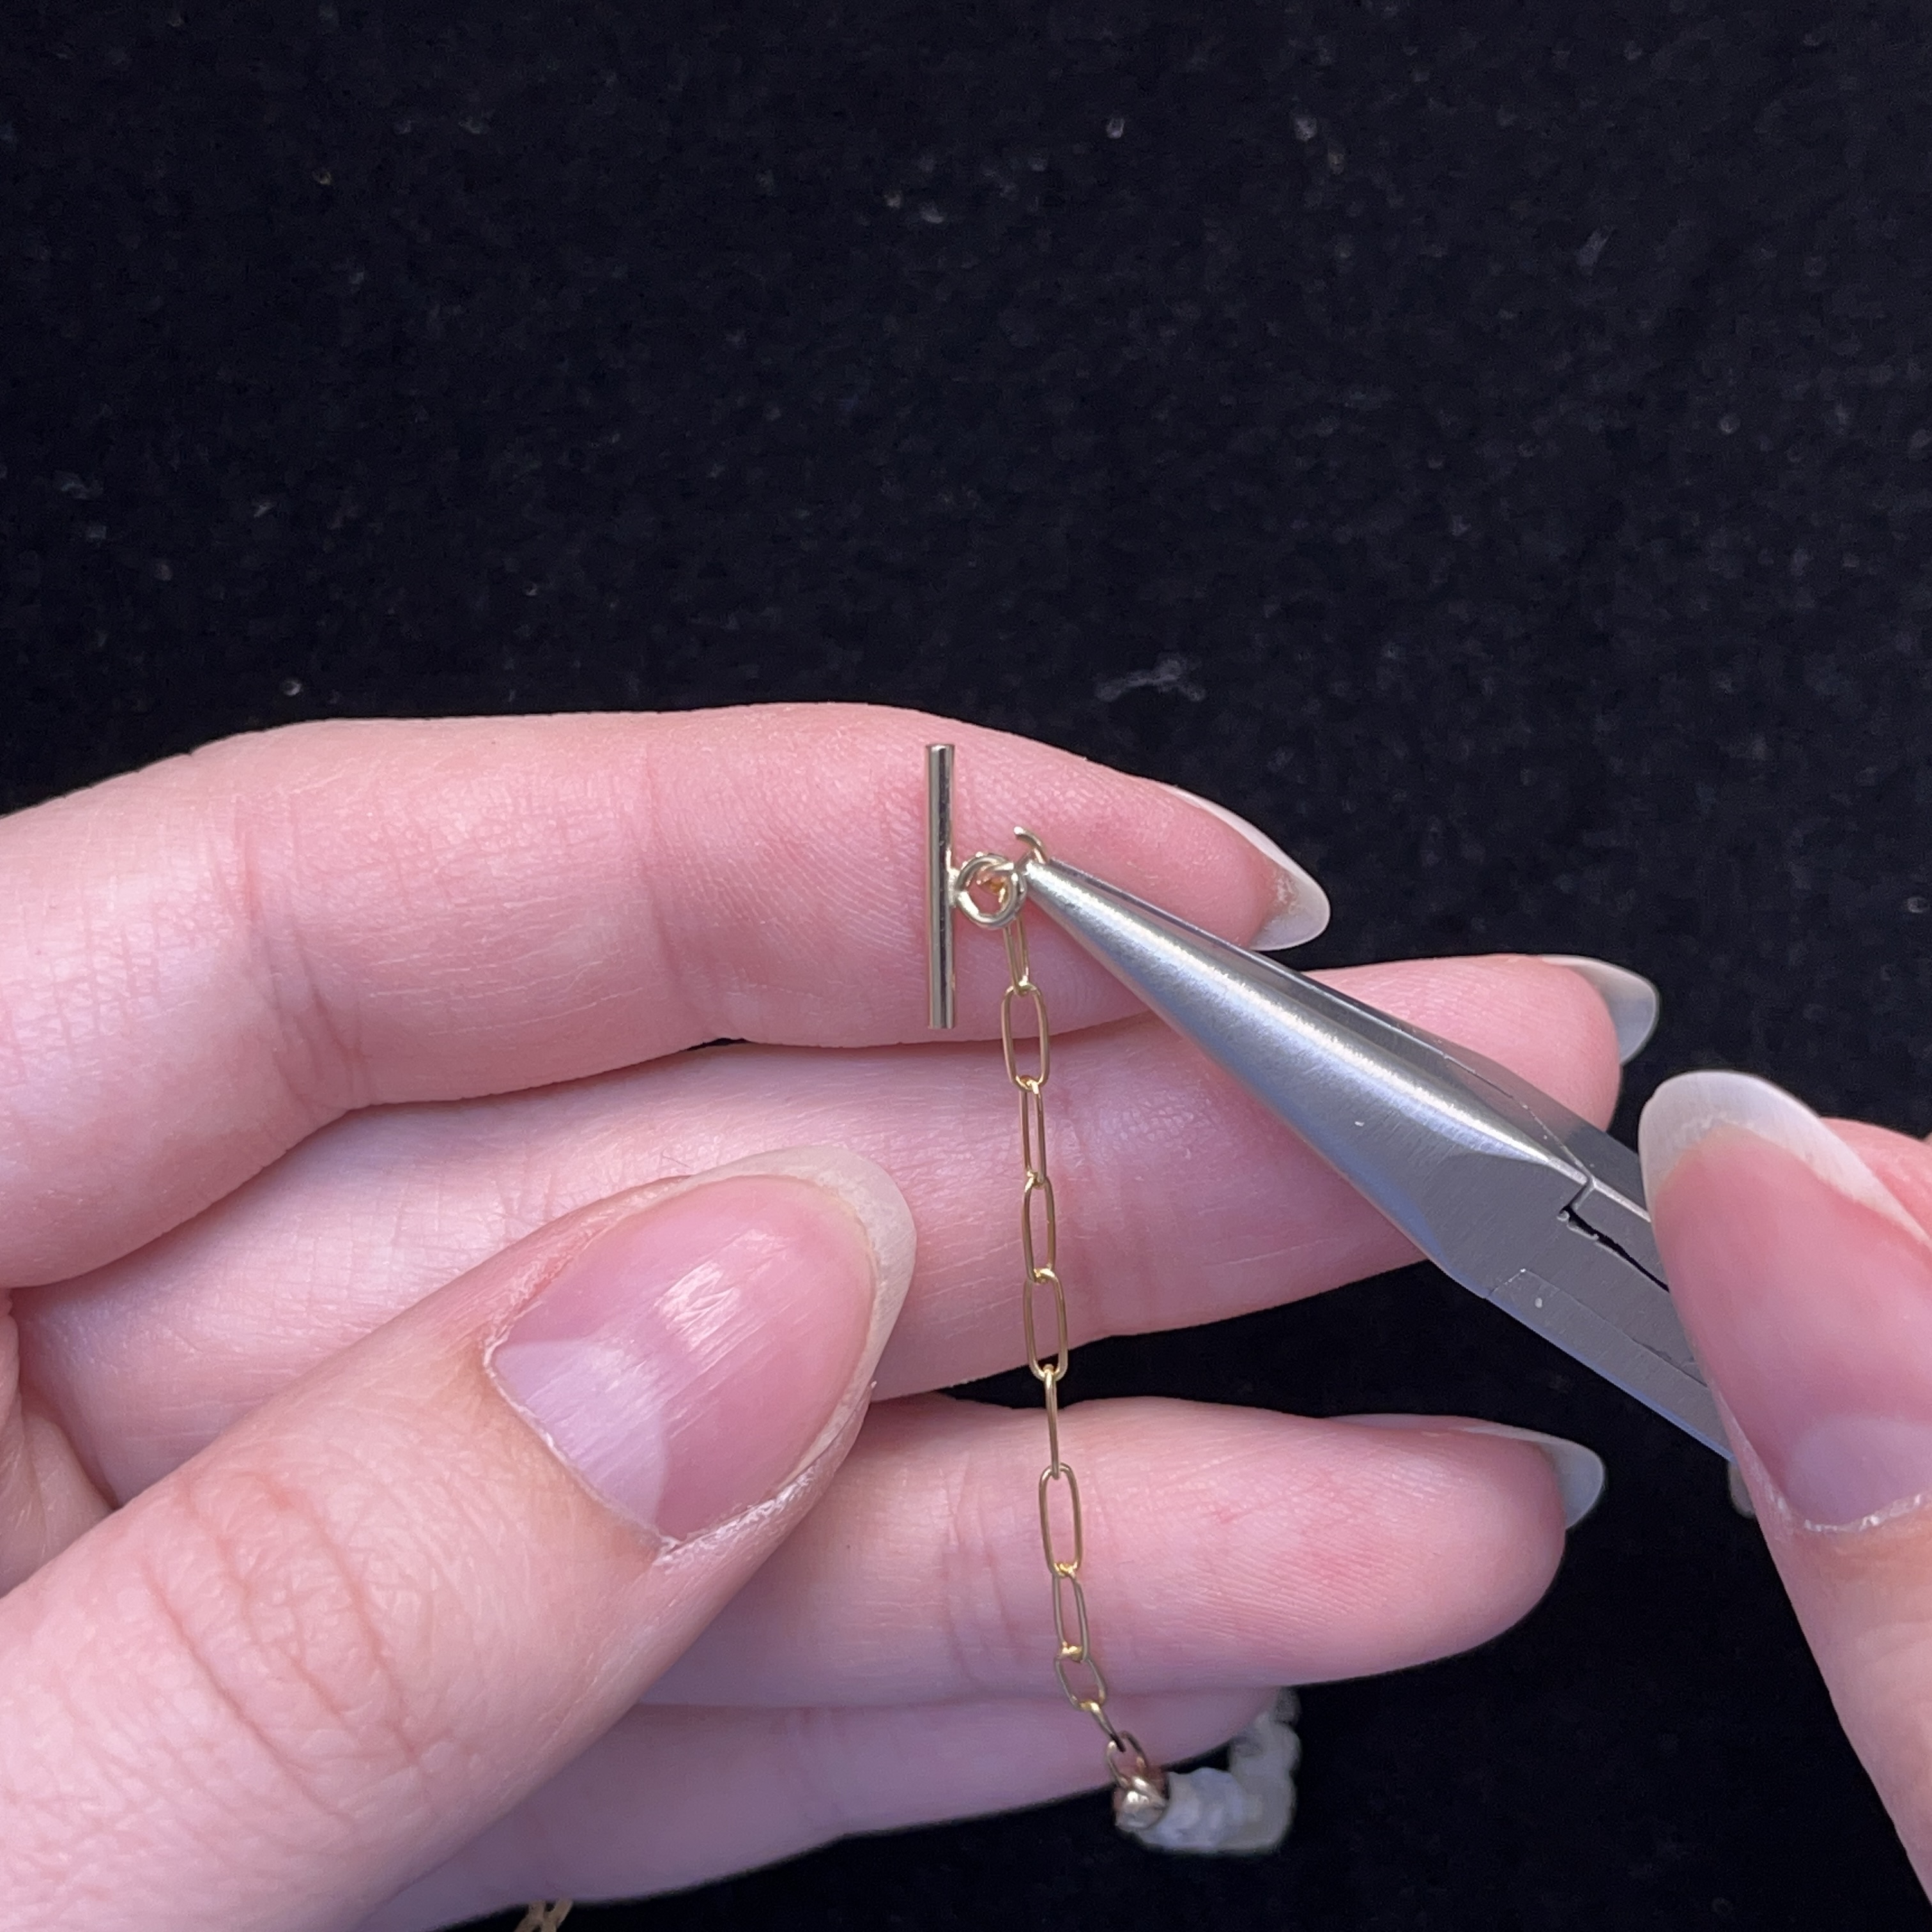
35. When you have your last strand of chain, attach the toggle bar with a jump ring
36. Done!
Instructions on Construction: Simple Chain Necklace
1.Take your length of chain and open the jump ring that came with the clasp (or jump ring of your choosing)
2. Add the chain to the jump ring that holds the clasp, close the jump ring with your pliers
3. Done!
Related Articles
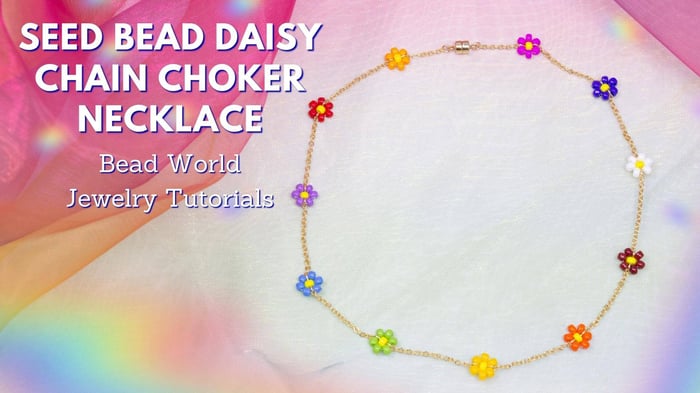
Seed Bead Daisy Chain Choker Necklace
Seed Bead Daisy Chain Choker Necklace Learn how to make this dainty daisy chain choker necklace using a...
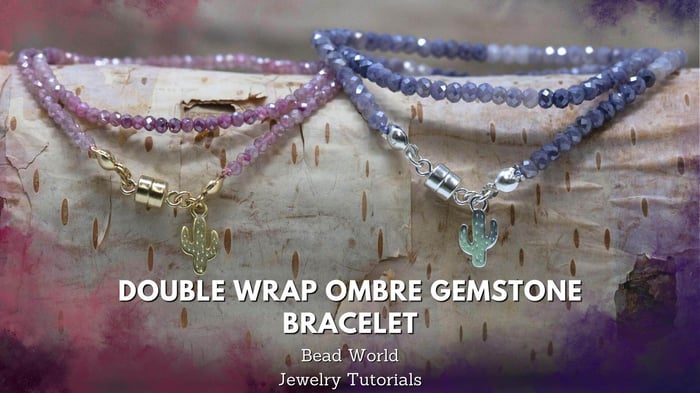
Double Wrap Ombre Gemstone Bracelet
Double Wrap Ombre Gemstone Bracelet Finished Length 12-15”+ depending on preference Can be...

How to Make an Authentic Mala
How to Make an Authentic Mala Video Tutorial Here Beads have a place in many cultures, from the Roman...