Tutorials
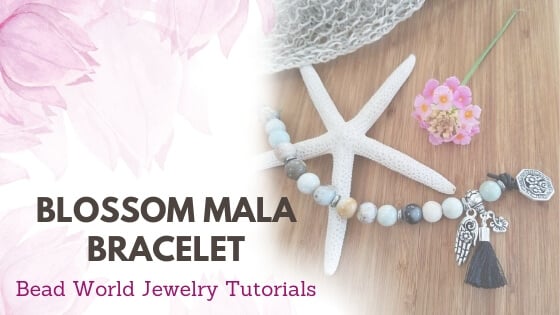
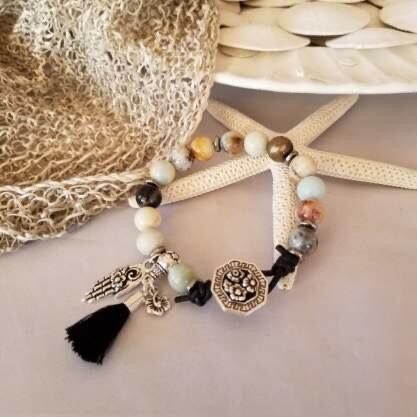
Blossom Mala Bracelet
Blossom Mala Bracelet
Materials Needed:
- 10mm Round Amazonite Multi – Large Hole (15)
- Blossom Guru (1)
- Blossom Button (1)
- Blossom Hand (1)
- Small Blossom (1)
- Antique Pewter 5mm Nugget 2mm Hole Bead (7)
- 2mm Black Leather – 20”
- Small Tassel (1)
- Silver Plated Jump Rings, 4mm 21 gauge (3)
- Hypo Cement
Finished Length 6 3/4” (interior fit)
Tools Required
EZ Bracelet Sizer
Optional - Sharpie Pen to finish ends of leather
*** An EZ Bracelet Sizer is a great addition to your tools if you don’t already have one. It gives you the ability to offer a custom fit to your bracelets as the flat finished length is different than the interior fit and the bigger your beads, the more difference this makes!
Instructions on Construction:
1. Cut 20” of 2mm leather, thread on the blossom button and tie an overhand knot approx. ½” away from button (you need to leave a little space so that the button can lie nicely when fastened through the loop).
2. Prepare the charms ready to string onto the bracelet. Carefully undo the jump rings with flat nose plier and needle nose plier (grip one side of the break point & keep plier stationary, then twist to the side with the other plier (If you open in the other direction this is called un-rounding, you do not want to do this). Add a jump ring to the blossom hand and carefully close, add the tassel to the ring at the bottom of the blossom guru & add a jump ring to the small blossom charm and also attach this to the ring at bottom of guru. These are now ready to thread in sequence with your other beads.
3. String 1 x wavy spacer, 1 x amazonite, 1 x guru bead, 1 x jump ring with hand, (1 x wavy spacer, 3 x amazonite - repeat three times
*** depending on size required you can add or subtract more beads in this sequence), 1 x wavy spacer, 1 x amazonite & 1 x wavy spacer.
4. Make your buttonhole loop by tying another overhand knot, try on for size before tightening knot. Use an EZ Bracelet Sizer to help with sizing. Make sure that you leave a large enough loop for easy operation.
5. When you are happy with fit, trim excess leather & use sharpie to color cut ends of leather.
6. Use your hypo cement glue to secure knots, the needle tip allows you to get right inside the knots, so place glue from all angles.
7. Let your glue dry & then you can wear your new bracelet & admire your handiwork :)
8. Enjoy!
Jewelry designed by Steph Stirniman at magpiecollectives.com

