Tutorials
Single Color Chenille Stitch Bracelet
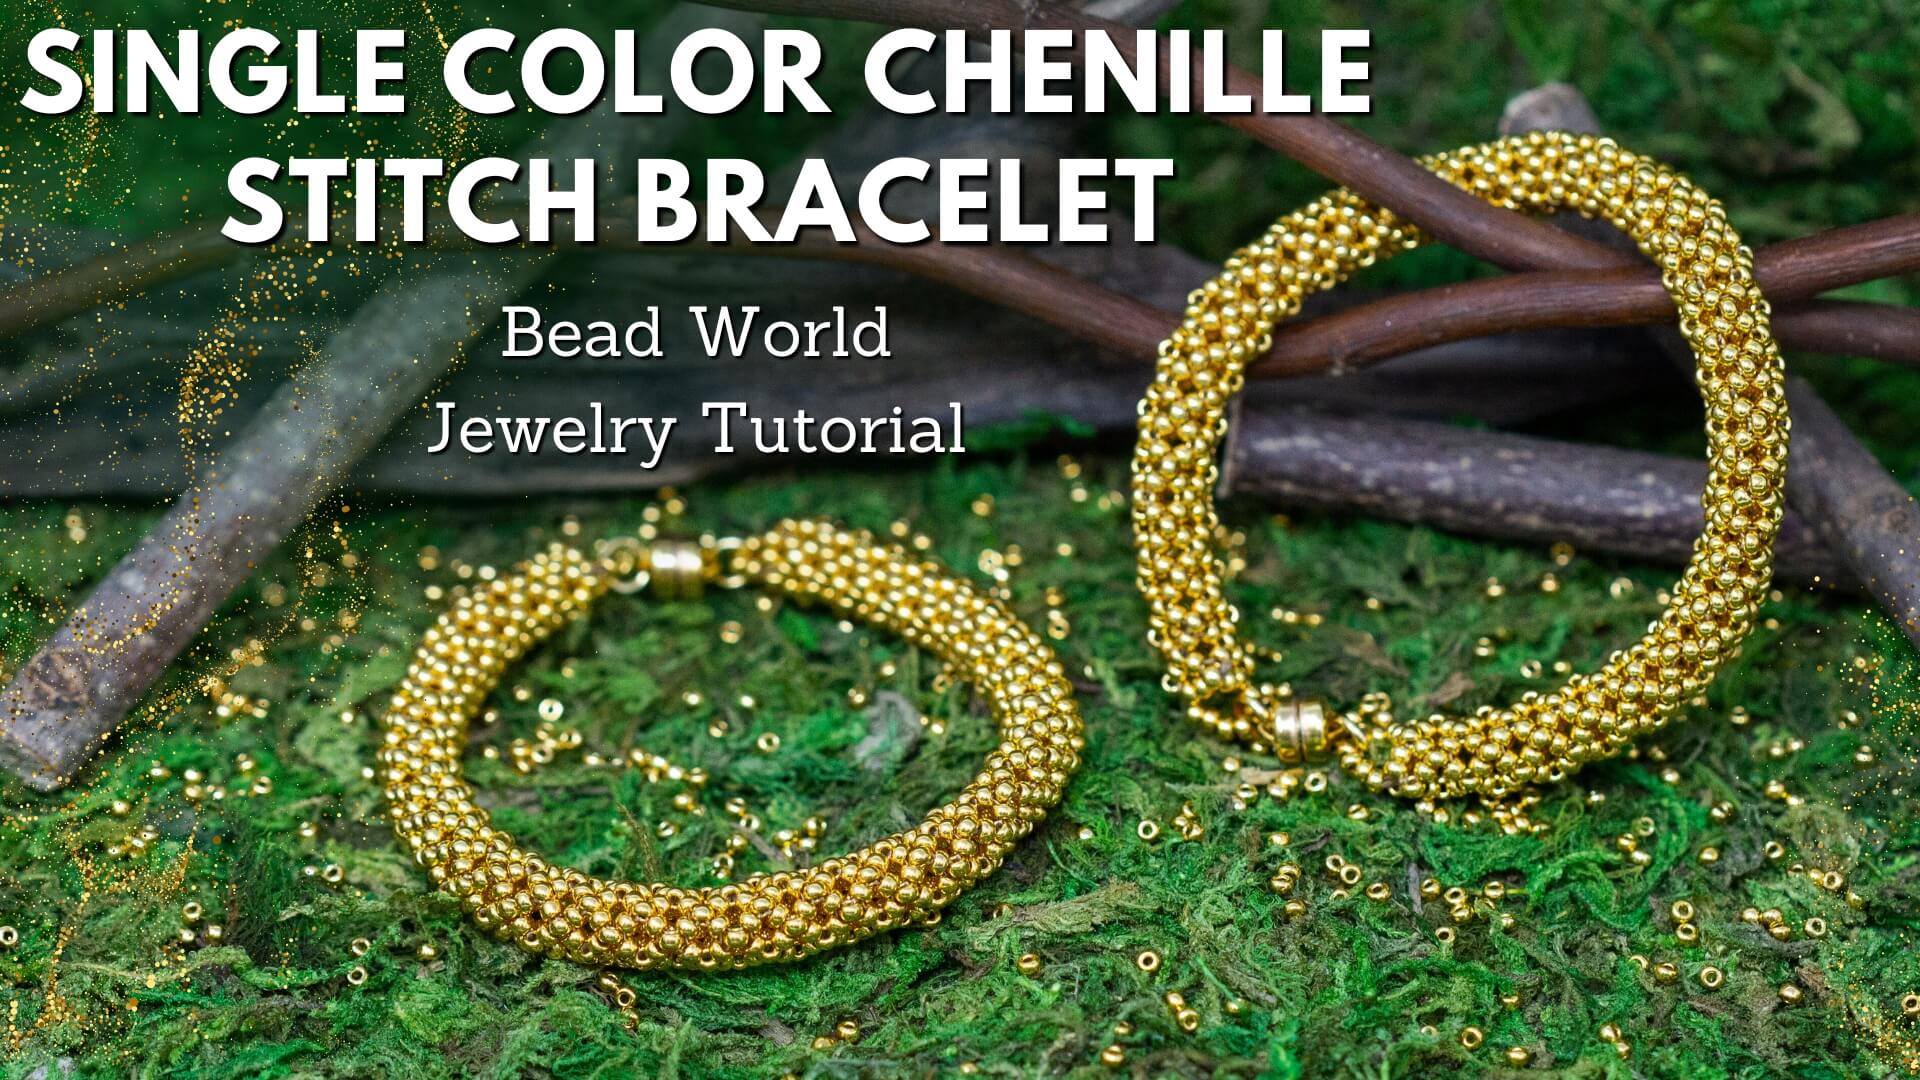
Single Color Gold Chenille Stitch Bracelet
Learn how to create a stunning single-color chenille stitch bracelet using only size 11 seed beads in this step-by-step tutorial! The chenille stitch is a beautiful and flexible bead-weaving technique that combines elements of herringbone and netting, resulting in a soft yet structured design. This tutorial is perfect for beginners and experienced beaders alike, as it guides you through the process of creating a seamless, elegant bracelet with a smooth, rope-like texture.
Using just one color of size 11 seed beads, you'll achieve a classic, monochromatic look that highlights the intricate pattern of the stitch. The tutorial will cover starting the chenille stitch, maintaining even tension, and finishing the ends for a professional result.
*Please use caution while creating this bracelet, it is very easy to poke yourself with the needle*

Materials Needed:
- Size 11 Miyuki Seed Beads -- 465 24K Gold Plated
- One-G Thread - 50 Yards - Sand Ash (9ft will make a 7 inch long bracelet - this includes clasp)
- Size 10 John James Needles
Tools Needed:
Instructions on Construction:

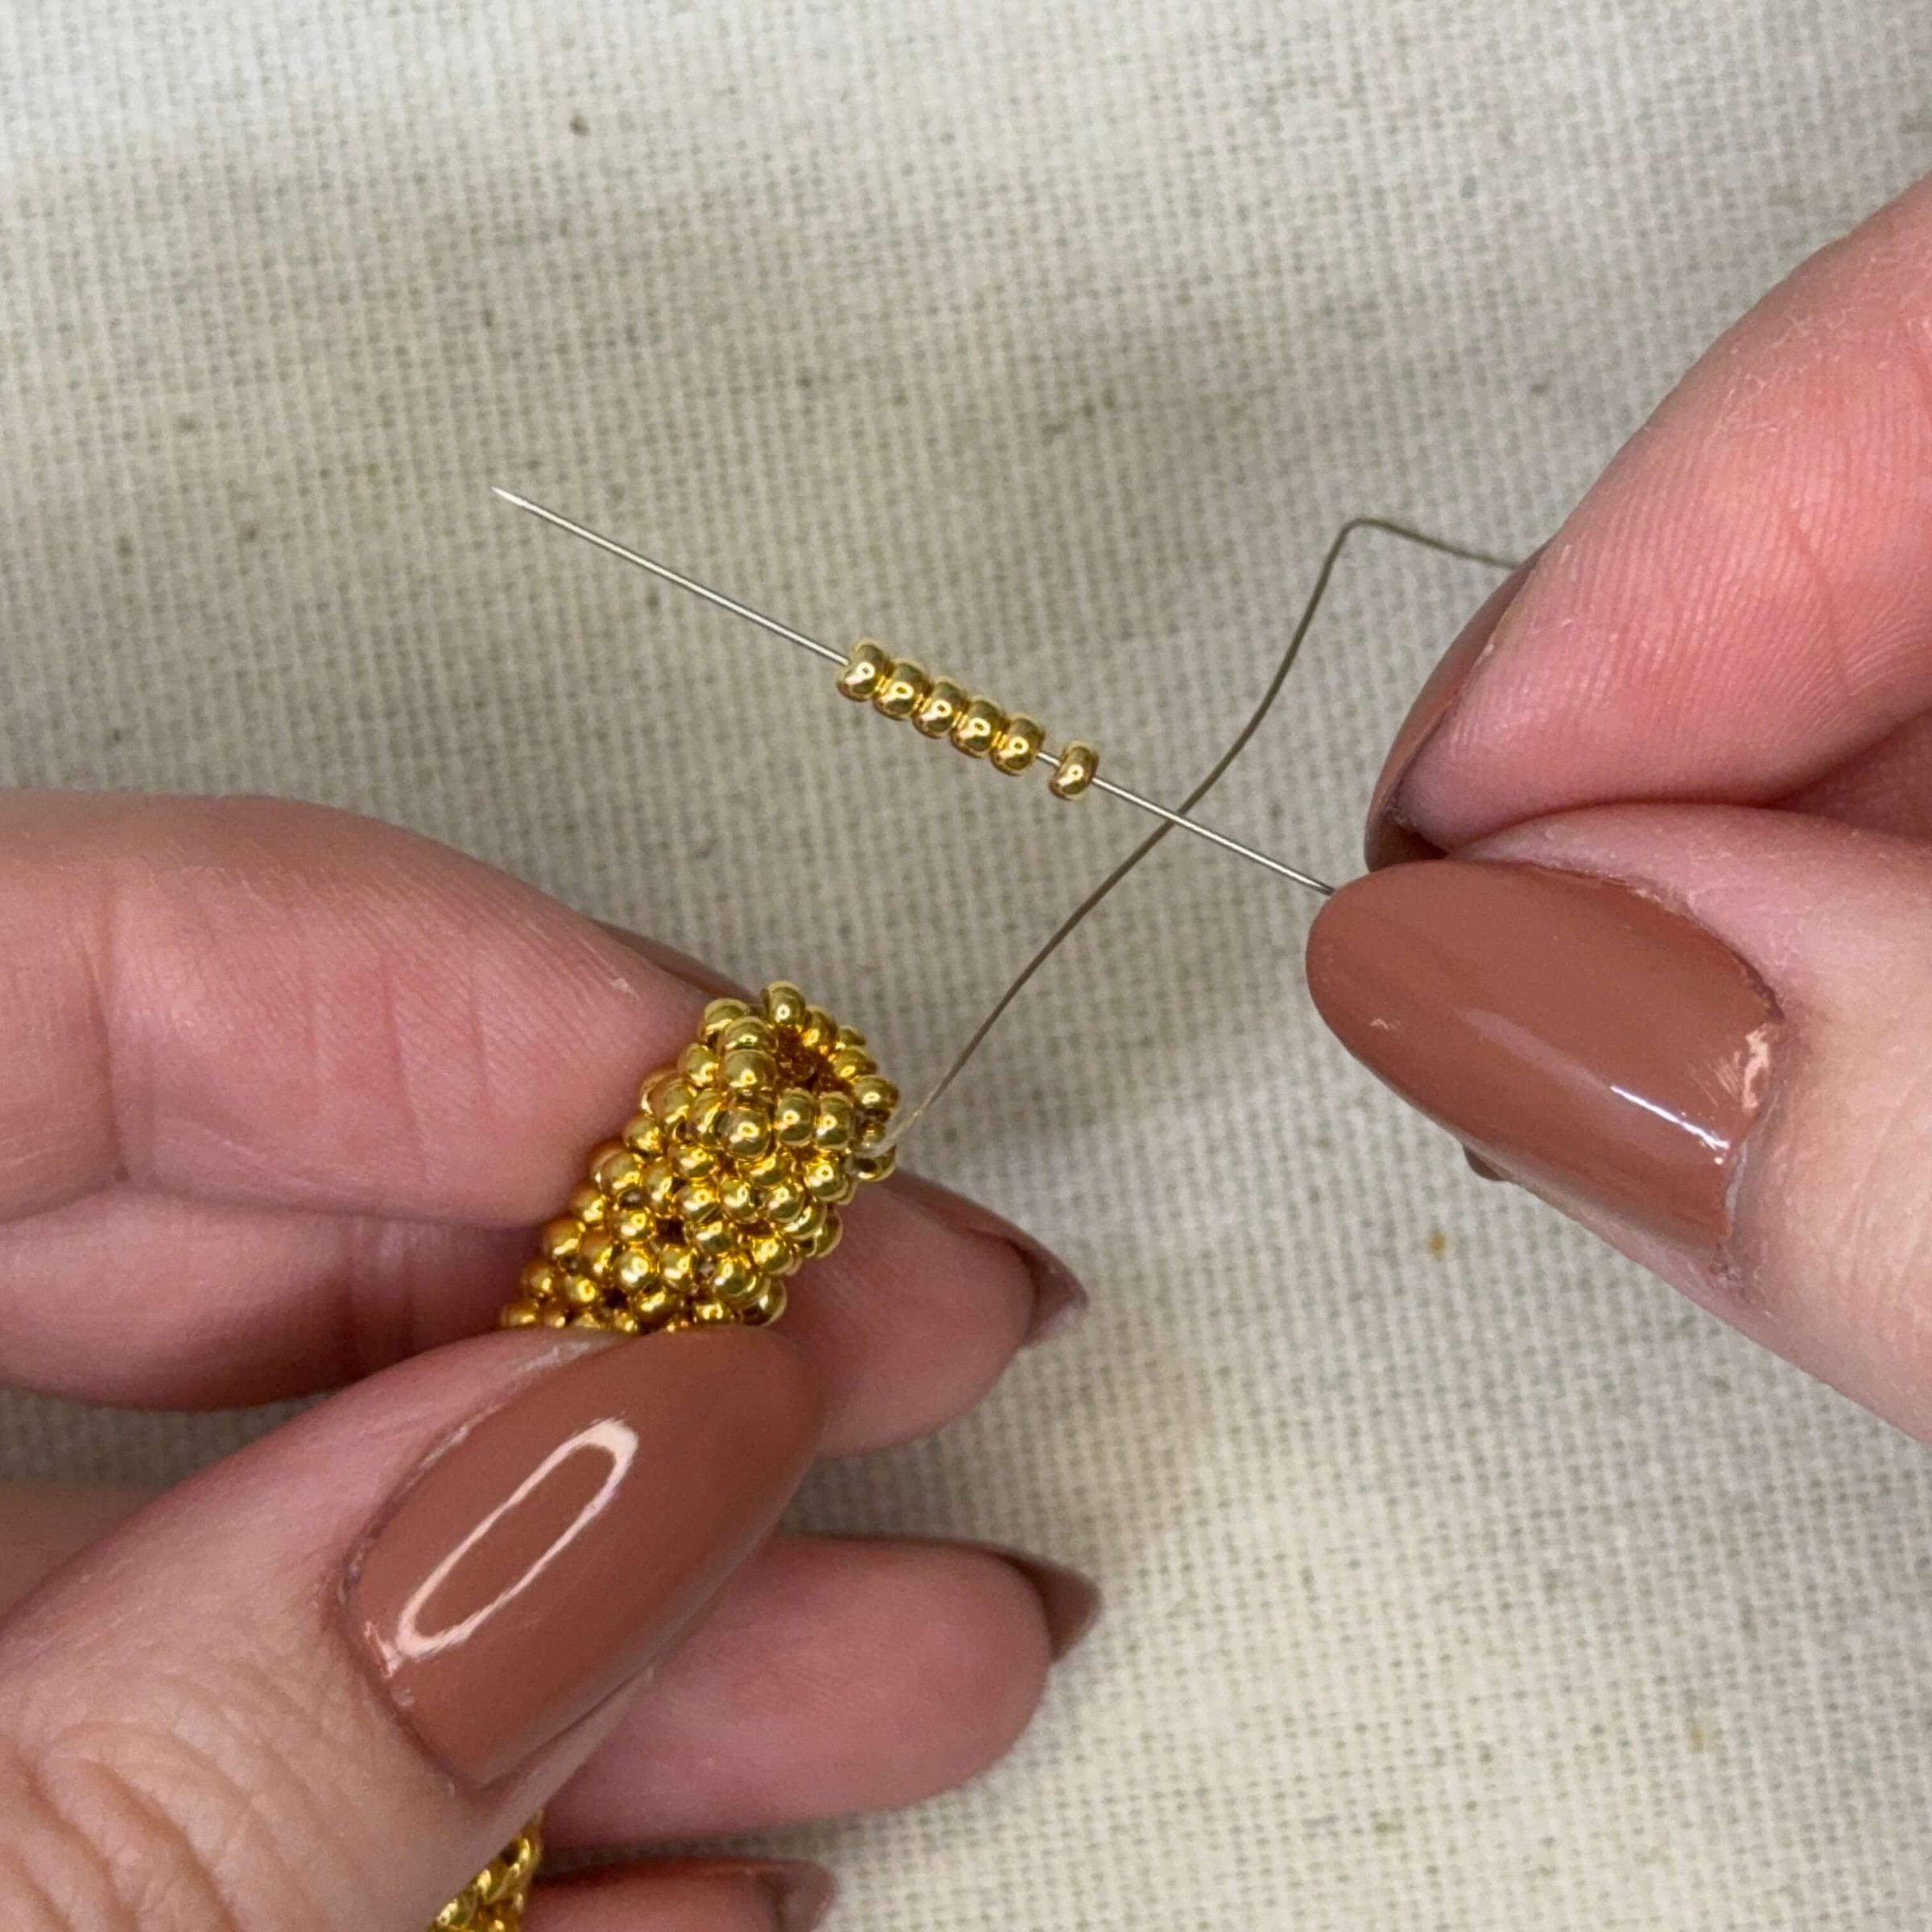
1. Cut a length of 9 feet of one G thread and string on 8 gold seed beads. Leave a tail of about 7 inches

2. Tie a knot and then a surgeon's knot to secure, now you will have a circle of 8 beads

3. Thread your needle through 2 beads to the right of the knot (I found the pattern lays nicer this way rather than adding a bead immediately)

4. Add a gold bead onto your needle and thread it through the 2 beads shown in the circle, we will be going in a counter clockwise motion

5. Add another bead and thread the needle through the next 2 beads counter clockwise

6. Repeat

7. Repeat but go through the next 3 beads

8. Now we start on the second row: Add two beads to your needle and thread it through the bead shown - you will be skipping over two beads - I think it helps to imagine you are threading the needle through what looks like the corner of a square

9. Two more beads then thread the needle through the bead shown, skipping over two beads

10. Repeat

11. Repeat, but this time you will thread the needle through the *corner of the square* and the bead directly next to it (counterclockwise) - pull tight
12. Add one bead, thread through the next bead counter clockwise, skip over the next bead that is lower, then thread your bead through the next two

***For better help visualizing - thread your needle through the beads with a red dot

13. Repeat step 12

*** For better help visualizing - I like to imagine I am threading my needle until it comes out between the two beads marked by the blue dot. I included the next blue dot for reference.

14. Repeat step 12

15. Repeat step 12 for the last time for this row but you will be threading your needle through the 4 beads shown

16. Add two beads onto your needle and skip over the three beads, threading your needle through the *corner of the square*
***for this row you will be threading your needle through the *corners* (they stick out slightly like points) while adding two beads at a time until you go all the way around

17. Repeat step 16

18. Repeat step 16

19. Repeat step 16 but you will go through the corner bead and the bead directly next to it clockwise
*** For this pattern we will call this a Round Row - because when these rows are complete it looks round

20. For the next row- add one bead and thread it through the bead directly counterclockwise, skip a bead, then thread through the next one

*** For better help visualizing thread your needle through the beads marked with a red dot

21. Repeat step 20
22. Repeat step 20

23. Repeat step 20 but thread your needle through the bead directly counterclockwise so you have threaded through 2 beads
*** For this pattern we will call this a Square Row - because when these rows are complete it looks like it has corners
*** For the rest of the pattern it will be square row - round row - square row - round row - and so on - this back and forth creates a pattern of X's

24. Now we will make a Round Row - add two beads and thread your needle through the *corner*

25. Repeat step 24

26. Repeat until you have made a circle, finish off by threading your needle through the two beads shown repeat step 2 (you have finished a Round Row)

27. Now to start a Square Row, thread on 1 bead and then through the two beads shown

28. Keep going around adding one bead at a time then on the last bead added you will thread your needle through the 3 beads shown (this will finish a Square Row and start a Round Row)

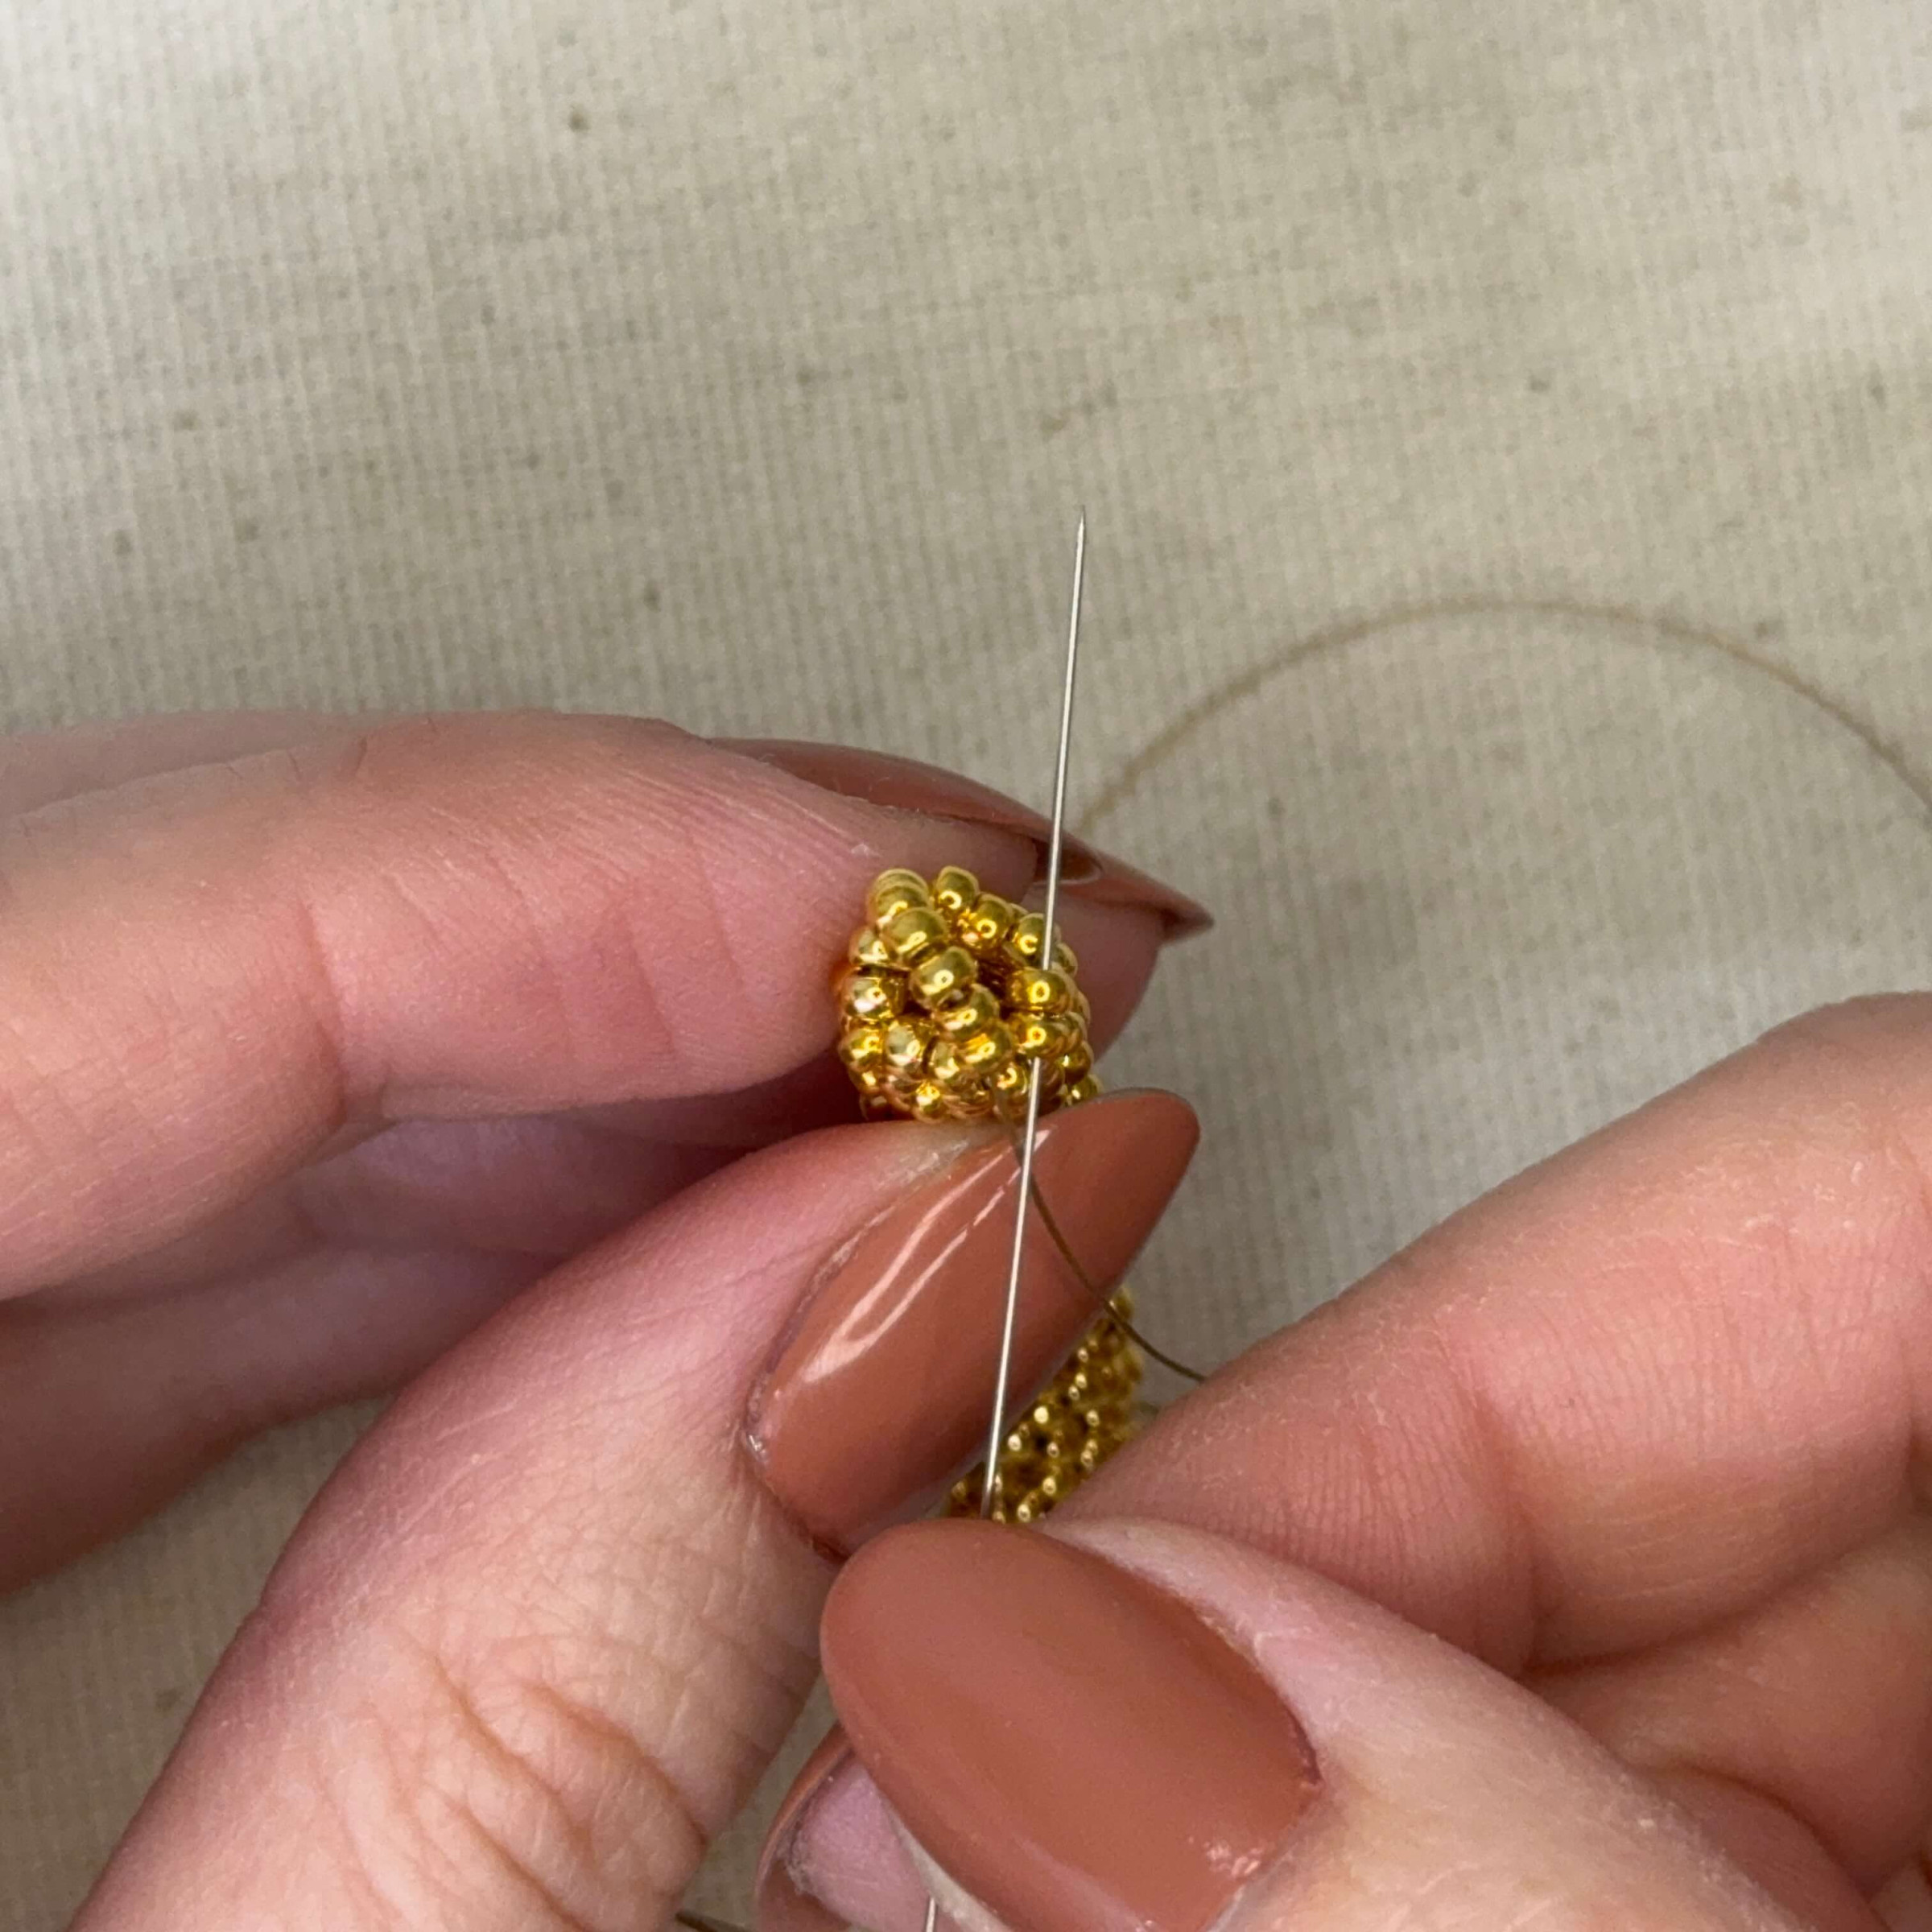
29. For reference, this is what the side of your project should look like right now (do you see how the beads stick out on the right side? This is a finished Square Row)

30. Continue on with the pattern, this row will be a Round Row, so the next will be a Square Row, the next will be Round and so on.
*** An important note on tension - you want to keep an even tension (tightness) as you create each row so your beaded rope is neither too stiff or too loose. You want to find a nice medium where the beads are not floppy nor stiff.

31. Keep going on with your pattern until you have reached your desired length (remember to account for about an inch will be for the closure and clasp)

32. Once you have reached your desired length and have finished a Round Row (your project must finish on a Round Row), we will thread our needle around each bead in a circle, two at a time, clockwise . You will pass through 8 beads total.

34. Pull your thread tight and string on 6 beads onto your needle

35. Look for the opposite end of where your thread is, push your needle through the two beads shown to the left

36. Then through the next two beads to the left

37. Then back through the 6 added beads to secure
38. Then push your needle through the two beads to the right

39. Then the next two beads

40. Then back through the 6 beads a third time

41. Pick a thread and tie two surgeons knots before gluing with gs-hypo and cutting off any remaining thread

42. This is what your finished end will look like, all you need to add is your jump ring and clasp!
43. Remember how we left a 7 inch tail in the beginning? Put your needle back on the thread and repeat the previous steps 34-42 to create another loop
44. Finish with a jump ring and your clasp, and you're done!
Related Articles

Pearly White Heart Earrings – Four Drop
Pearly White Heart Earrings – Four DropThese earrings are made from beautiful white shell in flat...
Valentine Fringe Earrings
Valentine Fringe EarringsLearn how to make fringe earrings with a heart pattern that pops! The design...
Dancing Pearl Cowboy Charm Leather Bracelet
Dancing Pearl Cowboy Charm Leather BraceletThis tutorial is a spin of our Dancing Gemstone Bracelet...