Tutorials
“Busy Bee” Double Leather Wrap Bracelet
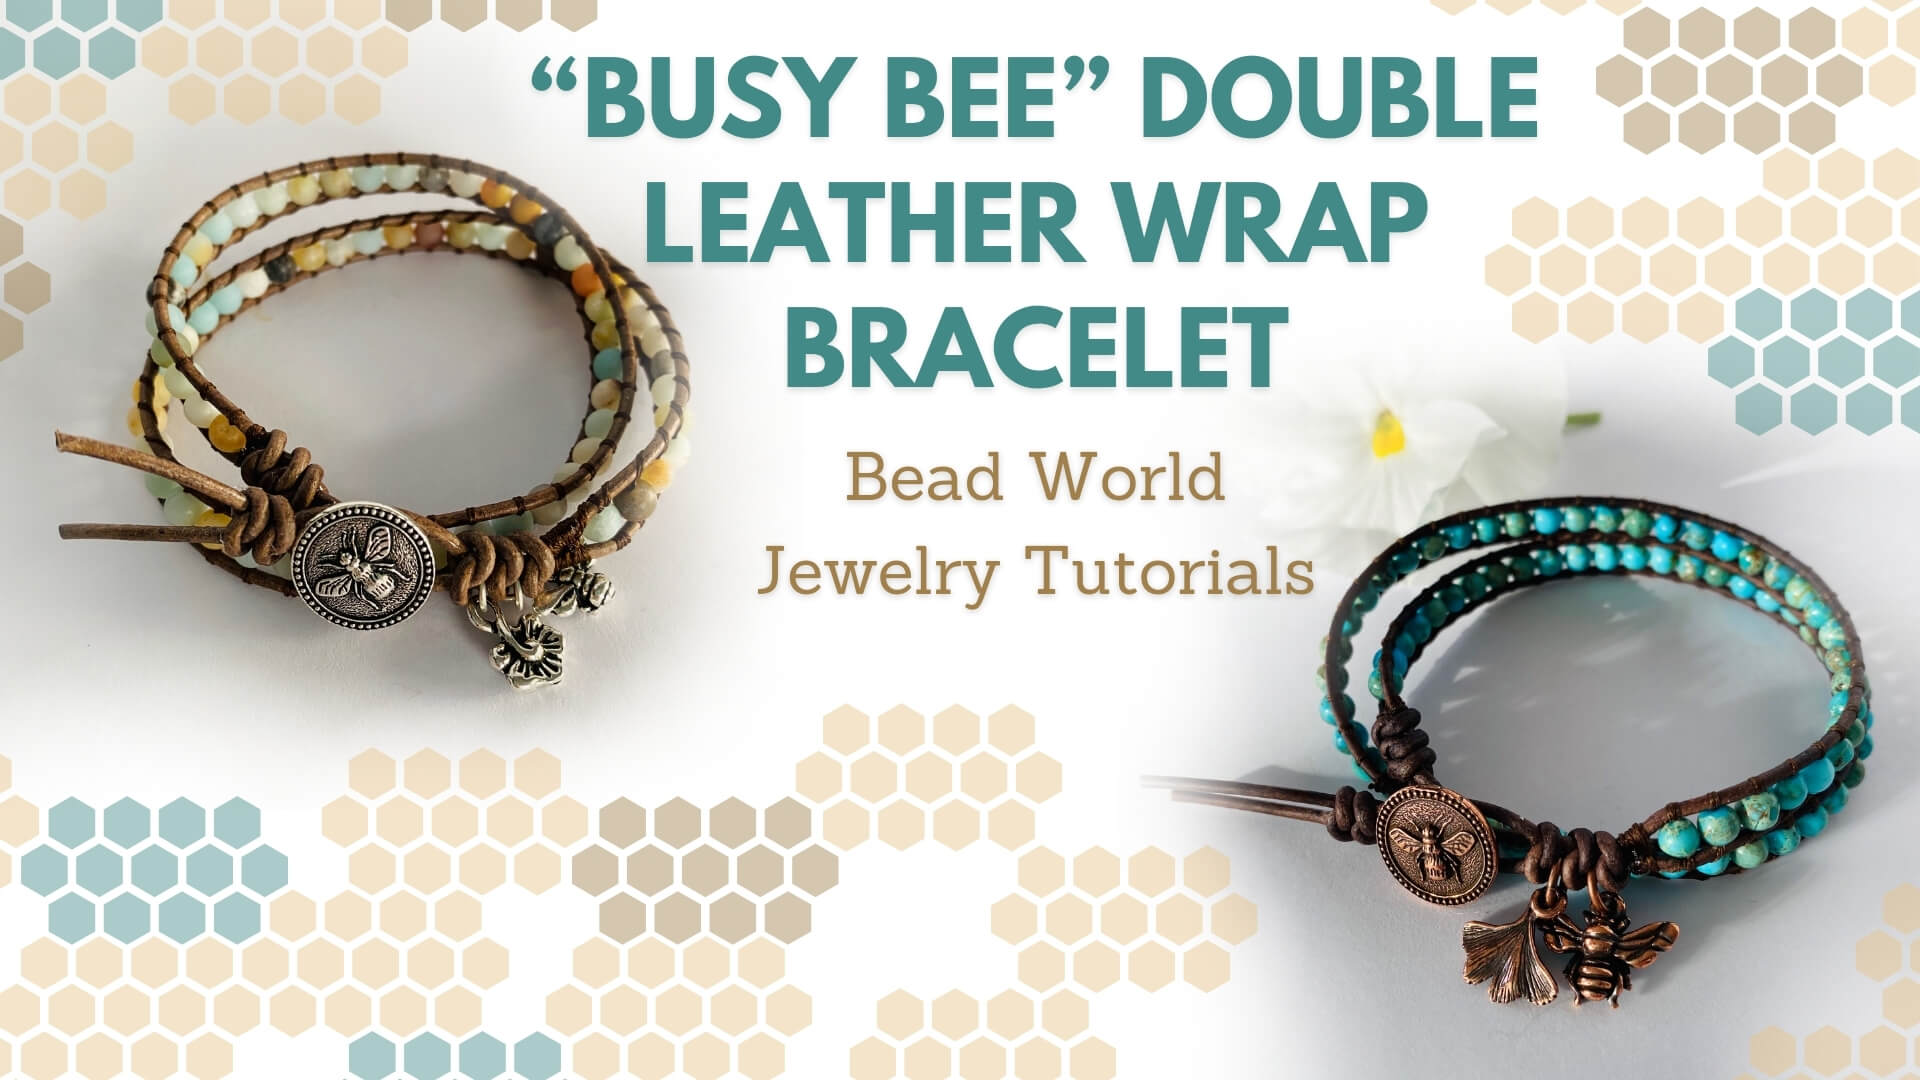
“Busy Bee” Double Leather Wrap Bracelet
Skills Needed: Leather Wrap
Finished Length: This will fit a 6 – 6 ½” Wrist - Add or subtract beads for a custom fit
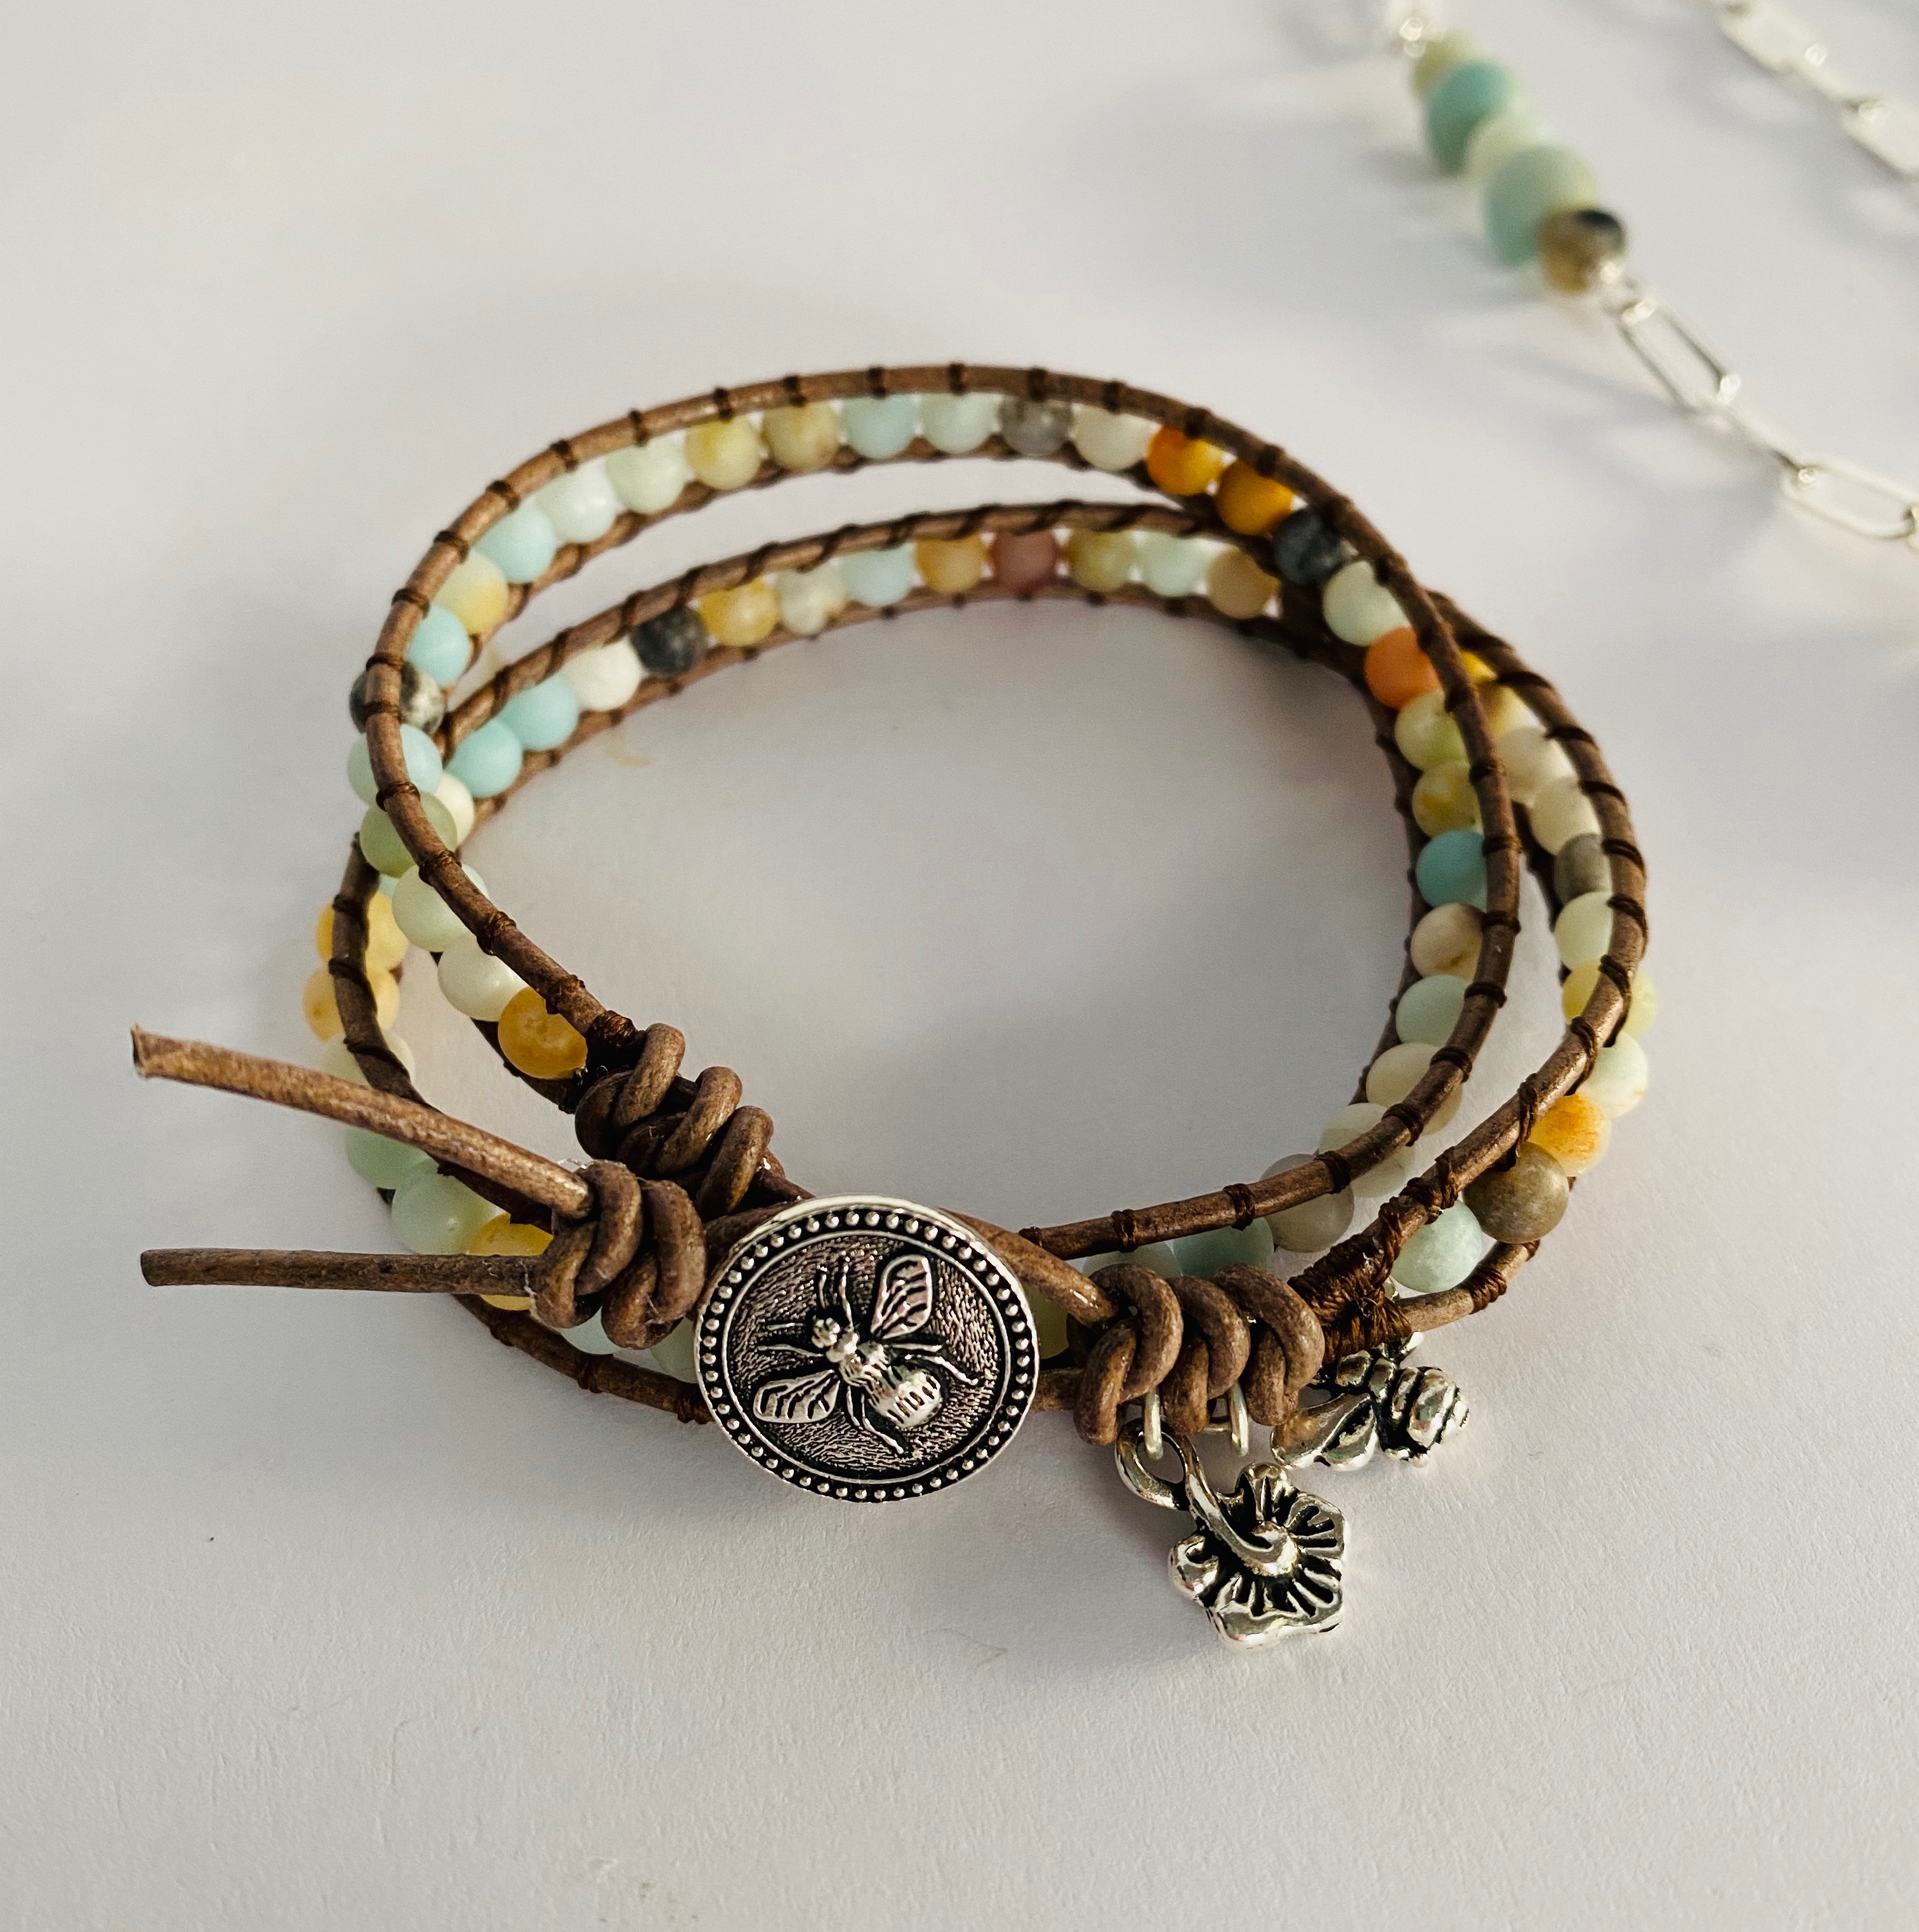
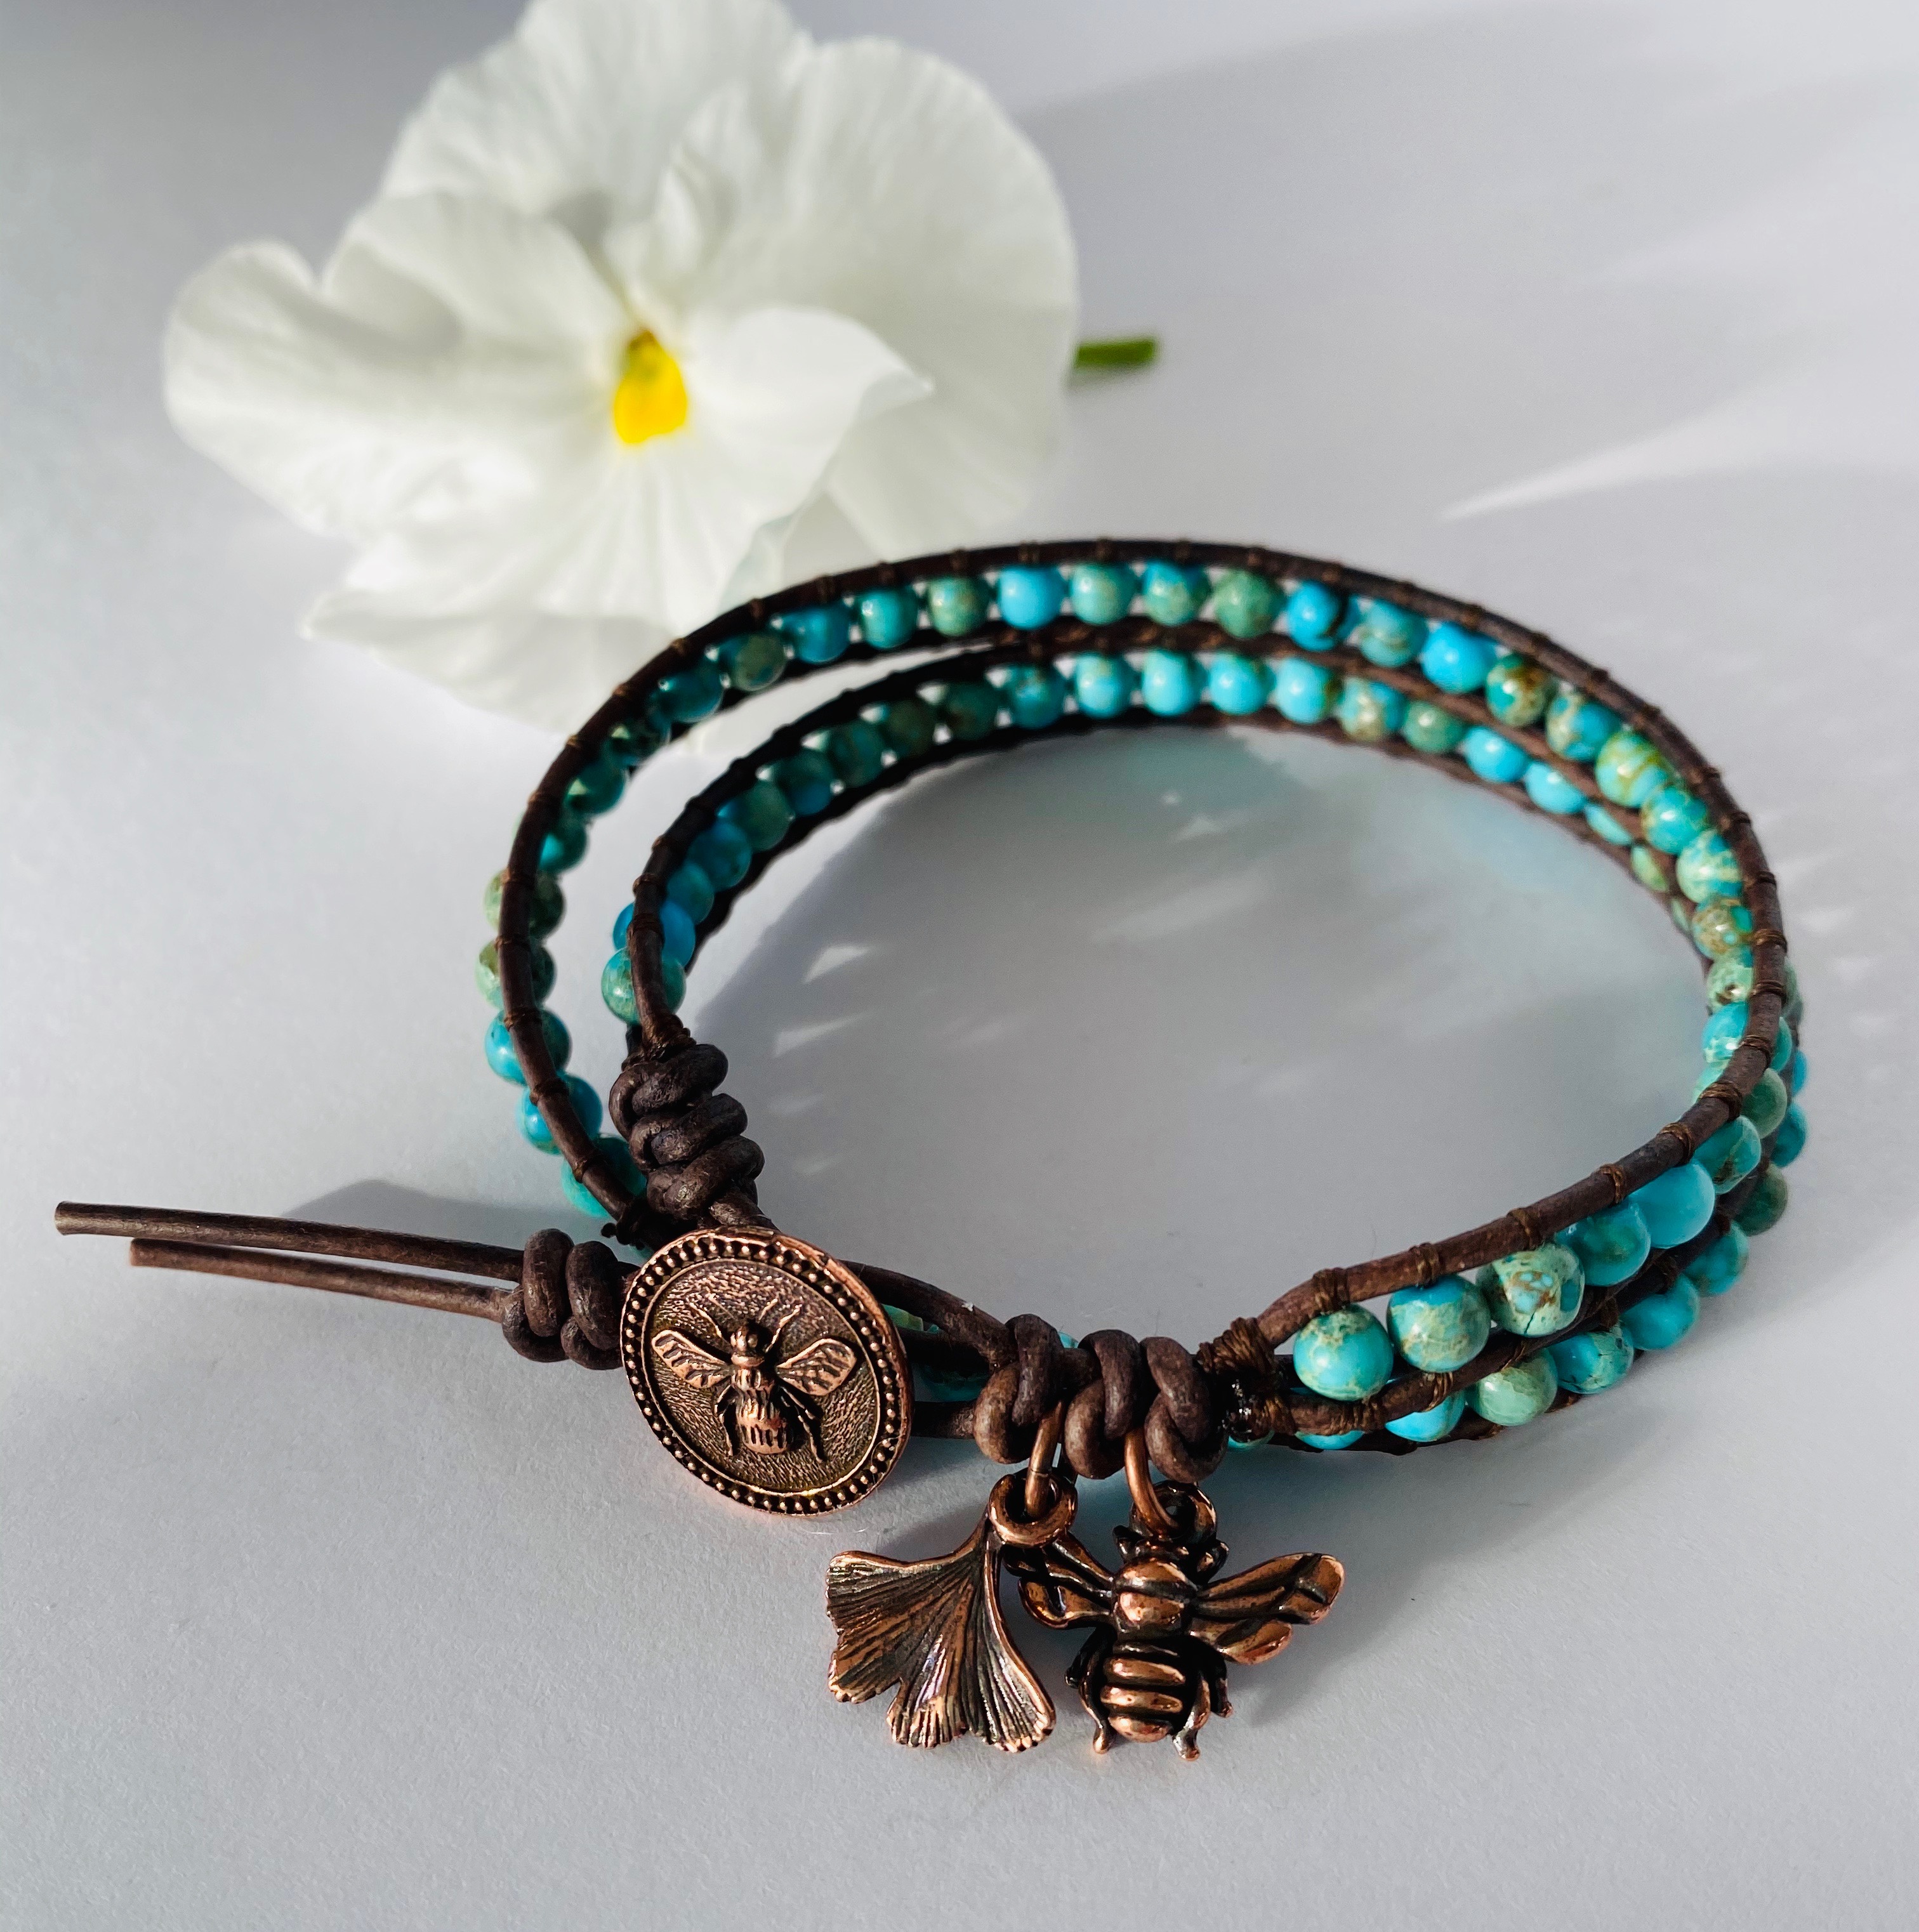
This bracelet looks great with the 4mm round beads as it is a “Sweet” combo with the bees! You can change it up and use different gemstones.
Materials Needed:
- I.5mm Leather Cord, *First picture is Natural Grey, second picture is Natural Antique Brown (4’)
- Tierra Cast: Bee Button, * First picture Silver, second picture Copper (1)
- 4mm Matte Multicolor Amazonite Round - first picture (1 Strand) or 4mm Aqua Terra Jasper Round - second picture (1 Strand)
- TierraCast:
- * First Picture - Small Blossom Charm Silver (1)
- Small Honey Bee Silver (1)
- Second picture - Gingko Leaf Charm Copper (1)
- Honey Bee Copper (1)
- Small Oval Jump Rings, Silver (4) Or Second Bracelet, Medium Oval Jump Rings Copper (2)
- Silamide Bead string, dark brown (1 pack) * Same used in both options
- G-S Hypo Cement Glue
Tools Required
Needle Nose Pliers (also known as chain nose)
Size 10 Tulip Needle
Instructions on Construction:
1. Thread button onto leather cord, slide to the middle of leather and match up the two ends.
2. Tie three Spanish Knots (also know as Snake Weave), you can also use an overhand knot if that is your preference. Make sure that you leave about a ½” space between button and first knot, as it will be necessary for a proper fit.
3. Cut a 6’ length of bead string, thread needle and slide to center of thread. Match up the two ends and tie a knot. Pass the needle between the two leather straps and through the thread loop, then pull the thread tight, thus forming a lark’s head knot.
4. I like to push this knot up close against the leather knots and then weave my thread in a figure eight formation for about 1/8” as this binds in the end of the thread securely and looks cool too. Feel free to choose your preferred way of attaching thread.
5. Remember to stabilize the first bead with two stitches, then for every subsequent bead it is one stitch per bead. *** Note, you will need to add more thread at some point, just make sure that you finish your thread securely and you start again in the same way (by stitching the same bead twice, I also add a dab of glue to this area when I finish bracelet).
6. Continue stitching until you have your desired length, I used 70 beads for the amazonite bracelet, but this will vary depending on the type of knots that you use and your desired length. * I did find that I needed 75 beads when using the aqua terra jasper, so these beads must have been a little smaller, even though they both say 4mm!
7. Remember to stabilize the last bead with two stitches, then tie one Spanish knot. Once my knot is tied, I finish weaving my thread in the same manner as I started the bracelet, finishing with a secure stitch close to the leather knot. Then trim thread and glue, I also glue my thread back at beginning section and where I joined thread.
8. Attach three small jump rings to form a chain, connecting to the ring at the top of the bee charm. Thread the top jump ring onto one of the leather cords.
9. Form second Spanish knot, then attach one jump ring to the ring on the small blossom charm. Thread the jump ring onto the same cord as the bee charm.
10. Form a third Spanish knot, then measure how much space you need to allow for your buttonhole (the width of my finger seemed to be about how much space I needed). Once you have this measurement tie two more Spanish knots pulling firmly as you go.
11. You are now ready to glue the knots to make sure that they are good and secure. Trim the ends of the cord and you can take a Sharpie pen to darken the cut ends a little if you choose.
12. You are now ready your try on your new bracelet and admire your handiwork.
13. Enjoy!
Jewelry designed by Steph Stirniman at https://magpiecollectives.etsy.com/

