

Sunshine, Shell & Butterfly Wings Necklace
Sunshine, Shell & Butterfly Wings Necklace

Materials Needed:
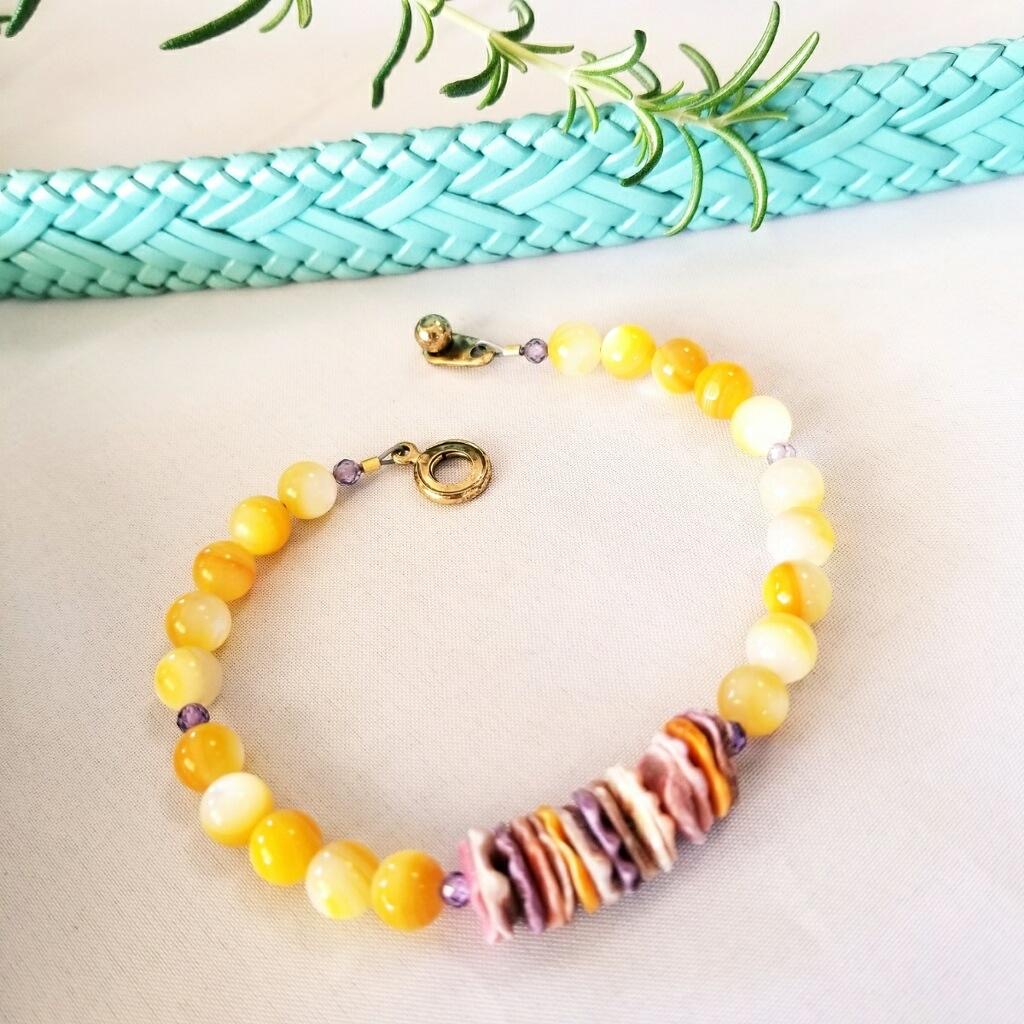
- Pectin Shell Nat. 10mm Heishi (6mm or 8mm can also be used) (1 strand will make the necklace, bracelet, and earrings)
- Mother of Pearl 6mm Rd. Orange (16)
- Zircon Crystal (purple) 3mm Fac. Rd. (24)
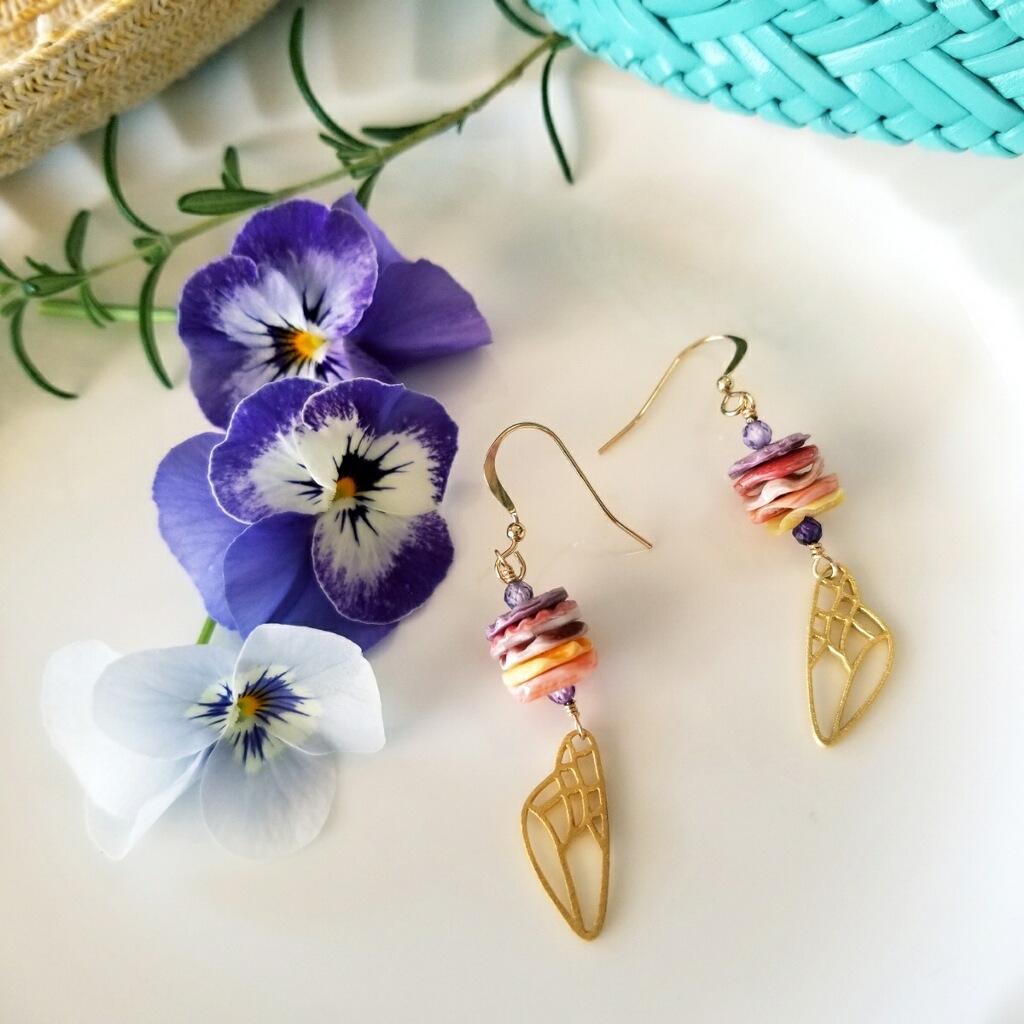
- Amoracast – Small Butterfly Wing – Vermeille (1) (silver can be used if prefered)
- Ball & Socket Clasp – Gold or any gold filled clasp of your choice (1)
- Soft Flex Beading Wire – Medium
- Gold Filled 2 x 2mm Crimps (2)
- Optional
- Crimp Covers – 4mm Gold Plated (2)
- 3.5 x 5.3mm Oval 14k Gold Filled Jump Rings or 4mm 14K gold filled 22 gauge jump rings (3)
Finished Length 18”
Tools Required
Instructions on Construction:
1. Cut 22” section of beading wire, thread on crimp tube & attach to loop on ball & socket clasp. I used the two-part folded crimp method, but you could do a crimp & crimp cover, if this is your preference.
***Please note whichever way you choose to crimp, keep your wires parallel when crimping, this makes for a more secure attachment & it’s also wise to give a test pull on your wire to make sure you have closed down hard enough on the crimp :)
2. Thread on one 3mm zircon bead, three of the 6mm orange mother of pearl beads.
3. We then move on to a repeating pattern which goes as follows - (one zircon, fifteen heishi shell, one zircon, one orange mother of pearl) repeat this pattern five times.
***If you choose to make this necklace longer / shorter you can add or subtract the number of times you repeat this sequence.
4. We are now at the central section of the necklace - Add one zircon & eight heishi shell beads, which brings you to the mid-point of necklace.
5. Connect three of the 3.5 x 5.3mm oval jump rings & attach the top of the butterfly wing to one of the end jump rings. Then thread the jump ring farthest away from the butterfly onto the beading wire. Your butterfly charm will now be sitting at the mid-point of necklace & the 3 jump rings will drop the charm low enough to fly free!
6. The other side of necklace is a mirror image of the first side.
7. Add eight heishi shell & one zircon, followed by five repeats of the following pattern (one orange mother of pearl, one zircon, fifteen heishi shell, one zircon).
8. Thread on the last three orange mother of pearl & one zircon.
9. Add your crimp tube & thread the beading wire through your clasp & back through the crimp tube.
10. At this stage lay your necklace on your worktop in a circle & make sure you leave enough slack in the wire so that your beads have enough room to sit nicely. It is important to leave this slack because if you crimp your wire too tightly the necklace will be rigid with no flow & there is a strong chance that the beading wire may break!
11. You are now ready to crimp your necklace & to admire your handiwork
12. Enjoy!
Jewelry designed by Steph Stirniman
Check out how to make the rest of our Sunshine, Shell, & Butterfly Wings Collection
Recent Posts
-

Cherry Blossom Flower 3D Brick Stitch Earrings
Cherry Blossom Flower 3D Brick Stitch EarringsThese earrings use size 11 Delica beads arranged in th …29th Apr 2024 -

"Abalone Sea" Dangle Earrings
"Abalone Sea" Dangle EarringsIn this tutorial, you'll blend delicate design with the luminescent bea …24th Apr 2024 -

"Gem Keeper" Chain Cage Pendant Necklace
"Gem Keeper" Chain Cage Pendant NecklaceNo hole no problem! Keep anything from gems with no holes, b …29th Mar 2024