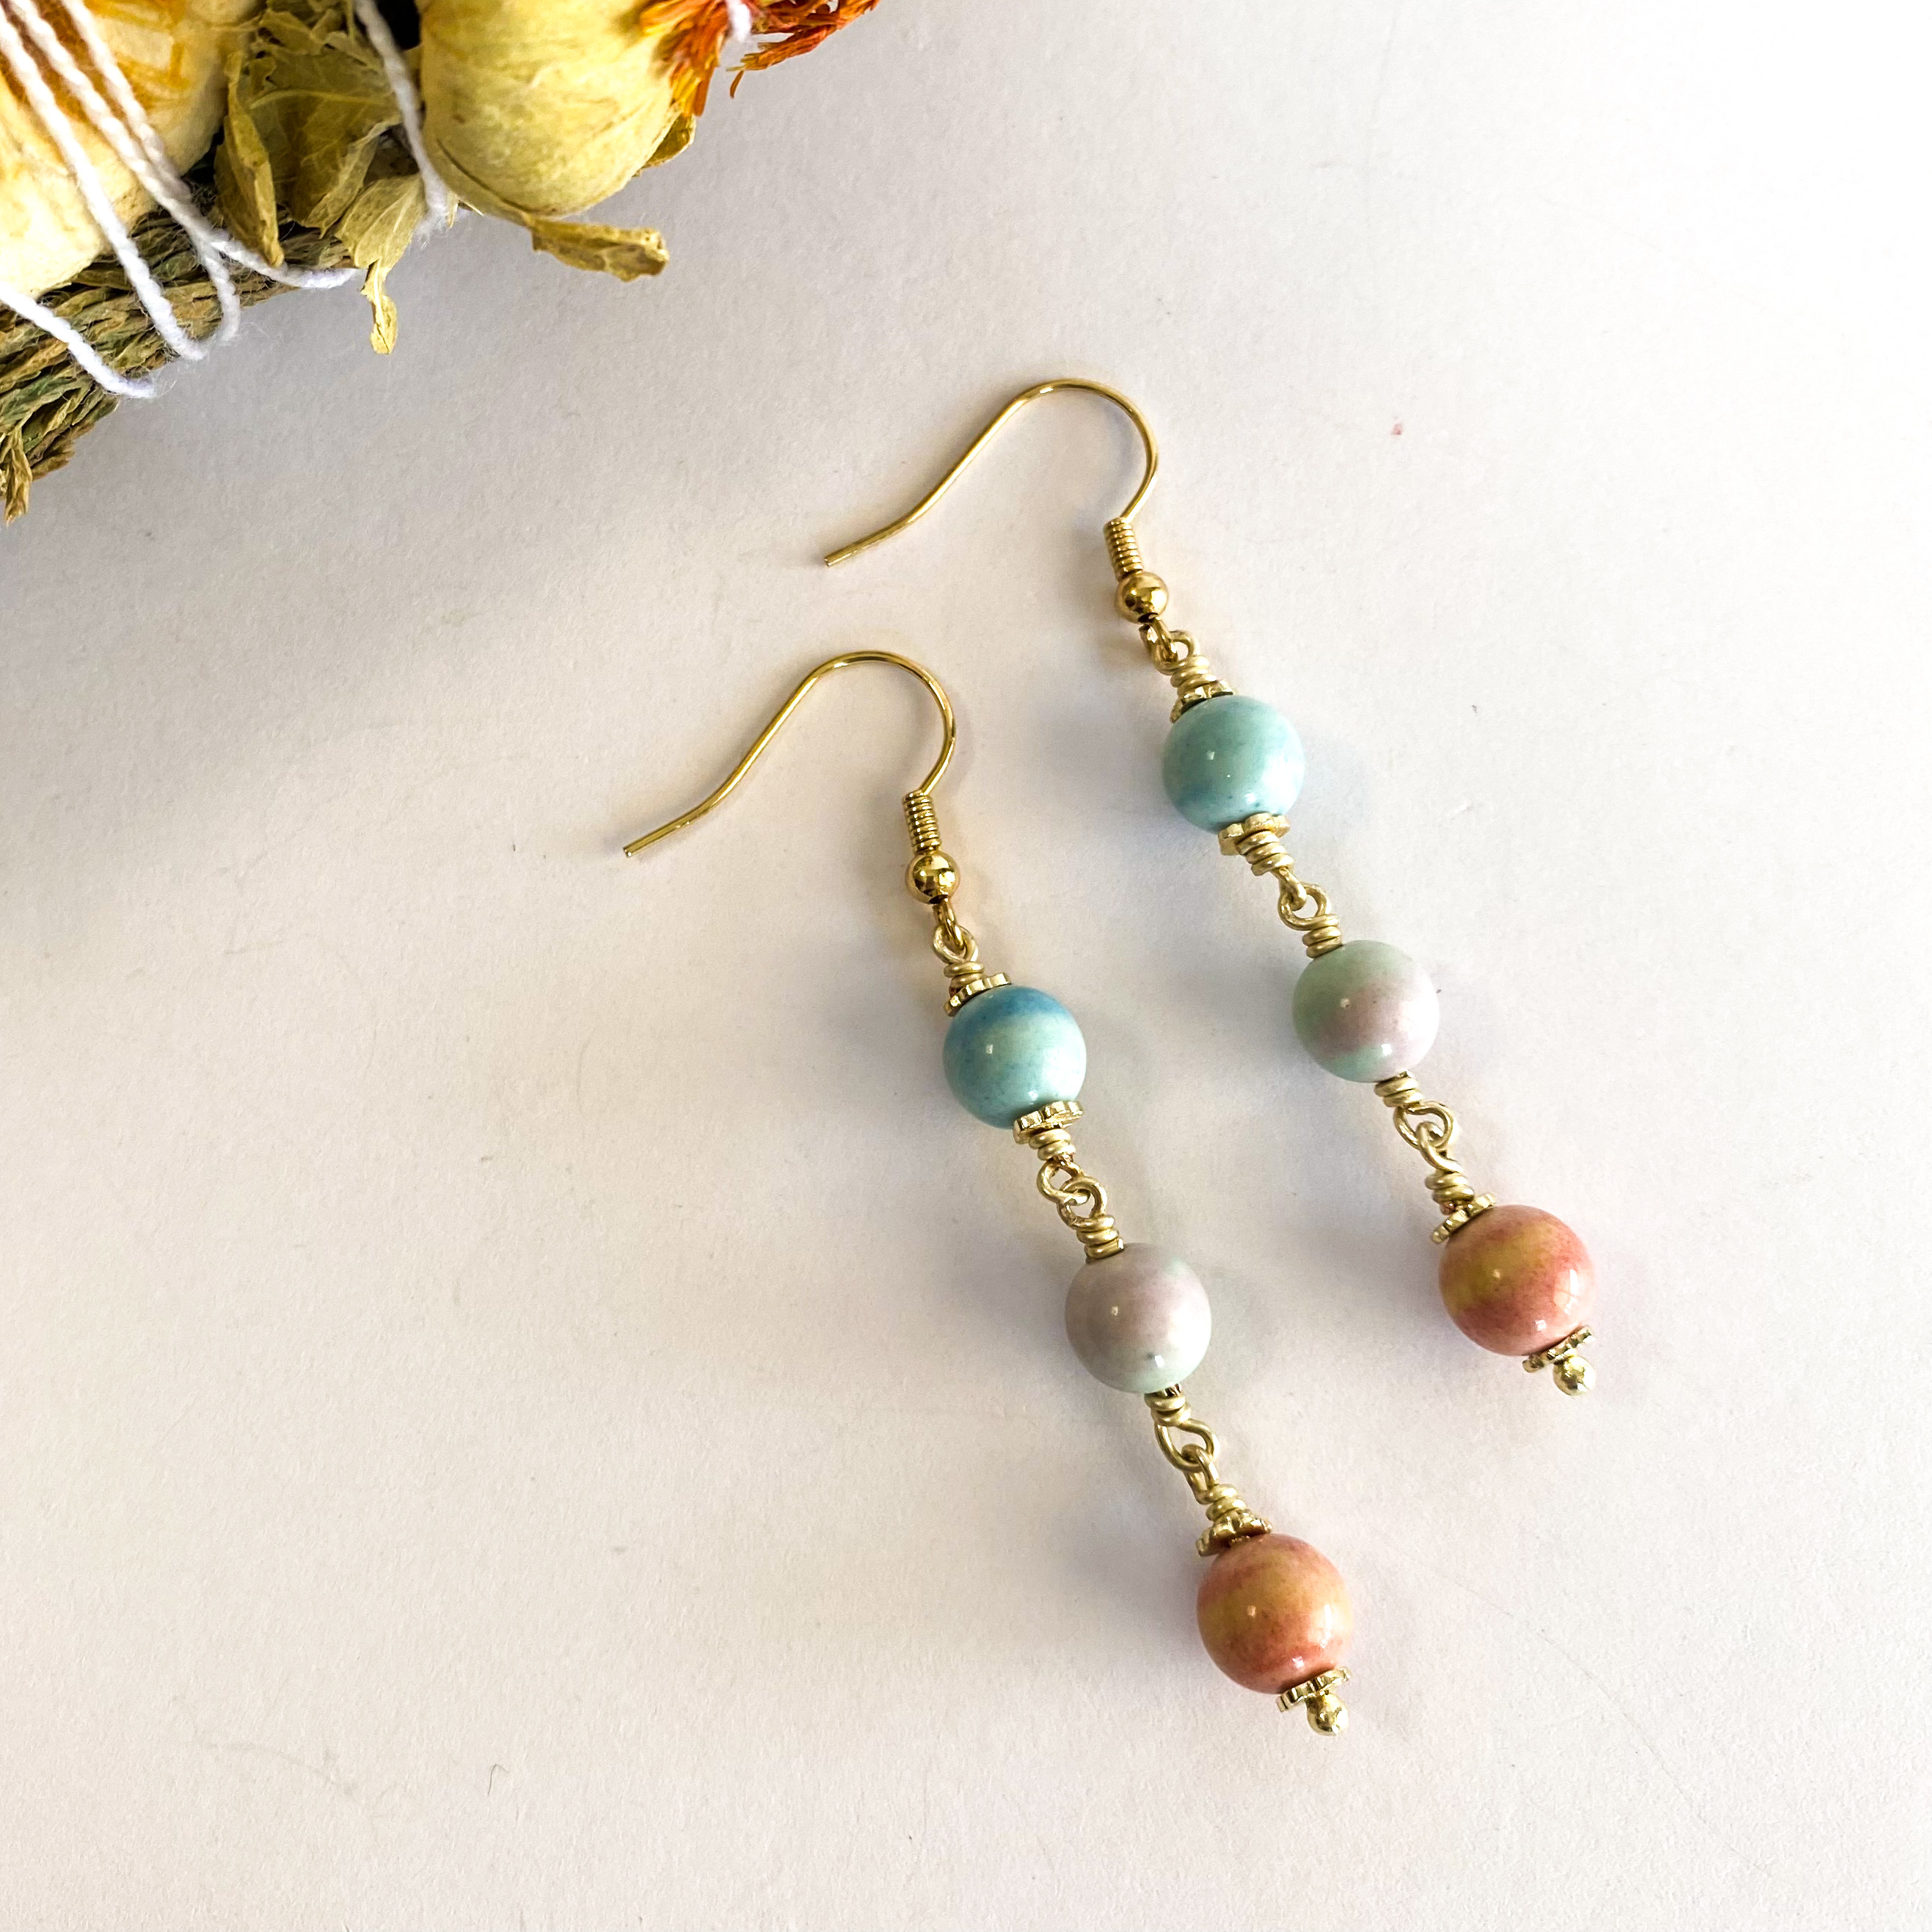
“Early Morning Glow” 3-Drop Earrings
“Early Morning Glow” 3-Drop Earrings
The beads in these earrings were laid out in the following order: blue beads closest to the ear wire, pink/green beads in the middle section and apricot/orange beads at the bottom, this is my version of the sun beginning to rise.

Materials Needed:
- 8mm Round Alashan Agate – (6 beads)
- 4mm Flower Disc – Brushed Gold Color, Plated Anti Tarnish – (8 Discs)
- Ball End Headpins Gold Plated – (6)
- Ear Wires with Spring & Bead Gold Plated (1 Pair)
Approx. Length: 2” from loop on ear wire
Tools Required:
Sharpie
Key Code: A = 8mm Rd Alashan Agate B = 4mm Flower Disc – Brushed Gold
Instructions on Construction:
1. You will work on both earrings at the same time as this helps in sizing. Start by taking a sharpie and drawing a line across both prongs on your round nose pliers, close to the pointy ends. This will give you an accurate place to line up your wire every time you make a loop. * Remember you can alter the placement of your ink mark depending on whether you want larger or smaller loops.
2. To make the bottom section of earring: Take headpin and thread on B (1), A (1), B (1) then using needle nose and round nose pliers make a small loop then wrap wire & trim. * Repeat with the second earring.
3. To make middle section of earring: Take a headpin and cut off the ball end then make a small loop, thread this onto the loop on the bottom section that you have just made, then complete one full turn wrap but DO NOT trim. Thread on A (1), make a small loop & wrap one full turn. You can now wrap half turn at a time, on alternate ends, until you fill in space, trim and tamp in pointy end if needed. * Repeat with the second earring.
4. To make top section of earrings: Take a headpin and cut off the ball end then make a small loop, thread this onto the loop on the top of middle section, then complete one full turn wrap but DO NOT trim. Thread on B (1), A (1), B (1), make a small loop & wrap one full turn. You can now wrap half turn at a time, on alternate ends, until you fill in space, trim and tamp in pointy end if needed. * Repeat with the second earring.
5. Using flat nose pliers carefully open loop on ear wire then thread into loop on top section that you have just completed, then close carefully making sure that loop is securely closed. * Repeat with second earring.
6. Now it is time to try on the earrings & admire your handywork.
7. Enjoy!
Jewelry designed by Steph Stirniman at https://magpiecollectives.etsy.com/
Recent Posts
-
Christmas Wine Charms - Mini Tutorial
Christmas Wine Charms - Mini TutorialThese wine charms are sure to be the center talking point at yo …25th Nov 2024 -
Christmas Bow Garland - Mini Tutorial
Christmas Bow Garland - Mini TutorialCreate your own holiday decor with a Christmas-colored bow garl …14th Nov 2024 -
Charm Necklace Tutorial
Charm Necklace TutorialEmbrace individuality with our Personalized Charm Necklace tutorial, a perfec …6th Nov 2024


