
Tutorials
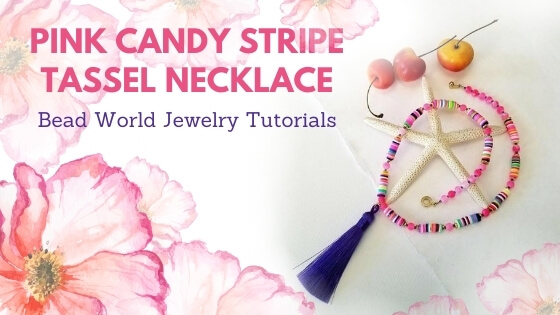
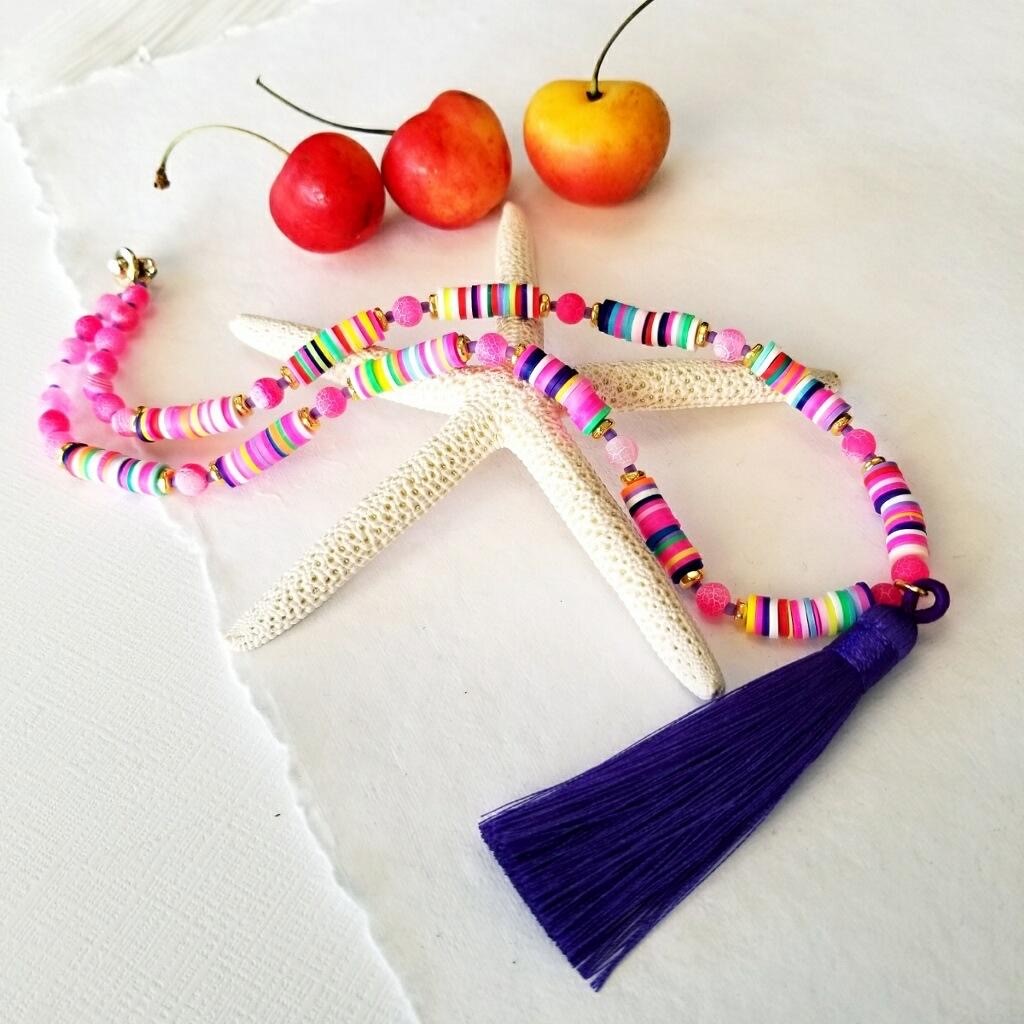
Pink Candy Stripe Necklace with Purple Silk Tassel
Pink Candy Stripe Necklace with Purple Silk Tassel
Materials Needed:
- 6mm Round Matte Cracked Agate – Dyed Pink (26)
- 6mm Polymer Clay Slice Beads – Pink/White/Yellow Mix – (Approx. 9”)
- TierraCast - 7mm Nugget 2mm Hole, Gold Plated (2)
- TierraCast – 4mm Kenyan – Gold Plated (20)
- Size 11 Matsuno Seed Beads F222A Violet Frosted (36)
- Royal Purple Silk Tassel (1)
- Ball & Socket Clasp – Gold Plated (1)
- Soft Flex Beading Wire – Medium – Satin Silver (Approx. 26”)
- Gold Fill 2 x 2mm Crimps (2)
- Optional Crimp Covers – 4mm 14k Gold Fill (2)
- Medium Oval Jump Ring Gold Plated (1)
- Small Oval Jump Ring (1)
Finished Length 19”
Tools Required
Key Code for Beads: You can lay your beads out on mat with A – E labels next to them to make it easier for stringing in correct sequence. * If you have a bead board you can lay the beads in correct sequence before stringing, this may be the easiest option.
A = 6mm Pink Matte Cracked Agate B = 6mm Fimo Polymer Clay Slices C = TierraCast - 7mm Nugget 2mm Hole - Gold Plated D = TC – 4mm Kenyan – Gold Plated E = Size 11 Matsuno Seed Beads F222A Violet Frosted
Instructions on Construction:
1. Cut 26” section of beading wire, thread on crimp tube & attach to loop on ball & socket clasp. I used the two-part folded crimp method, but you could do a crimp & crimp cover, if this is your preference.
***Please note whichever way you choose to crimp, keep your wires parallel when crimping, this makes for a more secure attachment & it’s also wise to give a test pull on your wire to make sure you have closed down hard enough on the crimp :)
2. Thread as follows: E (1), A (1),
* Repeat so there are 7 pink agate beads - E (1), C (1), E (1) B (3/4”), D (1), E (1), A (1), E (1), D (1)
* Repeat this section to give a total of 5 sections, B (3/4”), A (1)
Thread on the tassel (tassel has one medium oval jump ring attached to loop on tassel and one small oval jump ring attached to the medium jump ring, this provides a good drop below beads.
* Use your flat nose and needle nose pliers to open jump rings being careful not to unround rings (this means opening to the side). Take care when closing jump rings making sure the two sides match up and you have no gaps.
* Second side is threaded as a mirror image of first side.
3. Add your crimp tube & thread the beading wire through your clasp & back through the crimp tube.
4. At this stage lay your necklace on your worktop in a circle & make sure you leave enough slack in the wire so that your beads have enough room to sit nicely. It is important to leave this slack because if you crimp your wire too tightly the necklace will be rigid with no flow & there is a strong chance that the beading wire may break!
5. You are now ready to crimp your necklace & to admire your handiwork
6. Enjoy!
Jewelry designed by Steph Stirniman at magpiecollectives.com
Related Articles

Magic Garden Jewel Tone Gem Chain Necklace/Belt
Magic Garden Jewel Tone Gem Chain Necklace/Belt Skills needed: Wire wrapping – there are 64 wire wraps in...
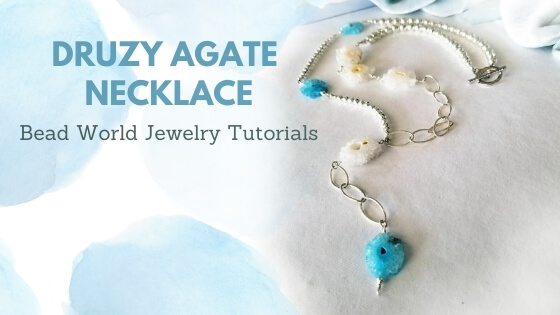
Seven Sweet Daisies - Druzy Agate Necklace
Seven Sweet Daisies - Druzy Agate Necklace Materials Needed: Finished Length Approx. 27” with a 4” Drop...
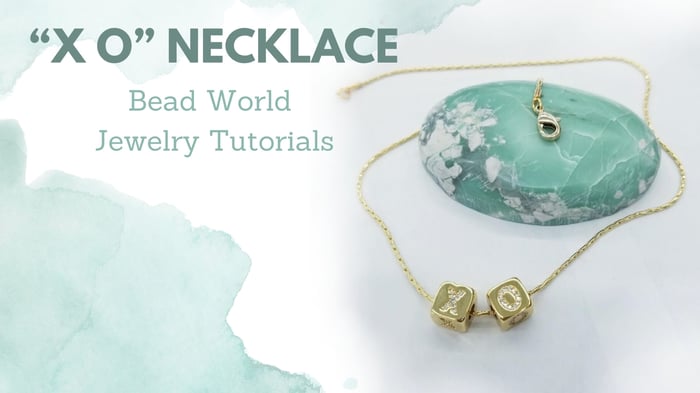
“X O” Necklace
“X O” Necklace Materials Needed: Finished Approx. 16” * Size can be easily altered for a custom fit....